


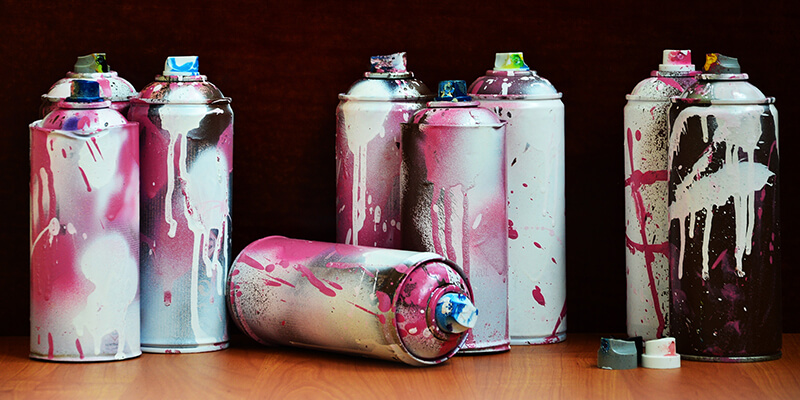
Spray painting has come a long way from merely graffiti art, the useful colour application method is now capable of entirely transforming a number of household items, vehicle parks and even property fittings such as doors. The opportunities when opting to utilise DIY aerosol spray paints are simply limitless; they allow you to be as creative as you see fit. As opposed to having to invest in brand new items, spray paint enables you to repair, refresh and revamp anything for a cost-effective price.
Plastic, in particular, remains one of the most popular materials to recolour through the use of spray paint. However, there are a number of essential preparation and application steps you must keep in mind to maximise results. To give you some inspiration, we have devised a full guide to the top ten plastic spray painting tips and techniques!
Top 10 Spray Painting Tips and Techniques
Whether you are hoping to upcycle plastic garden furniture or require repairs on car components, the ability to spray paint comes in incredibly useful. While spray painting is considerably easier than hand-painting colour, it does take a little practice to perfect your technique. Adequate preparation is imperative, along with taking time to carefully spray evenly. Before beginning to spray paint, take a read through the following tips and techniques to familiarise yourself with the application process.
1. Clean Before Spraying
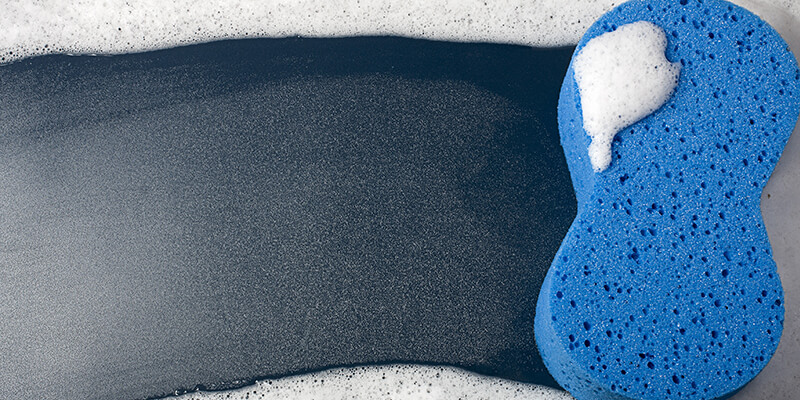
It is vitally important to ensure that any item you plan to spray has been thoroughly cleaned before beginning the application process. Any dust, dirt or debris on the plastic surface will create an uneven finish. Particles will become glued to the plastic underneath the spray paint, ultimately, dampening the appearance of your results.
In many cases, plastic can quickly be cleaned using an all-purpose cleaner that is wiped across the surface using a large soft sponge. Try to avoid using anything abrasive as it is likely to scratch the plastic. If dirt is particularly stubborn, you may benefit from hosing down the surface for added pressure without having to scrub and cause damage.
2. Sand Down The Surface
Many plastic items have a glossy coating over the top. Before spraying, this will need to be slightly removed to enable both the primer and paint to stick to the surface. Using a fine-grit sanding block and gentle pressure, start to sand down the plastic to remove the gloss and create a texture to stick to. Make sure that you wipe away all dust after sanding, again to stop the paint from having an uneven finish.
3. Spray From A Distance
Always spray items at least ten inches away from the surface. Spraying too close to the plastic will cause the colour to become super thick in some areas and then thinner in others; therefore, making the coating uneven and risking a patchy finish.
A great top tip to guarantee seamless results is never to begin or stop spraying directly on the plastic. Start on the newspaper or dropcloth you have placed underneath to get even pressure and then start to spray in straight lines across your surface. Make sure that you are at the edge of the item before releasing the trigger on the can.

4. Use A Primer
Never forget to prime a surface before spraying. Primer is imperative in preventing the colour fading, peeling or flaking in a few months time. It creates an adhesive, smooth layer for the paint to stick to. Although there is nothing wrong with applying the primer using a paintbrush, it may cause streaks on the surface. Alternatively, we suggest using a spray-on primer that has been made specifically to work alongside plastic aerosol spray paints.
5. Spin The Plastic Item
If you are new to spray painting and feeling particularly worried about achieving an even coat, you may want to consider spinning the item while spraying. A lazy Susan is a fantastic, cost-effective way to create a spinning surface to lay your plastic on. Simply place the object you intend to spray on the base, set a slow spin and then begin spraying; this will guarantee an even coat. IKEA stock a wooden lazy Susan for just £6!
6. Do A Trial Run
Never jump straight into spray painting without any practice. There is a knack to it, which means it is strongly recommended to do a quick trial run to avoid making mistakes when it comes to spraying the plastic item in question. Pop to your local poundshop and pick up a plastic object to practice on; this can be anything from a bin to a plant pot. Test out spraying from different distances until you are familiarised with the correct techniques.
7. Leave To Fully Dry
If you are not completely happy with your results and feel as if the item could do with another coat, ensure it is thoroughly dry before reapplying. Try to leave your plastic to dry overnight to ensure that there is no risk of blistering or flaking due to spraying on a sticky, damp surface. The same rule also applies when using a primer, always allow plenty of drying time.
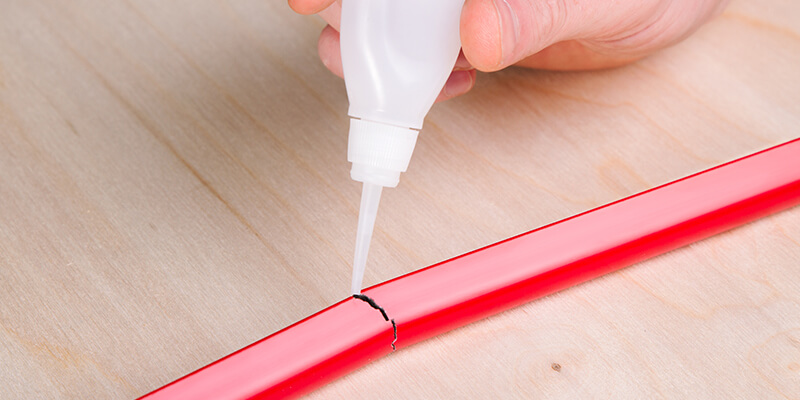
8. Fix Damage Before Spraying
If there is any damage or cracks in the plastic, ensure that all issues are fixed before you begin spraying. Small cracks are super easy to fix using high-strength plastic glue, which can be picked up from Tool Station. Larger cracks or broken areas, on the other hand, may need a soldering iron to fuse pieces back together securely. The only downside to using a soldering iron is that it sometimes causes discolouration; however, this shouldn’t be an issue when preparing for spray painting as the colour will be reapplied regardless.
9. Consider Using A Dropcloth
Before spraying, it is vital to ensure that all surrounding areas are protected against paint damage. Spray paint is known for staining, which means that you need to assure that it is applied onto to your allocated object only. While using newspaper an effective short-term solution, it may not prove beneficial if you plan to regularly spray paint in the future. A dropcloth, also known as a canvas cloth creates a thick, non-slip surface to work on top of that can be washed and reused as many times as you need.
10. Repair “Orange Peel” Surfaces
If you have applied spray paint too thickly, failed to allow the surface to dry before respraying or have applied paint too close to the plastic, the finish may have a dimpled appearance – similar to the look of orange peel. In this instance, do not panic. Allow the paint to thoroughly dry and then sand down the surface until it is level; you will then need to respray the plastic. Perhaps consider carrying out a few practice attempts before to ensure that you can achieve a smooth finish on your second attempt.
Achieve Seamless Plastic Spray Painting!
Taking time to prepare your surroundings and surface, along with carrying out a few practice attempts will most definitely work to your advantage. Once you are familiarised with the most effective spray painting techniques, it will take a matter of minutes to transform your plastic items!


