

No matter how hard we try, our cars never stay as shiny and vibrant as the day we get handed the keys and drive them off the forecourt. Bad road conditions, horrible weather, as well as general wear and tear eventually dulls the paintwork and makes the vehicle’s aesthetics less than perfect. While some may resort to expensive respray services and take their car into a garage, this doesn’t always have to be the first port of call.
One easy way to brighten up your car’s appearance is to revitalise the plastic fittings found in and around your vehicle with spraypaint. As experts in spraypaint solutions, we are here to teach you how to paint automotive plastic parts in 5 easy steps.
How To Paint Automotive Plastic Parts: A Complete Guide
The thought of getting creative and spraypainting your car’s plastic fittings may seem like it’s a little beyond your capabilities, but it actually couldn’t be easier. Follow our complete guide, including what you can spray paint along with tips and tricks, and you’ll be a spray painting pro in no time at all!
What Plastic Parts Can I Spray?
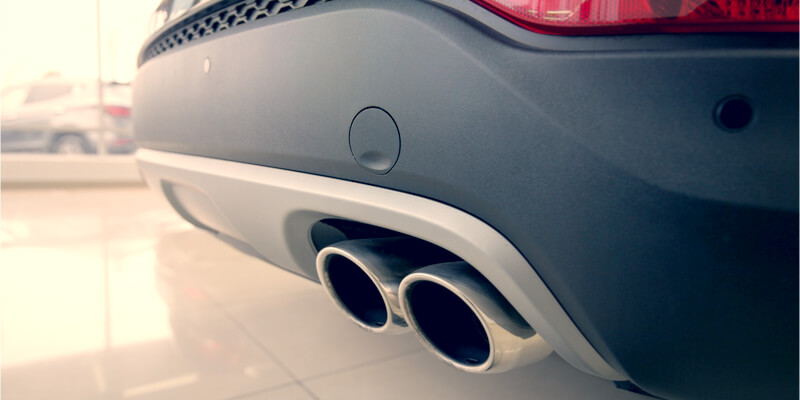
First off, it’s probably helpful to list the various fittings that you could spray in order to rejuvenate your car’s appearance. There may be some parts that haven’t crossed your mind, so here are our top 7 suggestions:
- Trim Pieces
- Door Handles
- Mirrors
- Bumpers
- Wheel Covers
- Spoilers
- Mudguards
What Will I Need?
It’s essential to make sure that you have all of the correct tools in place before you carry out any spraypainting. To spraypaint your car effectively, you’ll need the following items:
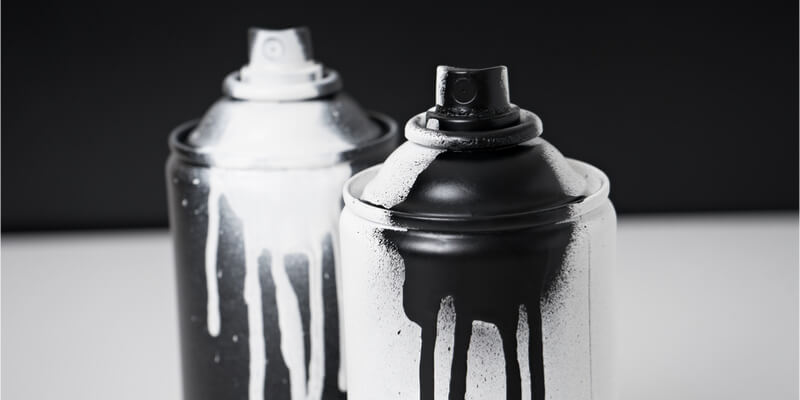
- Paint – This is an obvious one. There are, however, some paints that are more appropriate to use than others. Depending on the type of plastic you are painting, depnds on the spraypaint you should use. We have many options, from British standard Aerosols and RAL Colour aerosols to Caliper aerosols paint. Our team would be happy to advise further on which would be best for your project.
- Sandpaper – We recommend getting a few different levels of sandpaper, from 150grit to 1200grit. This helps to get the smoothest finish possible. Zoro have a great selection of sandpapers at various grits.
- A Mask – To ensure that you are not inhaling any chemicals, make sure you wear a mask at all times. You can pick one up at a very affordable price from Protective Masks Direct.
- Primer – As you are spraypainting onto plastic, you’ll need an appropriate primer to make sure that the paint takes to the surface well. Without this, you’ll have to redo the paint job a lot sooner than you’d planned! You’ll need a High build primer to ensure the job is done properly.
- A Lacquer – This is needed to protect the colour and ensure a long-lasting paint job. There are many different finishes you could opt for, from gloss to matte – take a look at the entire range of lacquers we offer here.
- Microfiber Polishing Cloth – You’ll need these right at the end to make sure you get the most polished finish possible. Pick some up for next to nothing from Euro Car Parts
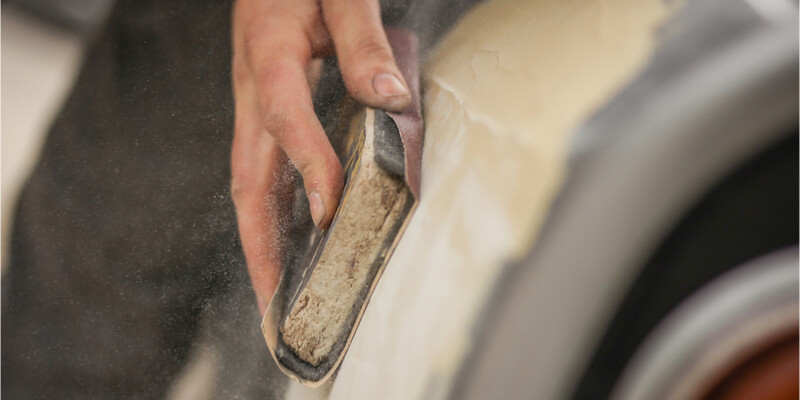
1. Remove, Sand & Clean
We always recommend removing the plastic part you are going to paint, so you can do a thorough job without accidentally spraying another part of your car.
It is also really important to sand the surface down, to remove any bobbles or raised marks on the plastic substrate. To do this, get your sandpapers and work your way up by grit level, as mentioned above. This step must not be rushed as it is imperative to not only attain a smooth surface but to sand off the ‘shine’ of the plastic. This will ensure that the primer and paint fully take to hold and provide a lasting paint job.
Once sanded, the part needs to be cleaned with soapy water to make sure the surface is completely clear of dirt and excess debris caused by the sandpaper.
2. Primer
Grab your primer and get ready to prep your plastic car part. Wearing your mask and in a well ventilated, spacious area, hold the can around 6-7 inches away from the part. Keep the can upright and start spraying before the primer passes over the part – this way you’ll ensure an even finish across the entire substrate. Apply 3-4 coats of primer and wait for 15 minutes between coats to ensure each layer has dried sufficiently.
3. Colour
Now comes the fun part! Whether you have gone for a traditional black or a new colour, this is the point at which your old plastic part will take on a new life. As with the primer, wear your mask and keep the can 6-7 inches away from the part. Do the same amount of coats as you did before, and leave them to dry for a sufficient amount of time before starting the next one.
4. Lacquer
As with the previous two steps, take your lacquer and gradually apply 4-5 coats to get the best finish. Make sure you leave the part for a few hours before doing anything with it, as by placing it back in your car too soon, all of your hard work could be damaged and wasted.
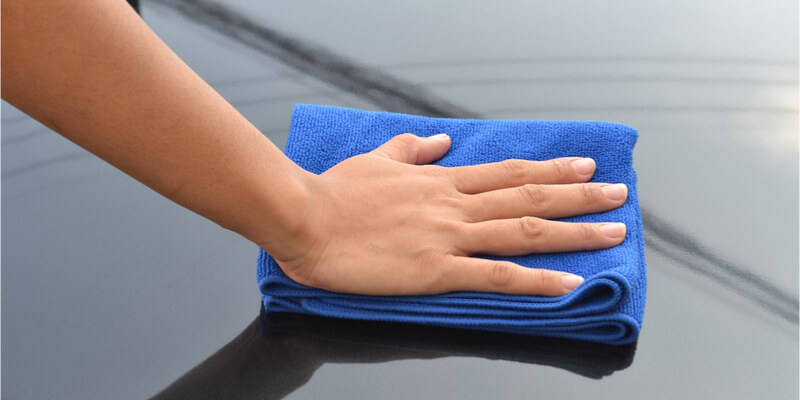
5. Polish
Once you’re sure your part has completely dried, take your microfibre cloth and polish it up. This will get rid of any leftover pieces of debris and leave your part perfect for re-application to your car.
You’re Good To Go!
It really is as simple as that! Your car will look as good as new, at a fraction of the what a garage would have charged. By investing a little in the right kit and giving up some of your time, you’ll save money and have a shiny, vibrant car by the time you’re finished. If you know of anyone in need of some car refurb tips, why not share this article with them on social media.


