A motorhome provides a wealth of opportunities to travel to the destinations that you have always dreamed of visiting. So while travel restrictions remain in place for the next few months, why not use the time to your advantage to revamp your vehicle? Take a look at how one of our fantastic customers, Jon, used our products to repaint his motorhome.
Tools And Paints Used:
- Sanding Block and Sanding Paper (120 + 240 + 600 Grit)
- Good Quality Painting Mask
- Masking Tape
- Degreaser
- High Build Primer
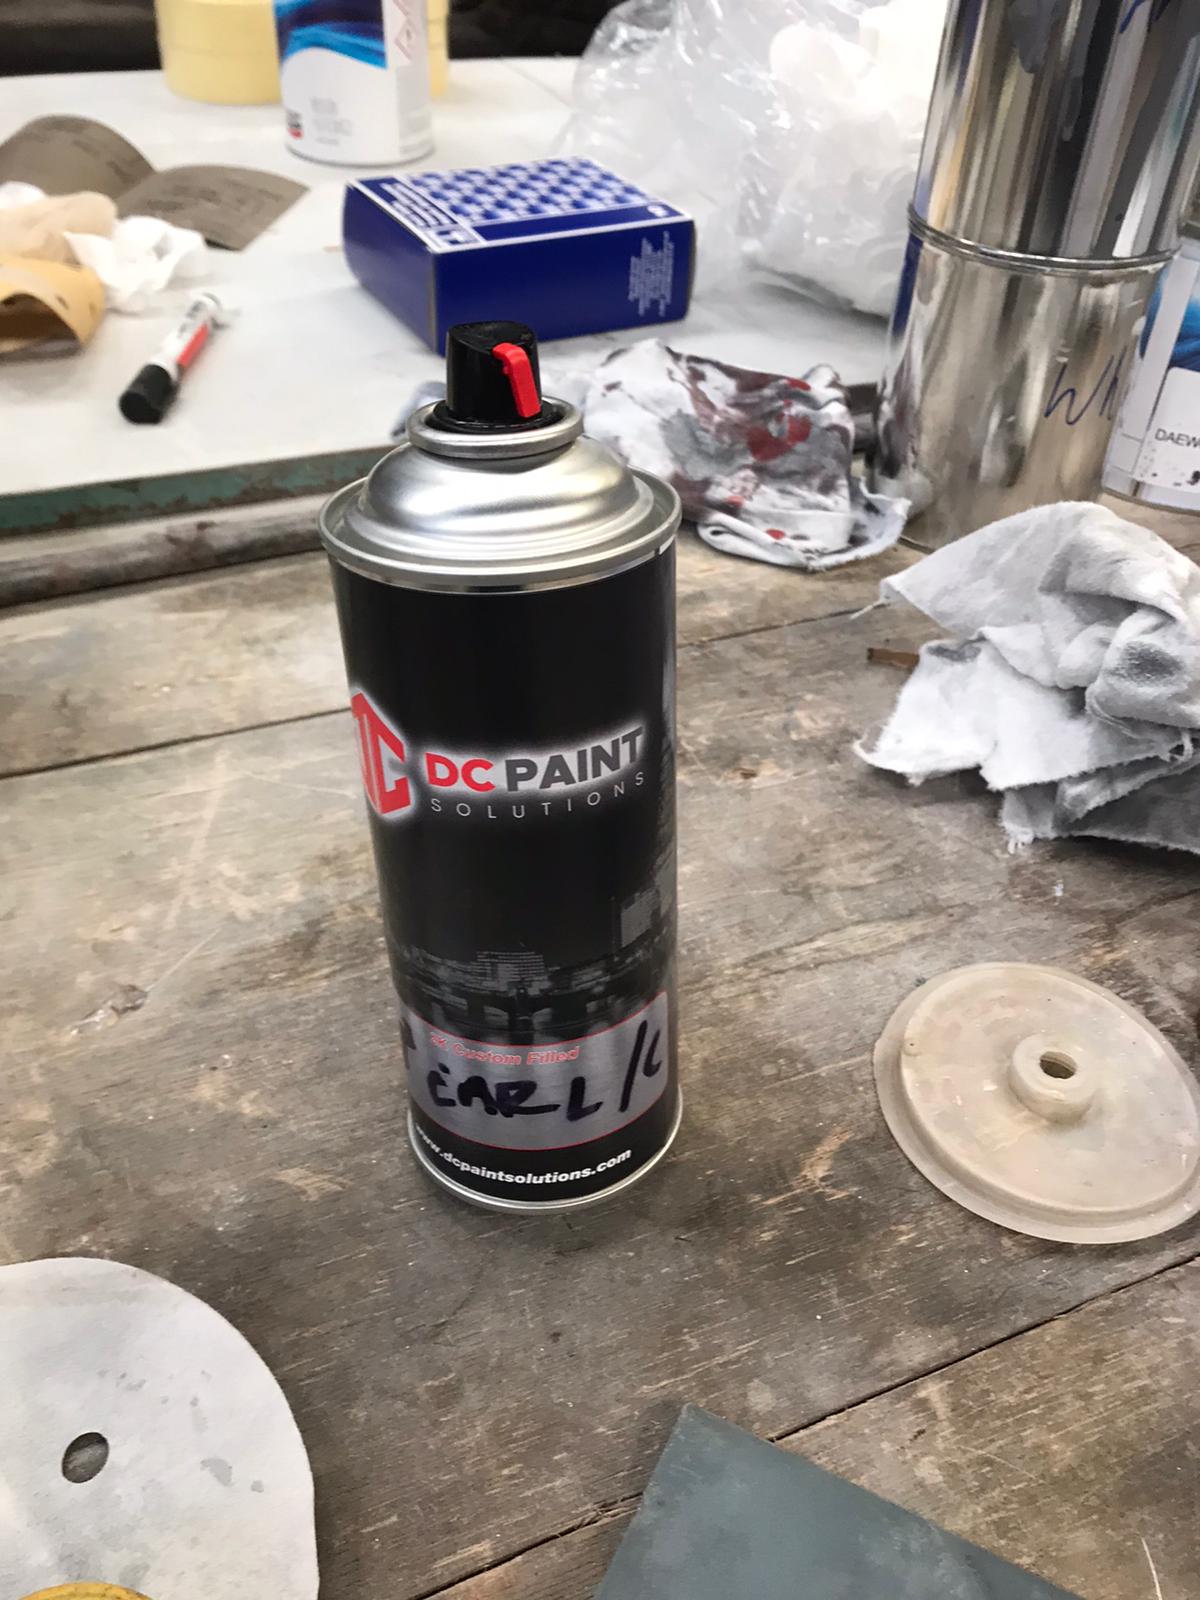
- Custom Matched Base Coat Paint
- 2K Gloss Lacquer
How To Repaint A Motorhome
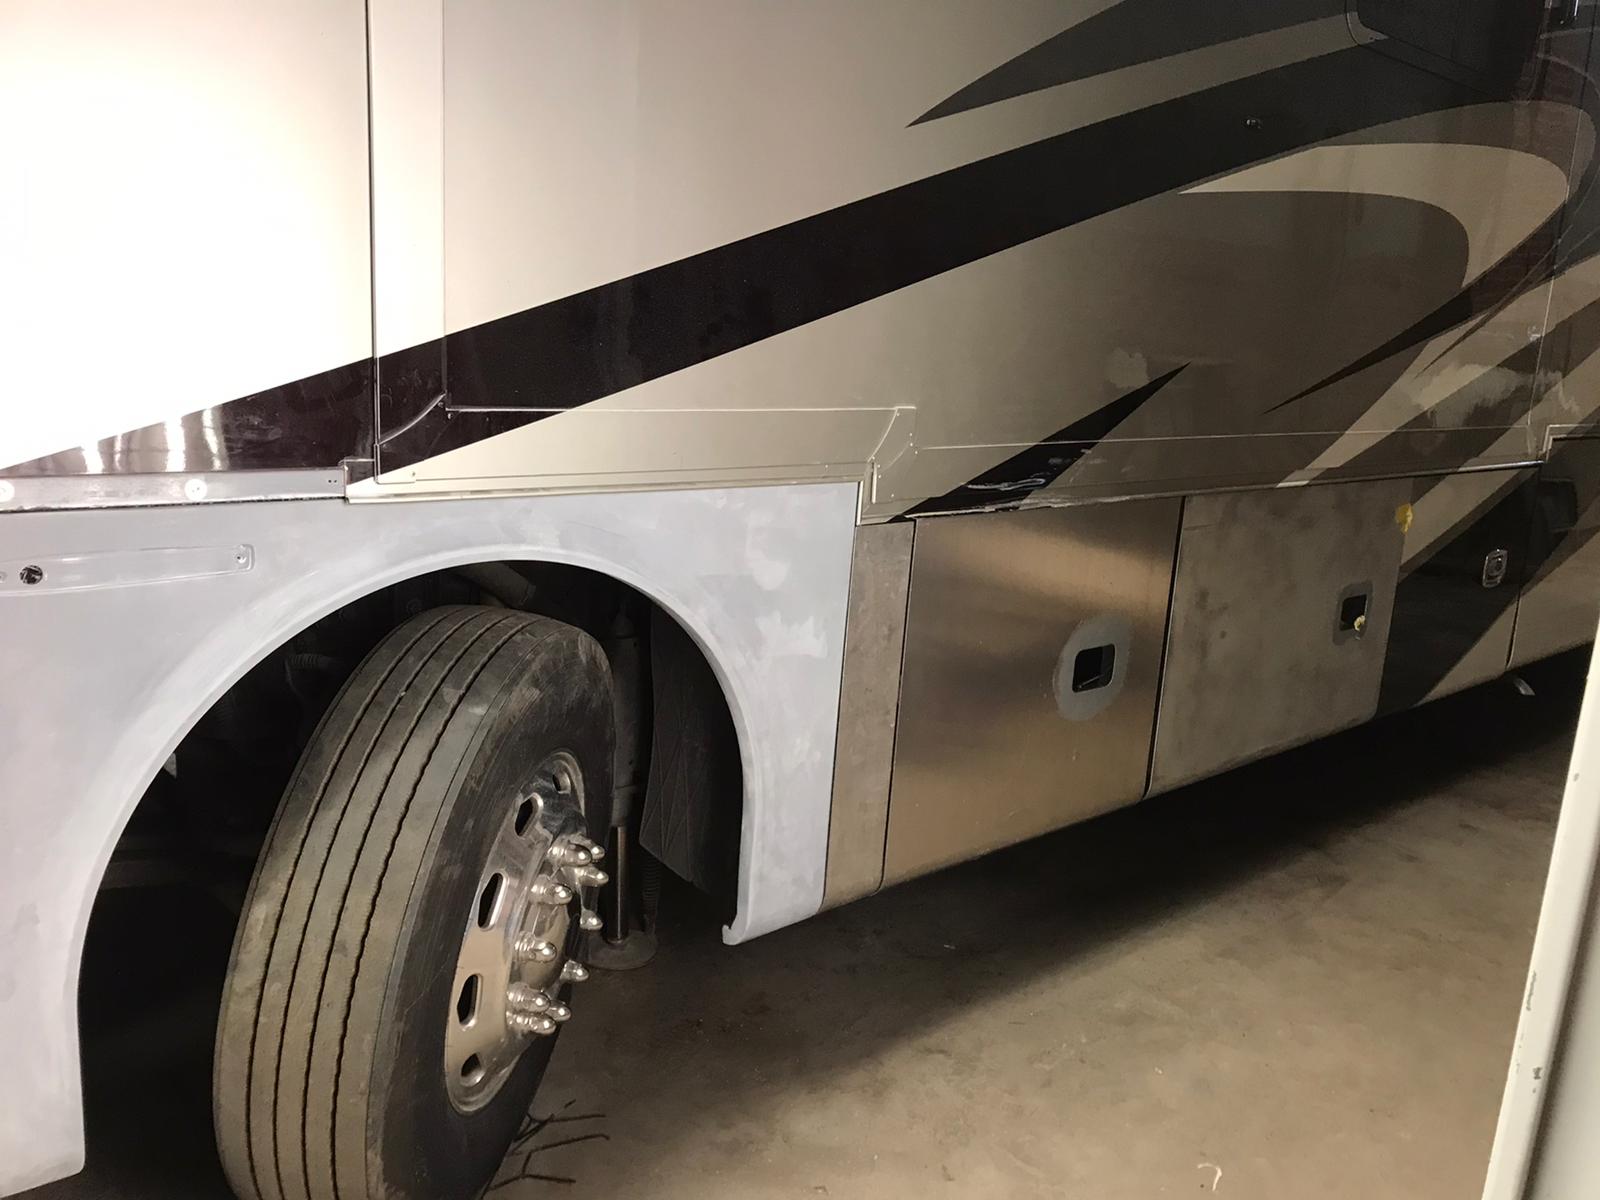
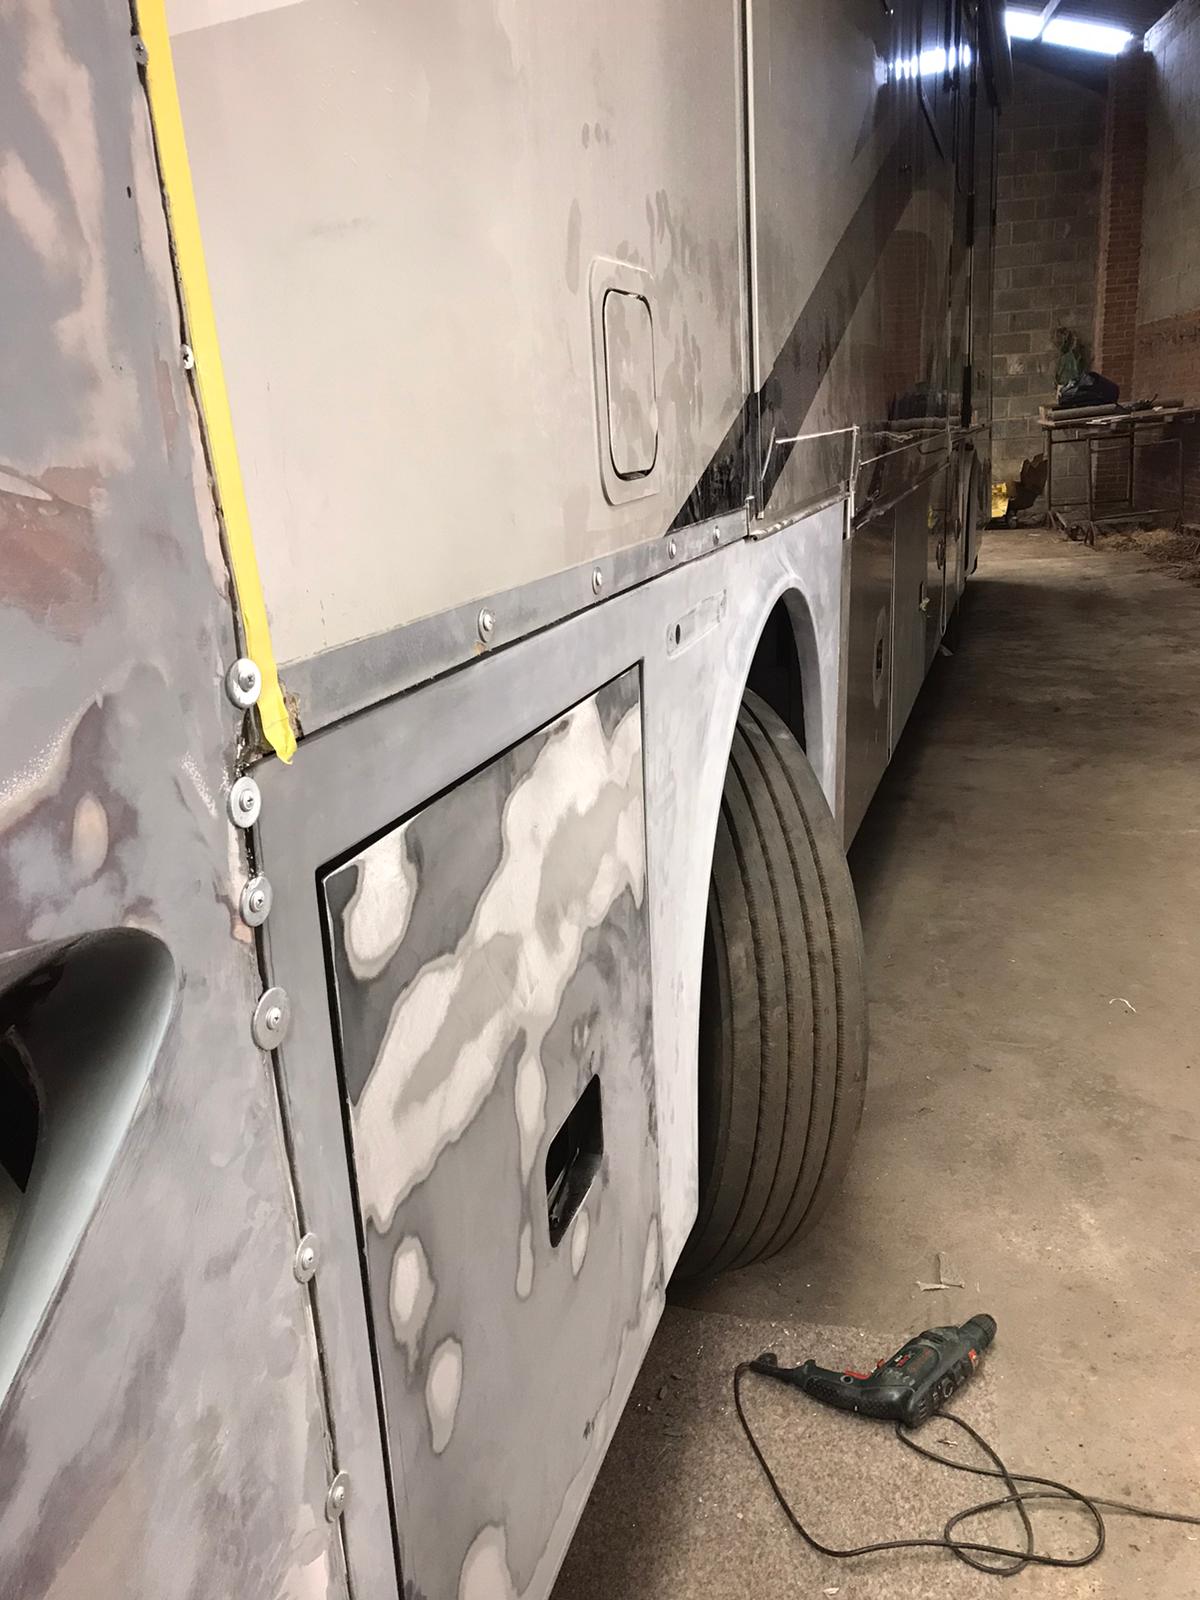
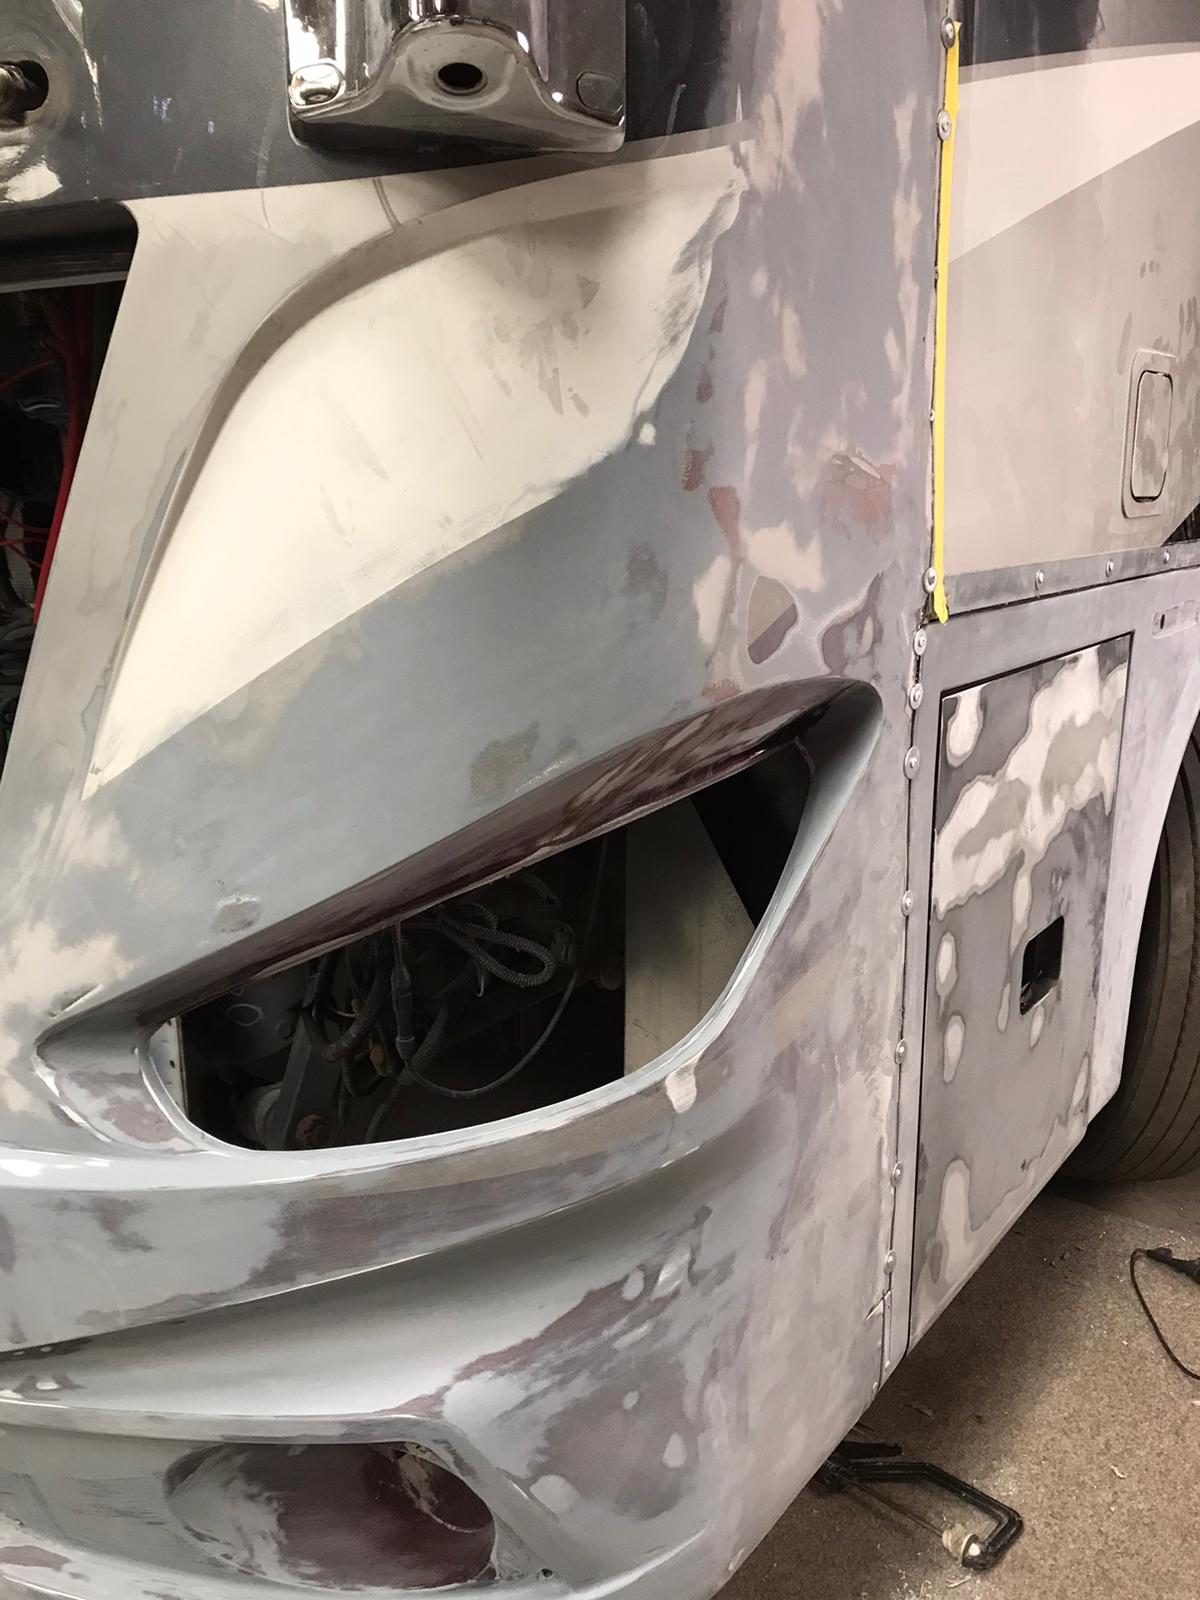
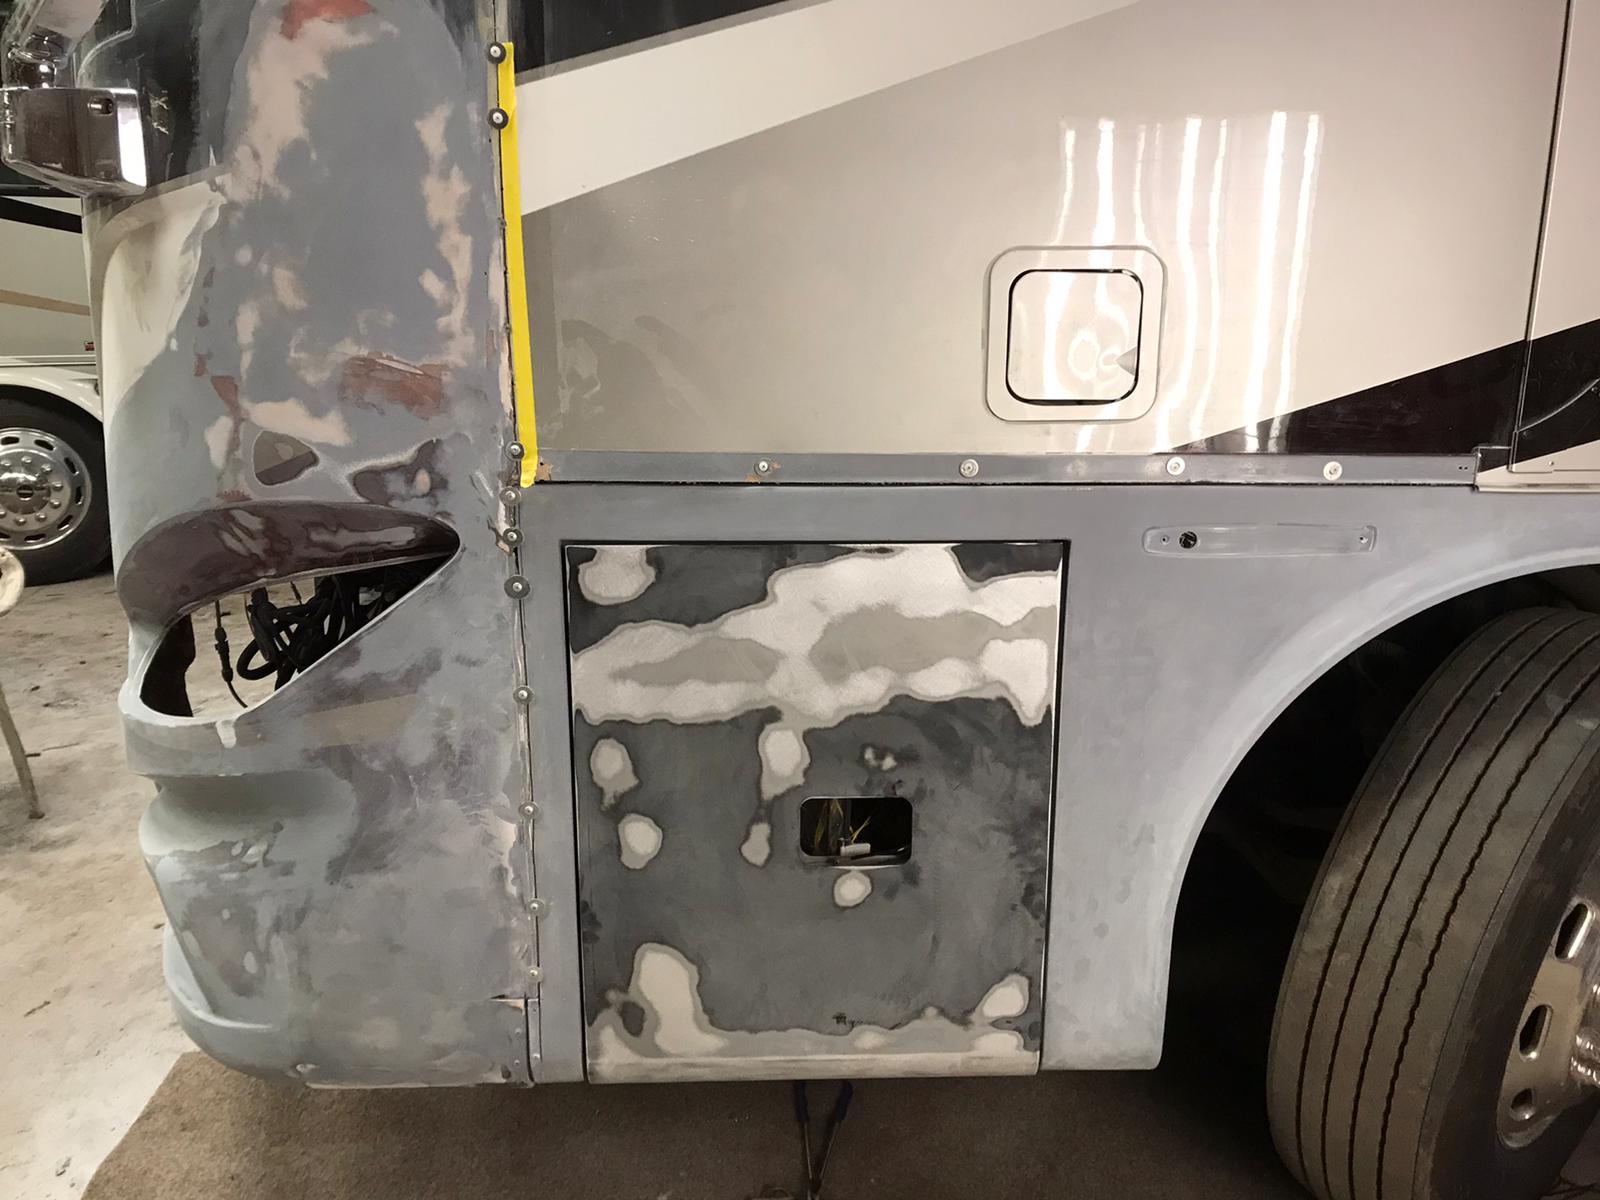
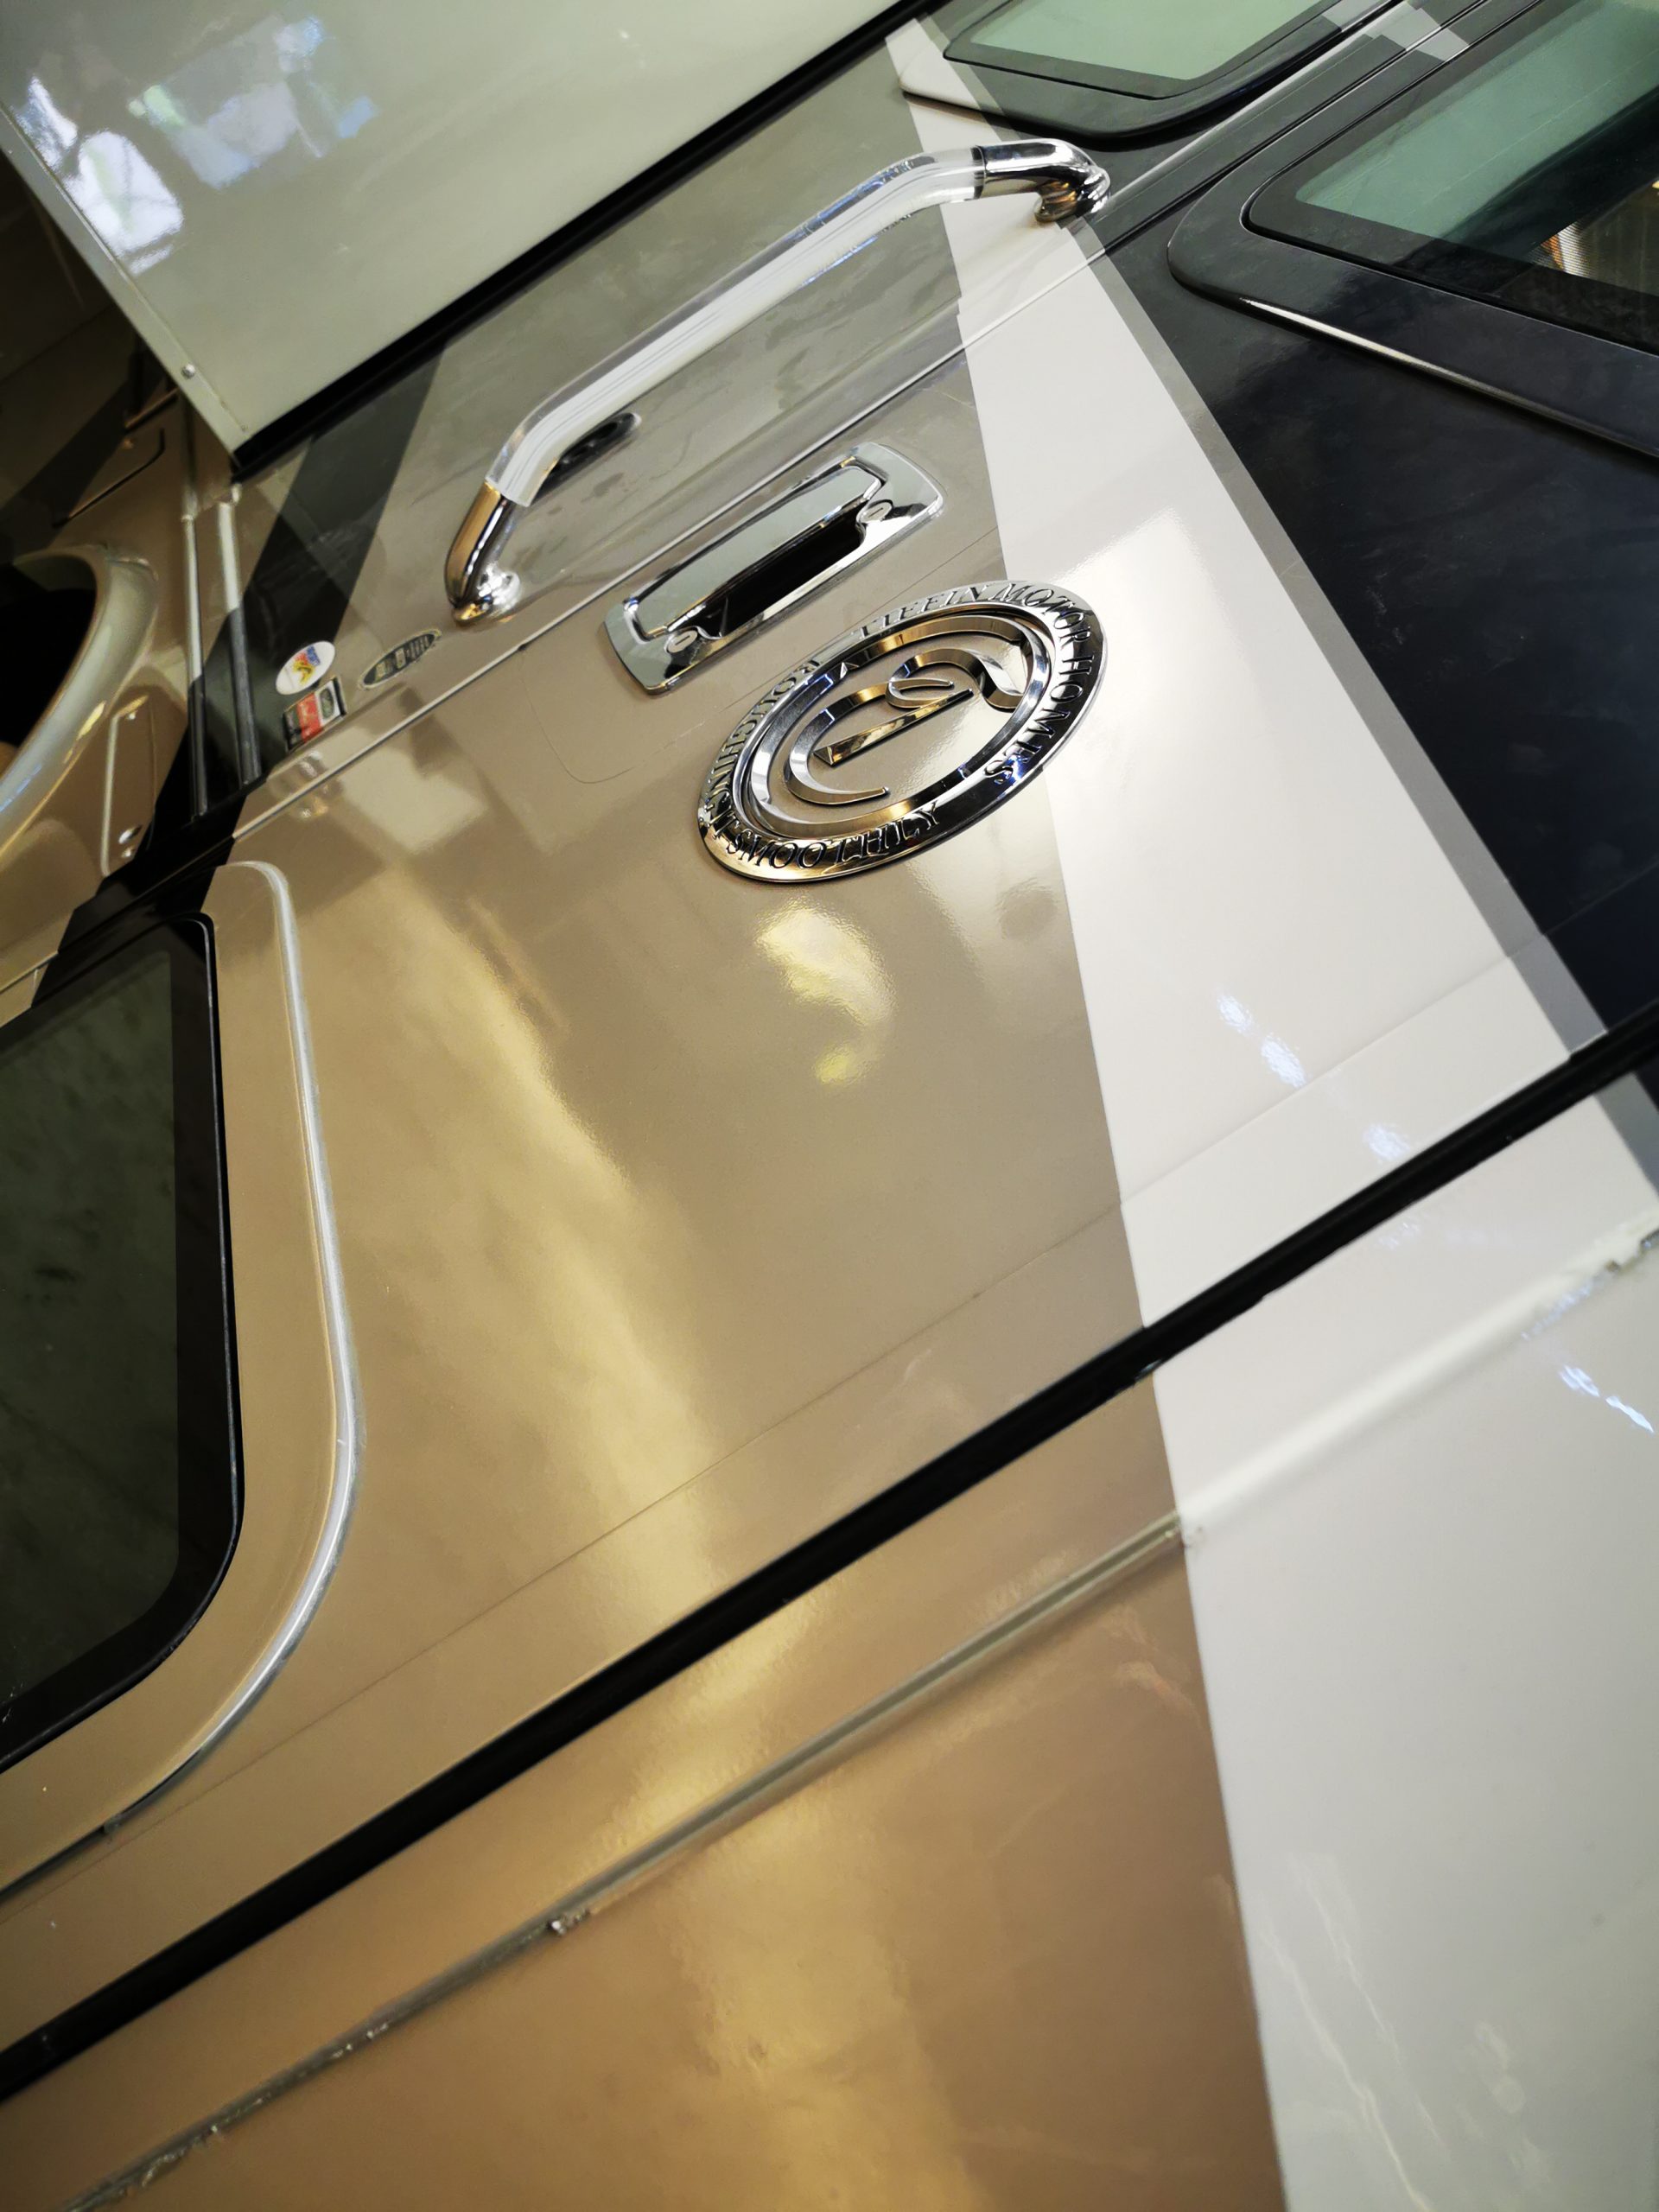
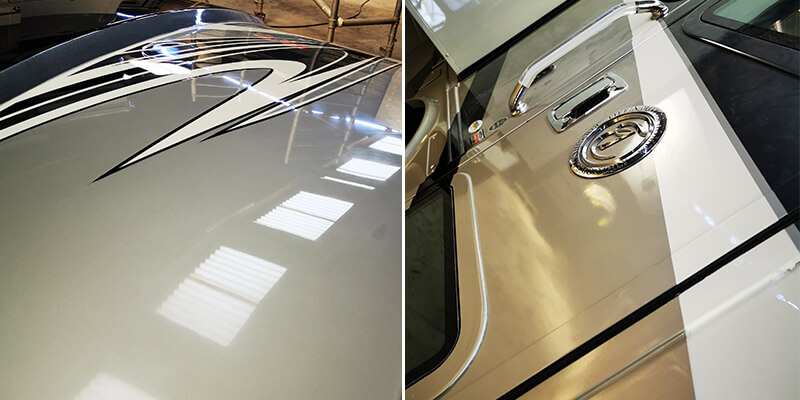
It was an absolute pleasure to help Jon complete works on his American Motorhome. Most panels were composite plastic or fibreglass so very lightweight and with time and patience, the end project is looking phenomenal. Jon’s project was harder as we needed to custom colour match his panels with an American style paint which we had no codes for, so we spent our time finding the right paint for the job. As always, ensure you have all you need to start the job without interruption. This is a moderate job to undertake, and it’s definitely something you can do at home with practice and patience. Here is a step-by-step guide on how you can repaint a motorhome:
- Start by cleaning and prepping your spray area.
- Wrap your sanding block with 120 Grit paper and sand down the affected area. Continue to do this until the surface is nice and flat.
- Remove the dust and then sand down finer with the 240 Grit sandpaper.
- Complete the sanding process using 600 Grit wet and dry. Remember, the final sanding will determine the area to spray on, so take time to ensure it’s a smooth finish. The finer the surface, the less likely you will need to sand down between paint coats.
- Remove all dust particles and then clean down with degreaser to remove any possible chemical residues.
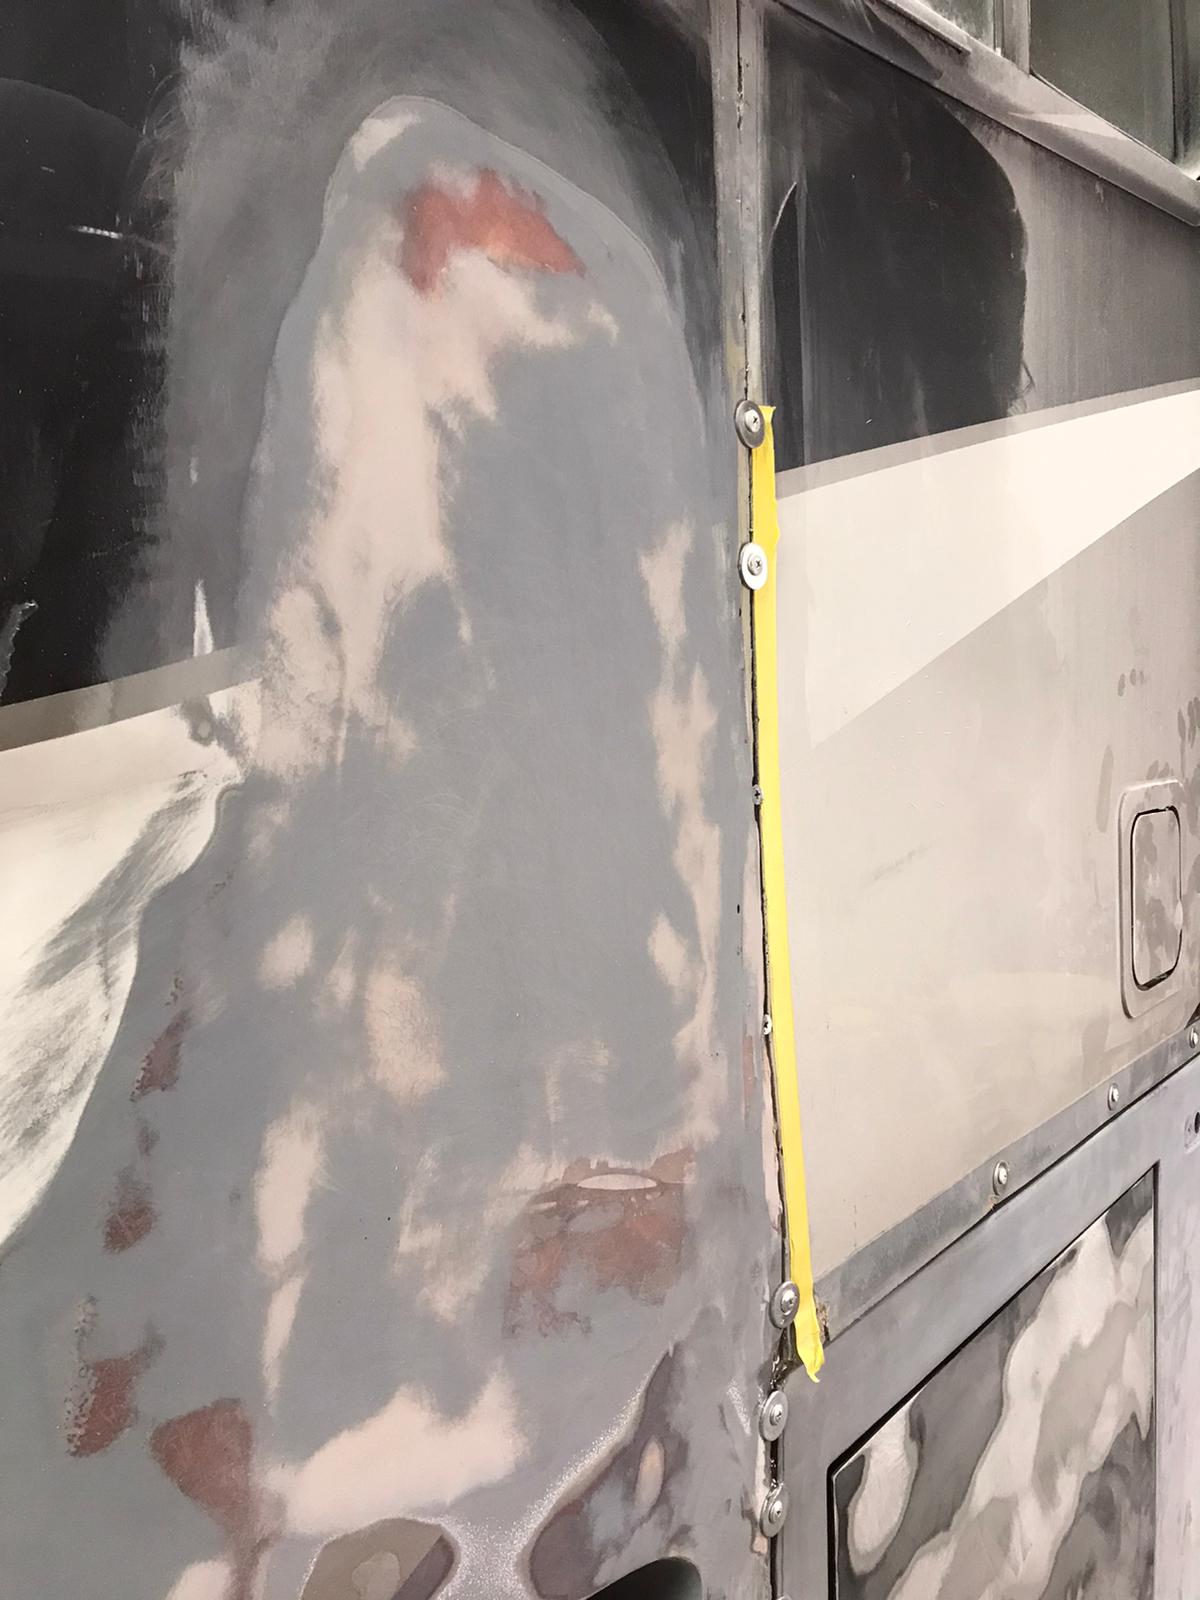
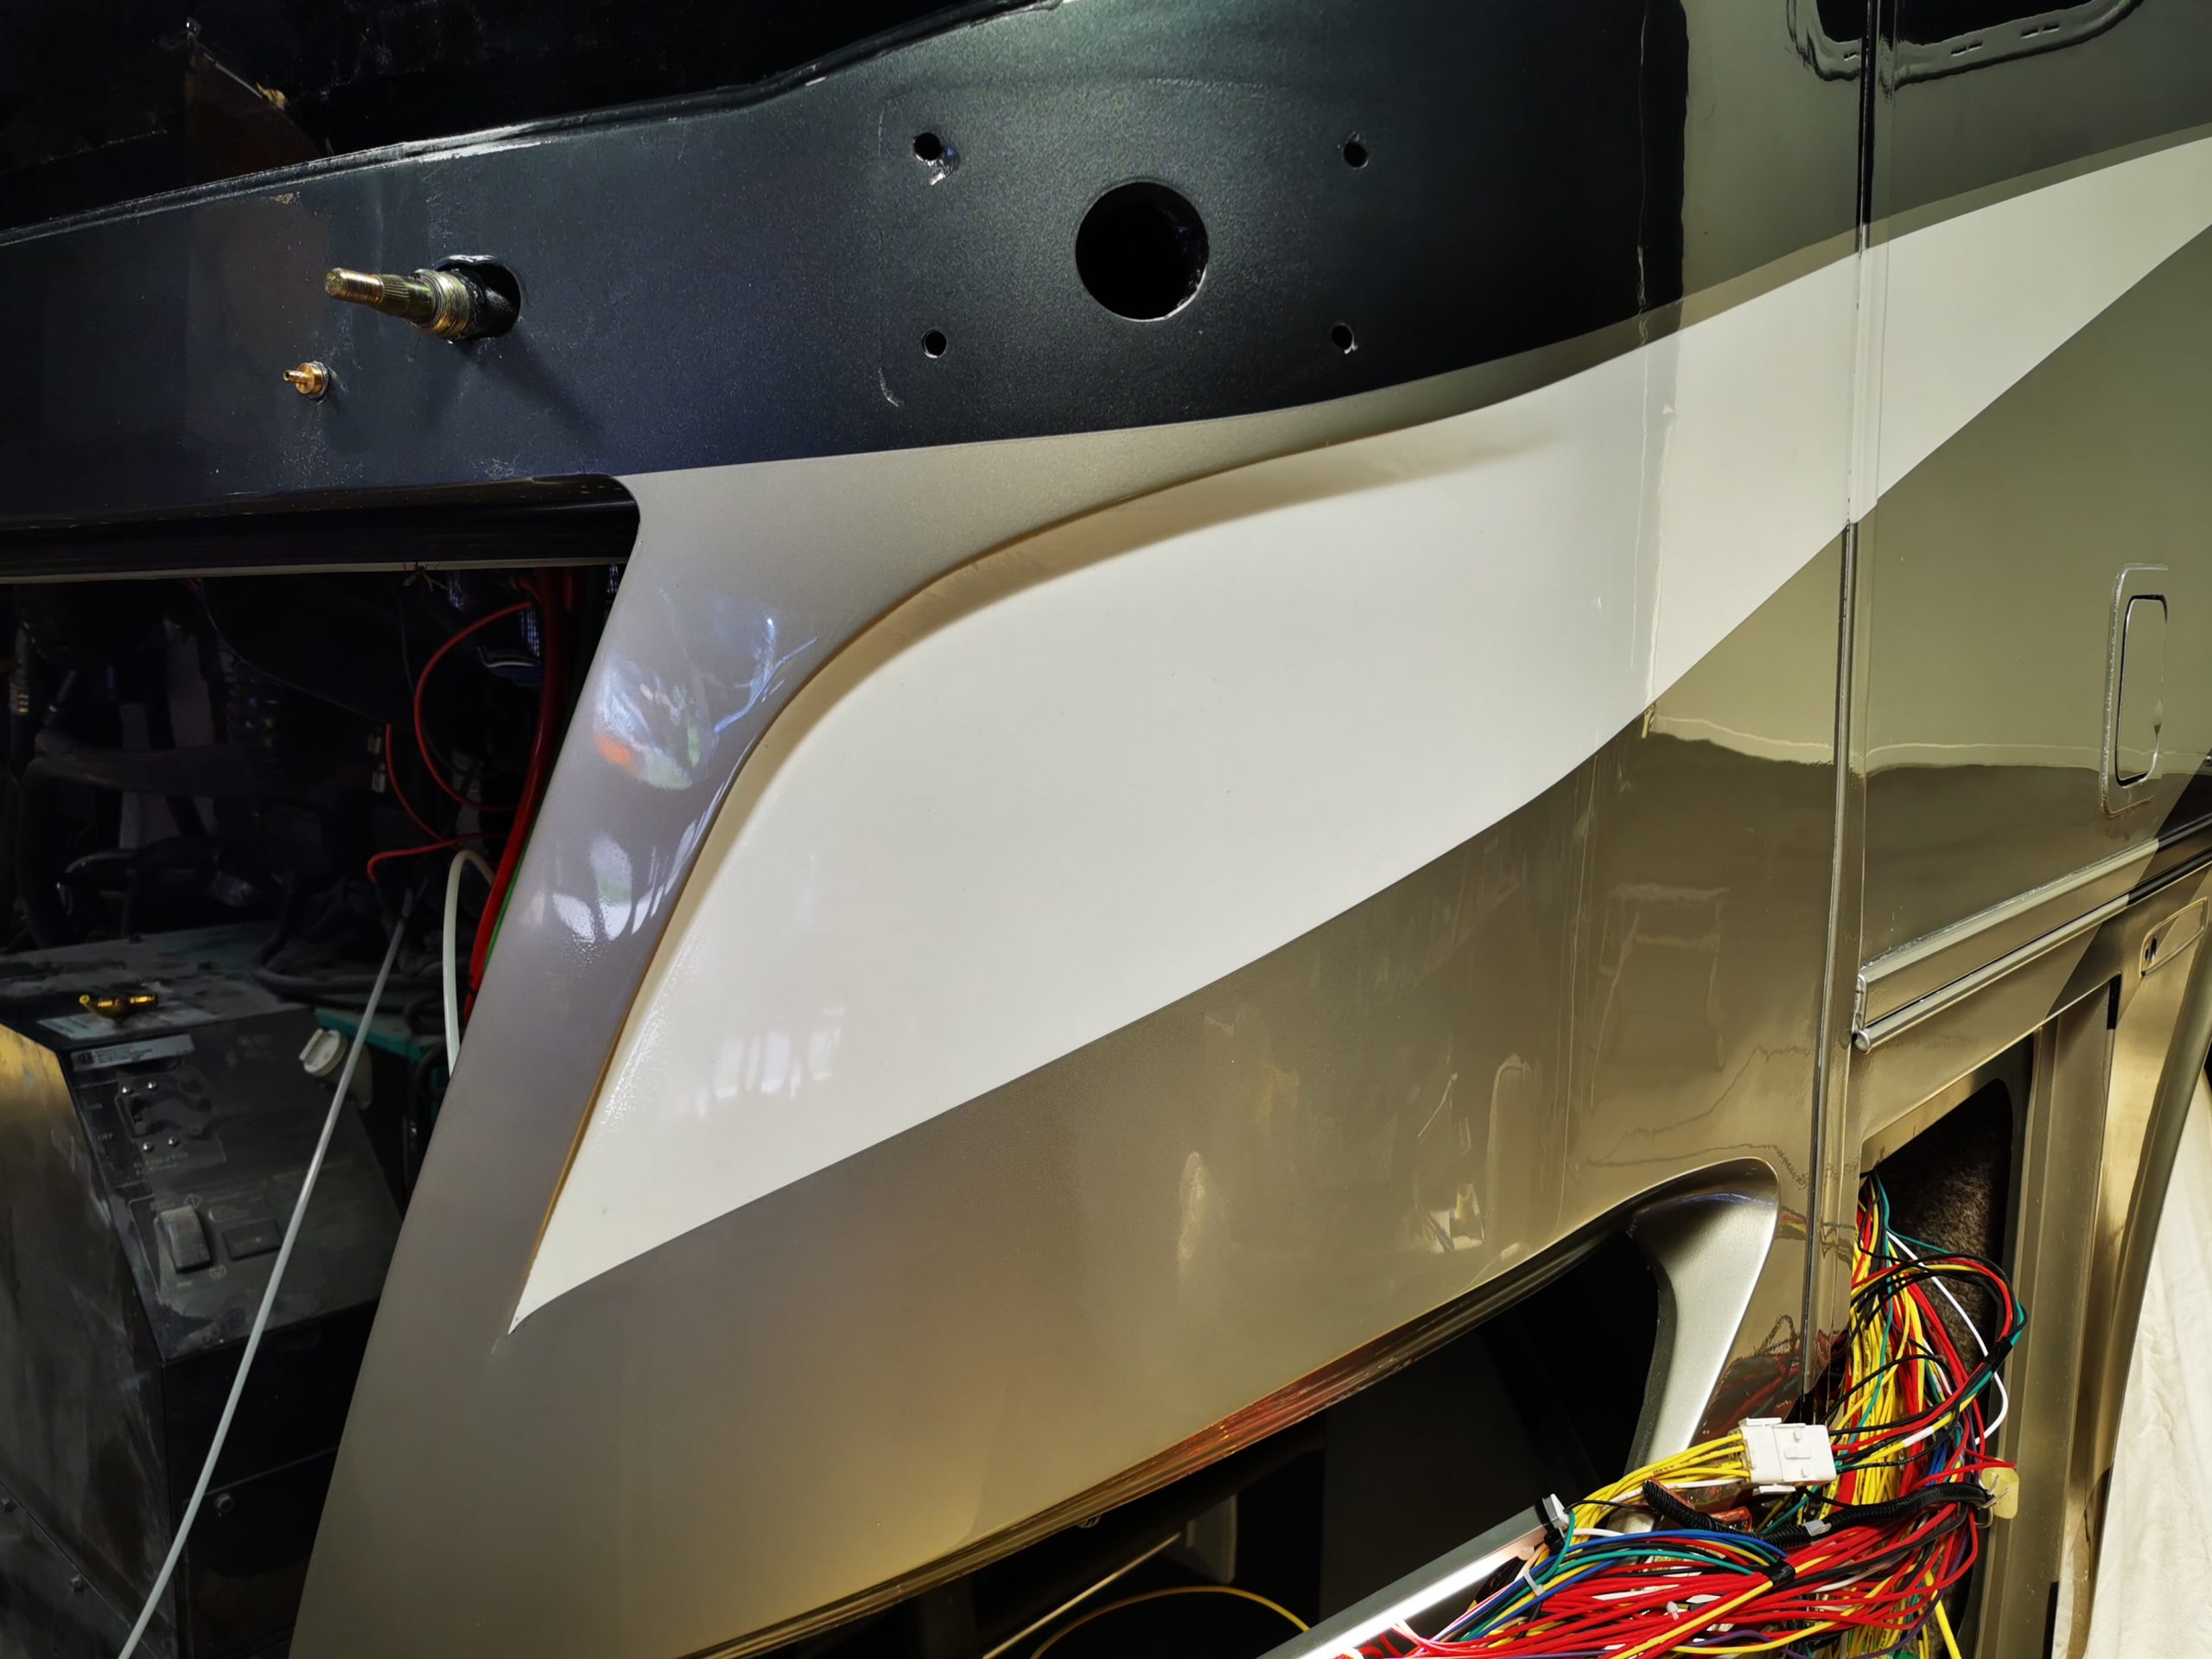
- Mask off any areas you do not wish to paint.
TOP TIP: Mask any open screw recesses to ensure that you do not have any paint clogging up the holes when you re-screw parts of the motorhome in place. - Apply at least two coats of primer leaving at least 40 minutes cure time between coats.
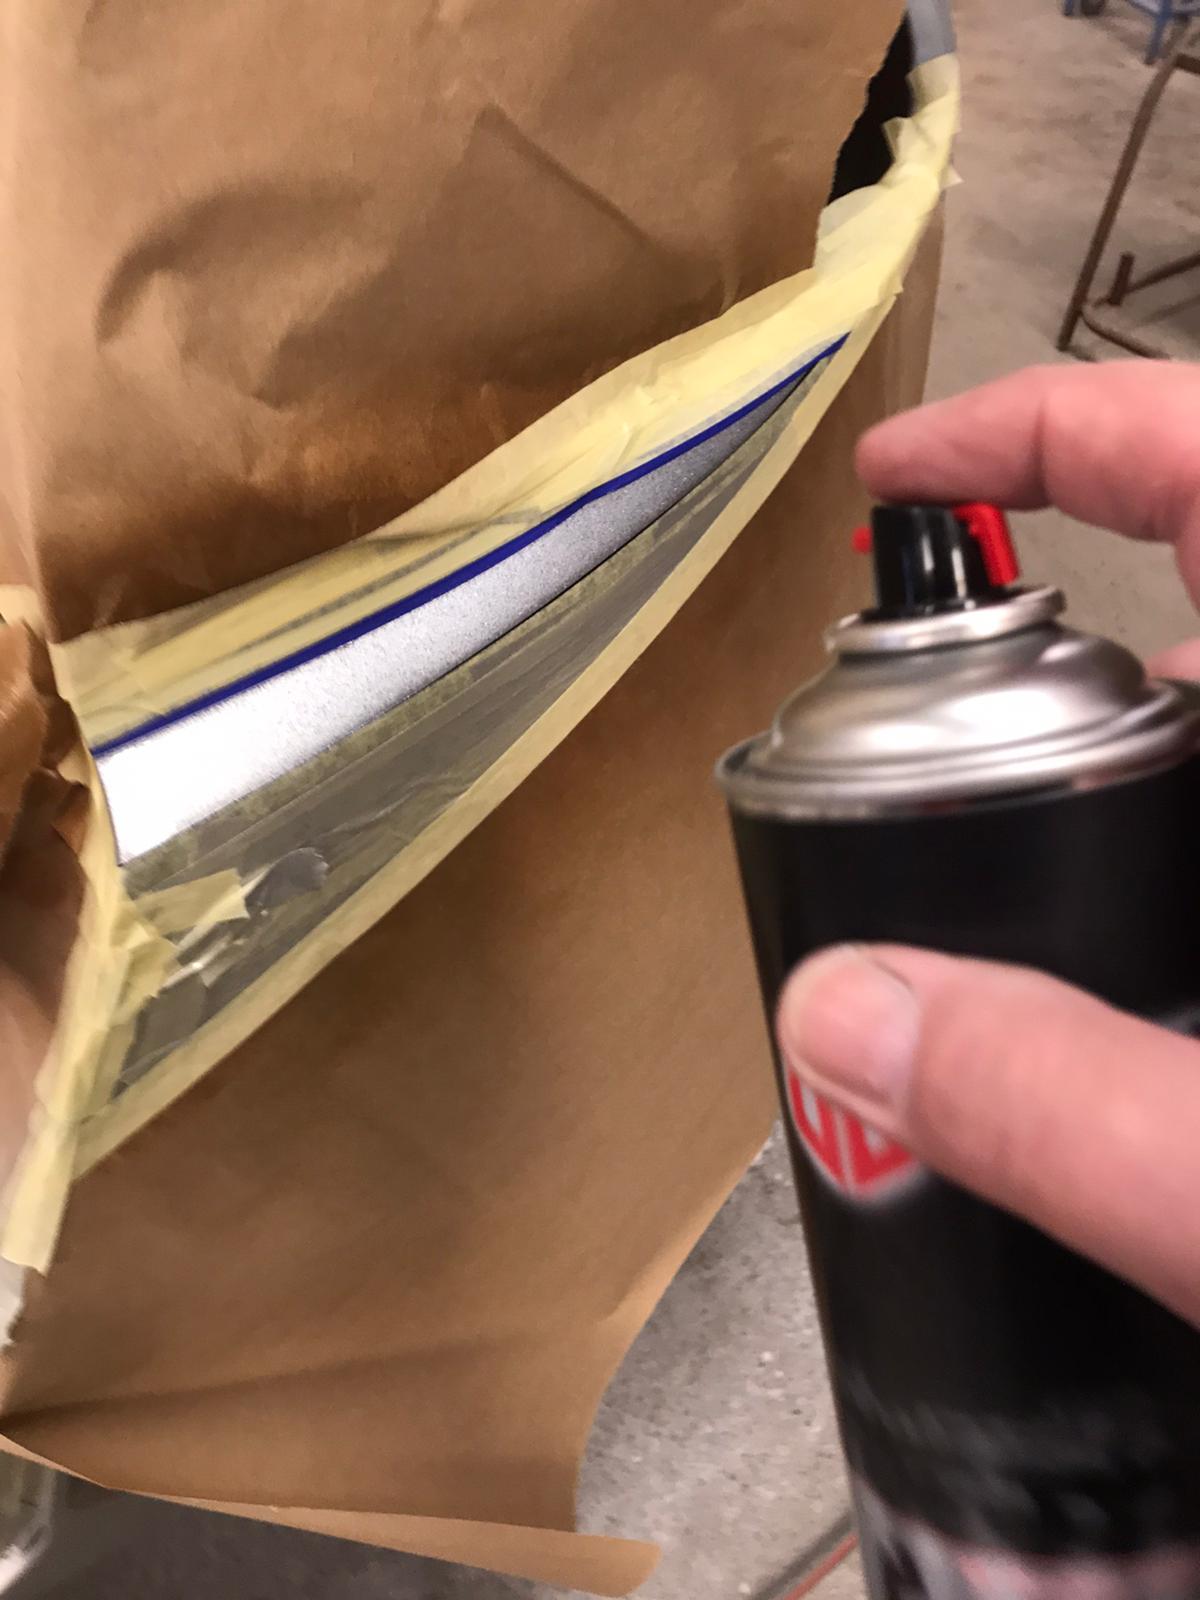
TOP TIP: Try not to apply the primer too thick as it will take much longer to cure. If you then attempt to add a second layer before the first has cured, it will result in cracking and webbing. - Once the primers are fully cured, you can move onto the base coat. Spray from left to right in passes, releasing the nozzle when you leave the substrate and then pressing the nozzle down just before you hit it again. Always overlap your passes by 50%.
- Finish spraying horizontally, adjust the variflow nozzle at the front from horizontal to vertical and then begin making passes vertically. This will help to reduce the chance of “tiger stripes” in your paint.
- Apply a minimum of two coats; we would always recommend opting for four coats if possible.
TOP TIP: If you apply the paint too thick and it causes runs, do not attempt to wipe them off. Instead, wait for the paint to fully cure before sanding down the runs. - Once the base coats are fully cured, and you are happy with the results, you can apply the 2K Lacquer. 2K products are incredibly strong and are classed as a hazardous substance, which means that wearing a spray mask is of utmost importance. Always ensure that you have a good quality spray mask on hand whenever you are dealing with Isocyanates in 2K products. Find out more about this on the HSE website.
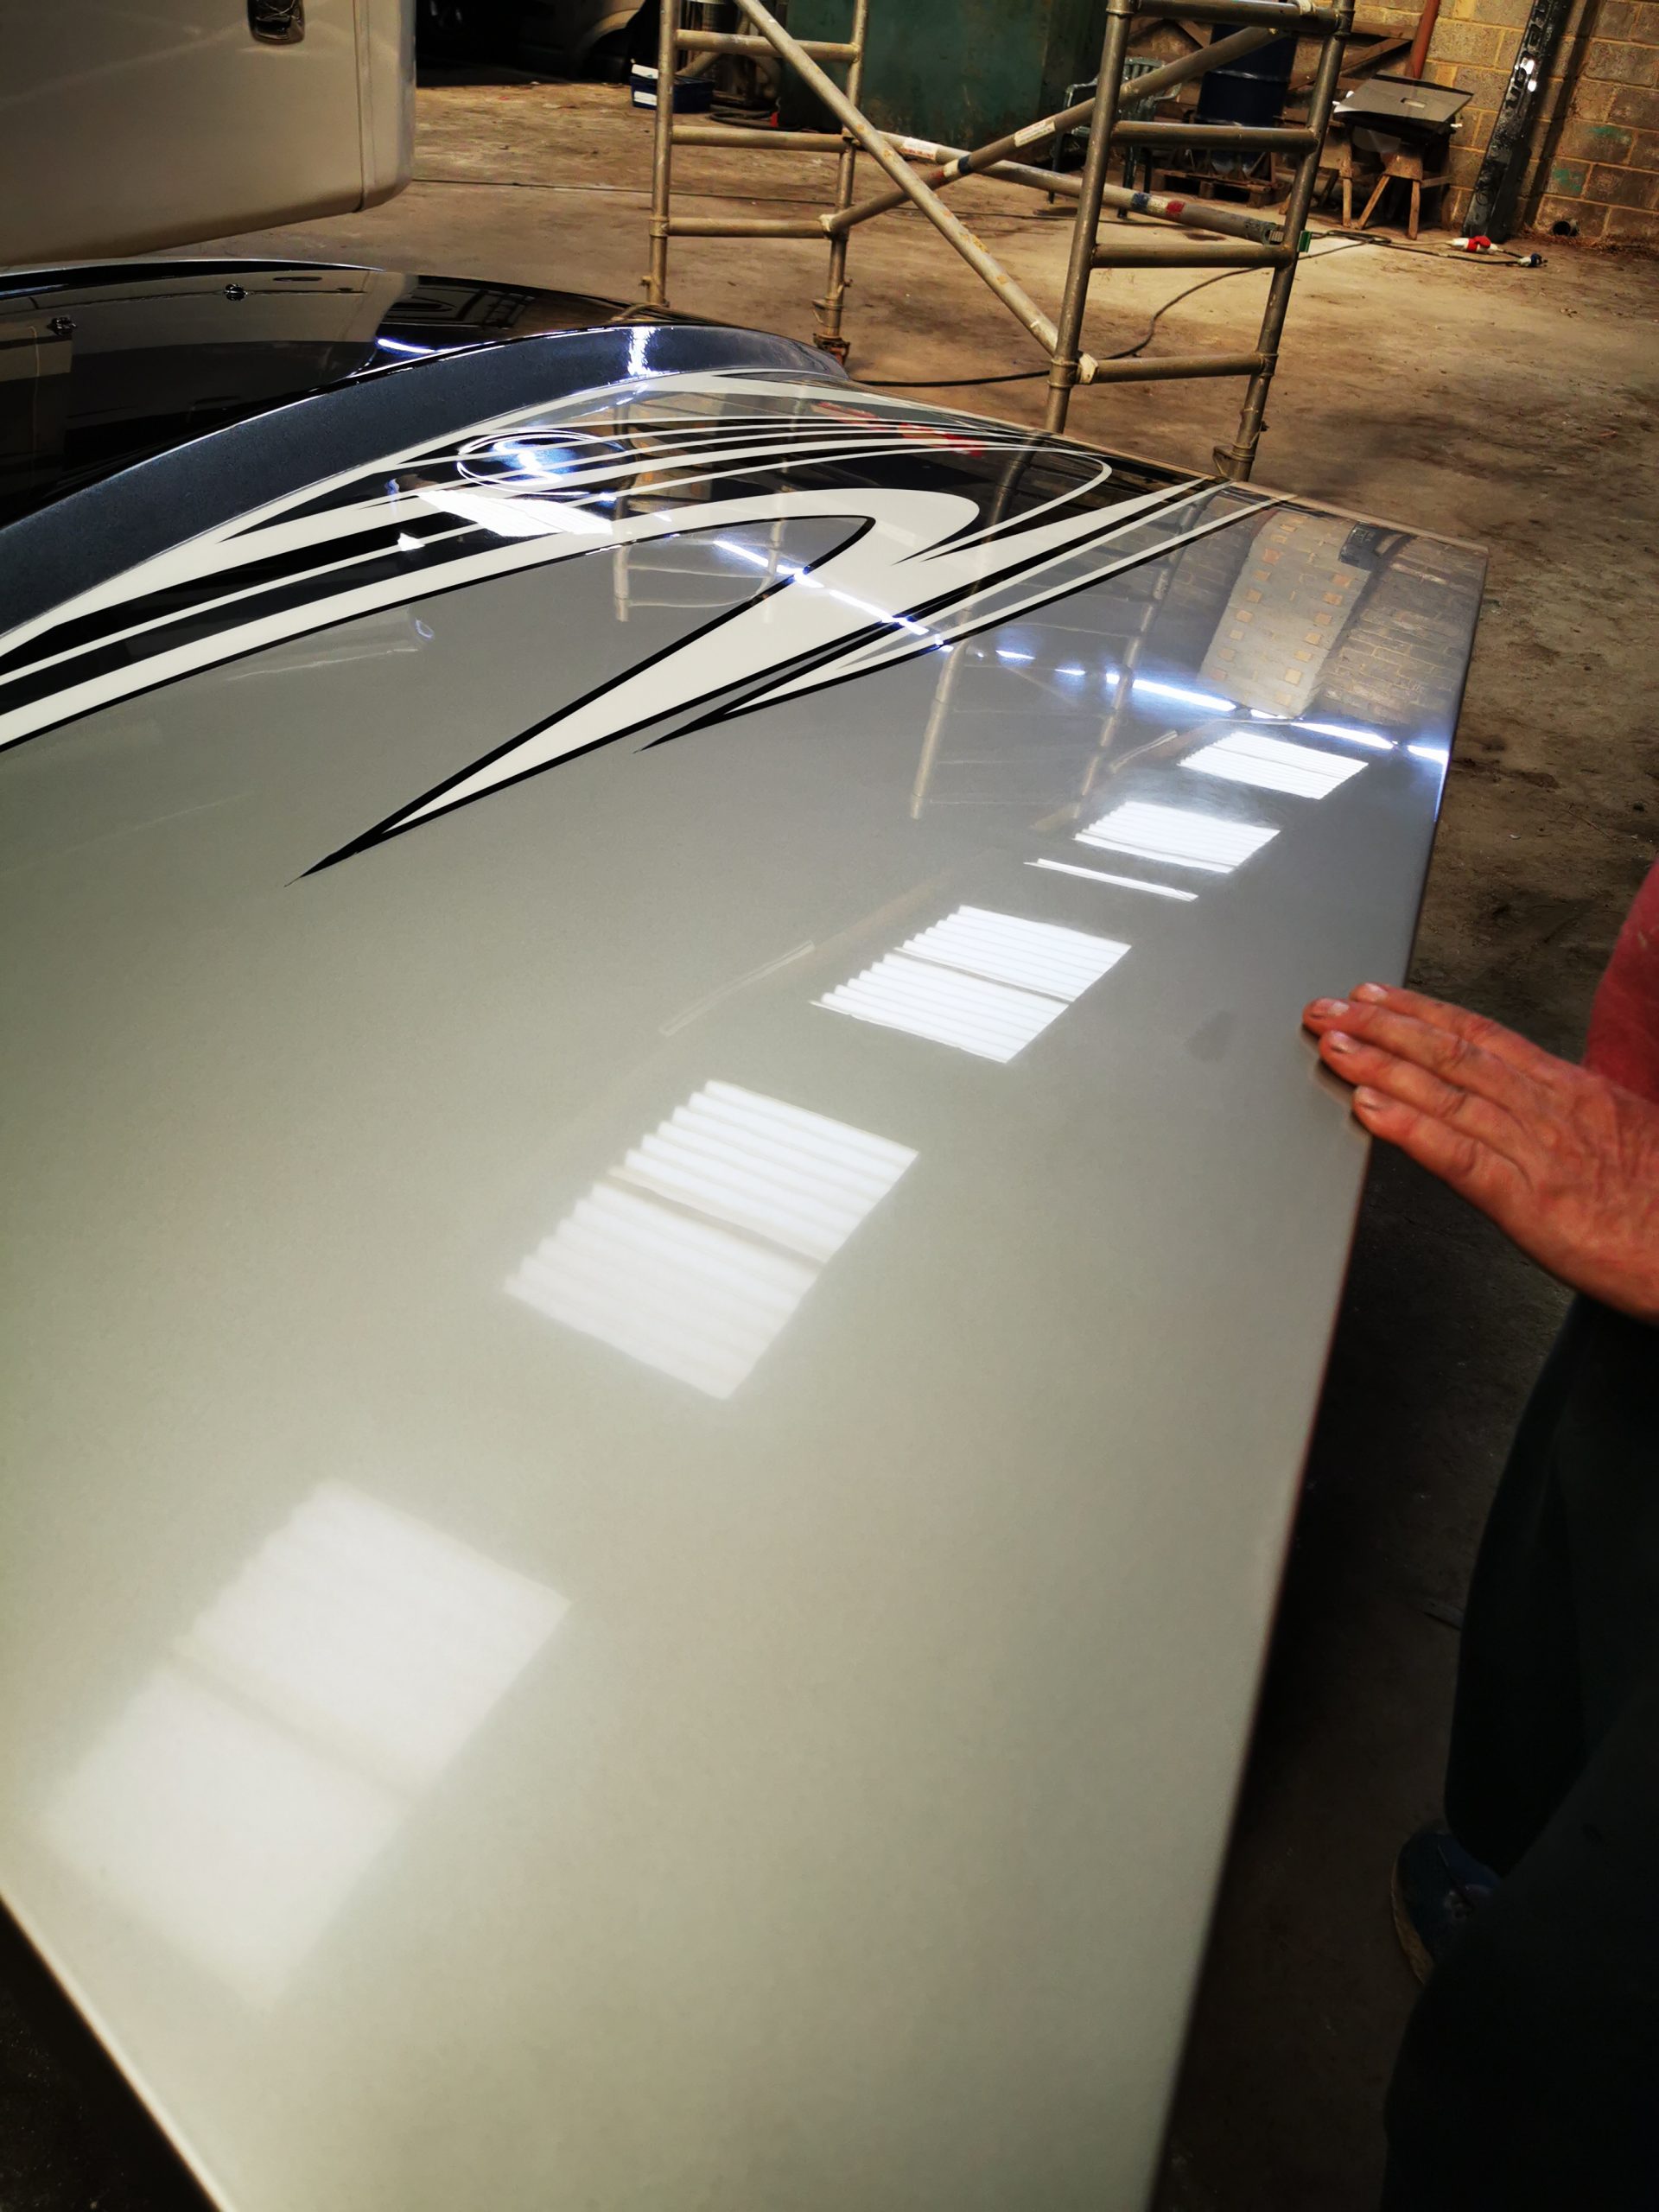
- Apply at least two coats of the 2K Gloss Lacquer – a third can be applied if you deem necessary. Ensure that you leave the Lacquer to cure at room temperature for 40 minutes to an hour between coats.
- After applying the final coat, leave the parts that you are working on to cure at room temperature for 24 hours.
- To complete the project, buff and polish the parts to a high gloss.