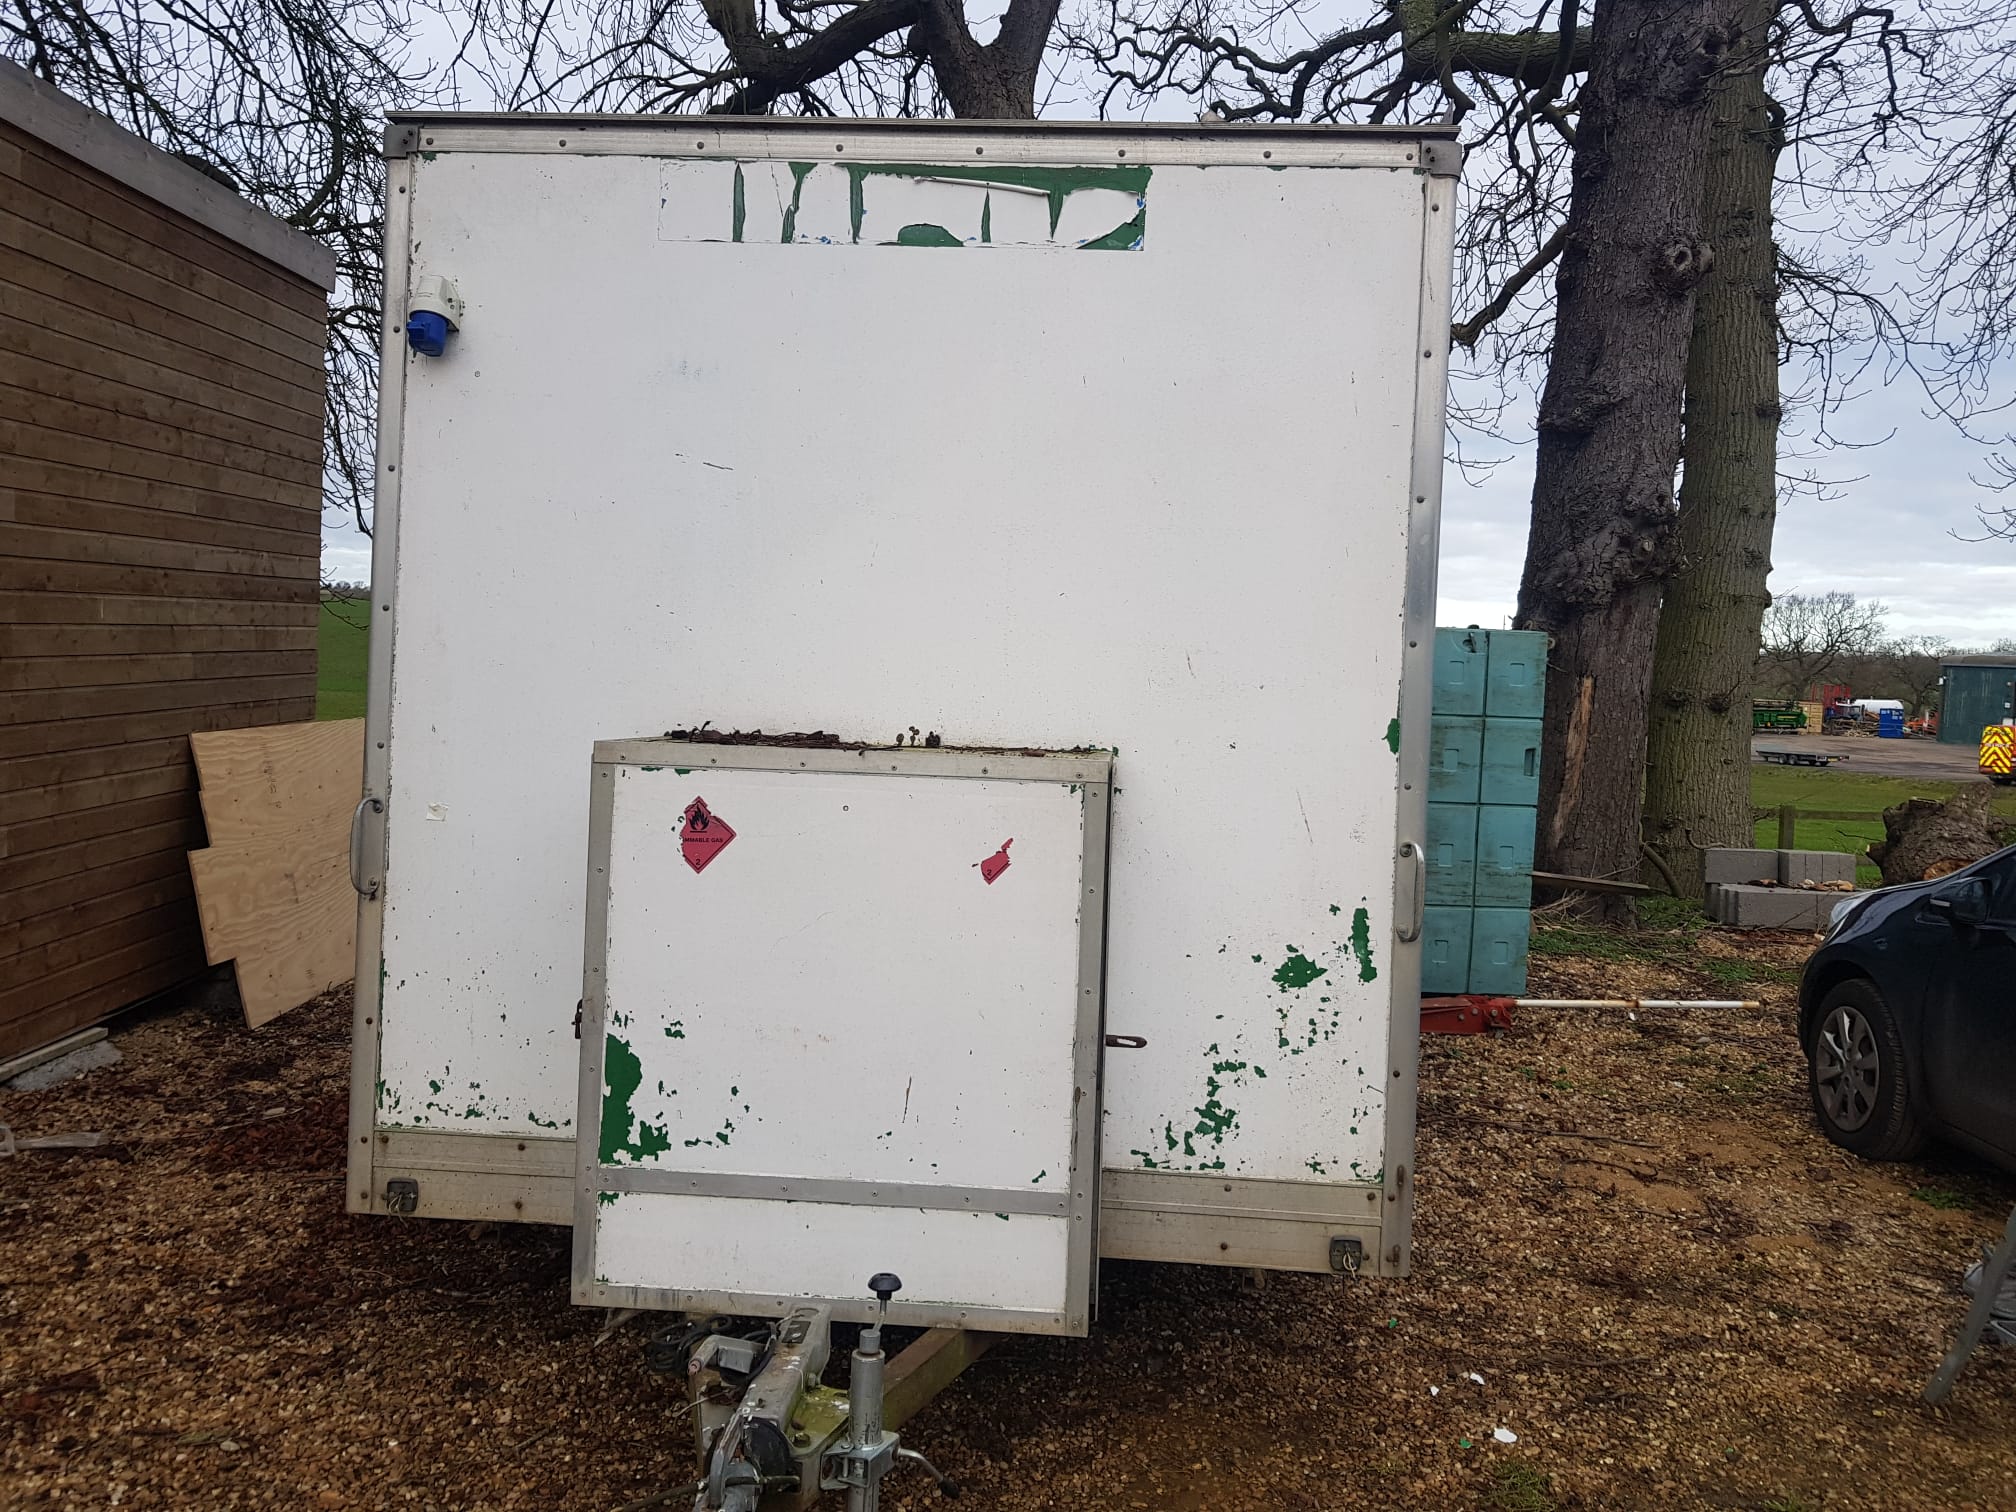
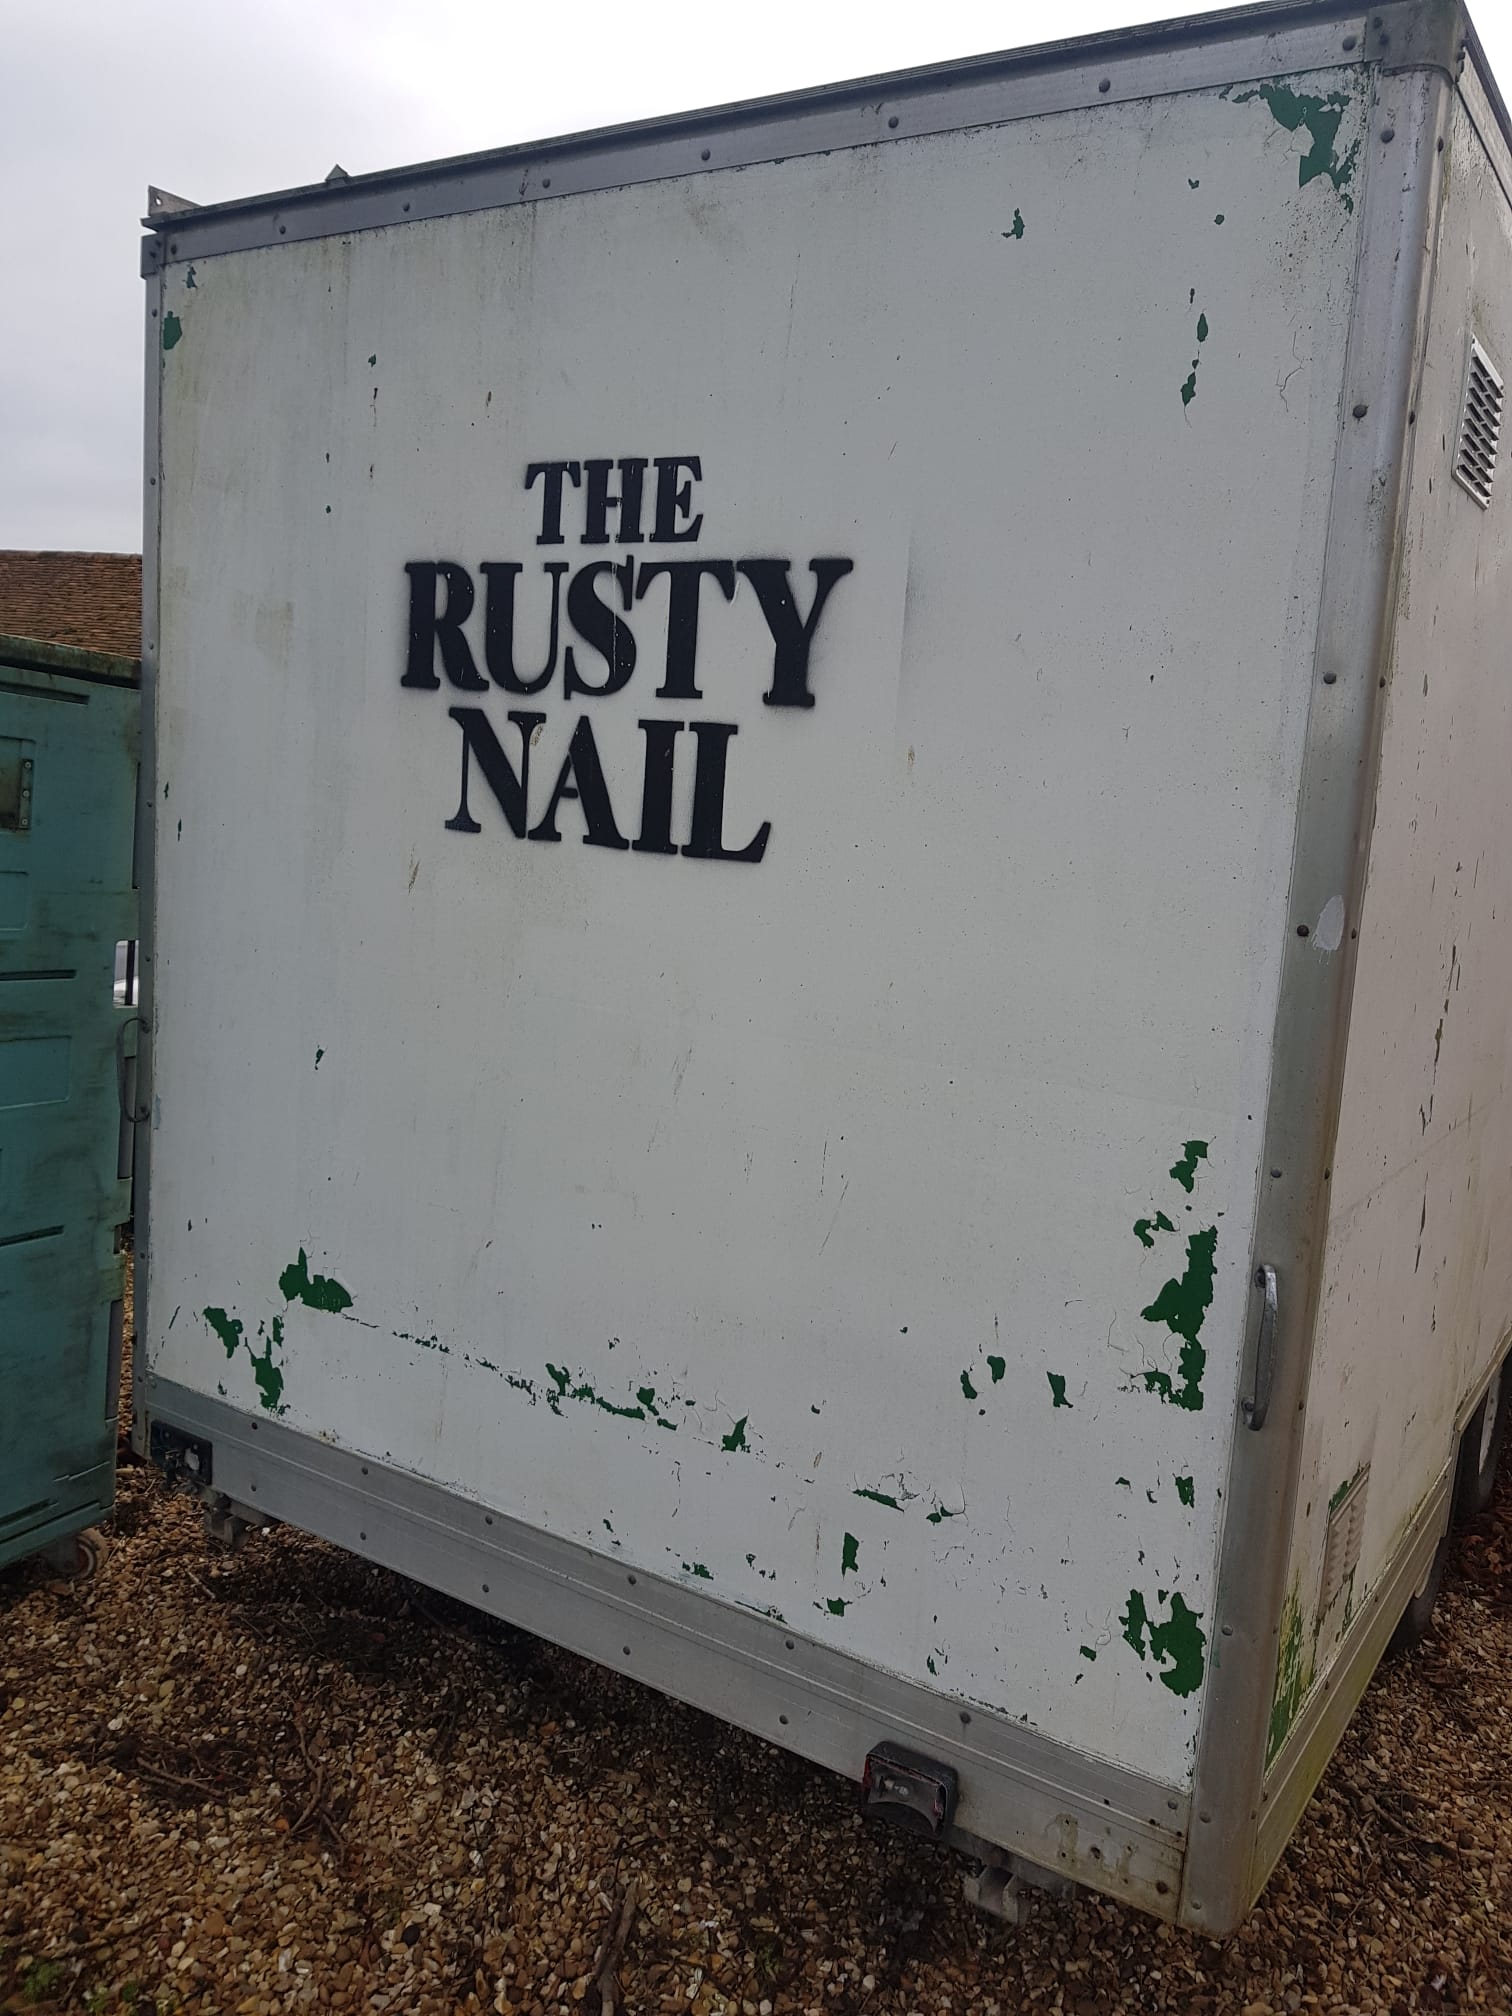
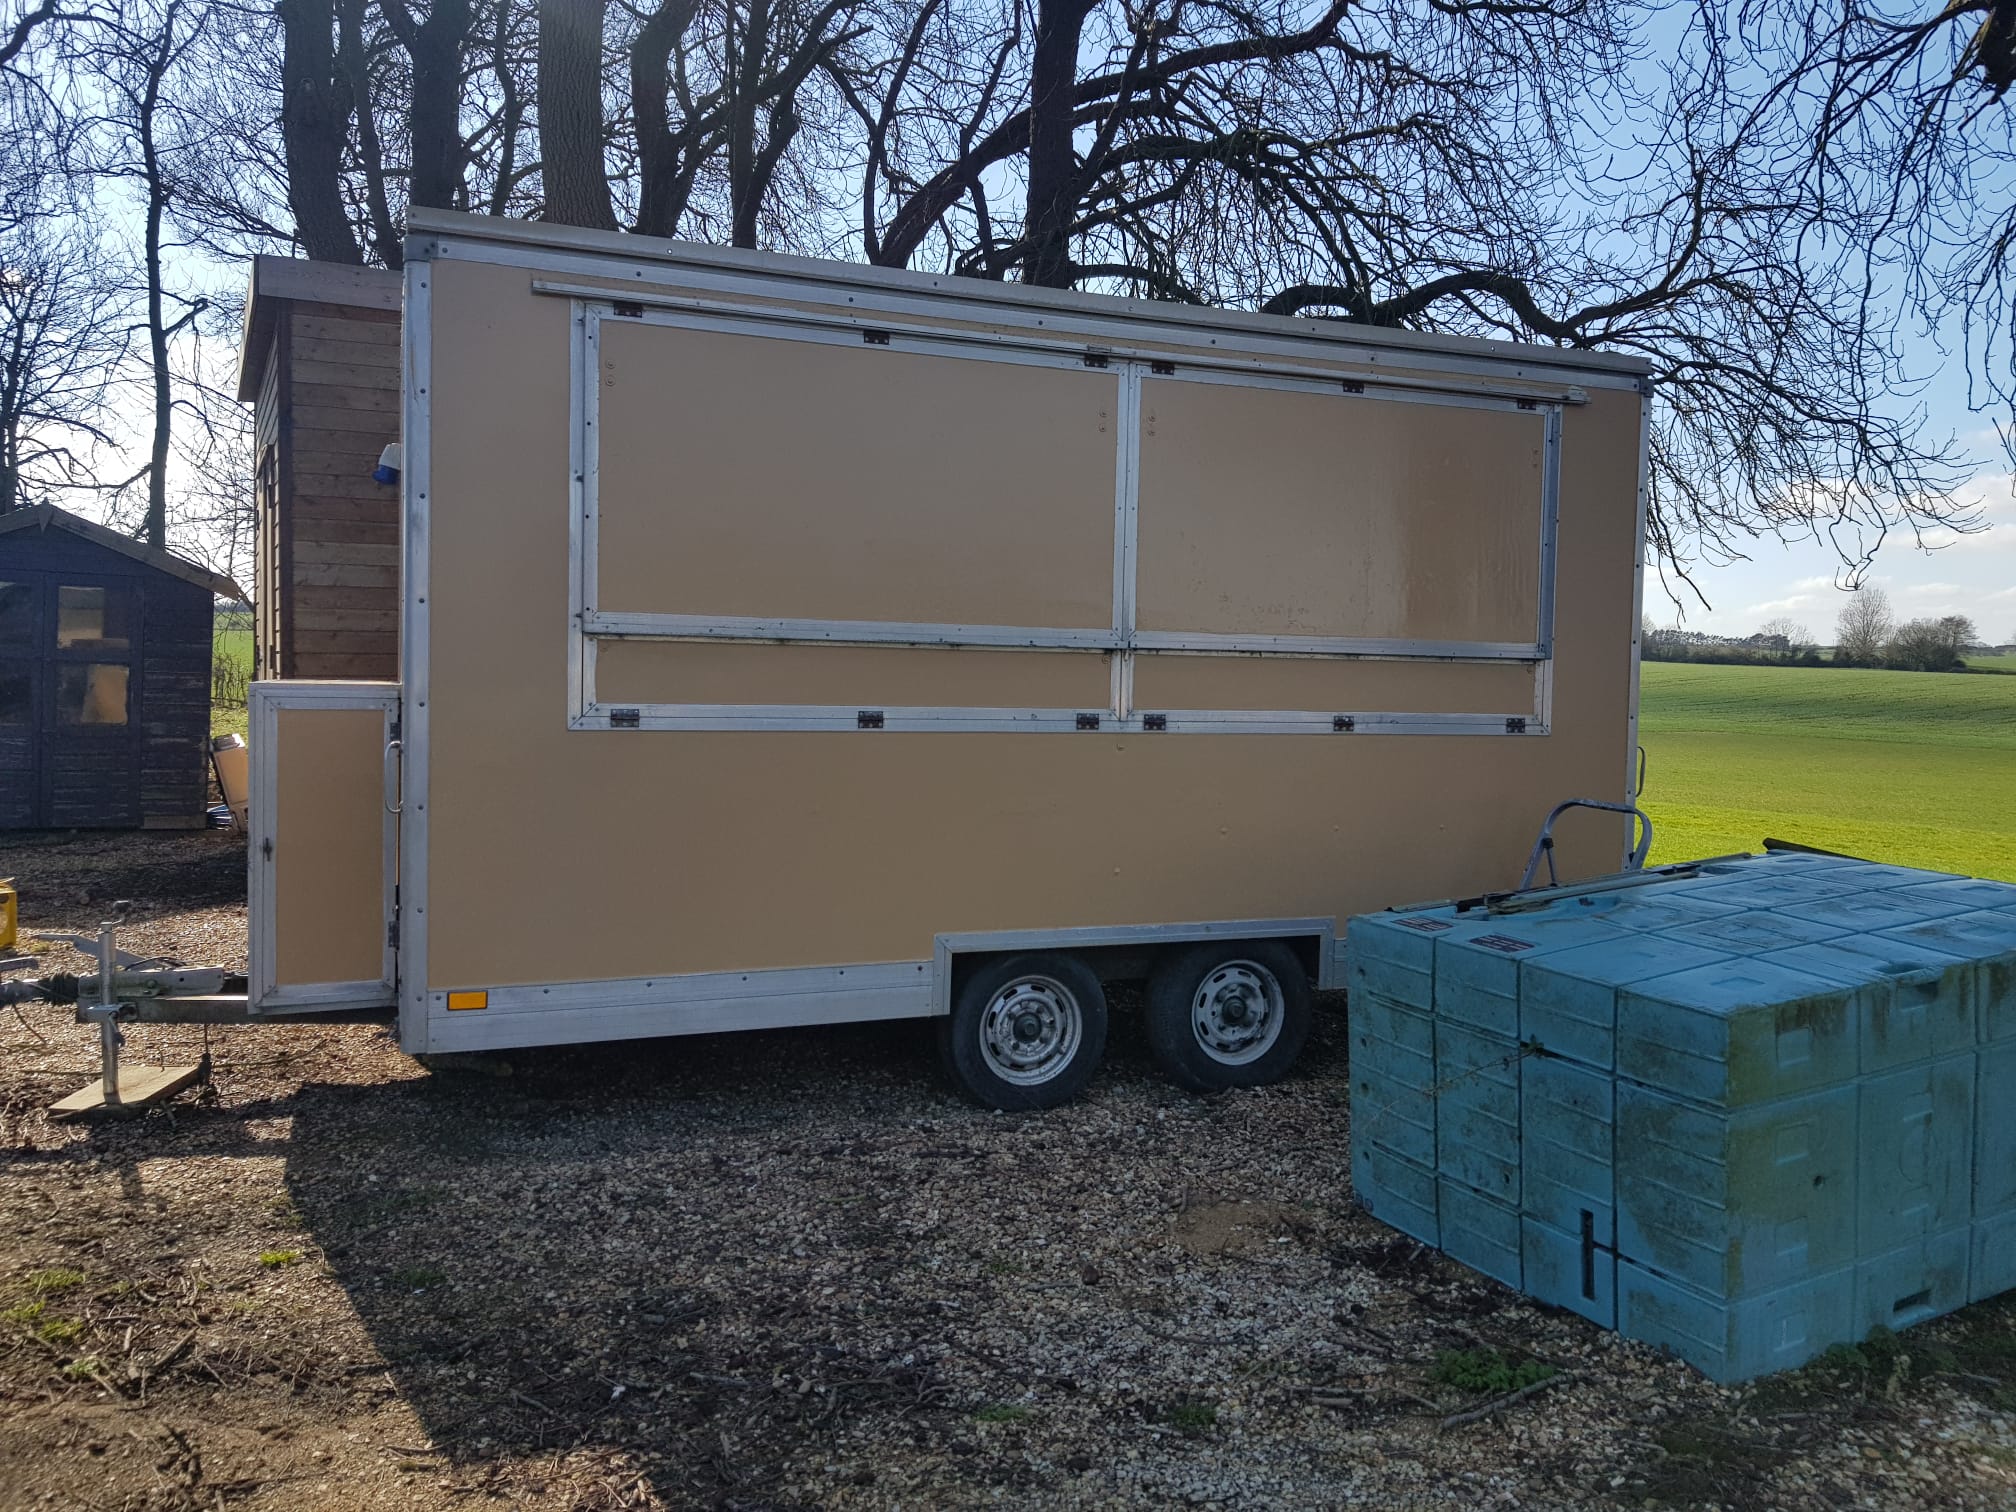
Our customer Josh came to us with a snack wagon refurb project in mind; we gave him all the tools he needed to refurb the wagon, so he went away to fulfil his task; this is how he did it!
Tools:
- Multi Grit Sandpaper
- Sanding Block
- Degreaser
- Masking Paper & Tape
- Tools To Remove Trim/Handles & Locks
- RAL 1002 HD/AC Primer Paint
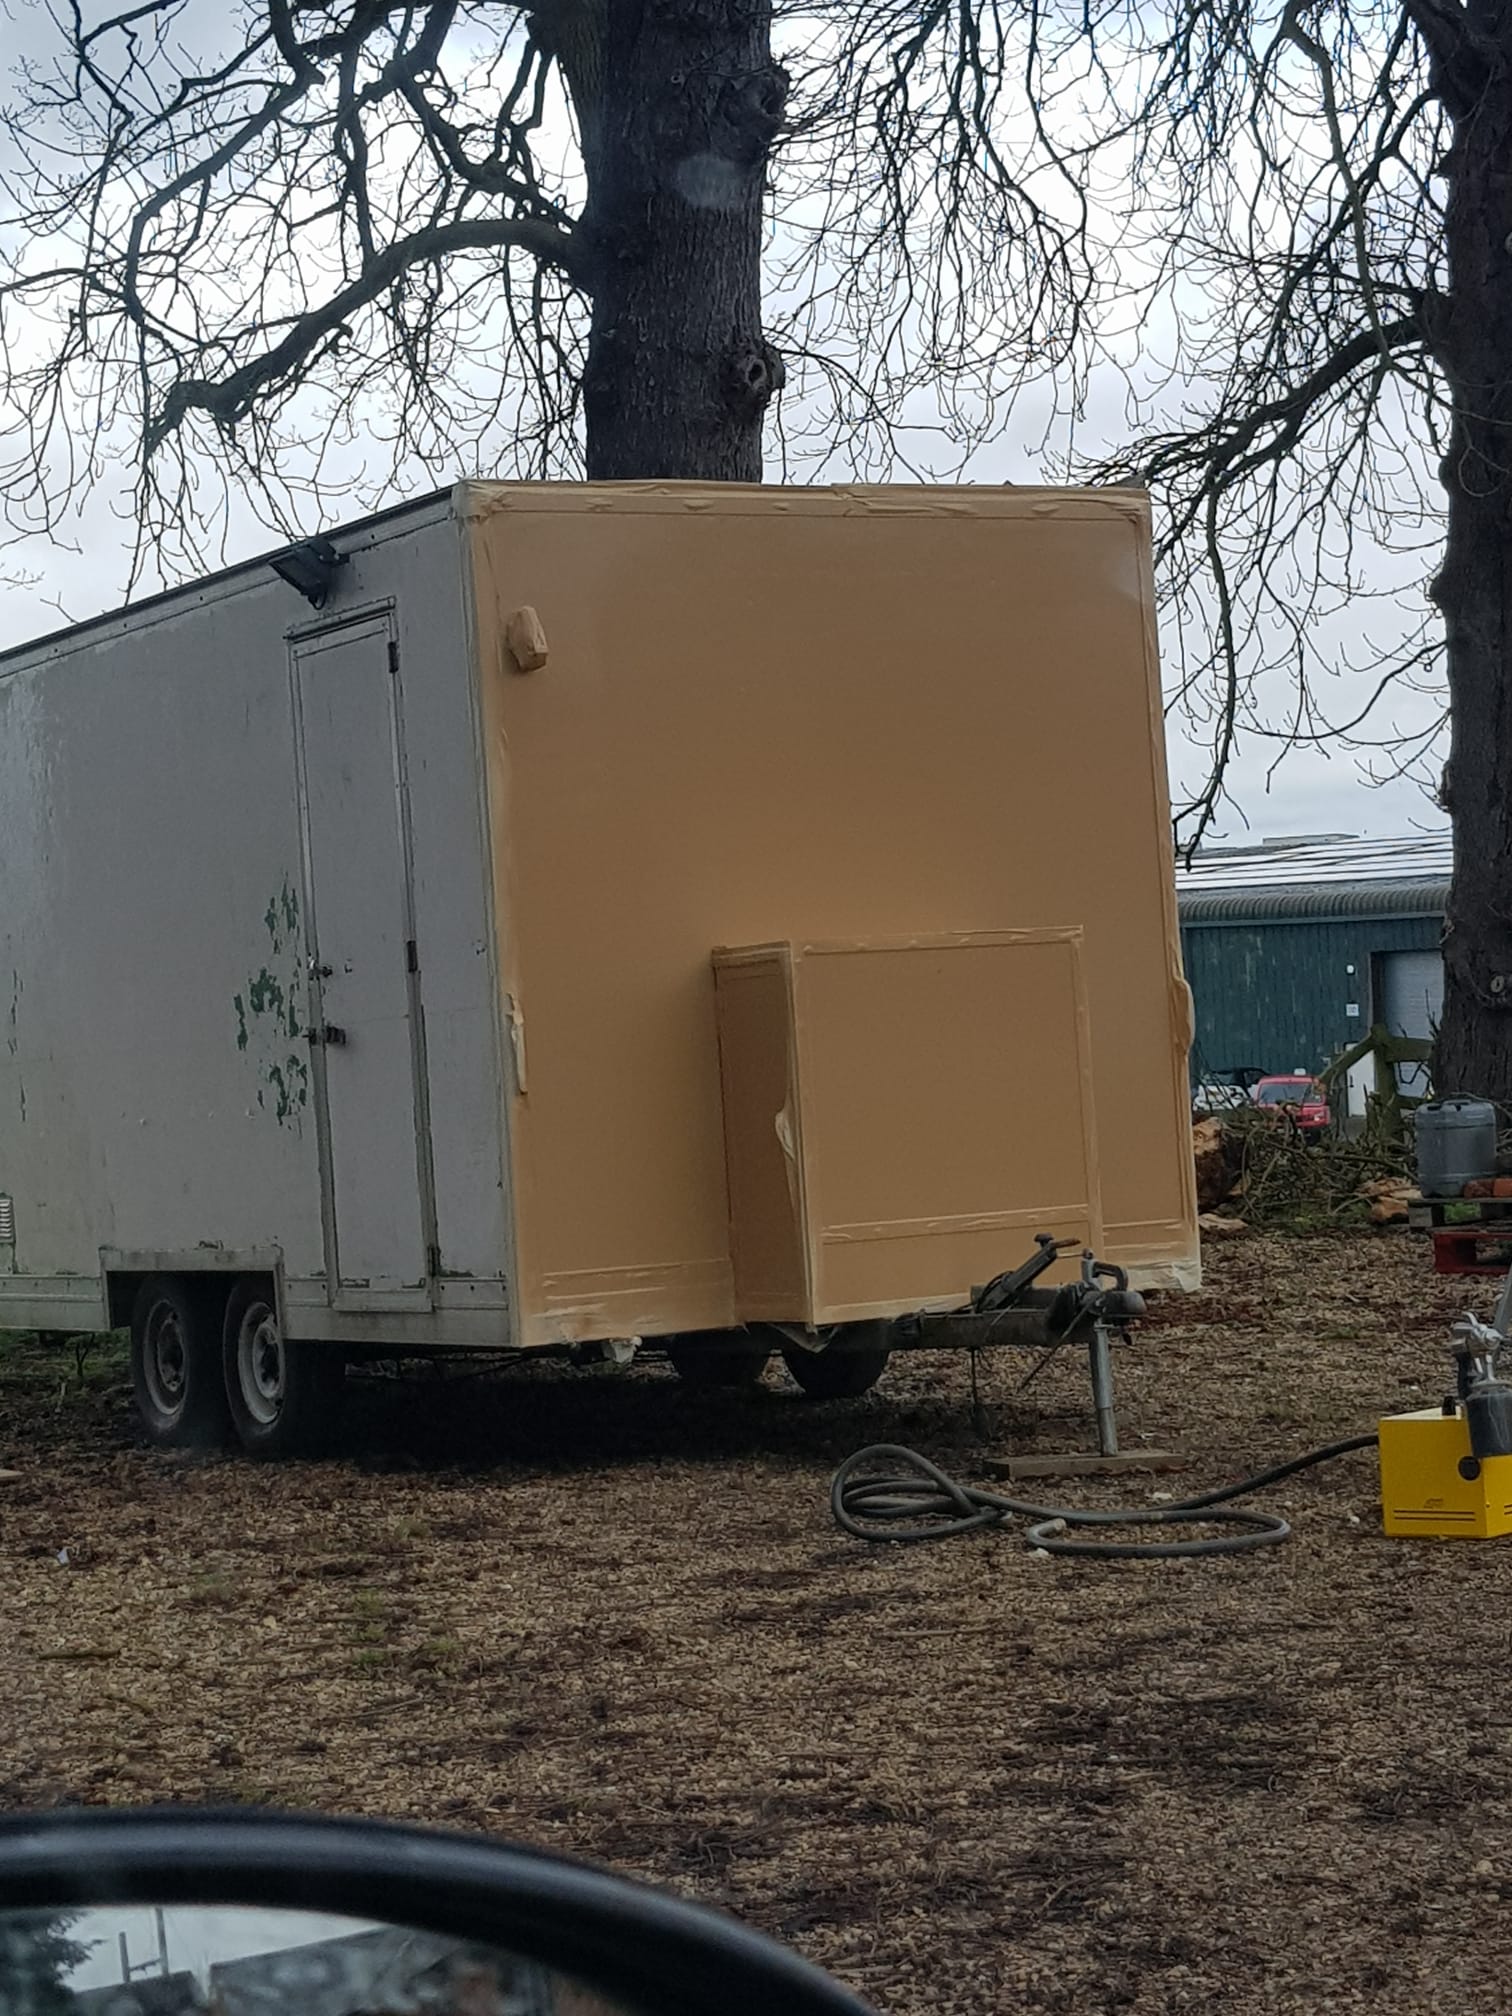
The Prep:
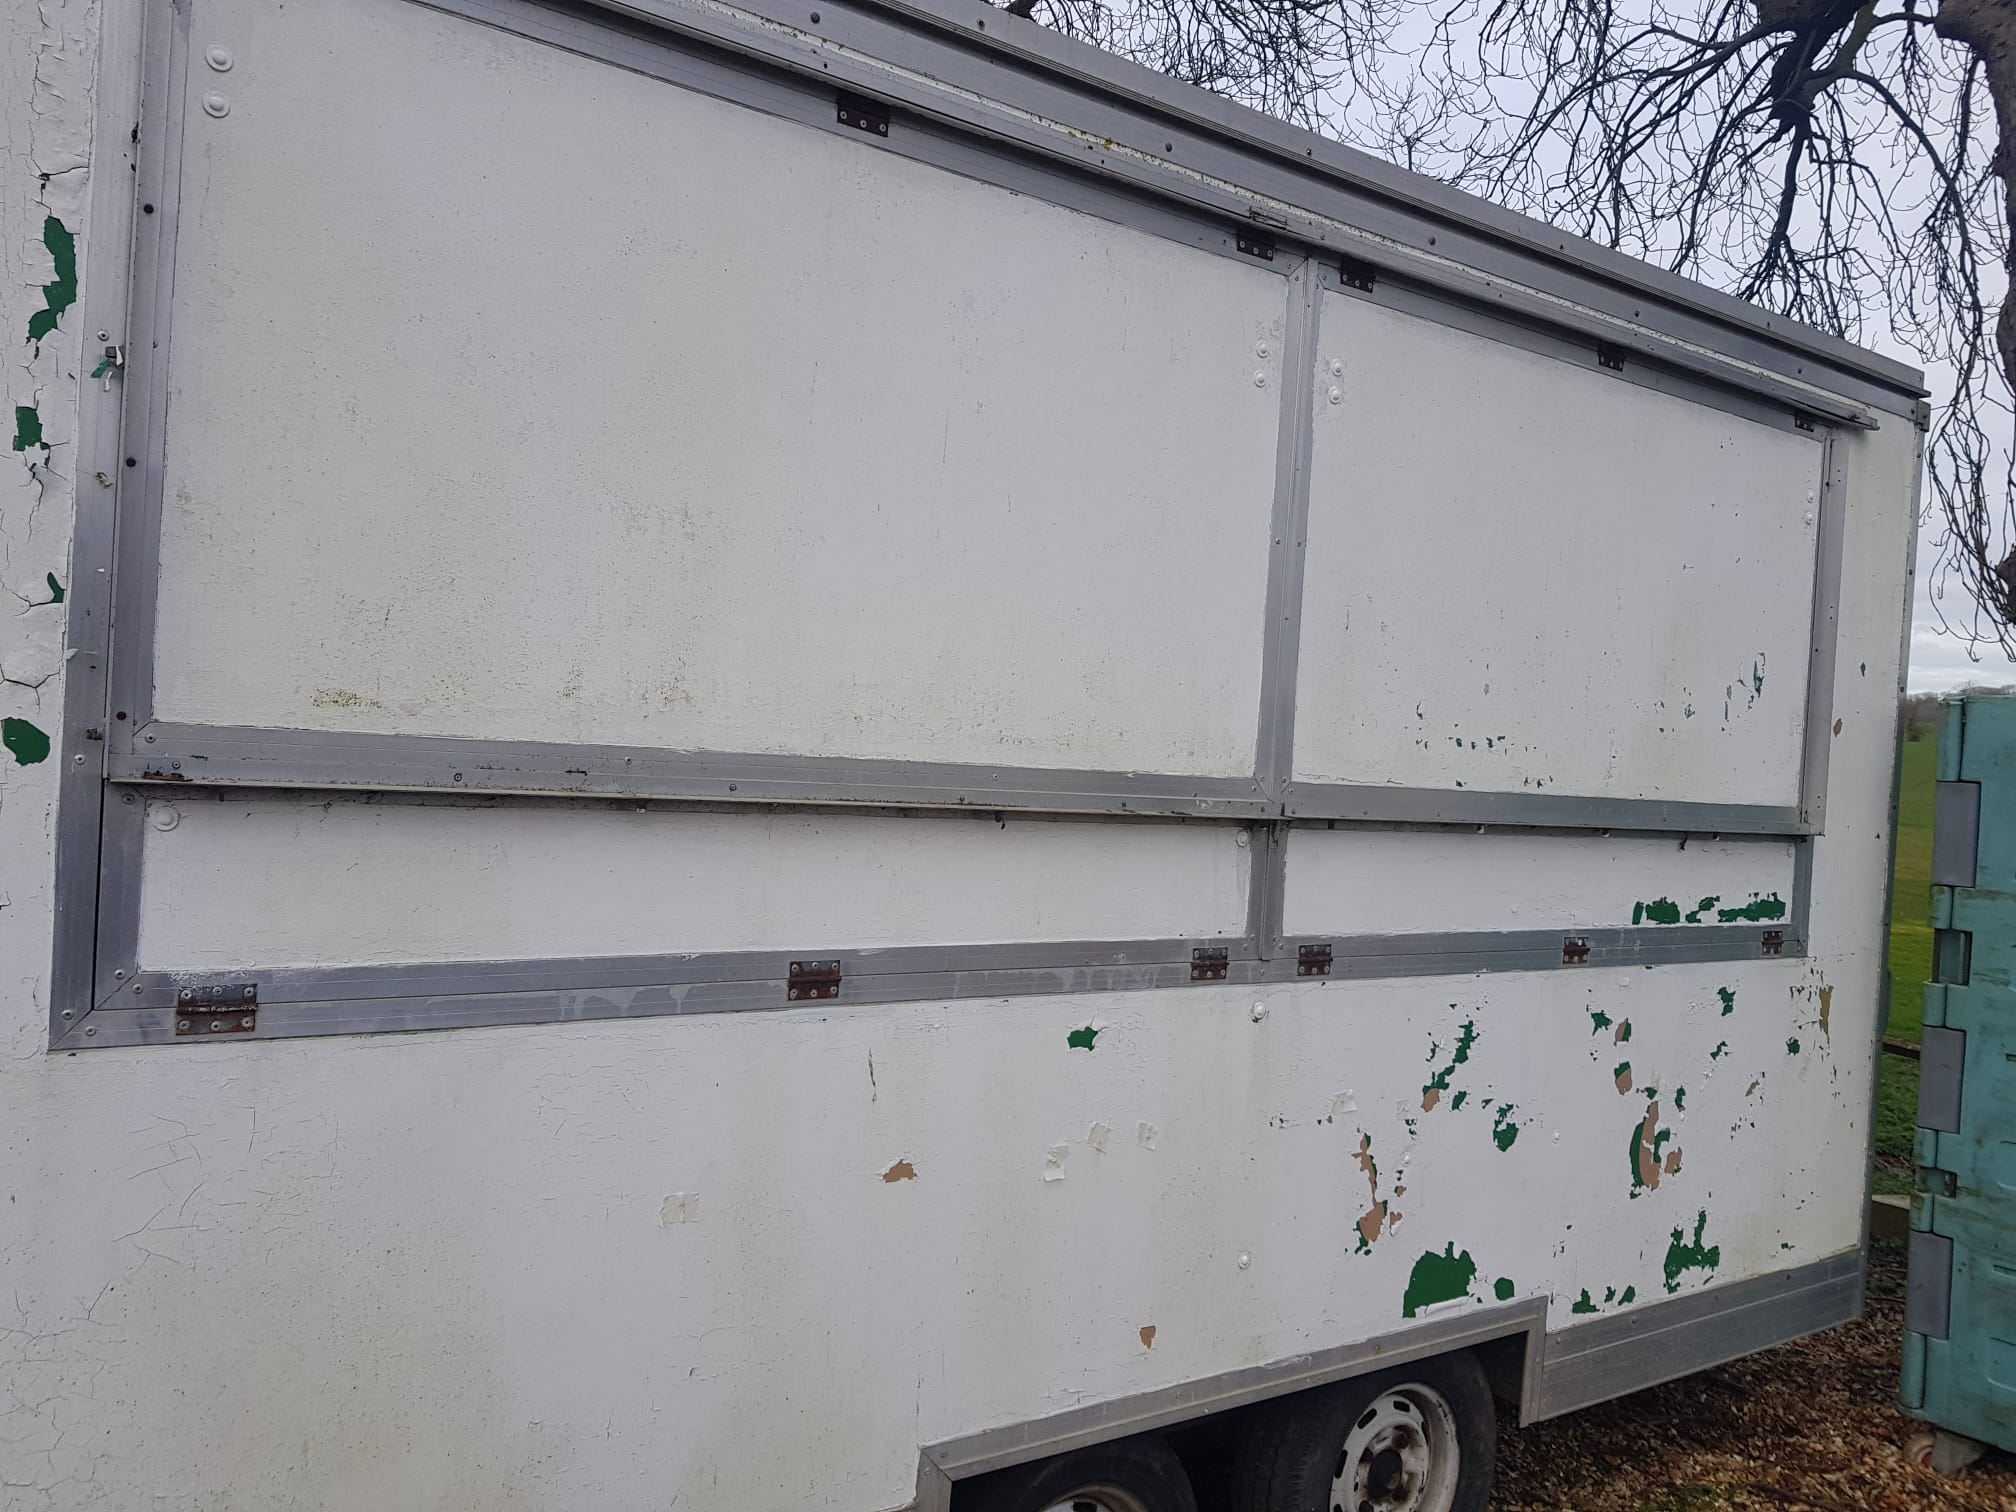
First, ensure your painting surface has been washed and cleaned thoroughly. Degrease all substrates and then sand back each panel until matt. Remove any remaining dust before moving to the next step.
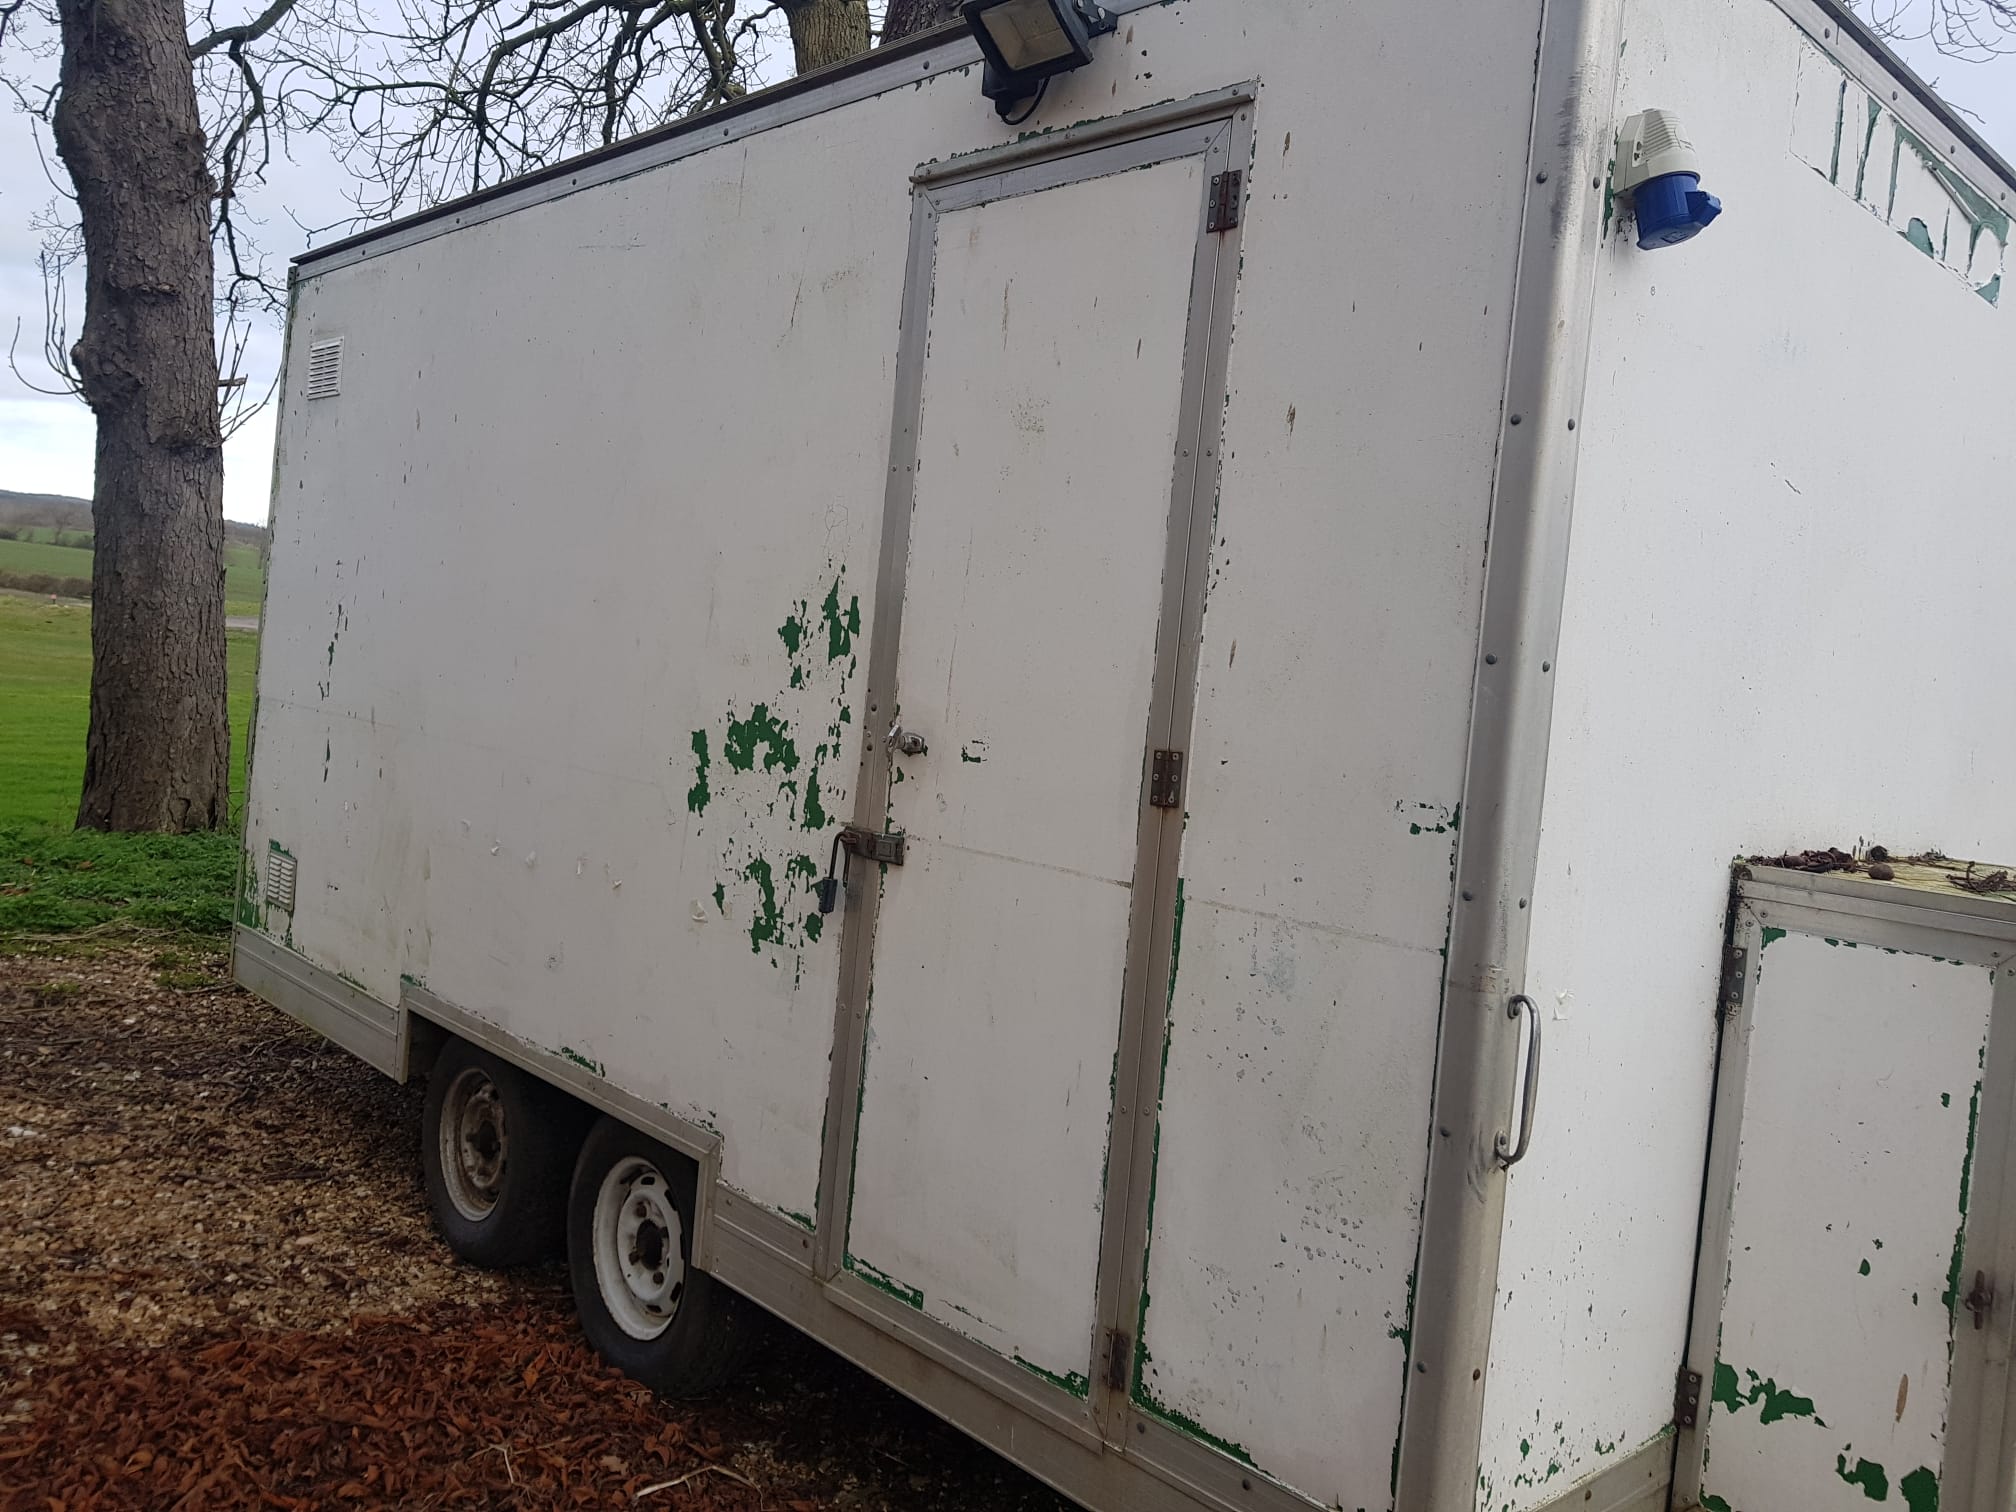
Next, mask off any area you don’t want to paint and, if possible, remove the trims and handles. Prep the substrate by sanding the surface lightly and more vigorously where necessary.
Once the surface is smooth and has a matte finish, remove any dust, as this will show up in the final paint.
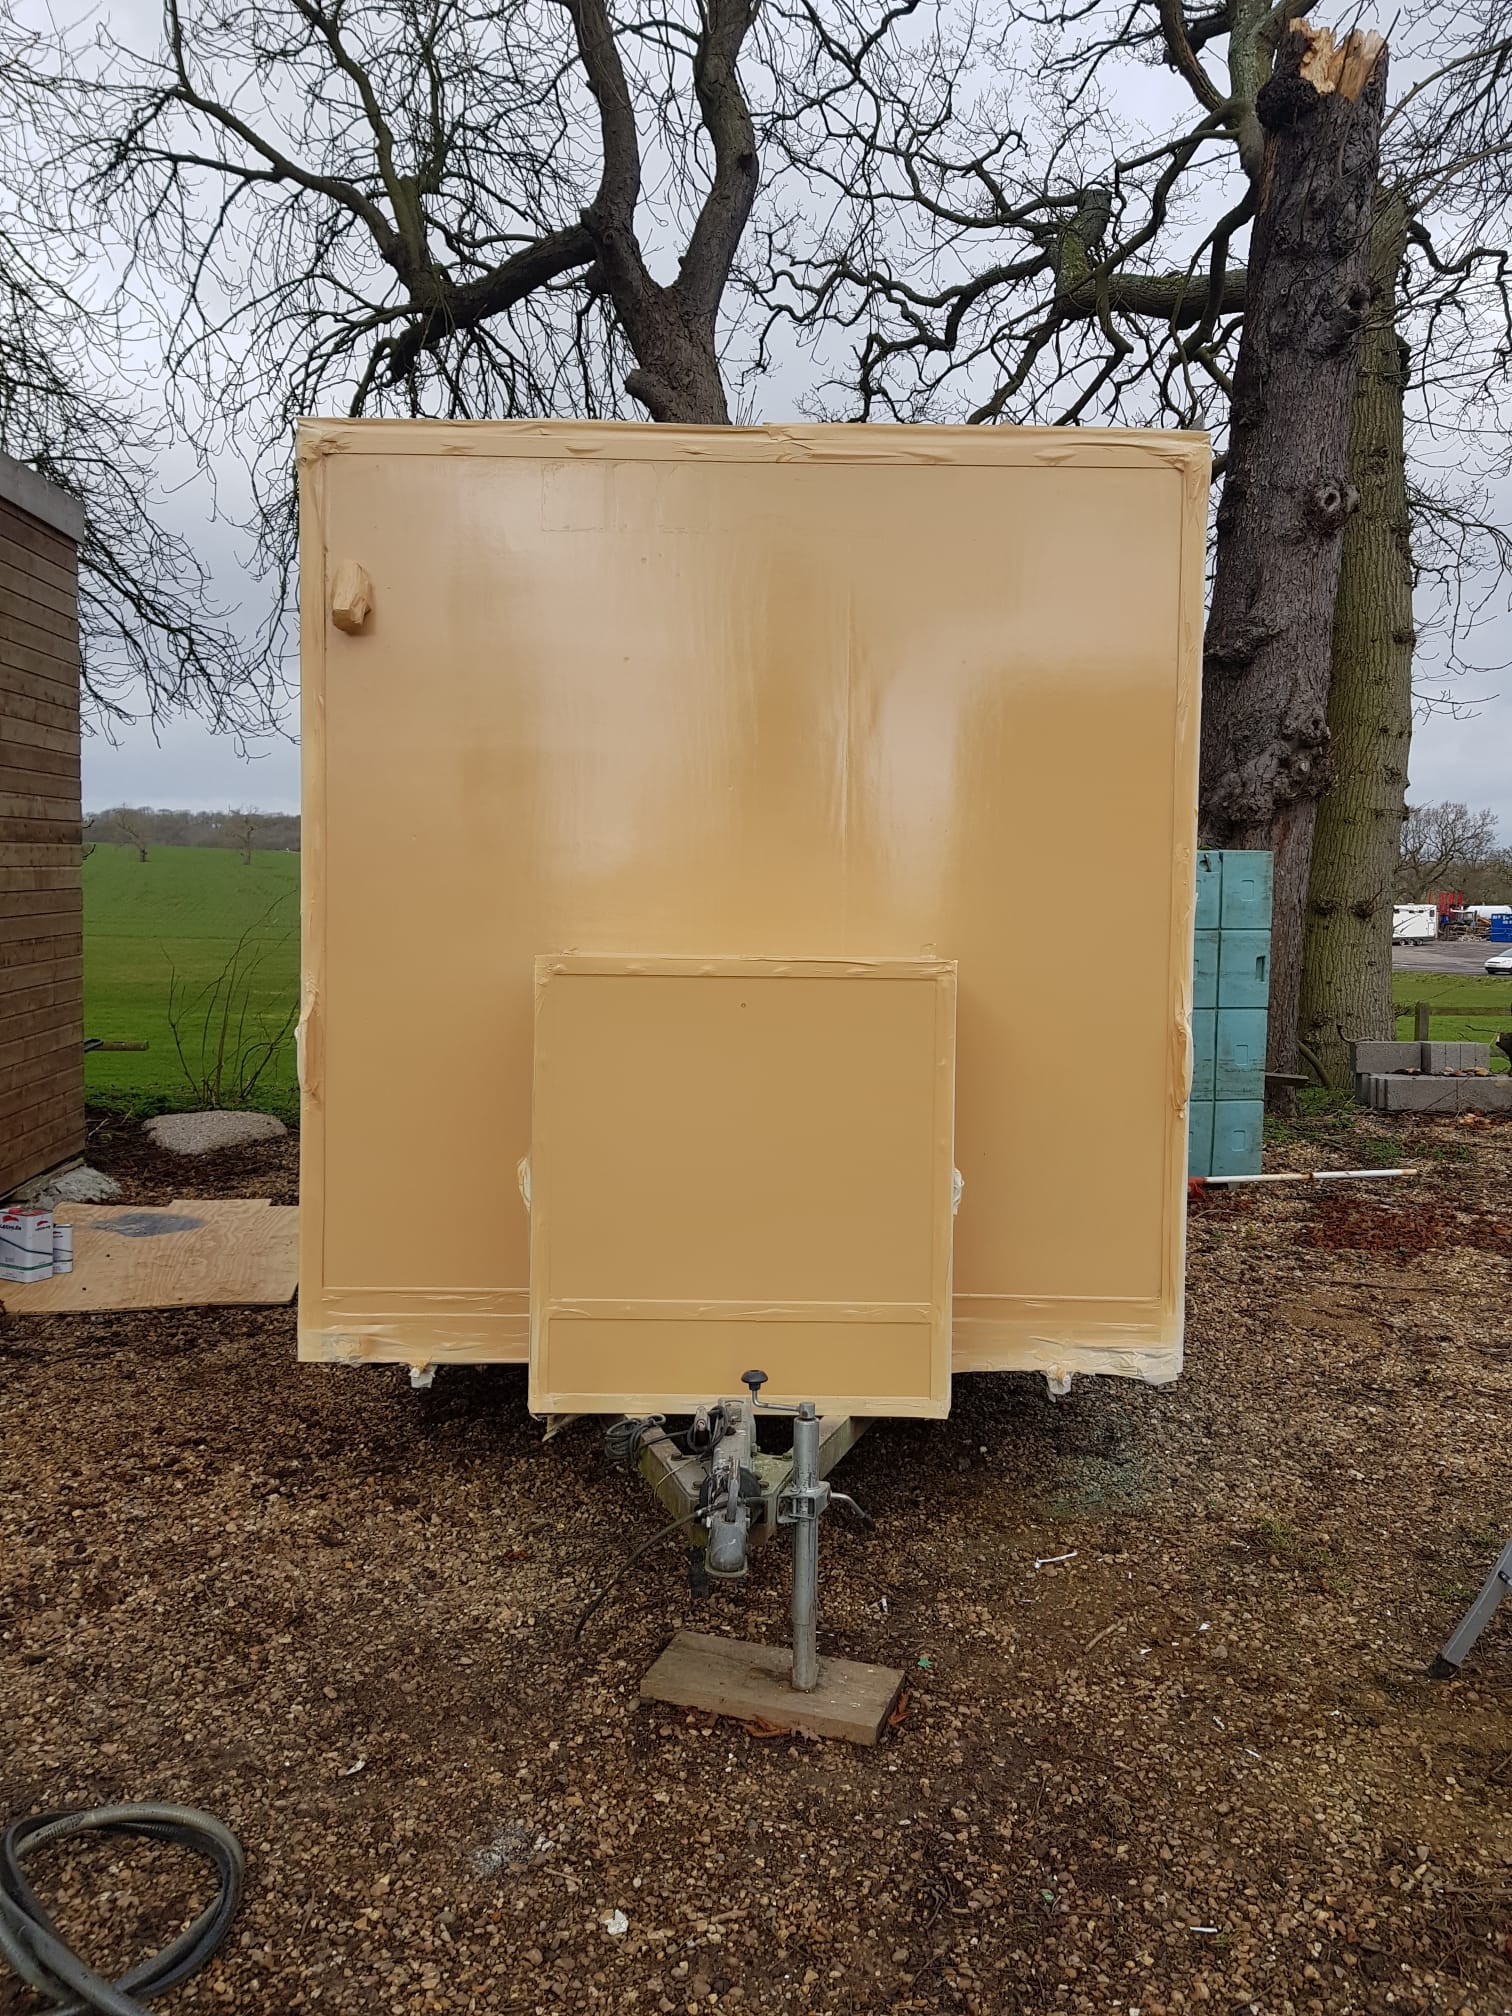
The All-In-One Coat:
After you have removed any dust particulate, apply the HDAC primer paint in left to right passes (between 2-4 light coats).
The HD/AC Primer paint can be applied without needing a ground coat as long as the surface is clean to start with. It also has a UV additive and adhesion promotors in the paint chemical formulation to give it the best sticking power possible. There is an anti-corrosion element built in, so as long as you treat any rust before application, it shouldn’t rust again.
TOP TIP: HD/AC primer paint is thicker than our usual acrylics, so don’t get heavy when applying it, or it could cause runs. In a worst-case scenario, if you don’t let it cure adequately between coats, it may cause cracking in the future.
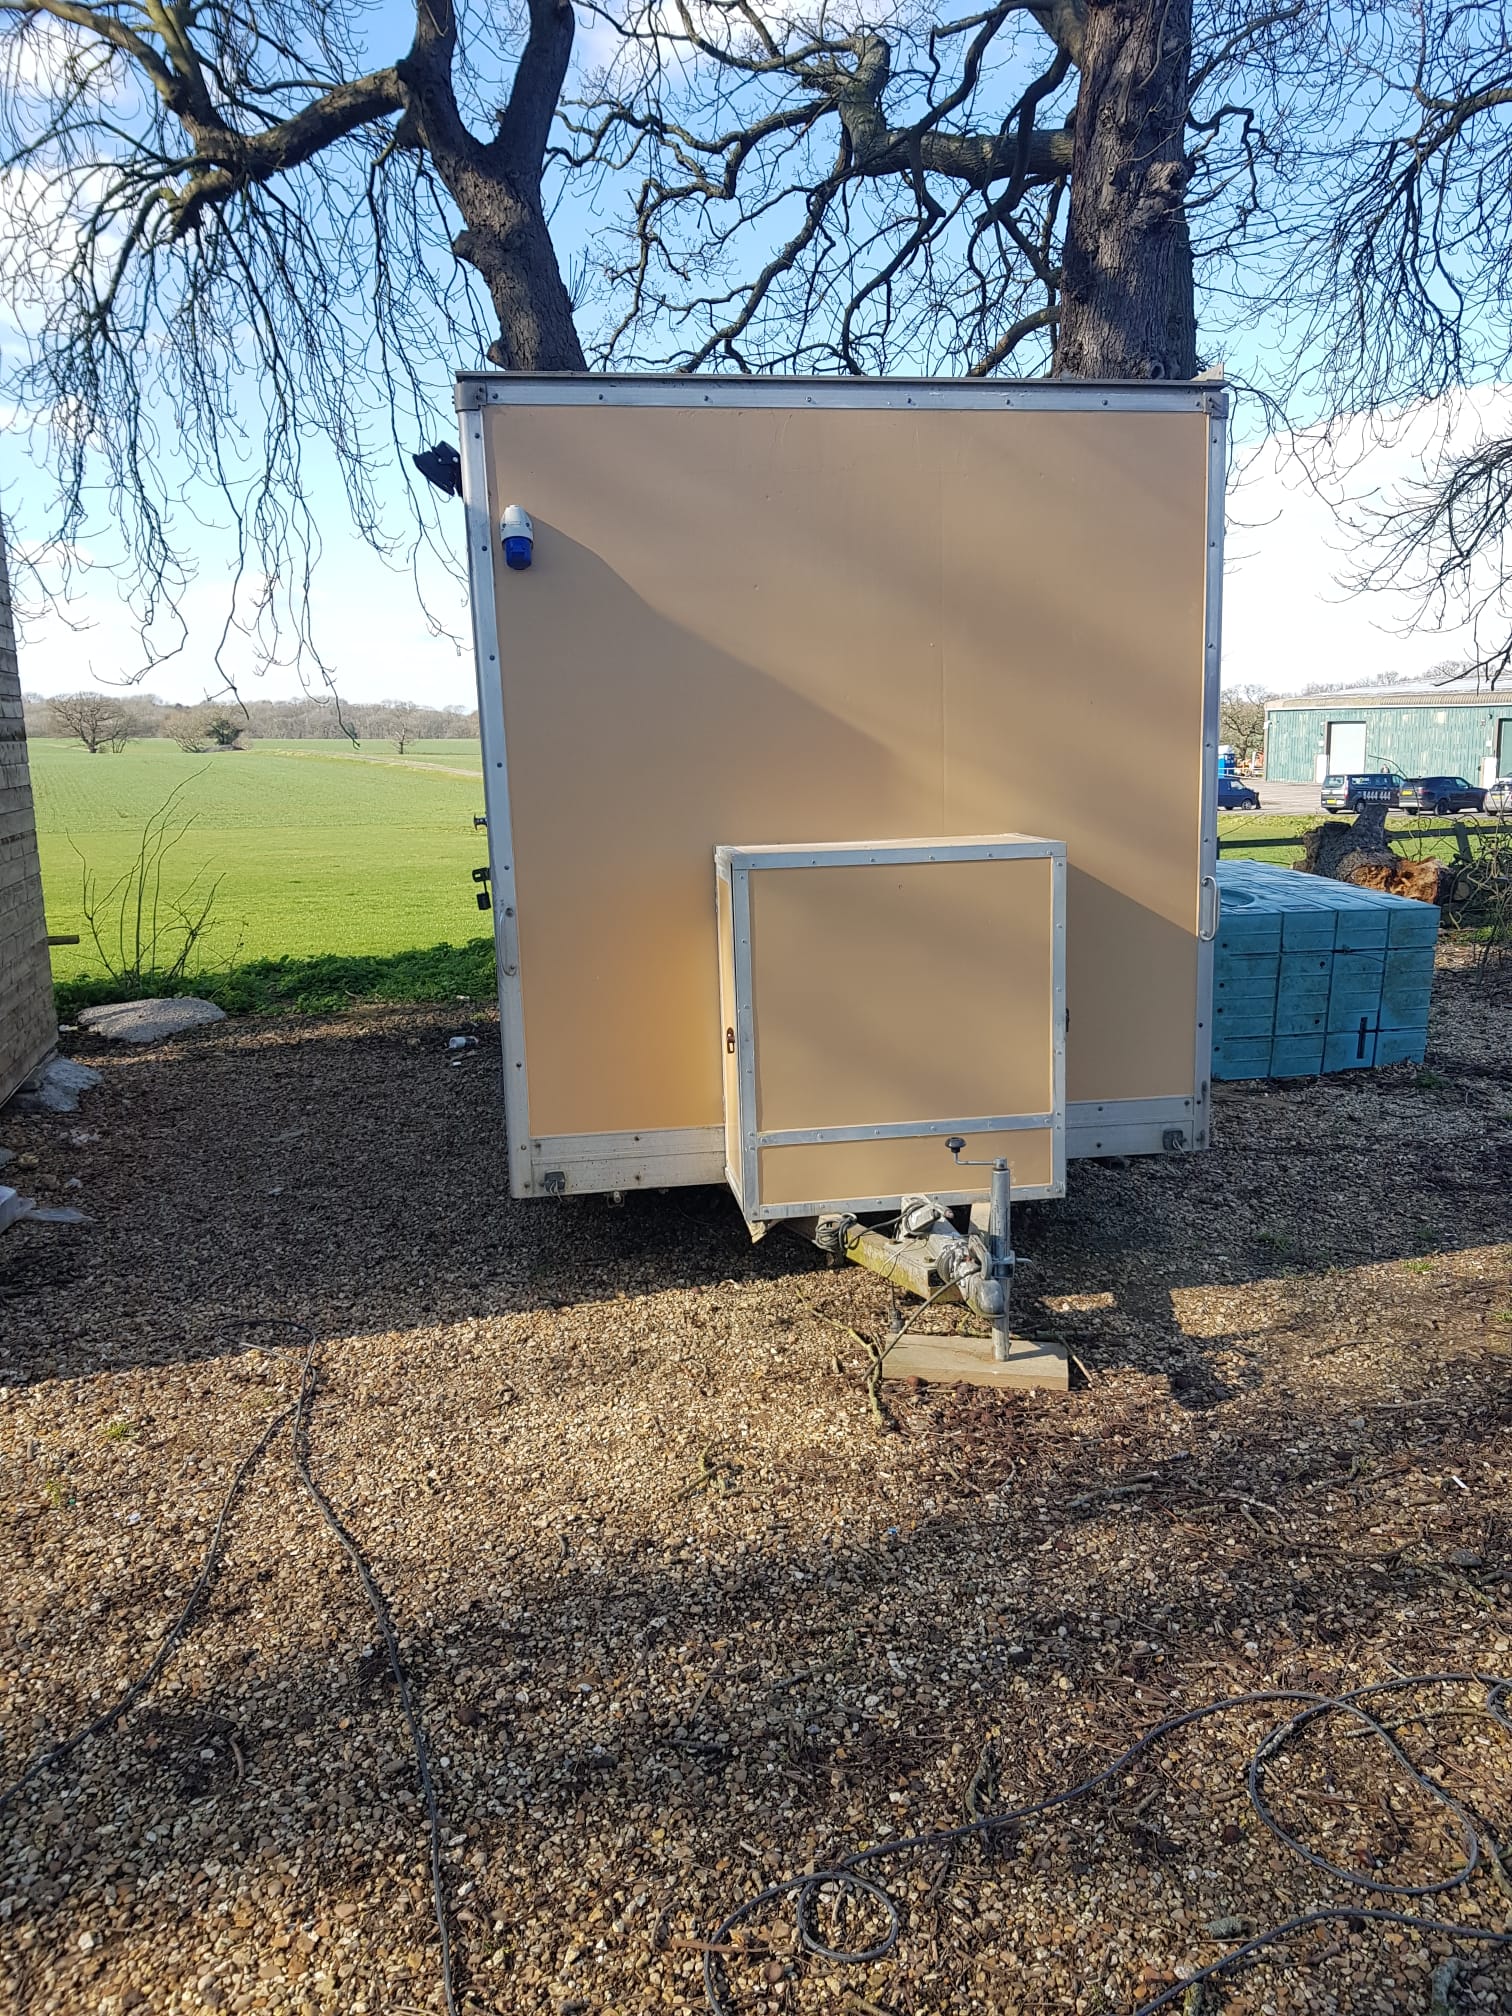
Final Word:
This job is fairly easy, and as long as you follow the prep steps correctly, anyone should be able to achieve this. It looks great with an aerosol can, maybe easier with a gun, but with enough time and care, anyone should be able to do this job. Thanks again for the pics, Josh, love your work!