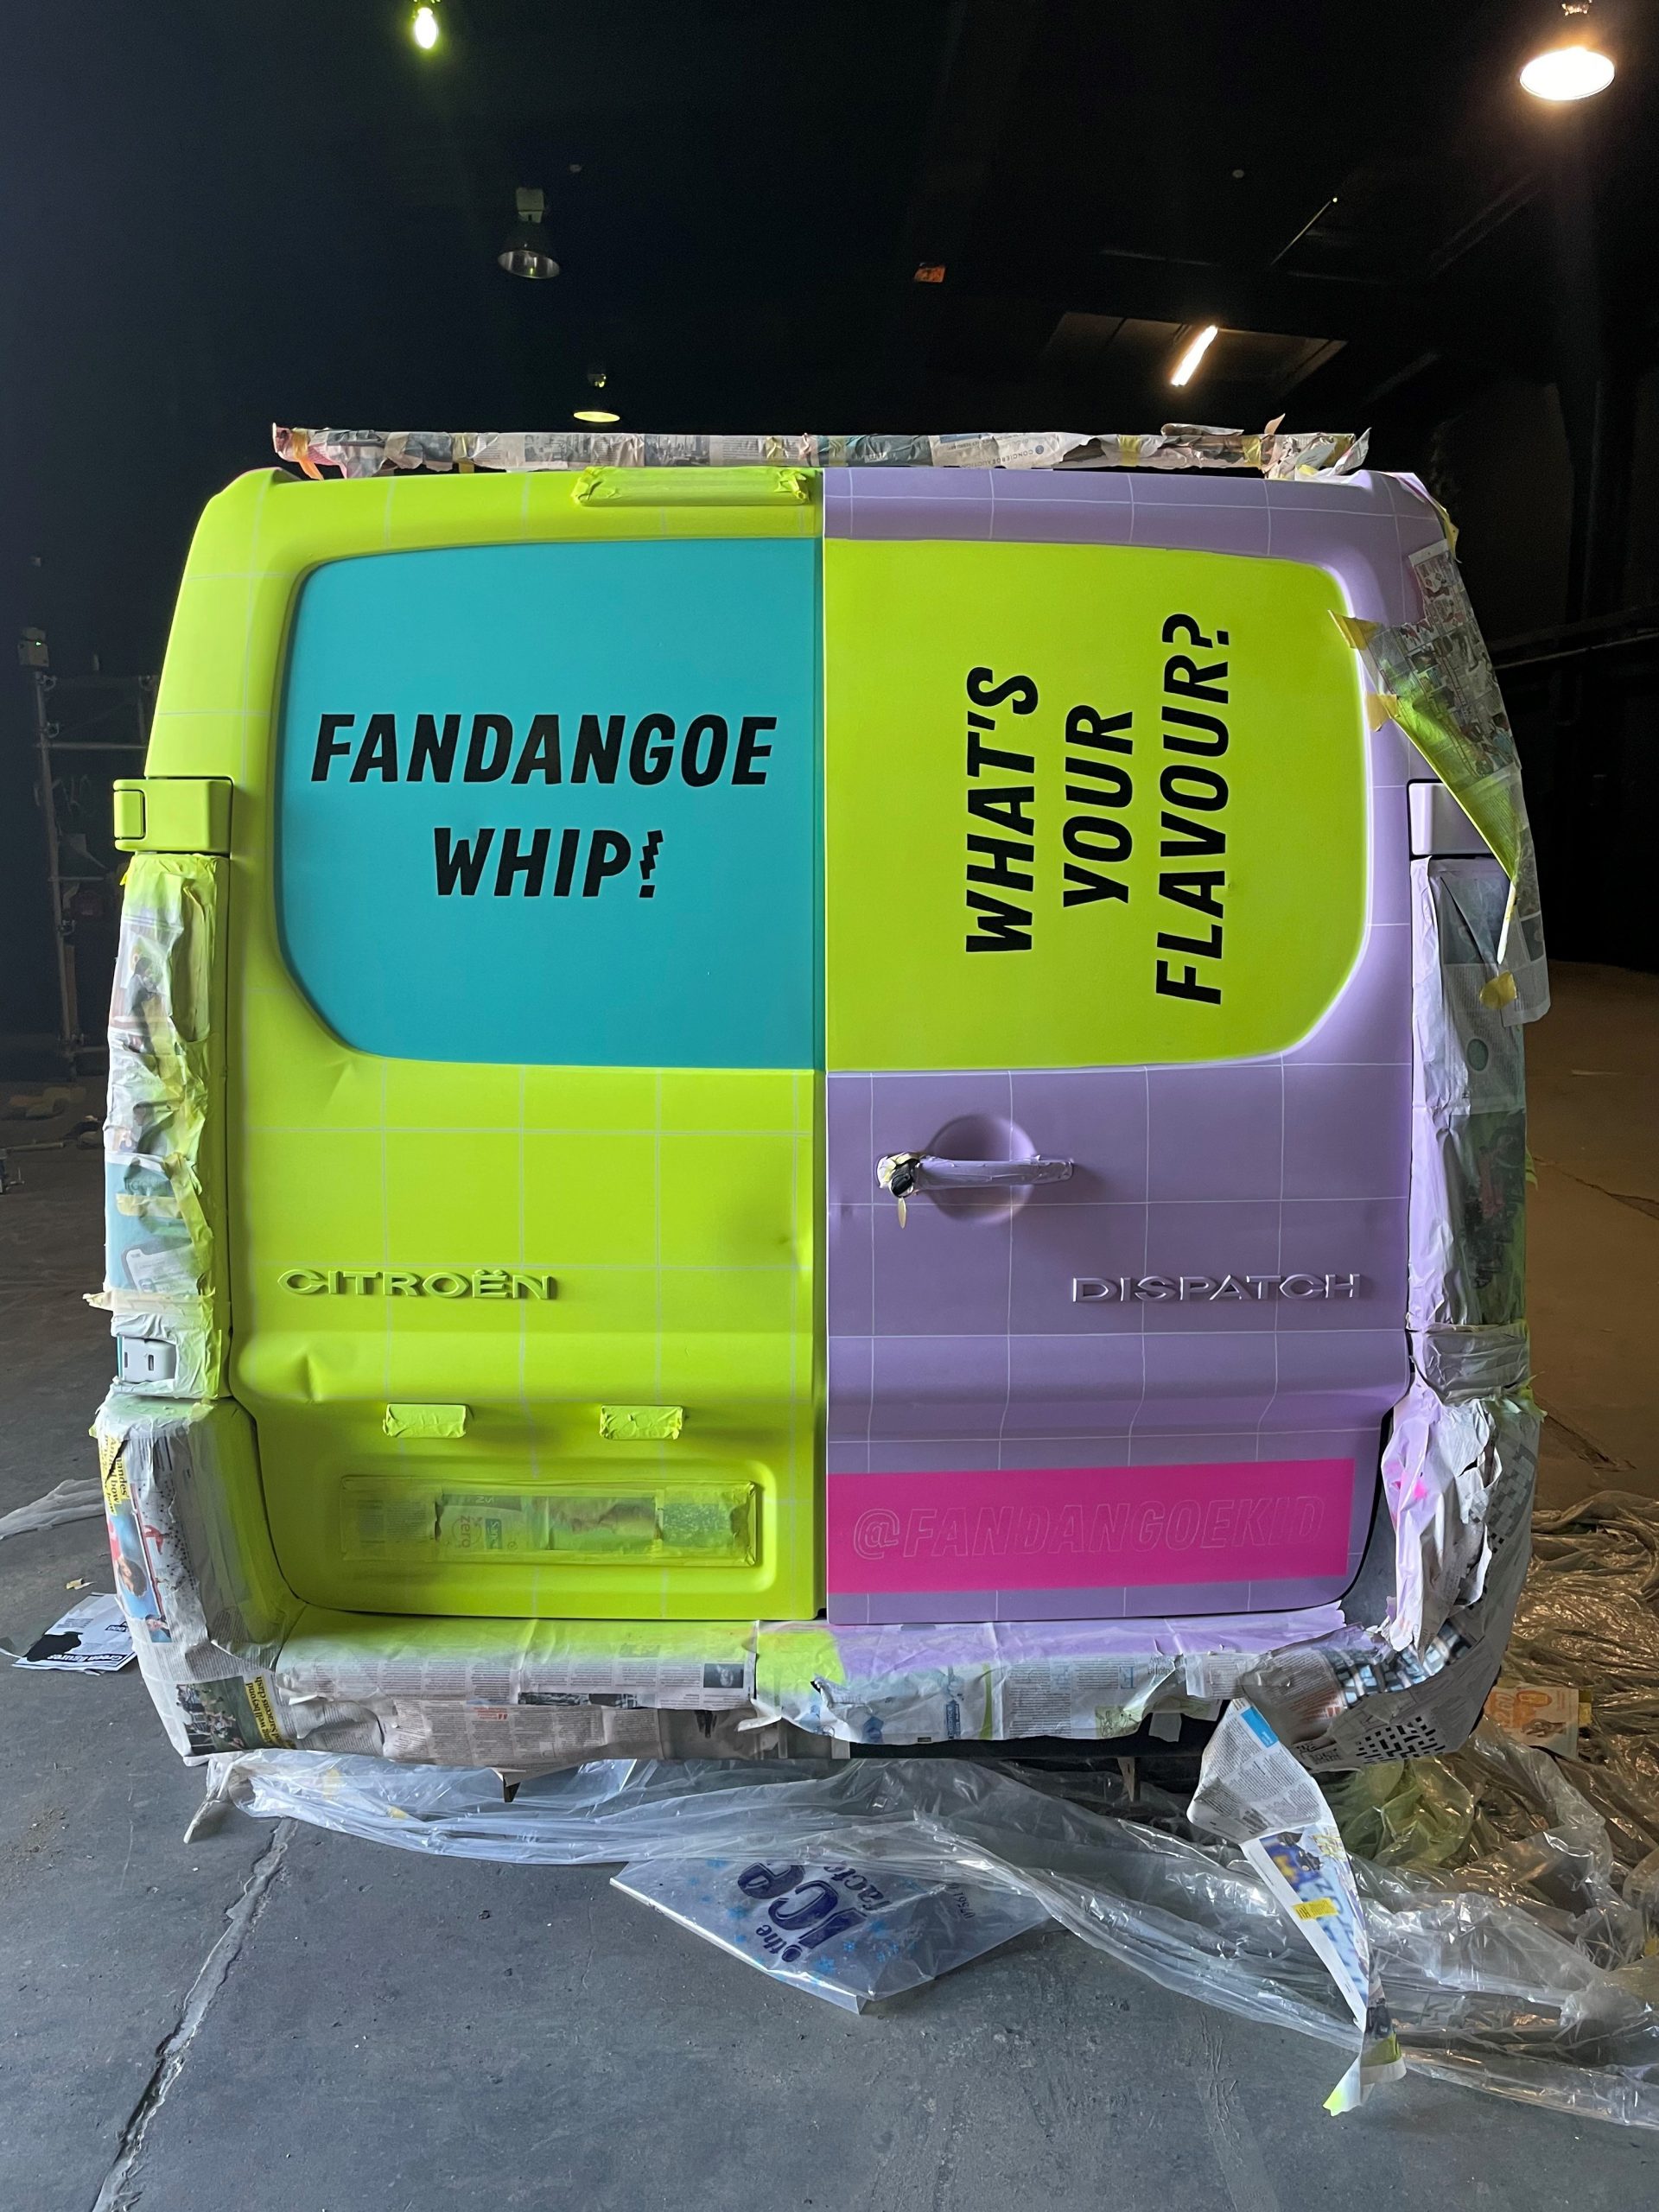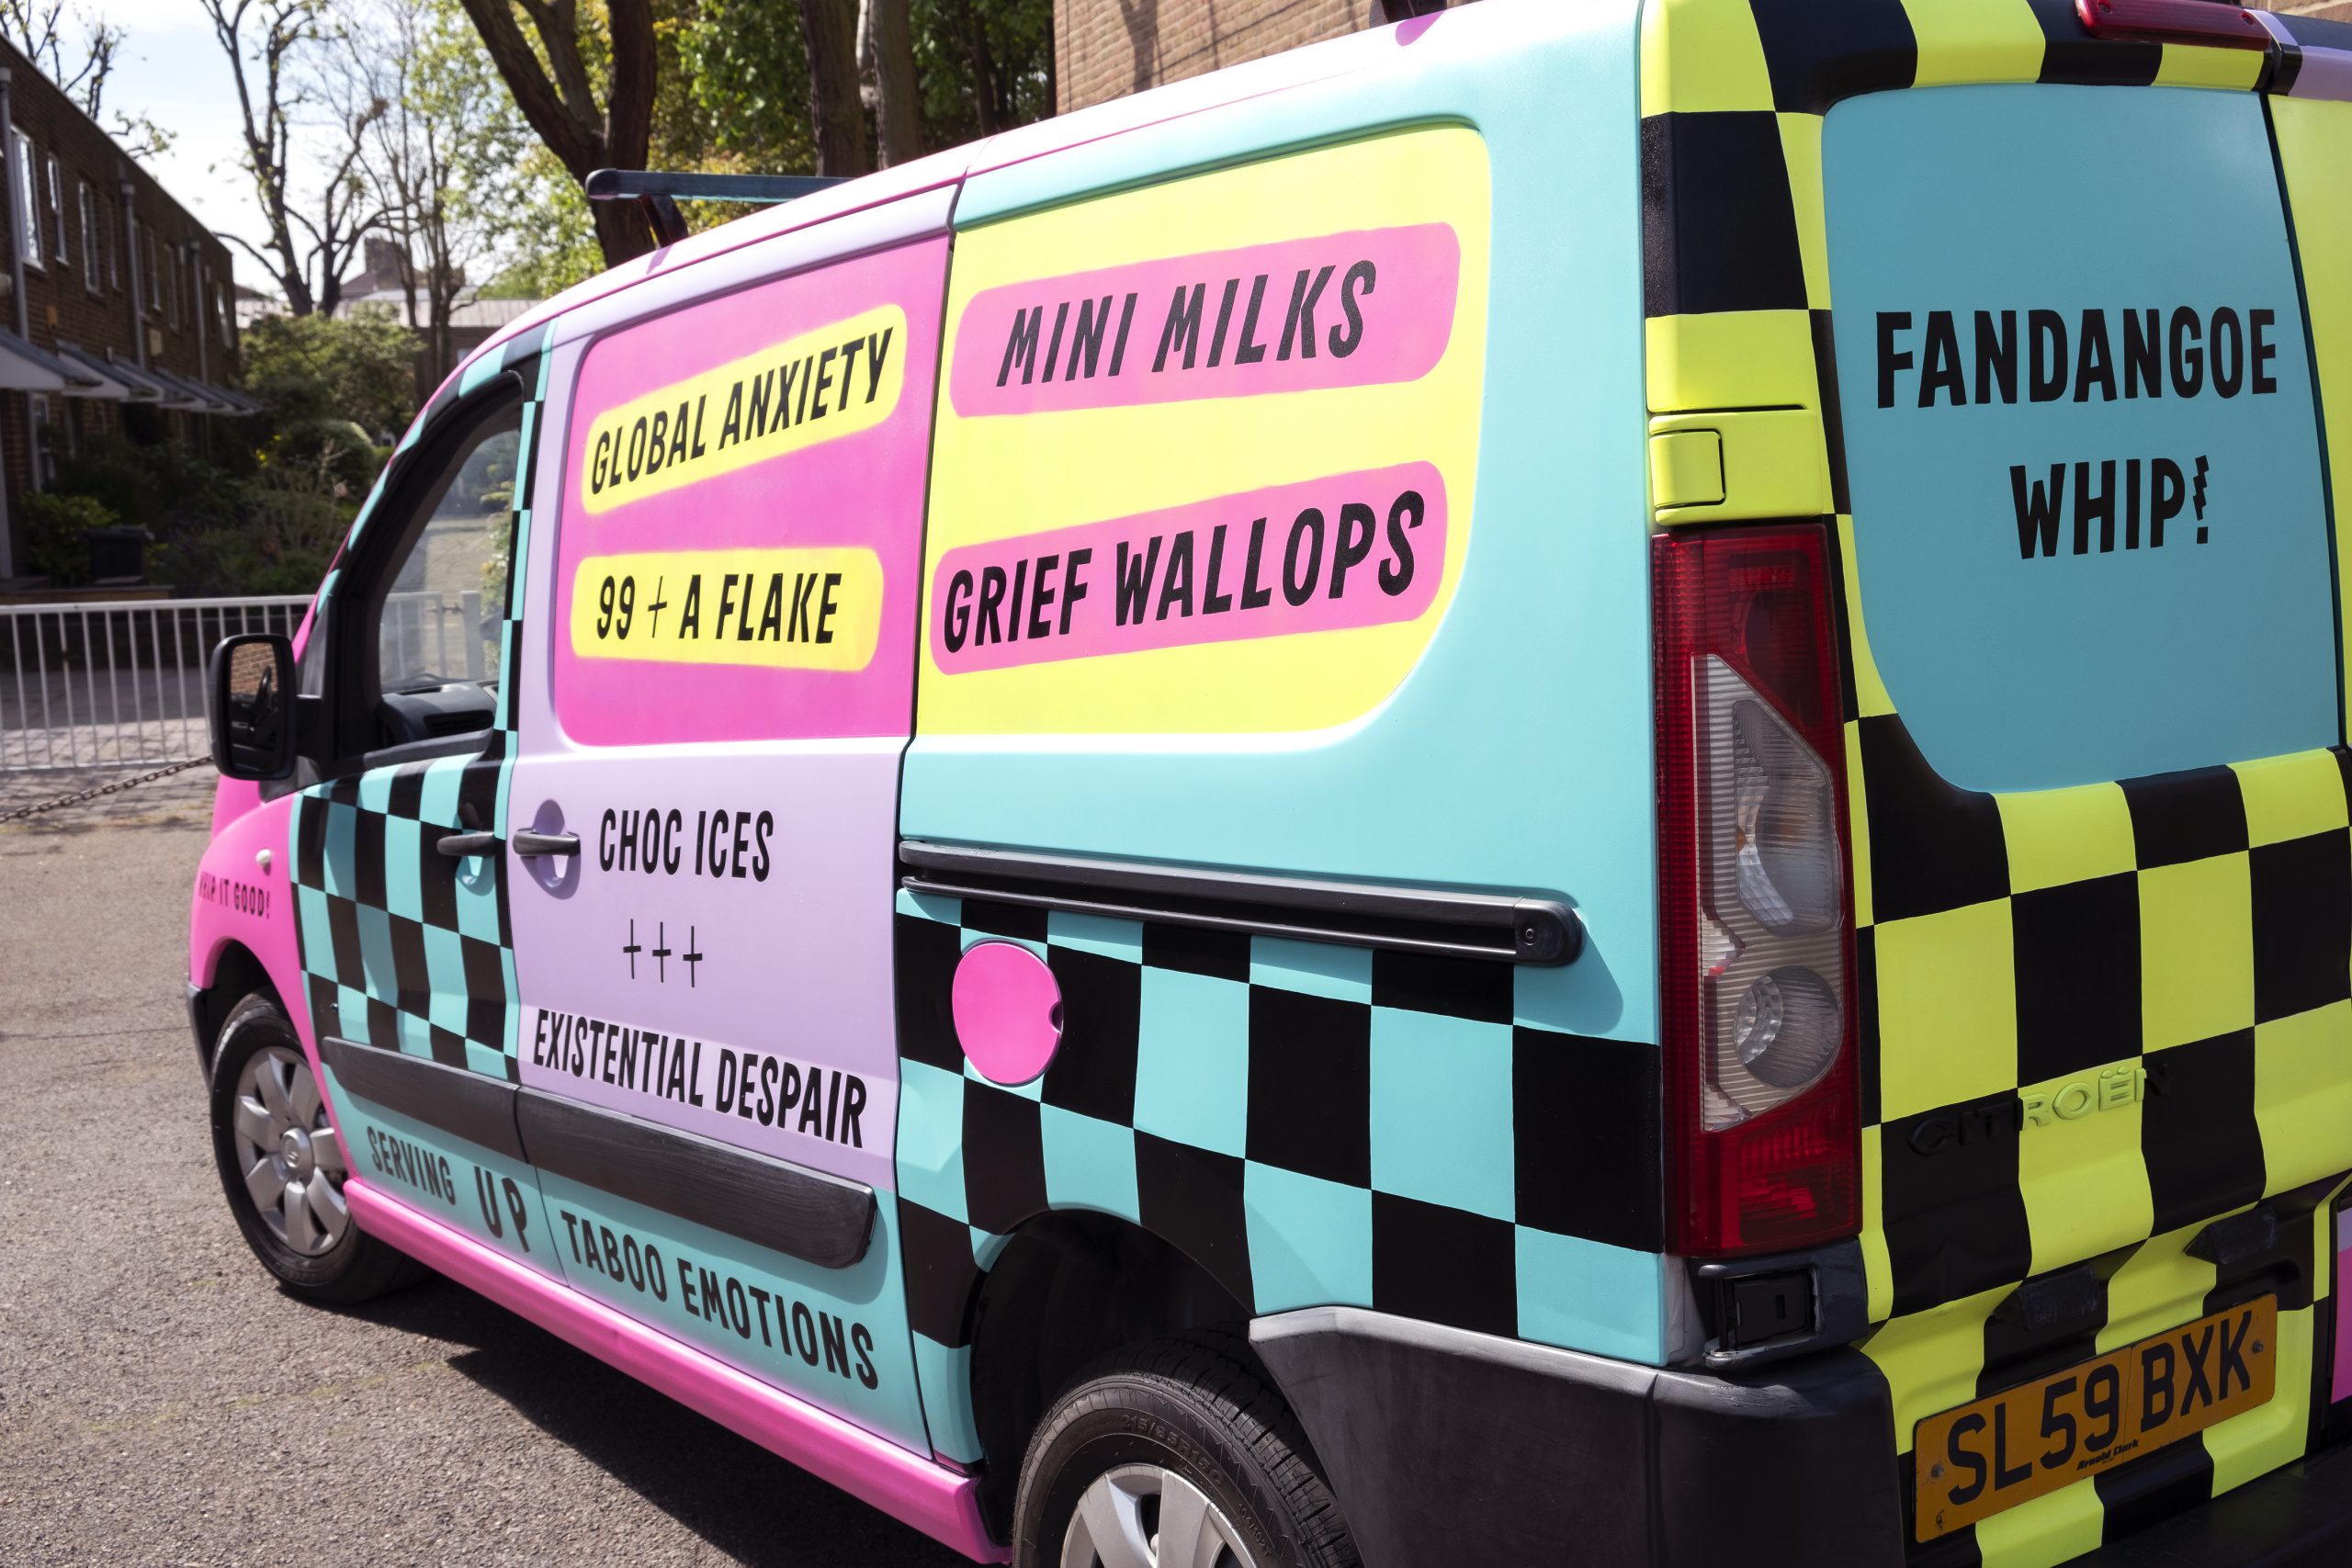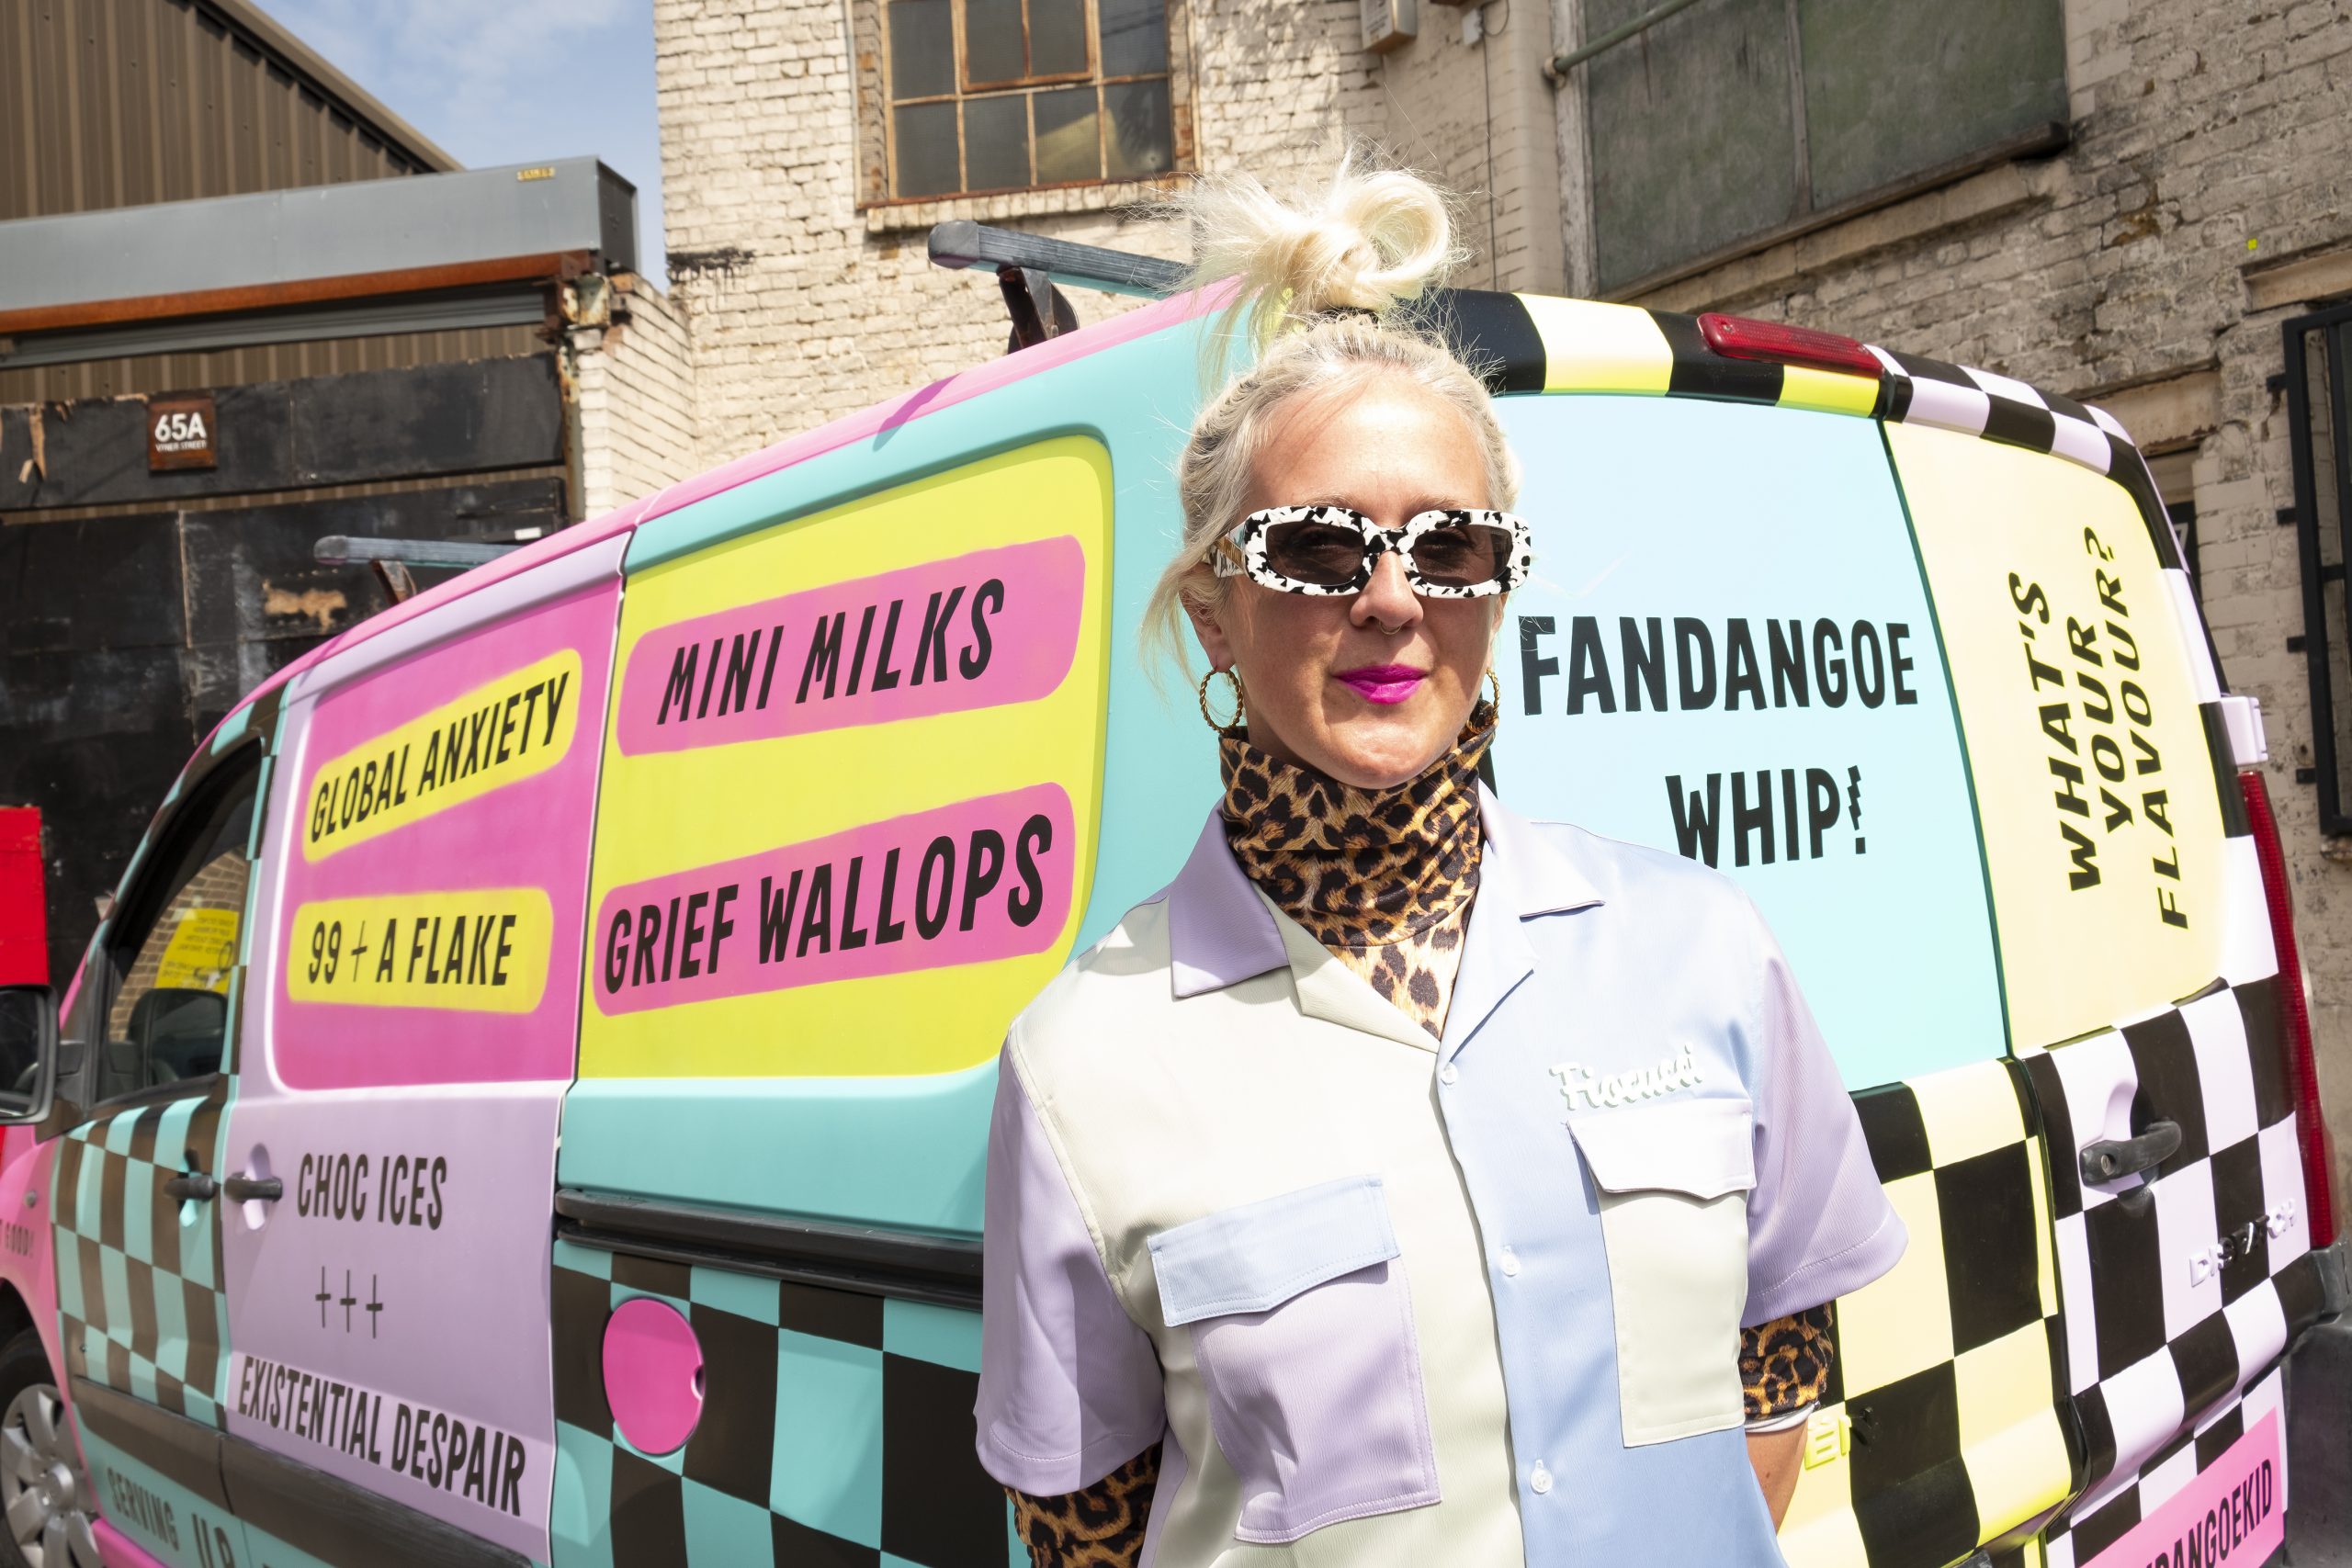
DC Paint Solutions were approached by artist Annie Frost Nicholson (formerly known as the Fandango Kid Studio) to assist with some ideas on hydro fluorescent paints to colour a commercial van.
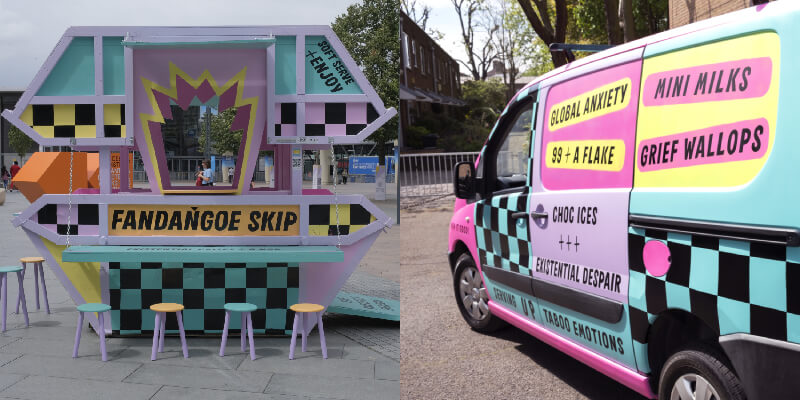
These were really bright, vibrant Pantone colours, so we spent a lot of time reviewing paint specs, application and how we could help. We then moved on to the skip project with a very similar, if not the same, approach, colours and overall identity of the project.
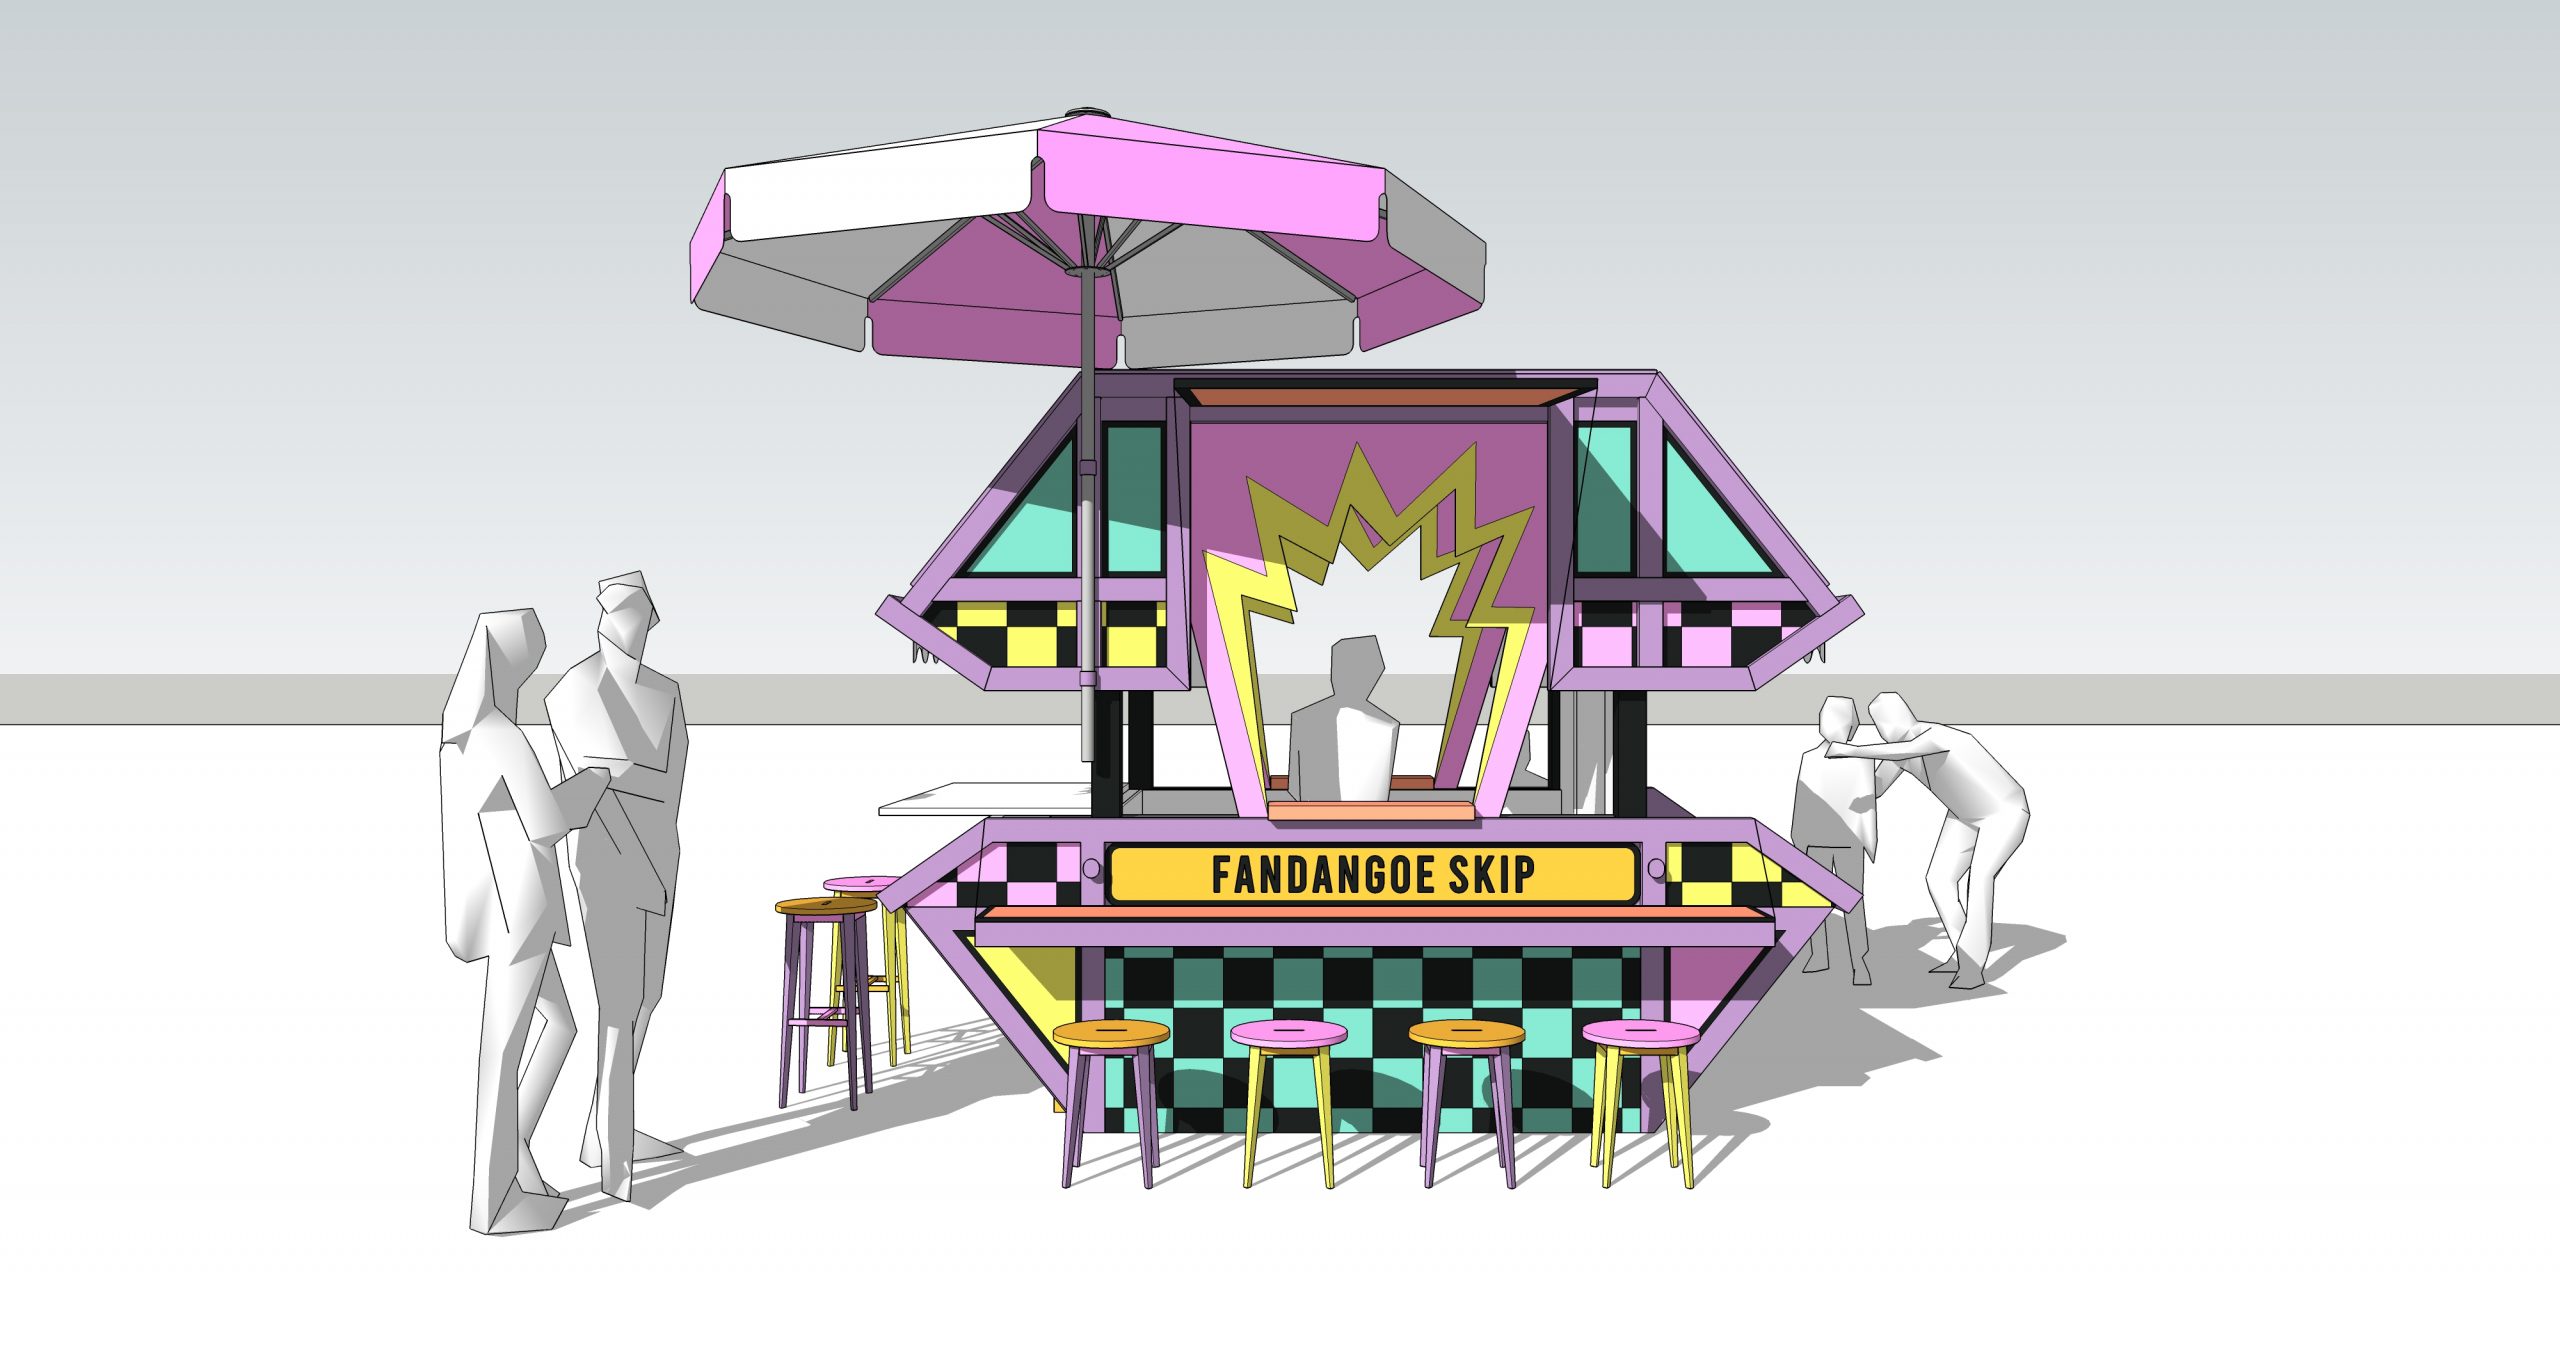
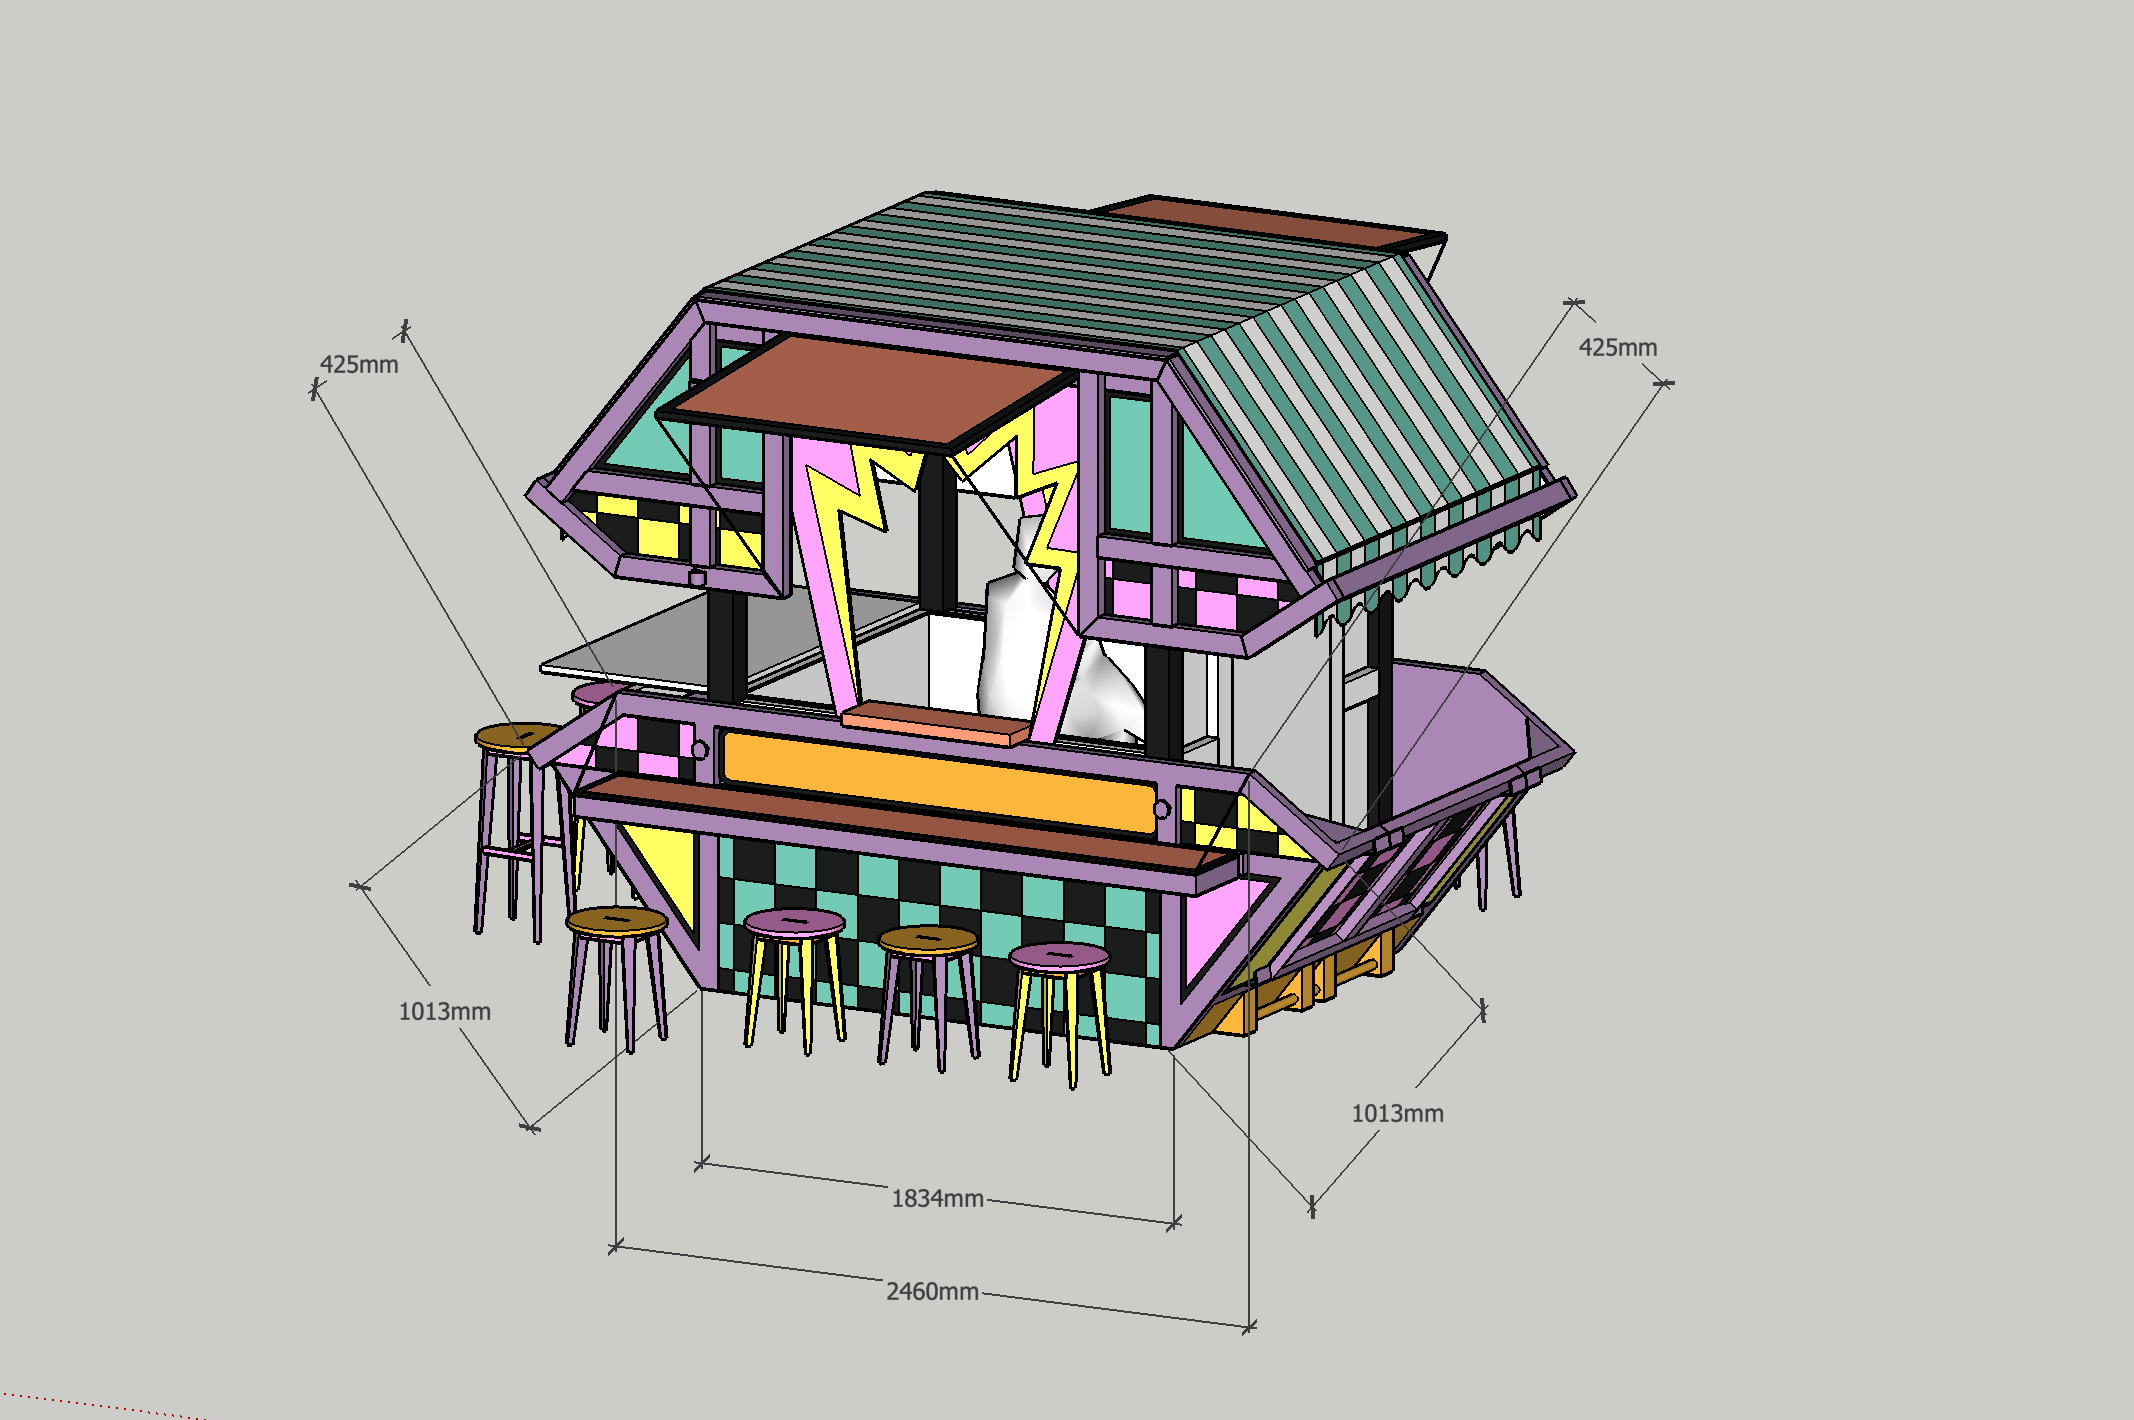
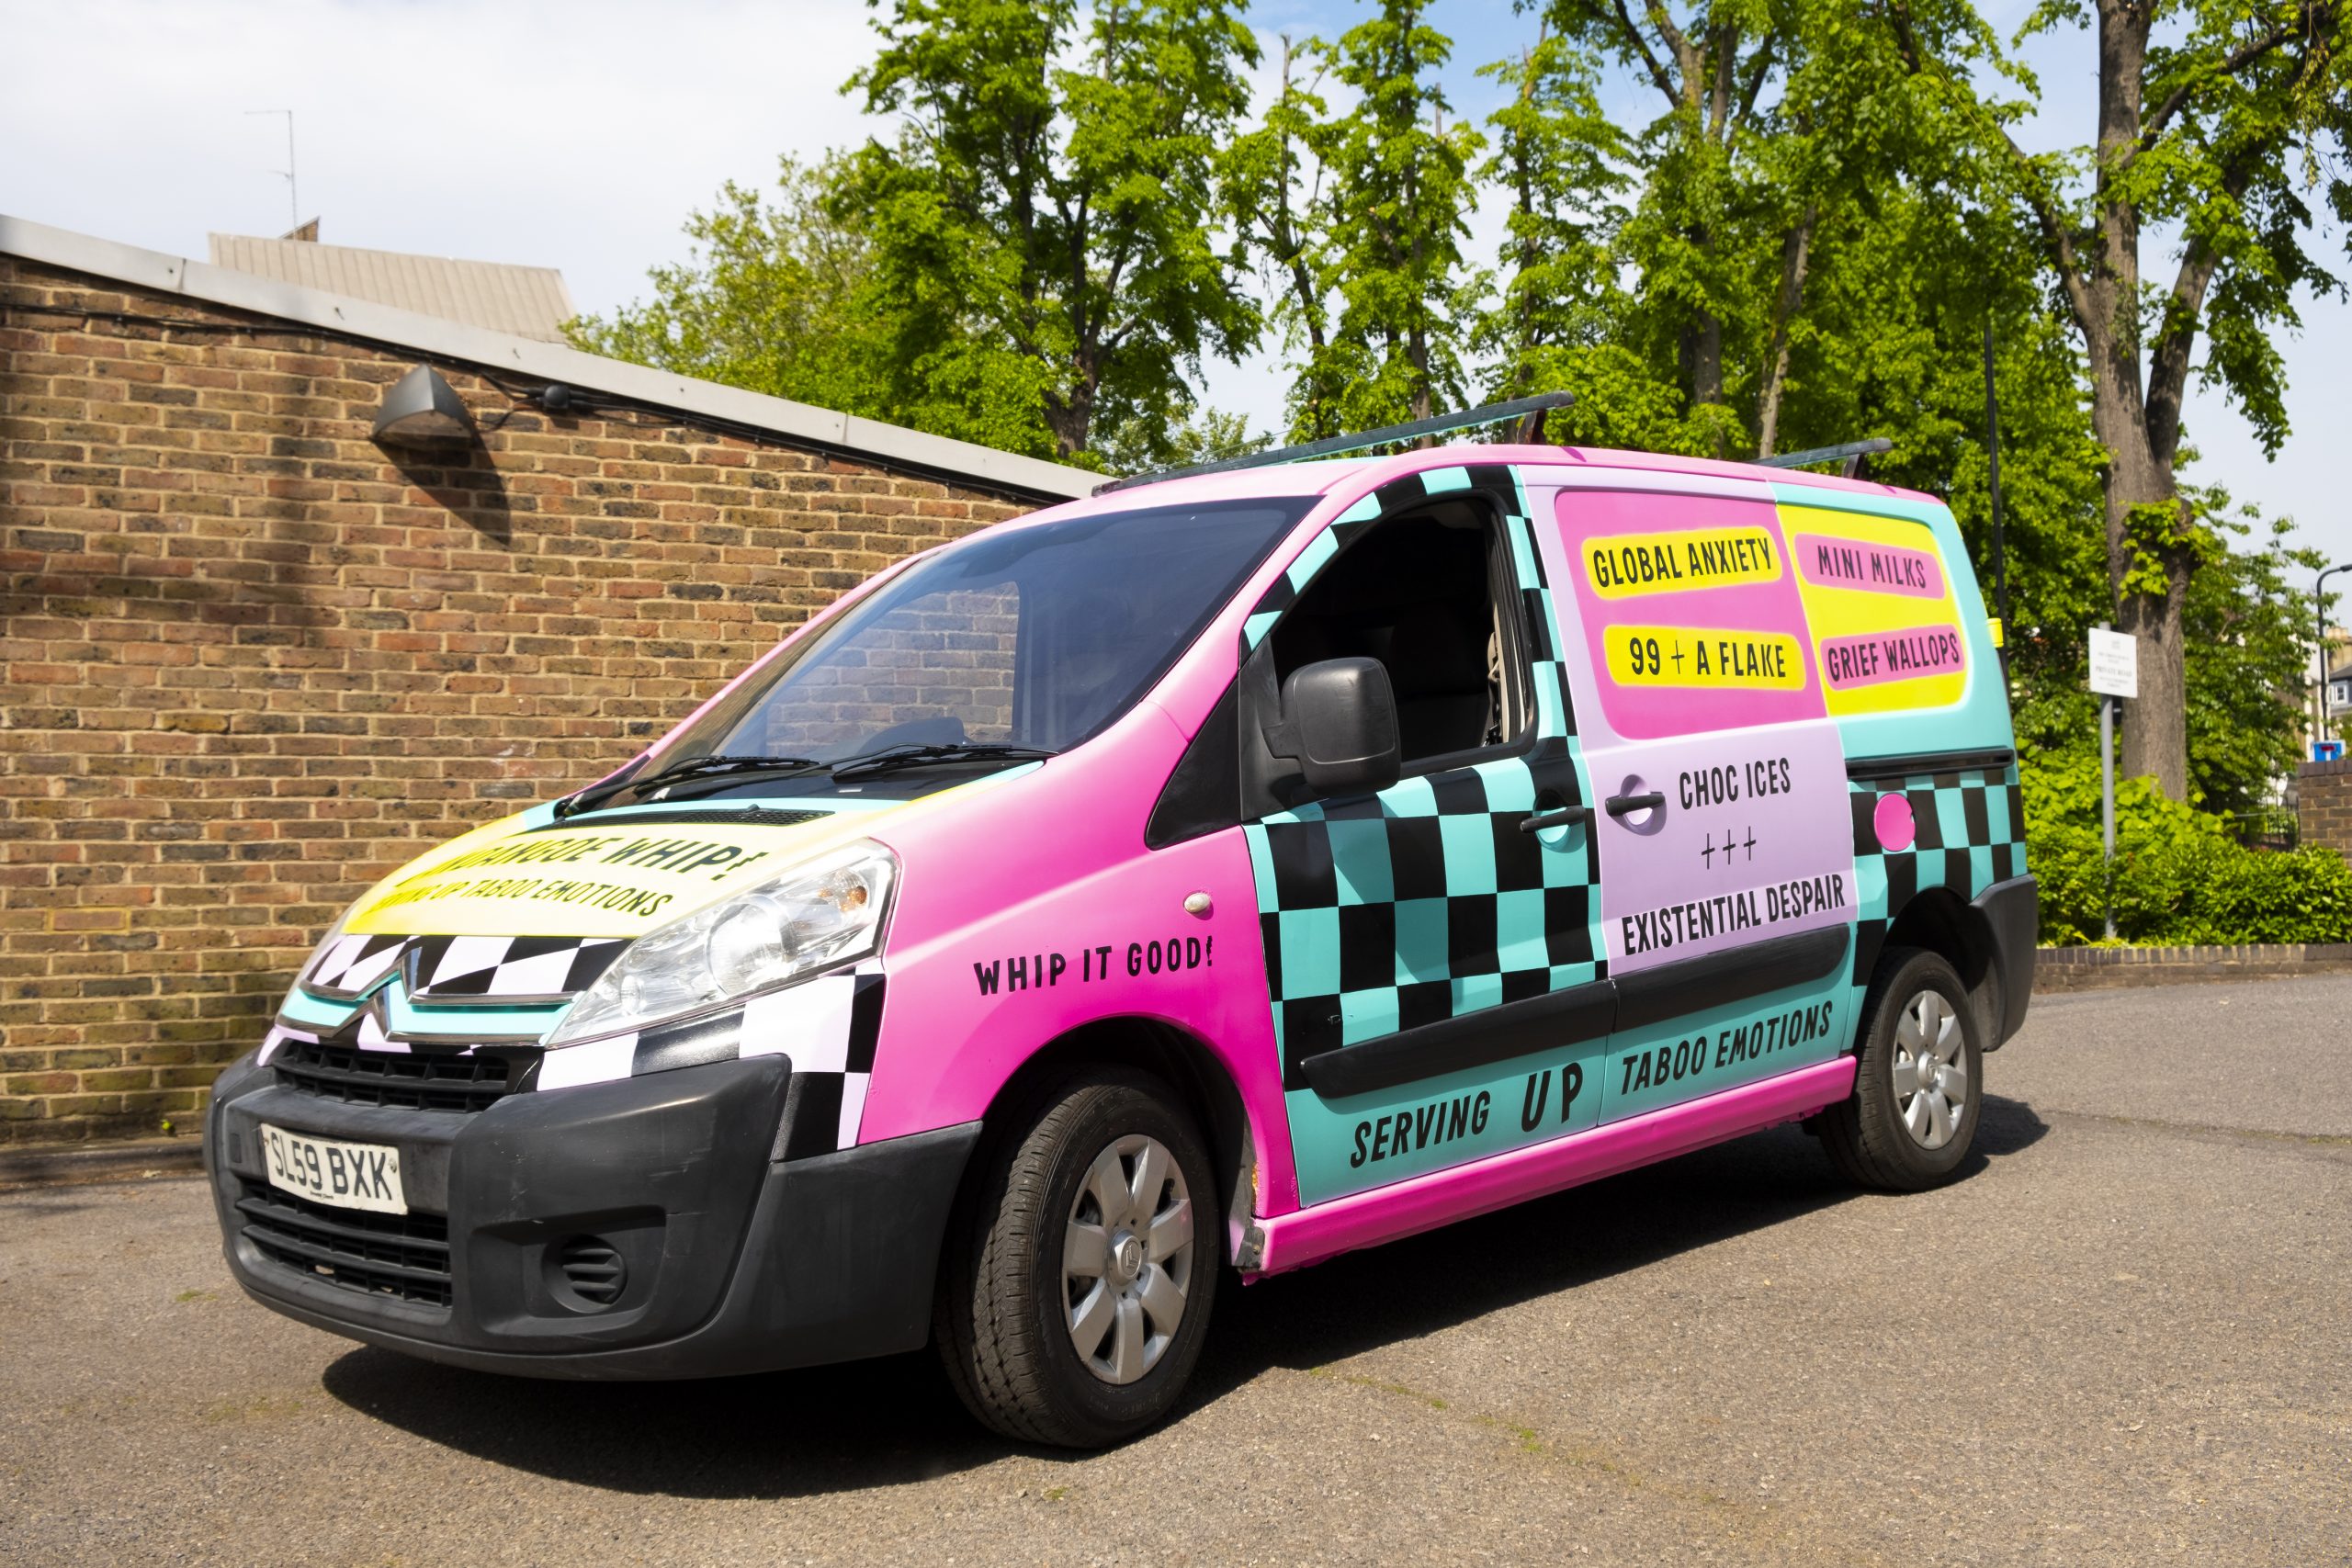
Together with Carly Attridge, founder of the grief-support charity The Loss Project, Annie first took to the road in her customised custom ice-cream van. She invited people to share their mental health struggles while enjoying a mint chocolate chip or tea. Still, the vision was to facilitate spaces for dialogue rather than come up with a prescriptive idea of what it is to grieve. Afterwards, Annie moved on to the skip project.
It’s a fantastic and worthy project, and we were happy to assist however possible!
Tool List:
- Masking Paper
- Masking Tape
- Multi Grade Sandpaper 80/120/320
- Degreaser
- Primer
- Pantone 1K Mixed Fluorescent Colours
- 2K Gloss Lacquer
The Prep:
Firstly, whether prepping for the van or the skip project, the process is essentially the same, apart from the severity of what you must work with. For example, if there is rust, this must be treated with a rust remover and wire brushes. If there are holes or damaged panels, we recommend you use filler and sand this flat. In our case, both projects just needed keying with some mid-grained sandpaper.
Once this was completed and all the dust was removed, we moved on to degreasing all the panels – again, this would be for both projects.
The Ground Coat:
If, like Annie, you have an apparent vision of what colours to use and where you would like to put them, we suggest masking off the specific areas you do not want to paint with masking tape and masking paper.
Secondly, prime the panels until they are covered – do not go overboard with this, as the primer is essentially the ‘butter’ on the bread. If you want your accompaniments to stick to it, you need to add ‘butter’ – the paint is the same. After this, apply a primer coat.
Once it’s covered, you have done your job. Let it cure between coats for half an hour to an hour, dependent on temperature, and for the final cure, leave it an hour at least.
The Base Coat:
When discussing colour, Annie had a clear identity for her projects and wanted to make them vivid and candy-coloured. She hoped to gain people’s attention, which was achieved!
Annie went for several fluorescent Pantone colours in acrylic-based paint. Again, please leave it to cure between coats for around half an hour, and remember that for the final cure, leave it for at least an hour.
The Top Coat:
In both cases, the top coat or the lacquer coat should always be a 2K (or 2 Pack) paint because this type of paint has a hardener in it and is designed to withstand adverse weather conditions and even some common abrasion and minor chemicals.
The key to the top coat is to ensure you have finished all other paints, and this is all that is left as this way, you are only focussing on getting this right. We understand that it is a lot easier to remove a 1K paint and restart than with a 2K paint due to the chemical compound and the fact you have to relay everything all over again.
Ensure to mix the contents of the lacquer in the can thoroughly and then apply the lacquer in light coats to avoid any runs in the paint.
TOP TIP: Should you get any runs, do not attempt to remove them. Always let the lacquer fully cure, sand them off with some fine sandpaper, and then re-apply the lacquer to the affected area. Also, keep in mind to maintain the temperature around room temperature or above to remove any possibilities of “fogging”.
Finally, ensure no one is within the realm of your painting facility unless they wear the appropriate mask and eye protection to enhance safety precautions.
Once you have finished, open the area and let as much air circulation in as possible to let the fumes out. Leave a couple of hours between coats and the final cure for 2K paint – we suggest 24 hours.
The Final Word:
We loved being part of this admirable project – the results are fantastic on every level. The paint did the job and looks lovely, as we would expect; however, the actual project is raising awareness of the charity and promoting the well-being of everyone.
We highly recommend you review the work done by Annie Frost Nicholson in the pictures and article printed in a recent copy of Elle Decoration.
Thank you for letting us be a part of this project. Onwards and upward to the next one.