This project followed our previous replica of the bust of Peter Weller’s Robocop, which is a lengthy yet easy and fun process, making it a great one for you to follow along with at home!
Tool List:
- Multi Grade Sandpaper 80/120/320
- Fine Plastic Filler
- 2K Black Filler
- 1K Silver Acrylic Paint
- 1K Coloured Lacquer Paint
- 2K Gloss Black Paint
- 2K Gloss Lacquer
Method:
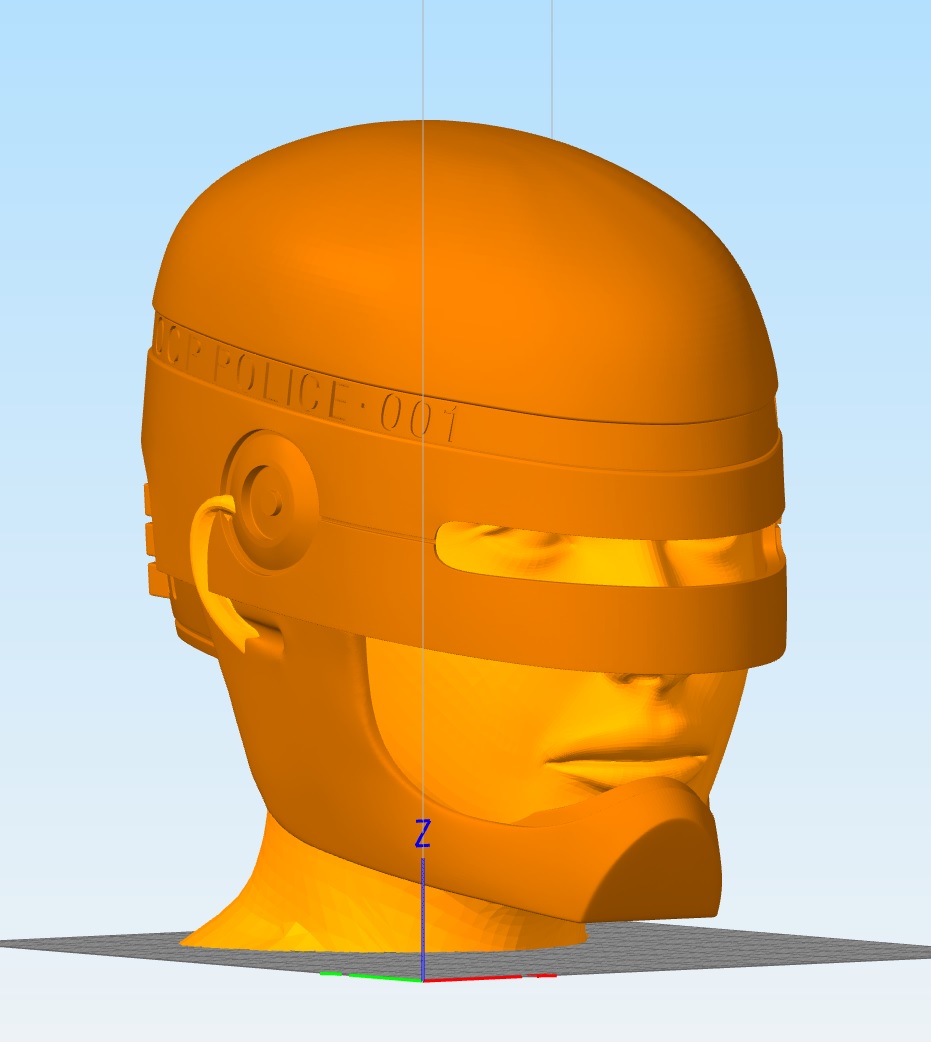
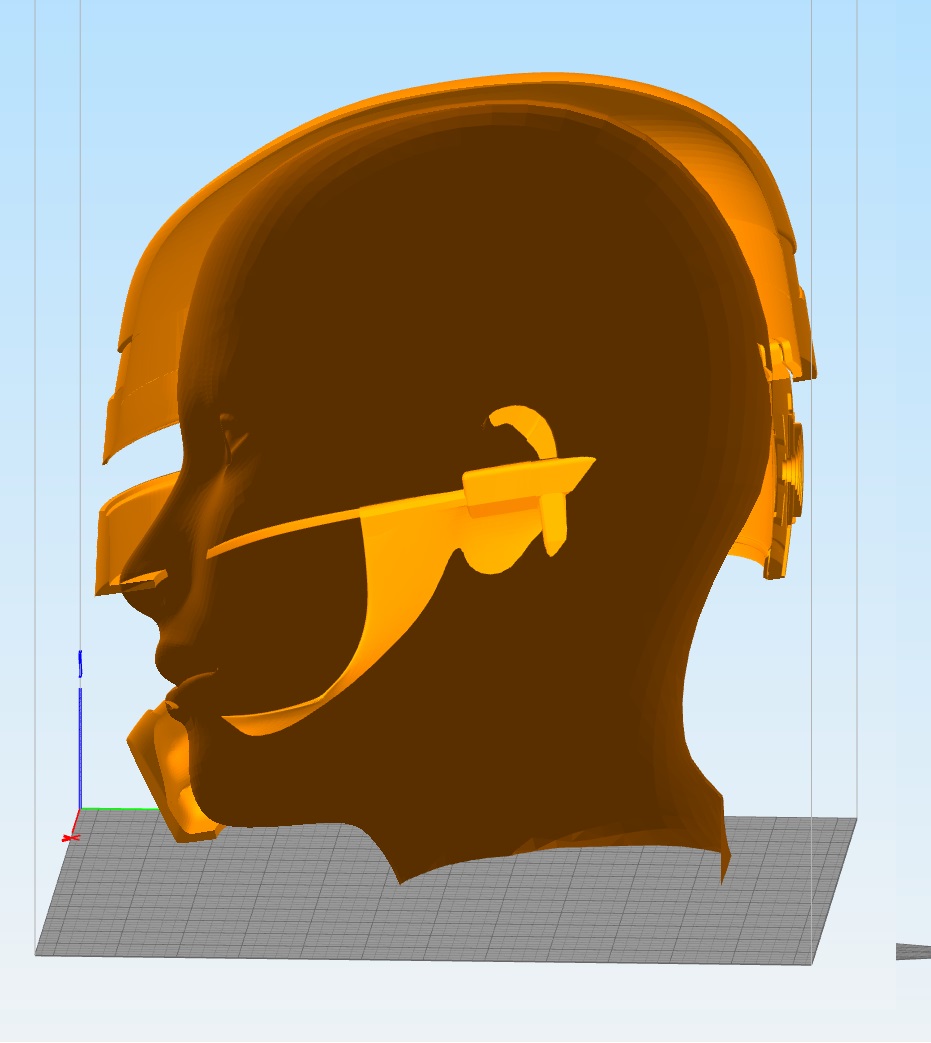
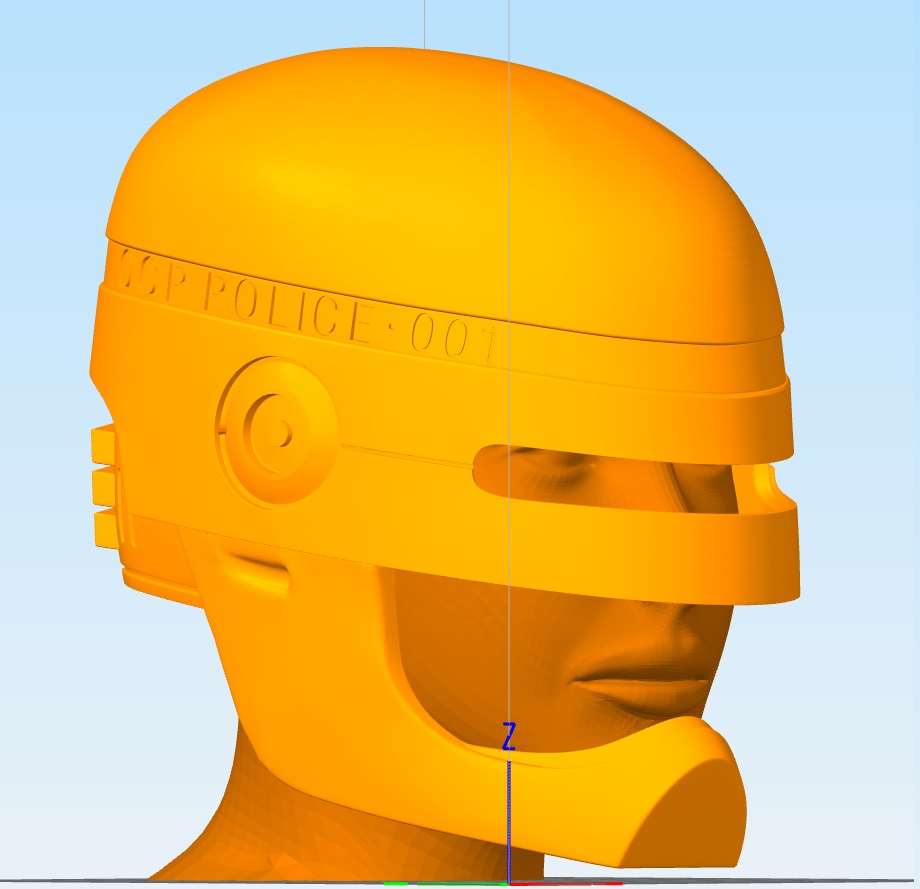
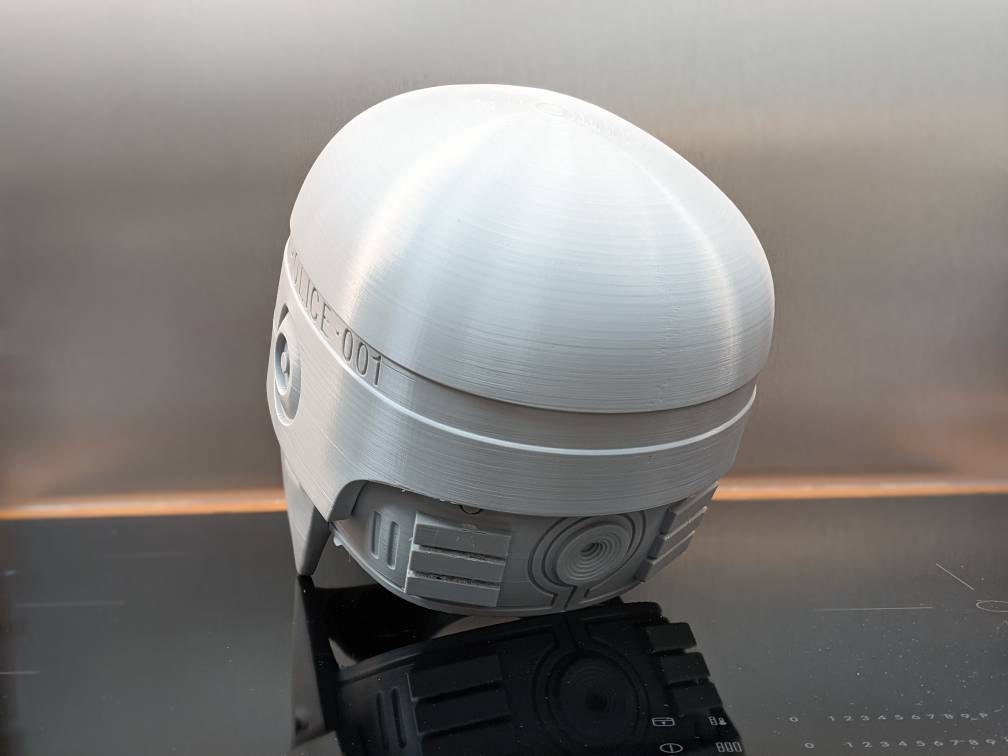
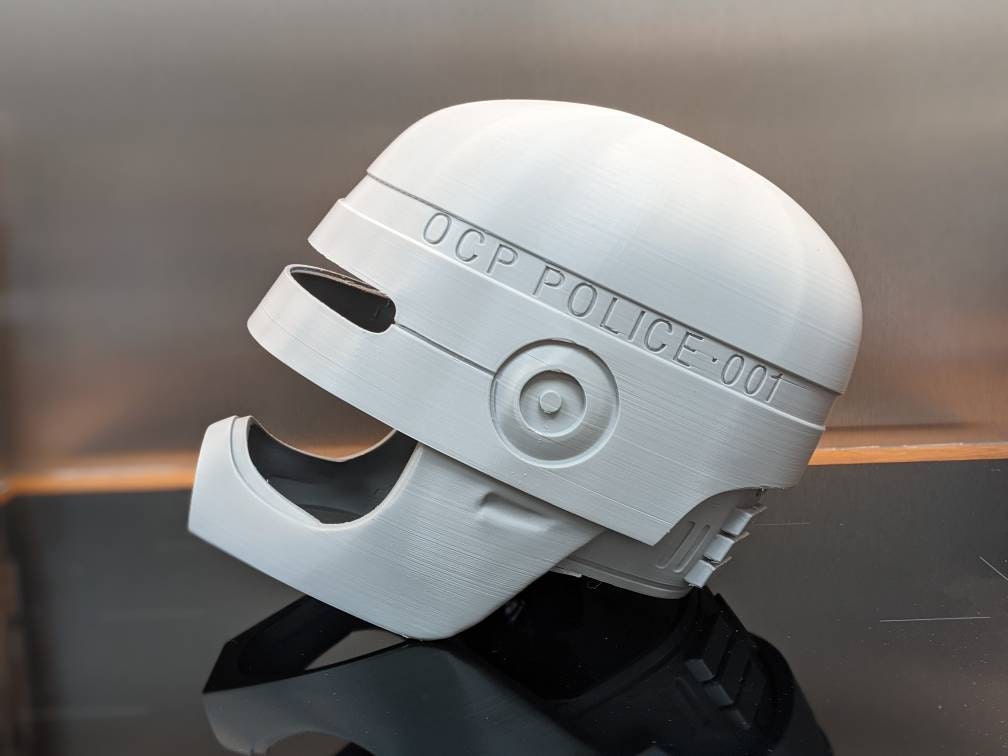
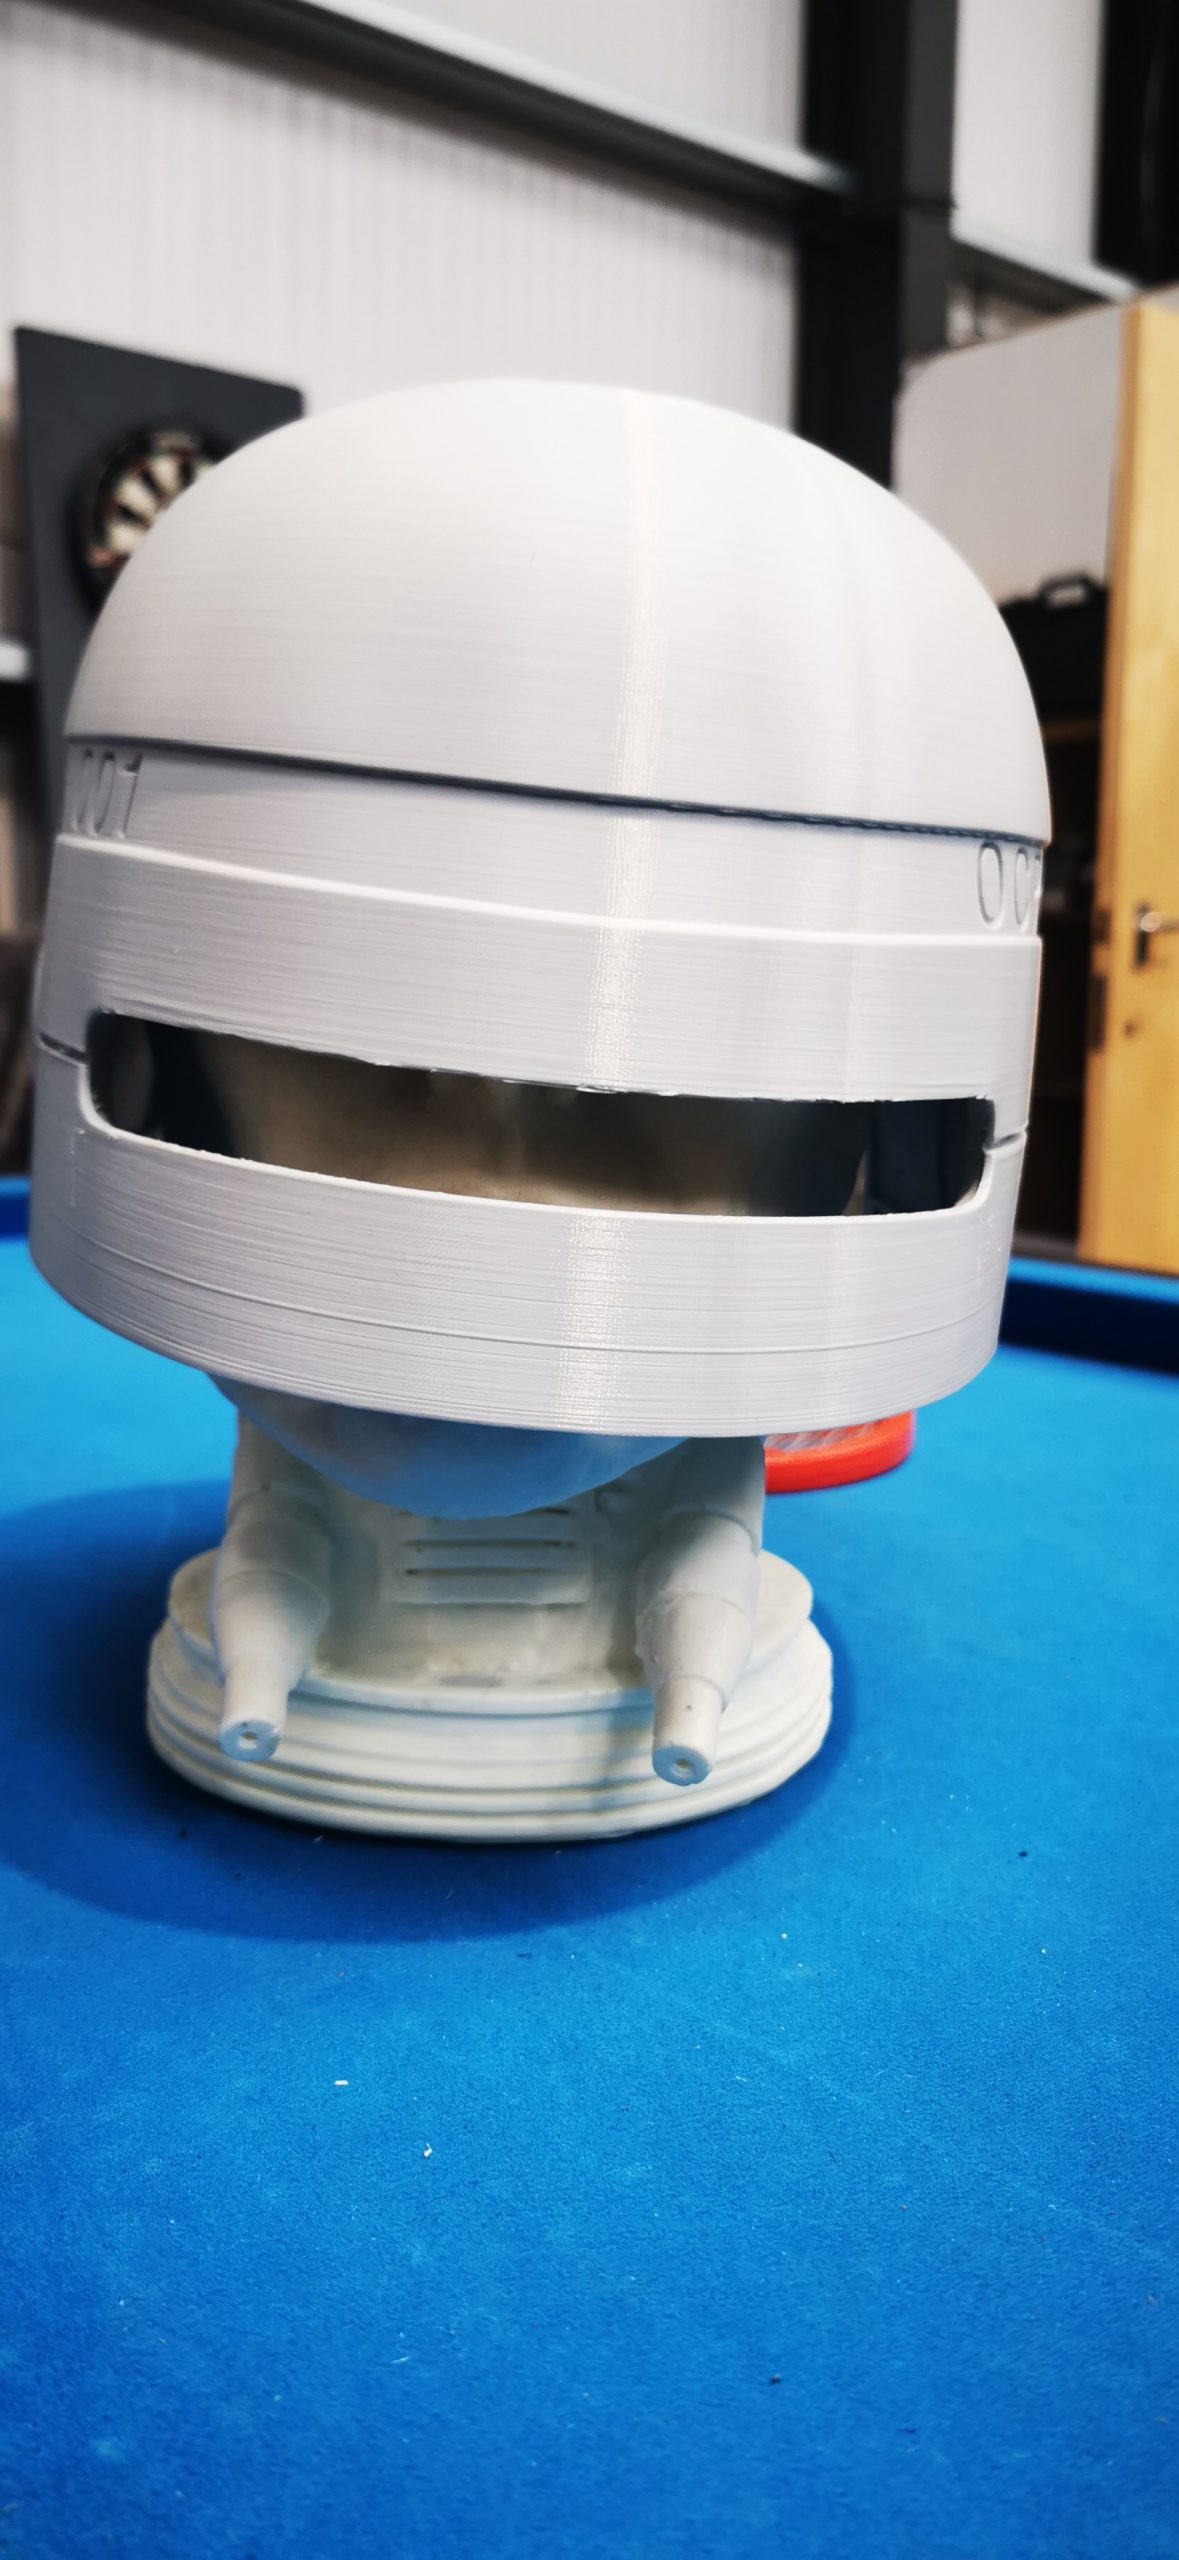
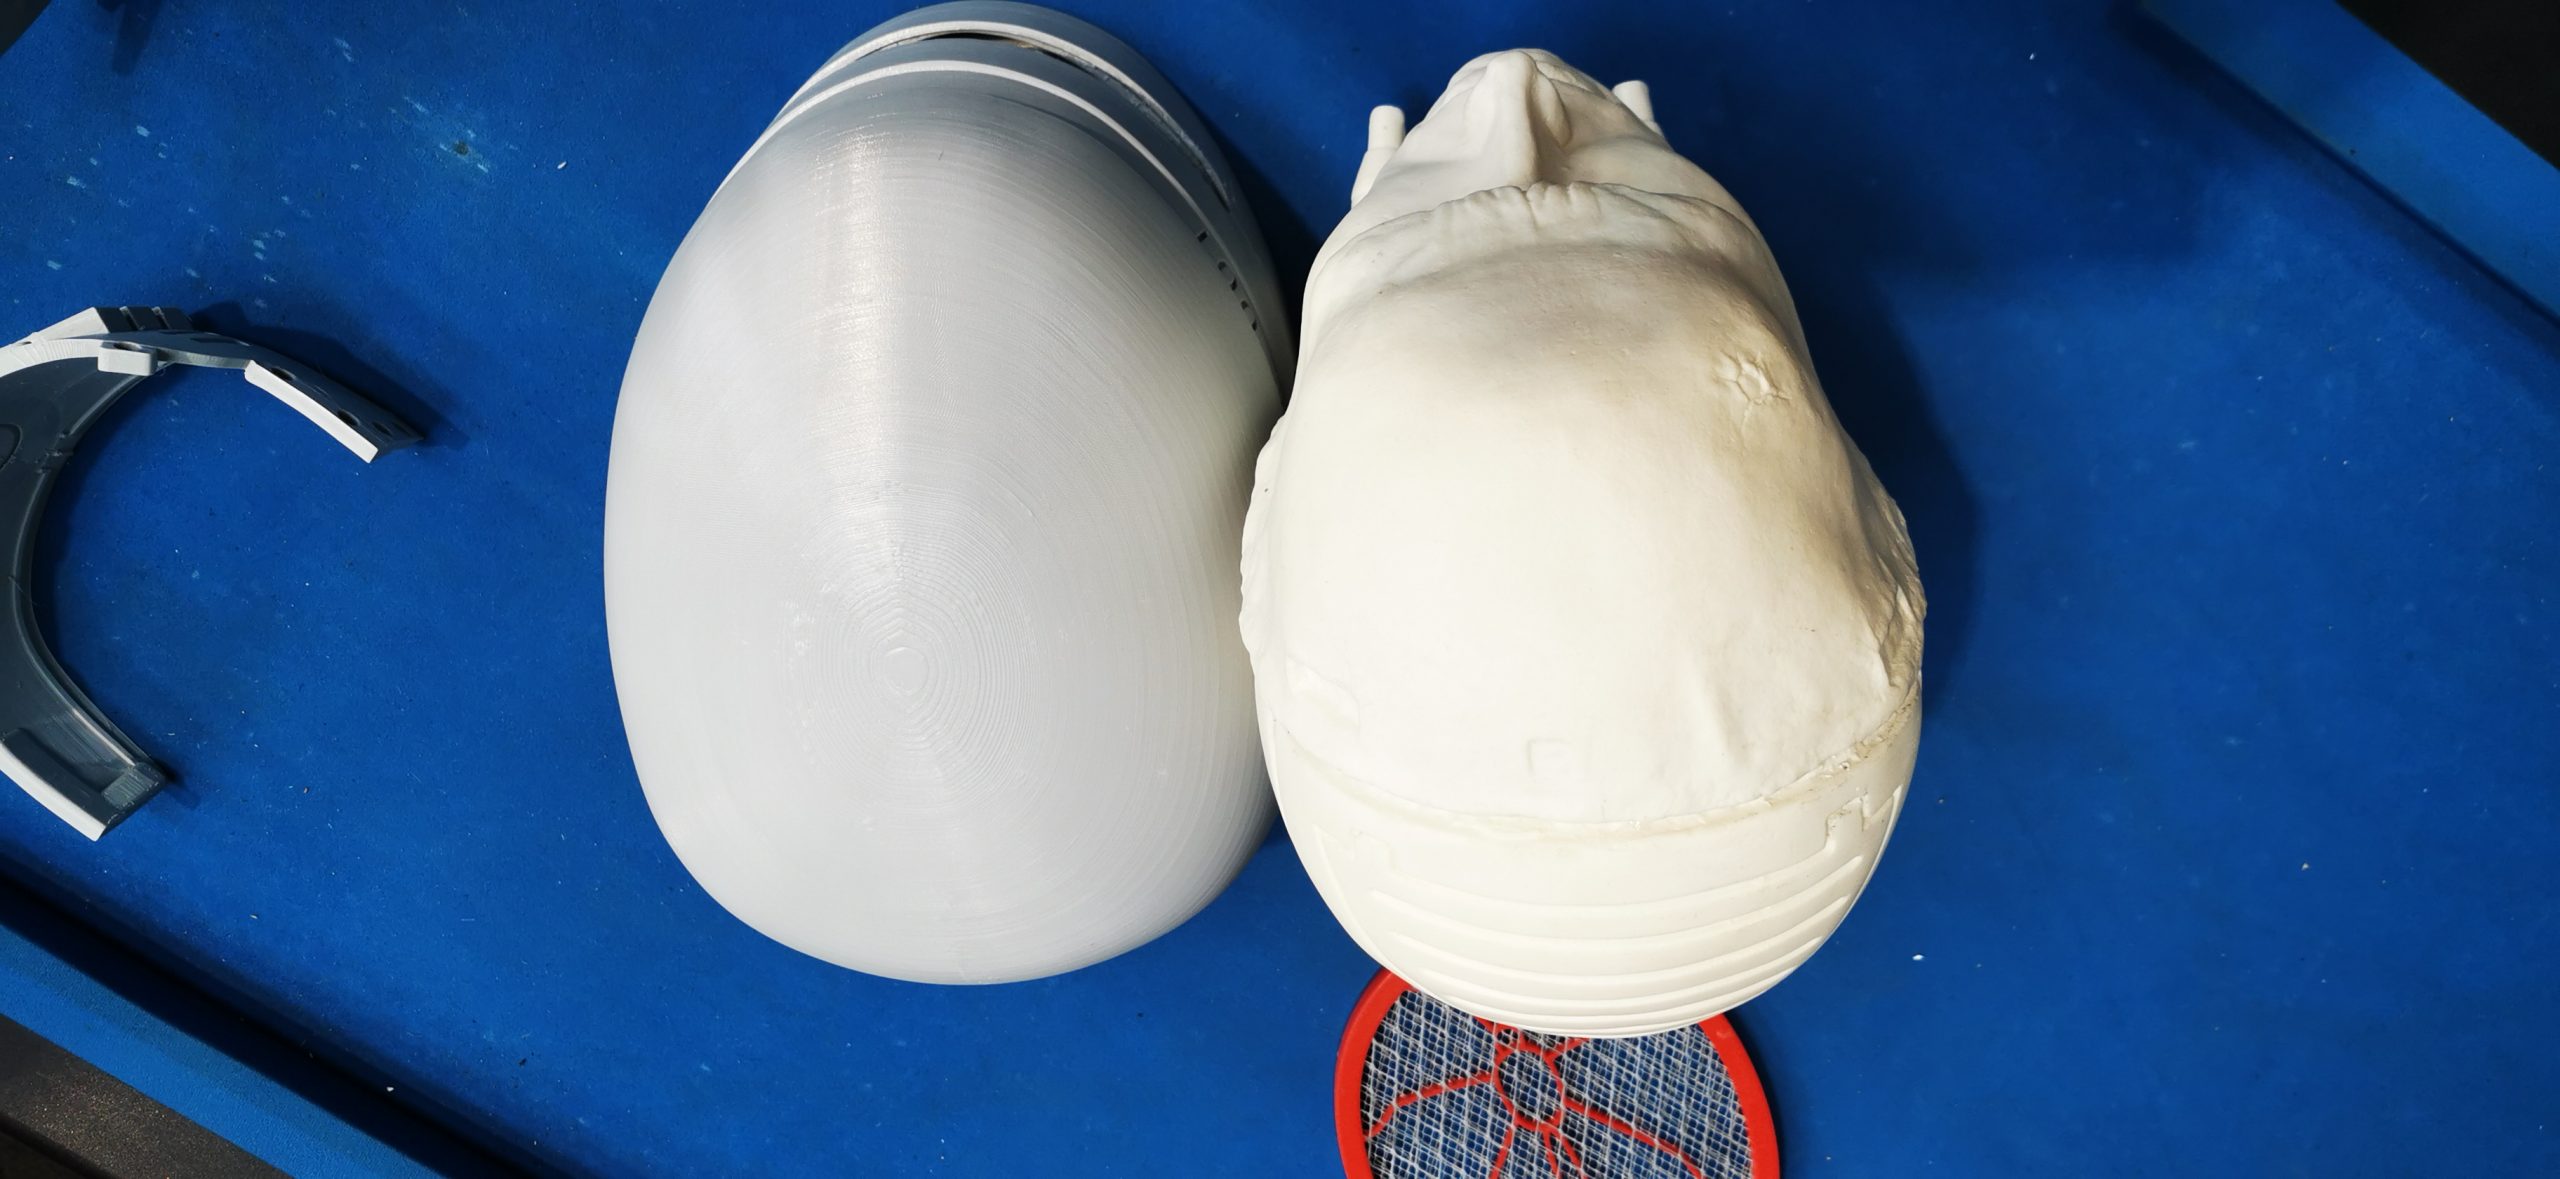
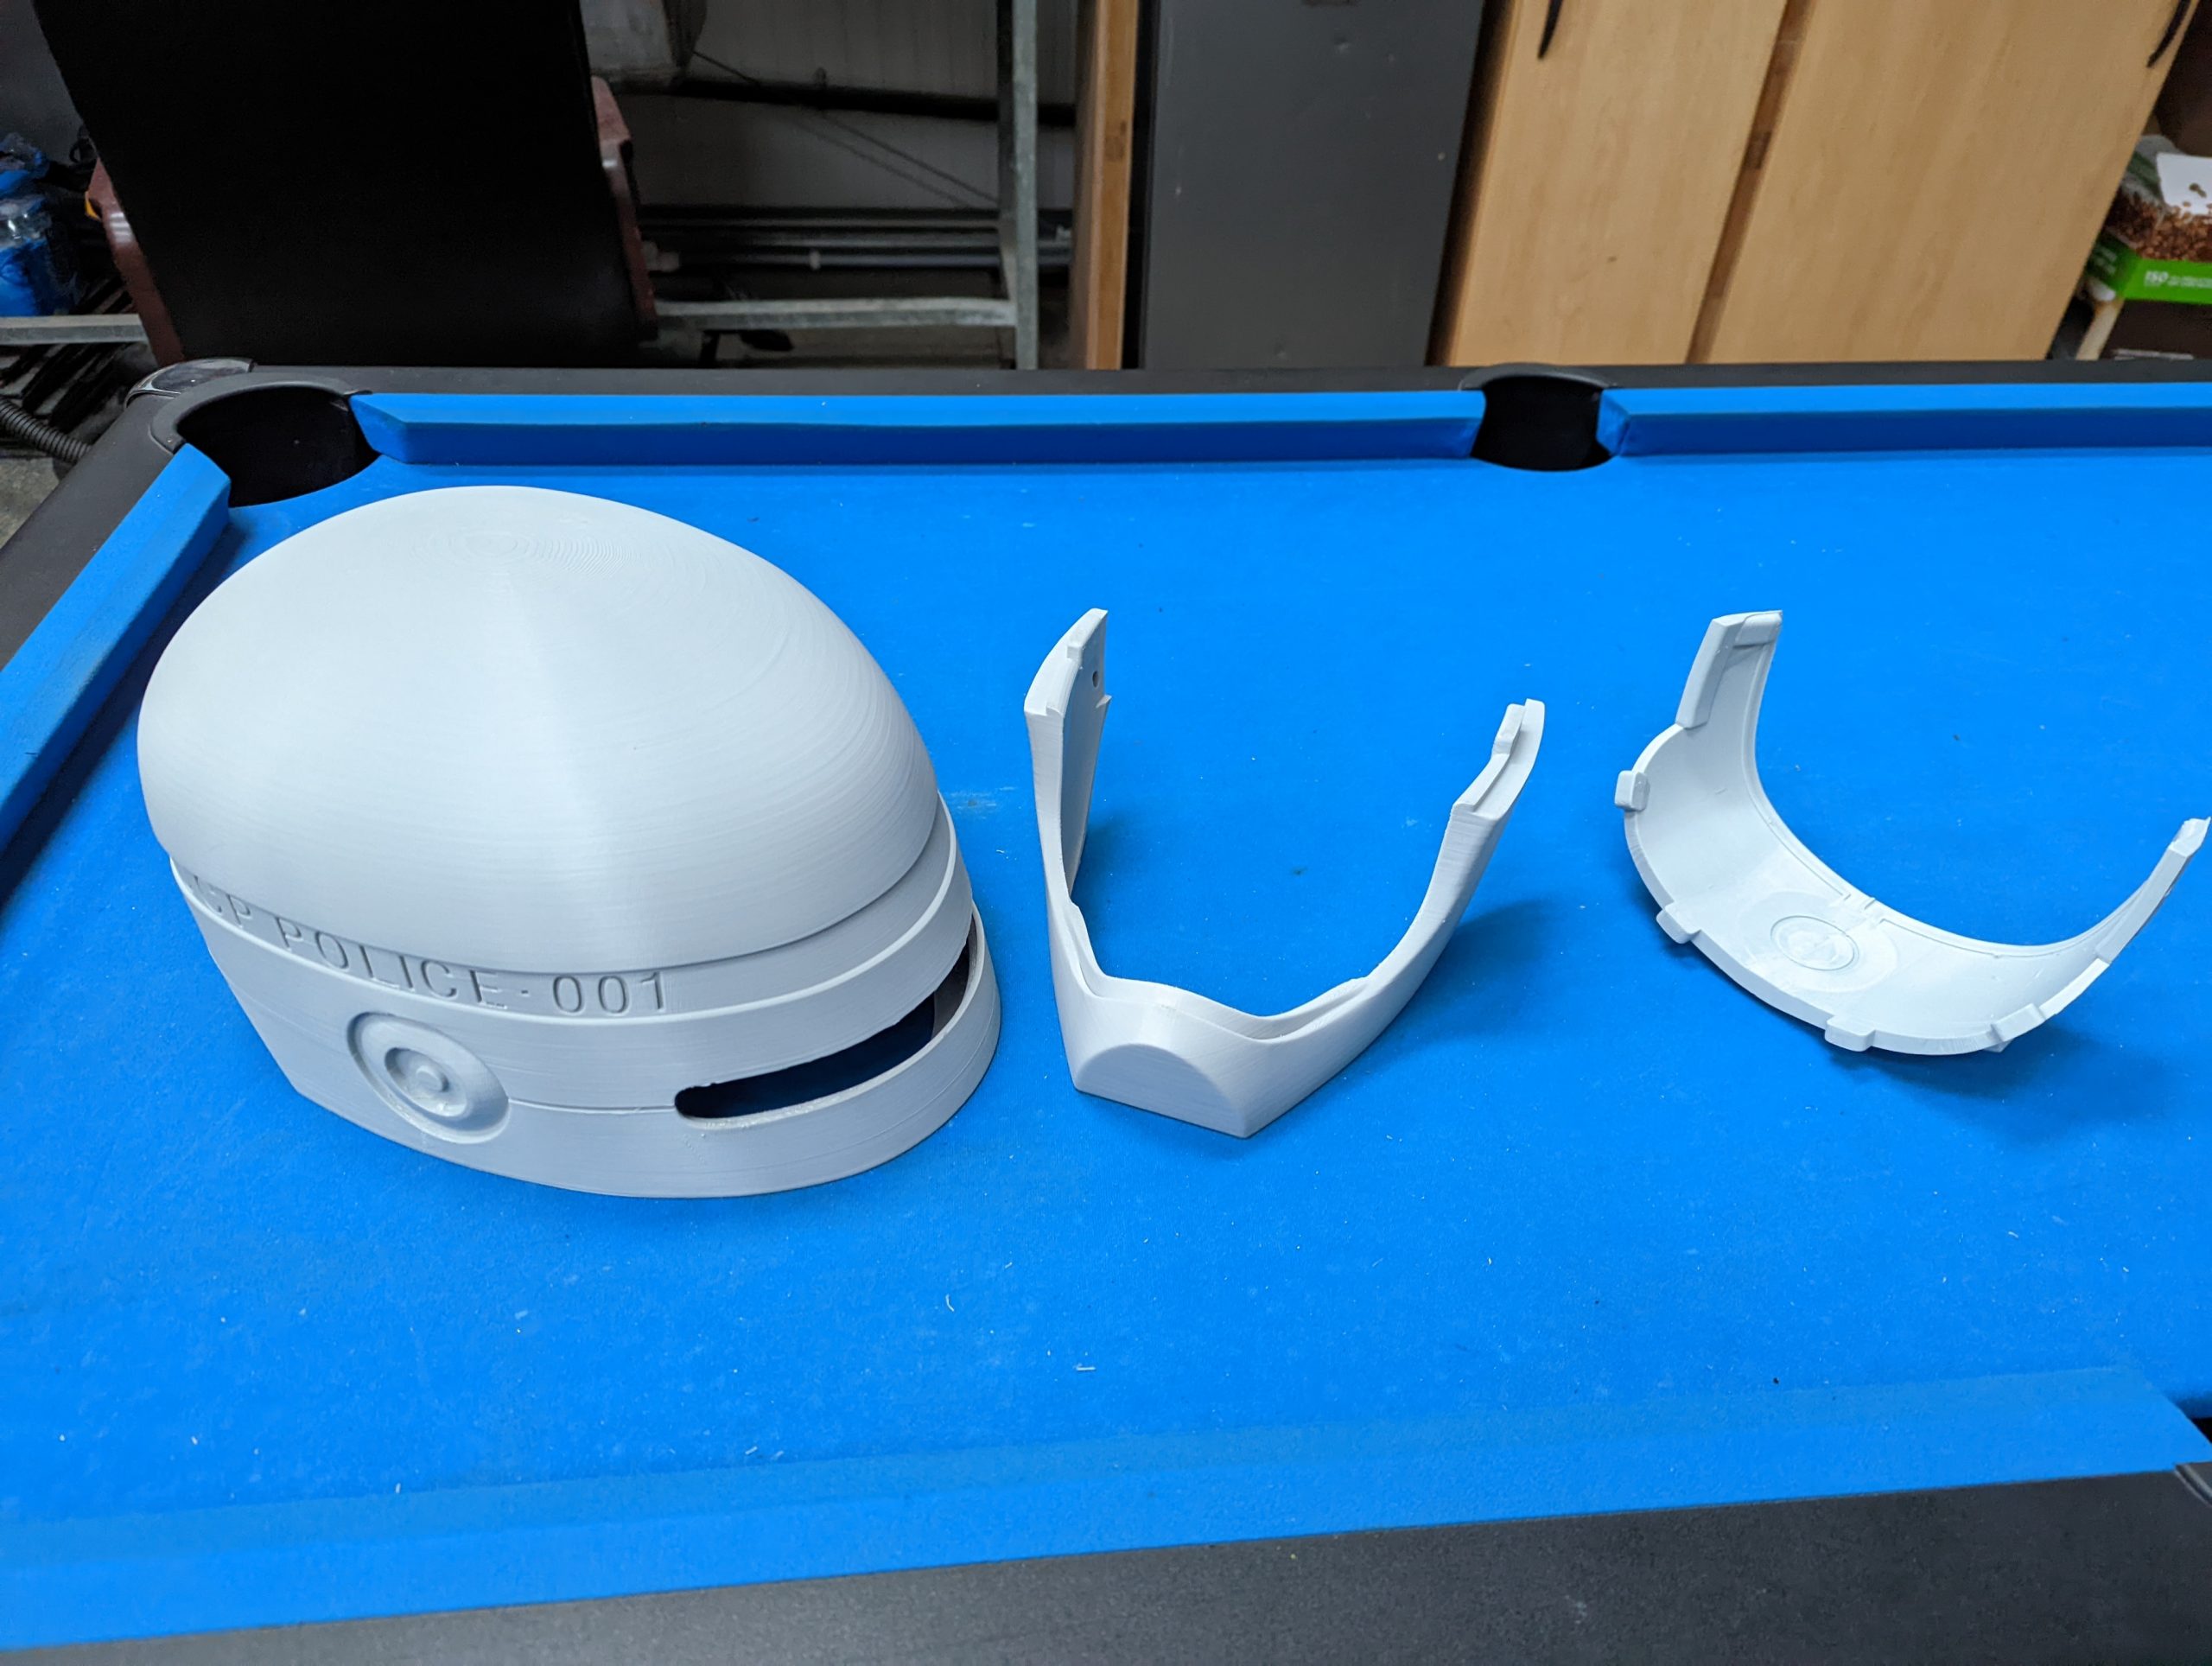
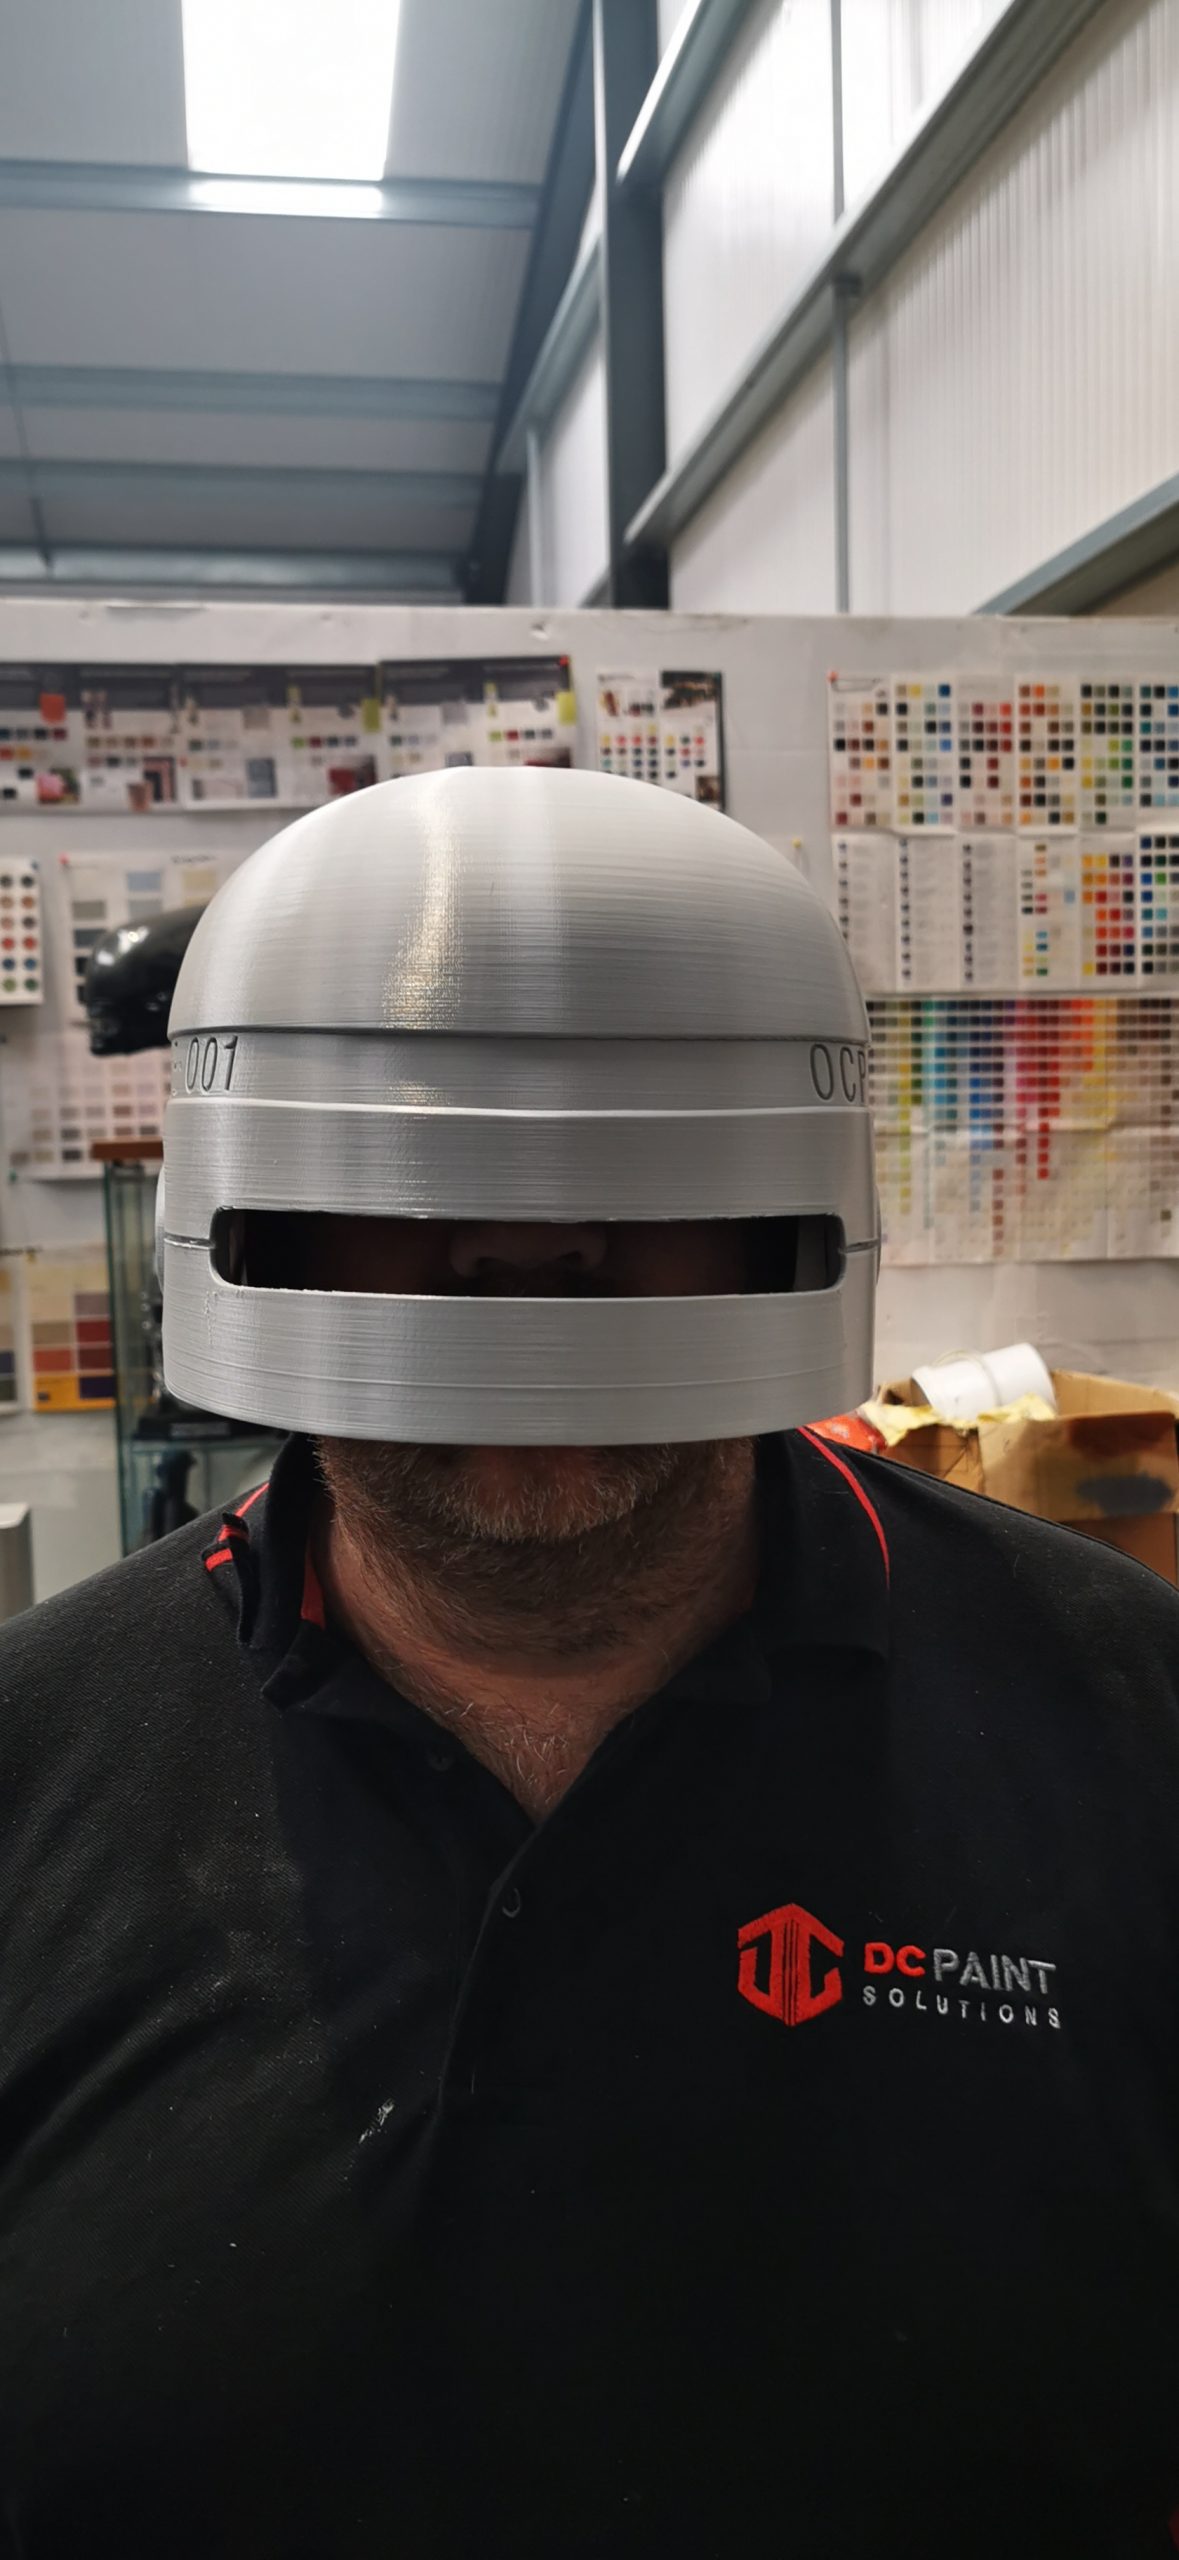
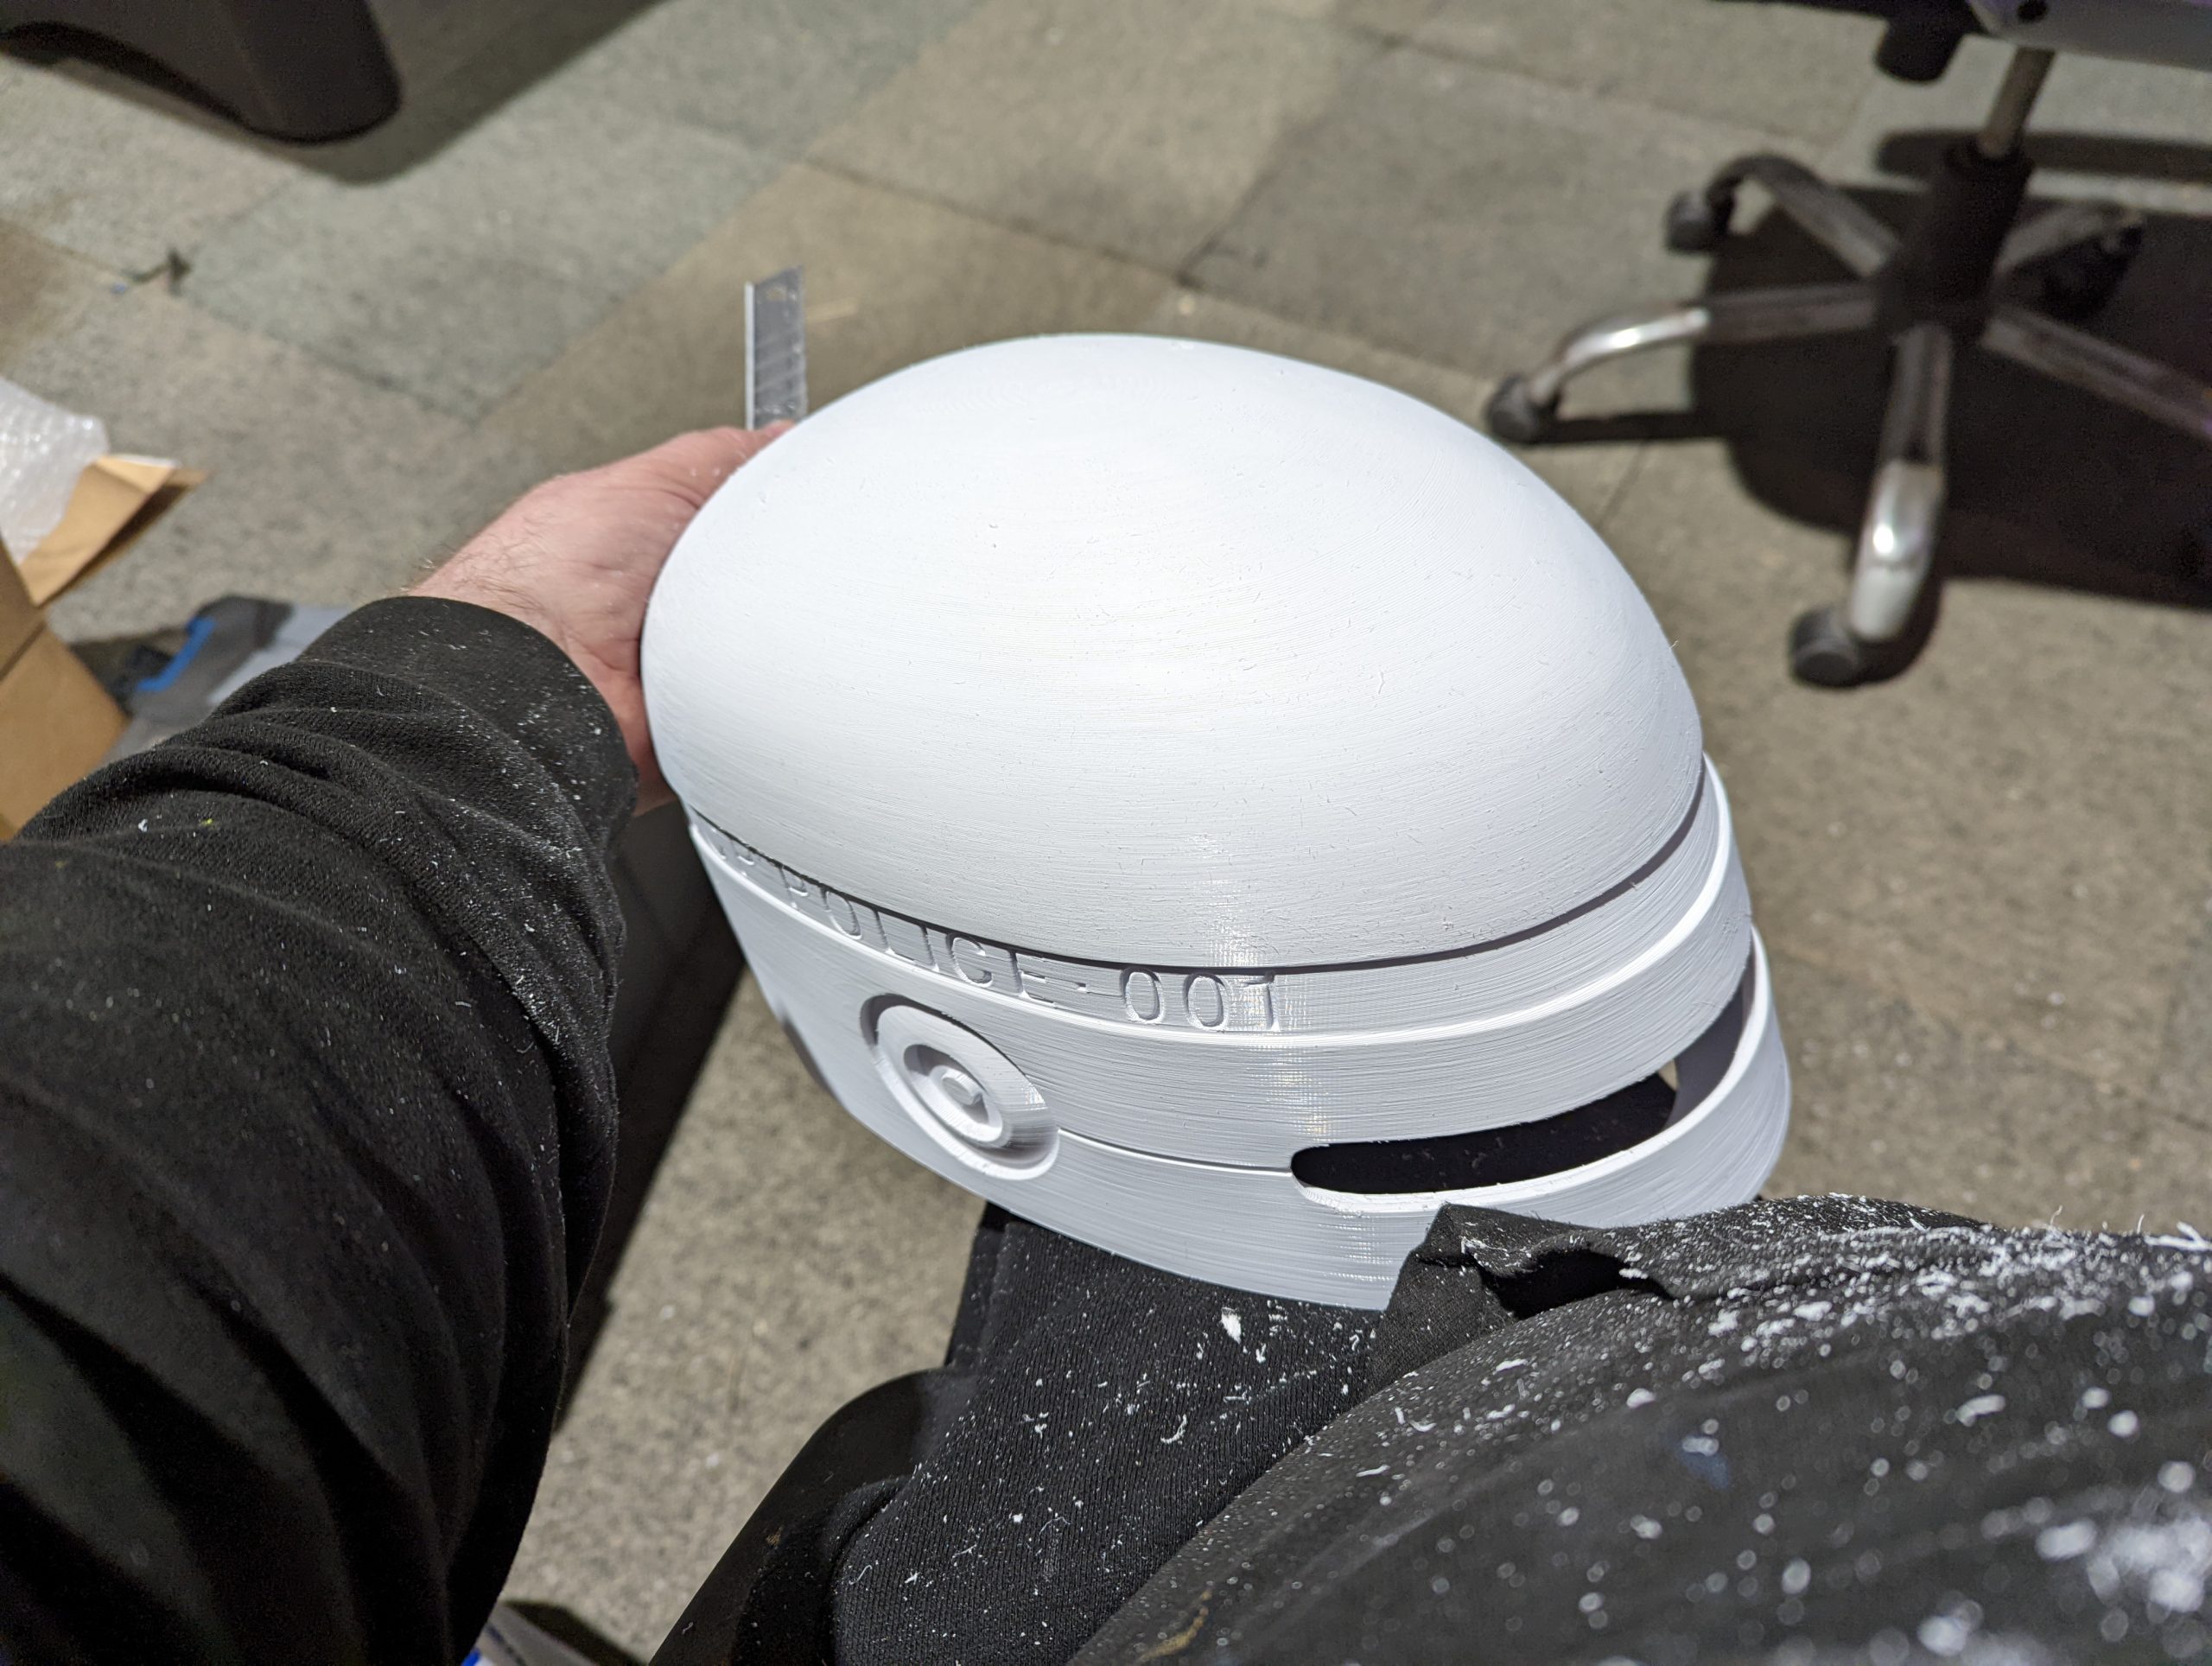
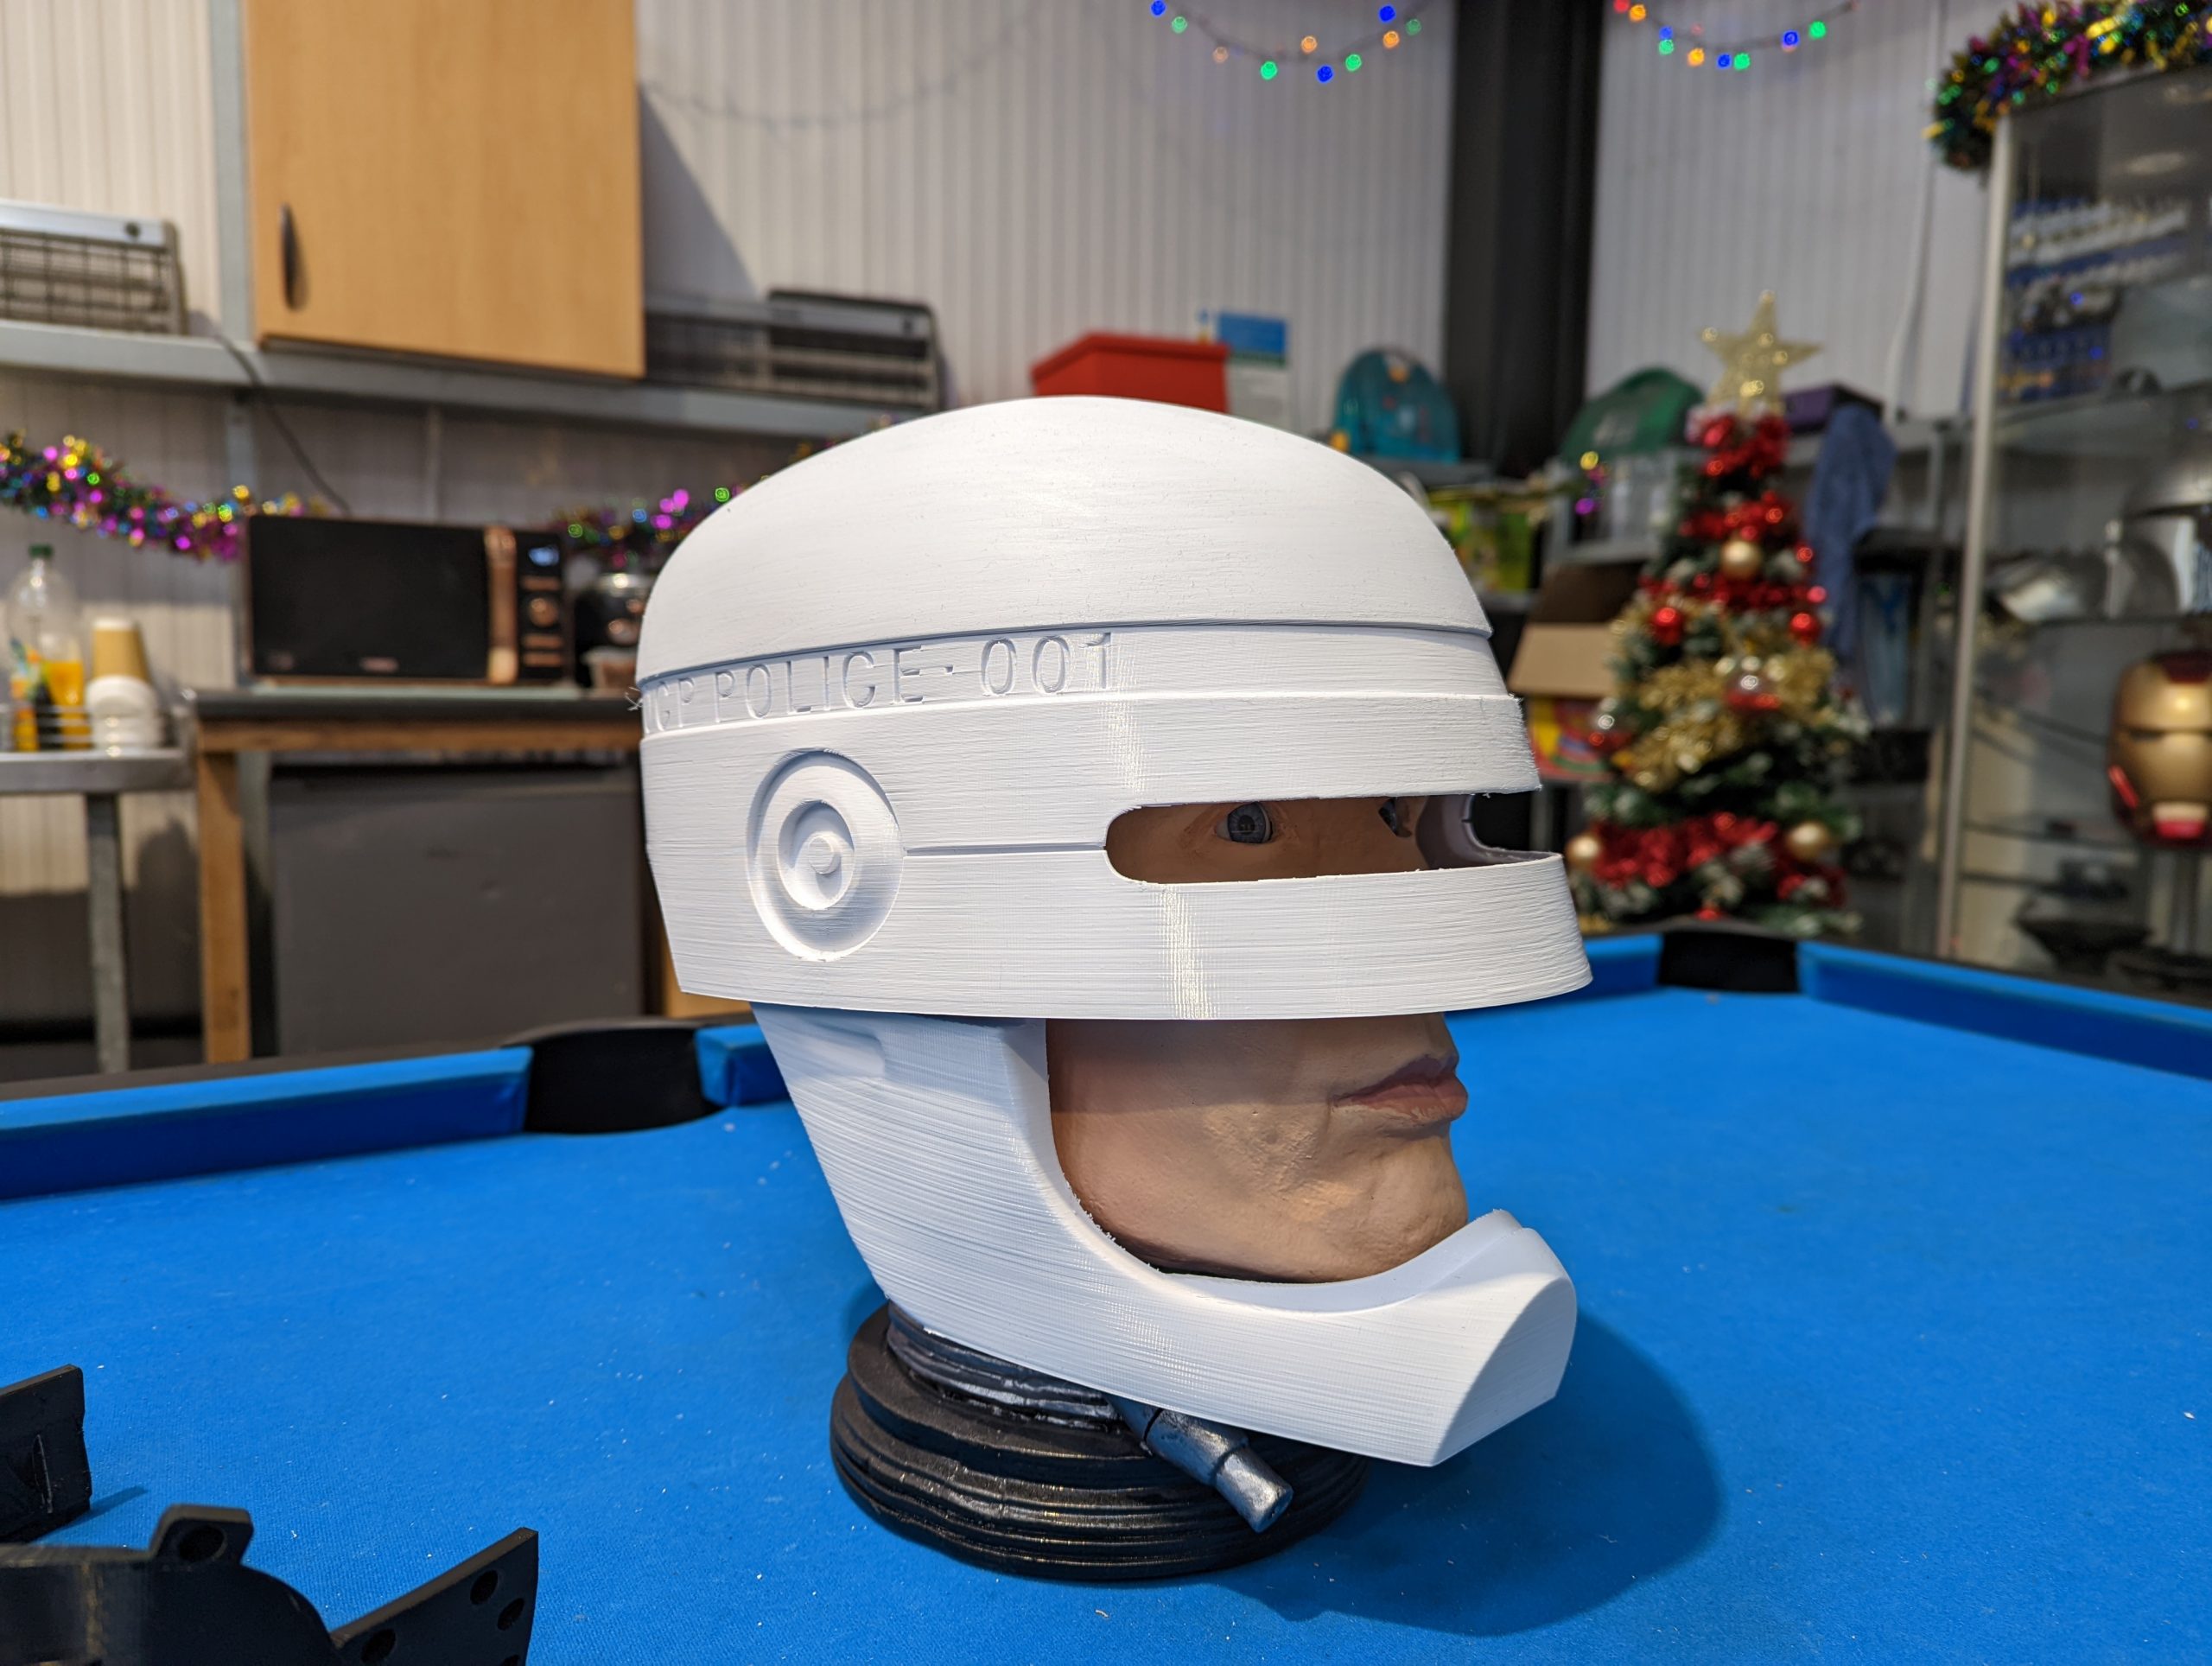
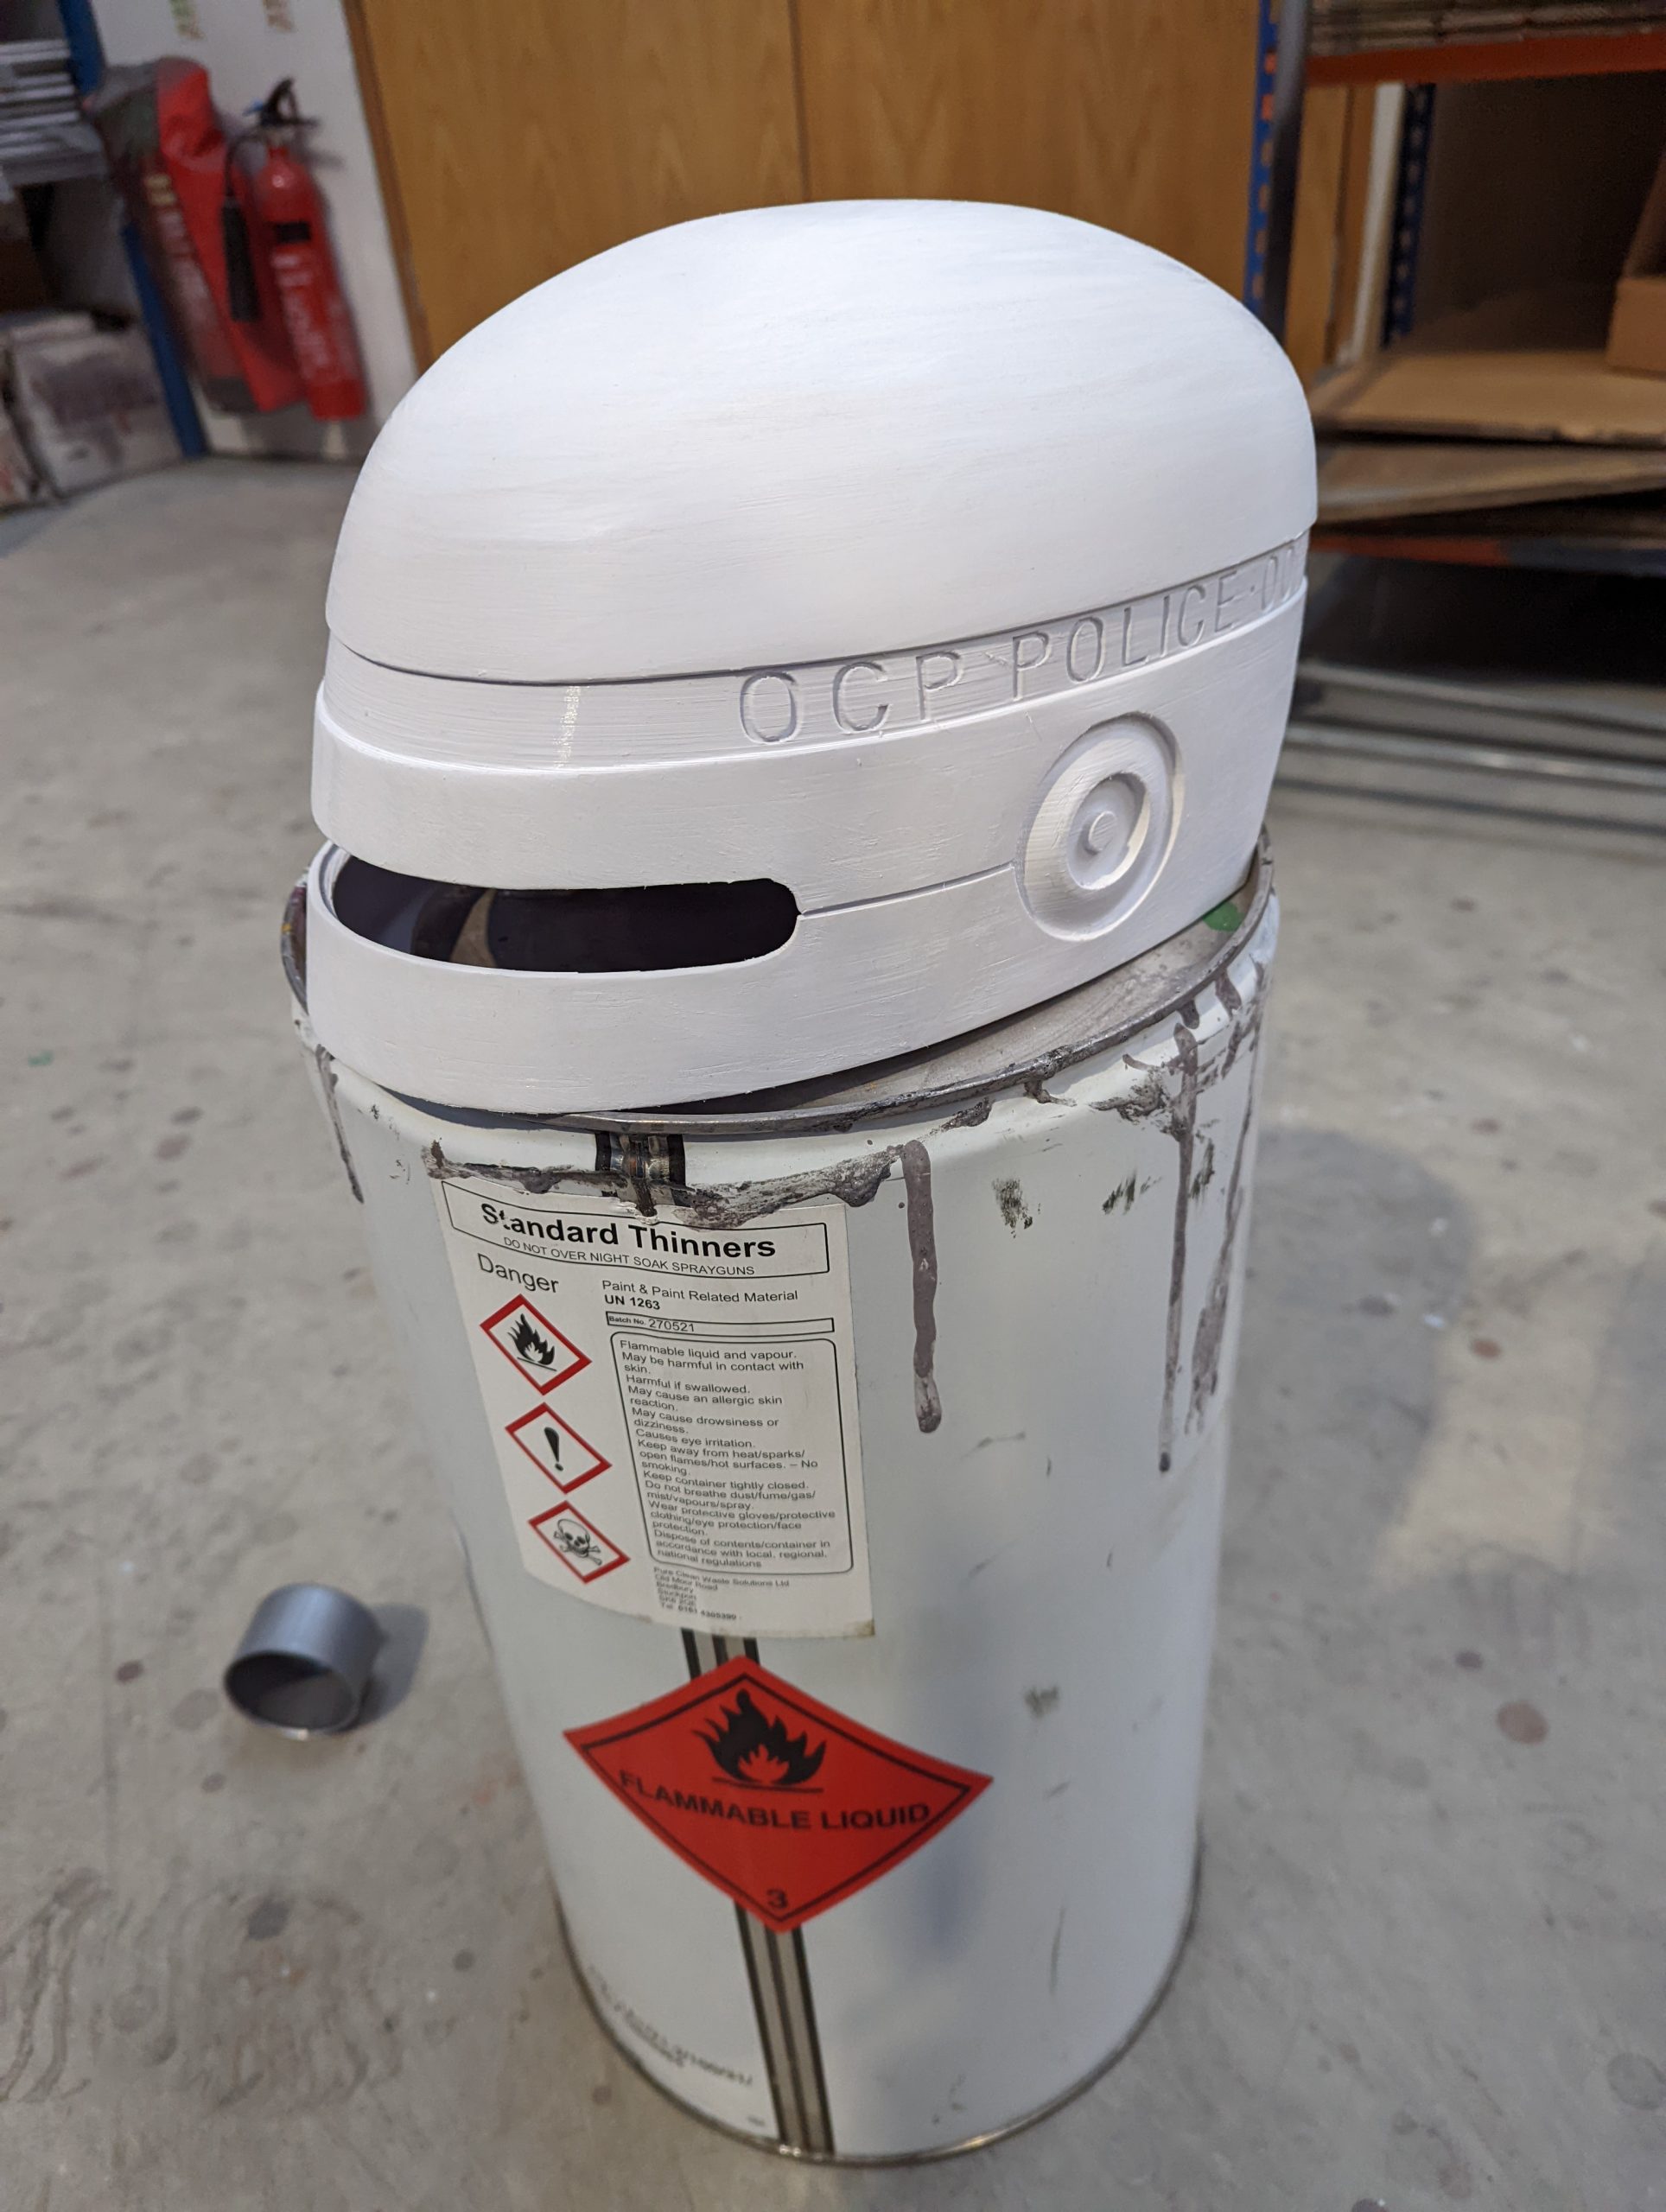
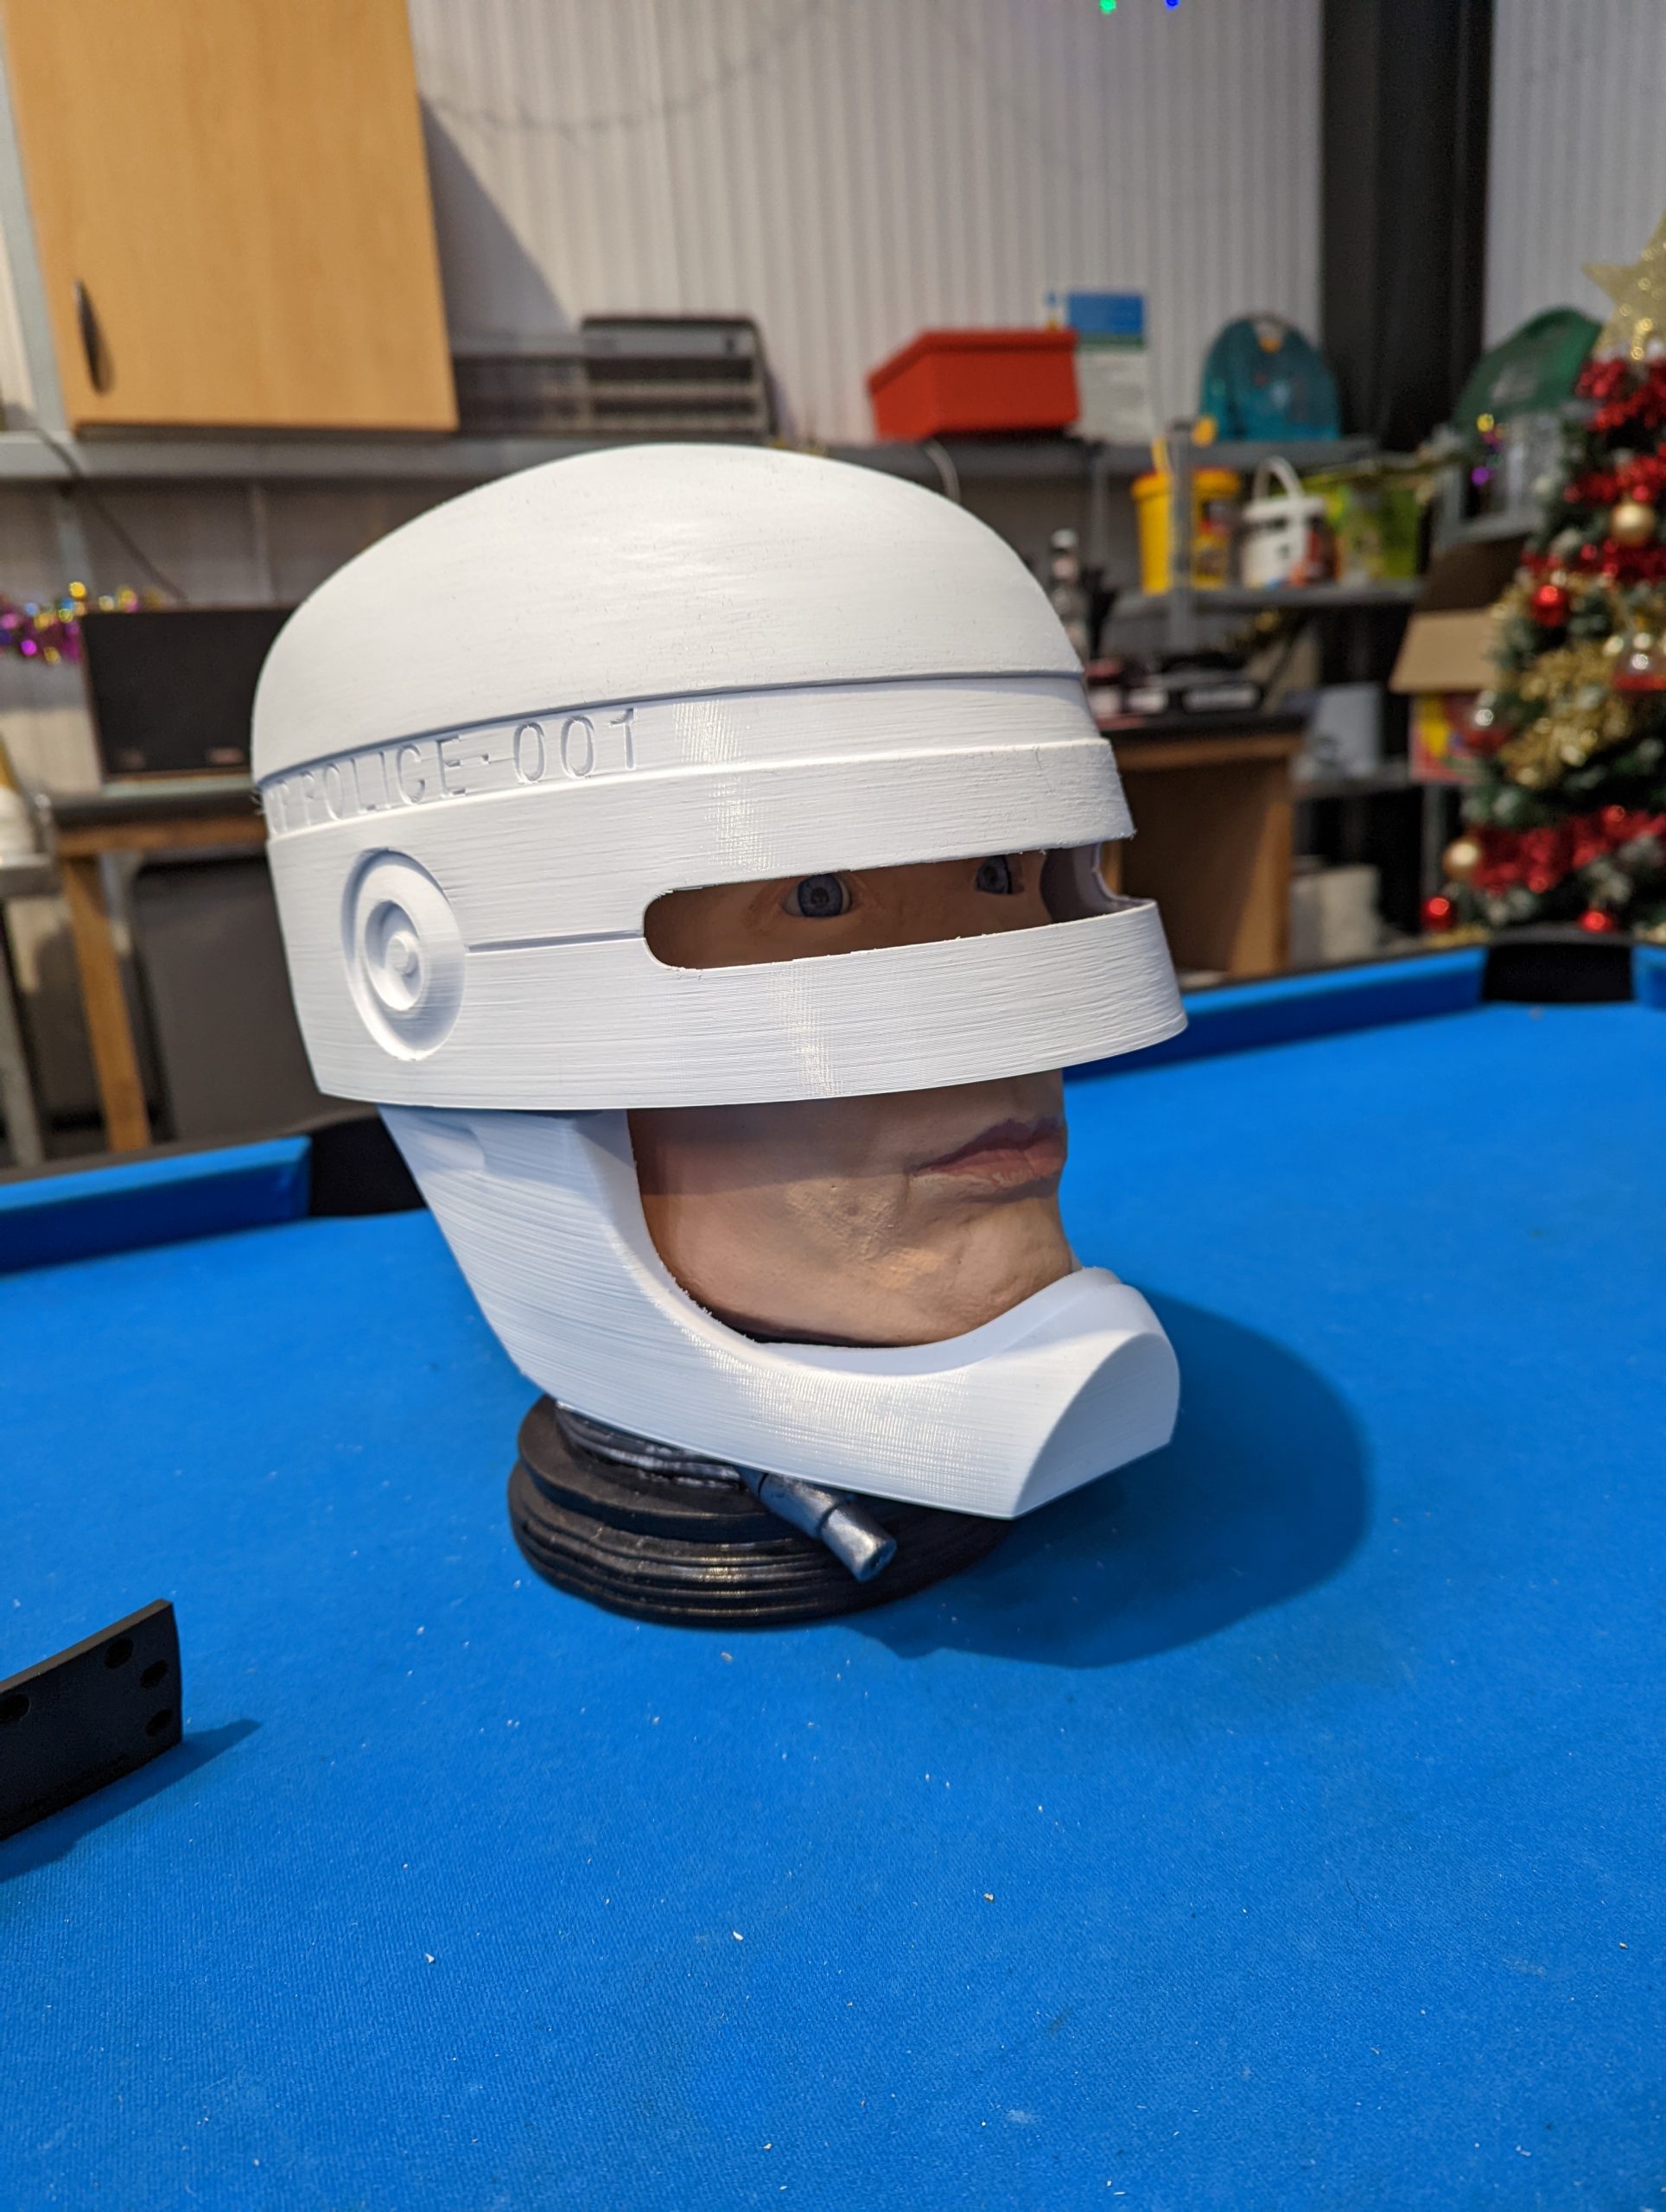
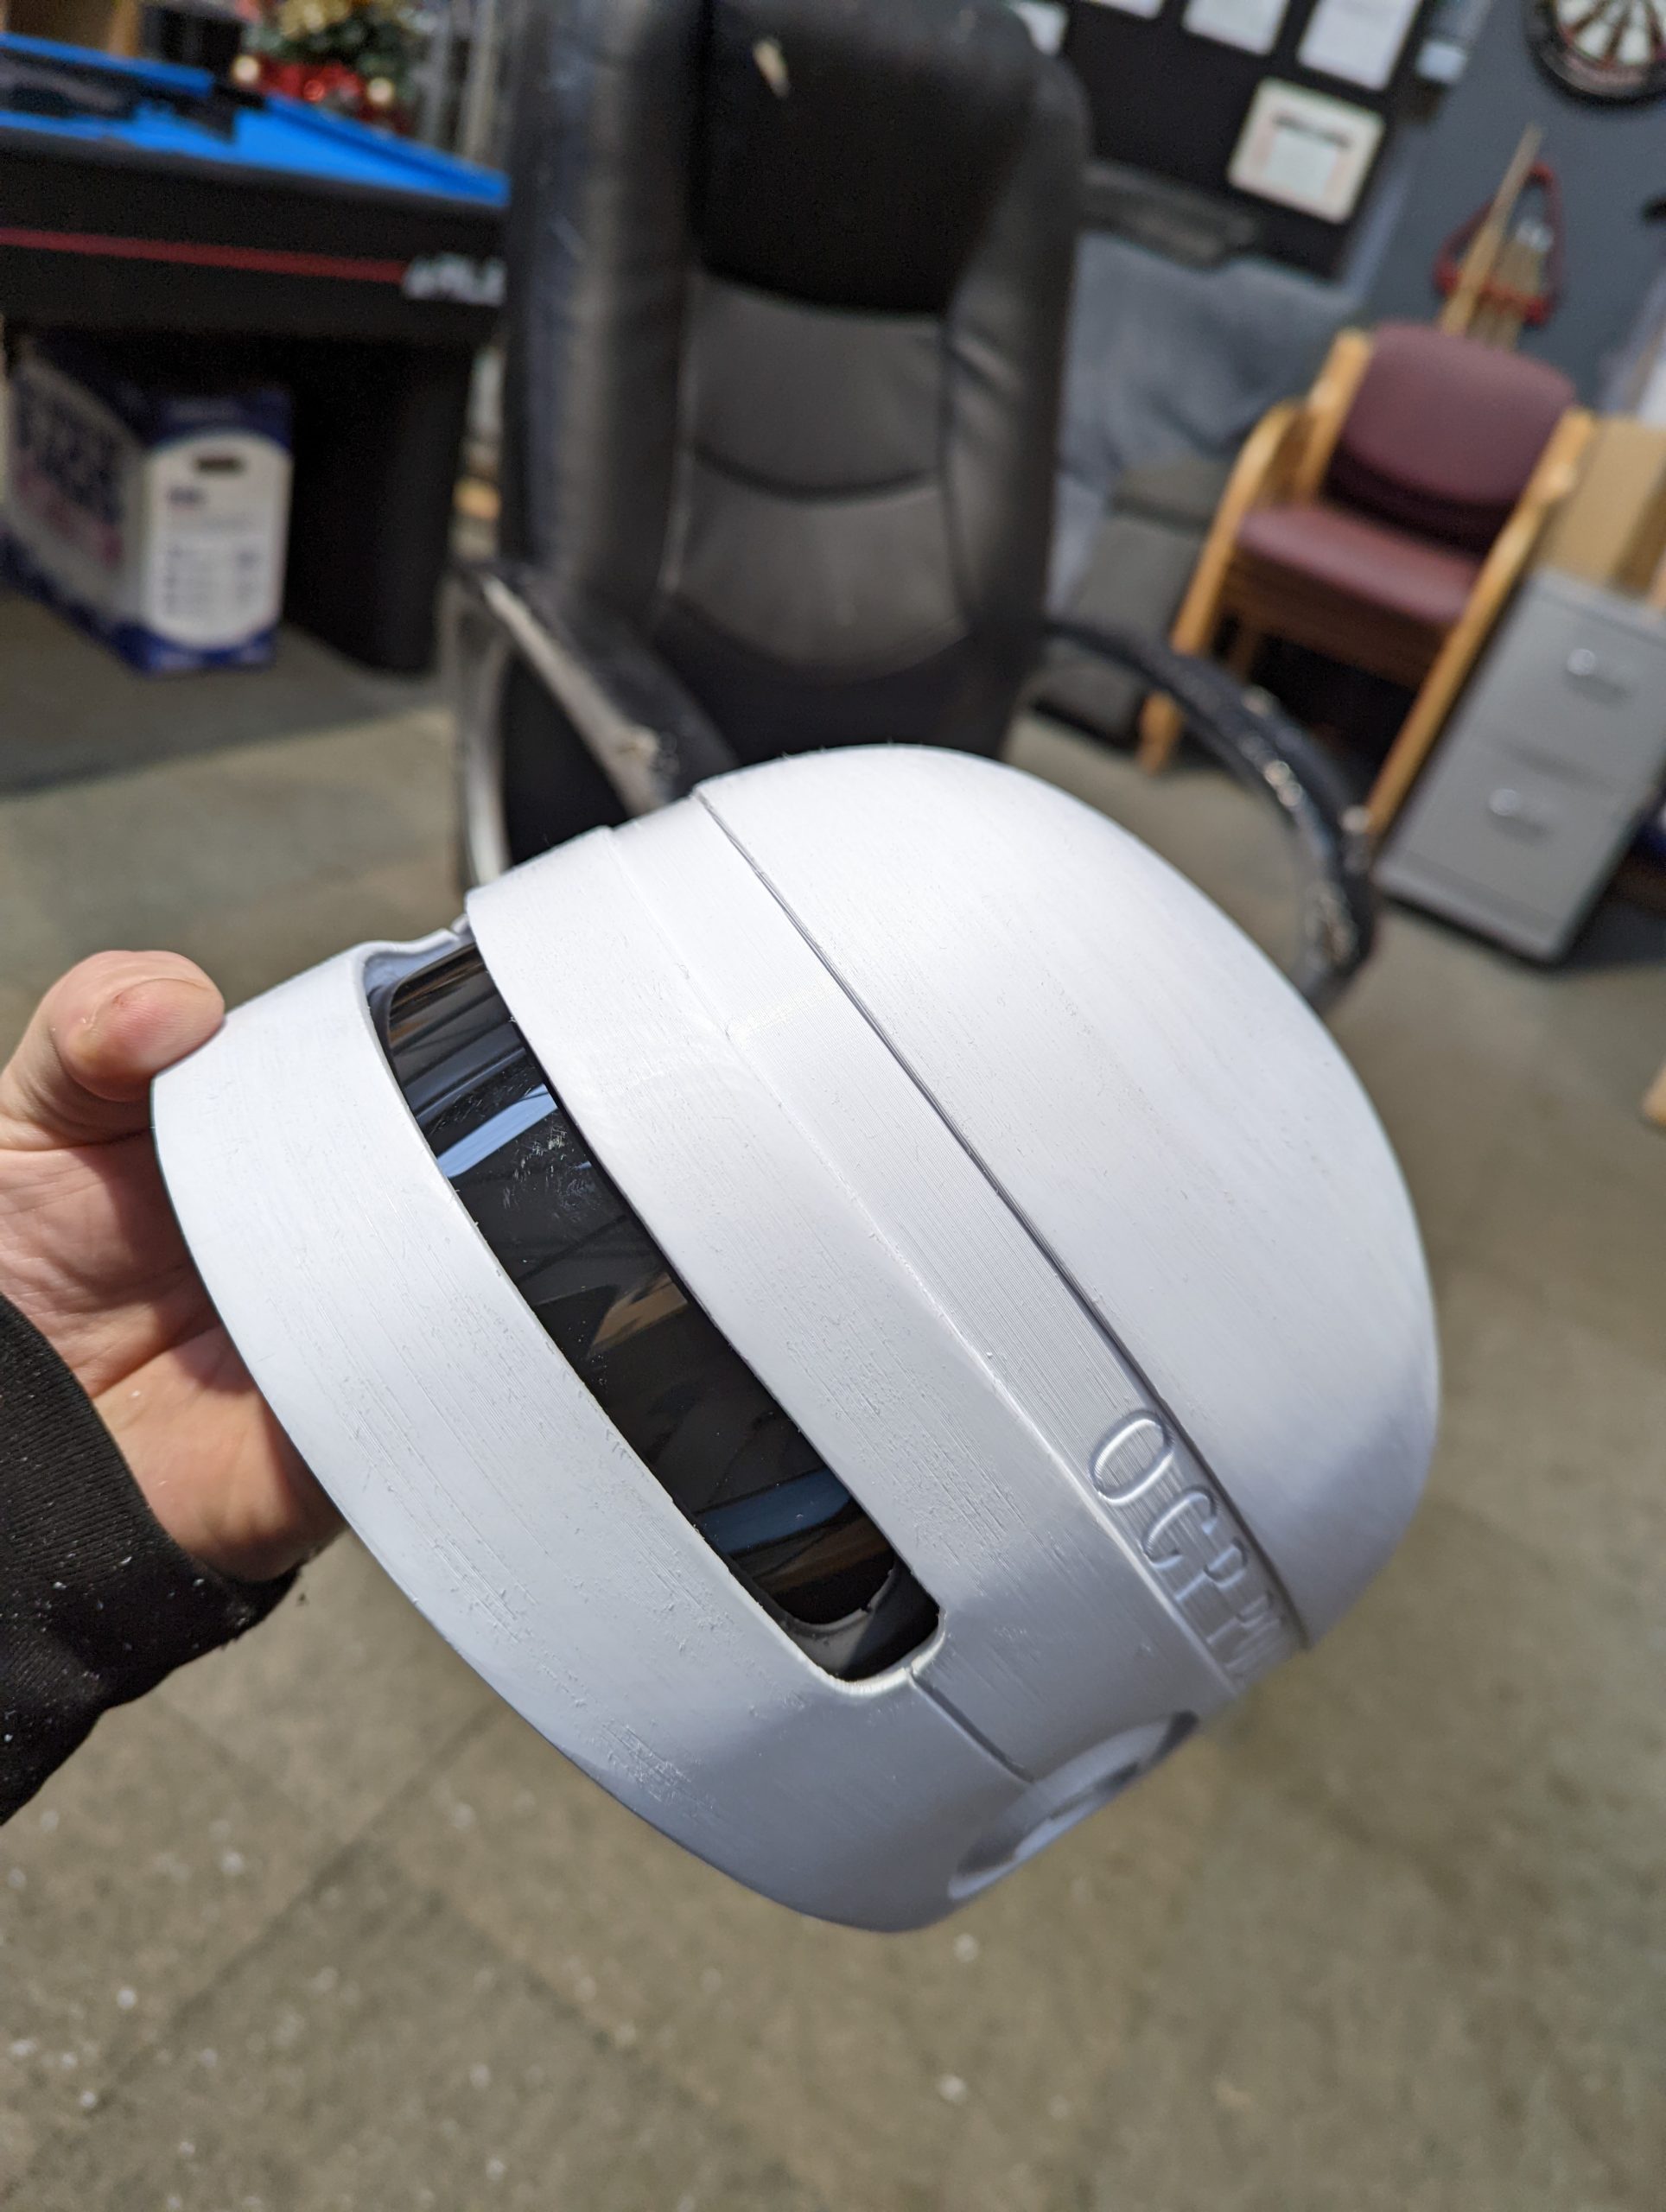
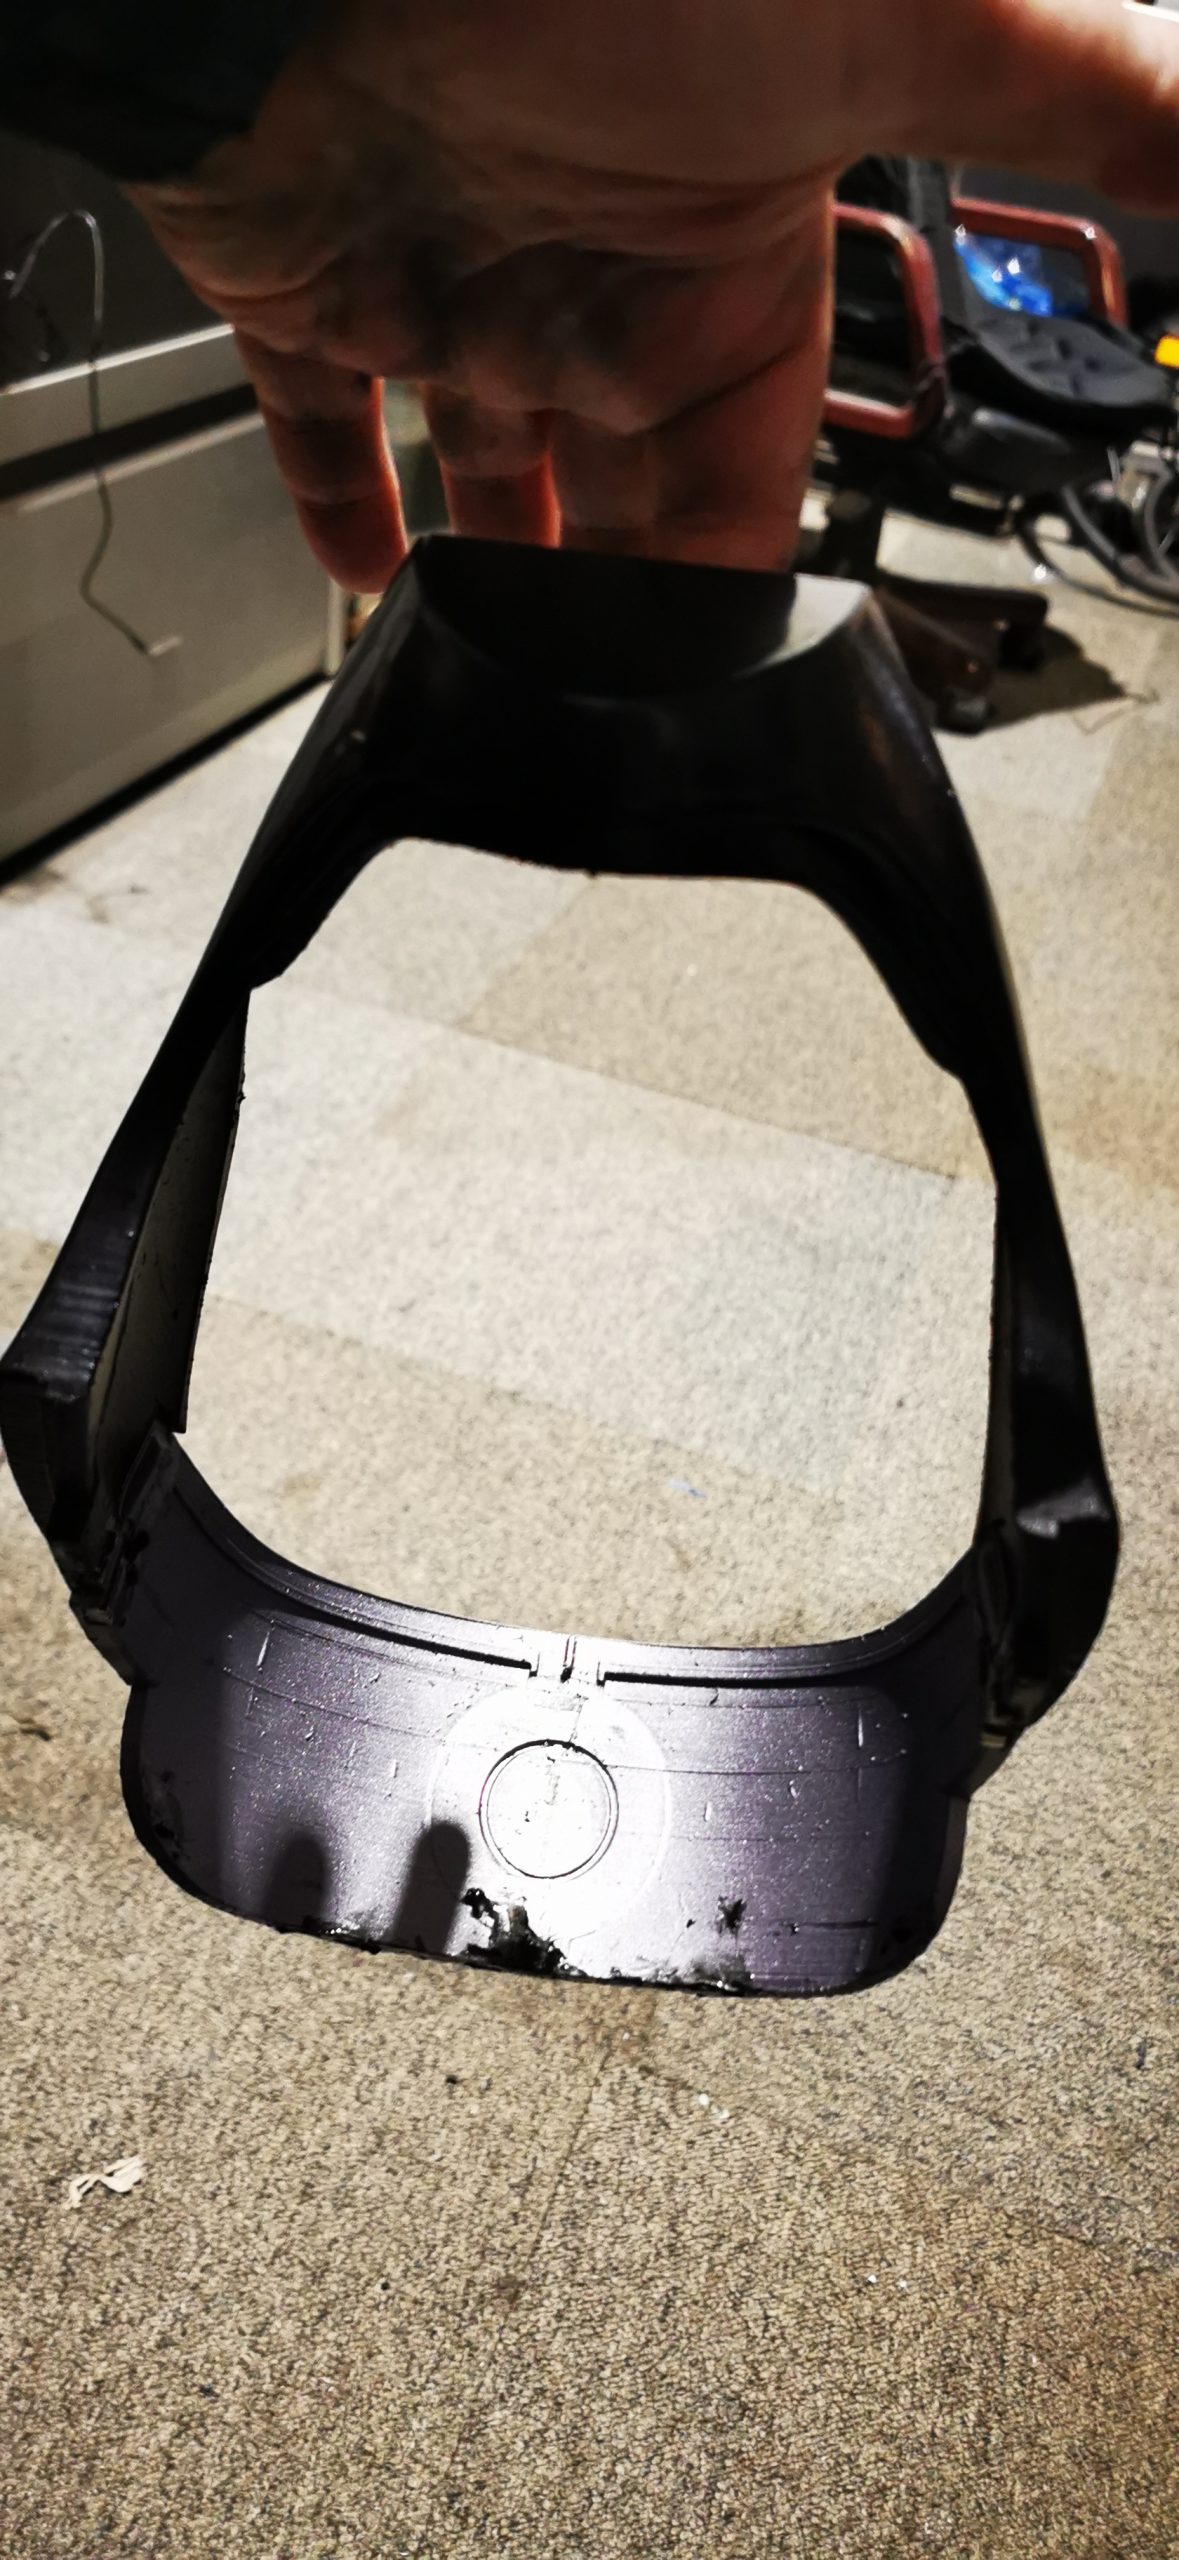
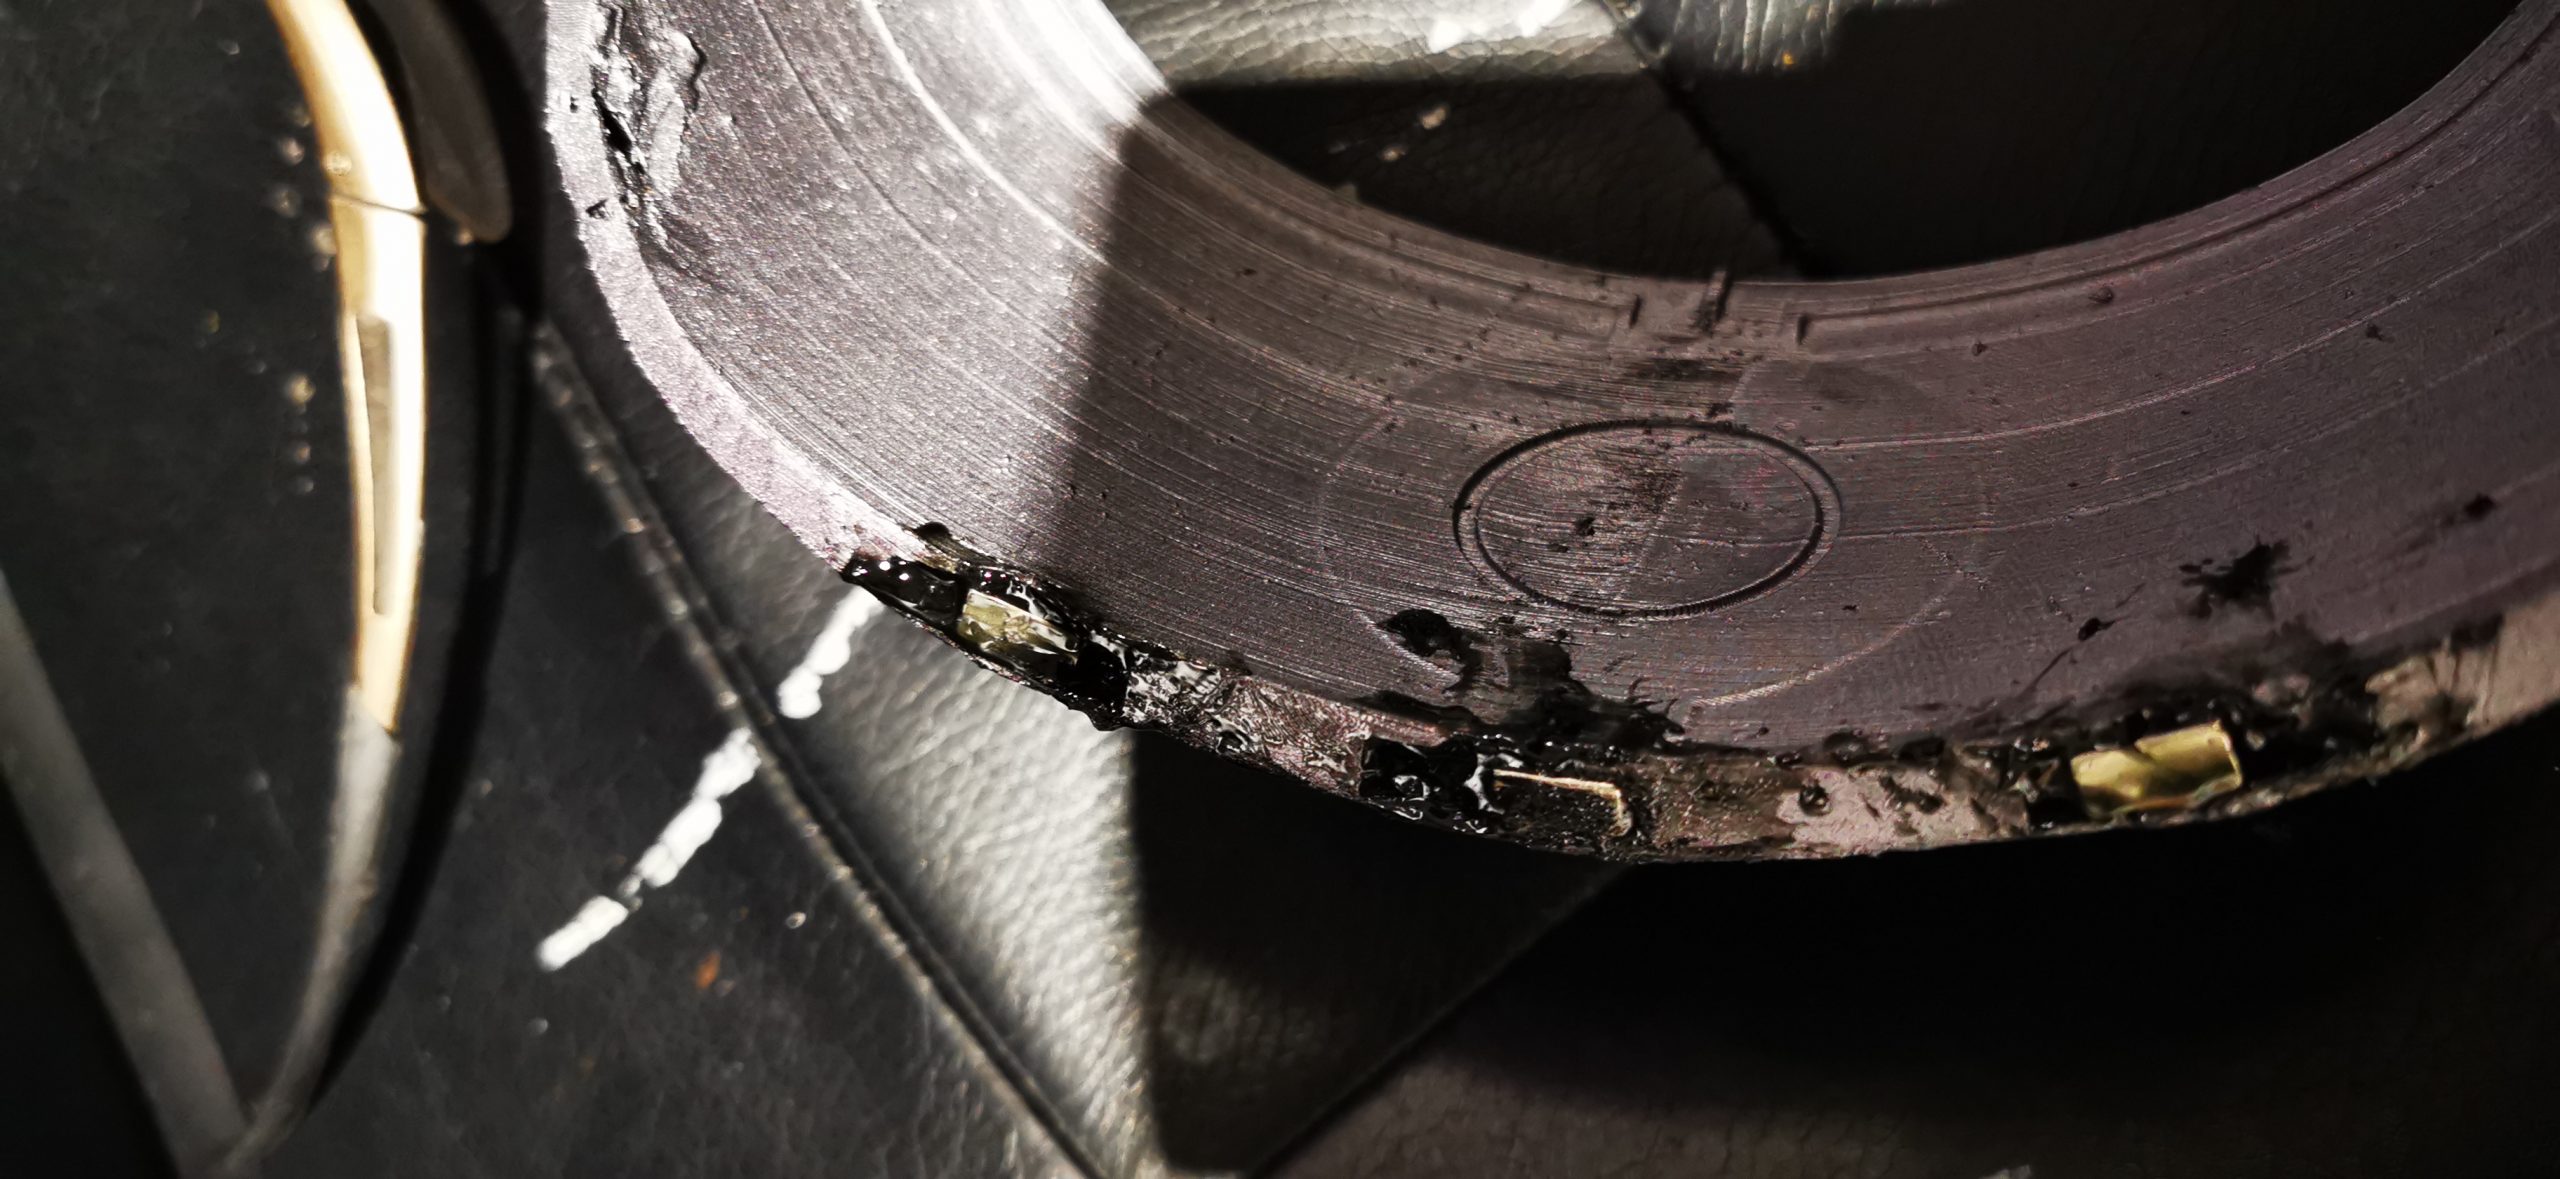
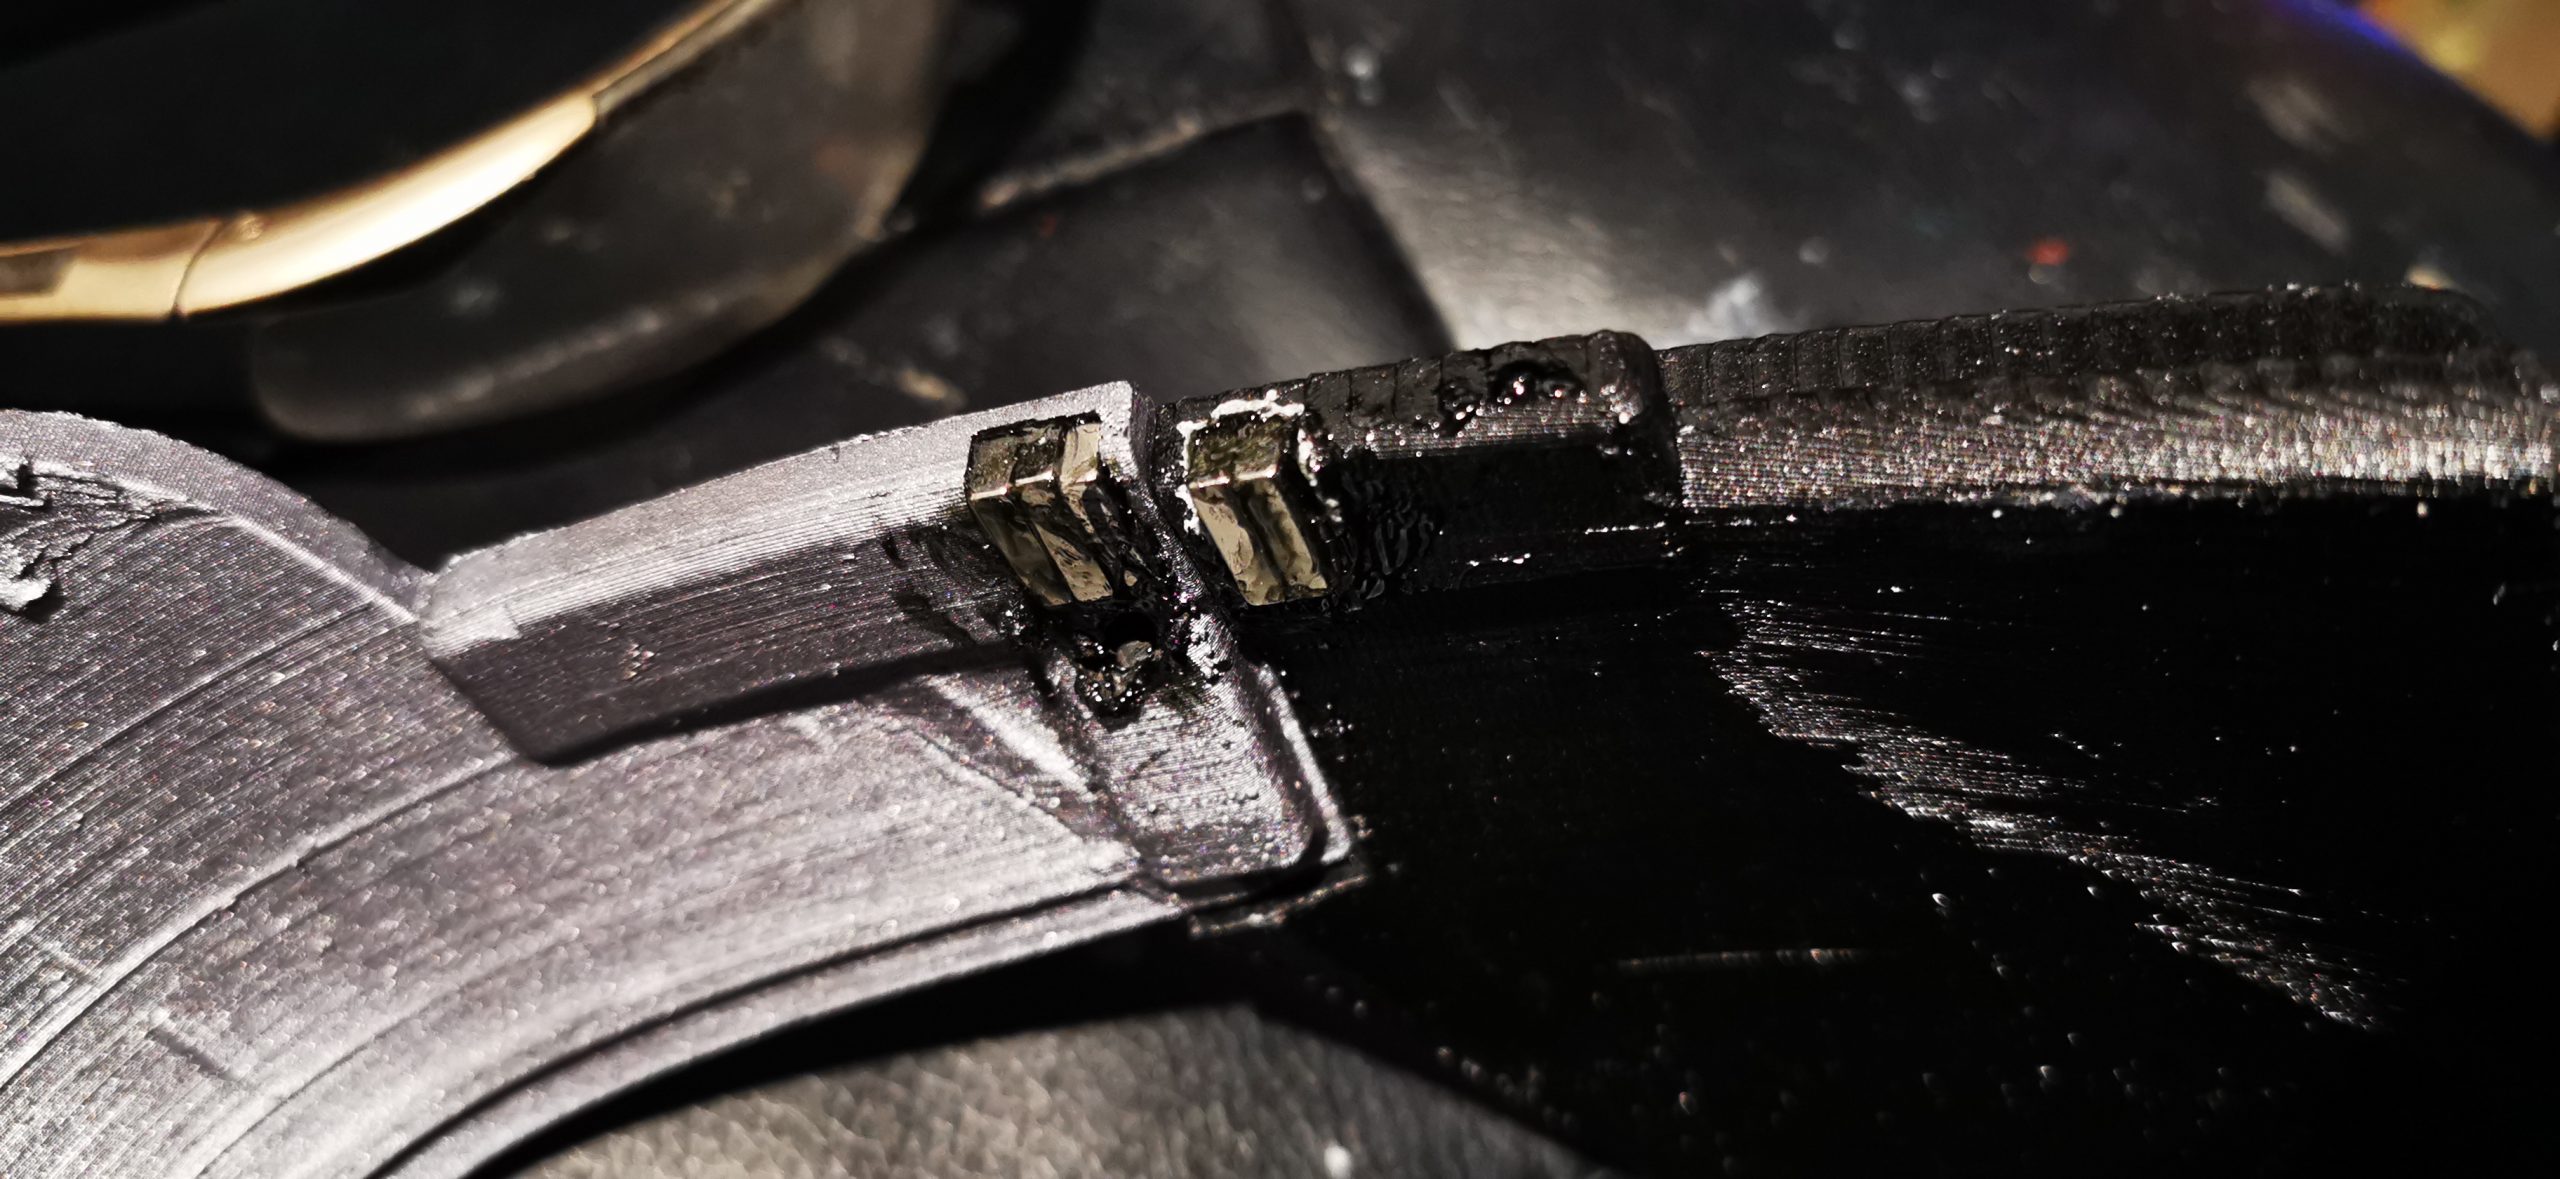
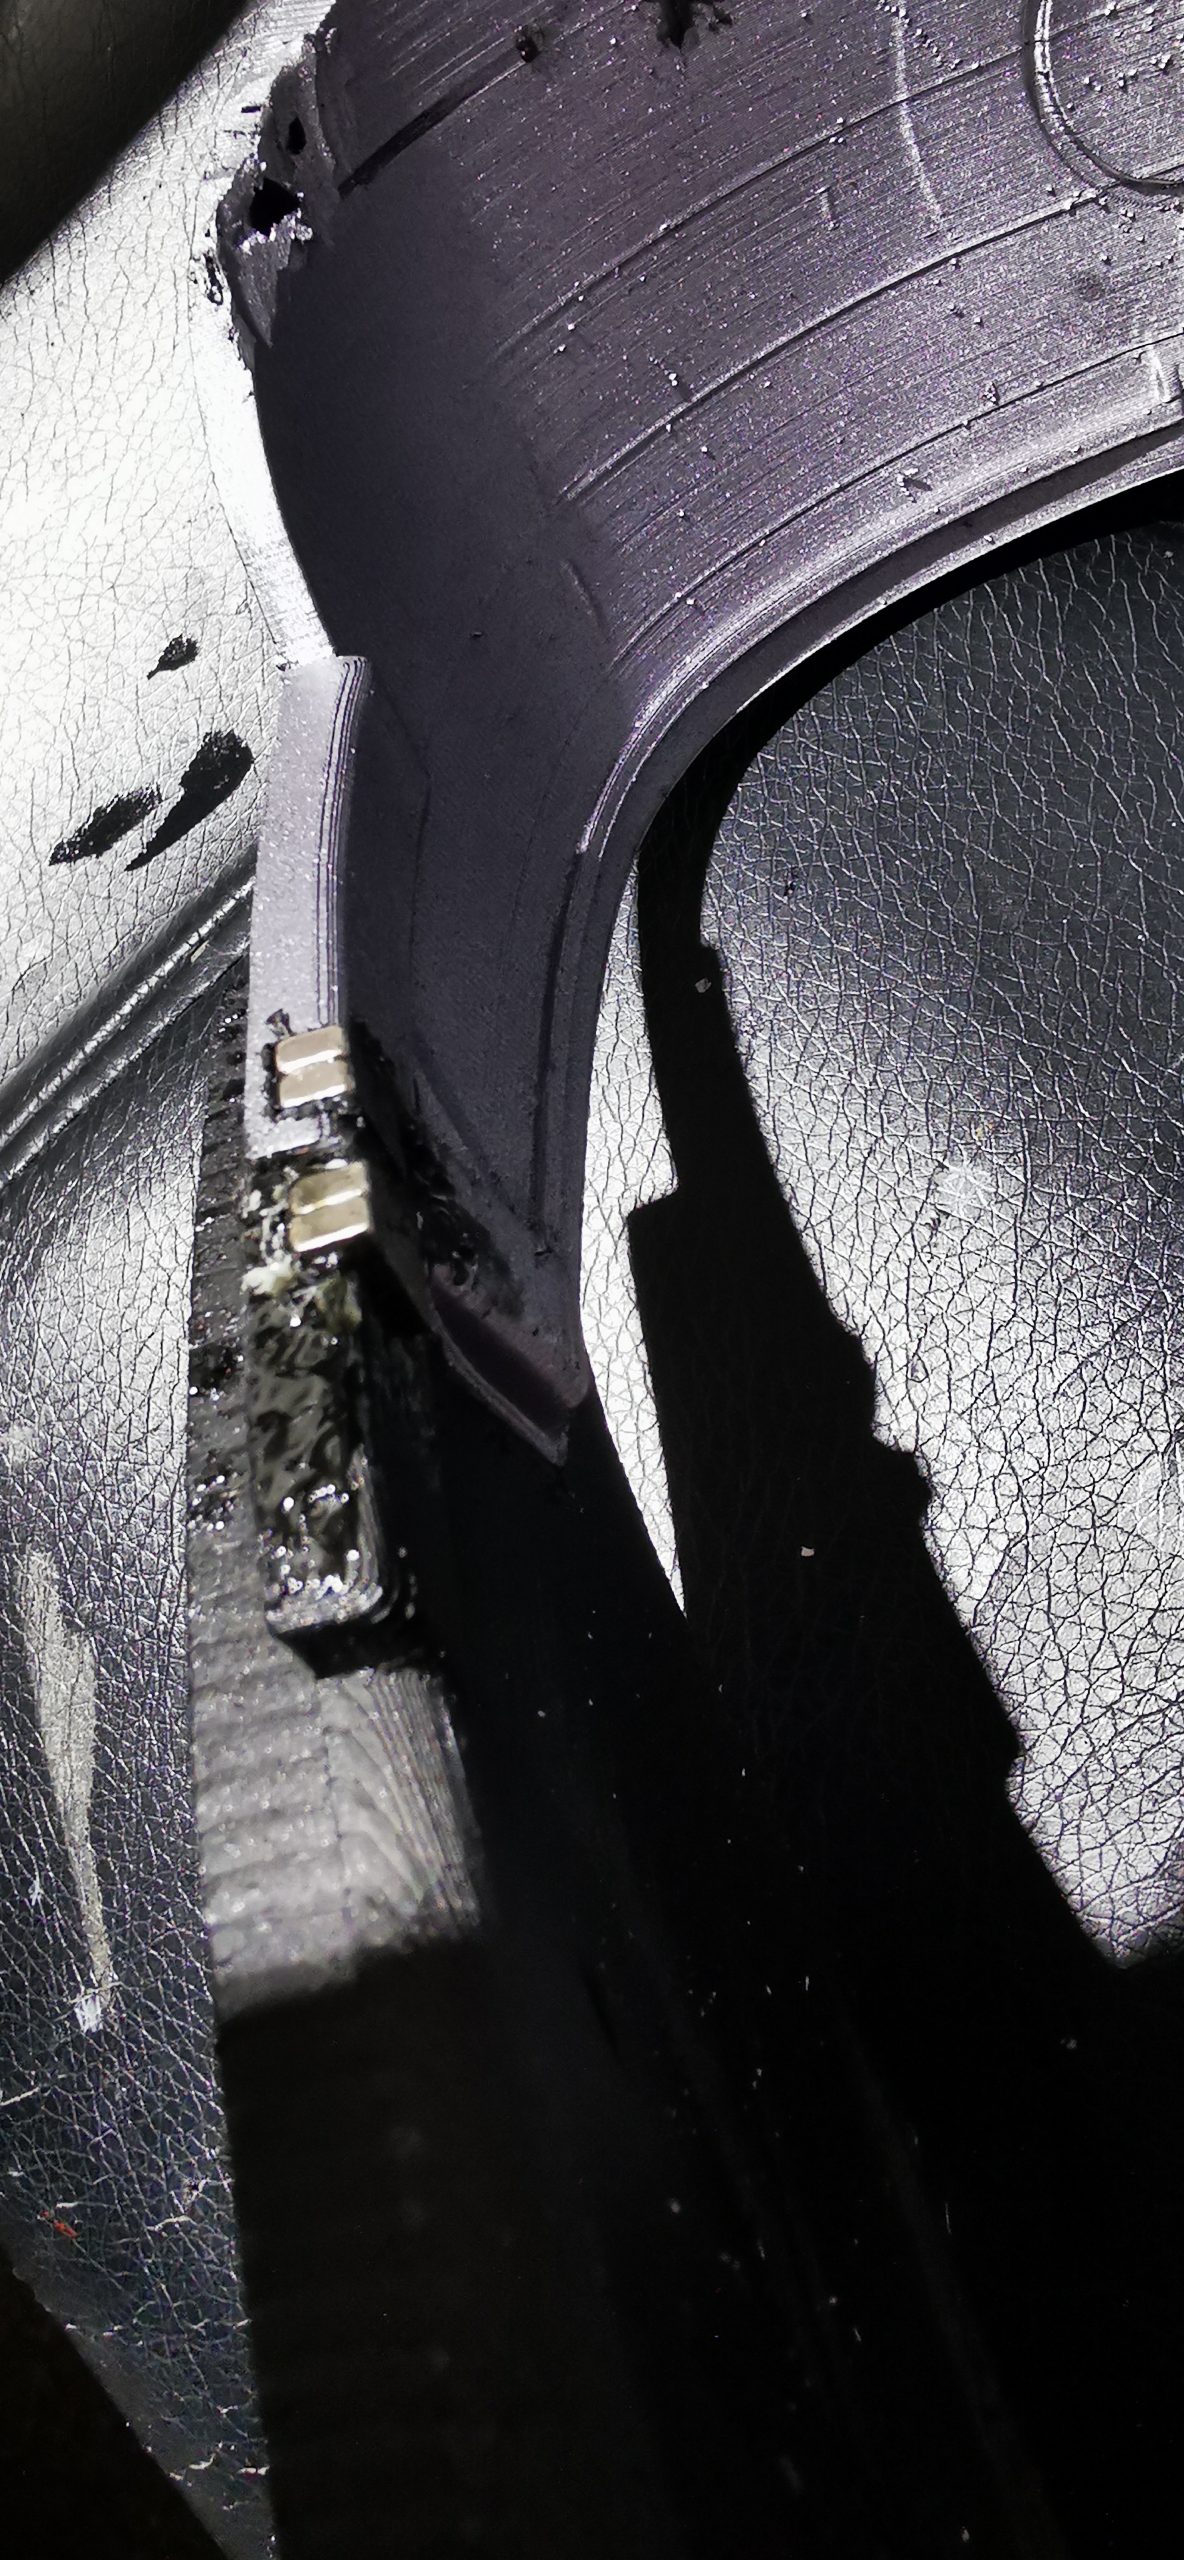
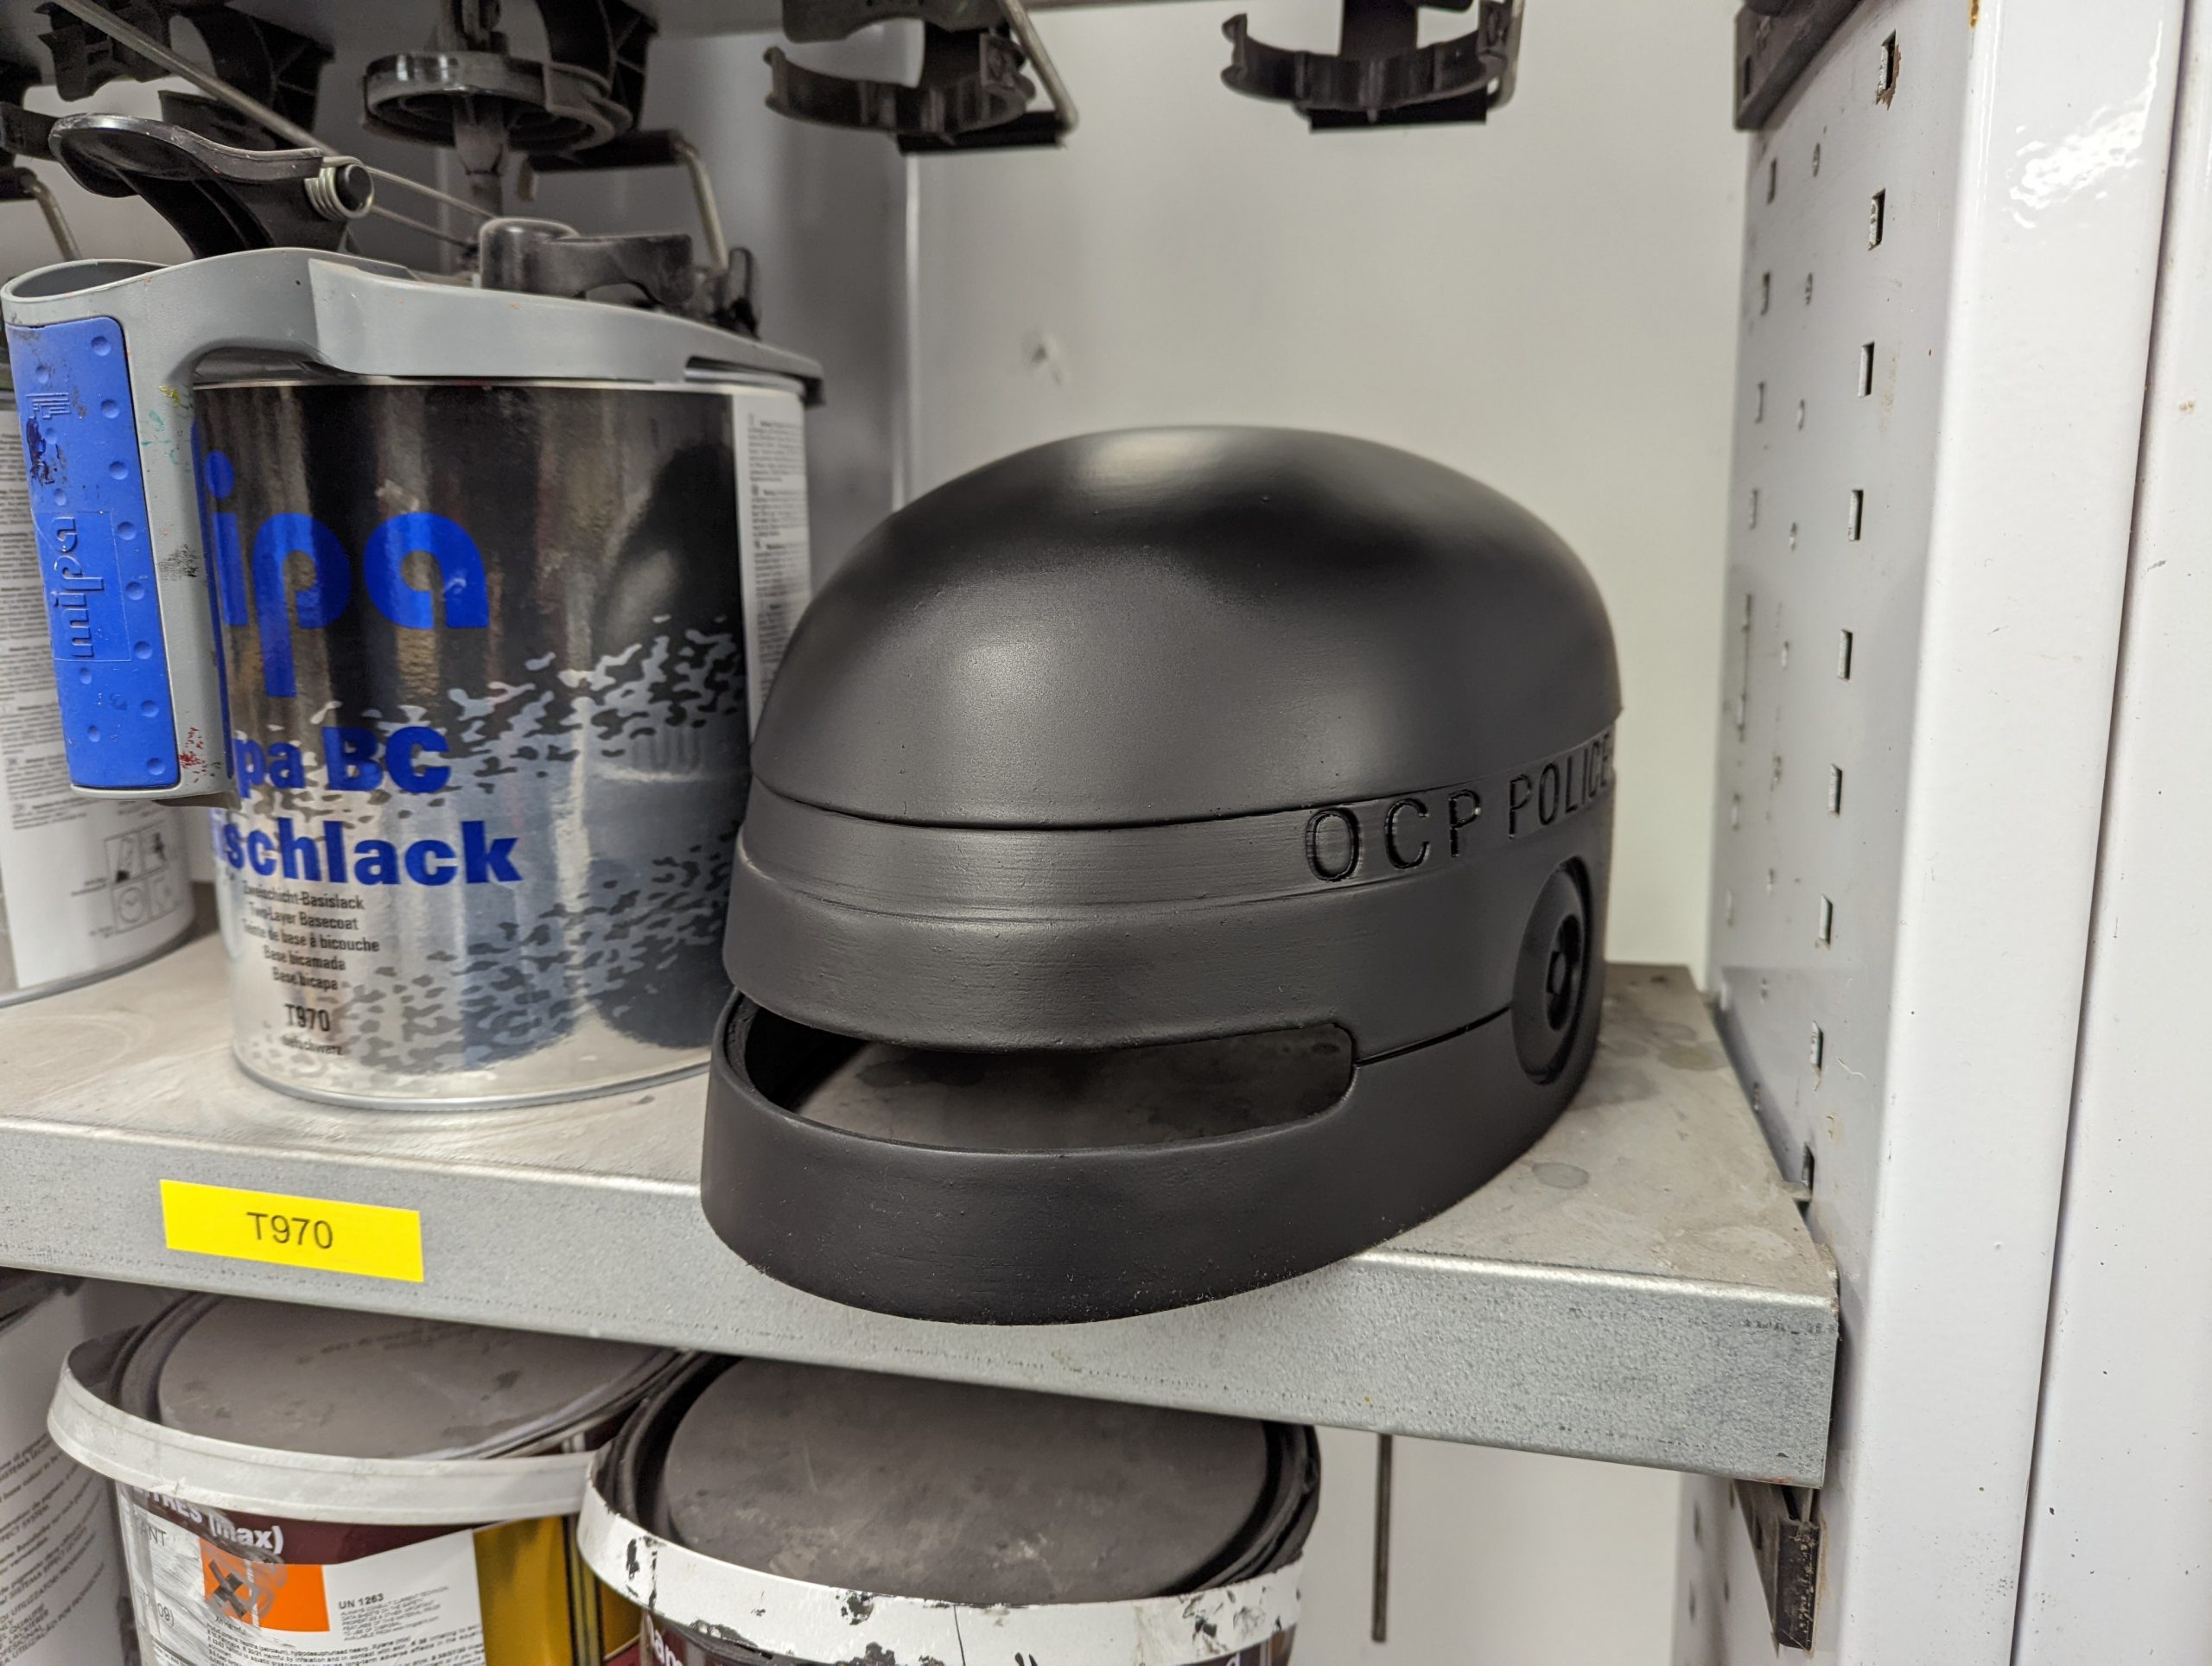
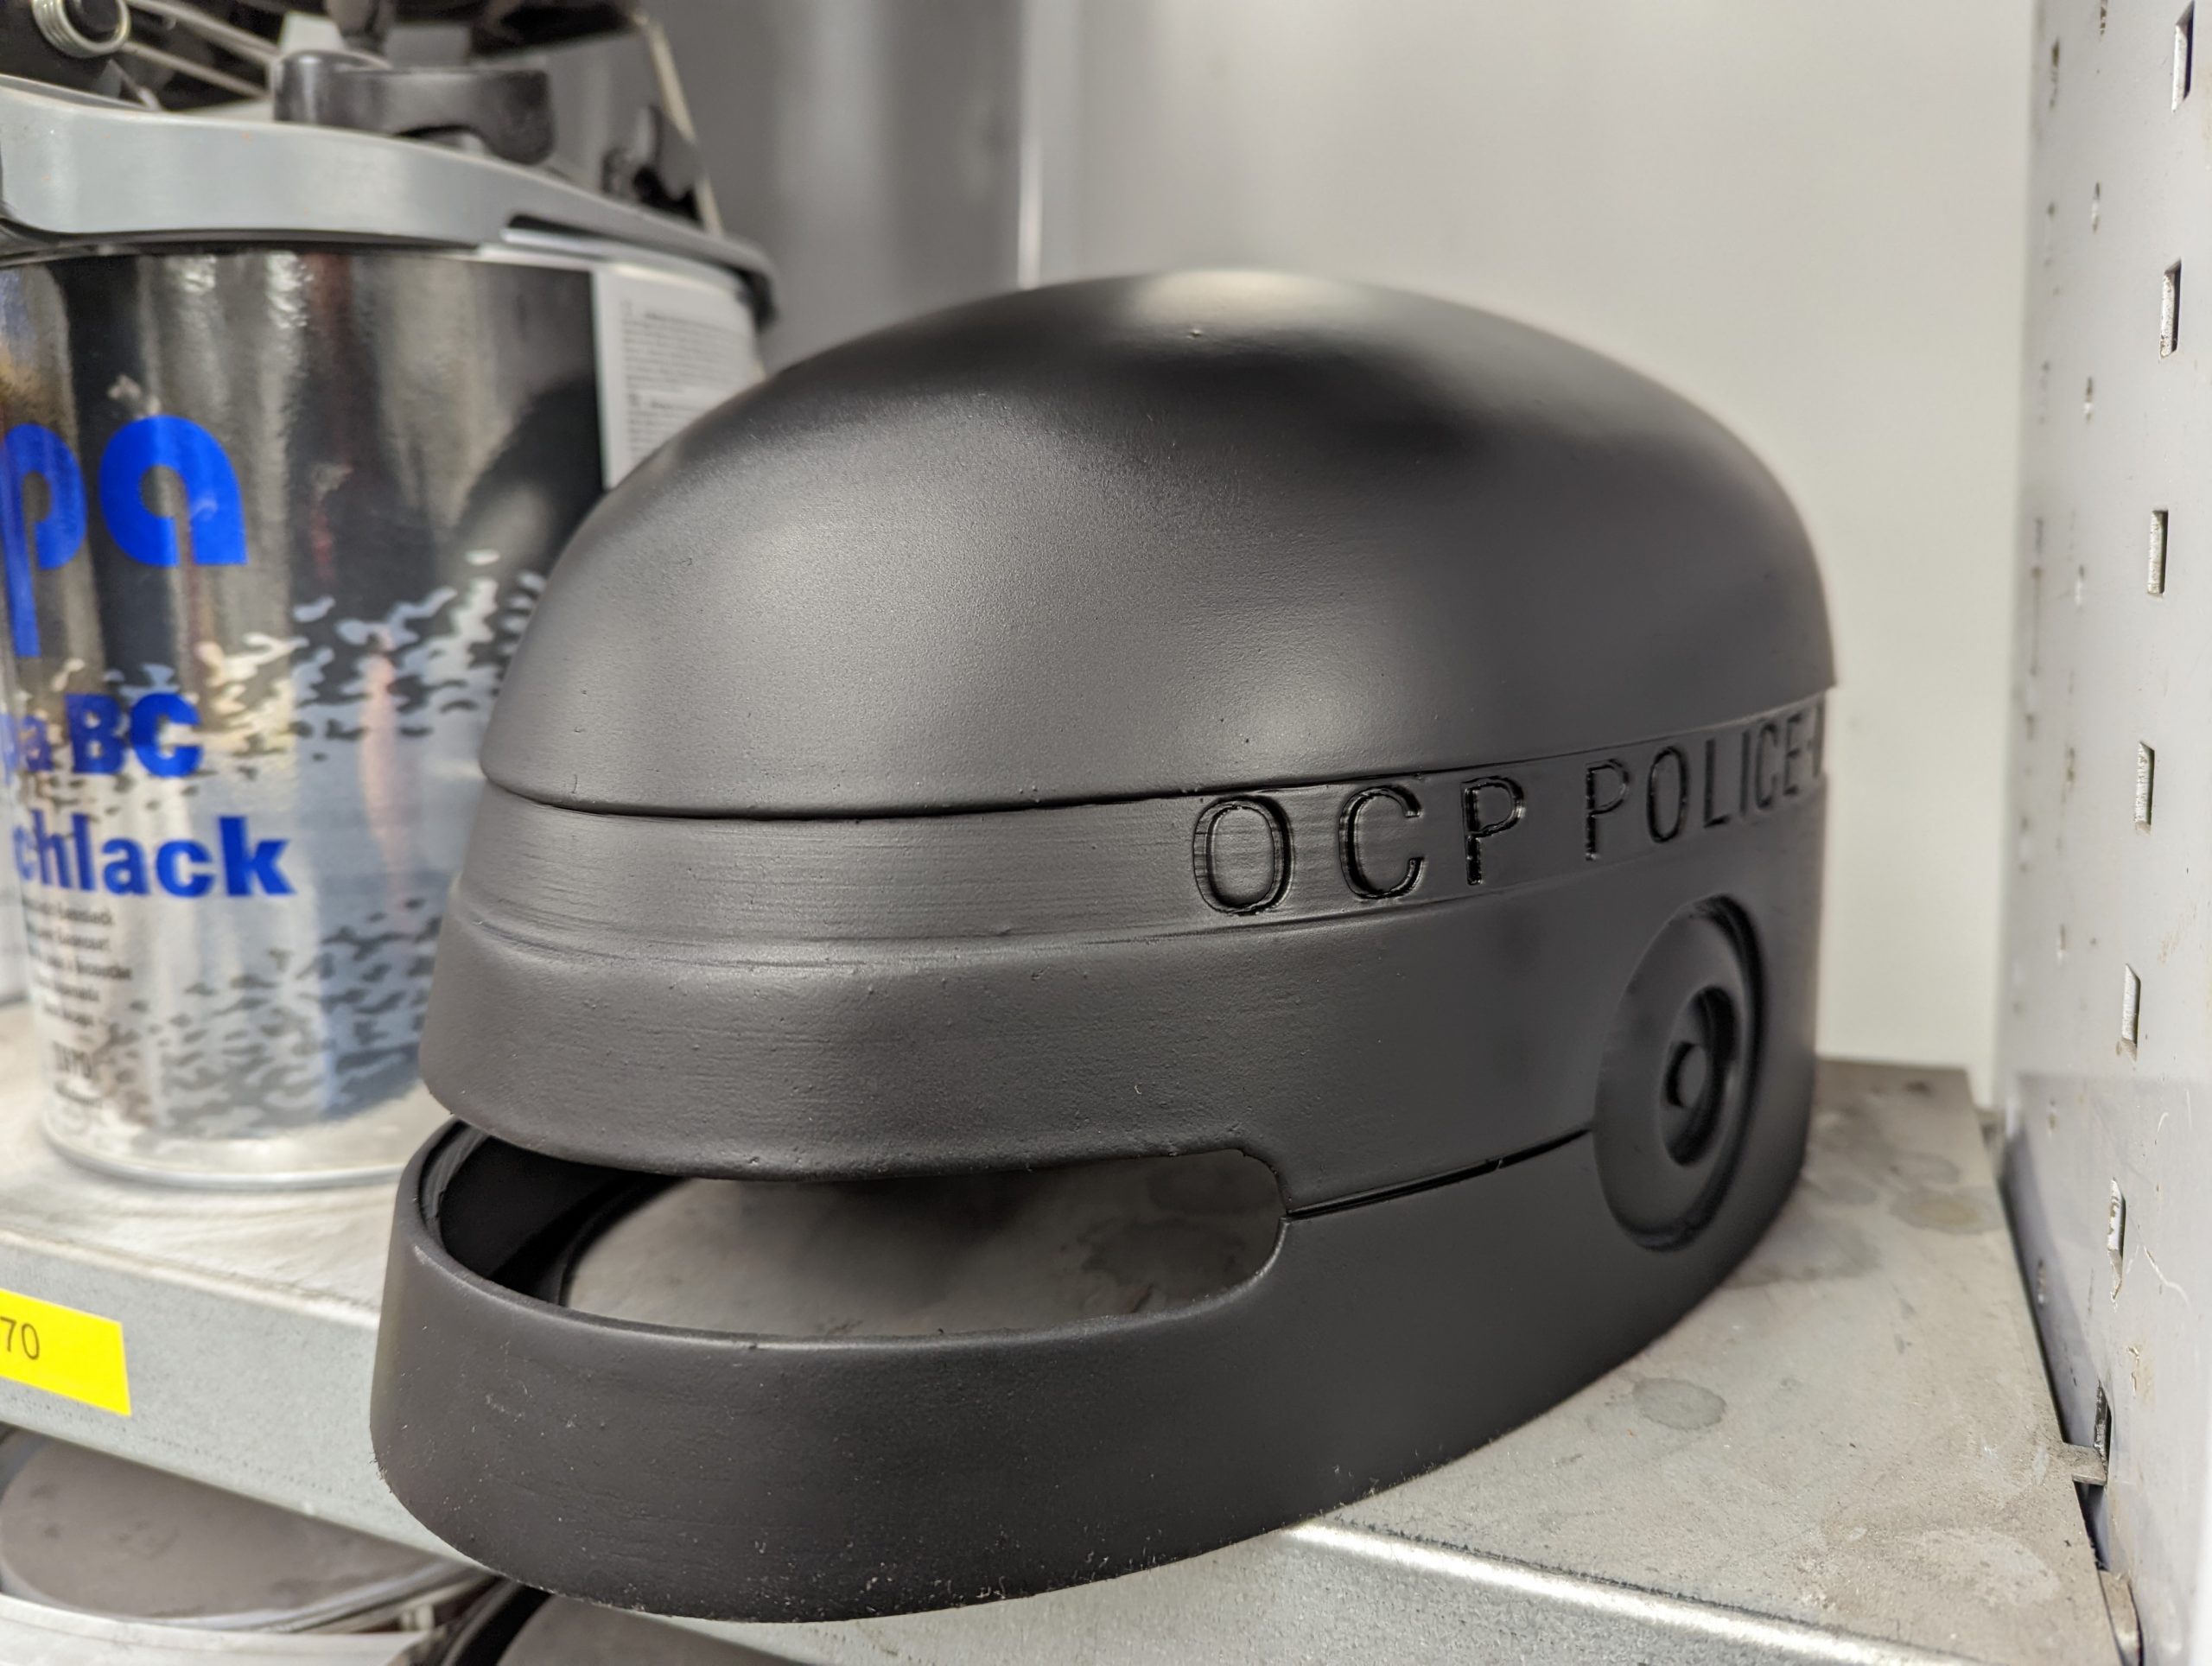
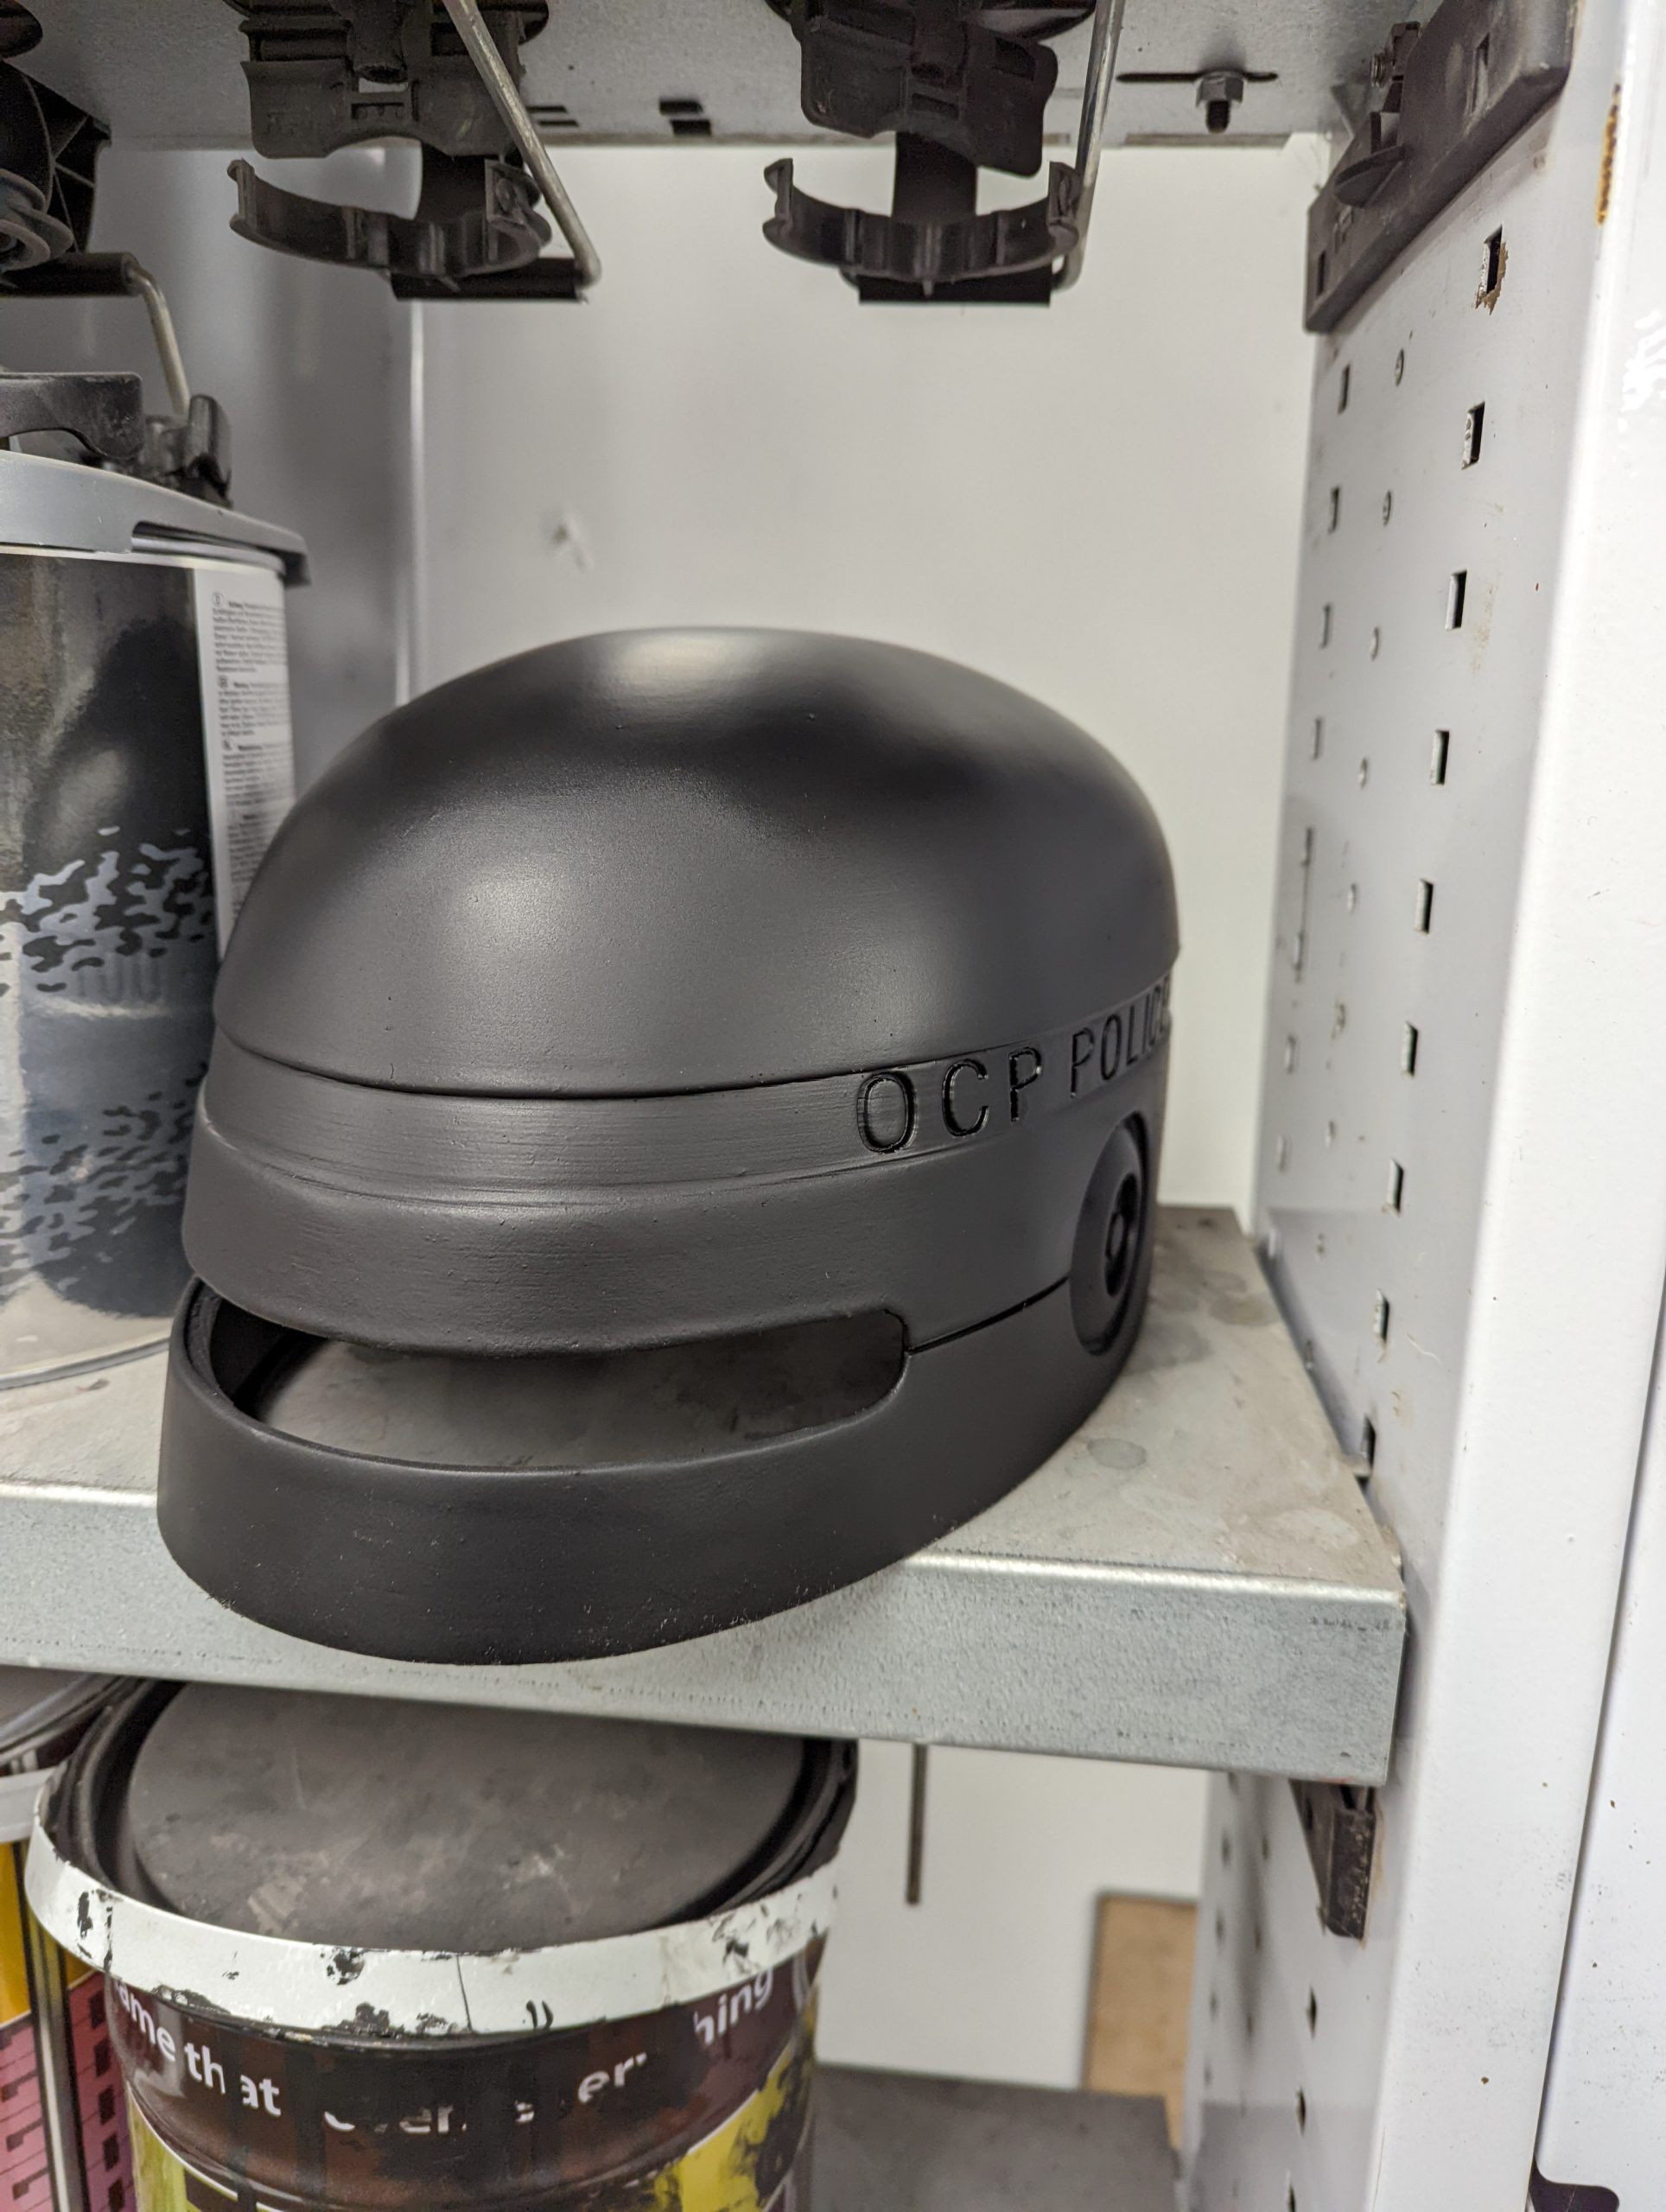
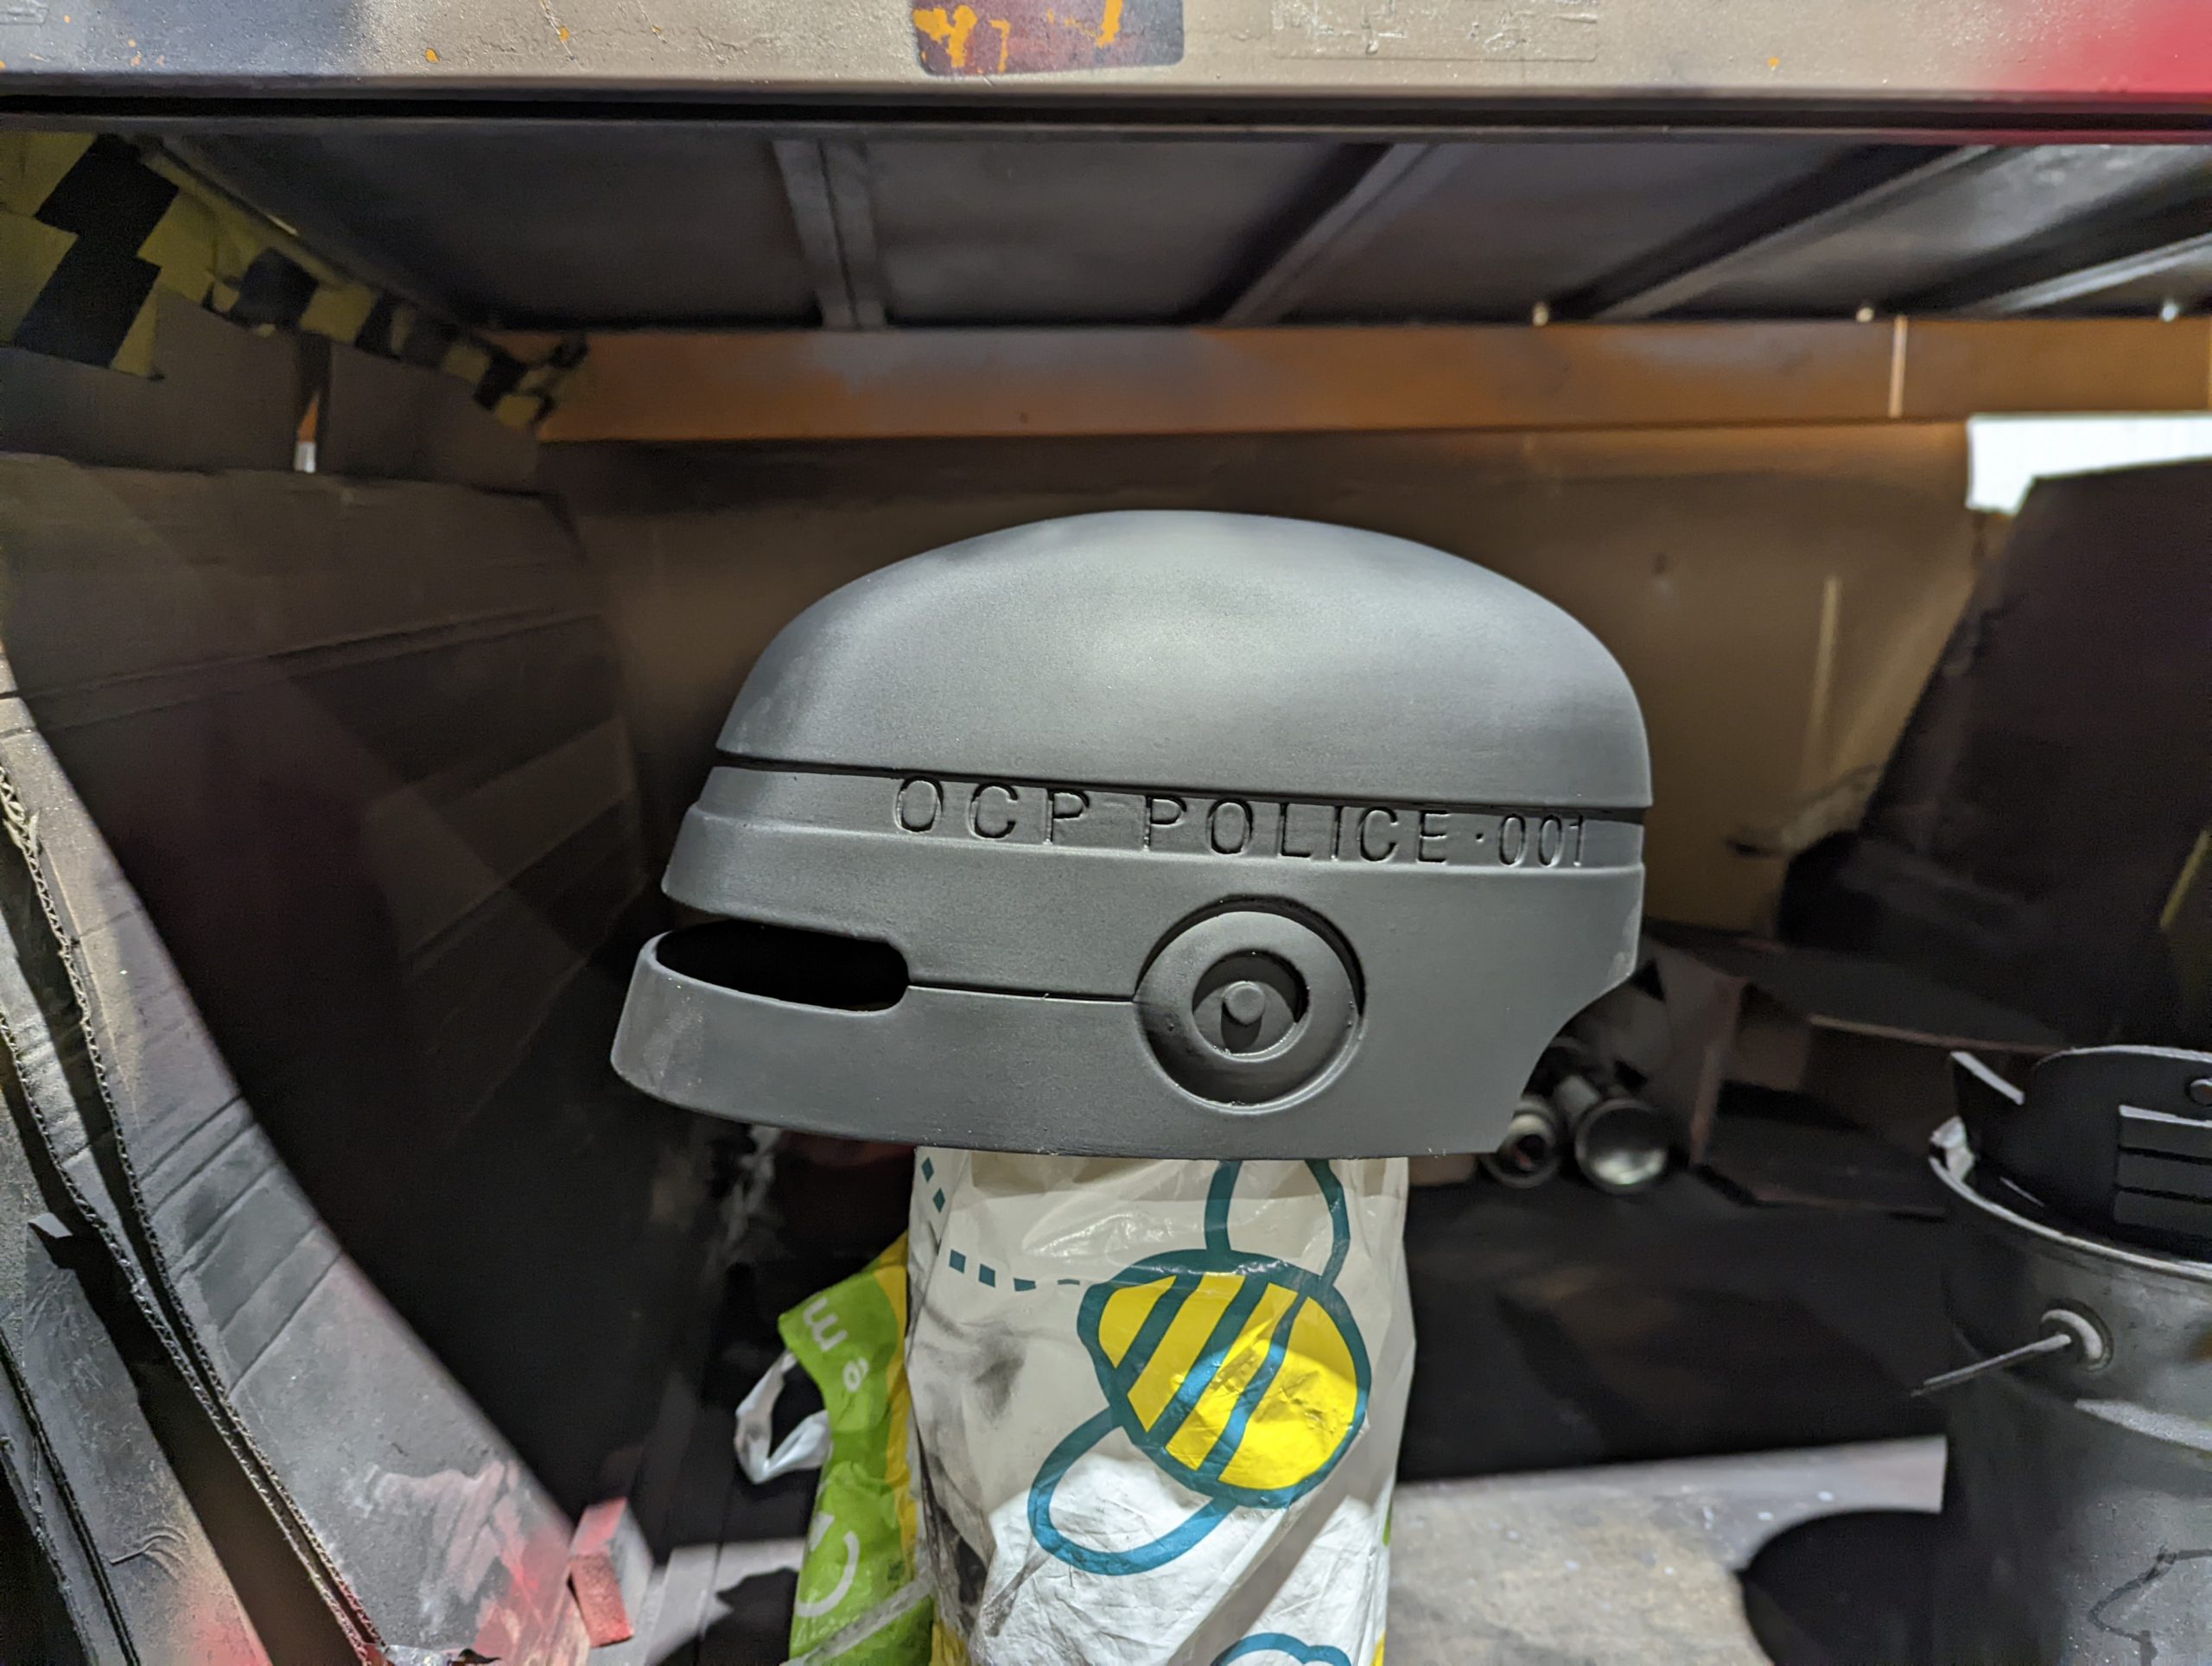
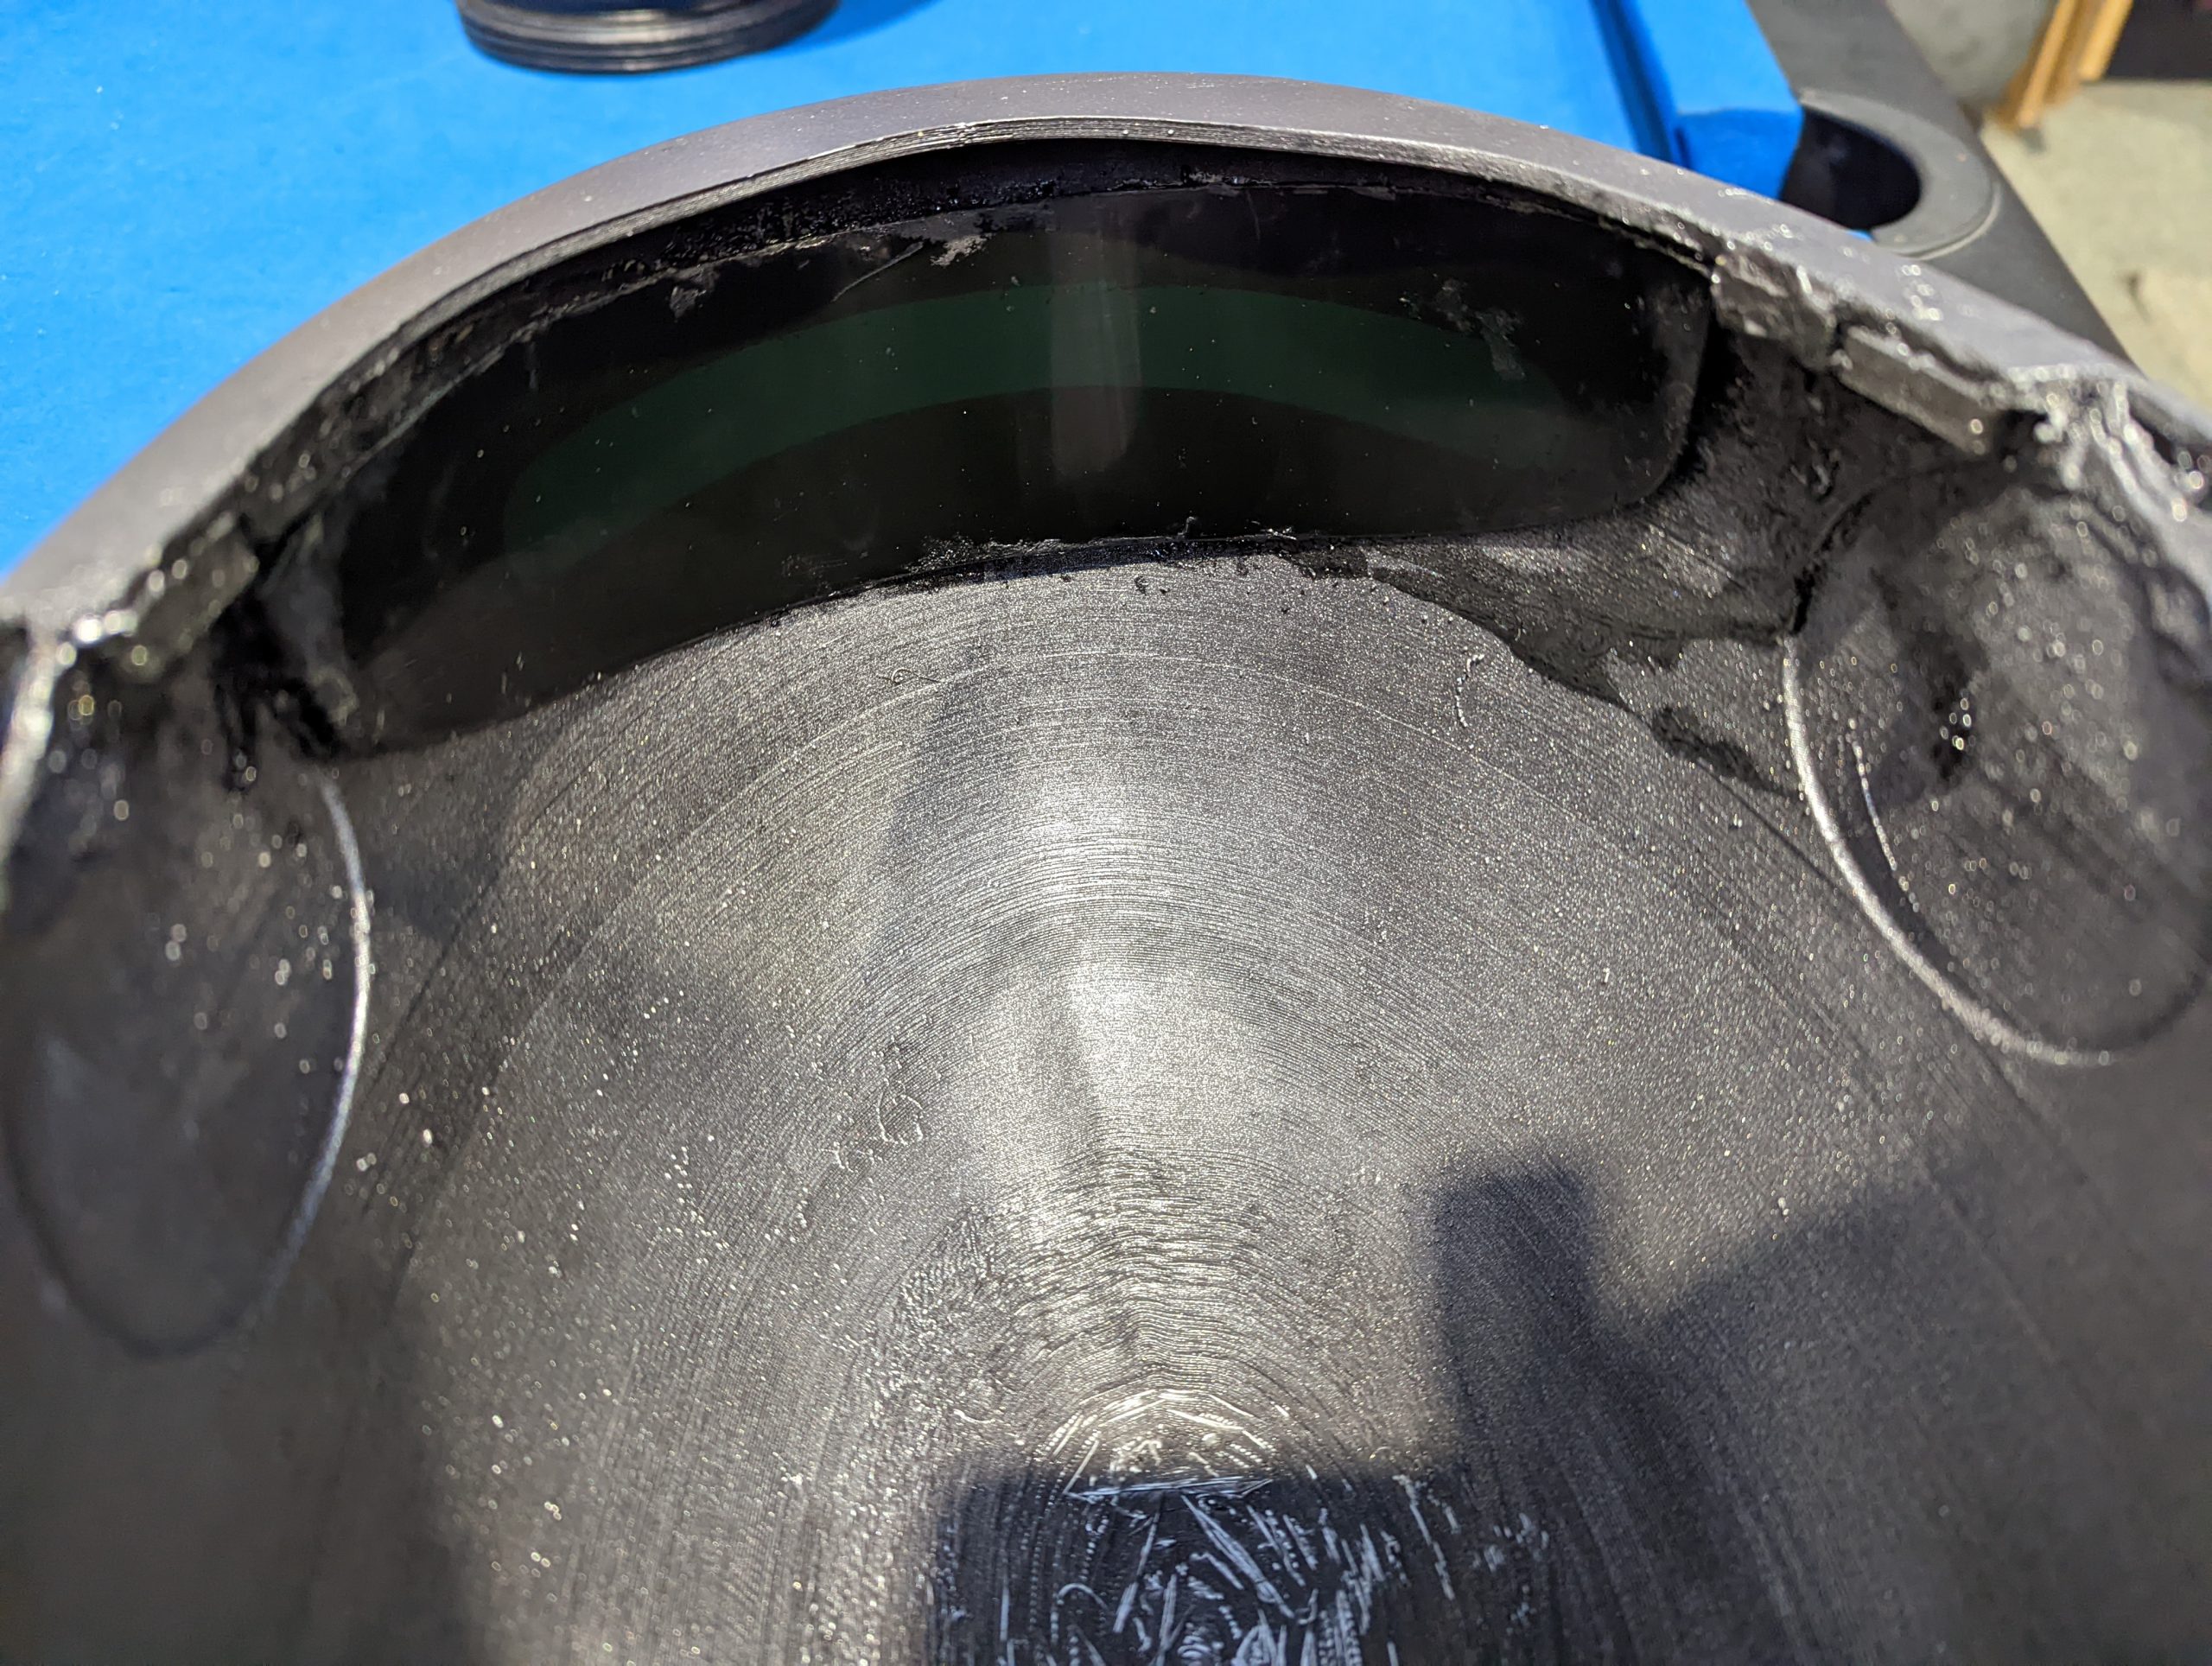
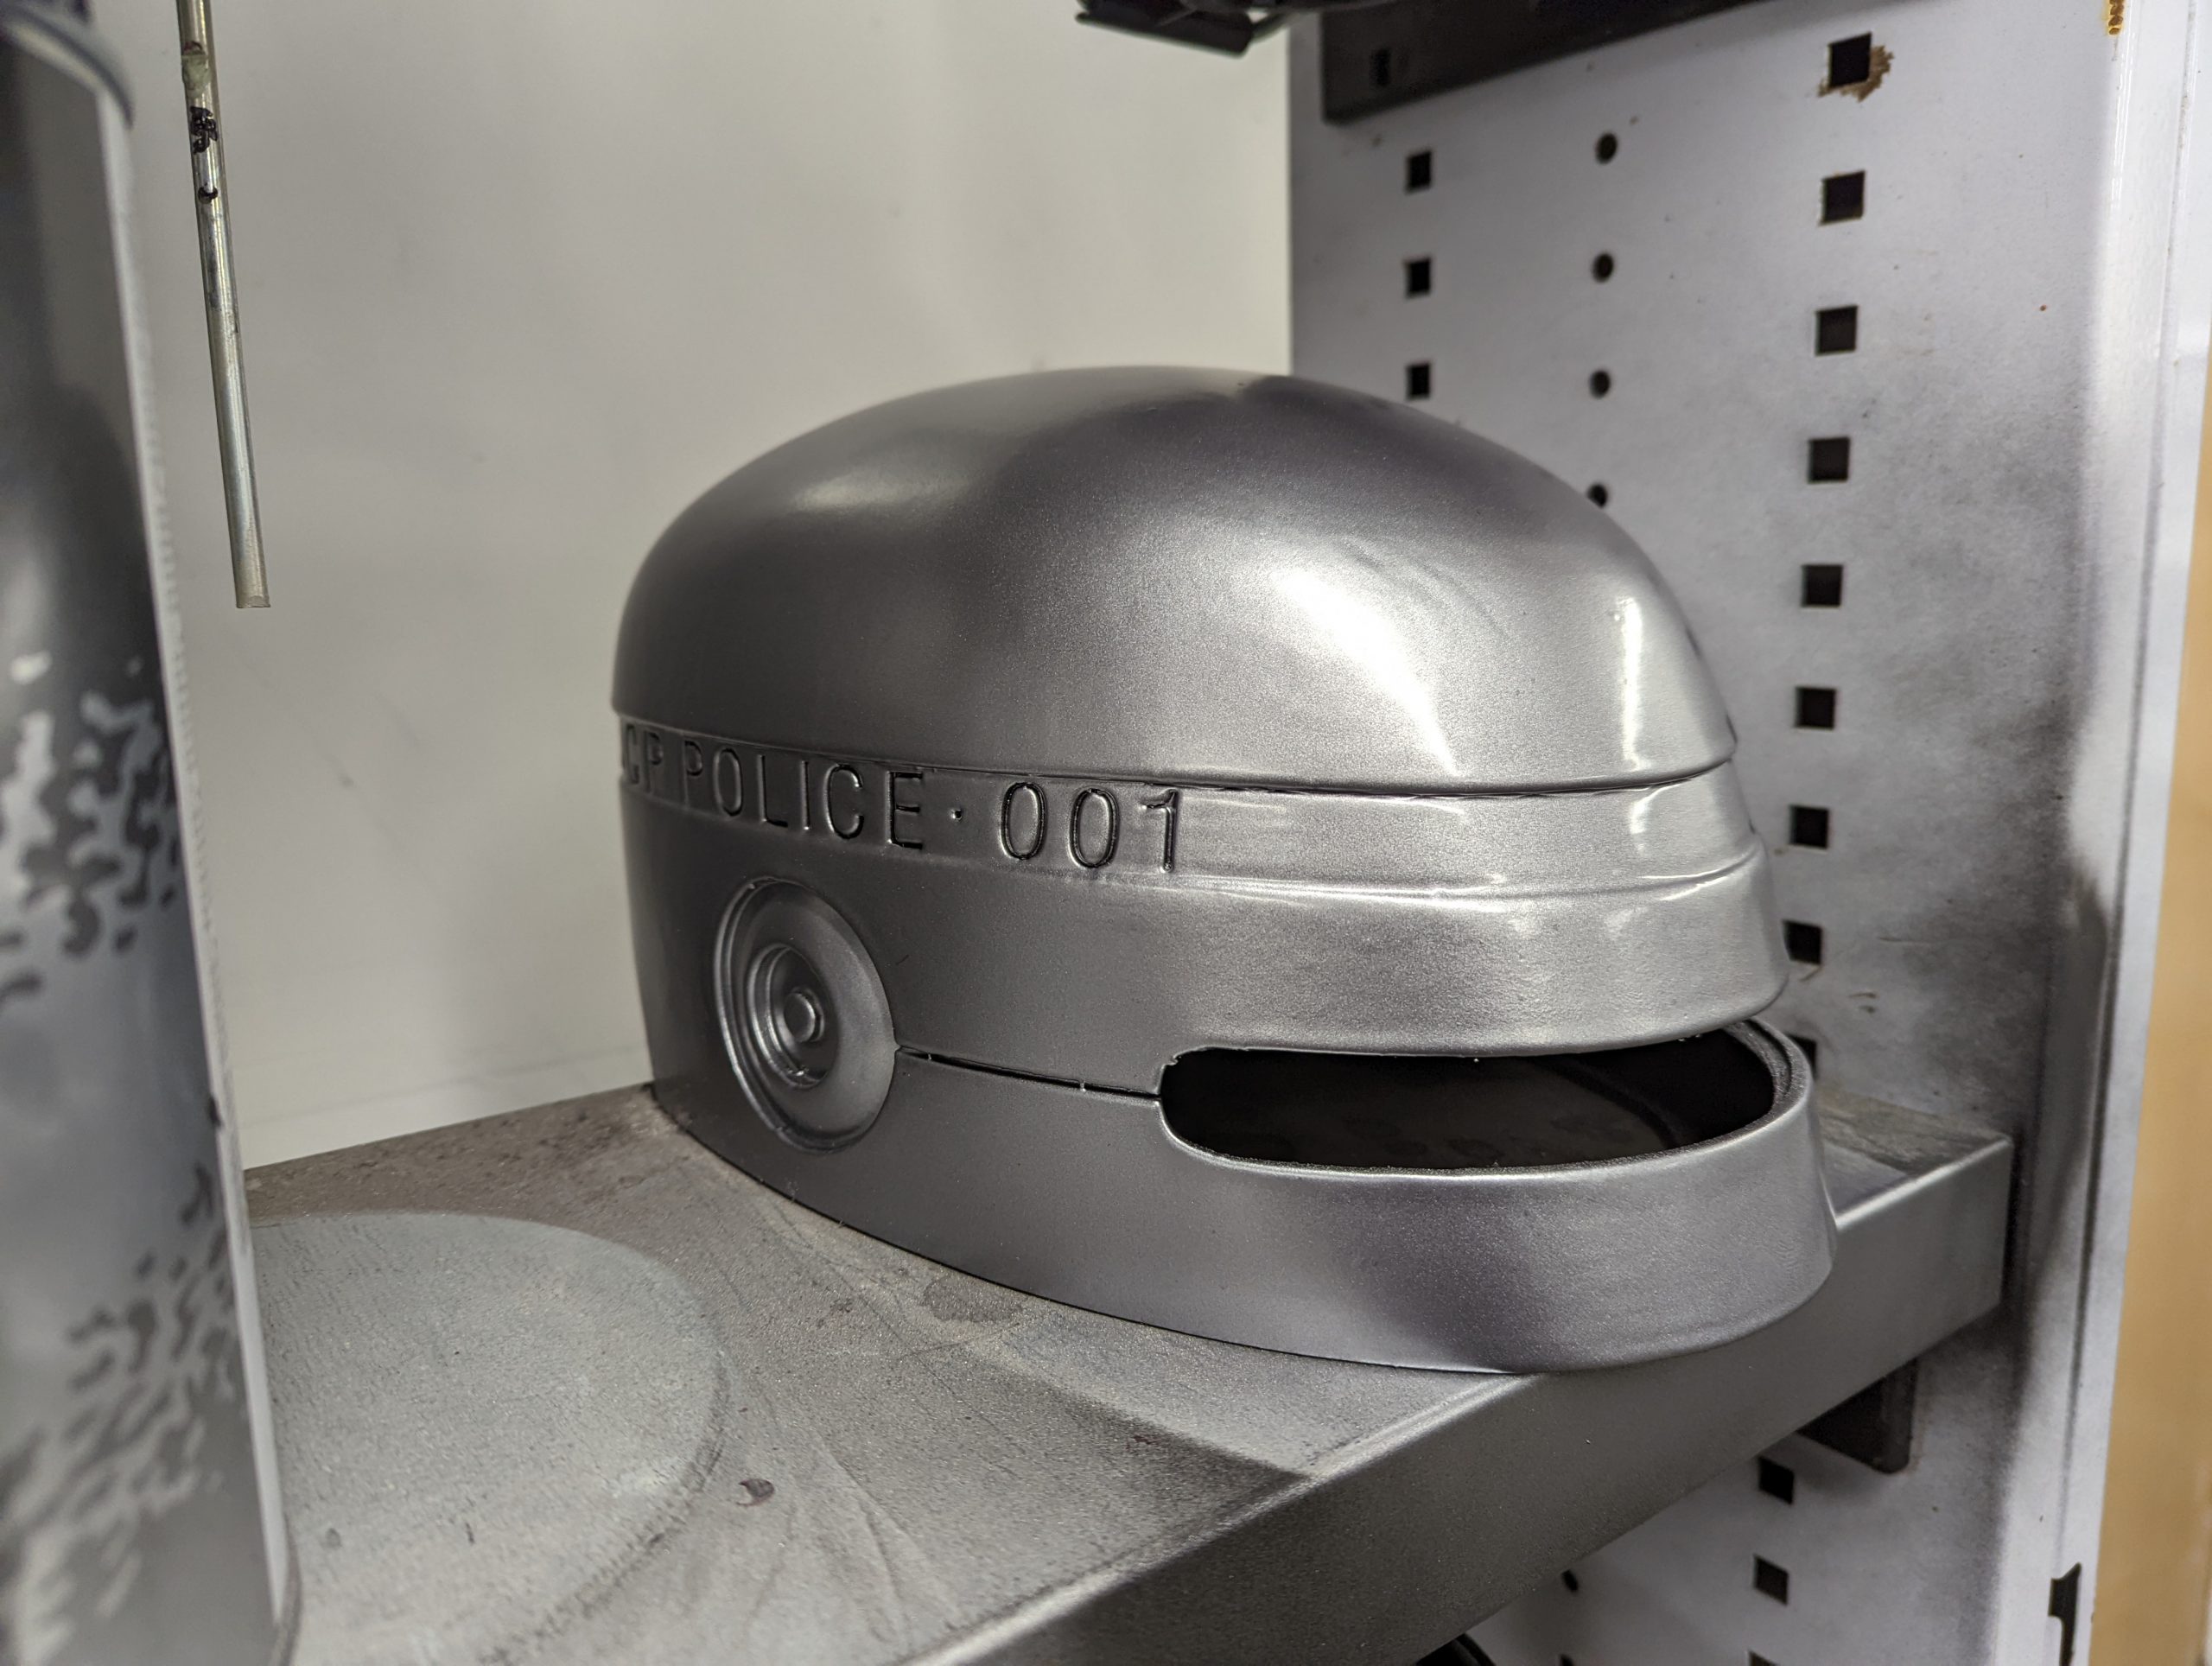
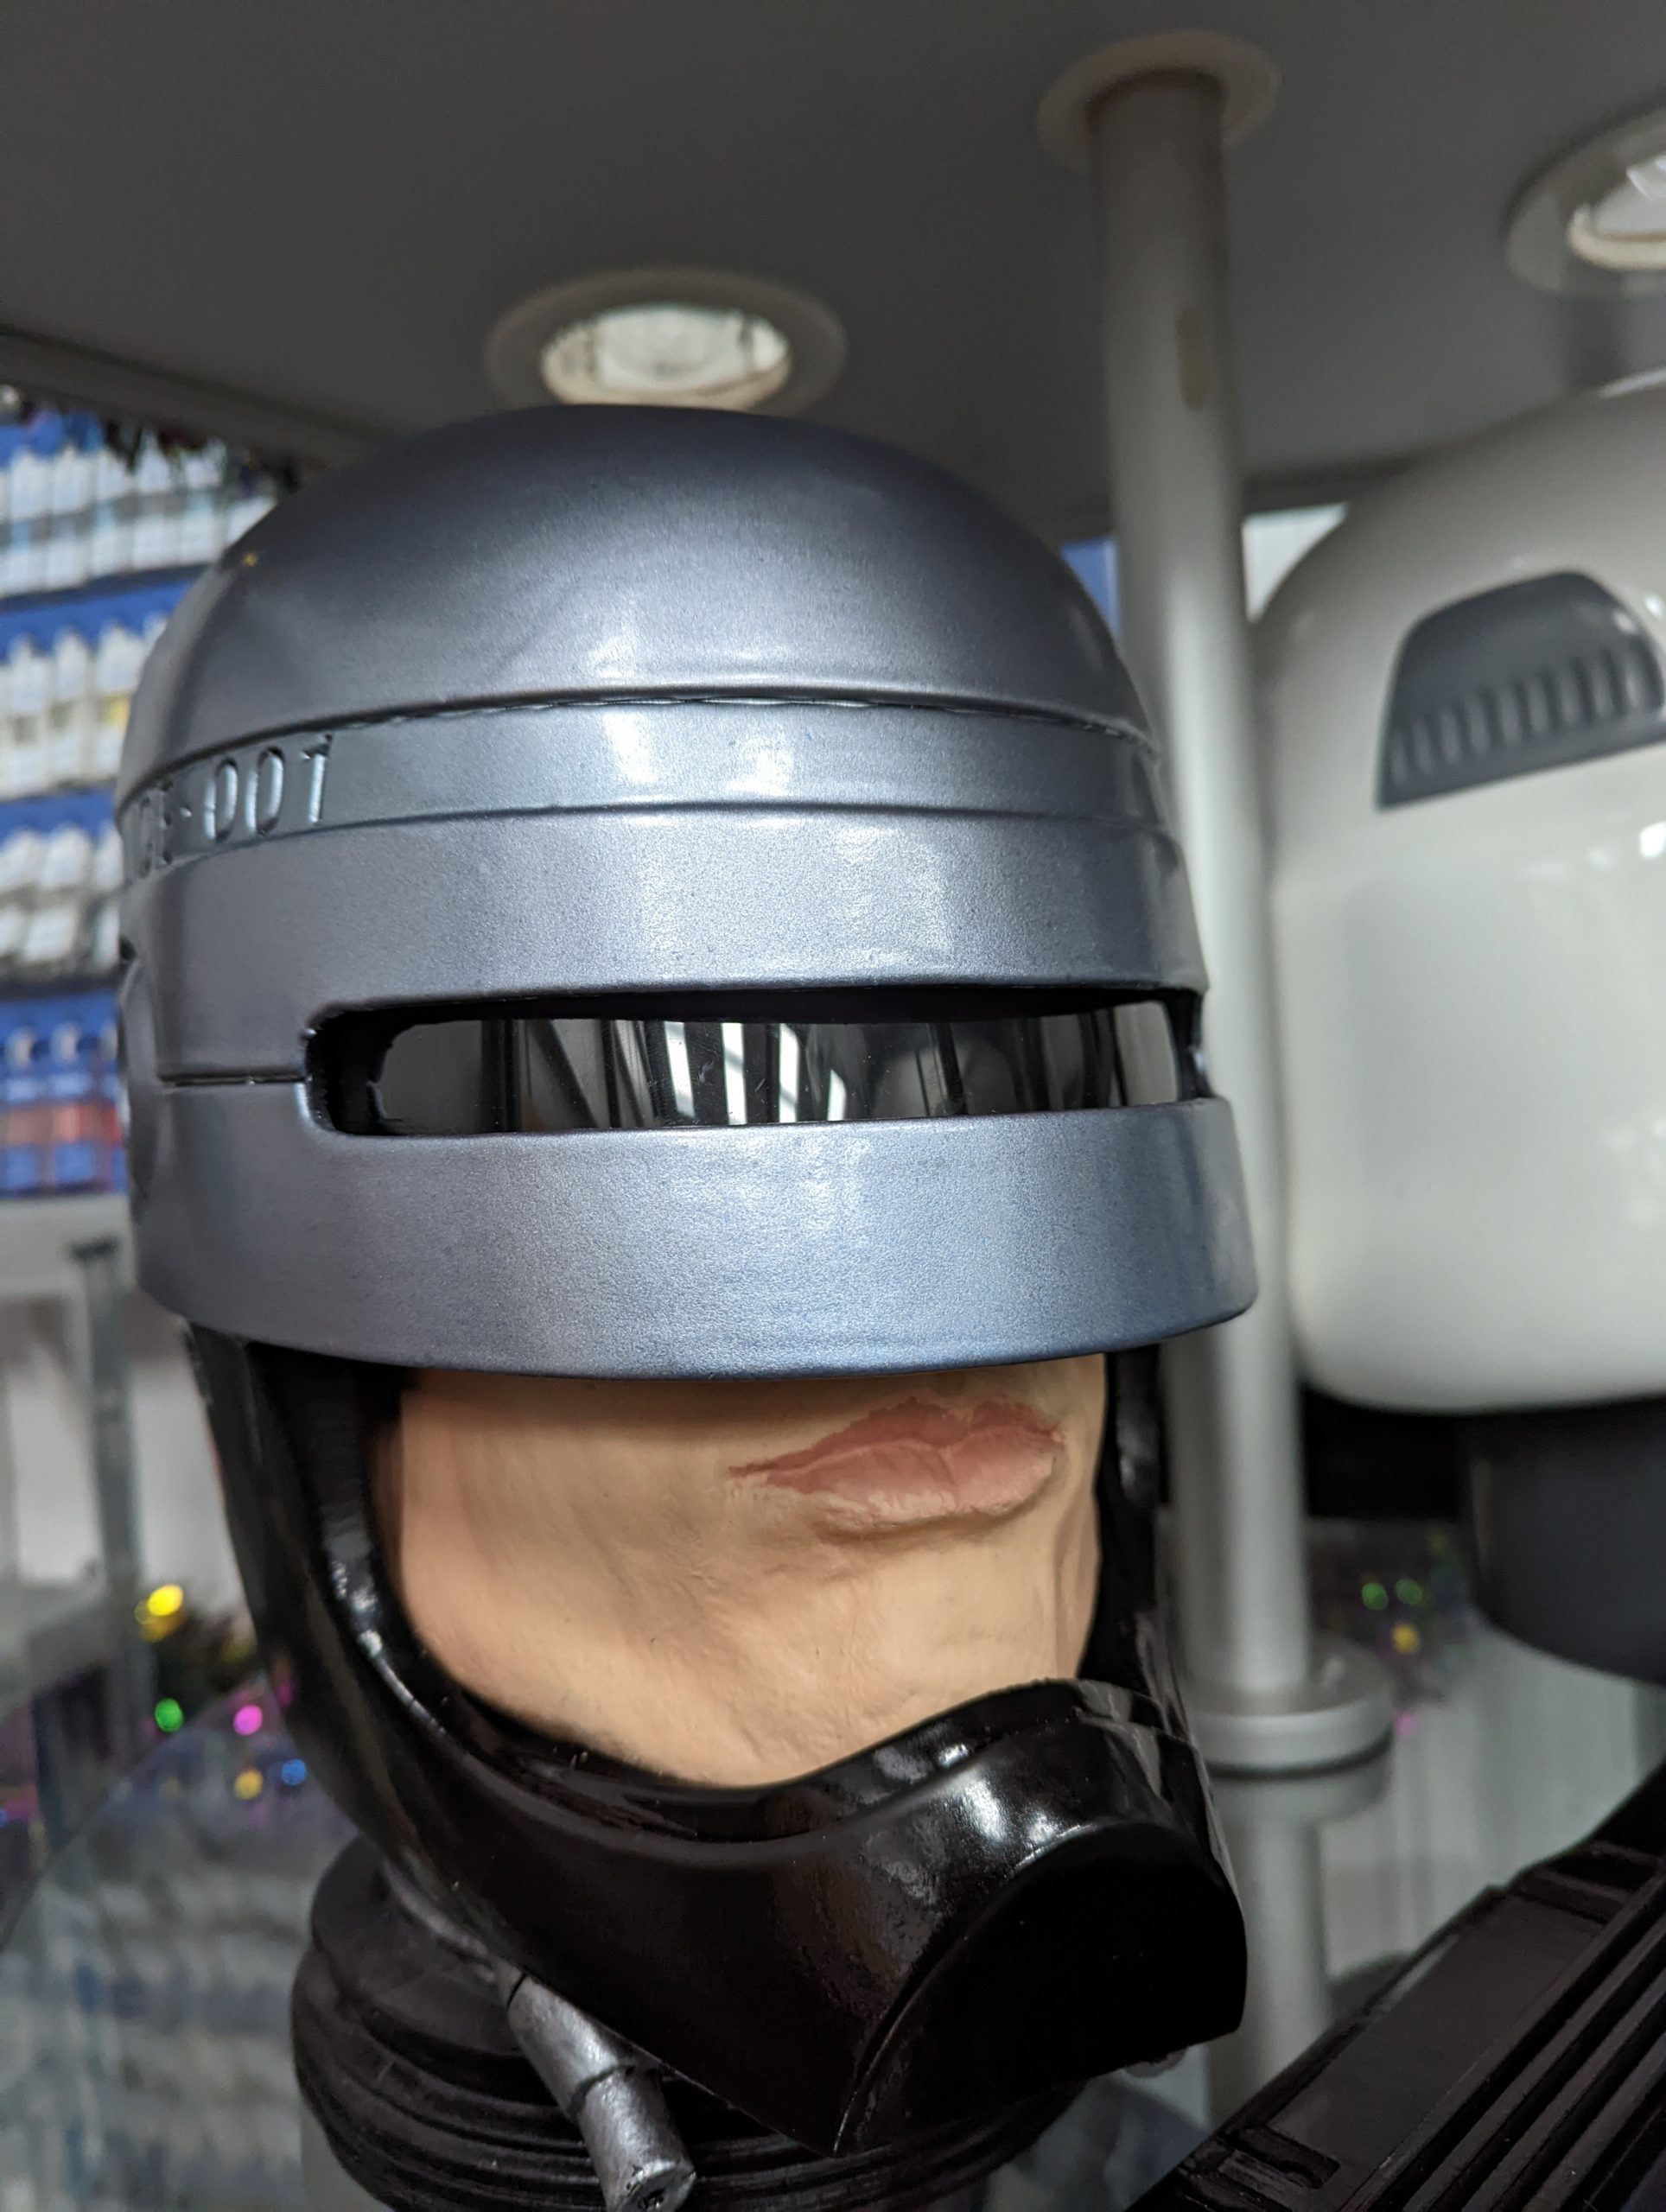
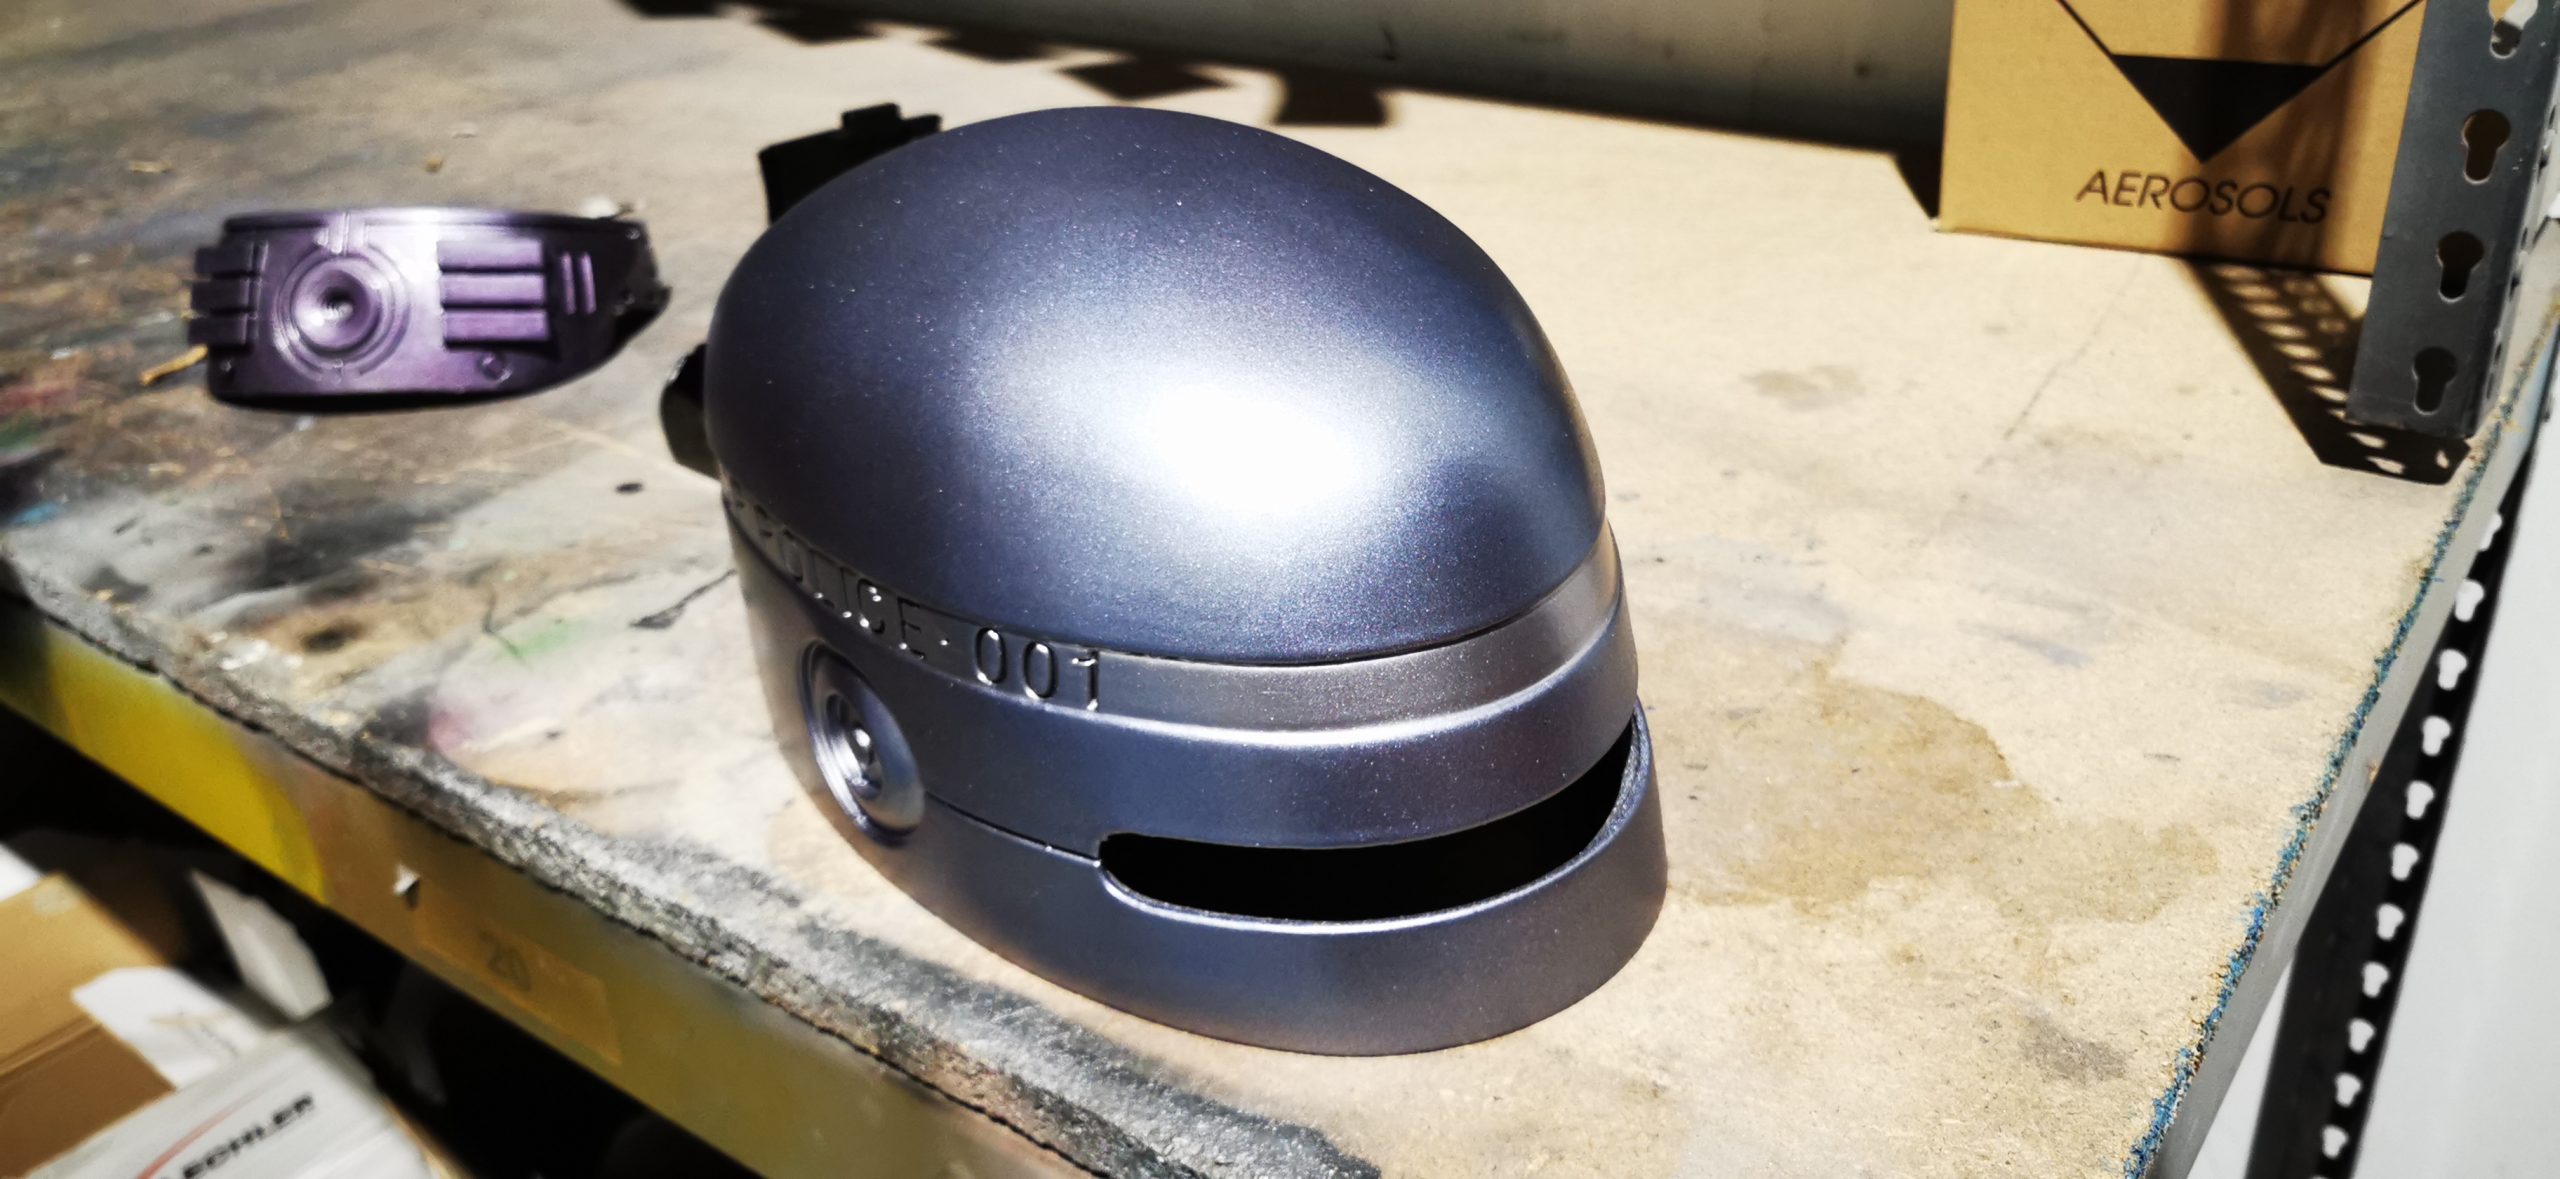
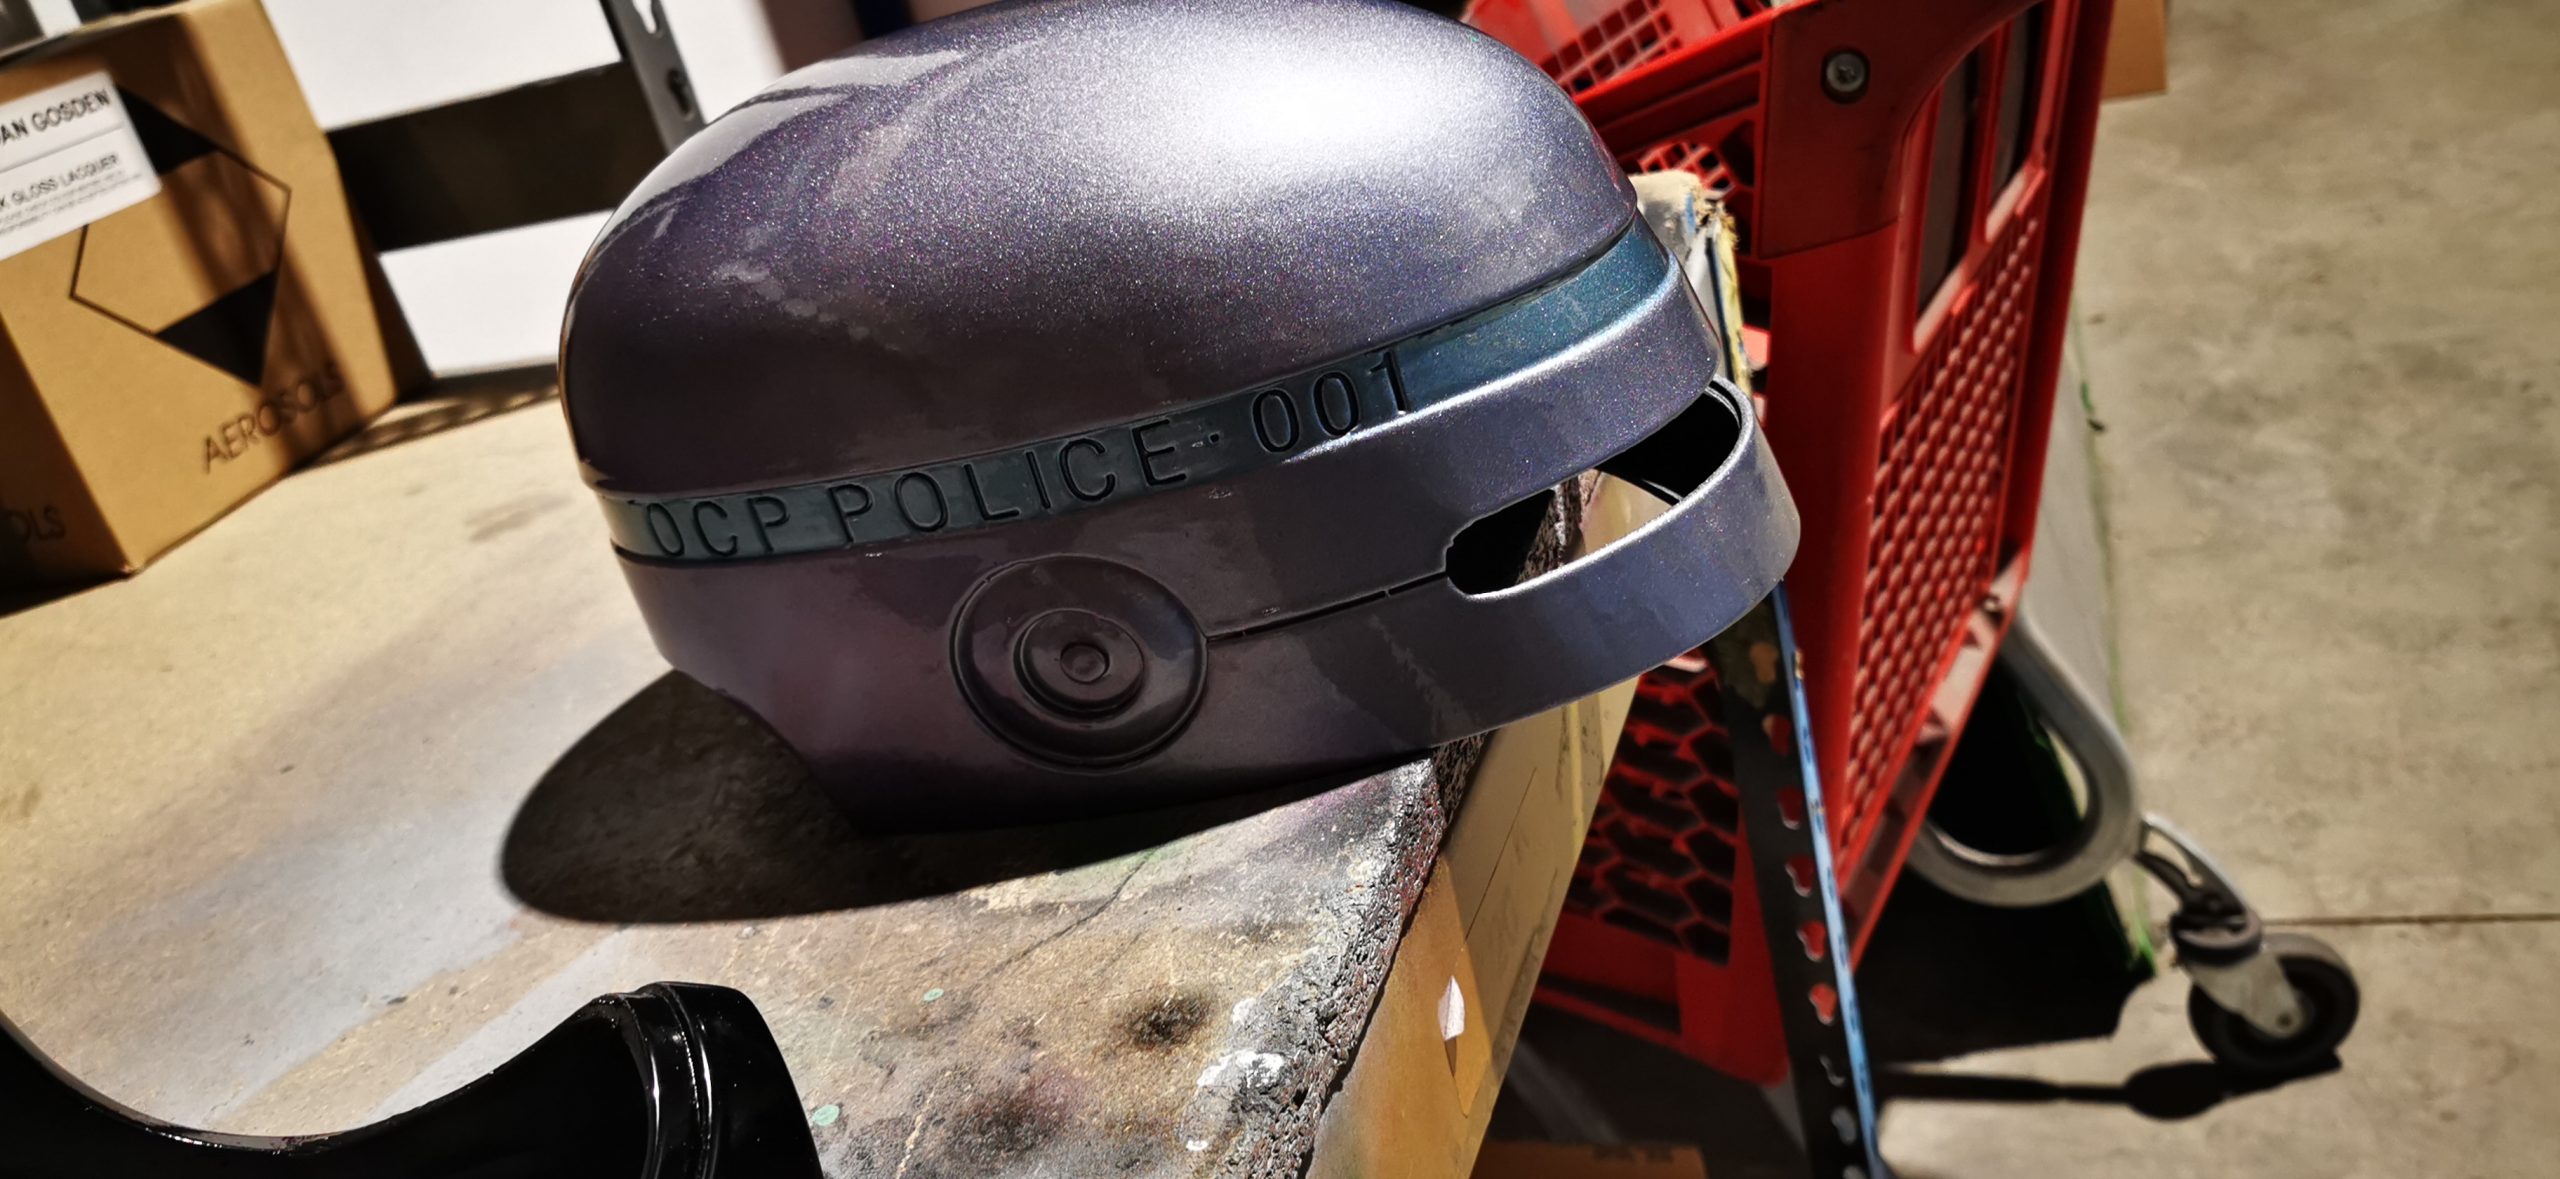
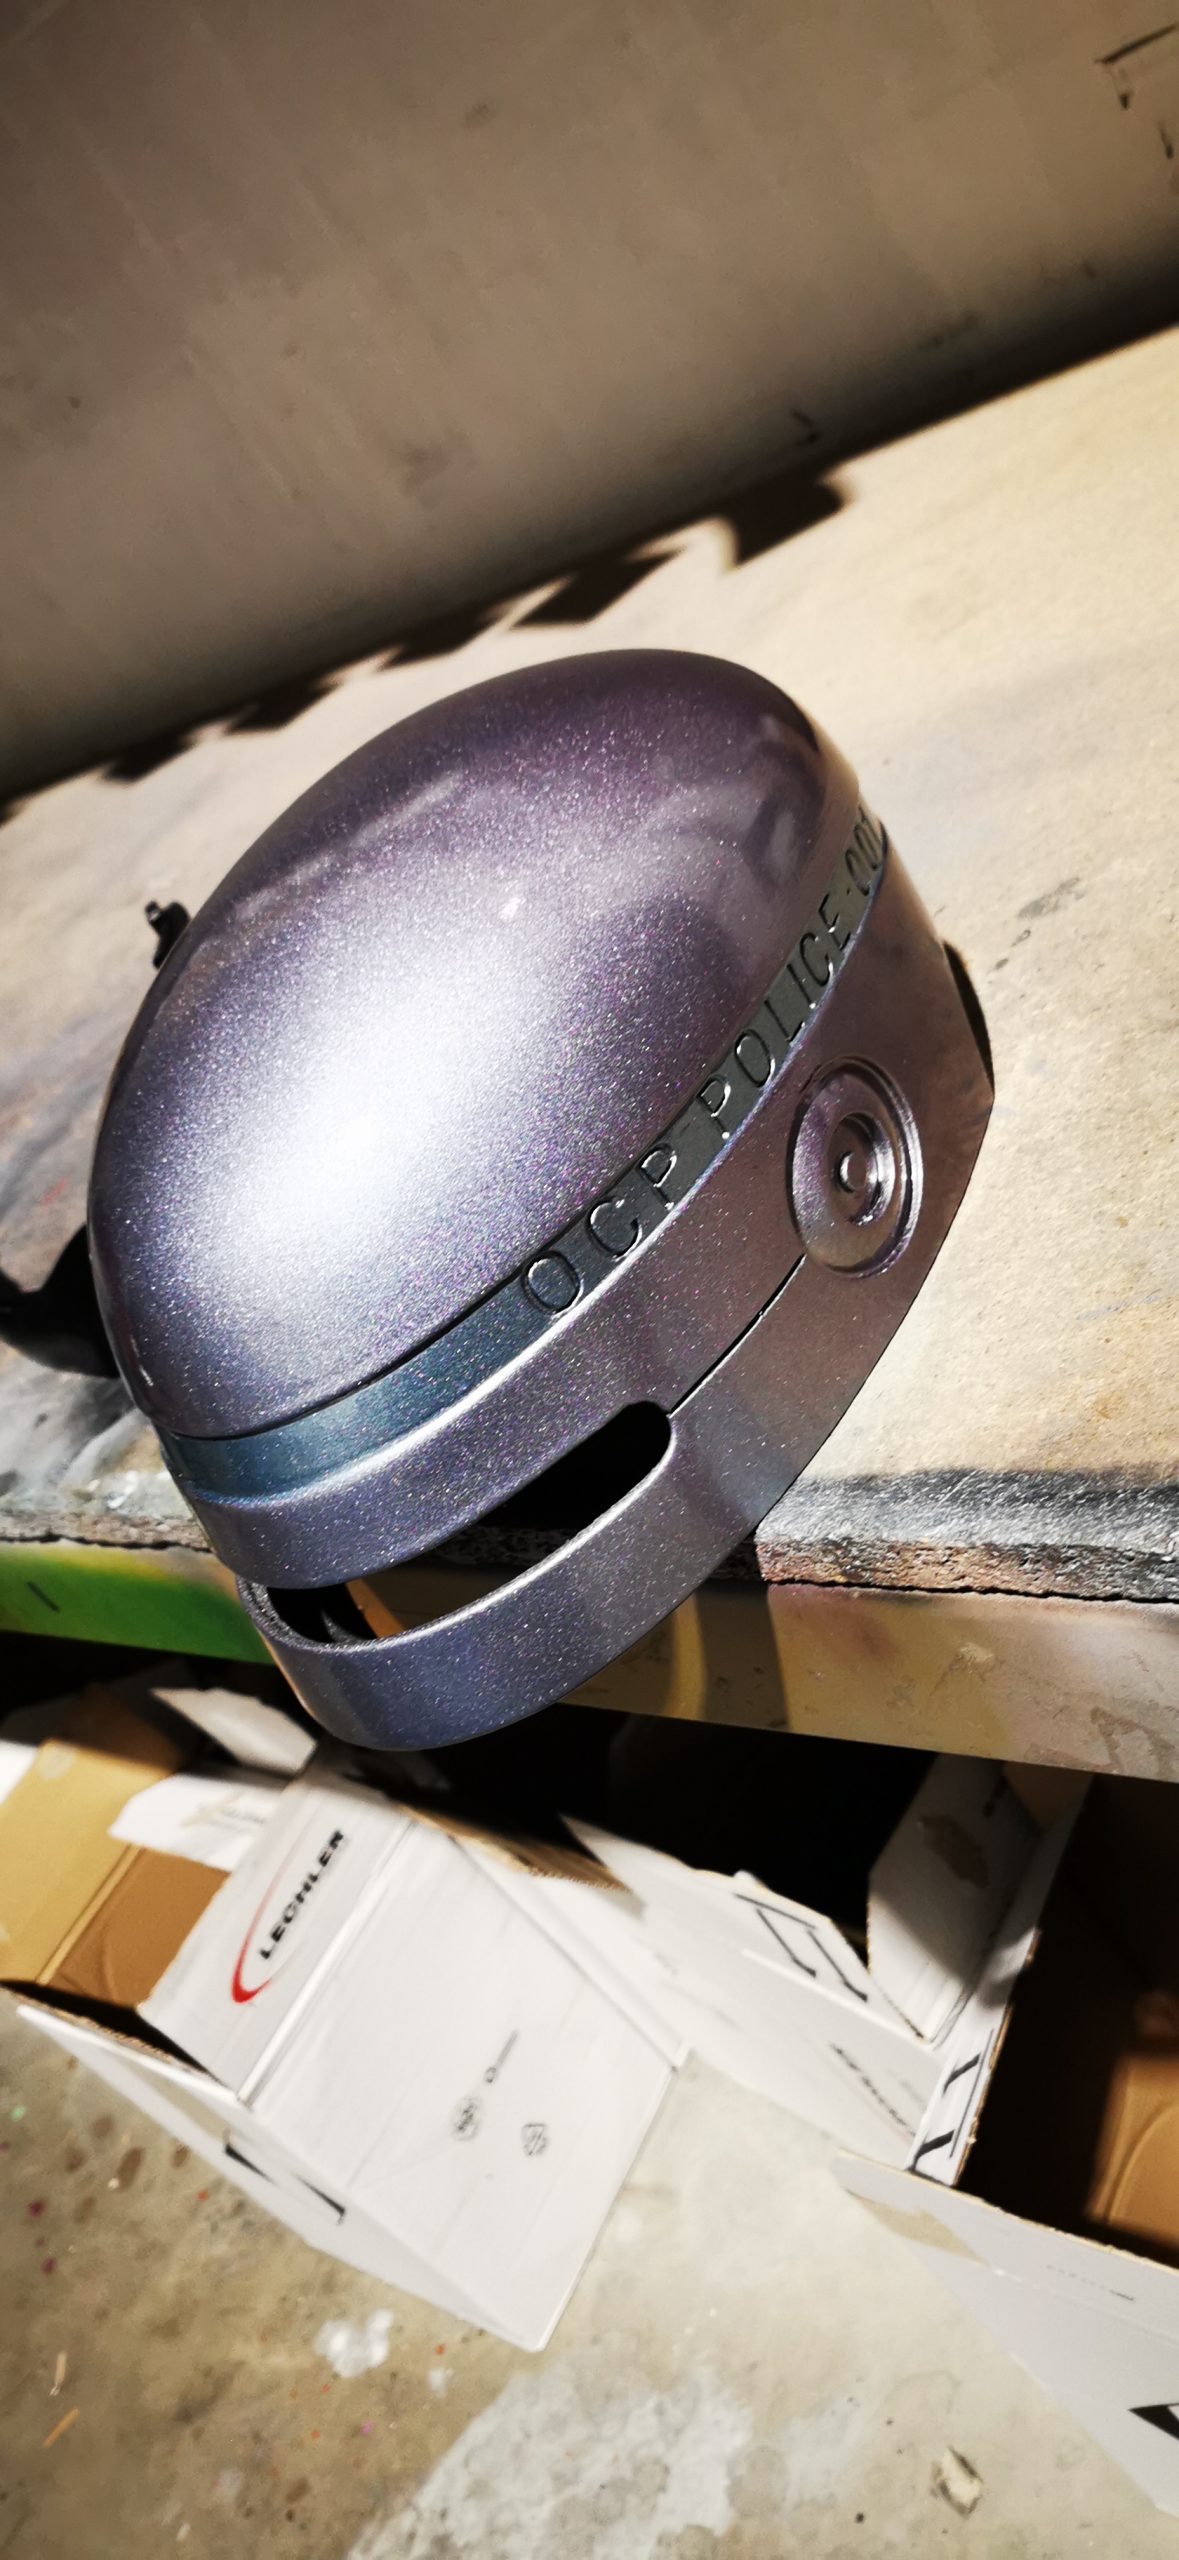
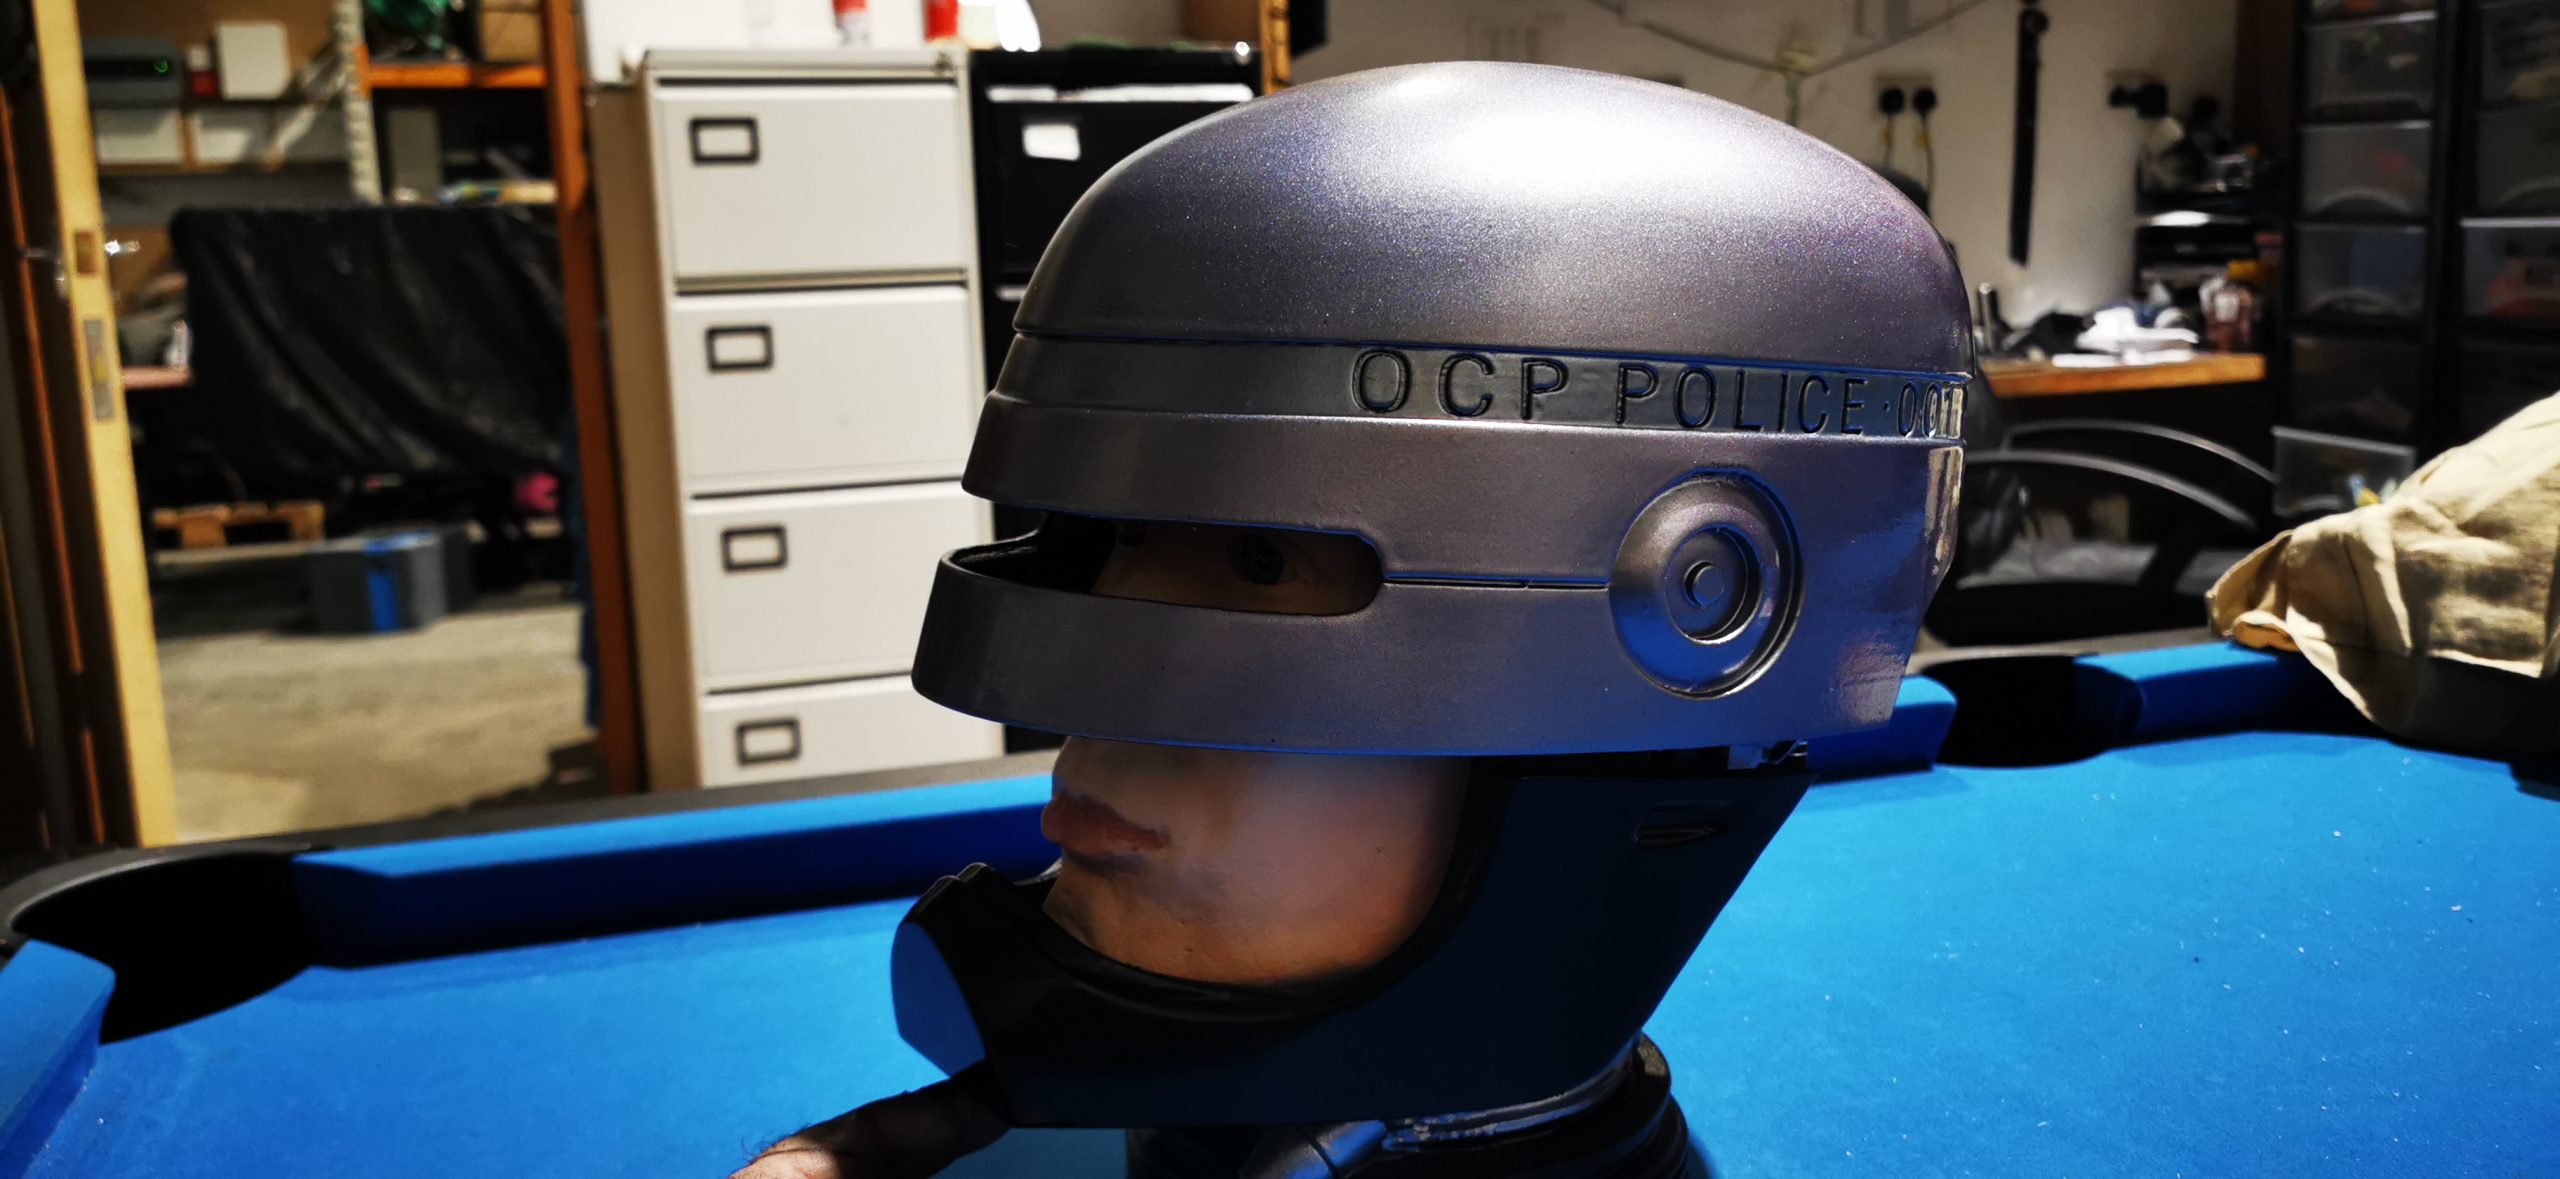
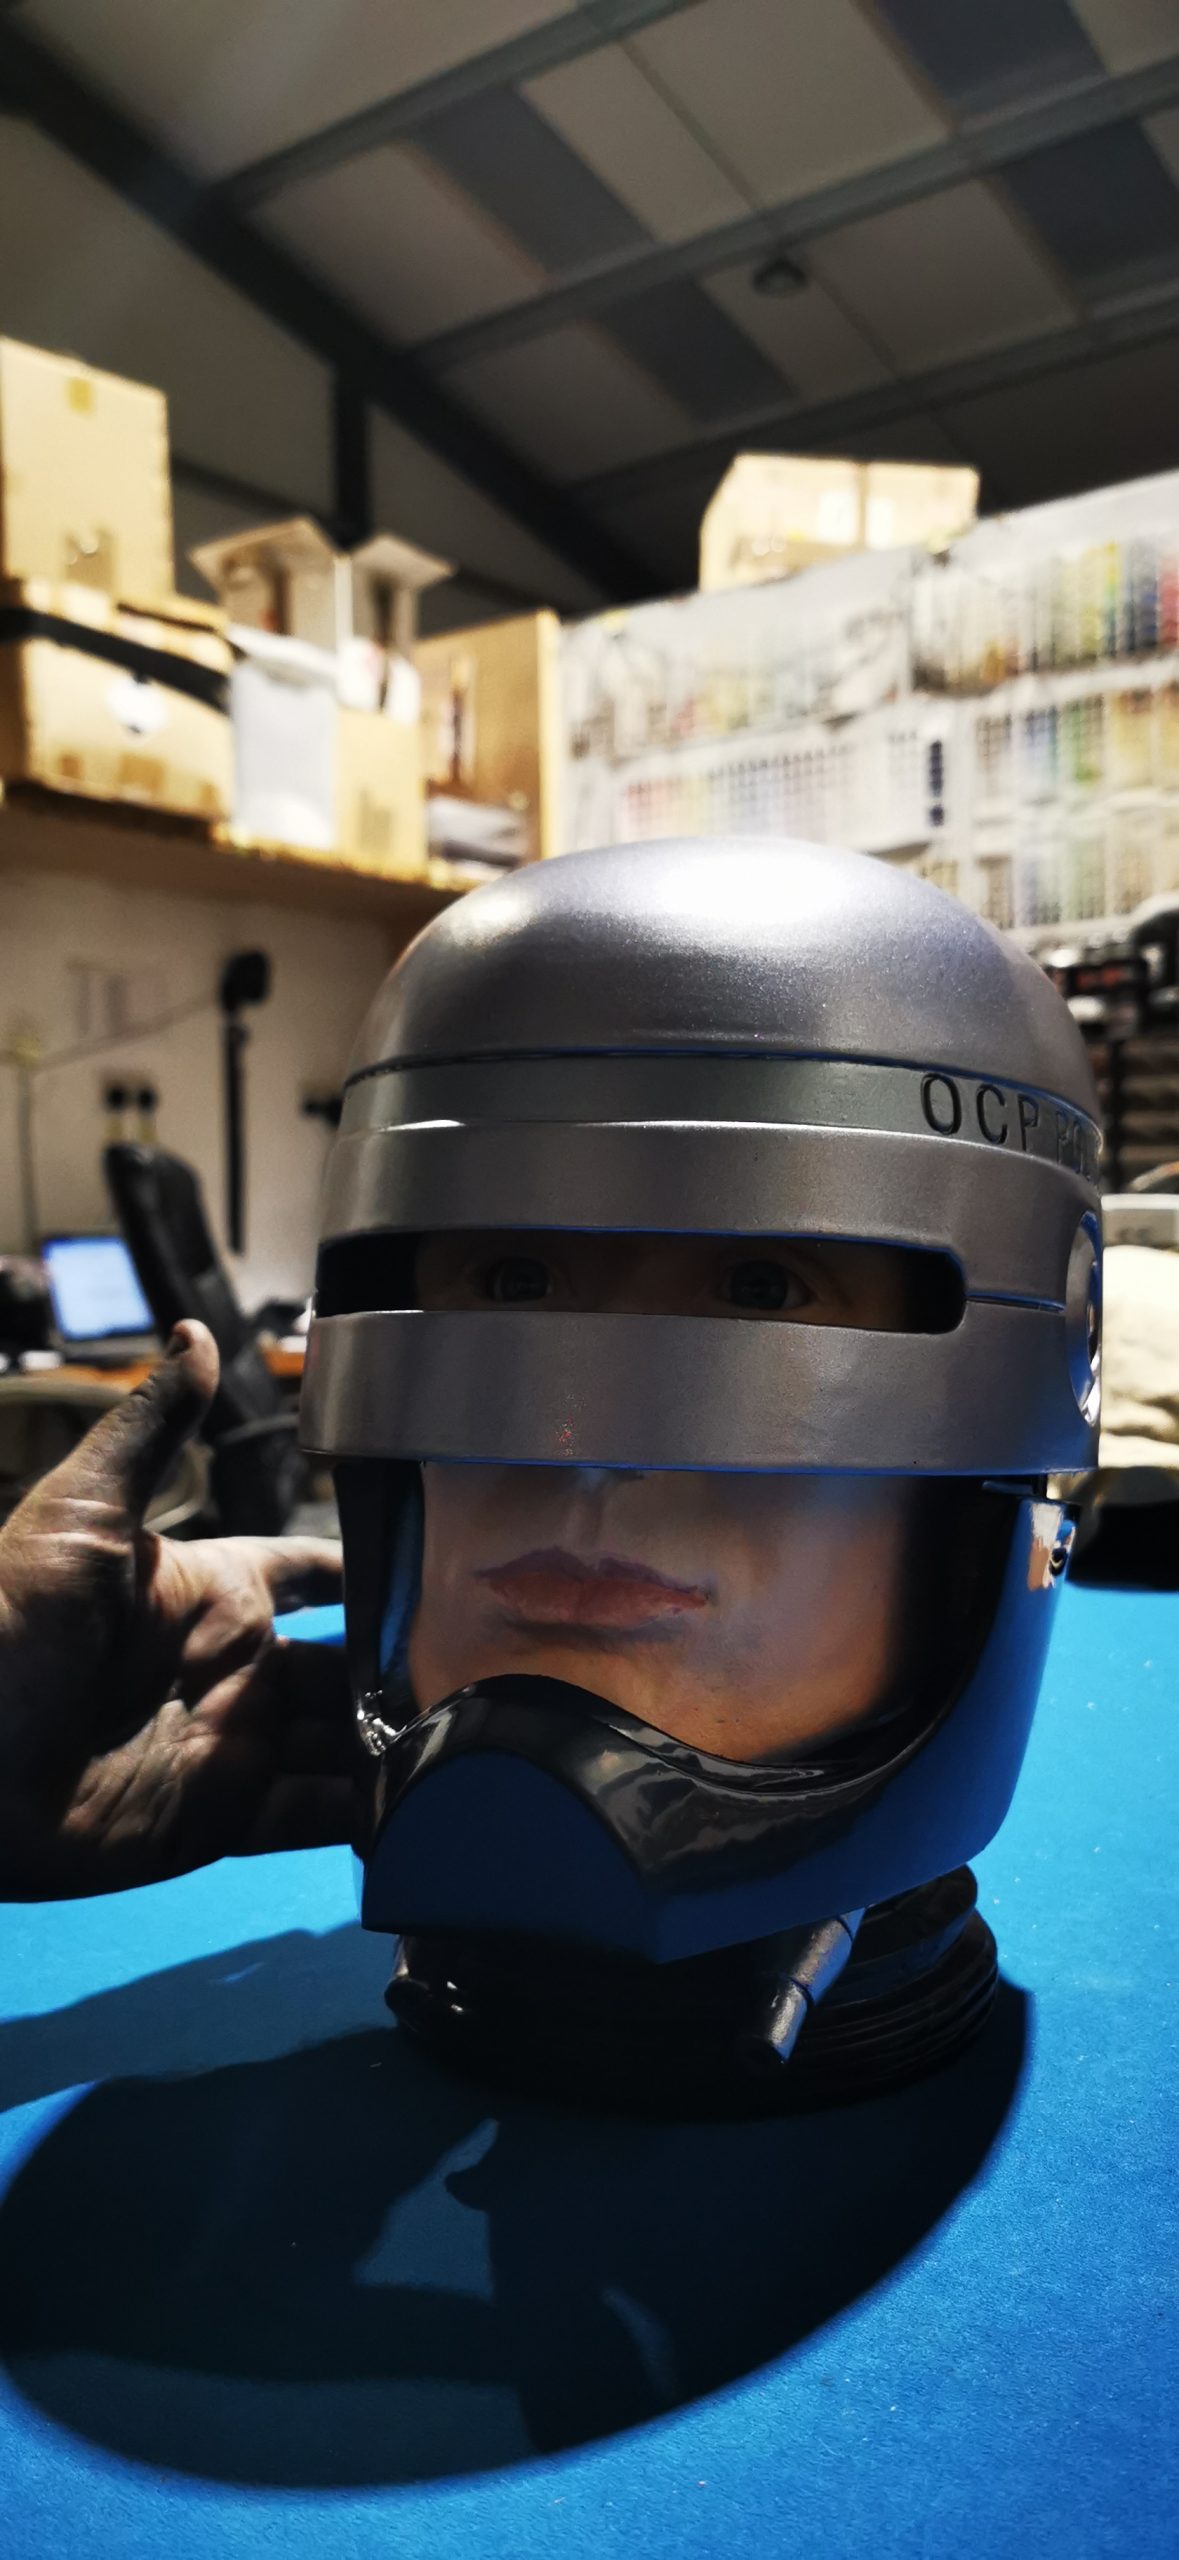
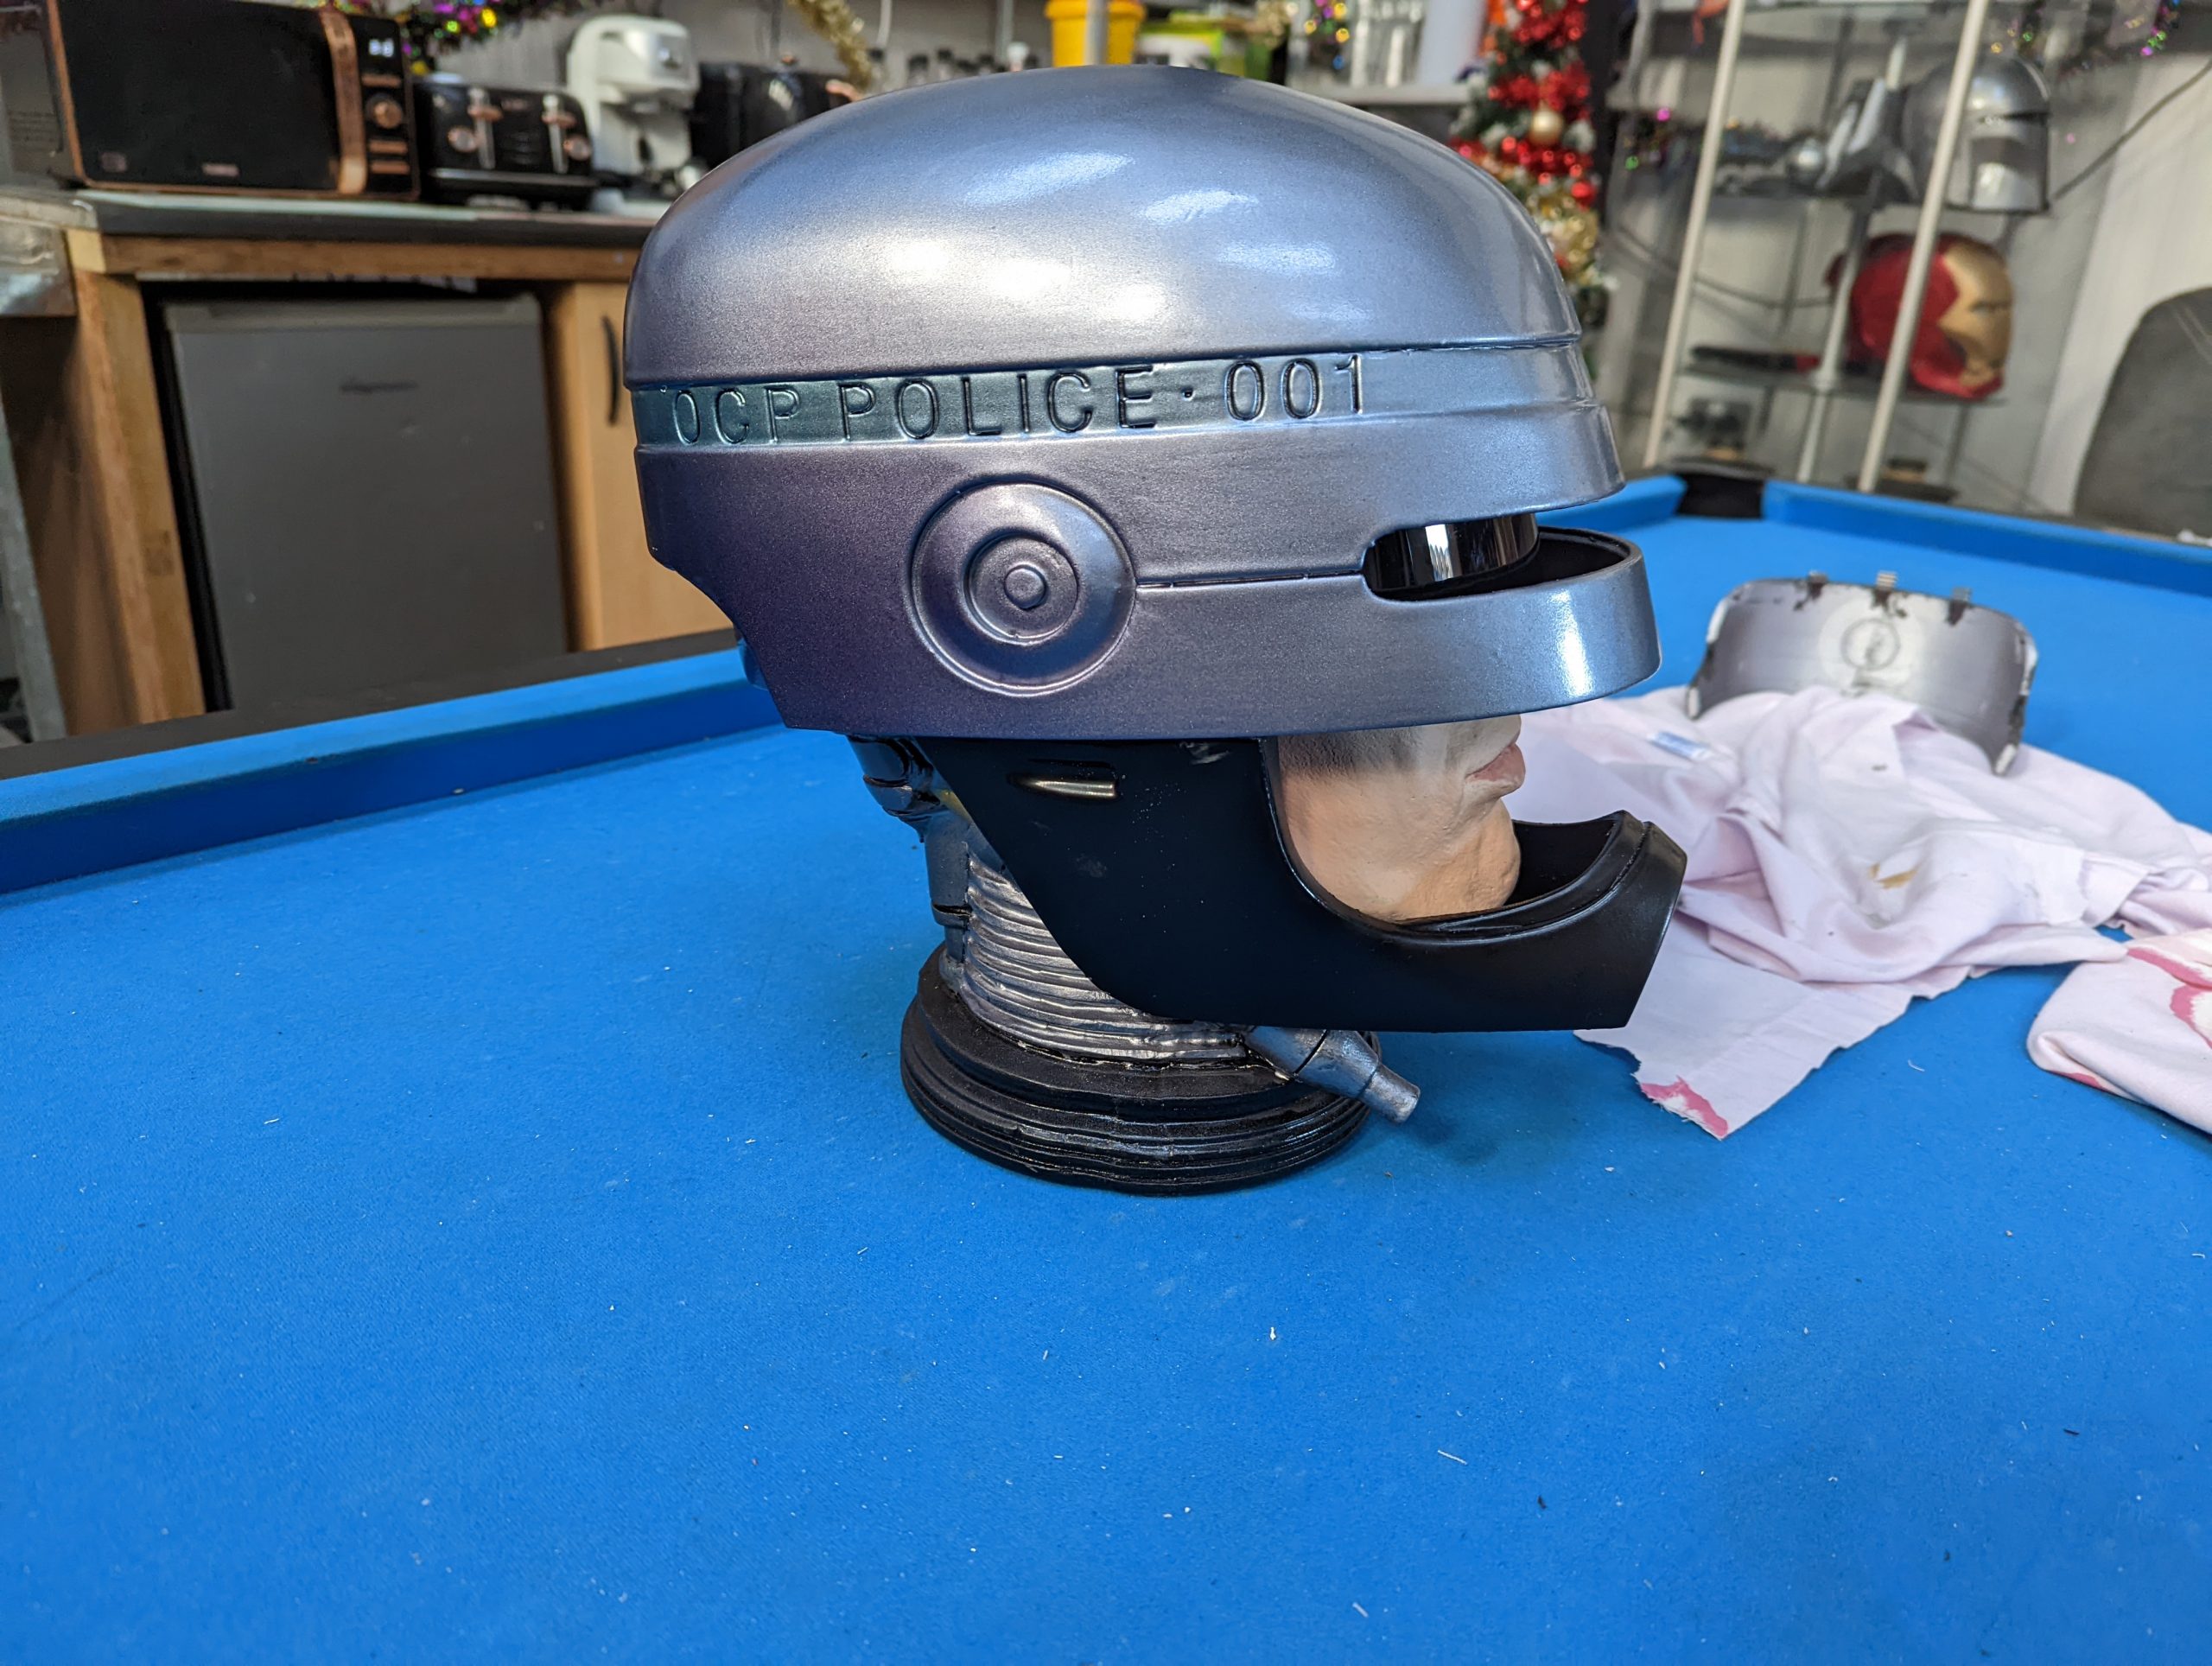
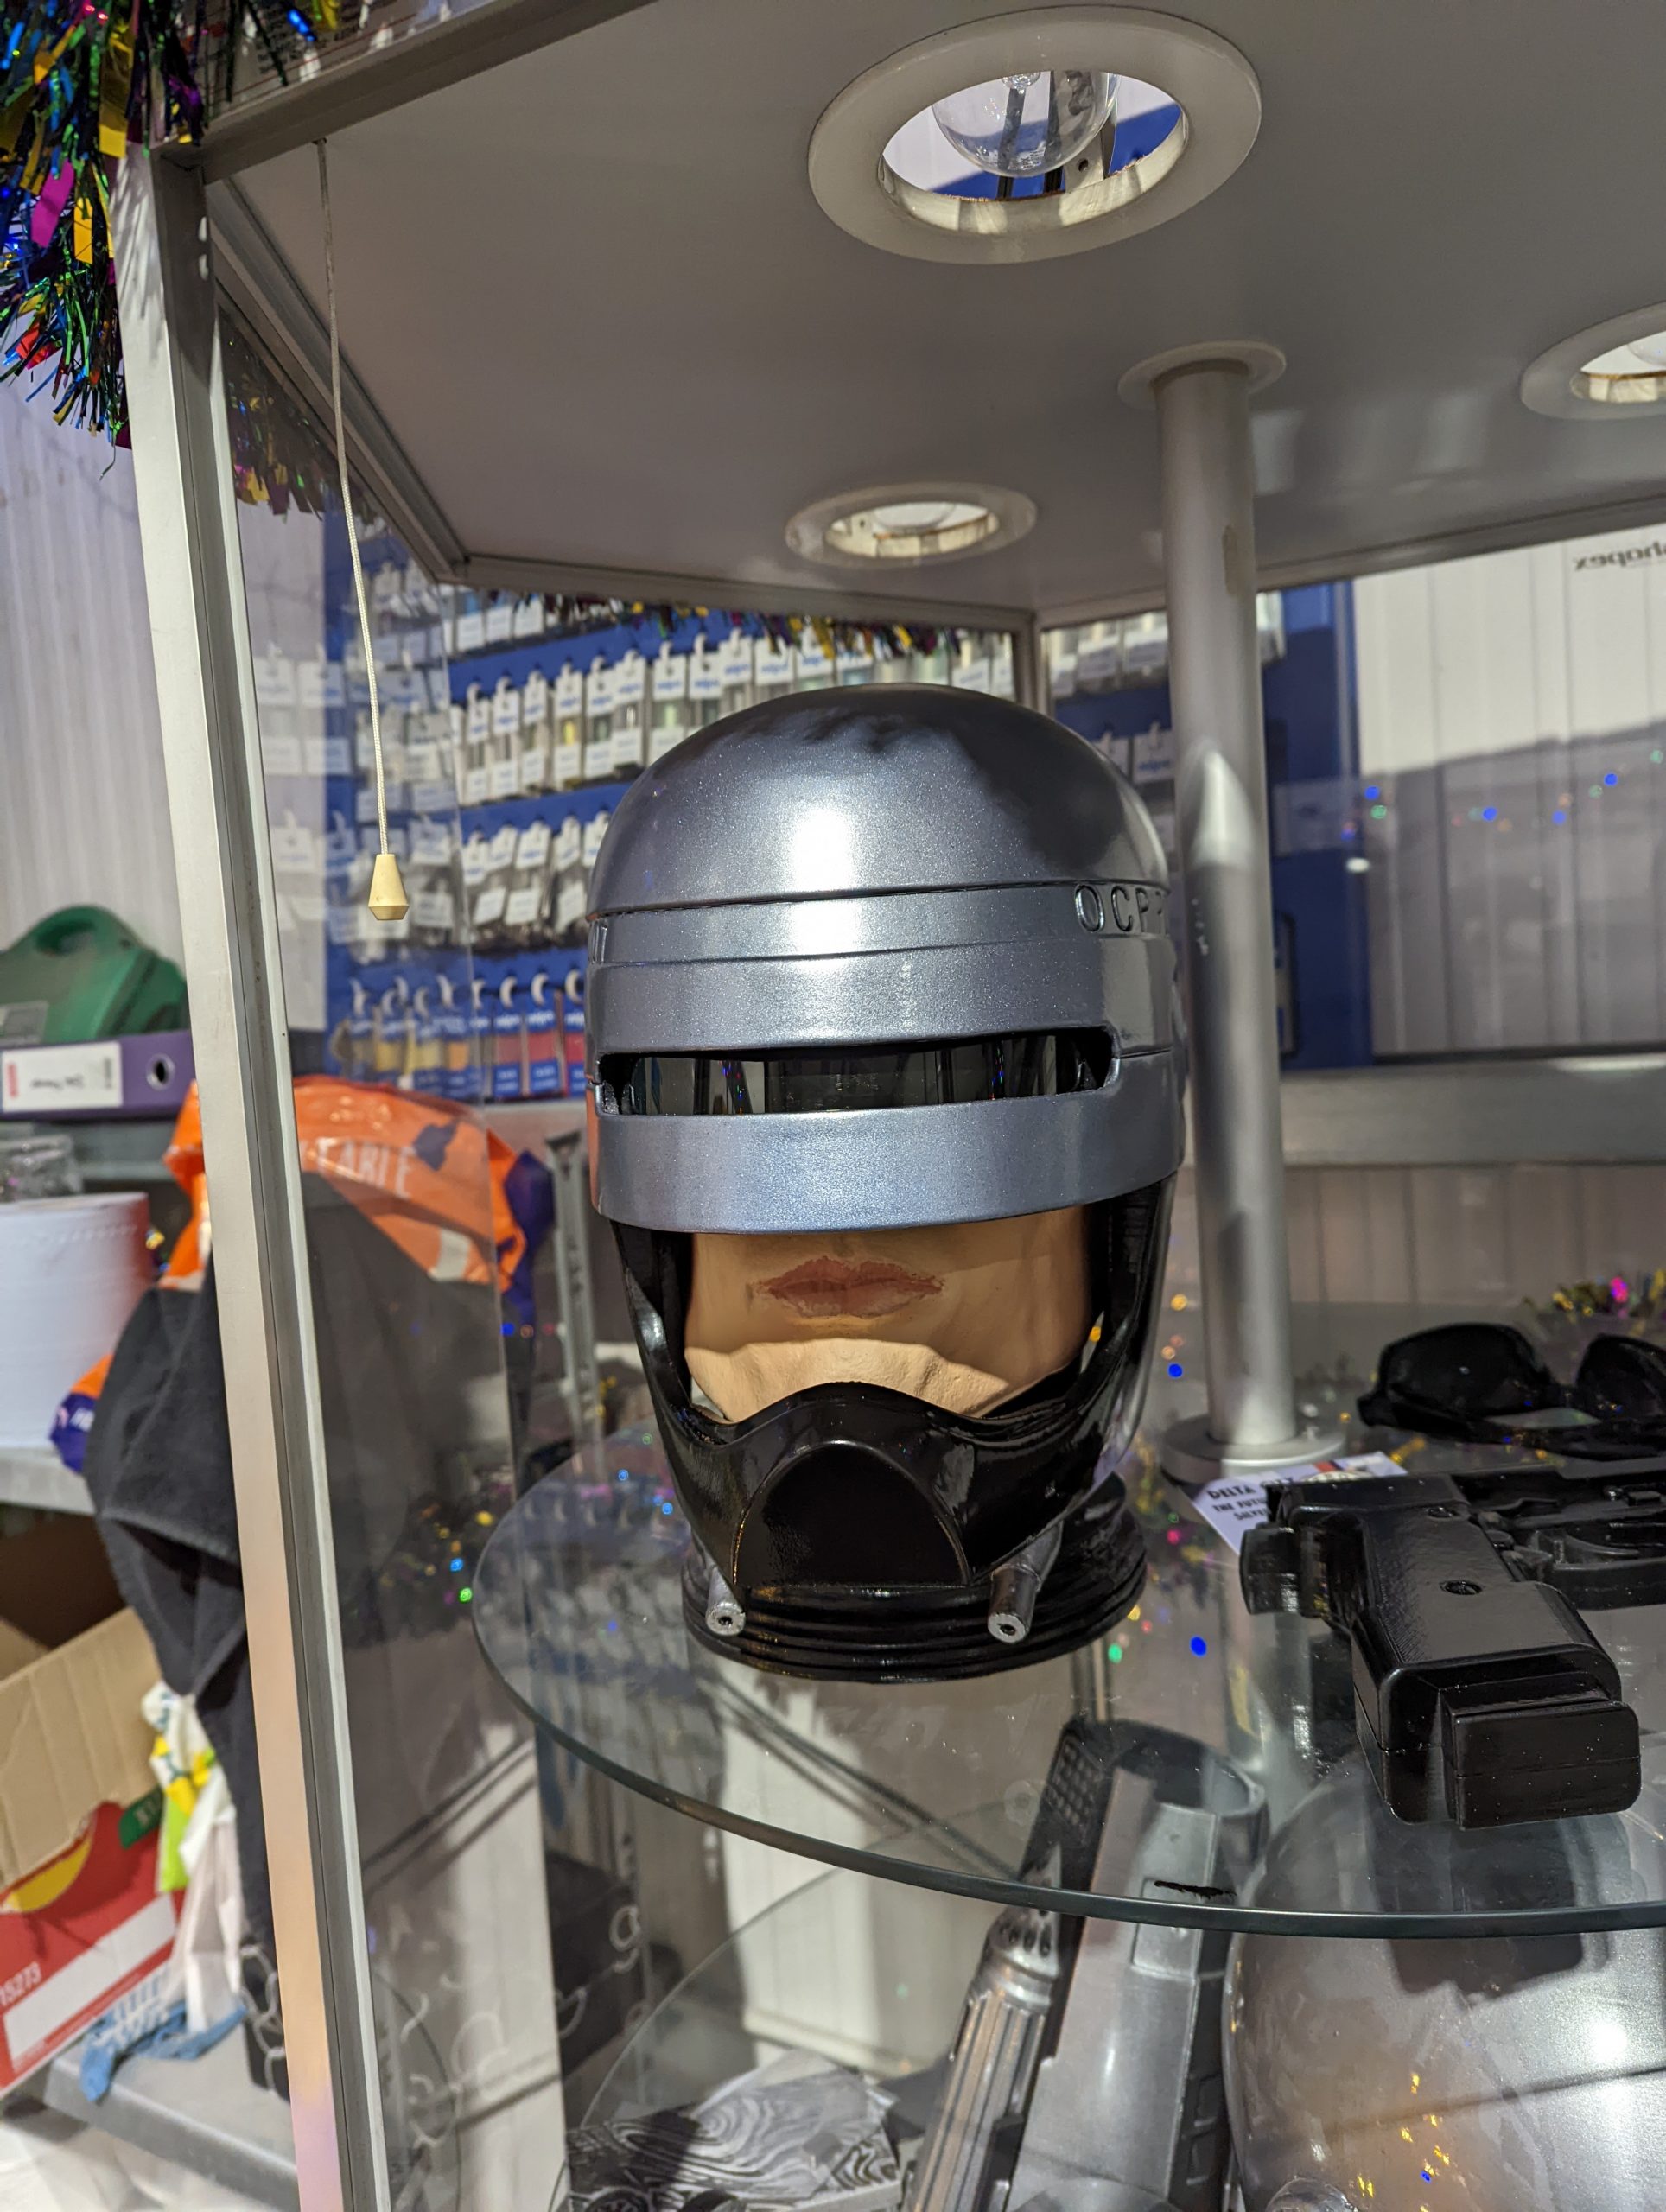
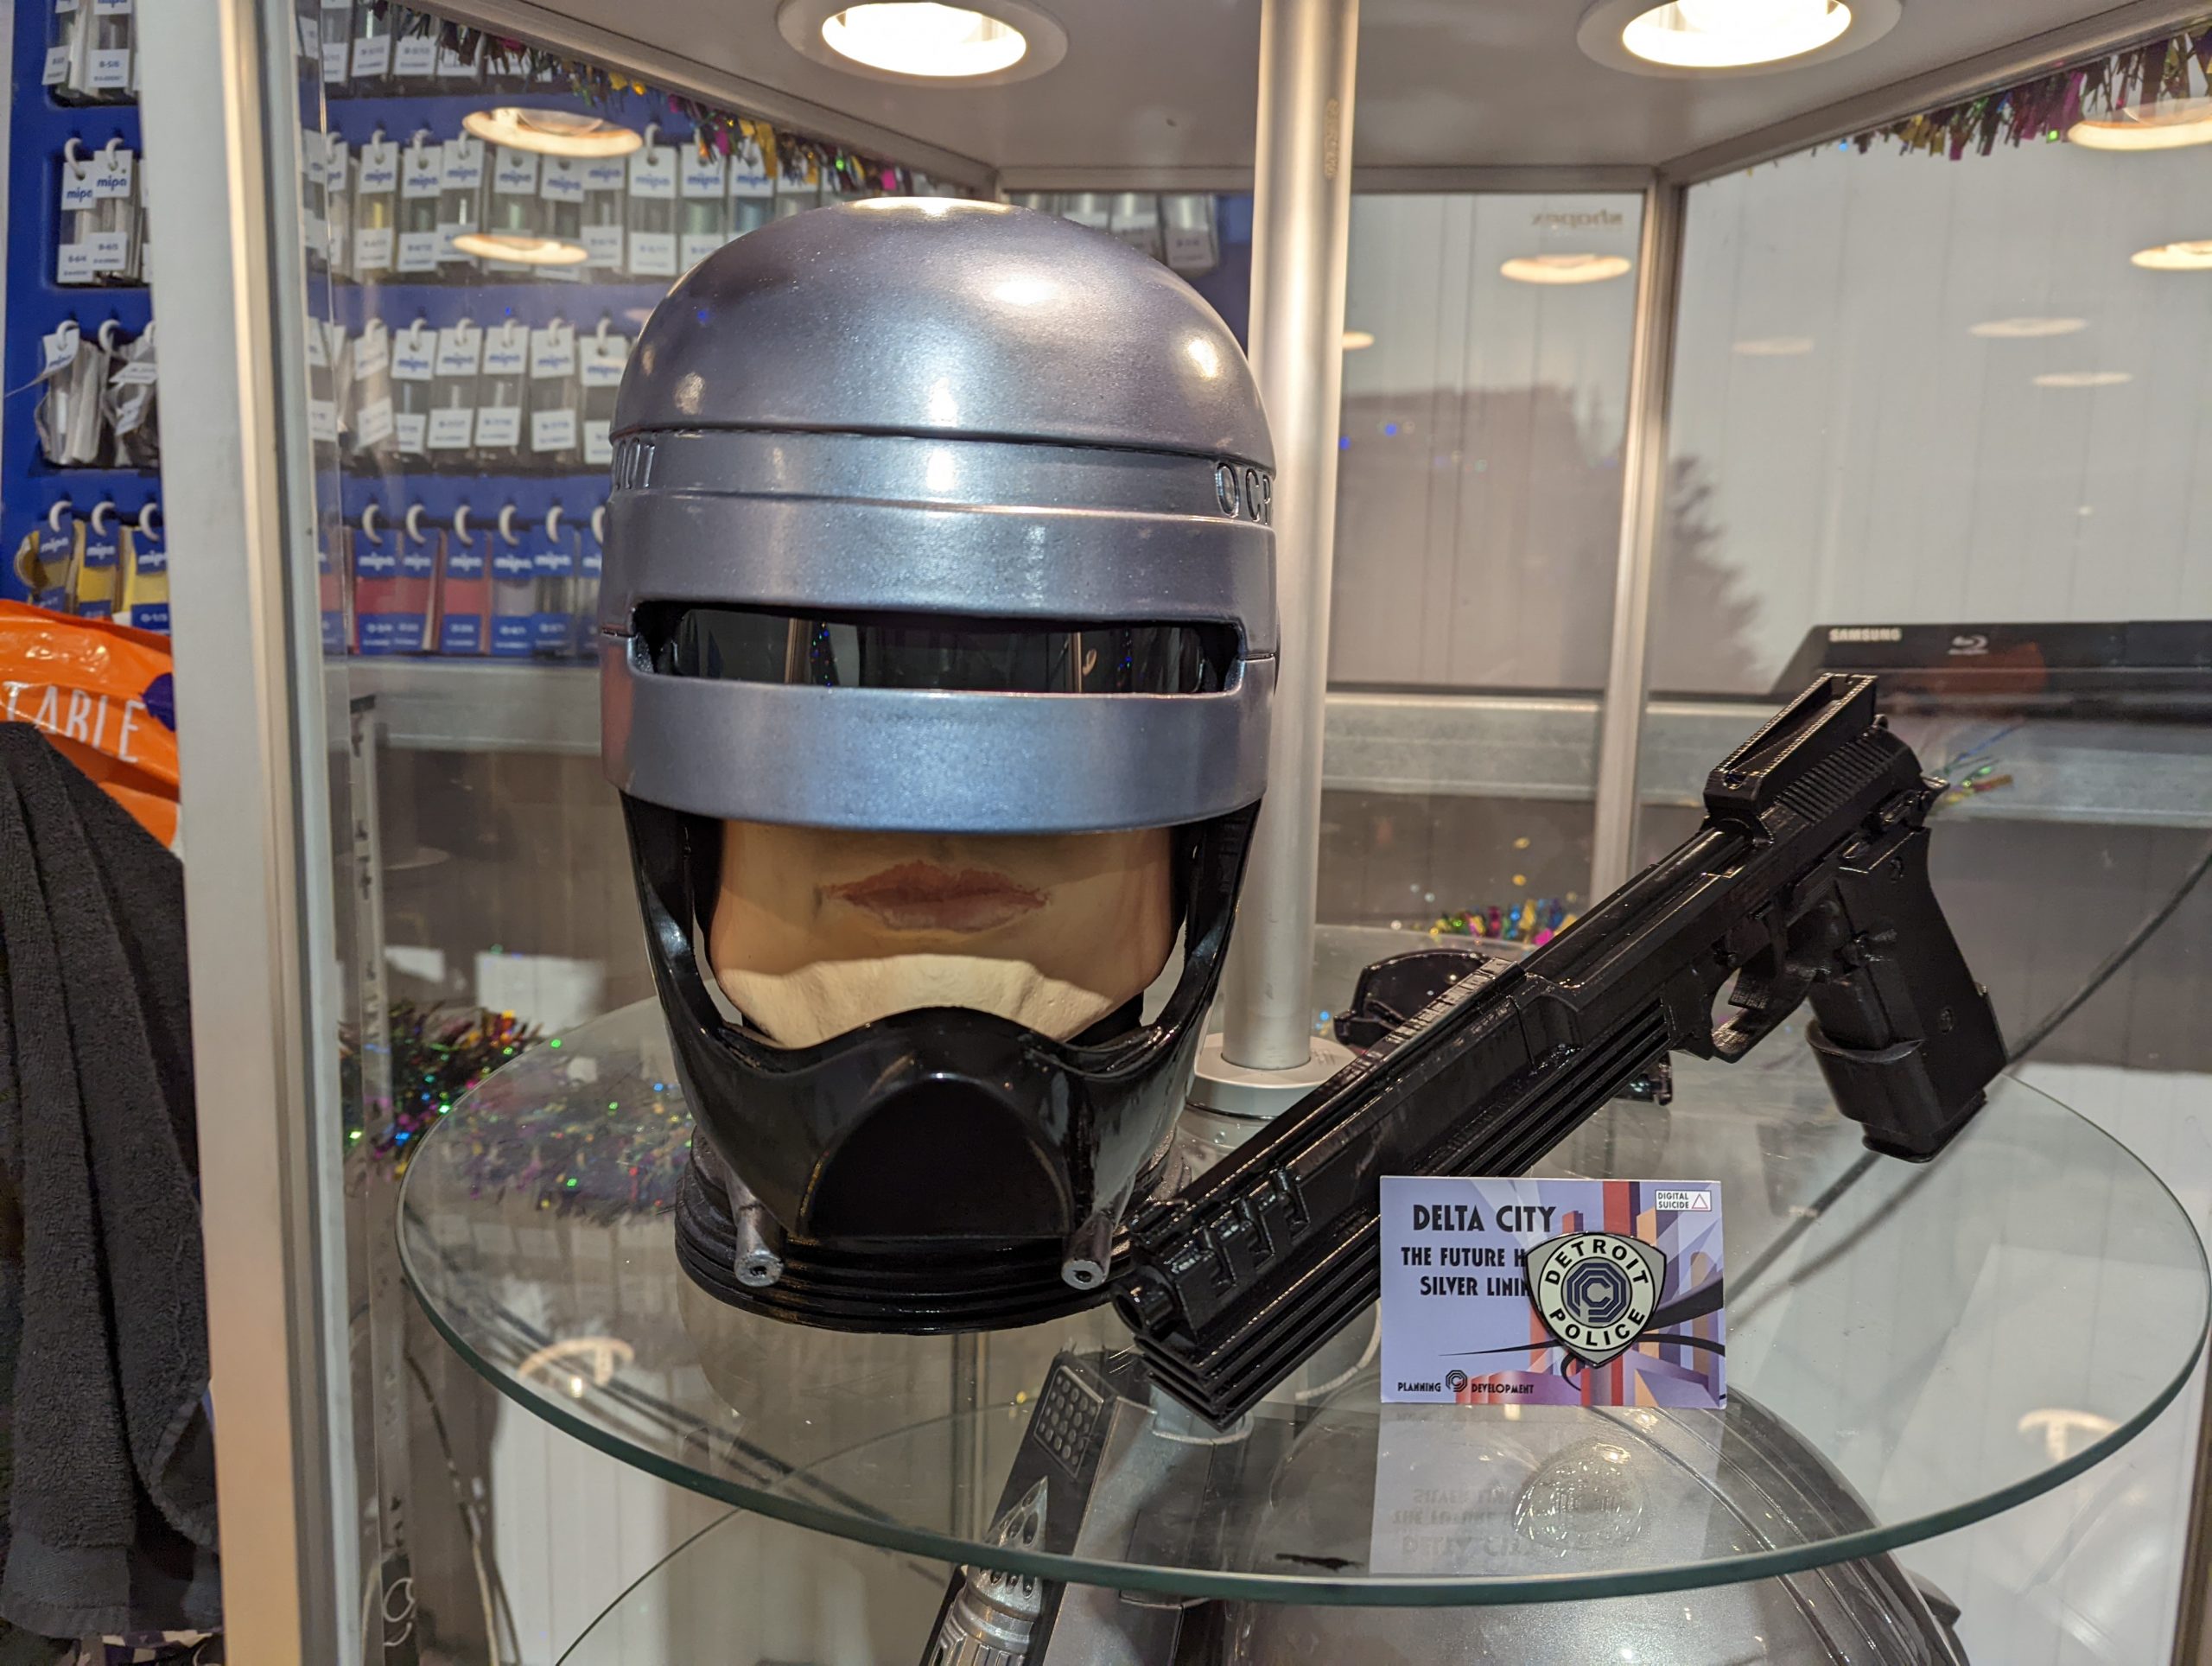
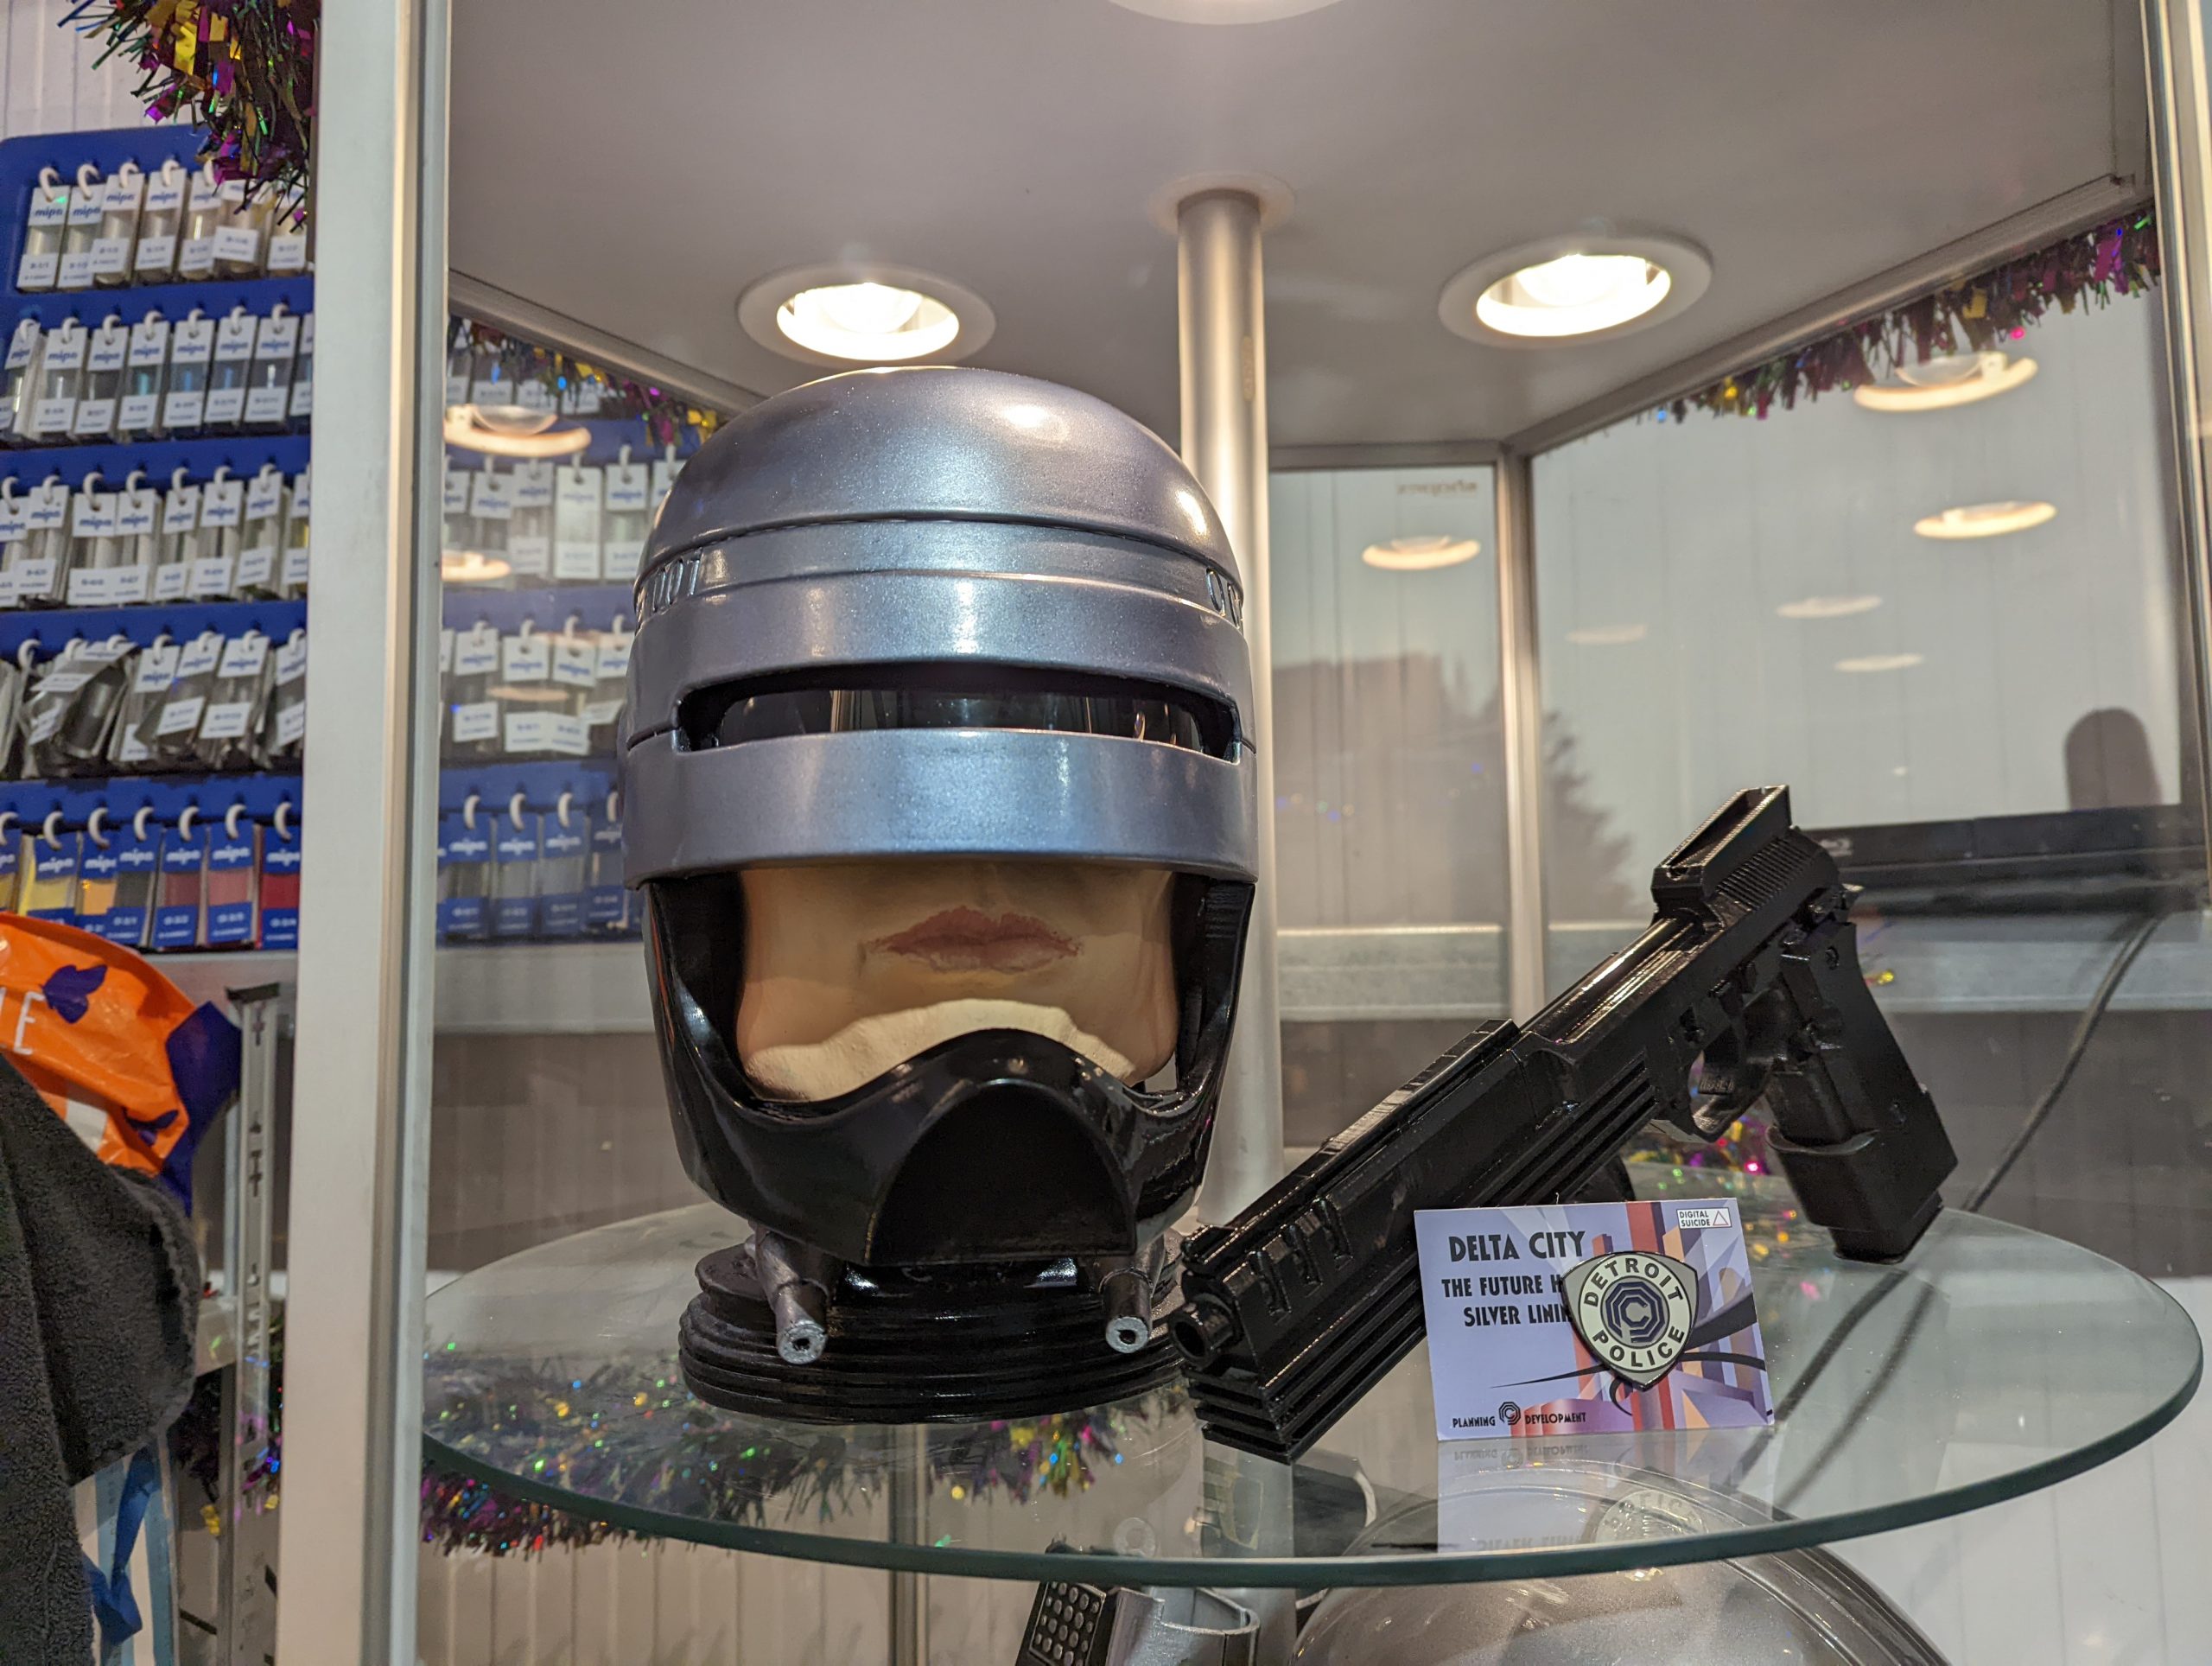
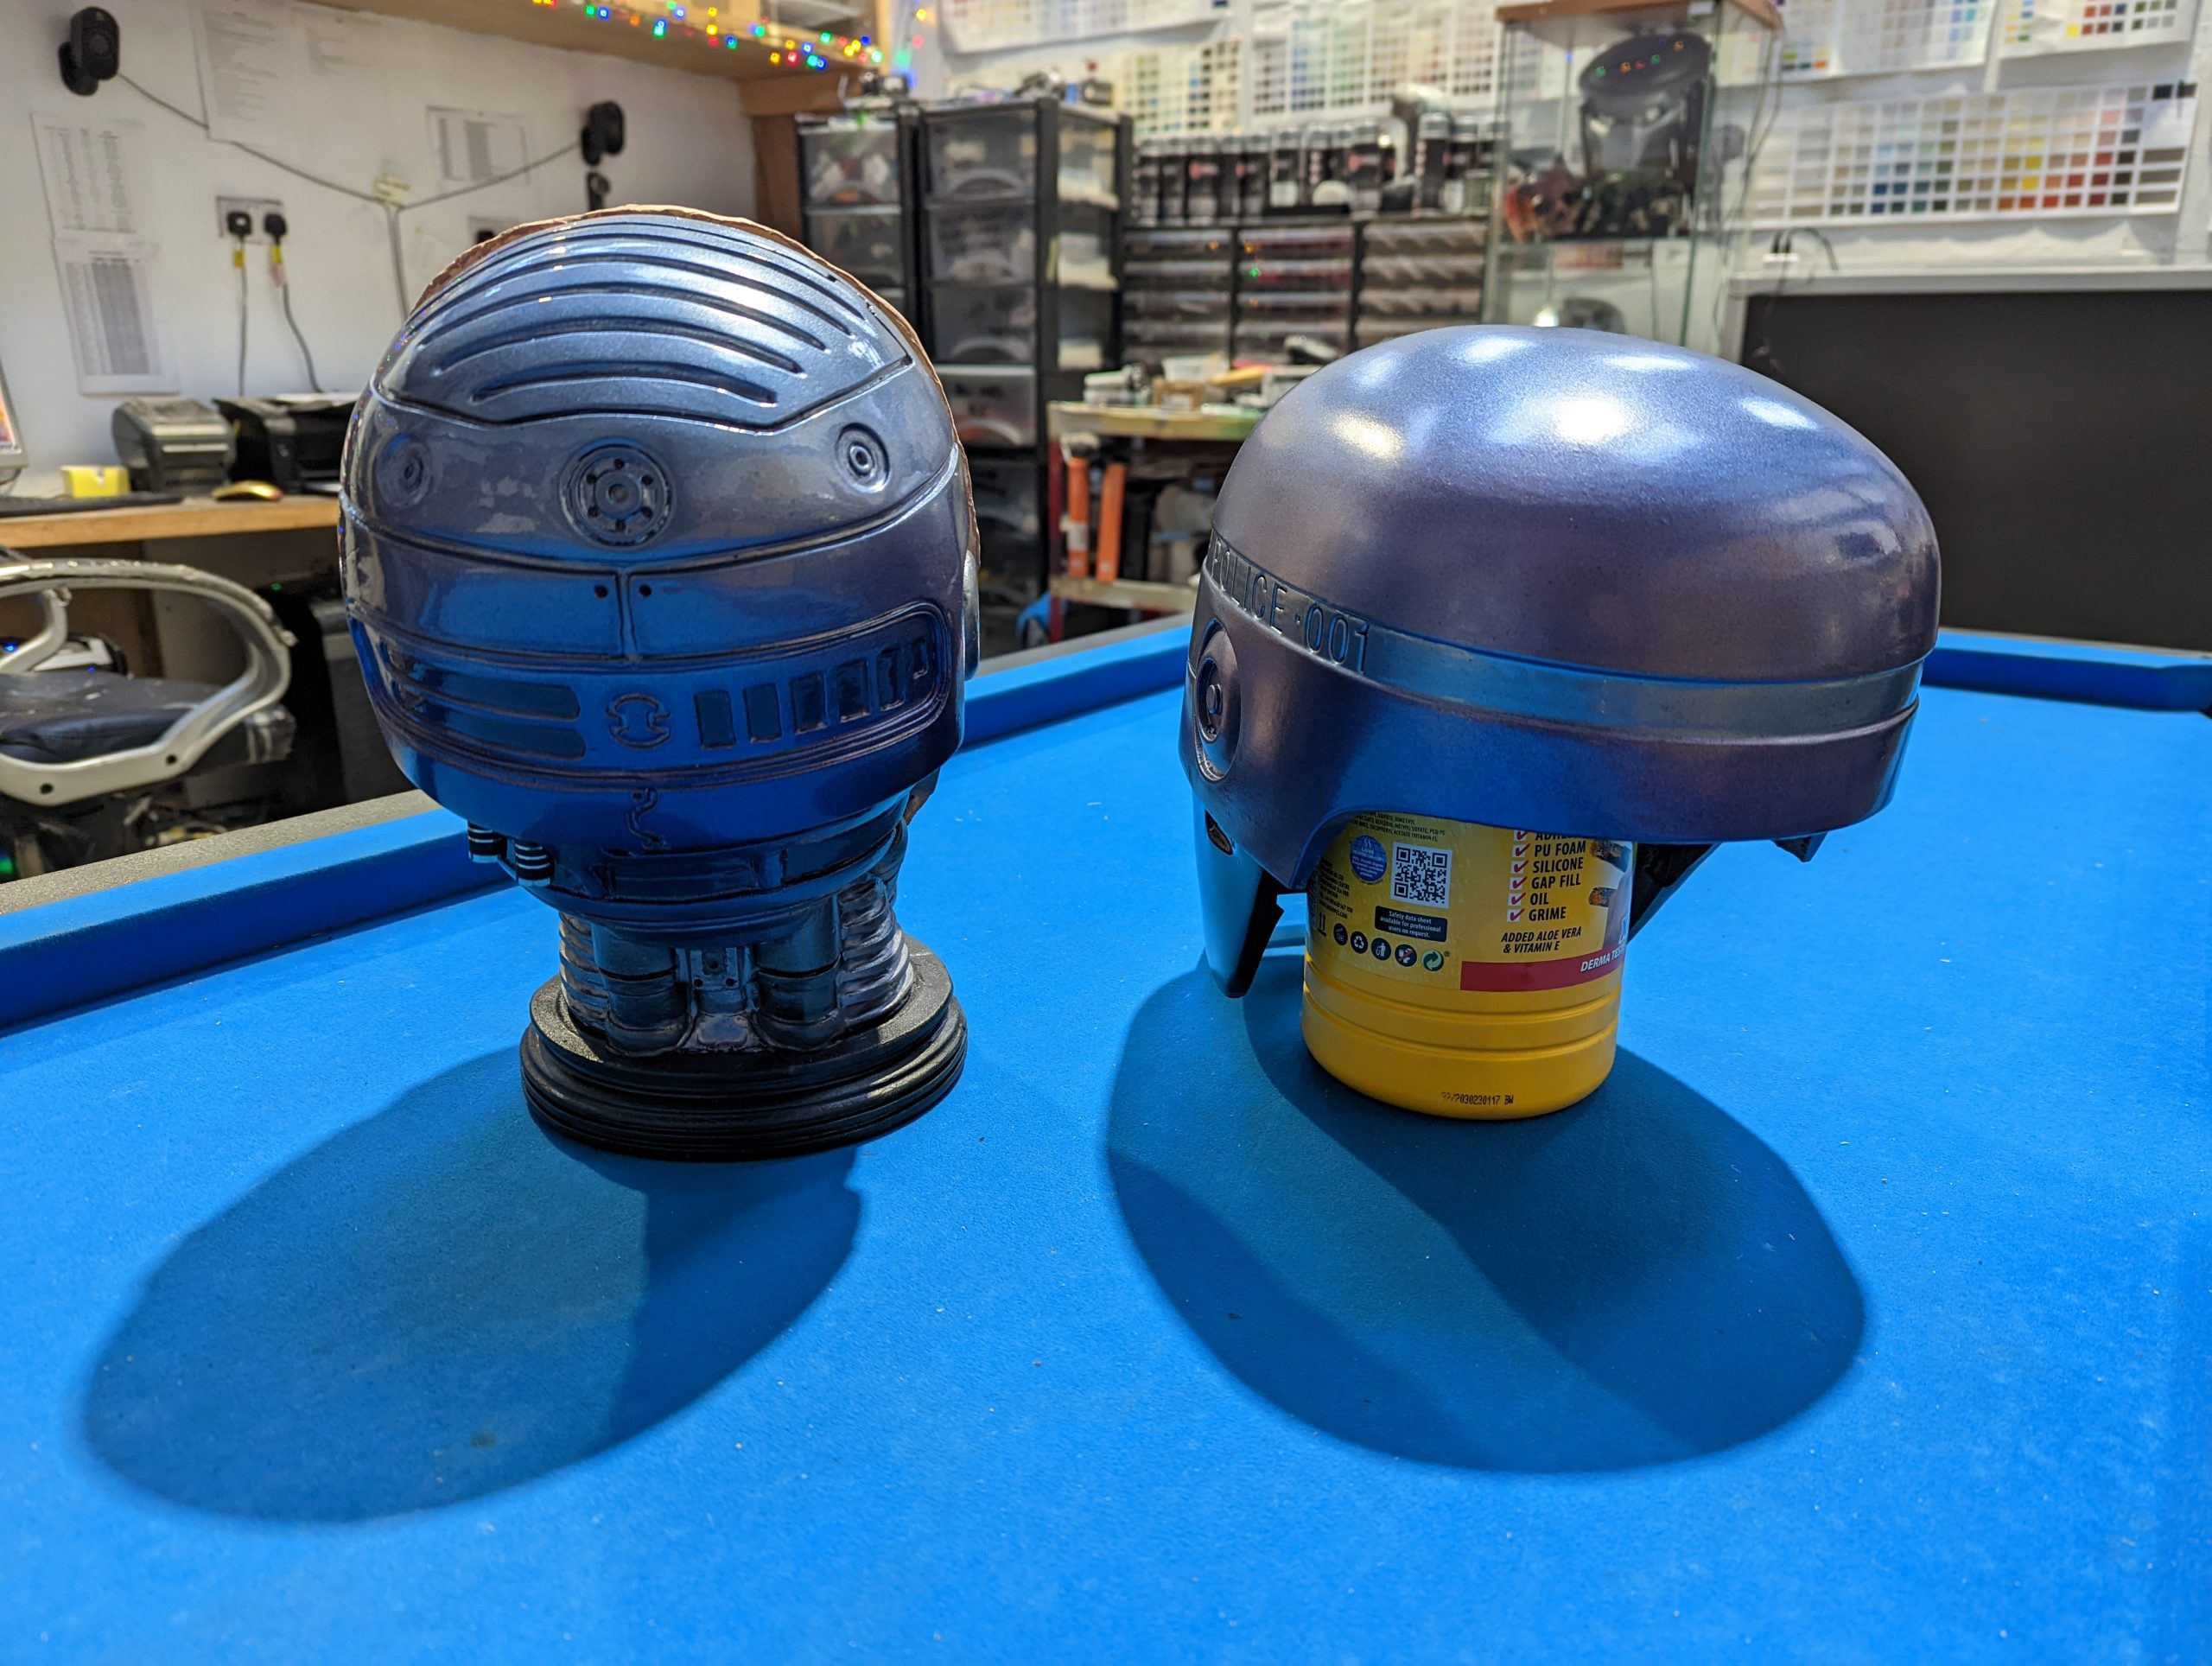
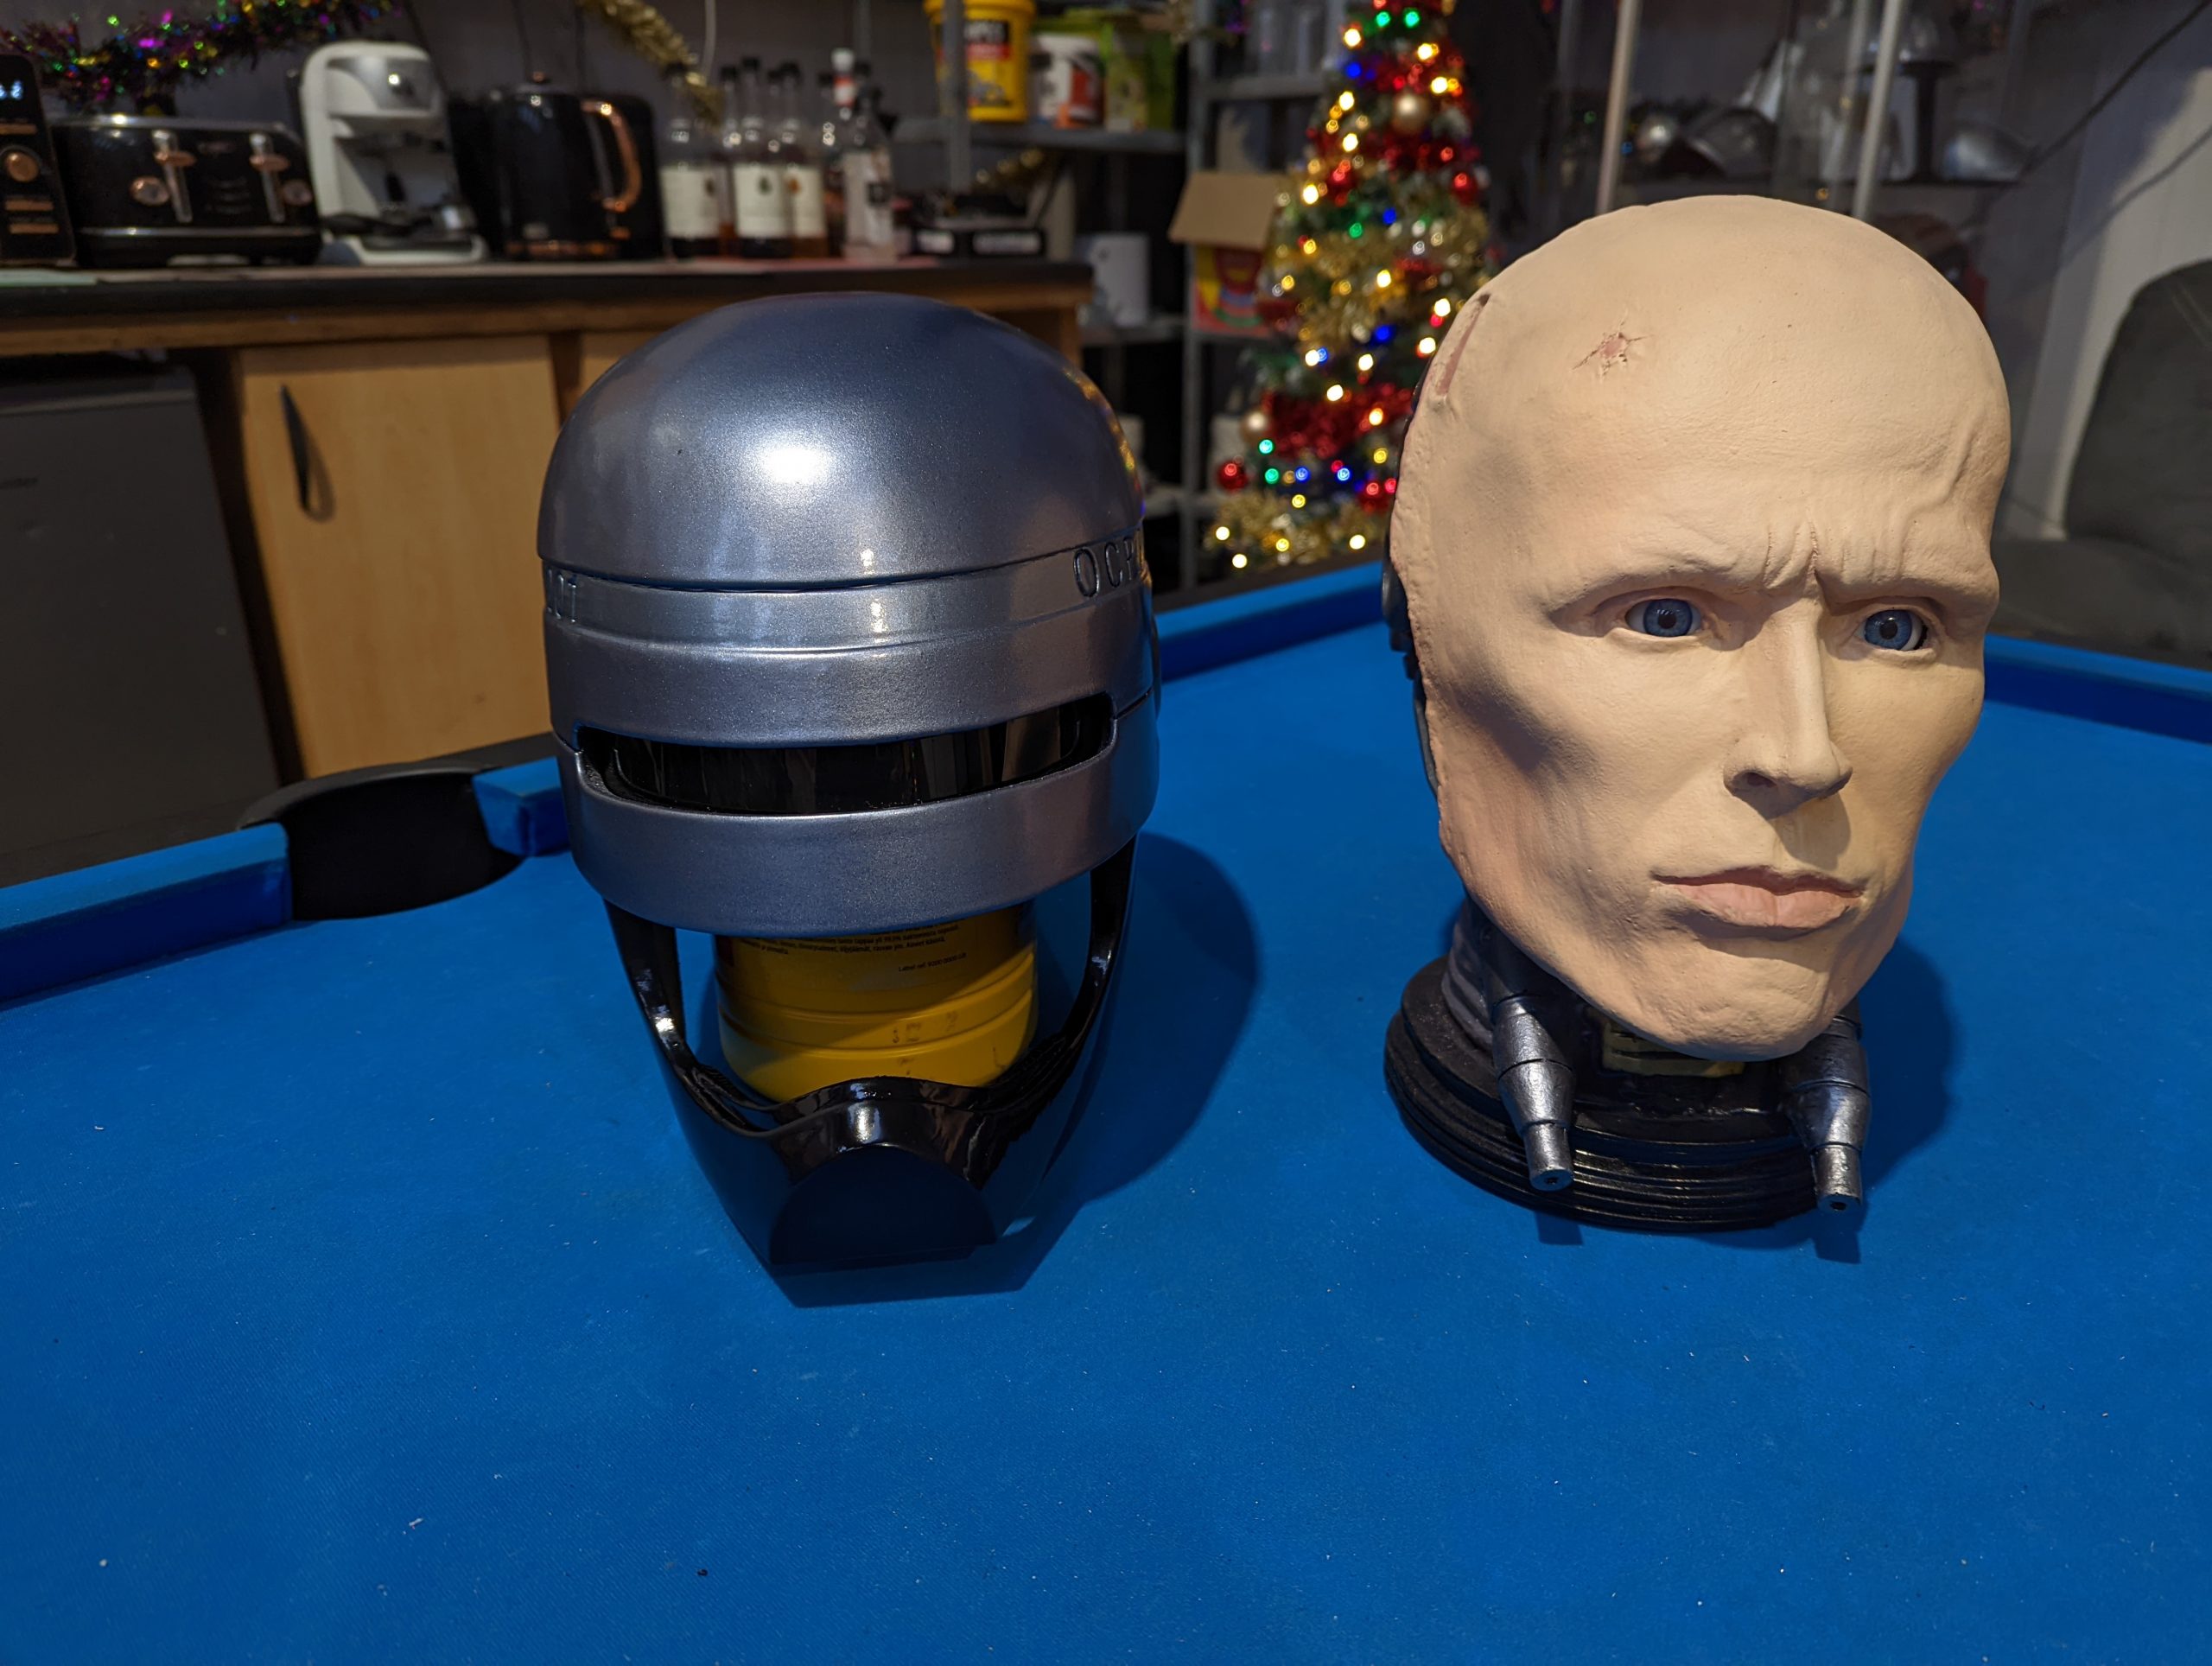
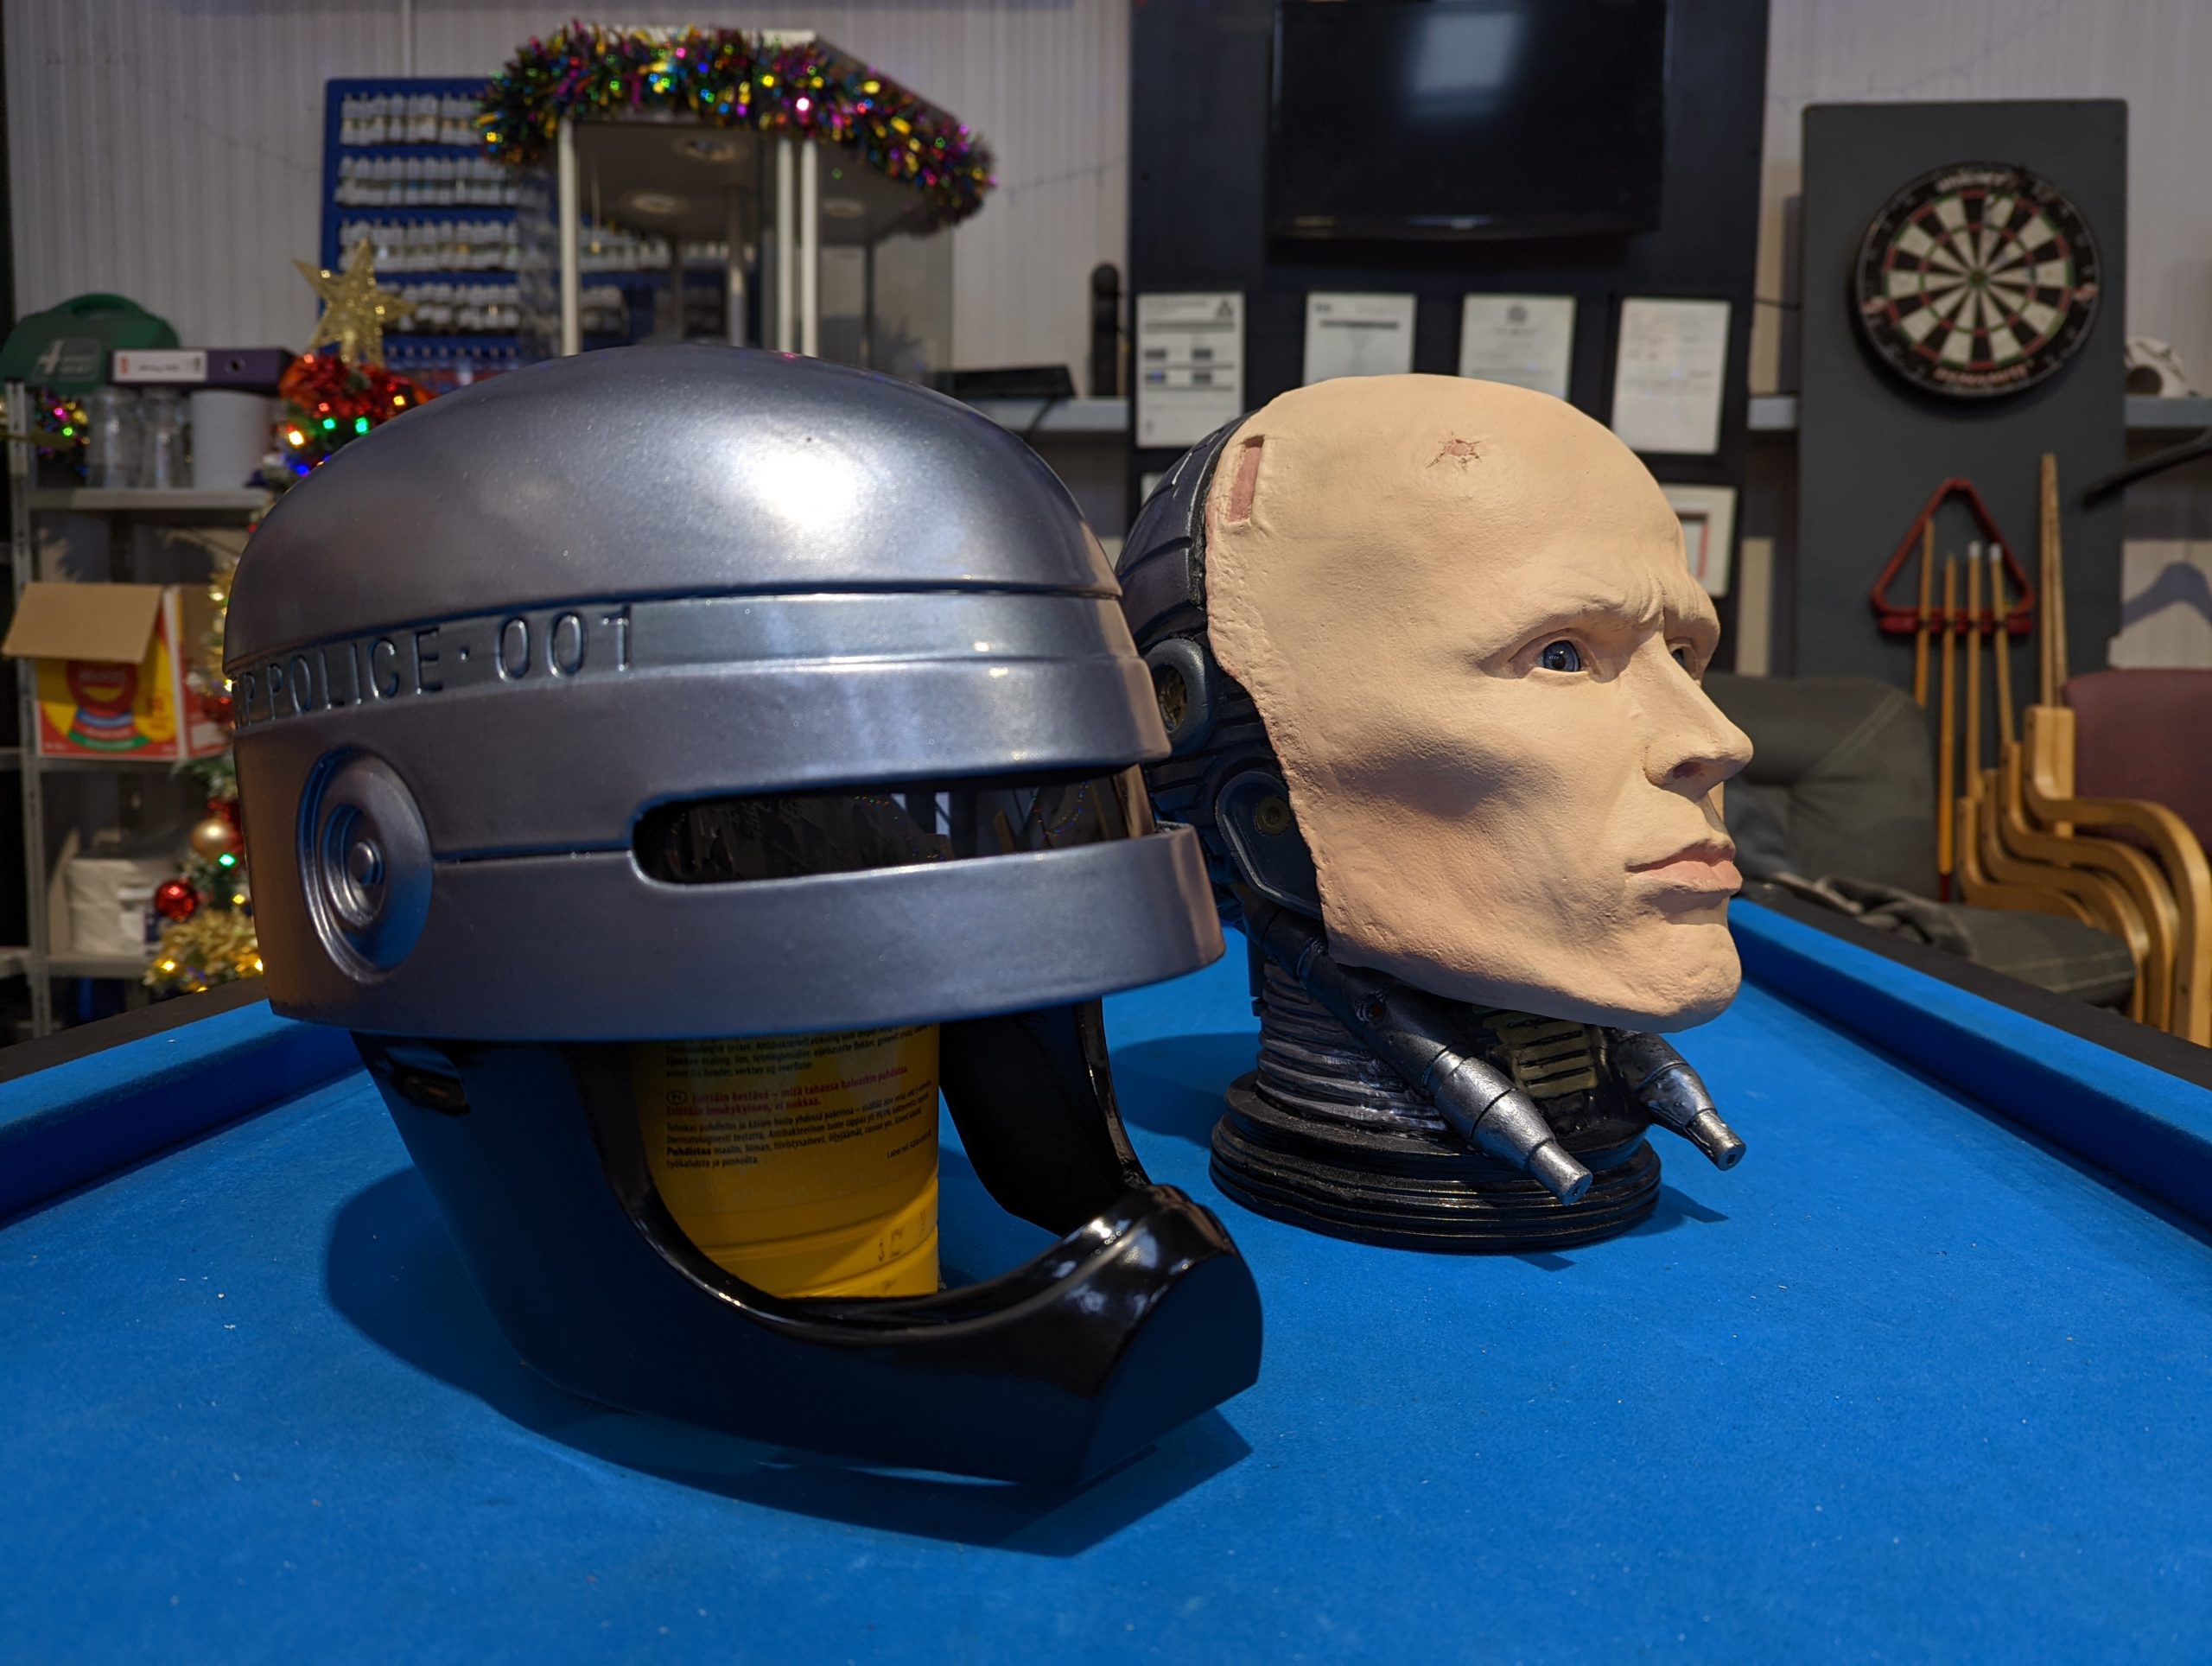
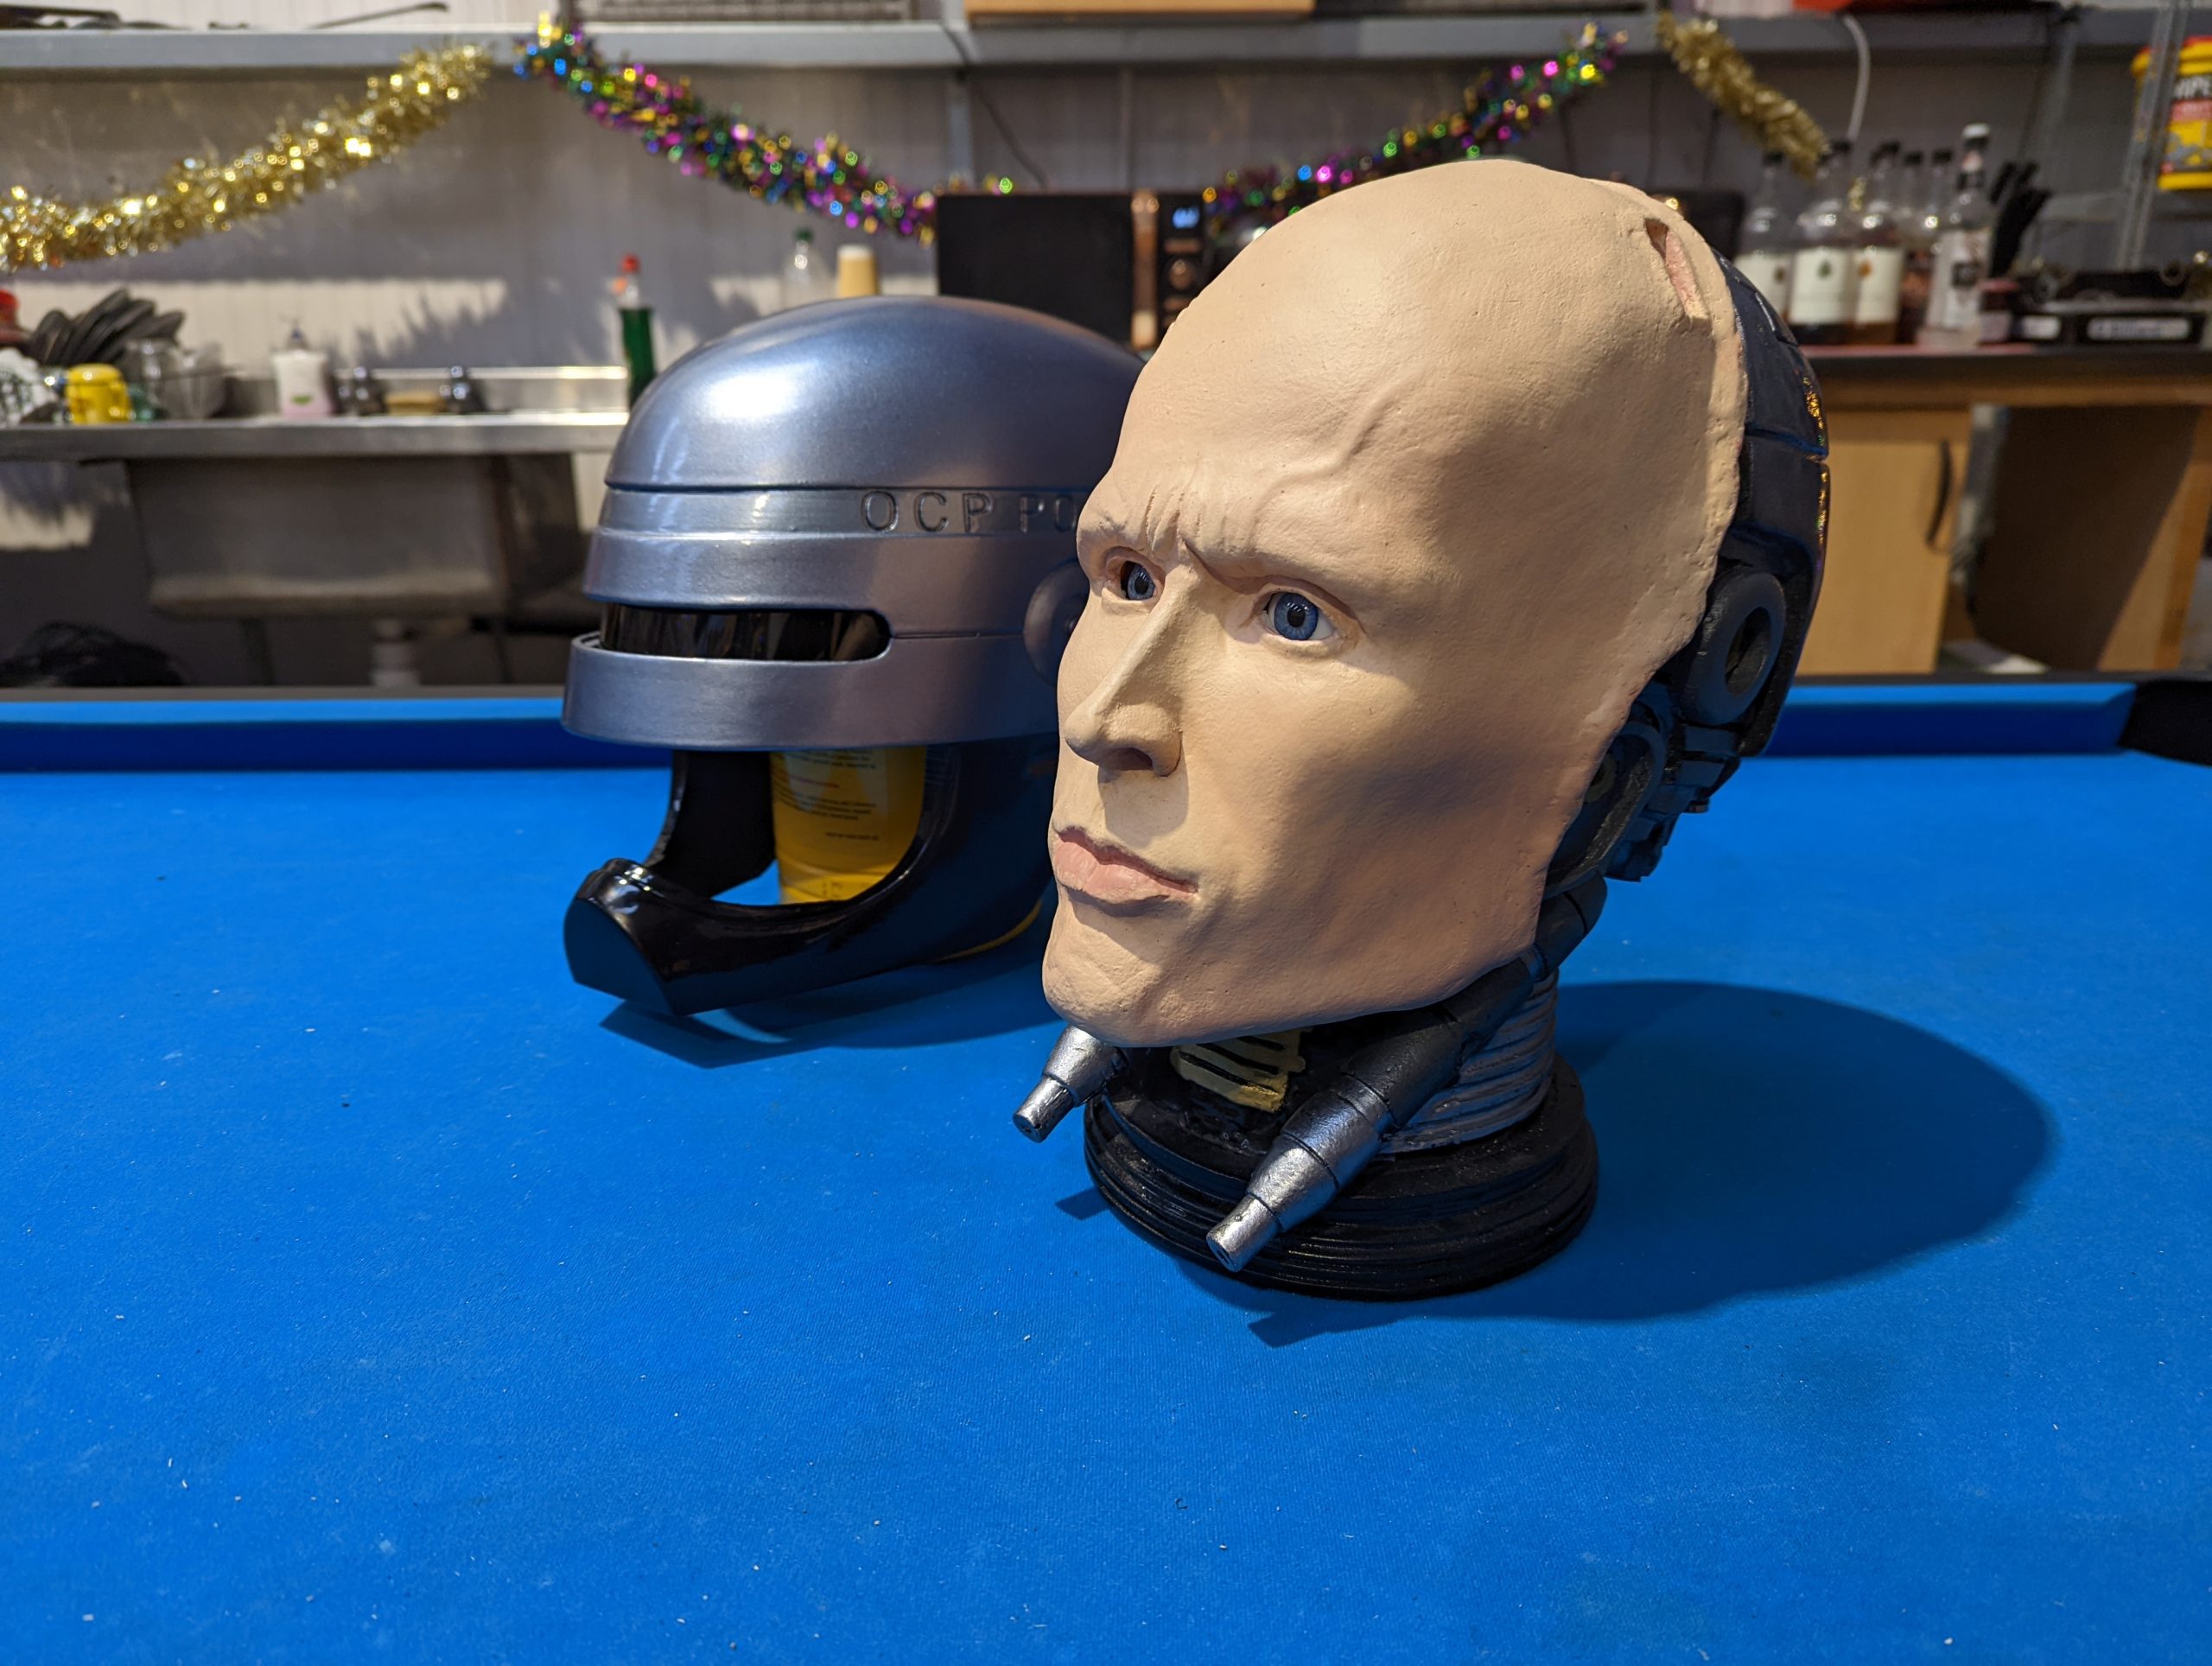
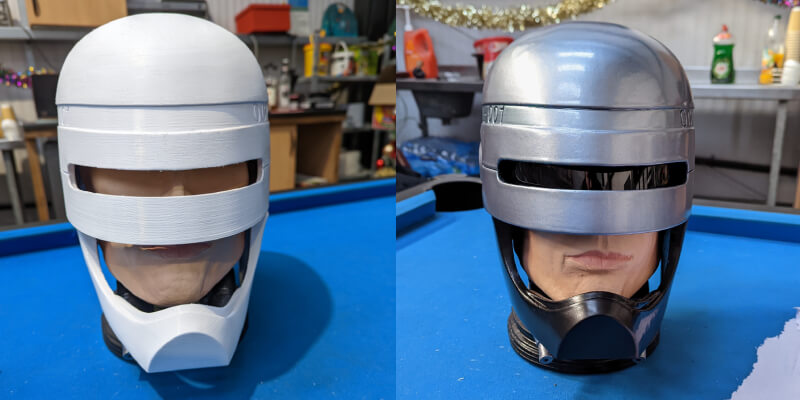
To start, we bought this amazing 3D-printed helmet from a very talented seller on Etsy. From here, we constructed the 3D-printed model and connected it with magnets, so it was easy to take apart and put back together; then, we mocked up the see-through black visor.
TOP TIP: Always mock up any project before you paint it so you can fill any holes or damage. Also, ensure it fits back together easily, so you don’t have to re-paint again at the end!
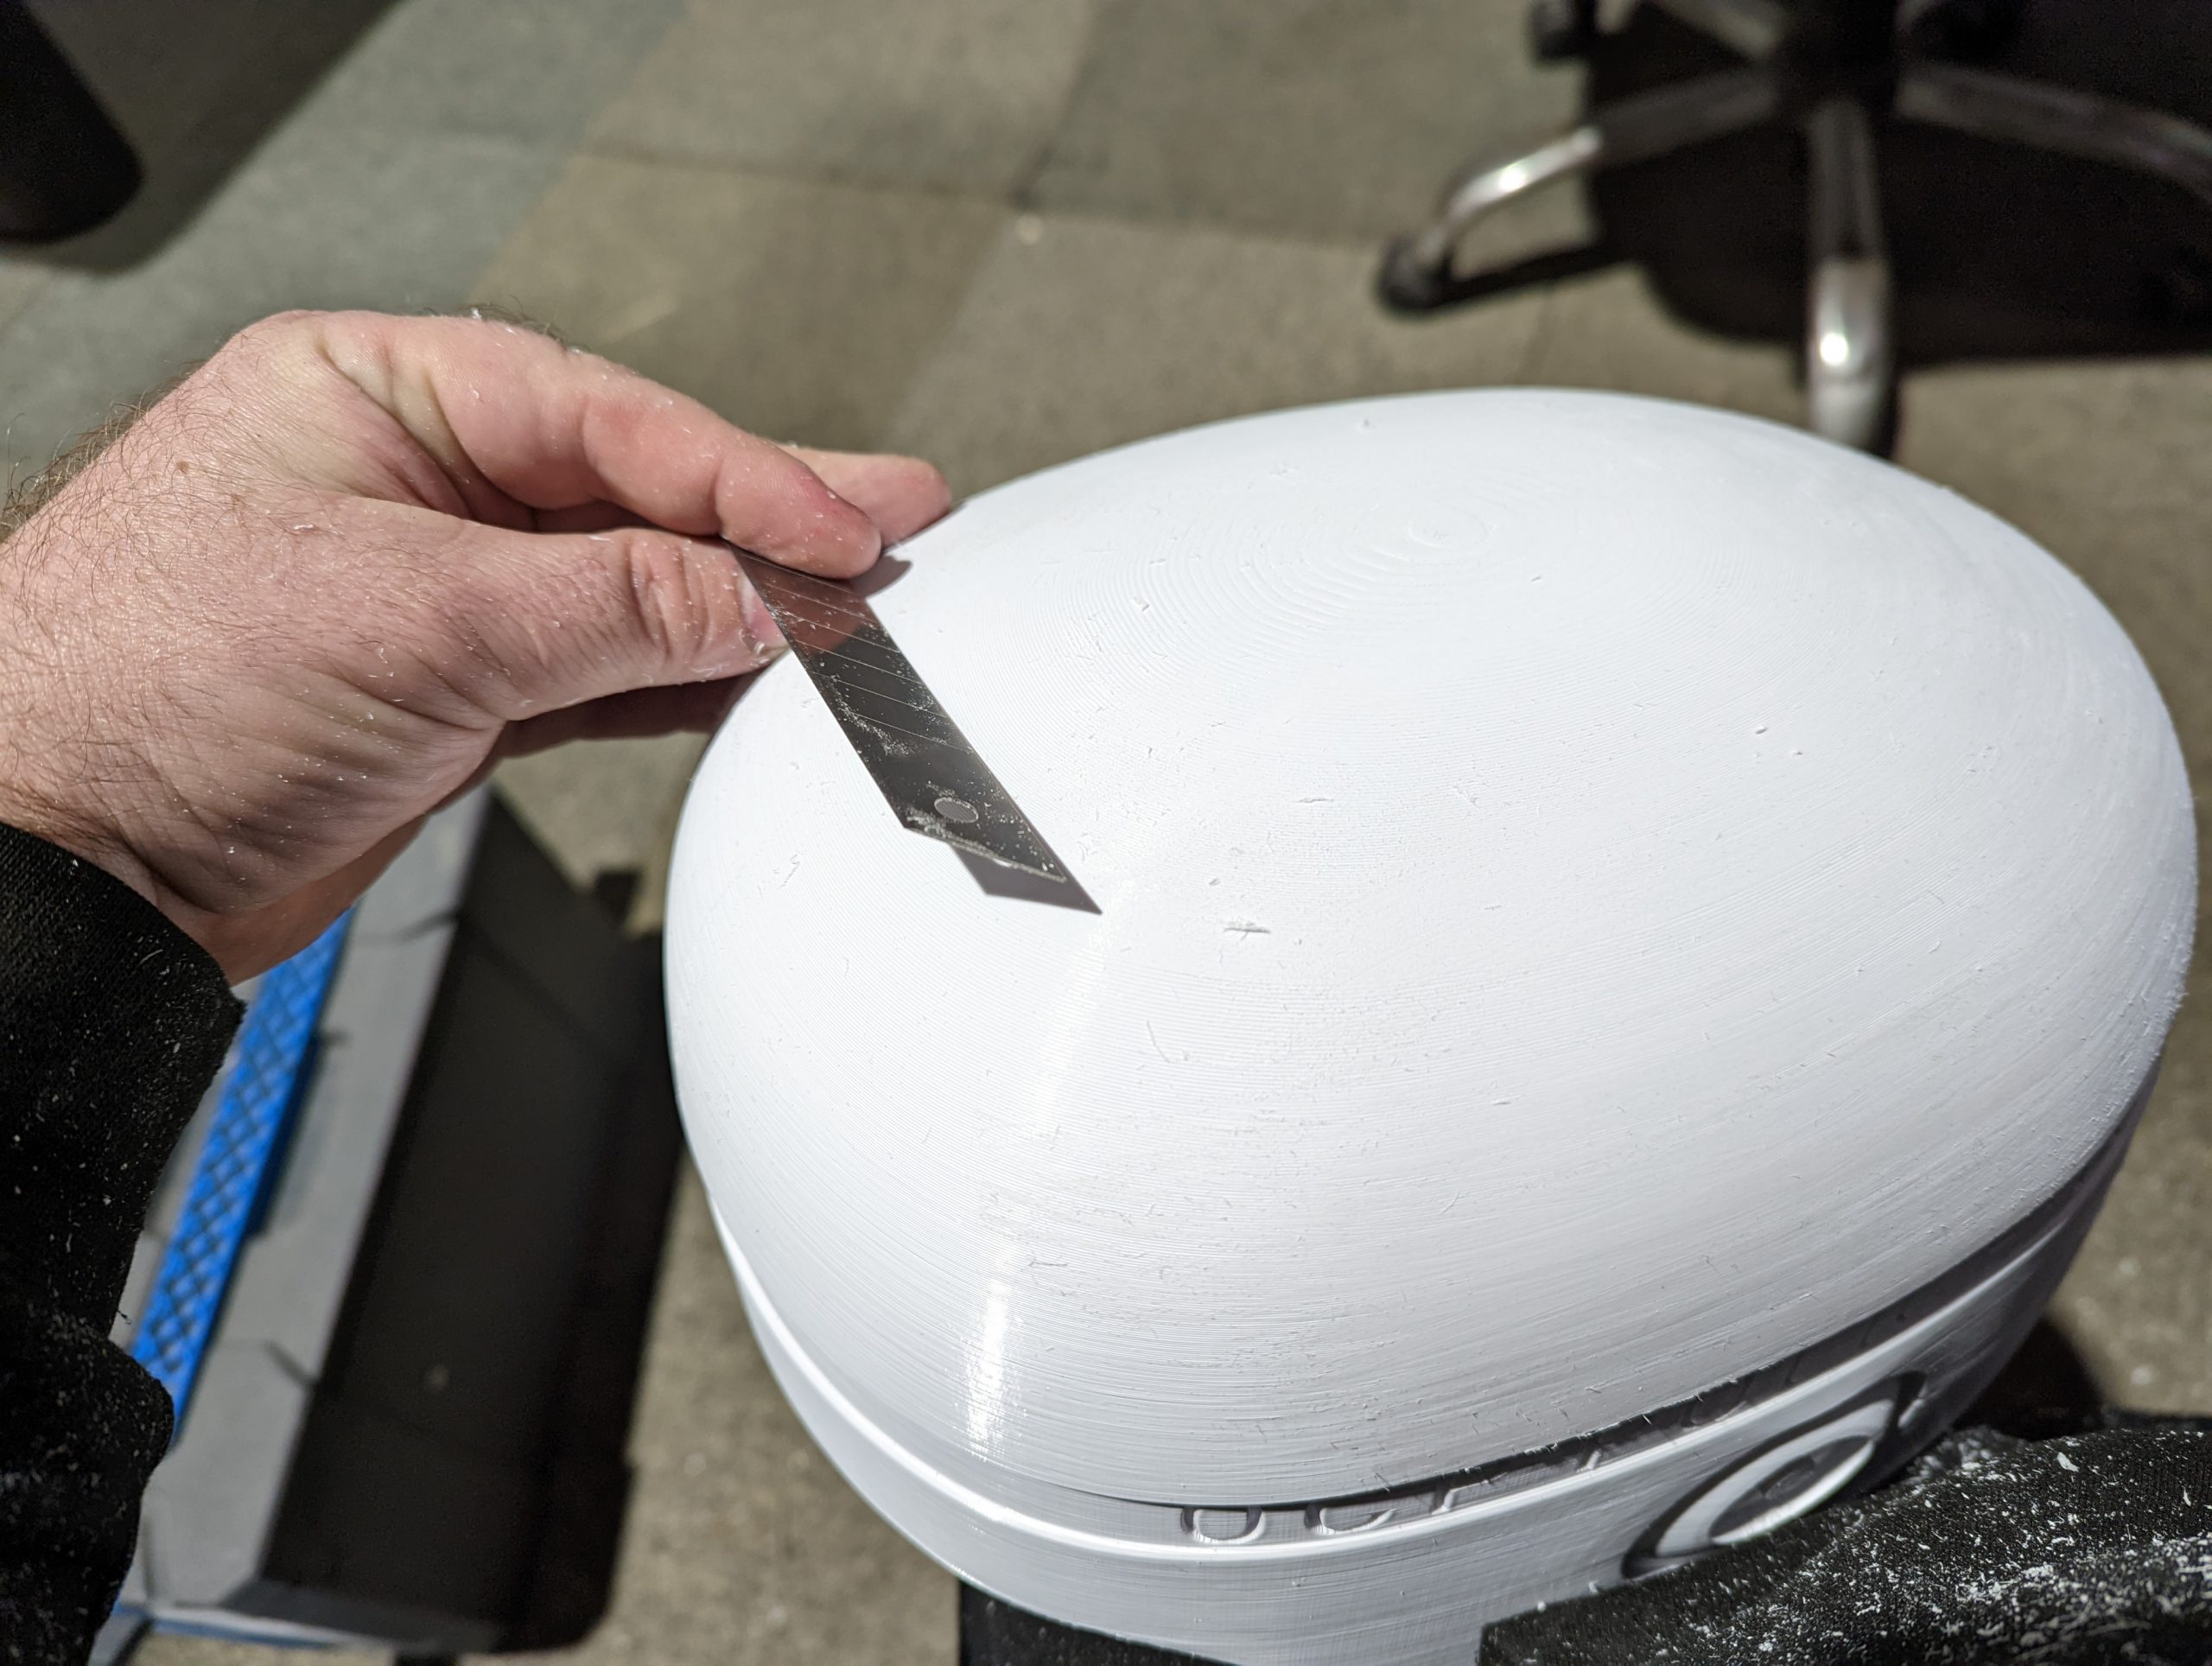
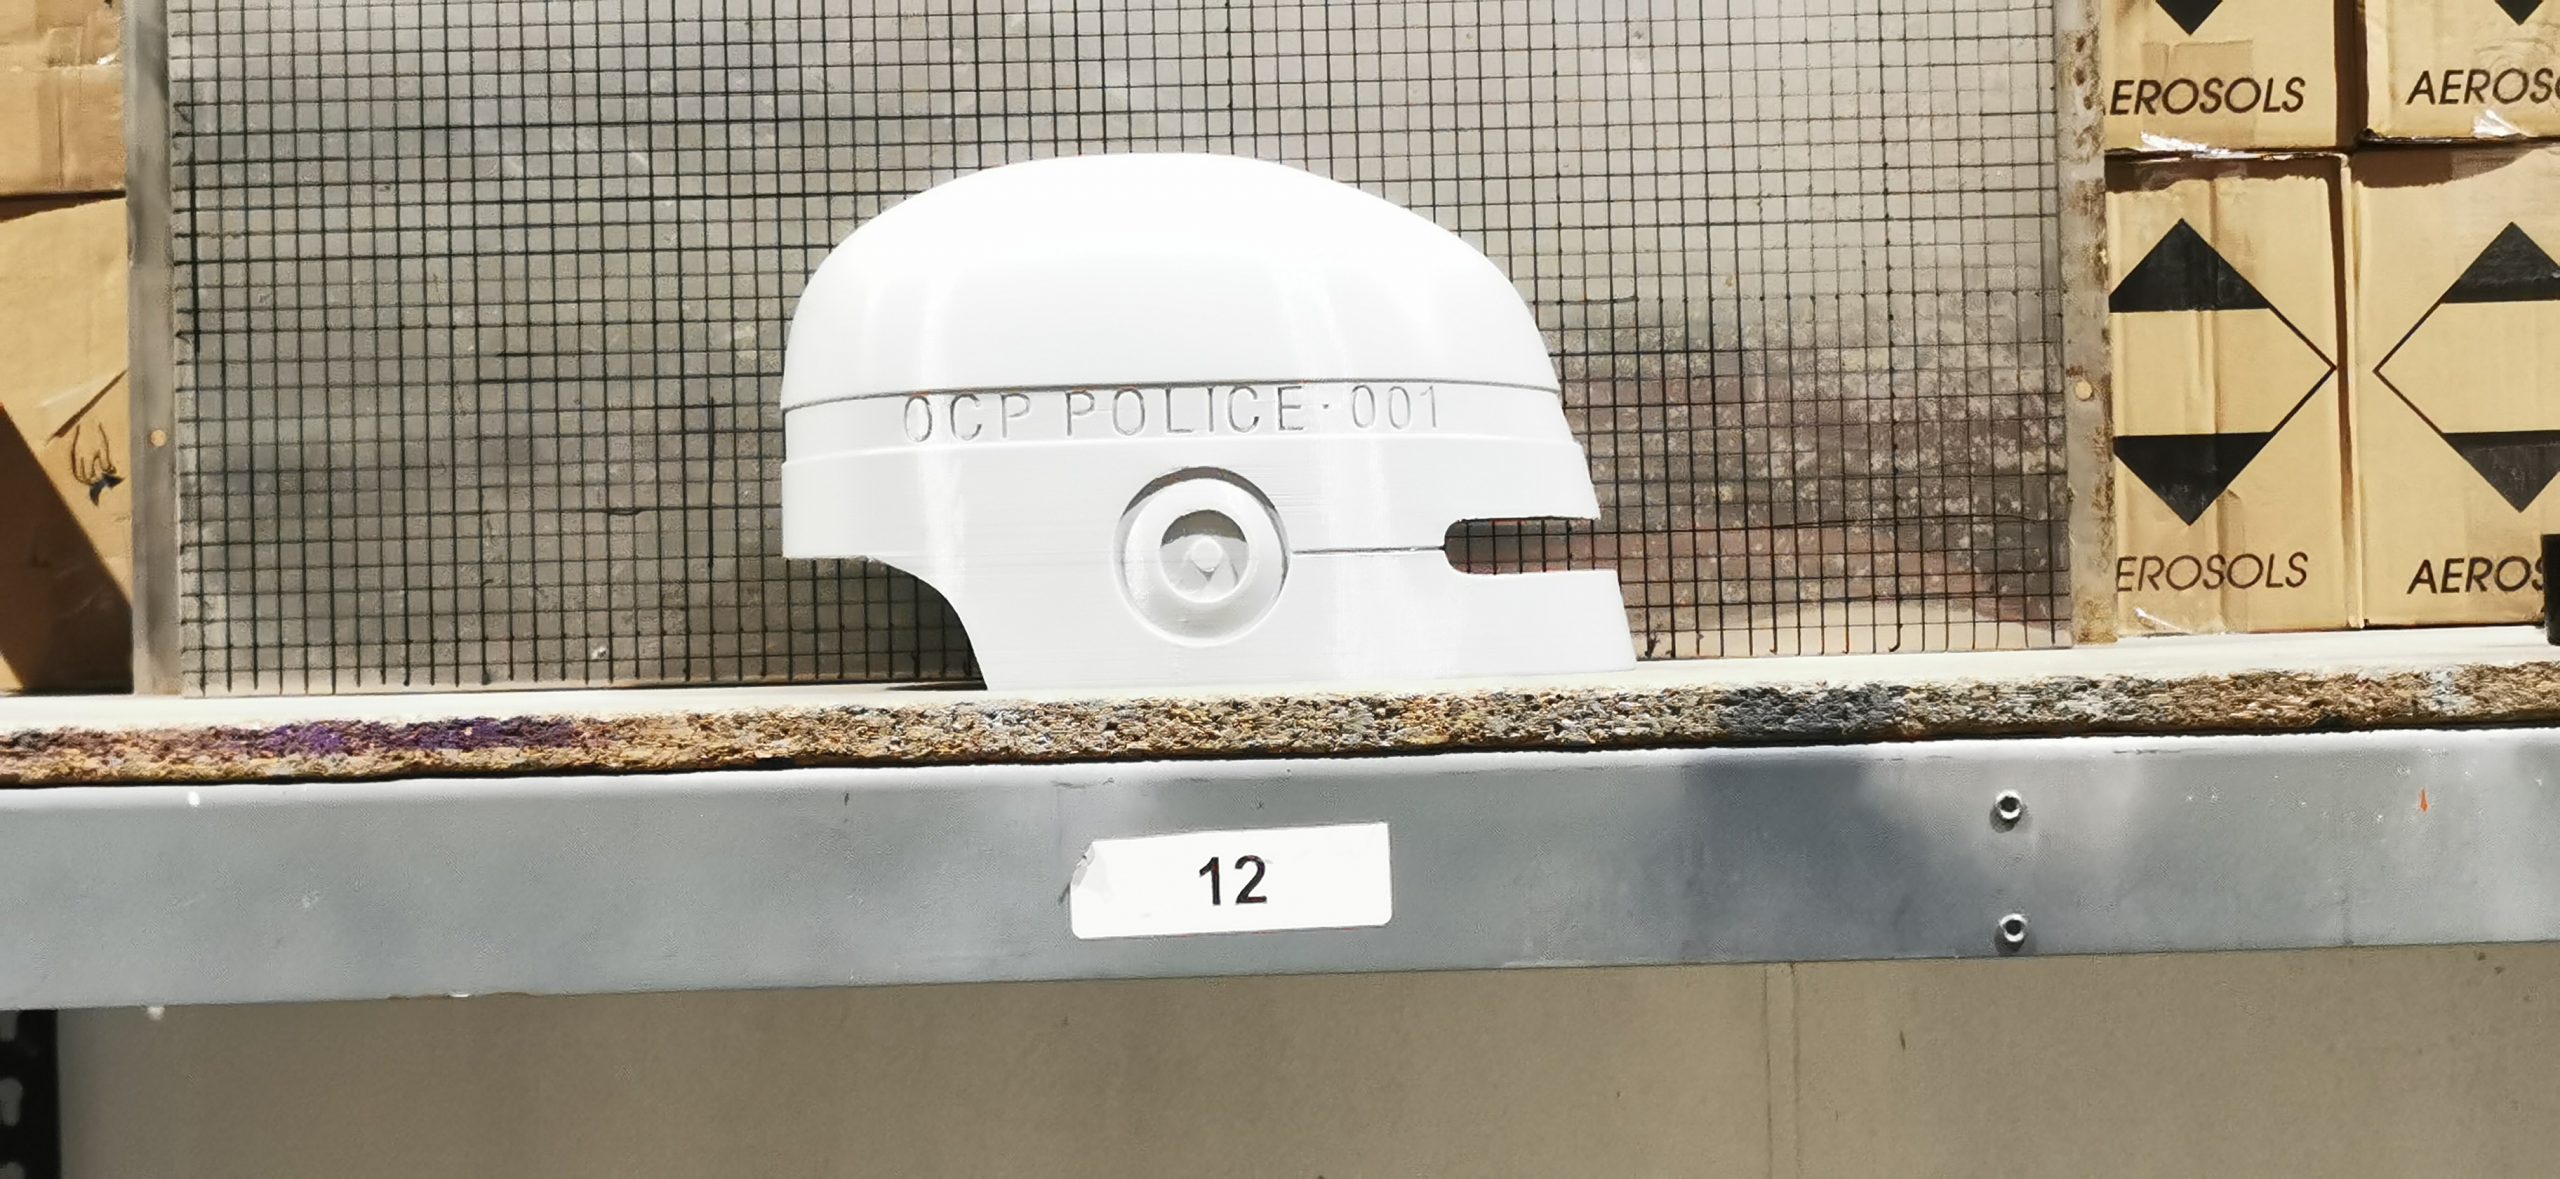
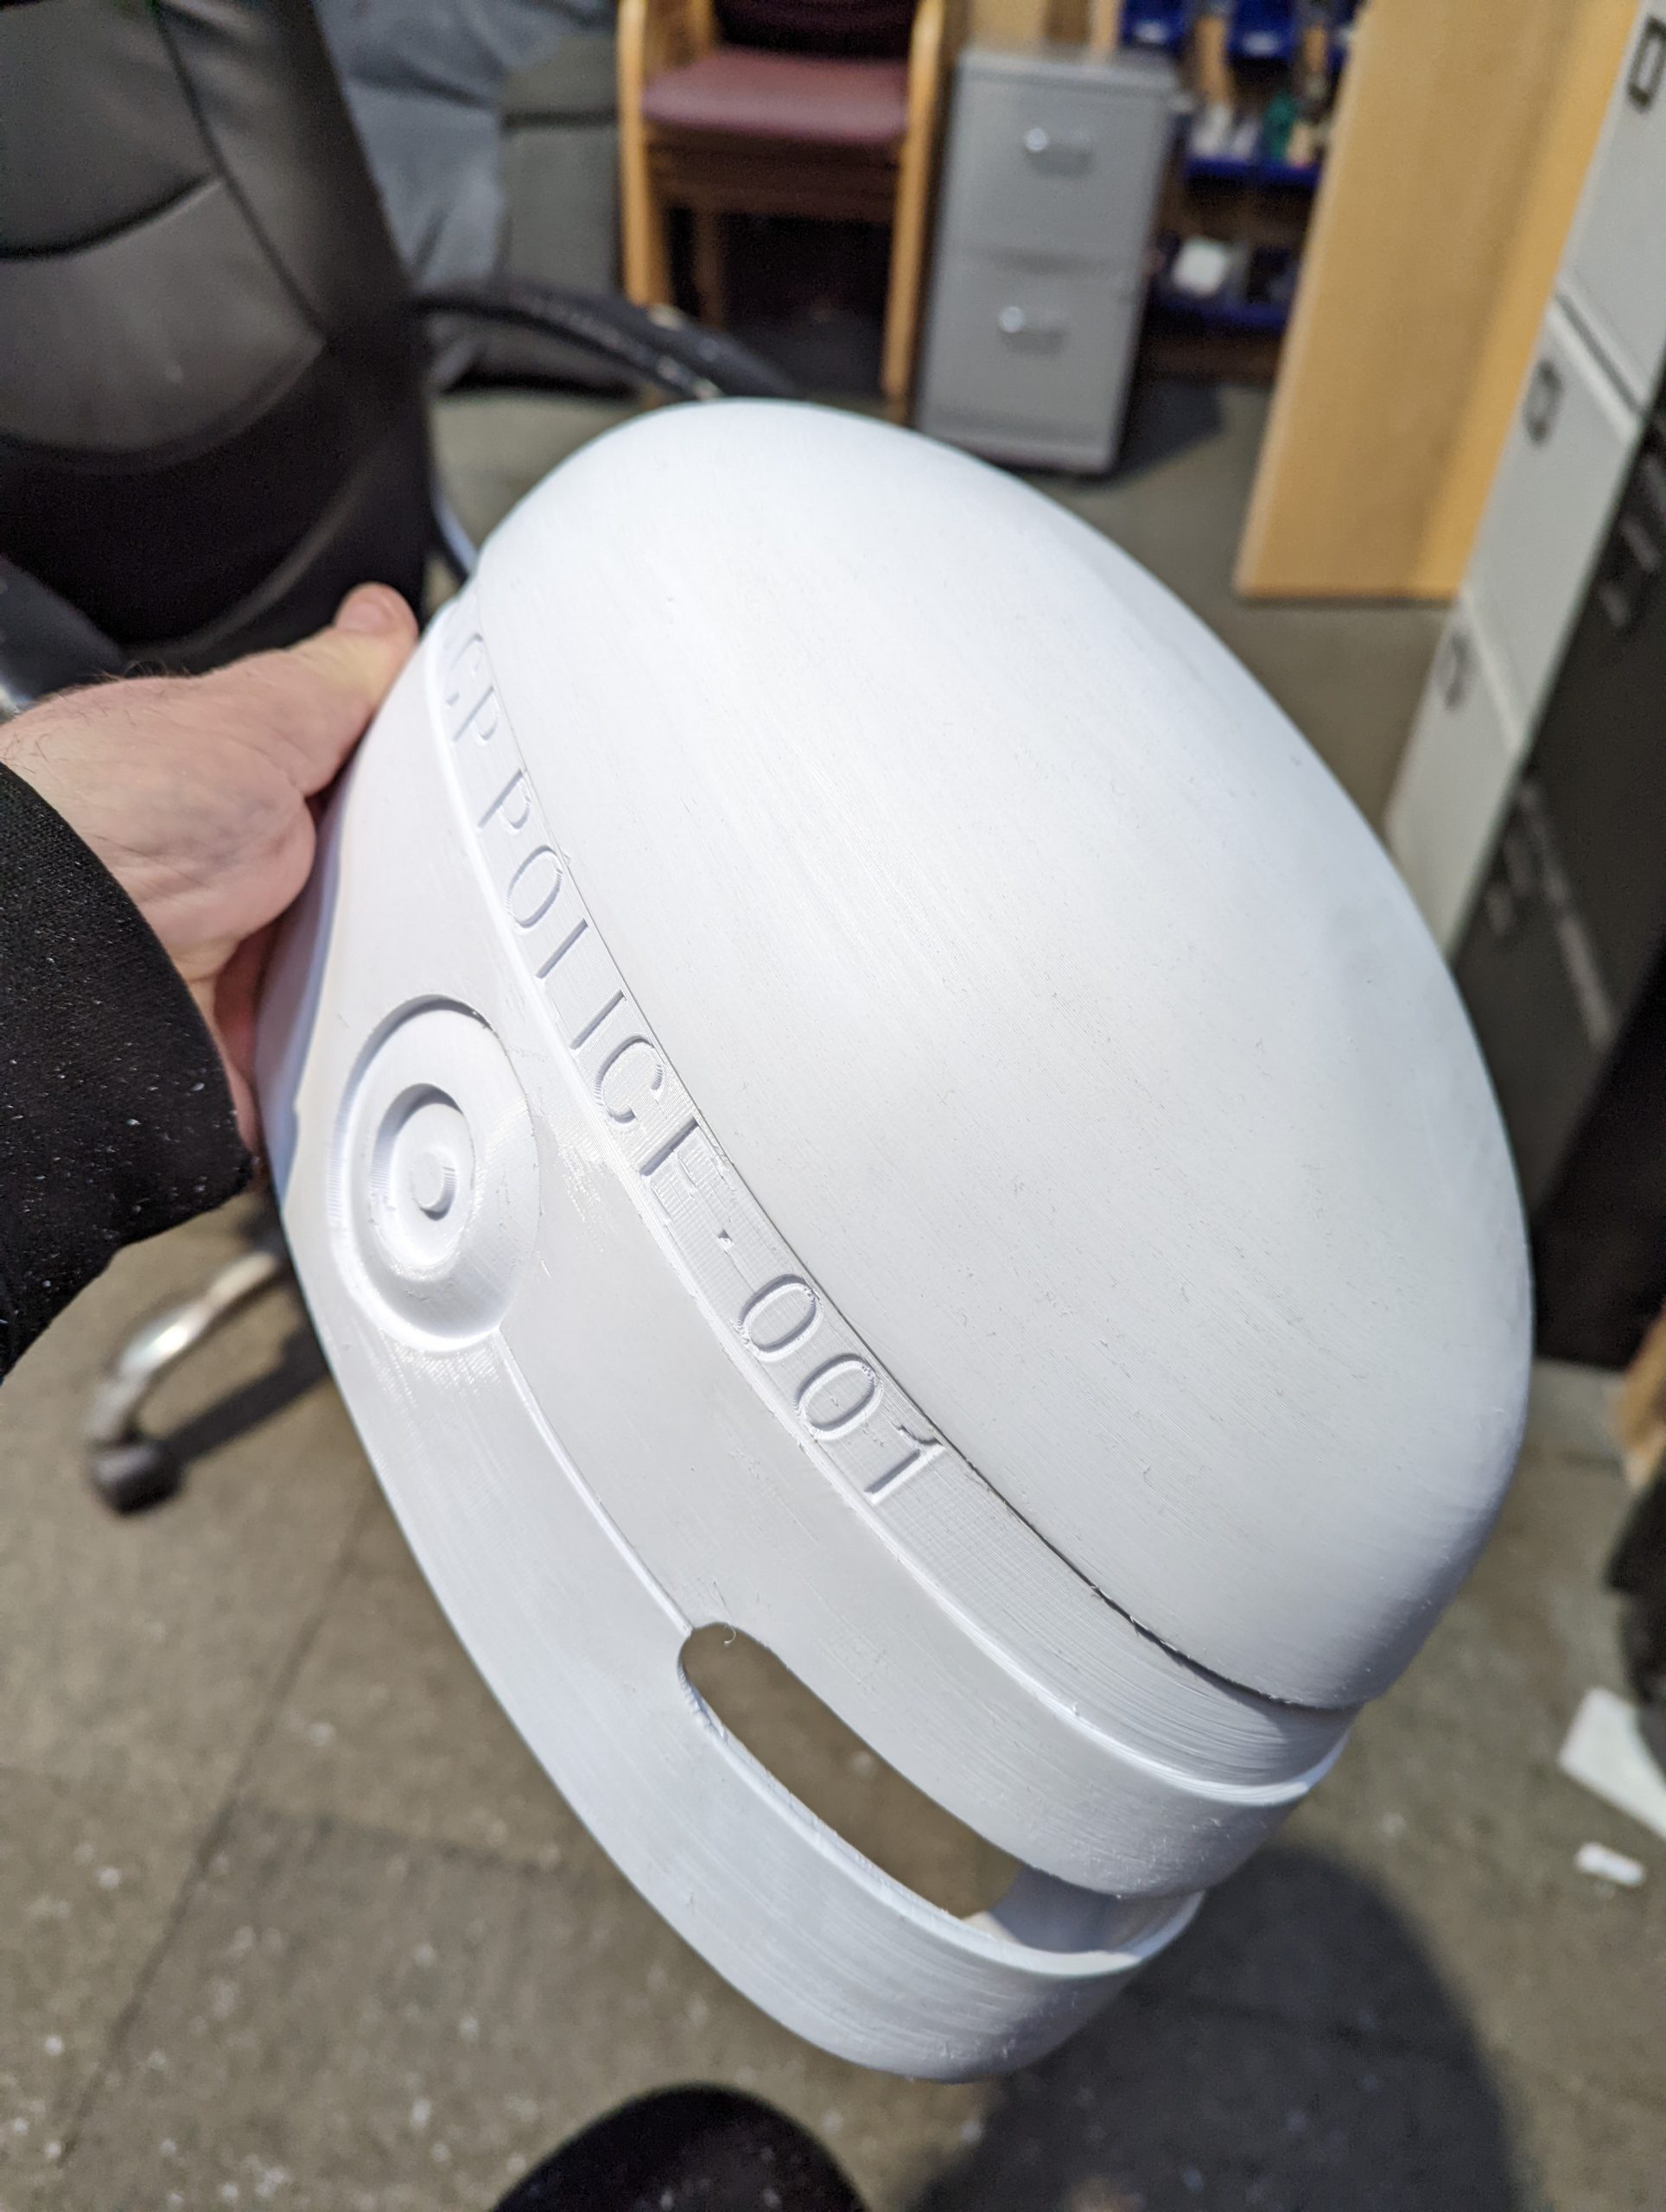
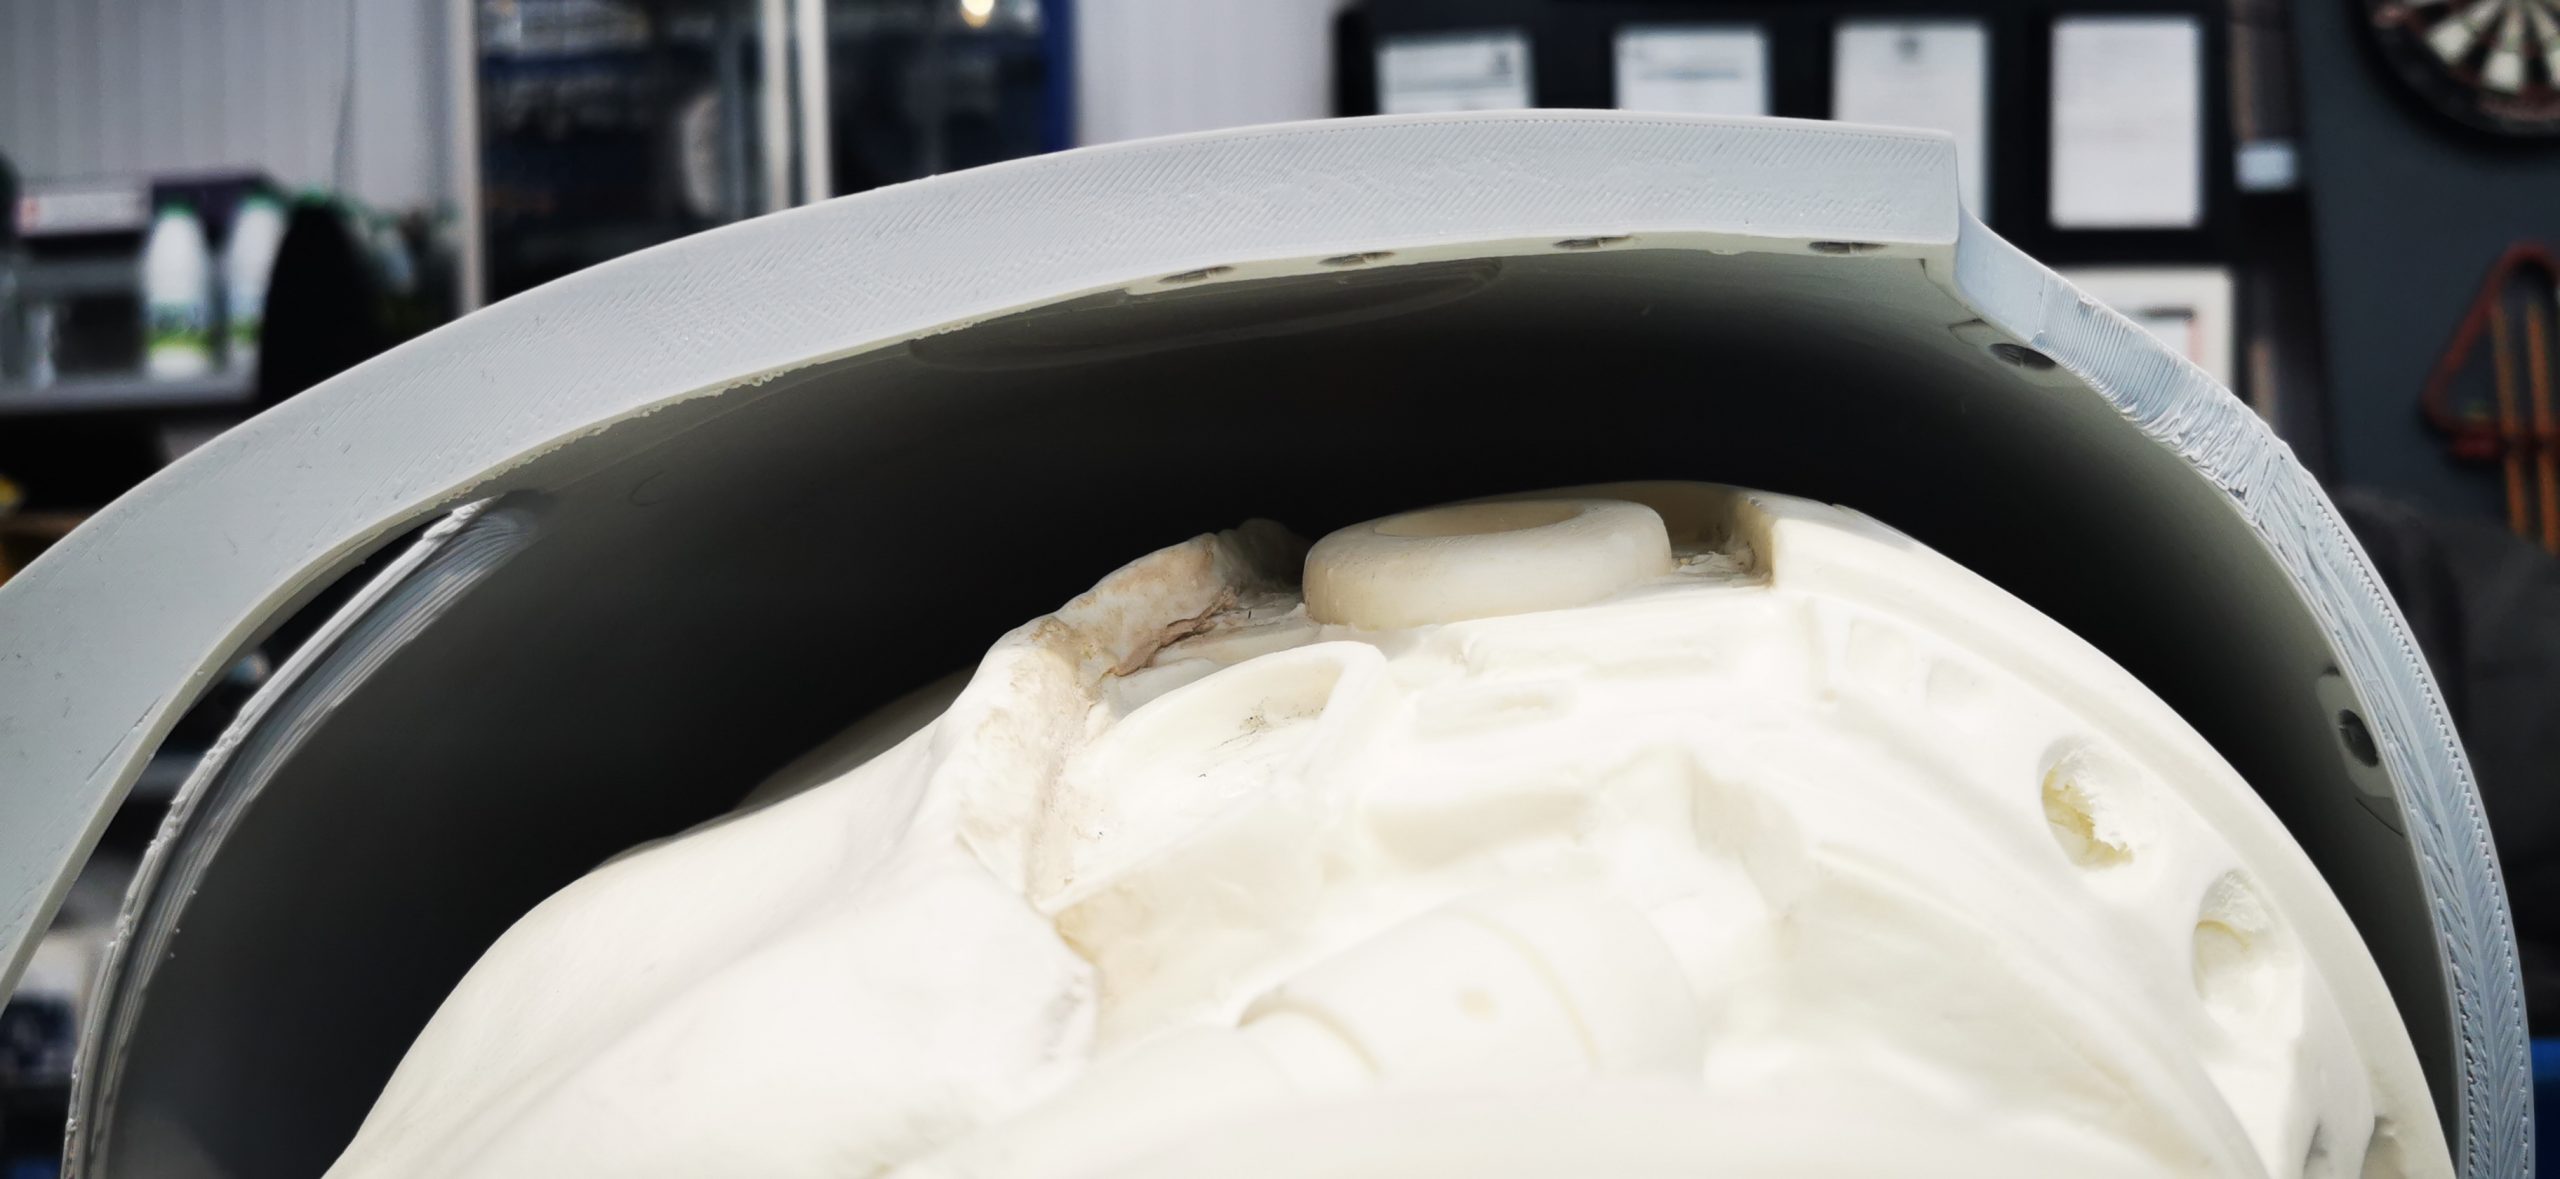
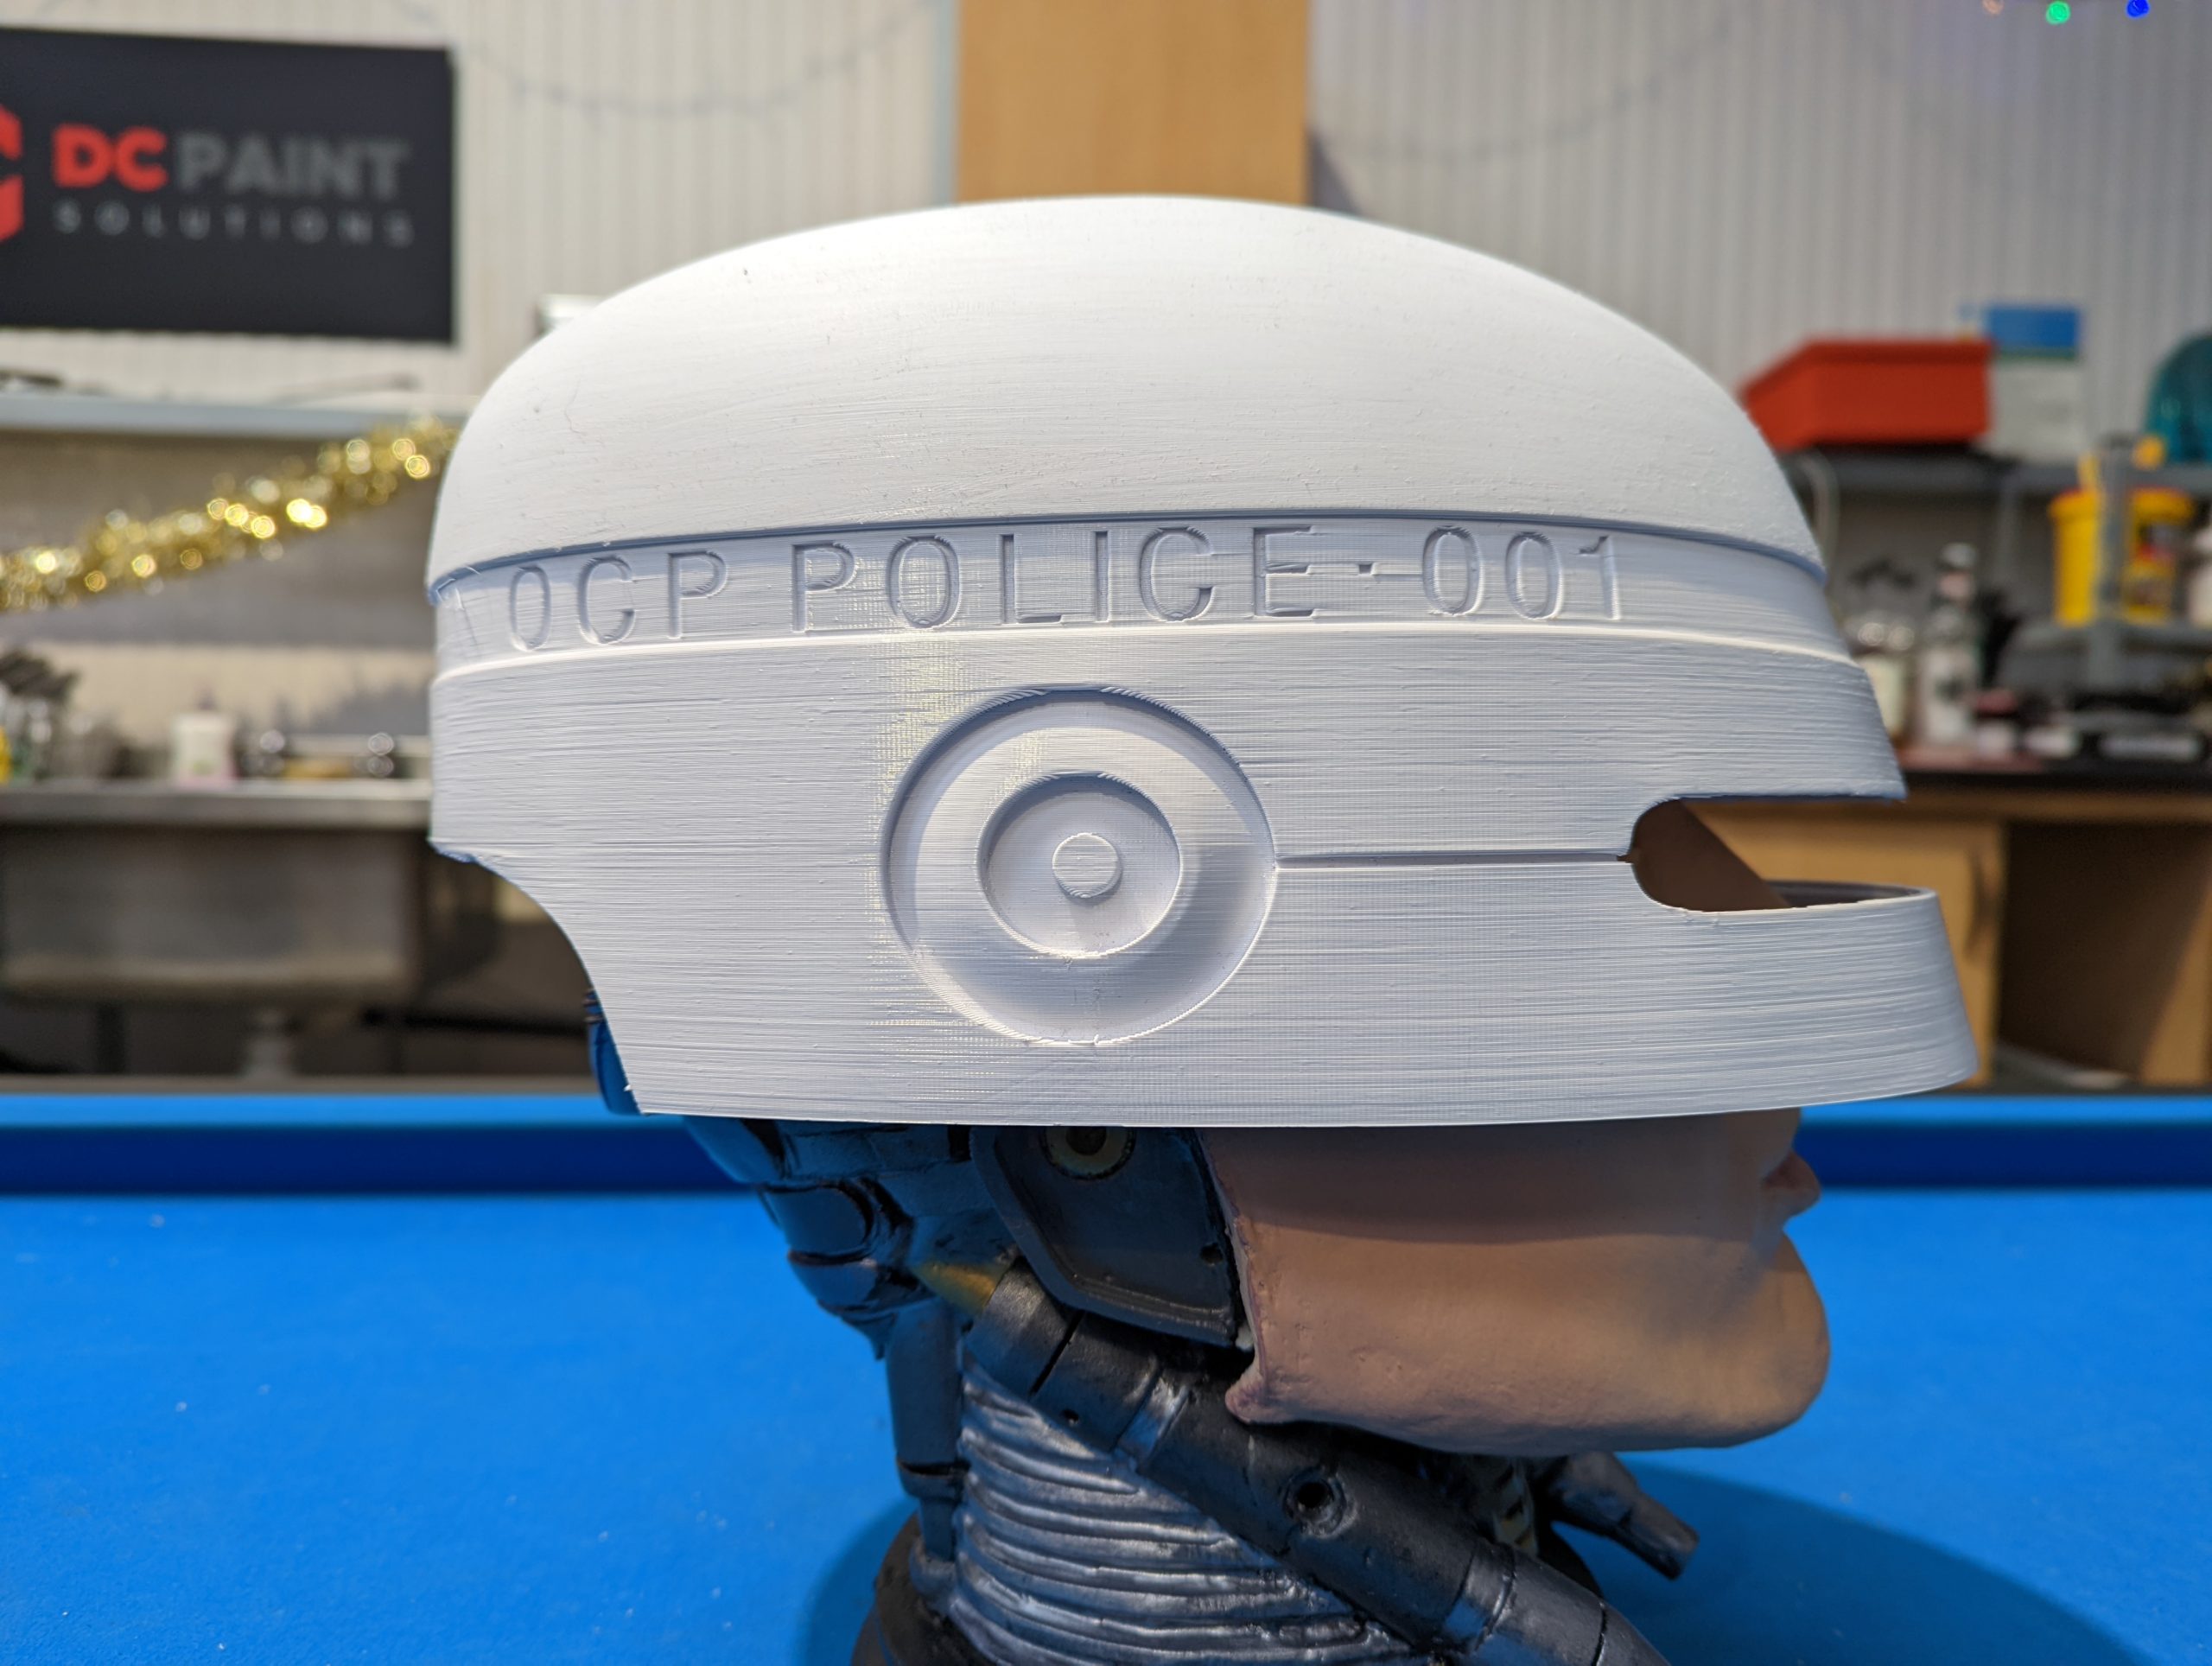
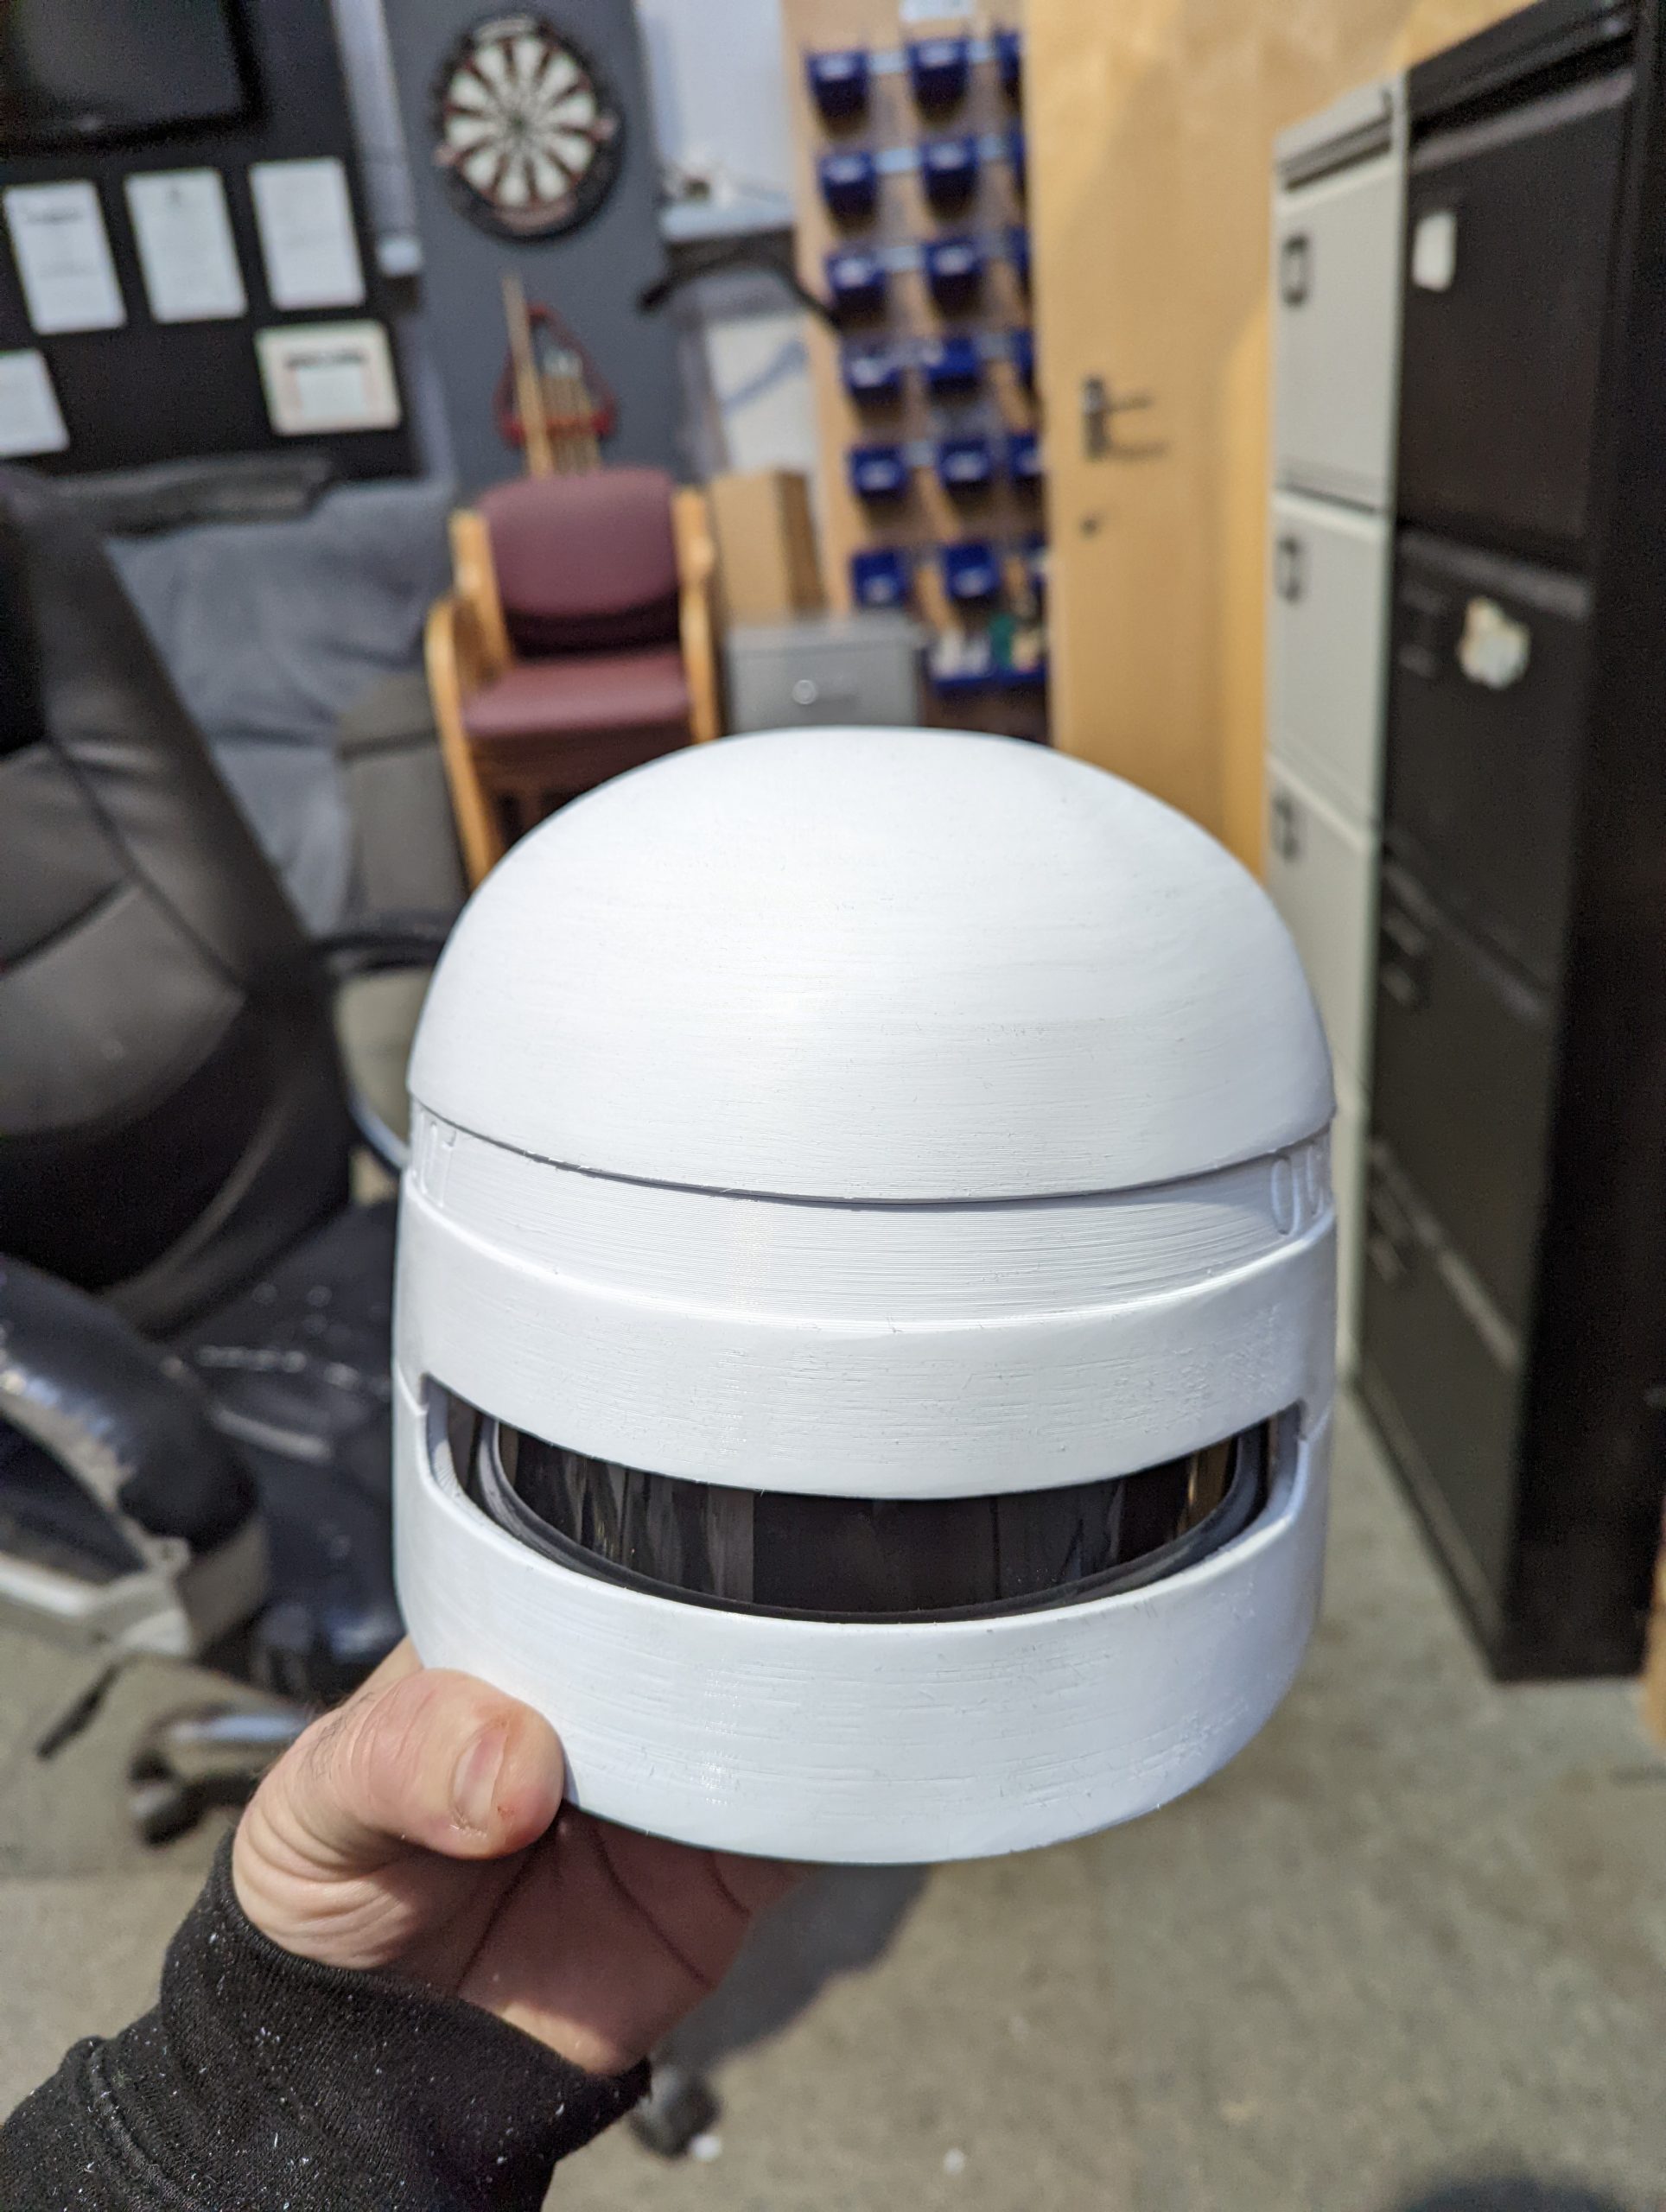
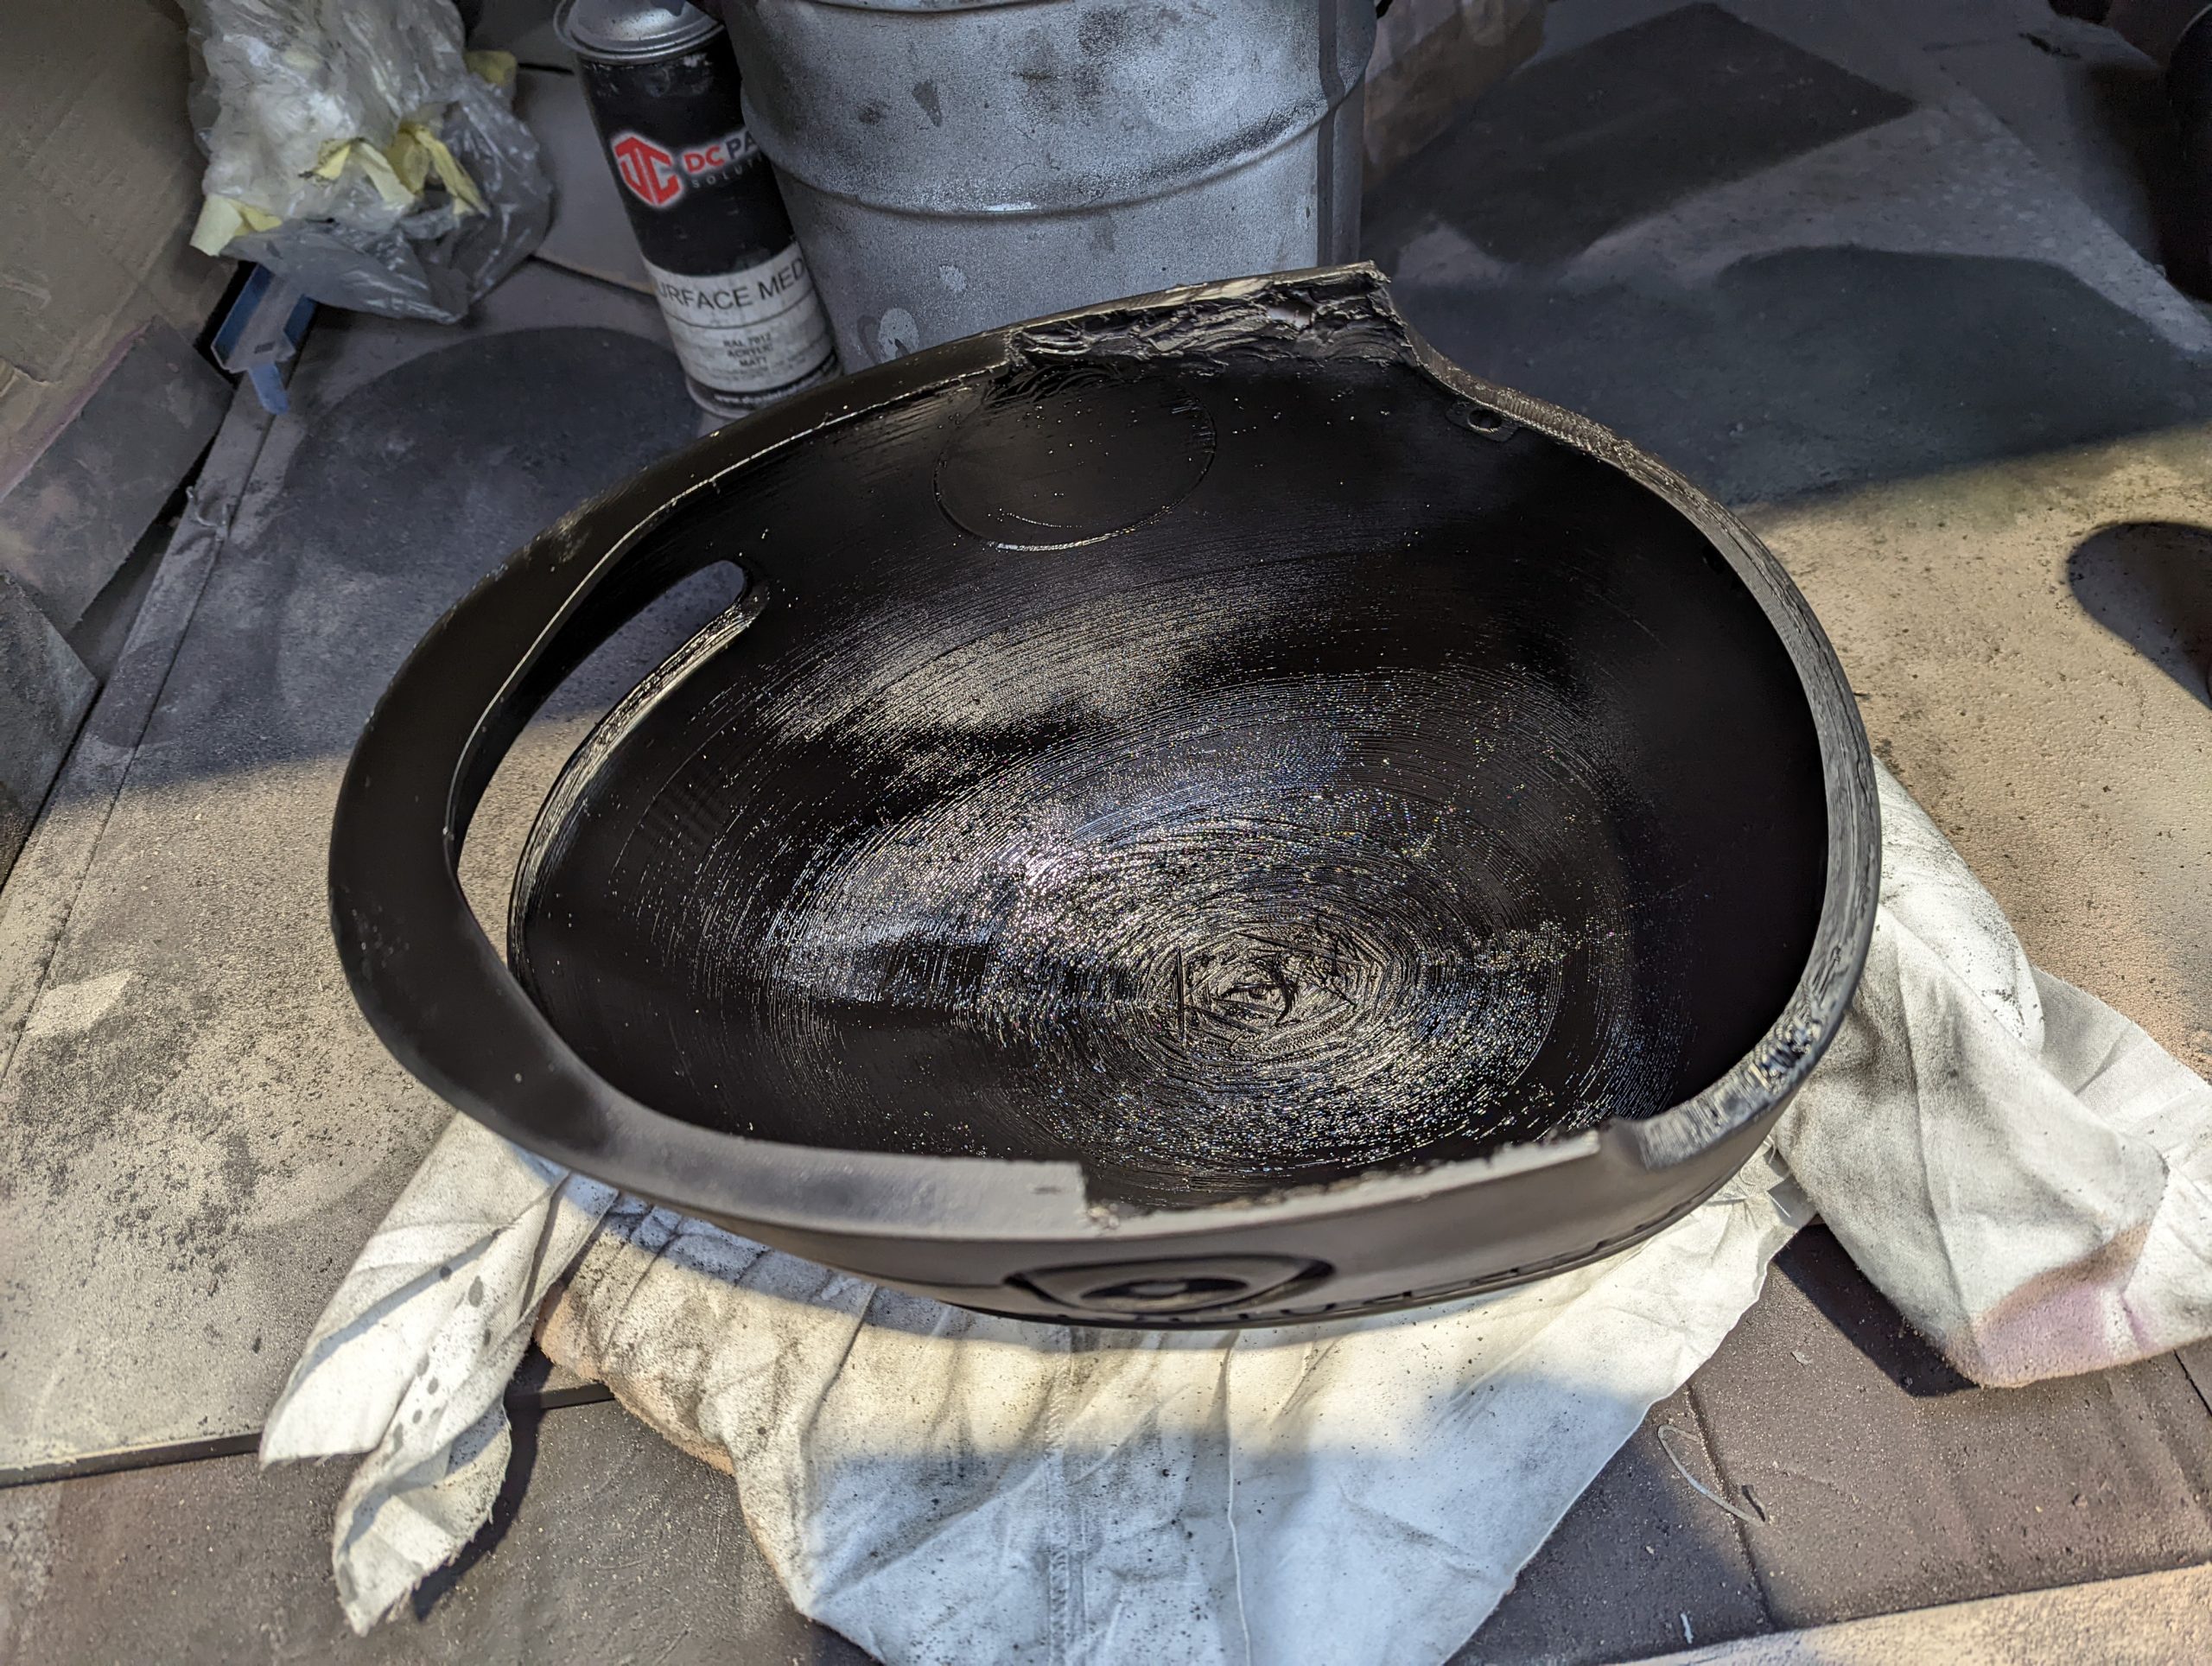
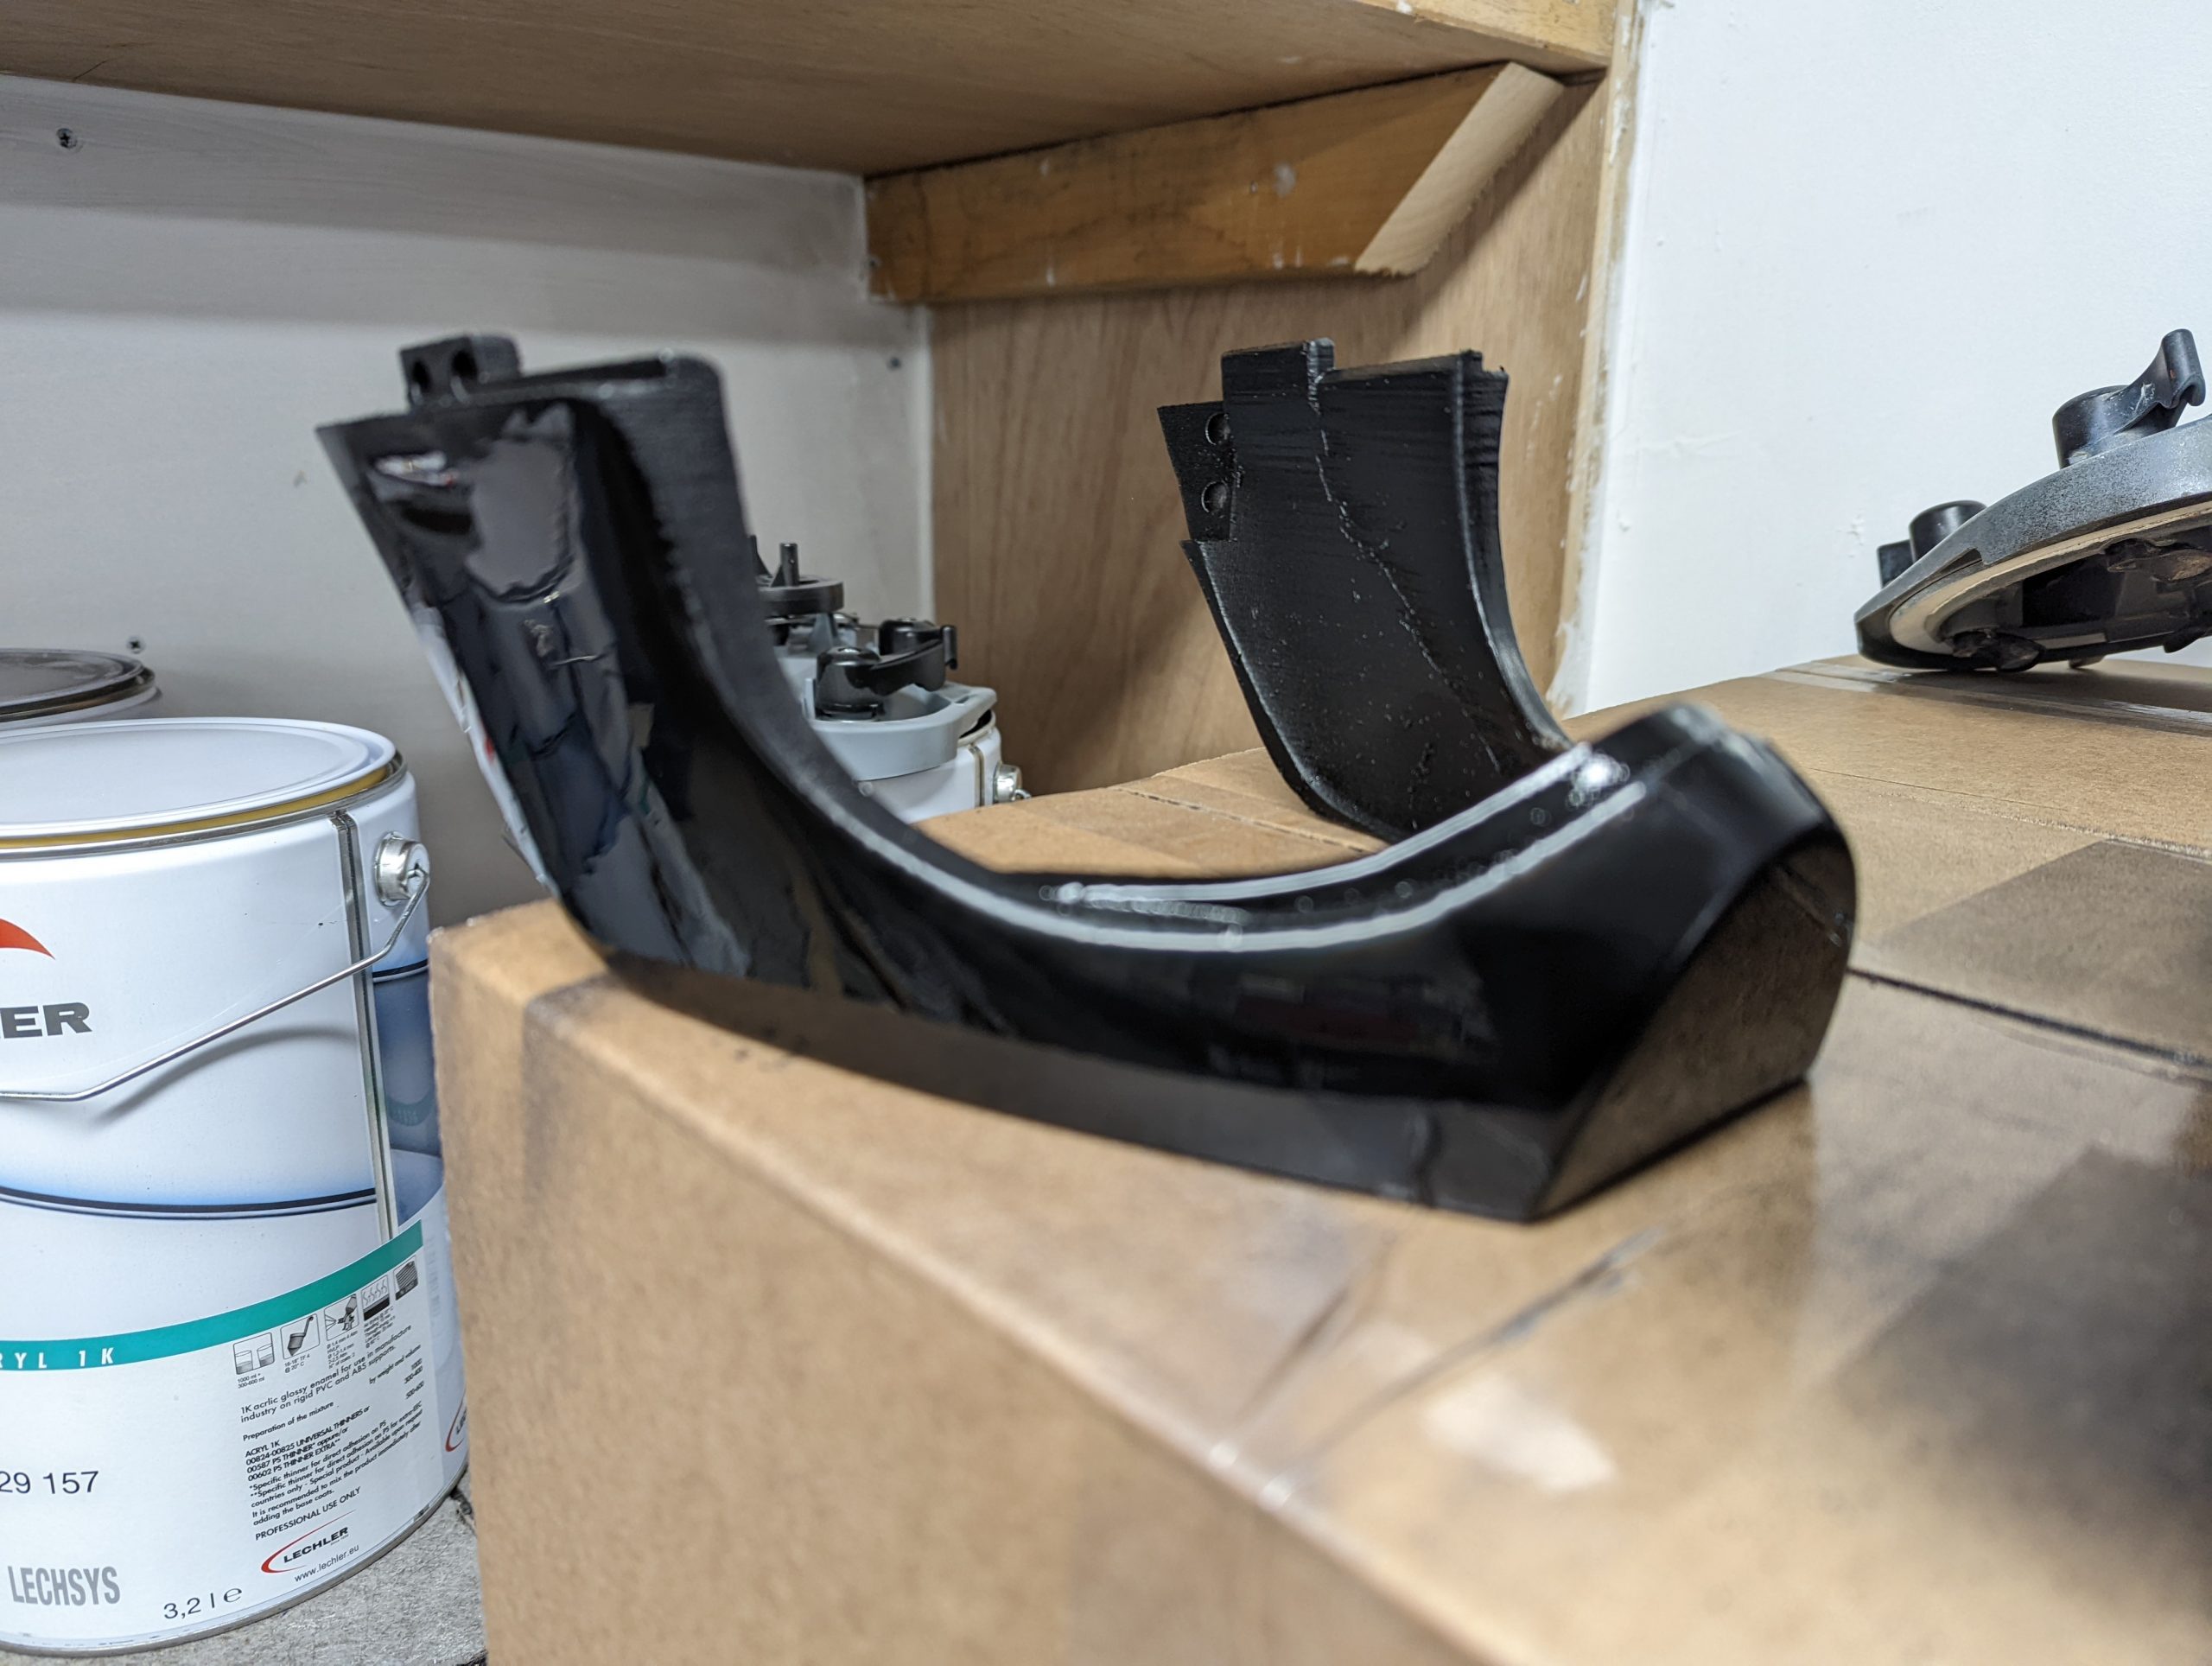
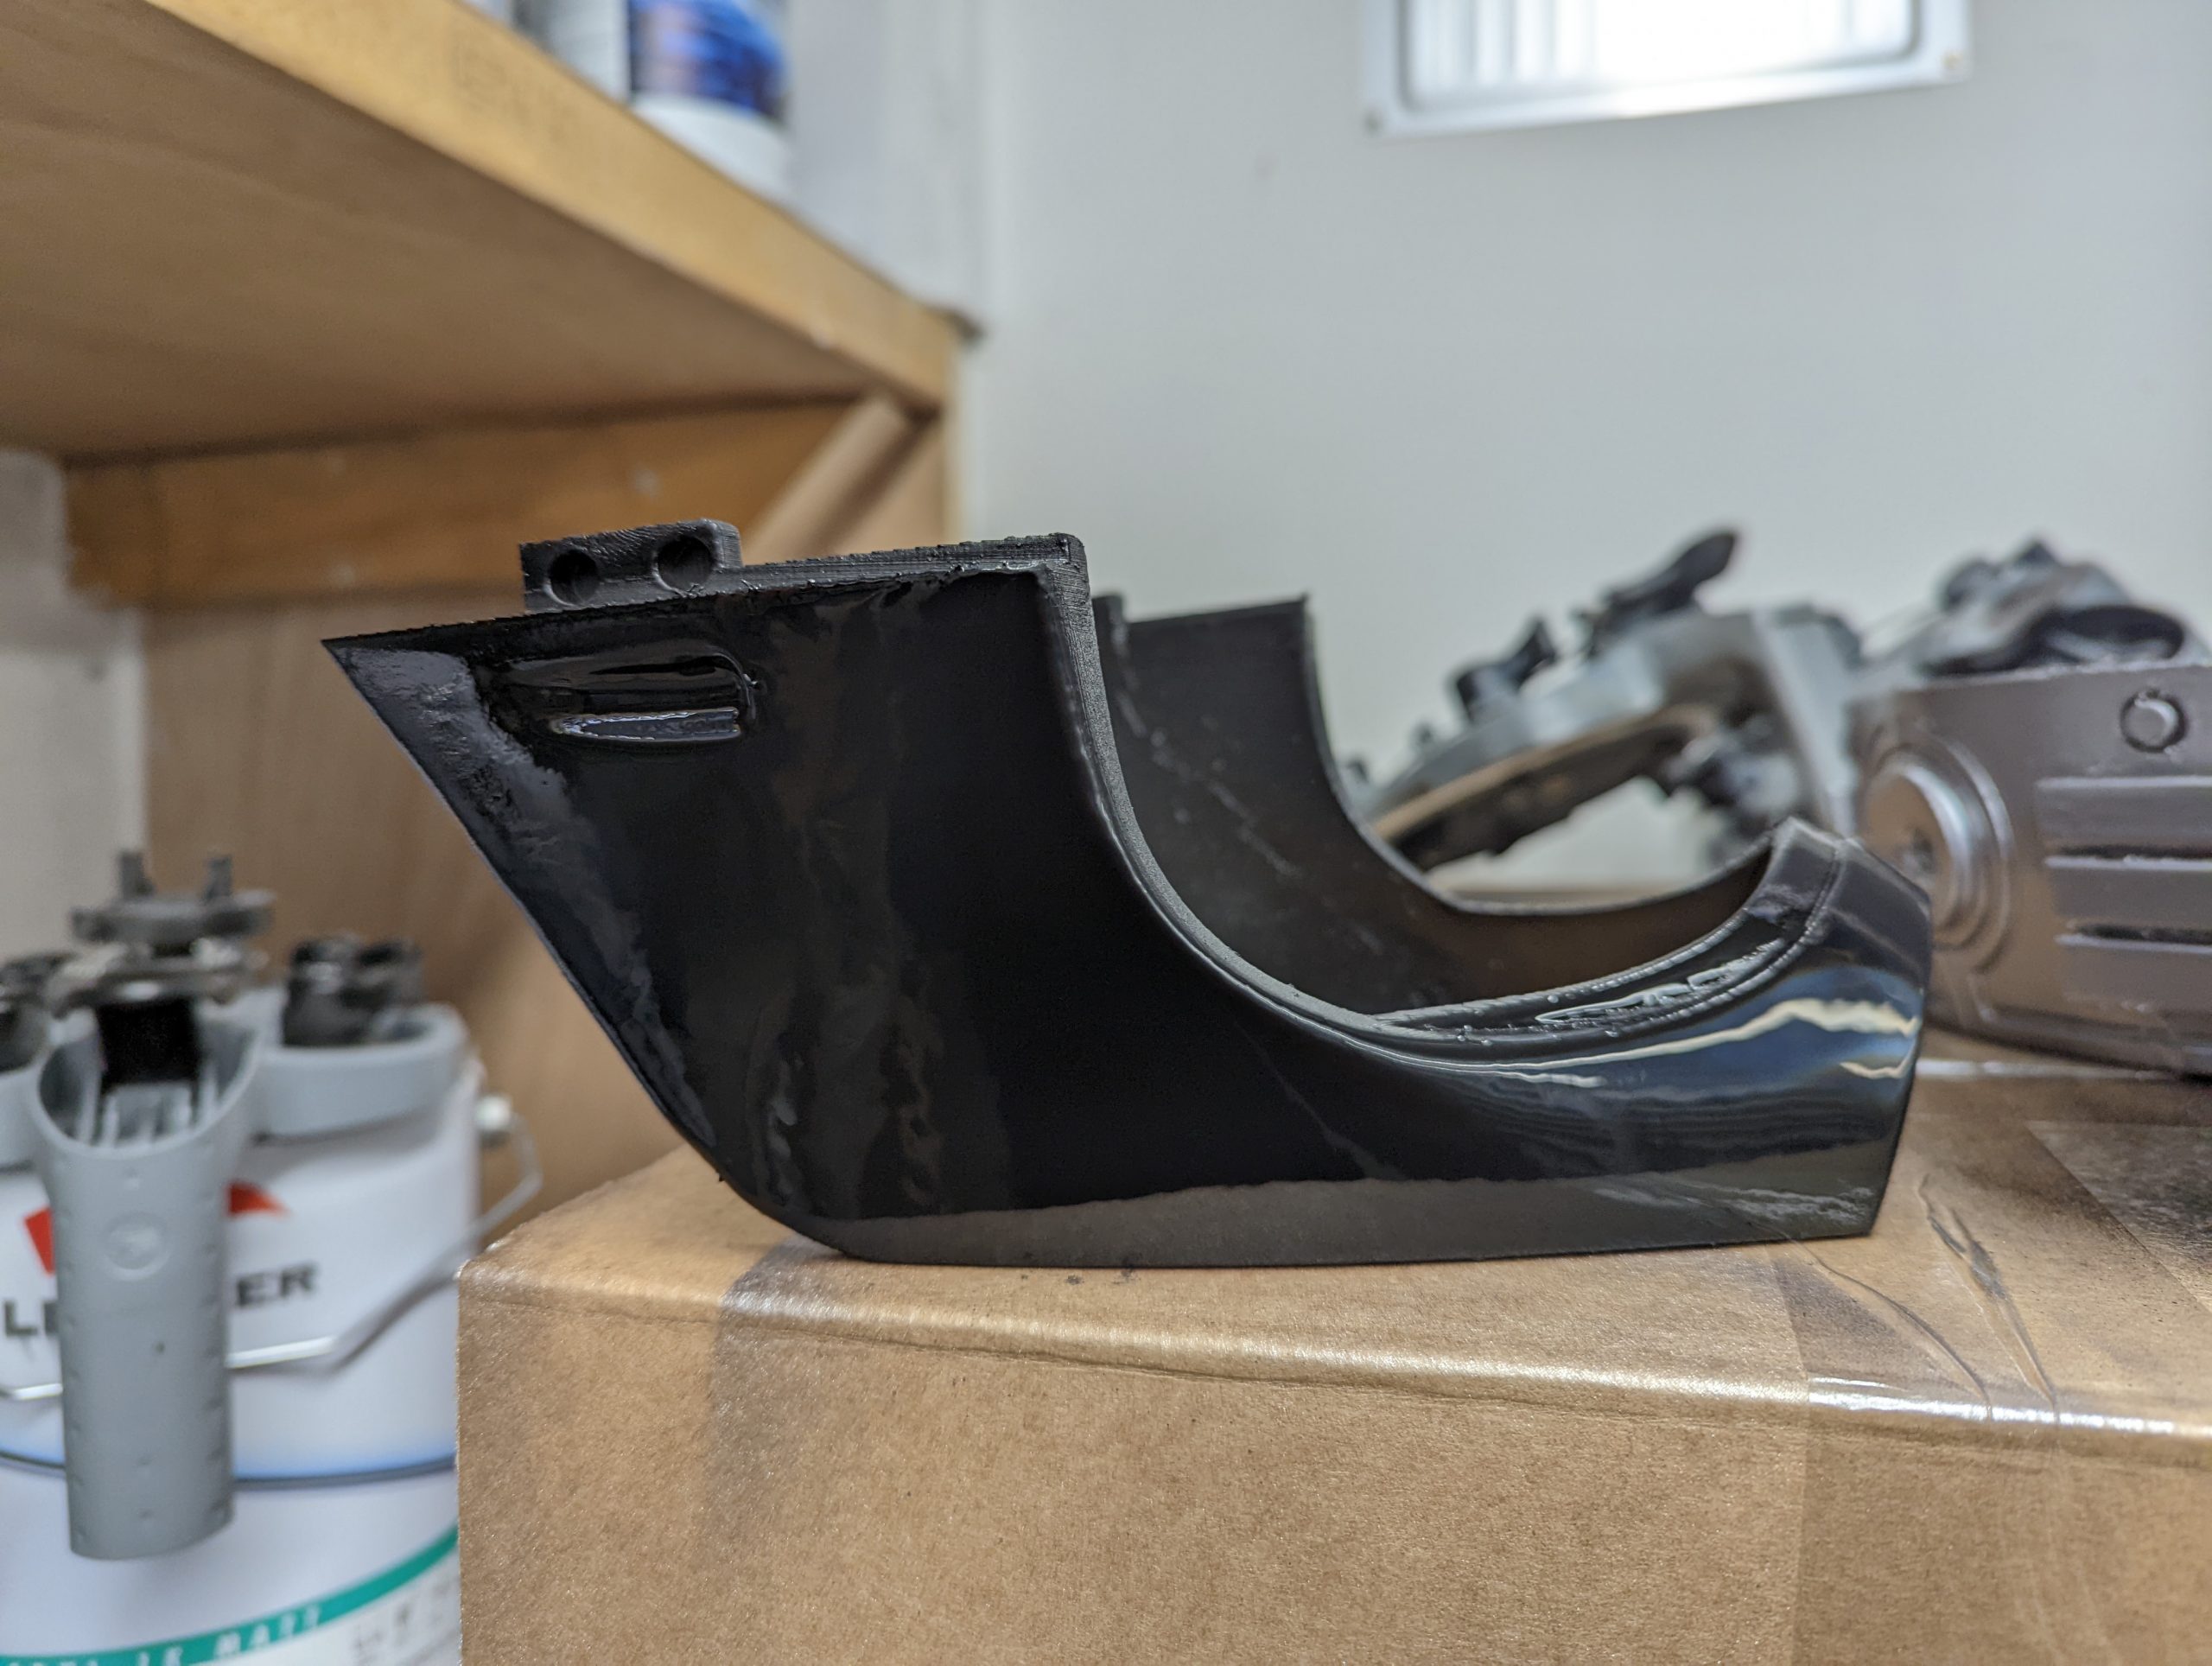
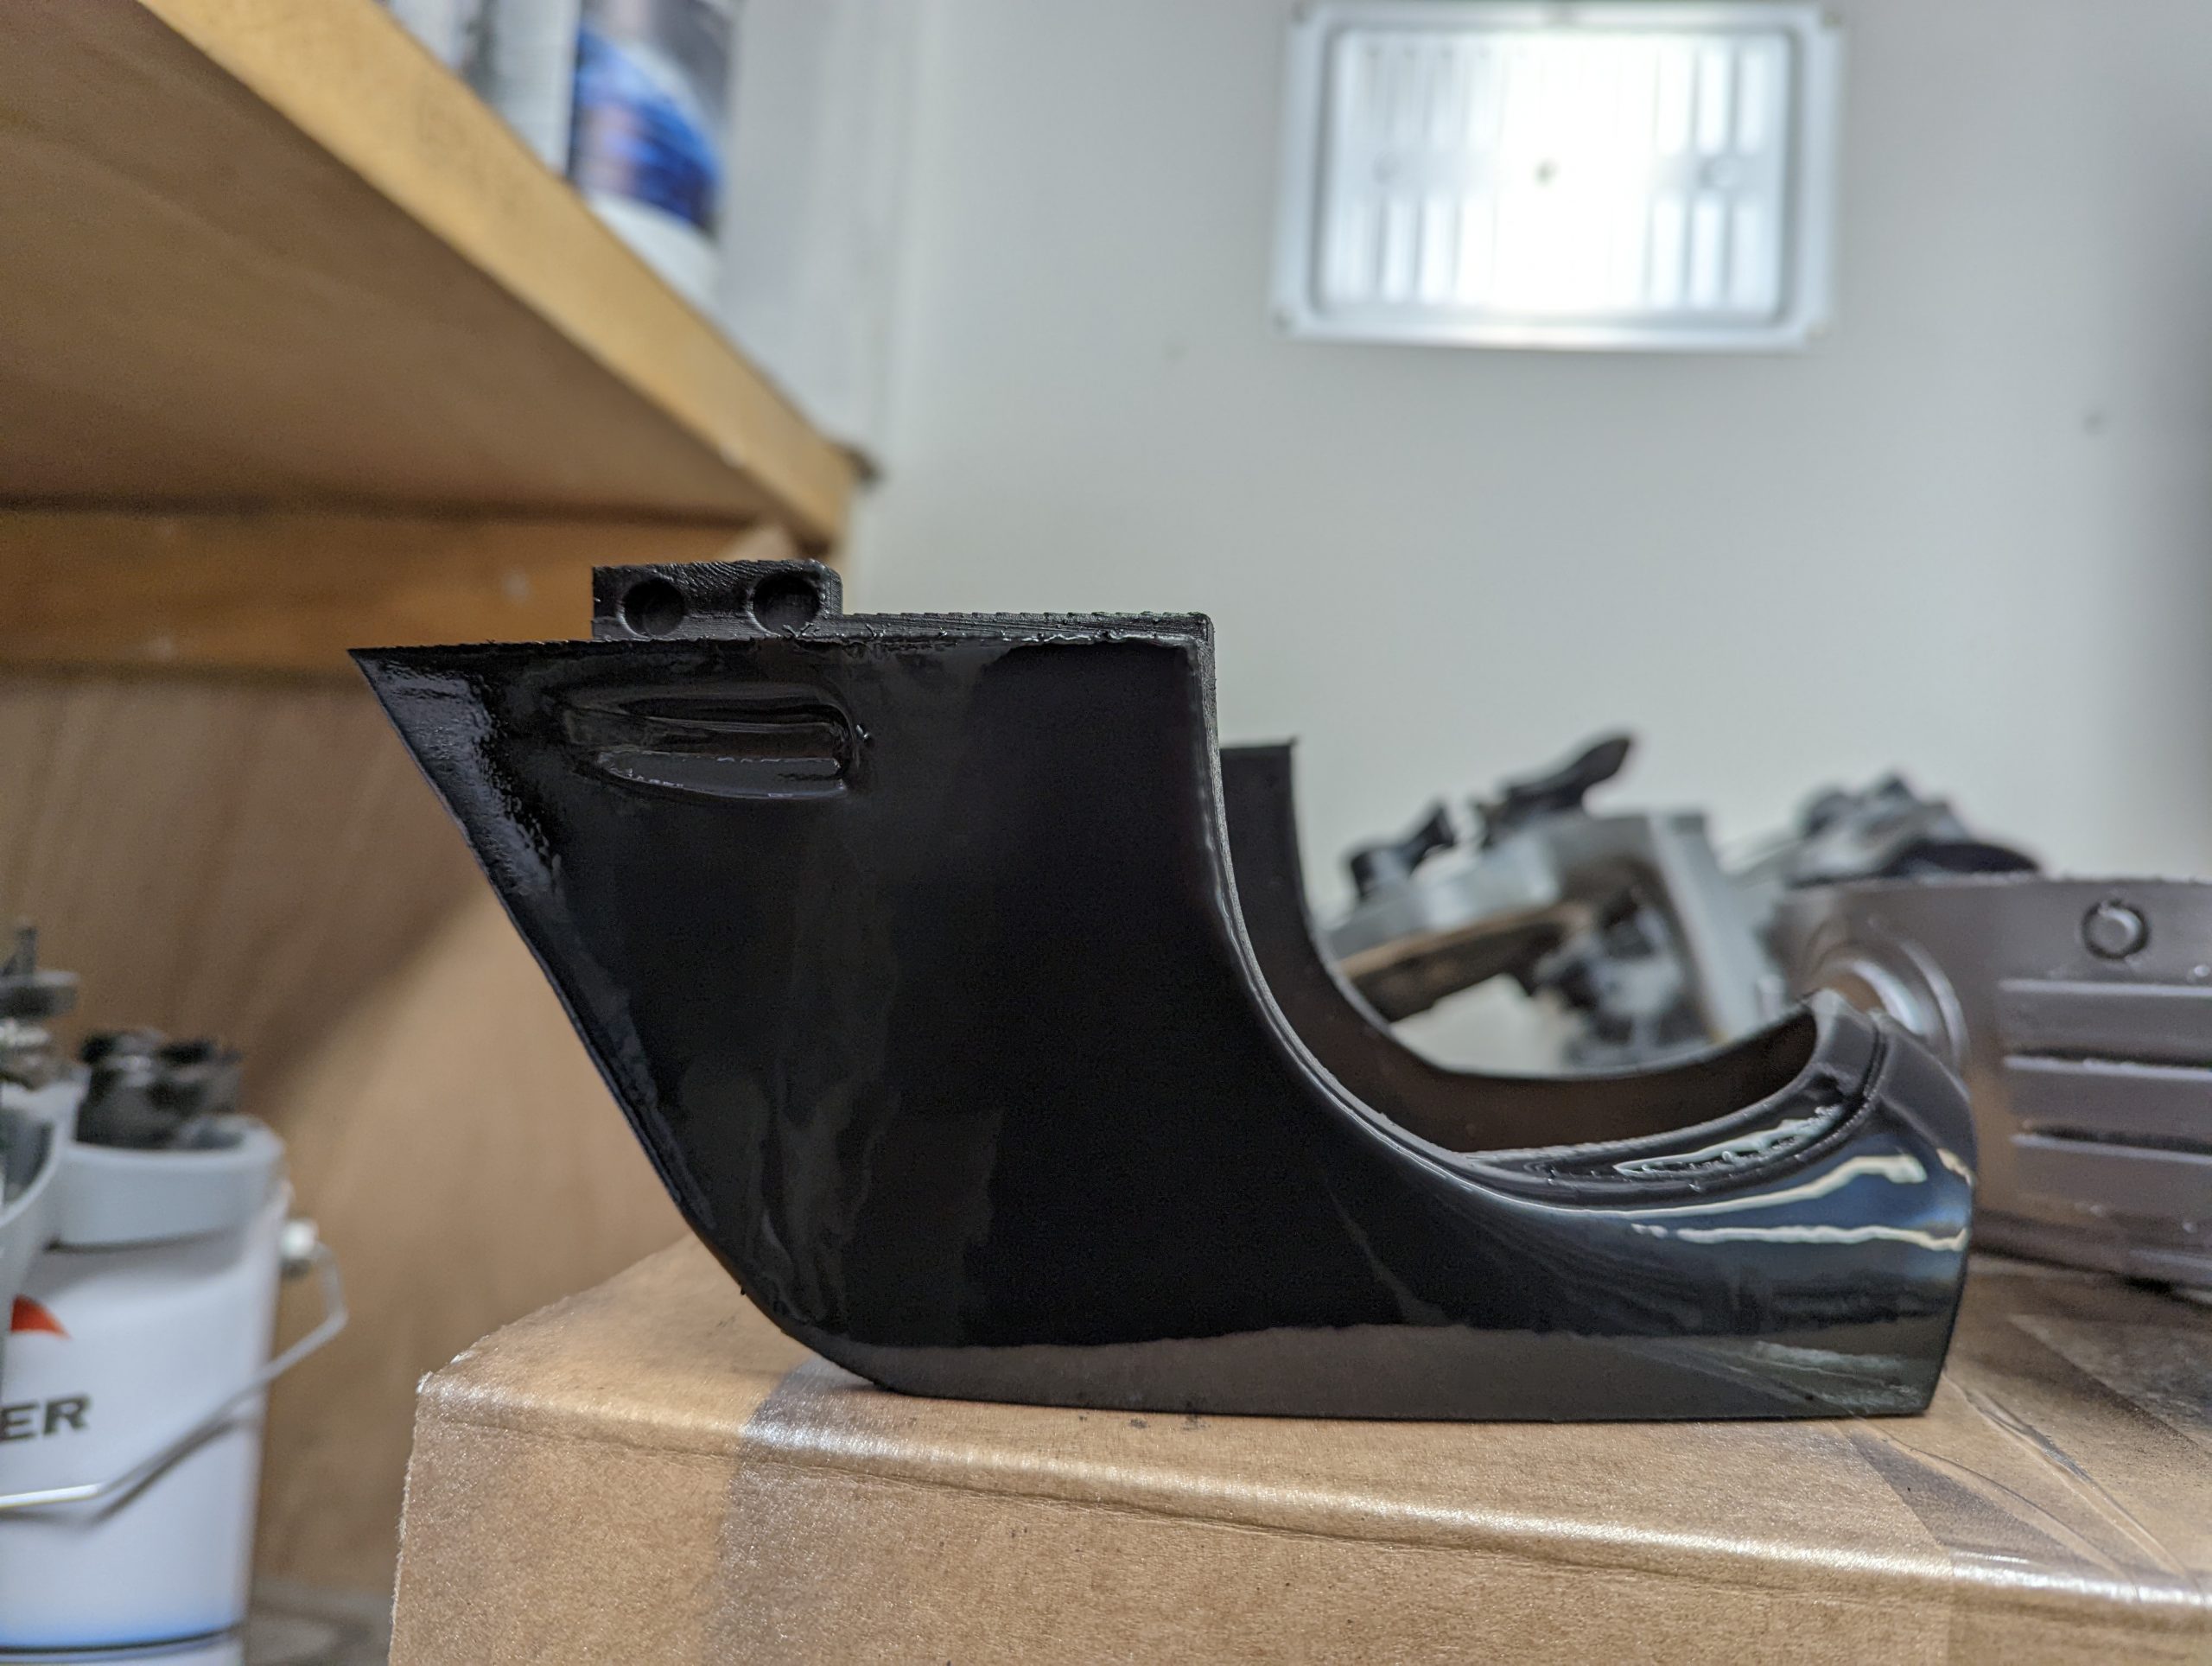
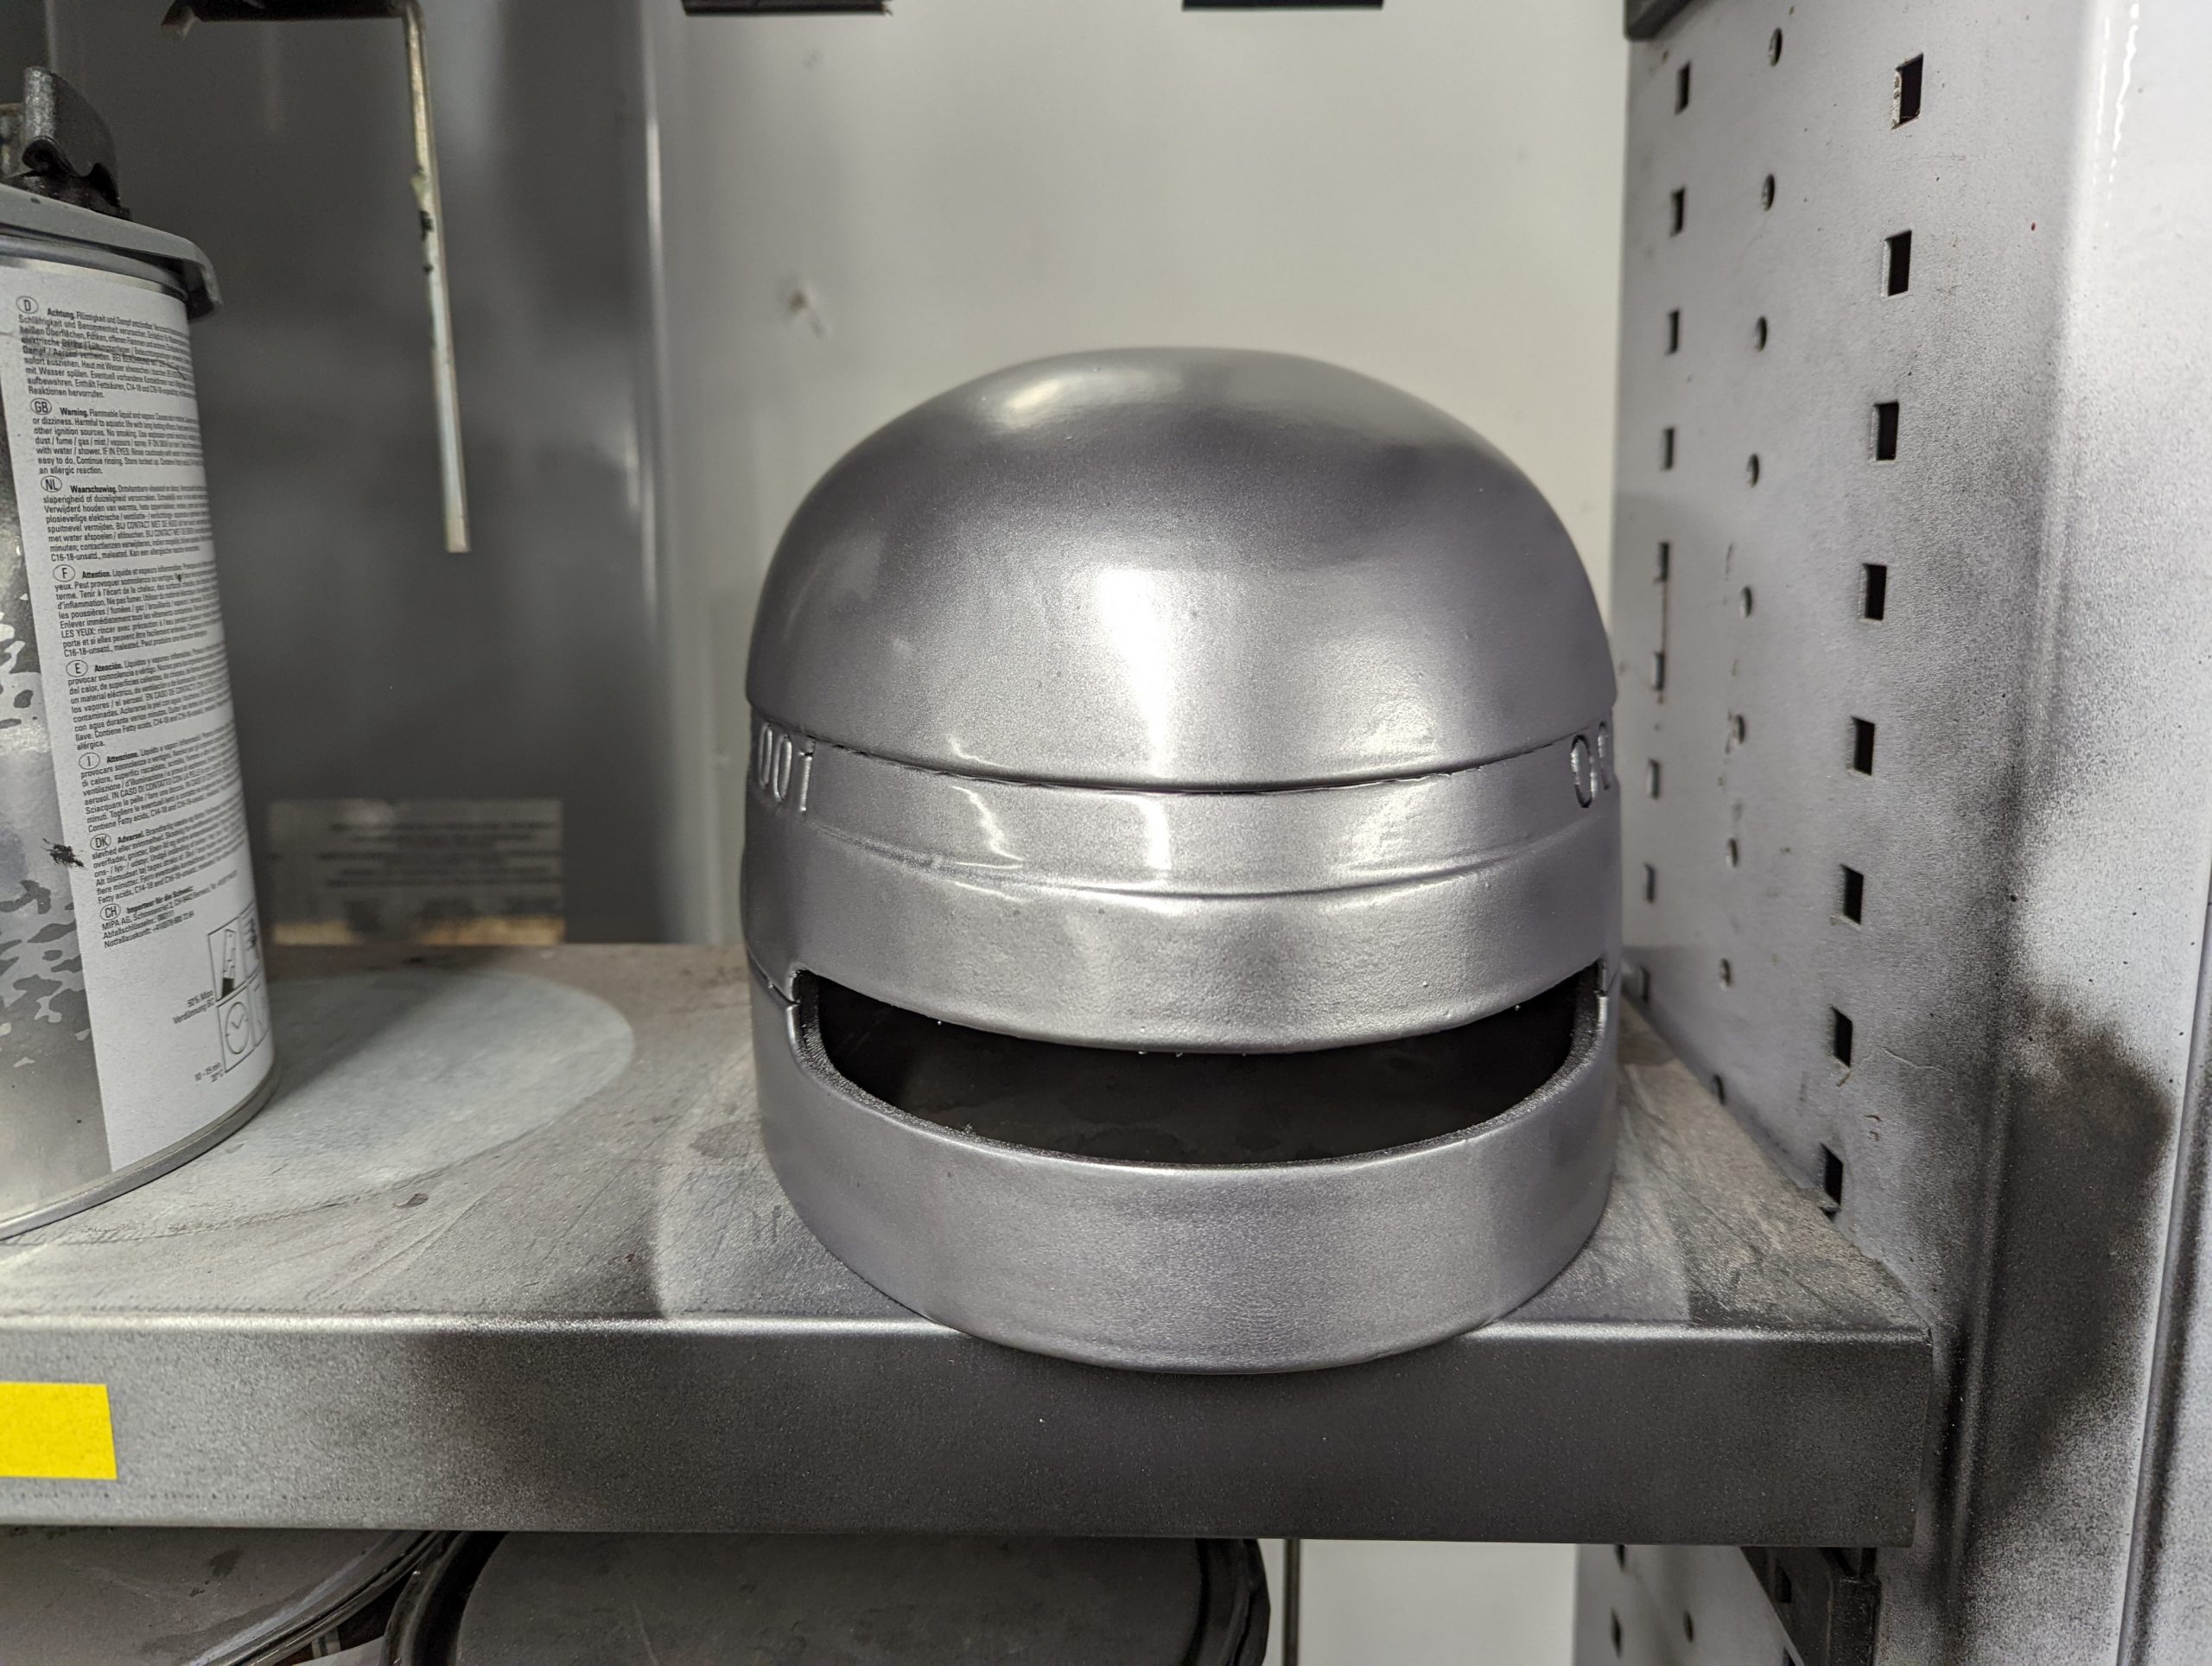
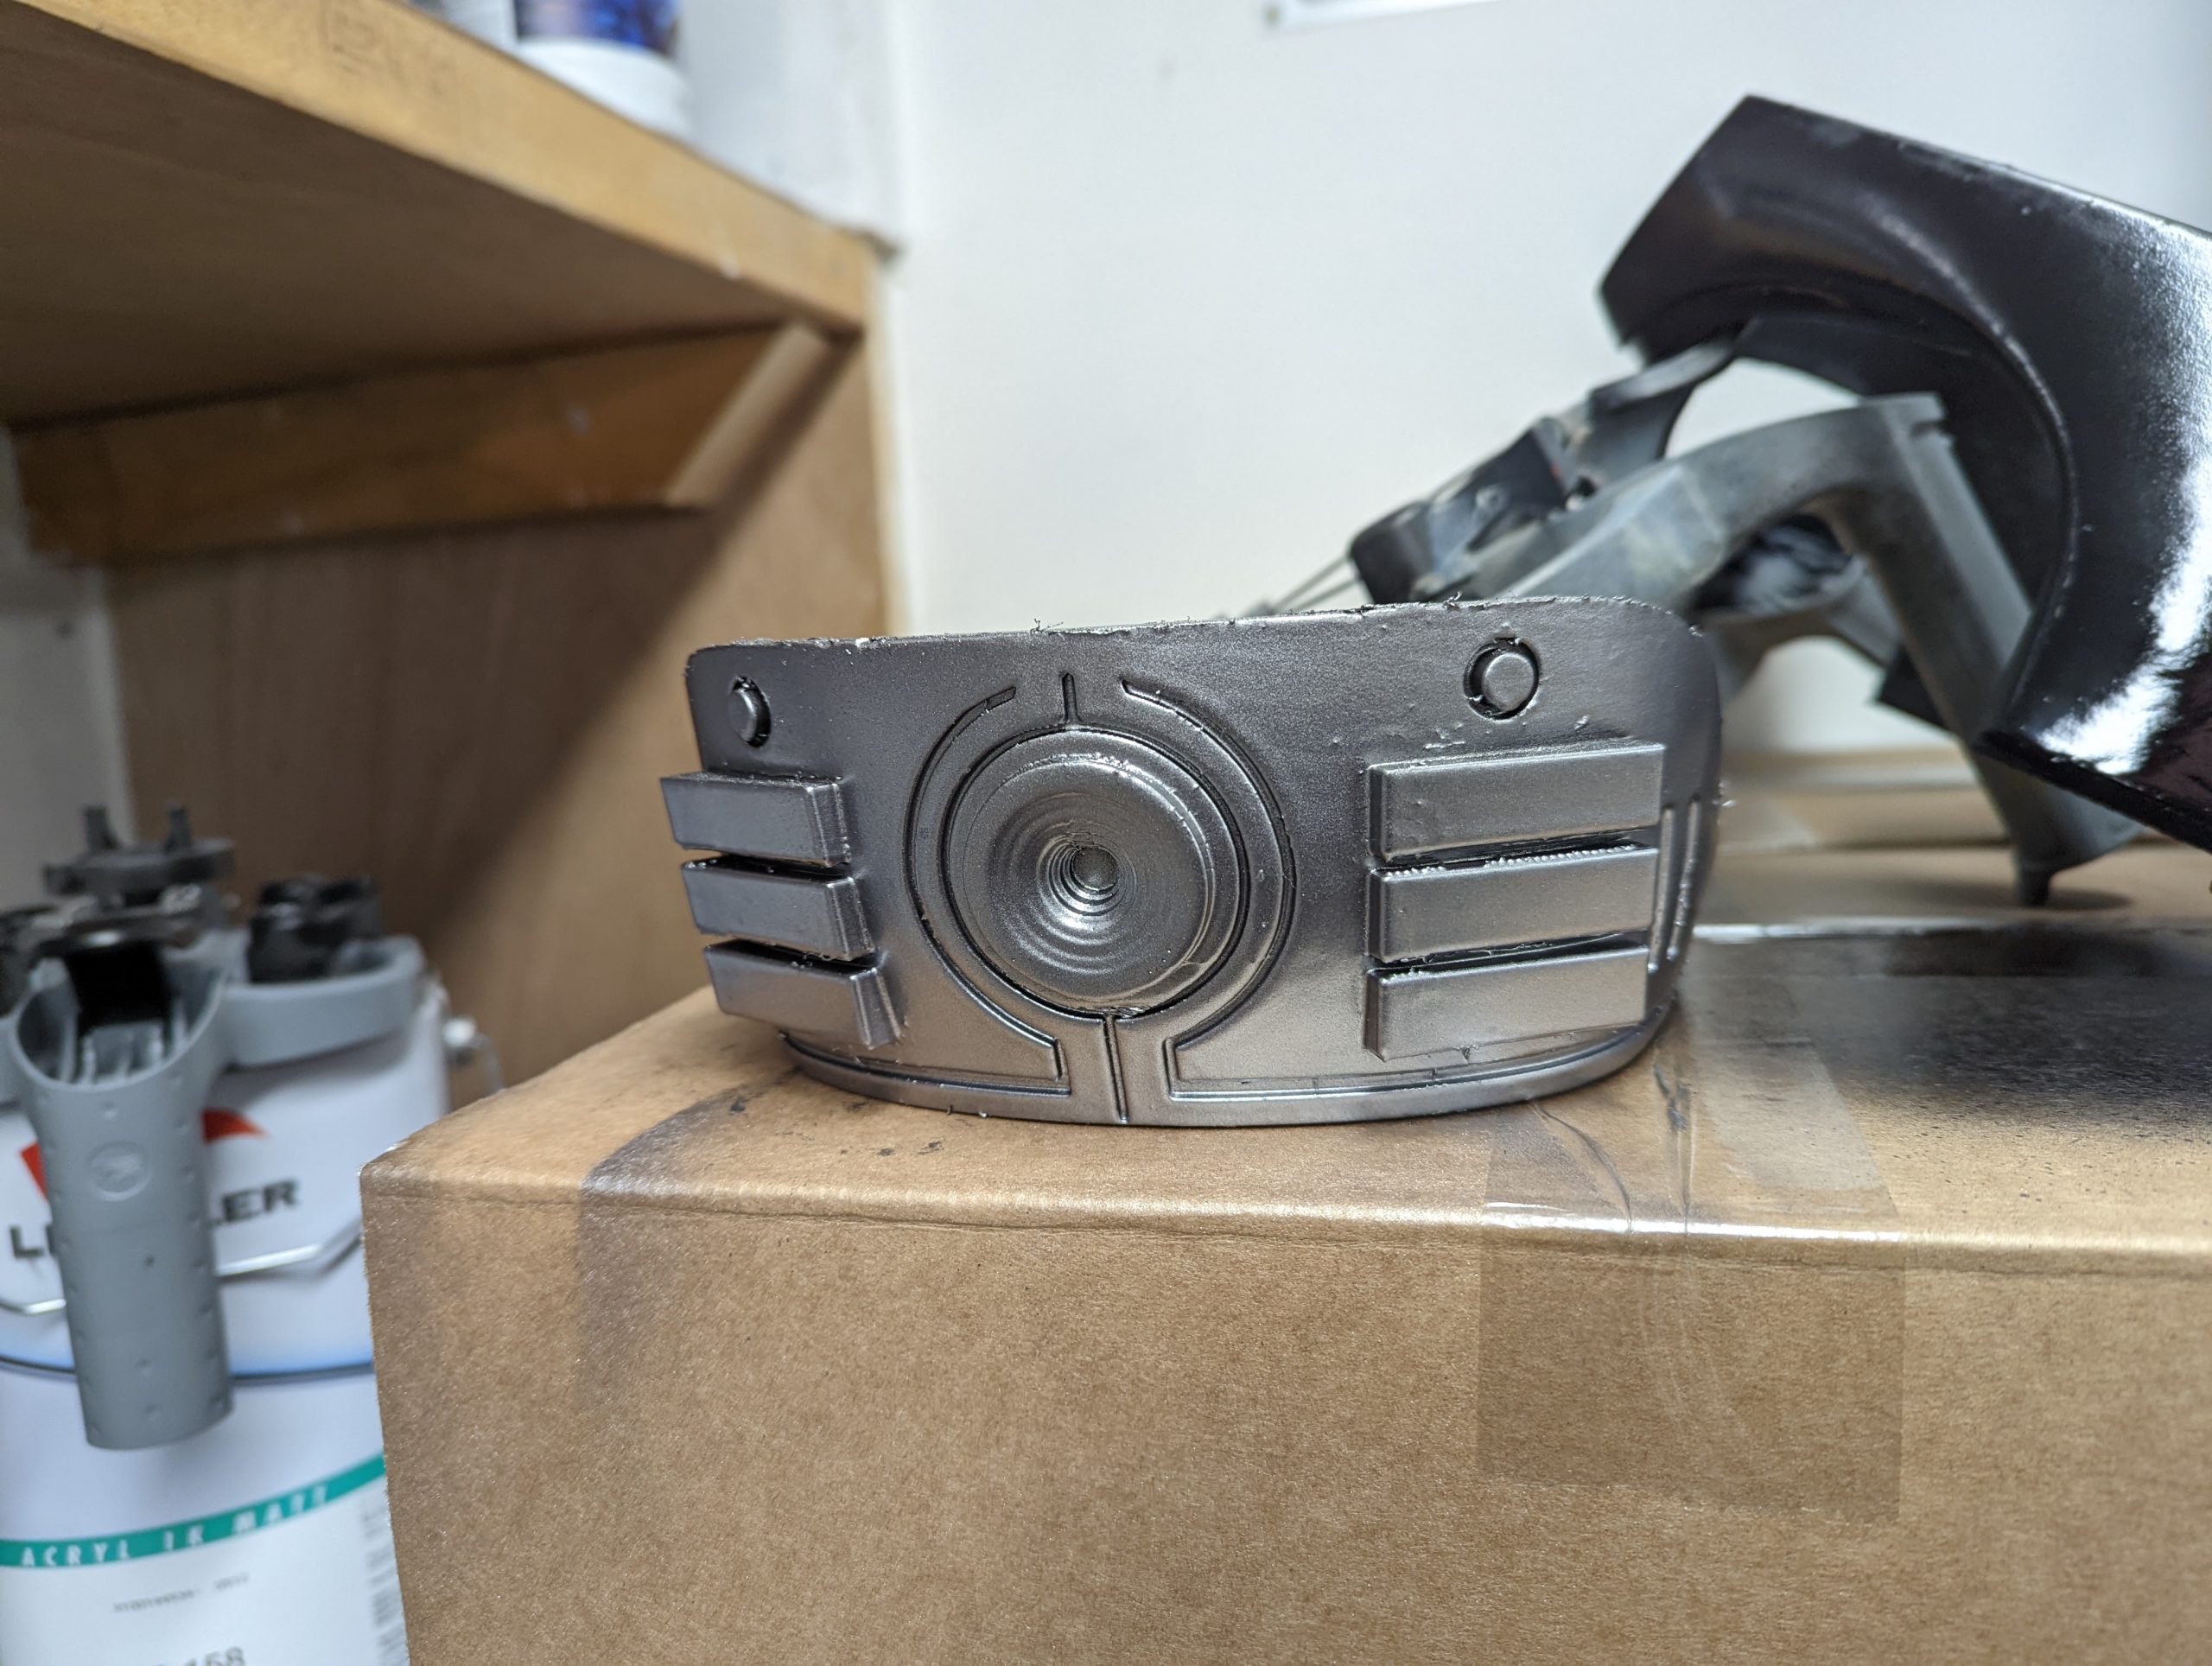
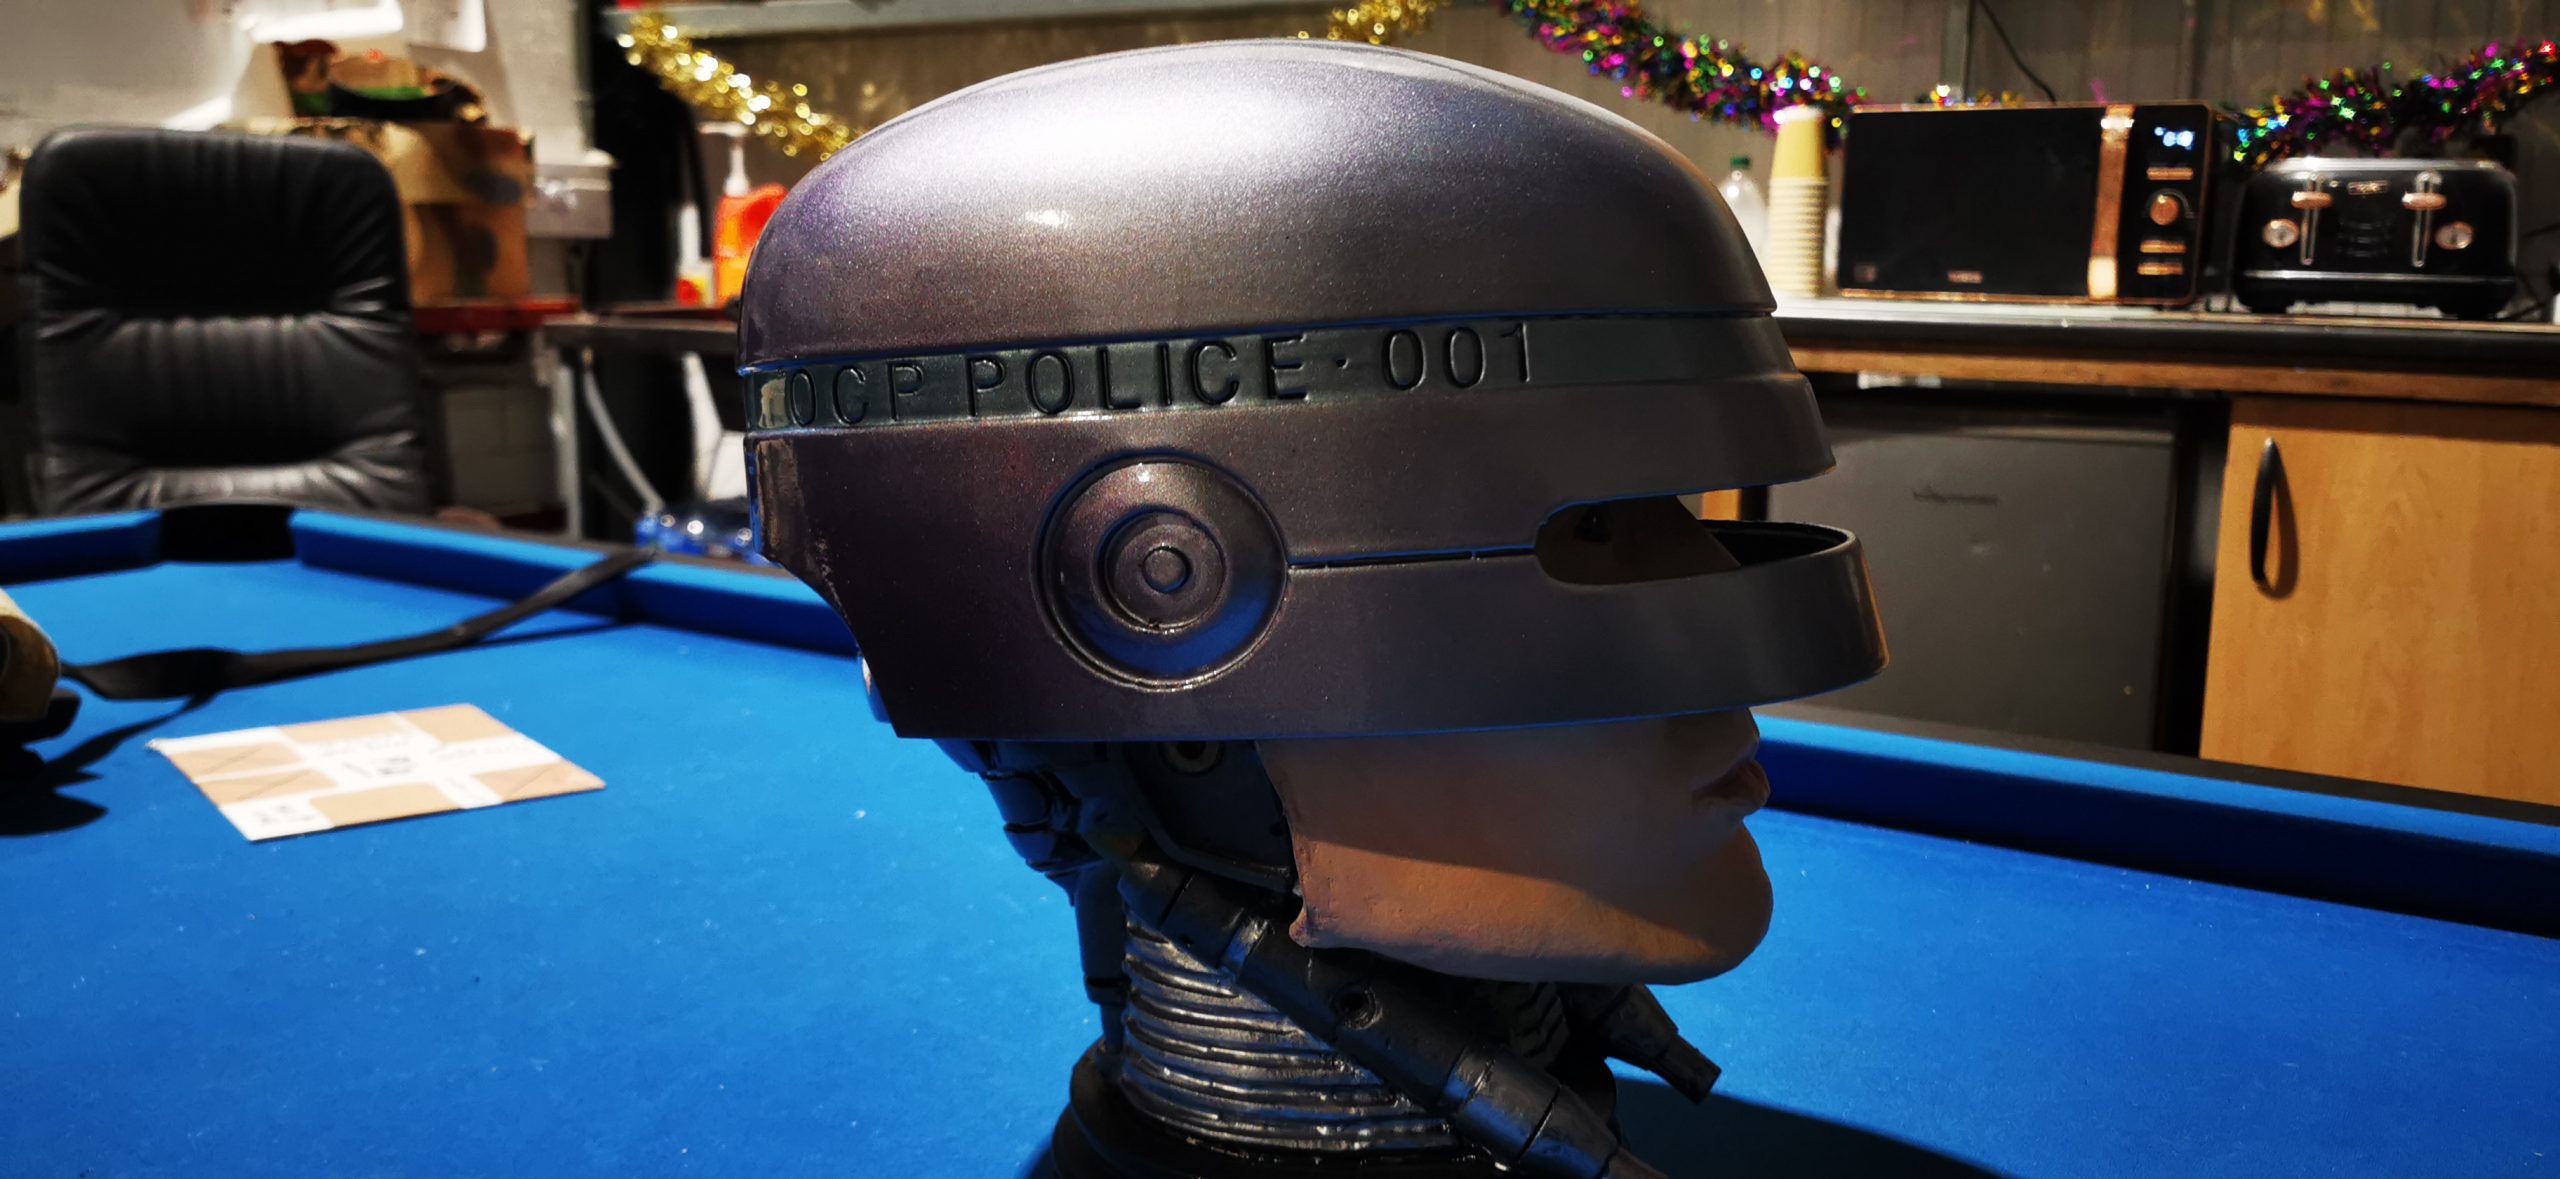
It was then time to address the number of print lines in the 3D model, as these ruined the aesthetic and look of the whole model. Luckily, there are several ways to remove the plastic mould lines in 3D modelling; the way that worked best for us was shaving off the excess substrate. We did start by sanding down the substrate, but it actually started to melt the plastic, so we eventually used a razor blade and shaved away the lines of the plastic until all of it was smooth.
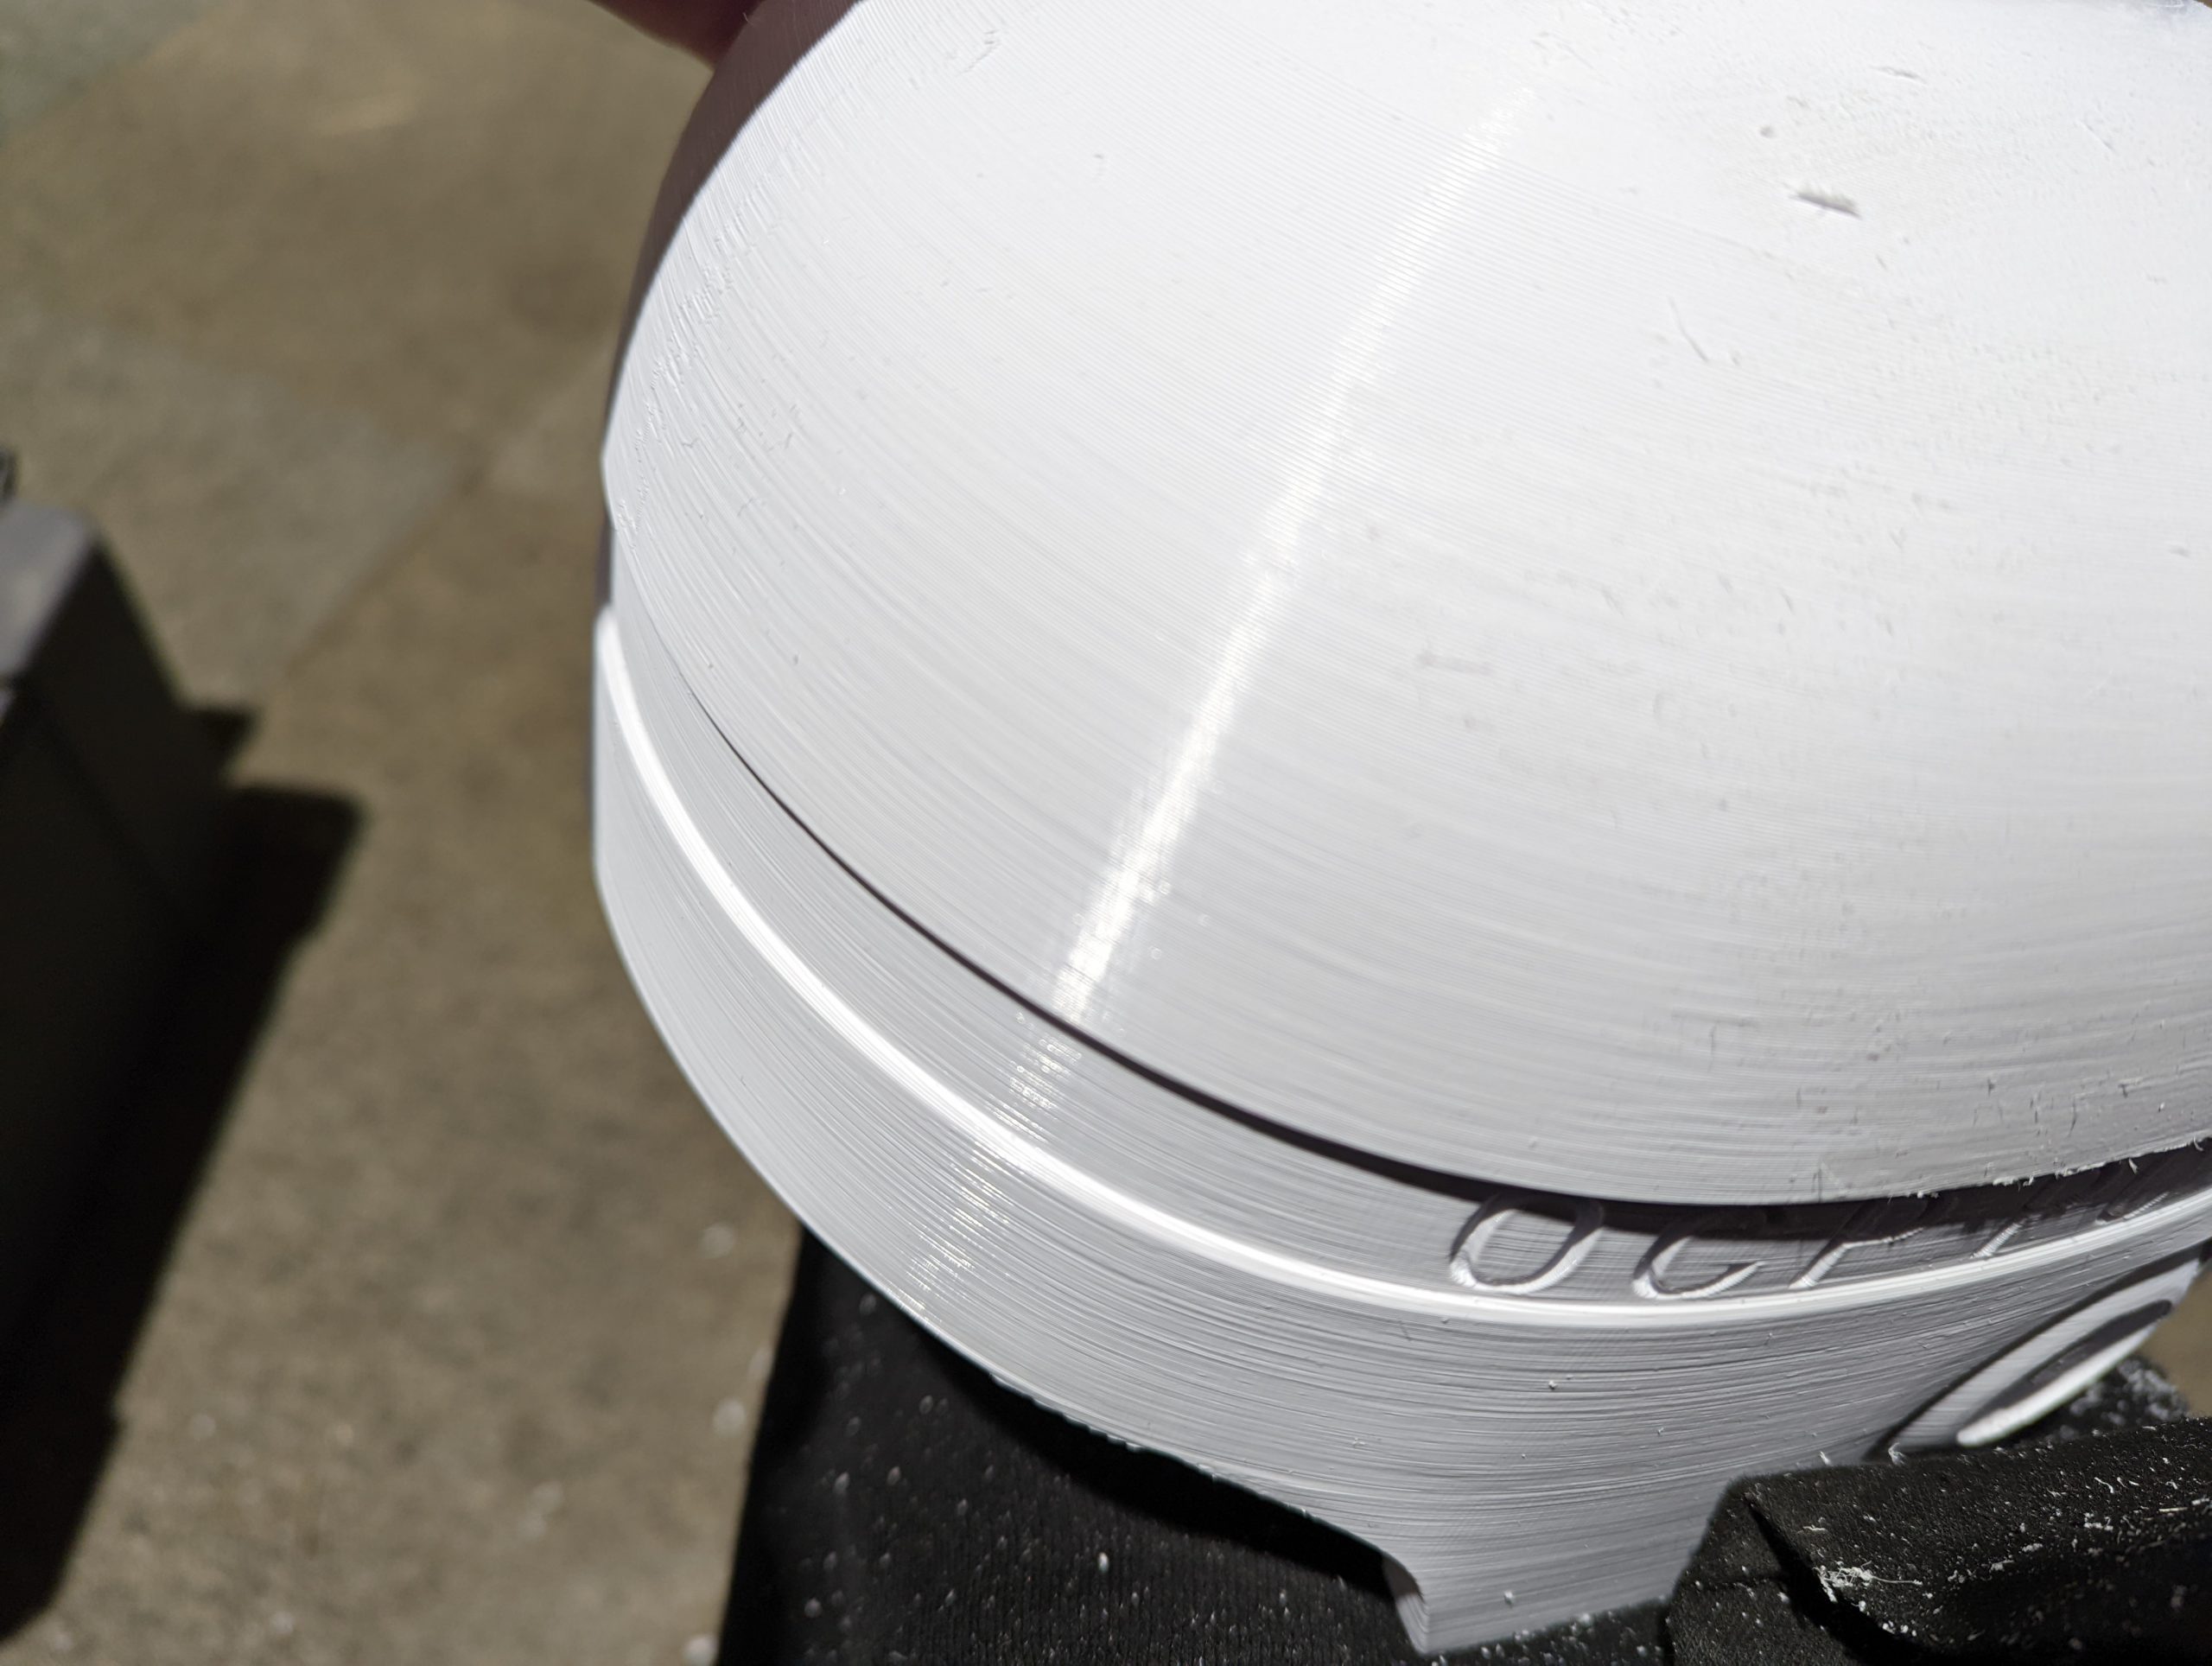
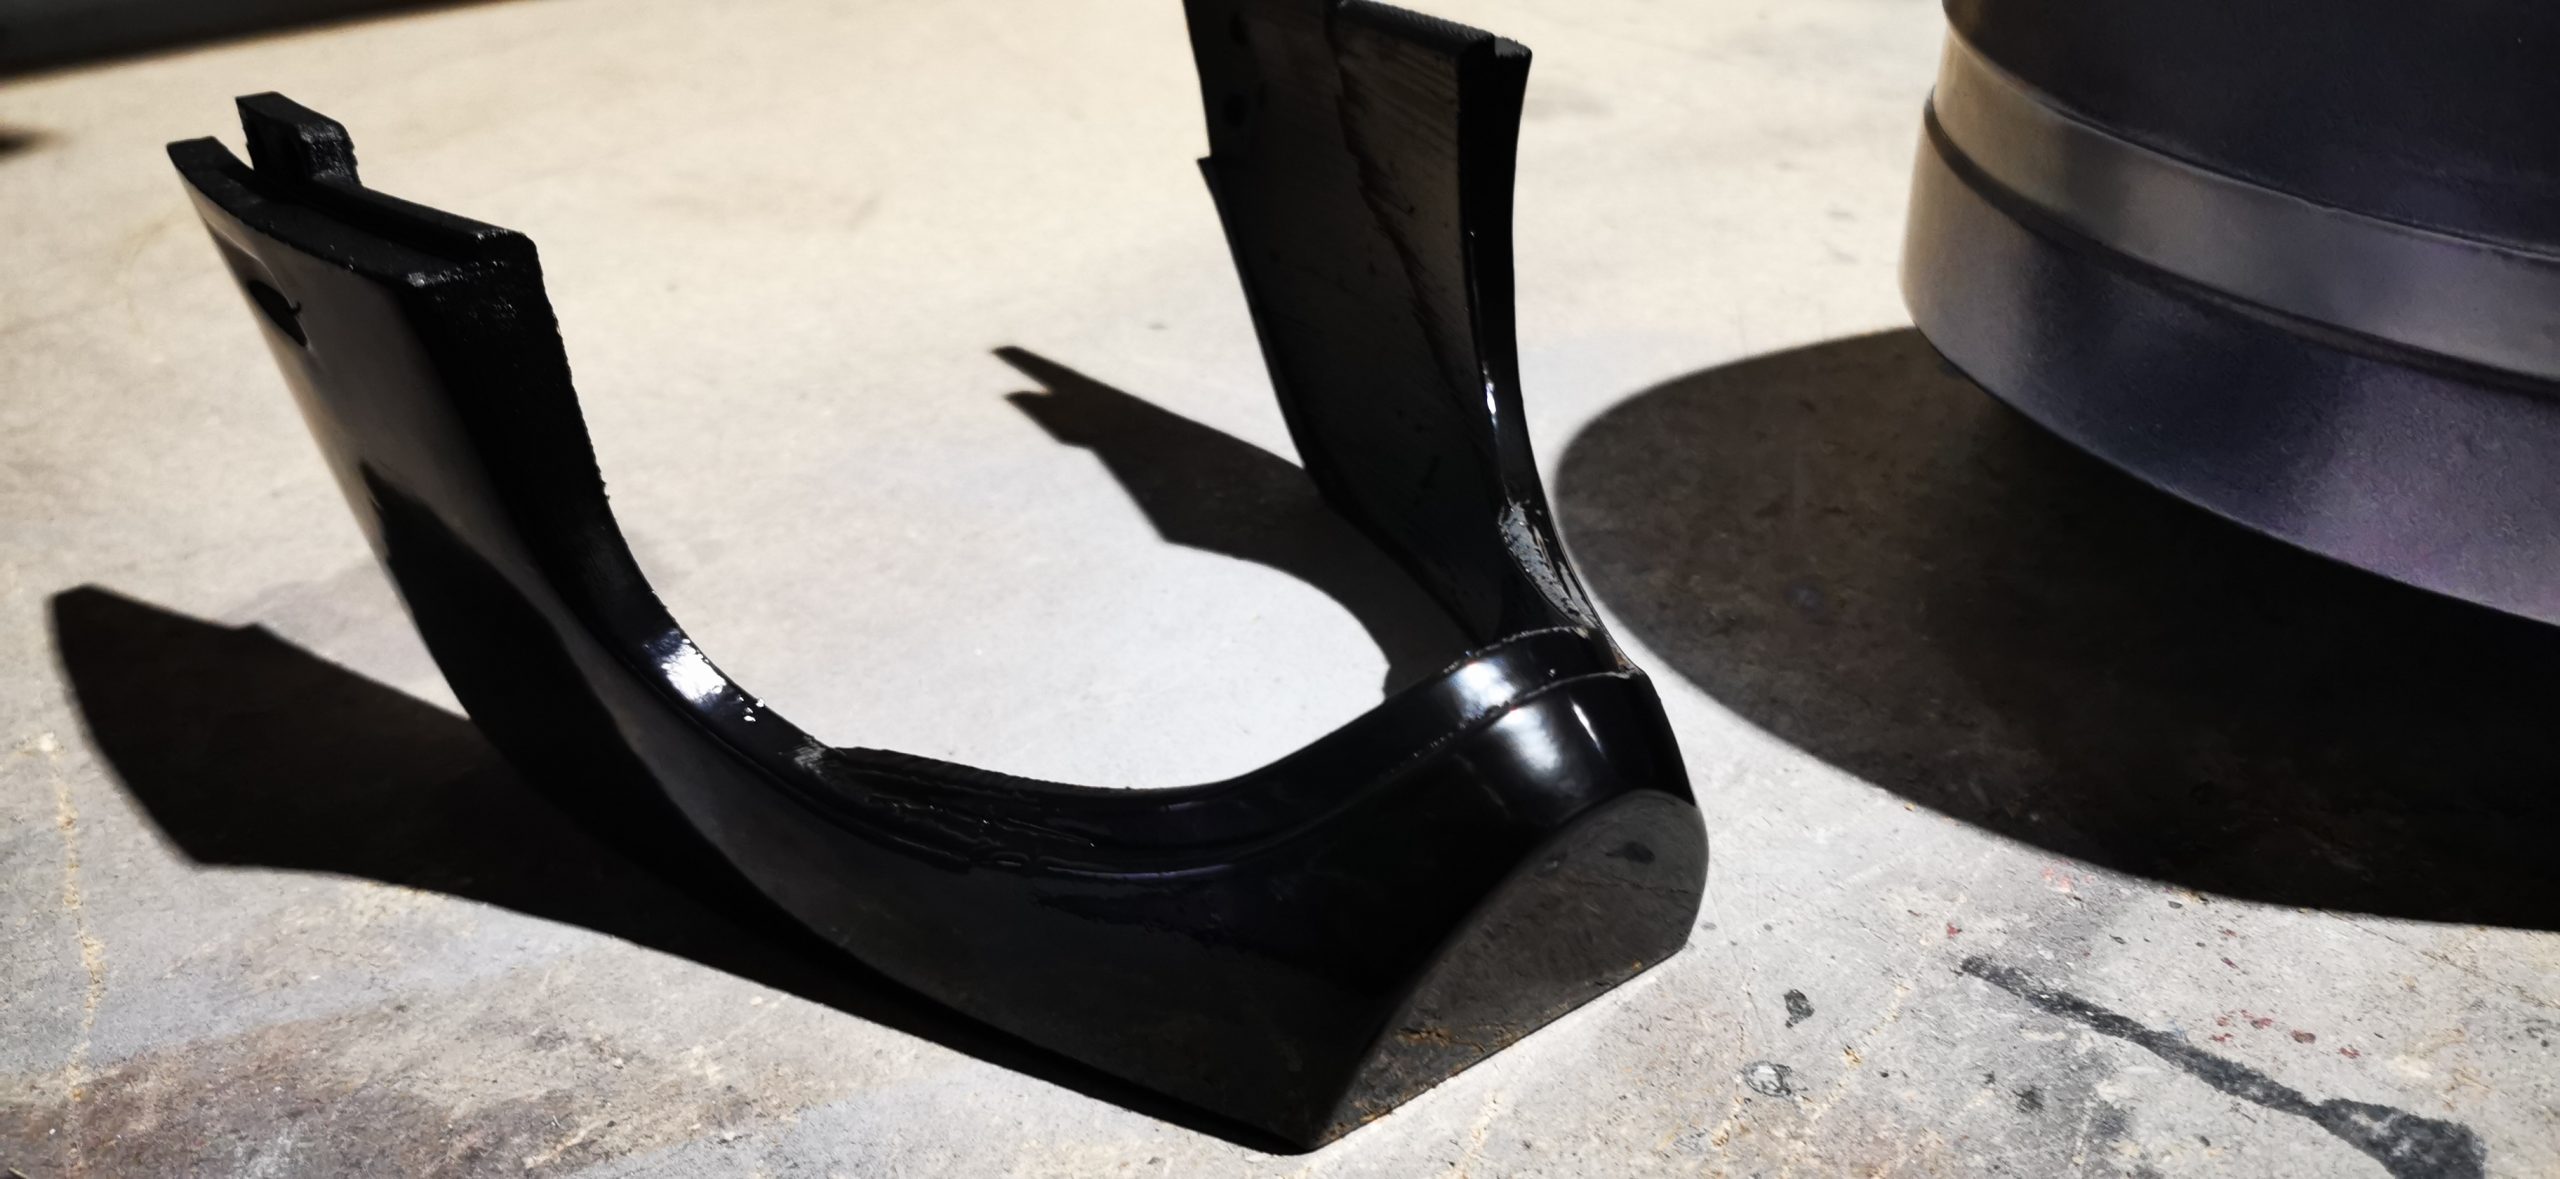
Once we were satisfied that we had shaved enough of the plastic to a flat surface, we applied a light layer of filler to smooth the surface further.
TOP TIP: Add extra filler over any joining lines, so you have more to work with when you’re sanding flat, as when the filler dries, it will shrink into the cracks. Also, ensure you add a little more to work with shrinkage, and you may need to add more before you start sanding.
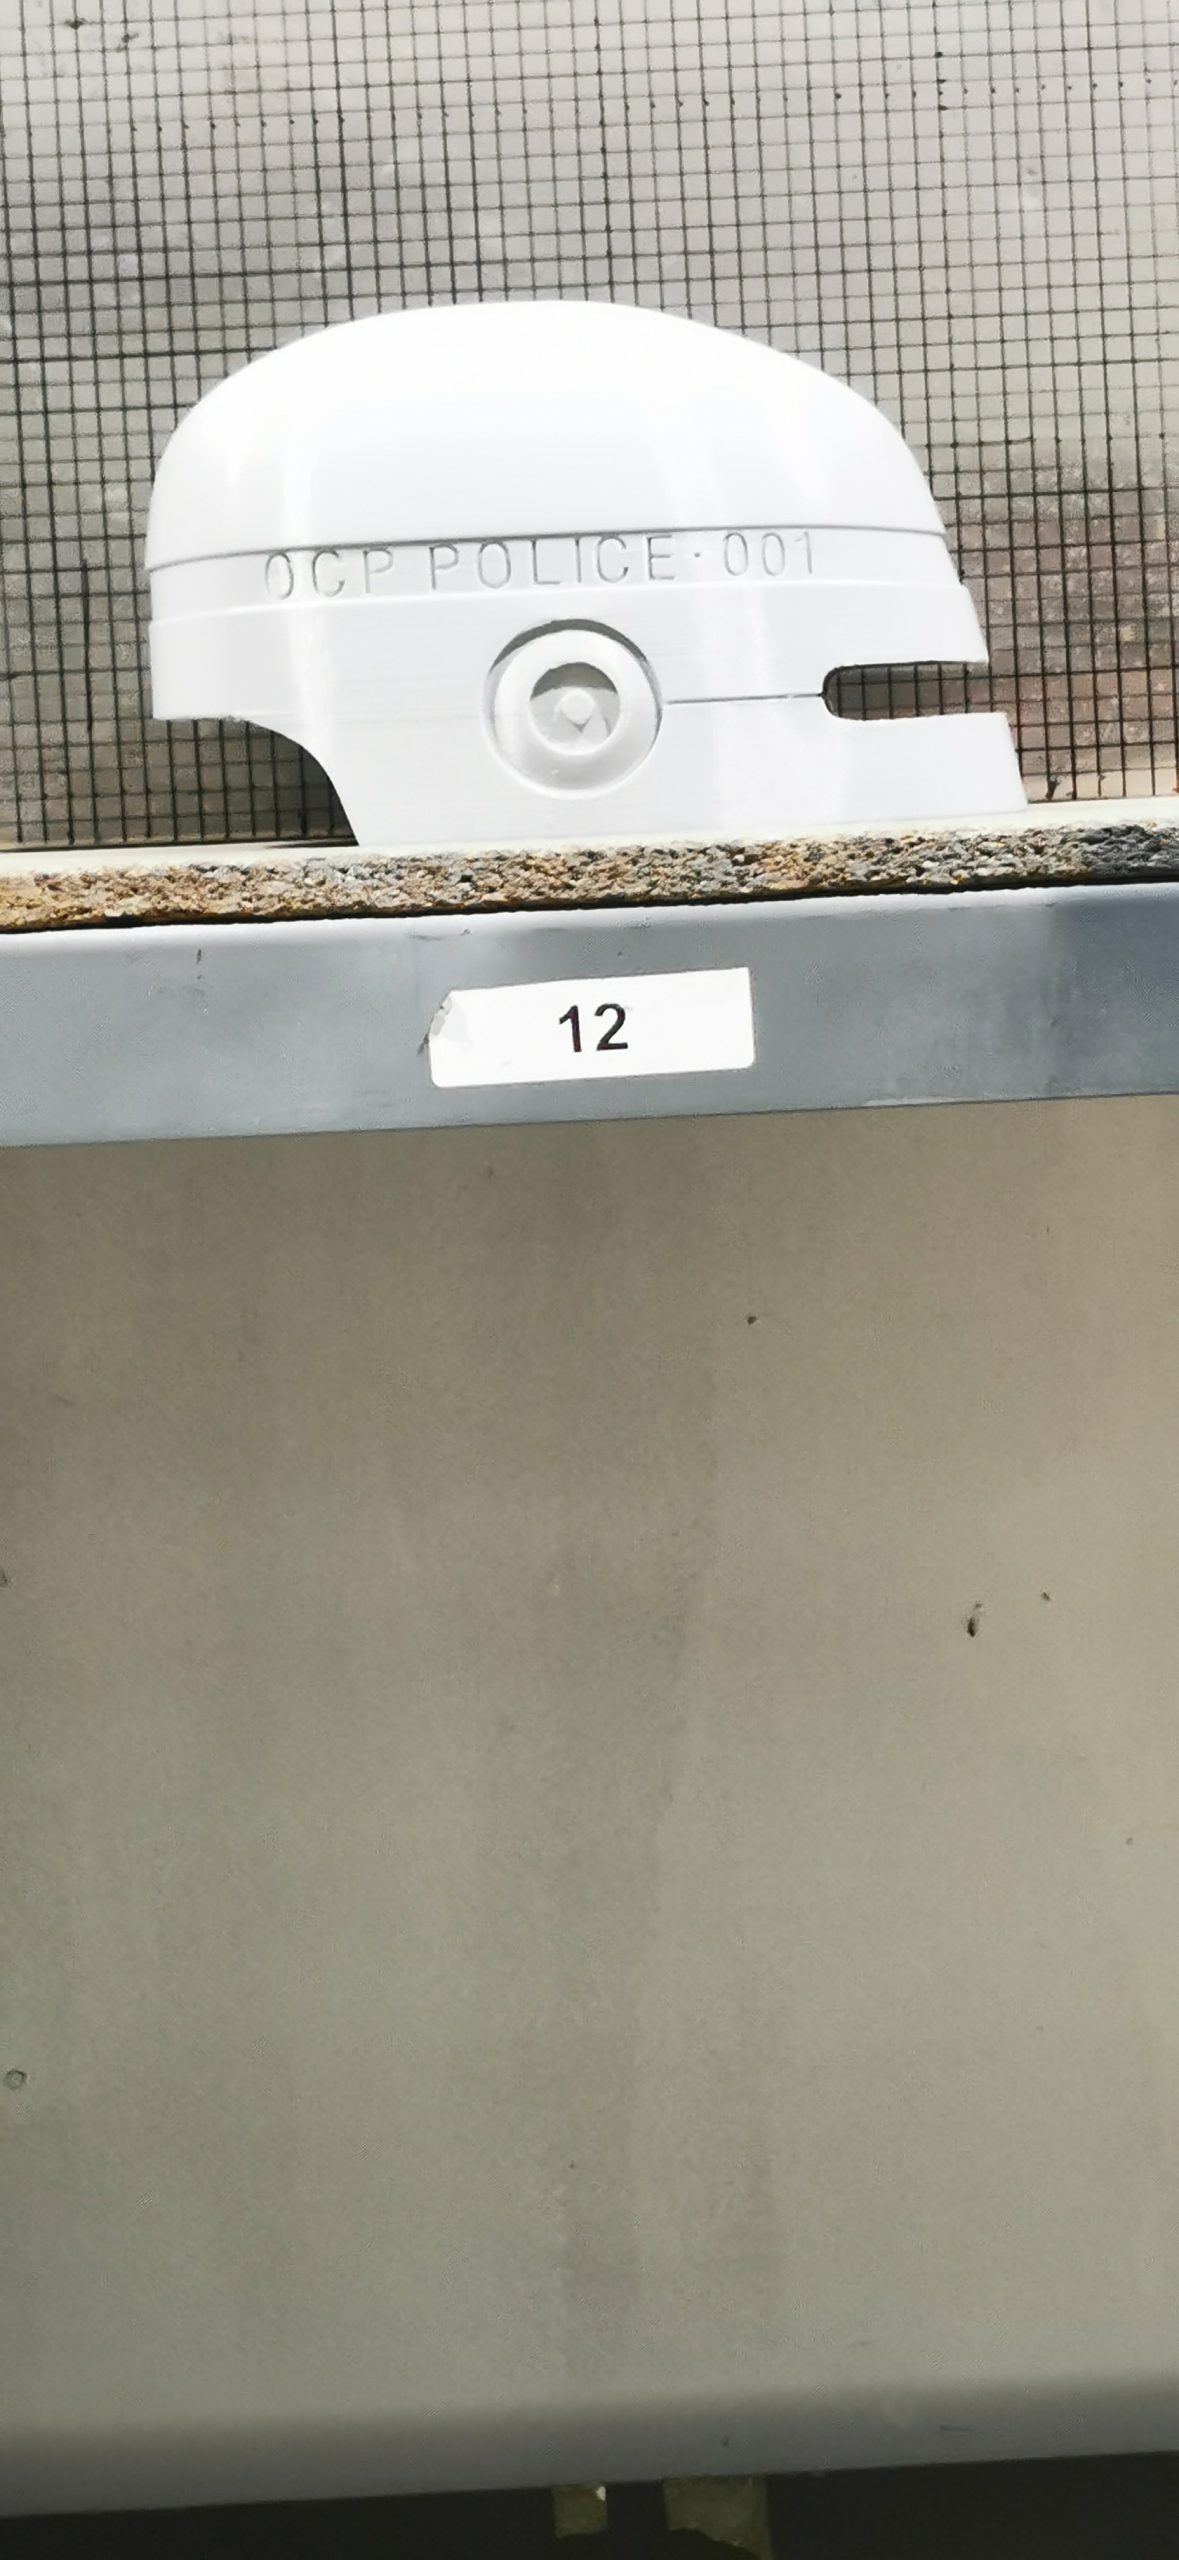
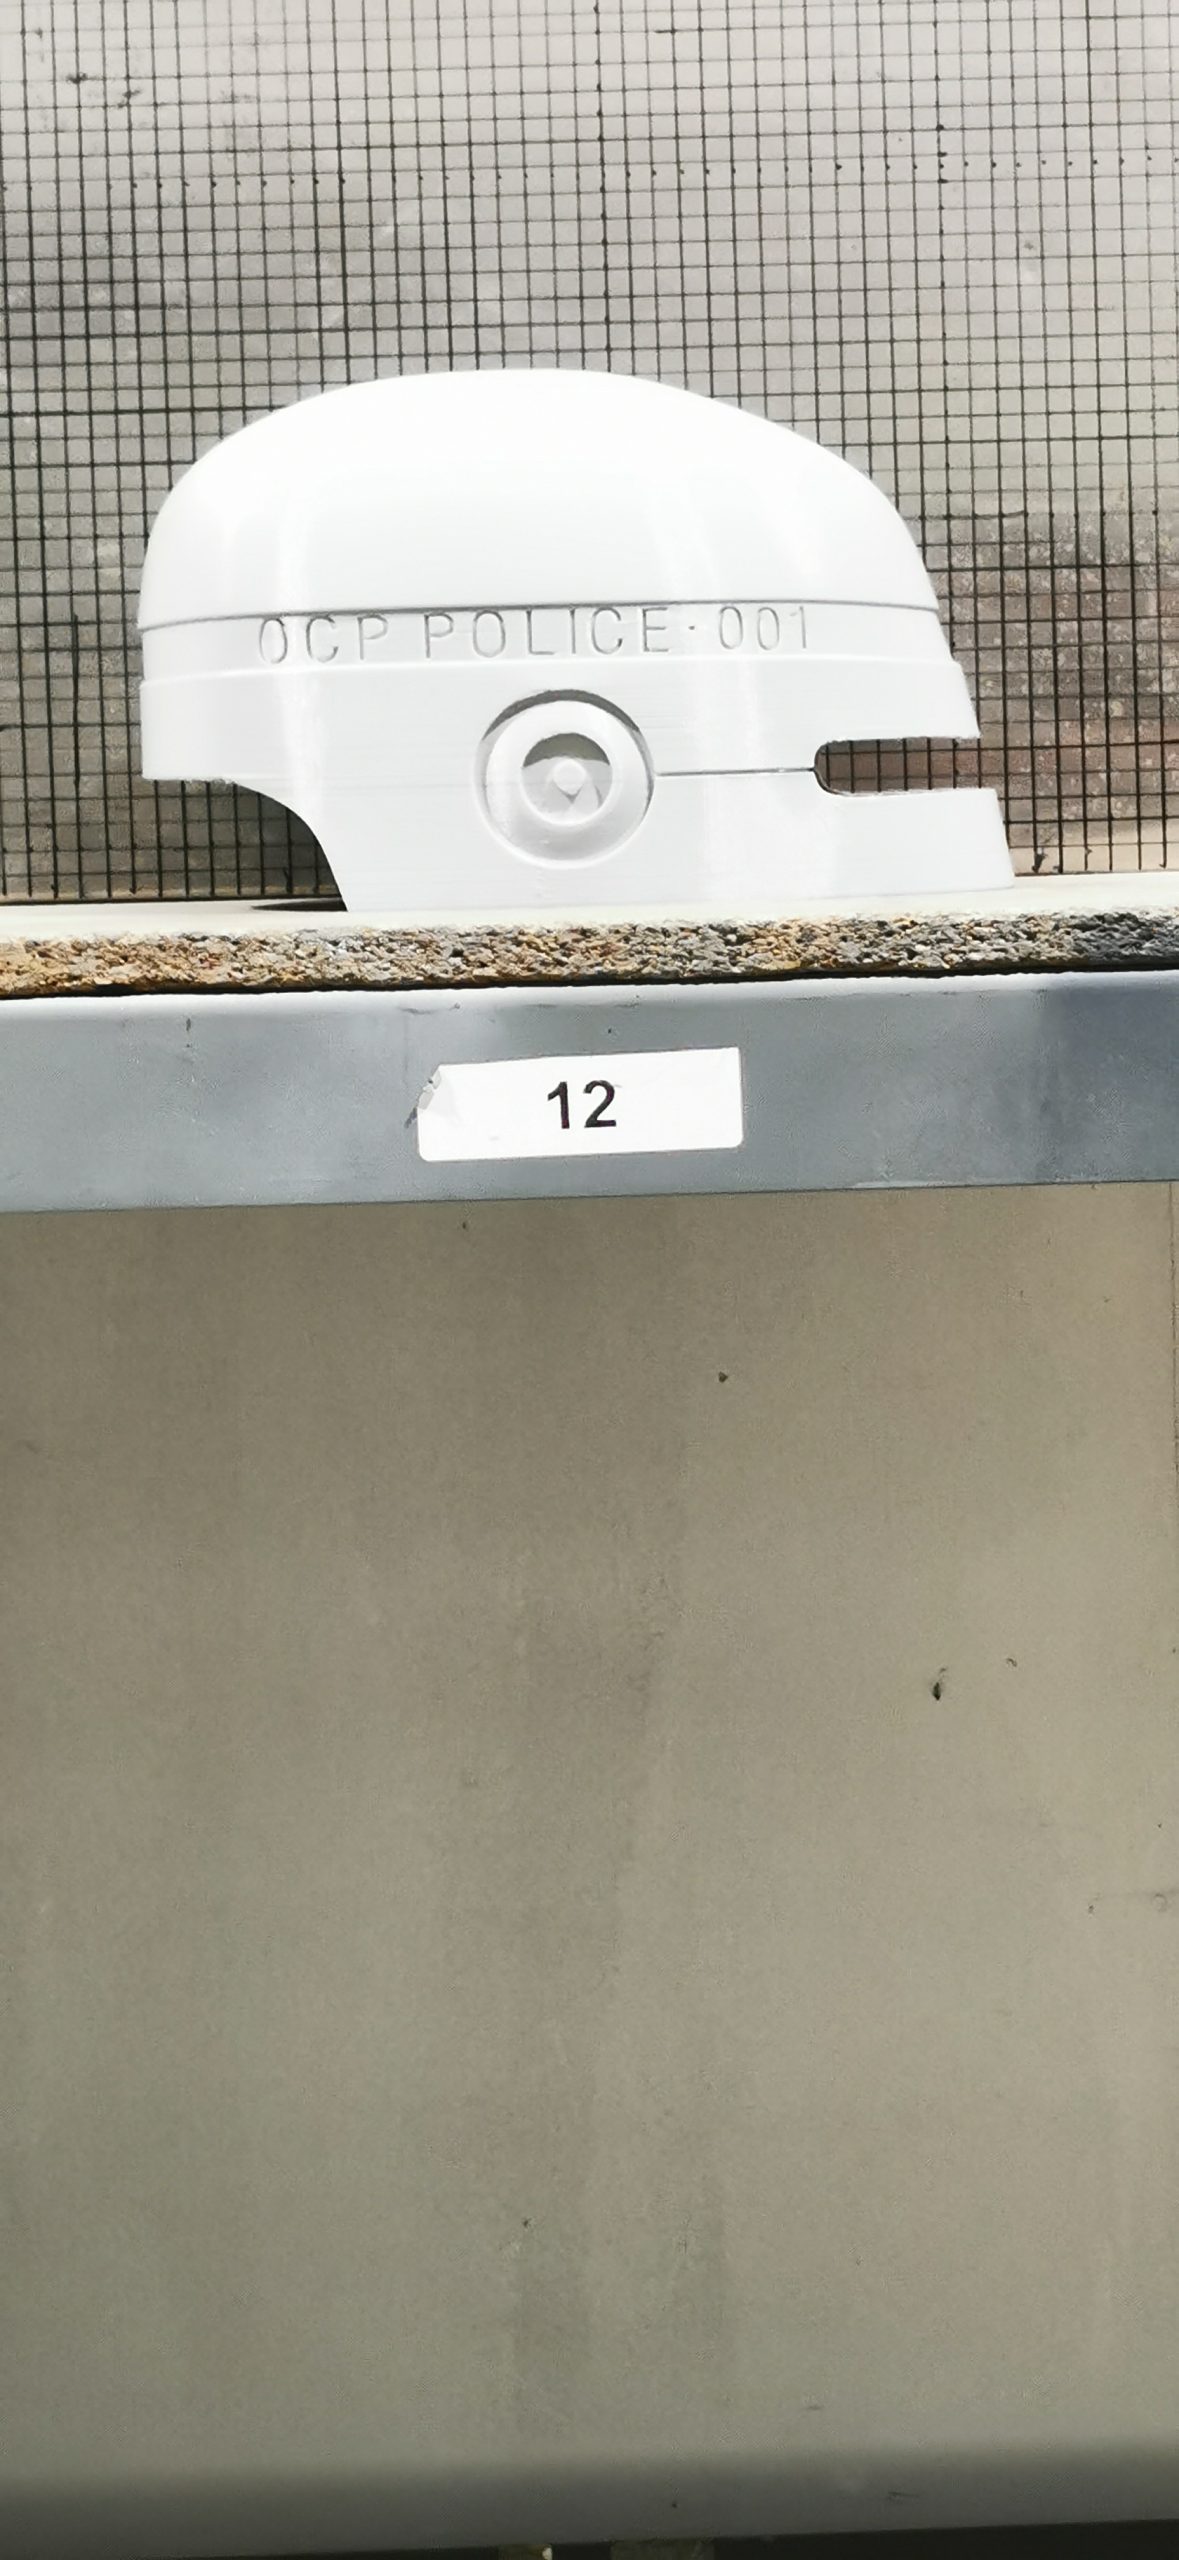
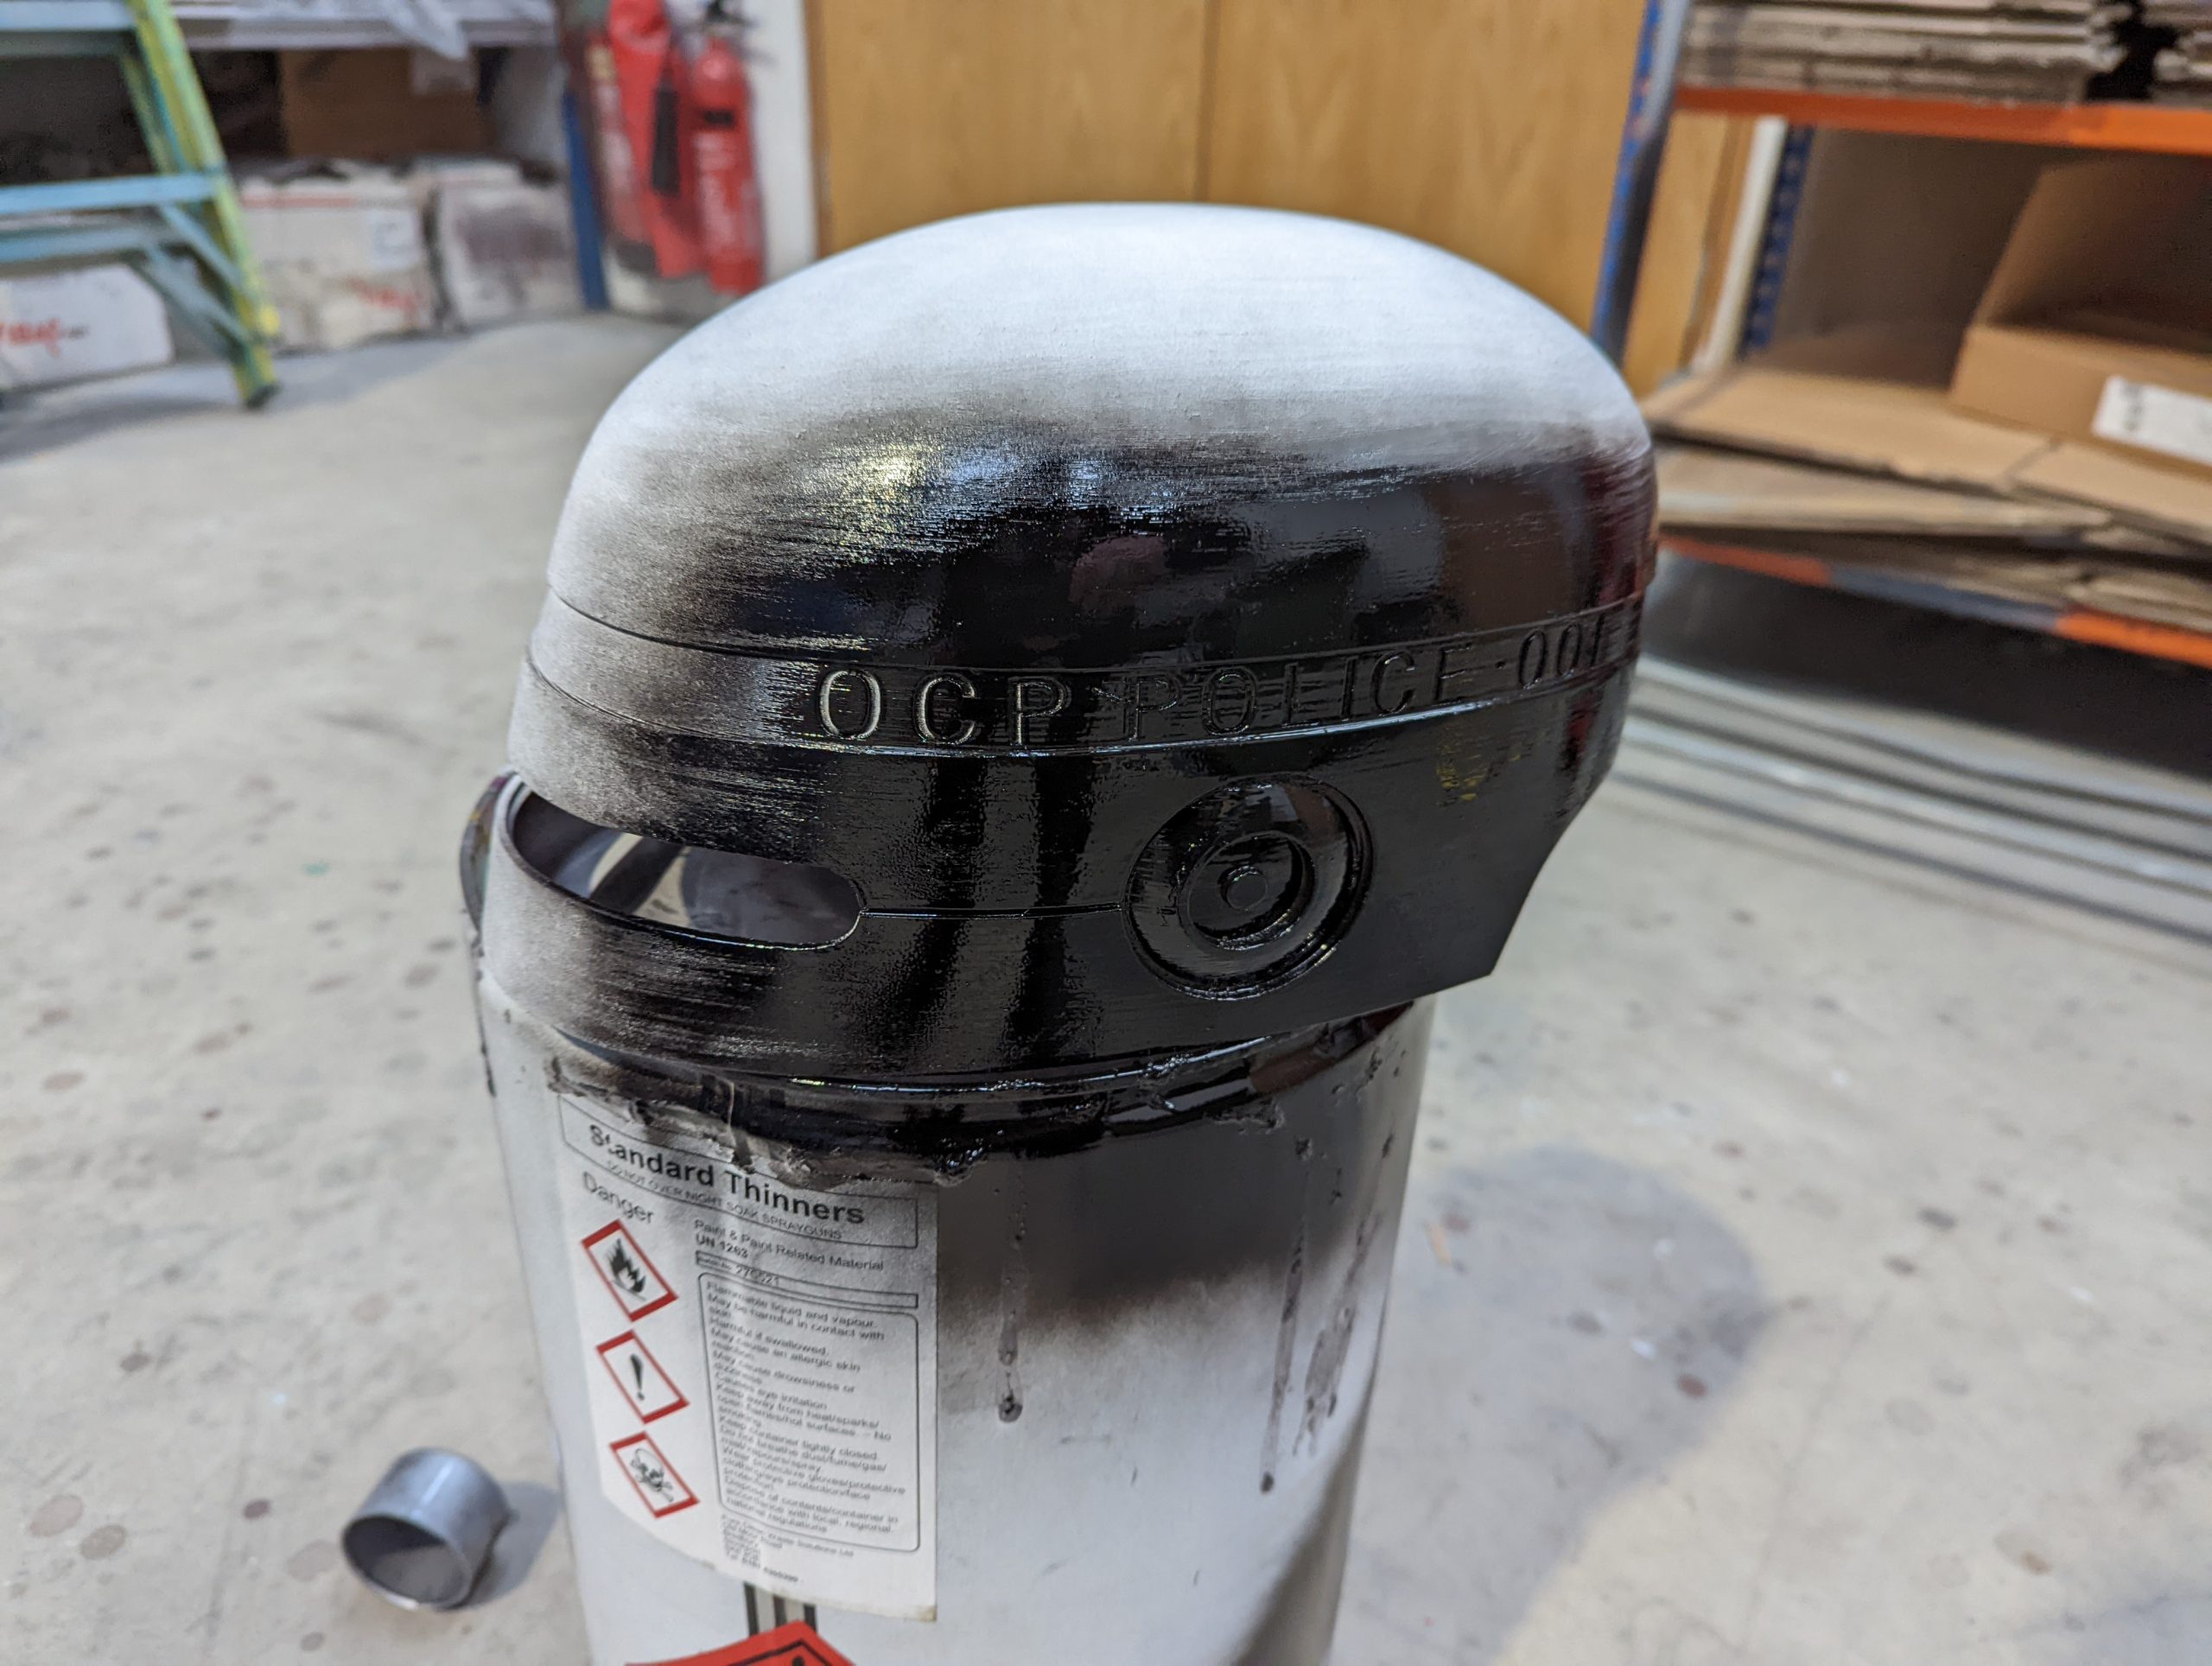
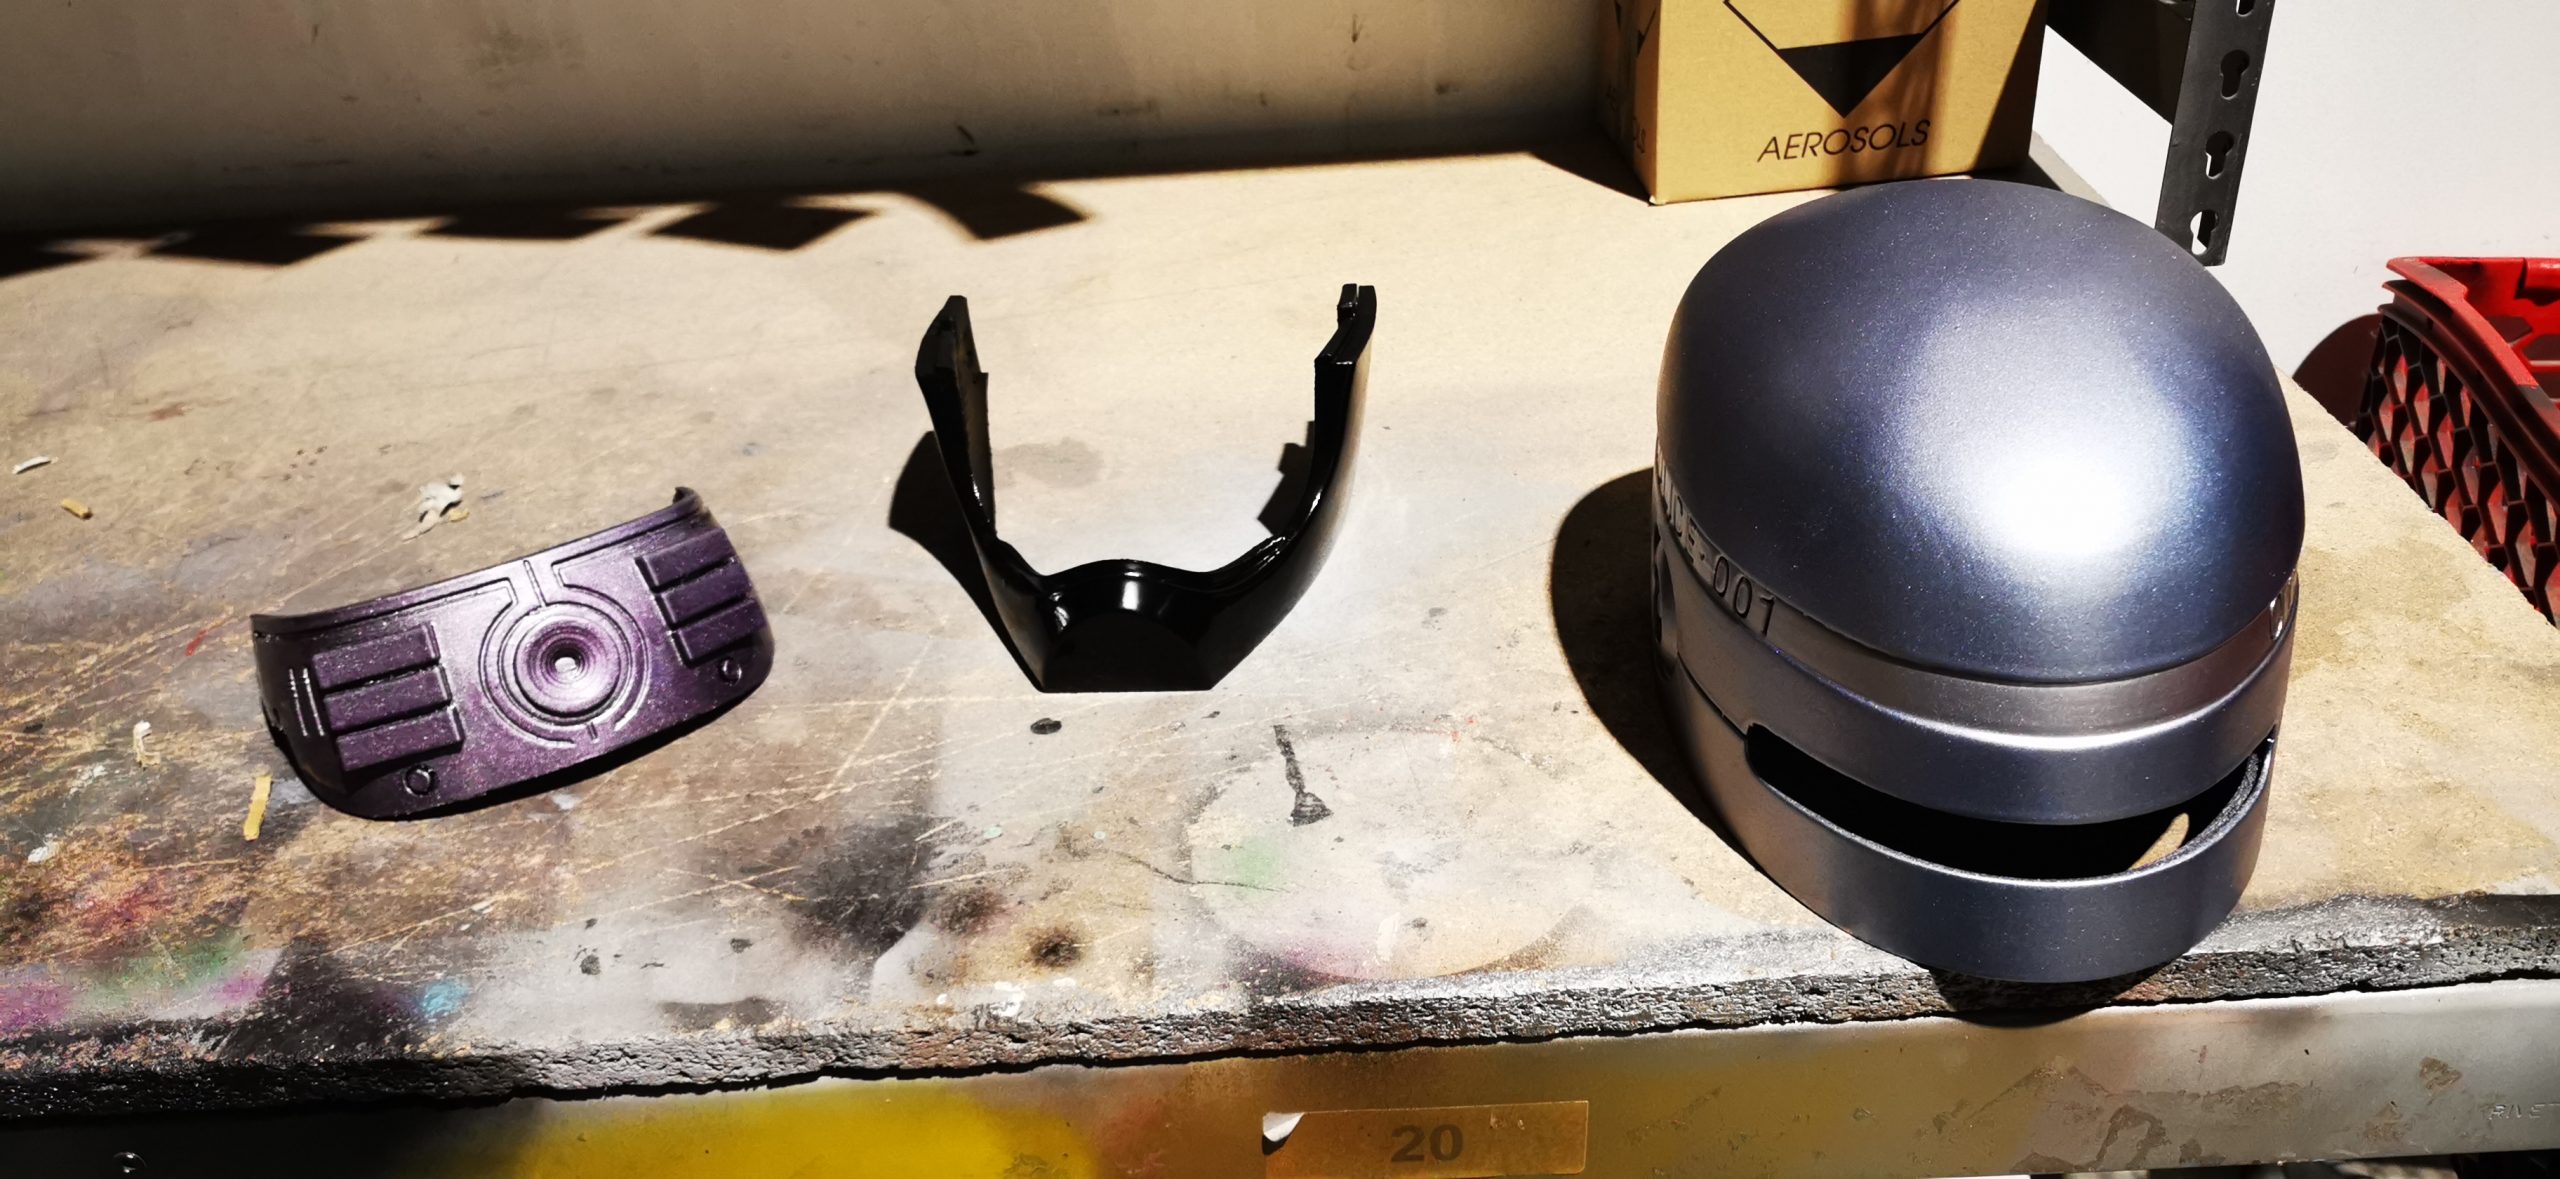
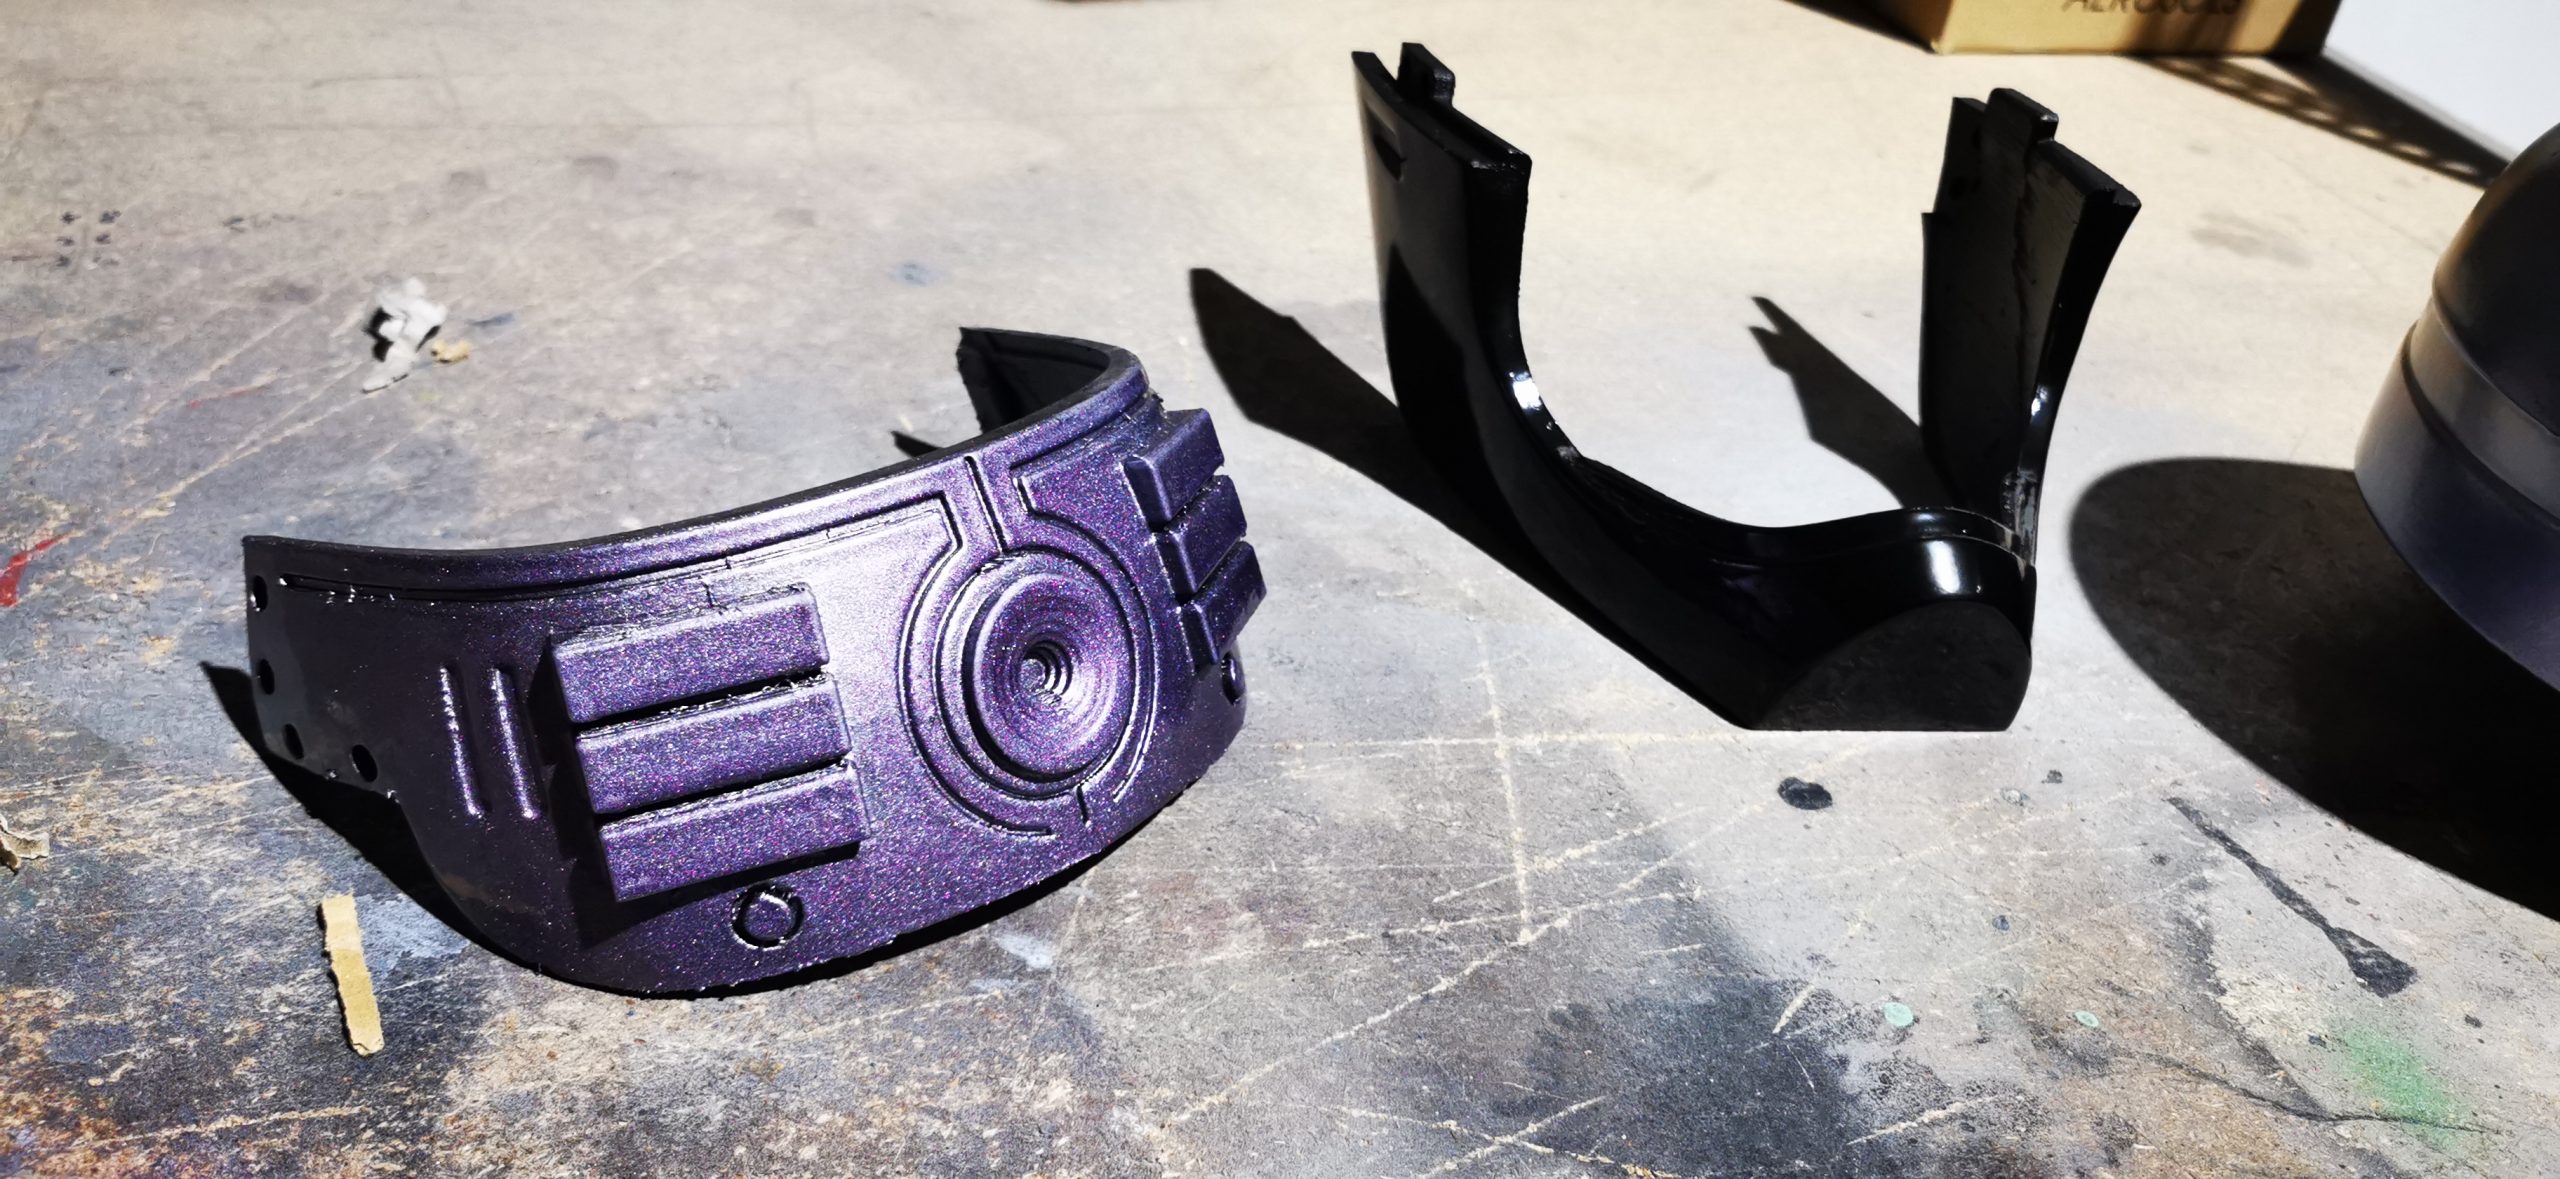
After that had cured, we applied multiple layers of 2K black filler primer because this is a fantastic product, and it really does alleviate the finer lines and imperfections in your paint projects; the drying time for this step was approximately 2.5 hours. We then added three coats of the 2K filler primer in the end, and the filler primer did a fantastic job in smoothing the lines out – now, it was onto the paint.
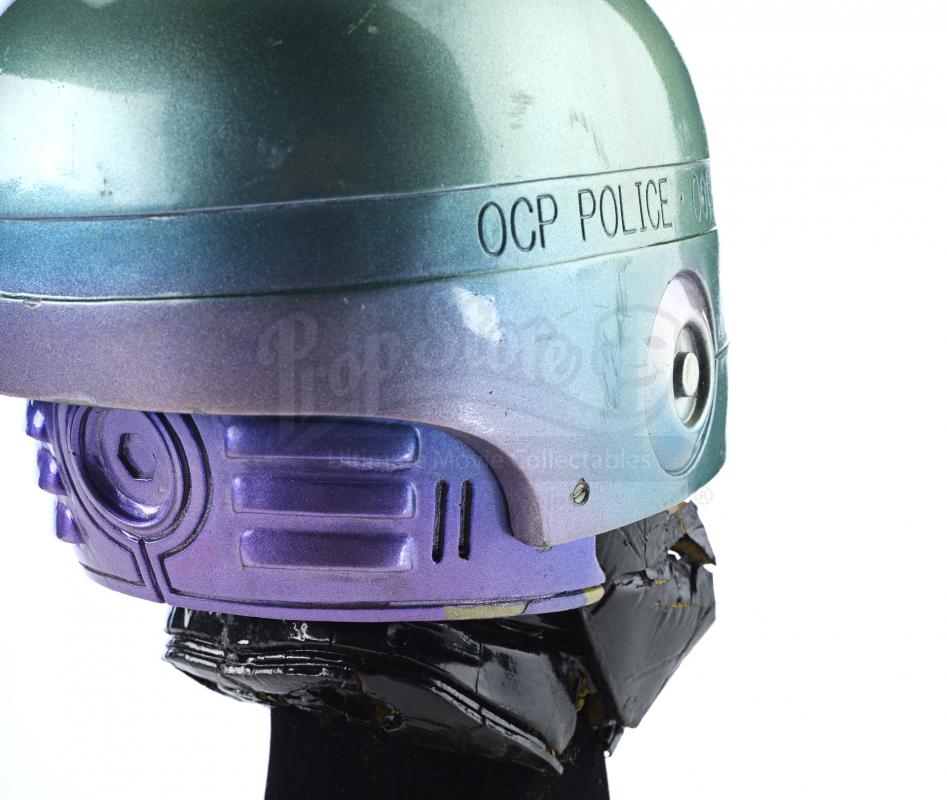
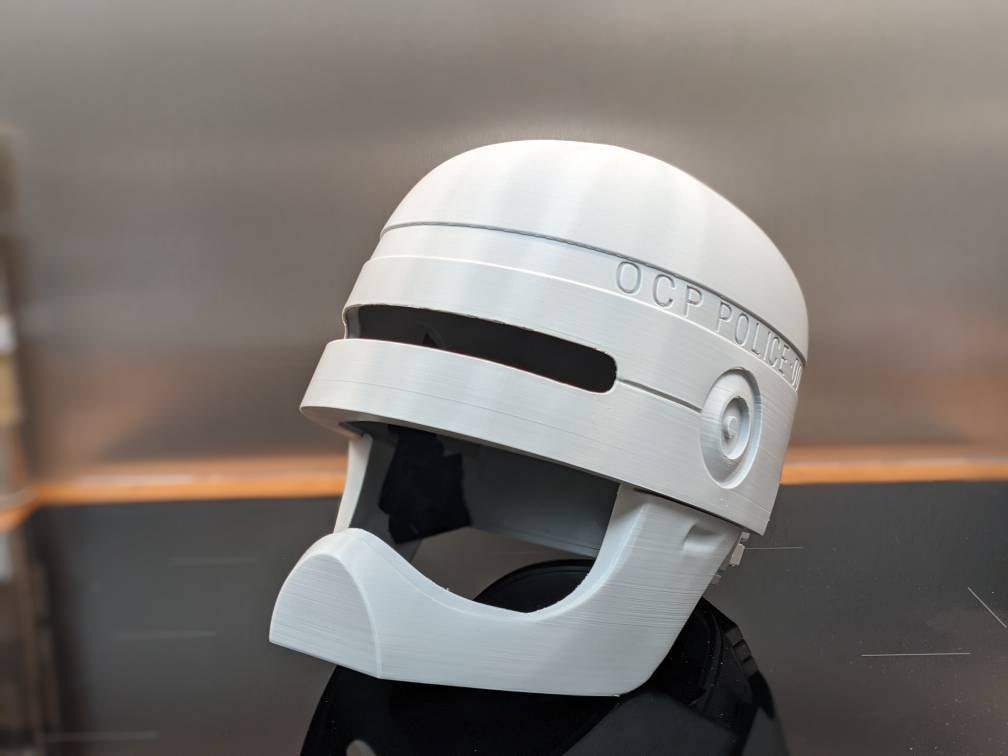
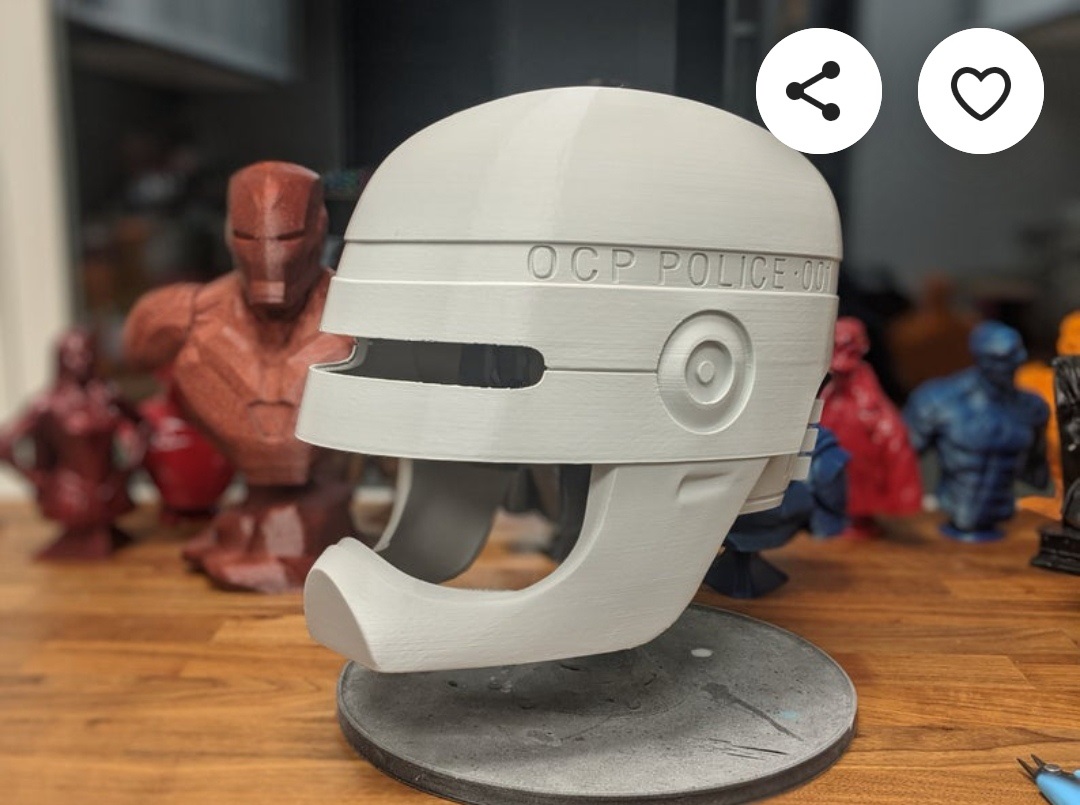
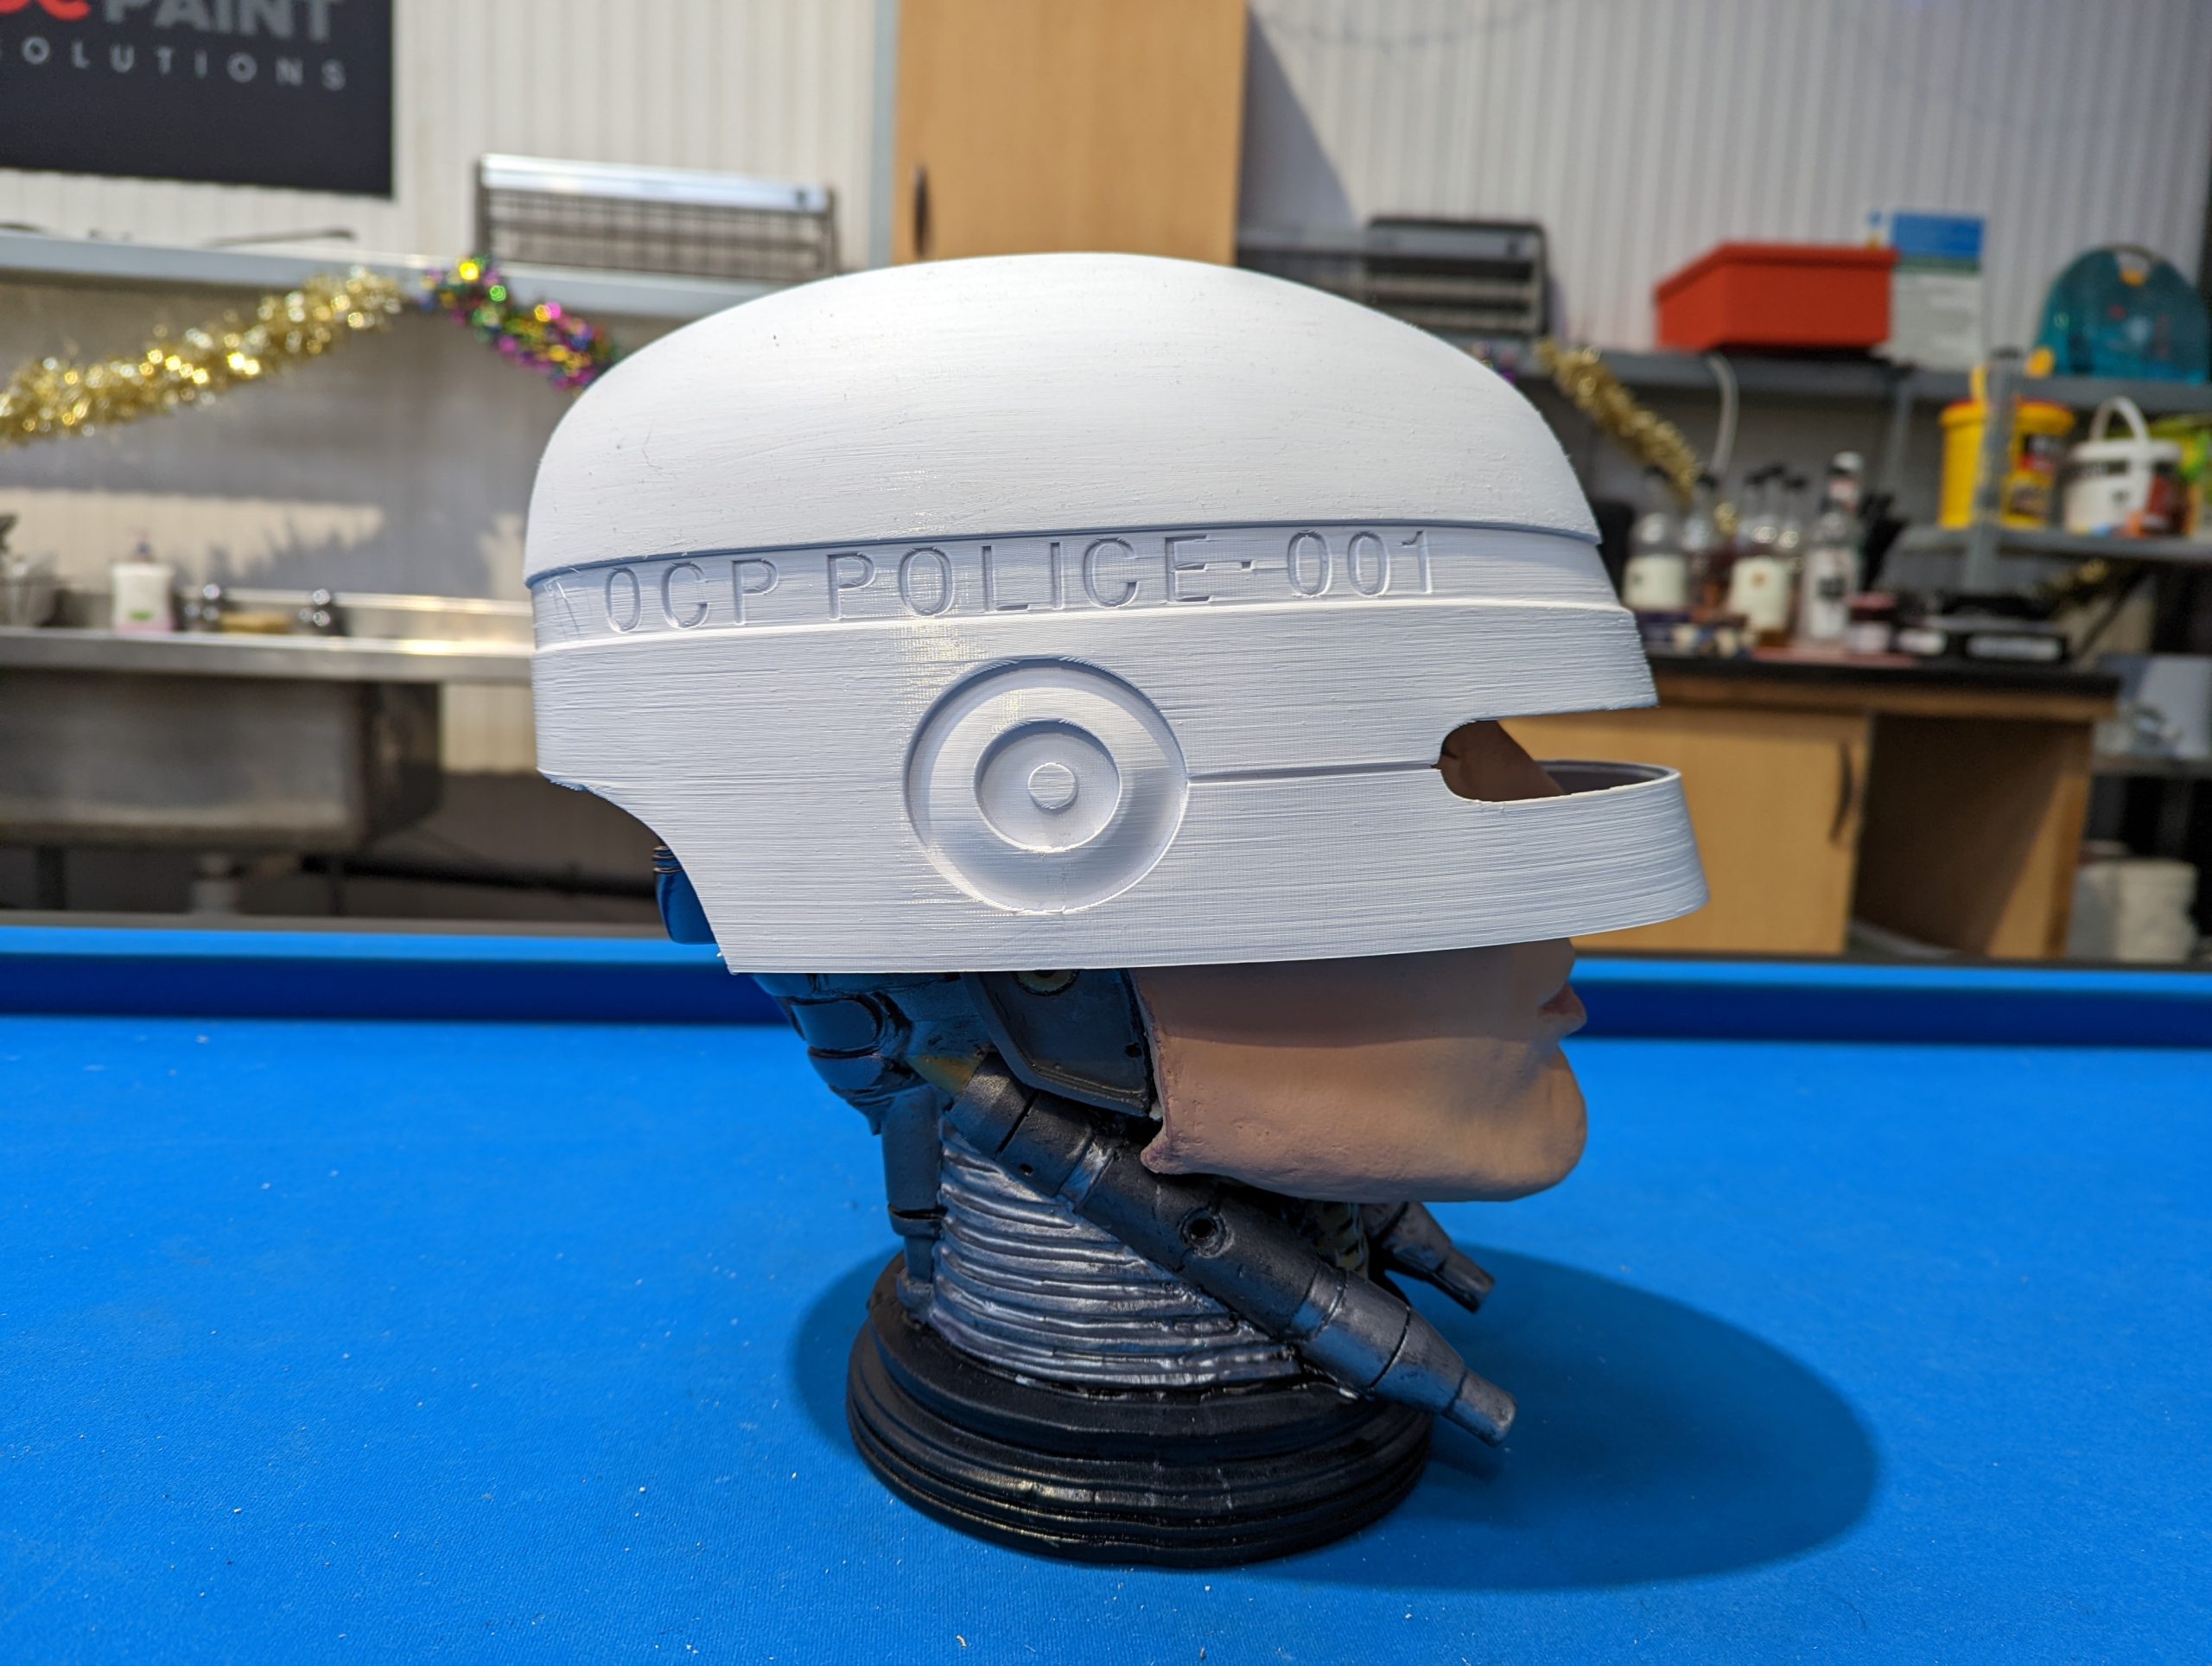
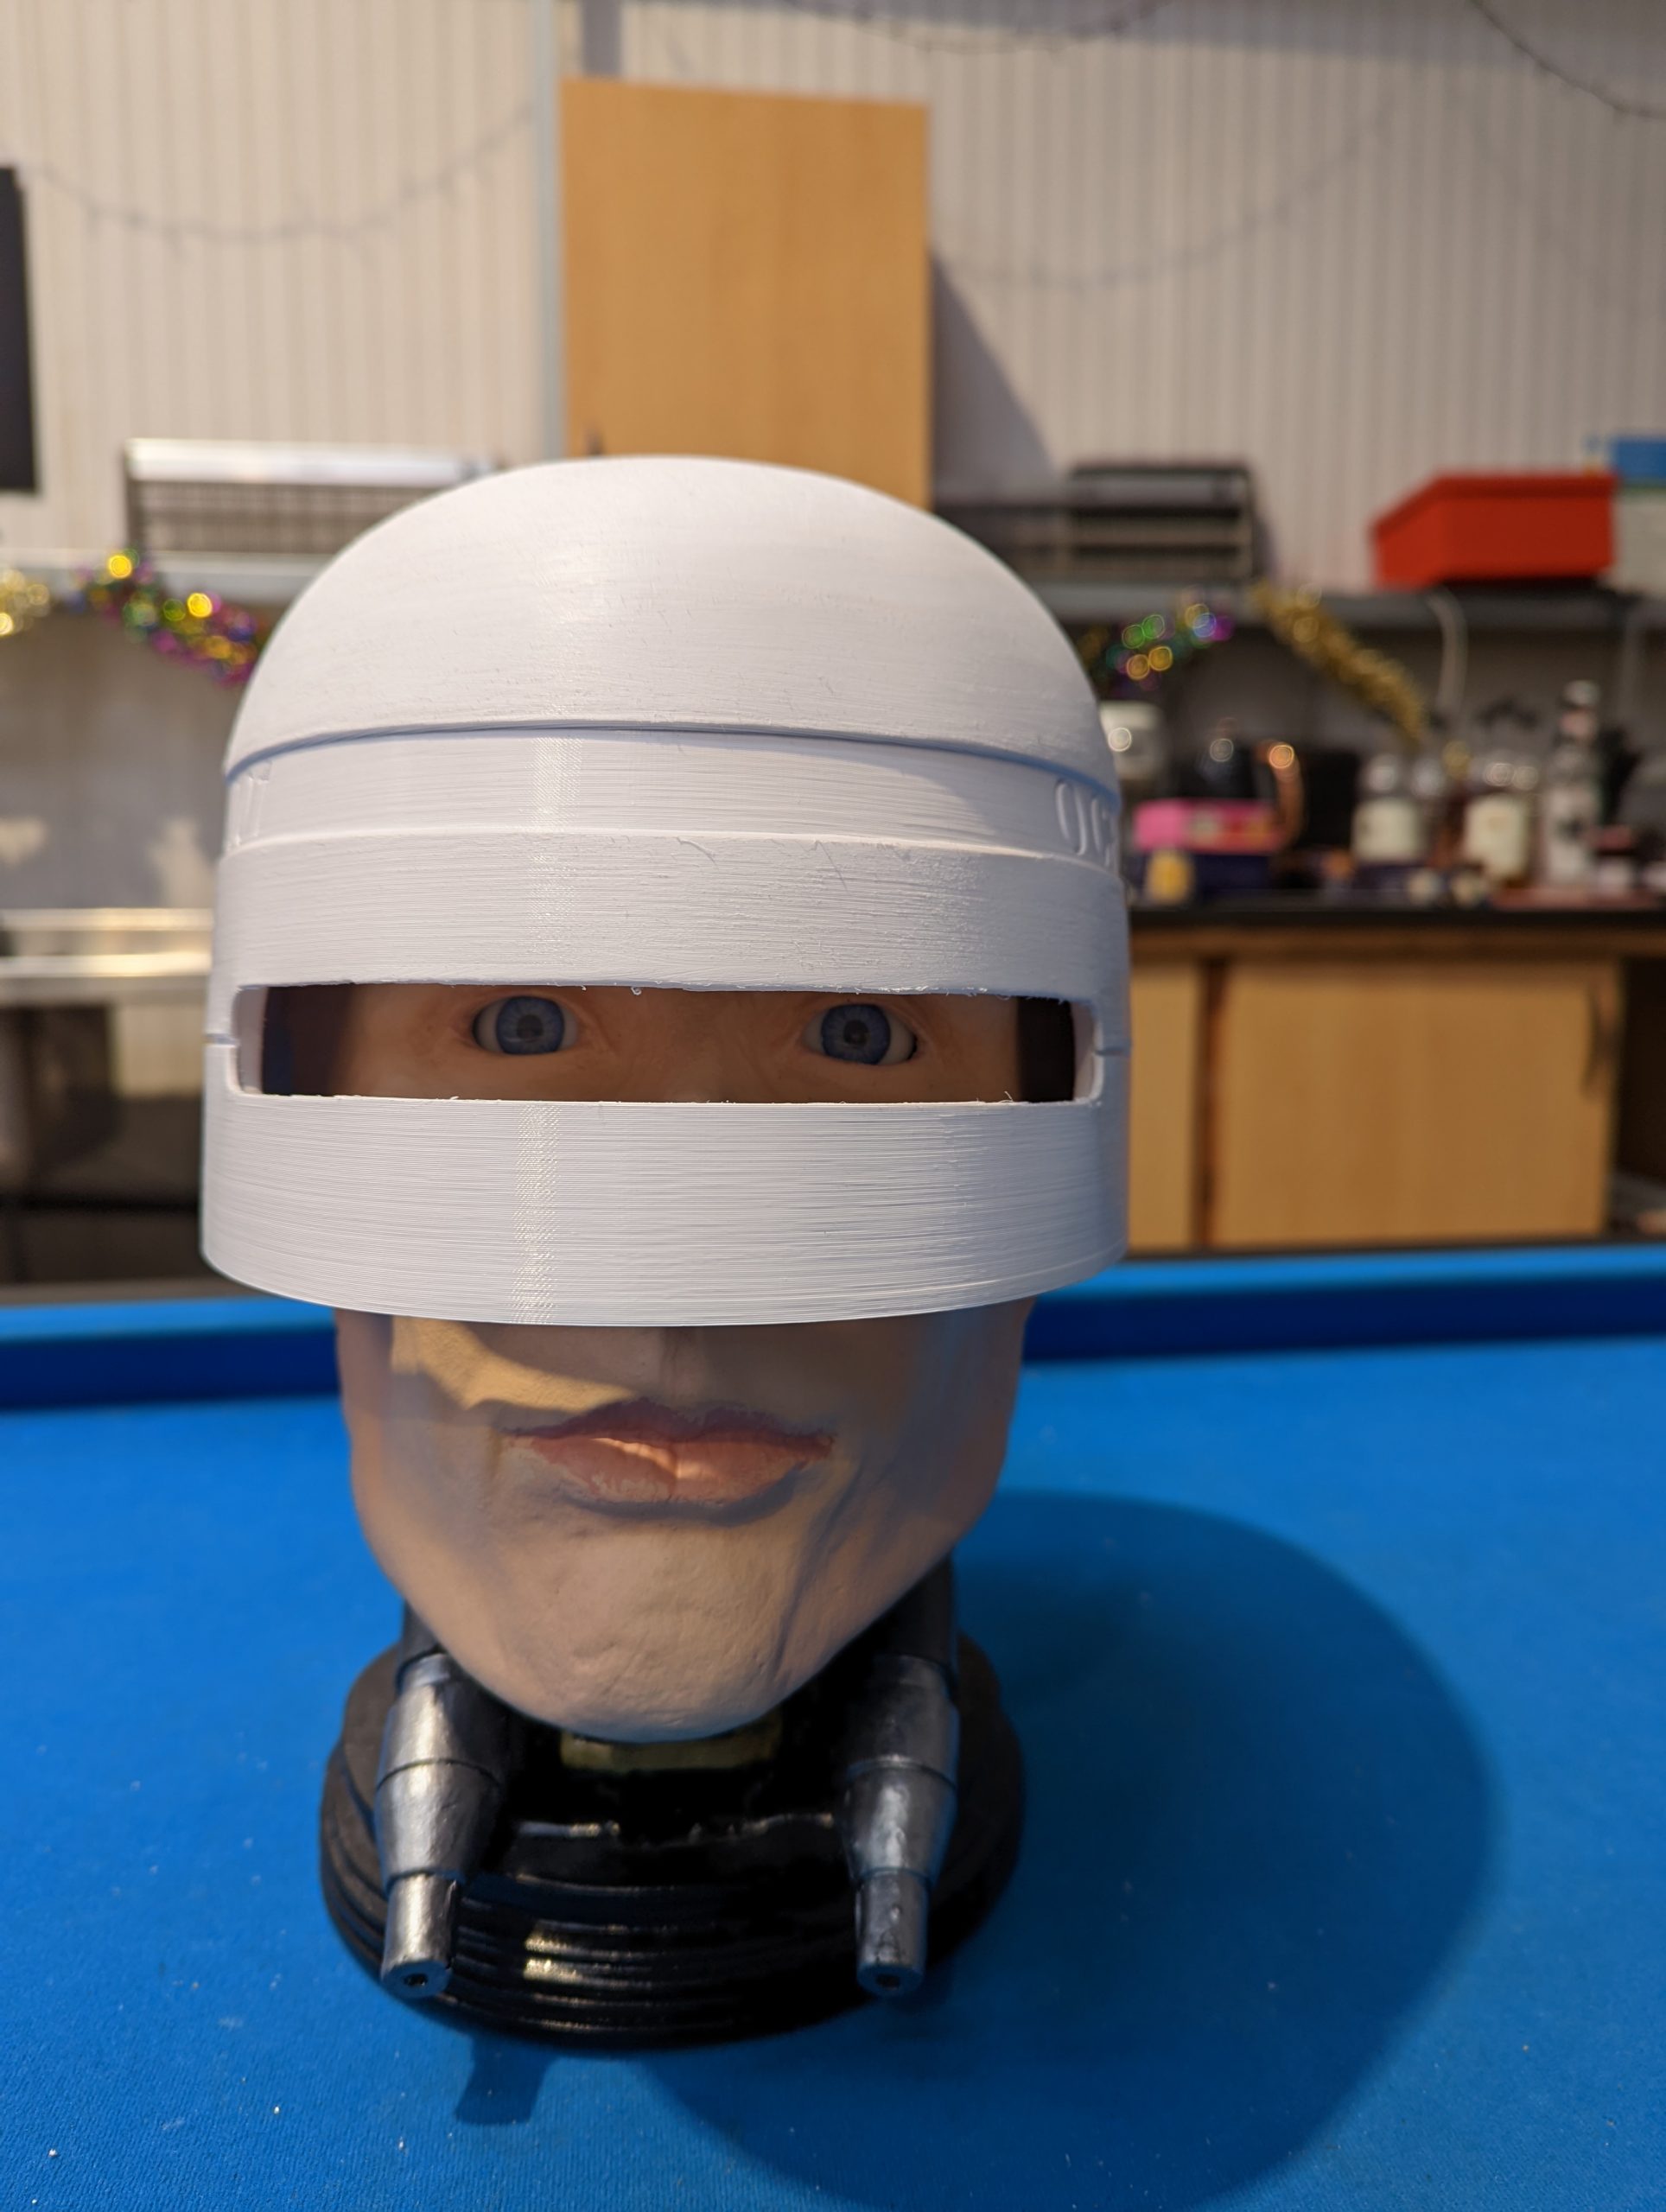
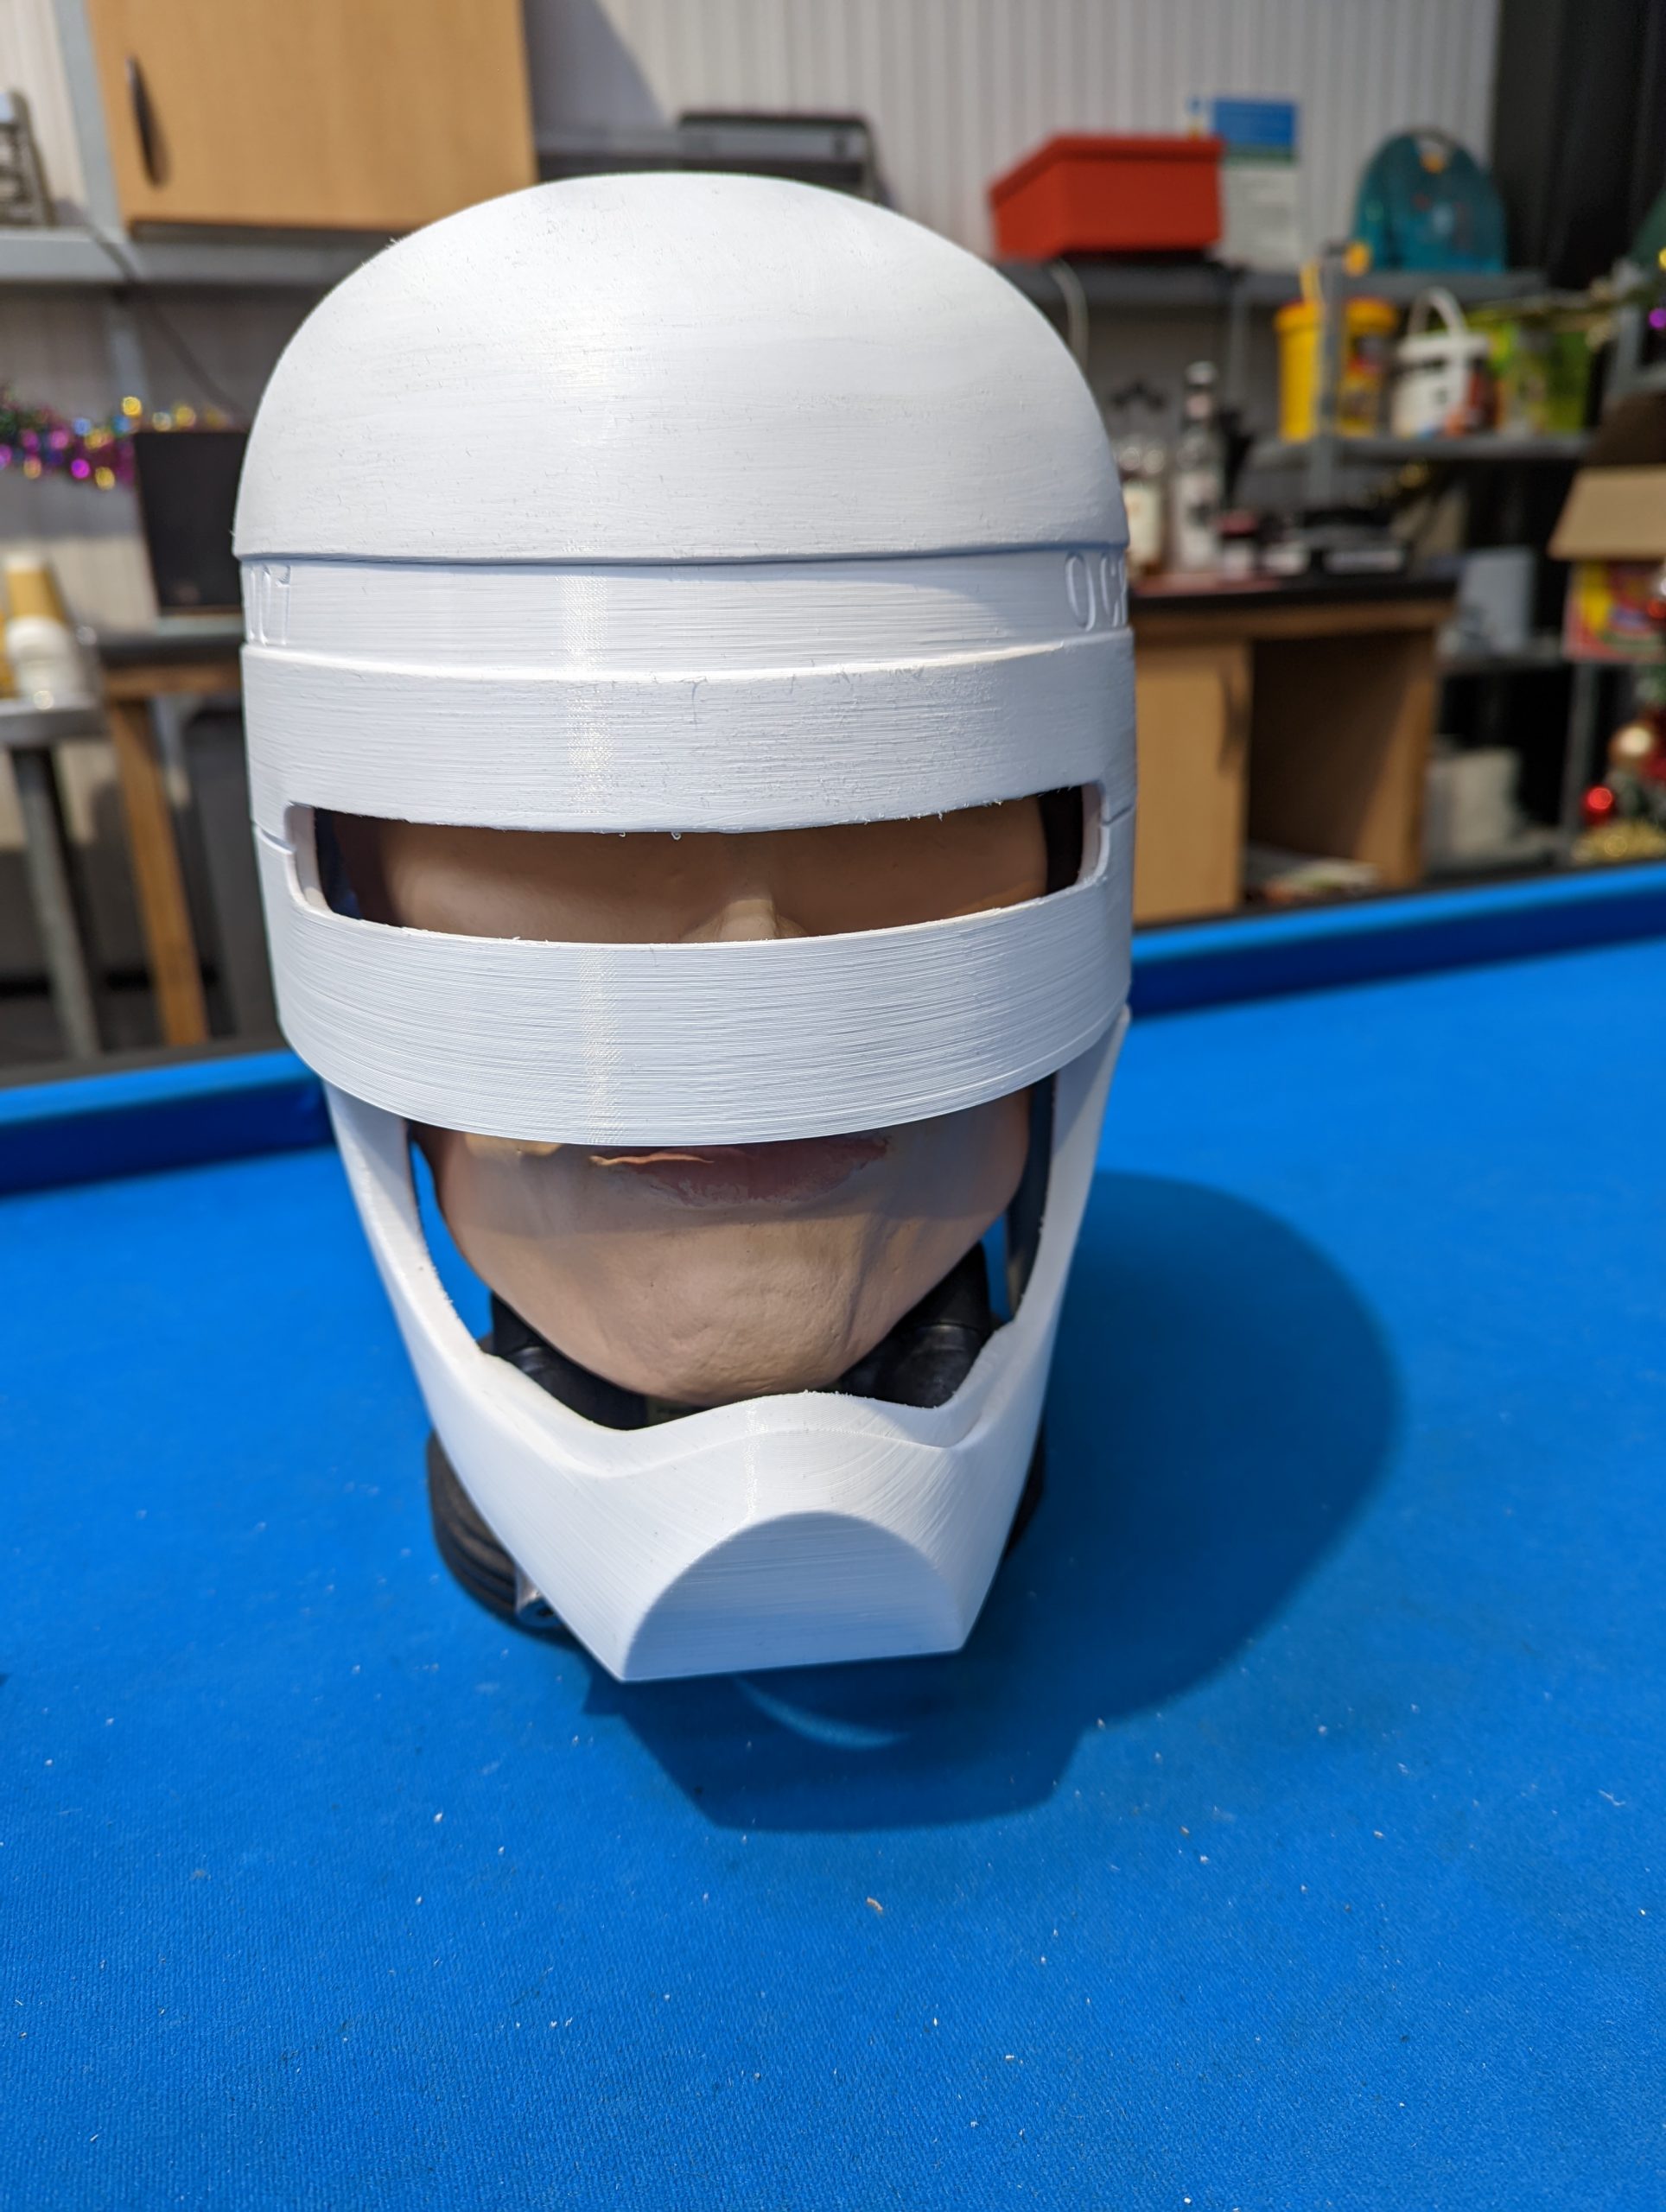
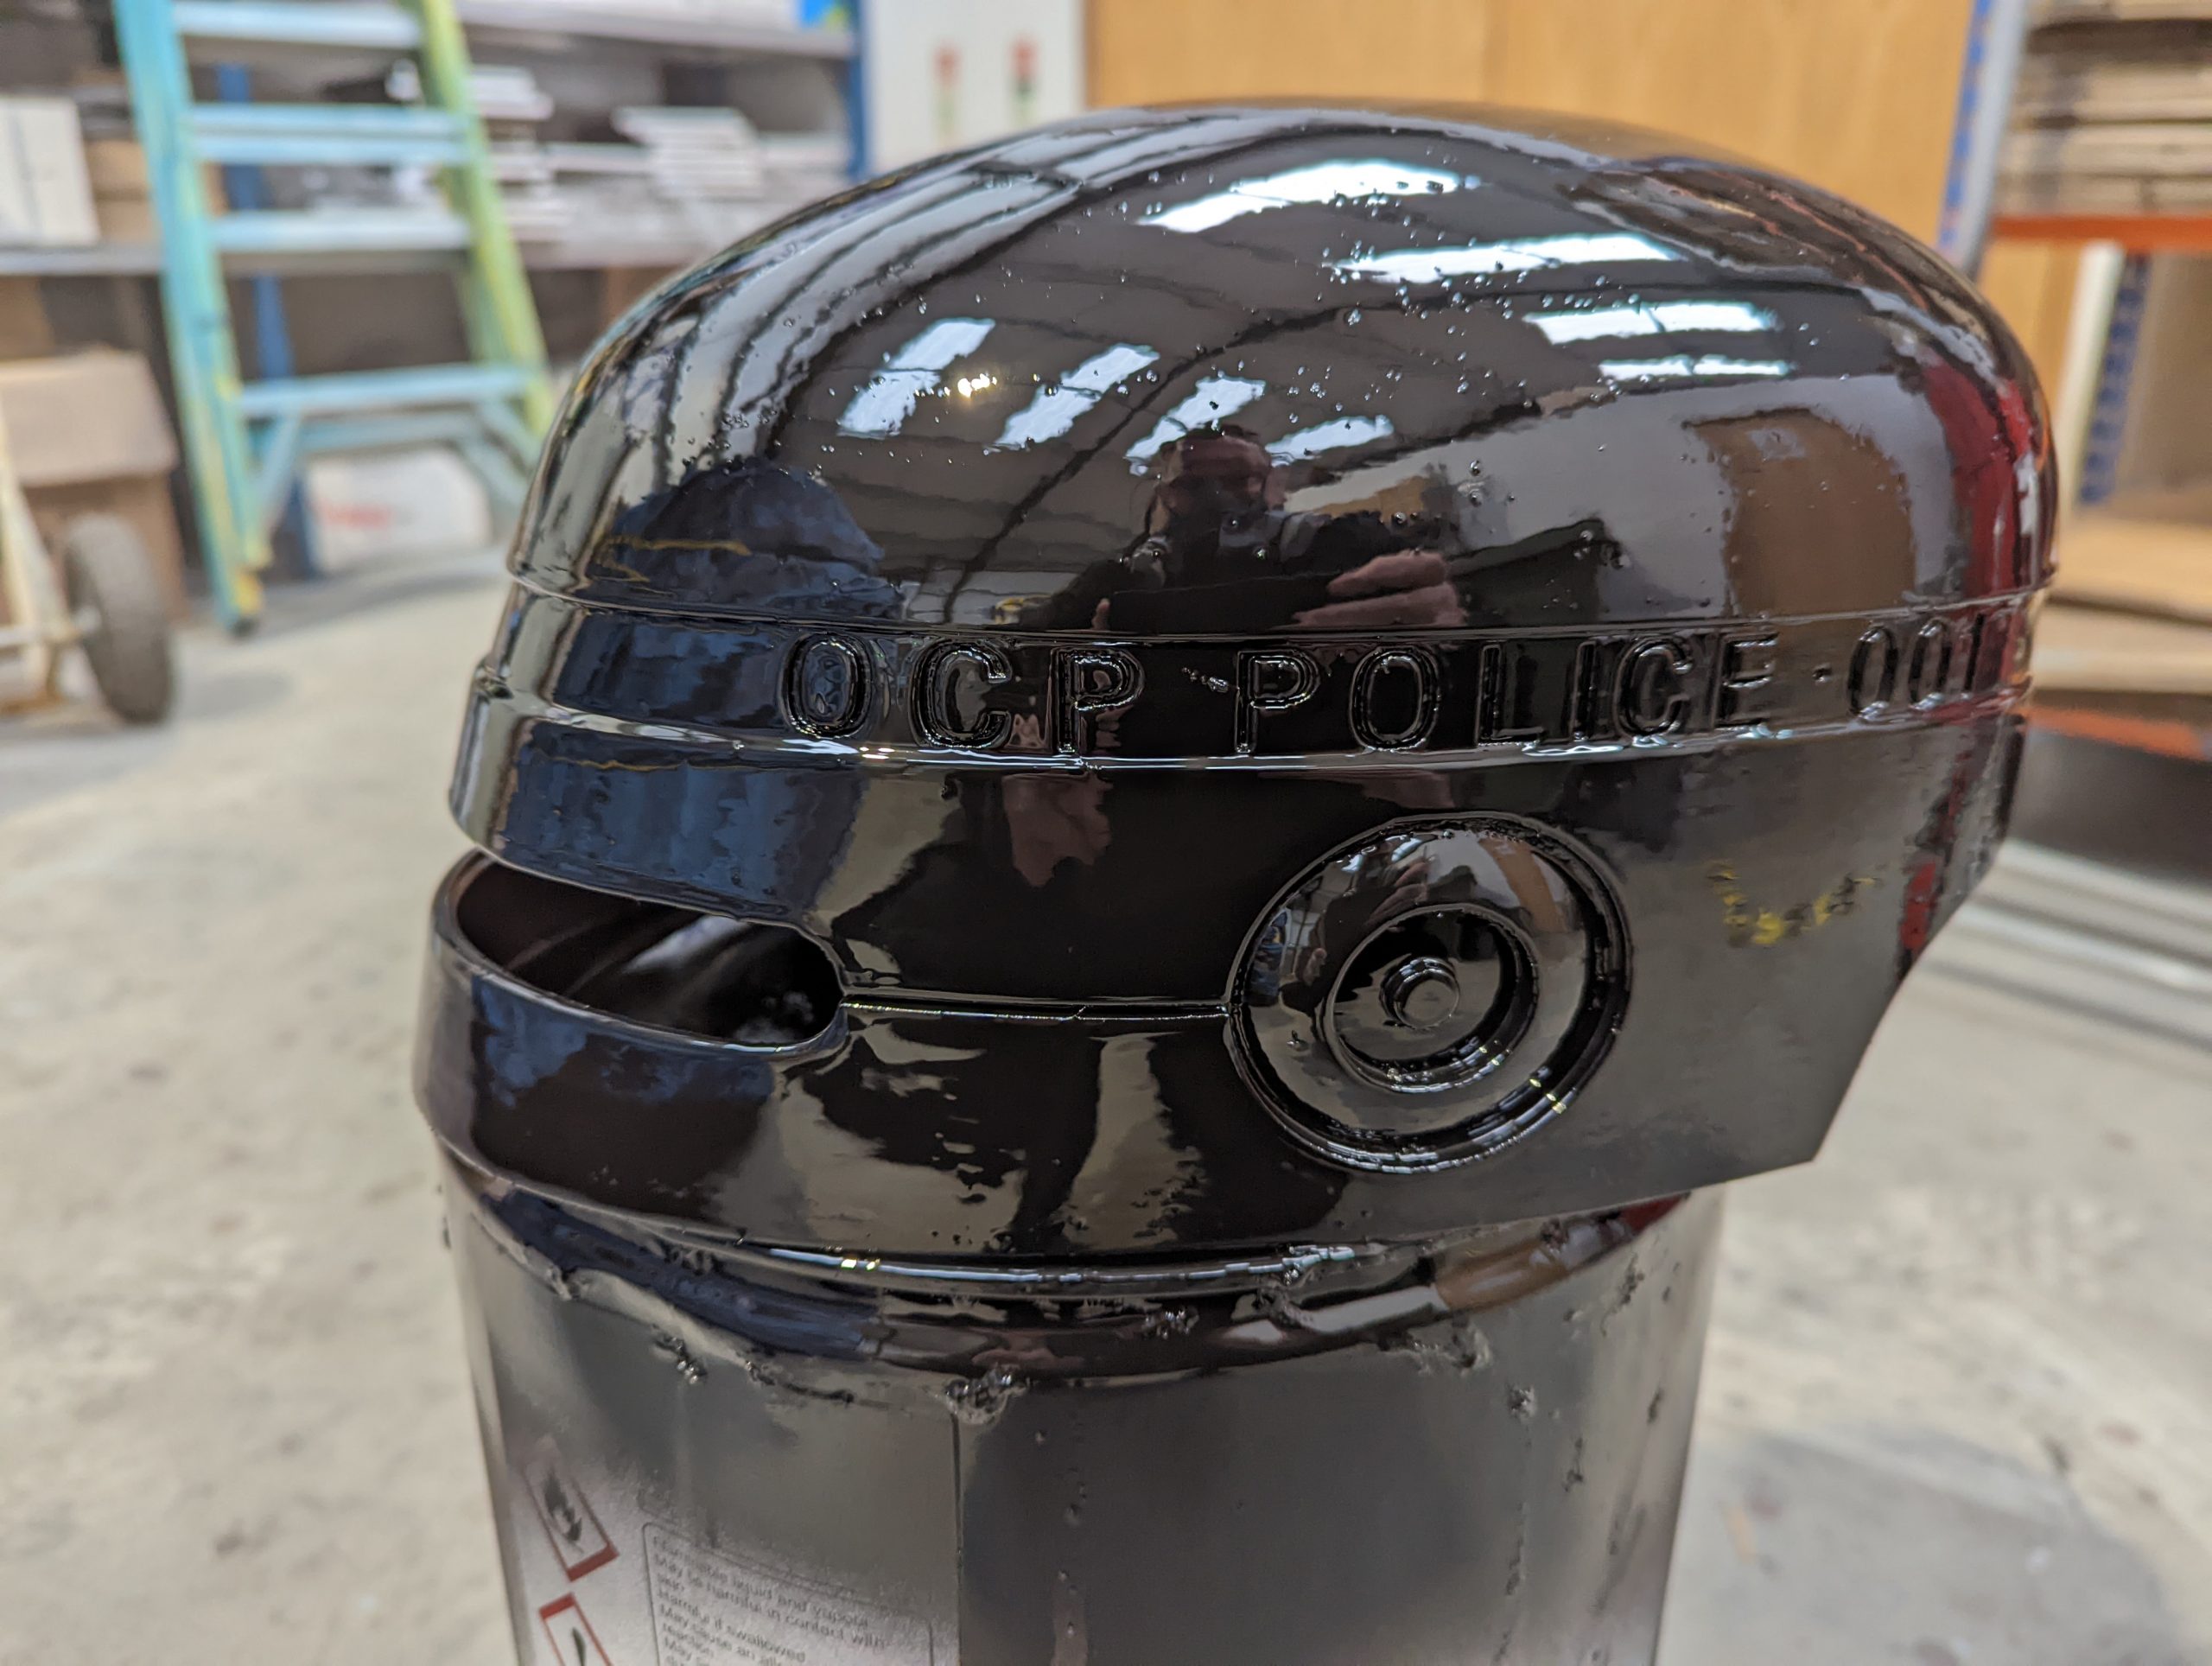
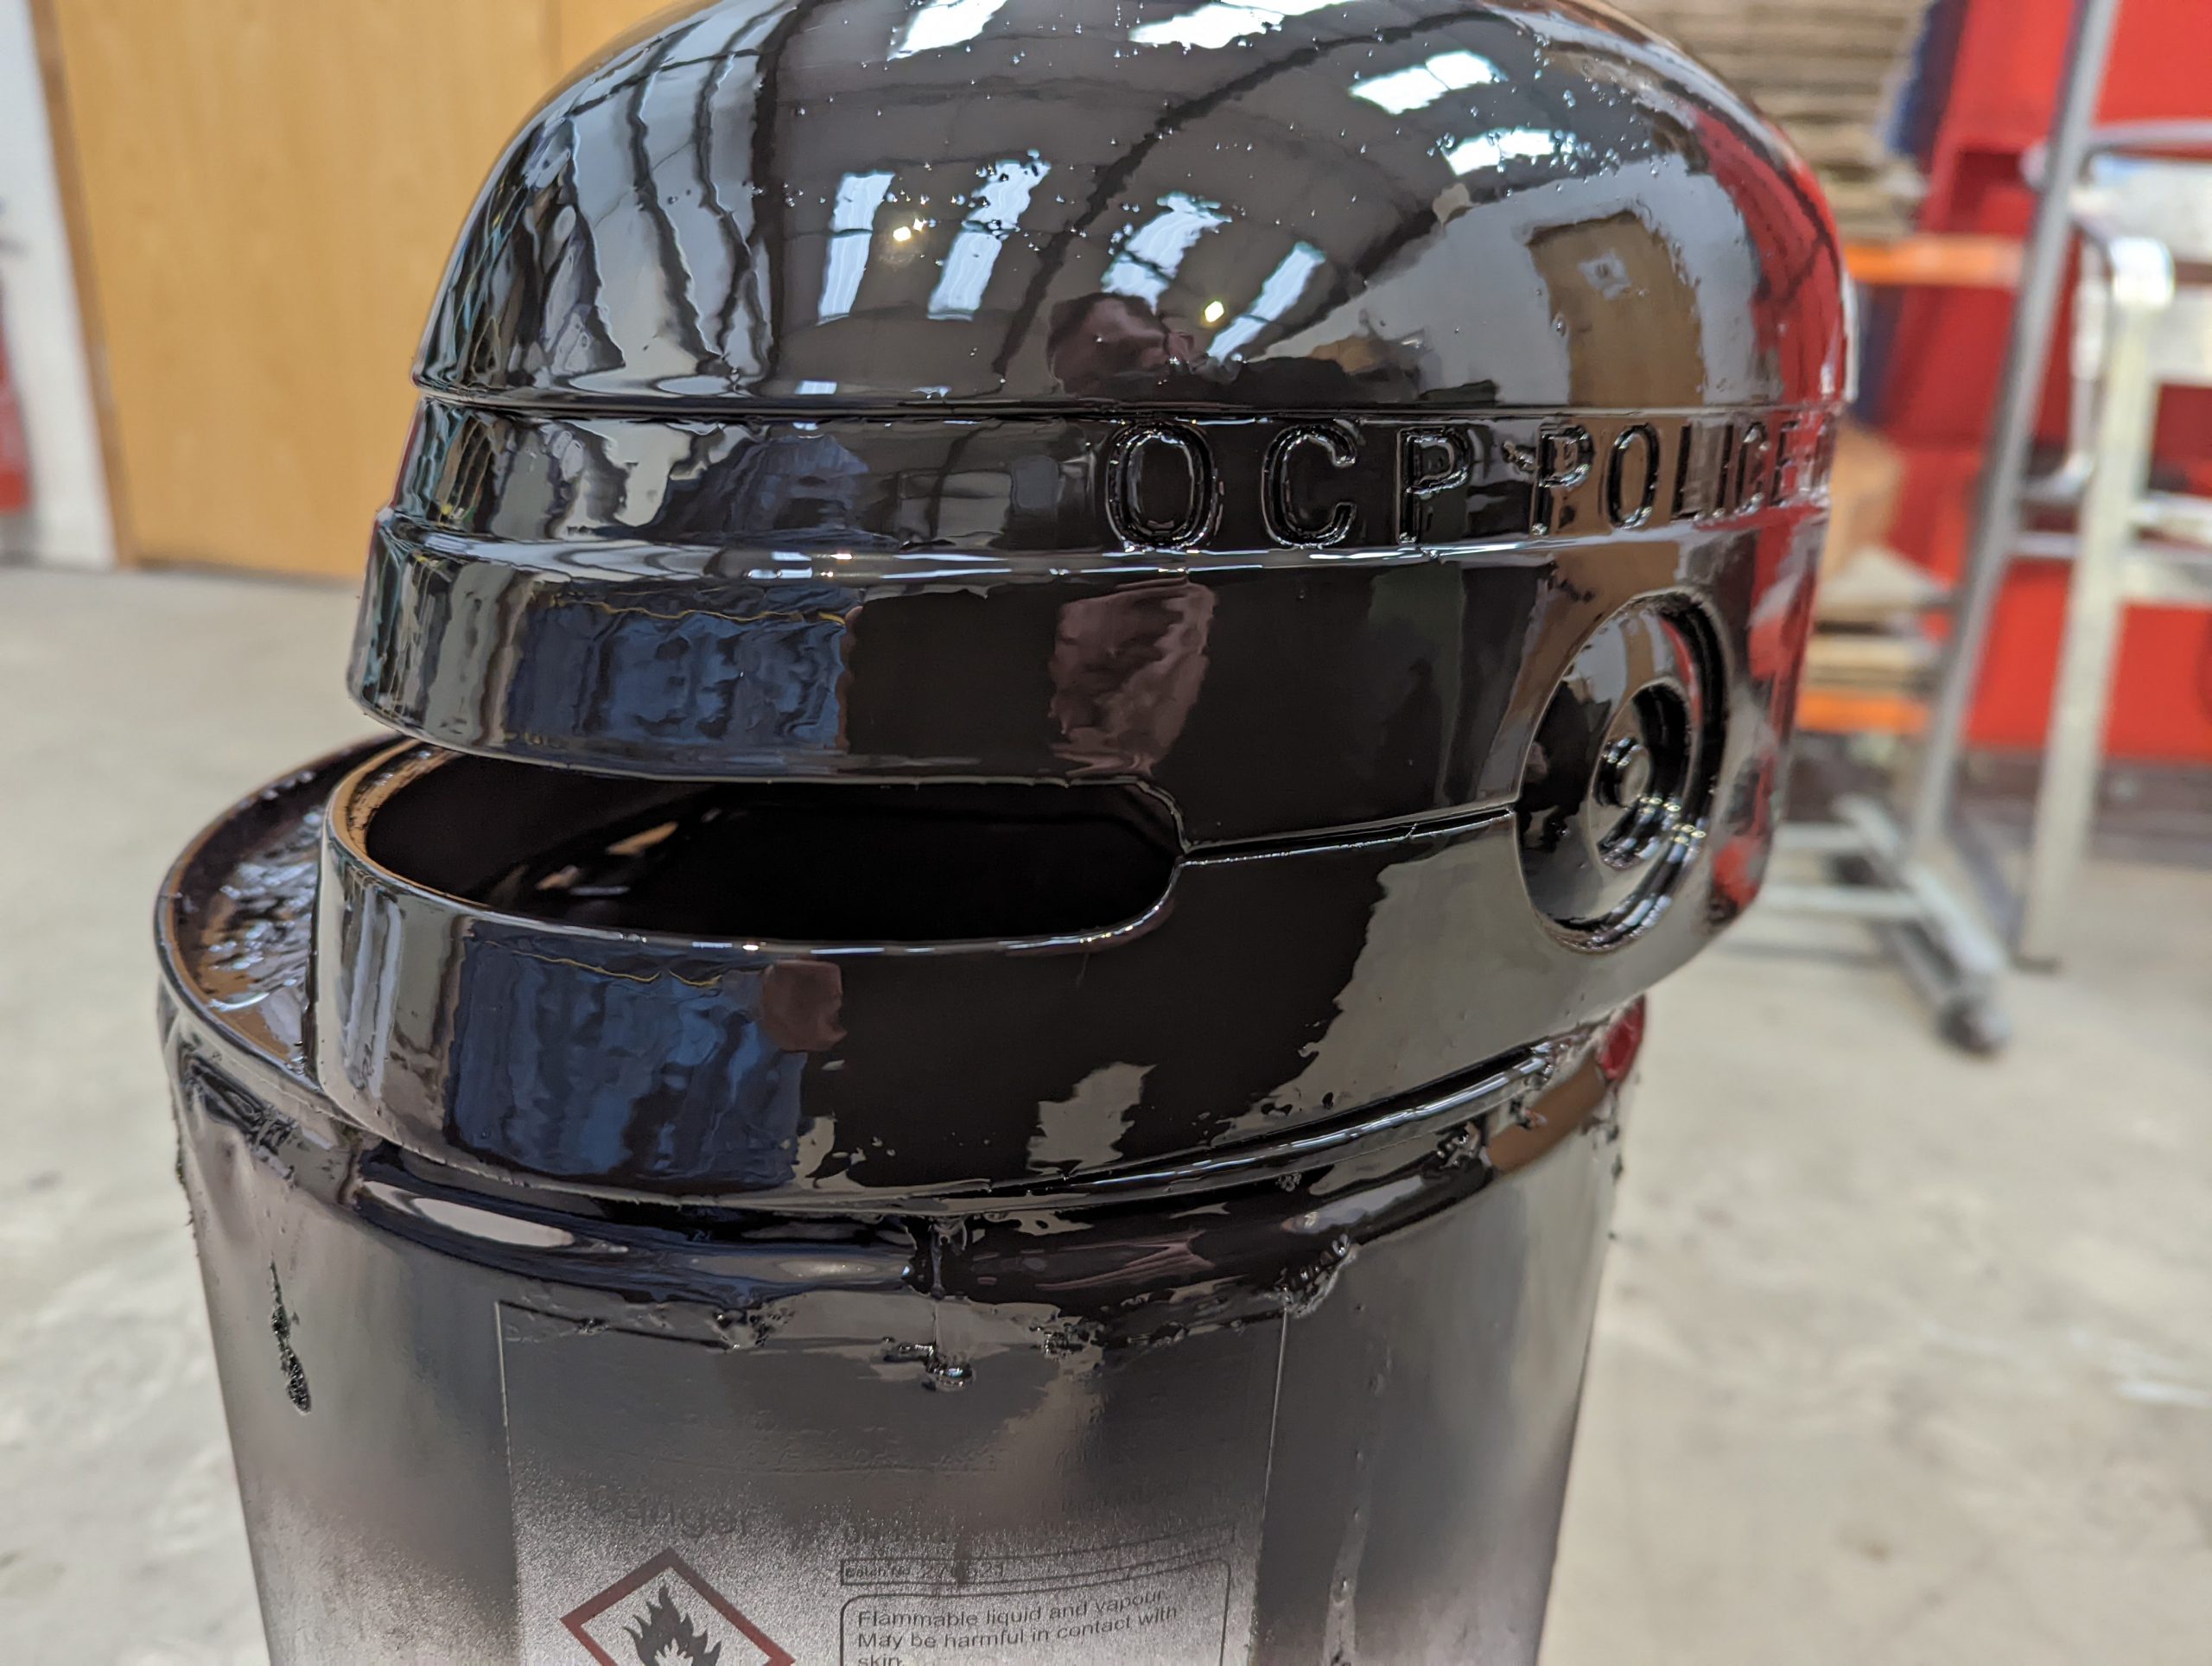
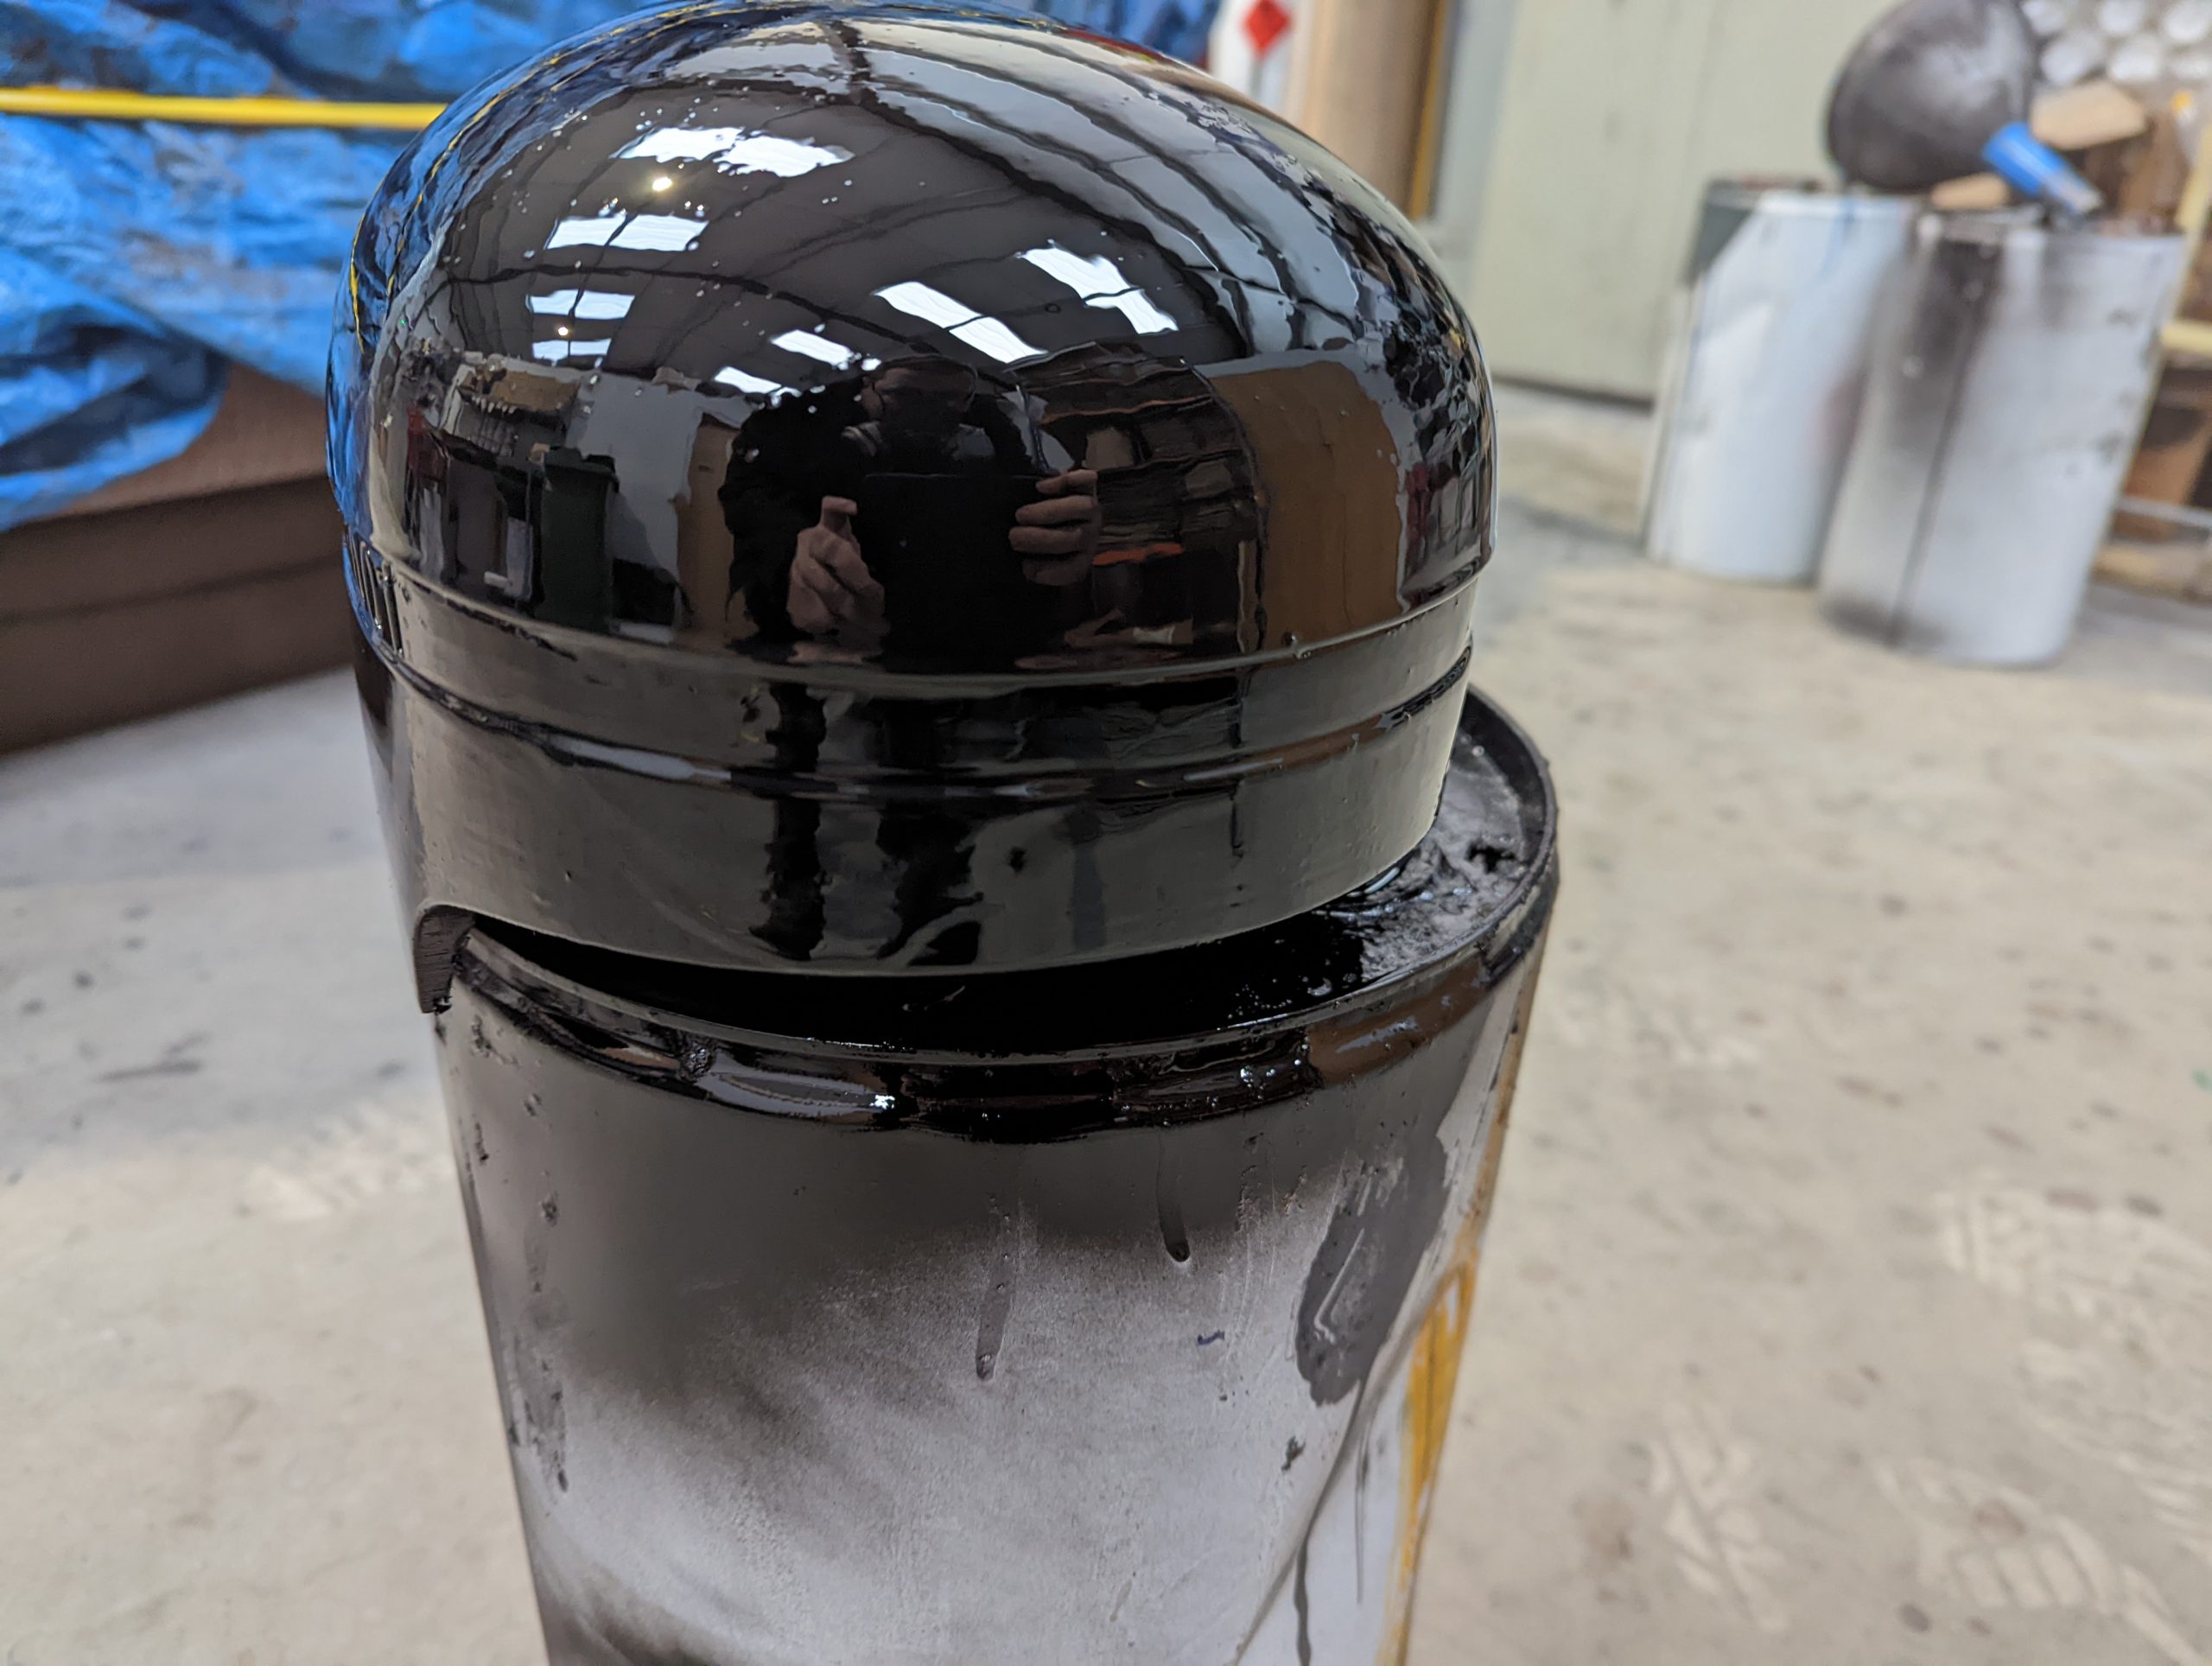
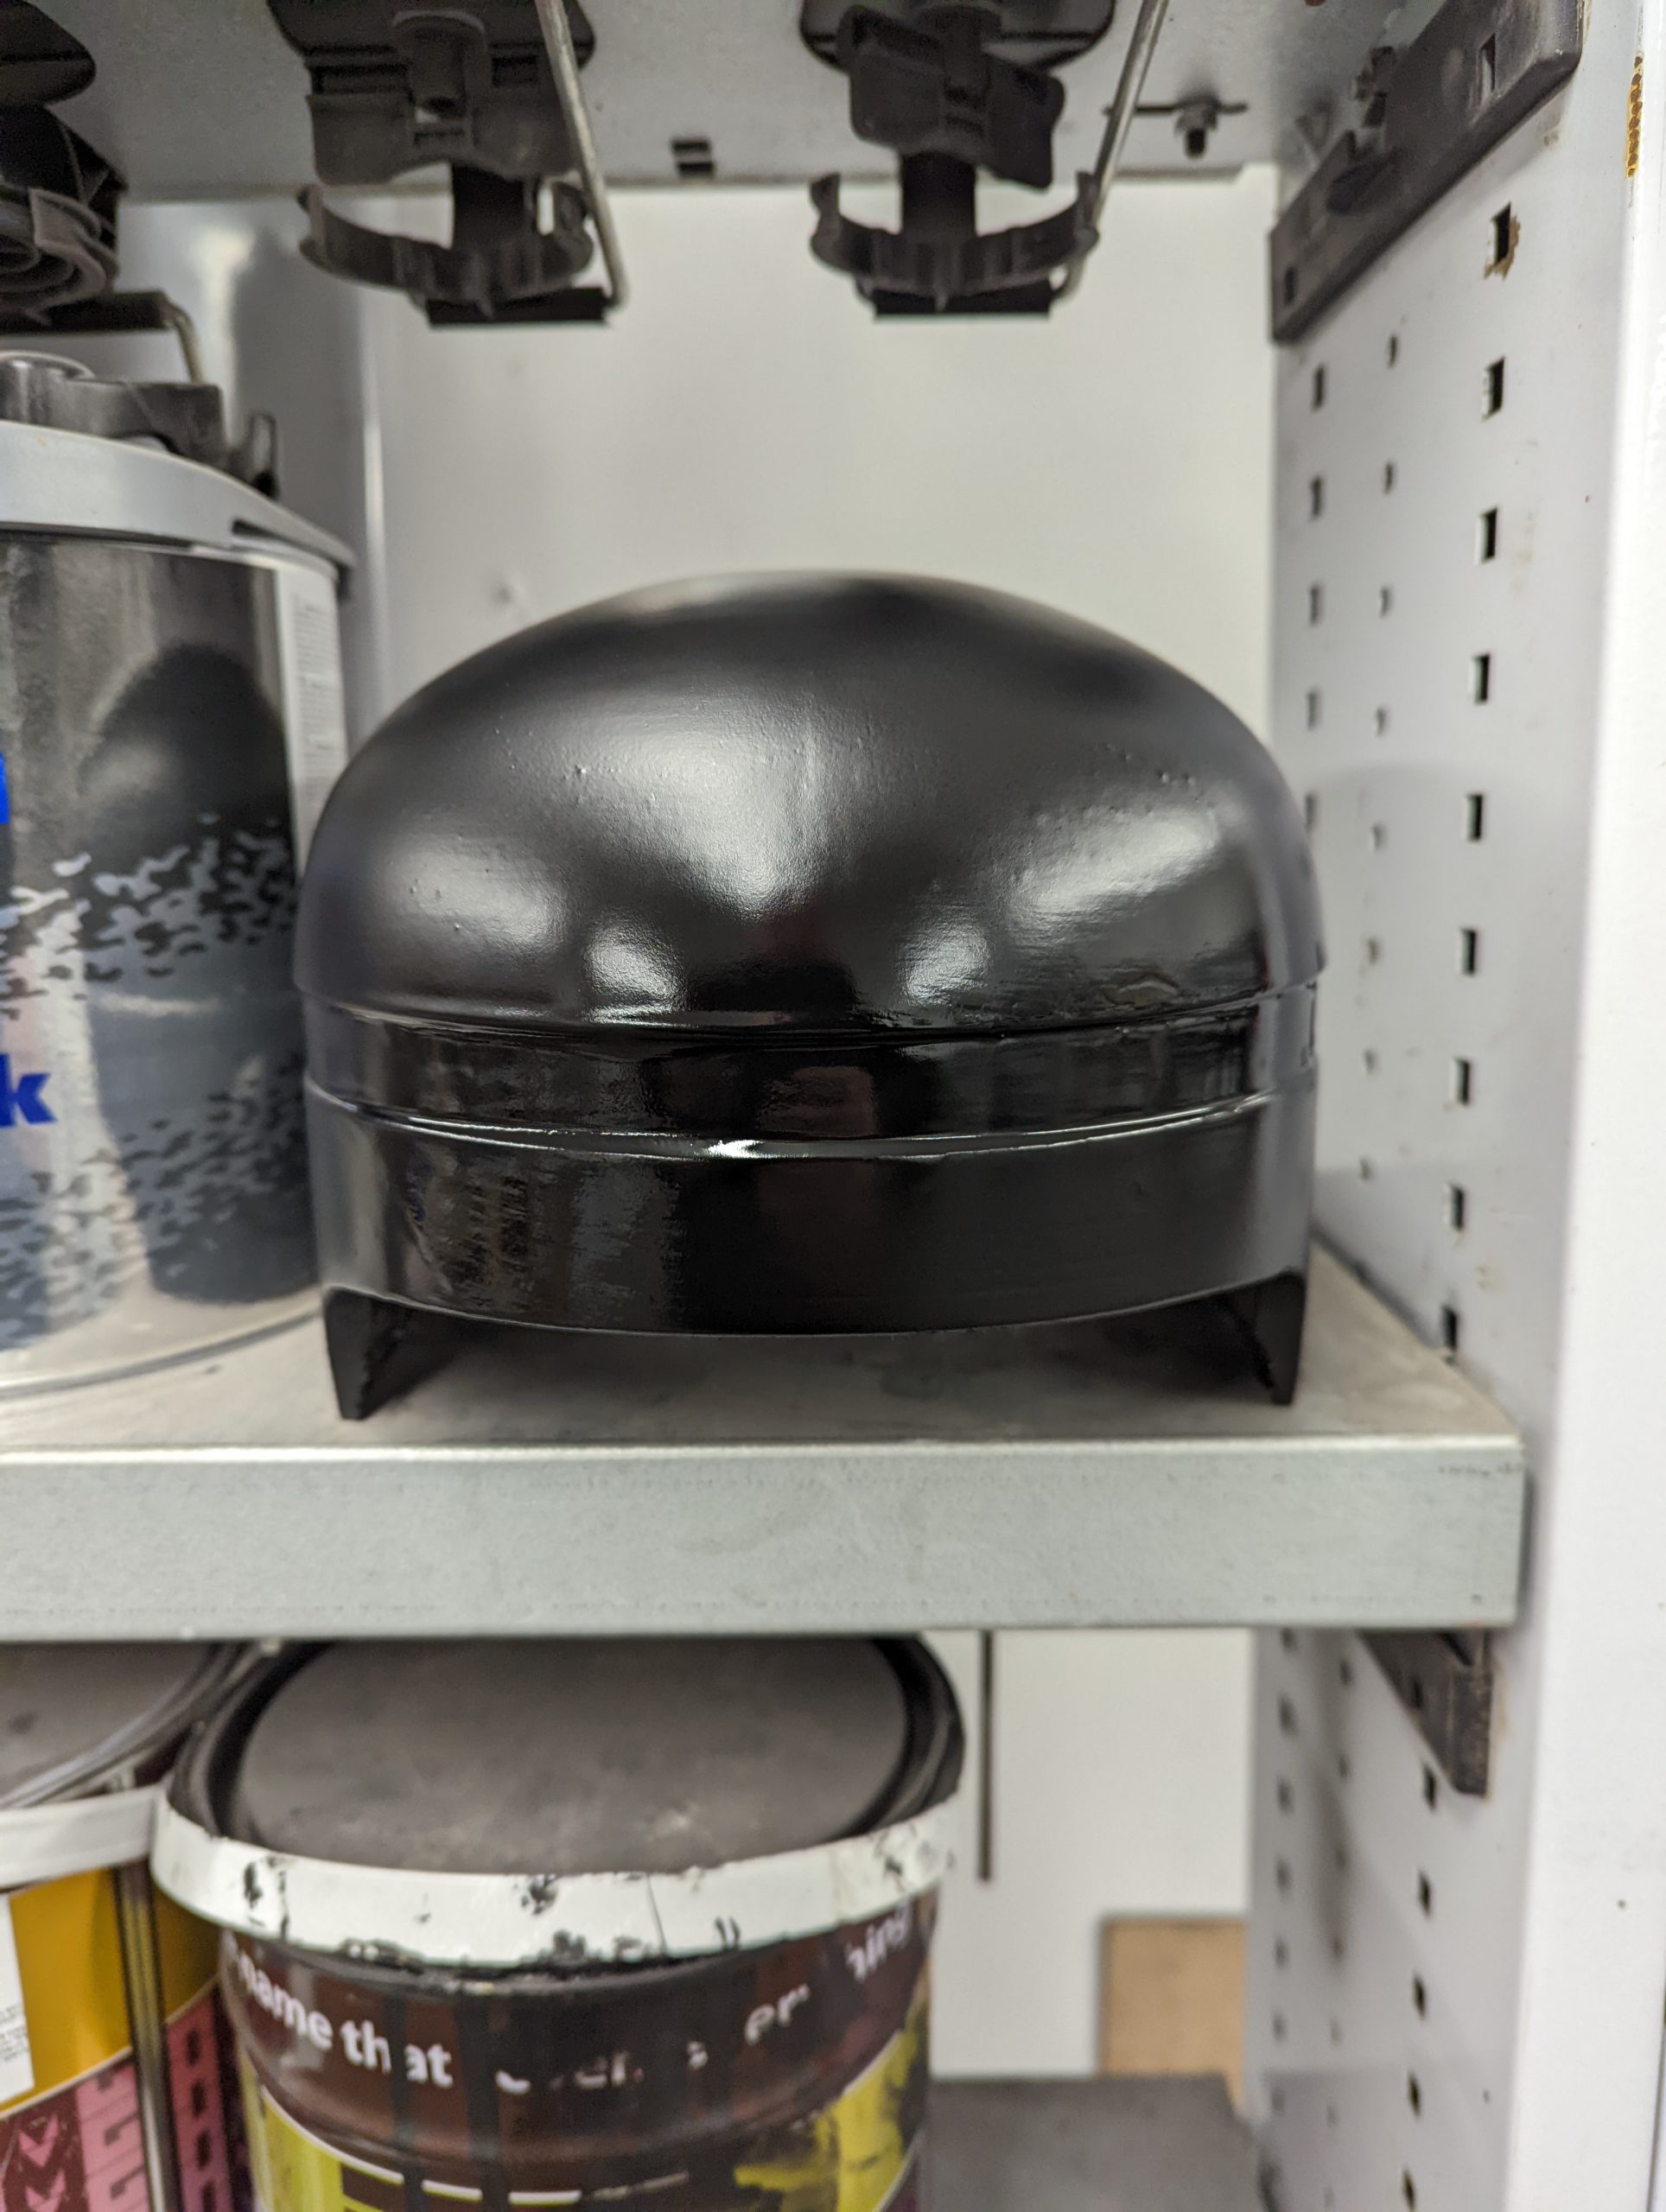
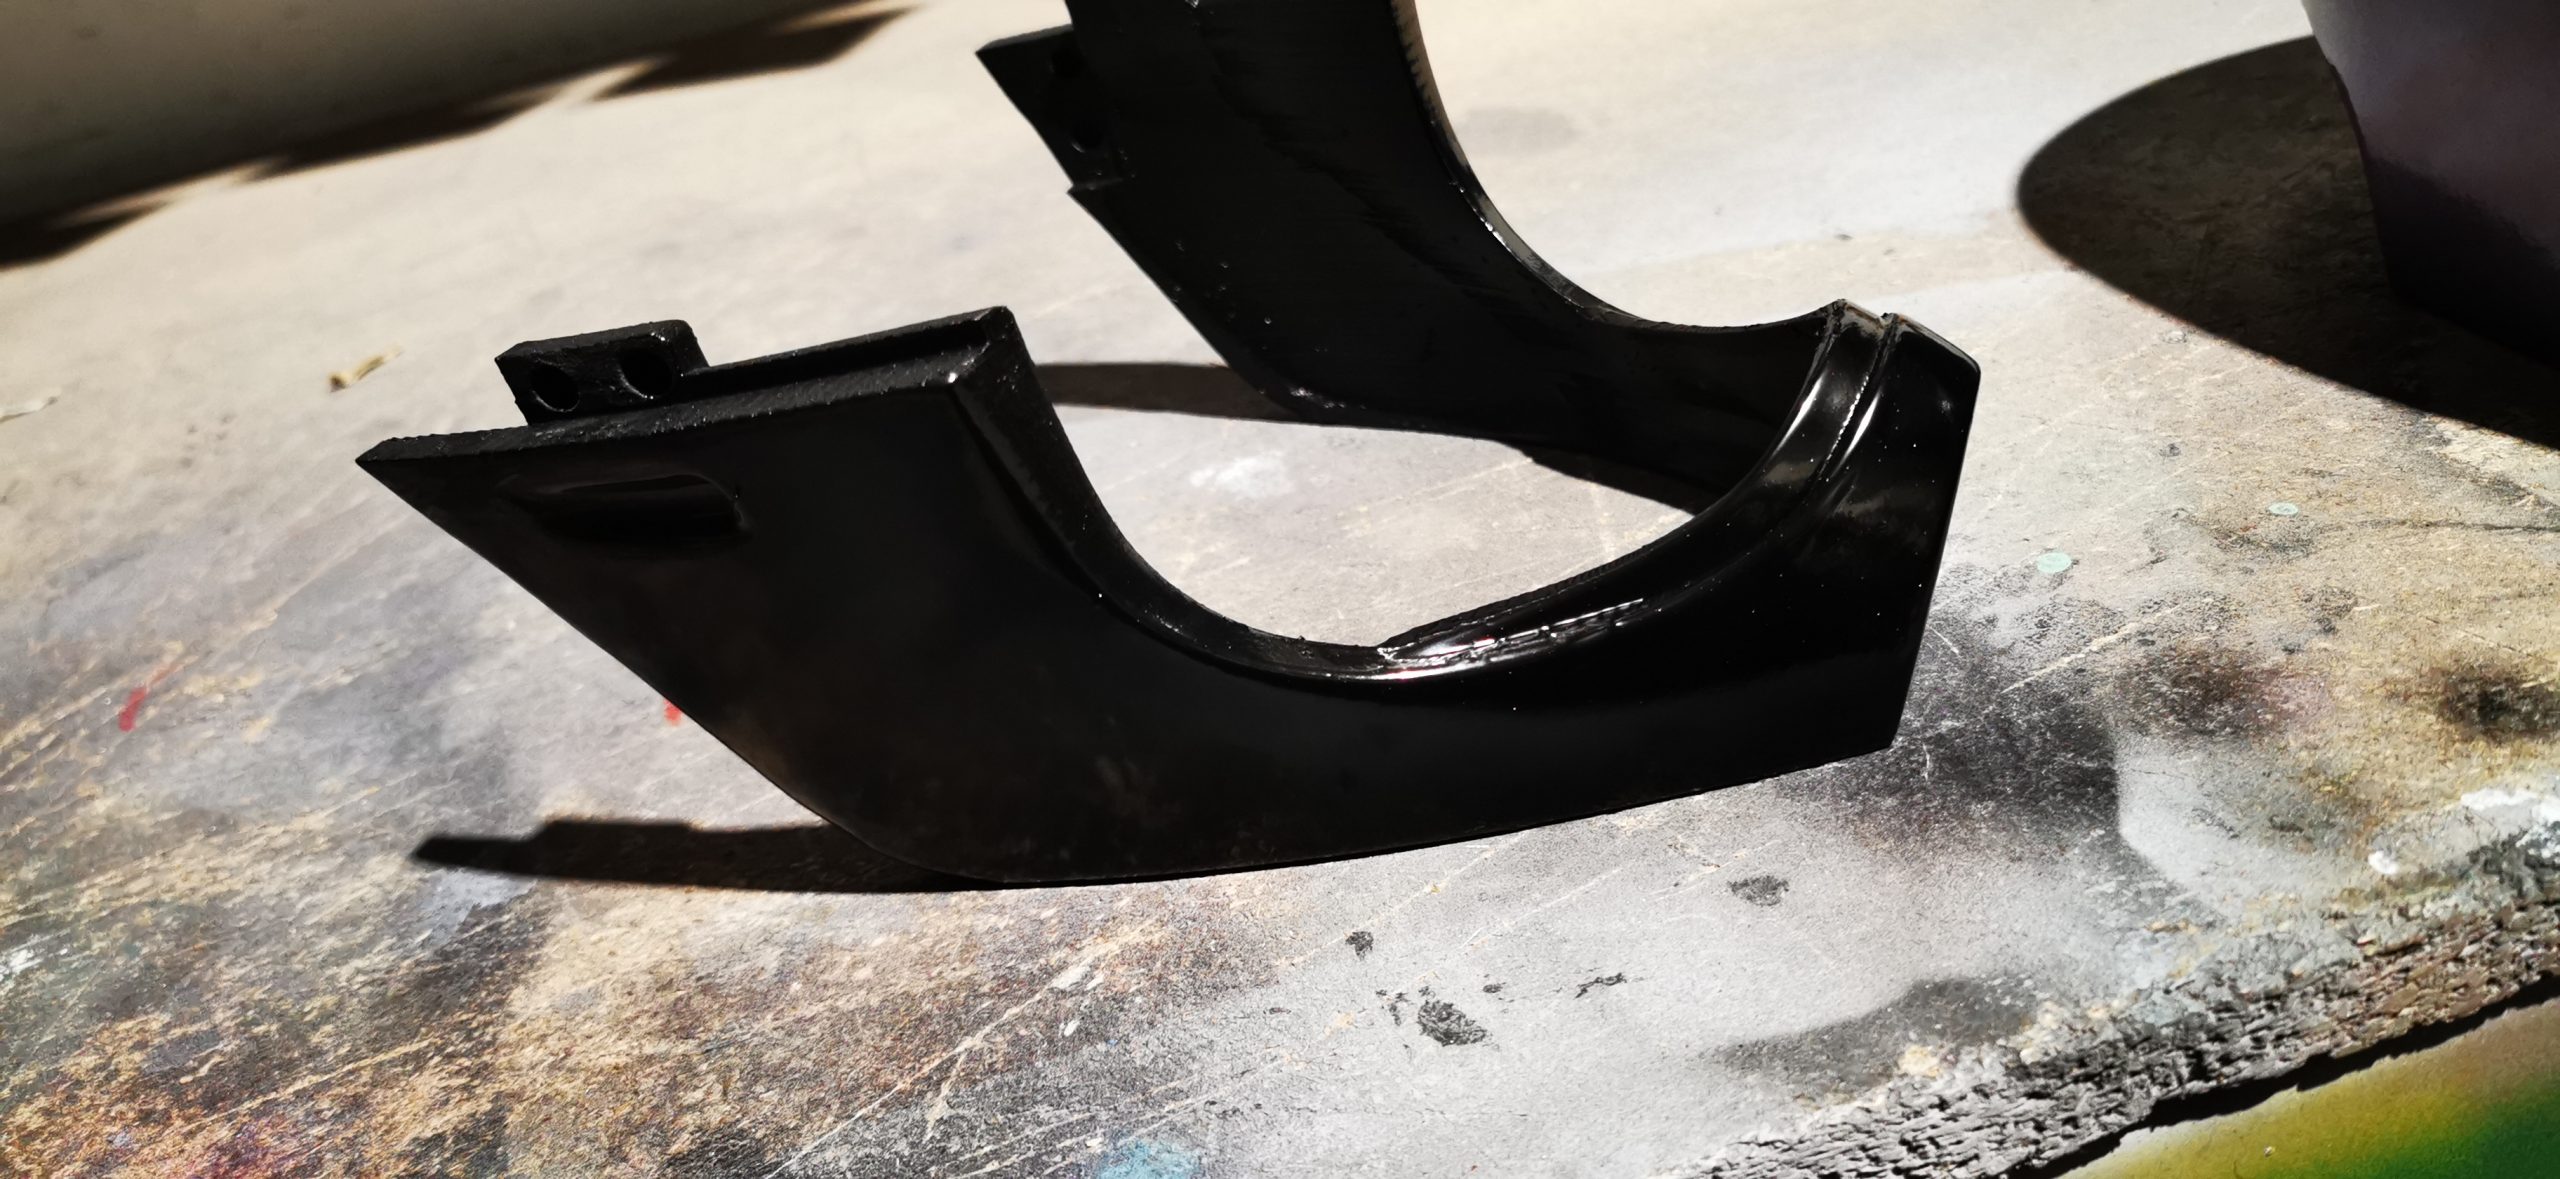
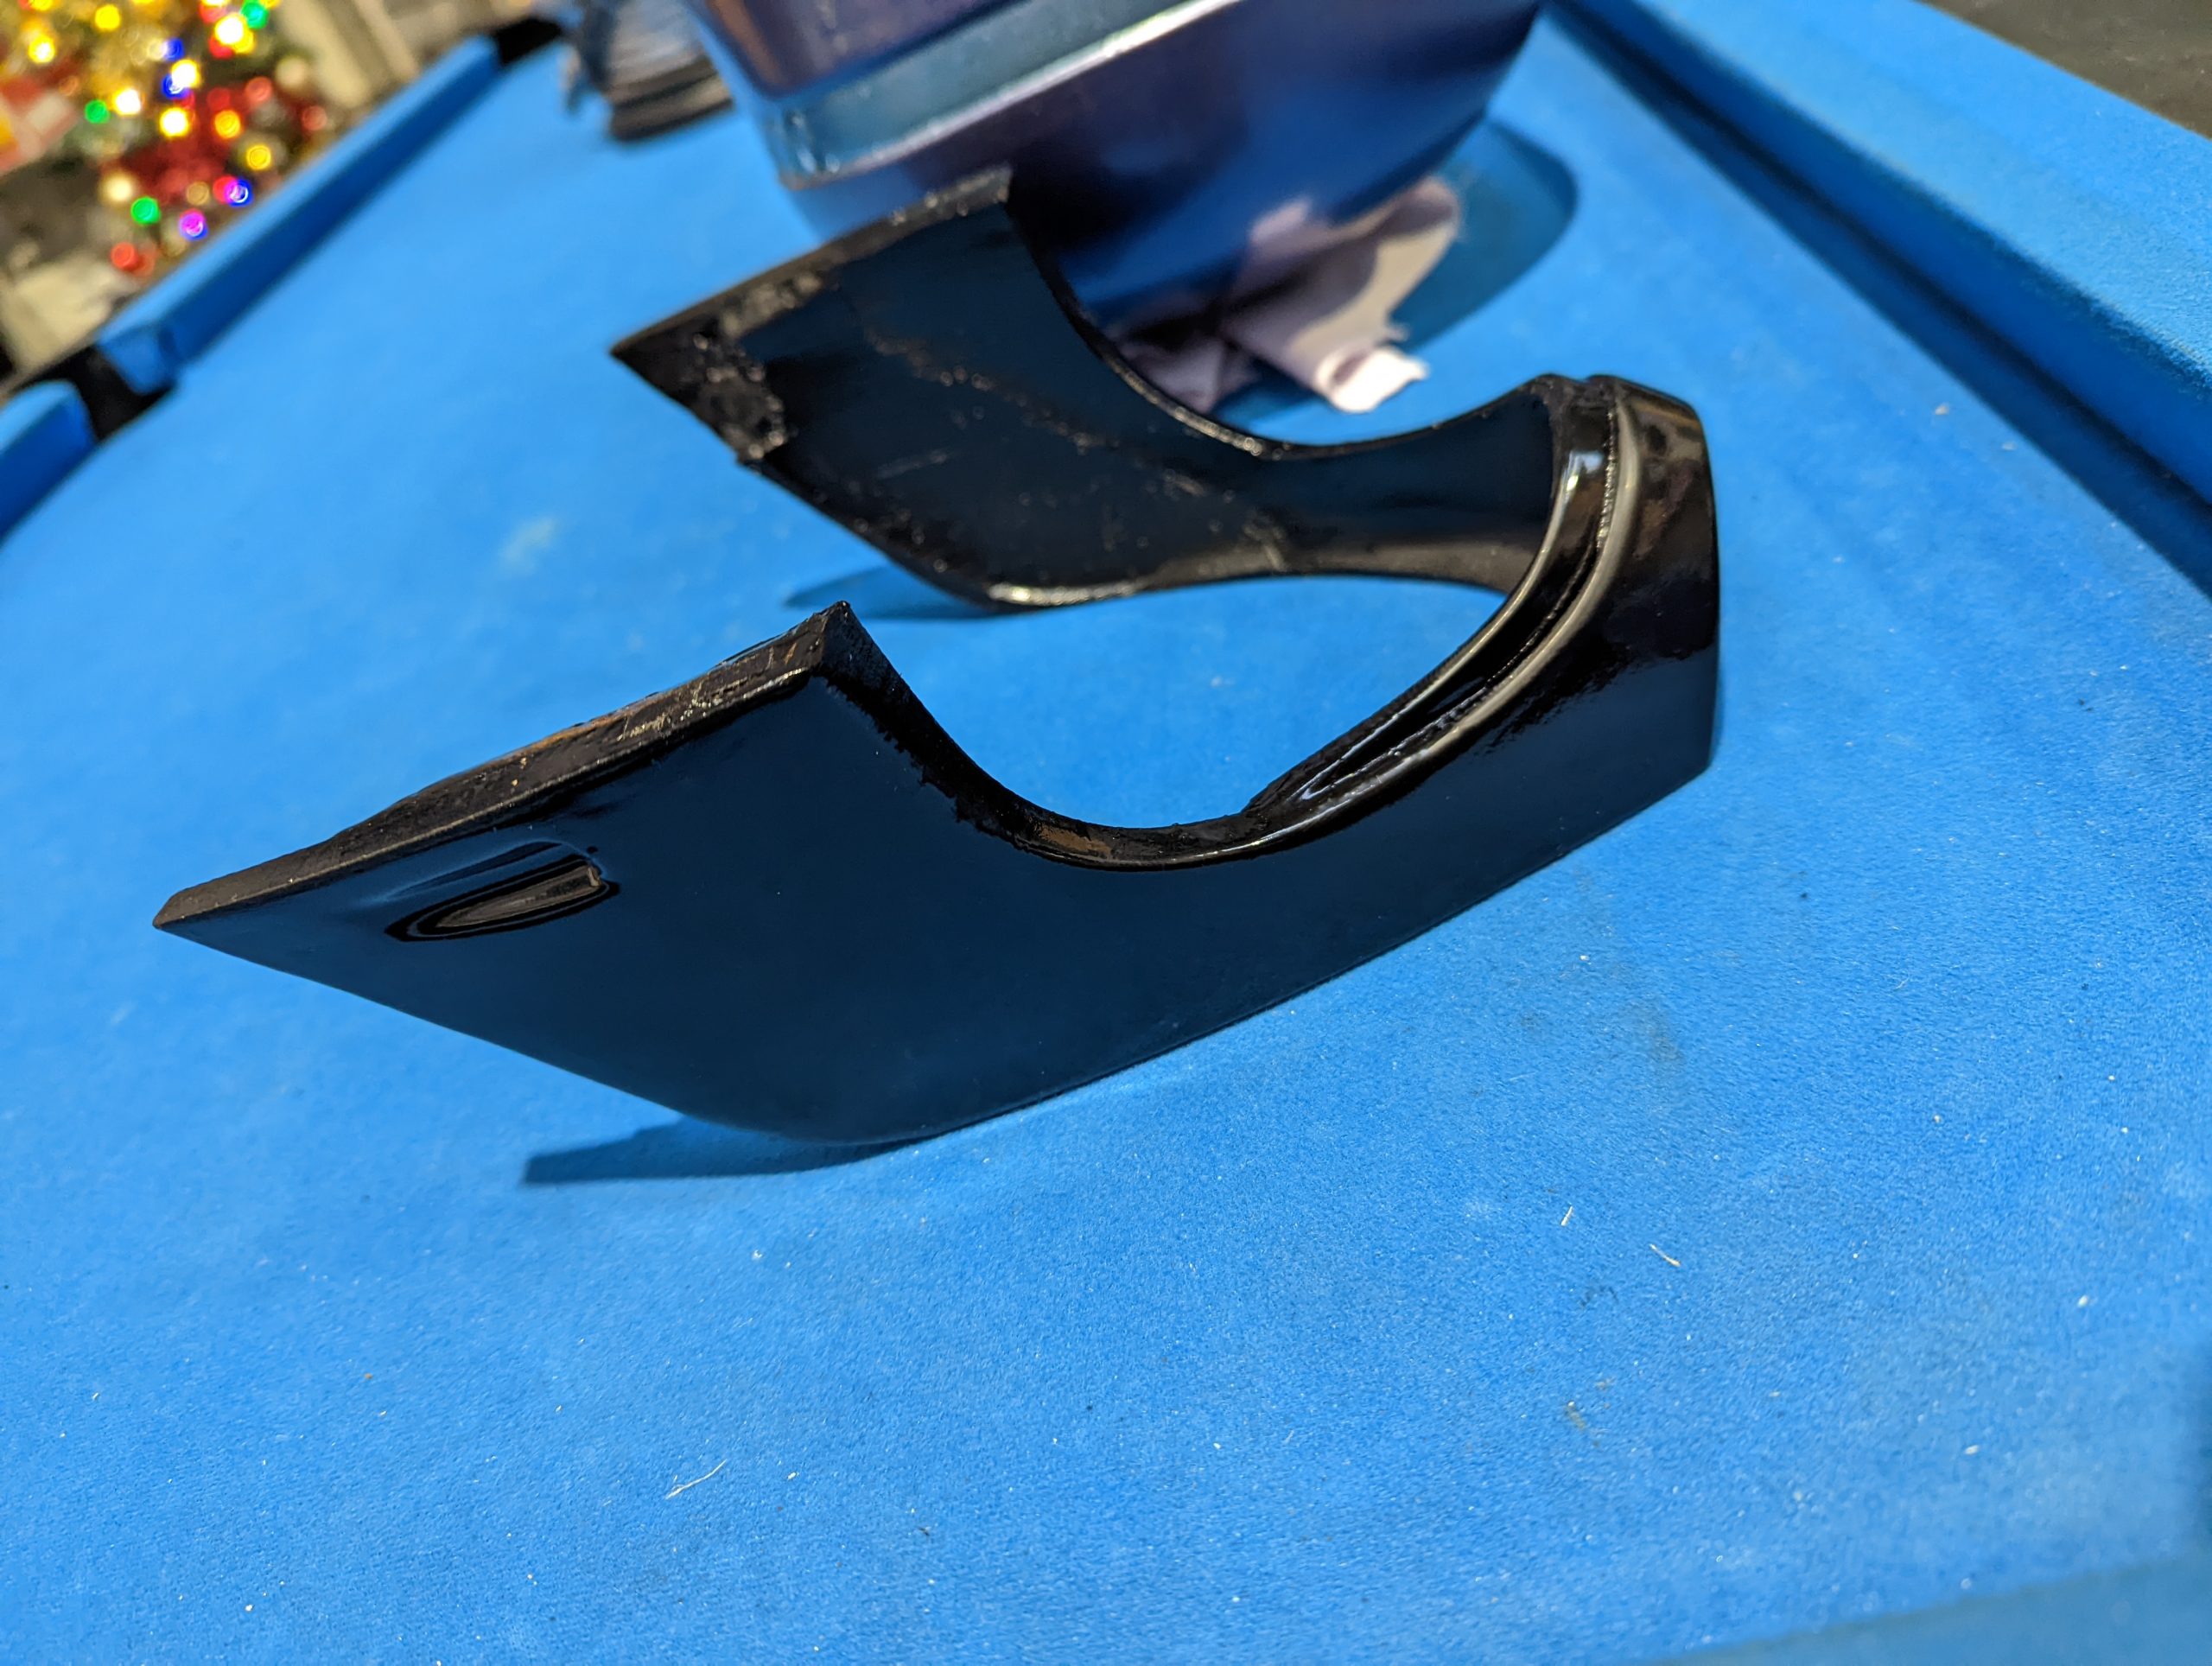
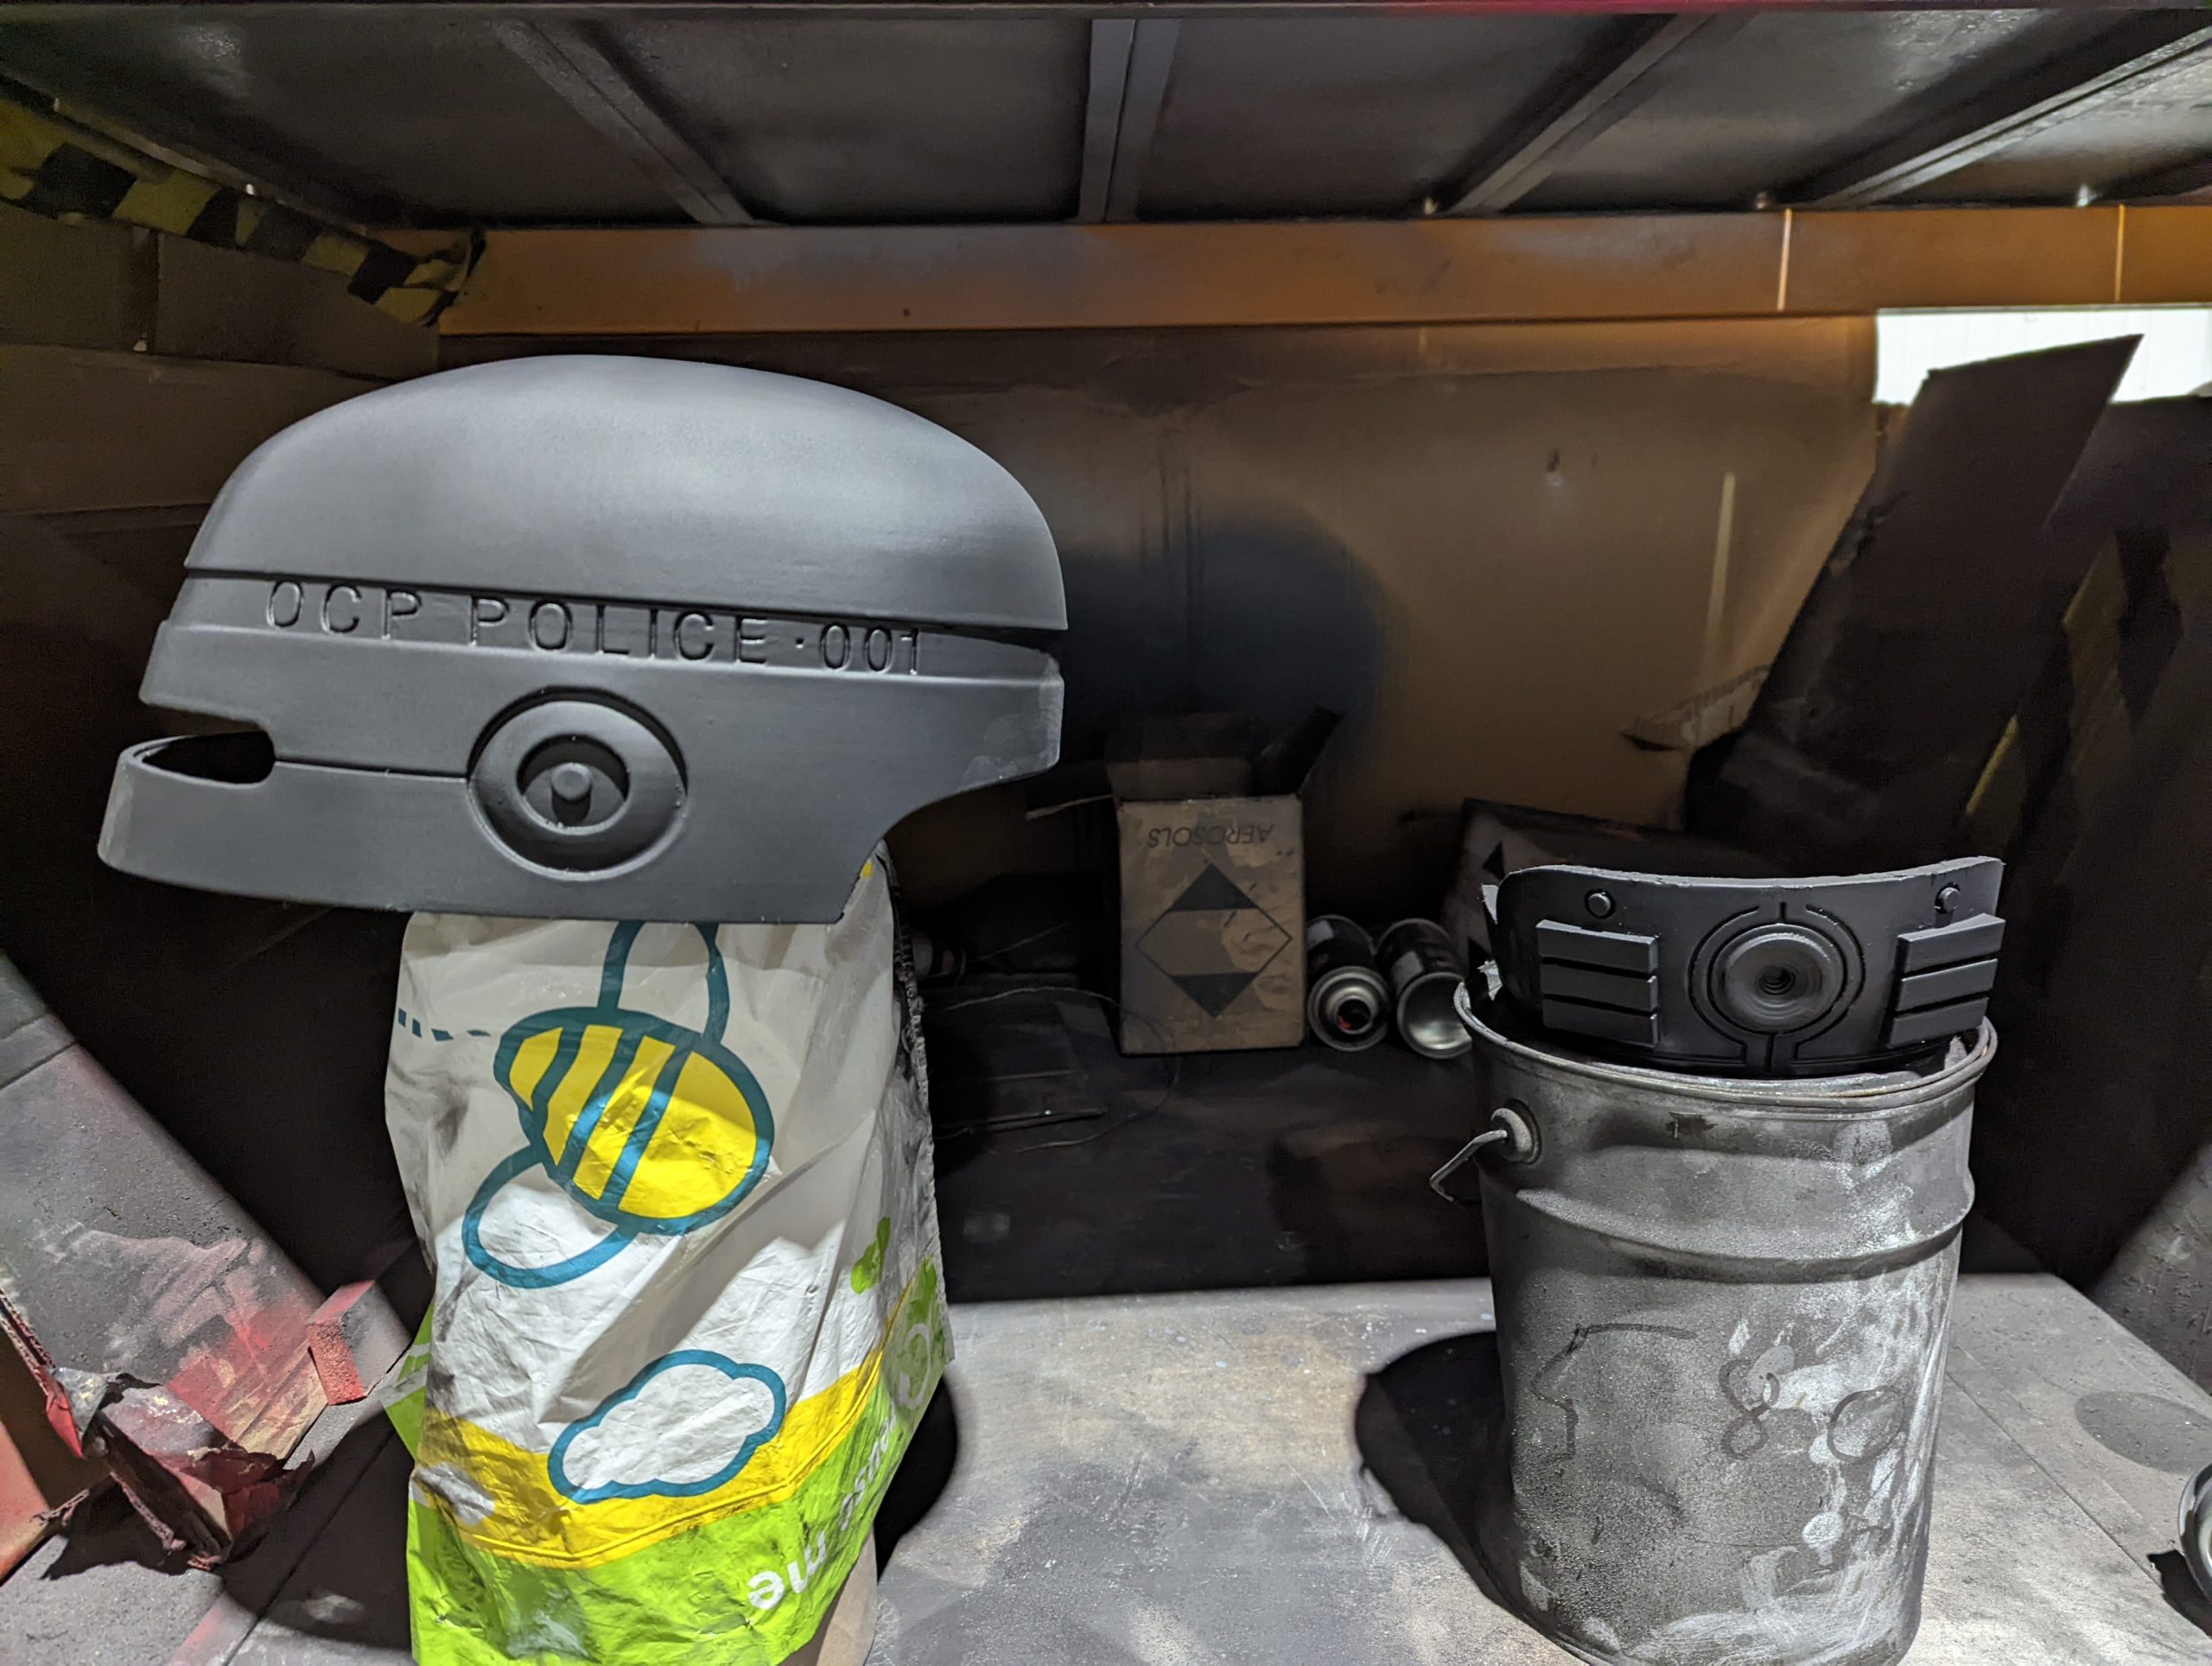
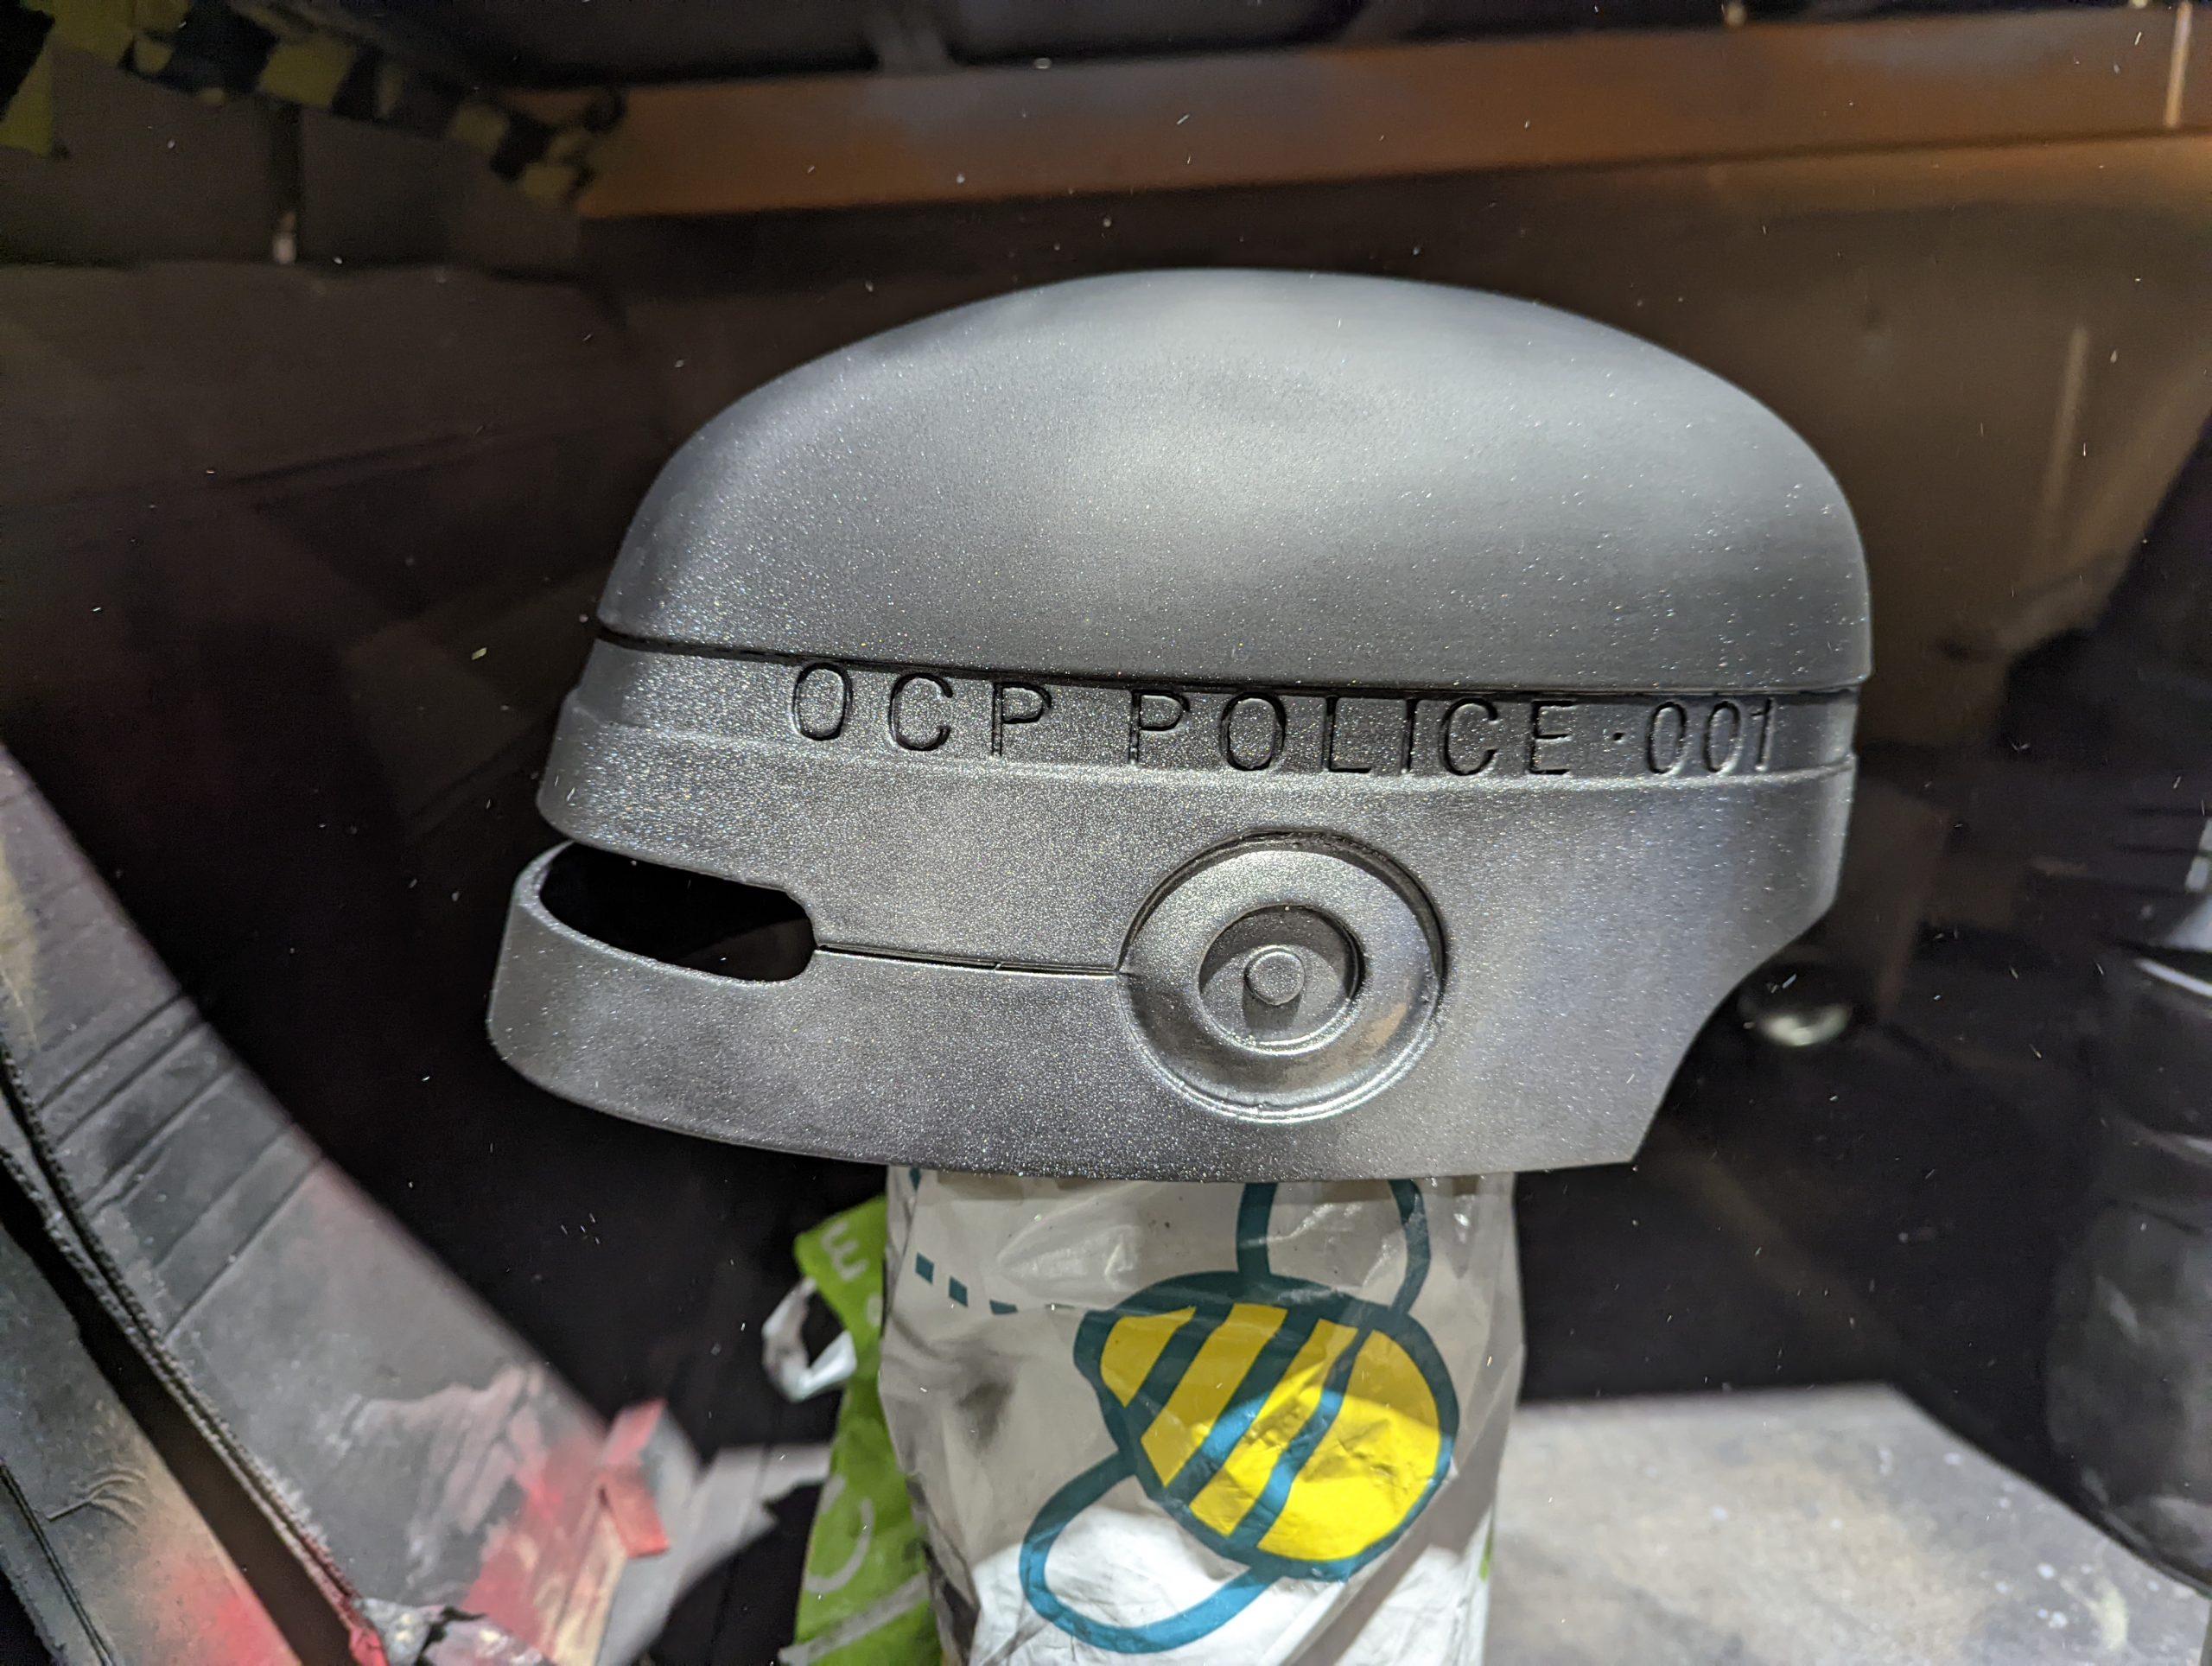
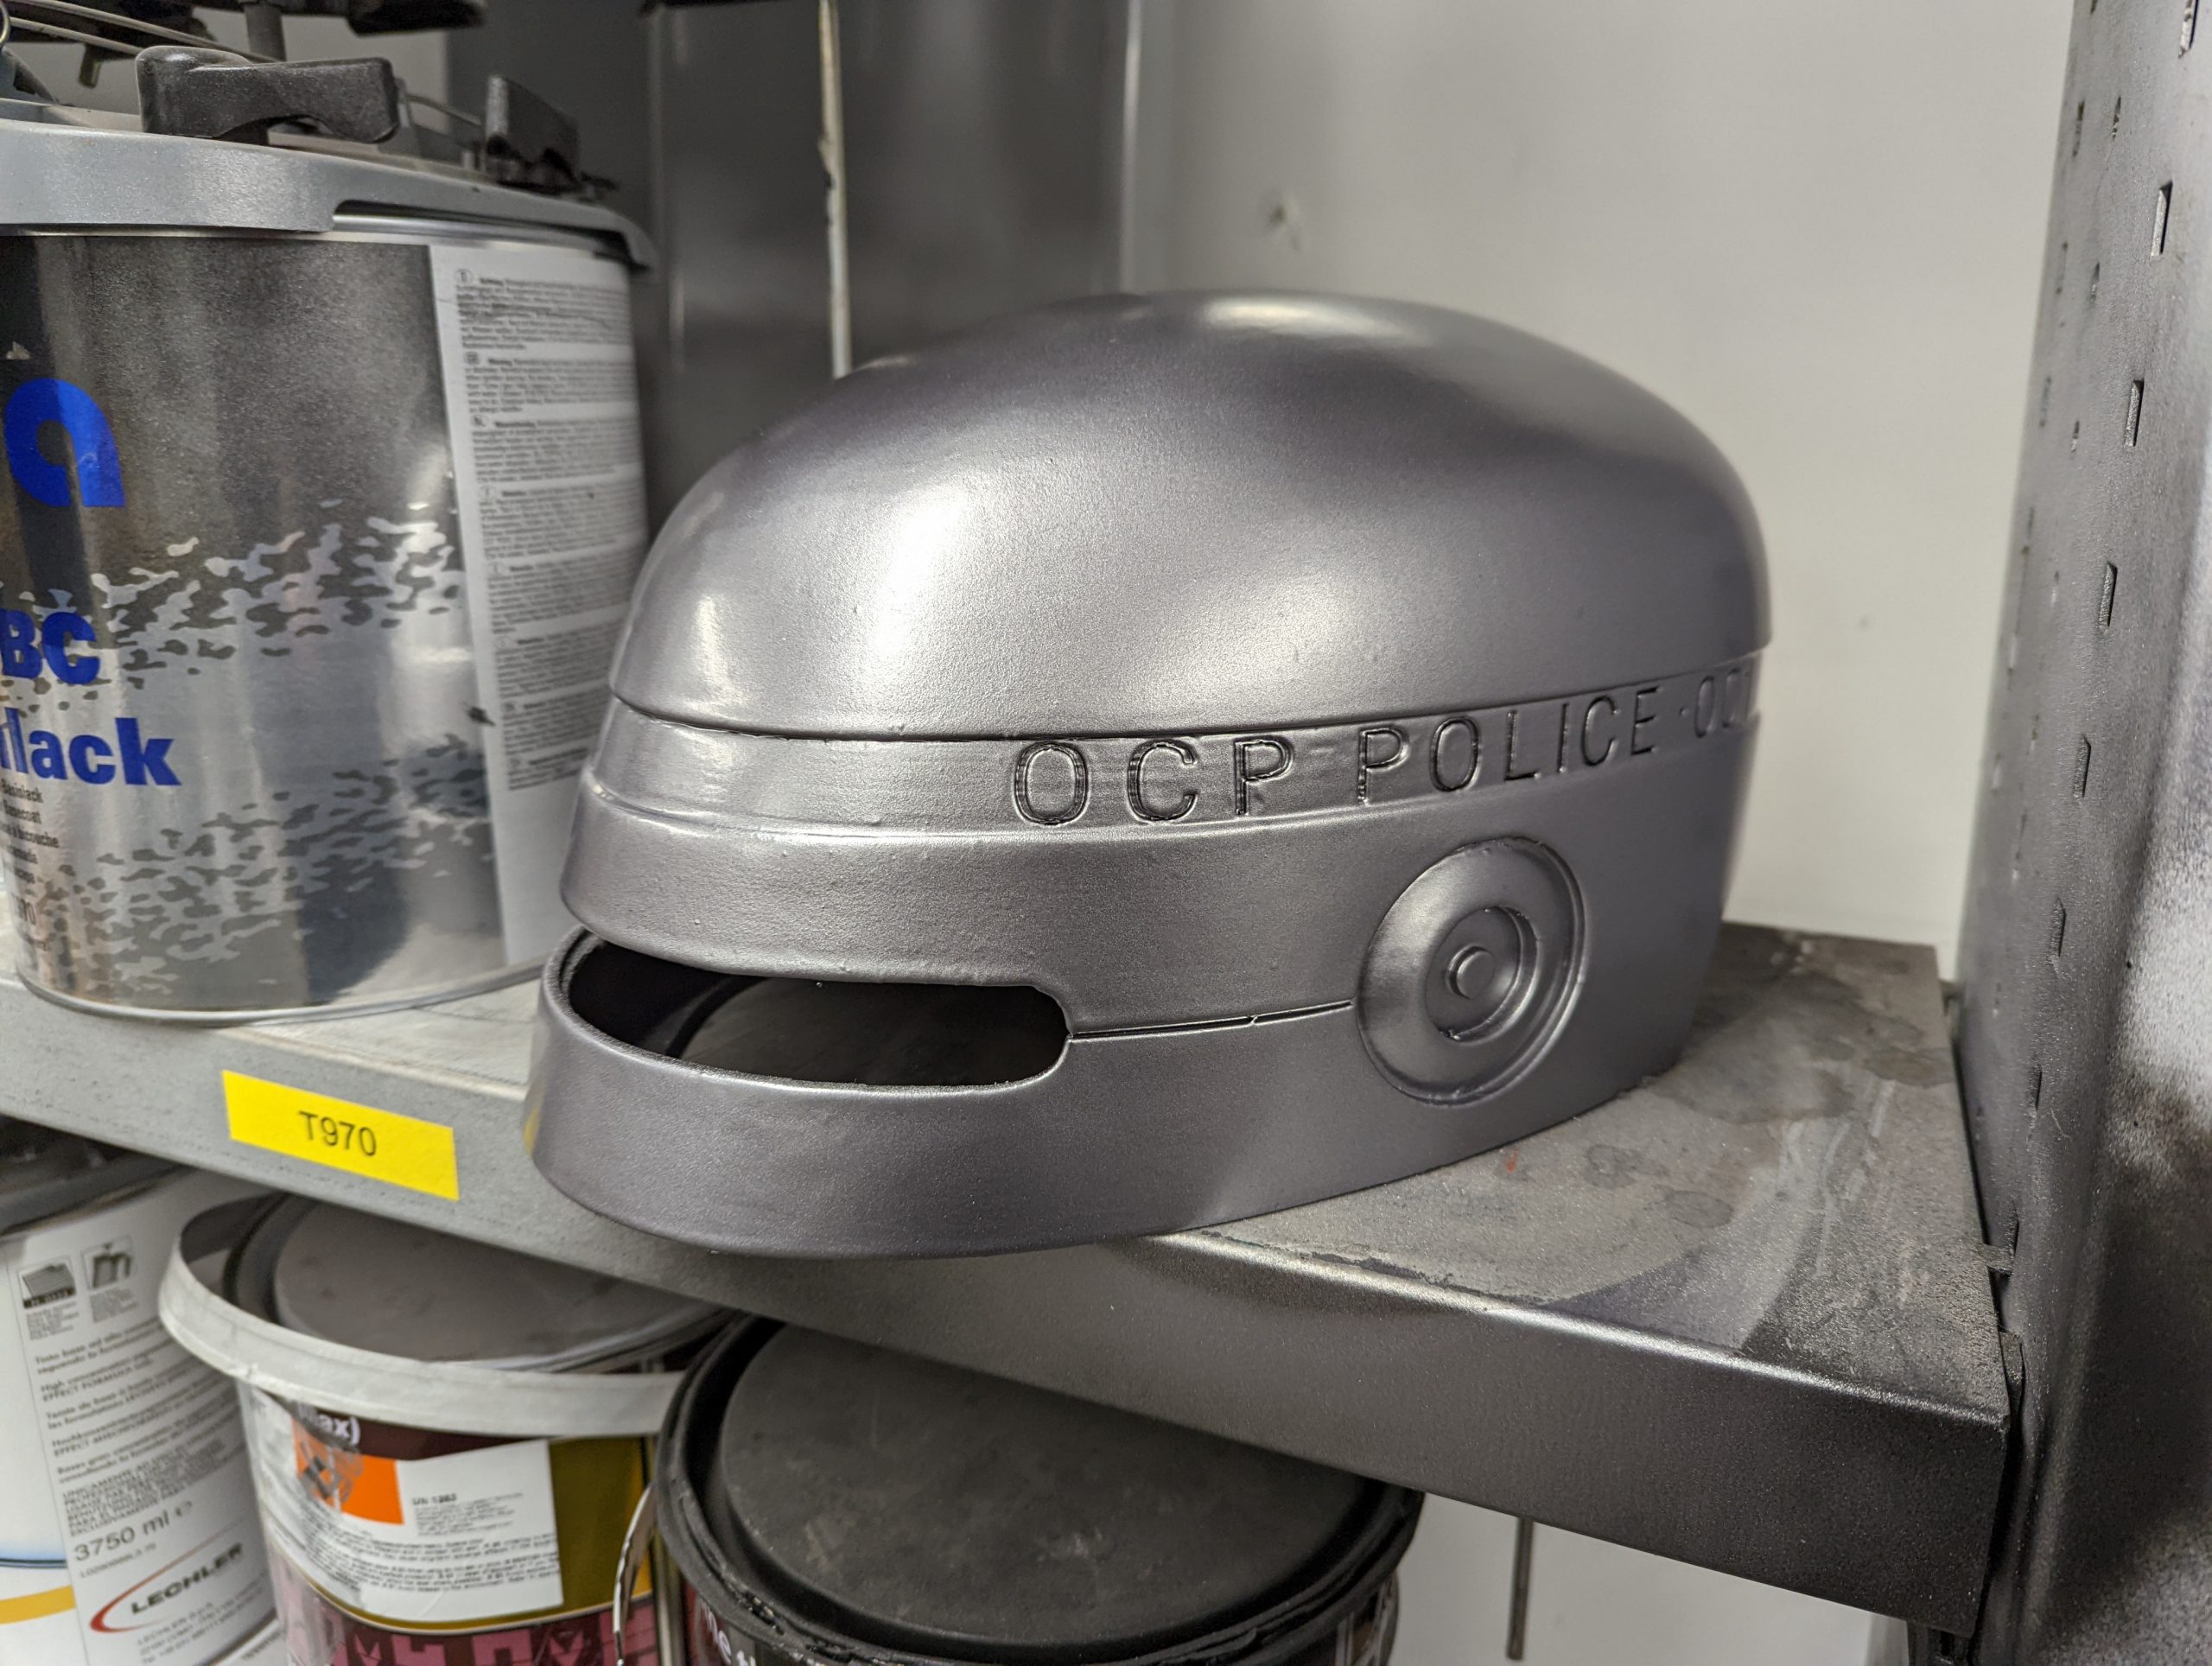
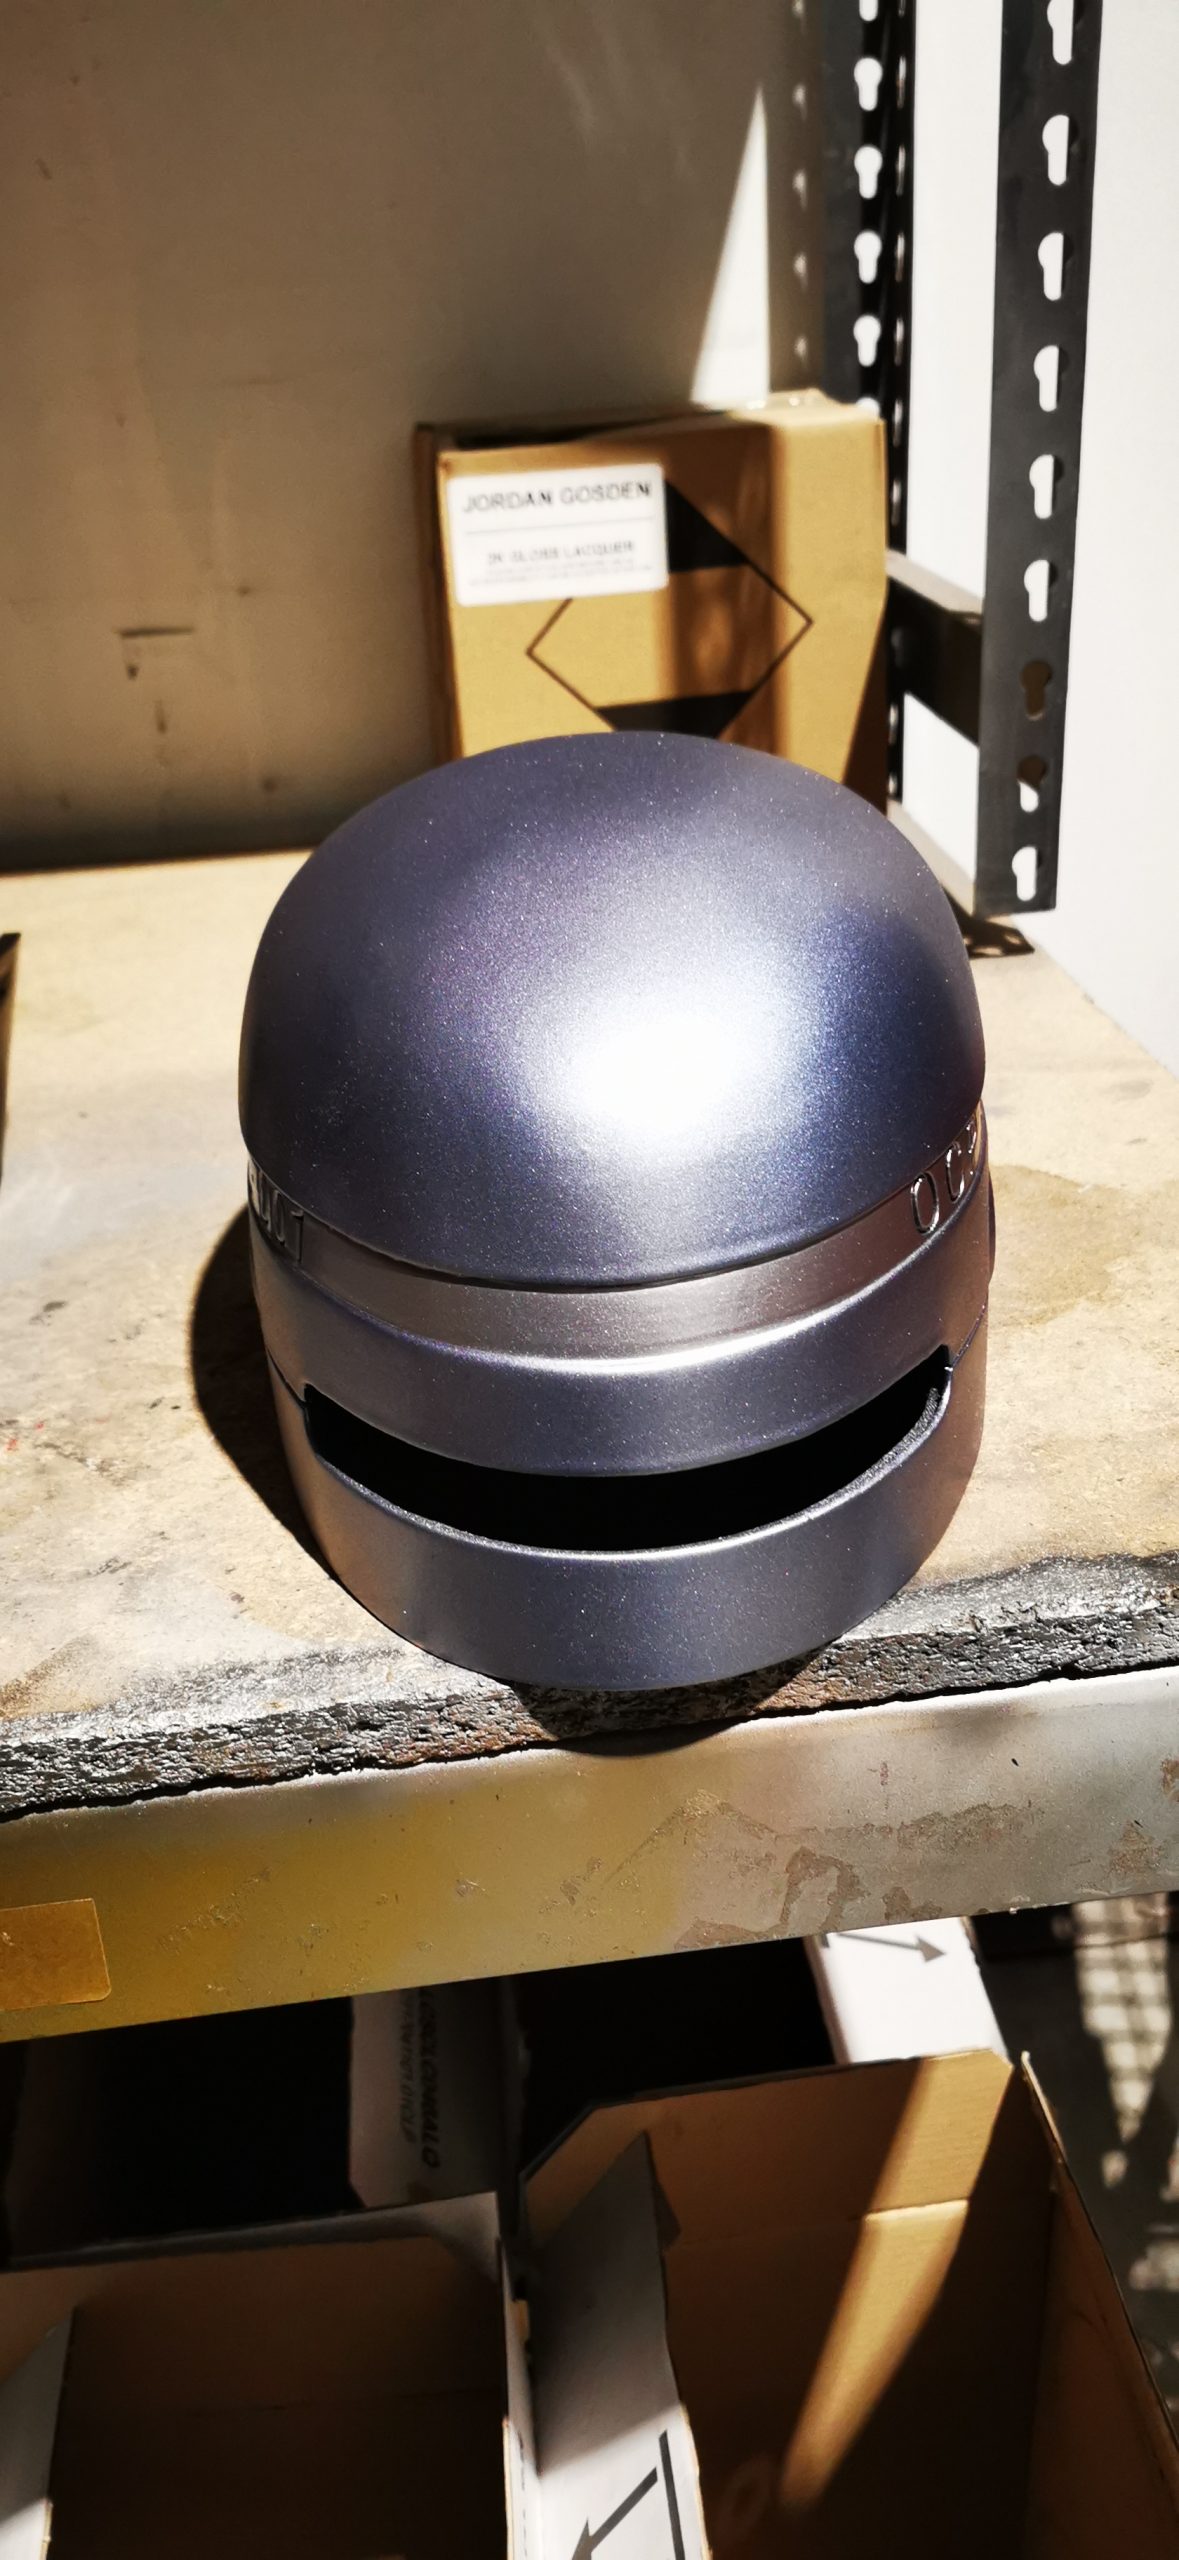
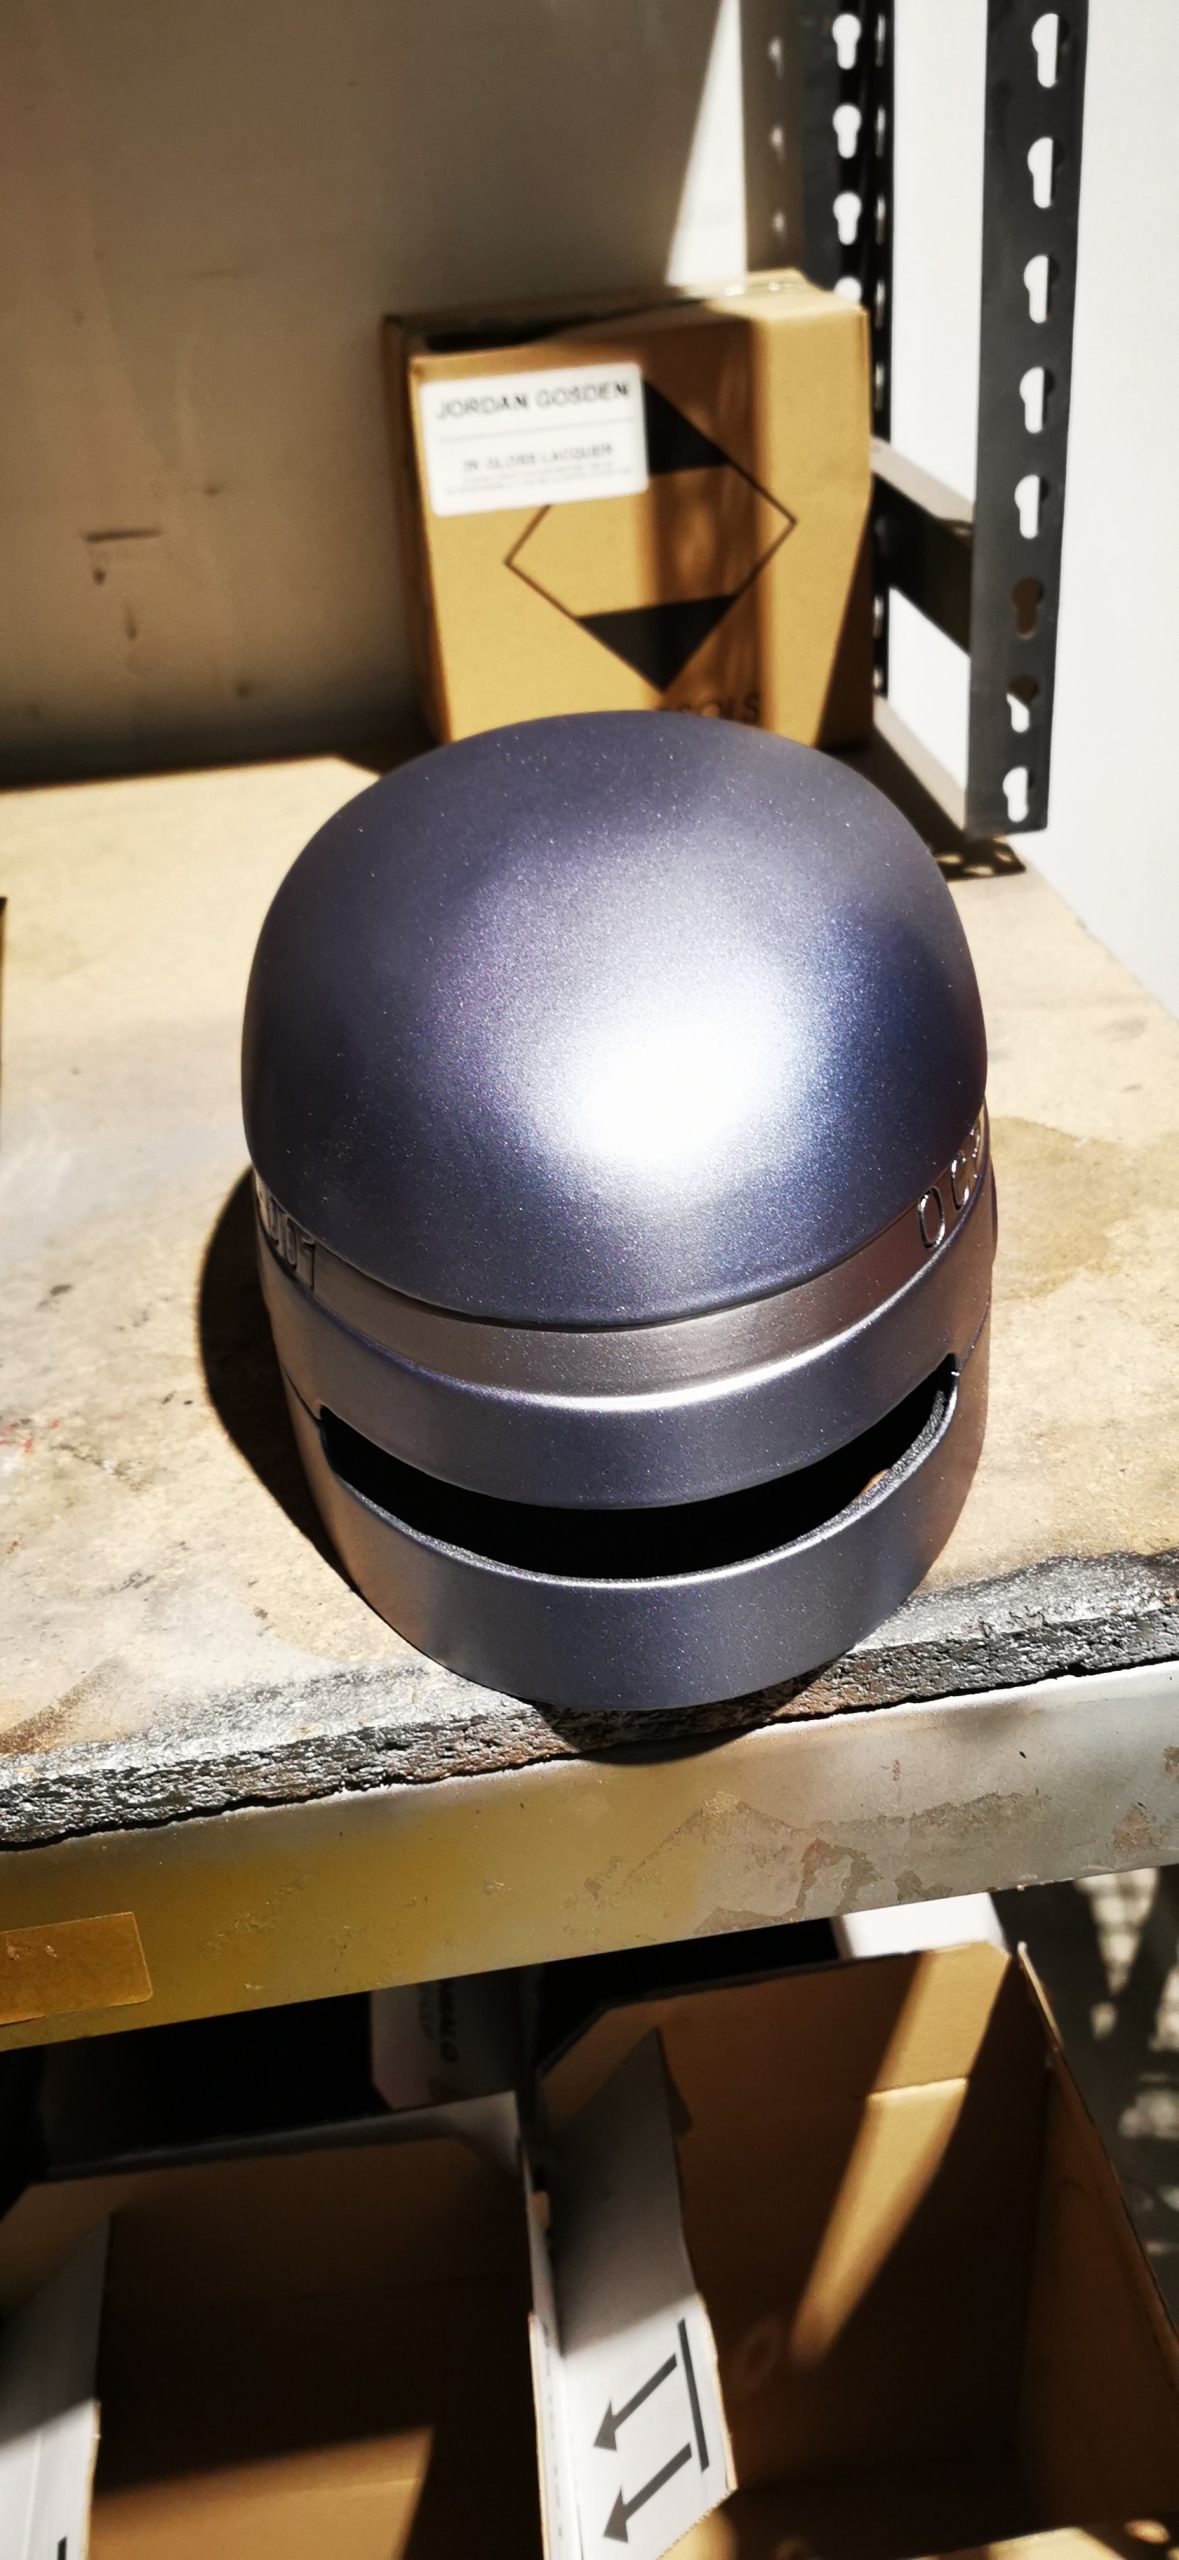
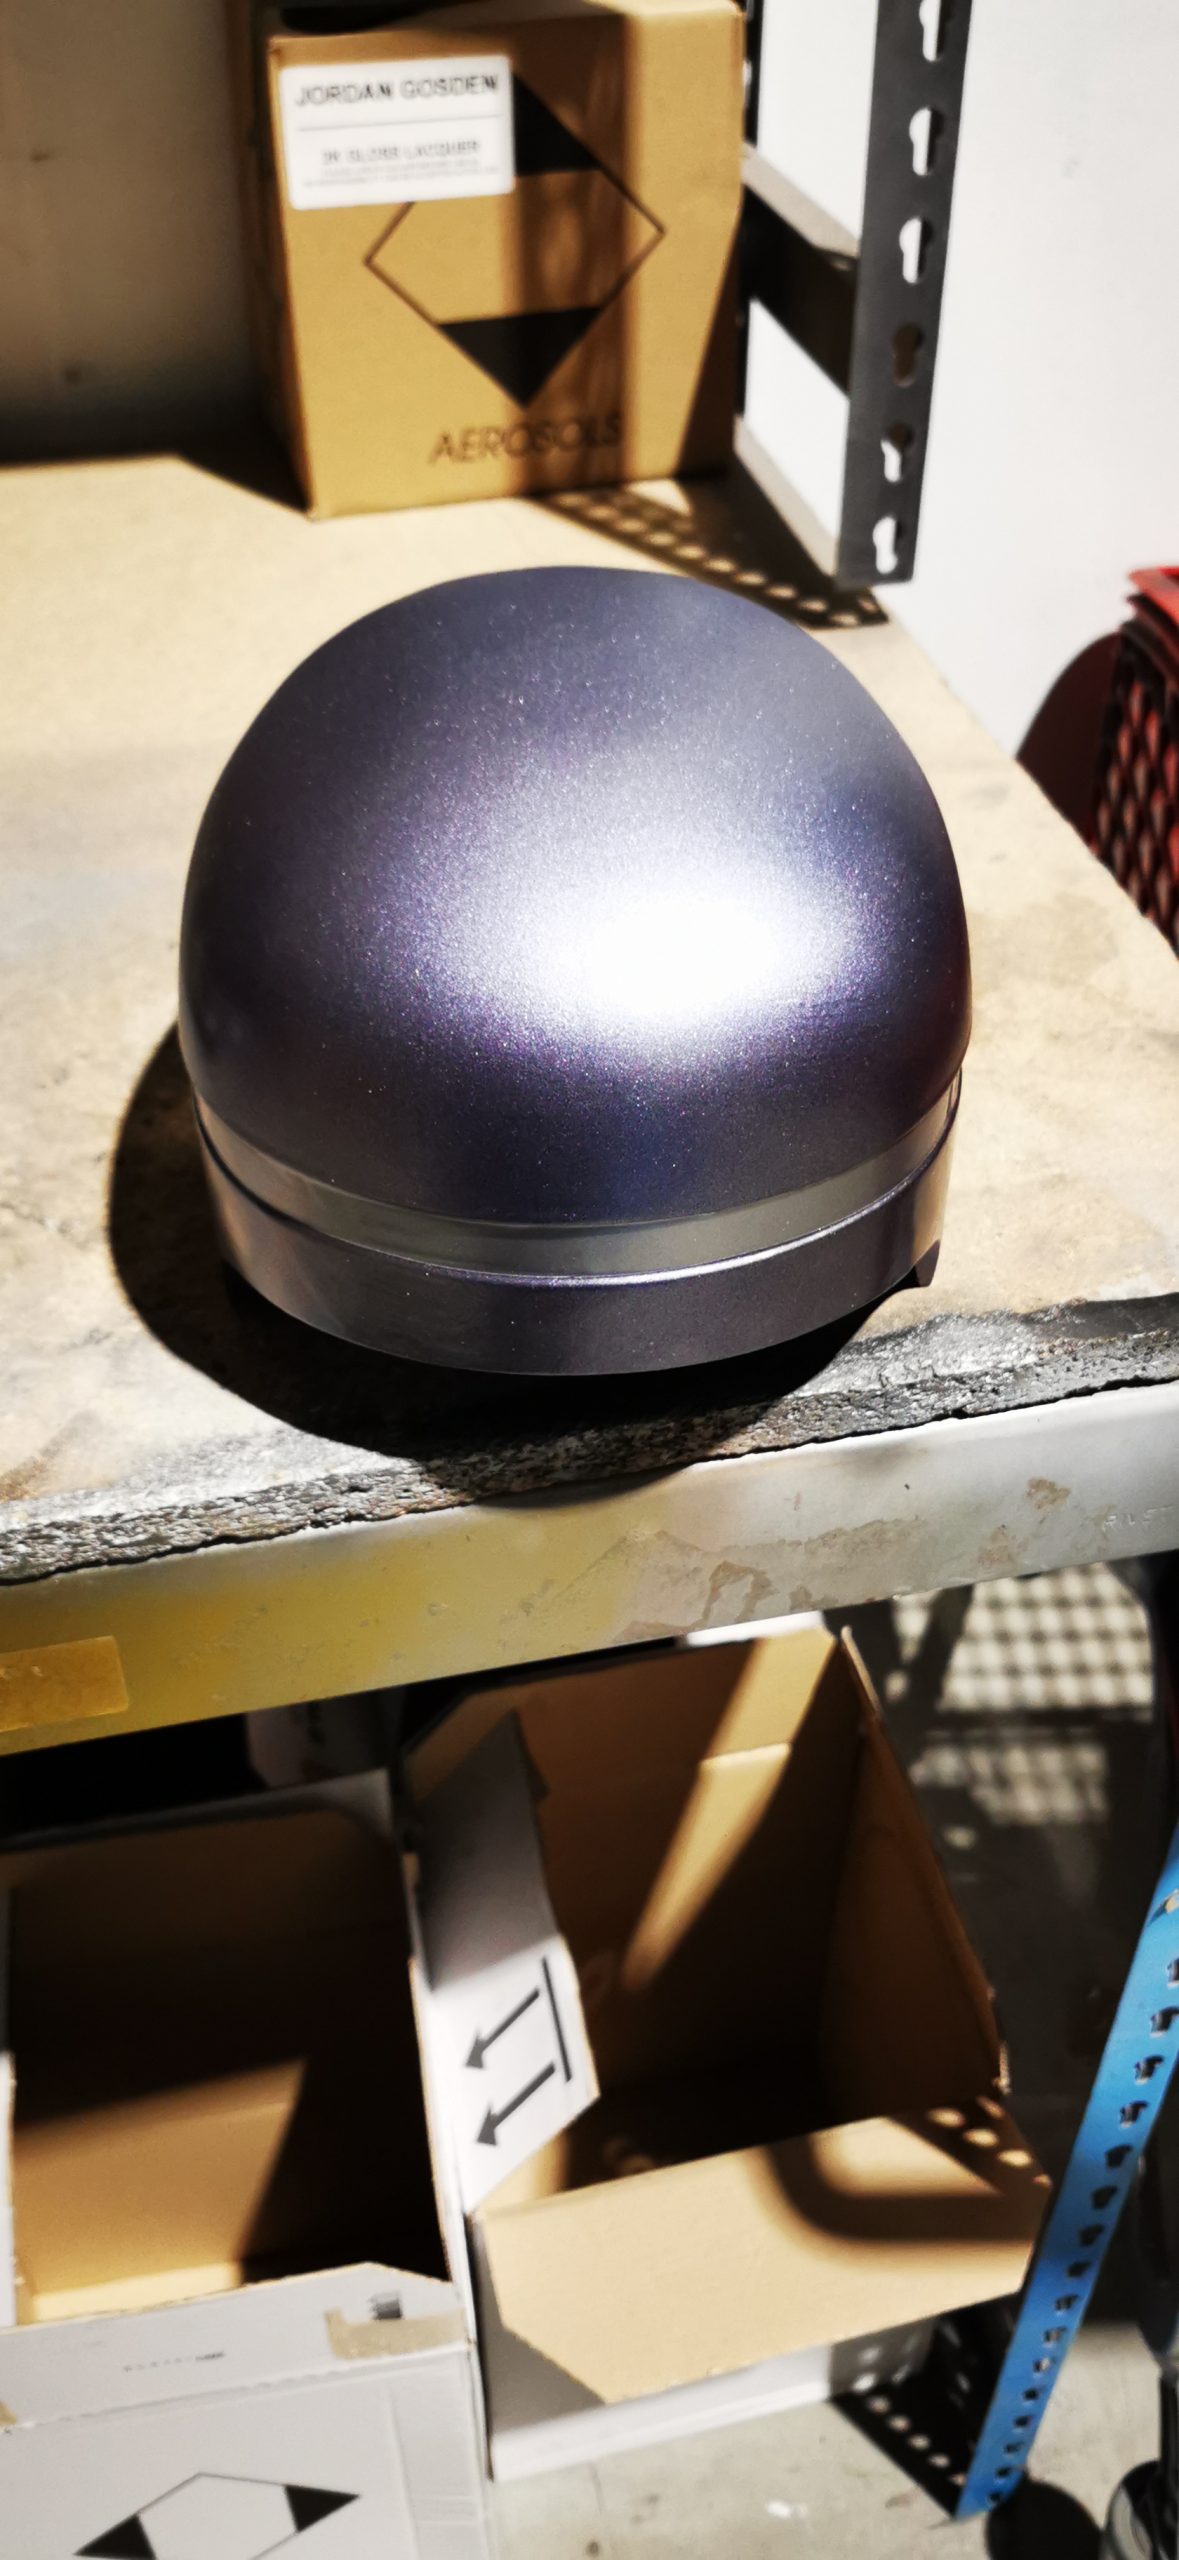
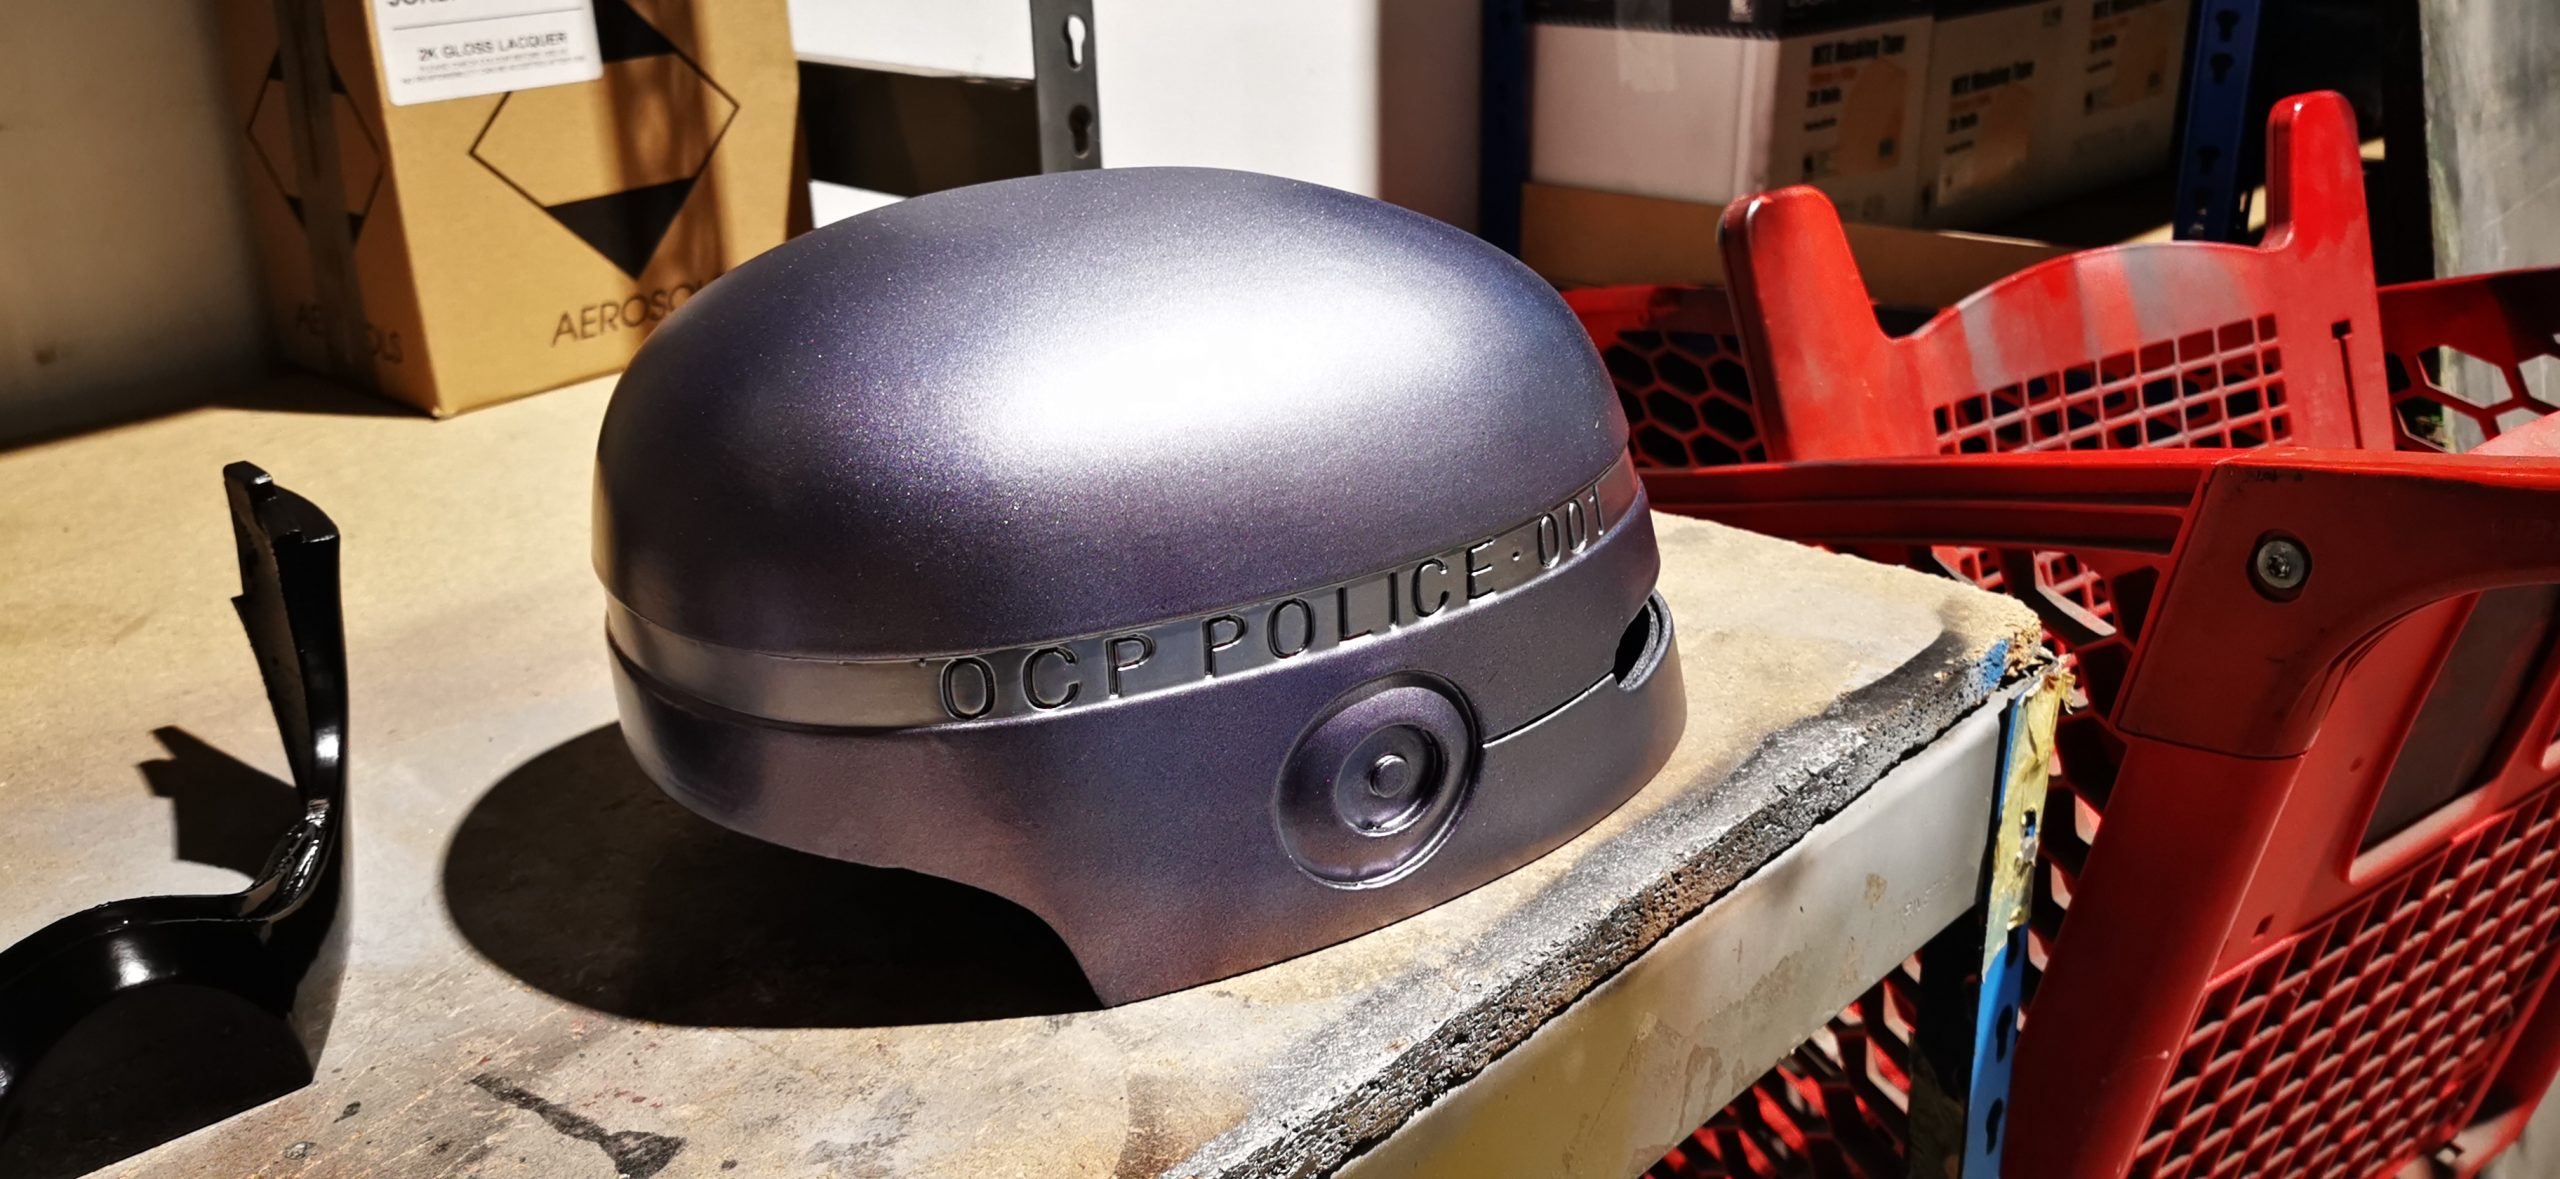
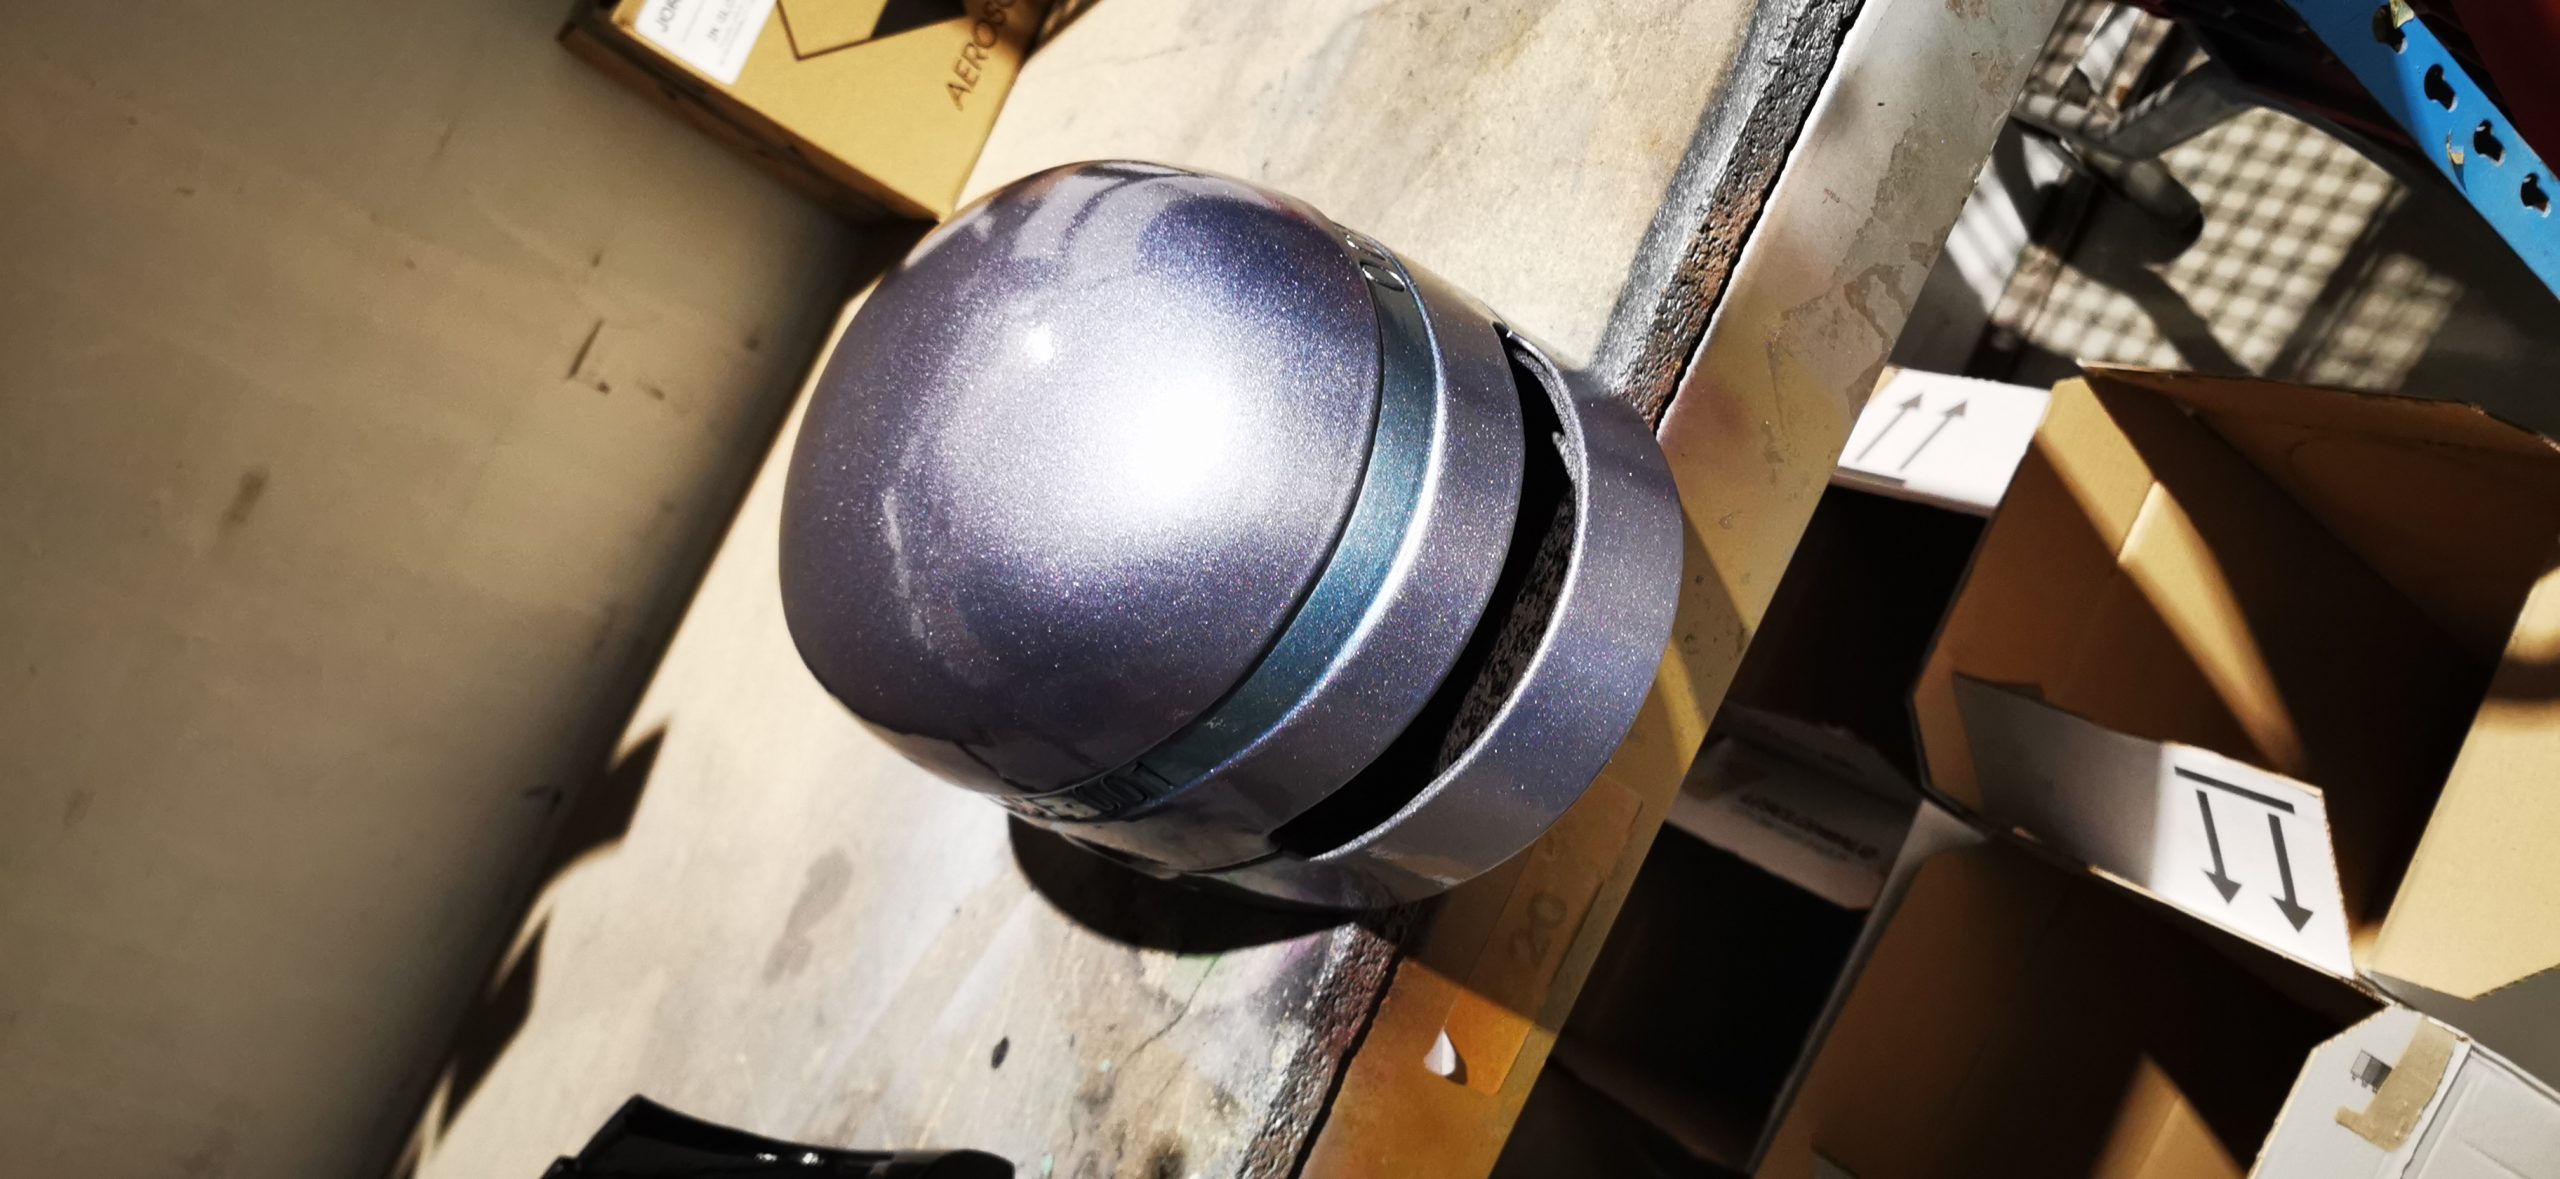
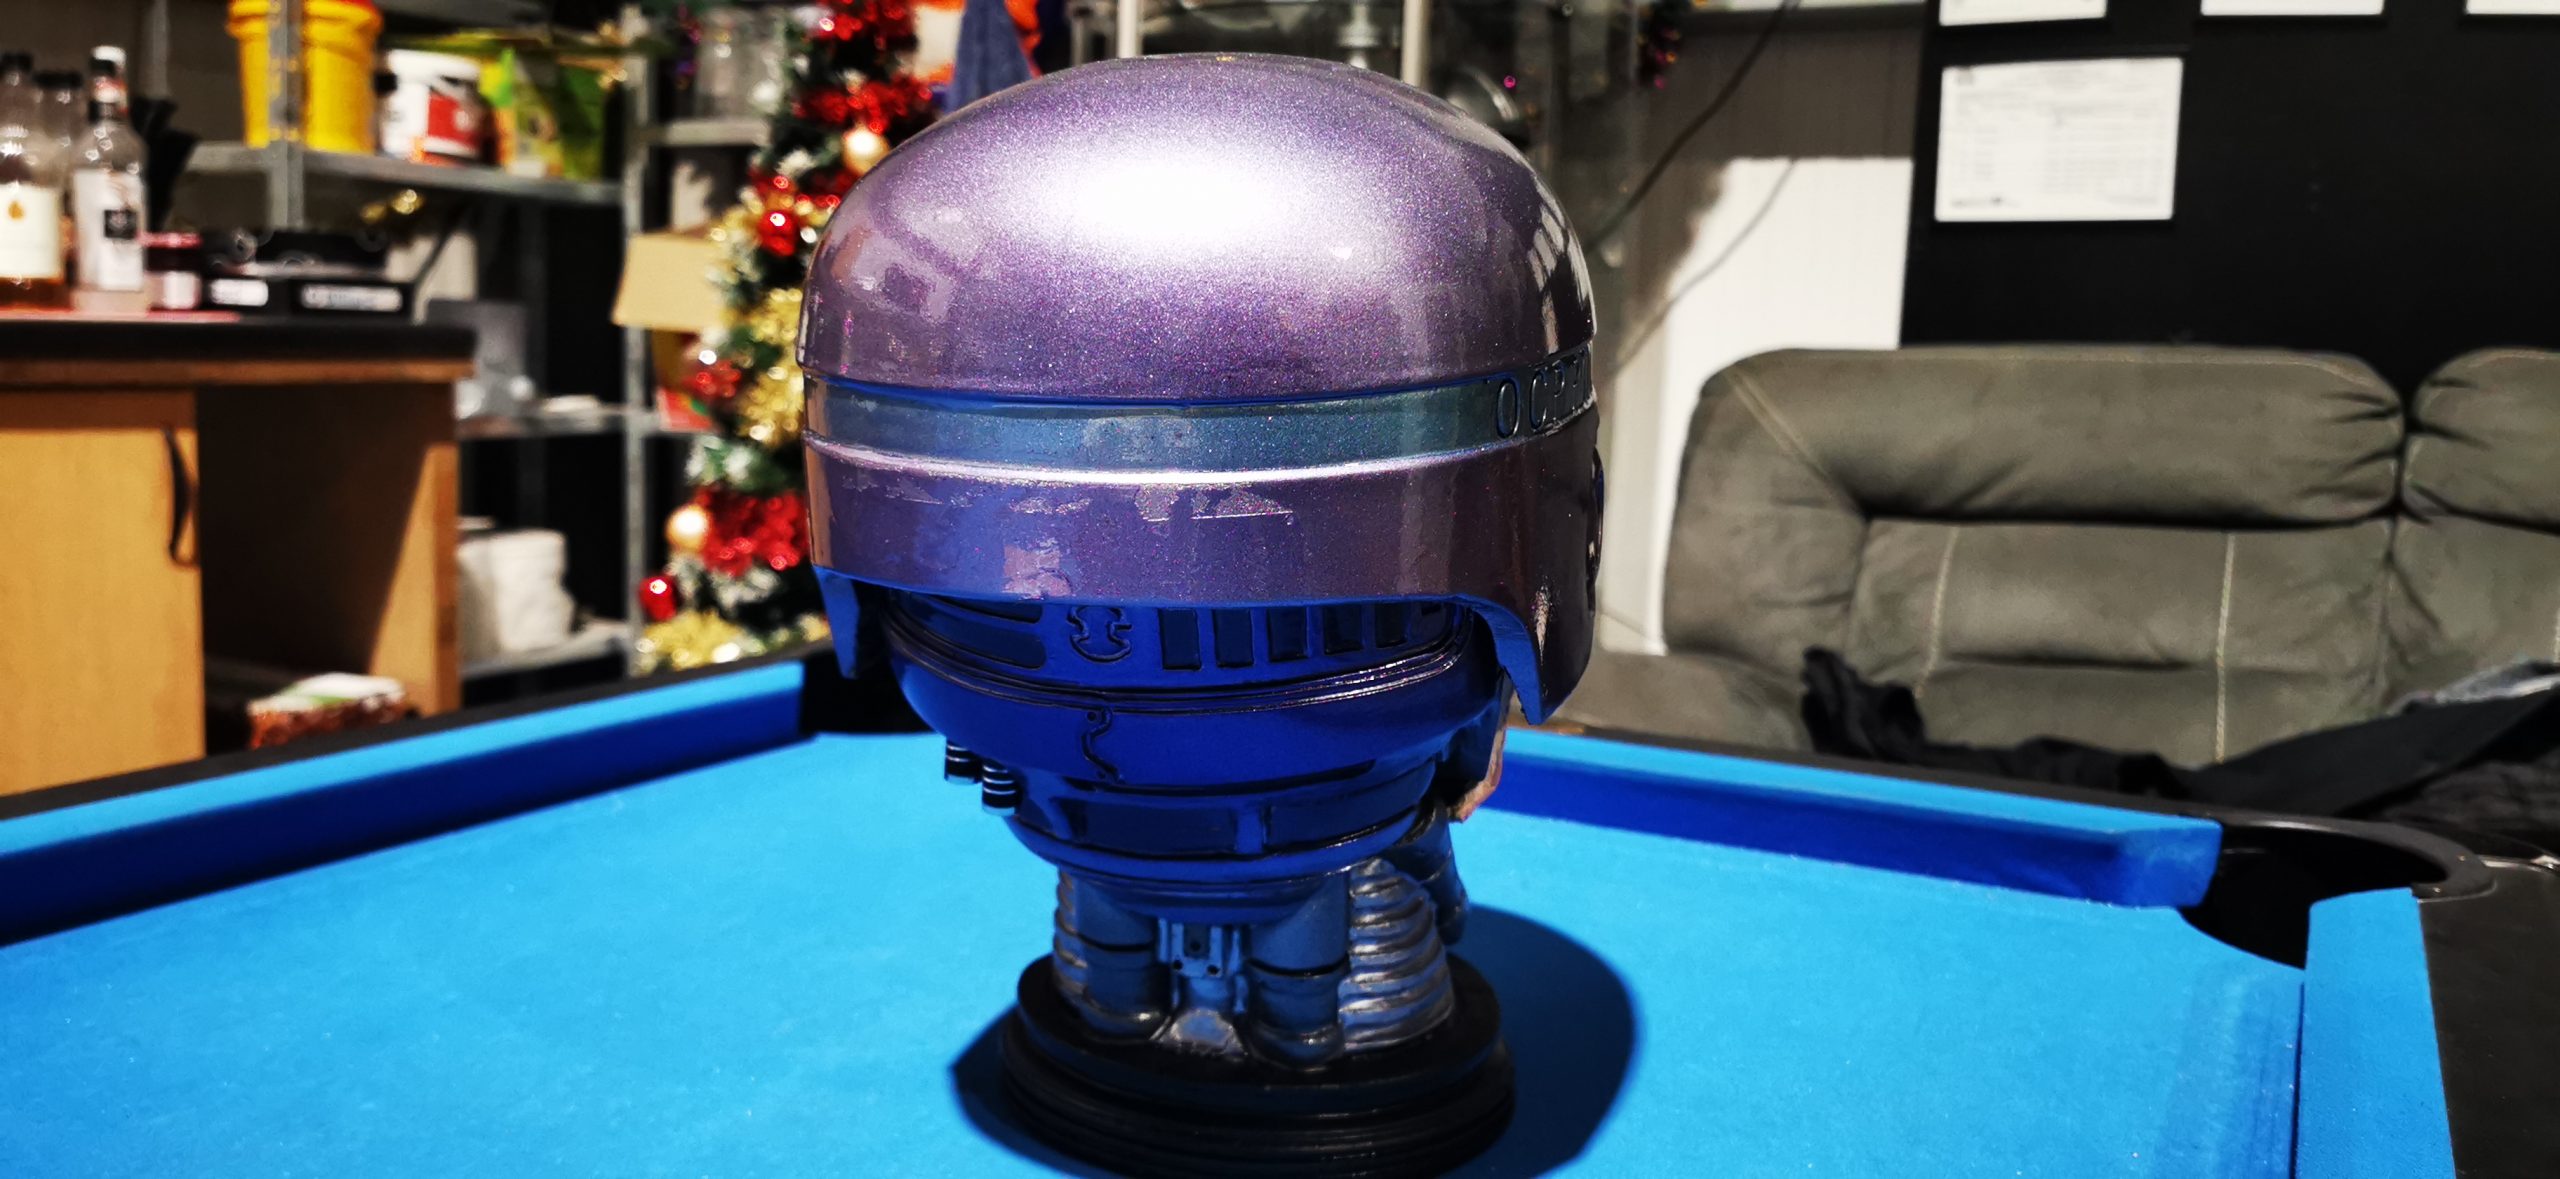
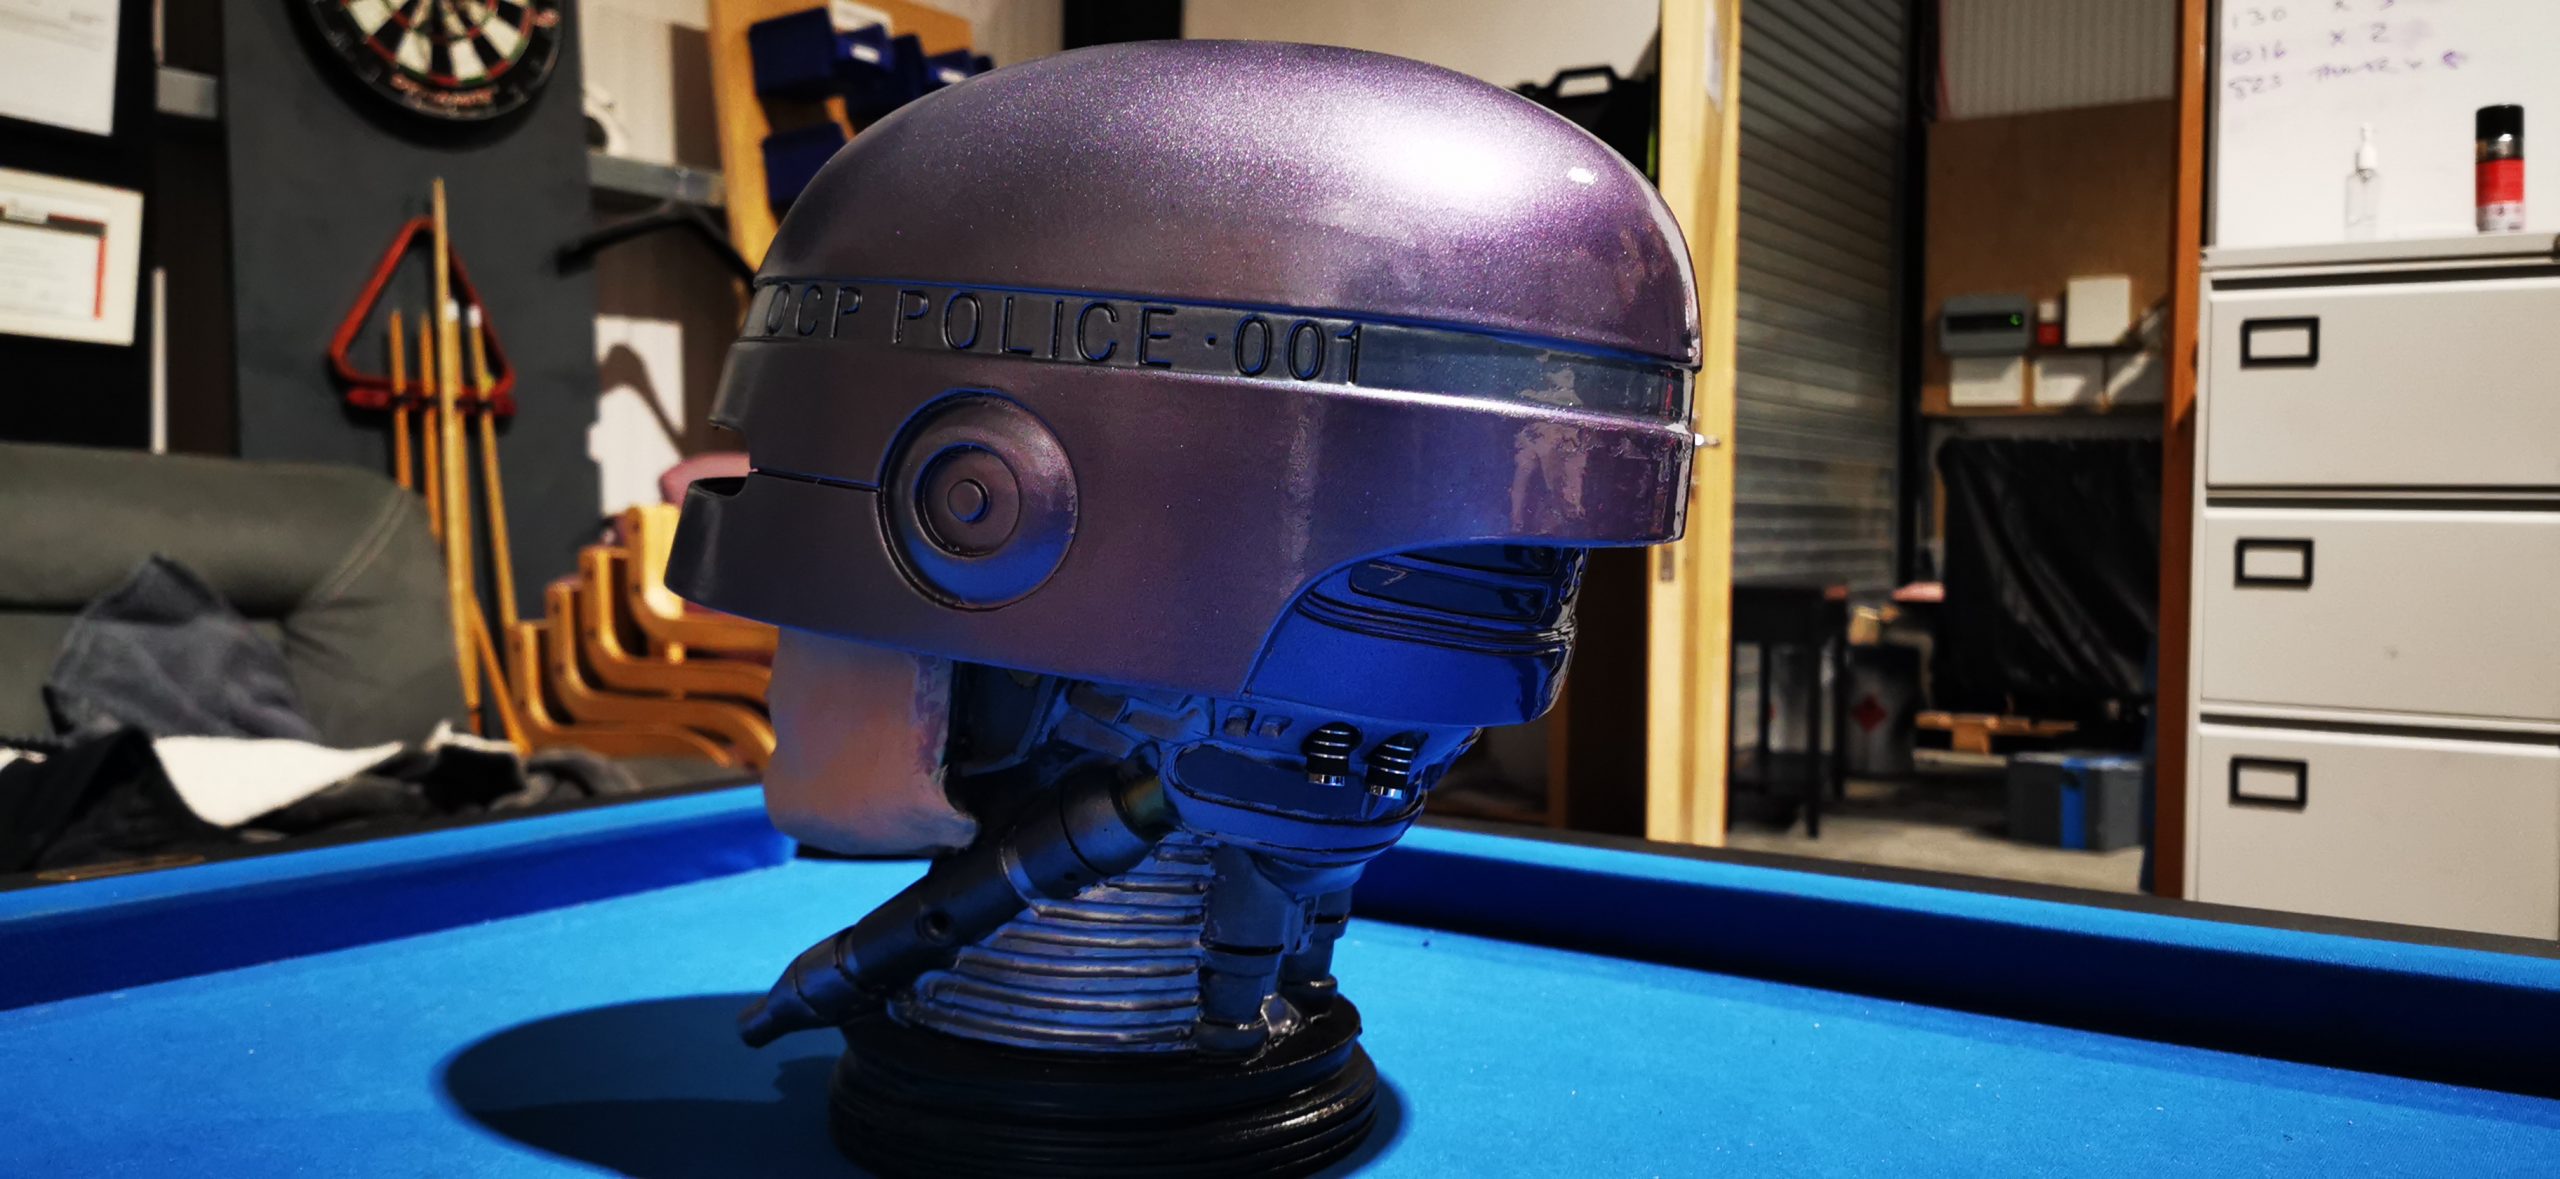
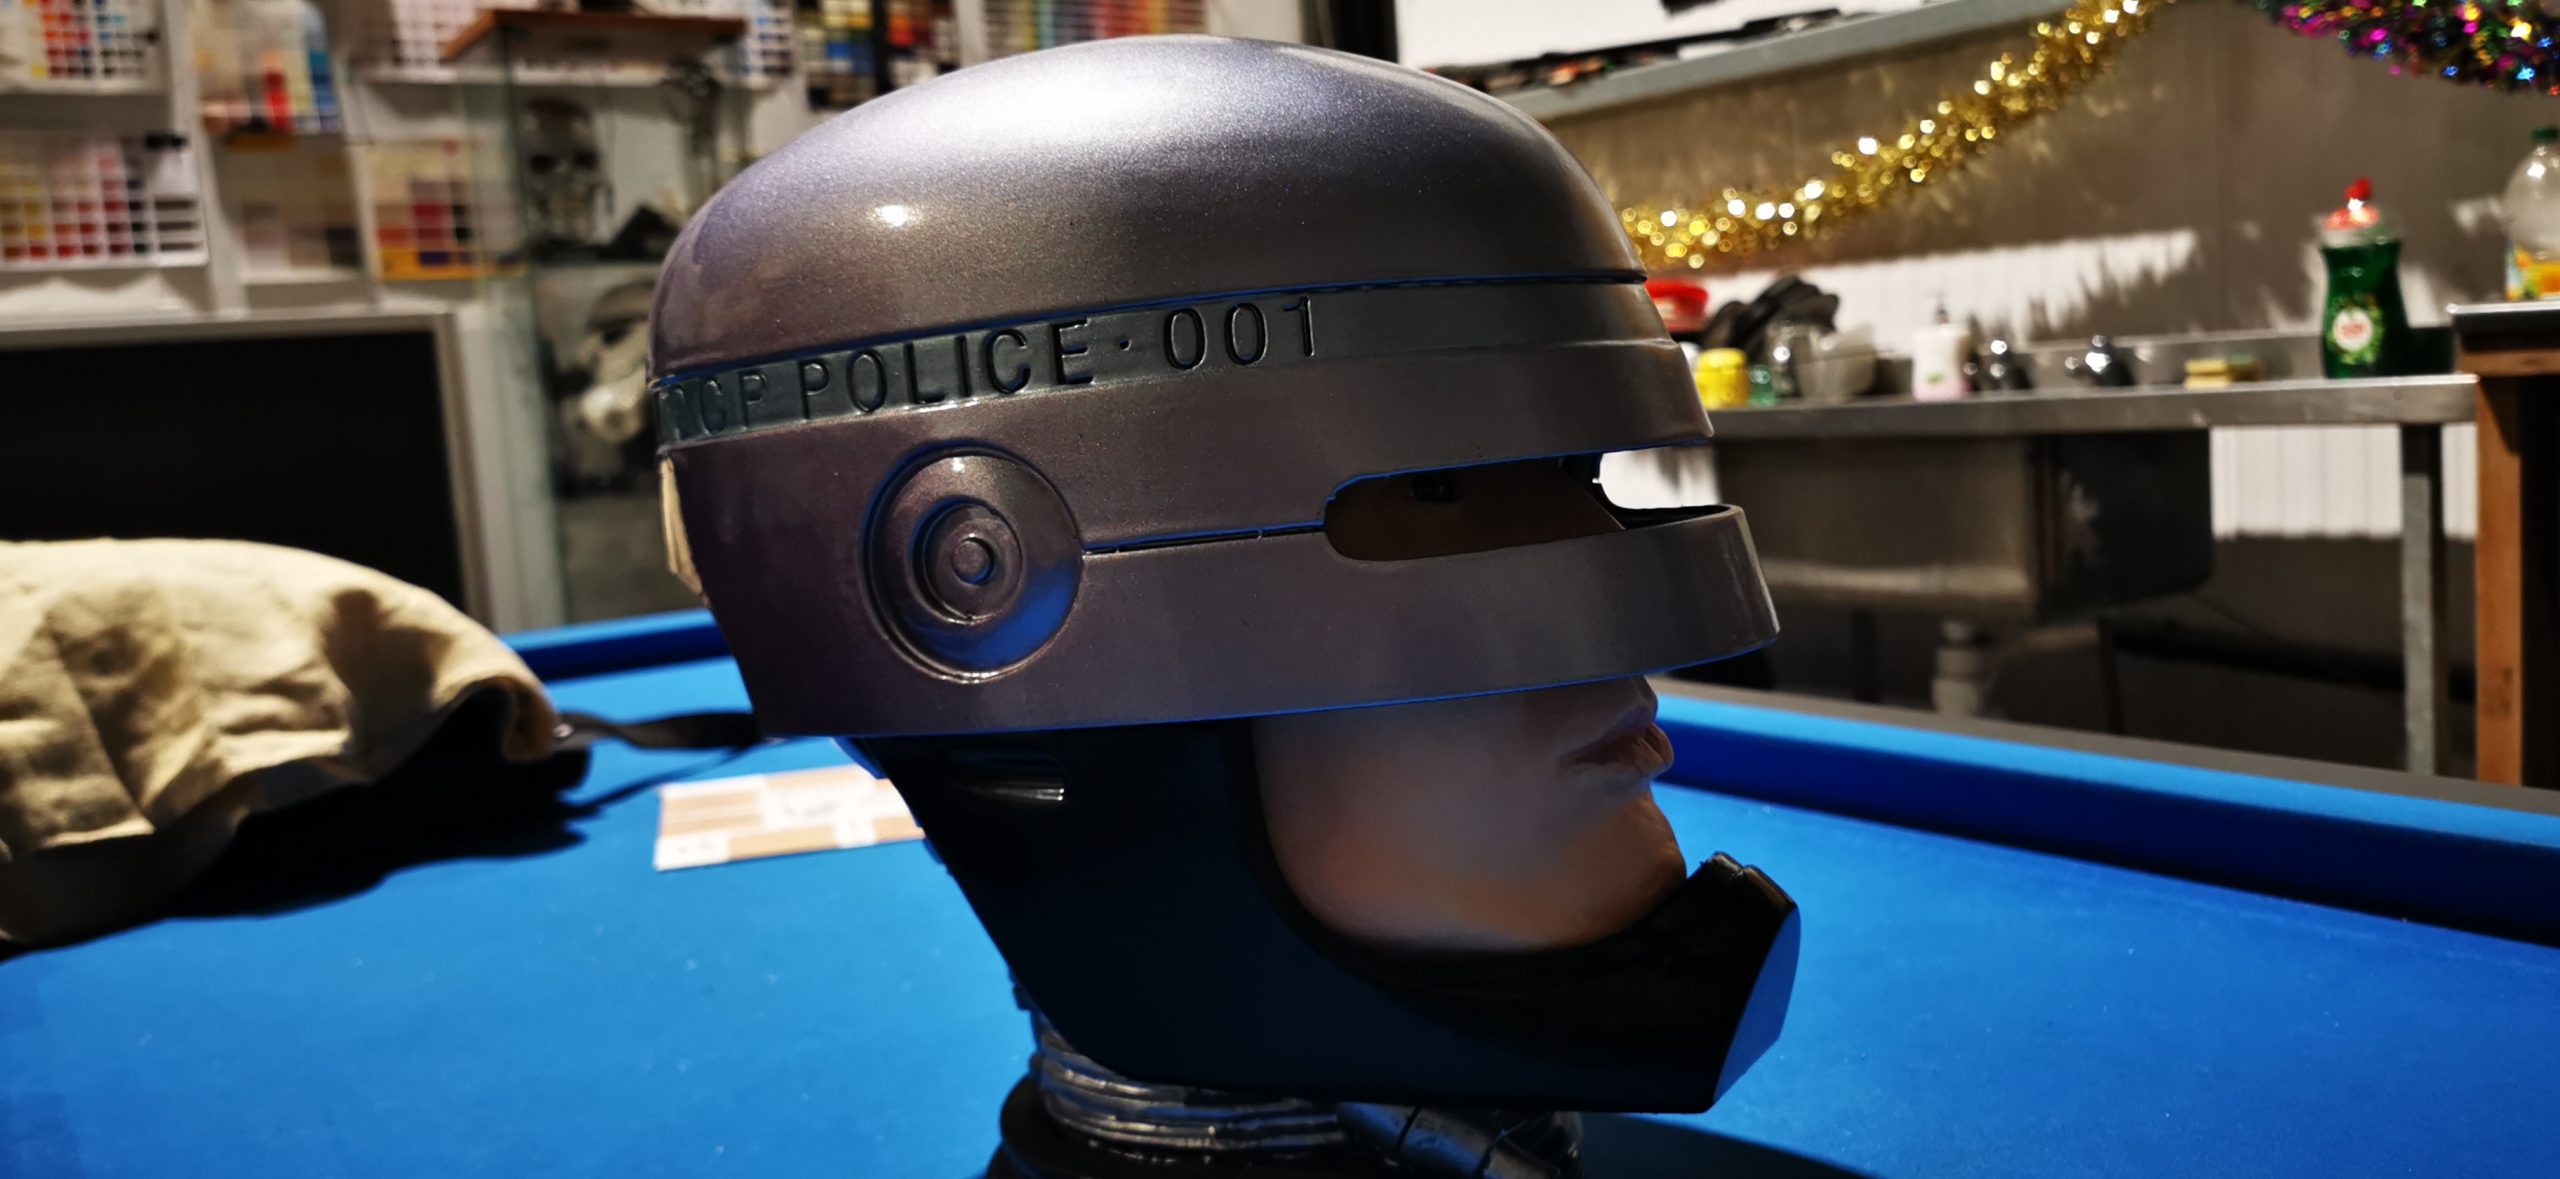
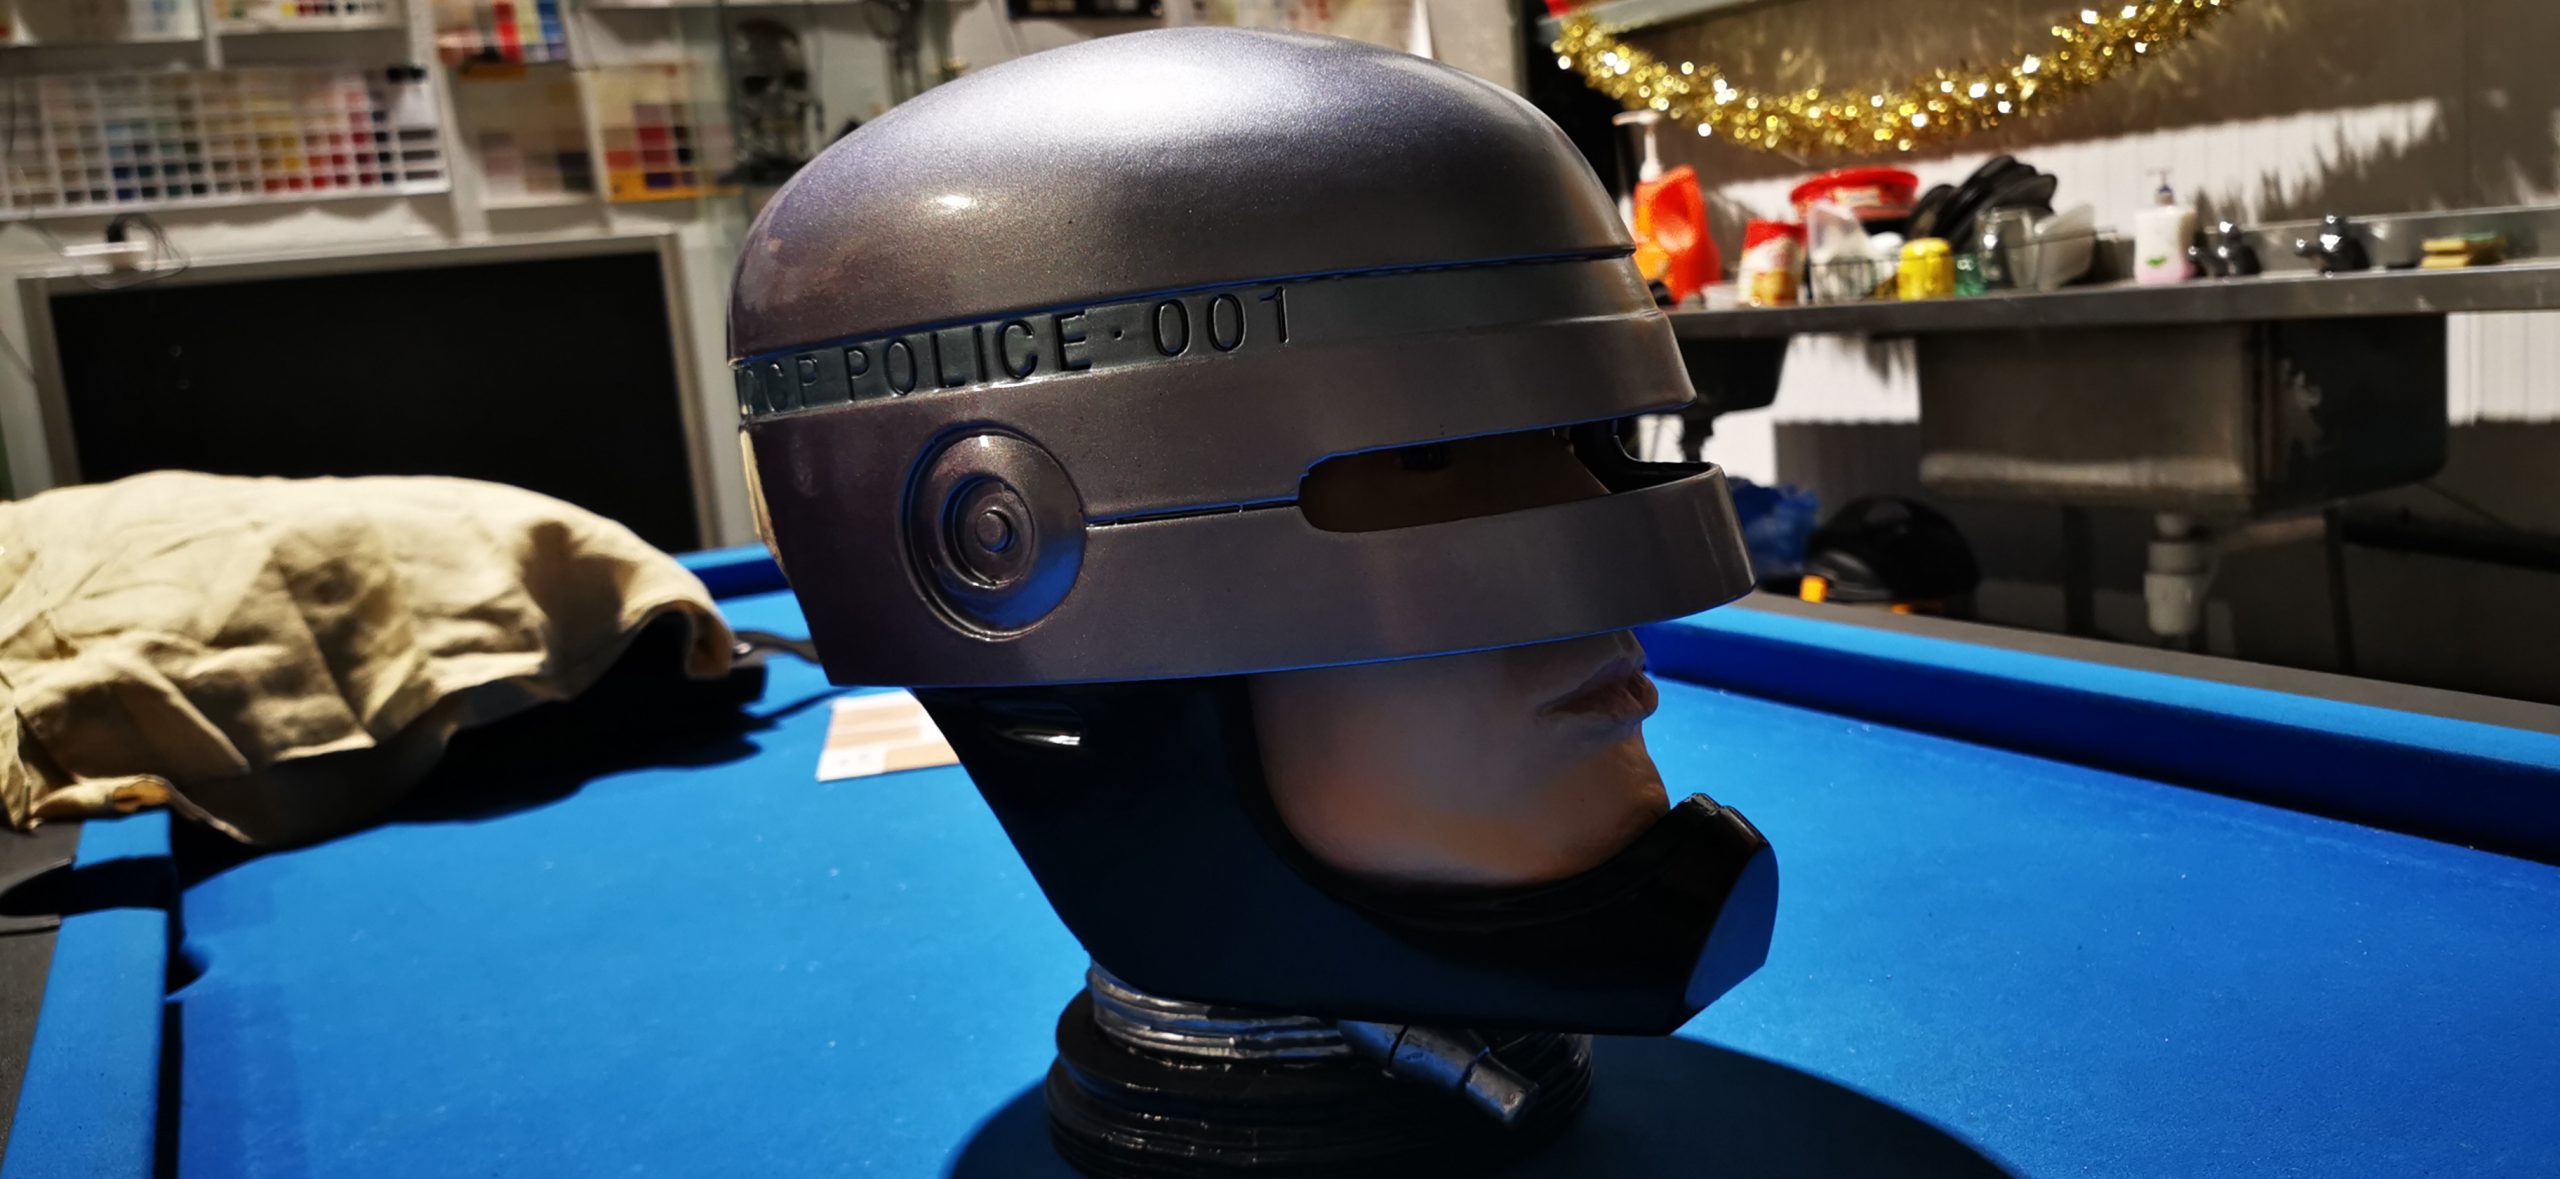
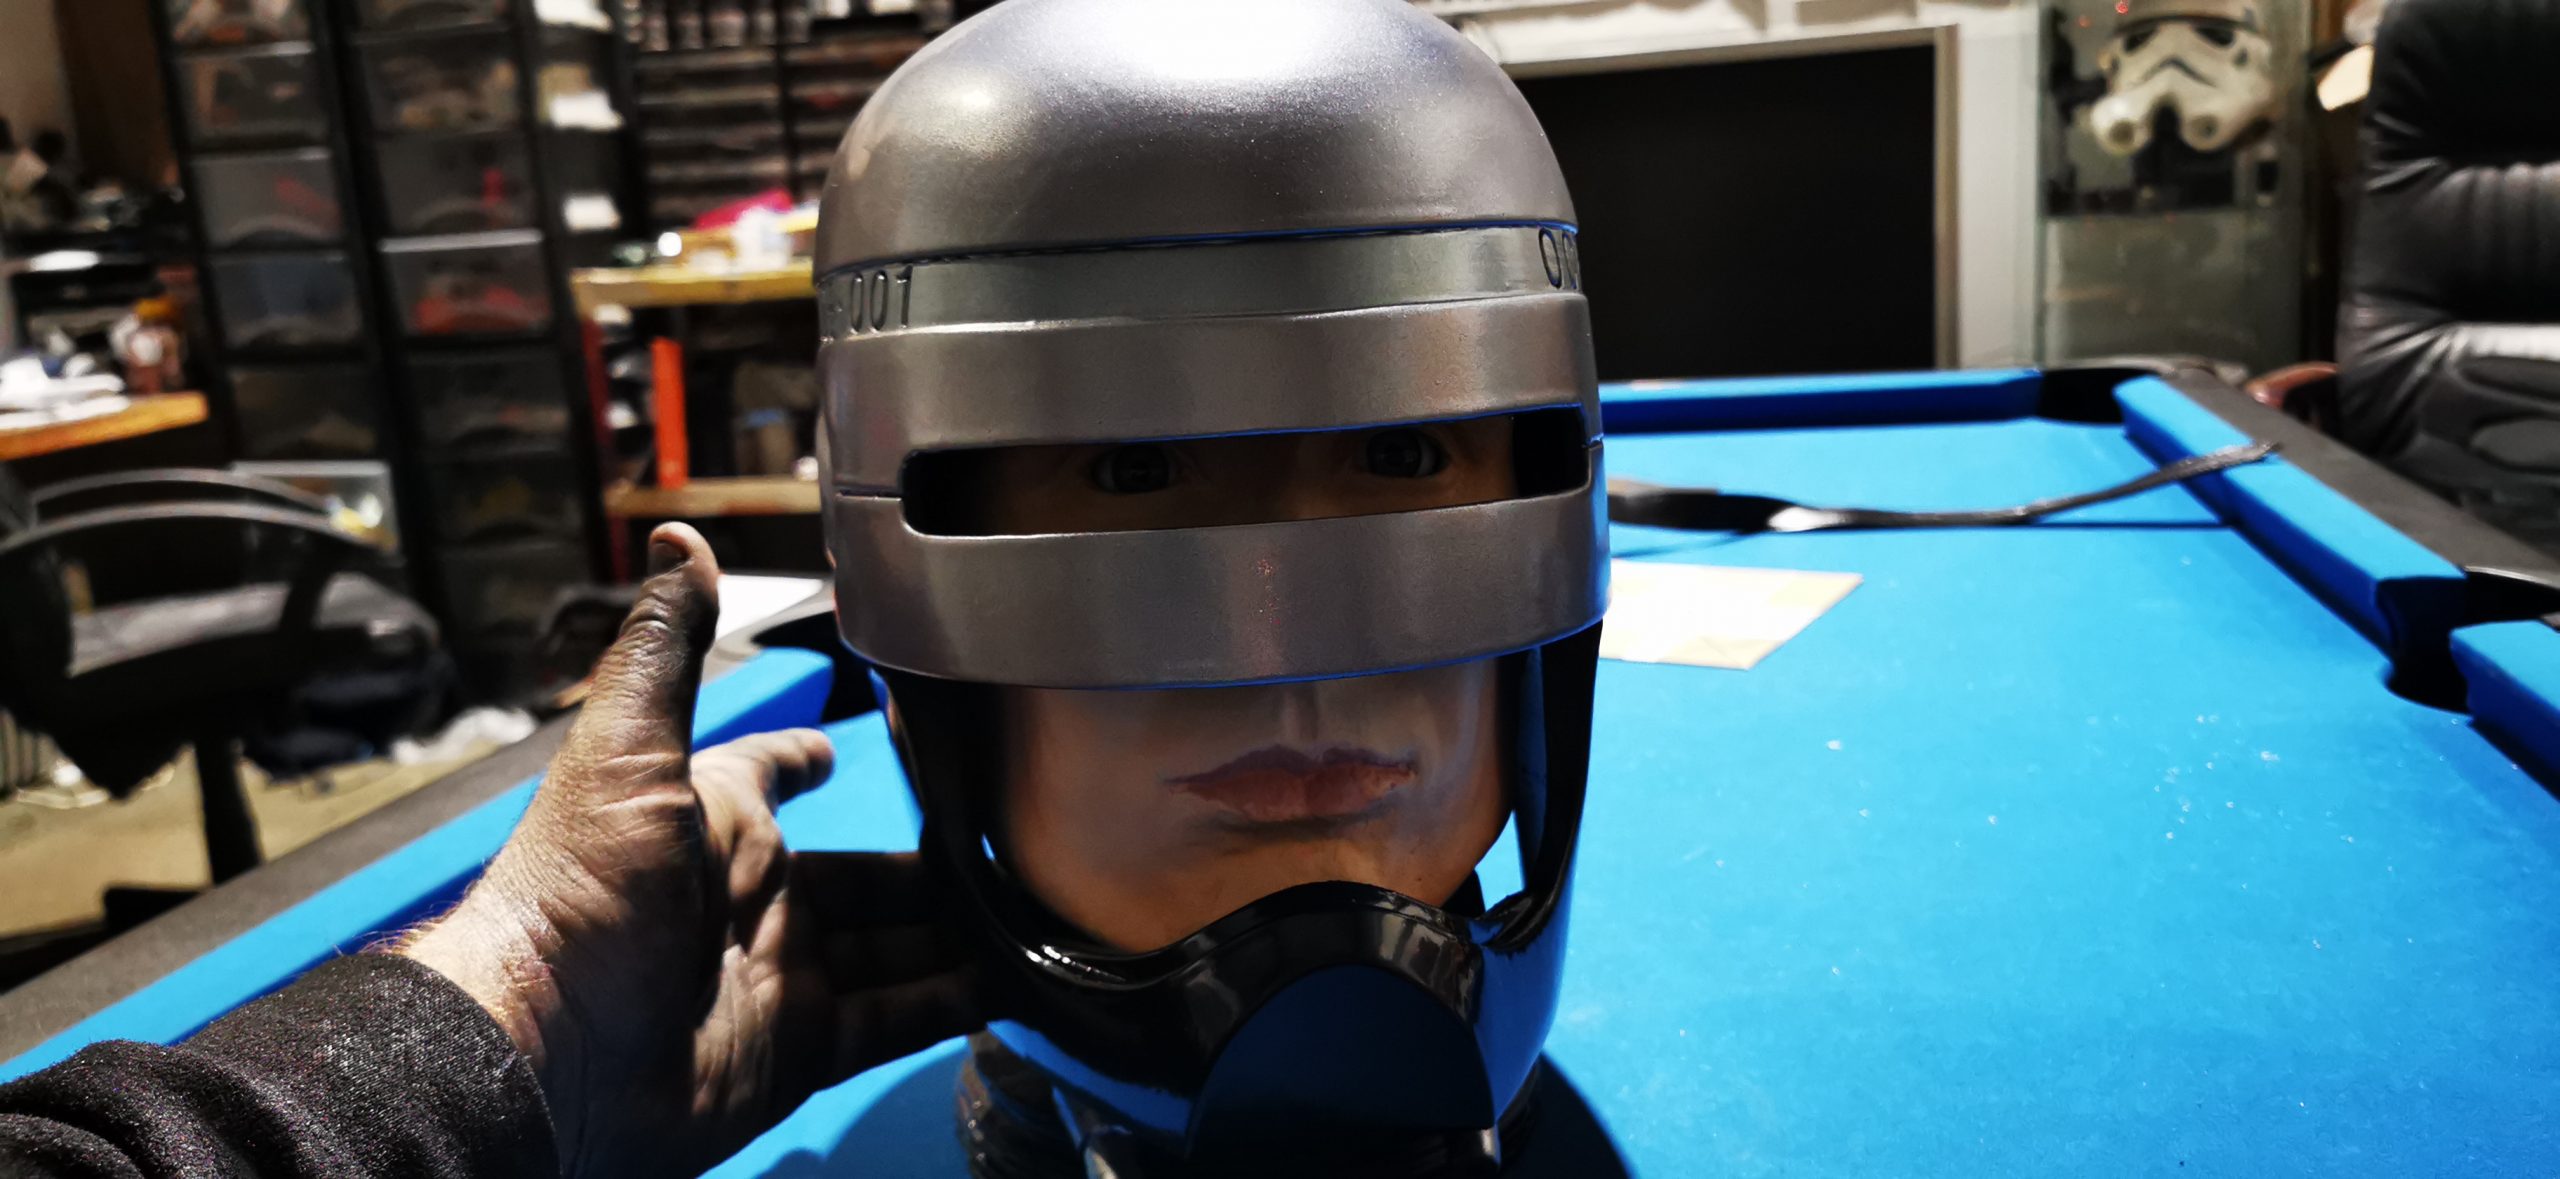
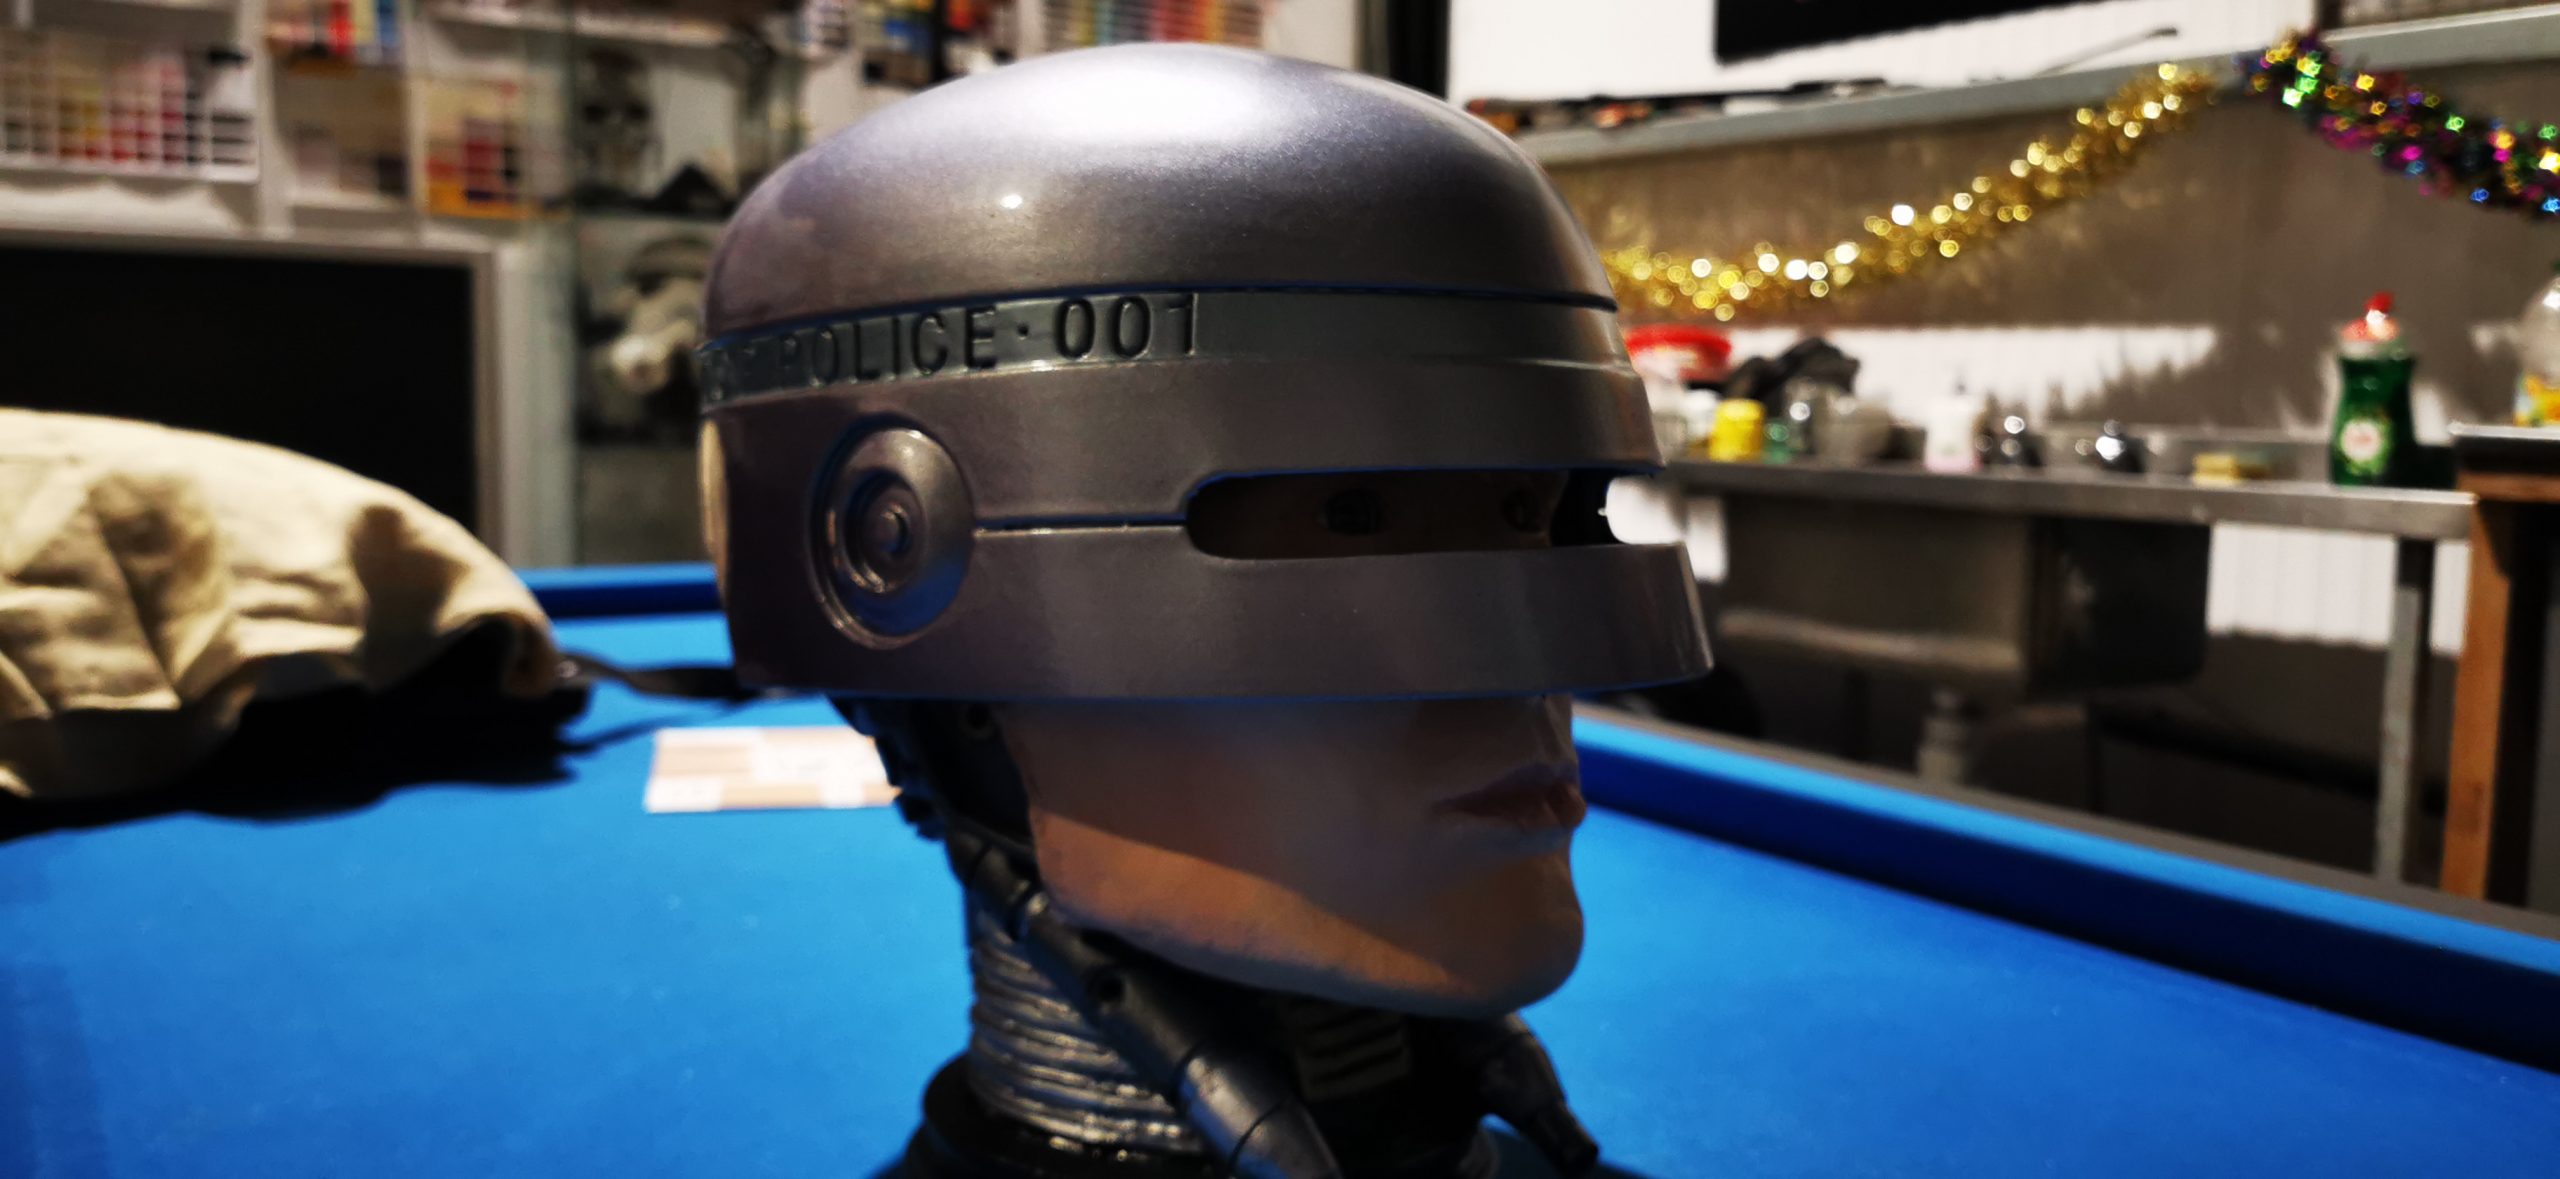
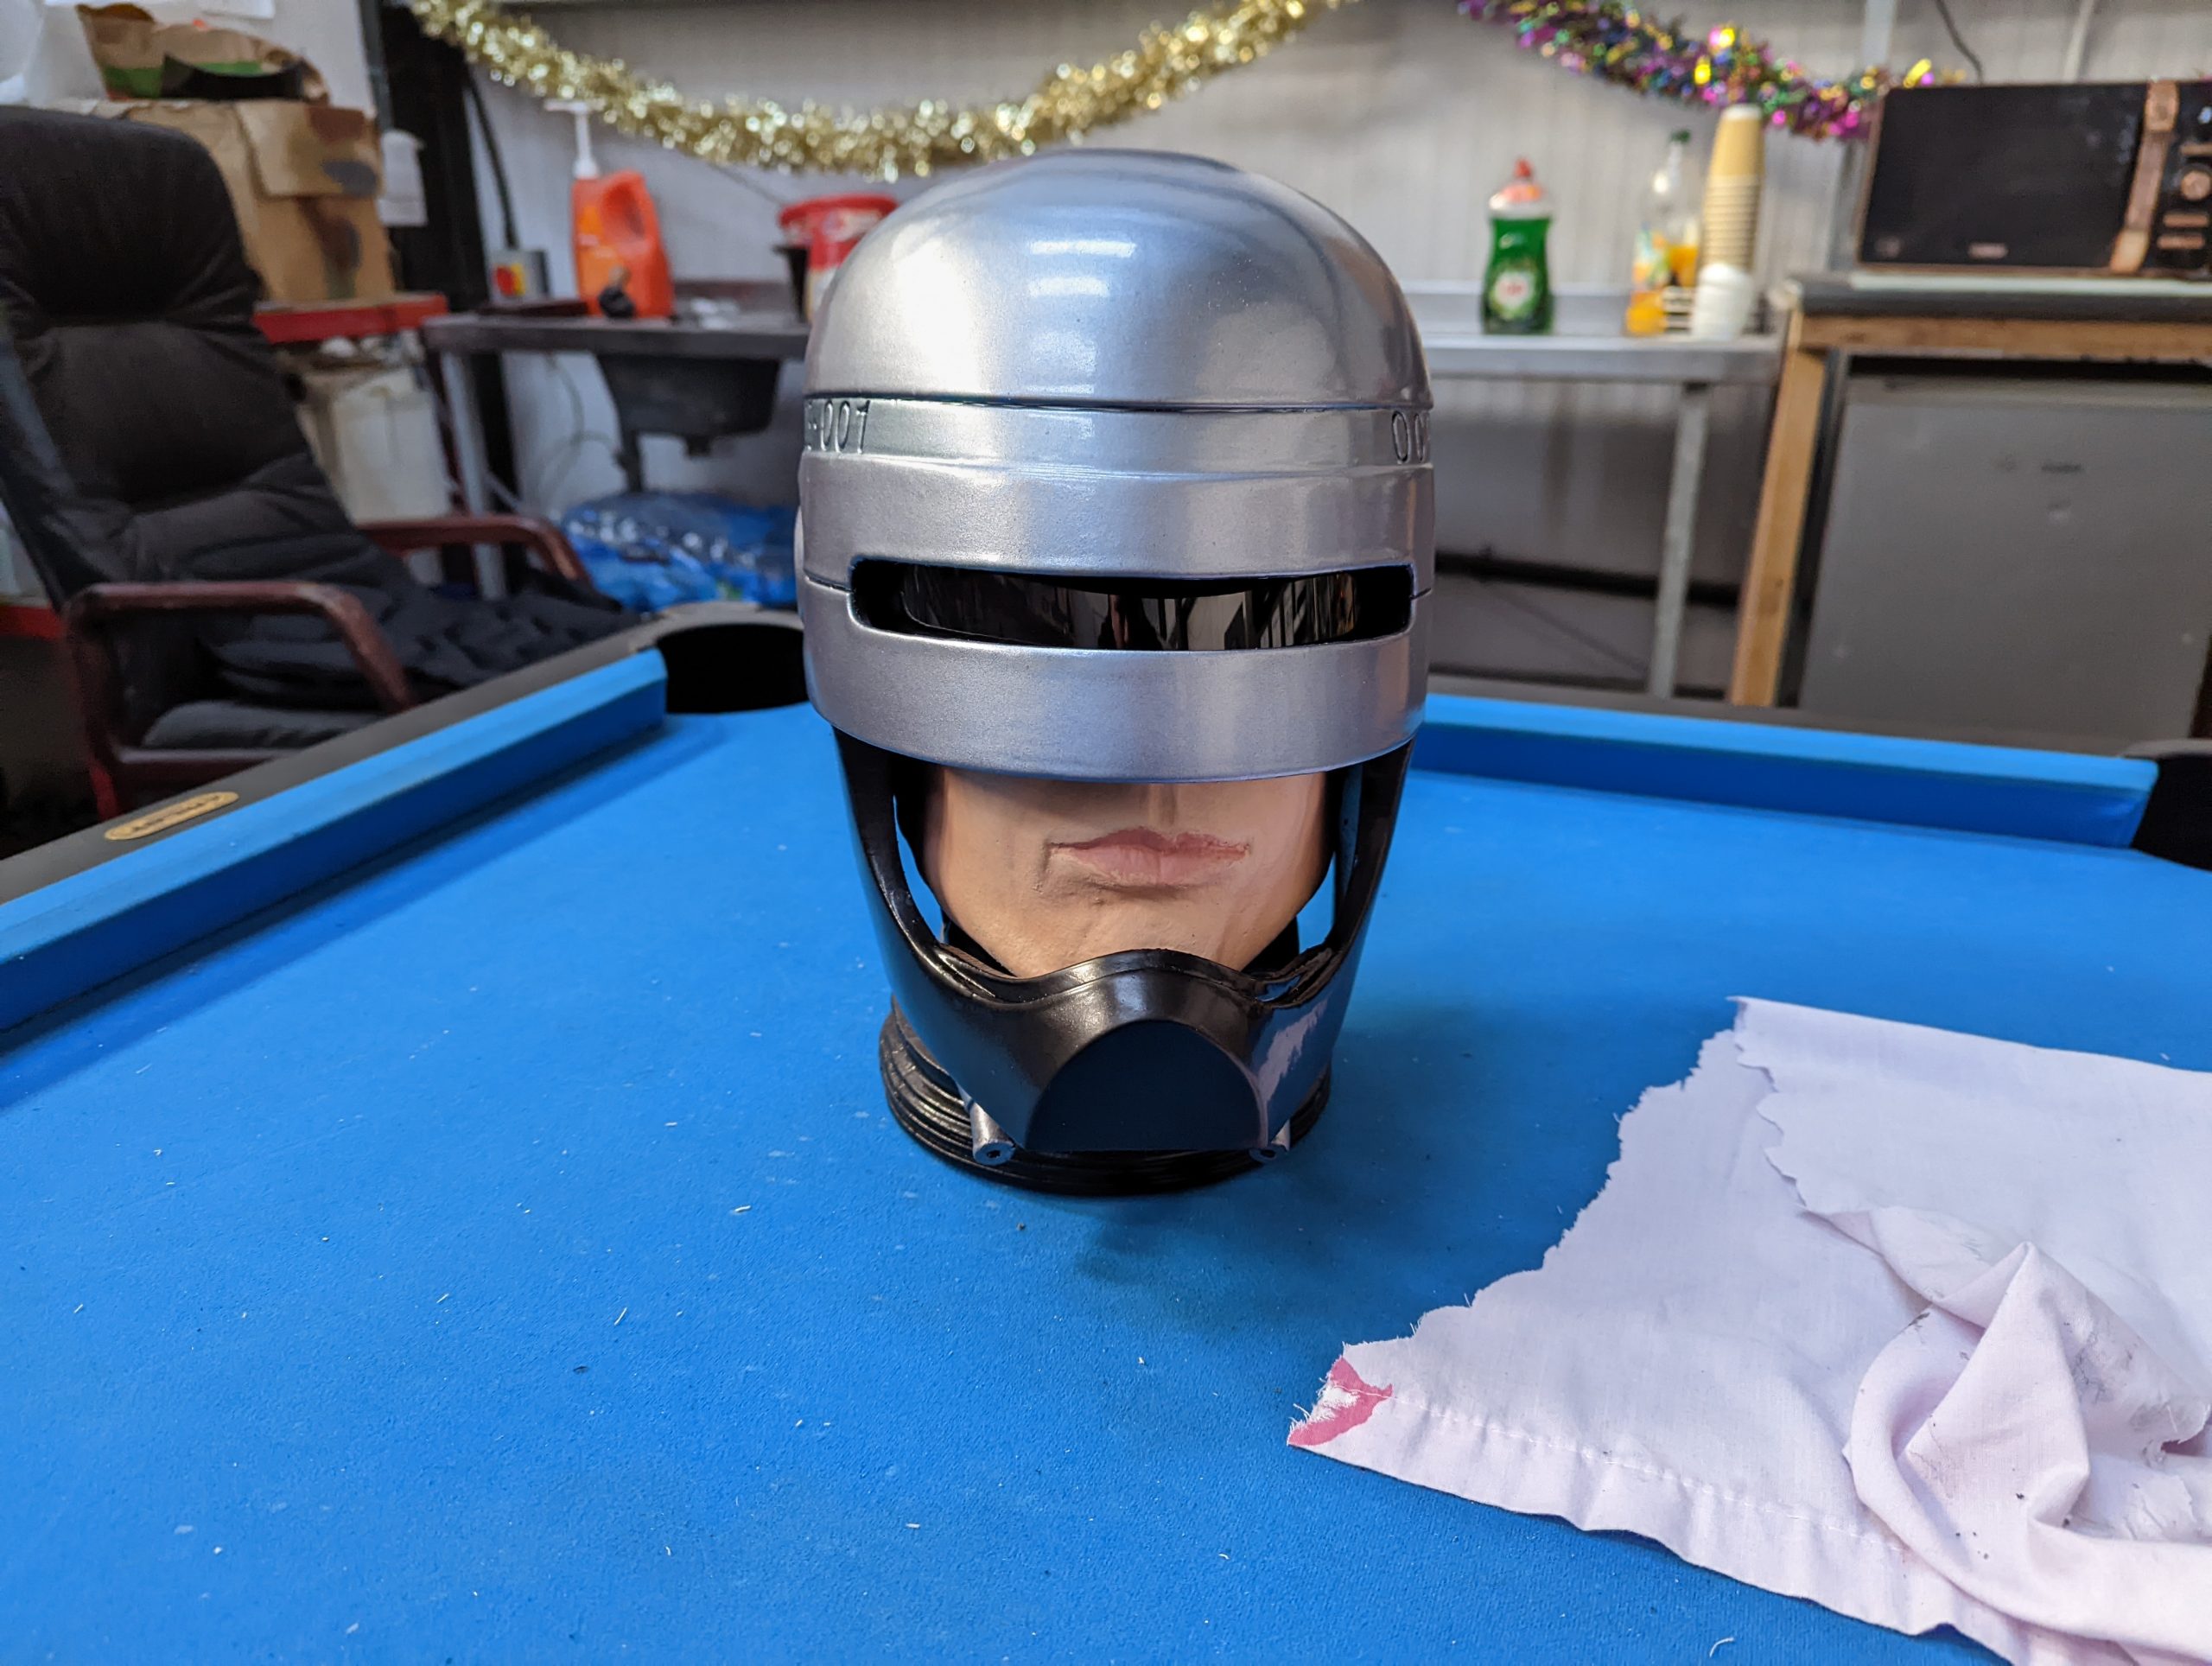
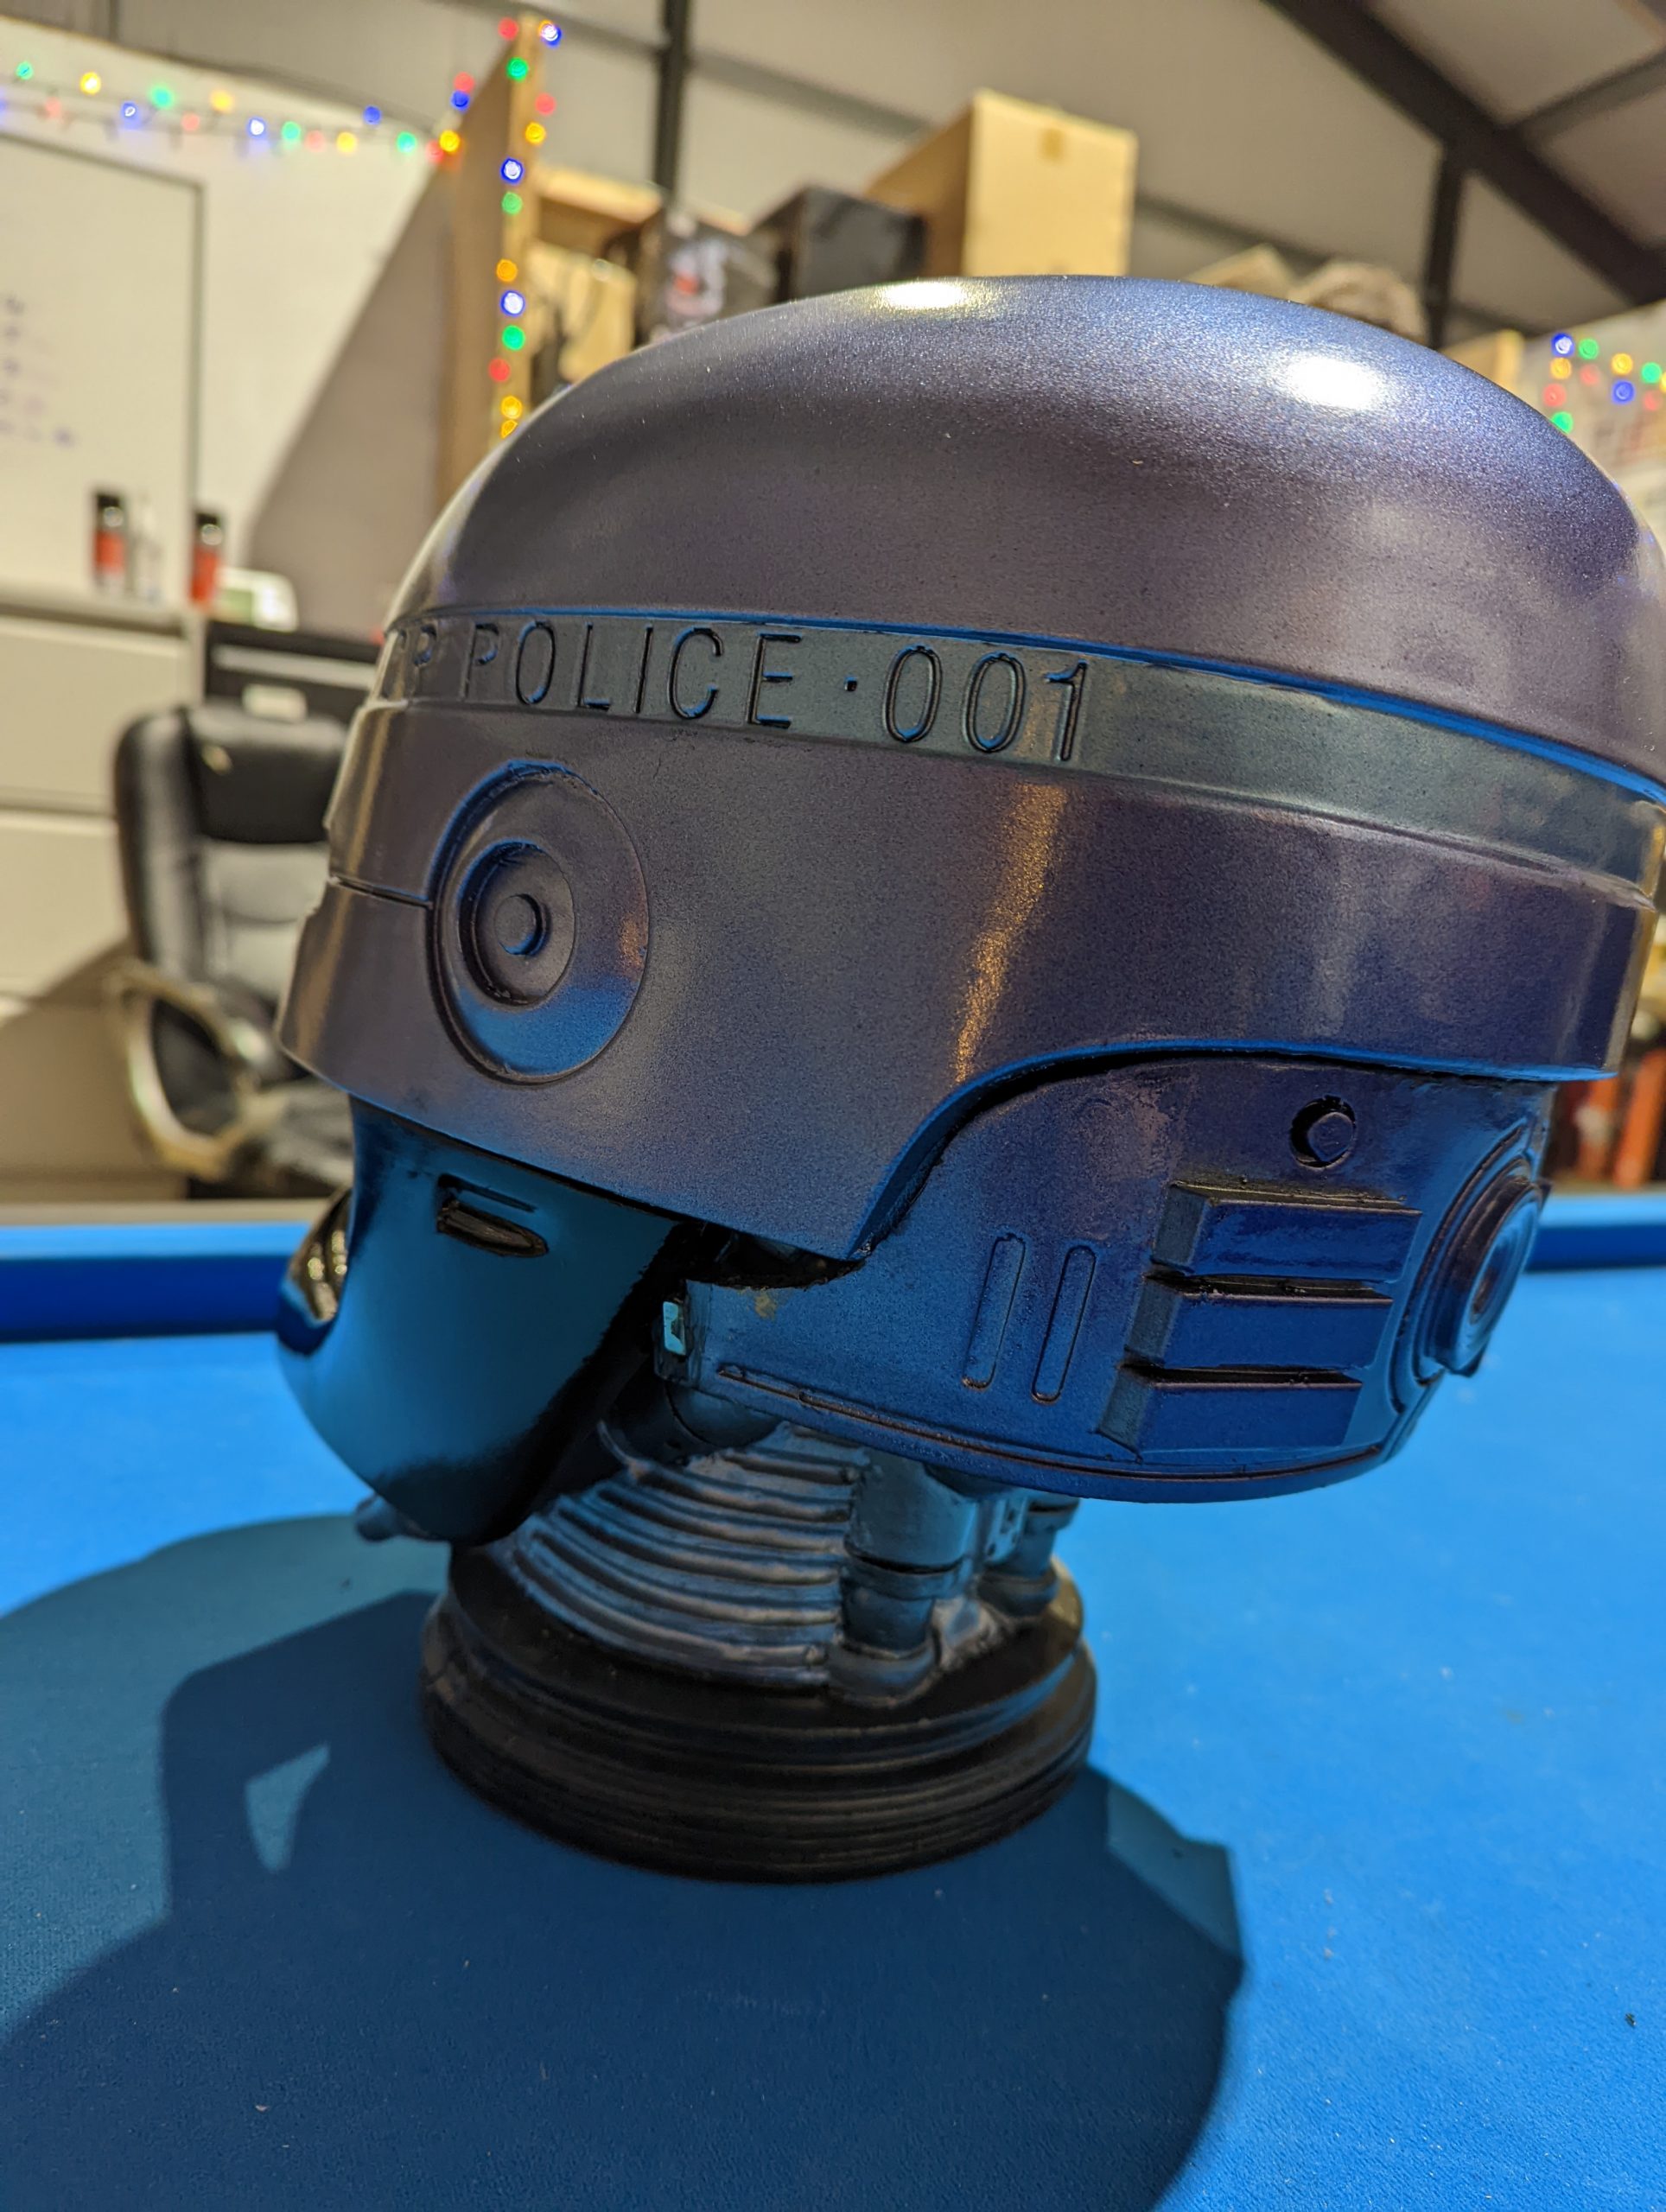
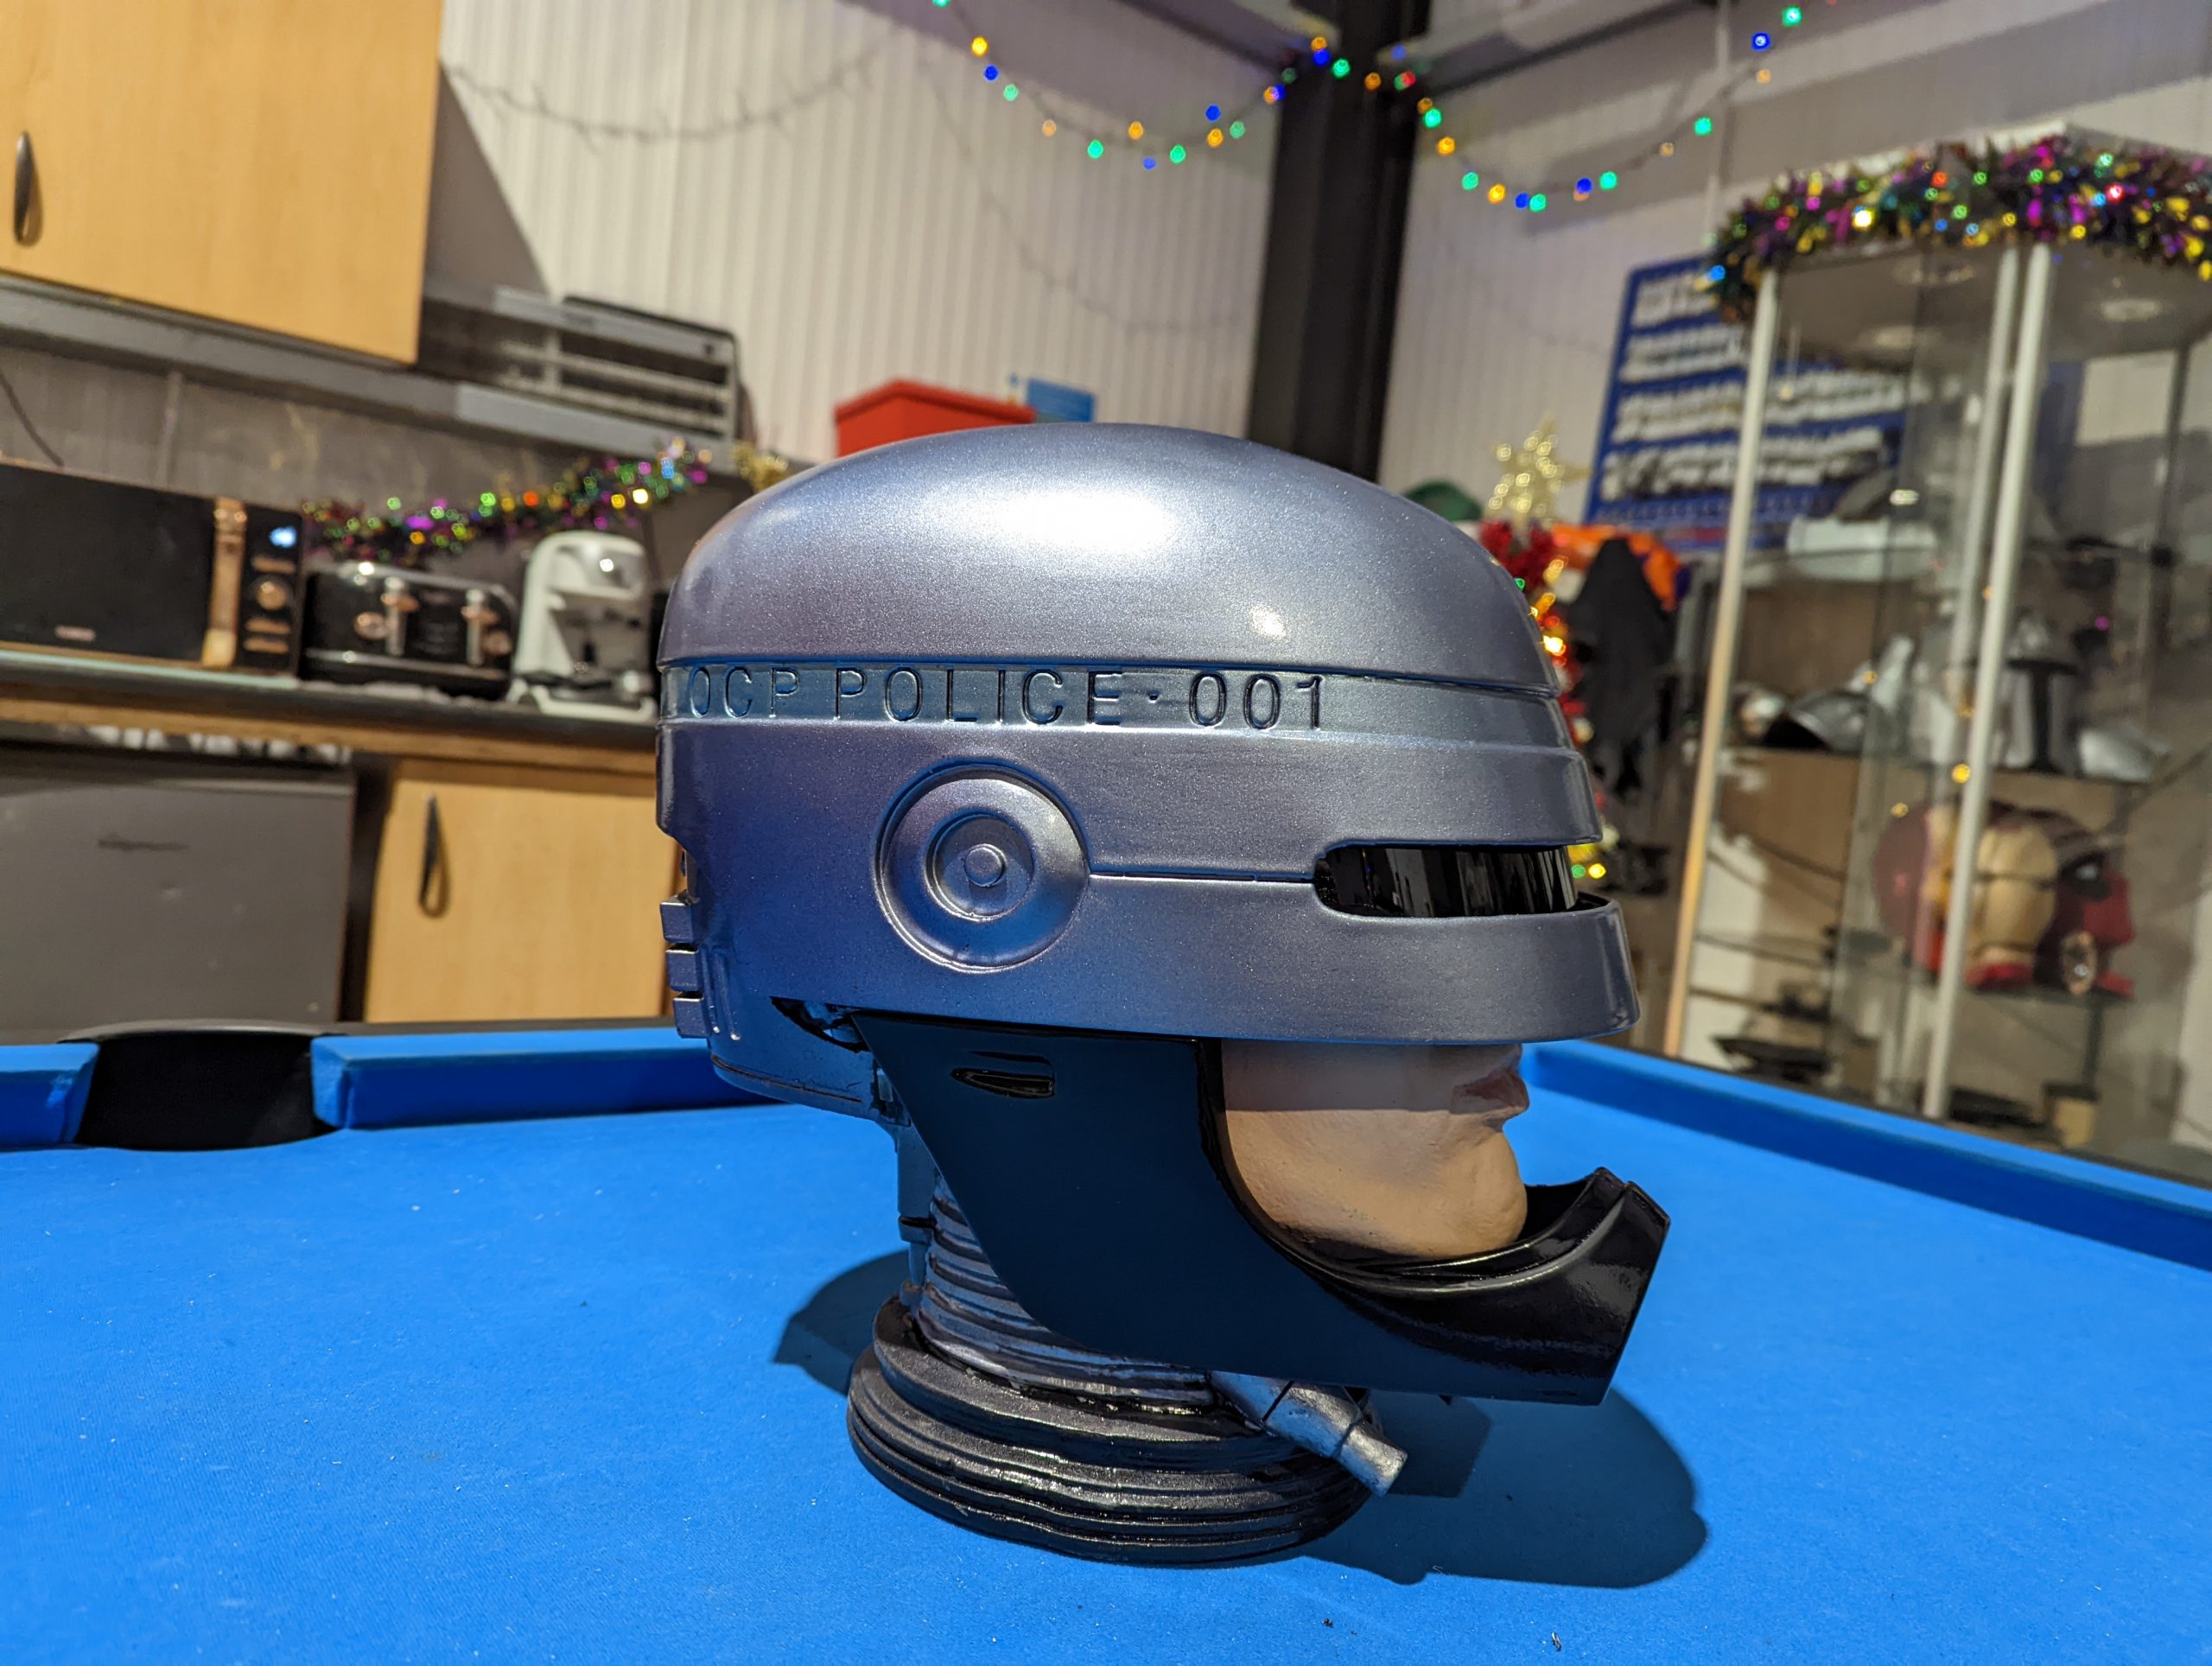
Our best bet for the accuracy of colour matching was to use film references. We started off by finding the right metallic grey colour match and then layered on a purple and two different shades of blue 1K coloured lacquers to provide an intumescent effect. Two coats of metallic paint were then added, and two light coats of the coloured lacquers were applied and left to cure fully. We also ensured to colour the jaw piece with a 2K gloss black paint. Finally, we applied three coats of the 2K gloss lacquer to protect the paint, add depth to the colour and harden the finish of the project.
The Final Word:
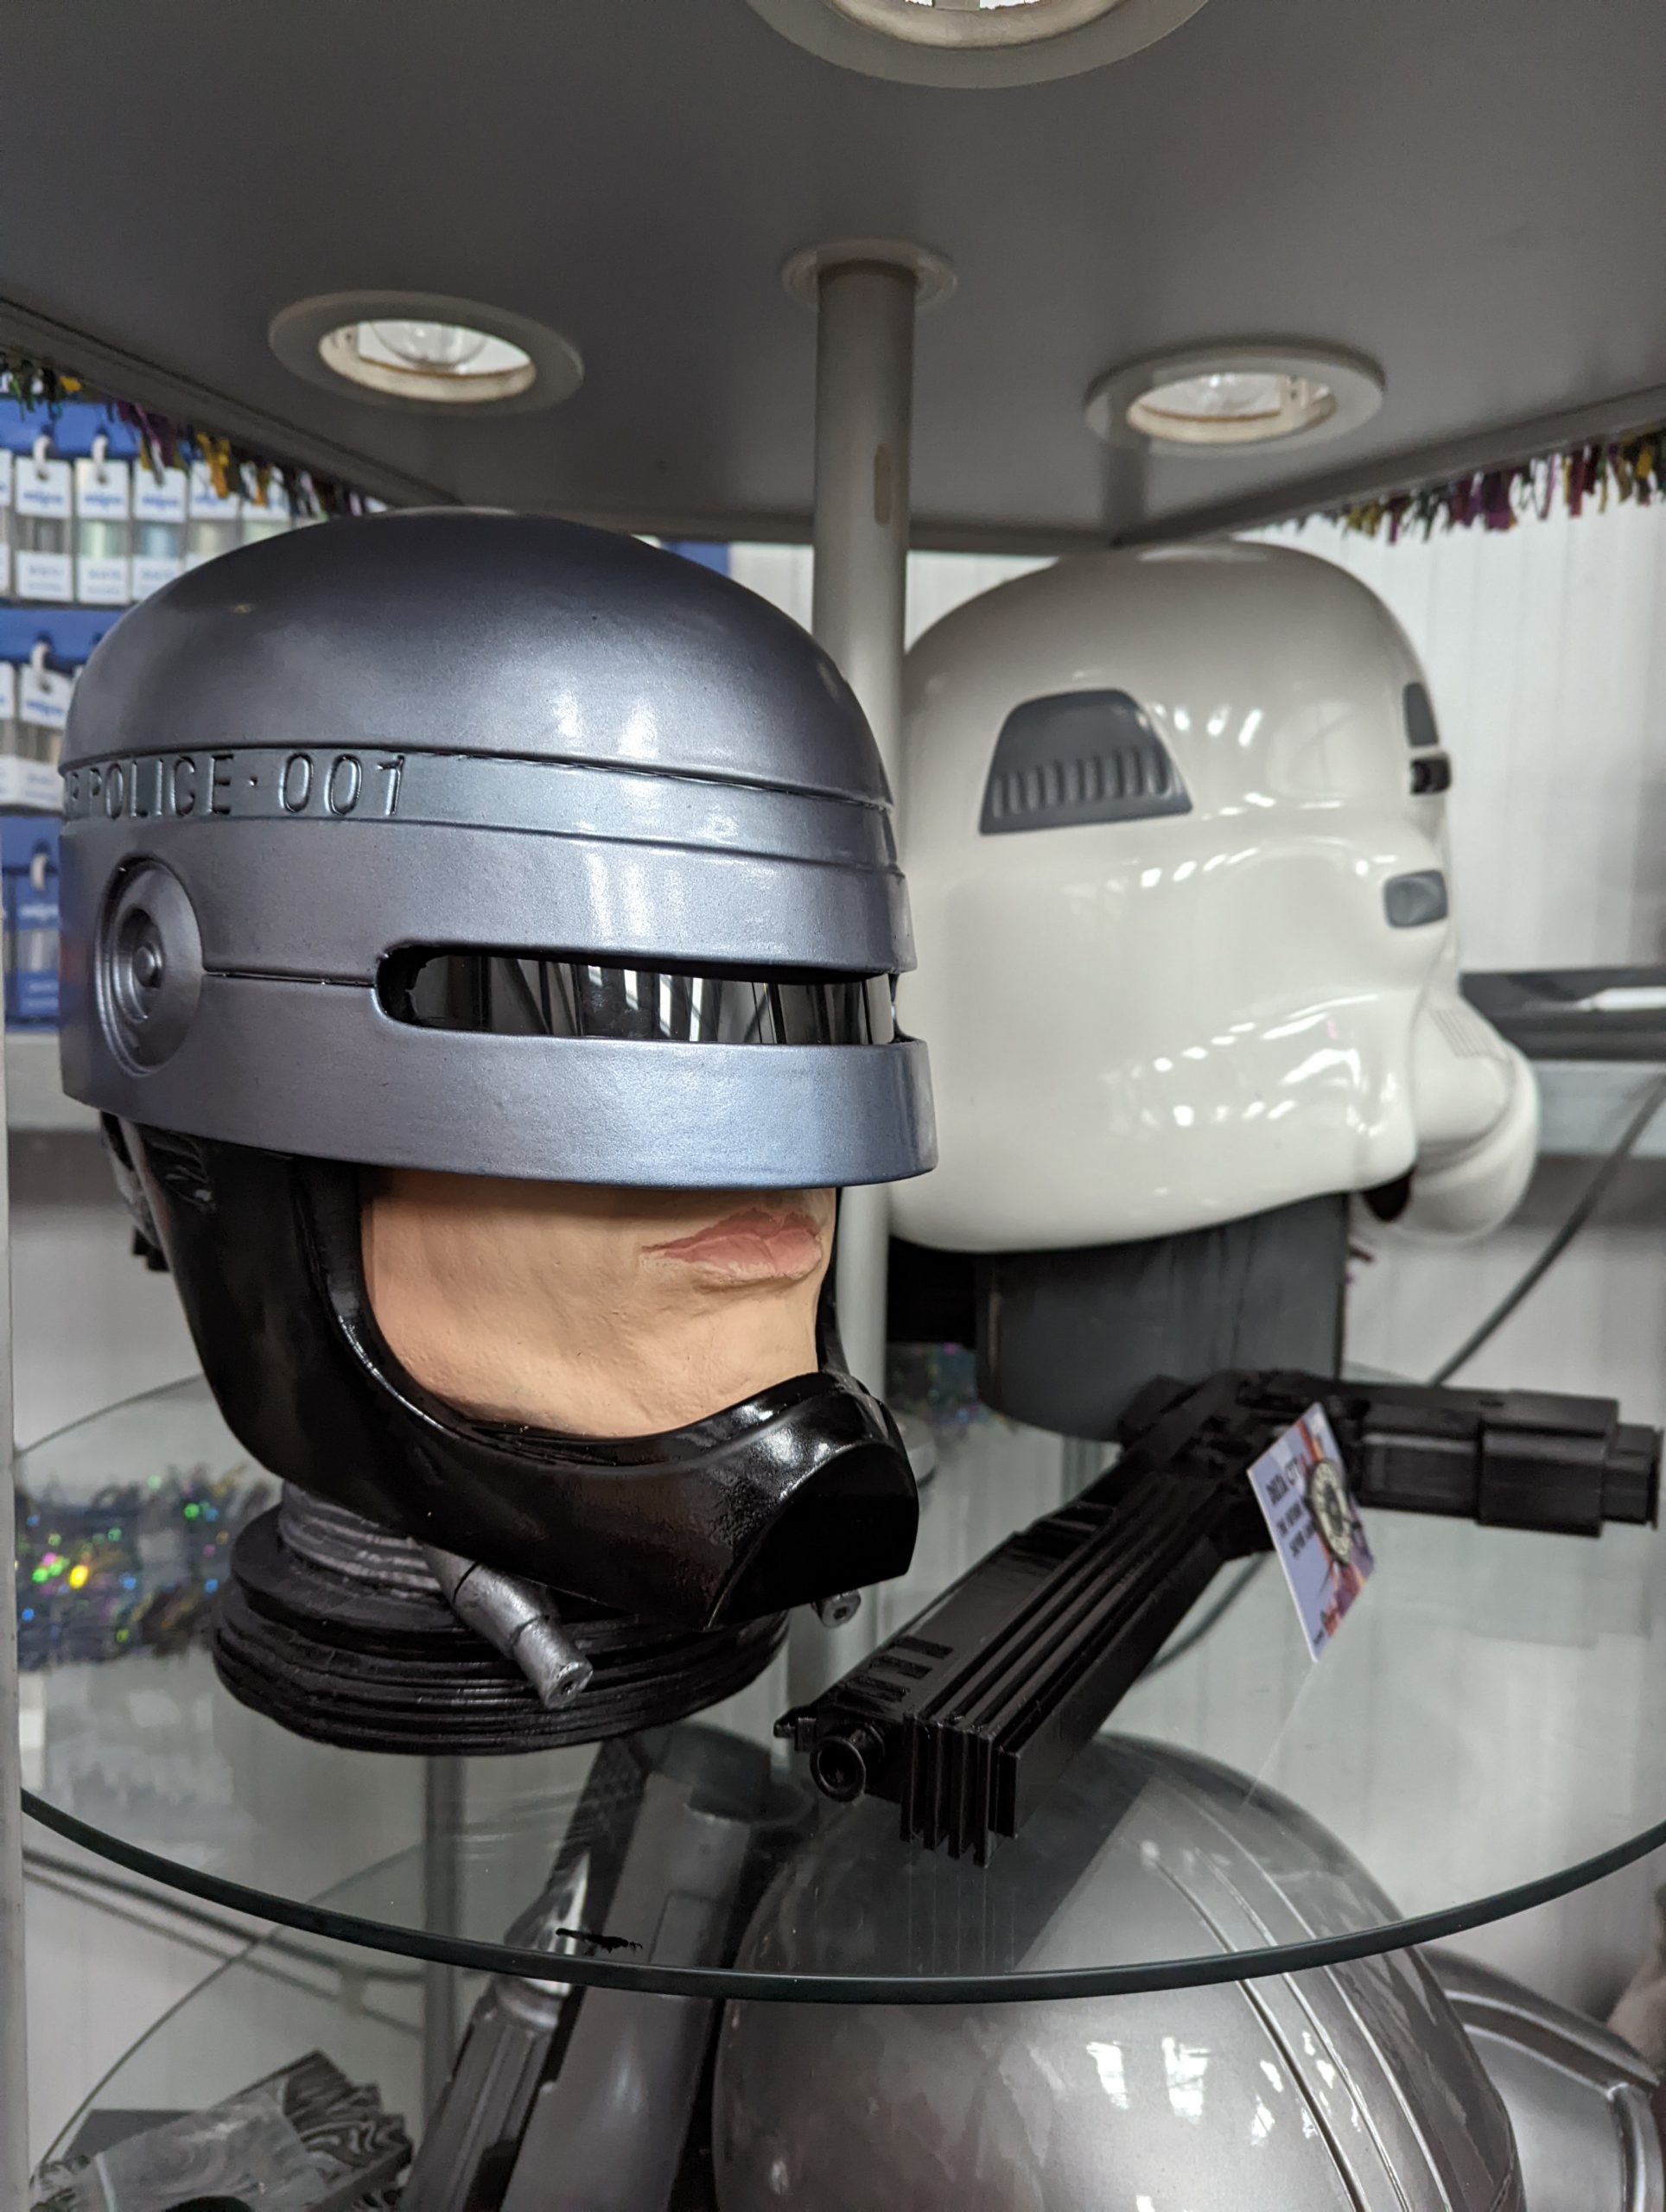
Once this project was complete, we added the helmet to the rest of the Robocop bust. Again, it was a fantastic project to work on, and it was a pleasing nostalgic final outcome. Onwards and upwards to the next one!