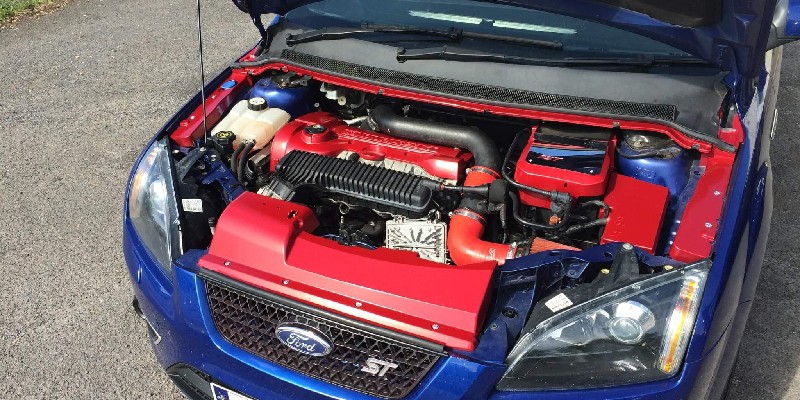
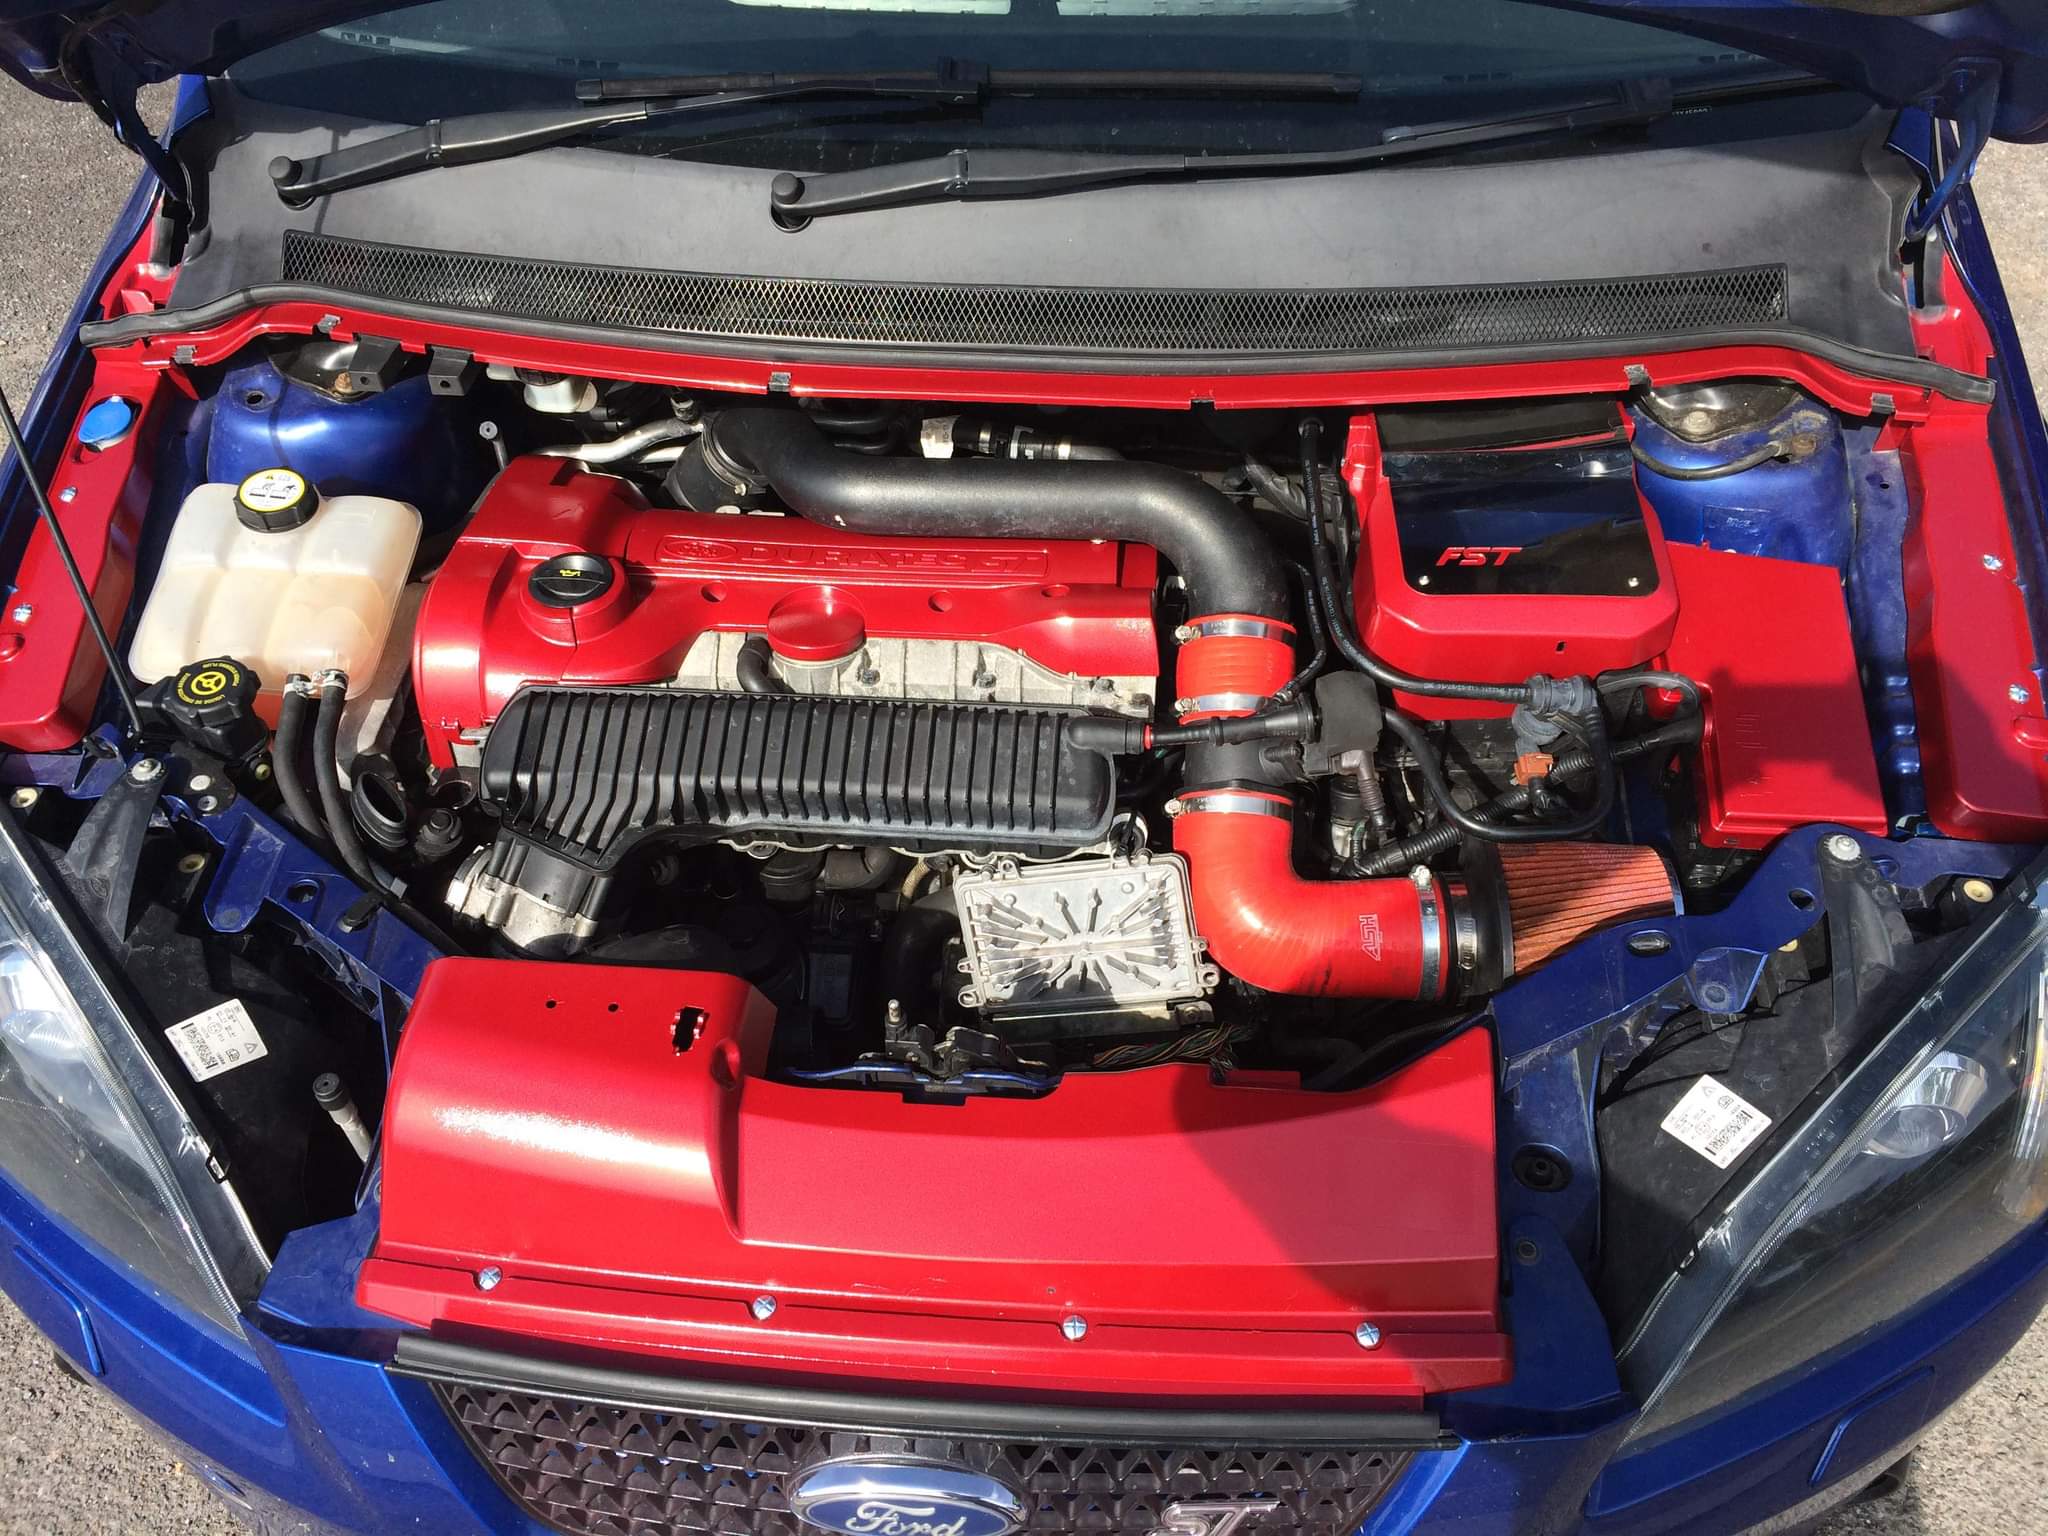
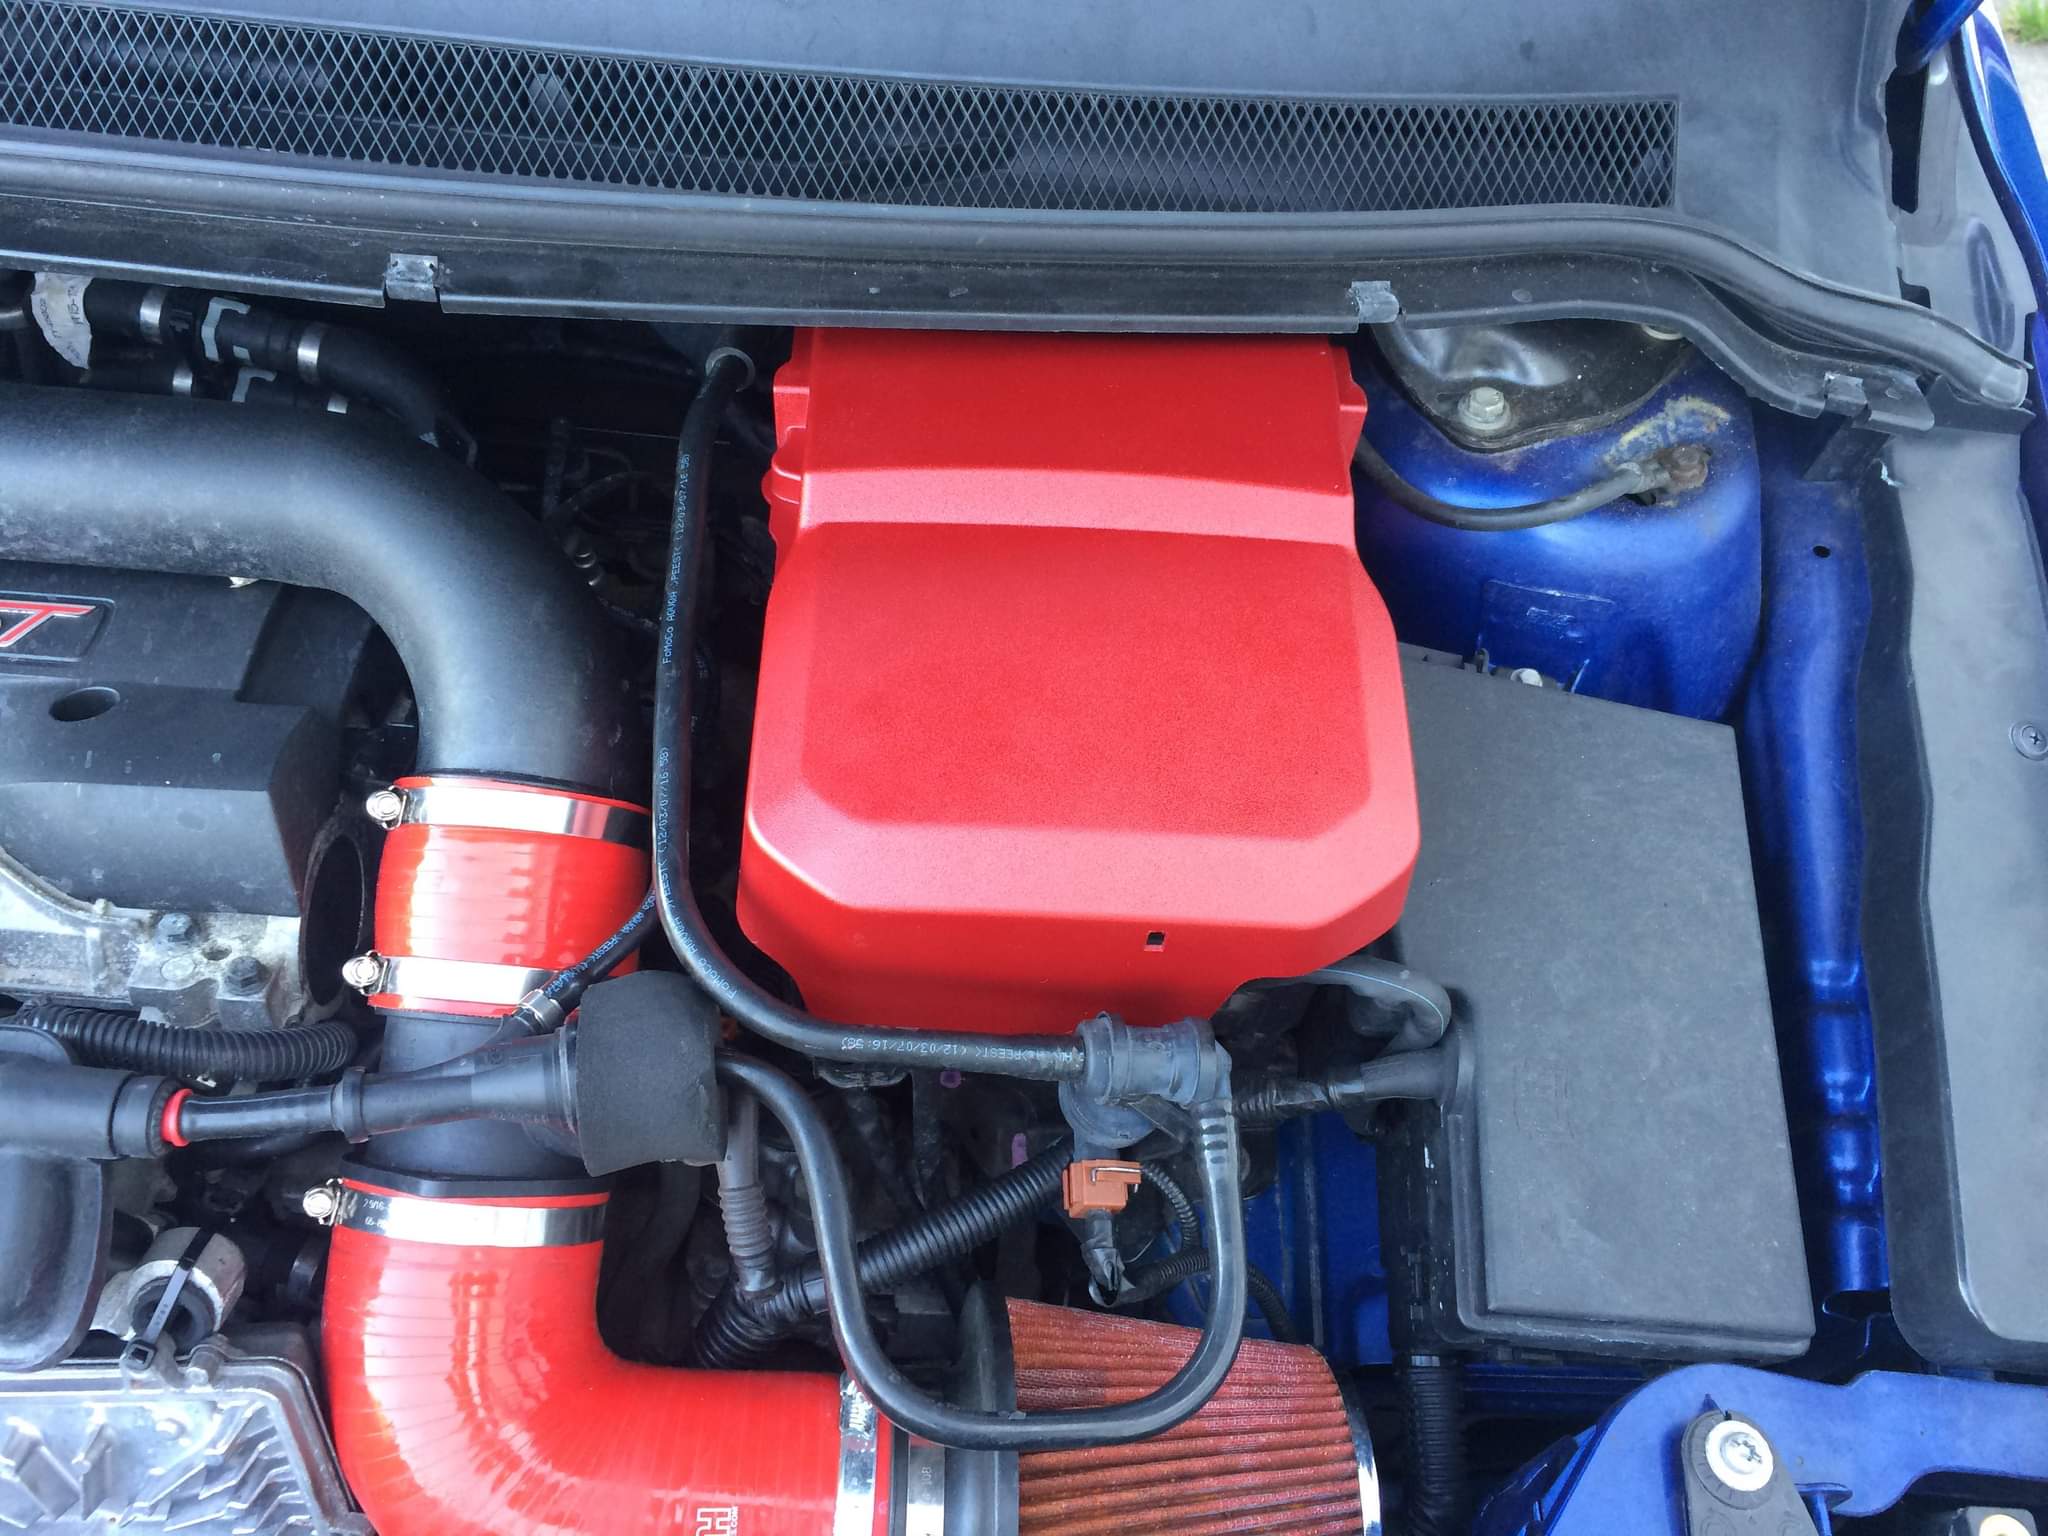
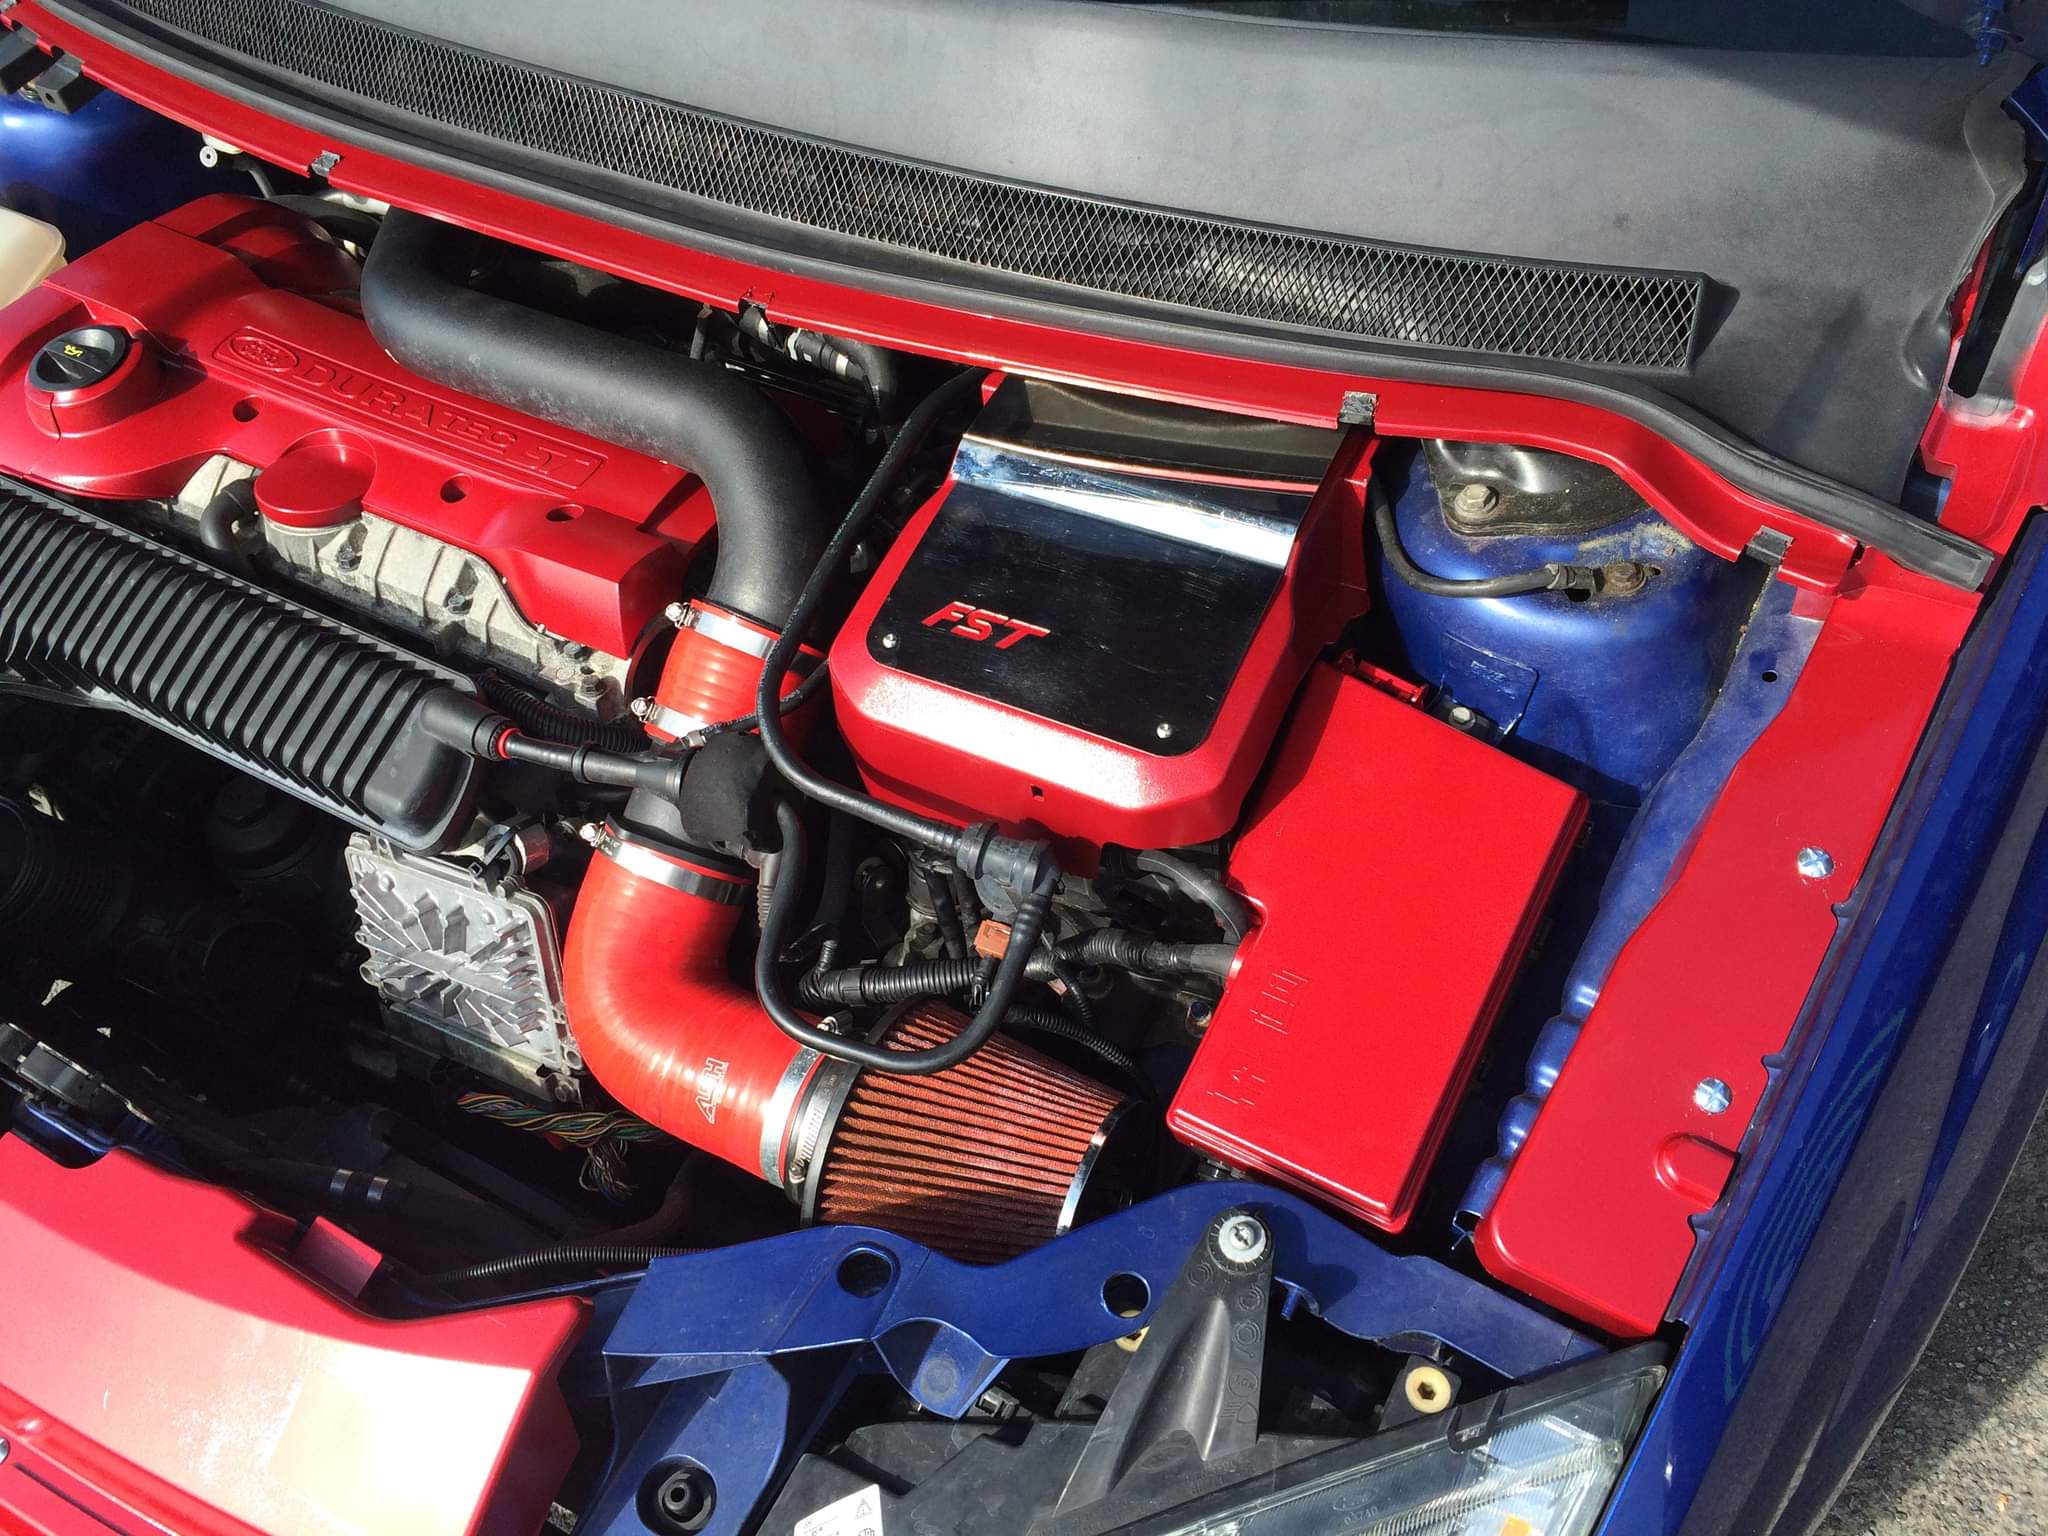
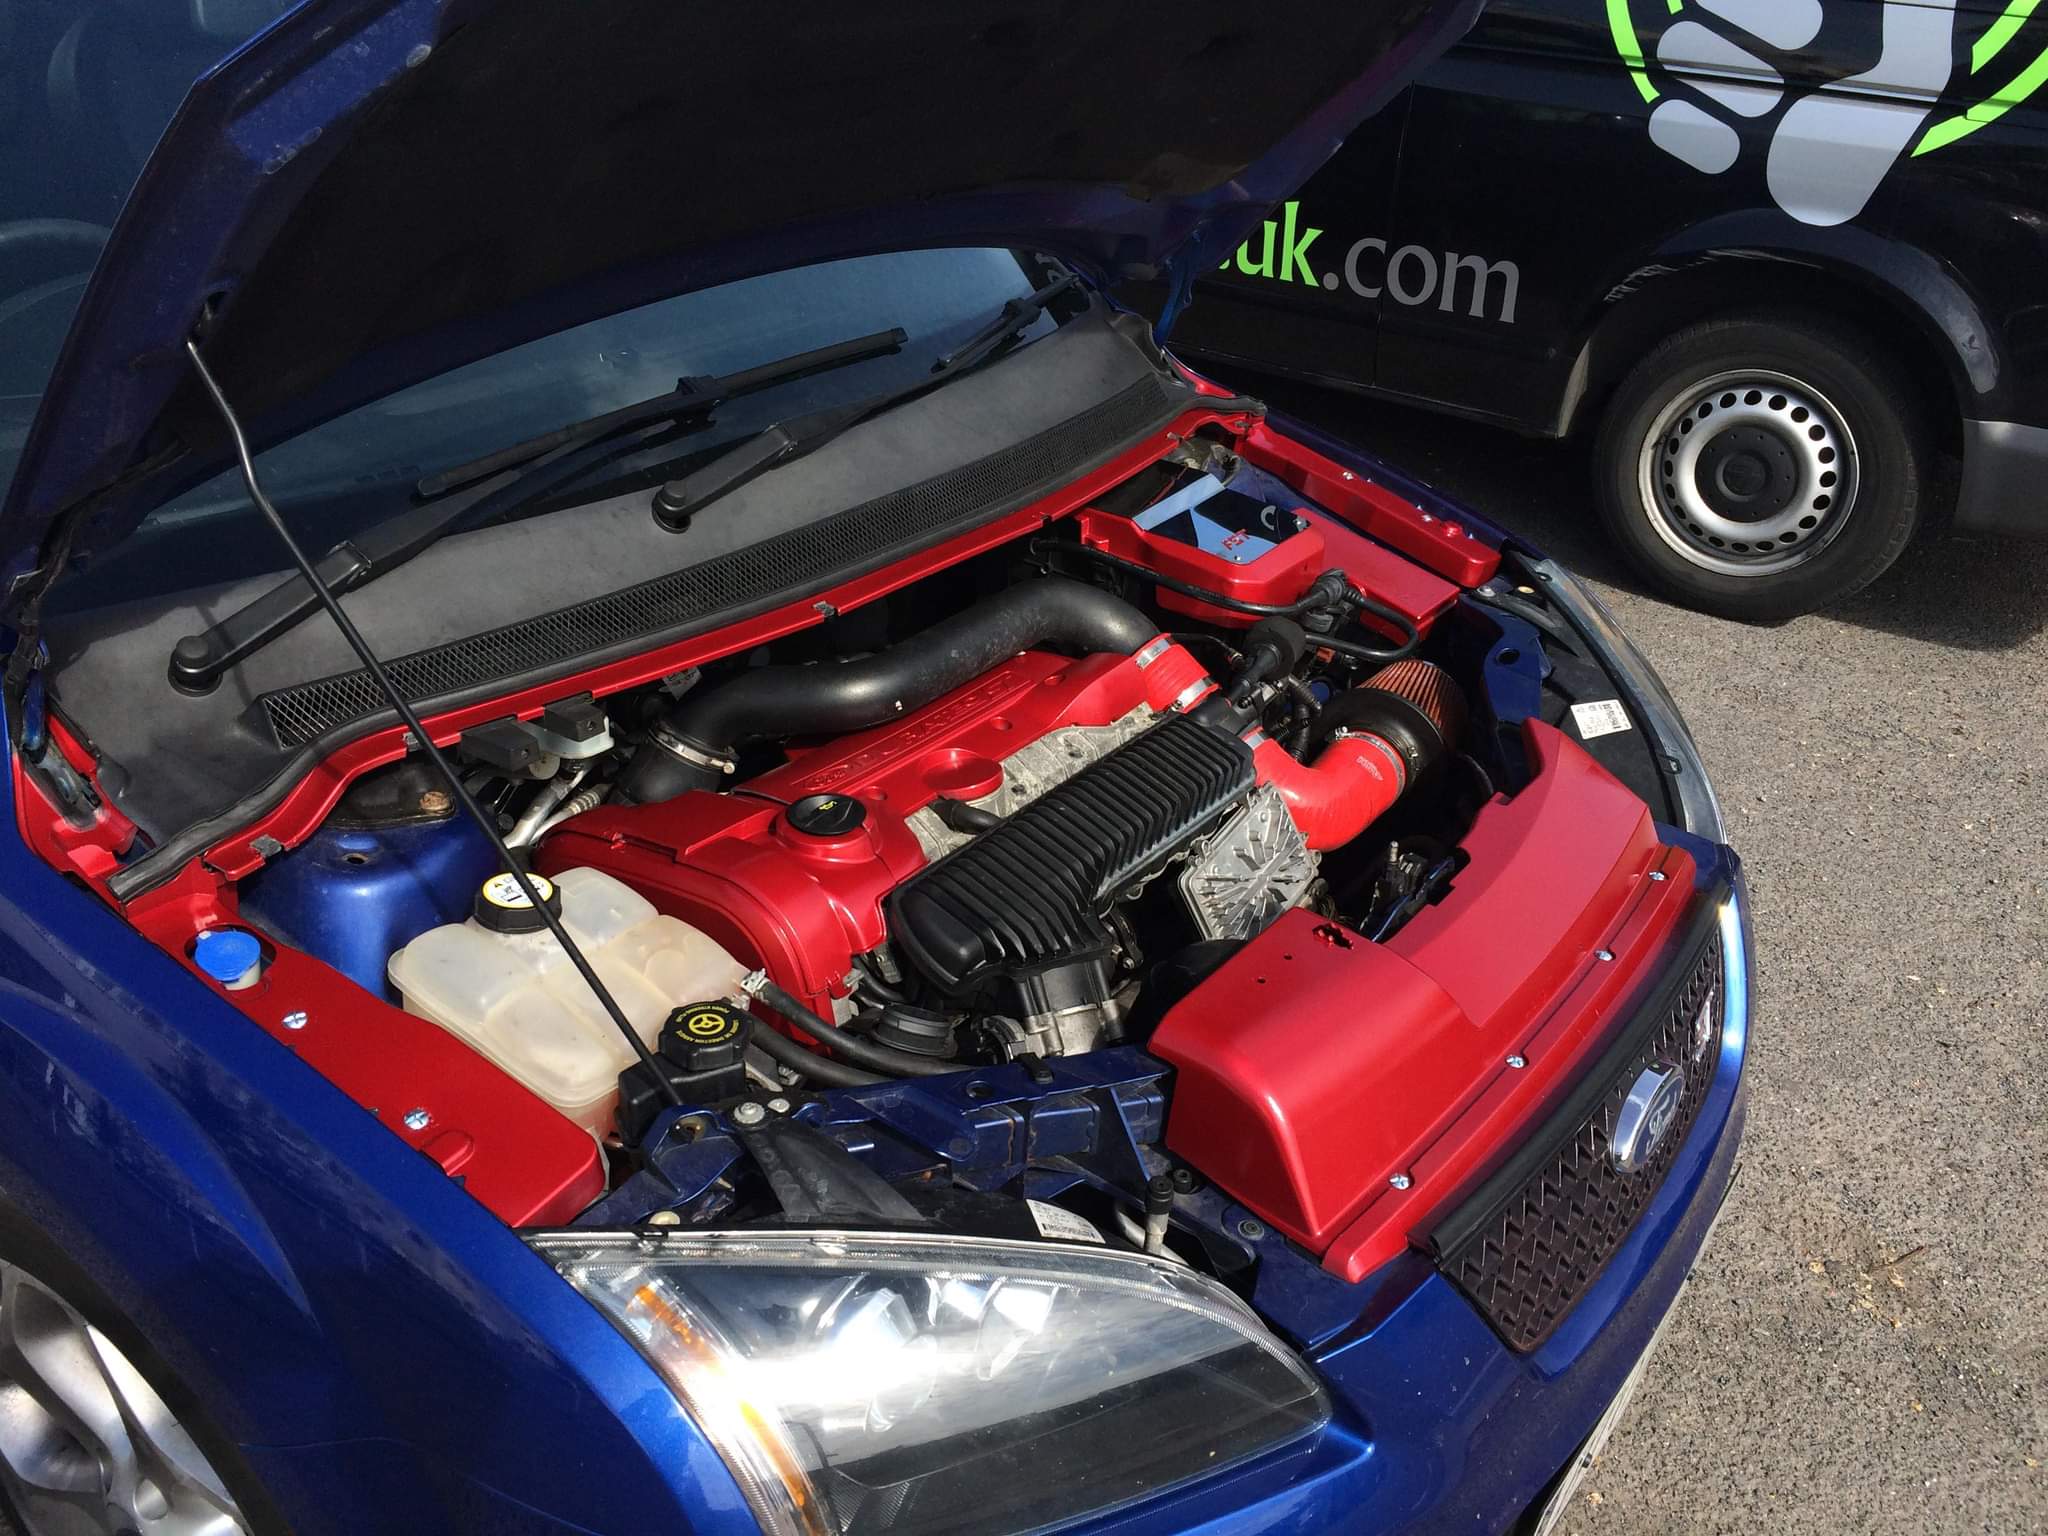
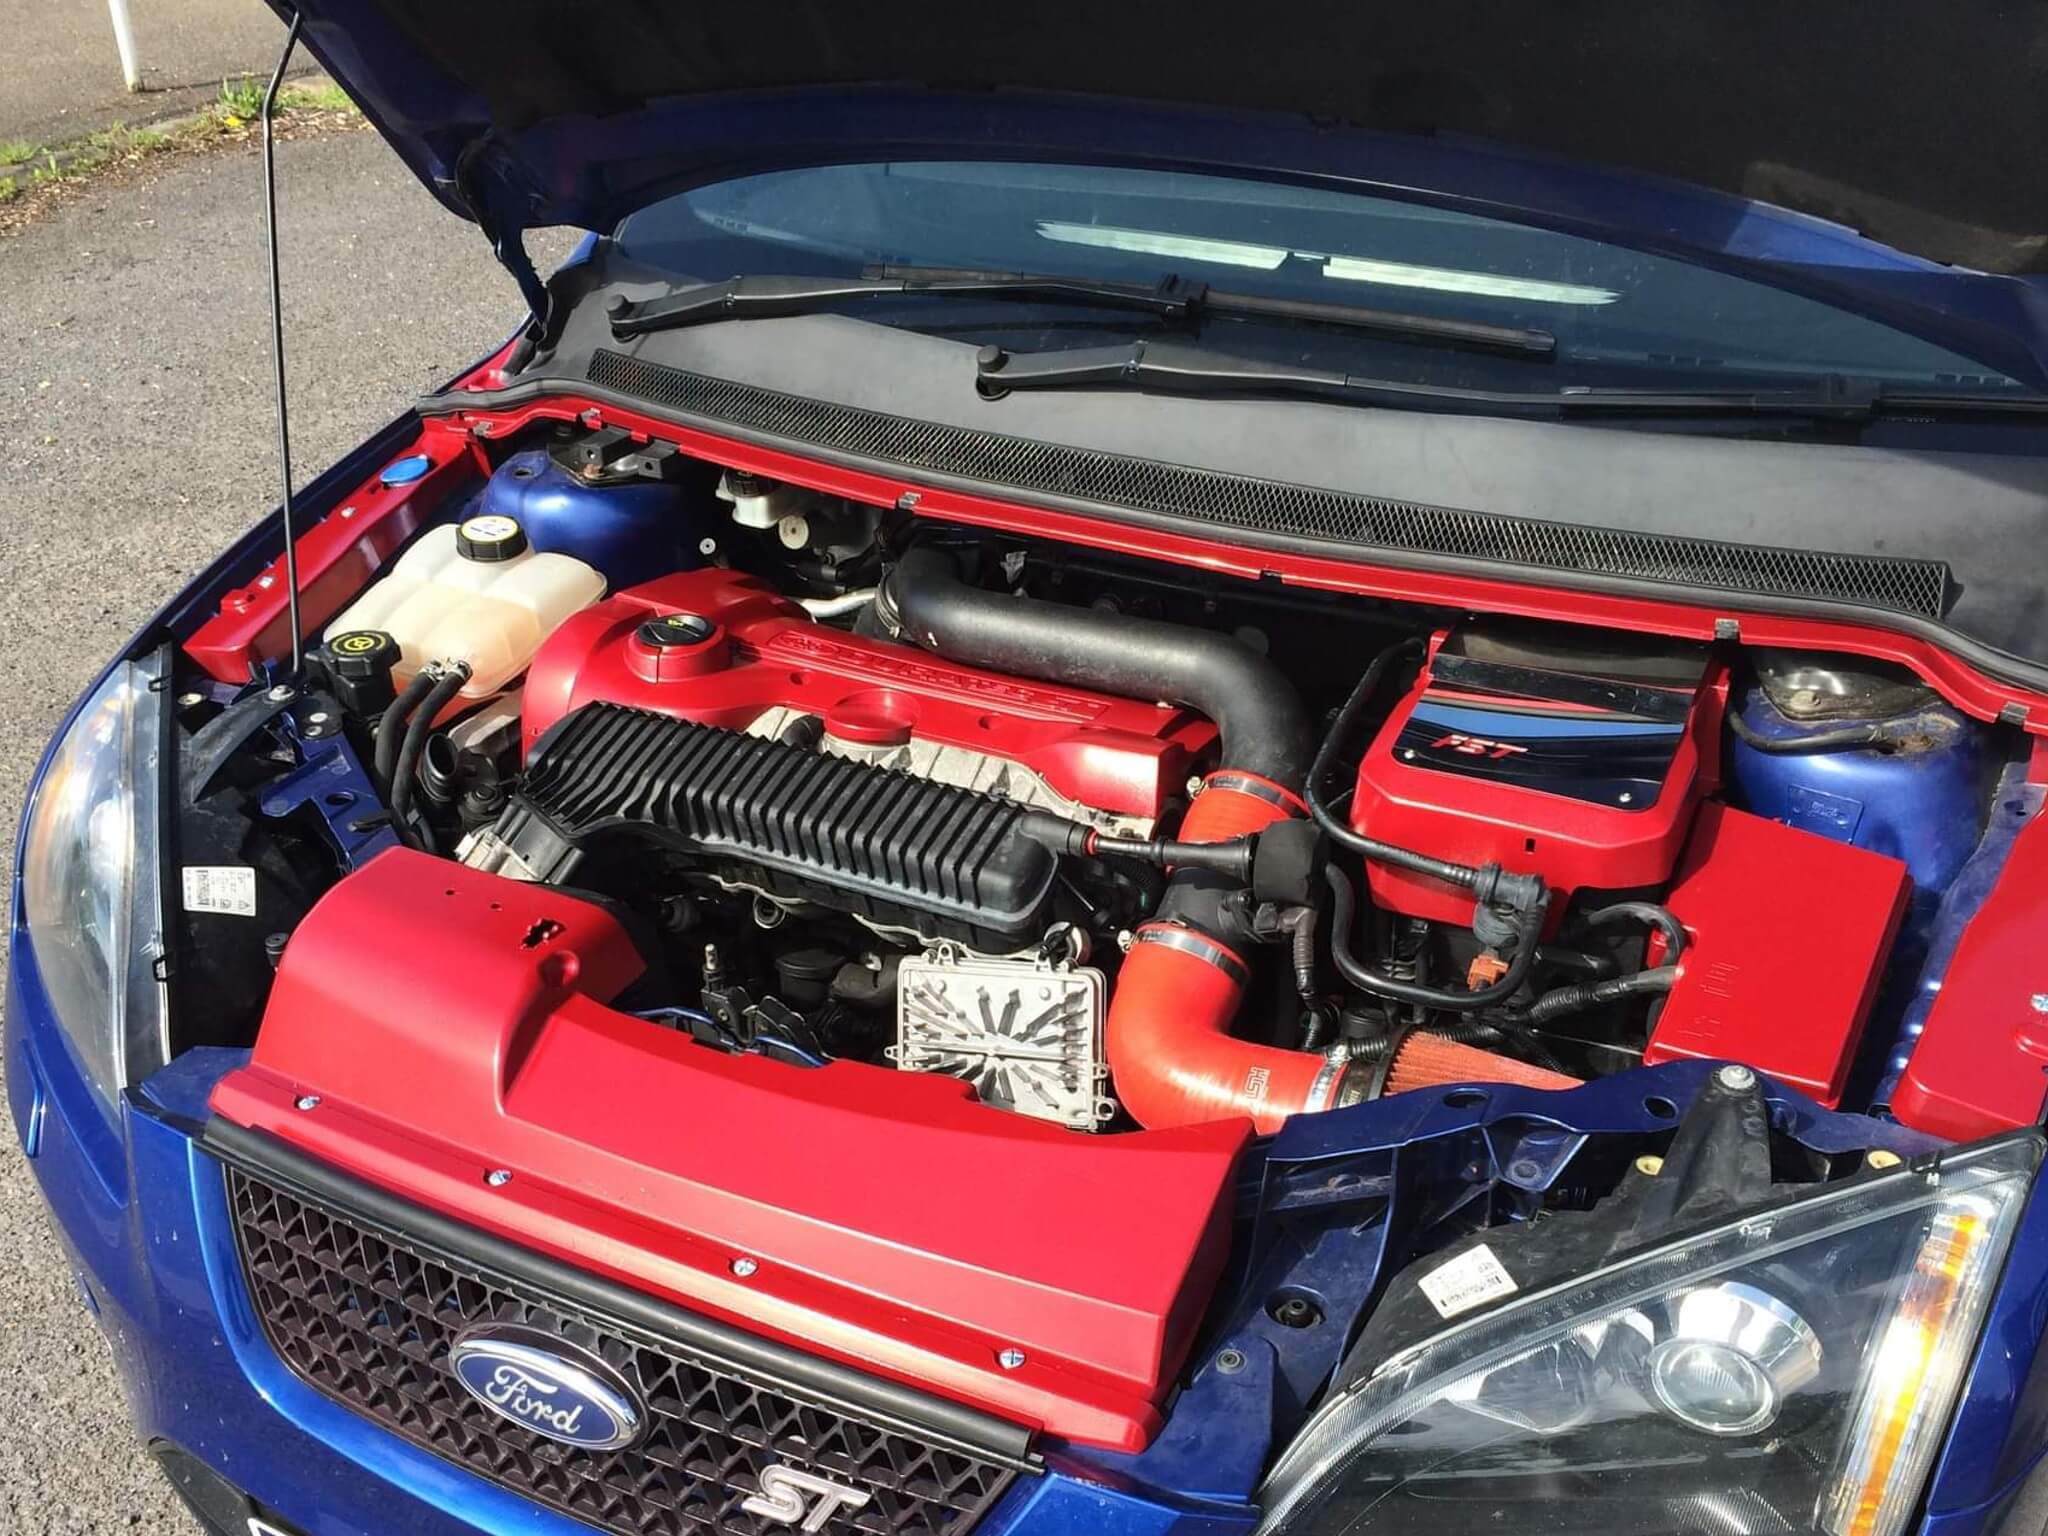
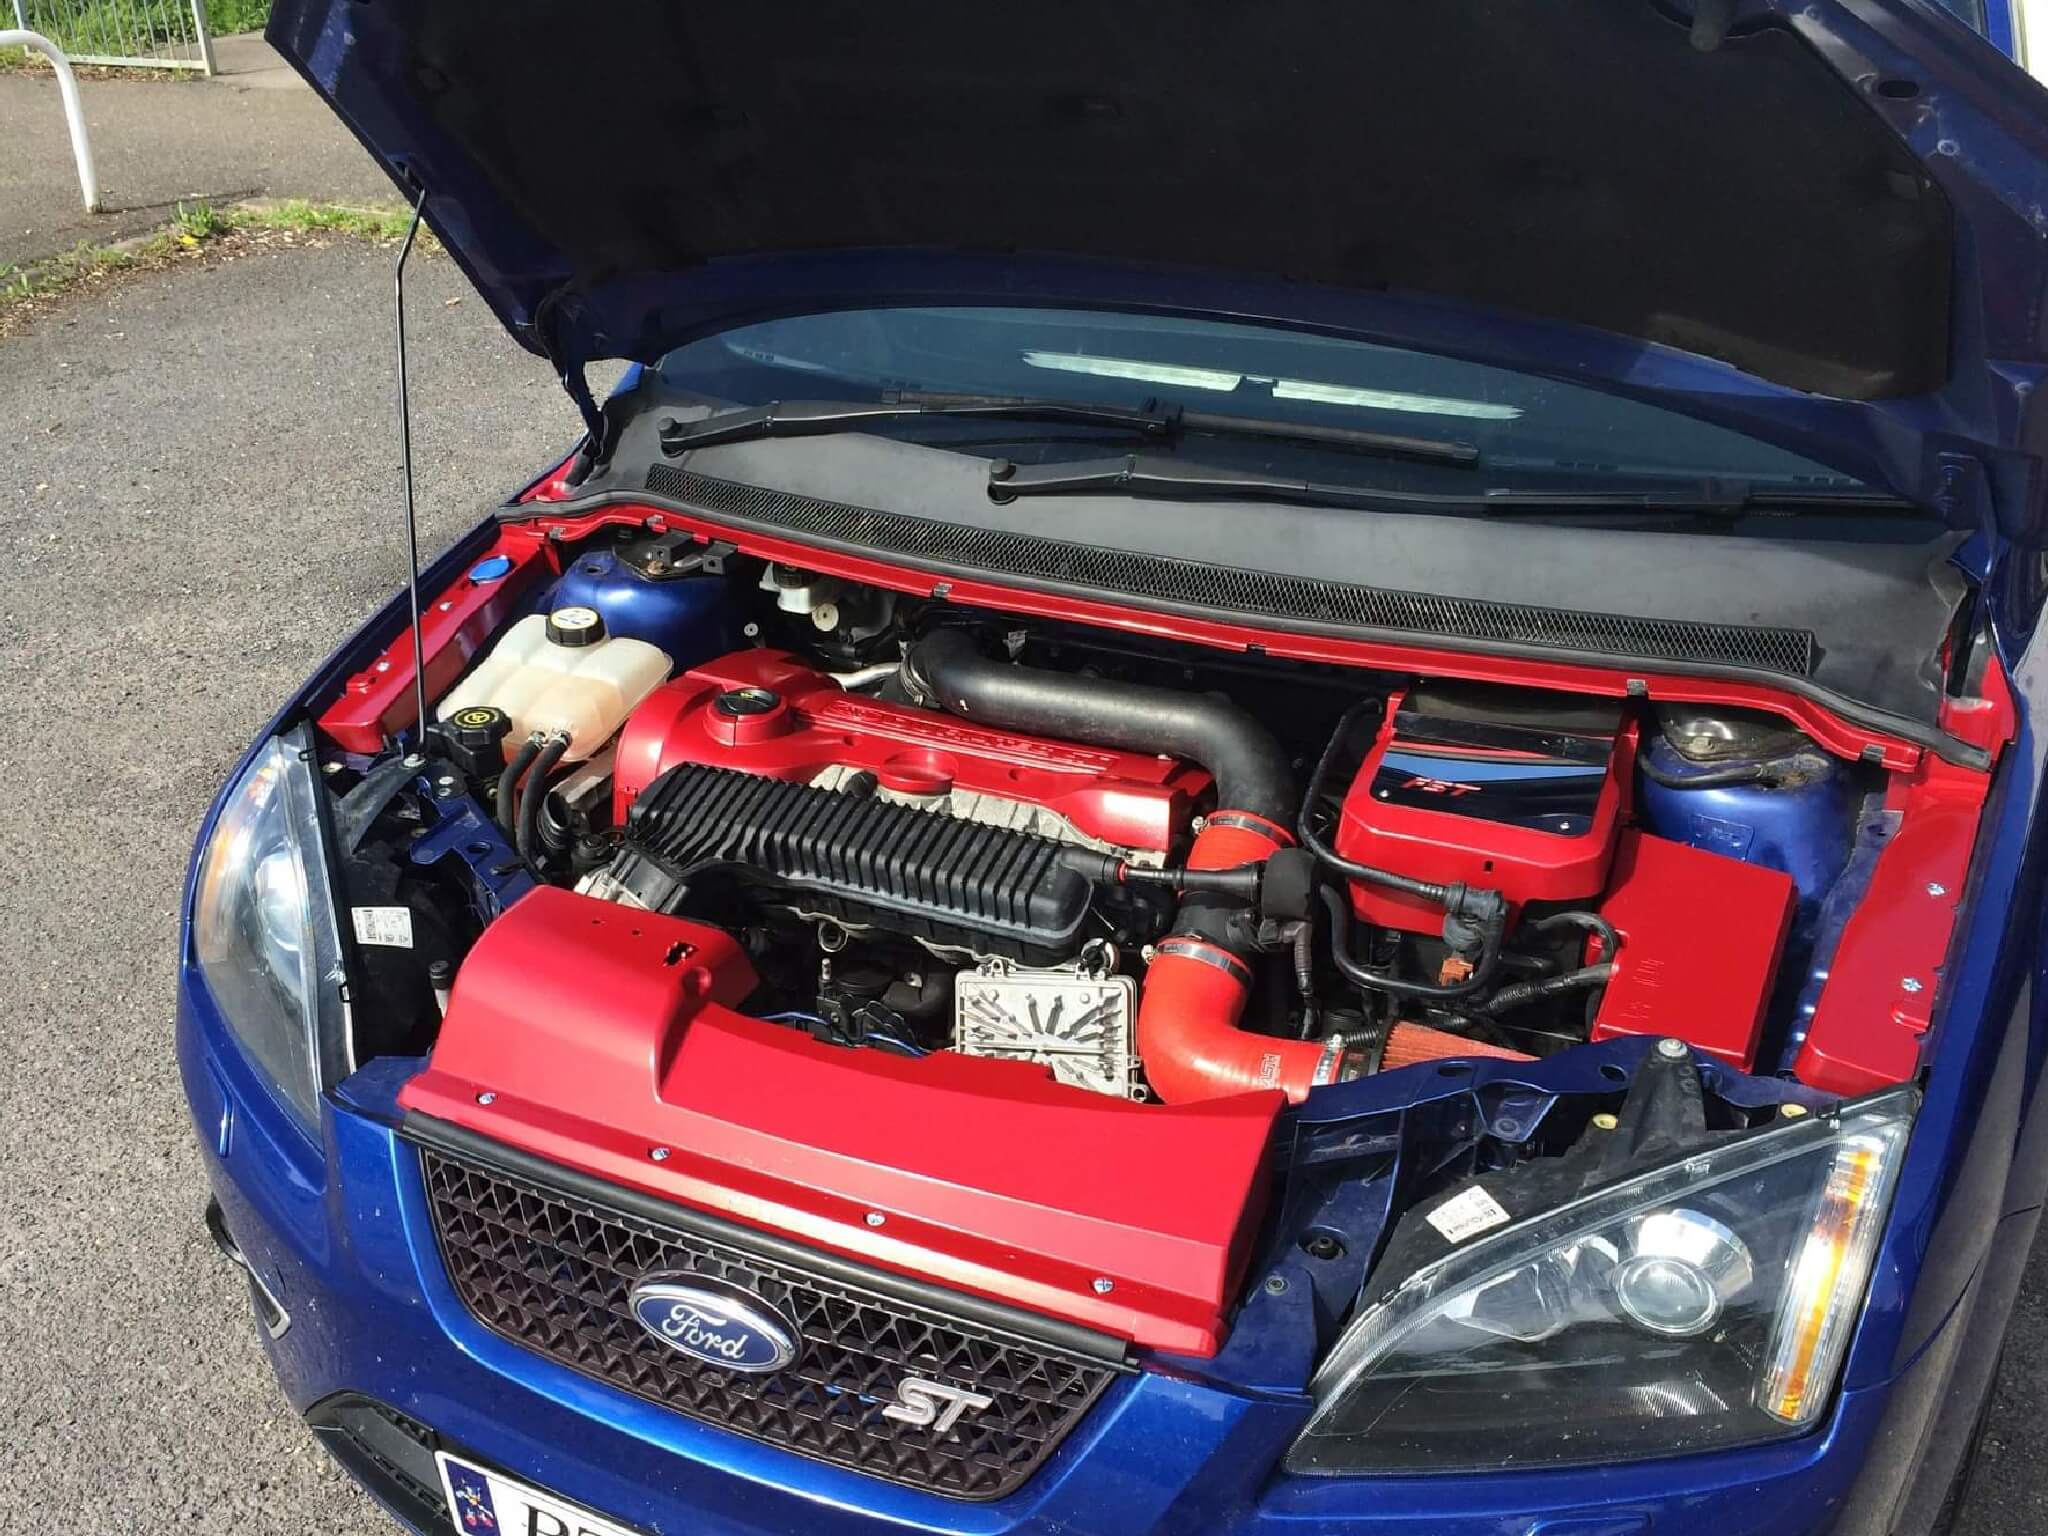
We love quirky projects, so we were super excited to get our hands stuck into this unique spray painting project. The team helped Bobby transform his car with an engine bay repaint, and the results are incredible! Take a look at how we managed to complete this project and how you can achieve the same!
Tools
To carry out this project, we used the following tools:
- Cleaning Products
- Degreaser
- Mixed Grade Sand Paper
- High Build Primer
- 2K Paint
Completing The Project
Bobby came to us wanting to repaint engine parts, so we needed to come up with a solution for the heat, as well as the parts of the engine that will get greasy or have chemicals on them.
Firstly, the engine bay and components were cleaned thoroughly and left to dry; this was to remove any dirt and grime on the existing surface. Once dried, the surface was cleaned thoroughly with a degreaser to further remove any chemicals that were likely to react with the paint.
Once the surface was fully dried, we sanded it to make it abrasive (or you can use Mirlon/Scotch-Brite and key the surface). This way, the primer would stick better to the material. Two light coats of High Build Primer were then applied and left to cure for an hour. Once cured, the 2K Gloss Paint was applied, and after three coats, it was left to cure for the rest of the day.
The final product brought character to the engine bay, which is exactly what Bobby wanted. We’re glad we could help and look forward to the next project.


