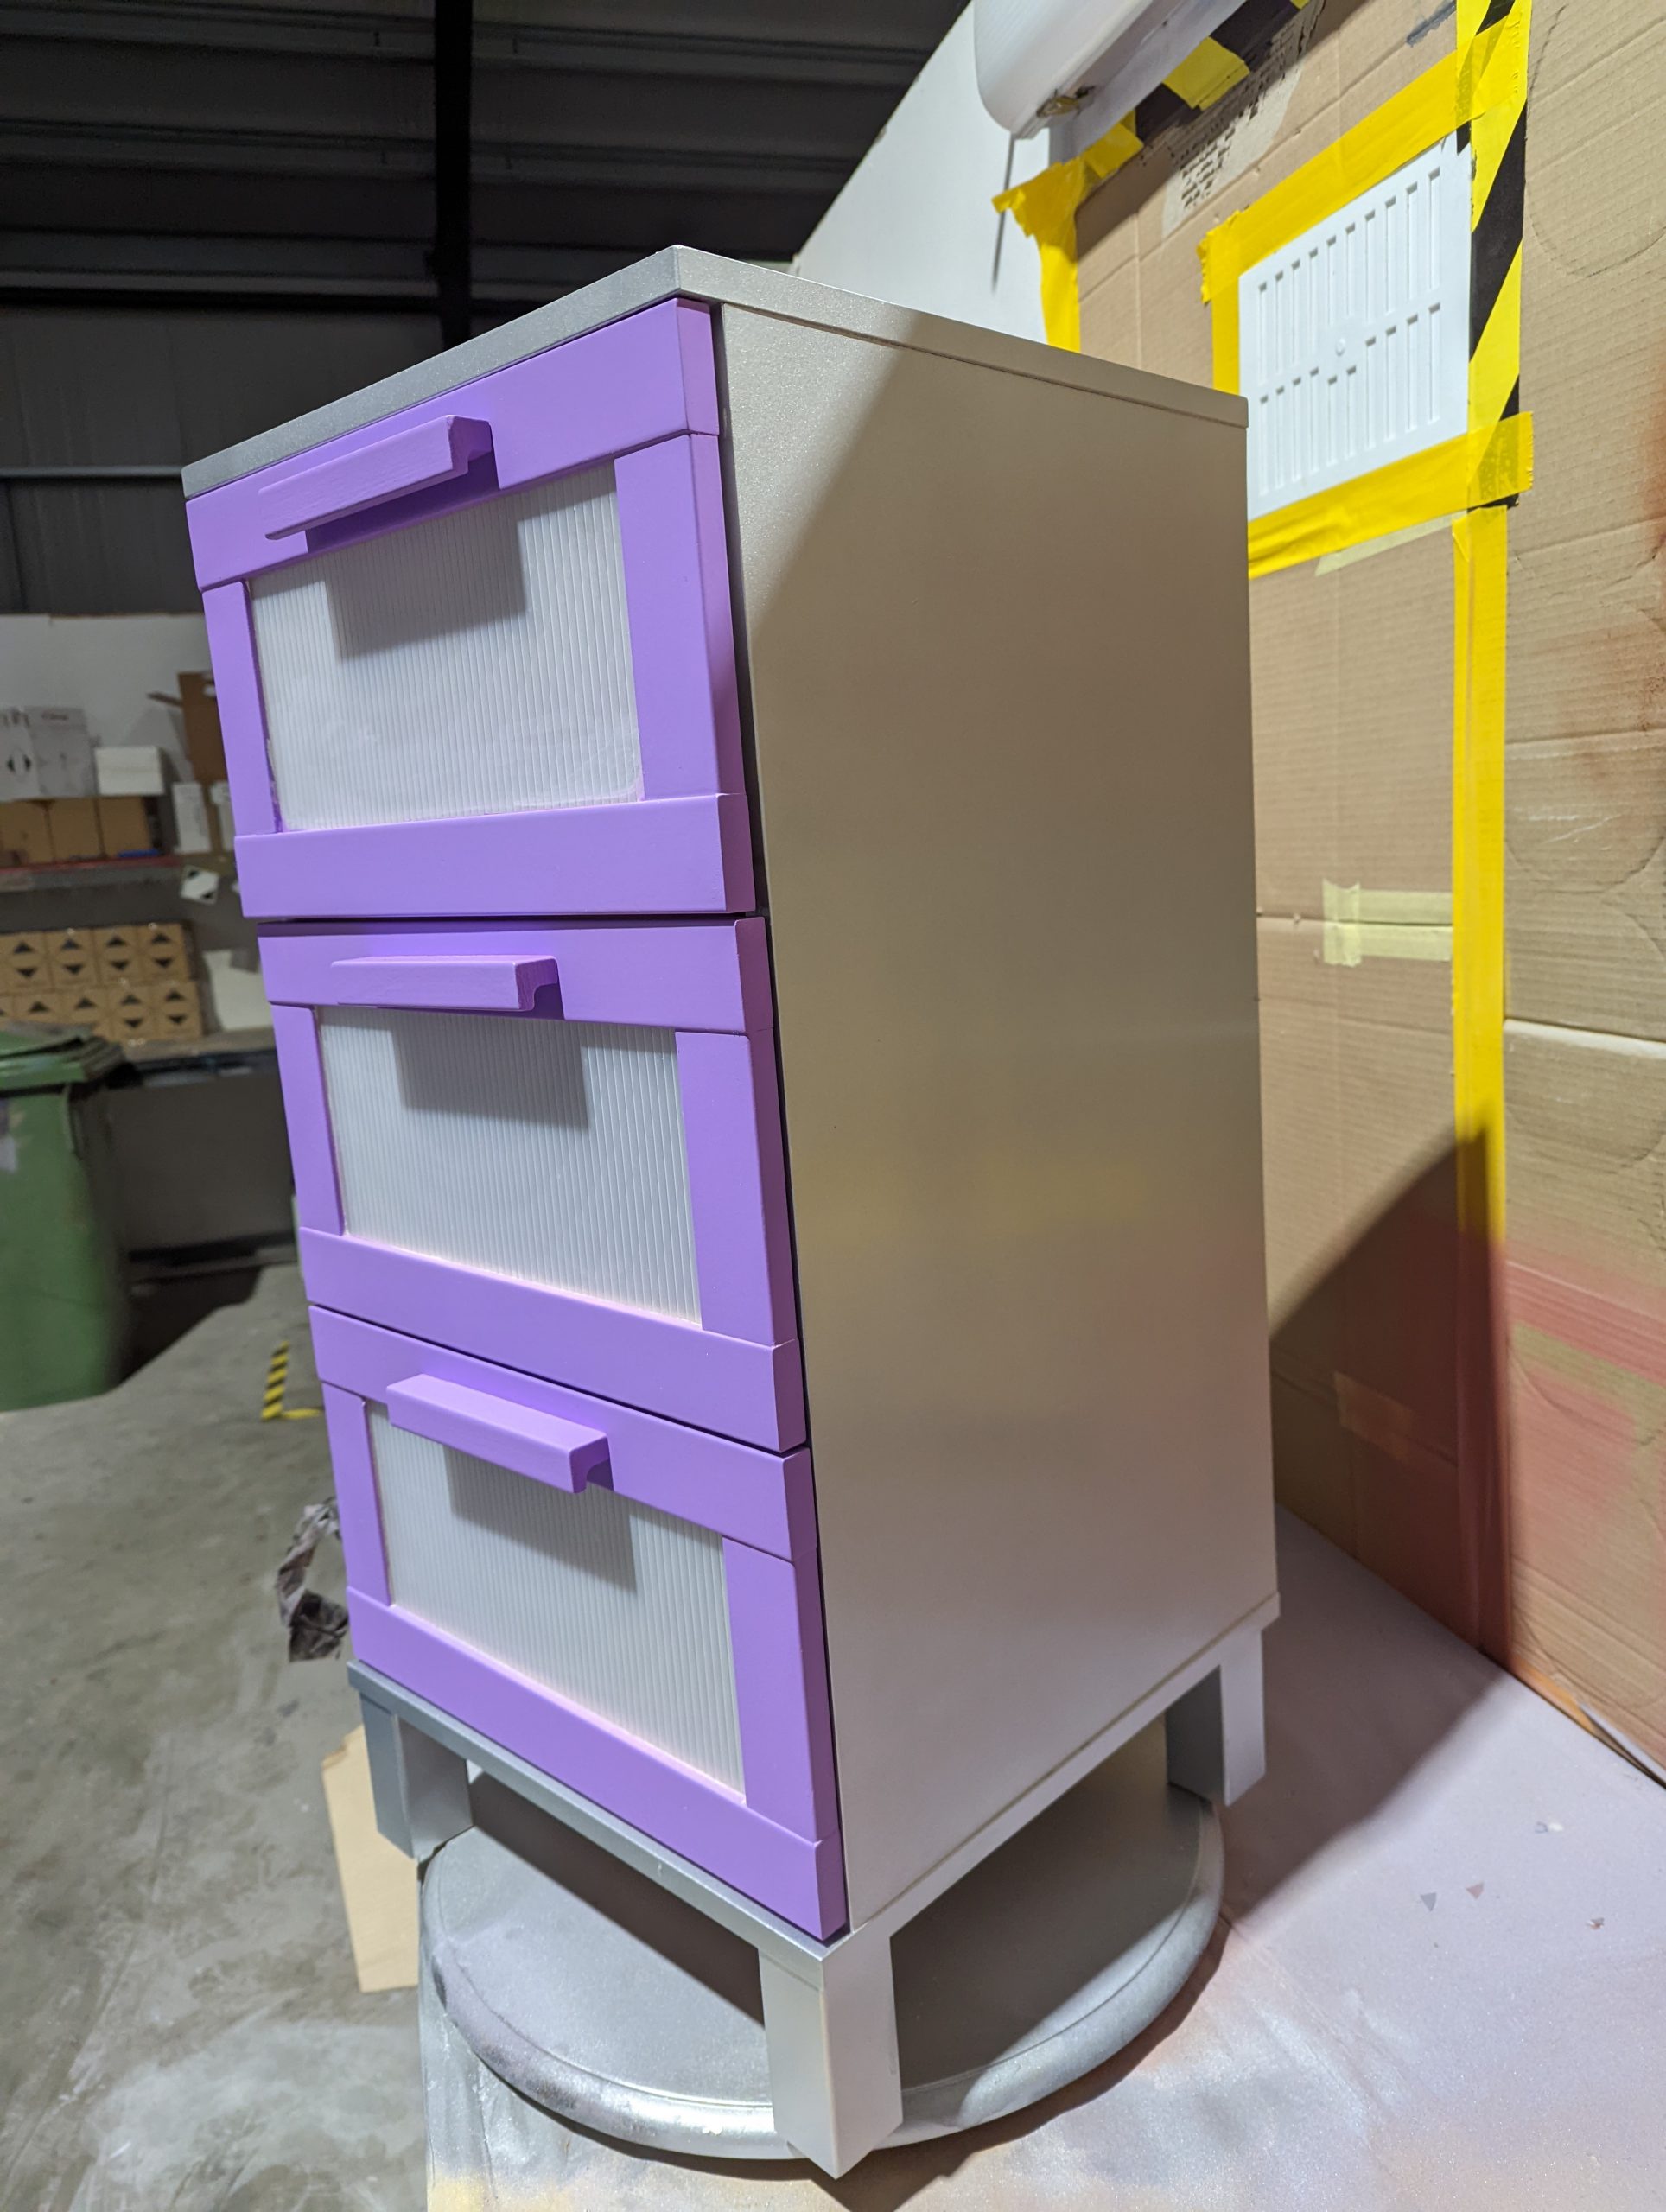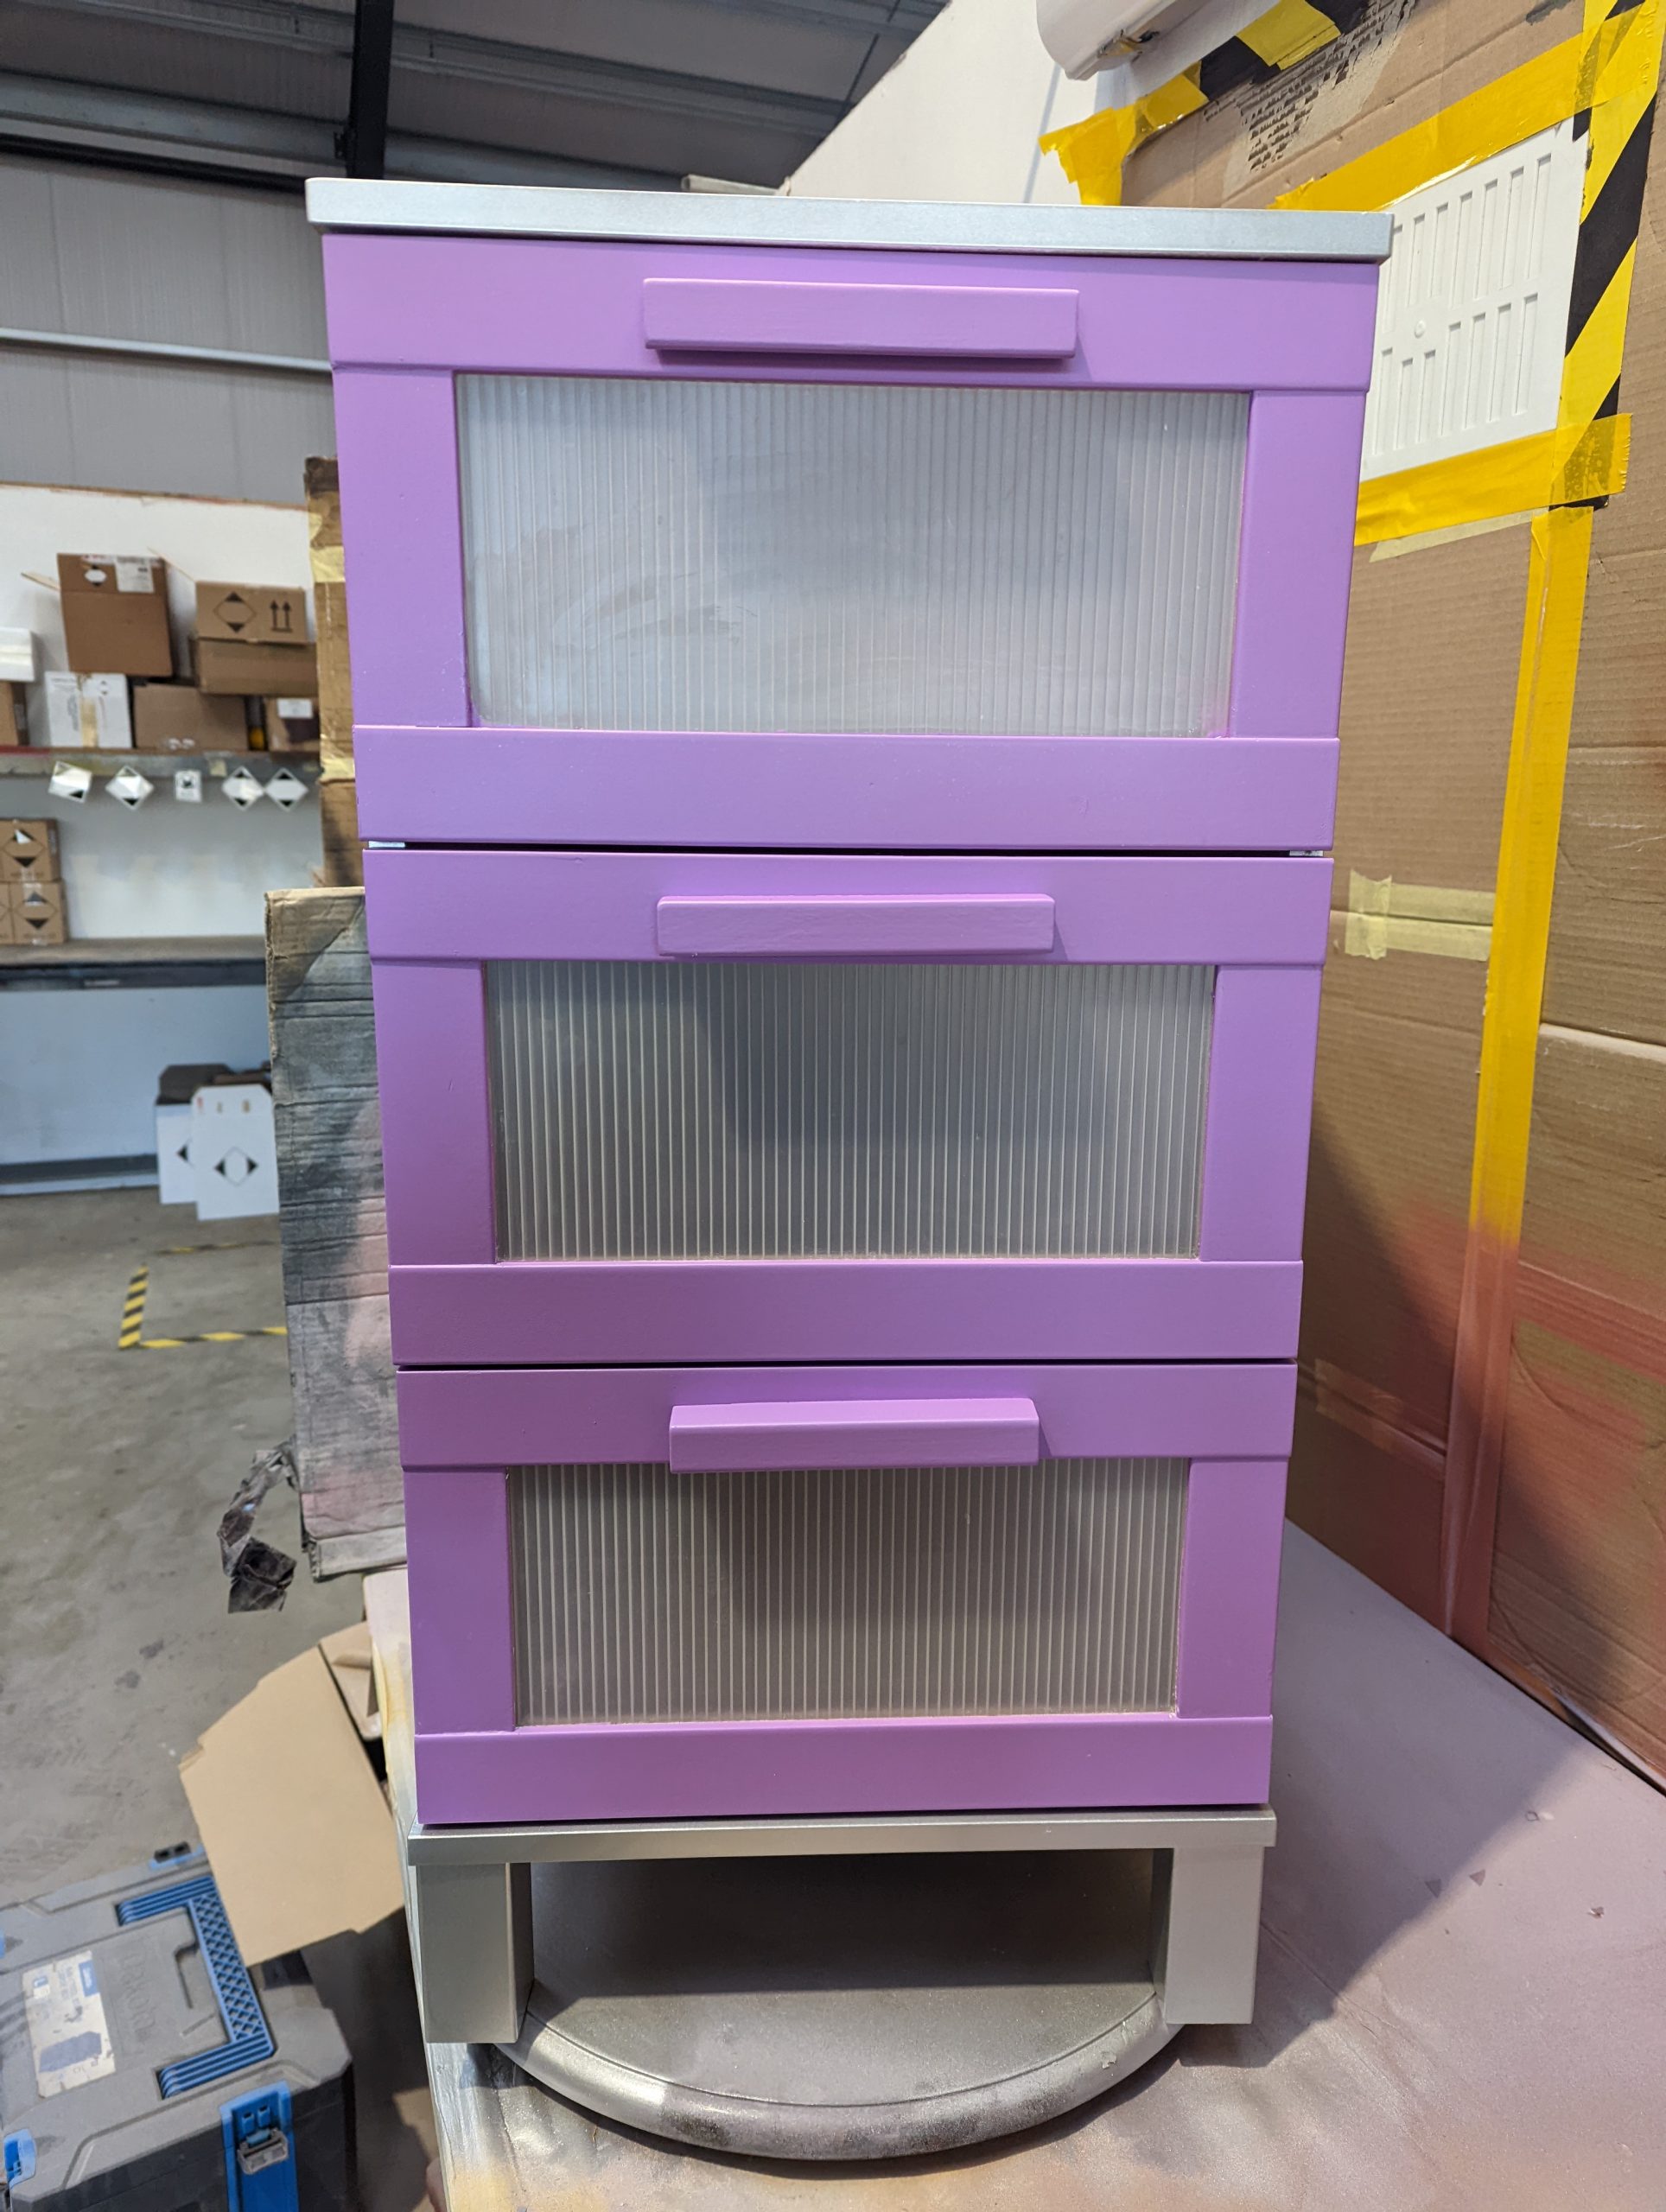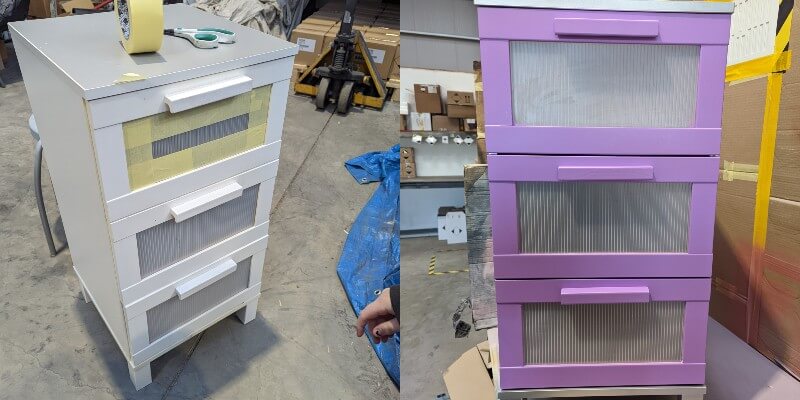
Our customer Darcy was looking to transform her plain white bedroom drawer with a pop of colour! This is how our products helped her complete her project.
Tool List:
- Multi Grade Sandpaper
- Masking Tape and Masking Paper
- High Build Primer
- RAL 9006 Acrylic Satin Paint
- RAL 4007 Acrylic Gloss Paint
Step One – Prep:
First off, select an area where you can lay down a dust sheet or some card, as the overspray will damage nearby areas. Make sure the area is well ventilated, and always wear a mask when you spray paint.
TOP TIP PREP: Mask off any important areas you do not want sawdust or paint/overspray to infect. When painting your project, the paint will expand exponentially; this will dry and create a fine dusting over anything you haven’t covered.
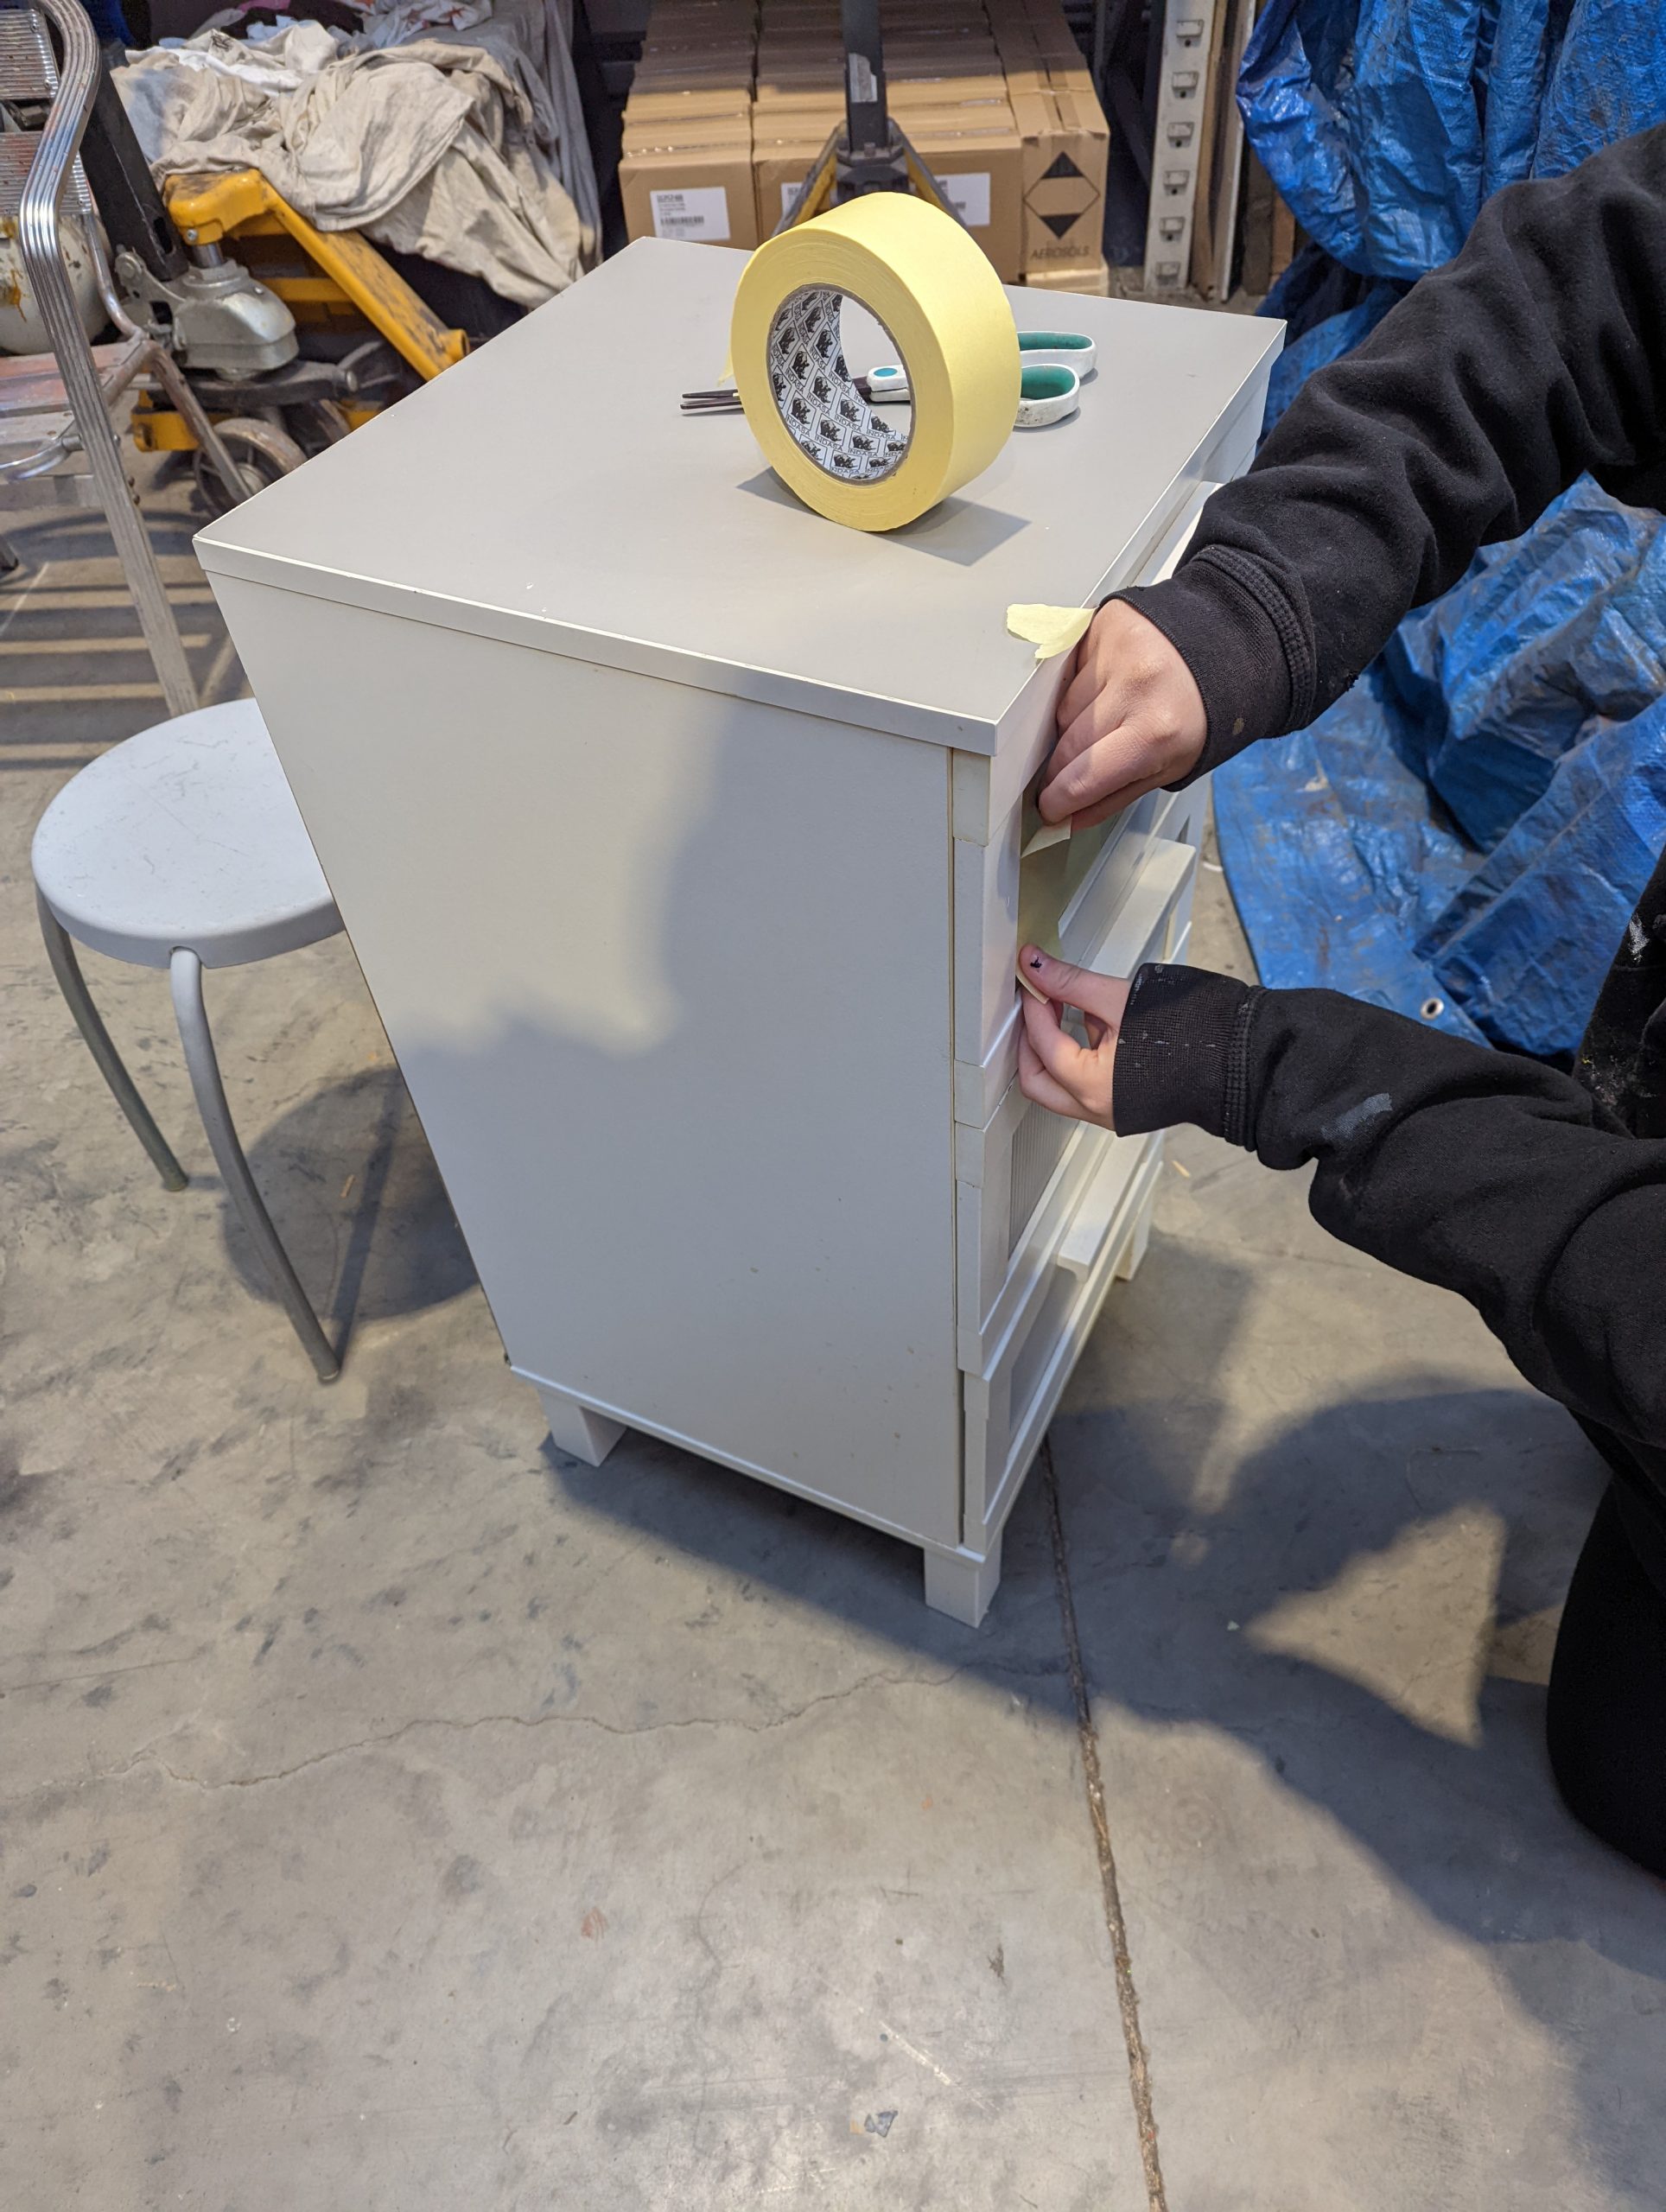
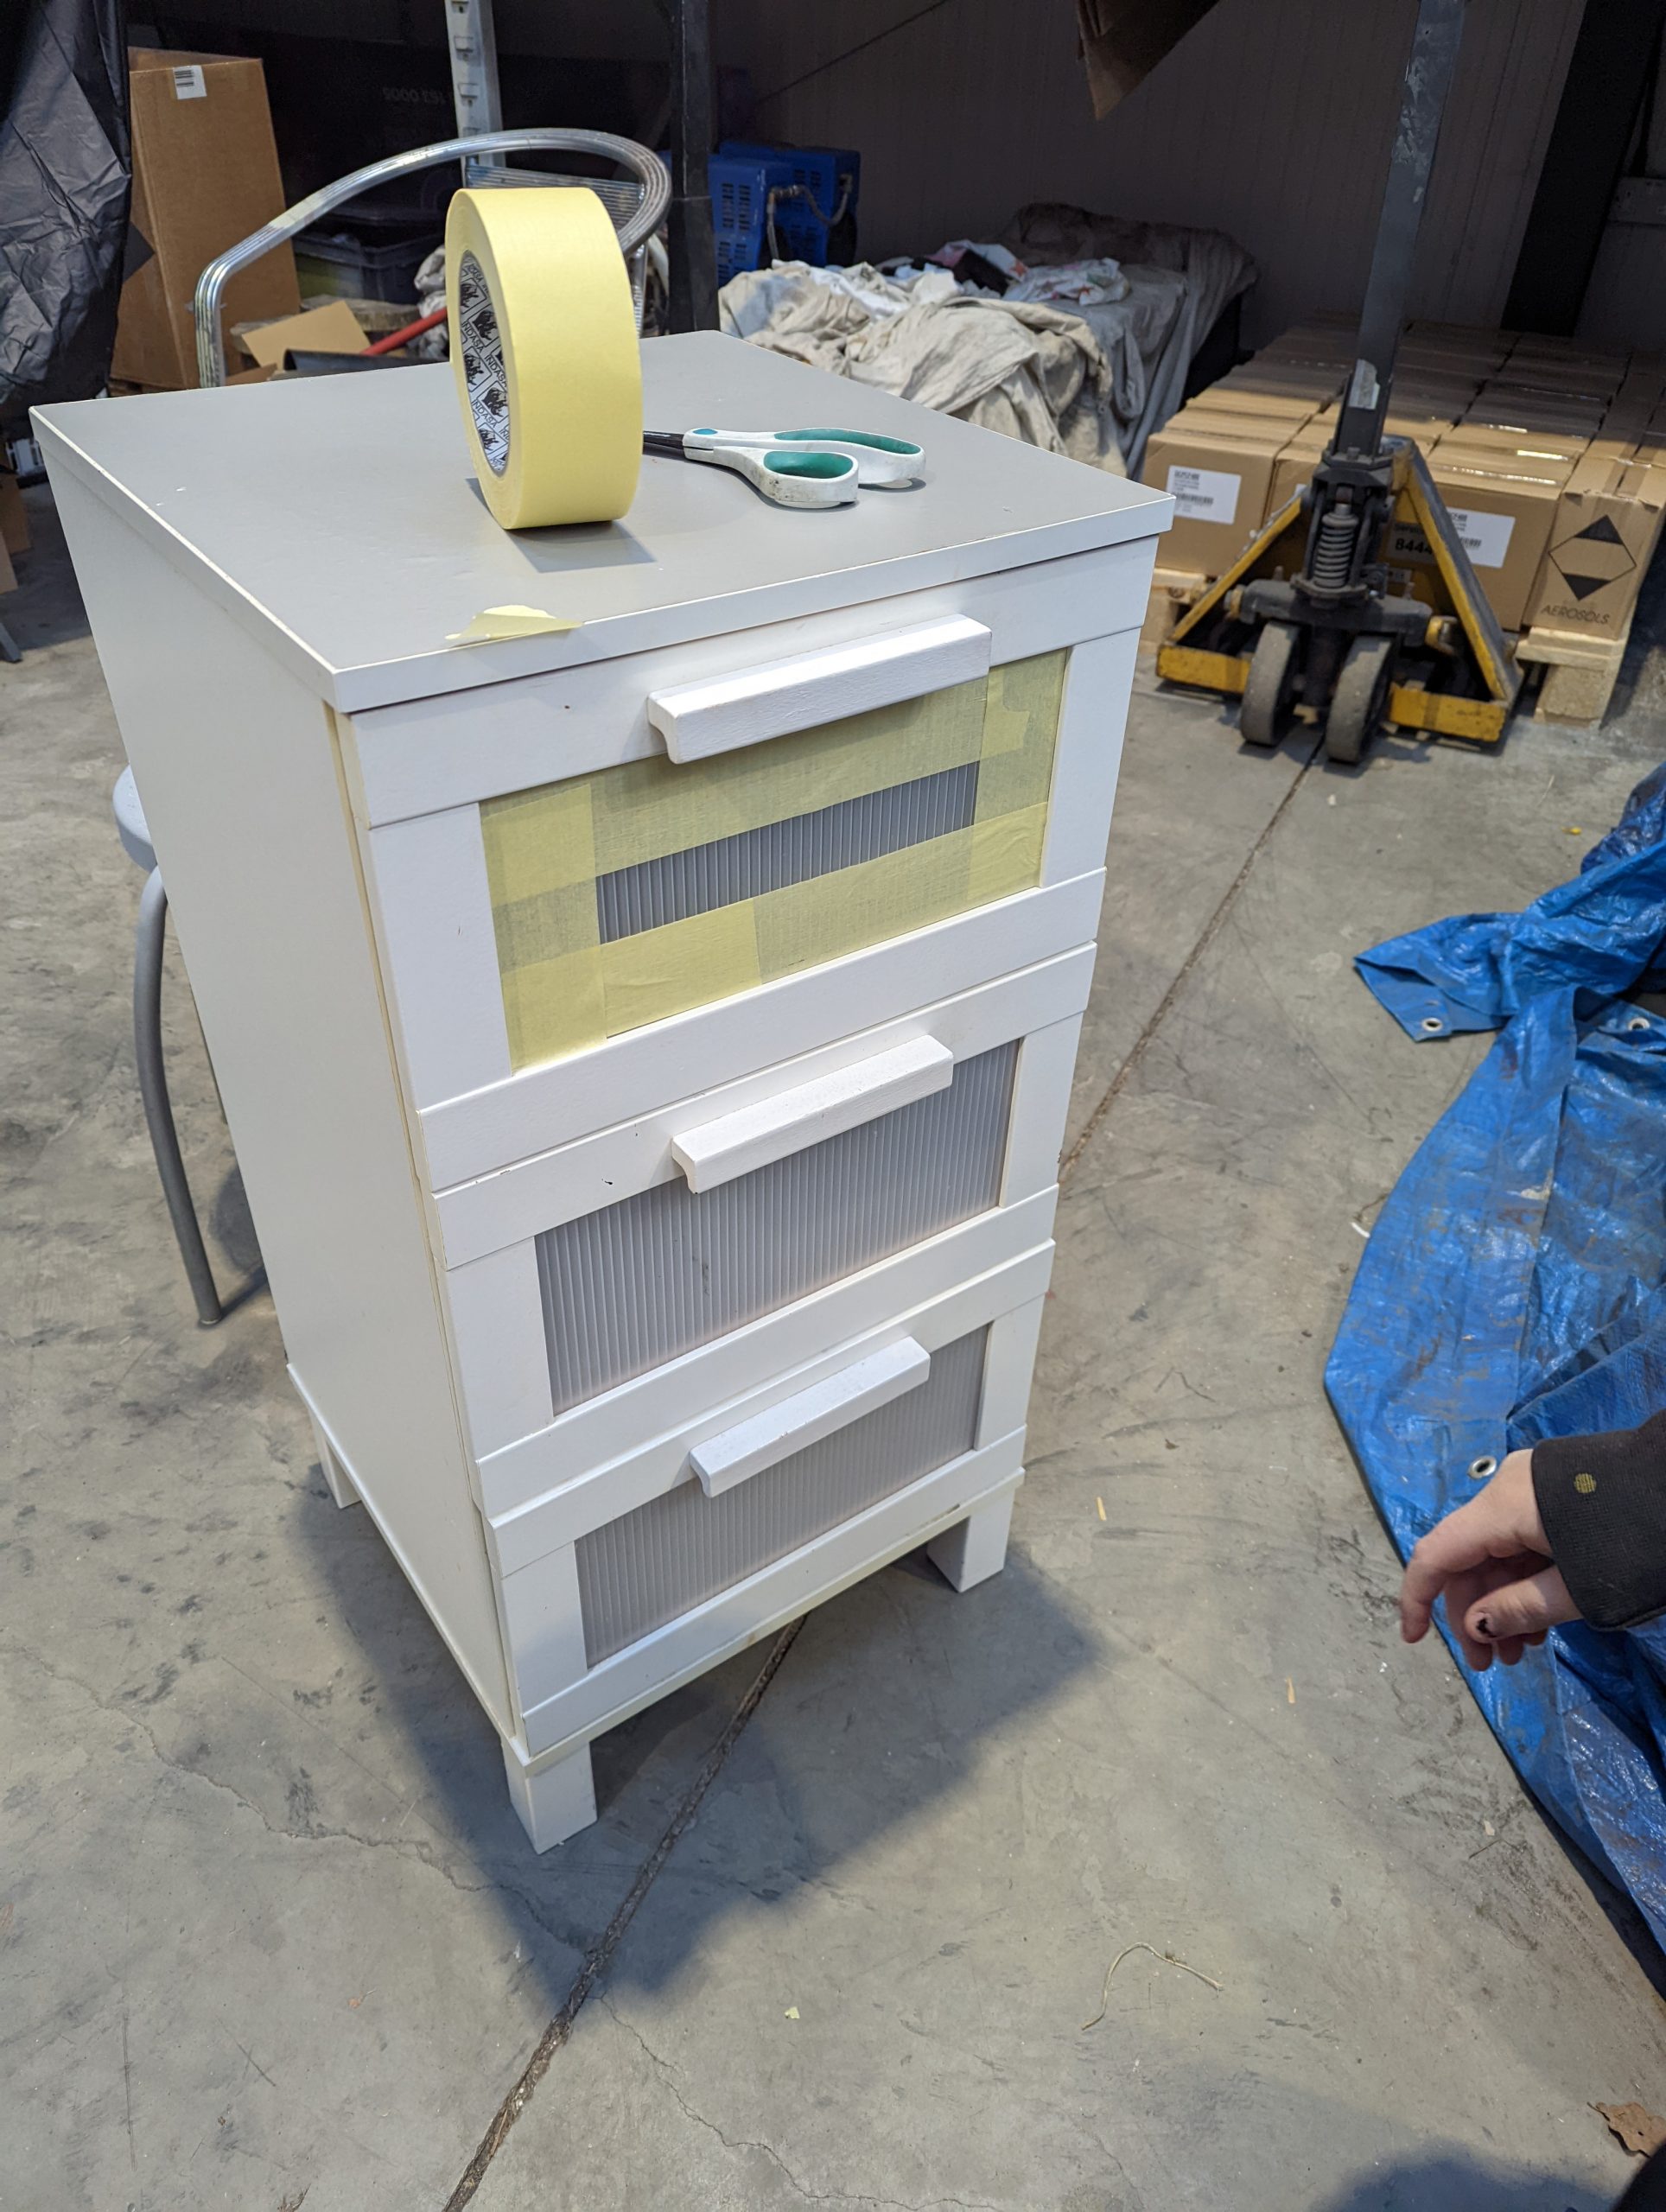
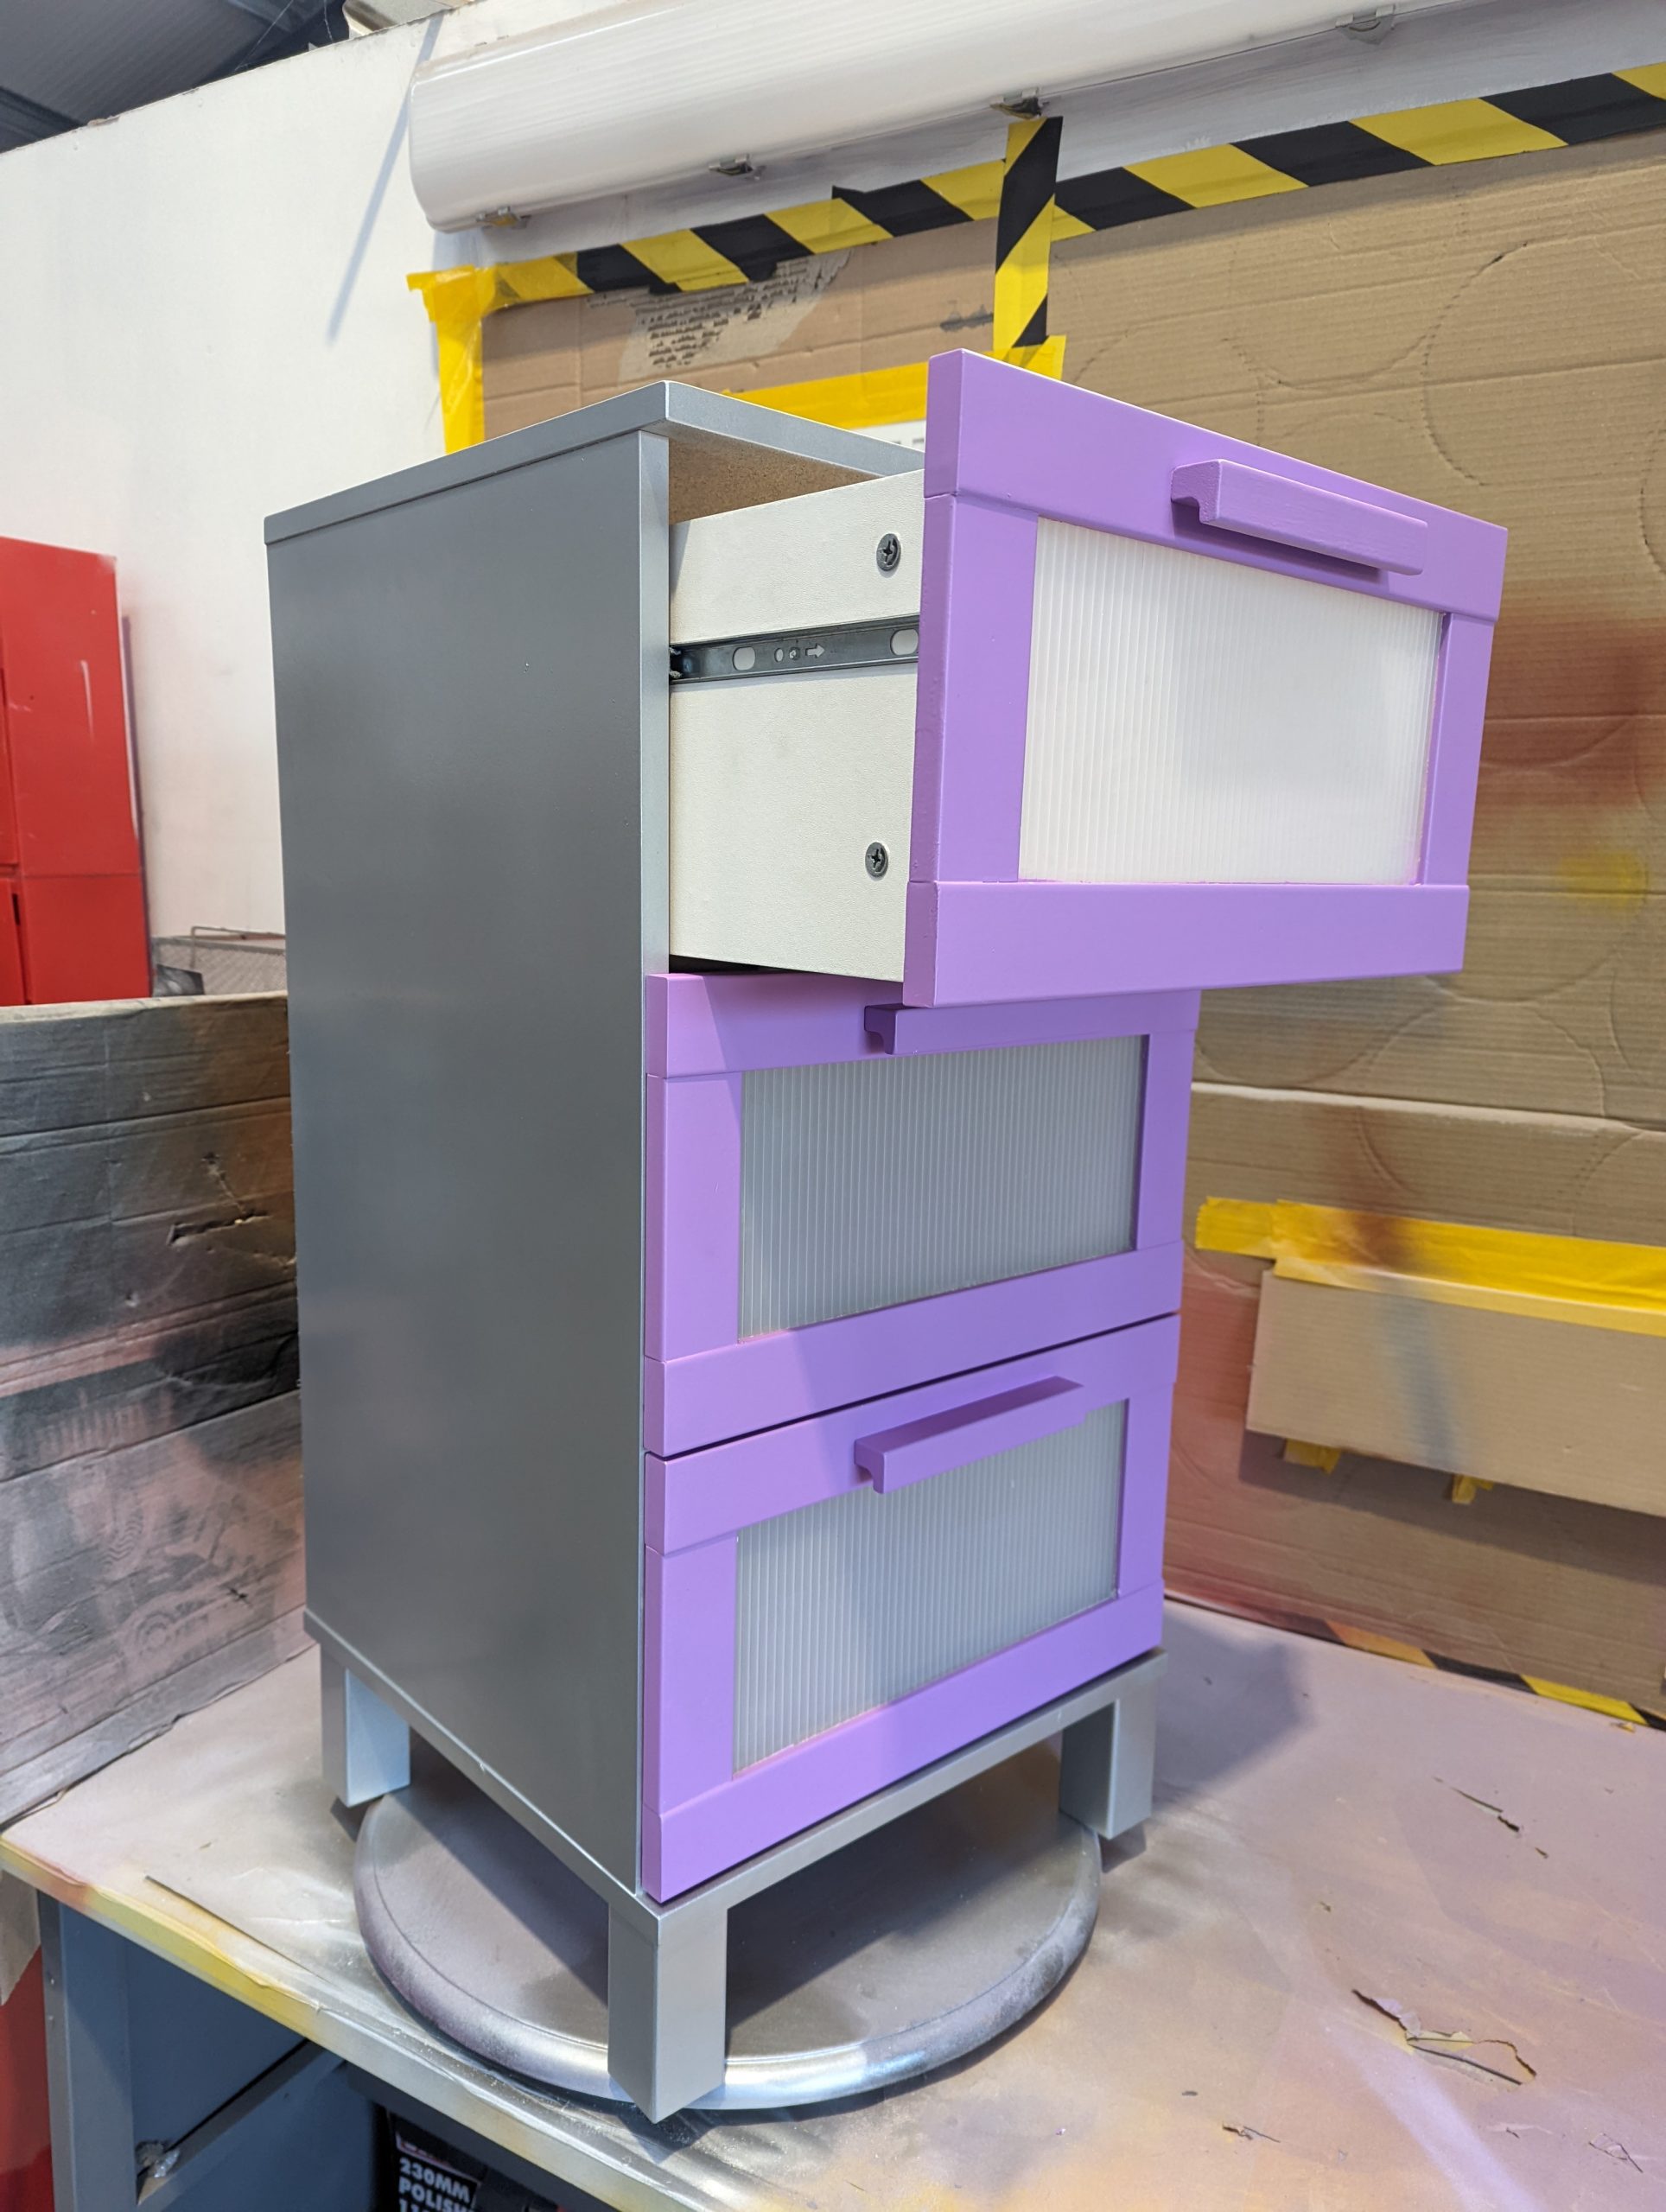
Next, take the drawers apart and apply masking tape over the plastic windows at the front. This will protect the windows from sanding and painting.
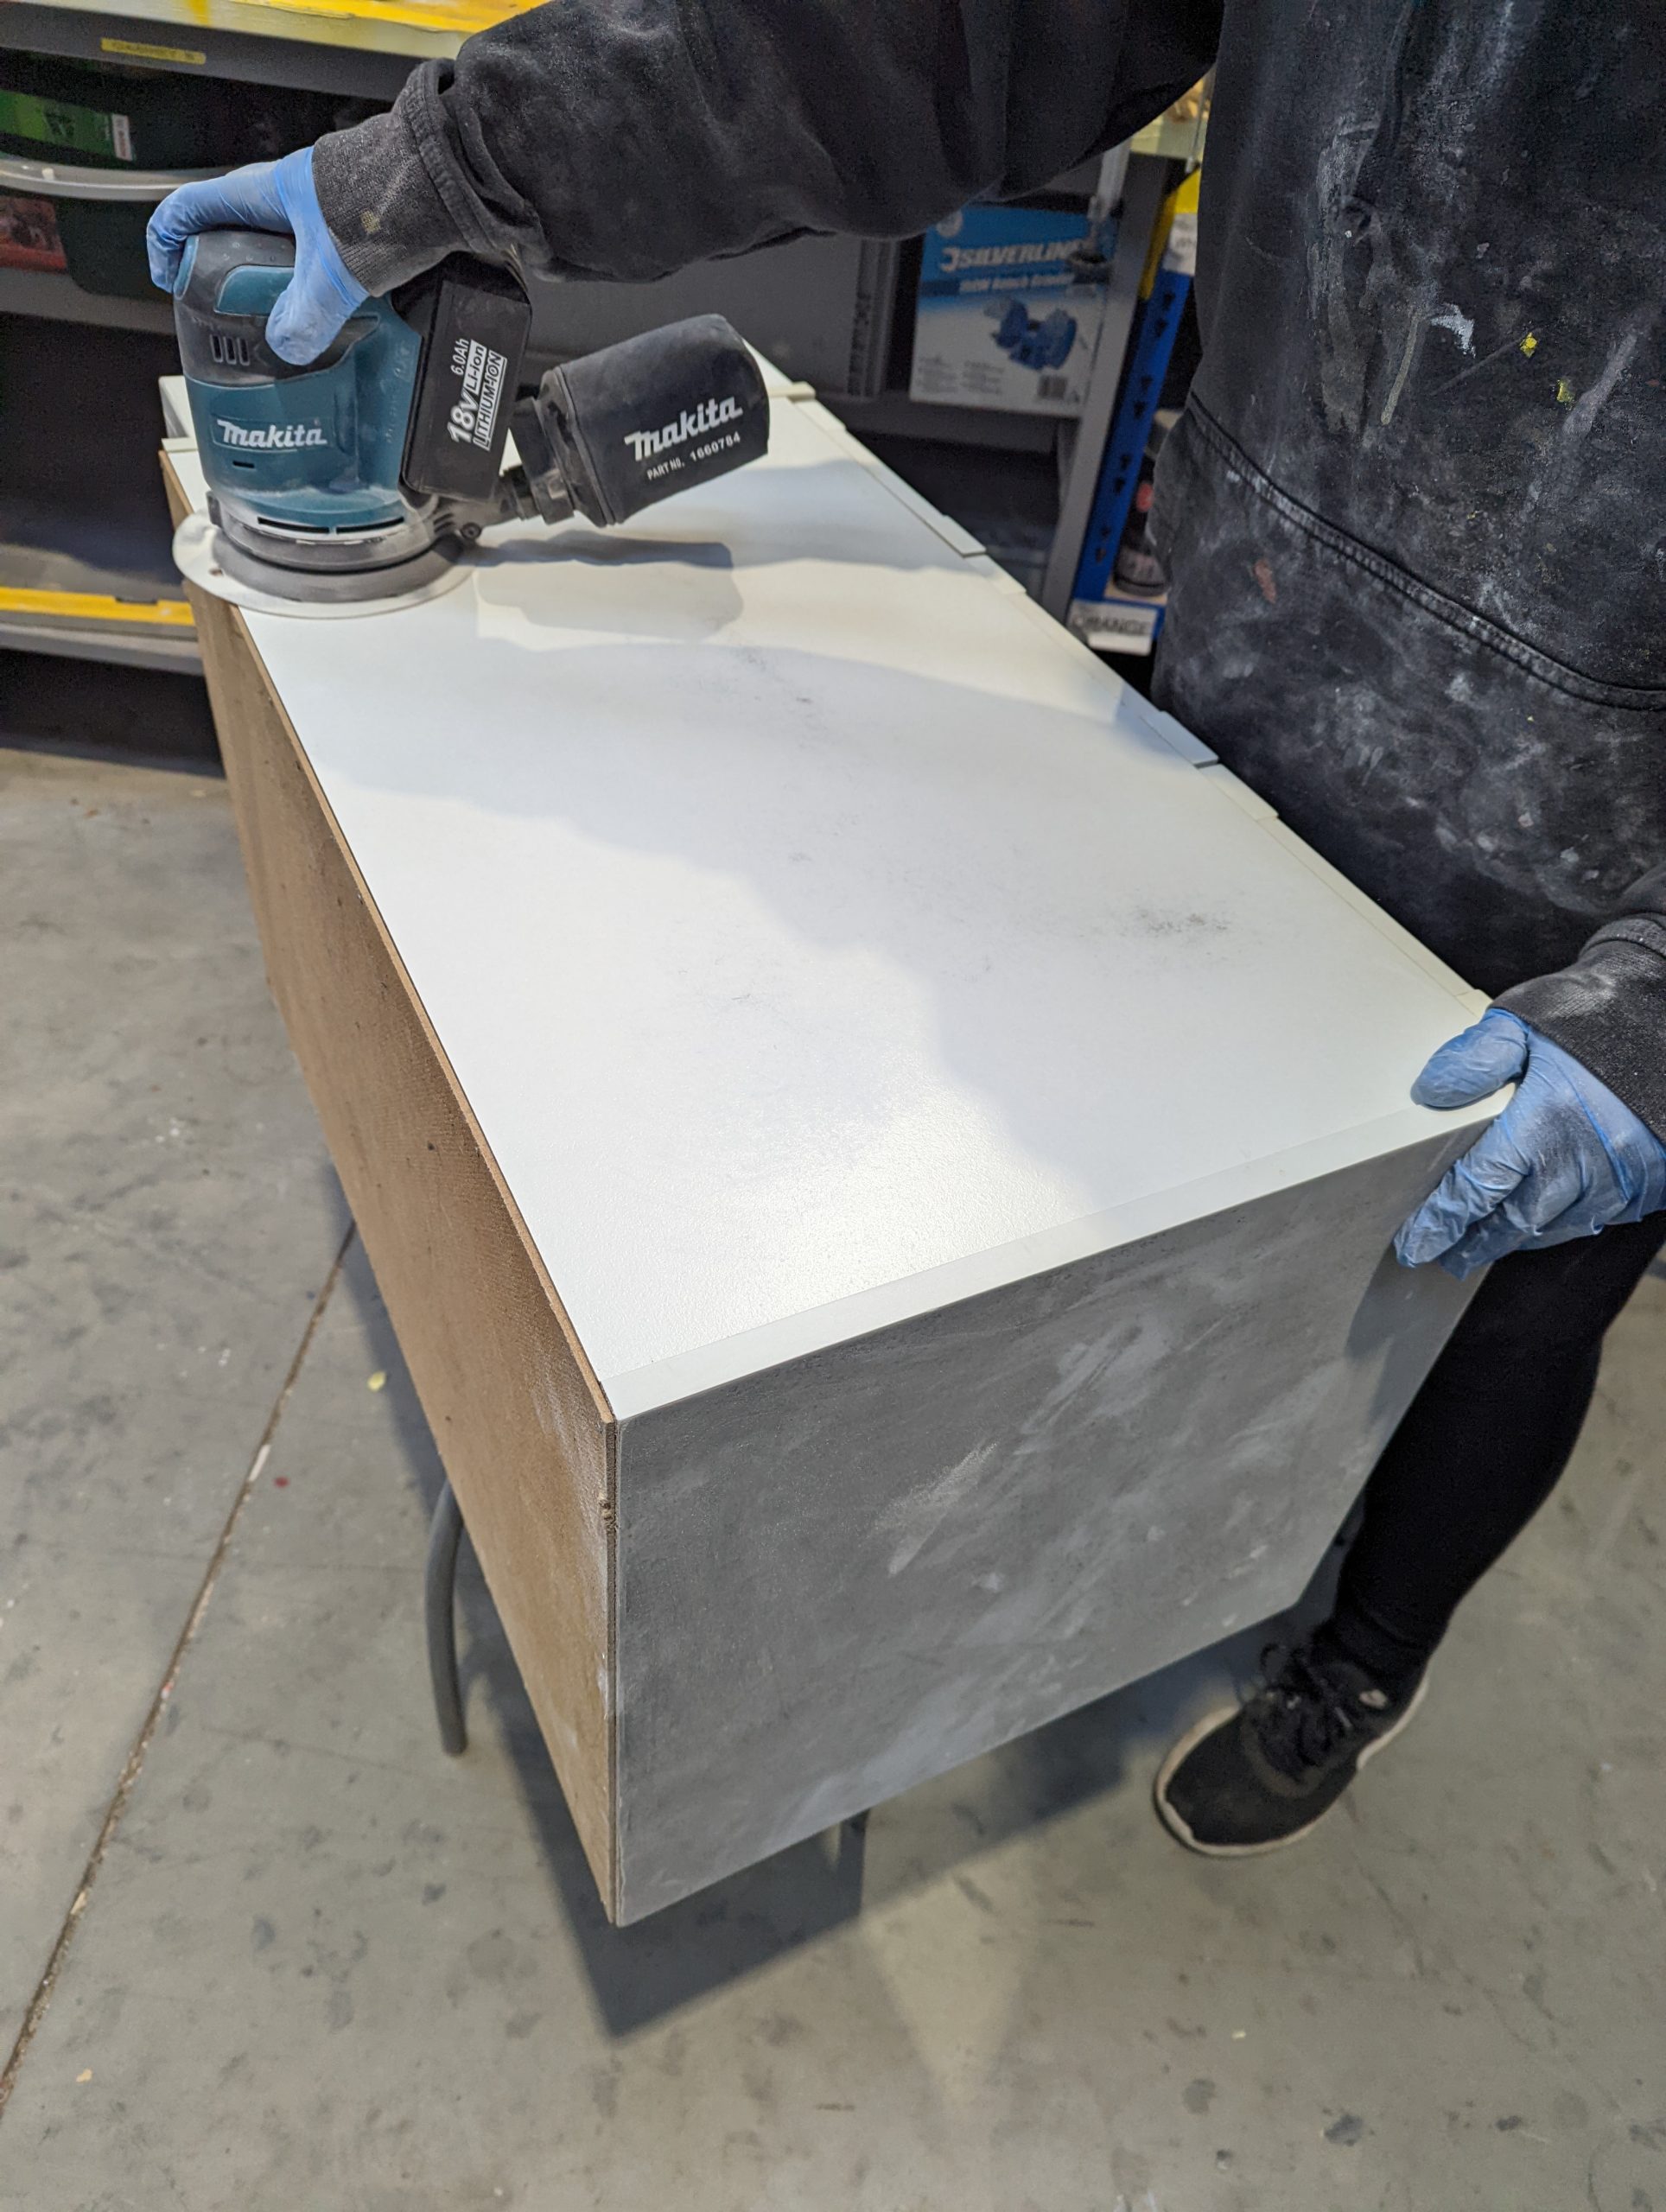
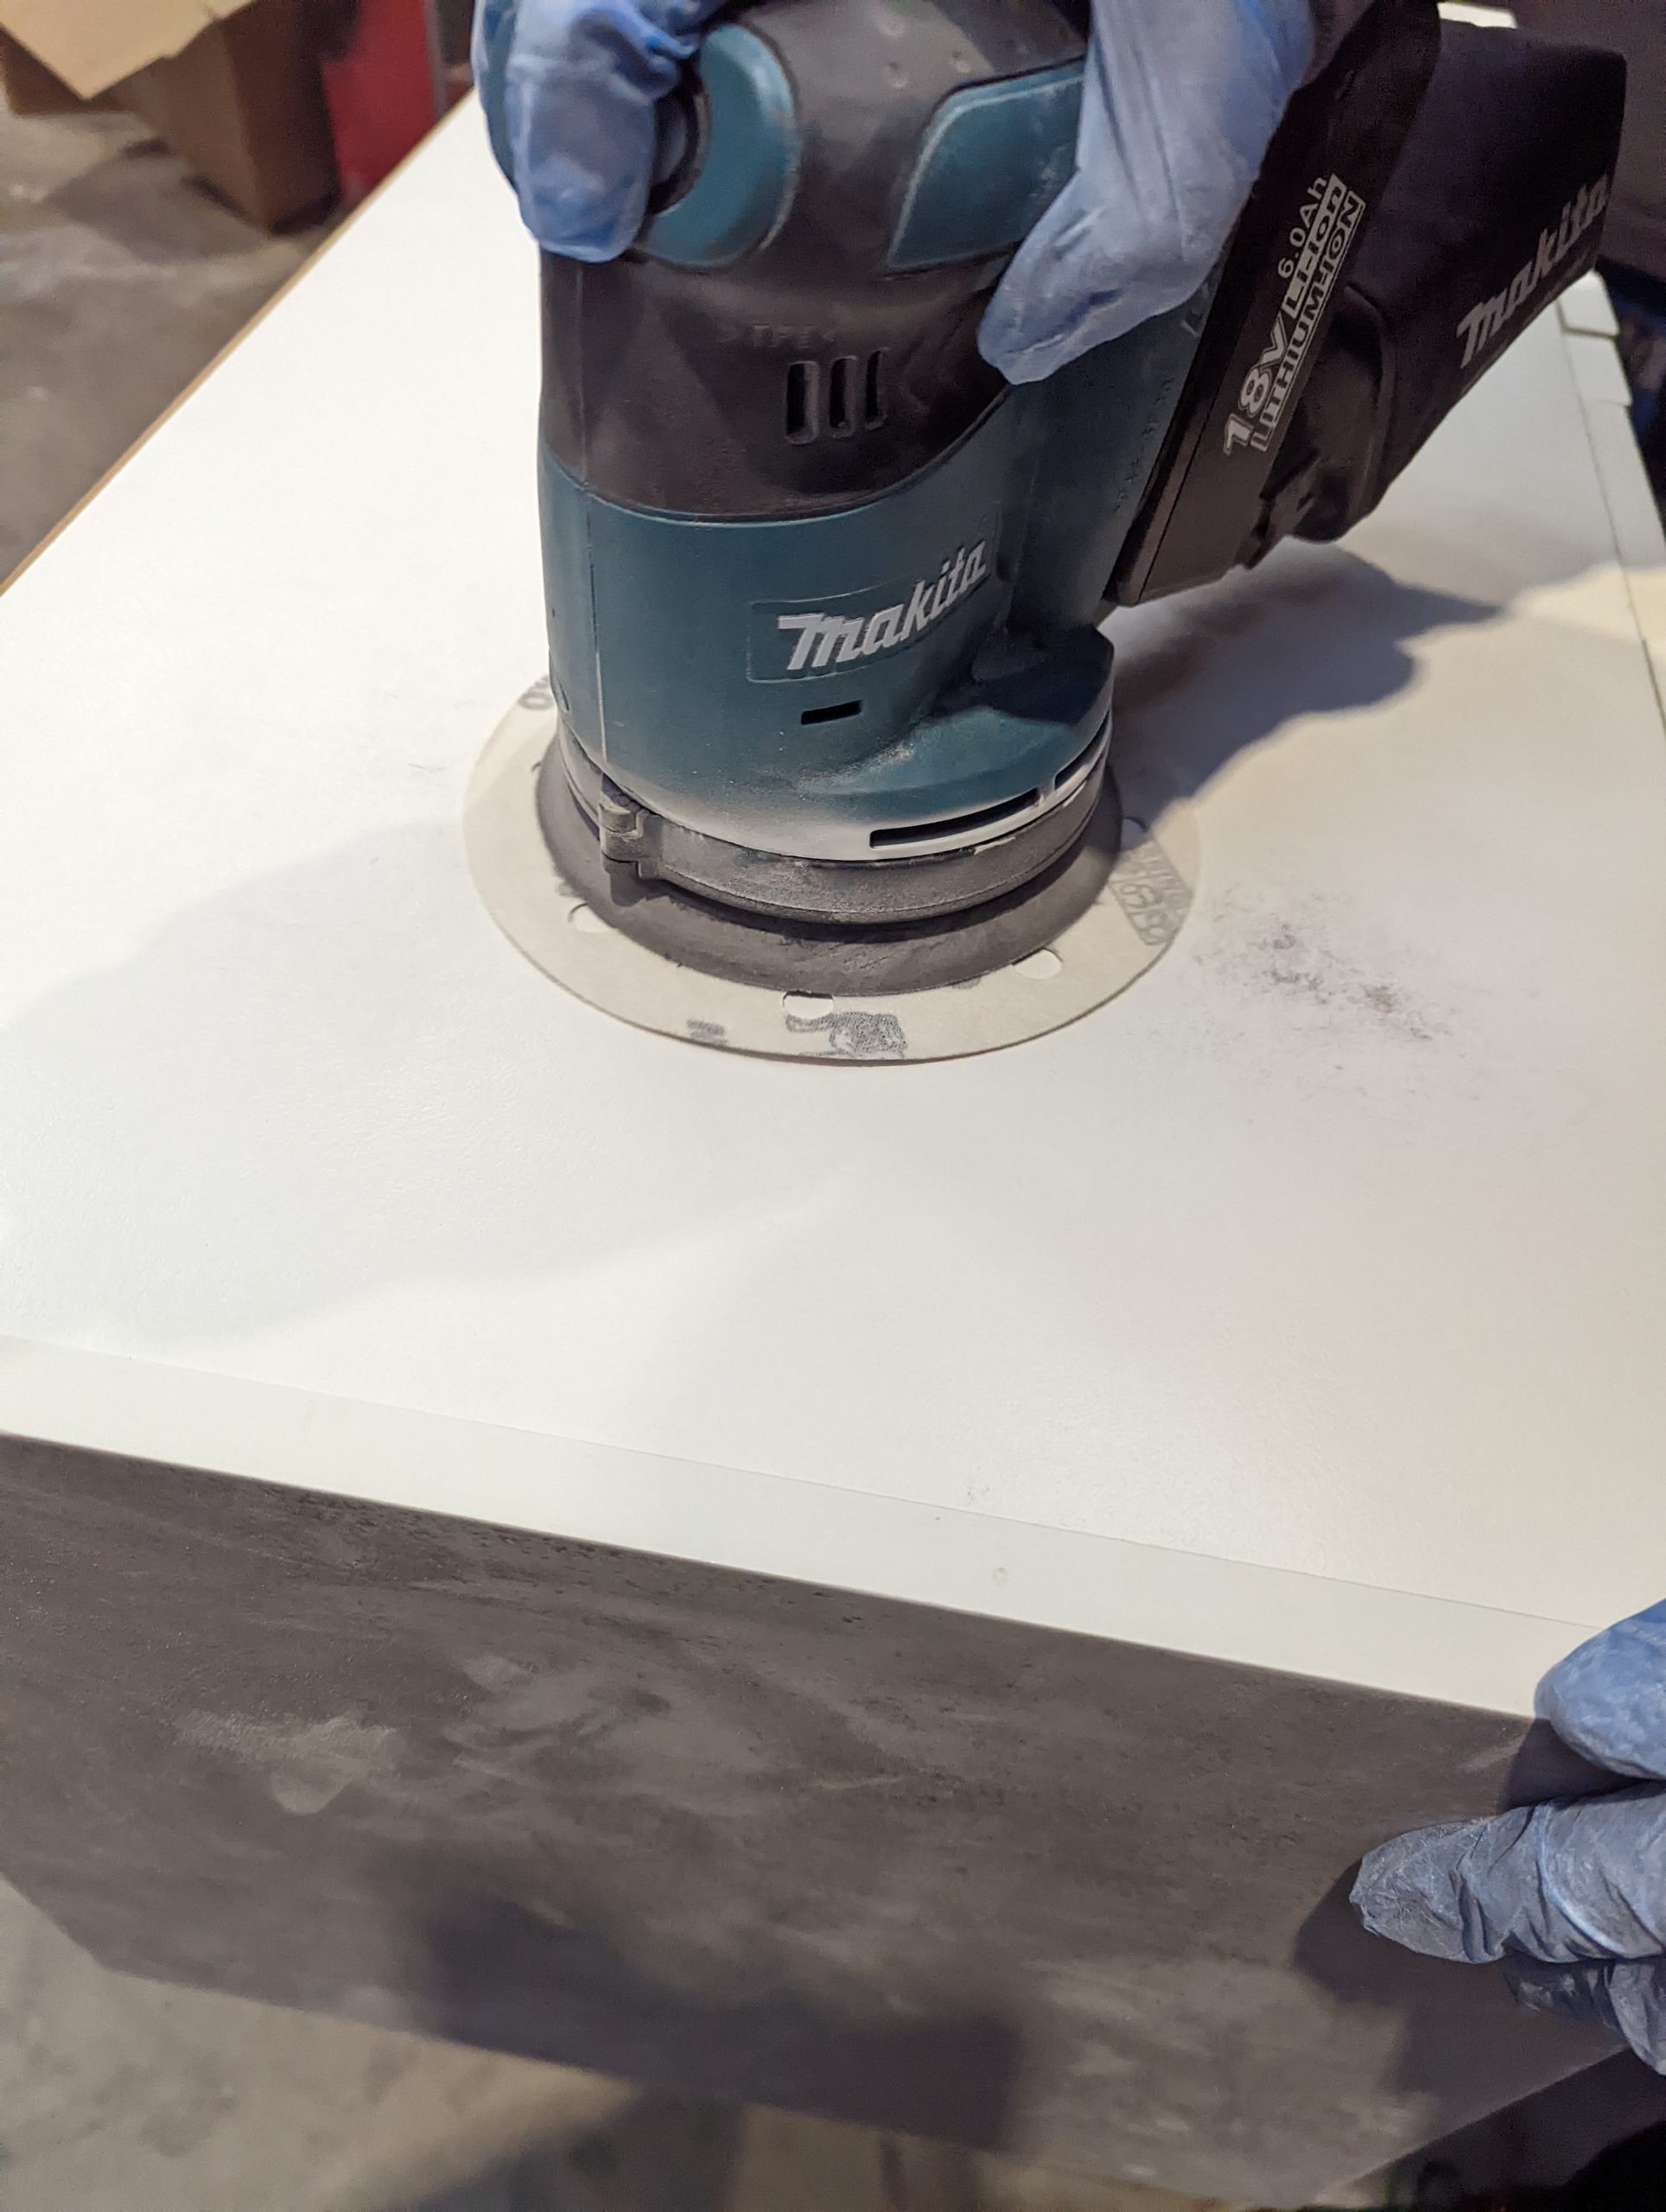
Step Two – Sanding & Dust Coat:
Start by keying (to key something is to take the edge off it by lightly sanding the substrate until it has a matt finish) any previously painted surfaces or debris such as wood, metal or plastics so that the new primer can adhere to it. We used a high-build primer on this occasion.
TOP TIP: When you’re planning to spray a light colour such as yellow-orange or fluorescent colours, ALWAYS ensure you use a white primer undercoat, NOT GREY! The white colour will still be prevalent in the basecoat colour. If you use a grey primer, it will dull the final base coat.
We applied the High Build Primer as a light dust coat and set it for around 30 minutes to cure. Once the paint had cured, we sanded down any rough edges until the project was smooth all over. Primer paint is quite thick and, when applied in quantity, will take longer to cure, so ensure you leave for as long as possible to let the paint do its job. If you apply a thick coat, leave it for at least the following day to ensure your substrate is cured.
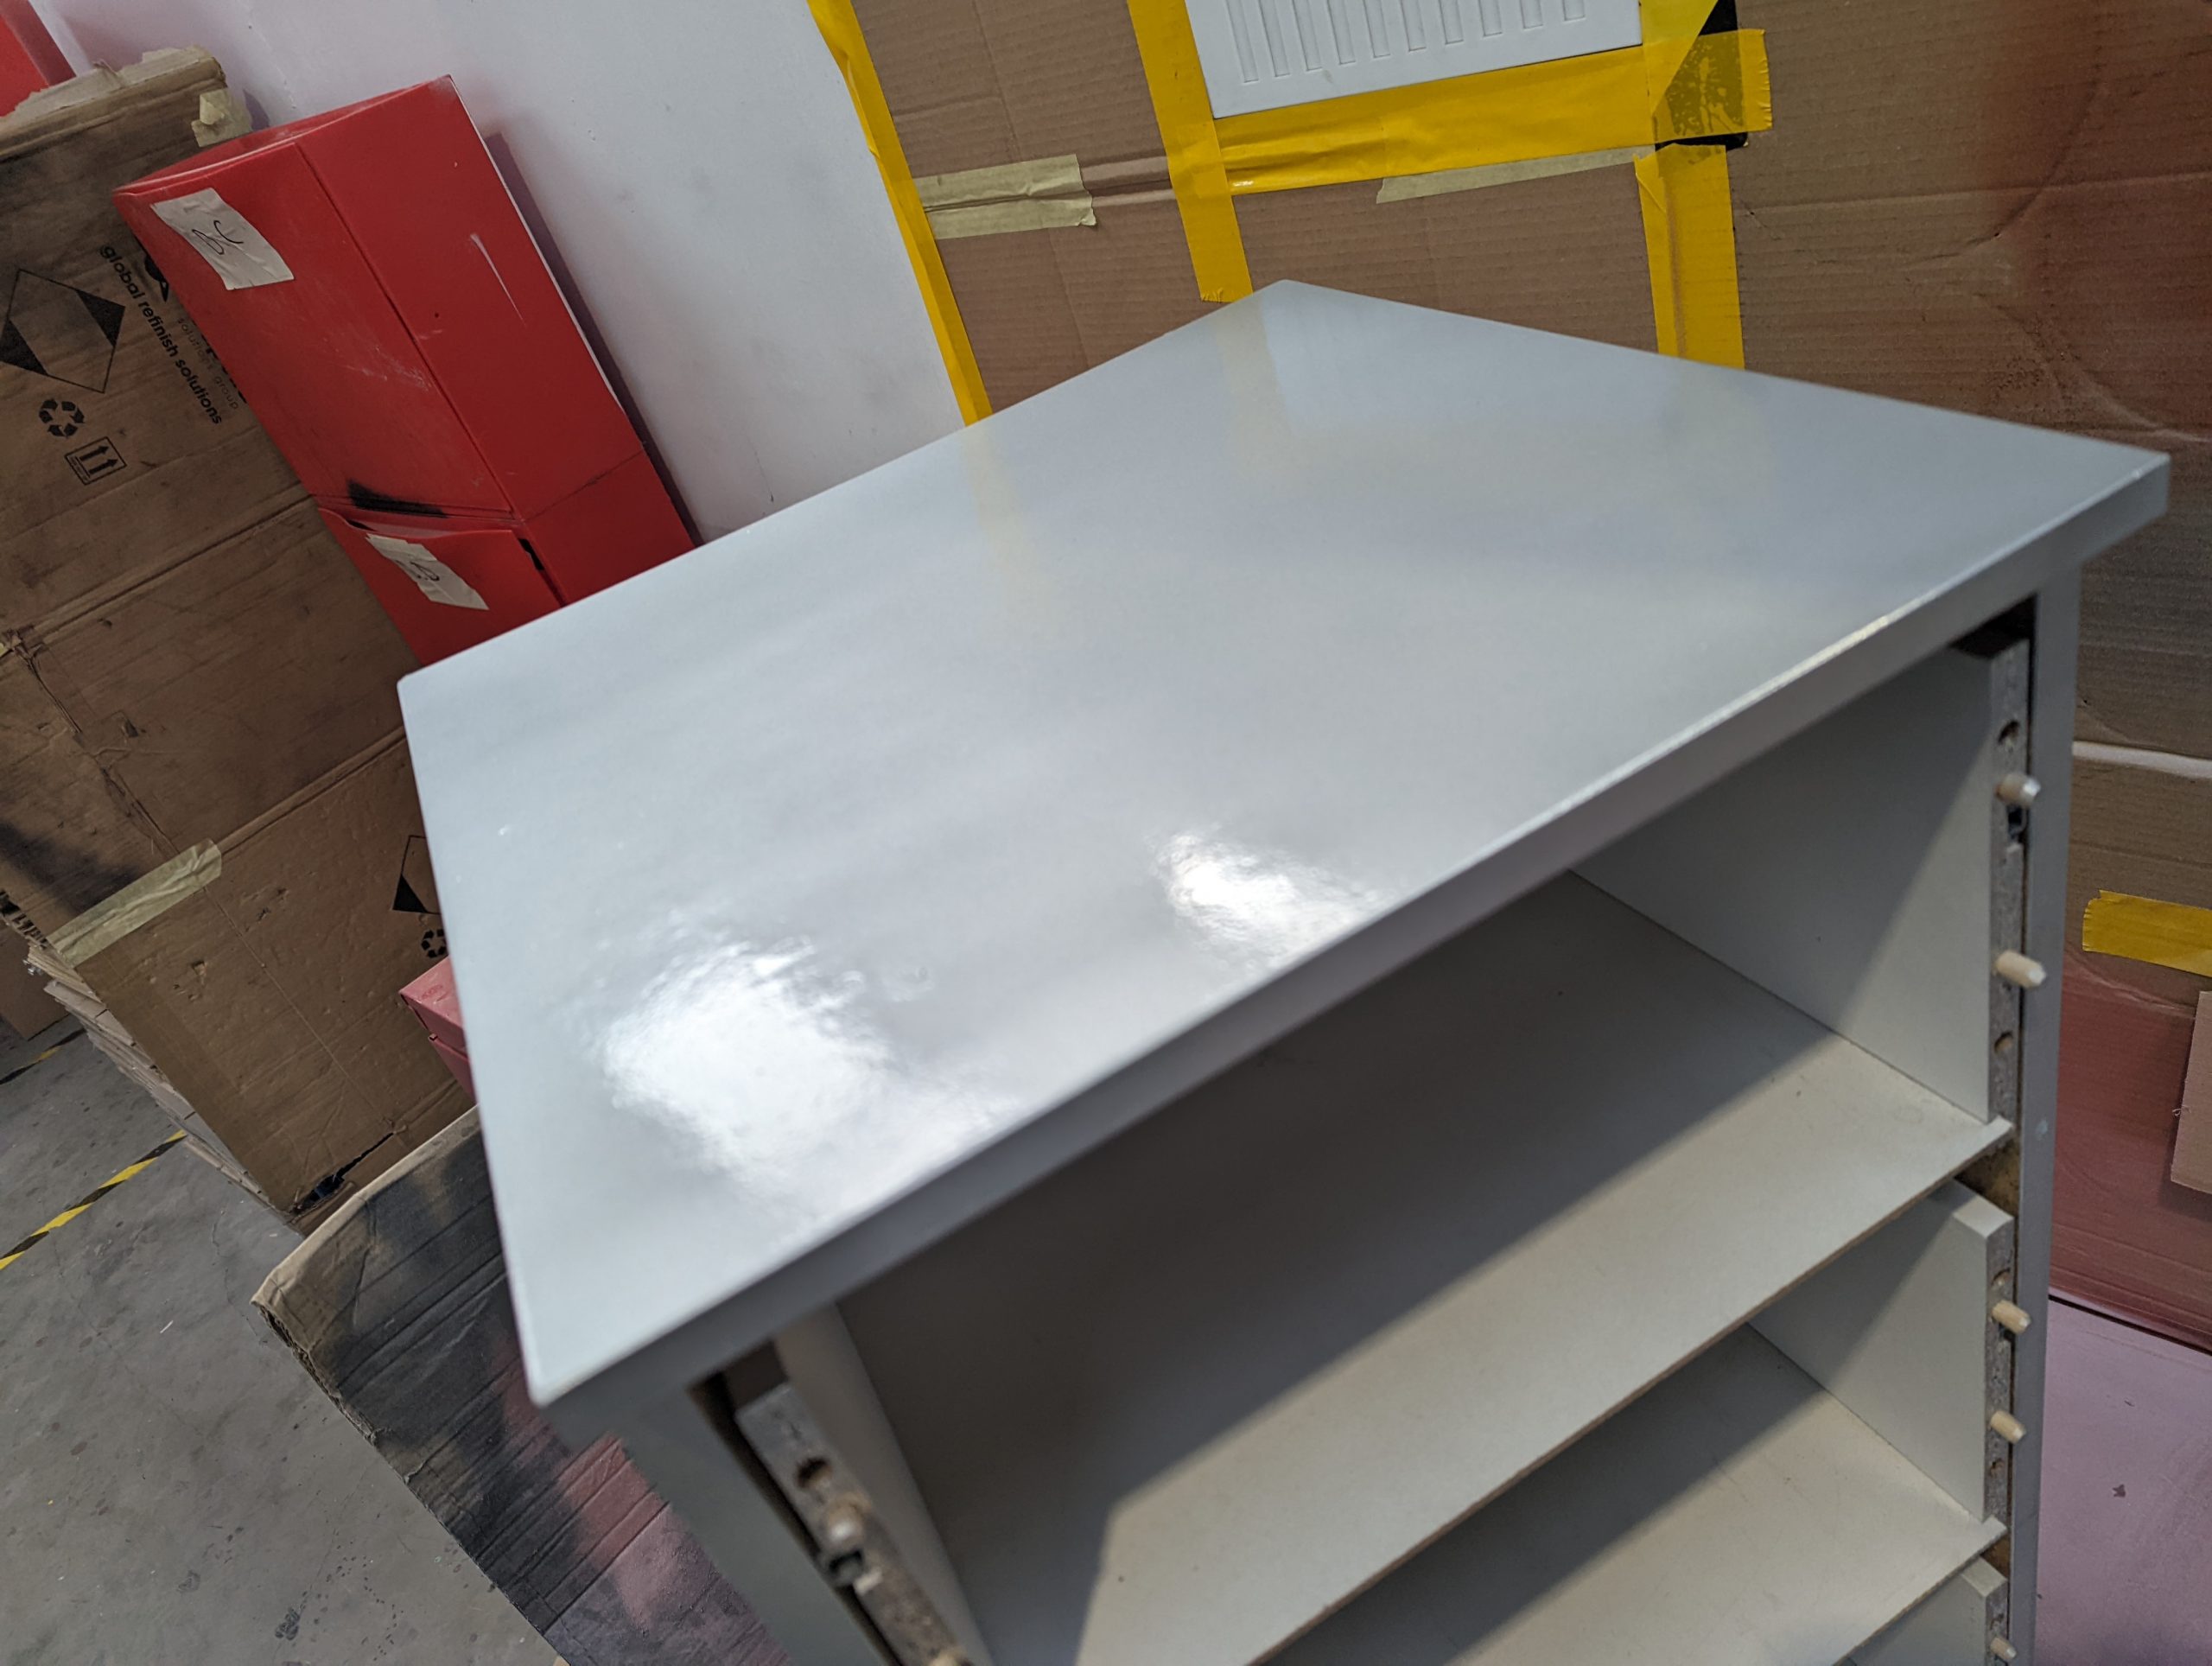
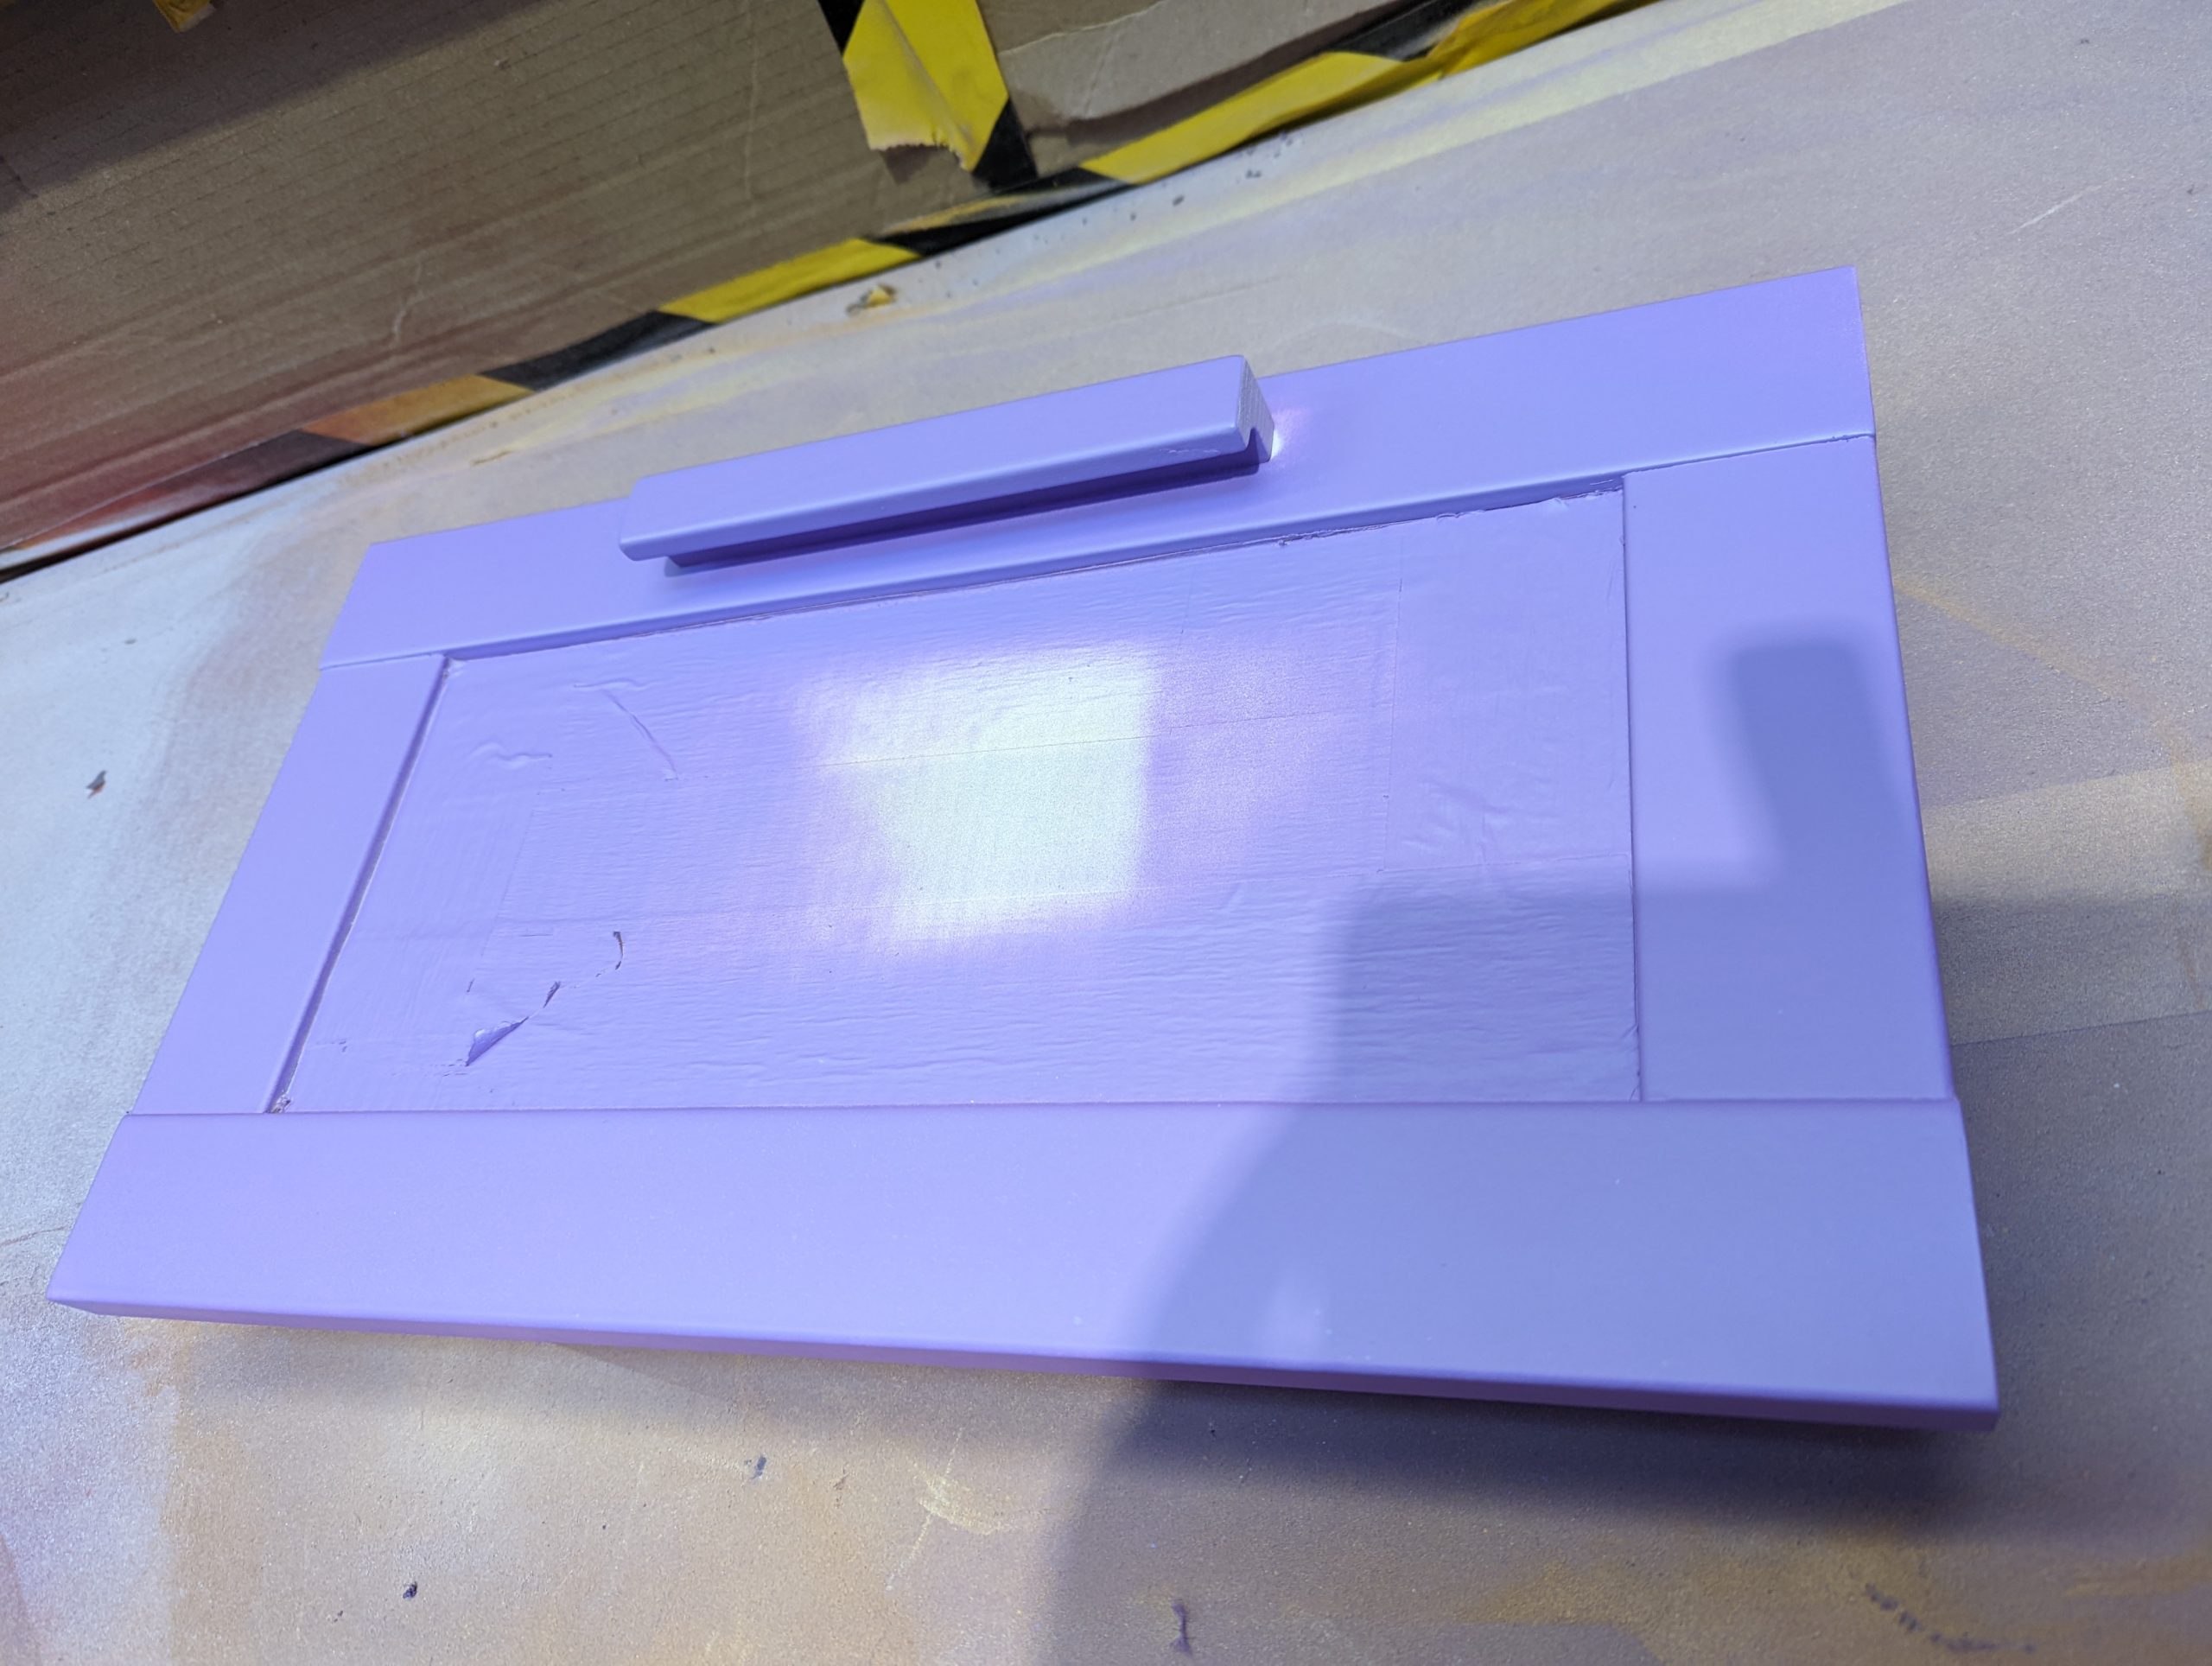
Step Three – Final Wet Coat:
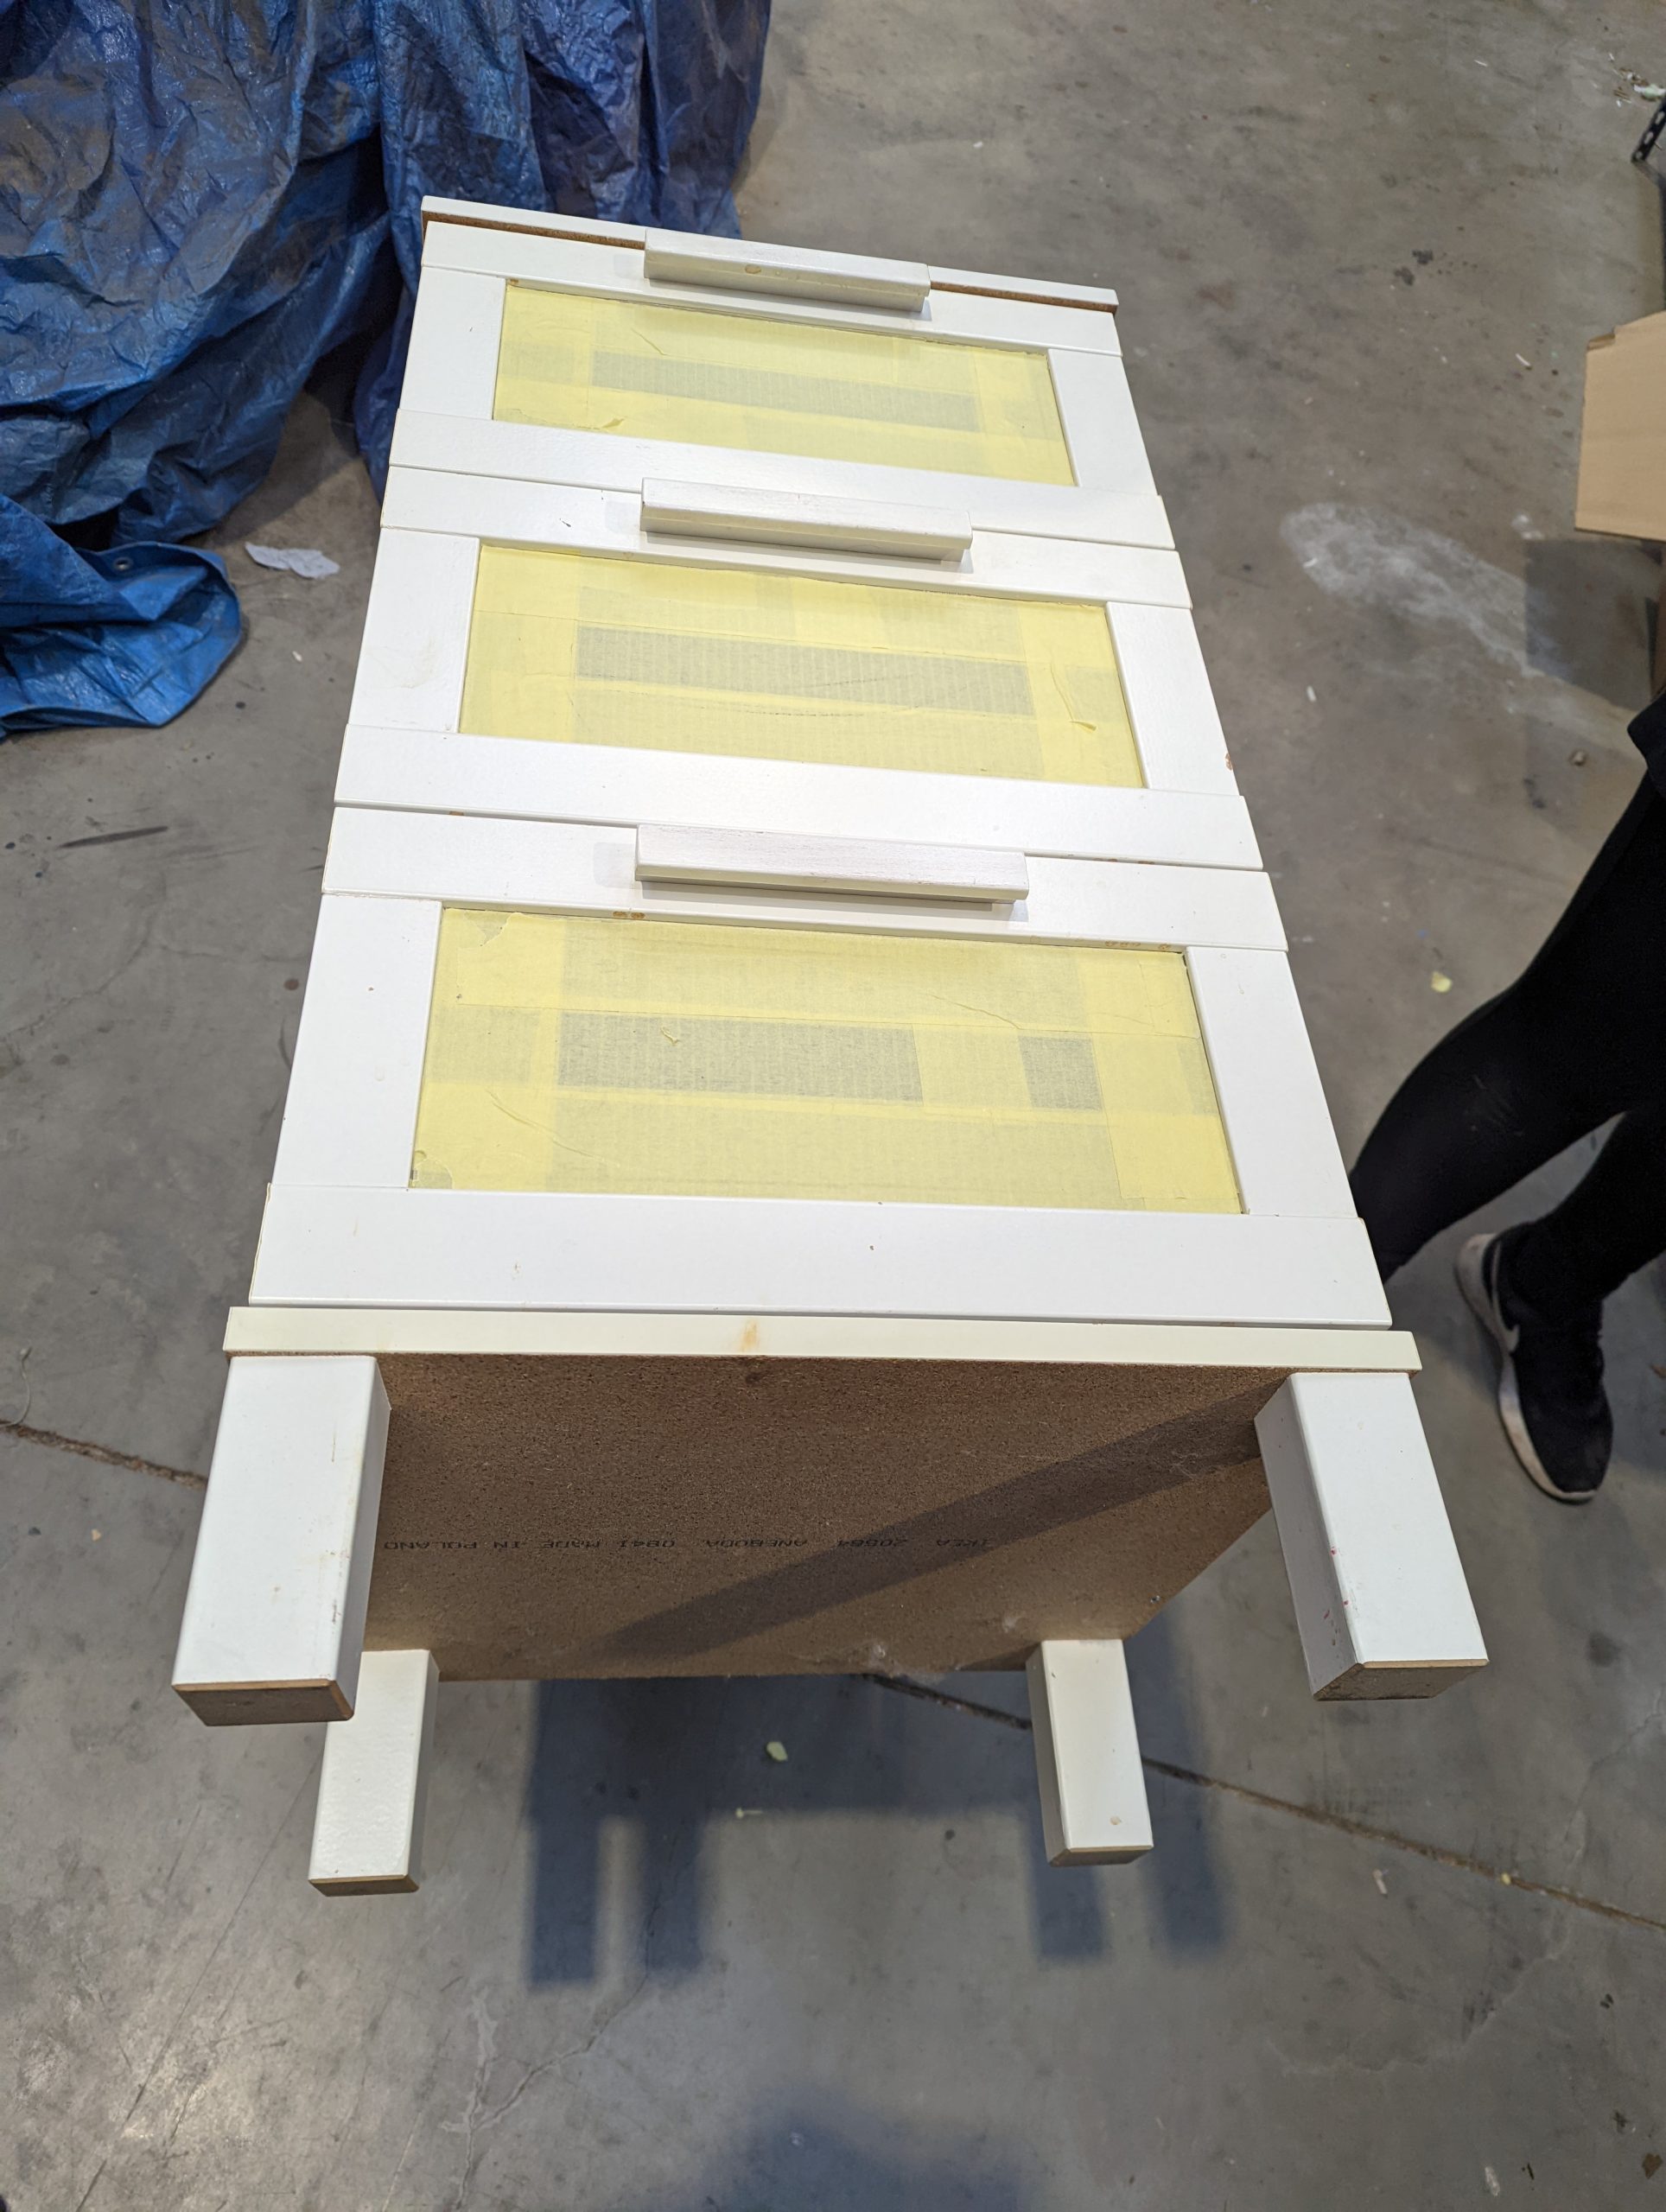
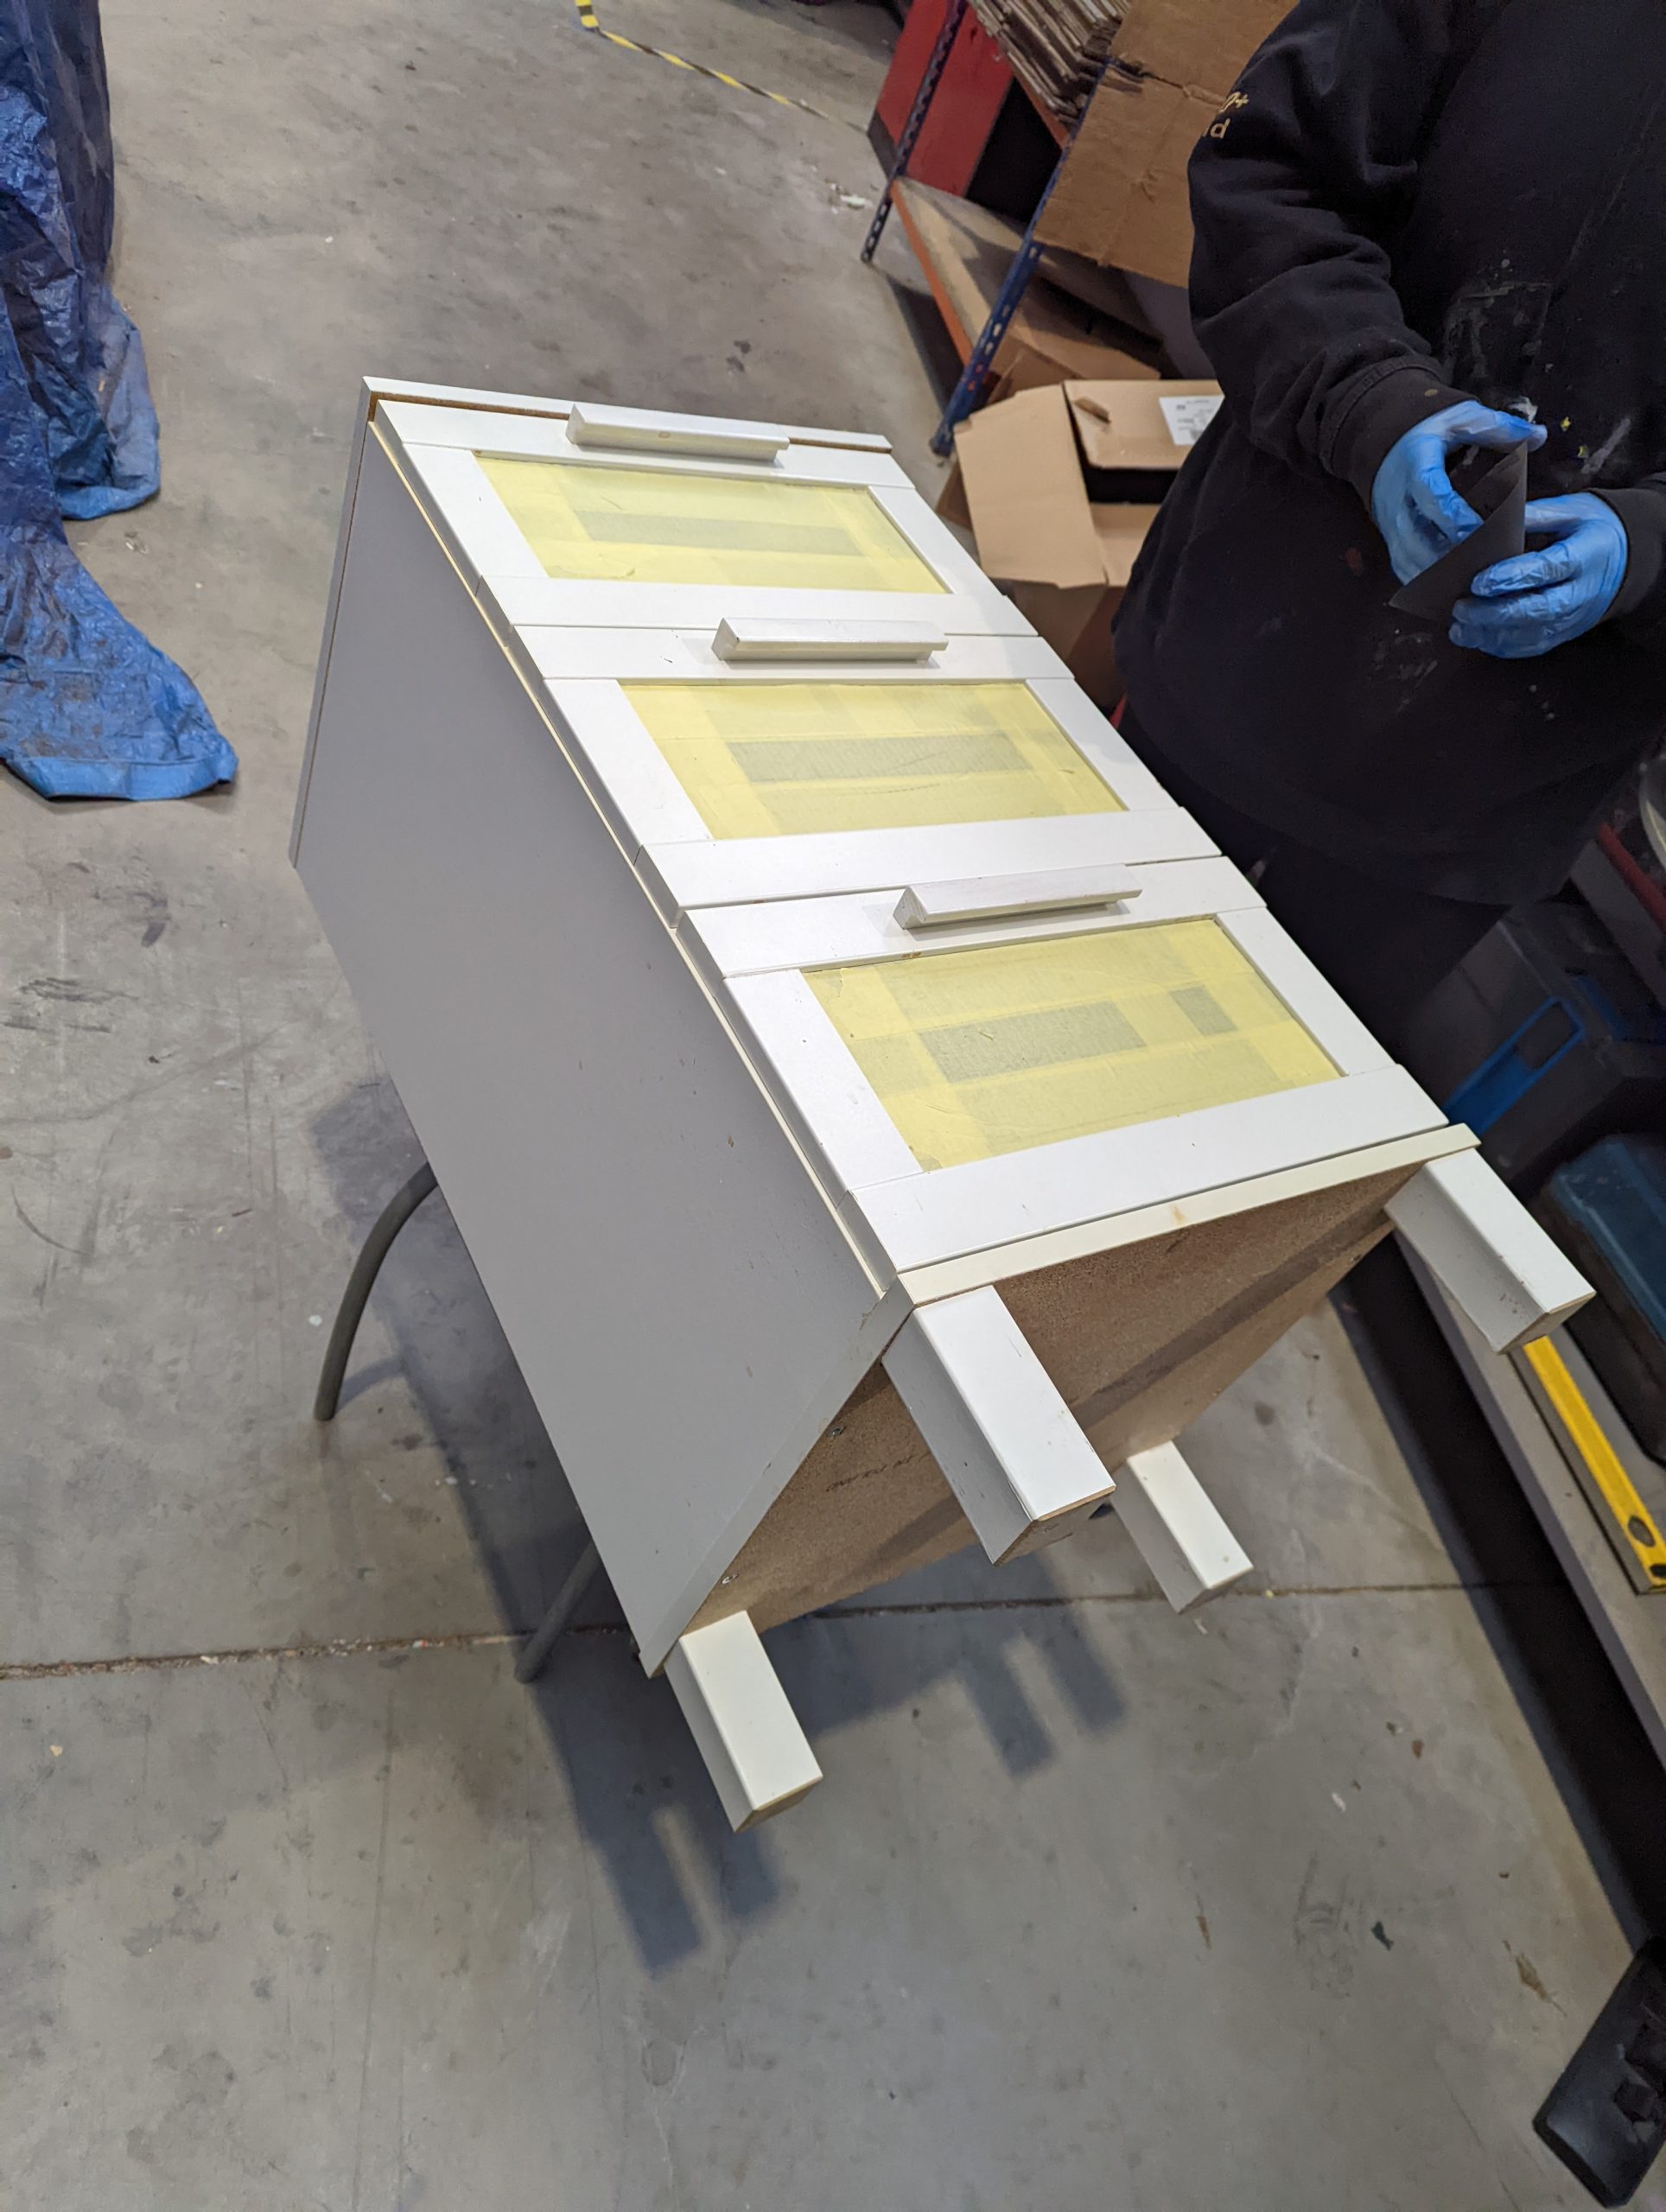
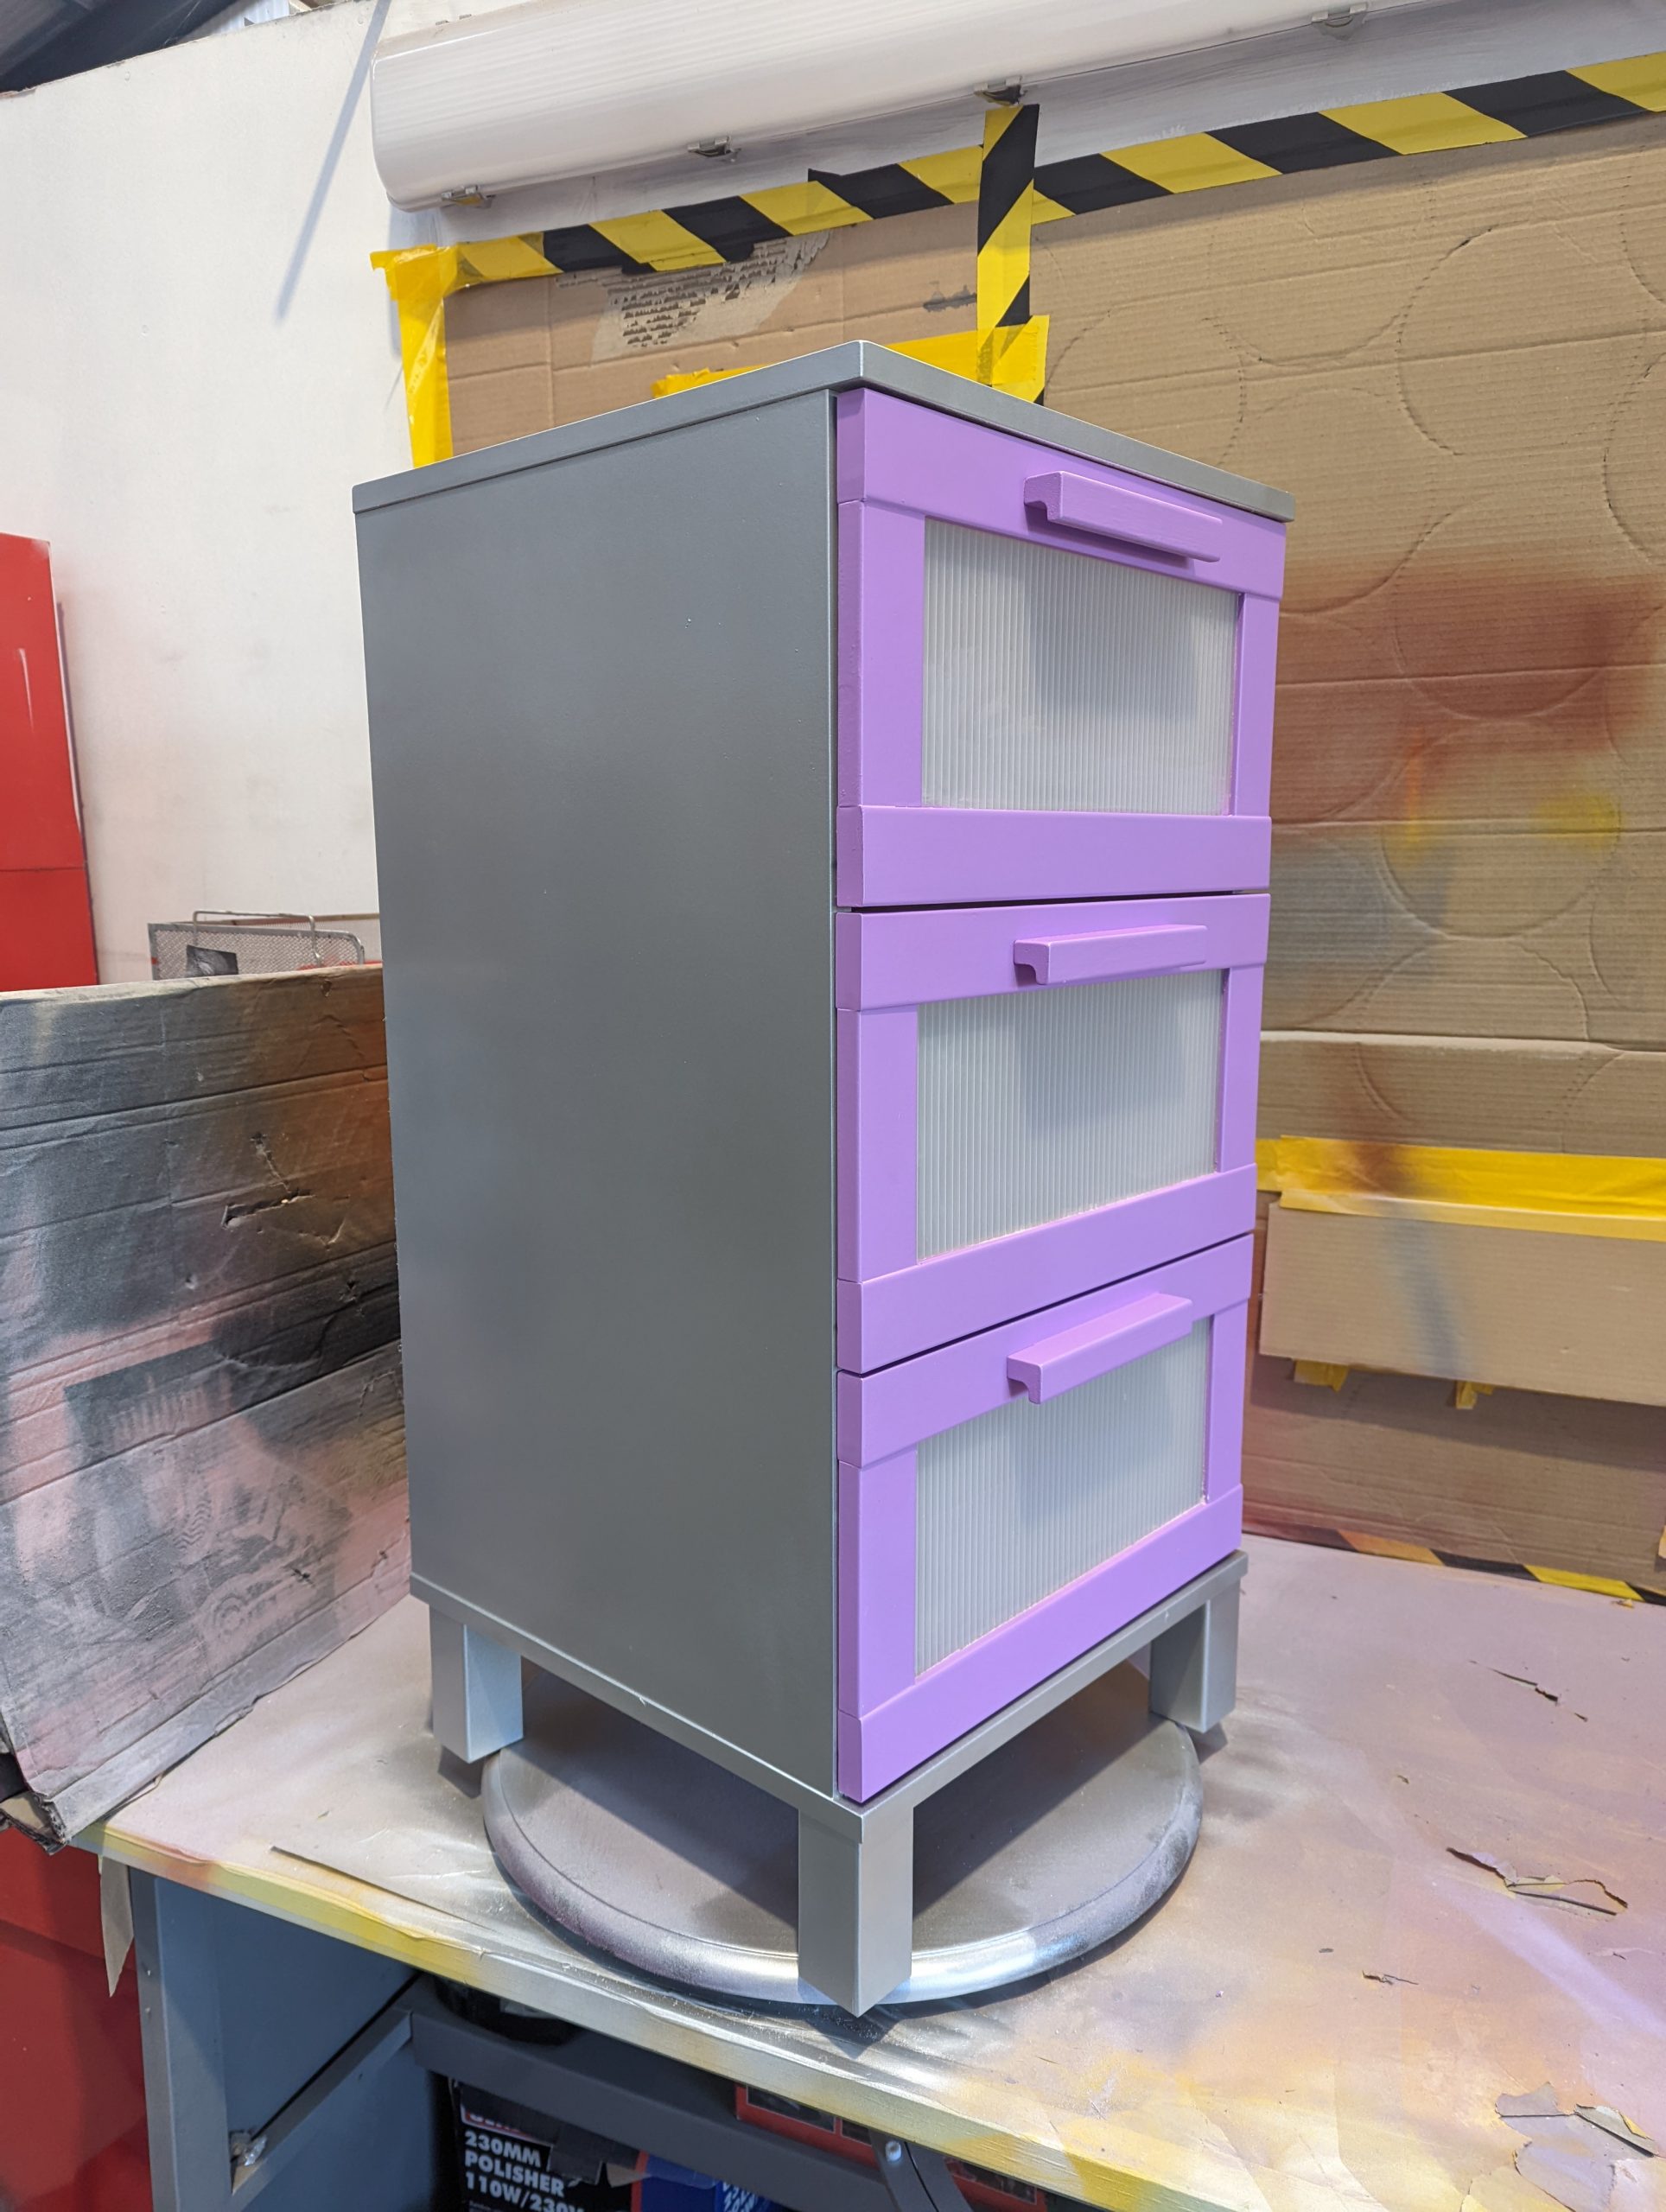
Remove any dust particulate when you spray; this may get picked up and affect the final paint. Remove and shake the dust covers and relay everything. In this instance, we used masking paper, removed it and reapplied fresh paper. We applied a RAL 9006 Acrylic Satin Paint for the outside of the drawers, and on the drawers themselves, we used a RAL 4007 Acrylic Gloss Paint, then started to layer in the first coats of basecoat.
TOP TIP: Hold the can approximately 20cm from the substrate and spray in passes left to right in steady motions (releasing the spray nozzle as you LEAVE the substrate and depress the nozzle BEFORE you hit the substrate on the return pass), half overlapping with each stroke to reduce the chance of tiger stripes in the finish.
For best results, keep the can at the same distance from the surface and in motion while spraying and always have the can in an upright position as they are gravity fed. Should you tilt the can too much, you will affect the ratio of paint to gas that’s emitted from the can.
Apply between 2 and 4 coats and a slightly heavier final coat, but be mindful of creating runs if you apply too thick or apply several light coats 20-30 minutes apart until you are happy with the colour. DO NOT over-paint the substrate as not only could this cause runs, but it will take longer to cure. If you don’t leave enough time between coats, the final coat may cure before the coats underneath. This may lead to webbing/cracking as the undercoat dries at a slower pace and shrinks.
Step Four – Patience:
Leave the project to cure fully. Patience is the key, don’t risk leaving fingerprints on your project. If you can leave it for 24 hours or at least overnight in a ventilated room at room temperature, it will get the best chance of a smooth finish. We removed all of the masking paper and then put the drawers back together, and the drawers have been beautifully transformed. Thanks again, Darcy, for bringing in the drawers; it was a fun project, and they look fabulous.