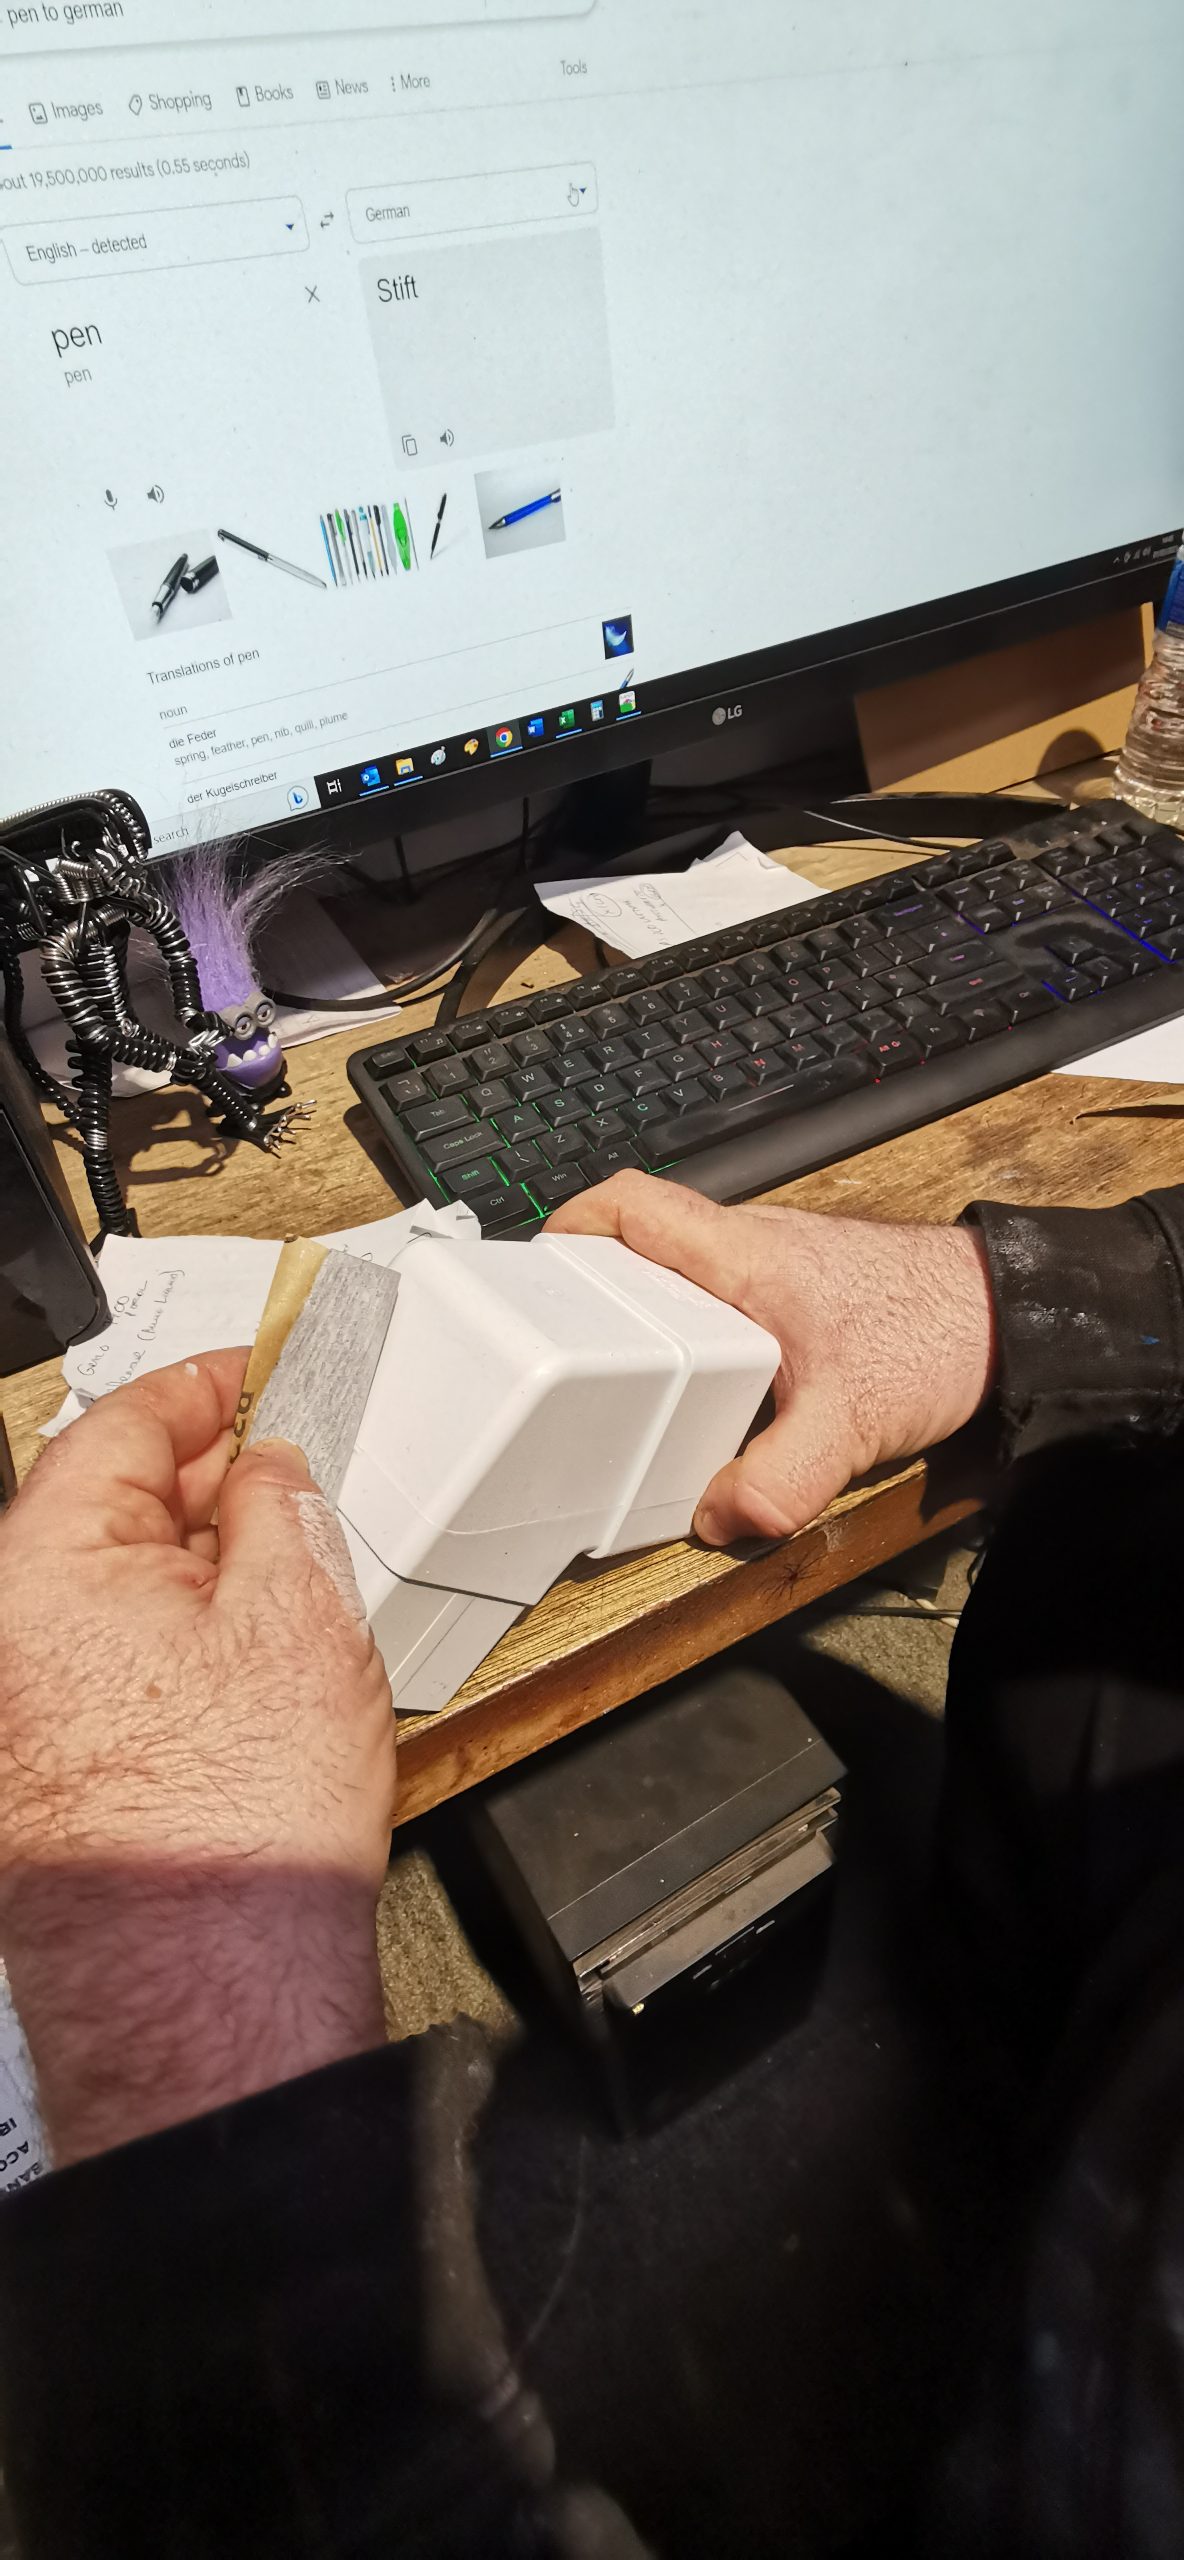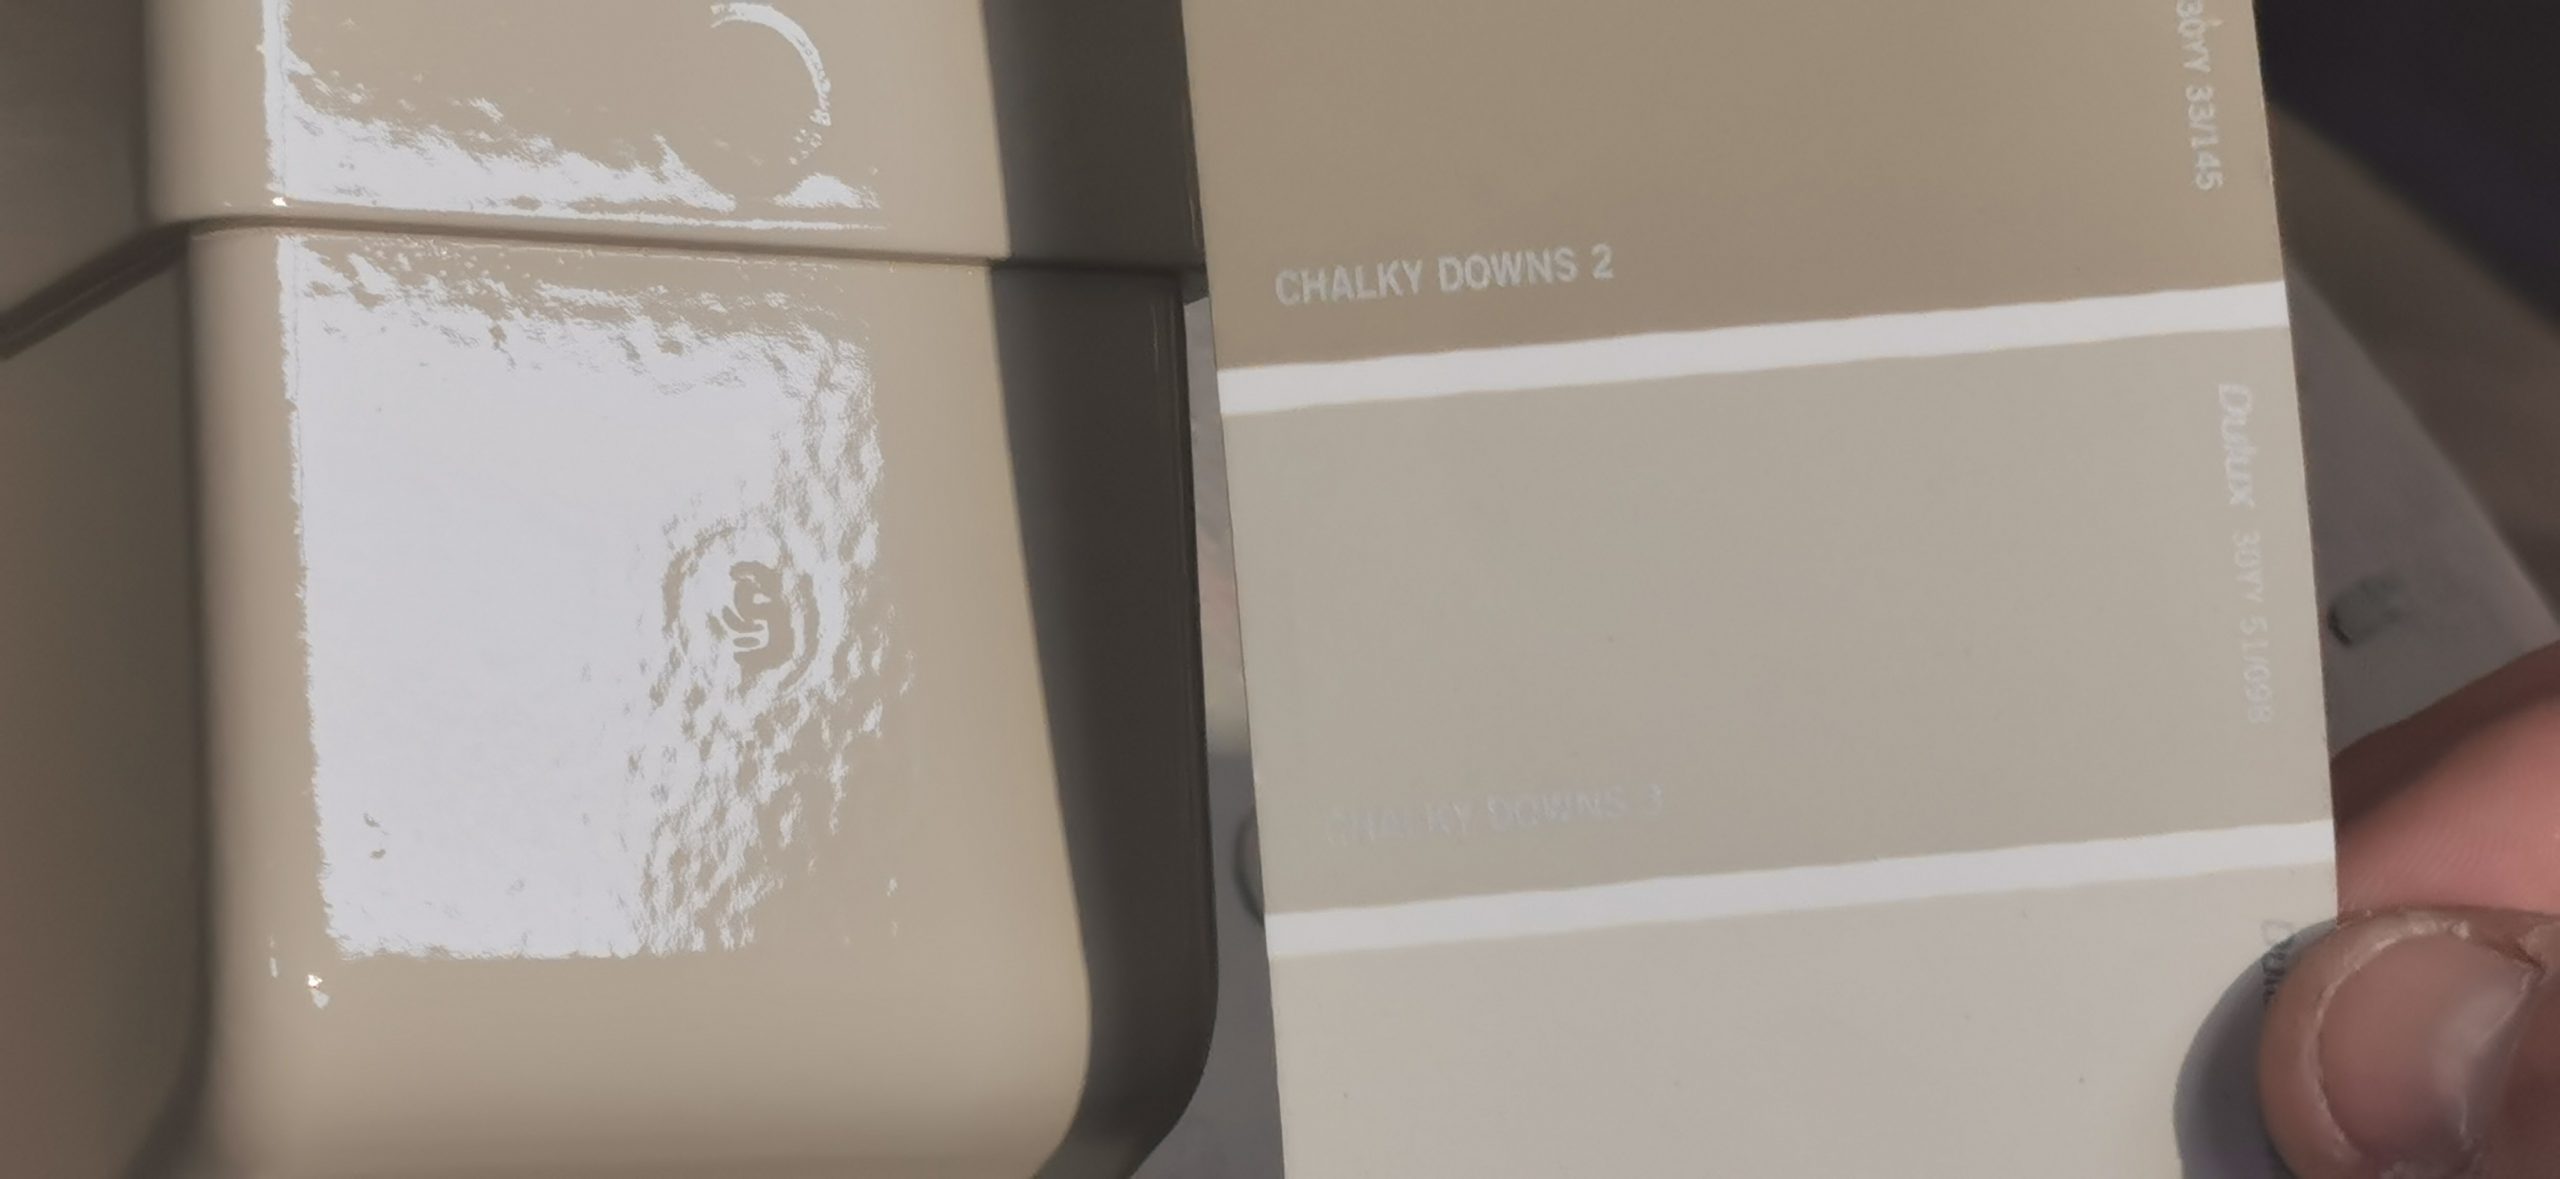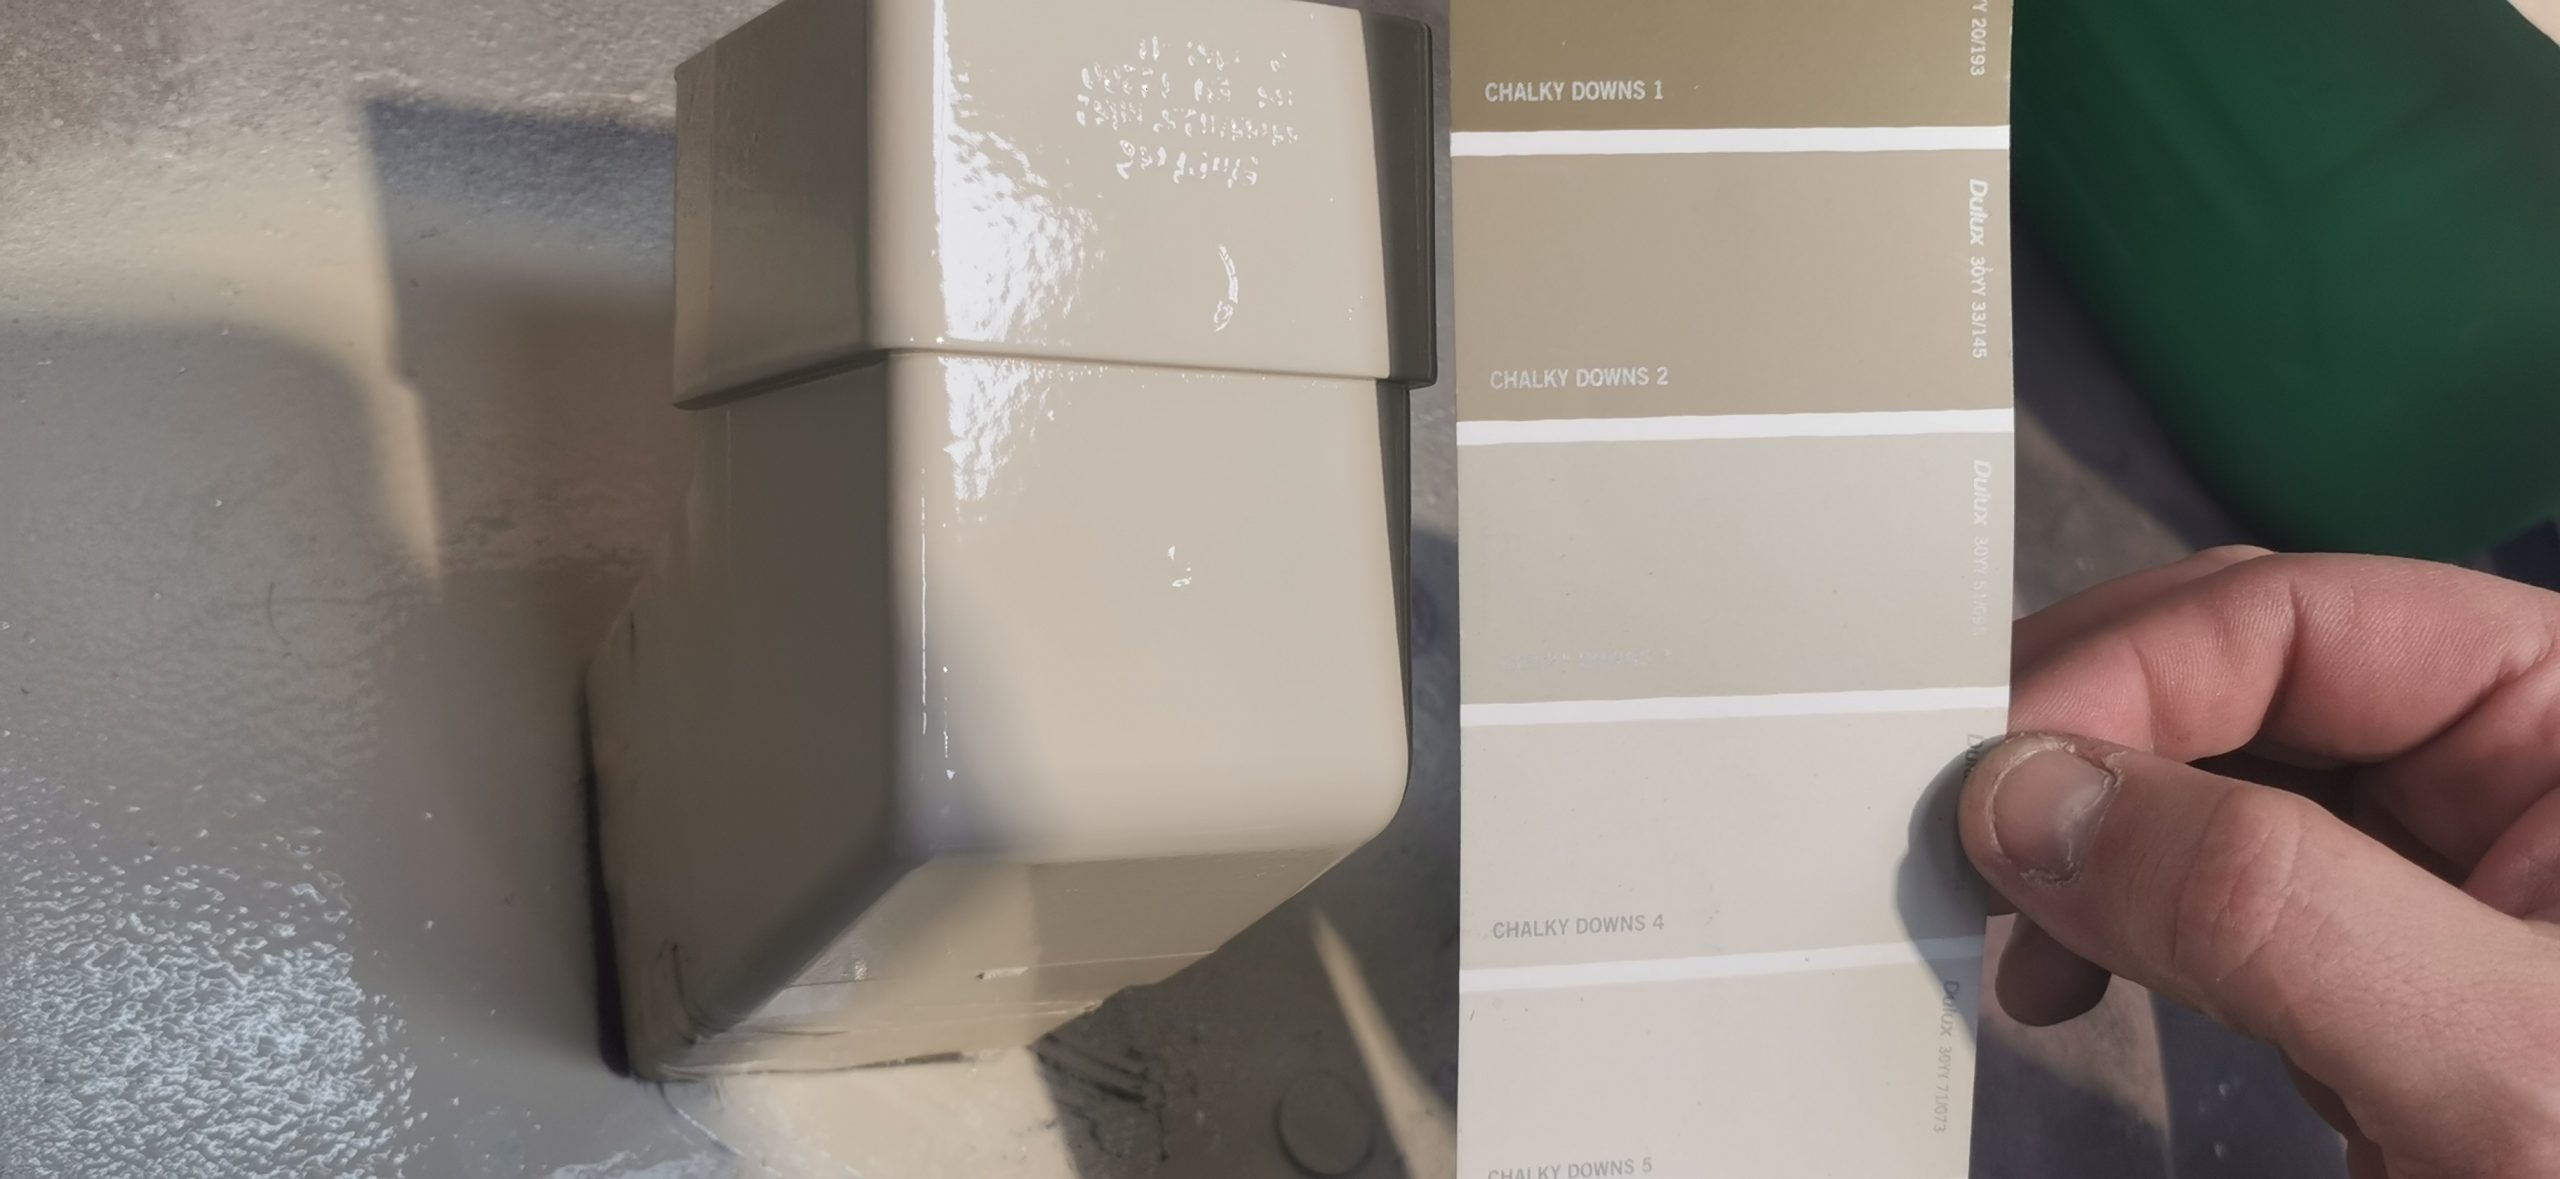
Our most recent client approached our team to help with a colour match for her gutters. Armed with a Dulux swatch card in her chosen shade, we worked closely with our client to create her custom paint.
During this time, our client also explained that she had a tight budget, so she would ideally like to carry out the repainting work herself. Always happy to lend a helping hand, our team gave an in-depth demonstration which our client was incredibly grateful for.
It was a quick and easy process, so we have detailed our steps below, which can be used for any similar projects you have in mind.
Tool List:
- Scotch Brite
- Masking Tape
- Degreaser
- Dulux Chalky Downs 4 HD/AC Primer Paint
- 2K Gloss Lacquer
Match The Paint:
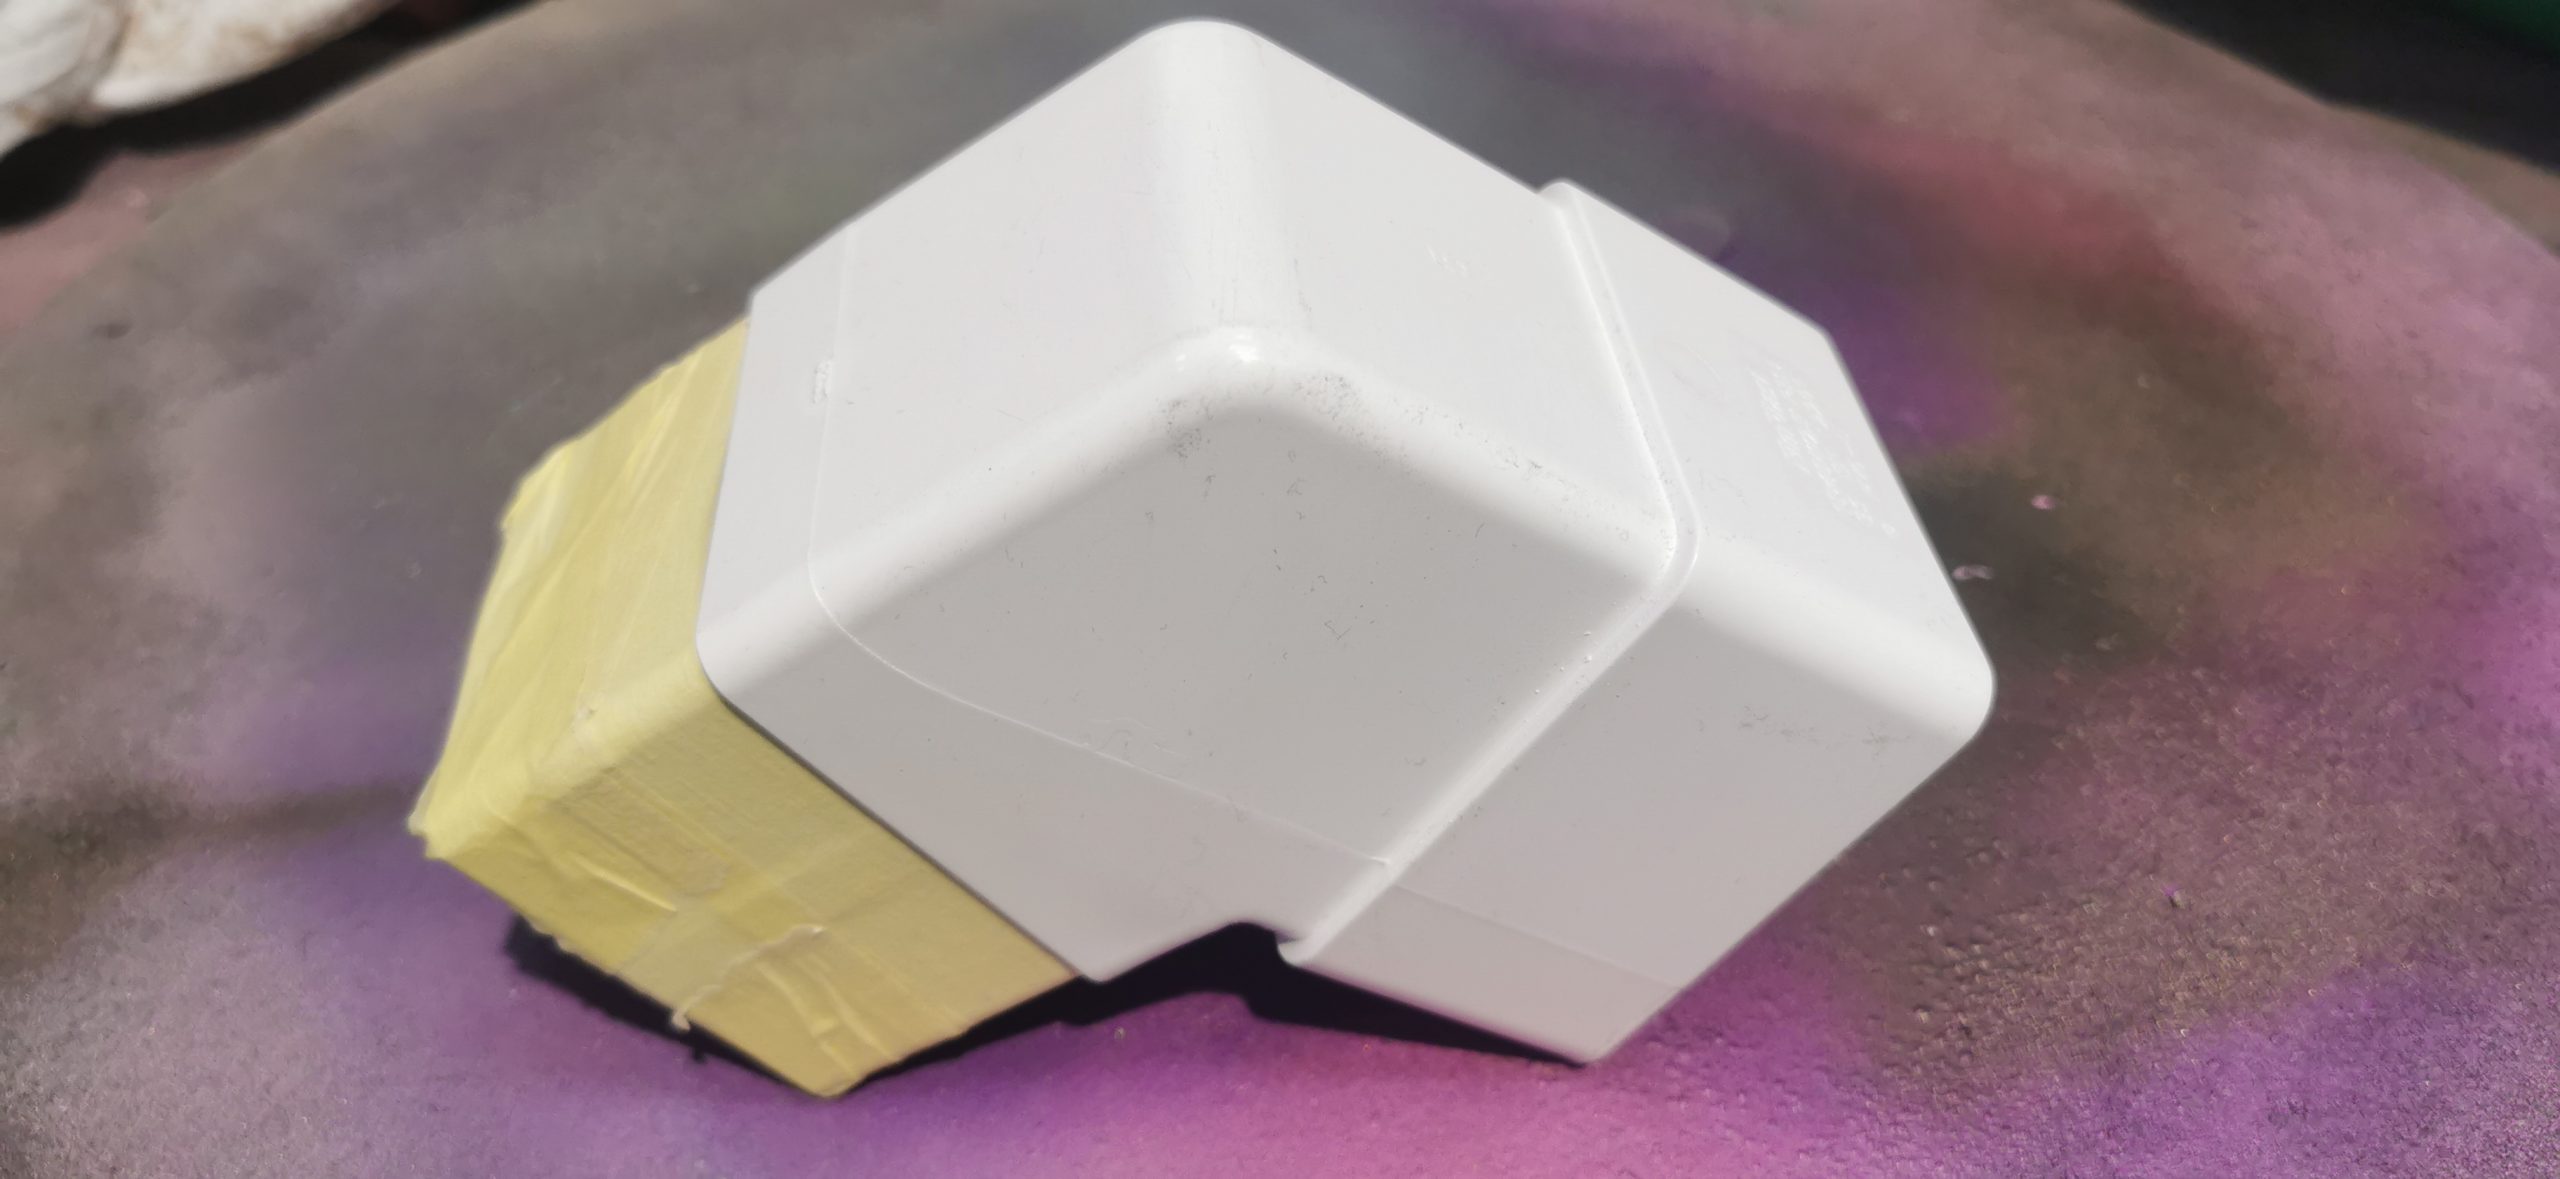
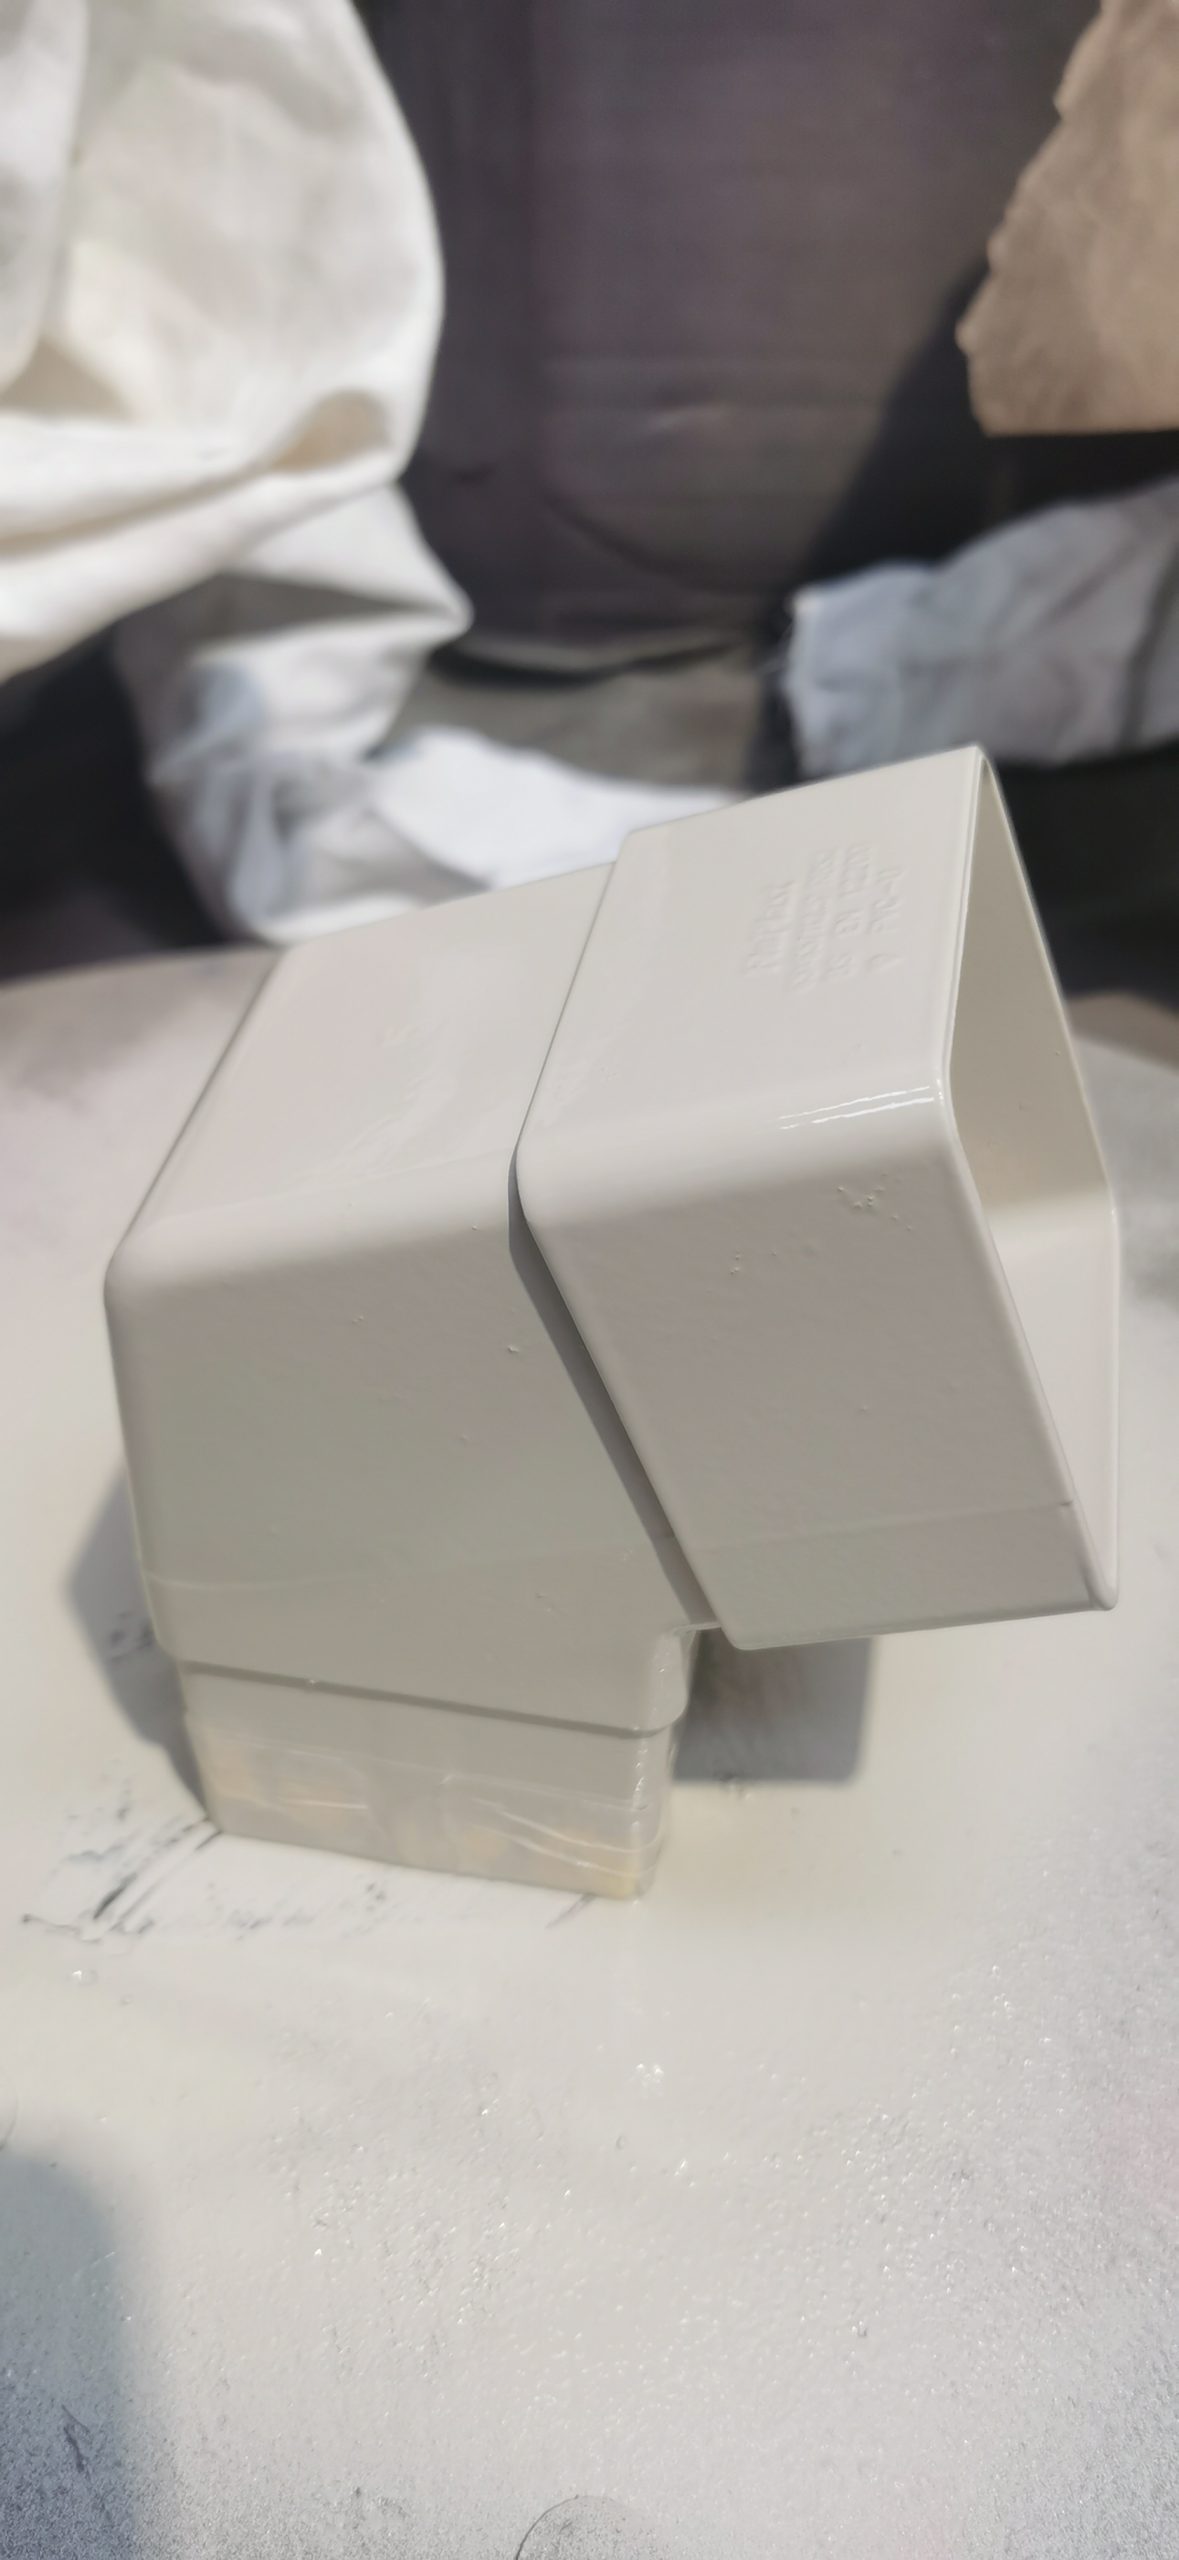
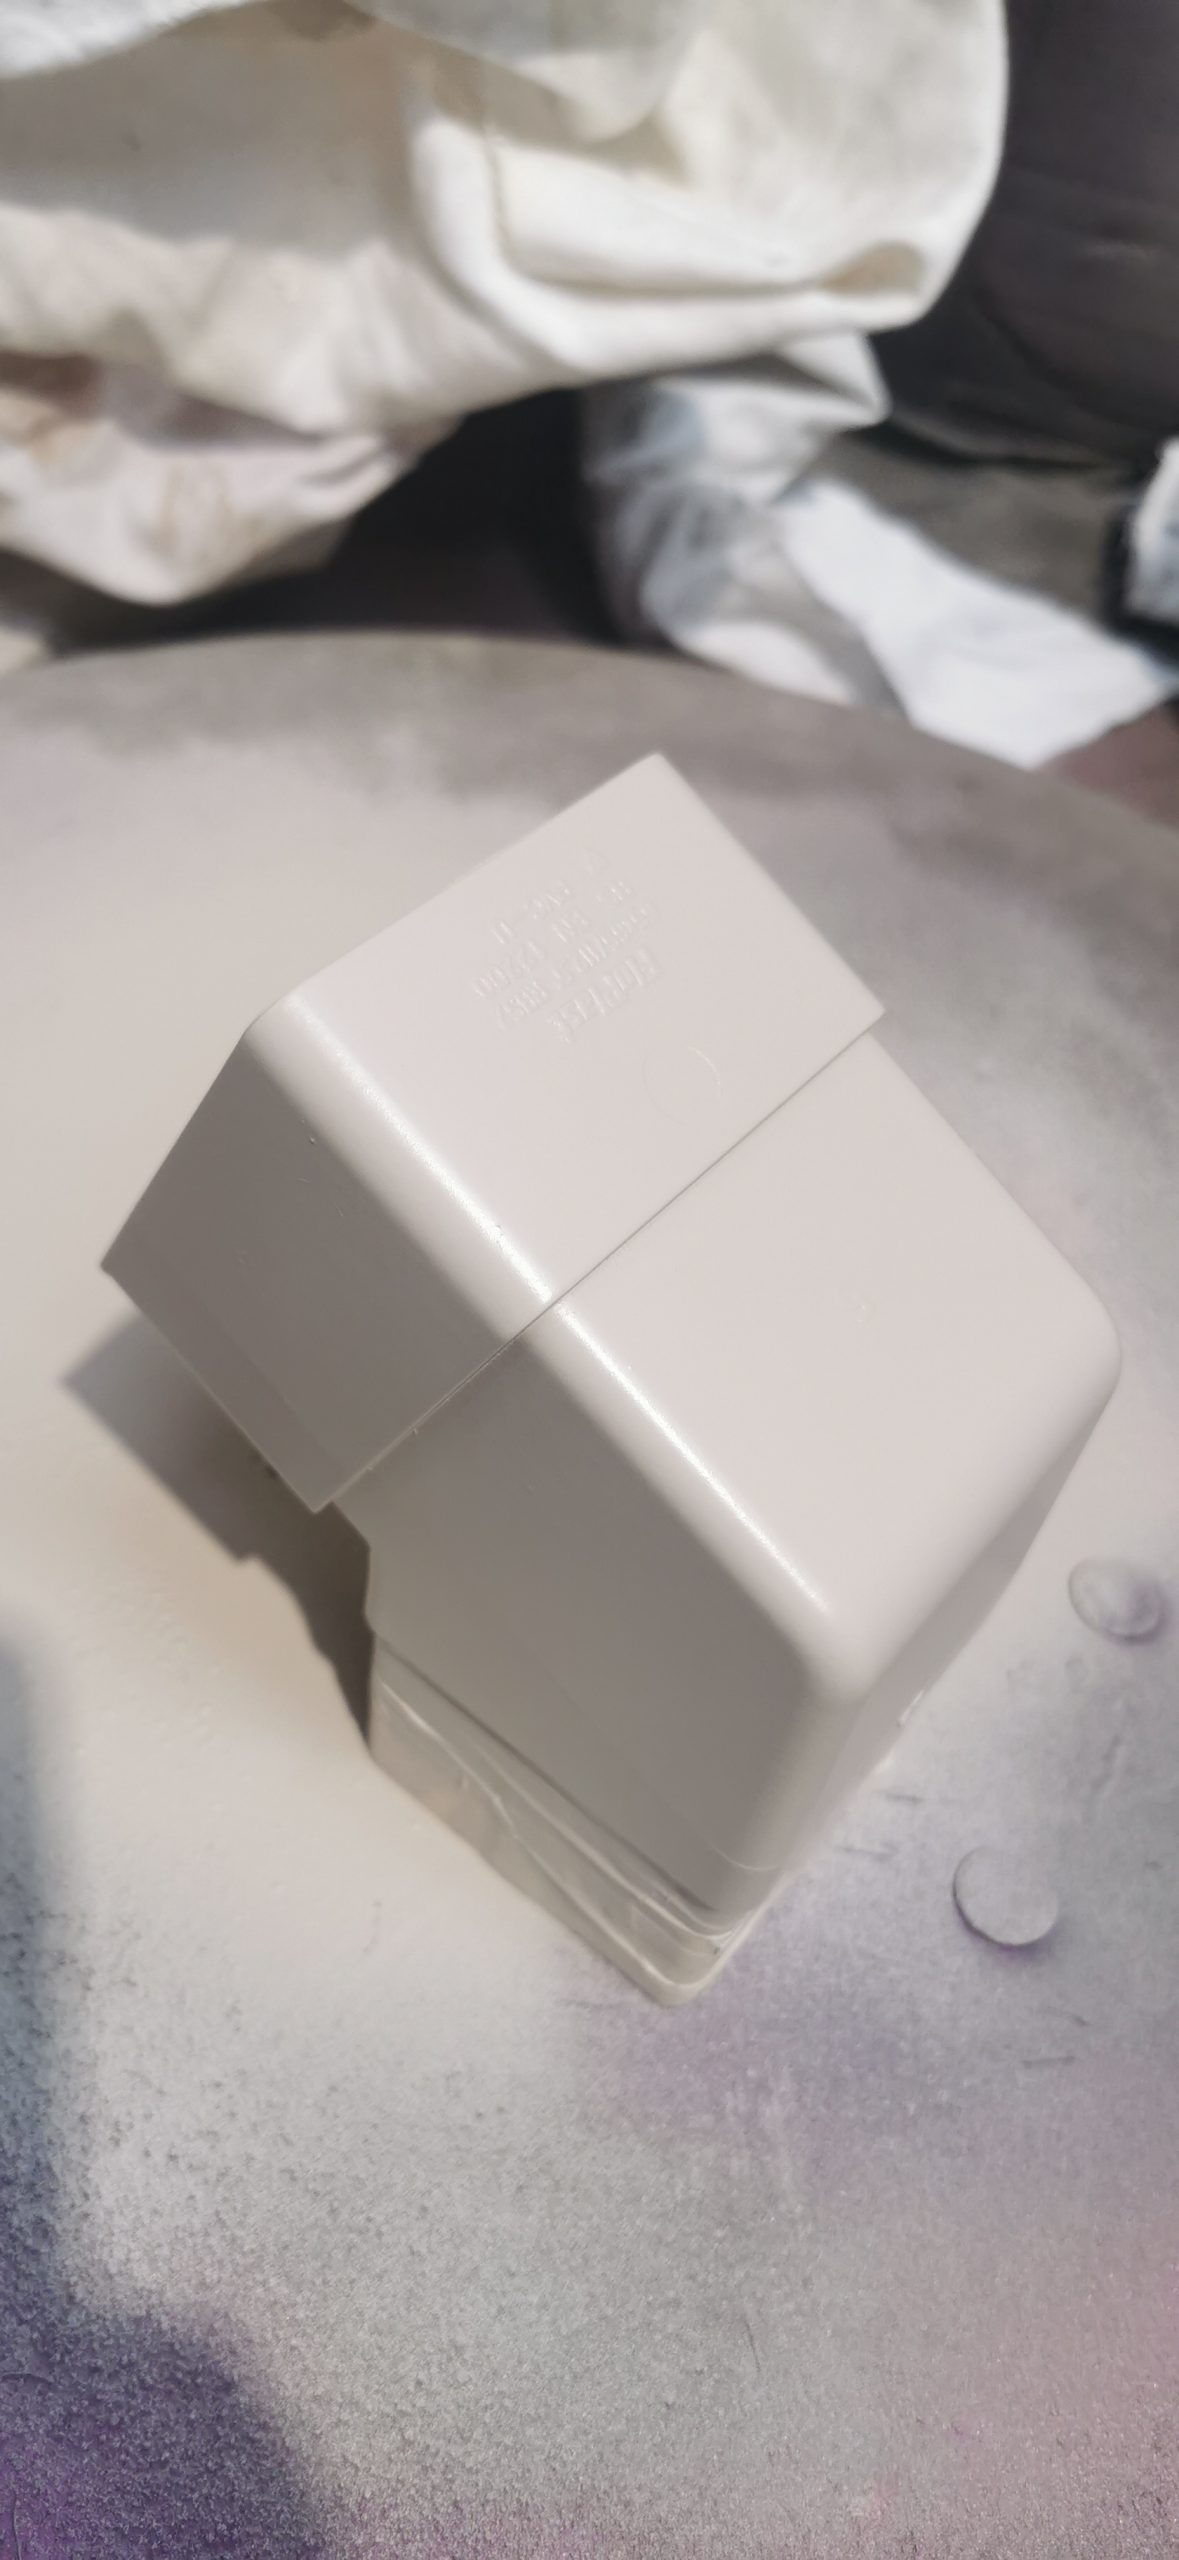
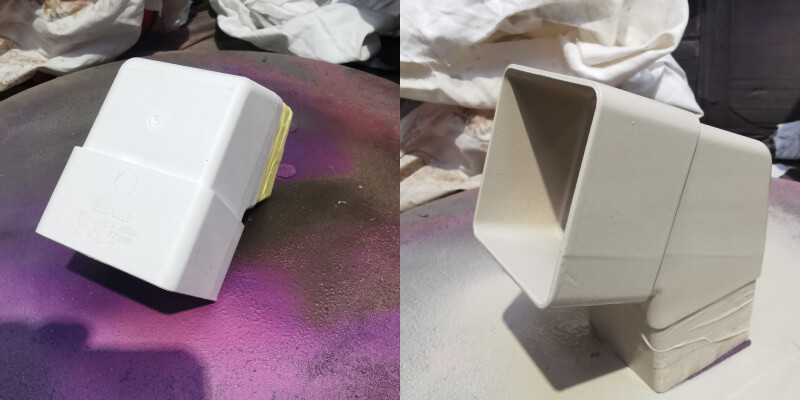
The main aim of this project was to colour-match the corners and bends of the guttering. Our client requested the Dulux Chalky Down 3 shade, which we, luckily, had in stock. We sprayed a sample card to show the client, and once they confirmed they were happy, we proceeded with prepping the guttering.
Key The Surface:
We used the scotch brite to key (meaning to lightly sand) the surface. By keying the surface, it becomes slightly abrasive and gives the paint something to stick to. Afterwards, we used rags to remove the dust and particulate, and then we applied a degreaser to clean any residue on the surface. If you degrease the surface before painting, you reduce the possibility of either a paint reaction or the paint not sticking to the substrate, so remember this critical step!
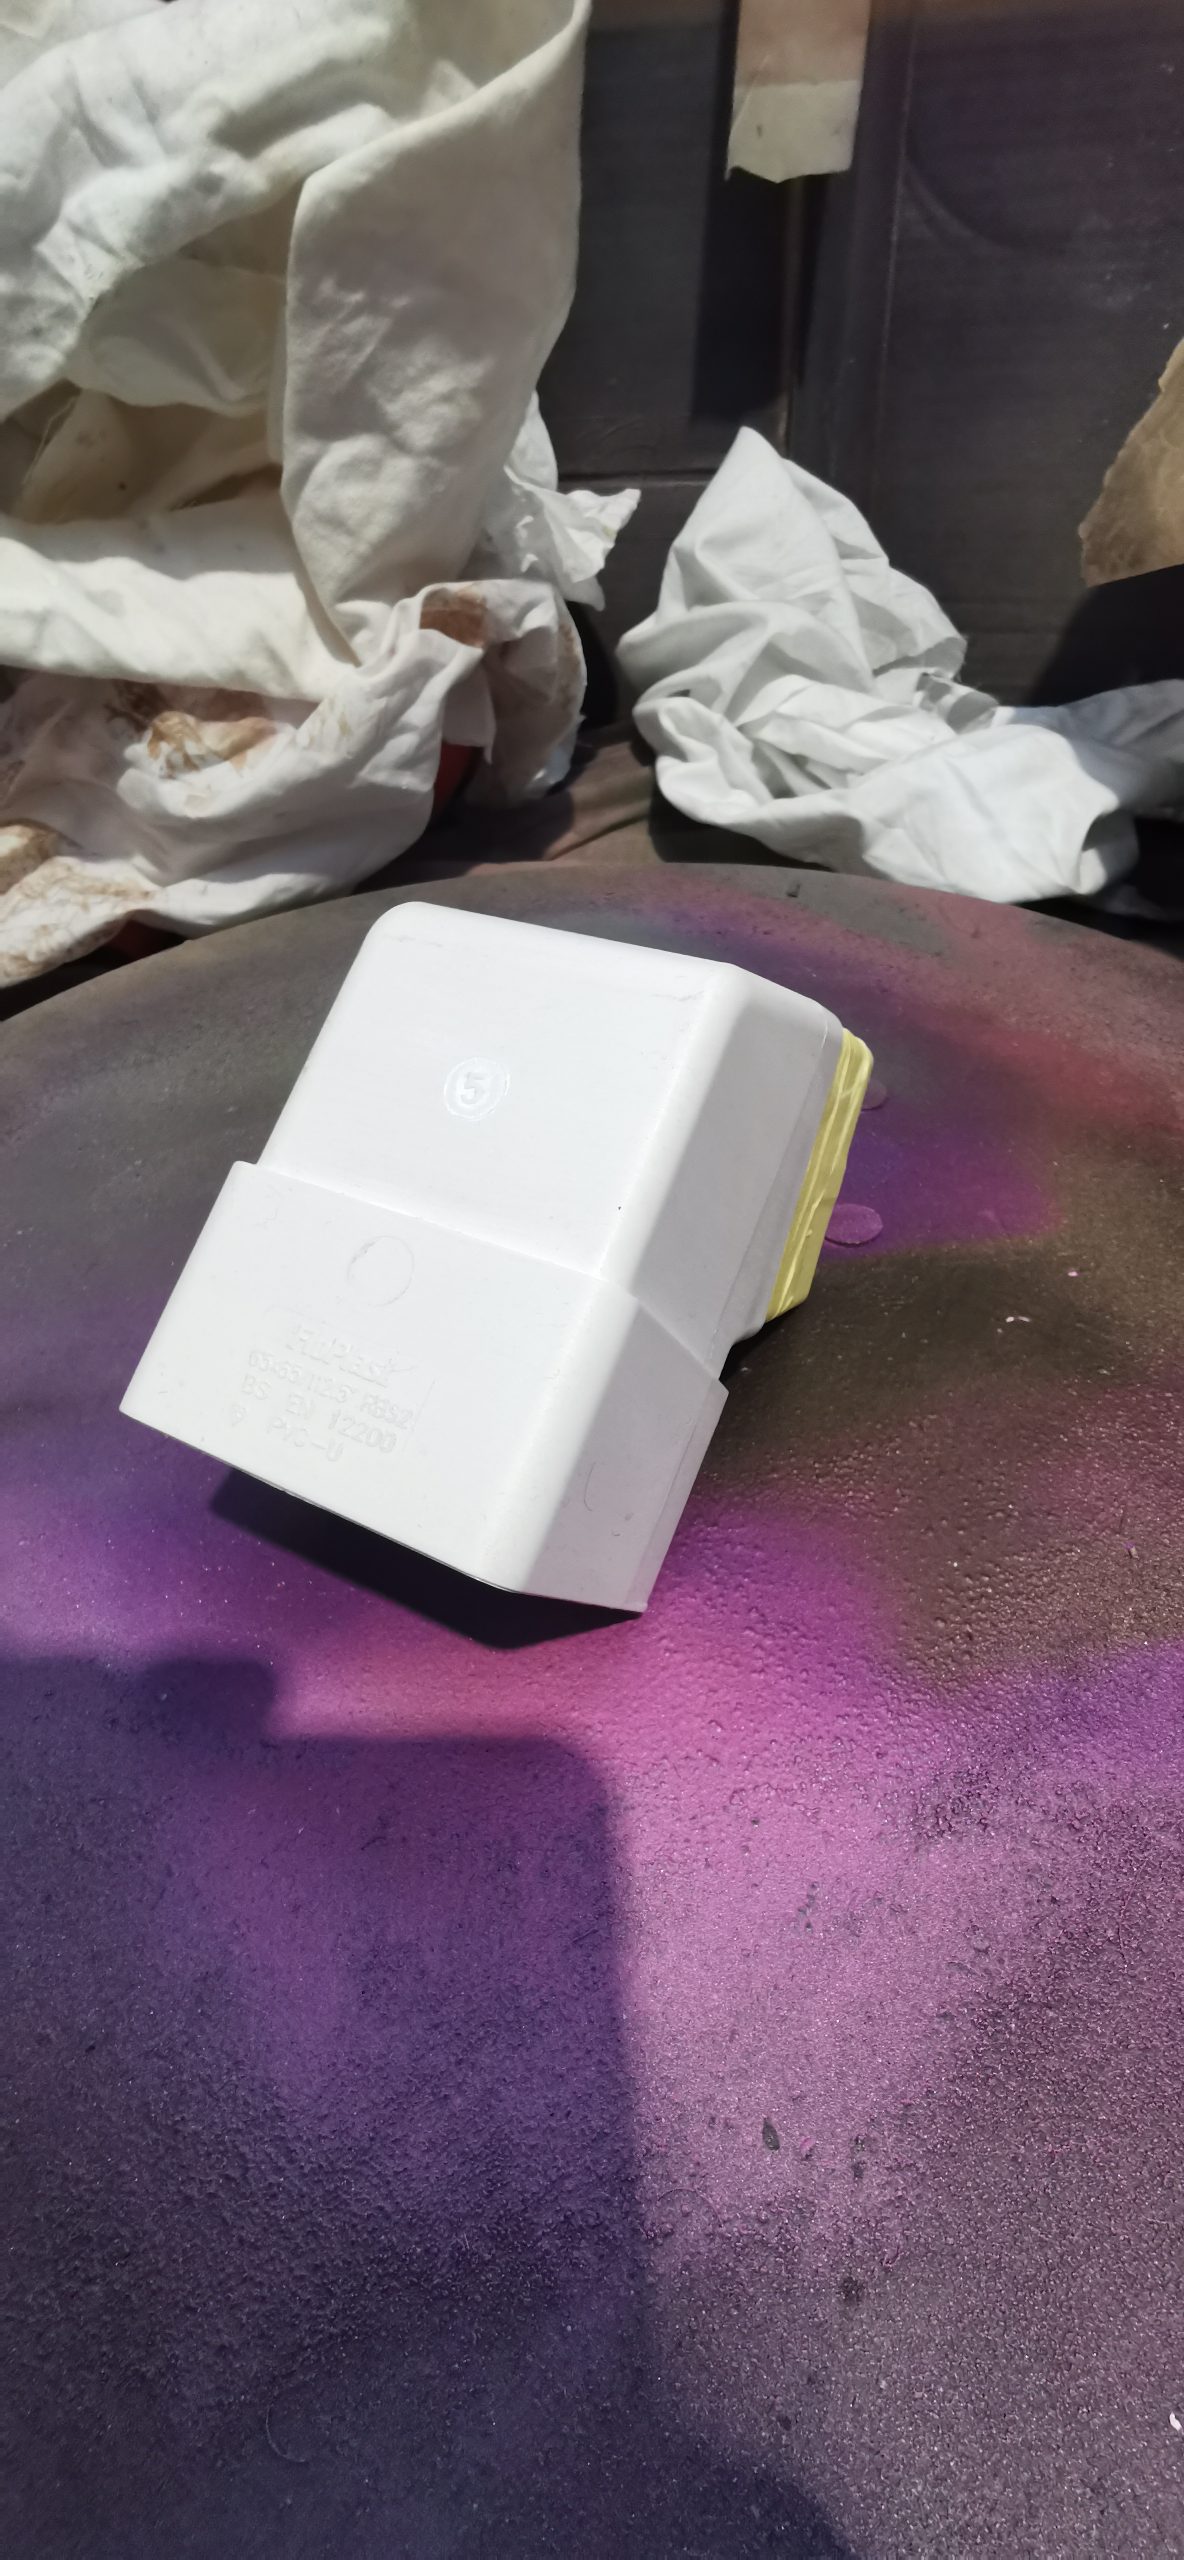
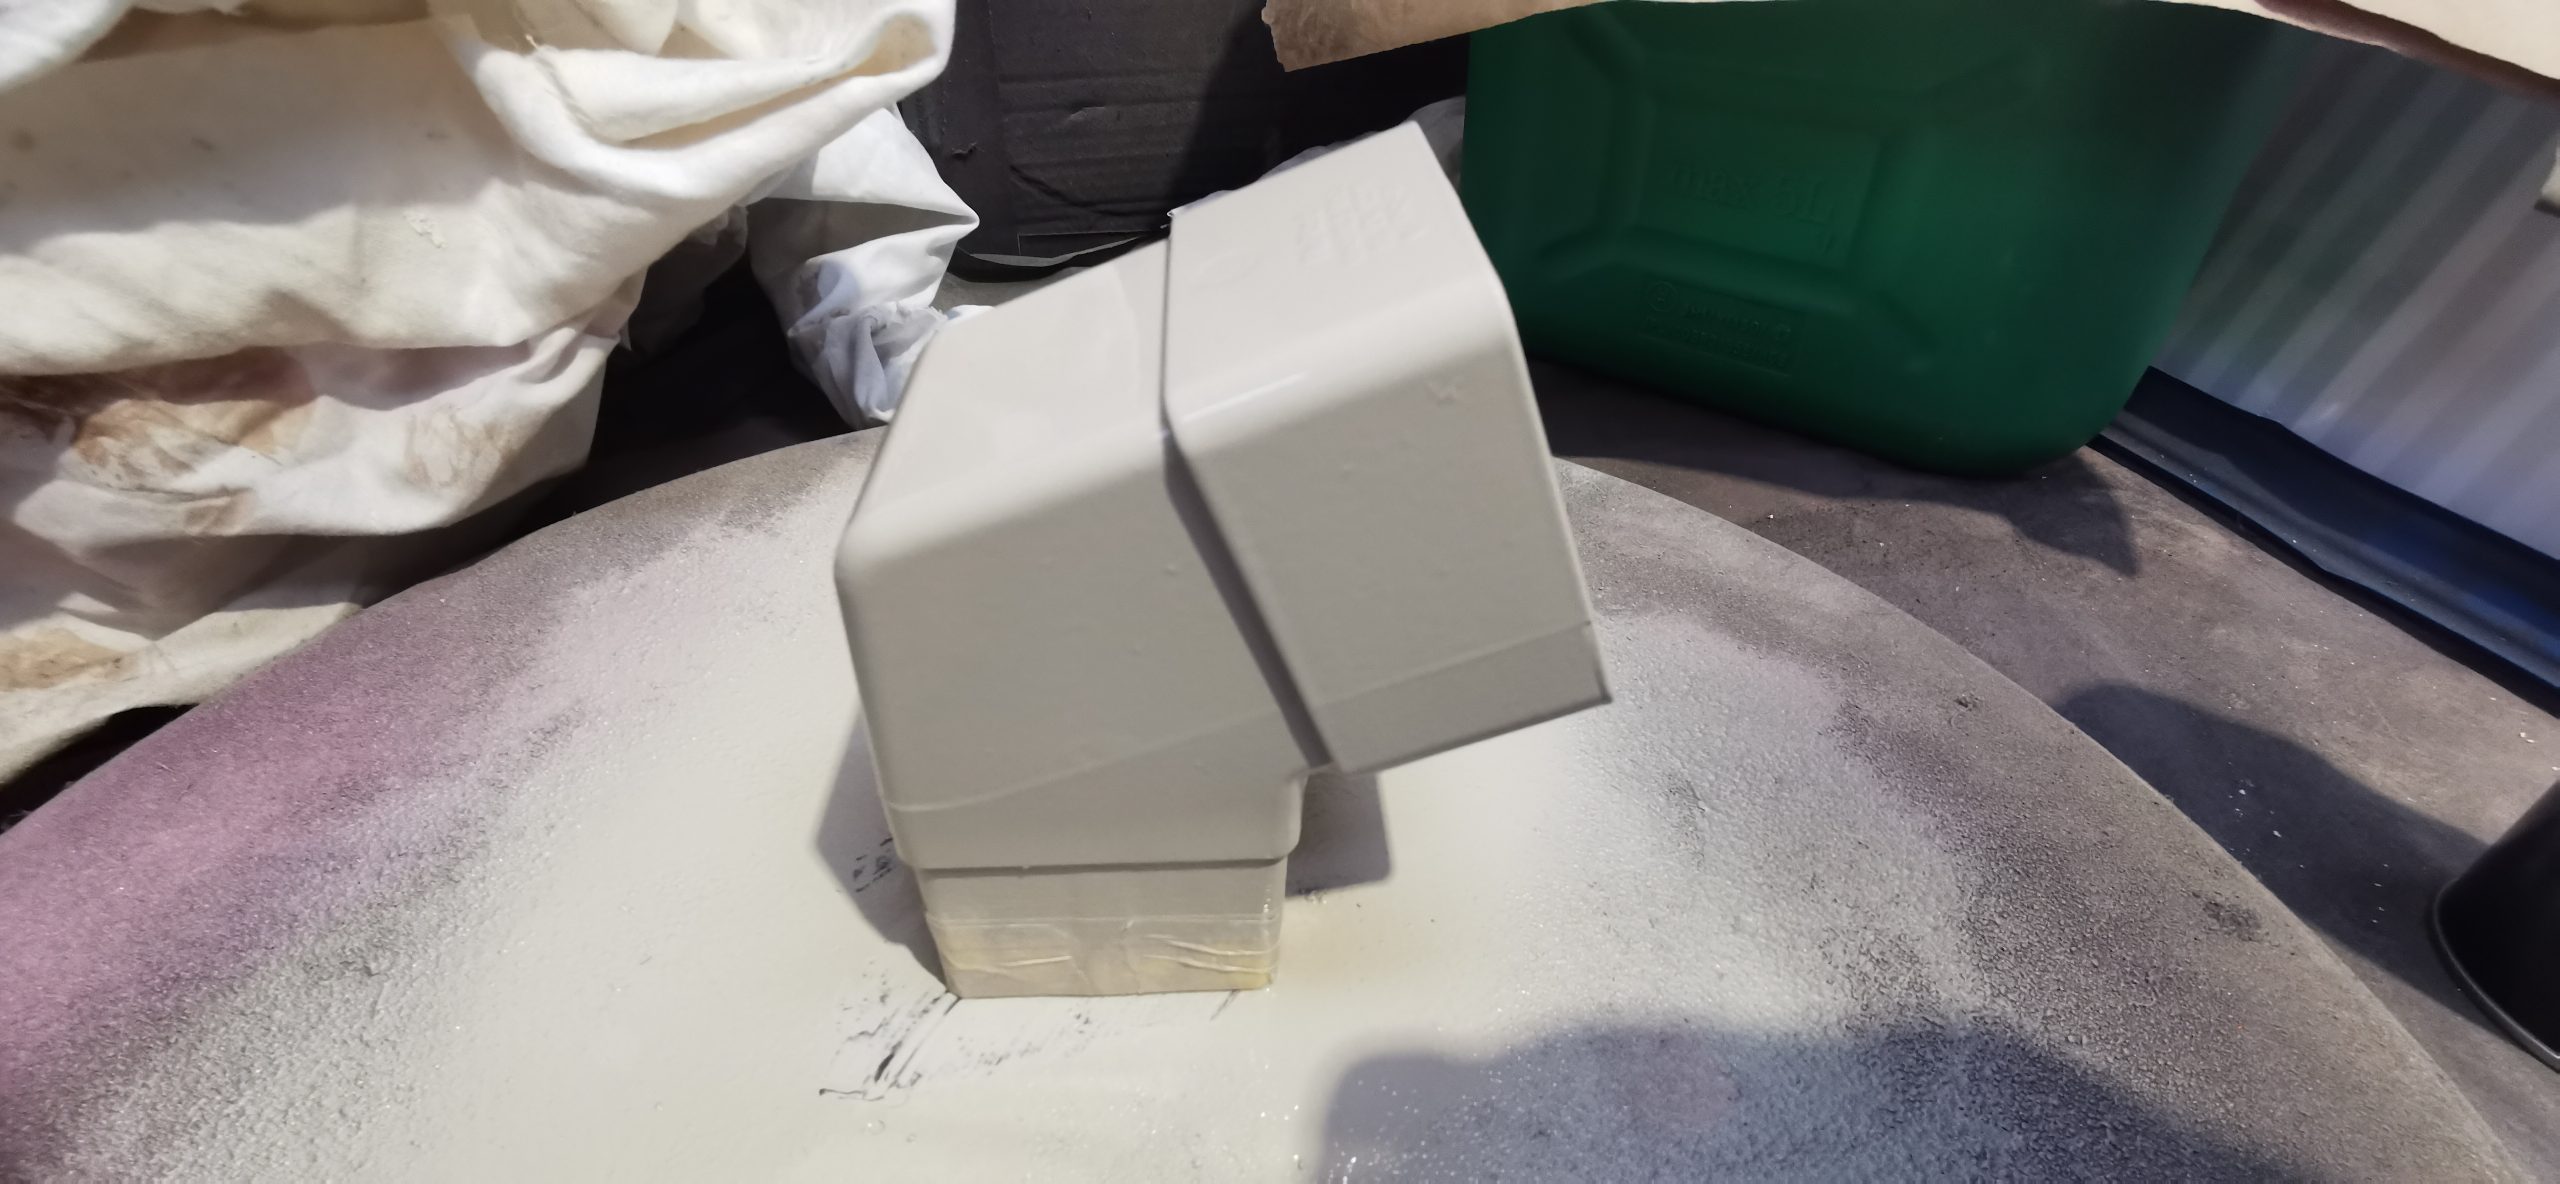
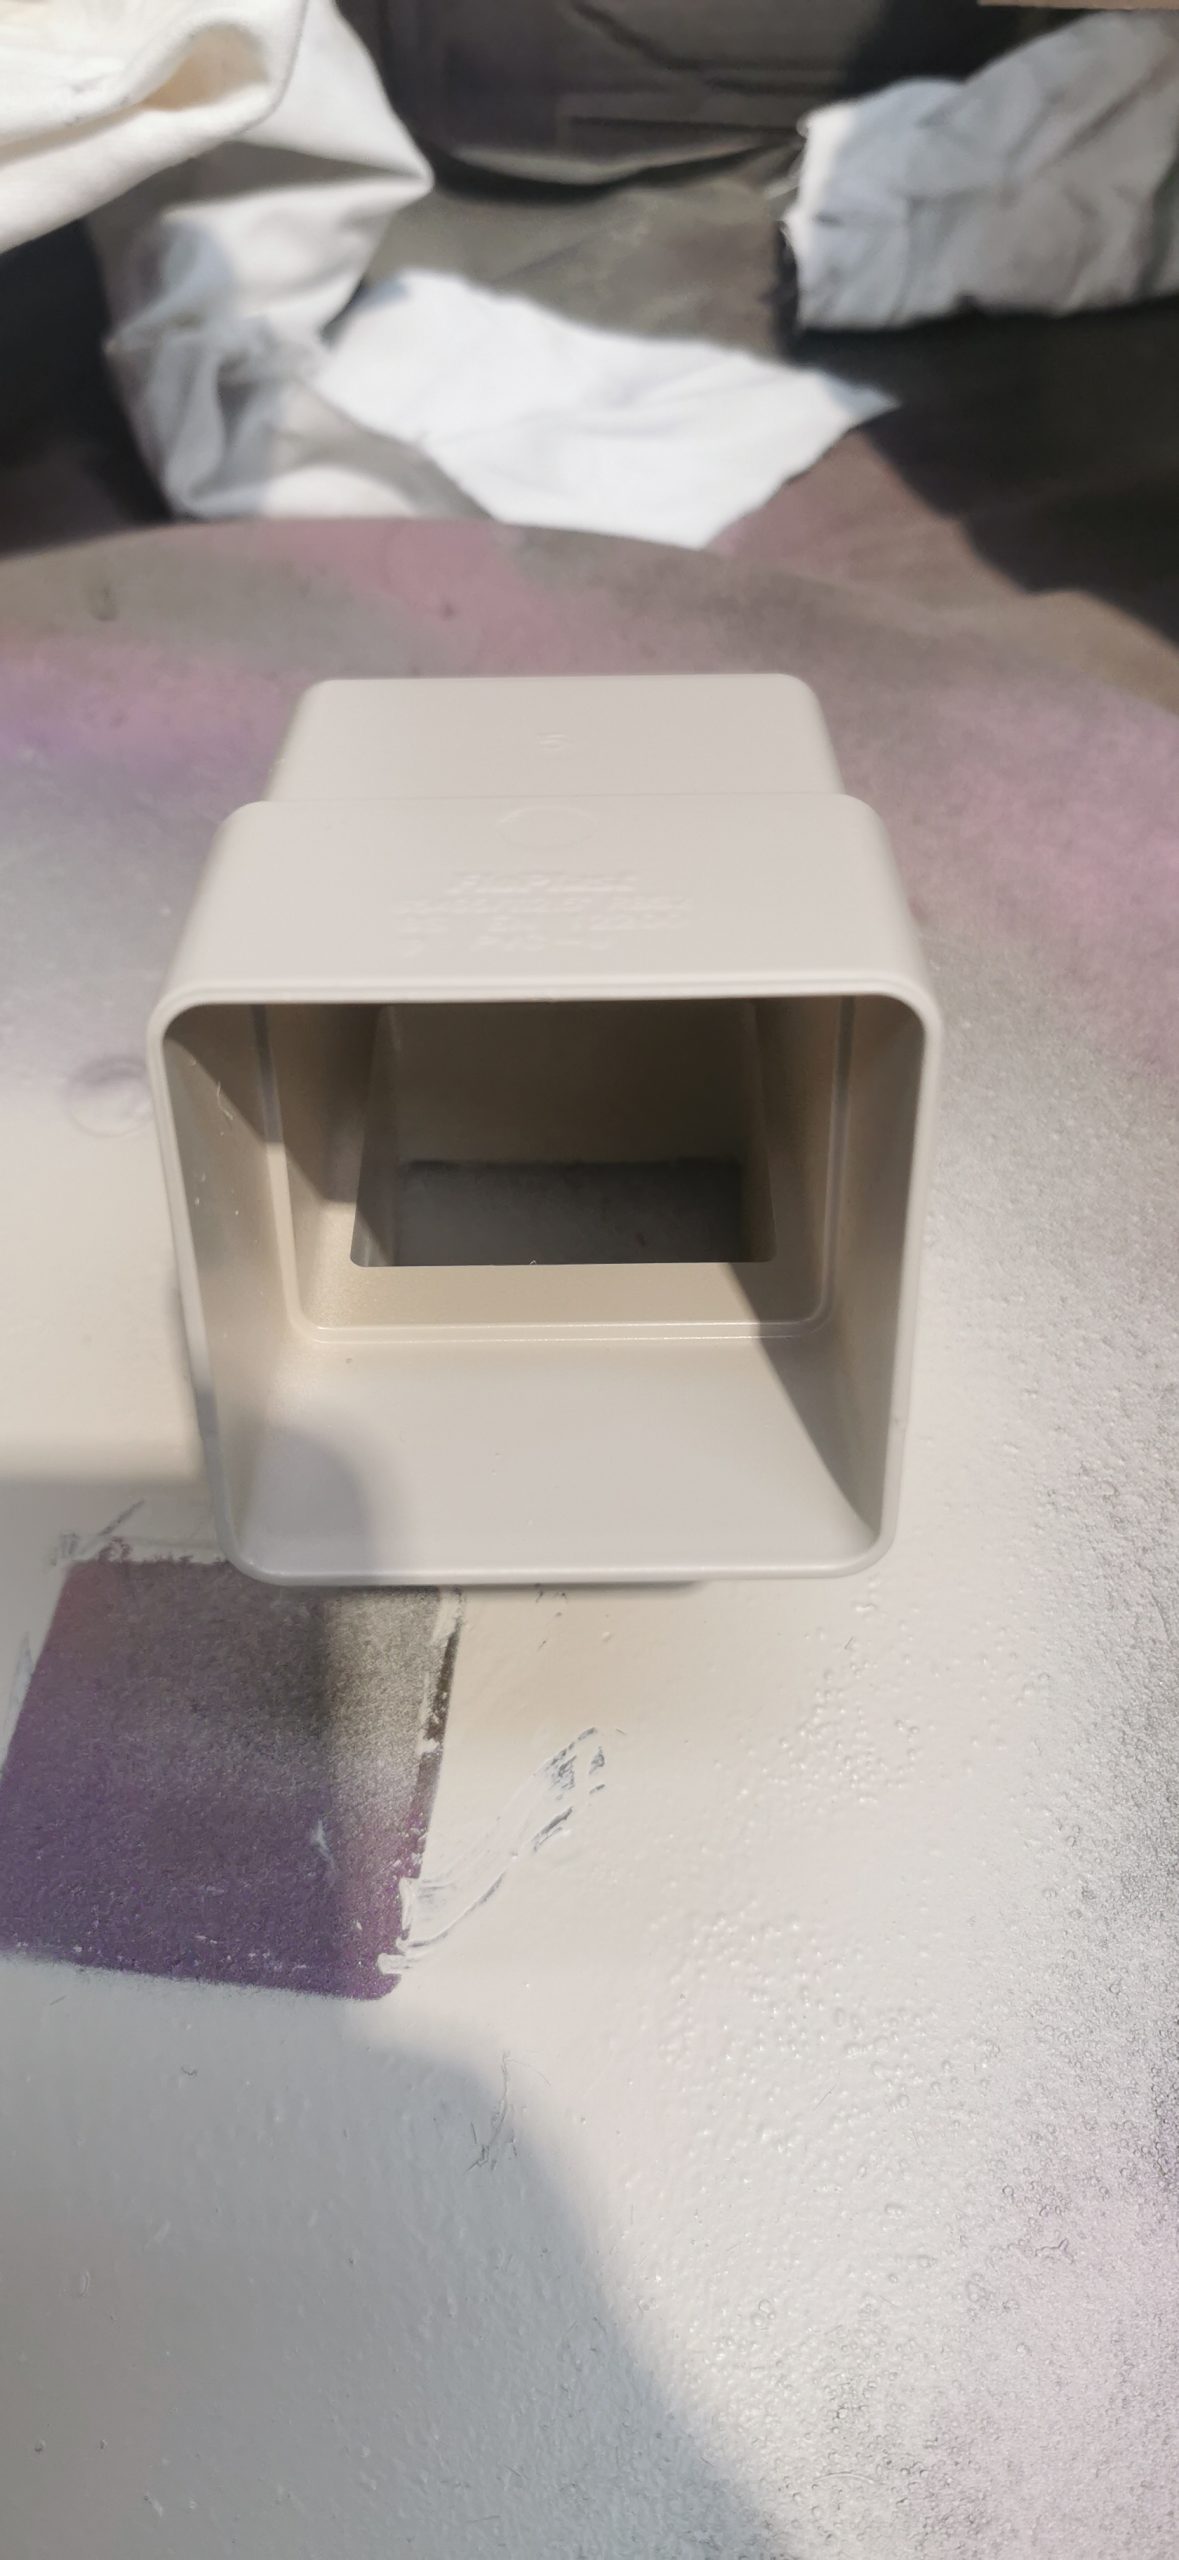
Moving Onto Paint:
We recommended an HD/AC primer paint in the same colour-matched Dulux shade, as this would allow our client to spray directly onto the guttering. This paint is also designed with a UV agent, which reduces the risk of sun bleaching over time.
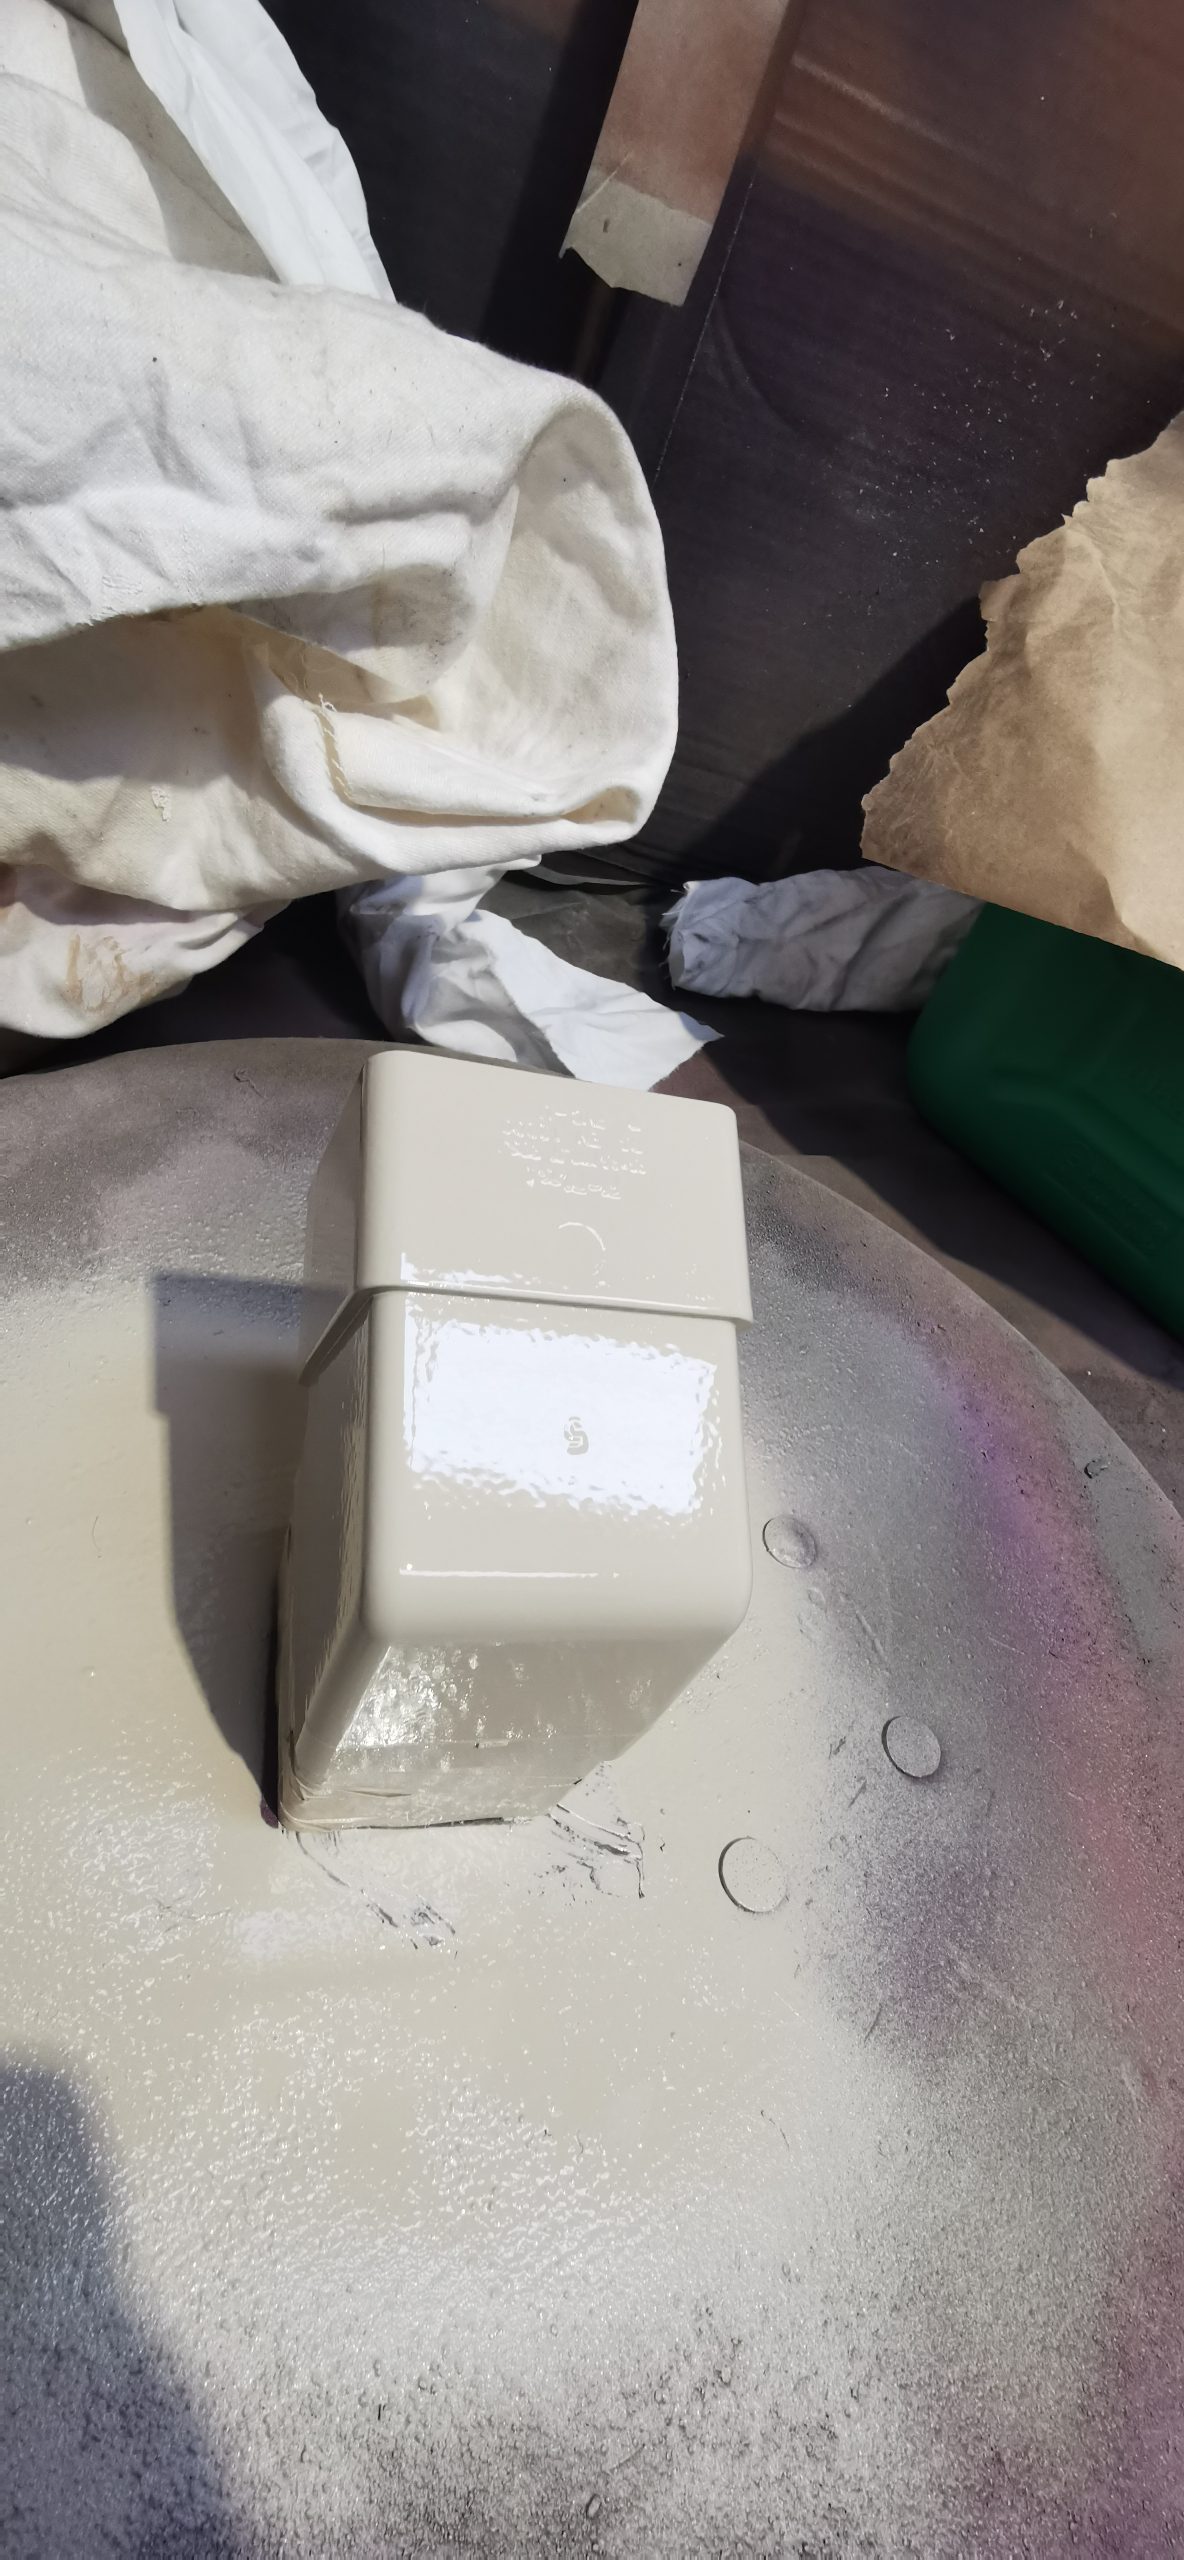
The colour was applied in 3 coats and left to cure thoroughly before moving onto a final gloss lacquer.
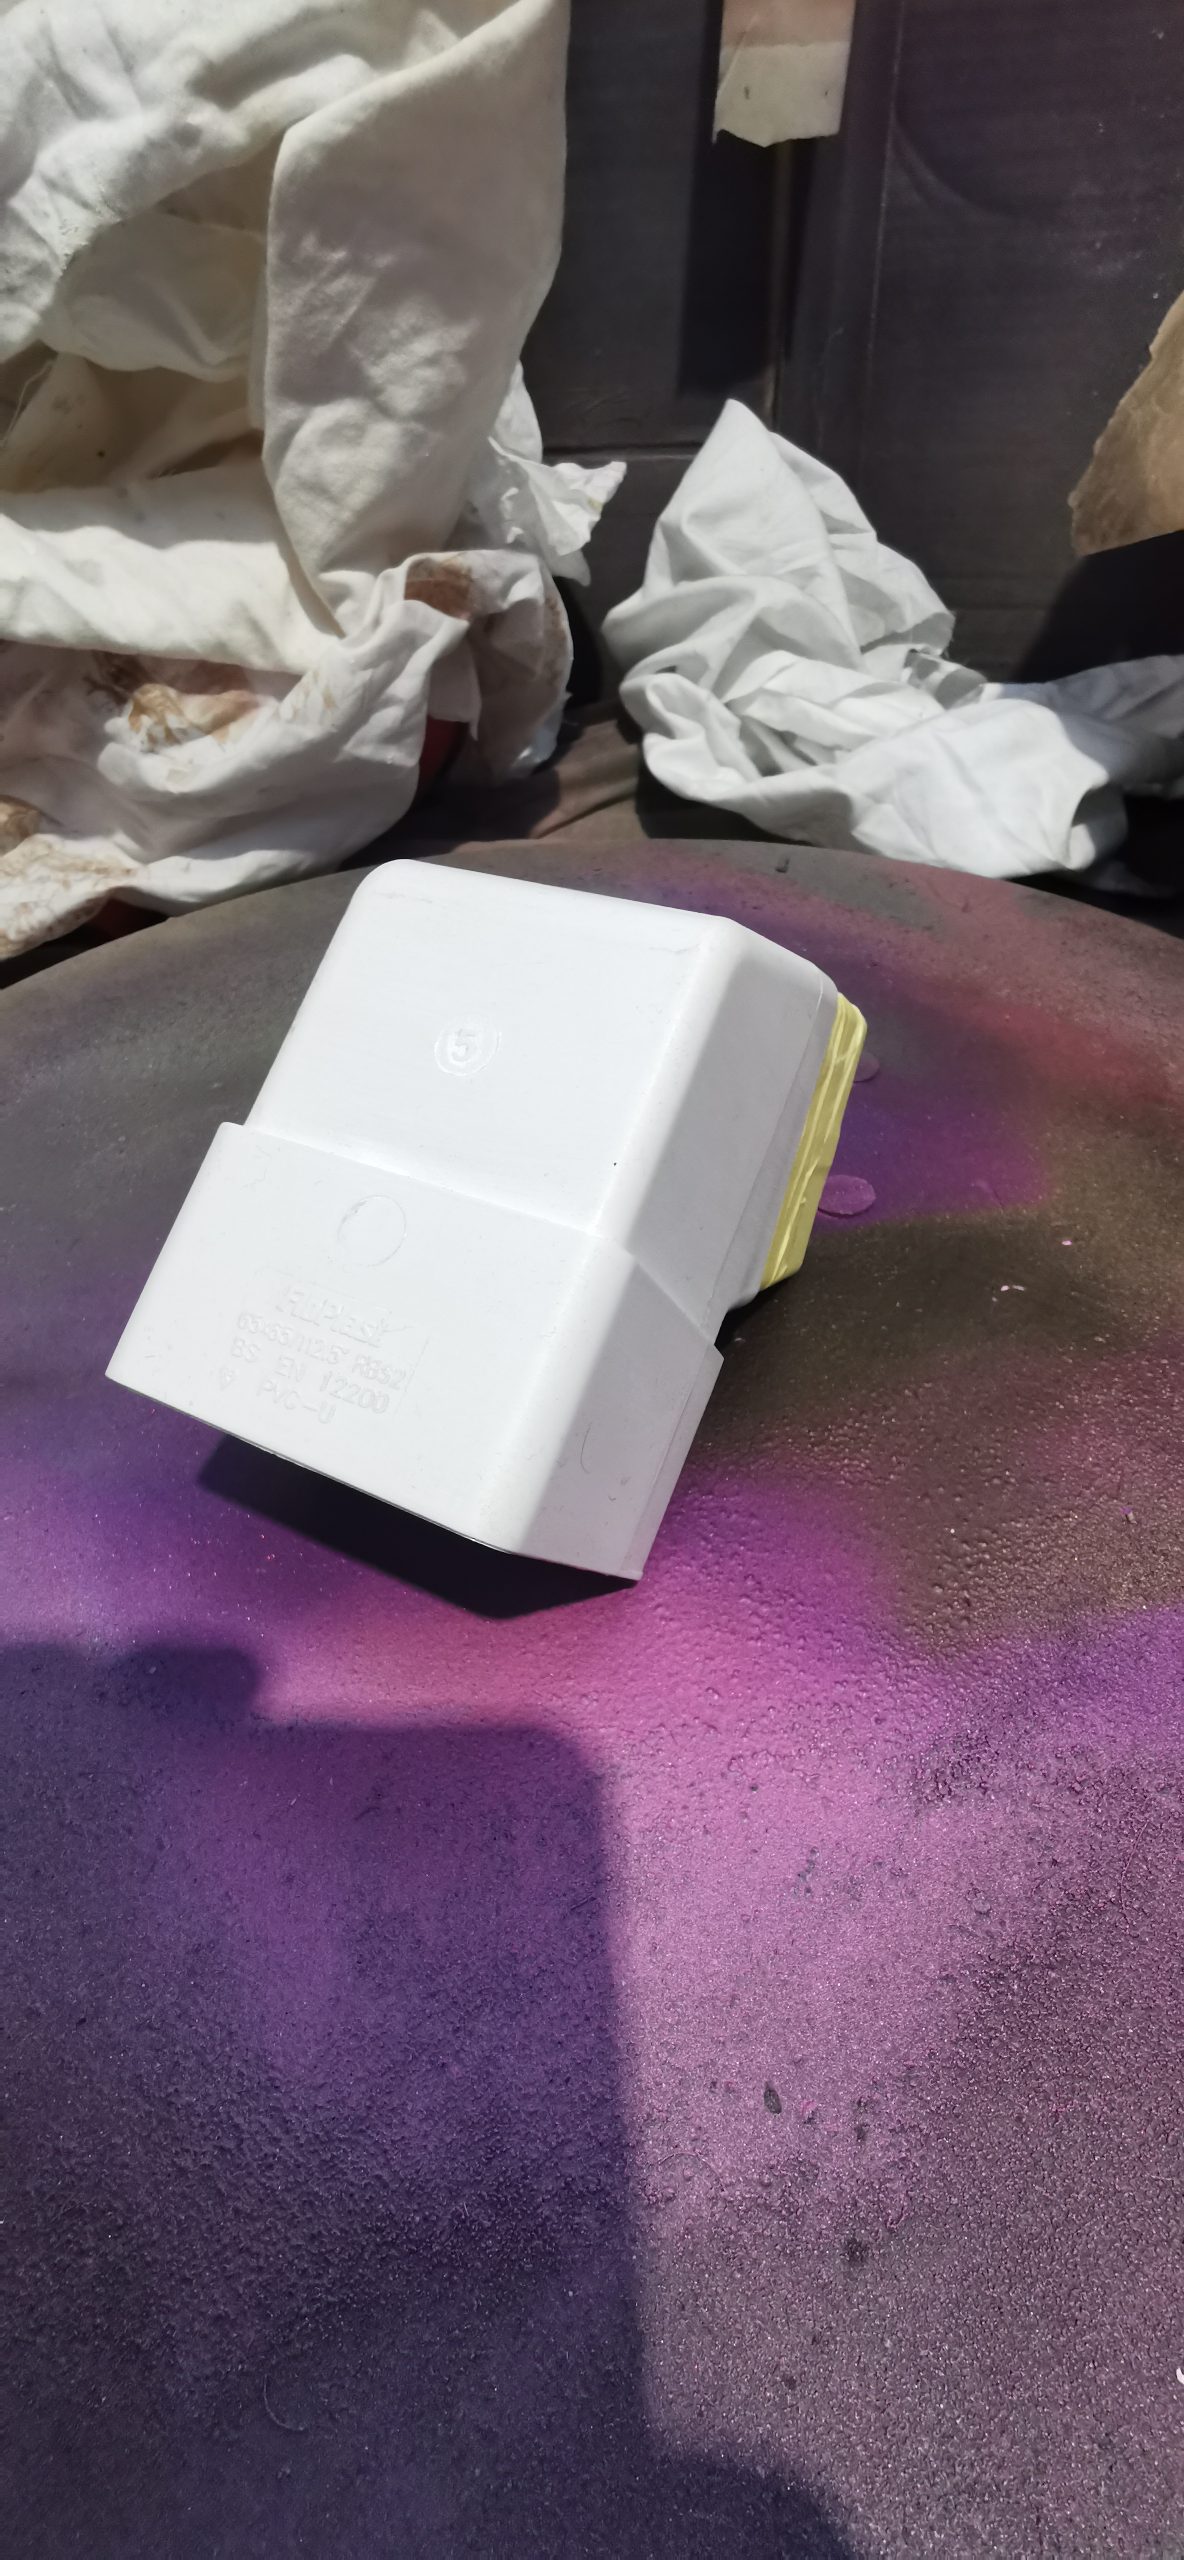
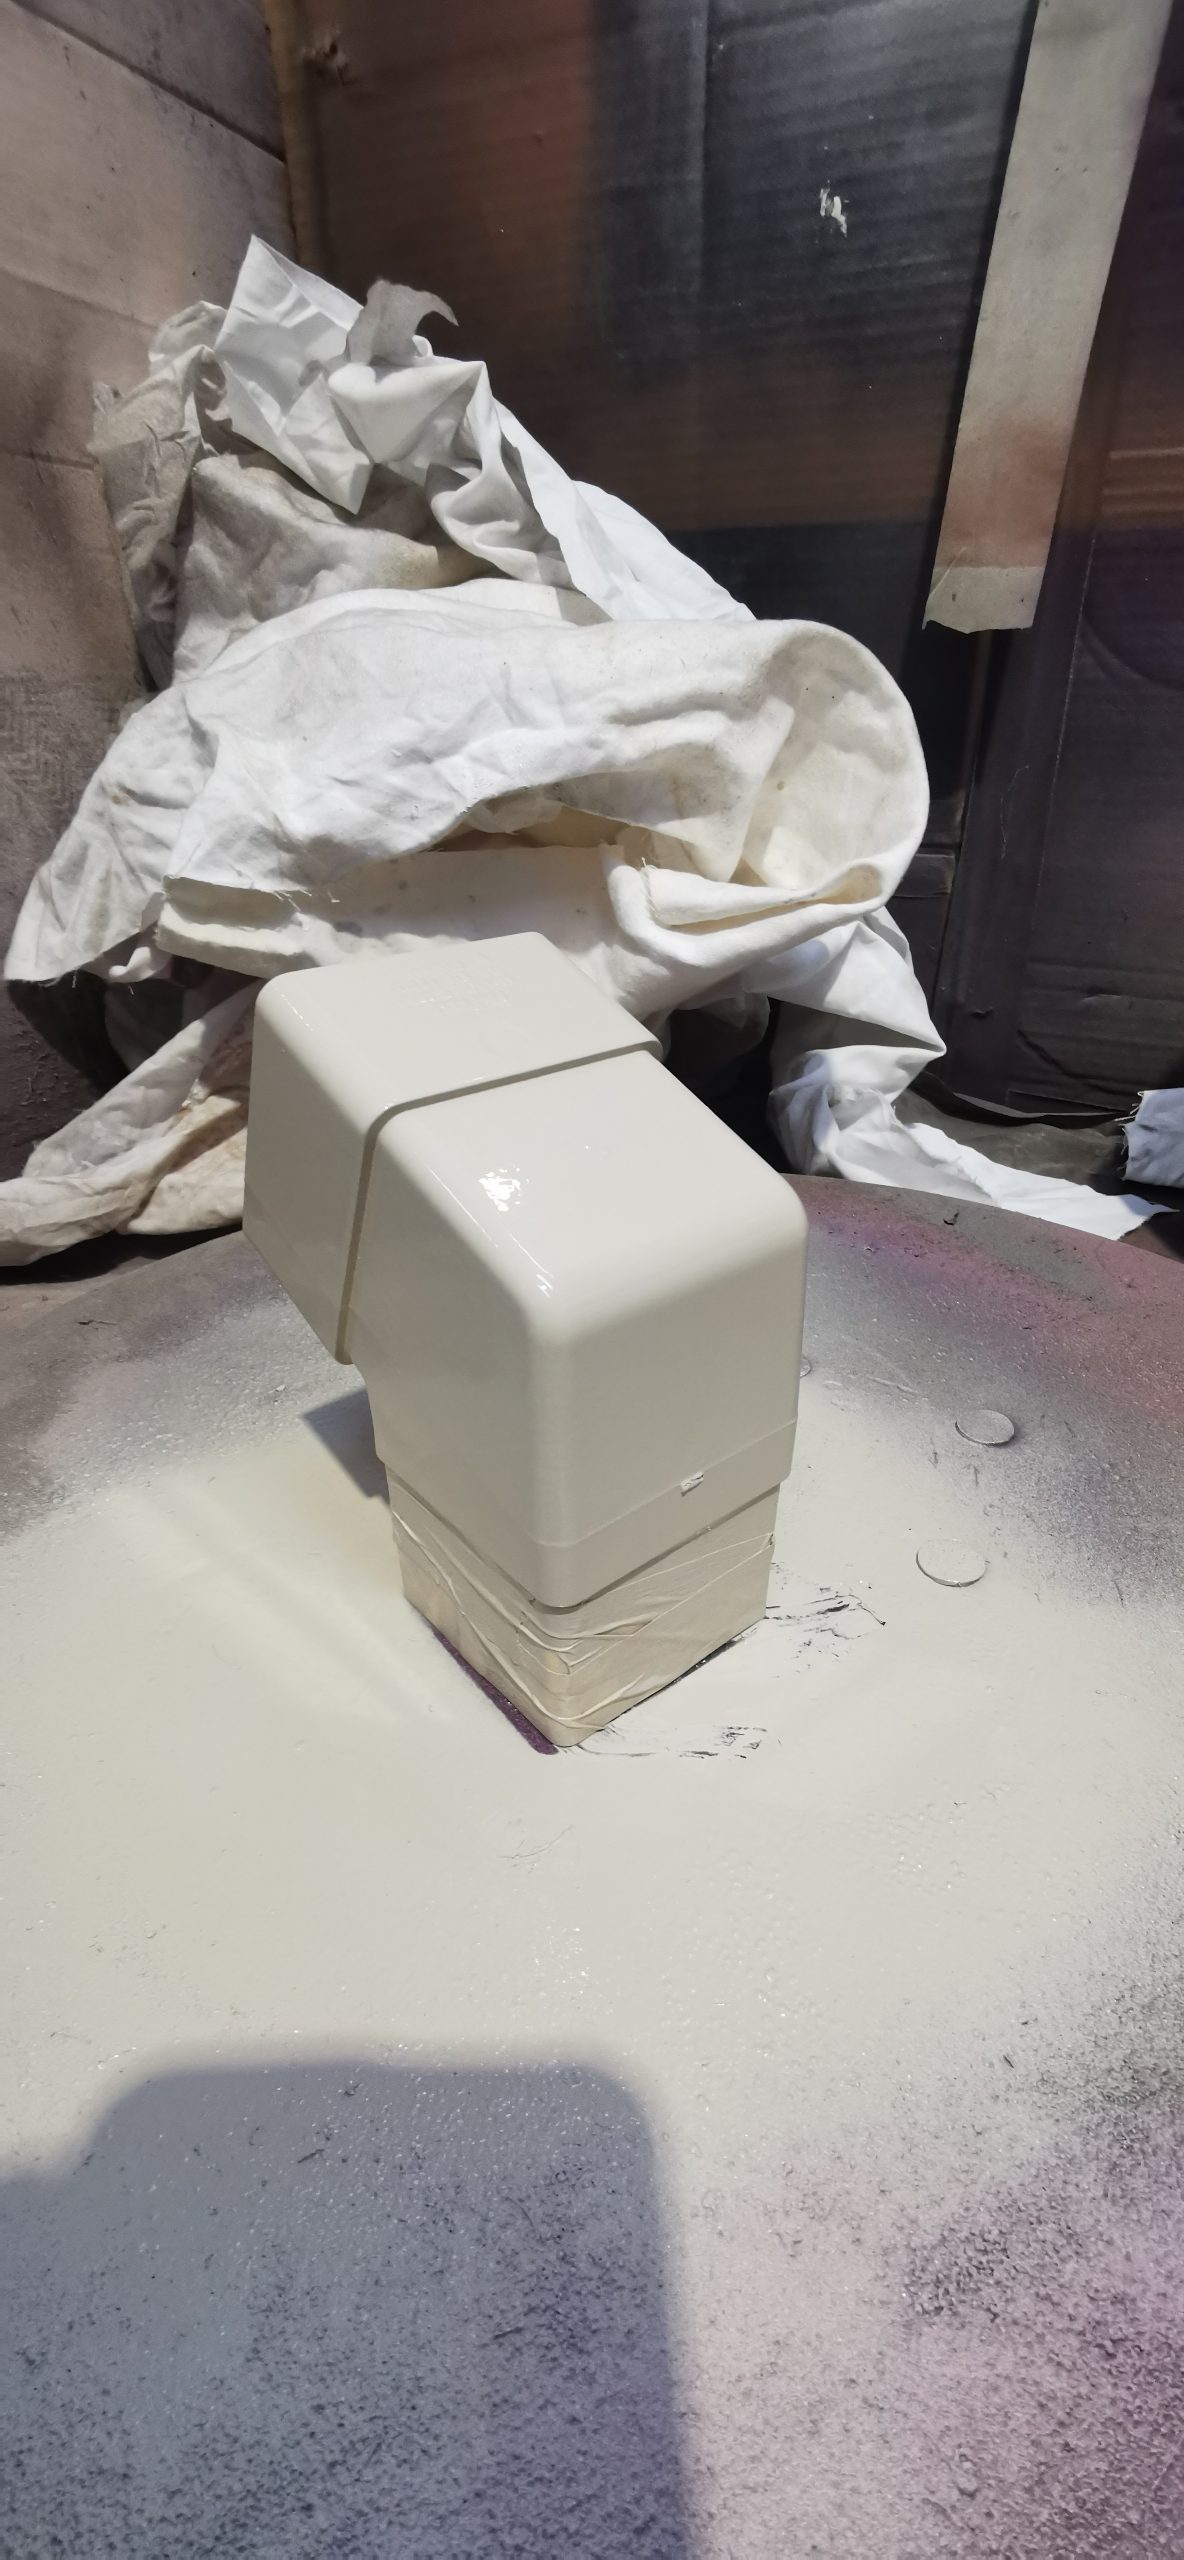
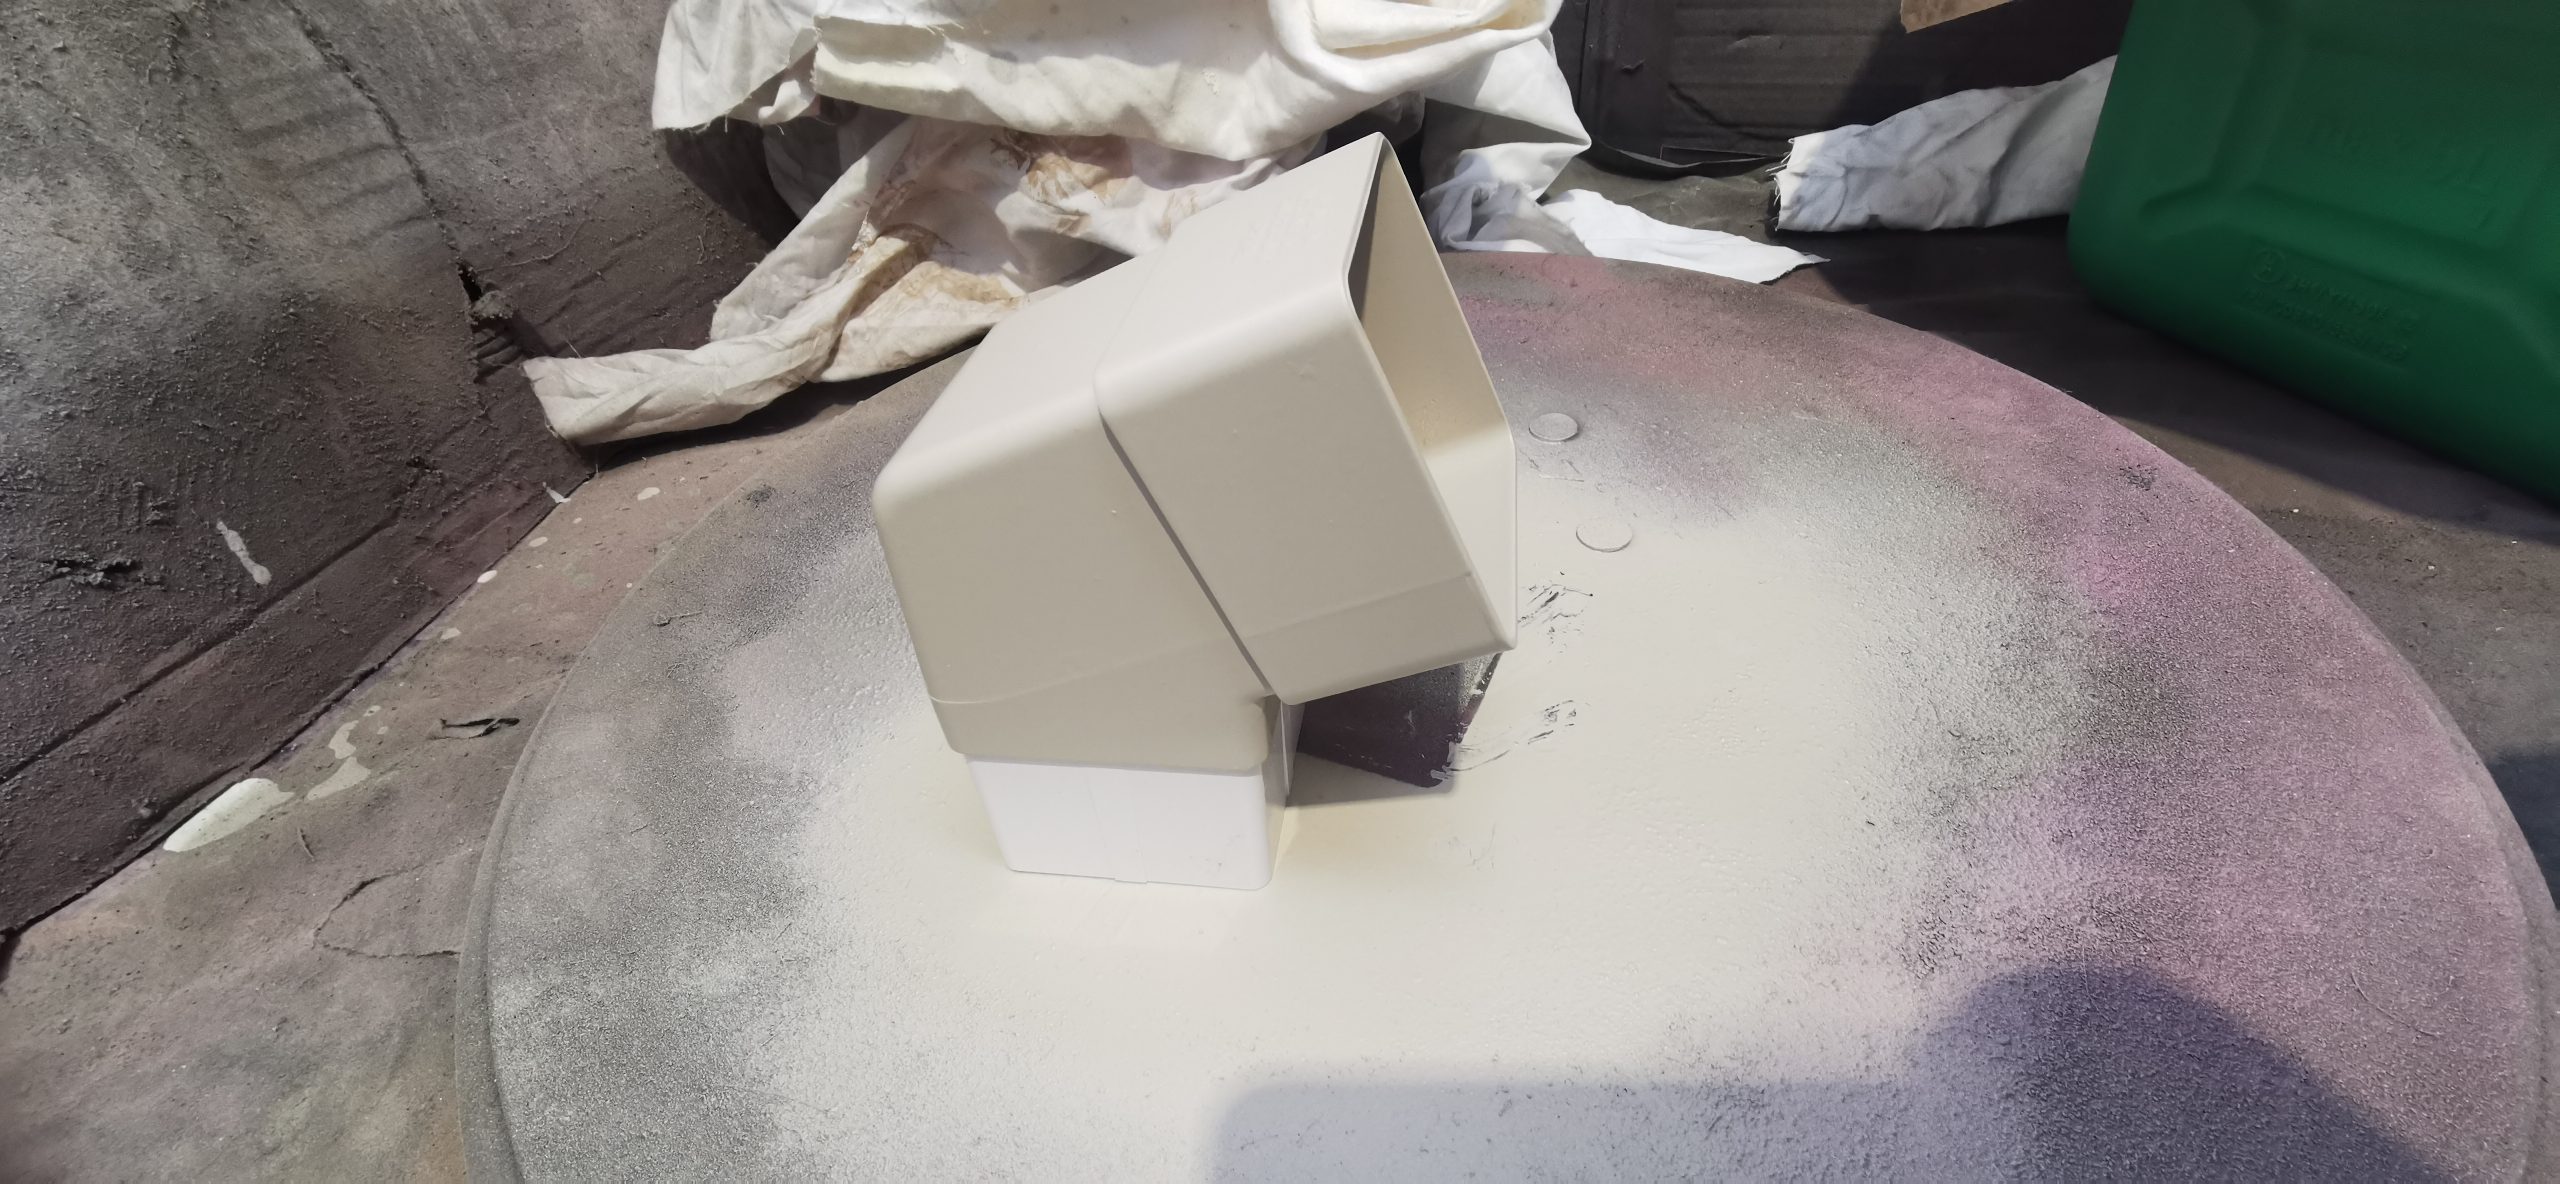
Final Top Coat:
Lacquering is the final stage of the project, so we always recommend taking your time to prevent an uneven finish. For this project, we paired our client with the 2k gloss lacquer – a product we recommend for all outdoor projects.
When using a 2k gloss lacquer, always paint in a room-temperature environment. We also advise leaving it to cure for around 40 minutes between coats and applying between 3 or 4 coats.
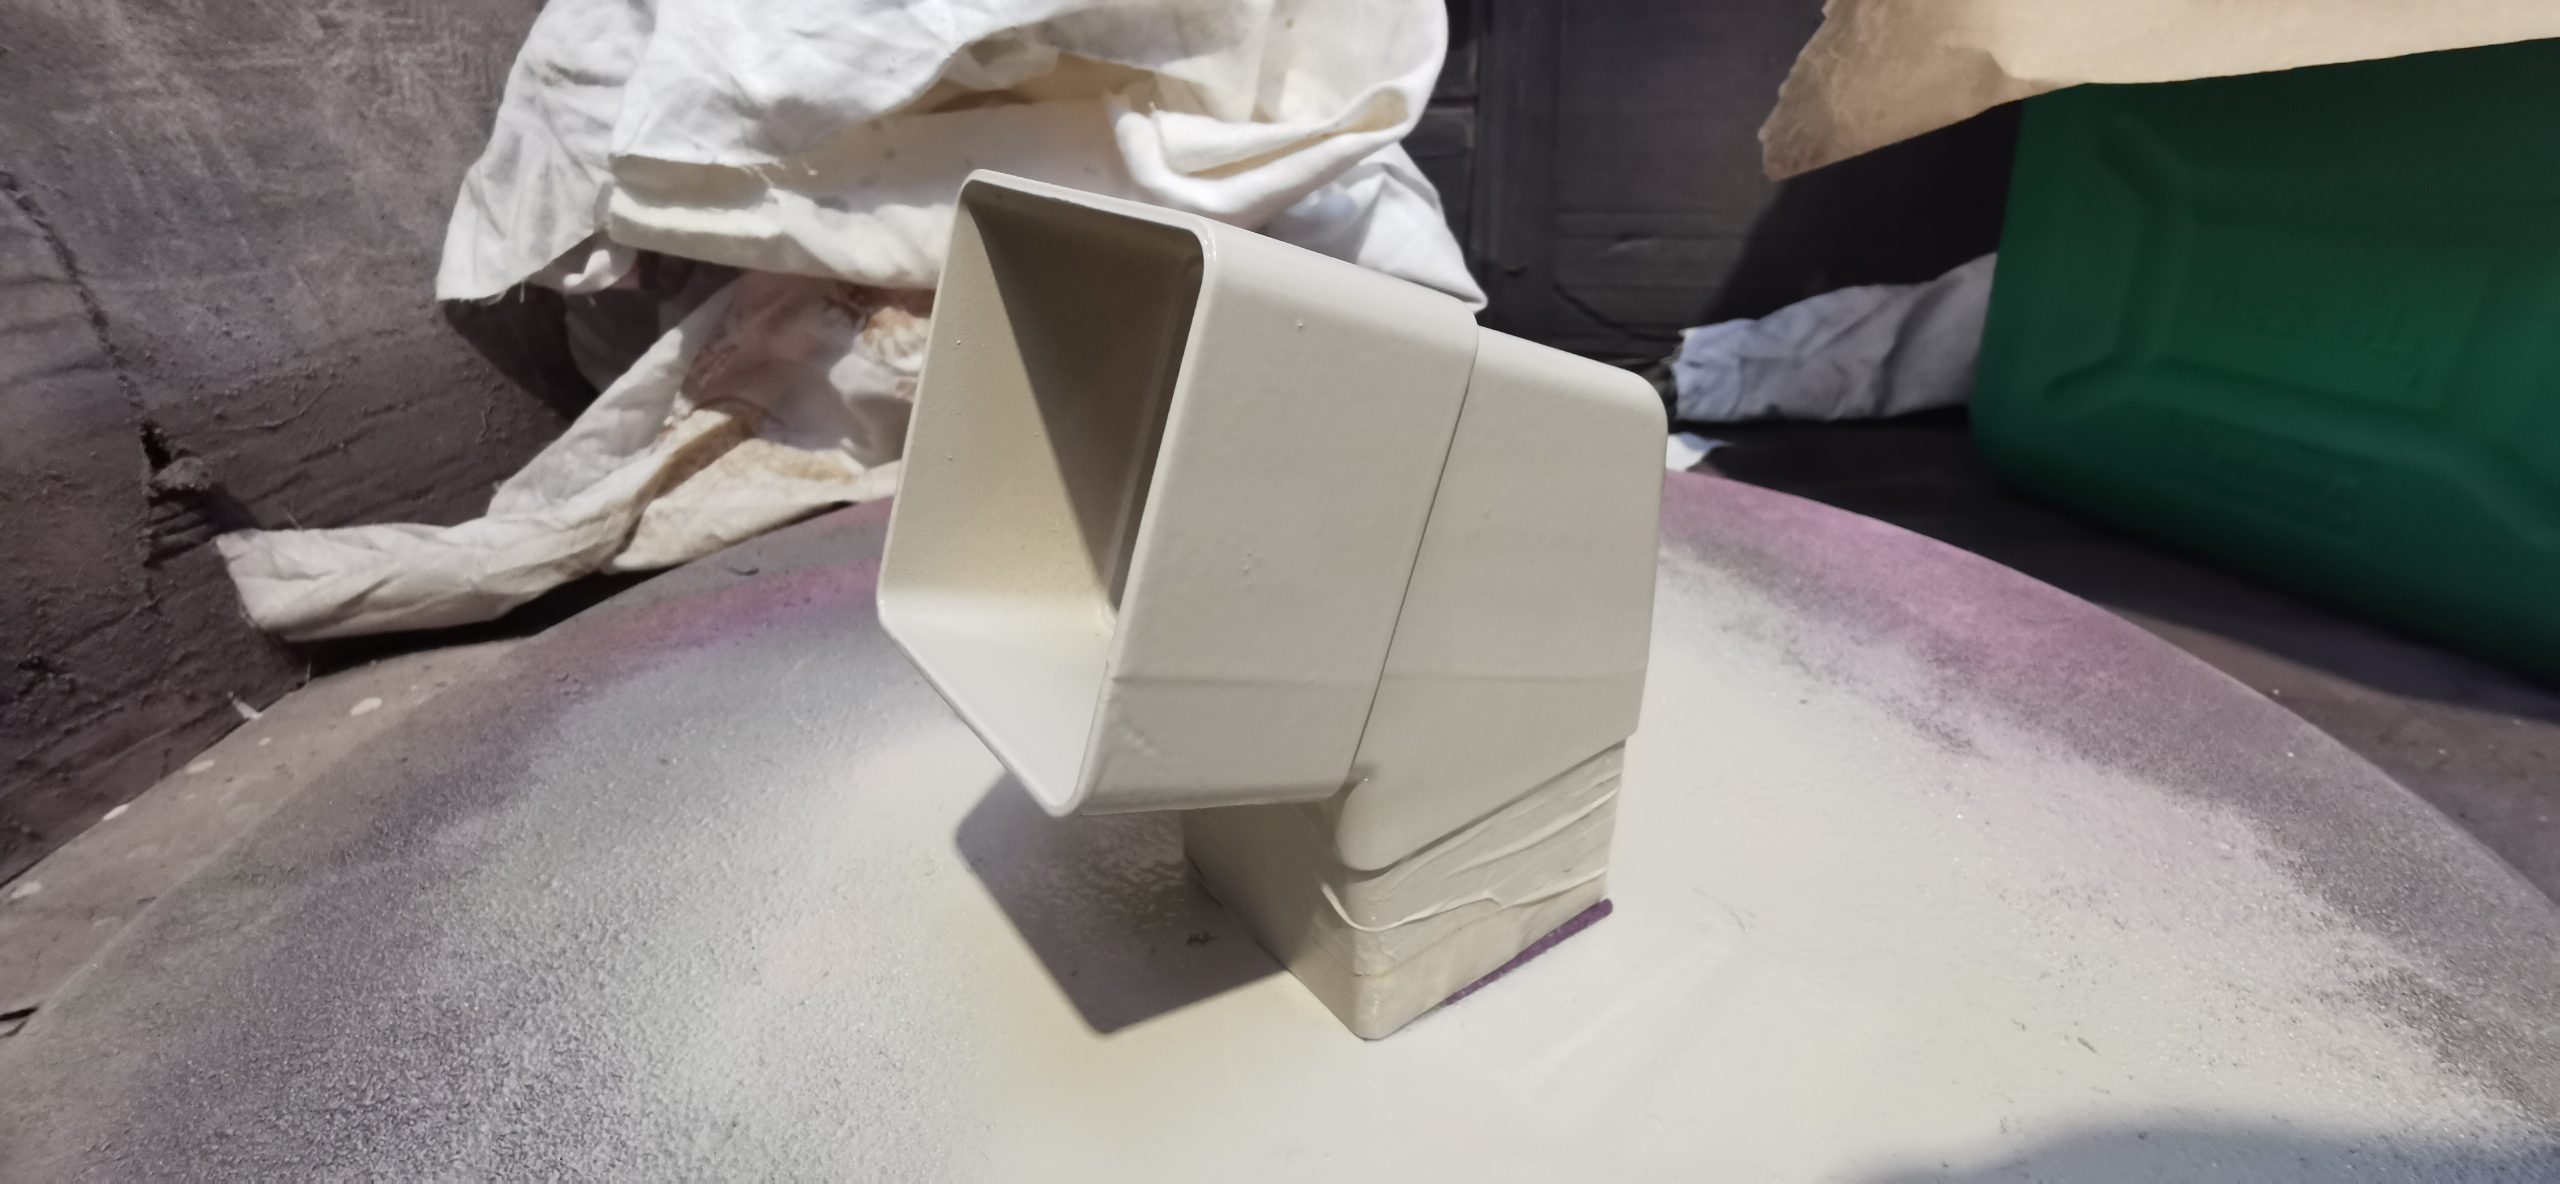
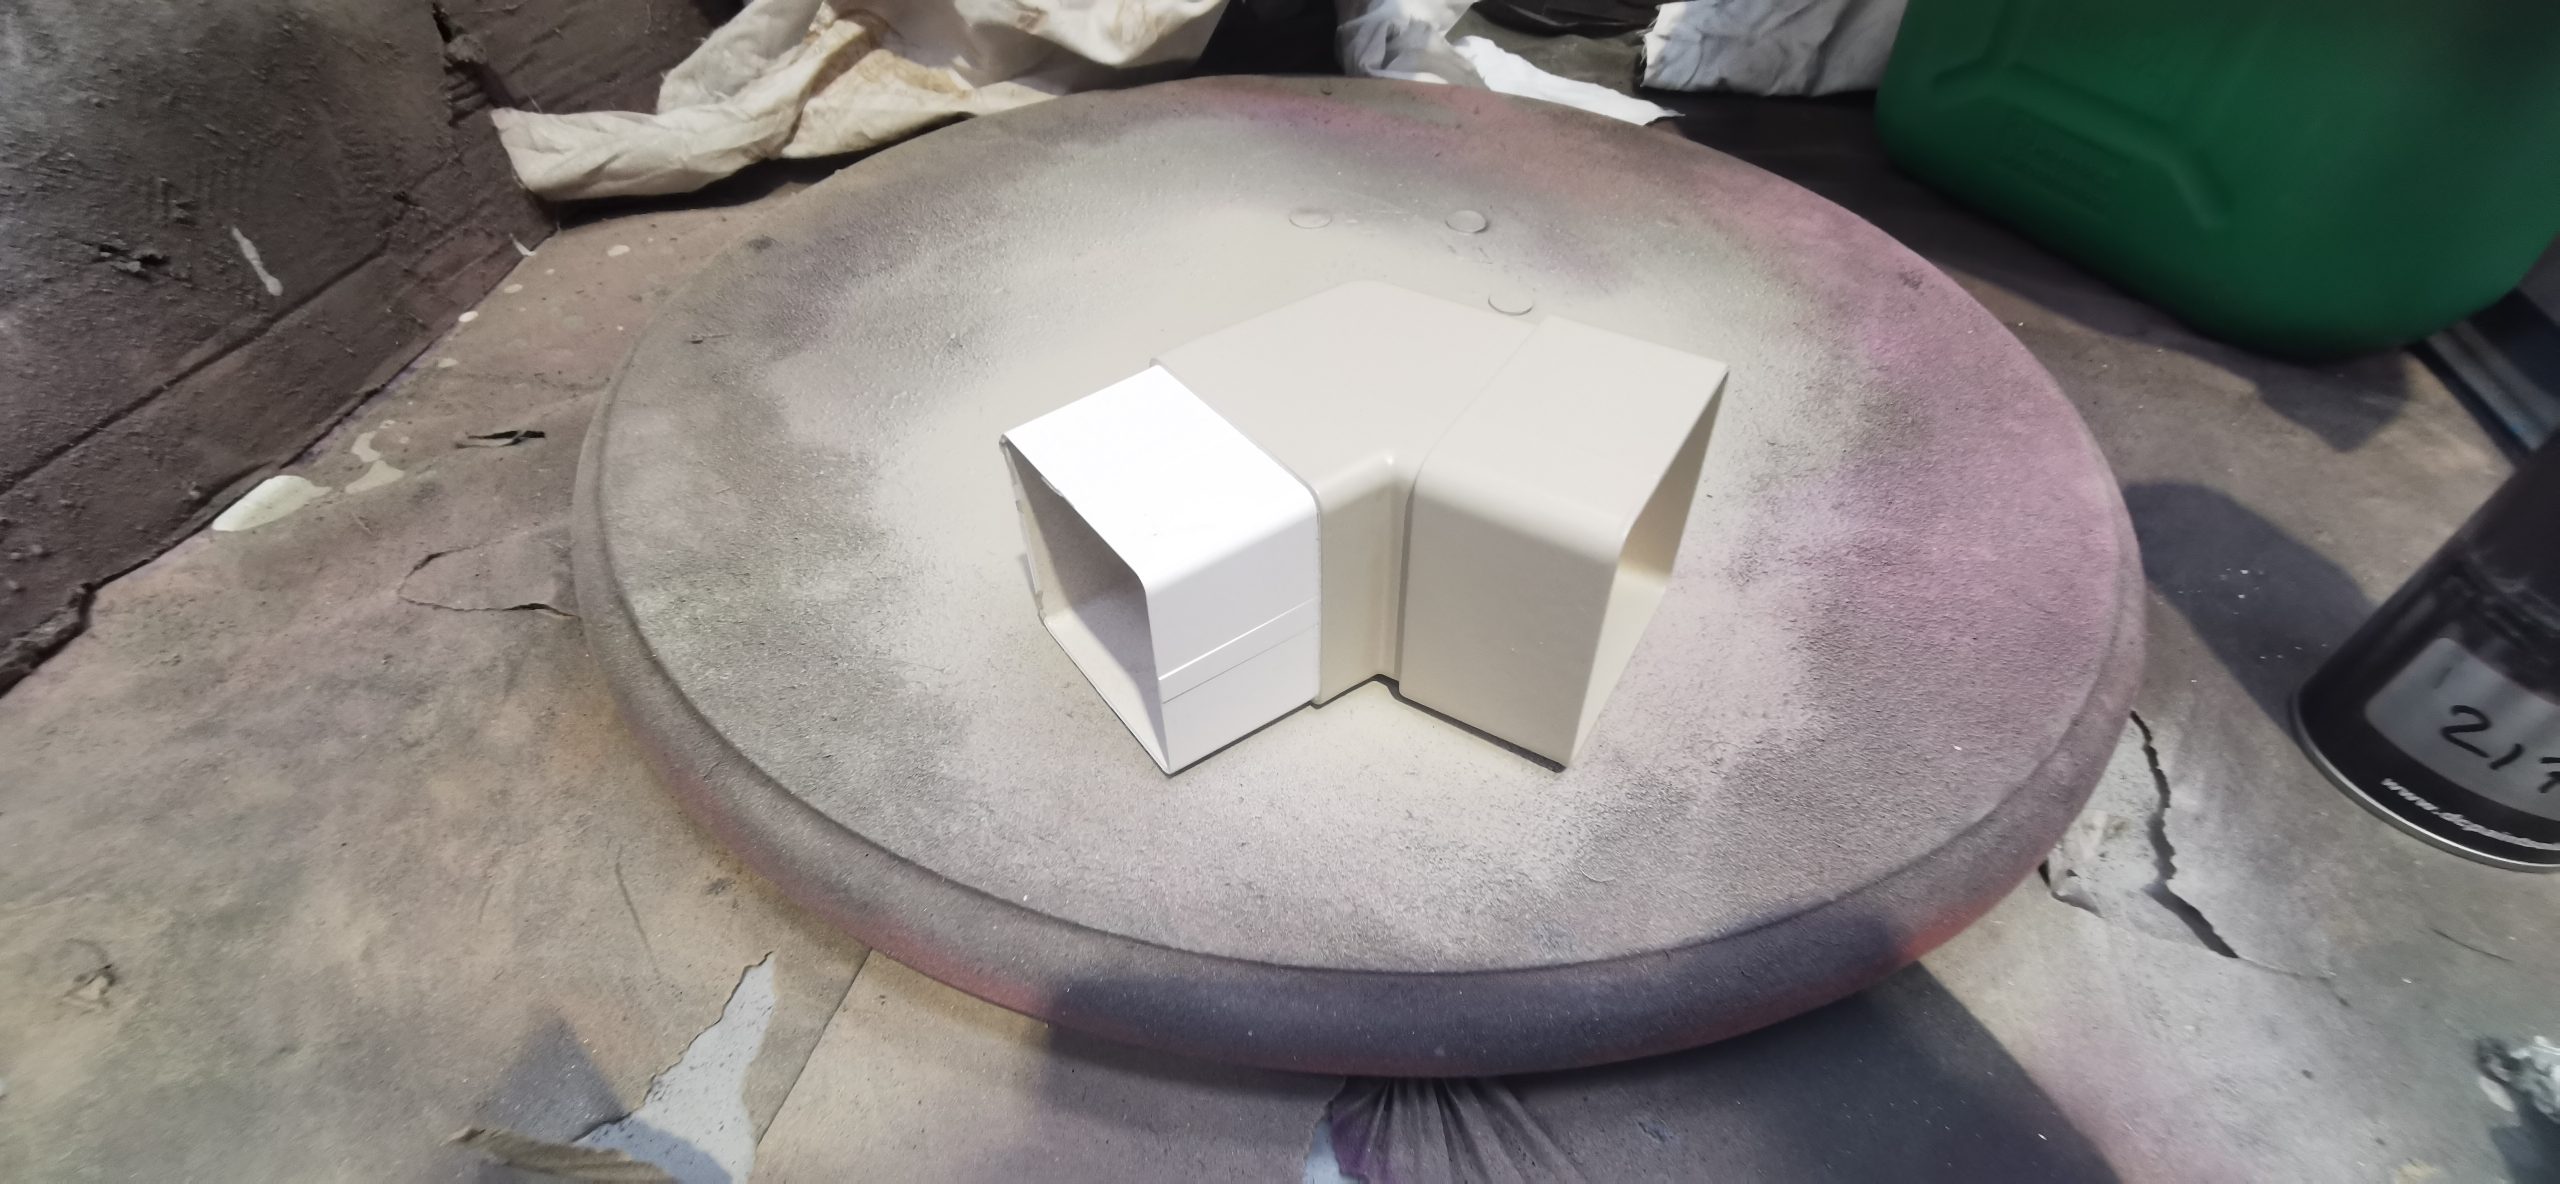
In this case, we followed the above steps and then left the guttering to cure overnight before putting it all back together the next day.
We were happy to help with this project and glad our client was pleased with the results!