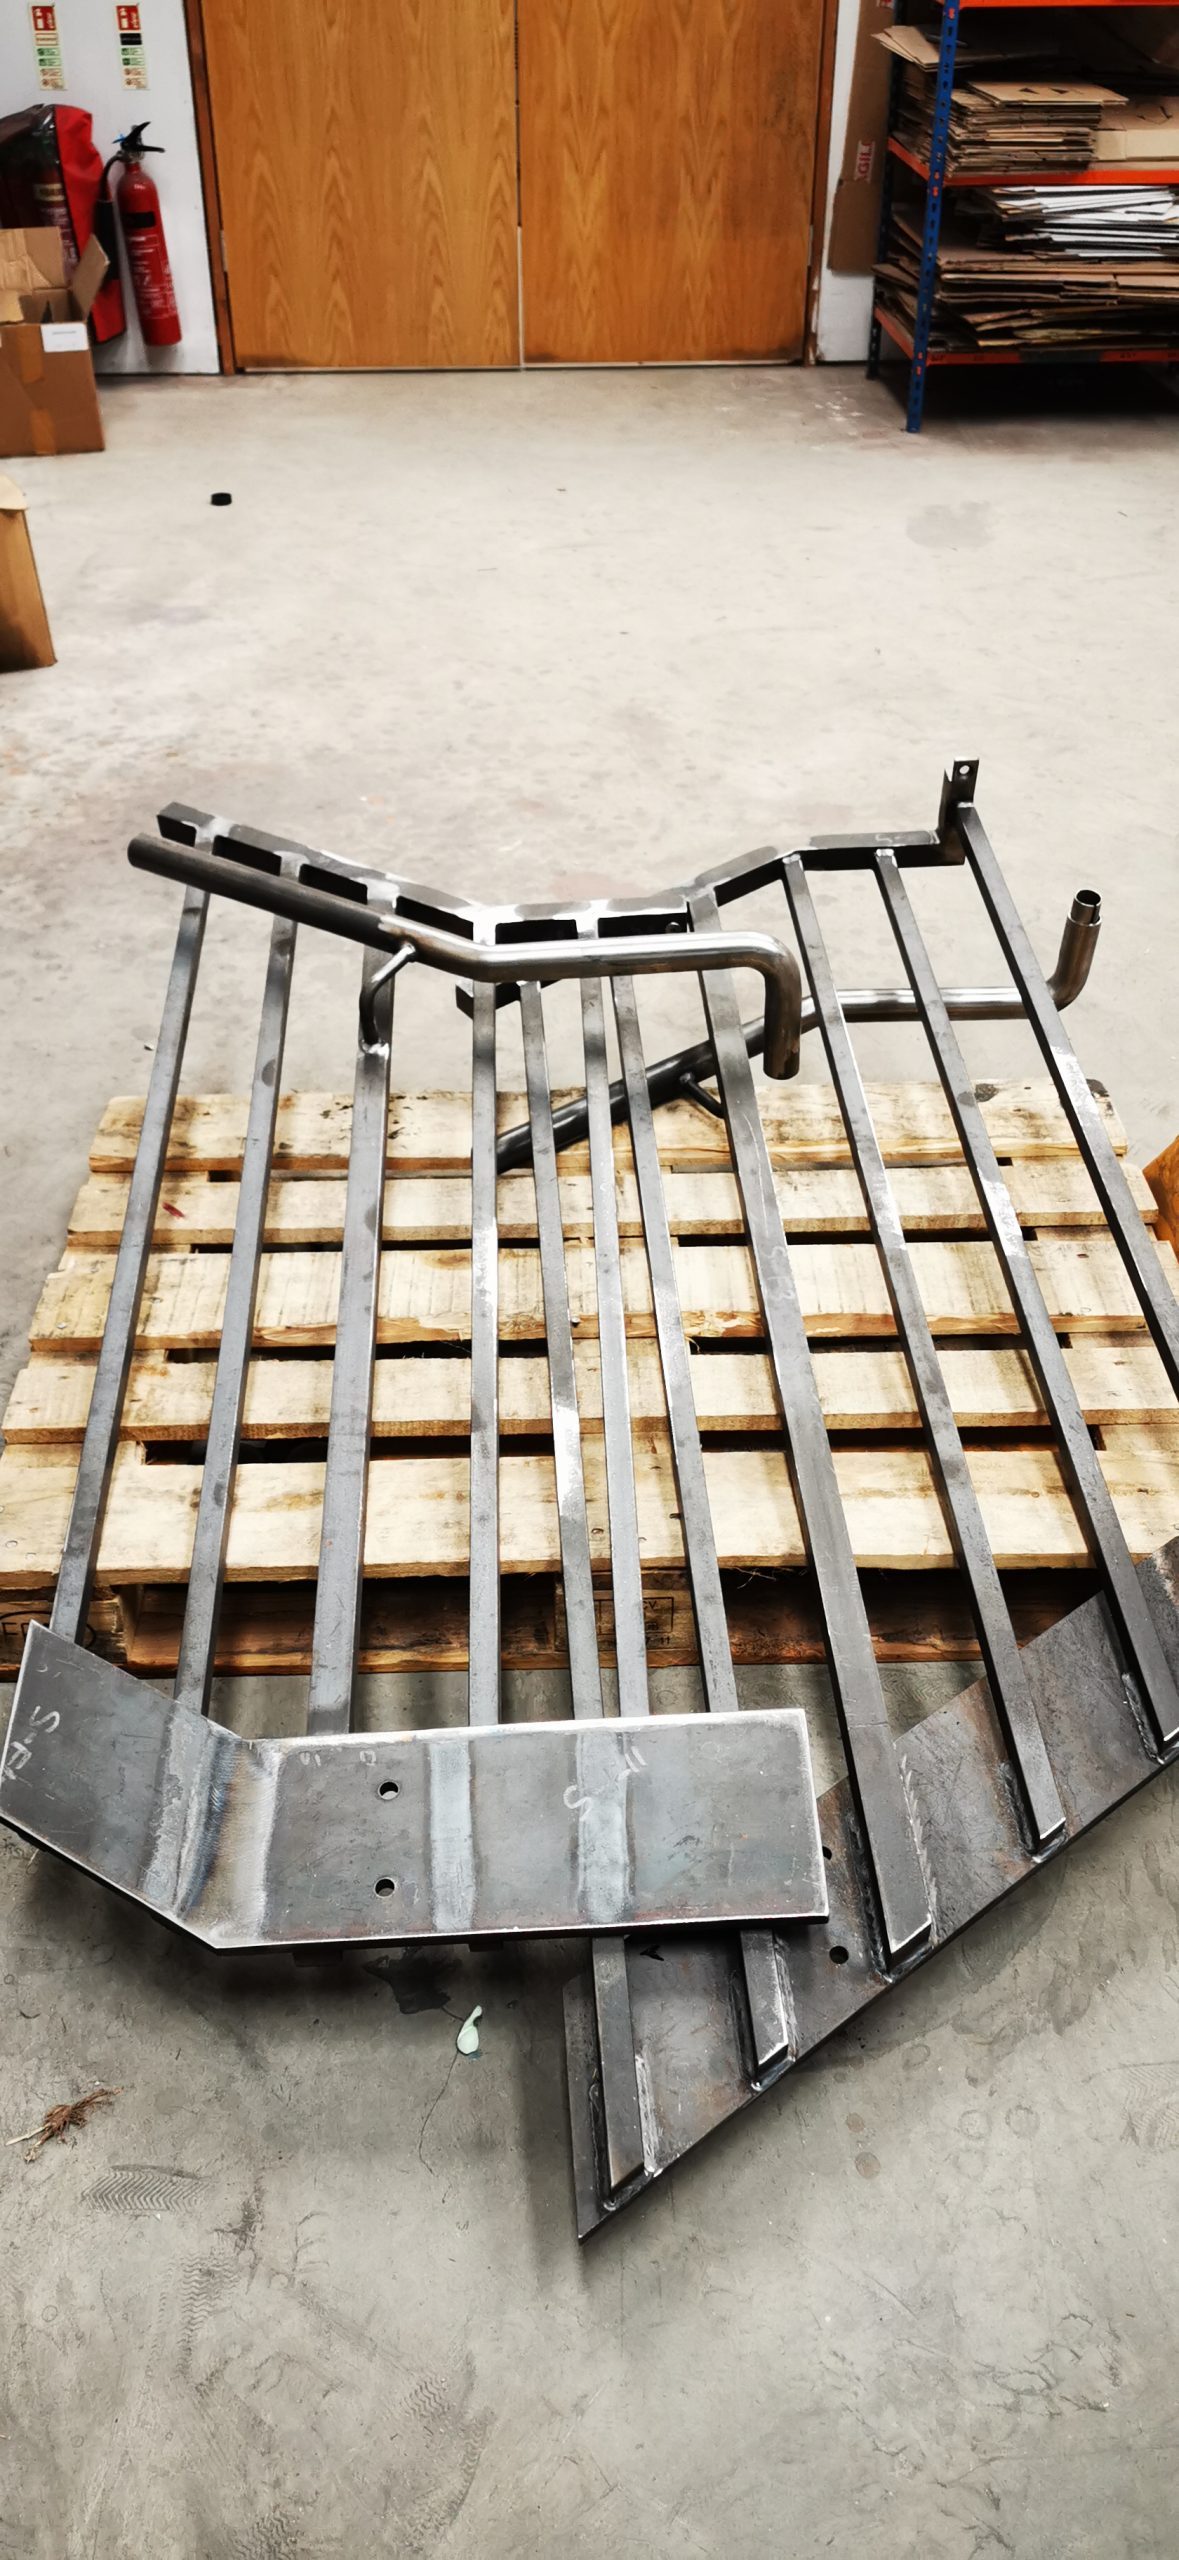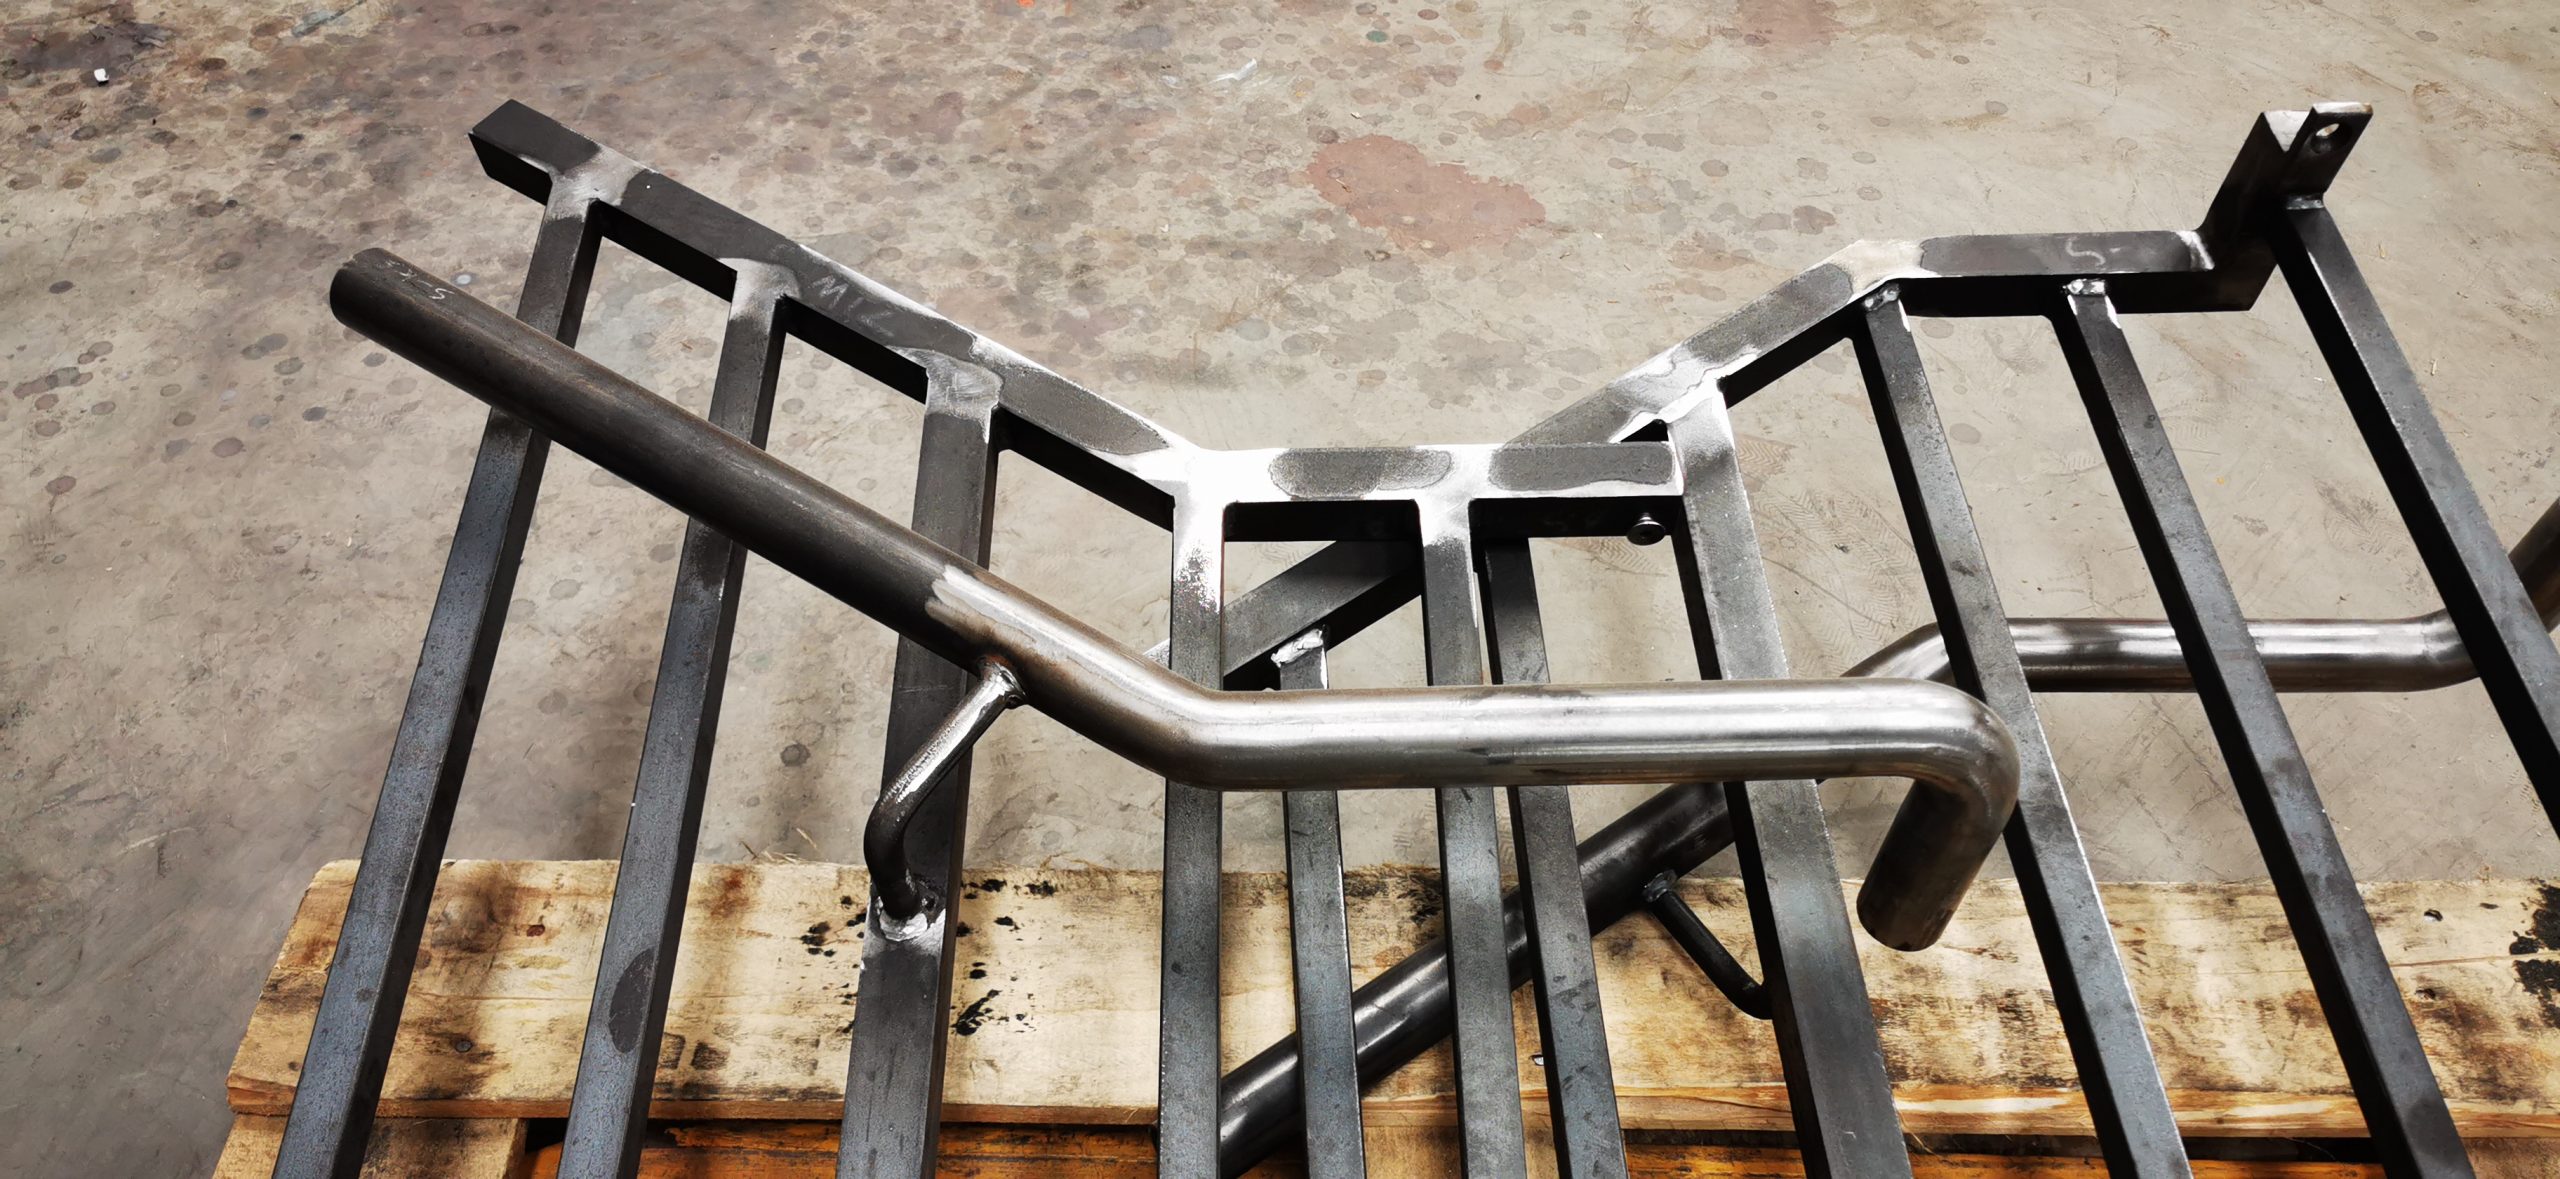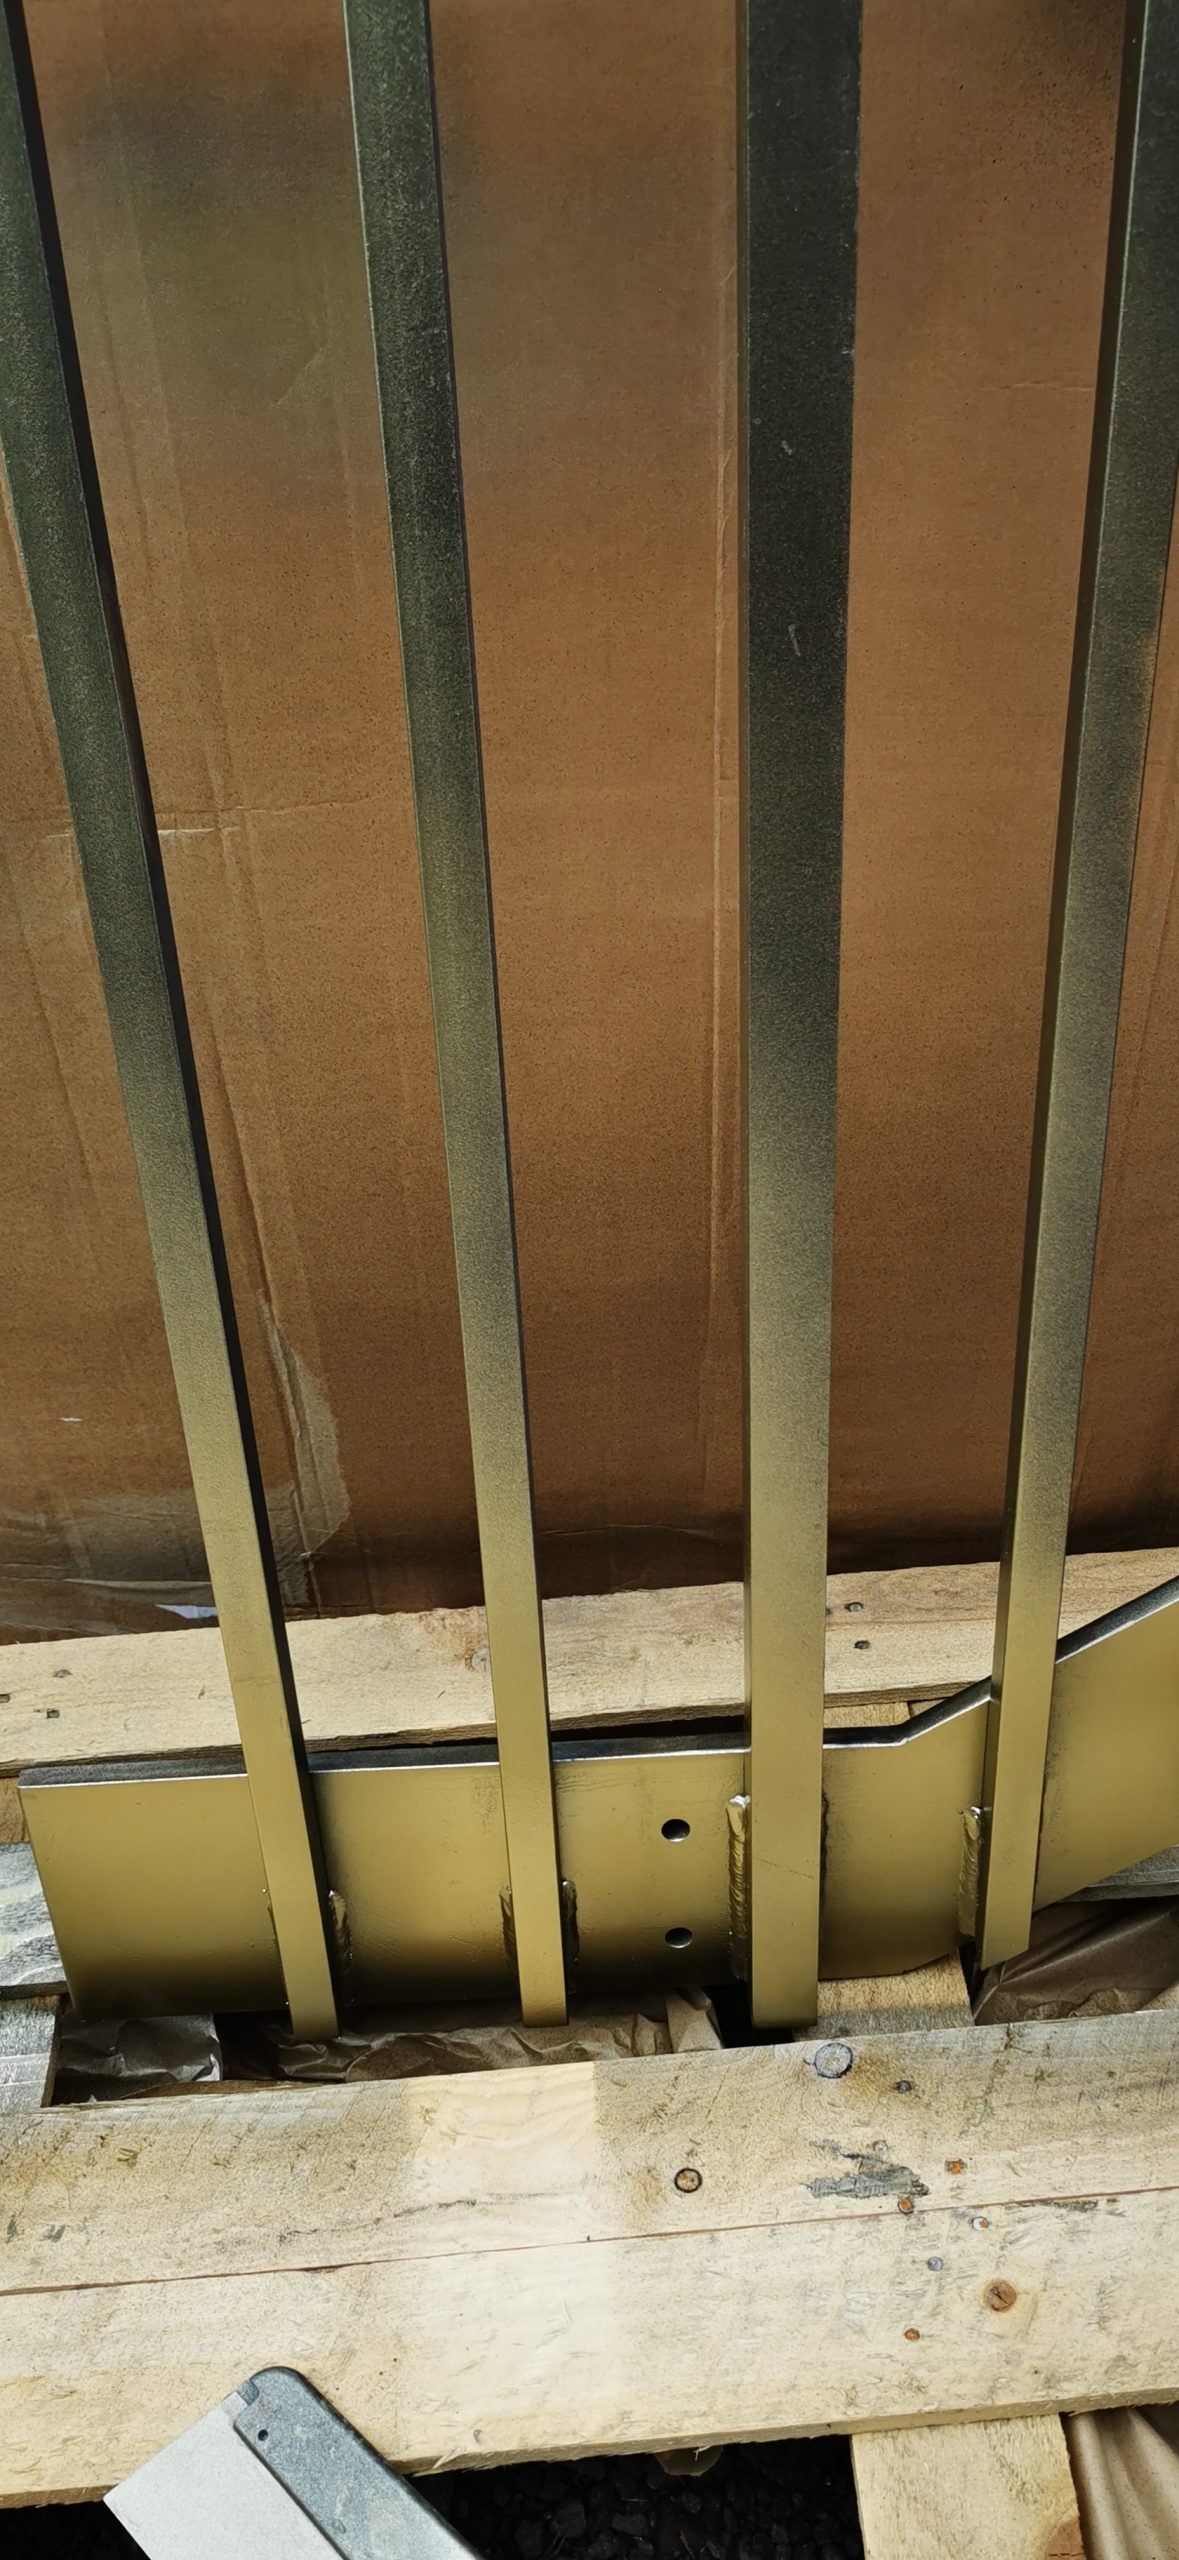
Our team was given a small project with steel handrails that needed rust protection and a new colour scheme. This project breathed some new life into the existing rails and is a job you can have a go at yourself, as it’s a cost-effective way to spruce up and restore old garden metals. It was a quick and straightforward project, so we have documented our steps below, which can be used for any other metal garden furnishing projects you have in mind.
Tool List:
- Dust sheets
- Sanding paper and or sanding discs (or a dual-action sander)
- Degreaser
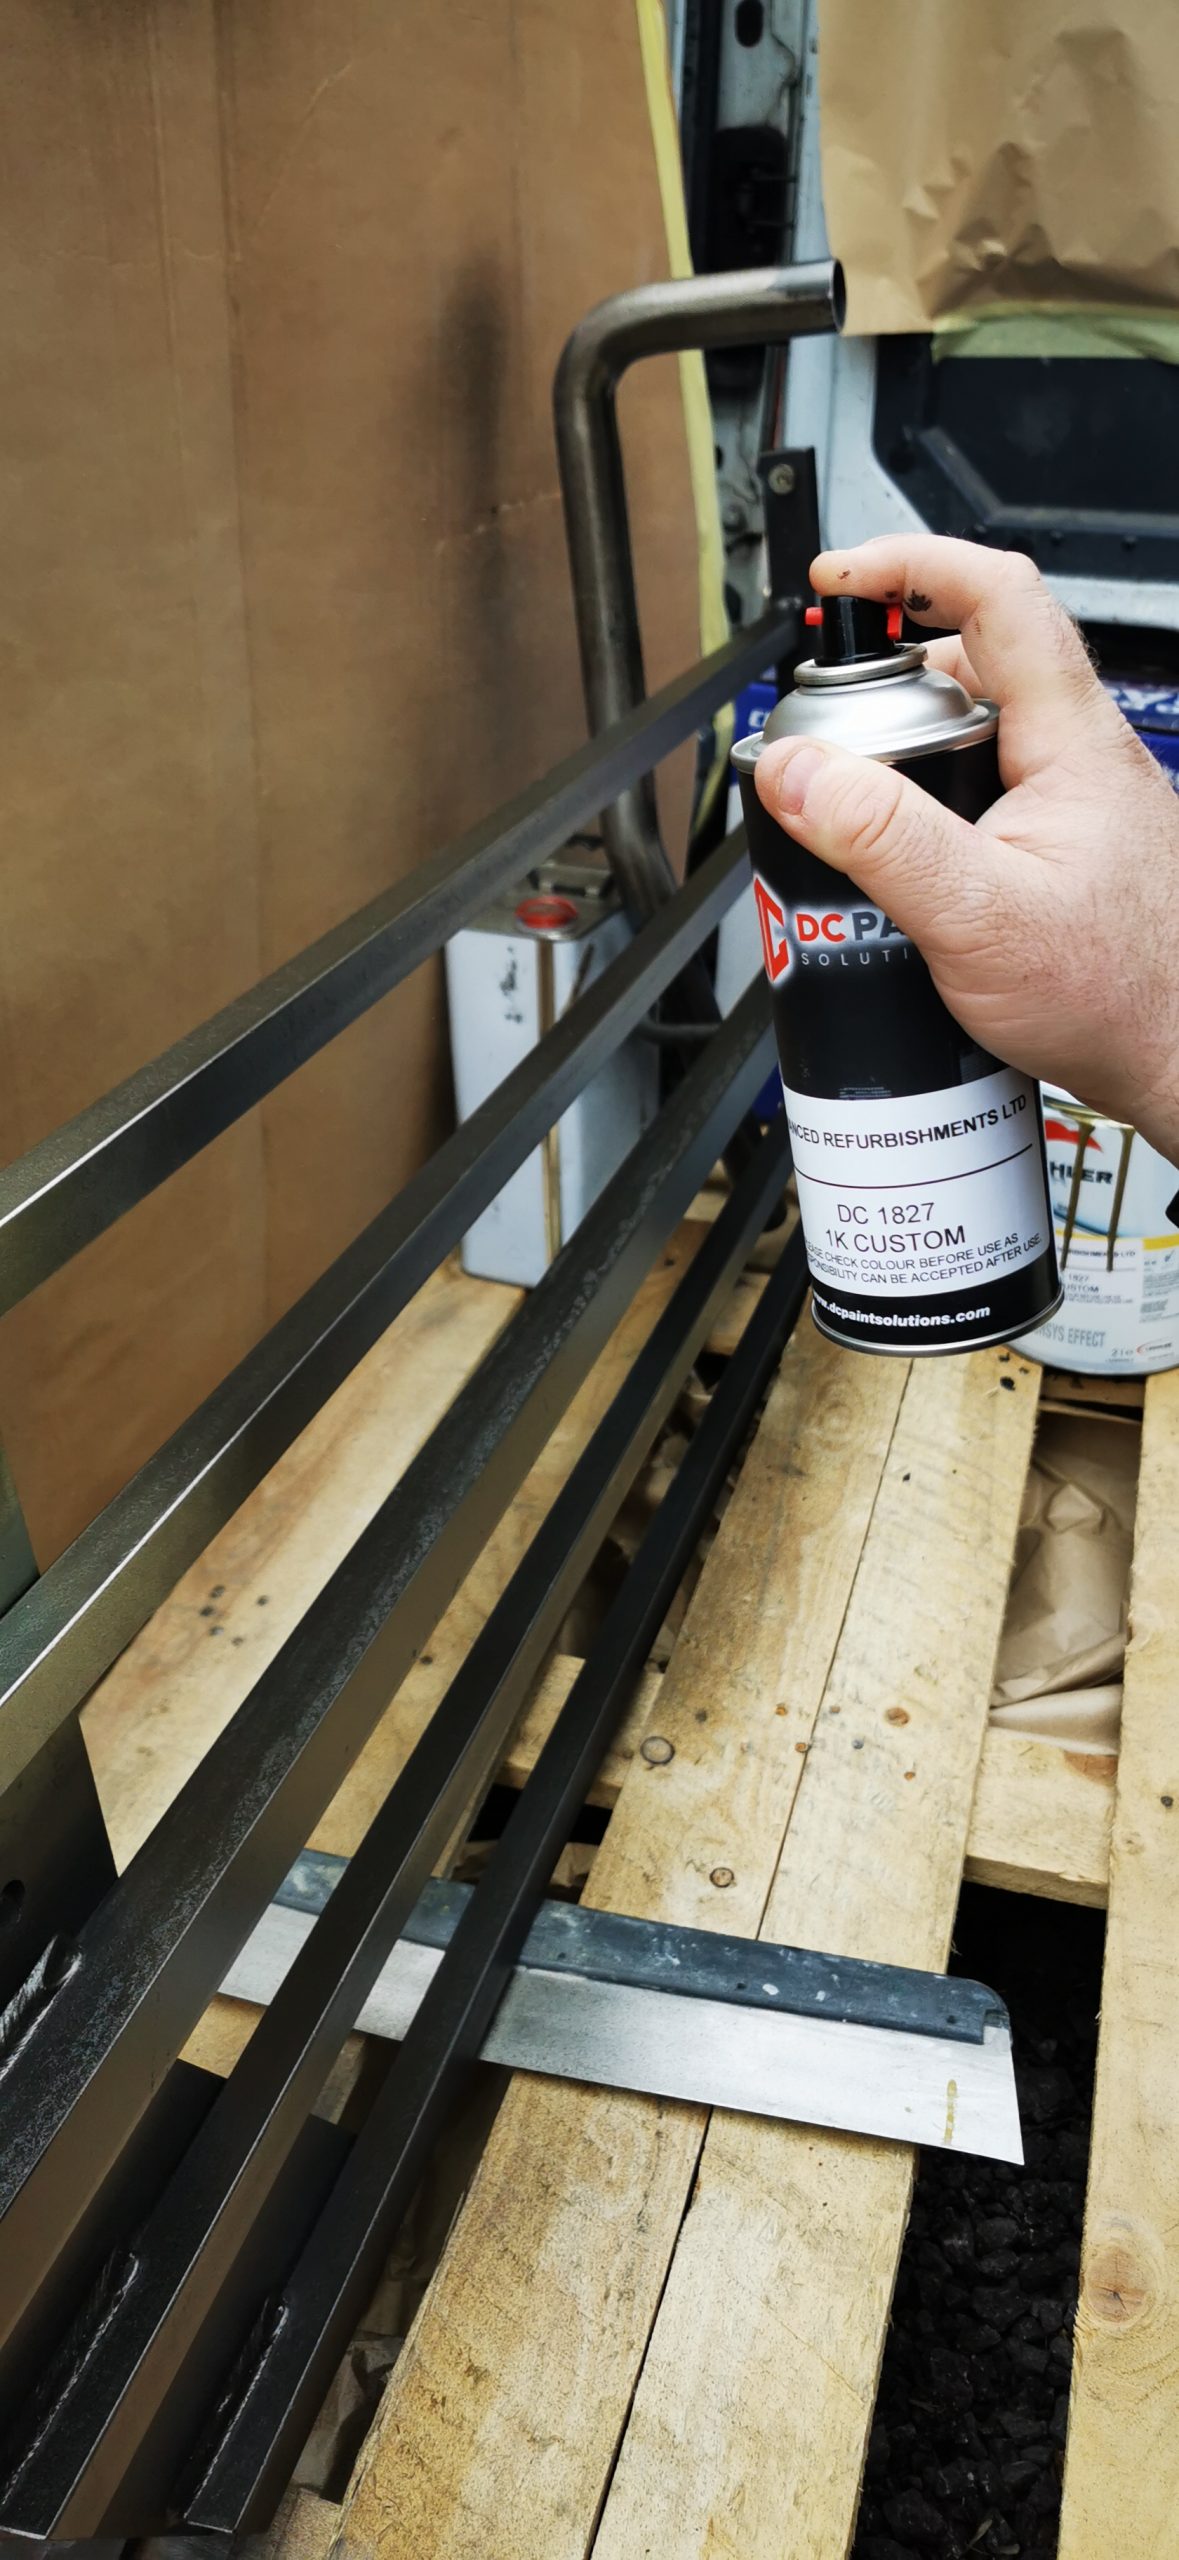
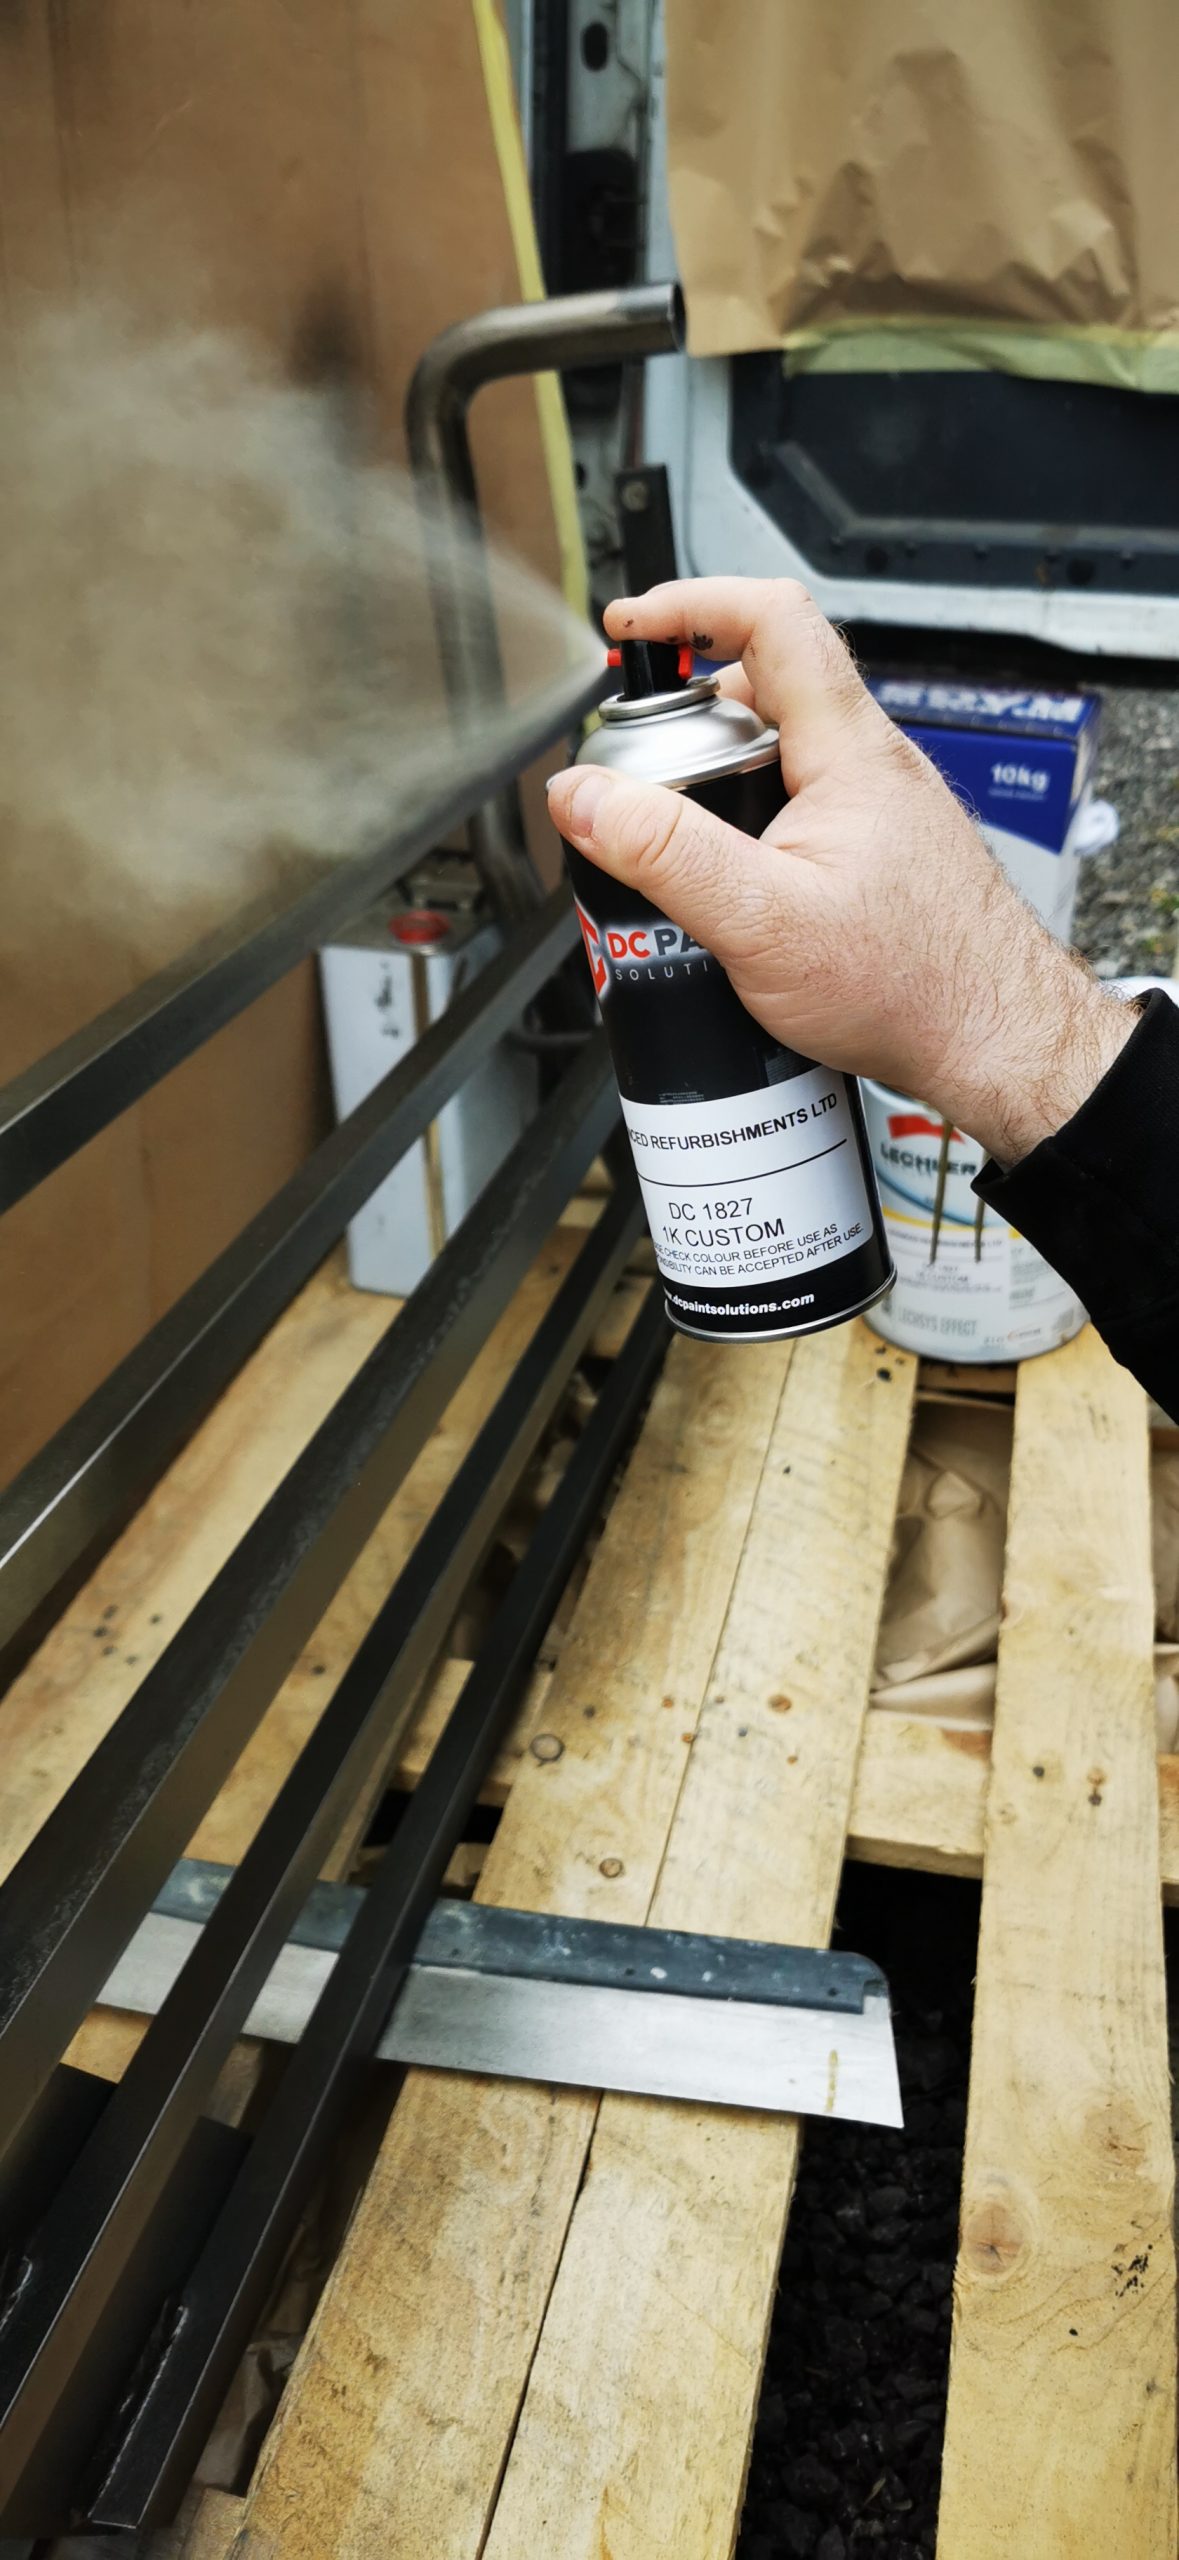
- Etch Primer 1K Custom
- Custom Gold Paint 1K
- 2K Gloss Lacquer
Prep:
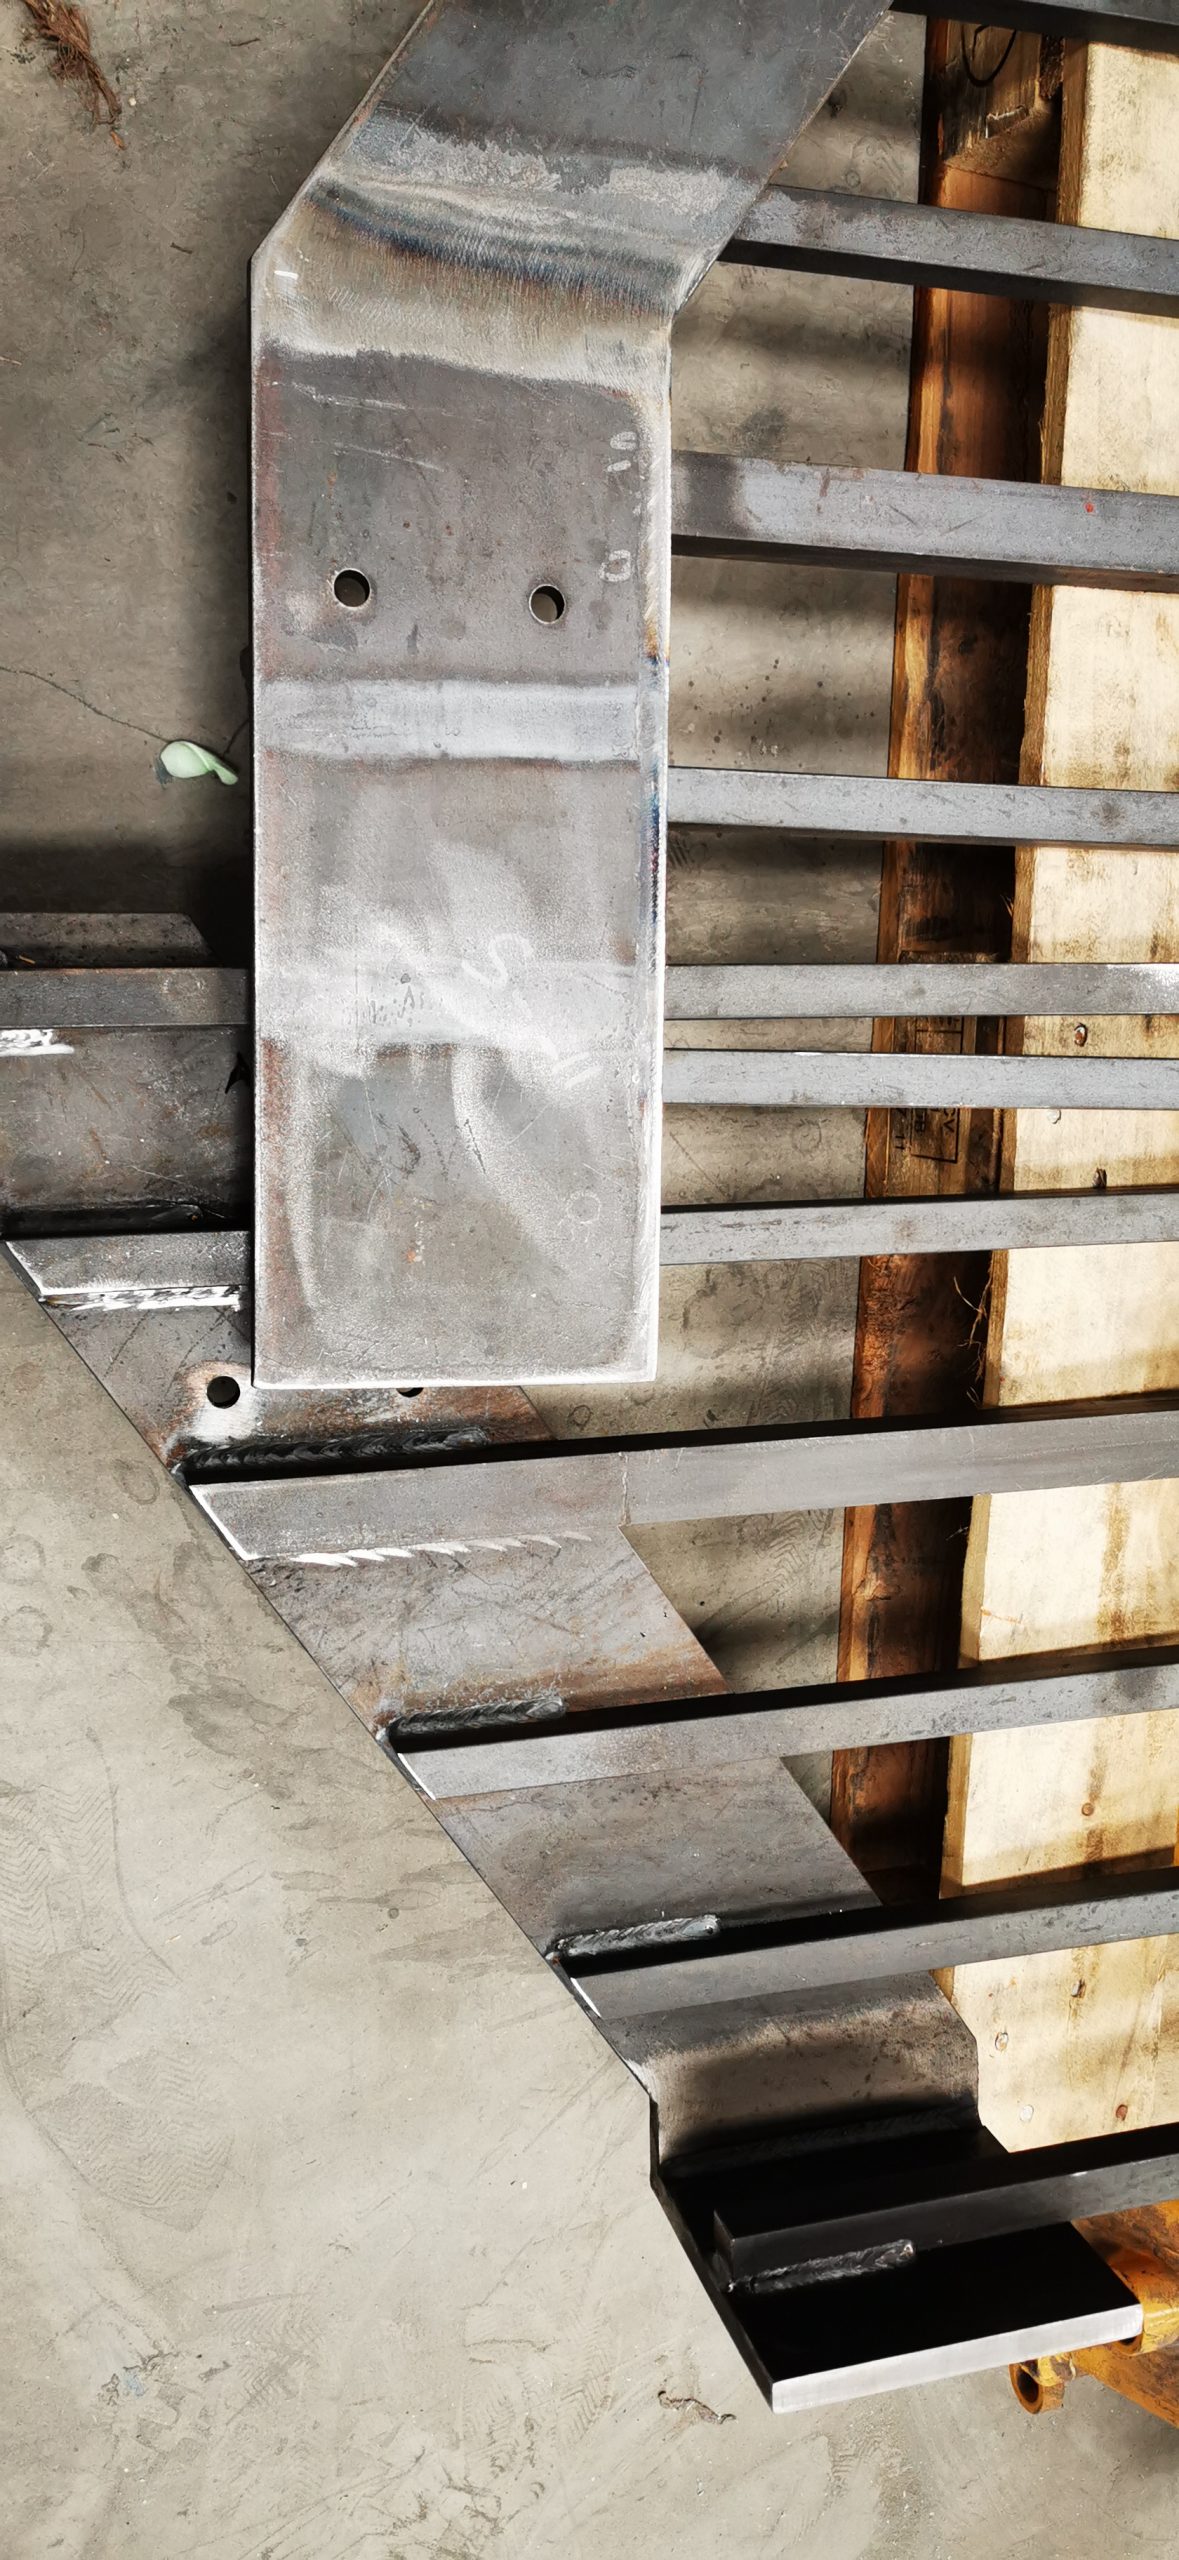
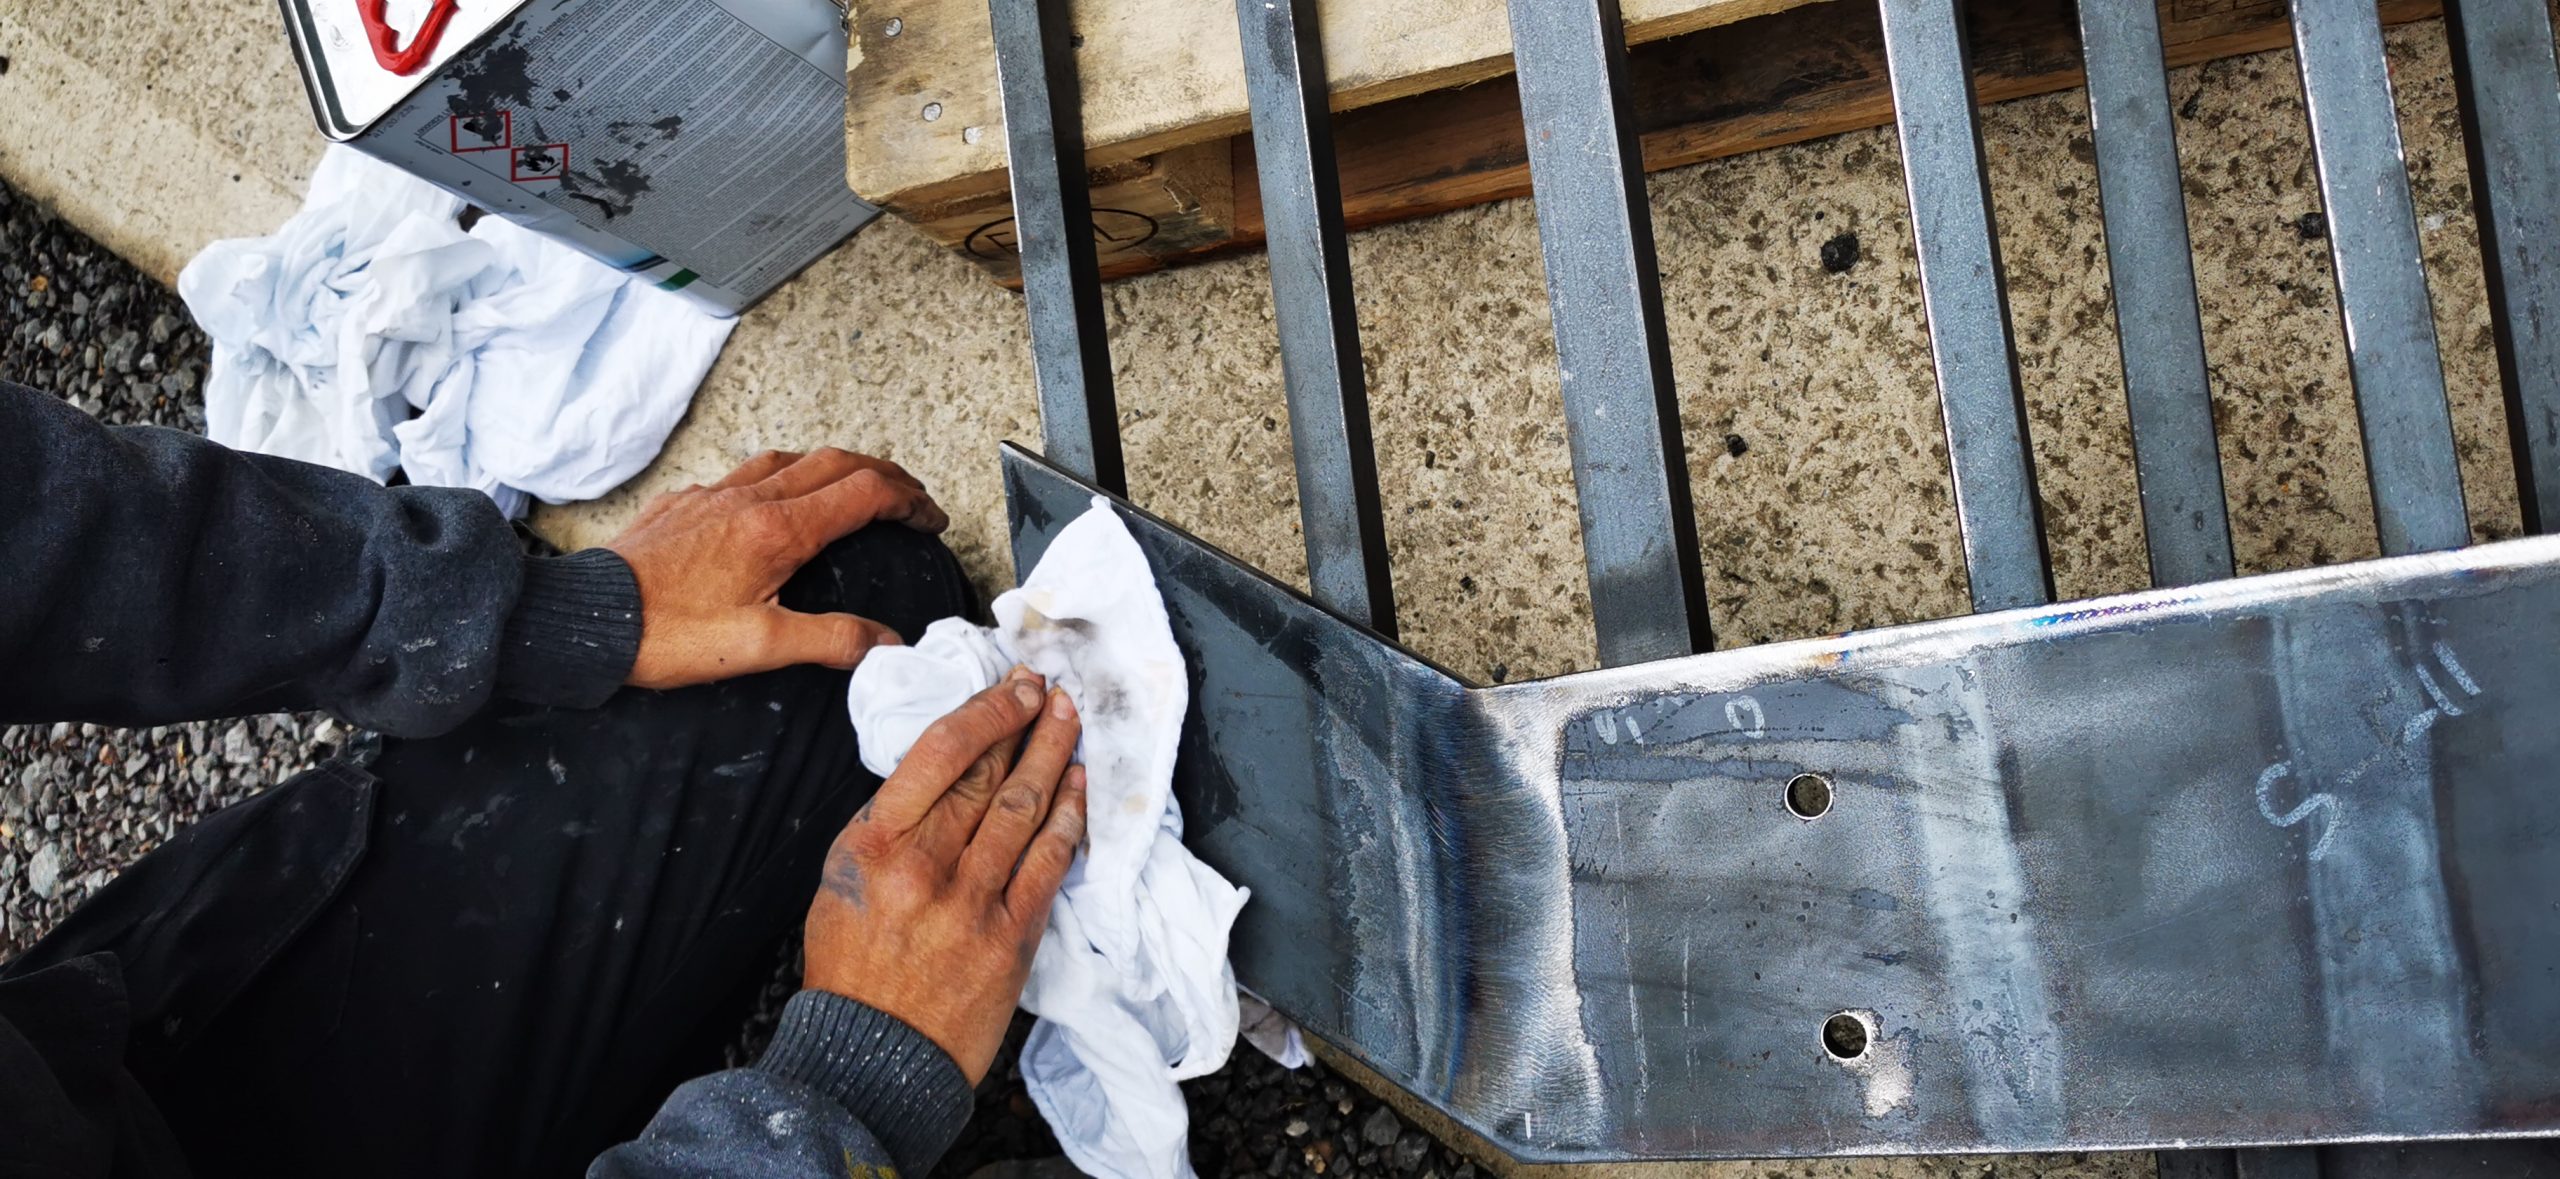
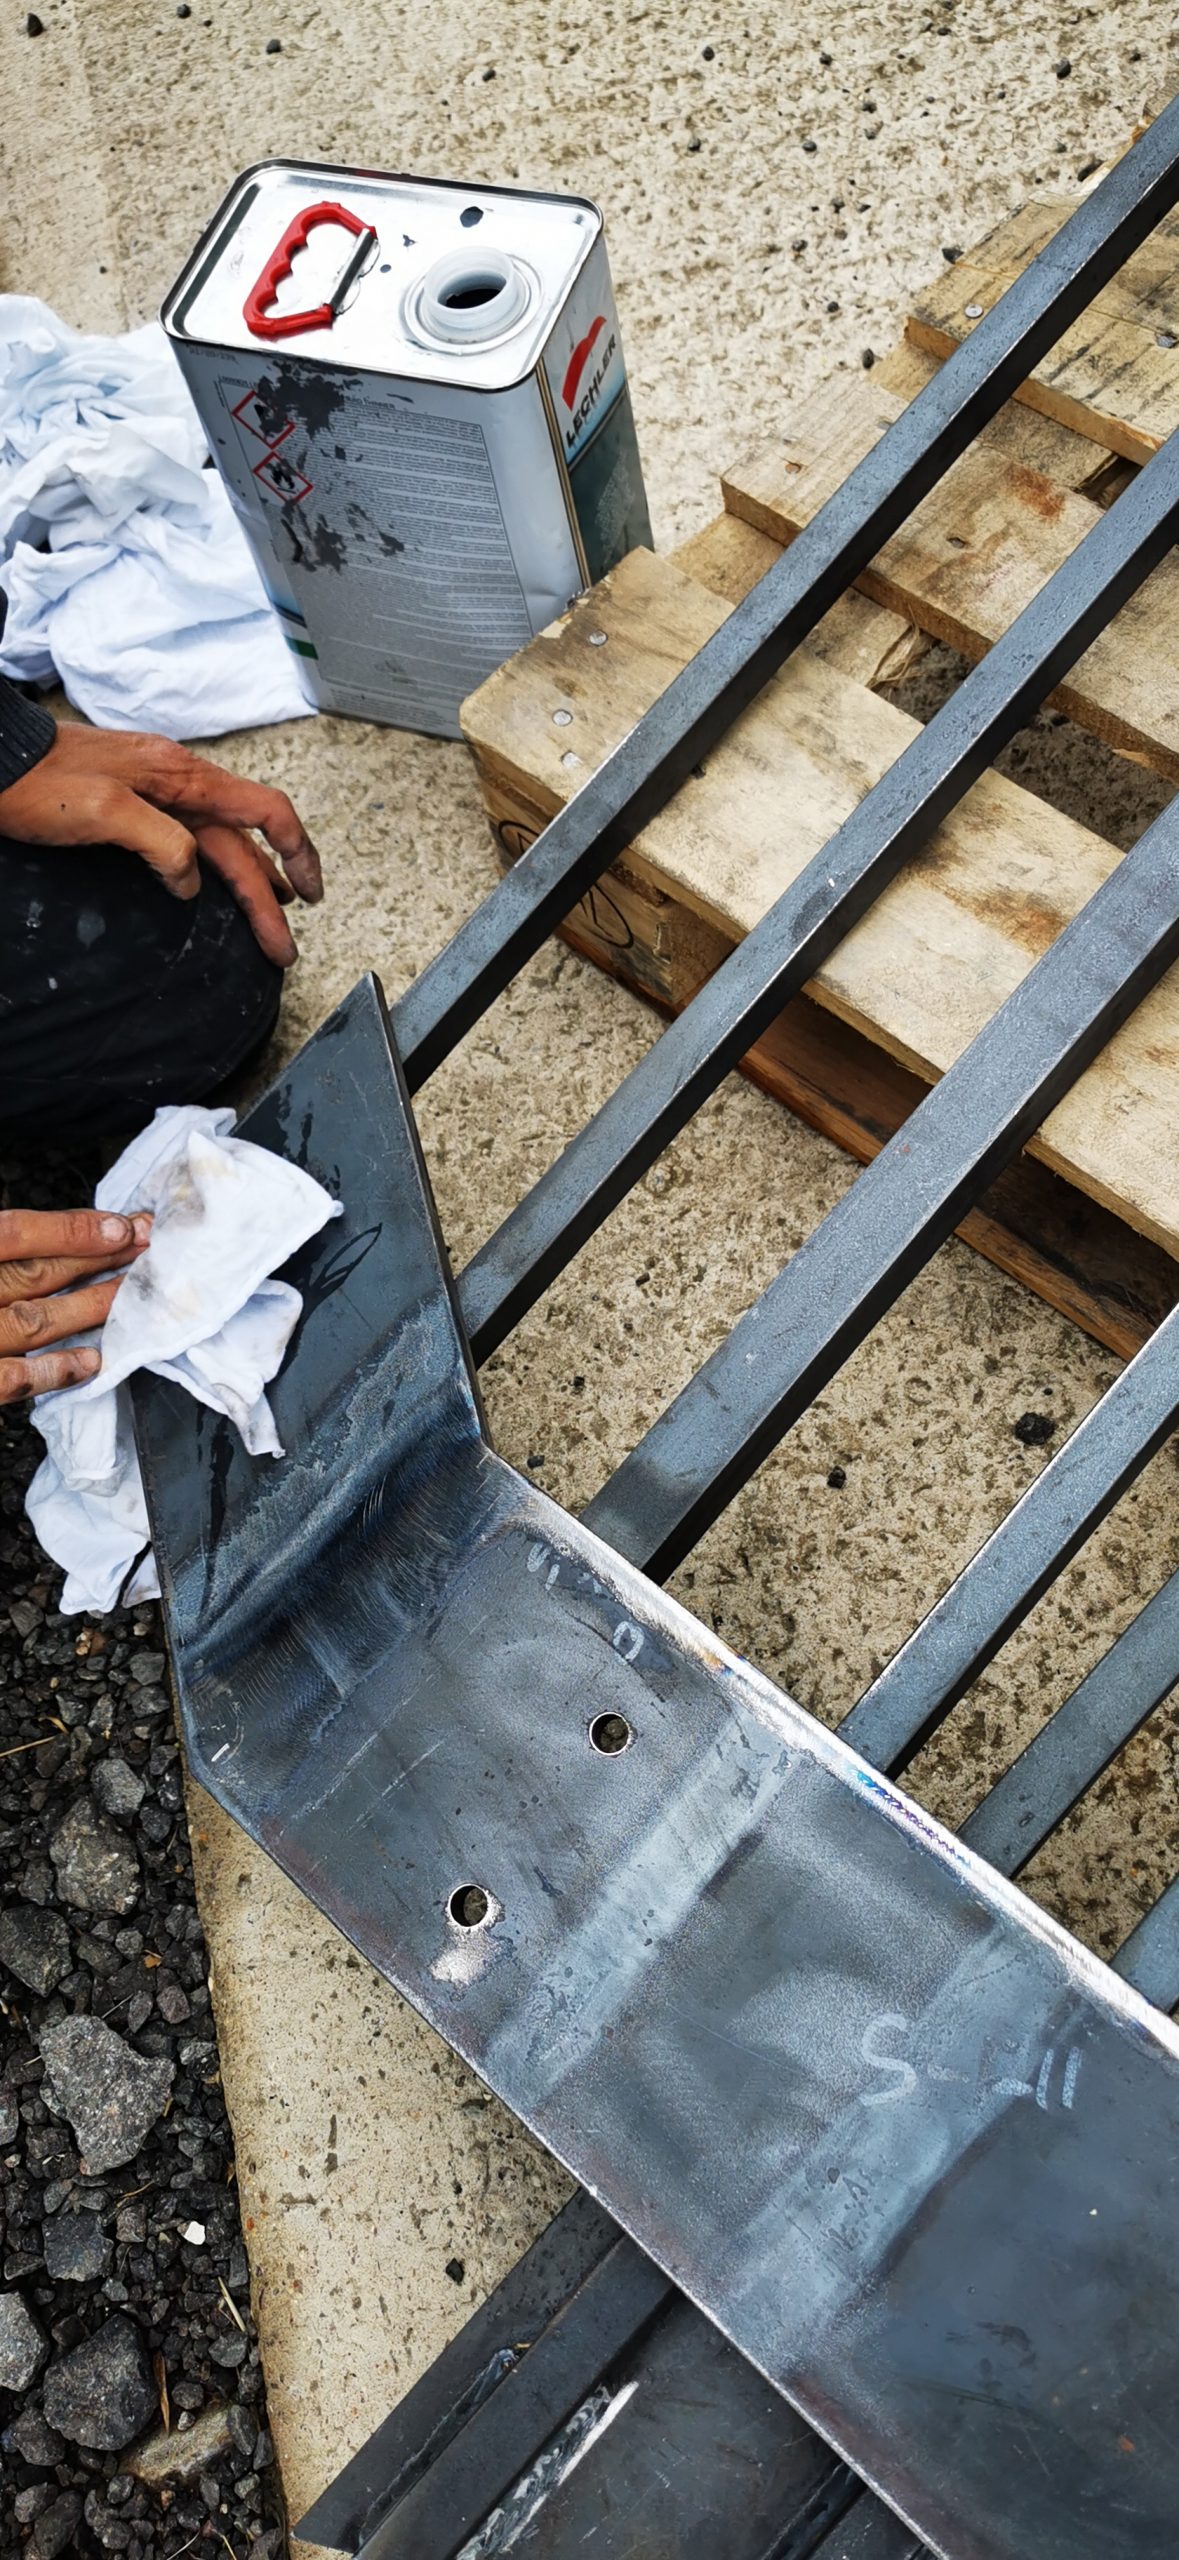
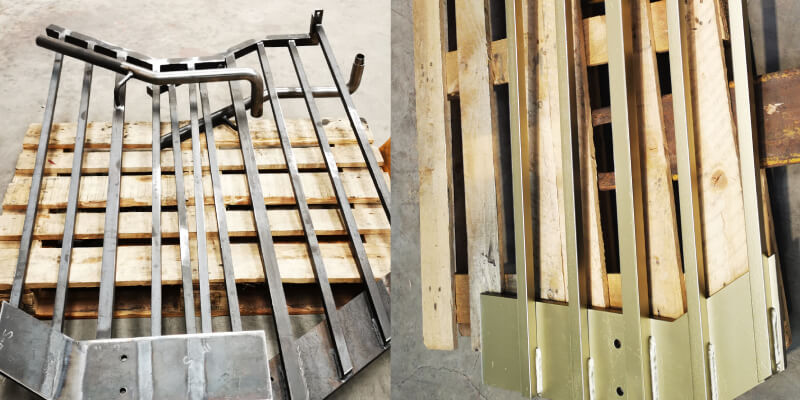
Begin the project by thoroughly cleaning all debris and dirt from the surface to create a fresh canvas. Luckily, in this case, the rails were relatively clean.
Once dry, degrease the substrate to remove any old oils or residues and remove any loose surface material or rust that will prevent the paint from adhering. If you encounter deep pitting, use a metal filler and construct the substrate level back up before the final paint.
Ground Coat:
Once the metal surface has entirely dried and been sanded flat, move onto the ground coat using our Etch Primer. We recommend obtaining a primer with anti-corrosion properties; this will benefit you in the long run.
The ground coat will control and prevent the previously treated rust from rusting again or oxidising. Etch Primer is especially perfect for bare metals as it has an acidic quantity that will bond with the metal.
TOP TIP: The trick with primer is only to cover the project, not paint it in coats.
Remember, the thinner the coat, the quicker it will cure. Typically, the primer should be touch dry within 20 minutes and suitable to paint over within 1-2 hours.
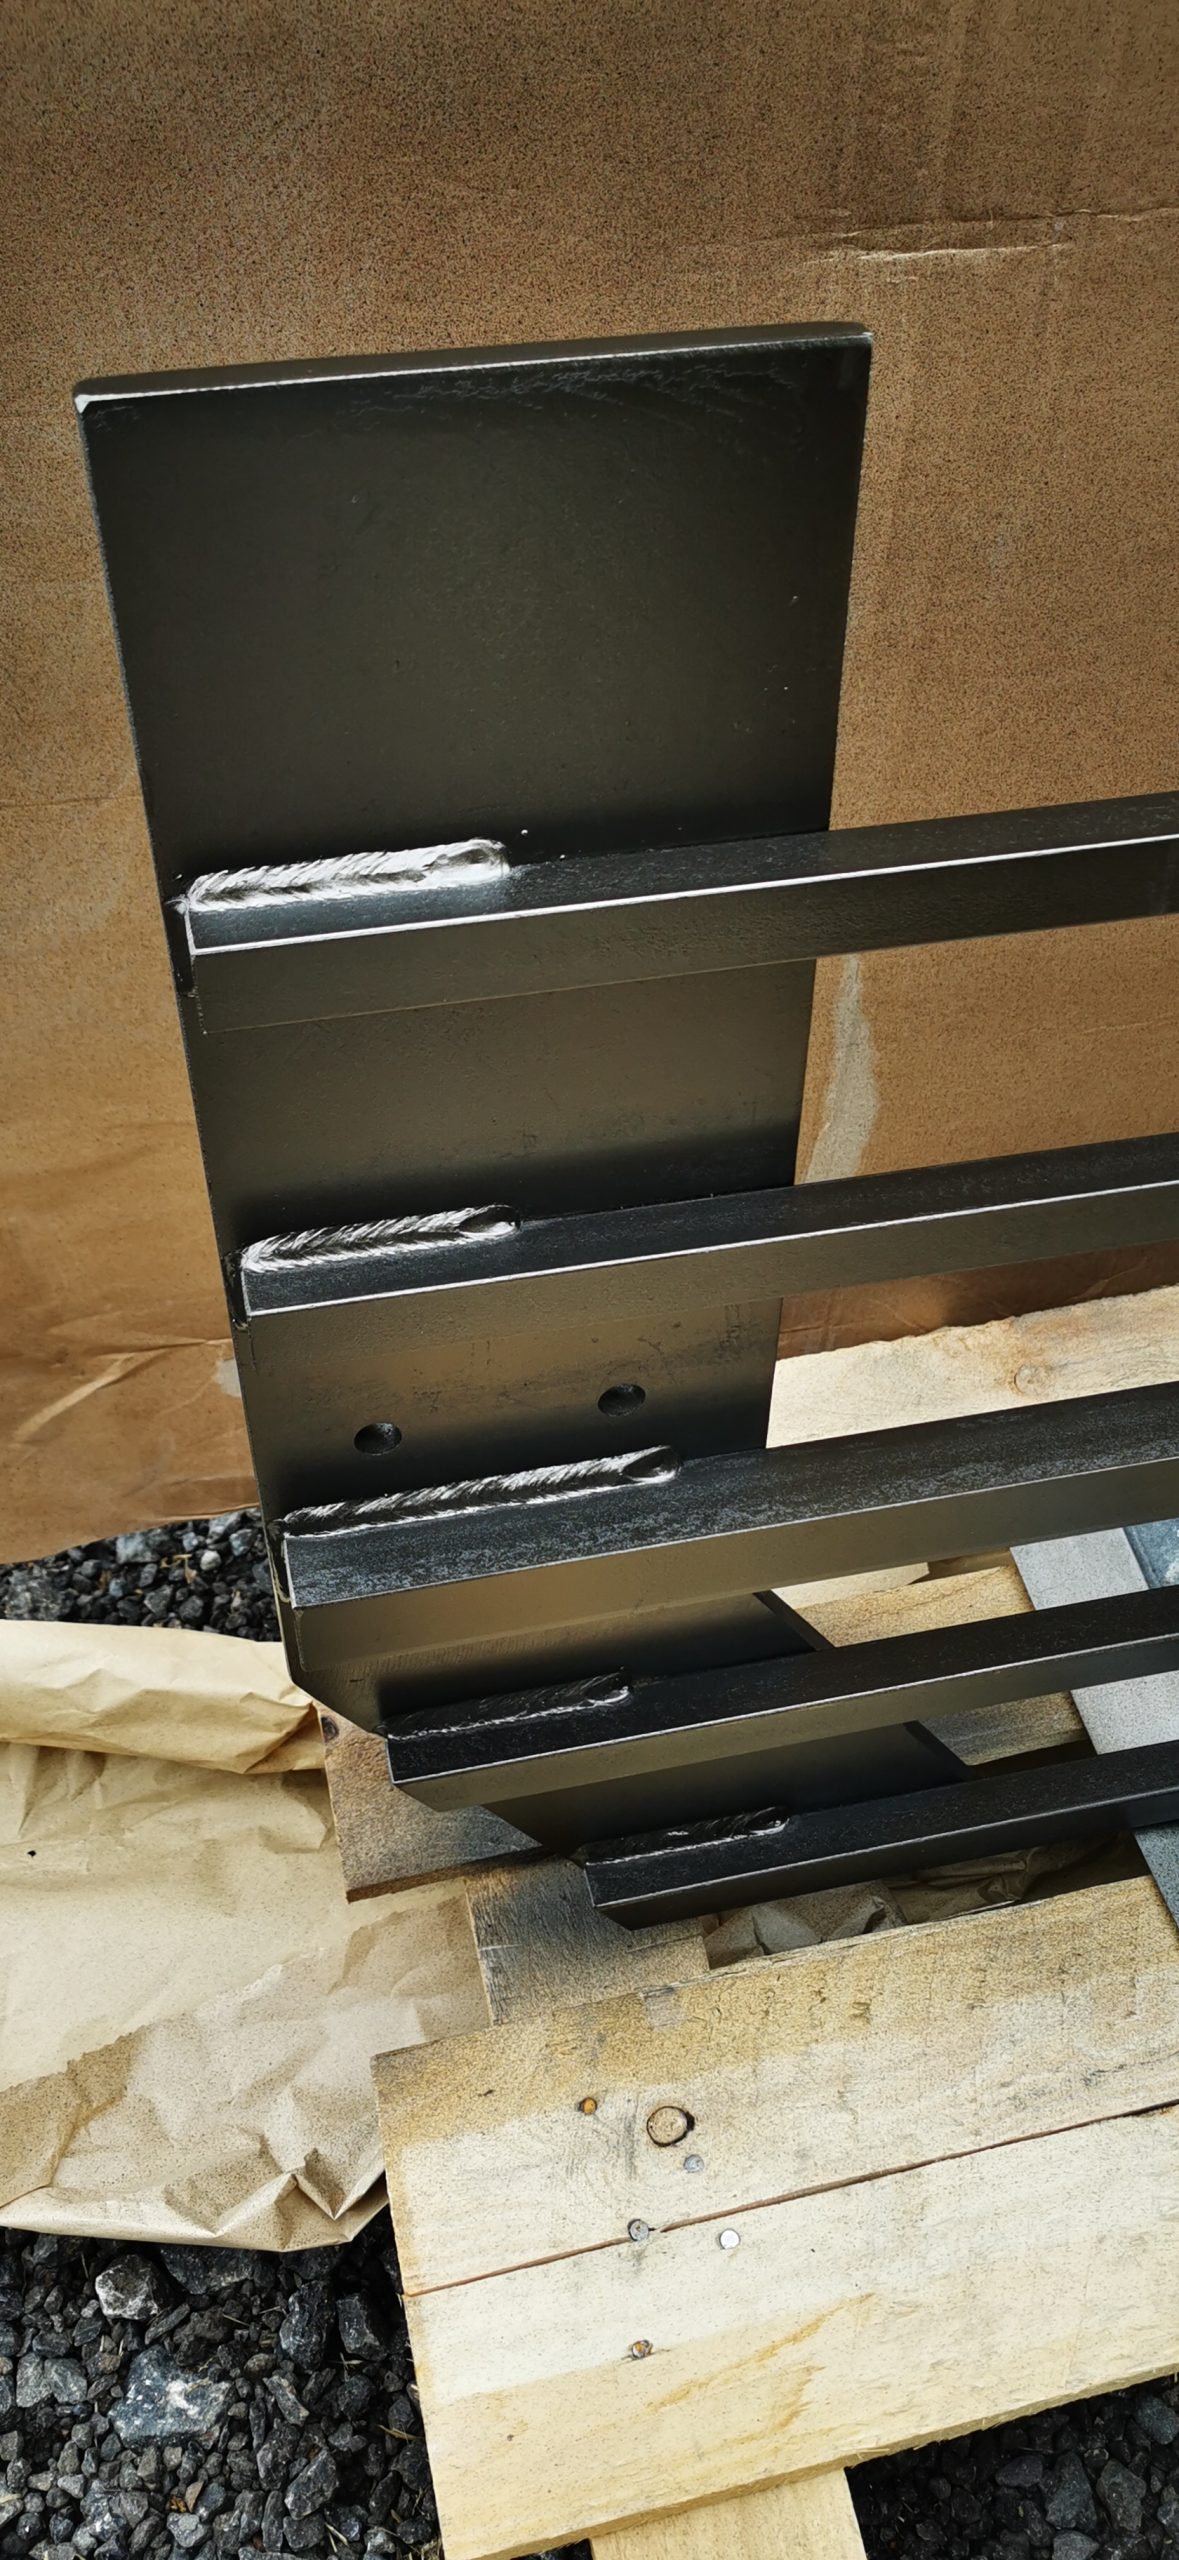
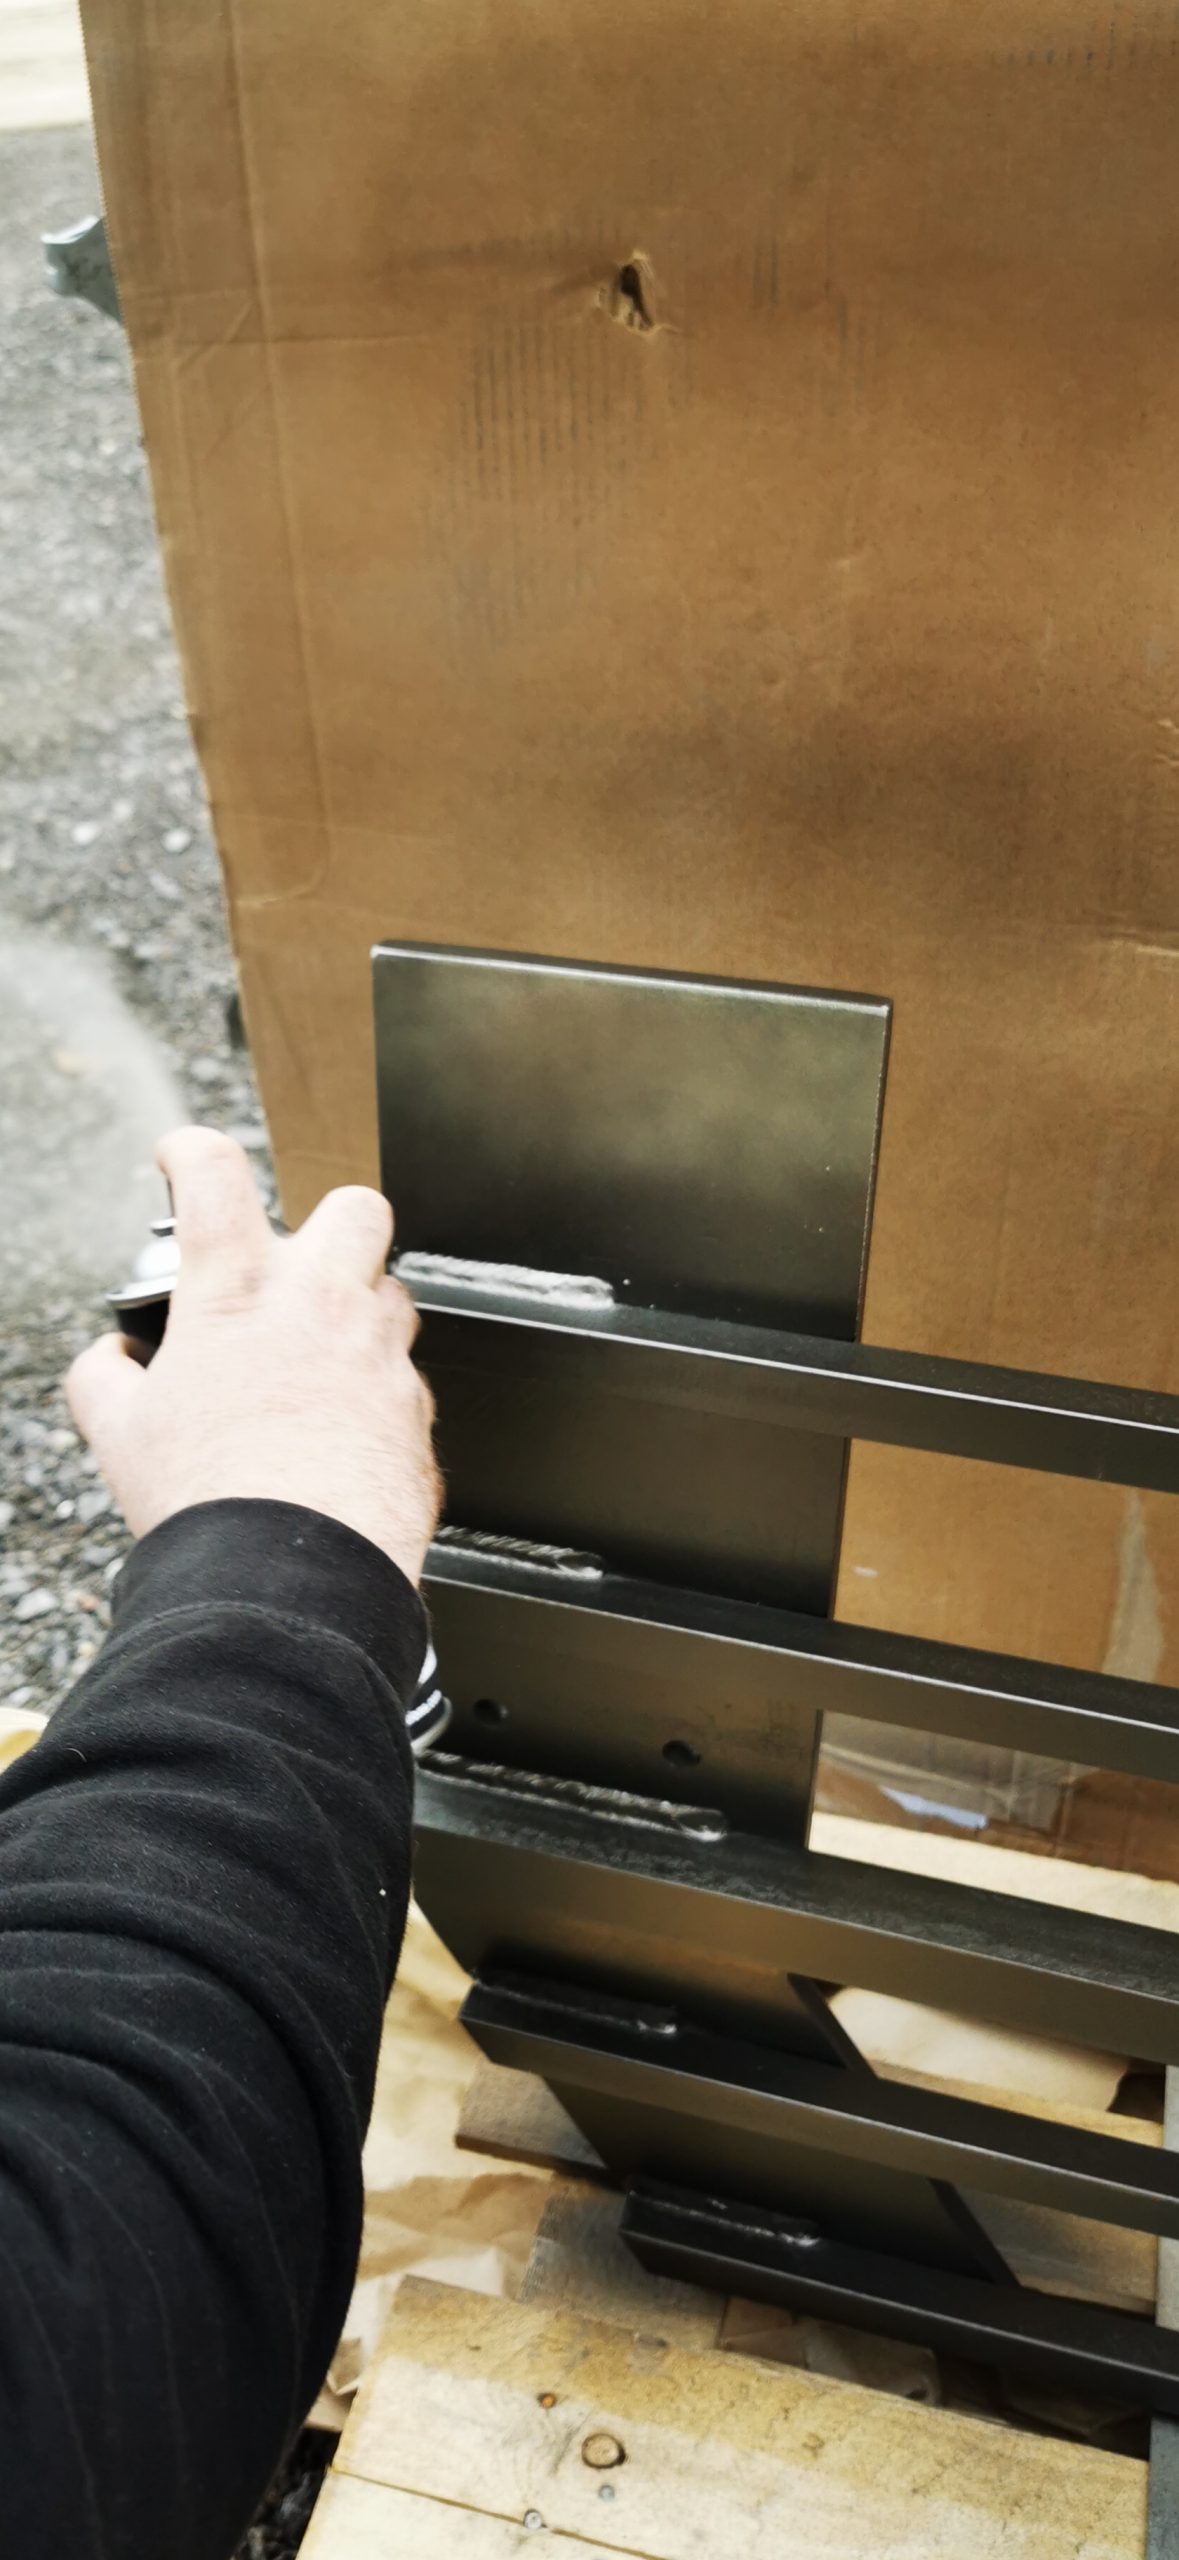
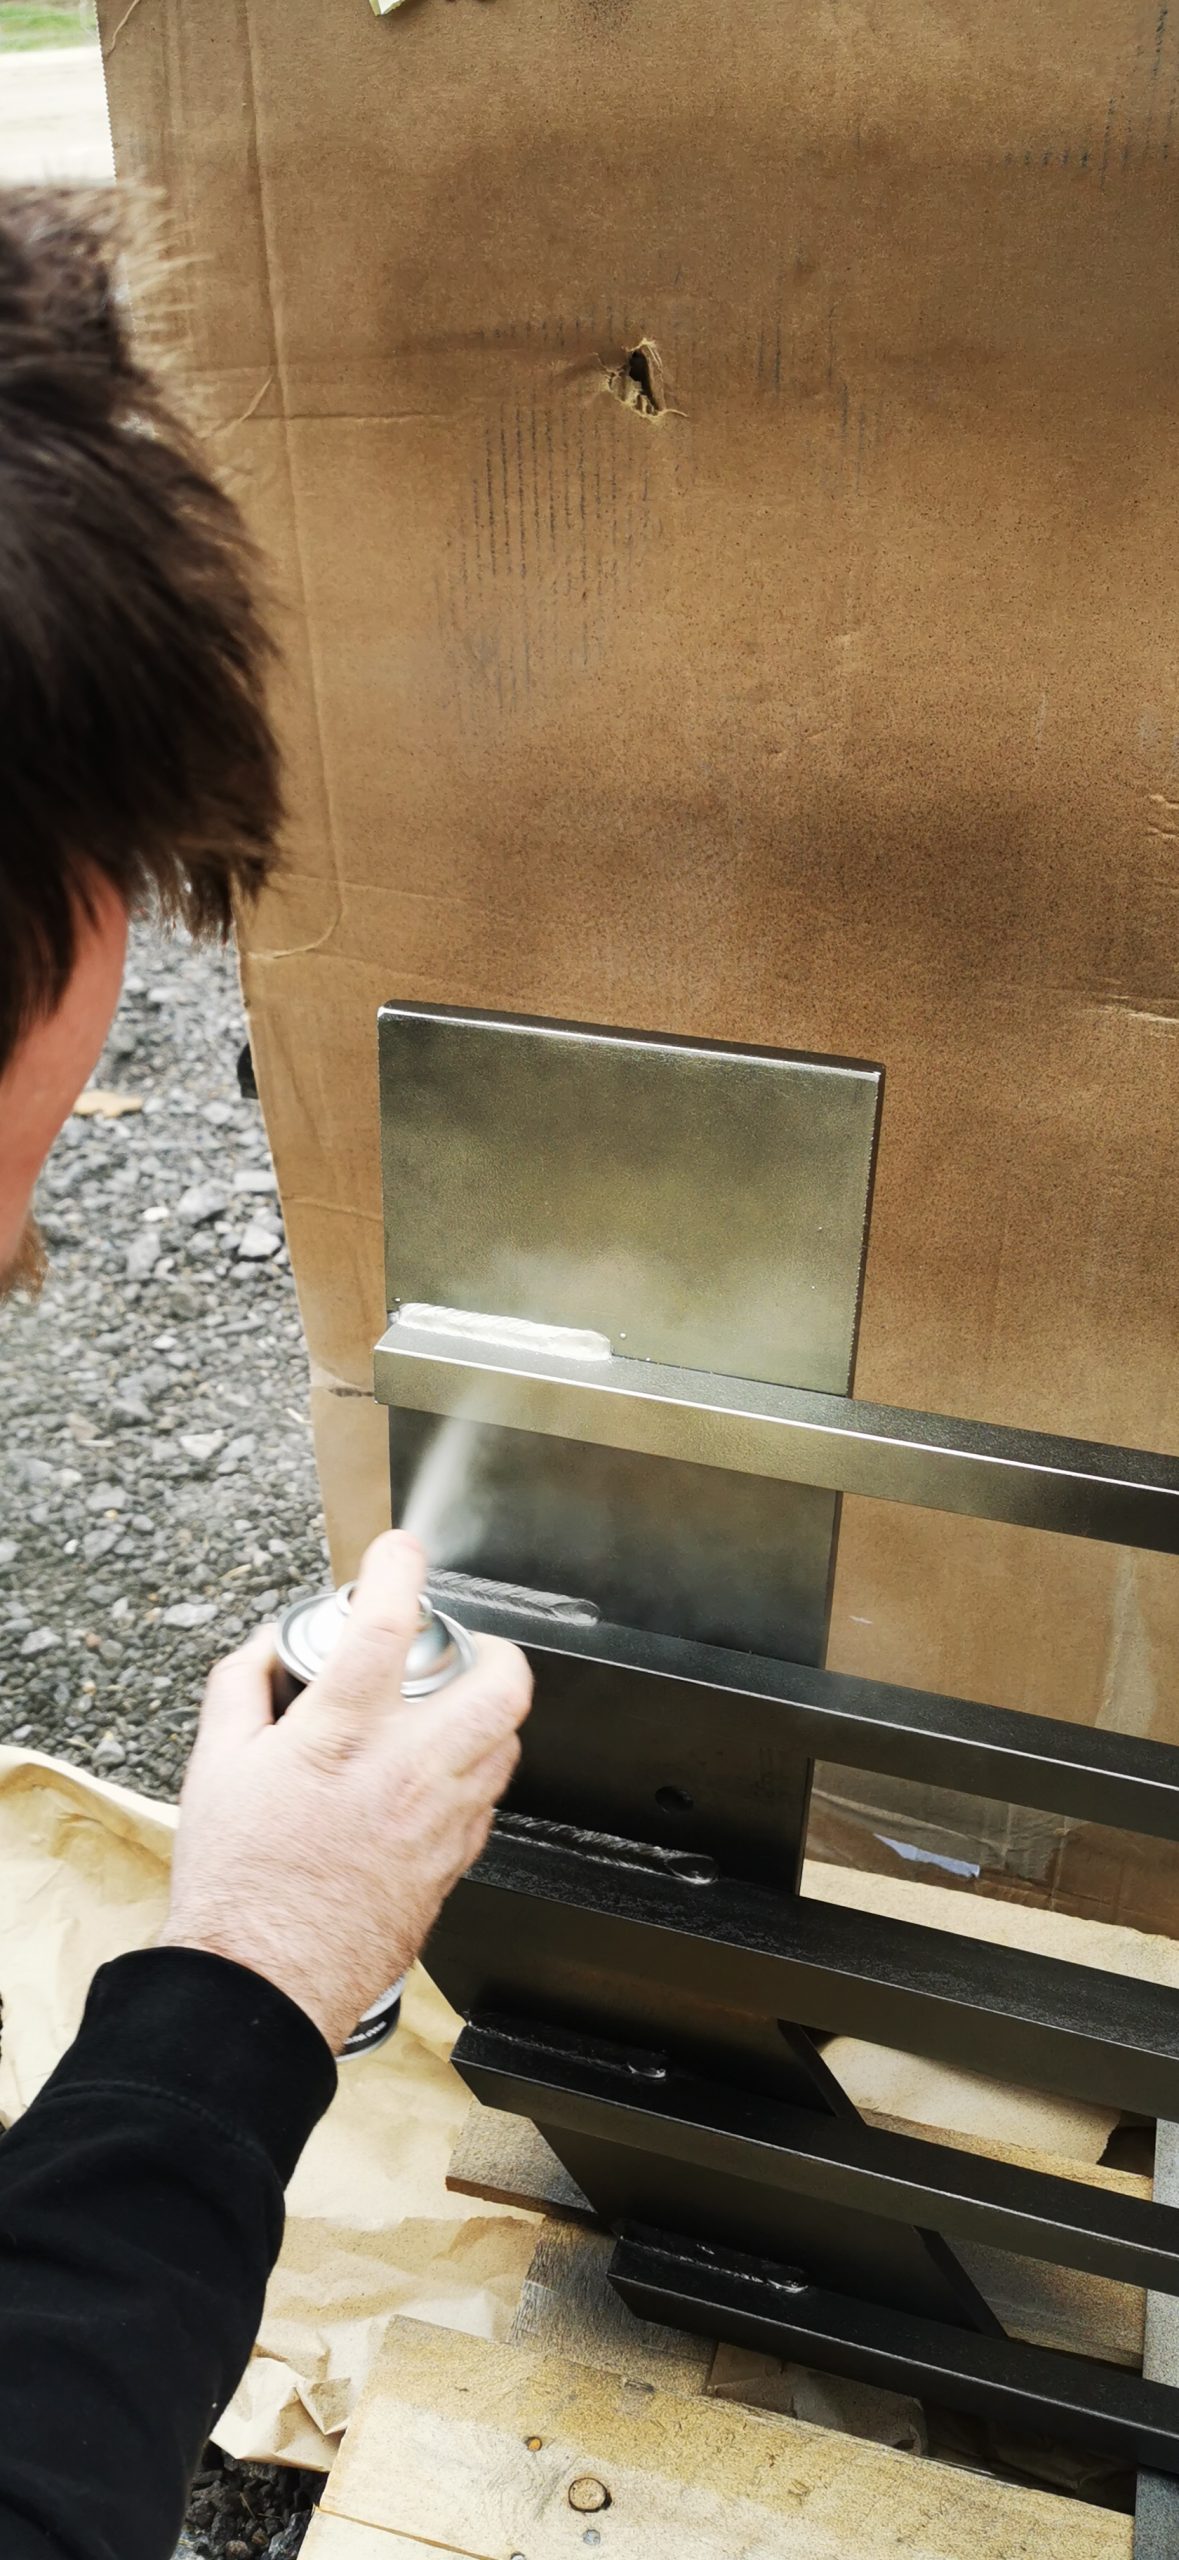
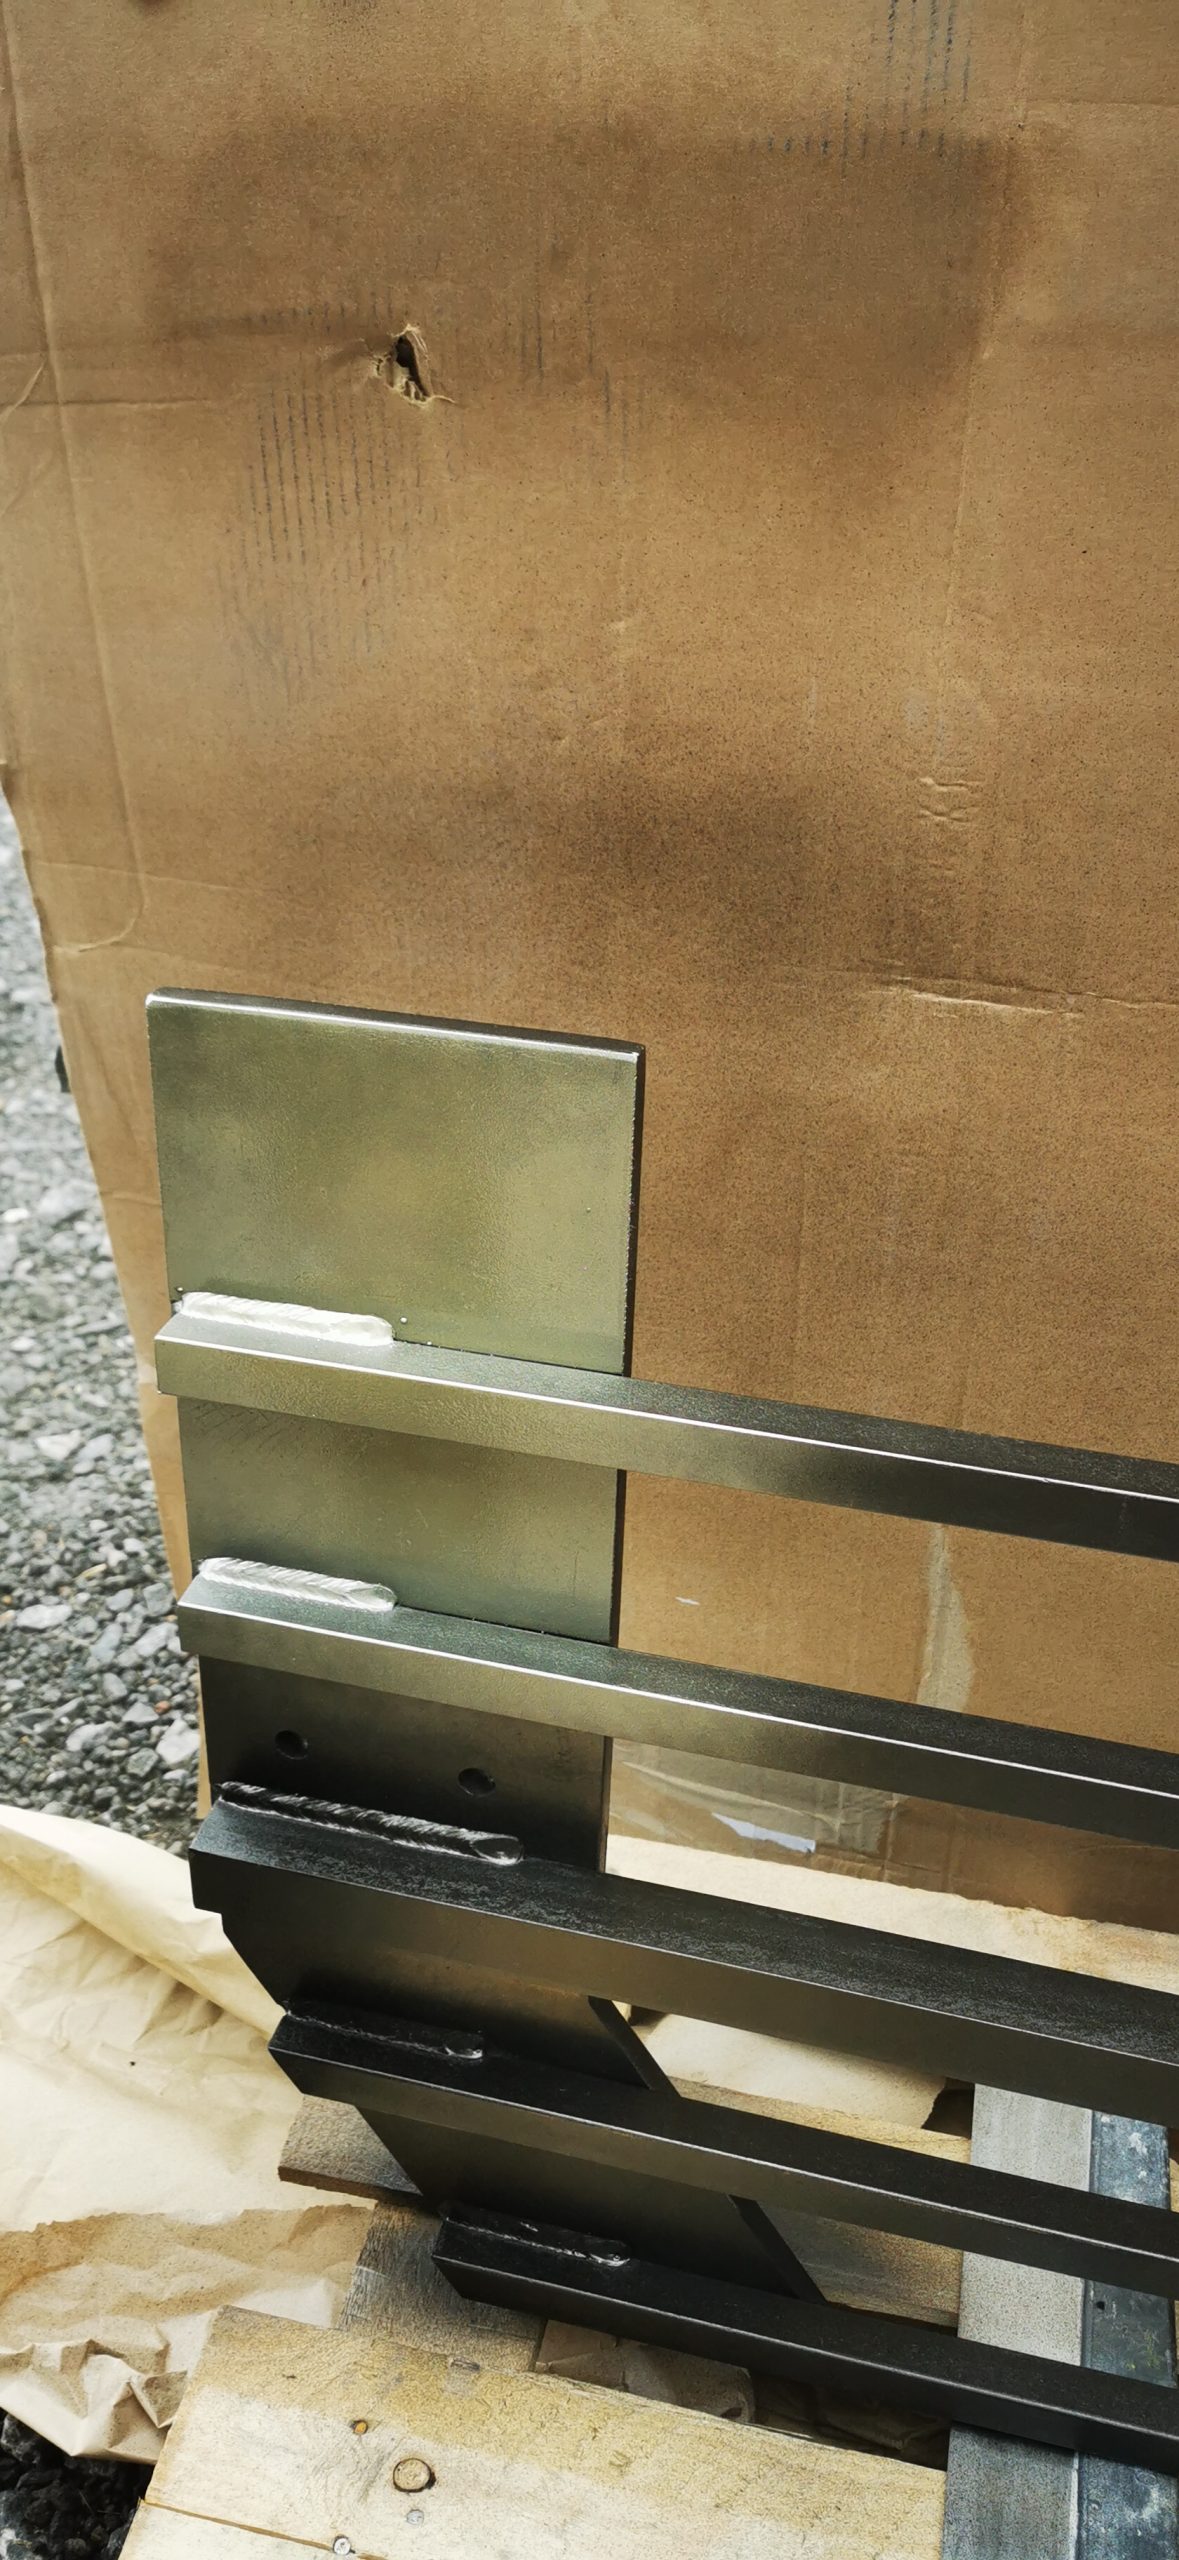
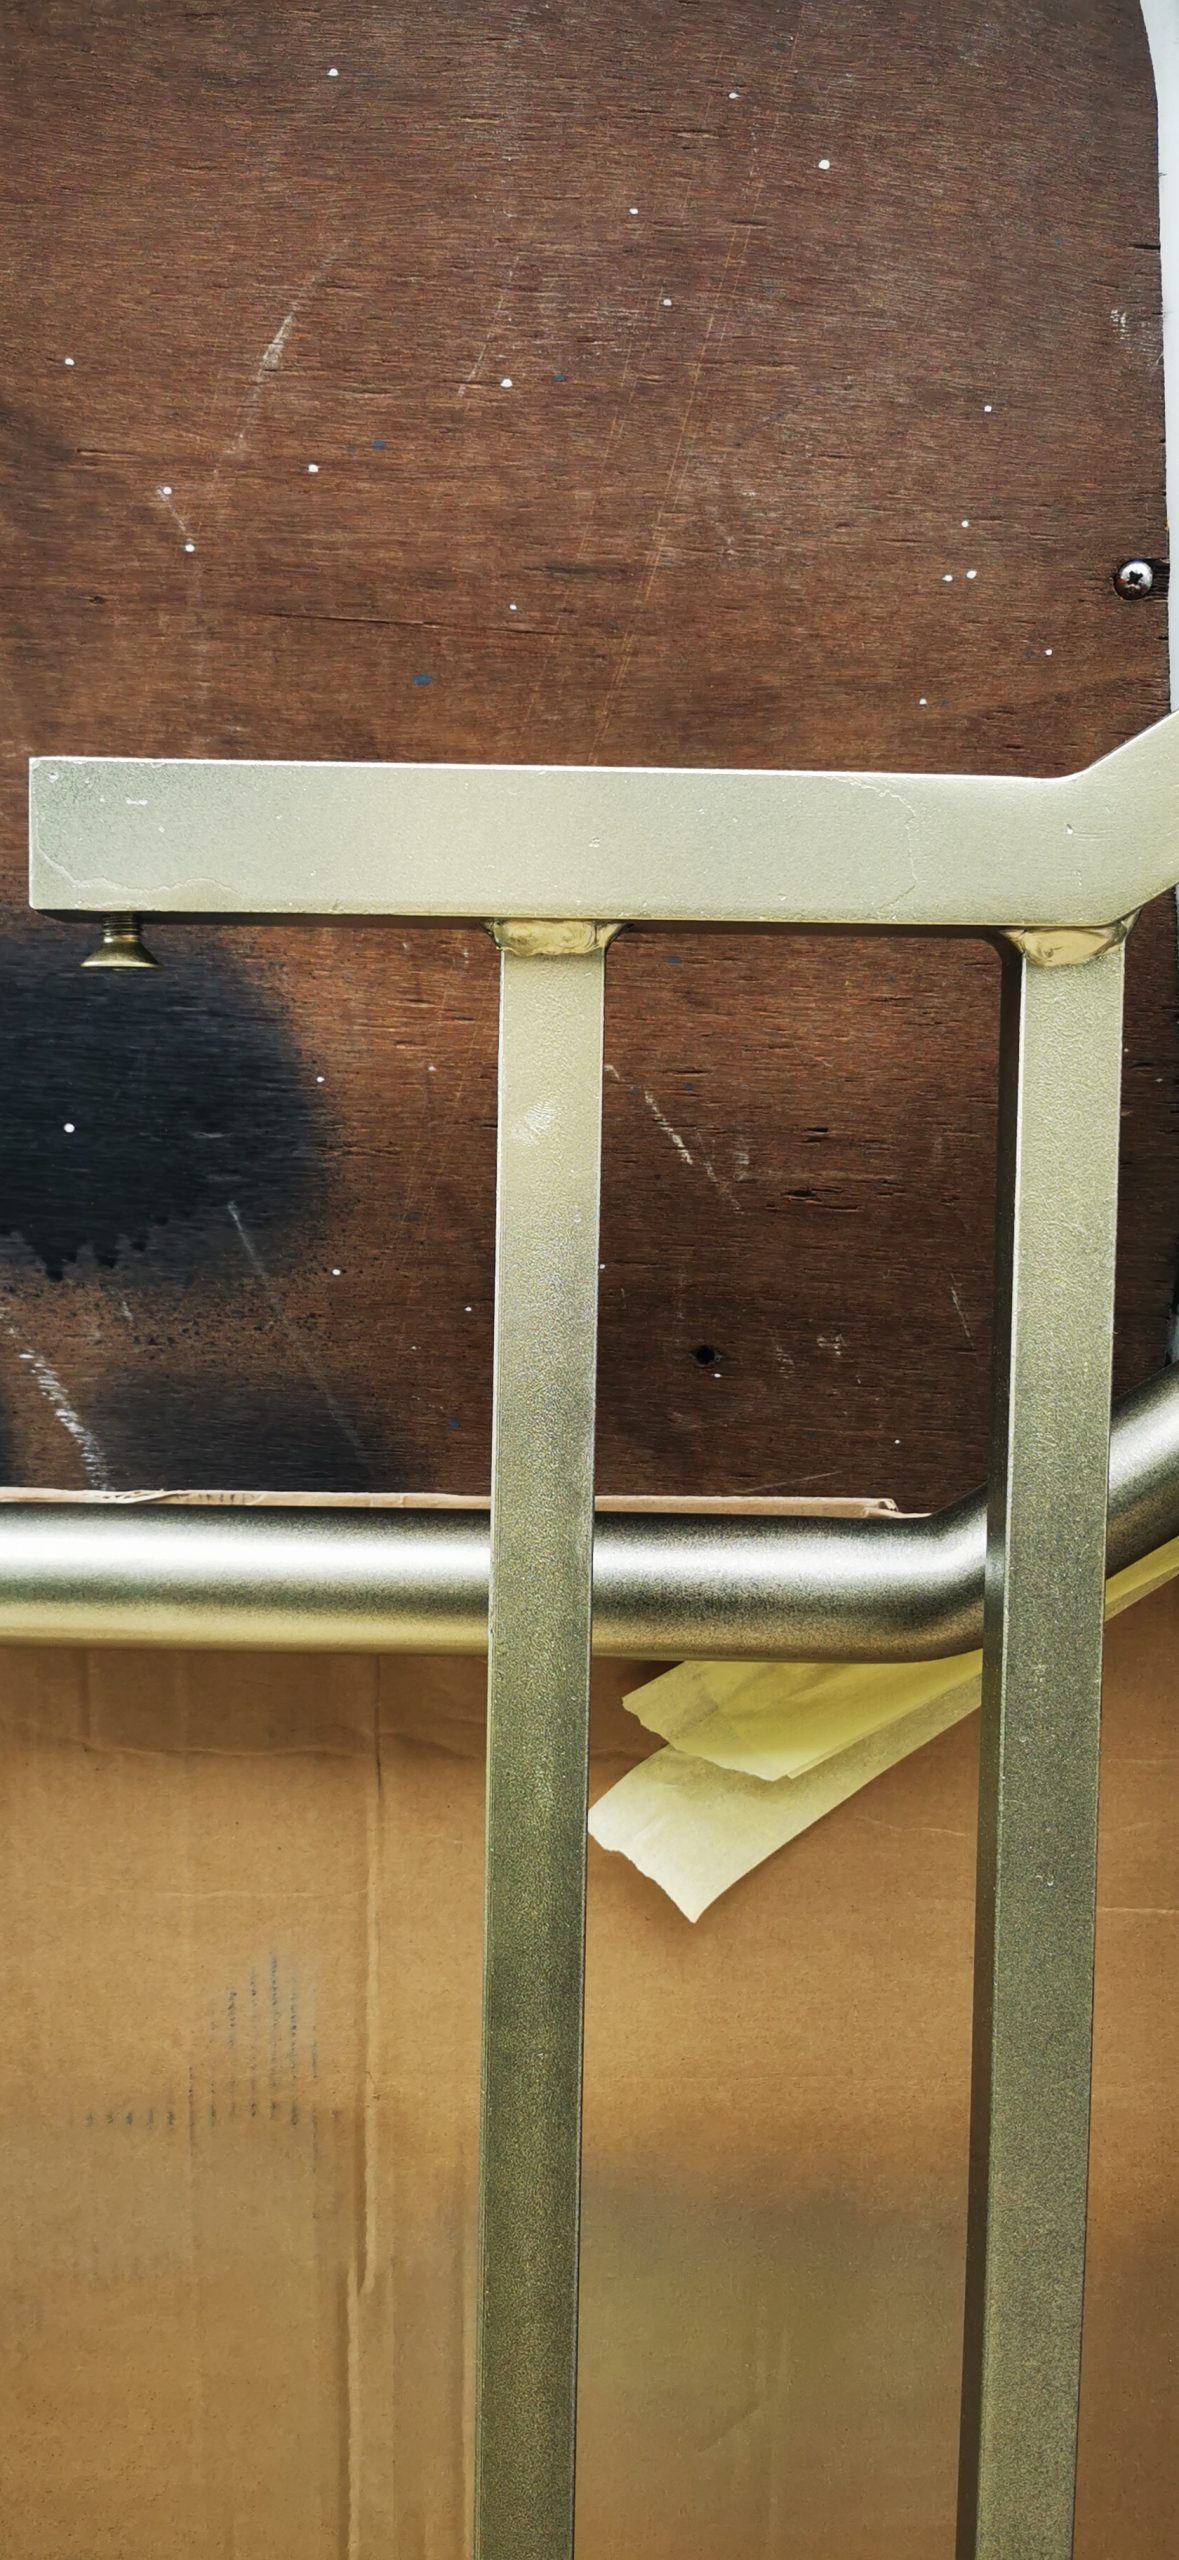
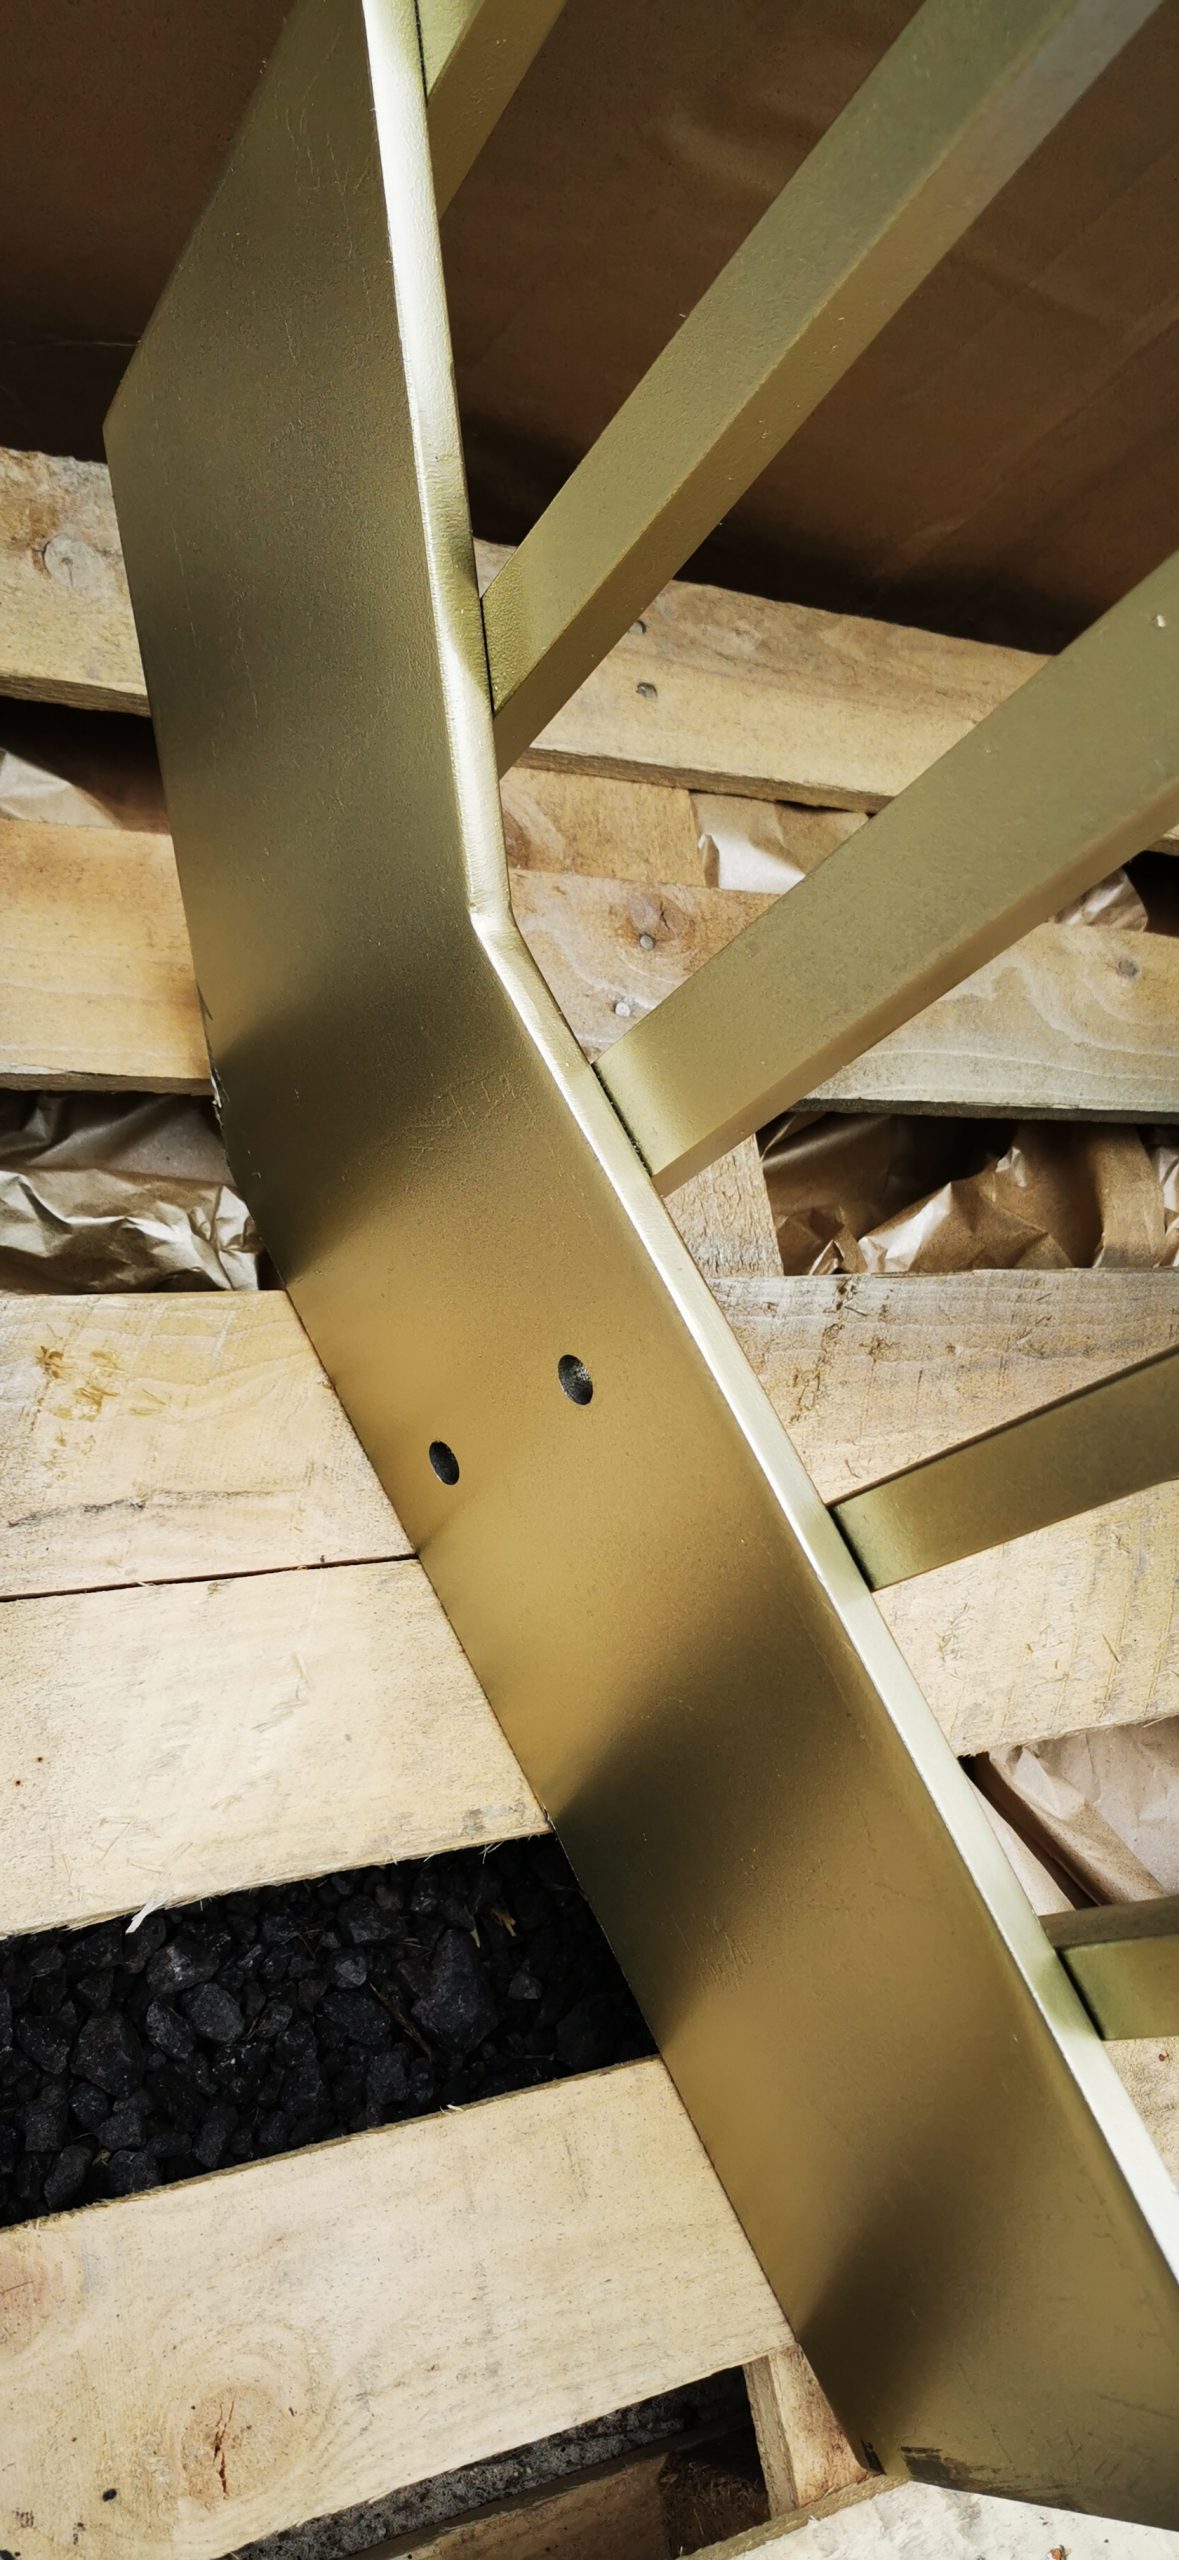
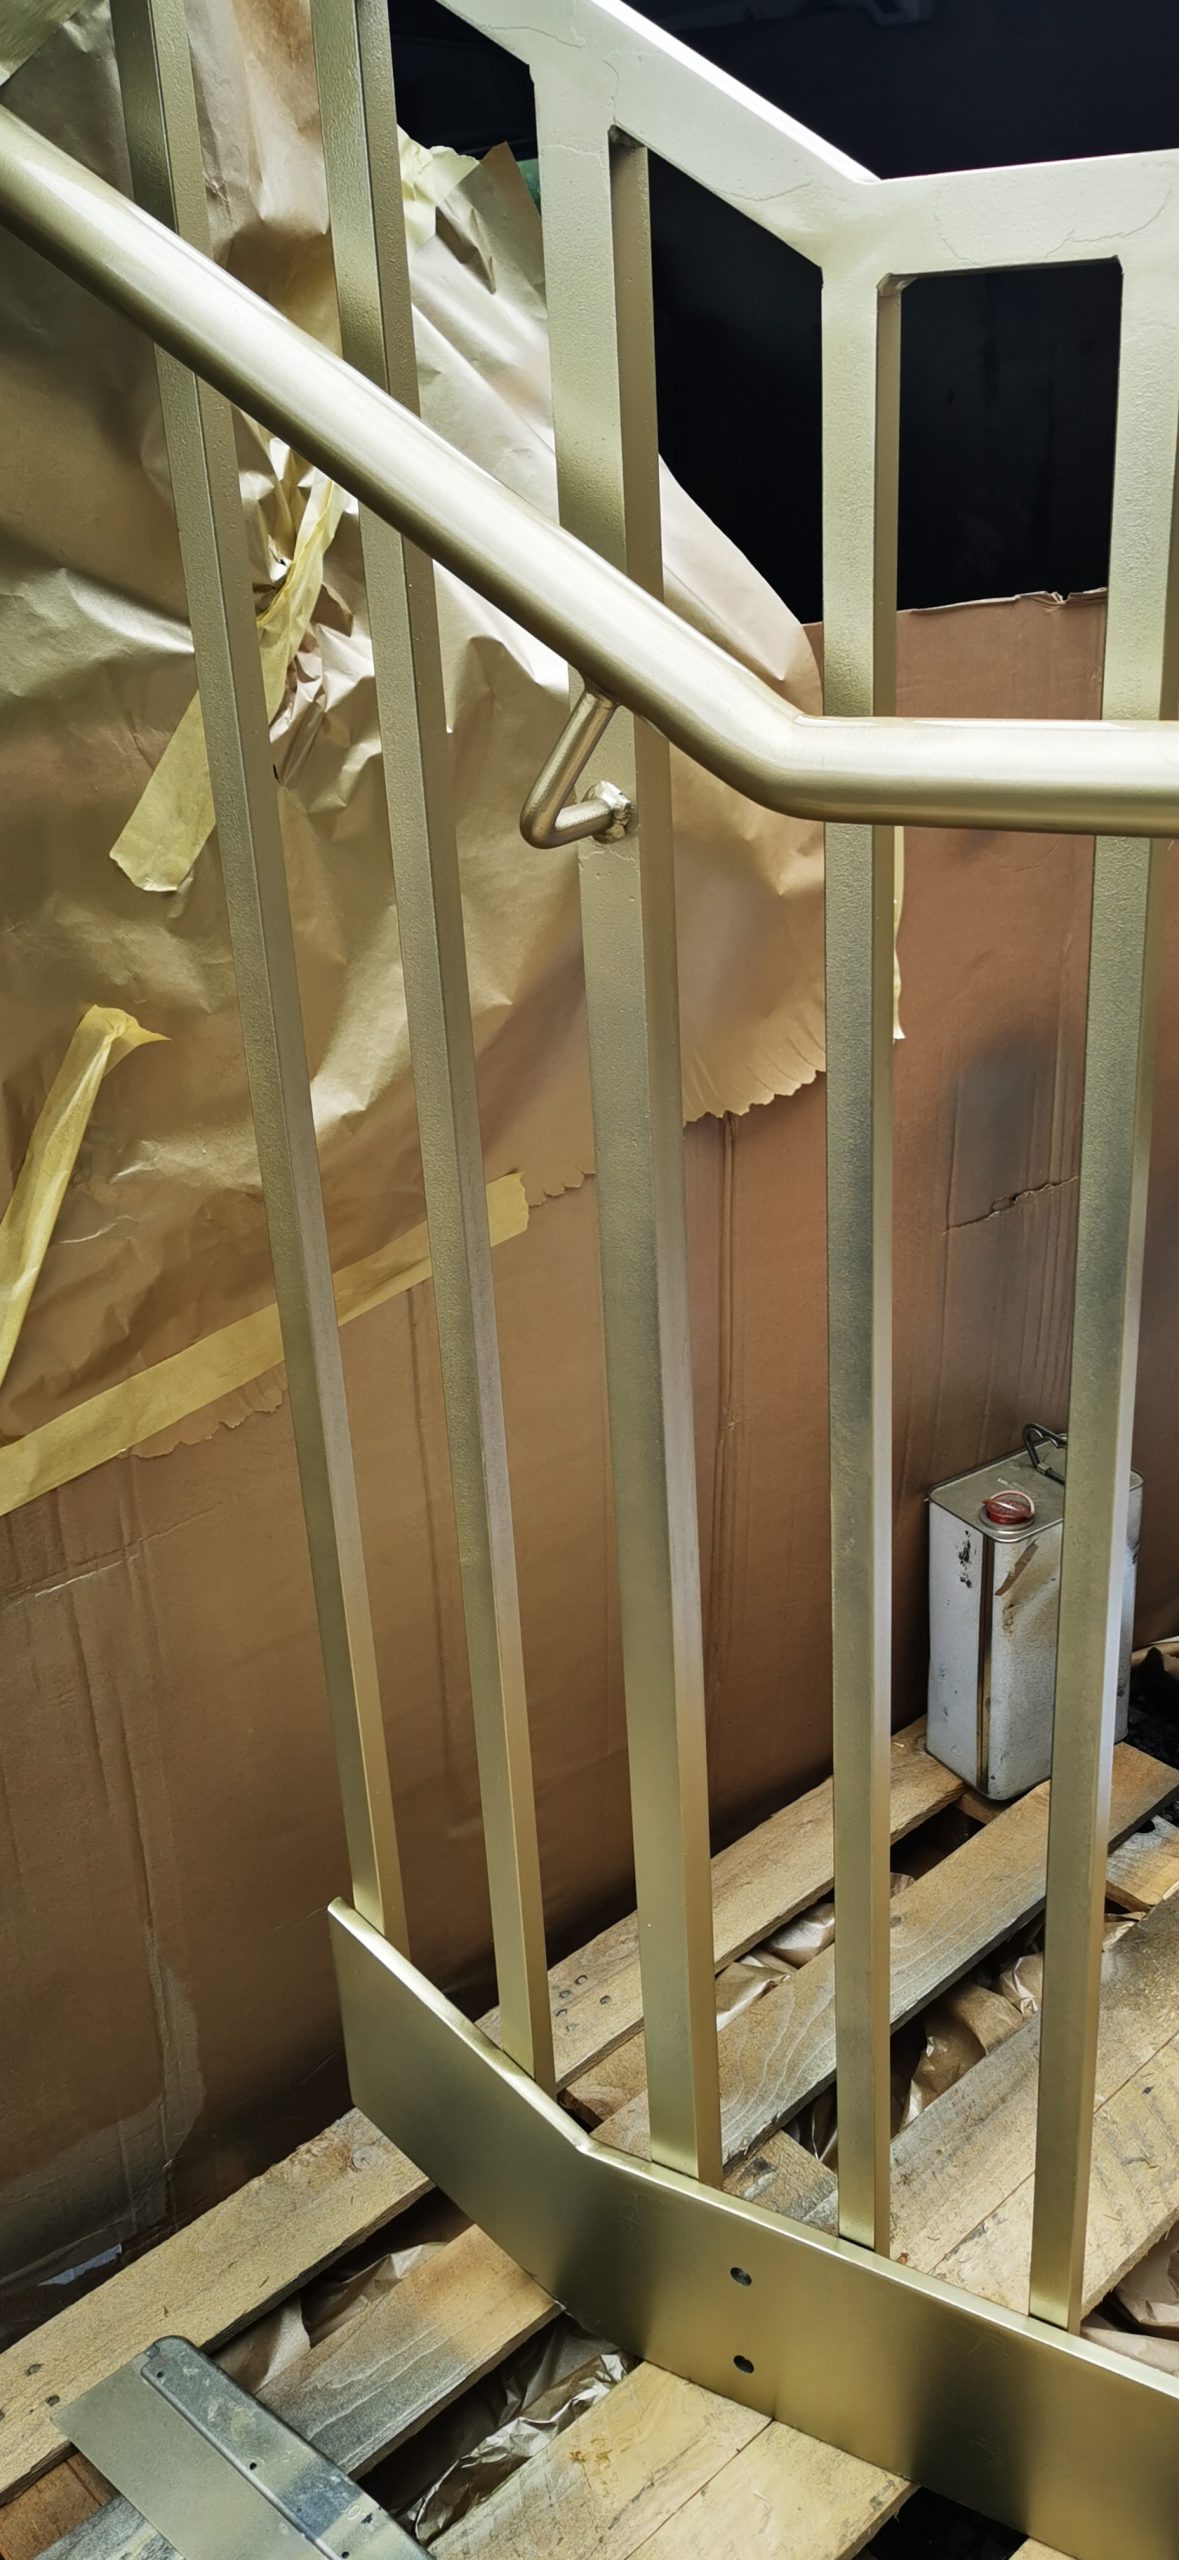
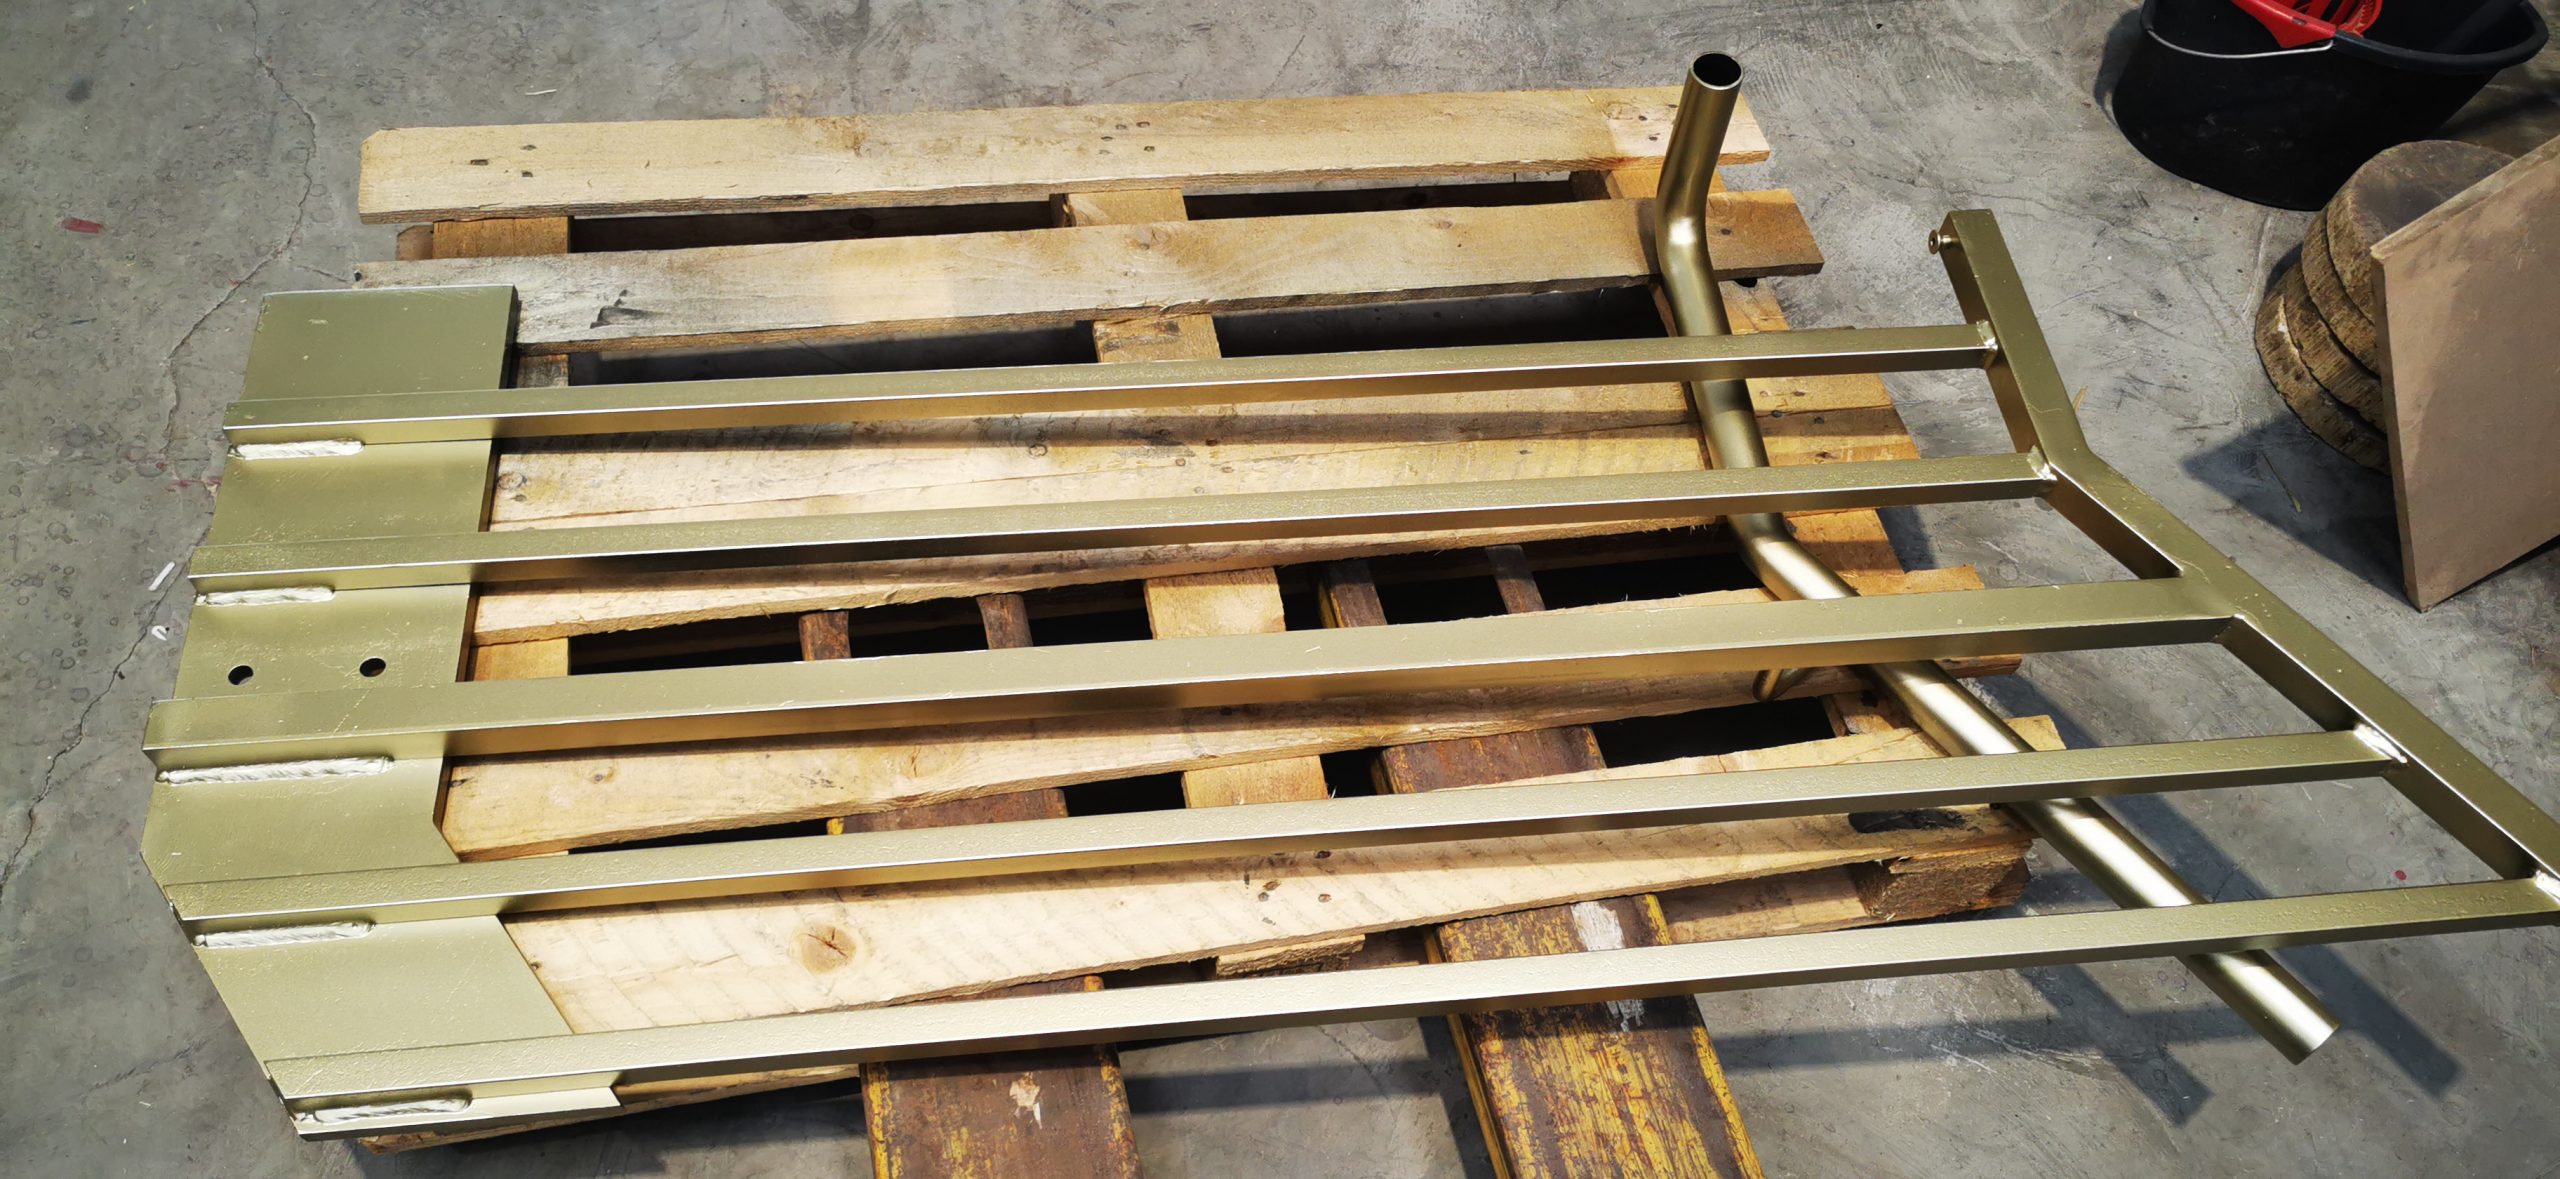
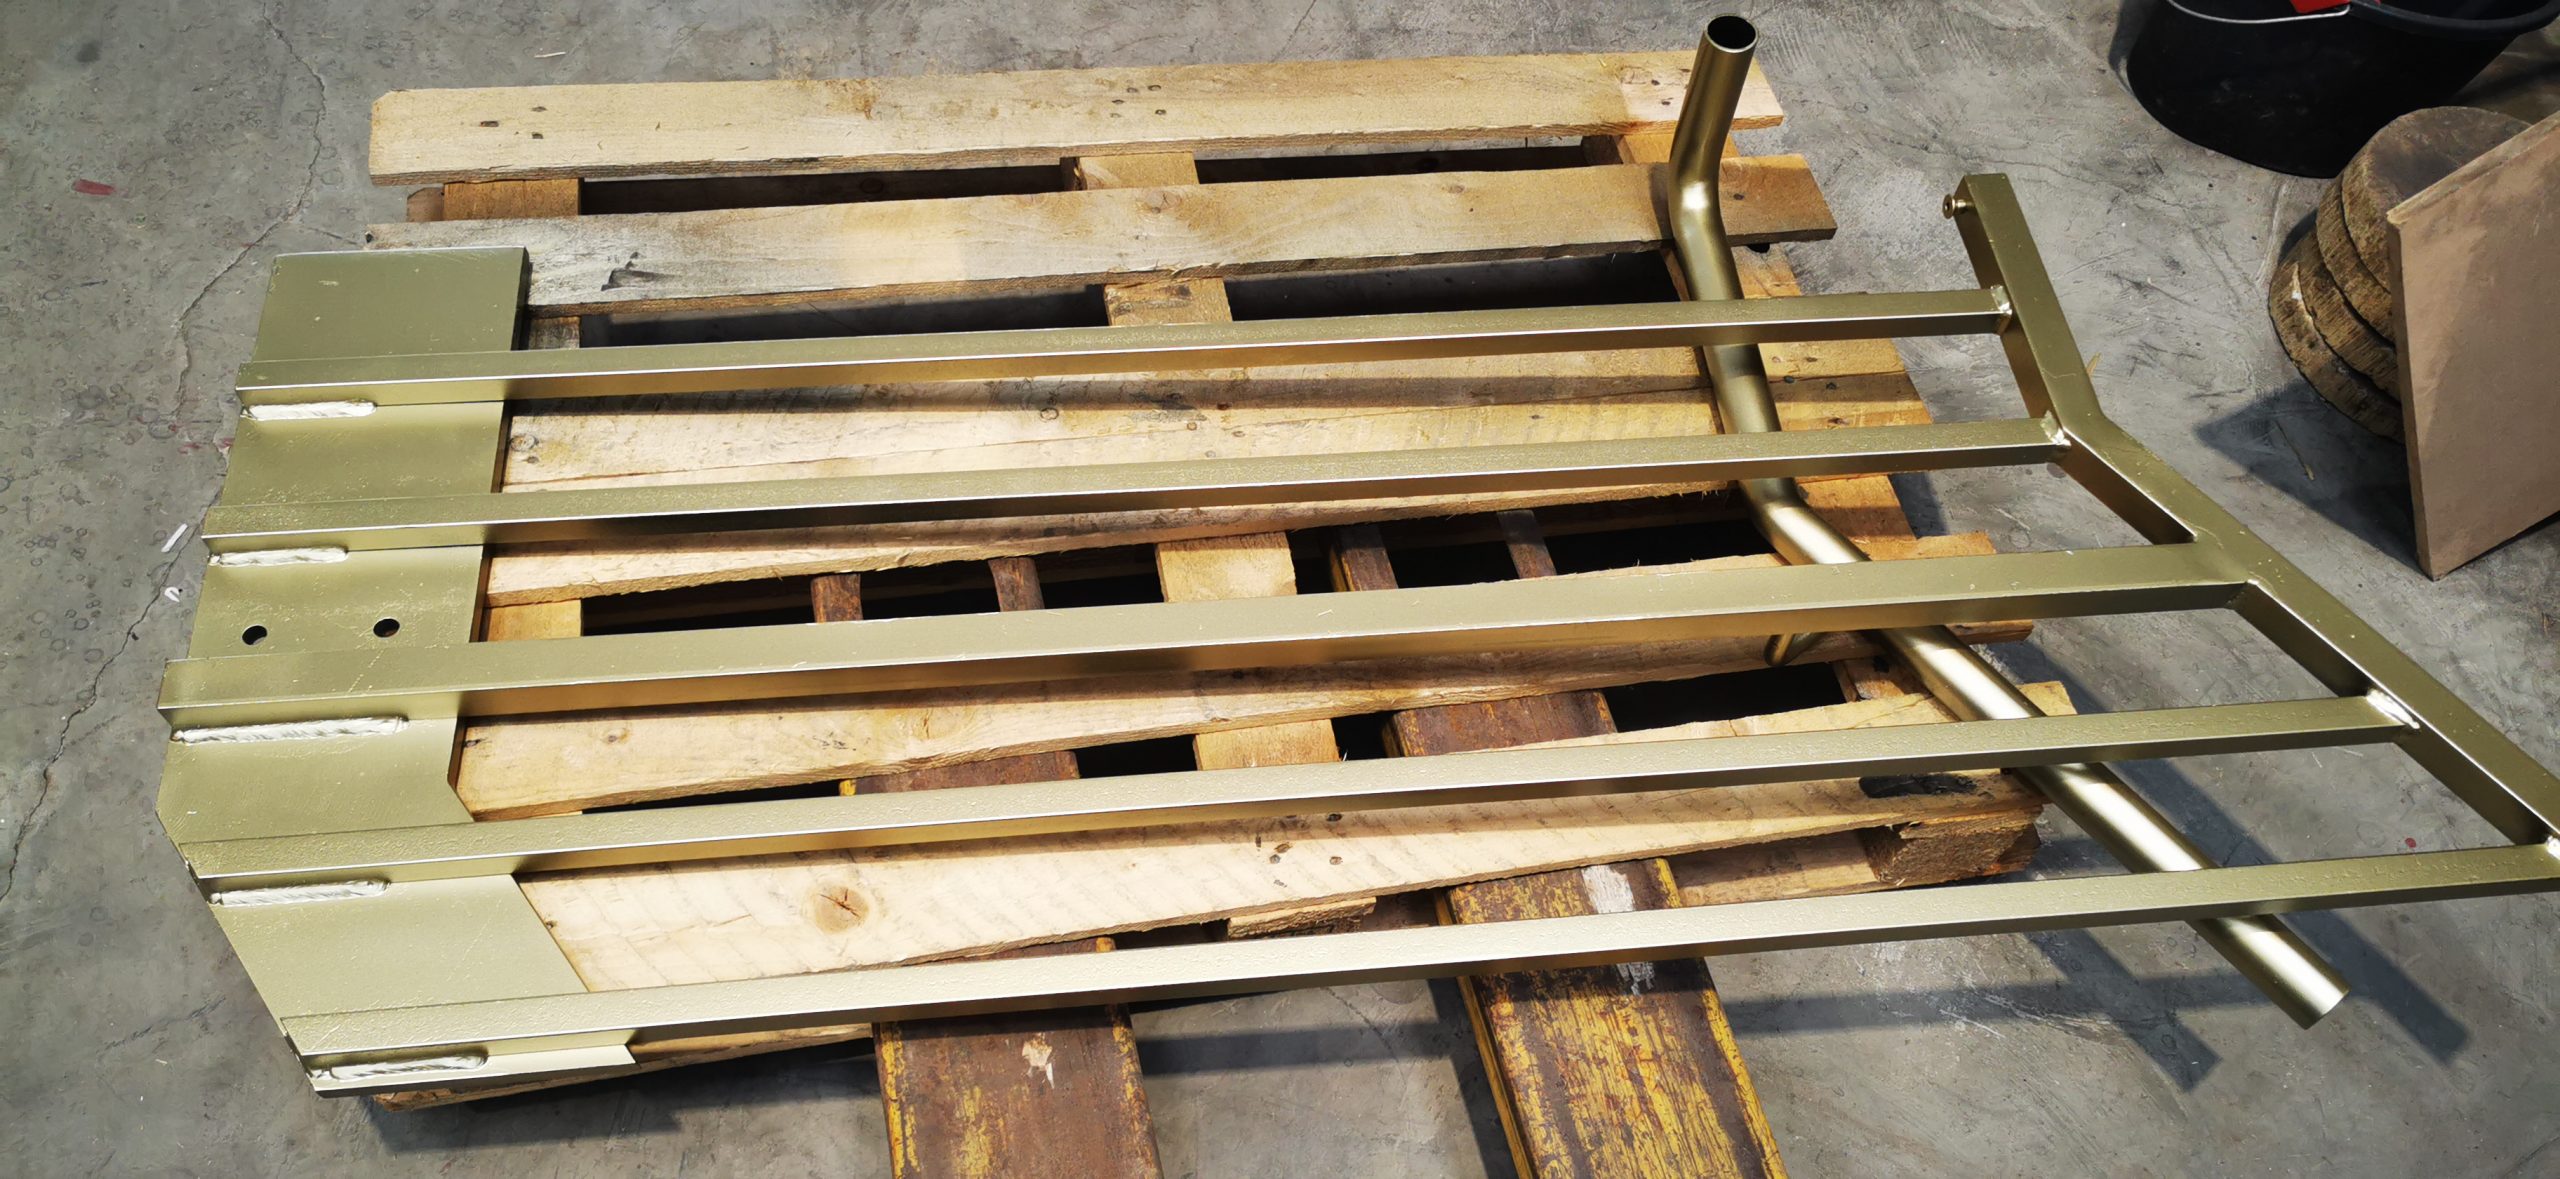
Base Coat Colour:
Once you are comfortable with the primed finish, apply your 1K or 2K base coat, depending on the project. For this project, we went with a Single Pack Custom Gold colour, which is a non-hardened paint finish.
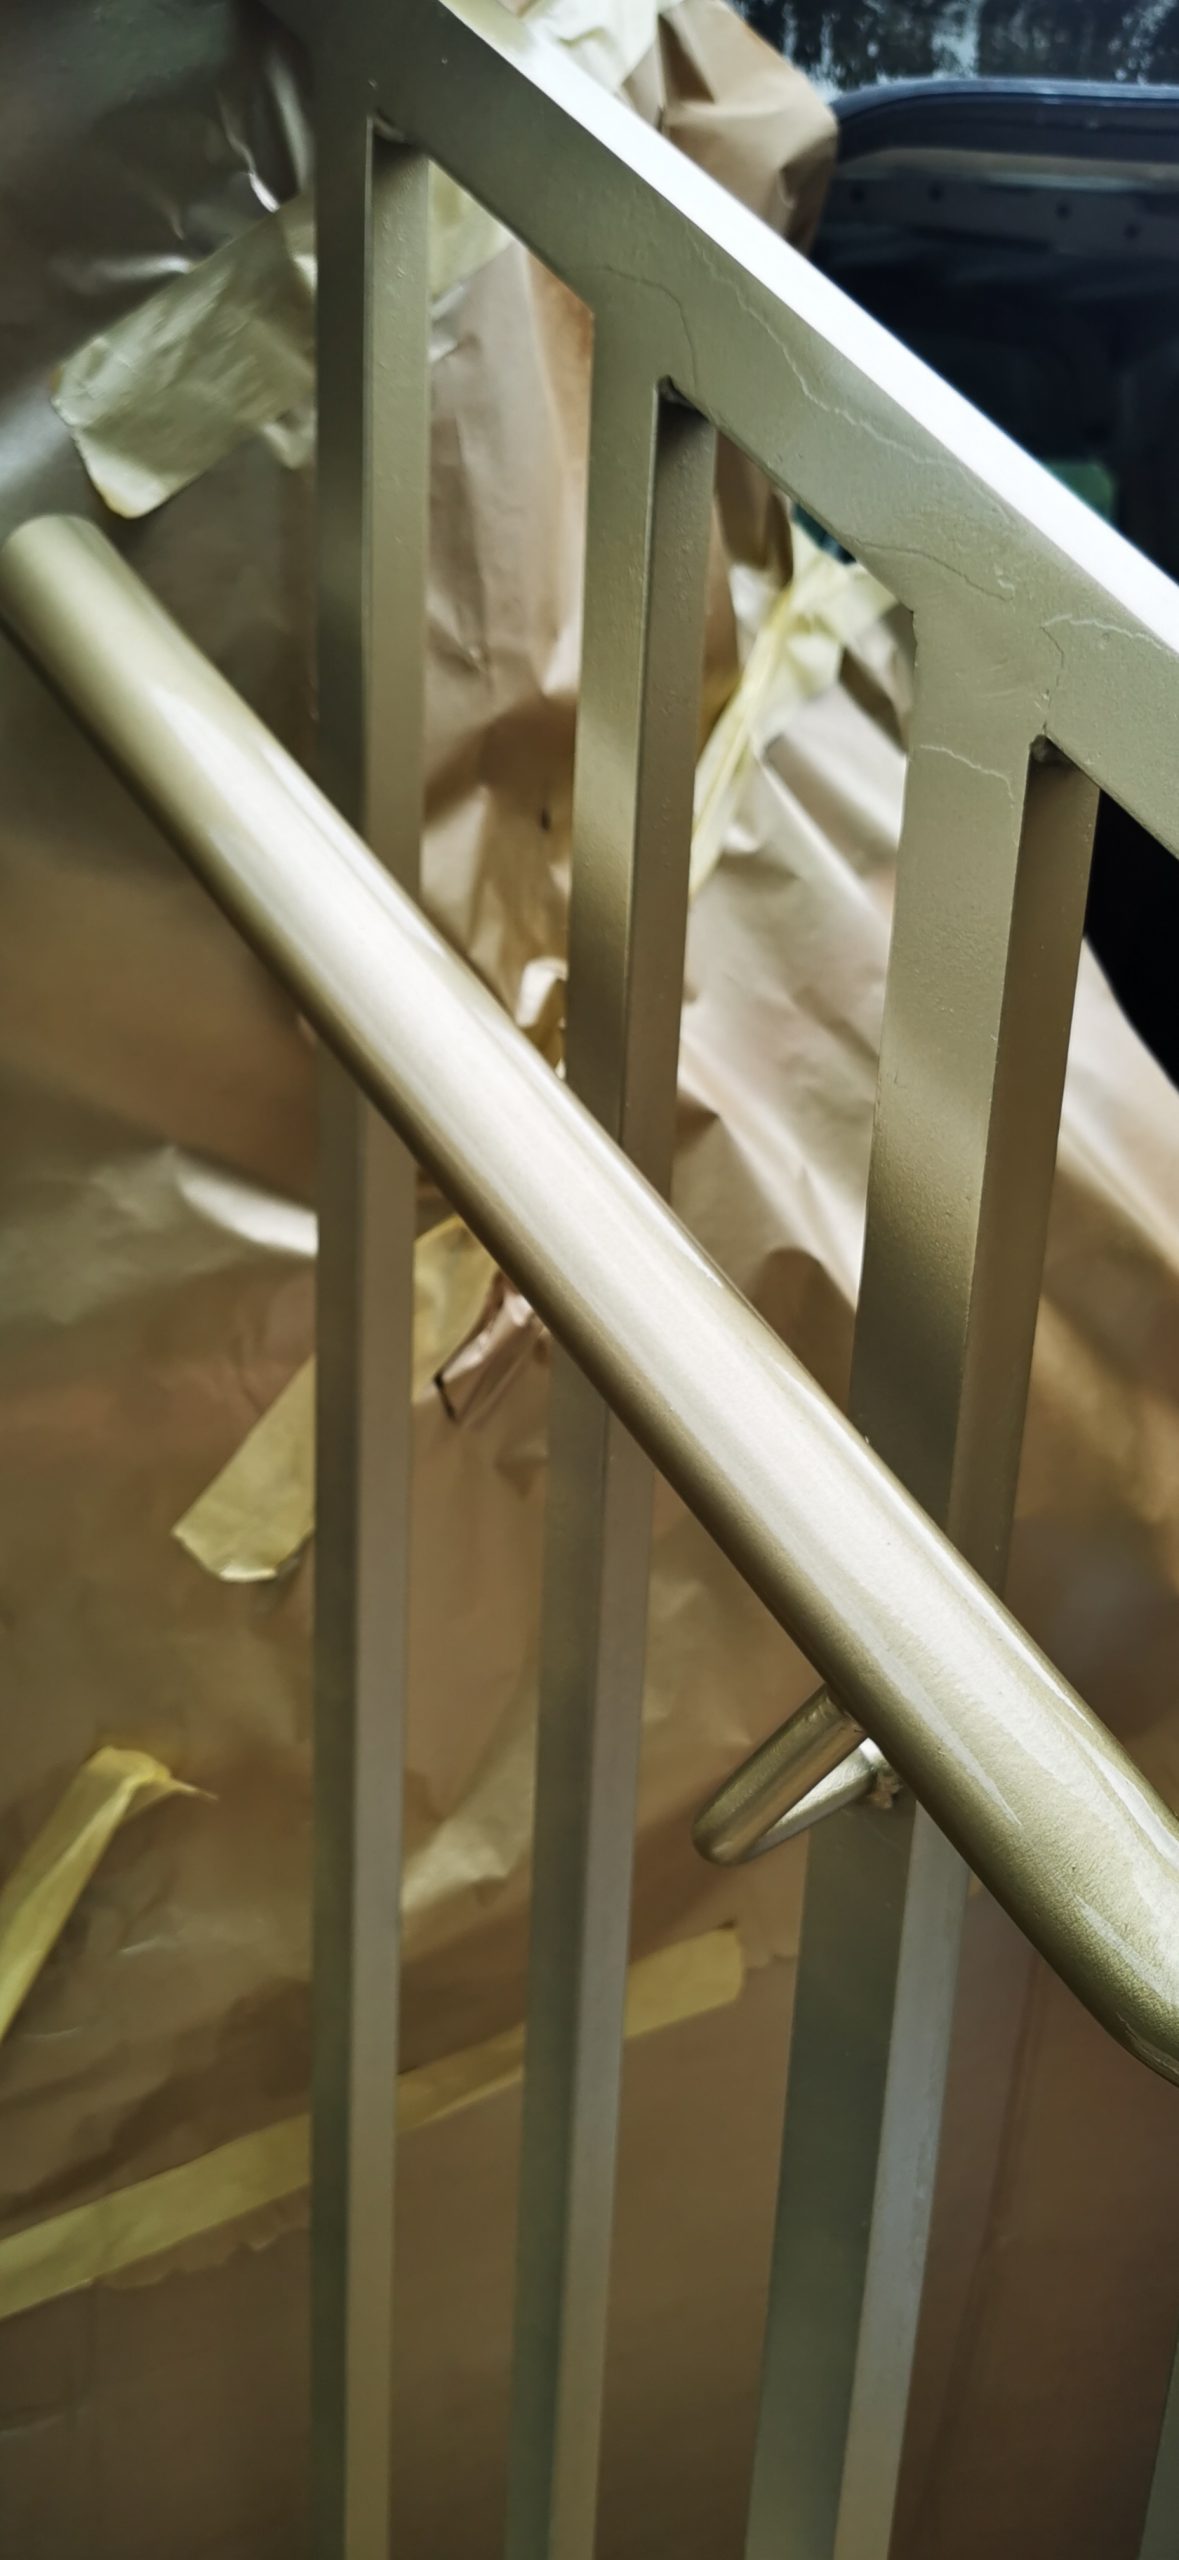
Top Coat Lacquer:
To completely seal and protect the paint, also add a lacquer. When working on something outside, always choose a 2K Gloss Lacquer, as this is a hardened finish designed to tolerate a lot more weathering, abrasions and specific chemical properties. Opting for this will give you a much tougher protective layer and bring depth to the final base coat colour.
To maintain the final project, wash it regularly with warm water and a little washing-up liquid. Dirt and dust on the iron surface can trap moisture against the paintwork, causing it to deteriorate and rust.
Final Word:
This is another excellent example of a fun project done and dusted with the help of our team’s innovative products and expertise. We hope this helps and gives you something worthwhile to consider, but if you need any assistance, please call us on 01908 972 393.