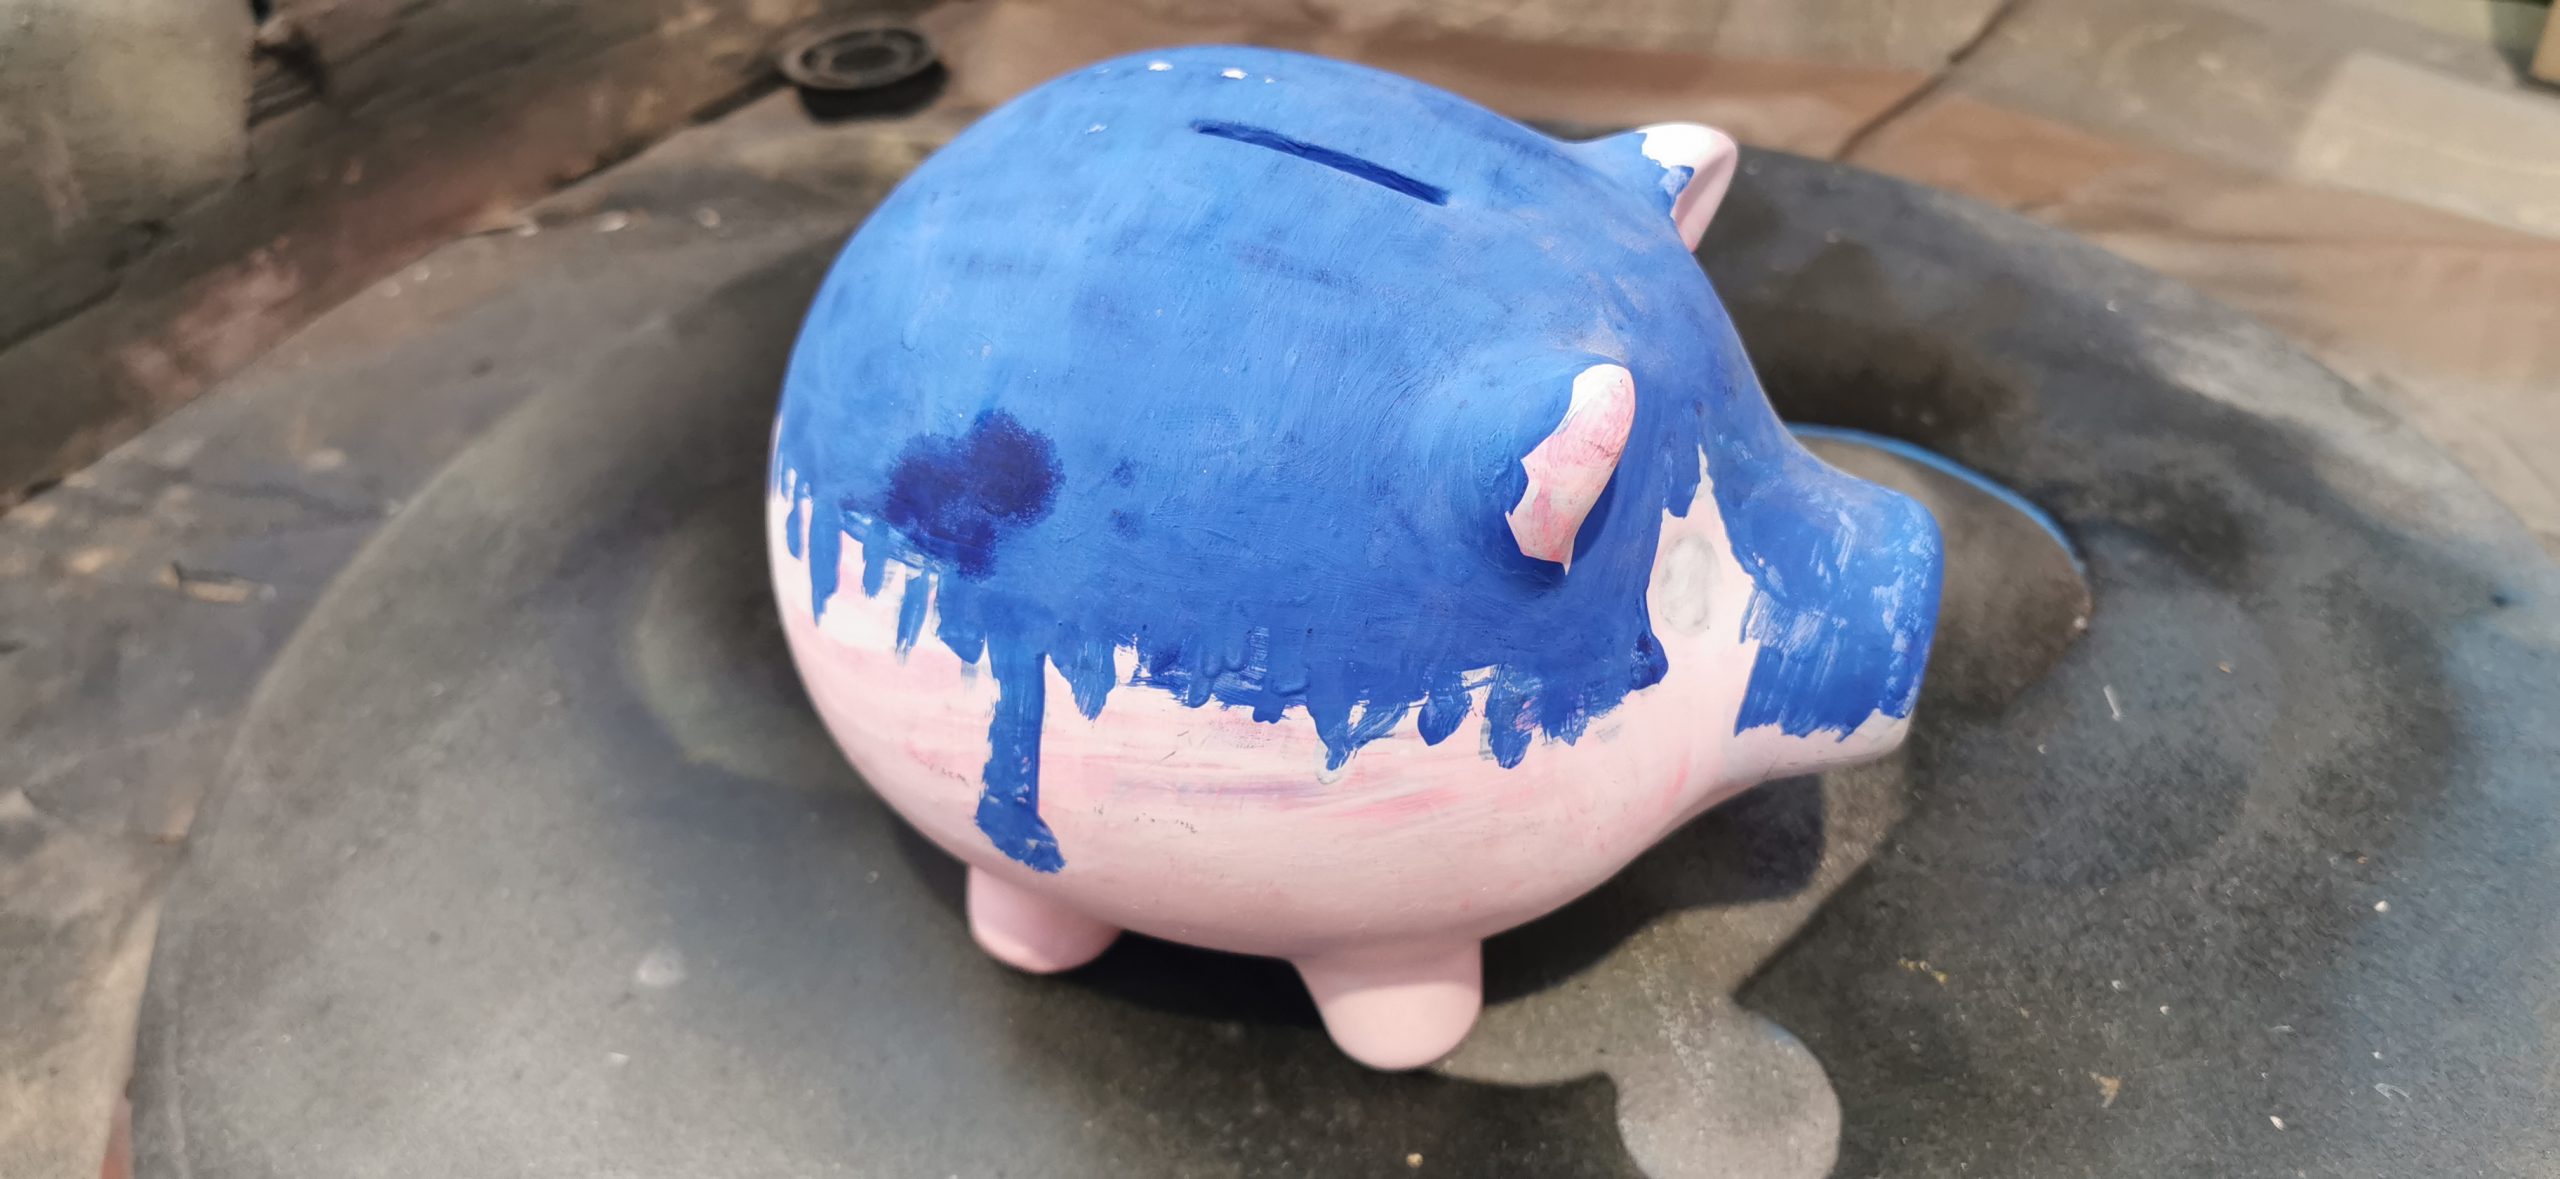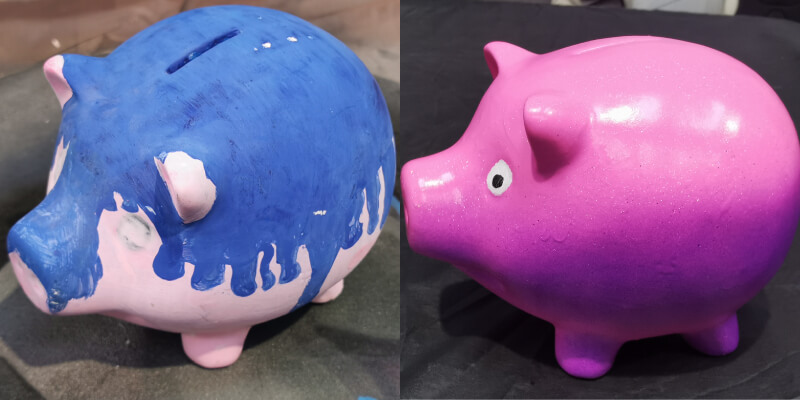
My daughter wanted to add some life to her dull piggy bank that she painted with standard paints when she was younger. This was a straightforward project, and in the end, she had a coloured little piggy bank she could show off. Here is a full guide on how you can complete a similar project at home, with tips on how we maximised our results.
Tool List:
Prep & Ground Coat:
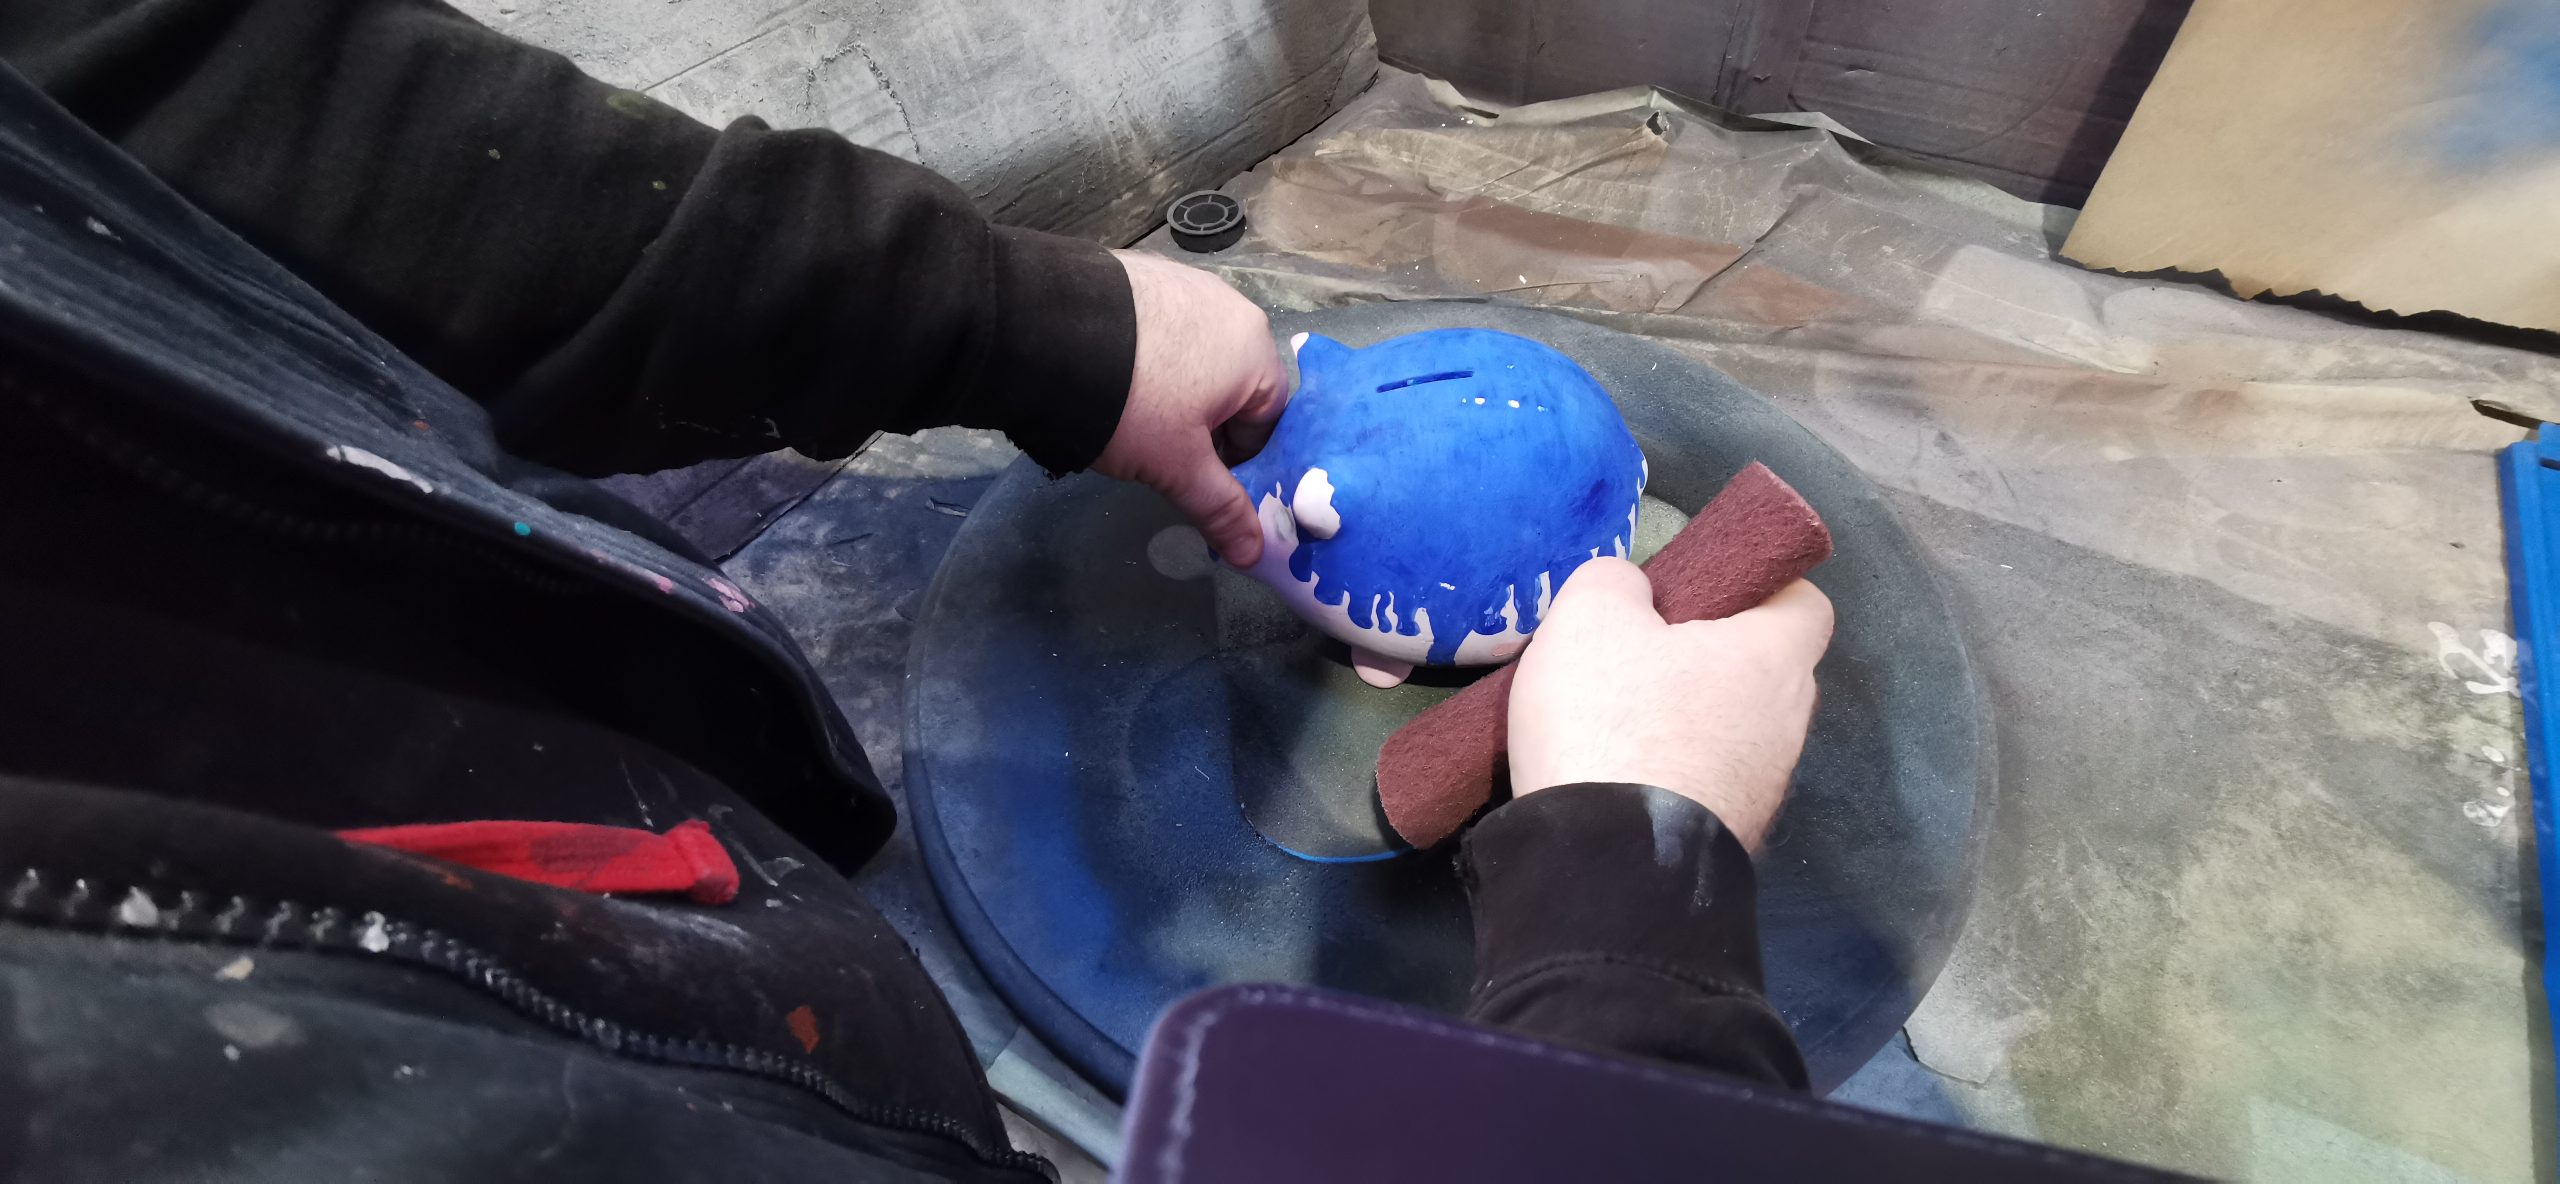
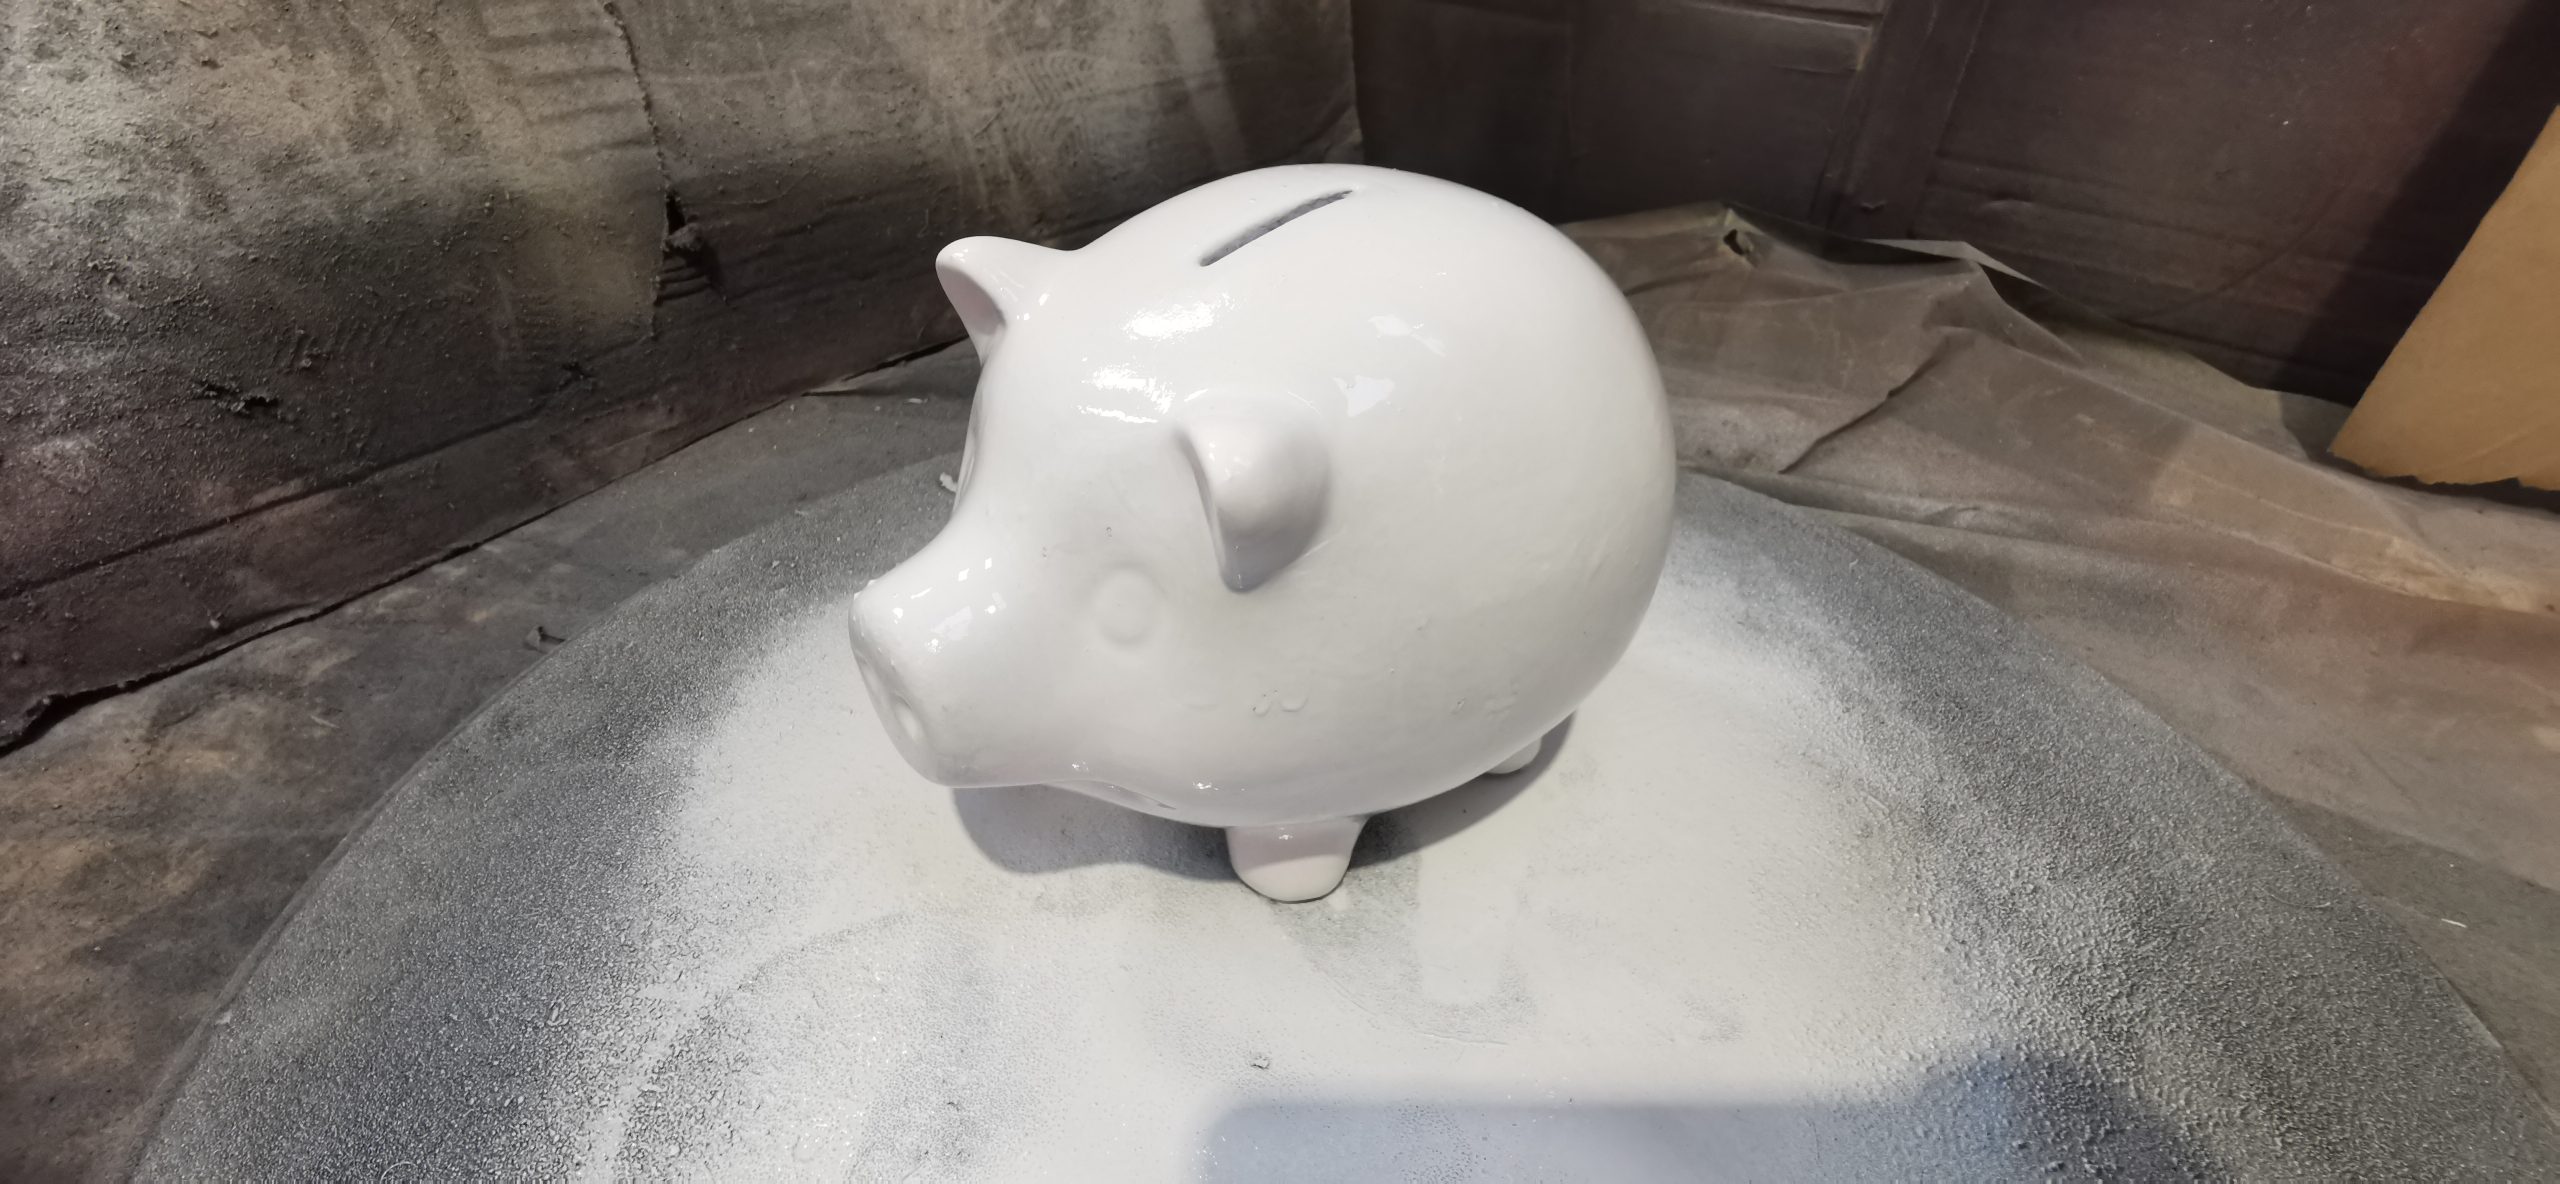
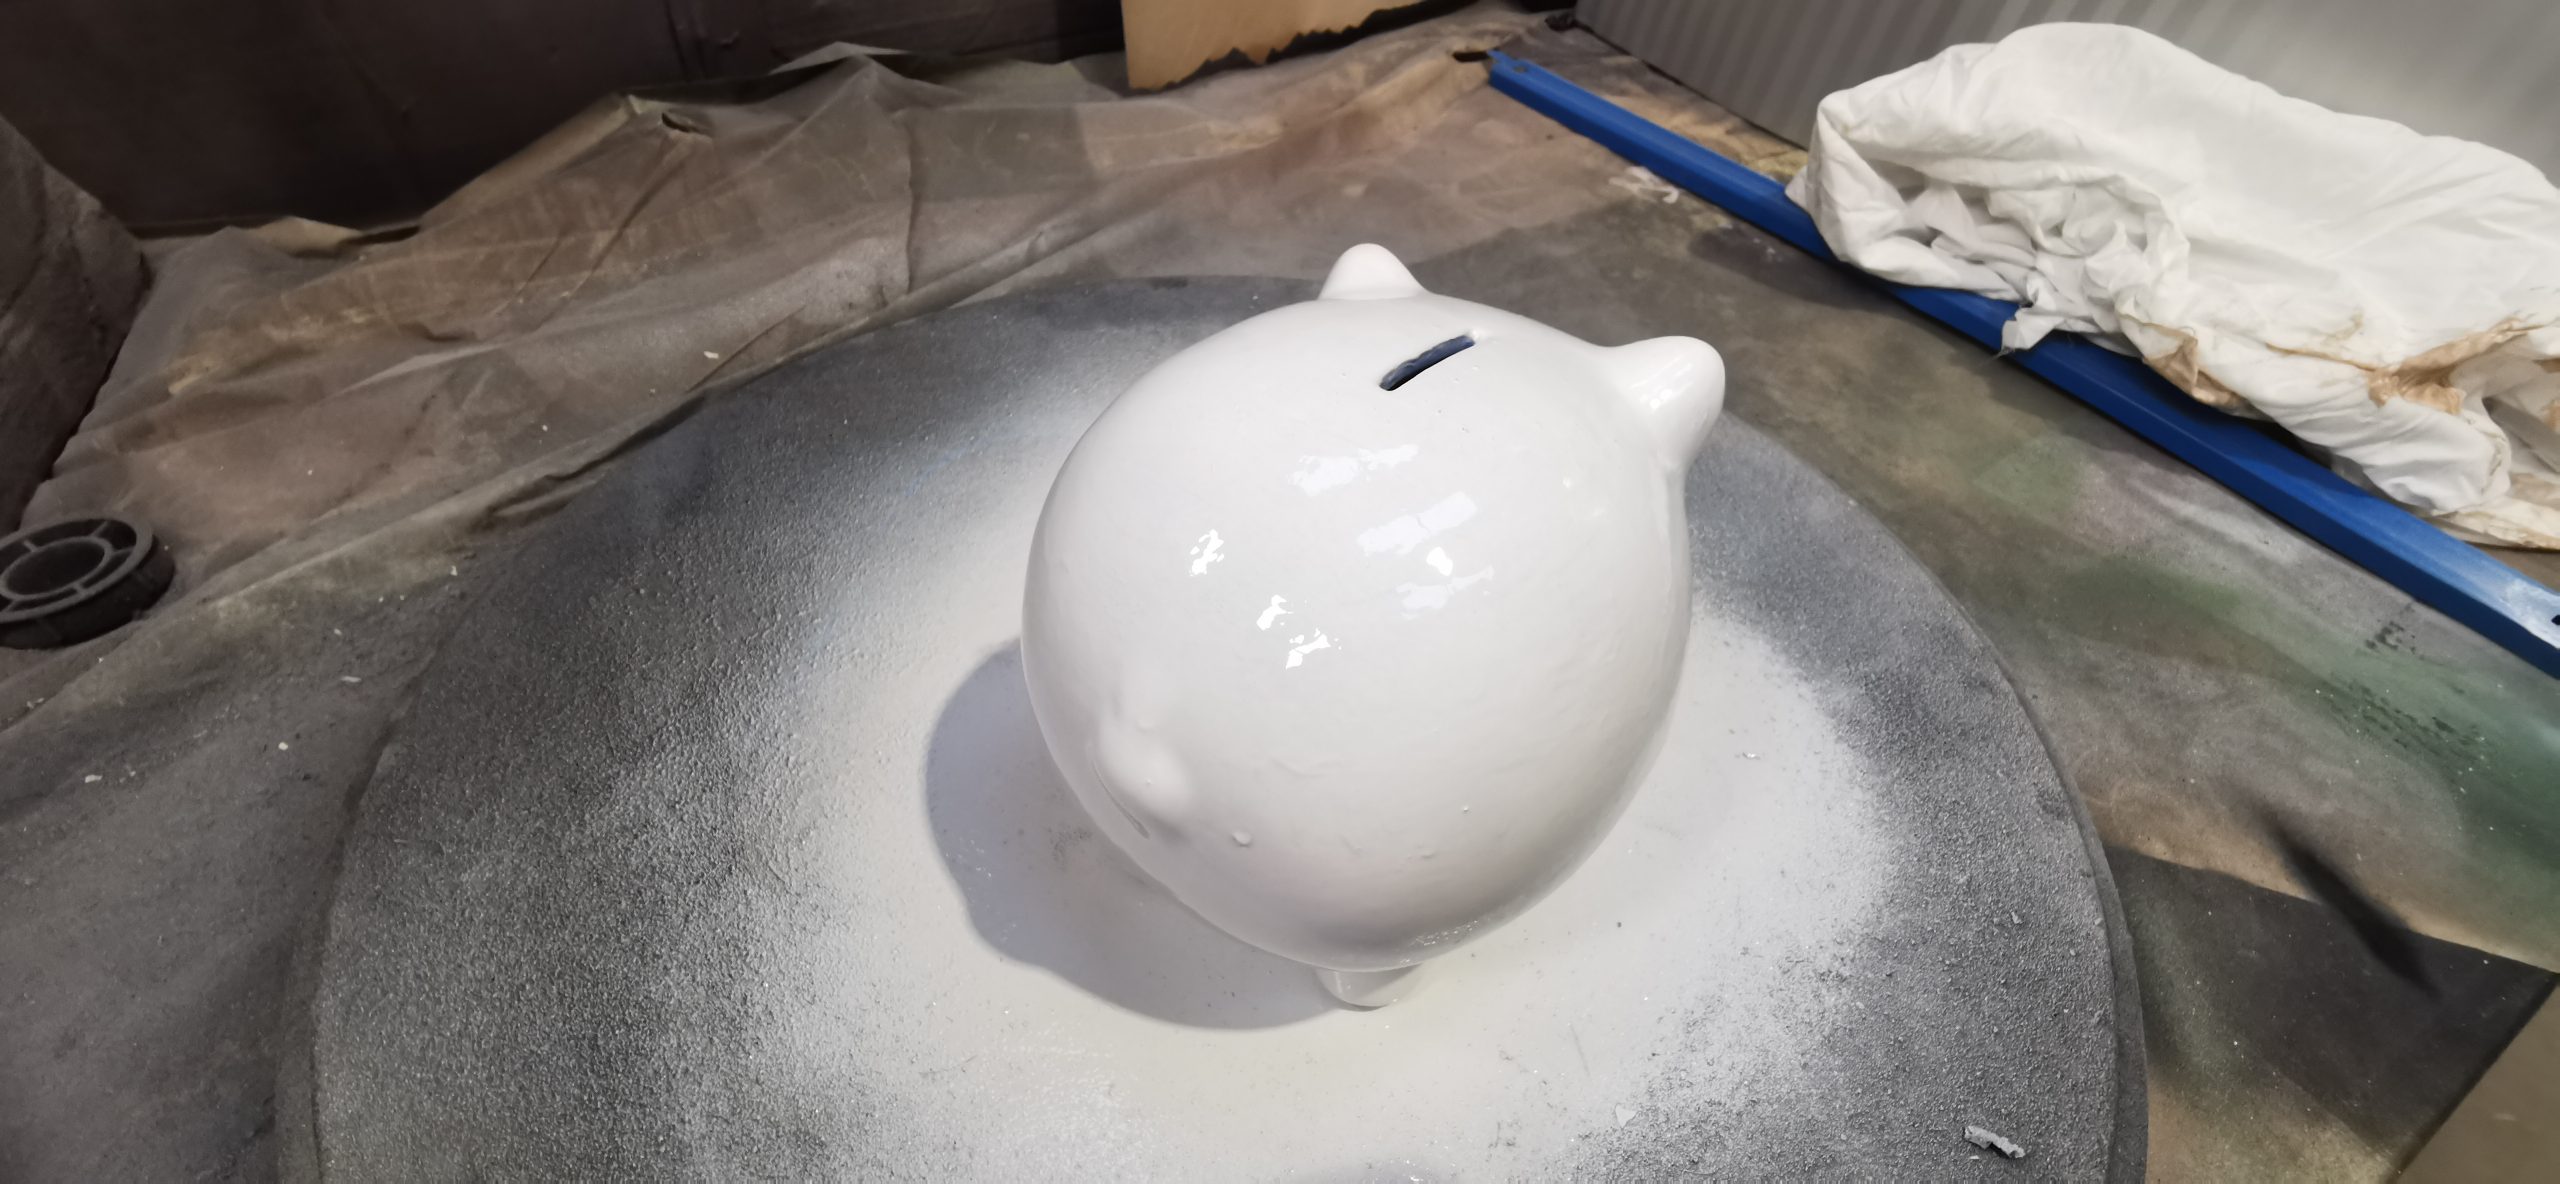
If the ceramic surface is already smooth and flat, like ours was, we advise concentrating on refining the edges. Gently use 320g sandpaper to slightly roughen the edges, a technique known as “keying”.
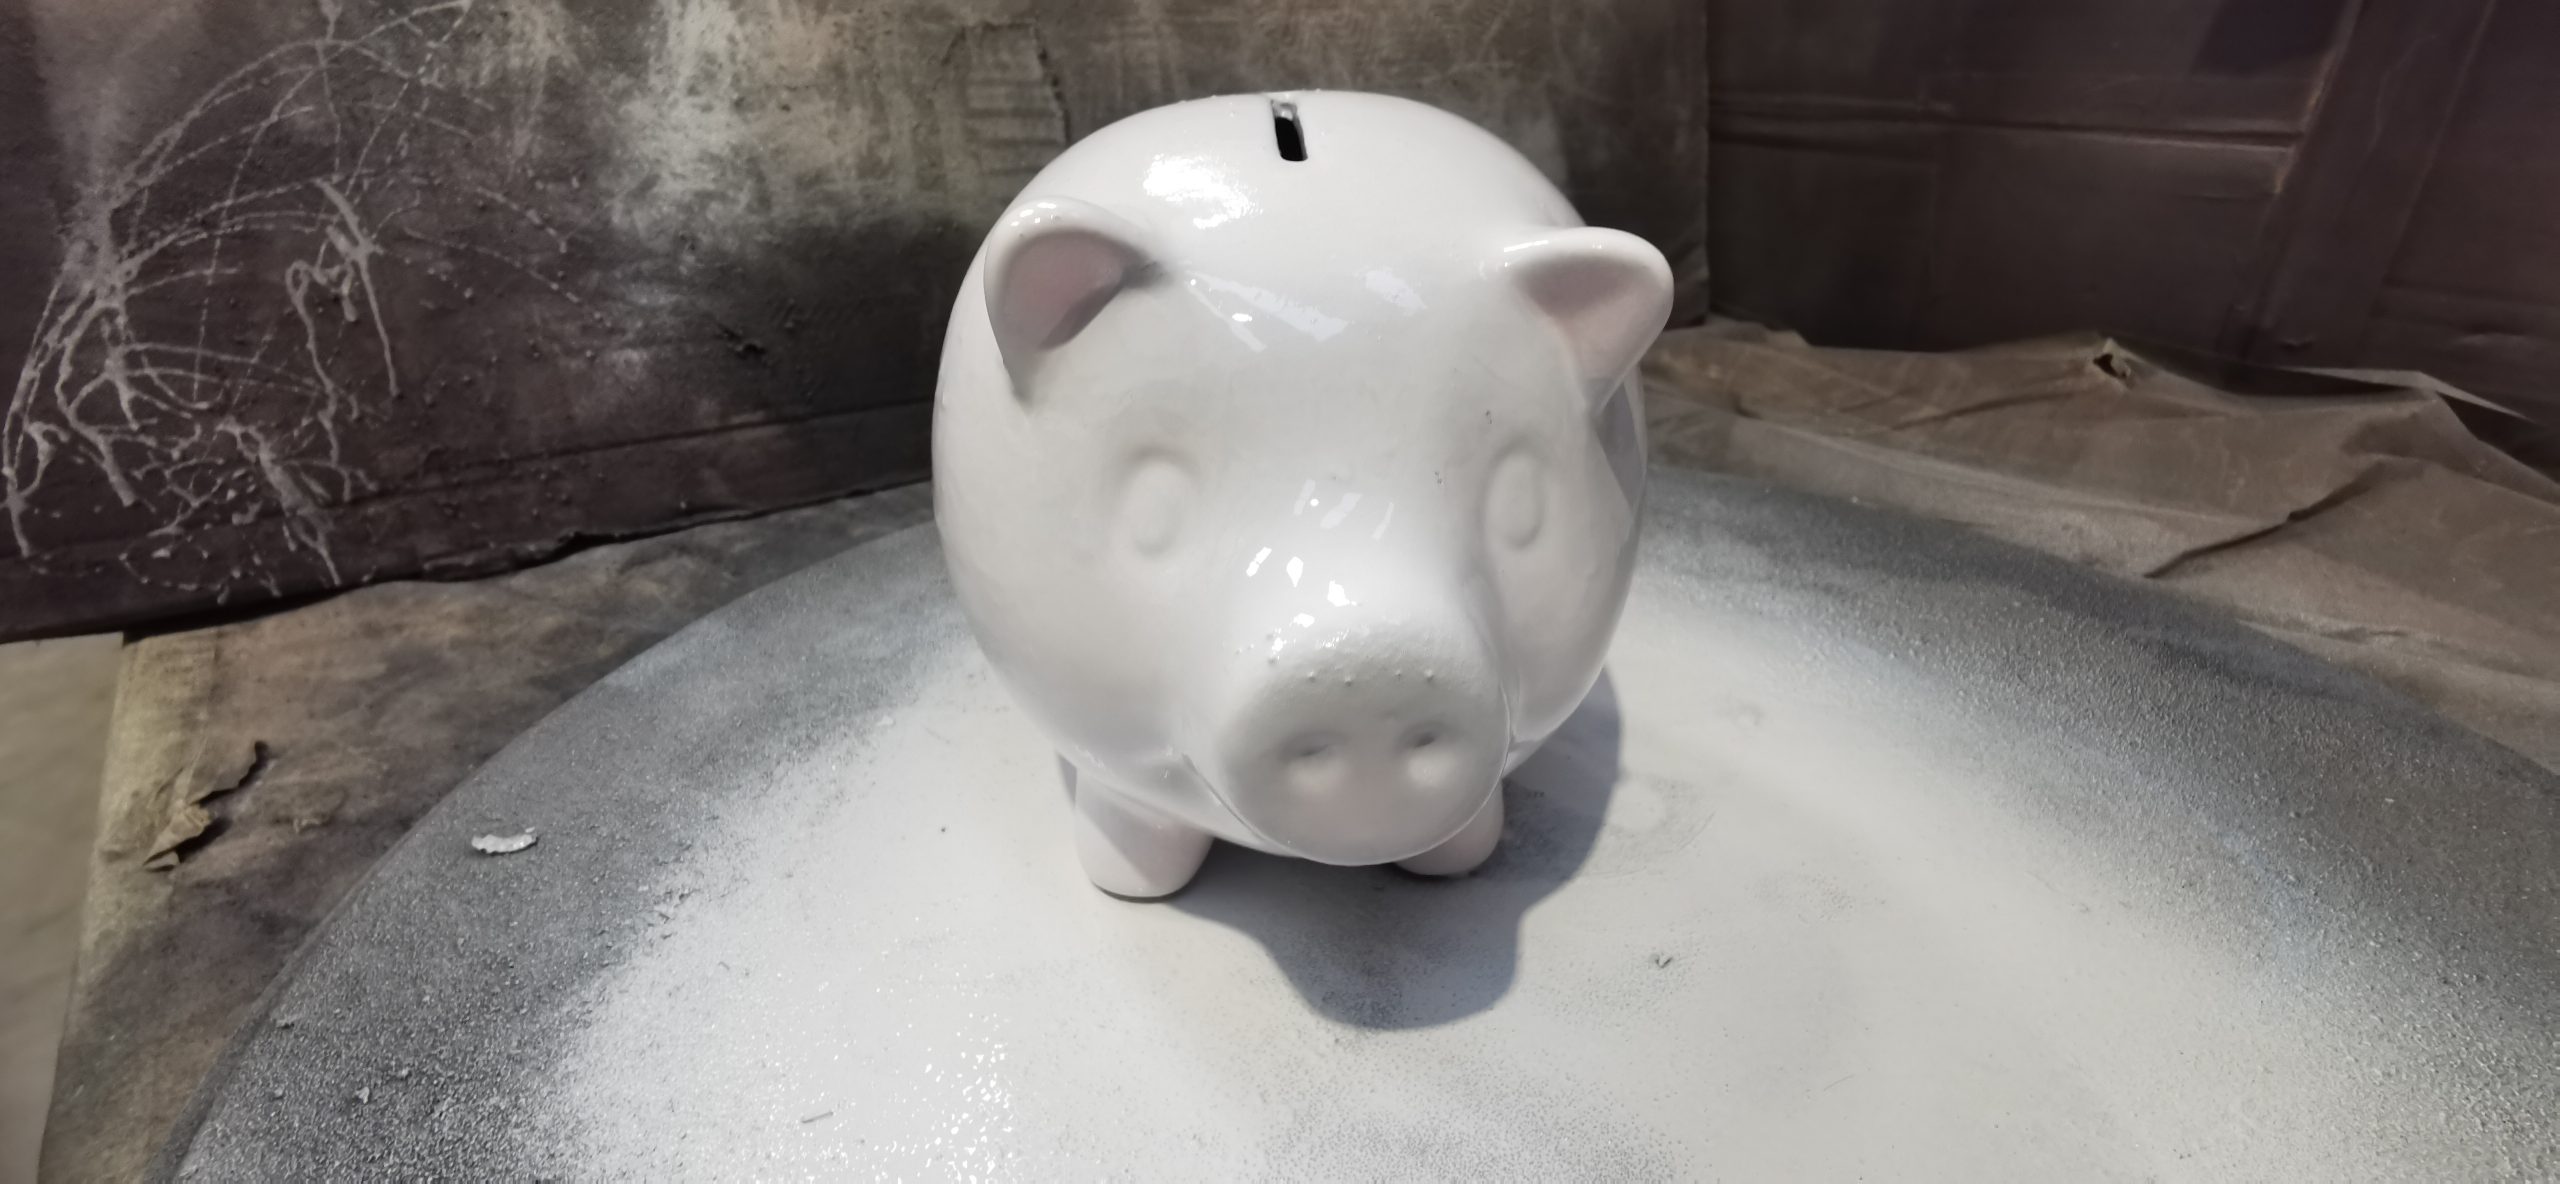
Once the edges are appropriately prepared, ensure you meticulously remove any remaining dust or residue using a damp cloth. With a clean surface, the next step involves the application of a white build primer. This primer serves as a foundational layer, offering a base for the next coats of paint to adhere to.
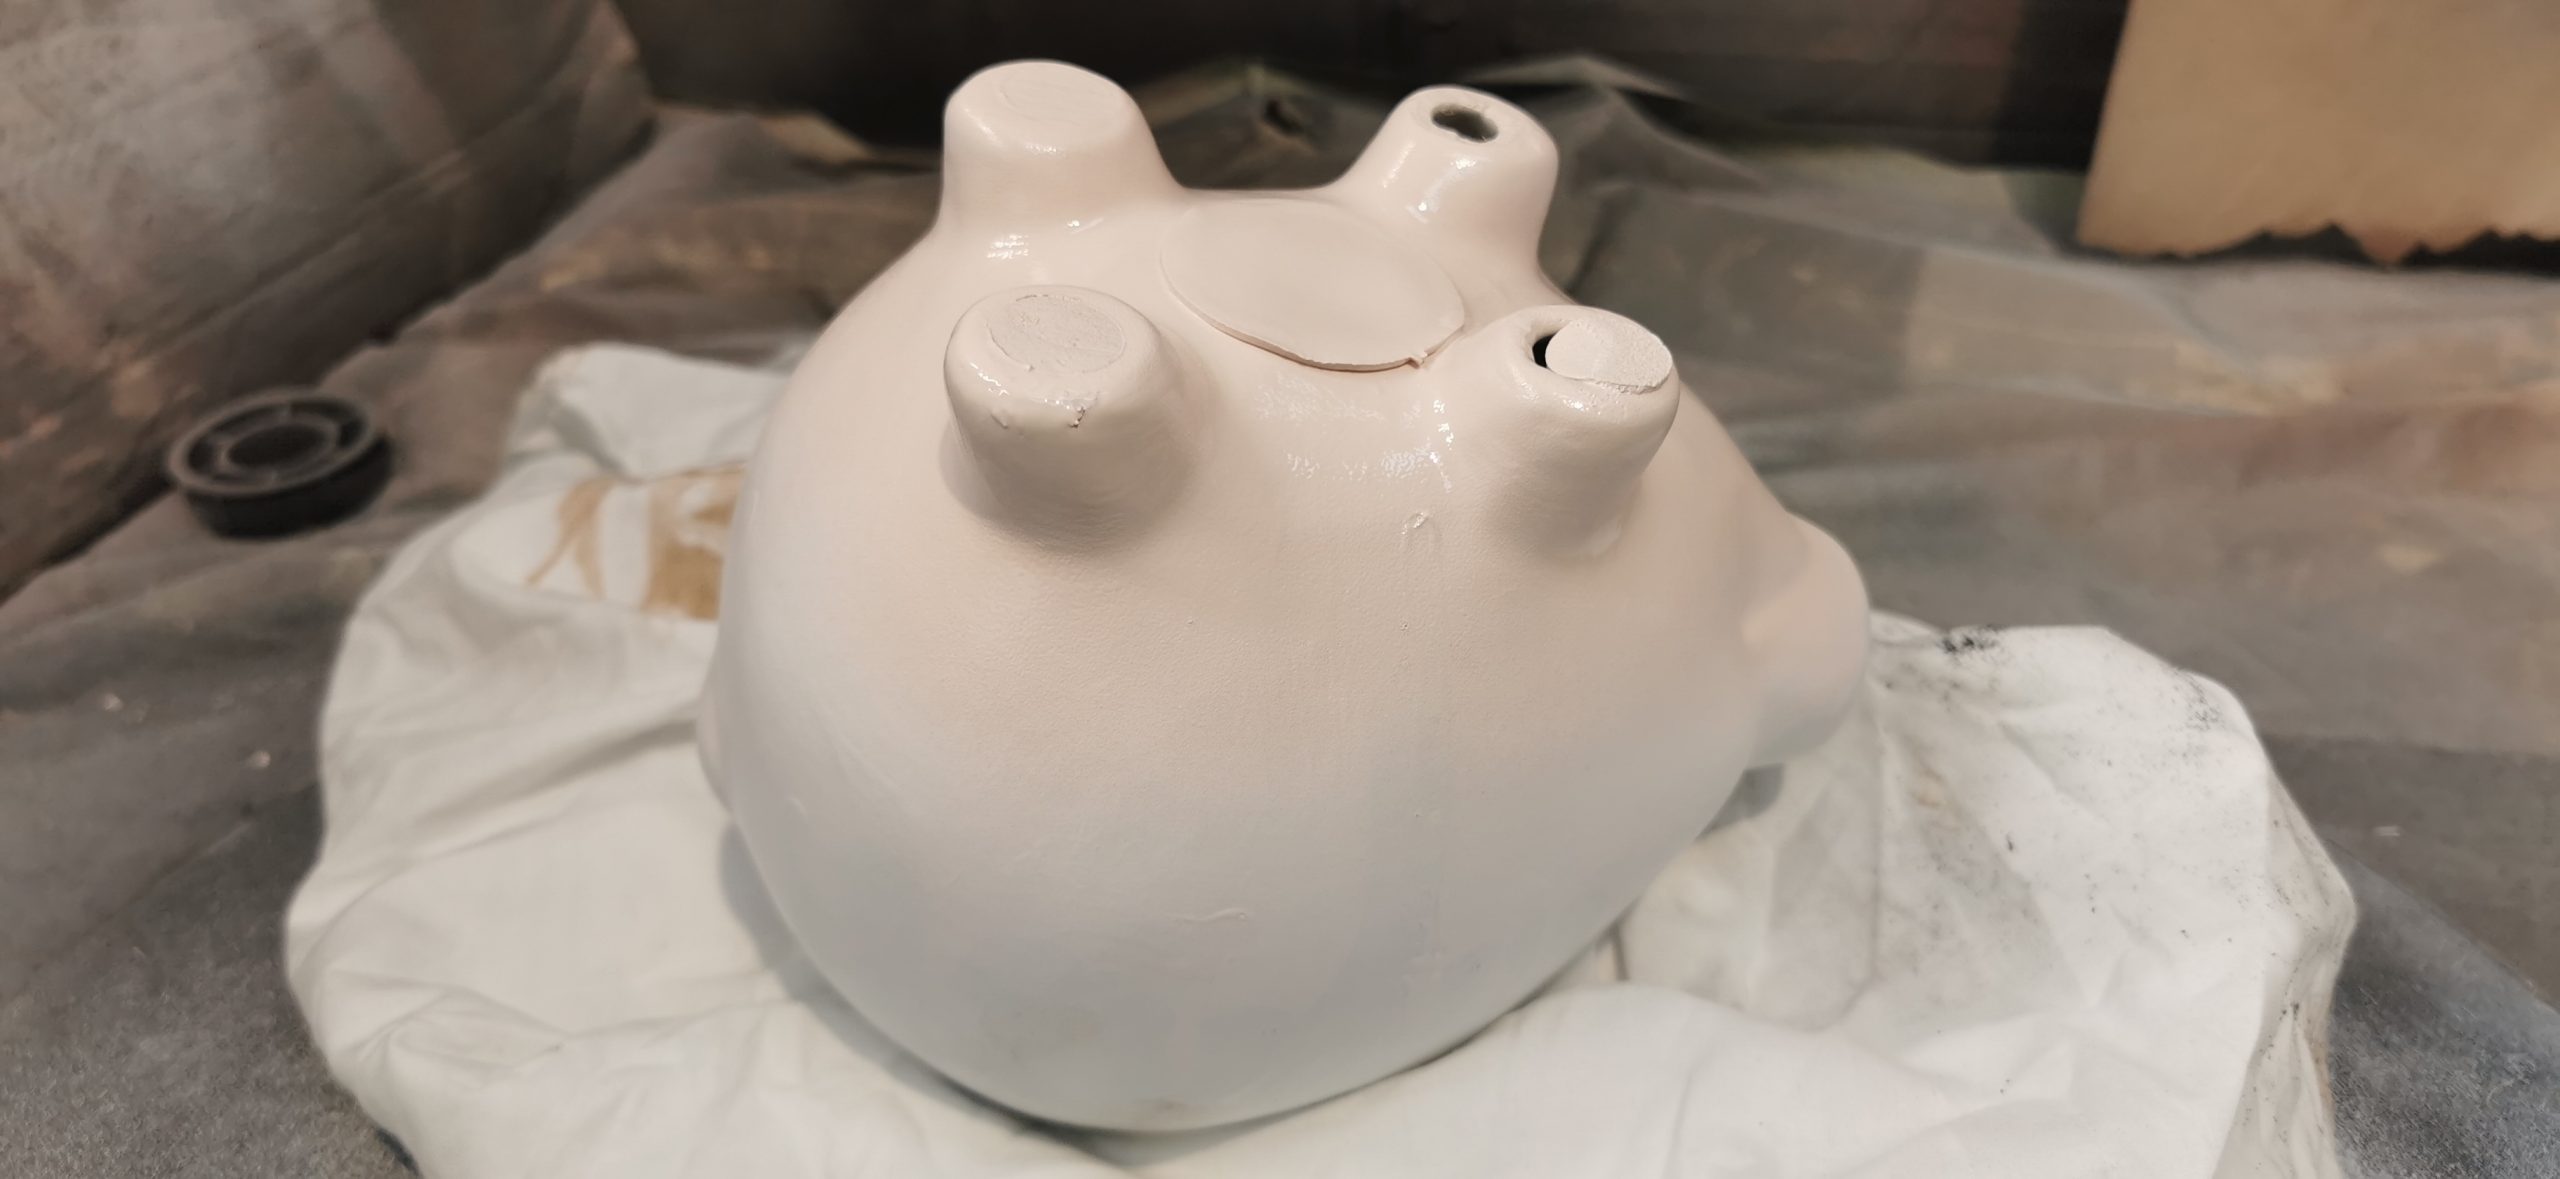
TOP TIP: Start by painting the underside first, as you can put it on its legs to cure upright.
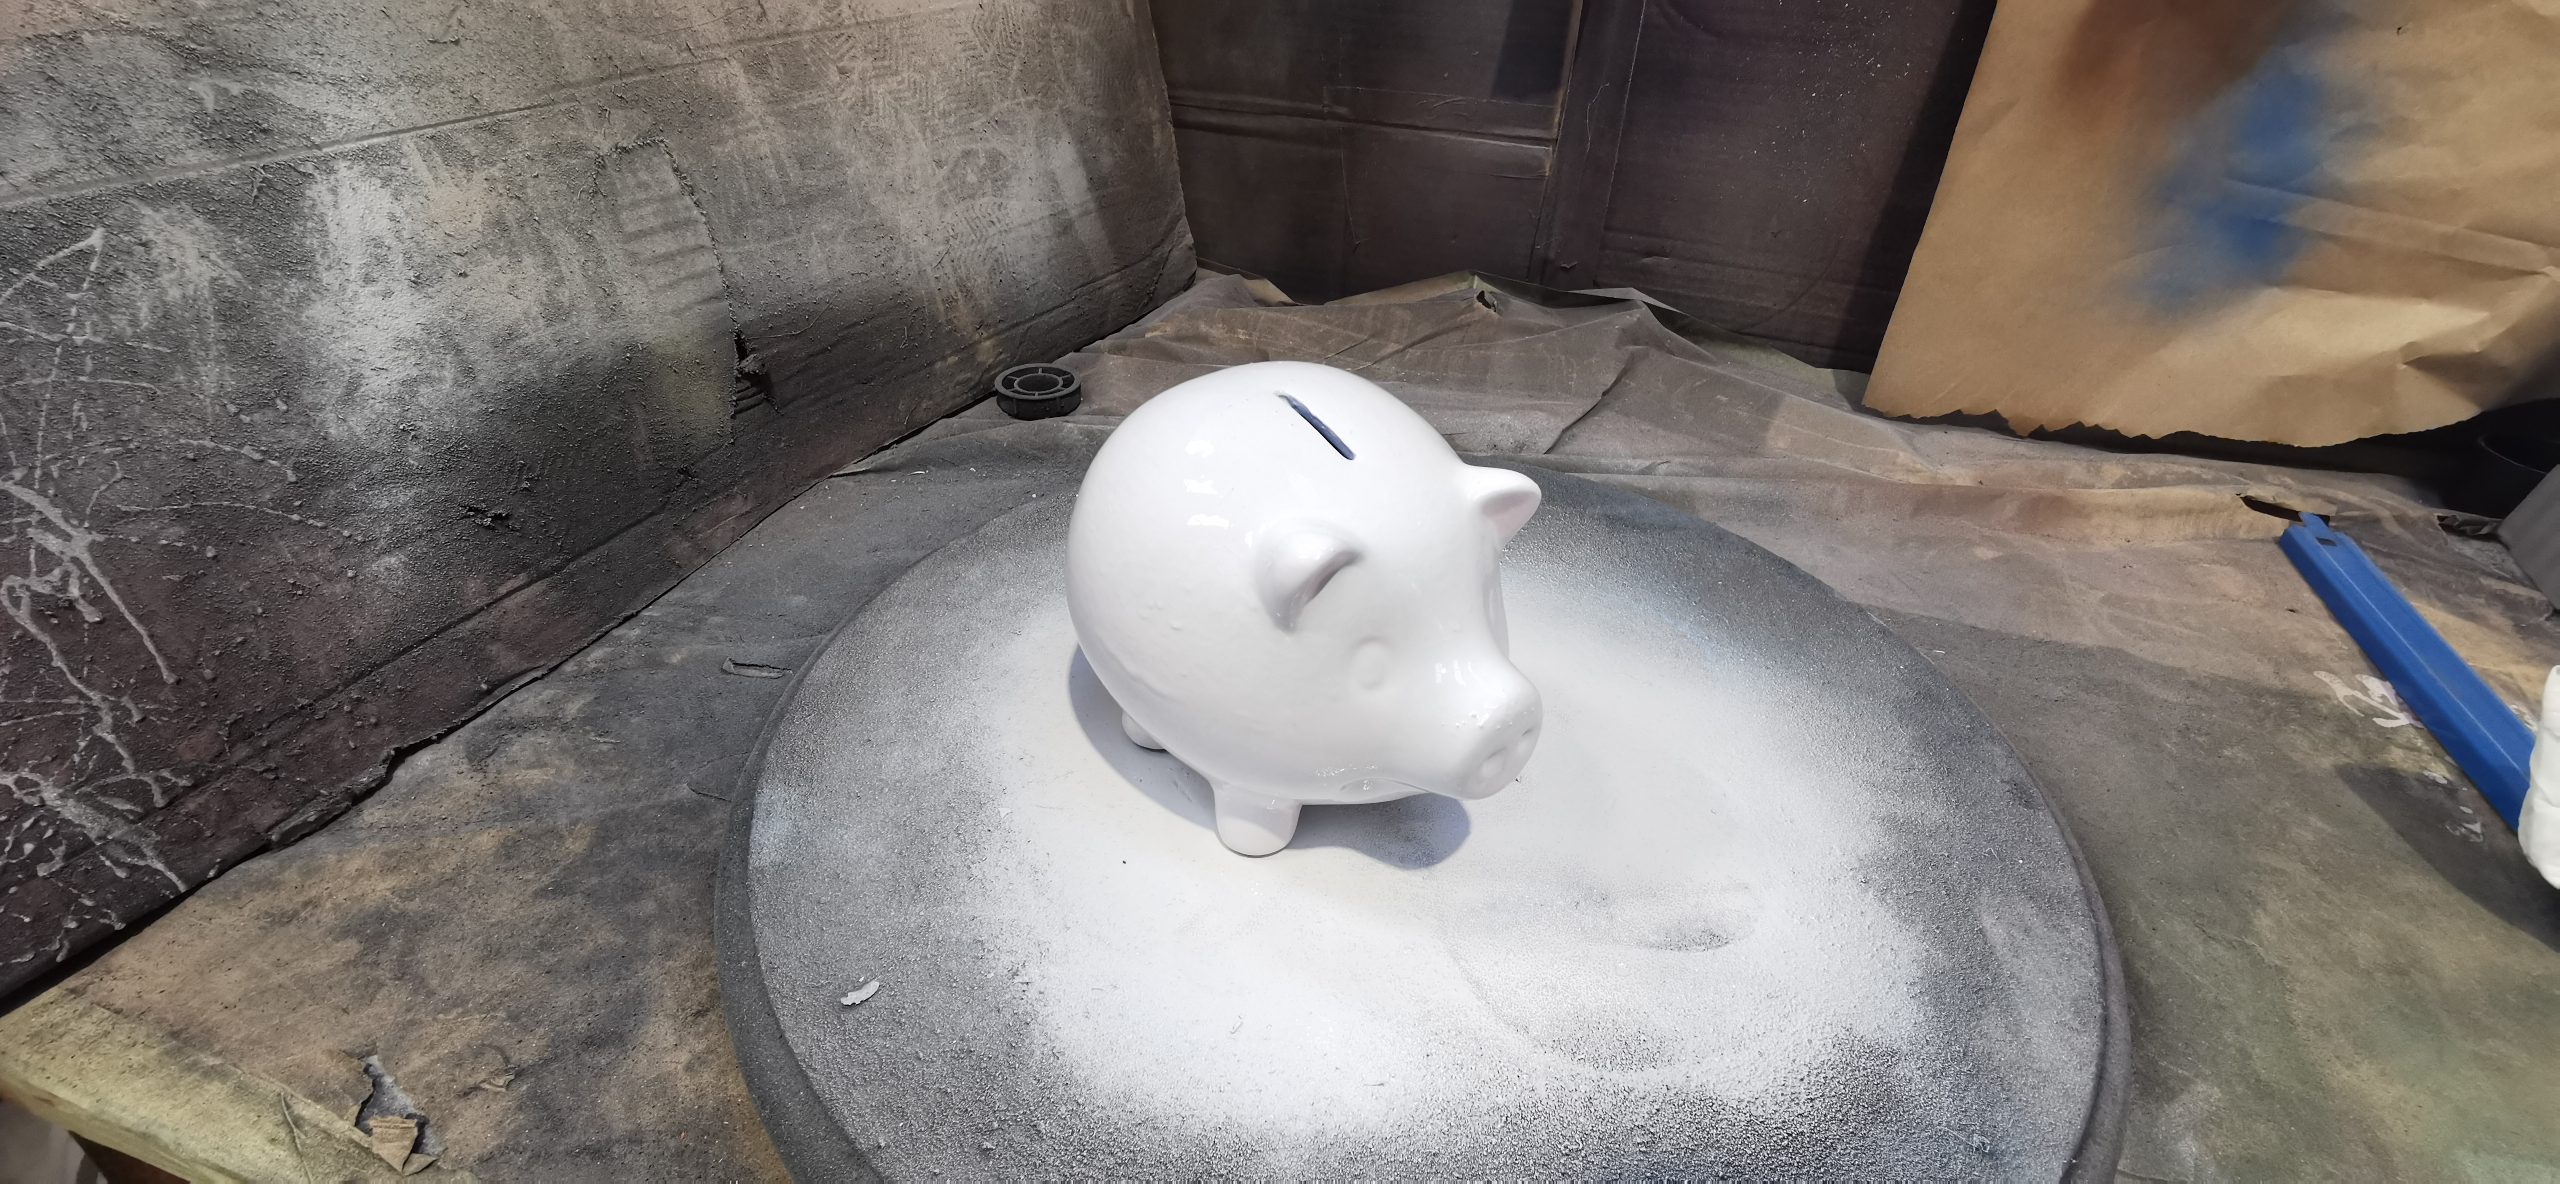
Base Coat:
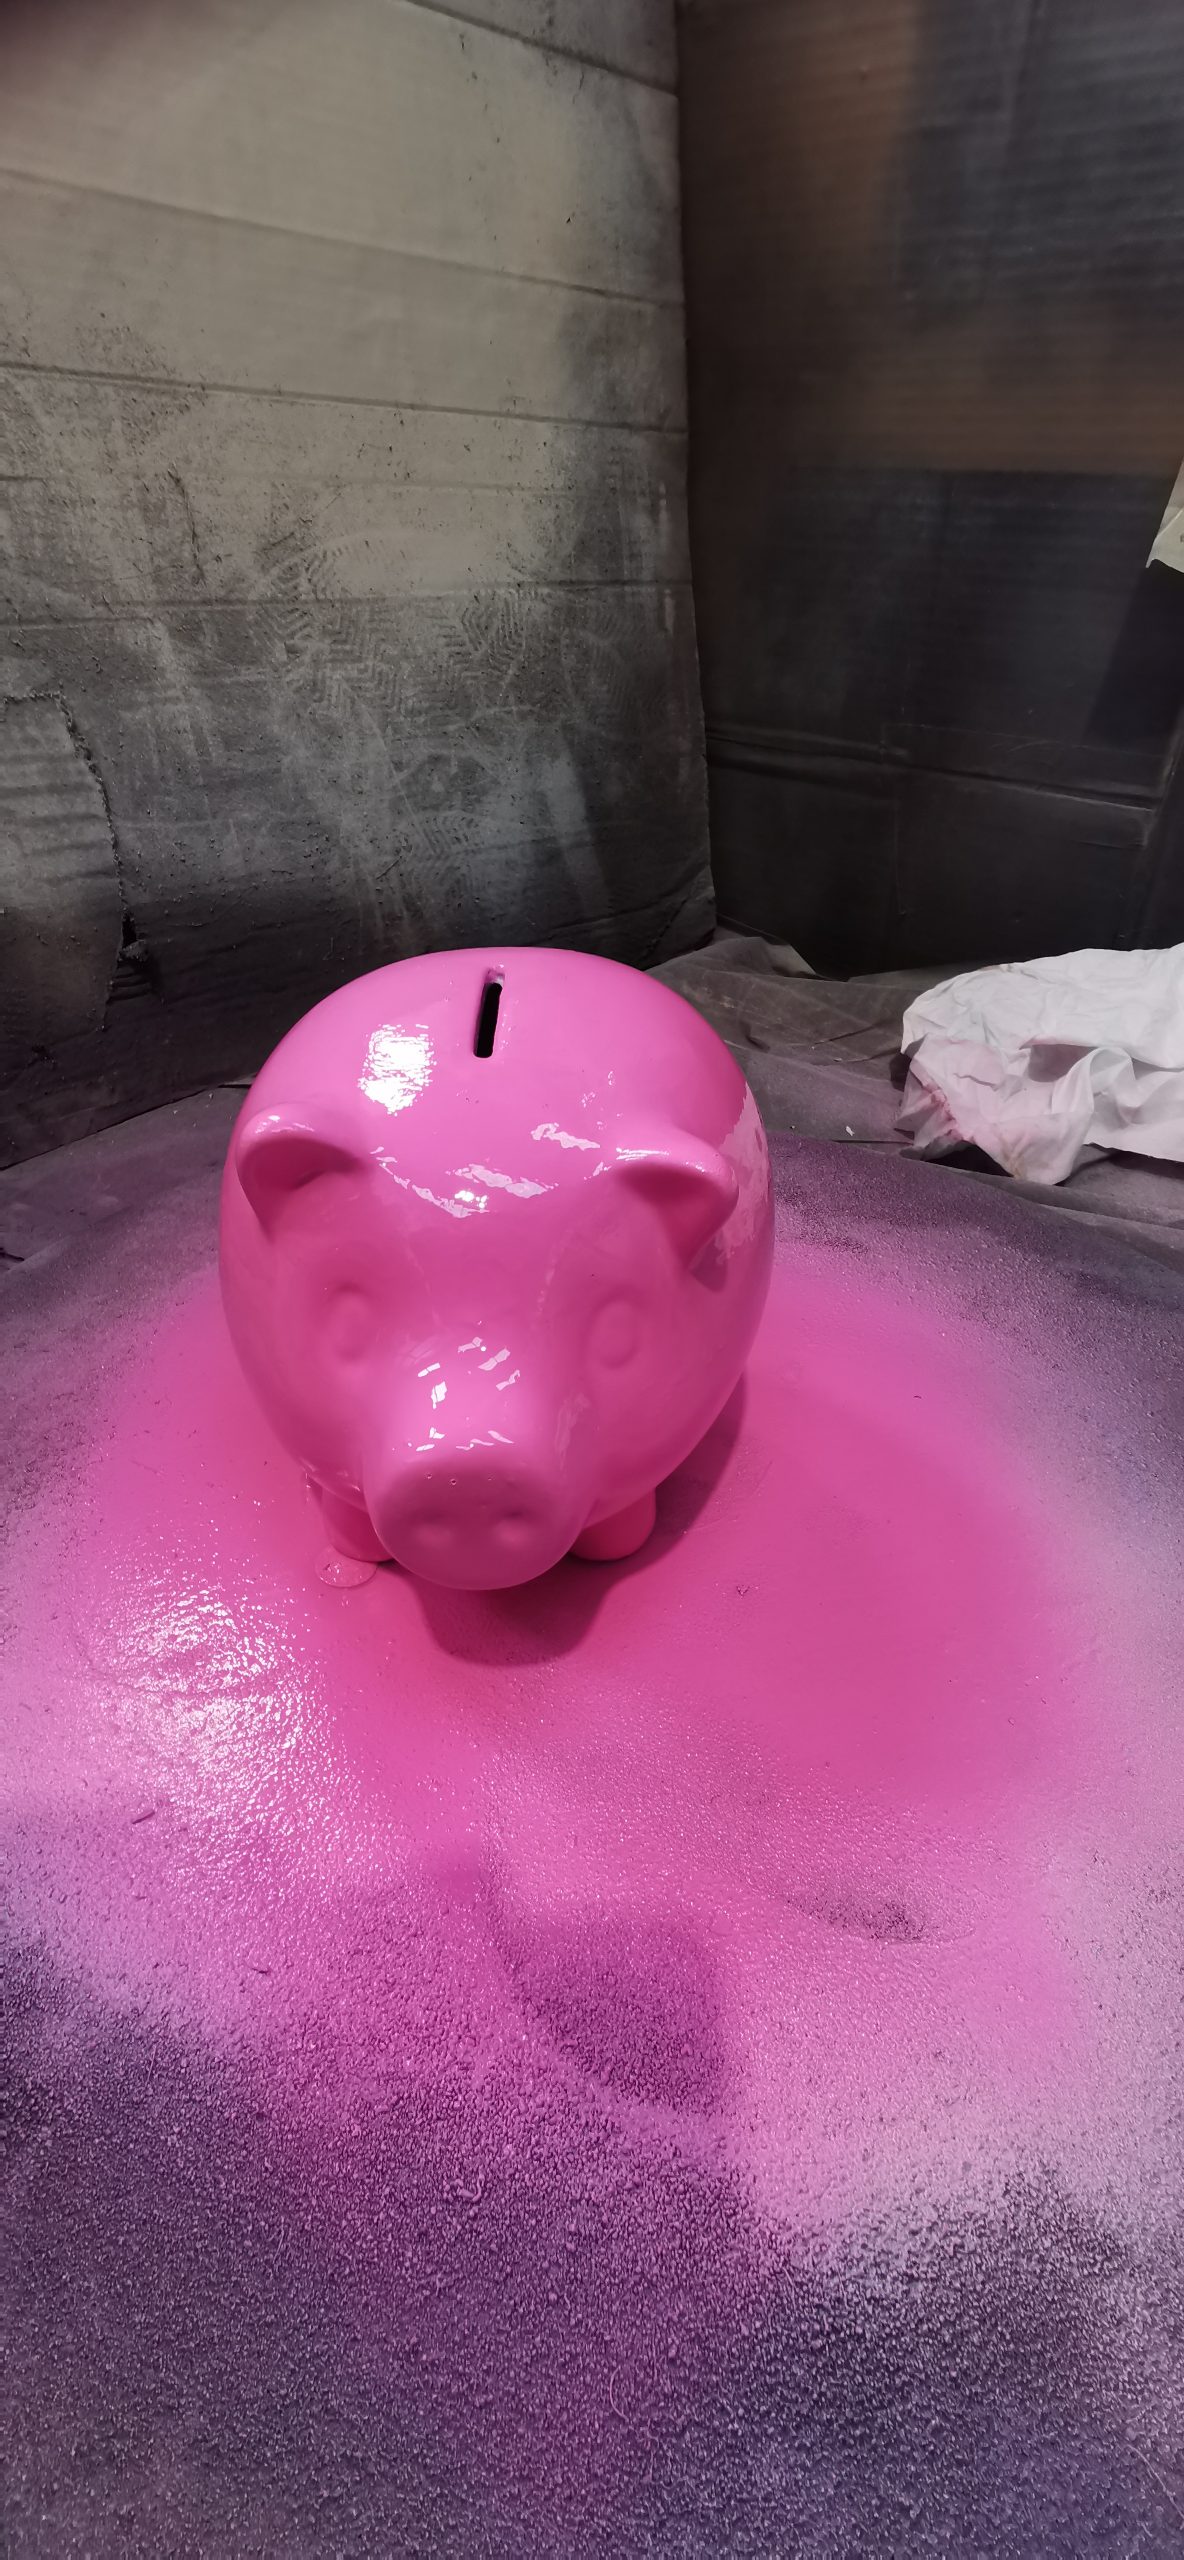
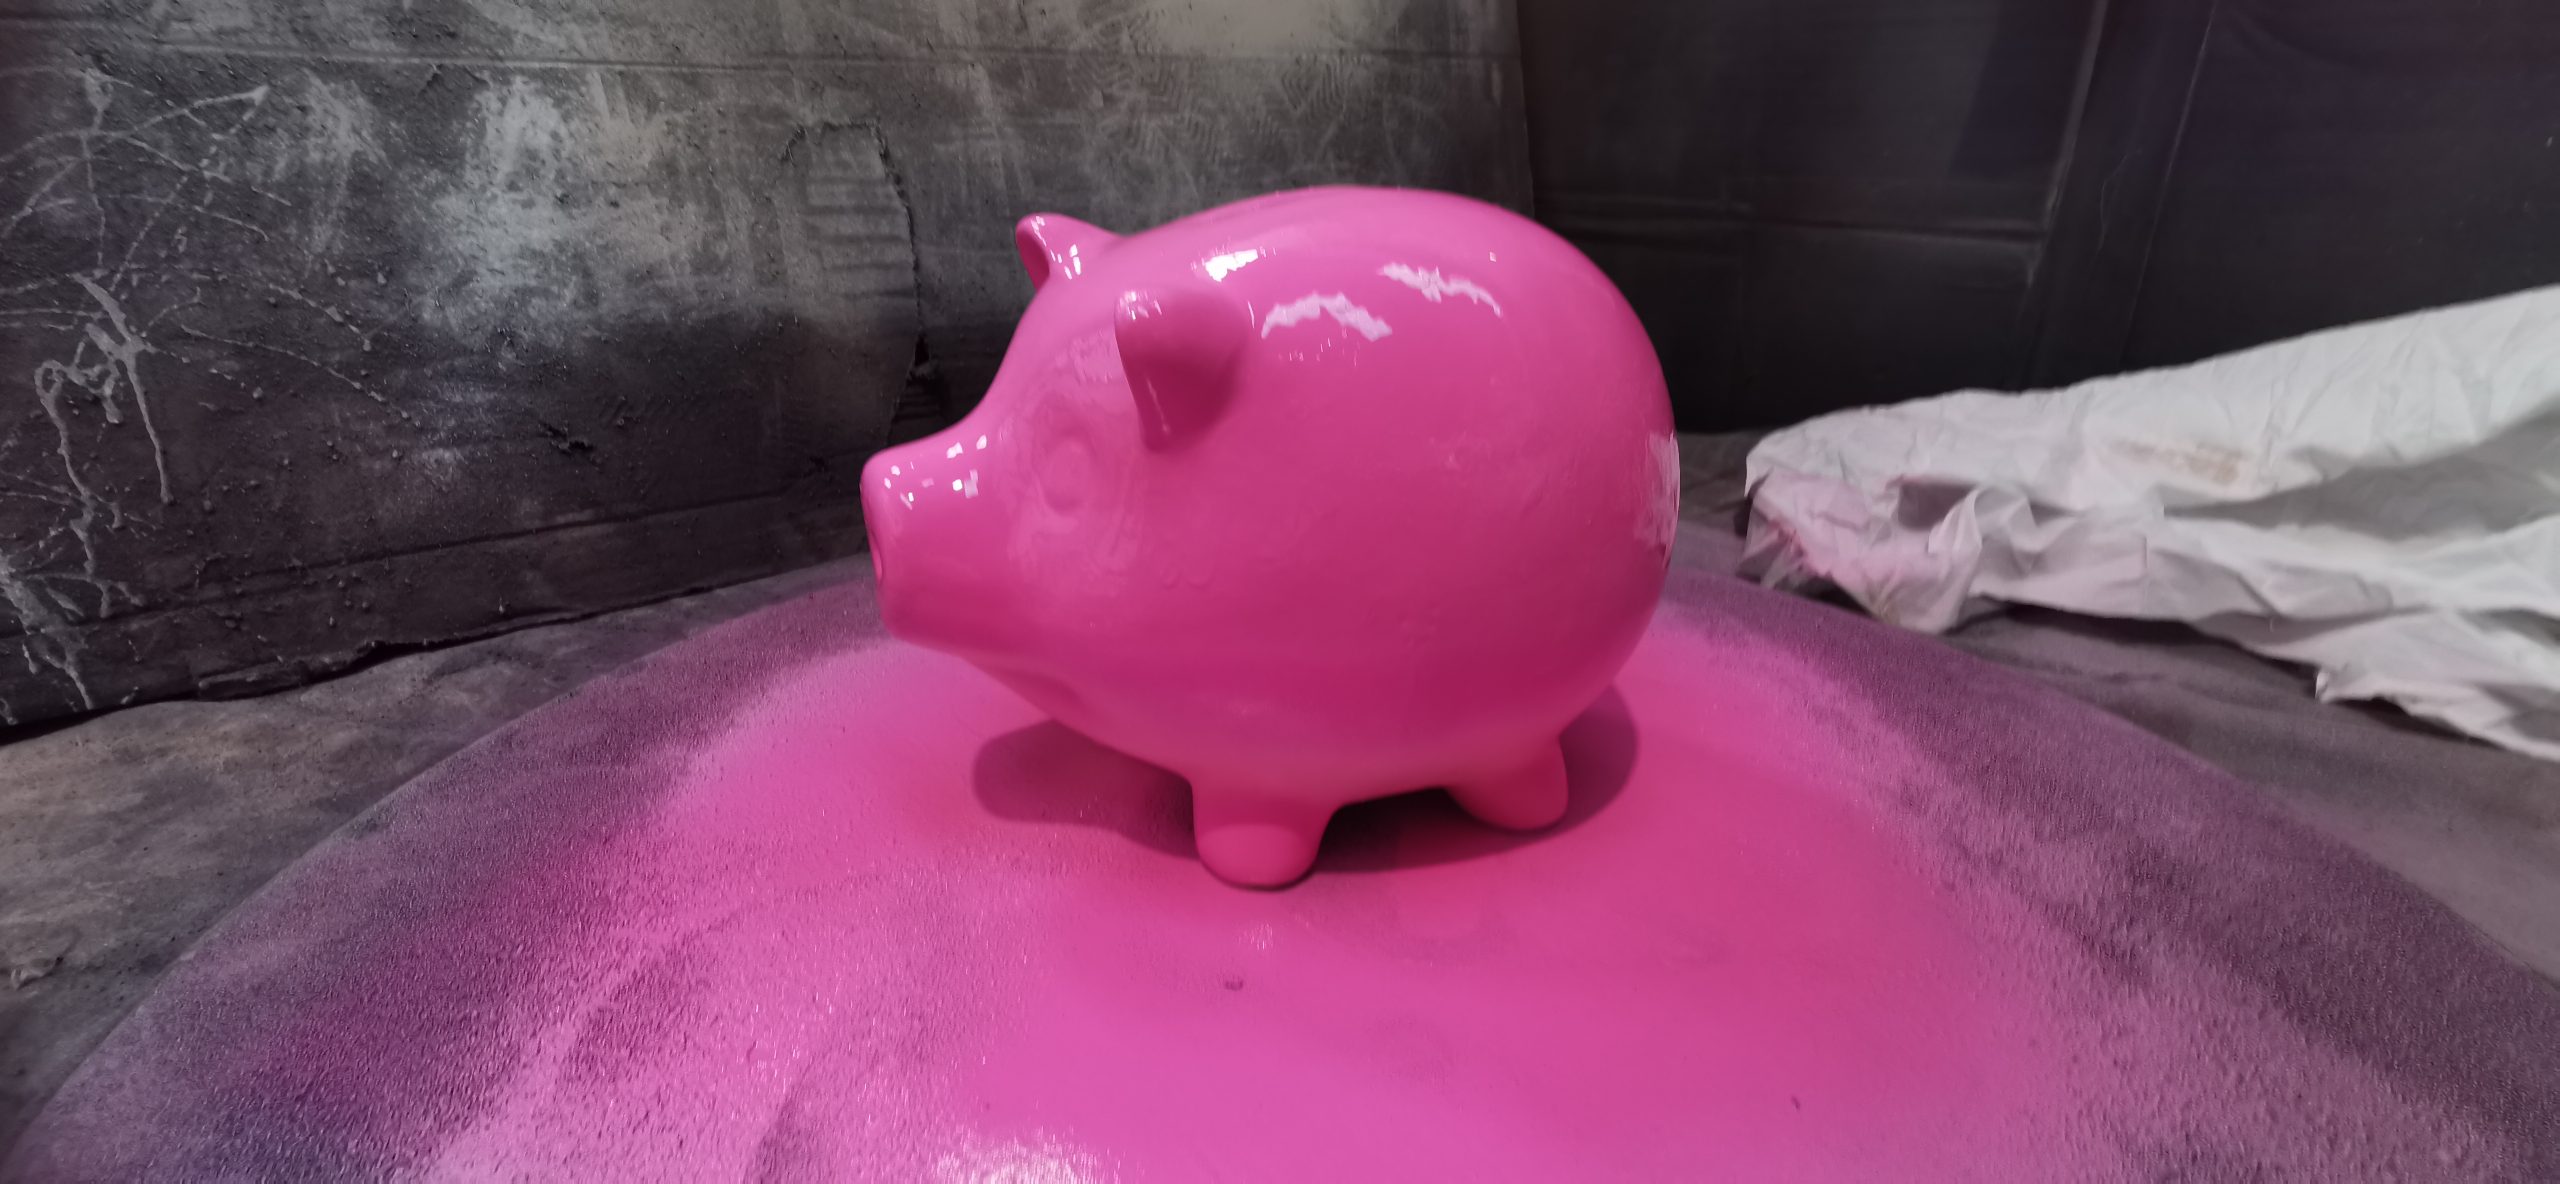
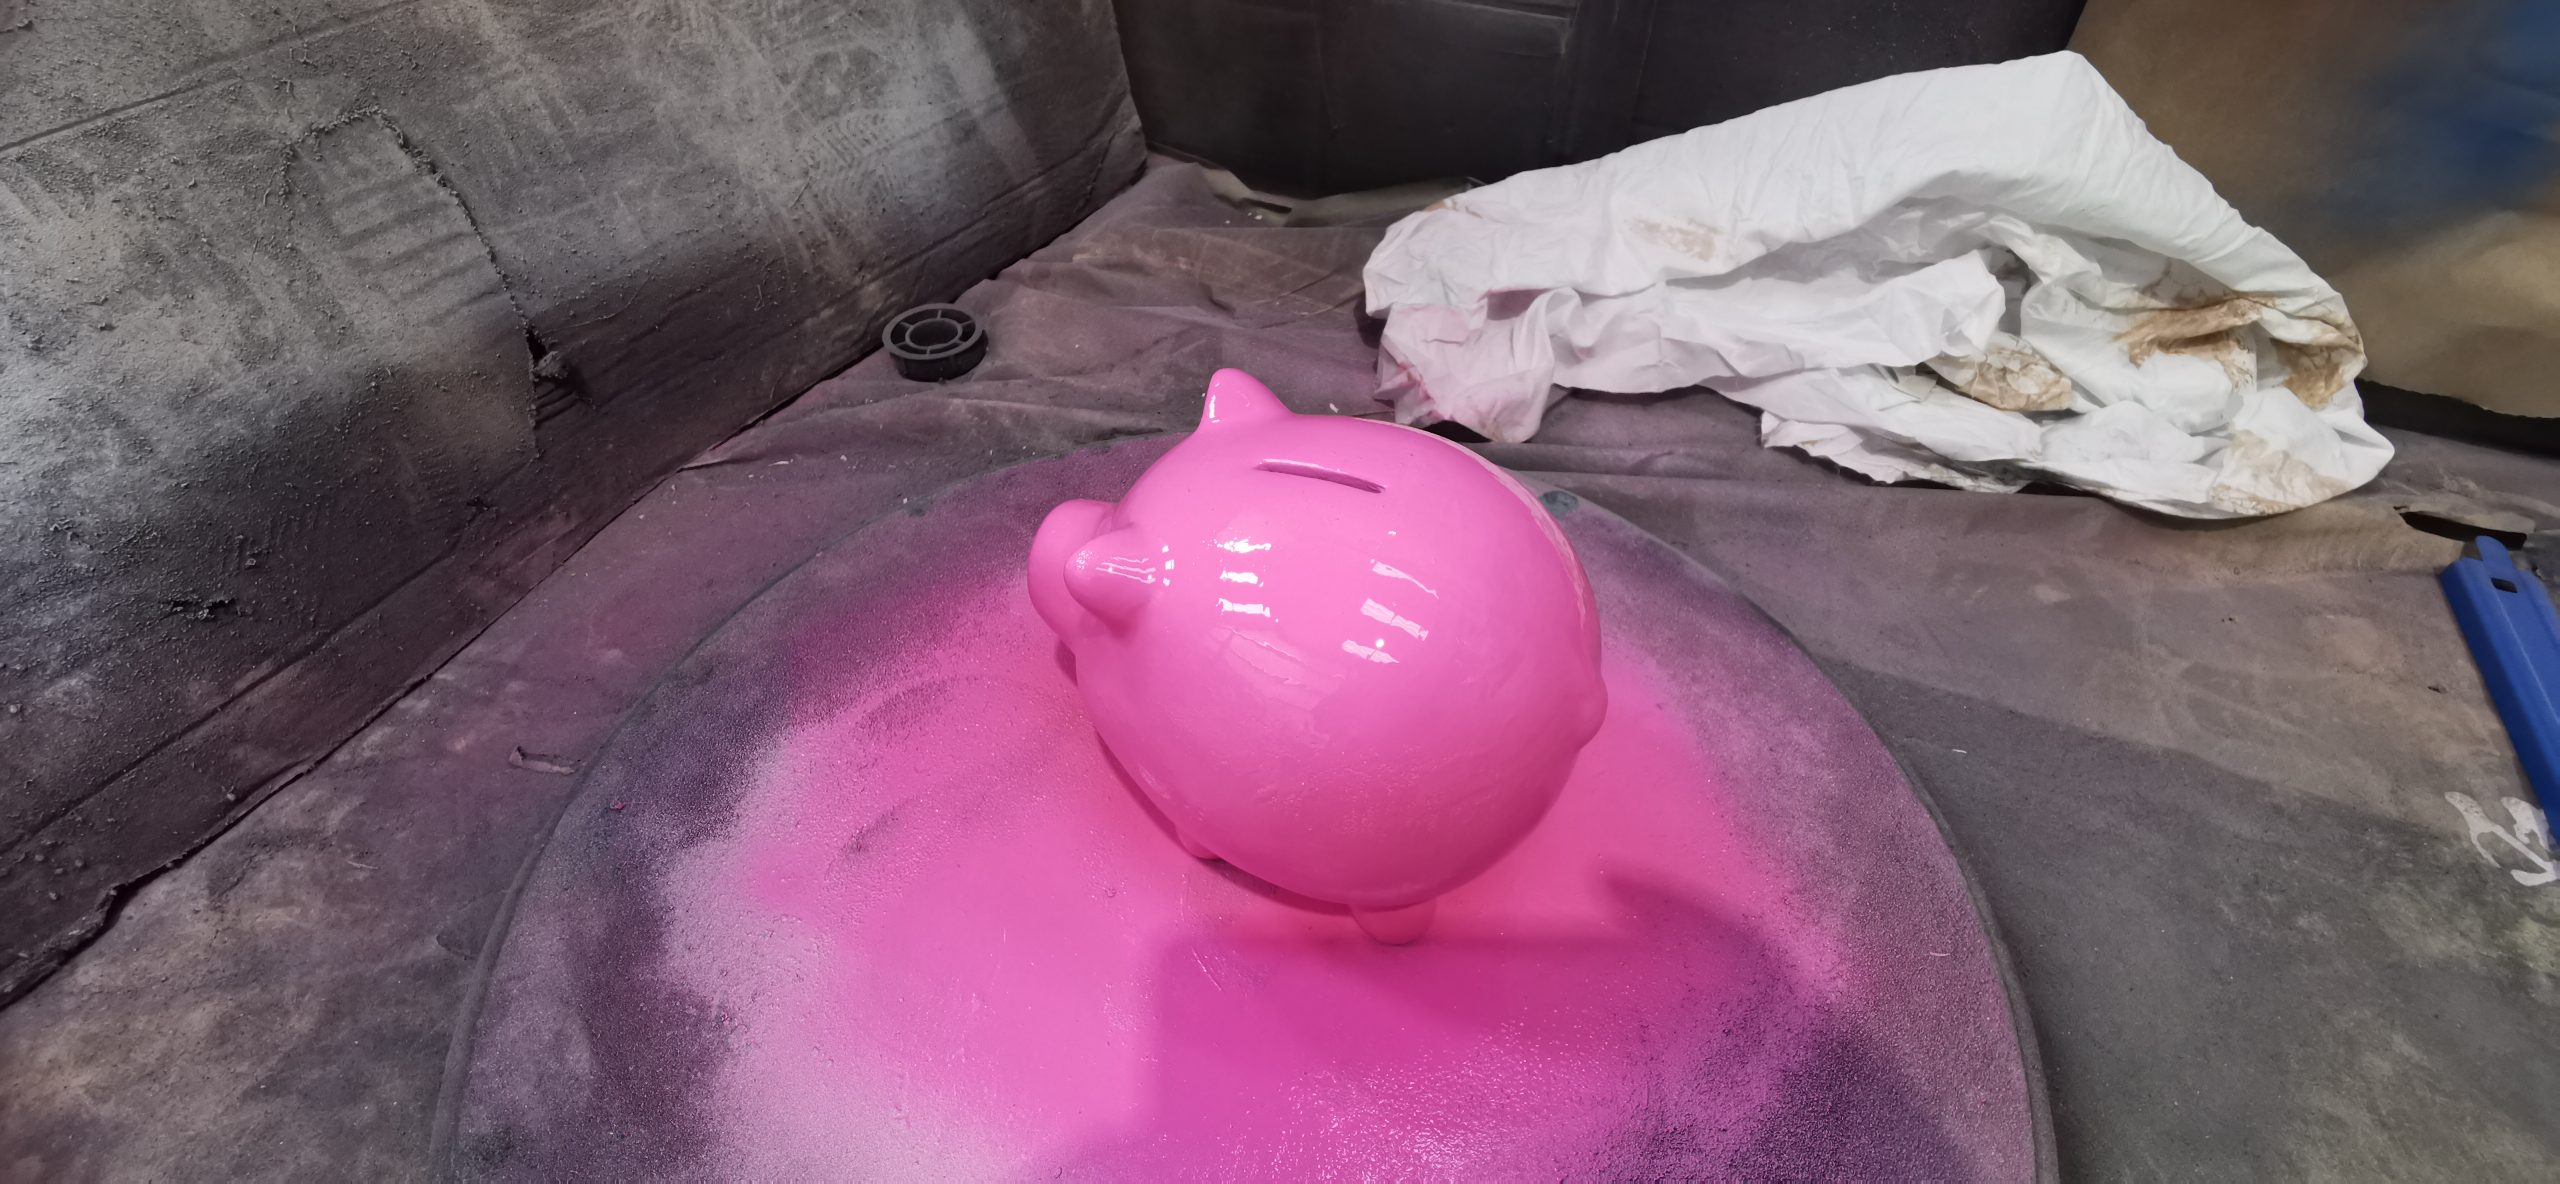
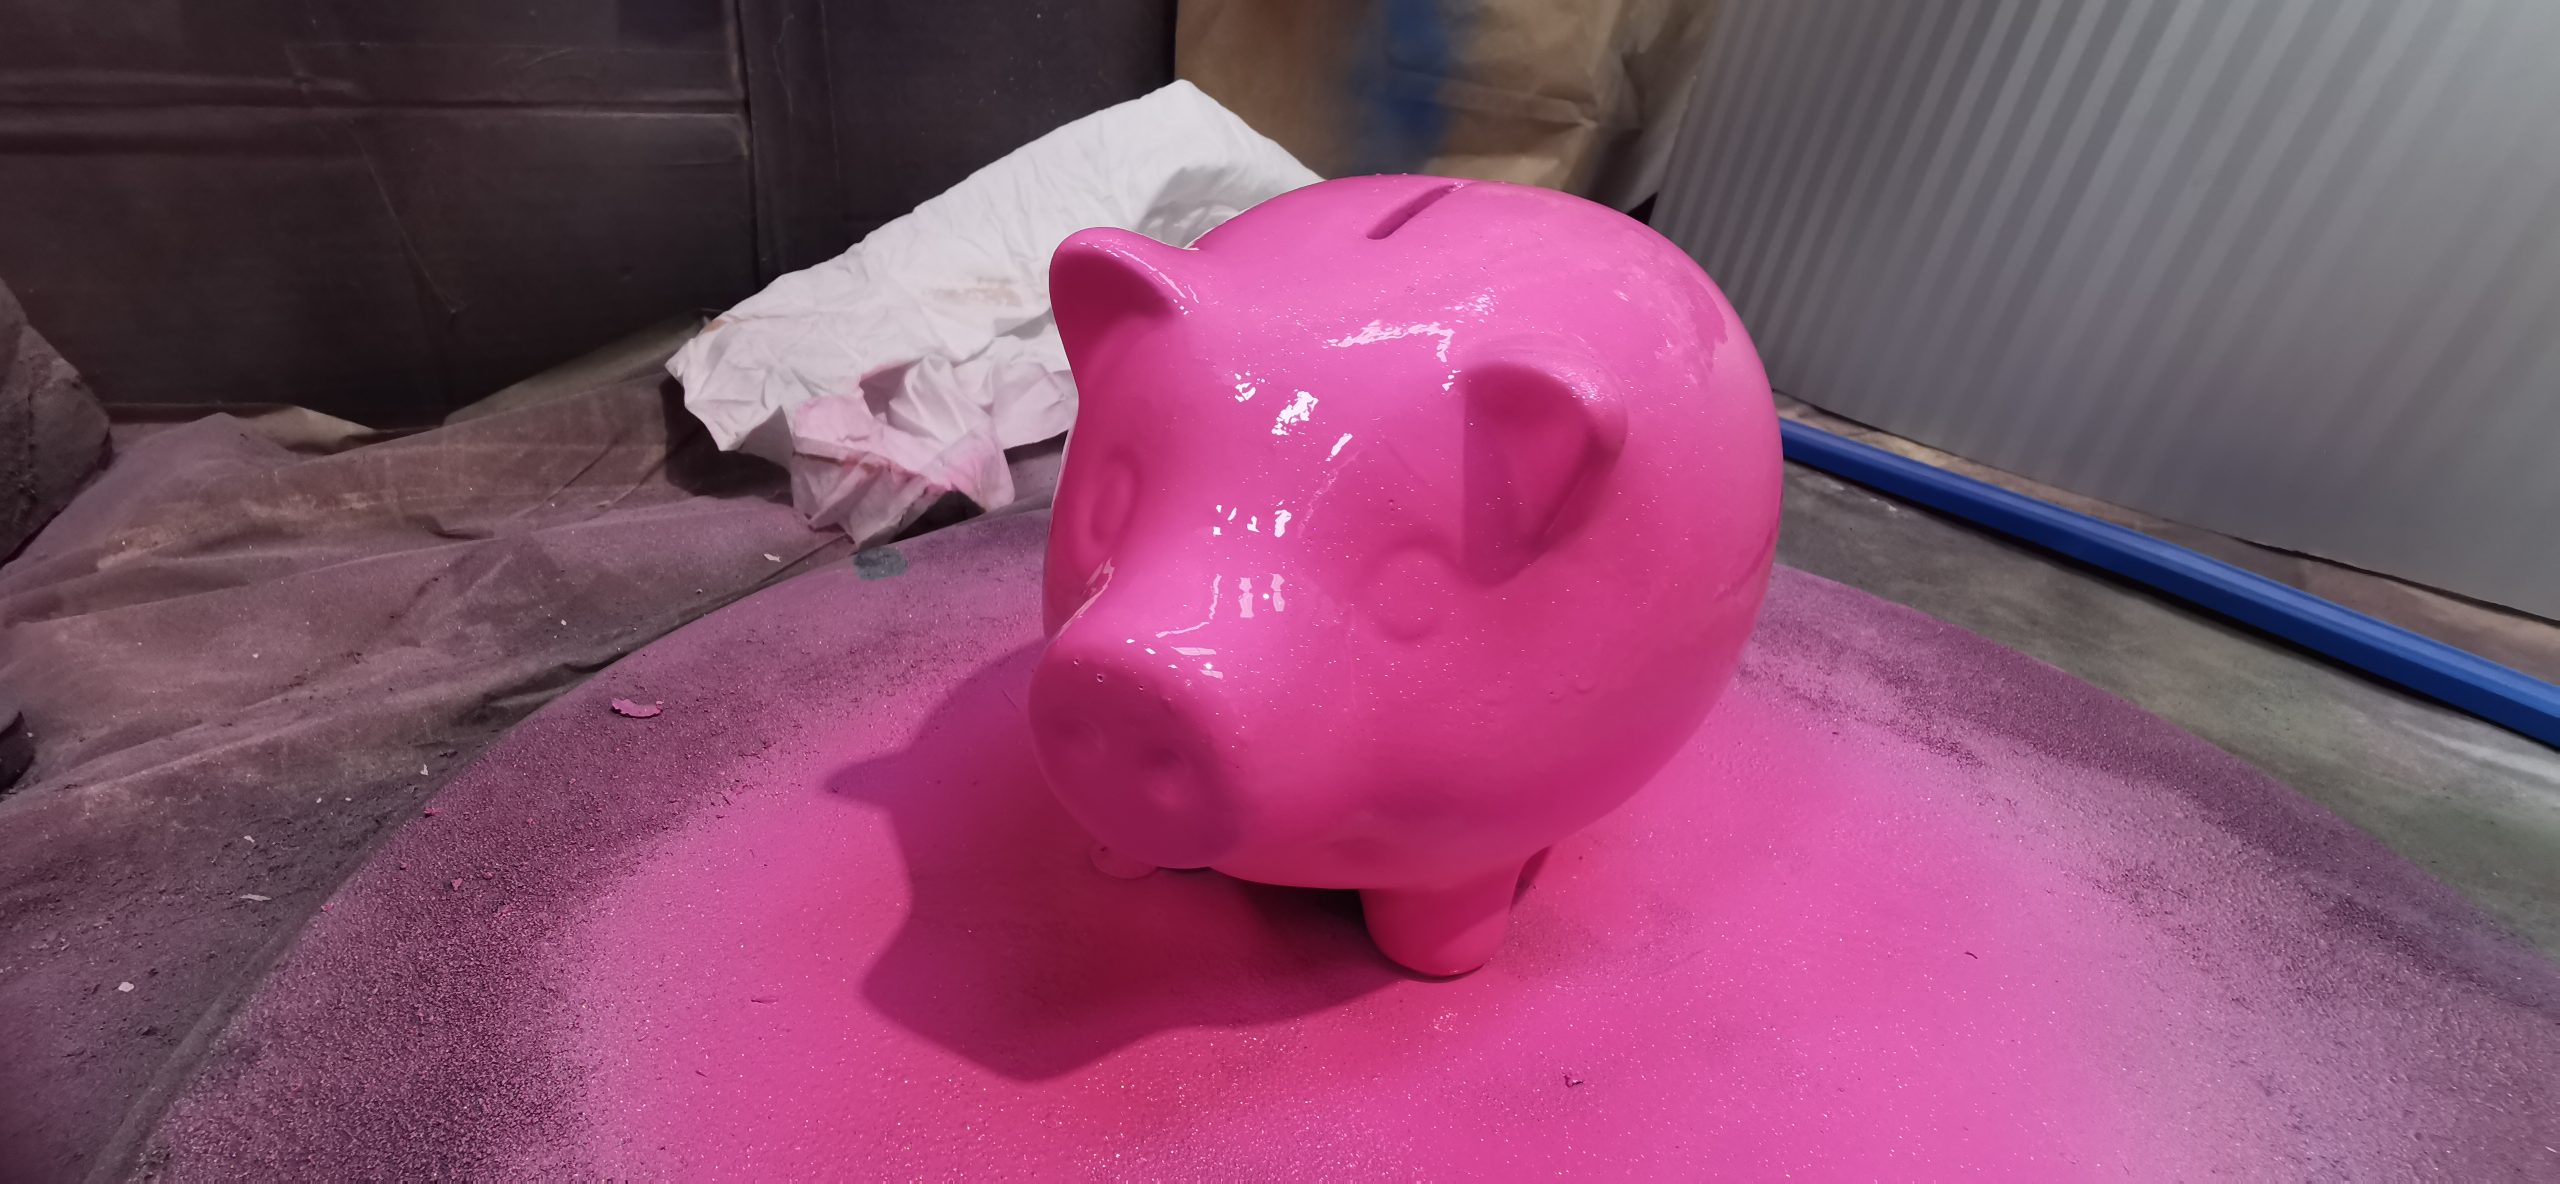
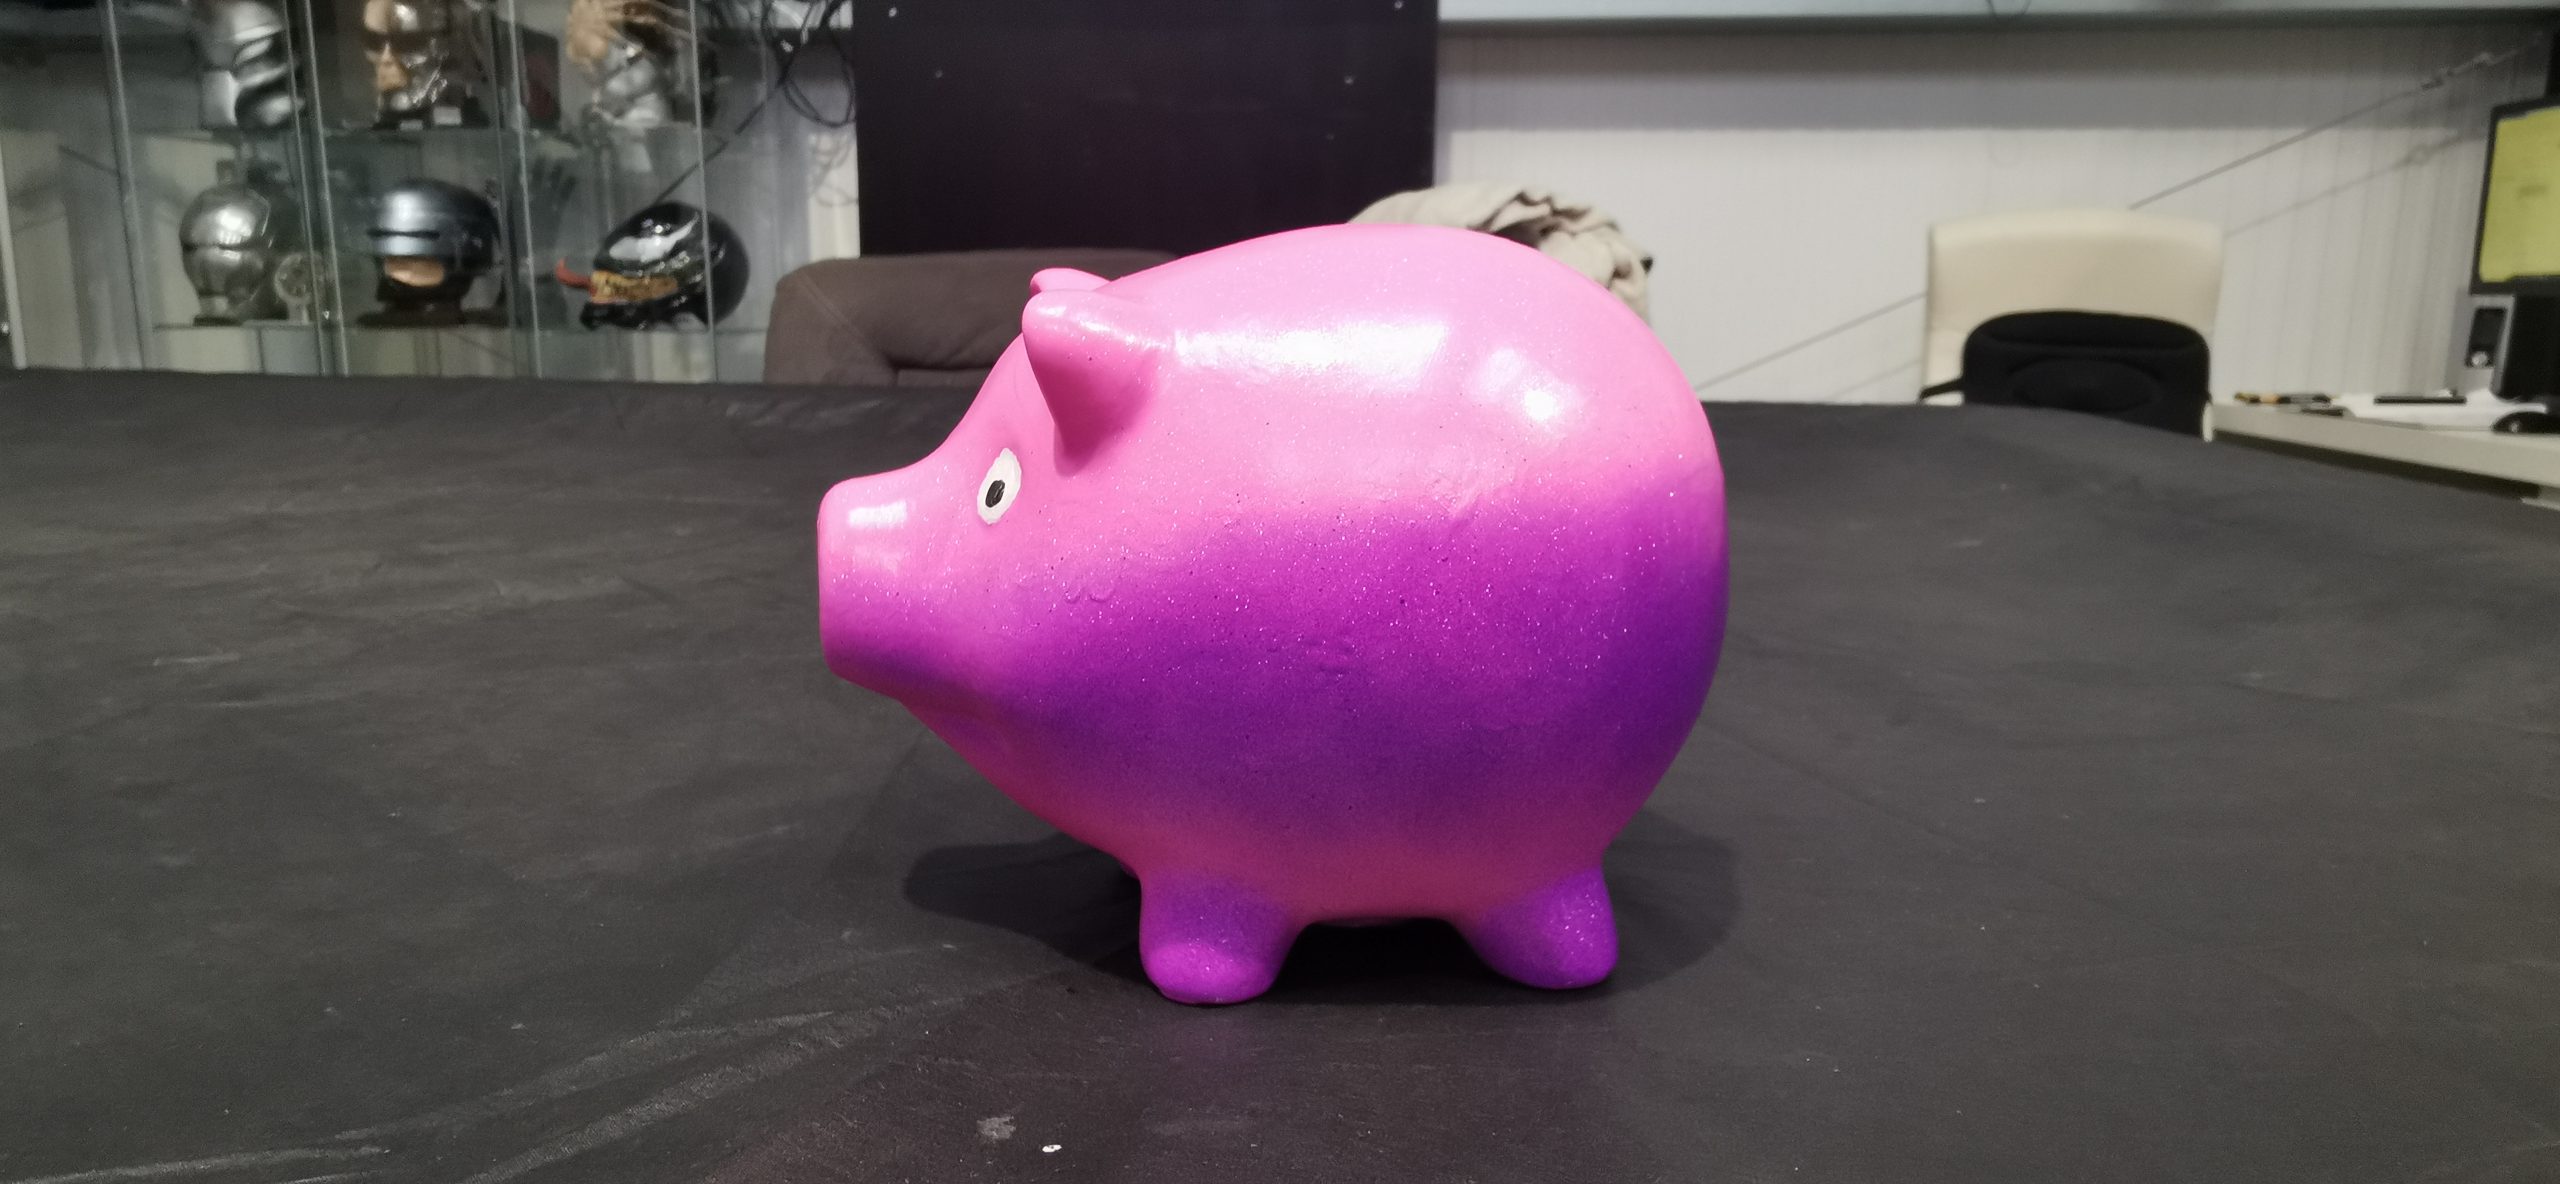
Once the initial primer has been set, the next phase involves the application of the chosen colour. In this instance, a delicate baby pink shade from the Pantone colour range was selected. This shade should cover the entire ceramic figure, serving as the primary colour for the piece. It’s recommended to allow this coat to cure for approximately 30 minutes, ensuring optimal adherence and a solid foundation.
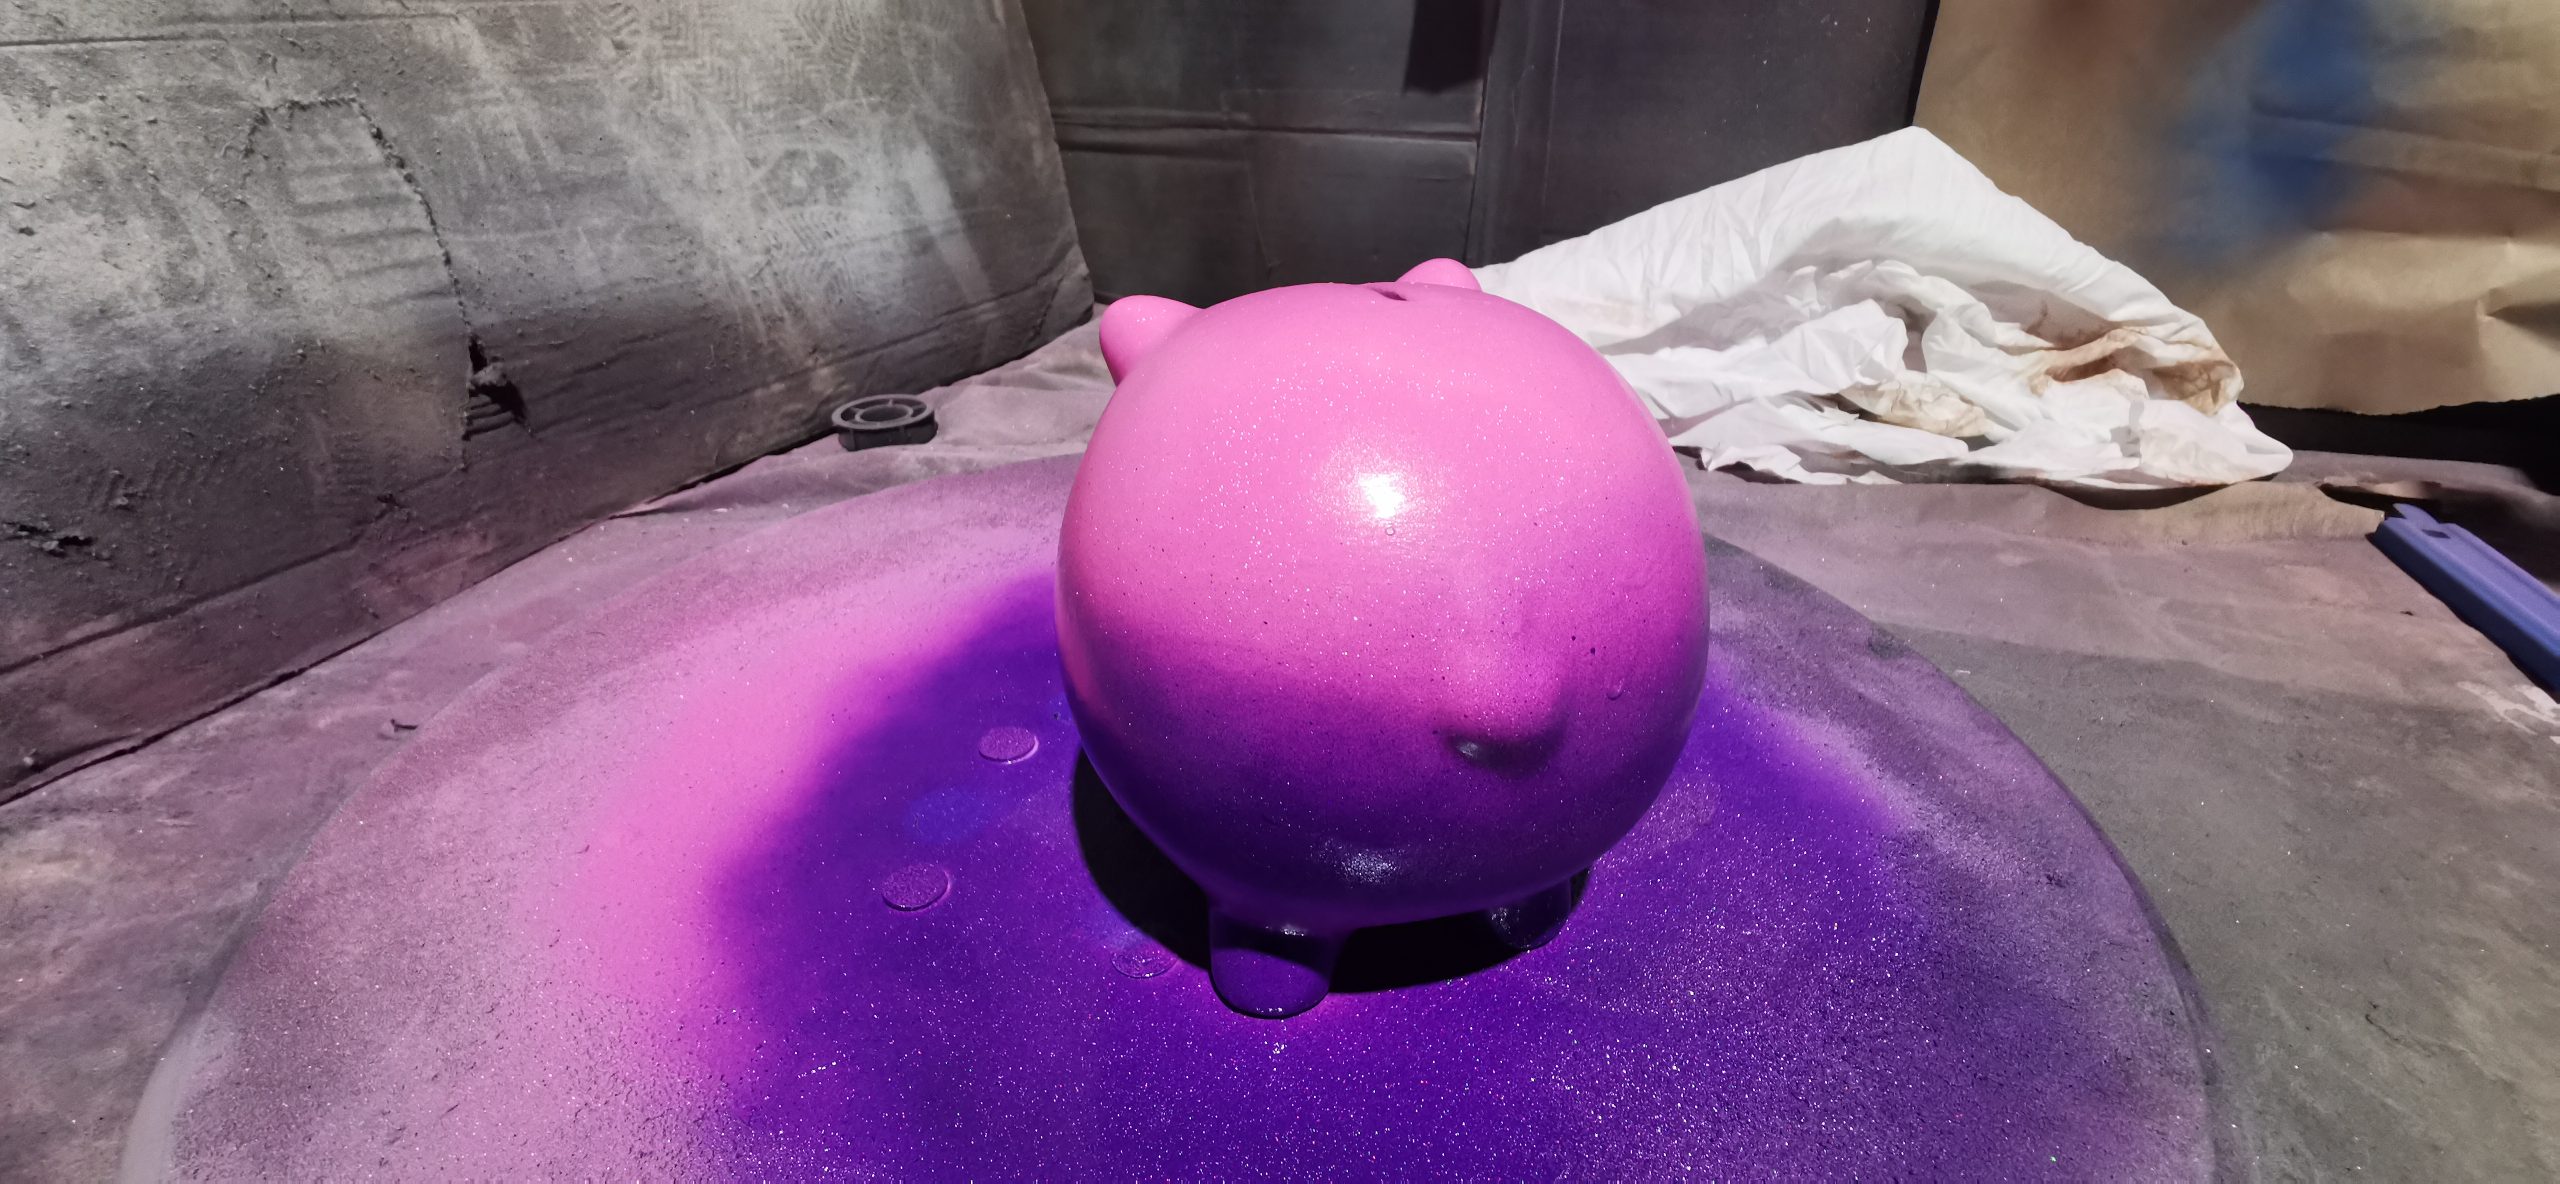
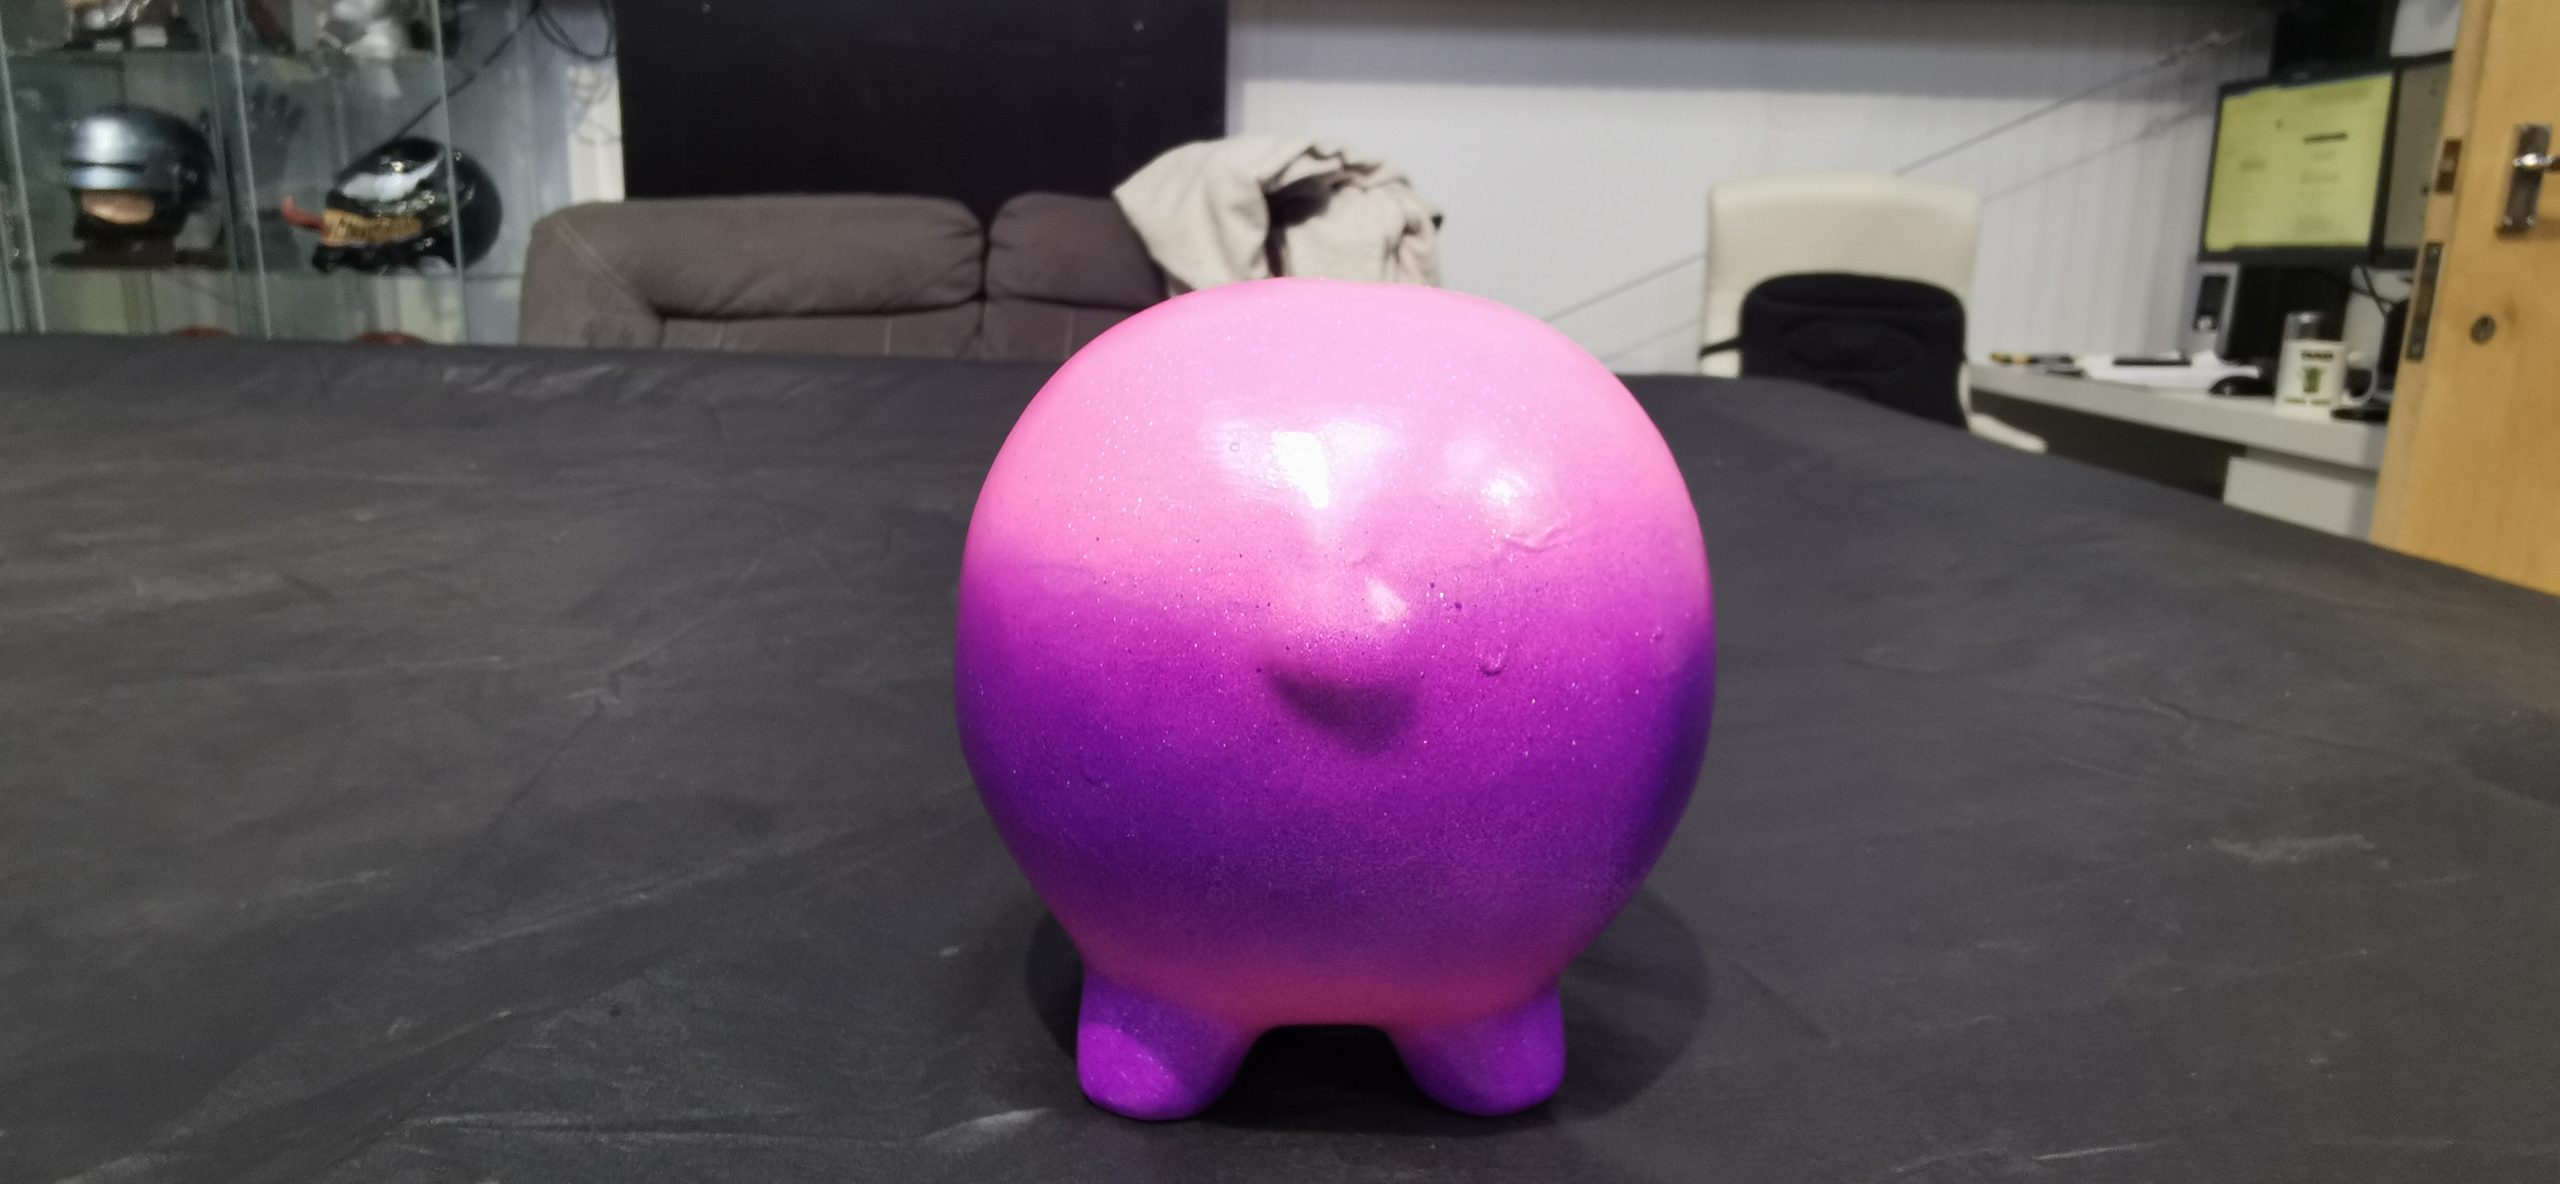
Moving forward, focus on painting the underside of the ceramic figure, where a different shade comes into play. A deep purple hue from the Pantone palette was chosen in this case, allowing for a two-toned effect.
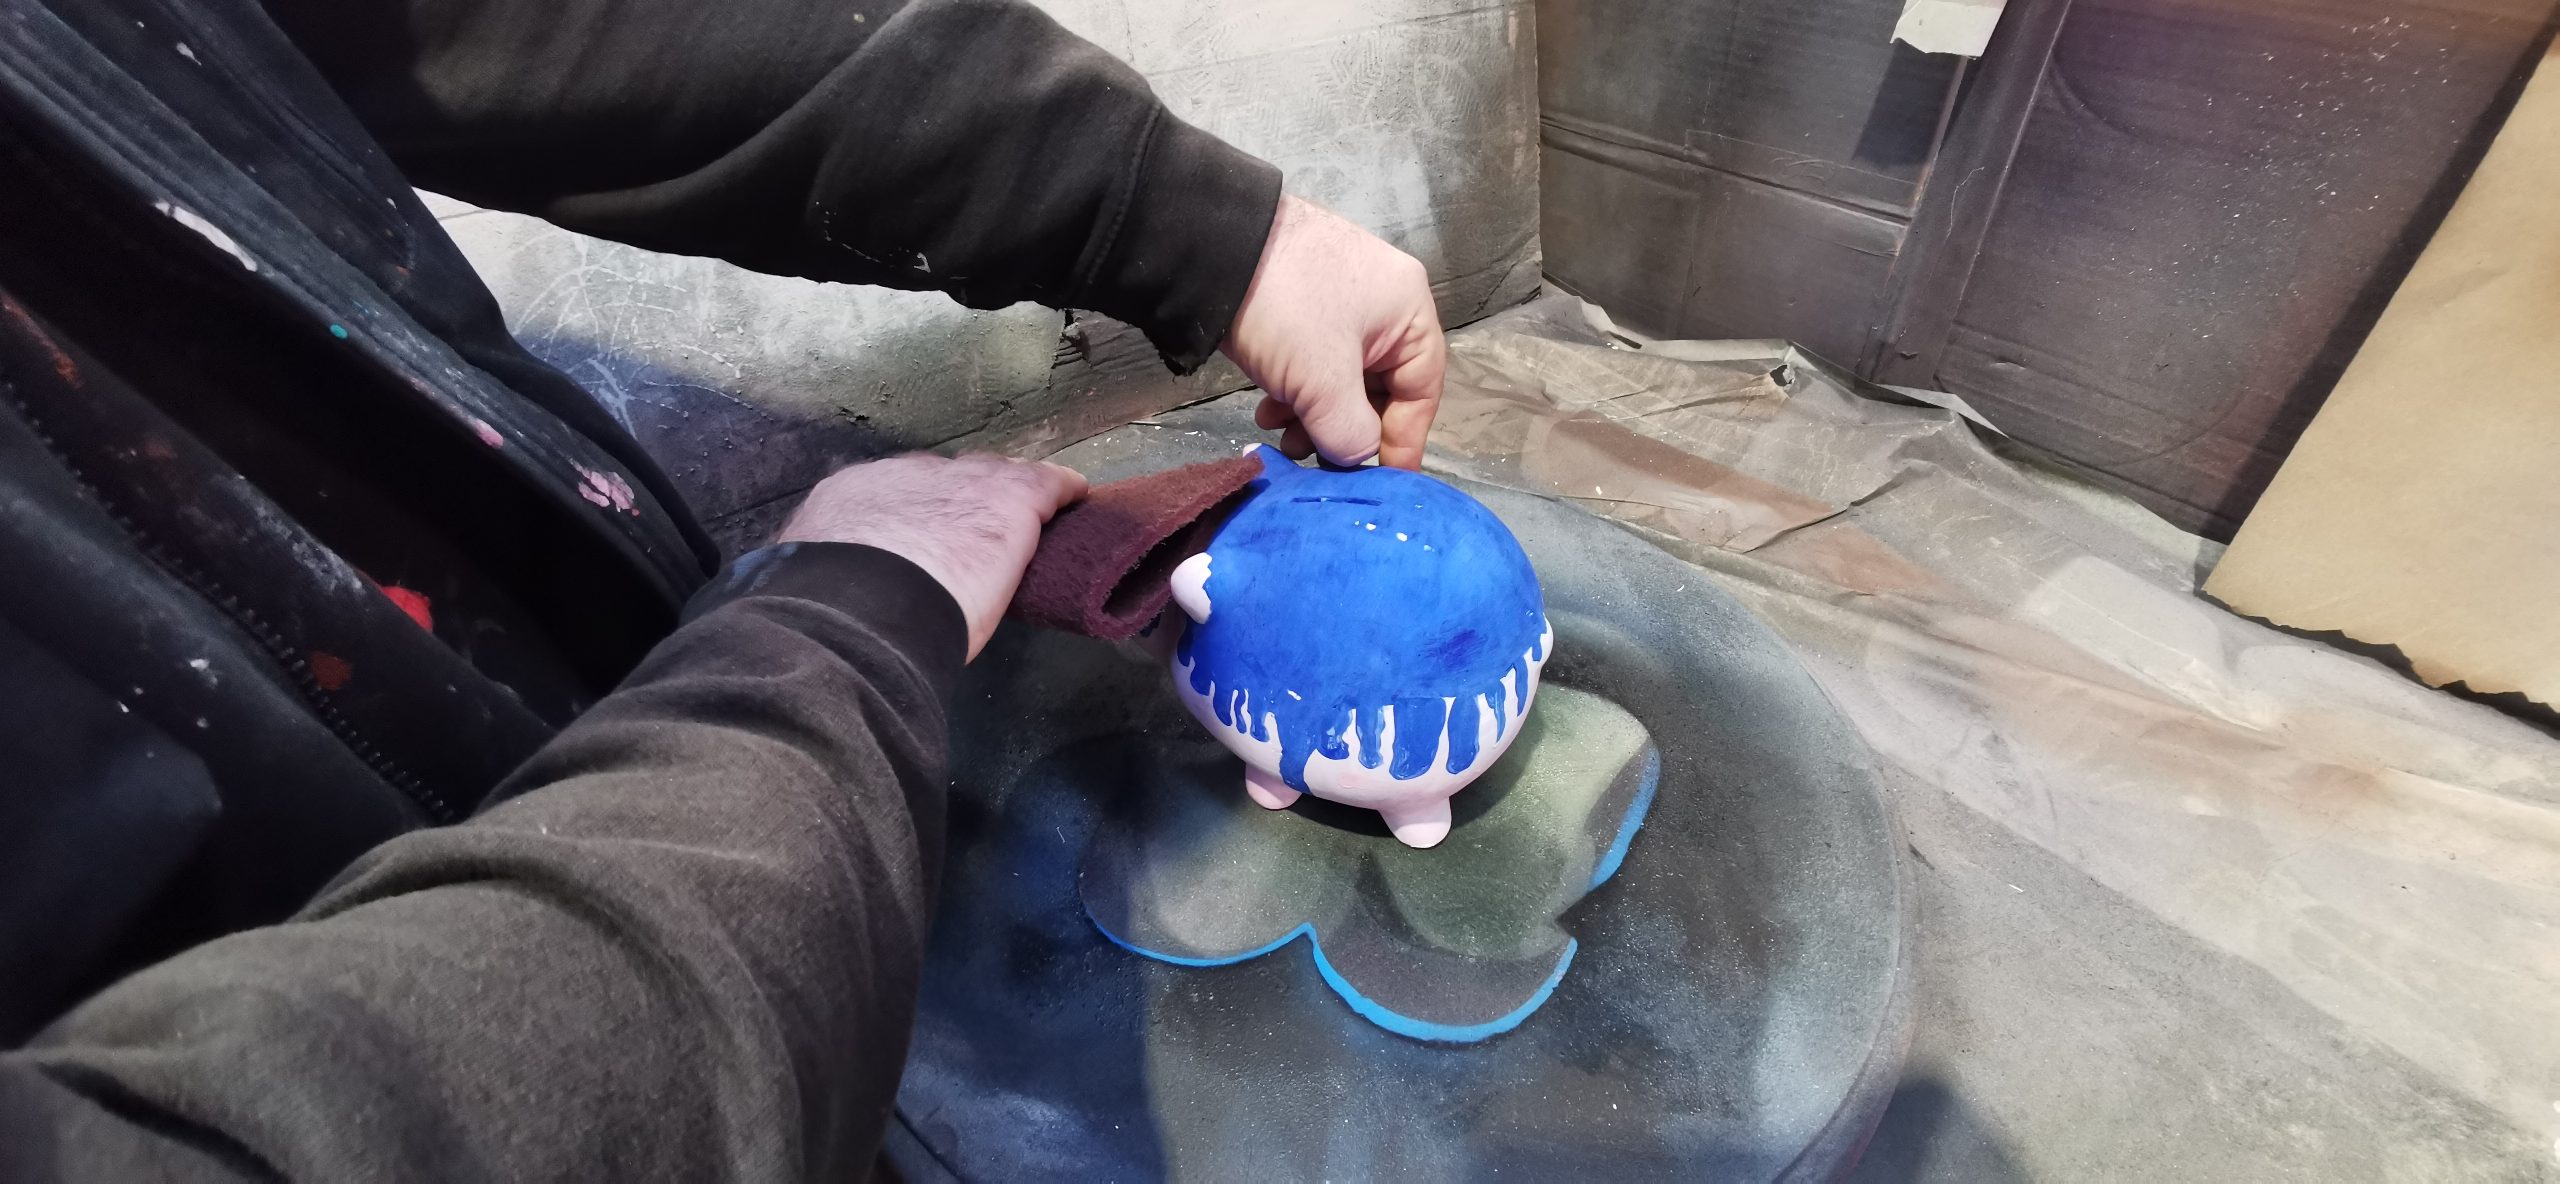
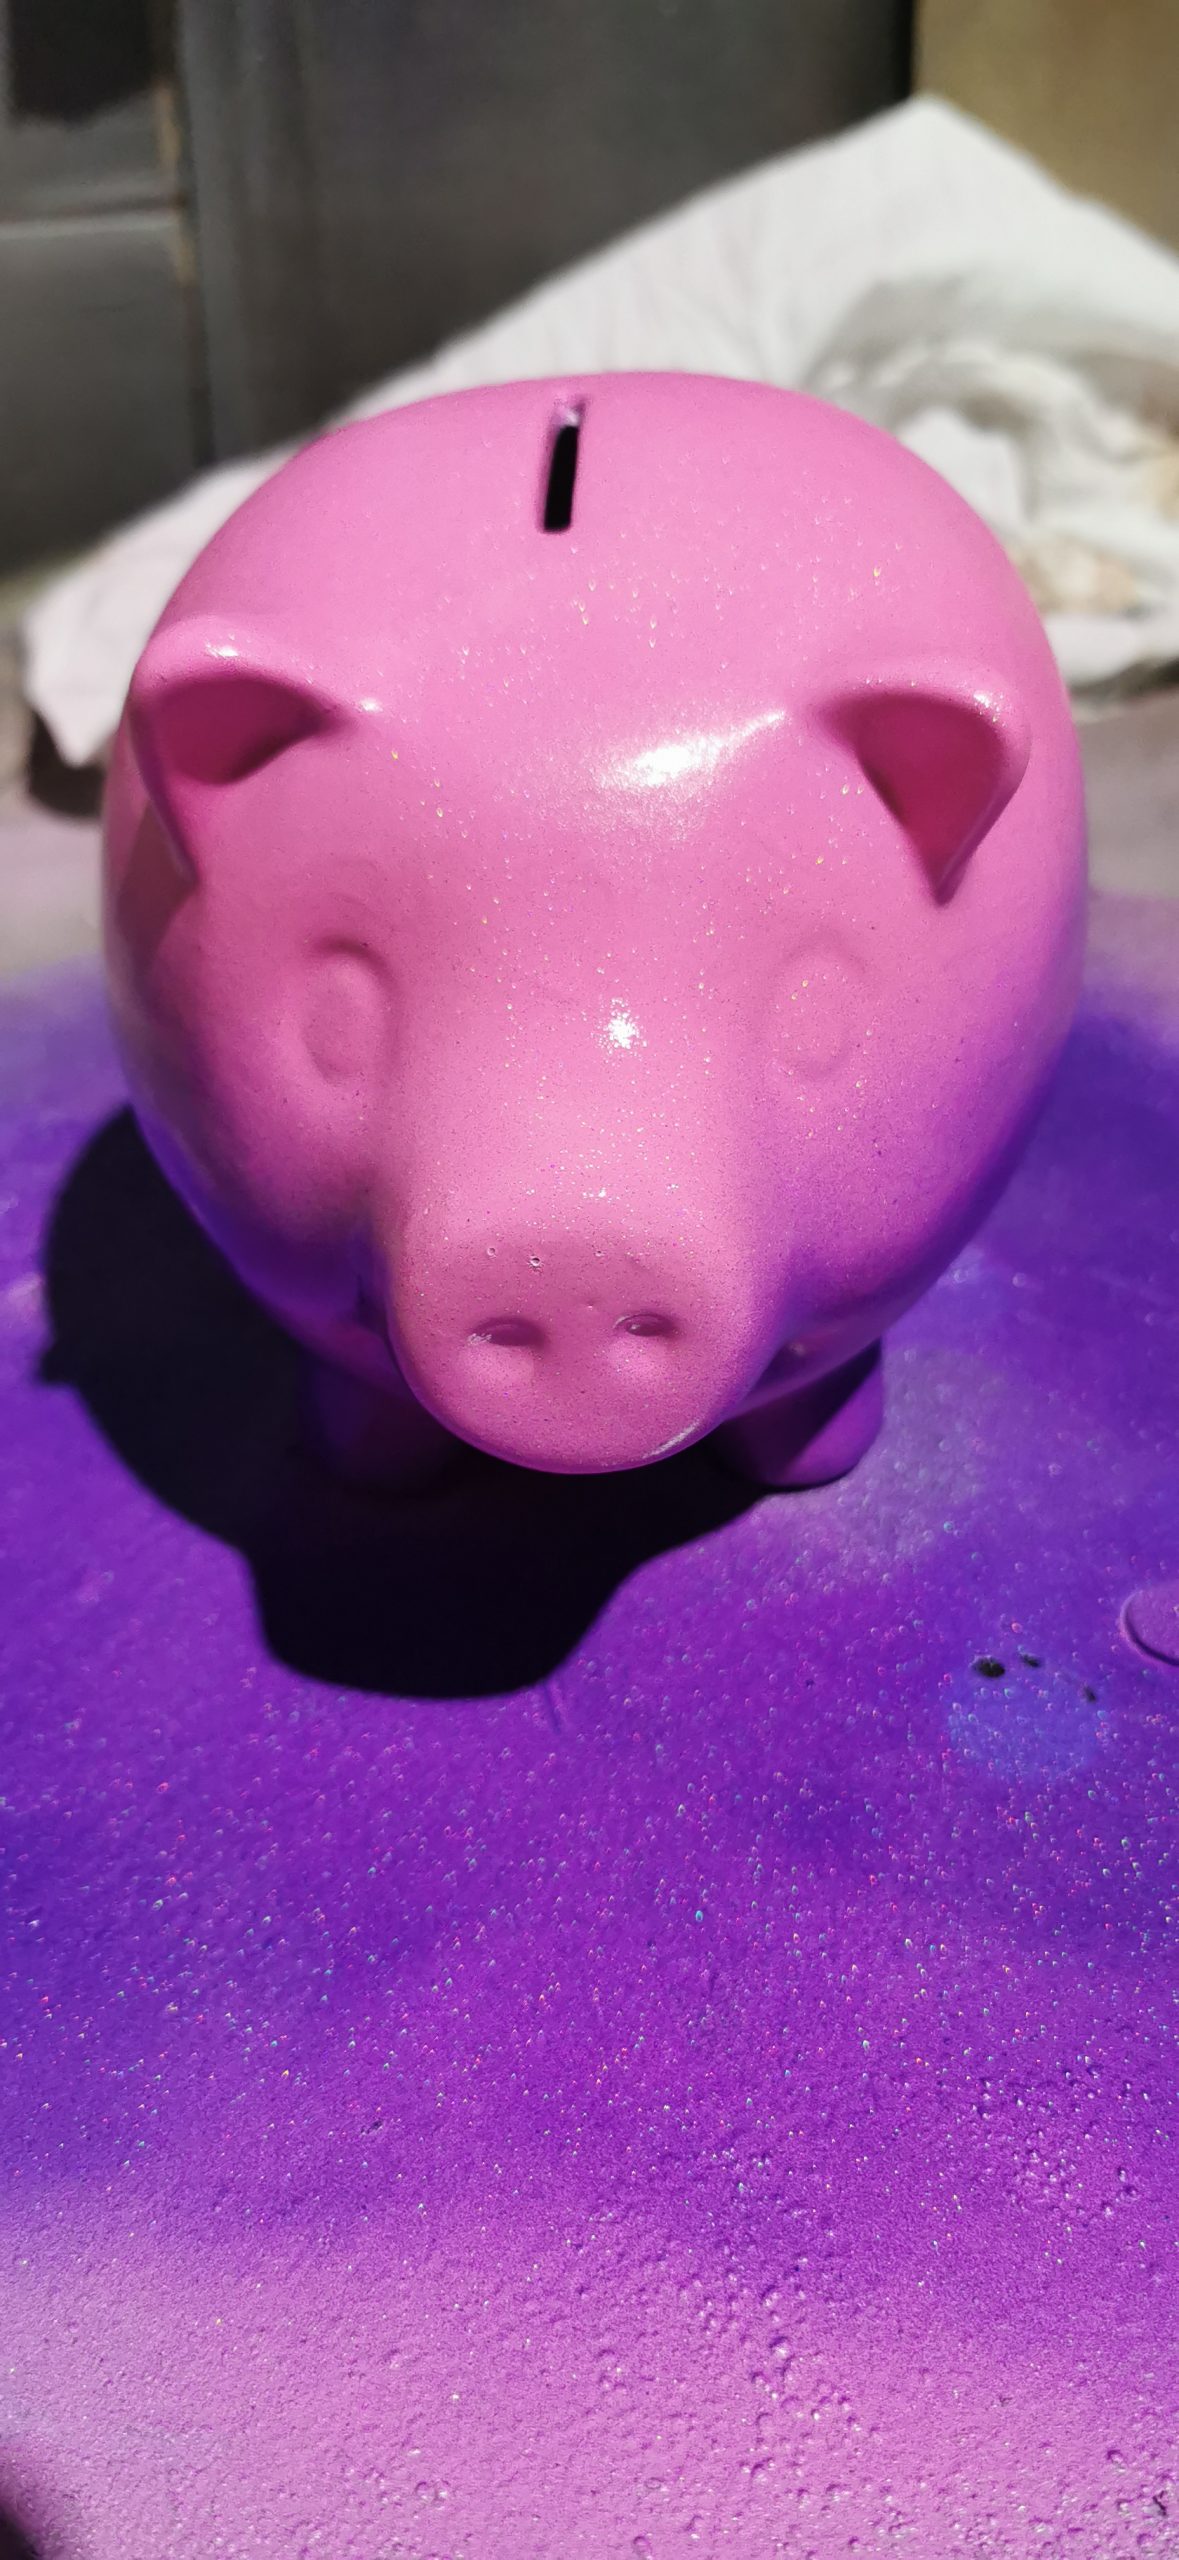
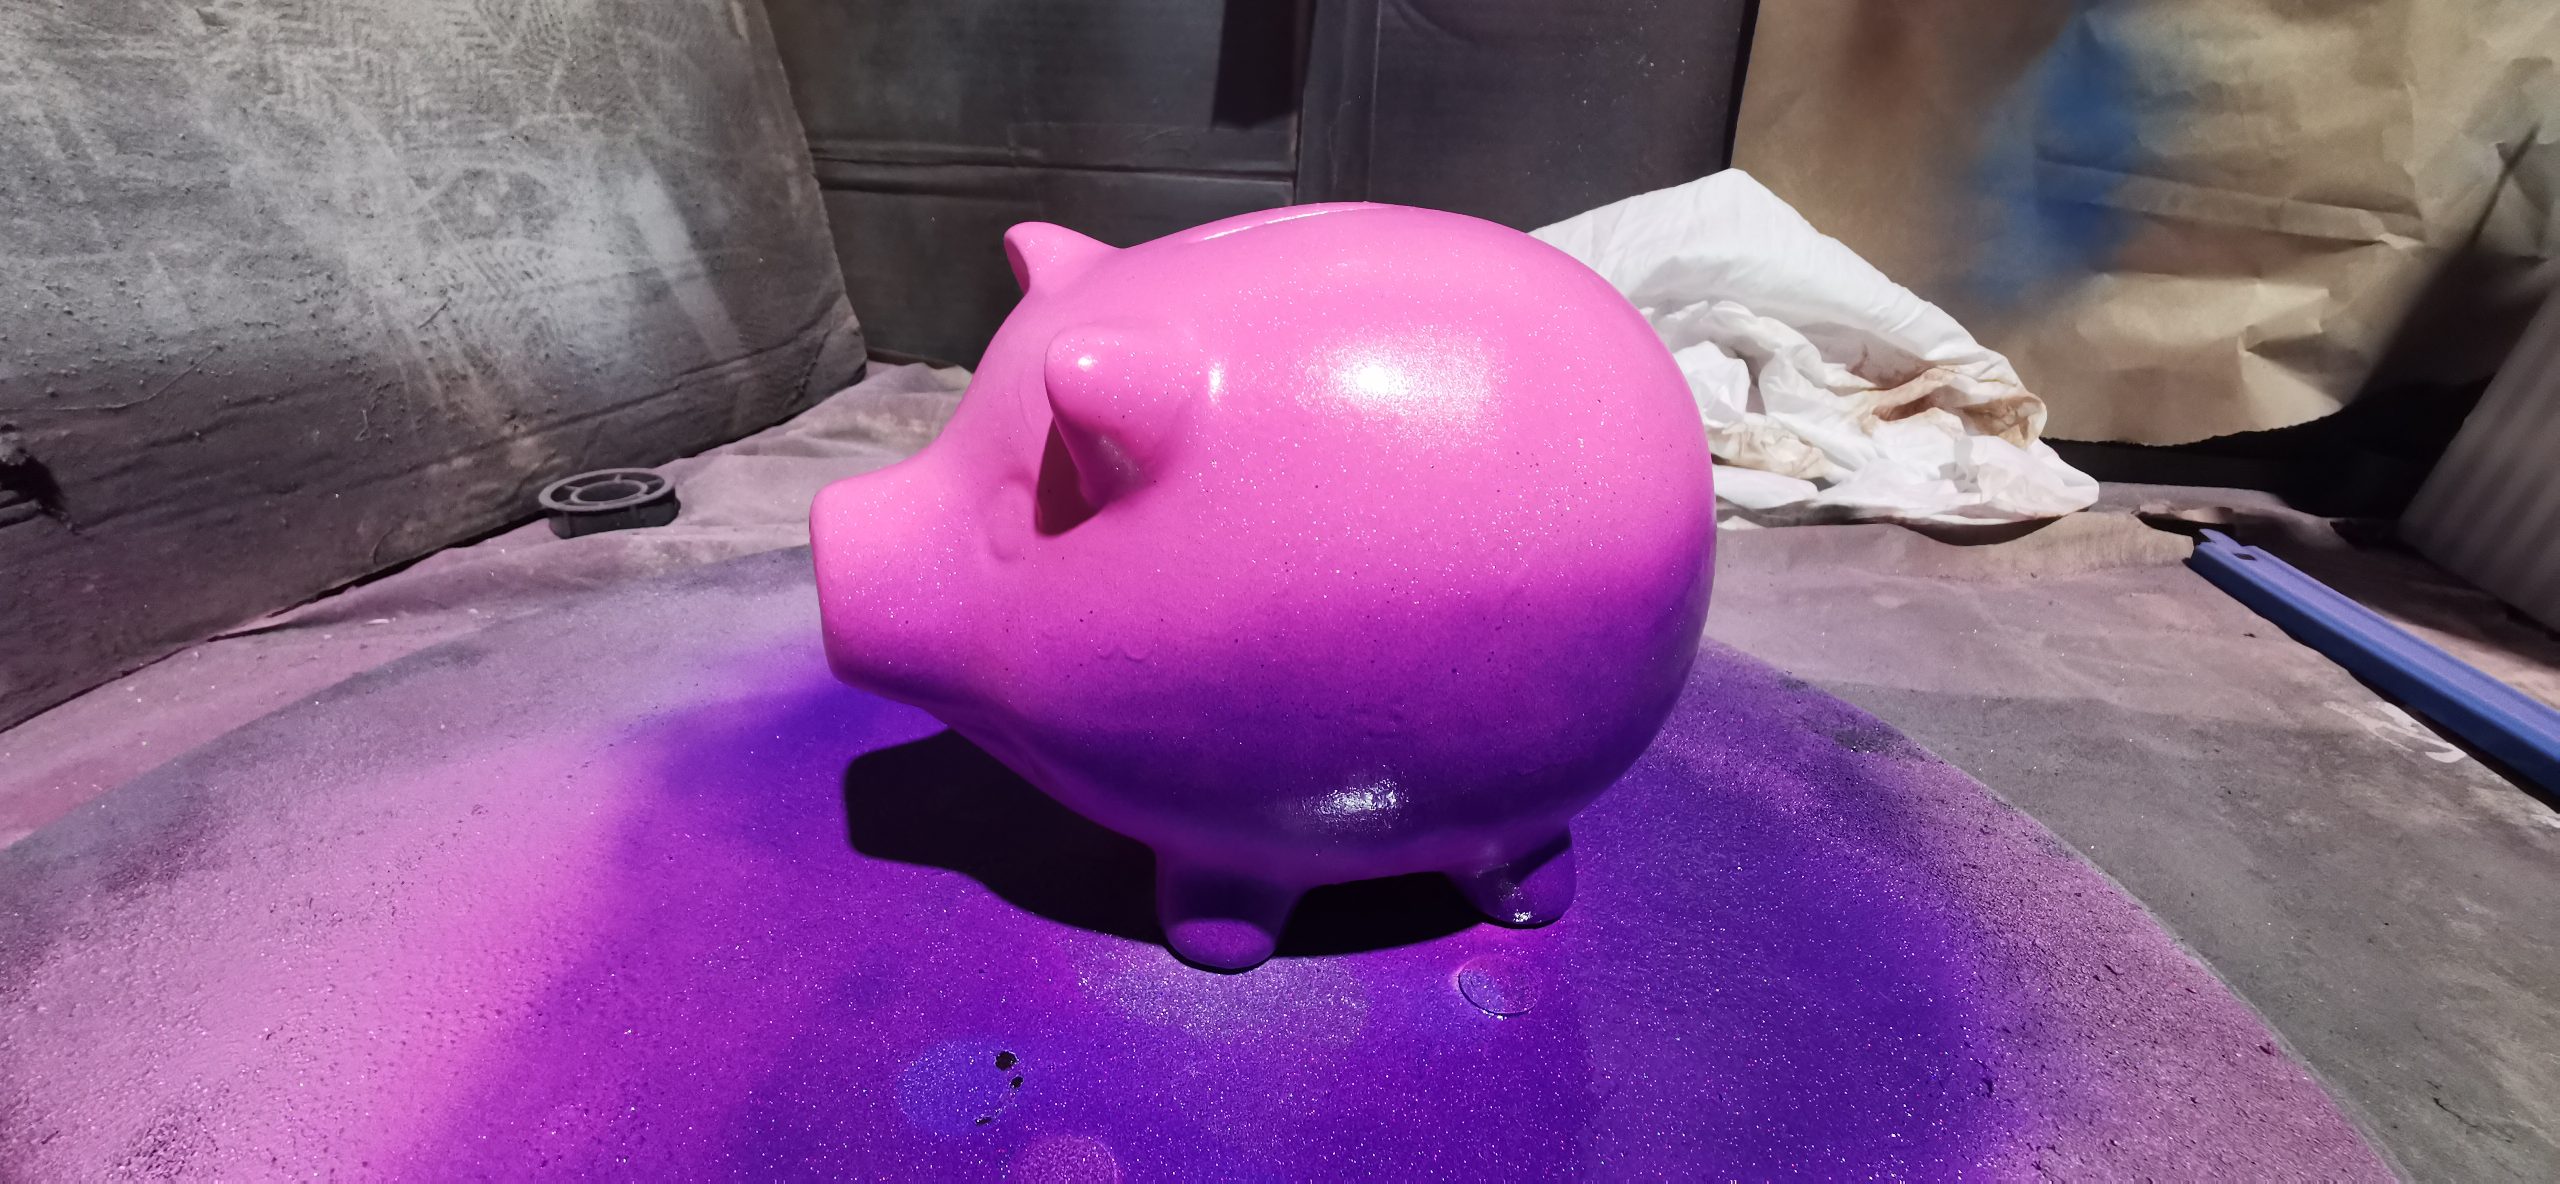
Next, a hologram effect paint was applied to give a touch of flair to the ceramic pig. This step provides the figure with a playful and eye-catching element, enhancing the piece’s visual appeal.
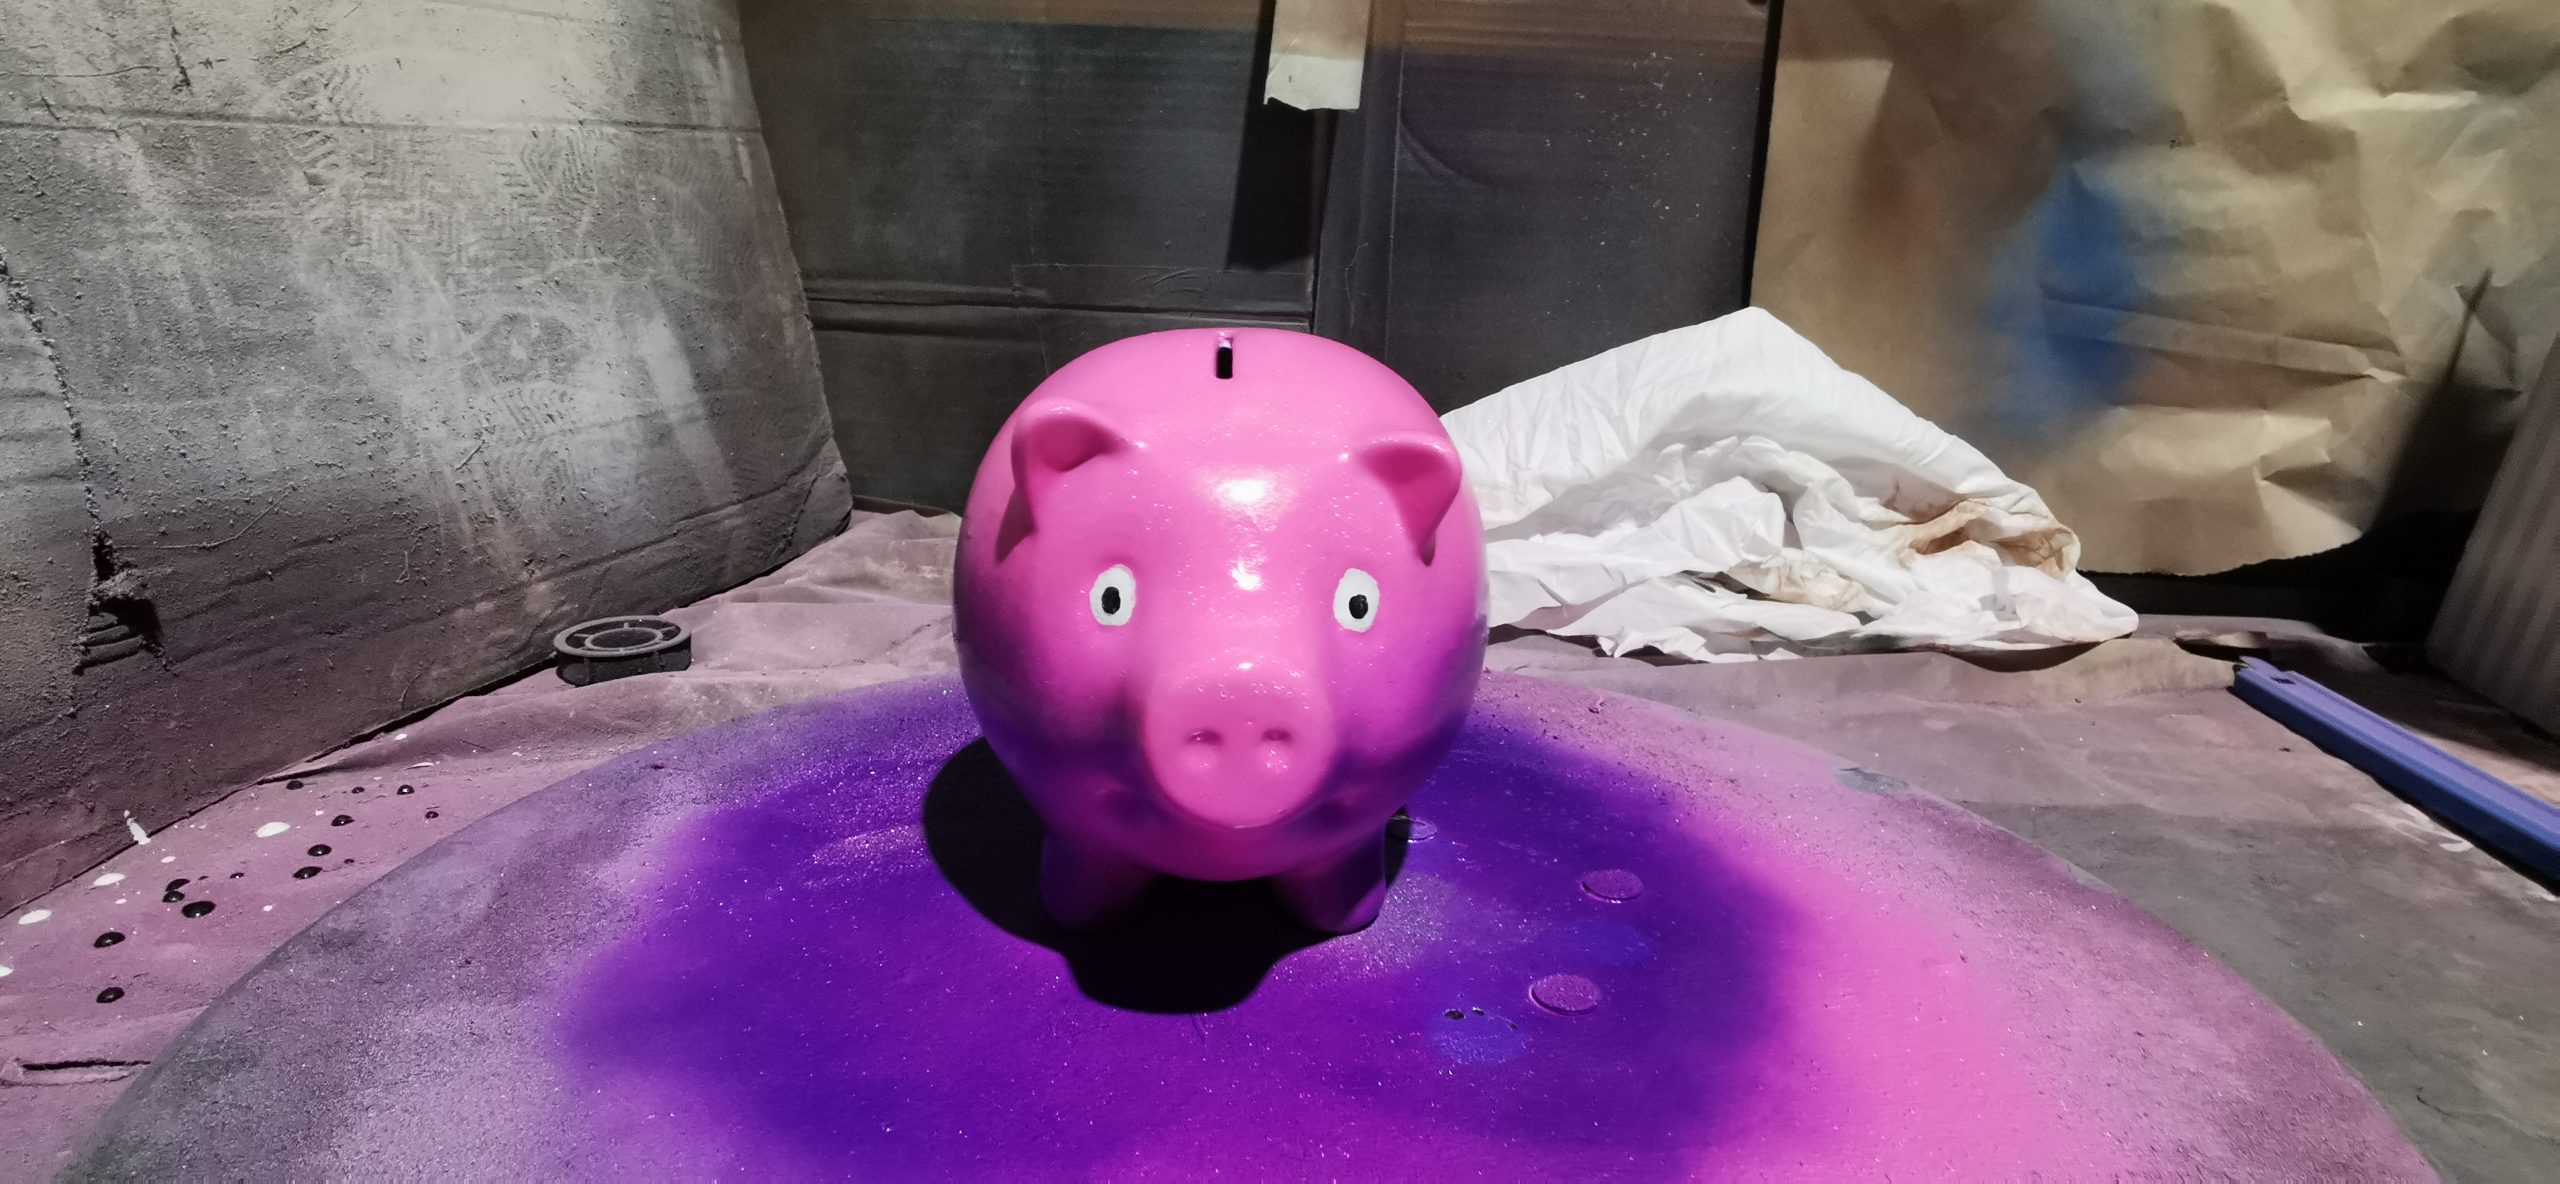
Lastly, carefully approach the finer details, using the white high-build primer and black paint and spraying a small quantity into the aerosol lid. With precision and attention to detail, use a small, thin brush to paint the eyes and other elements onto the ceramic pig or figure.
Top Coat:
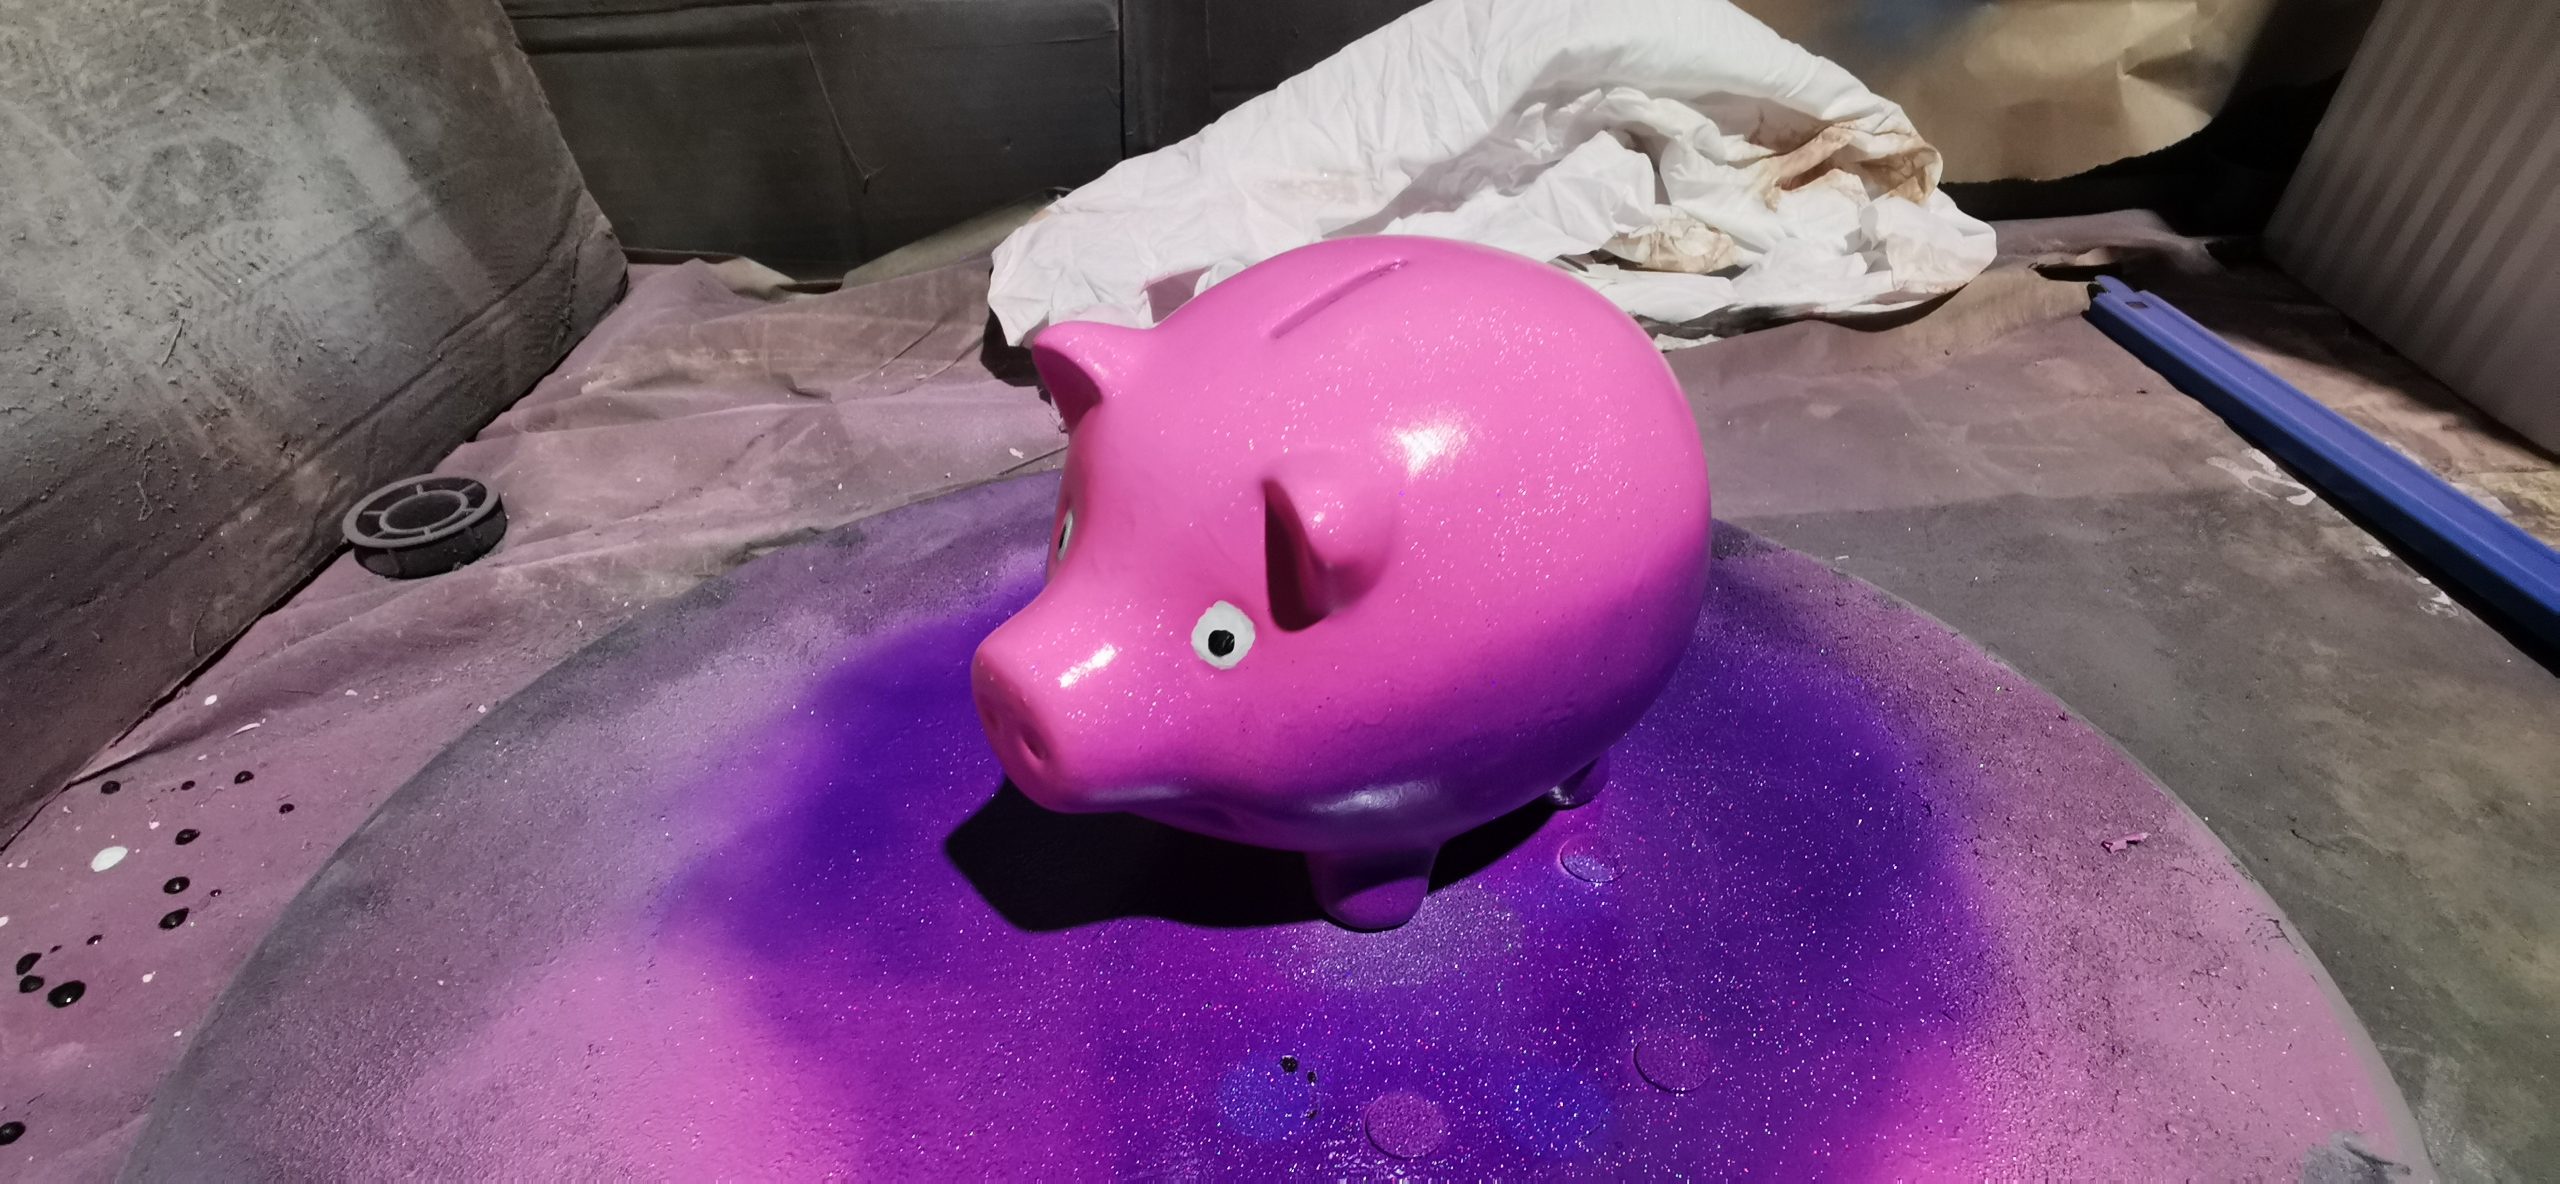
When approaching the project’s final stages, move onto both preserving the colour and details whilst also enhancing its visual impact. To achieve these goals, apply a 2K gloss lacquer layer over the entire ceramic pig. While a 1K gloss lacquer is an option, we always aim for a top-tier finish, and thus, we recommend opting for the 2K version. This lacquer served a dual purpose: safeguarding the painted surface and adding depth to the colours.
Final Word:
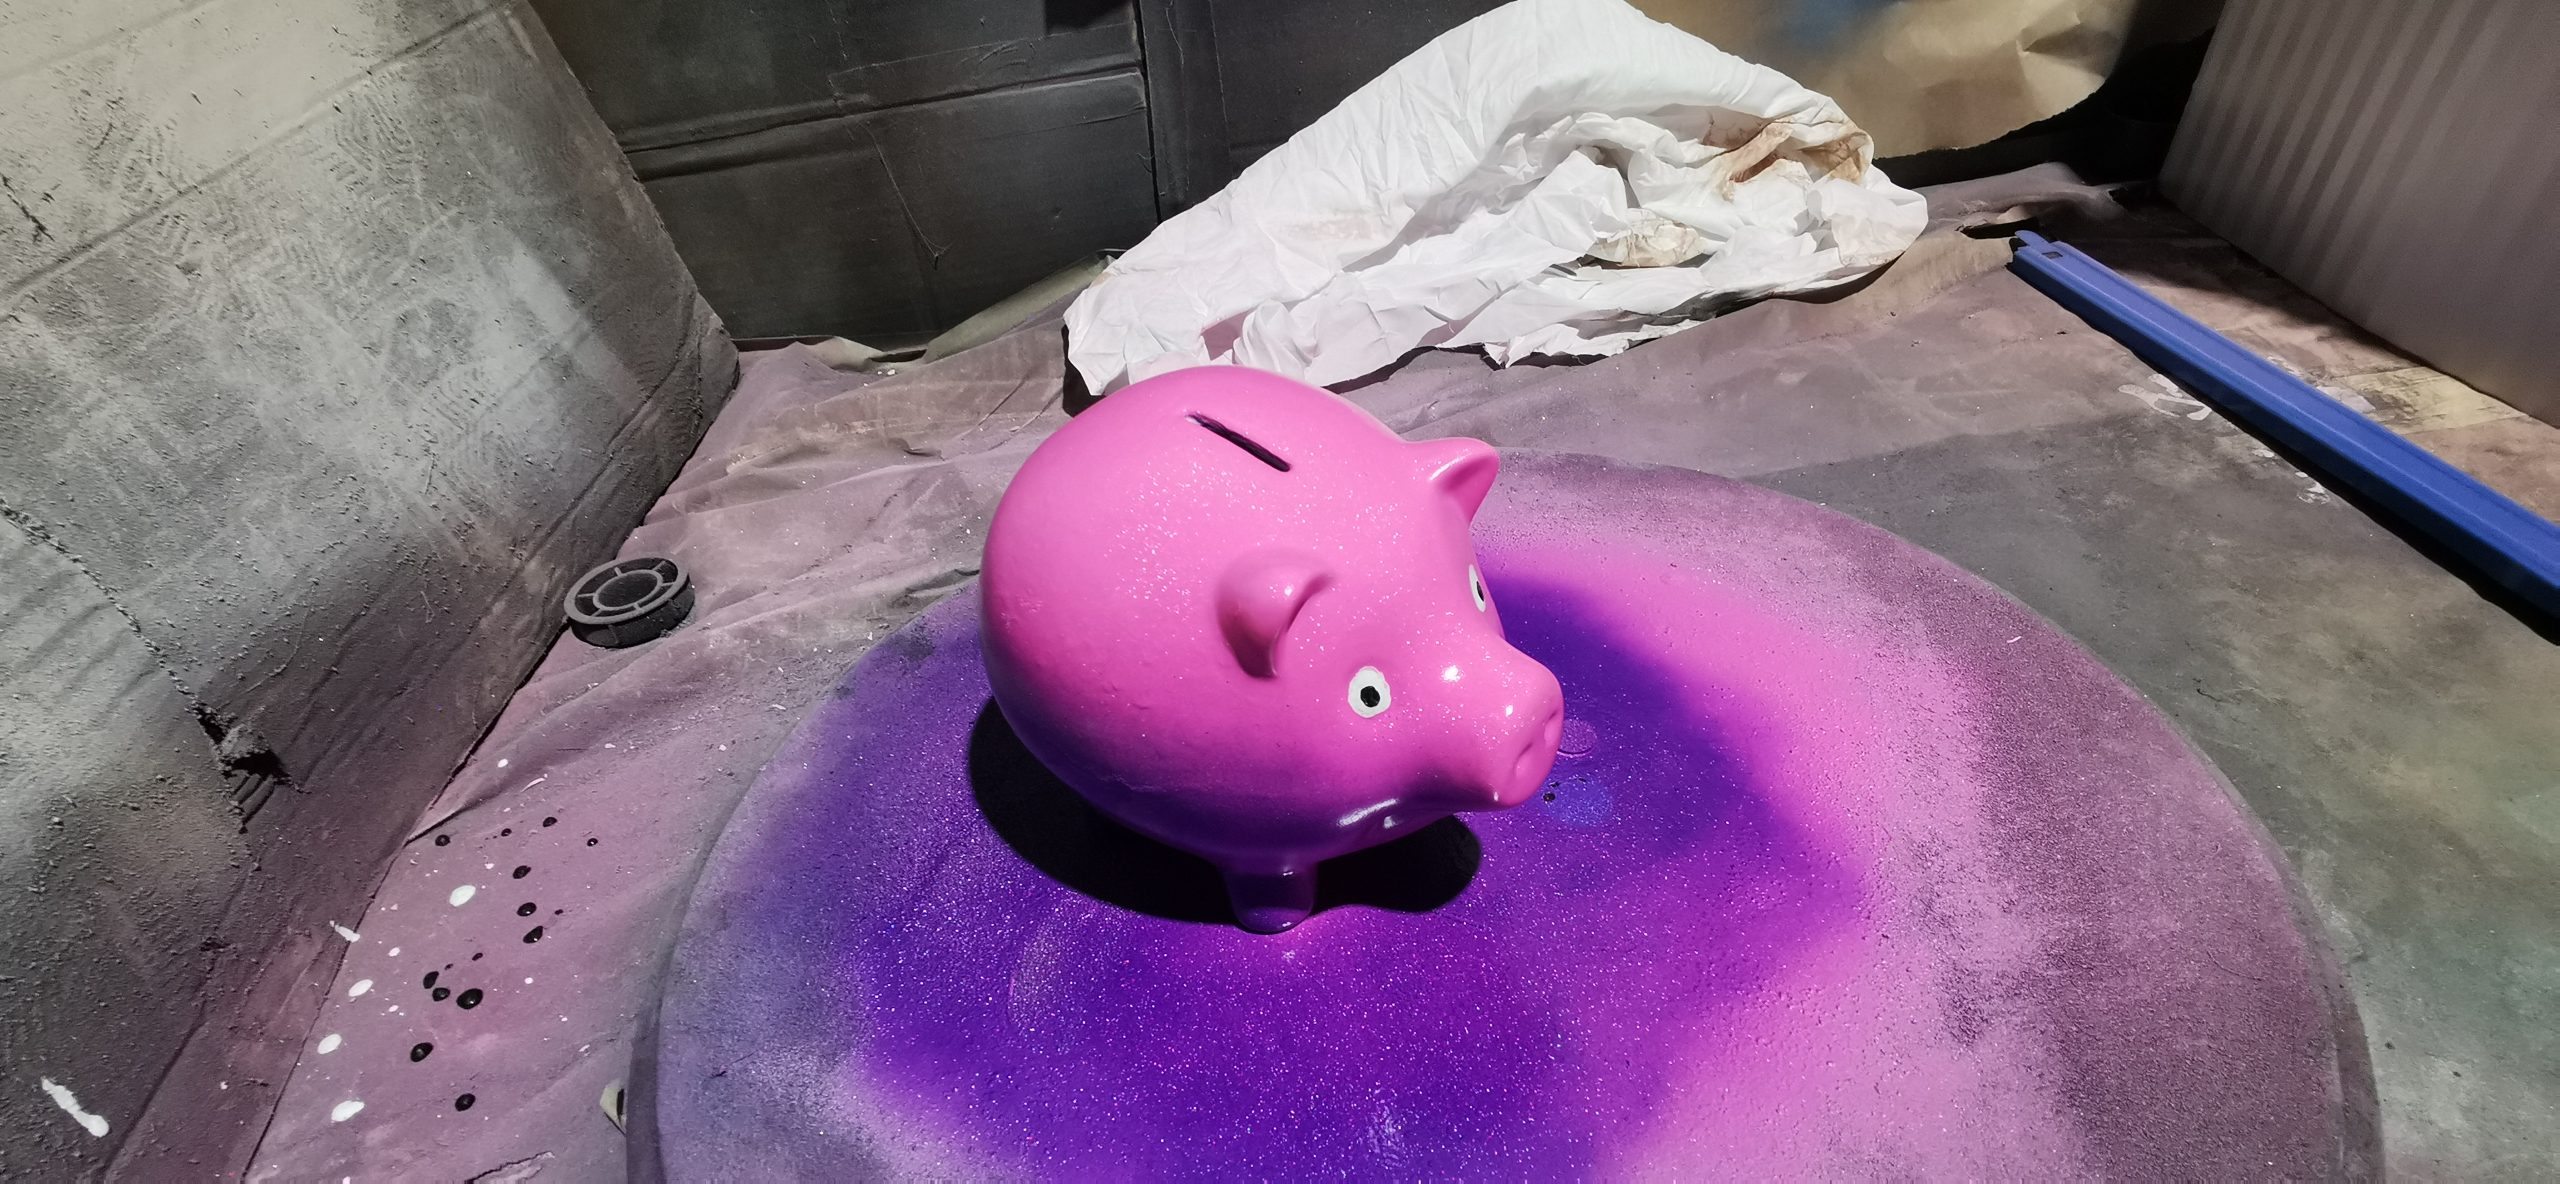
Ultimately, this was a really easy project, and anyone with any such items at home that could do with a bit of magic should have a go. We were really happy with the outcome, and so was my daughter, although in the end, it did not contribute towards her saving more money in it!