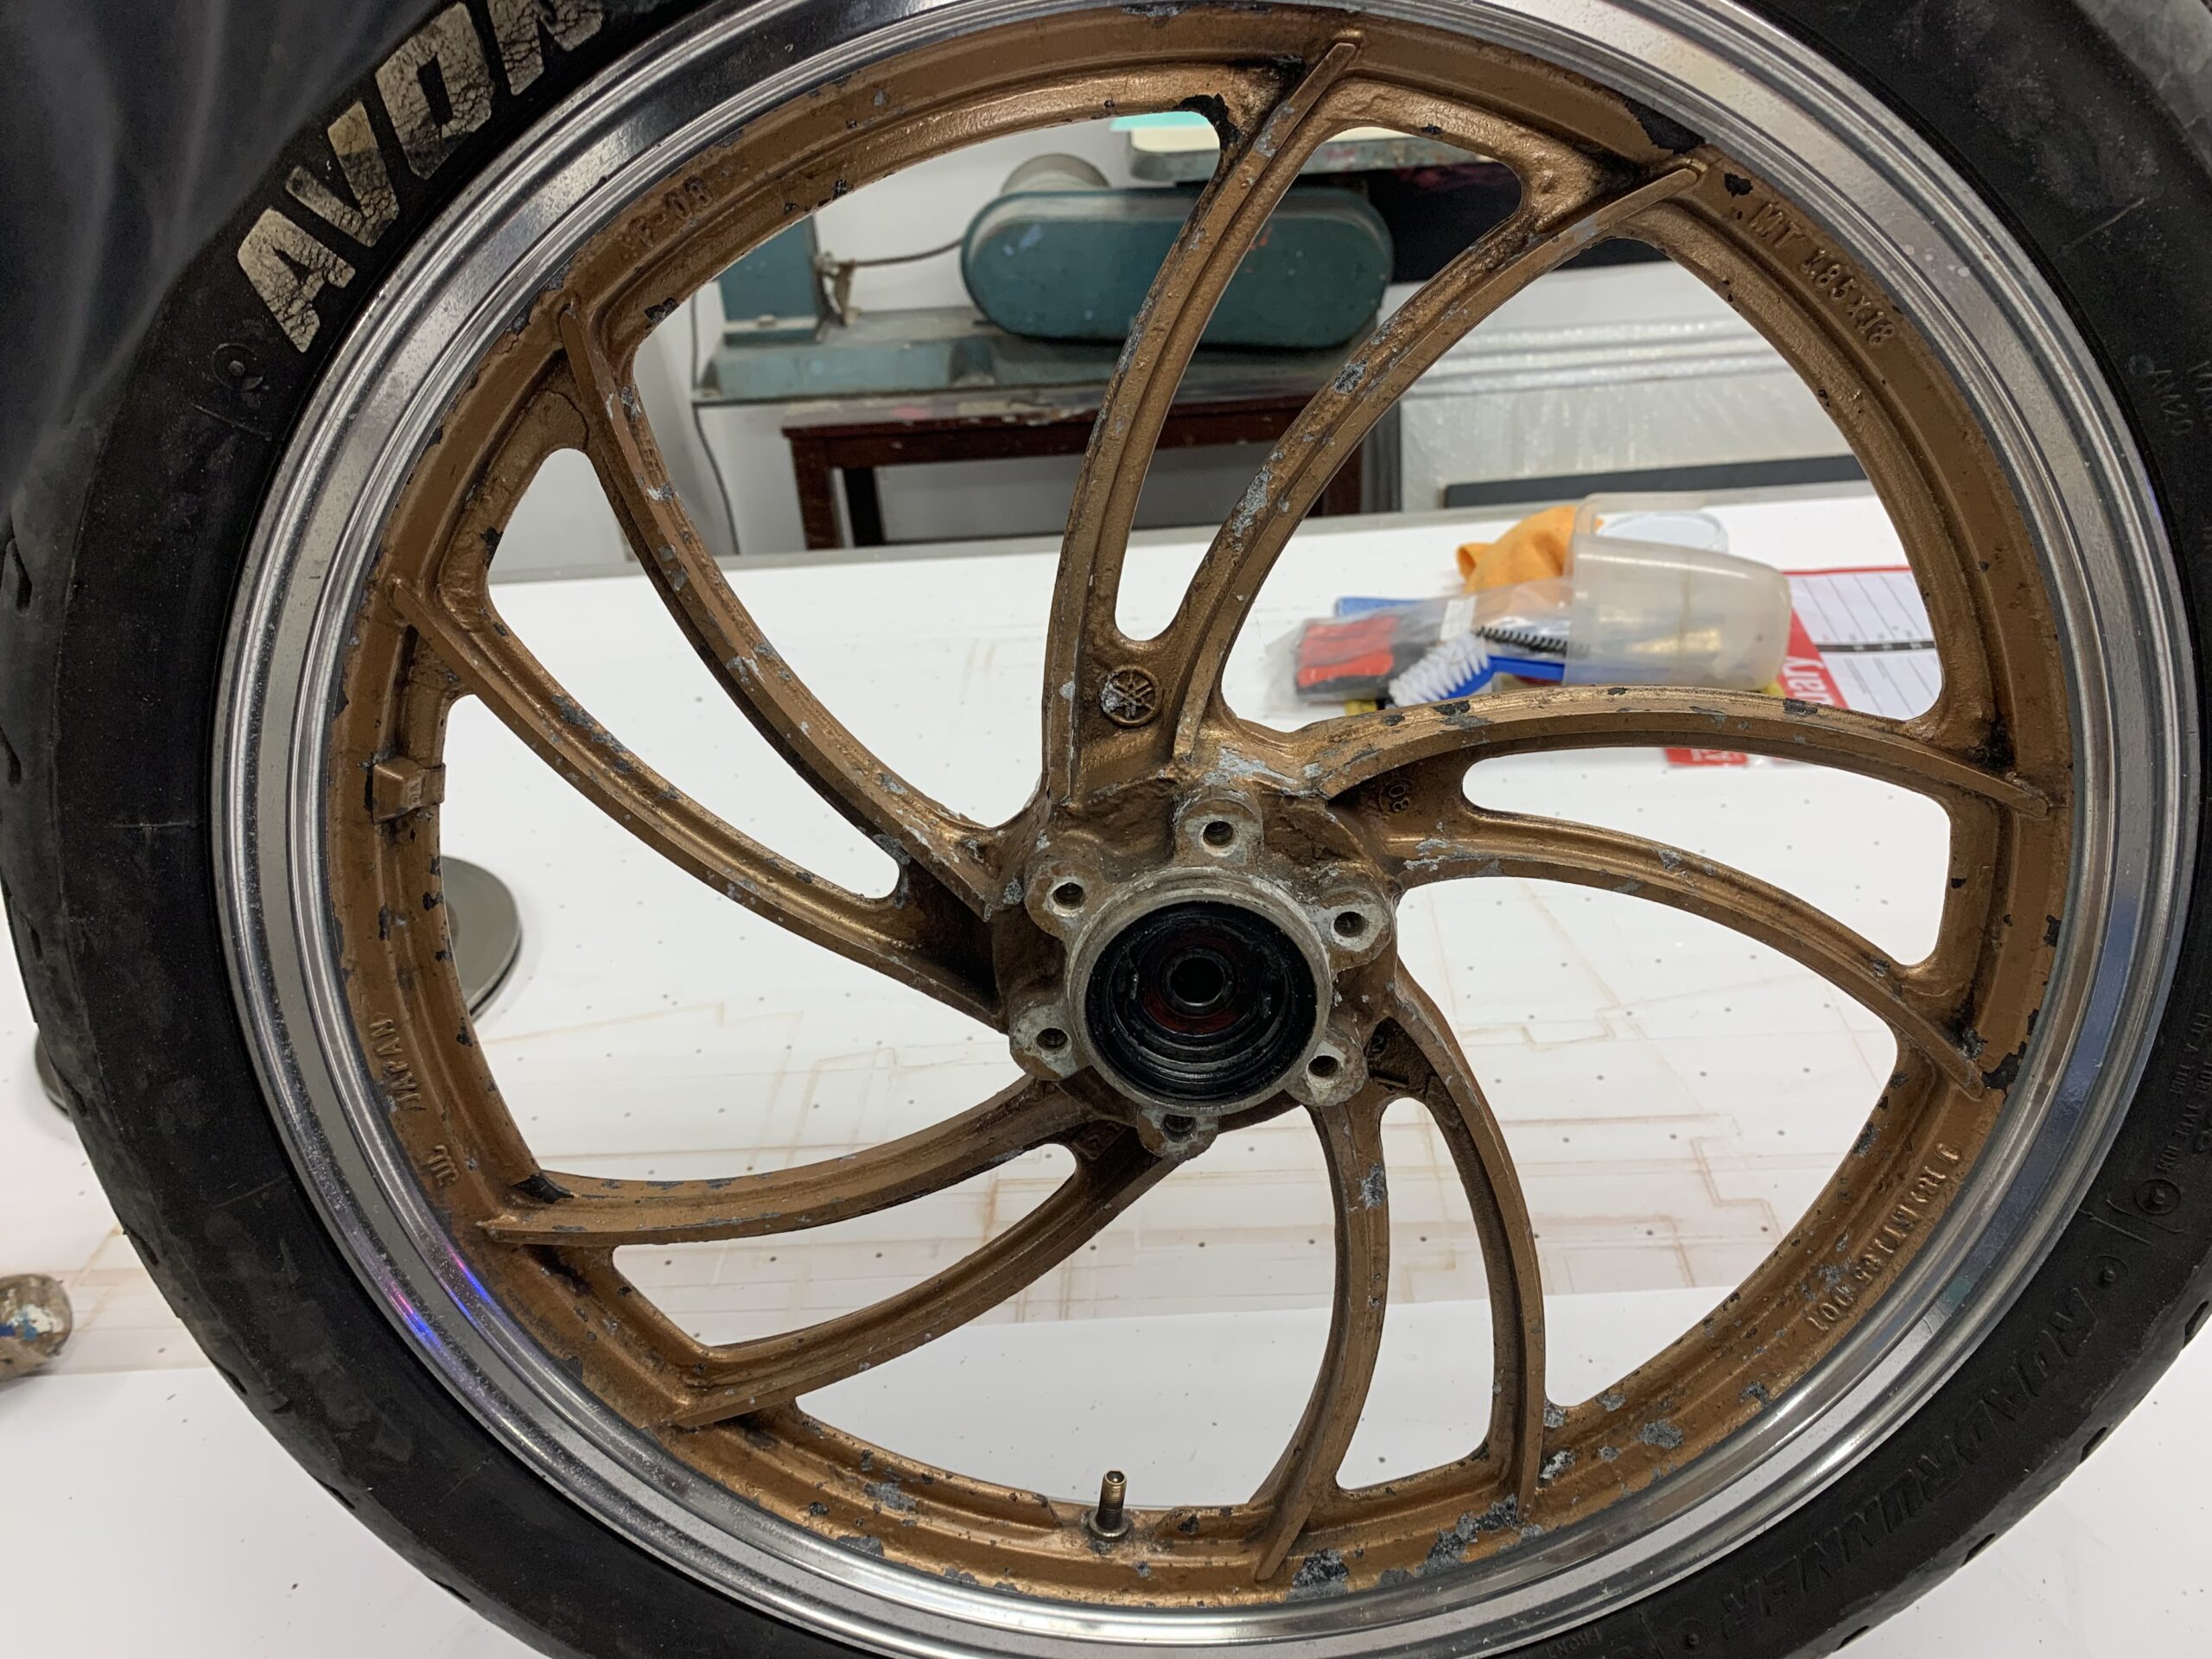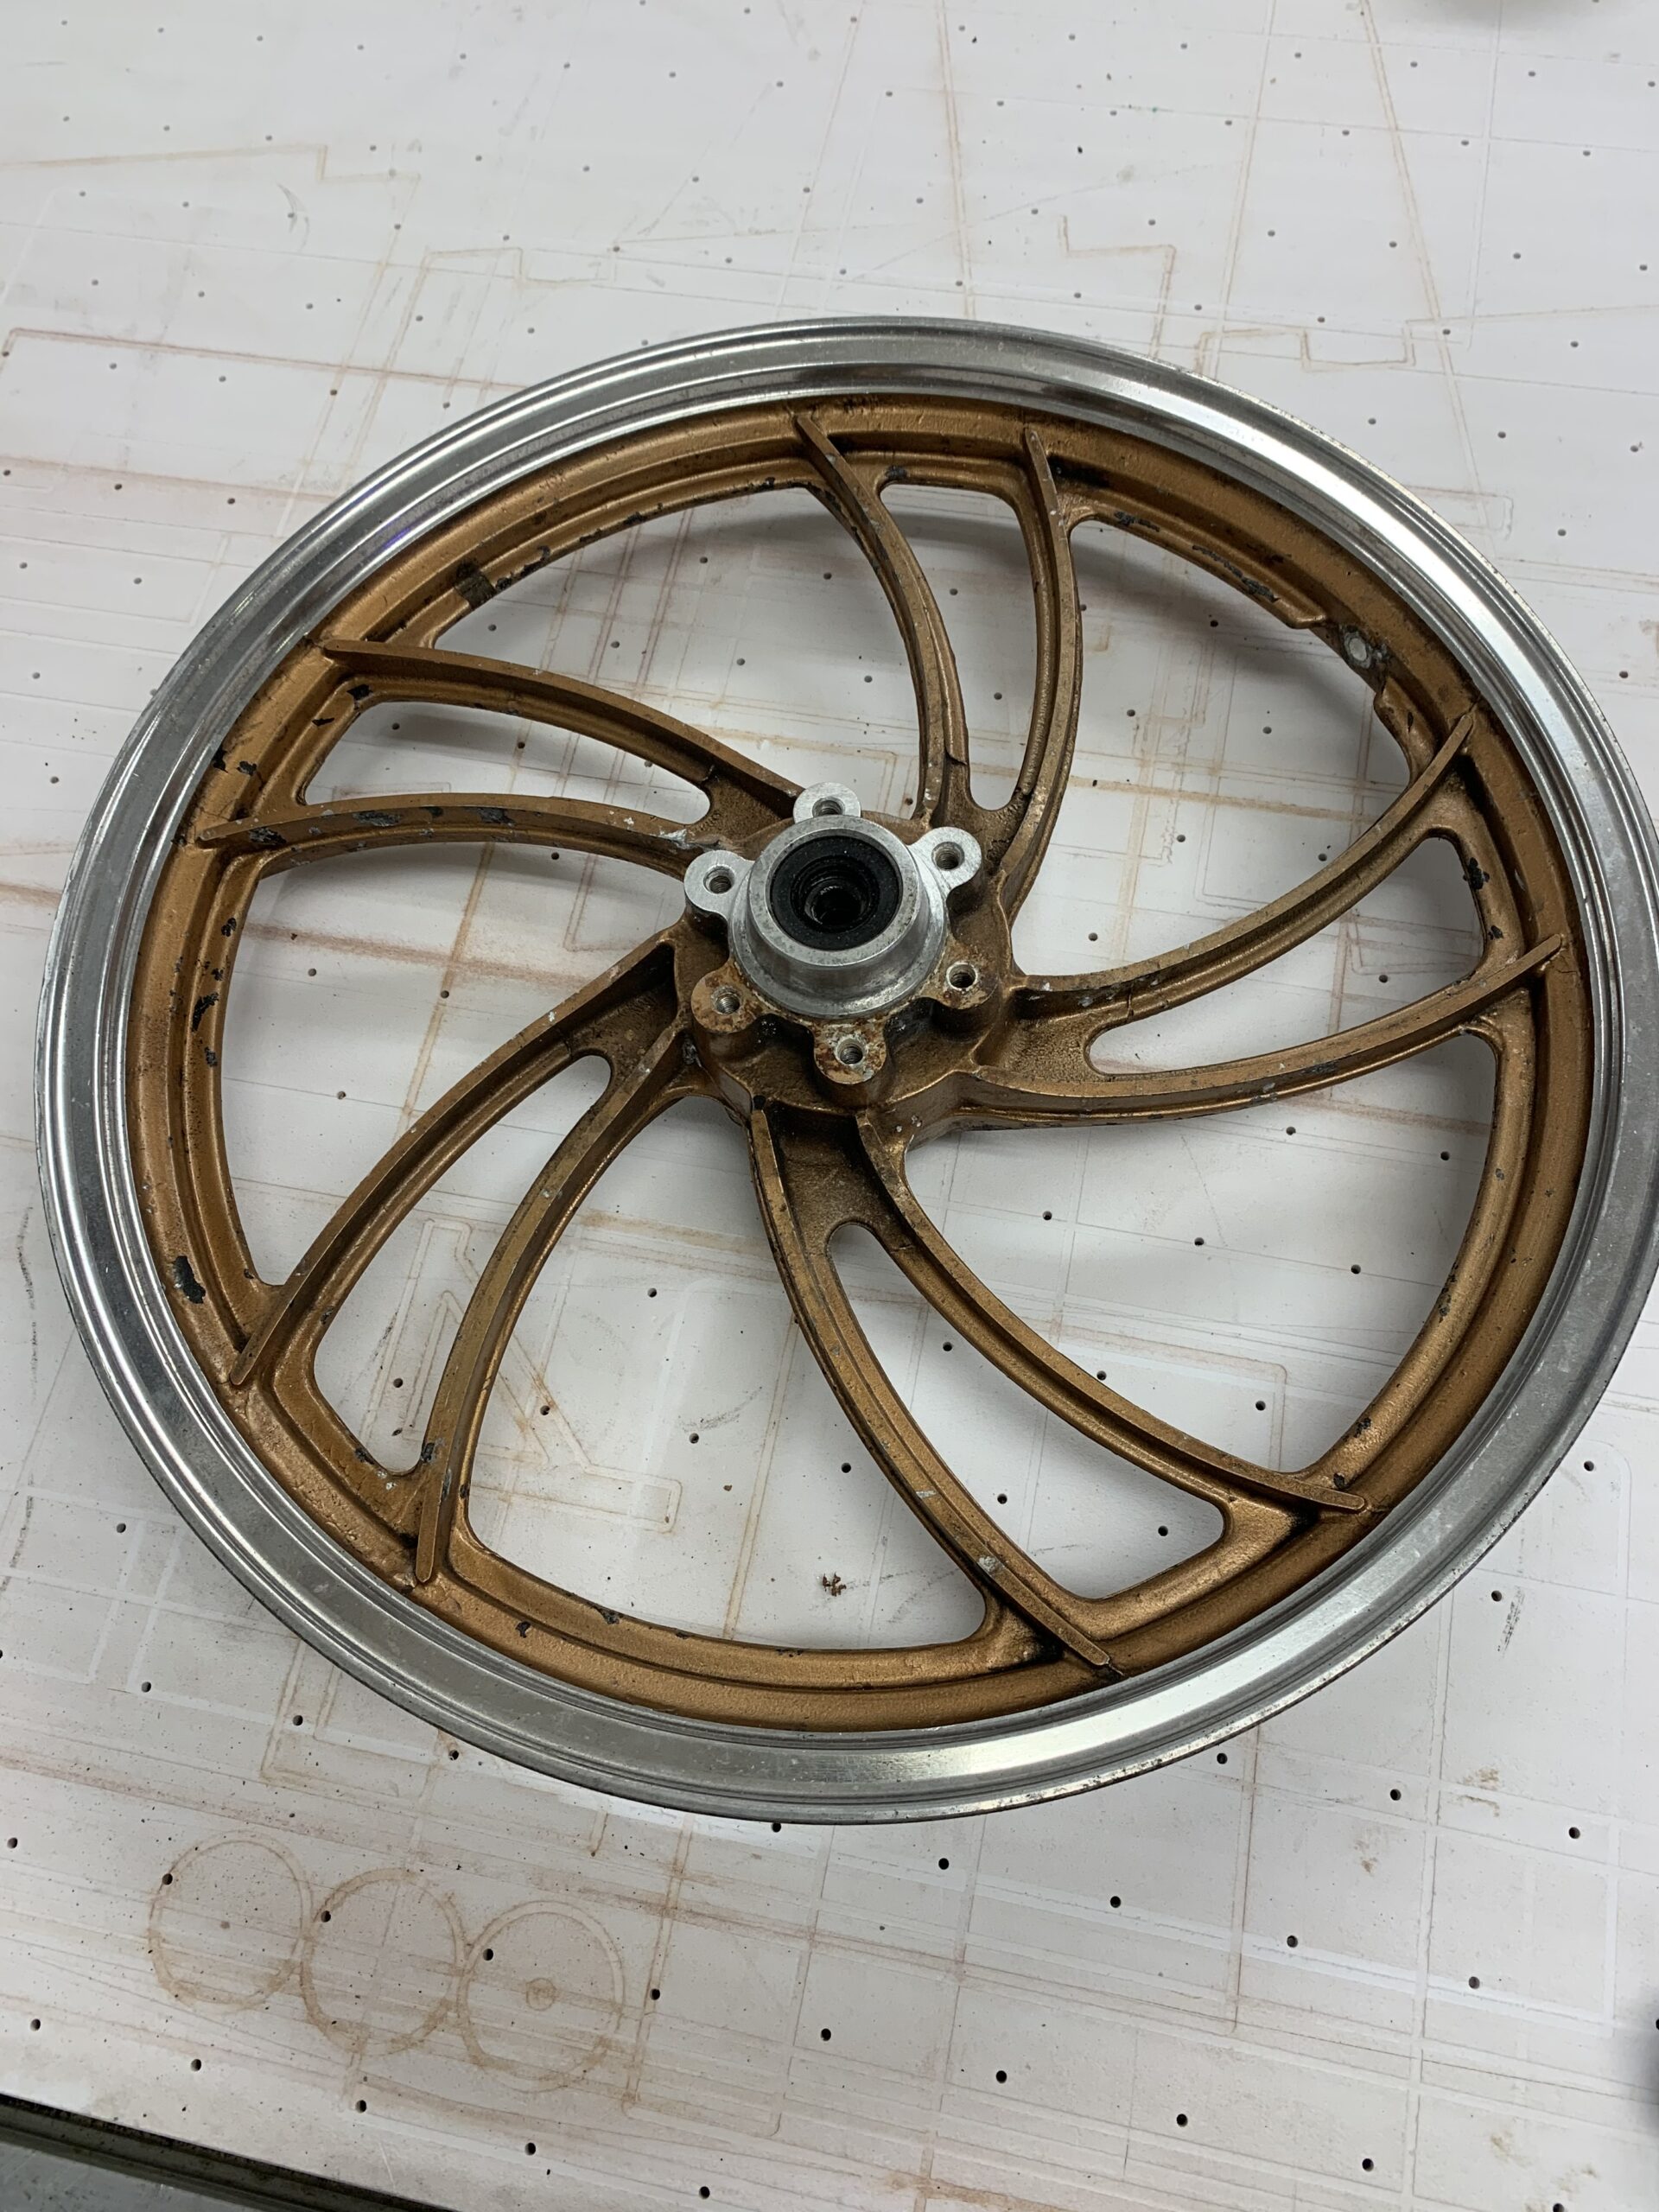
Stuart approached us seeking a selection of products to help him refurbish his old, rusty Yamaha RD350LC wheels. This project was a super fun one to complete, and the outcome was outstanding, leaving Stuart’s bike with wheels as good as new!
To share this exciting project with you, we’ve put together this guide, explaining how you can complete something similar yourself.
Tool List:
- Degreaser
- Tak Cloths and White Rags
- Sand Paper
- 2K Black Filler Primer
- 2K Satin RAL 9005 Black Paint
Prep & Ground Coat:
Firstly, due to the kind of materials and chemicals that the wheels would have come into contact with over time, it’s always worth thoroughly cleaning and degreasing them first, as we did. To remove any stubborn corrosion, sand it back as best as possible before applying a rust remedy (we recommend Kurust or Jenolite). Once this has cured, you can spray your Primer, which acts as a base for the next coats of paint to stick to, straight over the top.
TOP TIP: After the rust remedy has set, it’s worth taking the time to sand the surface again until it’s perfectly smooth. The smoother the finish now, the less you will have to sand it down later.
Base Coat:
Once the tedious part is out of the way and your wheels are clean, sanded and protected from rust, it’s time for the fun bit – painting!
Stuart opted for a 2K Black Filler Primer for his wheels, which is known to give great cohesion and fill as many minor surface marks and holes as possible, making it the perfect option for this particular project. Once applied, leave your wheels to cure overnight, ready for the final base coat the next day. Apply the base coat in 2-4 thin layers, making sure to leave at least an hour between each one.
Top Coat:
After you’ve applied your thin base layers, you’re ready for the final part – the topcoat! Stuart chose a 2K Satin RAL 9005 black colour top coat for his finish, which looked phenomenal and was left to cure overnight.
Final Word:
Overall, this project was a huge success and saved Stuart the money and hassle of having to replace the wheels entirely. If you have an old bike that you’ve been considering replacing, why not try and refurbish the one you’ve got instead? All you need are a few items, which our team would be more than happy to help you pick out, and a little bit of hard work.
Thanks for sharing your fantastic project story and pictures with us, Stuart. We loved this transformation, and the 2K Black Satin paint looks amazing on the bike! That being said, we thought we would let Stuart have the final word on this one – here is his letter to us…
“Hi DC Paints, please see the attached pictures!
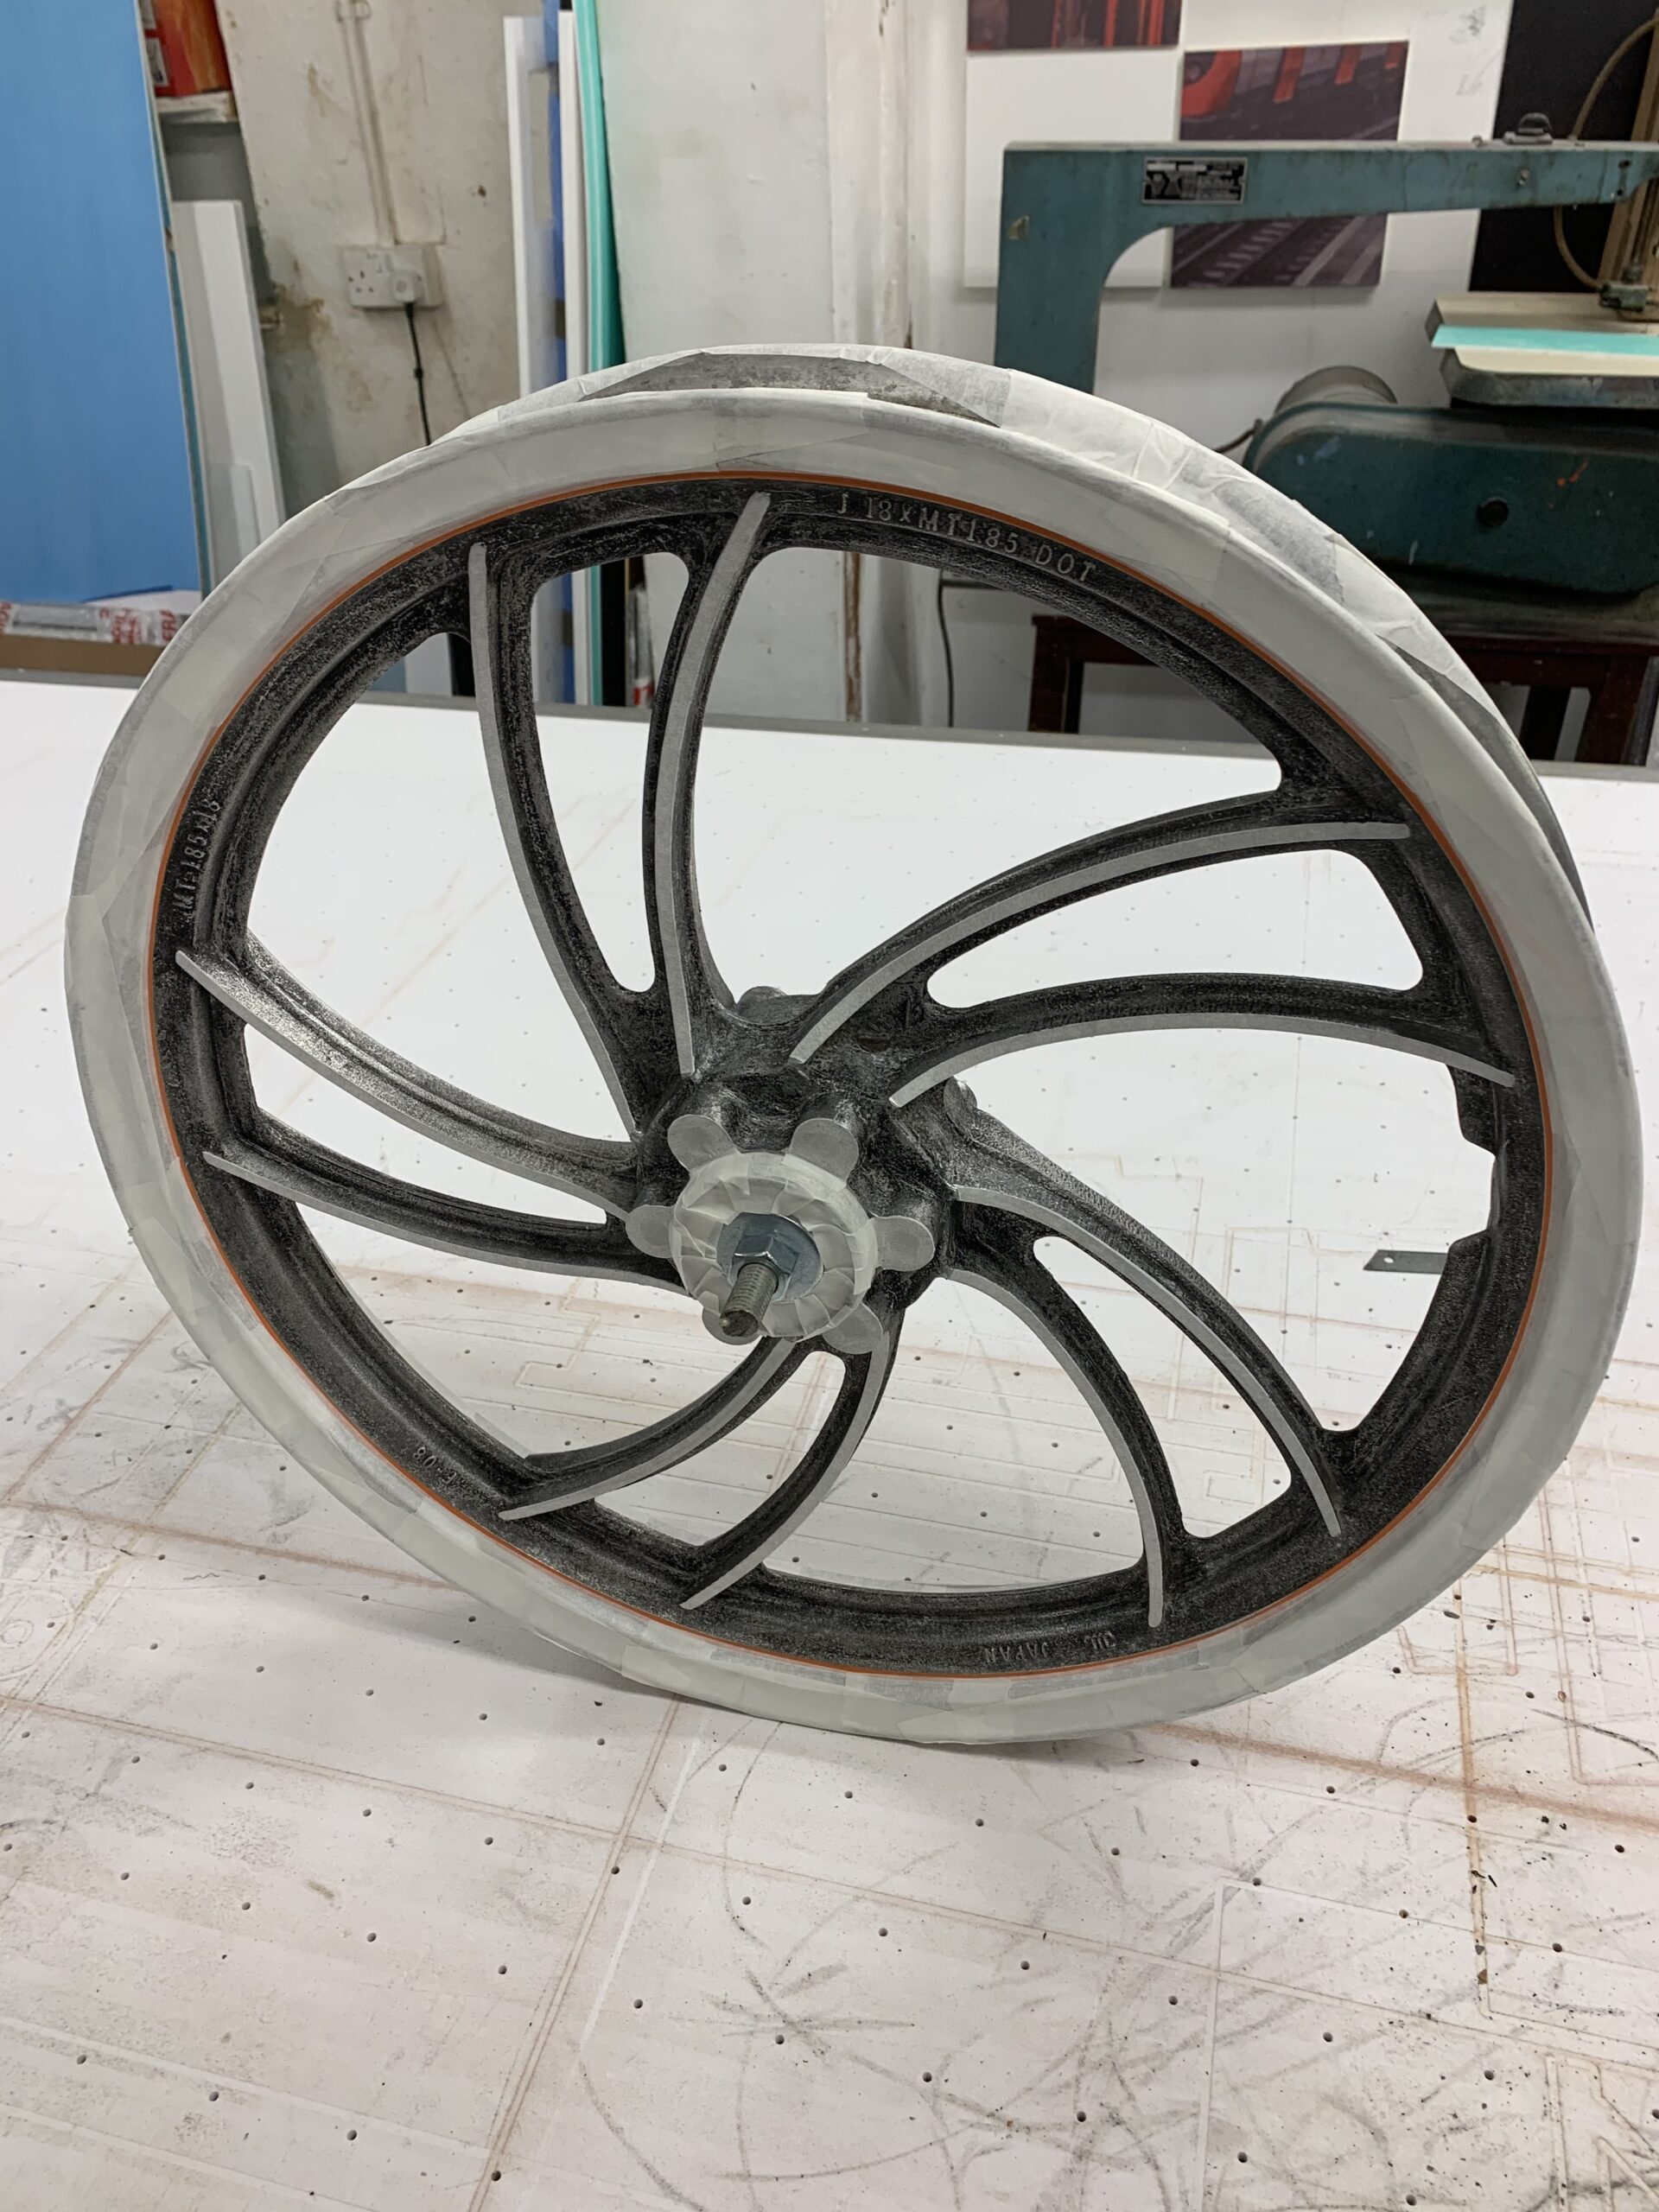
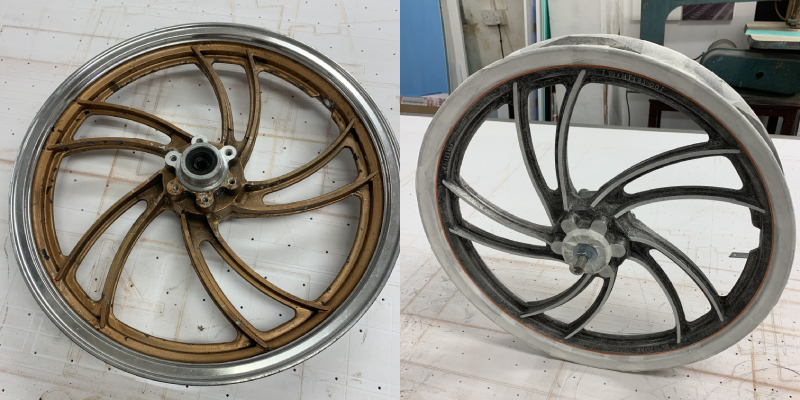
The first two are how the wheels looked originally! The third is a picture after stripping and with the wheels masked up, ready for the 2k Black Primer.
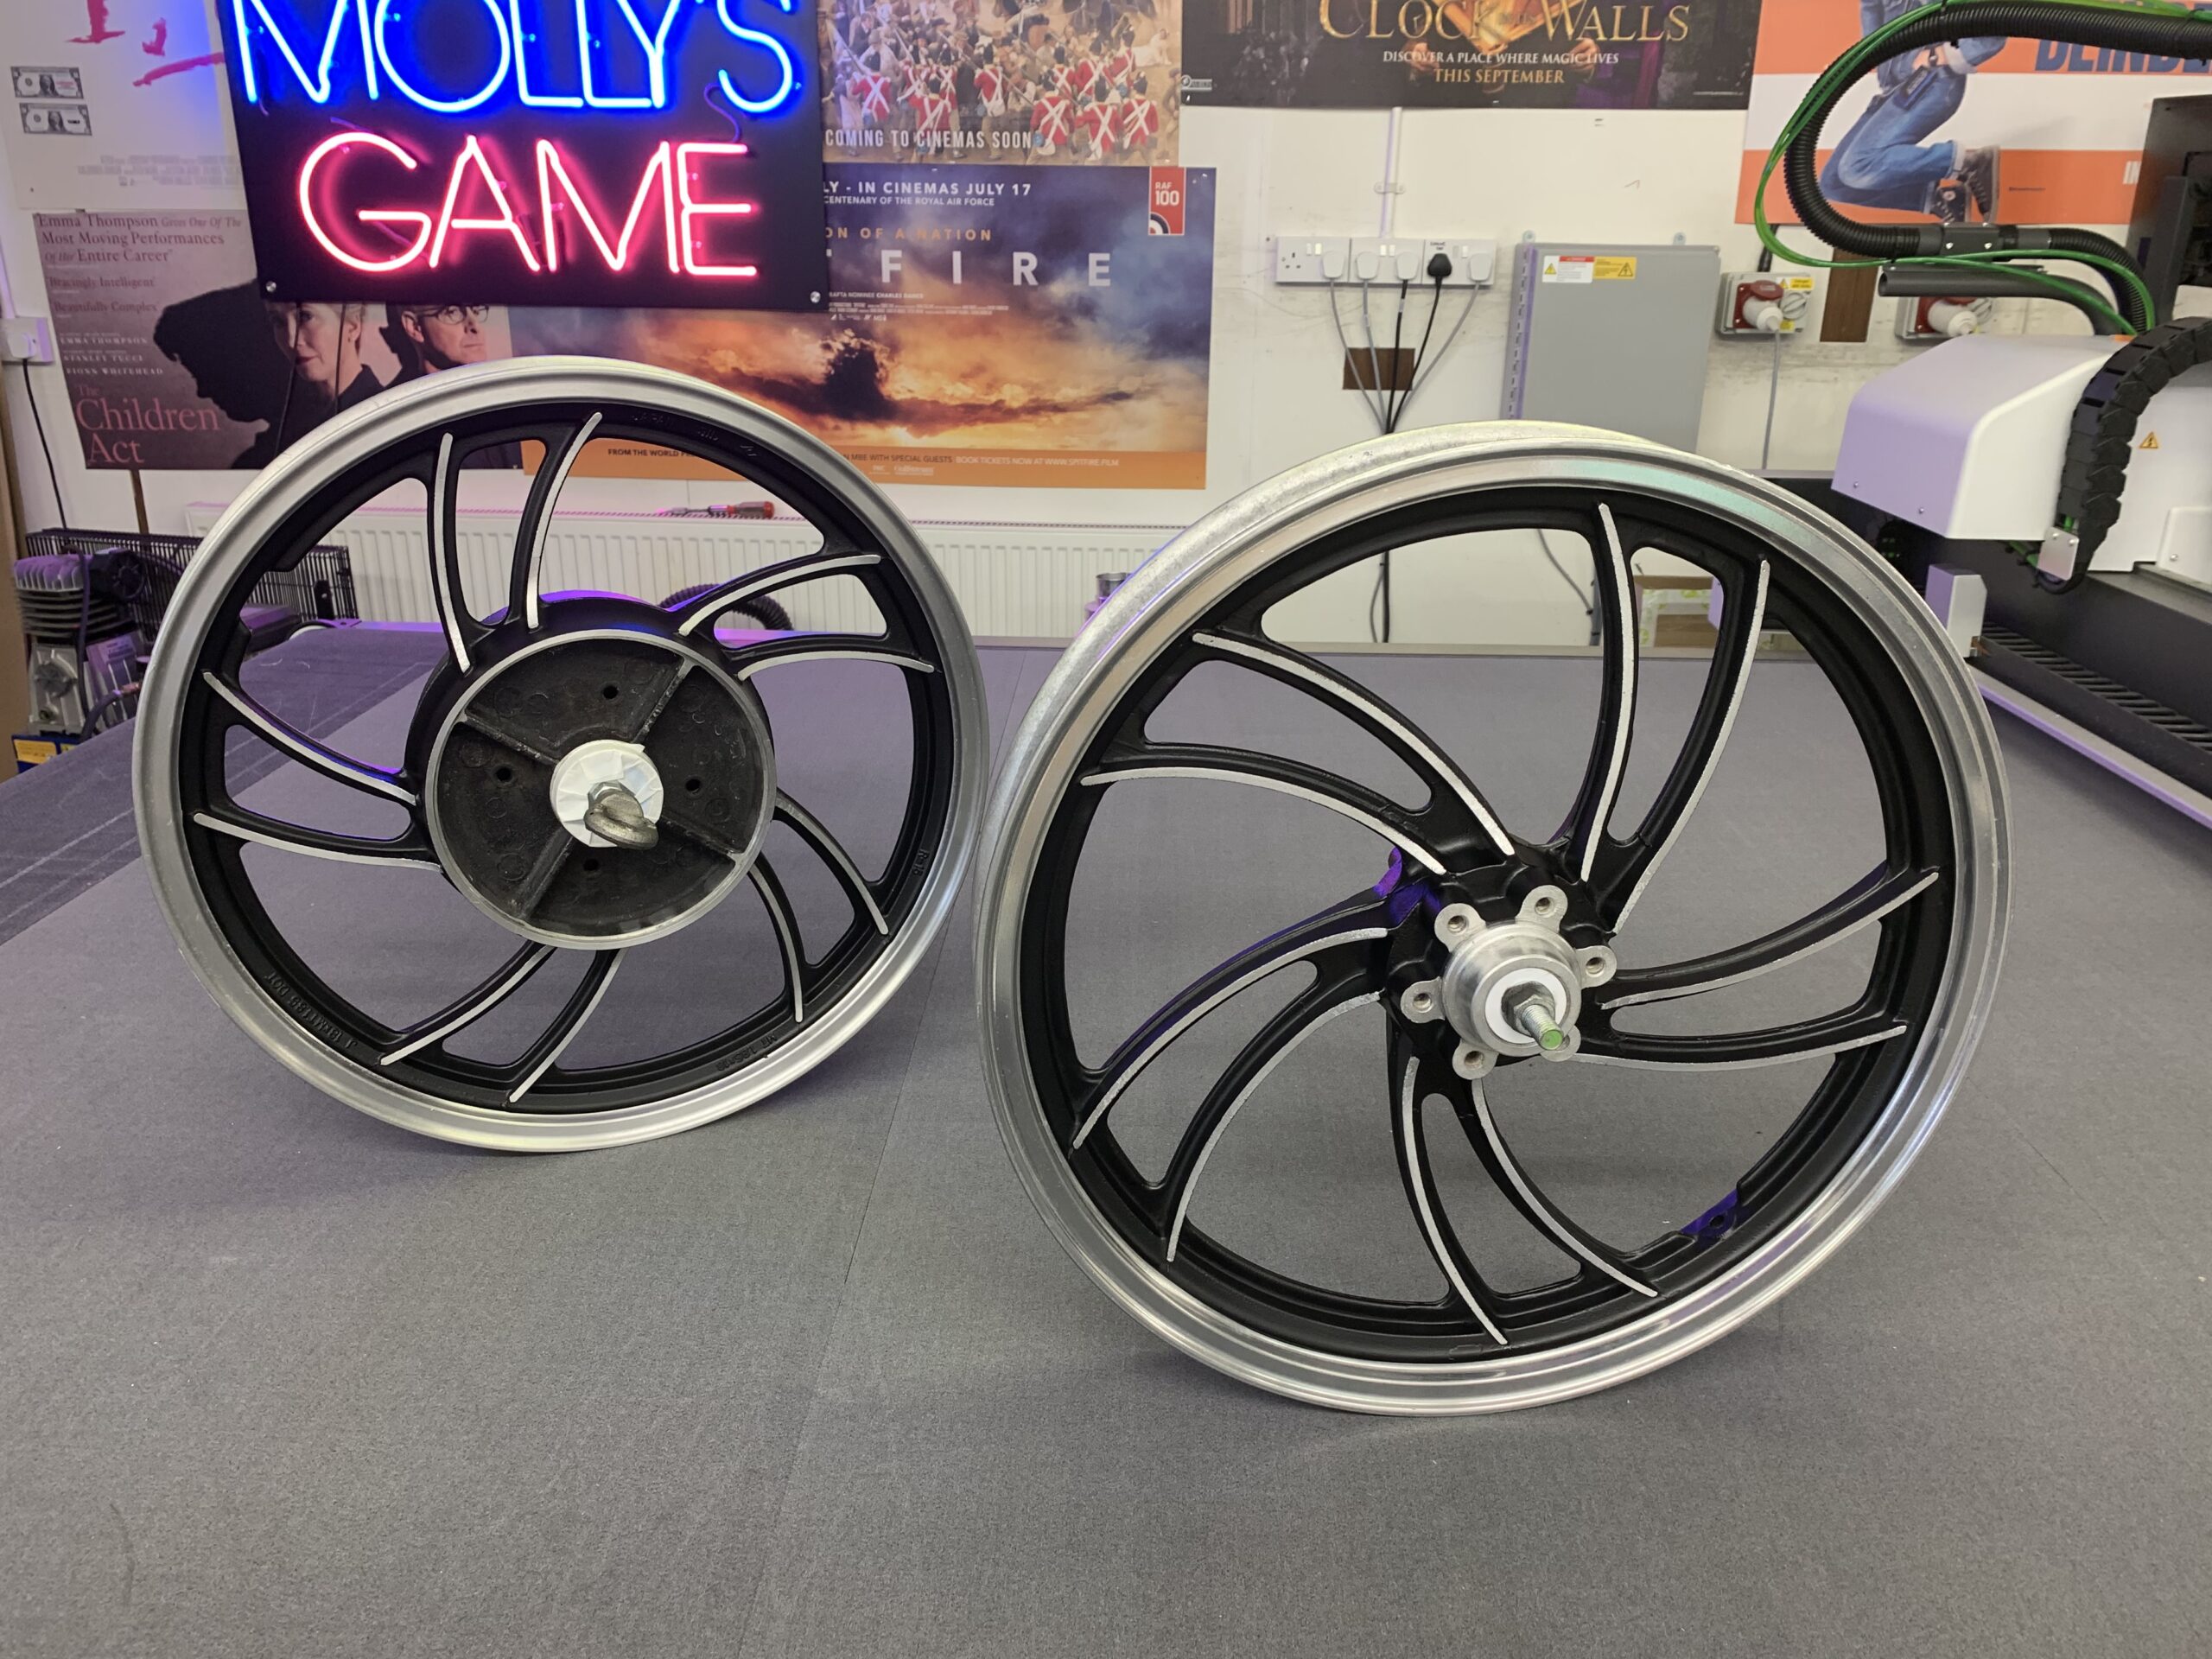
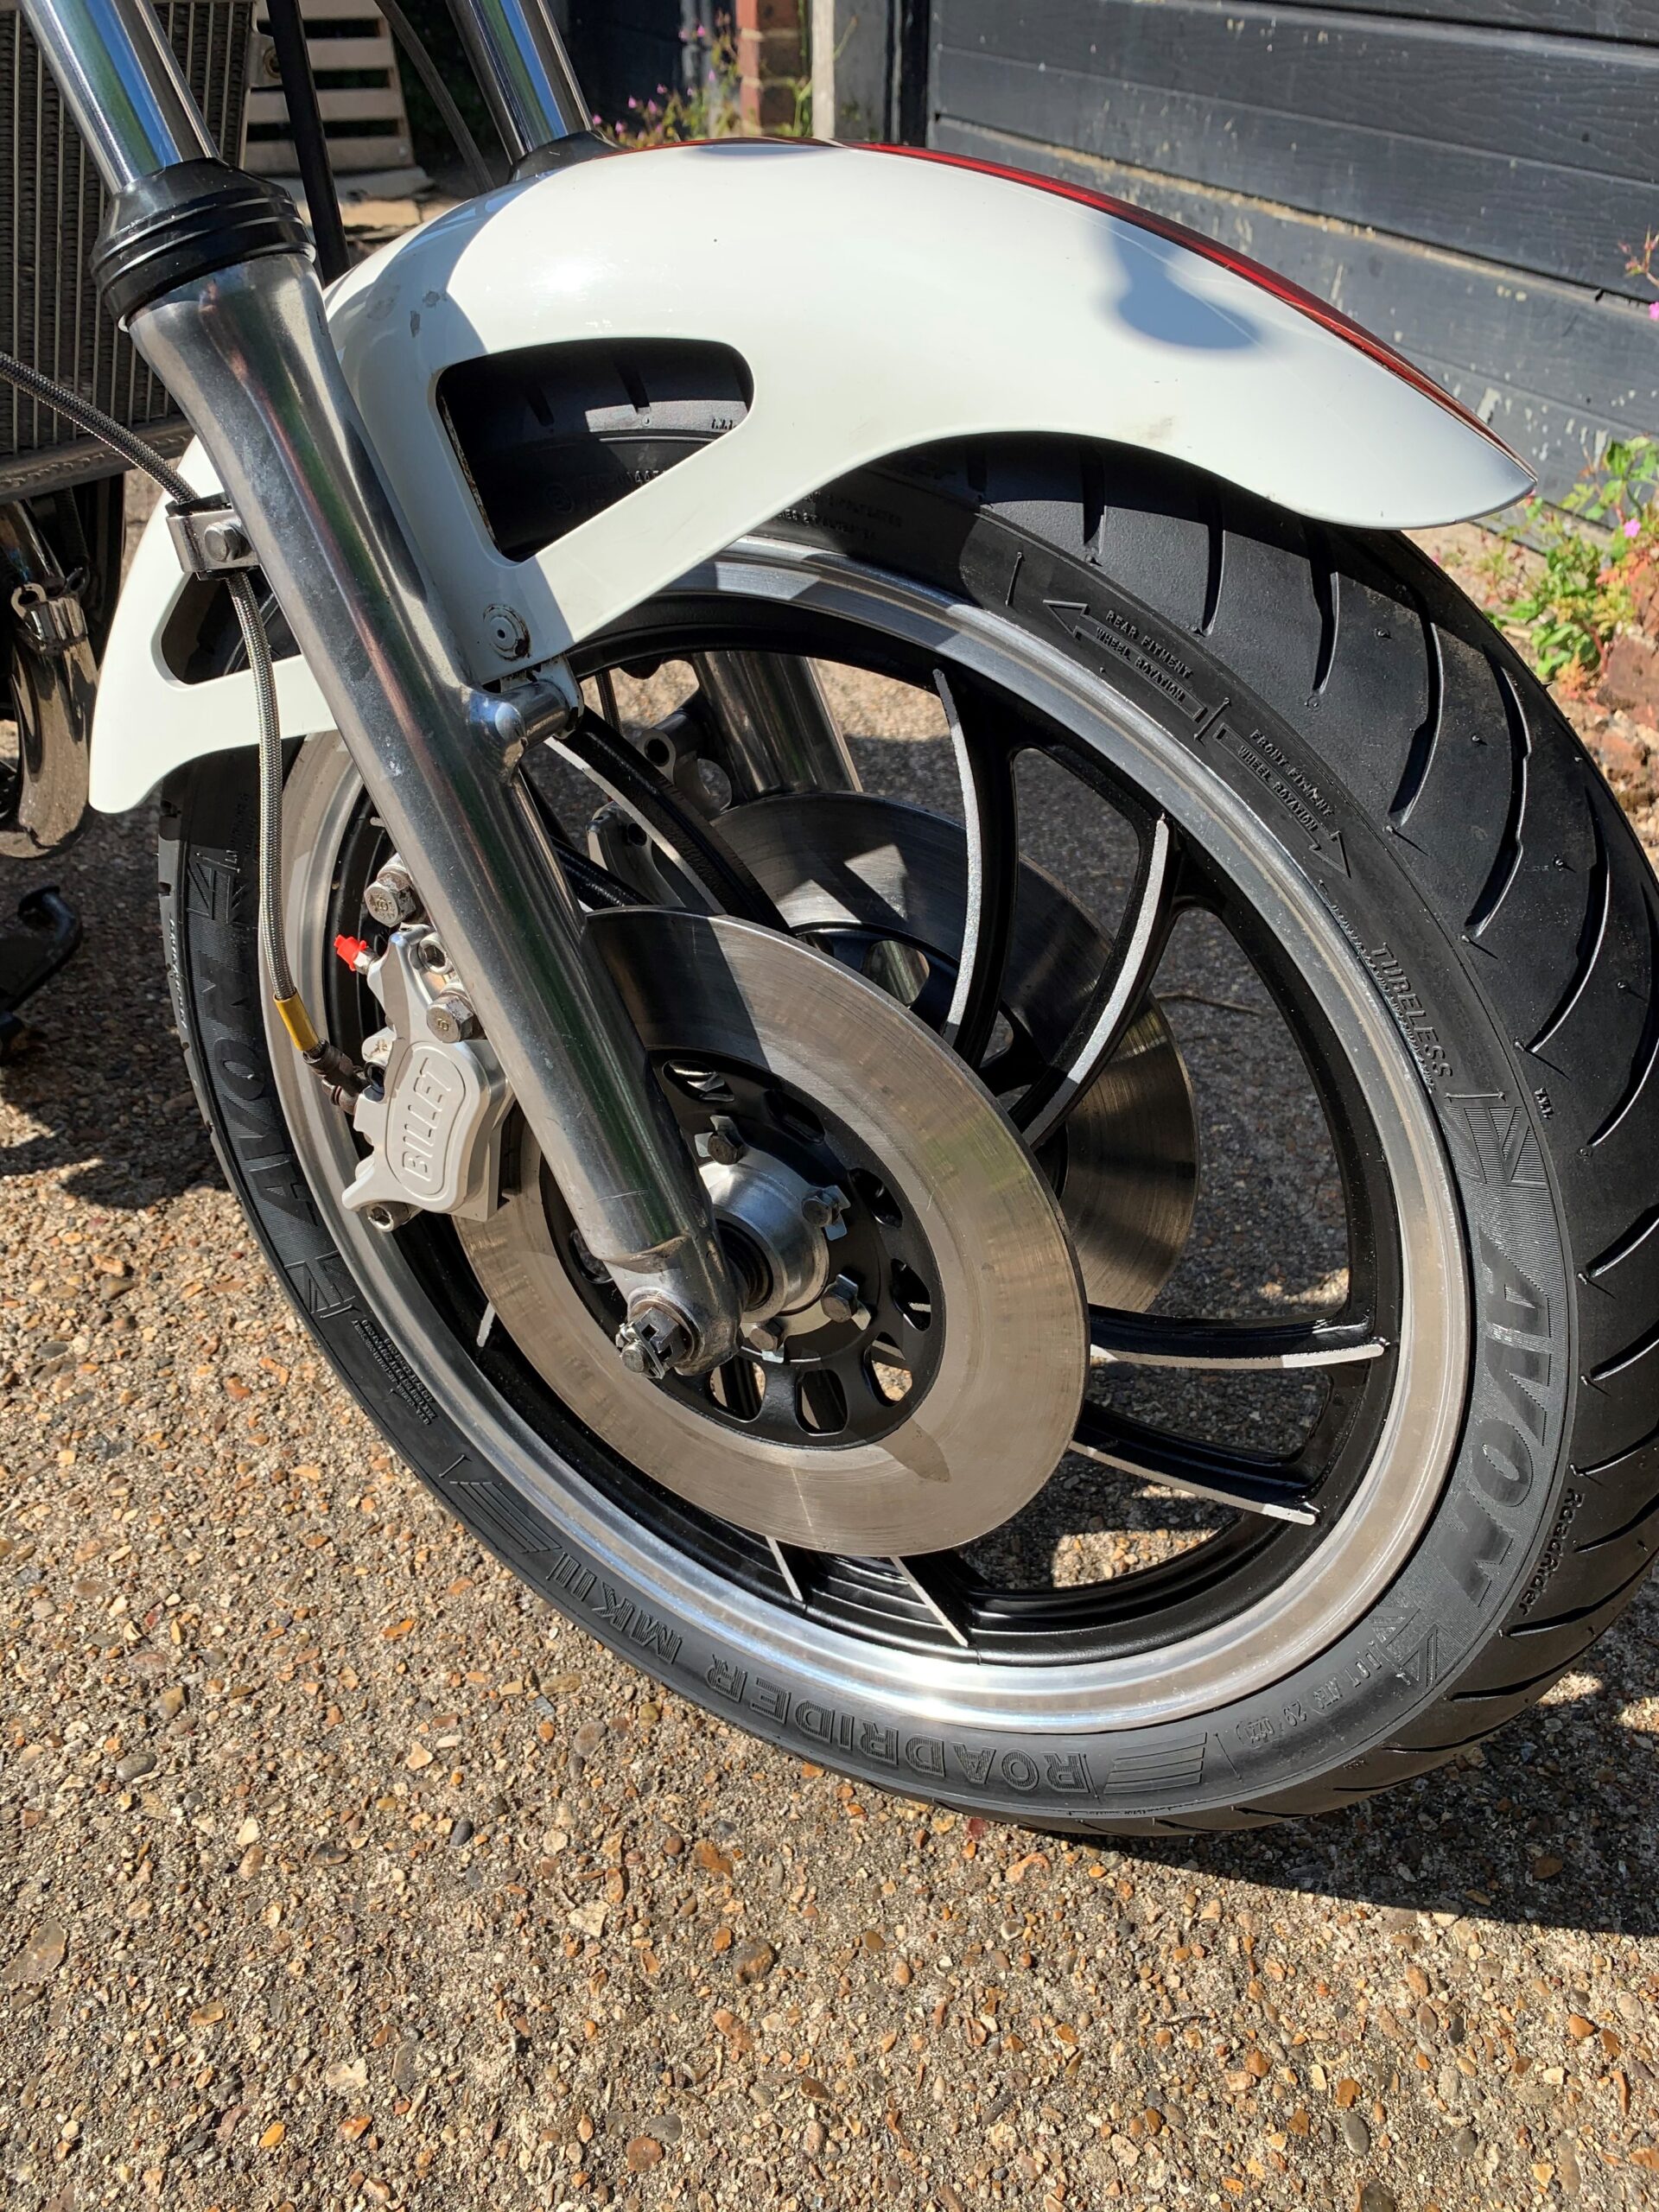
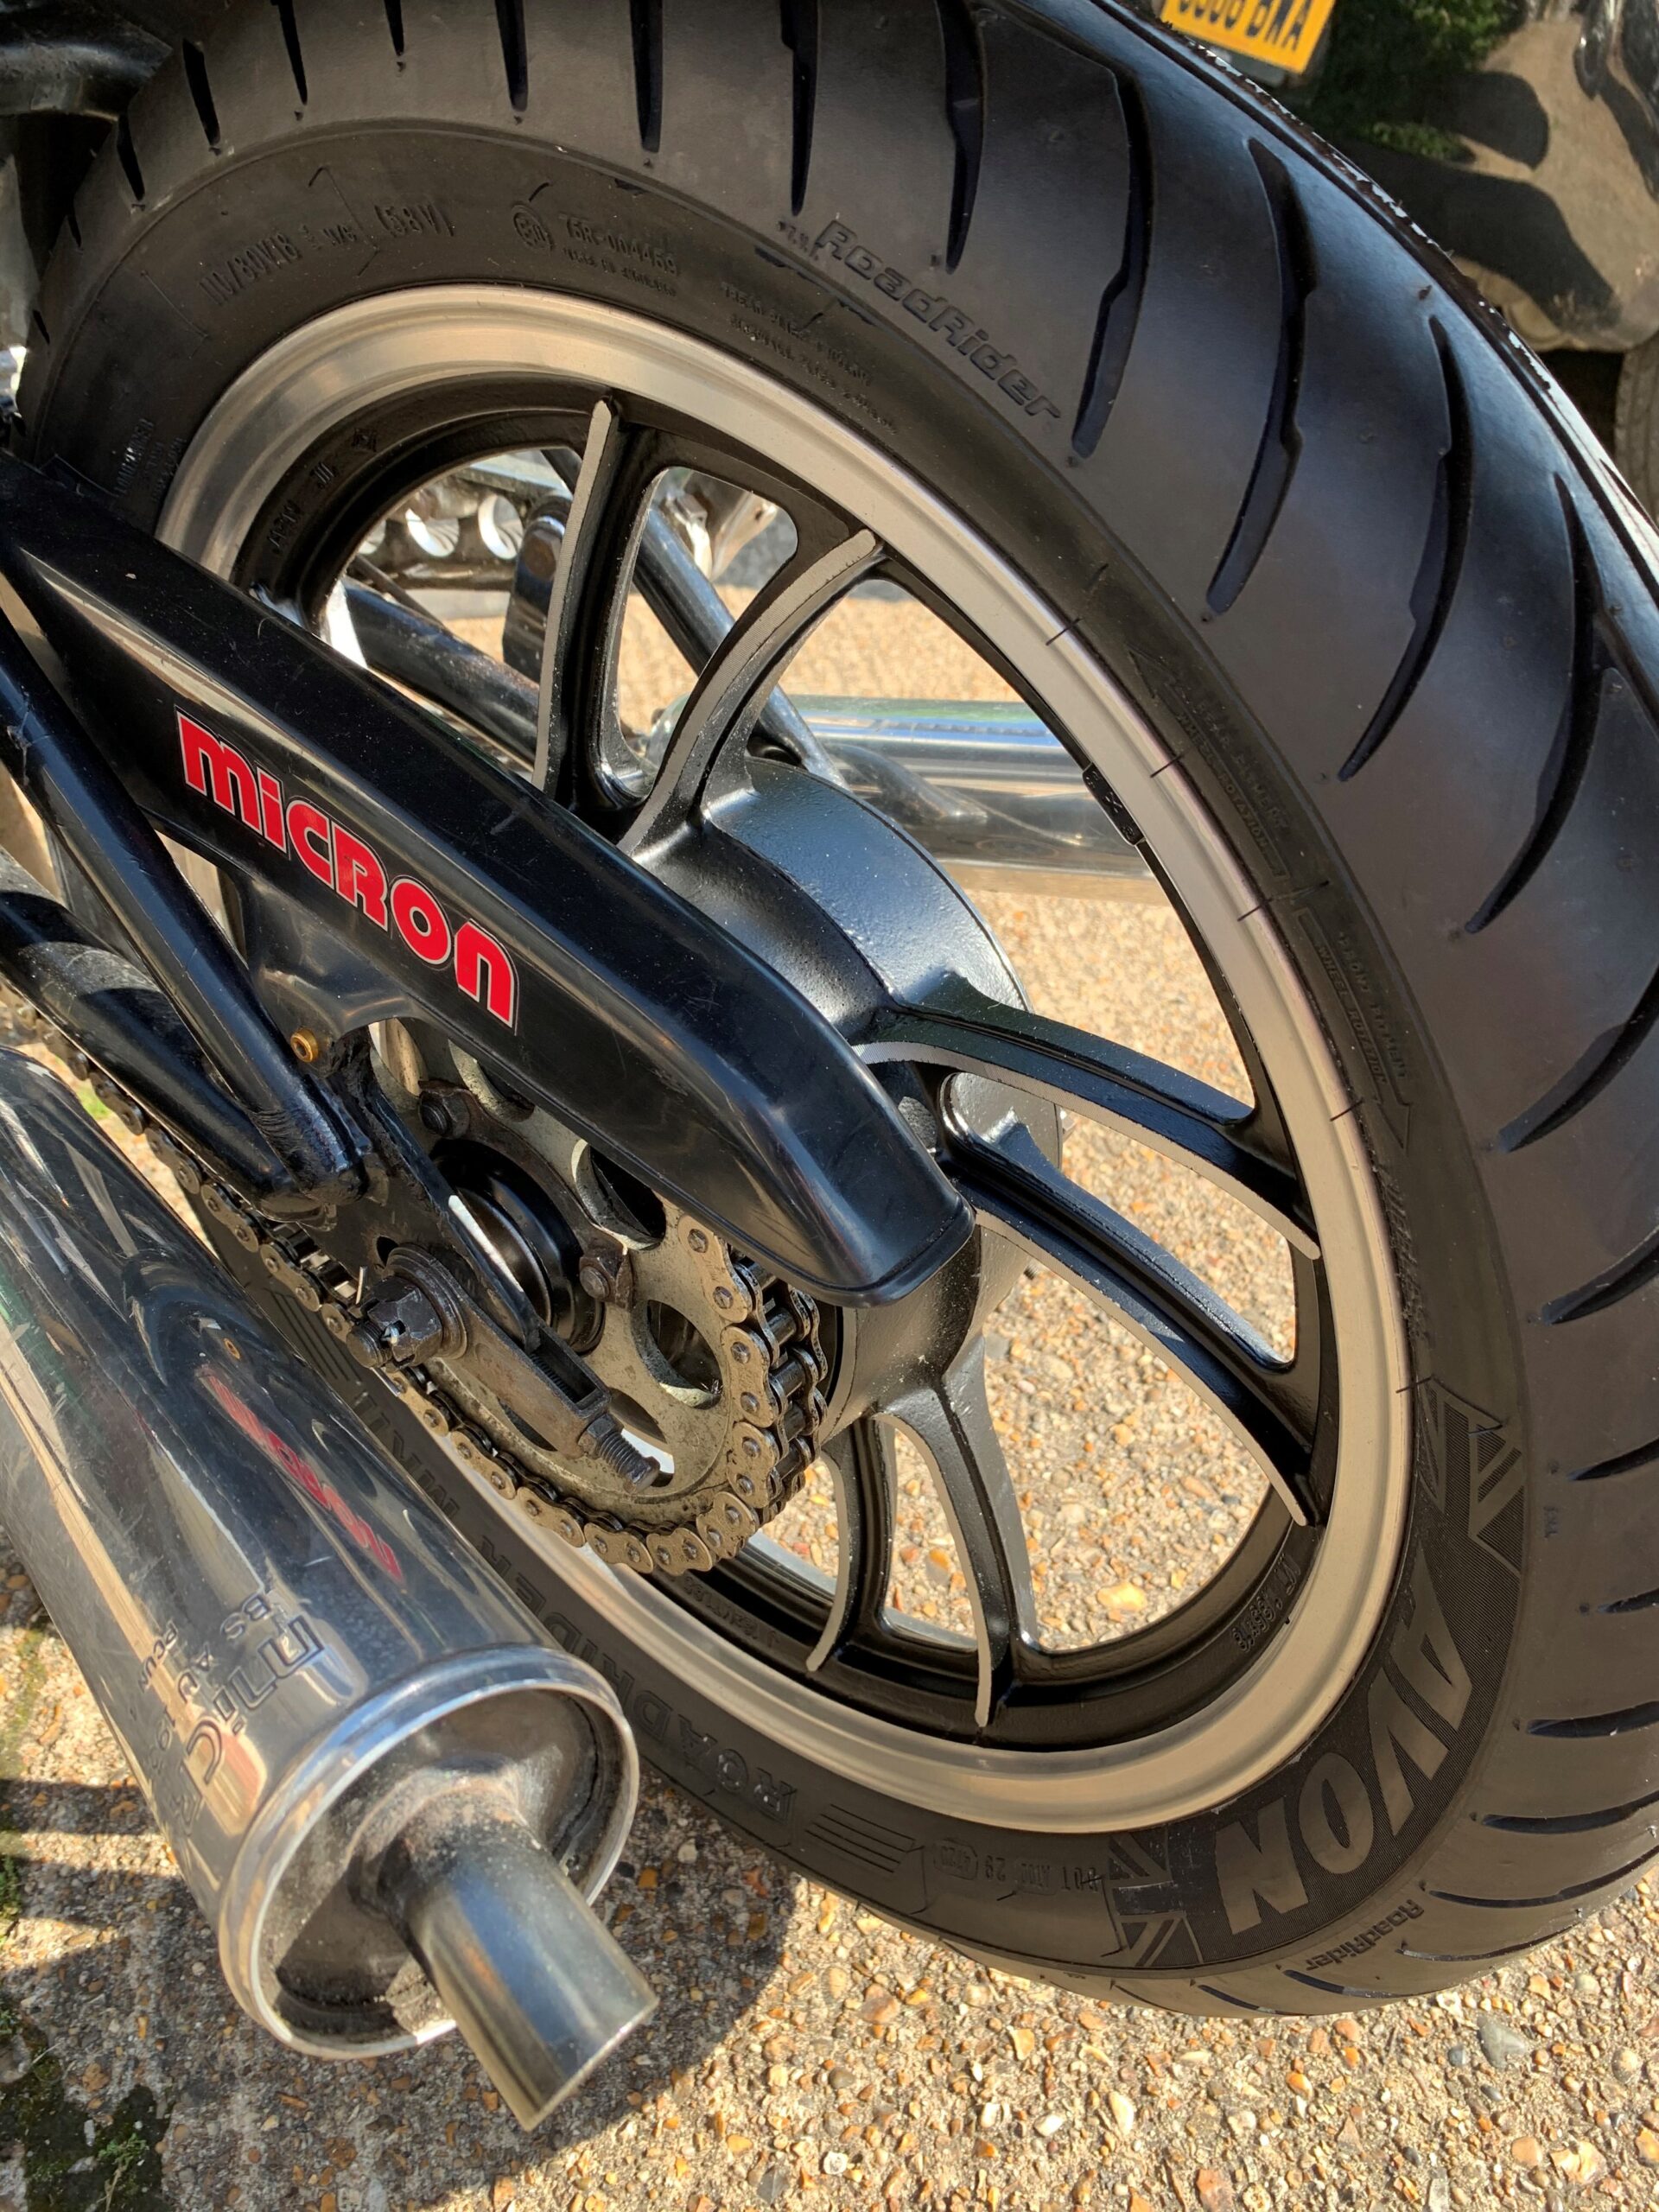
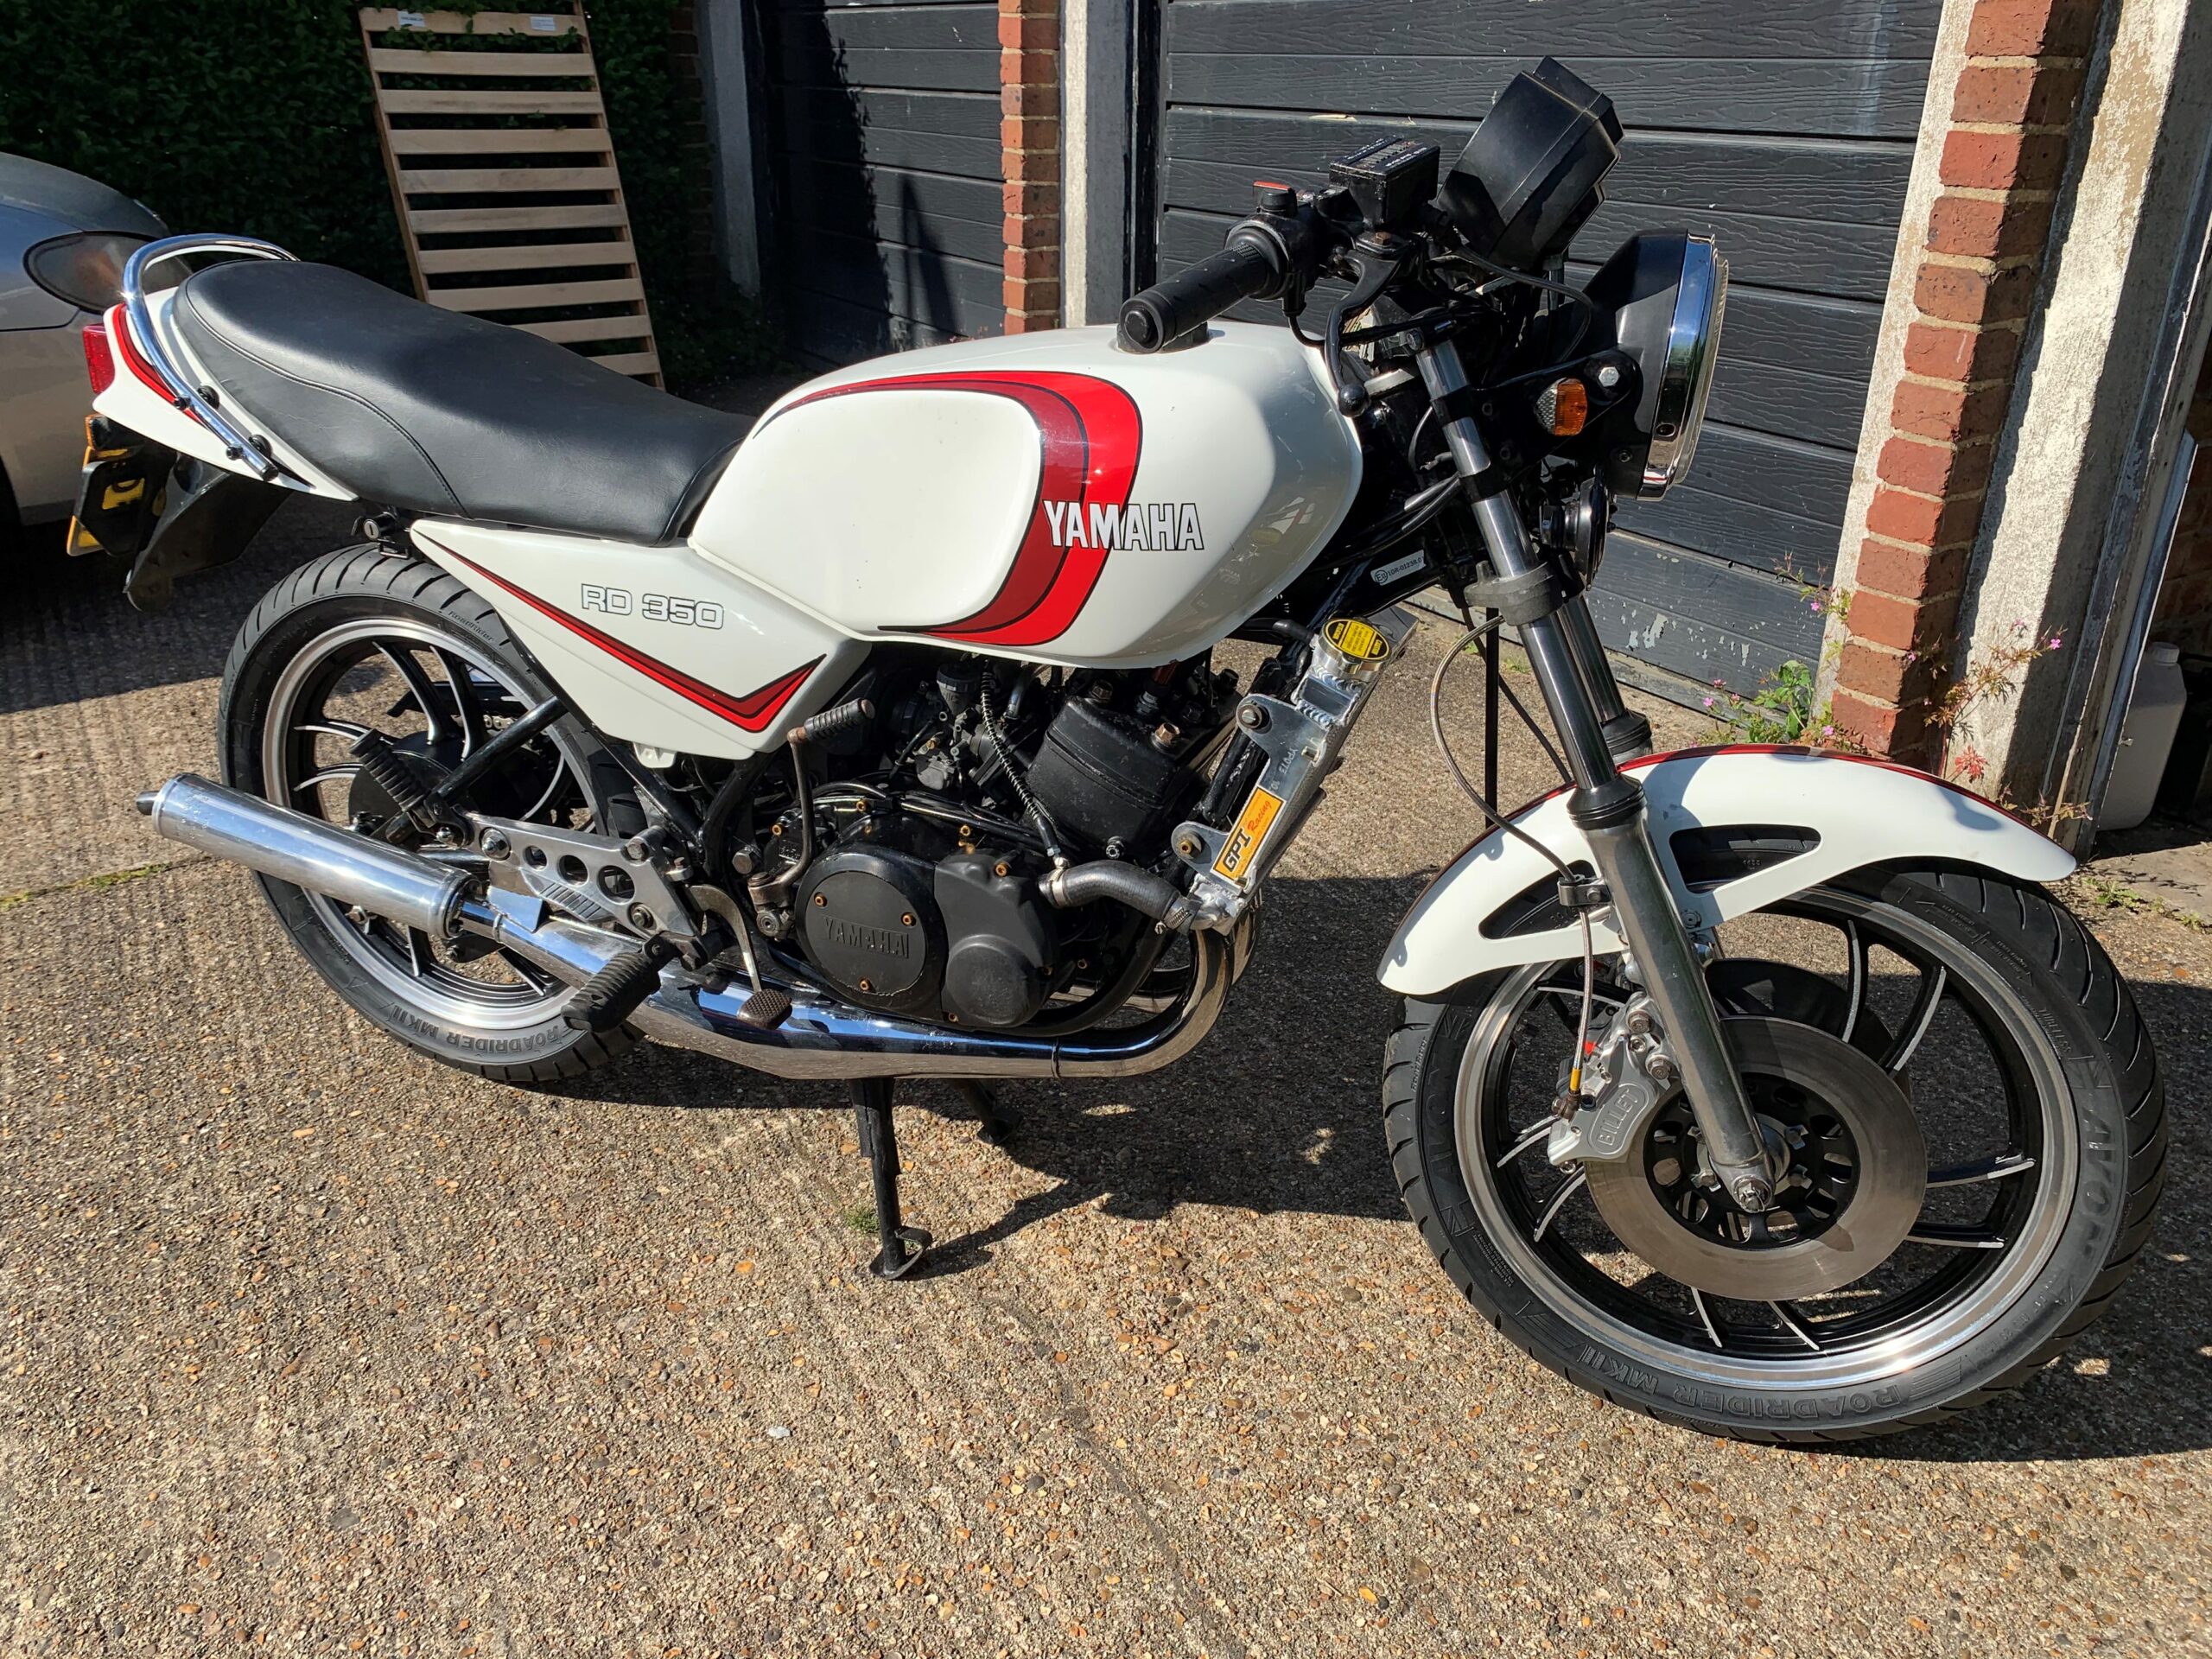
The fourth shot is after the Primer and ready for the 2k Satin Topcoat (RAL9005). Finally, the last image is the wheels finished!
Thanks for supplying the paint, a first-class company with great products; cheers.
Regards,
Stuart Boyce”