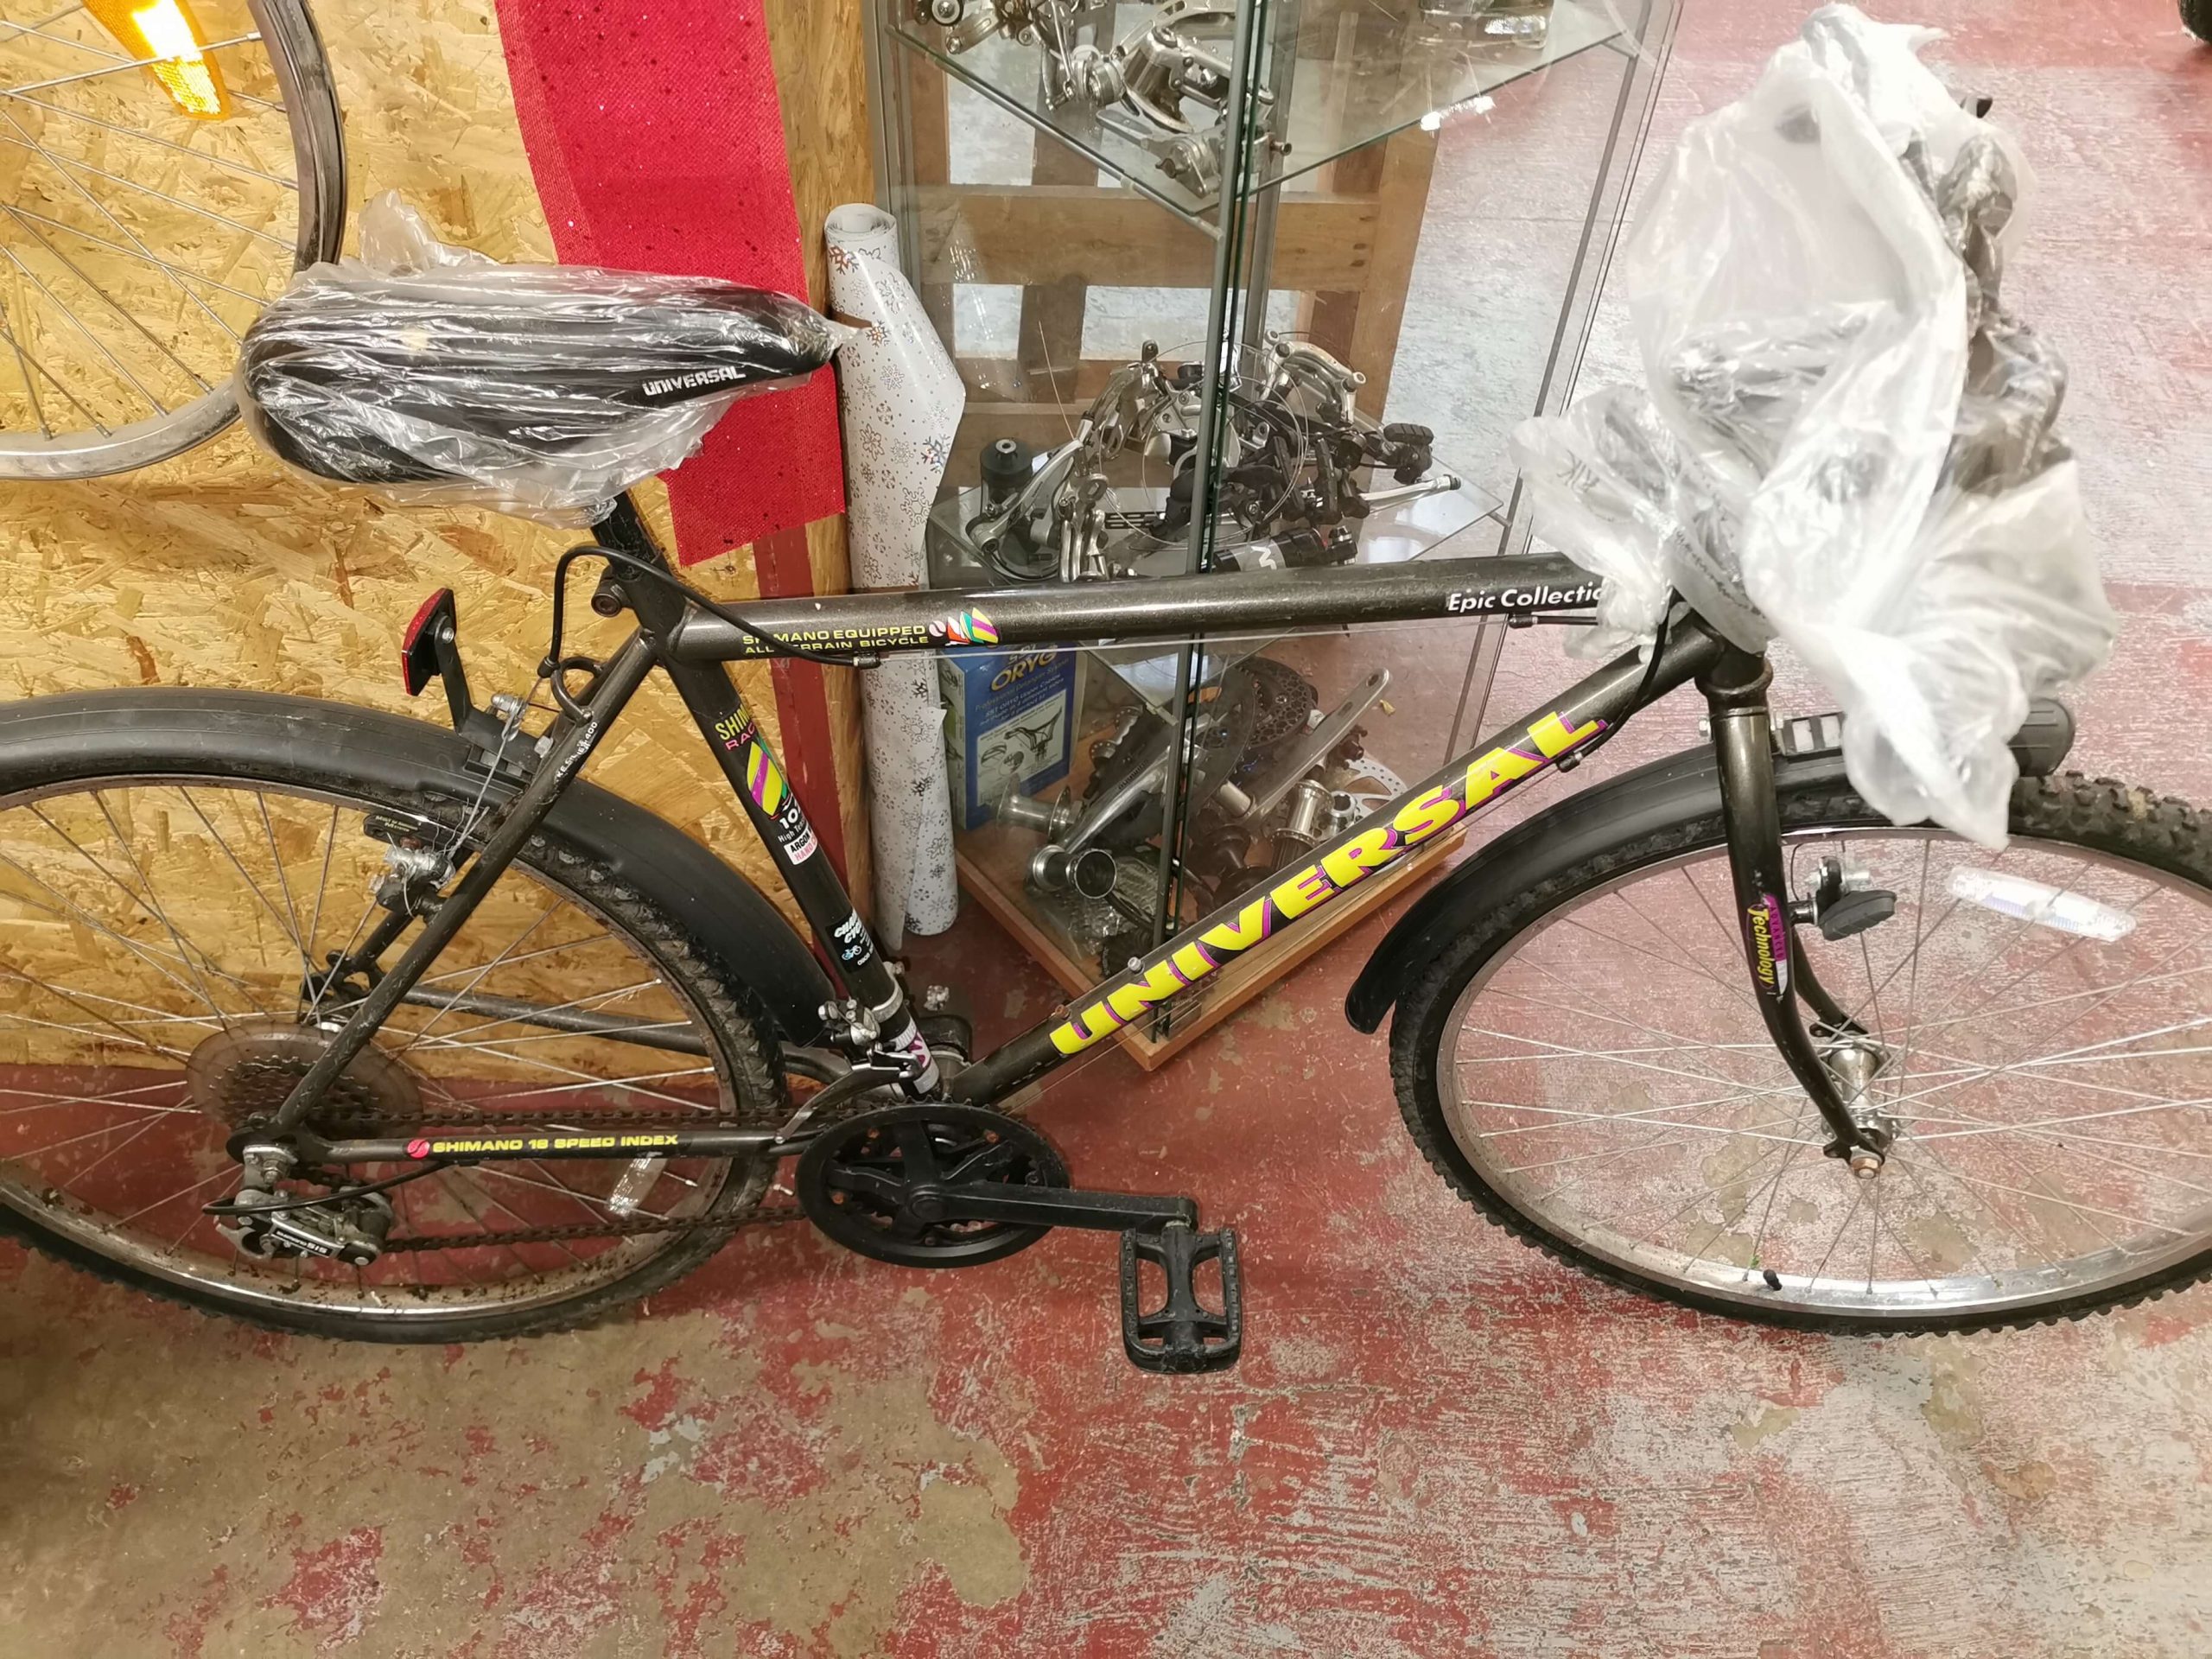
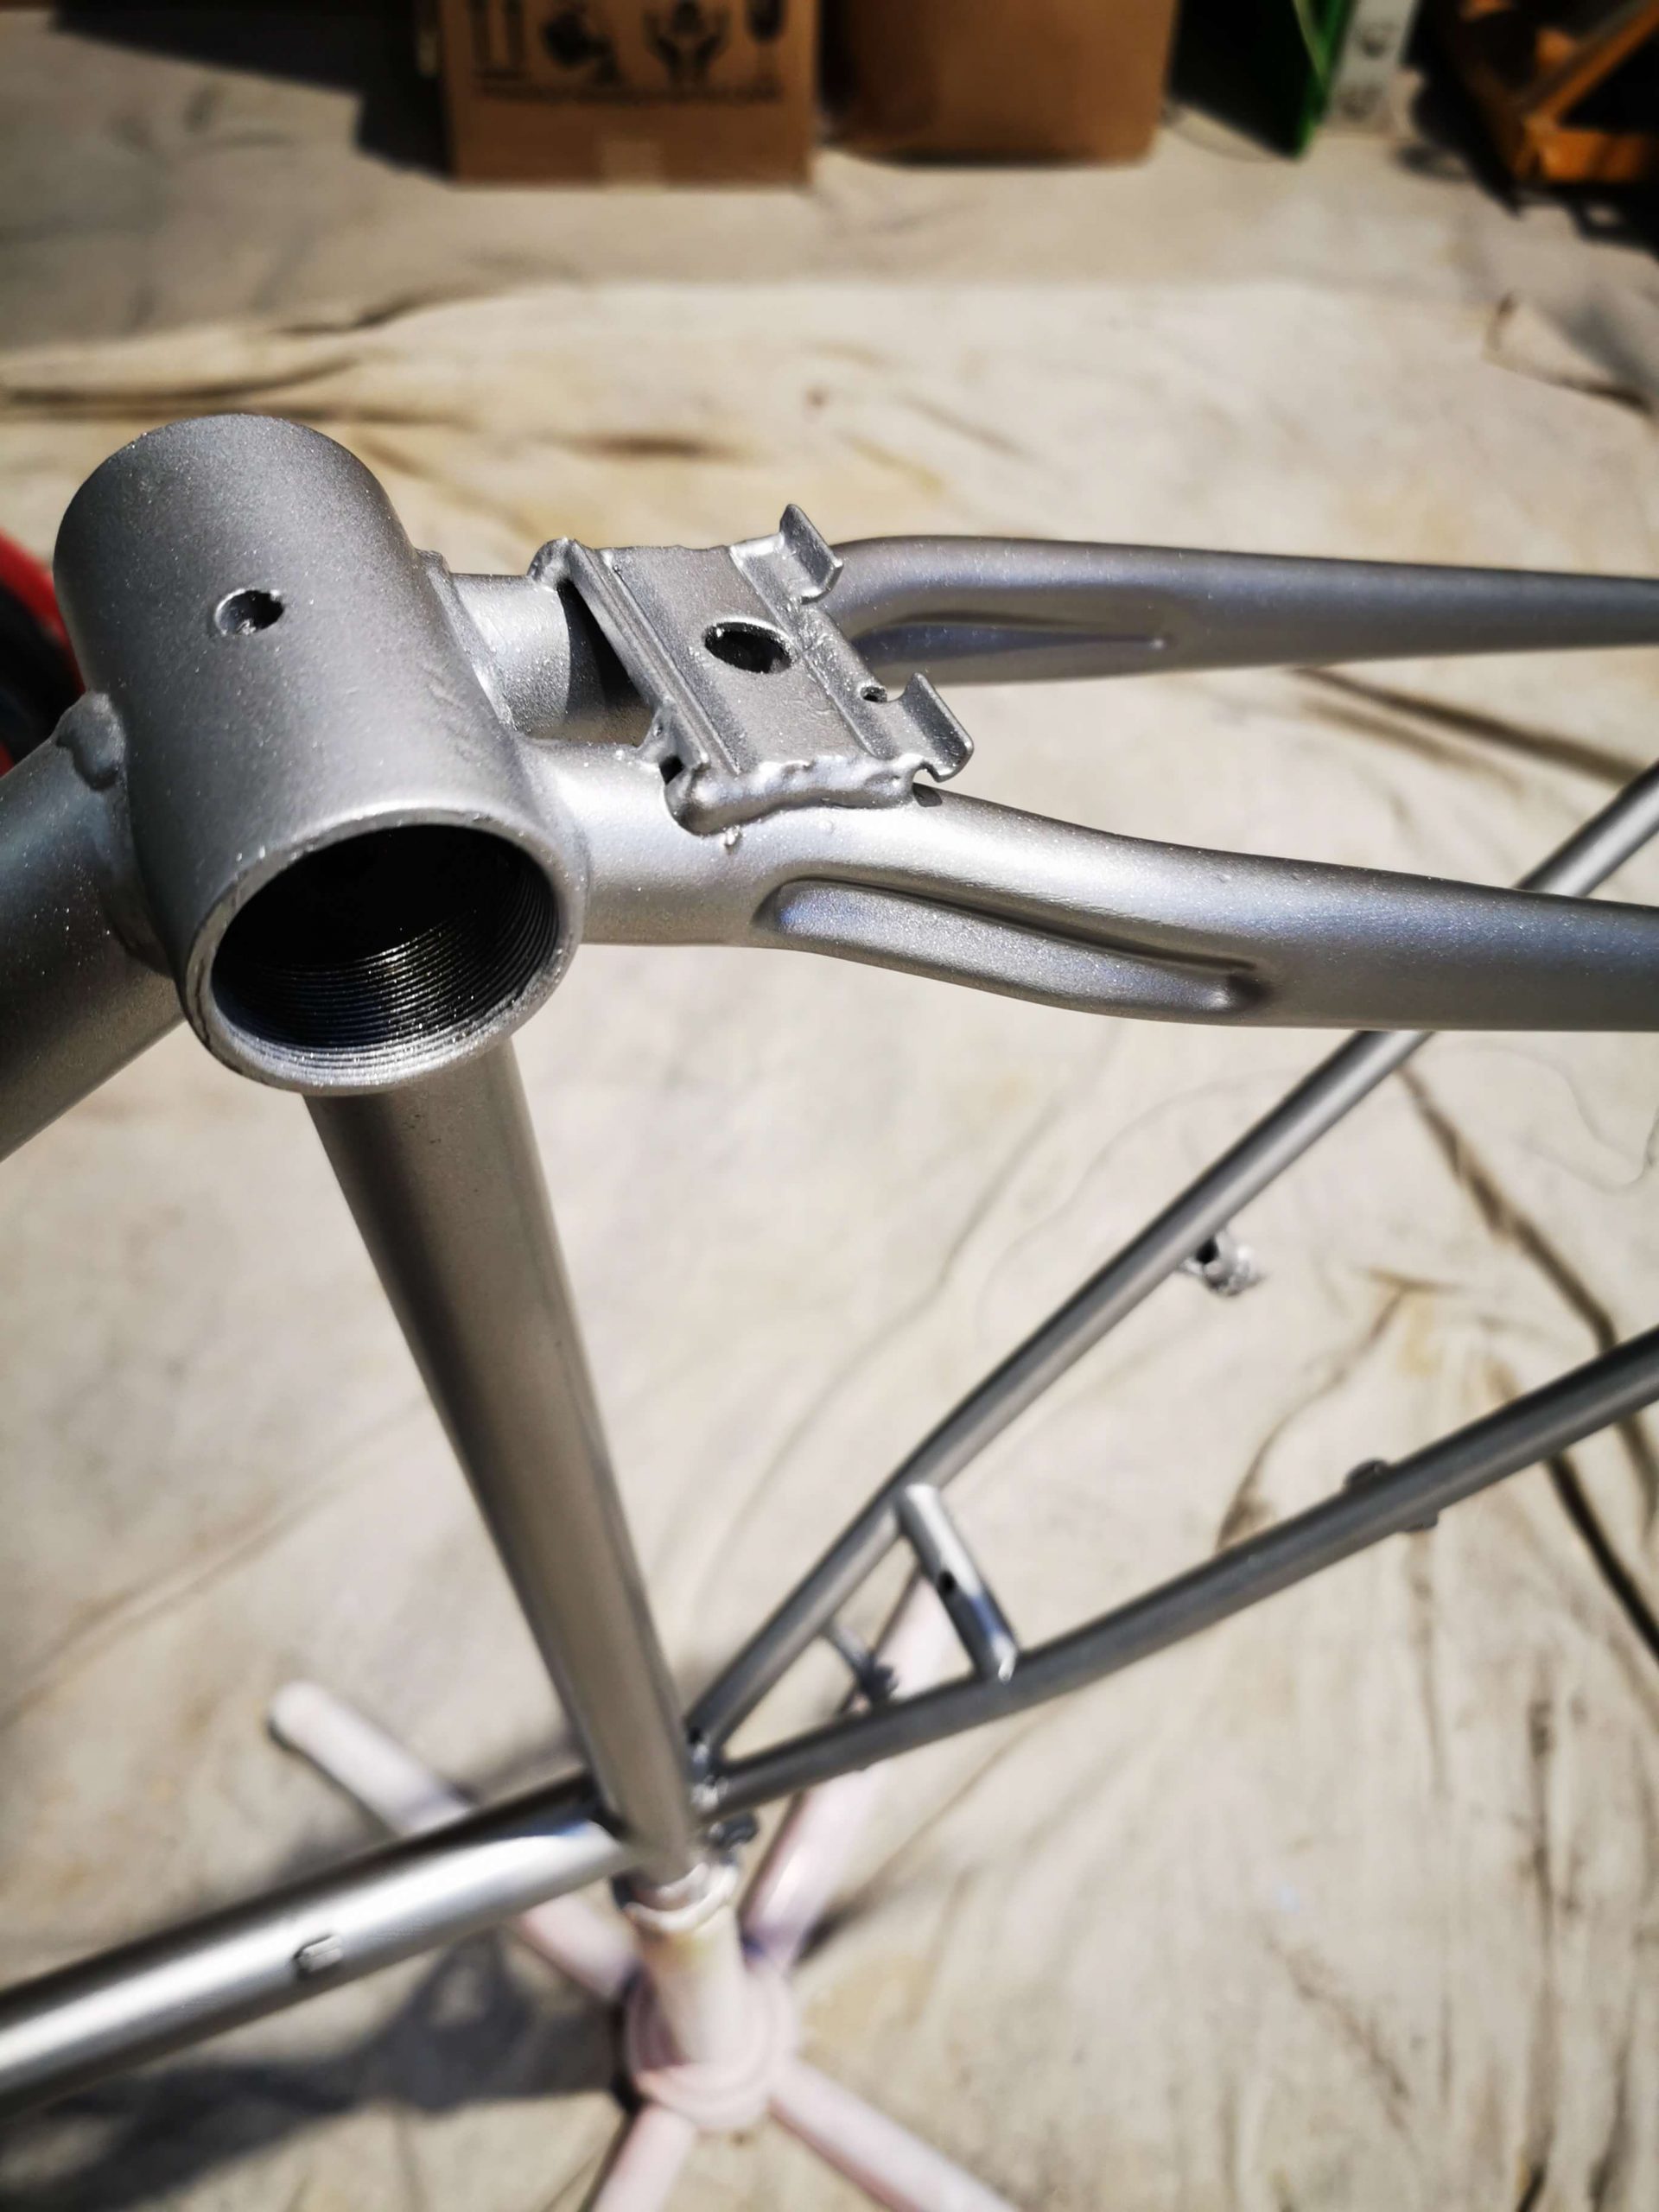
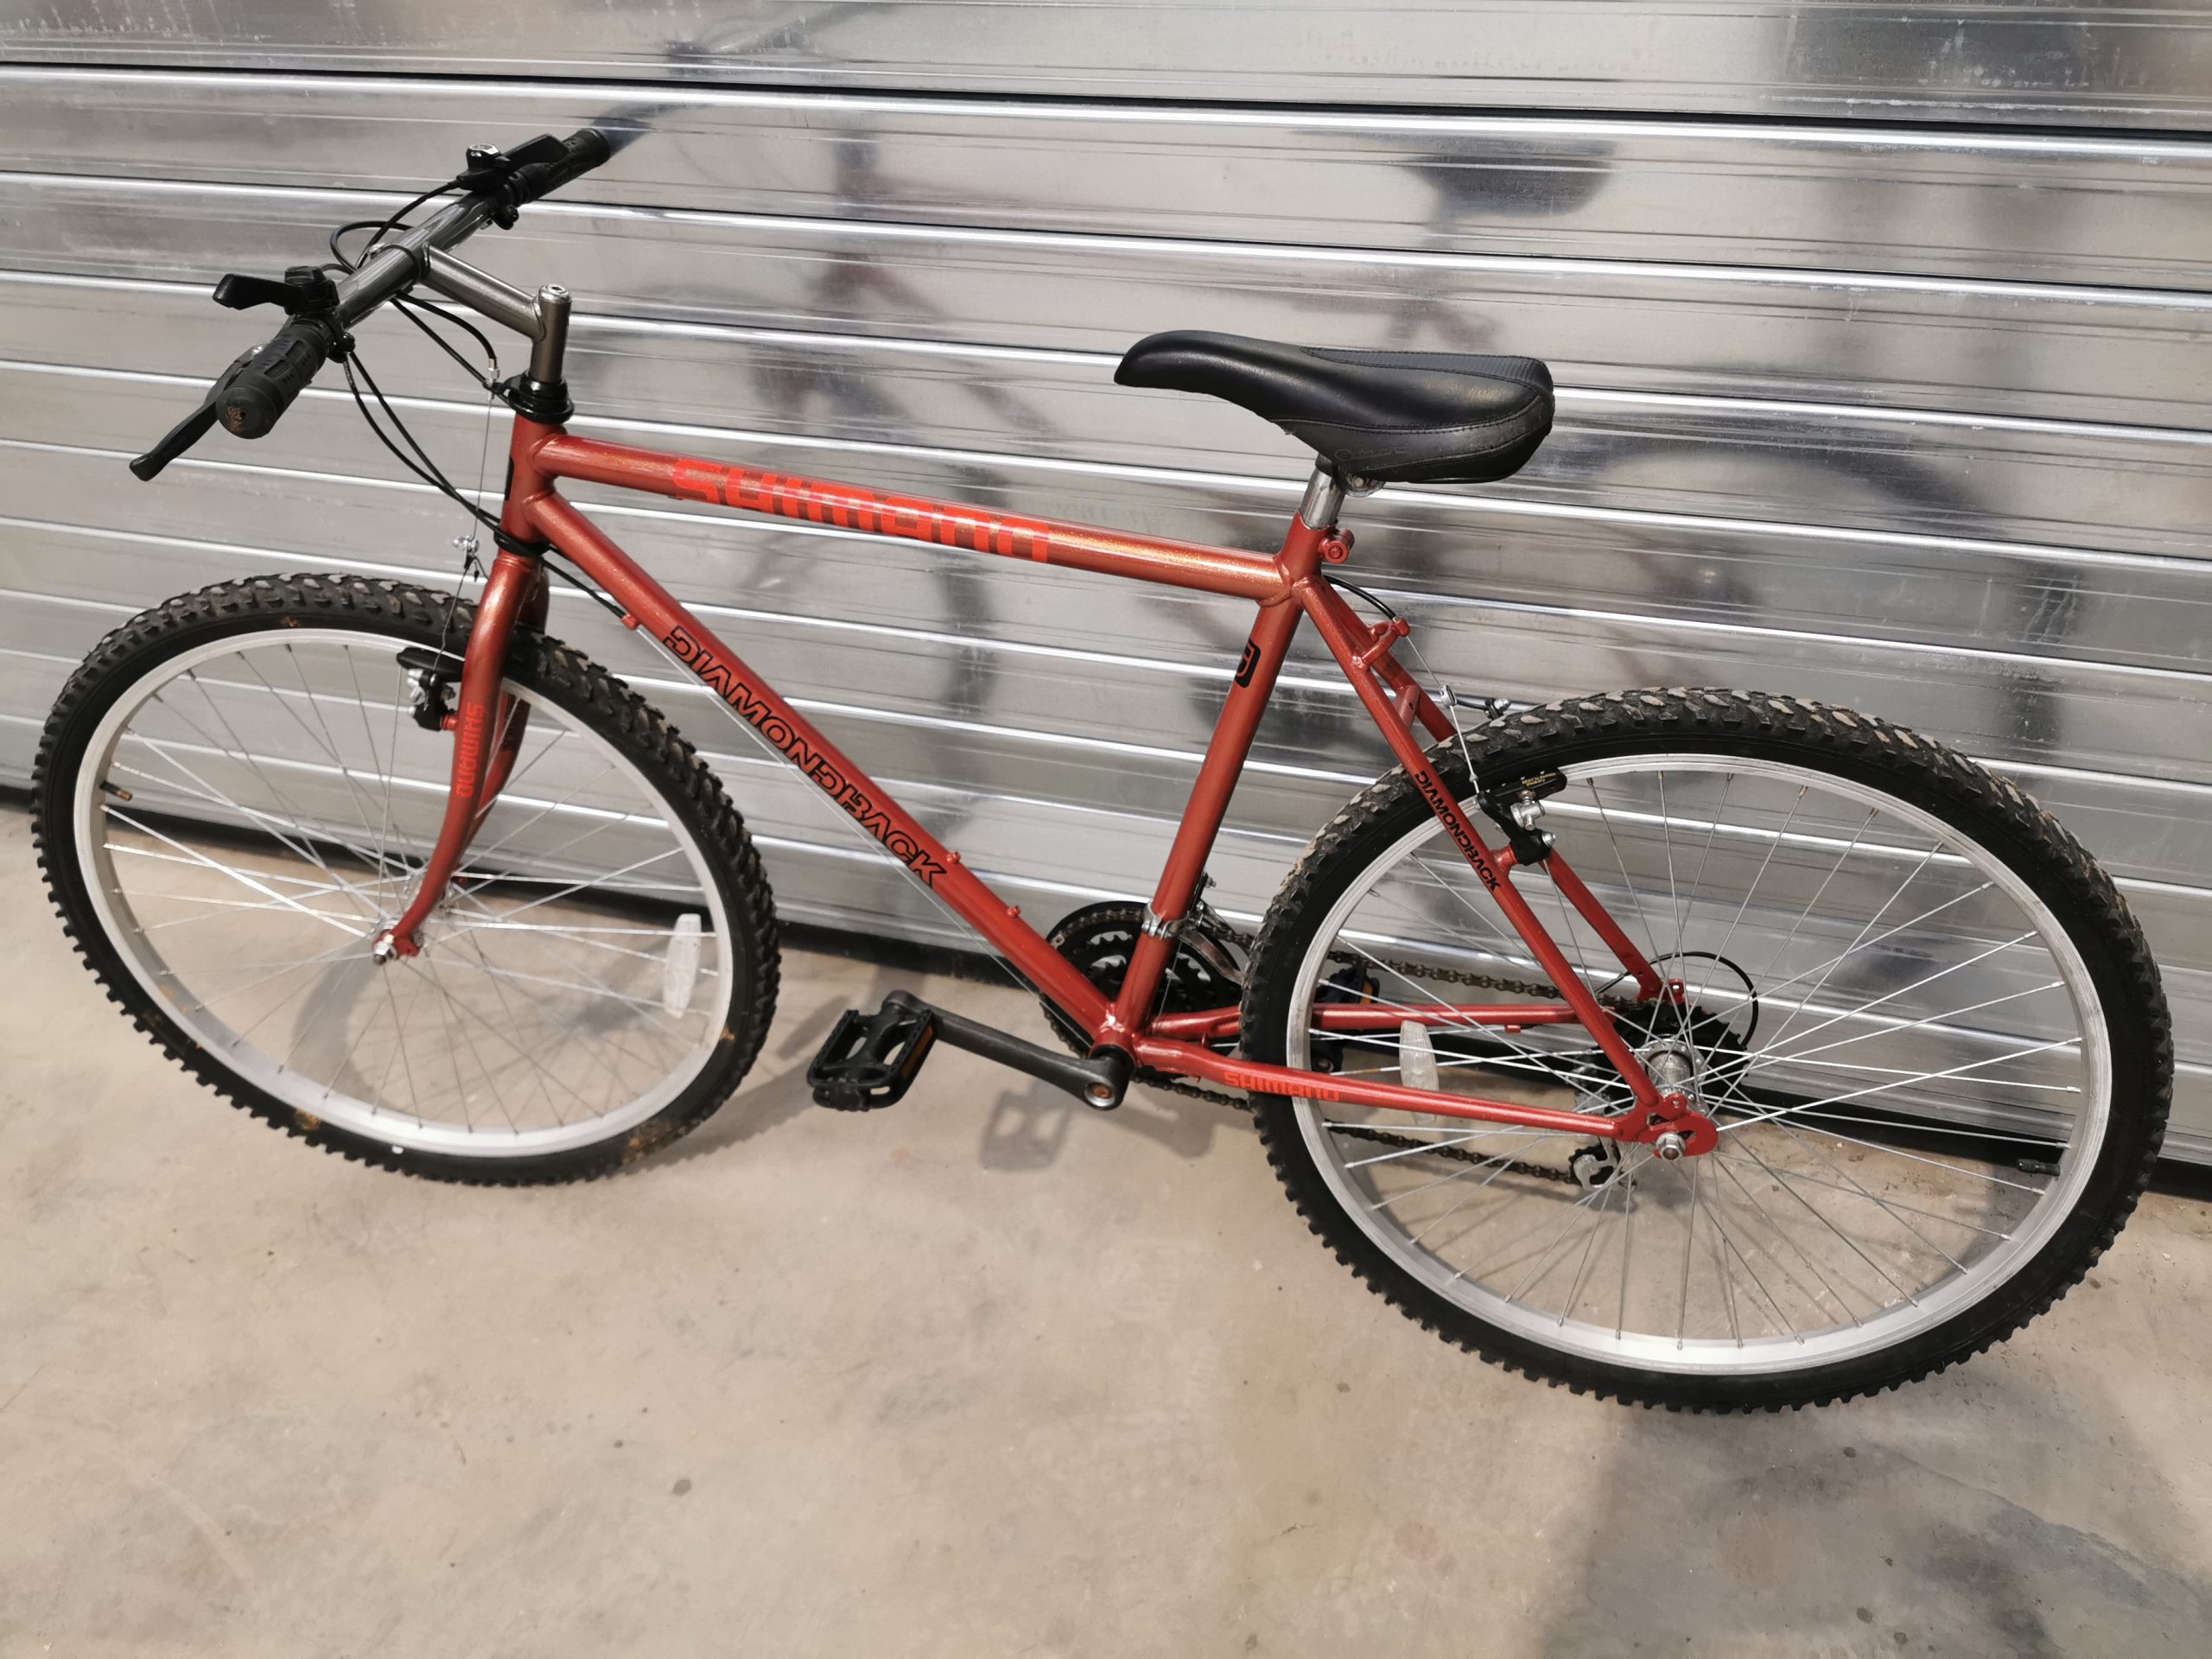
Here at DC Paint Solutions, we love a good bike project, this one, in particular, was an adult mountain bike.
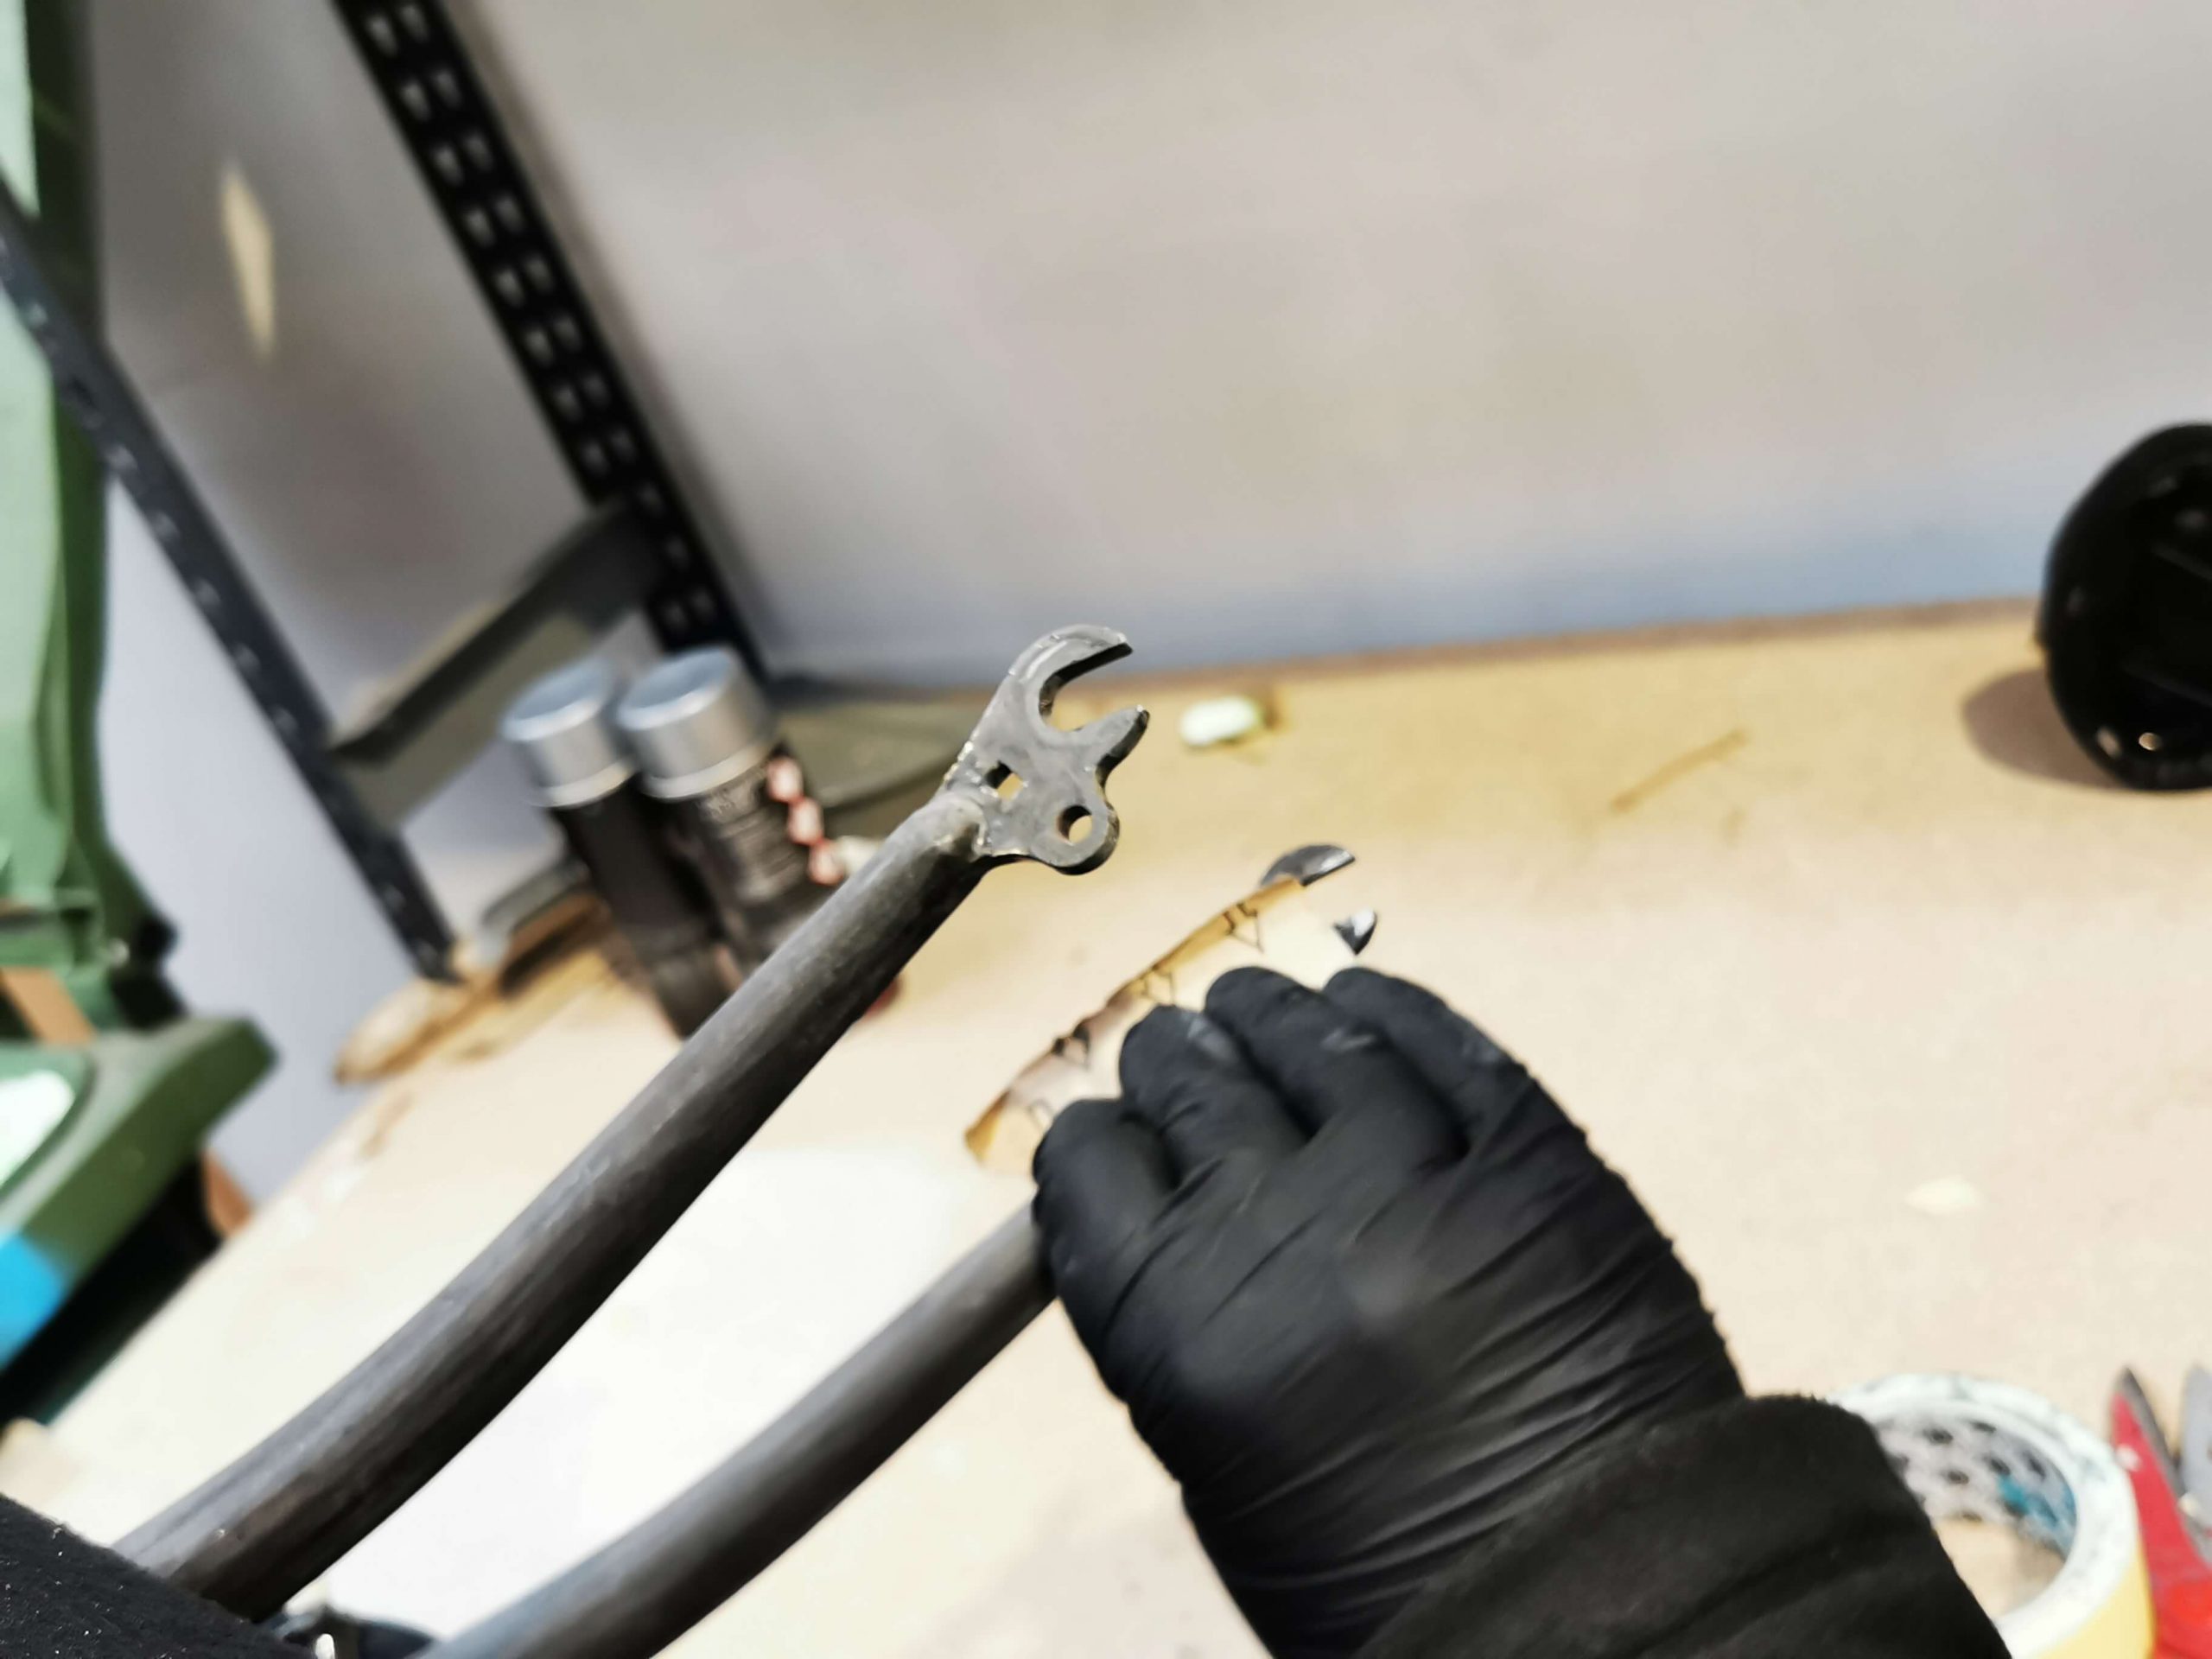
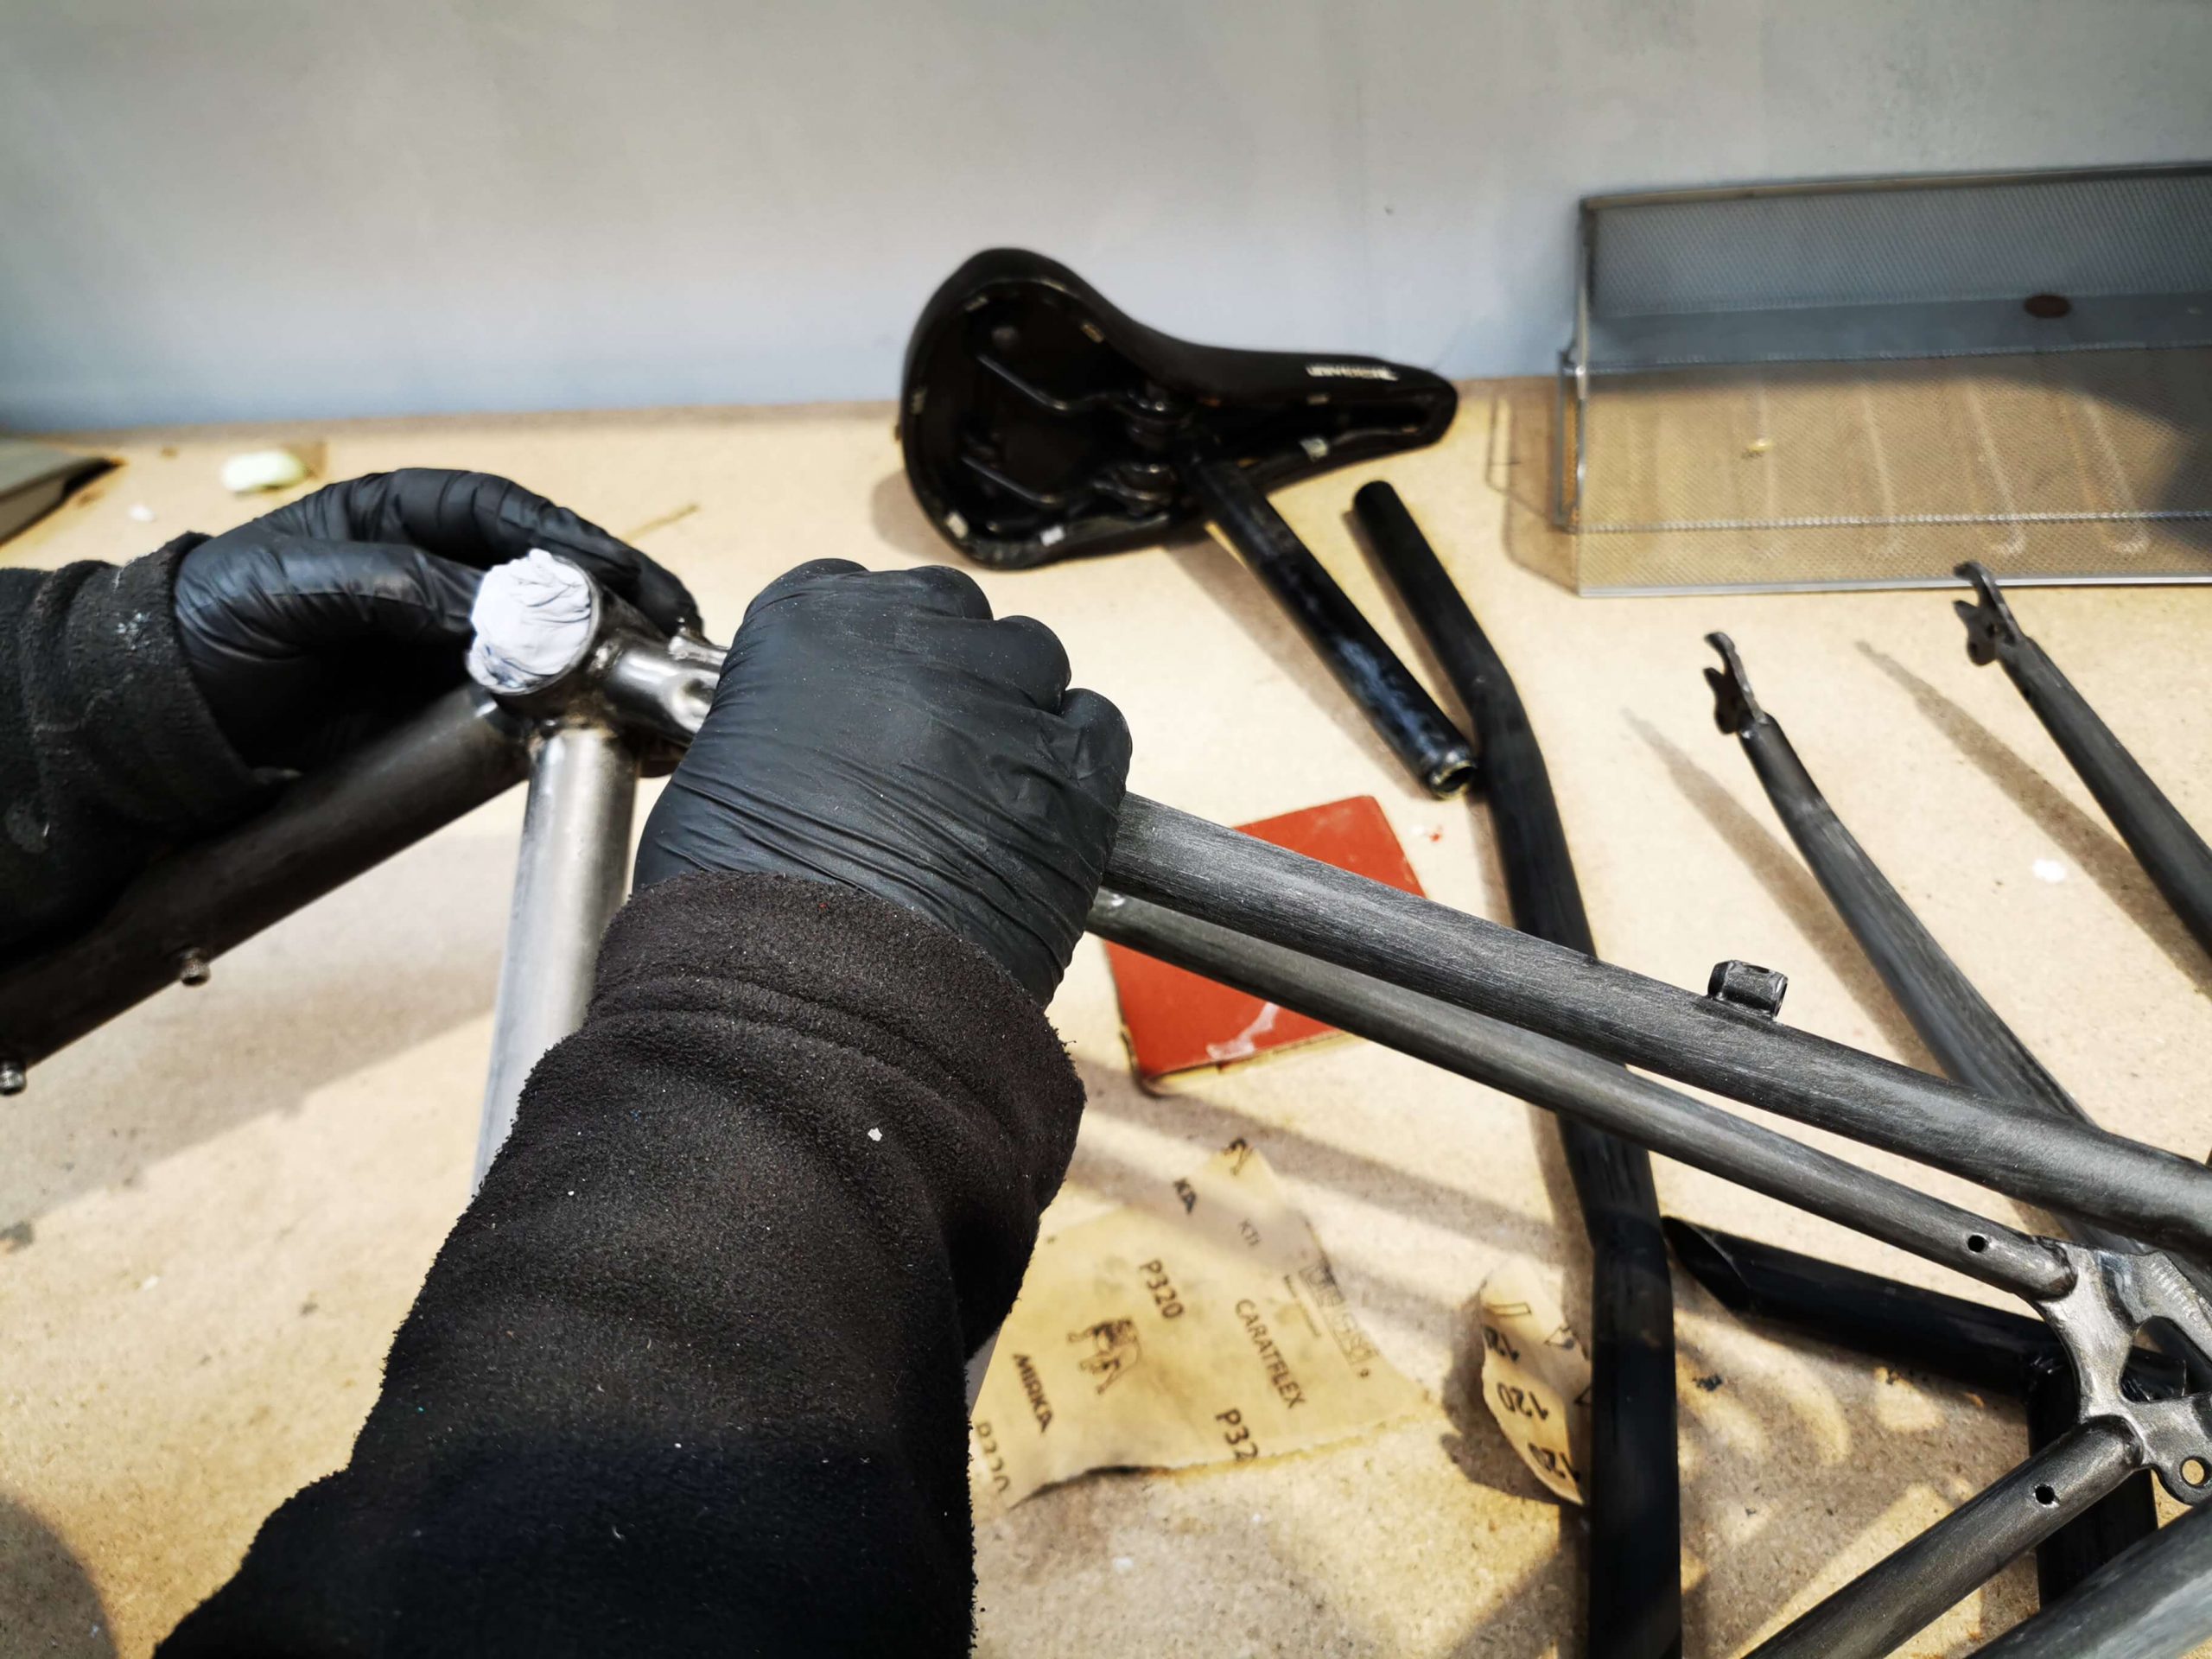
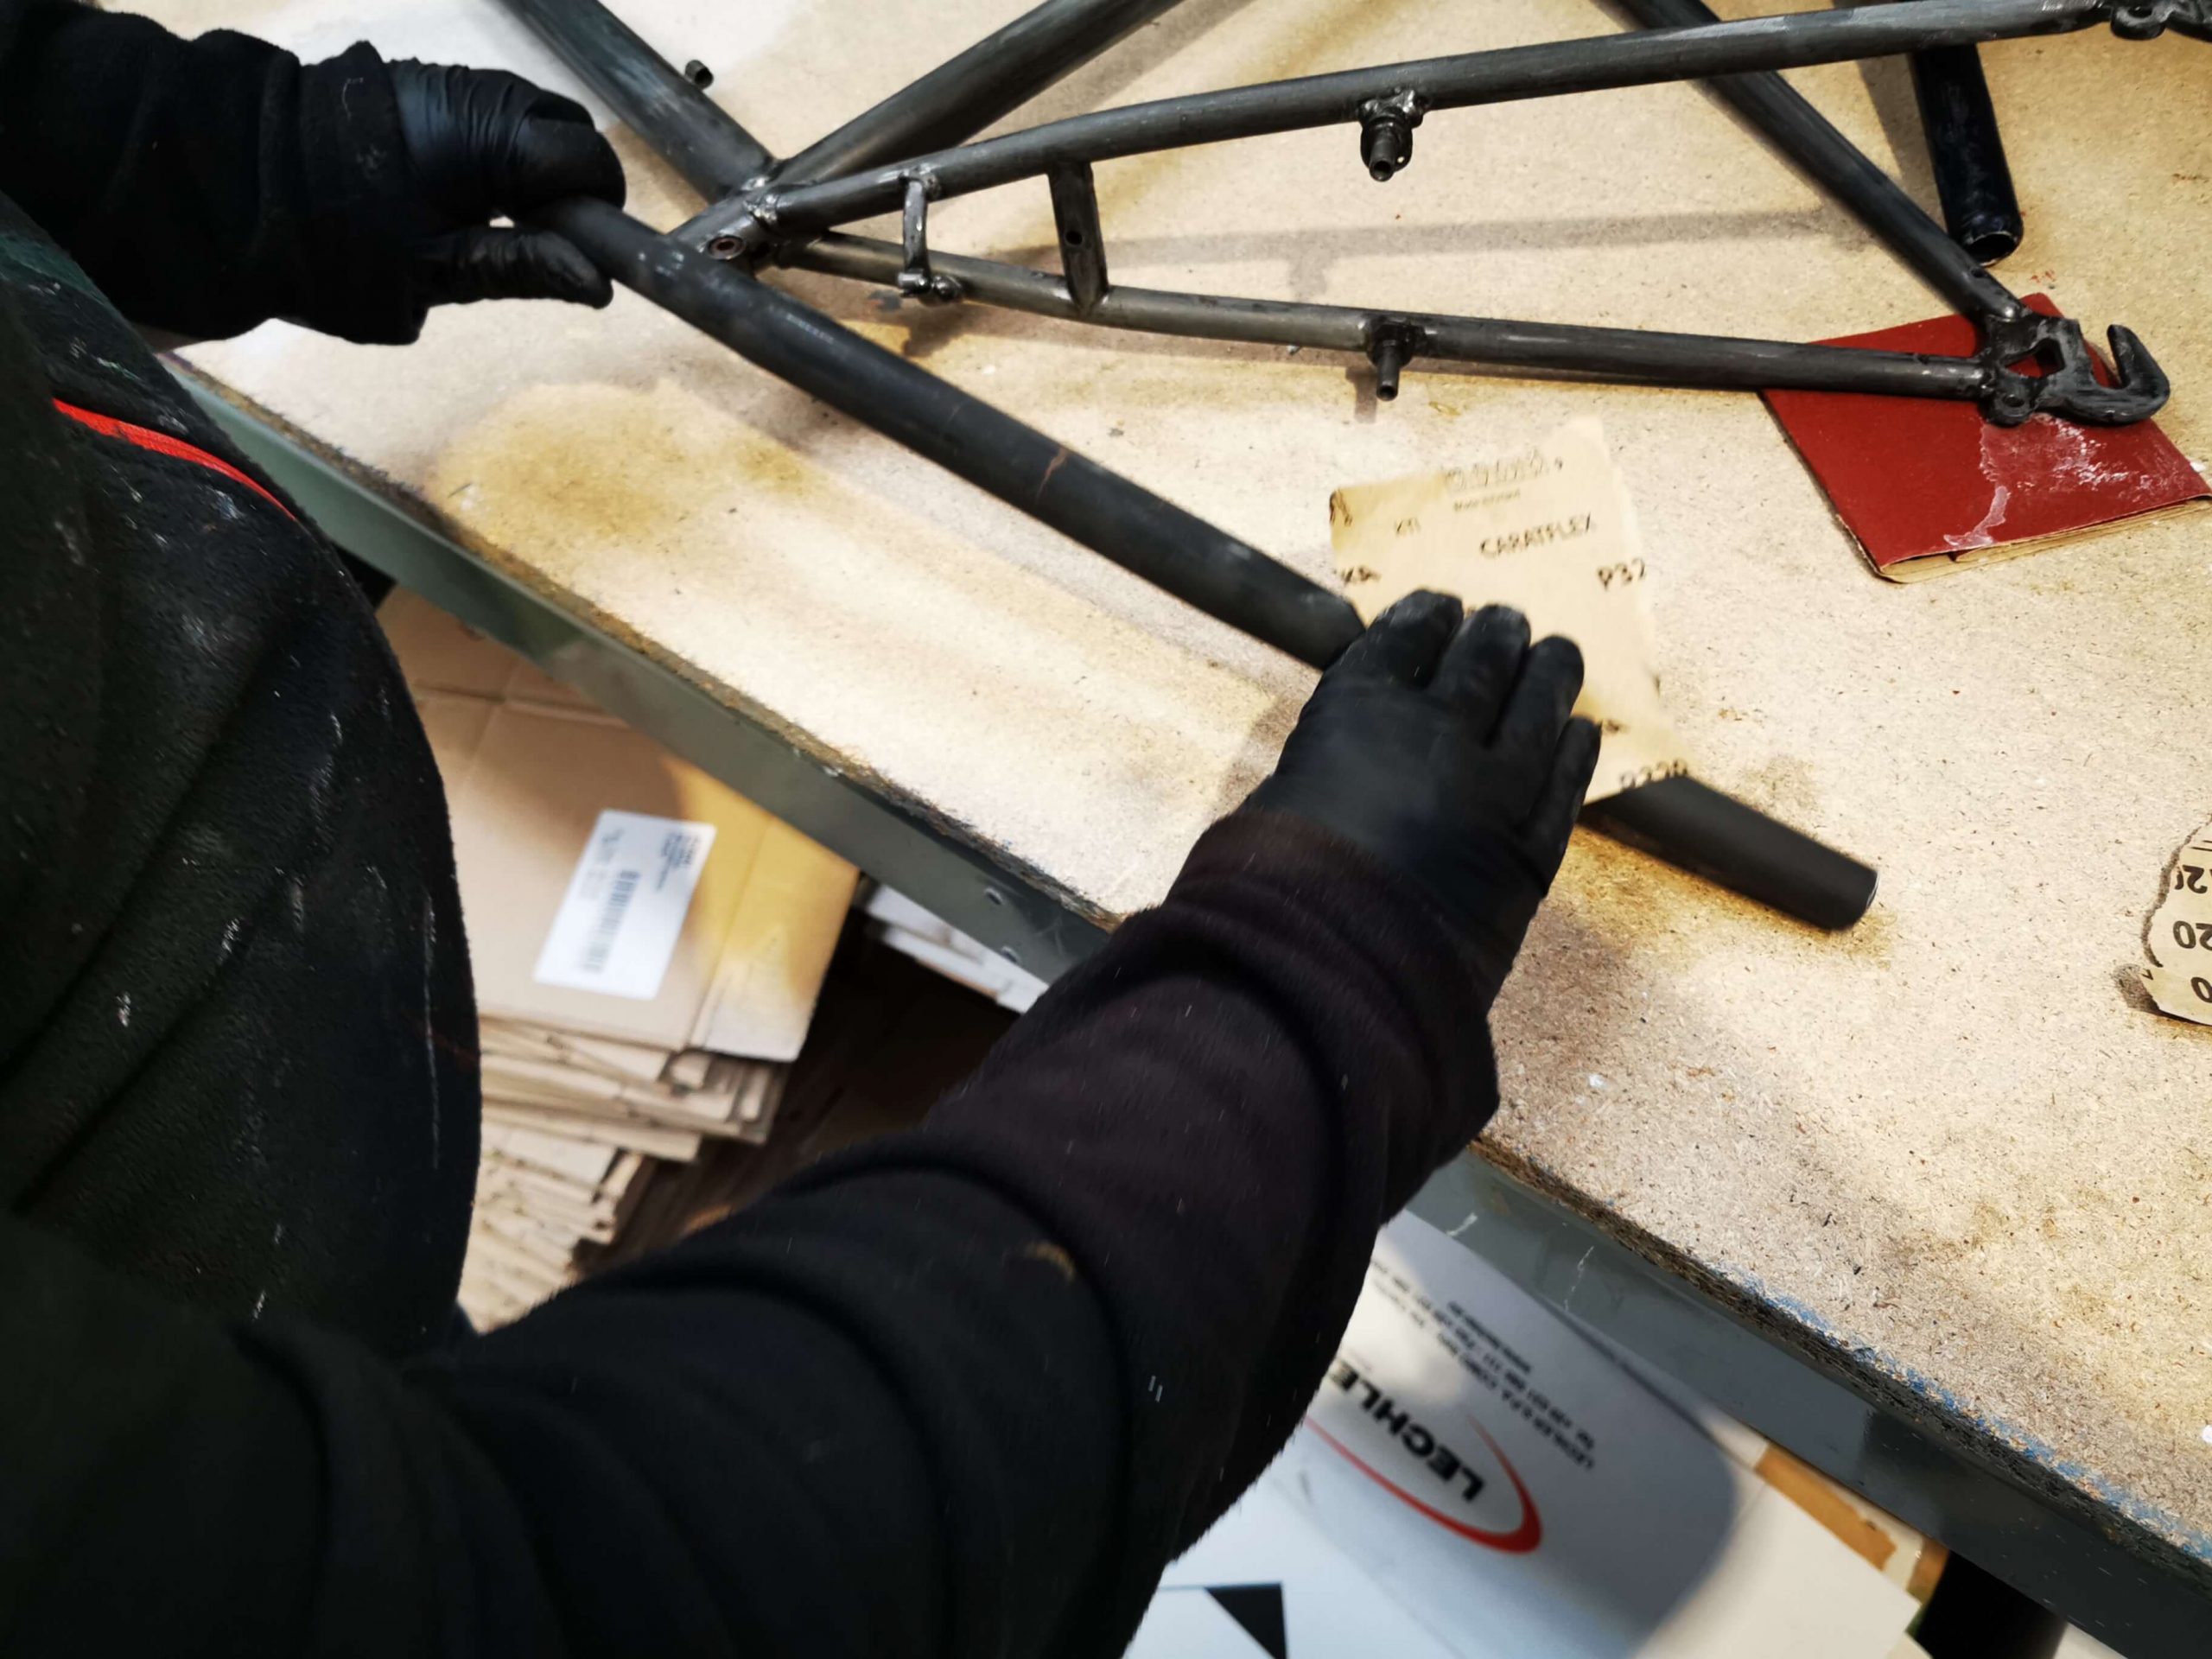
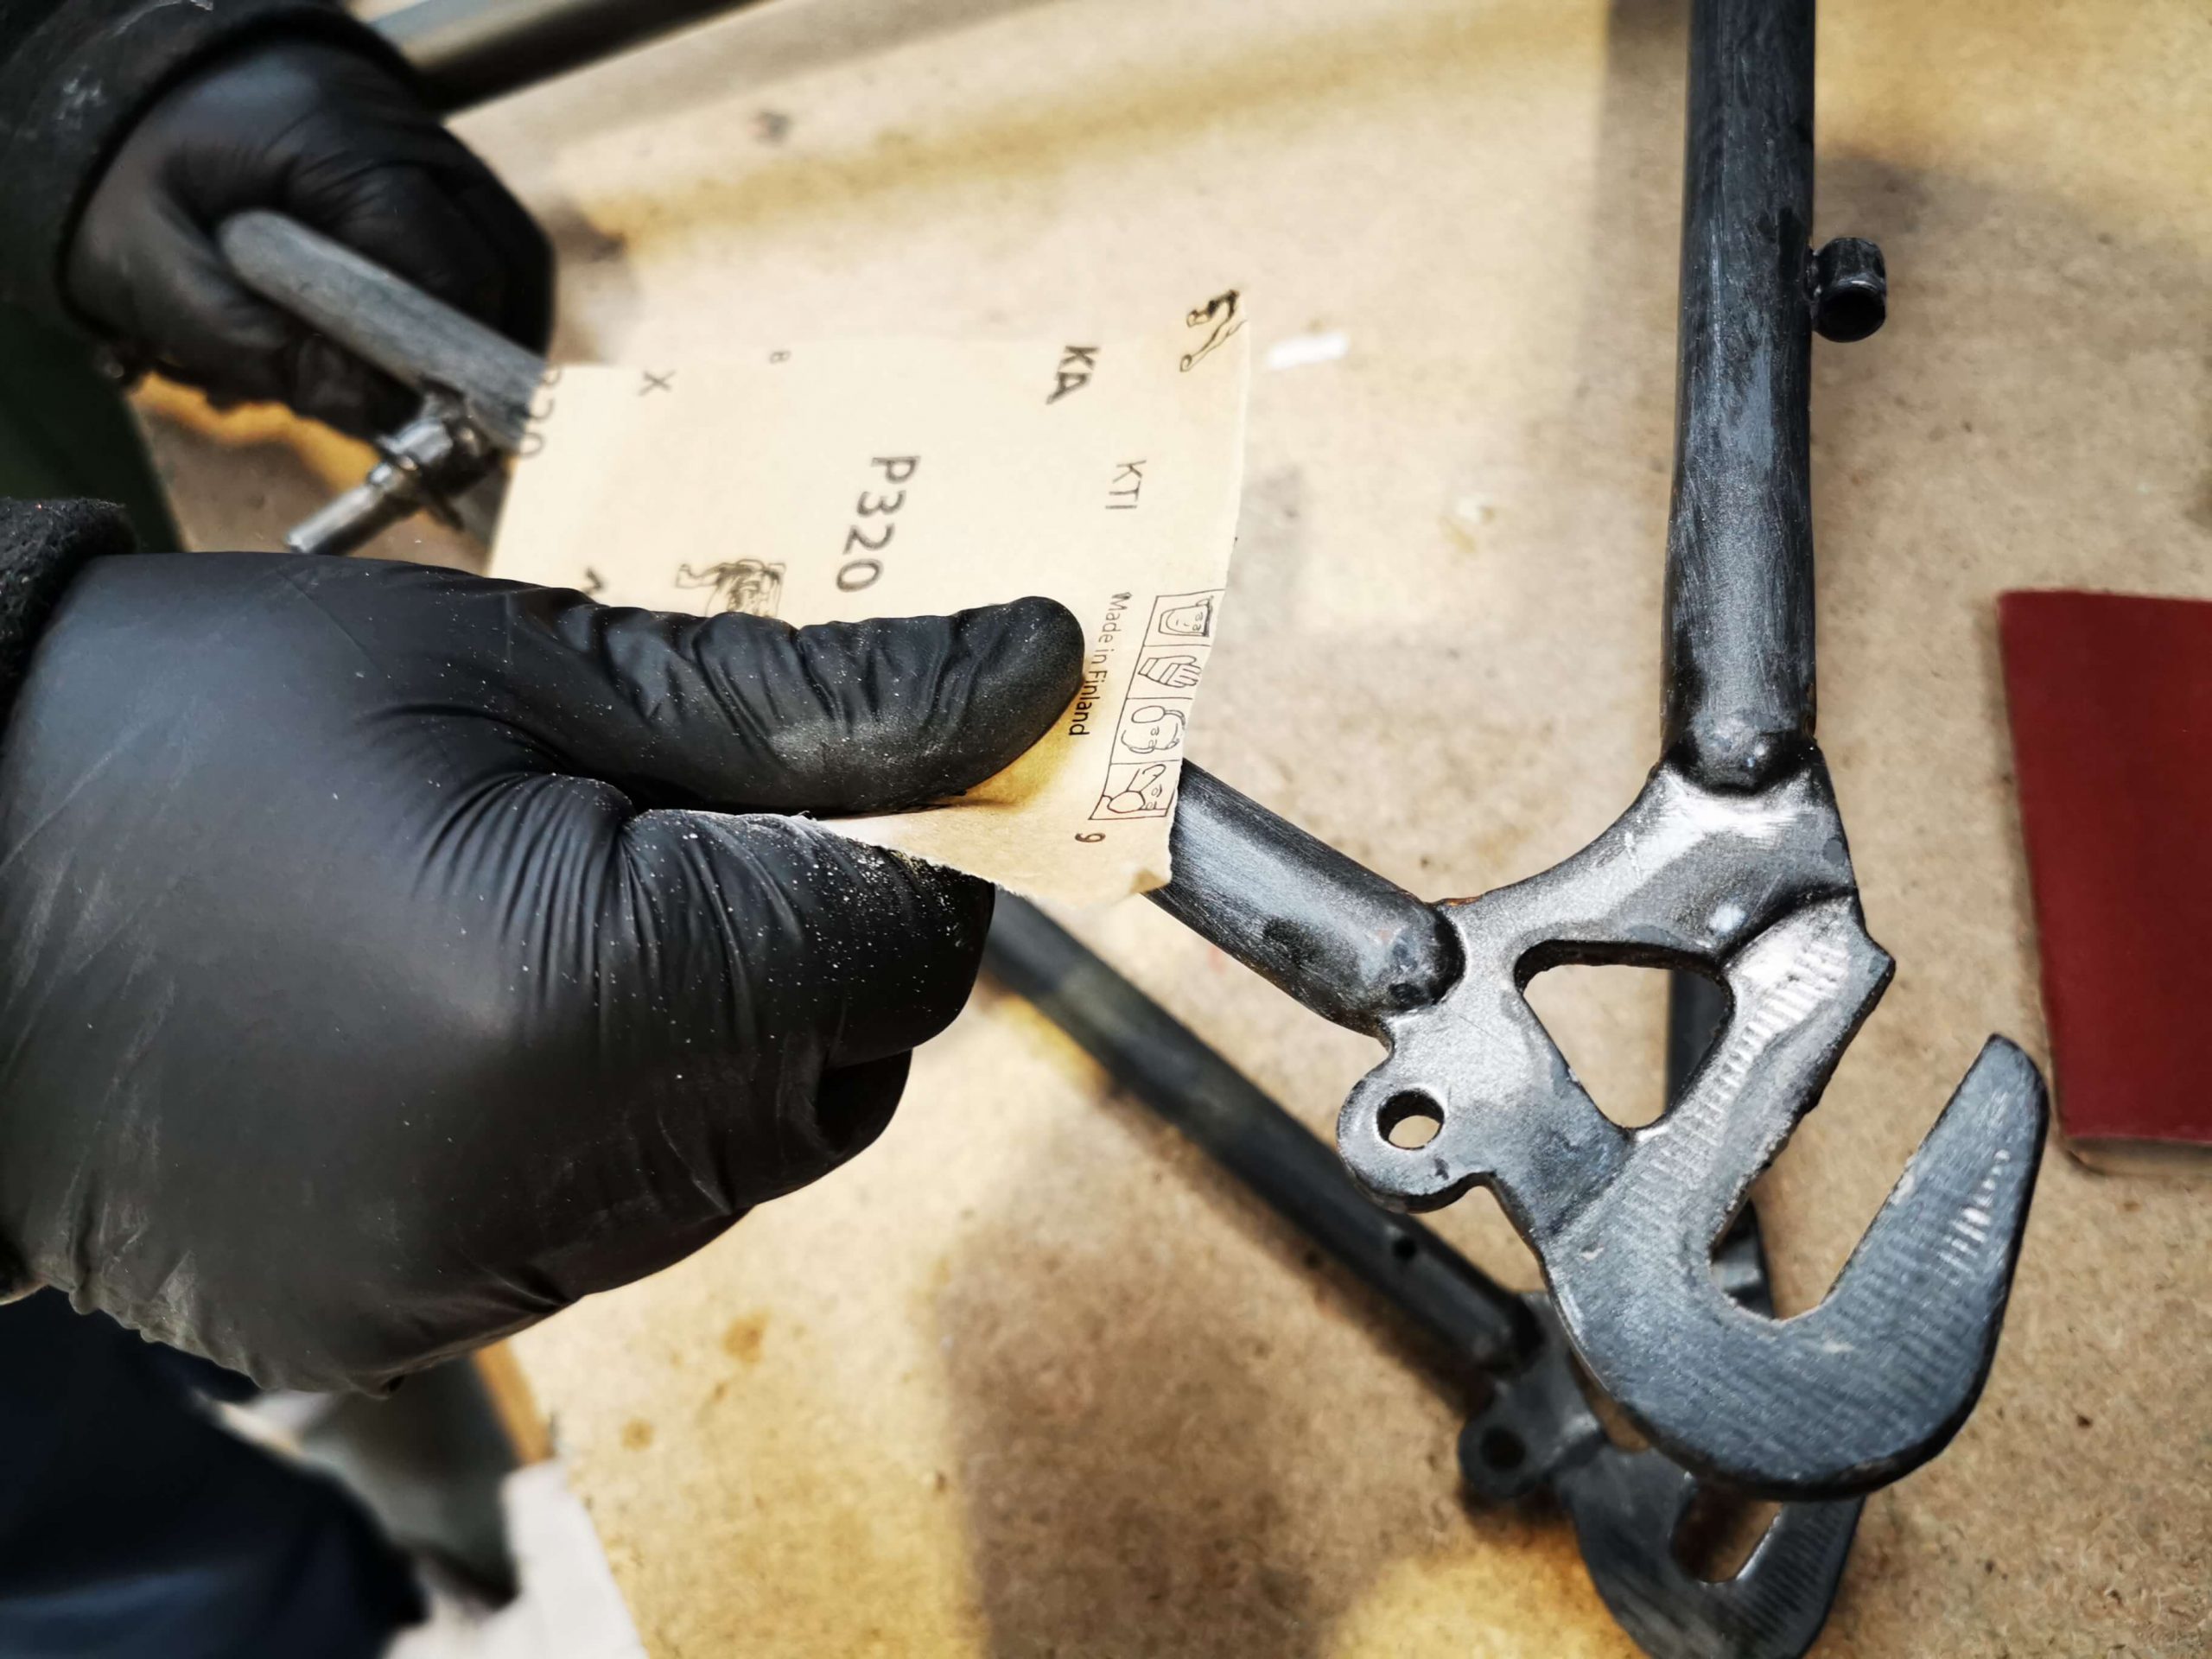
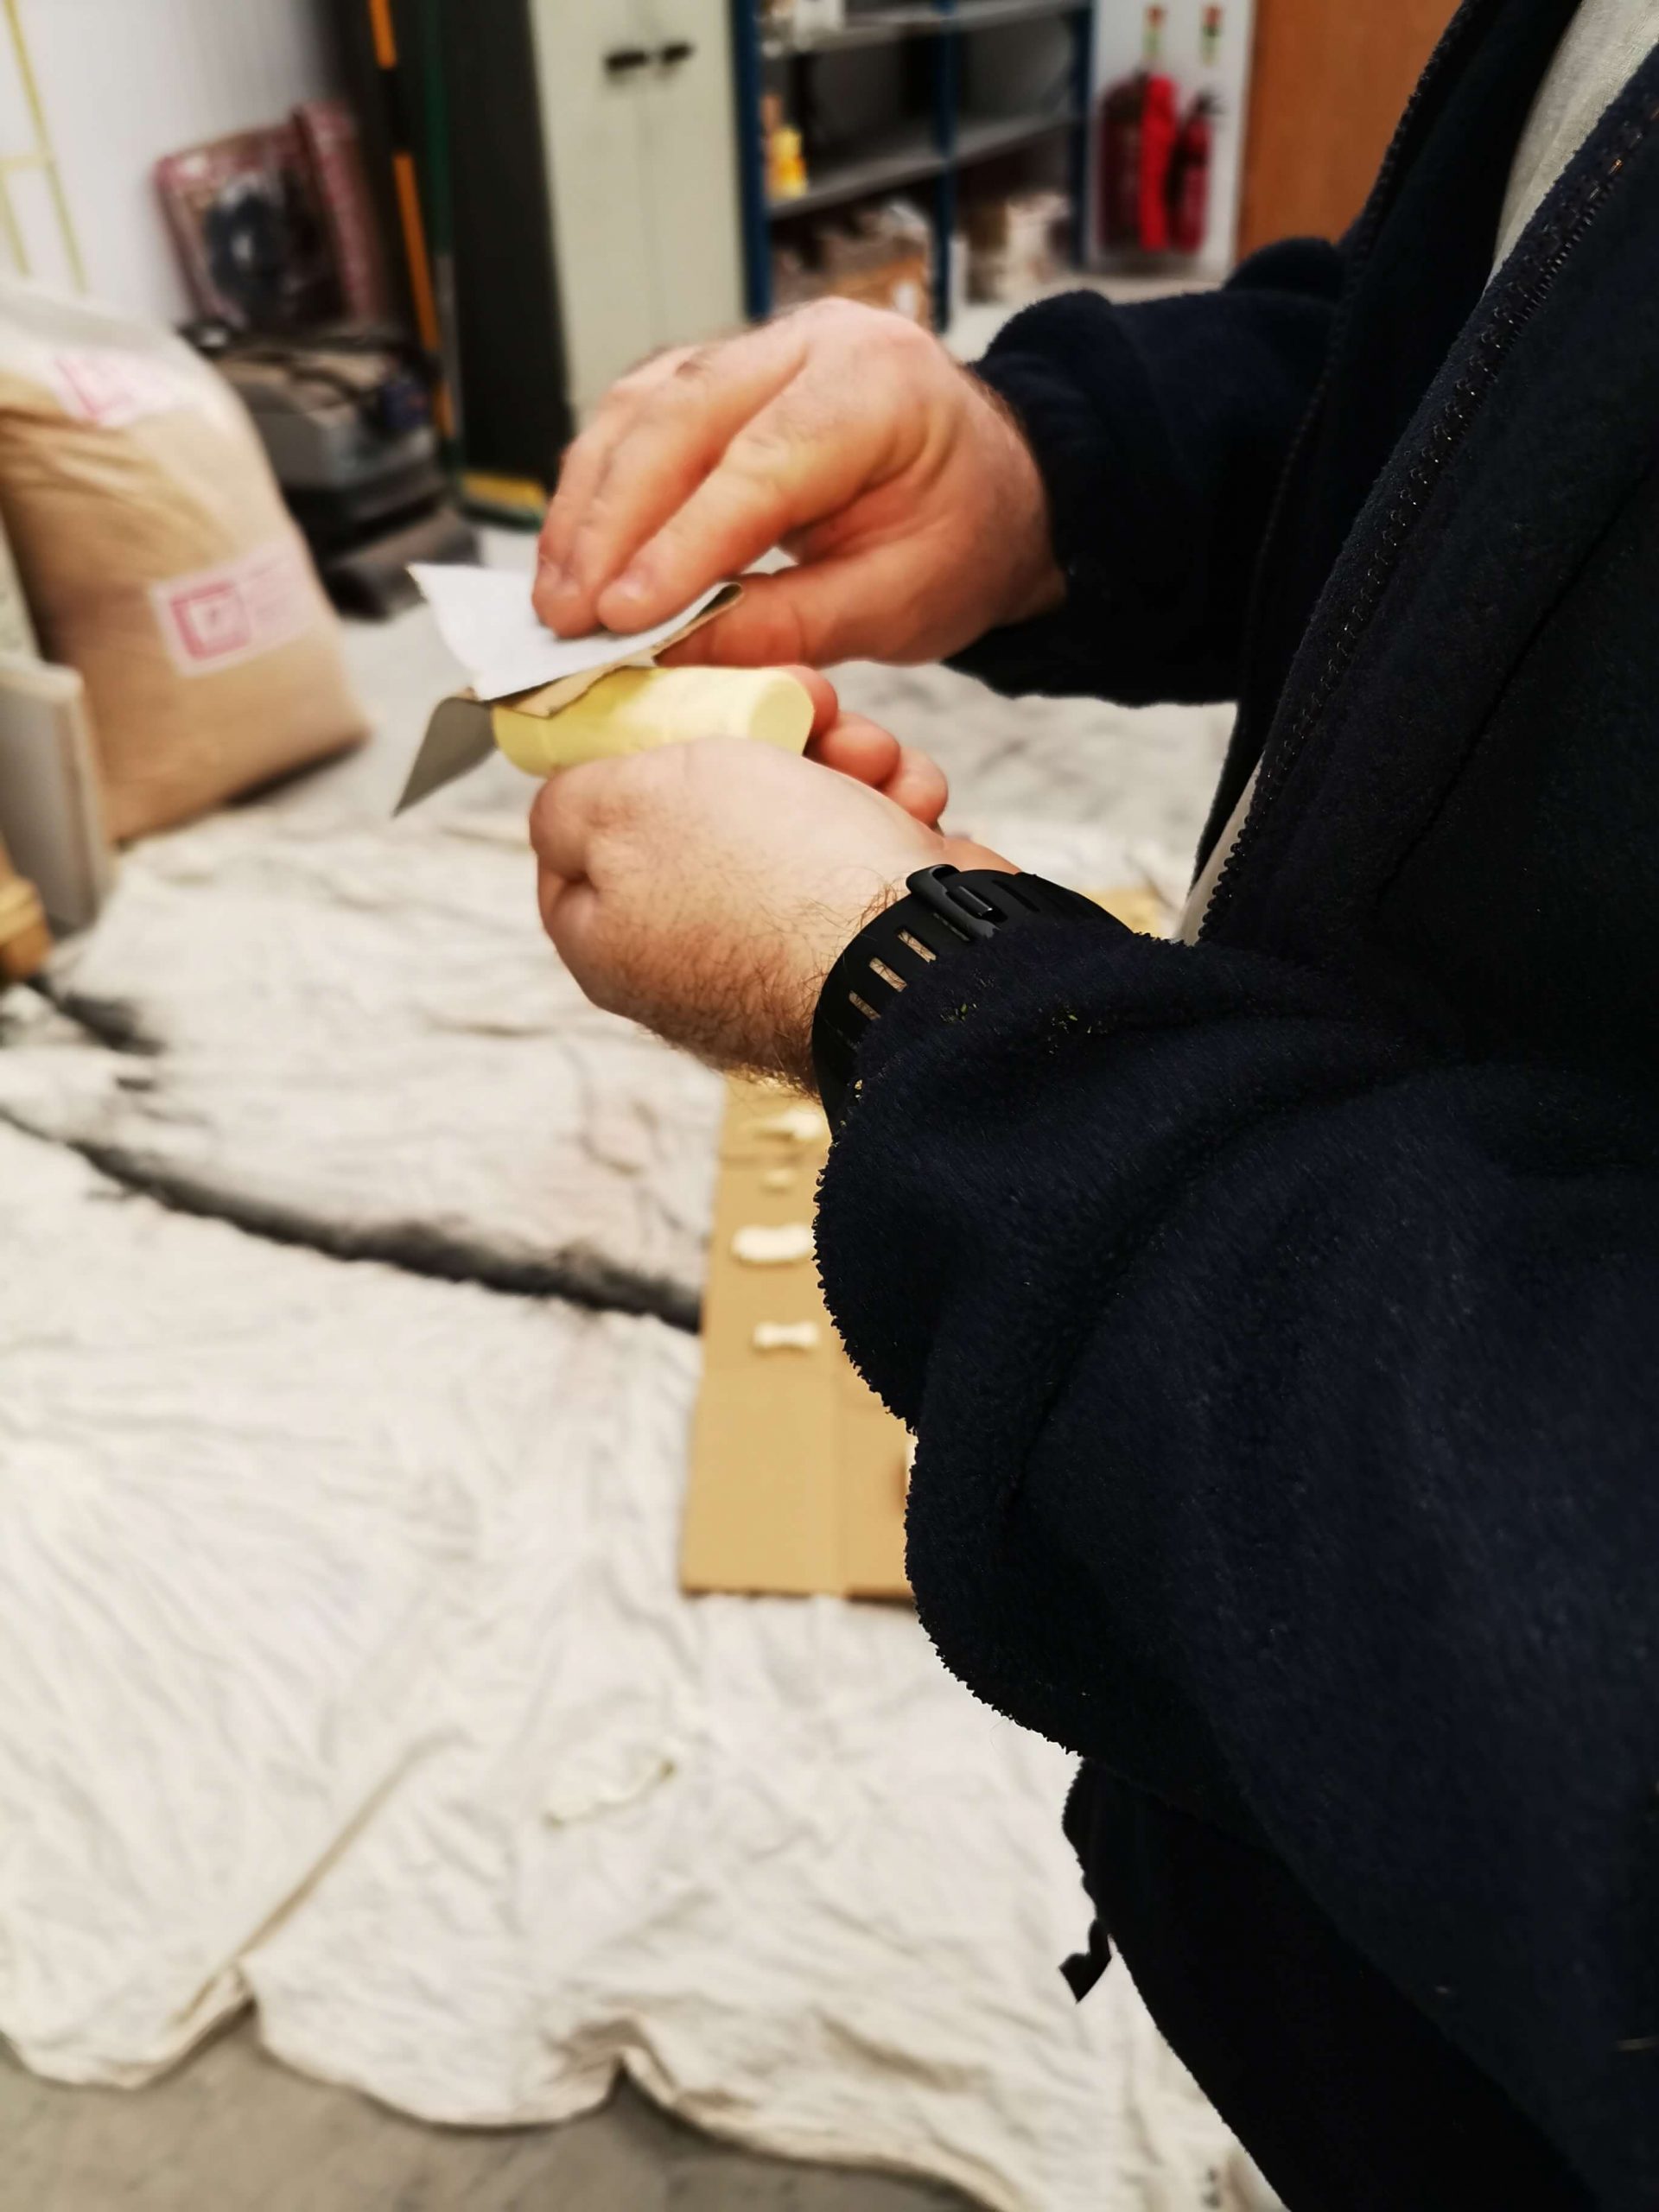
To get the most out of this project, we started by sanding down the whole frame of the bike. After everything was smooth and sufficiently sanded, our team then applied a metal filler in any large pits of the metalwork. It takes a little while for it to cure, so we allowed plenty of drying time before degreasing and cleaning the rest of the bike.
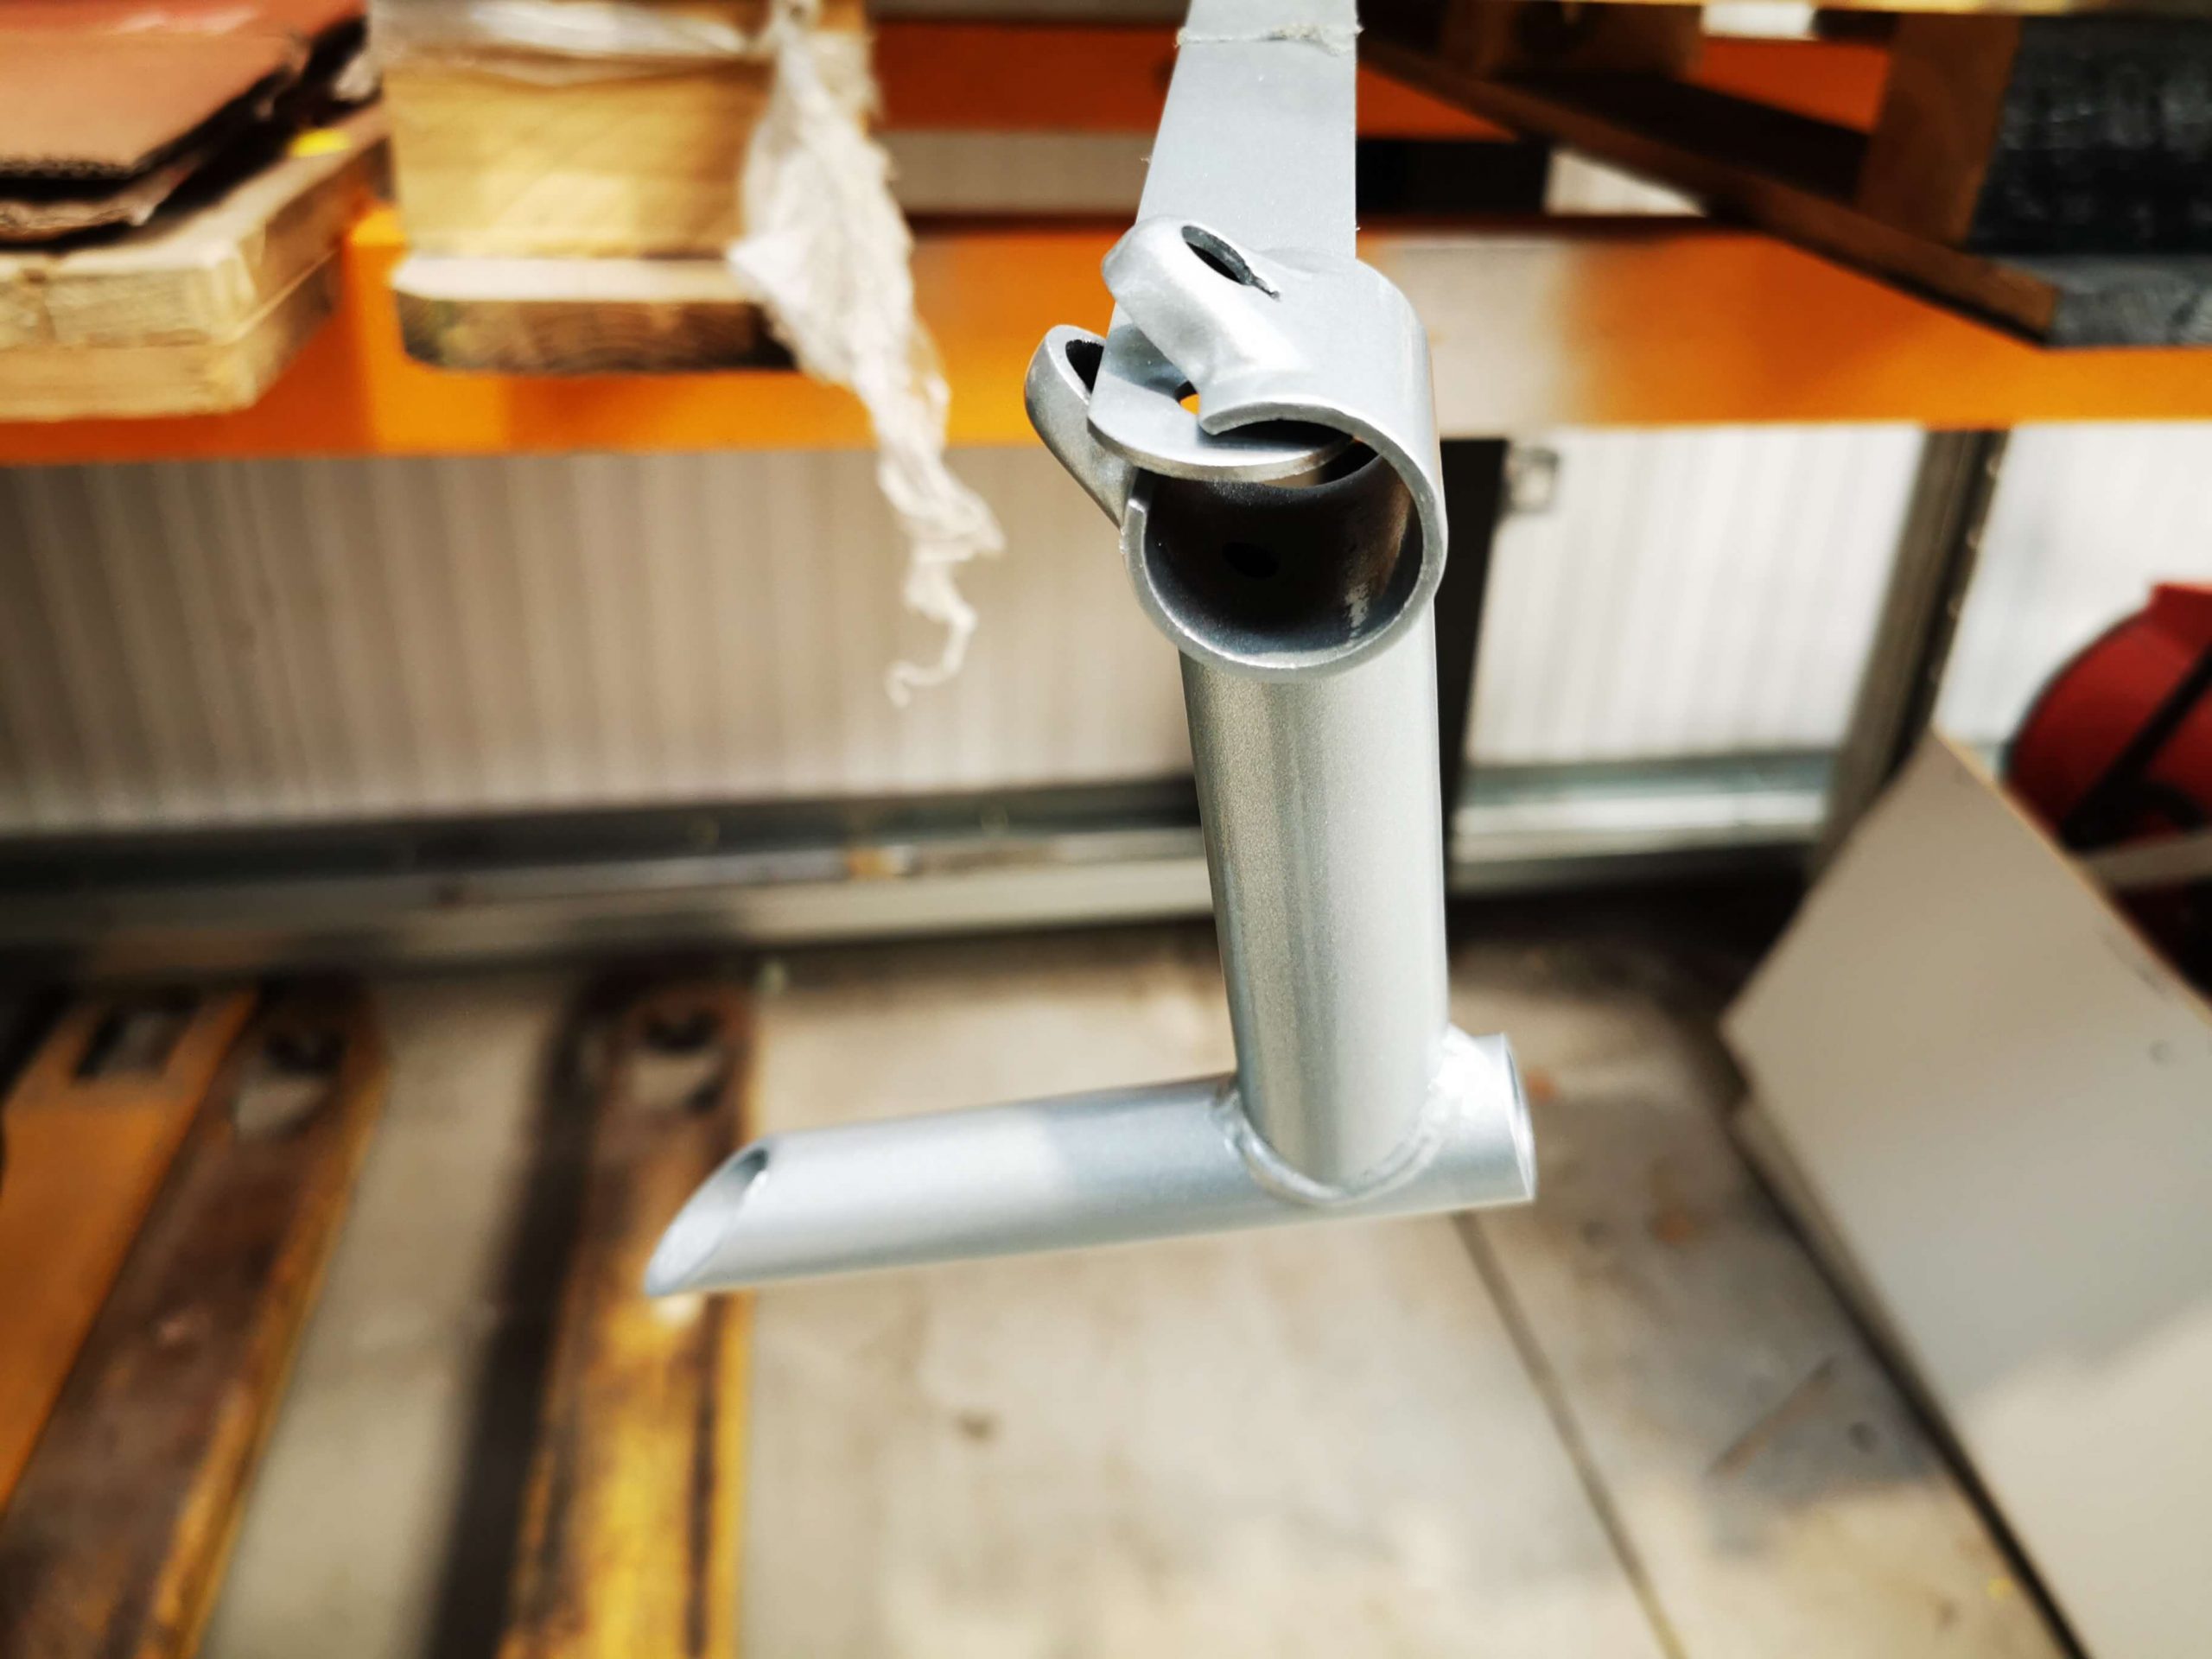
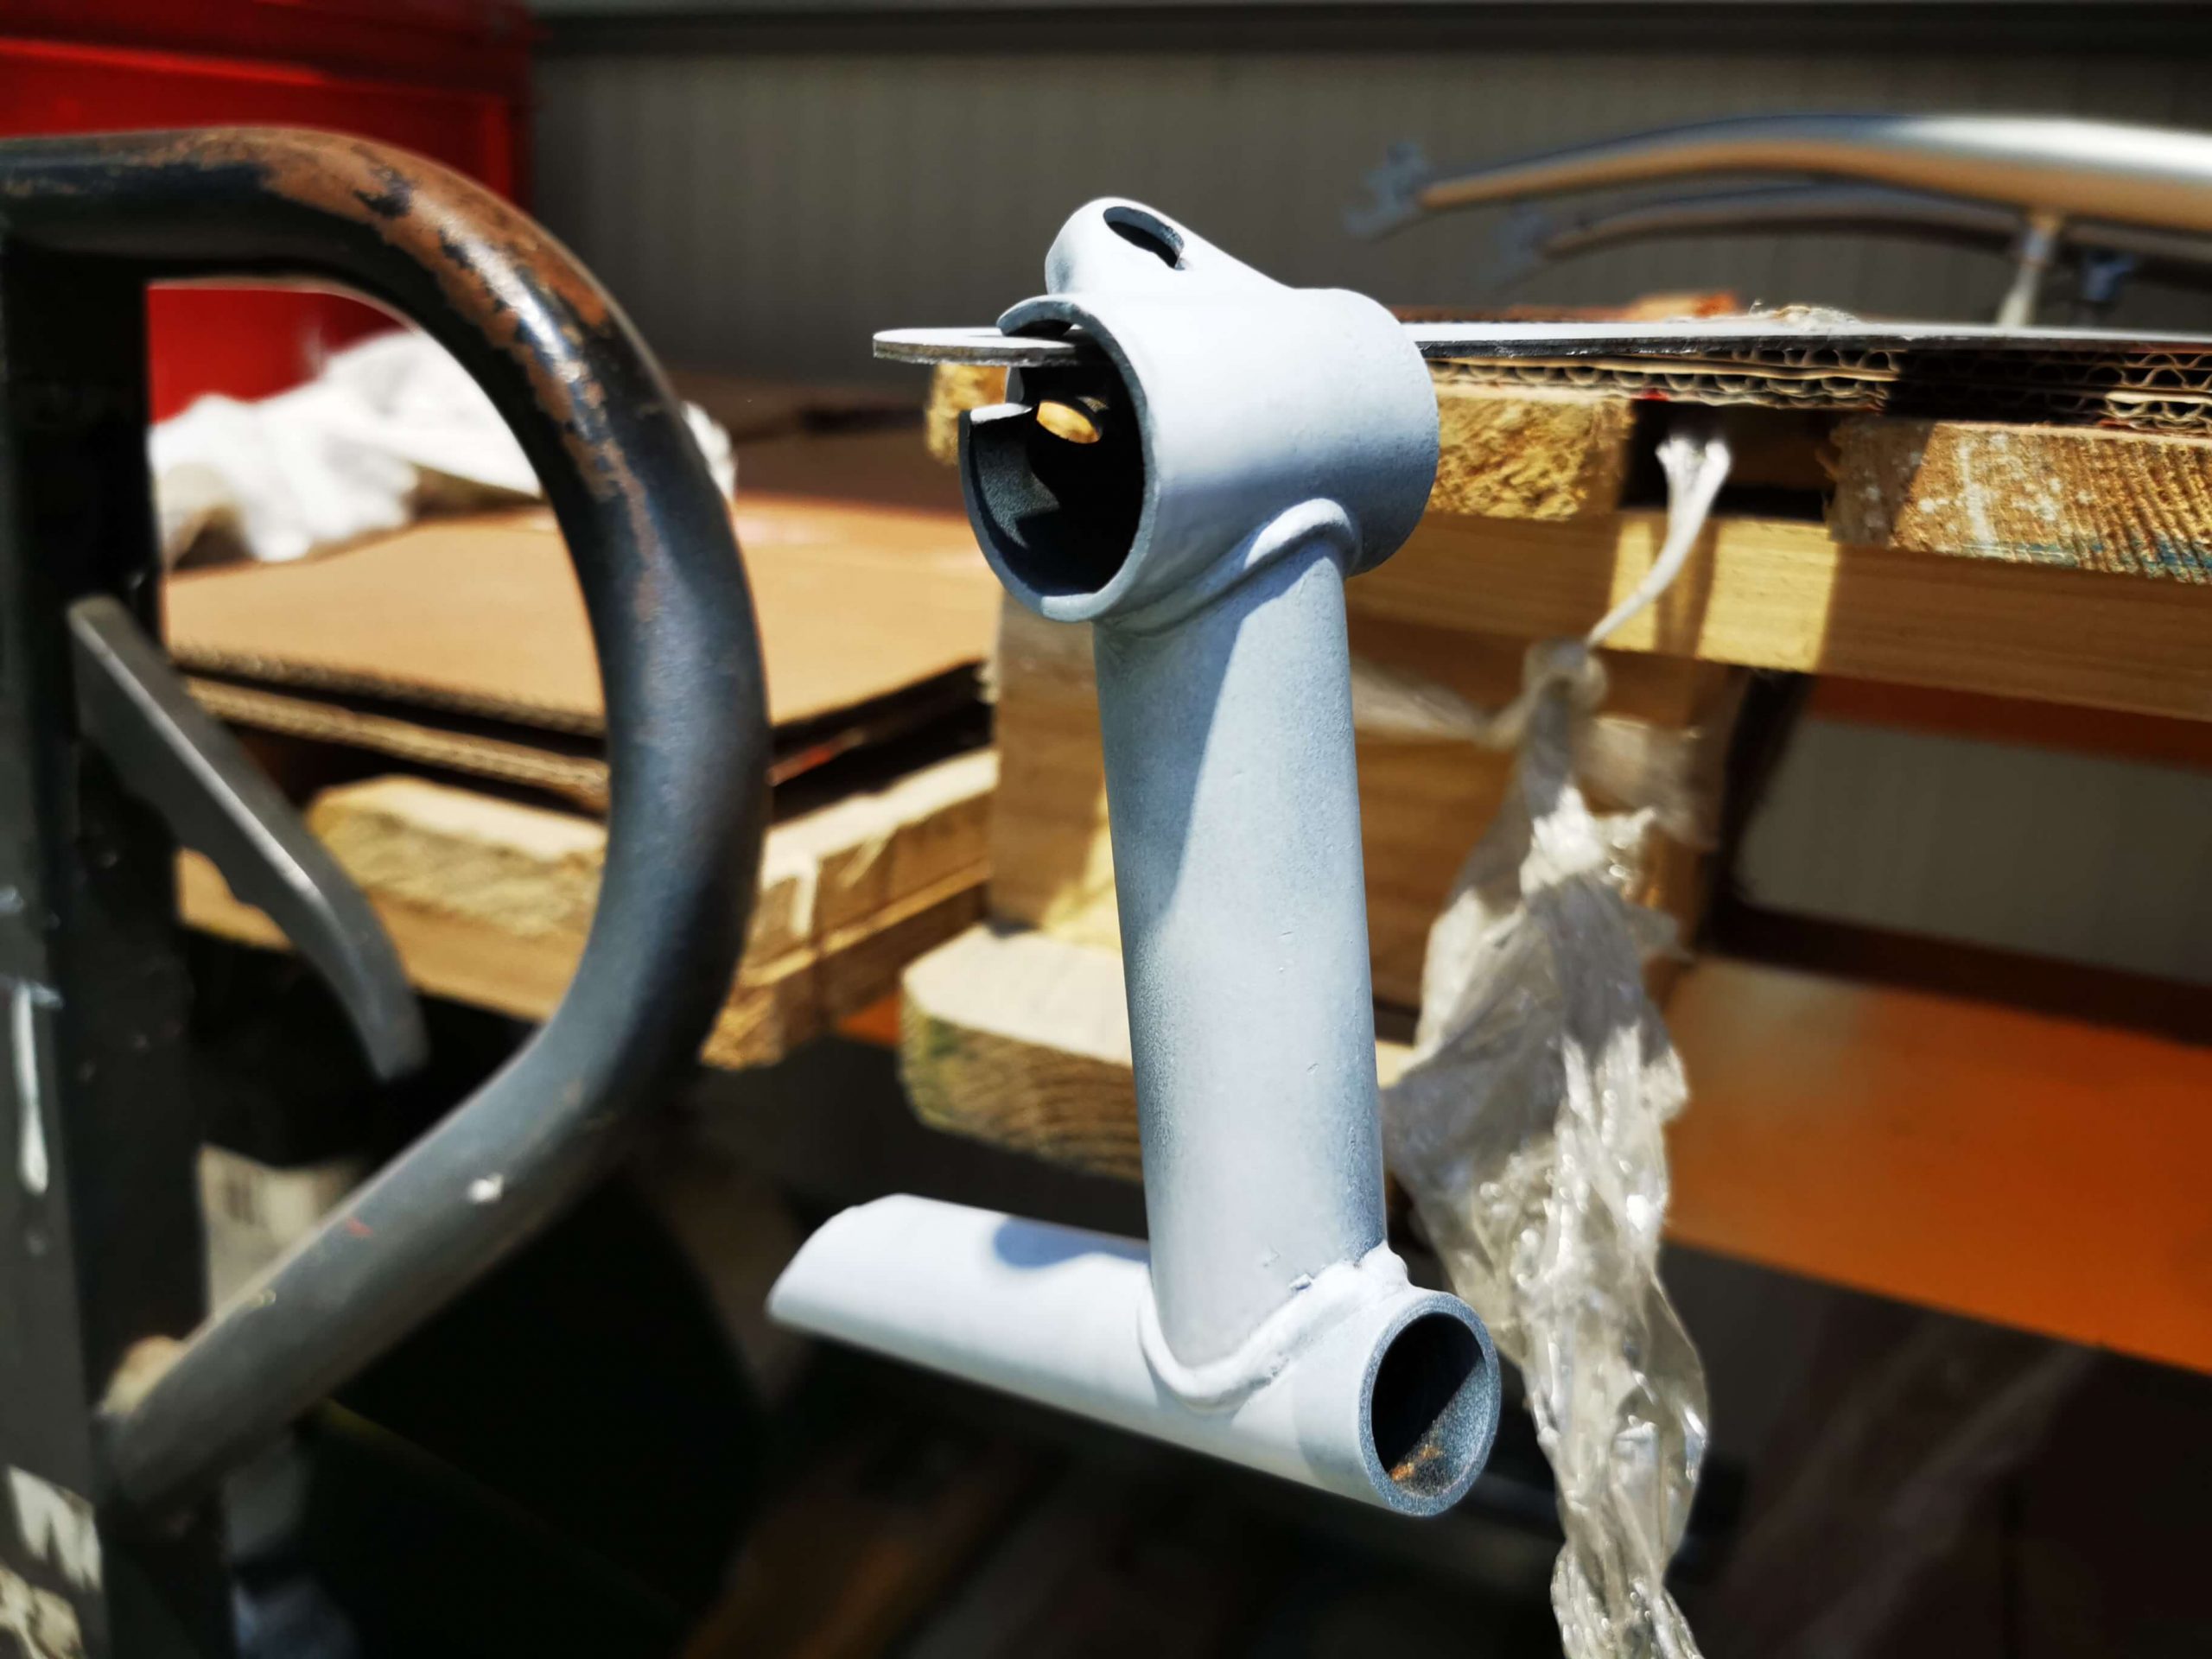
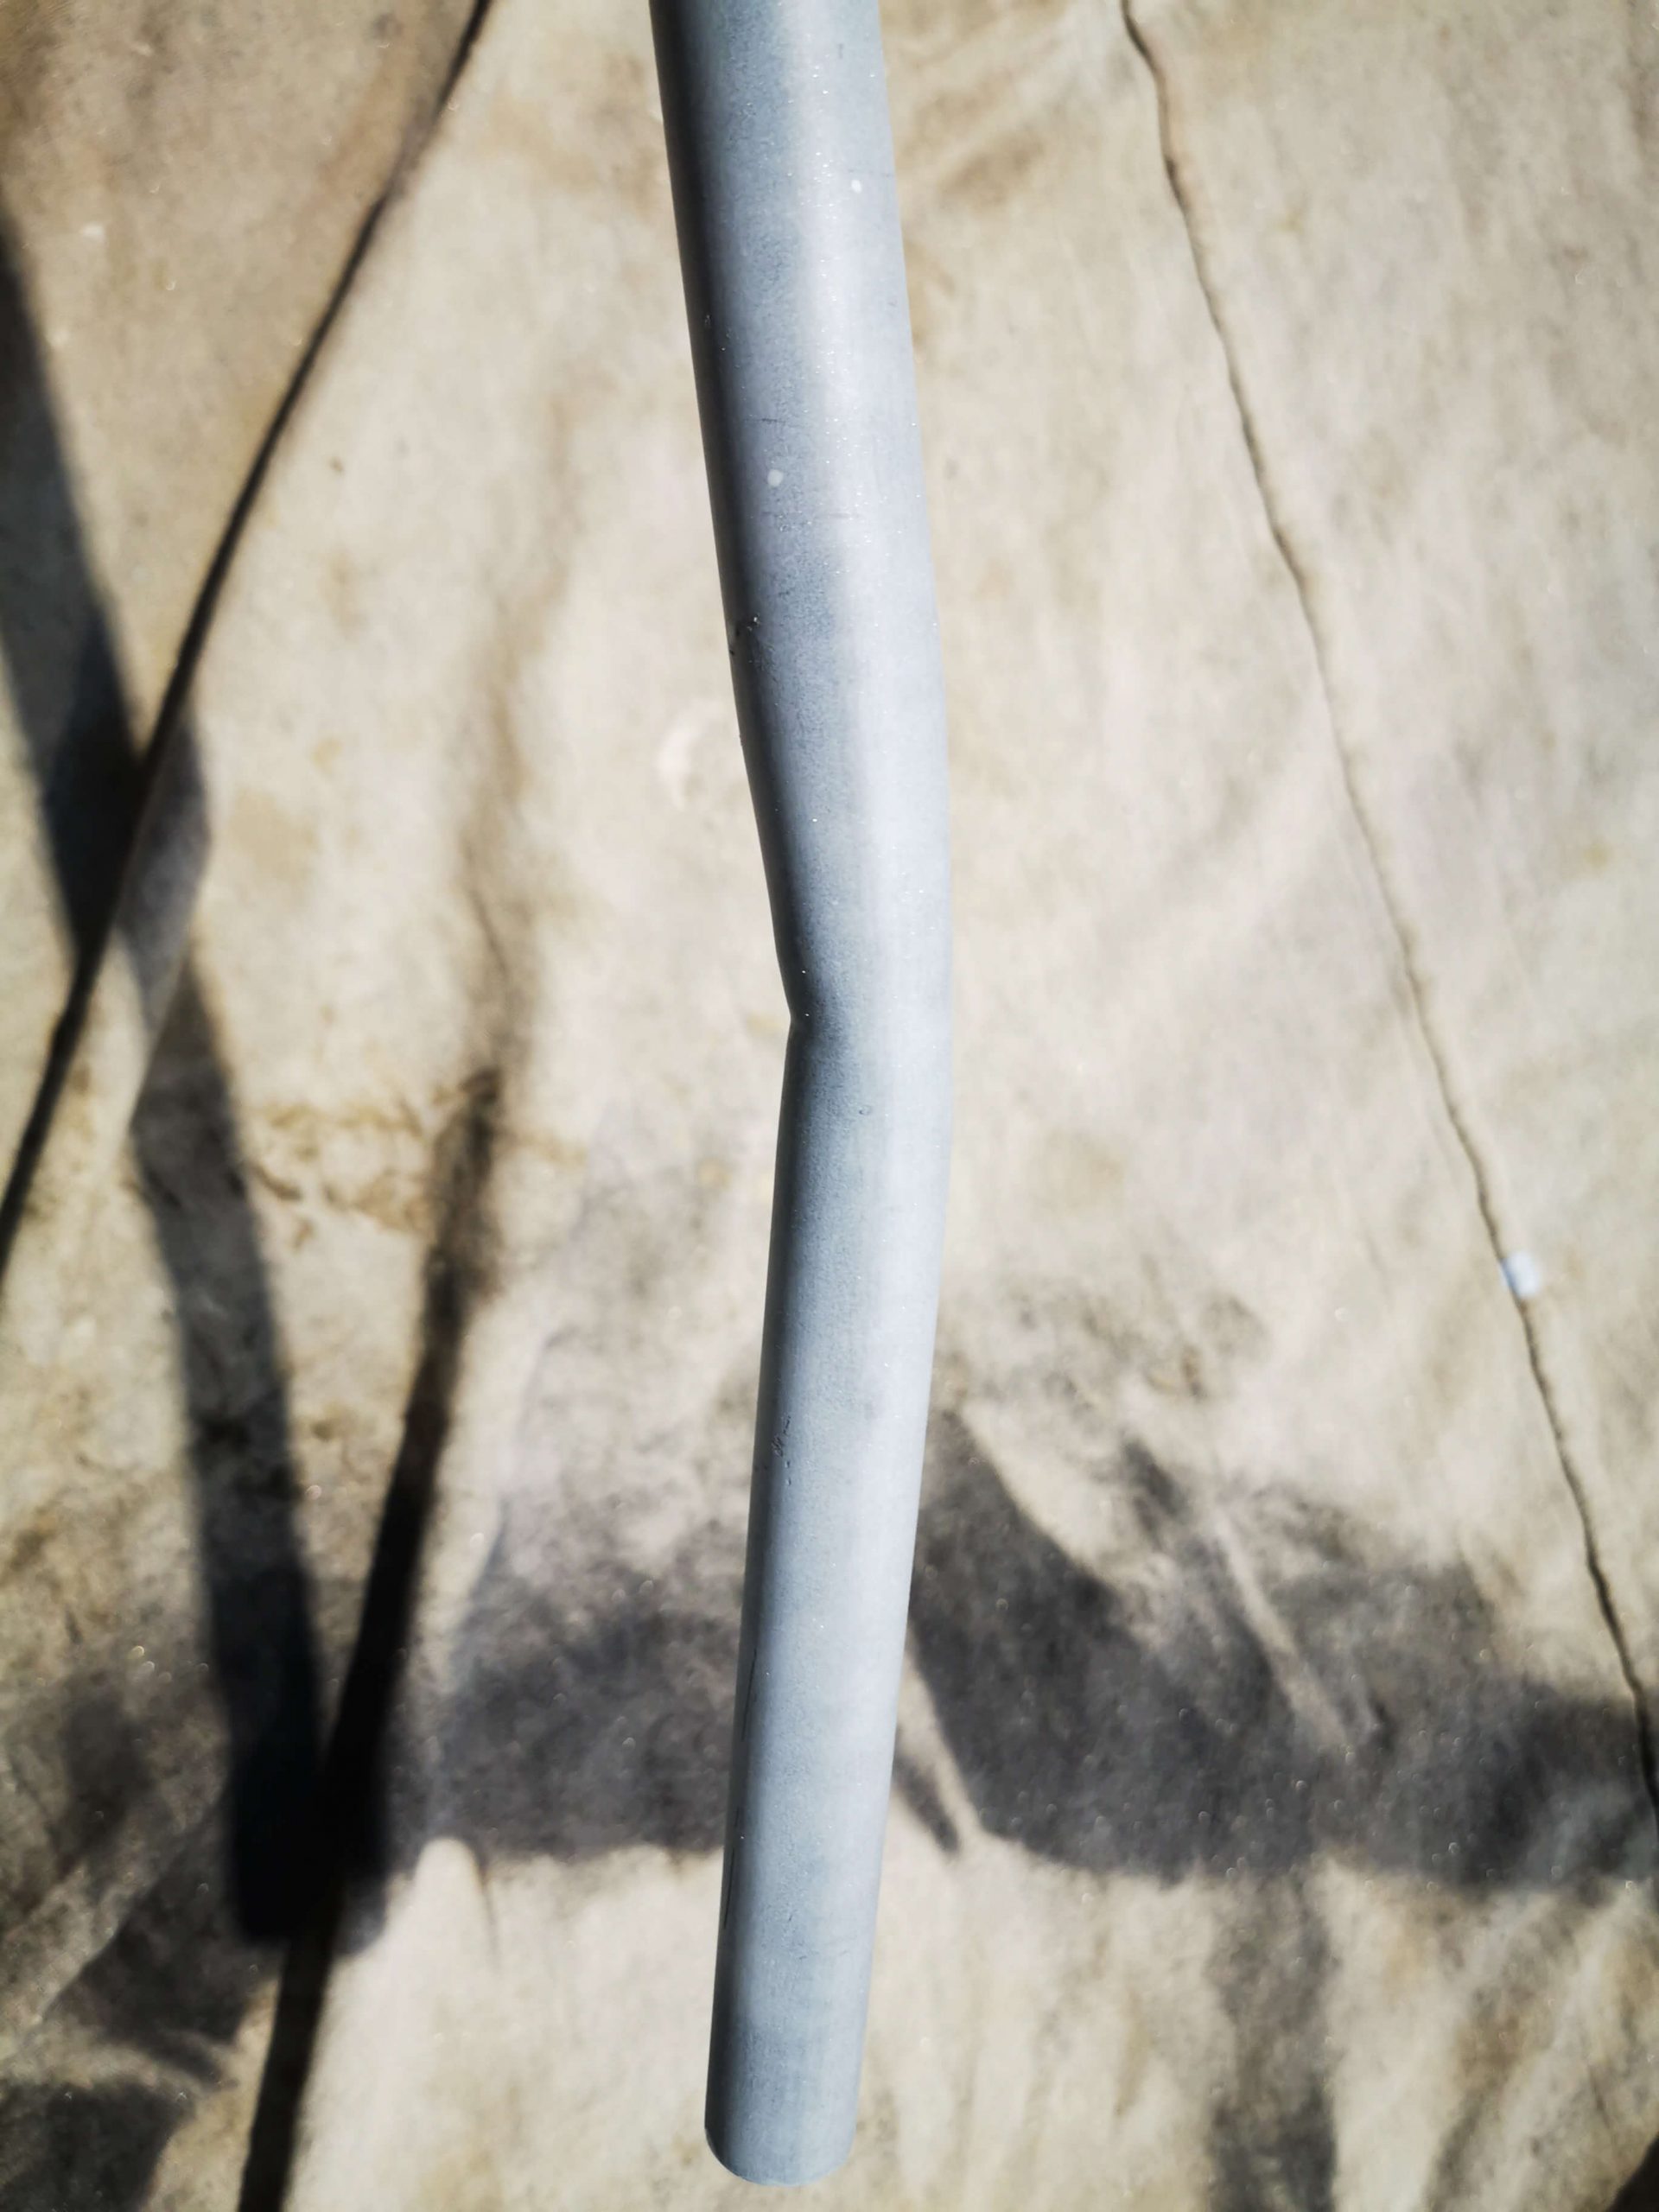
After wiping down the frame, a high builder primer was applied; this had then been left to cure for a couple of hours. It is imperative to leave the primer to thoroughly dry before applying another coat on top of the builder, failing to factor in this step likely to cause bubbling and an orange peel-like texture.
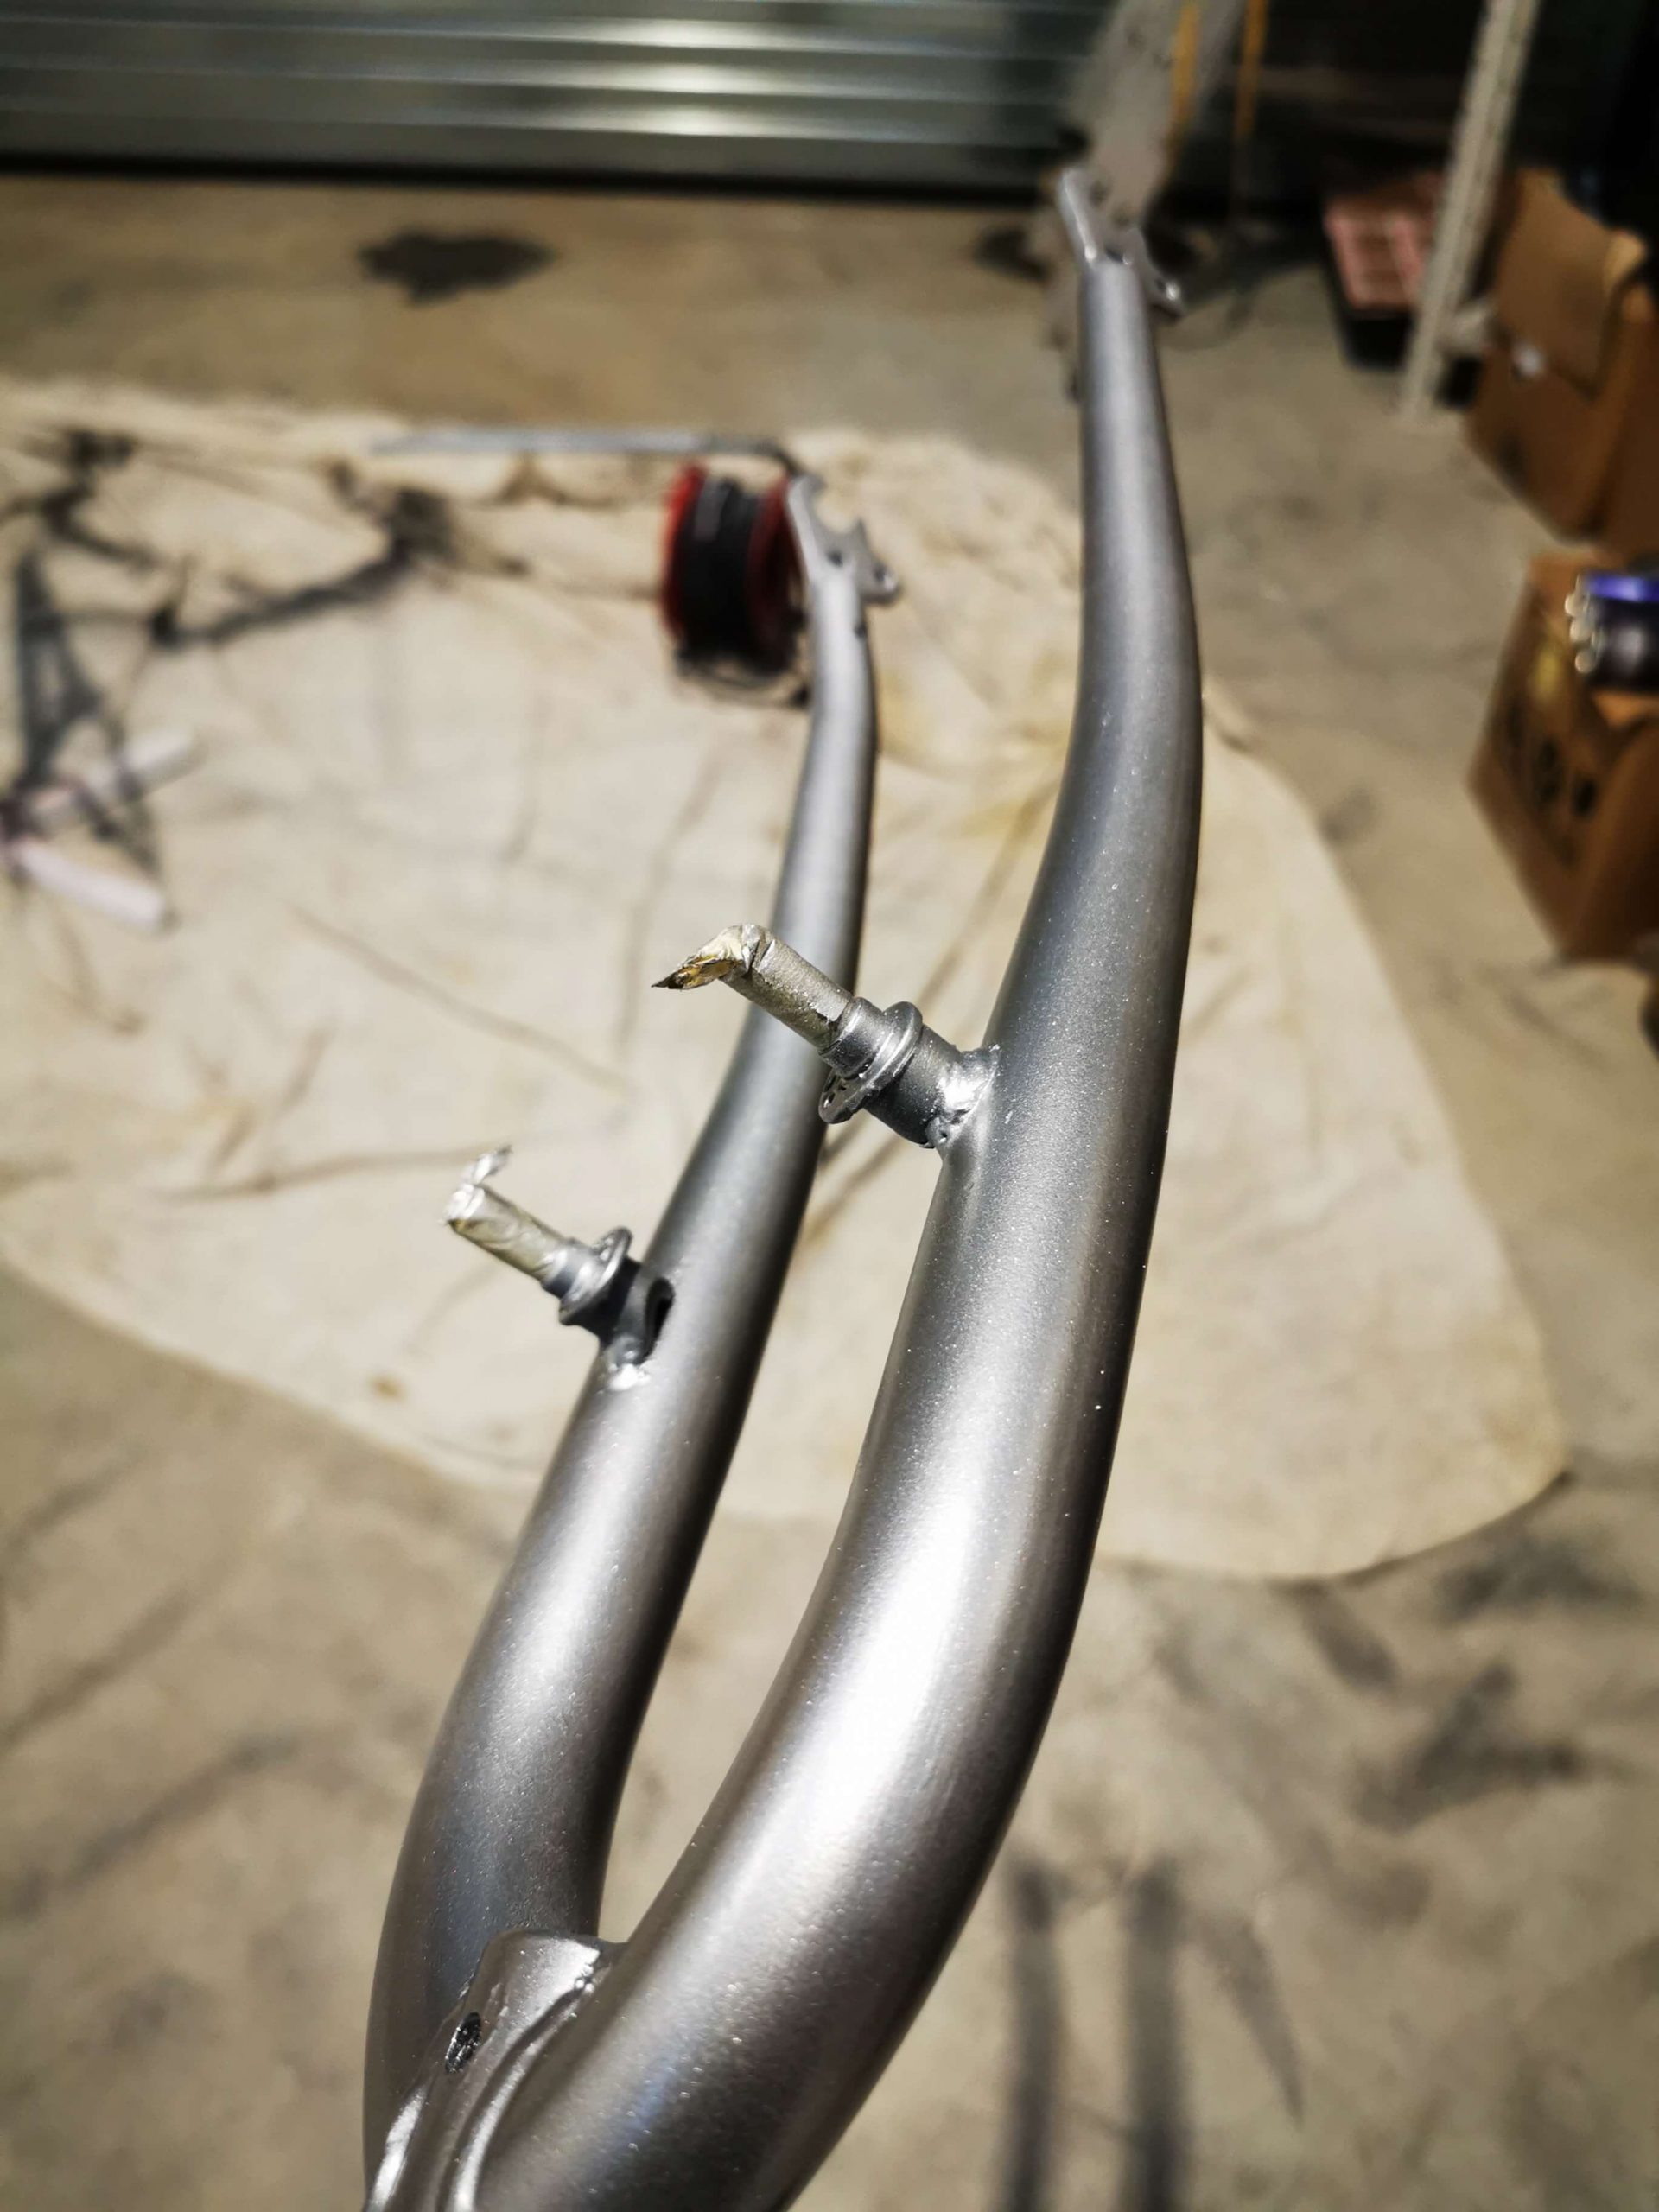
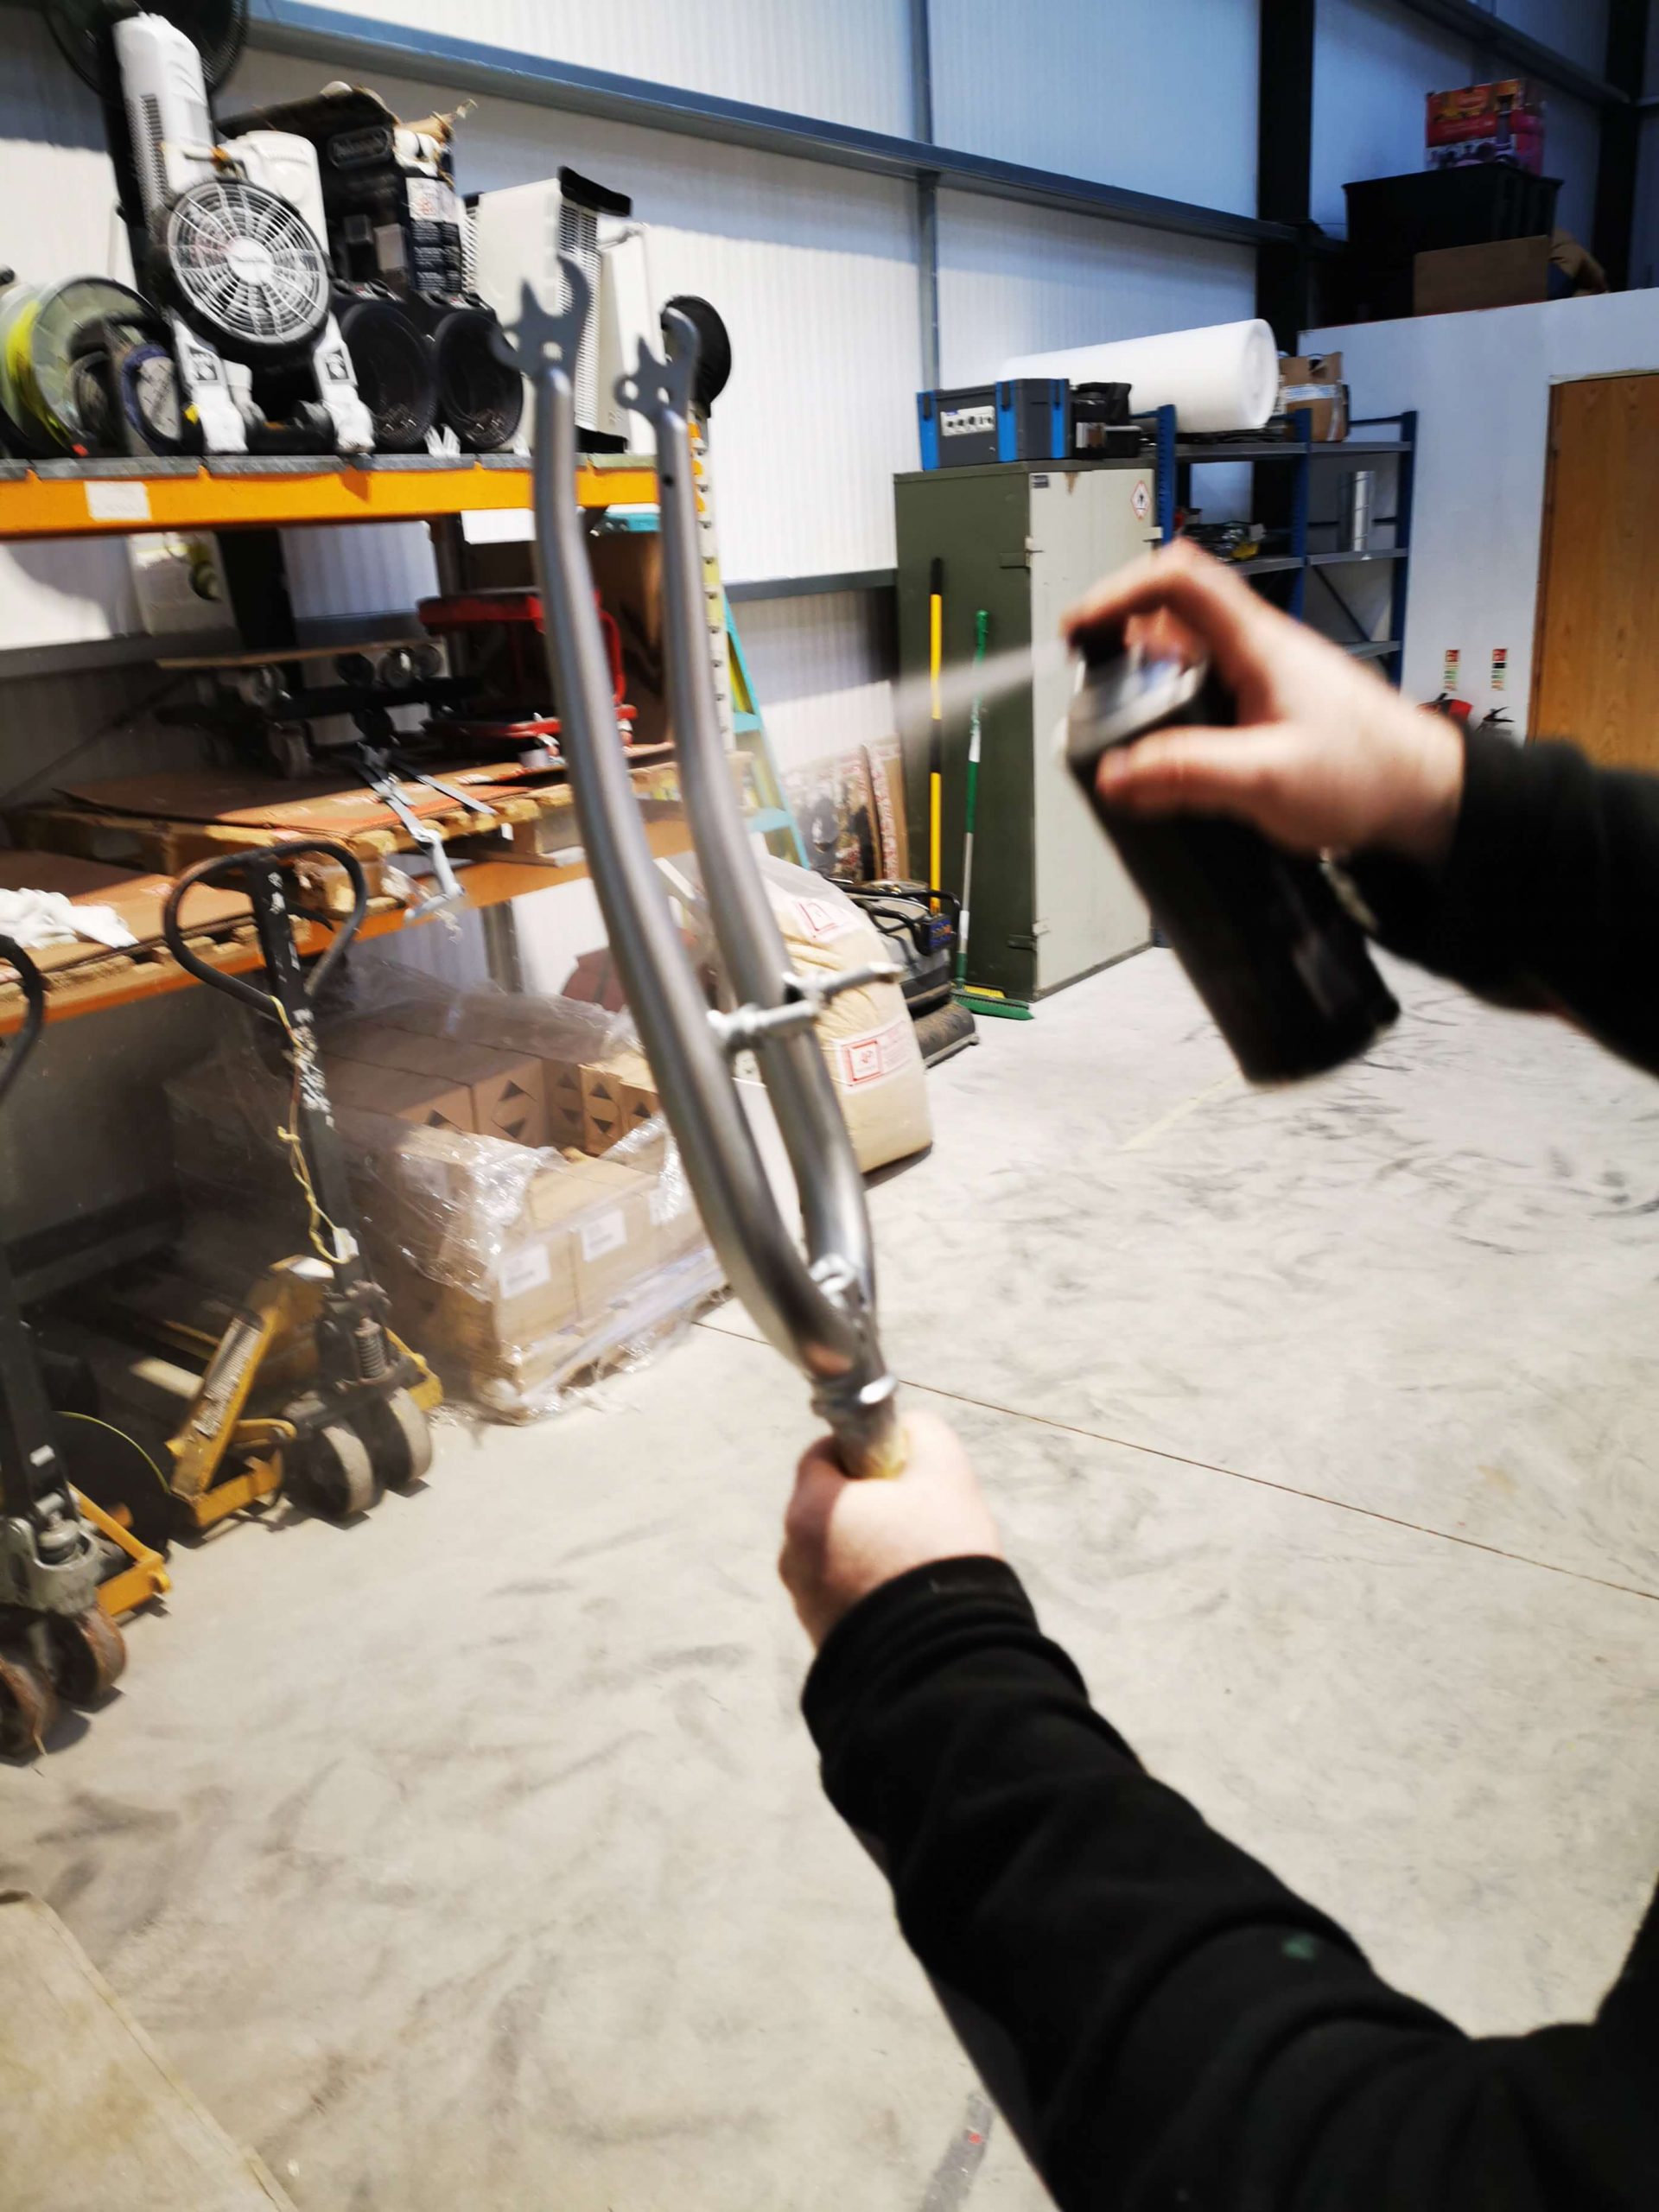
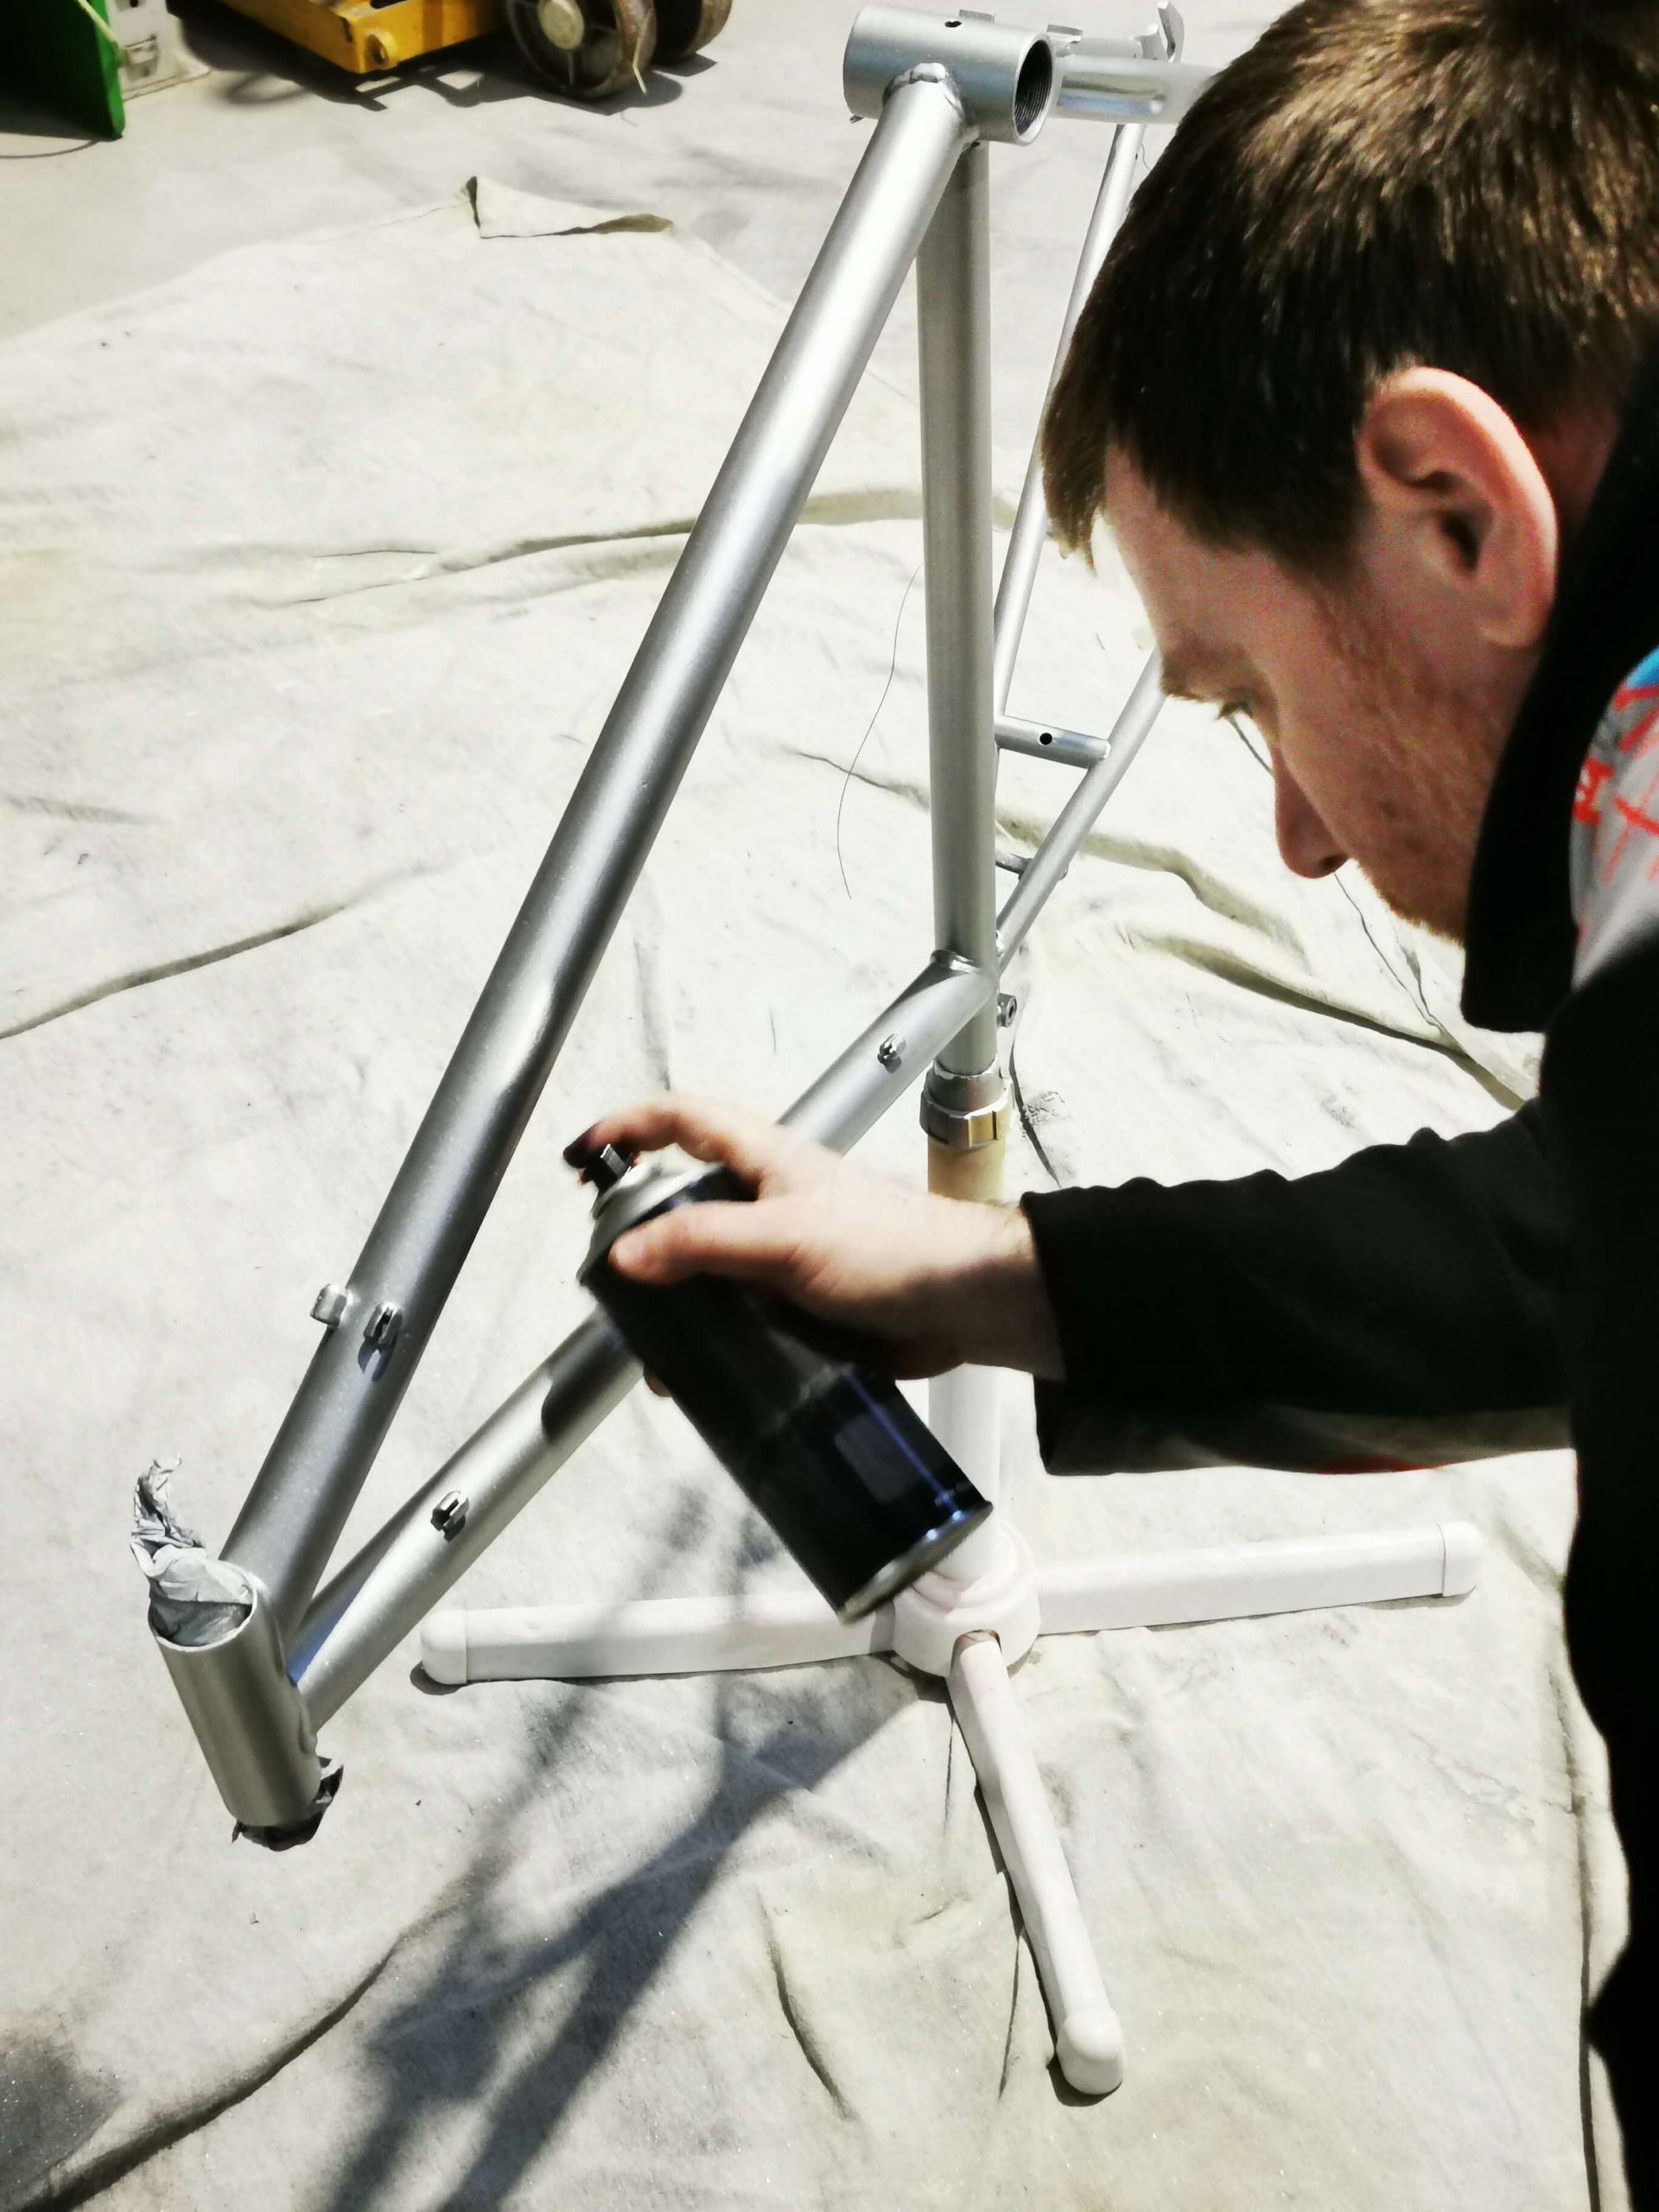
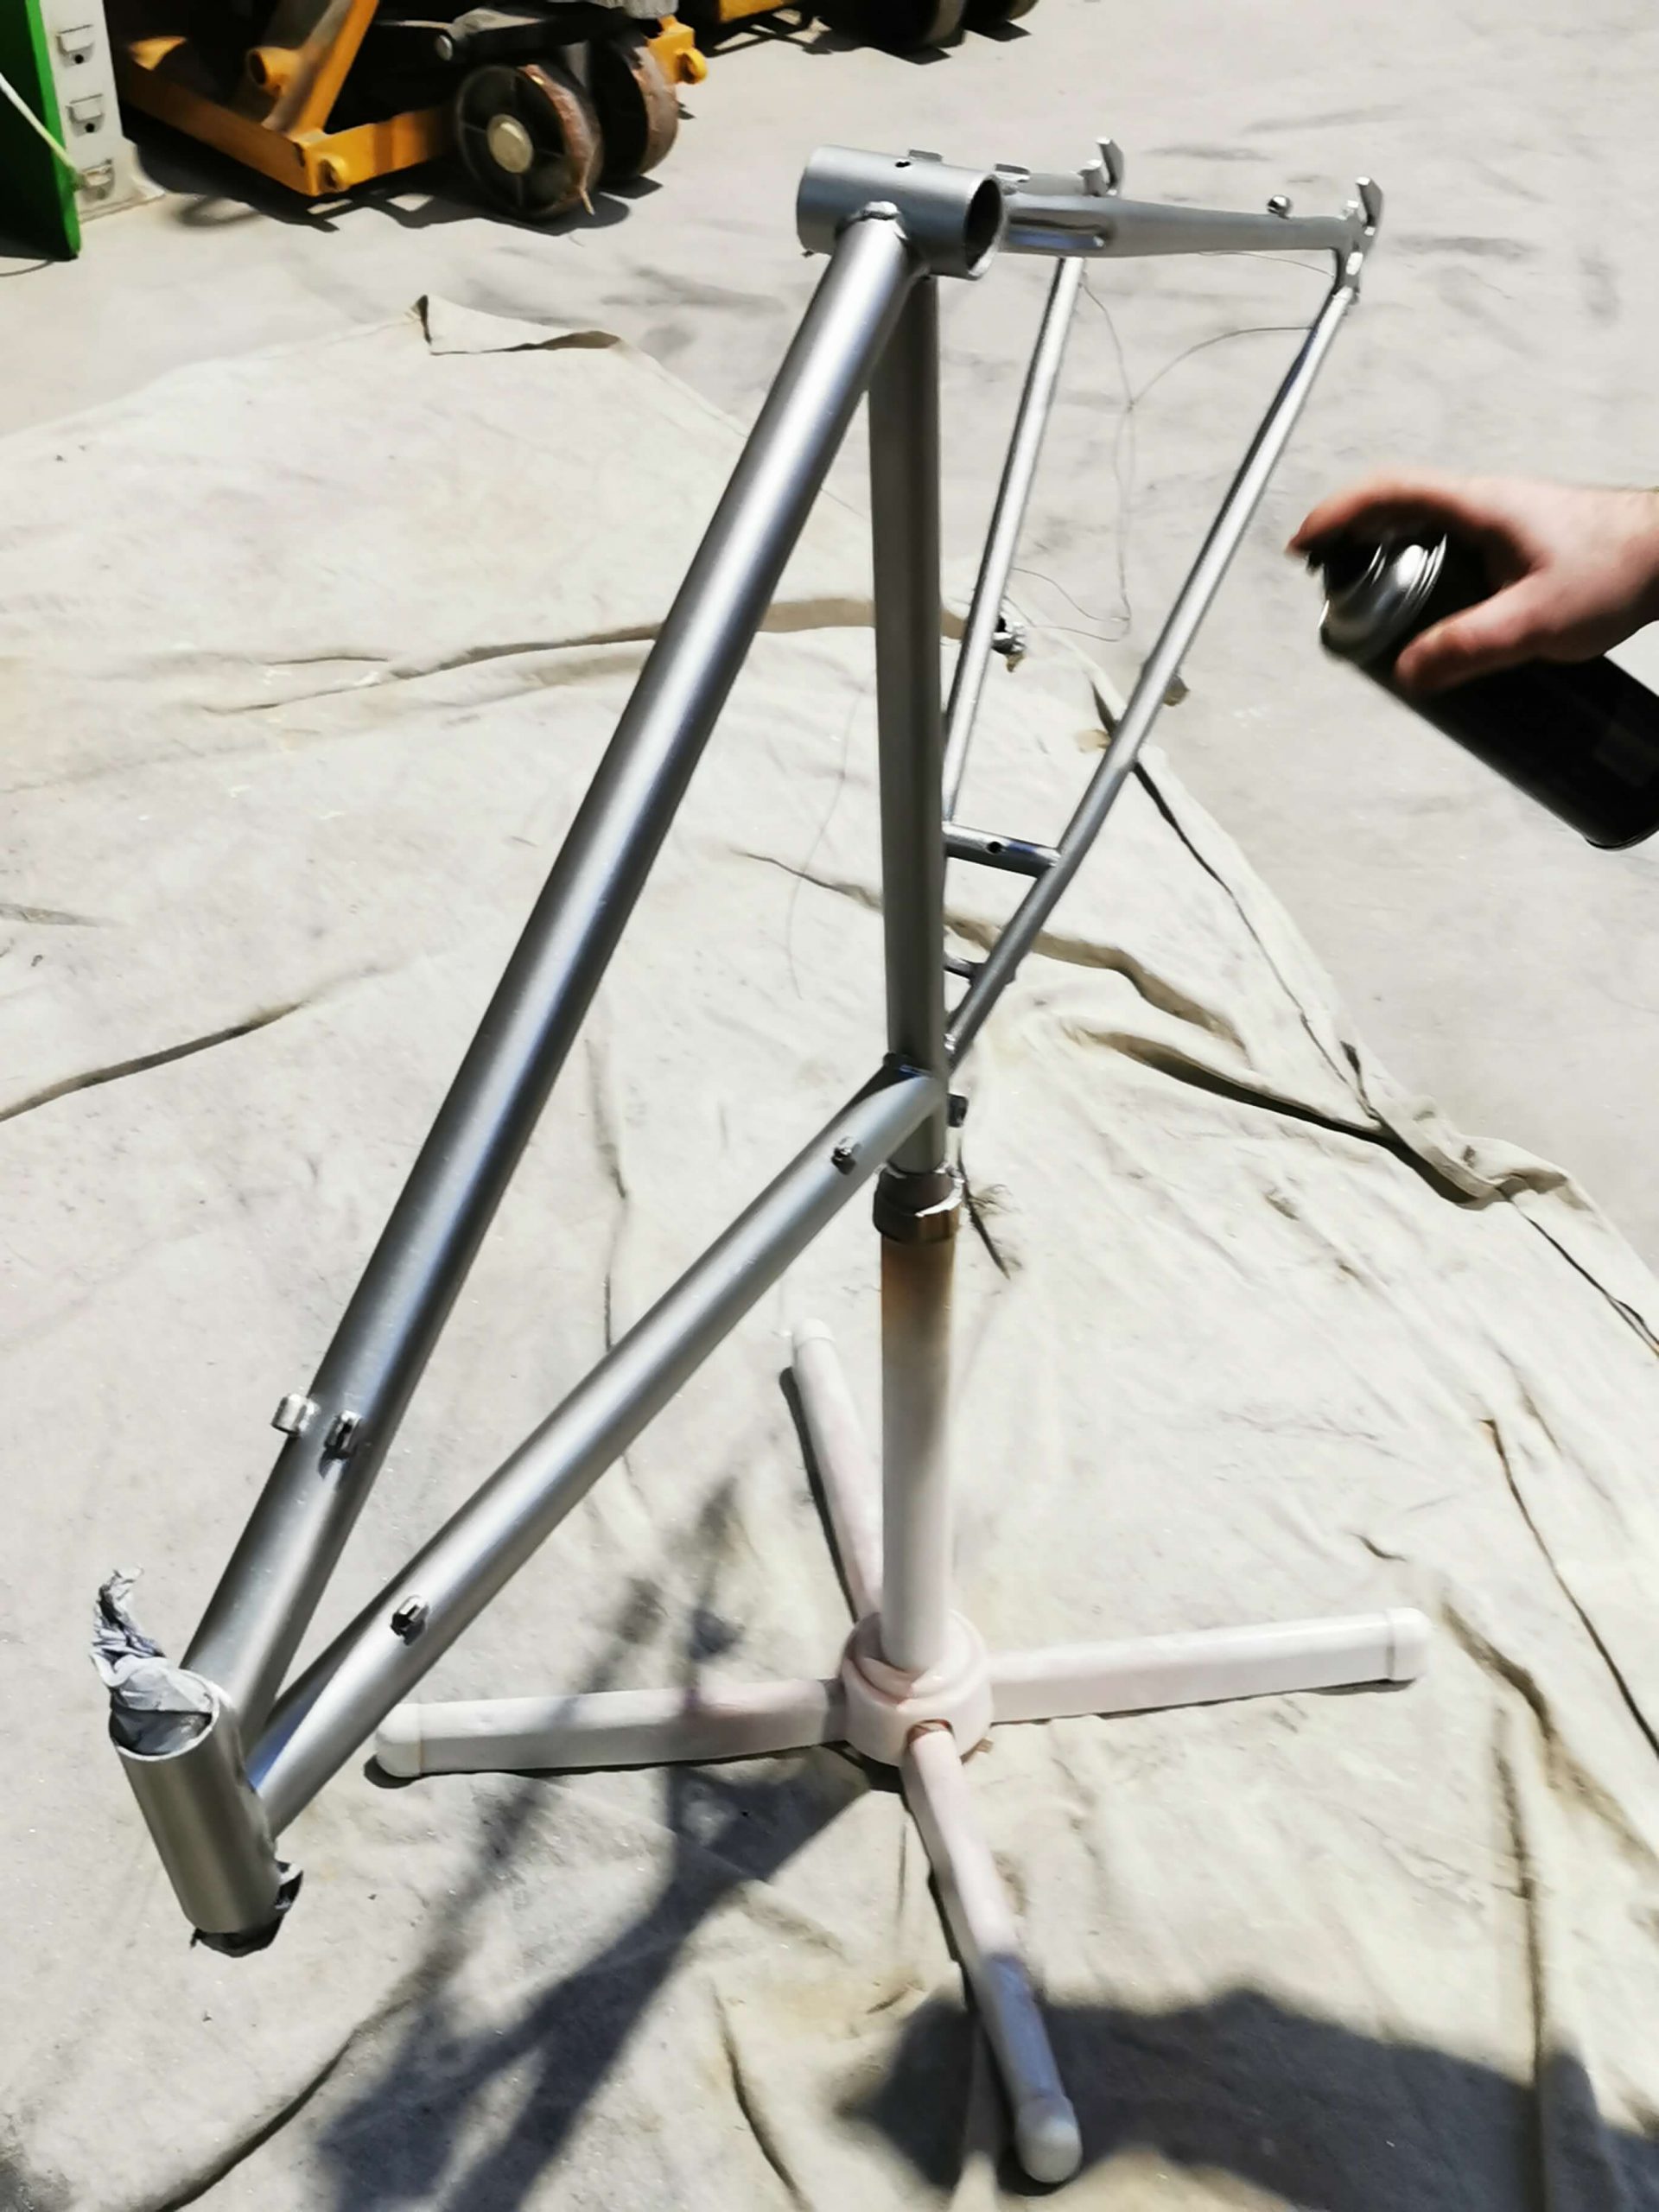
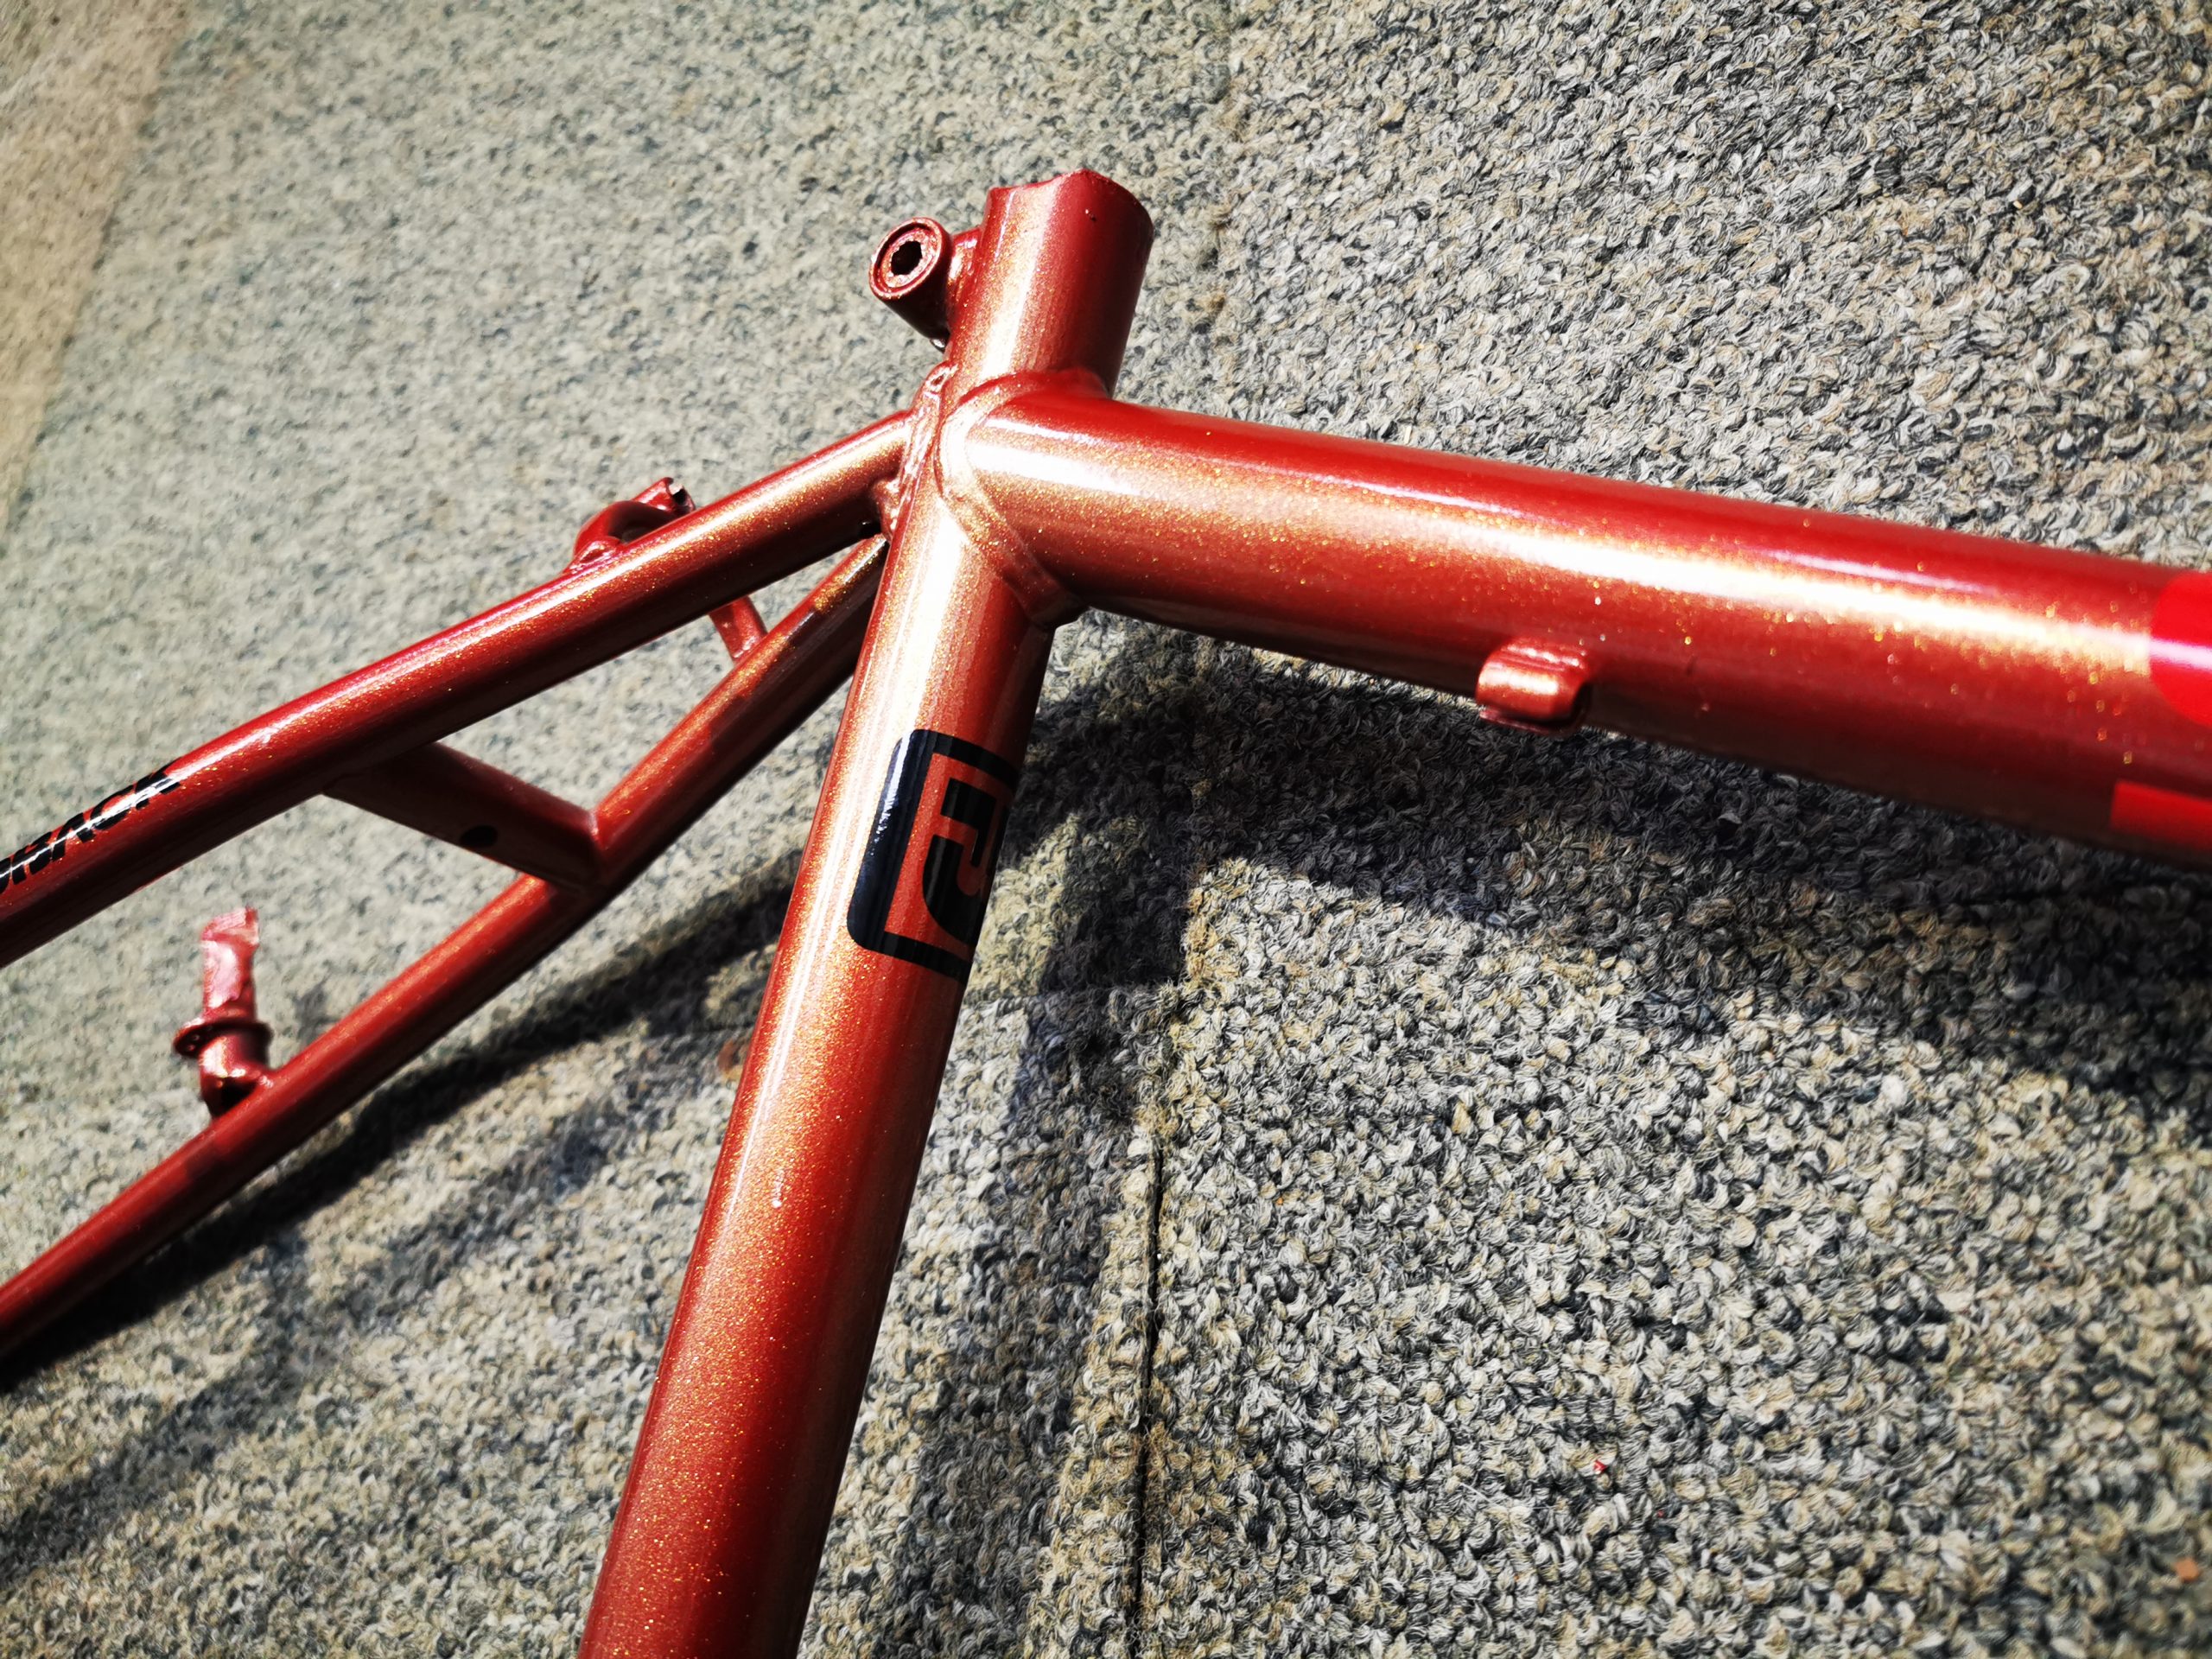
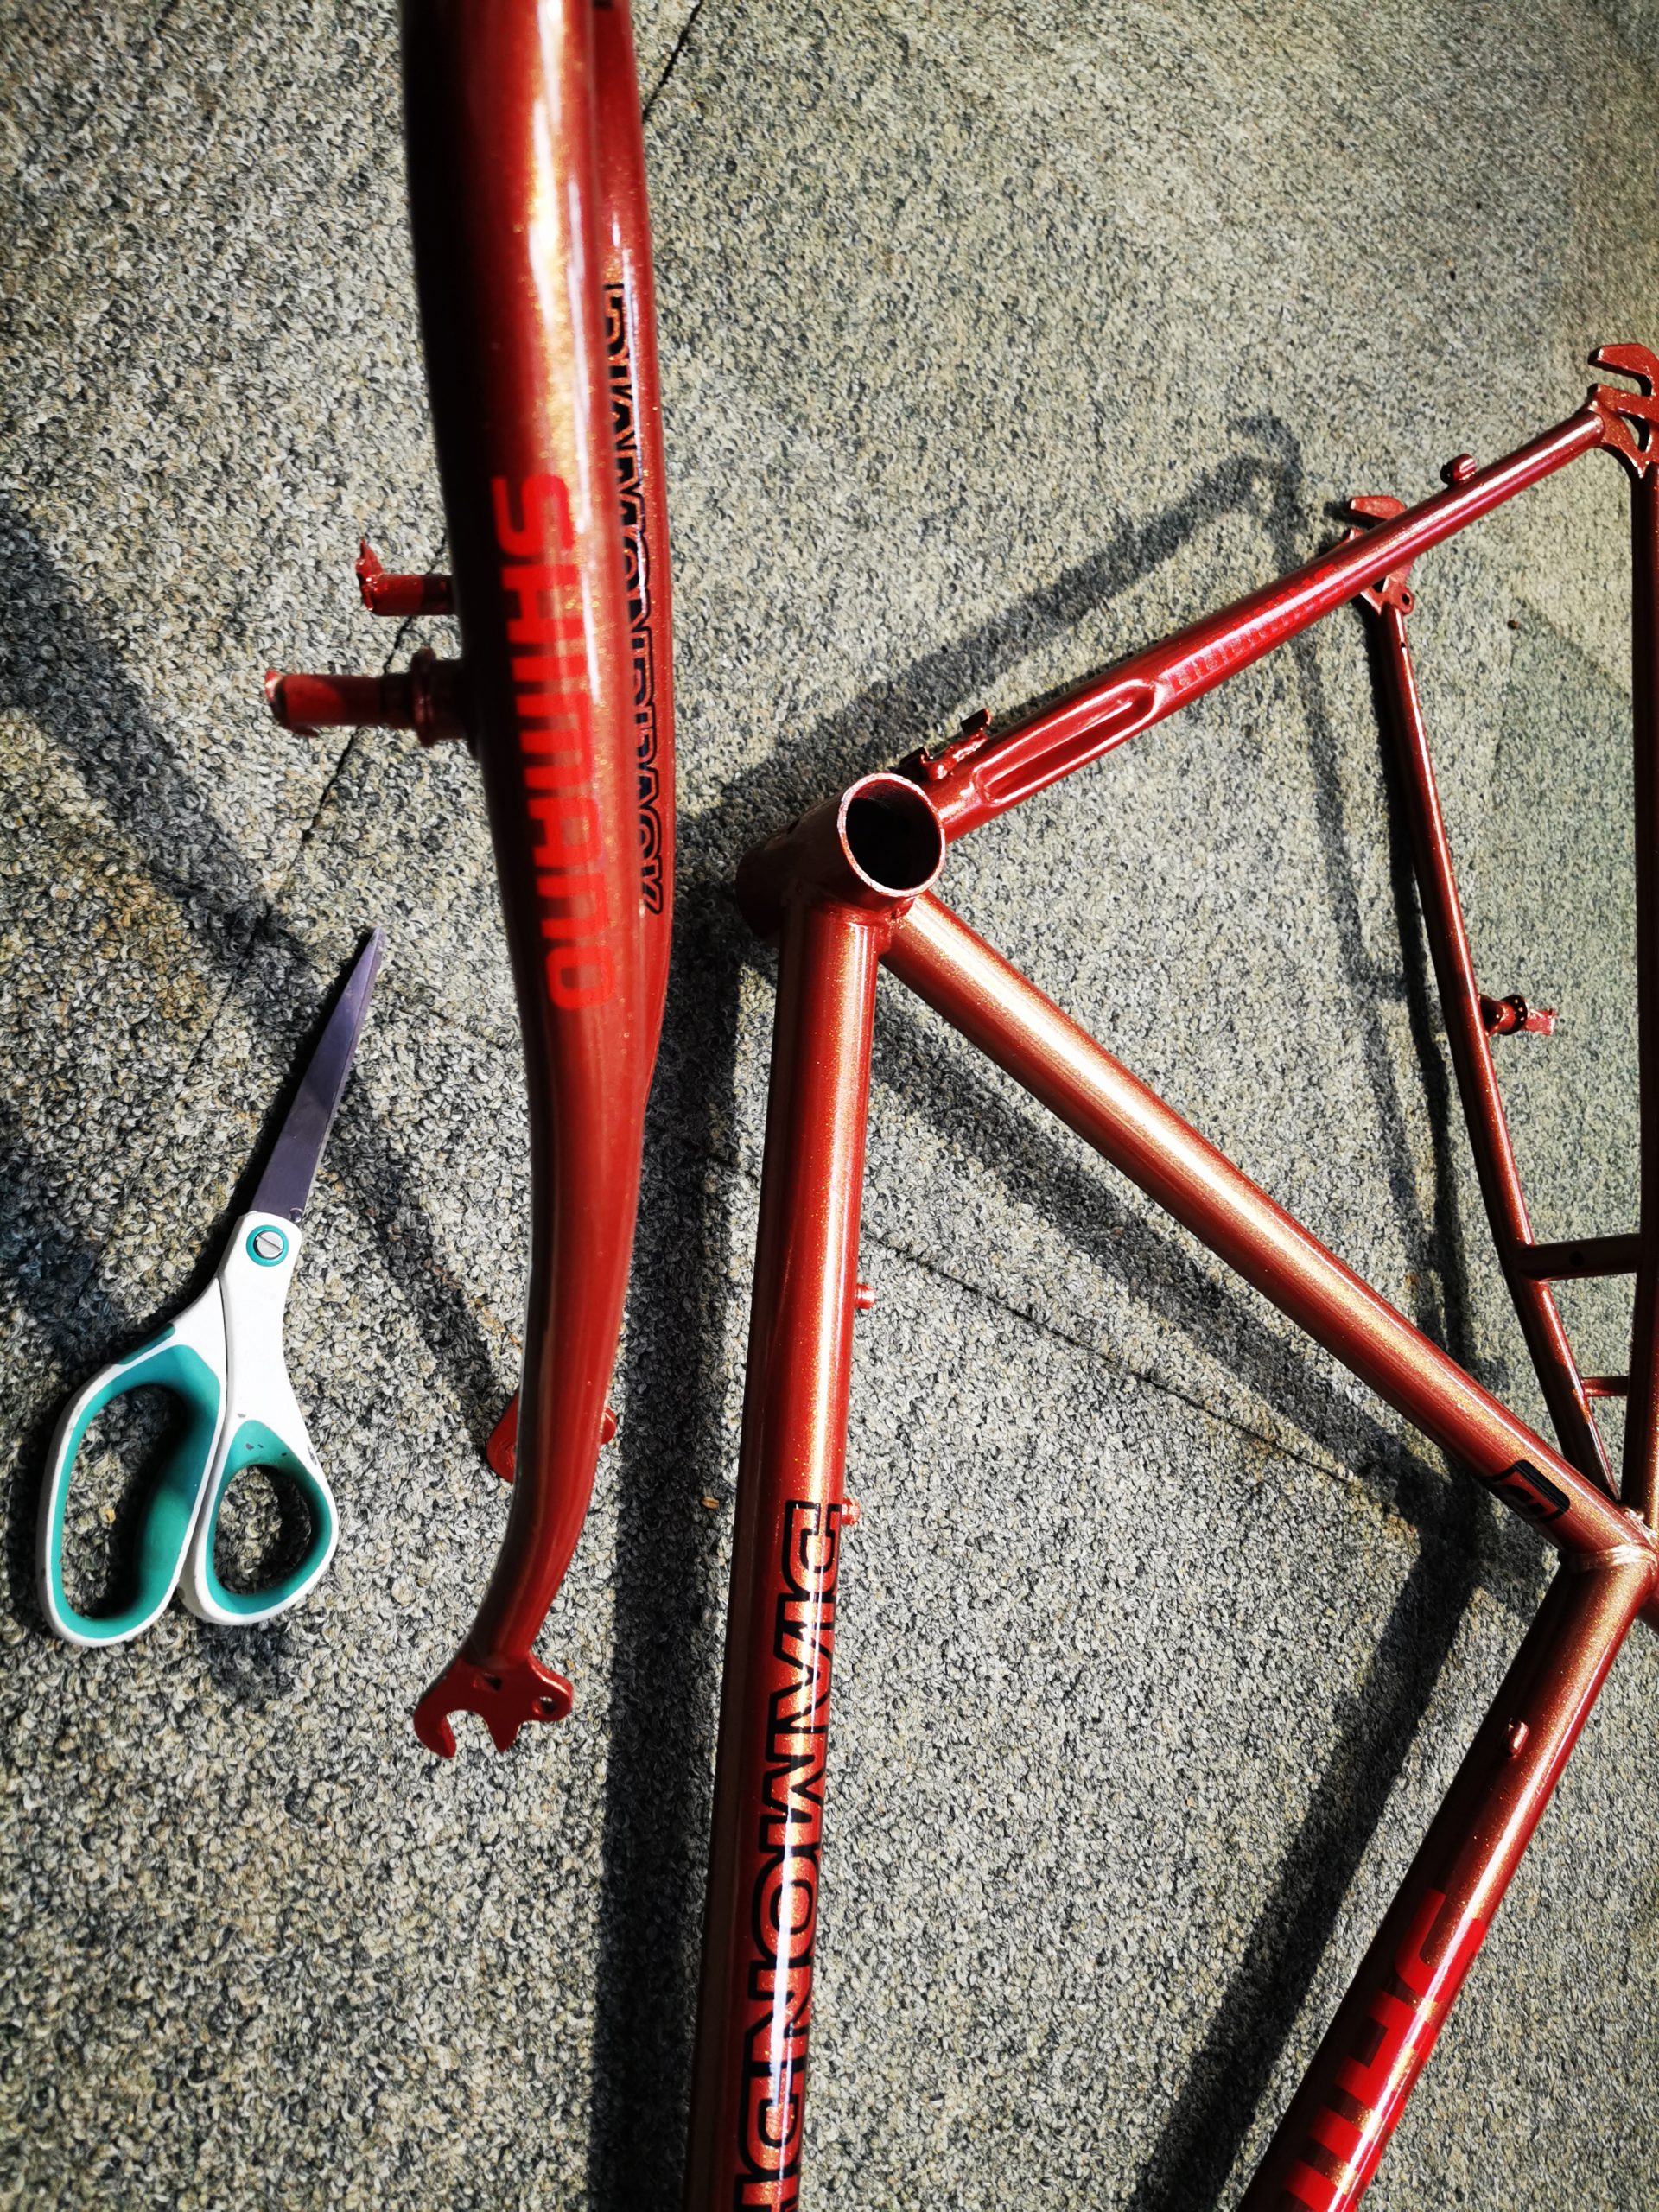
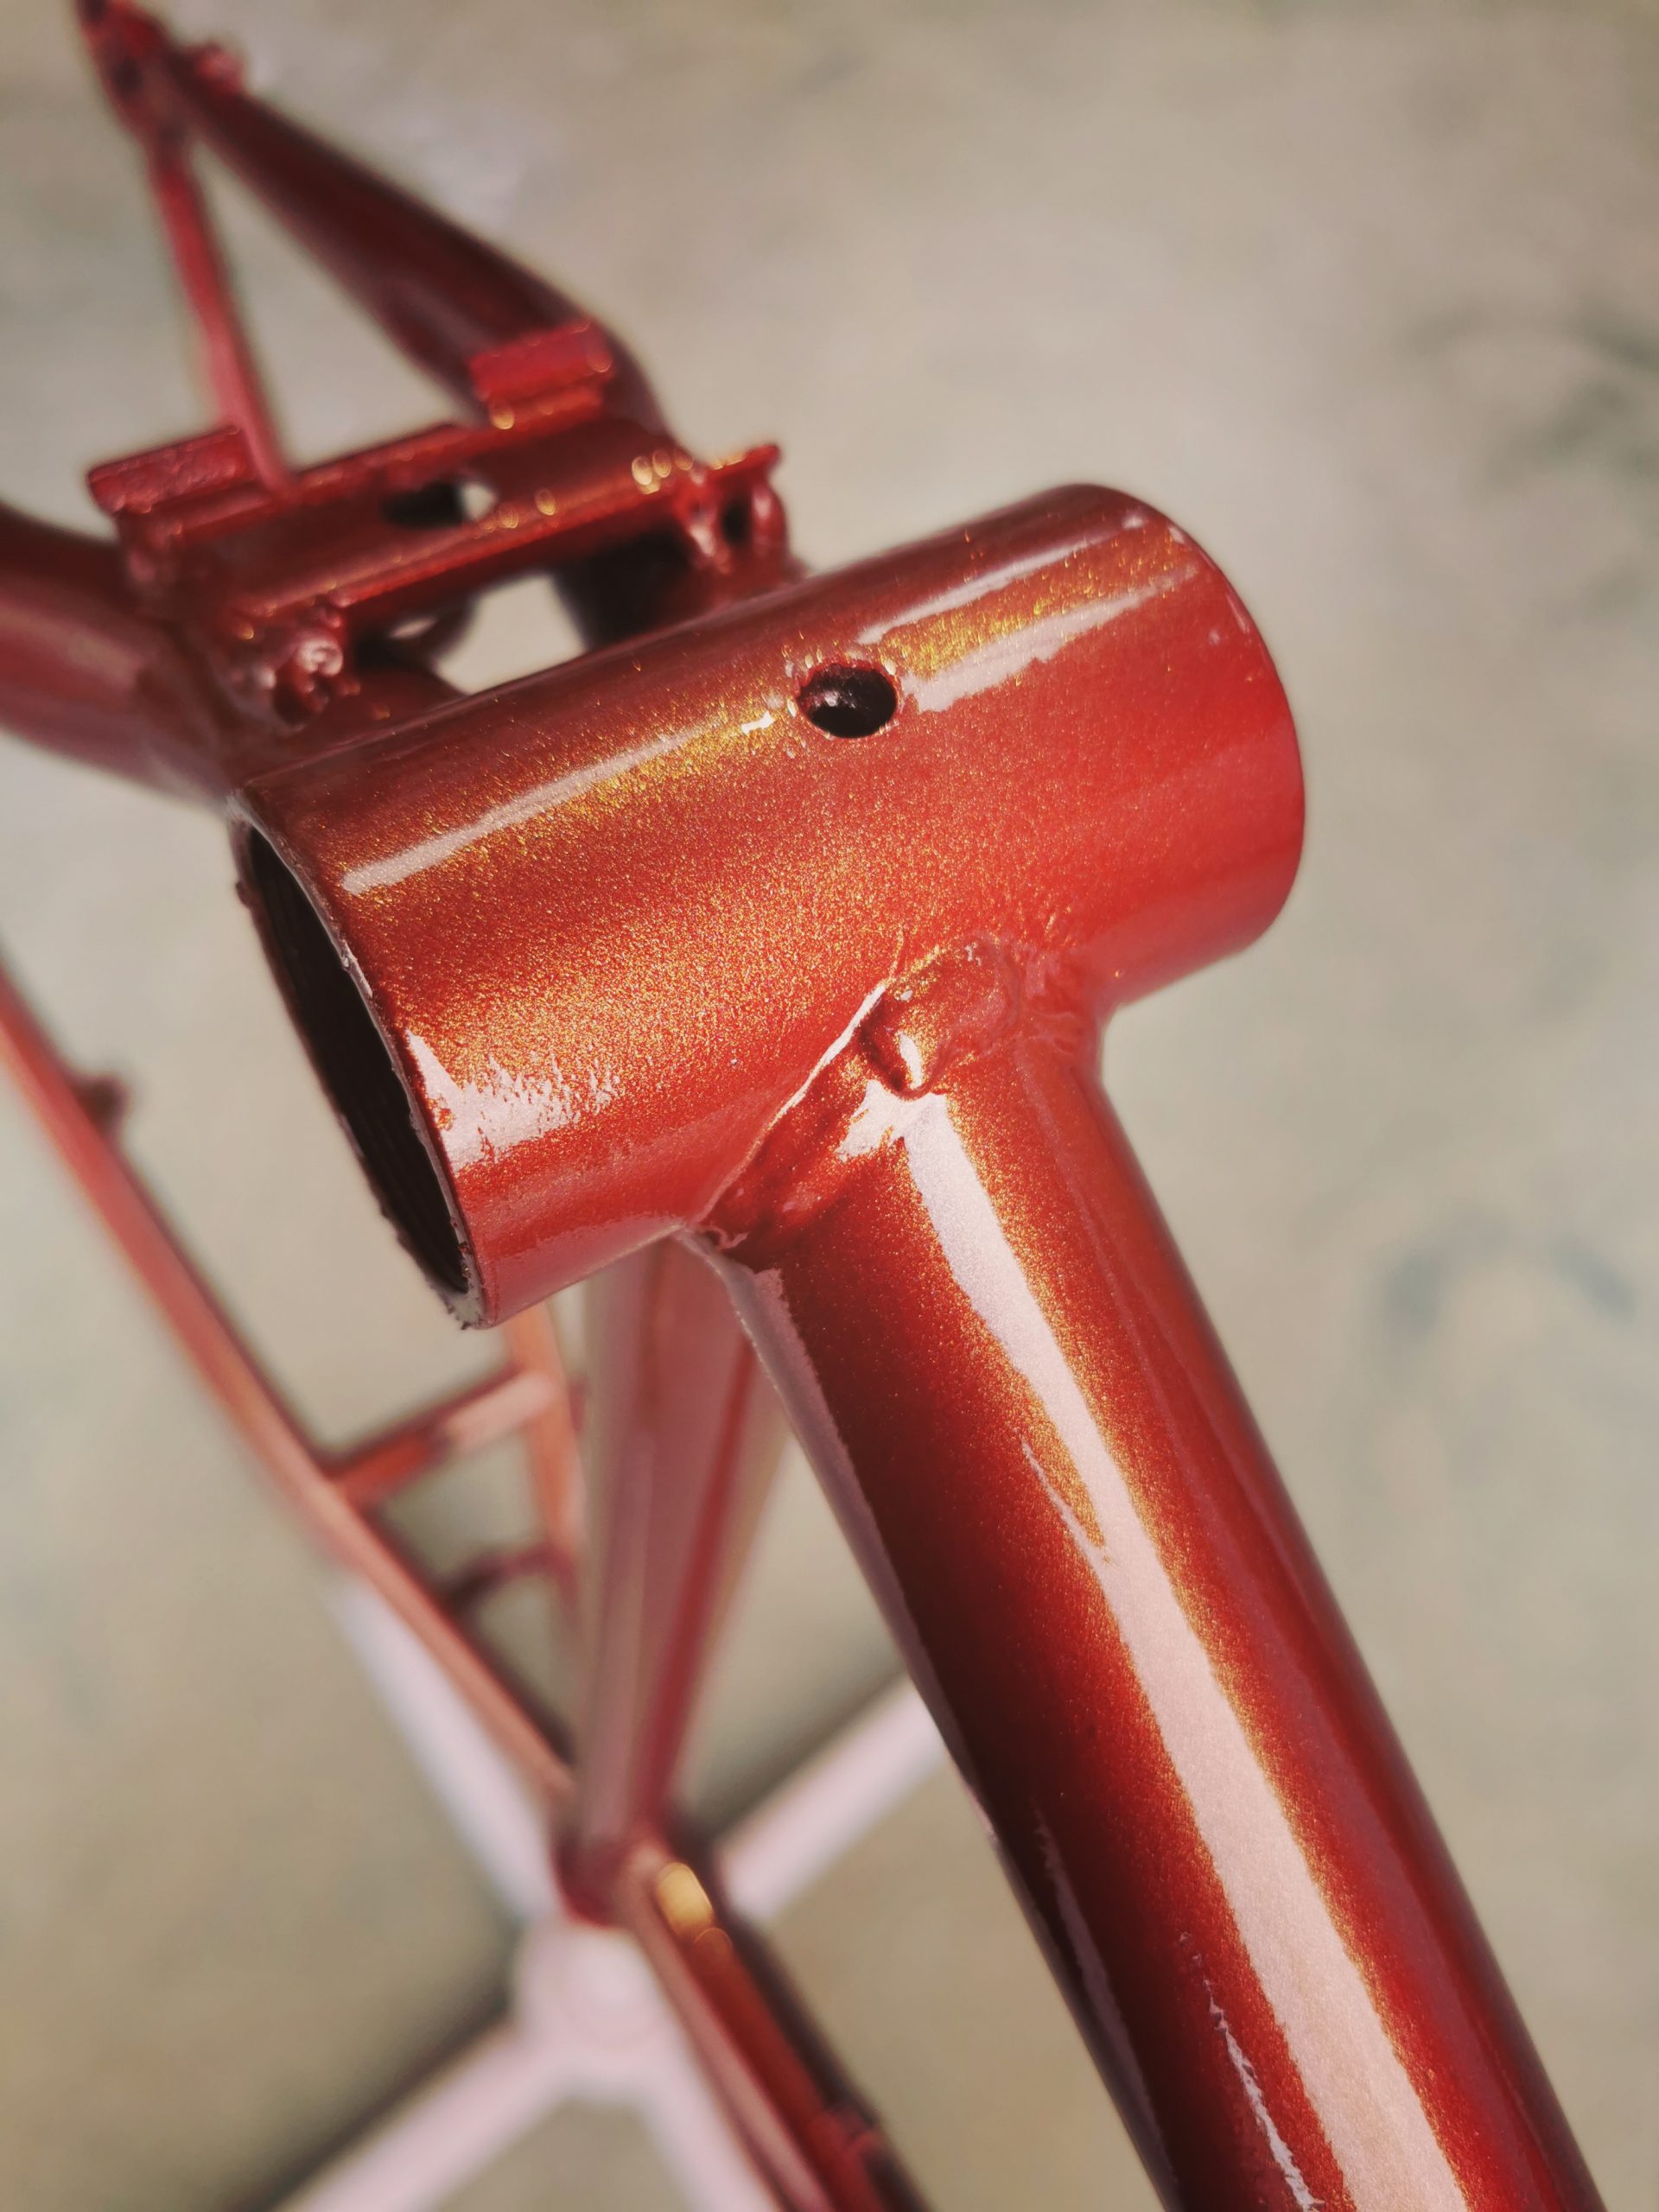
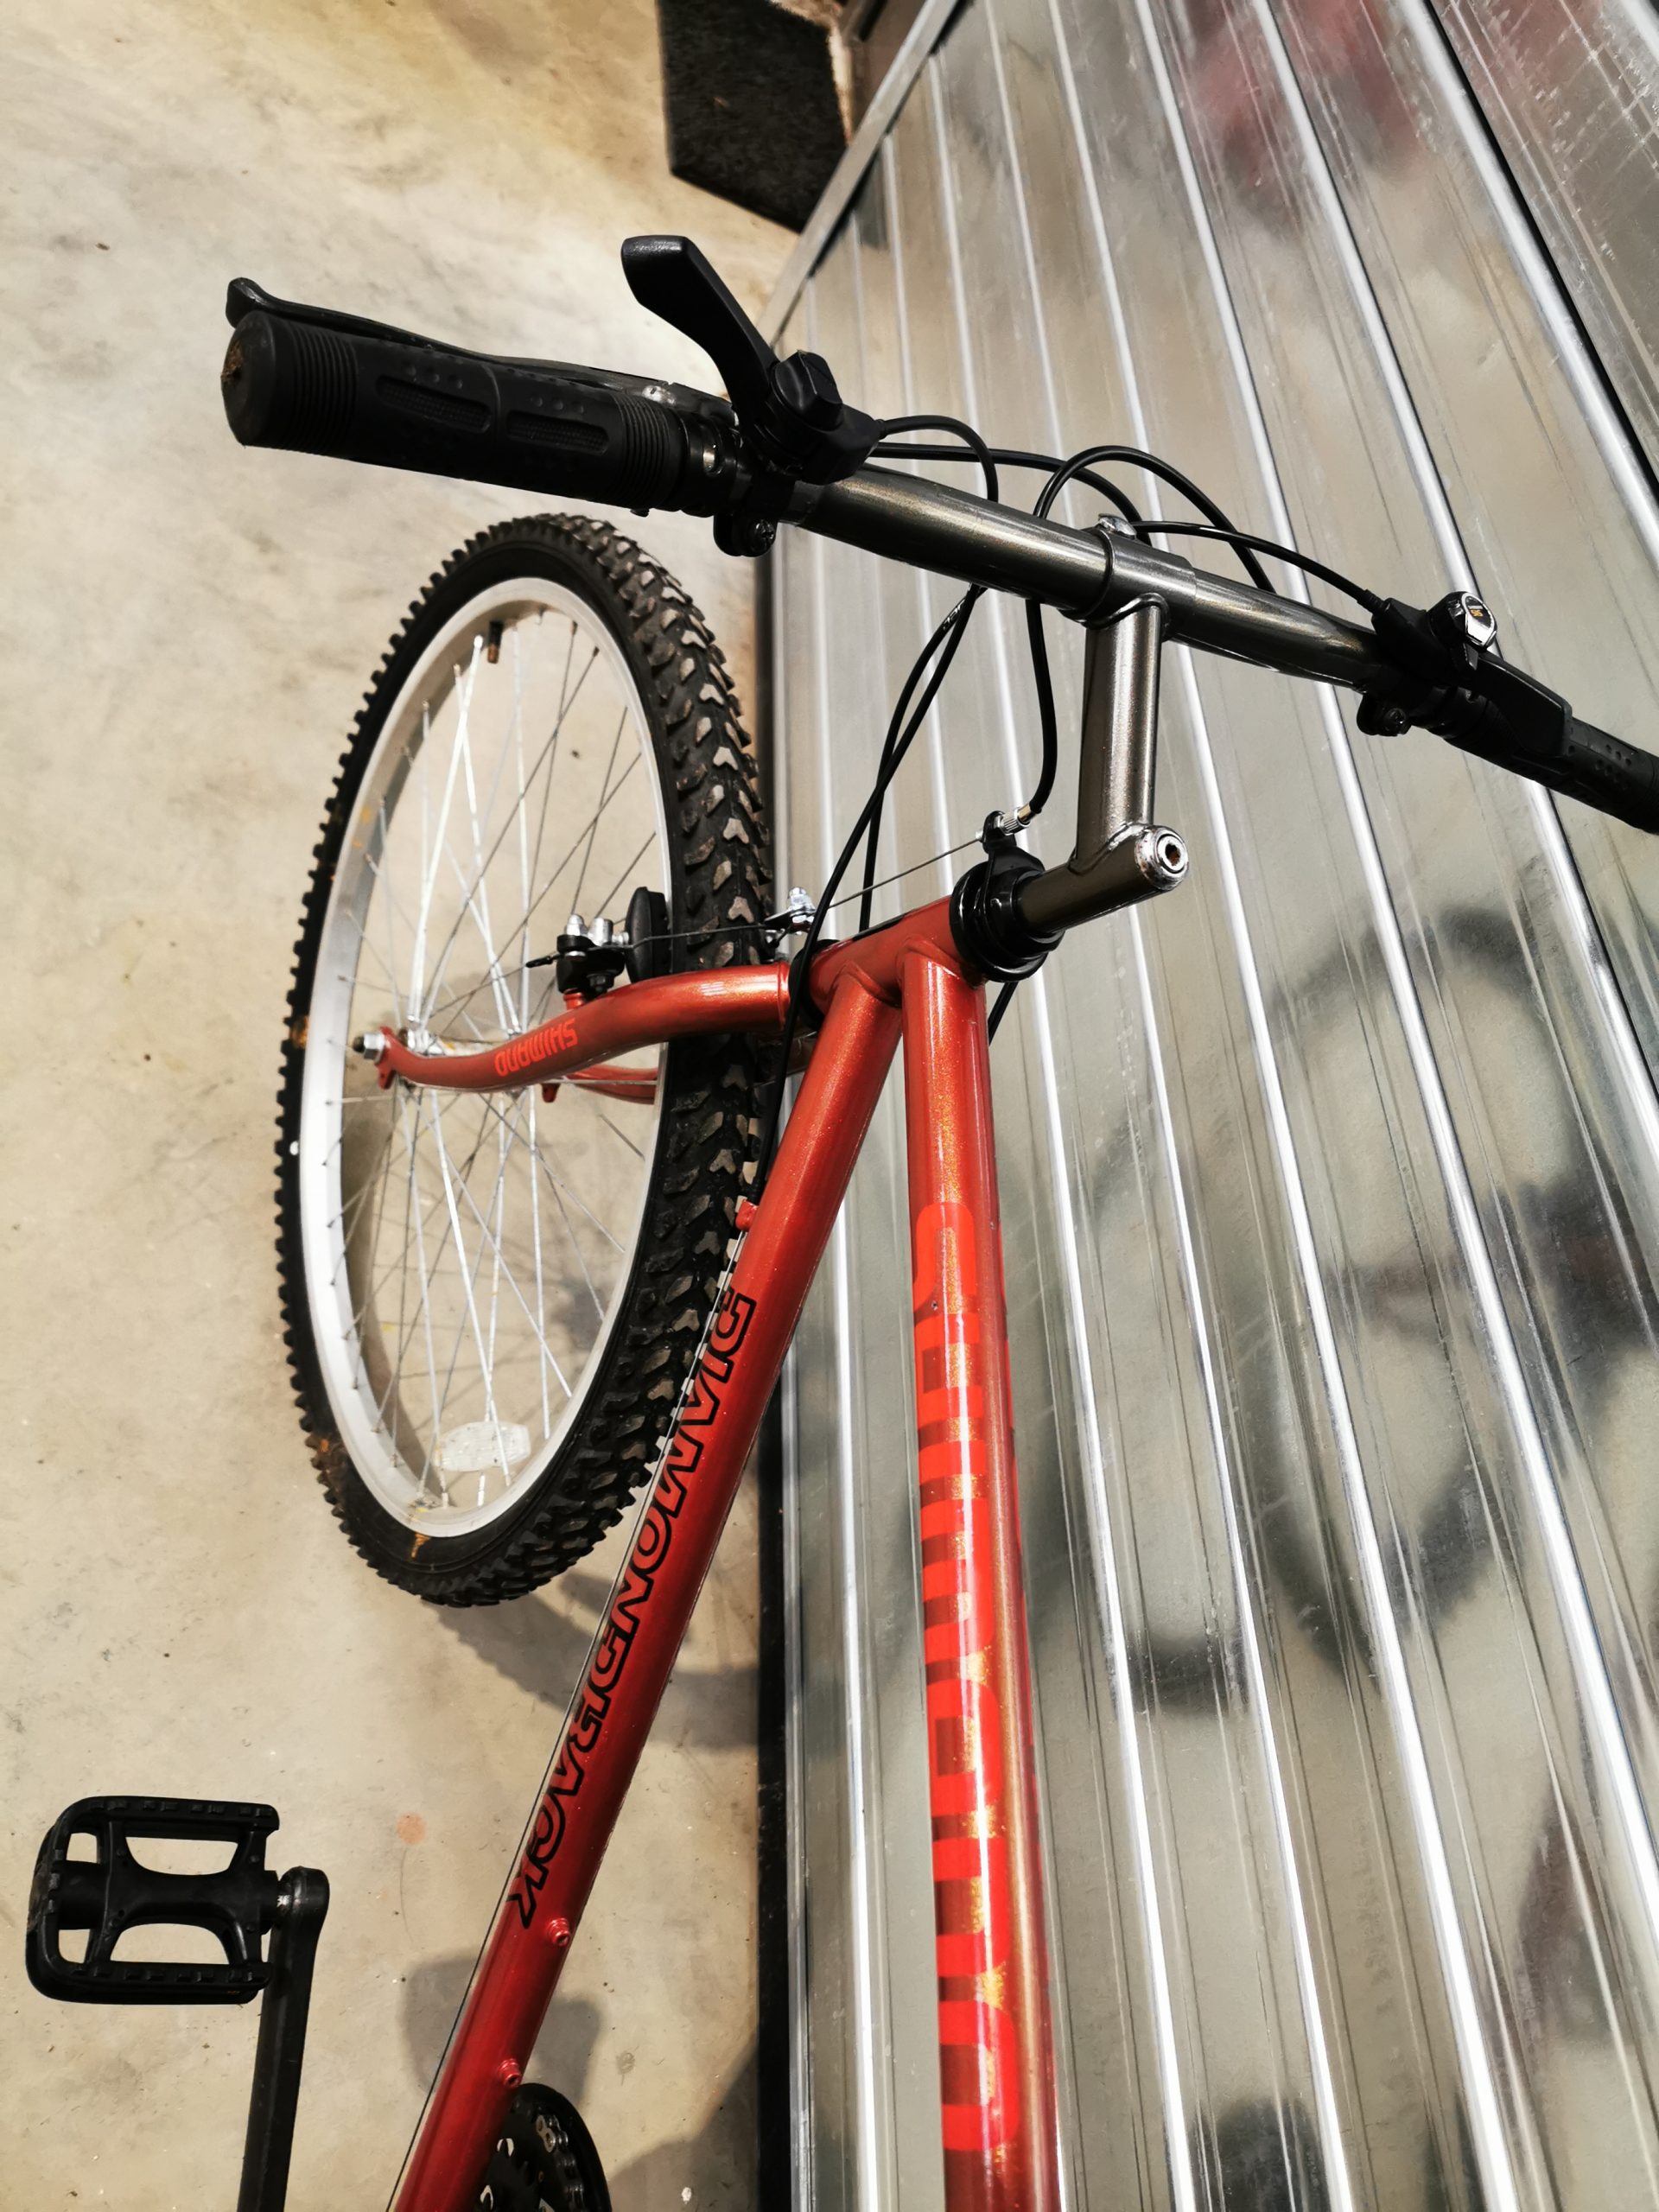
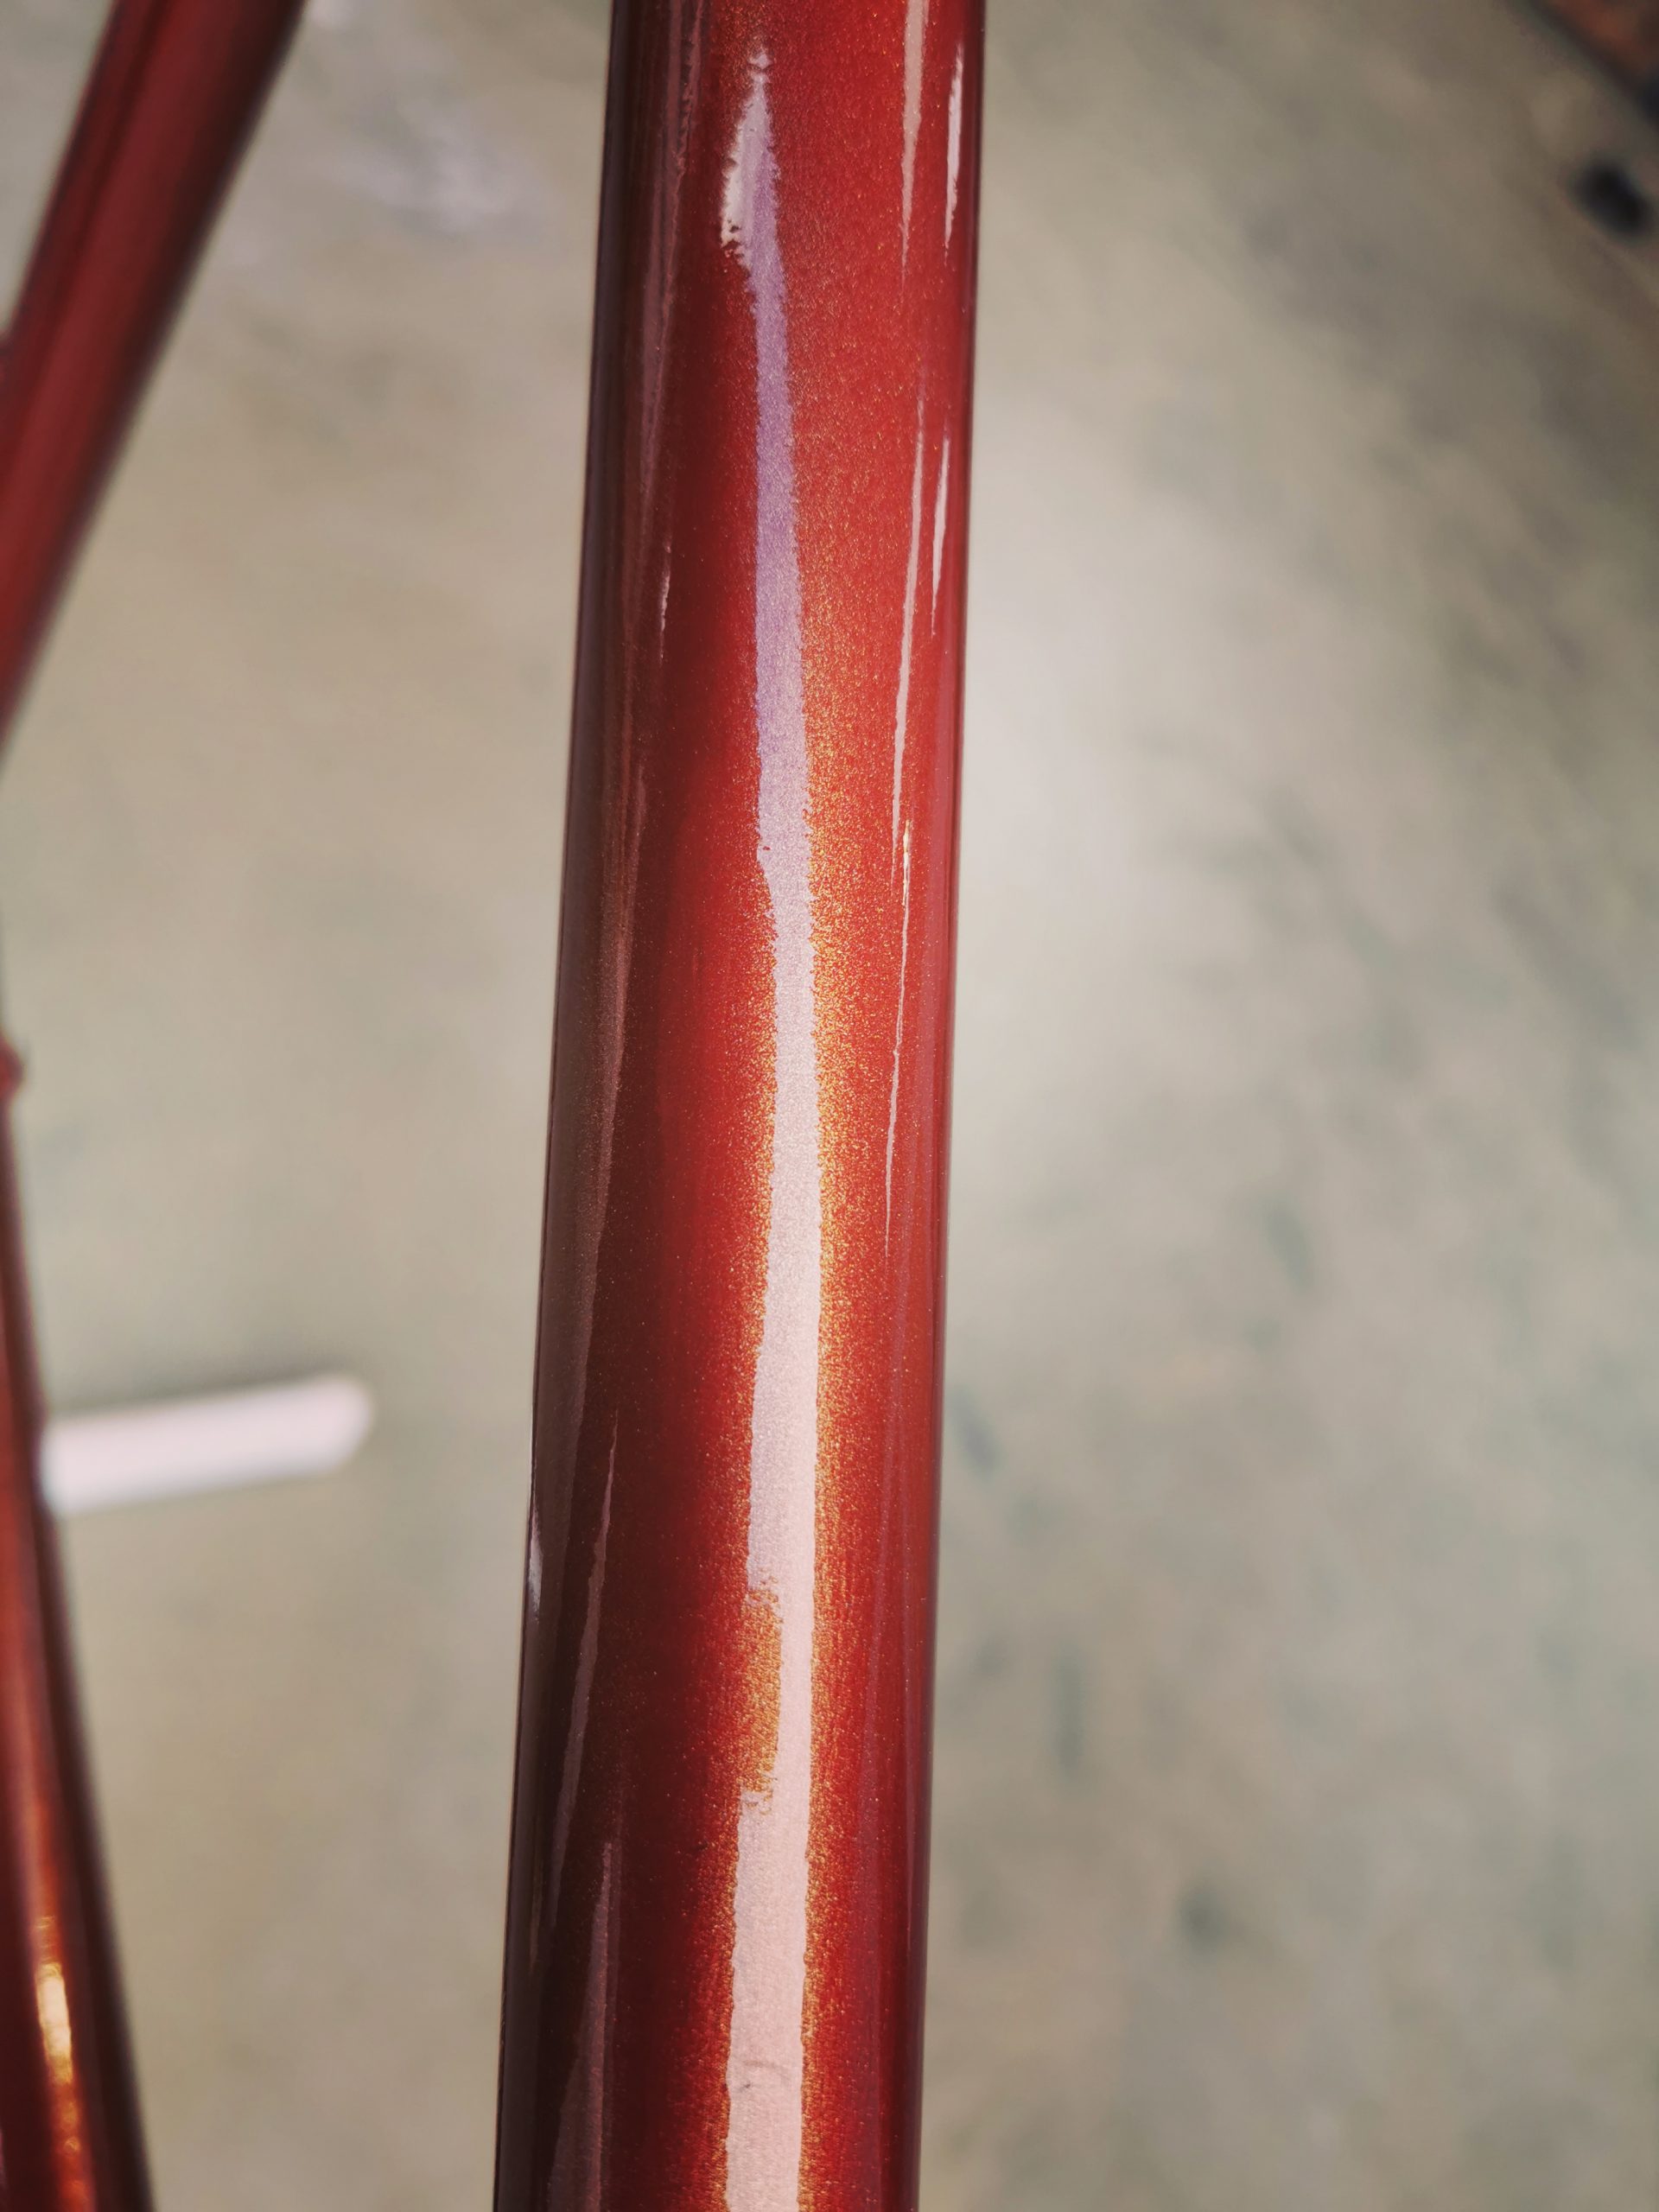
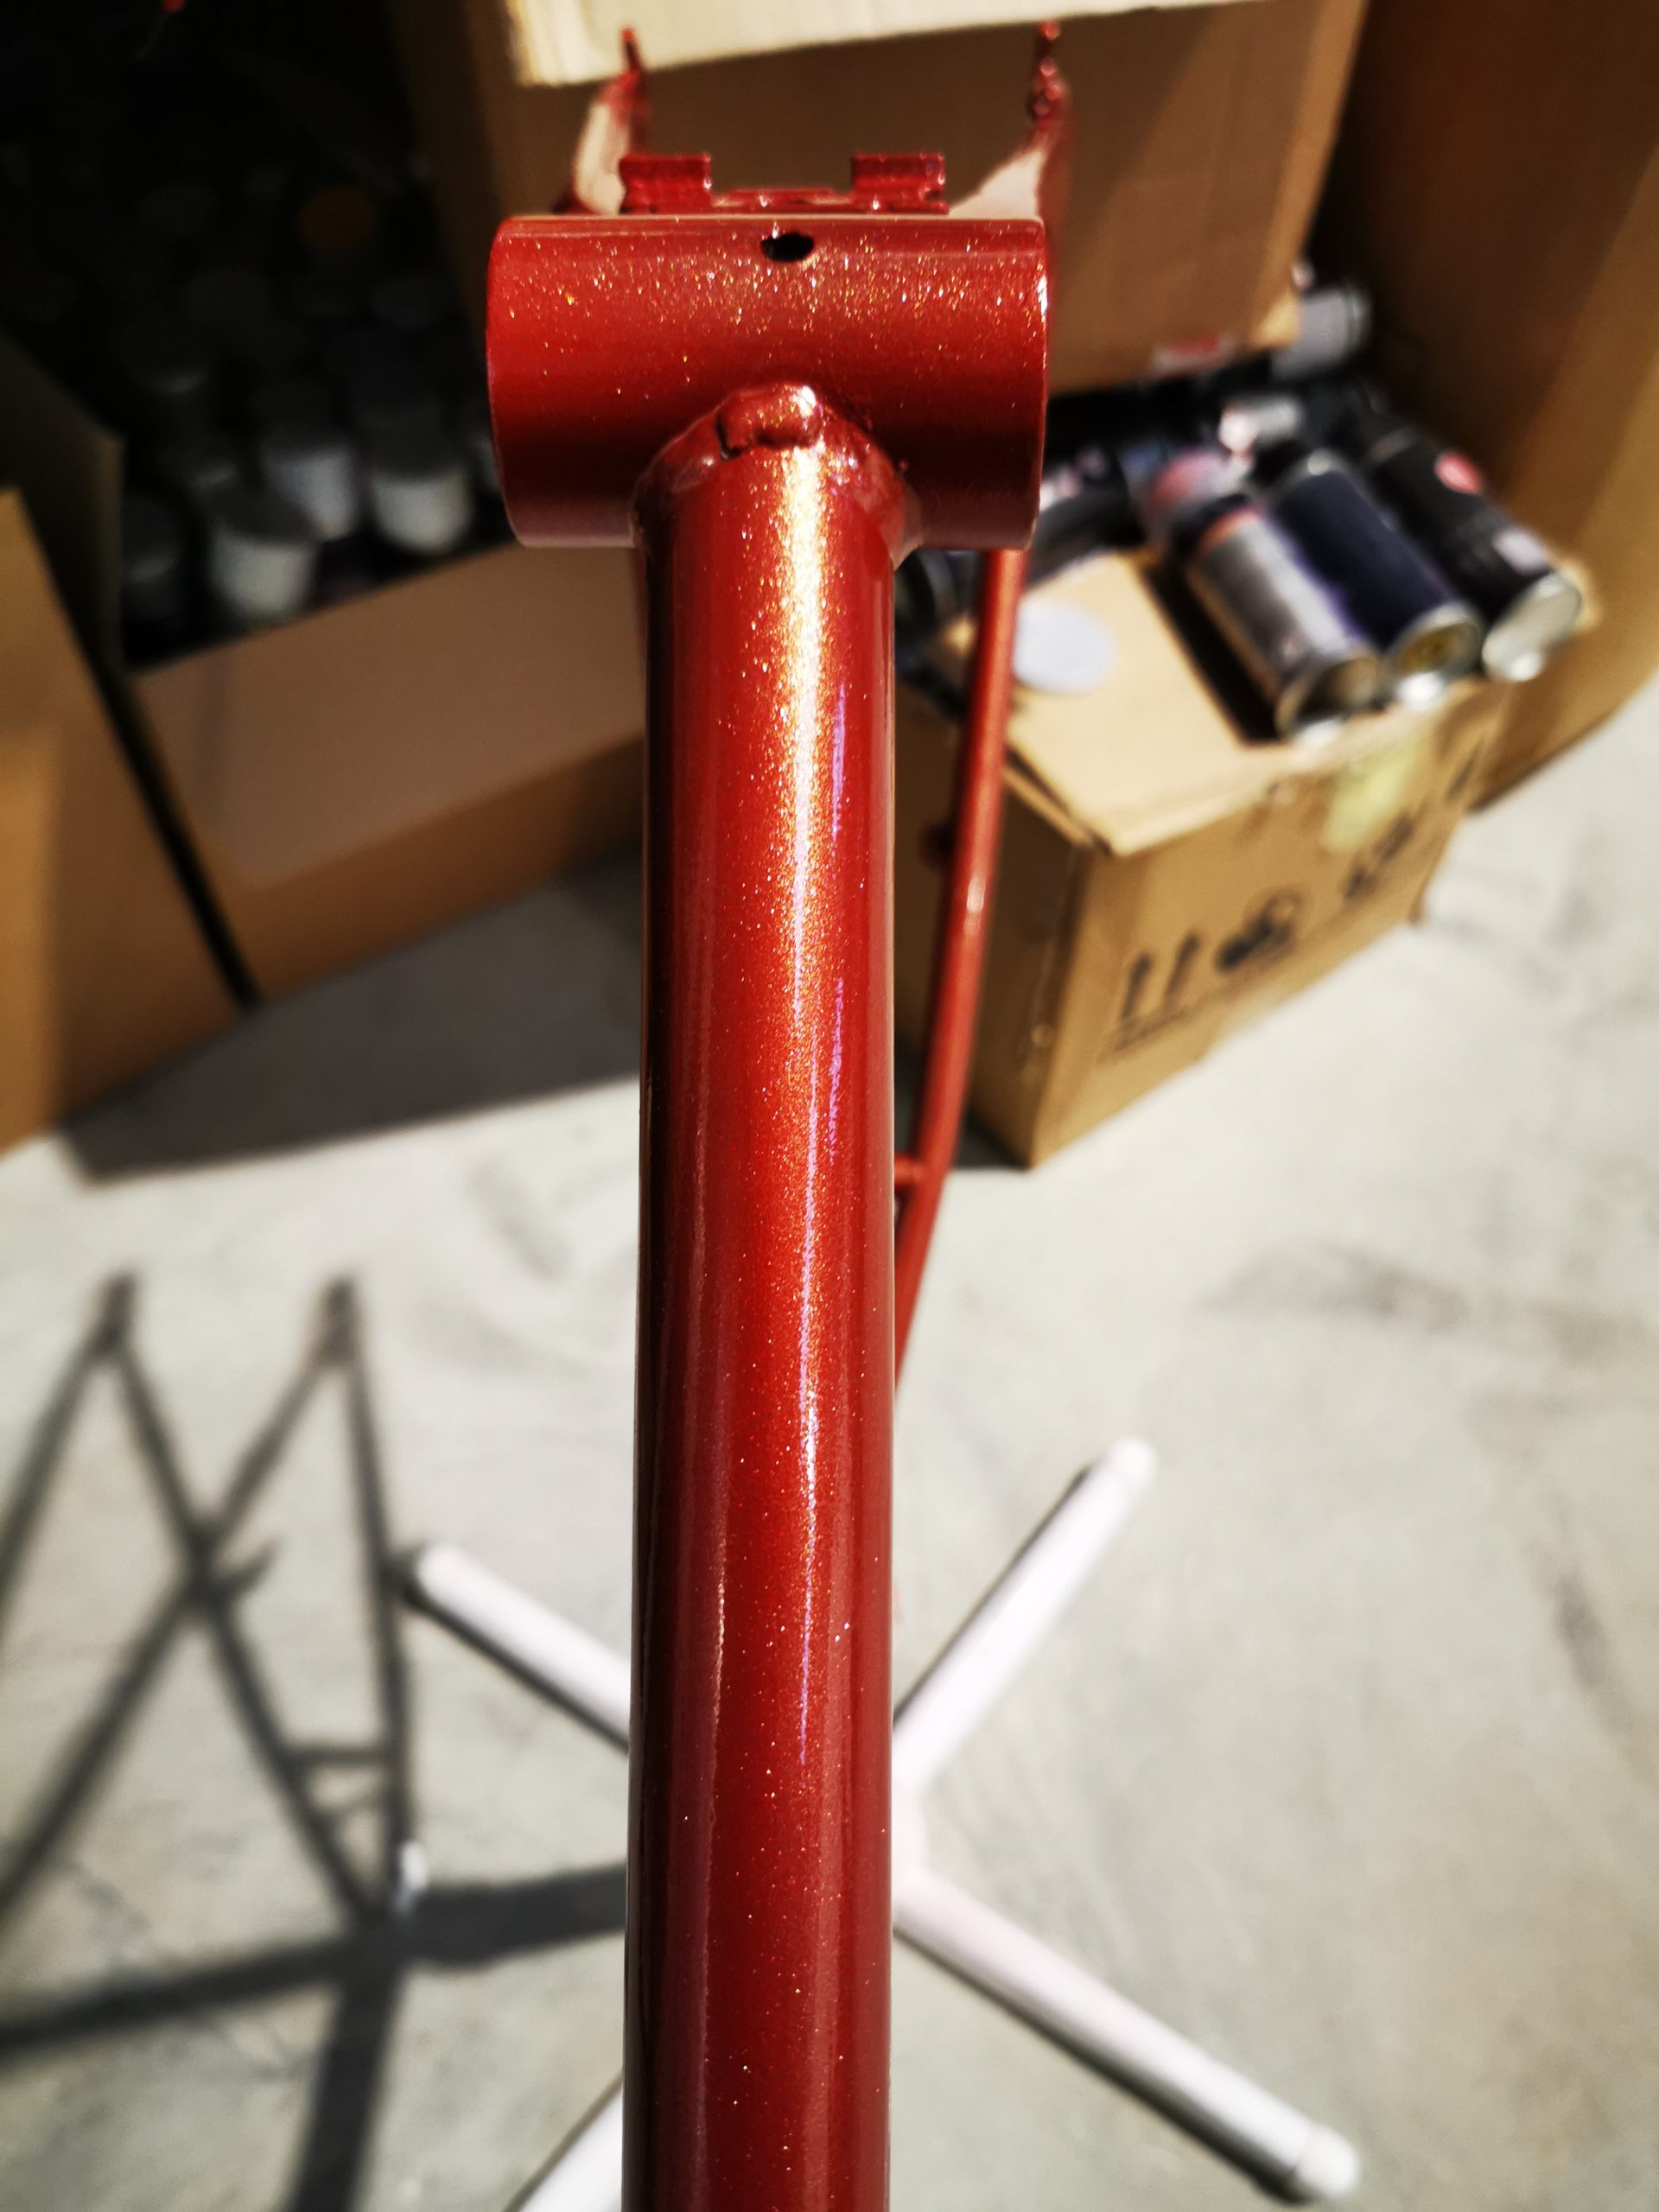
Once prepped, we could move onto reapplying the colour. We opted for a RAL 9006 Silver Acrylic Paint accompanied by a Red Translucent Pearl Base, which would allow the colour to be richer and stand out more. After leaving the colour to set for a little while, we then went back in with a gorgeous topcoat – the 2K Gloss Top Coat, which gives it a real shine. To add to the finish of this bike, we also chose to apply a 2K Gold Pearl Coat for an added shimmer. The final part of this project was to apply a topcoat to the handlebars and the stem of the bike using a RAL 9007 and then with the 2K Gloss.
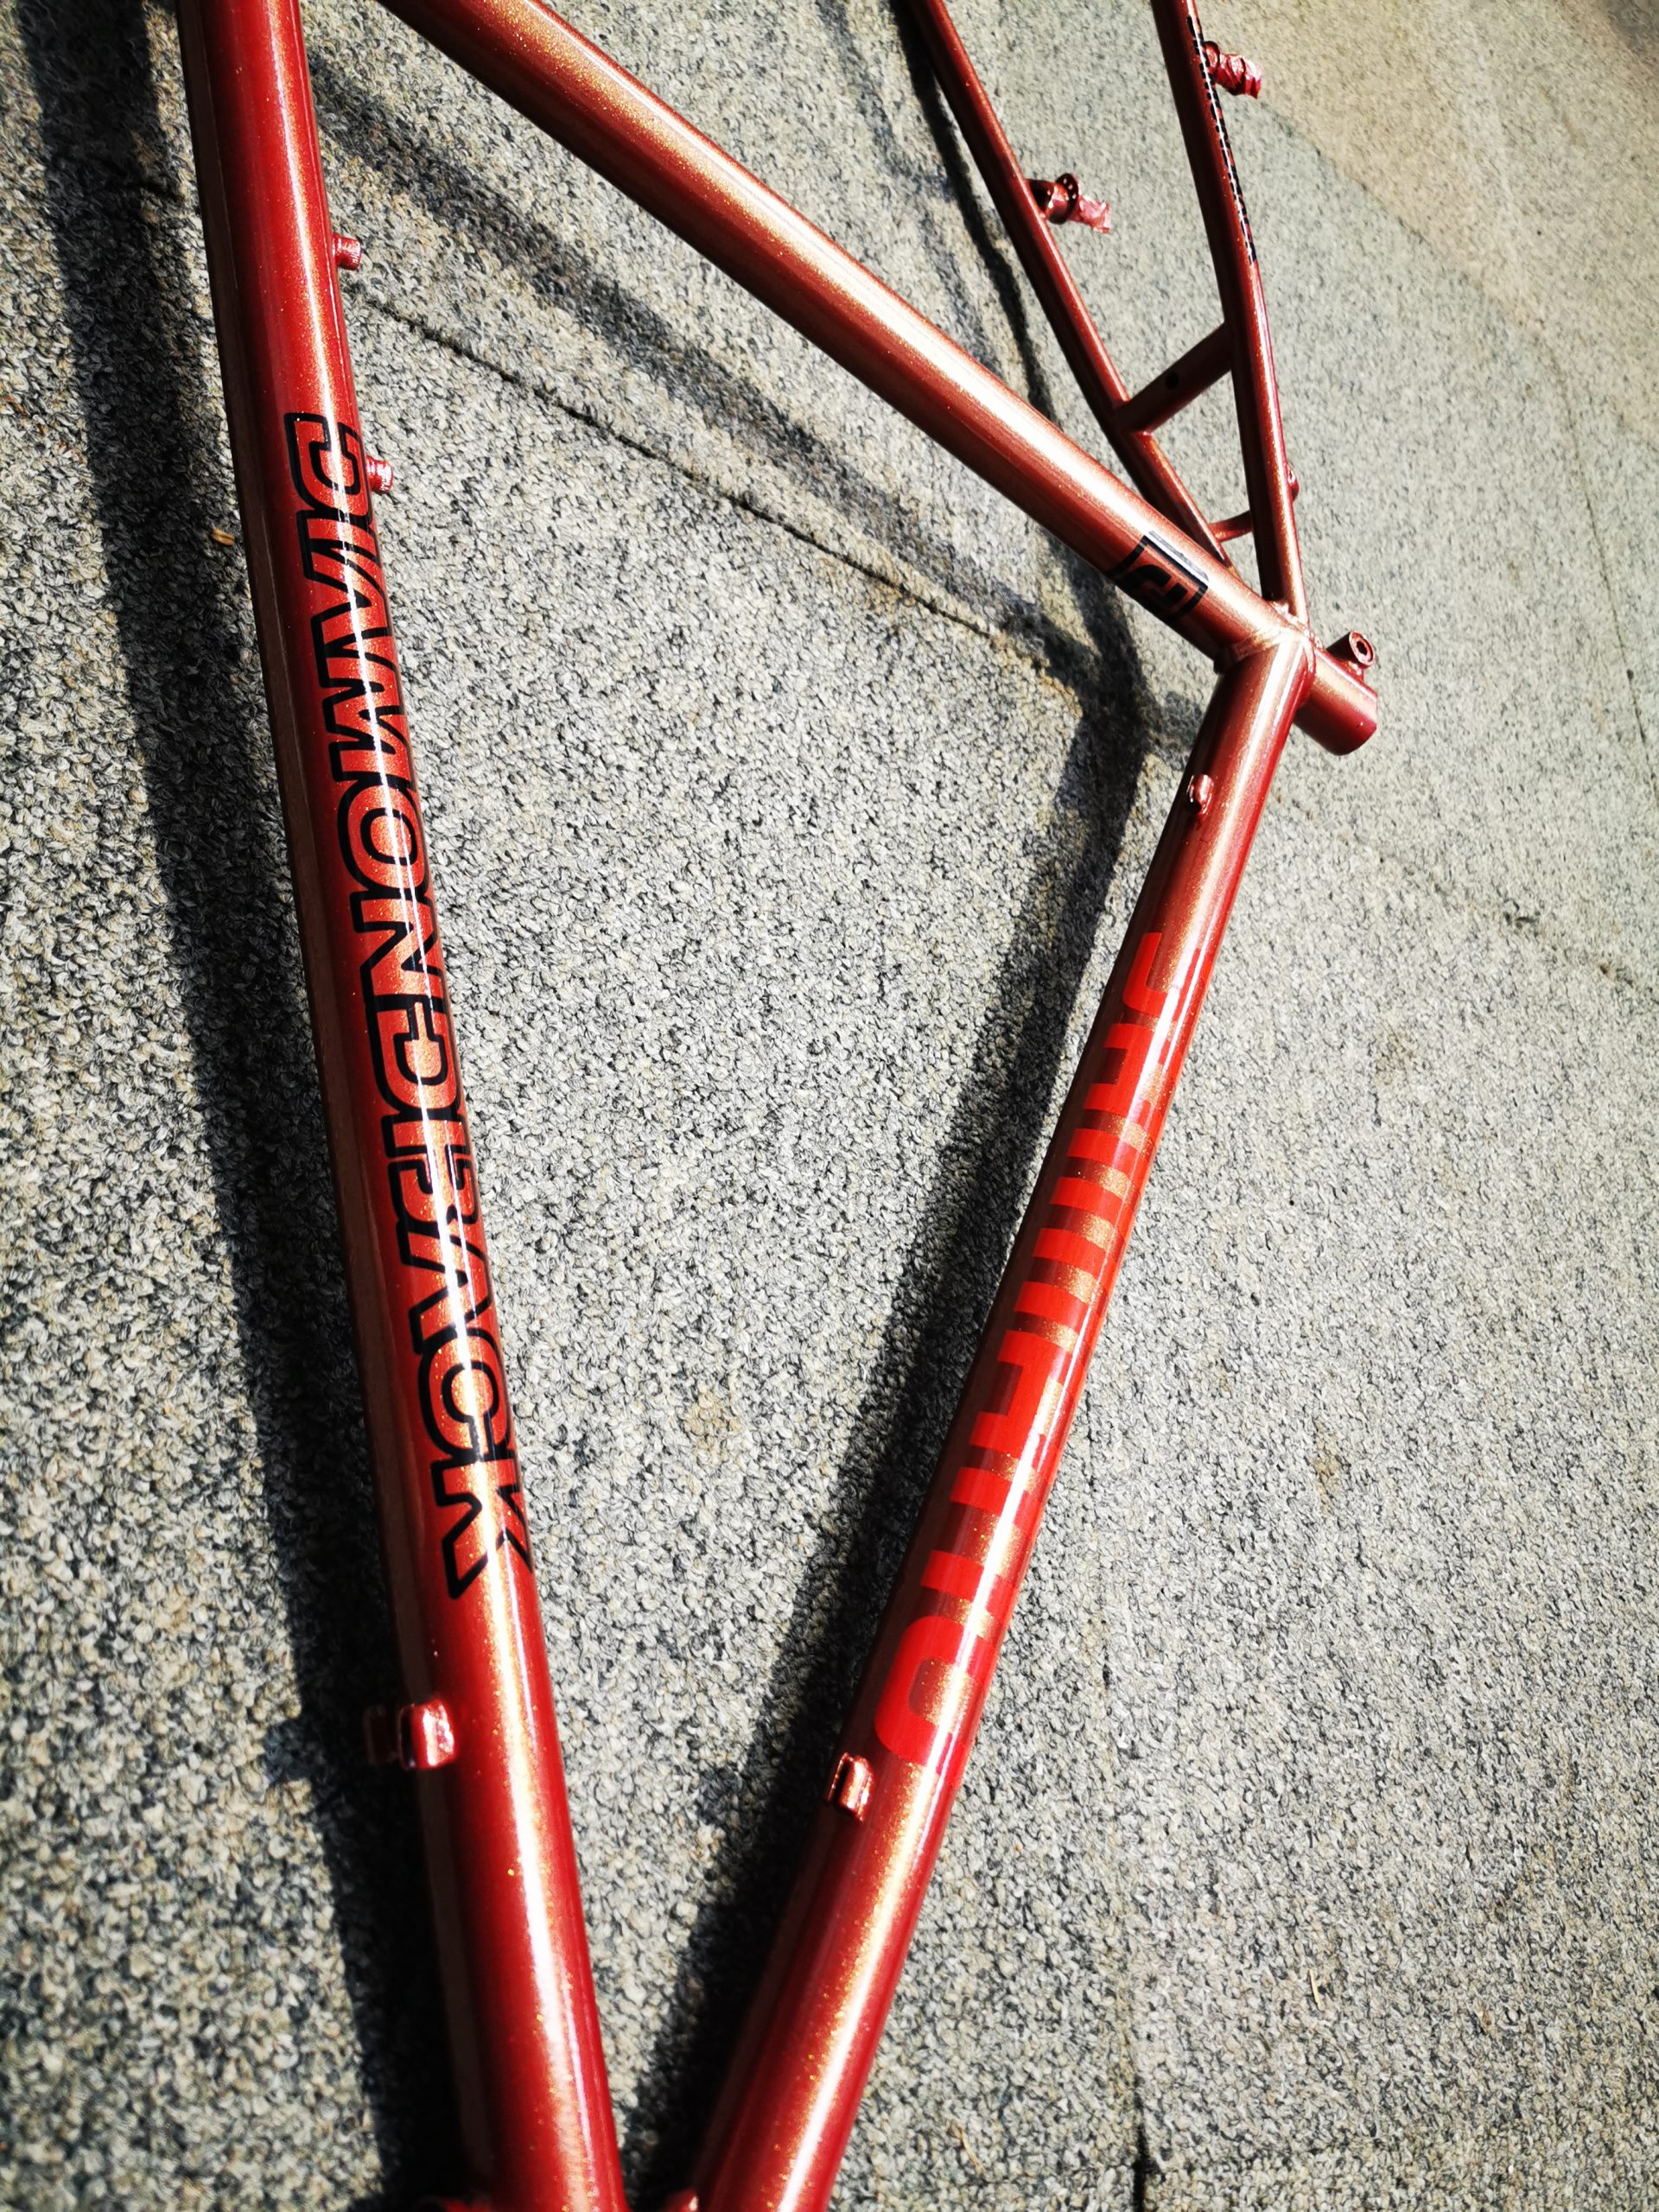
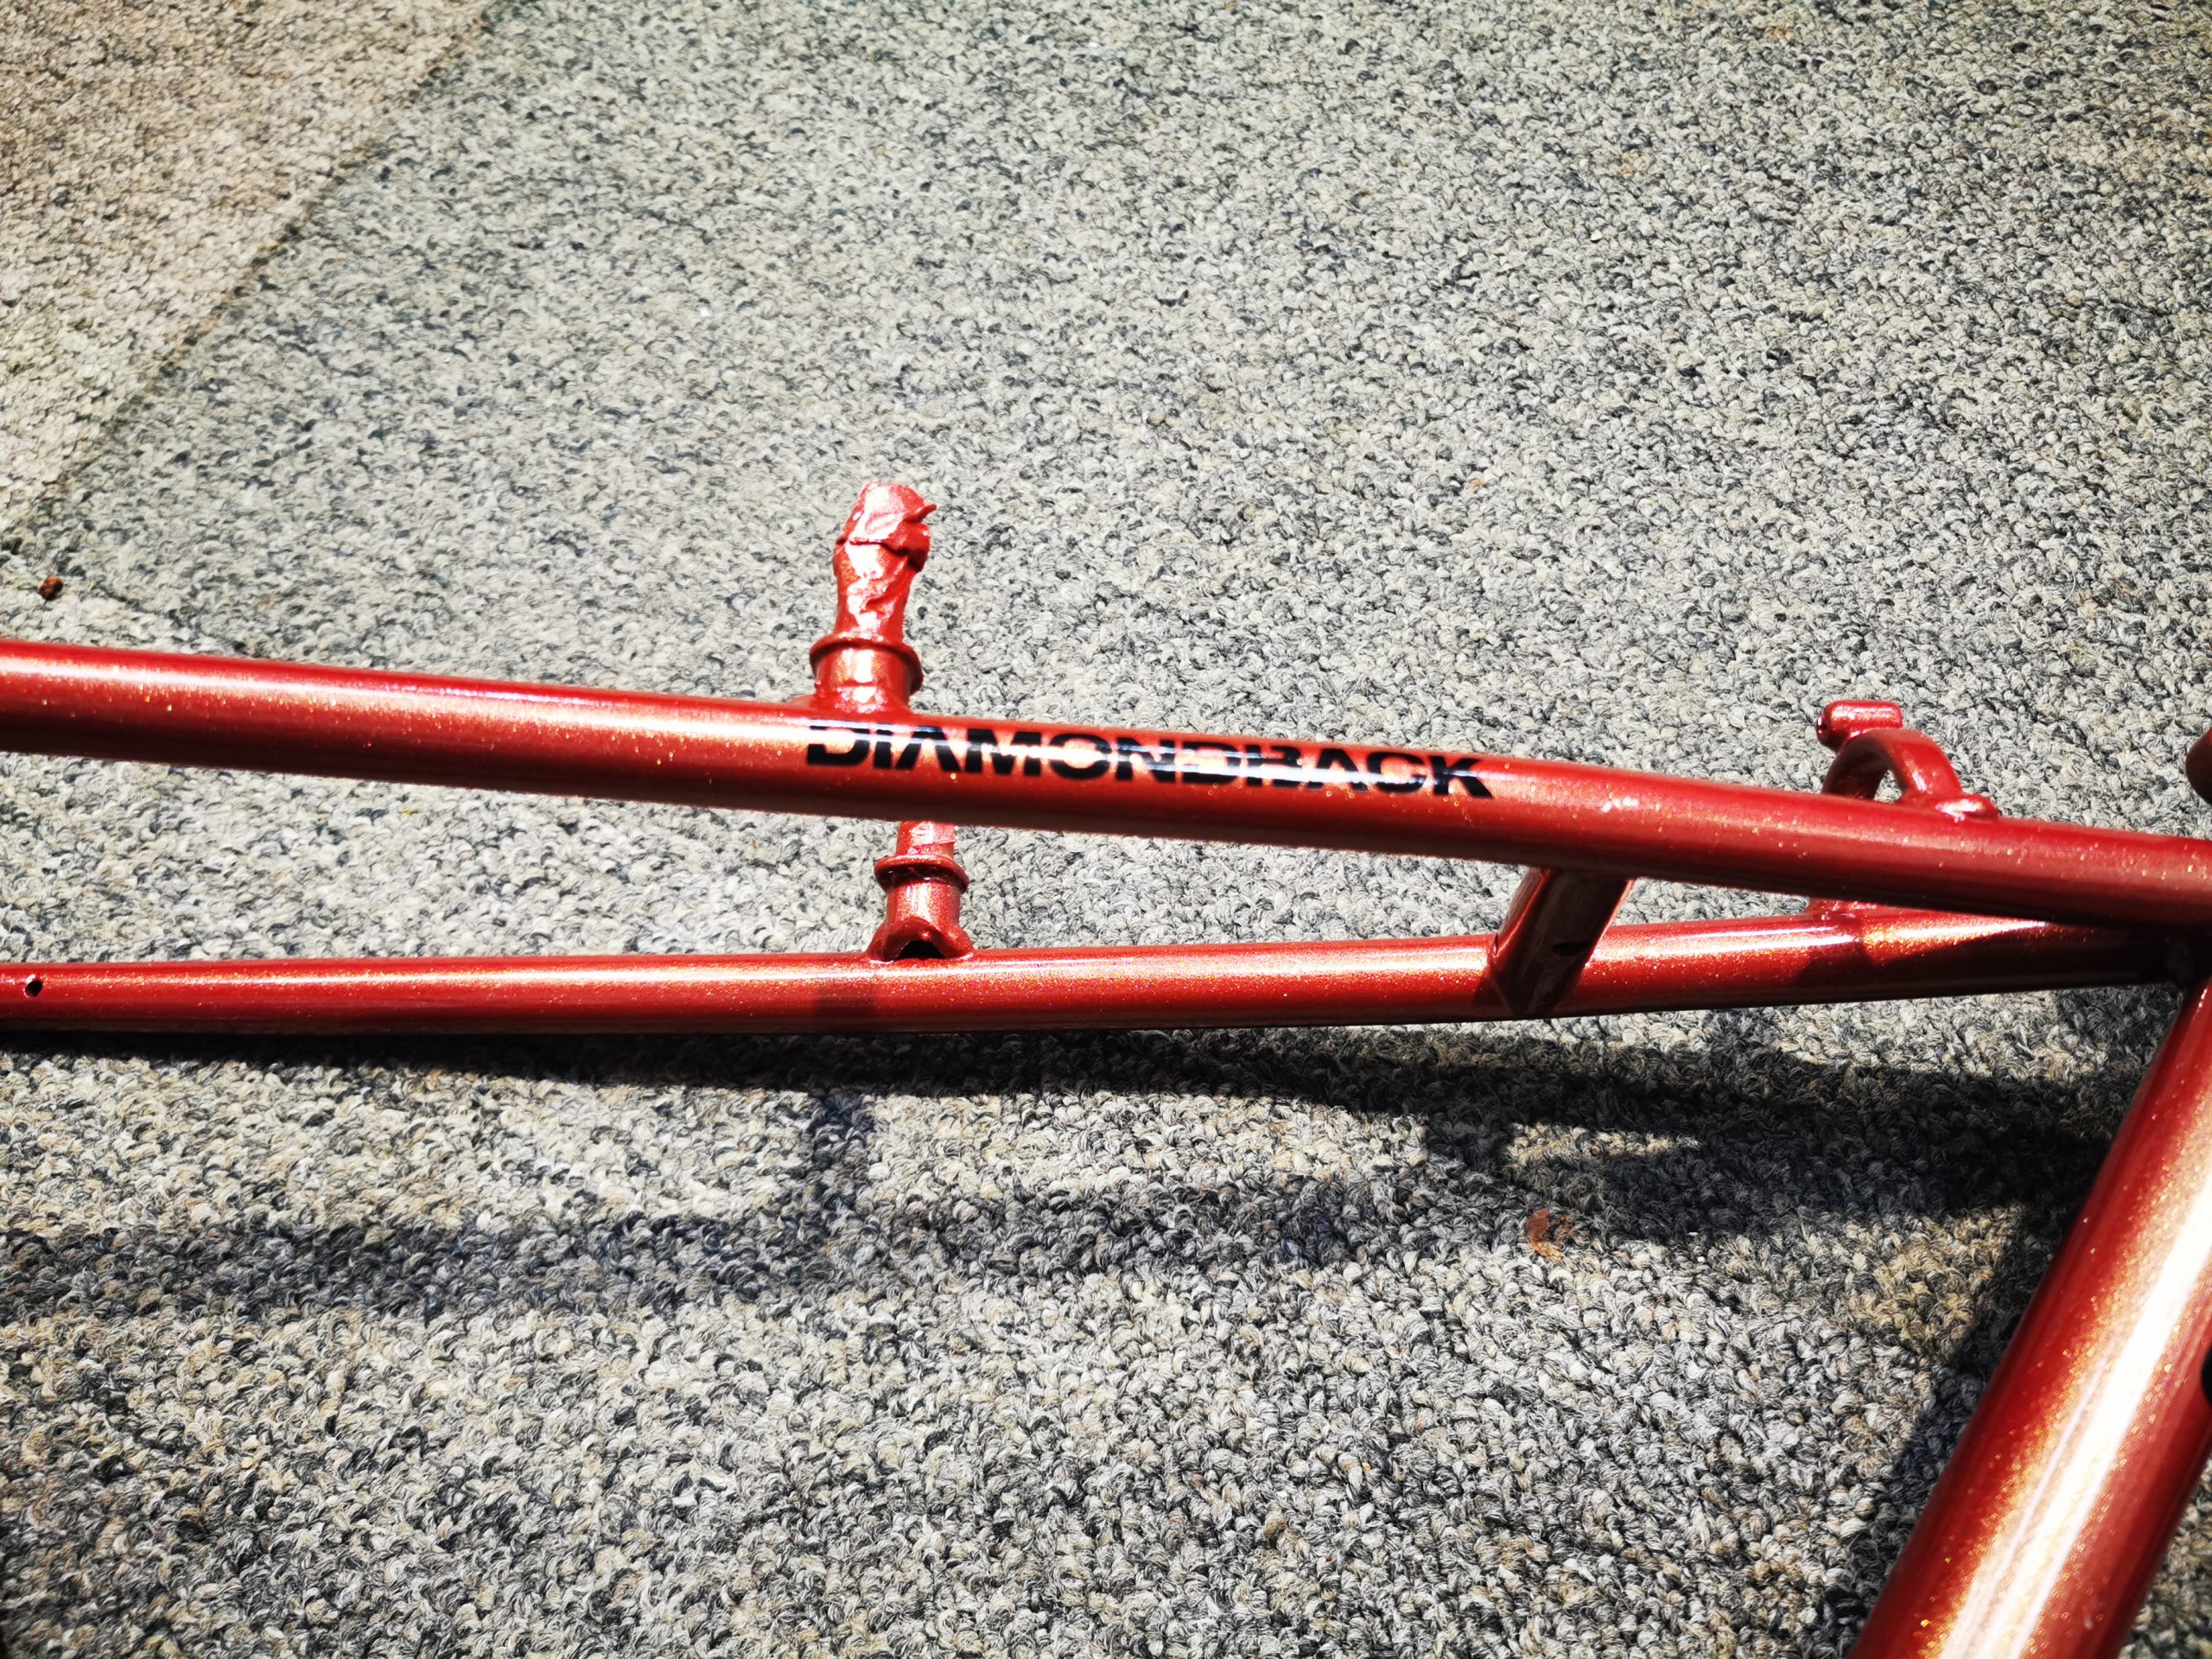
Finally, once the bike had fully cured, we applied some graphics and decals to the bicycle.
All in all, we were really please with the final paint, the bike looks amazing!