While the population is on lockdown due to the coronavirus, it’s difficult to keep yourself busy, and your mind focused. It’s a great idea to get a project or two on the go to pass the time and clear your mind. While you may not be allowed to do your usual shopping and going out for a bite to eat, you can still use the garden to your advantage!
One of our clients, Lewis Gunner Stevens, has recently finished a garden furniture refurbishment project, and the table and chairs look brand new. To help you achieve the same on your own garden furniture, we have put a thorough guide on how Lewis completed this task.
Bringing life To The Garden
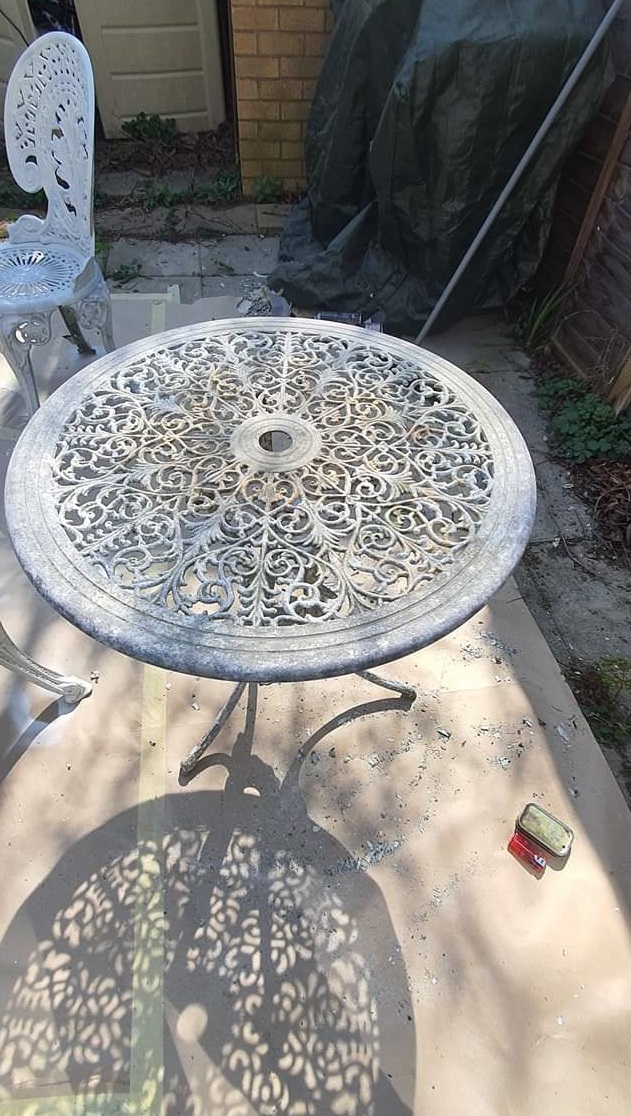
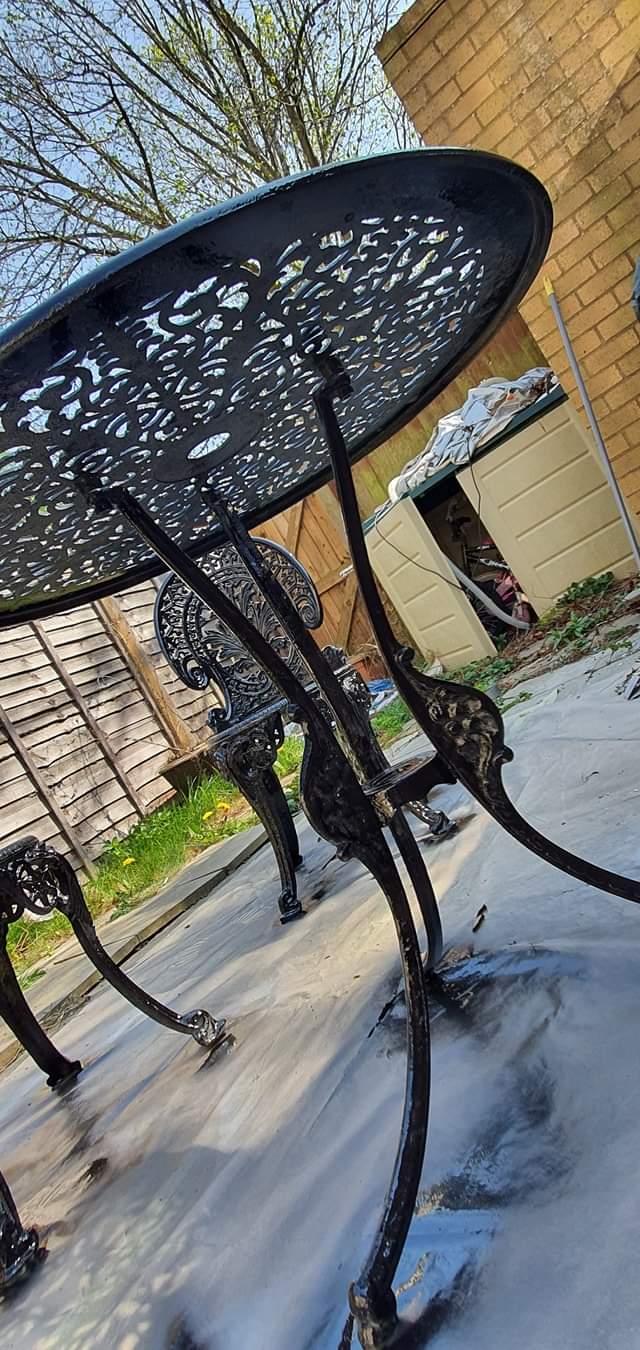
If you’ve got some old weathered aluminium furniture, then this could be the perfect opportunity to breathe some new life into it, rather than replace it. You can tackle the garden furniture just like any other painted metal surface by cleaning, degreasing and de-rusting your project. If you live near the coast and have some aluminium garden furniture, although it won’t rust (like iron), it can still oxidise – even though this is still a type of corrosion, it’s easier to deal with than iron rust.
The Project
There are a number of rust treatments you can purchase online which can chemically treat rust that forms on your garden furniture. Once you have treated it, you can sand it down and apply a primer with anti corrosion properties; this will prevent the treated rust from rusting again or any oxidising.
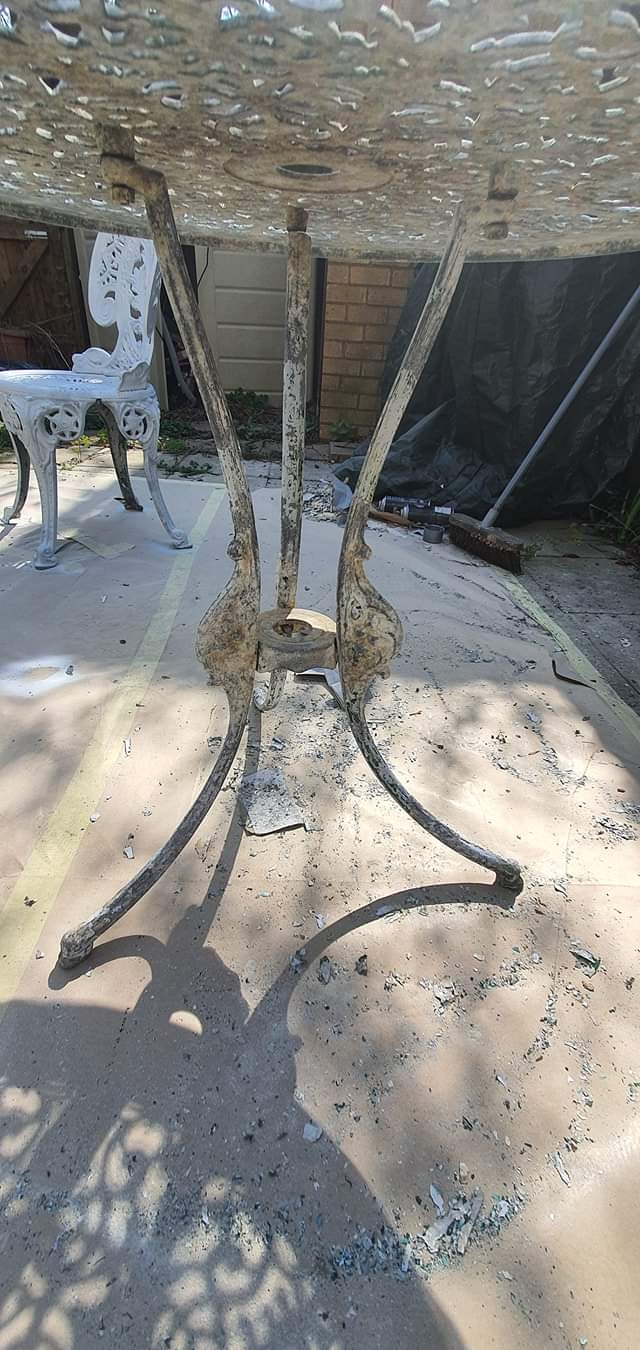
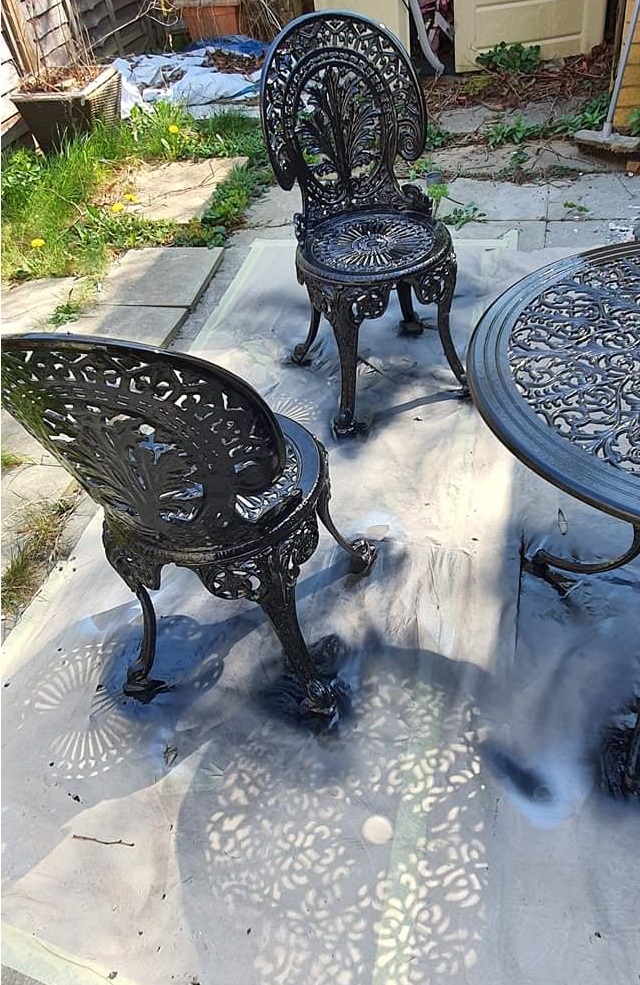
For this particular project, we used a wire brush to remove any loose surface material or rust. The oxidised pitting is almost chalky, so a majority of it came off with very little effort, whereas rust would have taken a little more investigating to see how deep it goes. We ensured to take the time to remove all rust which had bubbled under the paint, taking it right back to metal. Then, with rubber gloves on, we scrubbed around the framework with the rust treatment. The team were mindful not to get any chemicals on any straps or fabrics (cushions should be completely removed where possible), as it could end up staining them. If the pitting is really deep, then we would usually look at getting a metal filler and building the substrate level back up. Once the filler has cured, we started to sand to an acceptable level.
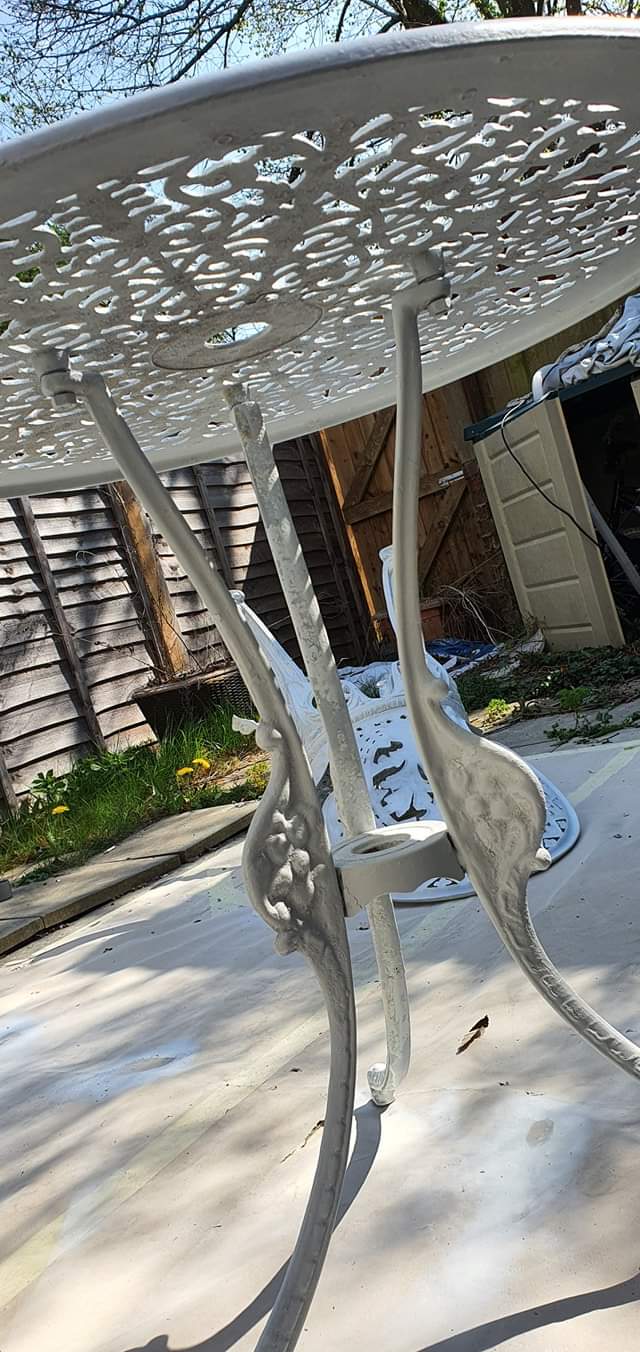
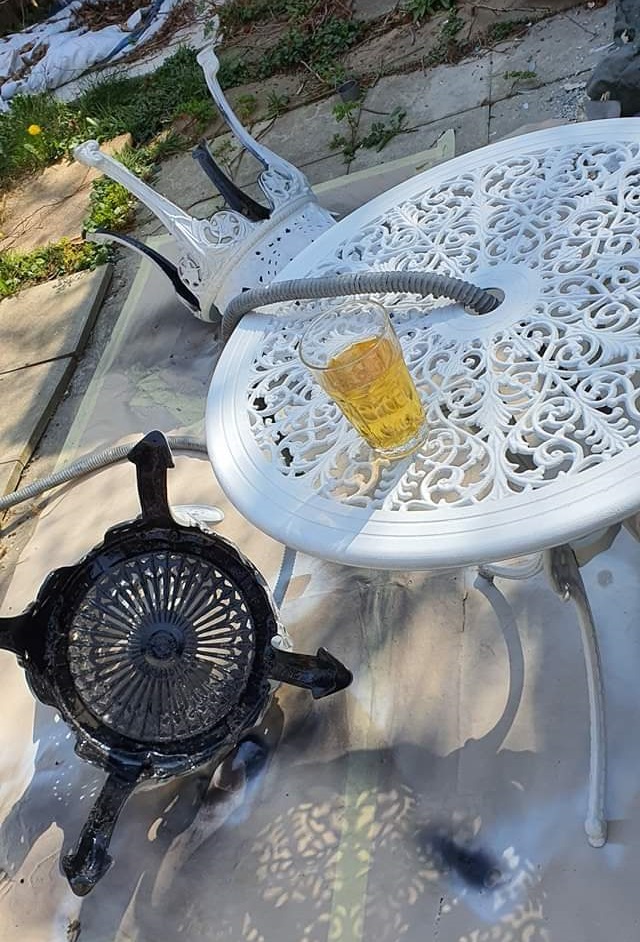
Once complete, we applied the primer to ensure that the paint would be level on the surface and provide long-lasting results. The trick with primer is to only cover the project, not actually paint it in coats. The thinner the coat, the quicker it will cure. Ordinarily the primer should be touch dry within 15-20 mins and suitable to paint over within 1-2 hours.
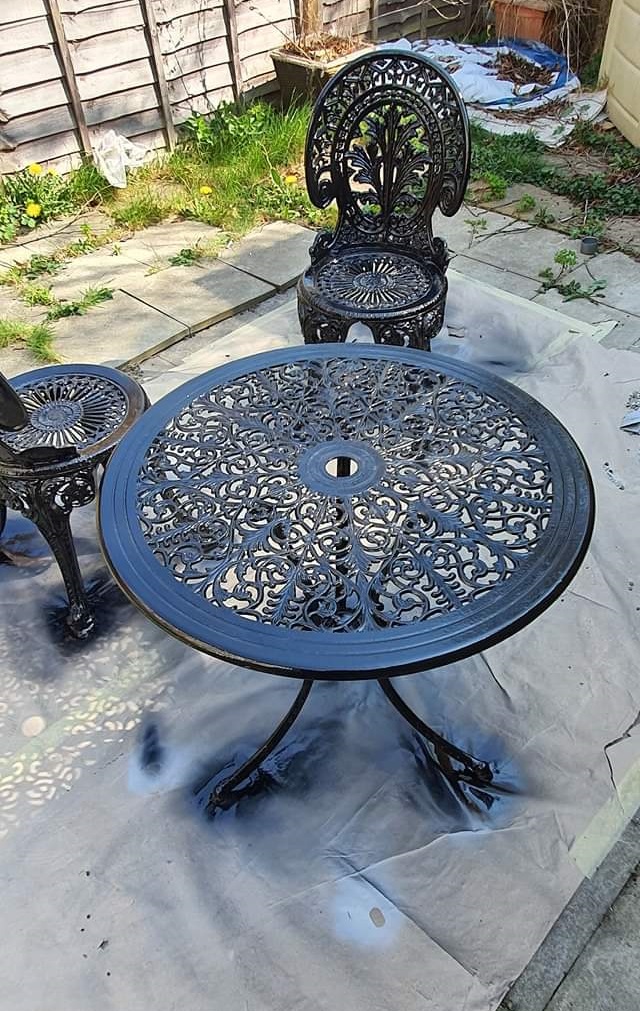
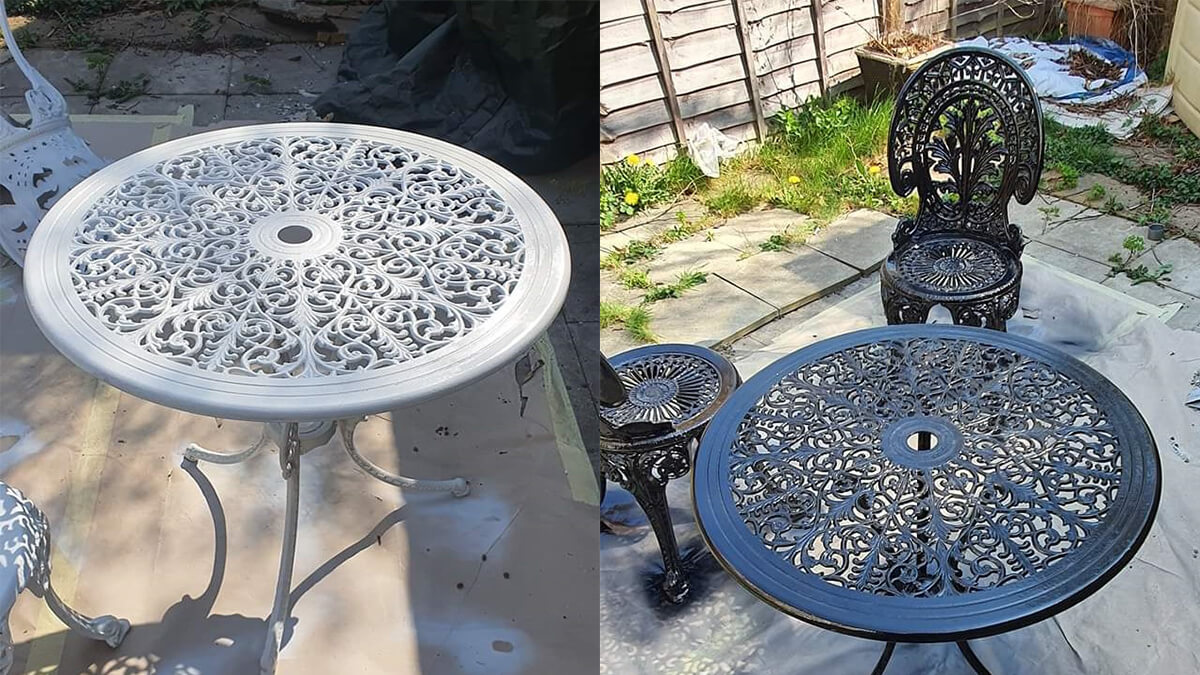
Once comfortable with the primed finish, we applied a 1K base coat. Now, this is where things can be a little confusing, so if you are planning a project like this yourself, then we have broken down the process for you:
- A Single Pack (1K base coat) colour is a non-hardened paint (for garden furniture ACRYLIC is the way to go); this will be fine and last for a while, however, at some point, it may wear down, especially if you don’t apply a lacquer to protect the paint.
- If you do add a lacquer, try to make it a 2 Pack (2K Top/Clear Coat) as this is a hardened finish, designed to tolerate a lot more weathering, abrasions and certain chemical properties. This will give you a much harder protective layer and bring depth to the final base coat colour.
- The other option when it comes to painting your project is to purchase a 2K Base coat; this will be a hardened finish and paint all in one, so may remove the need for a final lacquer top coat. It’s also worth adding a UV additive where possible to reduce to possibilities of sun bleaching.
To further maintain the final project, we washed it regularly with warm water and a little washing-up liquid. Dirt and dust on the surface of iron can trap moisture against the paintwork, causing it to deteriorate and rust. To keep the iron furniture in good condition, always keep it clean.
We hope this helps and gives you something worthwhile to consider, but if you need any assistance or support, please feel free to contact the team on 01908 972 393.