

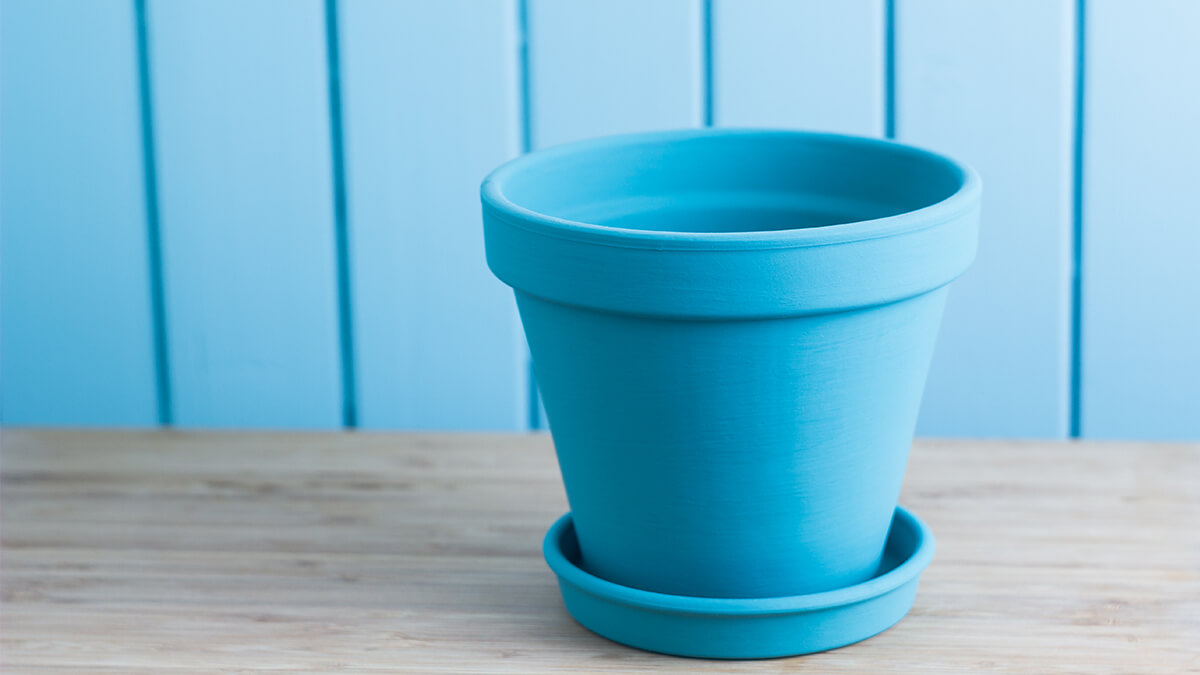
With adverse weather conditions, the pots in your garden can become worn out and look tired. However, with a dash of paint, you can easily rejuvenate your terra cotta pots to look fresh ready for the summer flowers to blossom. Here is our easy step by step guide on how you can spray paint your garden pots.
A Guide To Spray Painting Terra Cotta Pots
Whether you wish to transform your garden with vibrant colours or coat over a dull and faded terra cotta pot, this guide has everything you need to know about bringing your garden back to life through re-painting garden pots. For the following project, you will need these items:
- Fine Sand Paper
- Masking Tape and/or Lining Tape for decoration
- High Build Primer
- Acrylic Spray Paint
- Spray Lacquer 1K
Clean/Degrease The Terra Cotta Pots
Prepping is key to any good spray job as it removes any dust and dirt or residues to make it easier to apply the paint. When cleaning the pots of dirt and grease, be sure to leave them in a sunny and dry location for 24-48 hours if they become wet. The reason you will need it to completely dry is because terra cotta and clay substrates are very porous meaning that while the surface may appear dry, the material can still be damp inside.
Prime & Seal
Once the pots are dry, apply a good coat of primer to the outside of the terra cotta pots. You will want to apply light even coats to prevent the primer from creating runs.
TOP TIP:
Leave to cure for around 1 hour. If you leave a thicker coat, leave to stand for at least another 30 minutes at room temperature.
Spray The Base Coat
Apply light coats of spray paint until you obtain a nice even coverage.
TOP TIP:
Once the outside of the pots and trays are dry, turn them over and spray paint the bottoms, as well as under the rim of the top of the pot and tray. Leave to stand for 2 hours to fully cure. If more coats are required, add as necessary.
Lacquer Top Coat
Once you are happy with the final coat of colour, and all the substrates have cured, you can apply the clear coat; this will add depth of colour and protect the paint underneath. Ensure you take your time to apply at least two coats in 1-hour intervals.
TOP TIP:
Leave to cure overnight, and the next day they will be ready for planting!


