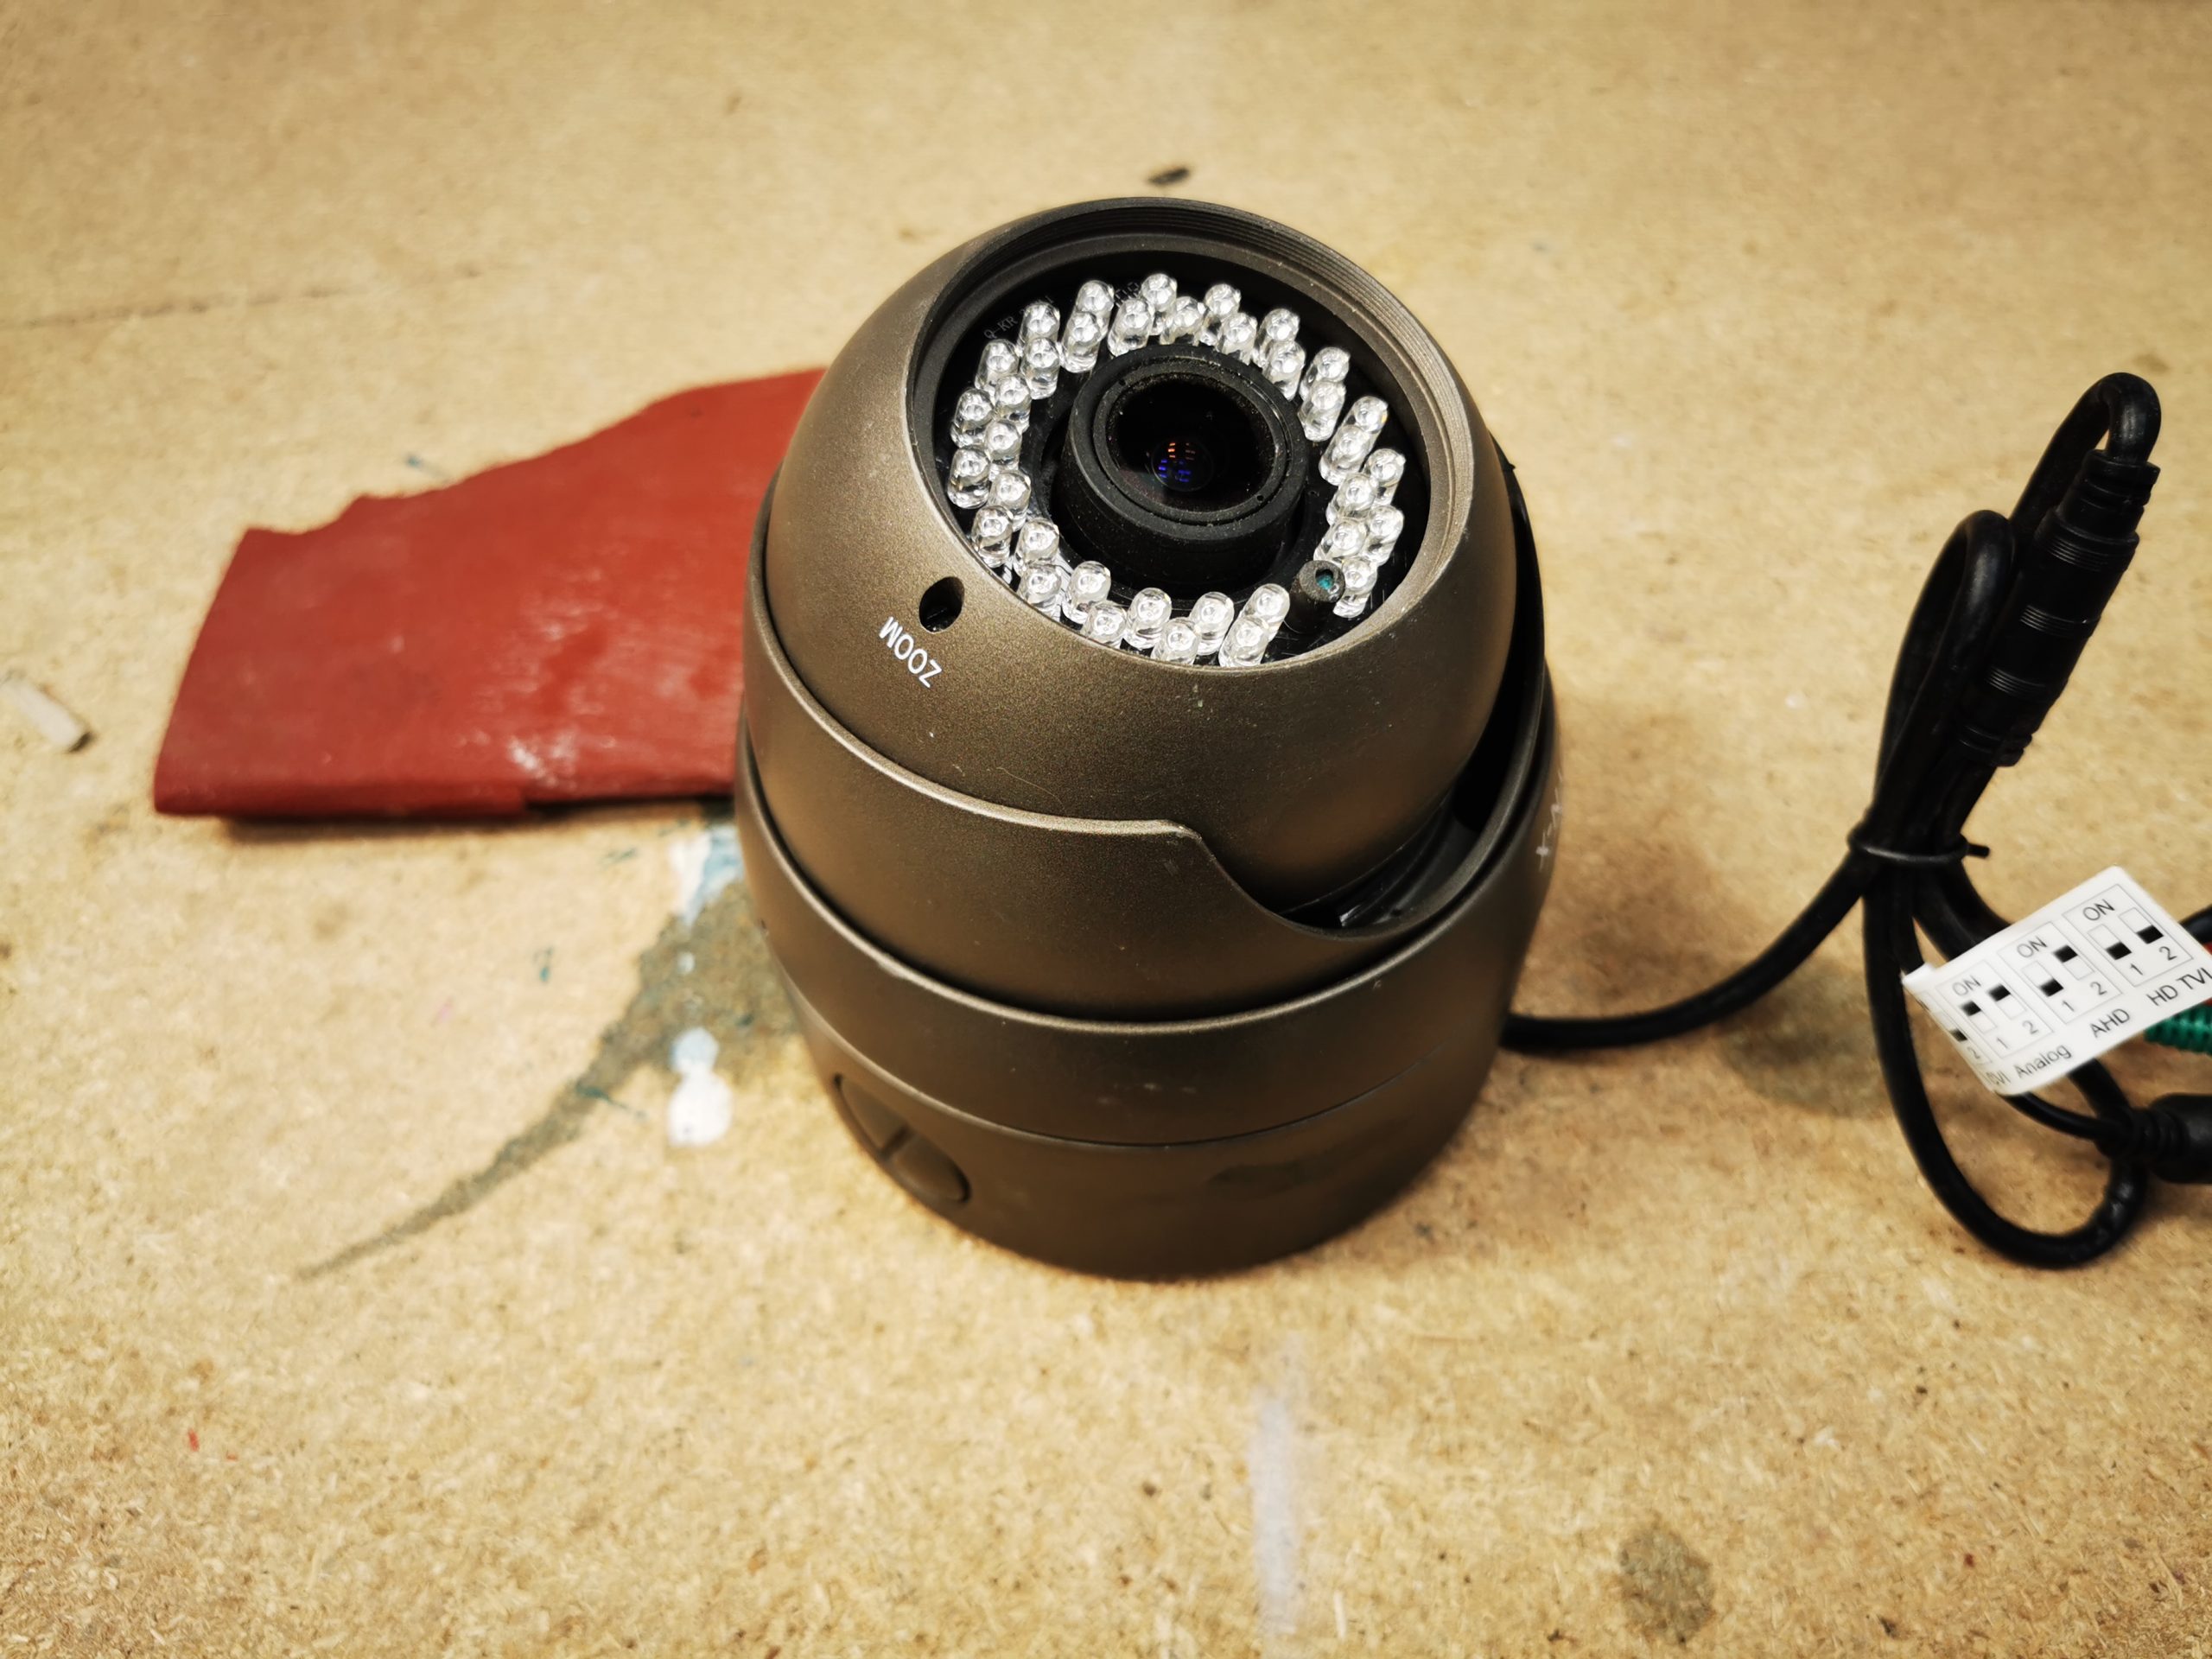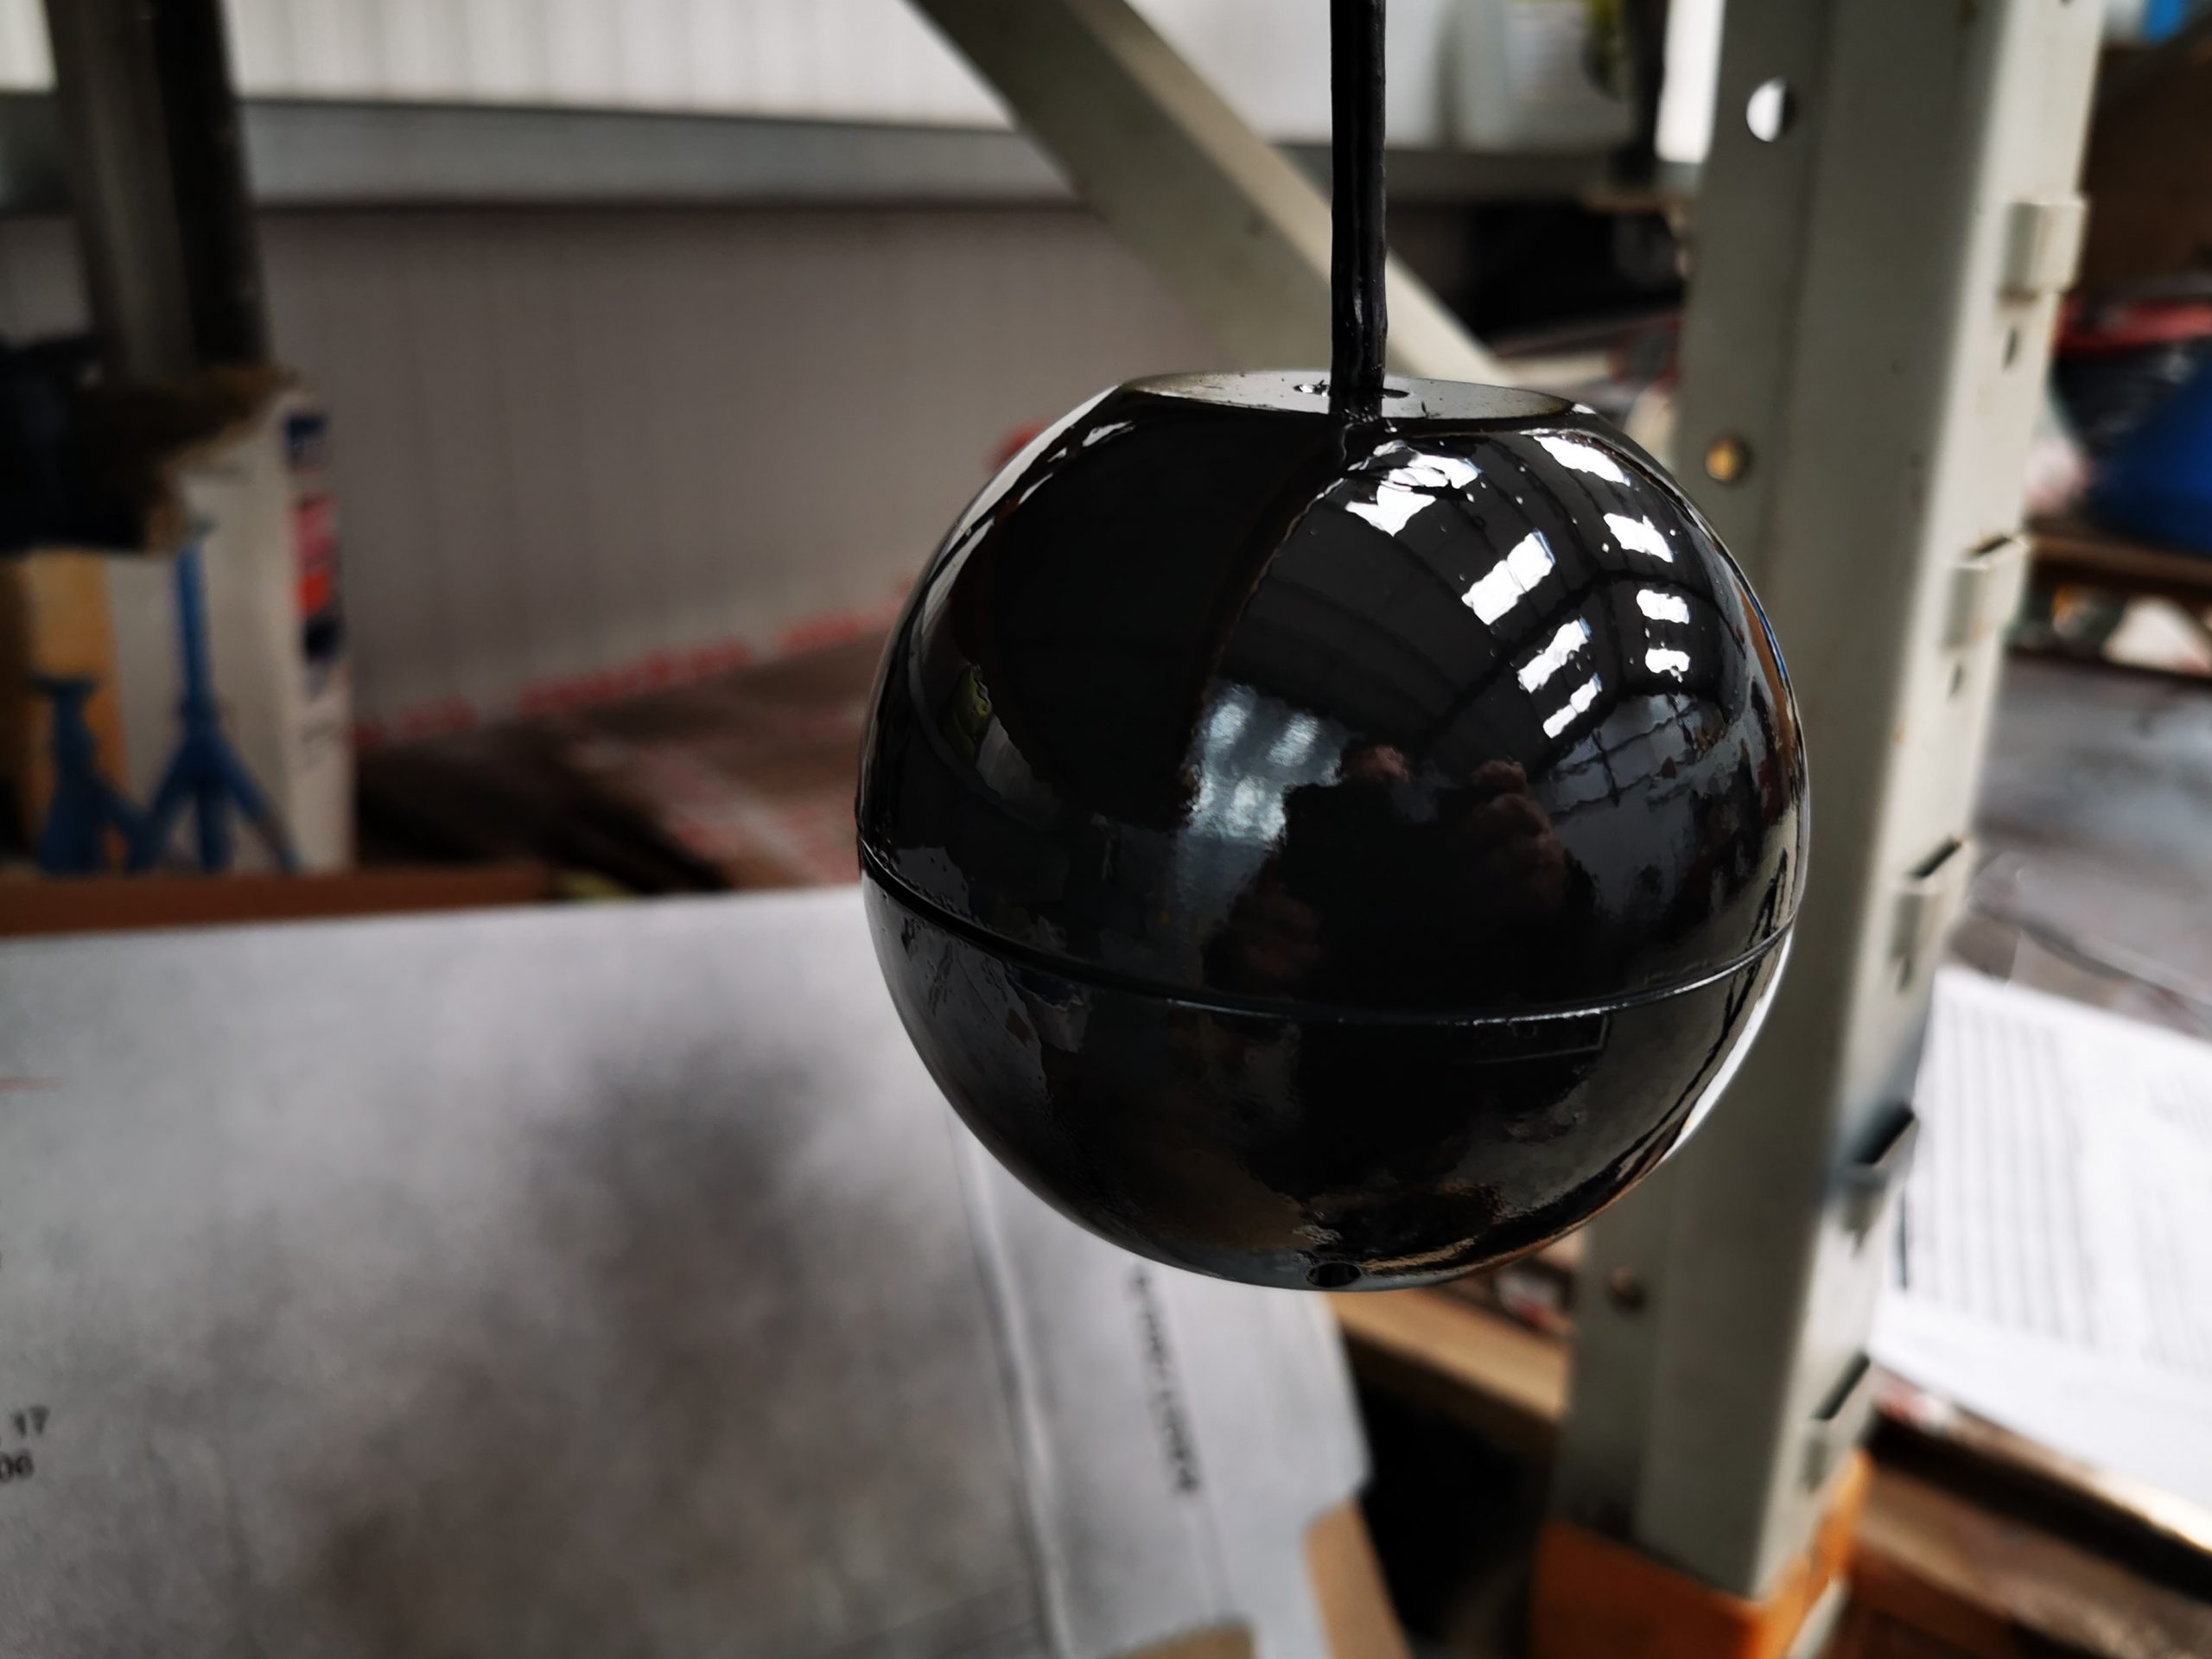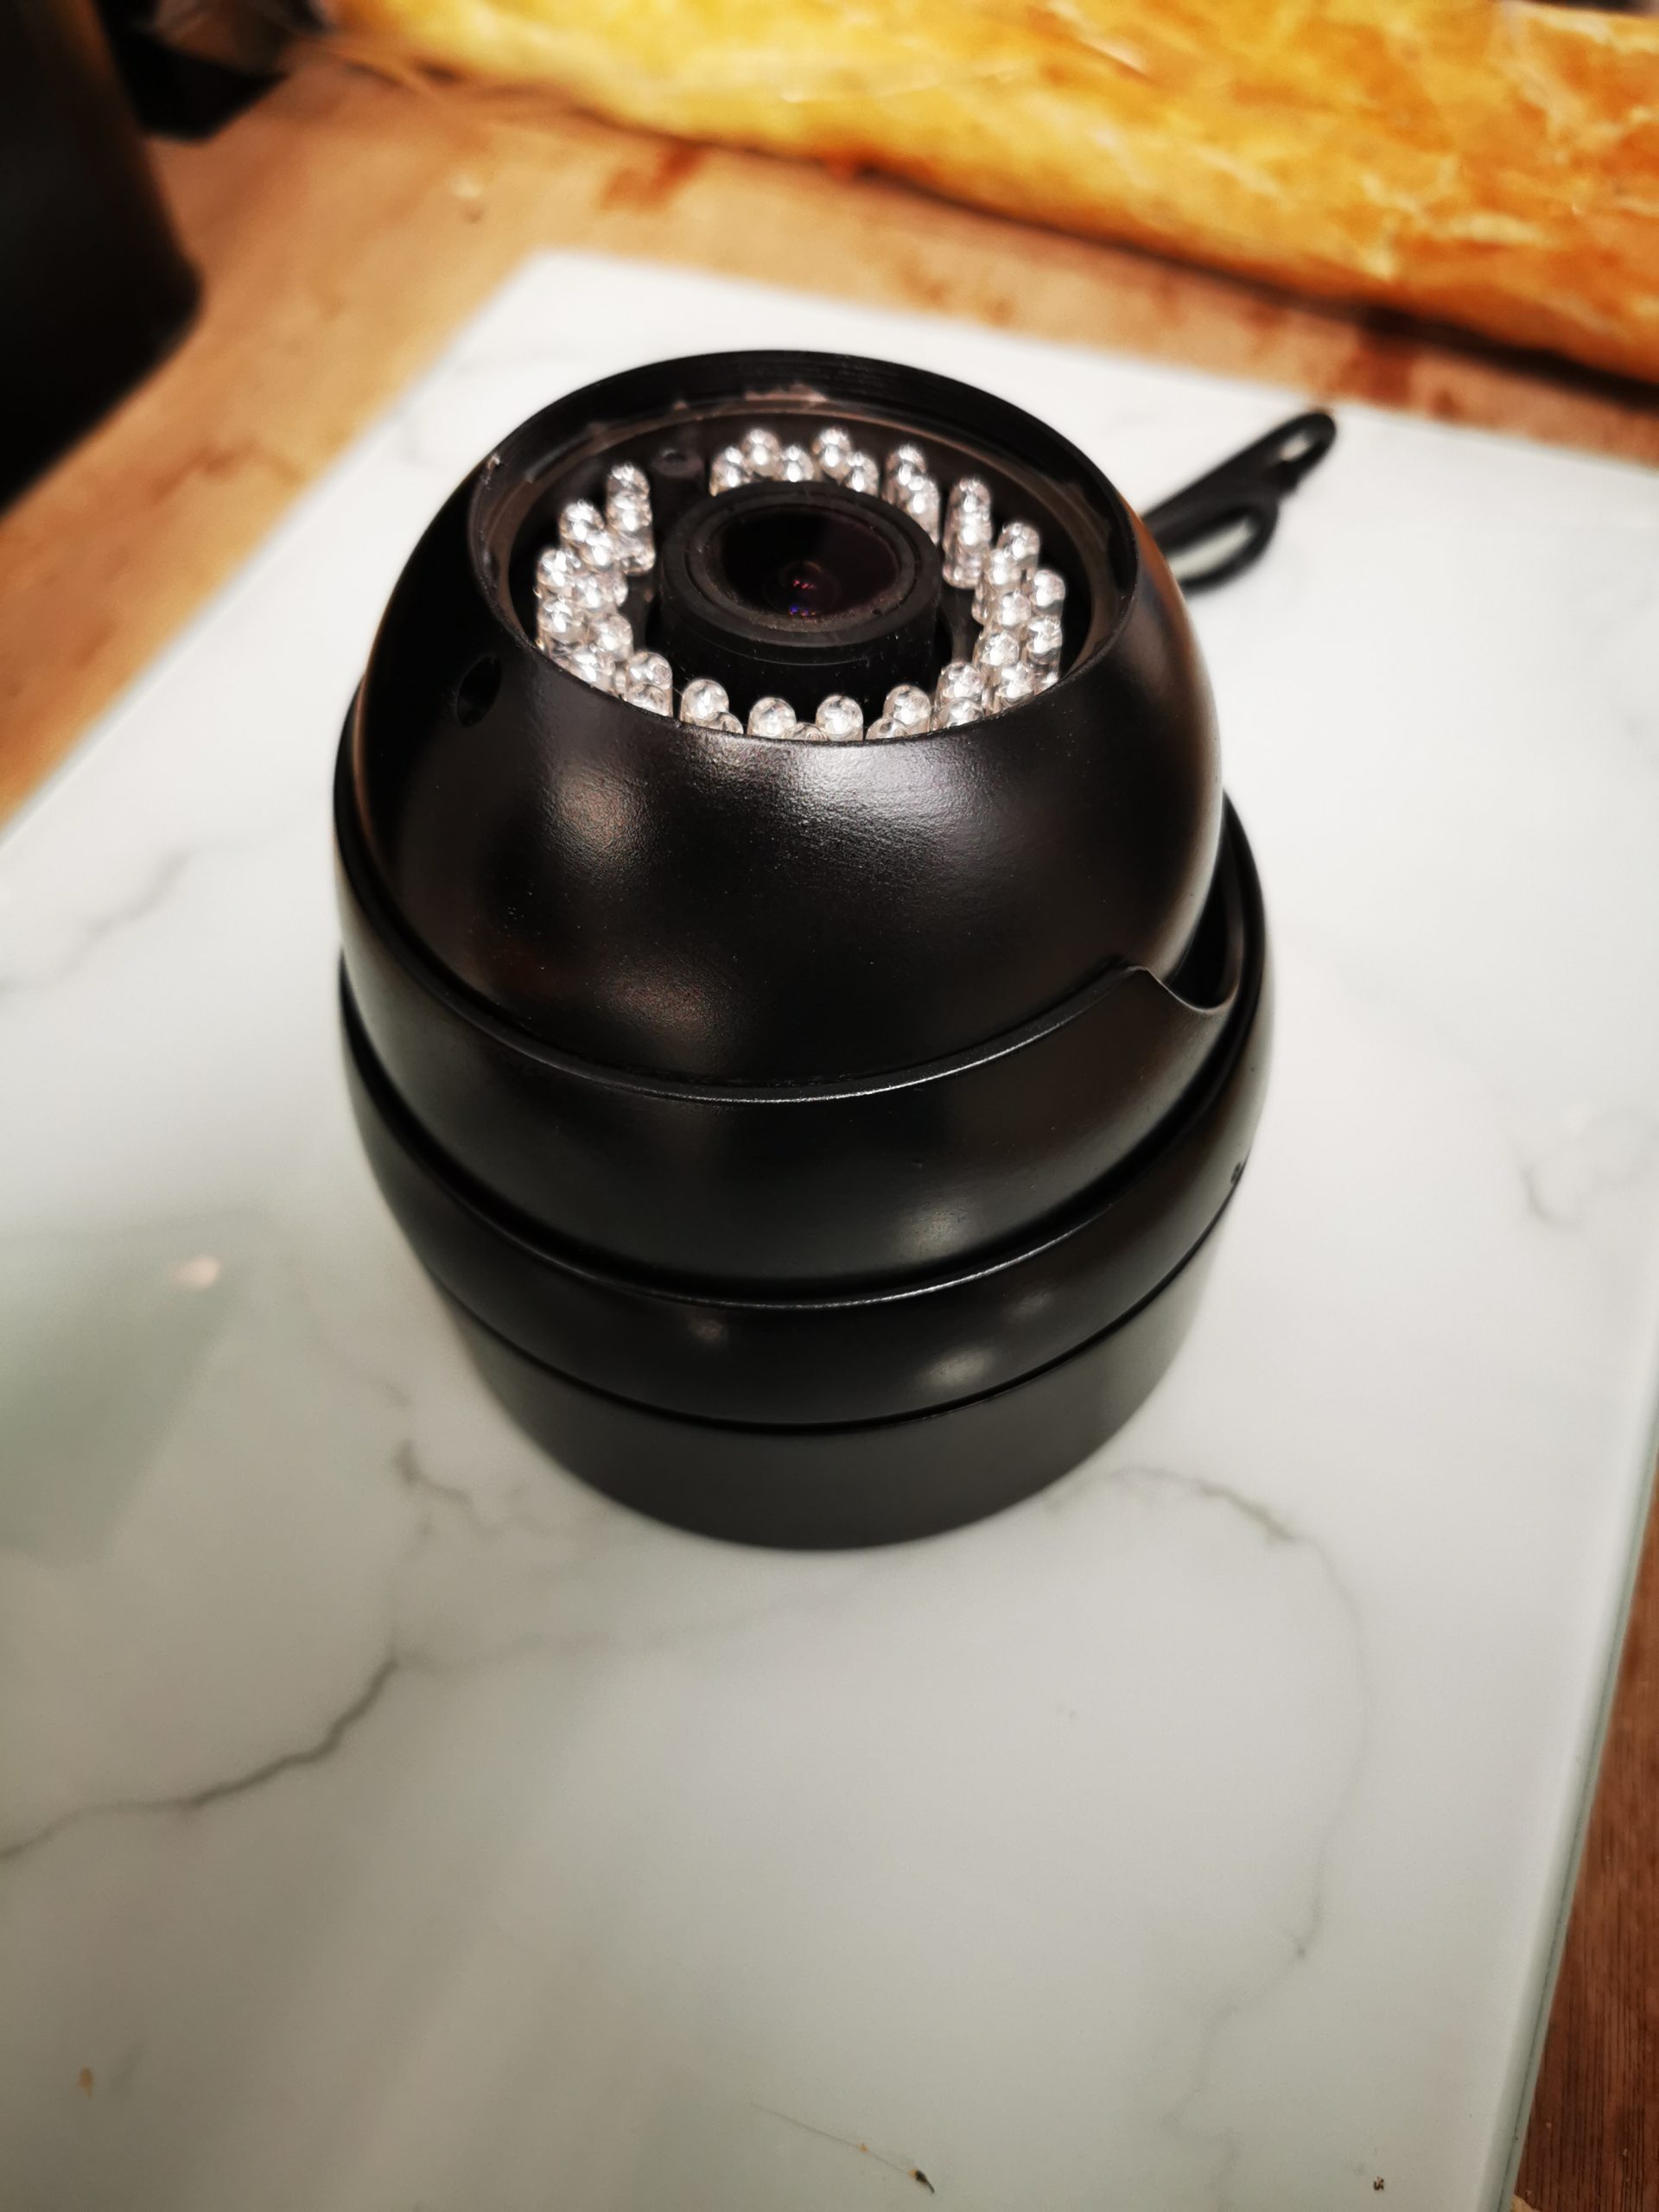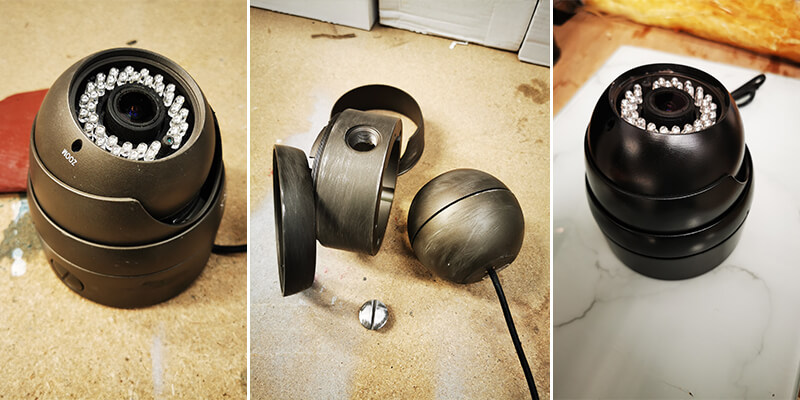
Another job we get asked about a lot is security camera housing. Clients, particularly businesses and shopping centres, love to colour code their camera setups to conform with either their corporate colours or to fall in with the colours of the premises. Either way, this is an easy task to do as it is not very time consuming, and not many materials are required.
Tools And Paints Required:
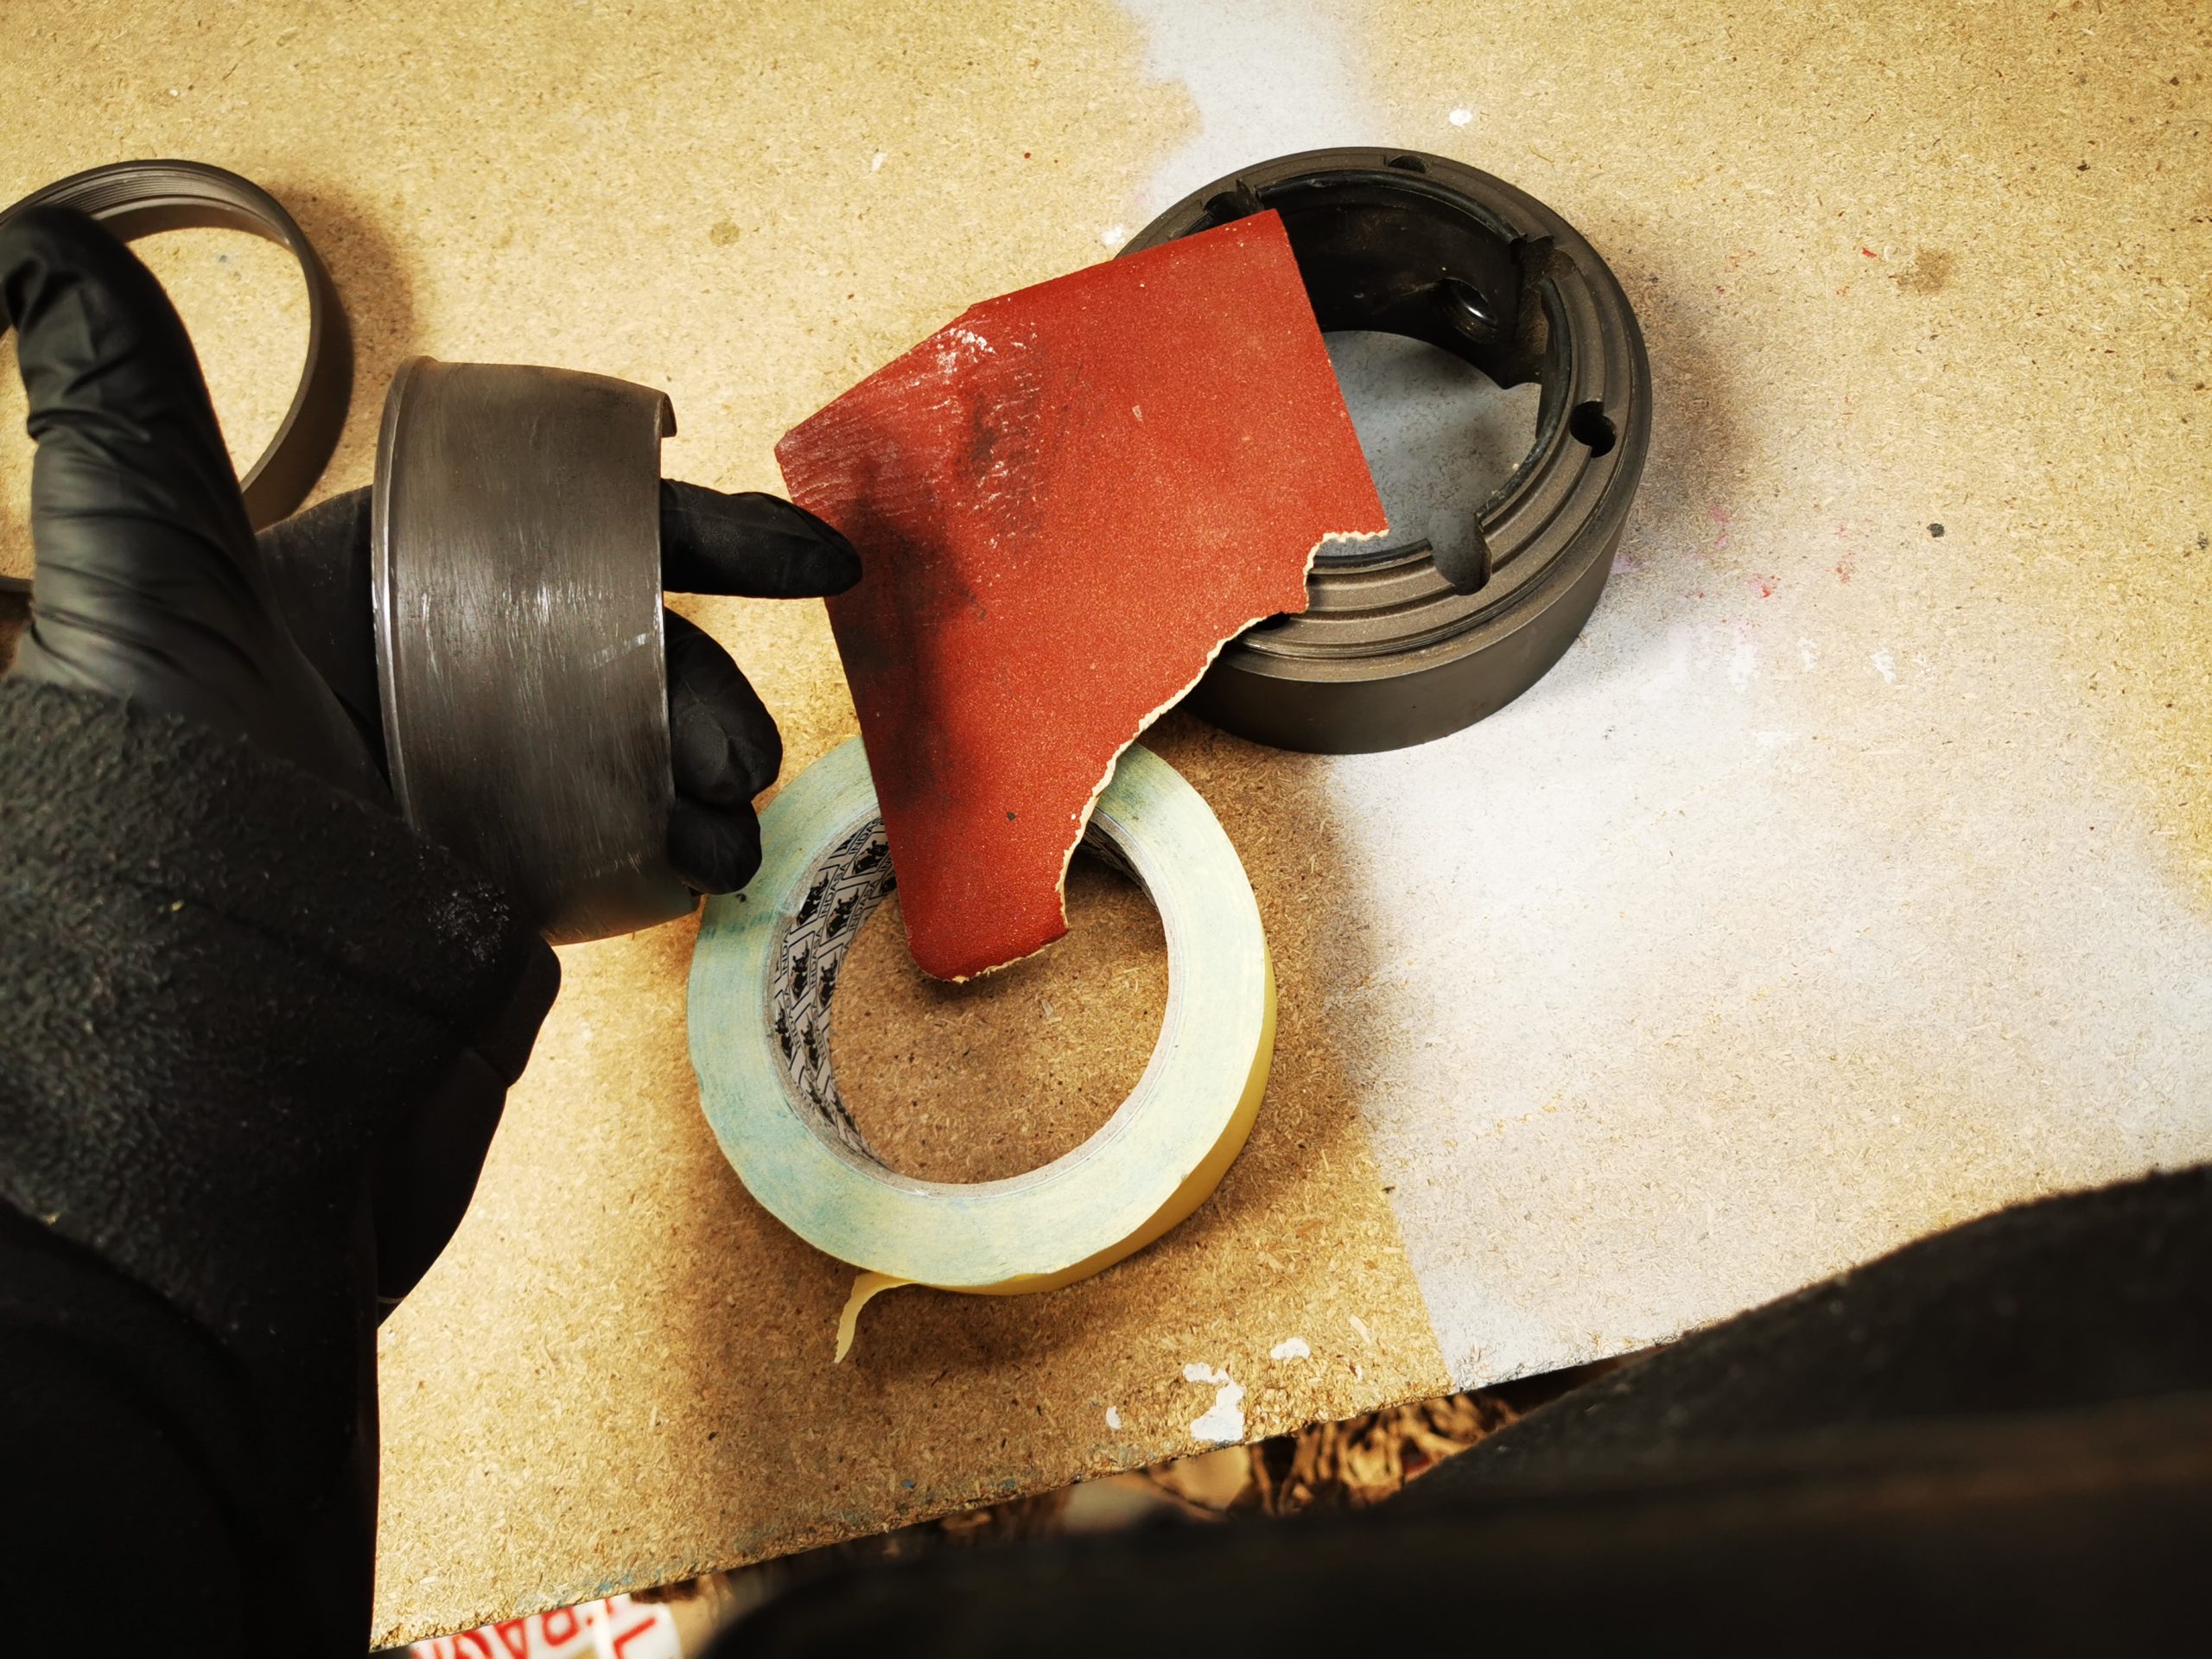
- 240 grit Sandpaper or Grey/Red Scotch-Brite
- Masking Tape
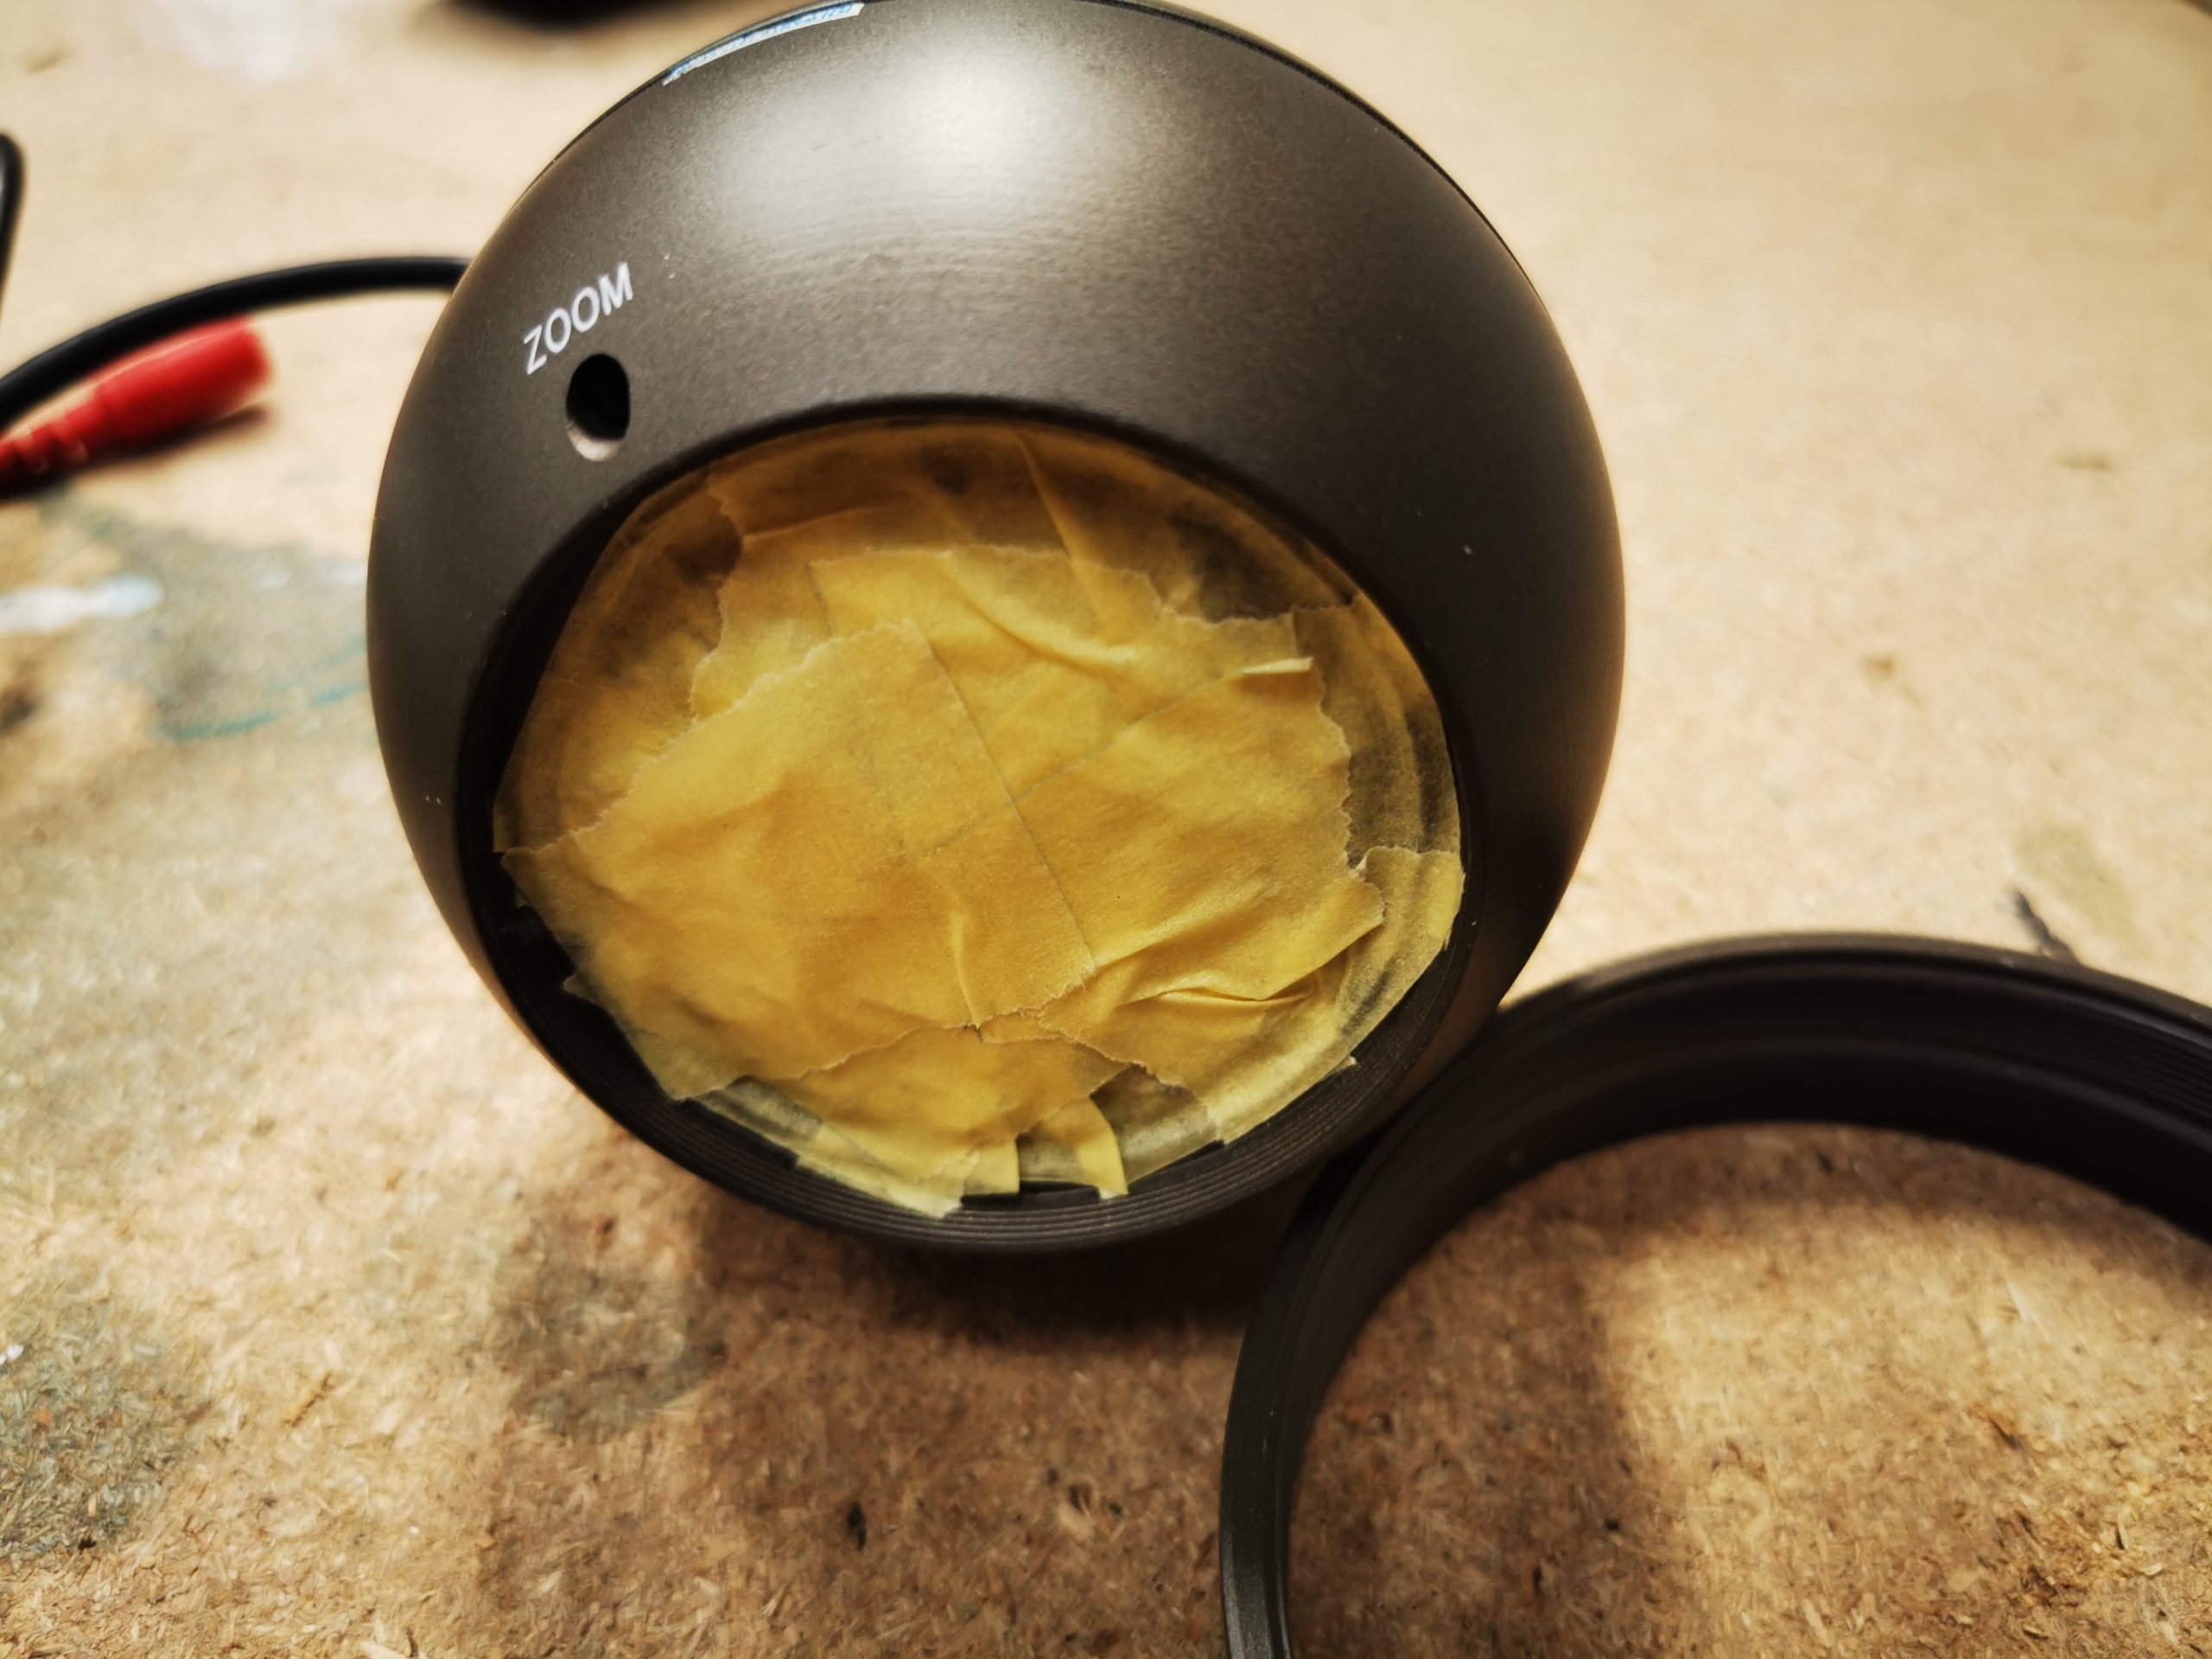
- Paint Mask
- Degreaser
- Area To Hang And Spray
- High Build Primer
- RAL 9005
- Matt Lacquer
Method:
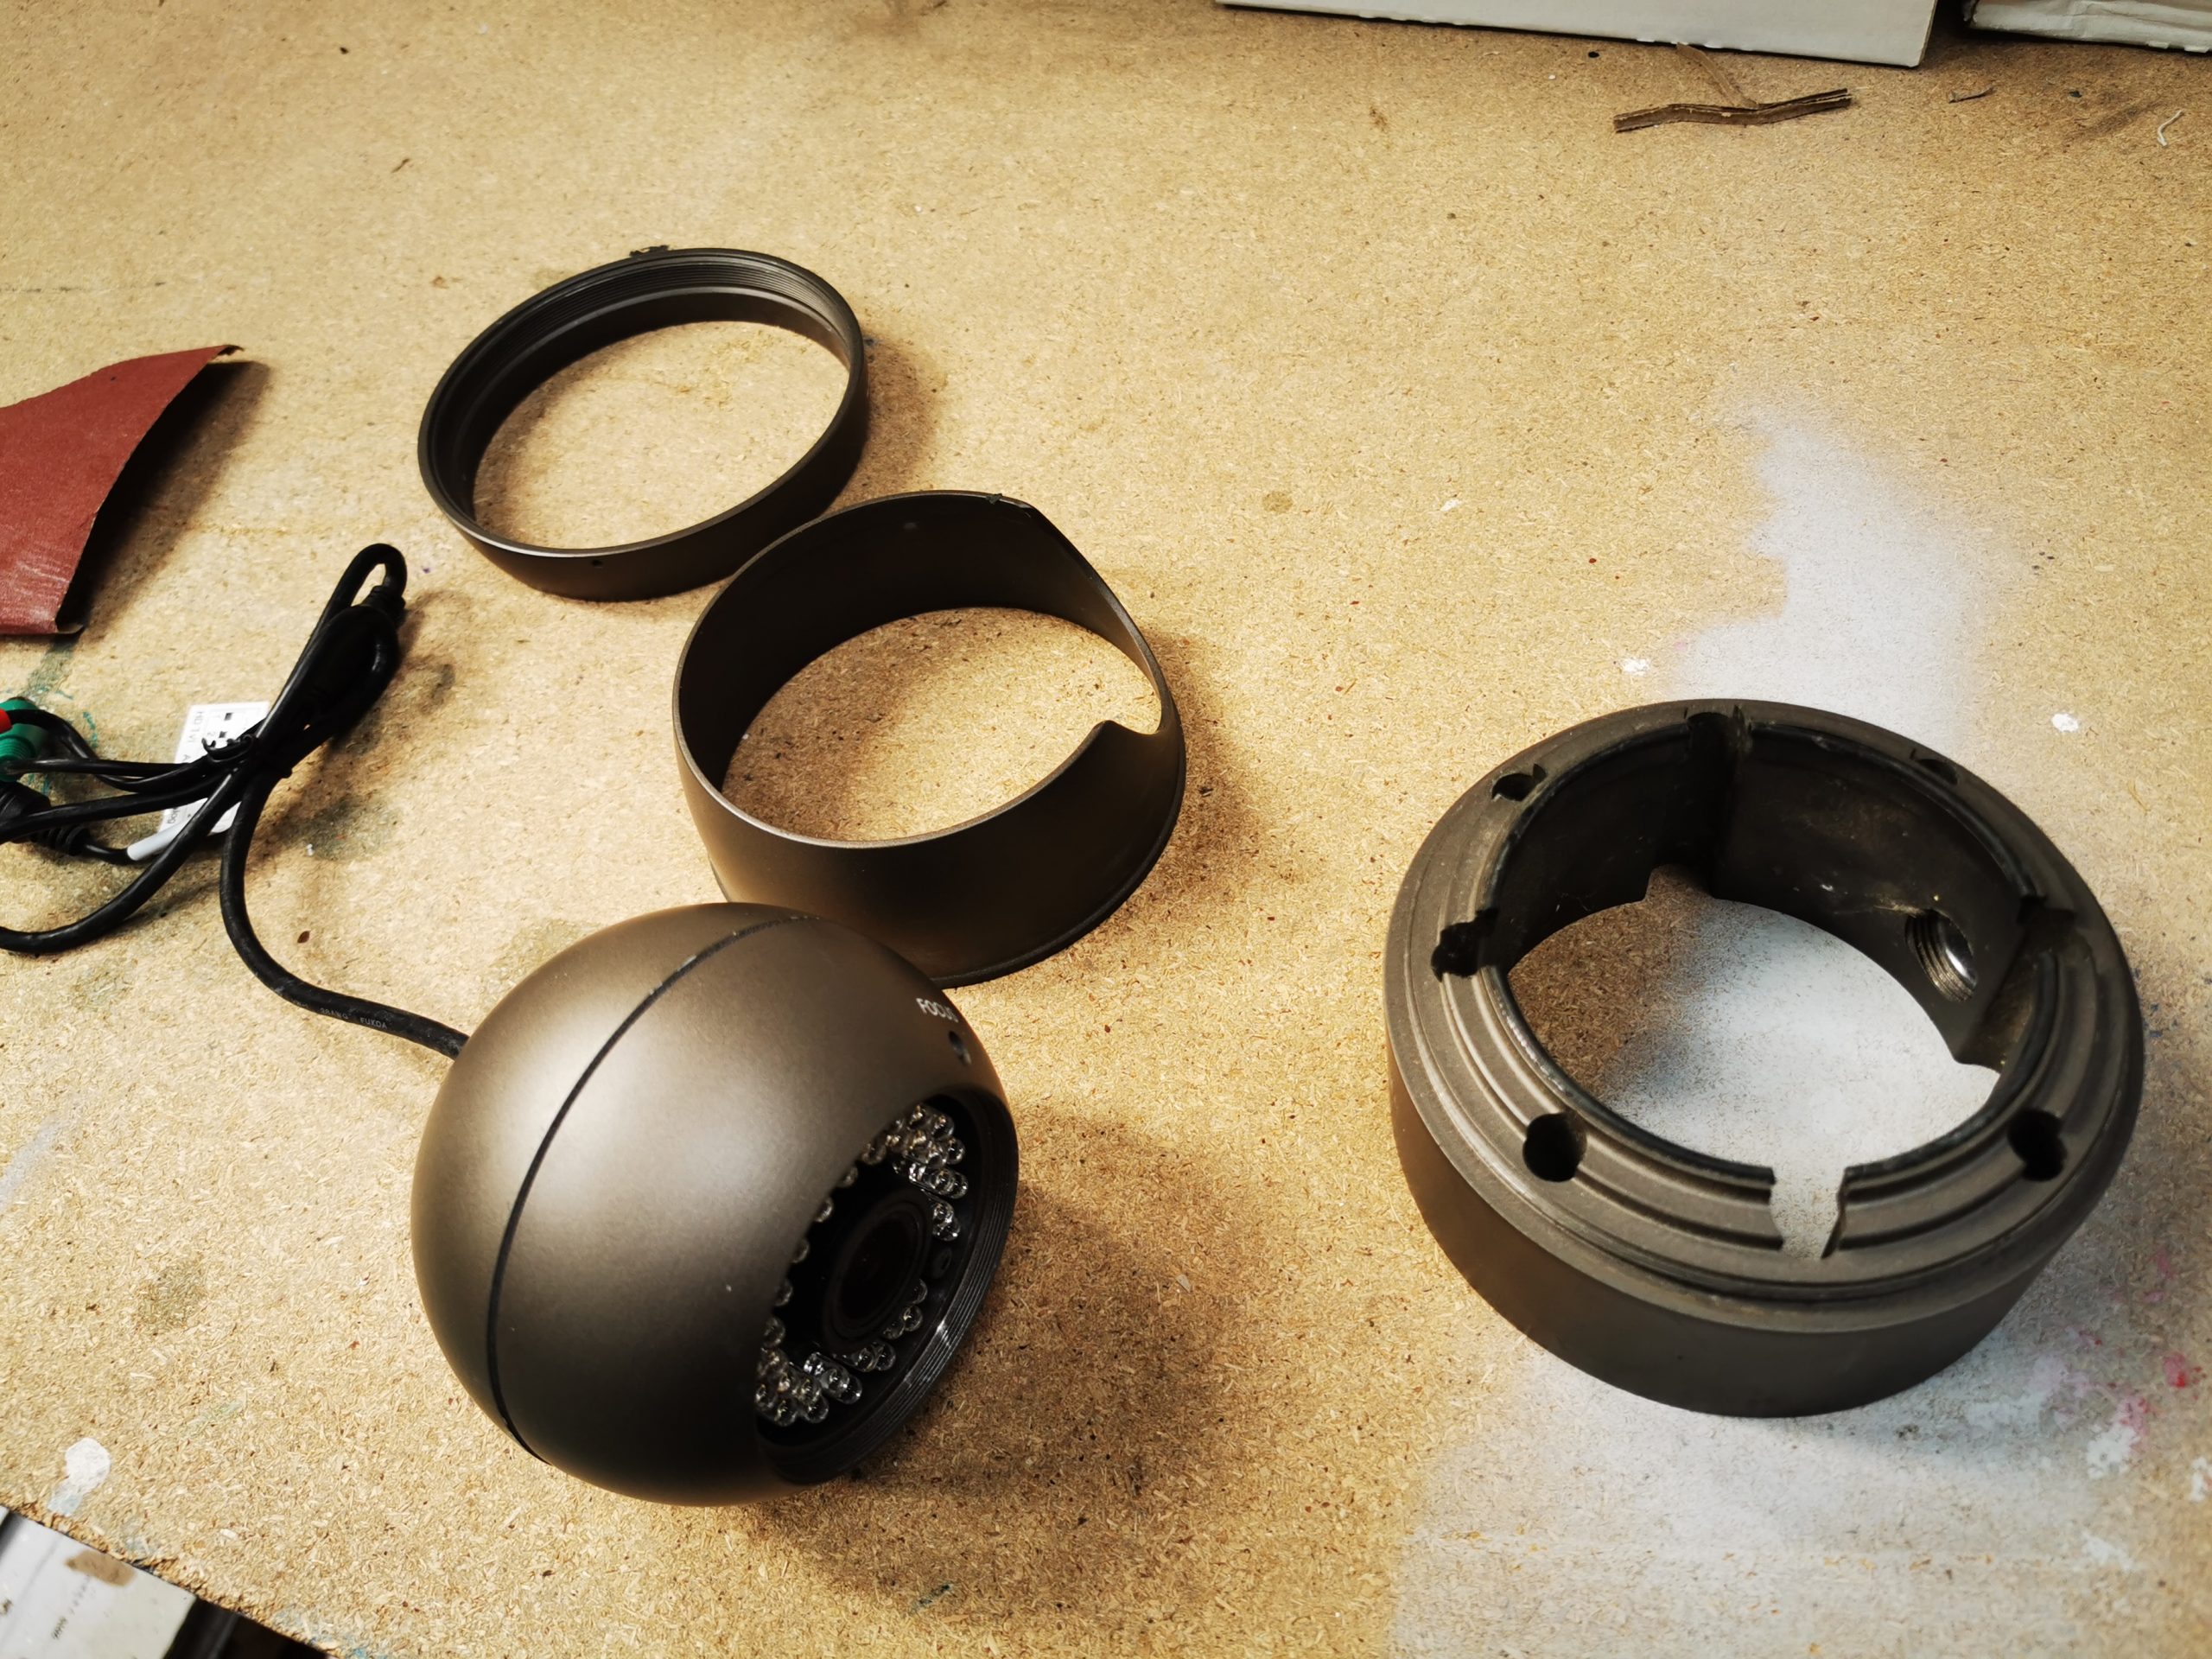
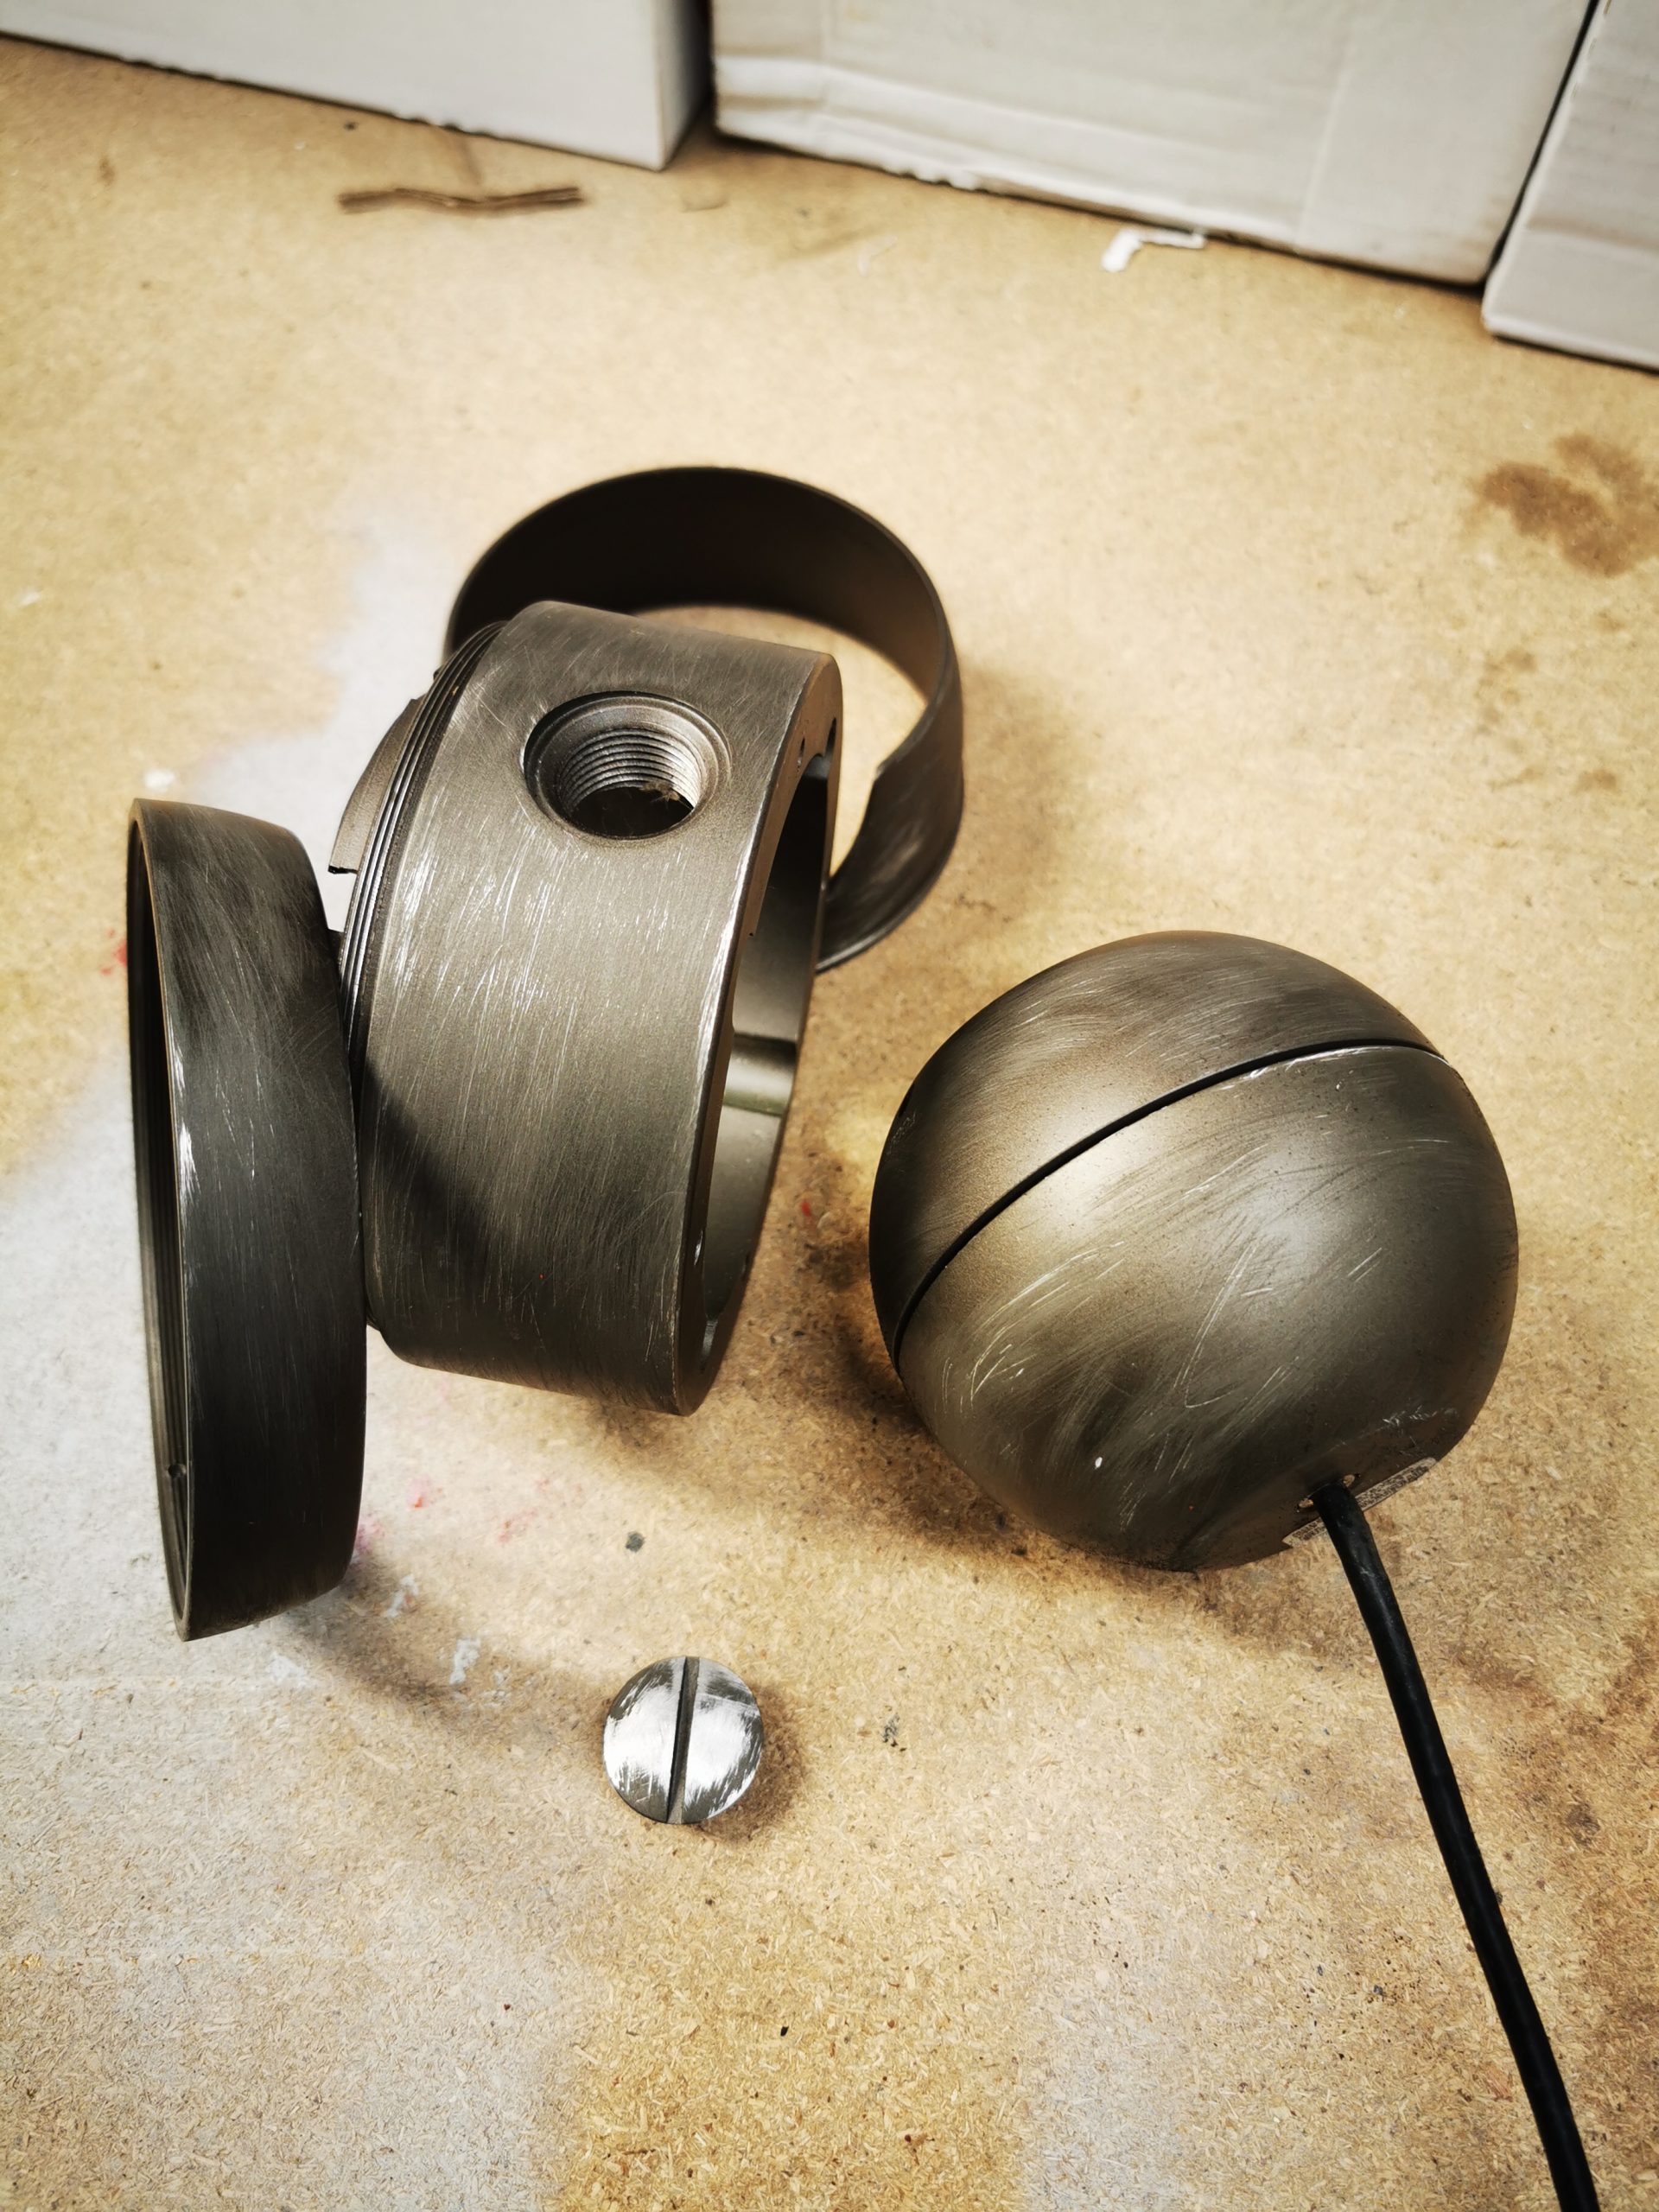
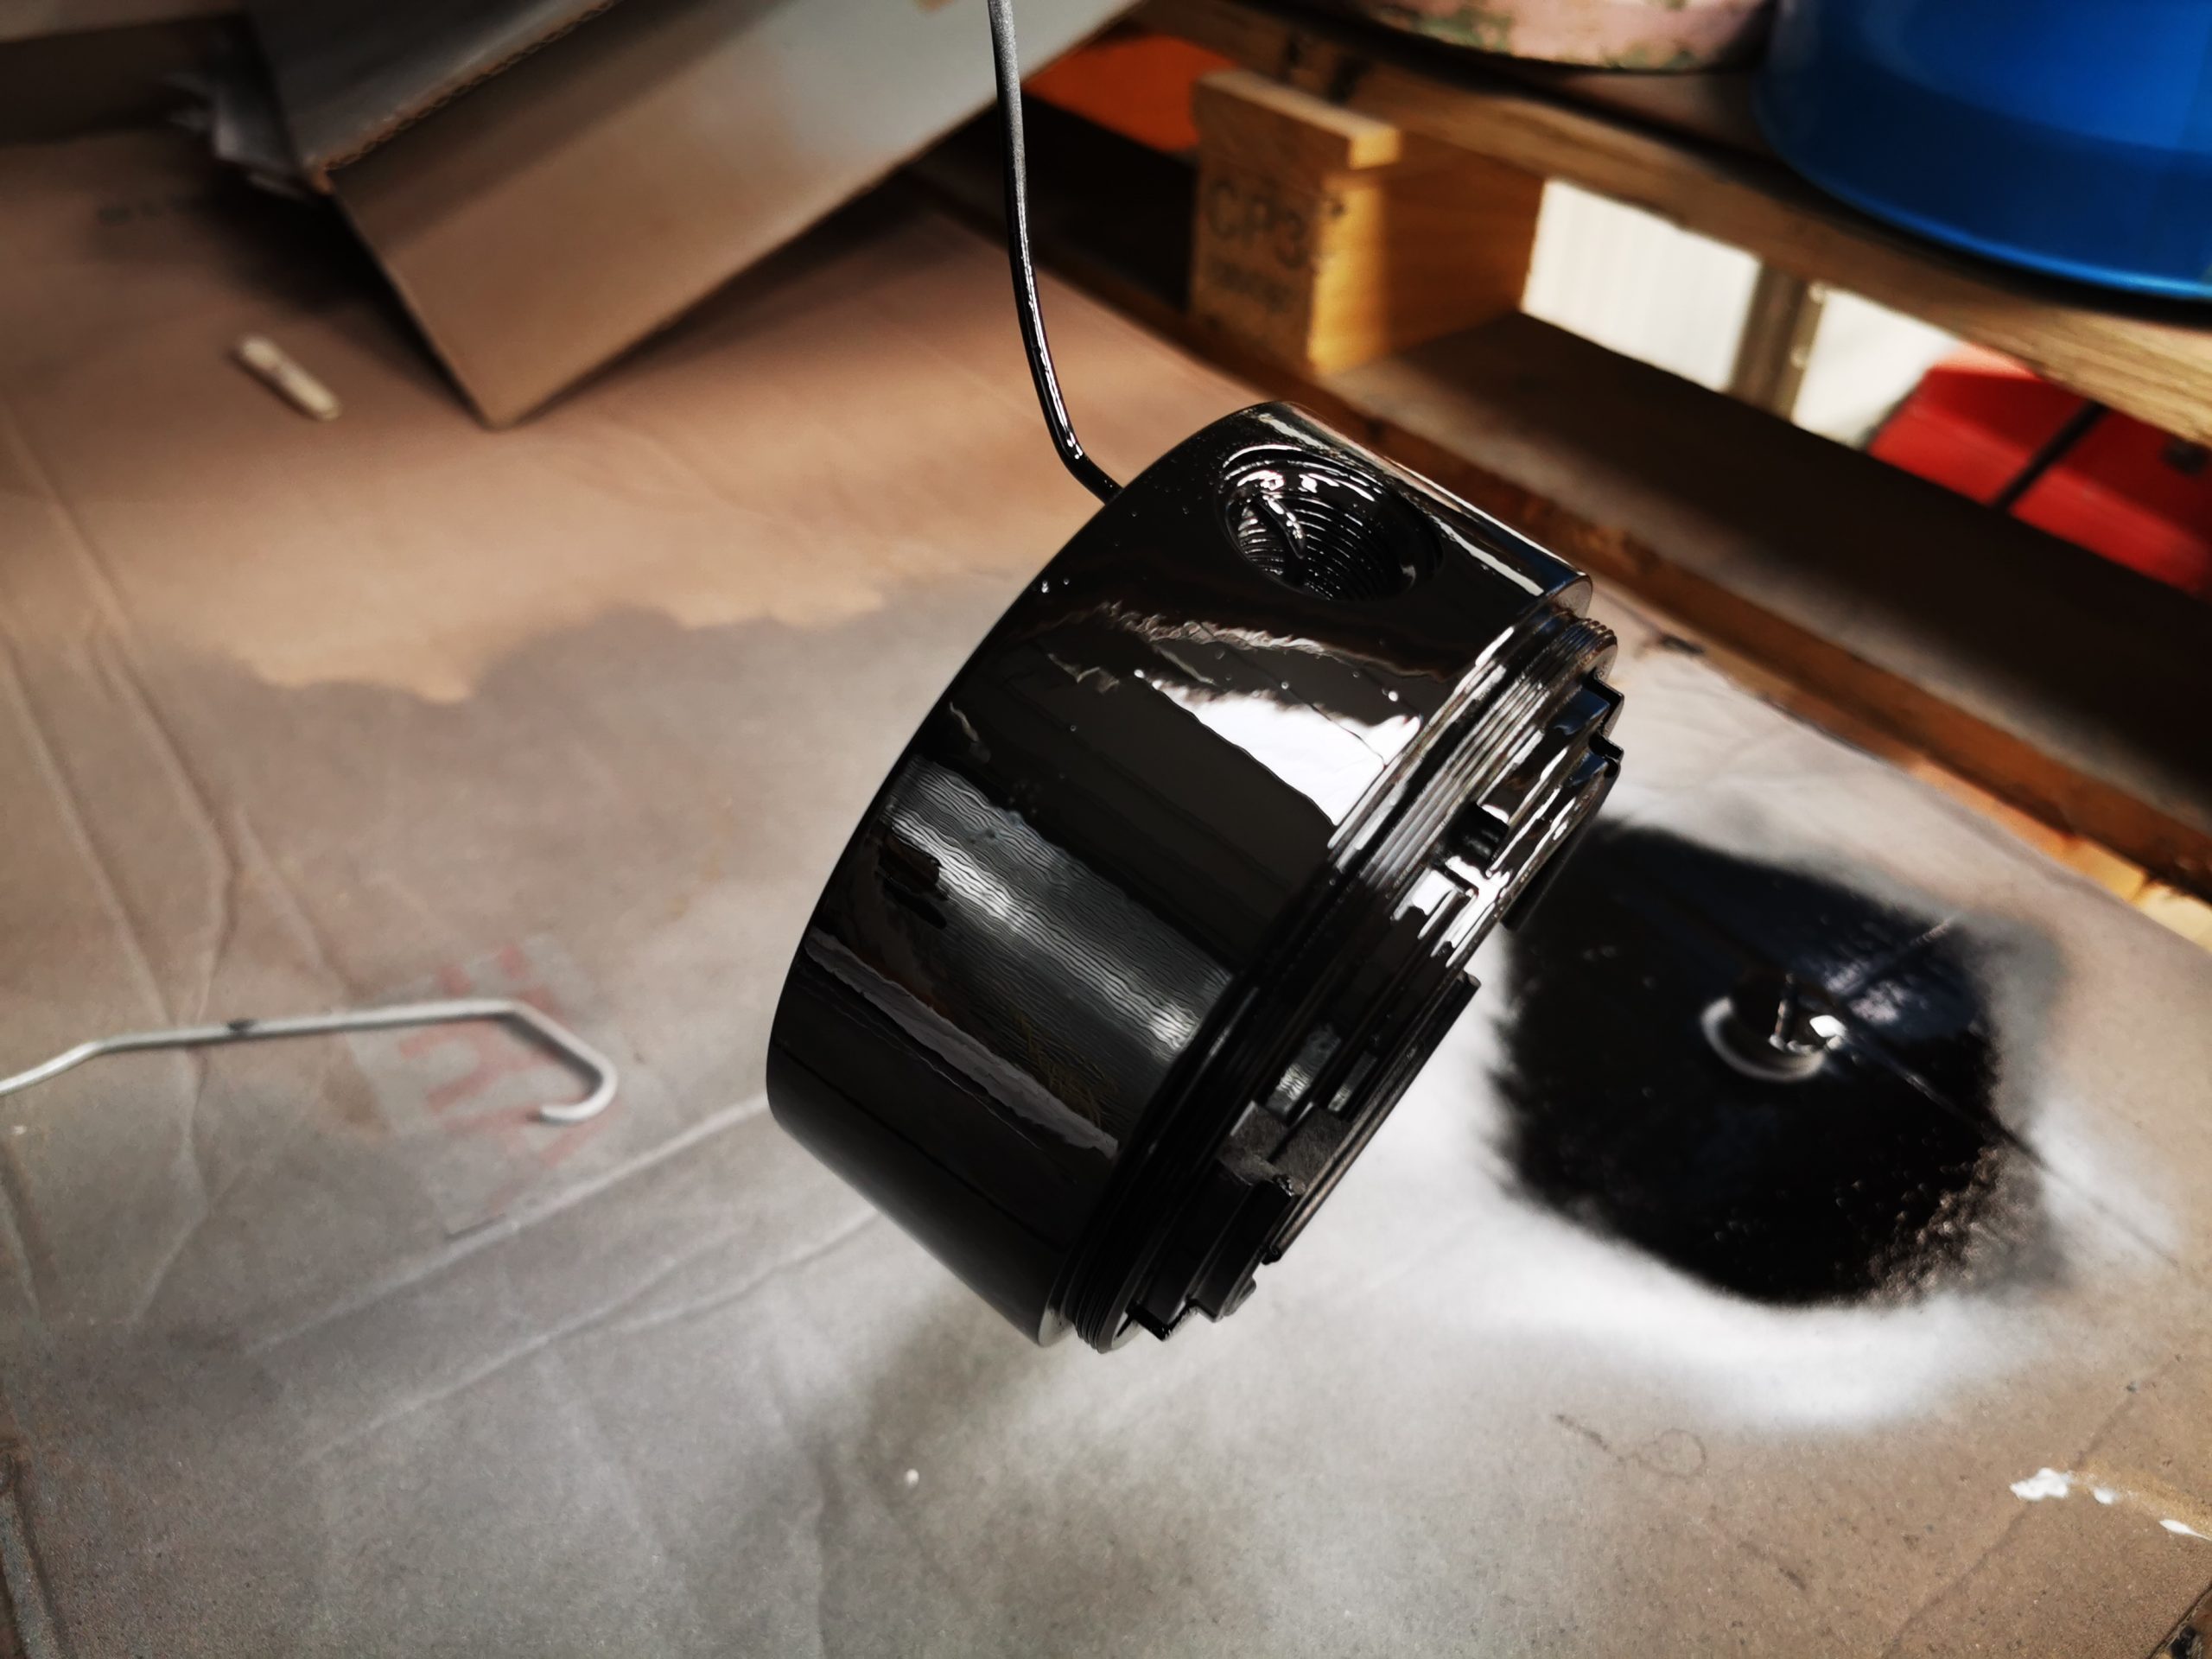
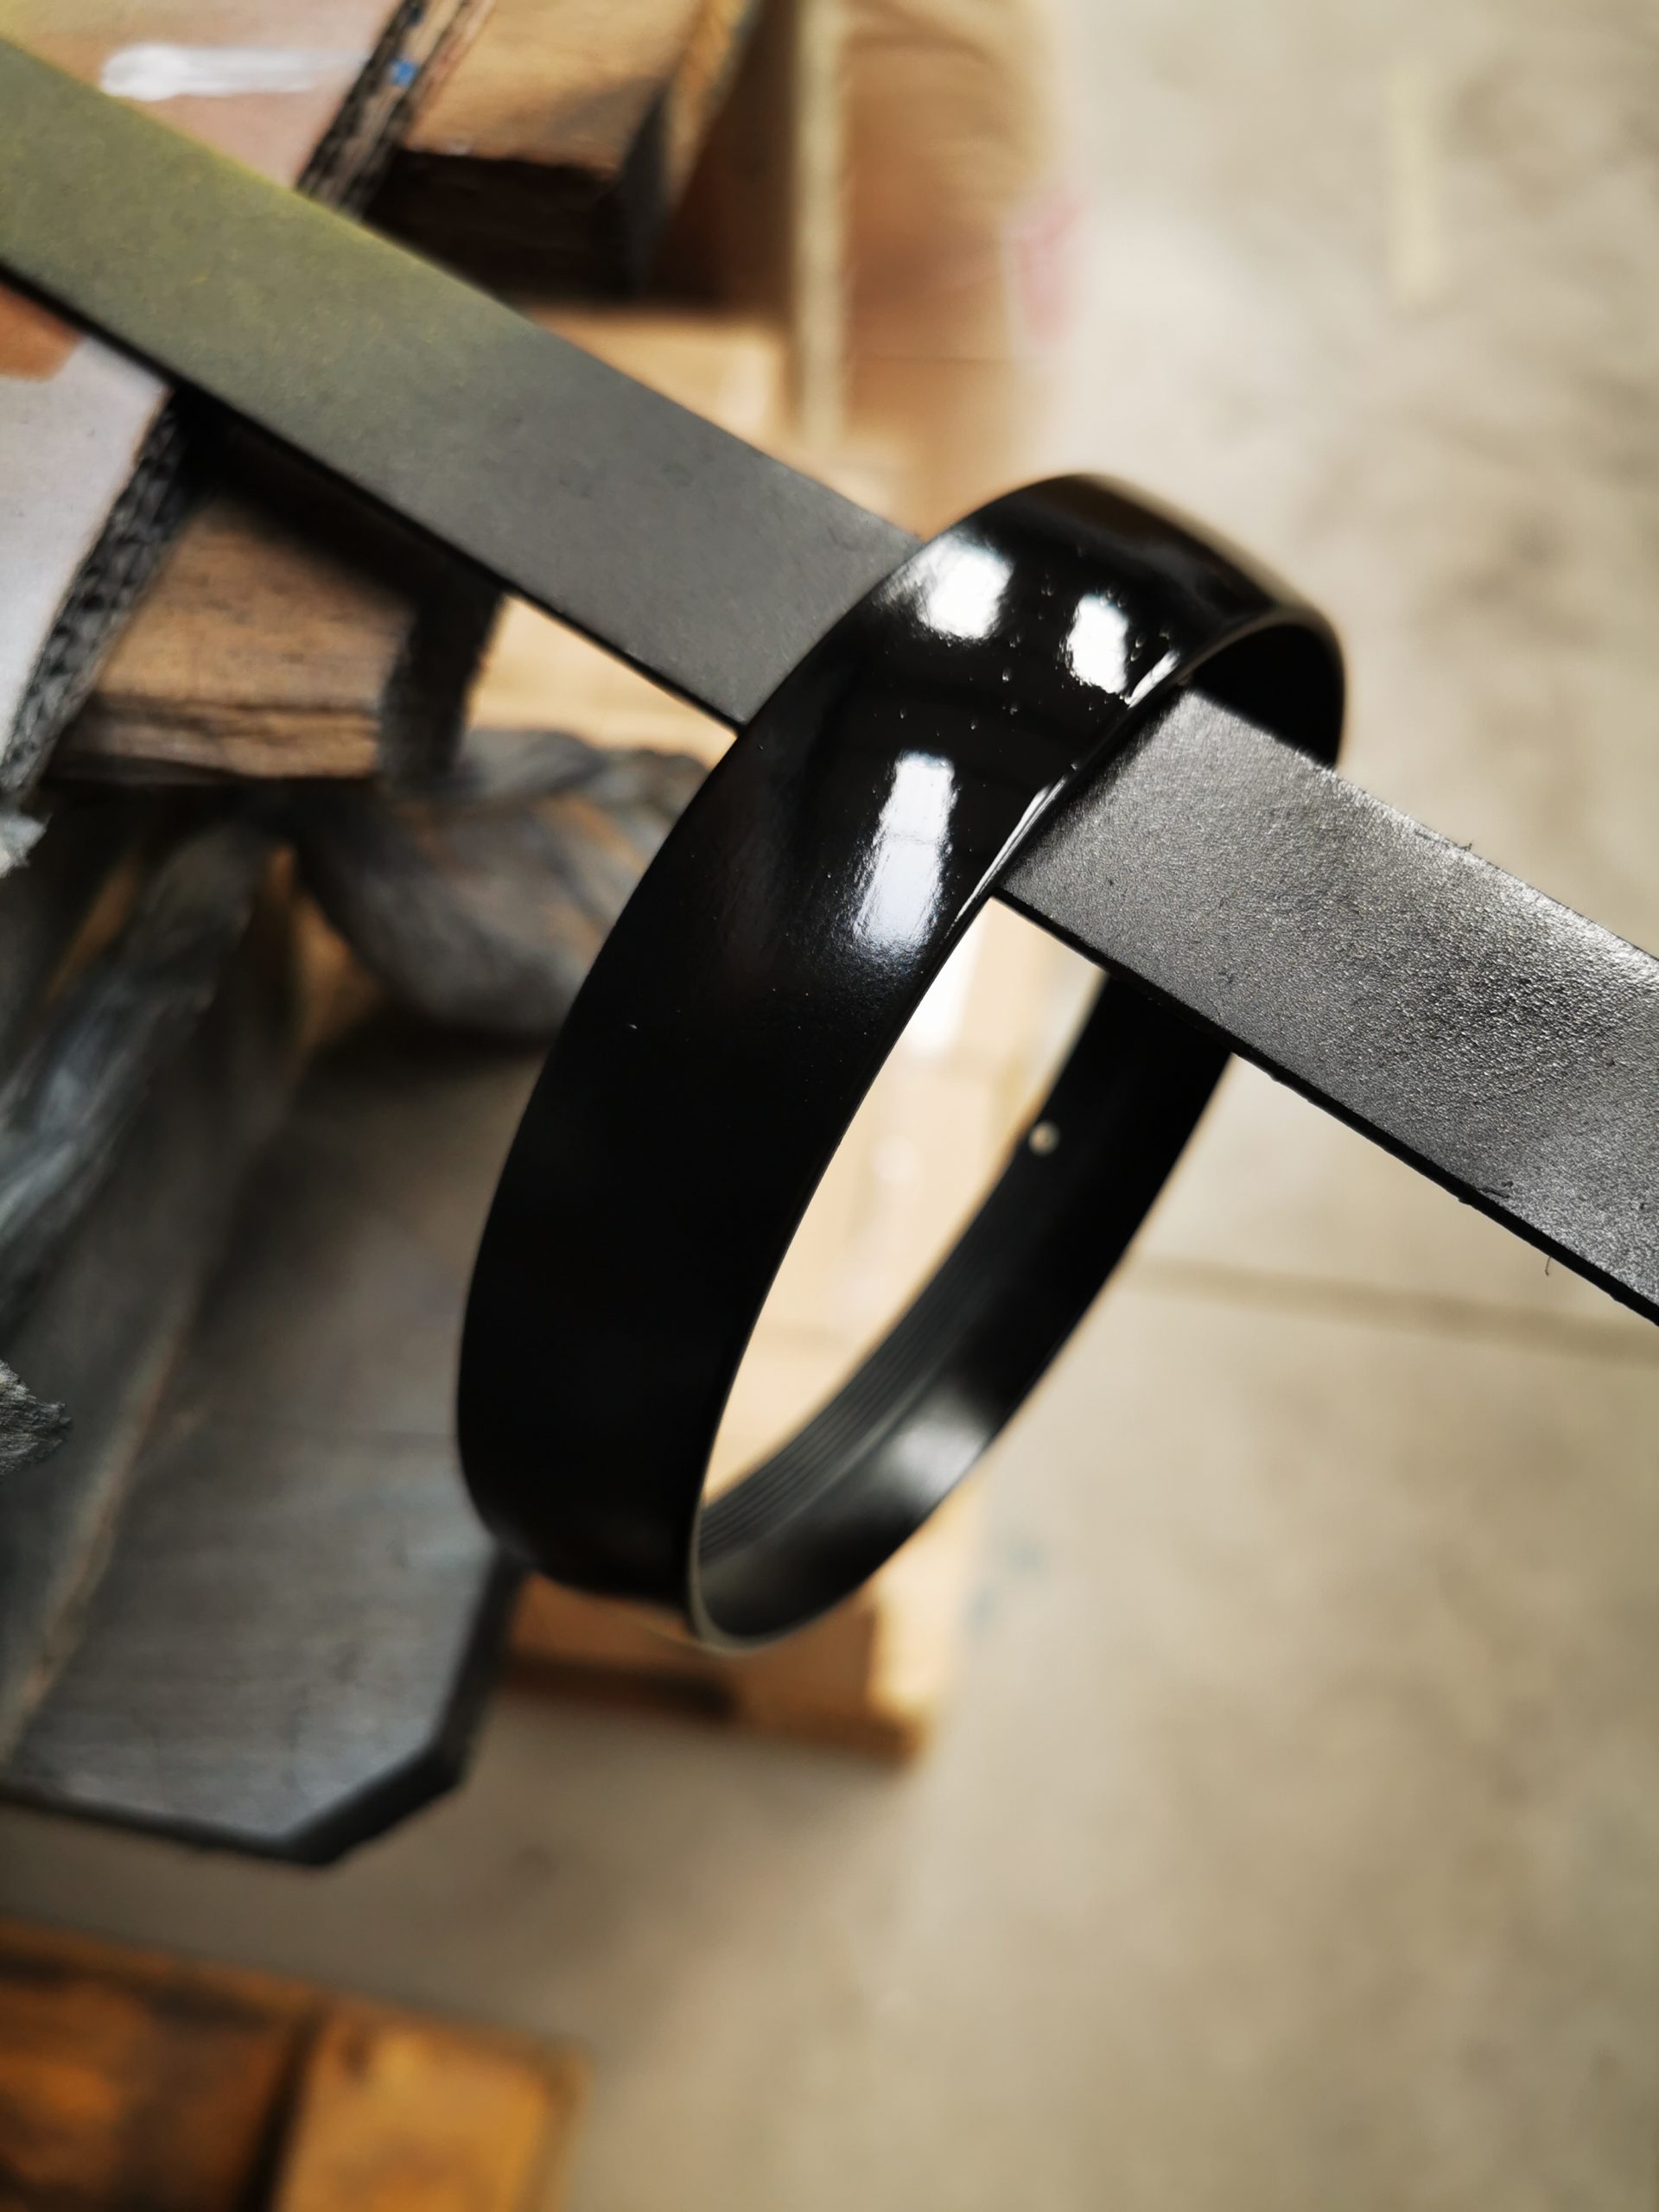
Firstly, strip down the camera so you can spray all parts effectively rather than spraying it as one unit. When separated (where possible), use a 240 grit or use some grey or red scotch-brite. Key off (lightly sand) the surface until it is completely matt. Once you are satisfied, clean off all the dust and degrease where possible. You will be ready to apply the primer once the surface is clean and dried.
Apply the High build primer ground coat (If you sand back to bare metal all-round use an etch primer). Give a nice even coat all round but do not overspray the site, or you will get runs.
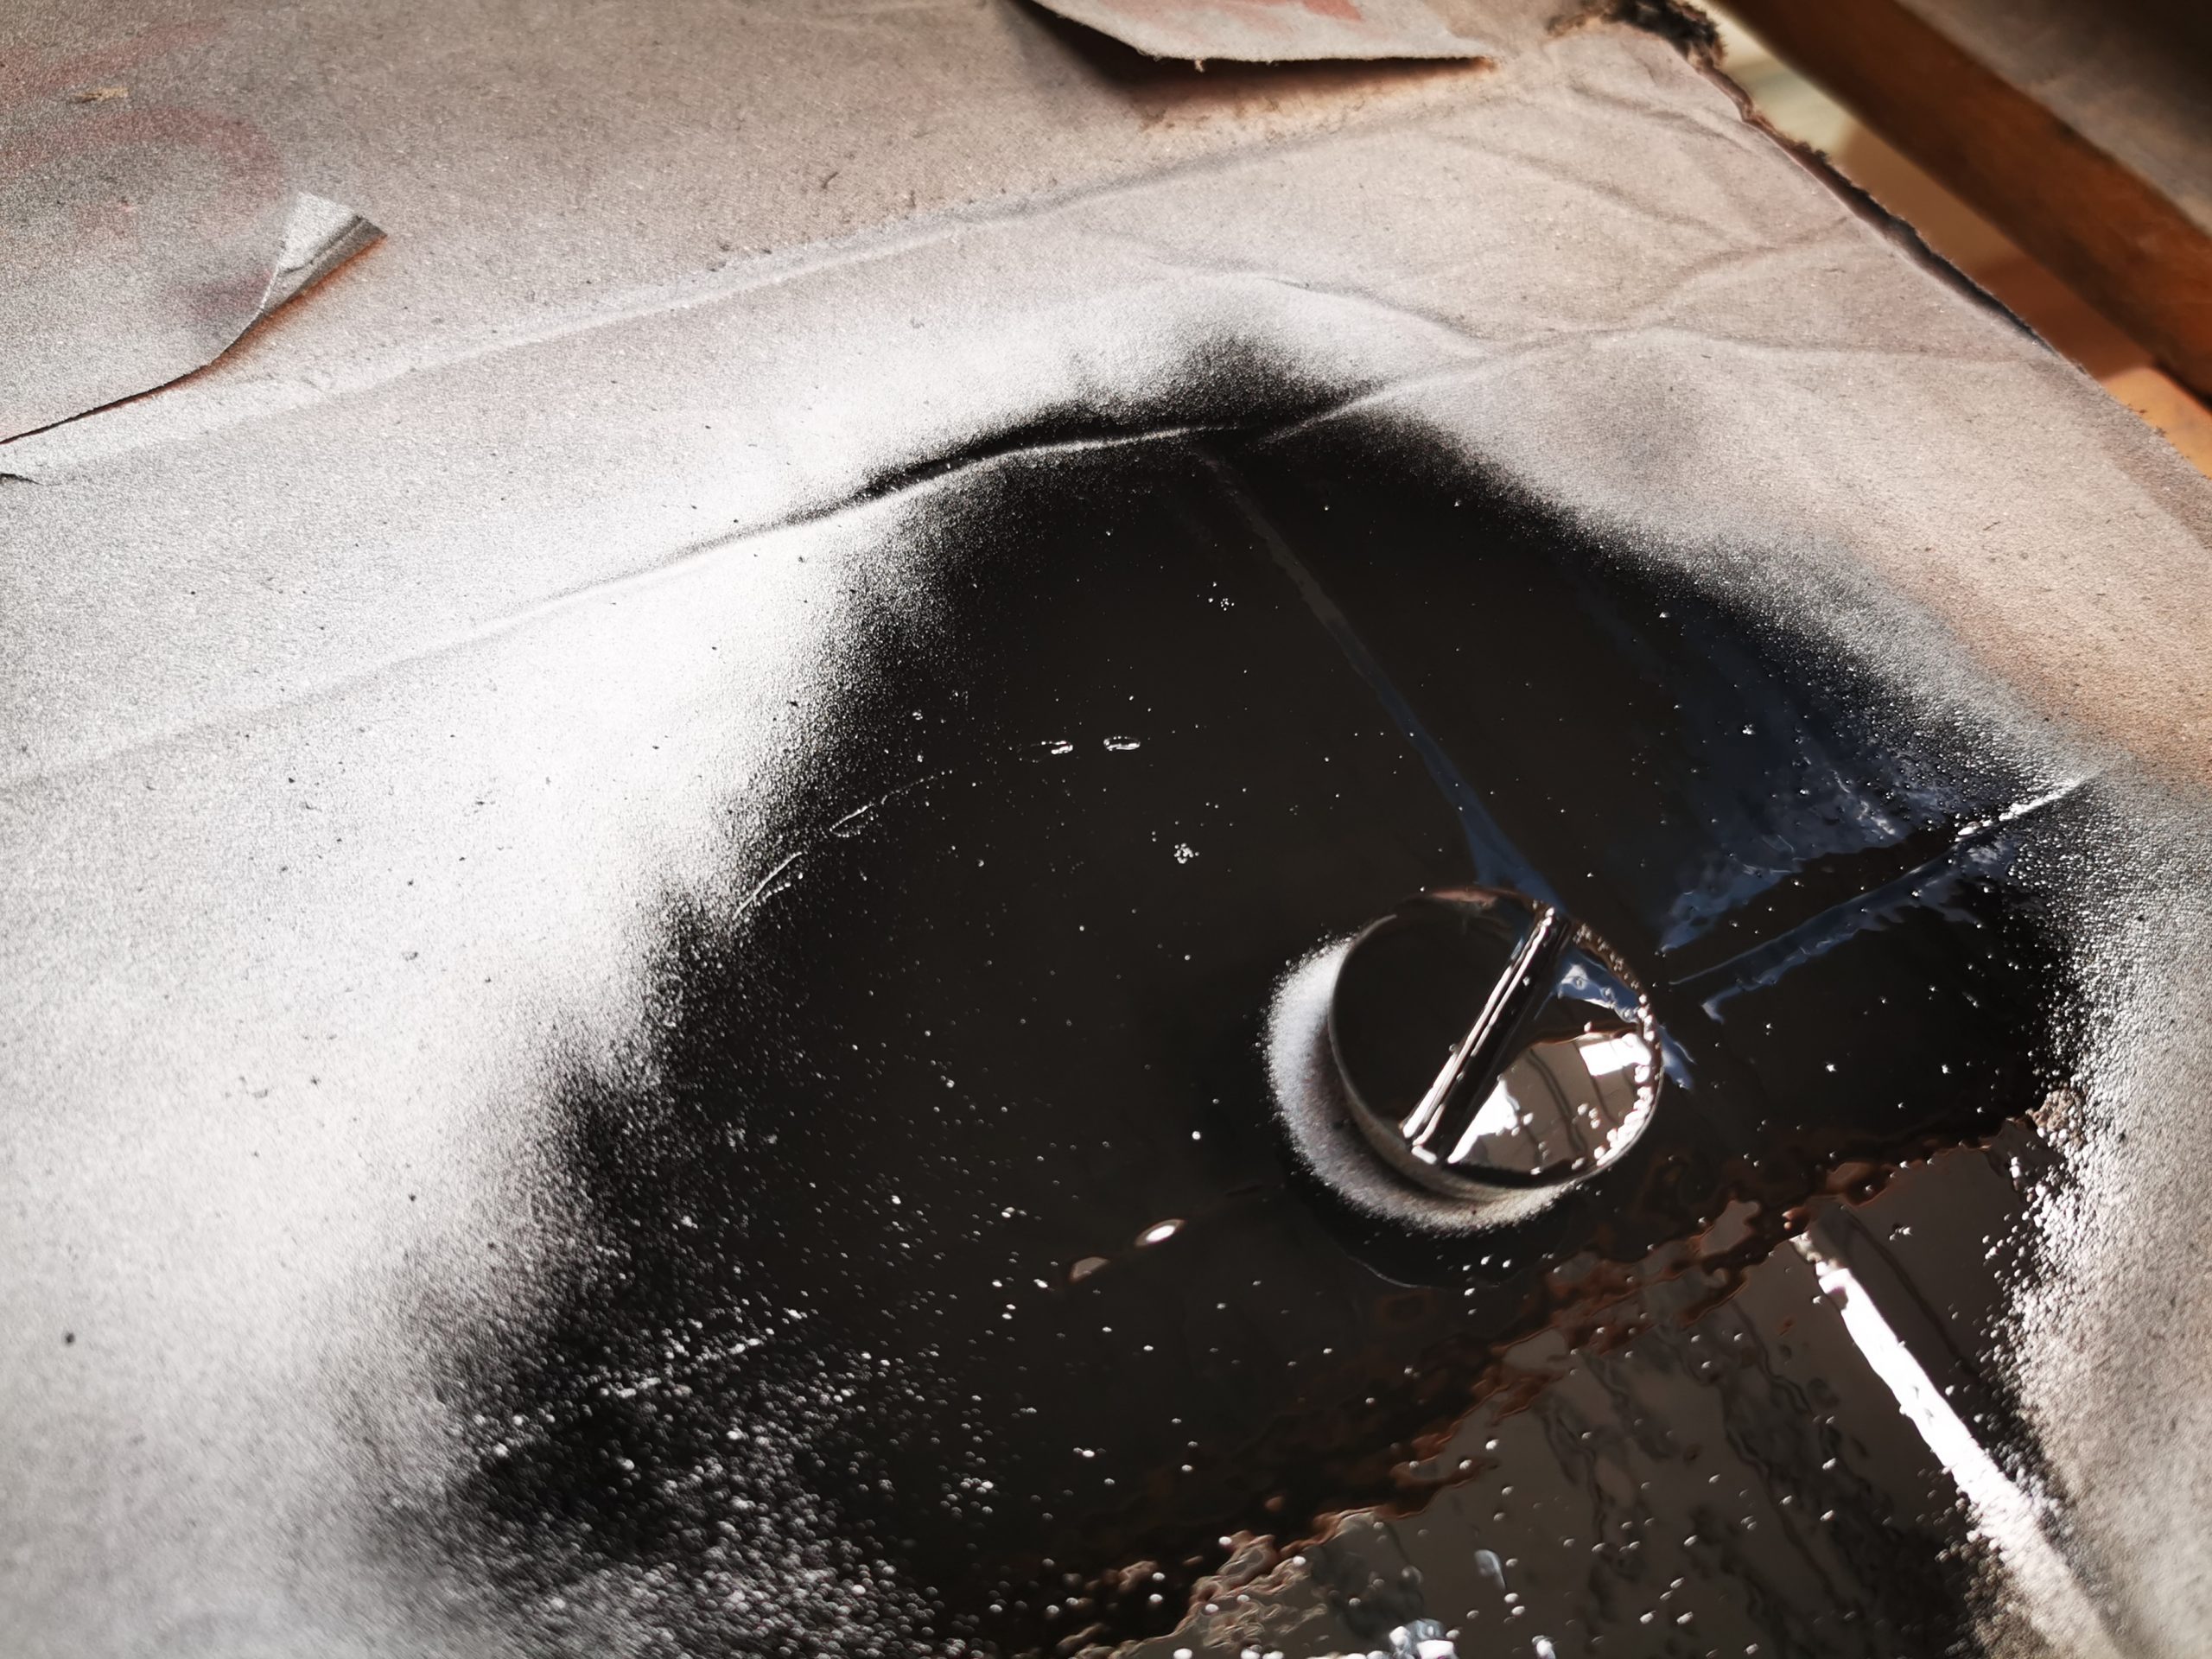
TOP TIP: If you get runs in your paint, DO NOT attempt to wipe them off. Let the paint cure fully and sand it back and reapply the paint again).
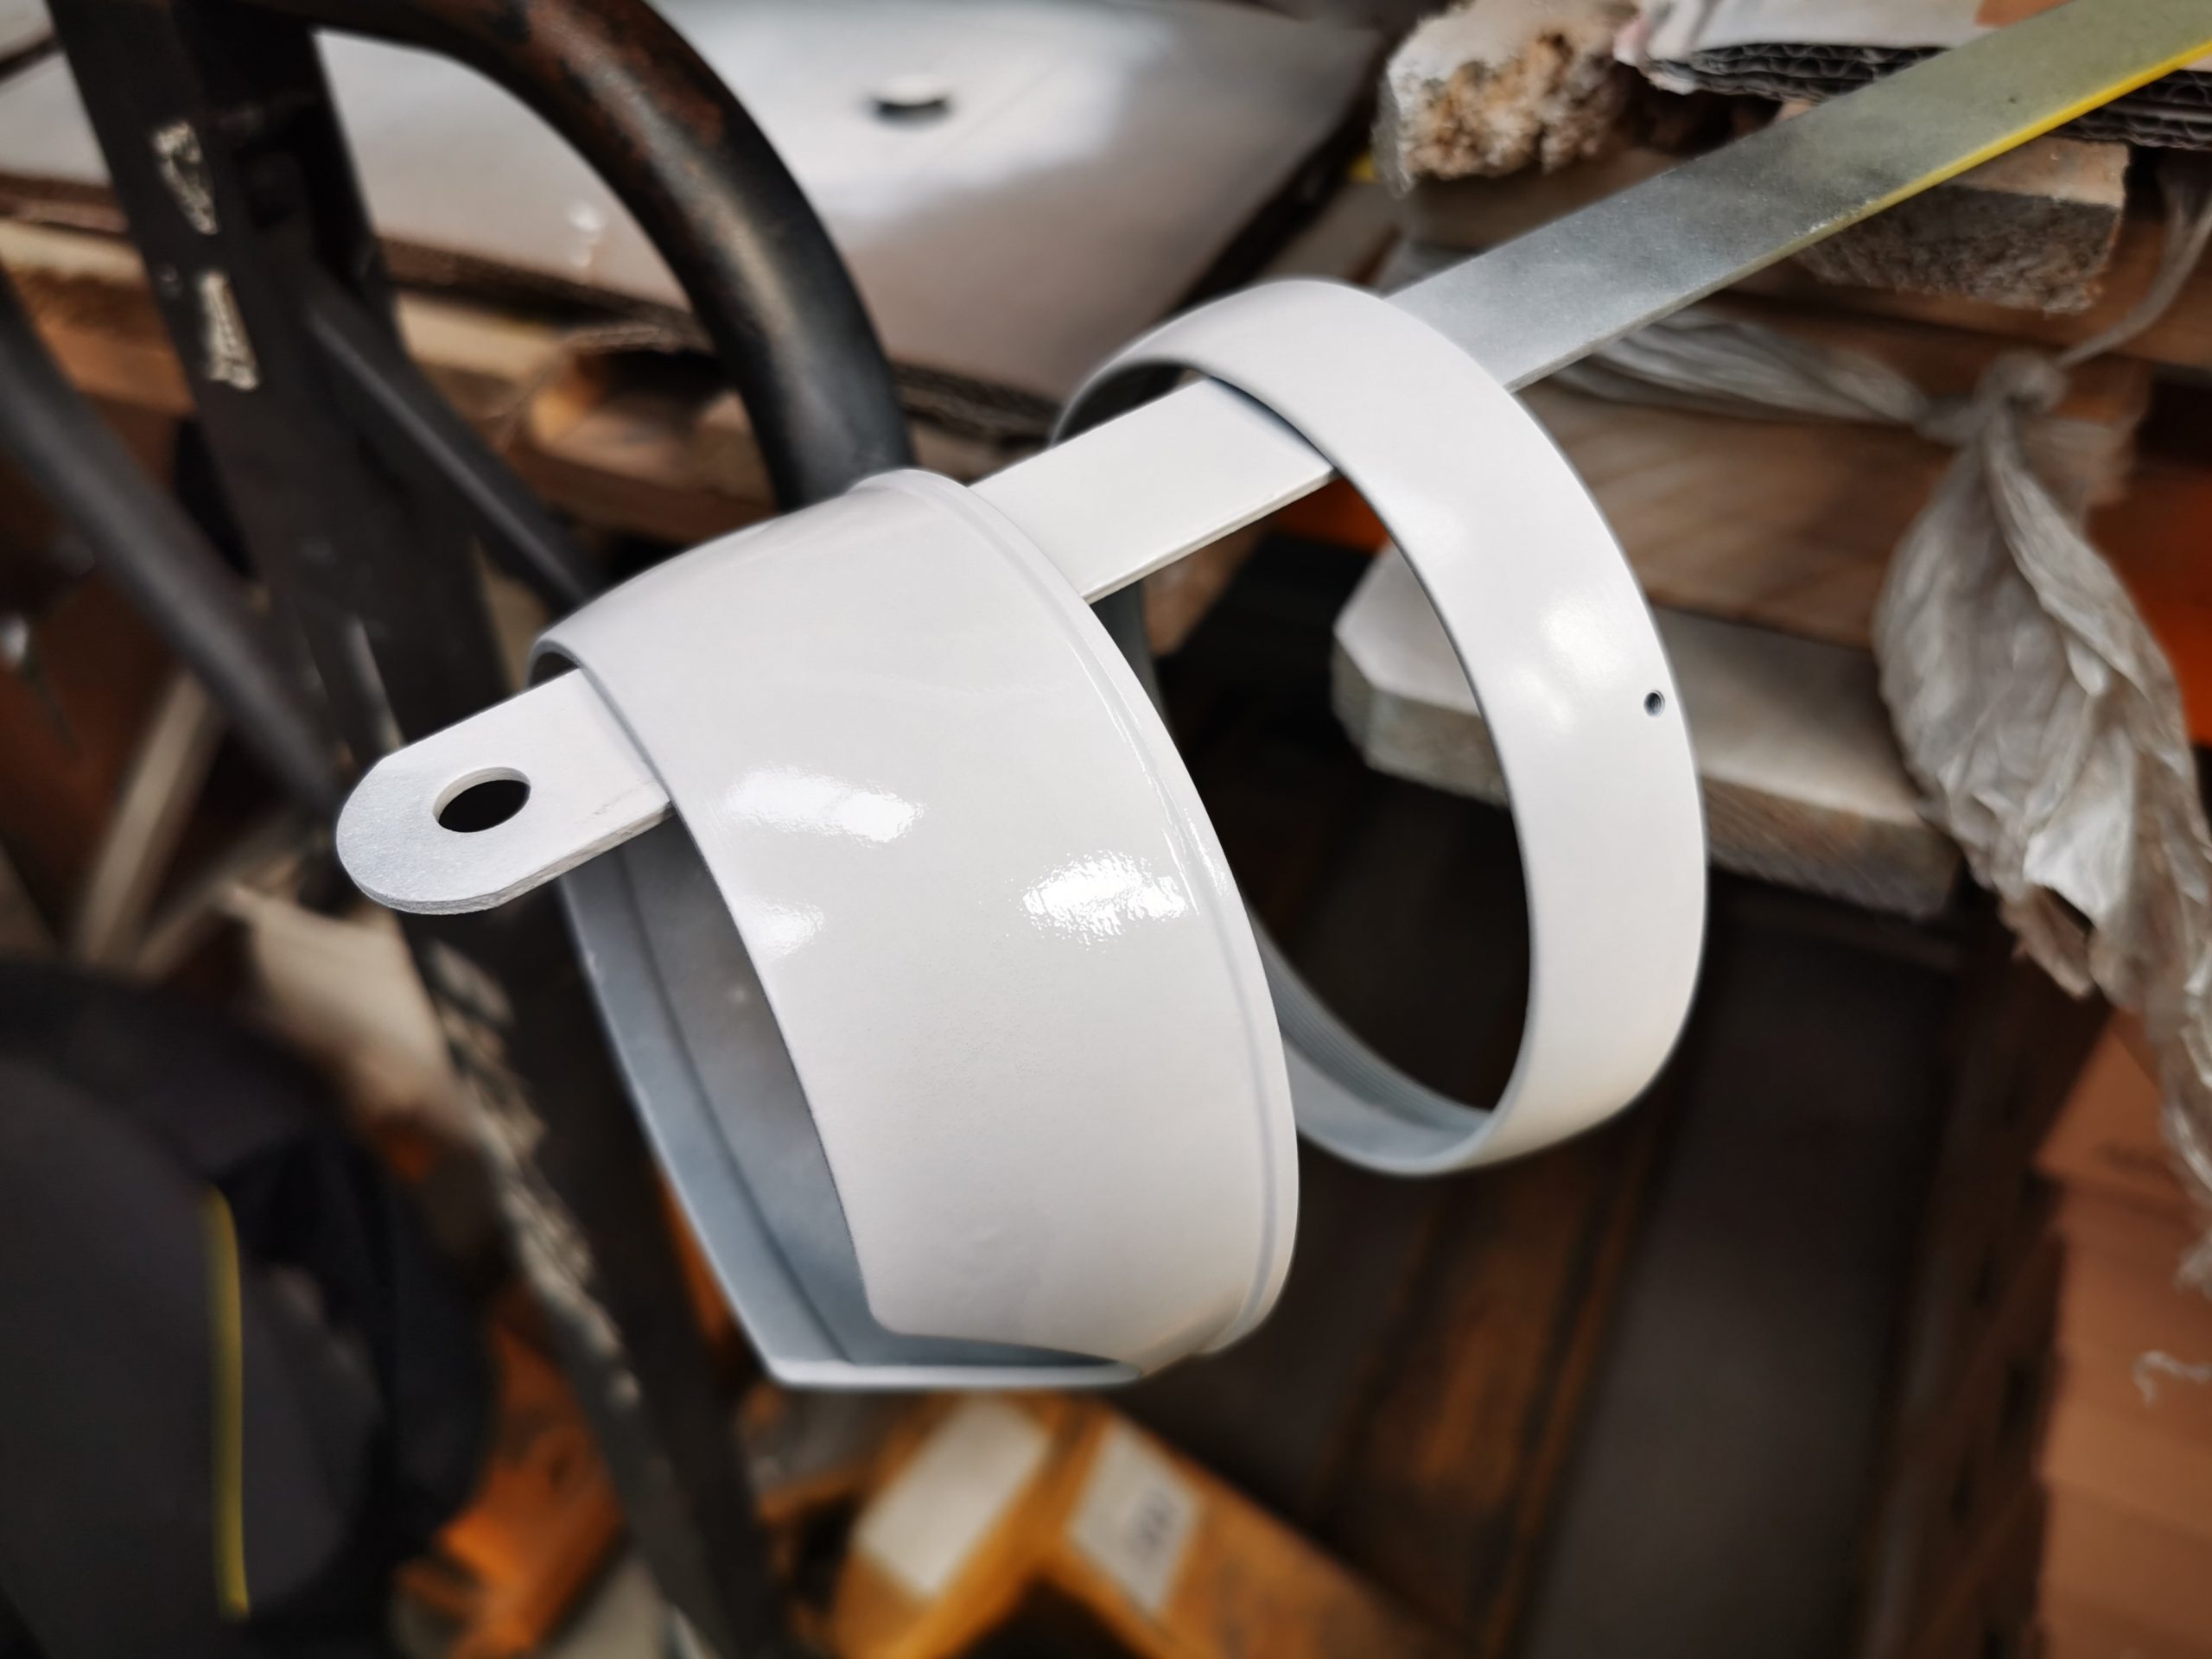
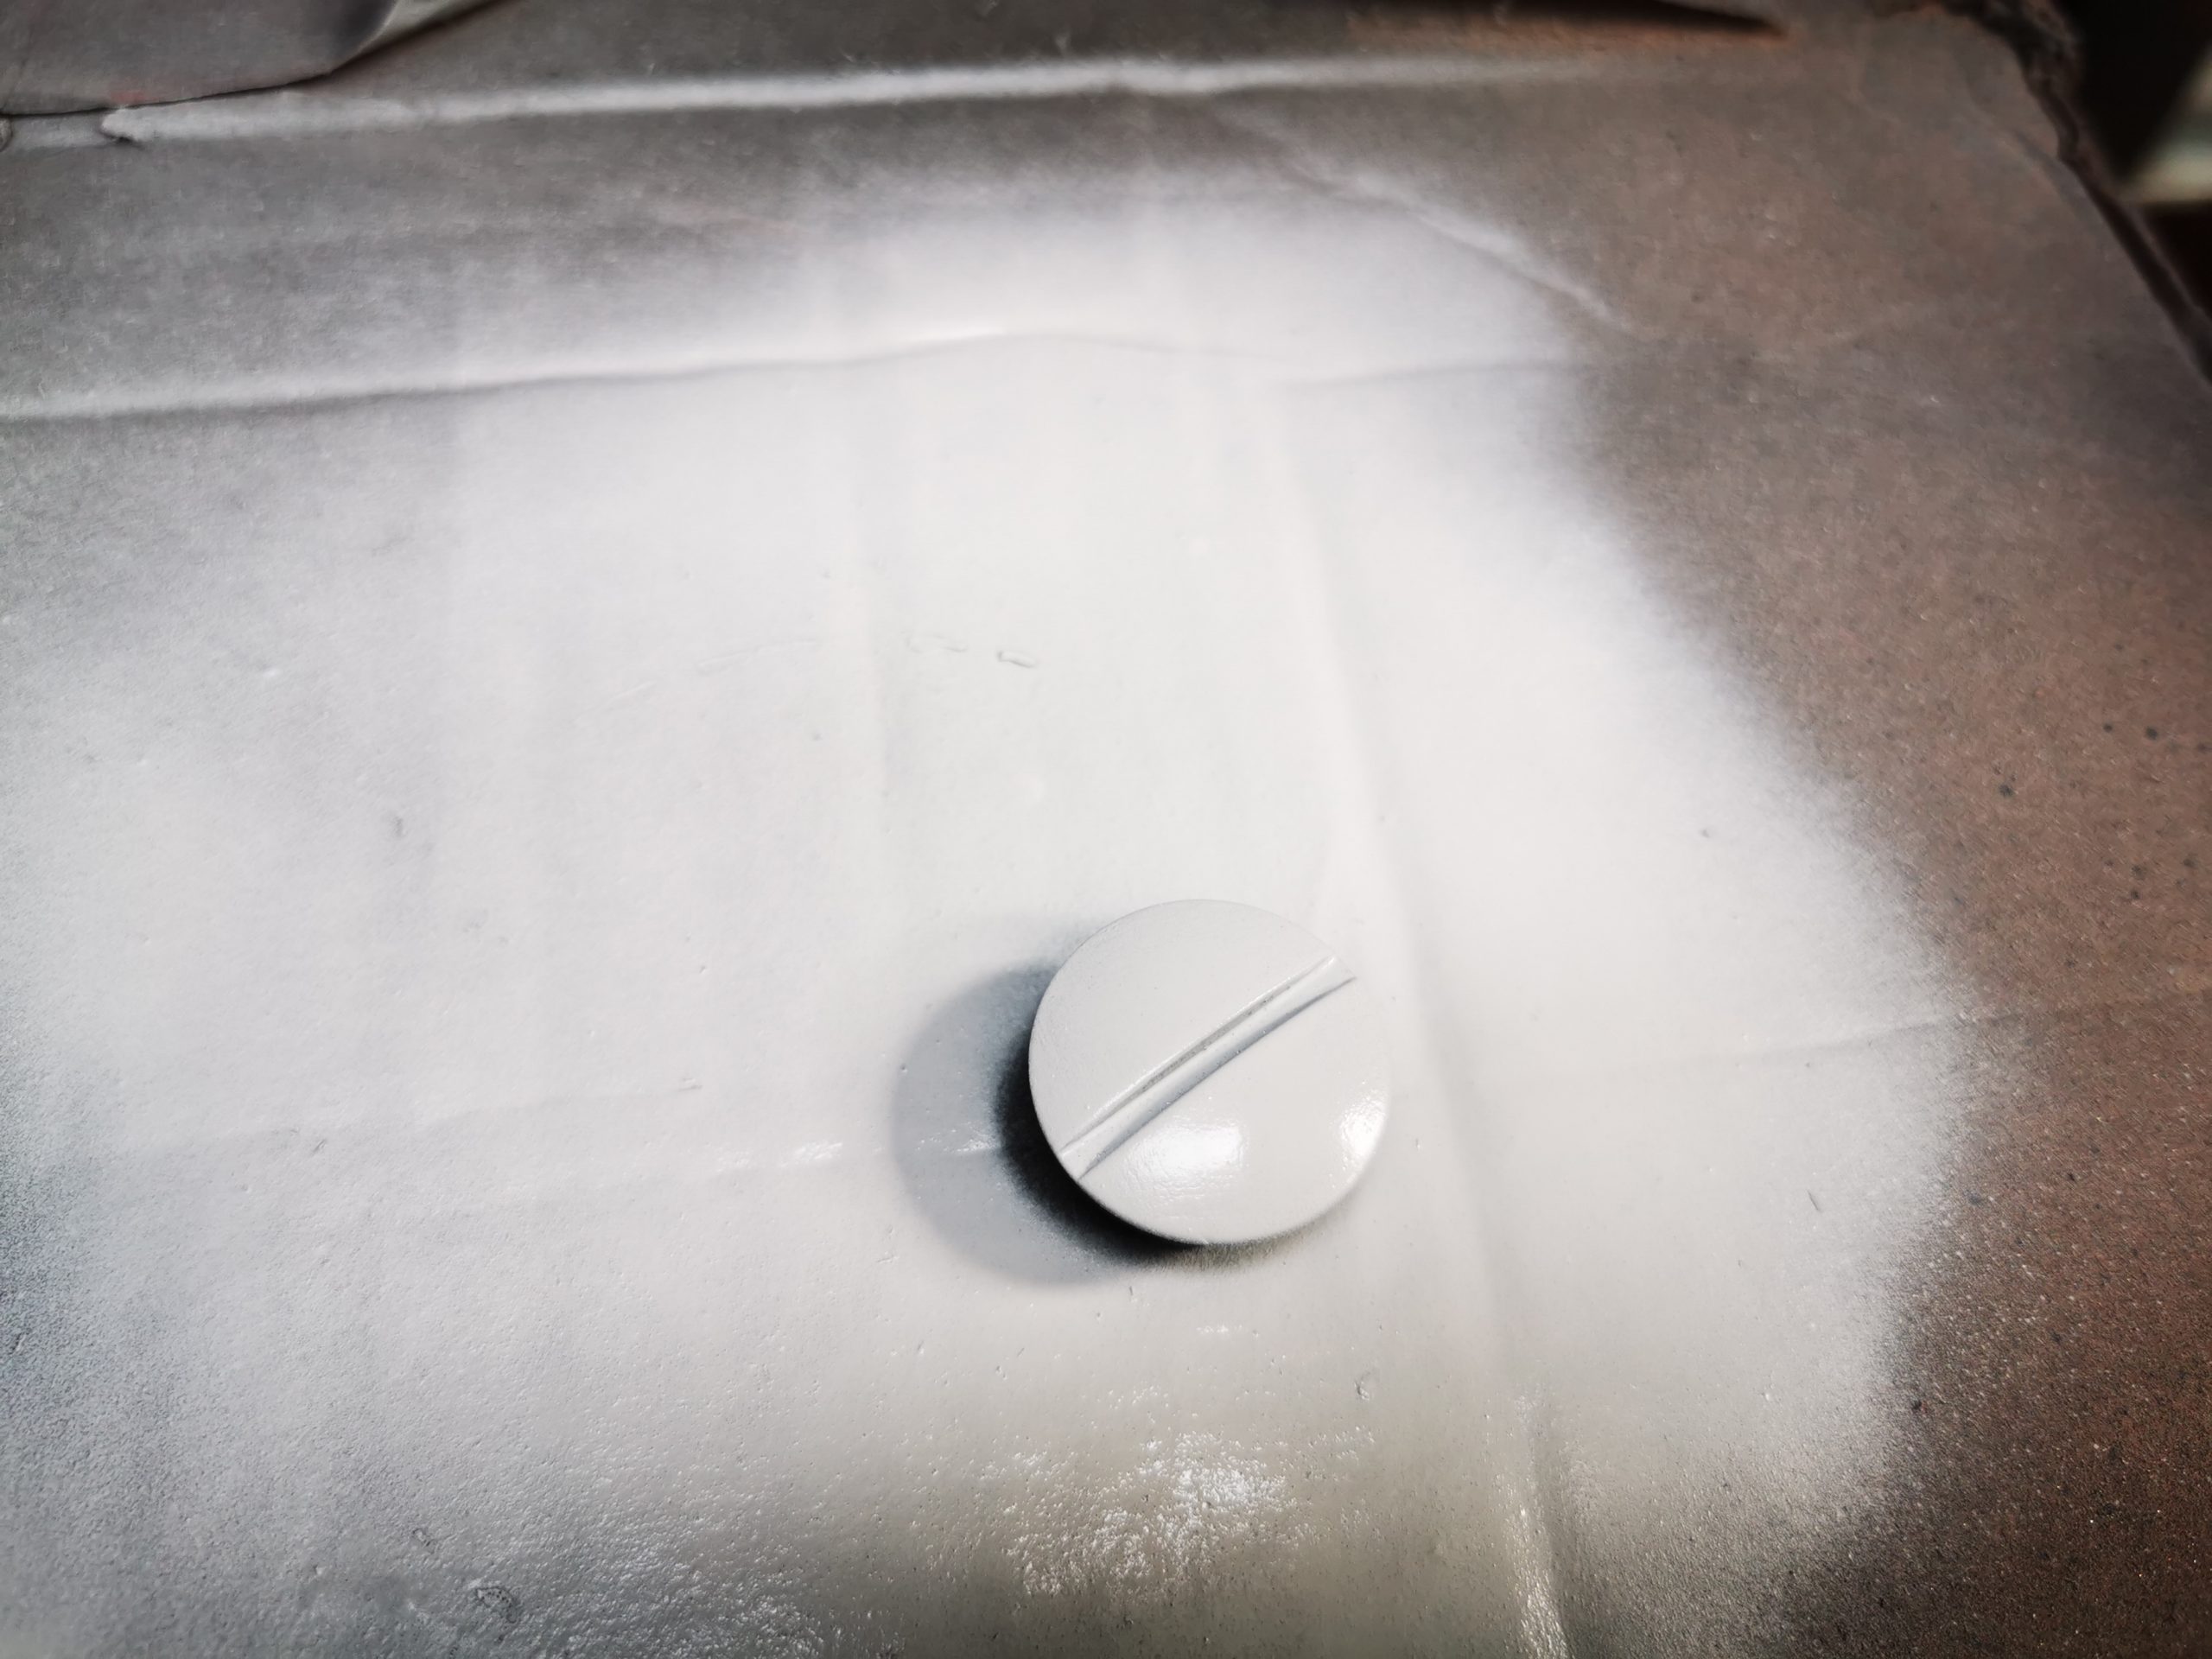
Leave the paint to cure for around 40 minutes to an hour. Once the ground coat has fully cured, you can start to apply the base coat of colour. We suggest acrylic paint with a UV additive on this occasion as it’s a more hard-wearing paint than cellulose and synthetic enamel. Apply at least two to four coats and leave to cure for around 1-2 hours.
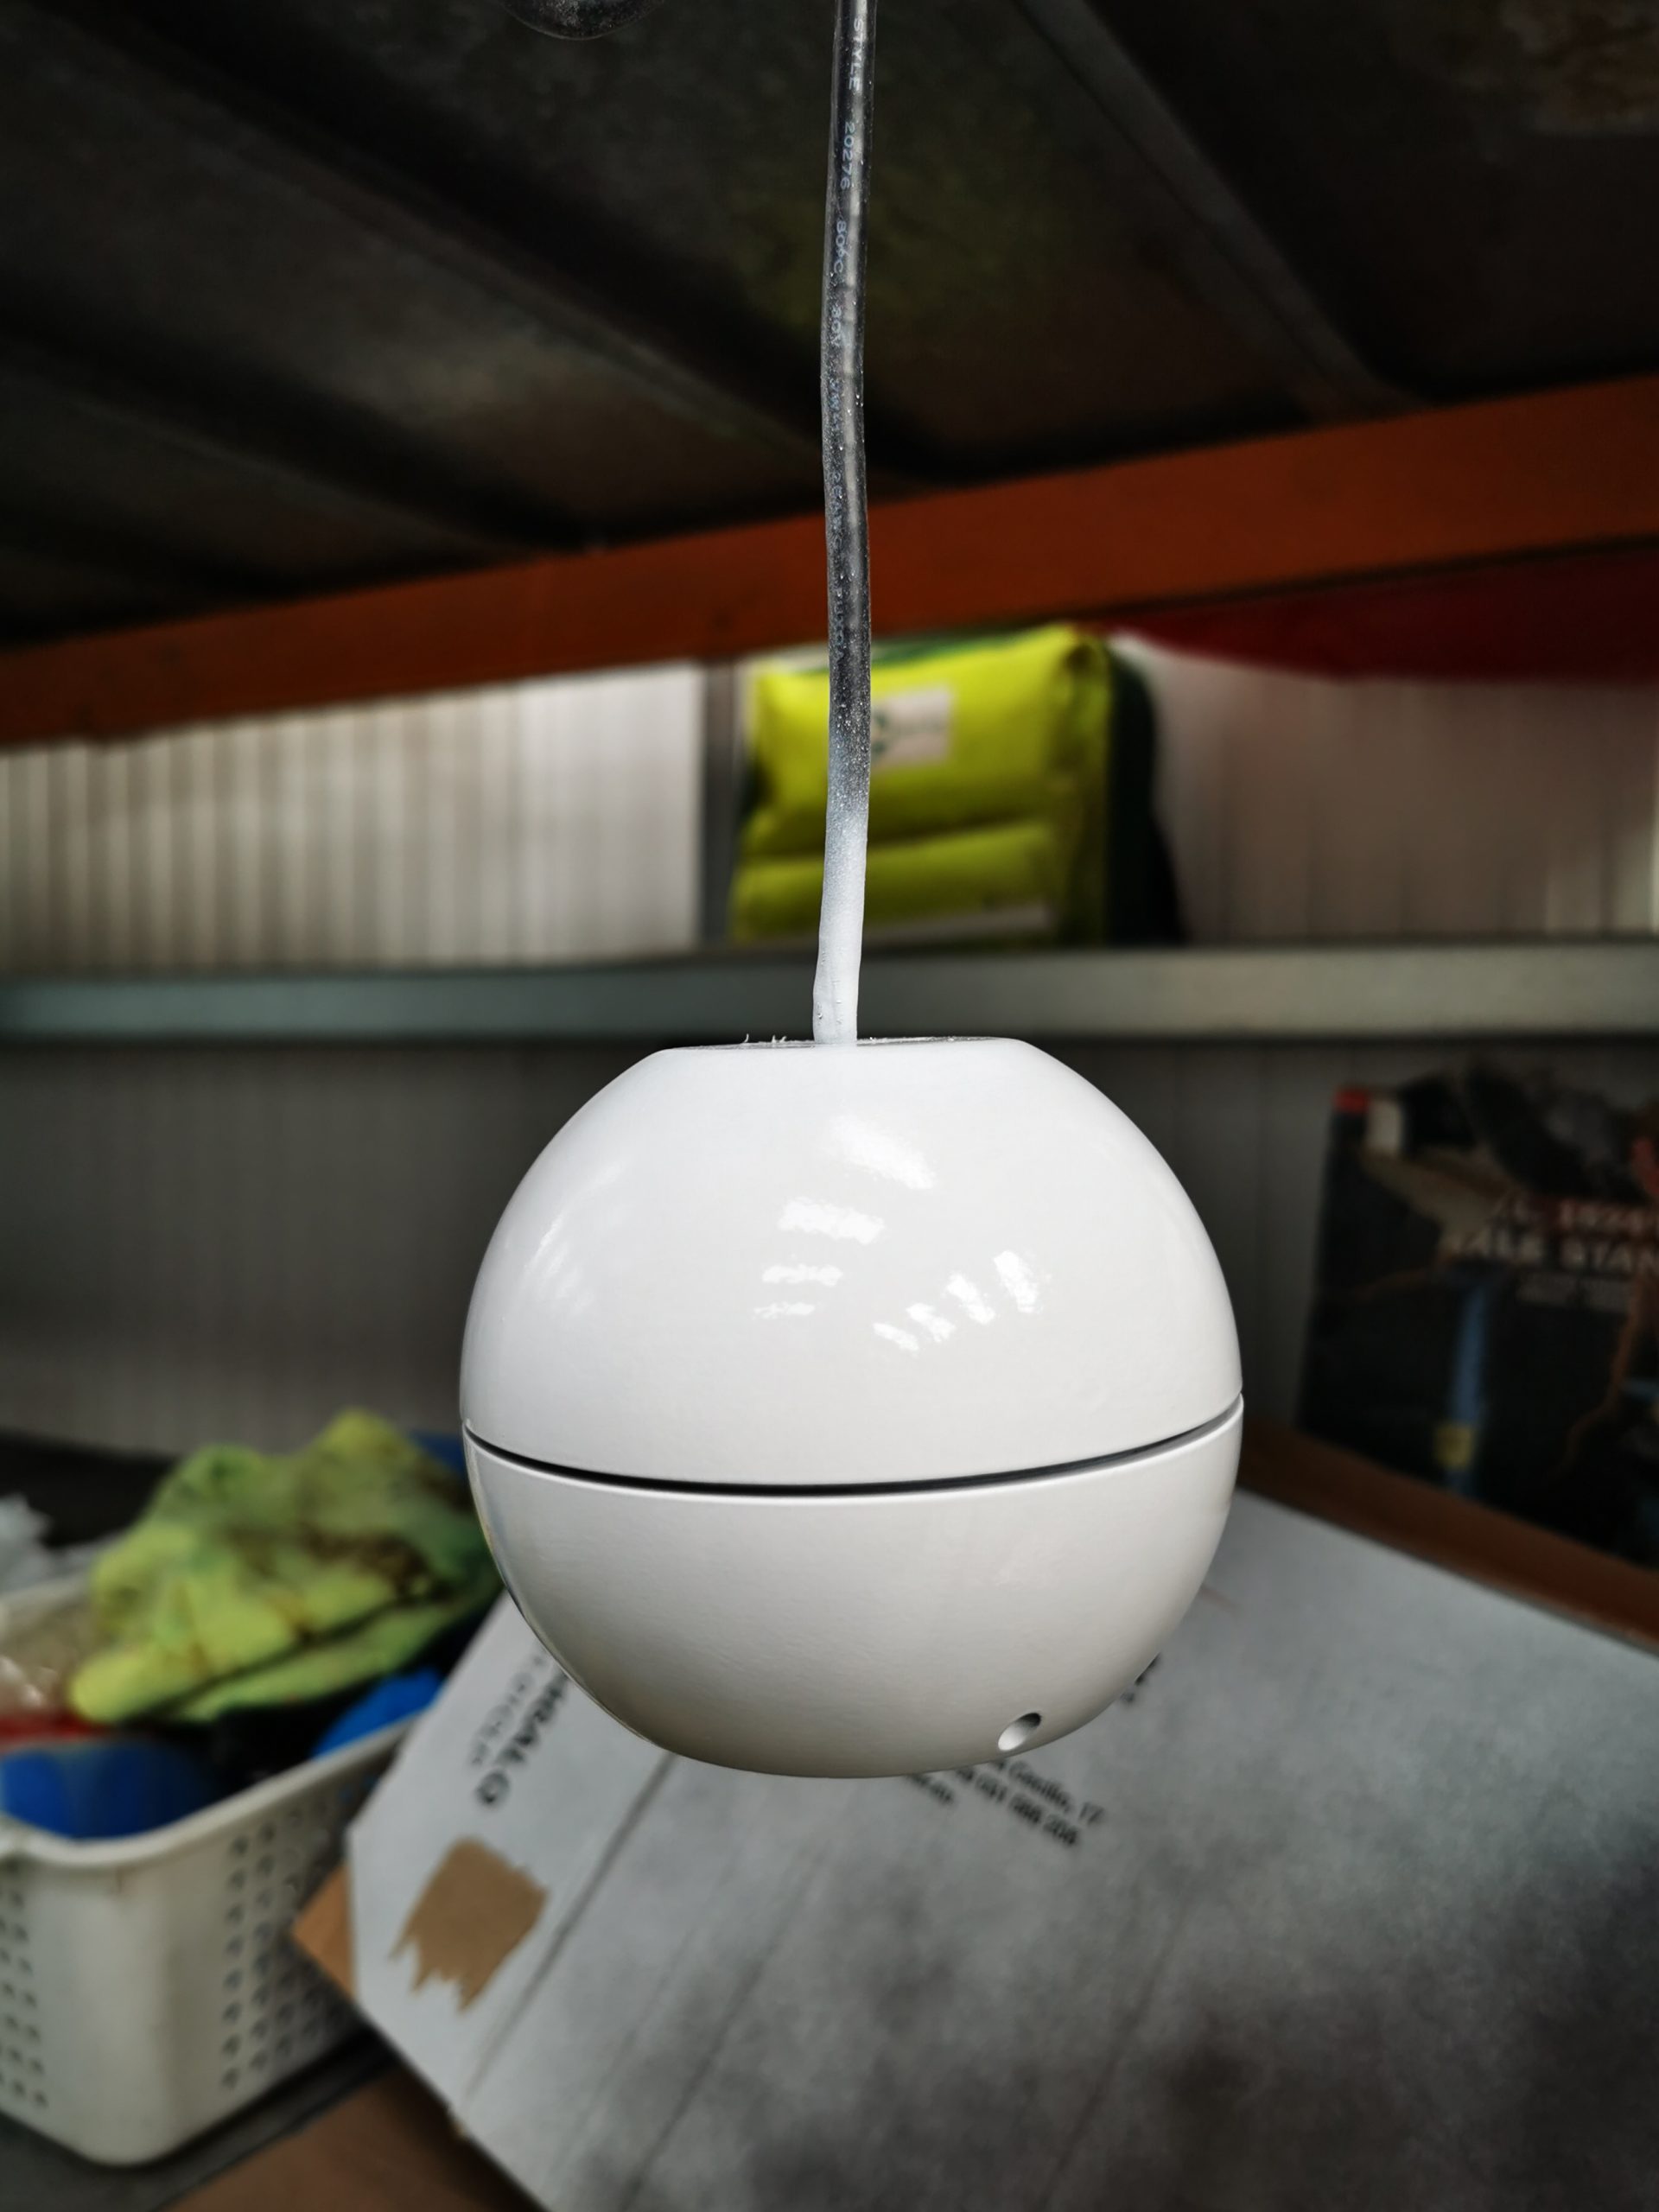
Finally, we have applied a top coat matt lacquer; this will give the paint protection against the elements and last longer before they need to repaint over time. All in all, the job took half a day, and the camera was ready to put up at the end of the day. Not a difficult task but its an effective finish and can blend the camera seamlessly into its surroundings rather than feel more of an eyesore.