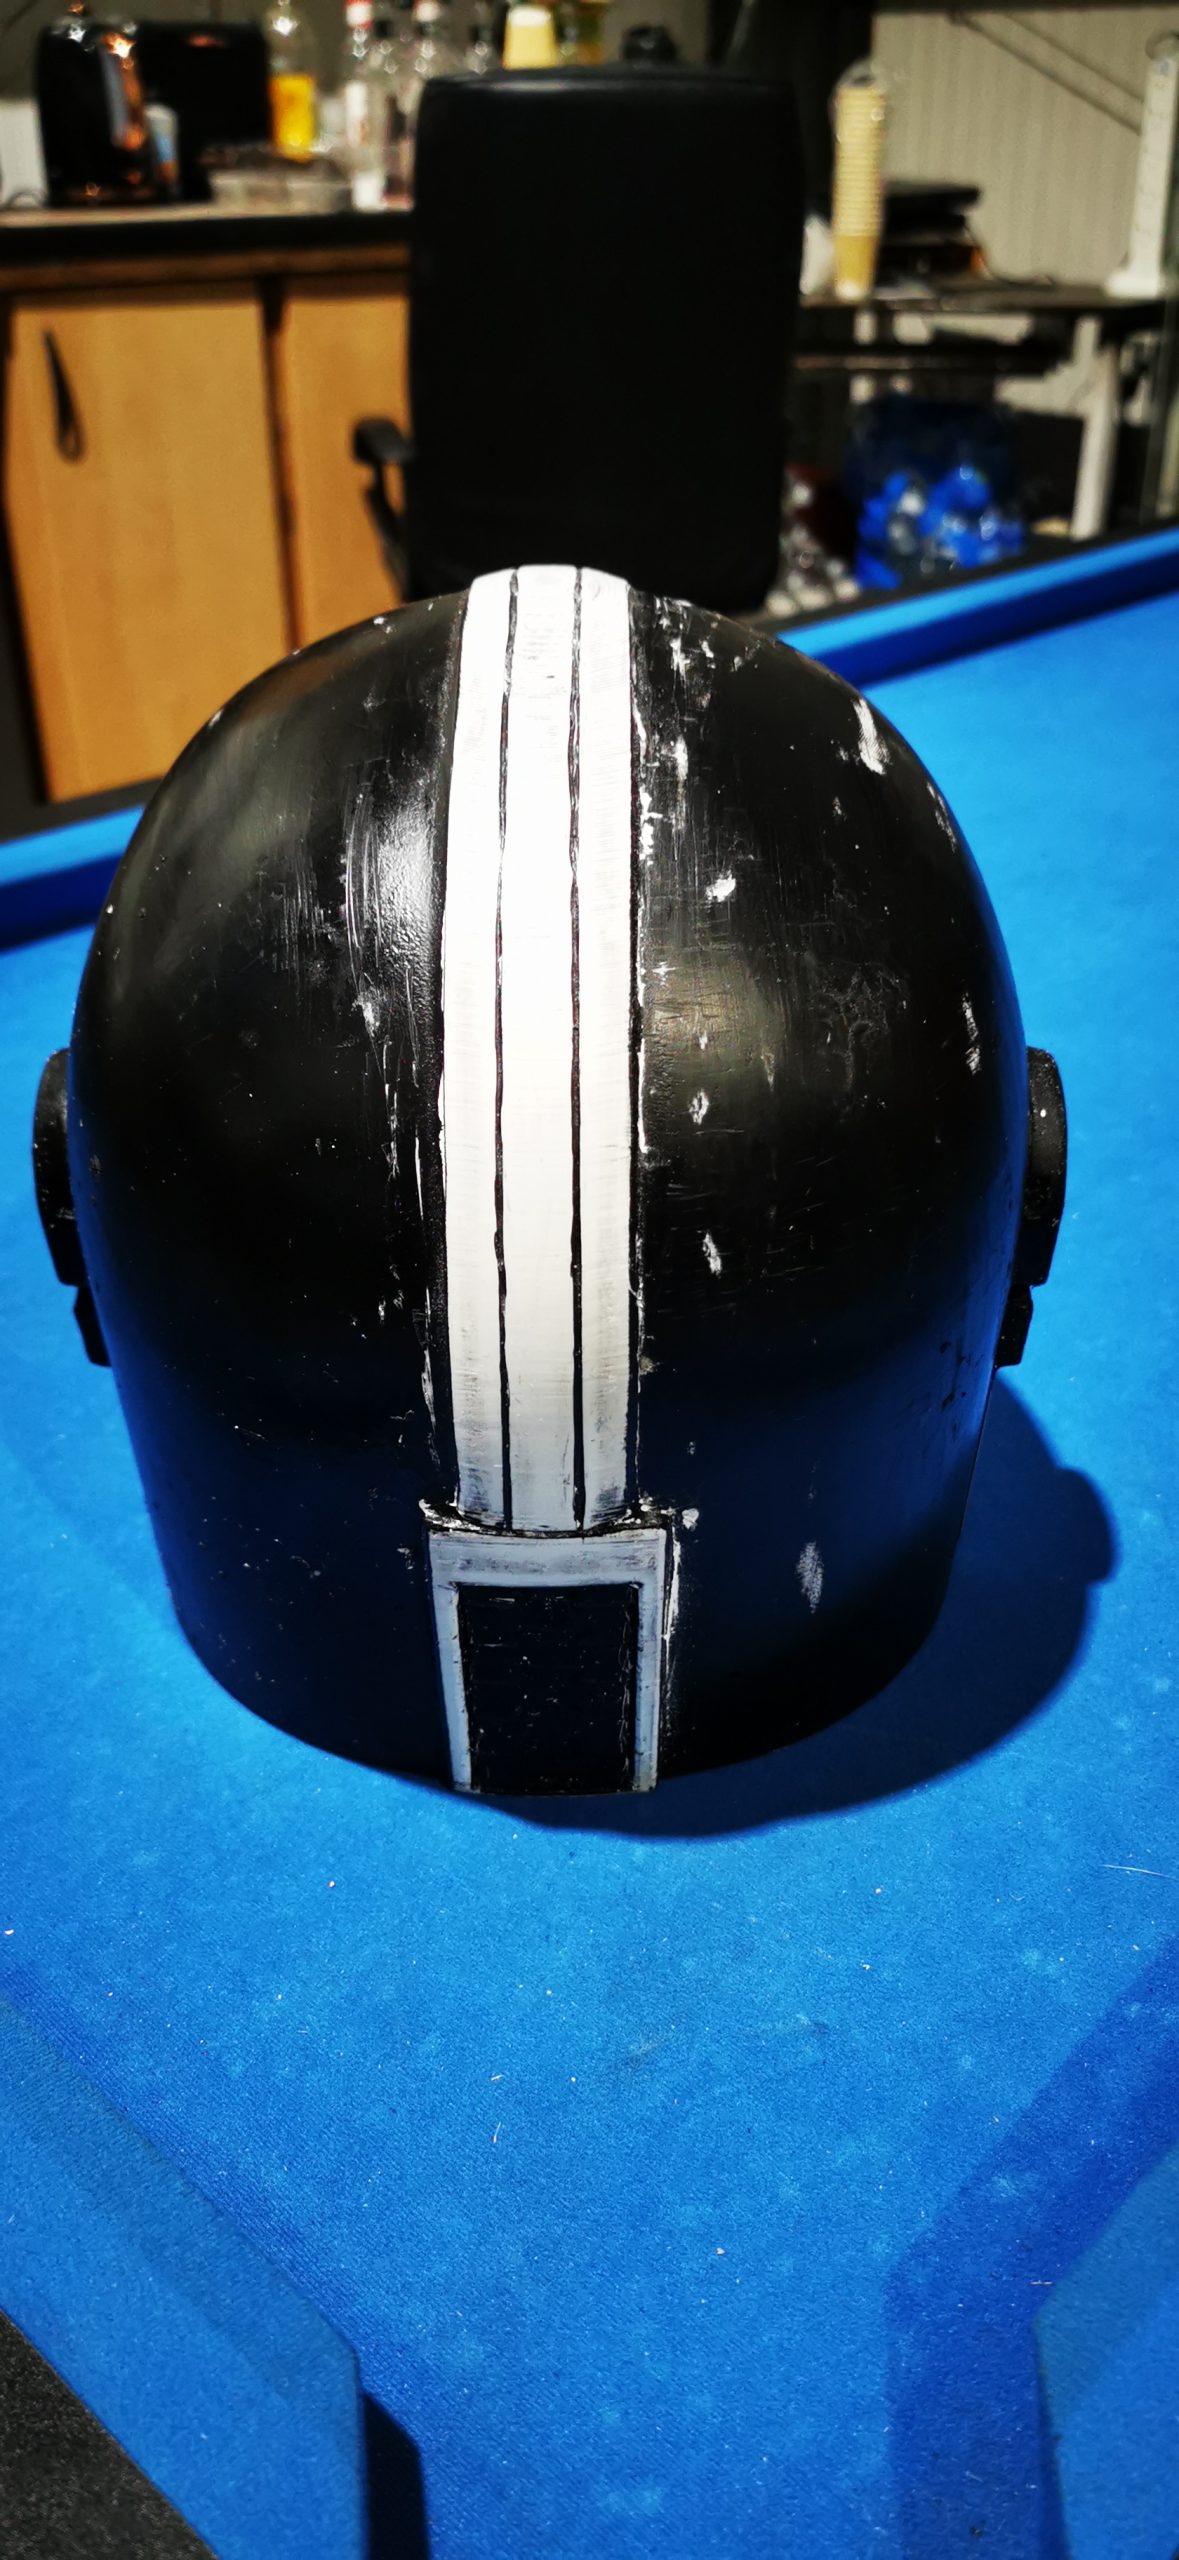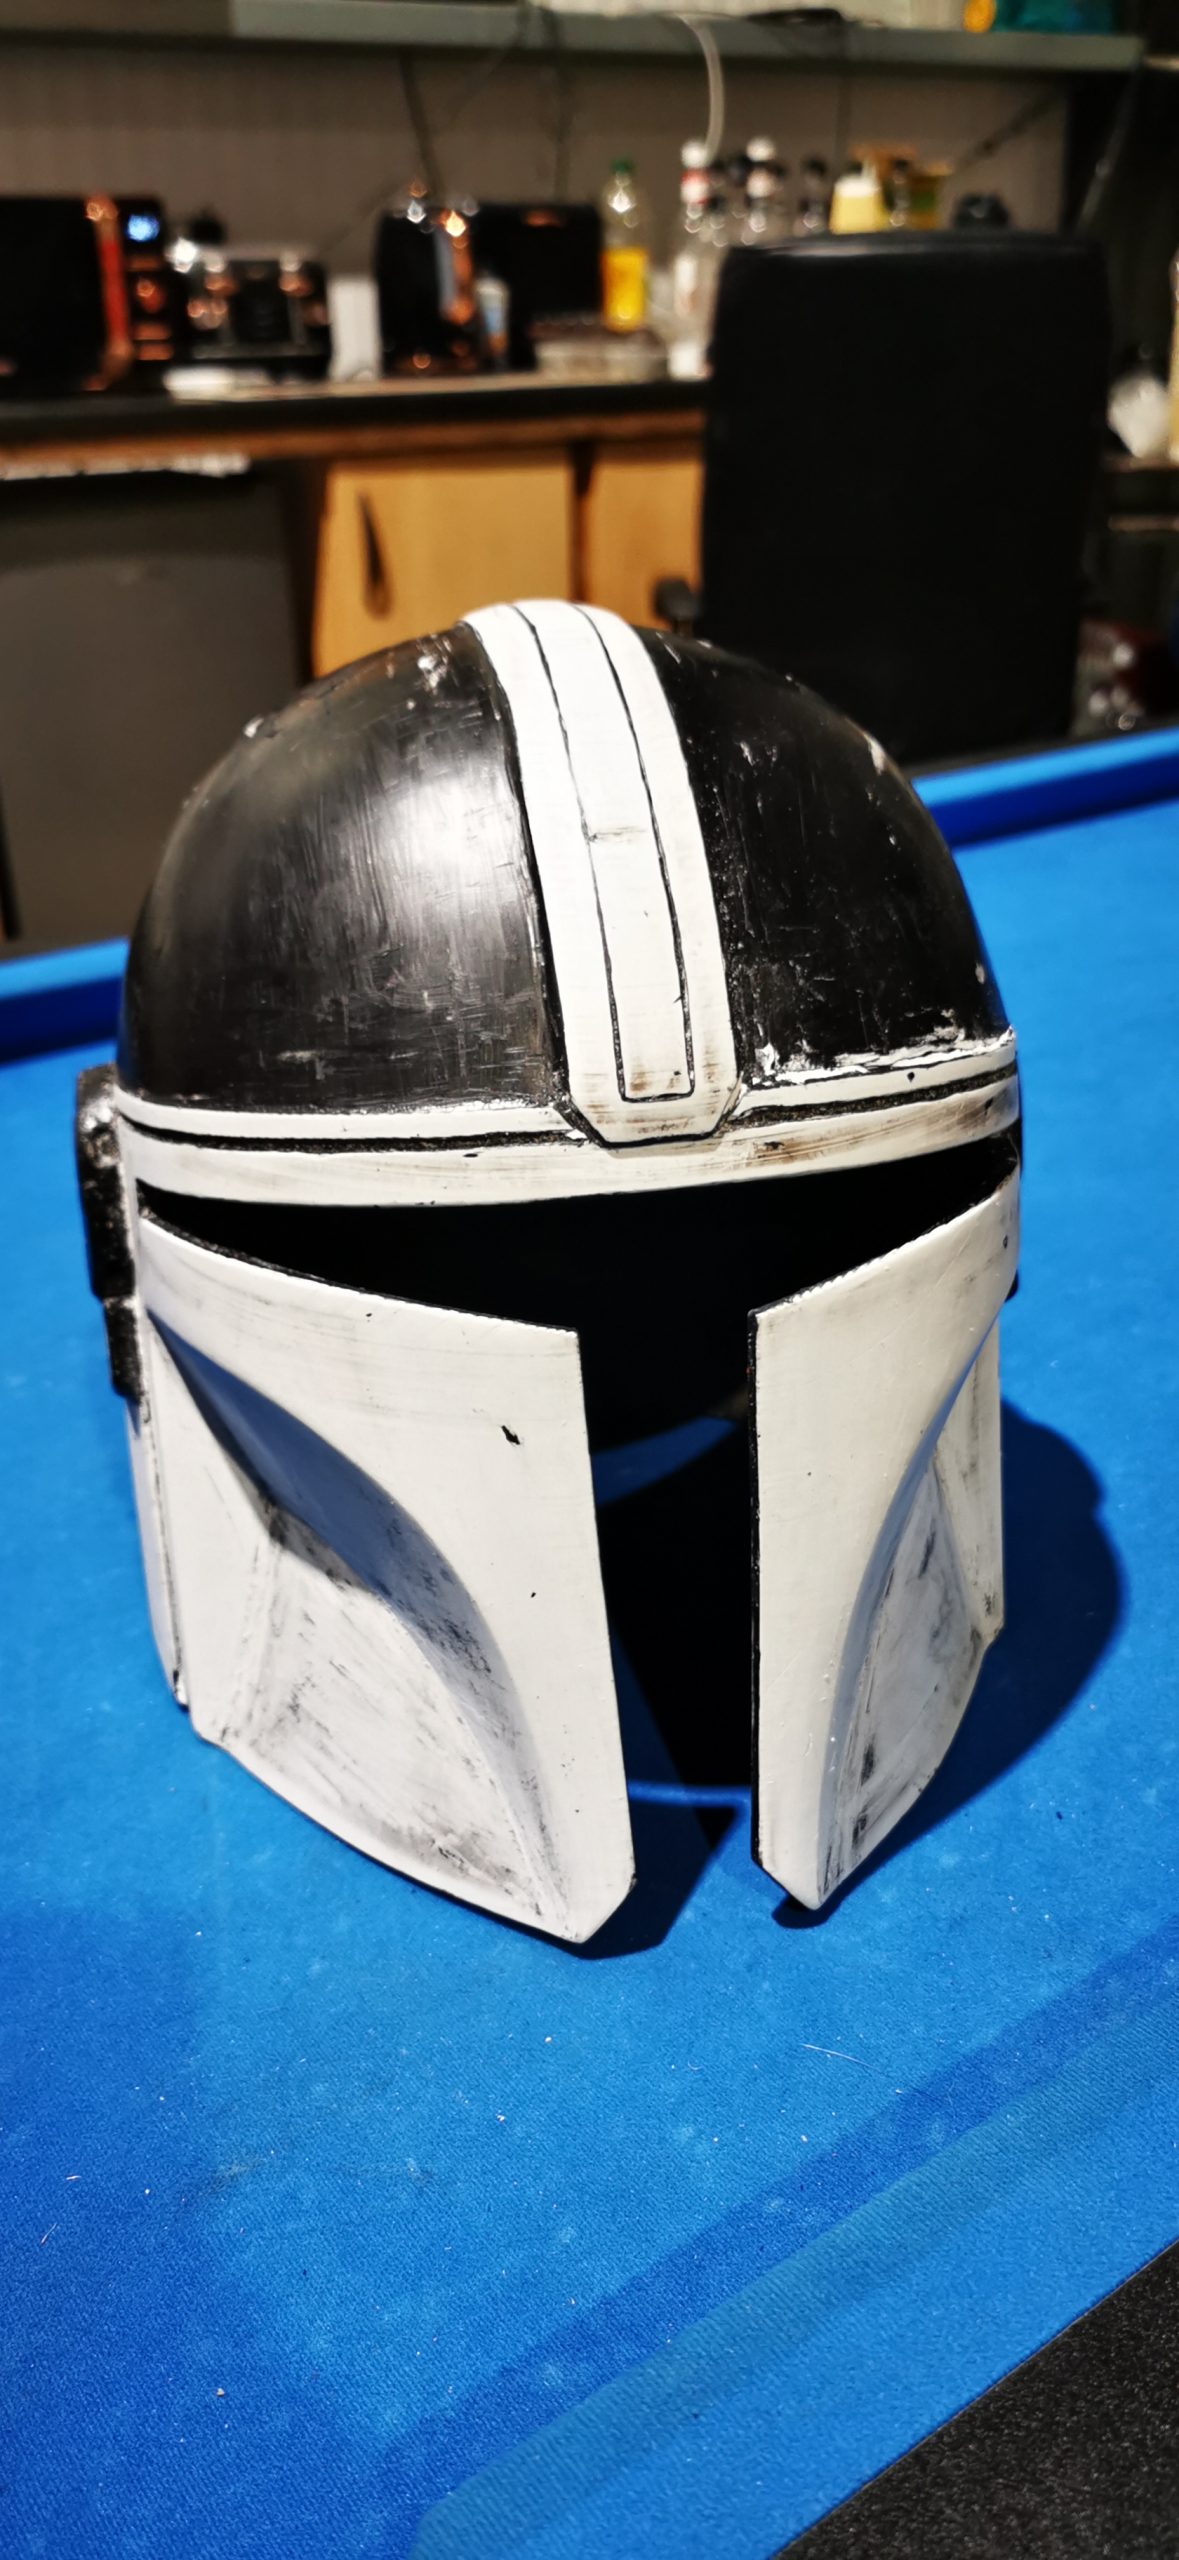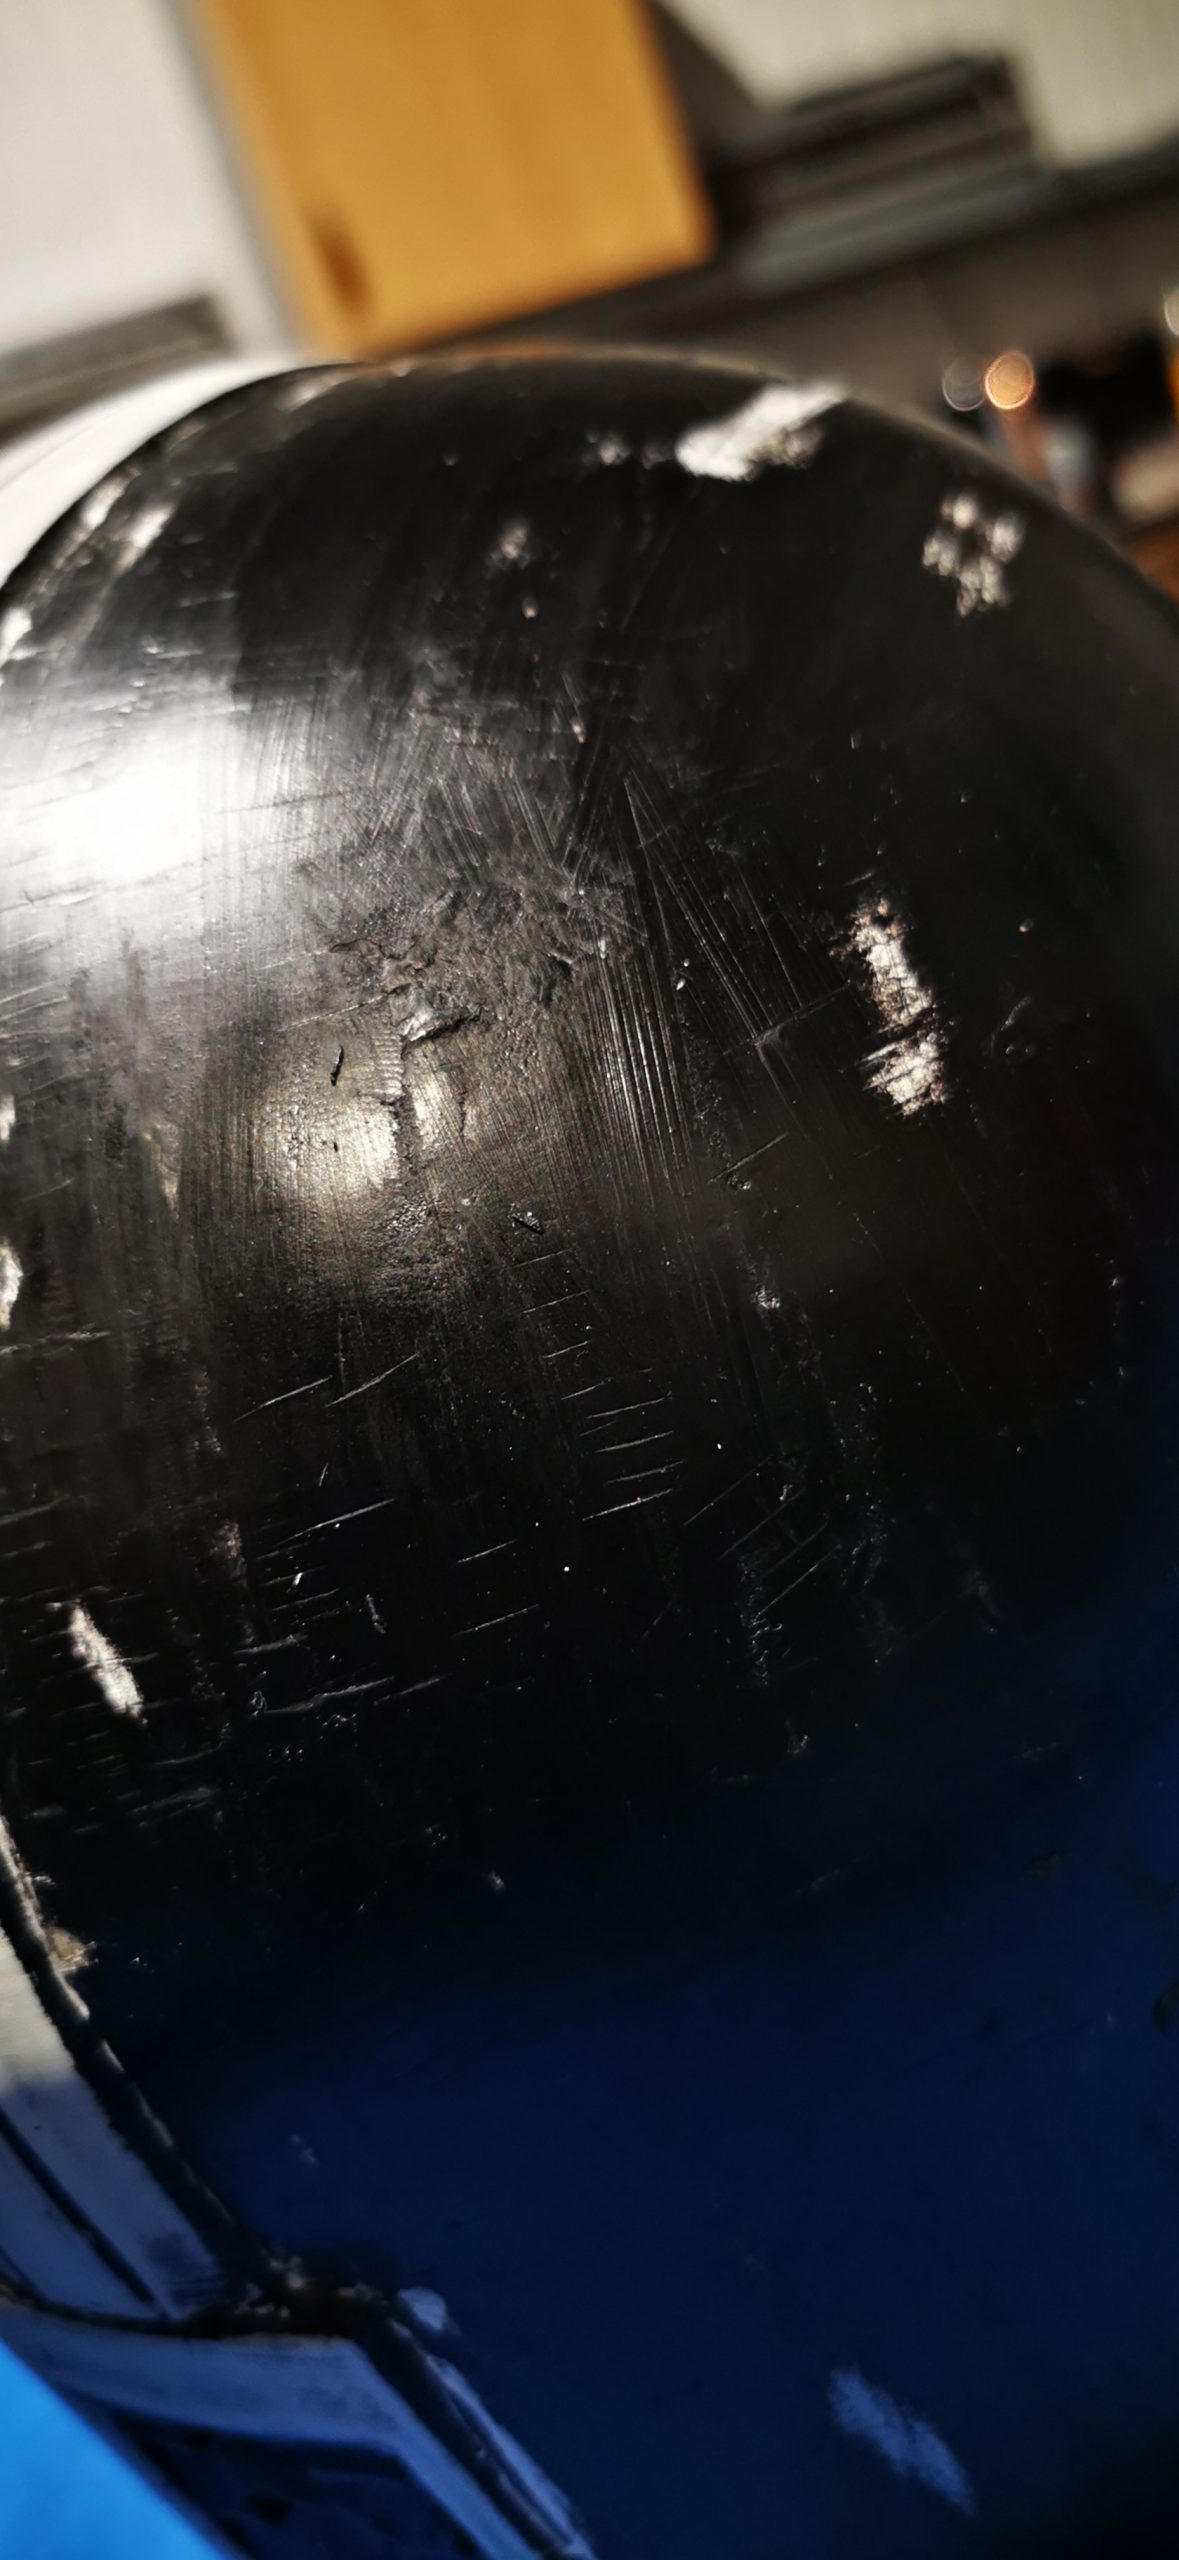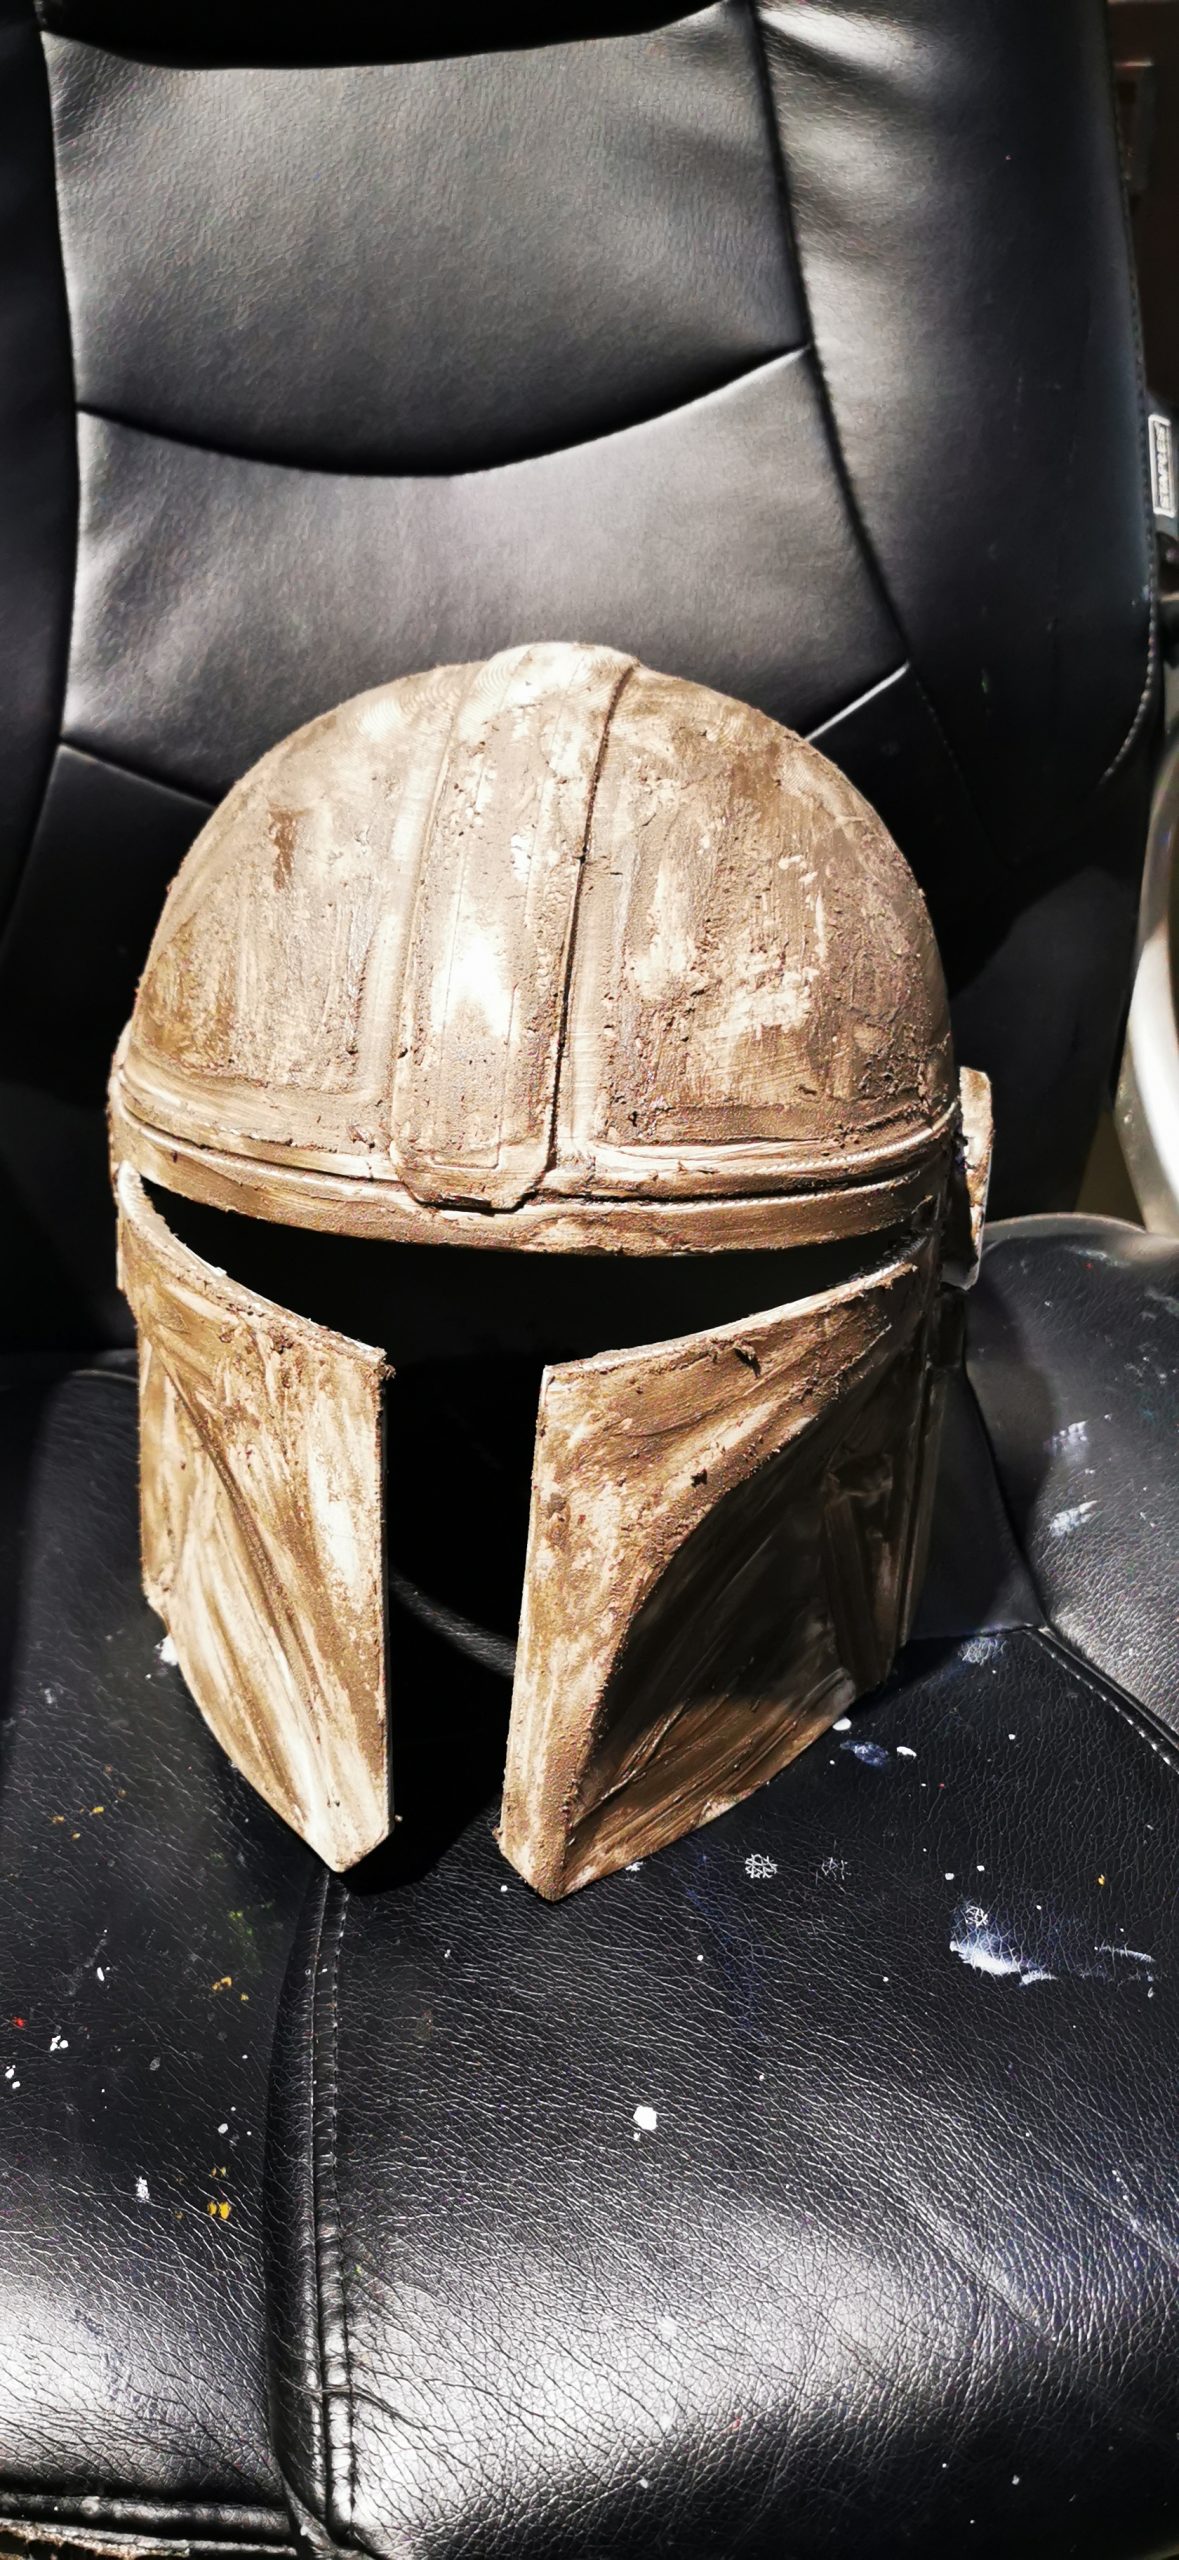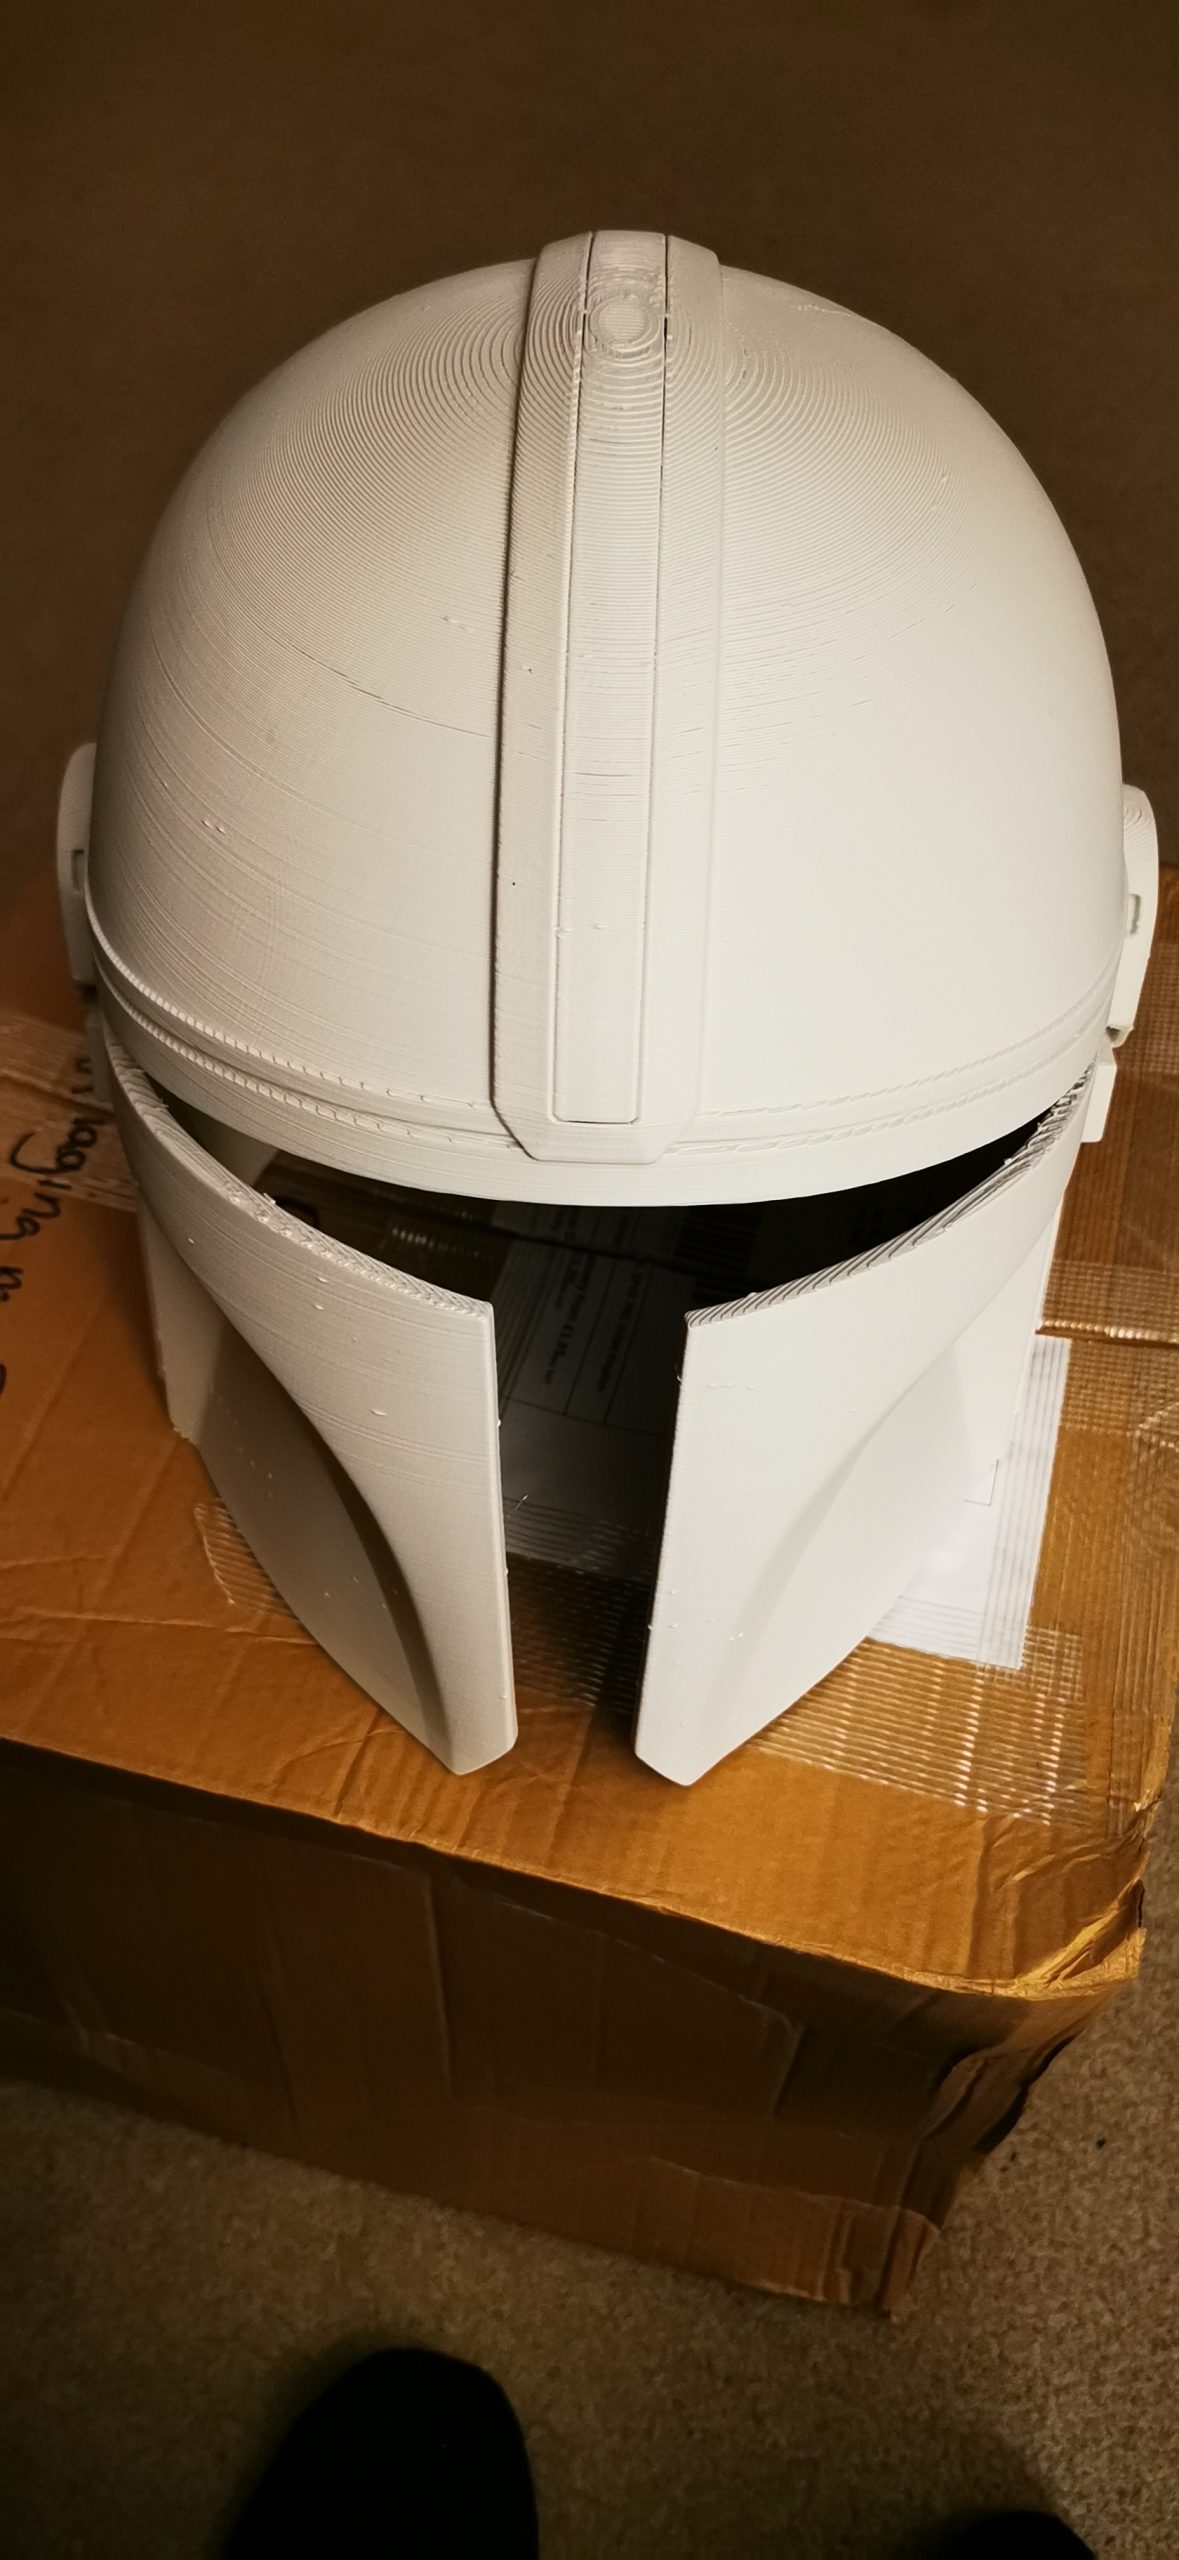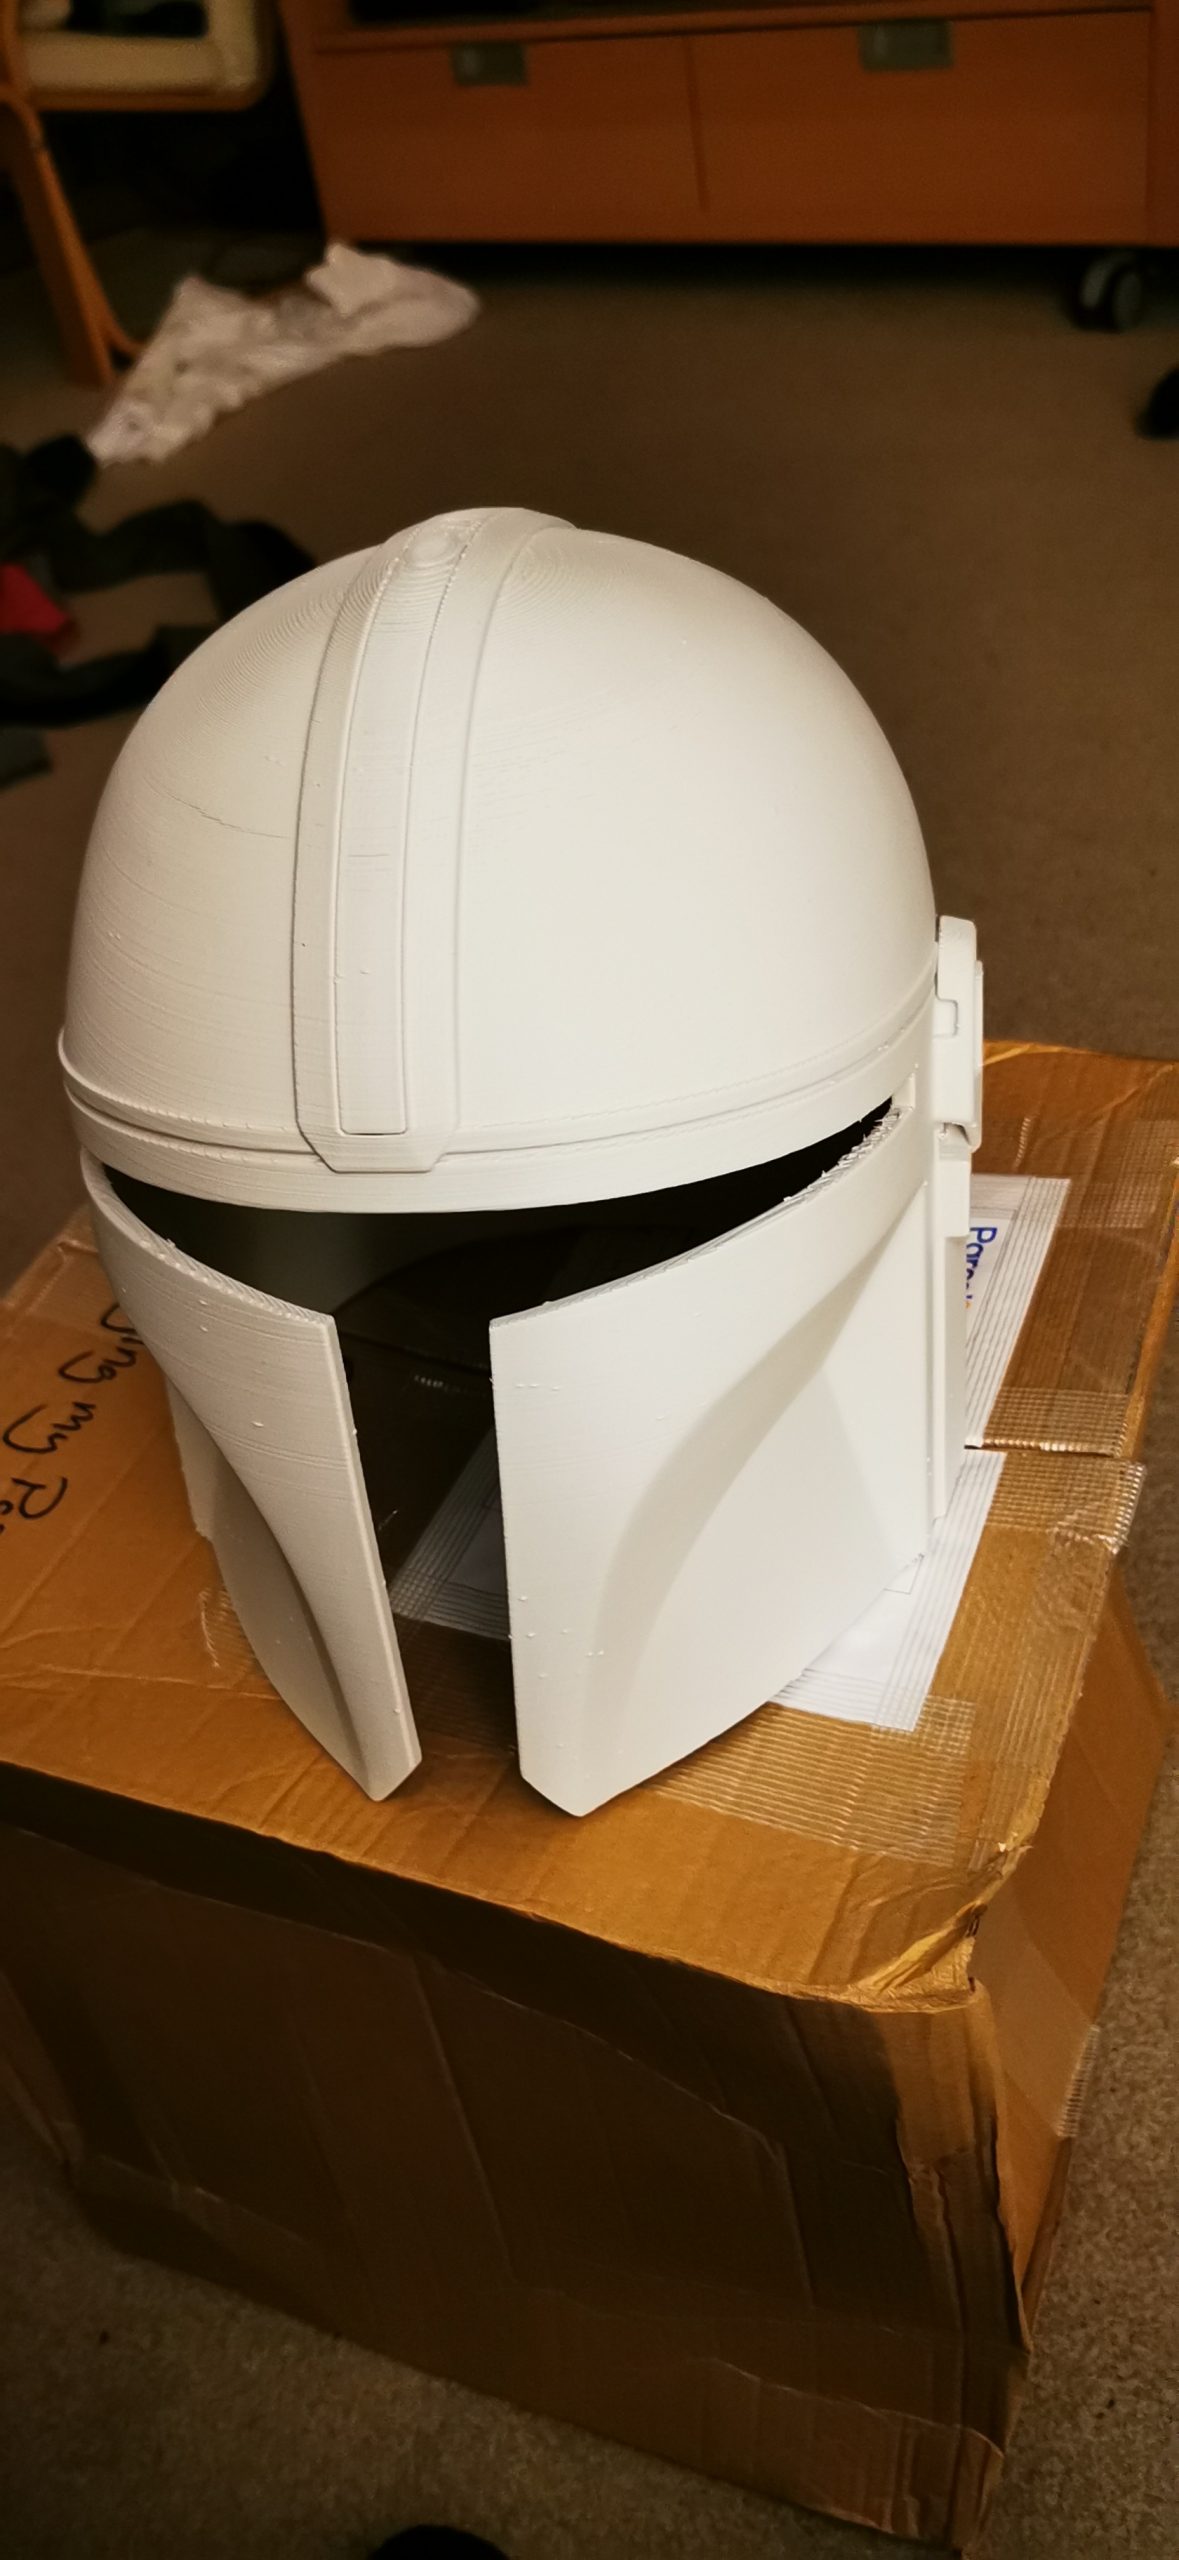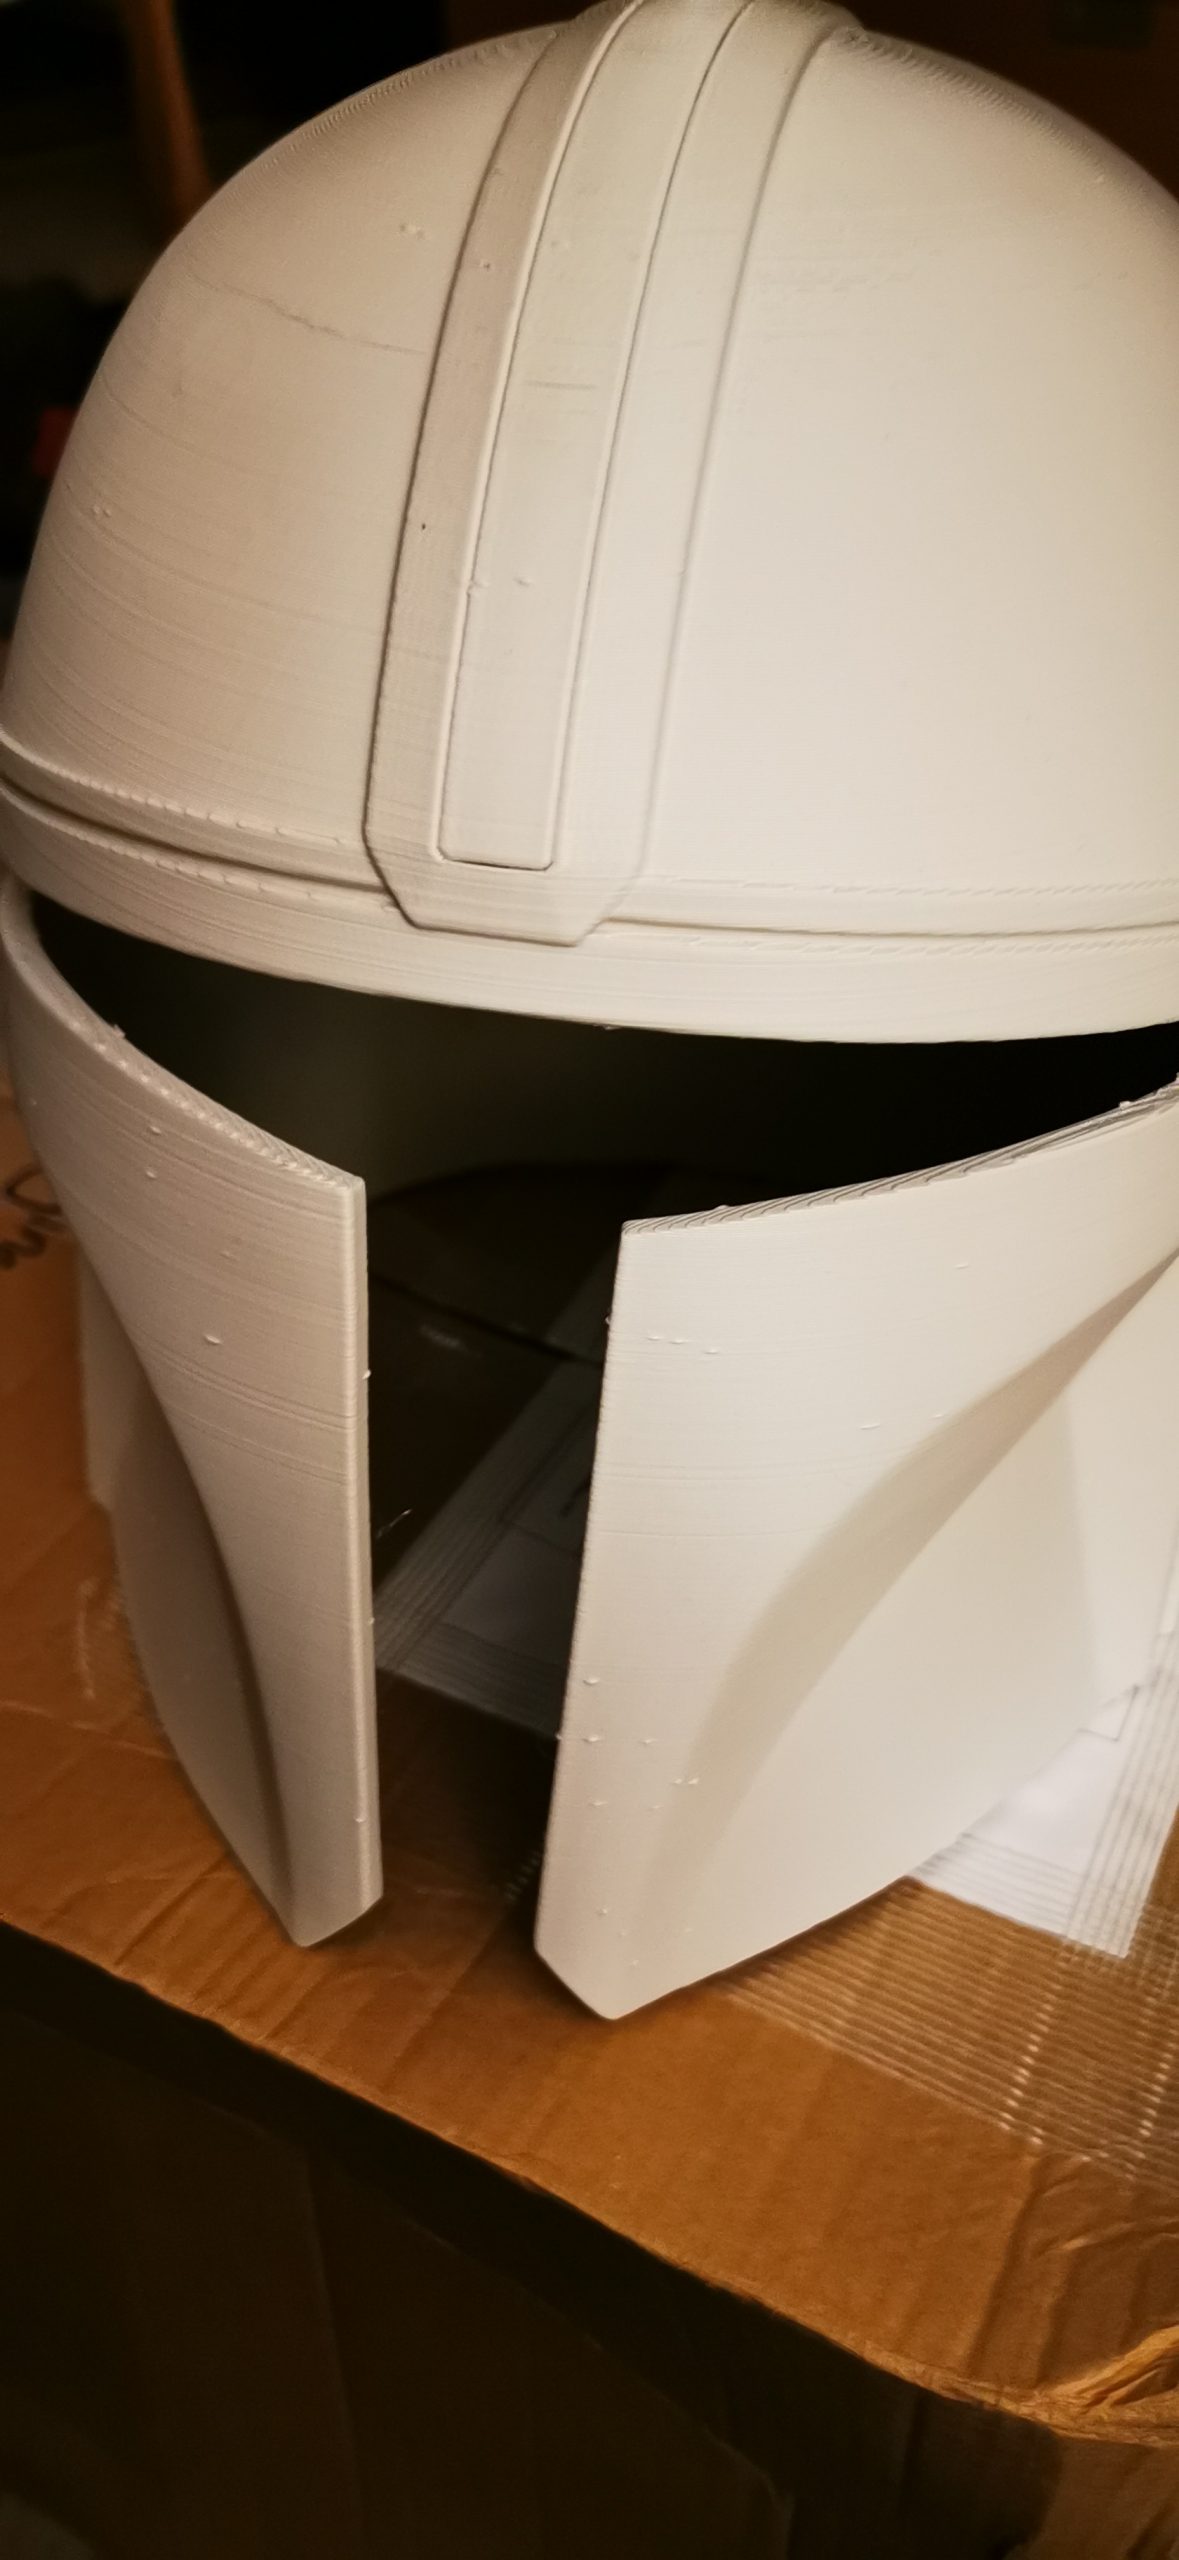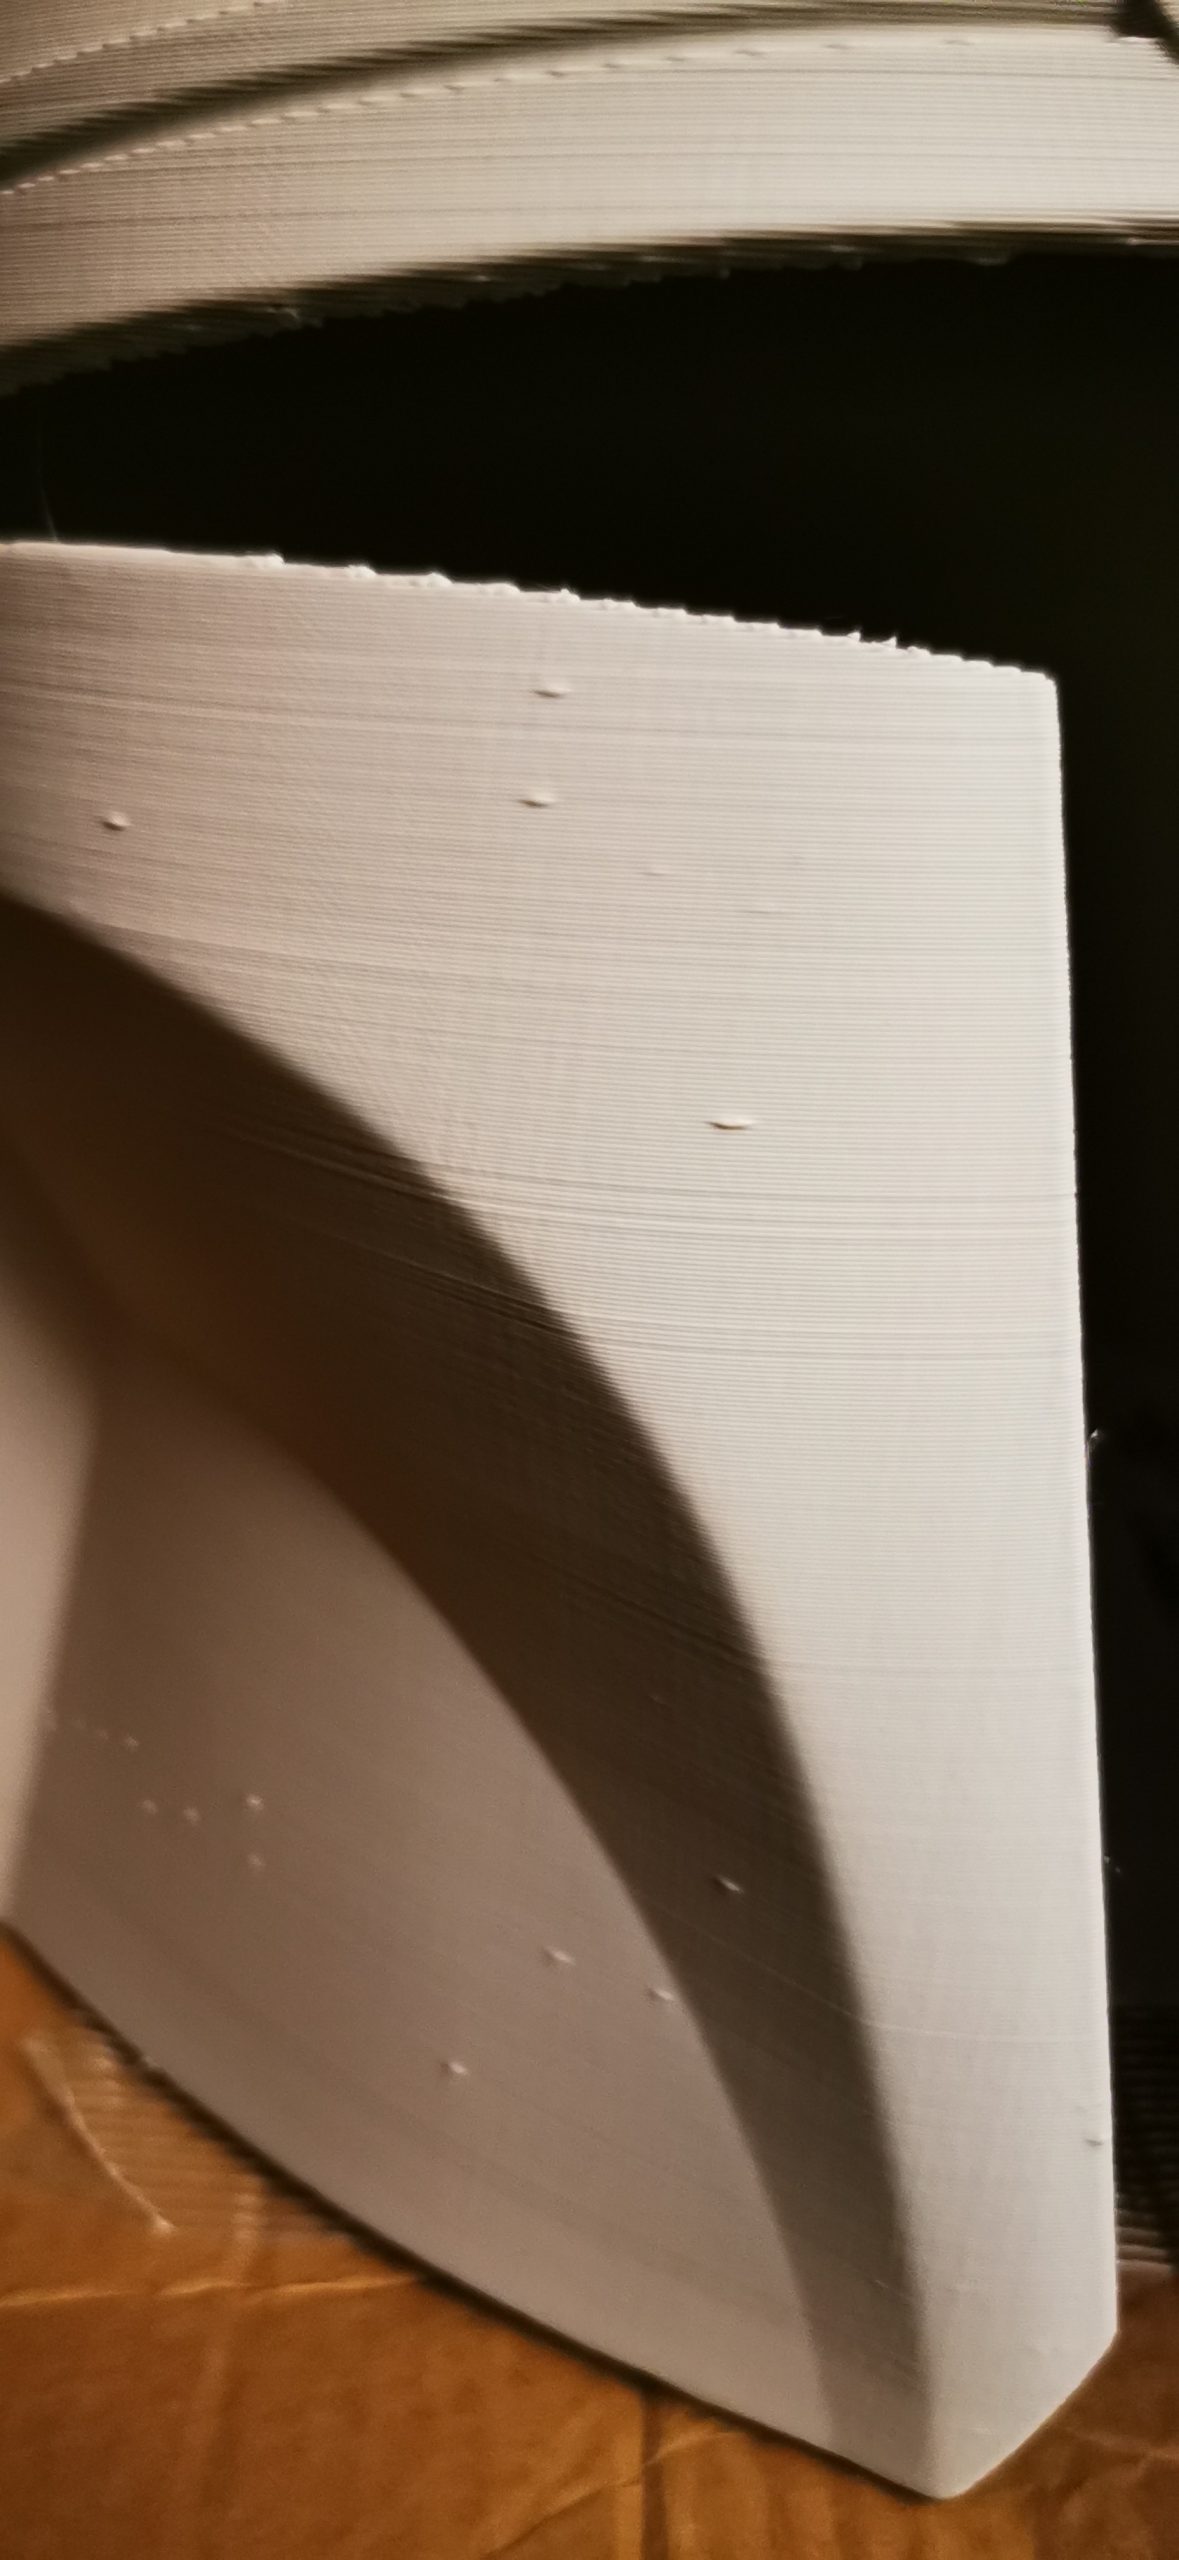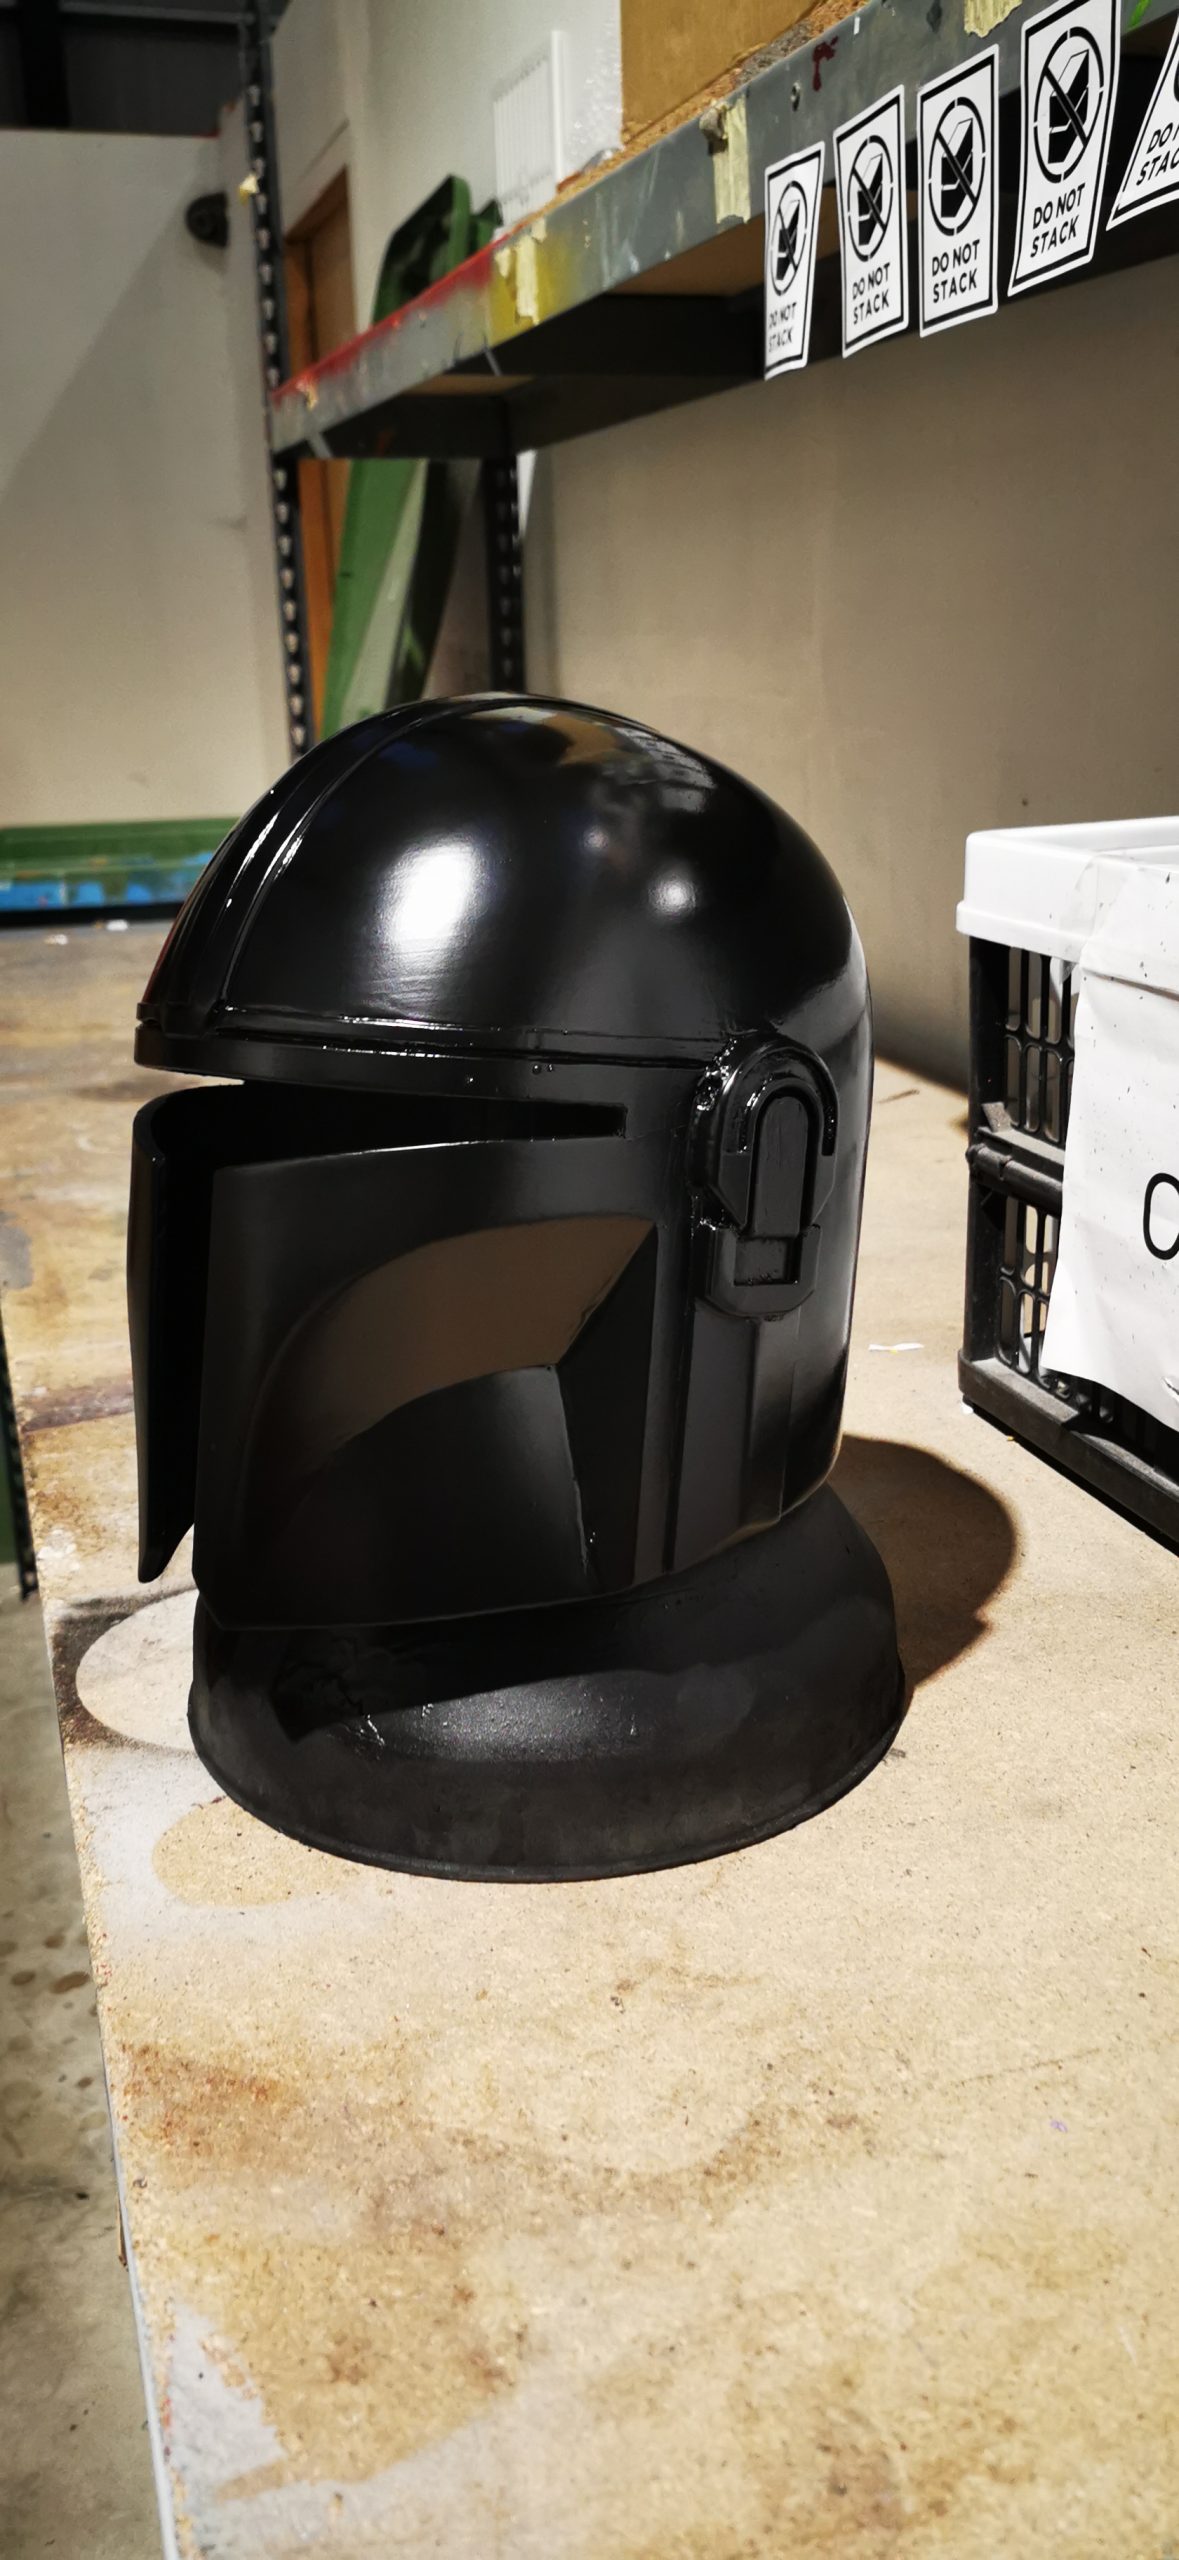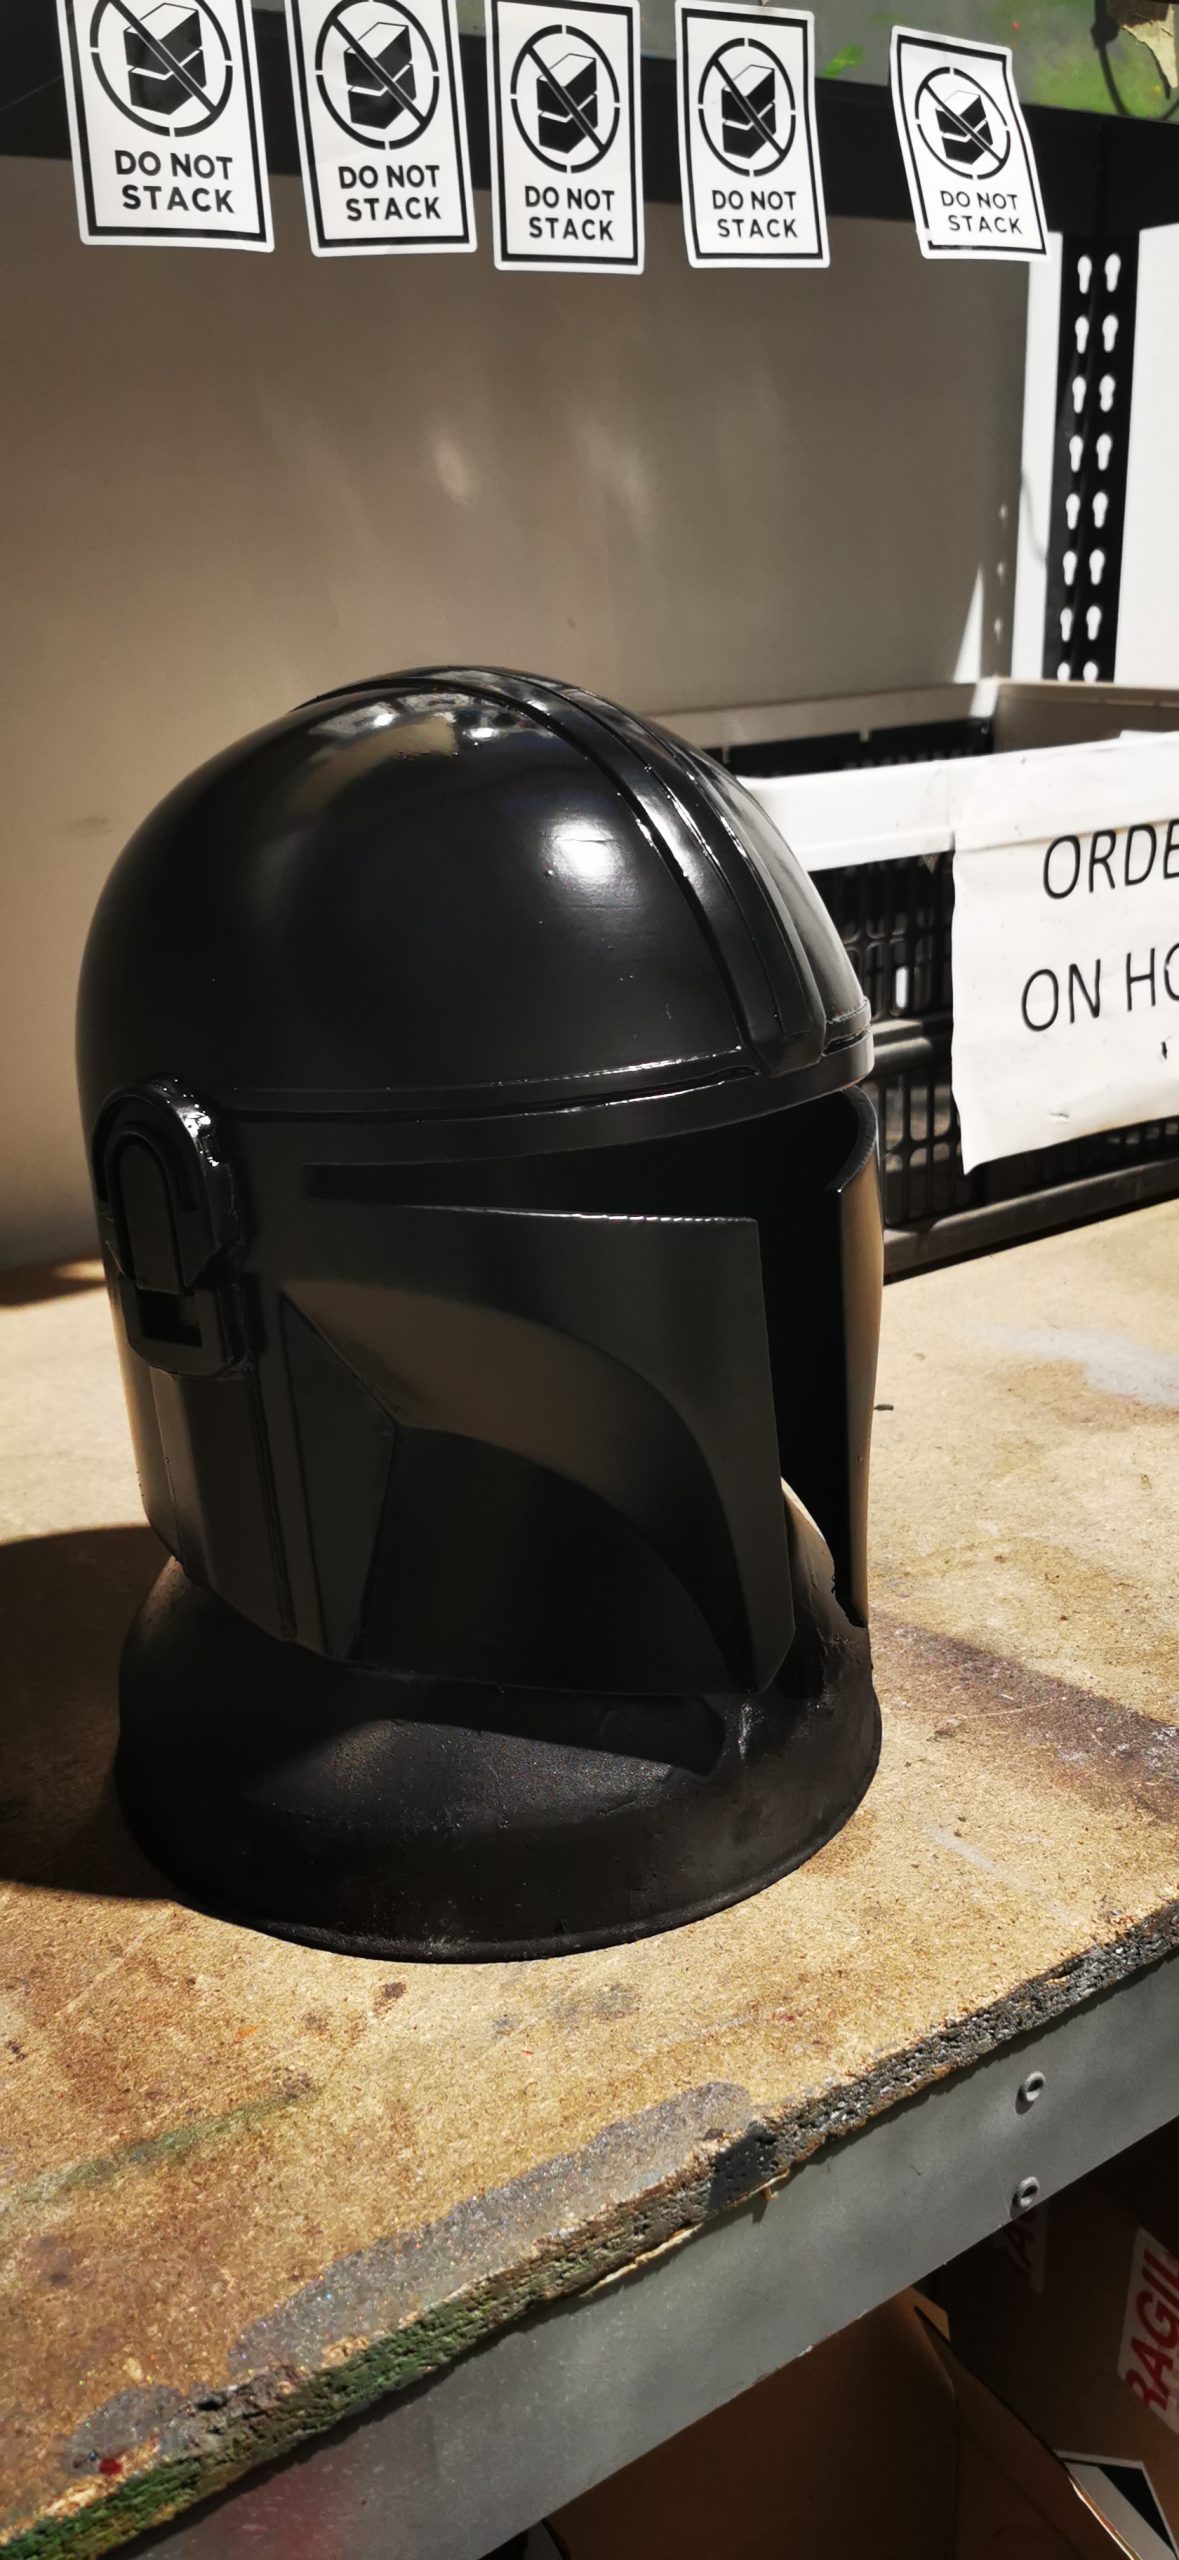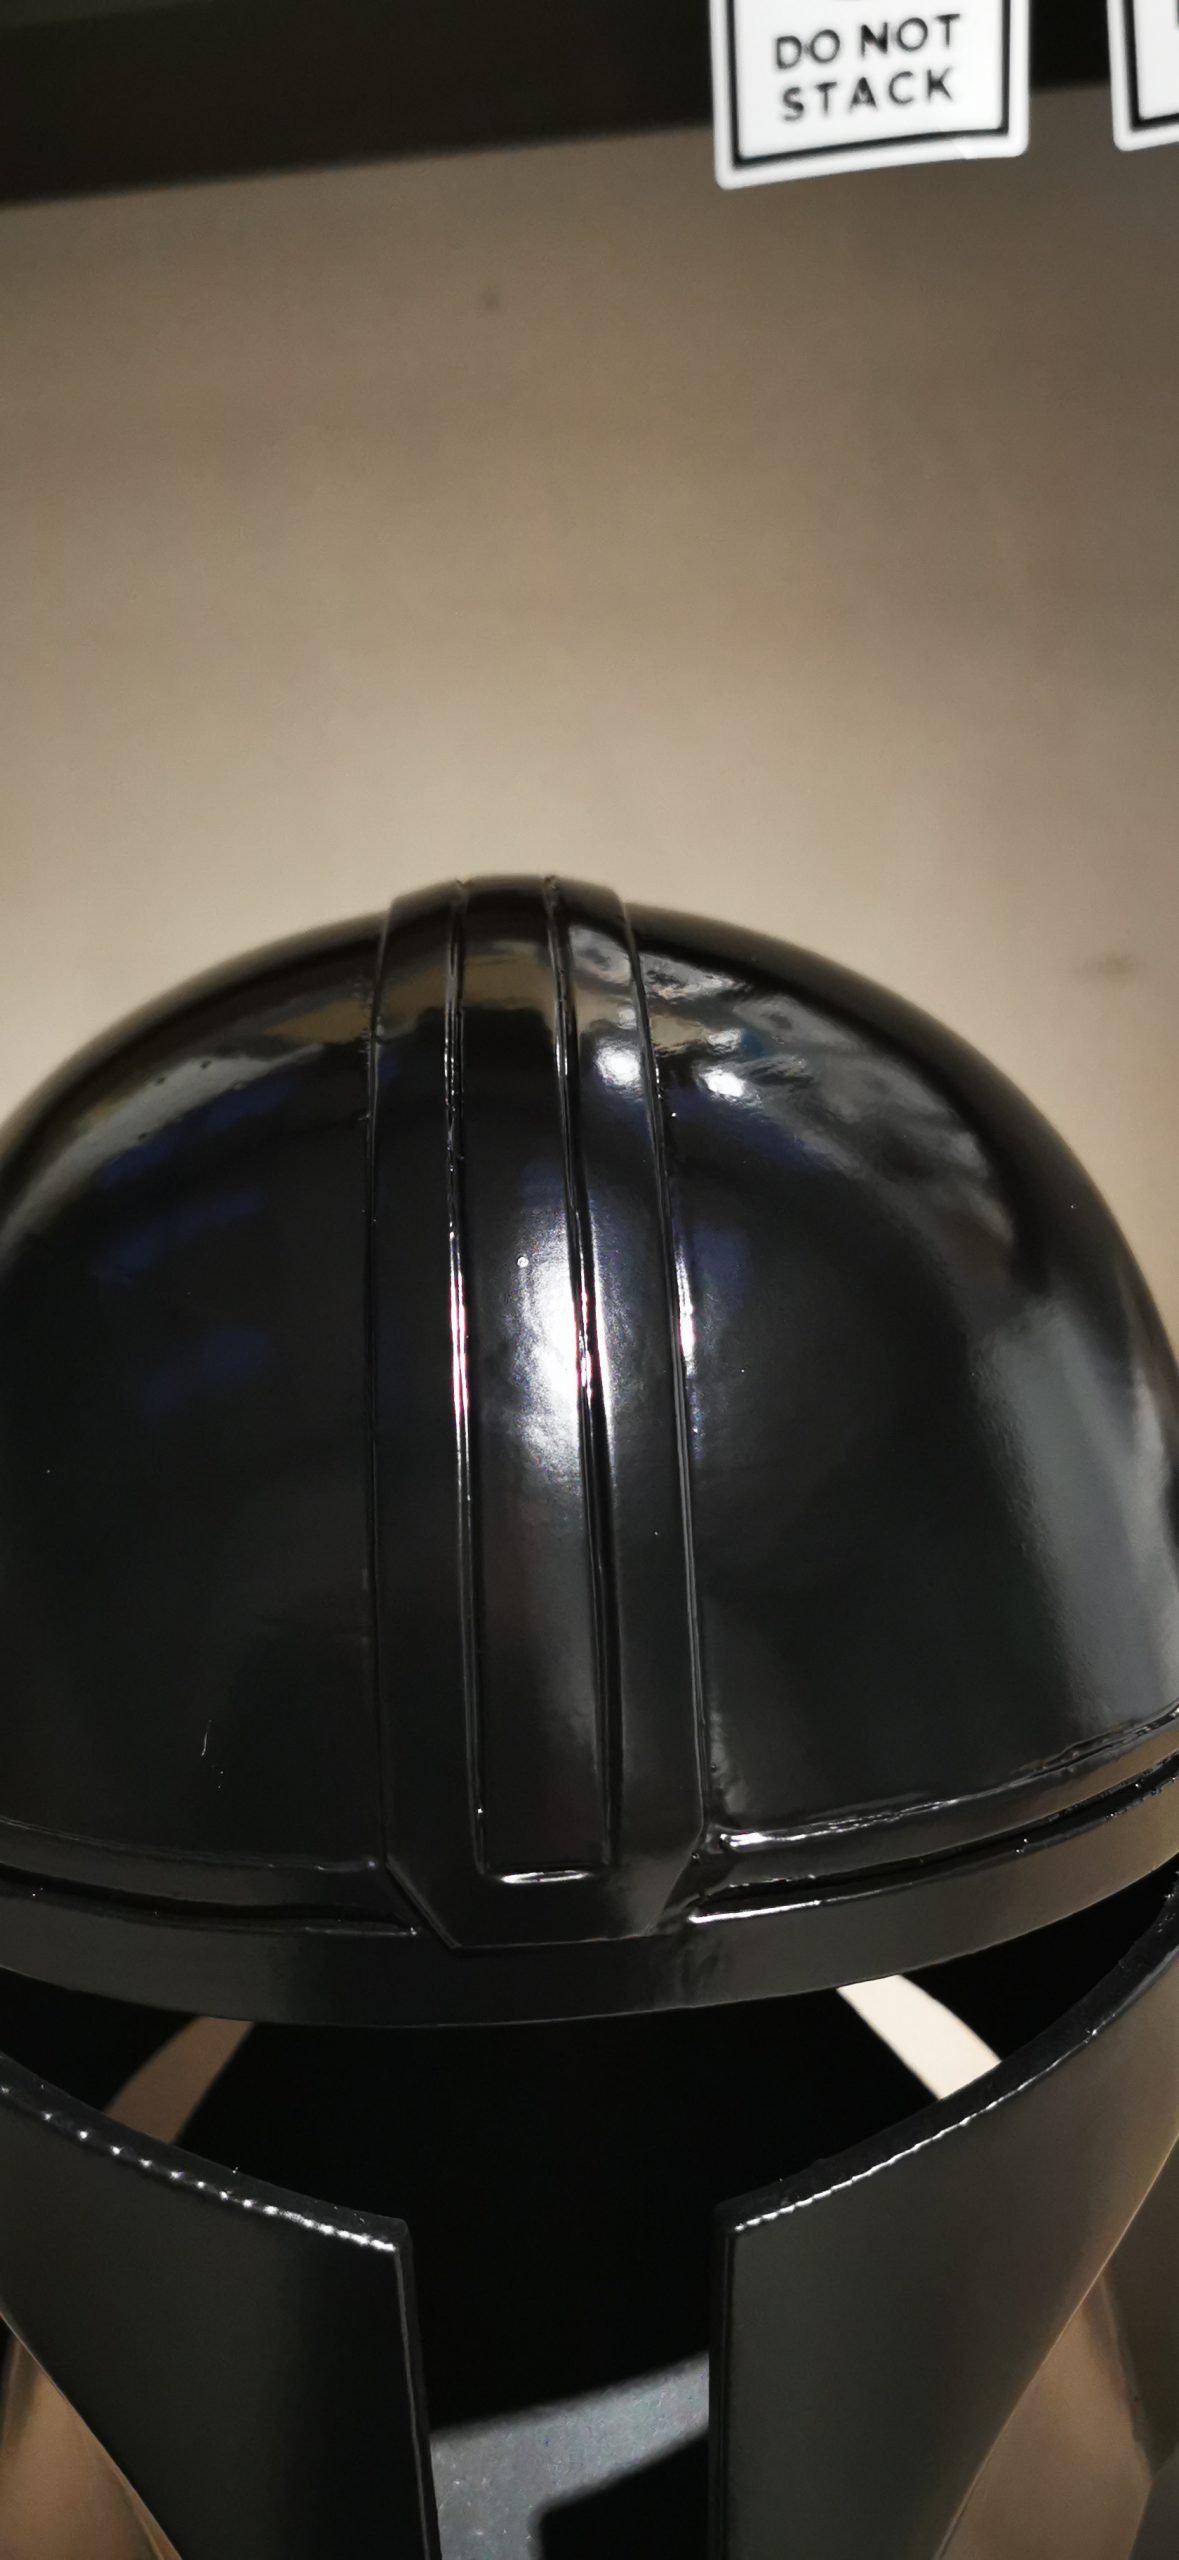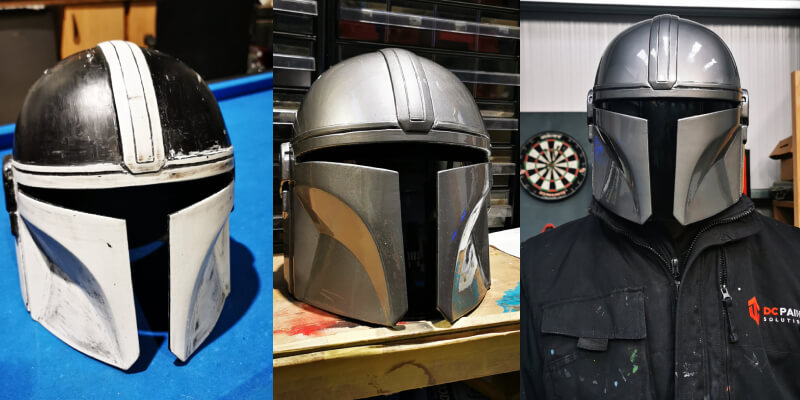
Having never painted a 3D printed object before, this new project excited us, and the team were looking forward to taking up the challenge. This turned out to be a labour of love and hate, and we ran into many issues, but the result was worth it. We looked at online tutorials on the best way to sand the lines in 3D printed projects, so we tried to use sandpaper and a wire brush, but most things seemed to damage the finish. The only way we managed to reduce the lines was to get a Stanley blade and shave the plastic off a layer at a time. We had to go with the line of the printed material to ensure it didn’t break or affect the surface; this was massively time-consuming but important to the finish.
Tools
- Stanley Knife Blades
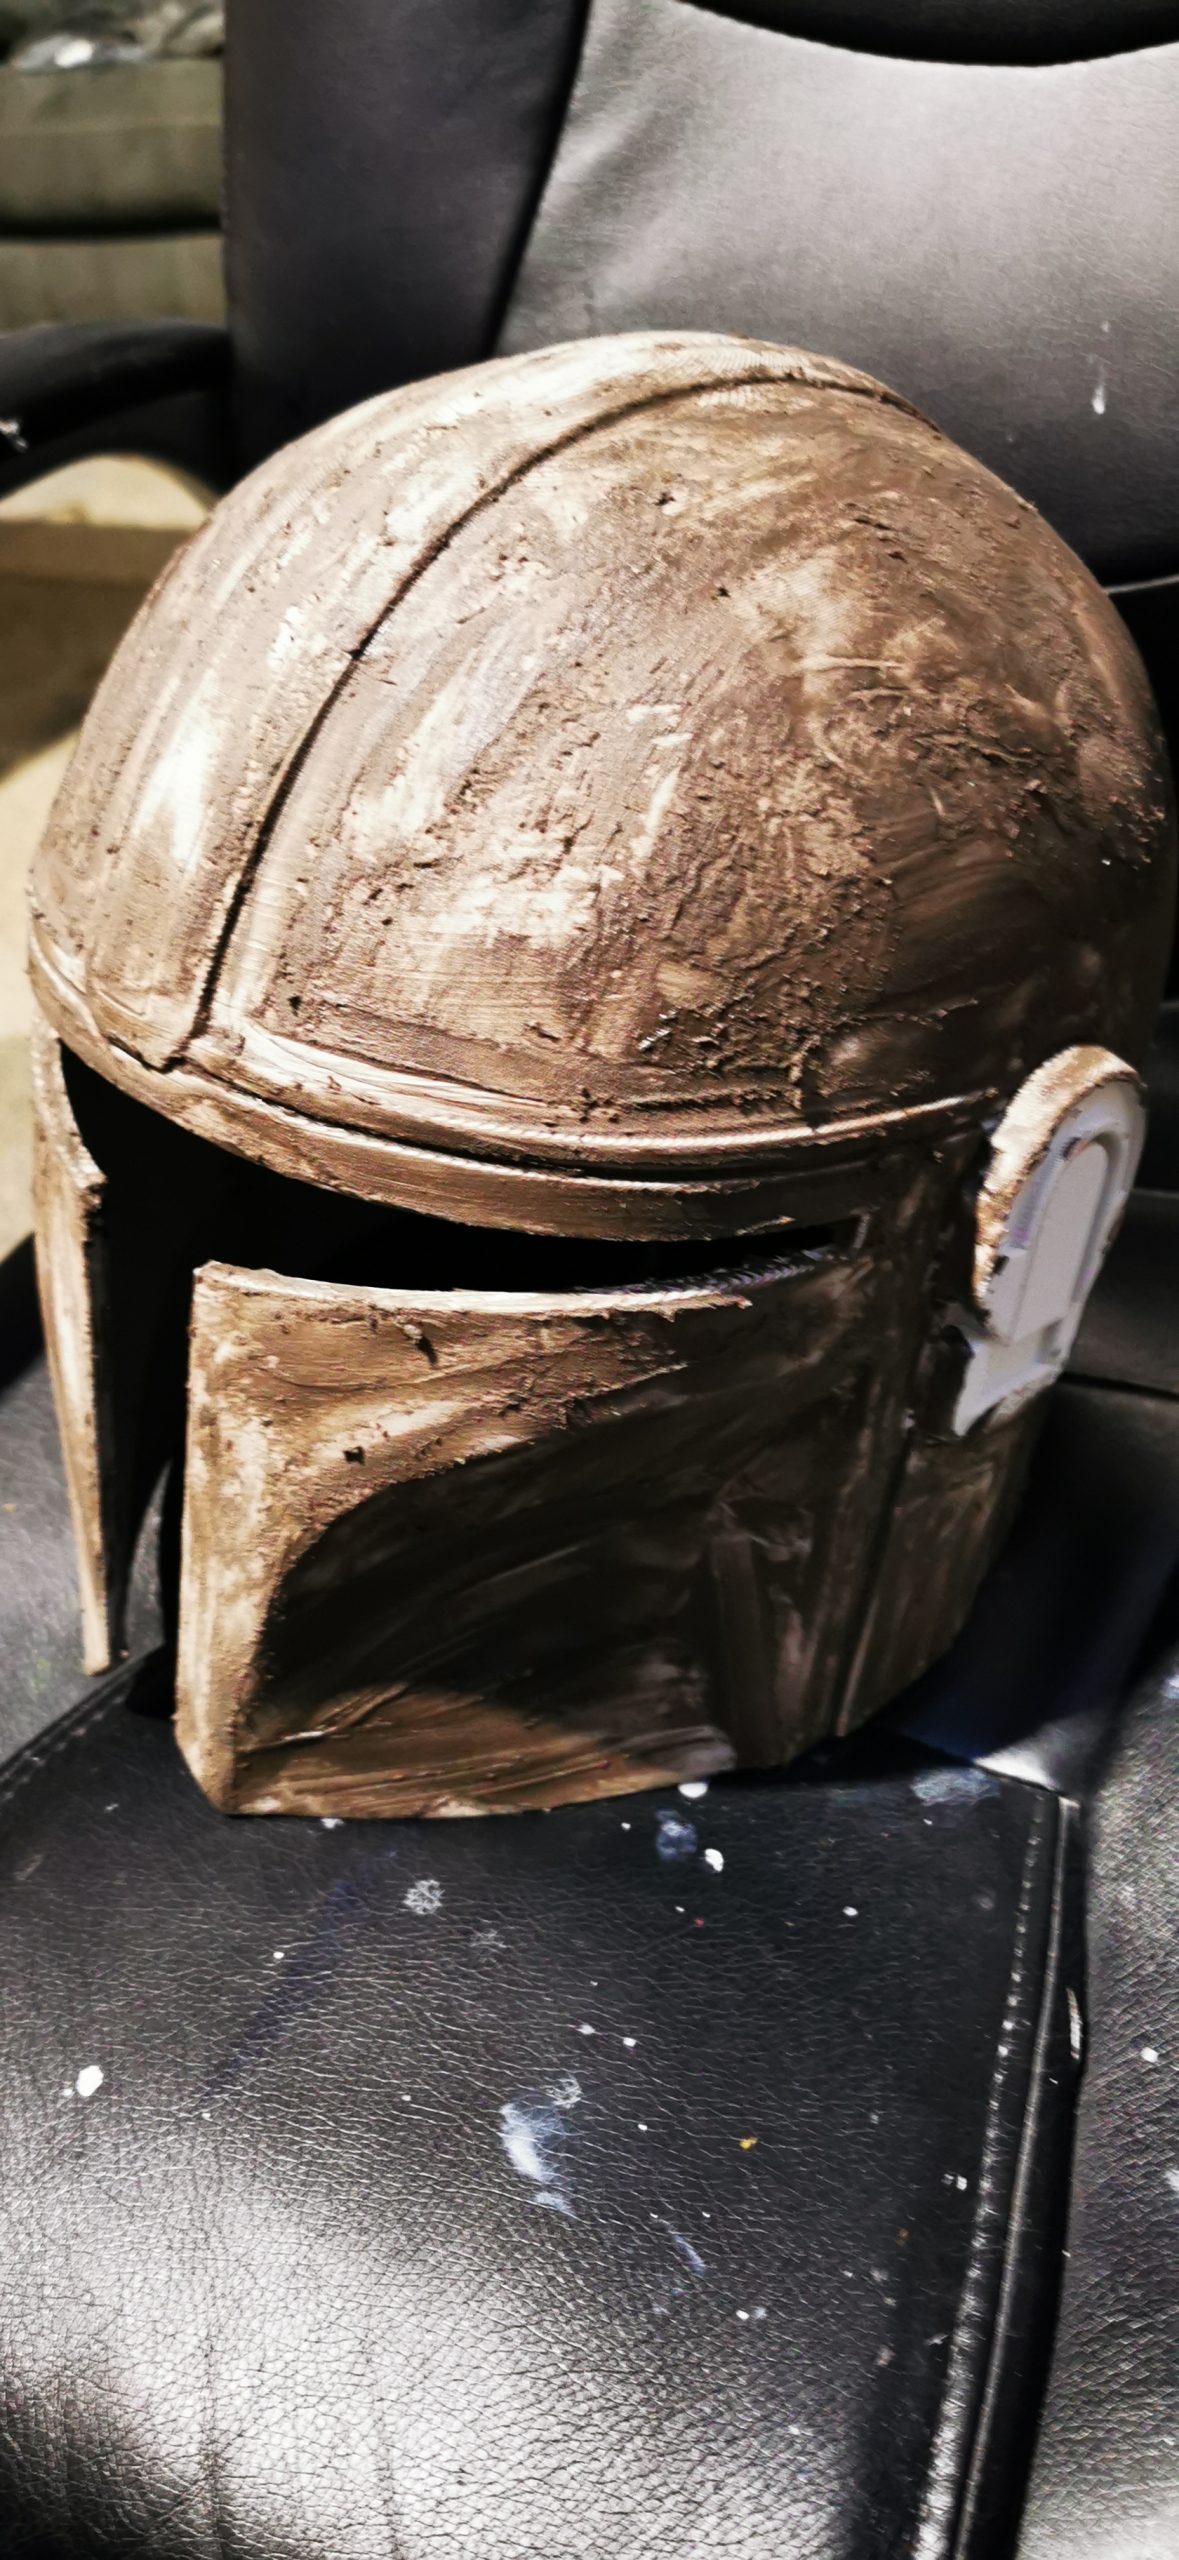
- Plastic Filler
- 2K Filler Primer
- Magnum Grey Metallic Paint
- 2K Solid Gloss Lacquer
Prep
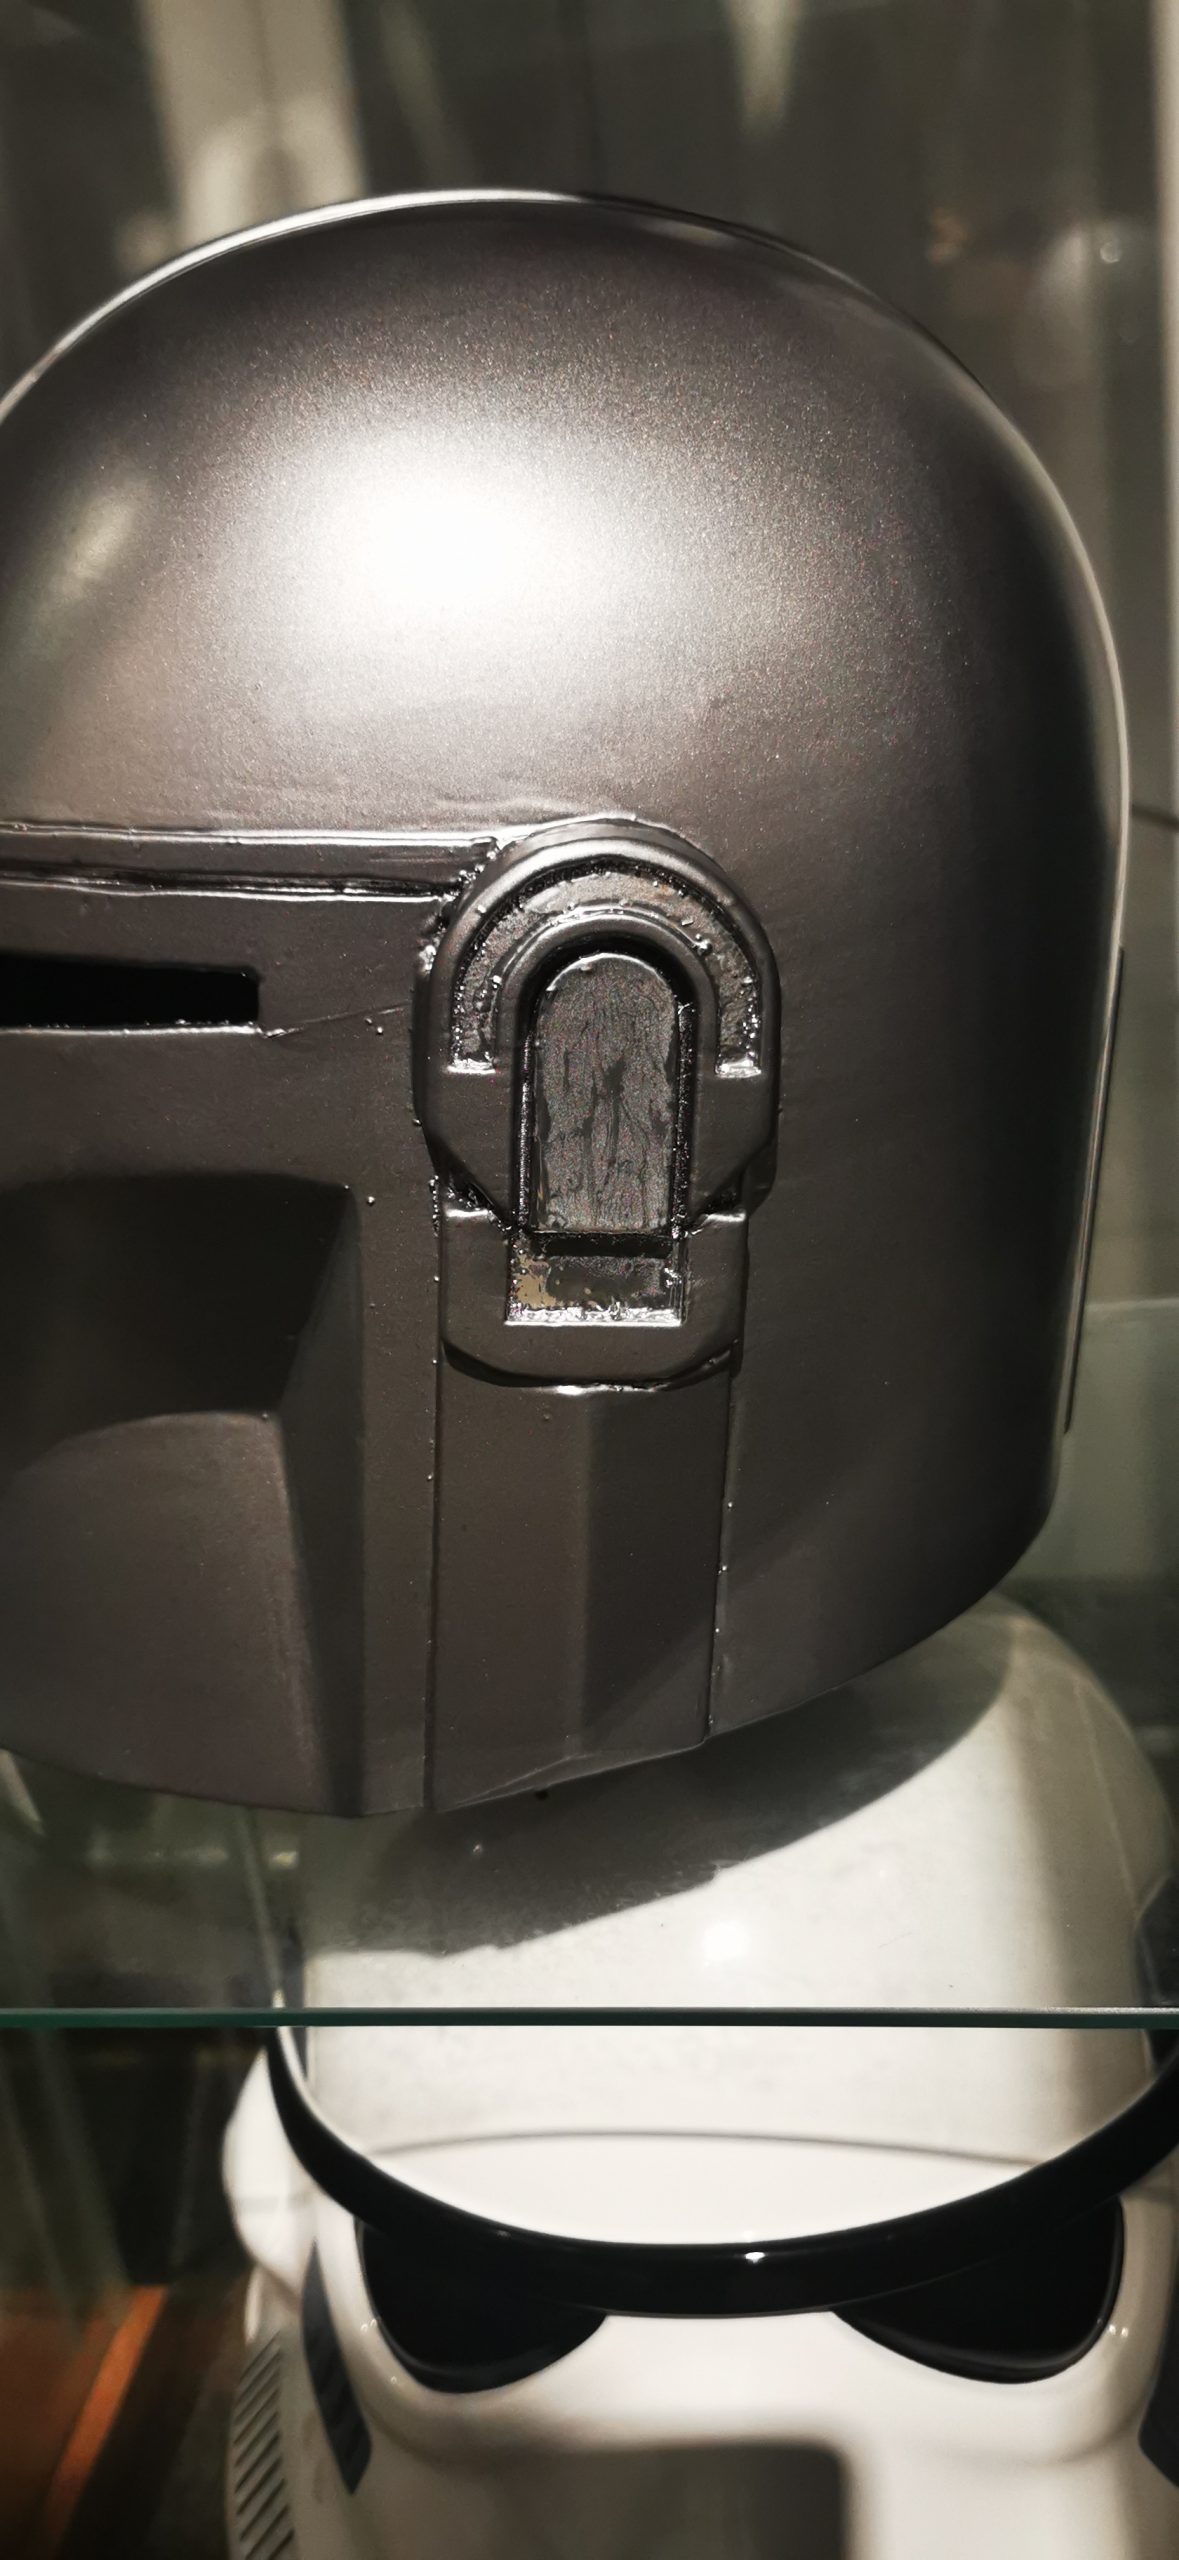
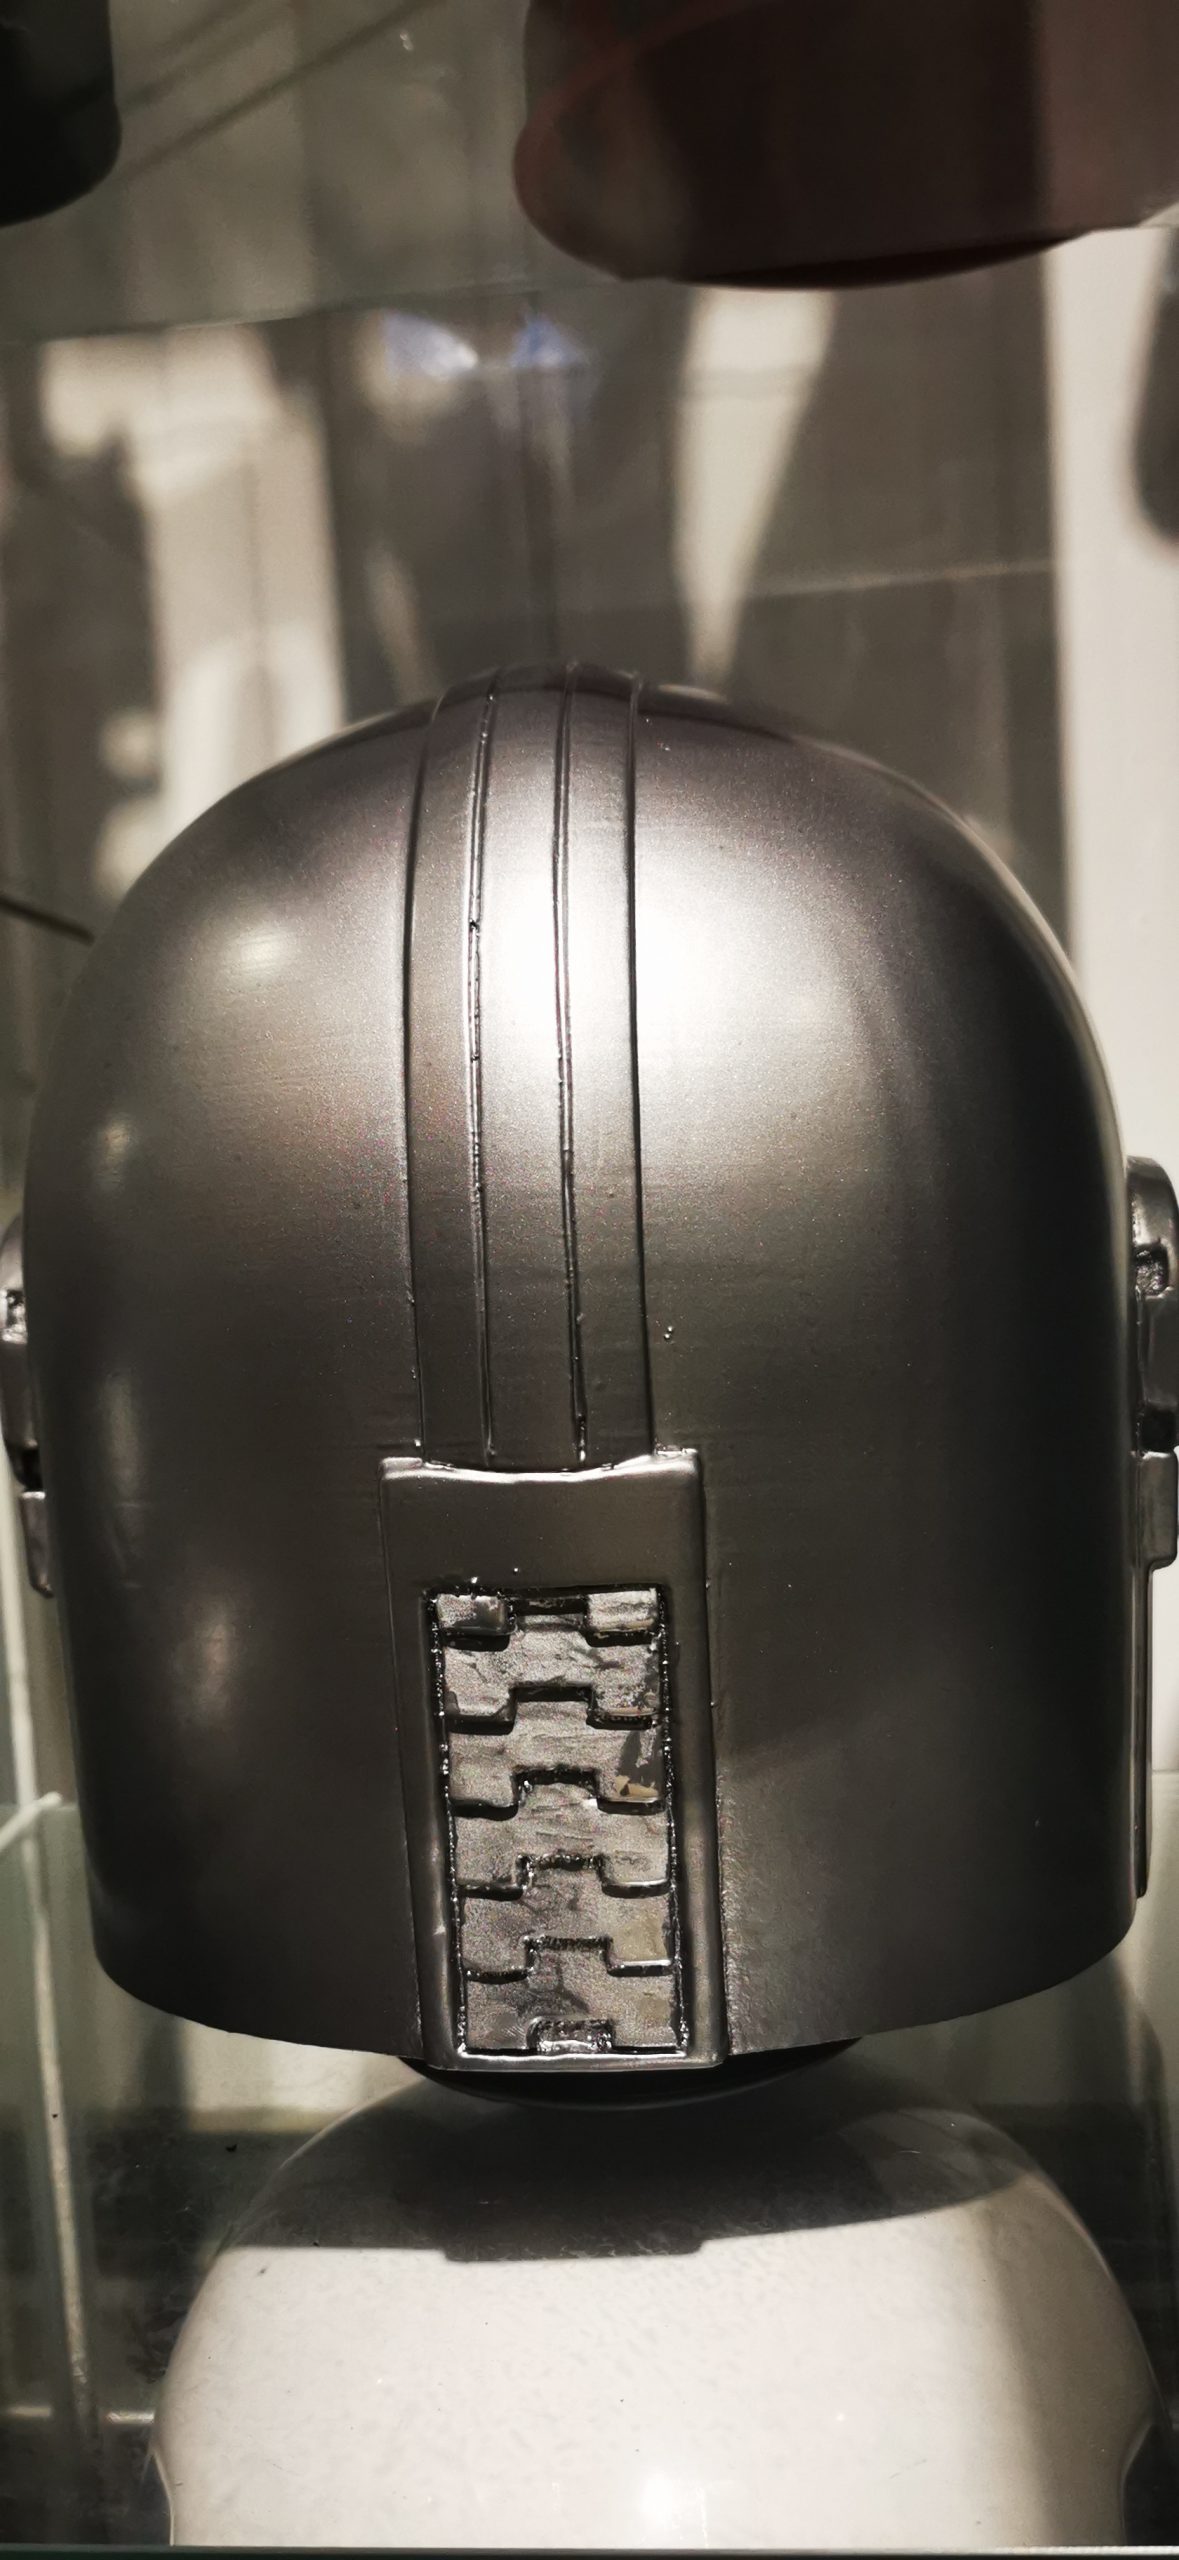
Using a blade (Stanley), we shaved the surface along the lines of the 3D printed finish. The plastic is soft enough to scrape layers off at a time, which made the task slightly easier. You can use higher grit paper once you have a smoother substrate. Once you have prepped, it’s on to the paint.
Paint
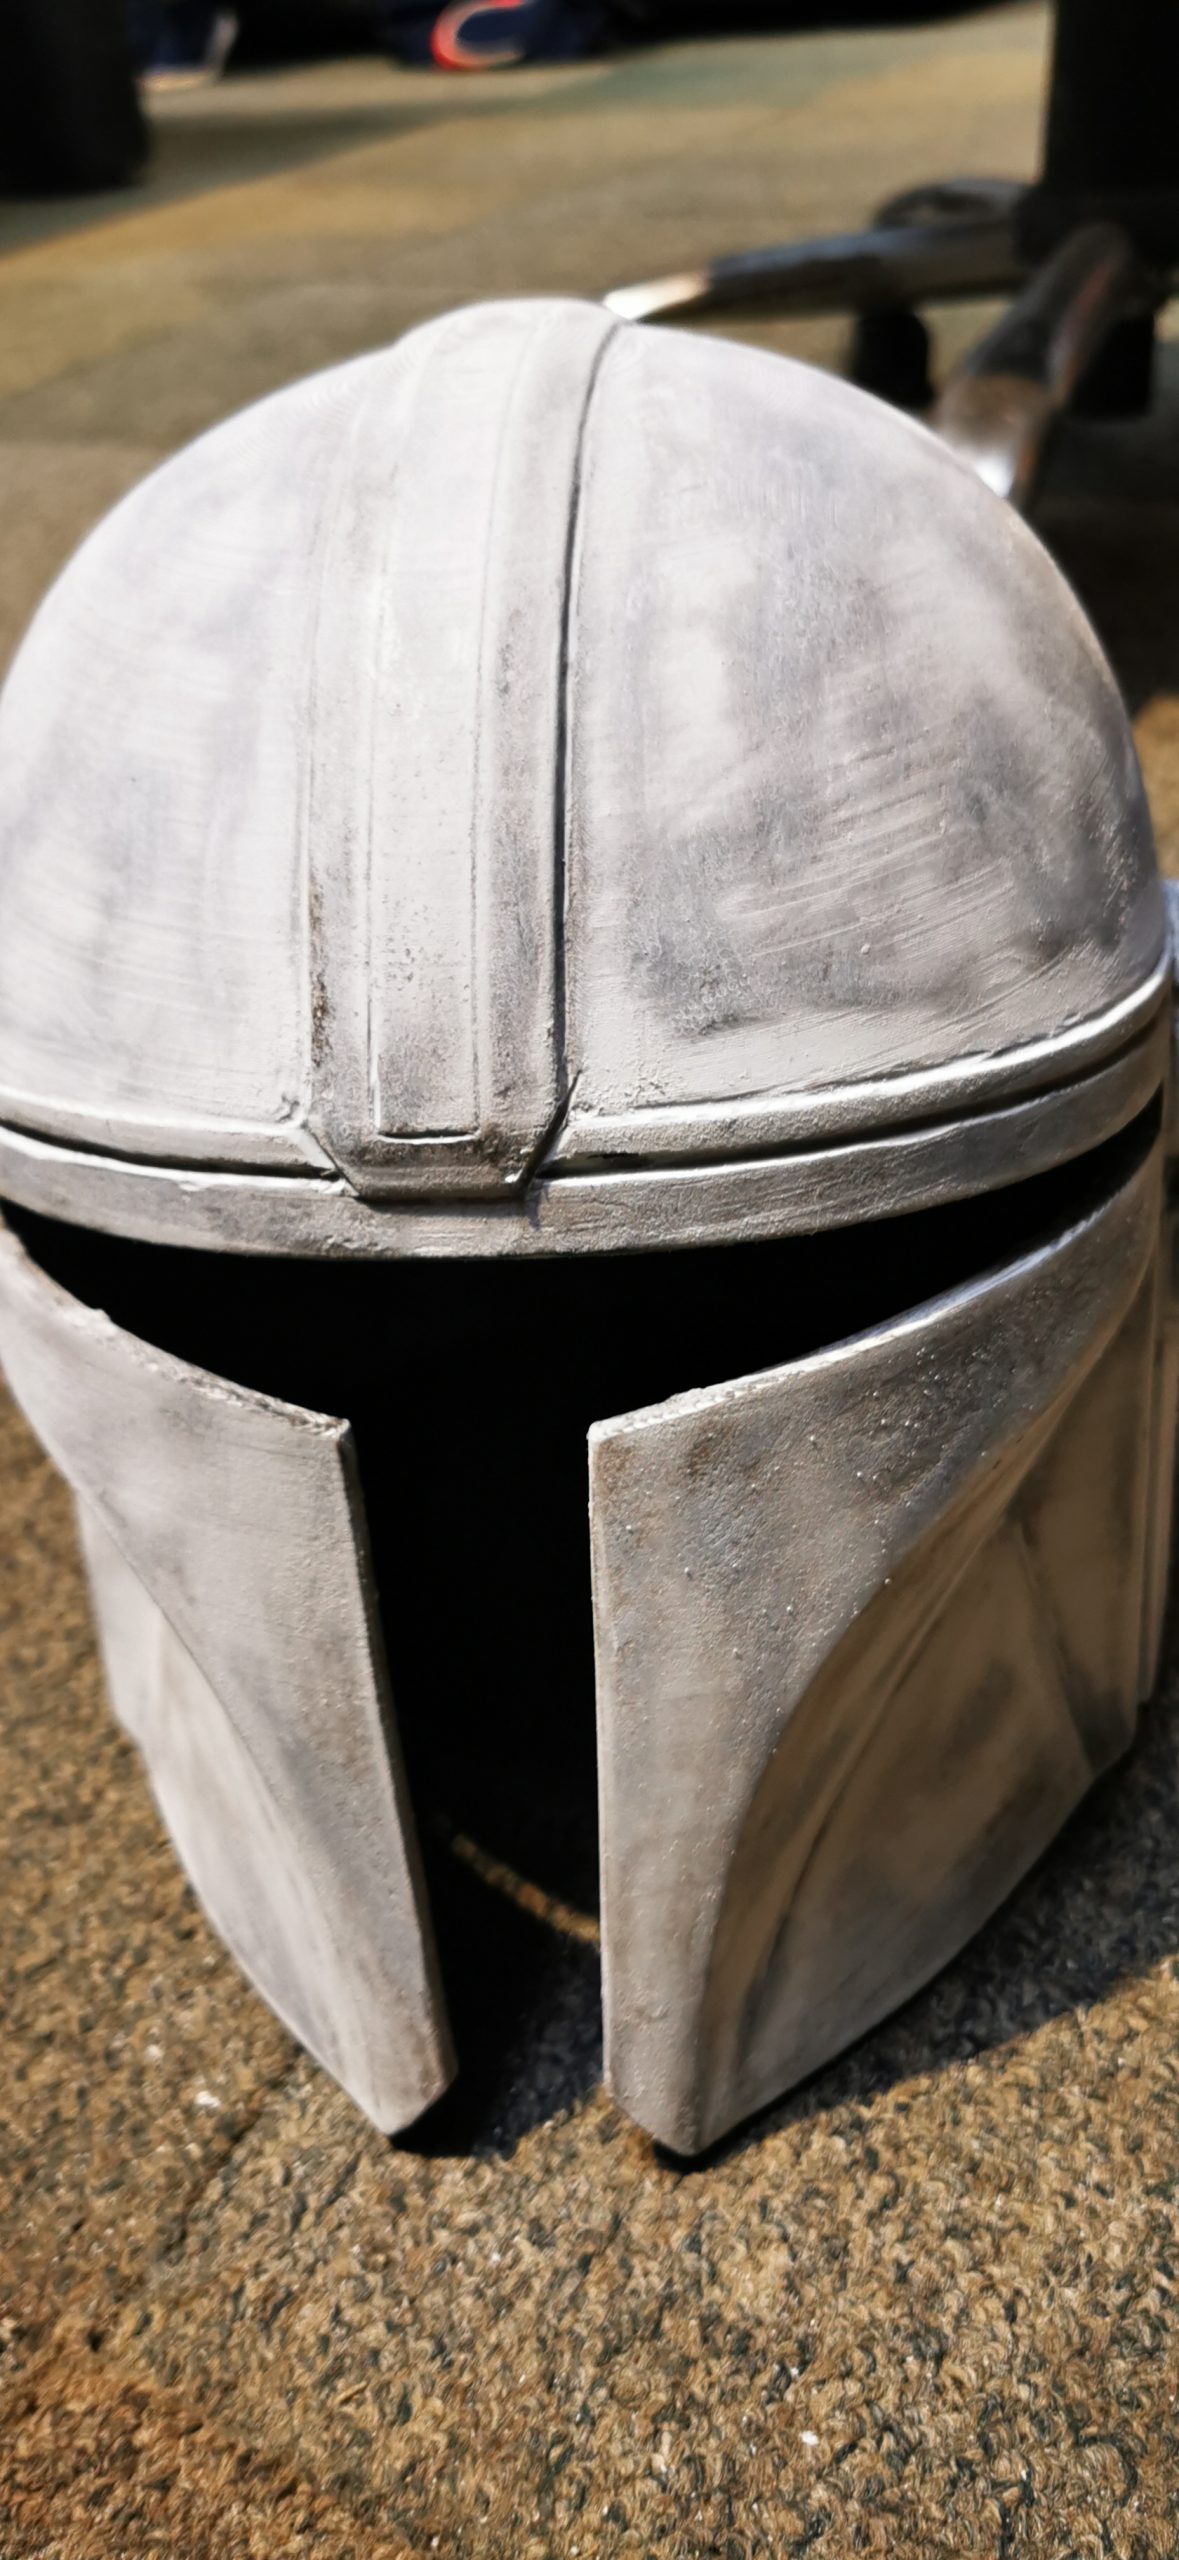
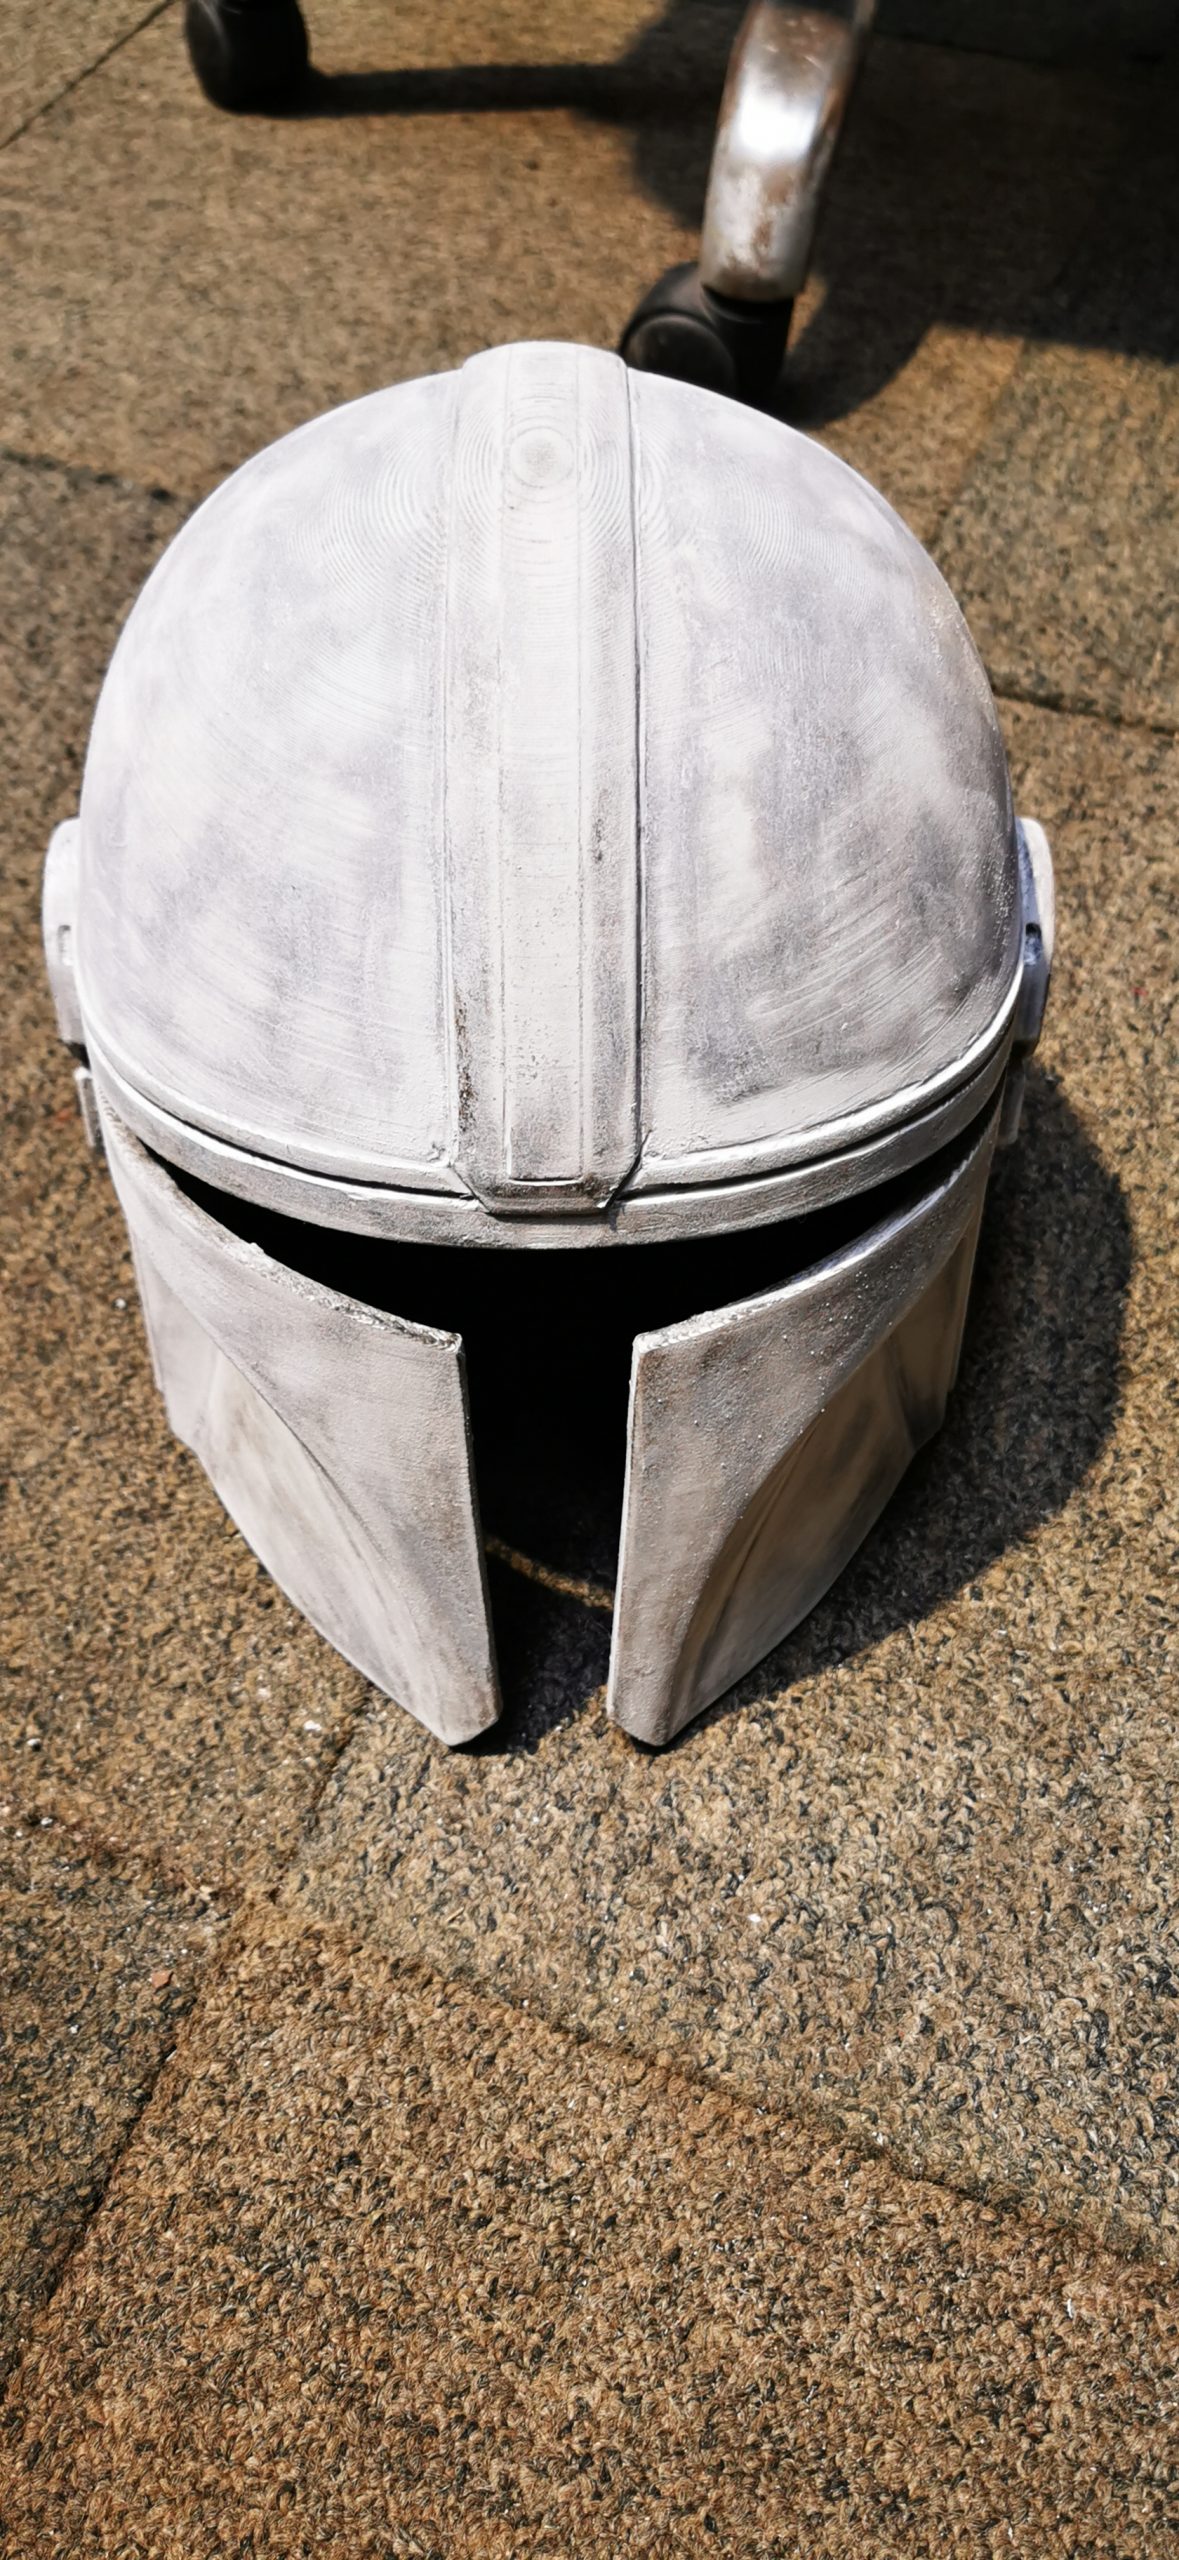
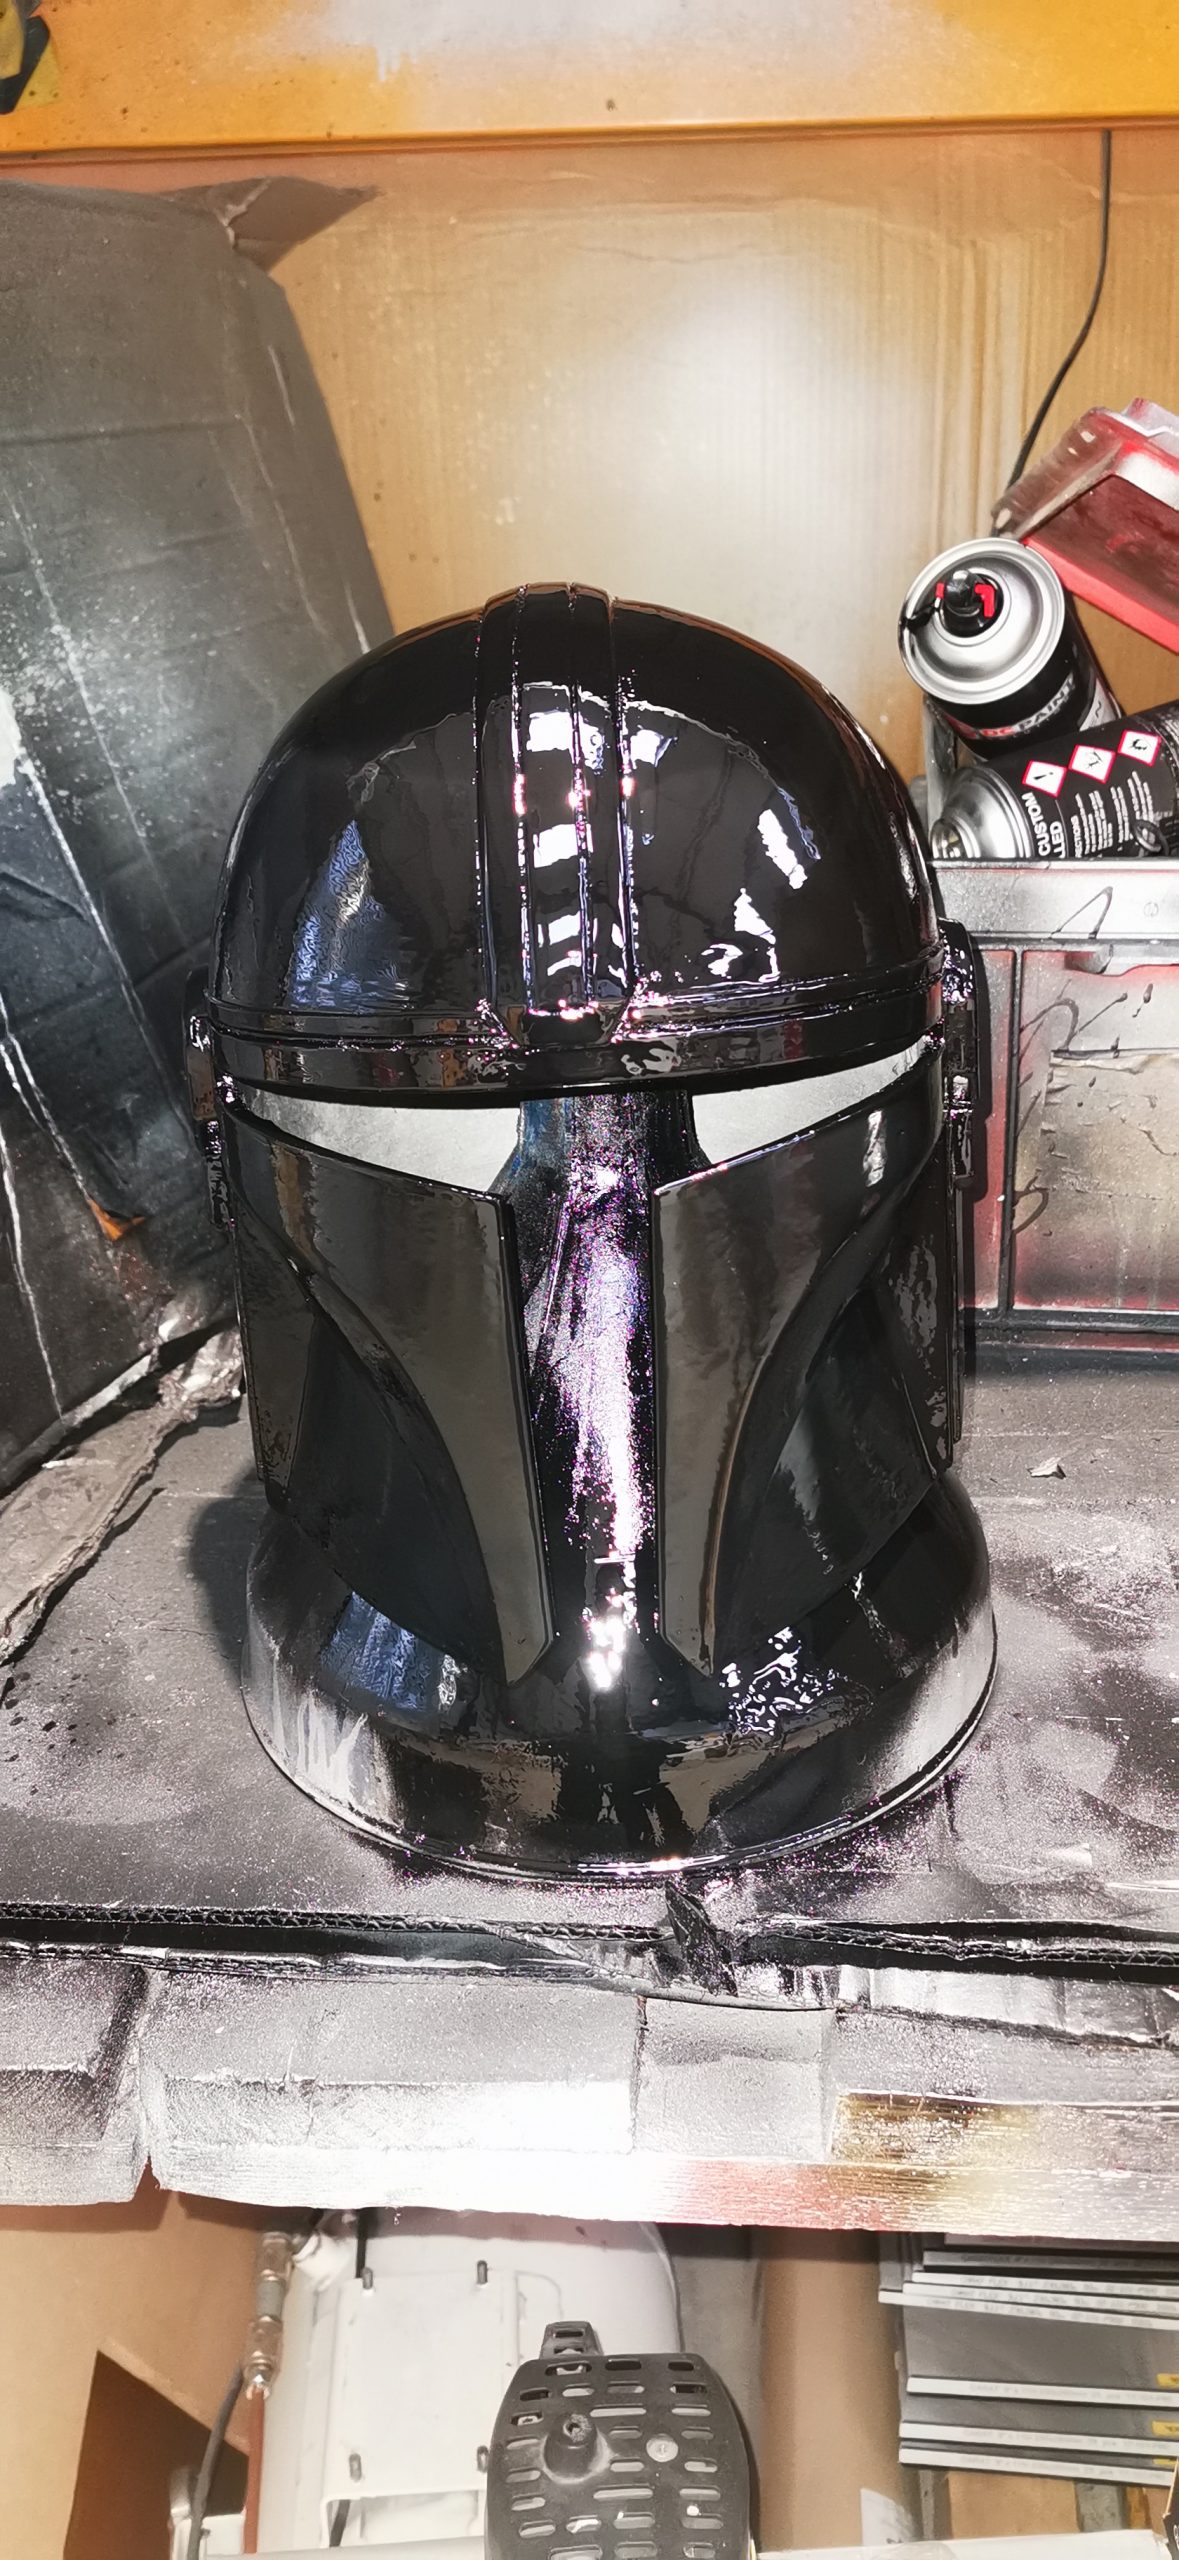
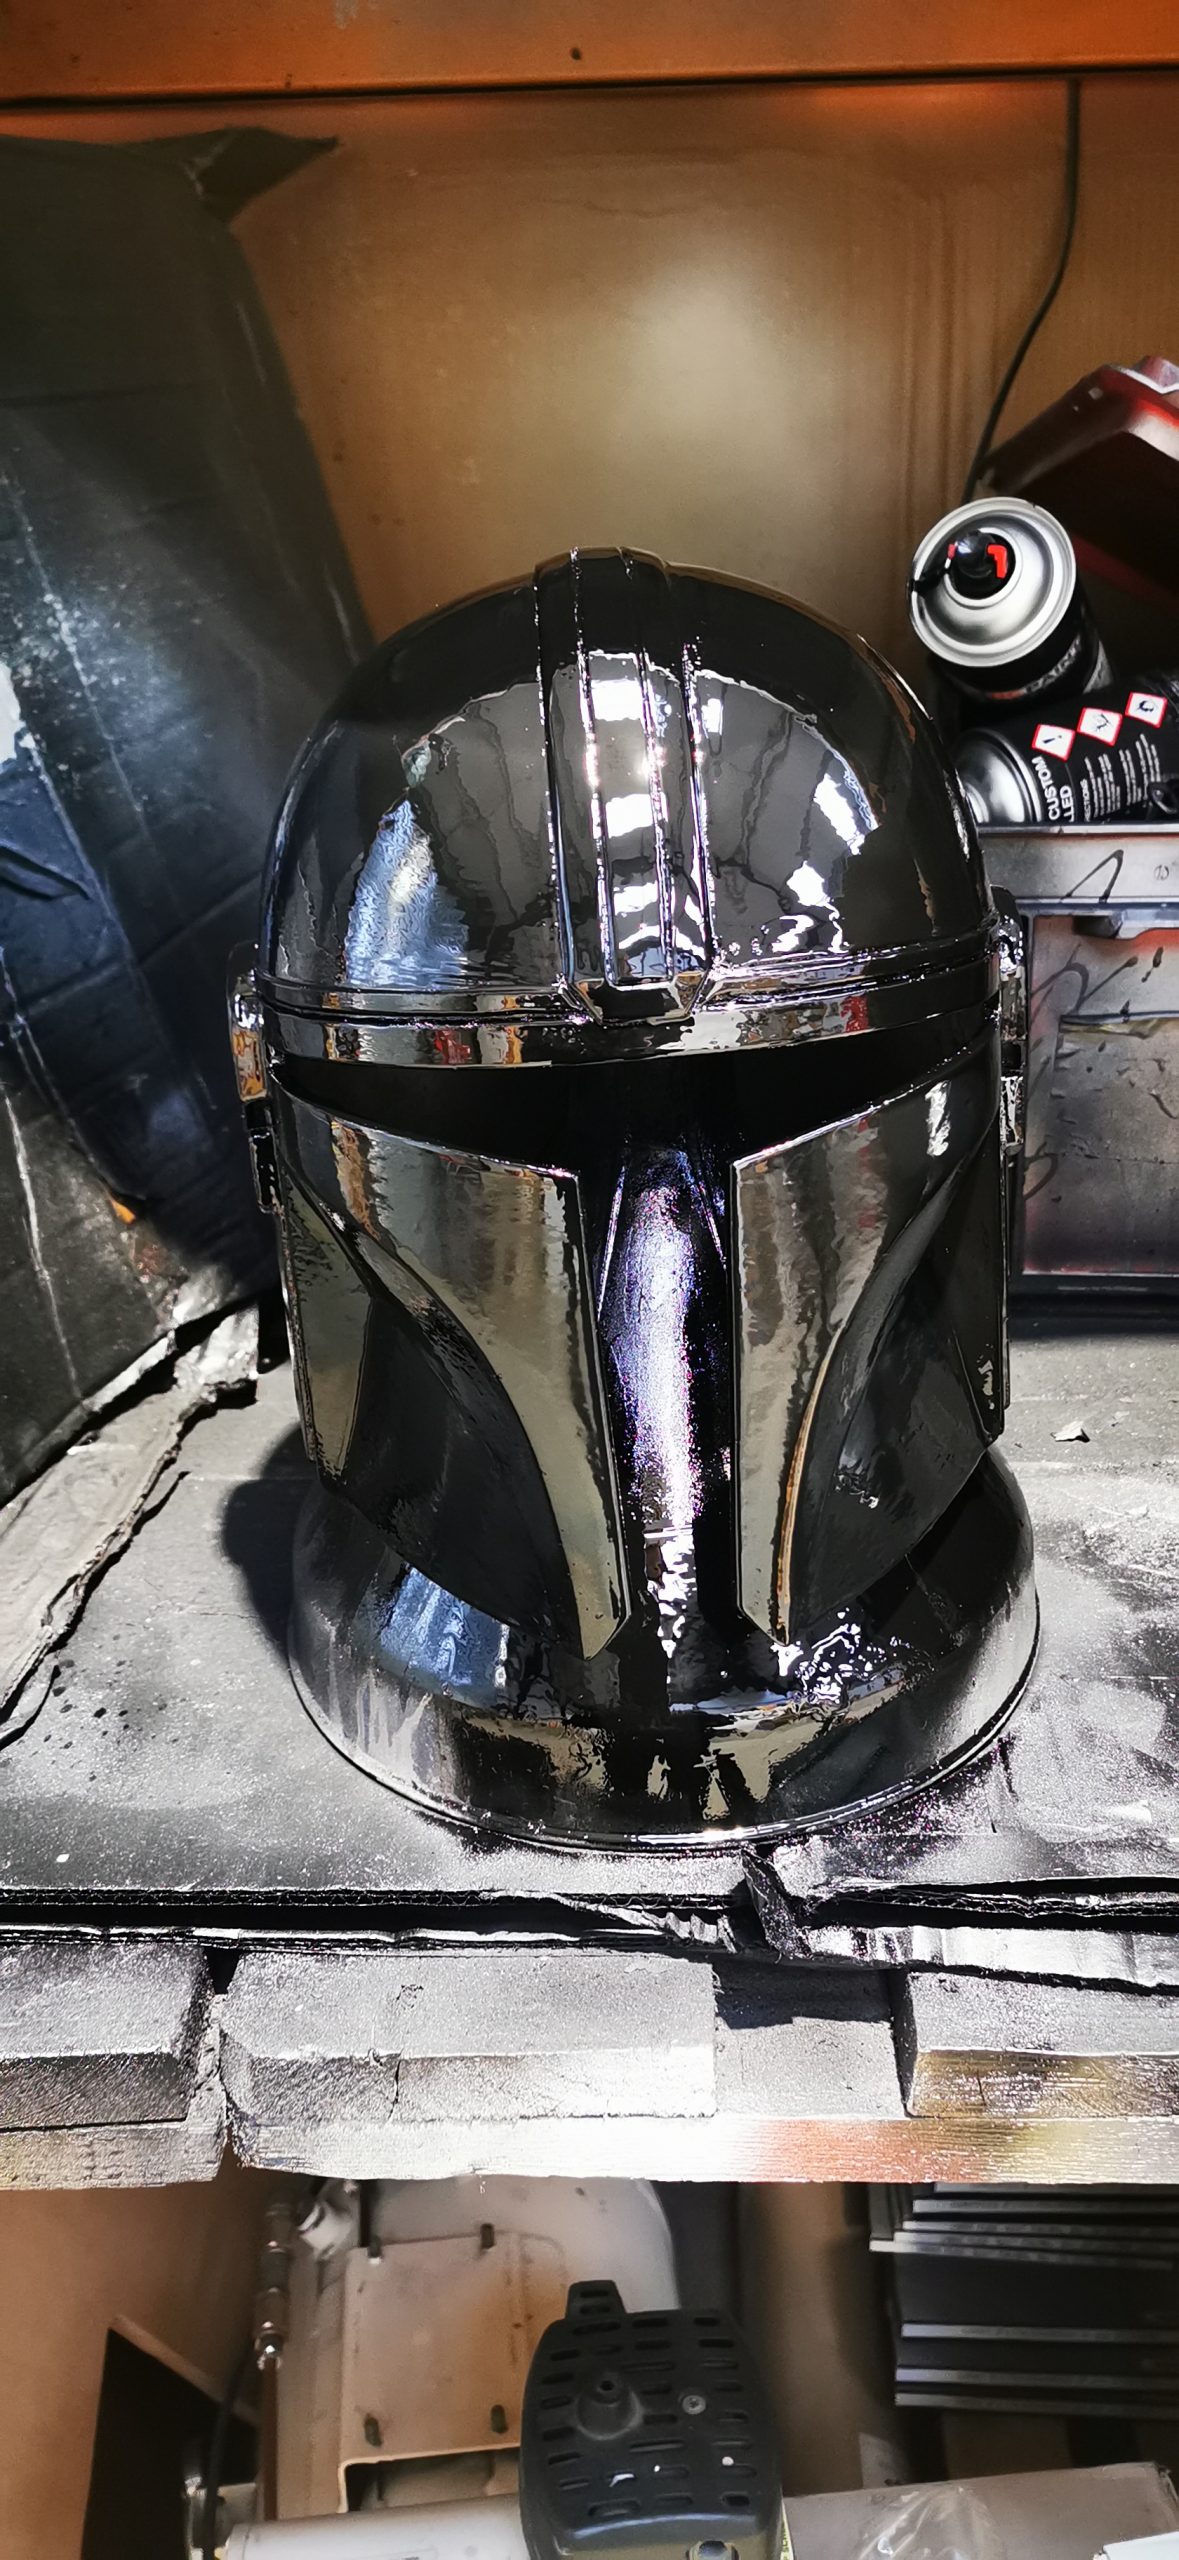
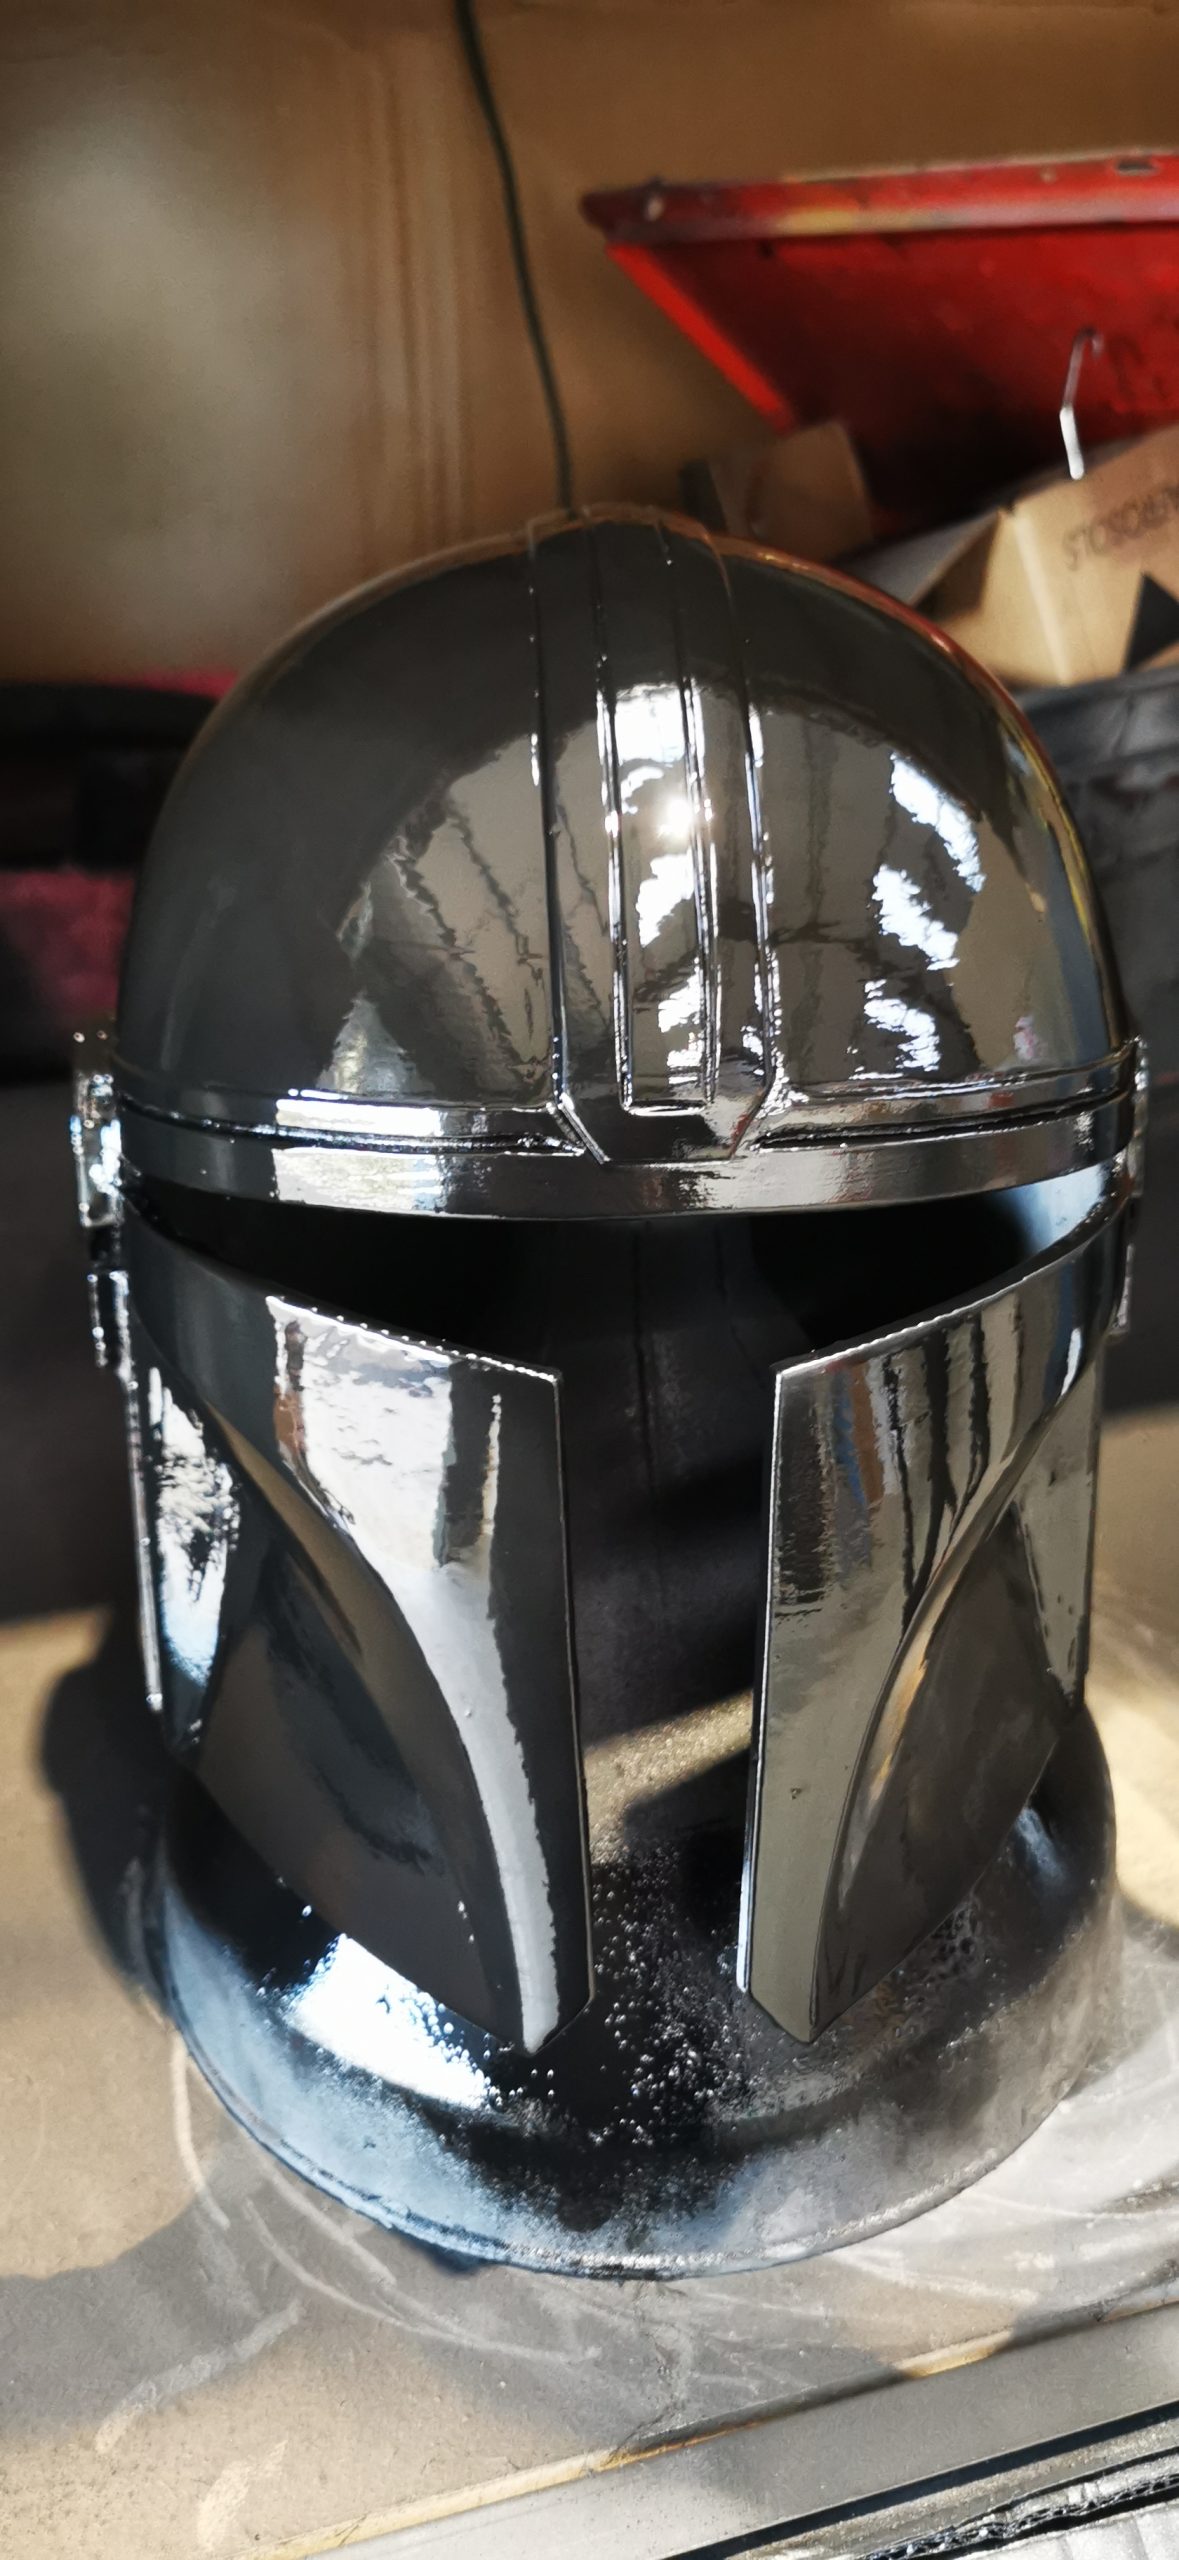
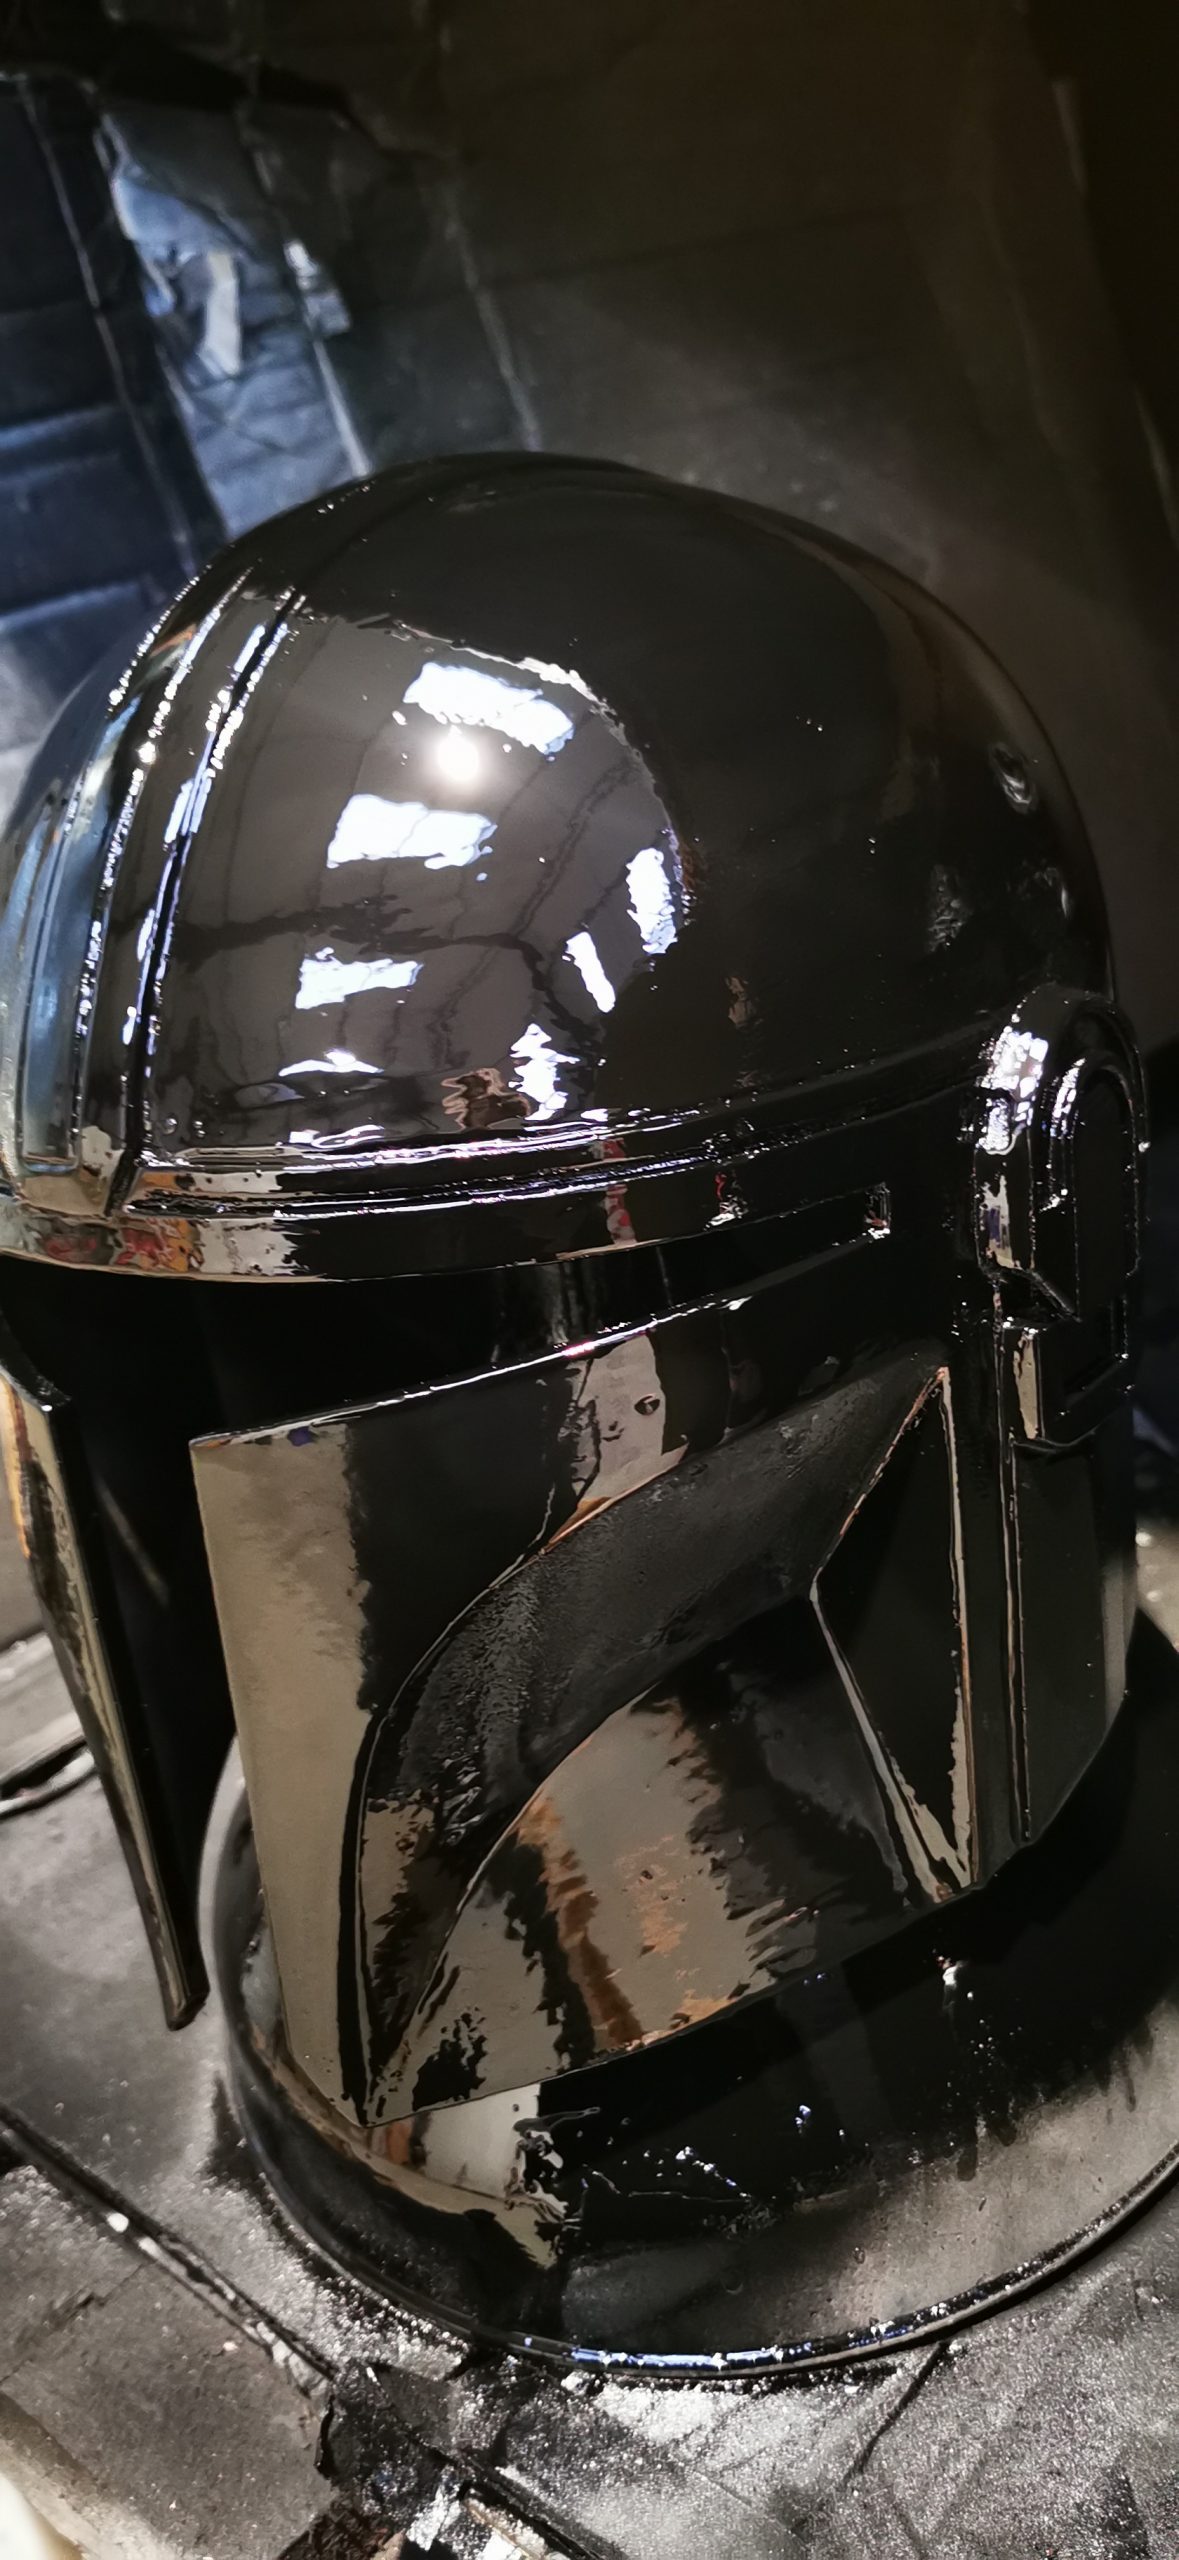
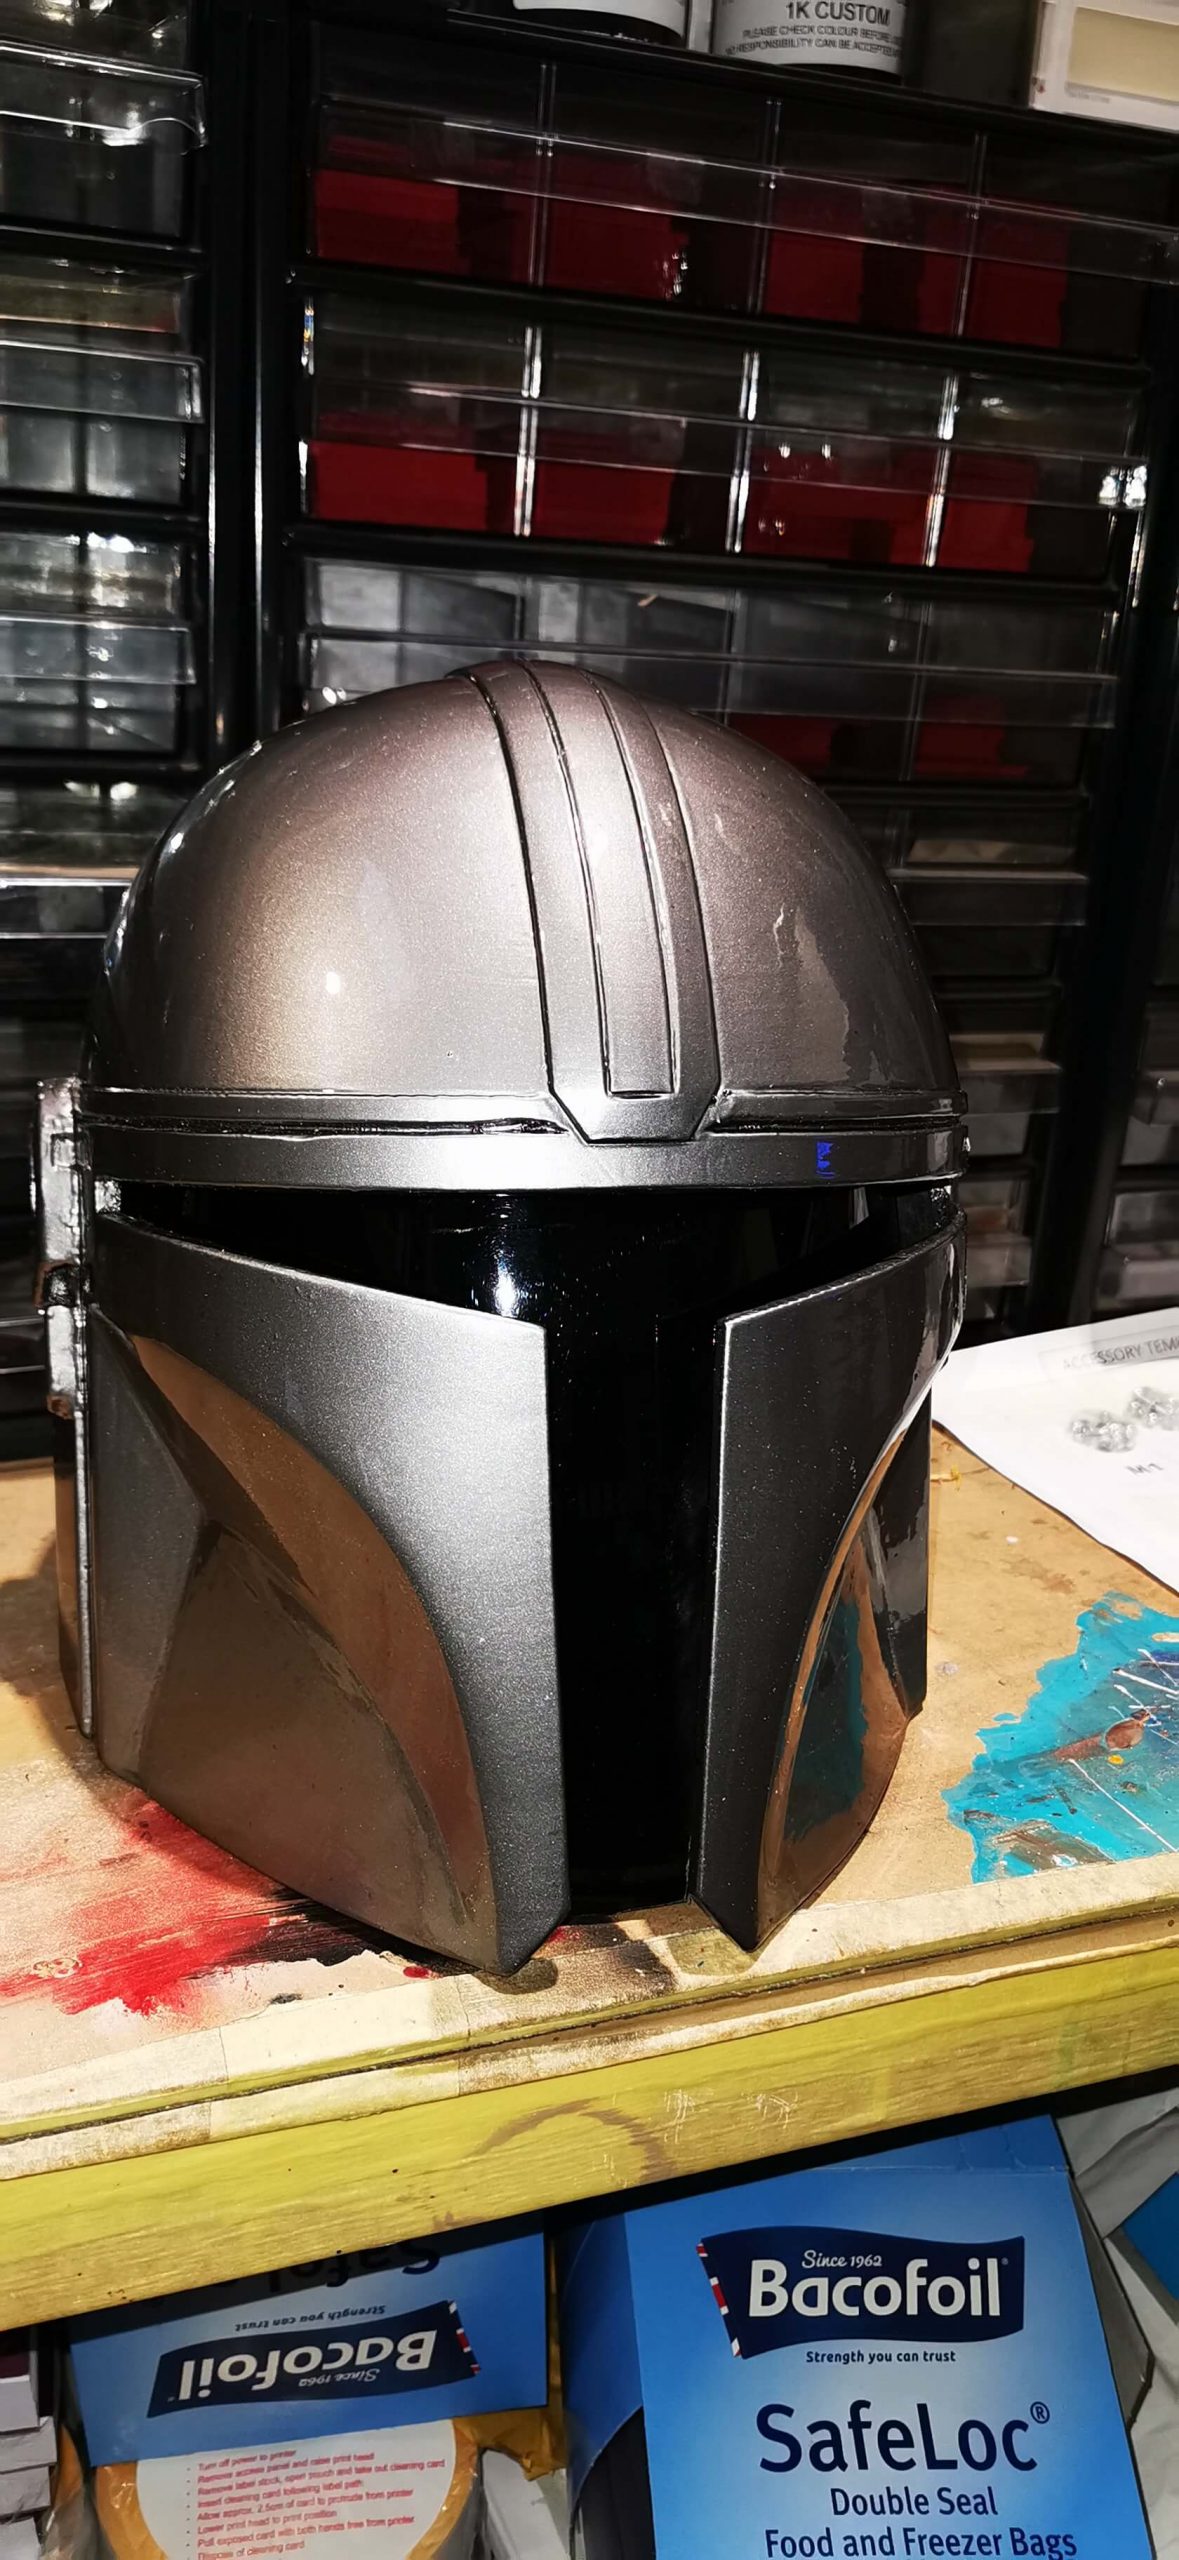
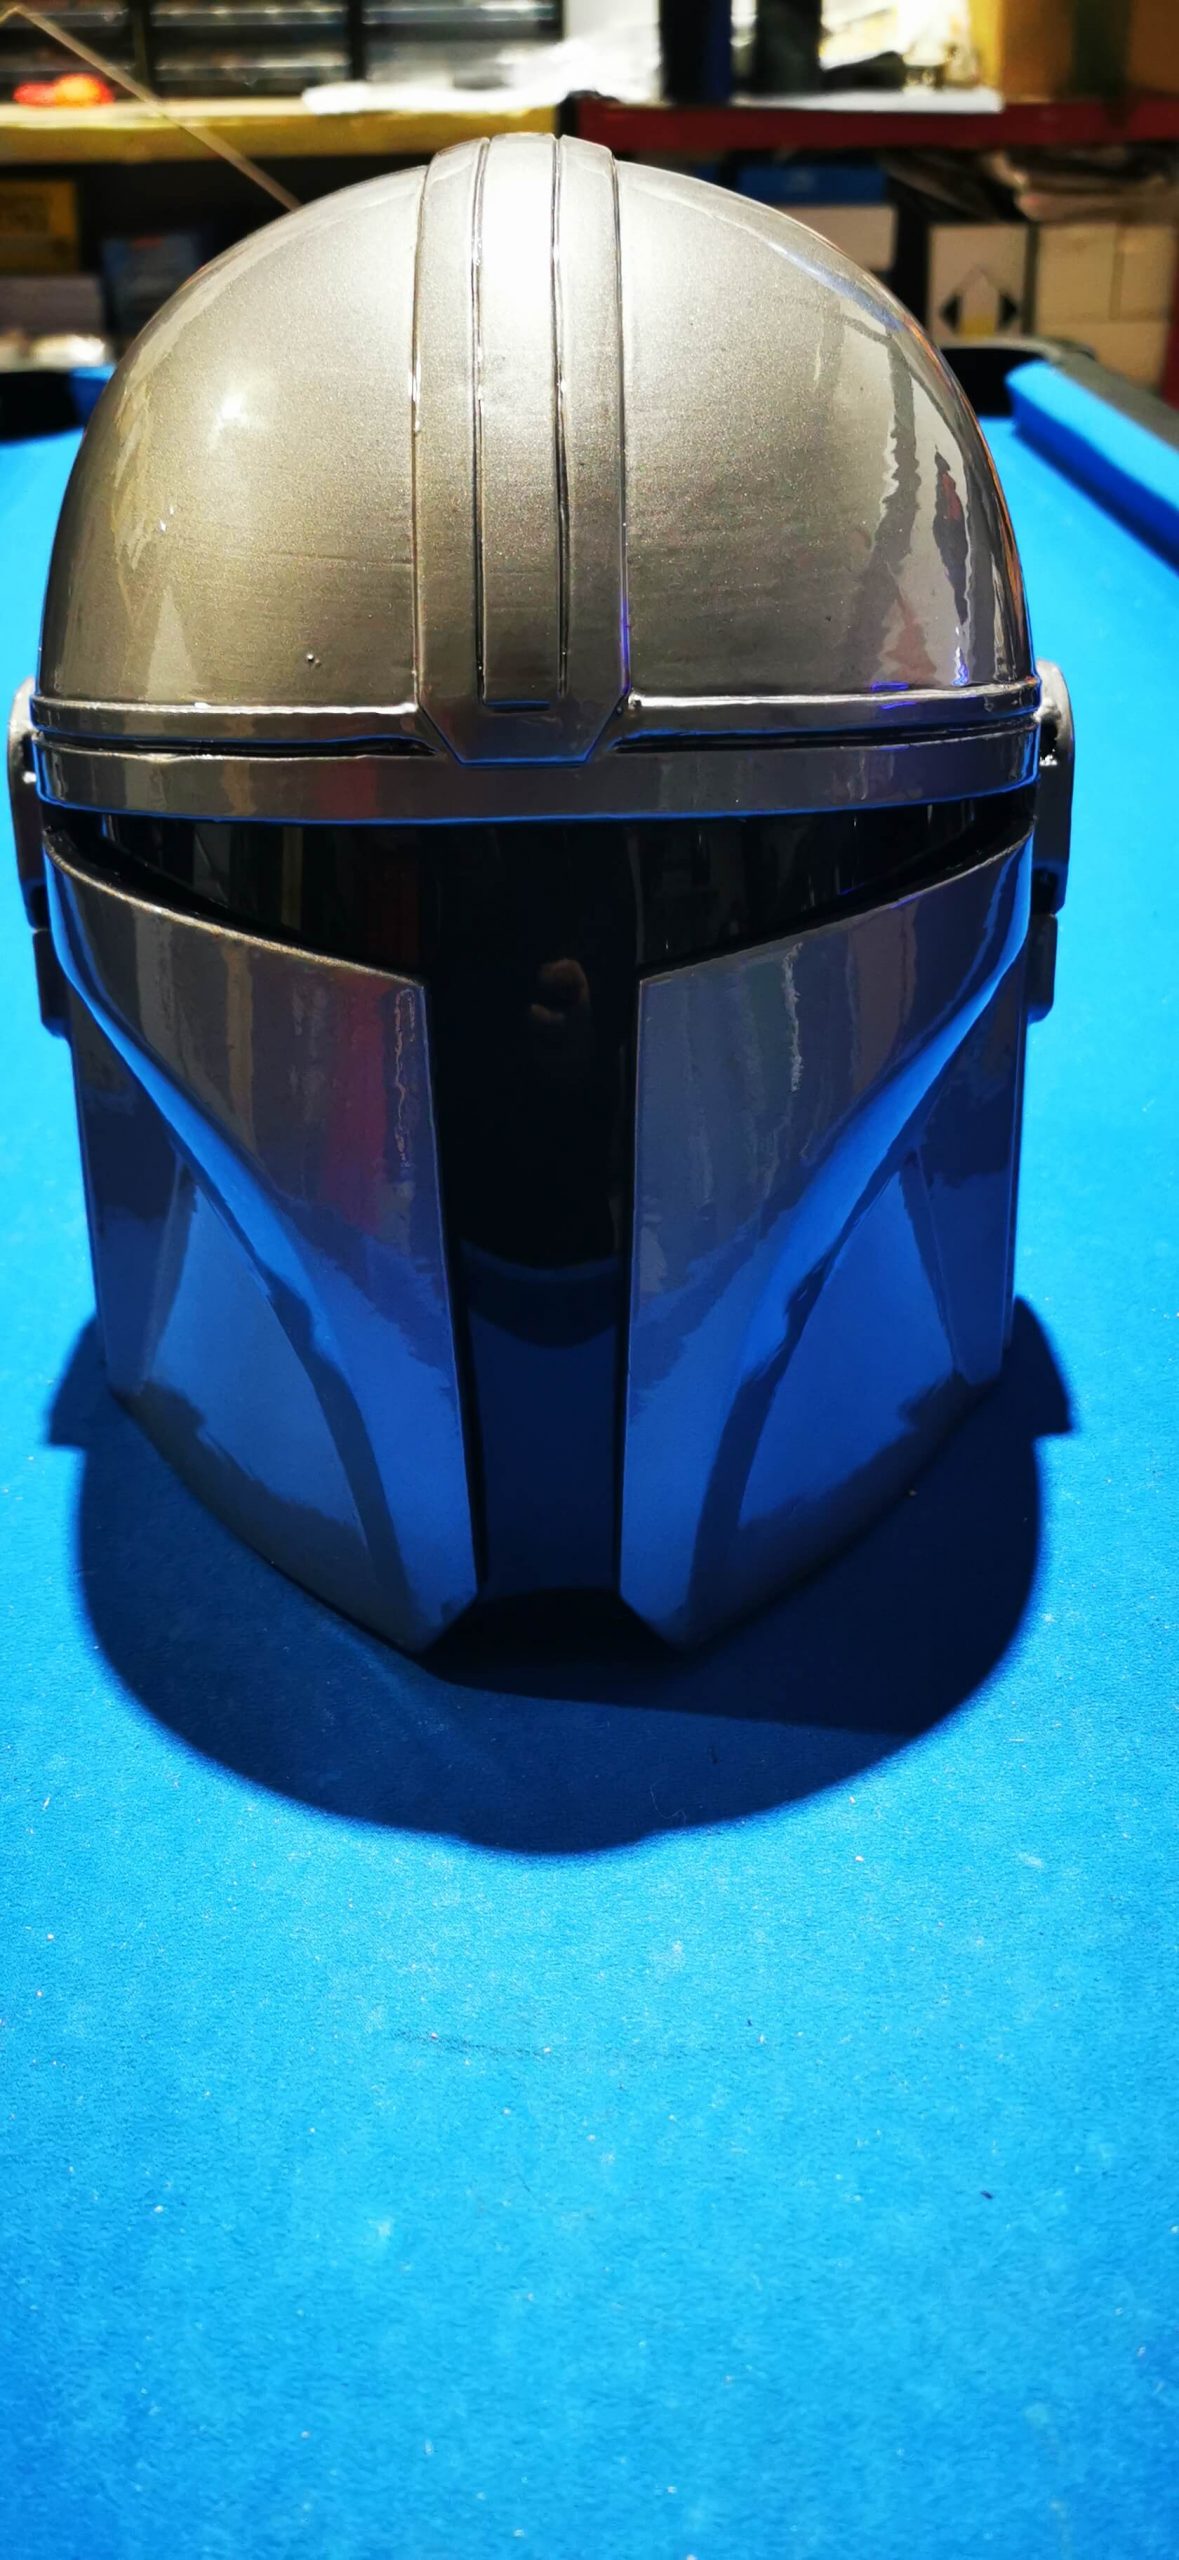
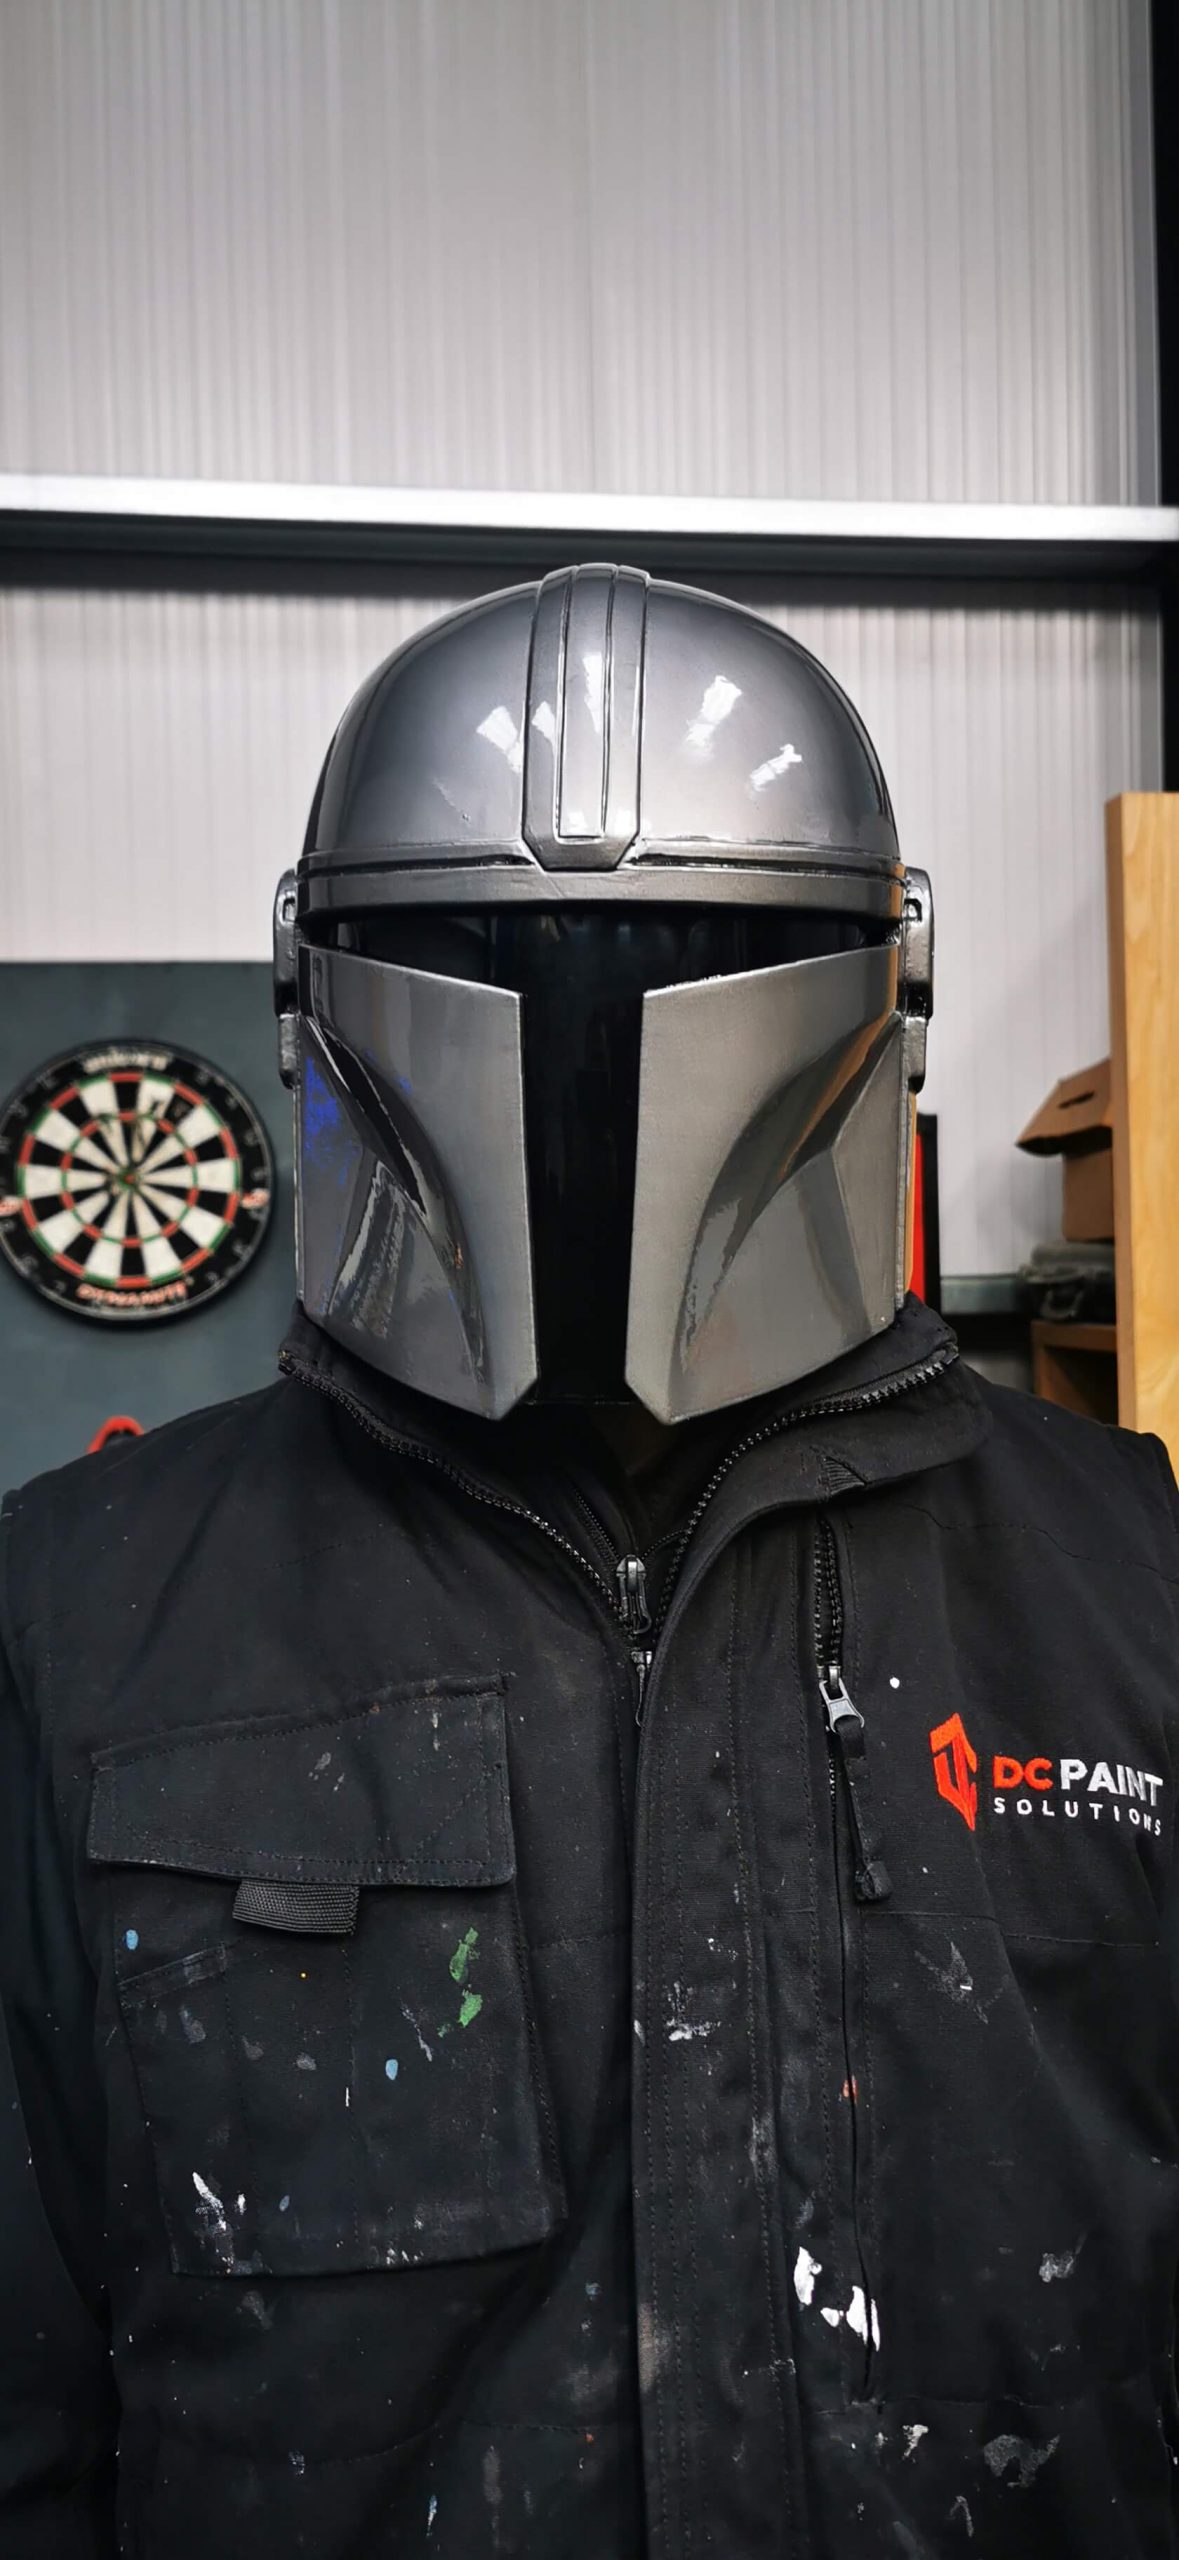
With this project, we decided to use the new DC Paint Solutions 2K filler primer as it acts as a filler and primer in one. It filled a number of the printed lines perfectly after 3 coats. It cures and is ready to paint in 30 minutes between coats. We then applied a magnum grey metallic paint in two coats. After this, we left the project to cure overnight.
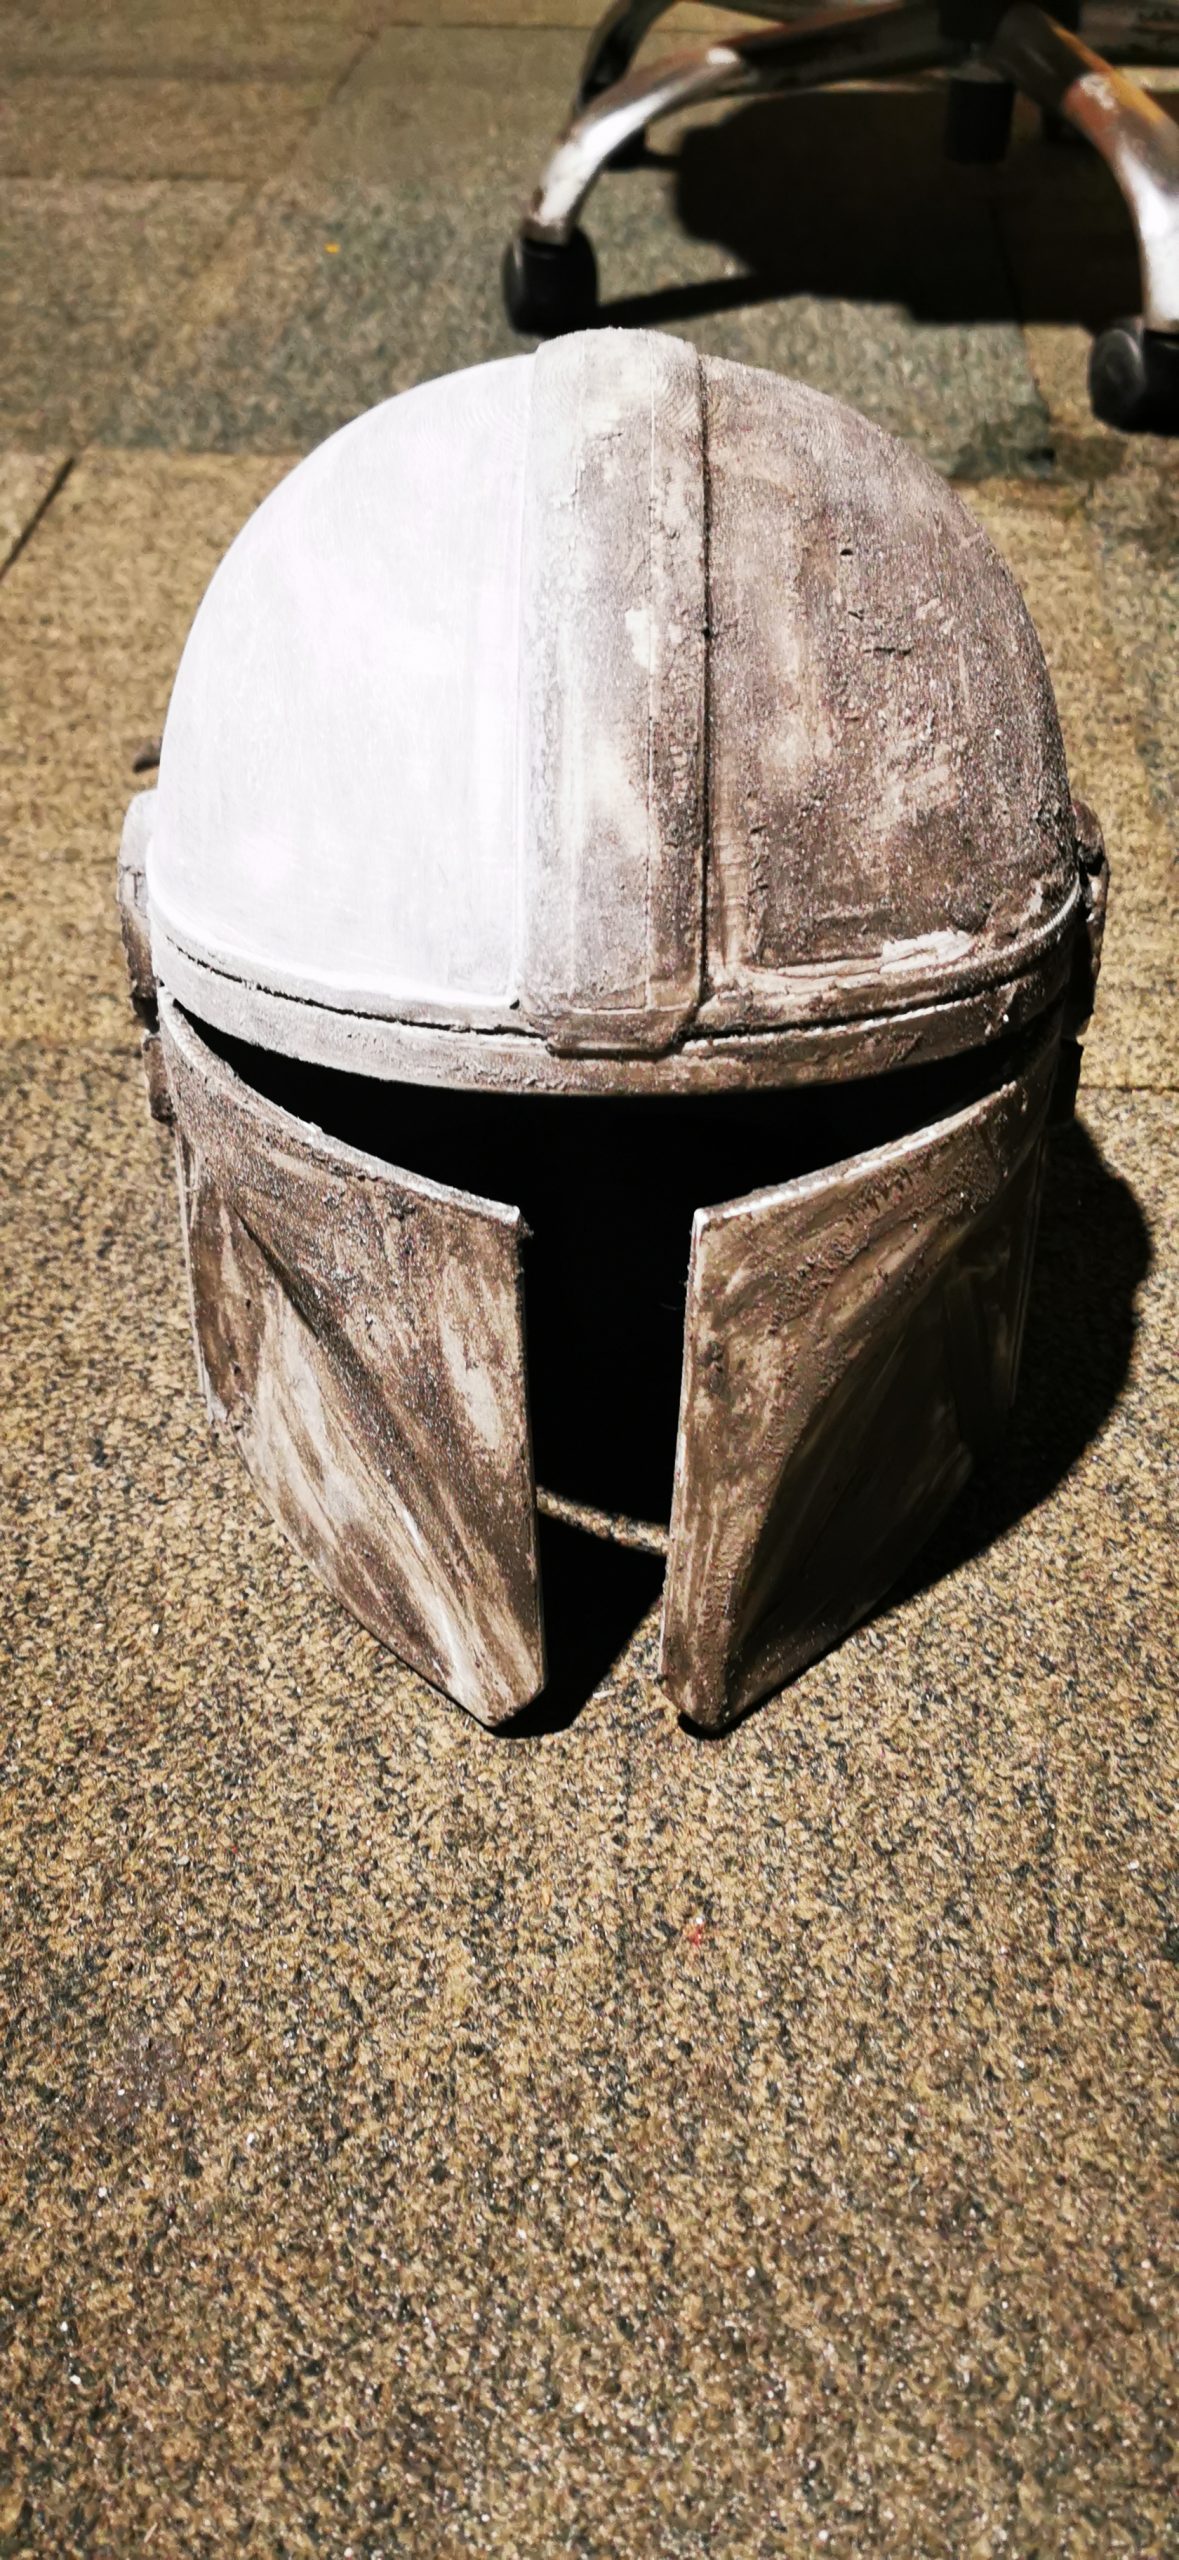
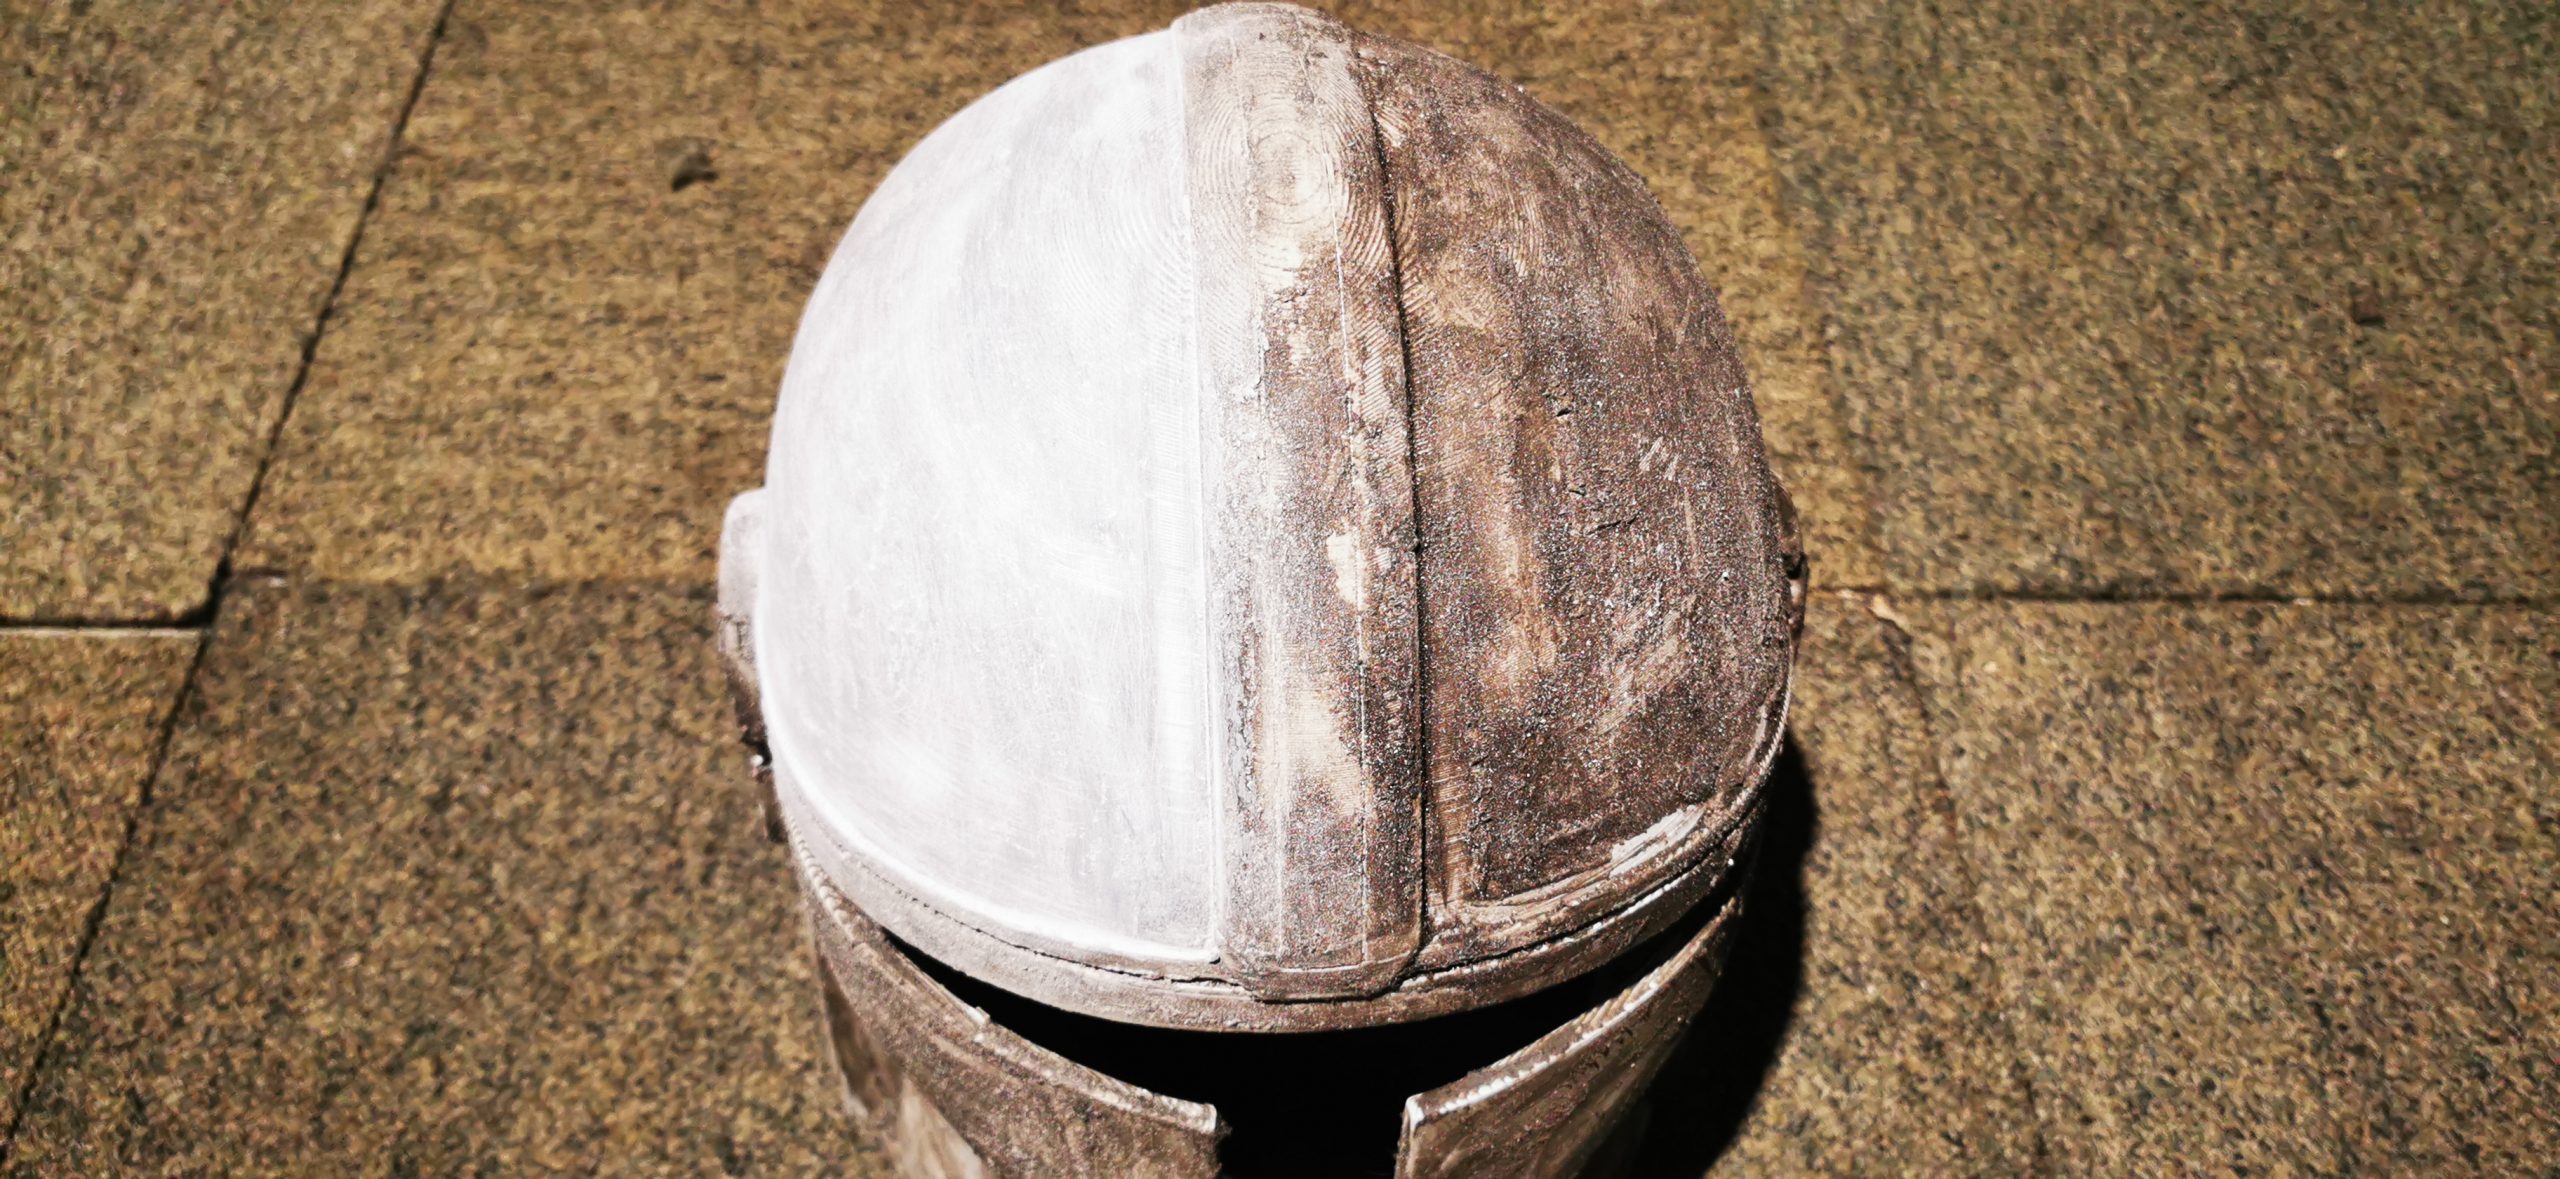
We went for a hardened finish, so top coated the project with a 2K gloss lacquer. Once this cured, we applied one final coat and left it to cure for the day.
We were really happy with the final outcome, but this tested us on a number of occasions and took some fault finding and experimenting to get the right outcome. Onwards and upwards to the next project.