

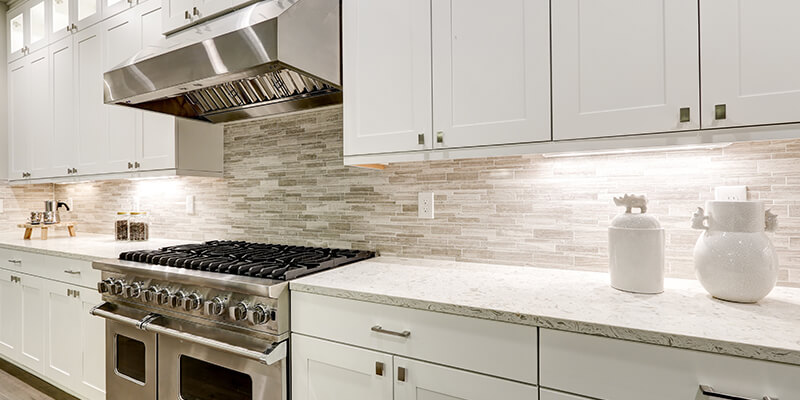
The kitchen is seen as the heart of the home, which means that each component goes through its fair share of wear and tear. Particularly when it comes to wooden fixtures such as cabinets, dents and scratches can quickly begin to accumulate. While visible damage does begin to dampen the aesthetics of your kitchen, it can prove somewhat costly to replace fittings.
With the high price tag that comes alongside large-scale kitchen renovations, tonnes of homeowners now opt for using DIY methods to transform their space. Spray painting kitchen cabinets, in particular, is an inexpensive option capable of bringing a new lease of life to the heart of your home.
What You’ll Need When Spray Painting Kitchen Cabinets
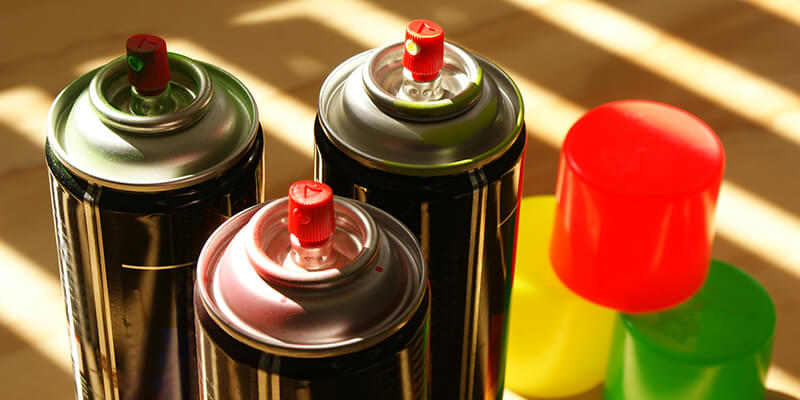
Although in the past the most effective way to repaint furniture and fittings was to spend hours with a paintbrush and pot of paint, this is no longer the case. Spray paint is ideal for achieving a seamless finish on all materials and dramatically reduces the time required to complete the task. As opposed to regular spray paint widely known for graffiti use, there is now a specially designed range of DIY aerosol spray paint created for use in the home. There are two types of DIY spray paint that you may want to consider before going ahead with painting kitchen cabinets.
The first spray paint type is RAL colour aerosols. Paints that fall into this category have been created using the RAL colour matching system. While in the past RAL systems were only used for varnish and powder coatings, they can now also be used to add colour to various materials. There are currently over 200 different spray paint colours in the RAL range including both matte and gloss finishes.
As the second option for kitchen cabinets, Pantone colour spray paint is ideal if you have a specific colour that you hope to match. Pantone spray paint can be custom-made which makes it the perfect solution if you only need to repaint one cabinet rather than all.
How To Spray Paint Cabinets:
Now that you have chosen the spray paint type that you plan to use, it’s time to start the process of transforming your kitchen cabinets. It is imperative to ensure that you carry out adequate preparation steps to guarantee the longevity of your results.
The materials you will need are:
- Spray Paint
- Screwdriver
- Canvas Cloth
- Masking Film
- Painter’s Tape
- Washing Up Liquid
- Soft Sponge
- Sandpaper
- Wood Filler
- Putty Knife
- Stain Blocking Primer
- Paint Brush
- Protective Clothing
1. Clear The Cabinet
Begin with clearing all items from your kitchen cabinets. While it may sound obvious, you need to ensure that there will be no objects in the way. Bear in mind that it will take a few days to paint cabinets and allow them to fully dry, so aim to store all items away in another location in the meantime. You may want to consider merely filling a storage or cardboard box with the contents of your cabinet so it can quickly be restocked when the job is complete.
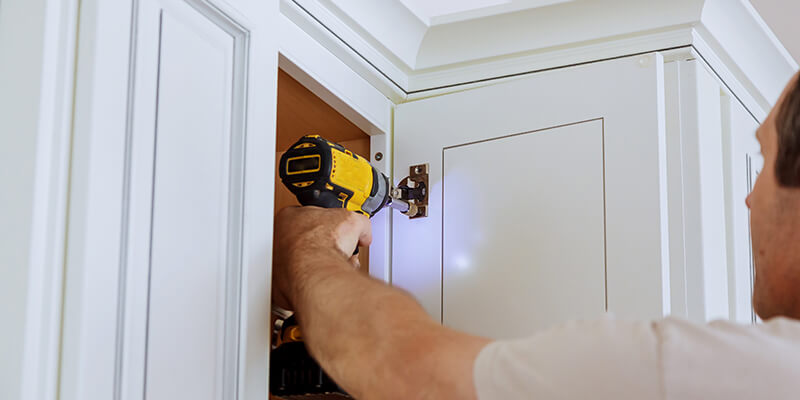
2. Disassemble Where Possible
The more components that you can remove from the cabinets and spray elsewhere, the easier the project will become. Spraying in a garden, workshop or garage will minimise the amount of mess you’ll need to clear up.
Disassemble the cabinet as much as possible. Unscrew doors, handles, knobs and if required, drawers. Ensure that all hinges, screws and knobs are stored together in a small plastic bag to ensure that no components are lost during the disassembling process. Label each bag with a description of its contents to make it as straightforward as possible to rebuild. You may even want to consider taking photos at each step while you disassemble so you can retrace your steps once the painting is complete.
3. Mask Surroundings
There will be particular components of the cabinet that cannot be removed, for example, the frames. This means that some spraying will need to be completed in the kitchen, making it imperative to mask the surroundings. Failing to mask the areas around the cabinet runs the risk of paint spraying onto walls, flooring and worktops.
A canvas cloth is ideal for covering flooring and surrounding fittings as unlike a plastic sheet that is commonly used; it will not make the surface slippery. Walls around the cabinet can be protected using masking film secured in place using painter’s tape. Masking film is highly effective in protecting walls from paint as it is made from a thin plastic that uses static electricity to cling to the surface.
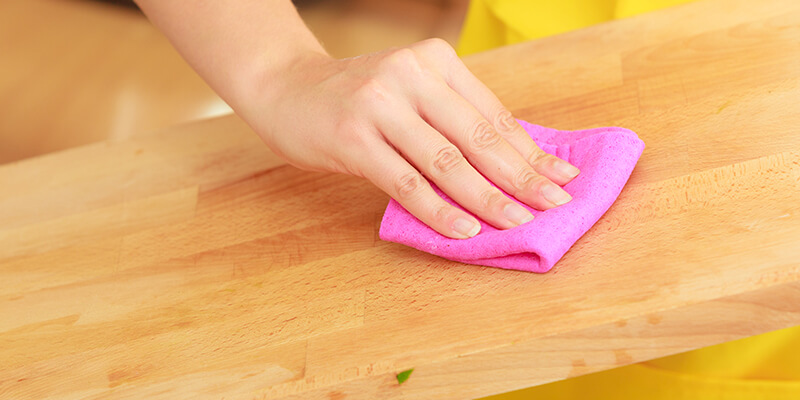
4. Clean Surfaces
It is more than likely that while it may not be visible, your cabinets are covered with a layer of grease caused by years of cooking. If your surface is oily, the primer and paint will not be able to adhere meaning it’s vital to clean cabinets before beginning.
Using warm water and washing up liquid, start wiping down cabinet surfaces with a soft sponge. If grease is proving to be particularly stubborn, then you may need to use a little diluted vinegar to shift the dirt. For more information on how to clean grease stains, take a look at SF Gate.
5. Repair Problems
As mentioned previously, kitchen cabinets go through a considerable amount of damage which means you’re likely to have dents and scratches that need repairing. You will need to slightly sand down the surface regardless to remove the top layer of shine, but even more so if you have repairs that need to be made.
Once sanded, any deep scratches, holes and dents can be resolved using a wood filler. Use a putty knife to spread the filler over any damage to fill indents and create a smooth surface. It is vital to ensure that you allow at least two hours for the filler to dry before you move onto the next step. Do not continue to prime or paint the surface unless the filler is completely dry.
6. Prime The Cabinet
Priming the surface is a key step in any painting project as it stops the paint from peeling or flaking in the future. We suggest using a stain blocking primer as it means that your cabinets will not become stained while cooking and no odours will stick to the material. It will also lower the likelihood of a grease build-up.
Prime one side of the doors and frames at a time using a paint brush. Allow the primer to dry entirely before continuing onto the next side. Similarly to the wood filler, you must make sure that the primer is dry before adding a second layer or attempting to begin spraying. Failing to allow the surface to dry will cause the paint to blister and form air bubbles.
7. Begin Spraying
If your cabinets have been adequately prepped and primed, then it will only take a matter of minutes to apply the spray paint. Ensure that before you begin spraying, all windows are open and the area is well ventilated. It is strongly recommended to wear rubber gloves, a face mask and goggles if possible to keep the risk of inhaling harsh chemicals to a minimum.
When spraying, keep the spray can at least 10 inches away from the cabinets and make sure that you keep the can continuously moving – together this will guarantee a seamless coating. There is no problem with adding a second layer to intensify the colour, but this is only safe to do so when the first layer is completely dry.
Transform Kitchen Cabinets Through Spray Paint!
Opting to spray paint your cabinets is capable of not only bringing a splash colour to your kitchen but also save a considerable chunk of cash. Through carrying out each step with care and ensuring that surfaces are fully prepared, we guarantee that you can achieve a seamless finish.
We hope that you have found our guide to spray painting kitchen cabinets useful, if so, why not share on social media?


