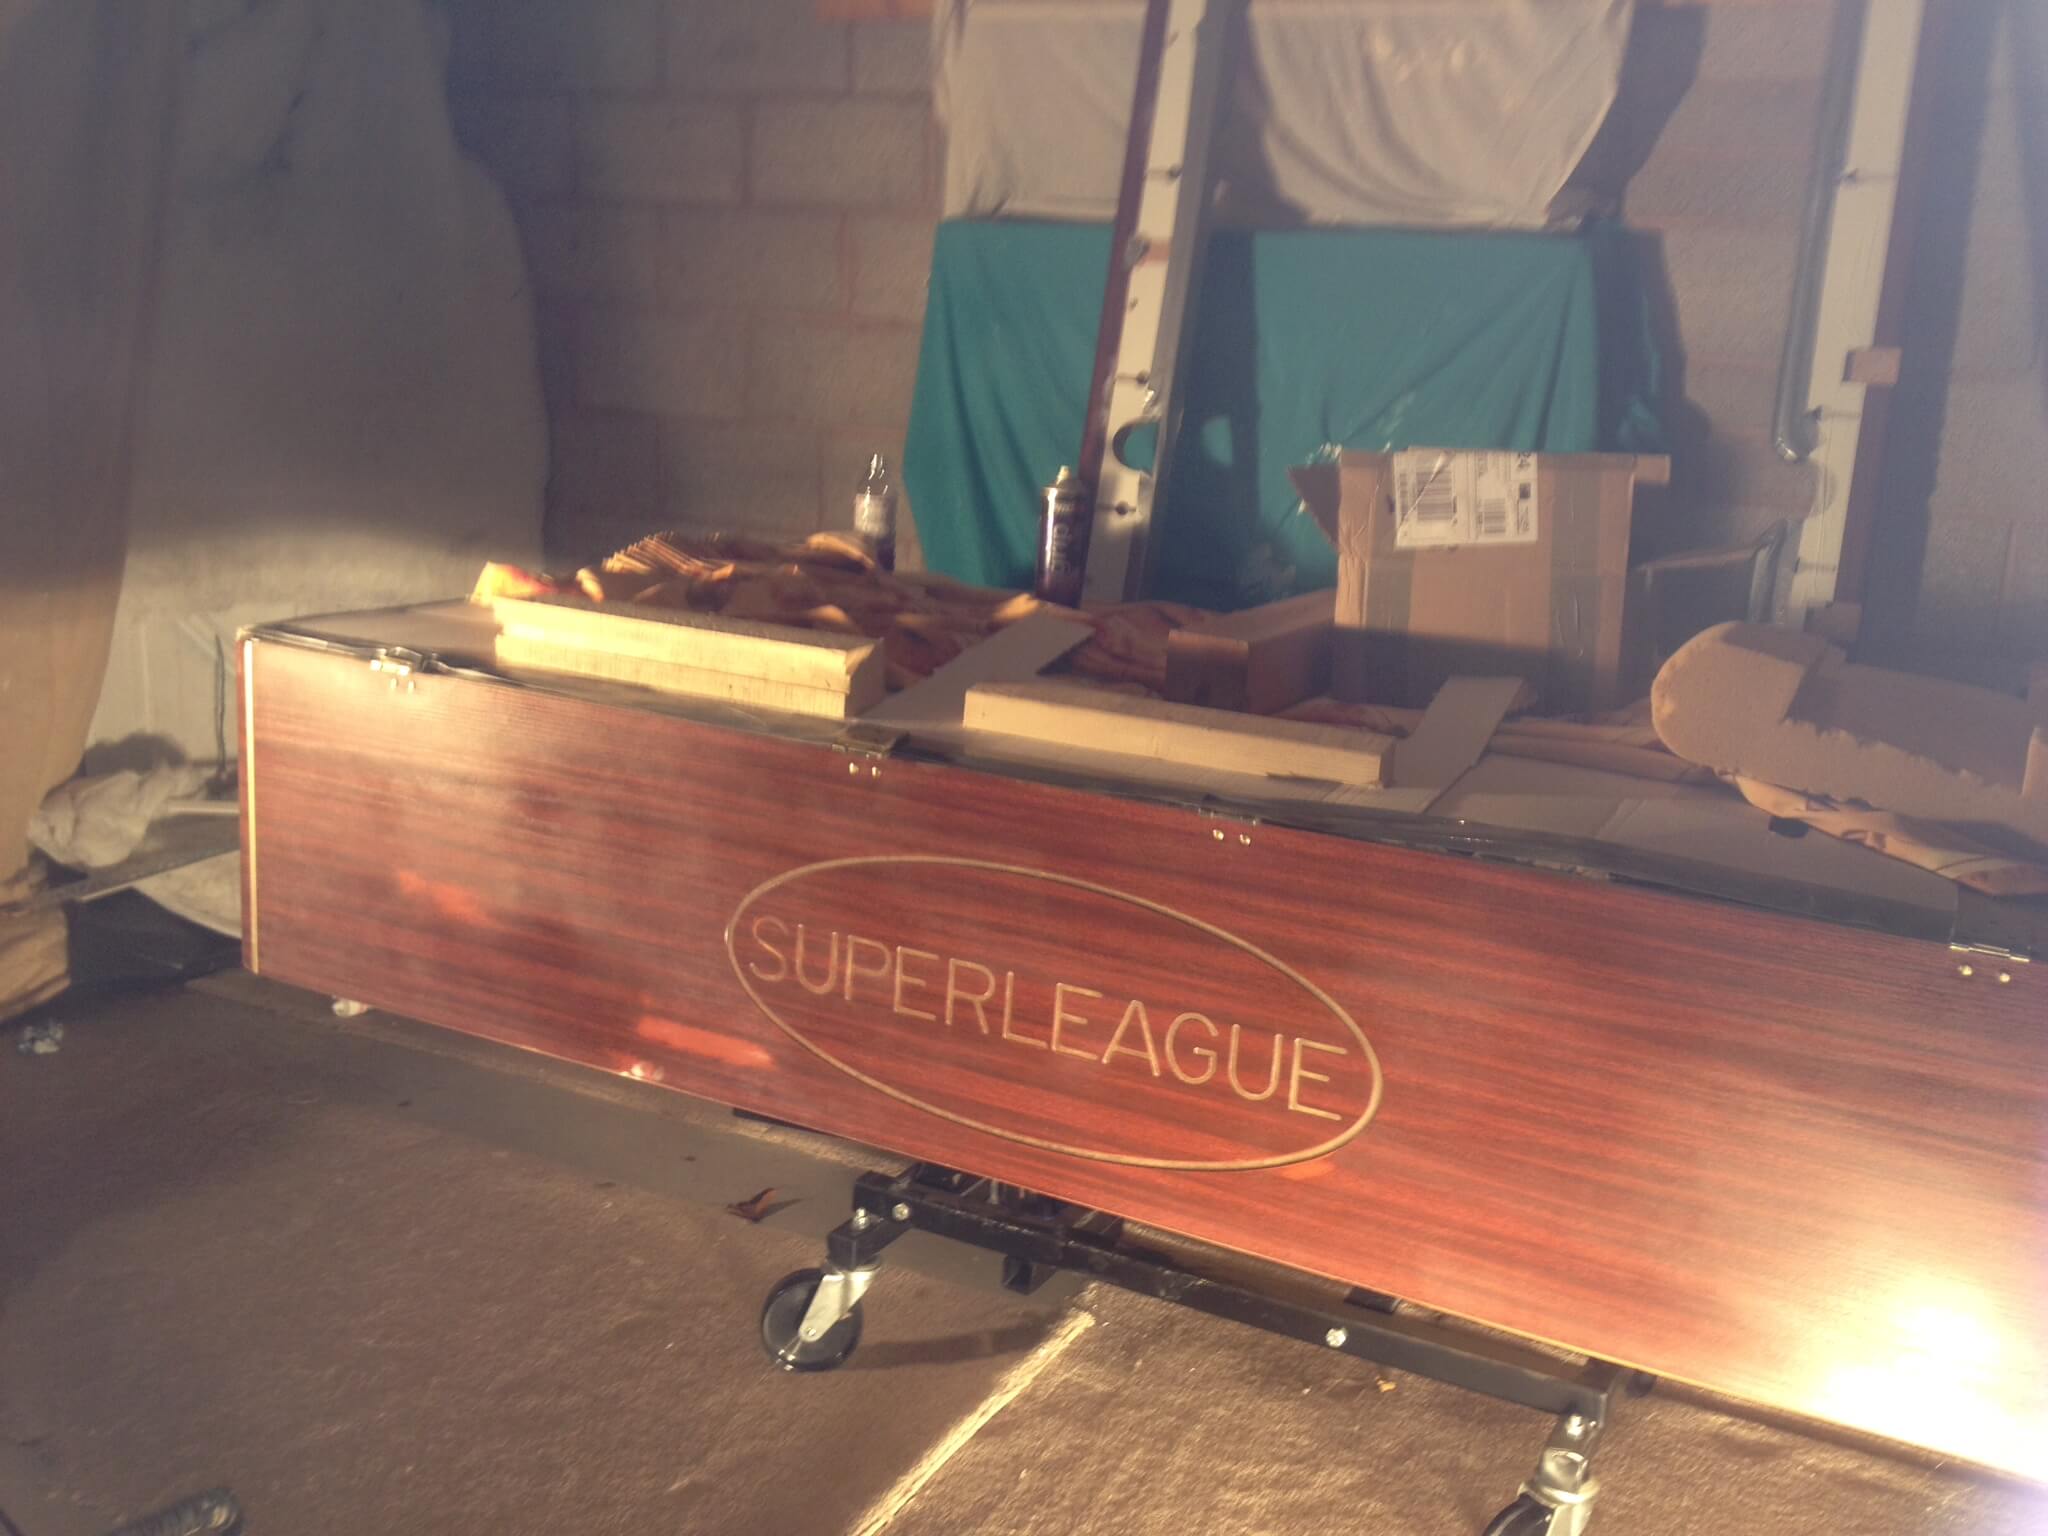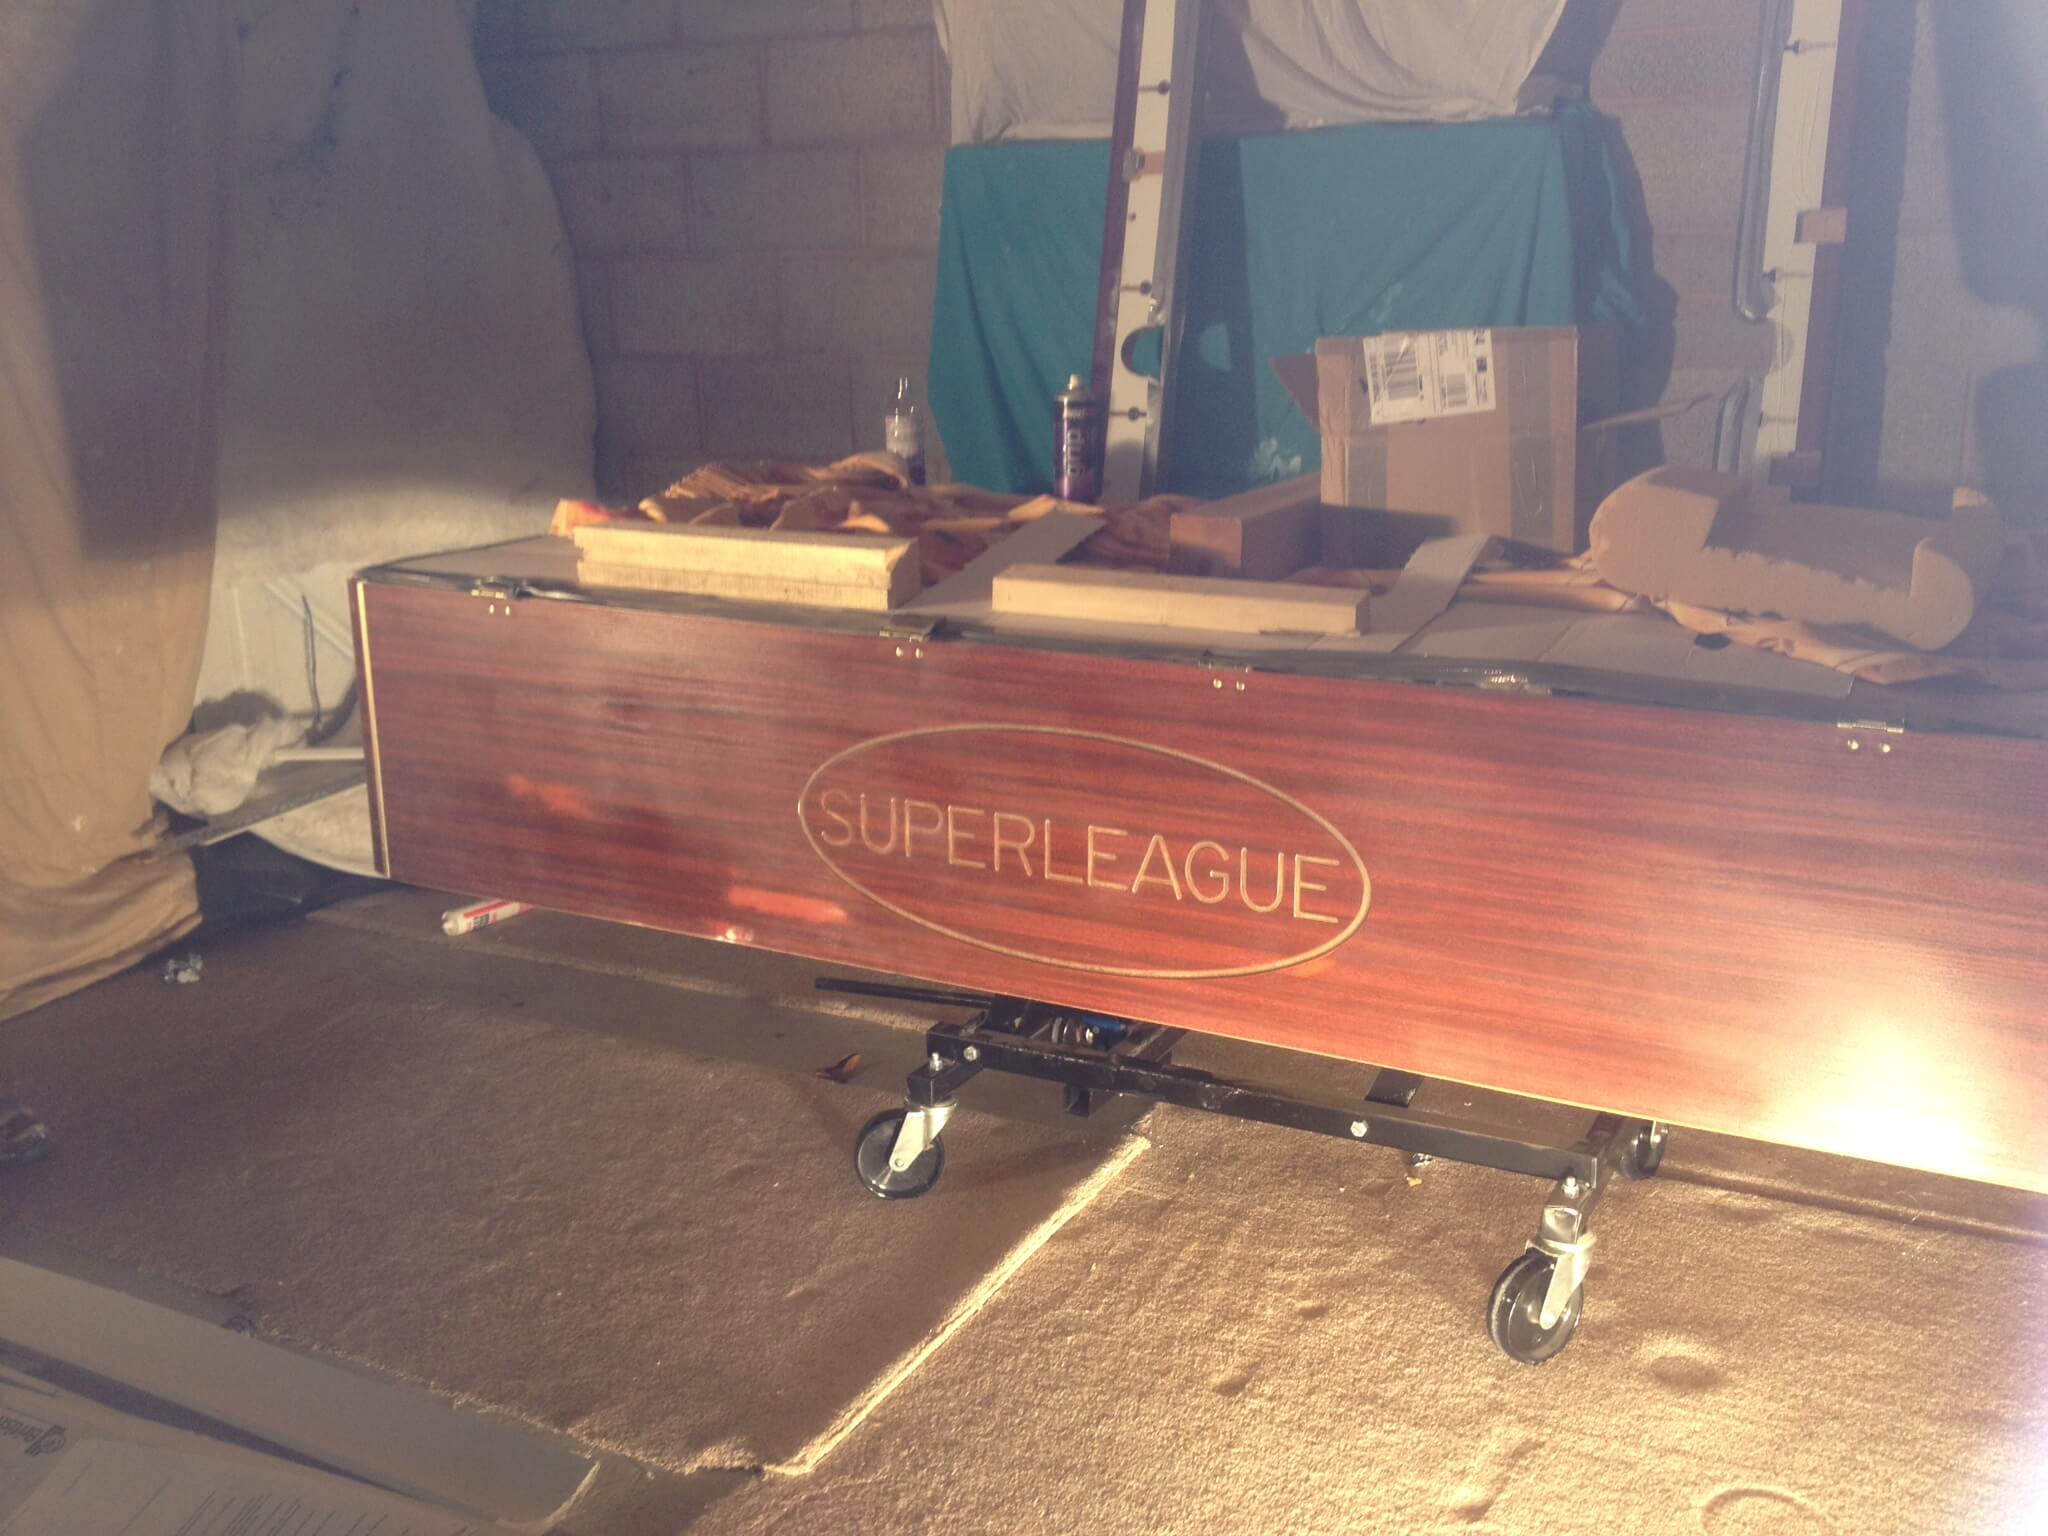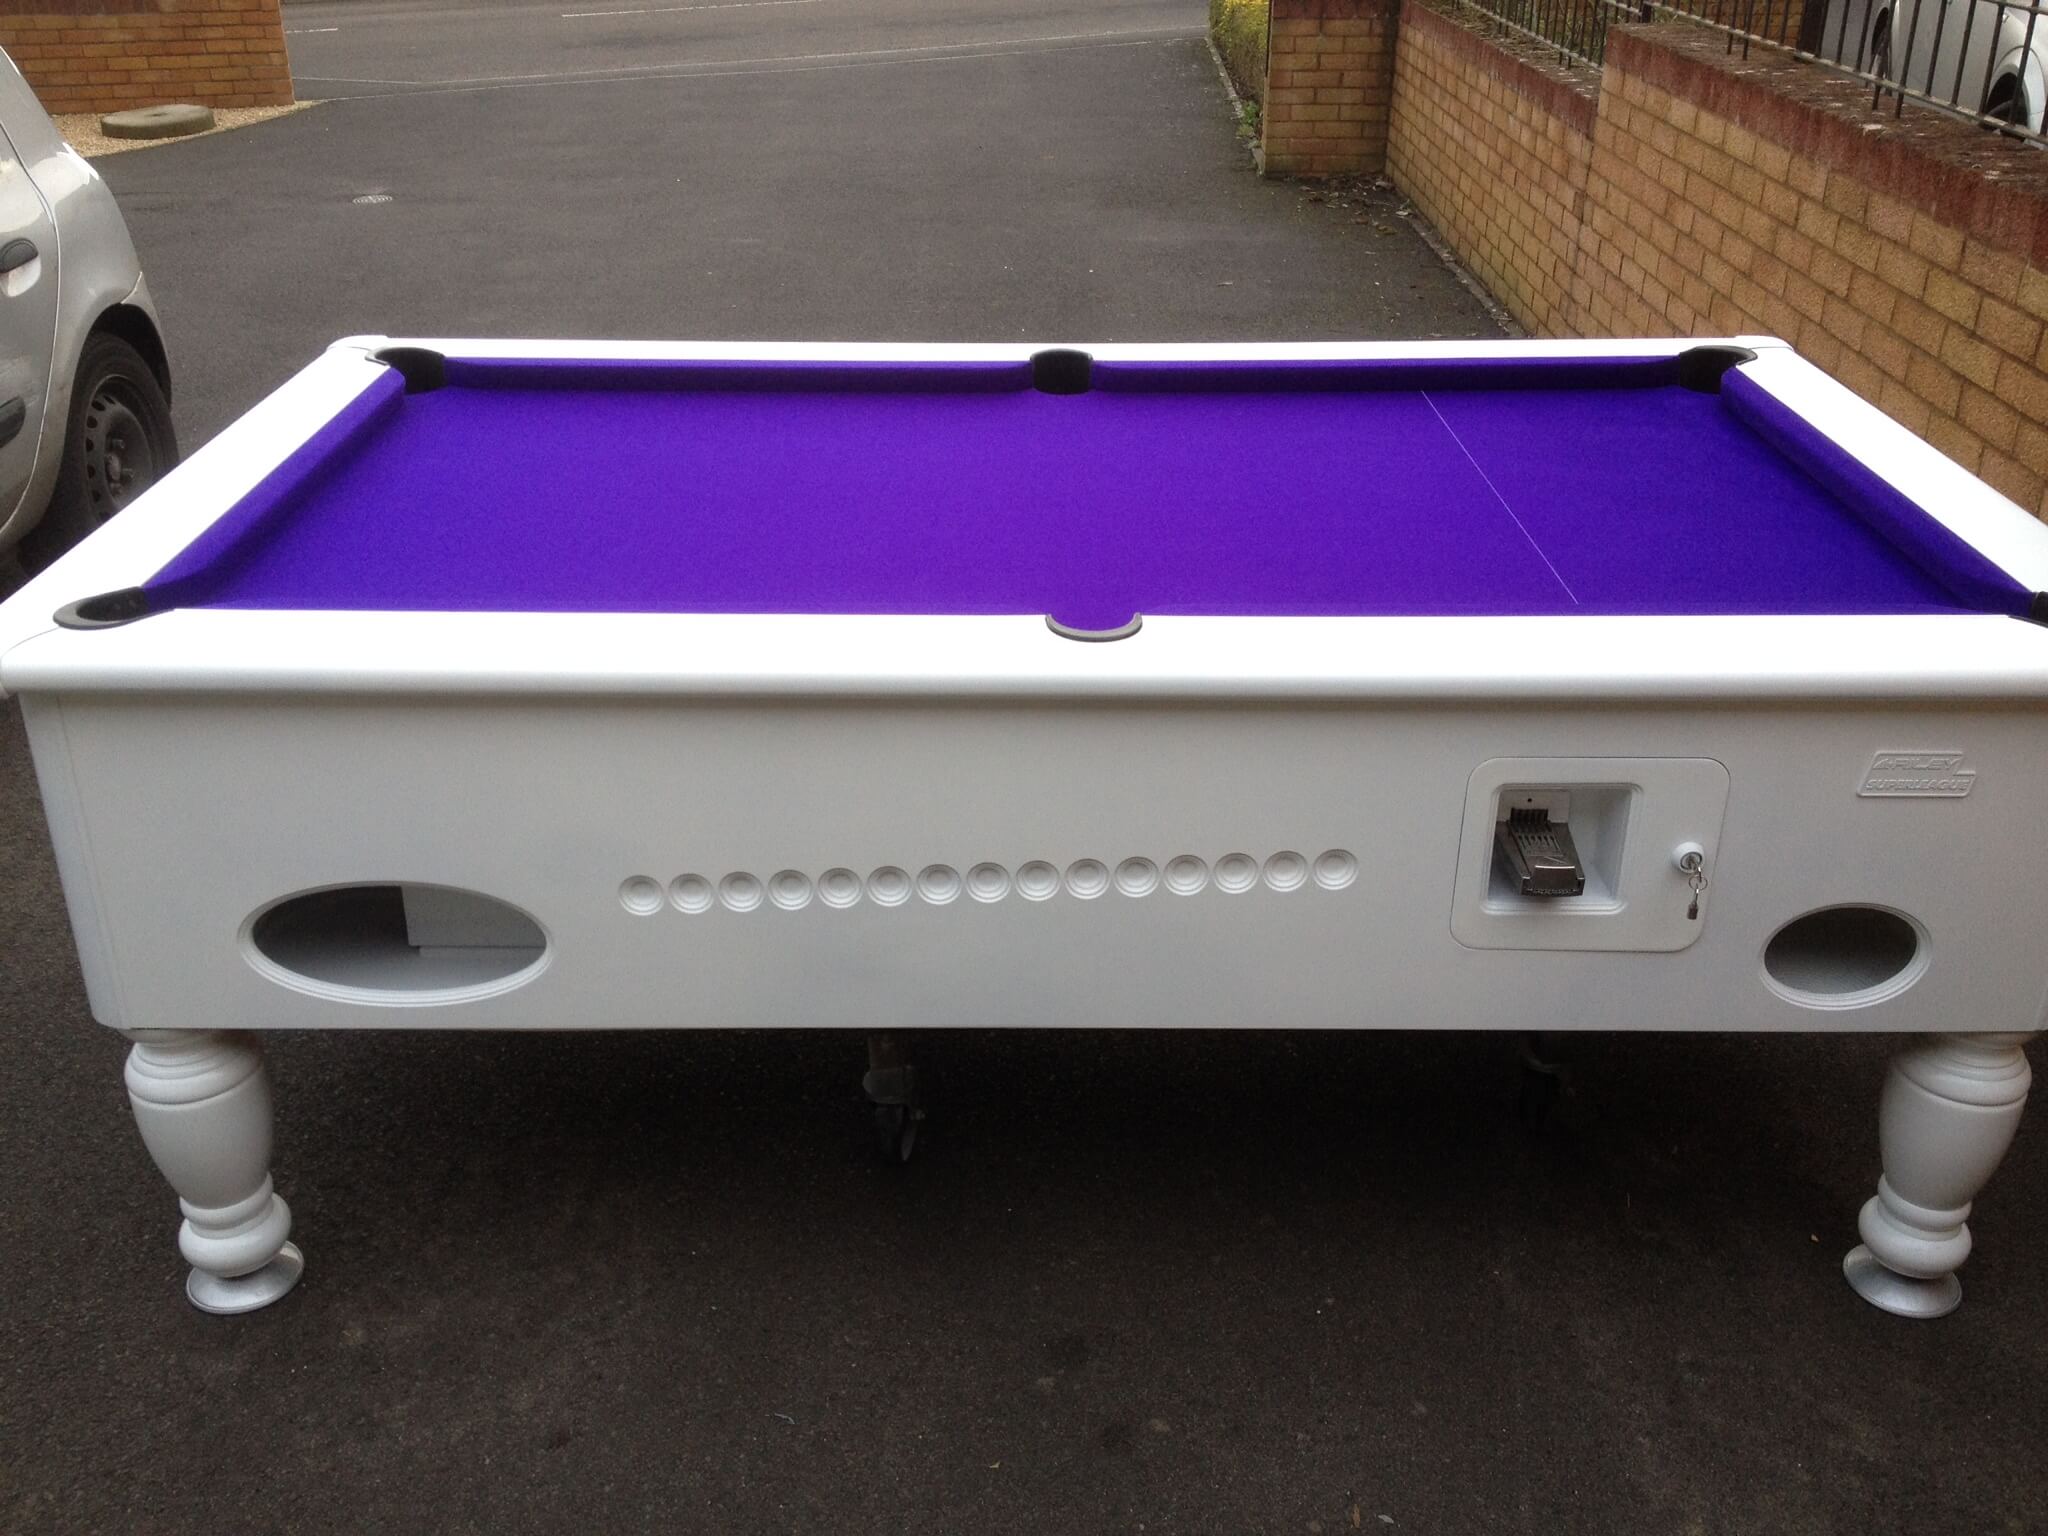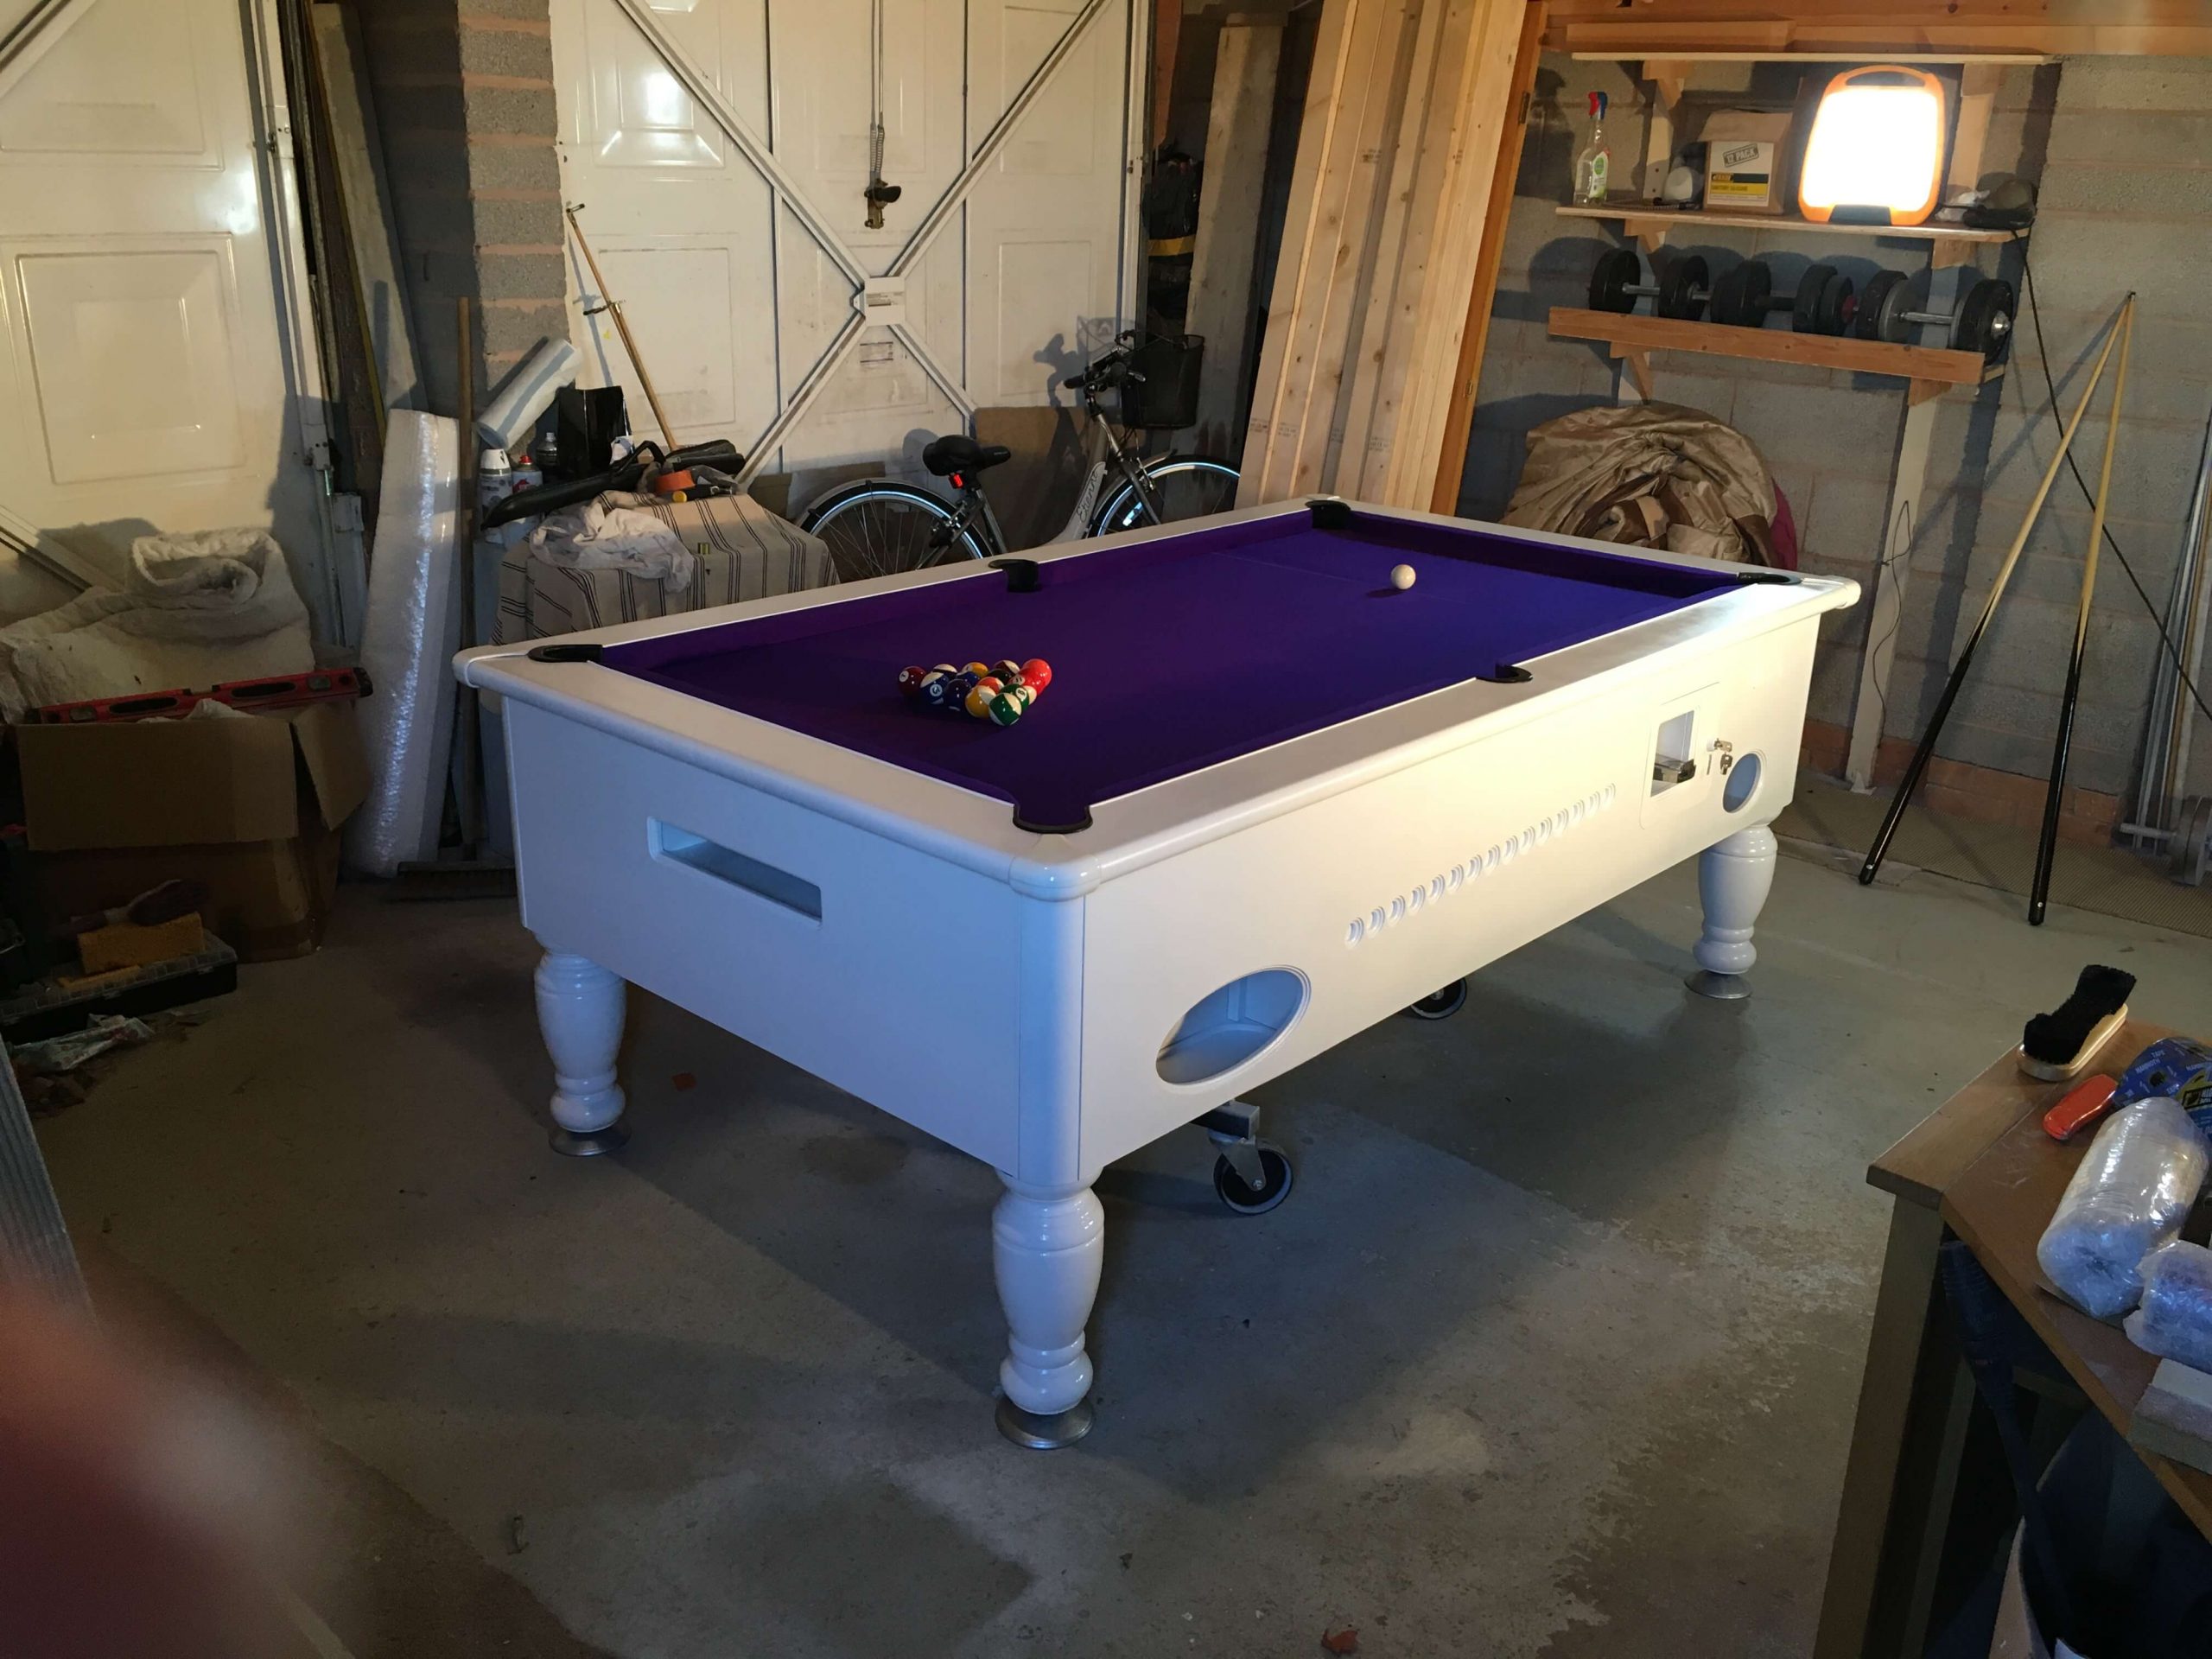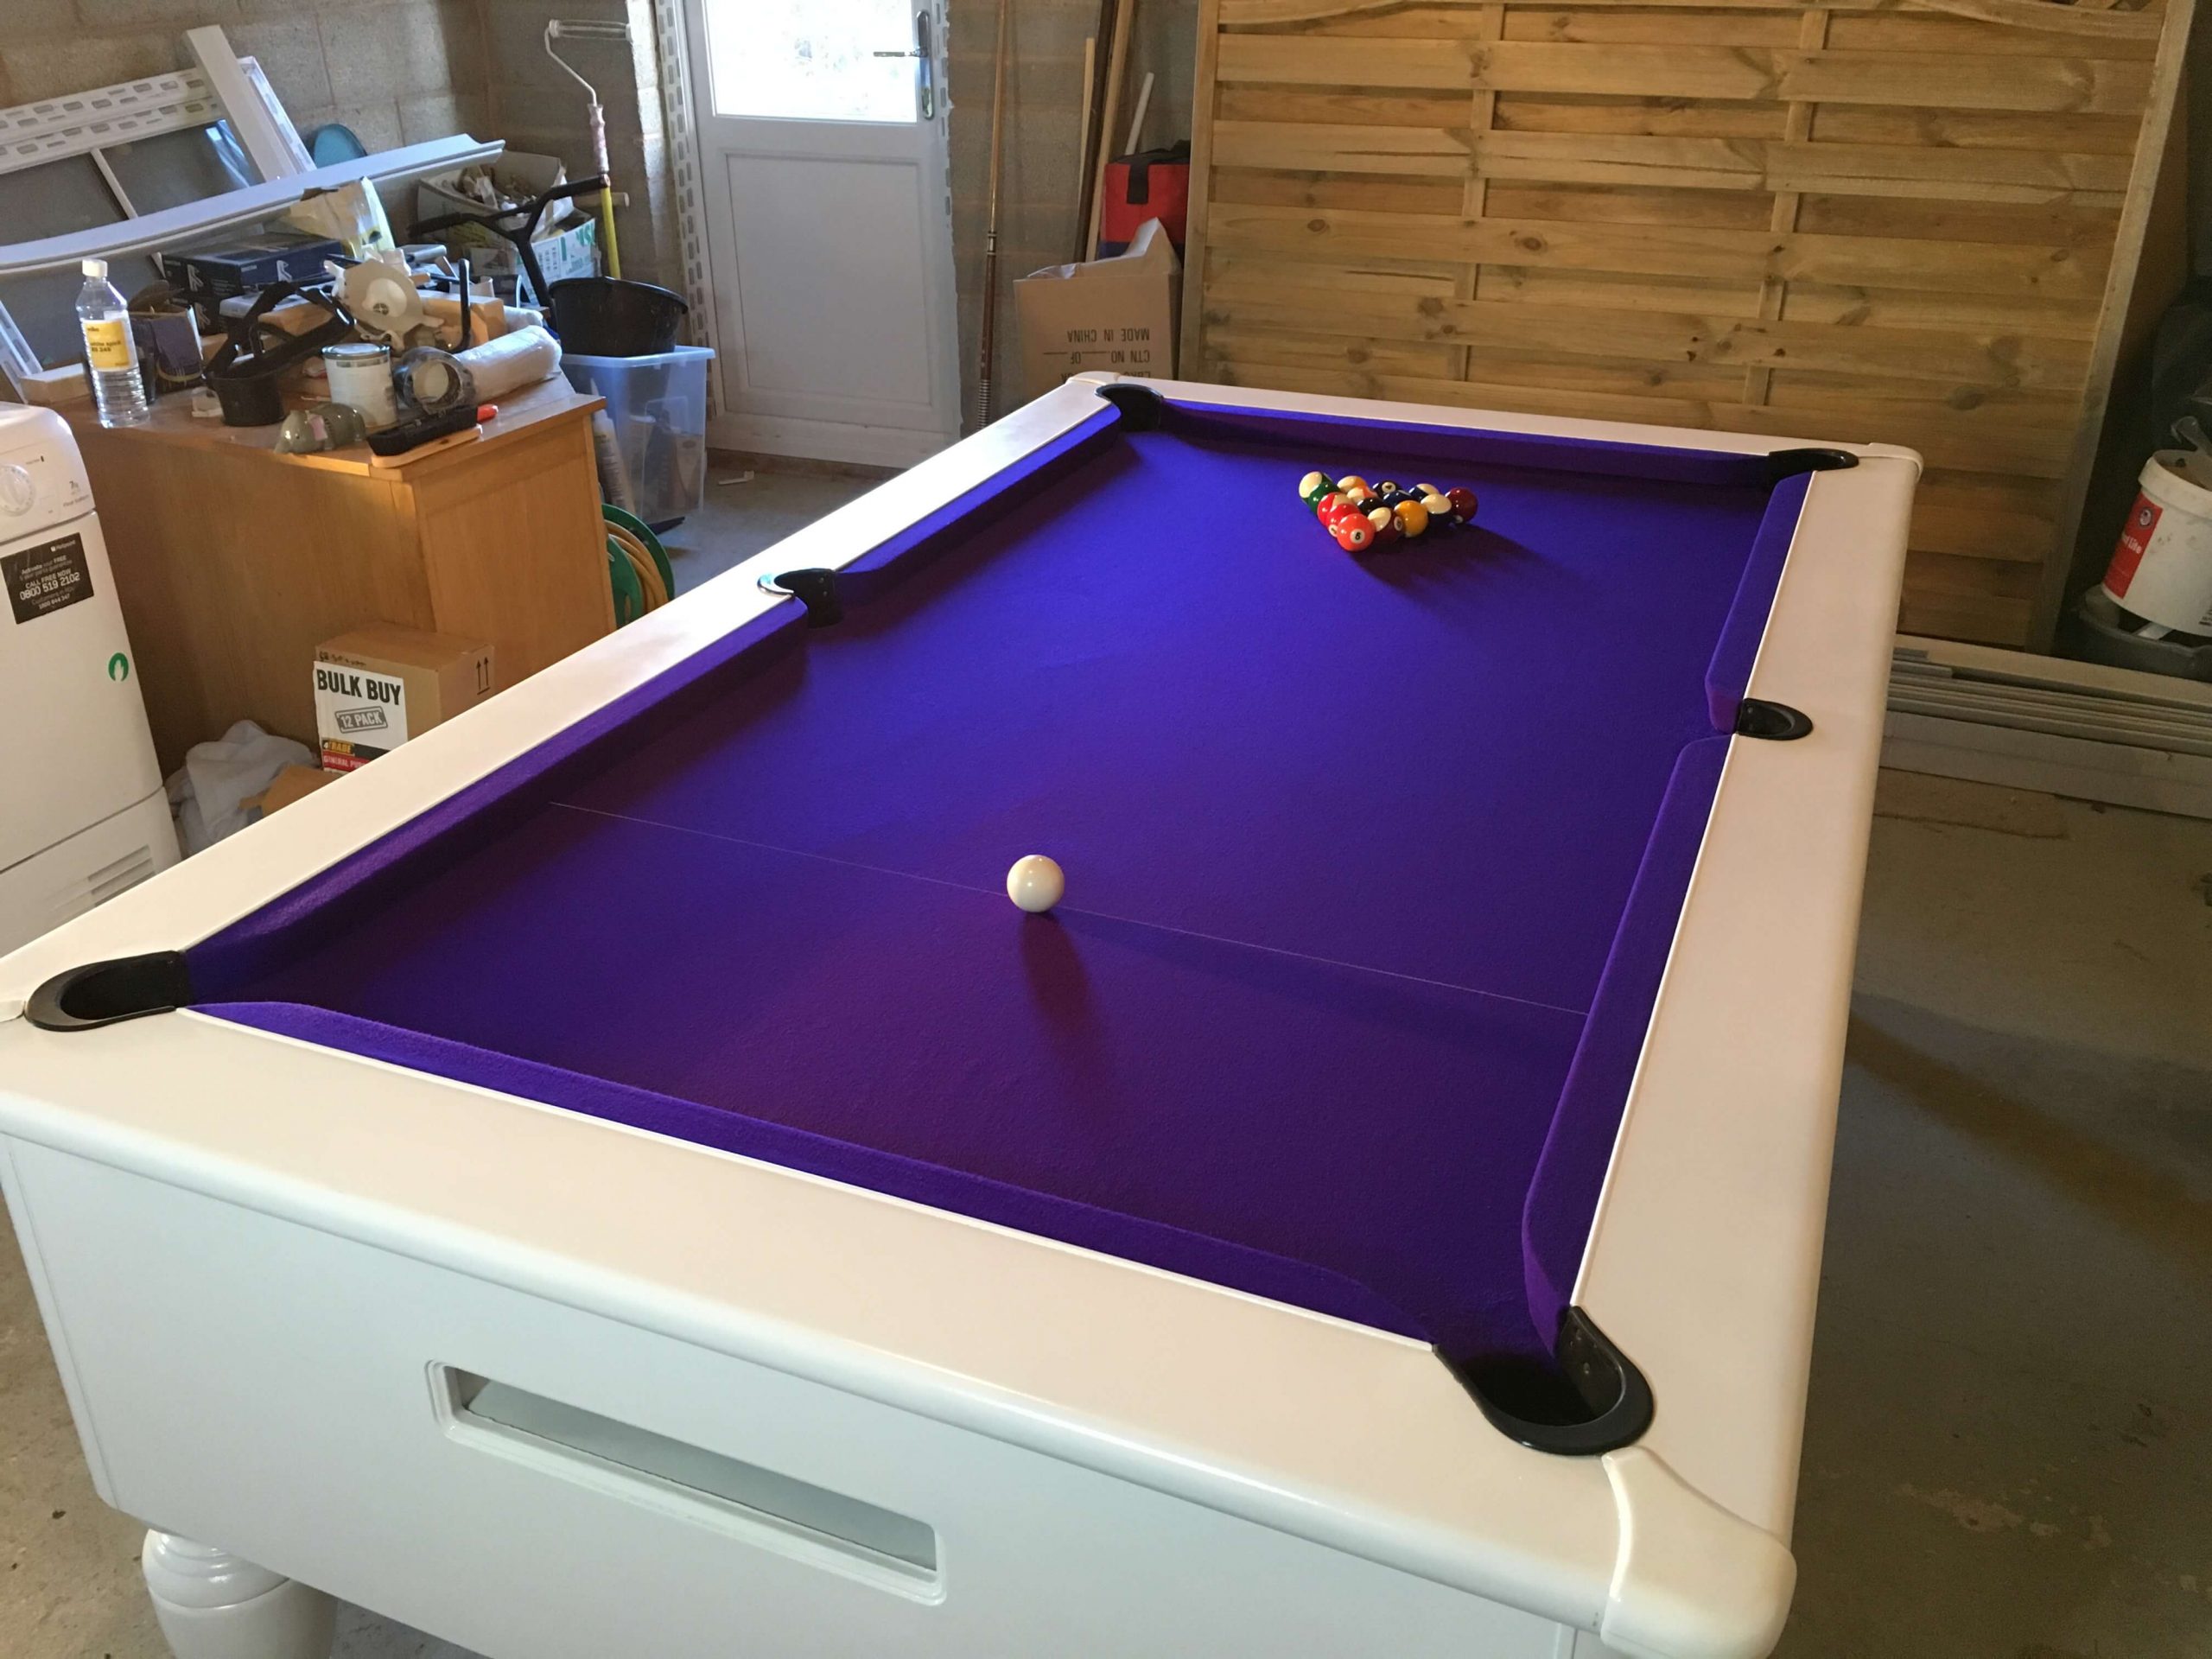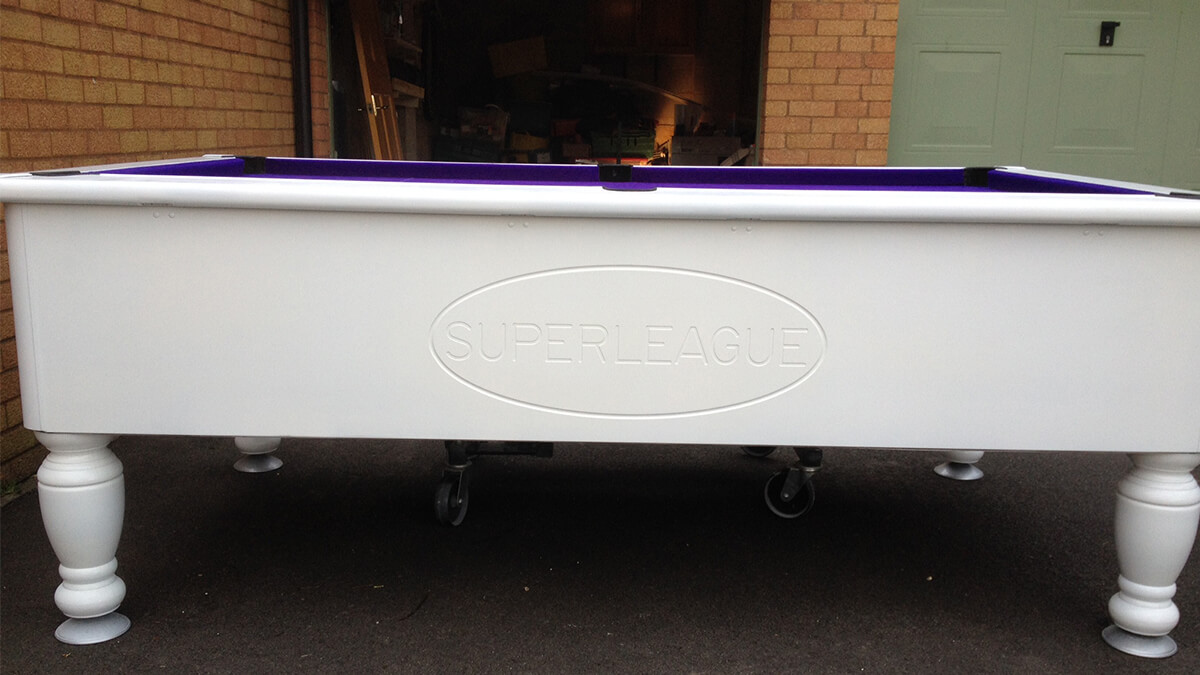
One of our clients recently sent a completed project of a pool table, whereby they attempted to create a special present for their son’s birthday. The final outcome is unbelievable, and you wouldn’t believe what he managed to complete with some cans of spray paint!
Tools And Paints Required:
- Sanding Block and a Power Sander
- Multi-levels of Sanding paper
- Wood Primer
- British Standards 00E55 Acrylic Paint
- 2K Gloss Lacquer
Completing This Project
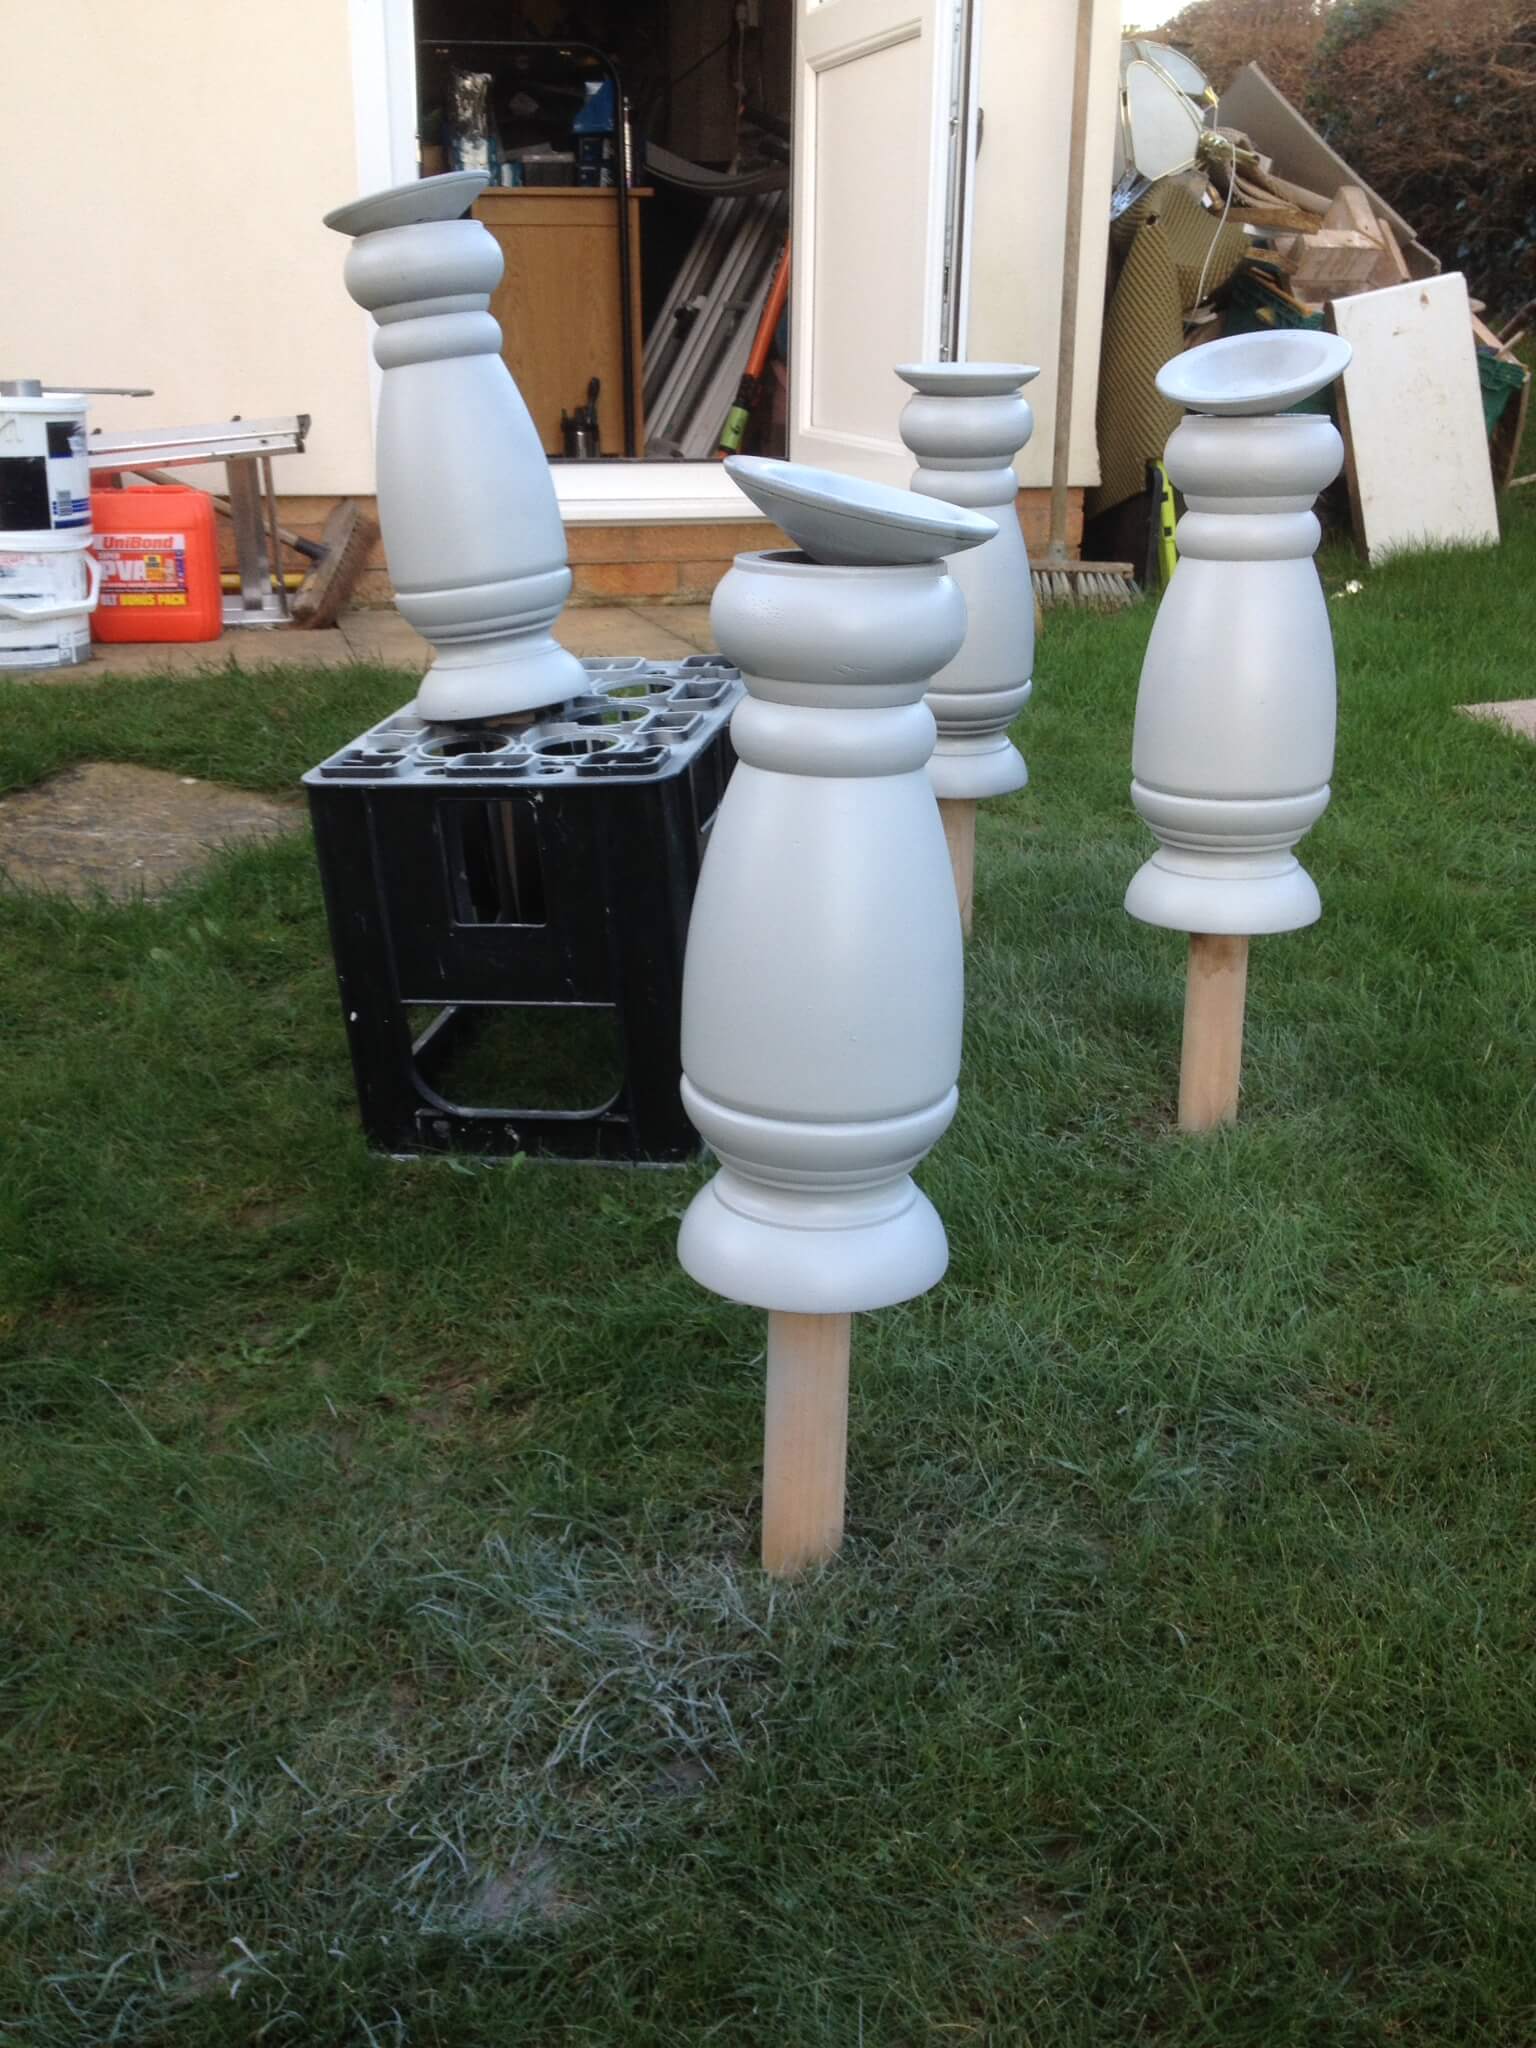
This is a time-consuming project, but is definitely a worthwhile endeavour. Firstly, sanding the initial wooden layer off is essential, along the way, make sure to remove all chips and dents. Where necessary, a wood filler can be applied to fill in more serious damage. Once applied, let the filler dry and sand flat. Start with a 120 grit sandpaper to file of the top layer and then smooth over with a 240 grit sandpaper. Once you are satisfied with the sanded level, it’s time to move onto the primer.
Apply up to two levels of wood primer and leave to cure between coats for around 40 minutes to an hour. Once these coats have cured, apply the 1K base coat colour (in this case it is BS 00E55 White). Apply between two and four coats until you are satisfied with the paint level.
TOP TIP: Try and have the sprays horizontal, so you are not spraying at an angle. As paint cans work with gravity, the paint will be at the bottom of the can. If the can is at an angle, the paint cannot flow up the can nozzle.
Leave the paint to cure for 40 minutes to an hour between coats.
To seal and protect the paint, in this case, the client went with a 2K Gloss lacquer to add another level of protection. Due to the amount of abrasion, impact and scuffs, this will give the paint a much better chance of surviving harsh conditions.
When the table was reconstructed, and new felt added, it not only looked amazing but will also no doubt last for a long time.