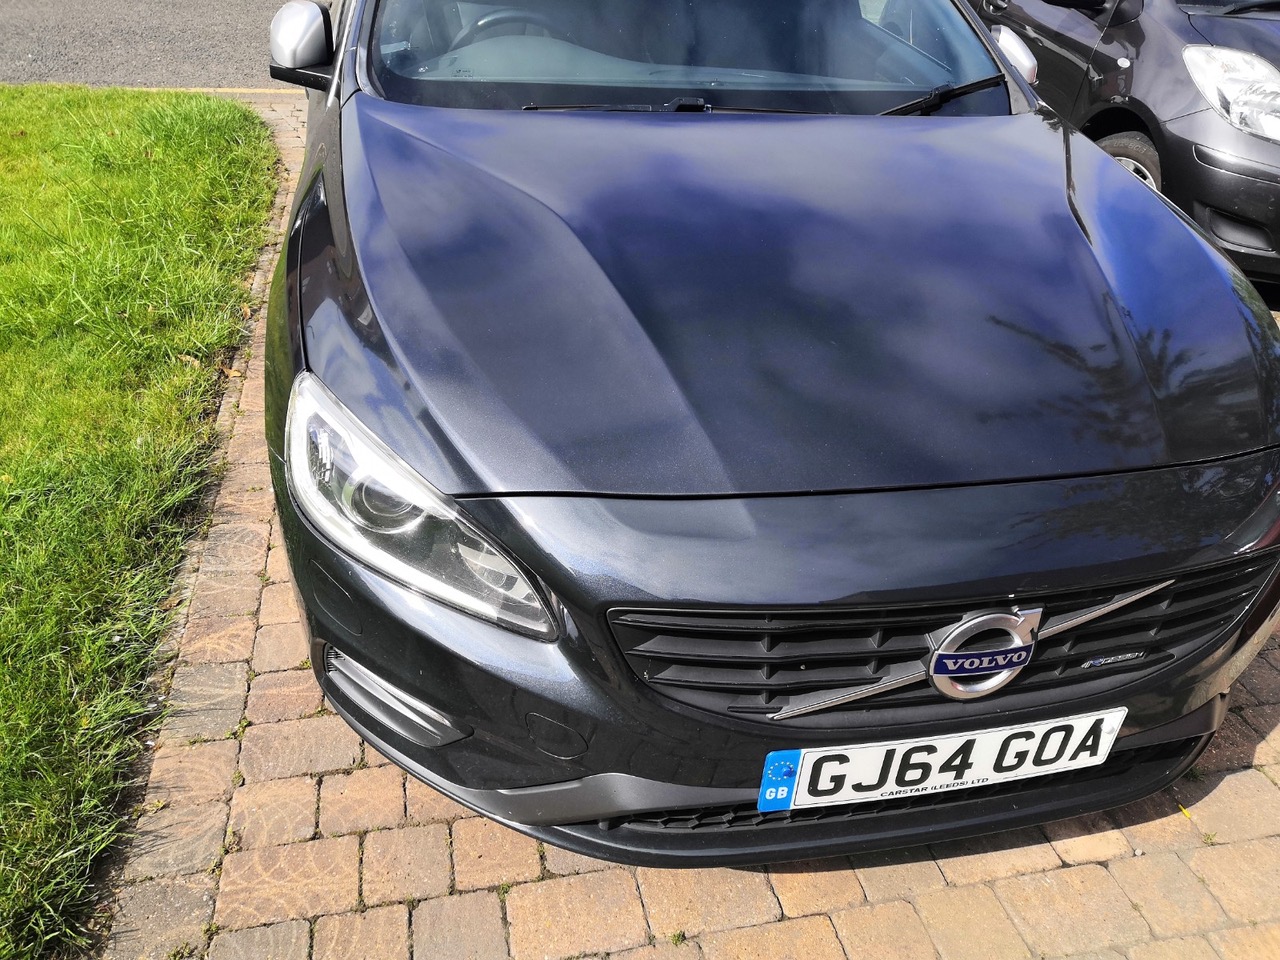
A client recently requested for a colour match so that they could complete a respraying project on a Volvo V60. After finding the perfect colour, Jon Hutson managed to achieve a fantastic finish on this stunning vehicle. Take a look at what this project required and how Jon completed it.
Tools And Paints Used:
- Sanding Block and Sanding Paper (120 + 240 + 600 Grit)
- Paint/Sanding Mask
- Masking Paper
- Masking Tape
- Metal Filler
- Good Quality Painting Mask
- Degreaser
- High Build Primer
- Volvo Base Coat paint
- 2K Gloss Lacquer
The Method
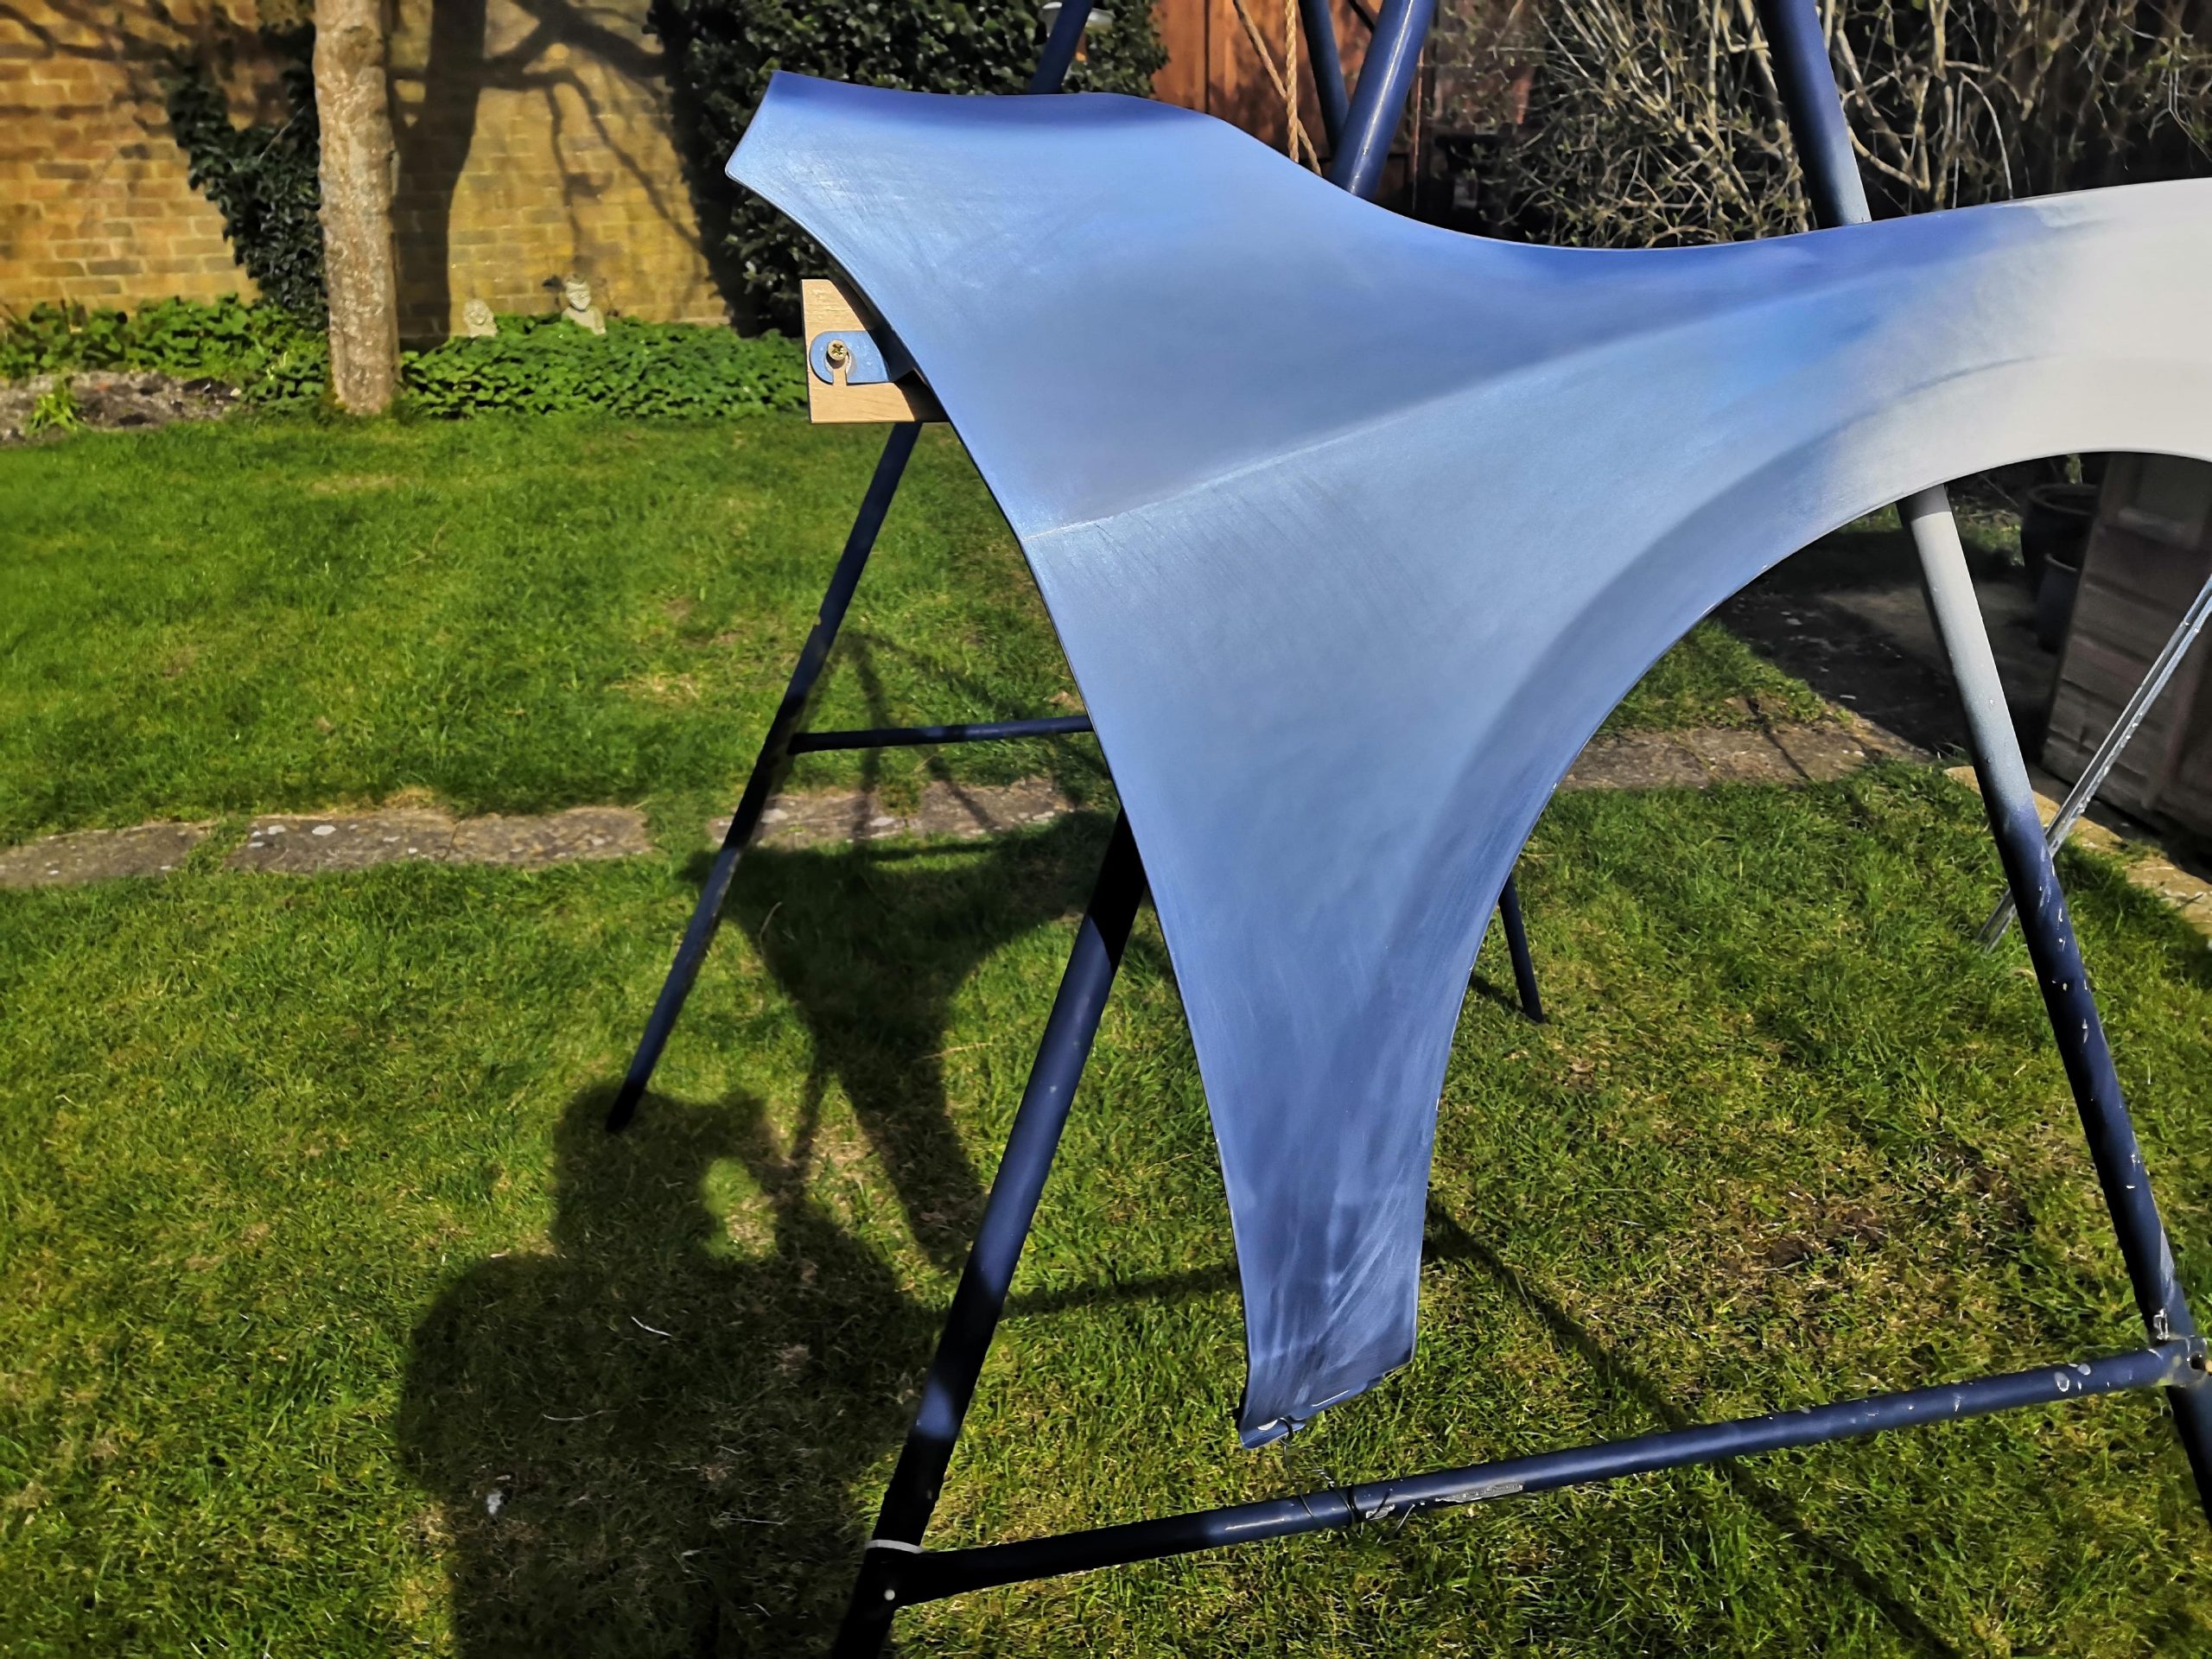
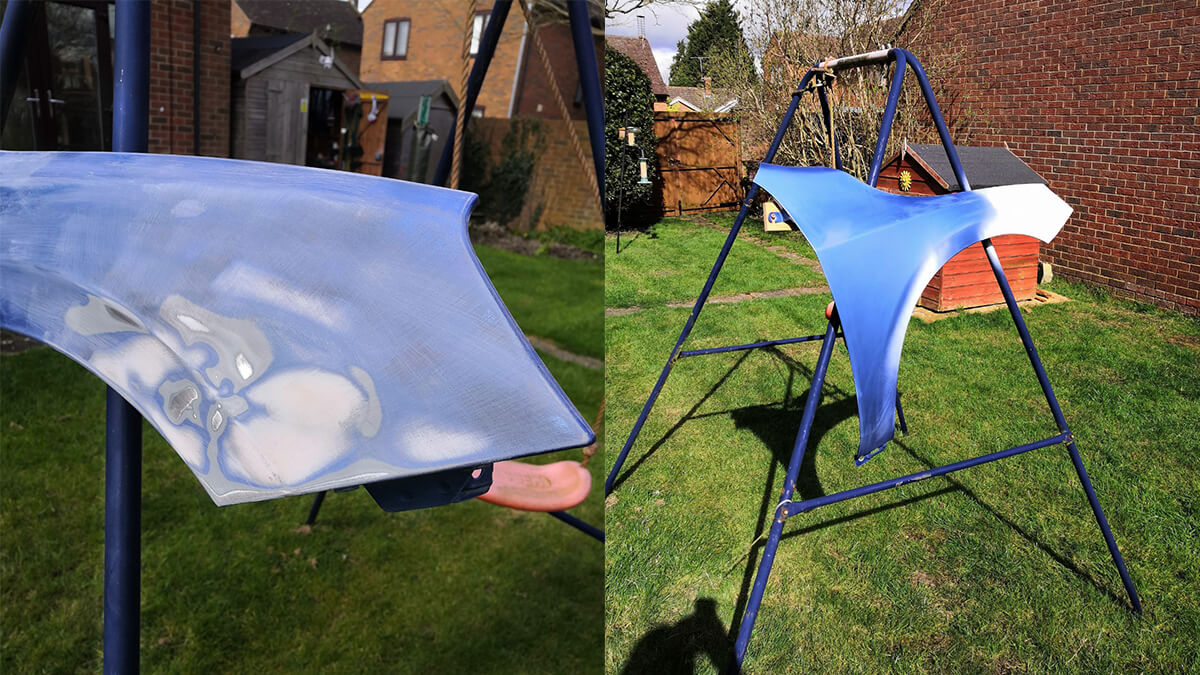
Even in Jon’s garden, he has done some amazing work, eventually propping up a tent to spray in. As with all car paint projects, prep is always the key, so ensuring you have all you need before approaching a car project is essential; this includes a good quality paint mask capable of handling 2K paint.
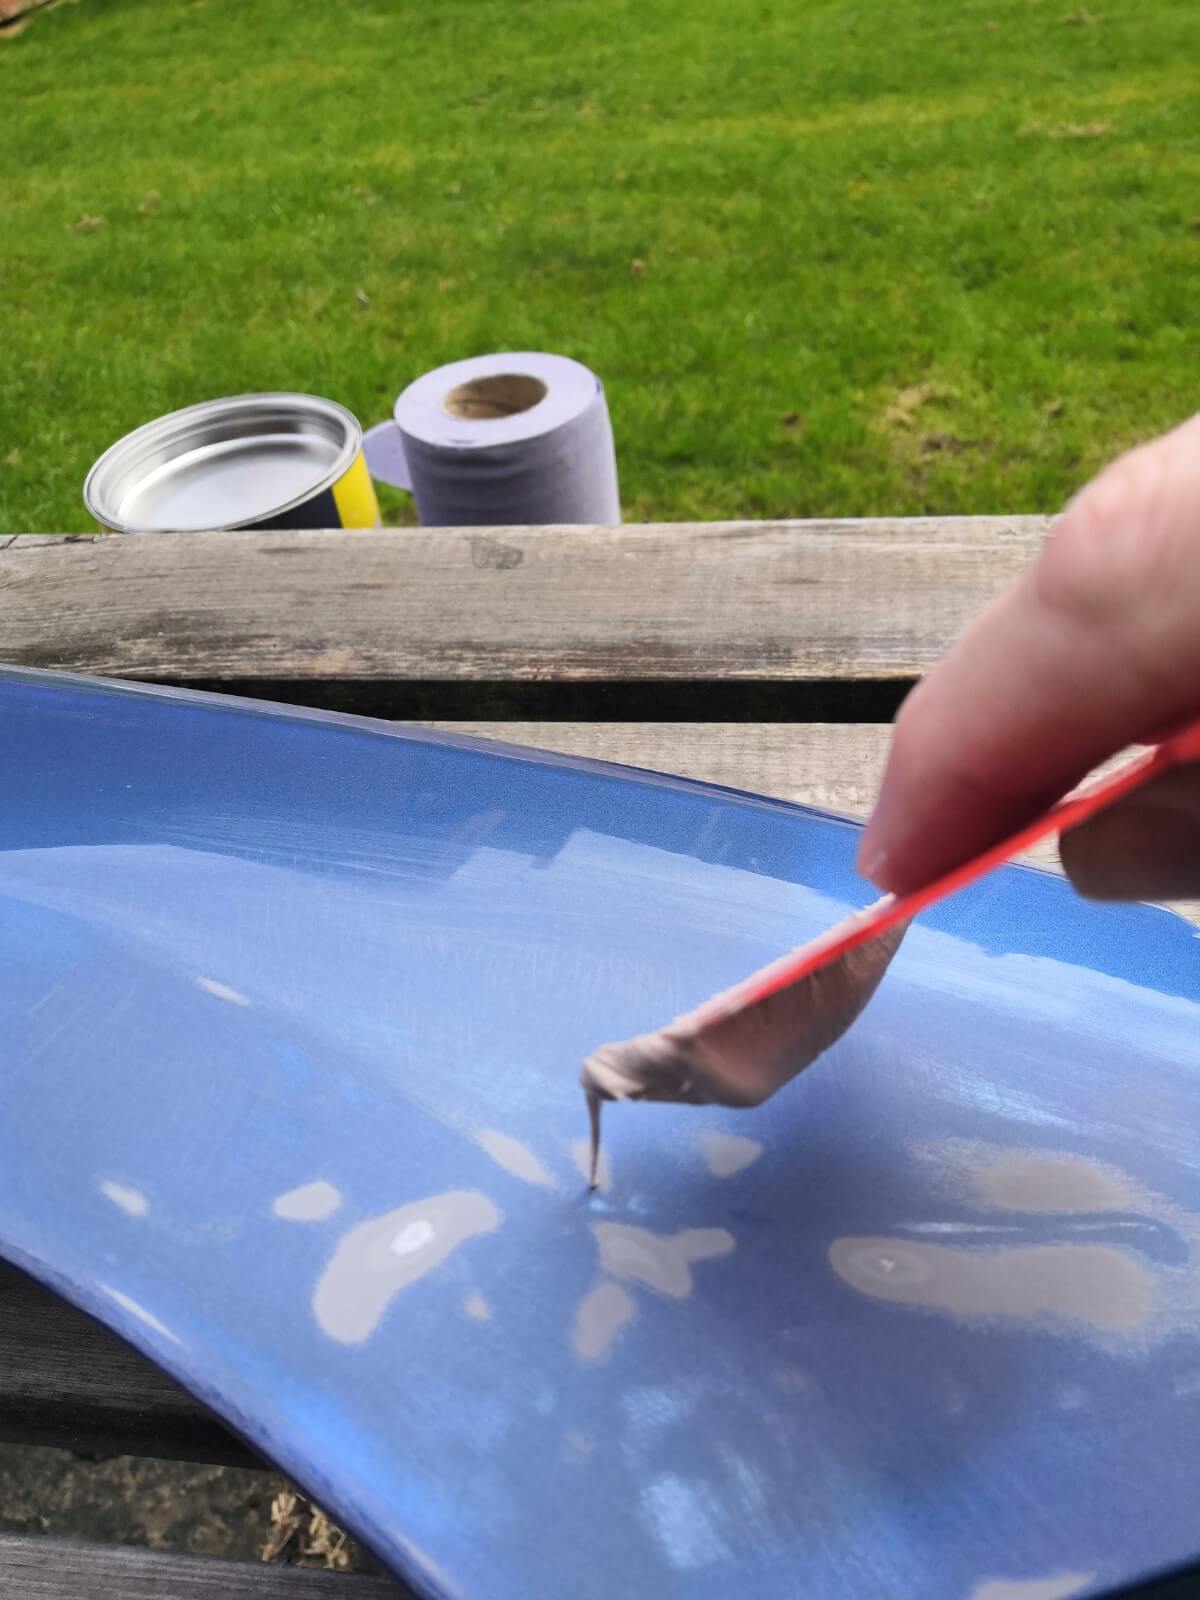
Where there is damage or dents in the paint, you can apply a metal primer. Add enough to have a small mound over the damaged area. Let the filler cure properly, then wrap your sanding block with 120 Grit paper and sand down the affected area. Sand down the area until the surface is nice and flat, then remove the dust and smooth down even finer with the 240 Grit sandpaper.
Once you are happy with the surface, you can sand down even finer with a 600 Grit wet and dry. Using the 600 fine grit paper will give you a finely polished area to spray onto. The smoother the surface, the less likely you will need to sand the paint down between coats.
Remove all dust particles possible and then clean down with degreaser to remove any possible chemical residues. Thoroughly mask off any areas you do not wish to paint.
TOP TIP: Always use masking paper to mask off every part of the car closest to the affected area, including windows and tyres as the fine spray will get everywhere if the masking is not sealed. Apply at least two coats of primer leaving at least 40 minutes cure time between coats.
TOP TIP: Remember not to apply the primer too thick or the primer coats will take longer to cure. If you apply the first primer coat too thick and then reapply the second coat too early, the first coat will not have cured and will still be drying underneath, which will lead to cracking and webbing. Sand down further where you feel you may need a smoother substrate before applying the base coat colour.
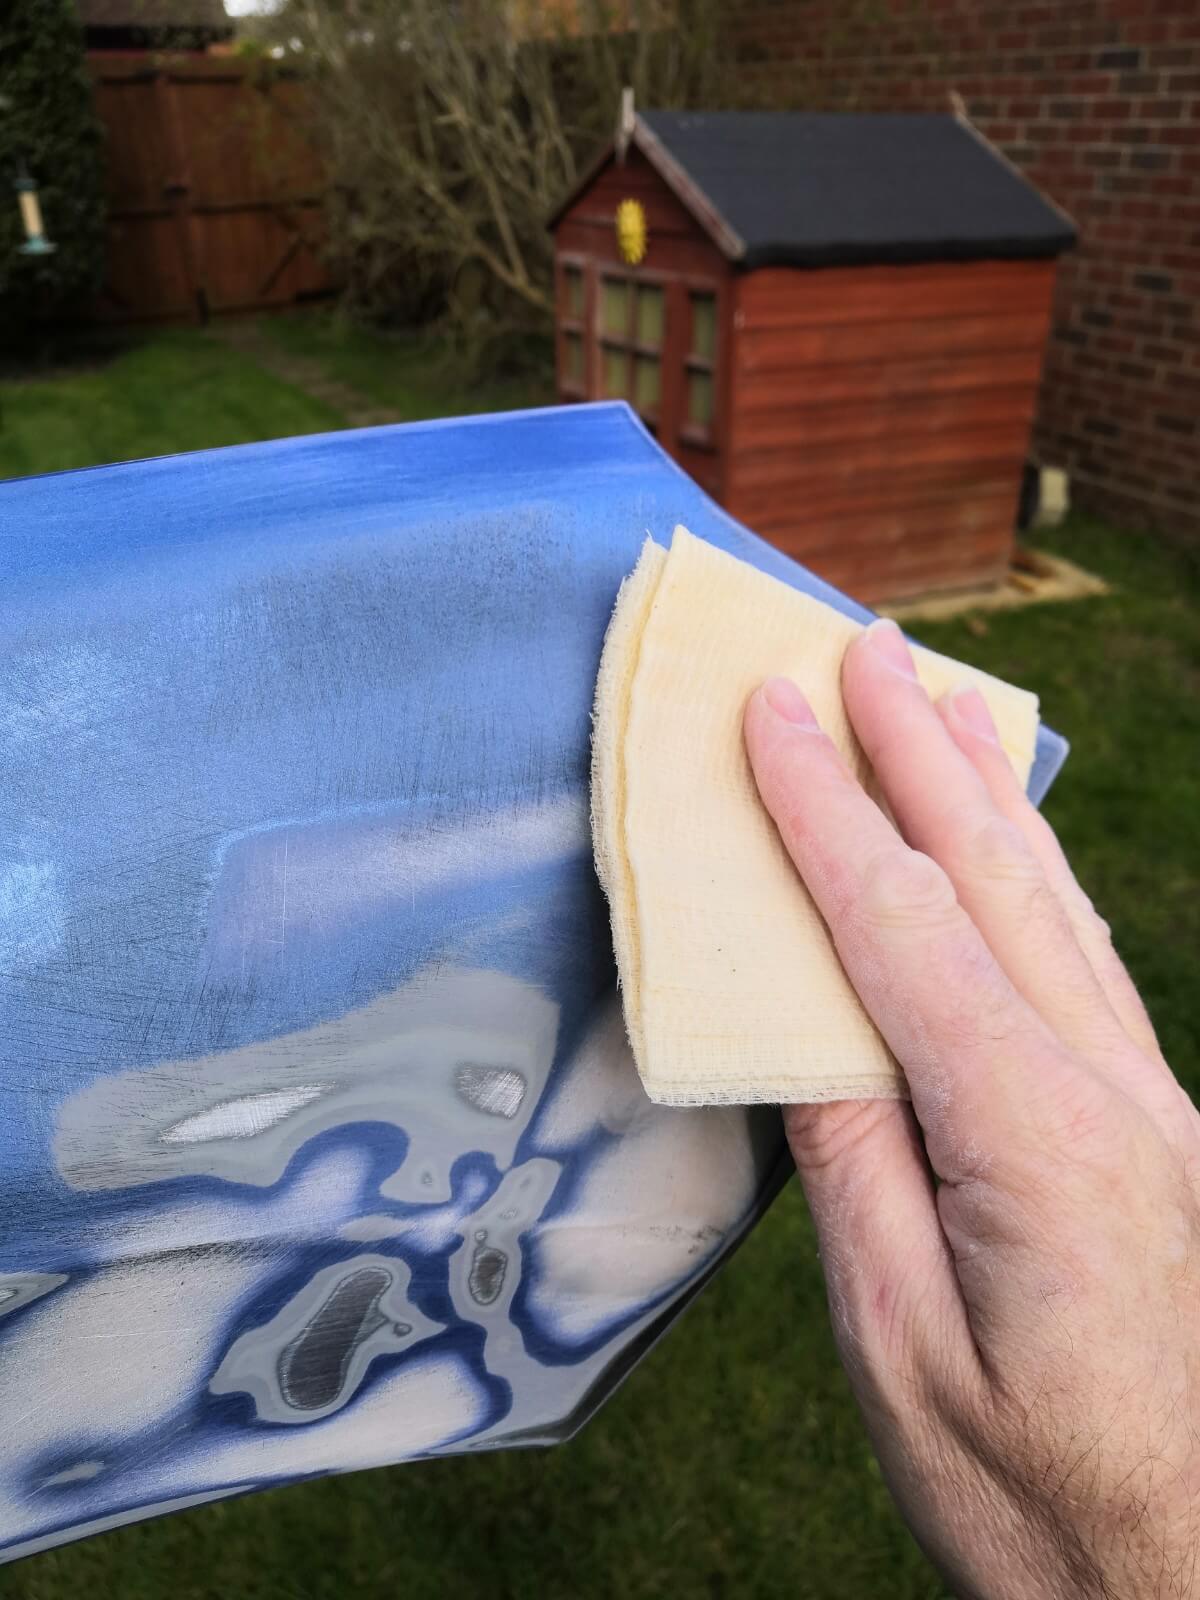
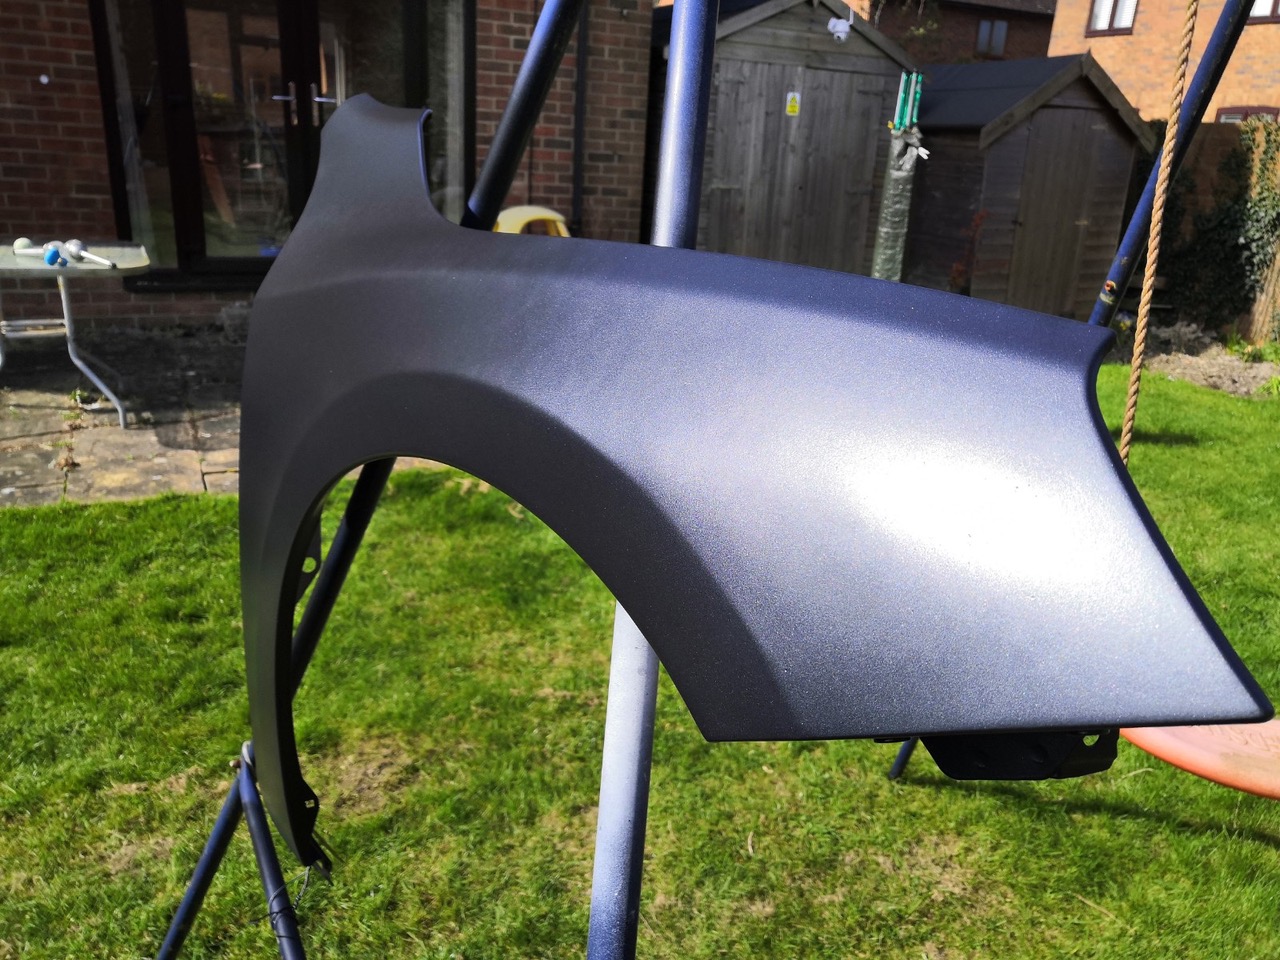
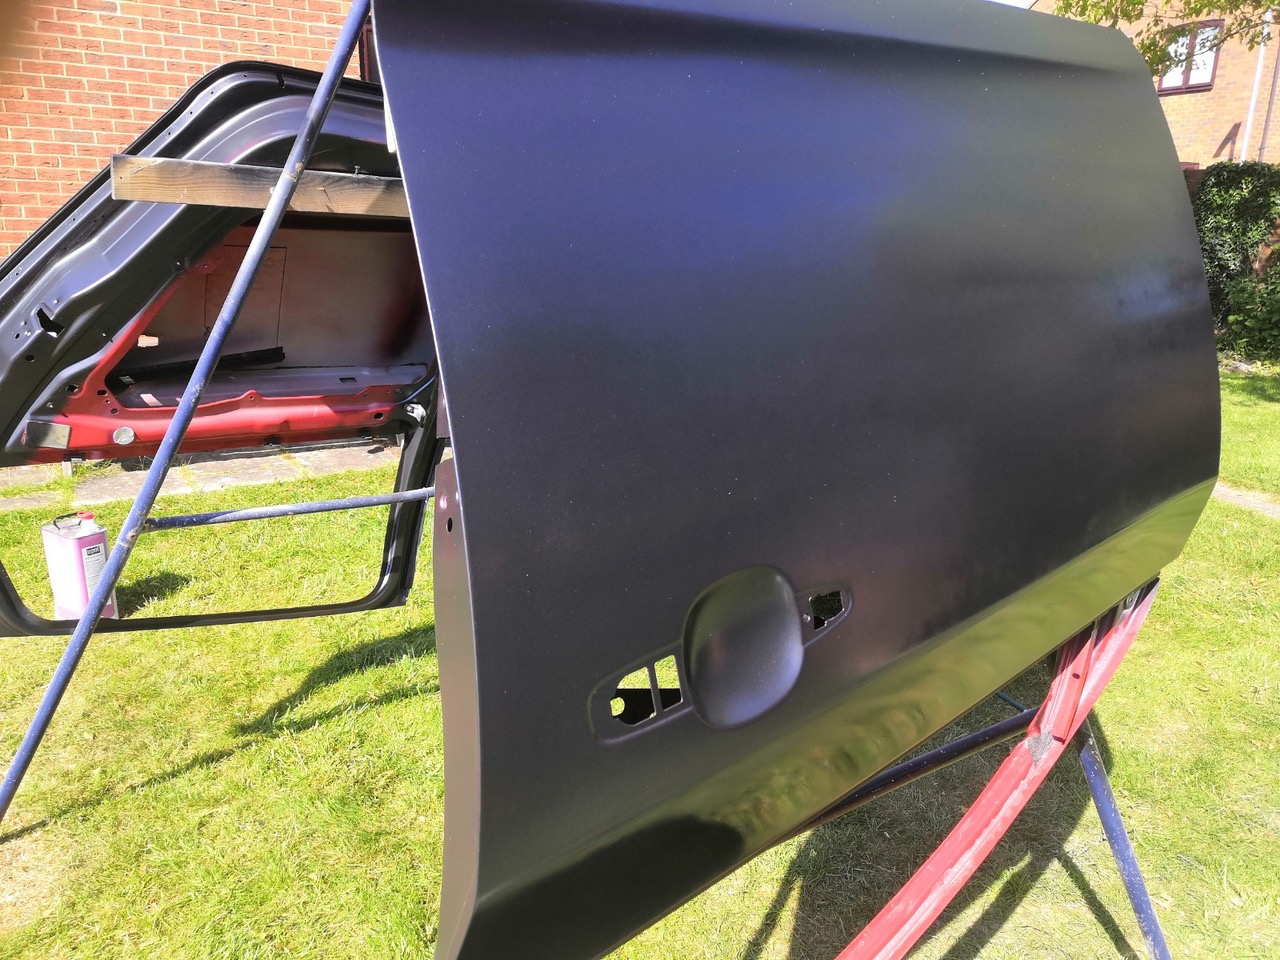
Once the primers are fully cured, you can move forward to the base coat. Spray from left to right in passes, releasing the nozzle when you leave the substrate and then pressing the nozzle down just before you hit it again.
Overlap your passes by 50%. Once you have finished spraying horizontal (adjust the airflow nozzle at the front from horizontal to vertical) you can then make passes vertically to reduce the chance of tiger stripes in your paint. Apply a minimum of two coats; we would always recommend that you try to complete four coats for maximum results. Continue applying coats until the affected area is sufficiently covered.
TOP TIP: If you apply the paint too thick and you cause runs in the paint, DO NOT attempt to wipe them off. Wait for the paint to fully cure, then sand the runs out and reapply the base coat.
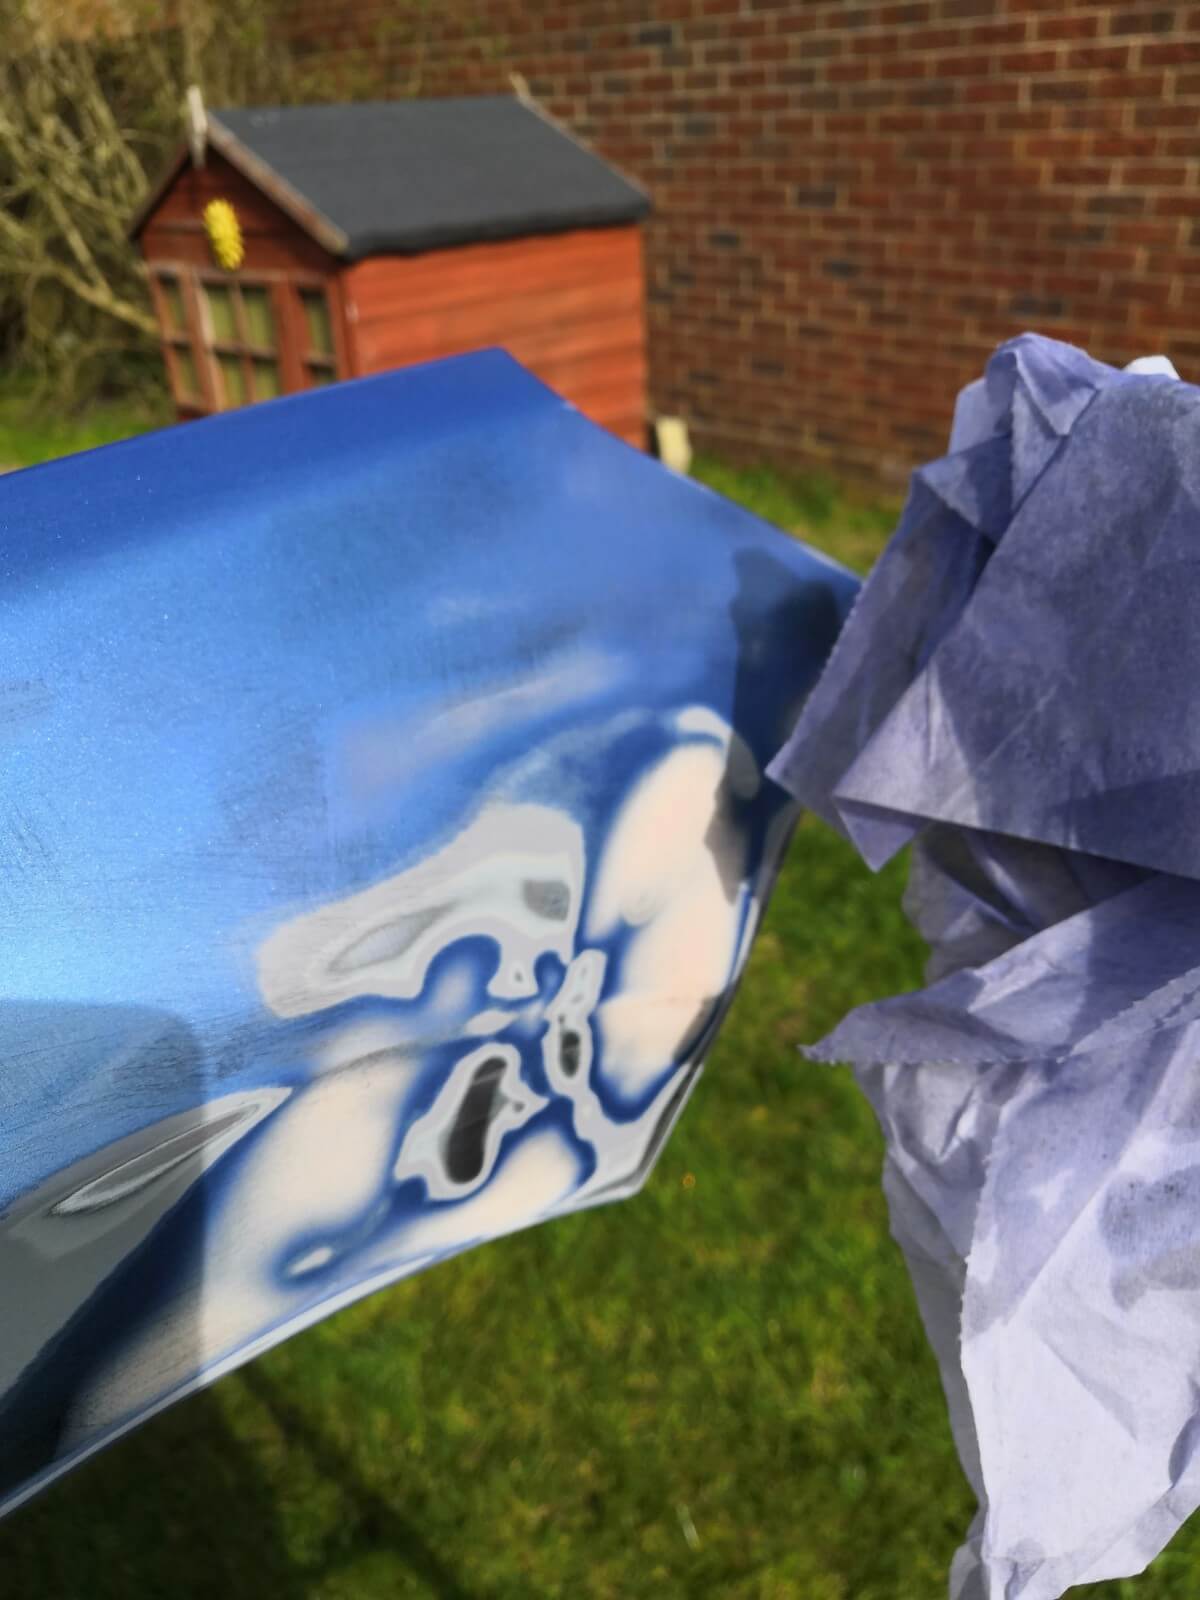
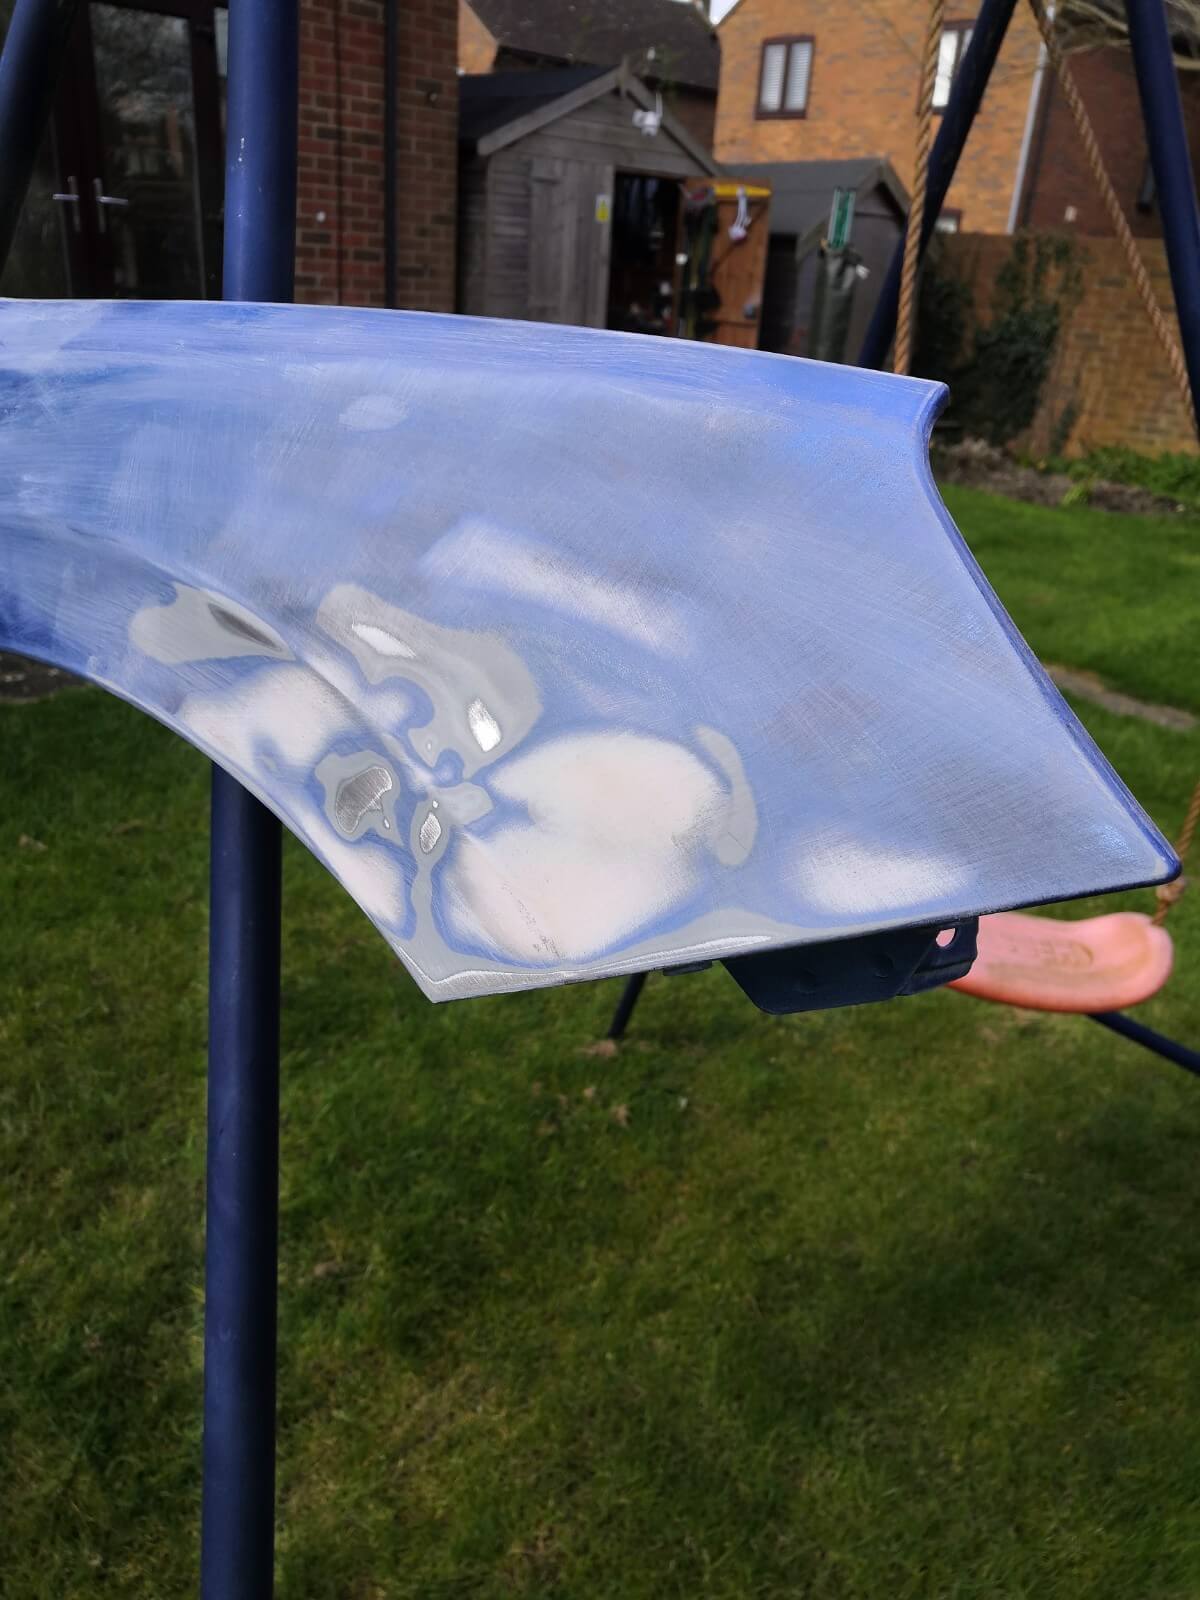
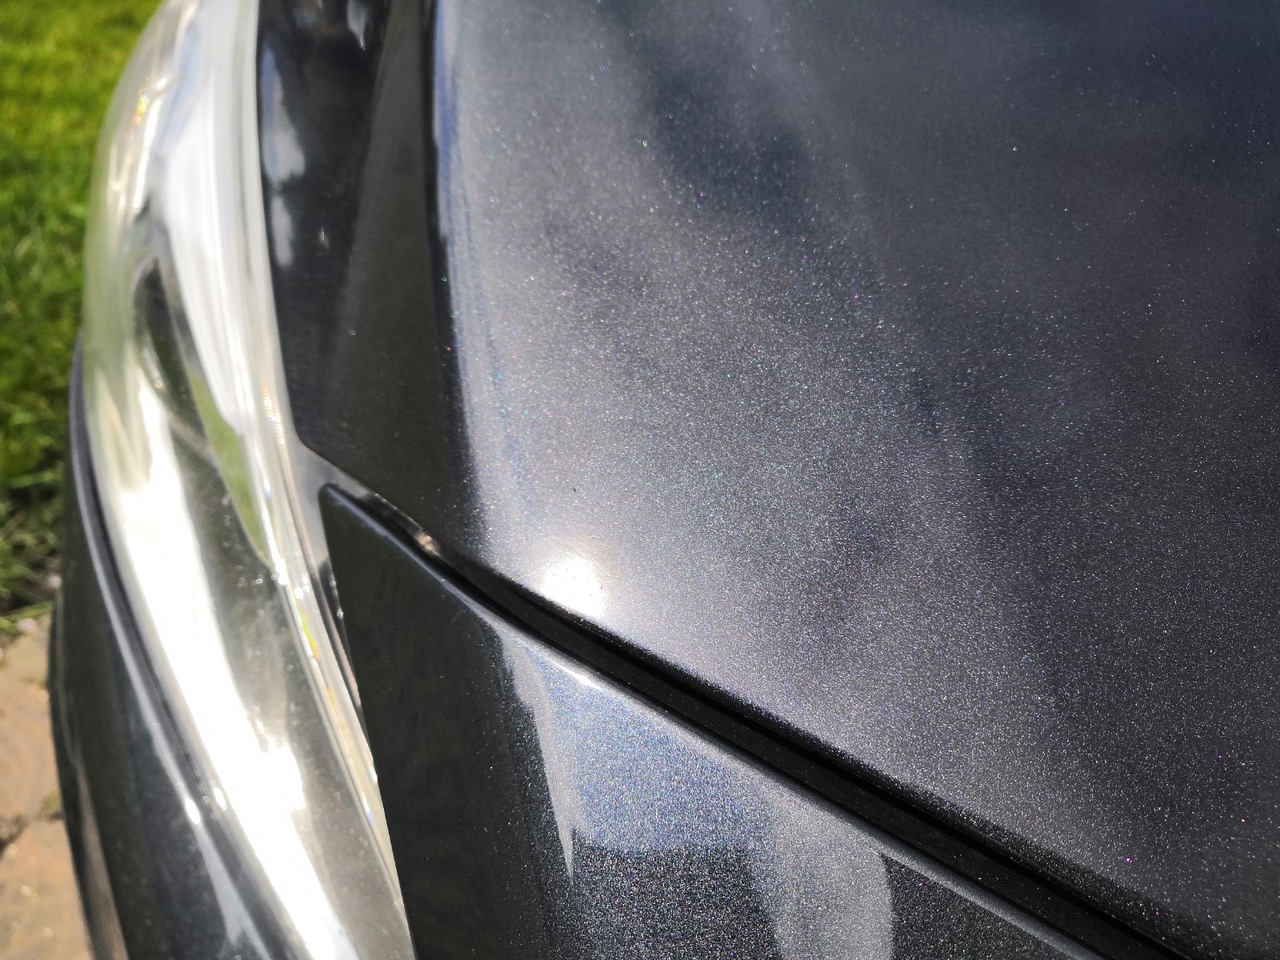
One of the problems Jon encountered is paint fogging/misting. This happened because the paint or the car wing Jon was painting was too cold, and this can lead to fogging. You can find out more about spray painting faults and misconceptions in our previous article.
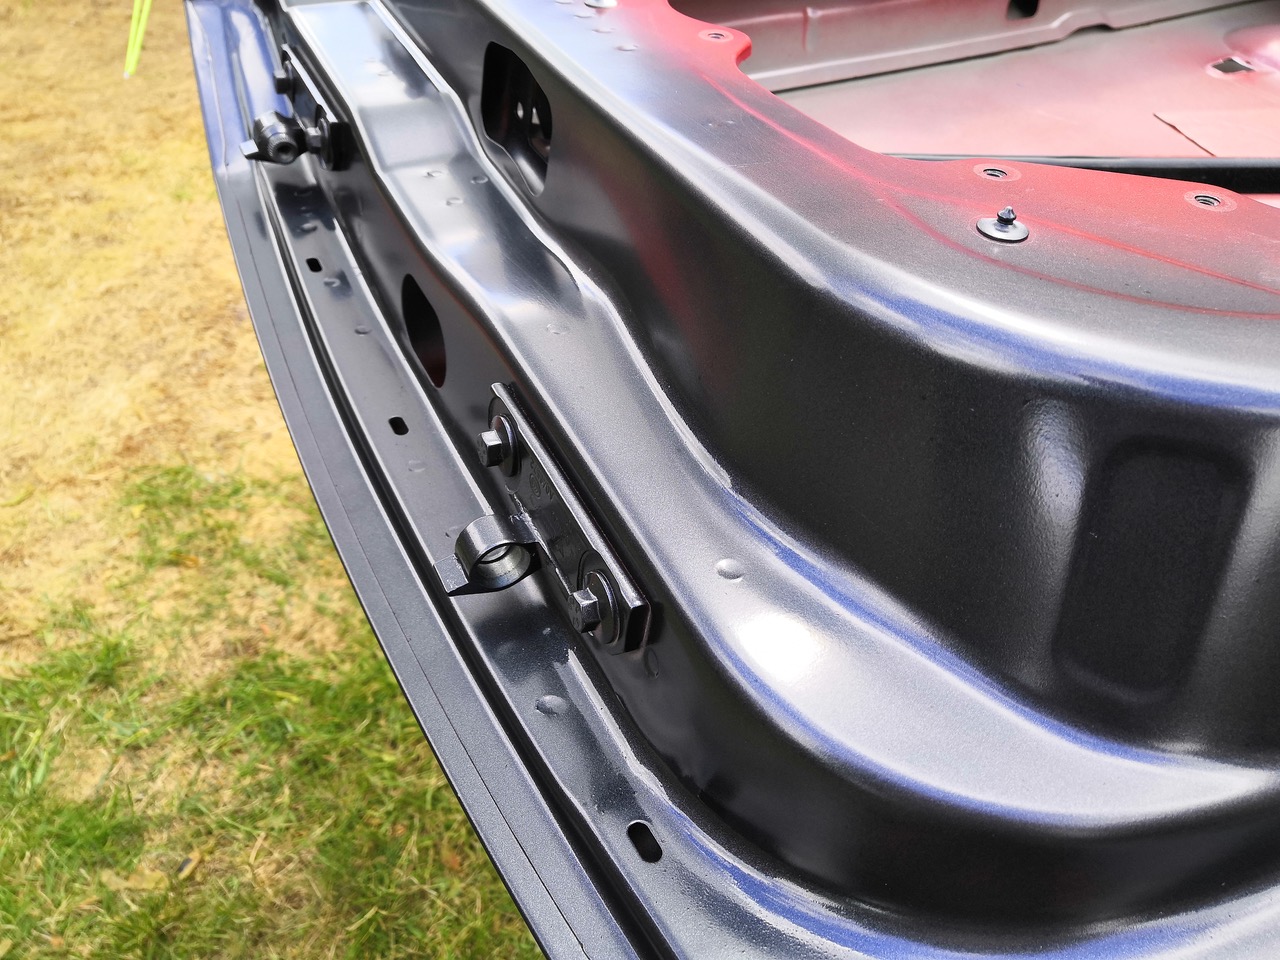
Finally, it’s time to apply the 2K Lacquer. It’s vitally important to appreciate the strength and severity of 2K products. As noted above, ensure you have a good quality spray mask capable of dealing with the Isocyanates in 2K products. You can find further information about this on the government website here. Apply between two and four coats of 2K Gloss lacquer (for any runs in the paint see the tips above). Leave at least 40 minutes to an hour between coats at room temperature. Once you have applied the final coat, leave to cure overnight. Once the paint has cured for 24 hours at room temperature, you can buff and polish to a High Gloss.