

Over time, wooden furniture does start to age, dampening its appearance and the overall aesthetics of your interior design. With this in mind, opting to upcycle outdated furniture as opposed to replacing items has continued to grow in popularity over recent years. Through utilising your creative side and participating in a little DIY, an array of household fixtures can be transformed for a cost-effective price. If this is something that you’re interested in experimenting with, our super easy to follow ten step guide to spray painting old wood furniture is guaranteed to give you a head start!
10 Steps To Spray Painting Old Wood Furniture
Gone are the days where you have to meticulously hand-paint old wooden chairs, tables or dressers, ensuring that all coats are even without brush lines. You can now add a fresh layer of colour to any surface in as little as a few minutes through the use of spray paint. While it may take a few trial runs before you can perfect the art of spray painting, it will most definitely save you both time and money, guaranteeing seamless results.
1. Prepare Your Workspace
First things first, you must find an adequate workspace and prepare the area for spraying. While spray paint cans are safe for home use, they do include chemicals which can prove potentially harmful if inhaled, which means that spraying in an open space, such as your garden, is ideal. If you have no other alternative but to spray indoors, it must be in a well-ventilated area. For added protection against fumes, a spraying mask must be worn at all times.
As spray paint cans are somewhat powerful, you want to ensure that your surroundings are protected. Whether you are spraying on the ground or a flat surface, cover the space with an old bedsheet, tarp or a dust sheet – any material that you do not mind getting covered in paint.
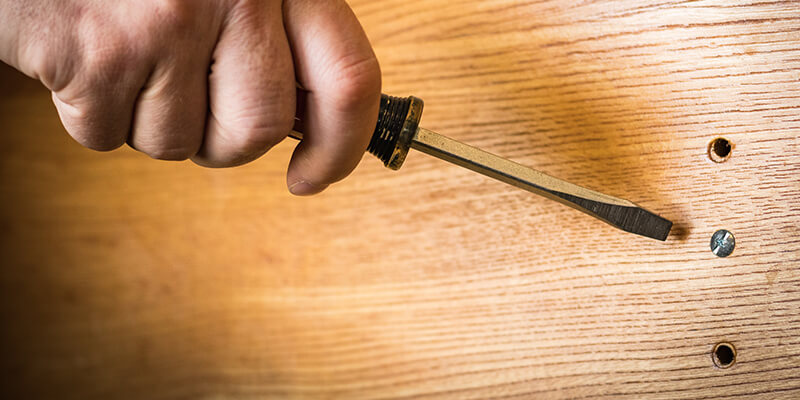
2. Remove All Hardware
To ensure that you can achieve a seamless finish, remove all hardware and fabric, such as chair cushions, from your furniture.
Use a screwdriver to remove any hinges, screws, pulls and knobs, taking extra care not to damage or split the surrounding wood. All hardware can be placed into a small resealable bag and set aside for the meantime to avoid small parts from going missing. If you are spraying a larger piece of furniture such as a chest of drawers or wardrobe, remove drawers and shelves and paint these separately. Spraying each component individually is considerably easier than attempting to tackle the entire fixture.
If you are upcycling a wooden chair that features a cushion, you may also want to consider reupholstering the fabric elements. You can find a full guide on how to do this on The Spruce.
3. Clean The Furniture
Now that you have disassembled your furniture, its time to prepare the surface for spraying. Start by cleaning the wood using a solution of hot water and a few drops of washing-up liquid. Wipe down the surface using a soft, non-abrasive cloth.
If any areas are covered with a particularly stubborn layer of dirt, then a slightly stronger solution can be made to break up the particles. Mix one part lemon juice with two-part olive oil and begin to wipe over the surface.
Try not to soak the wood too much as this will prolong the drying process. On average, you should only have to allow two to three hours for the surface to dry before moving onto the next step.
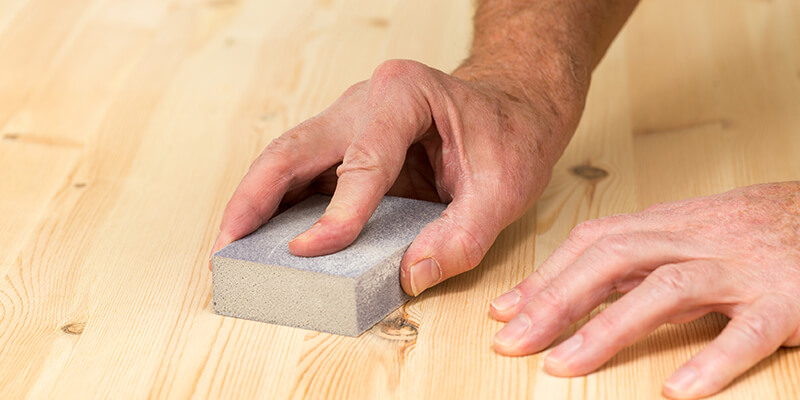
4. Sand The Surface
Almost all wooden furniture is designed with a glossy finish. While this looks nice, it will stop the spray paint from being able to adhere, so will need to be removed.
To mattify the wood and create a rough surface that the paint can stick to, you will need to sand down the glossy finish. Using 150-grit sandpaper, start to remove the outer layer in gentle, circular motions. It is recommended to only sand each section for a maximum of 5-seconds. While this may seem only a short amount of time, it will allow the surface to mattify without gouging the wood and making it uneven.
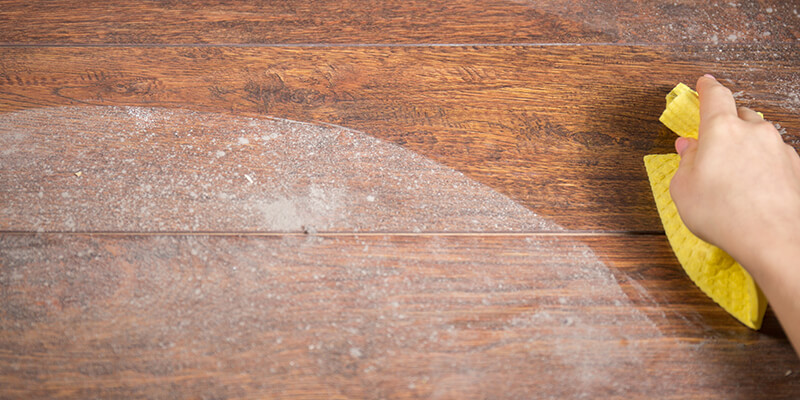
5. Remove Dust And Debris
A quick and easy step but often easily forgotten. Once you have sanded down all sections of your furniture, ensure that all dust and debris is removed from the surface. Failing to remove loose particles will cause small bumps underneath your paint.
Tack cloths are a great way to remove all dust and debris without having to wet the surface. They are designed with a sticky coating that makes it super easy to pick up all loose particles in just a few seconds.
6. Prime The Wood
Priming the wood before beginning spraying is a vital step in ensuring that your results last and do not start to peel, flake or blister. When chosing a primer, it is essential to ensure that you pick one that is suited to the type of material and paint you plan to use.
When it comes to wood, we suggest opting for an oil-based primer. Oil-based products are ideal for wood because they seal the porous surface of the material, creating a super smooth canvas for spray paint. They also stop any old stains on the wood from showing through the paint, ideal for achieving seamless, long-lasting results.
7. Do A Trial Run
Particularly if it is your first time using spray paint, we highly recommend doing a few trials before delving straight into spraying your furniture. Paint sprays from cans with some power, which means that it’ll take time to get the hang of holding steady pressure on the nozzle and spraying in even strokes. Practice for a while on a scrap piece of paper or wood until you feel confident.
The spray paint type that you opt for is mainly based on the colour you hope to achieve. Some of the most popular choices are the following:
- British Standard Aerosols – Cans that fall into the British Standard aerosol category feature multiple shades of each colour. As opposed to merely primary colours, you can choose between up to 30 shade variations of each.
- Pantone Colour – Those who are hoping to use a custom-made shade, for example, to perfectly match an existing paint, would be best suited to the Pantone colour range.
- RAL Colour – With a choice between matte or gloss finishes for each shade; the RAL colour range features over 200 of the most popular universal colours, all of which are ready made.

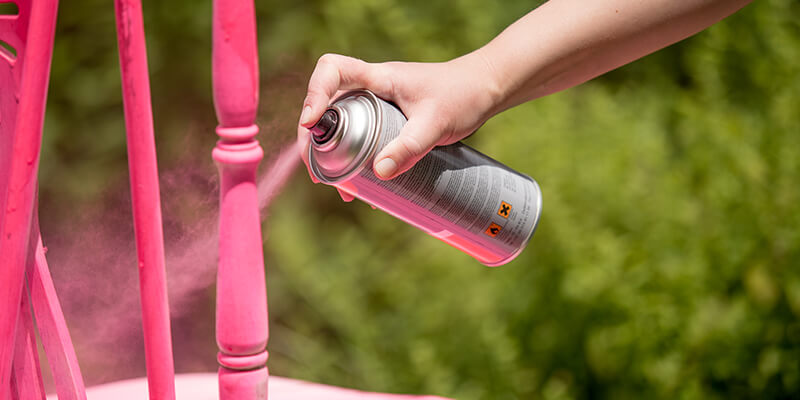
8. Start Spraying
Once you feel confident that you have the knack of spraying, you can move onto transforming your furniture. Always spray at least 10 inches away from the wood and maintain steady, even strokes. It is your choice whether you spray in an up and down motion or side to side; both of which are equally as effective. Keep the canister continuously moving throughout as this will stop the paint from dripping.
As many layers as you think you need can be added to the wood as long as you allow plenty of drying time before making your next application. Spraying on top of wet paint will cause peeling, flaking and blistering.
9. Apply A Sealant
To ensure that grains of wood do not become loose, causing knicks and scratches, a final layer of sealant can be applied. A polycrylic sealant is the best option for wood surfaces as they add a long-lasting layer of protection. They are also available in high gloss or satin finishes to enhance the final look.
10. Reattach Hardware
Once all components are completely dry, and you’re happy with the colour, its time to reattach hardware and reassemble your furniture. Take extra care to ensure that you do not chip, scratch or dent your hard work!
Upscaling Old Furniture Made Easy
And just like that, your furniture has been completely transformed and looks as good as new! Be sure not to rush the process and take your time to maximise your results.
We hope that you have found our guide to spray painting wooden furniture helpful, if so, why not share with your fellow DIYers on social media?


