Adrian brought this project to us as the guttering he received for this project was the wrong colour. The team worked with Adrian to find a spray paint colour to match the colour he had in mind for his new gutters. Take a look below at how this project was completed, along with before and after photos.
Tools:
For this project, the following tools were used:
- Scotch-Brite
- Degreaser
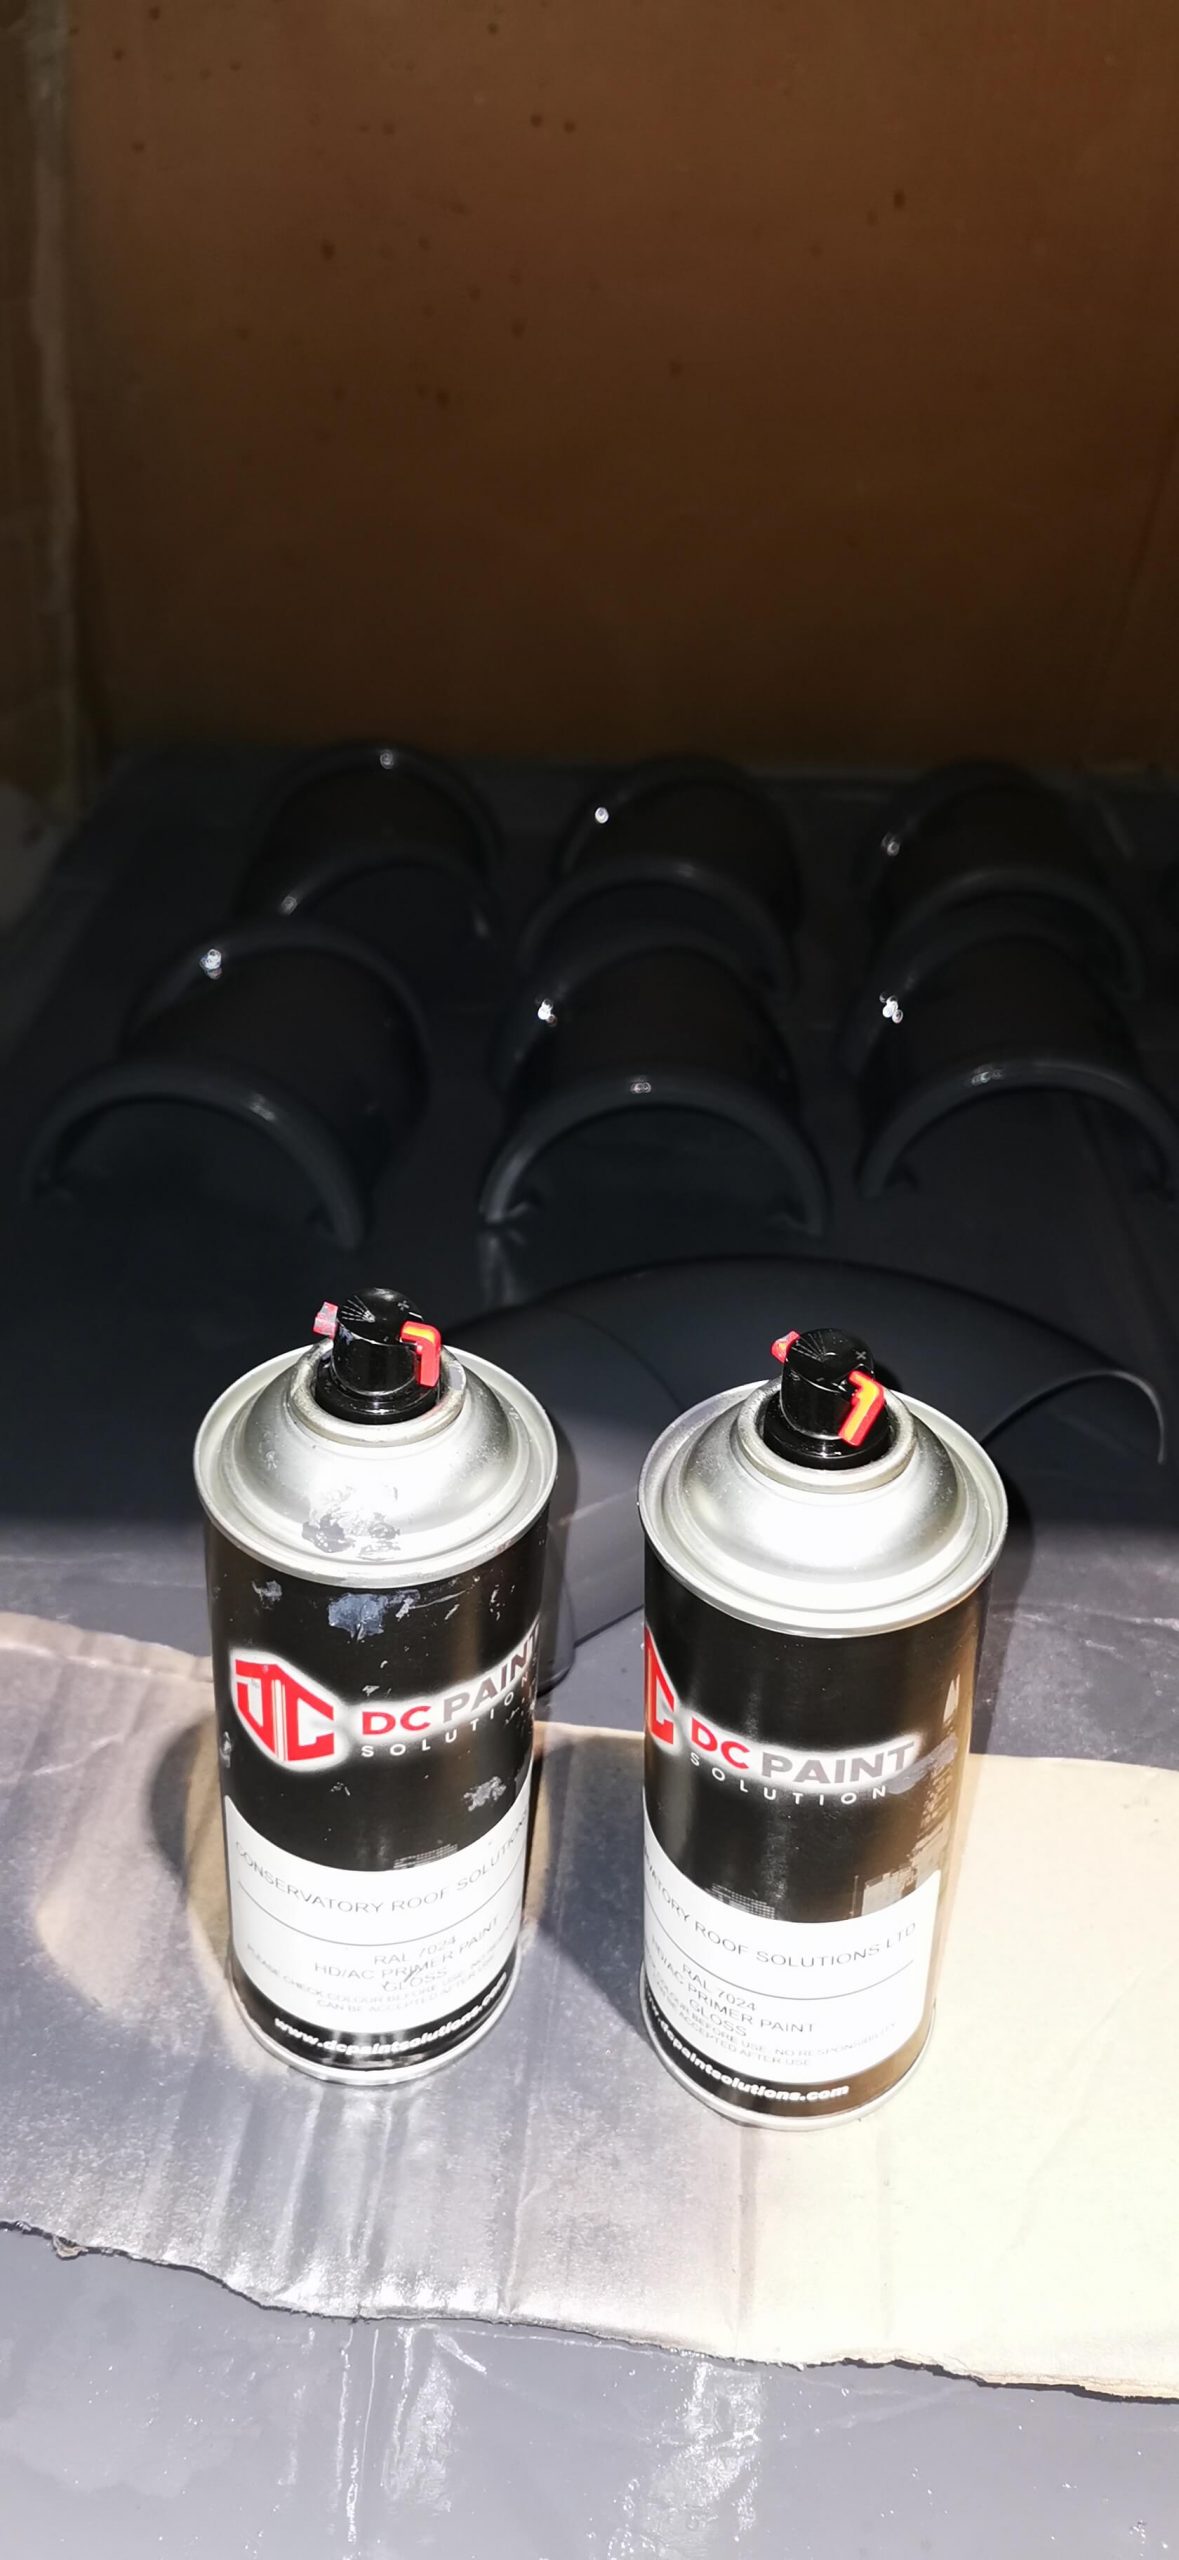
- HD/AC Primer Paint
Completing This Project:
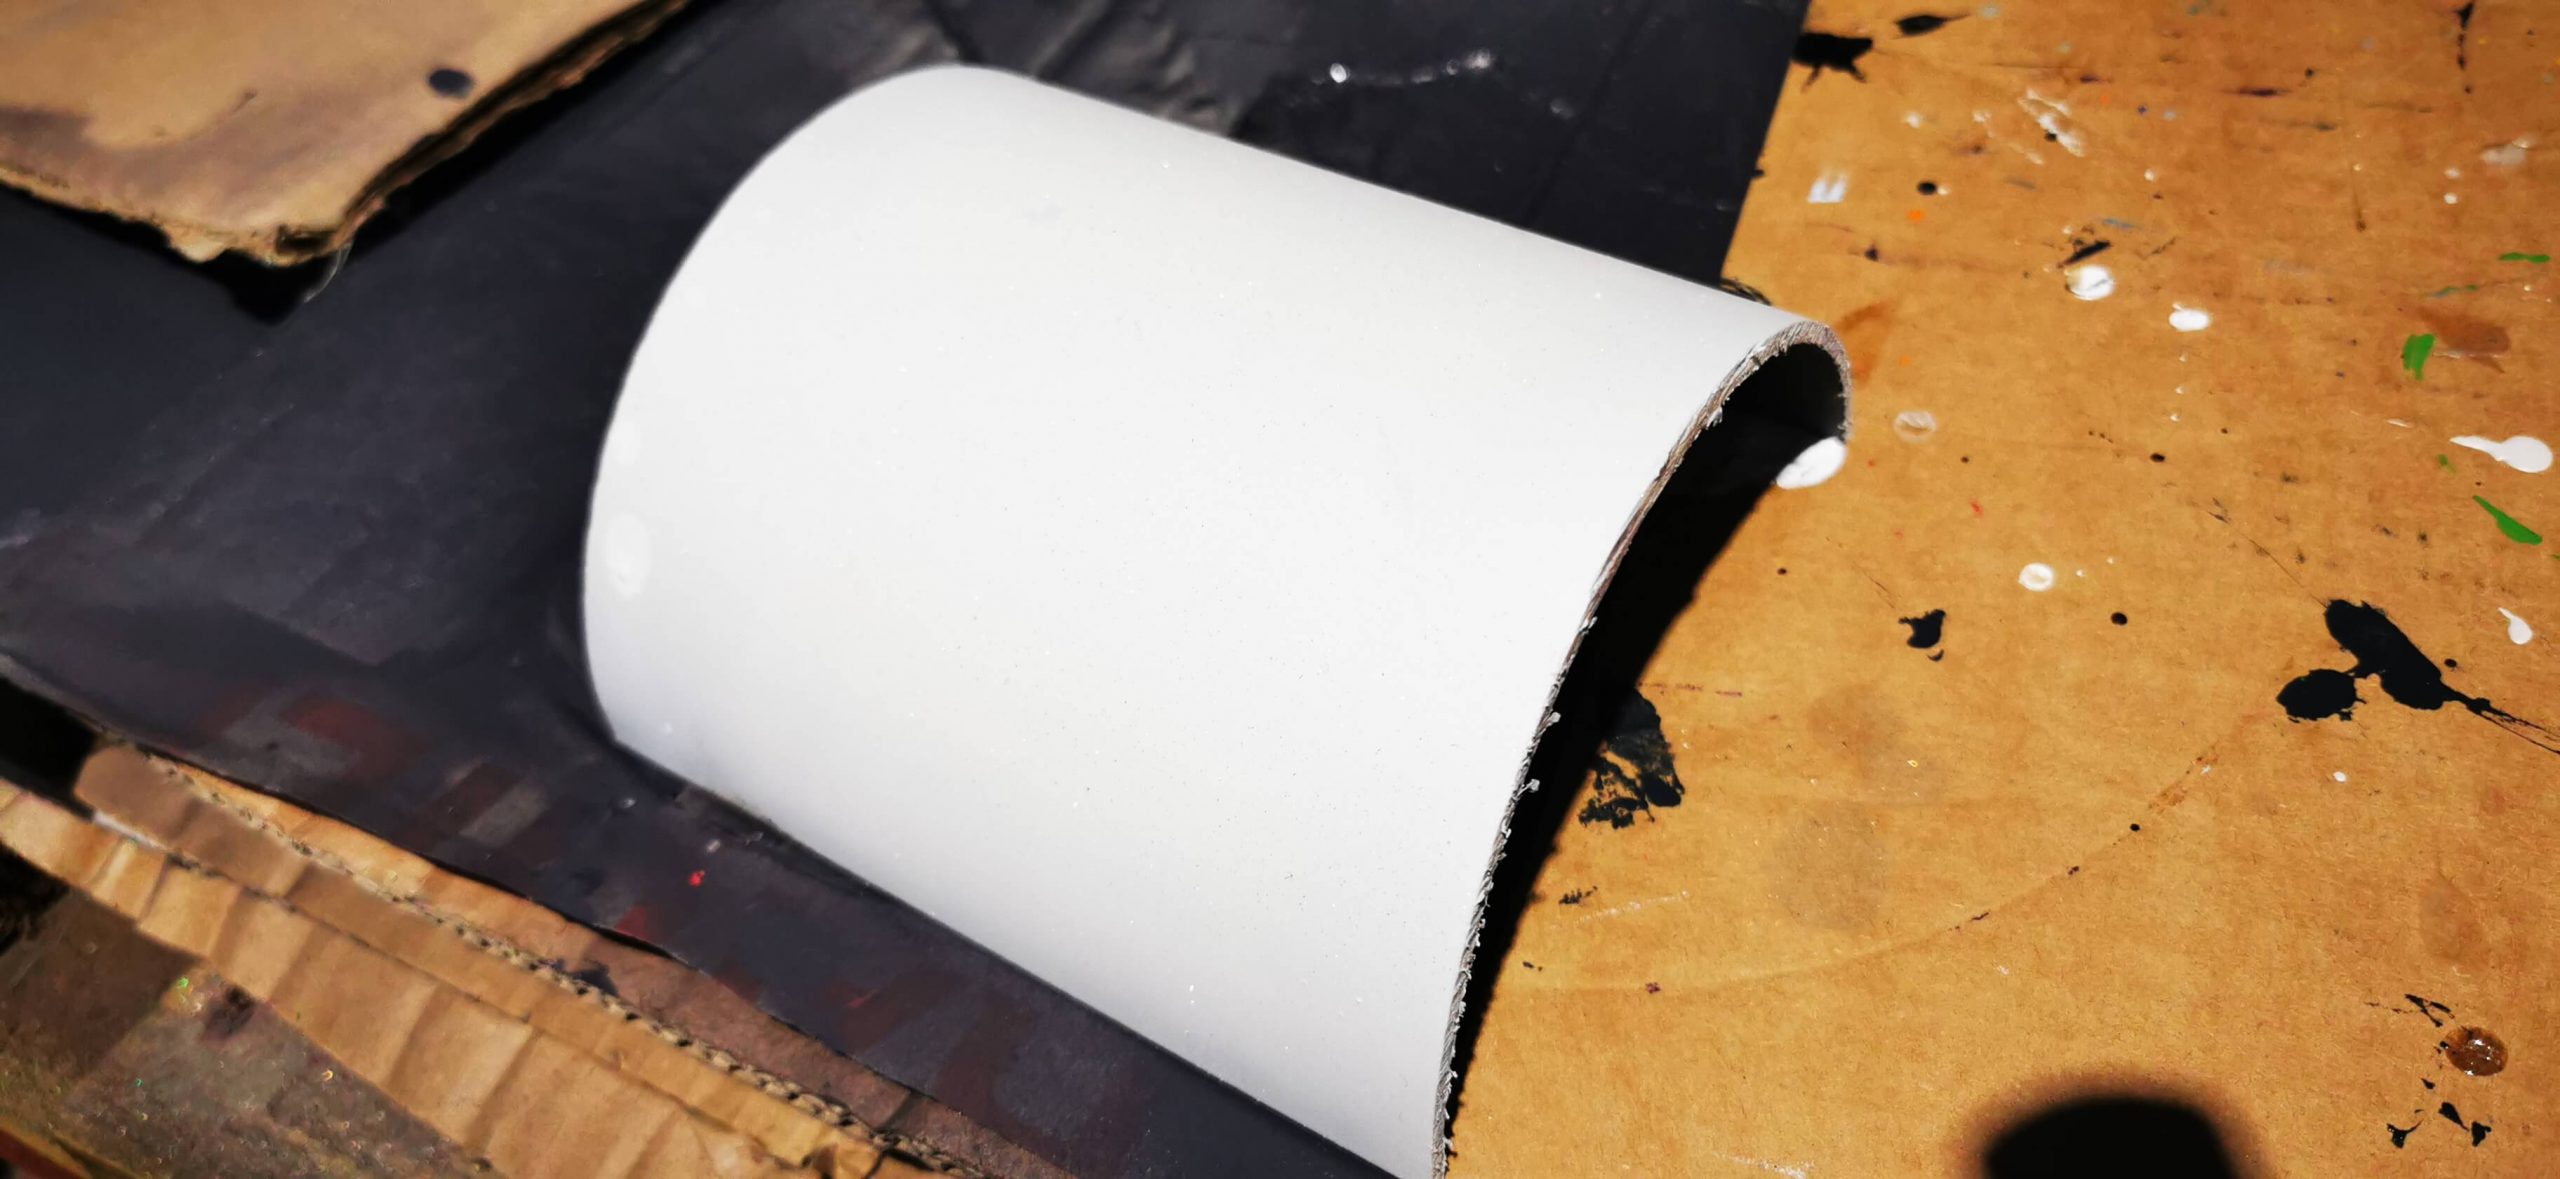
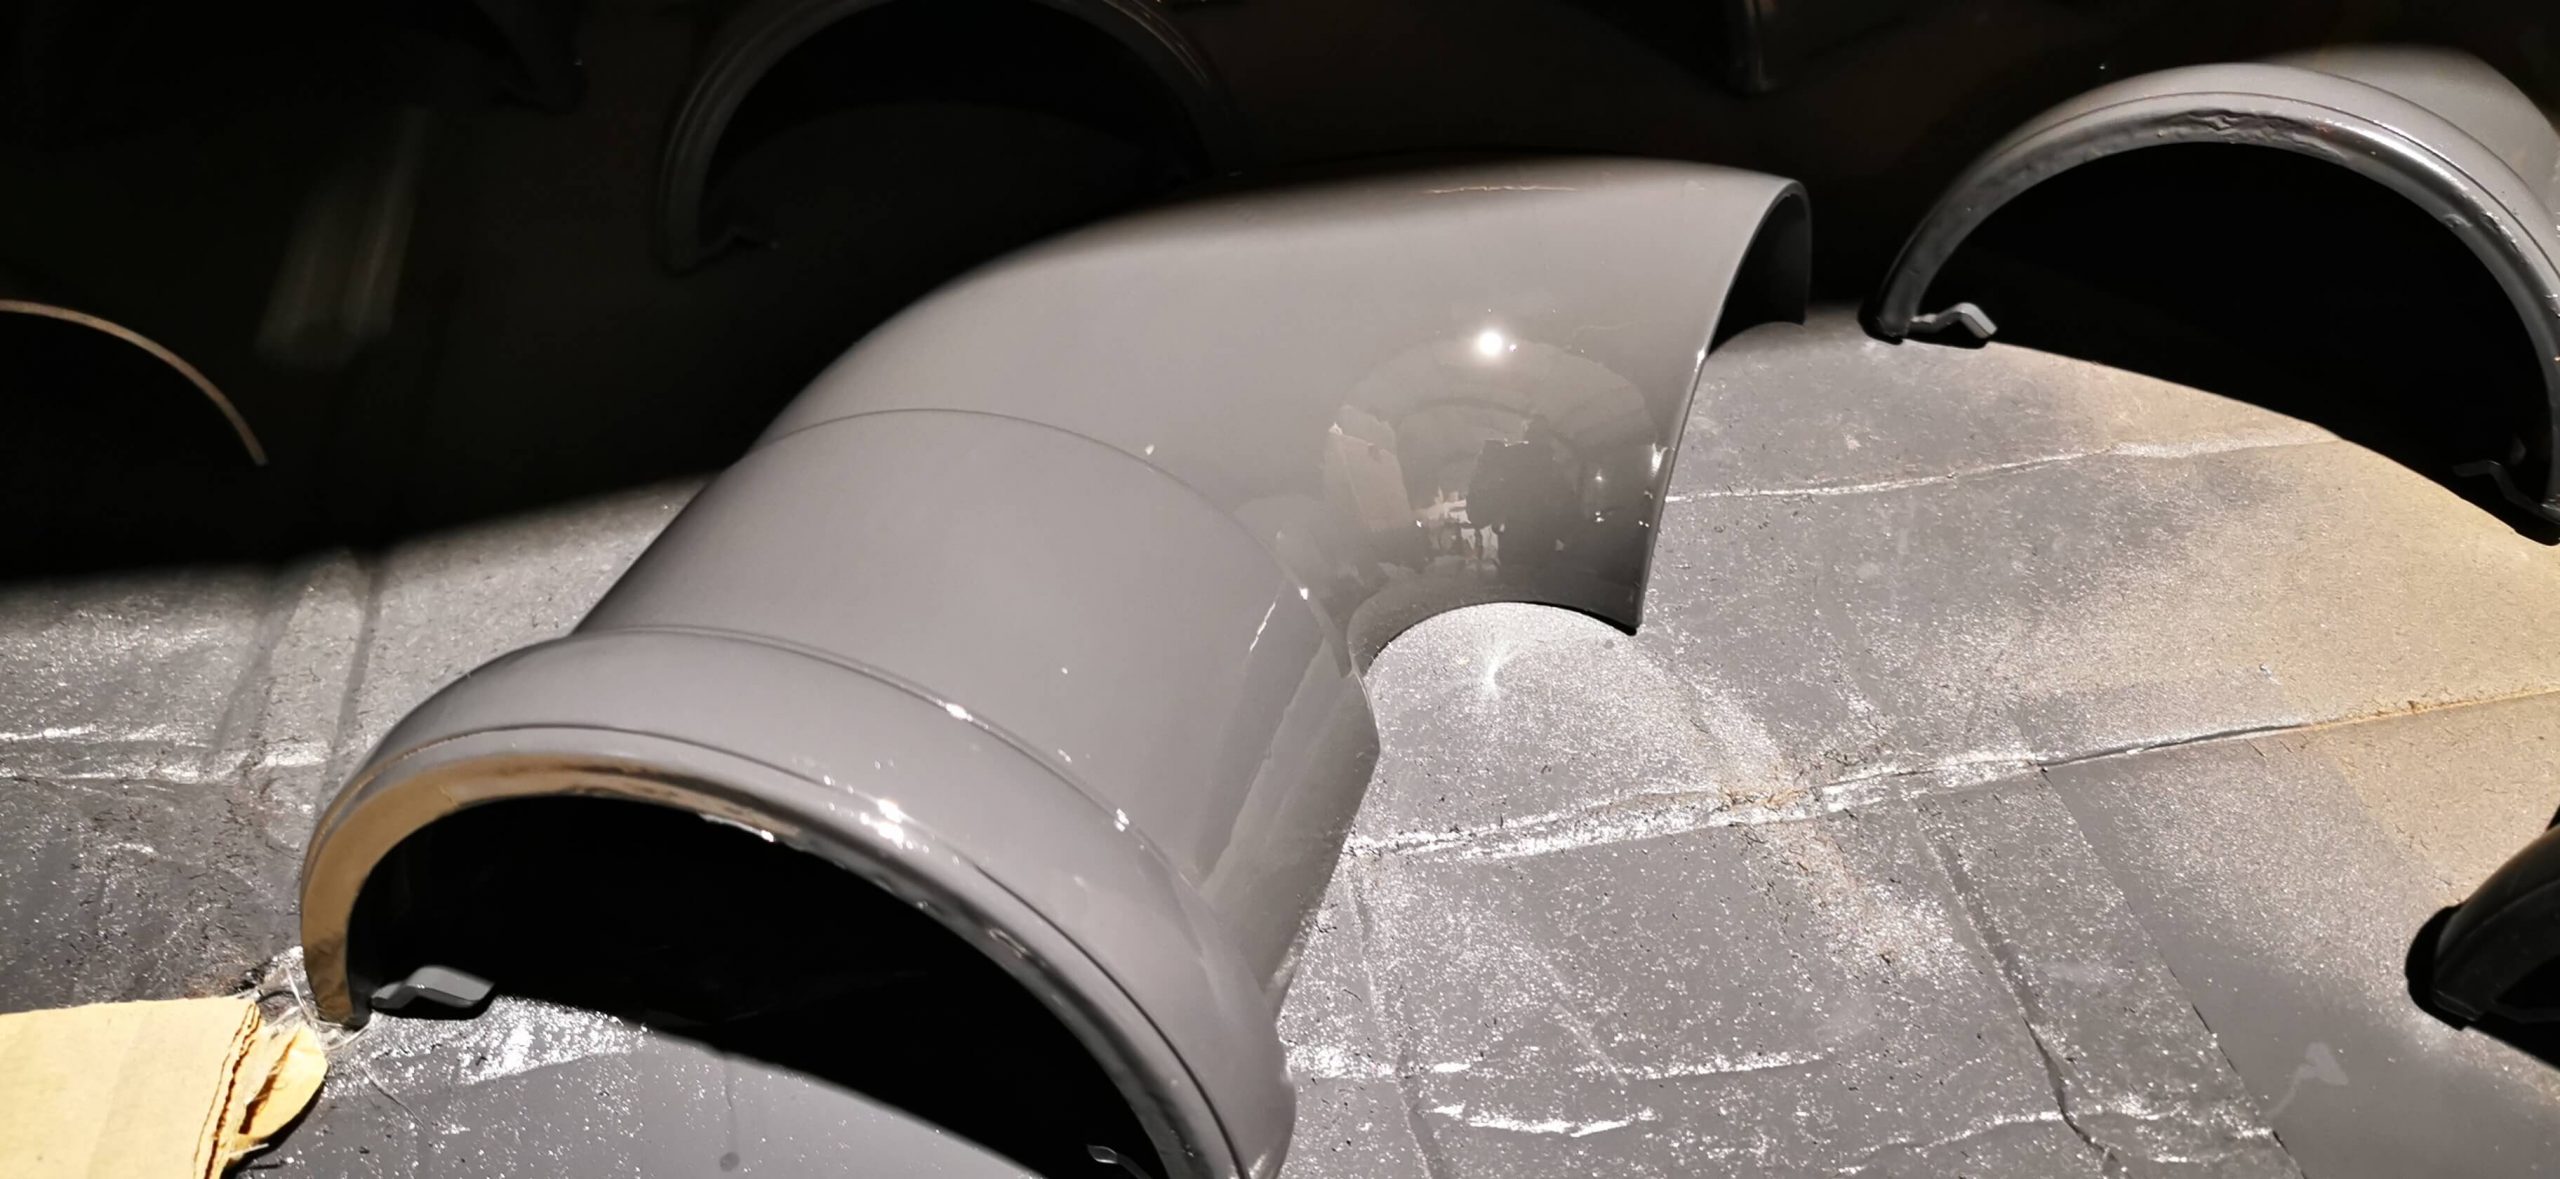
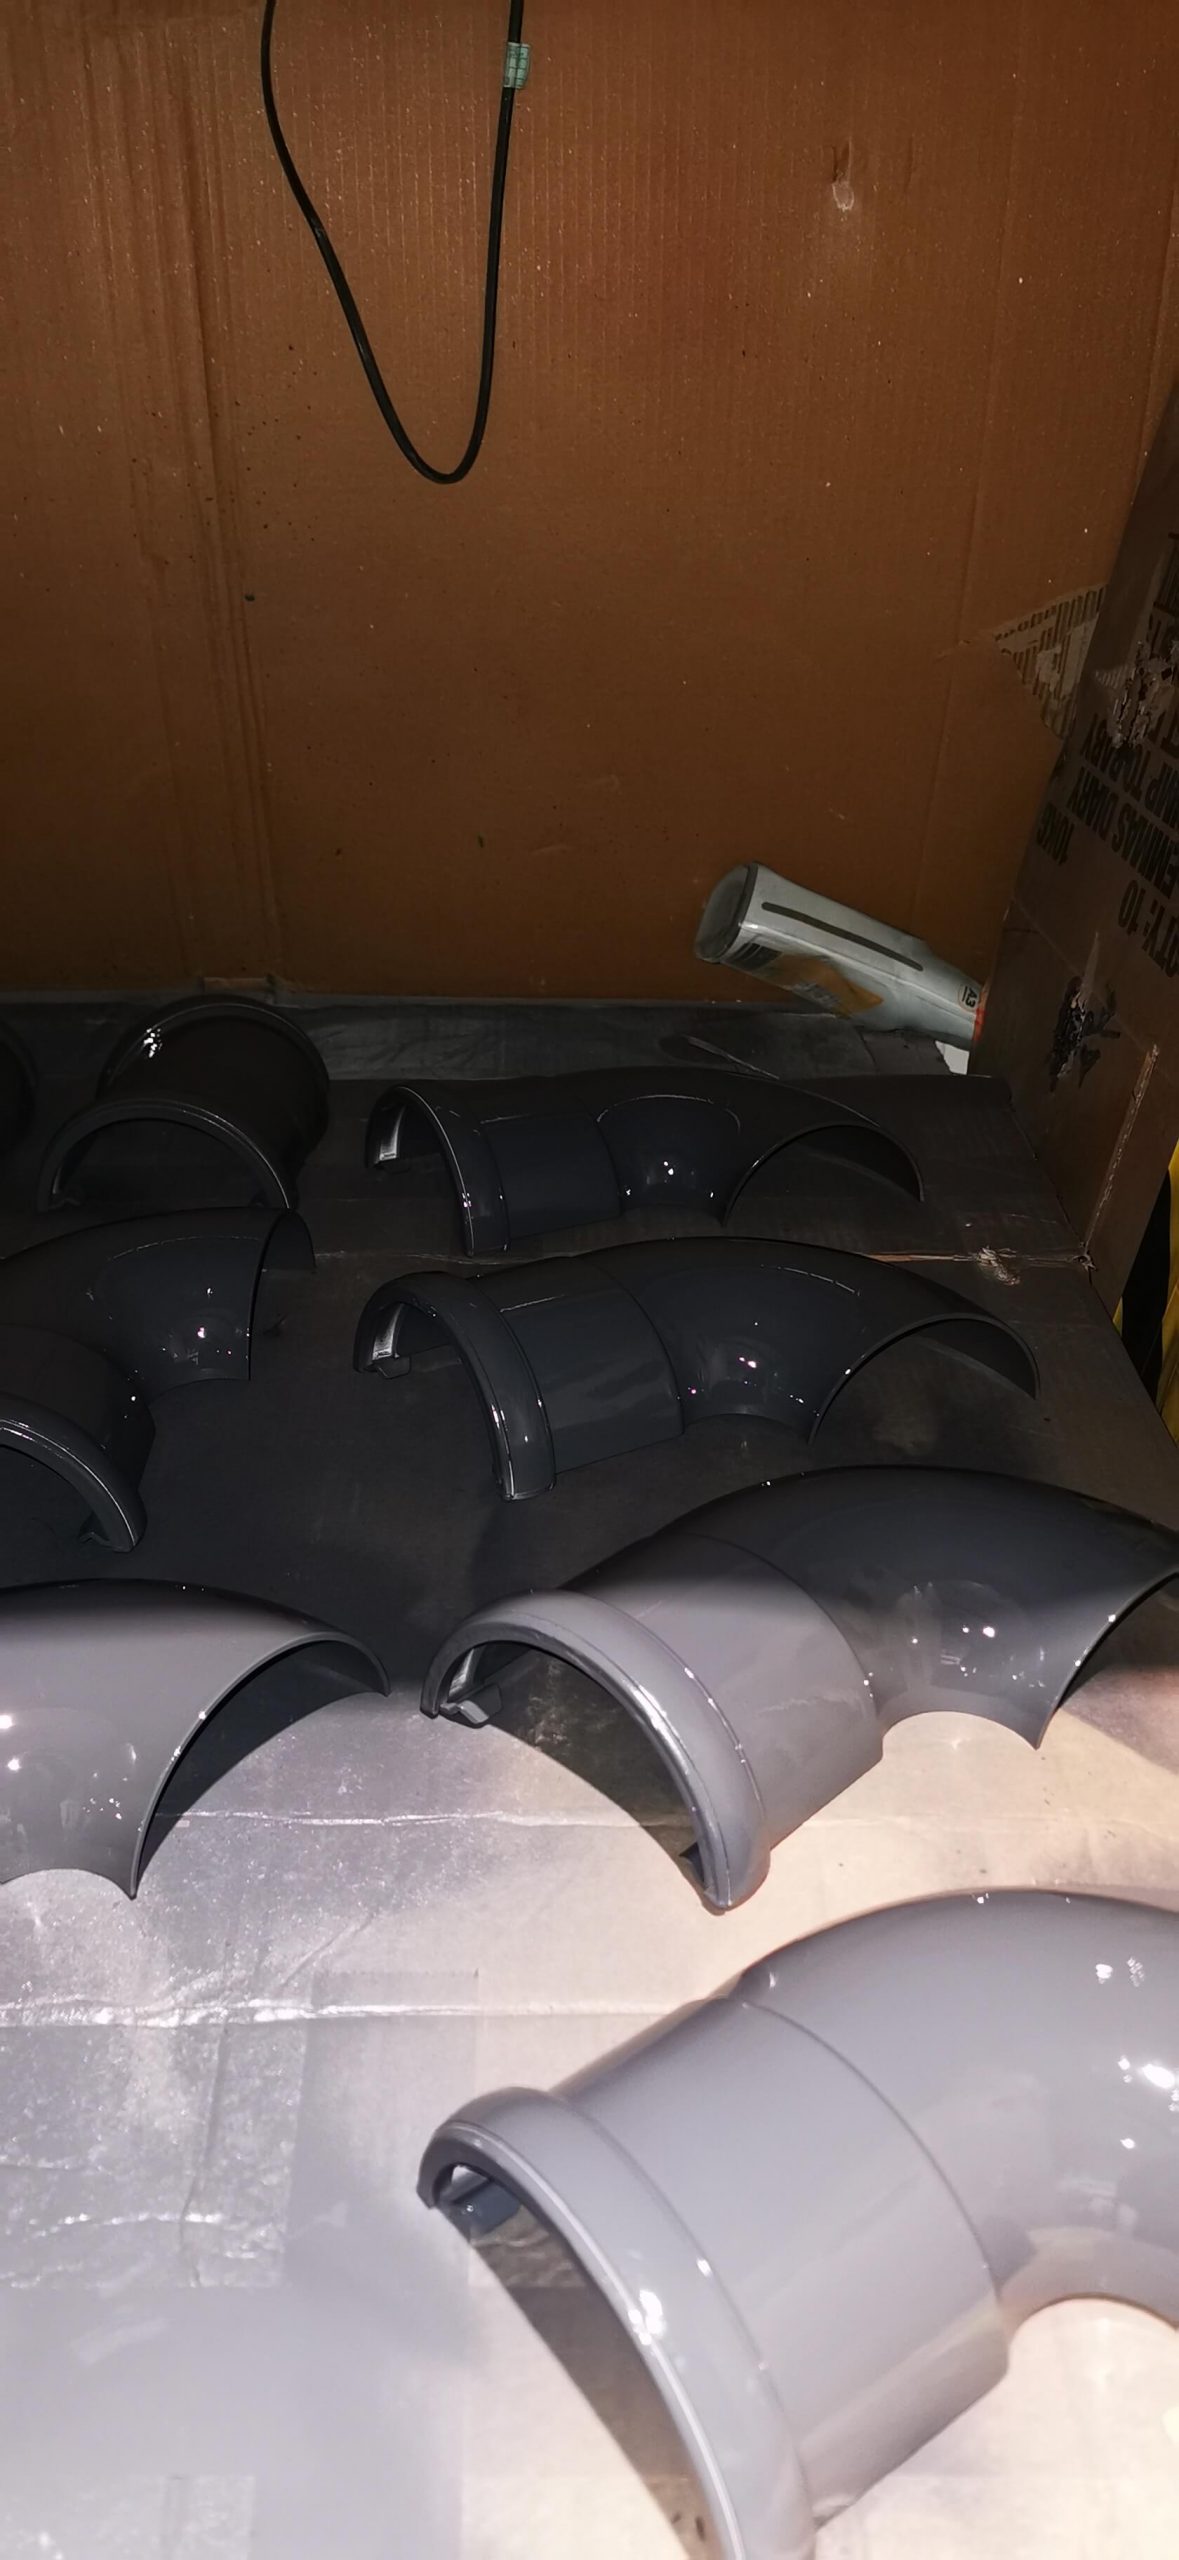
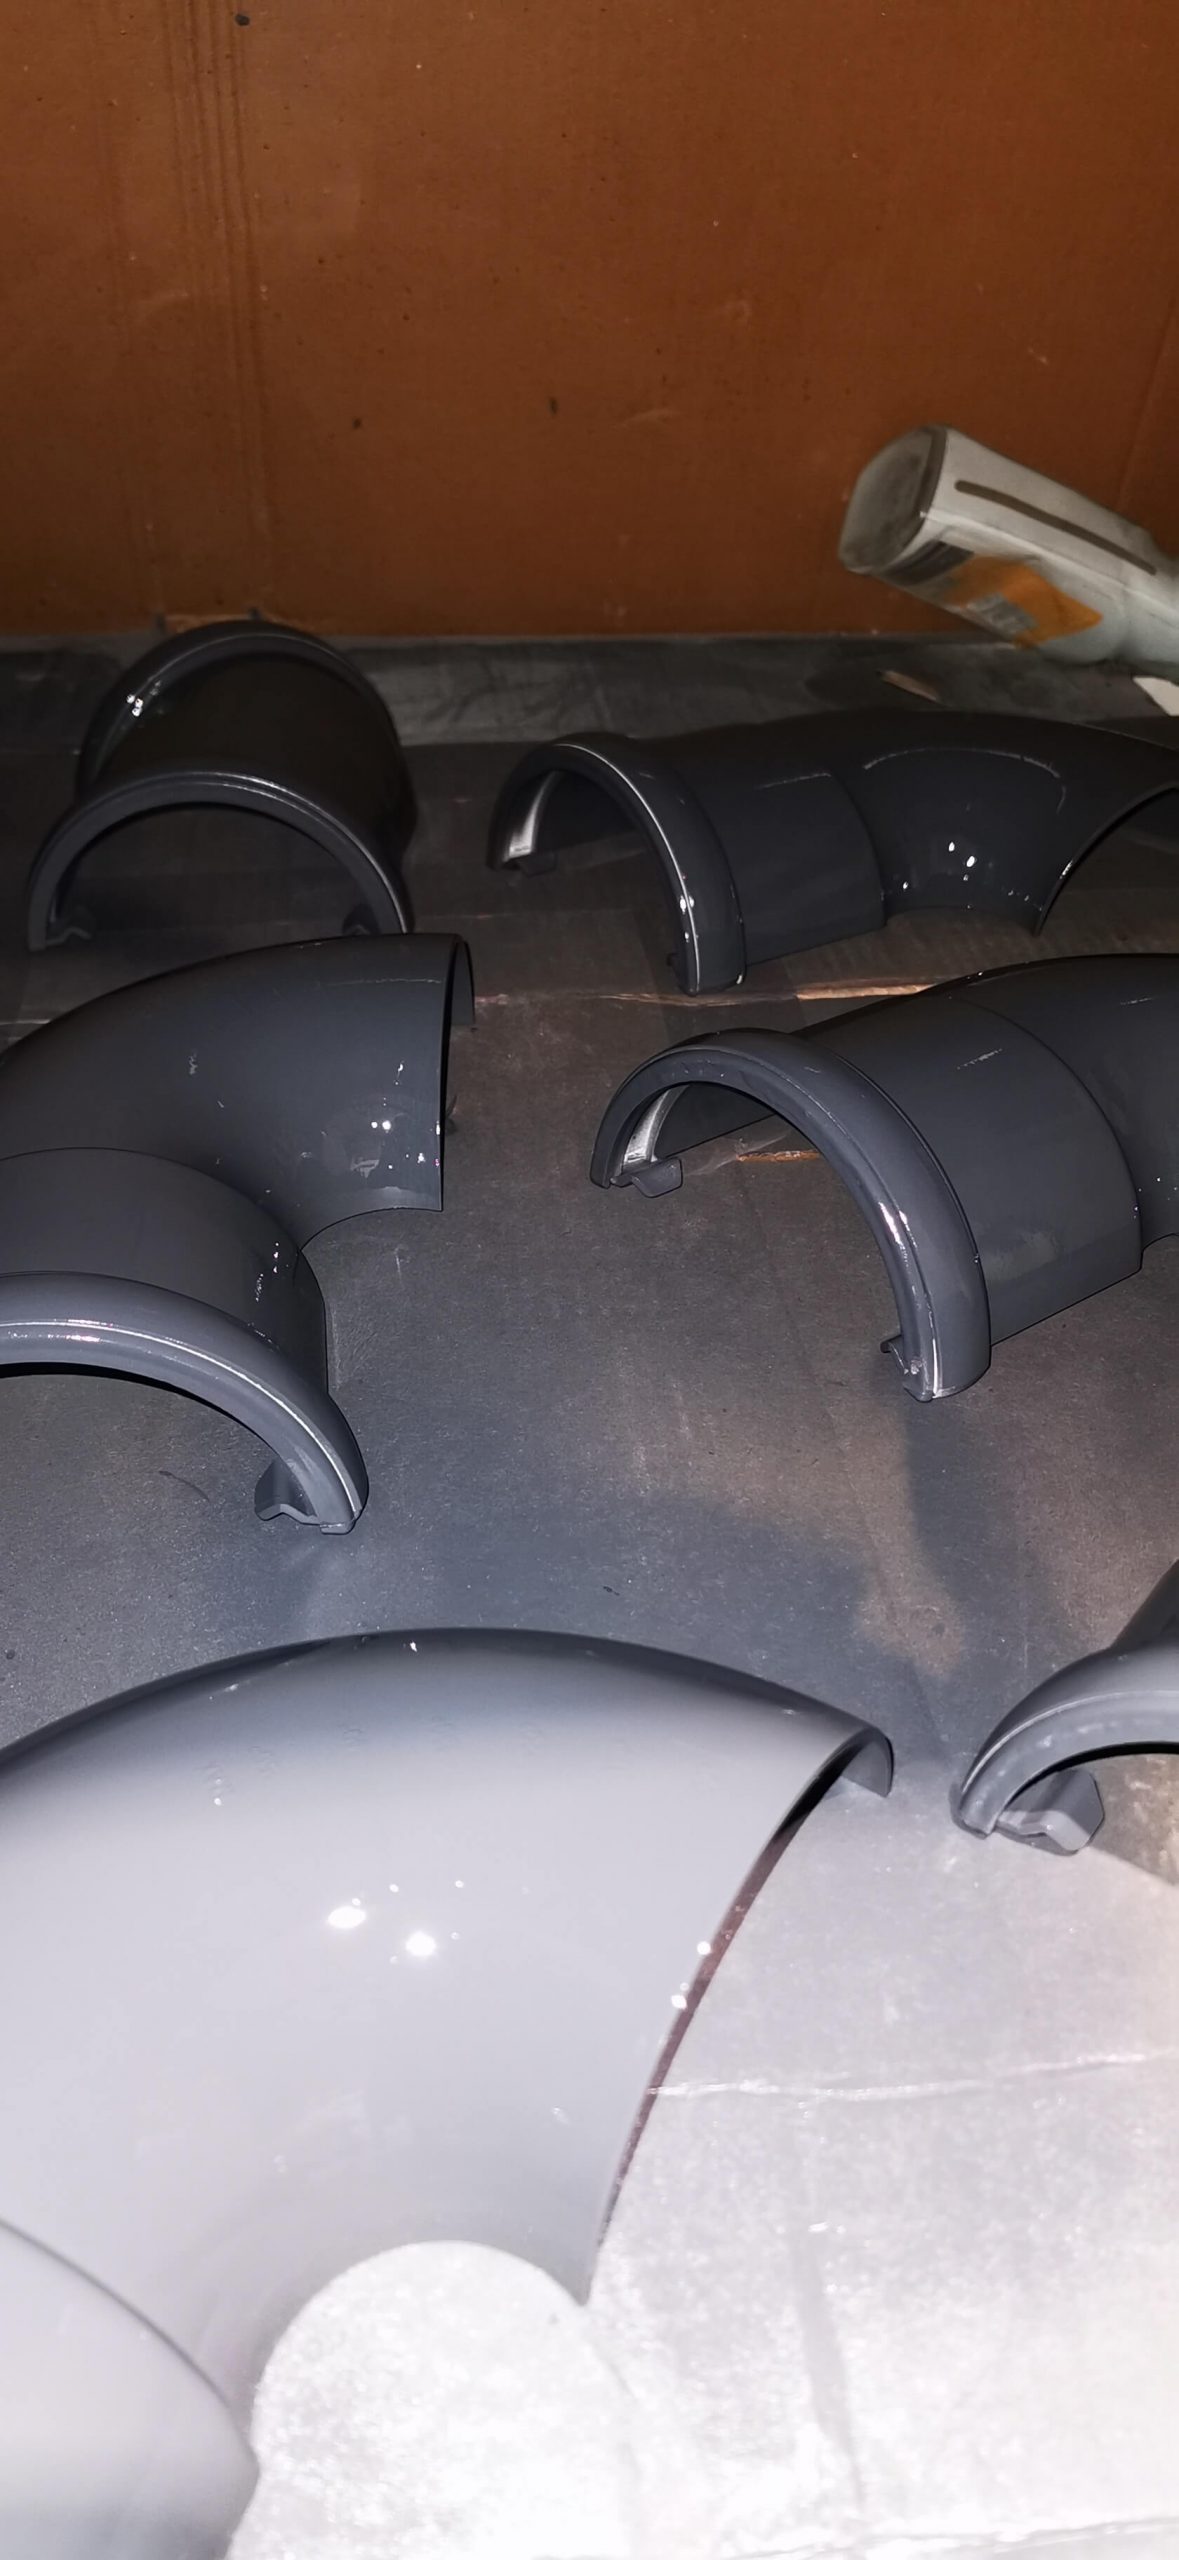
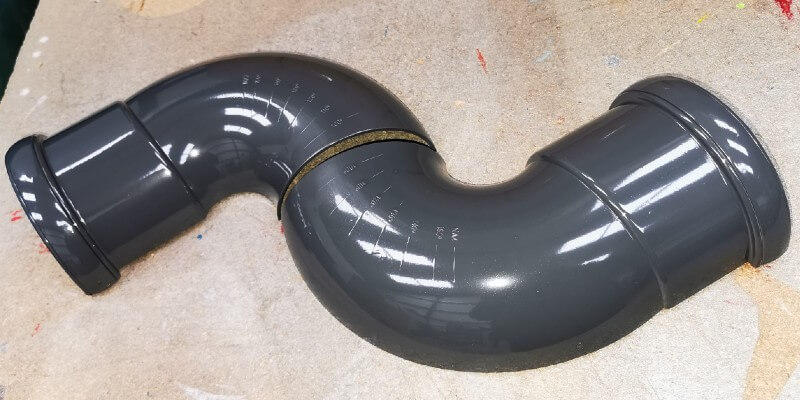
The corners and the bends of the guttering system were the colour that Adrian had hoped his gutters would be, but upon arrival, they were not as he had expected. This meant that the DC Paint Solutions team had to colour match the corners to ensure that the spray paint was the perfect colour for the gutters. Adrian provided a piece he wanted matching, so we went ahead and matched his colour. Once matched, we moved on to prepping the guttering.
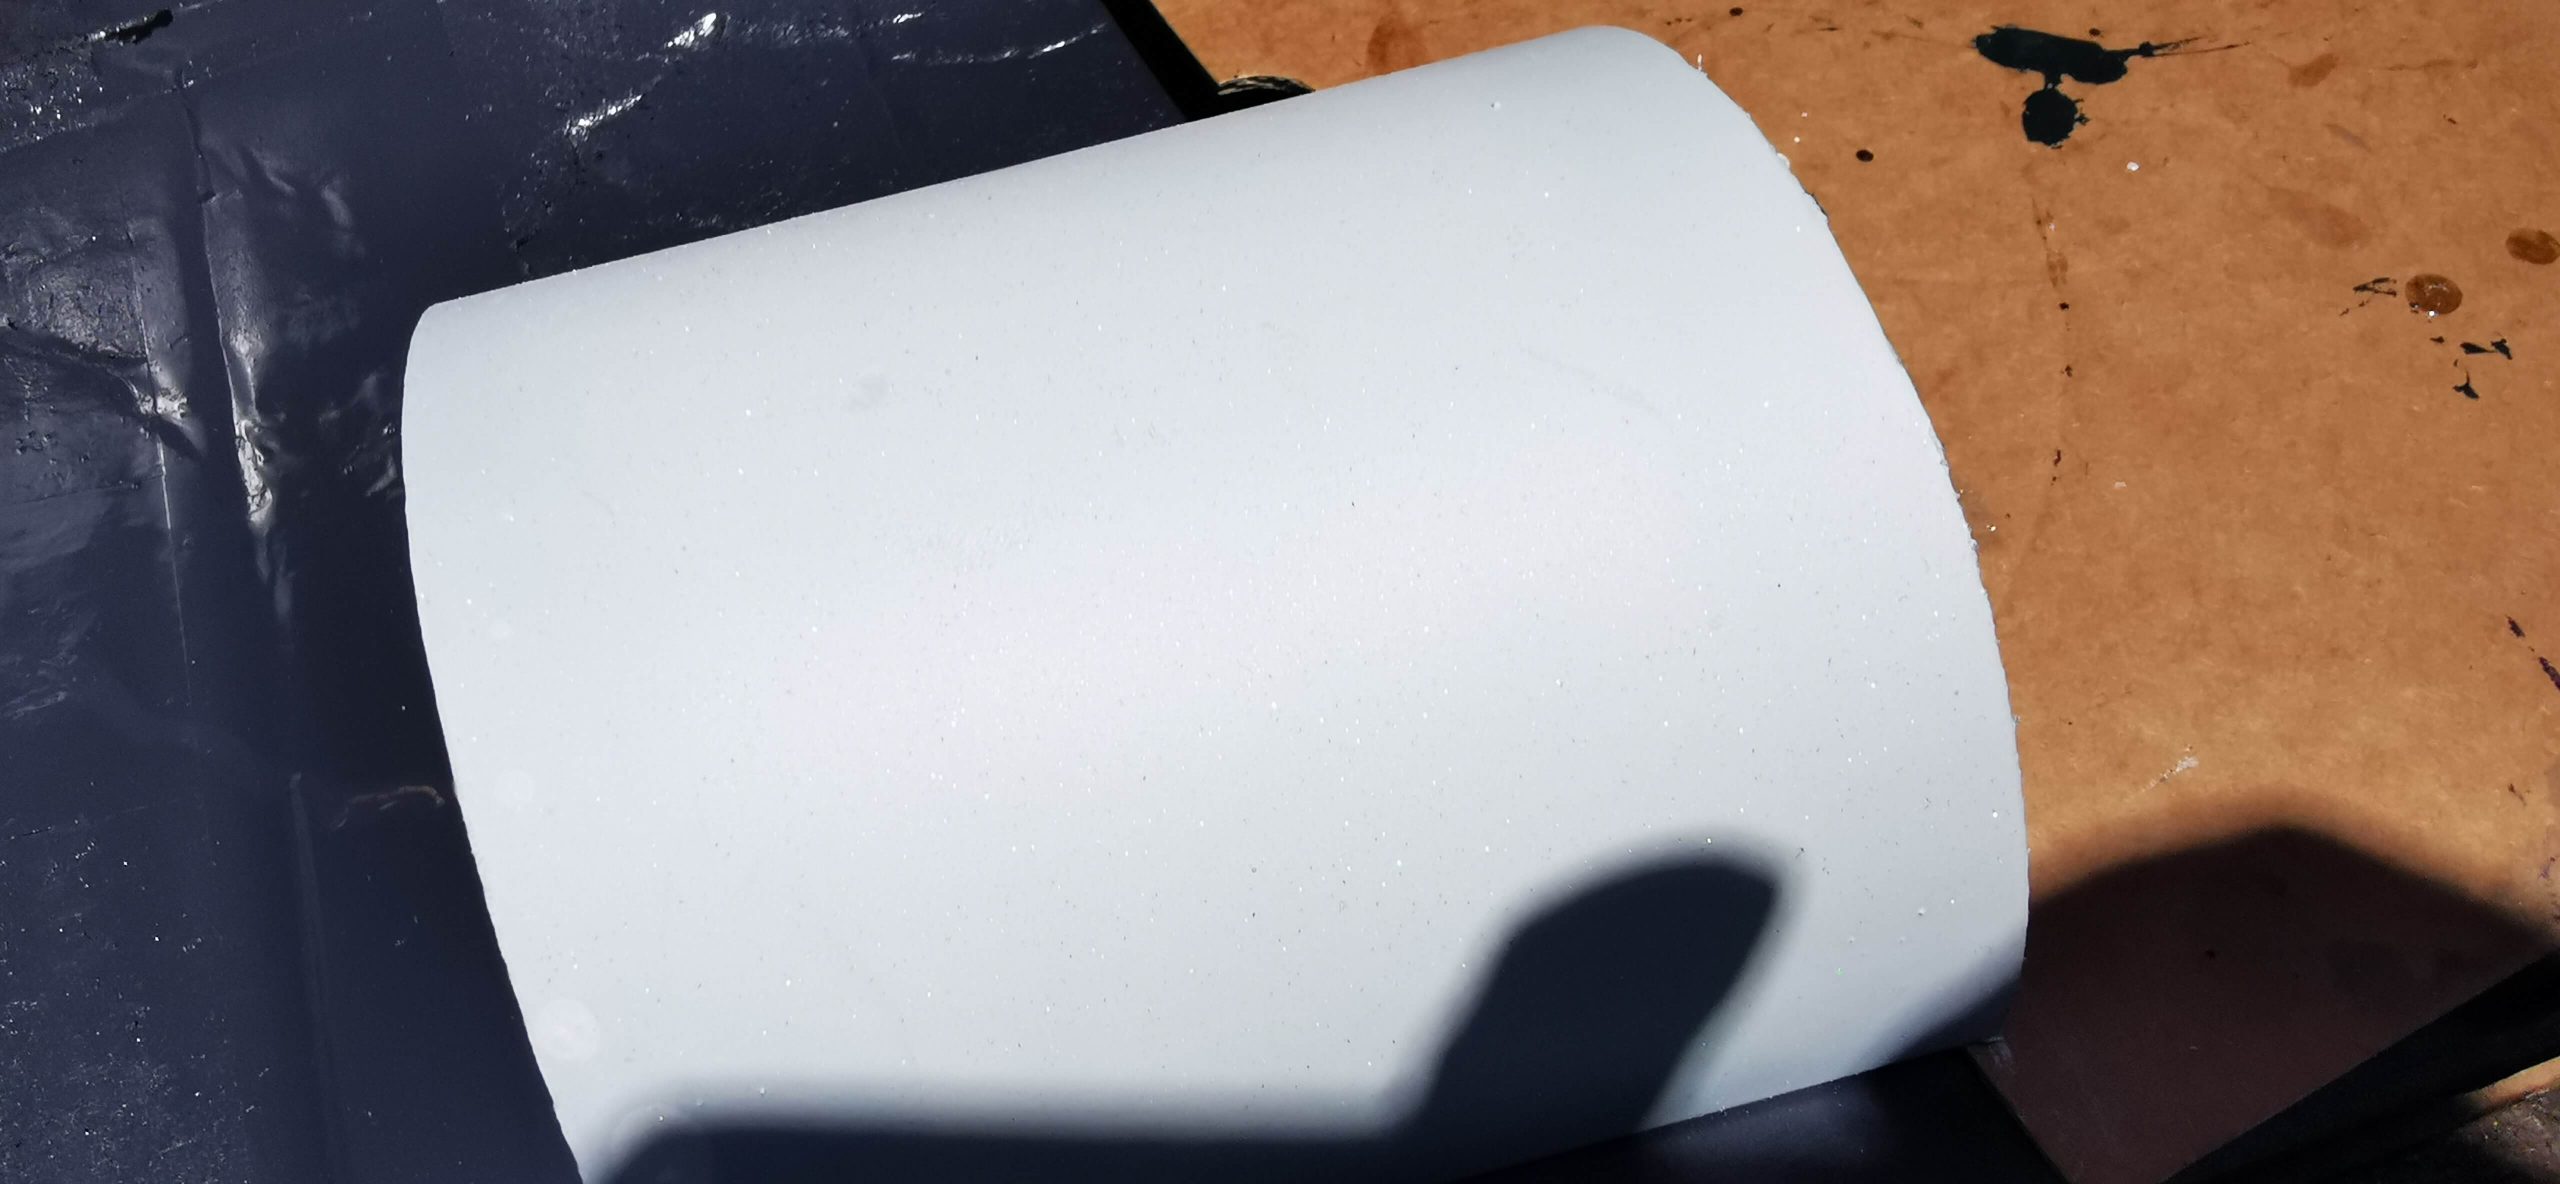
We used the Scotch-Brite to key (lightly sand) the surface. By keying the surface, it becomes slightly abrasive and gives the paint something to stick to.
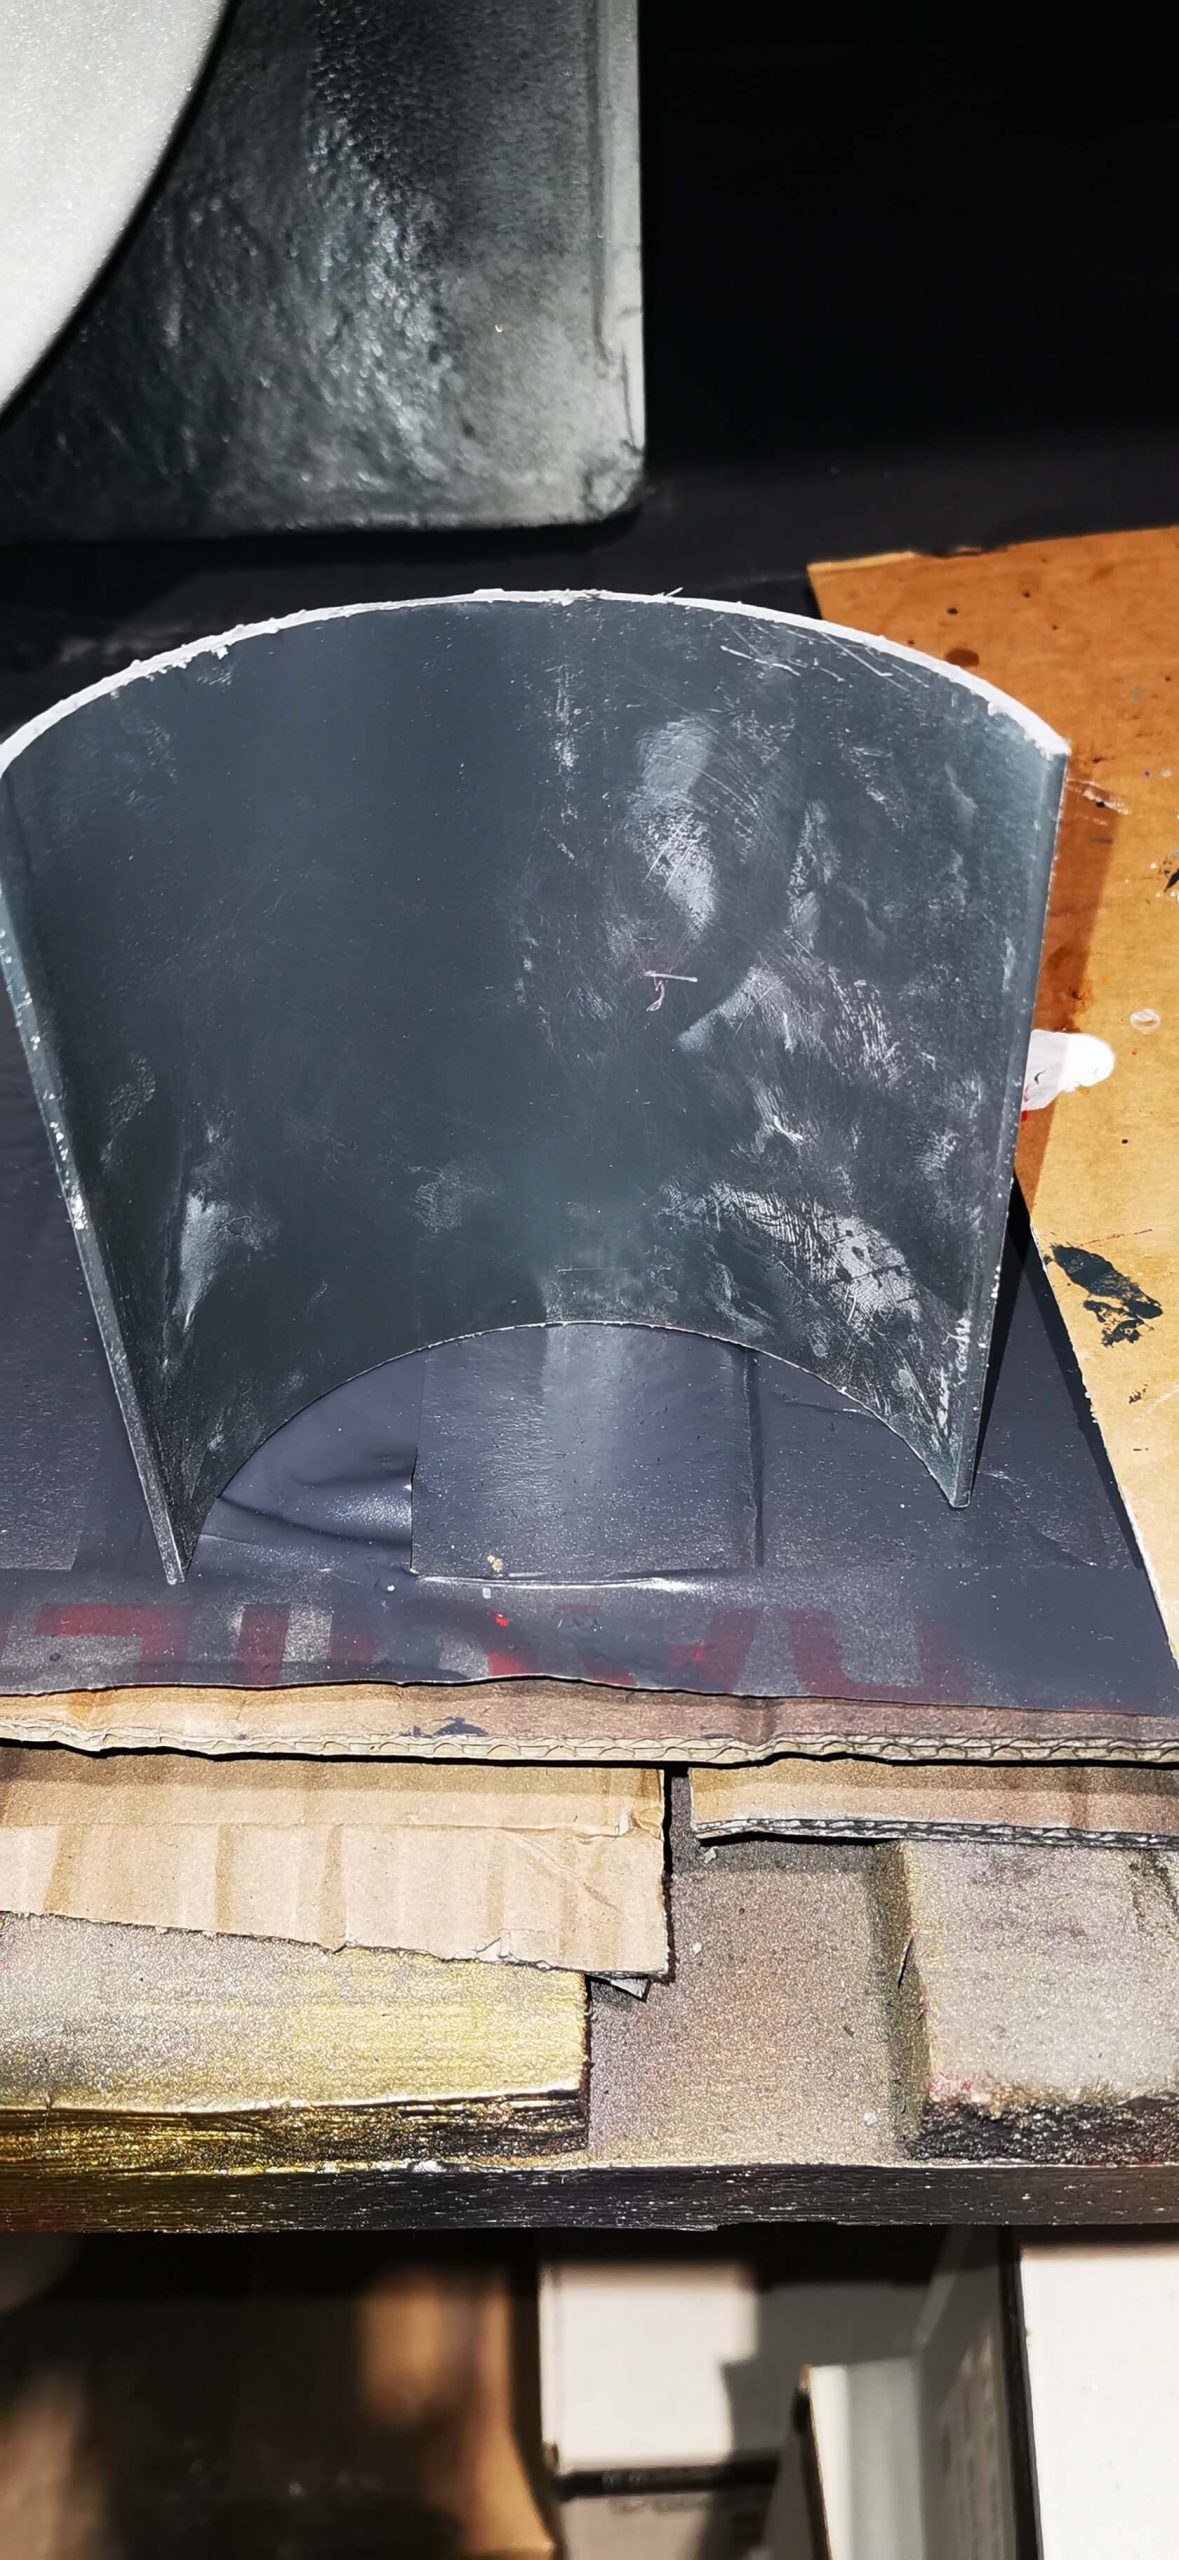
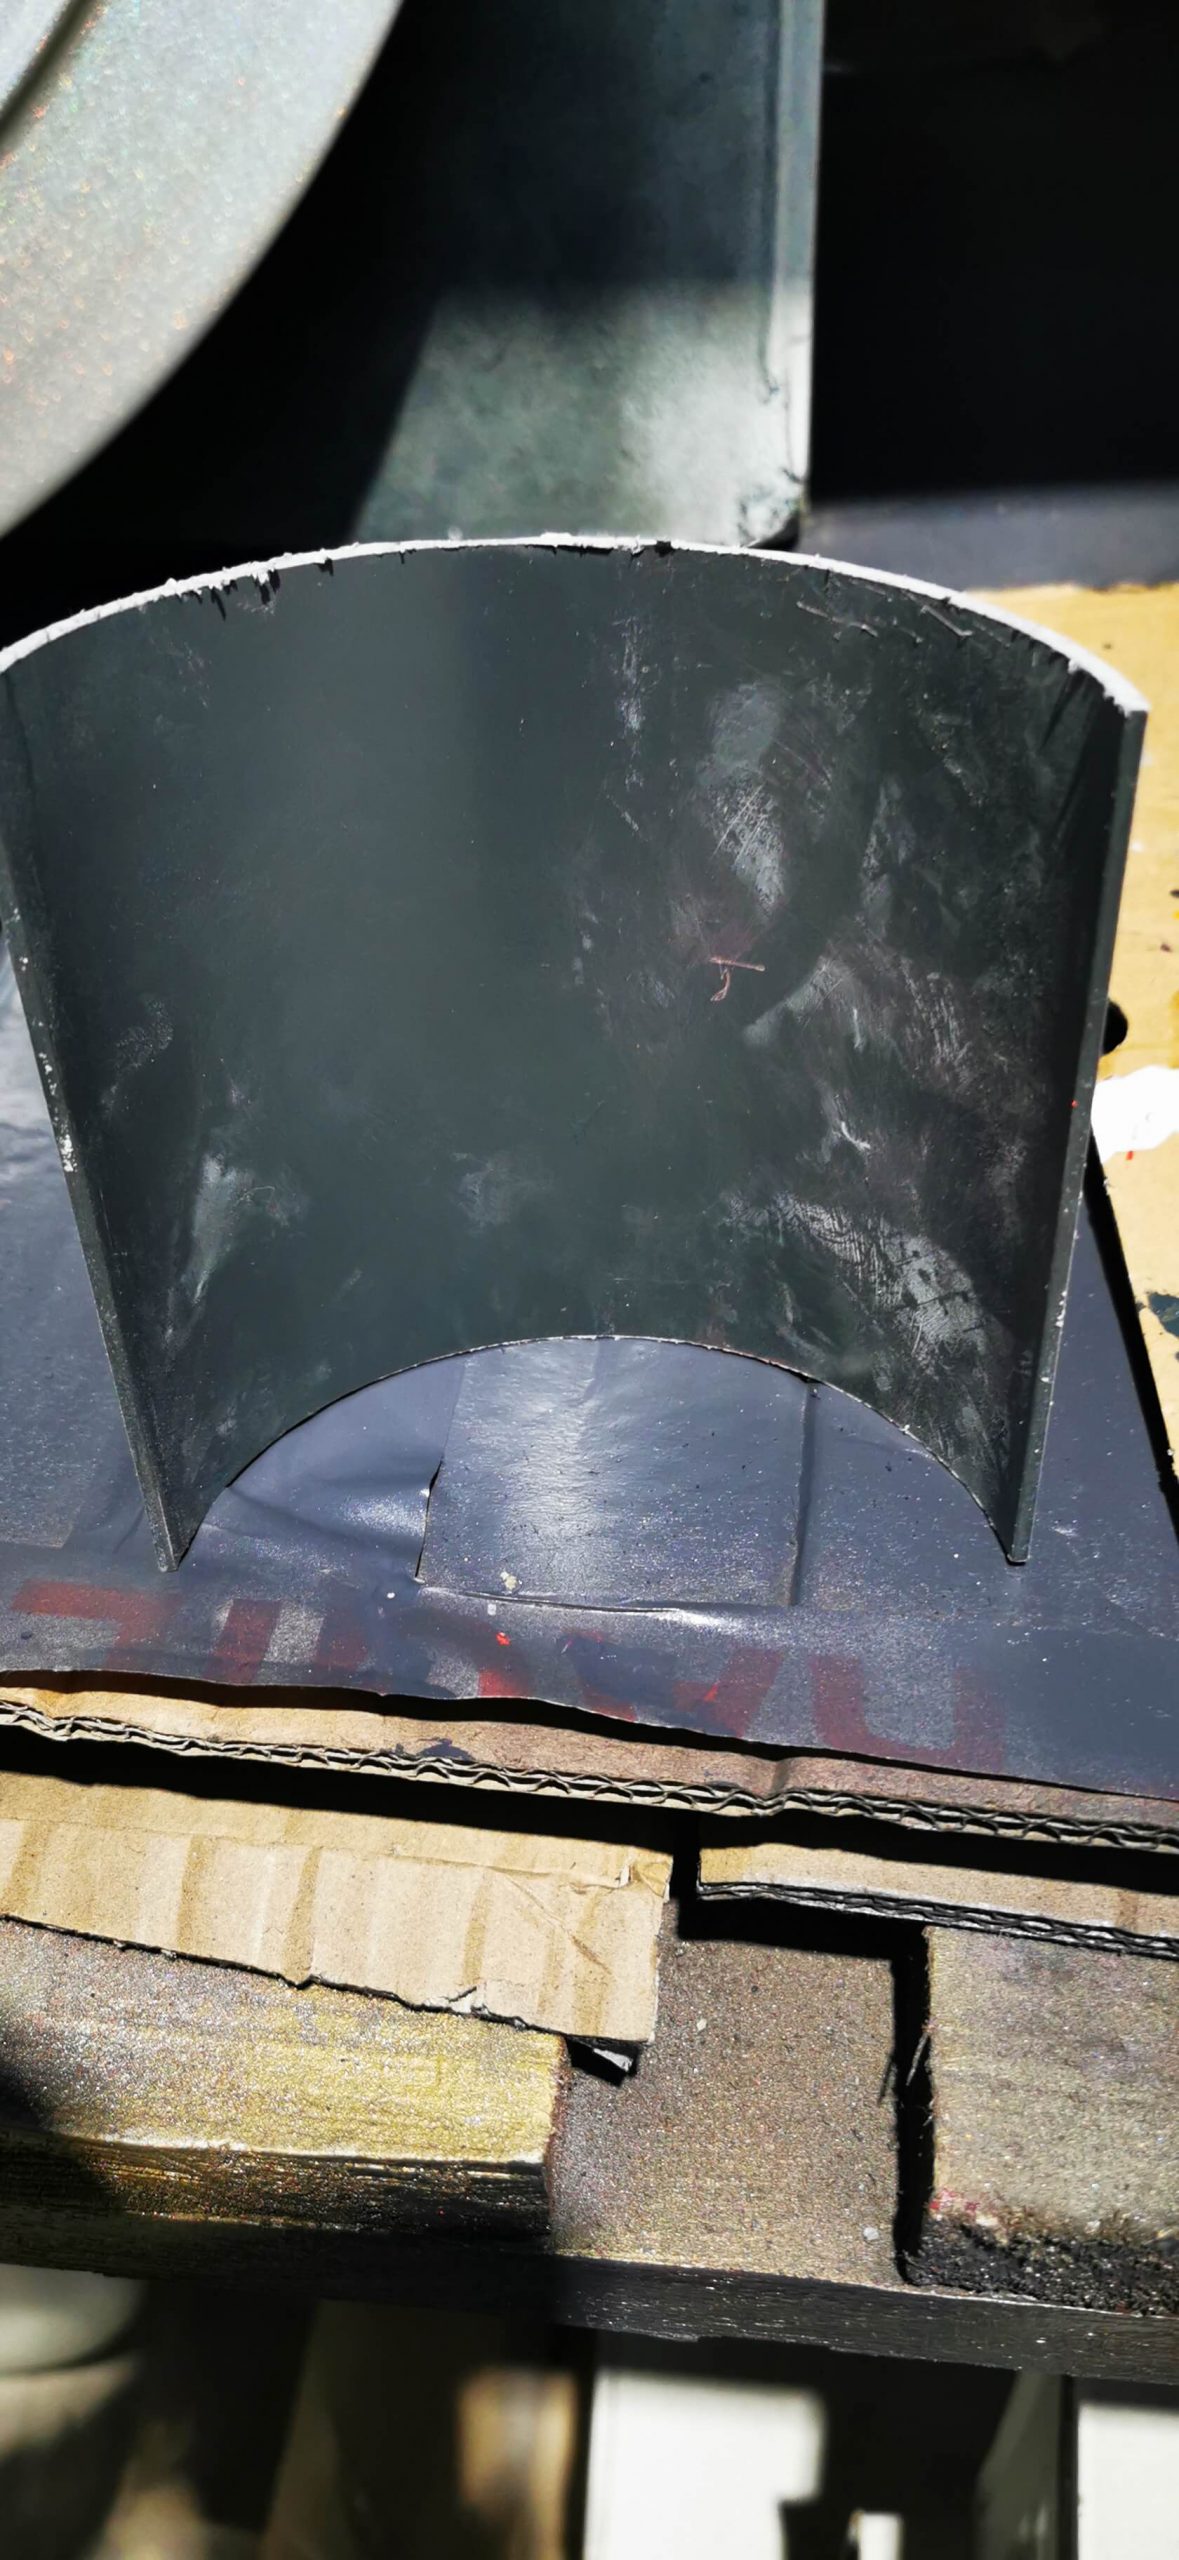
After keying the surface, we used rags to remove the dust and particulate and then a degreaser to clean any residue on the surface. We suggested a HD/AC primer paint as he can spray directly on the guttering and the paint has a UV agent in it, which will reduce the paint from sun bleaching. The paint was applied in 3 coats and left to thoroughly cure before moving them.
We want to say a big thank you to Adrian, the team are happy with the results.