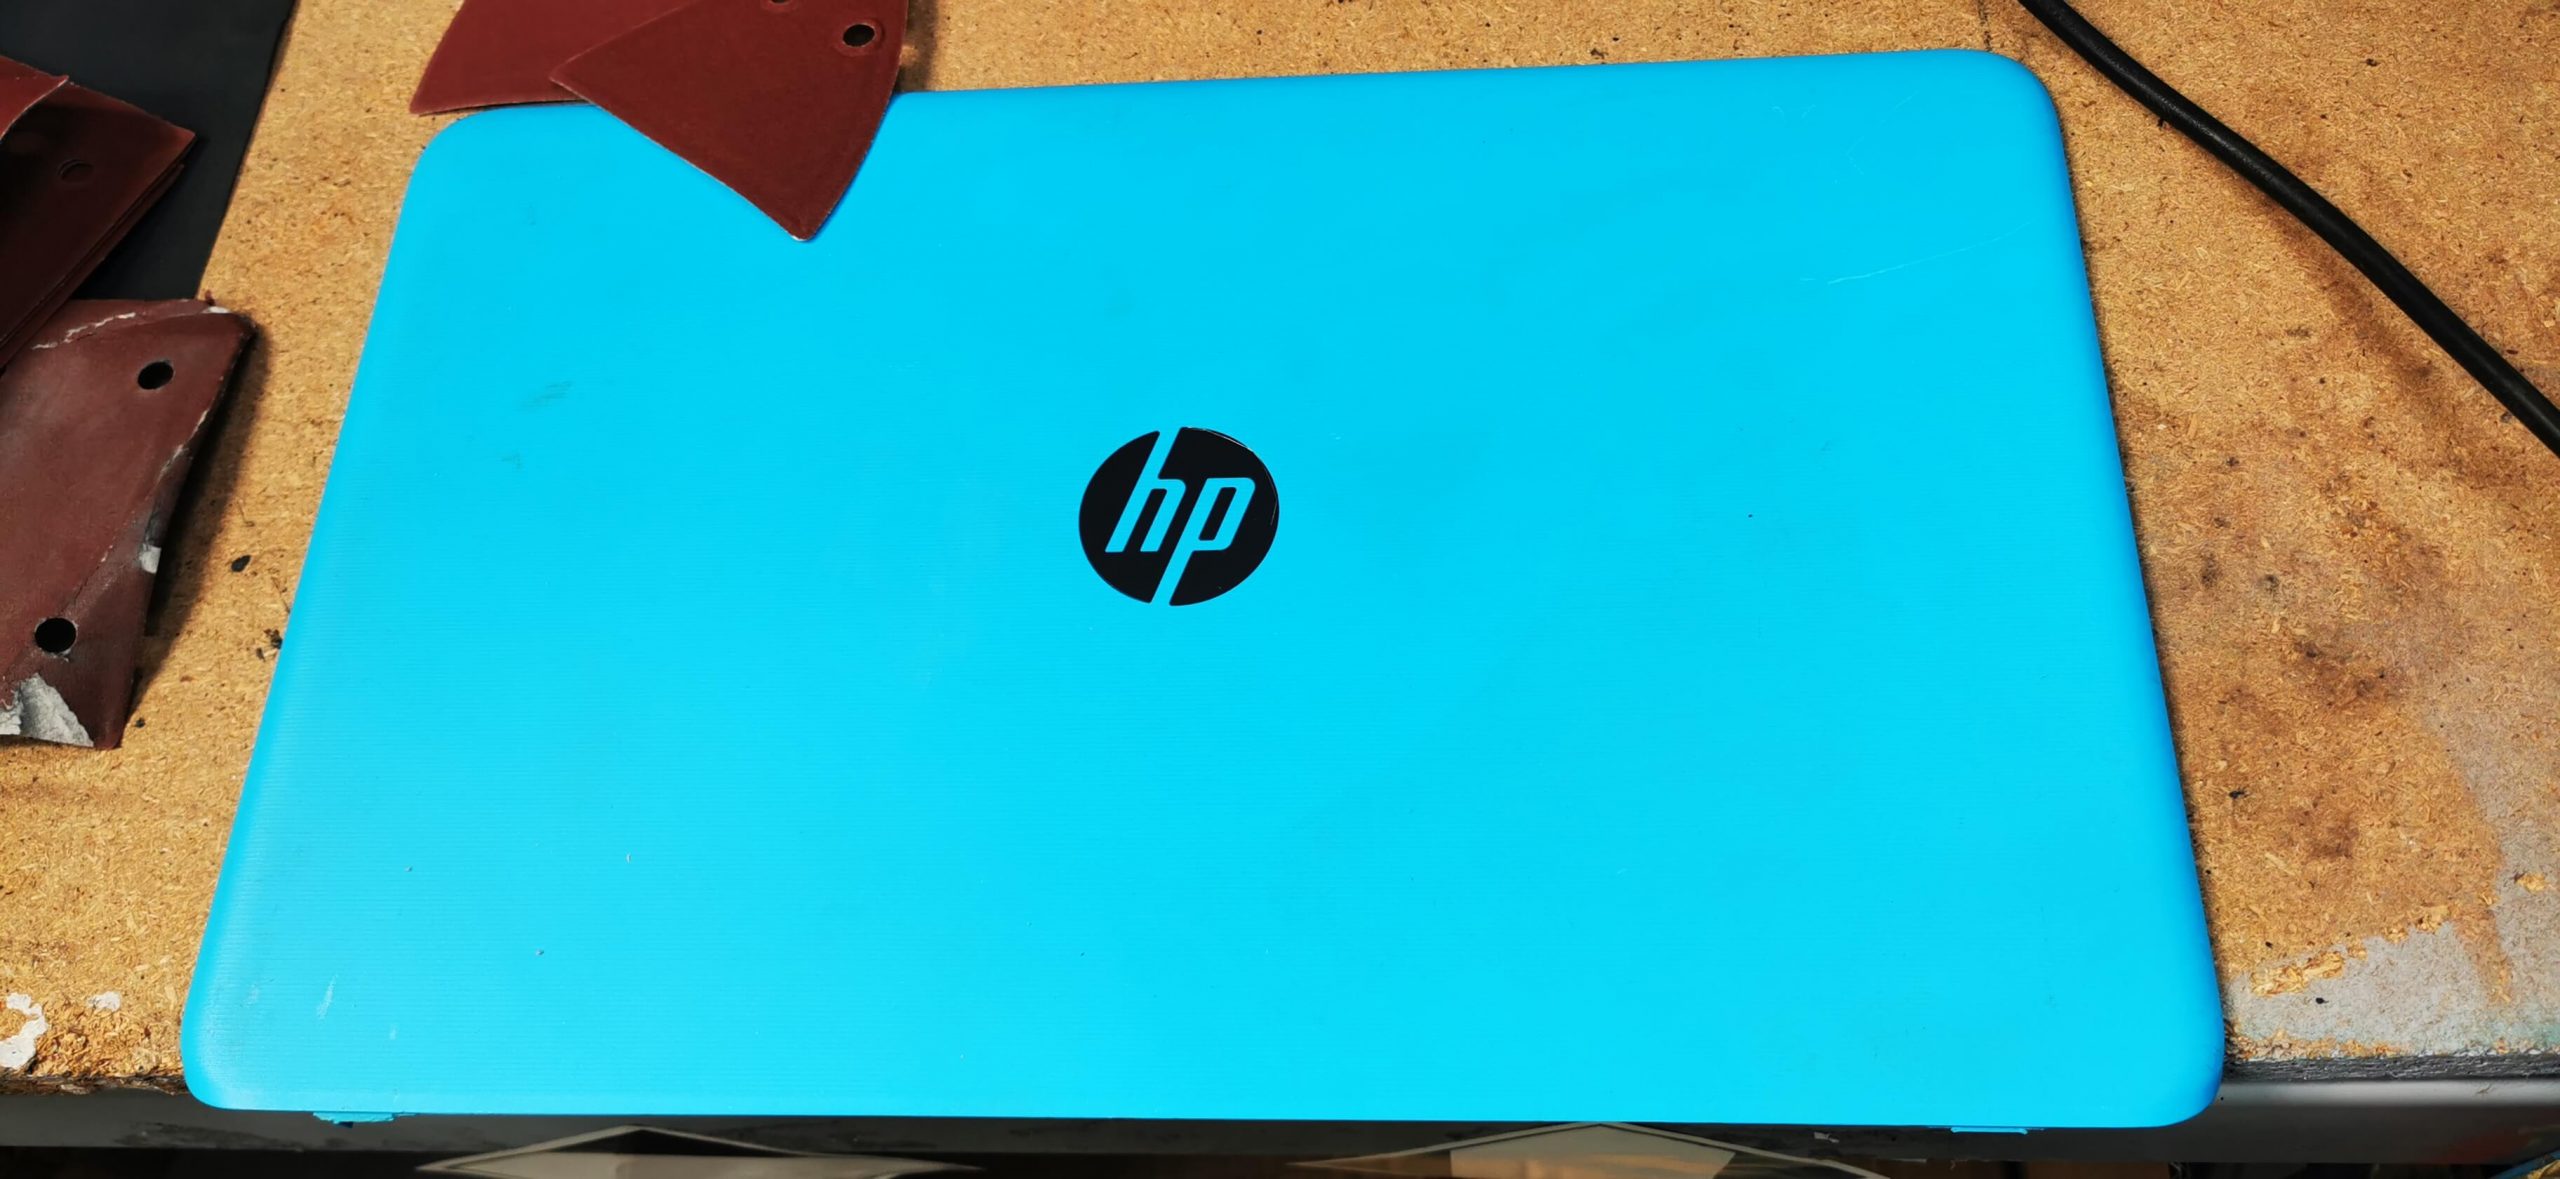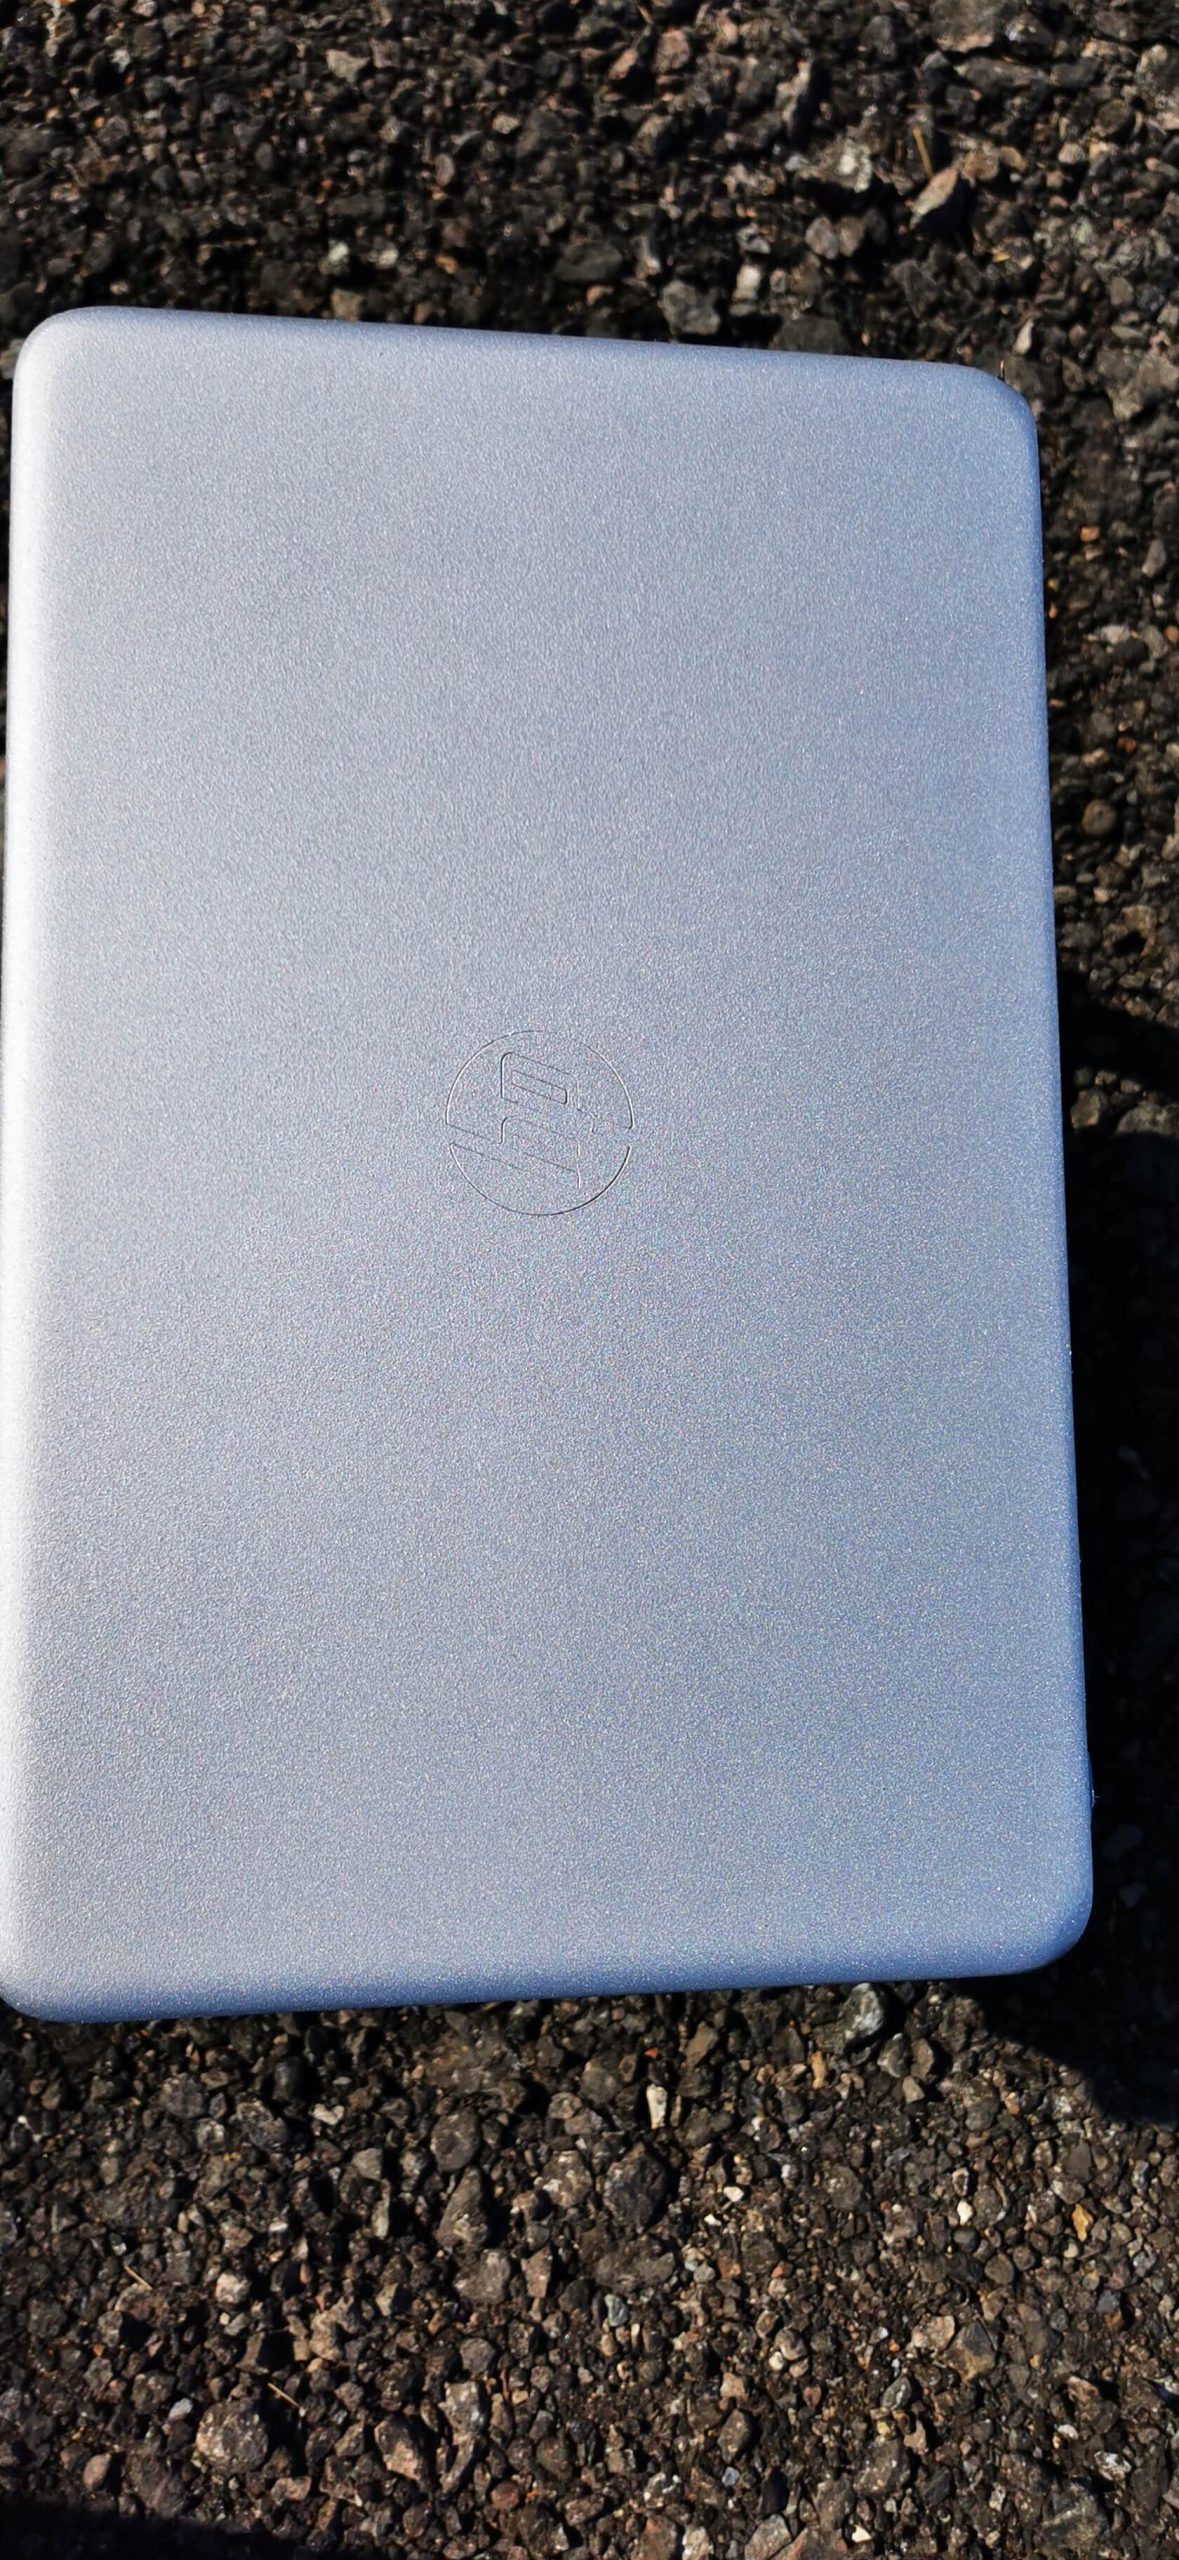
A client came to DC Paint Solutions looking to transform their laptop cover, and went in with an open mind in terms of how the project was to be completed.
Tools Used
- Sanding paper
- Degreaser
- High Build Primer (Custom Silver Texturised)
- Purple Dyed Lacquer
- 2K Gloss Lacquer
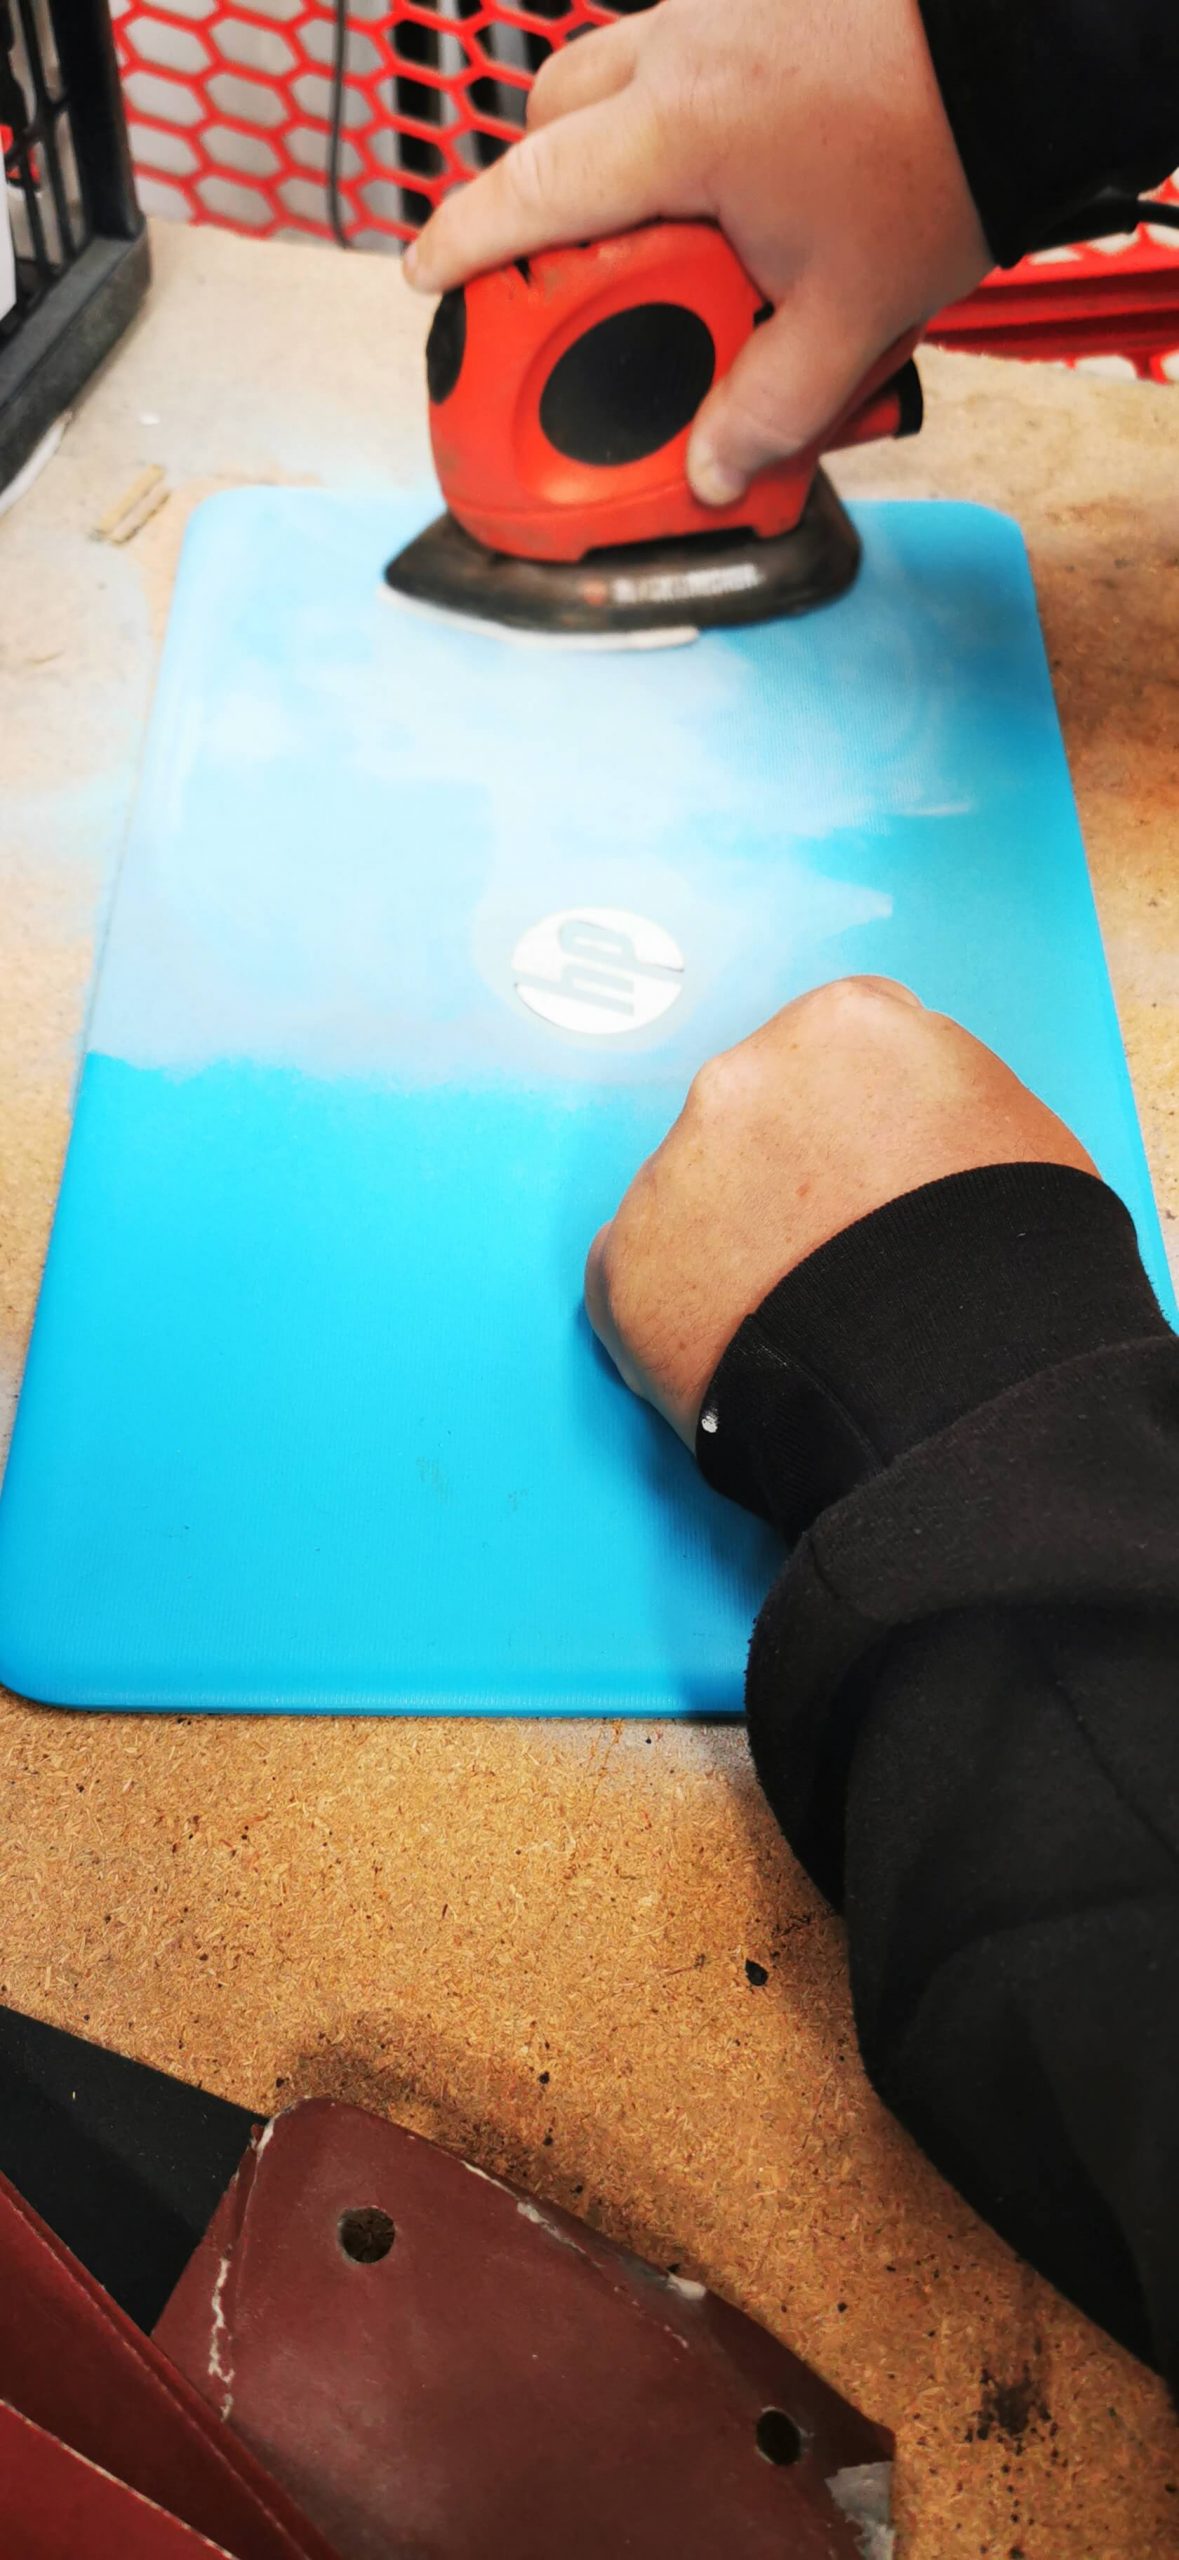
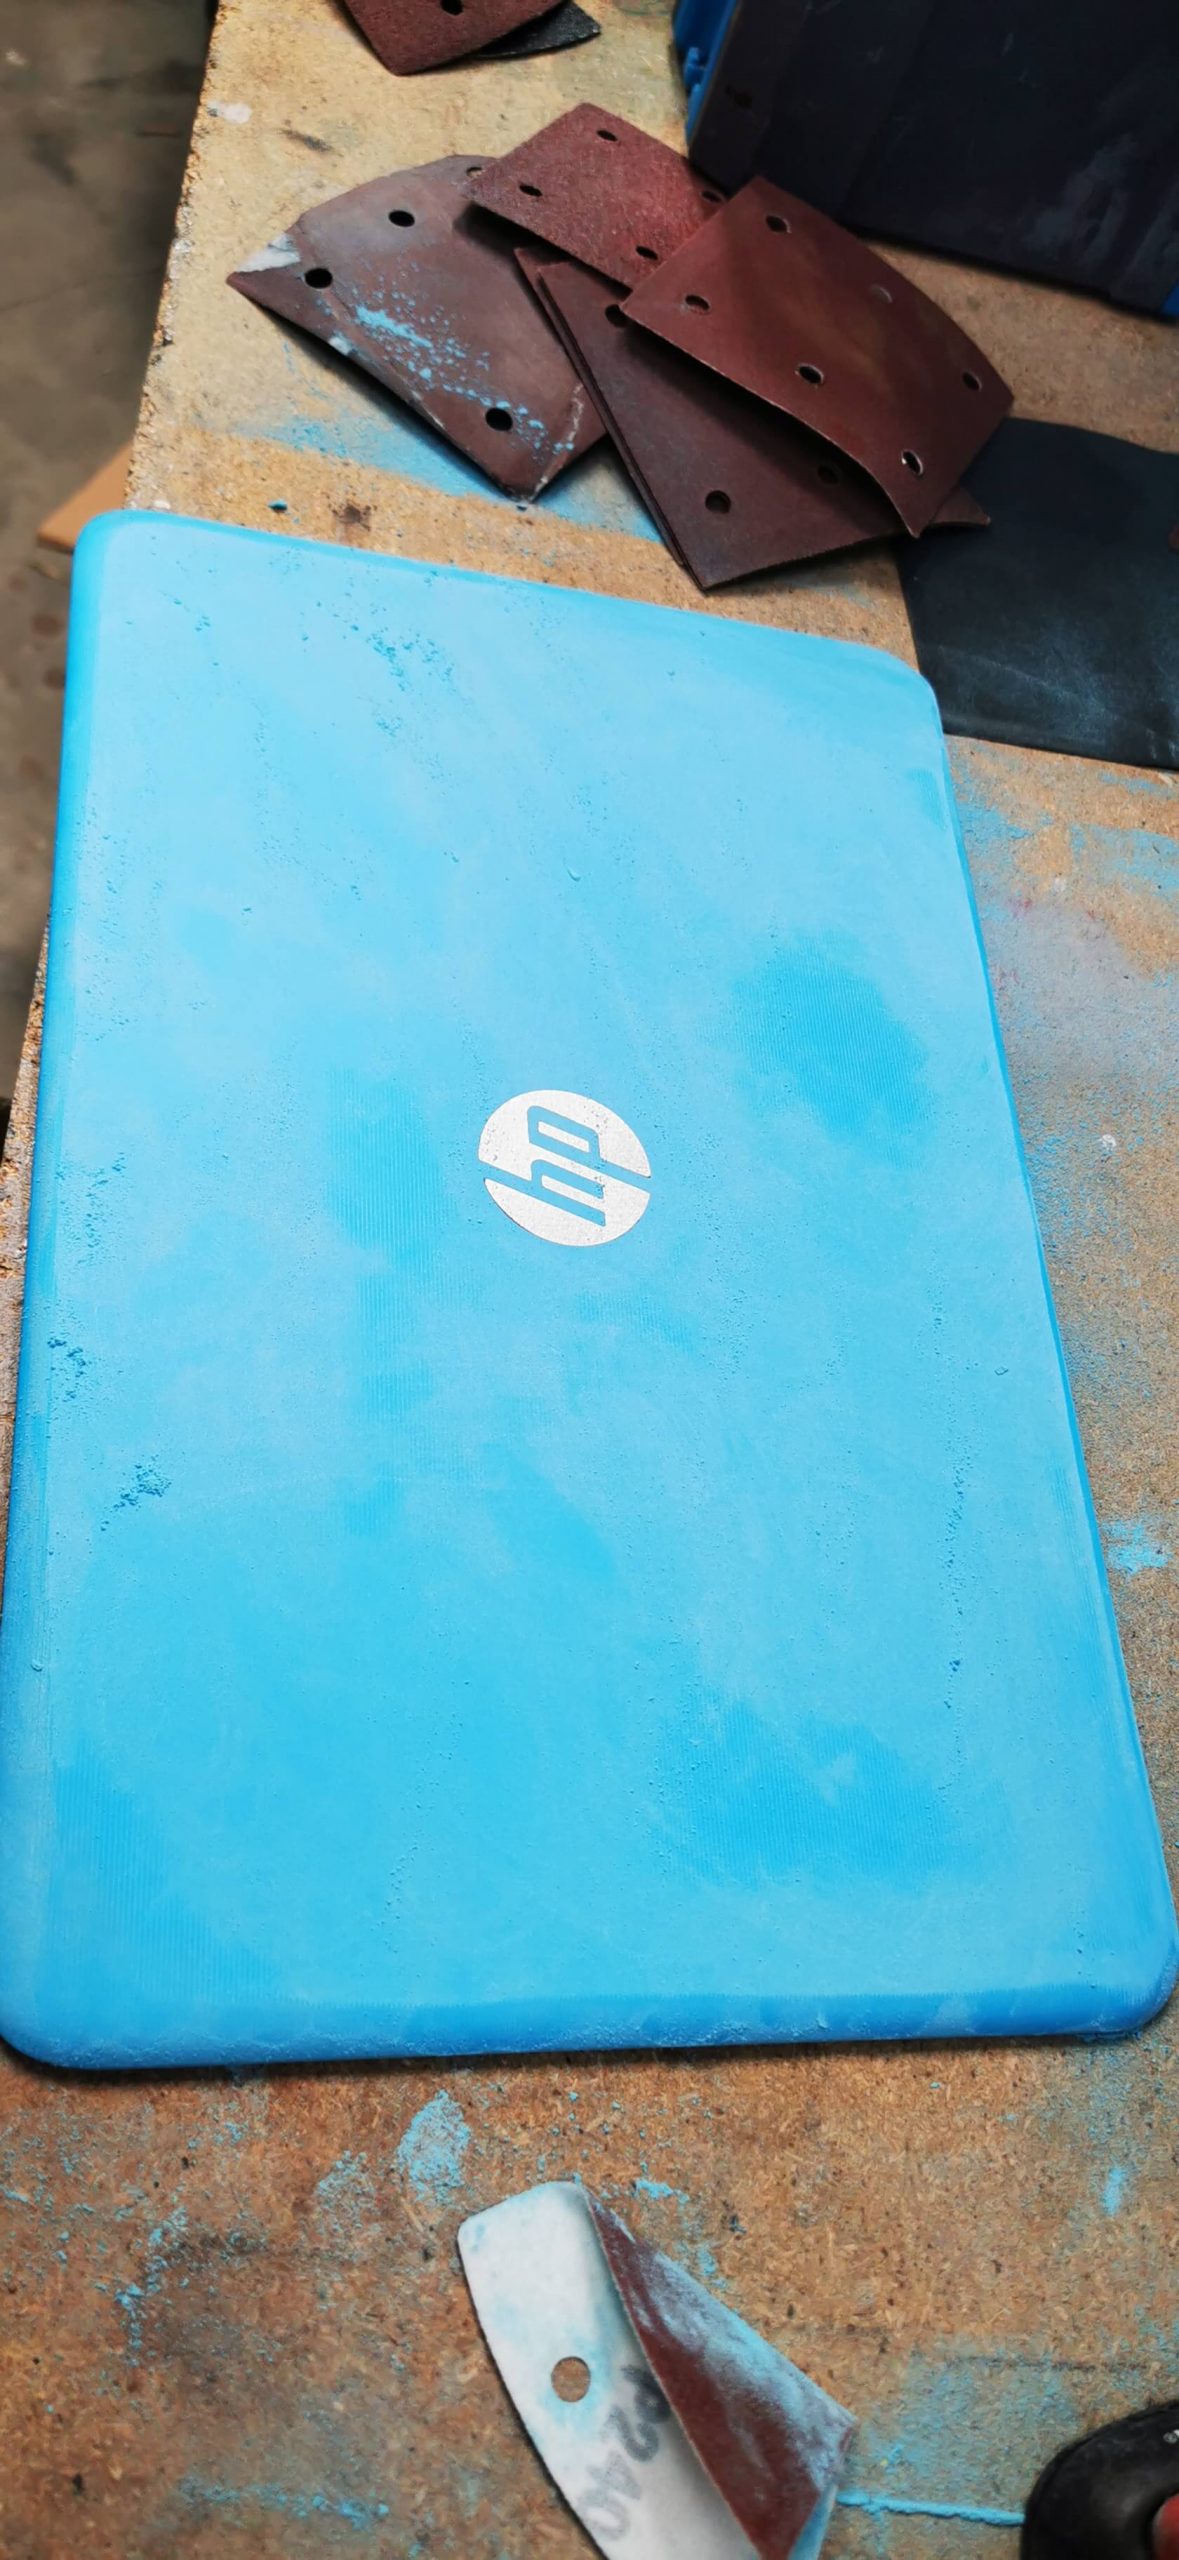
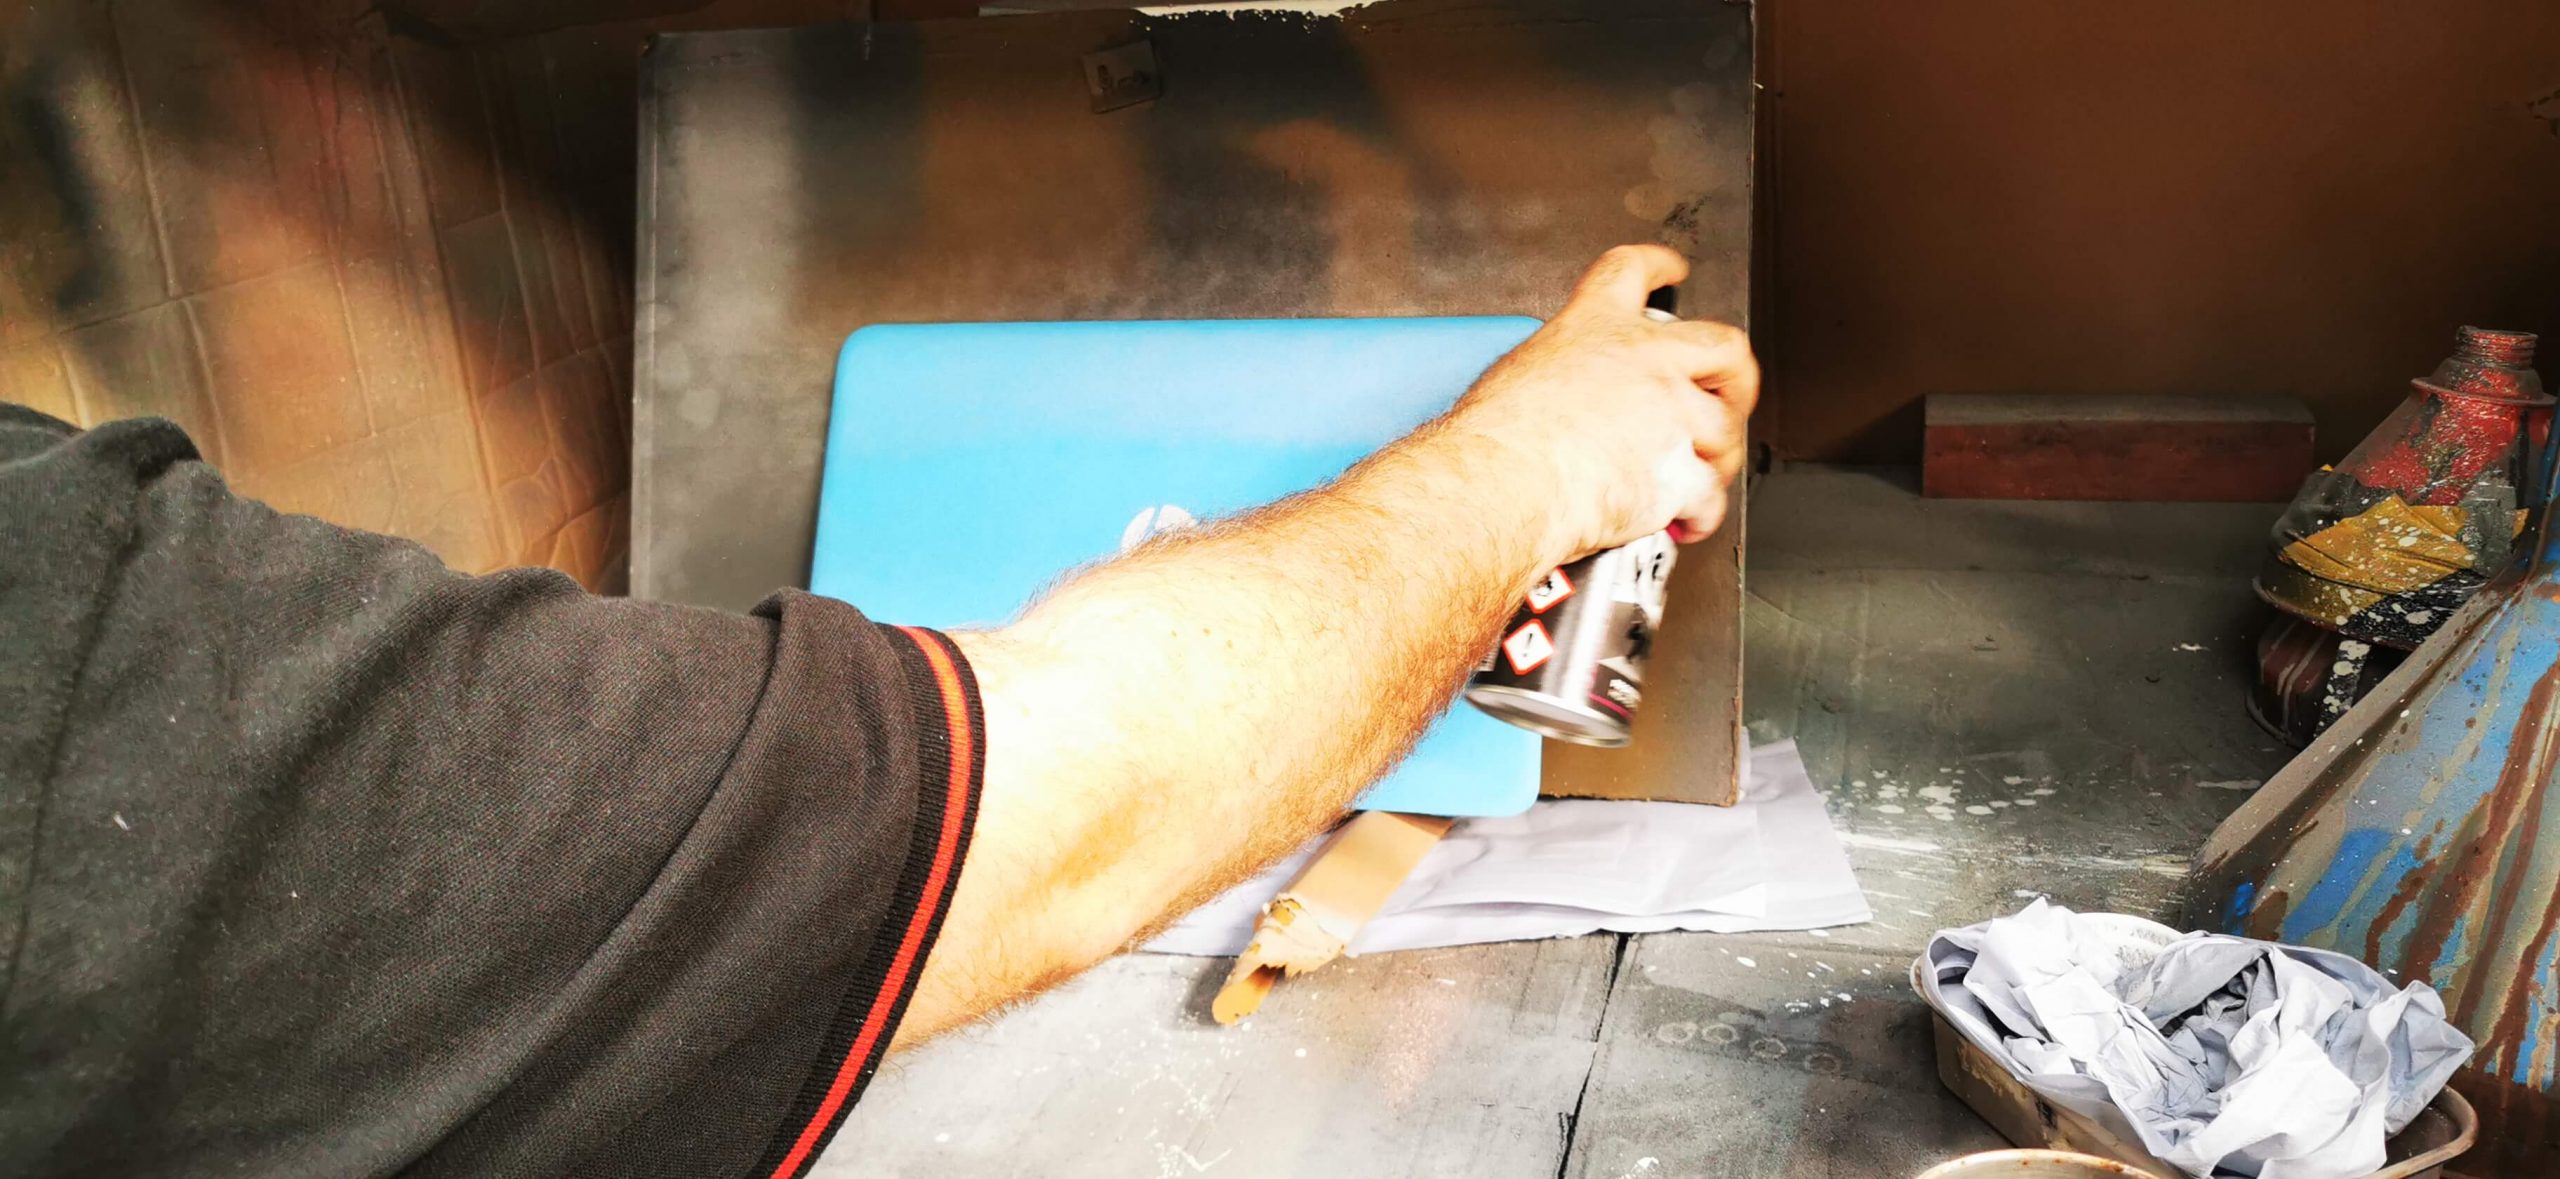
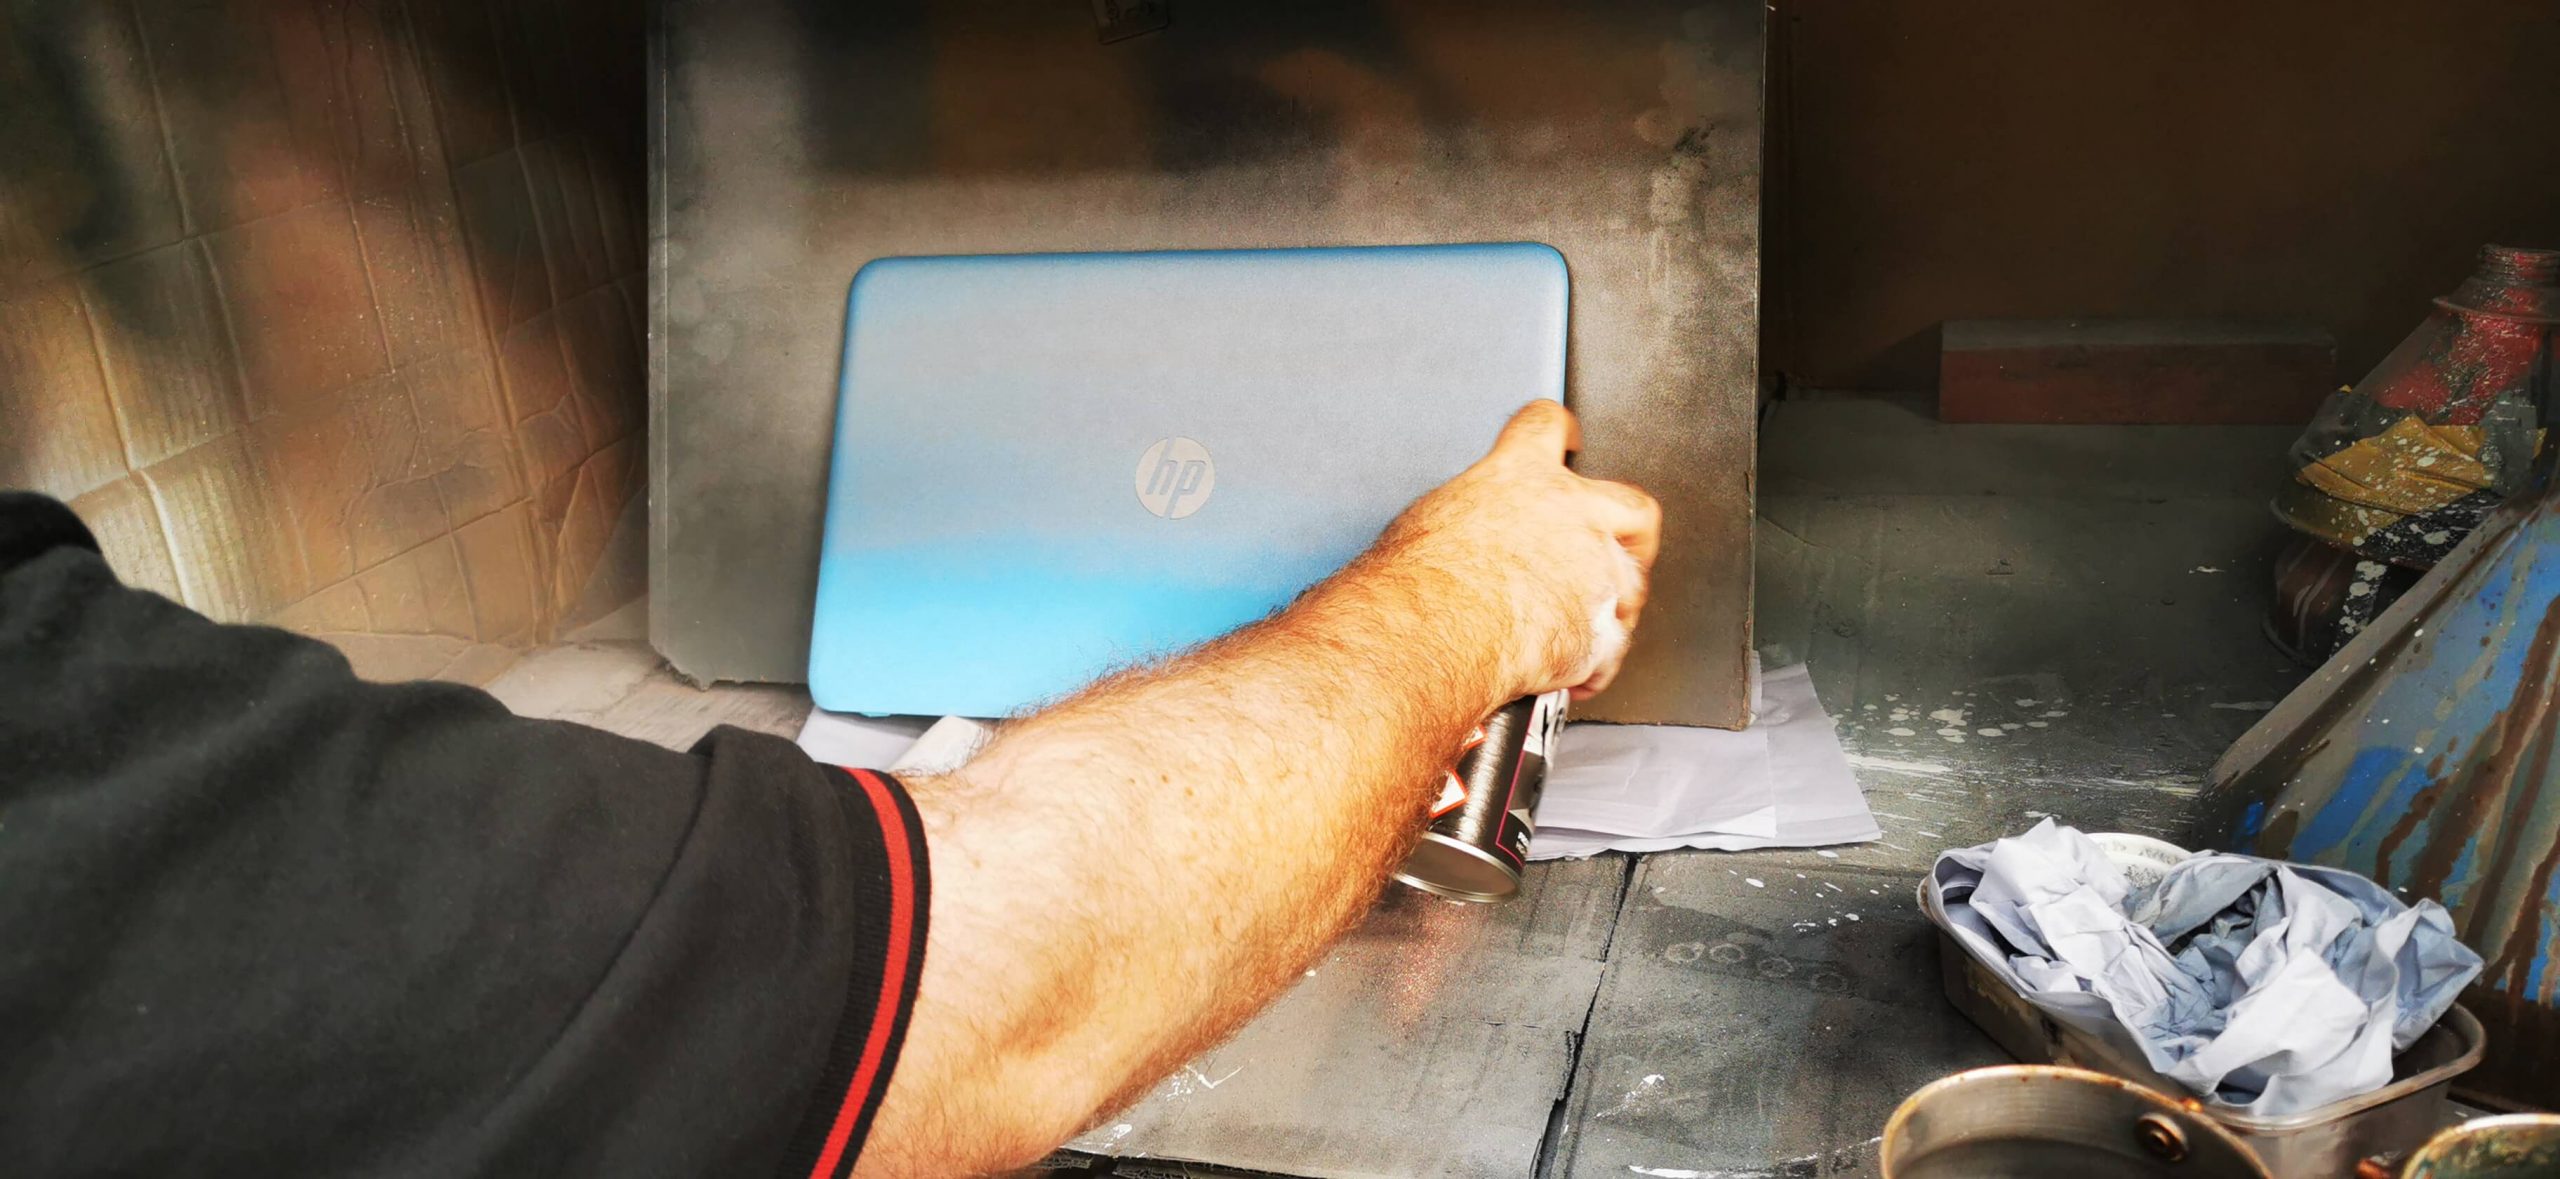
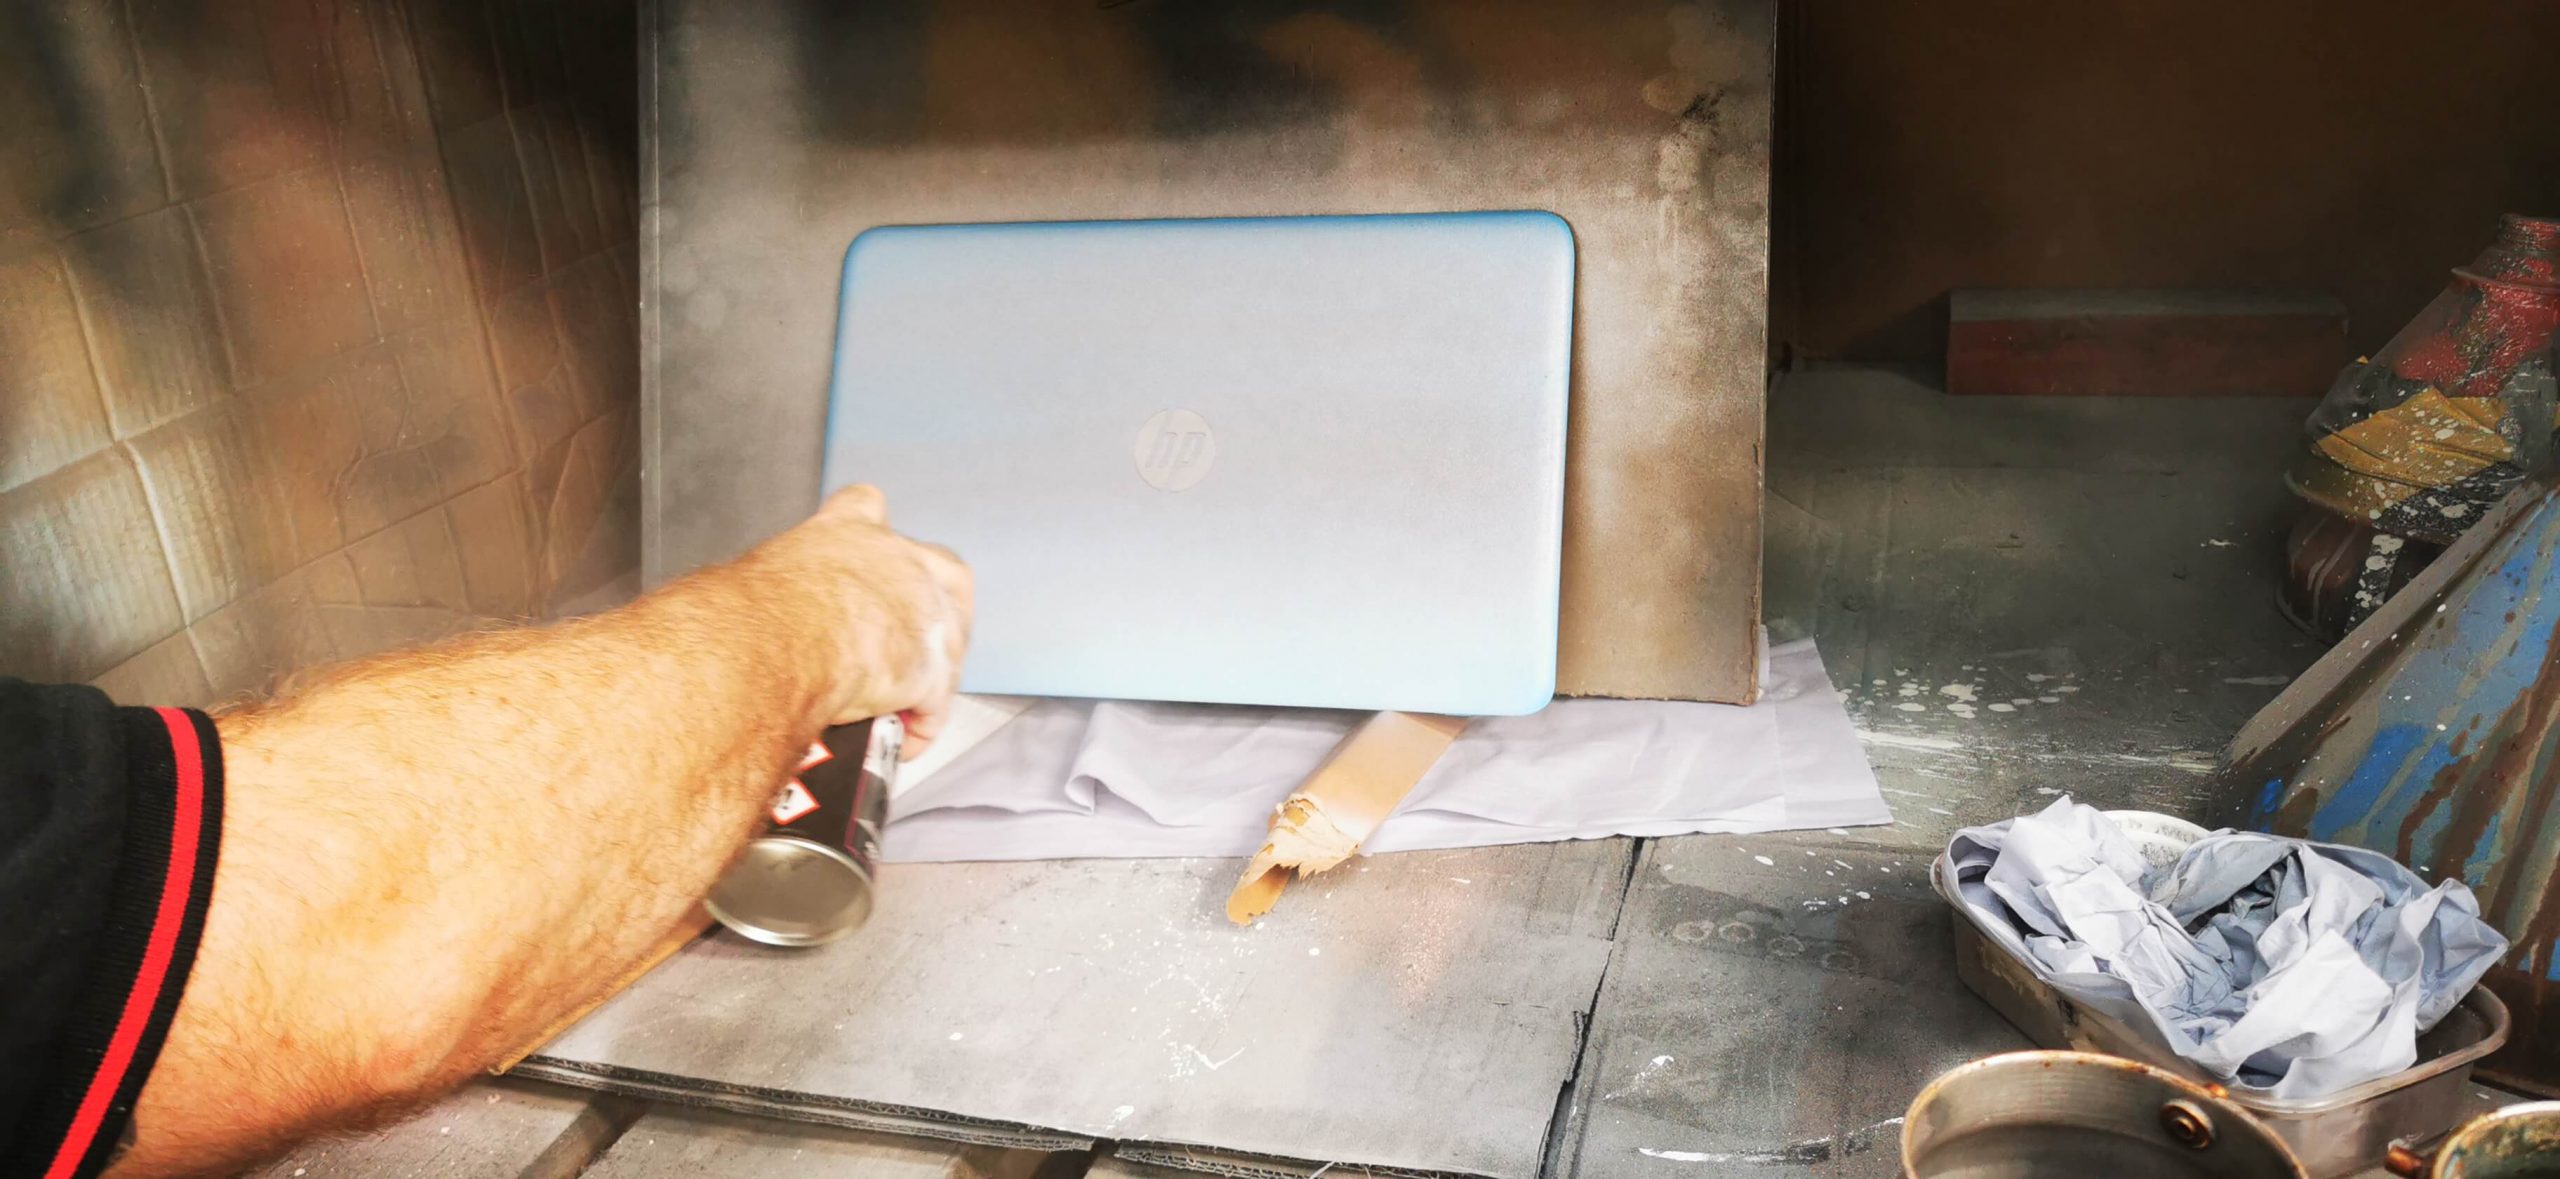
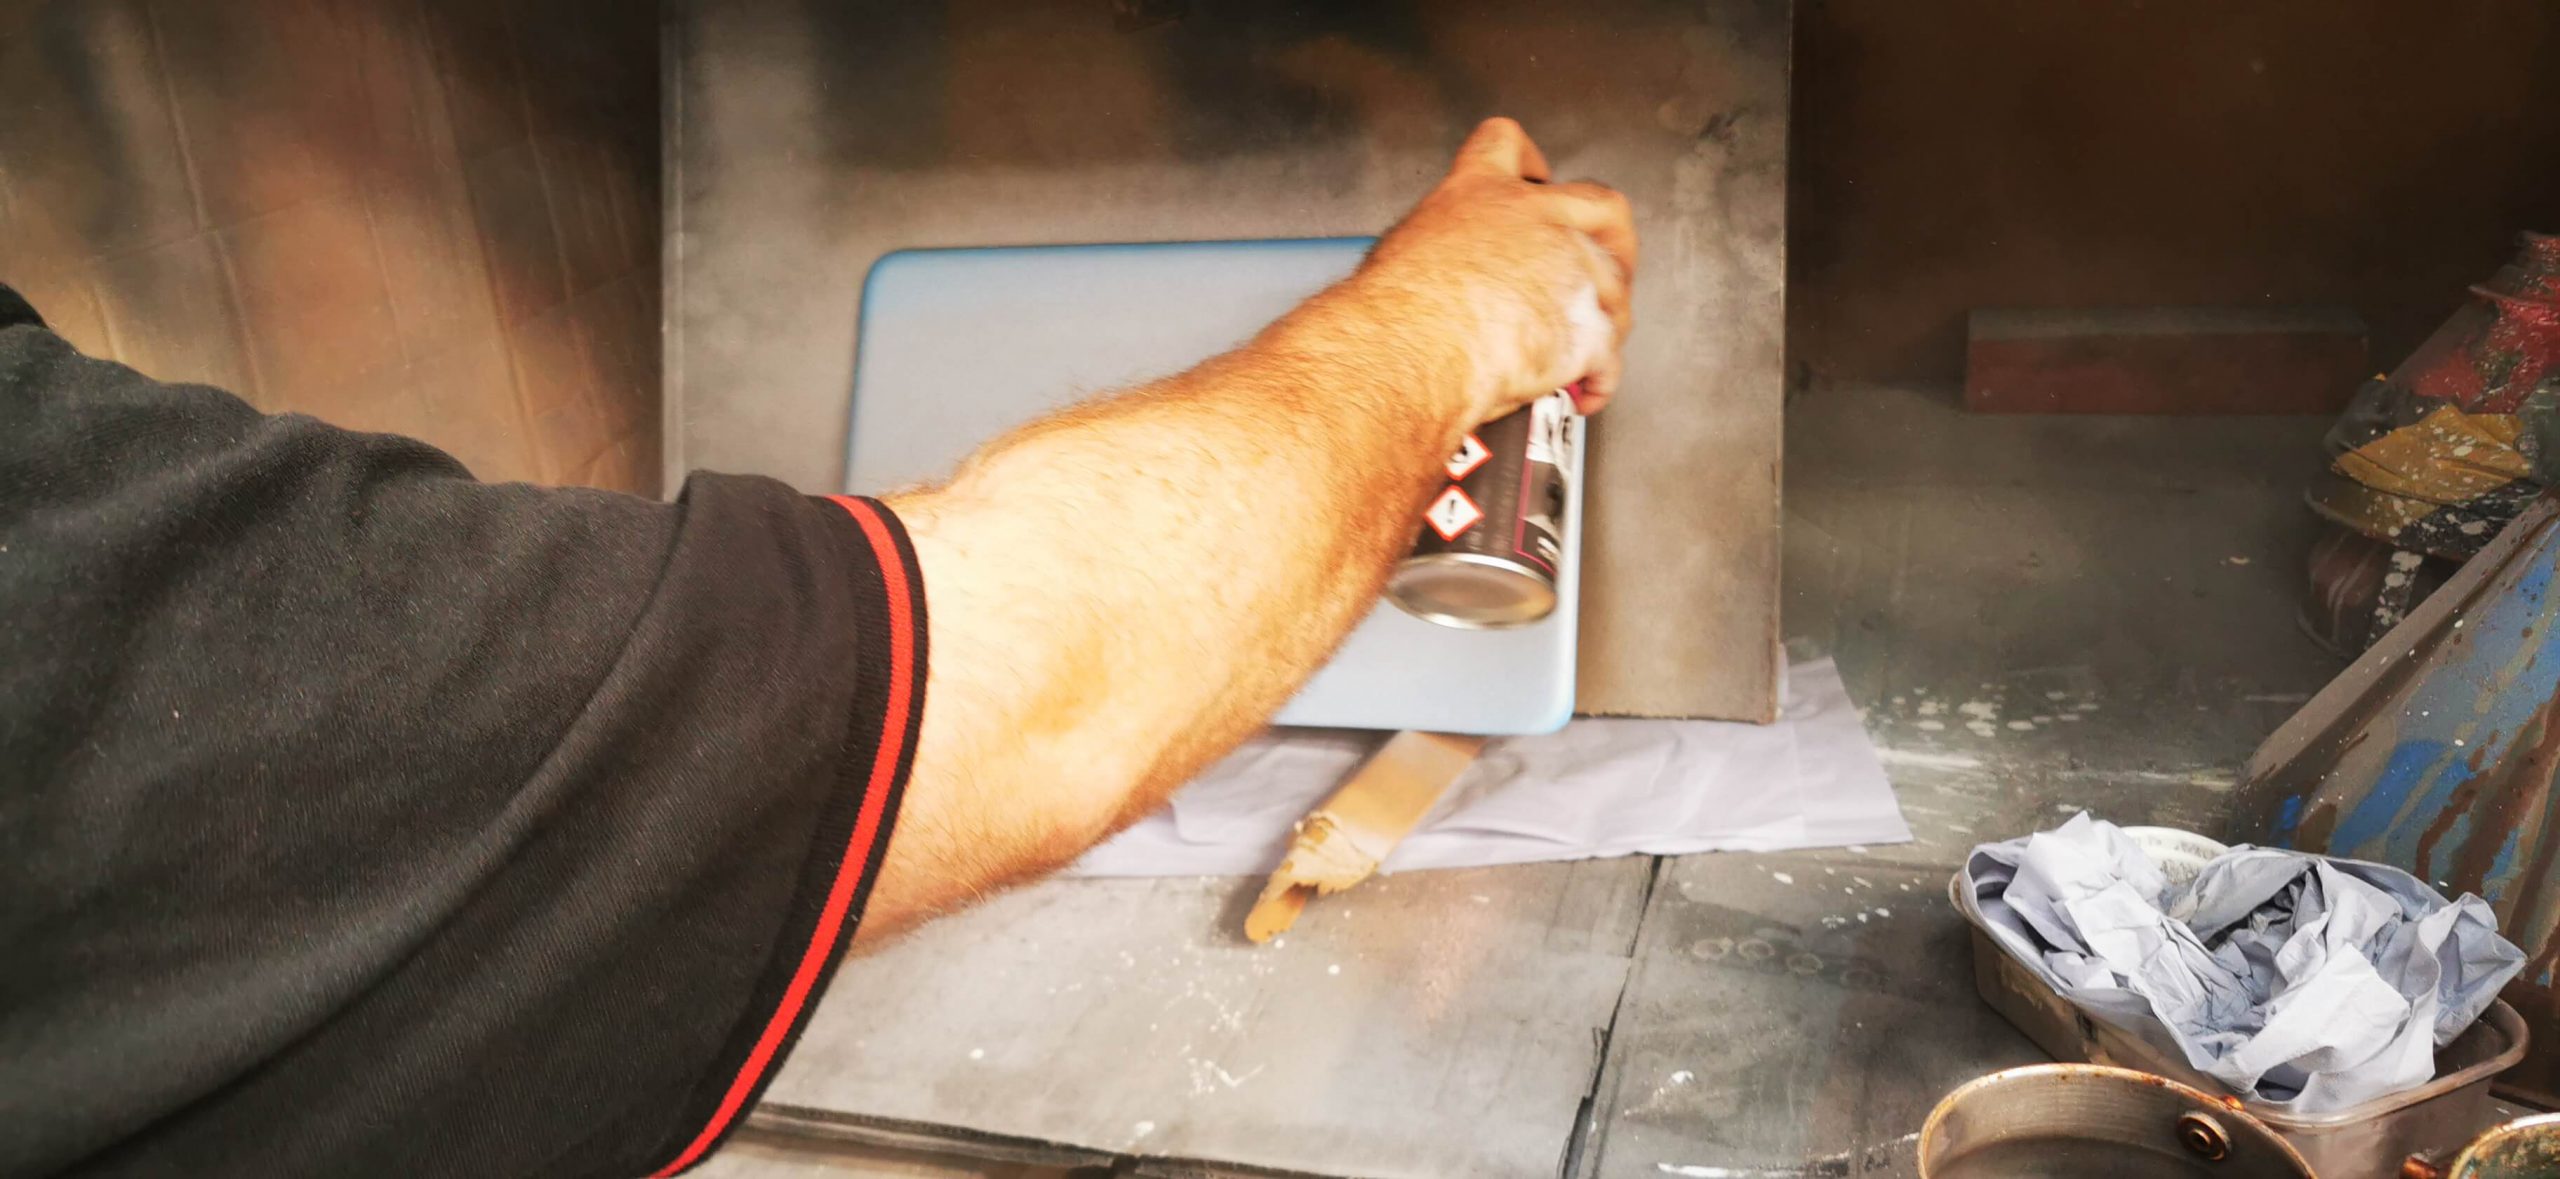
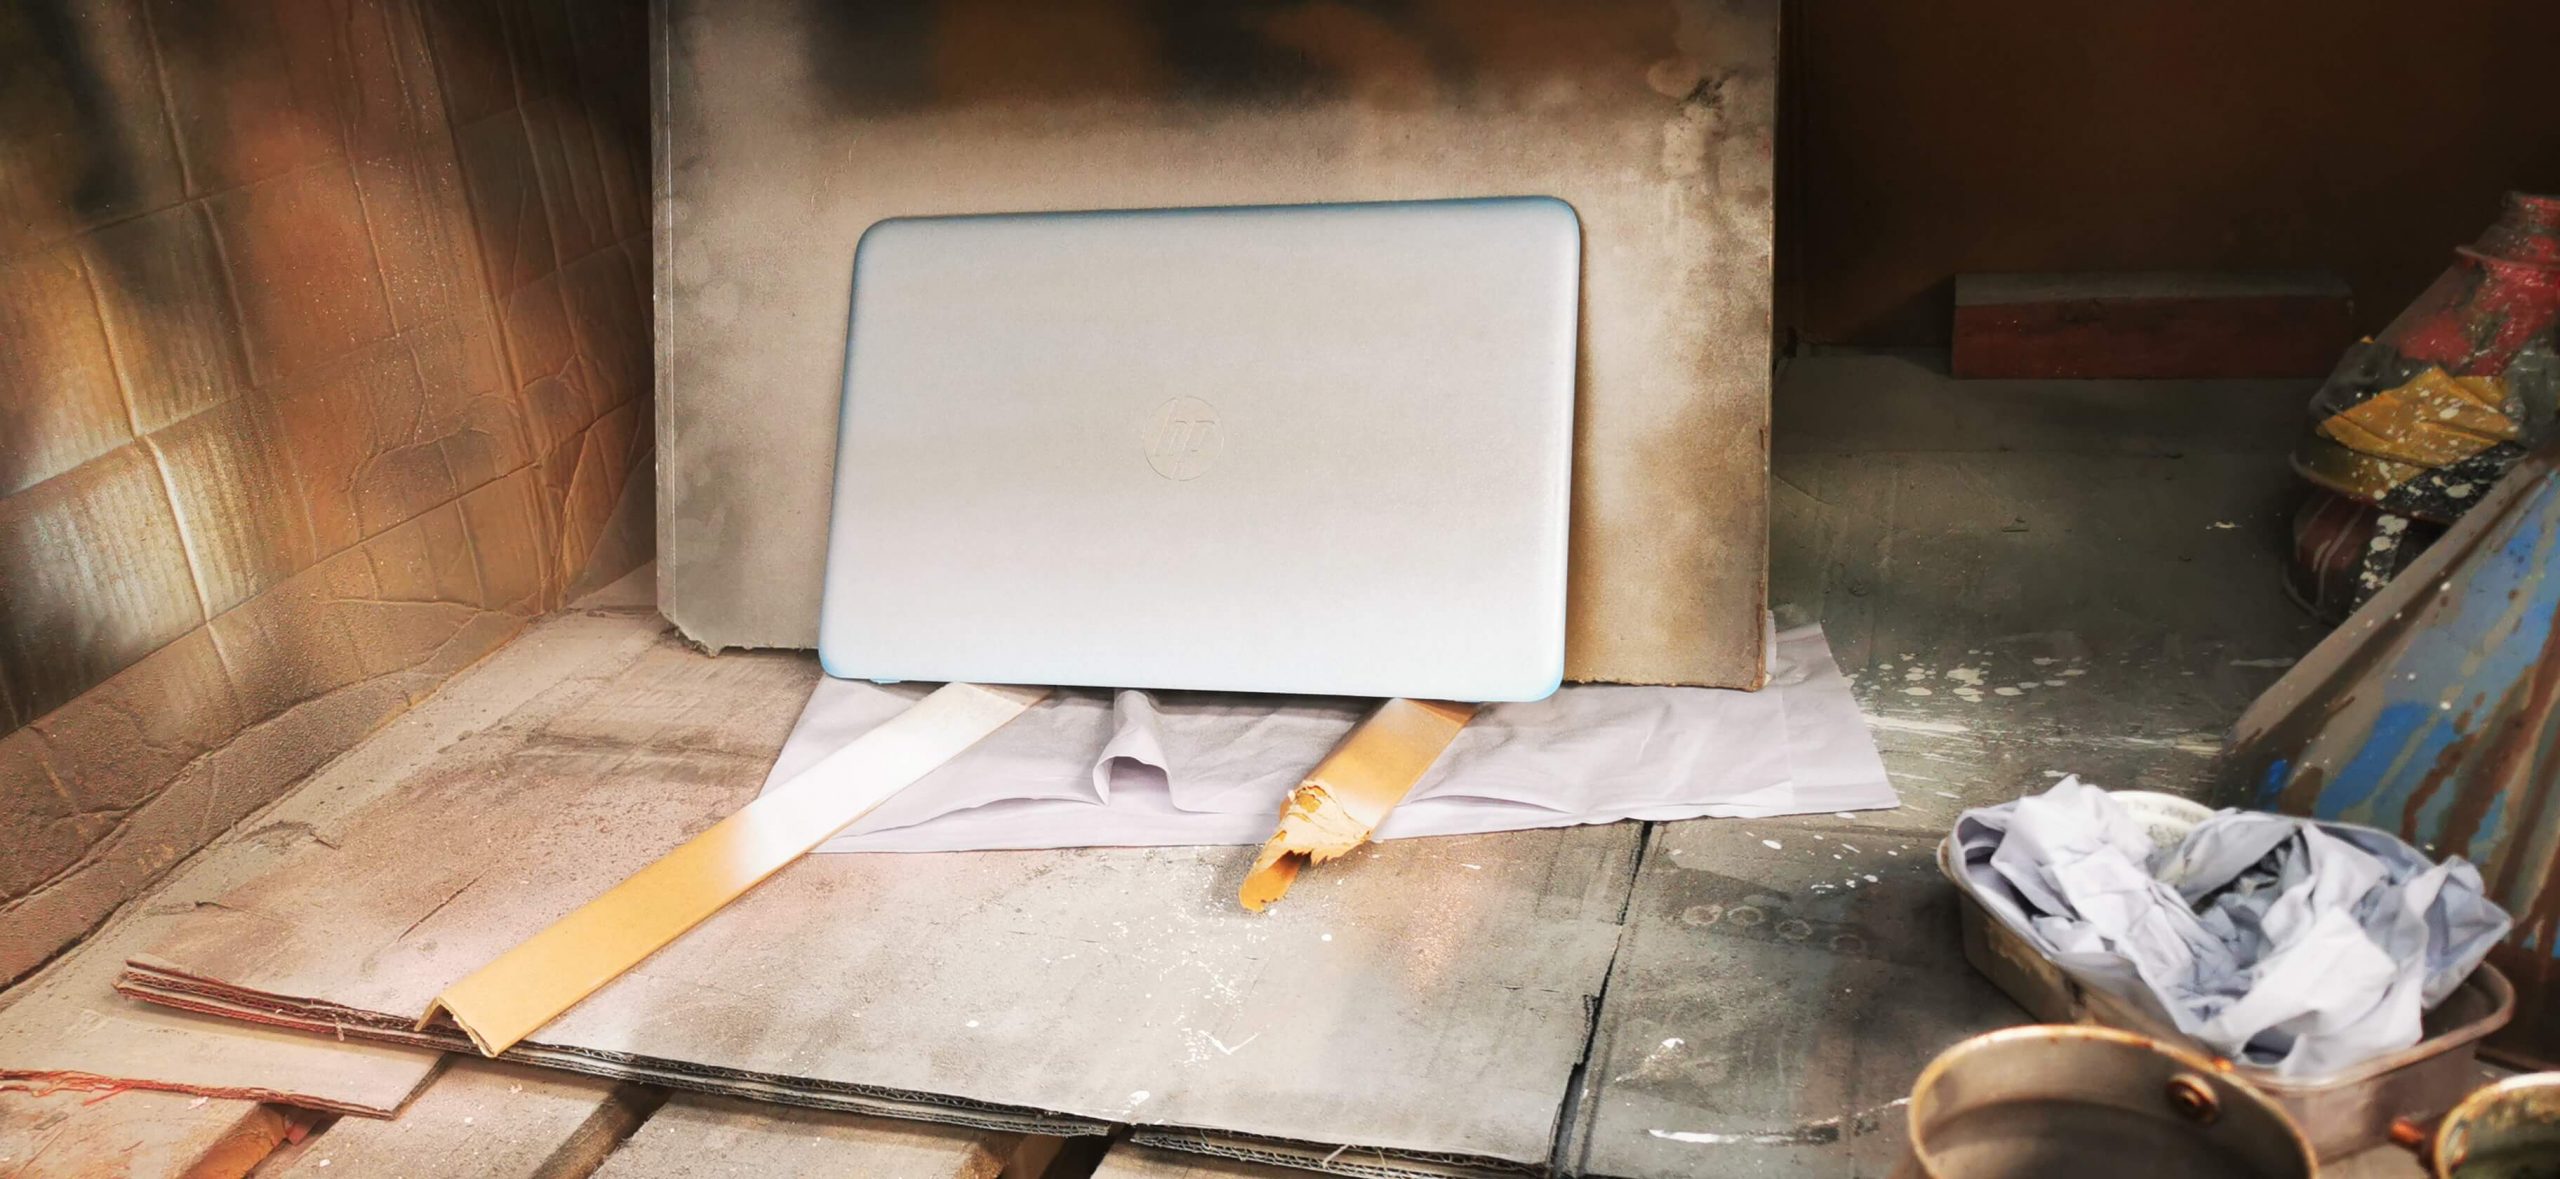
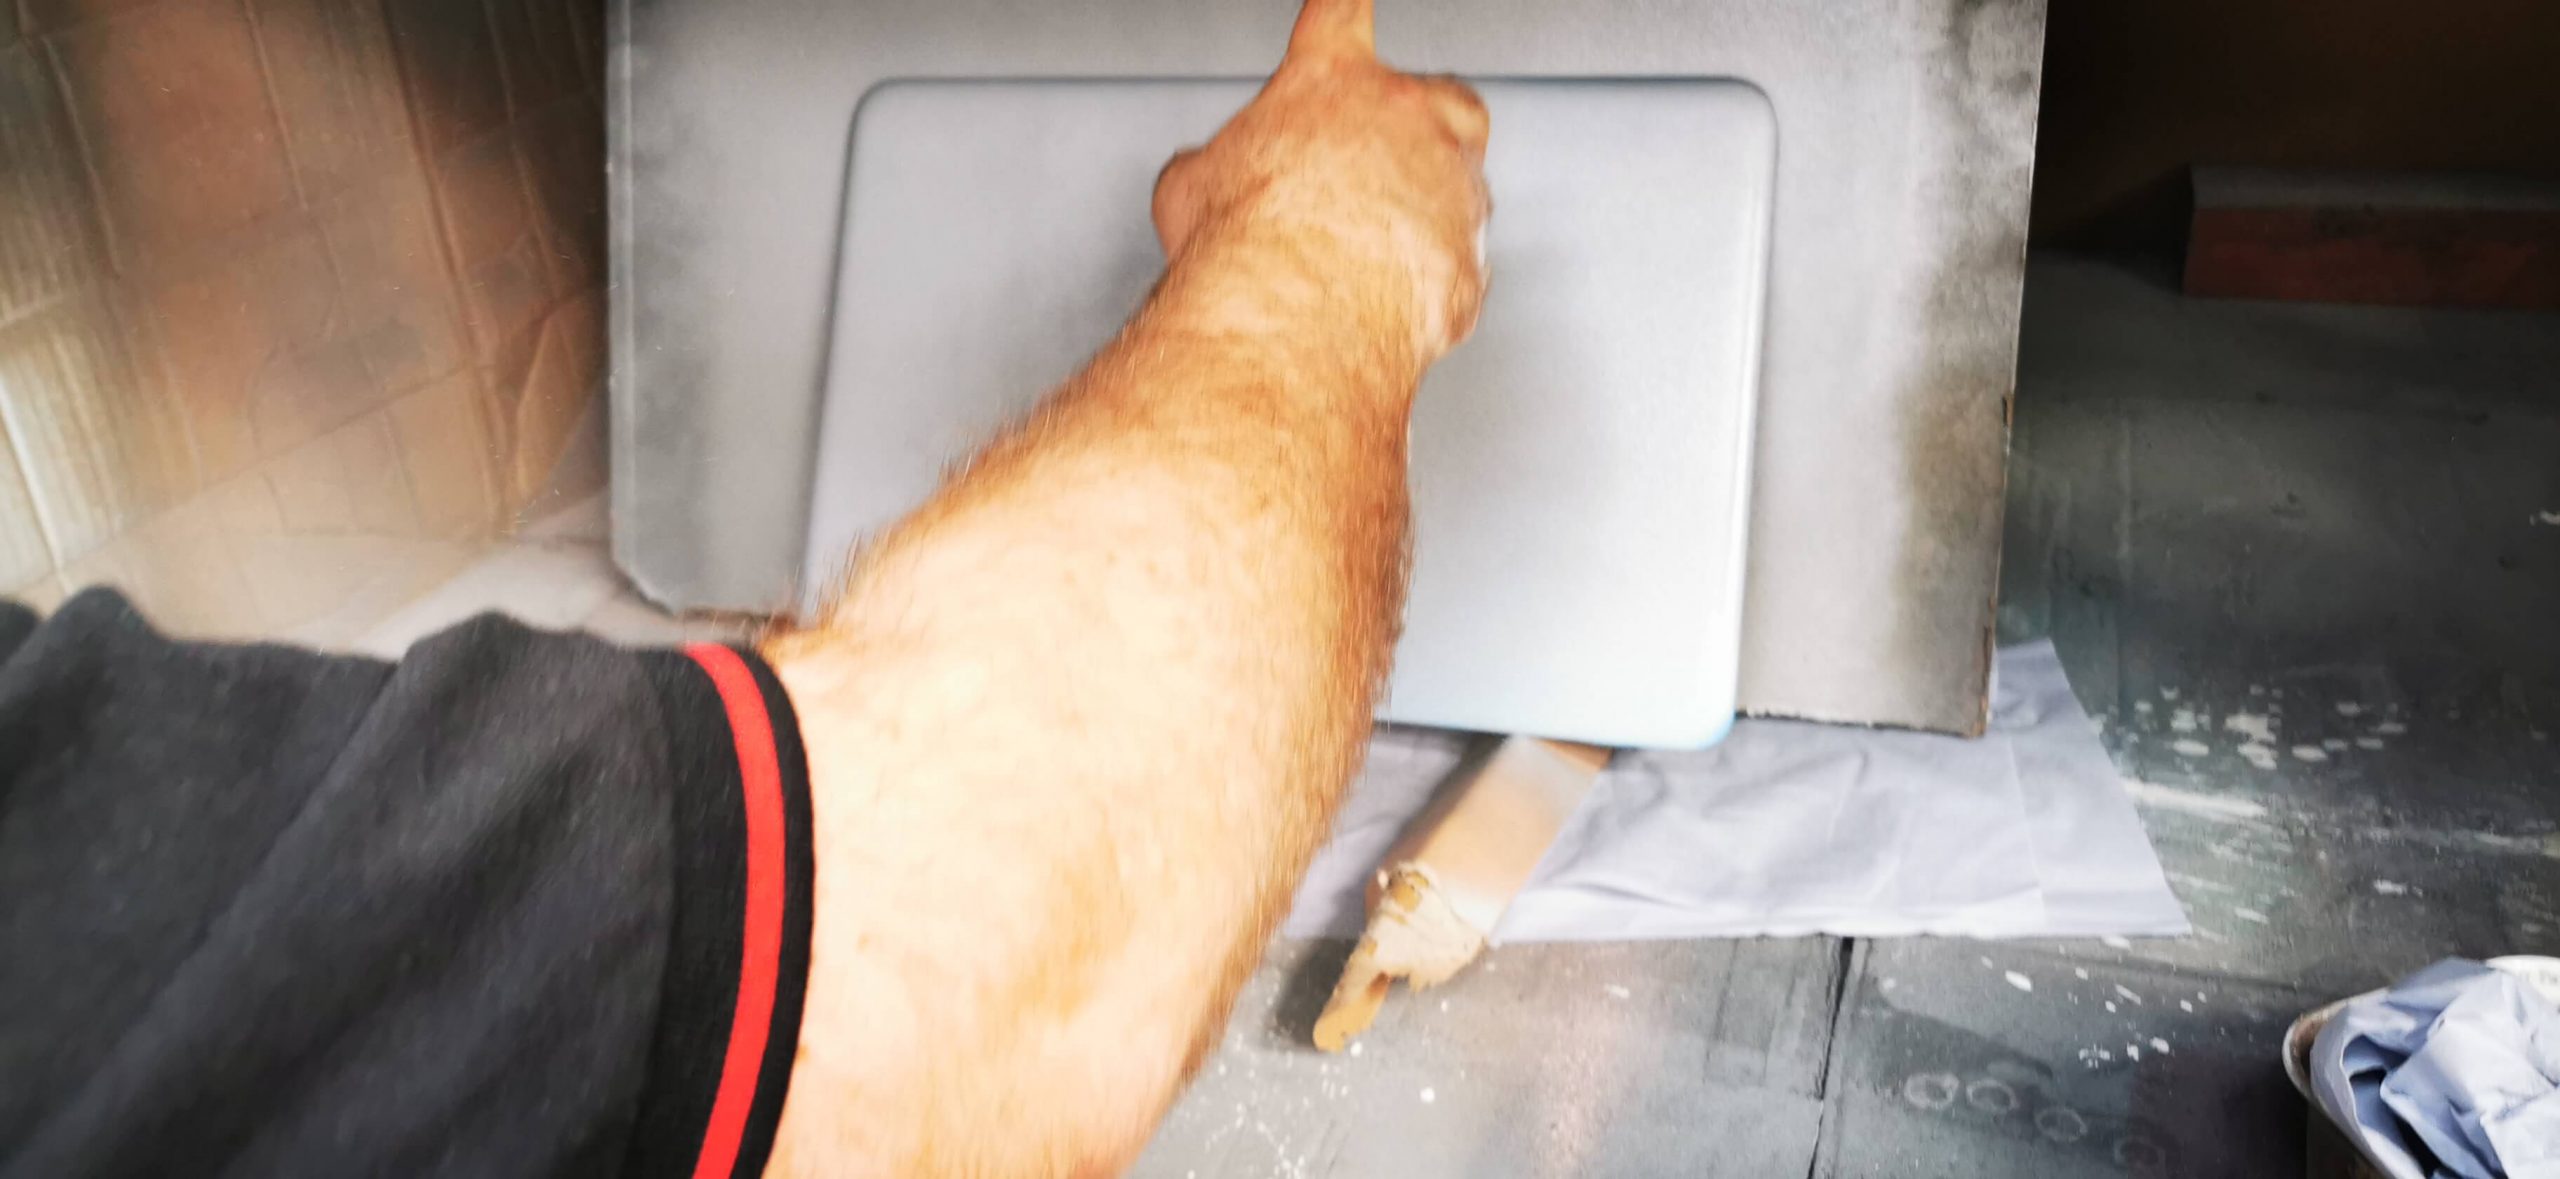
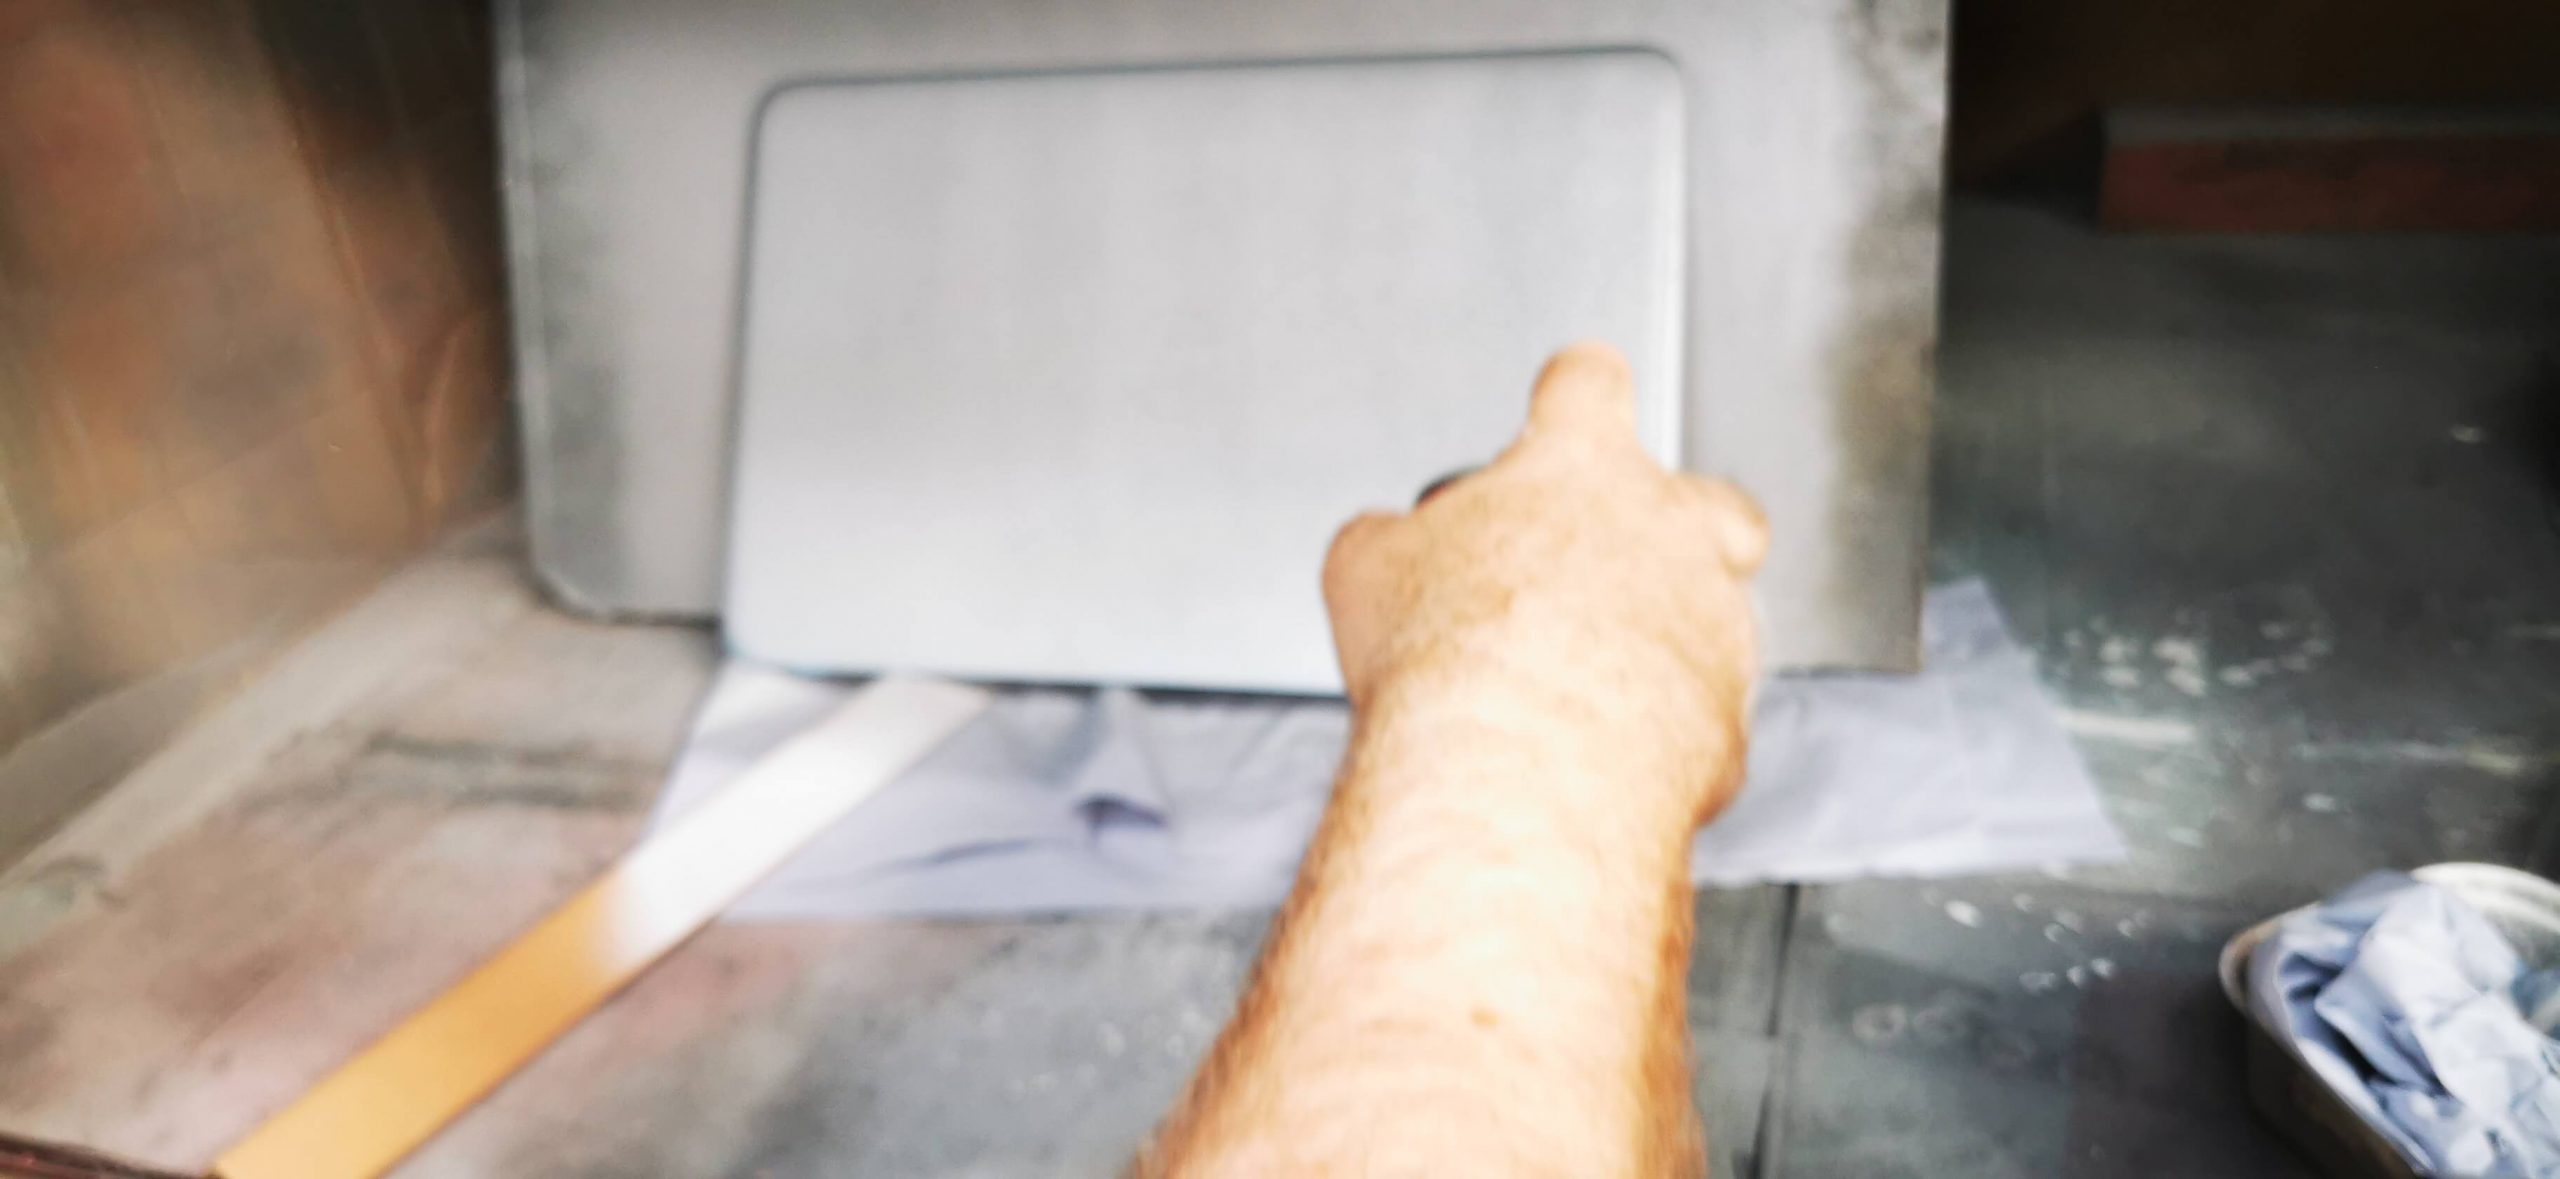
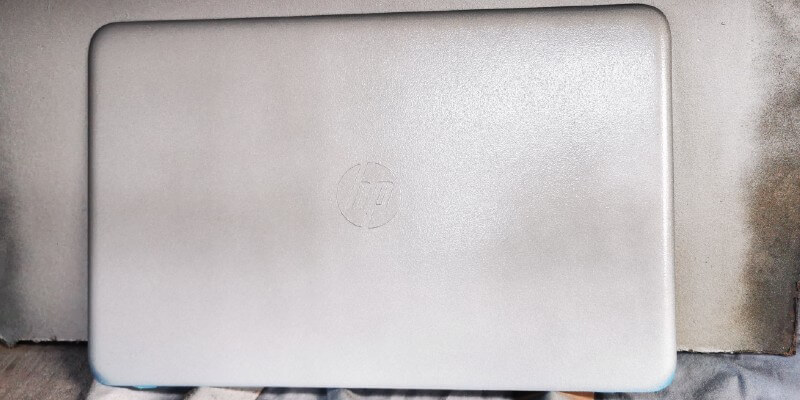
Prep and Prime
Firstly, we sanded down the existing plastic then degreased the surface in preparation for the ground coat (primer coat). As this was a special job, we made a custom silver primer with a coarse texturiser. You can order this by heading to the following link. We left the prime for at least an hour to cure.
Base Coat
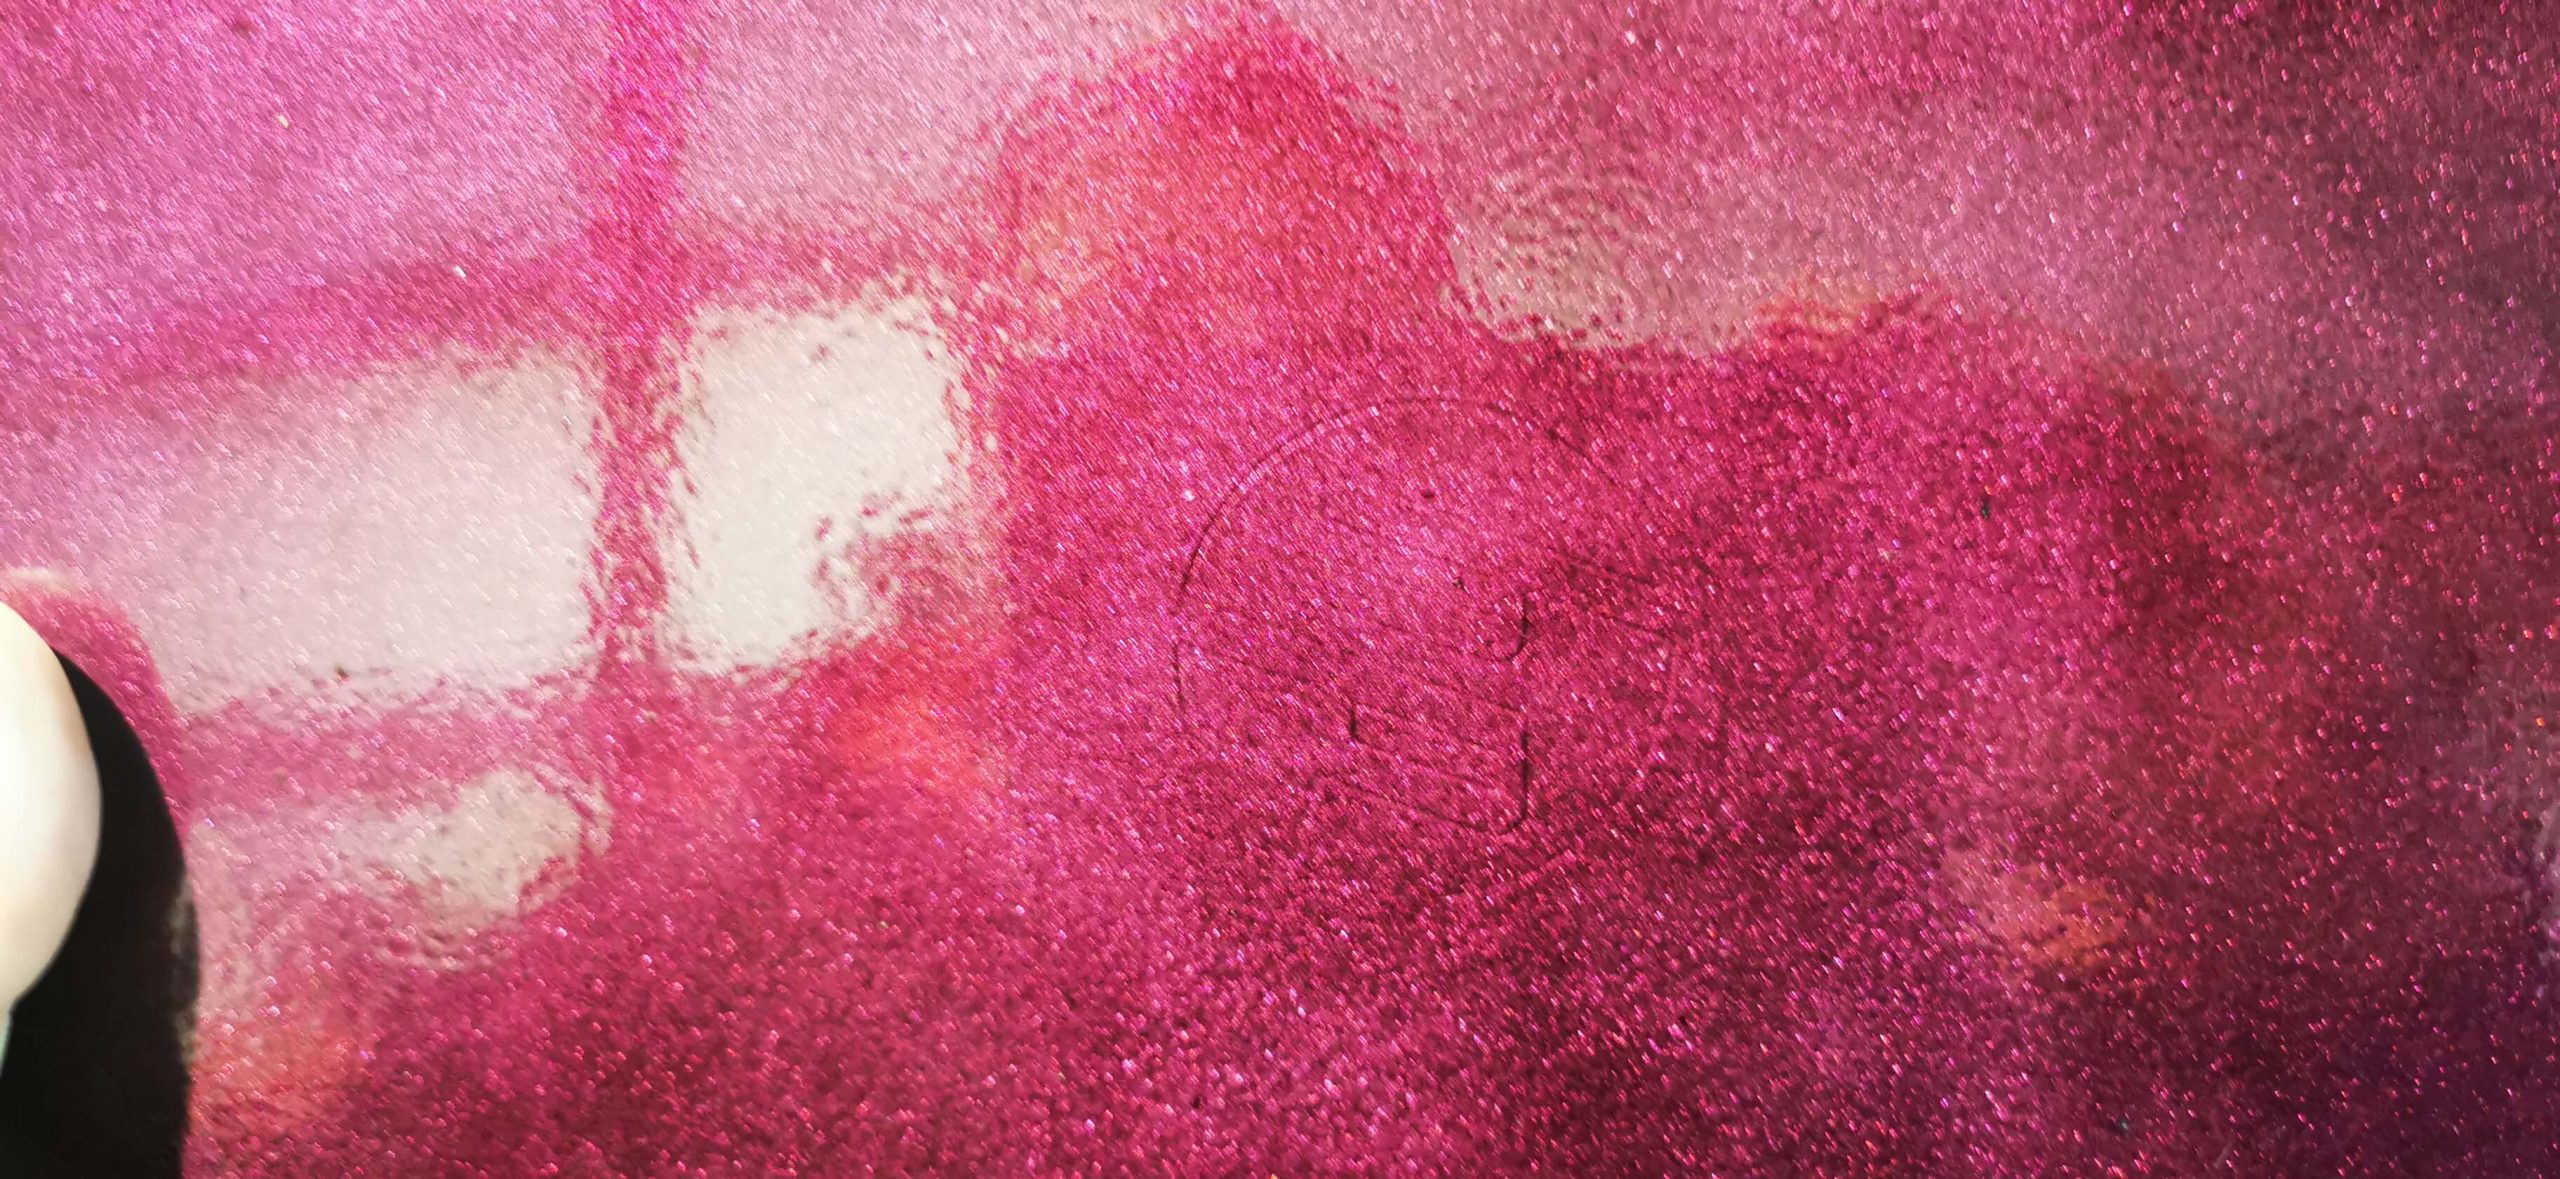
Once the primer coat had cured, we applied our purple dyed lacquer (base coat is the colour coat). We applied two coats and left to cure, leave it an hour between coats. The final results were really effective.
Top Coat
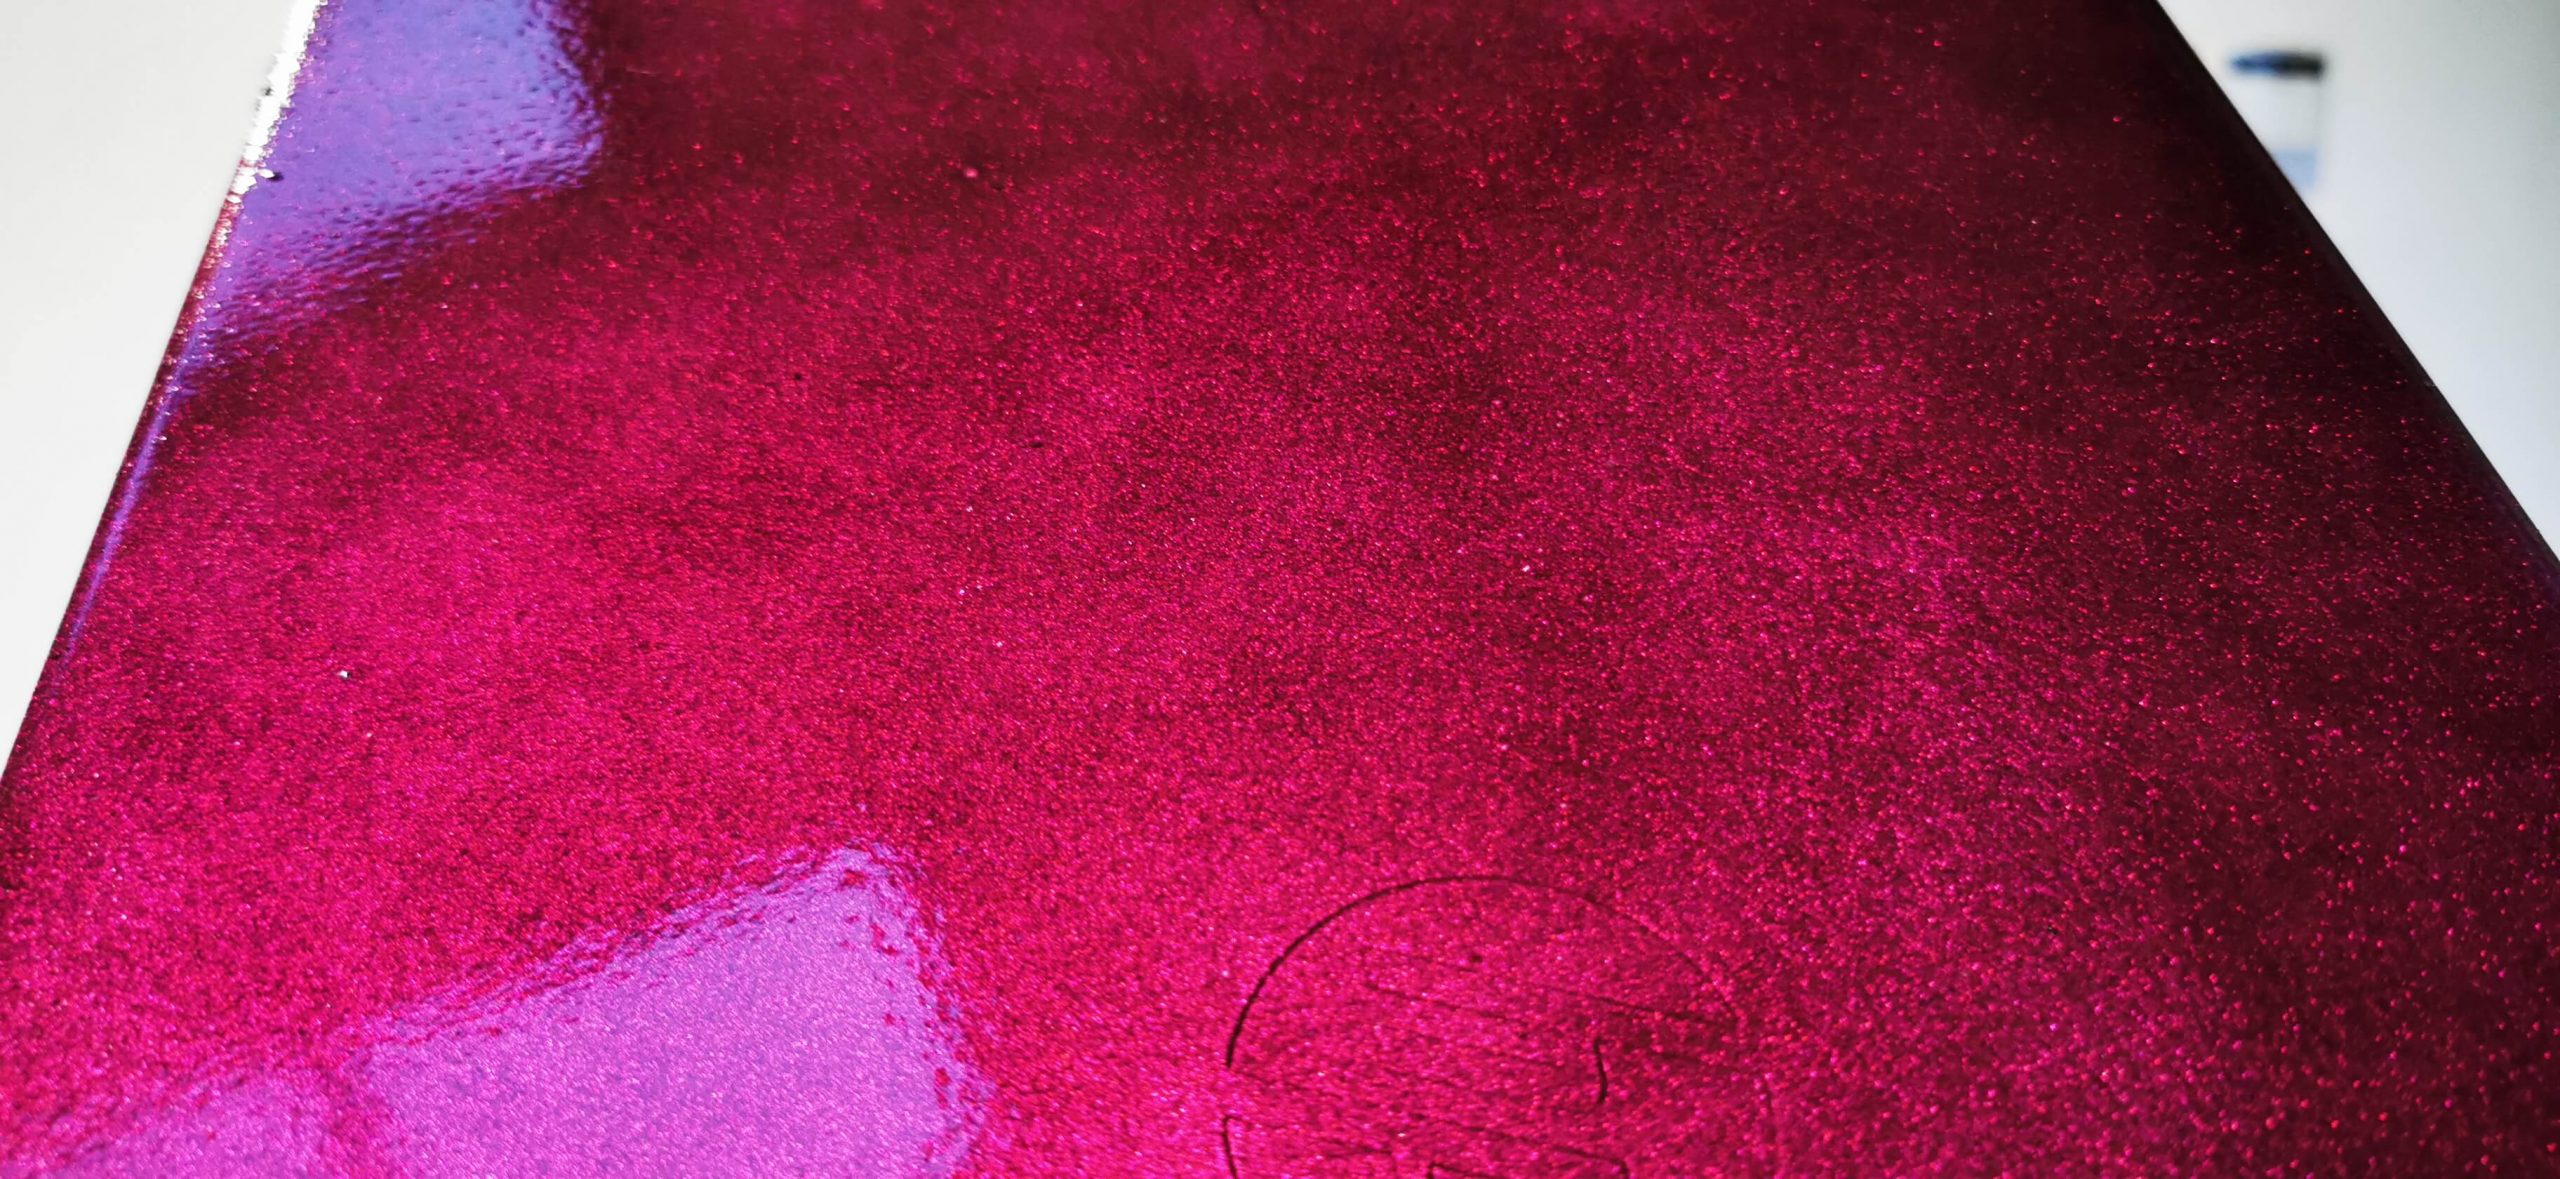
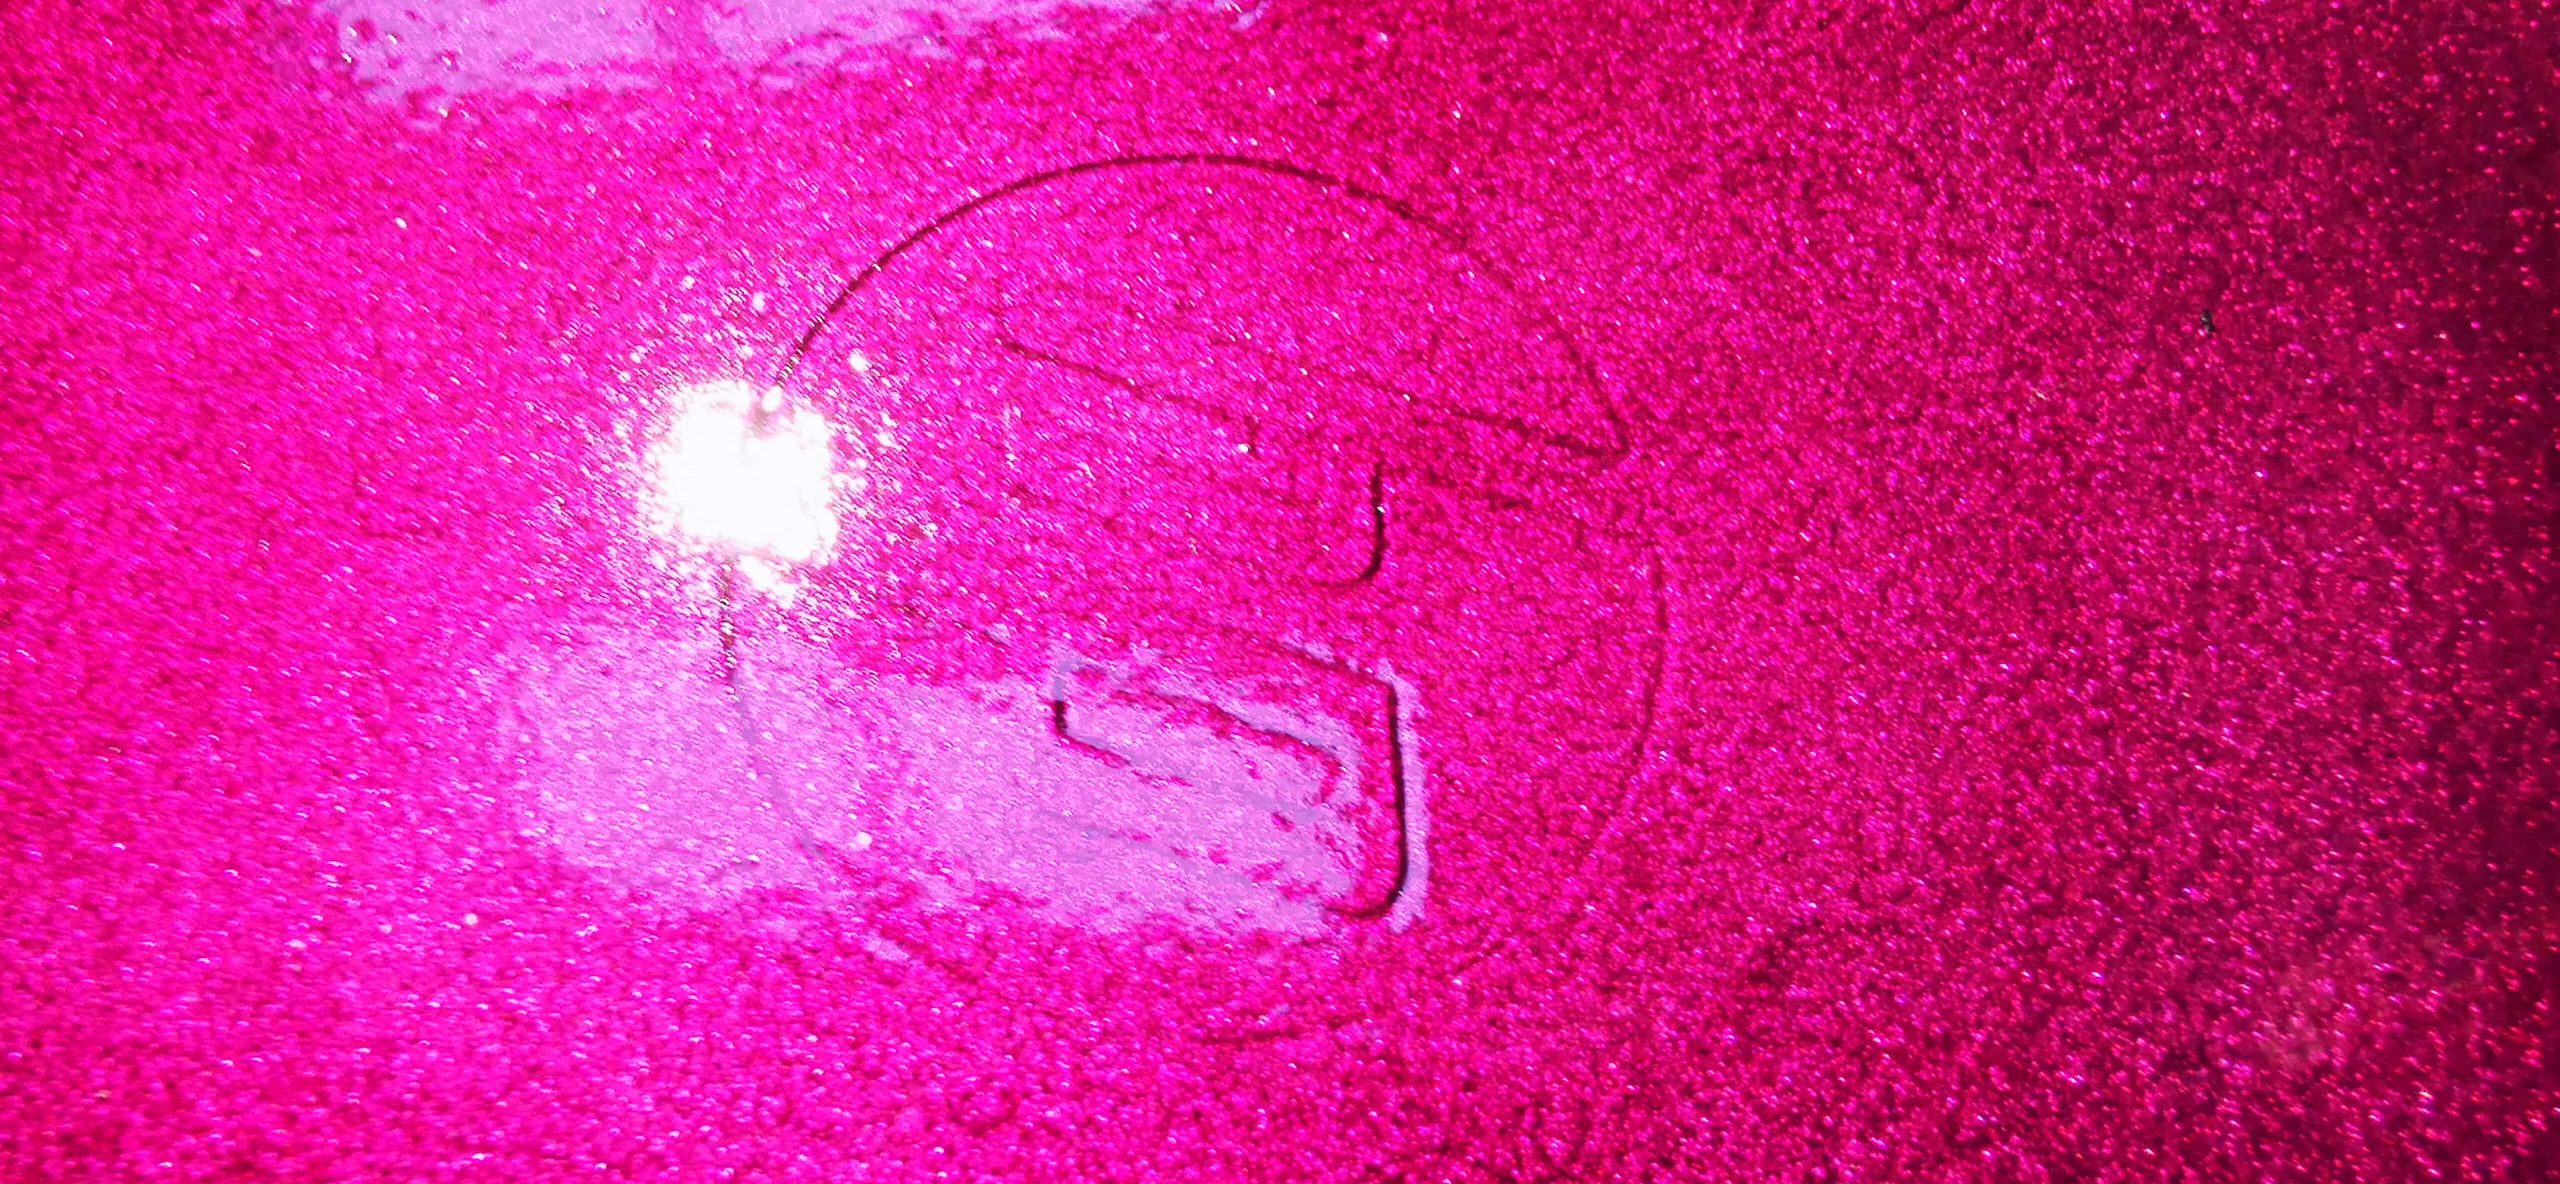
The final coat of lacquer is where things get interesting. This will seal the base coat and protect the finish. We added 3 coats of 2K high gloss lacquer. We left them to cure overnight and harden.
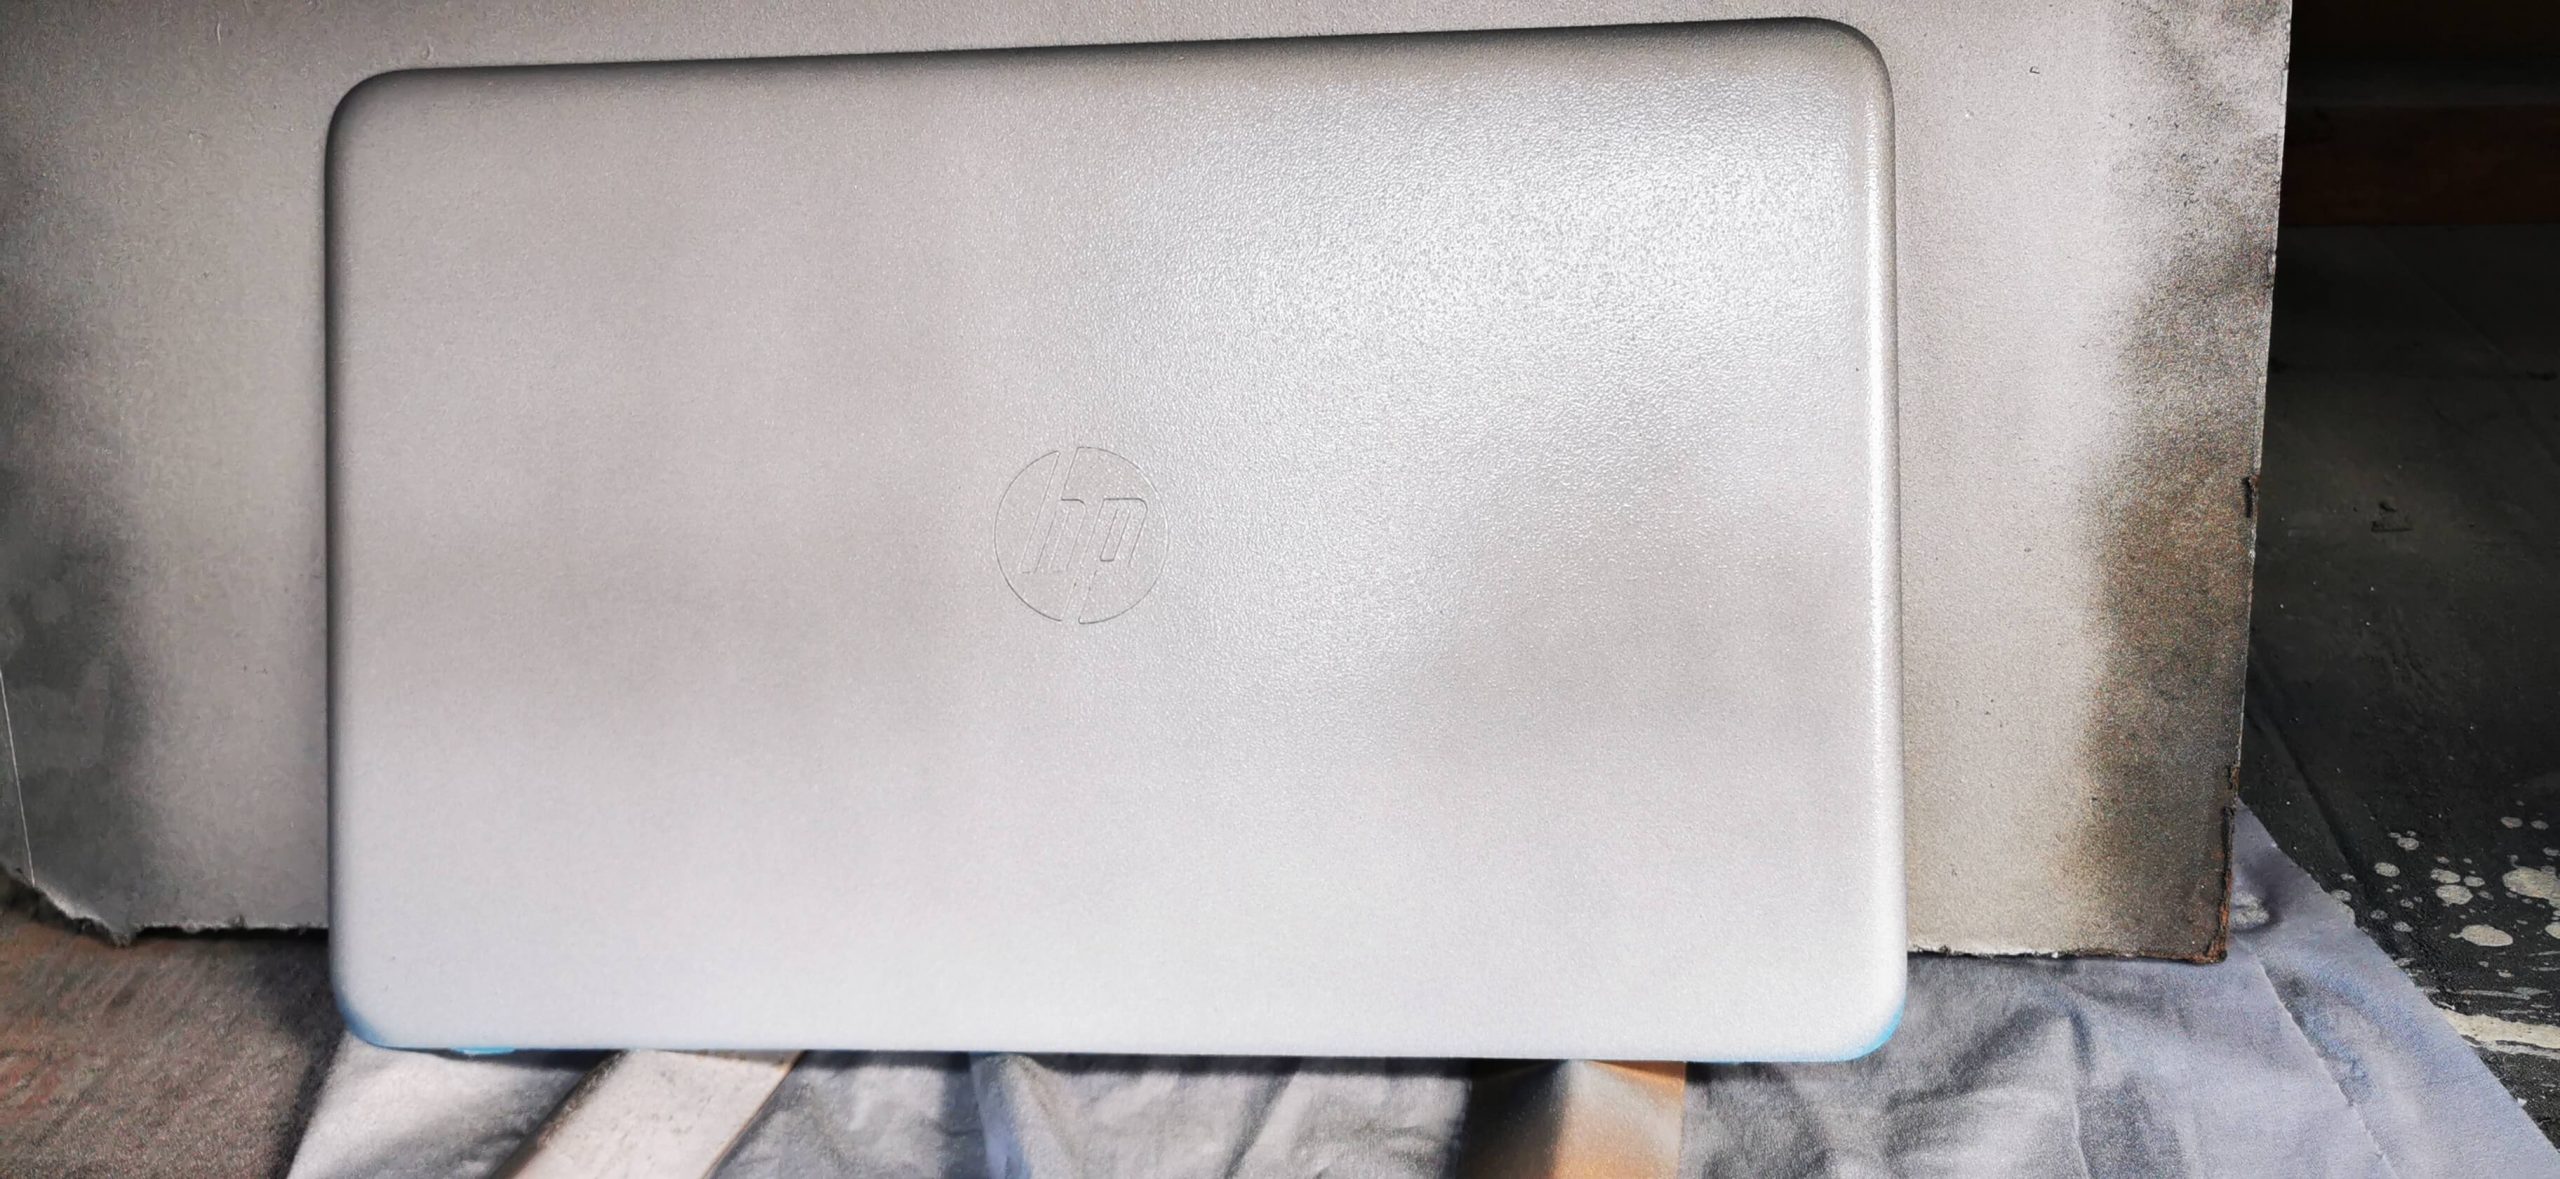
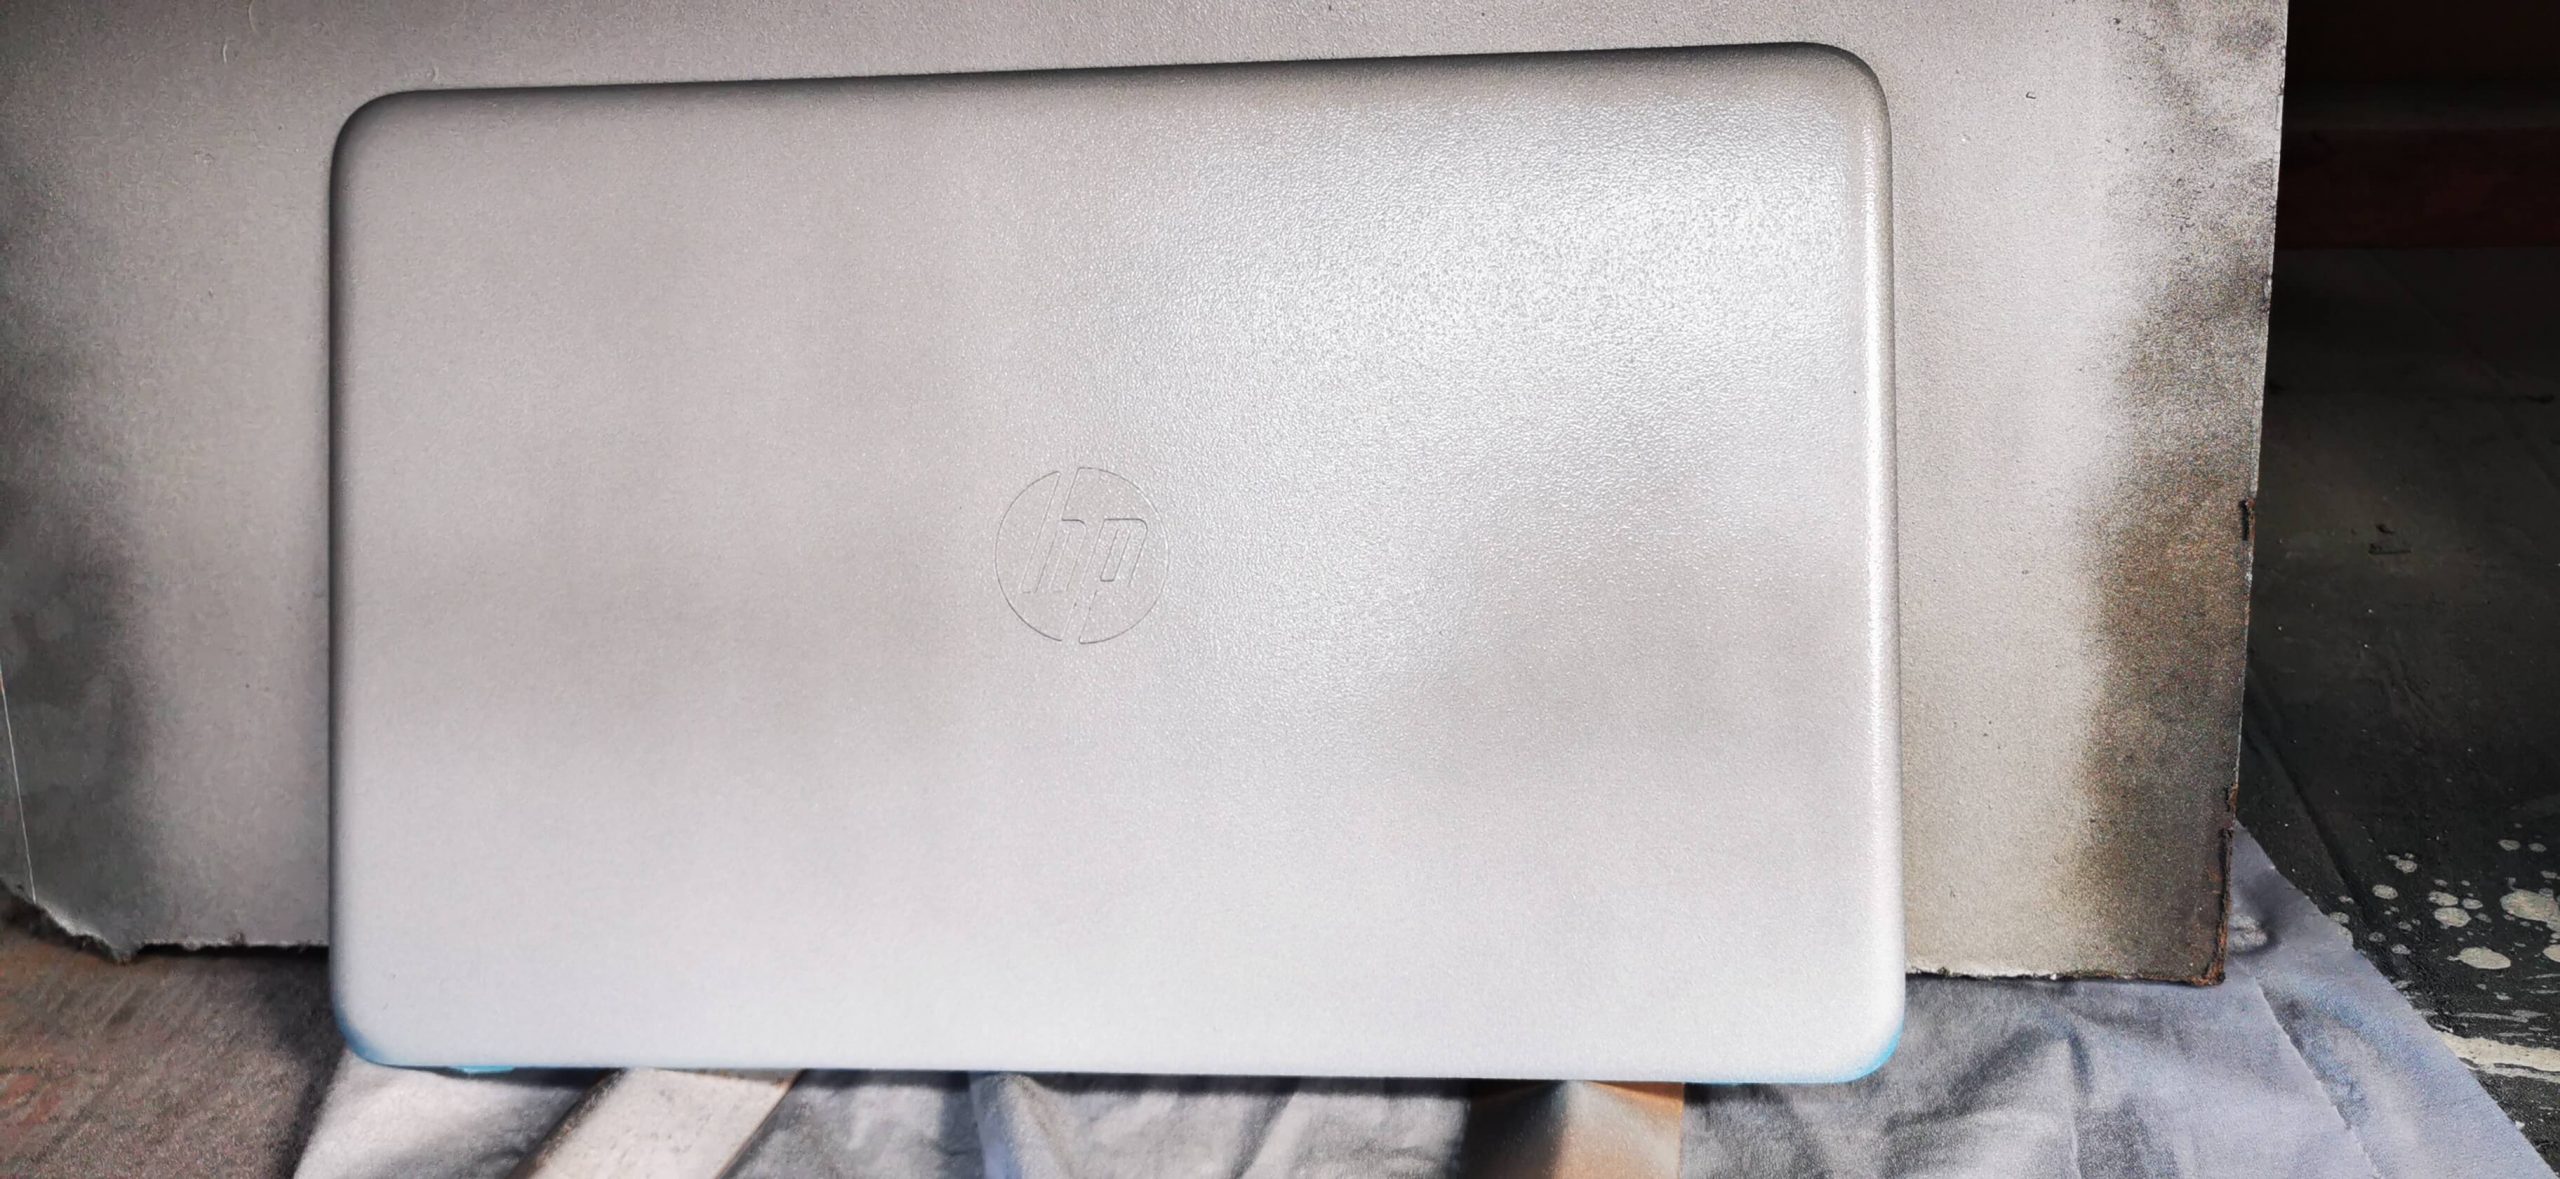
The outcome we were looking to achieve was similar to an American style candy paint. As the silver textured paint has contour, you can see the light and shade in the metallics, when you add the translucent dyed lacquer and then the final topcoats of 2K lacquer, you can see into the layers of paint giving the illusion of depth. We were really happy with the final result, and again, it just goes to show what a little bit of creative thinking and inspiration can do.