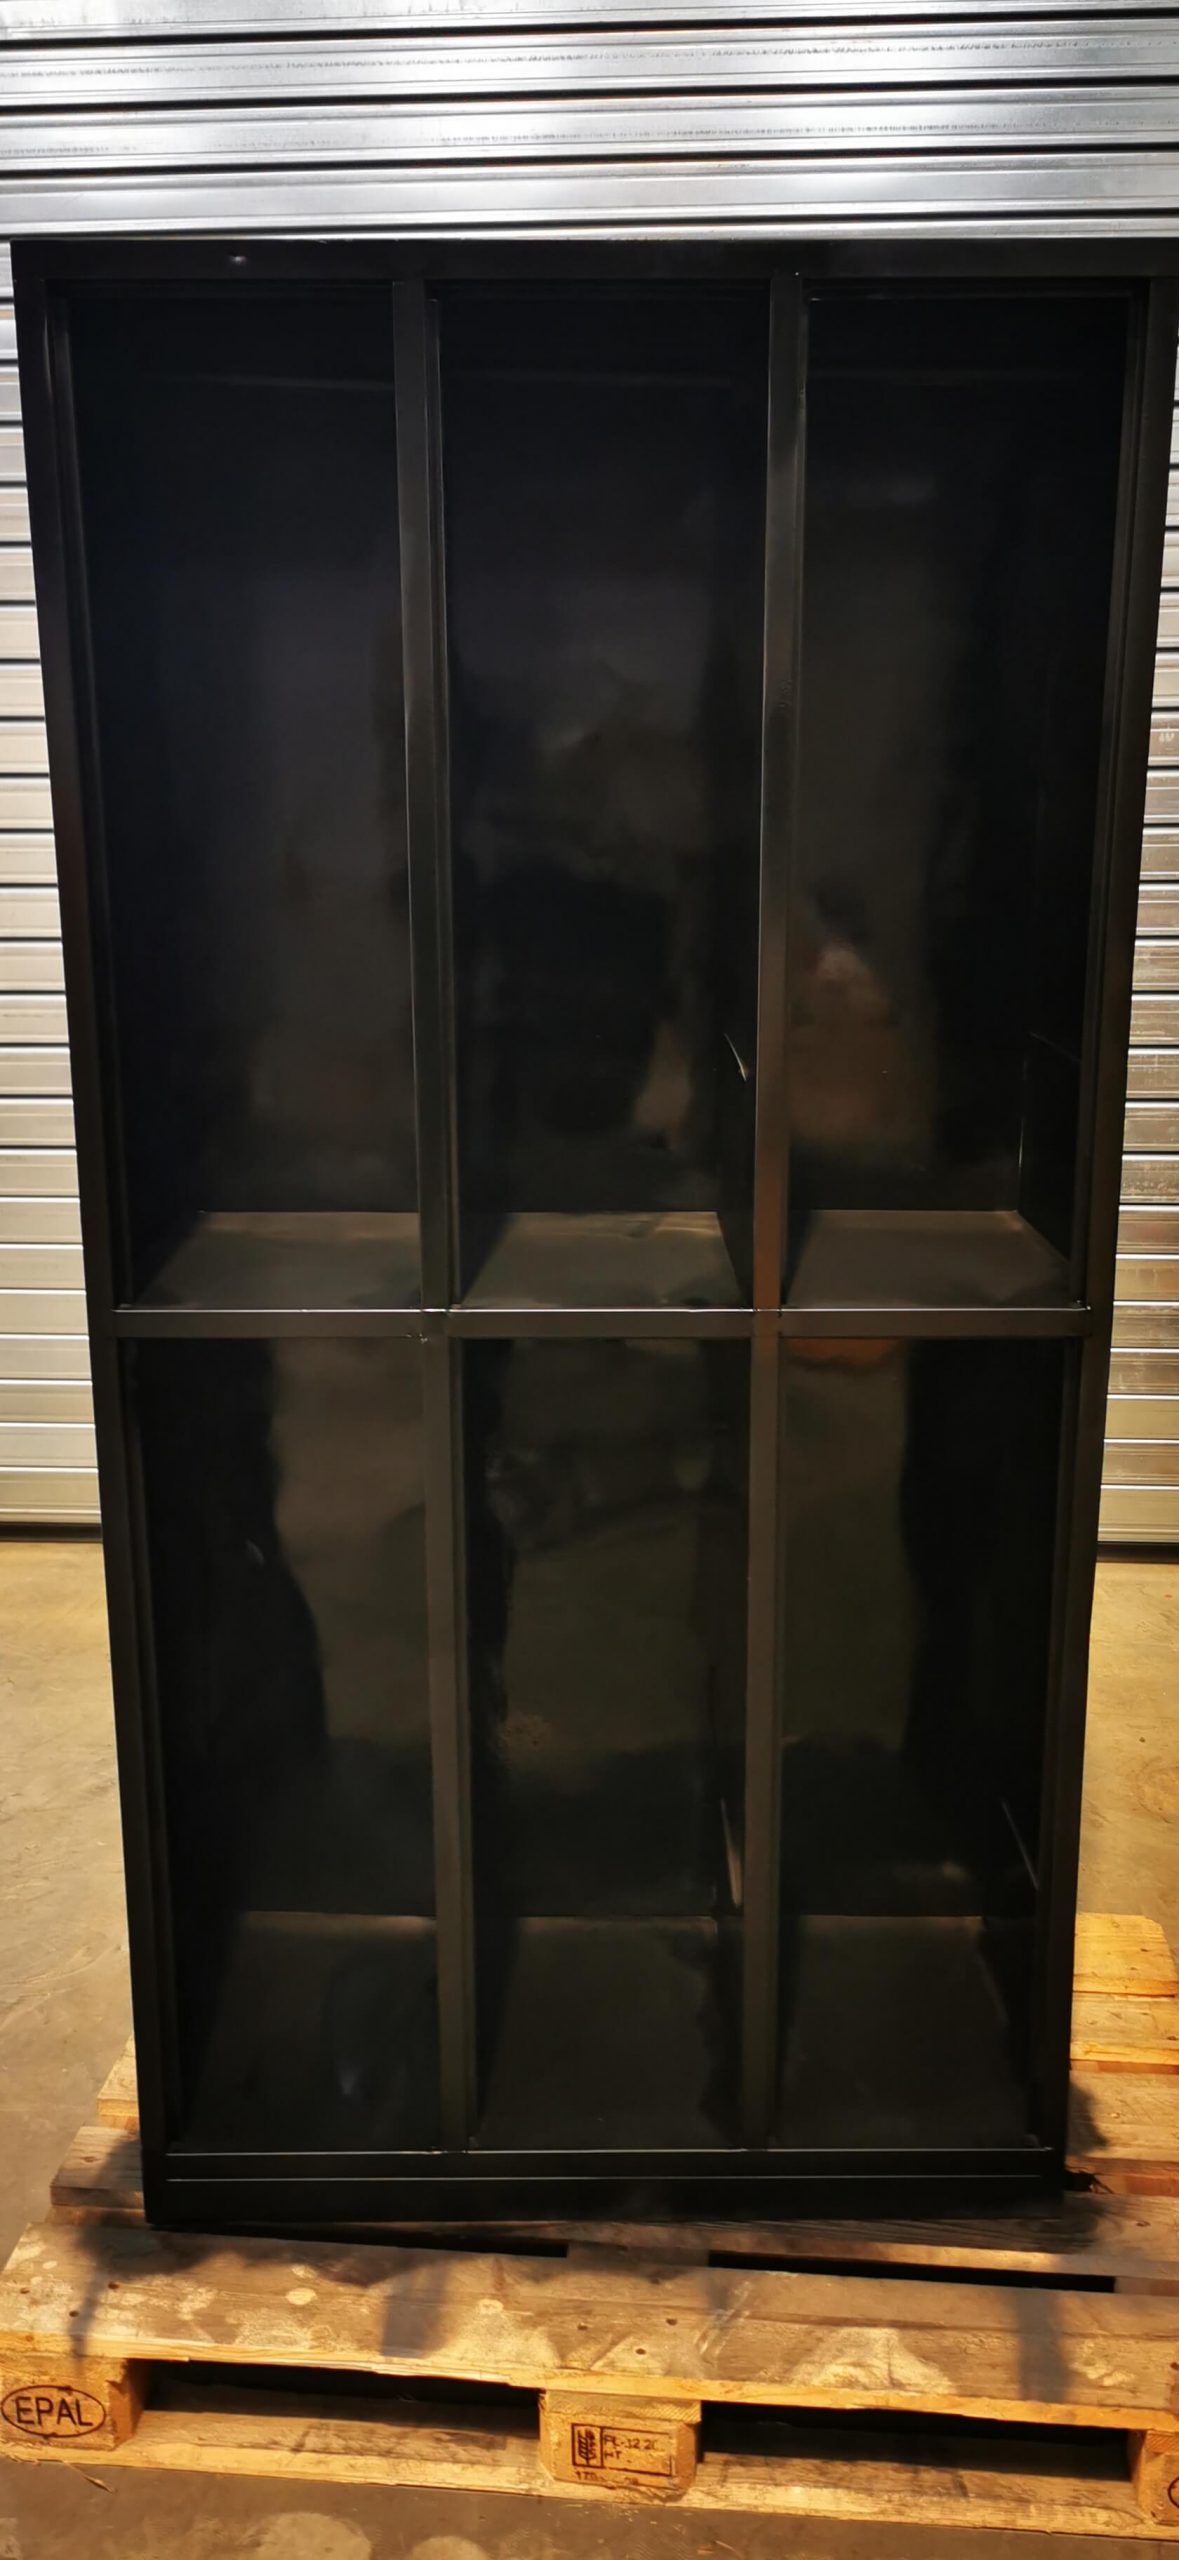
Throughout lockdown, we have been completing a range of fun and quirky spraying projects for clients. This time, we decided to embark on our own project, spray painting a set of lockers for our workspace, using the same colours as our branding to make it our own. Take a look at how we completed this project and the final piece below!
Tools Required For This Project
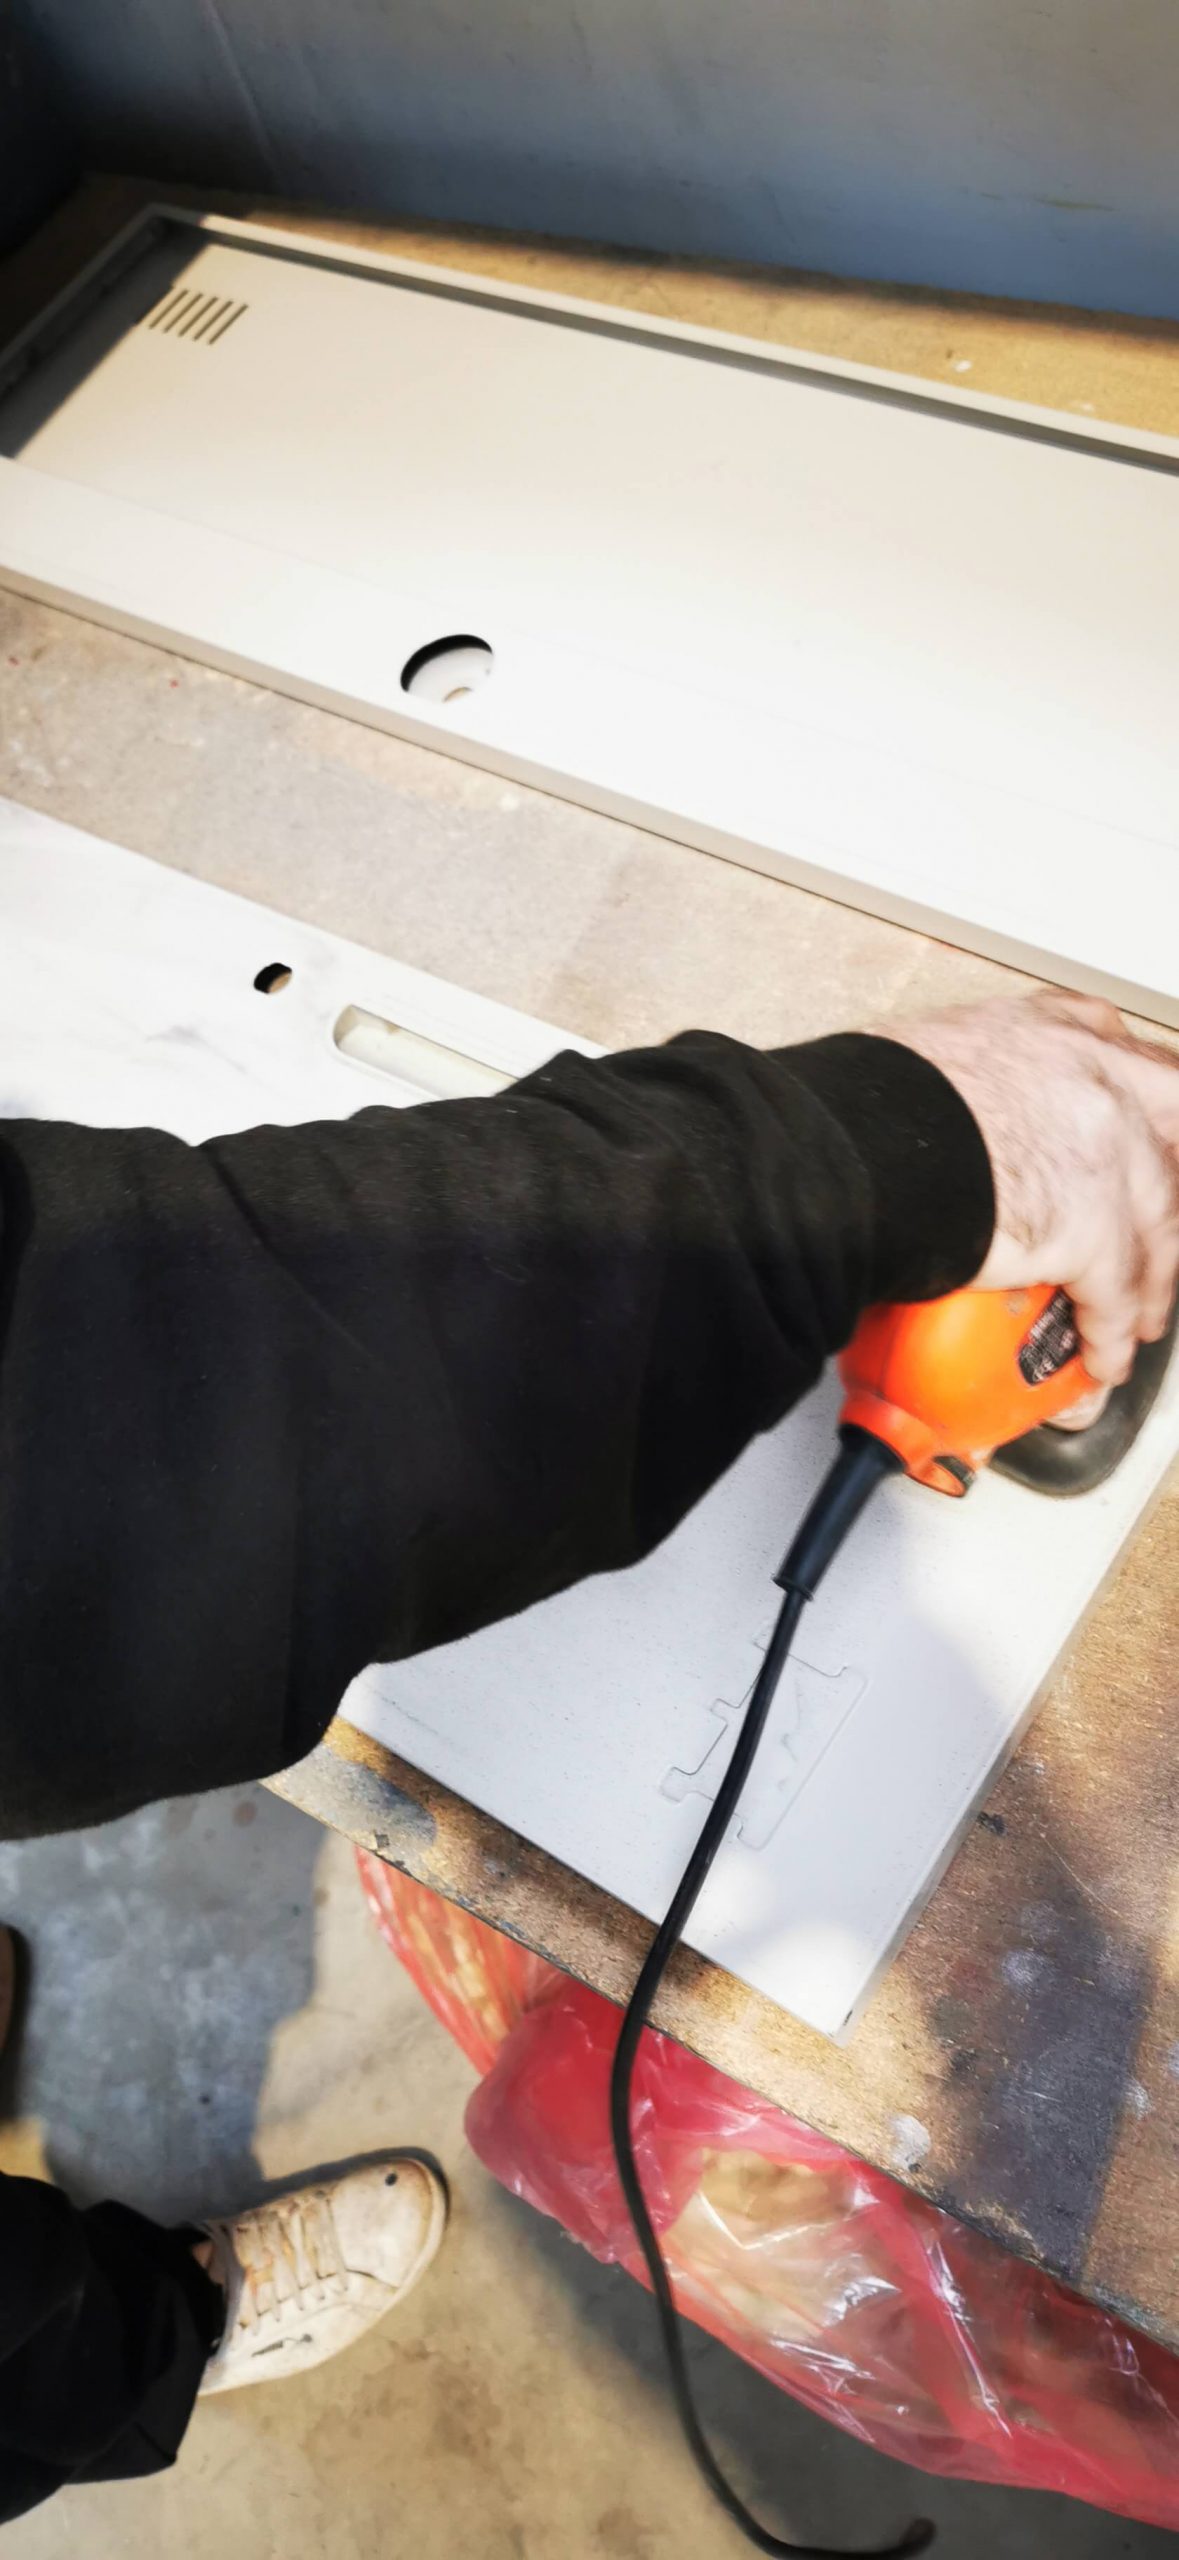
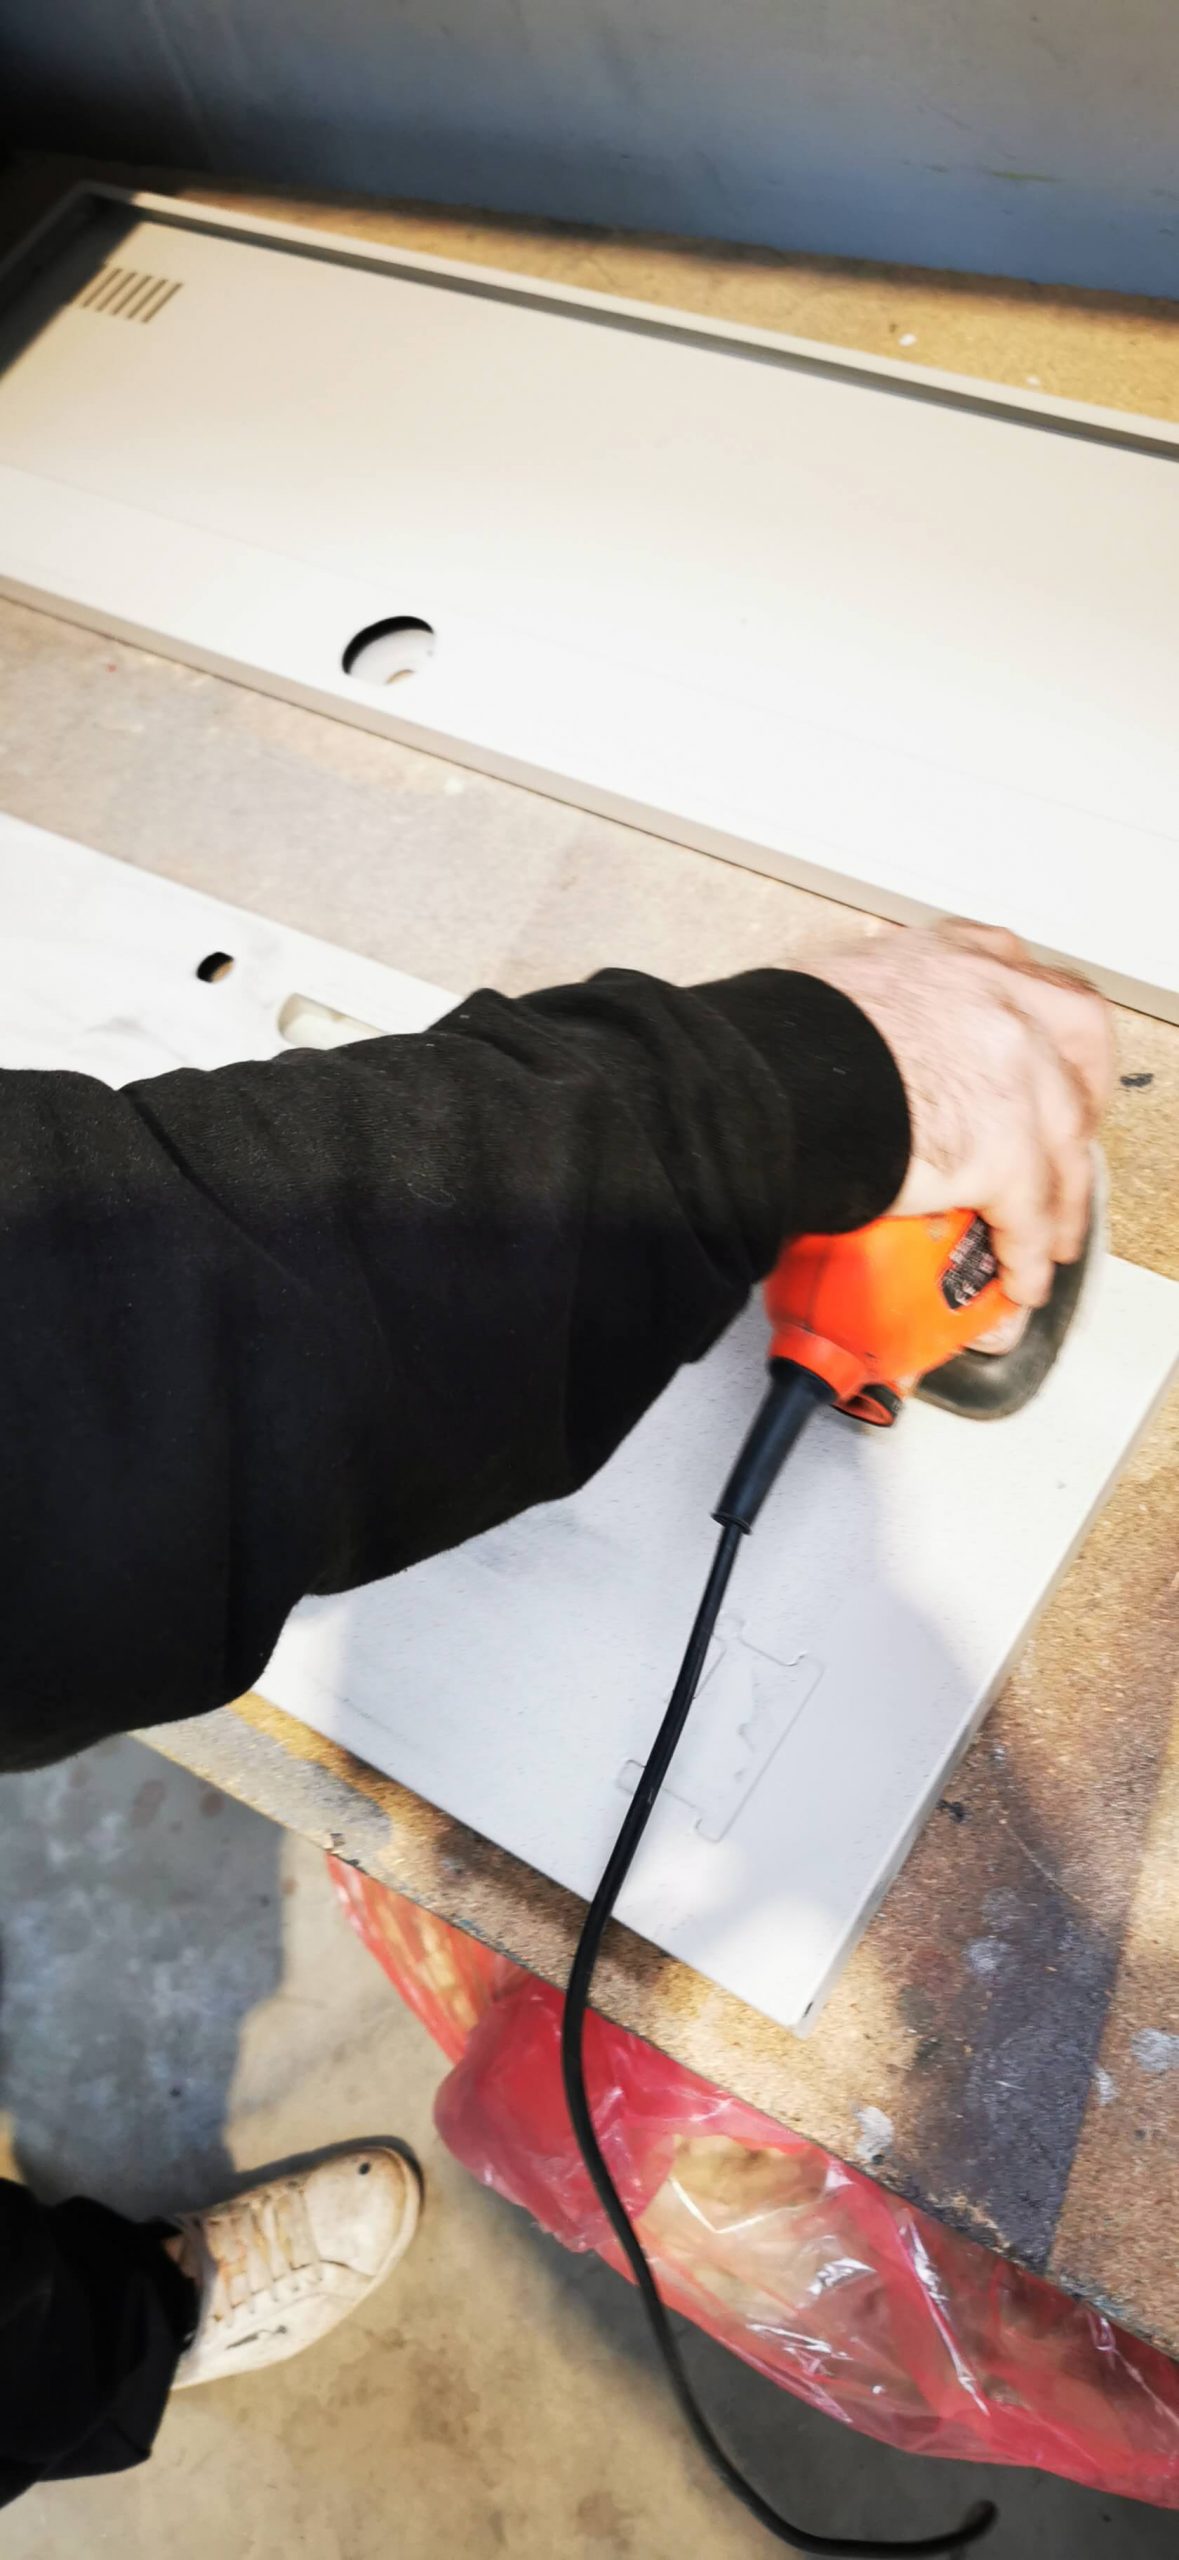
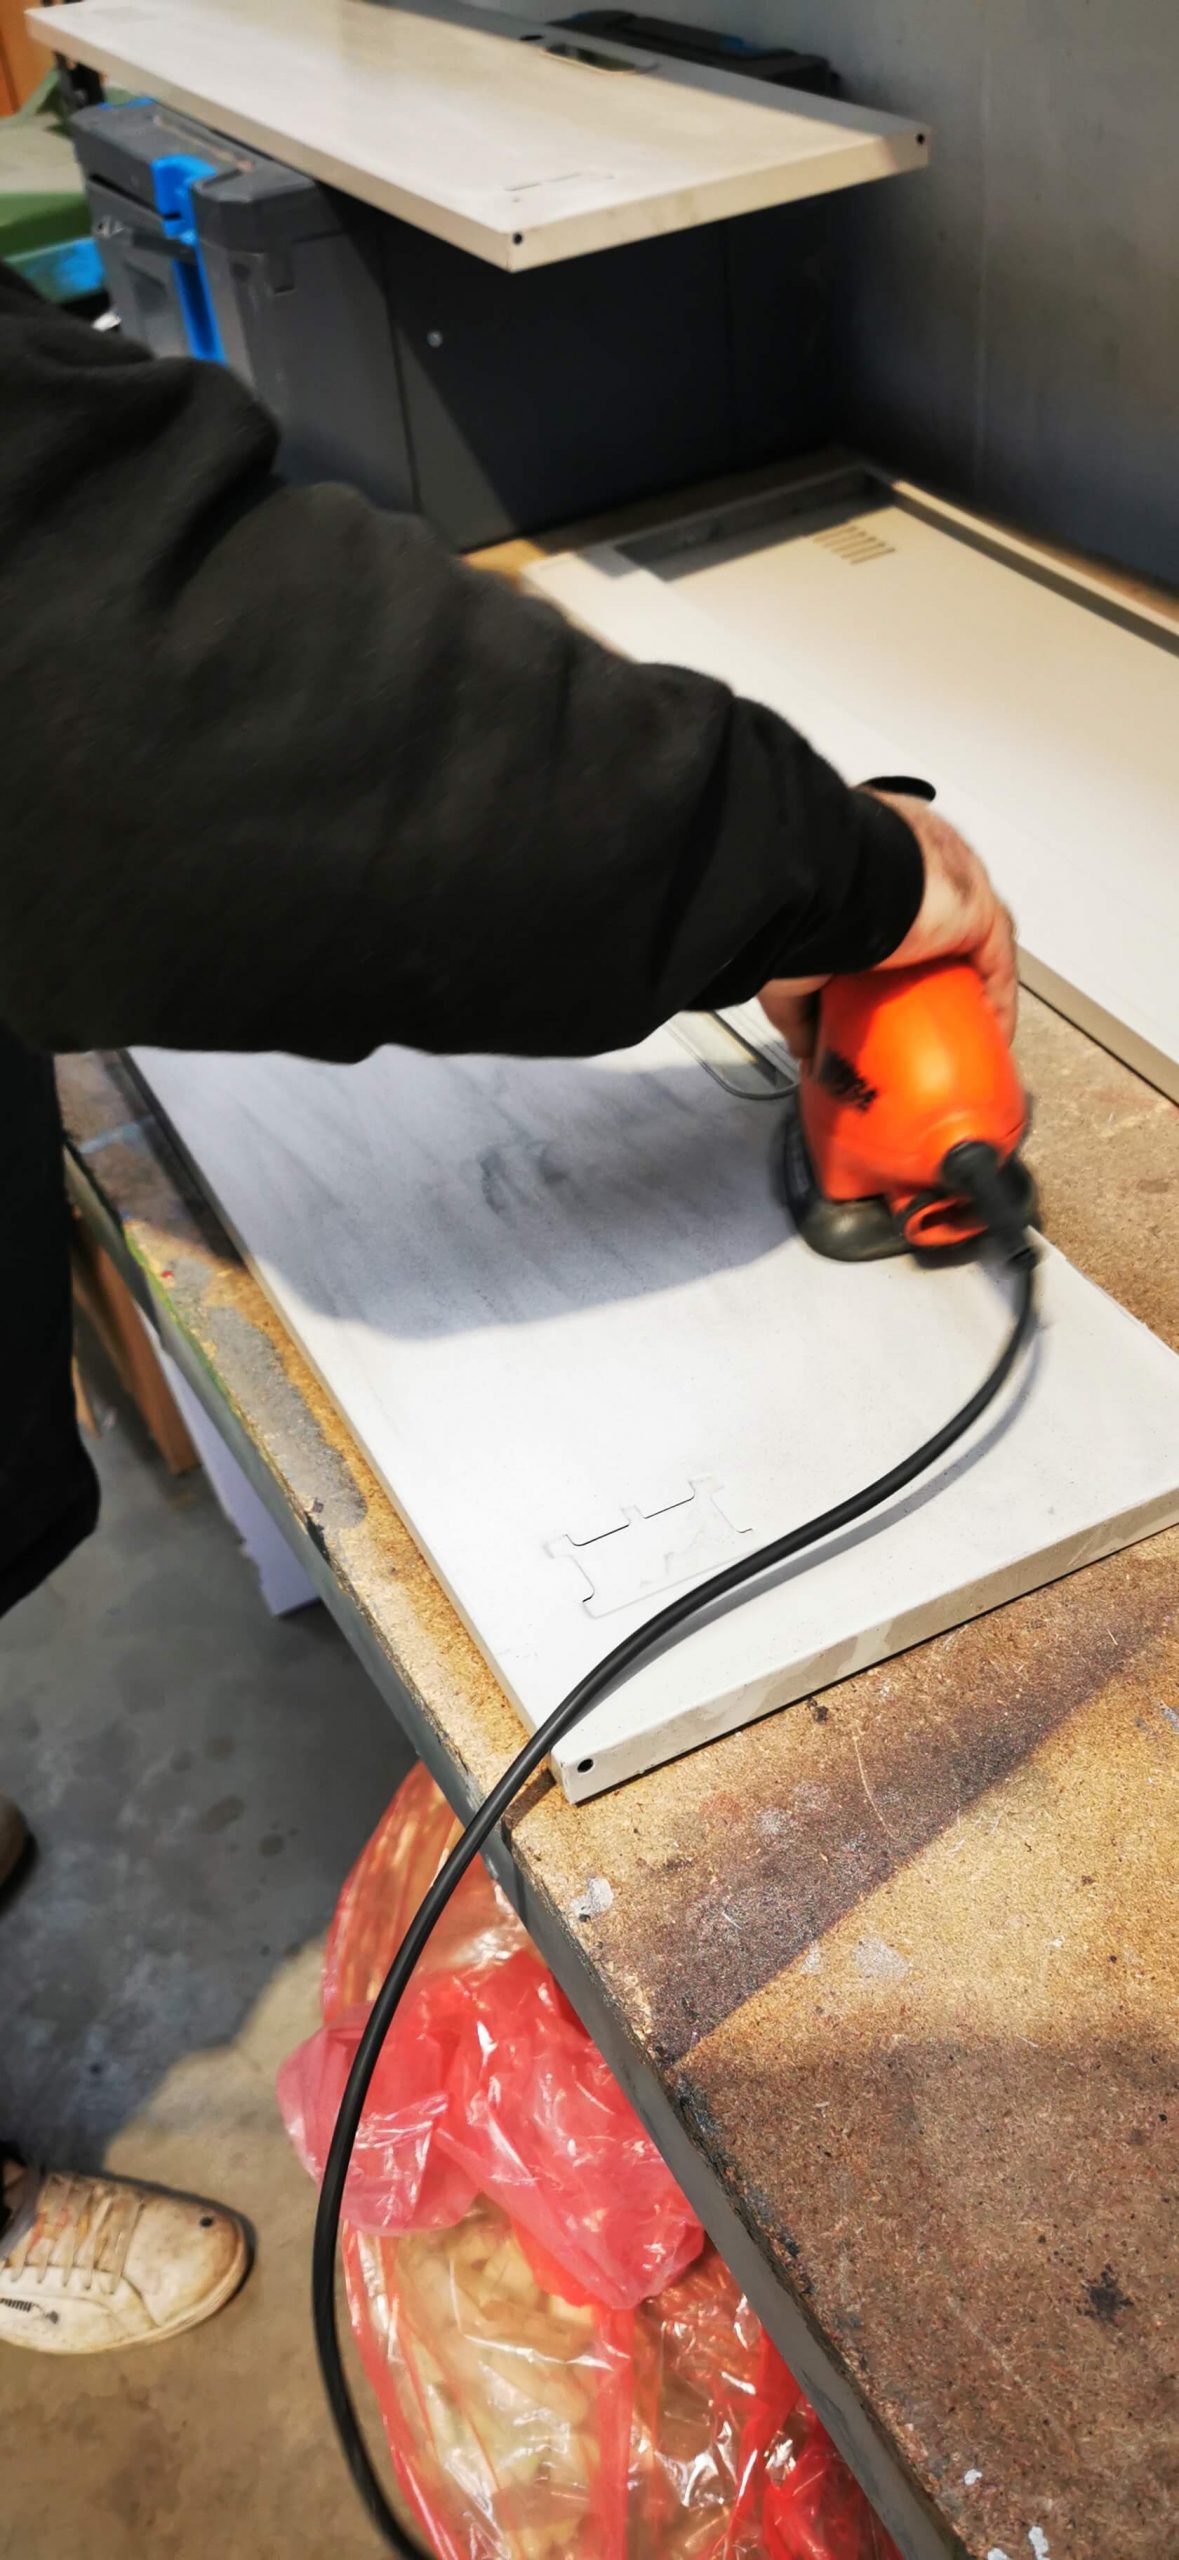
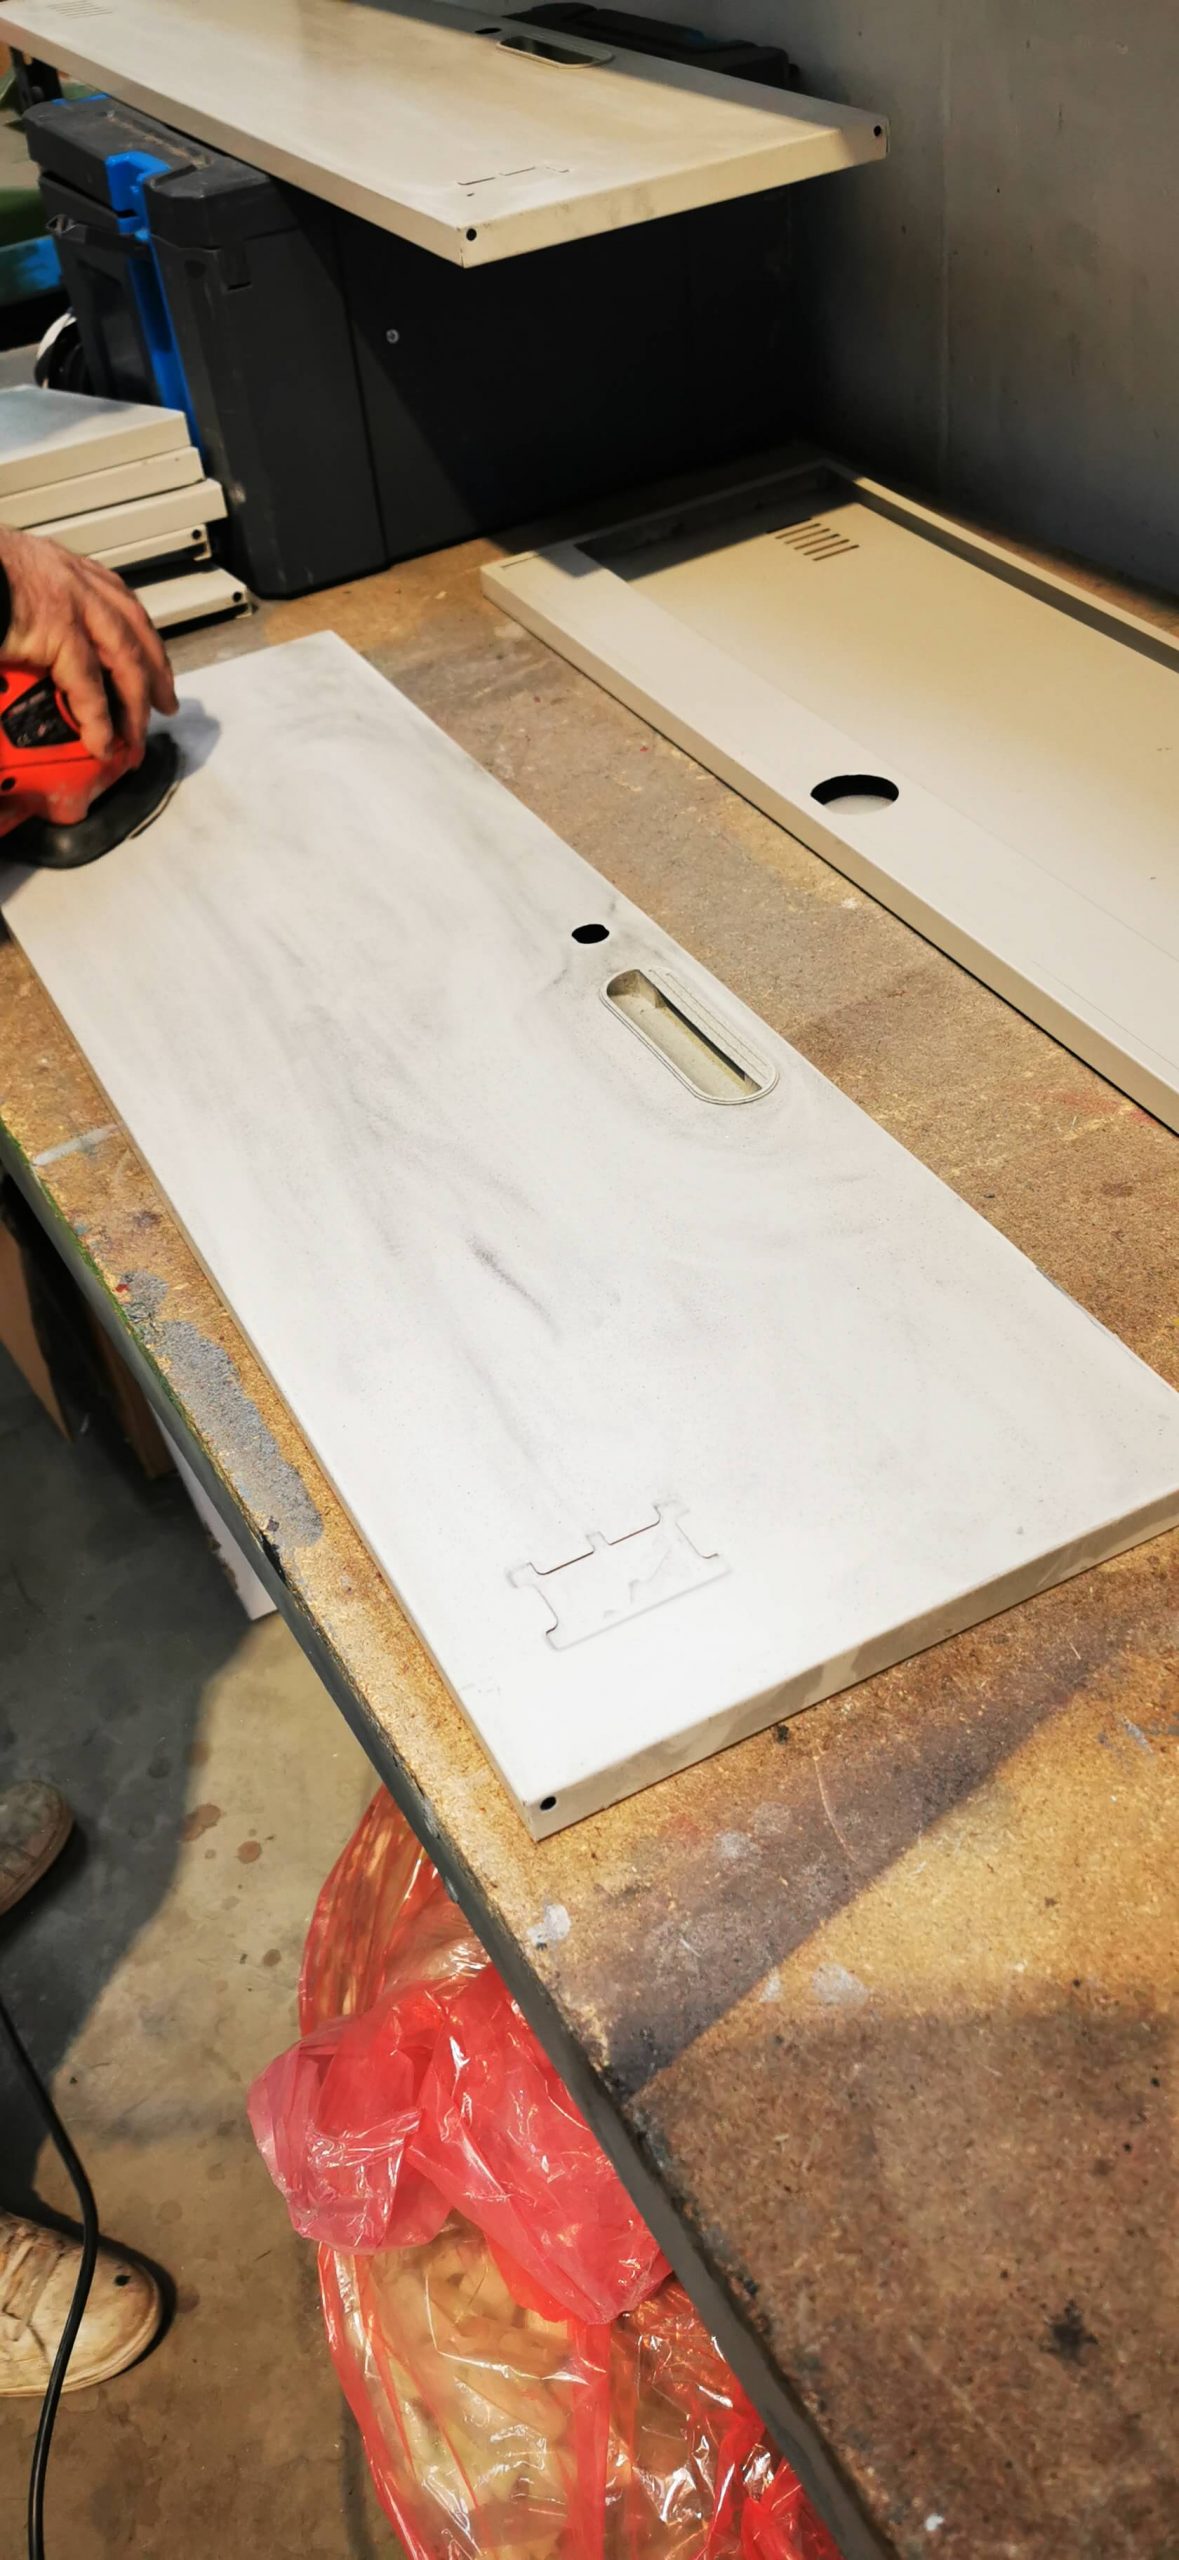
- Mouse/Orbital Electric Sander
- High Build Primer
- 2K Matt Black Paint
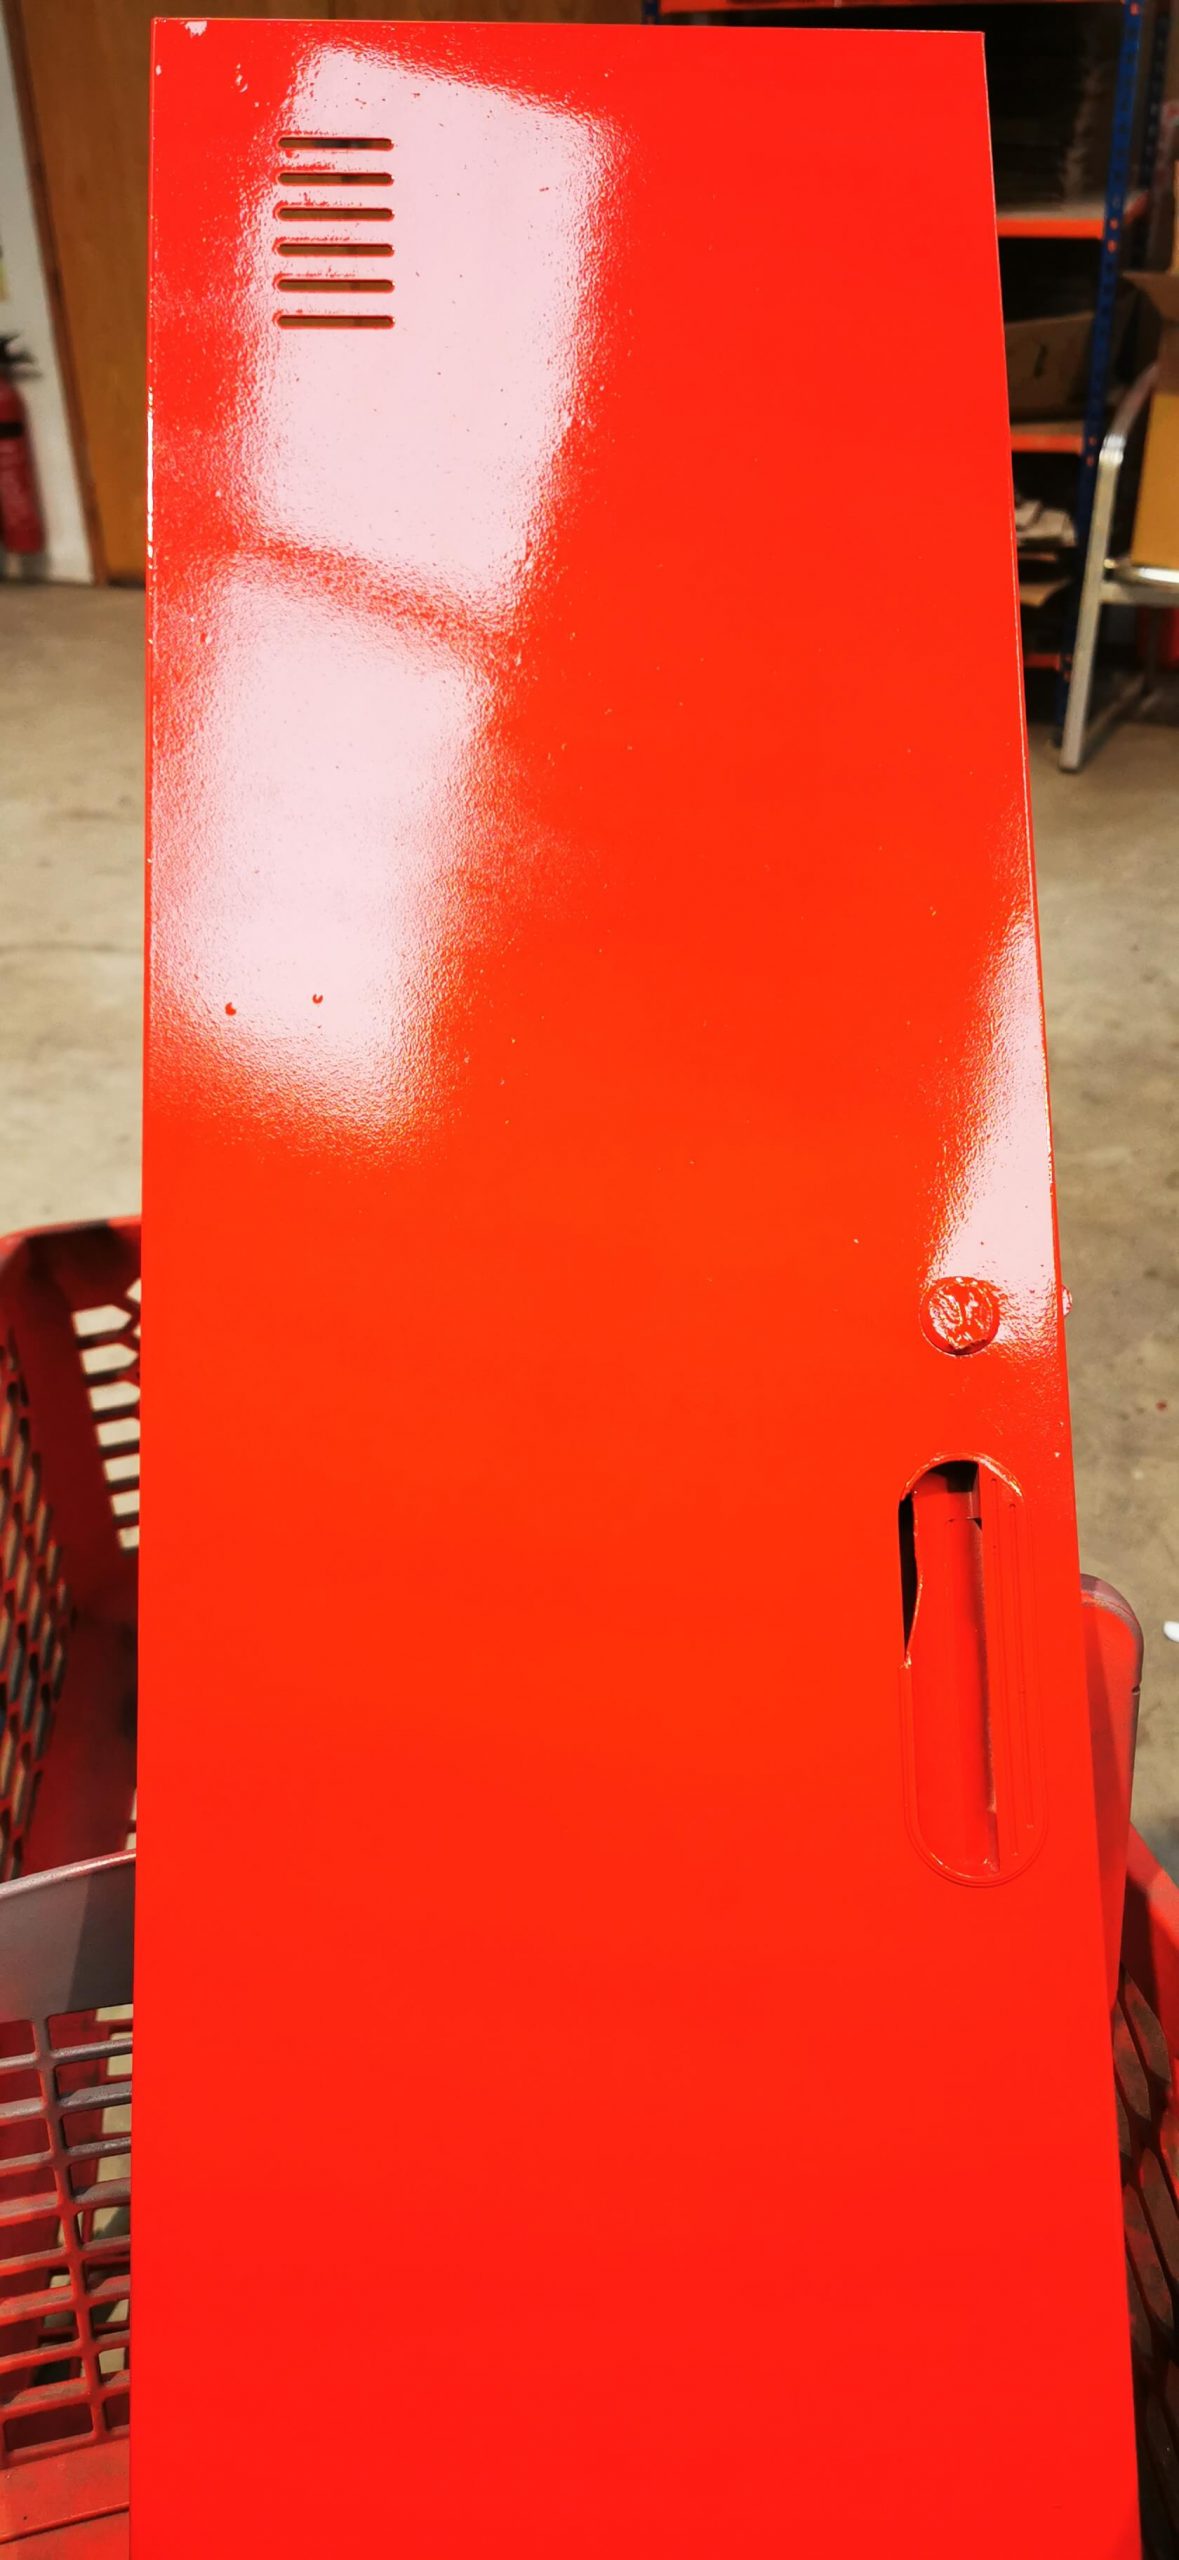
- 2K Gloss Red Paint
Completing The Project
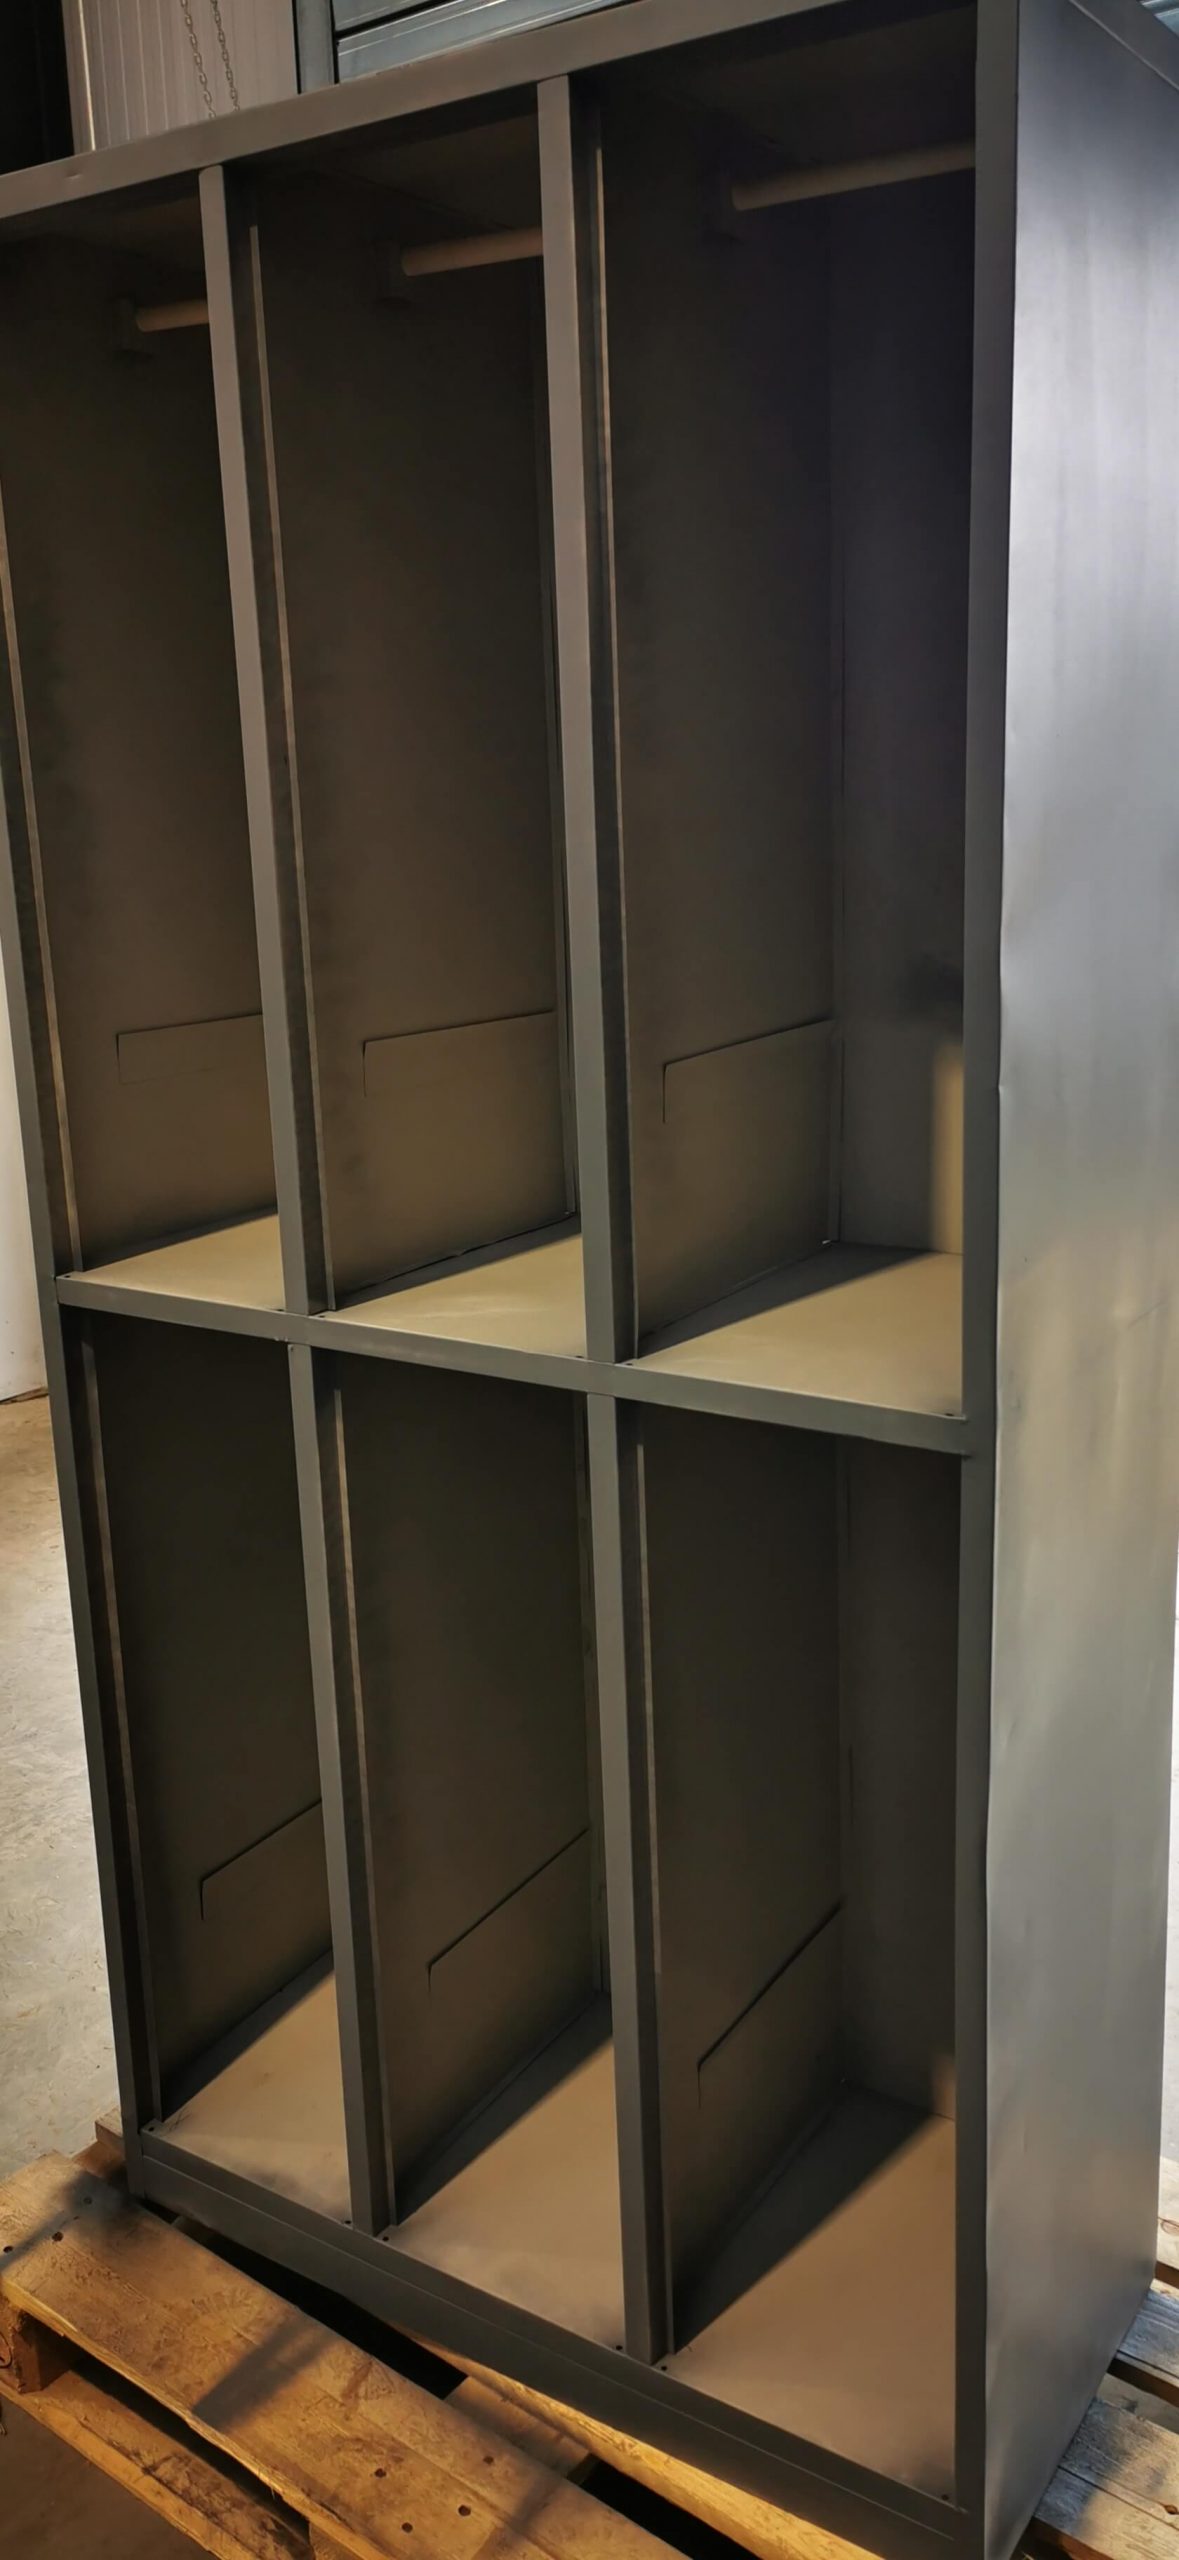
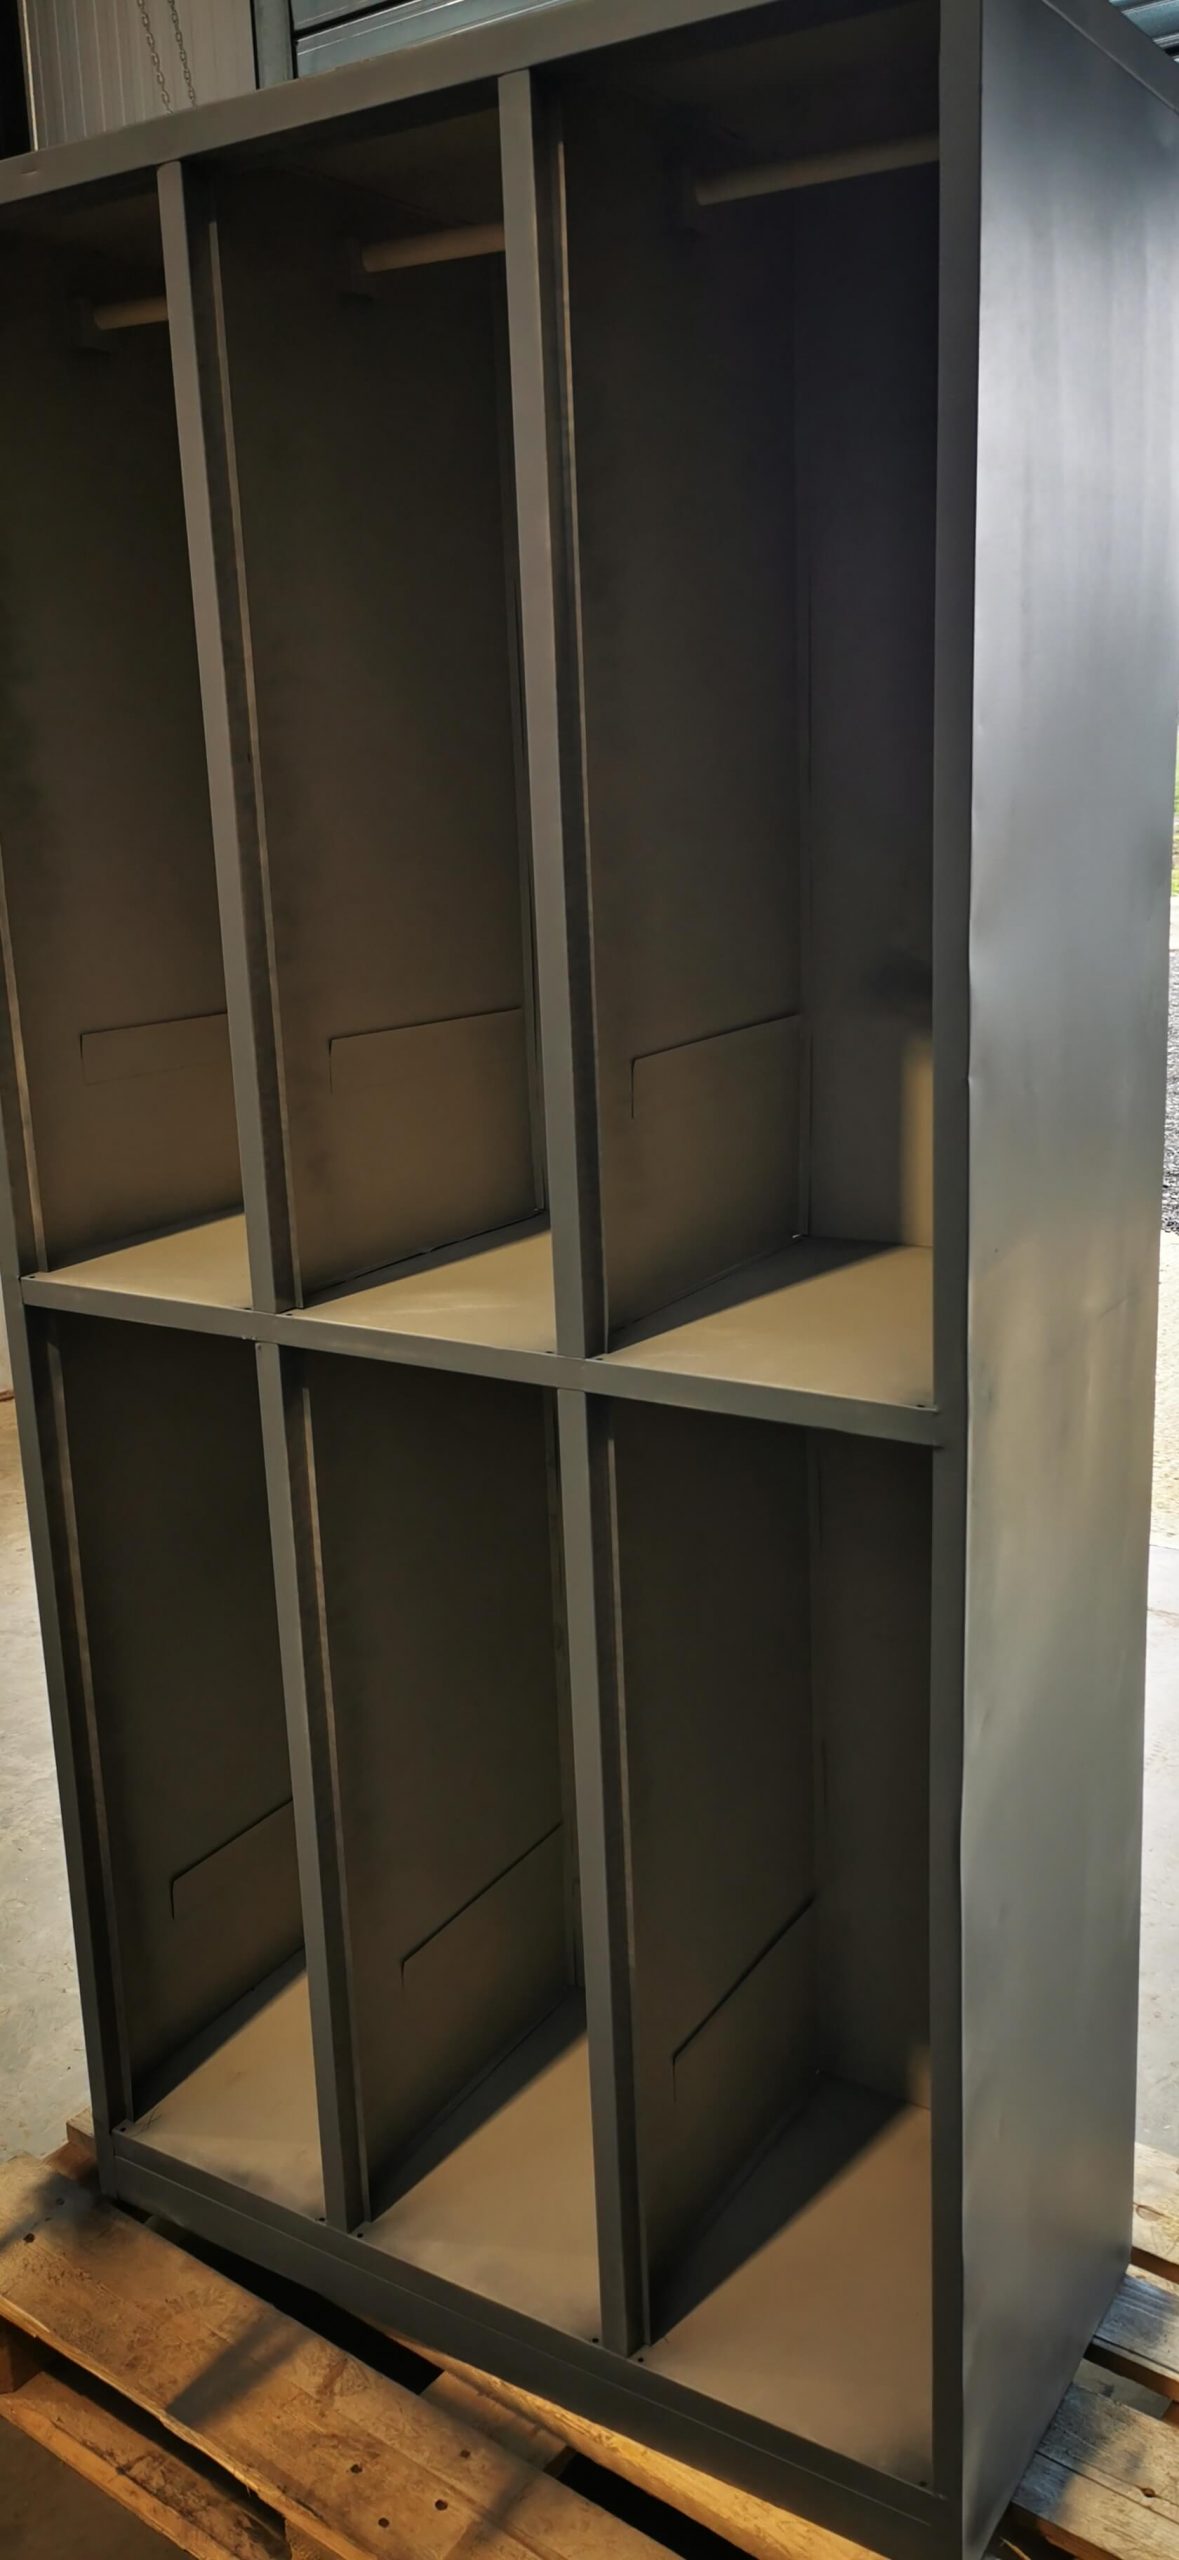
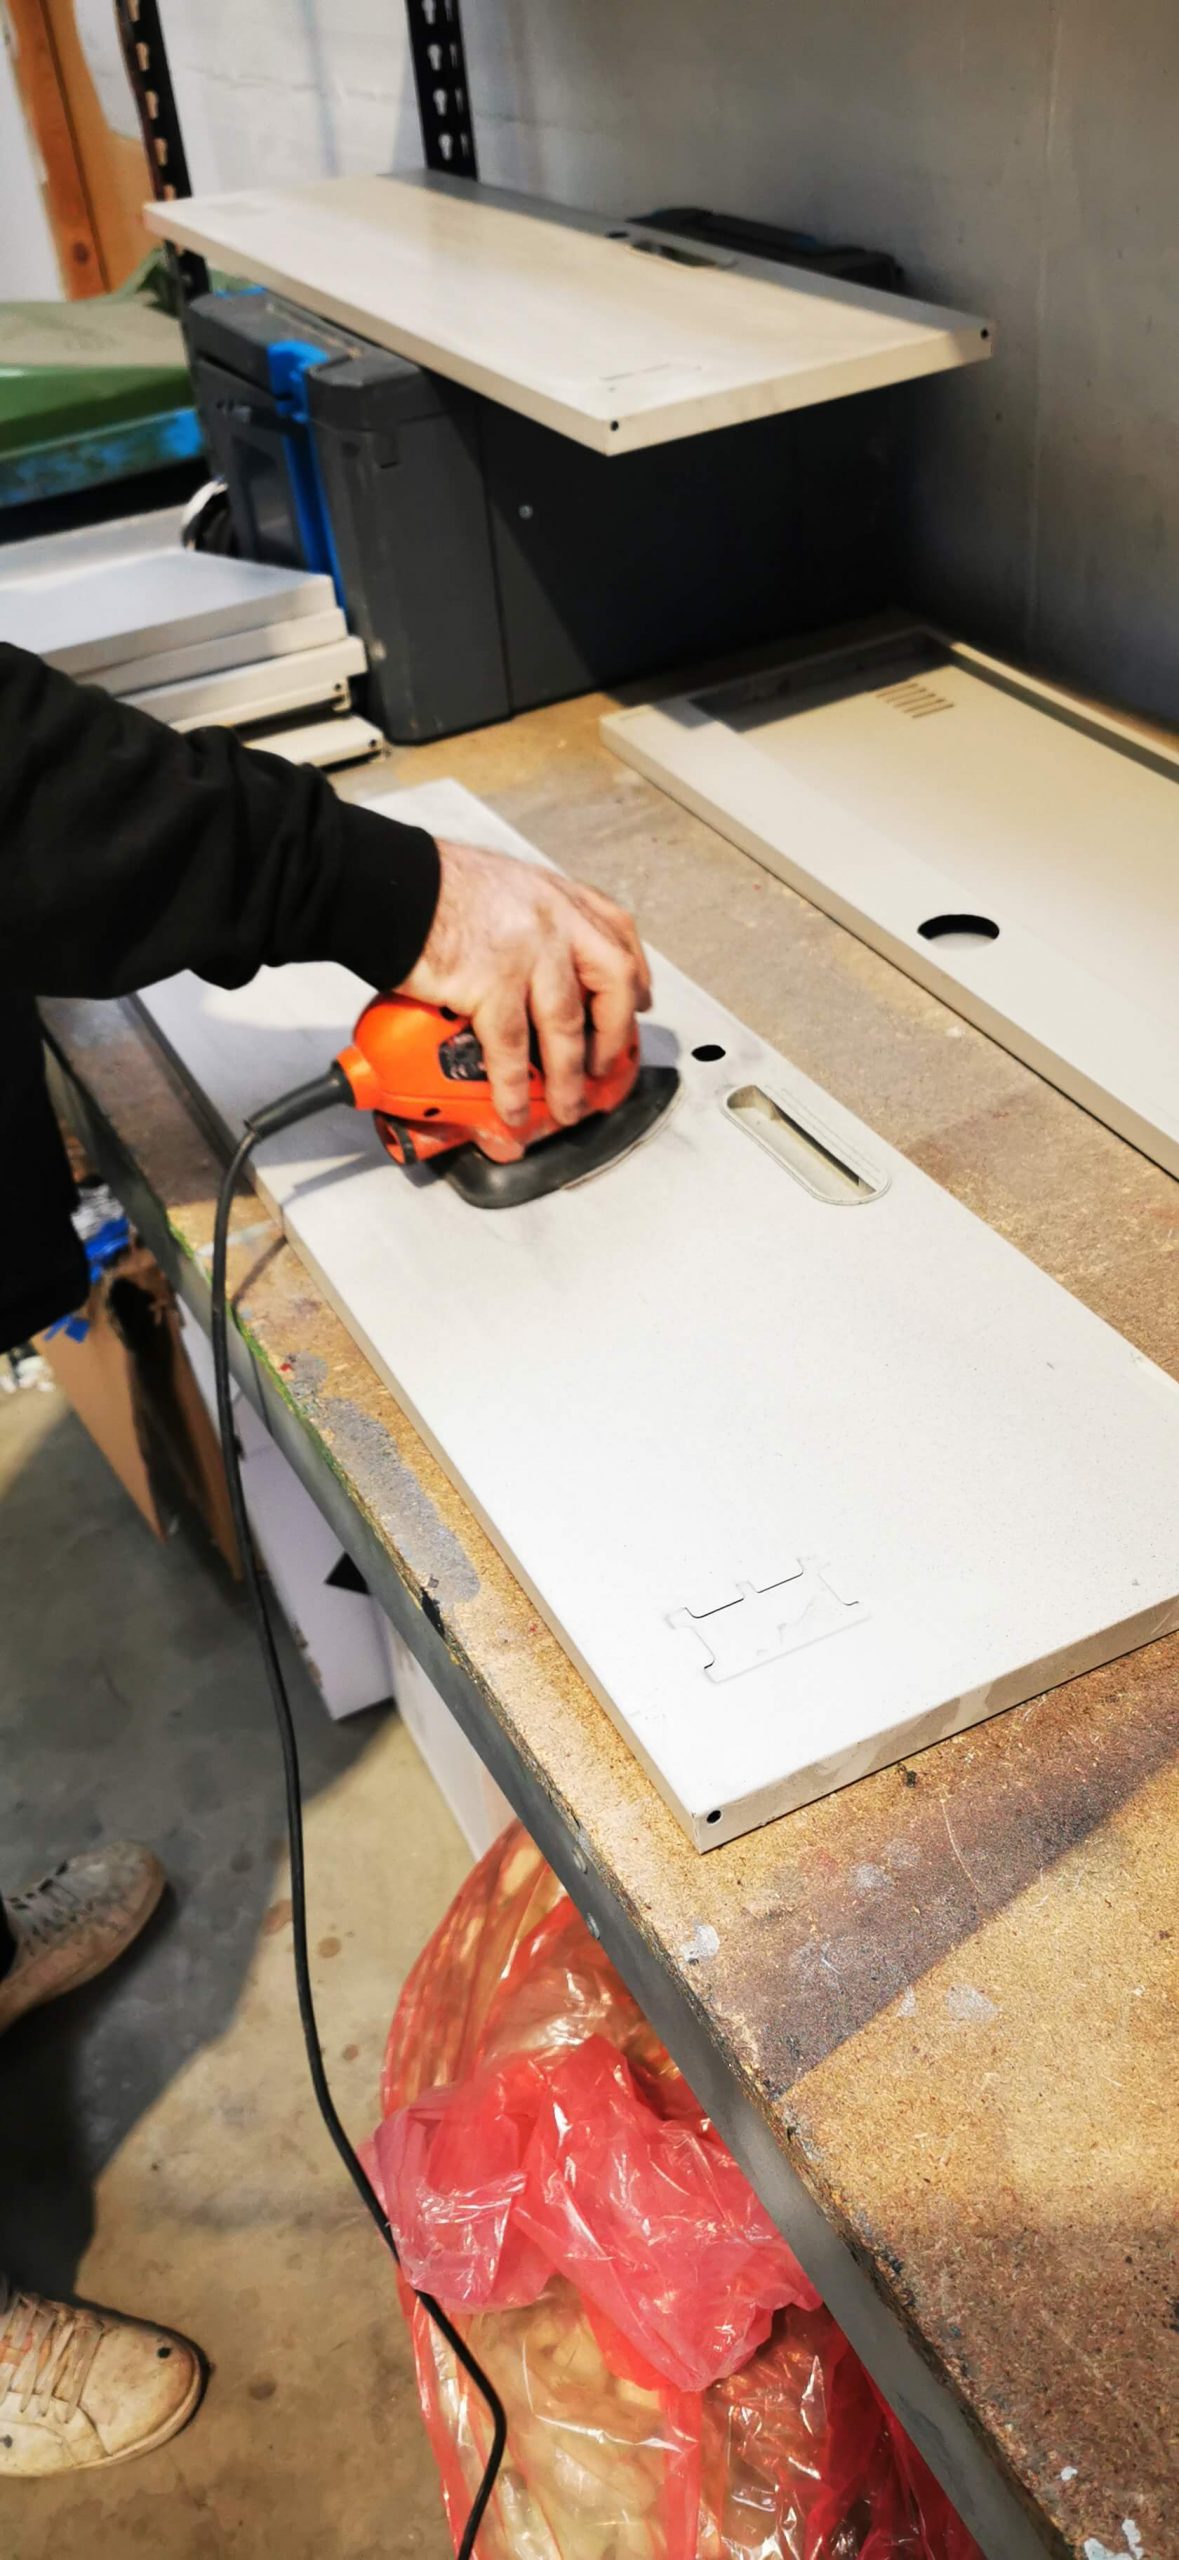
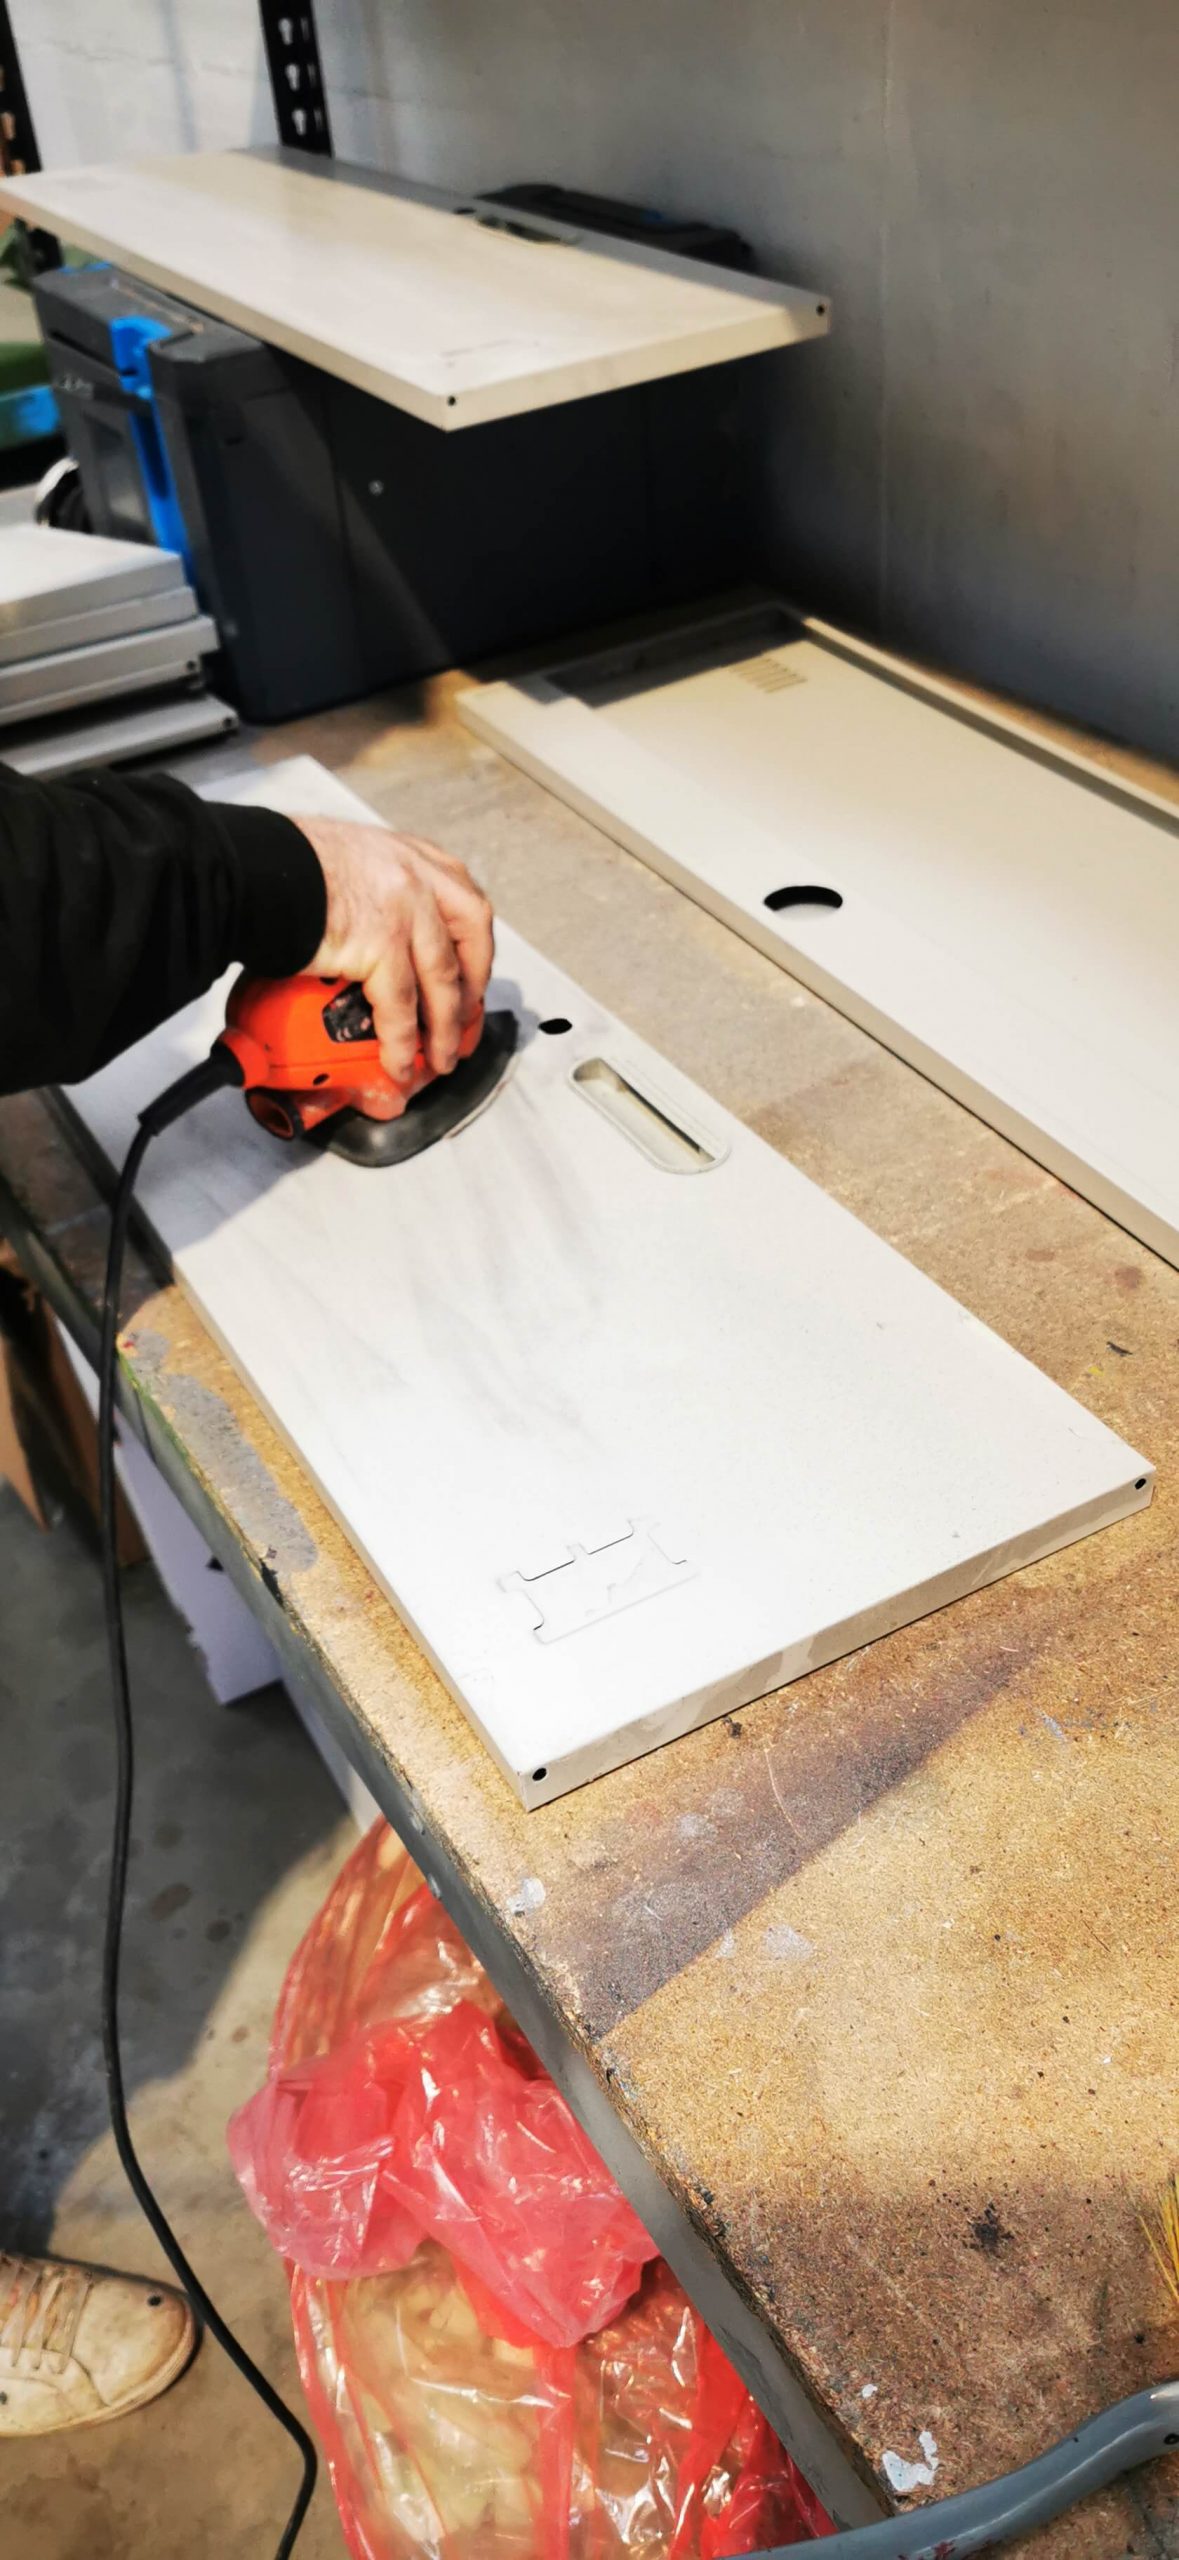
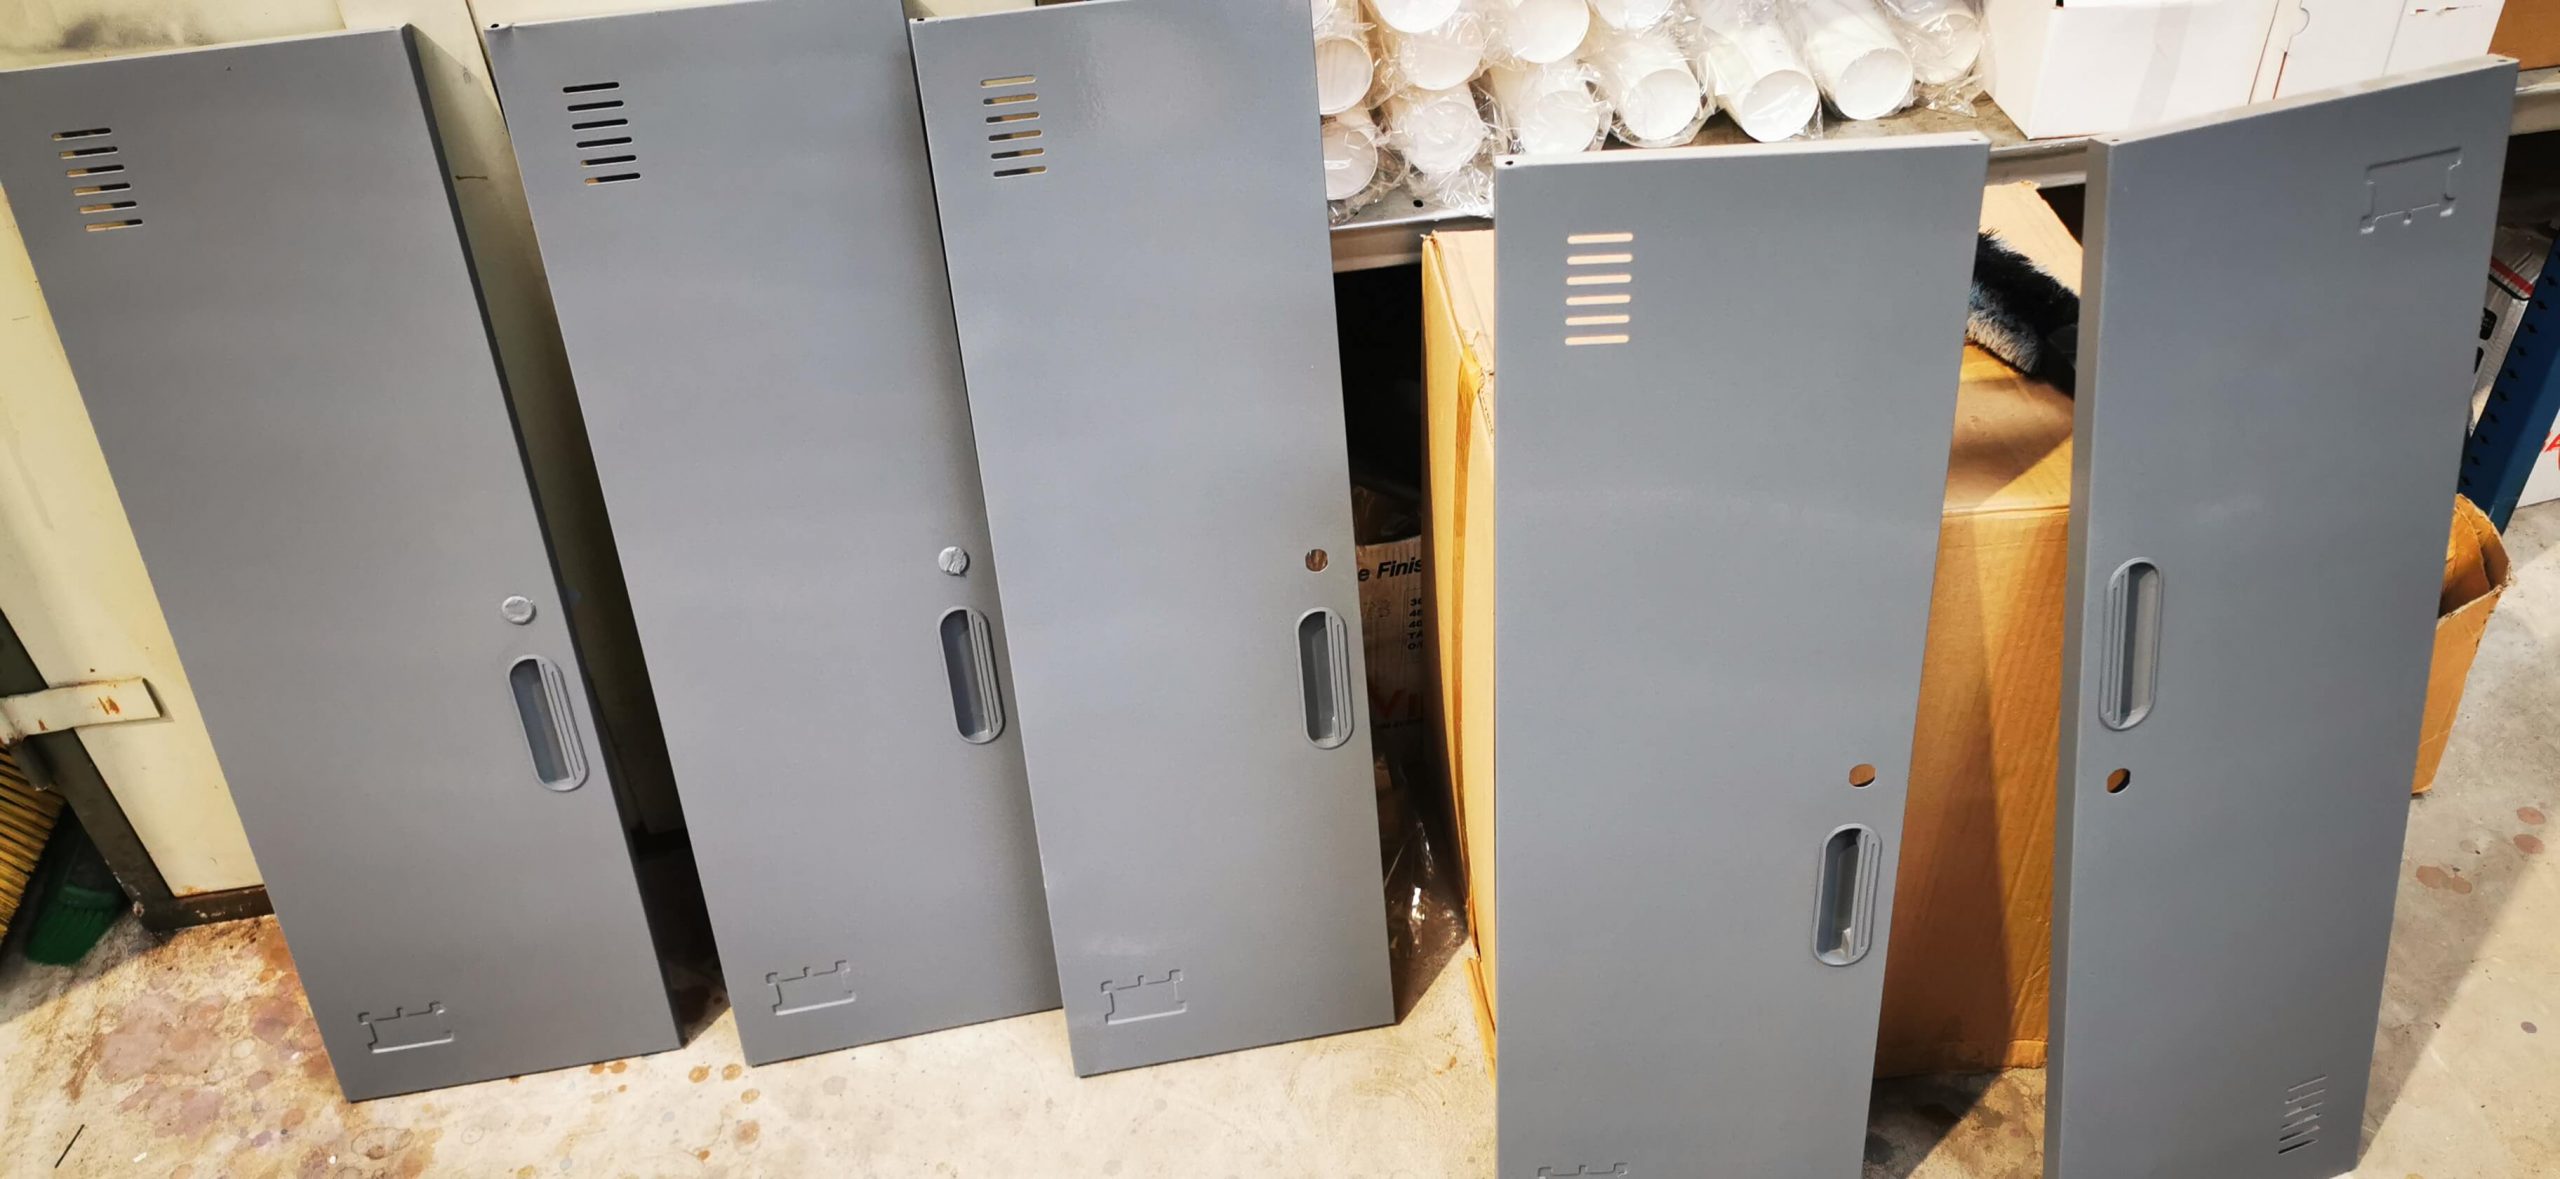
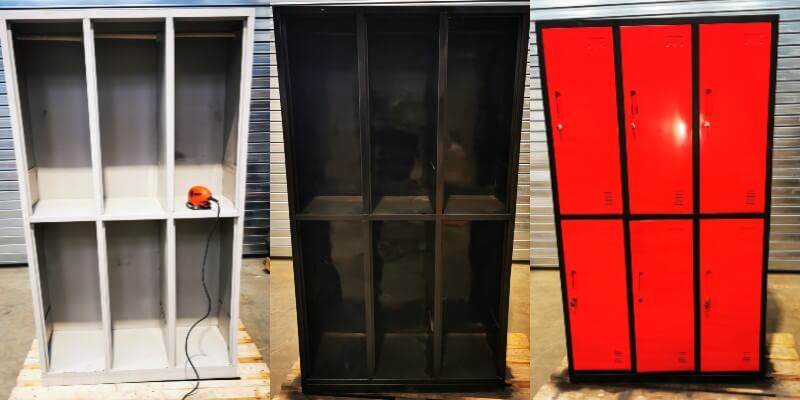
We purchased a series of old lockers which were in a slightly run-down condition. We first started by removing all the panels, shelves and all damaged locks. Then, we began sanding down the rusted edges and keying the panels. We finished off by using some rags to remove any remaining dust particulate. Then, we moved on to the panels and doors and repeated the process.
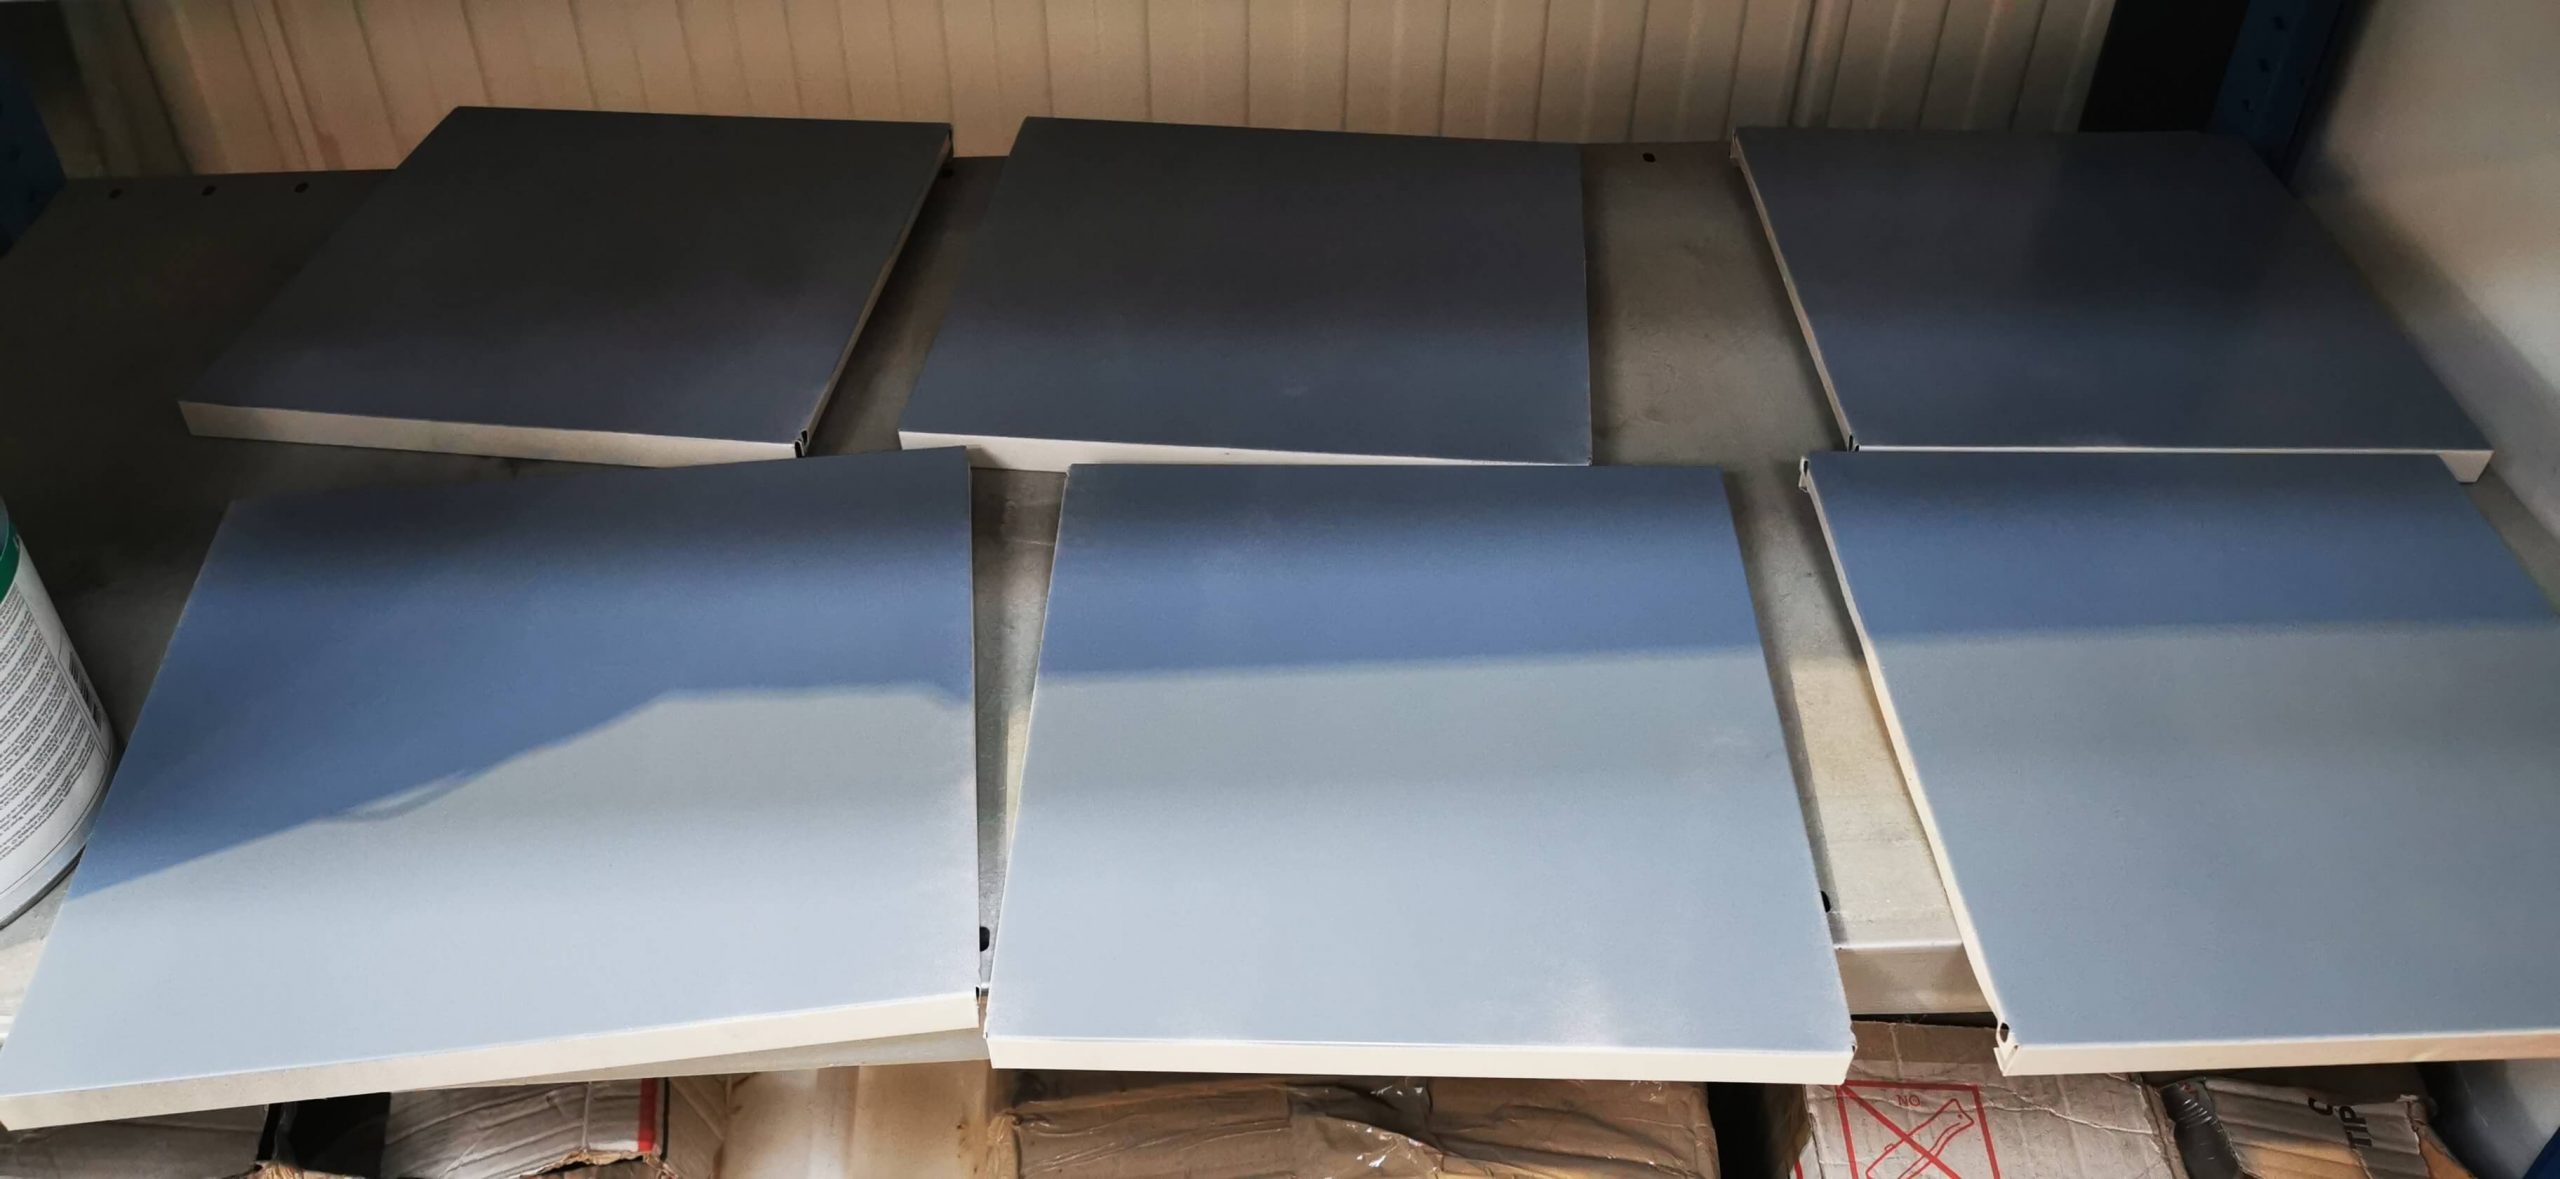
Once the dust was removed, we sprayed the whole unit with a grey primer, taking care to get all cracks and corners.
TOP TIP: Start on the inside of the lockers first, so you don’t accidentally scuff the outside when you’re leaning in to paint the interior.
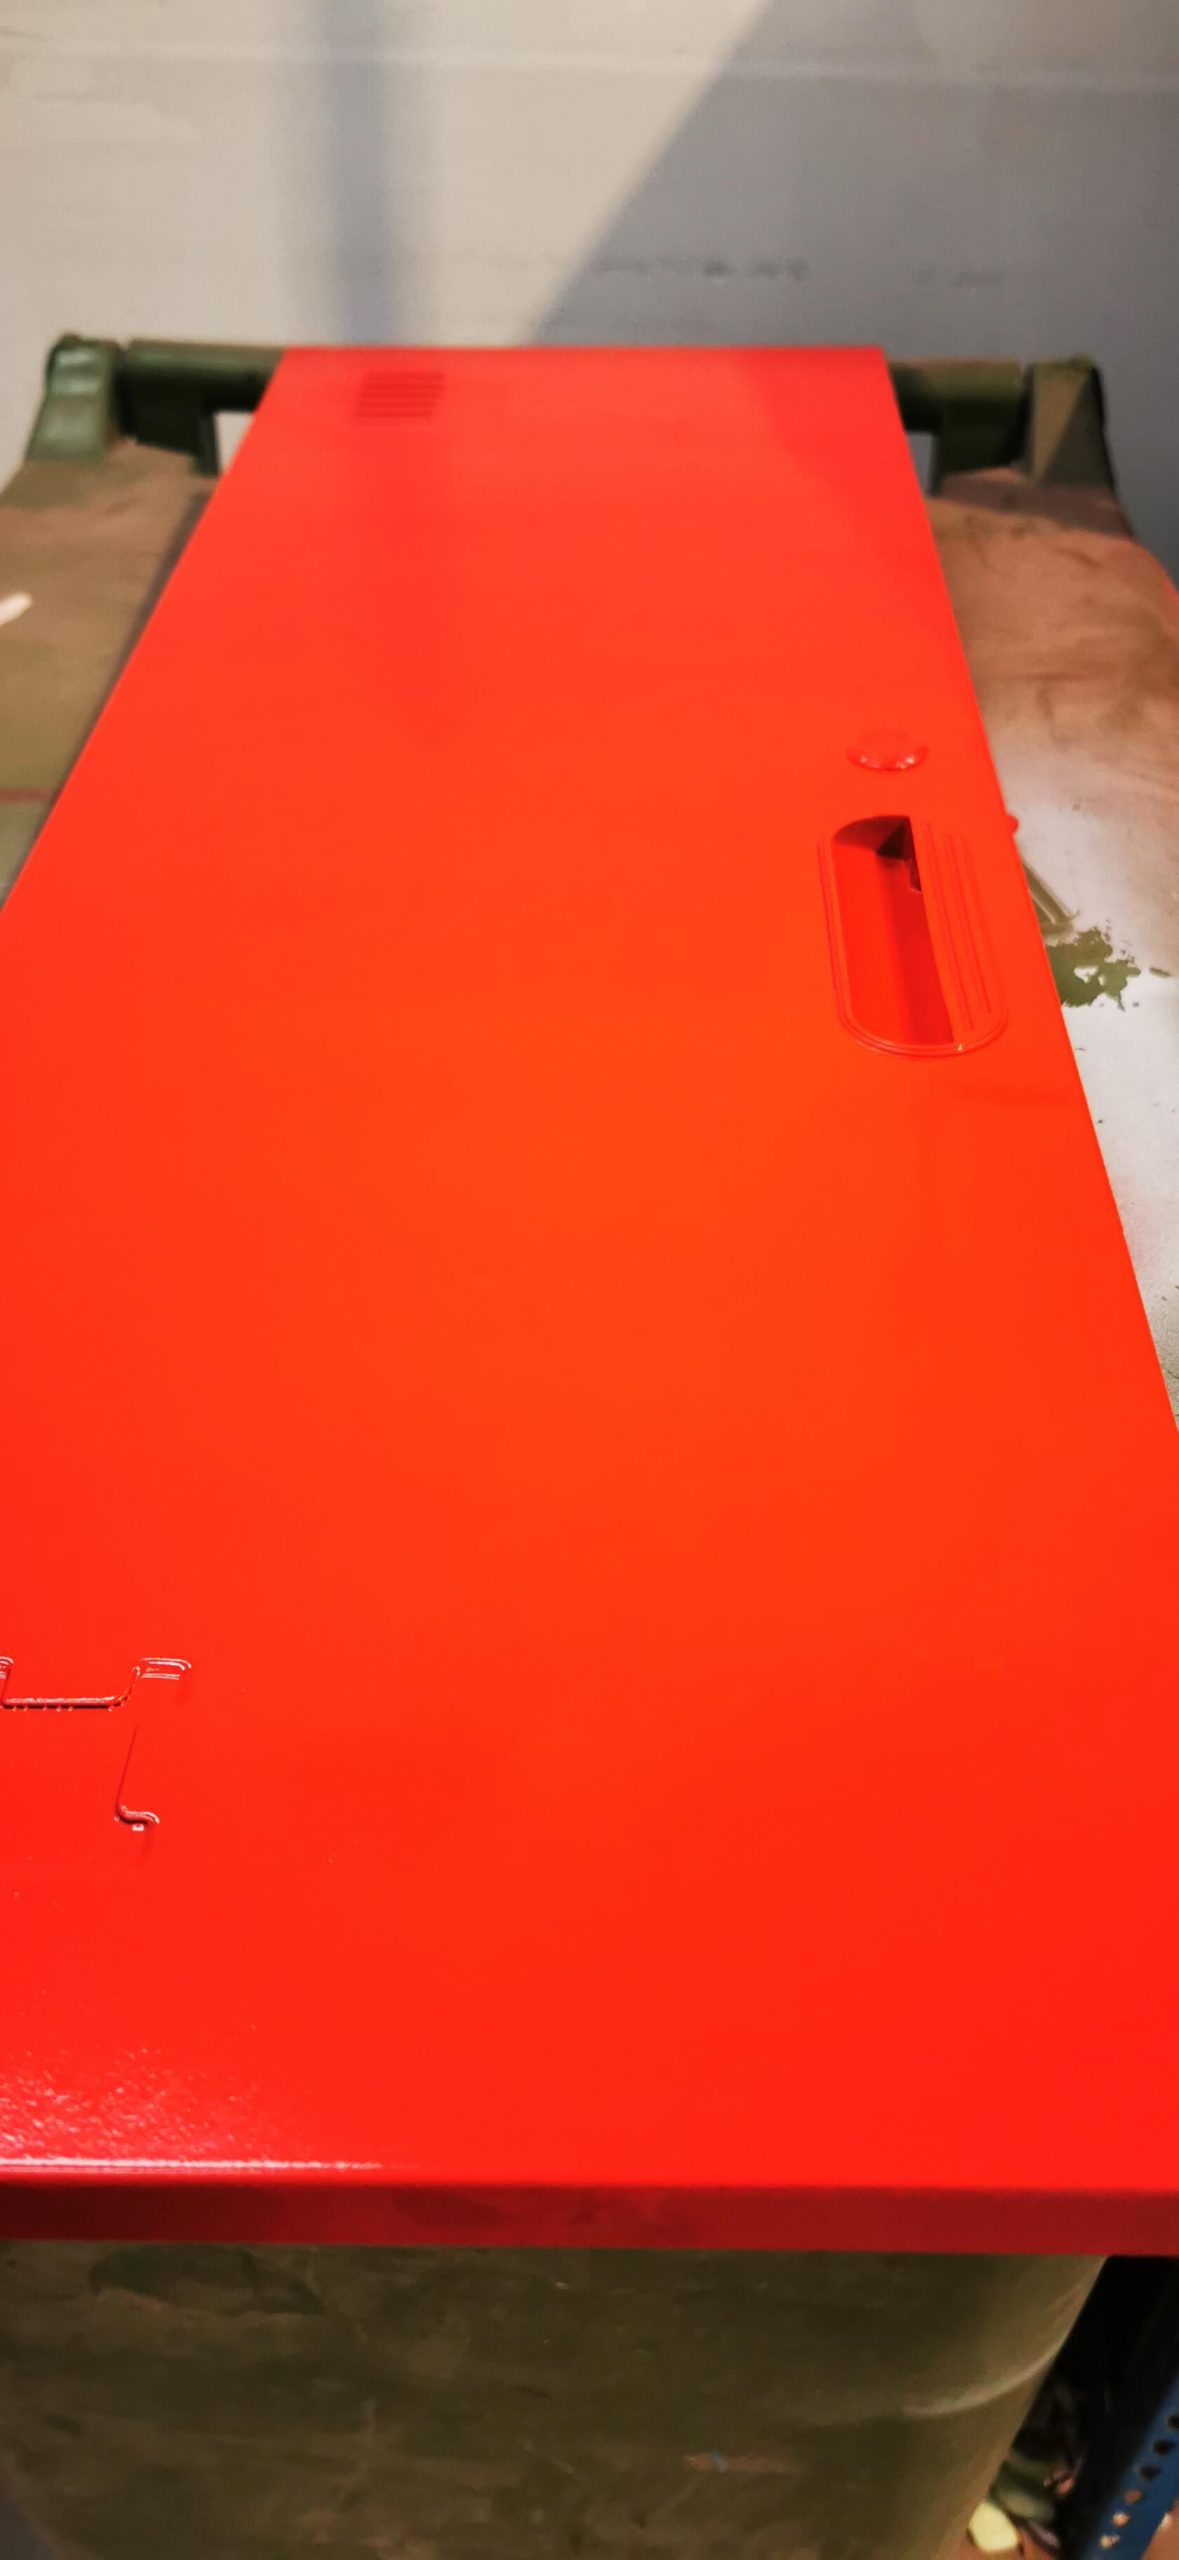
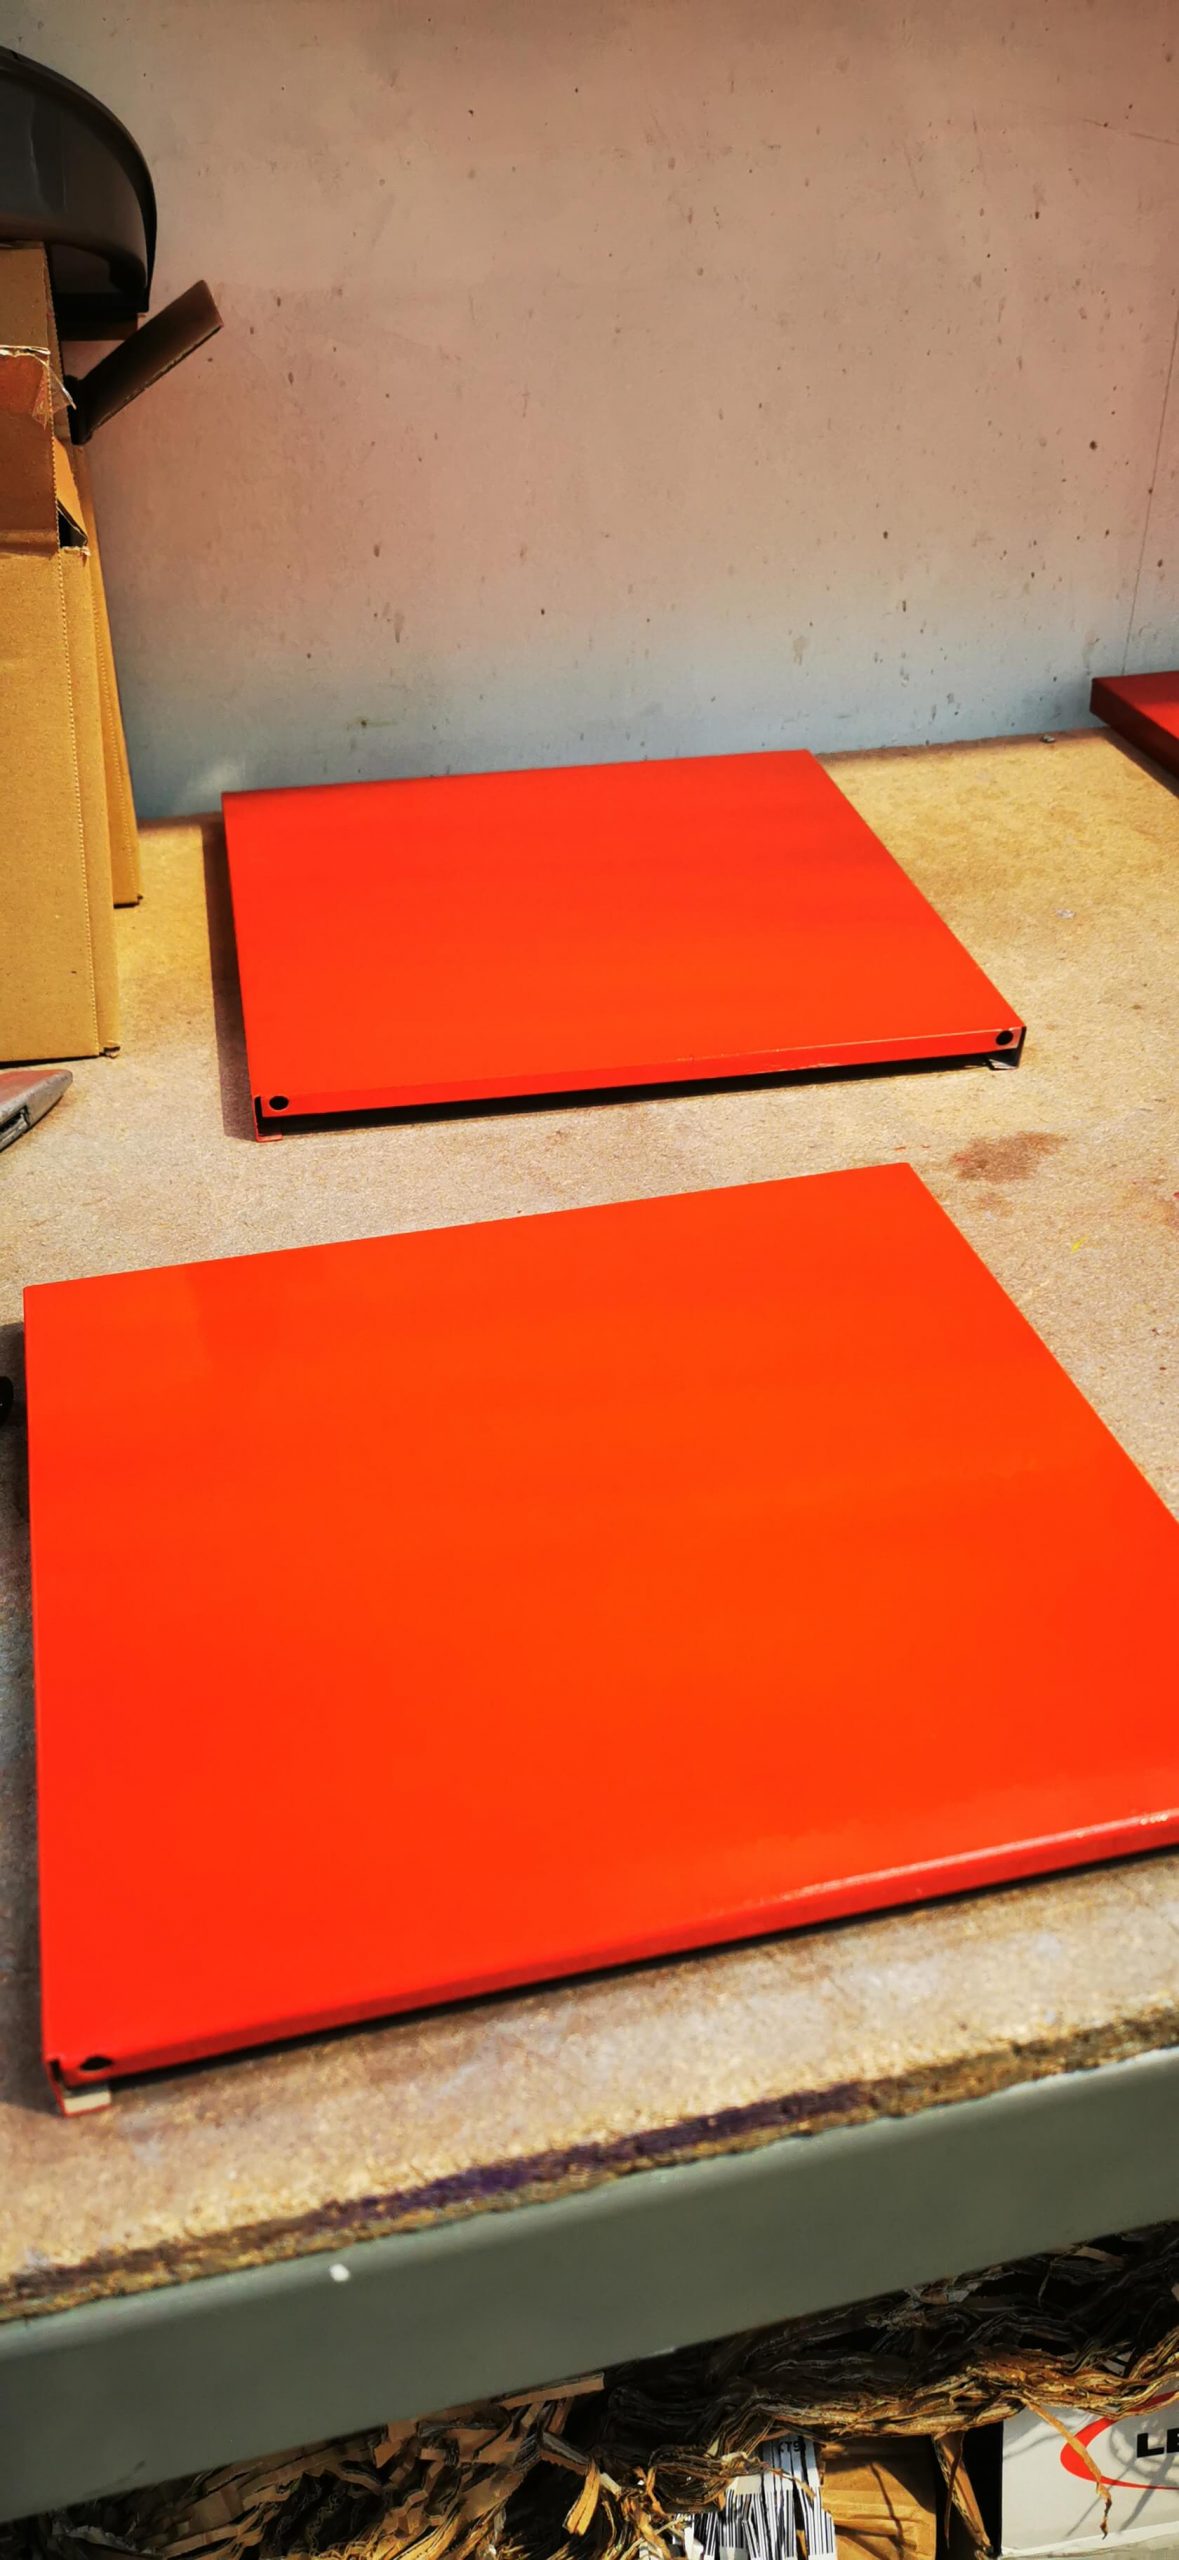
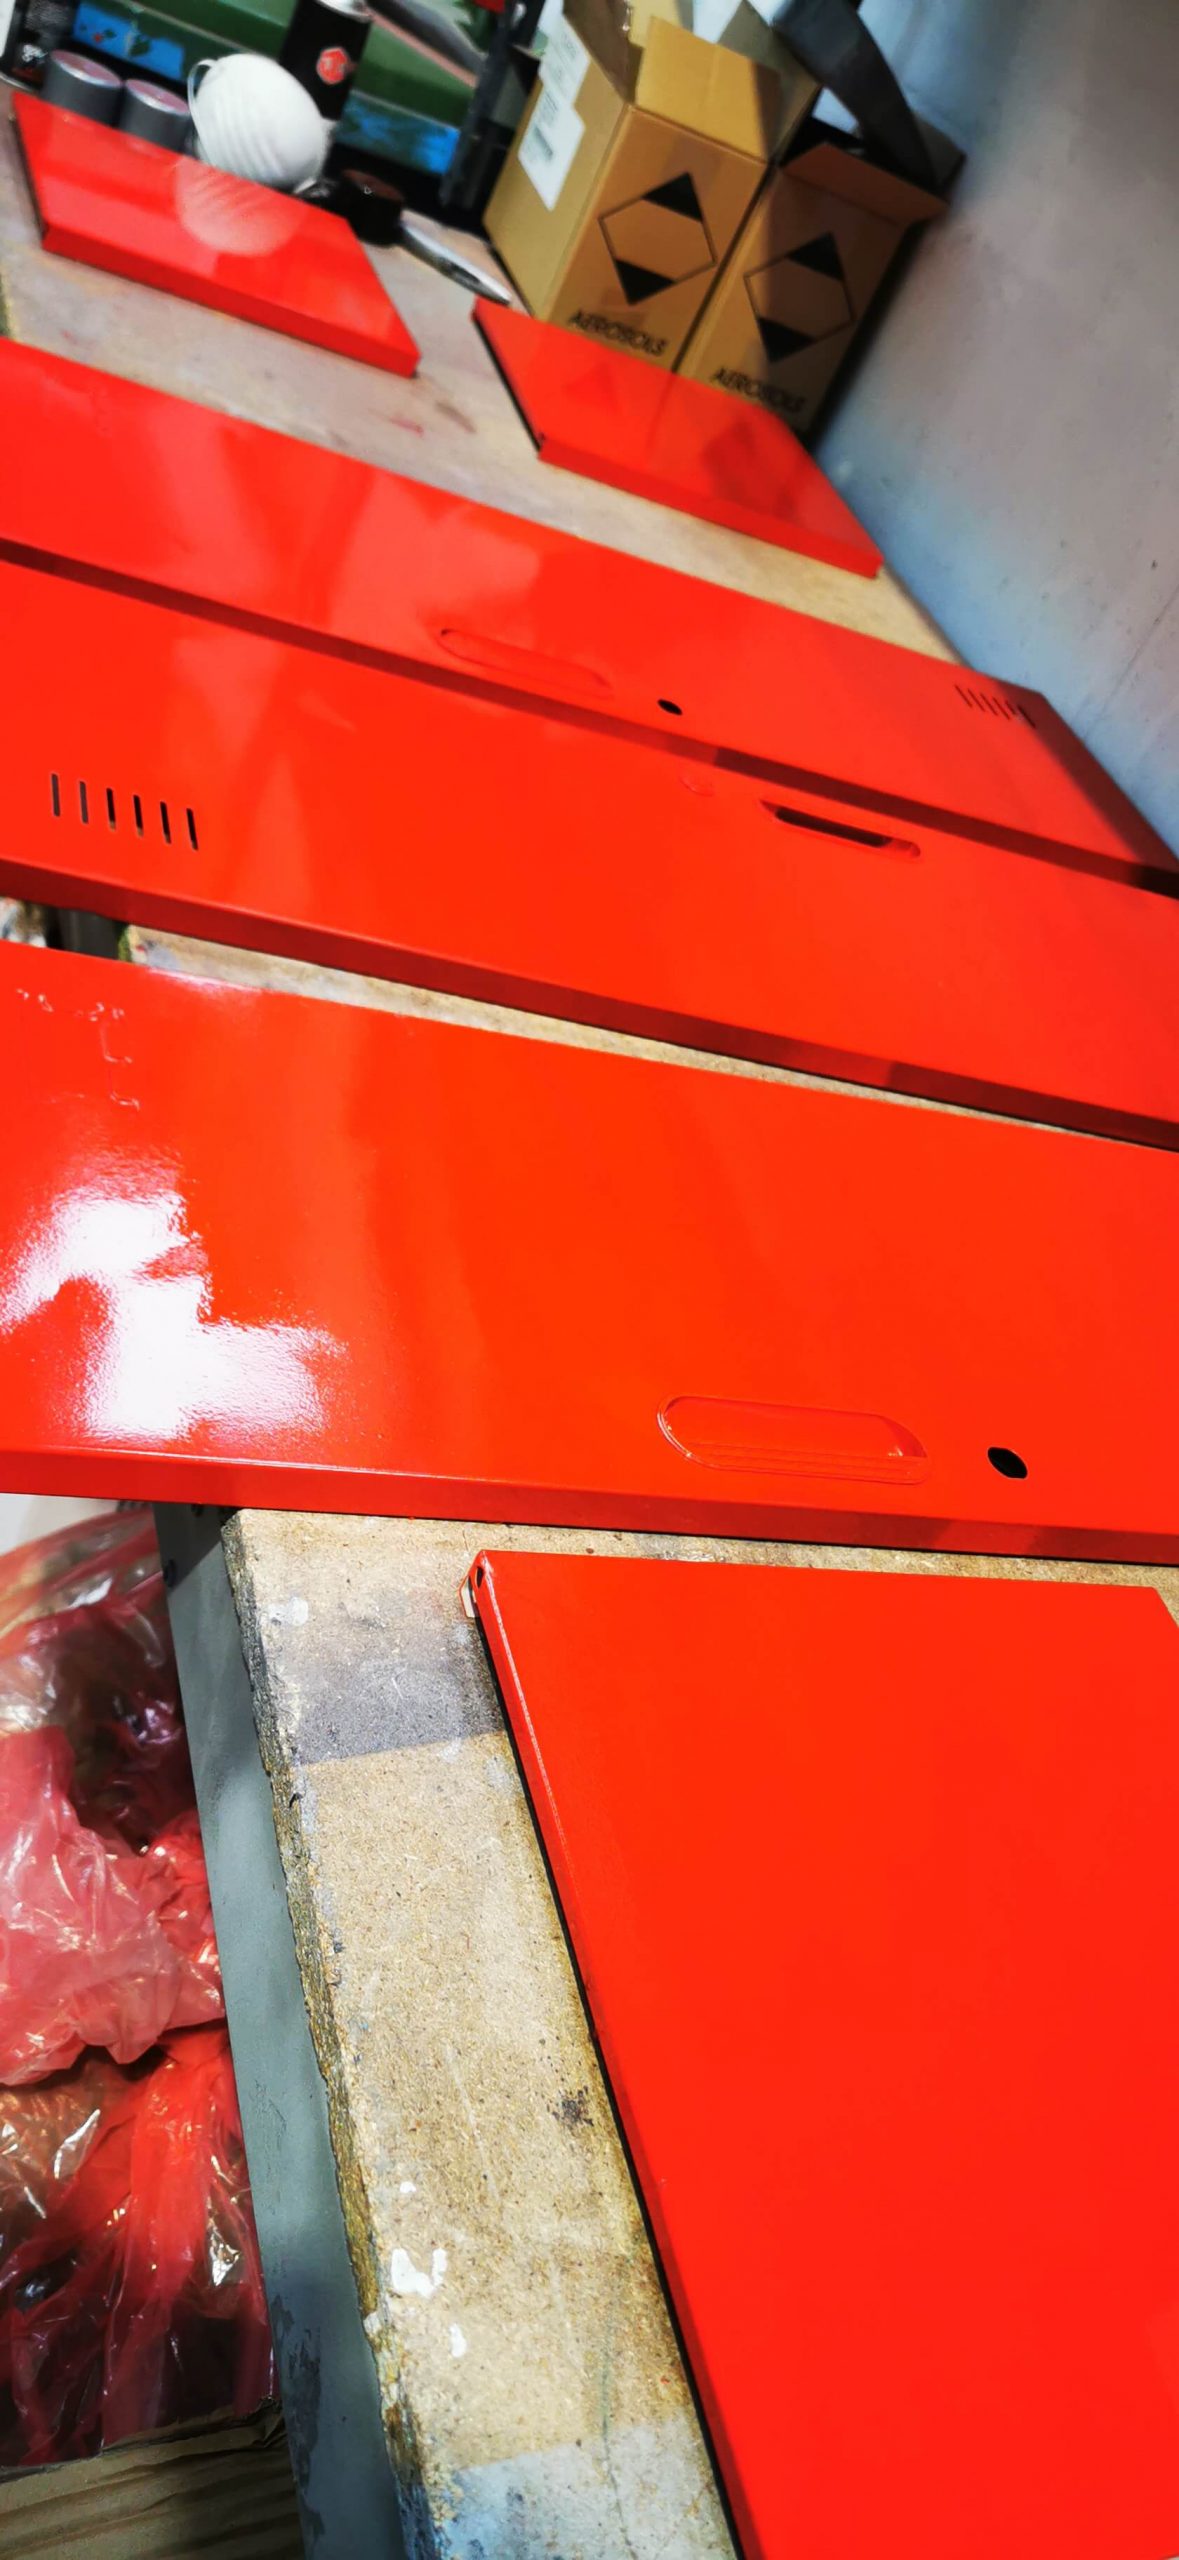
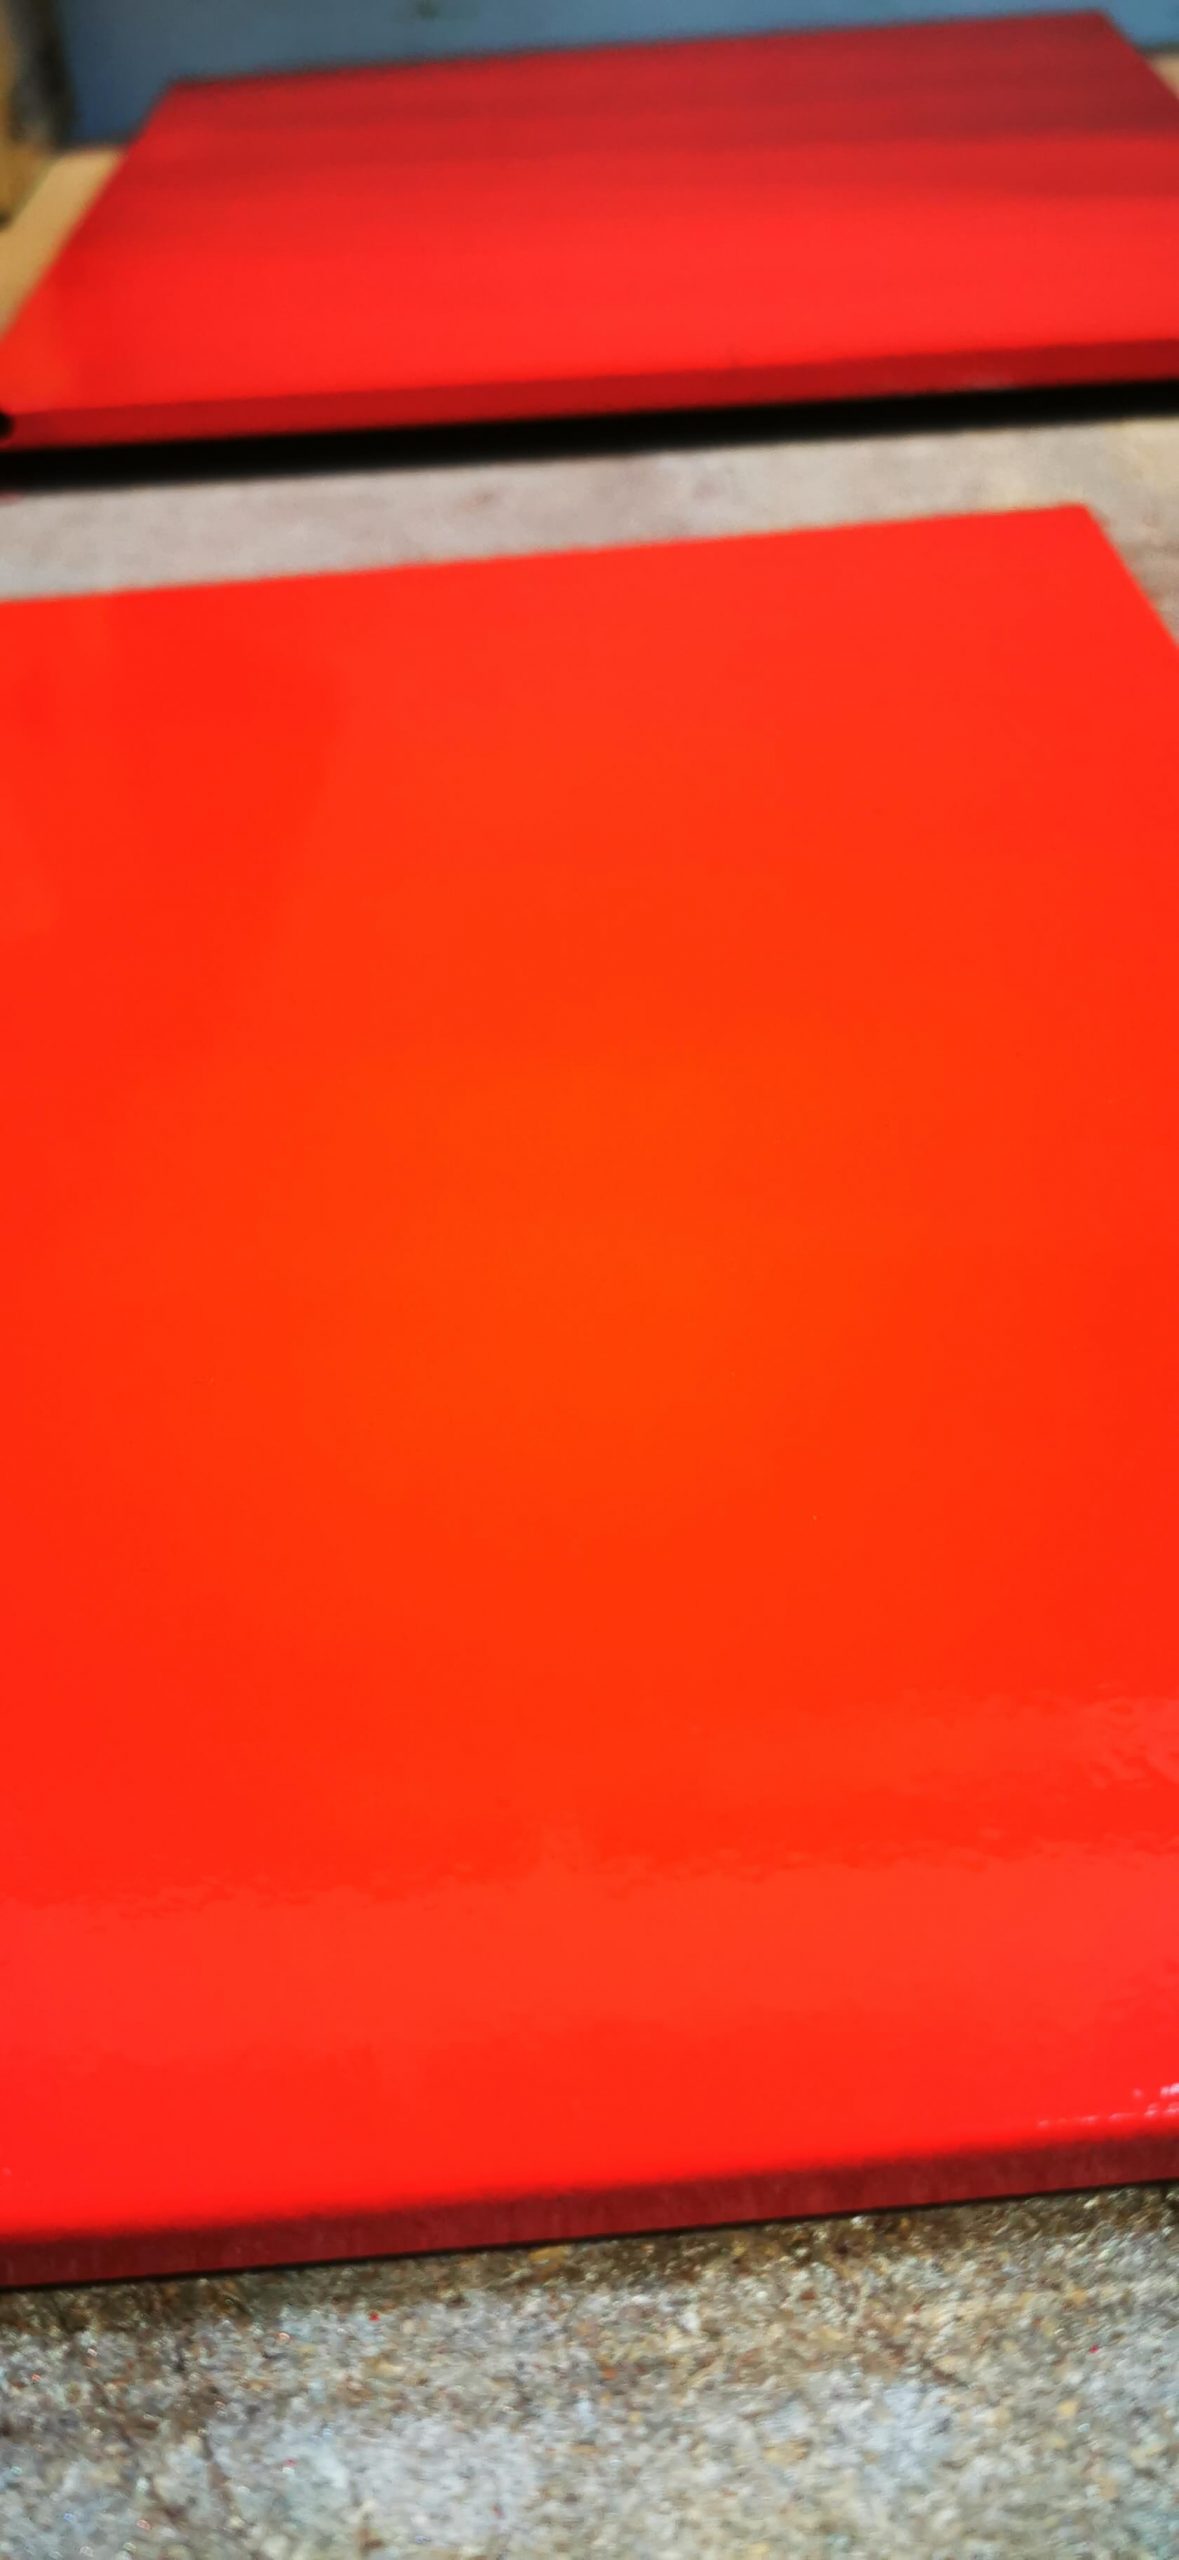
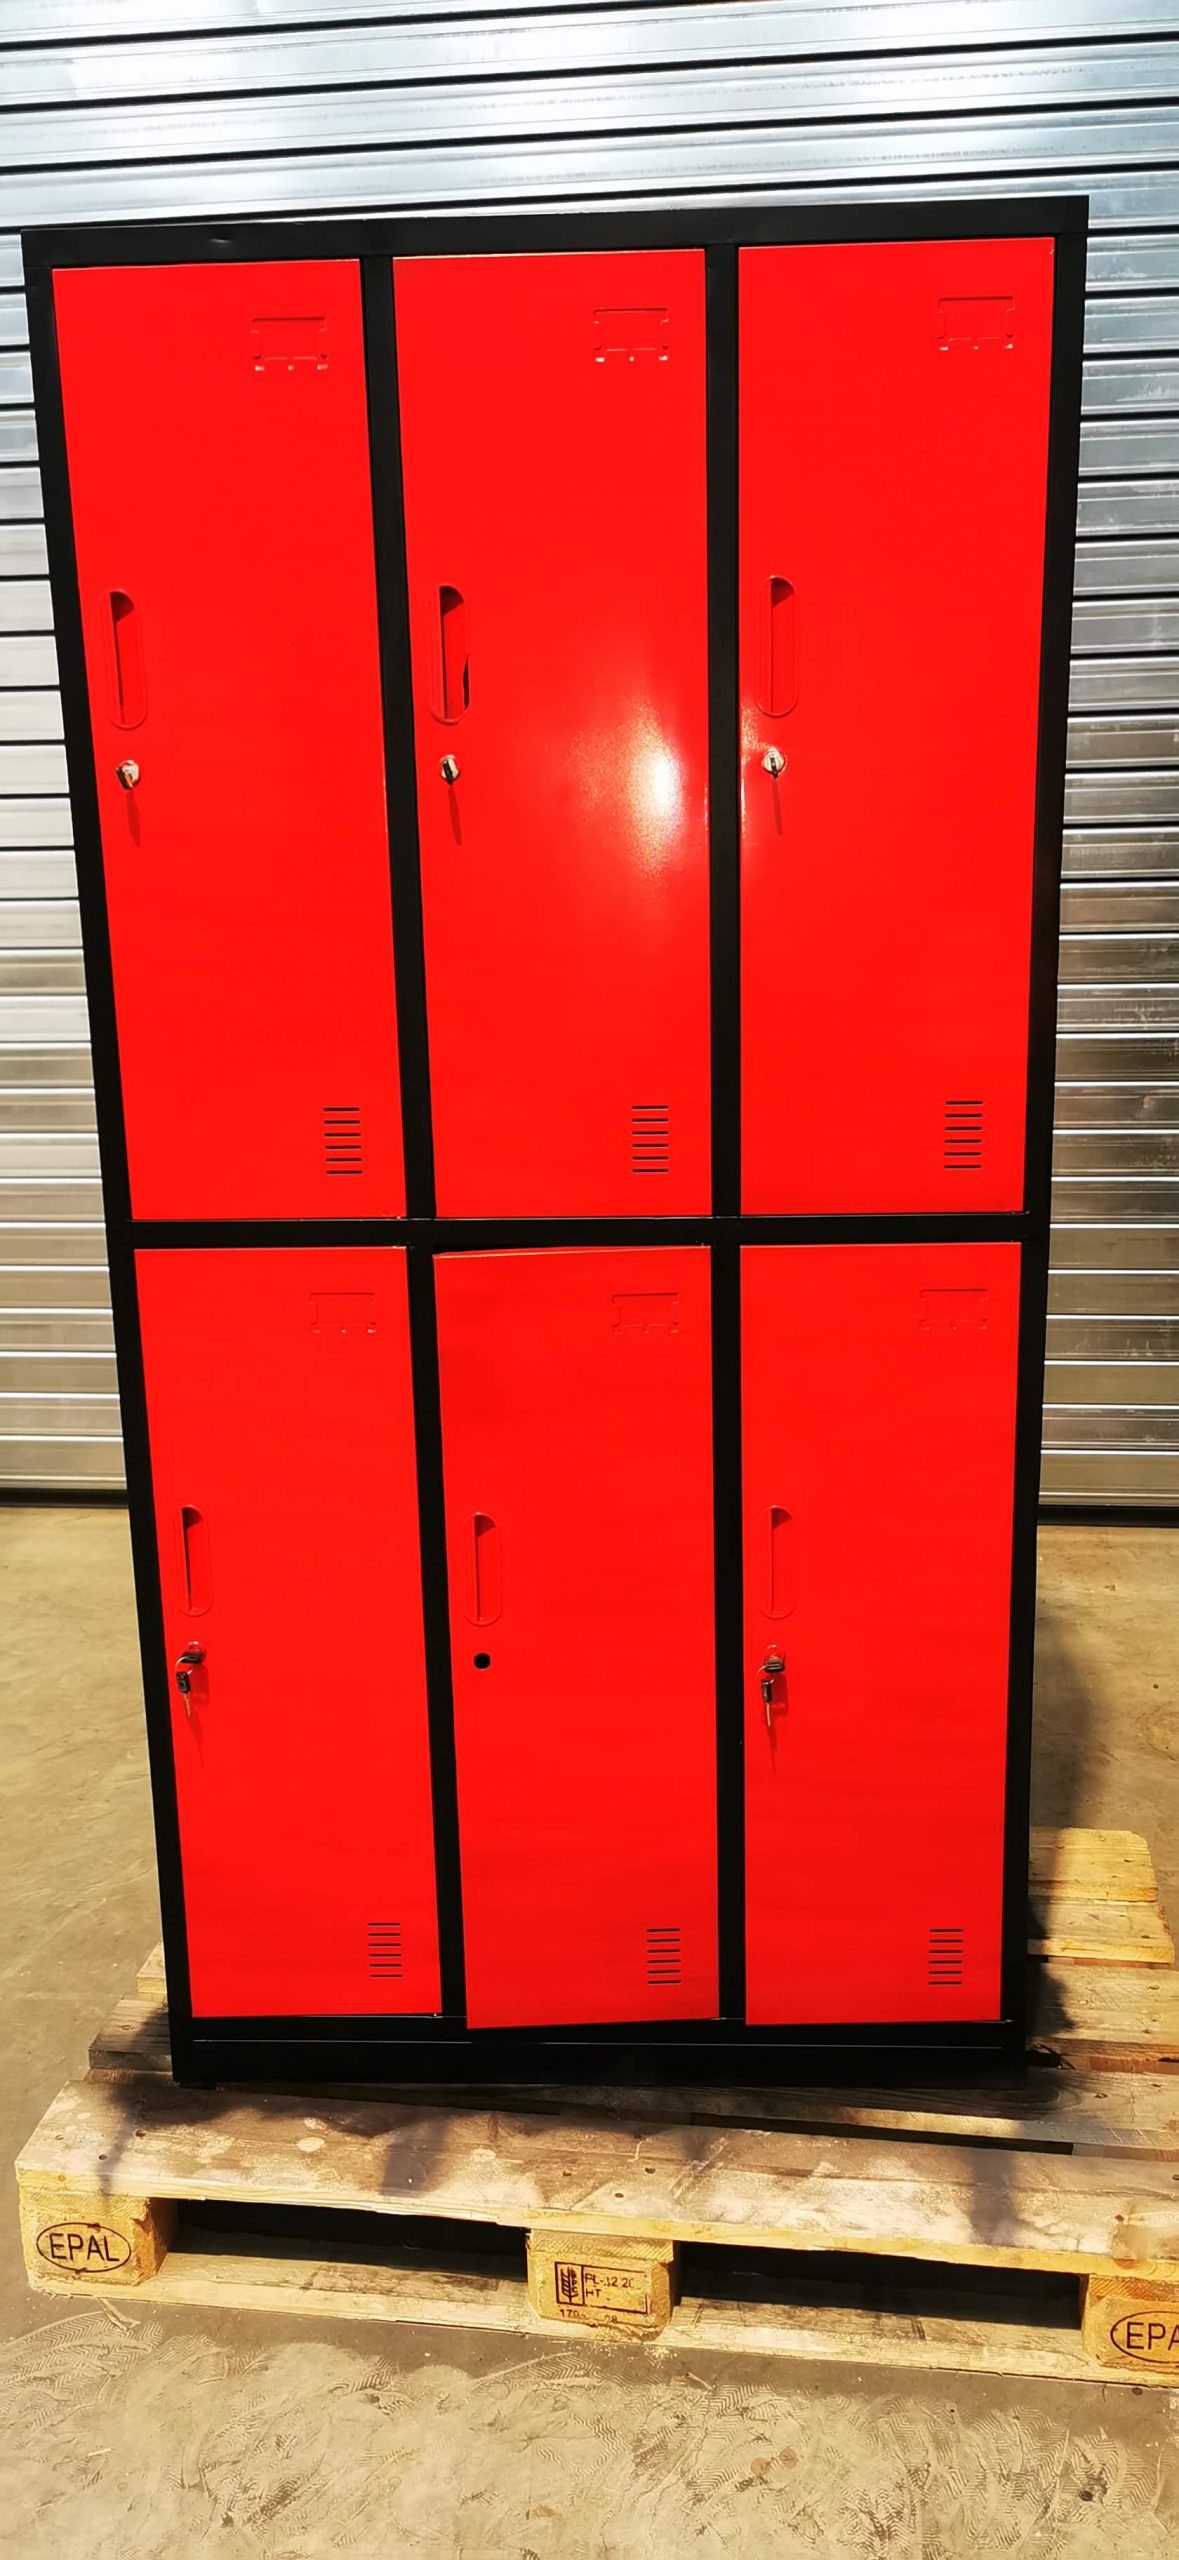
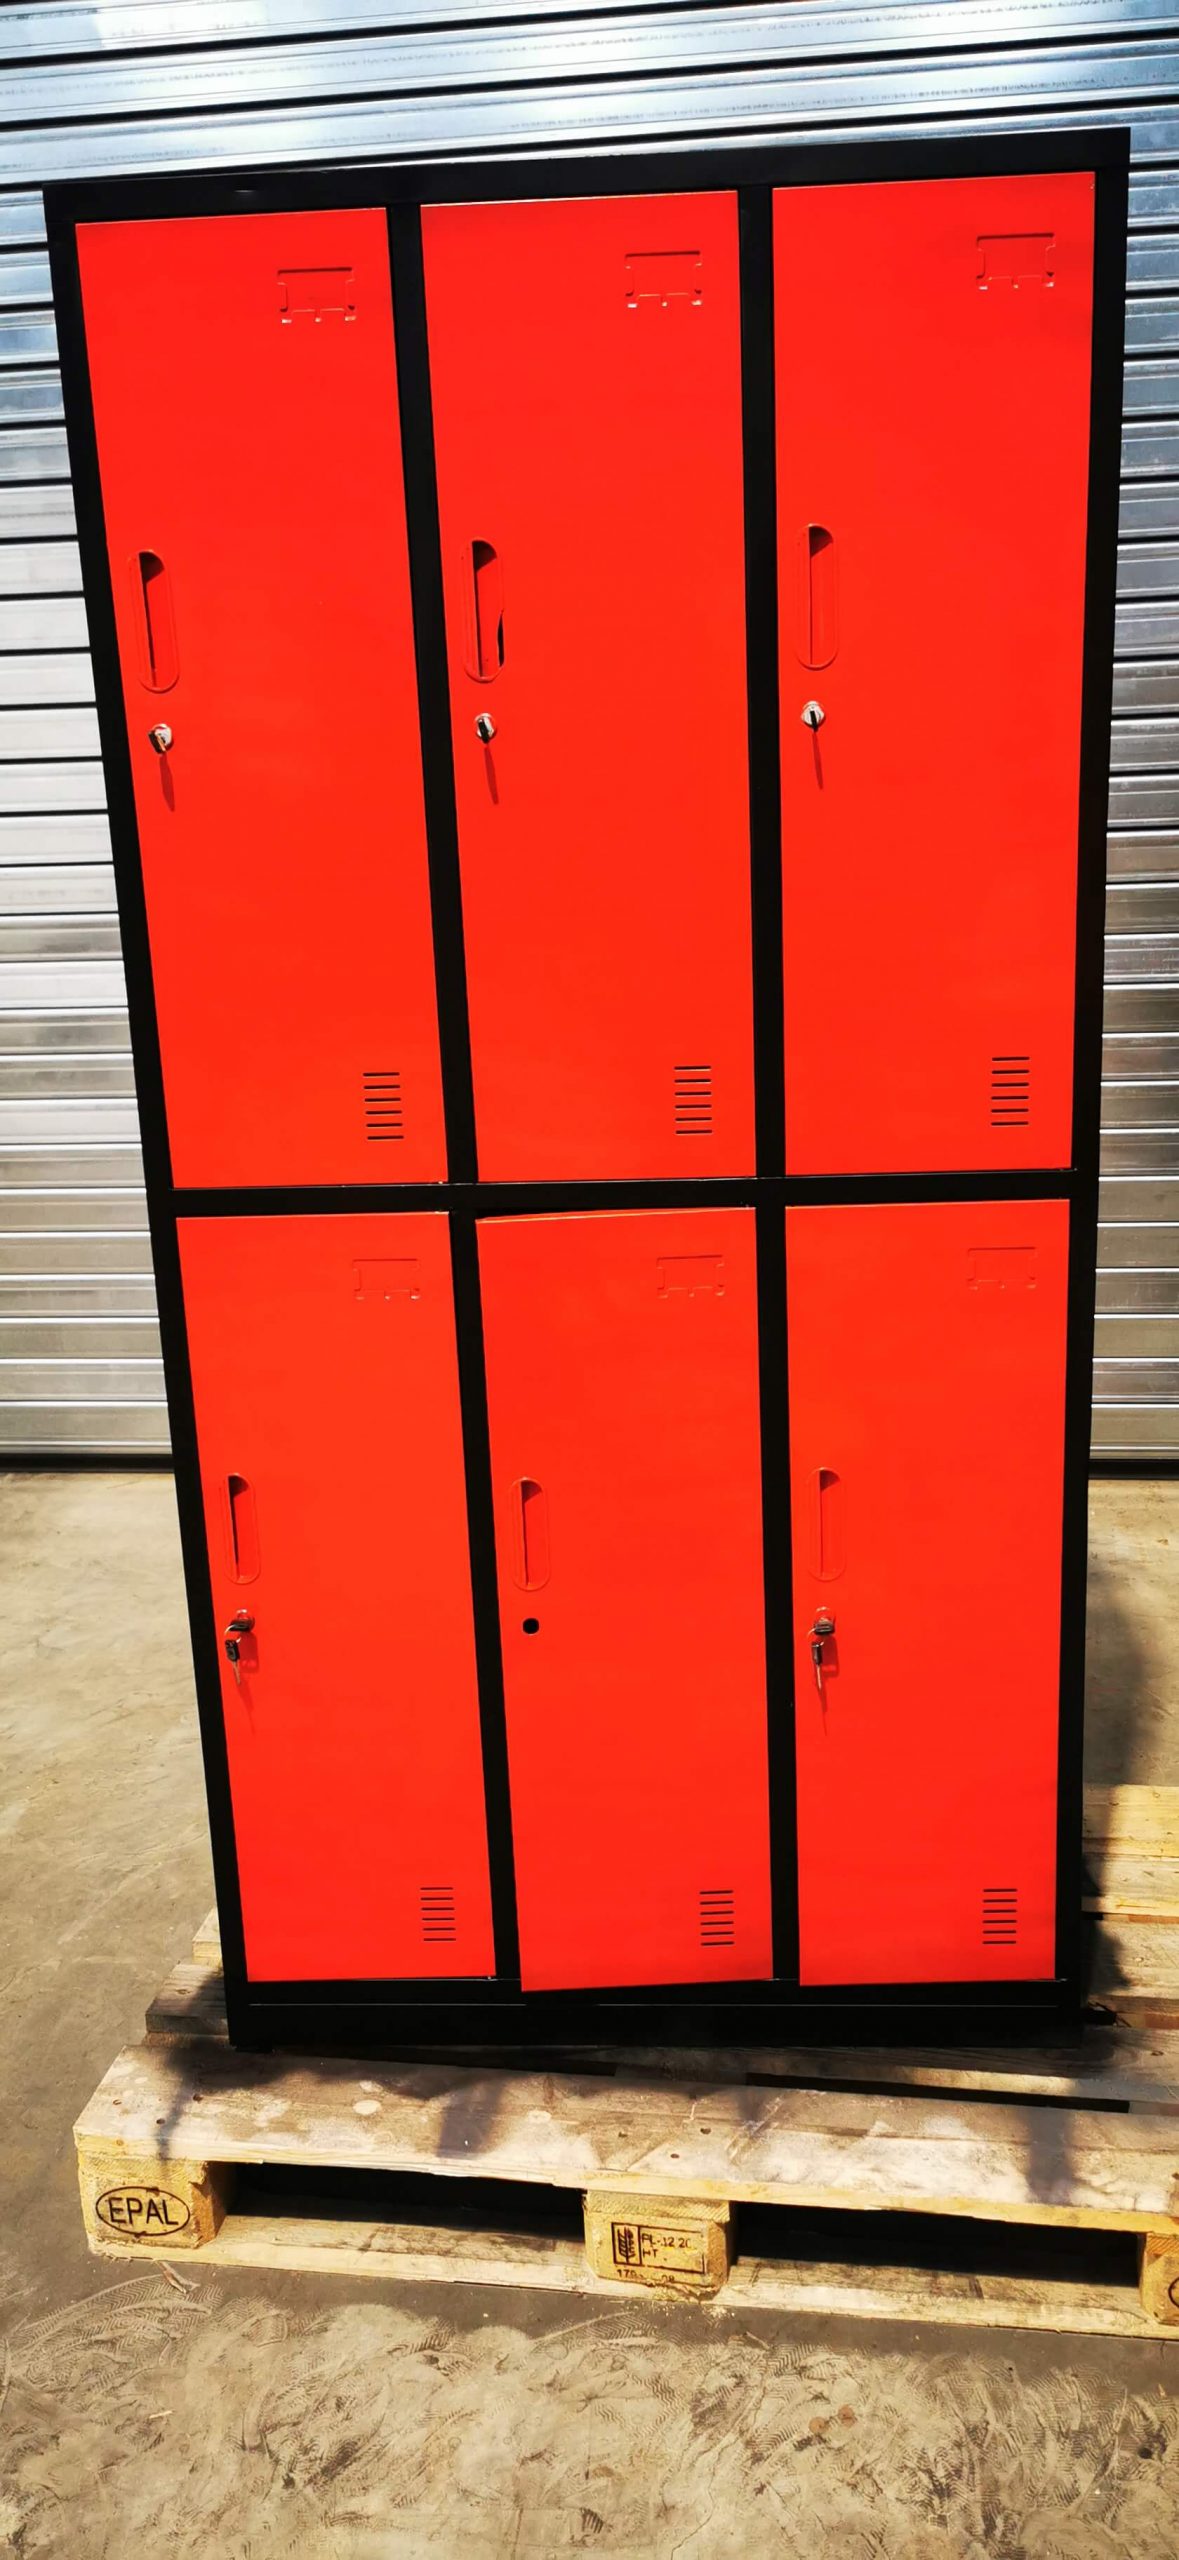
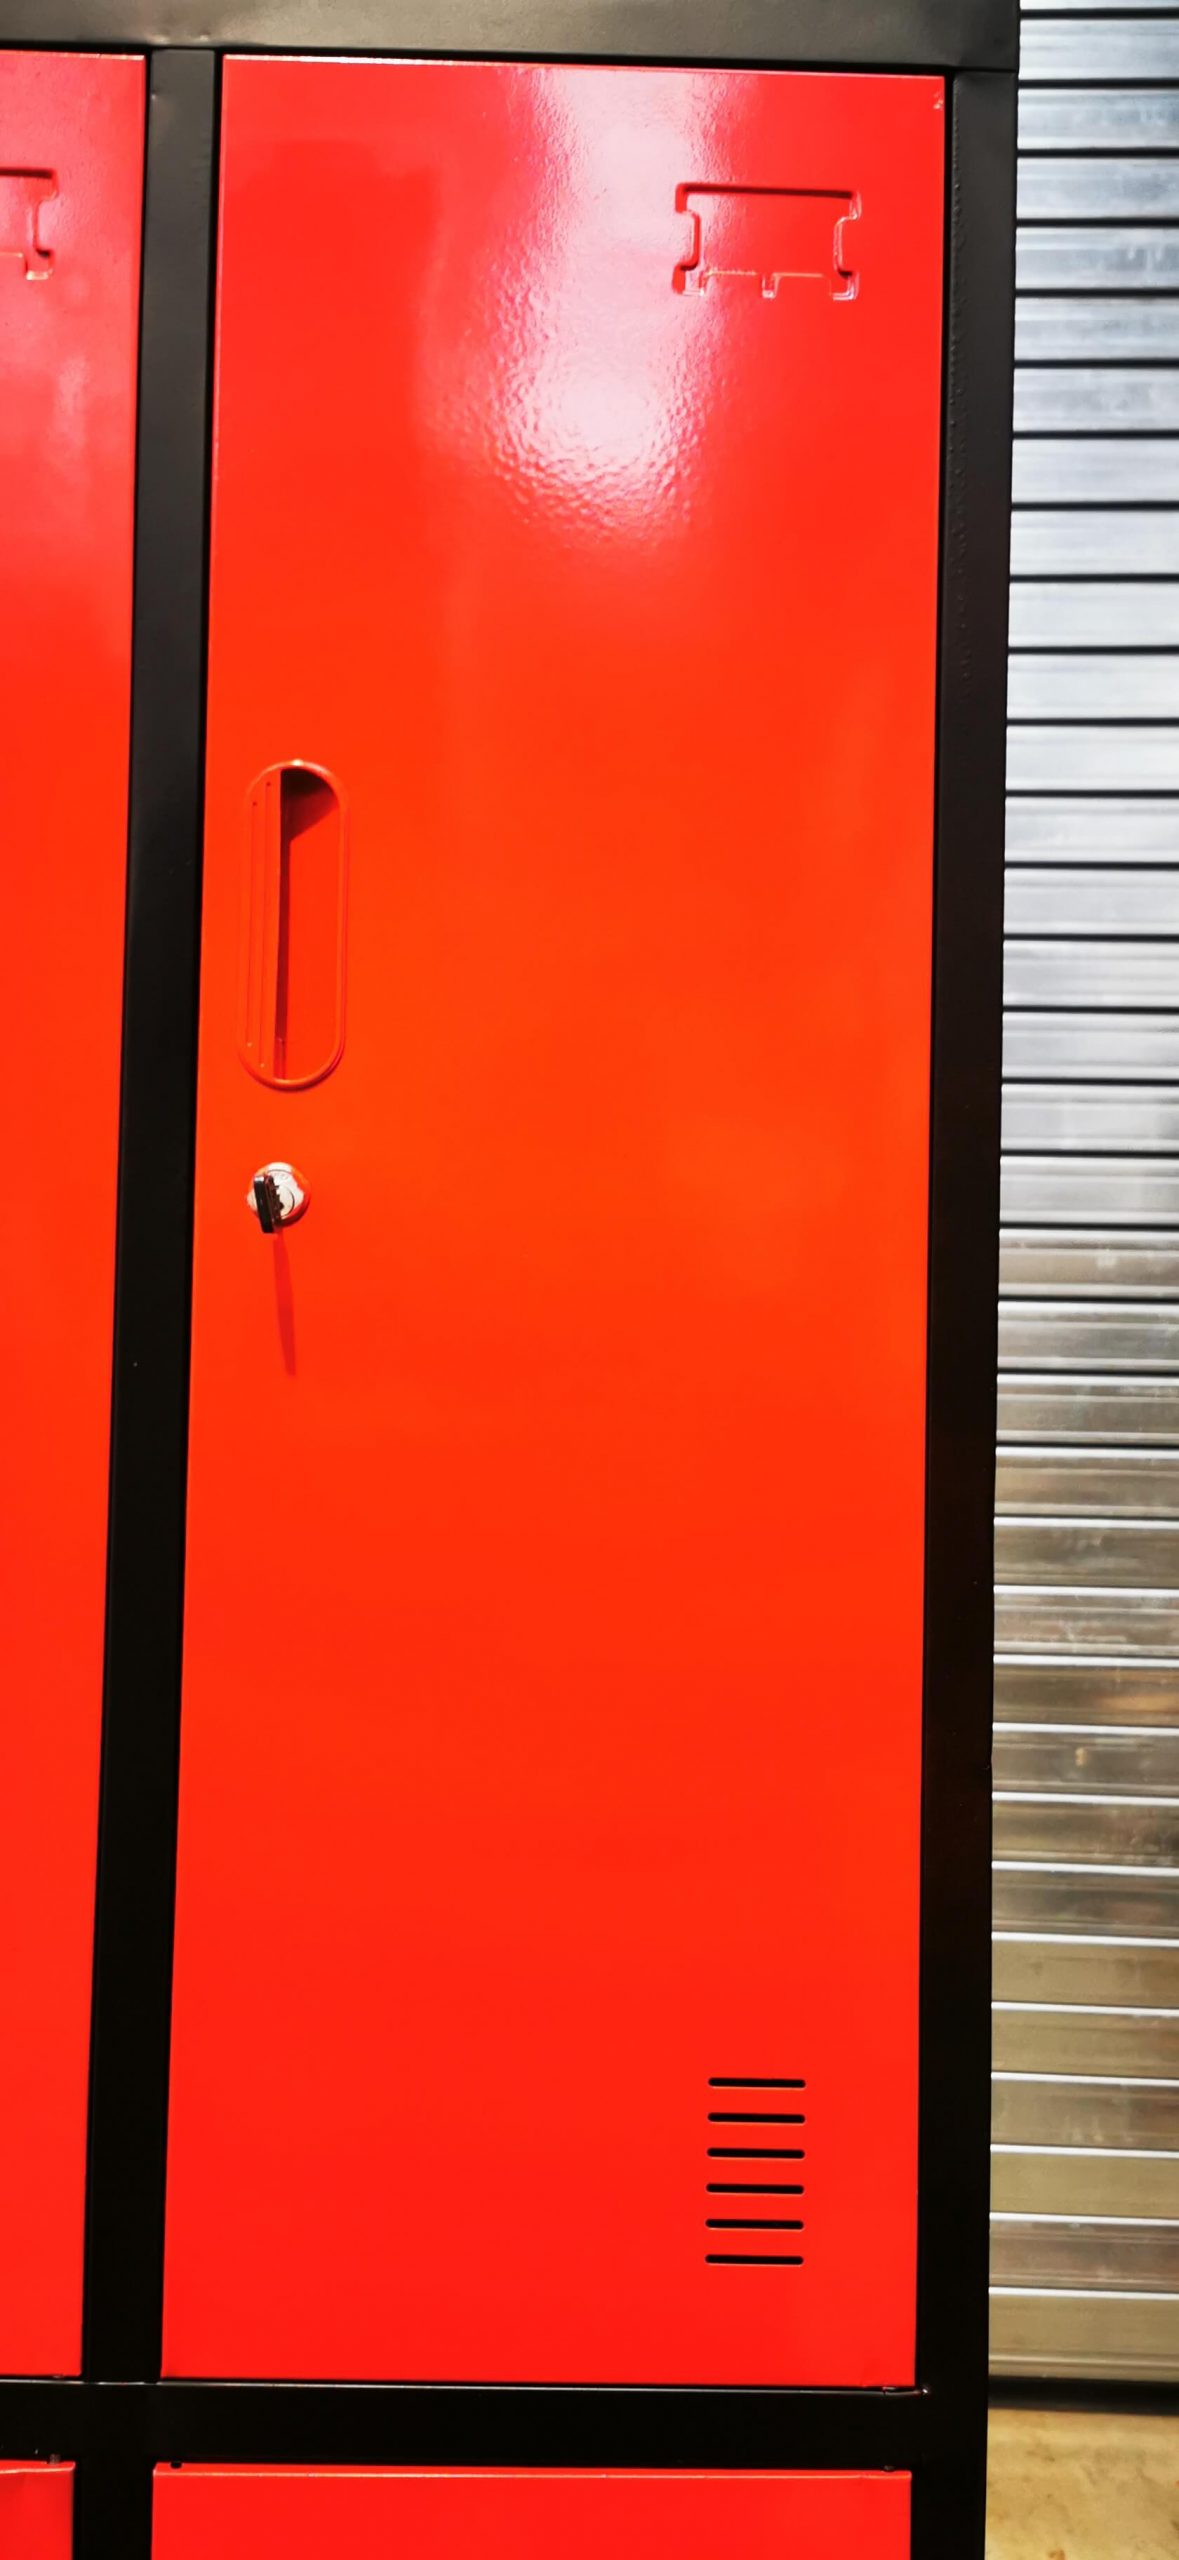
Once you have painted the unit with primer, move on to the panels and doors. By the time you have finished priming, you should be about ready to start laying down the basecoat. In this case, we applied a 2K matt black base coat to the shelf of the locker. We painted the doors and shelves in a gloss red 2K base coat. These are our company colours, and we wanted to contrast the two colours and paint finishes.
TOP TIP: With large panels, make your passes horizontal and vertical to alleviate any tiger stripes.
Ensure all parts are fully cured before you put the unit back together.