Martin approached us looking for a strong water-resistant paint to refurbish his daughter’s boat oars. We discussed available options, and Martin went with the base coat primer and white 2K gloss paint finish. We hope his lucky daughter is as impressed with the project finish as we were!
Tools:
- Sandpaper
- Degreaser
- Masking Paper & Tape
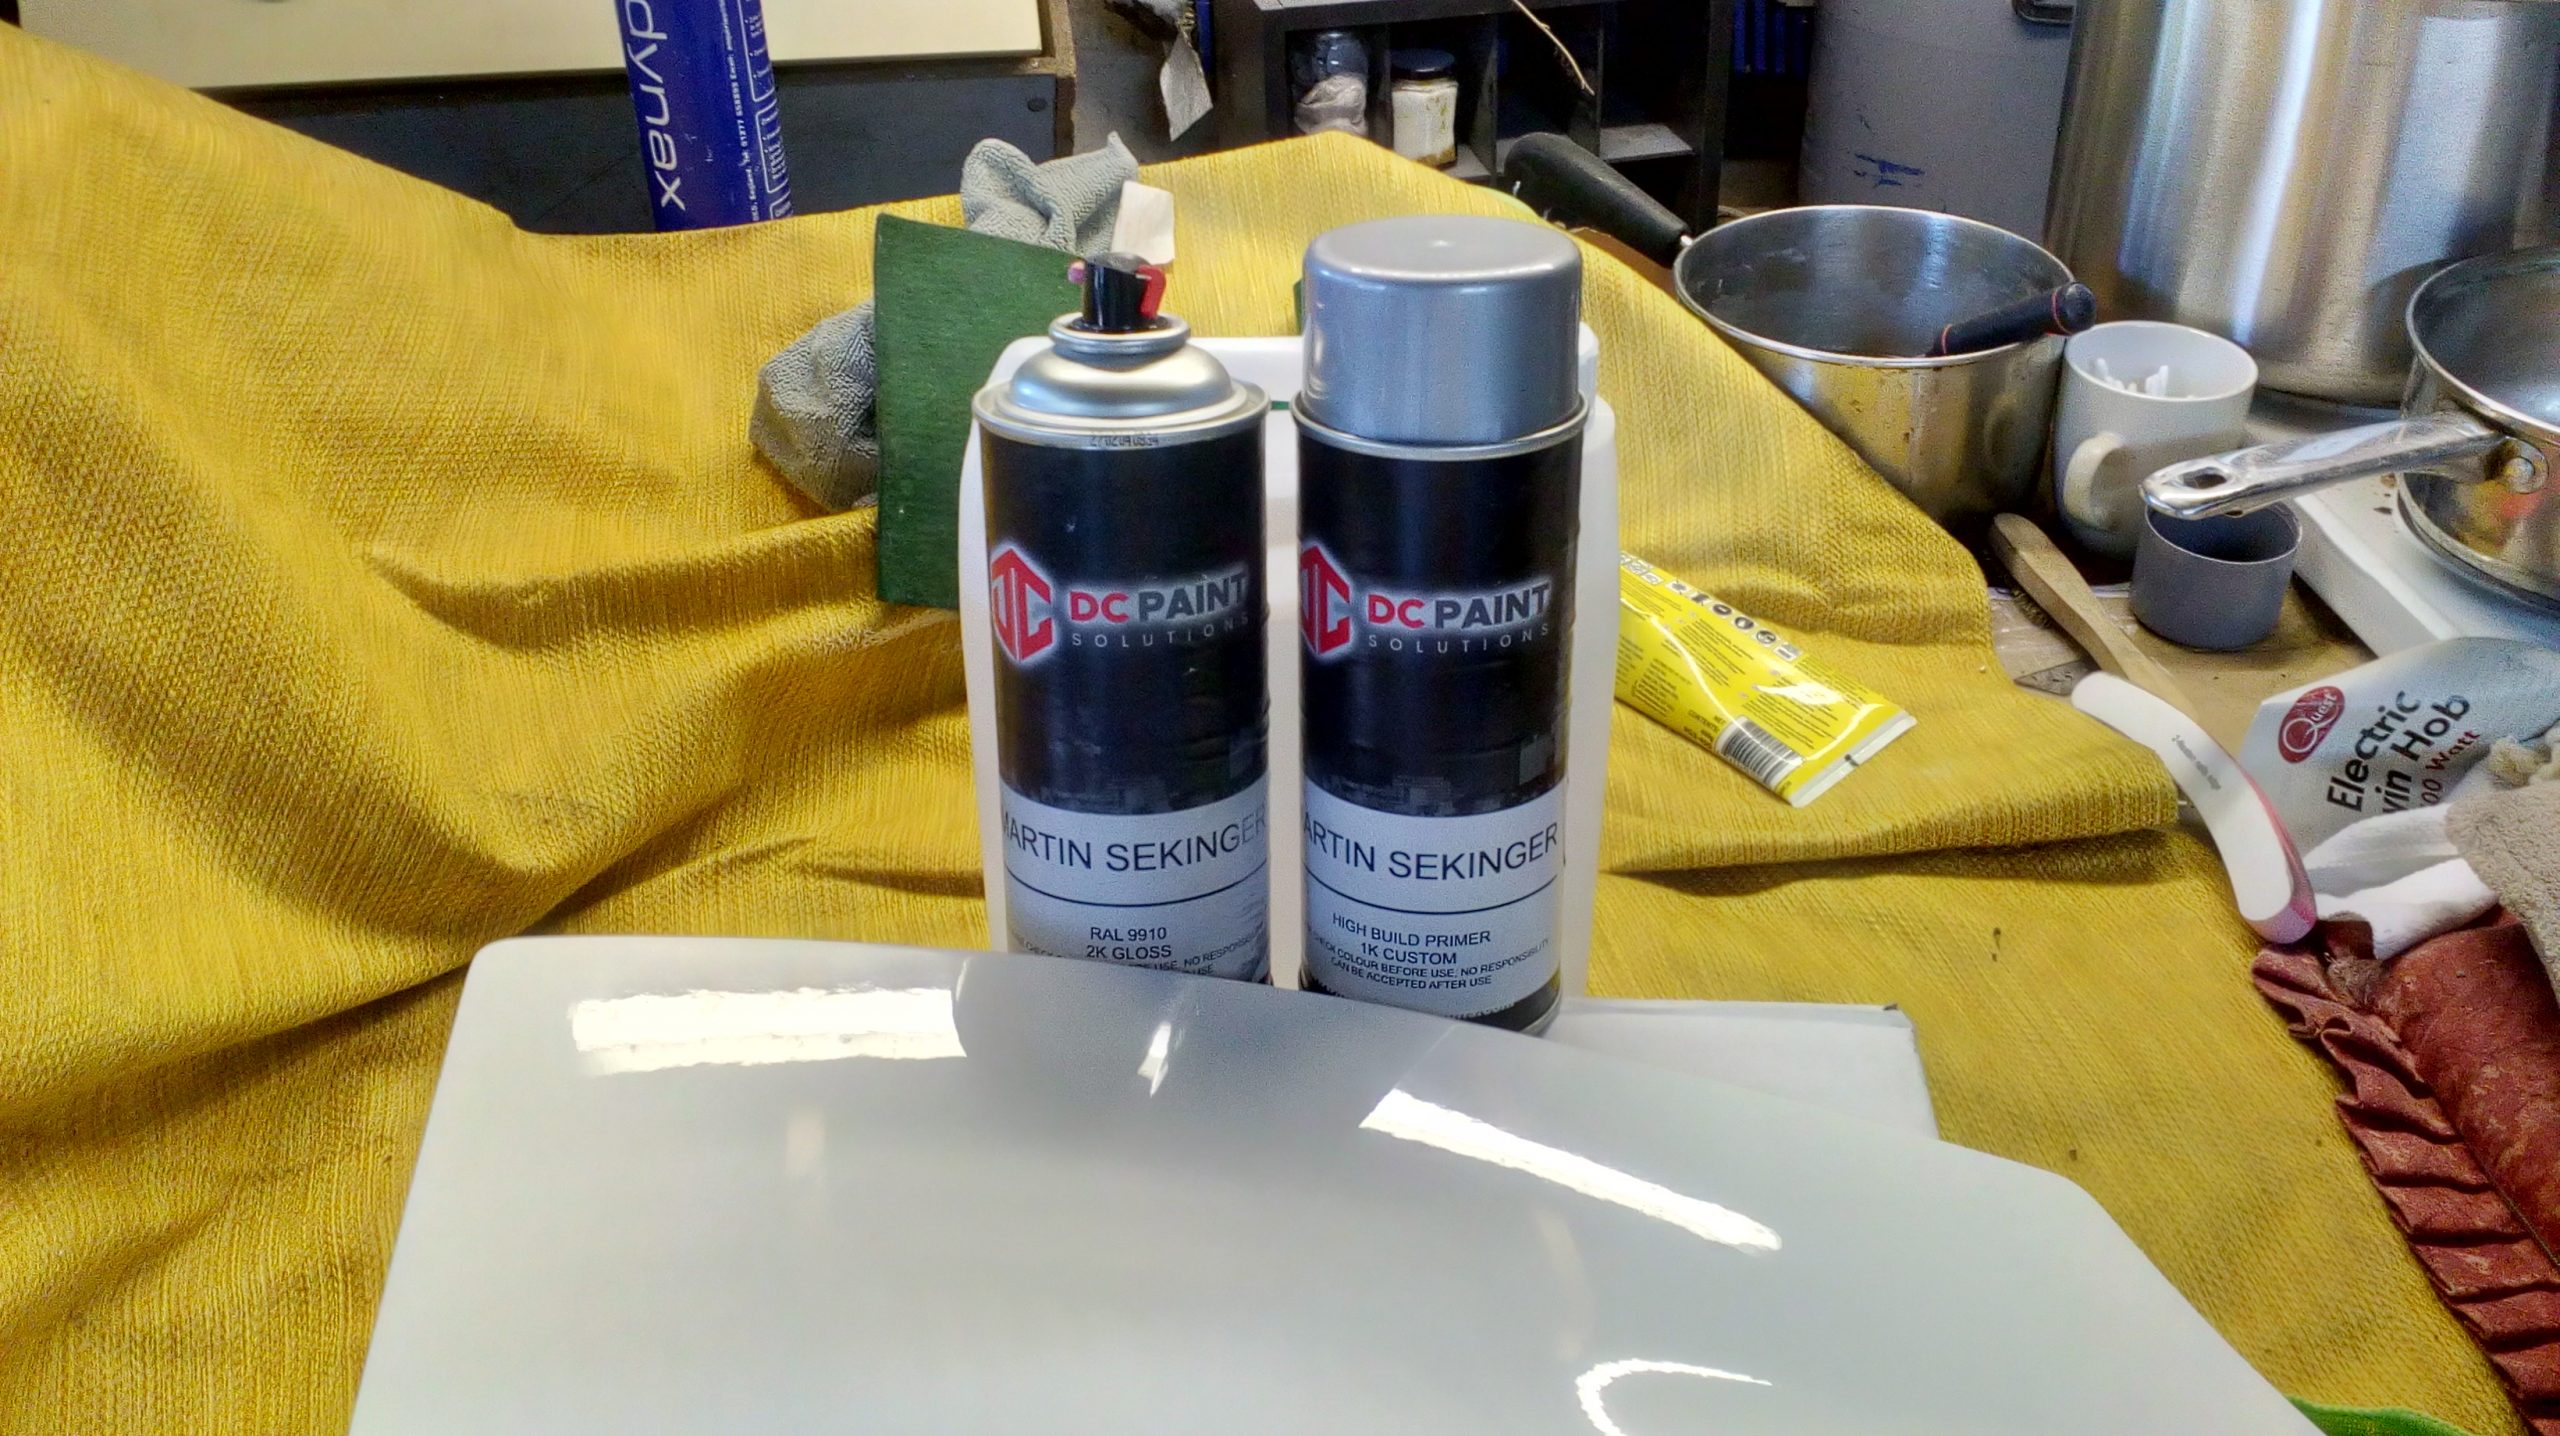
- Solid White High Build Primer
- 2K High Gloss White Paint
Prep:
To remove any existing dirt or chemical issues, clean and degrease the oars. Dry thoroughly and sand to a smooth flat finish. With a project like this one, it’s important to have as smooth of a finish as possible. Through sanding flat, the oars will be free to glide into the water with as little resistance as possible.
Clean again, and remove any dust or dirt.
Paint:
Once clean and smooth, we can move on to the paint. Firstly we add a primer coat to the oars, so the 2K paint has something to stick to.
Apply the primer coat in light coats and leave to cure for 20-30 minutes at a time.
TOP TIP: Remember, priming is not about painting the substrate, it’s about thinly covering it. Think of a sandwich, and the butter is the primer. If you want the contents of your sandwich to stick to the bread, you need to apply butter.
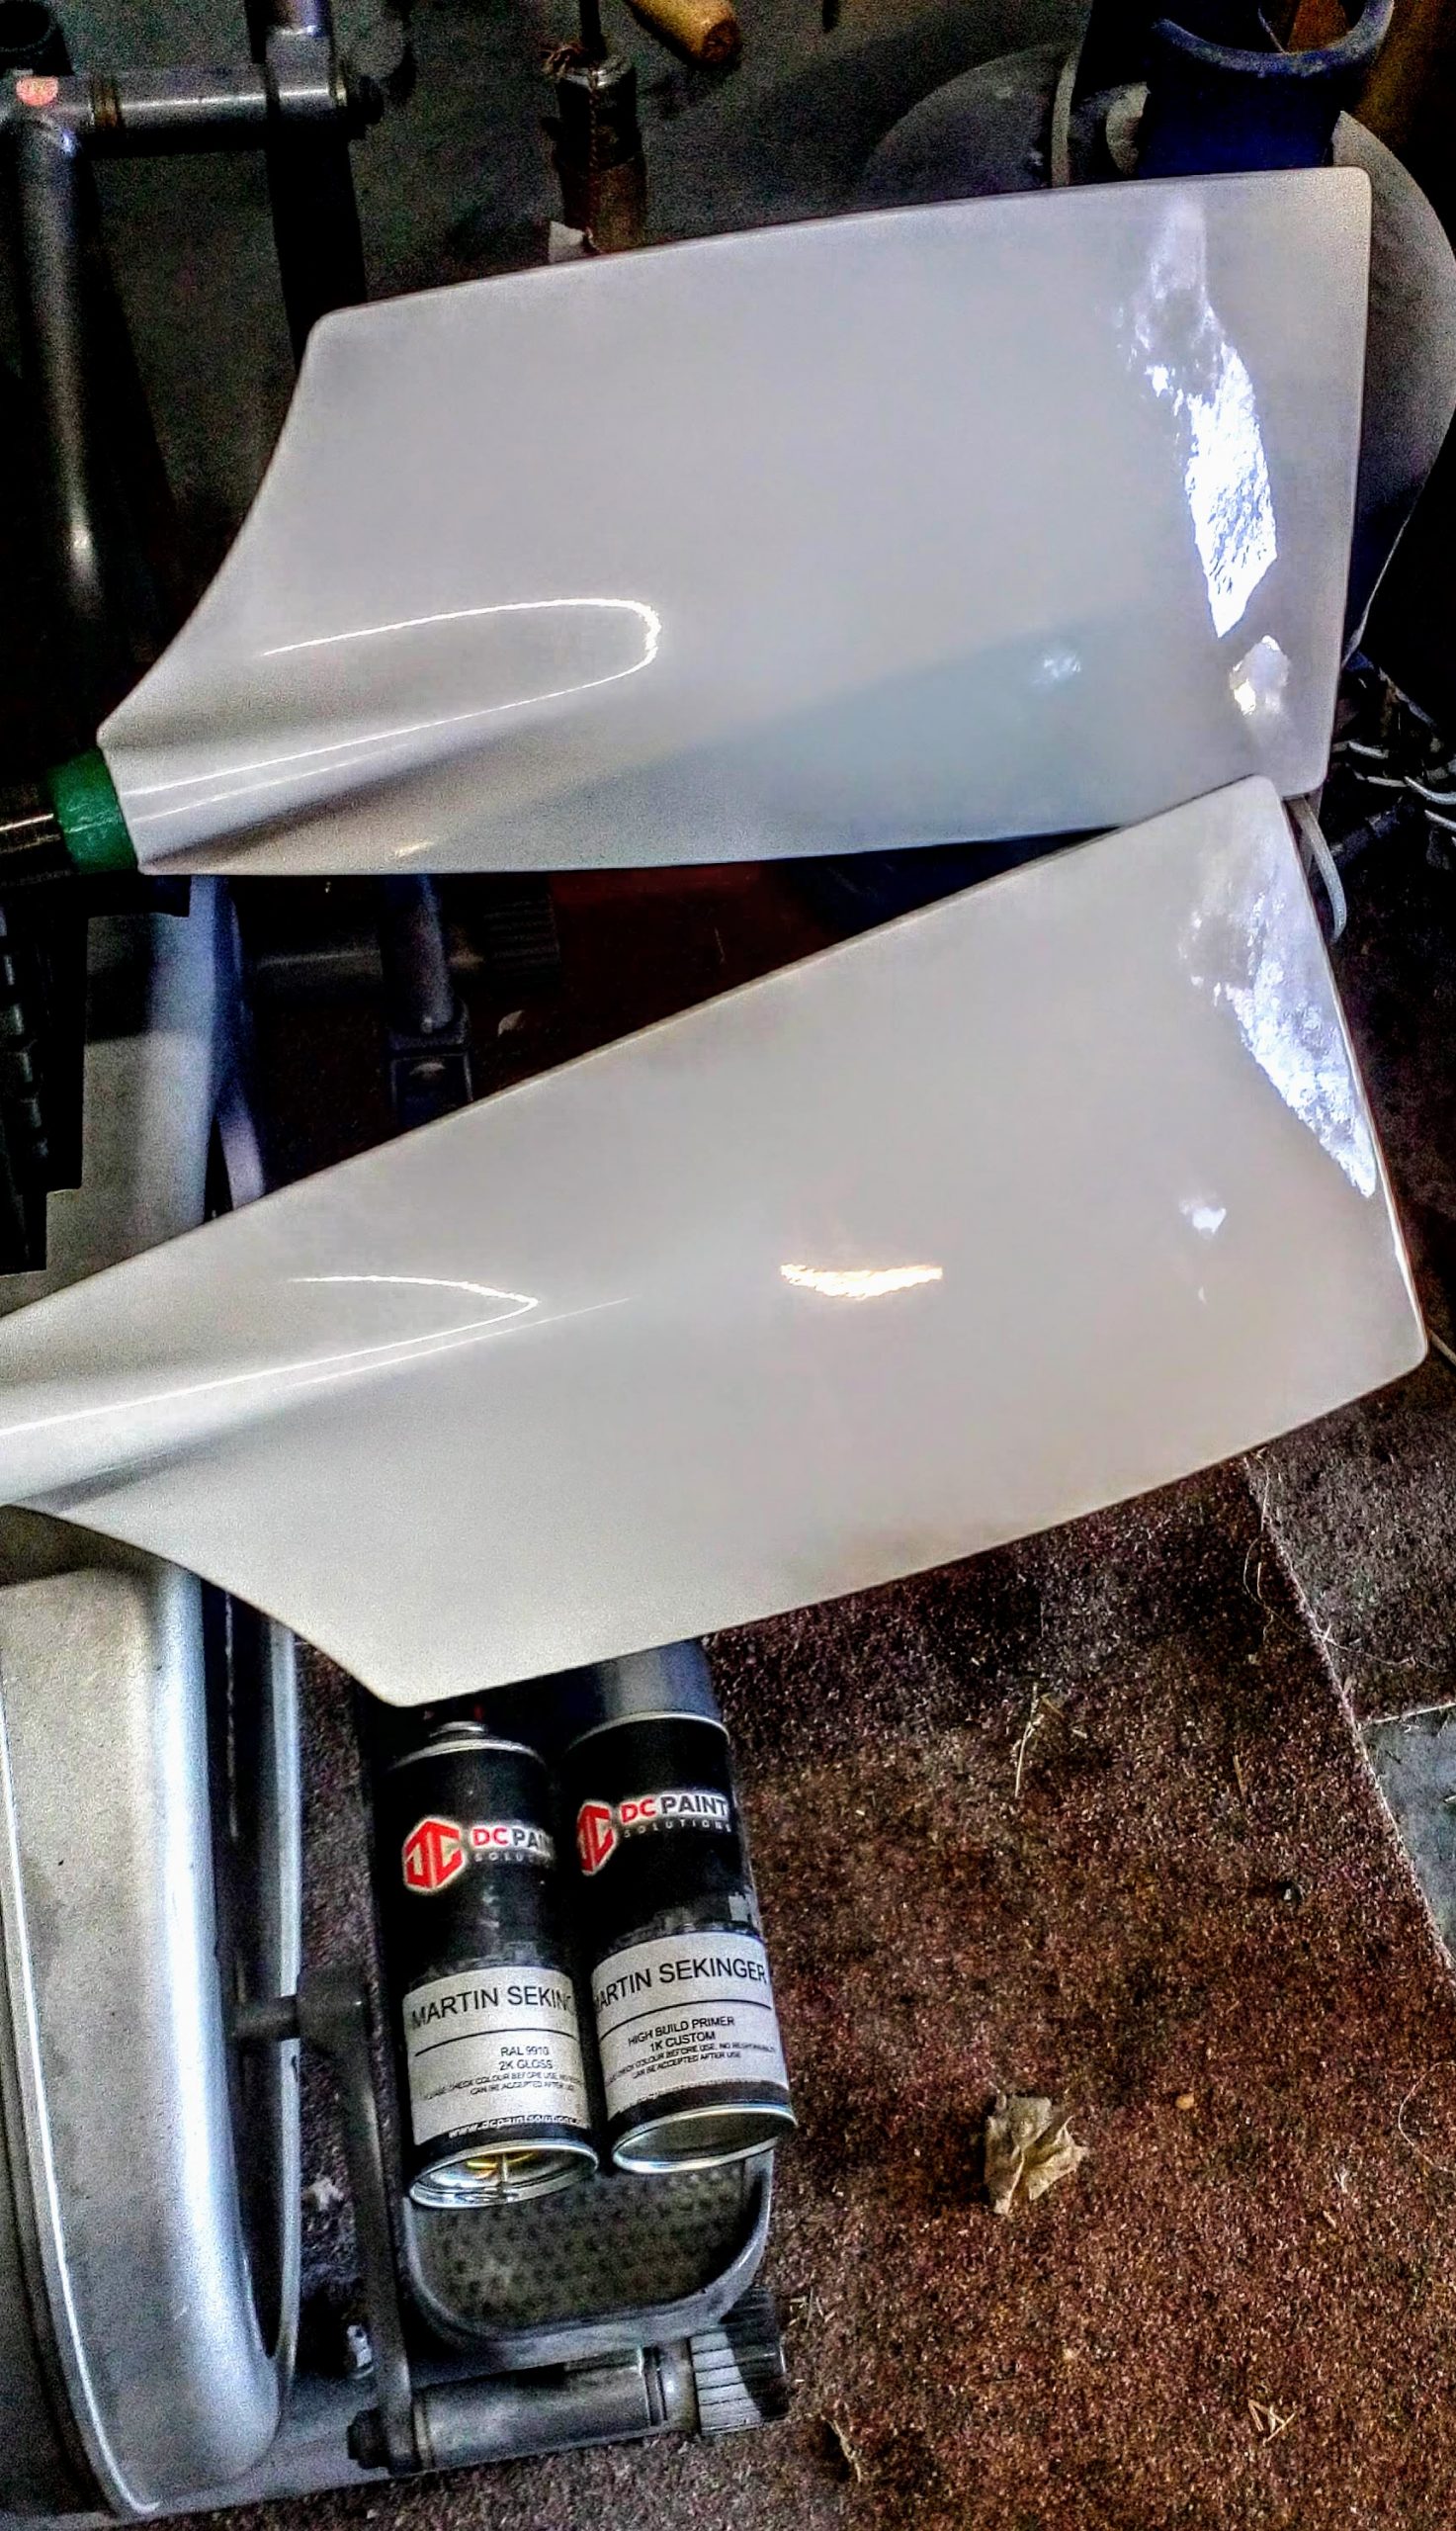
Leave the primer to fully cure for a couple of hours. In this case, leaving the primer to cure is incredibly important as the final product will be submerged in water, so the project must be cured throughout. Now we’re ready to apply the white 2K high gloss paint.
TOP TIP: Always read the instructions on the can or ask the vendor for advice on how to activate the 2K paint as 2K cans have different methods to activate the 2K formula.
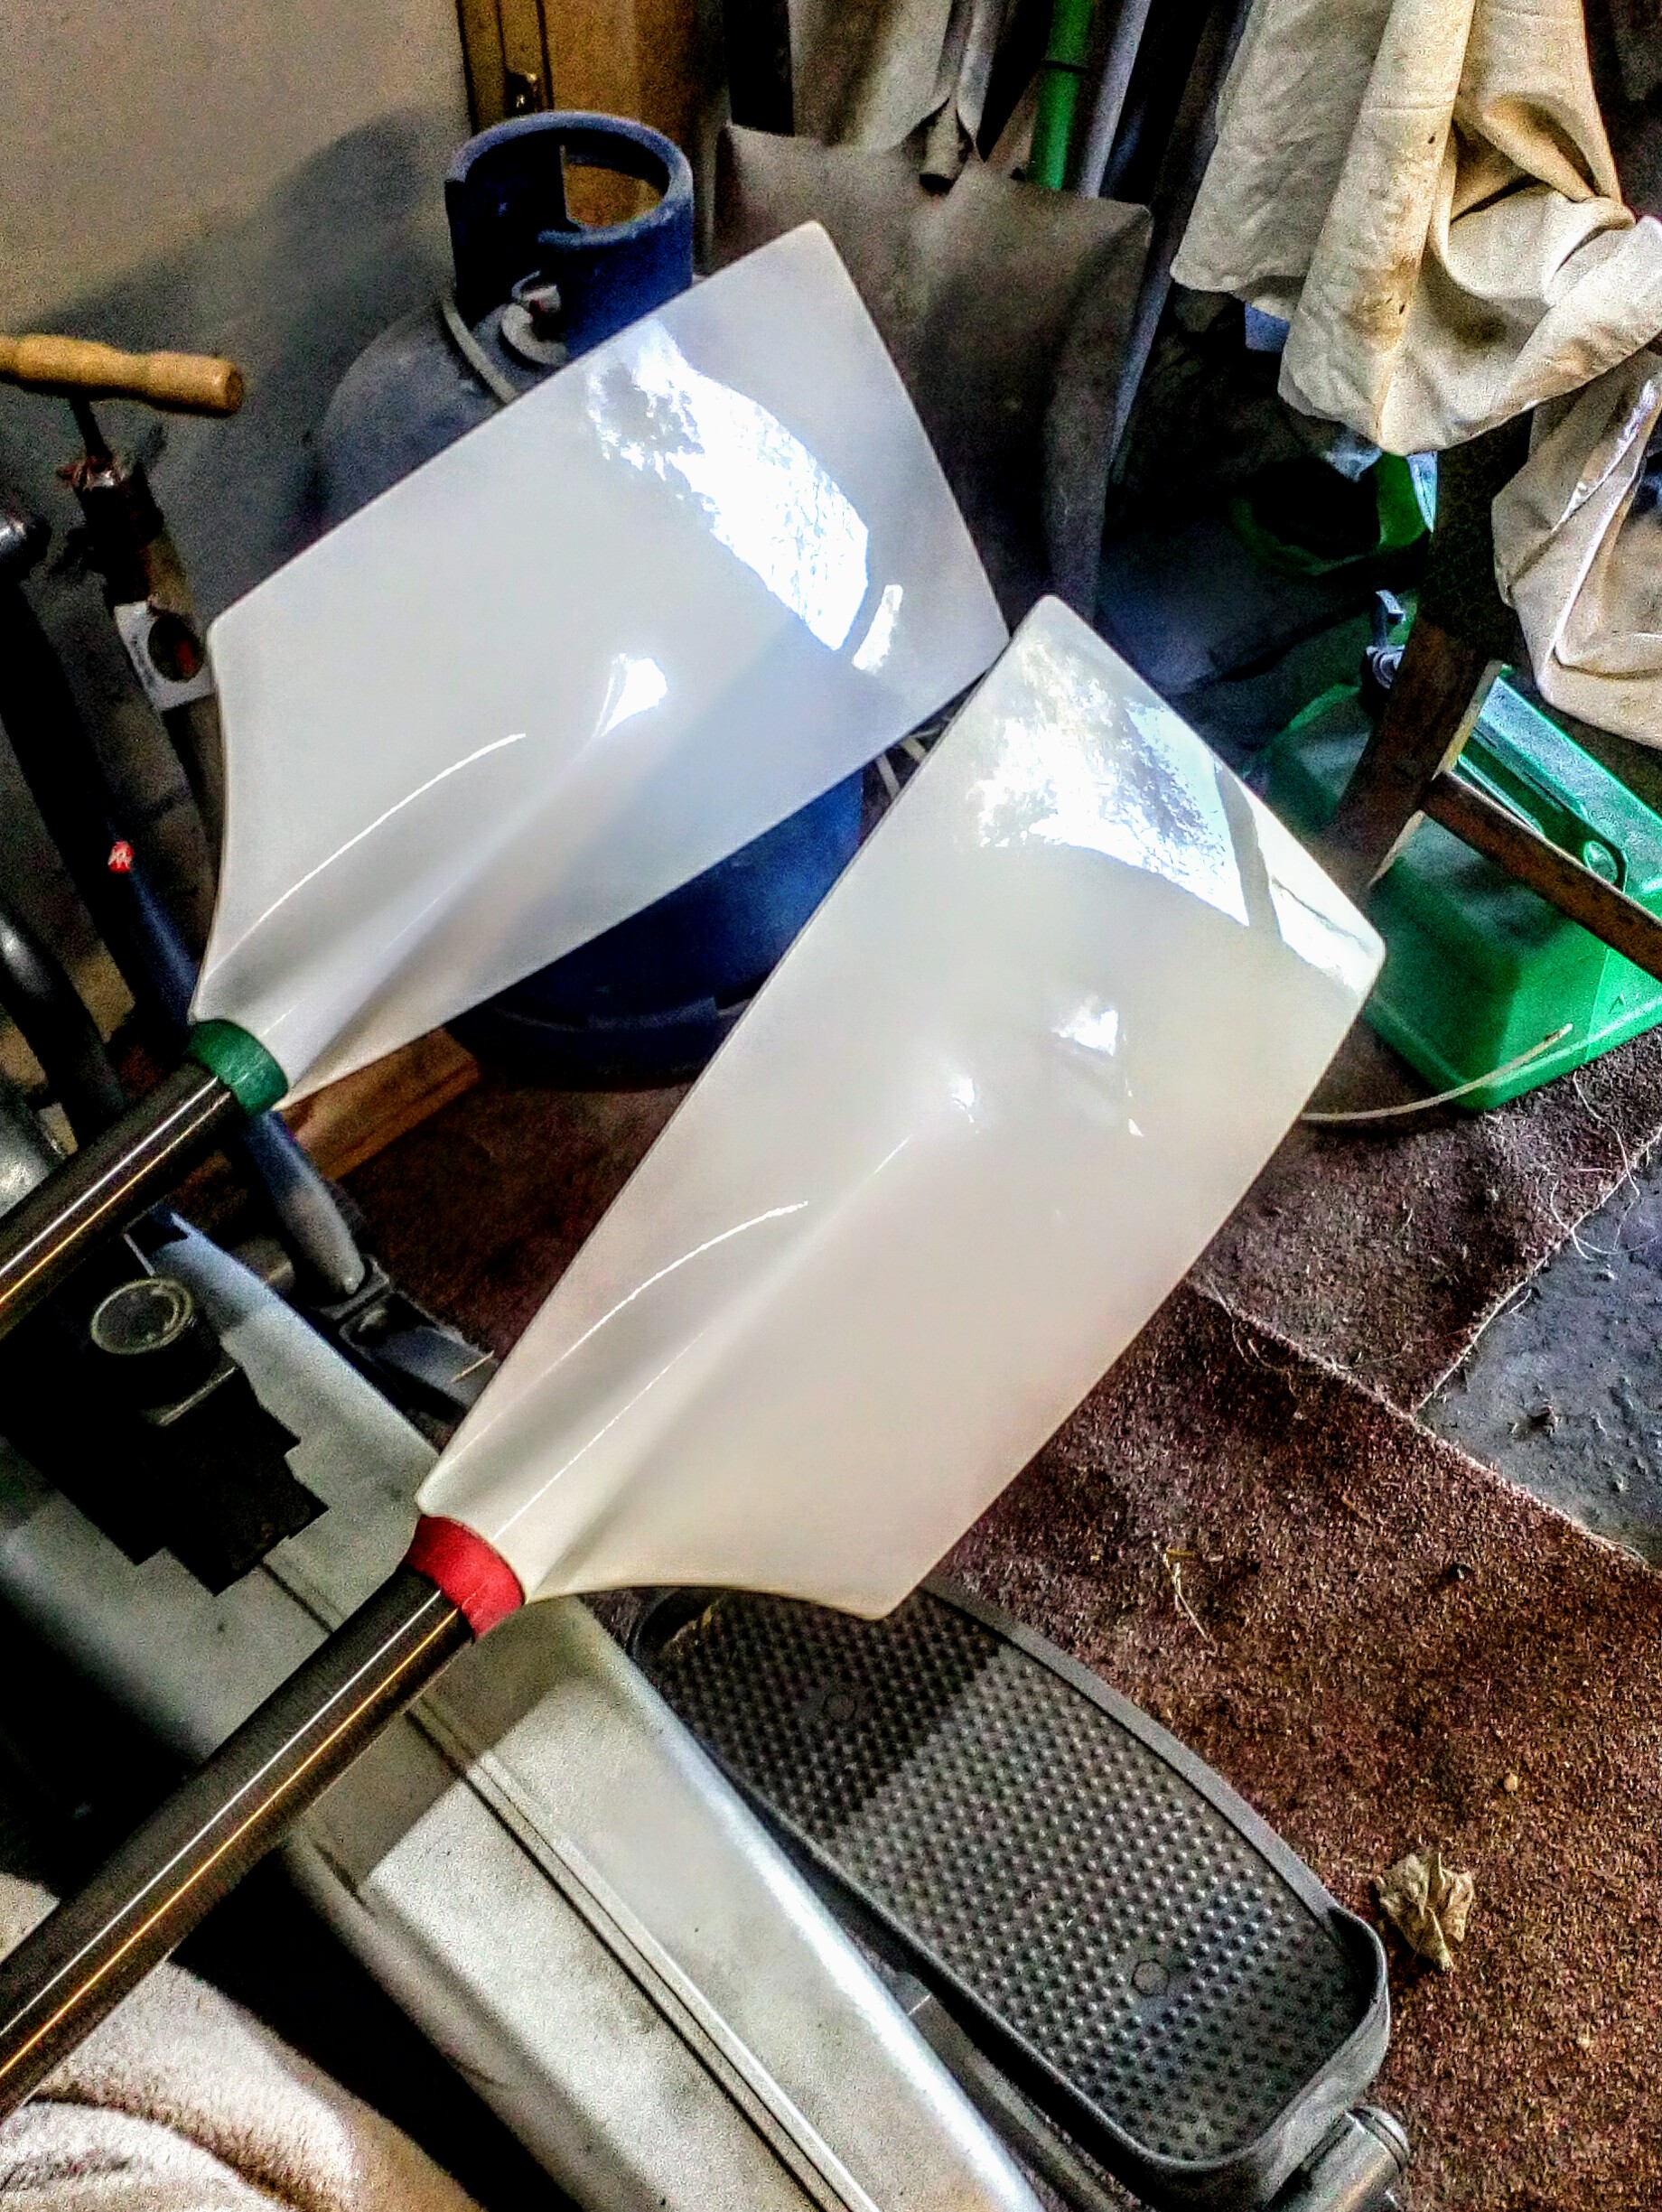
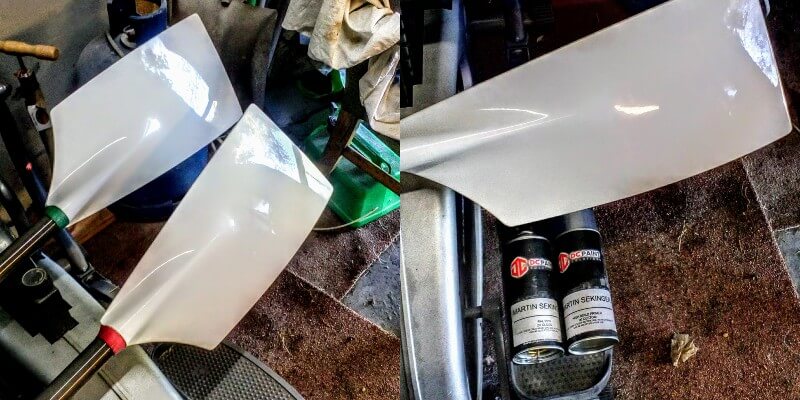
As this is a hardened product (which is unnecessary to lacquer after), apply 2-3 generous coats and leave to cure for an hour between coats. Once you are satisfied with the final paint, leave it to fully cure for at least 24 hours. You can apply decals and other paraphernalia after the project has fully cured.
Once again, thanks to Martin for sending us some pictures of the project. We were ecstatic that your daughter appreciated all your hard work, and we look forward to the next challenge. Onwards to the next project…