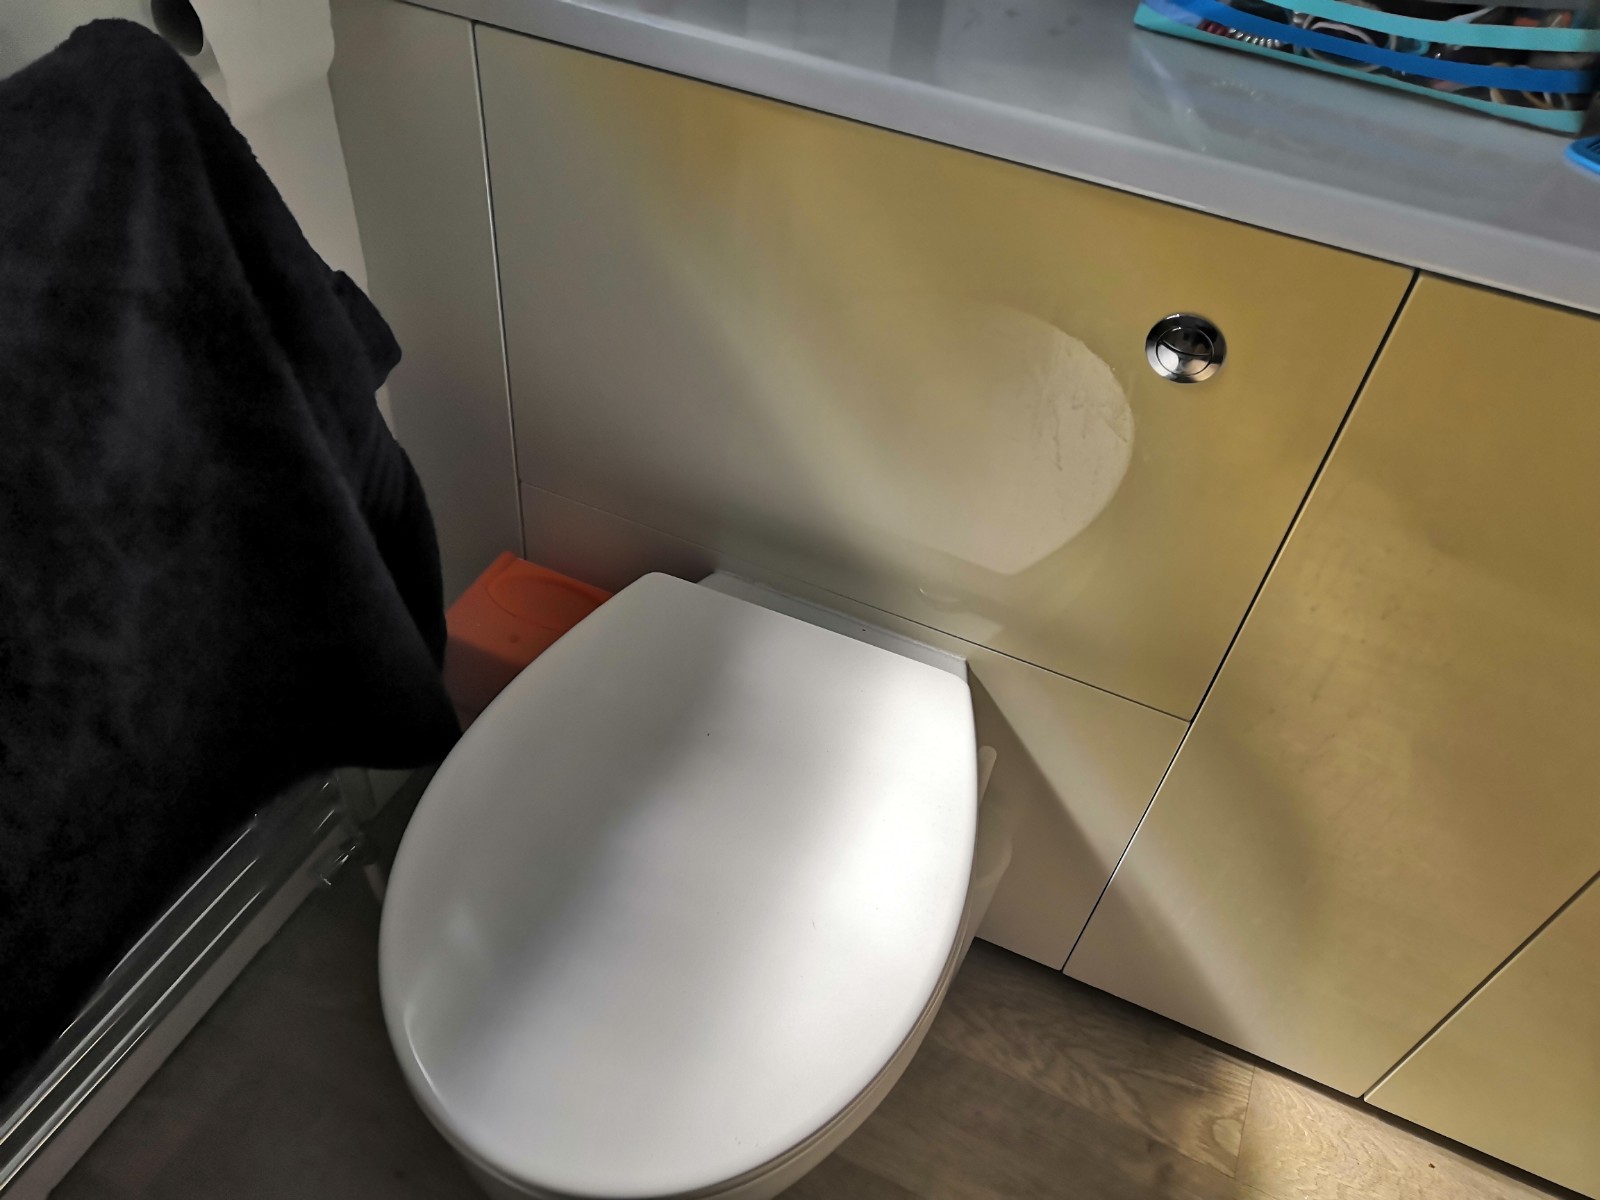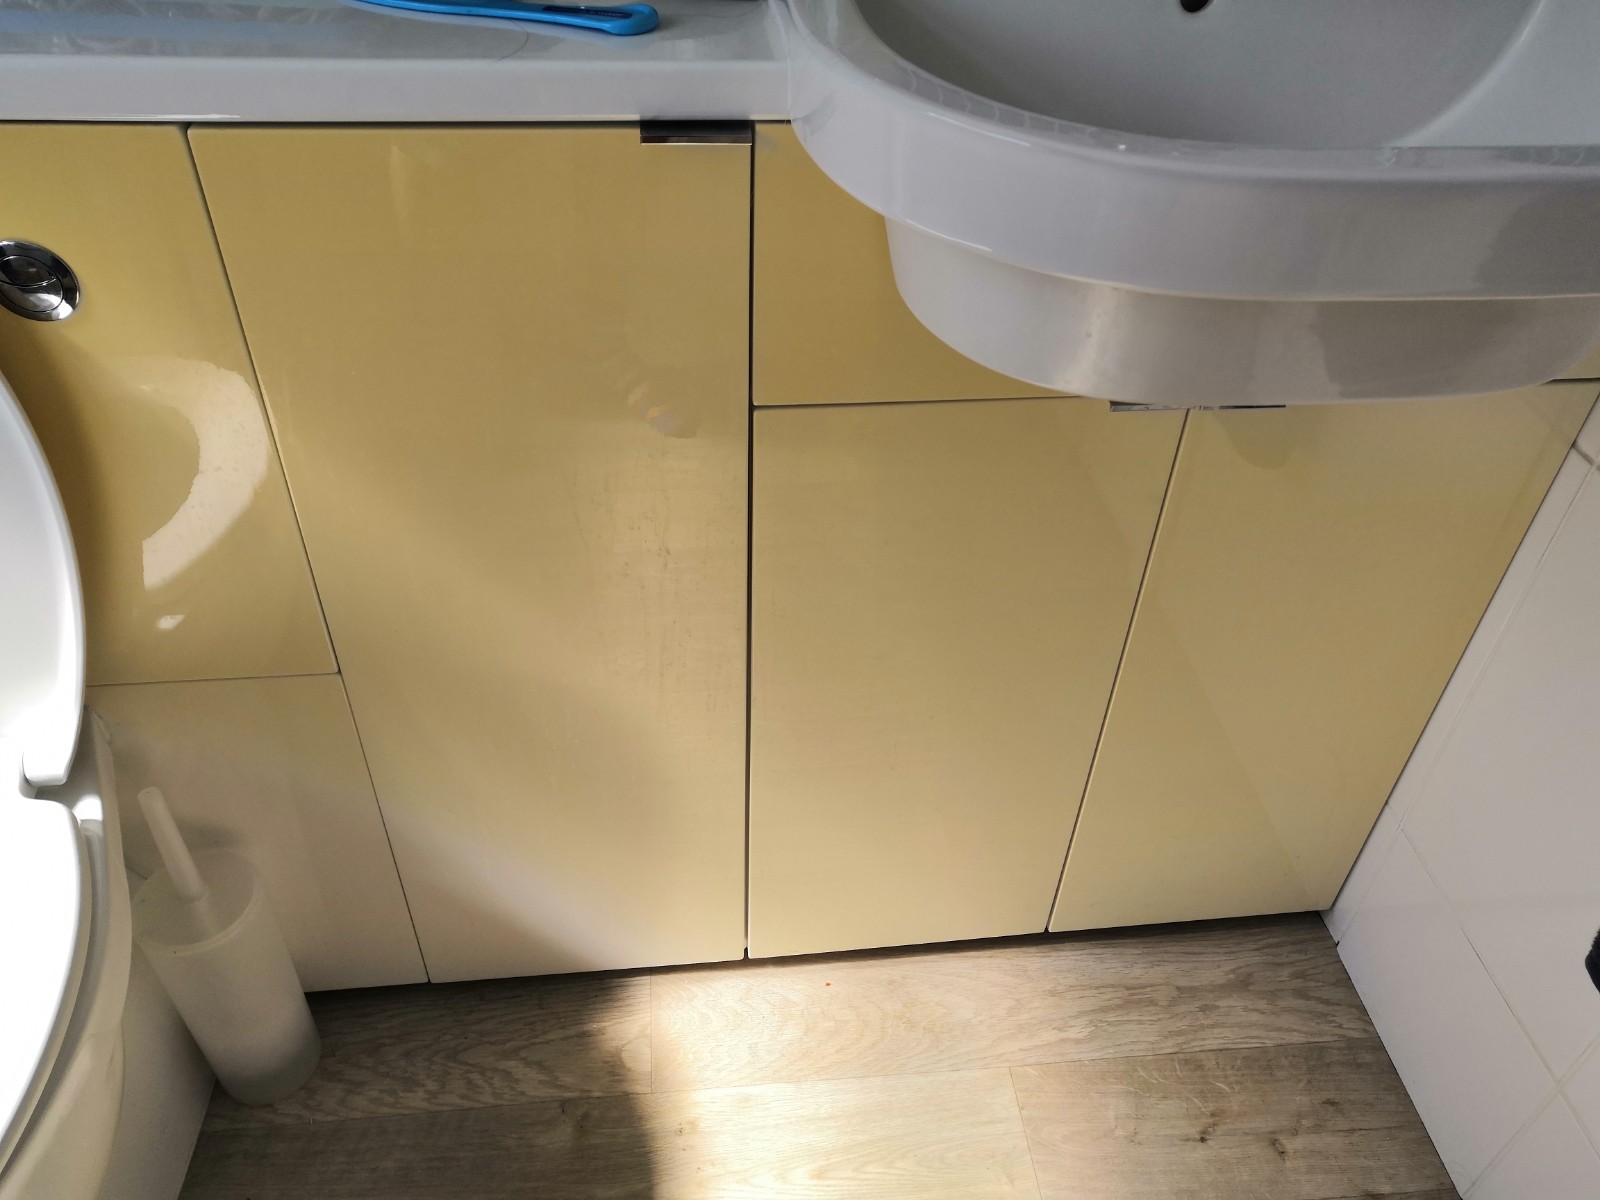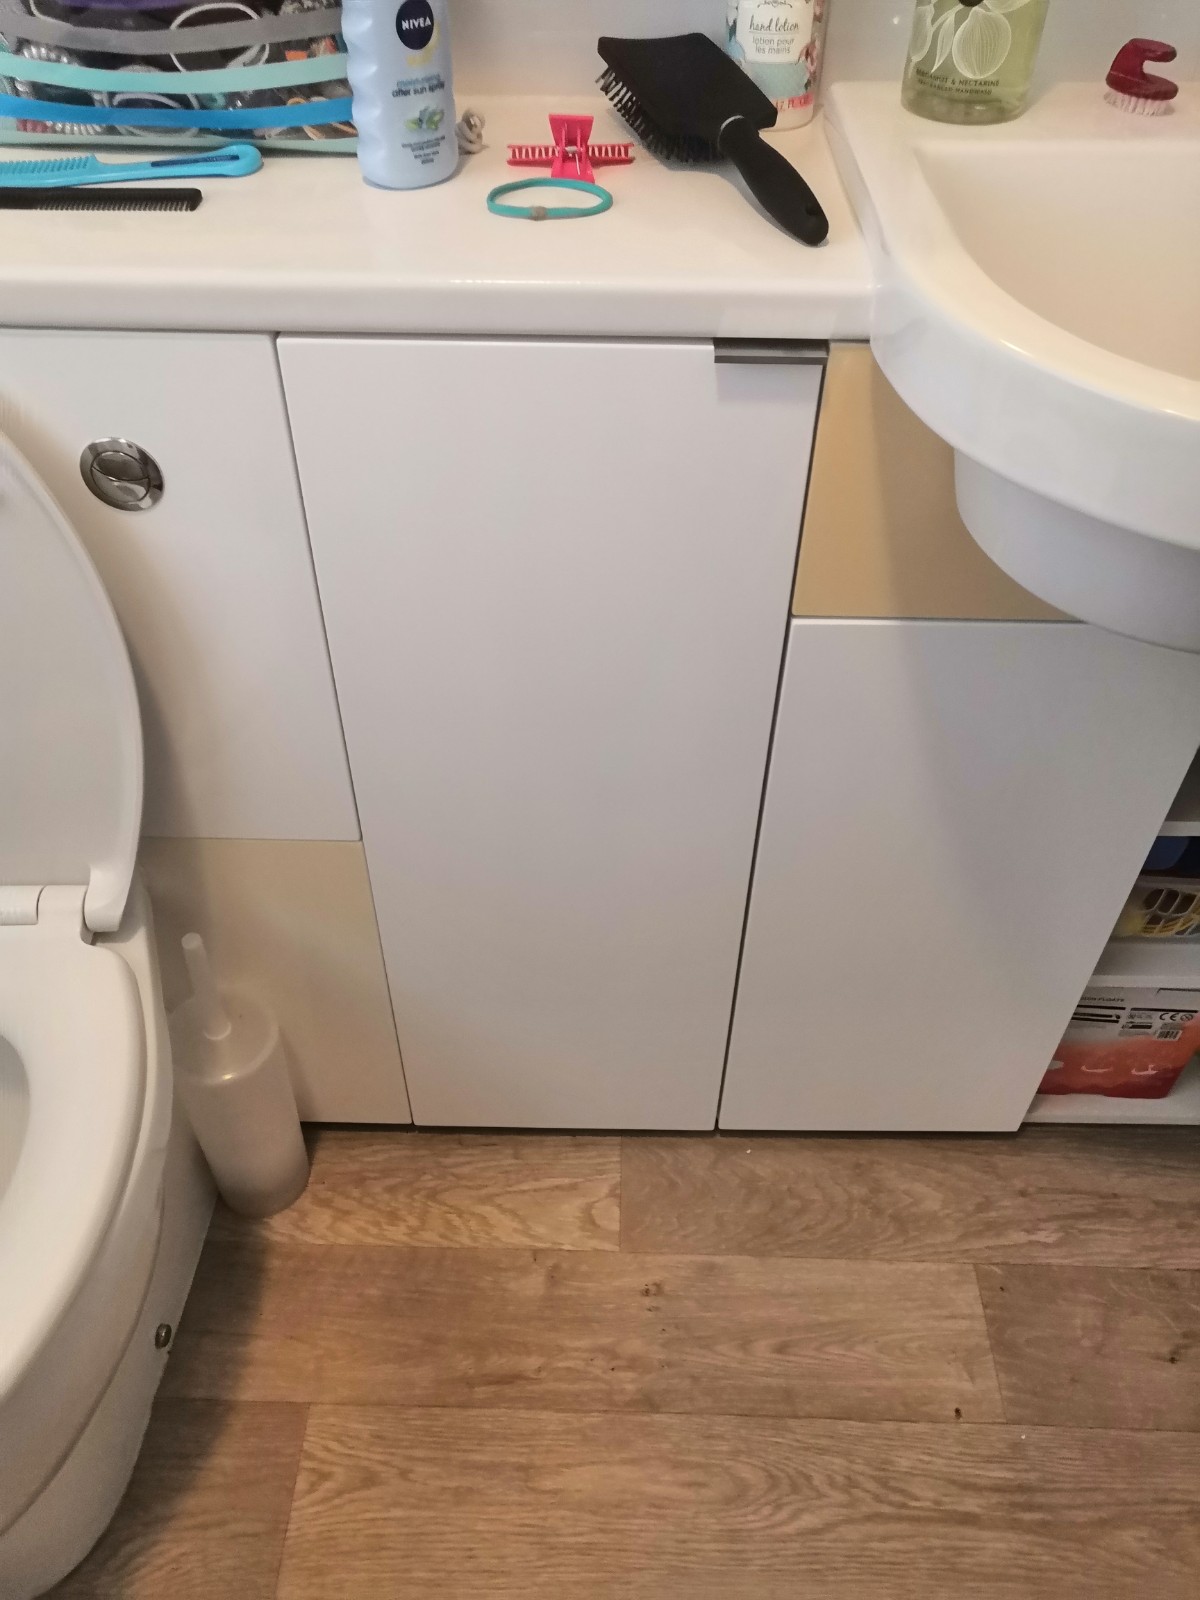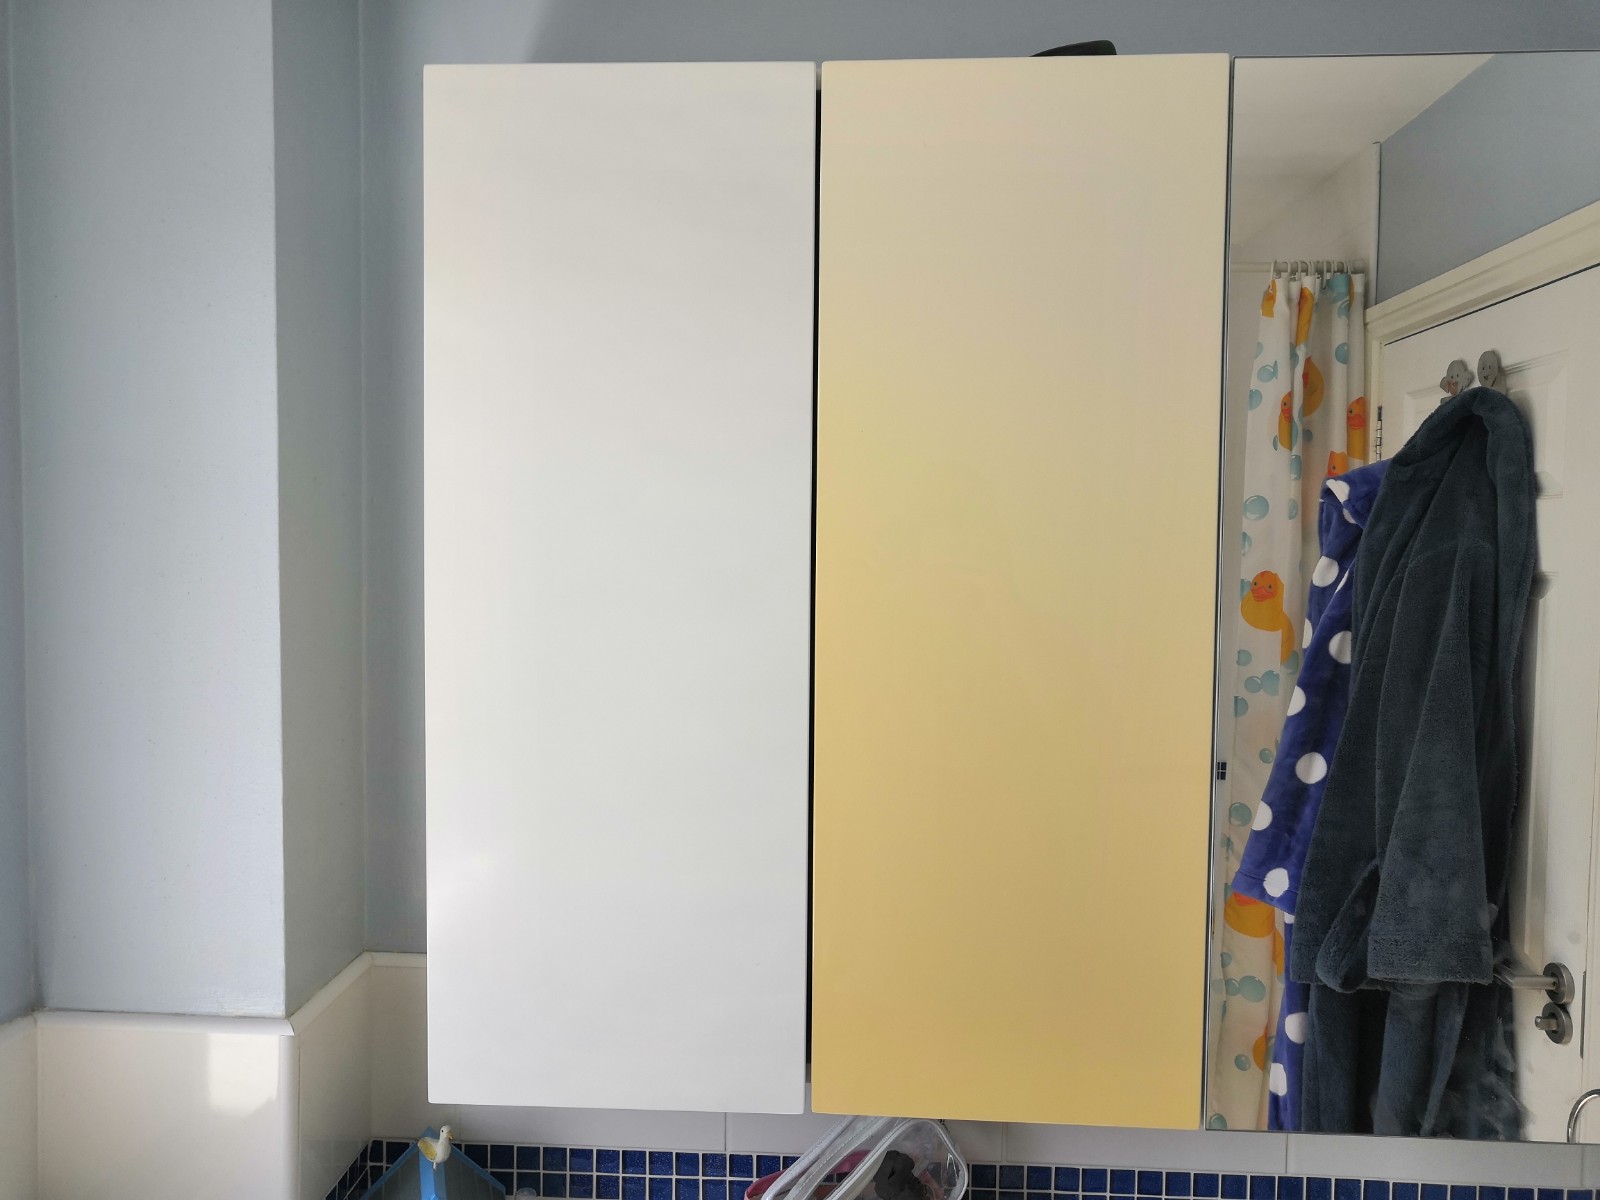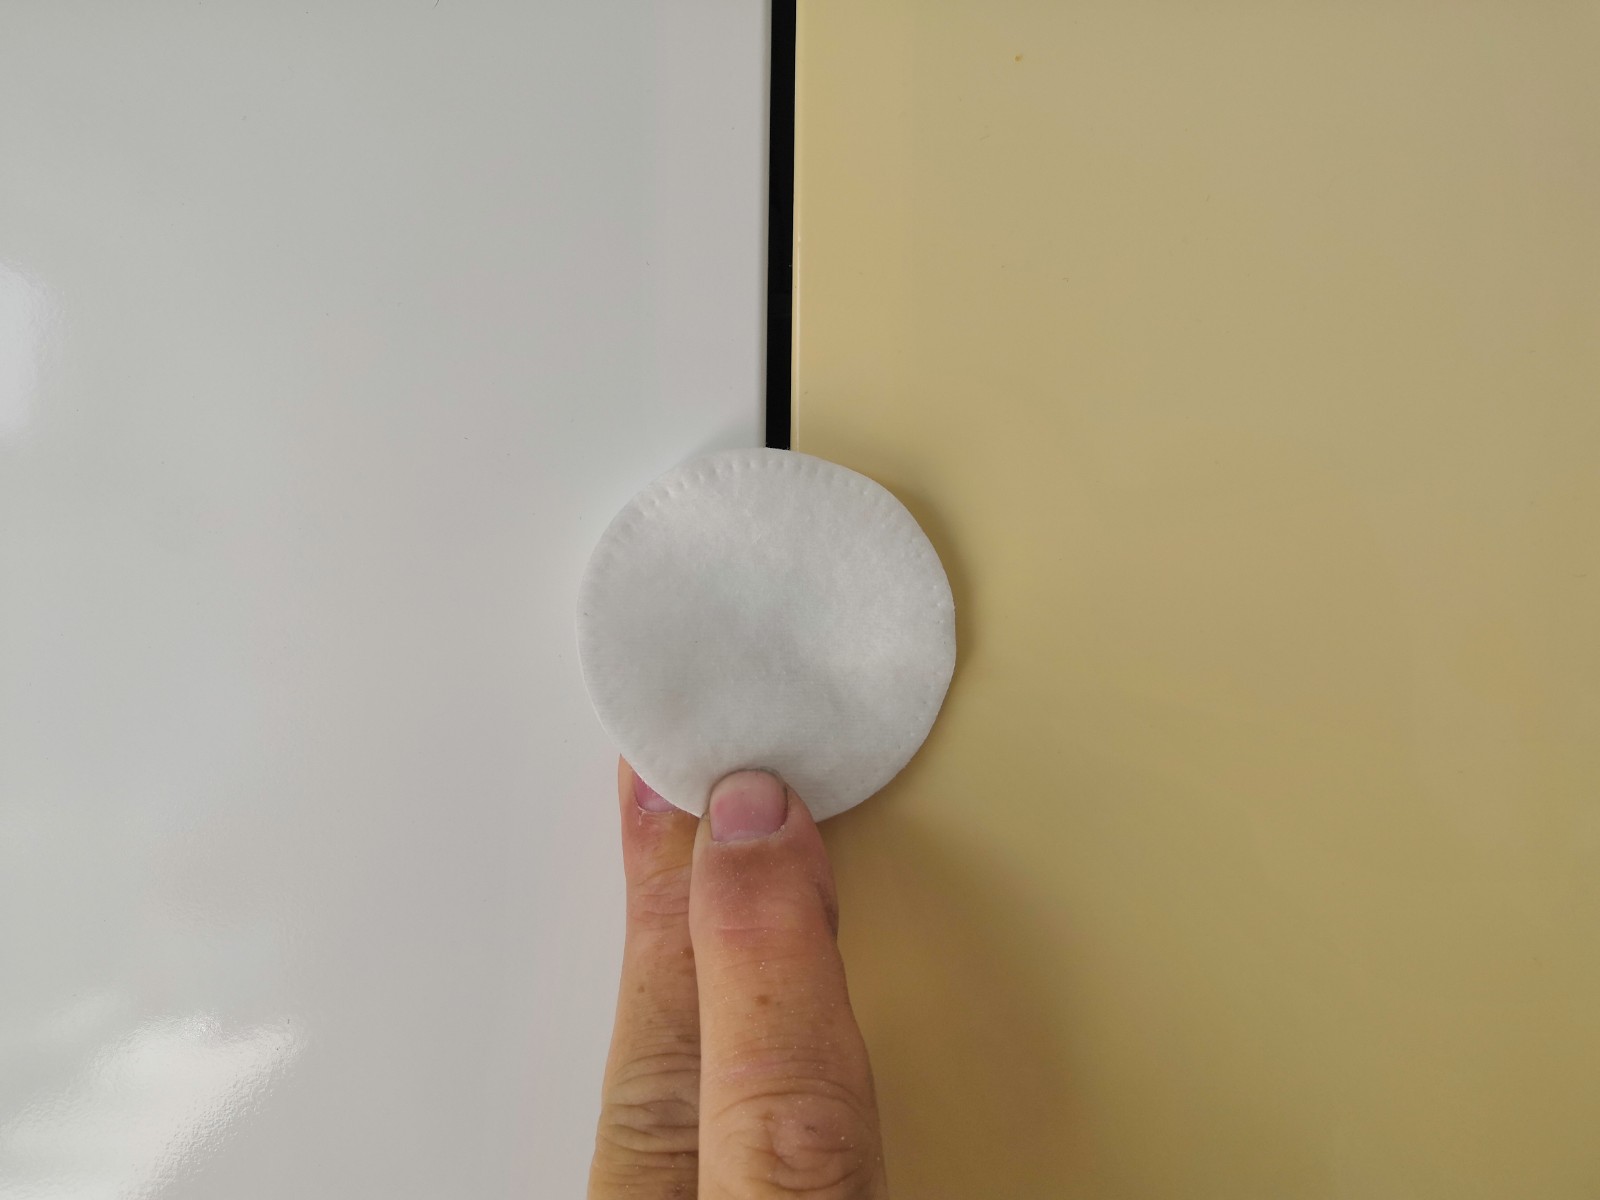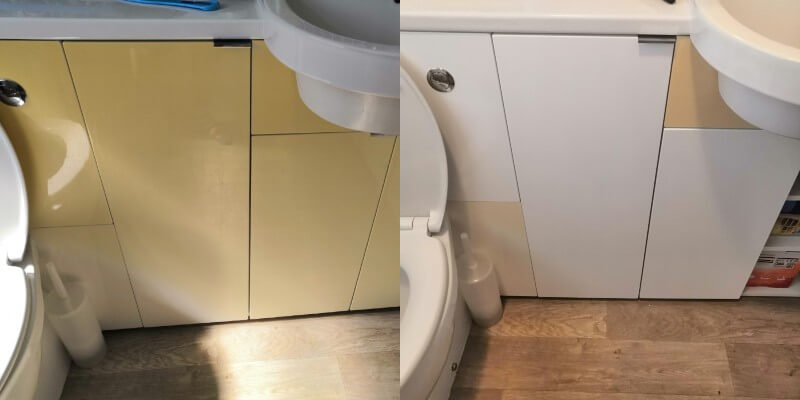
Jon called us with the plan of refurbishing his fitted bathroom rather than replacing it. We discussed the options and a few alternatives for paint and settled on the HD/AC primer paint due to its particular properties. Jon sent us a sample to colour match, and we sent out the relevant paint for his project.
Tool List:
- HD/AC Primer Paint (RAL 9910)
- Degreaser
- Grey Scotch
- Masking Tape
- Masking Paper
Preparing The Surface:
Firstly you must always correctly prep the area you are painting. To do this, key down the surfaces with some grey scotch. Once you have lightly sanded (keyed) the substrate, clean all dust and debris with some degreaser. This will remove any particulate and any chemical residues.
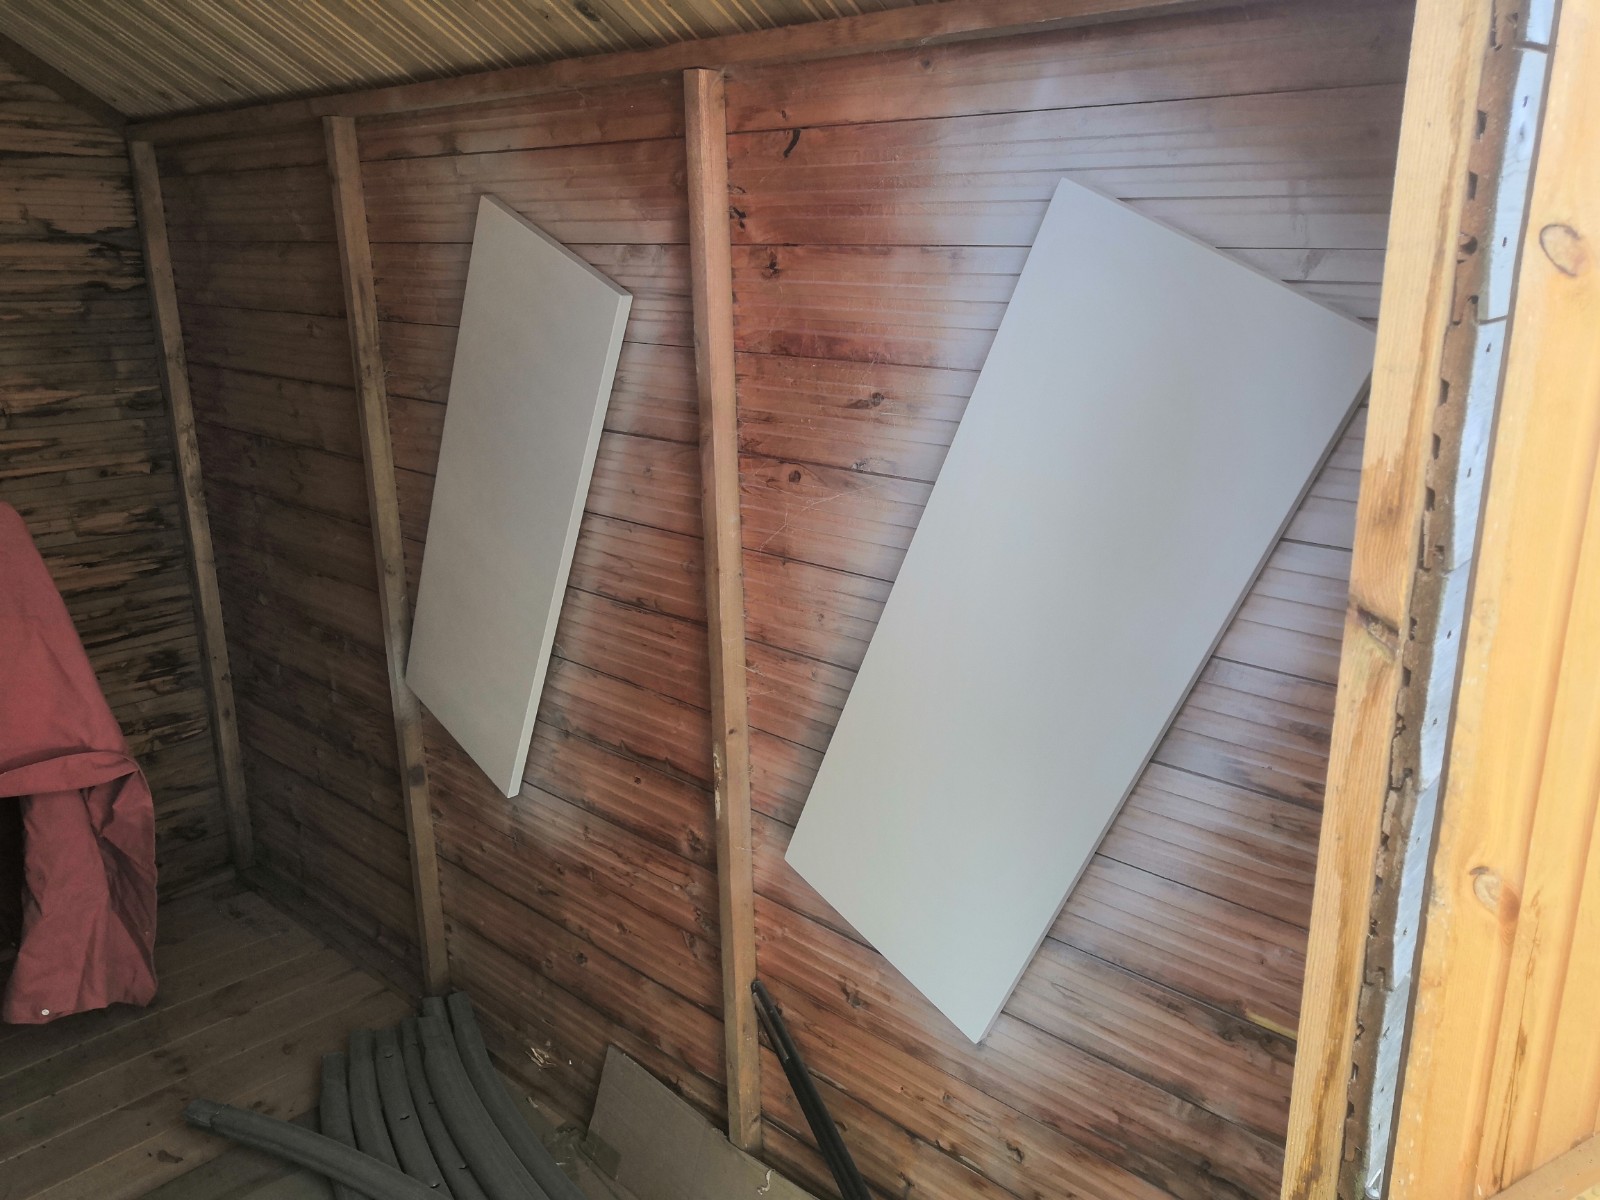
Leave the degreaser to evaporate, then mask off any areas you do not want to get paint on and a dust sheet down to protect the floors.
The Painting Process:
Wait until the degreaser has fully evaporated before painting.
TOP TIP: Ensure the paint is at room temperature before spraying, and always test the paint on a piece of paper or card before you spray onto the intended substrate.
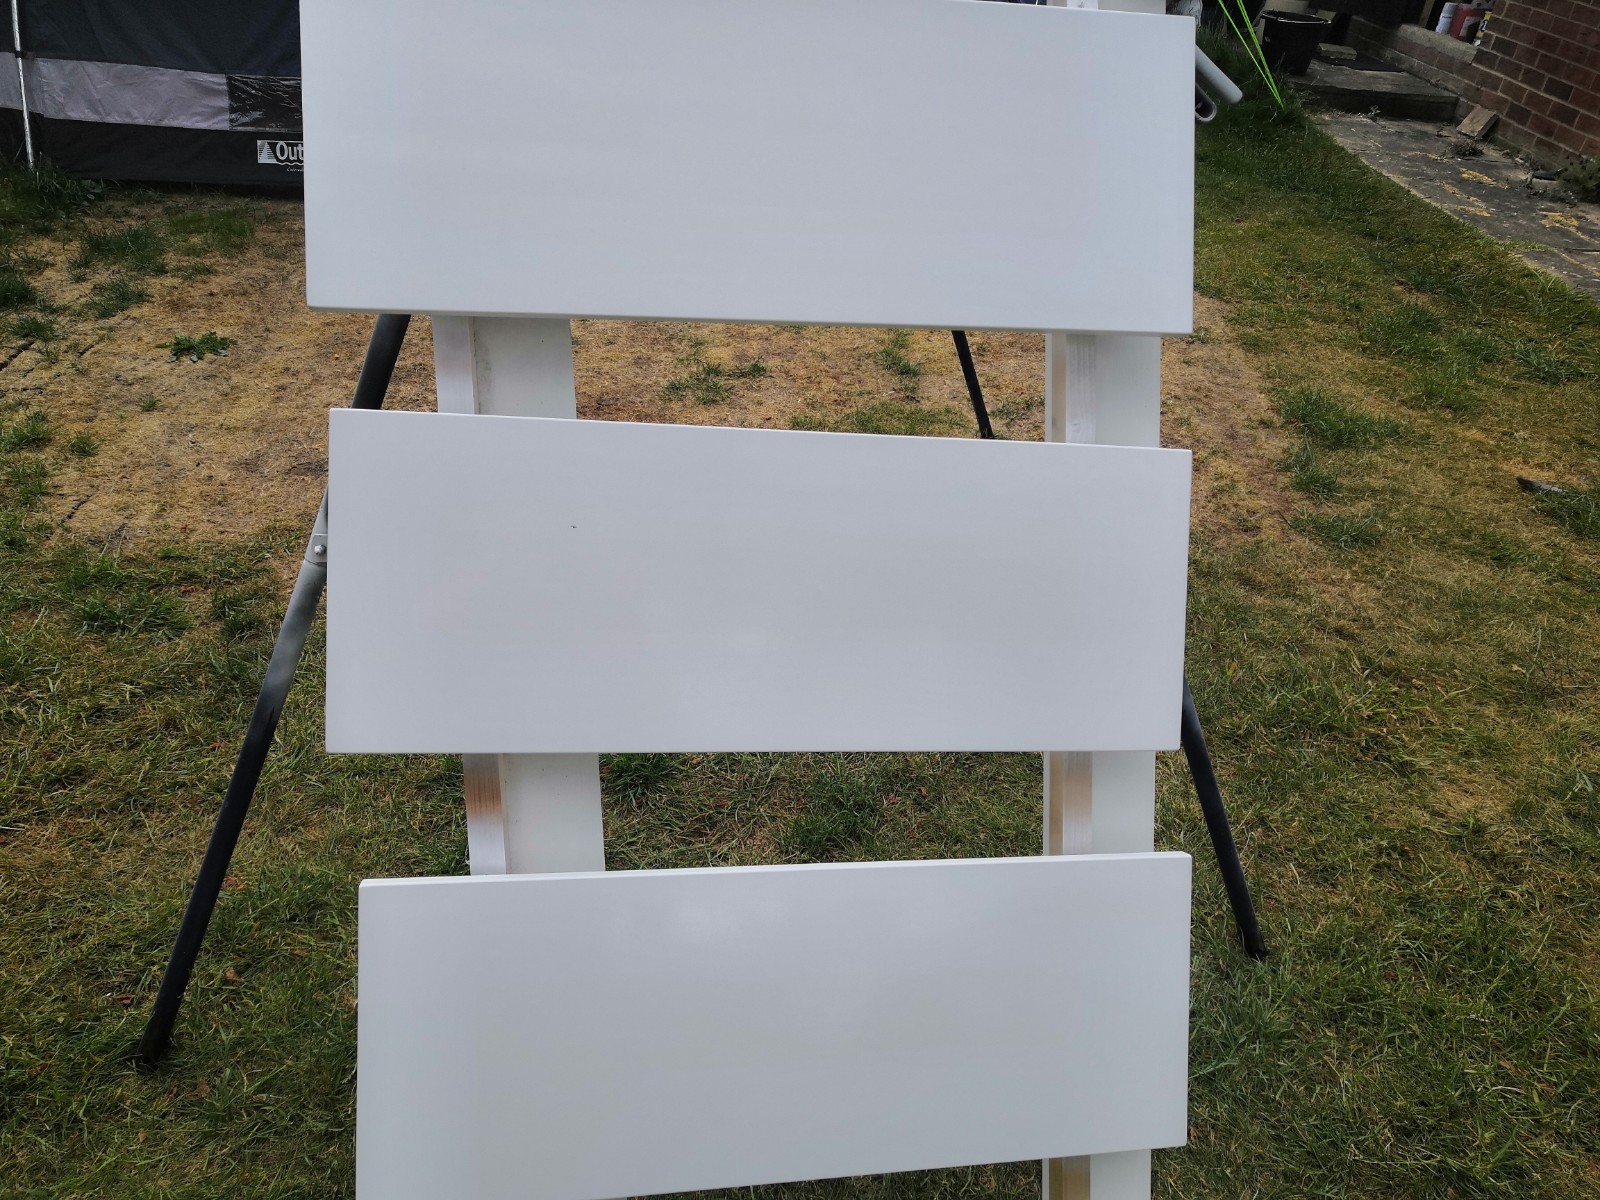
You can make your passes from left to right, up and down or a combination of both. You can adjust the variflow nozzle at the front of the can for horizontal and vertical passes. Leave to cure for 30 minutes, depending on how heavy the coat is. The heavier your coats, the longer the drying times- 2 heavy coats or 4 light coats should be adequate.
Jon’s bathroom project turned out amazing, and we were happy to help. This turned out to be a fantastic way of refurbishing the bathroom as an affordable option – thanks, Jon.