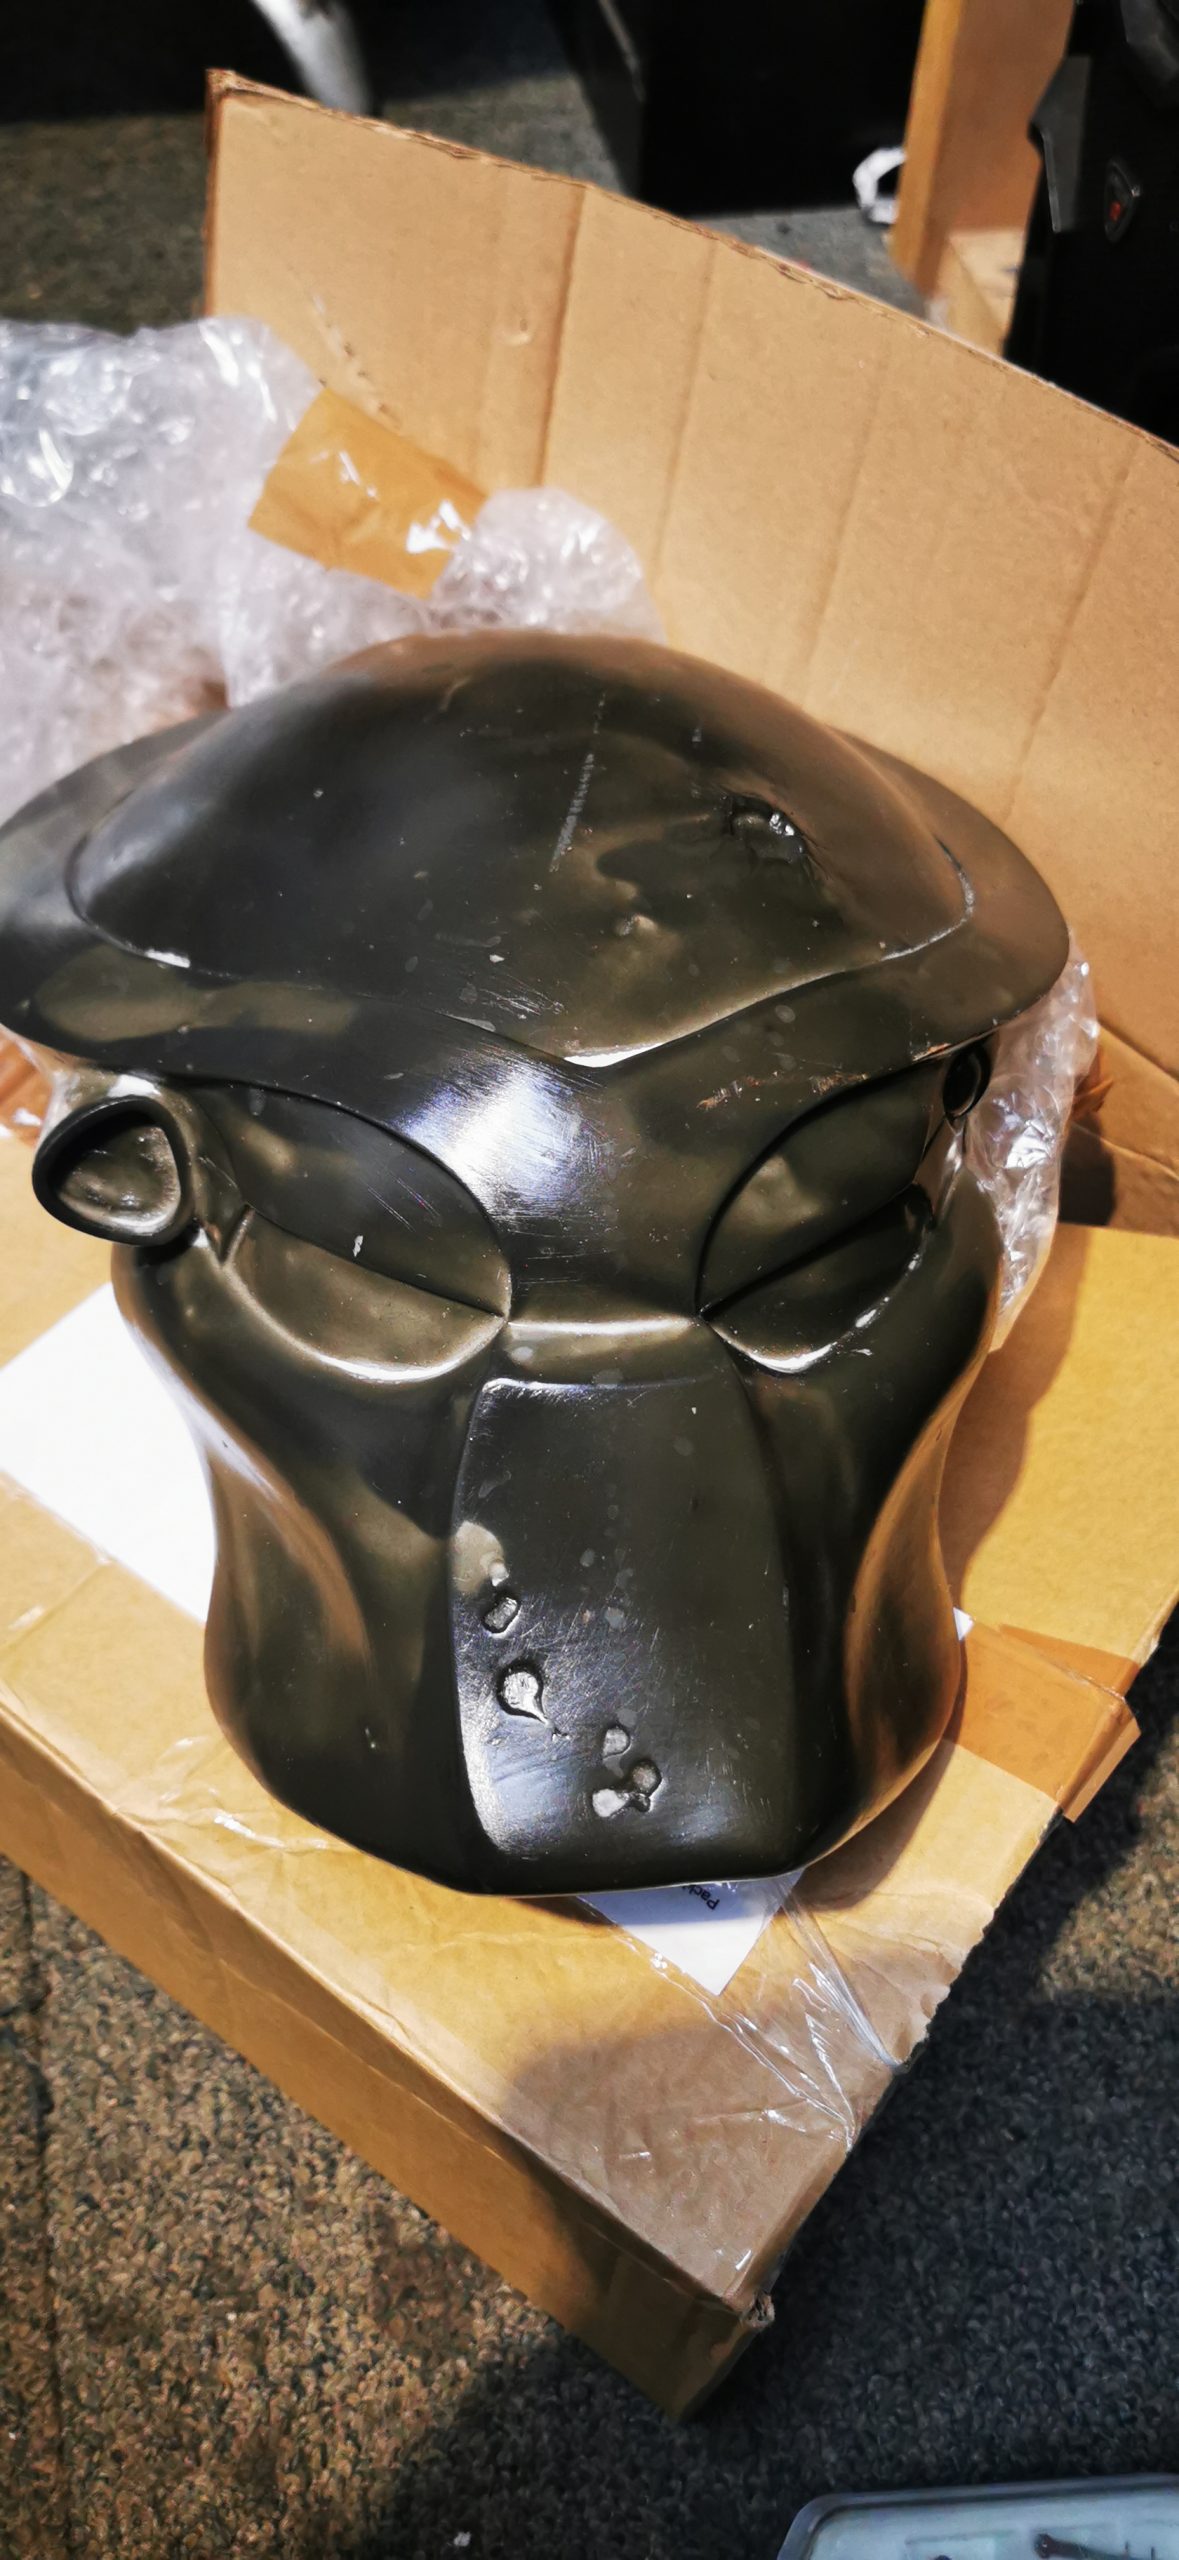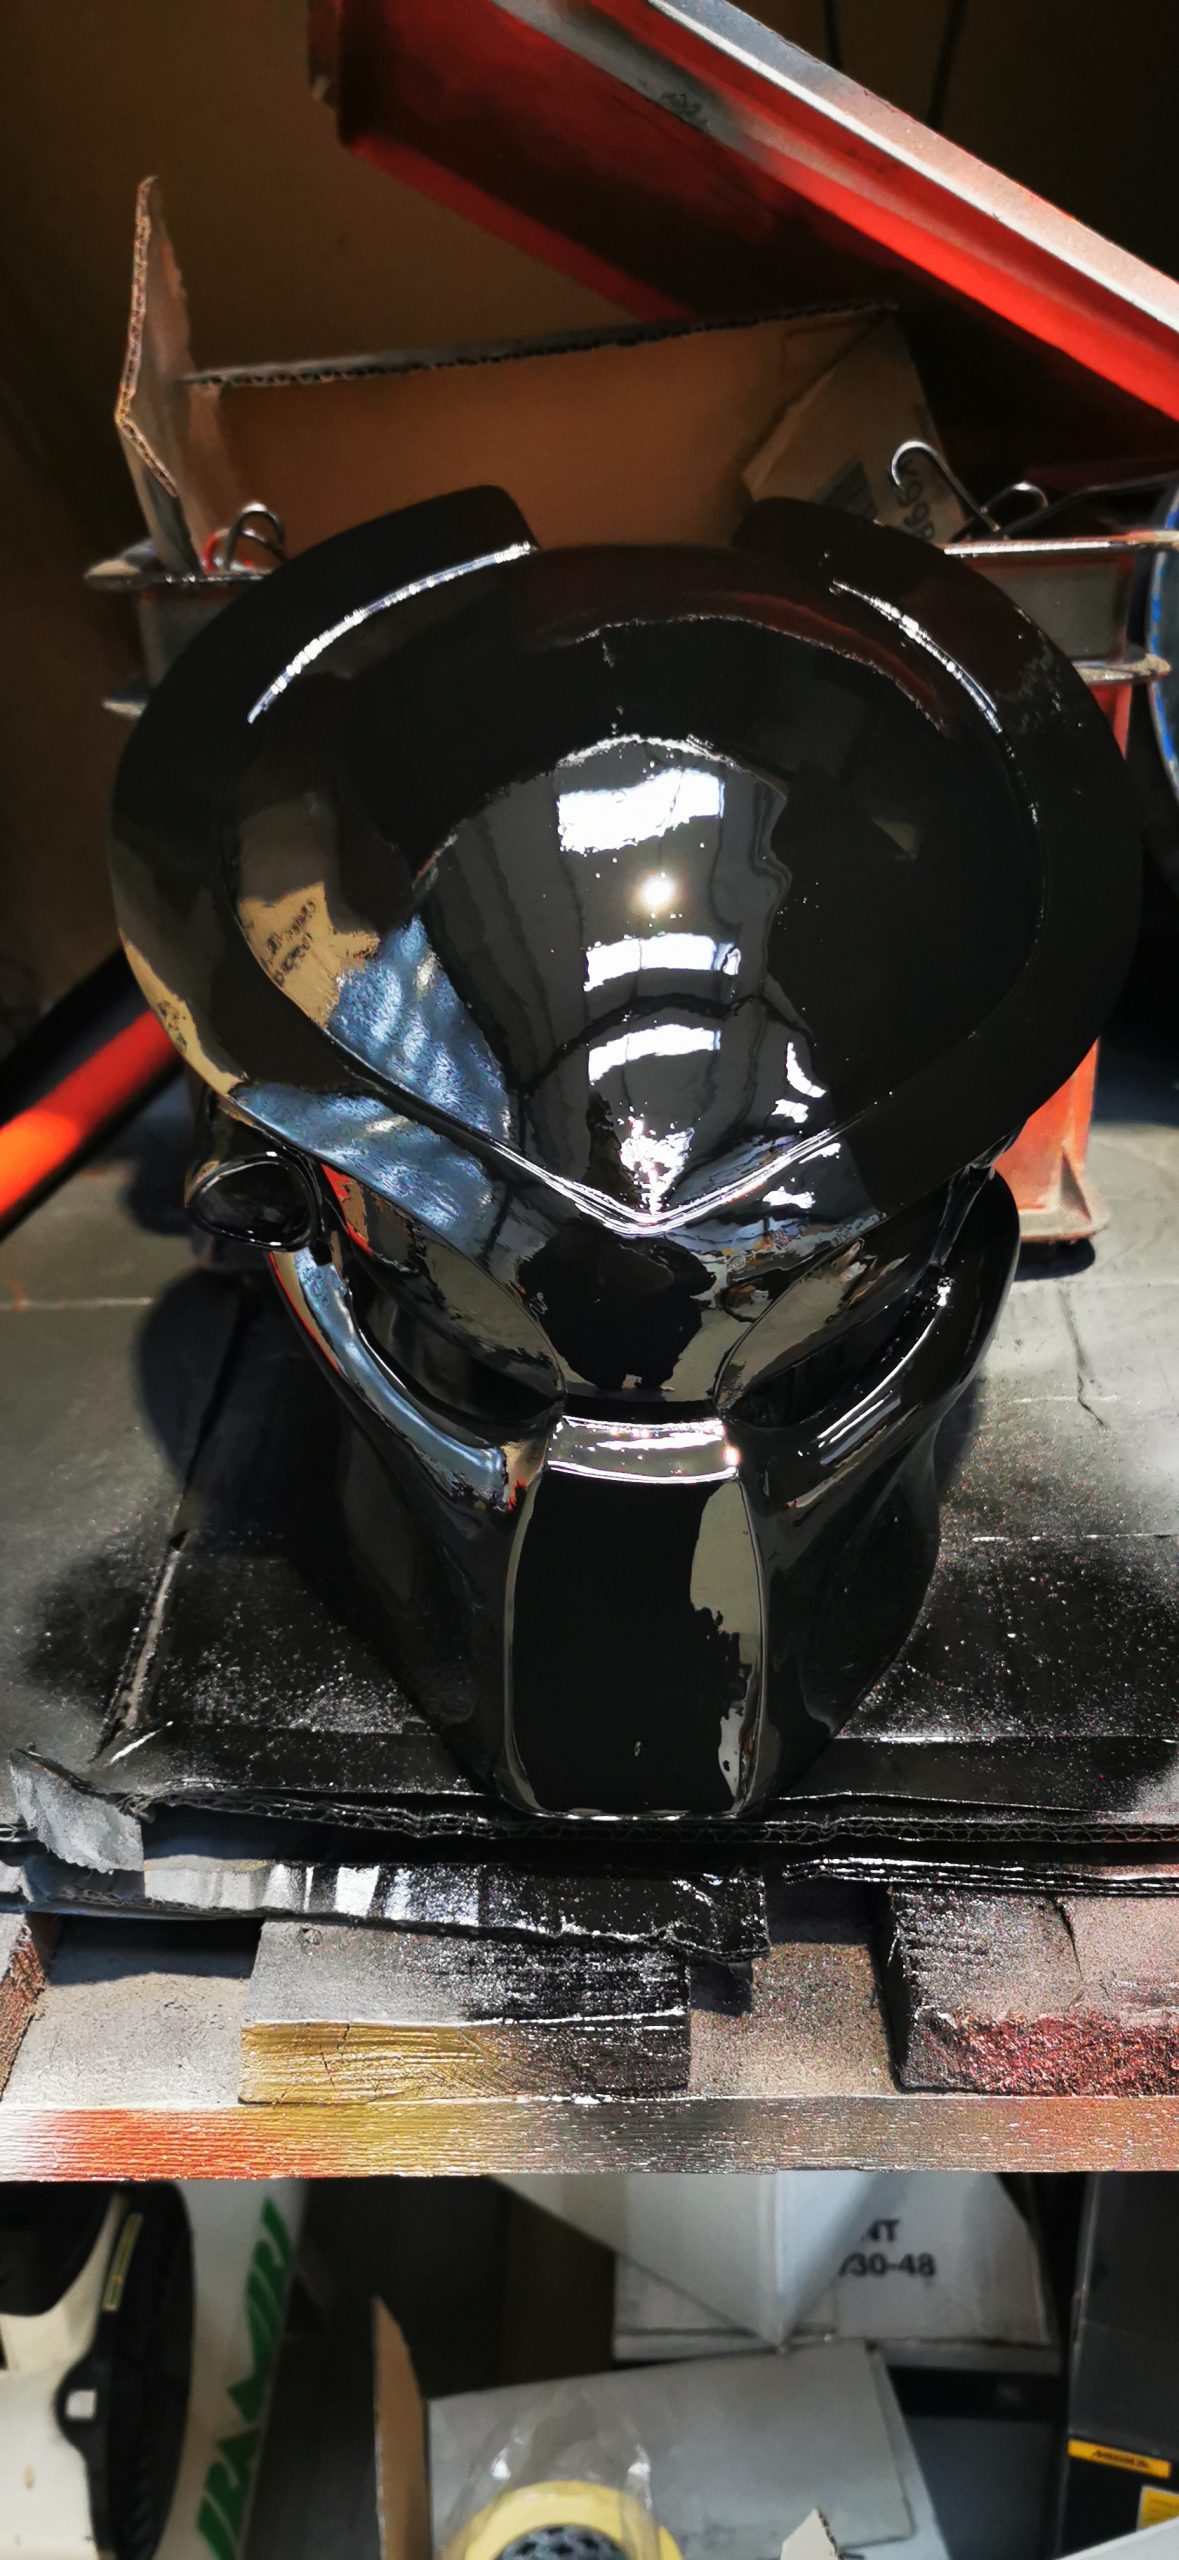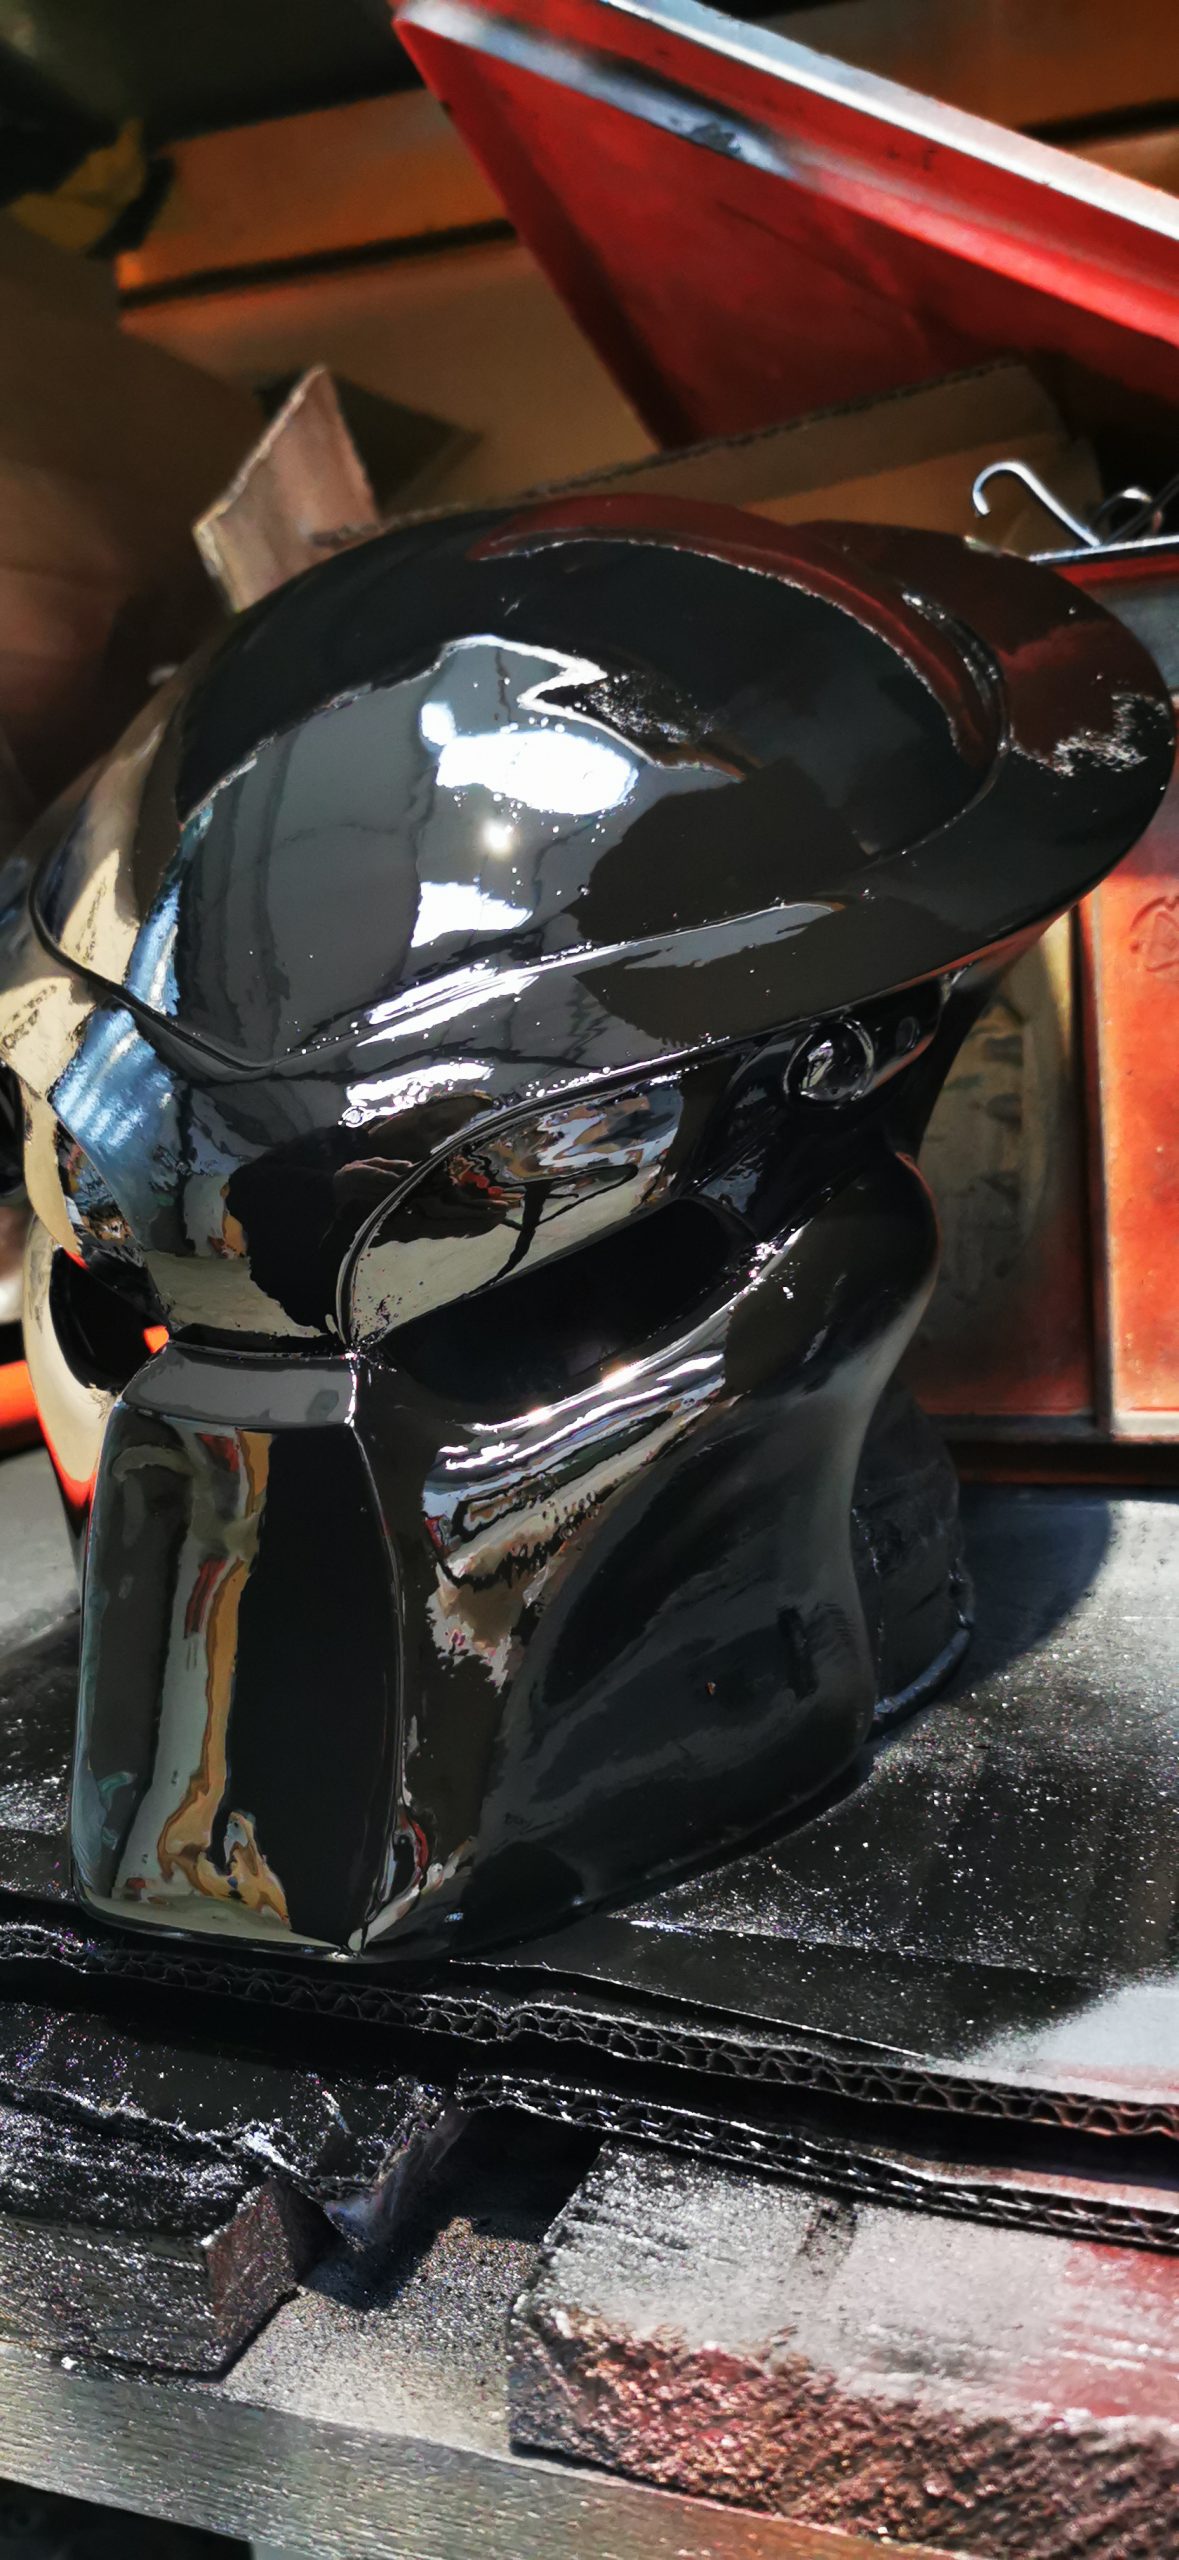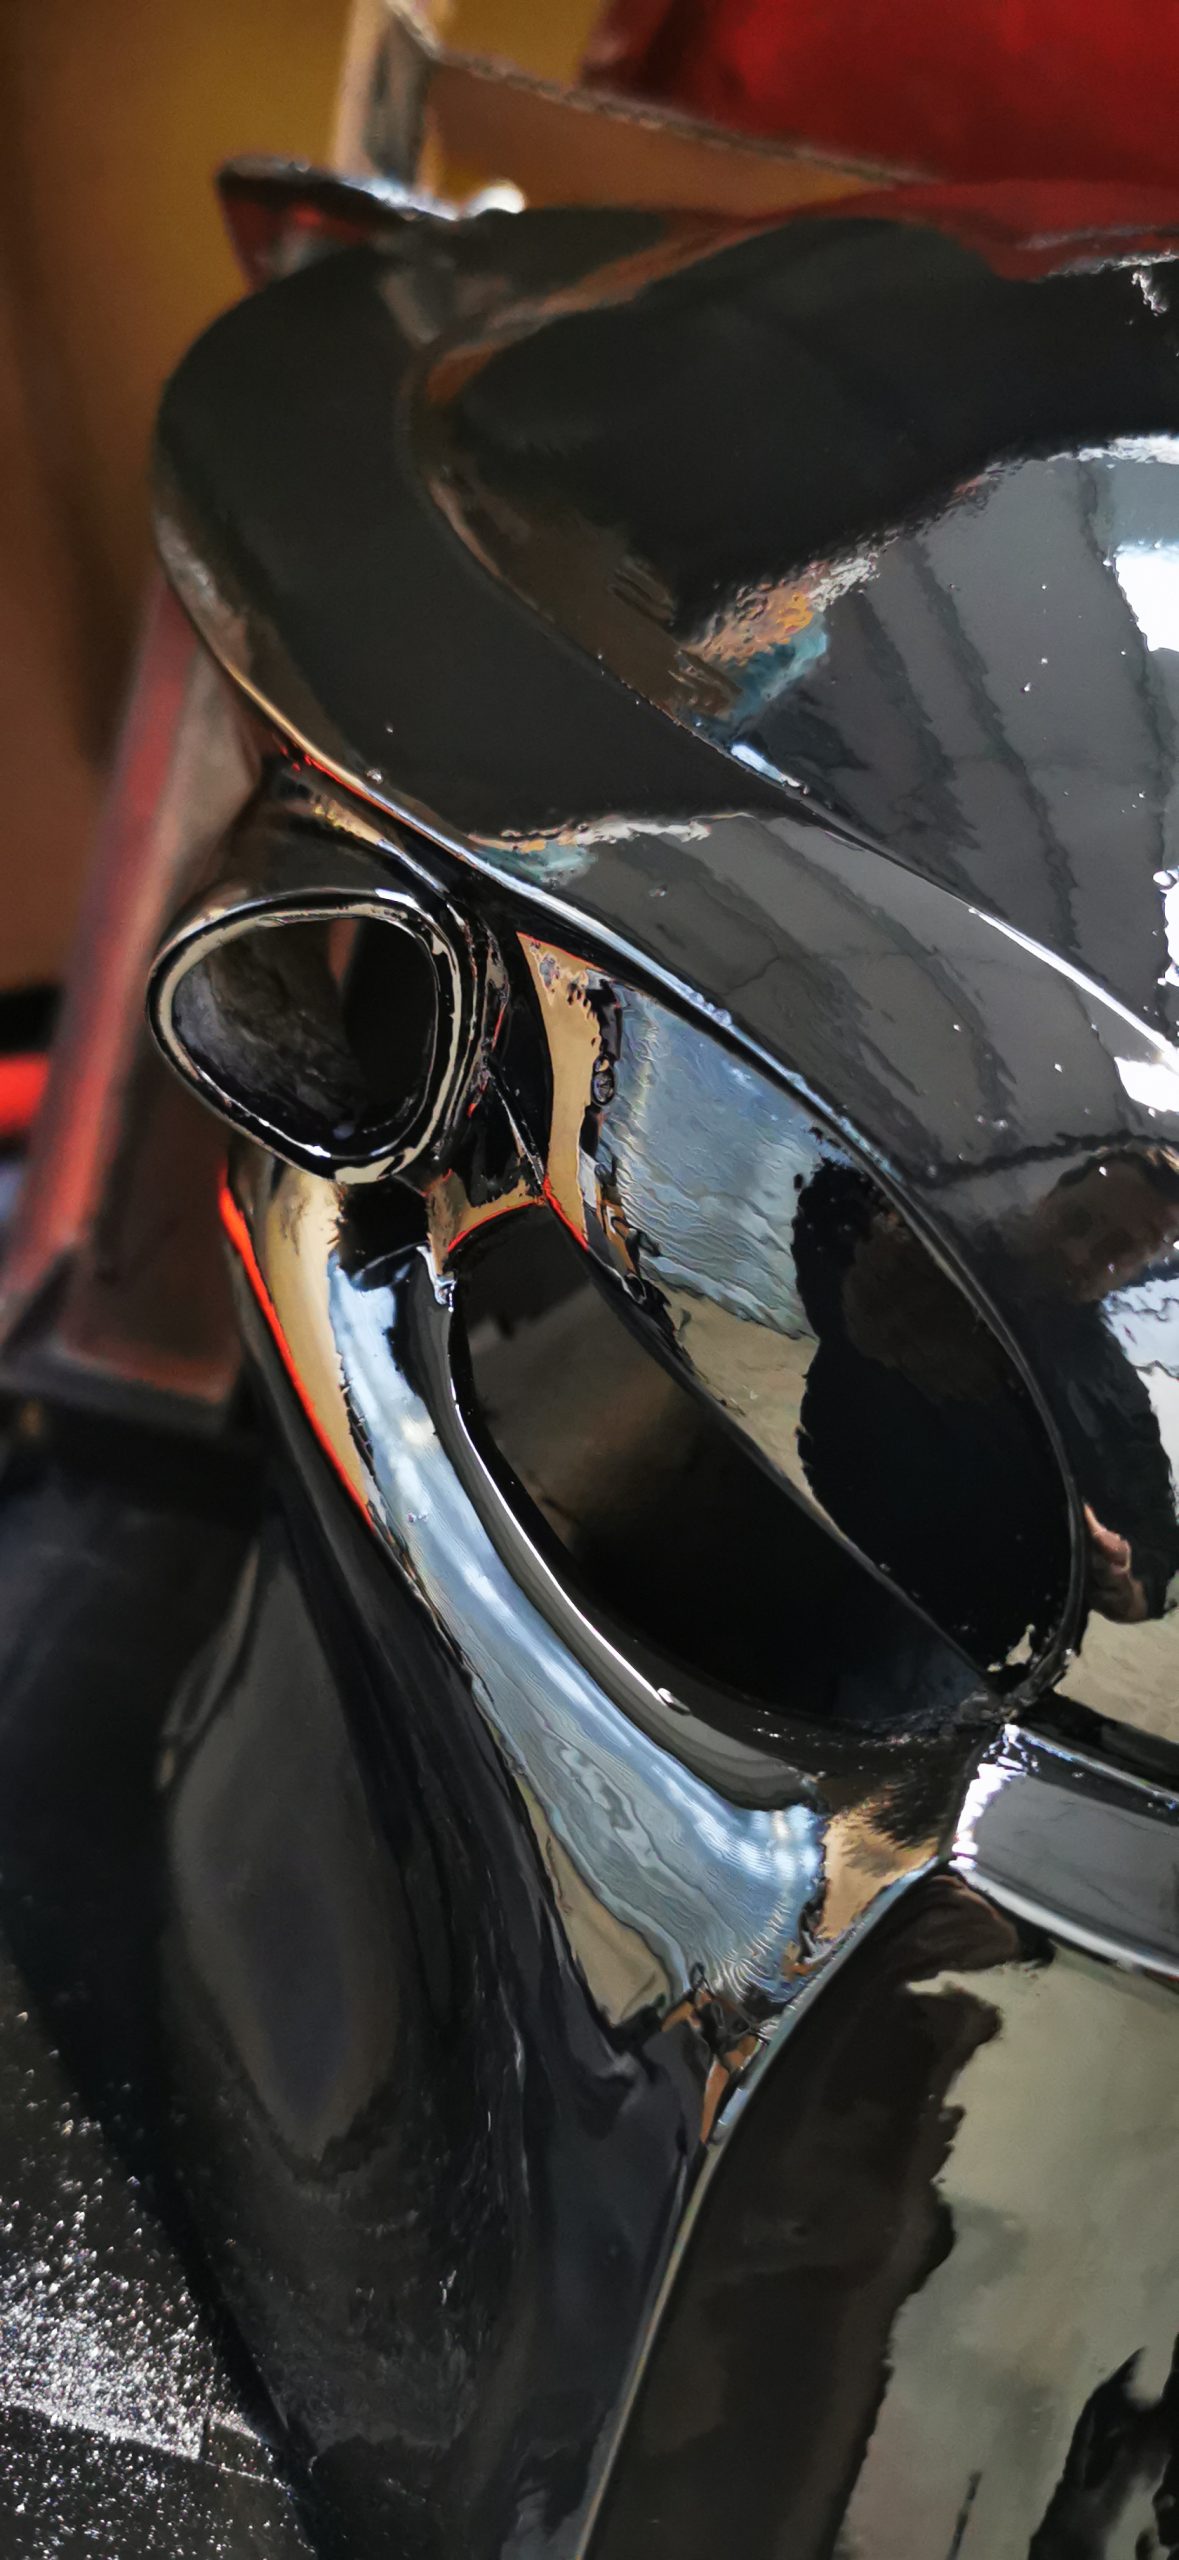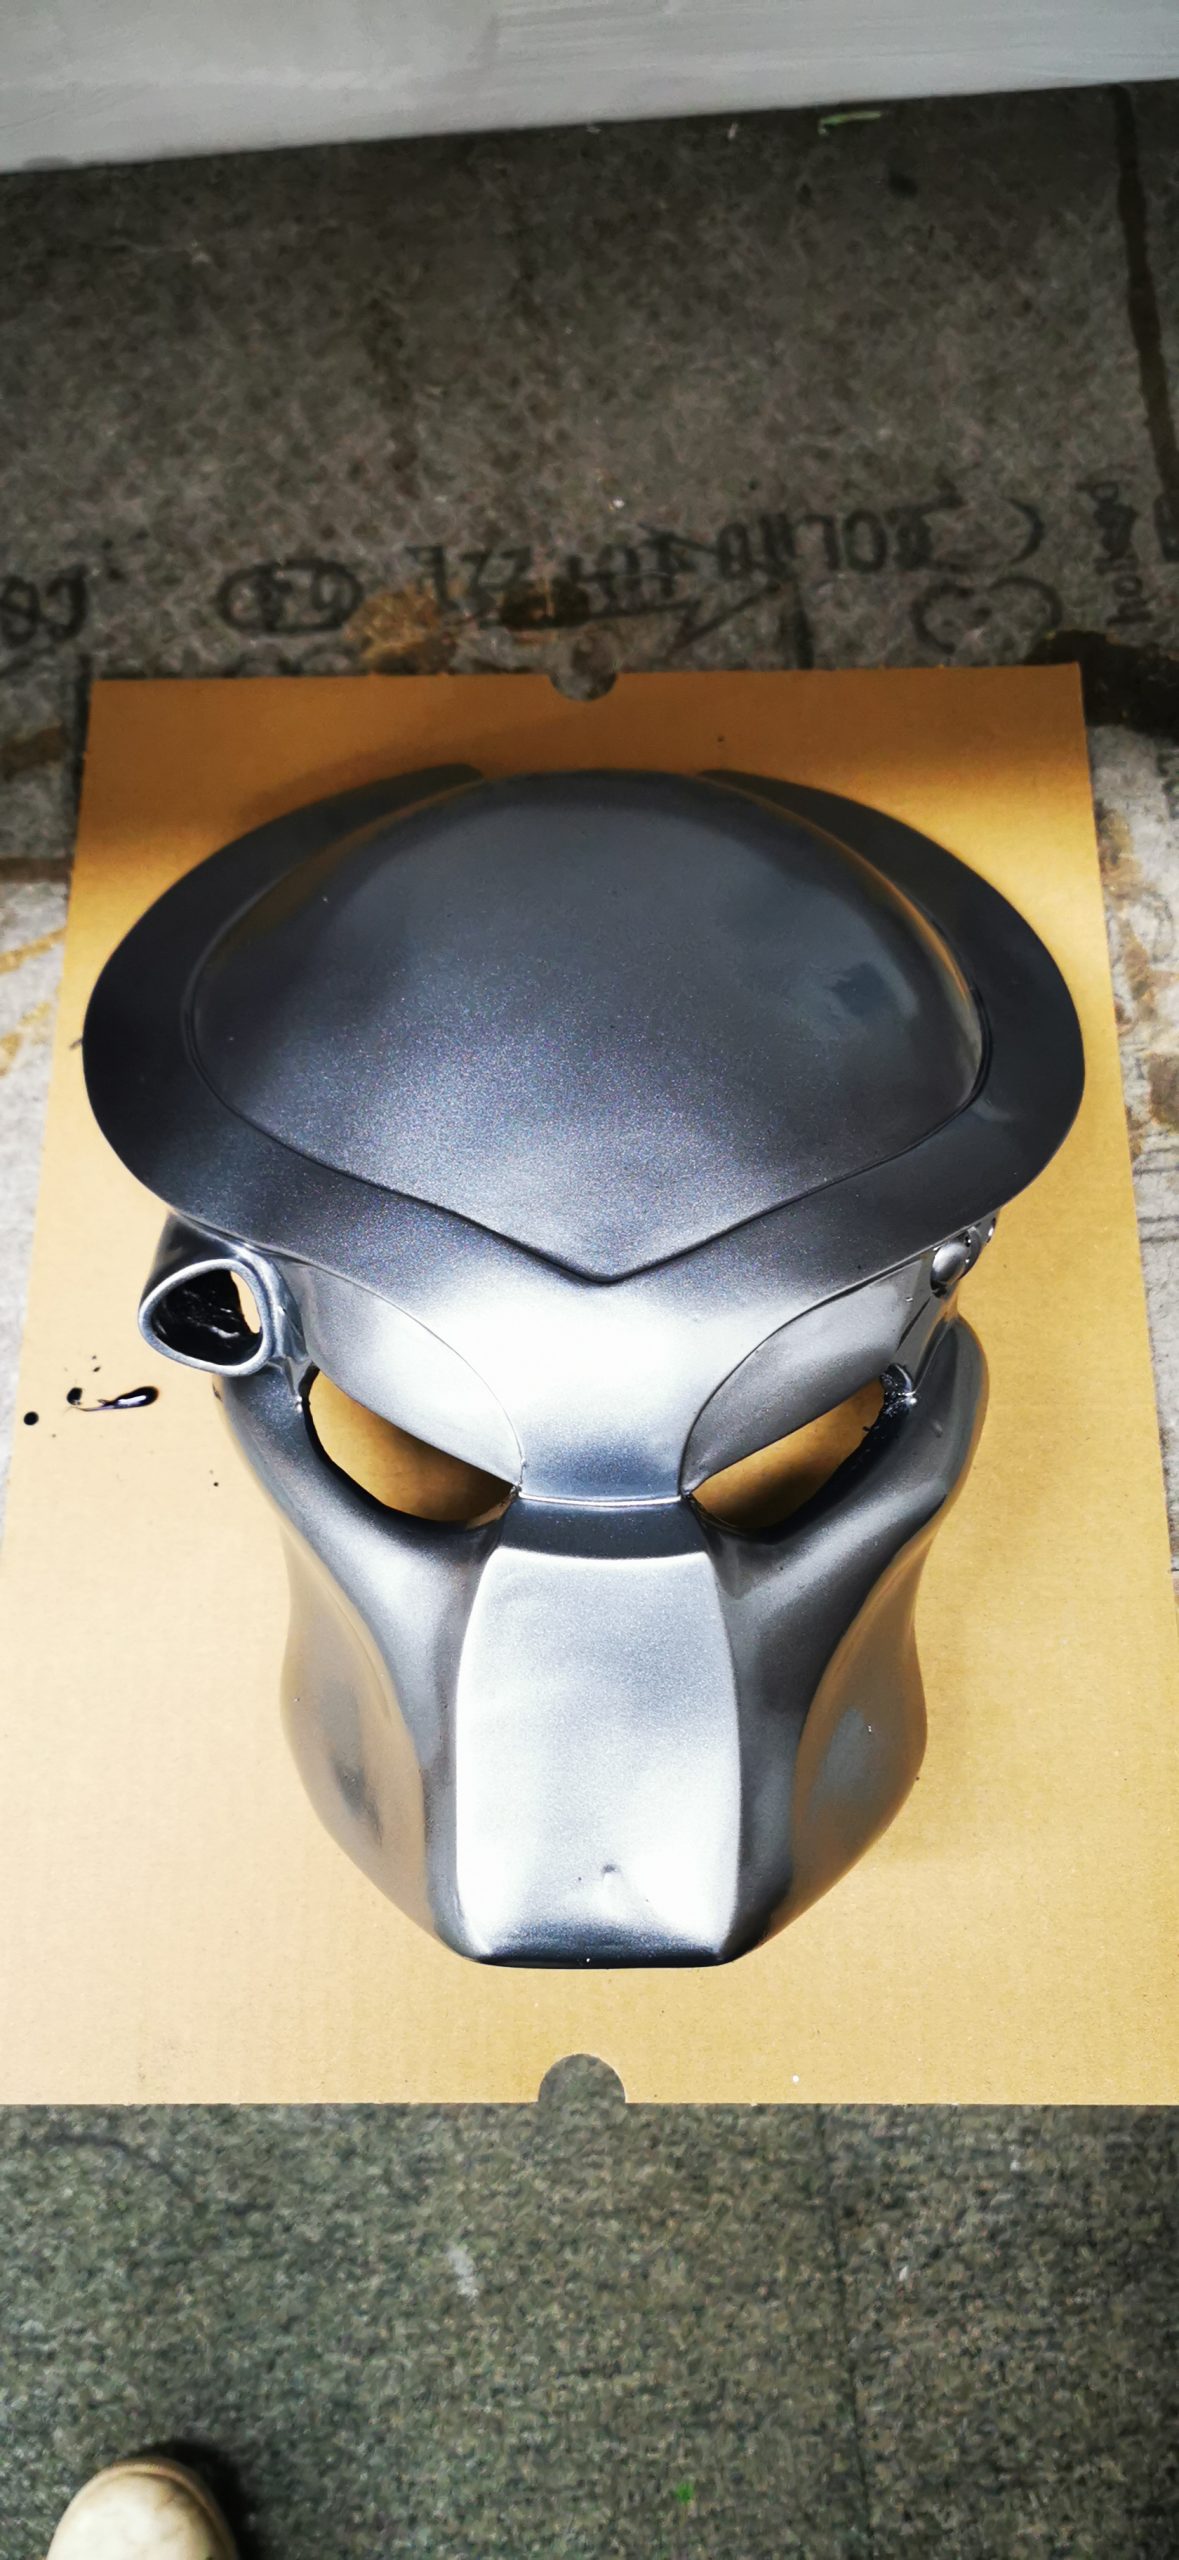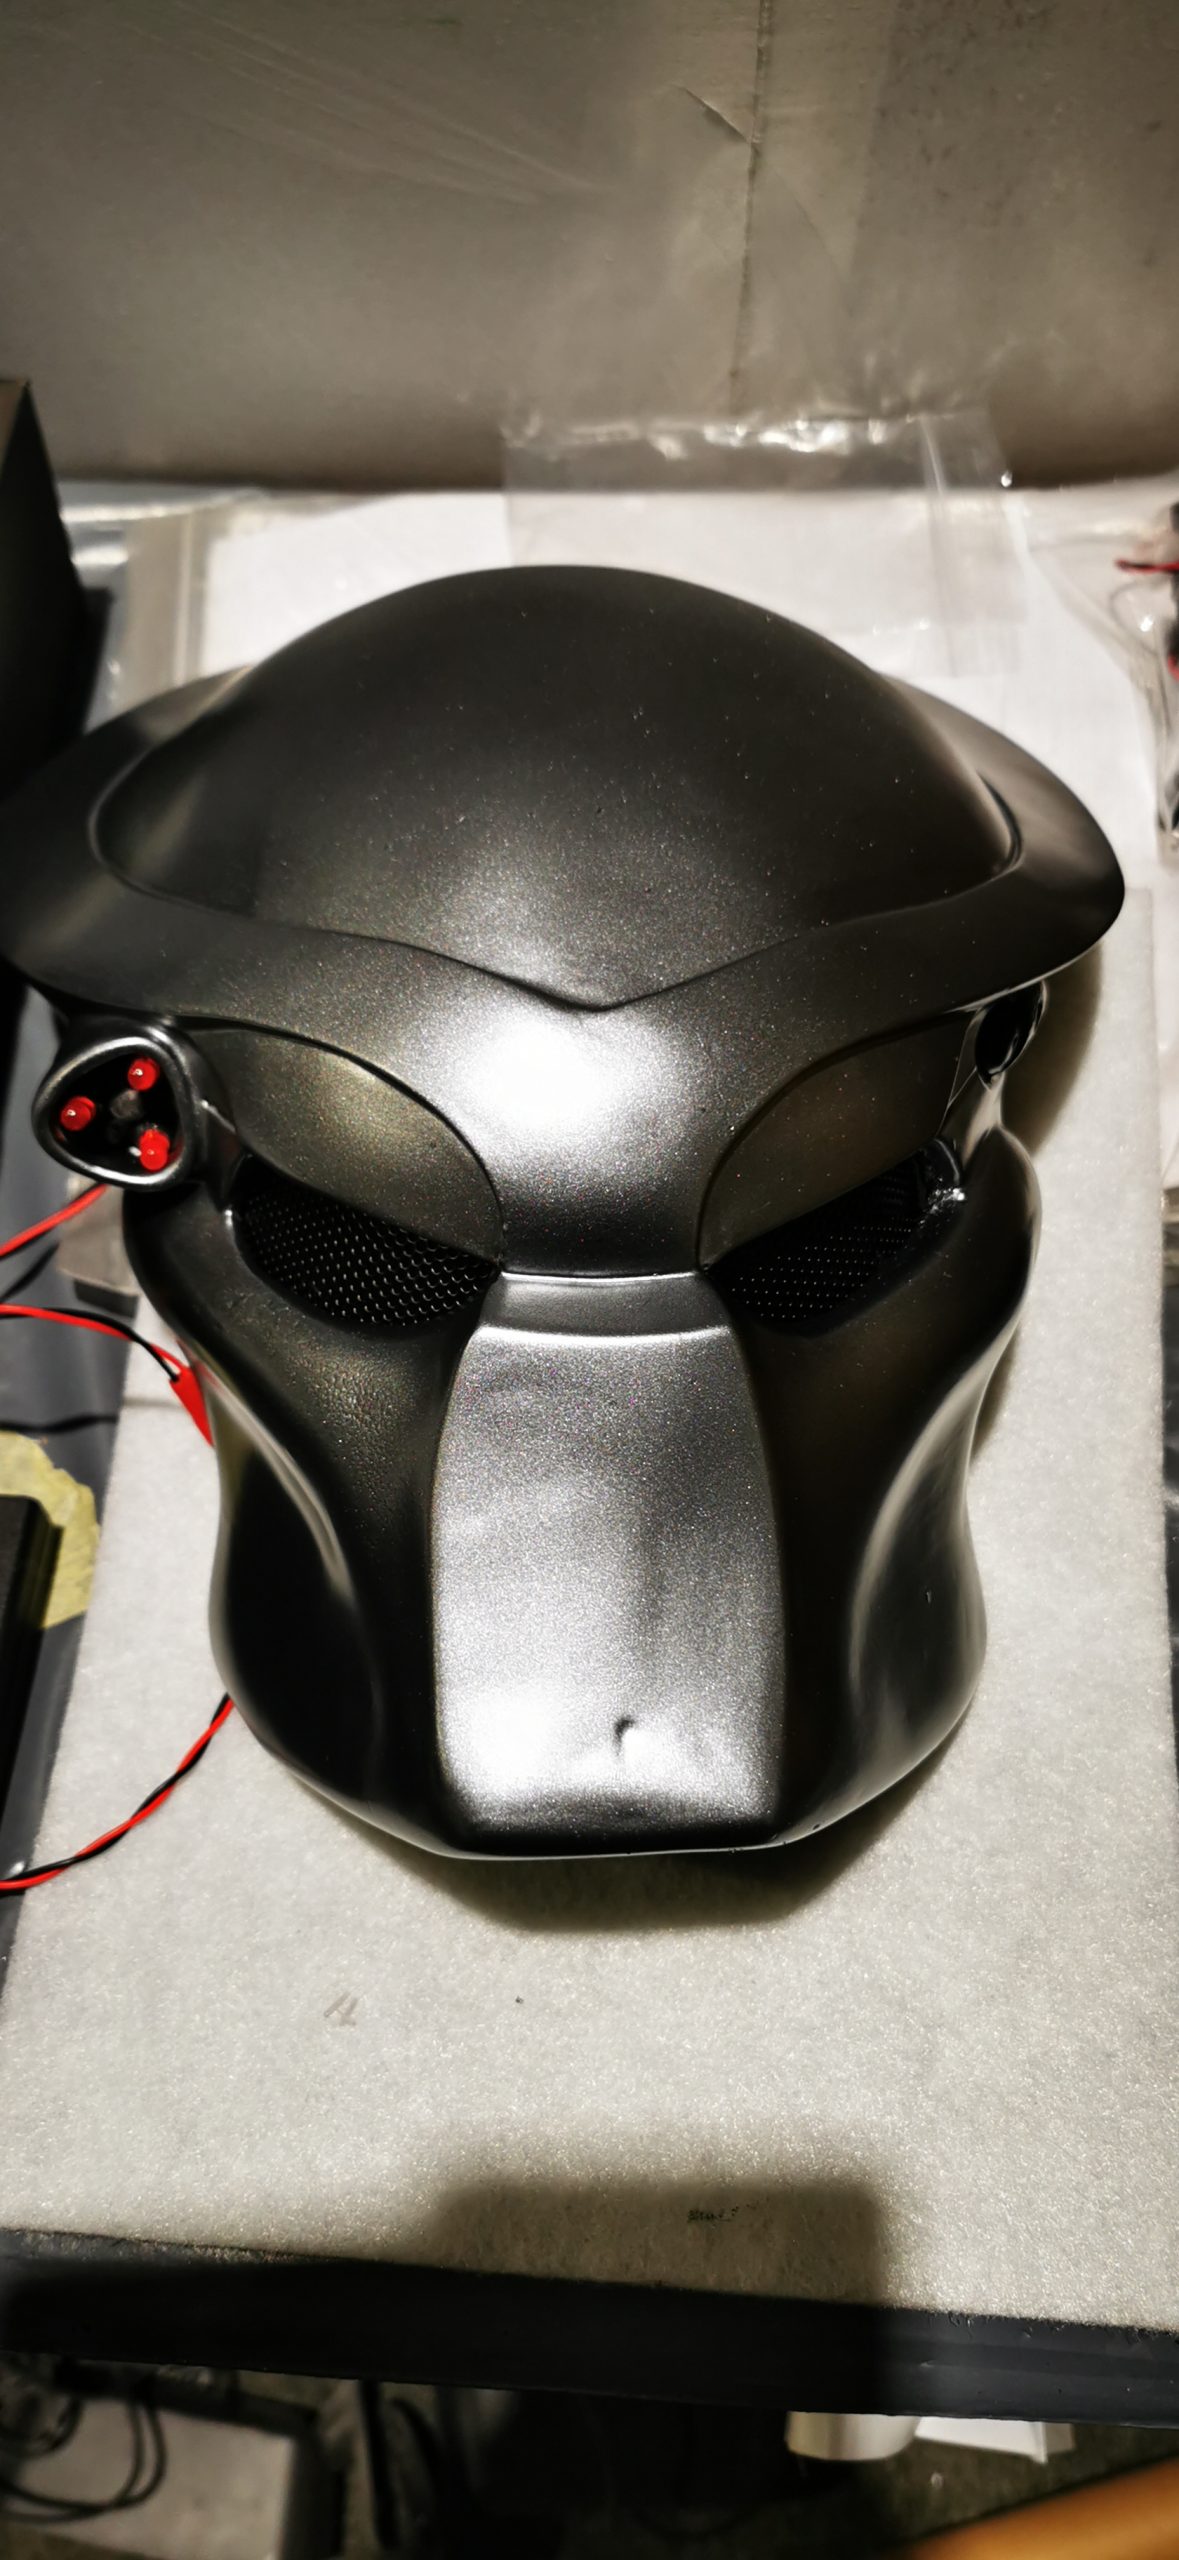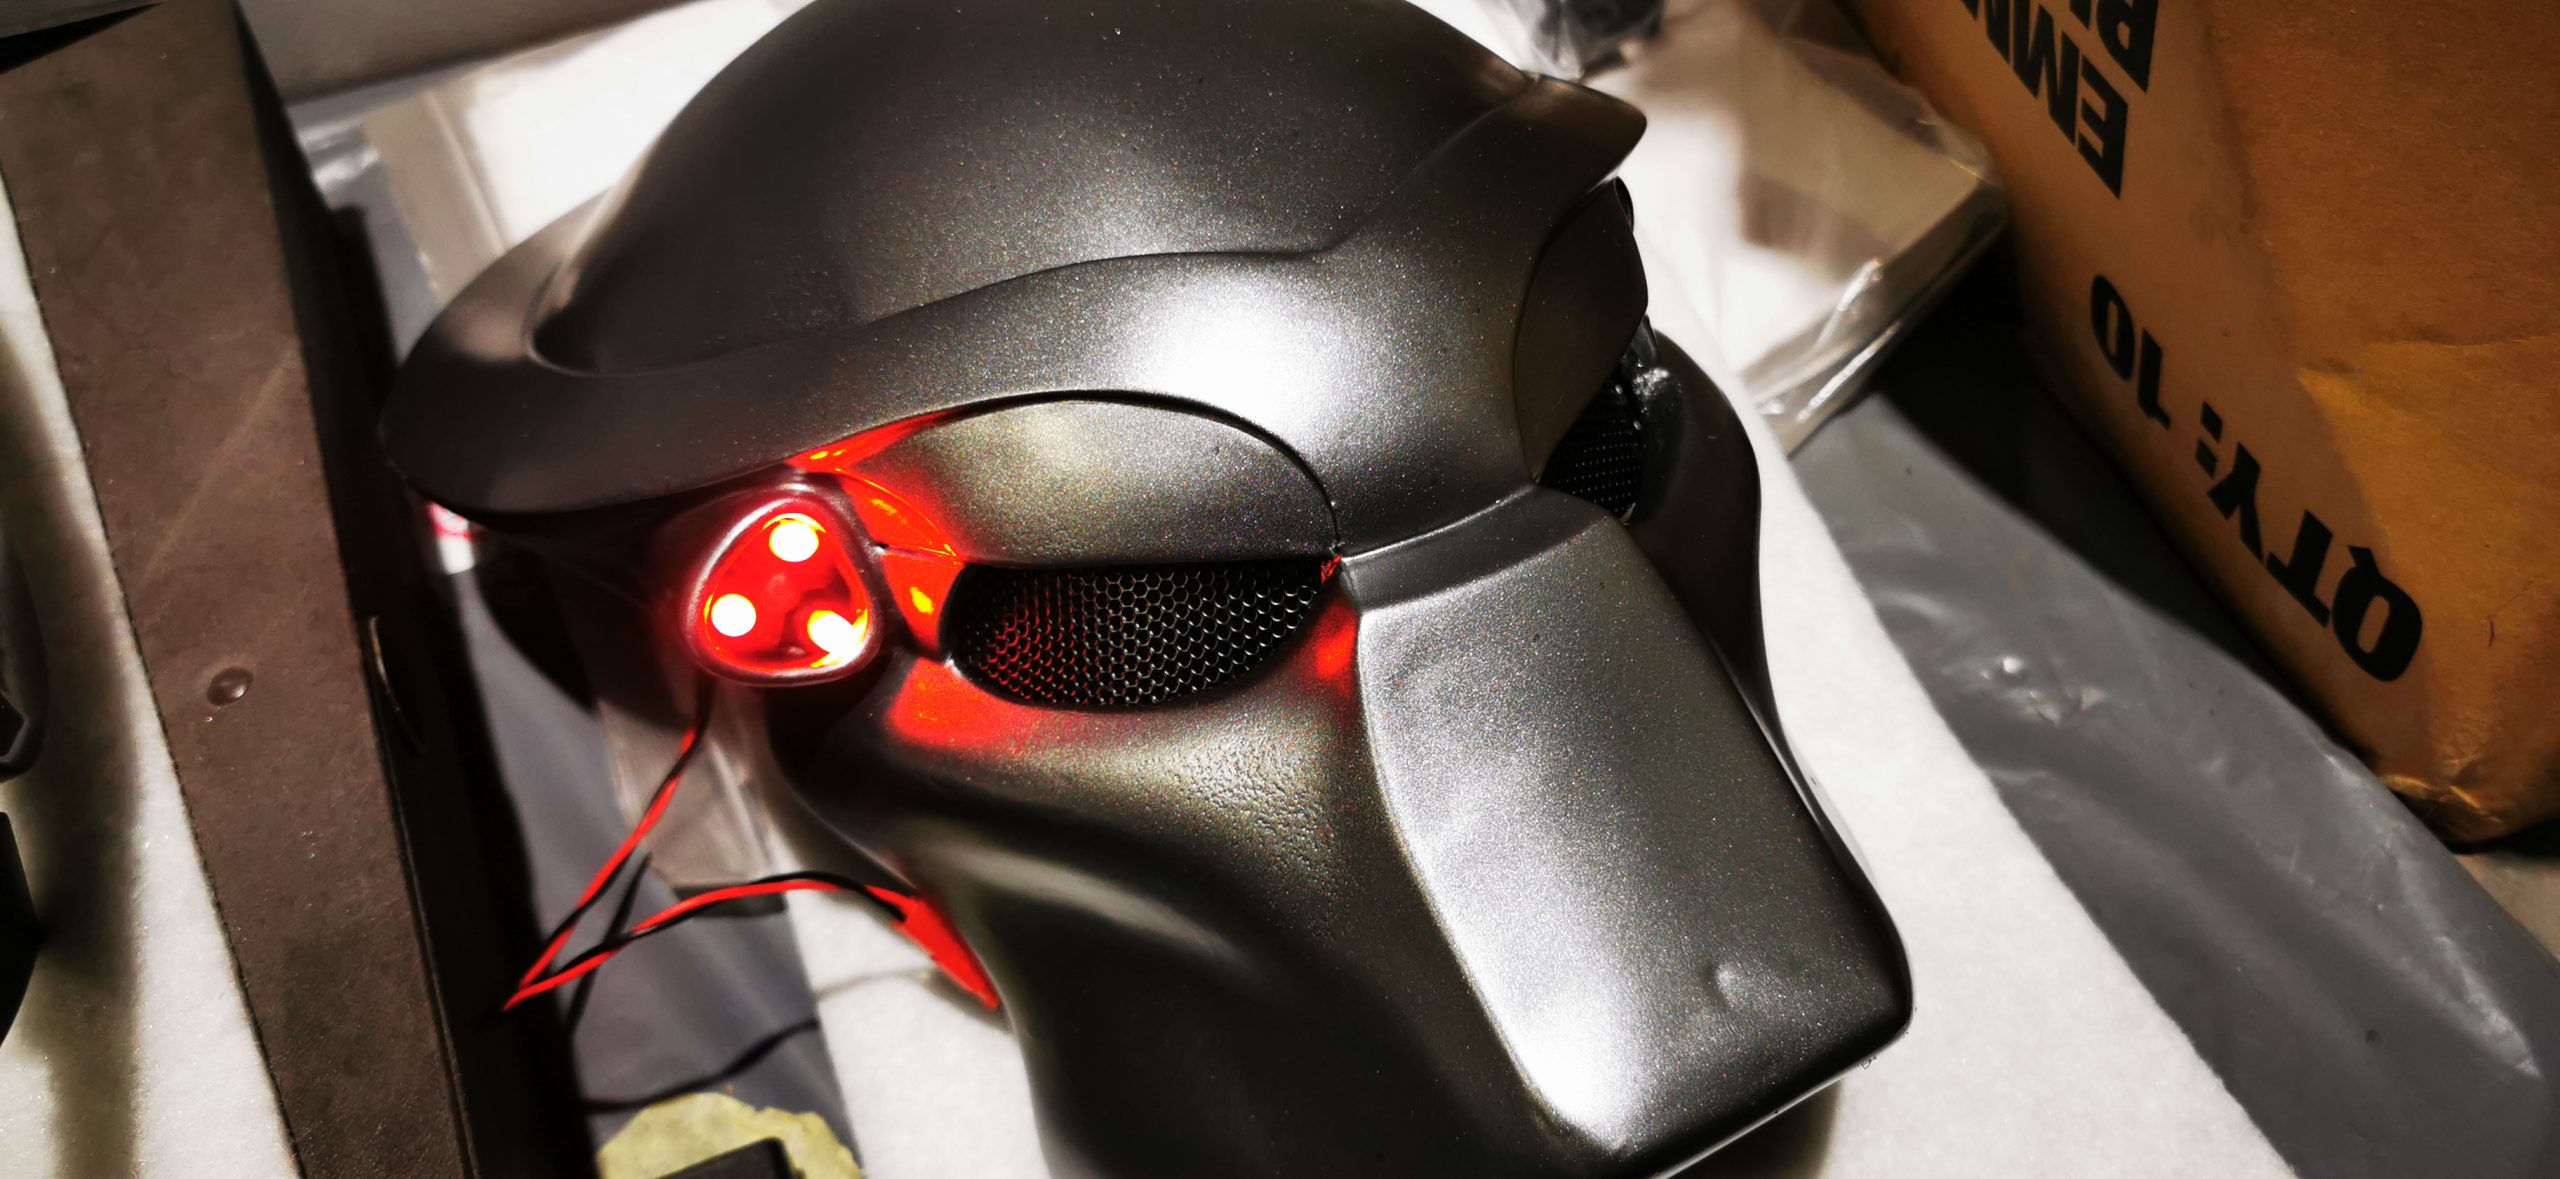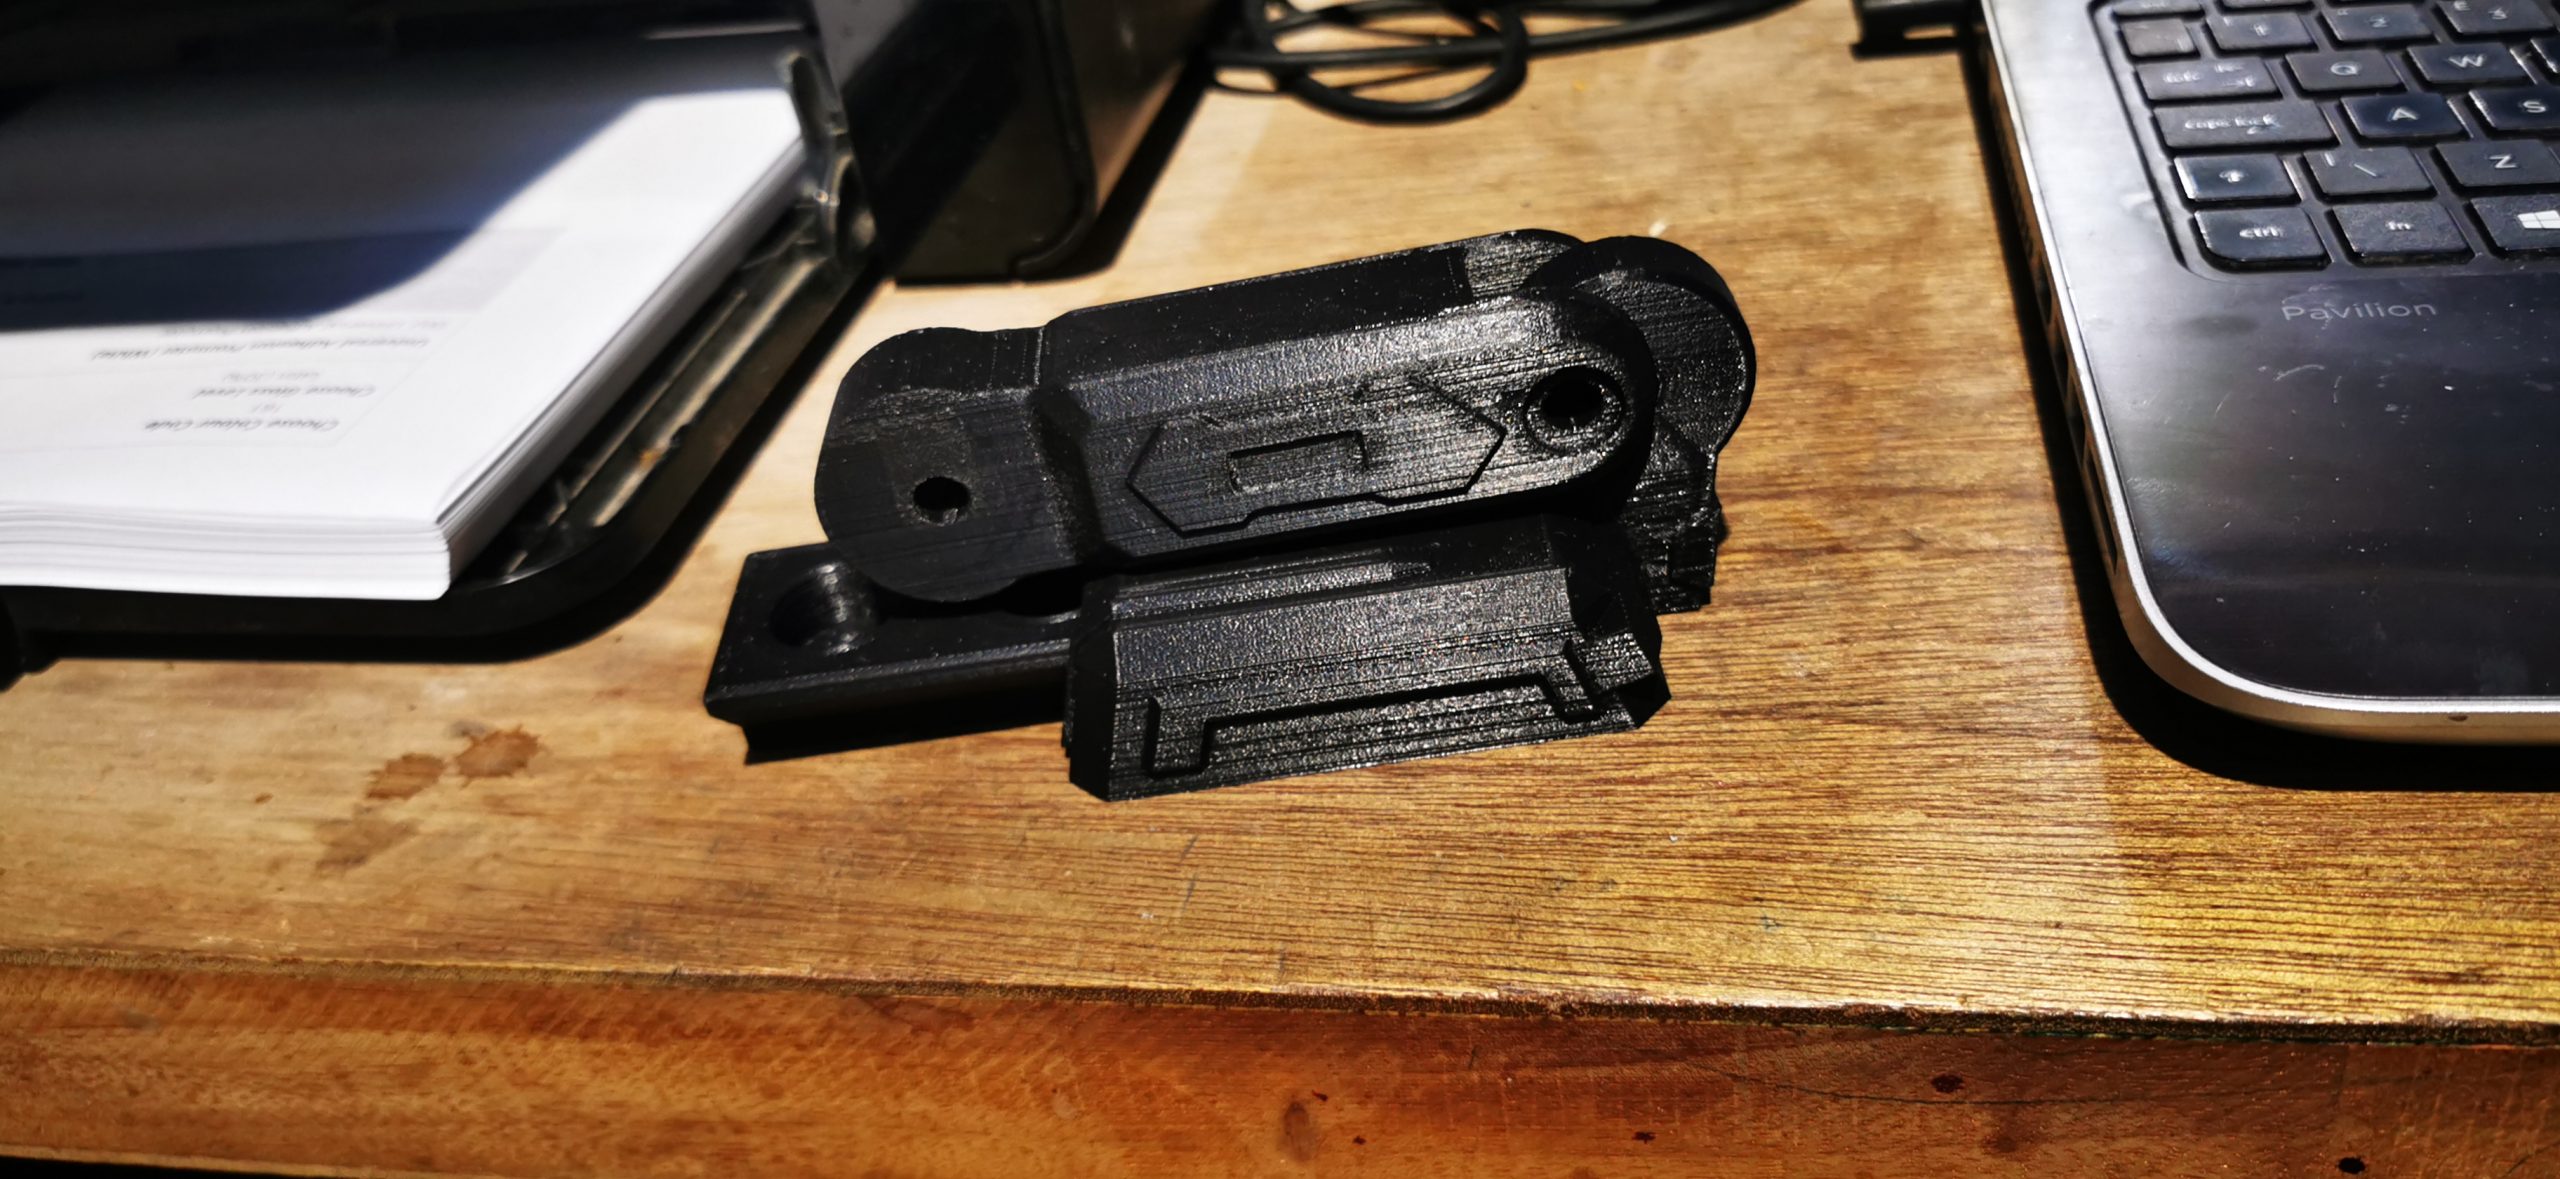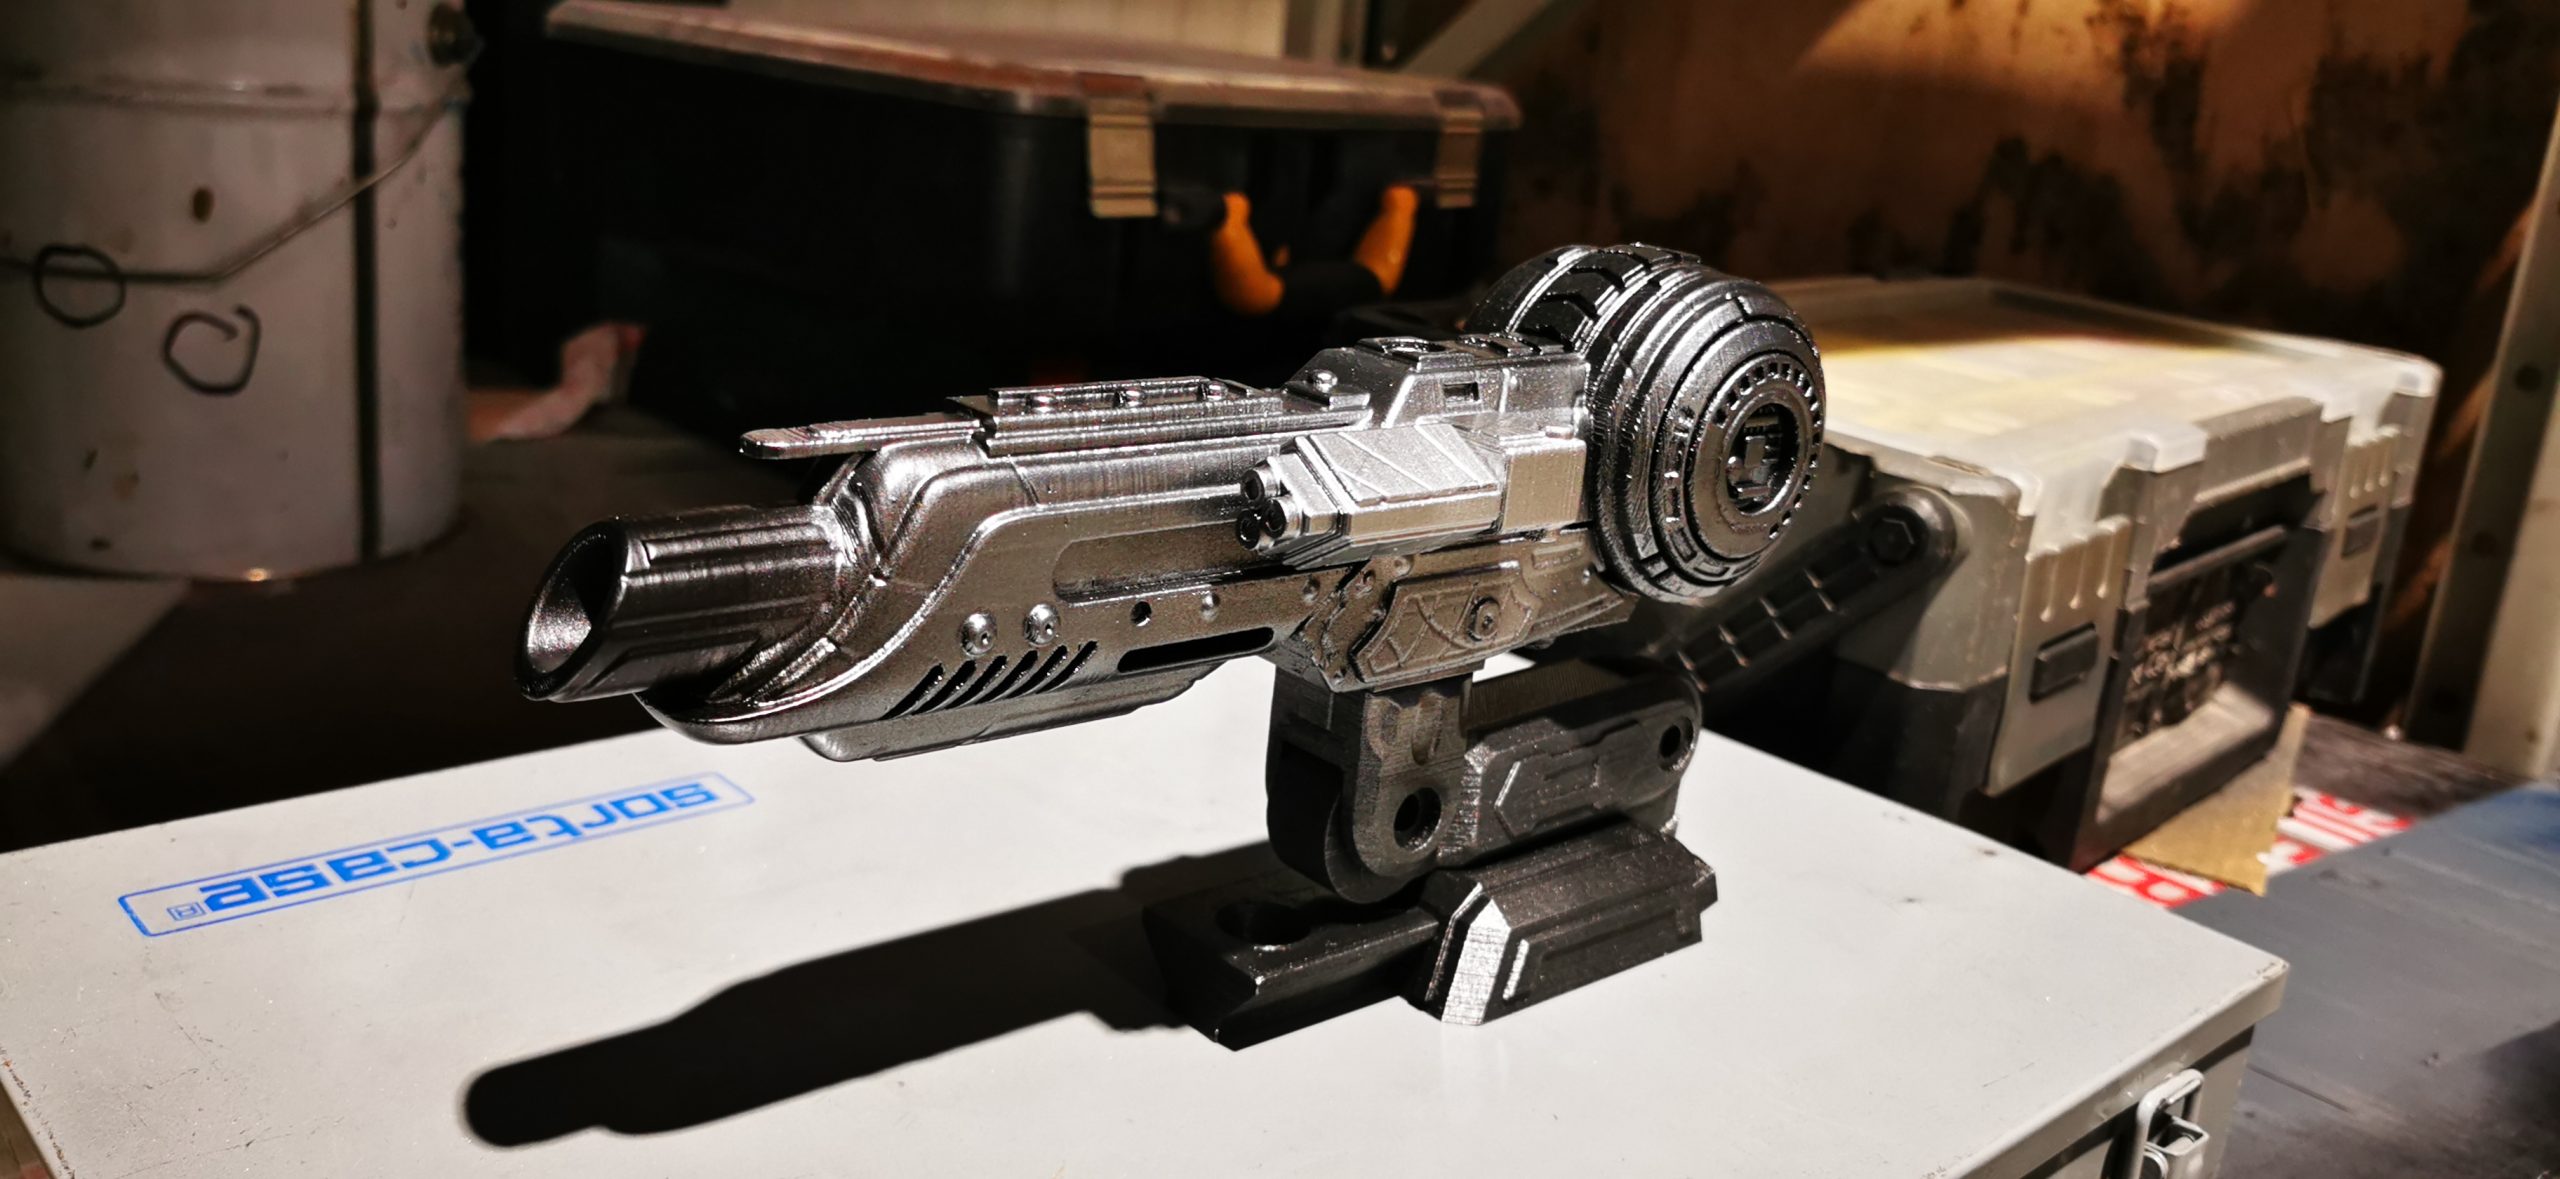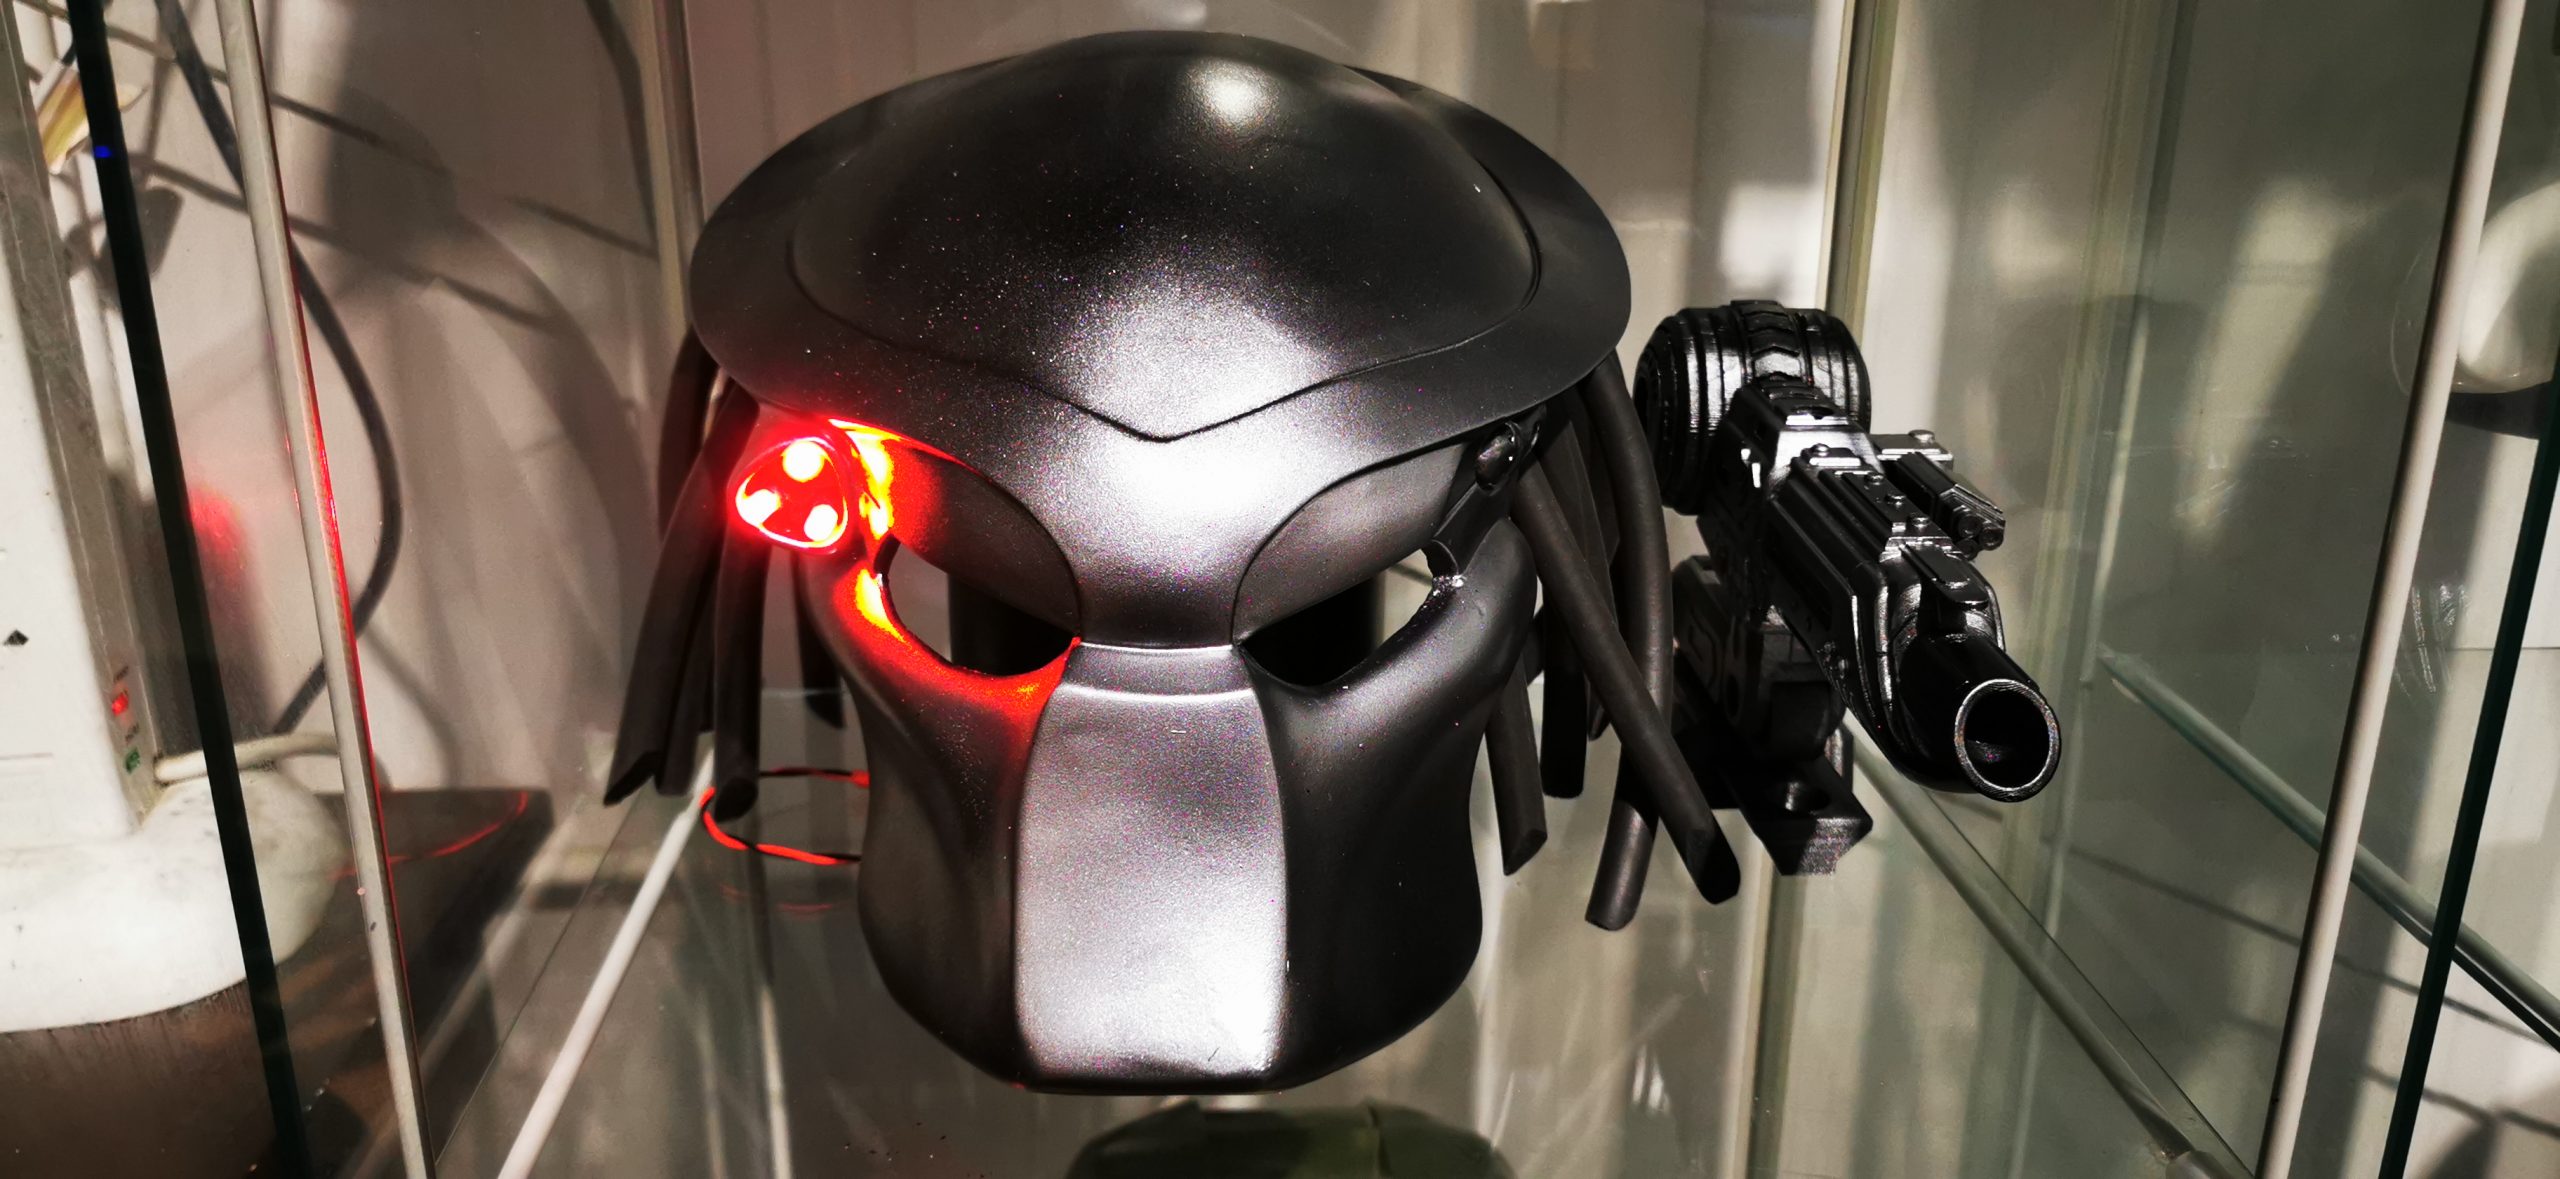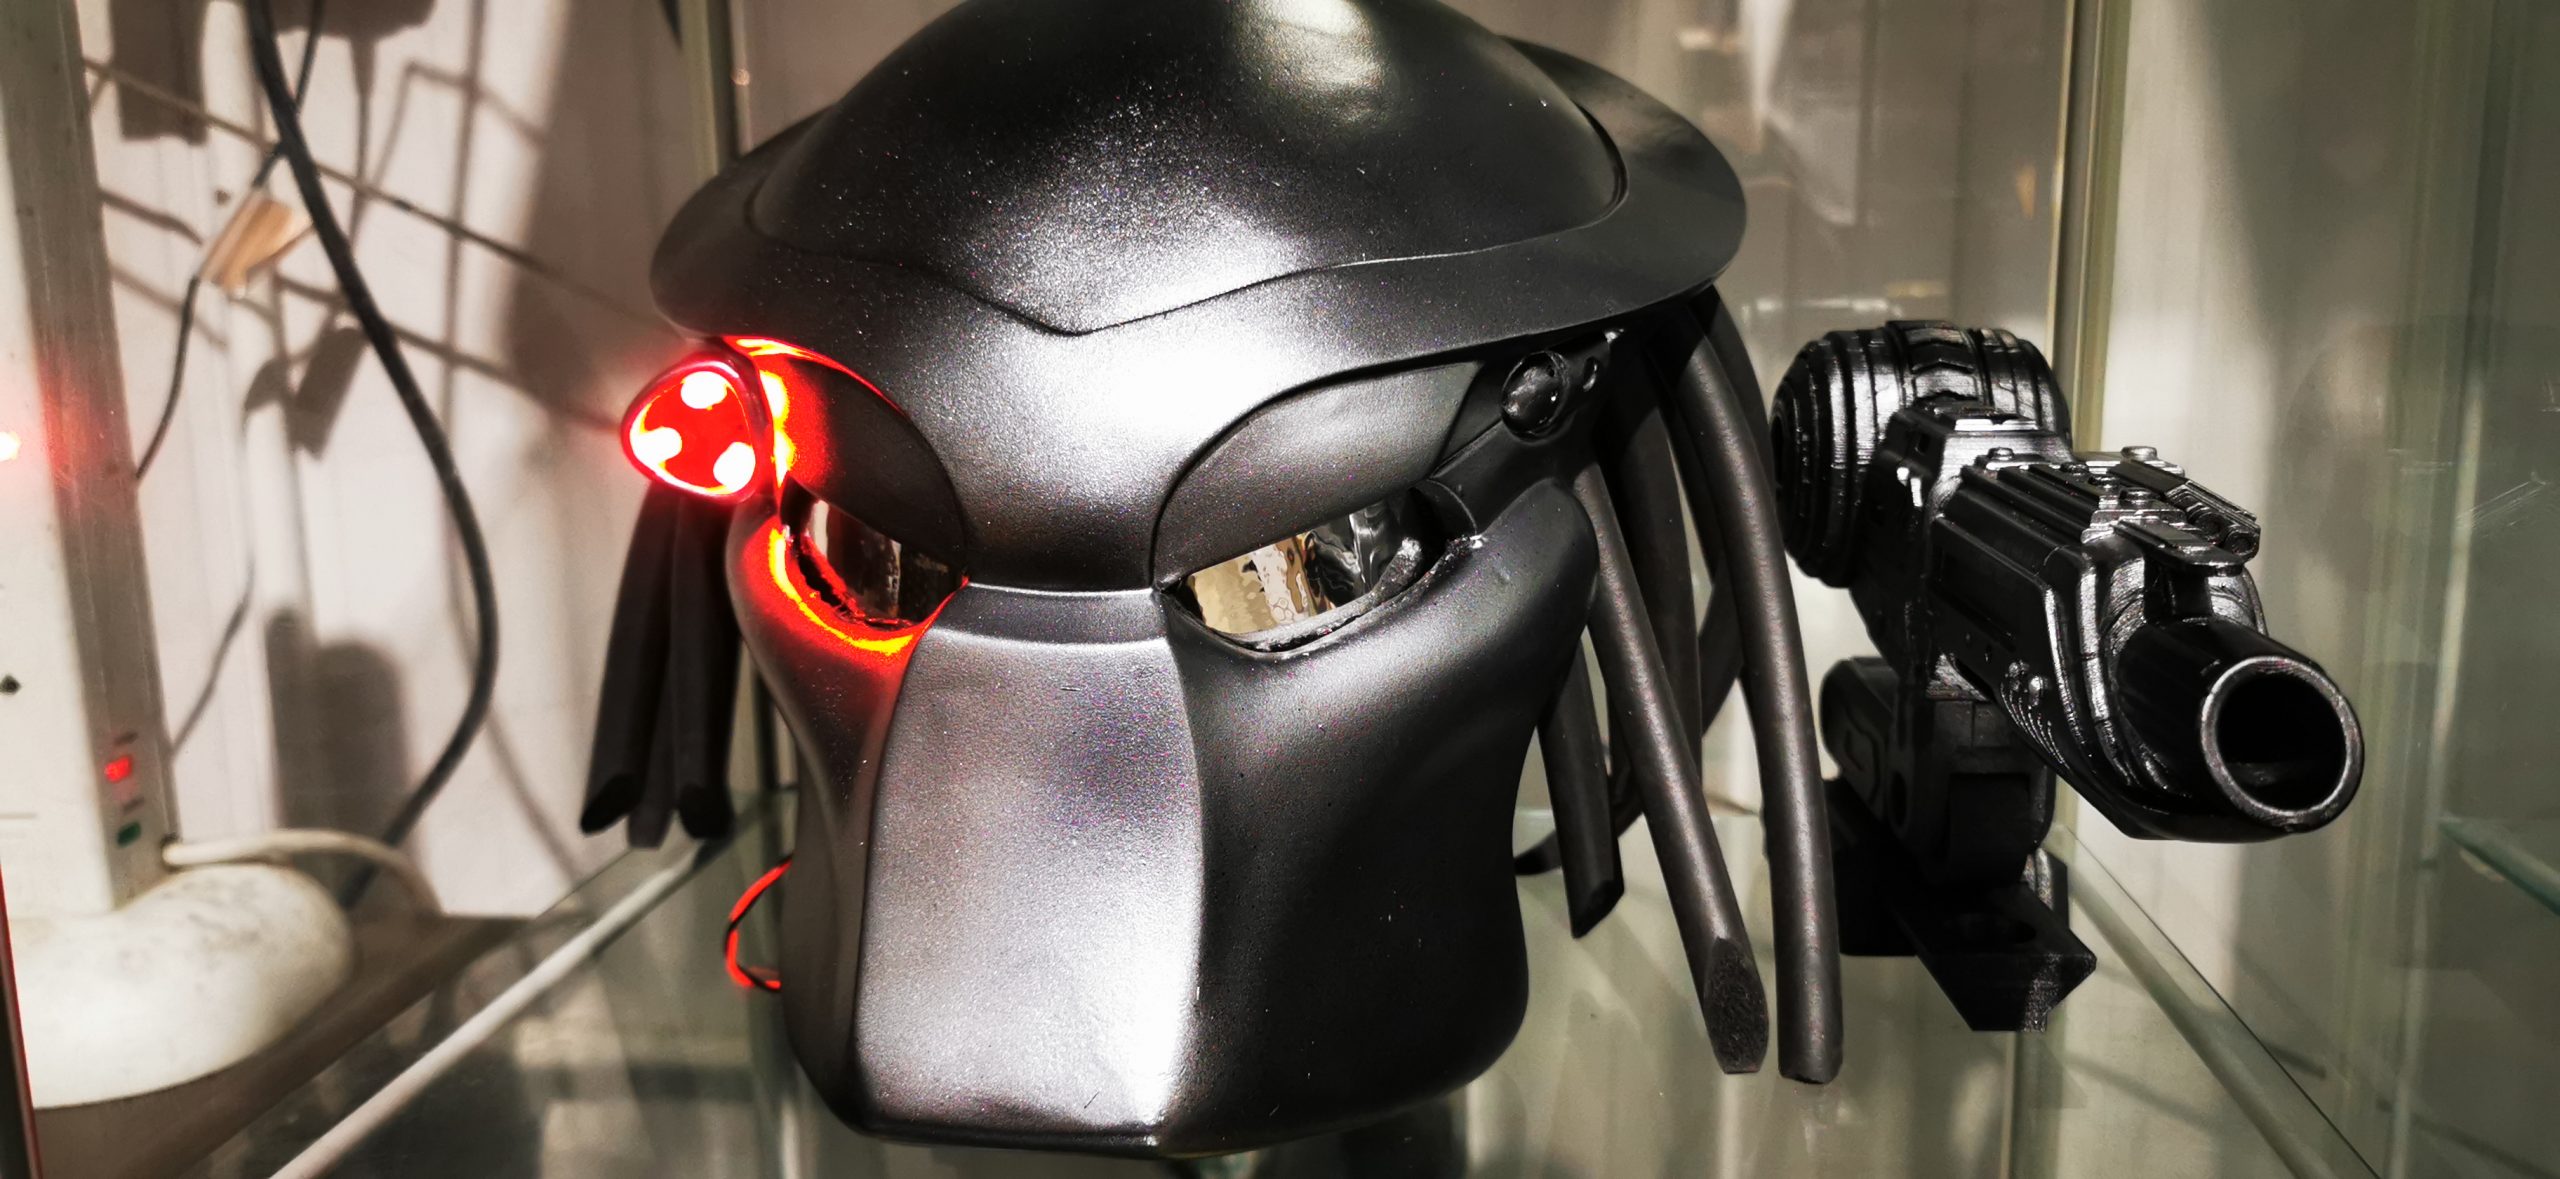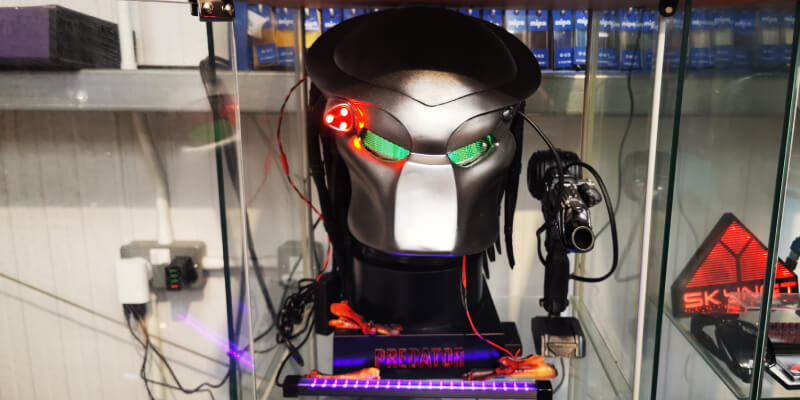
This particular project was one of our favourites as we have not sprayed a resin cast before, so the entire project was new to us. We encountered a few issues, but the result was worth the hassle. To complete the project, we sanded, primed and painted the mask, then added LED lights for a finishing touch.
Tools Used:
- Multi-Grade Sandpaper
- Plastic Filler
- Degreaser
- 2K Black Filler Primer
- Dark Grey Metallic Paint
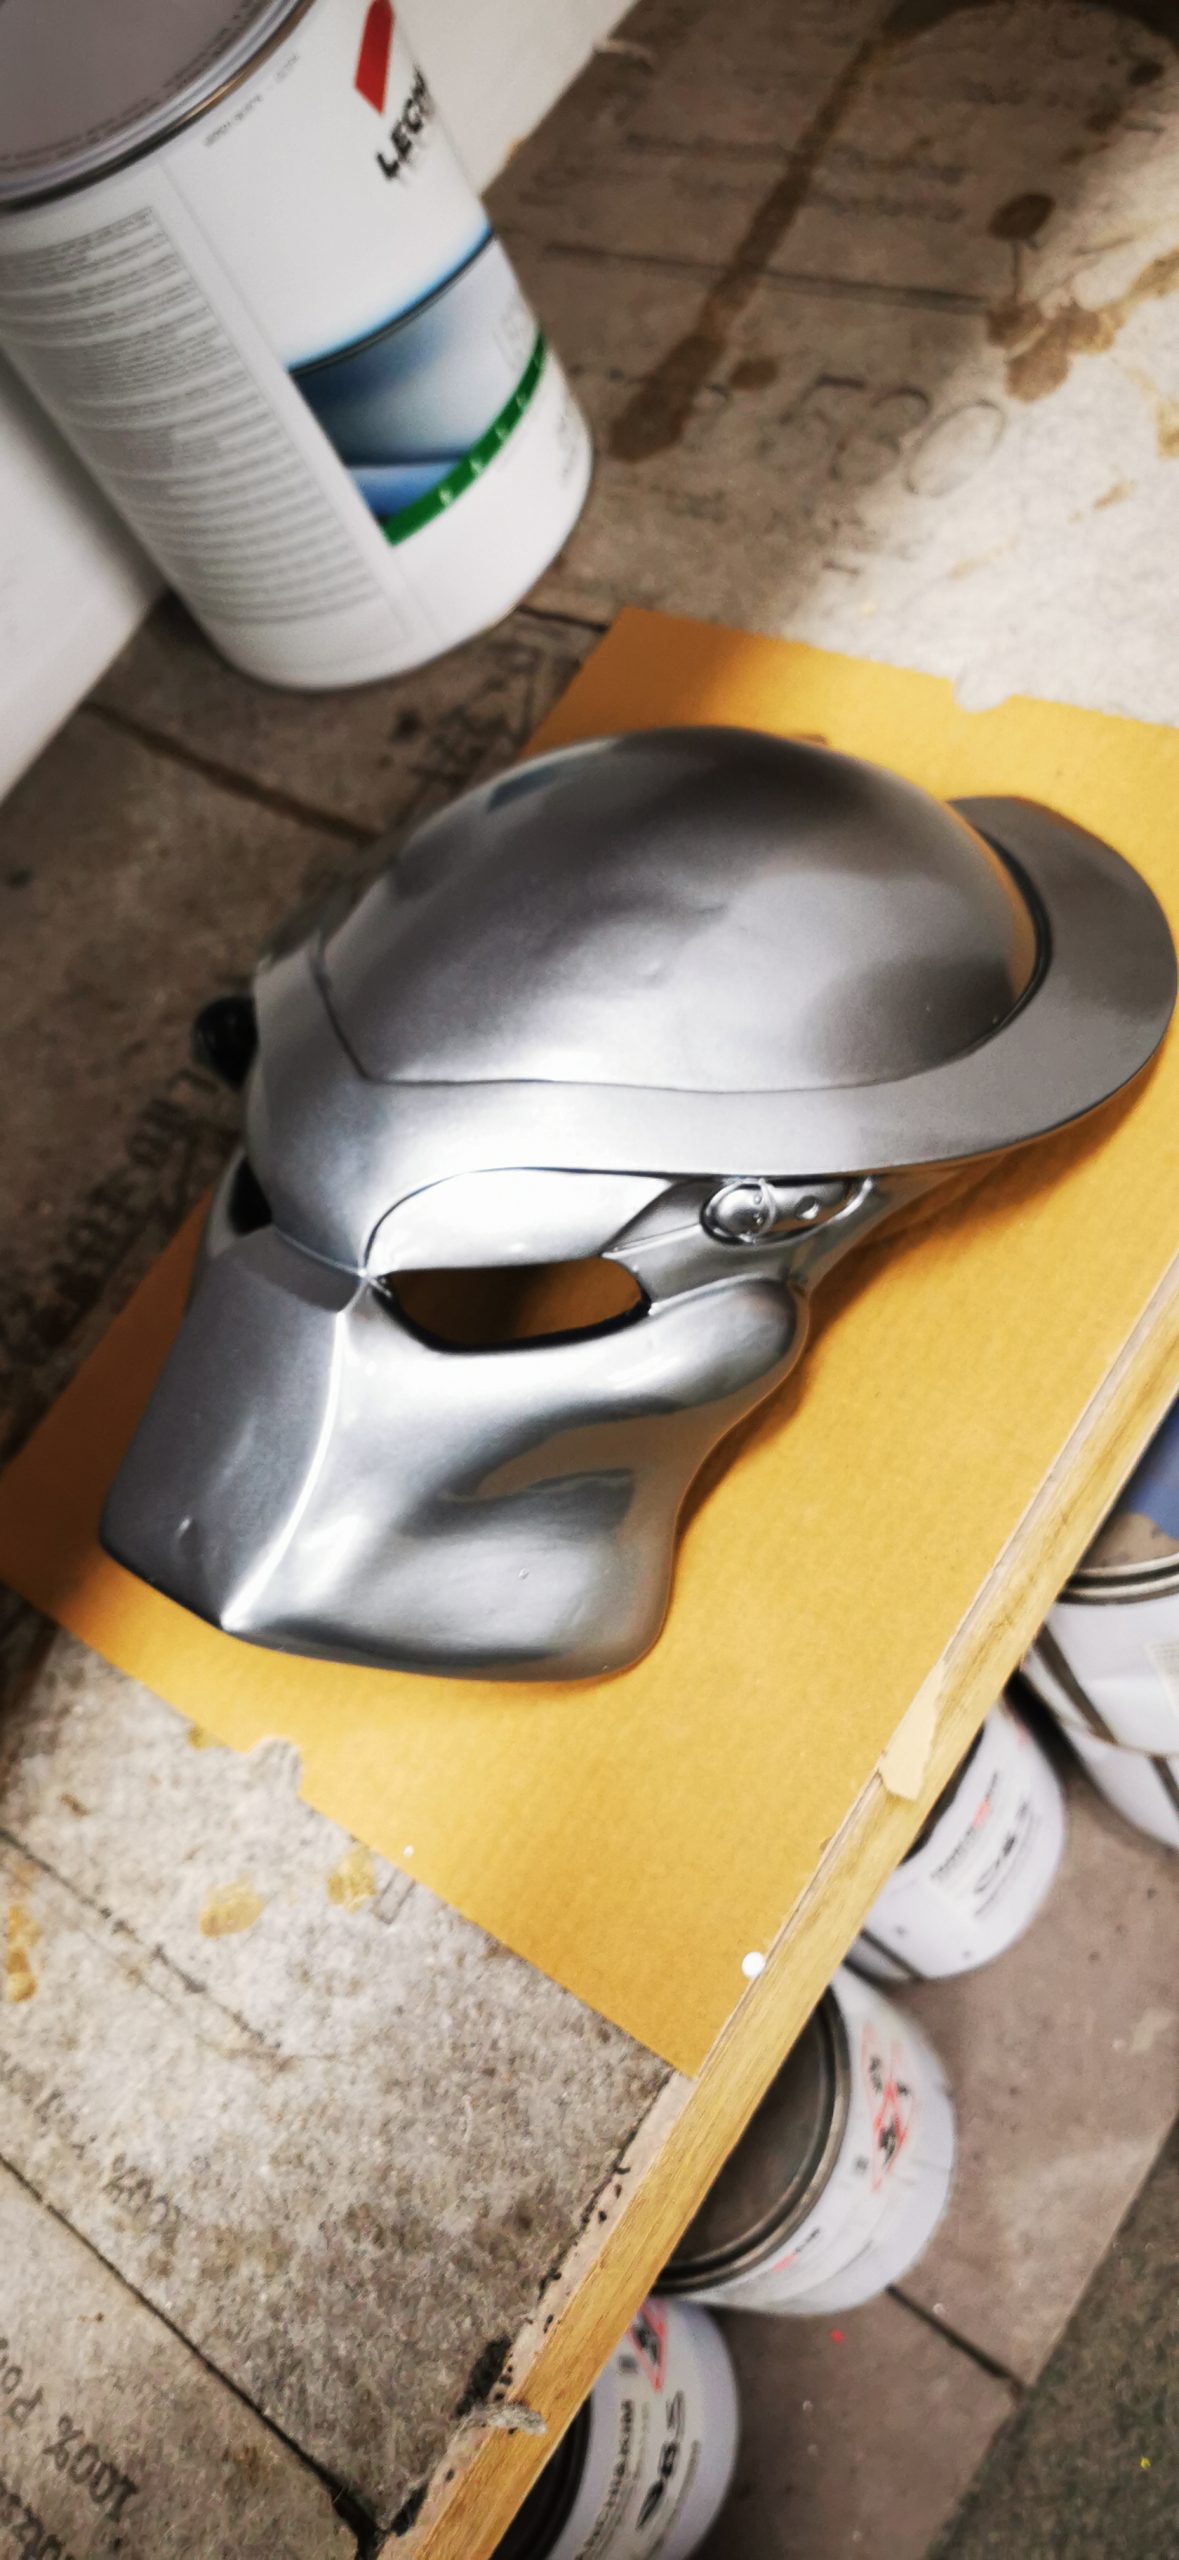
Prep:
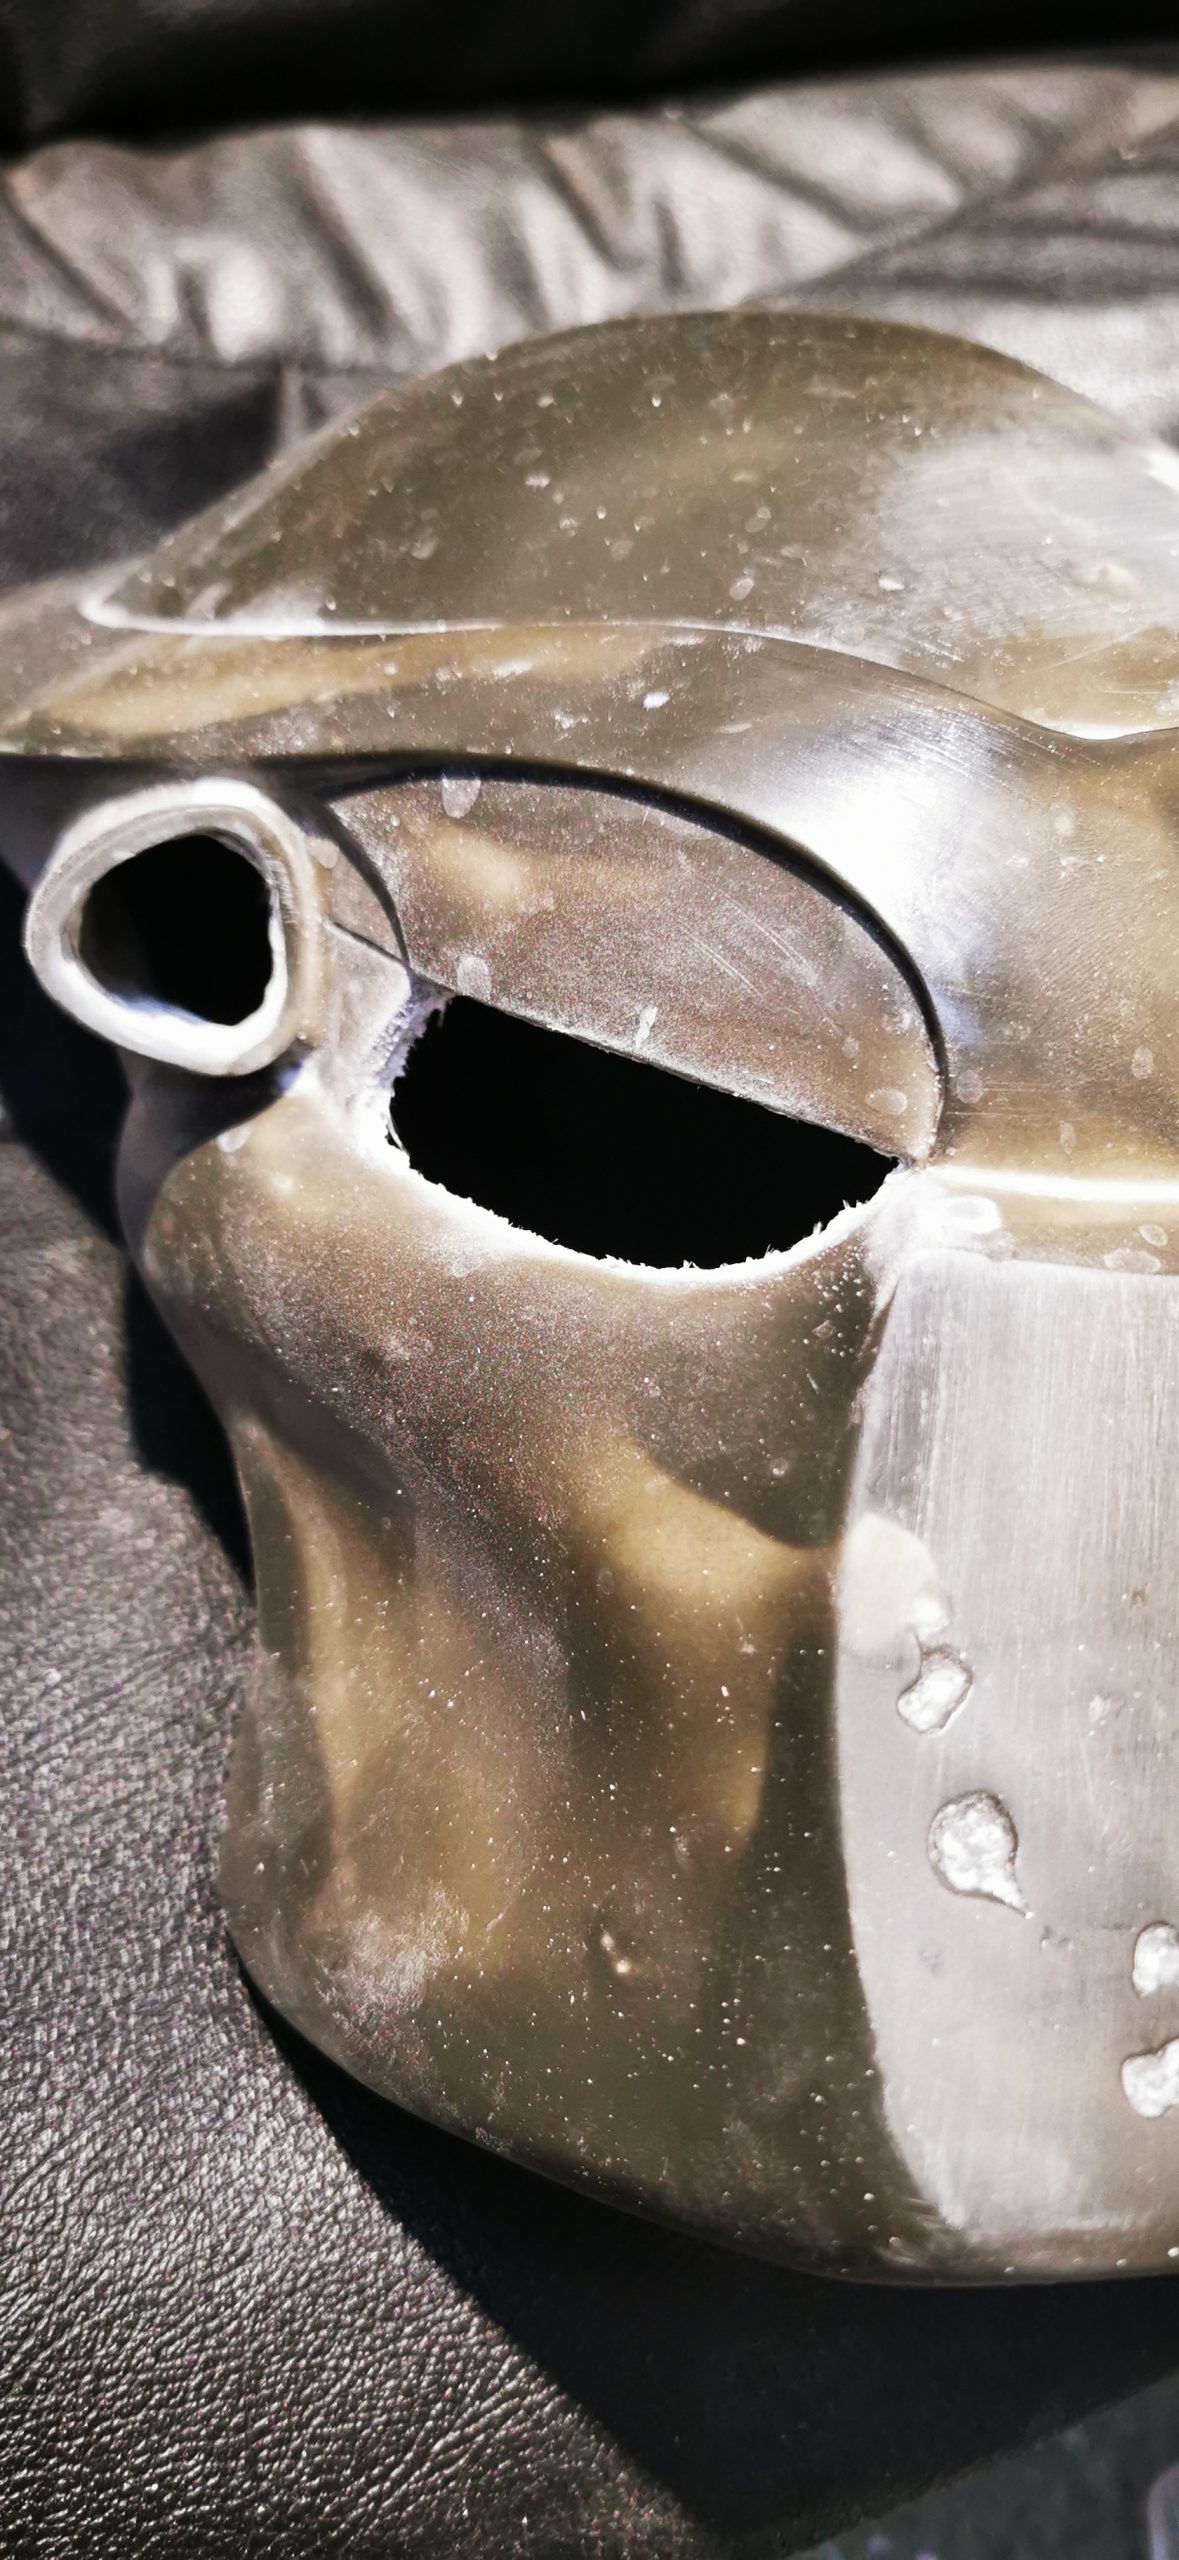
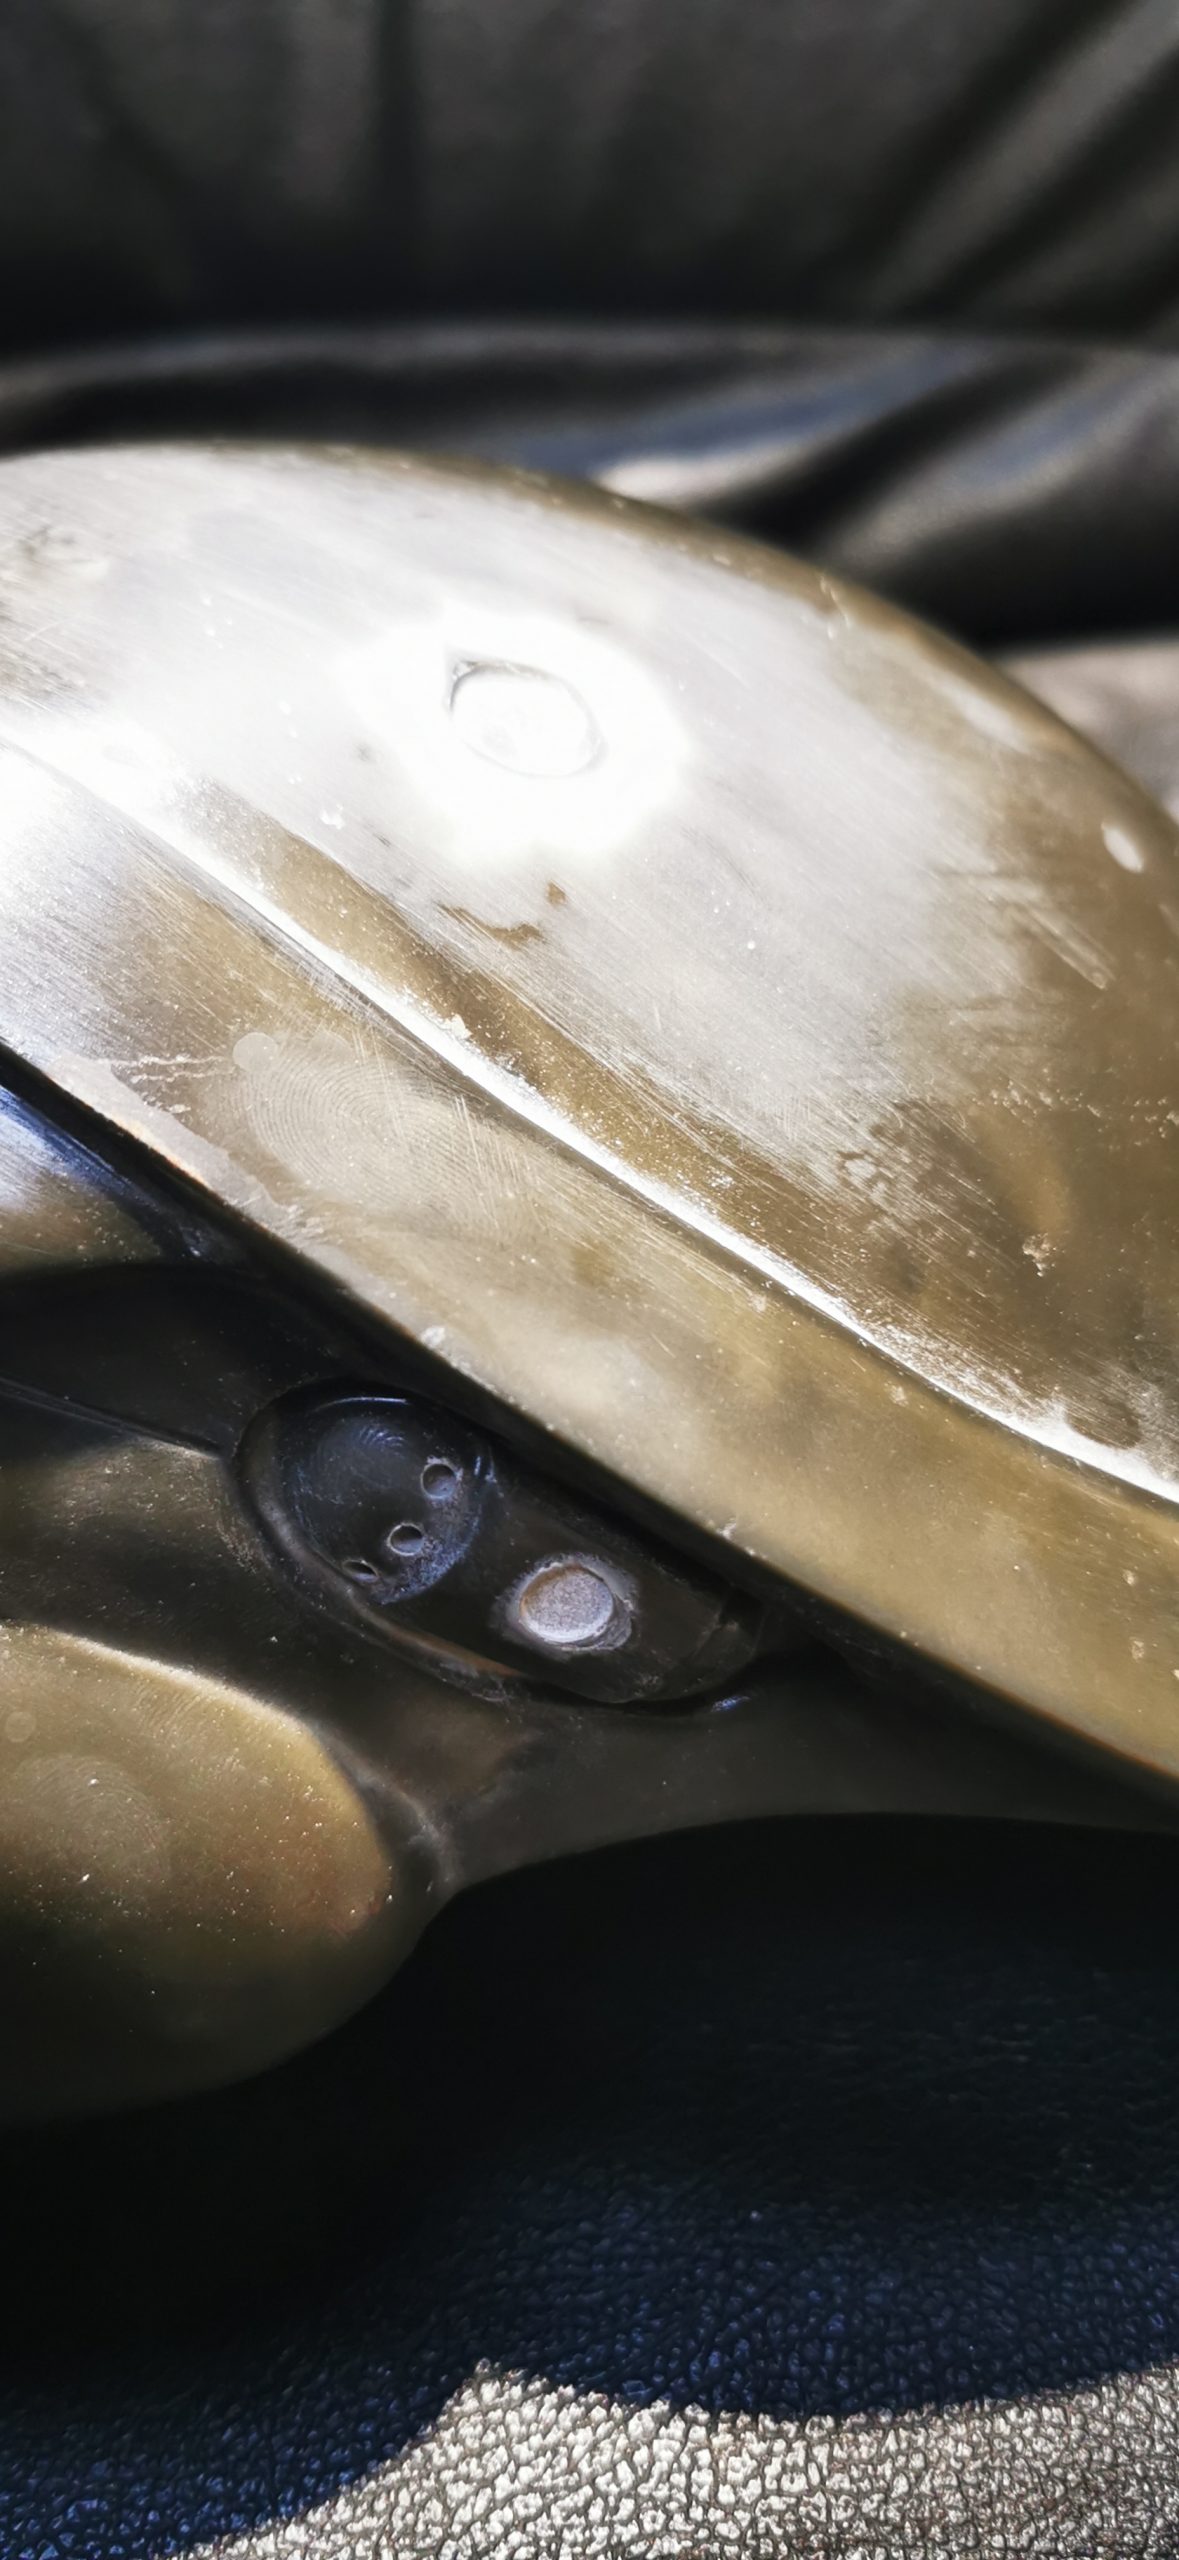
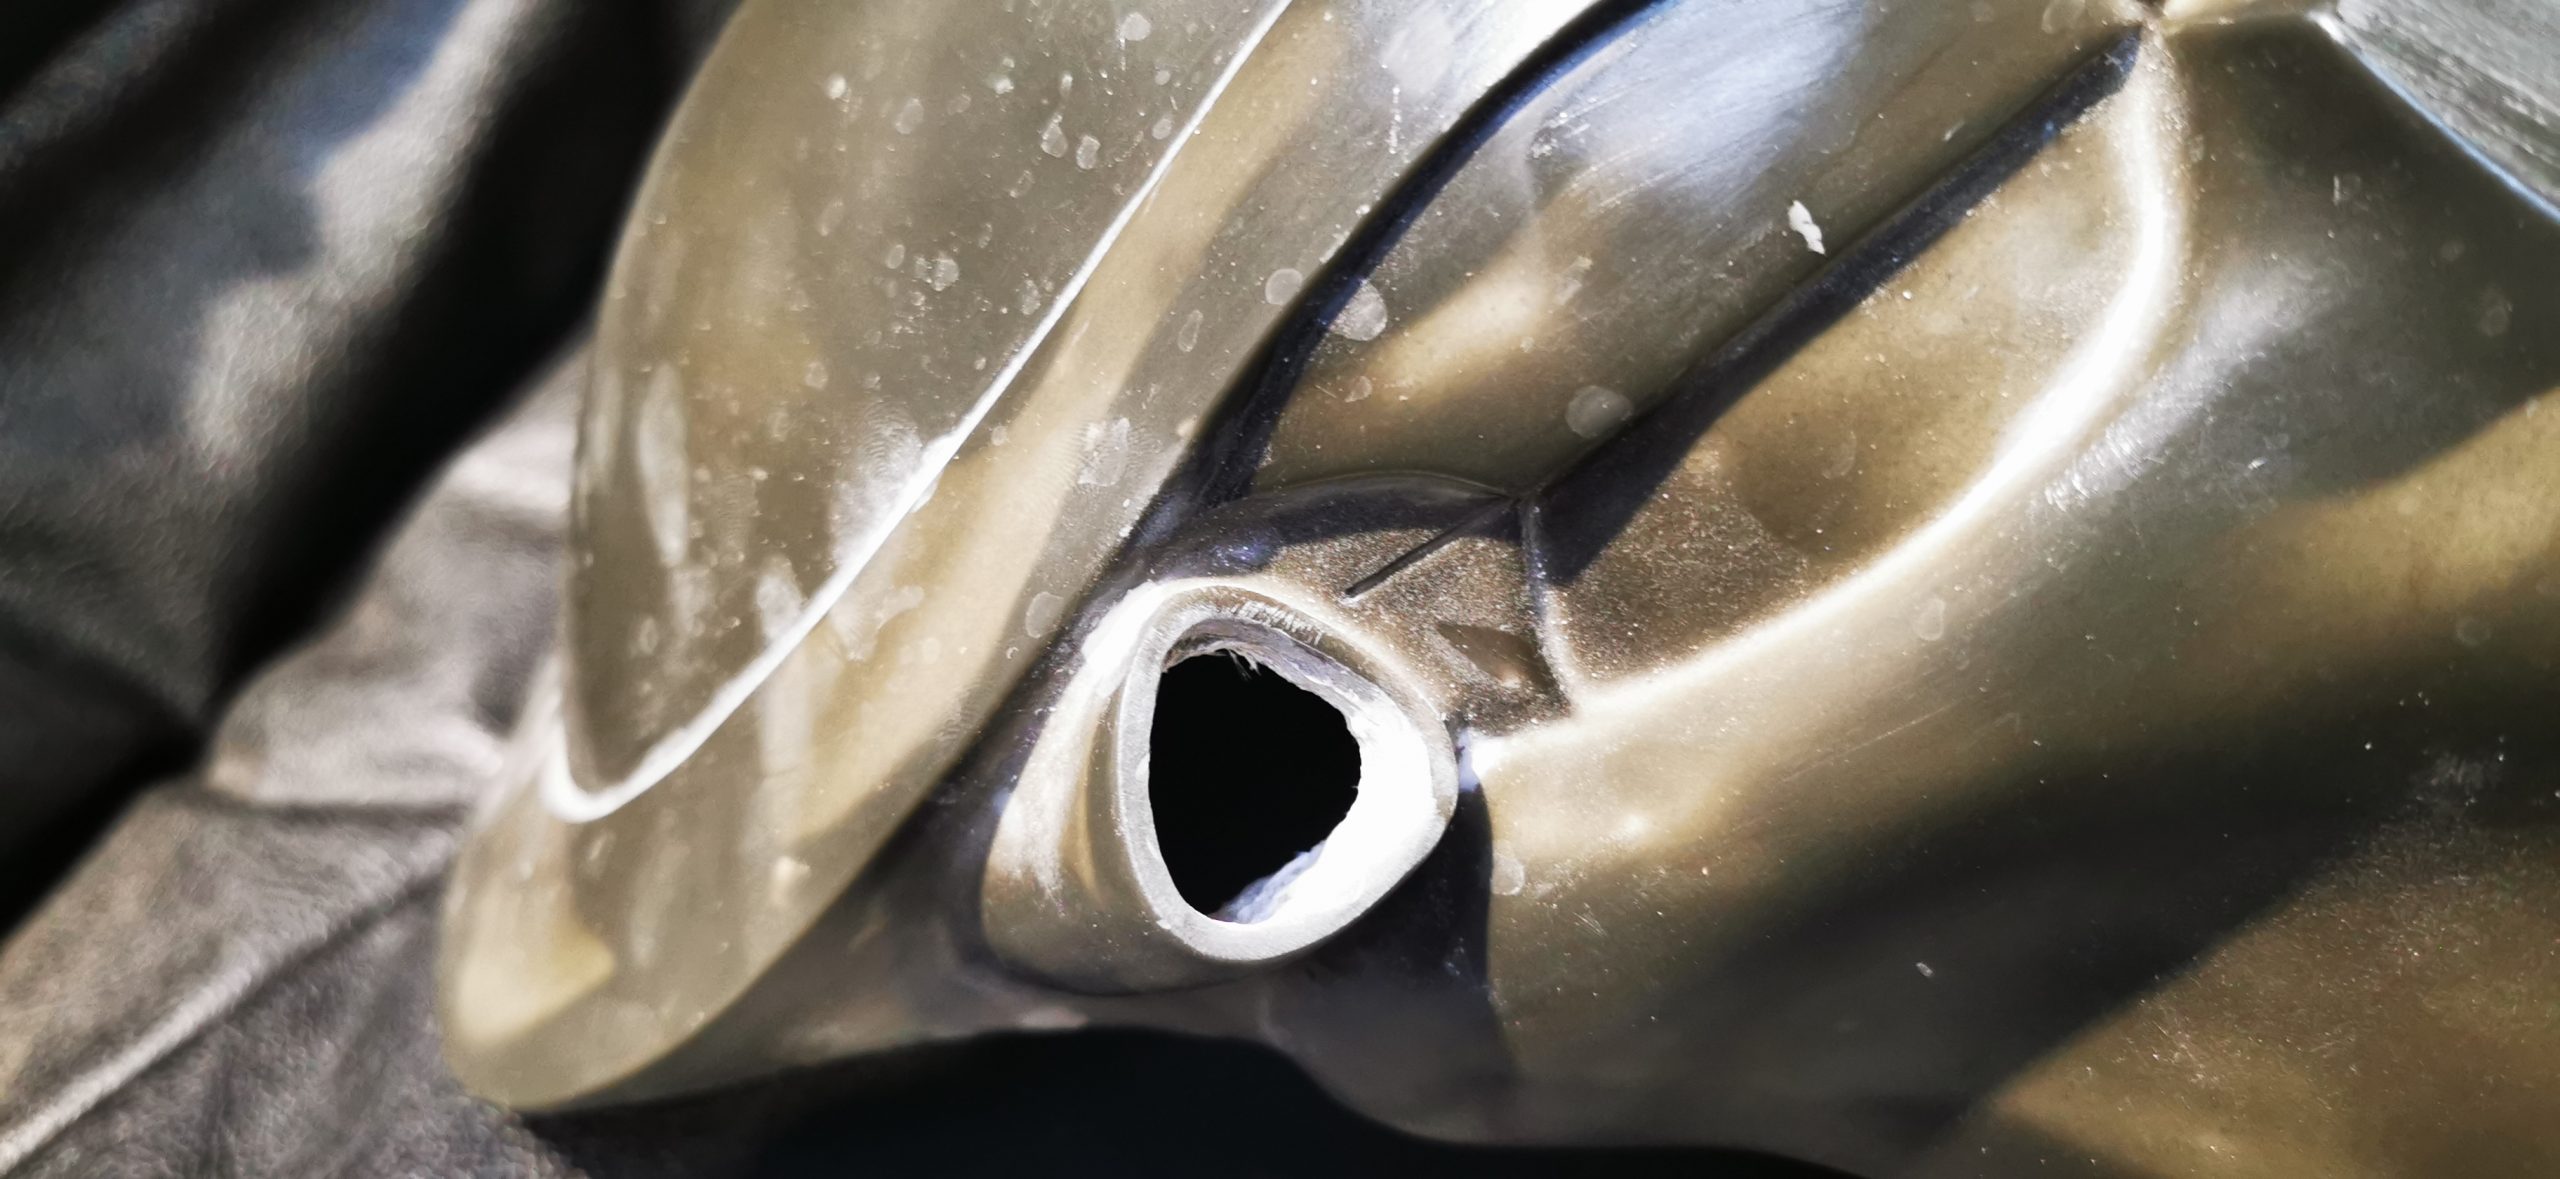
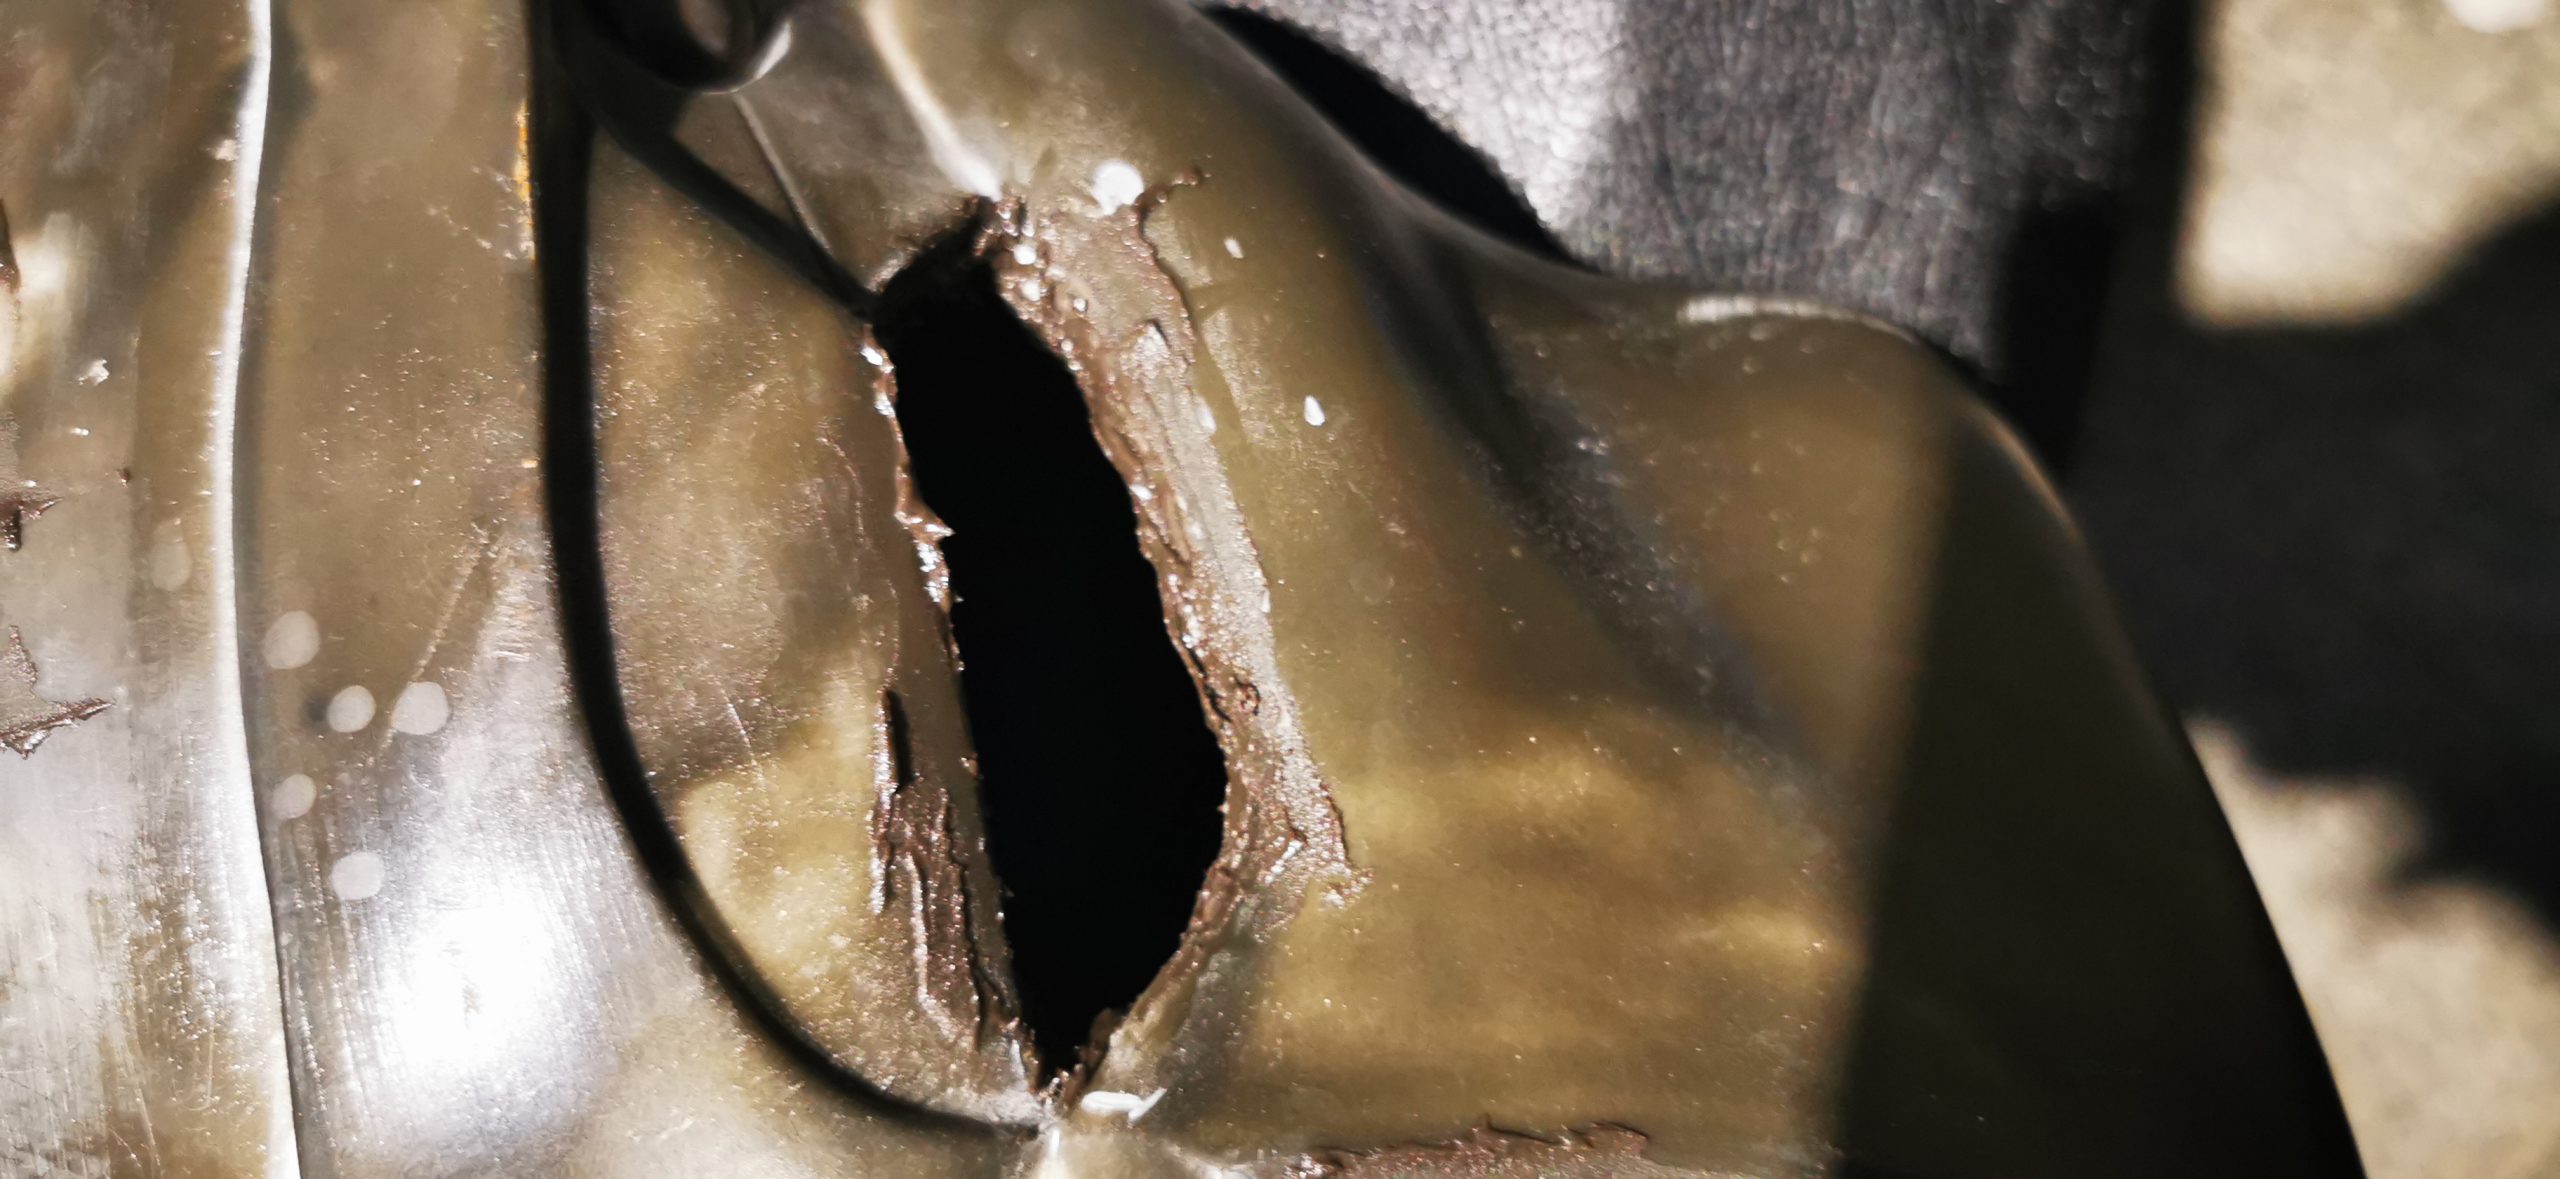
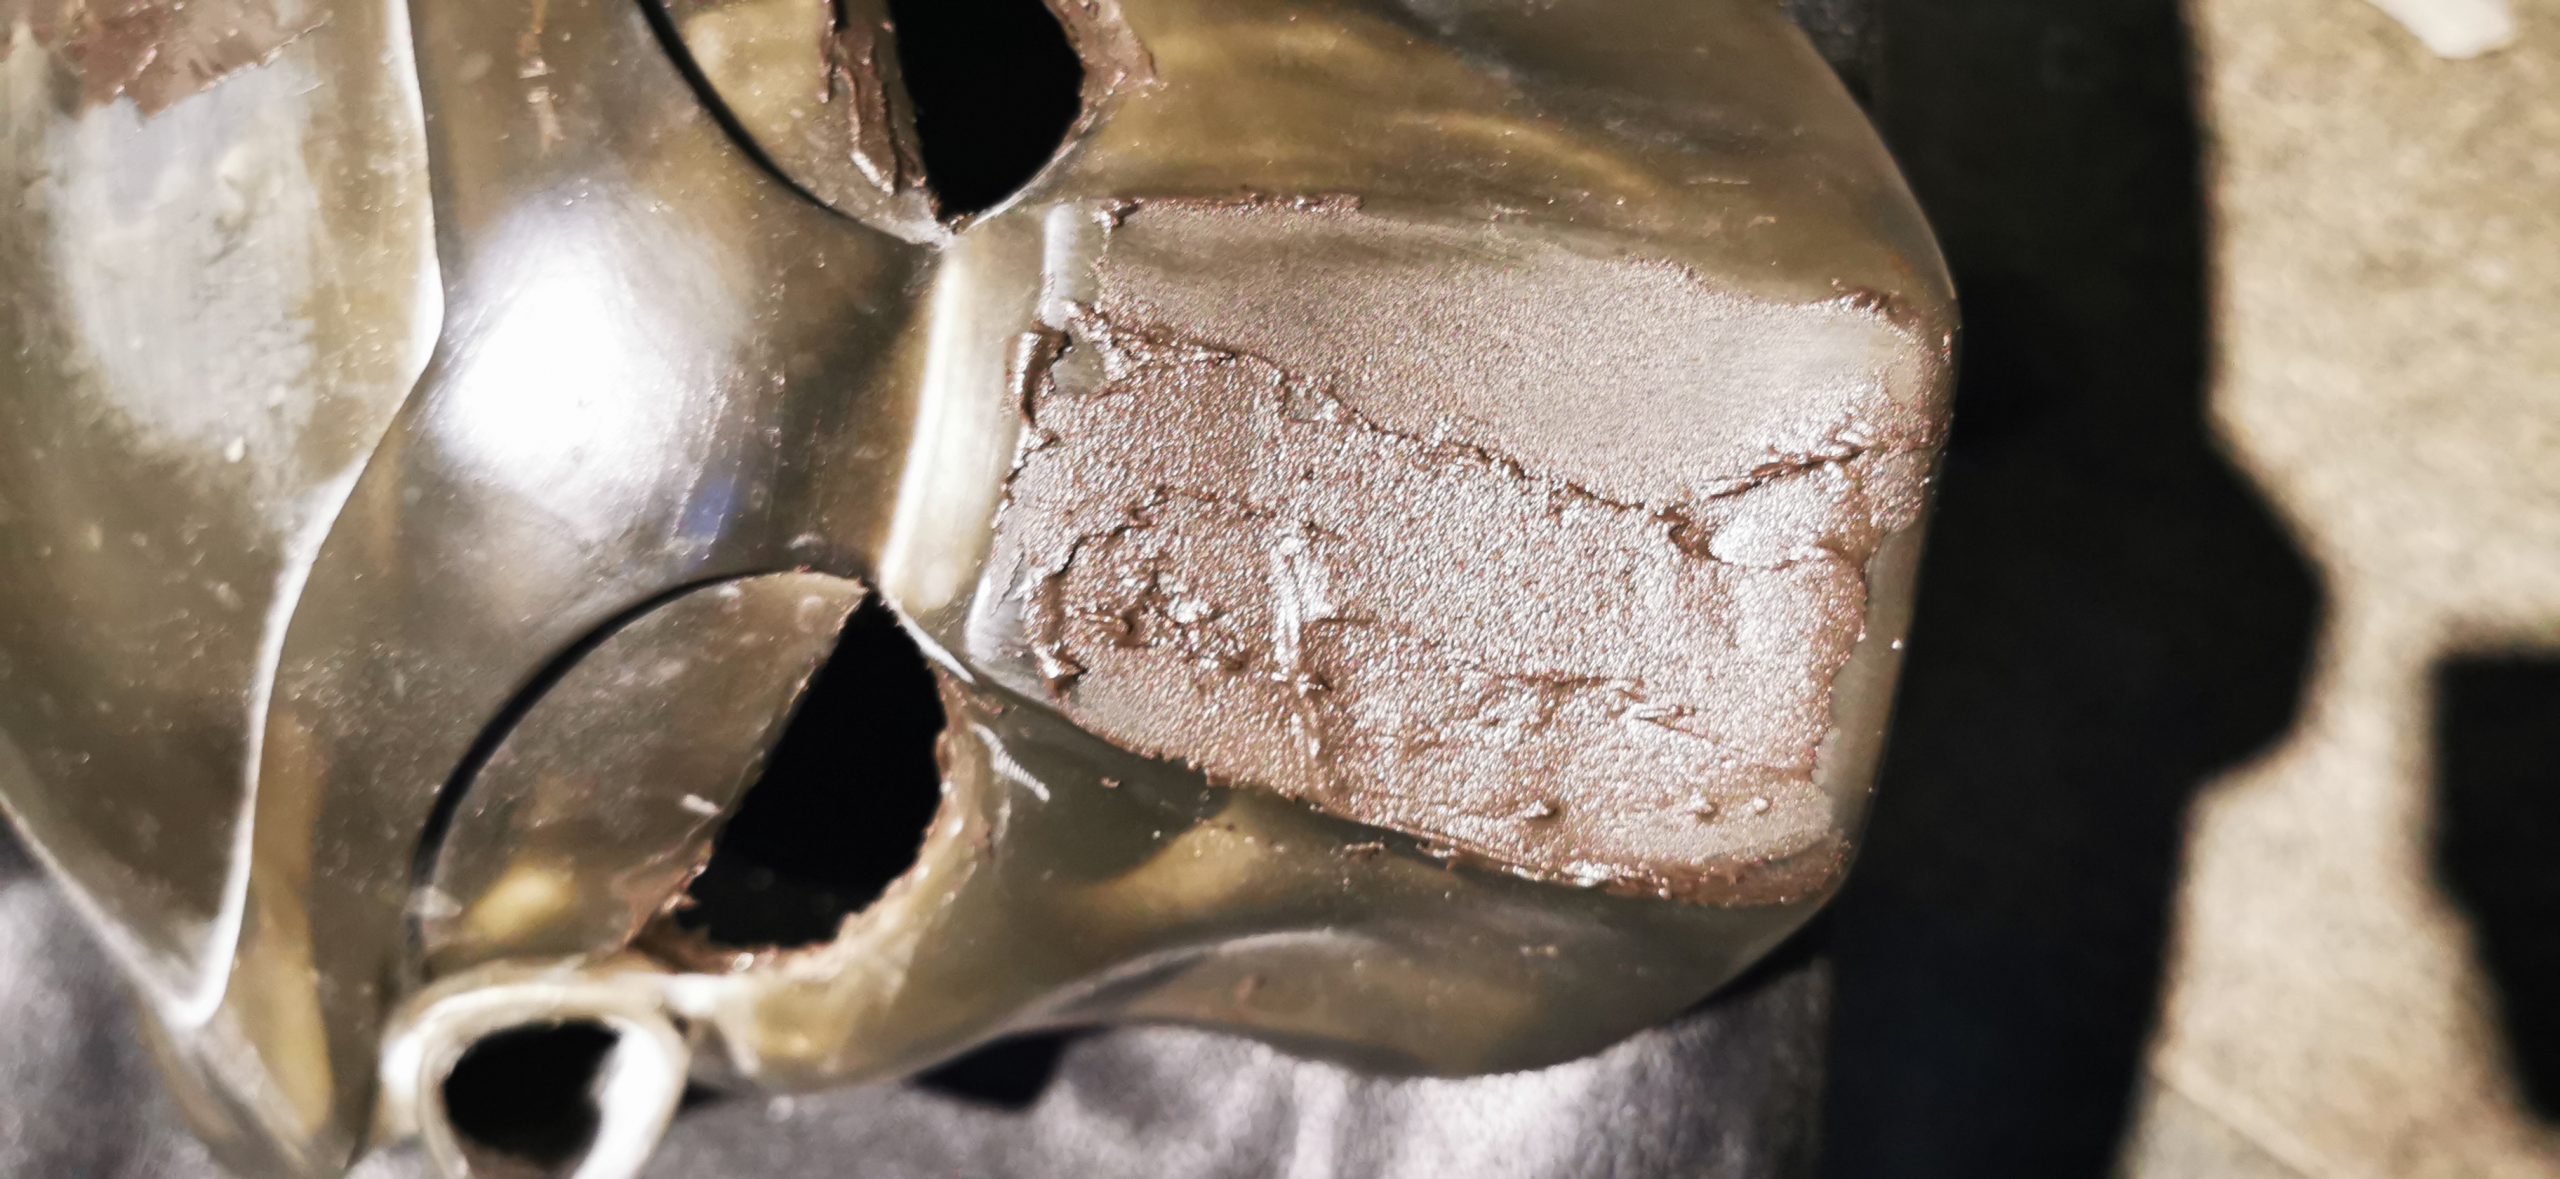
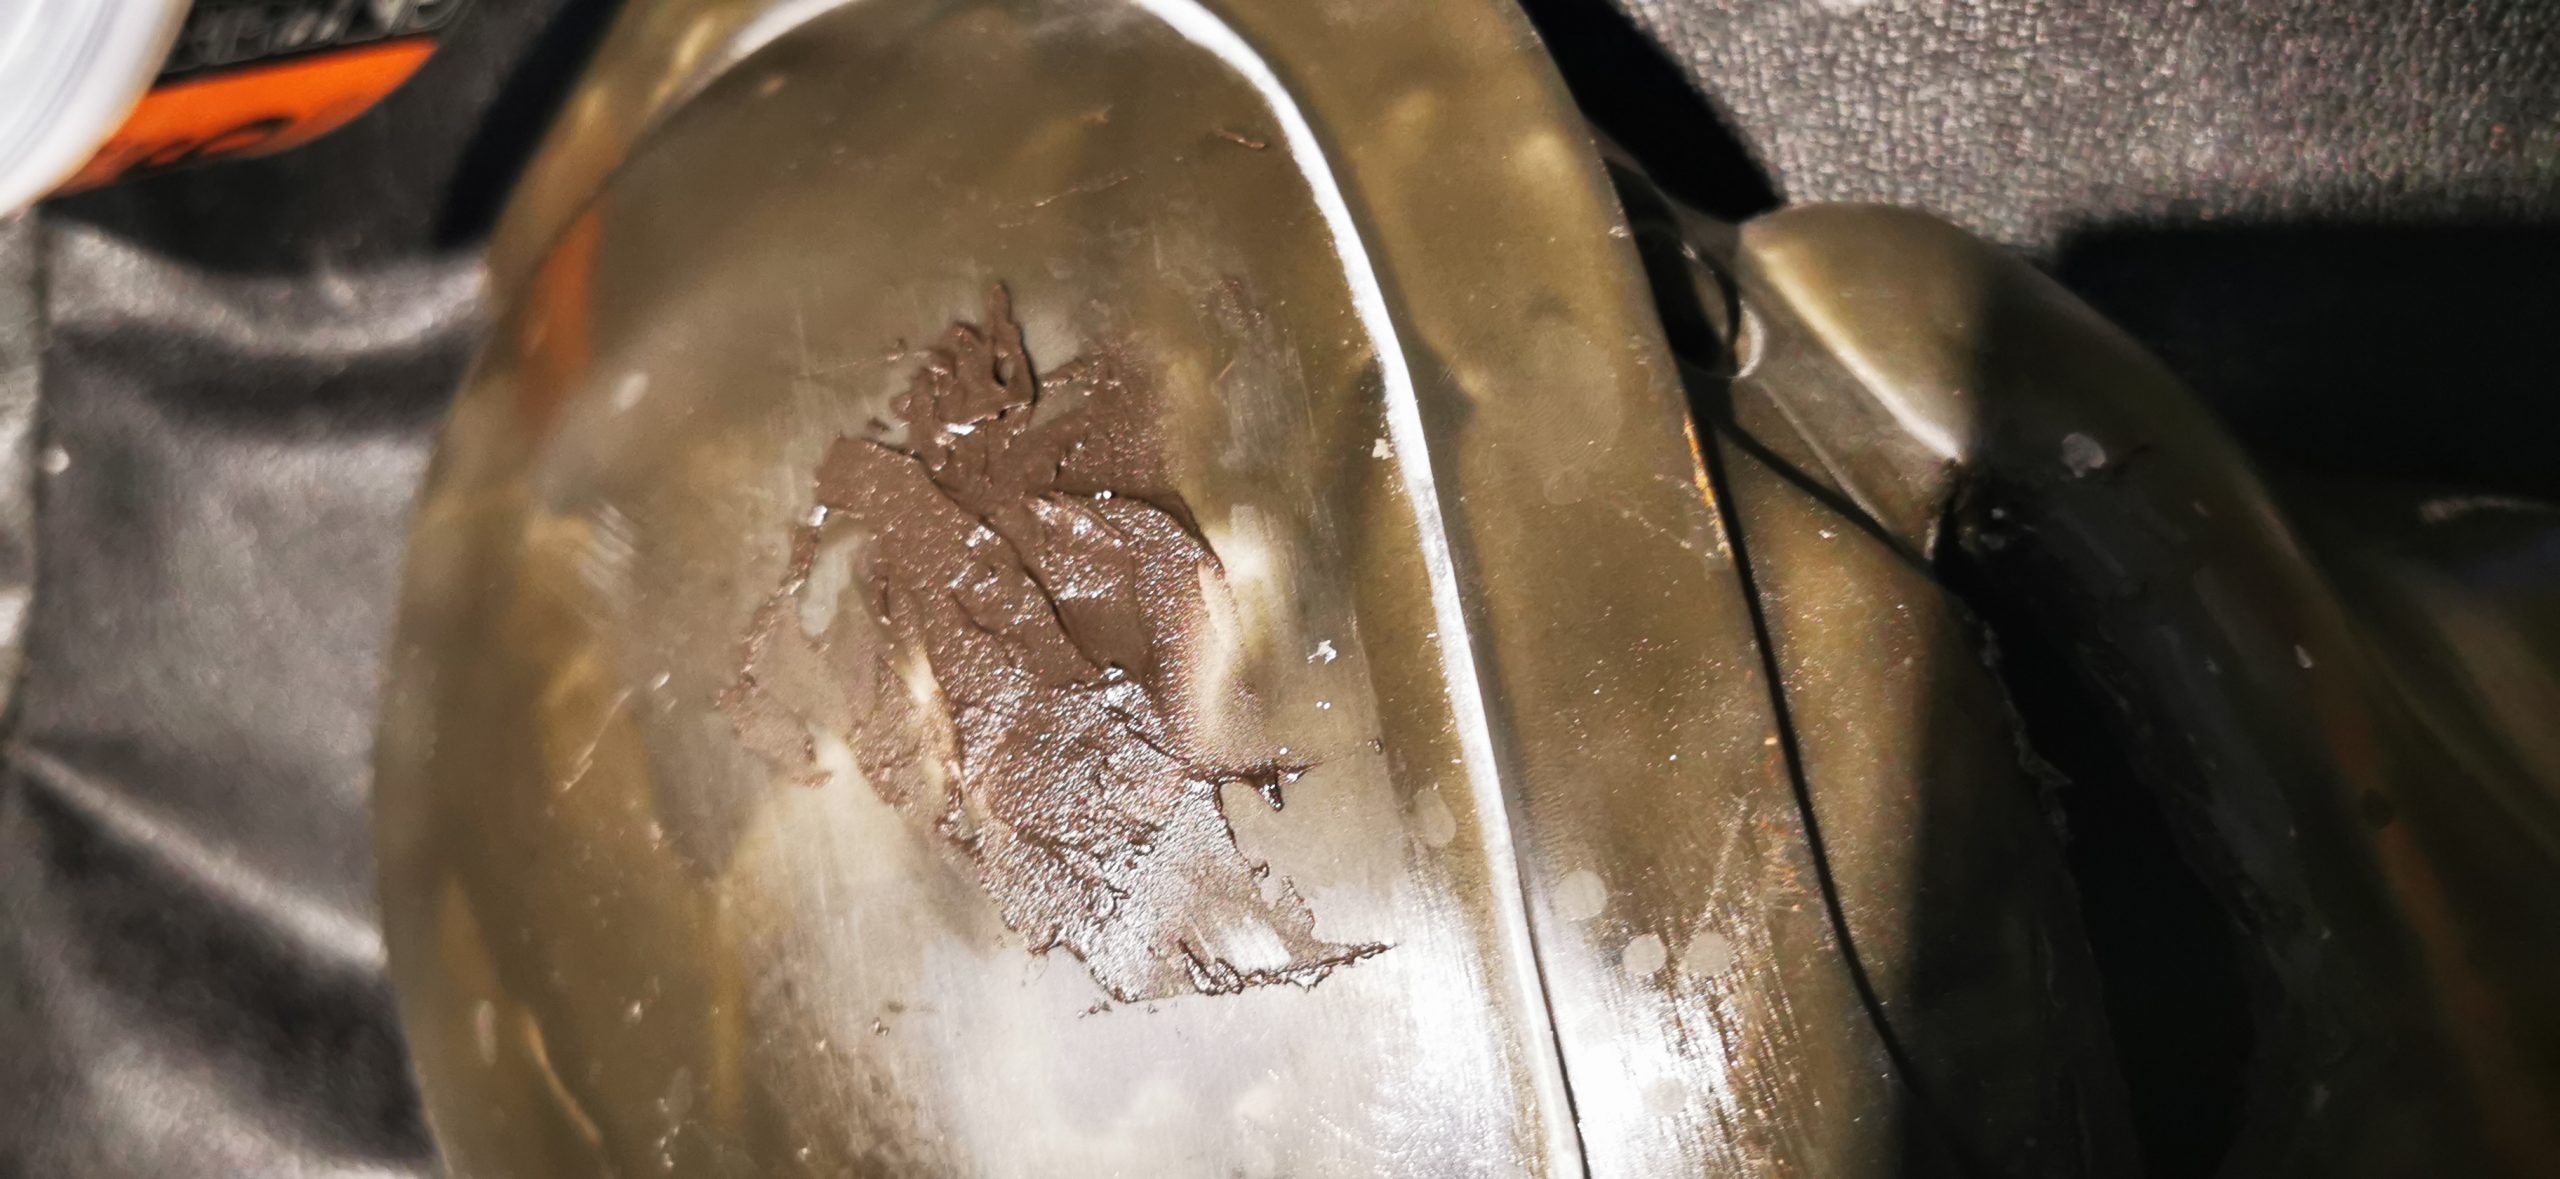
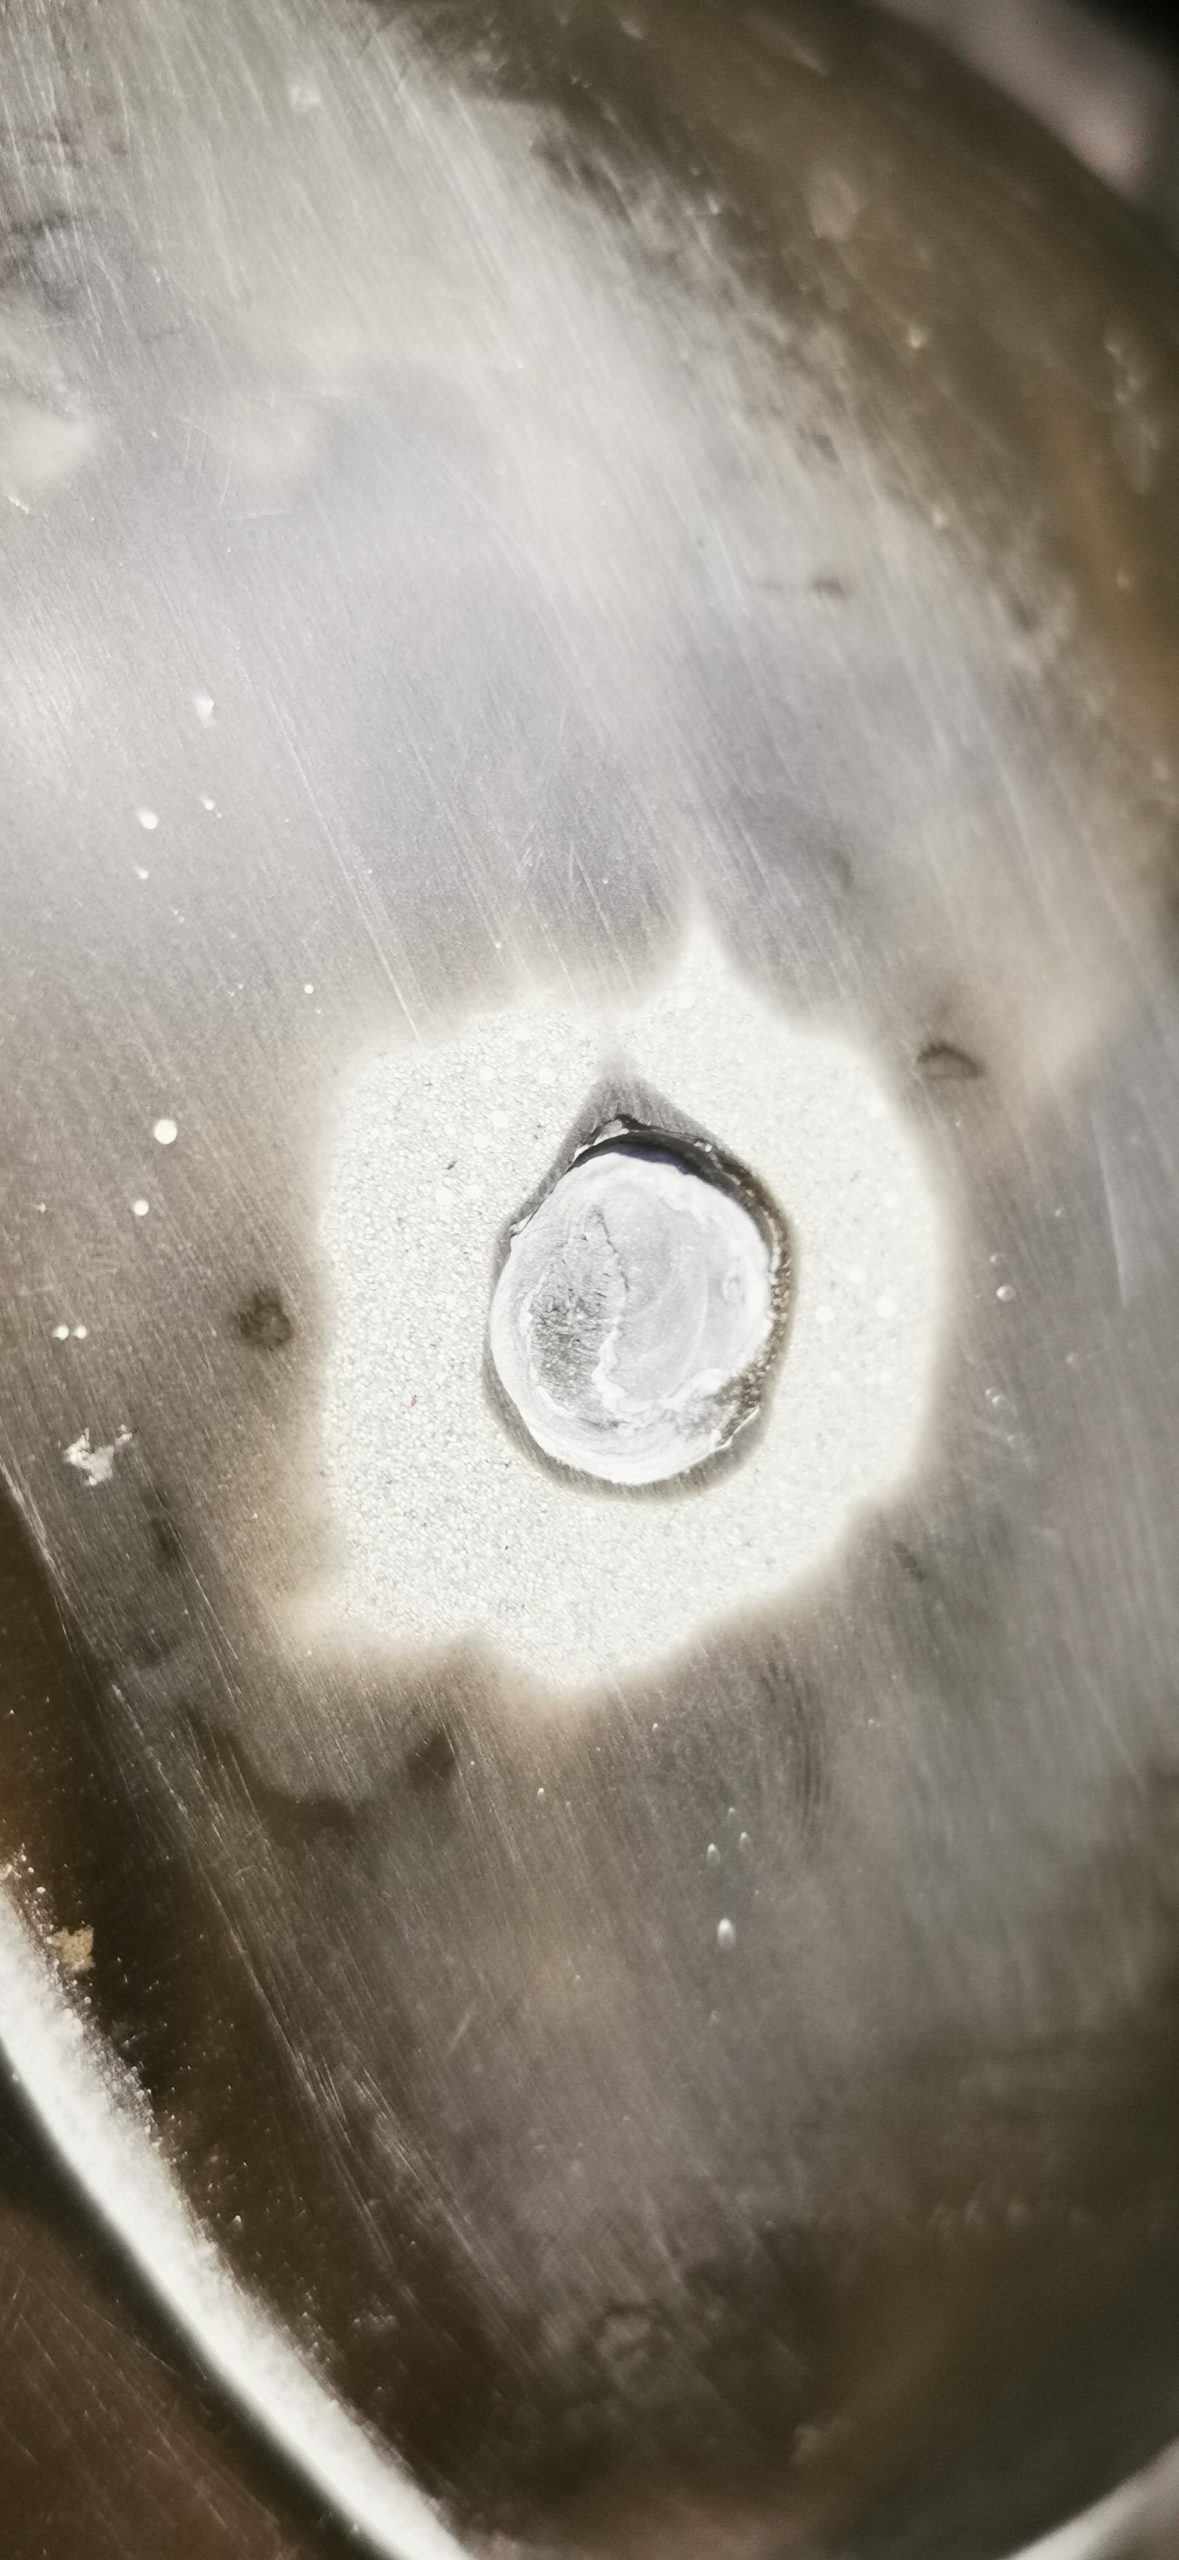
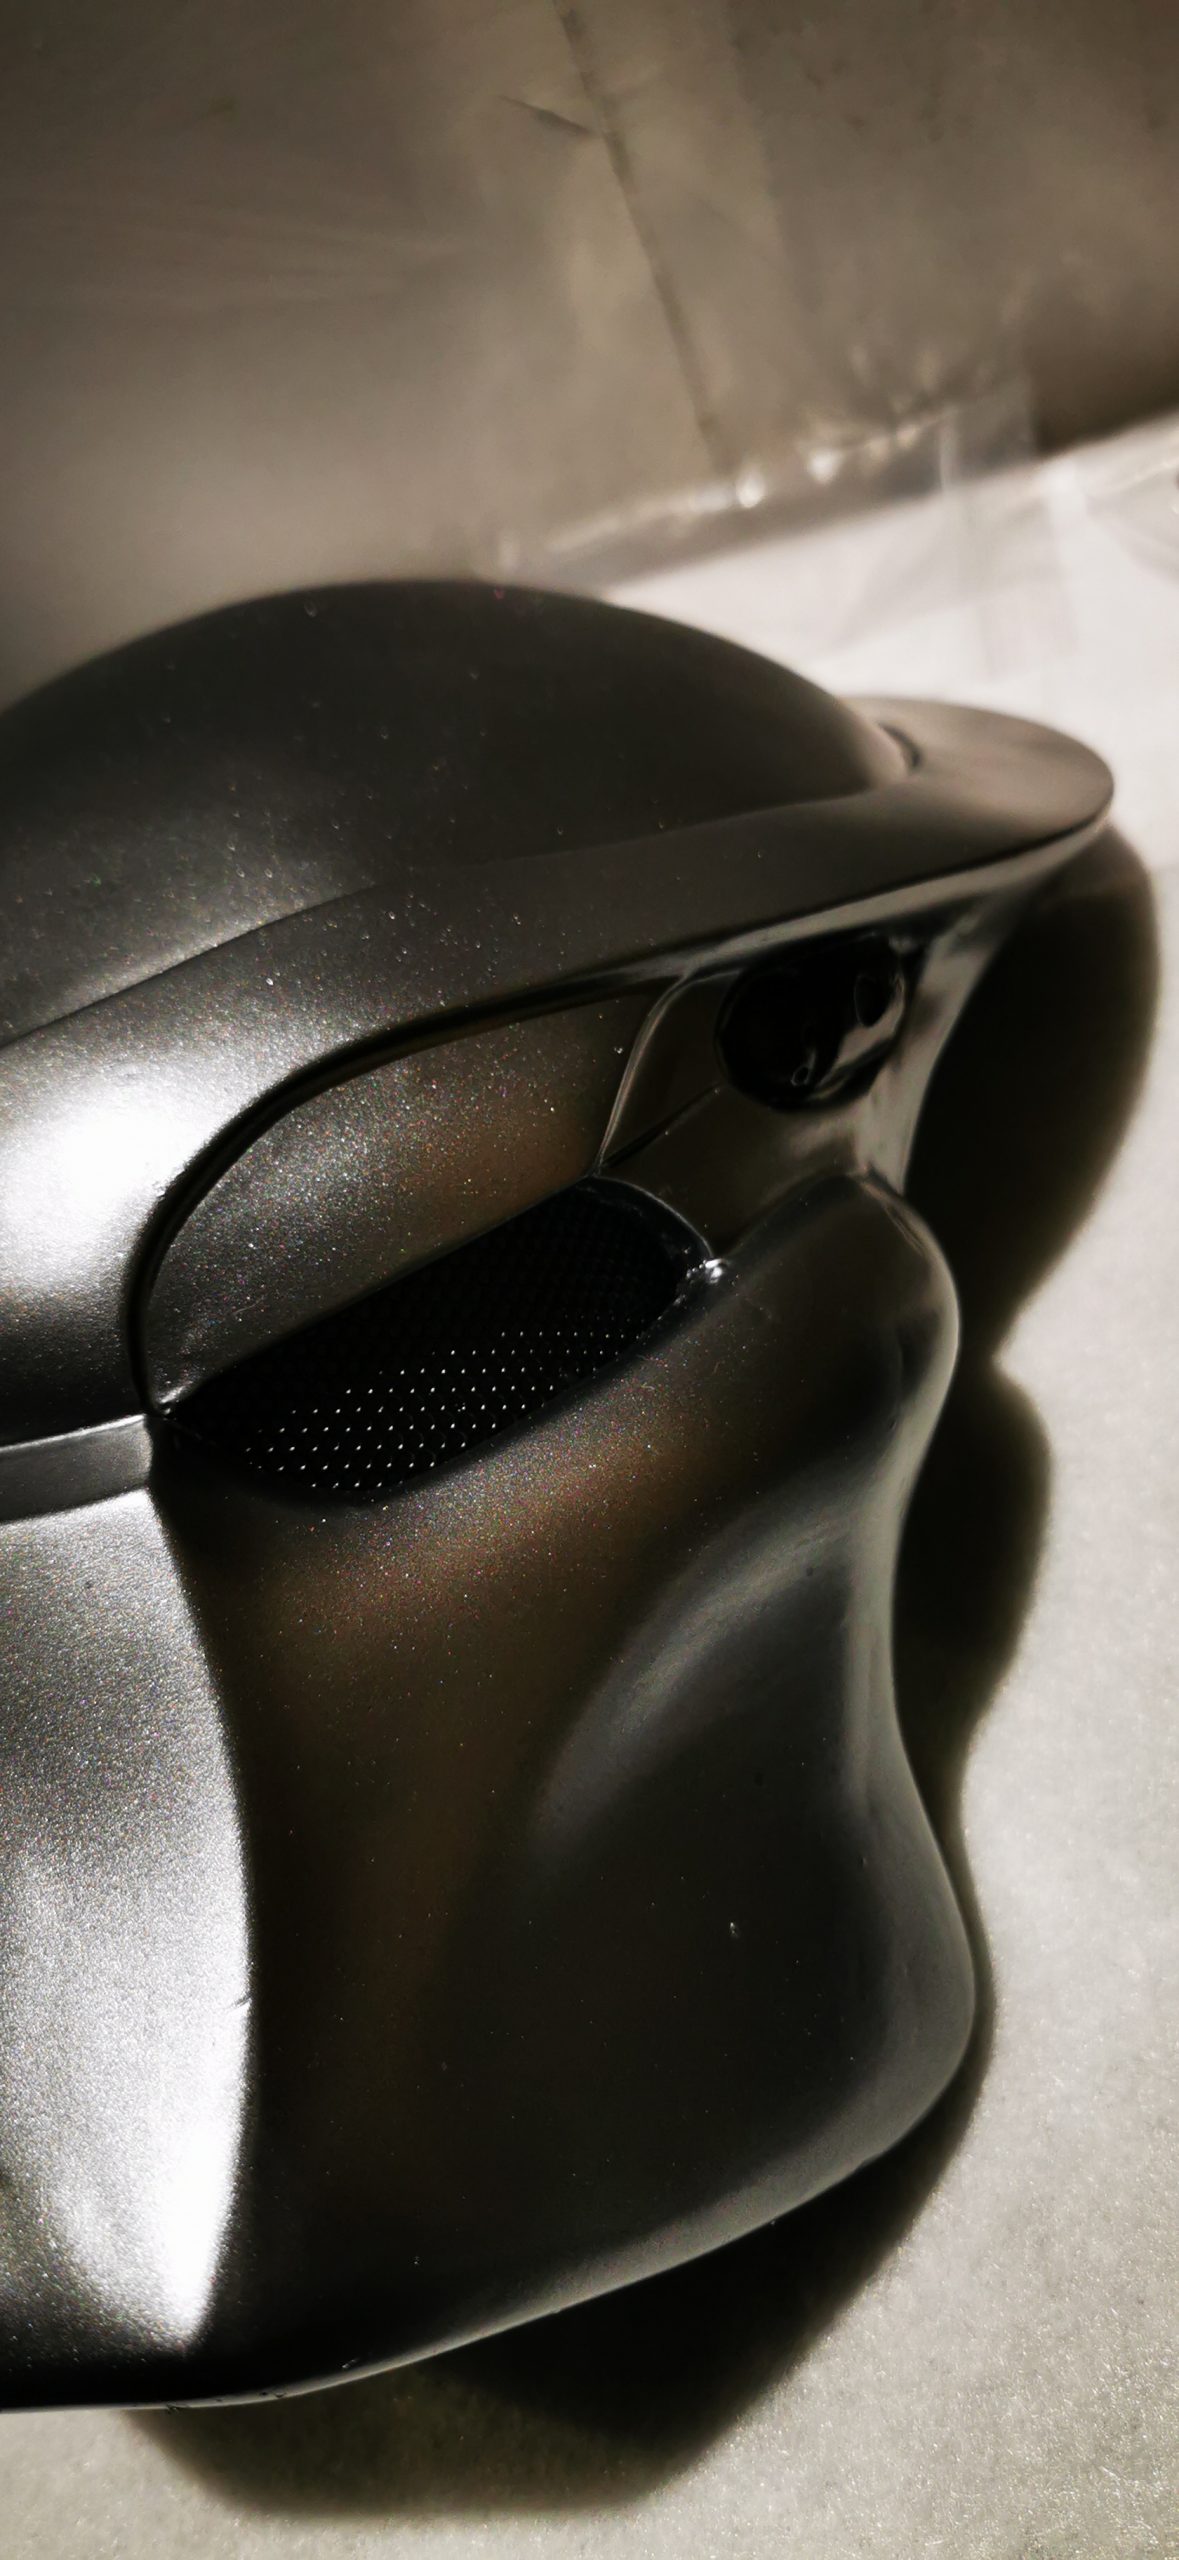
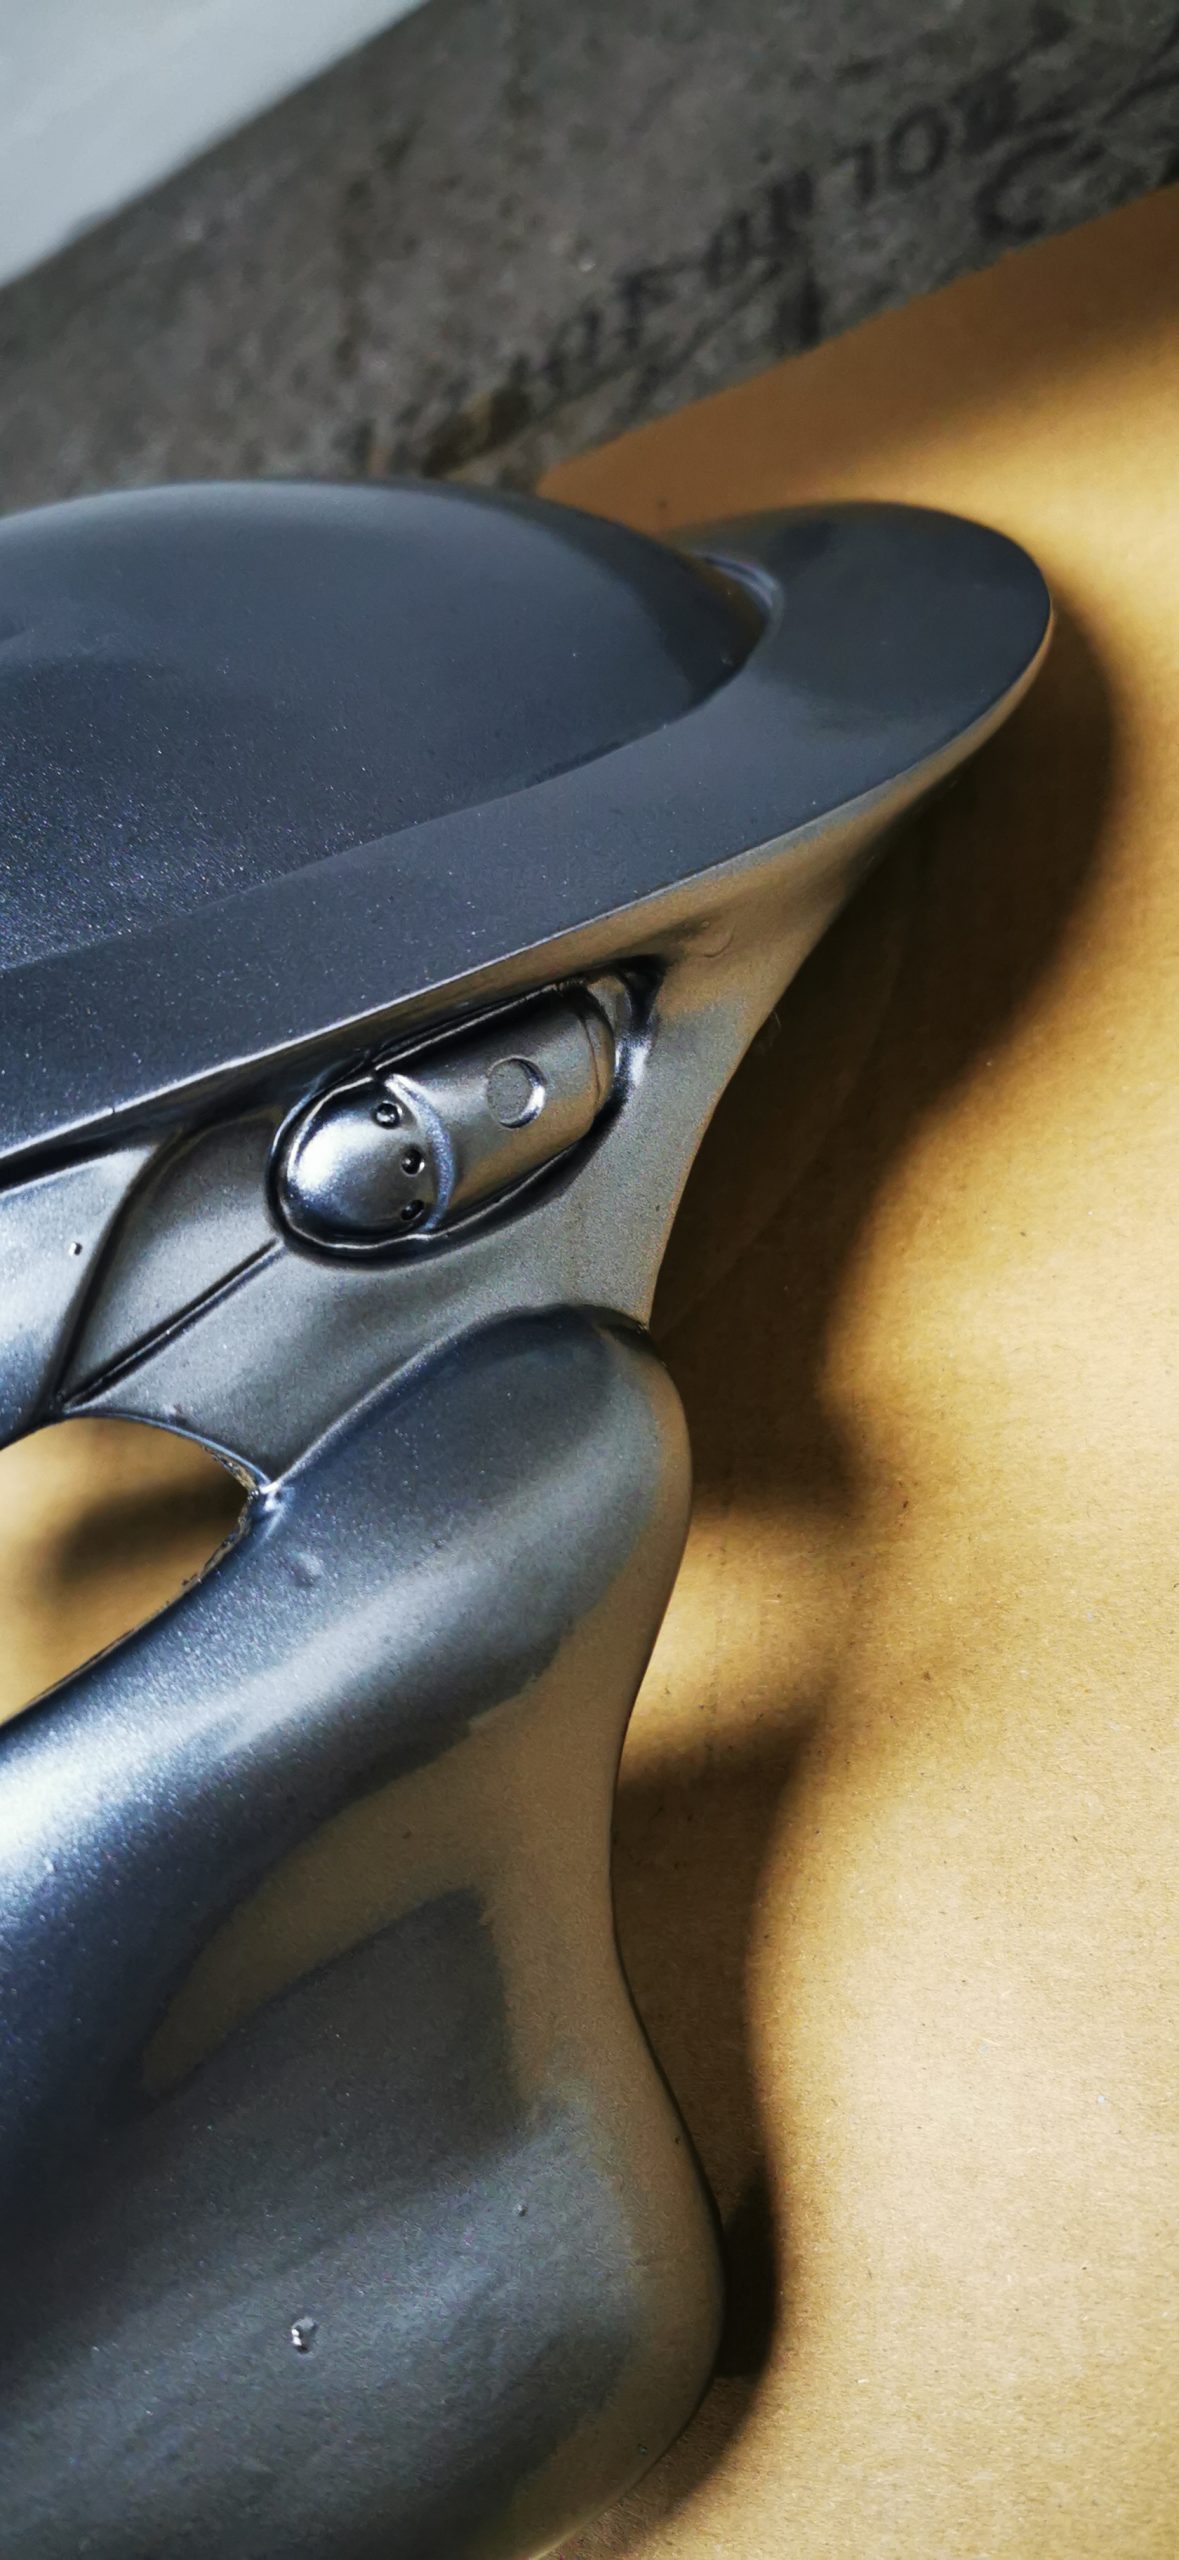
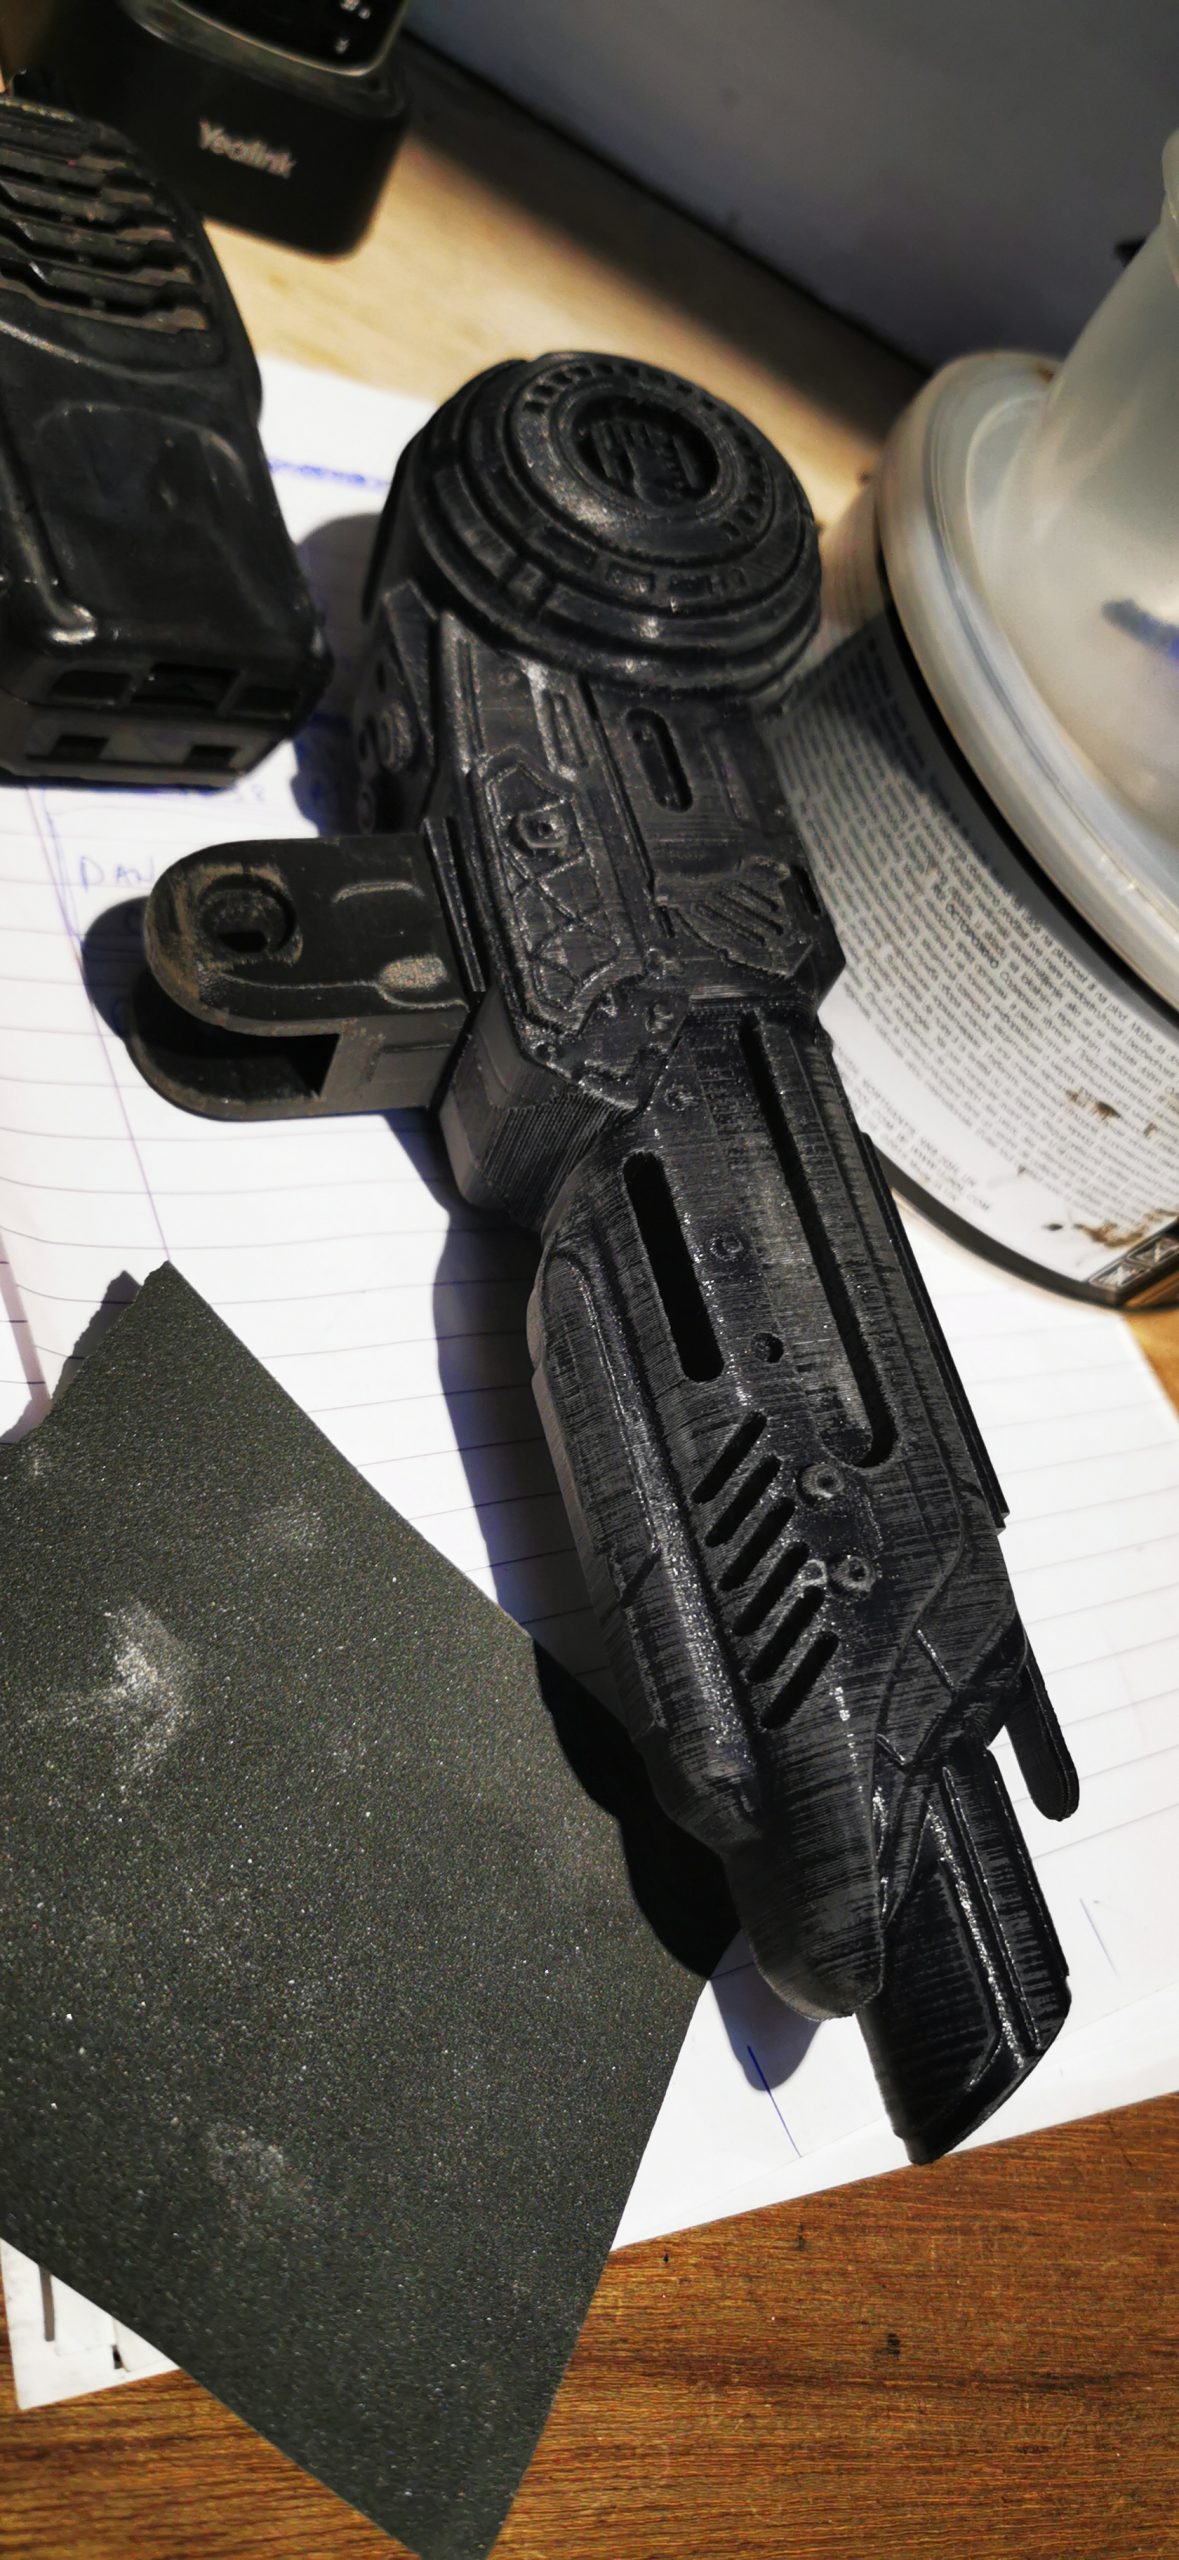
We prepared the mask by degreasing the surface. On the original design of the resin mask, we wanted to fill in the holes in the resin to make it flush. To do this, we sanded the surface flat and then filled the holes using a plastic filler. We then used multi grit sandpaper to achieve a completely flush finish. Once happy with the surface, we moved onto the paint.
Paint:
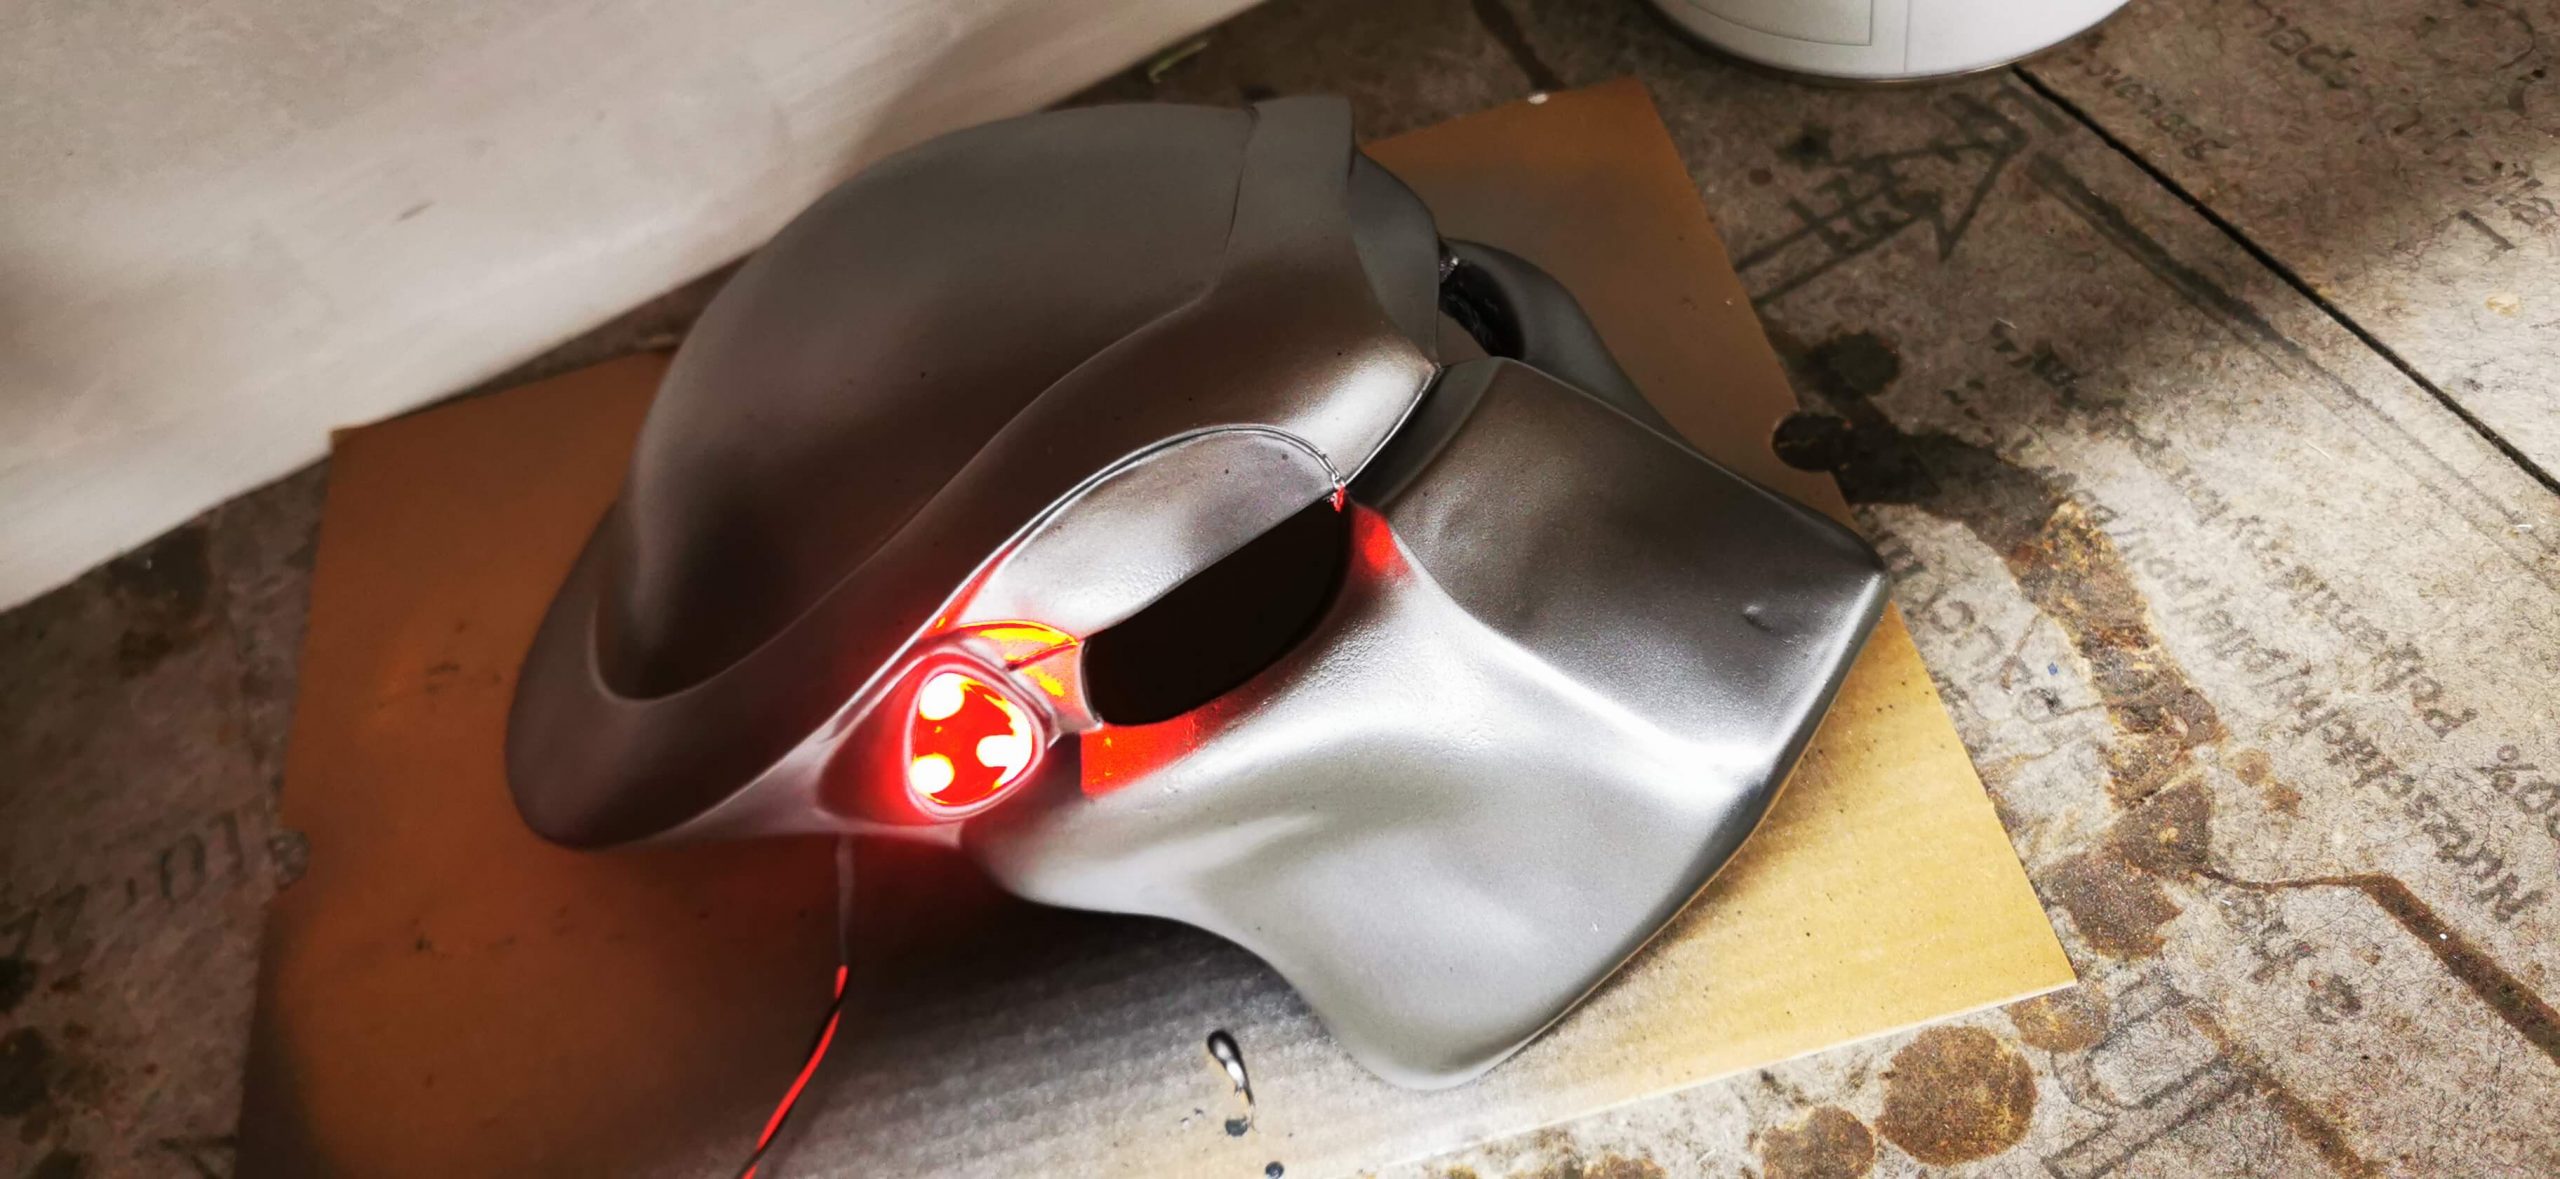
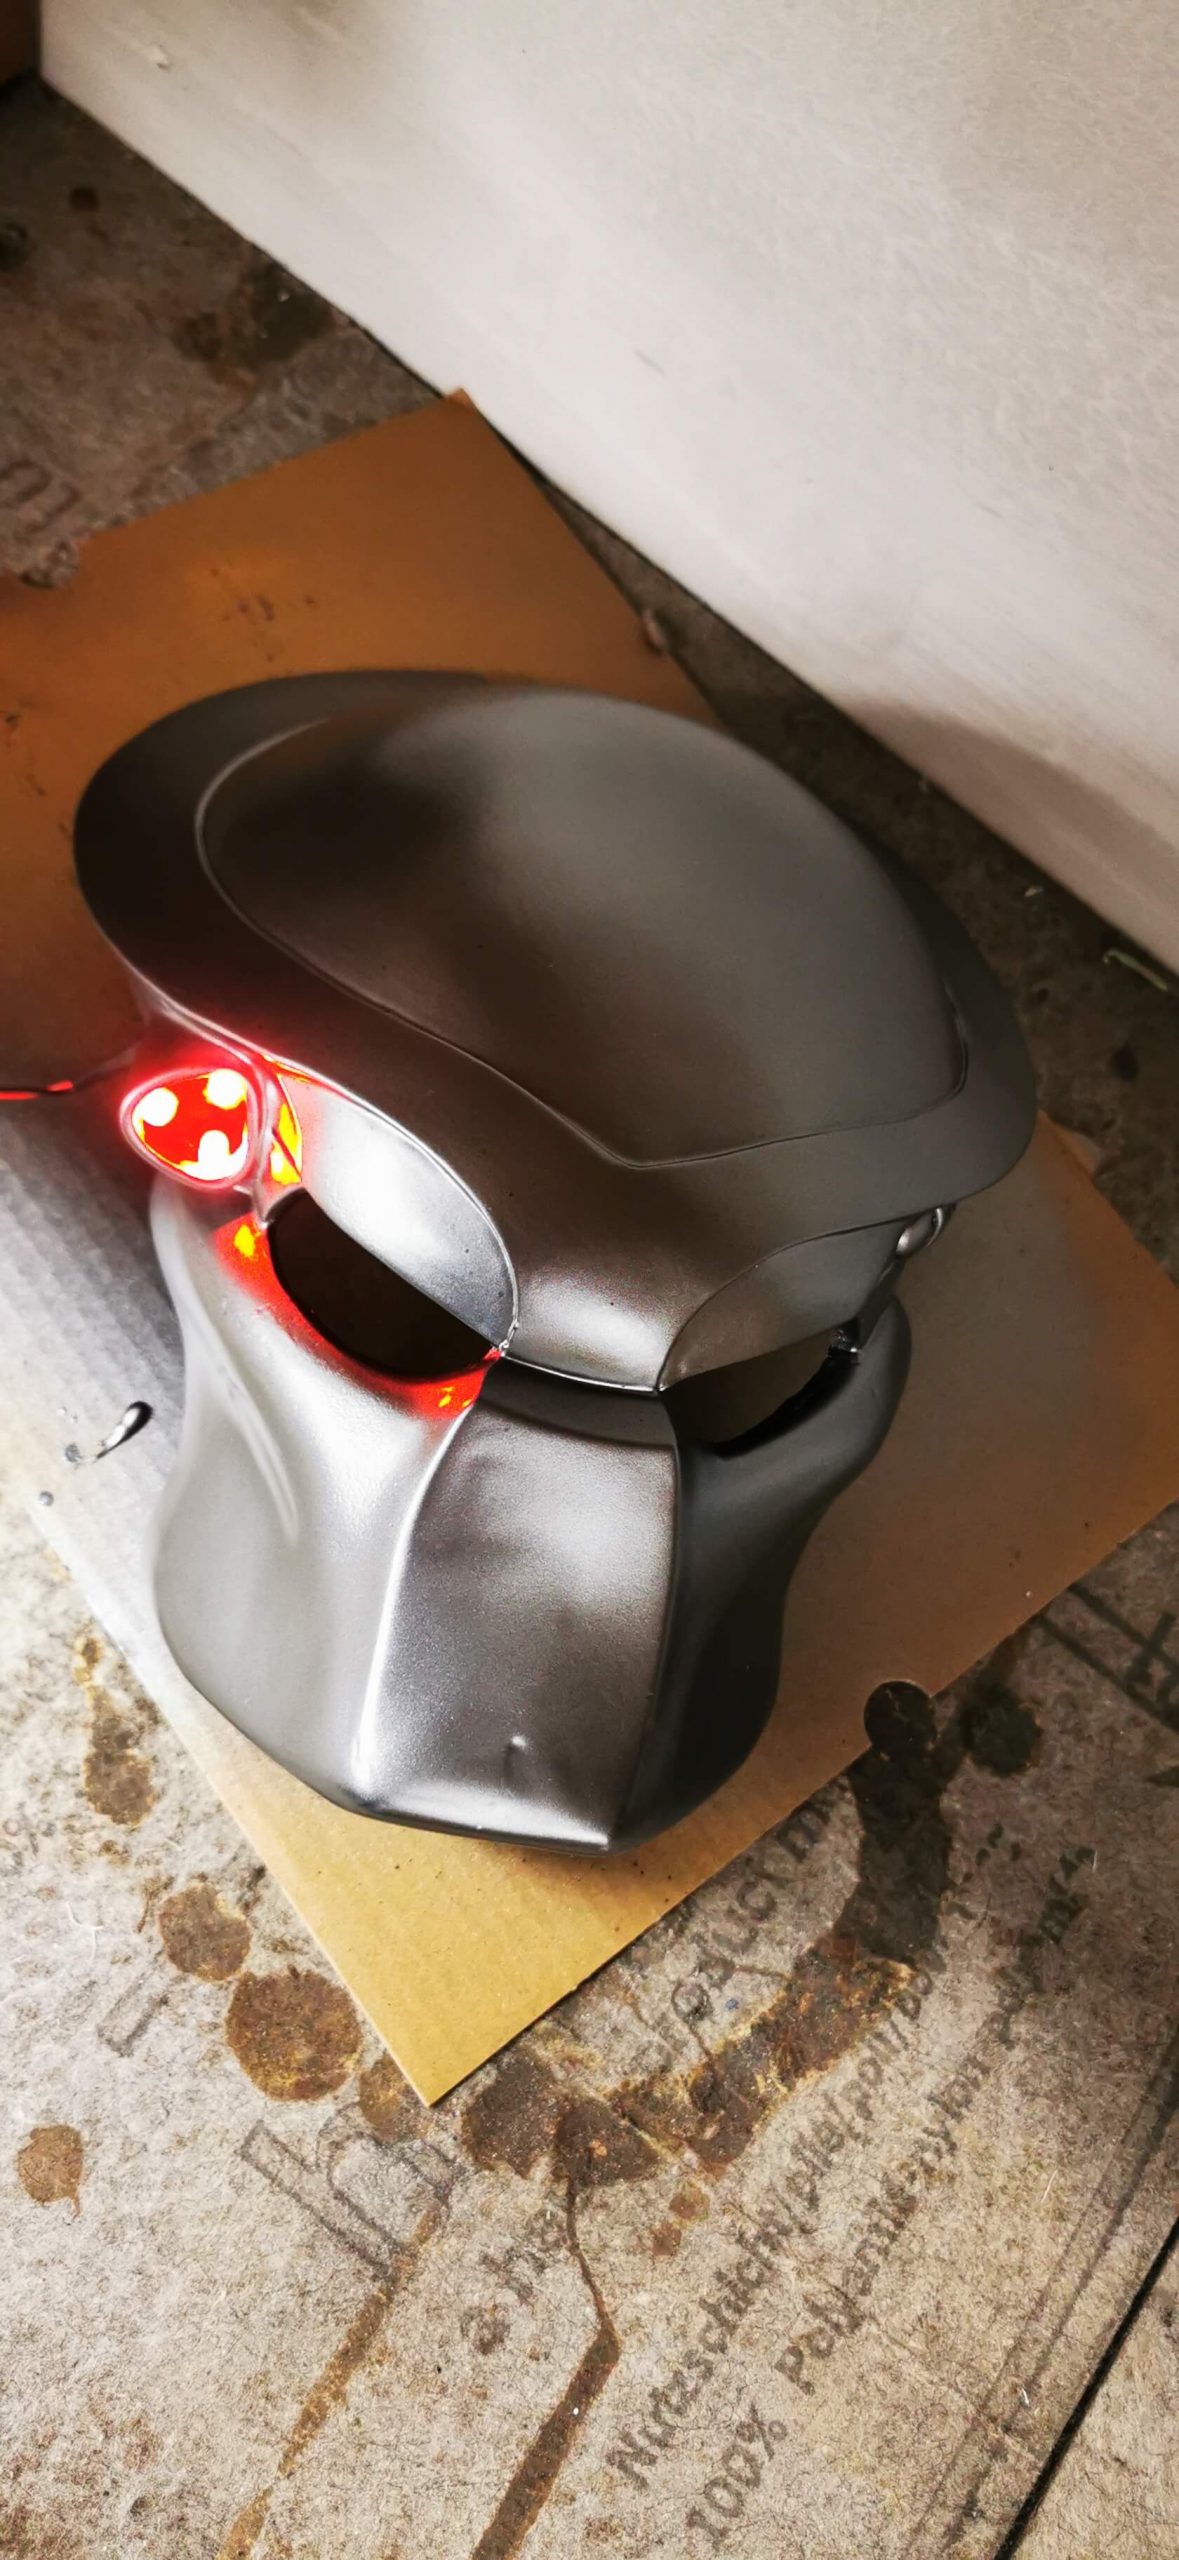
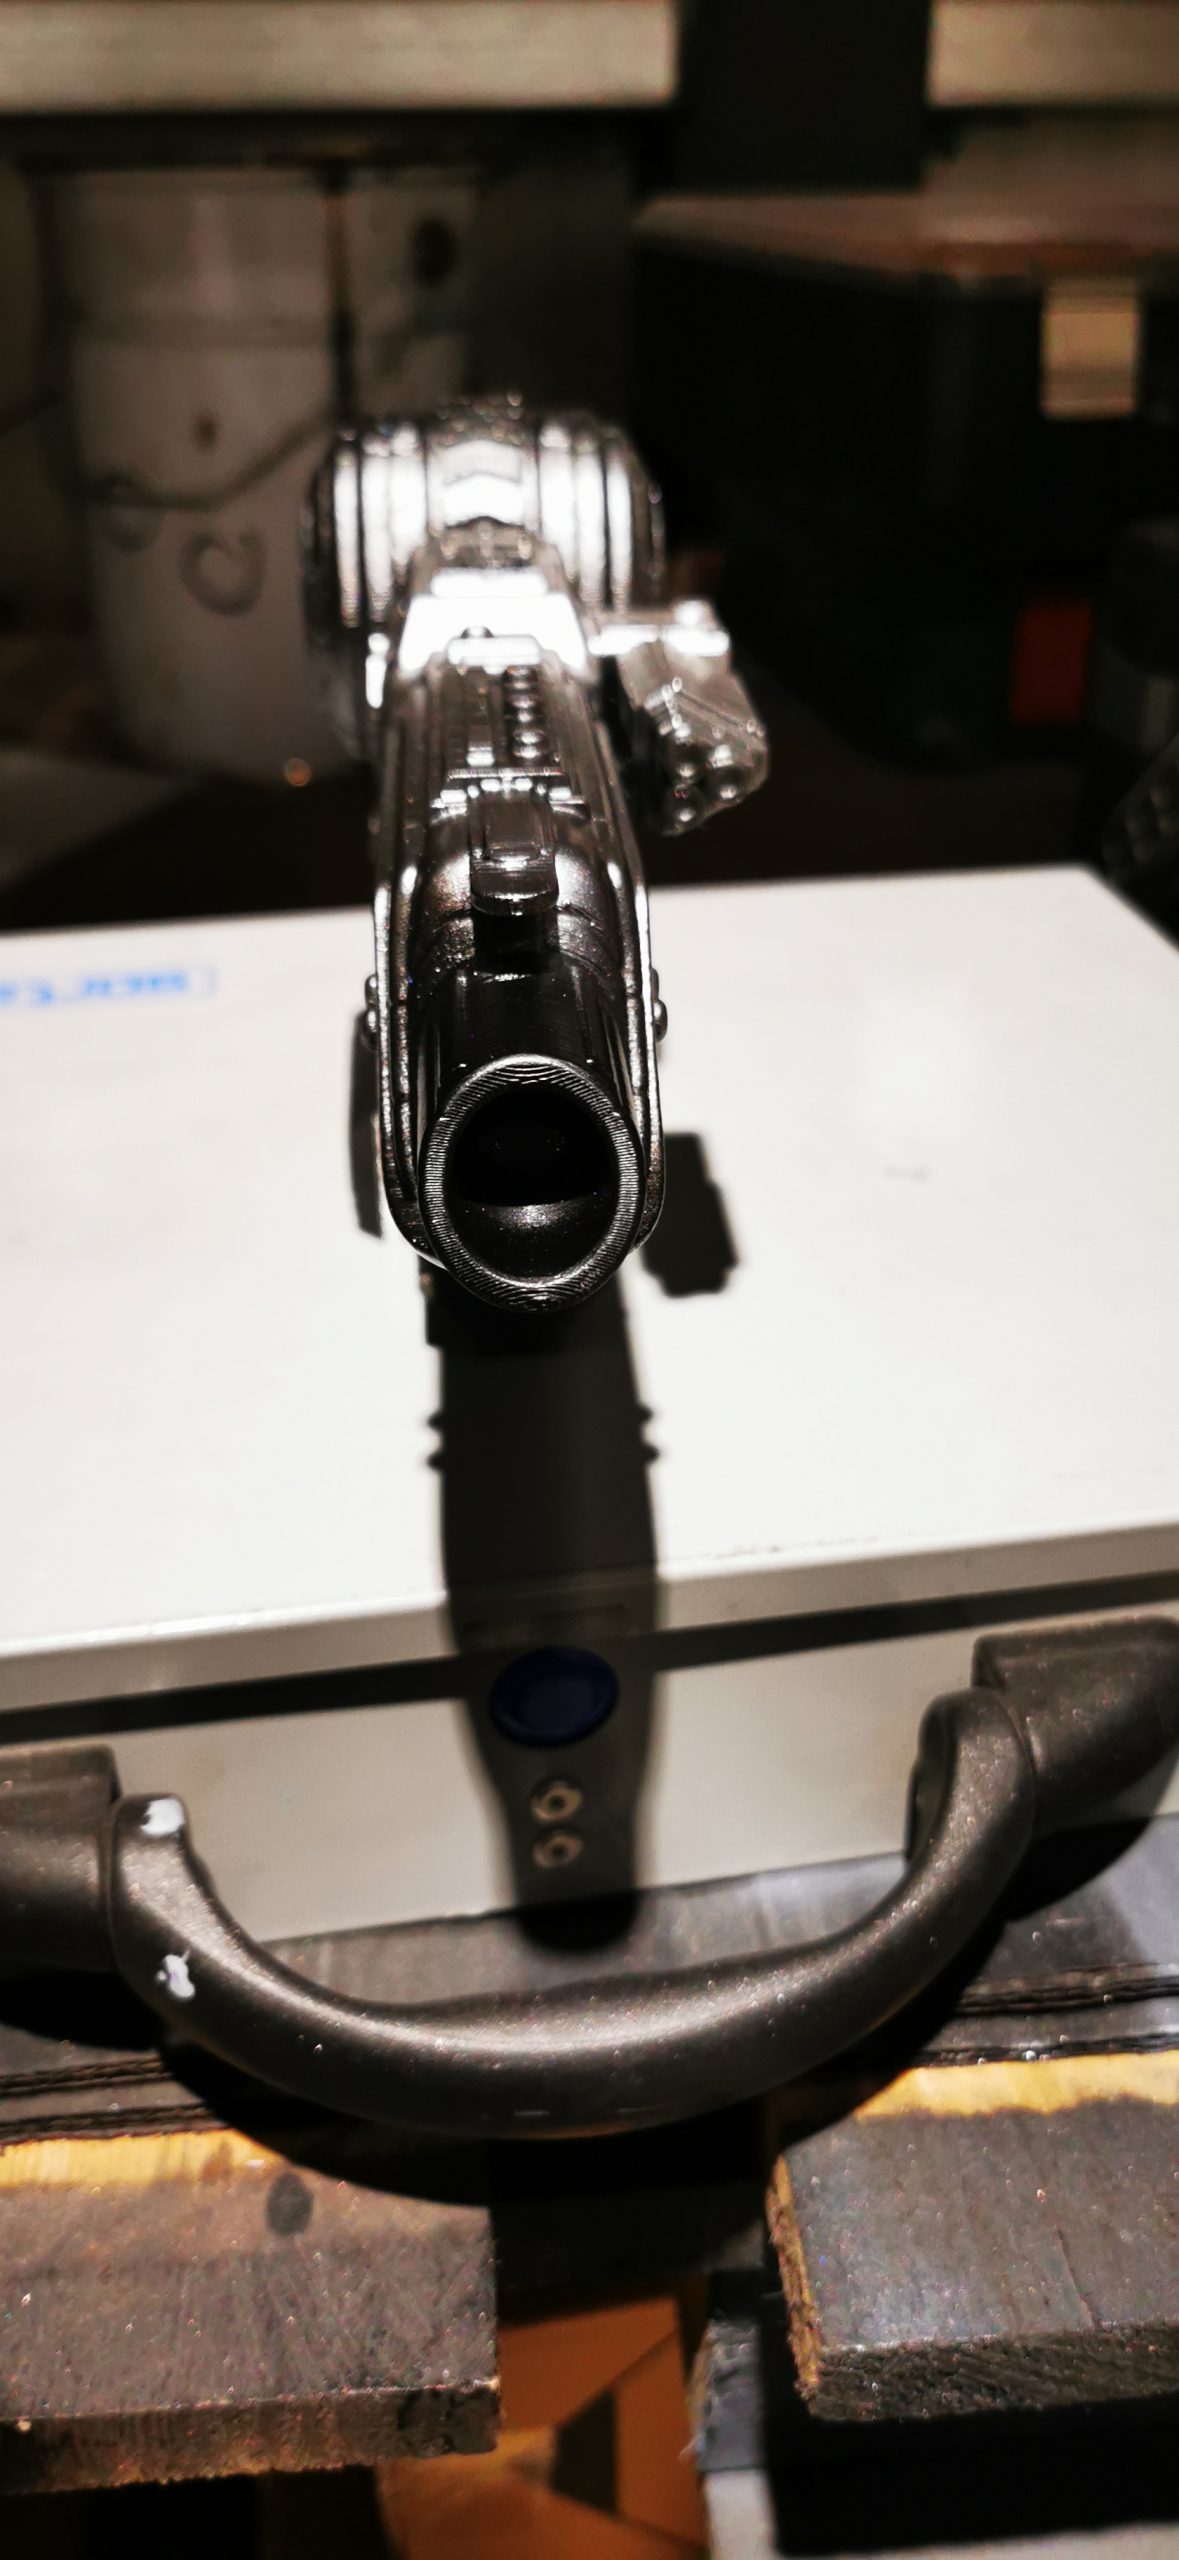
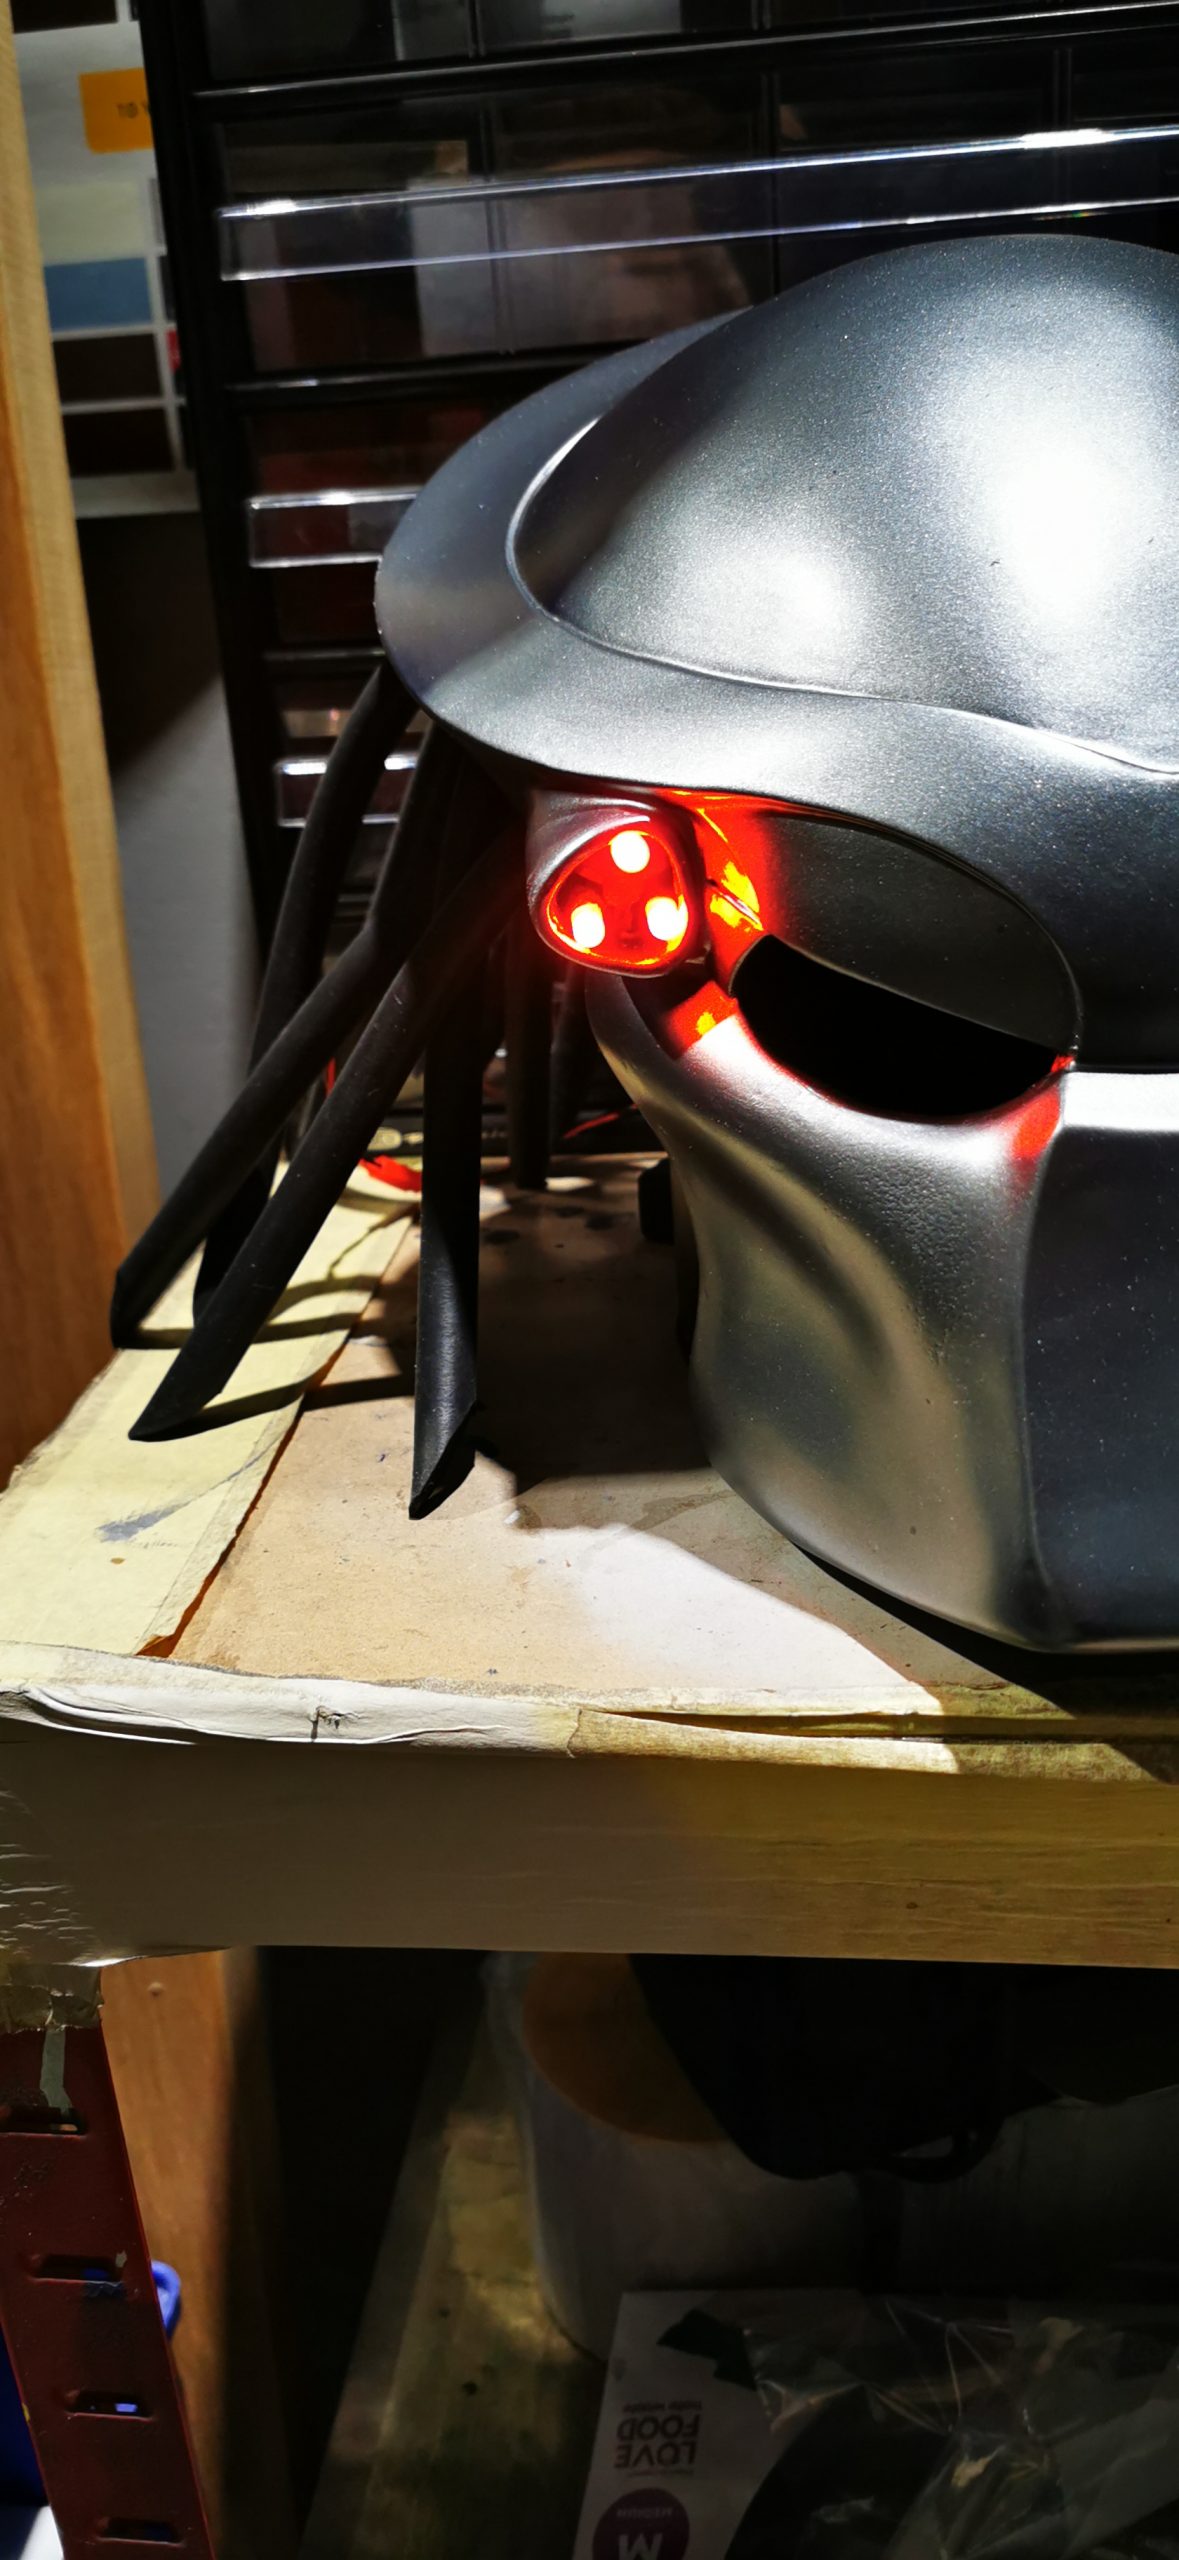
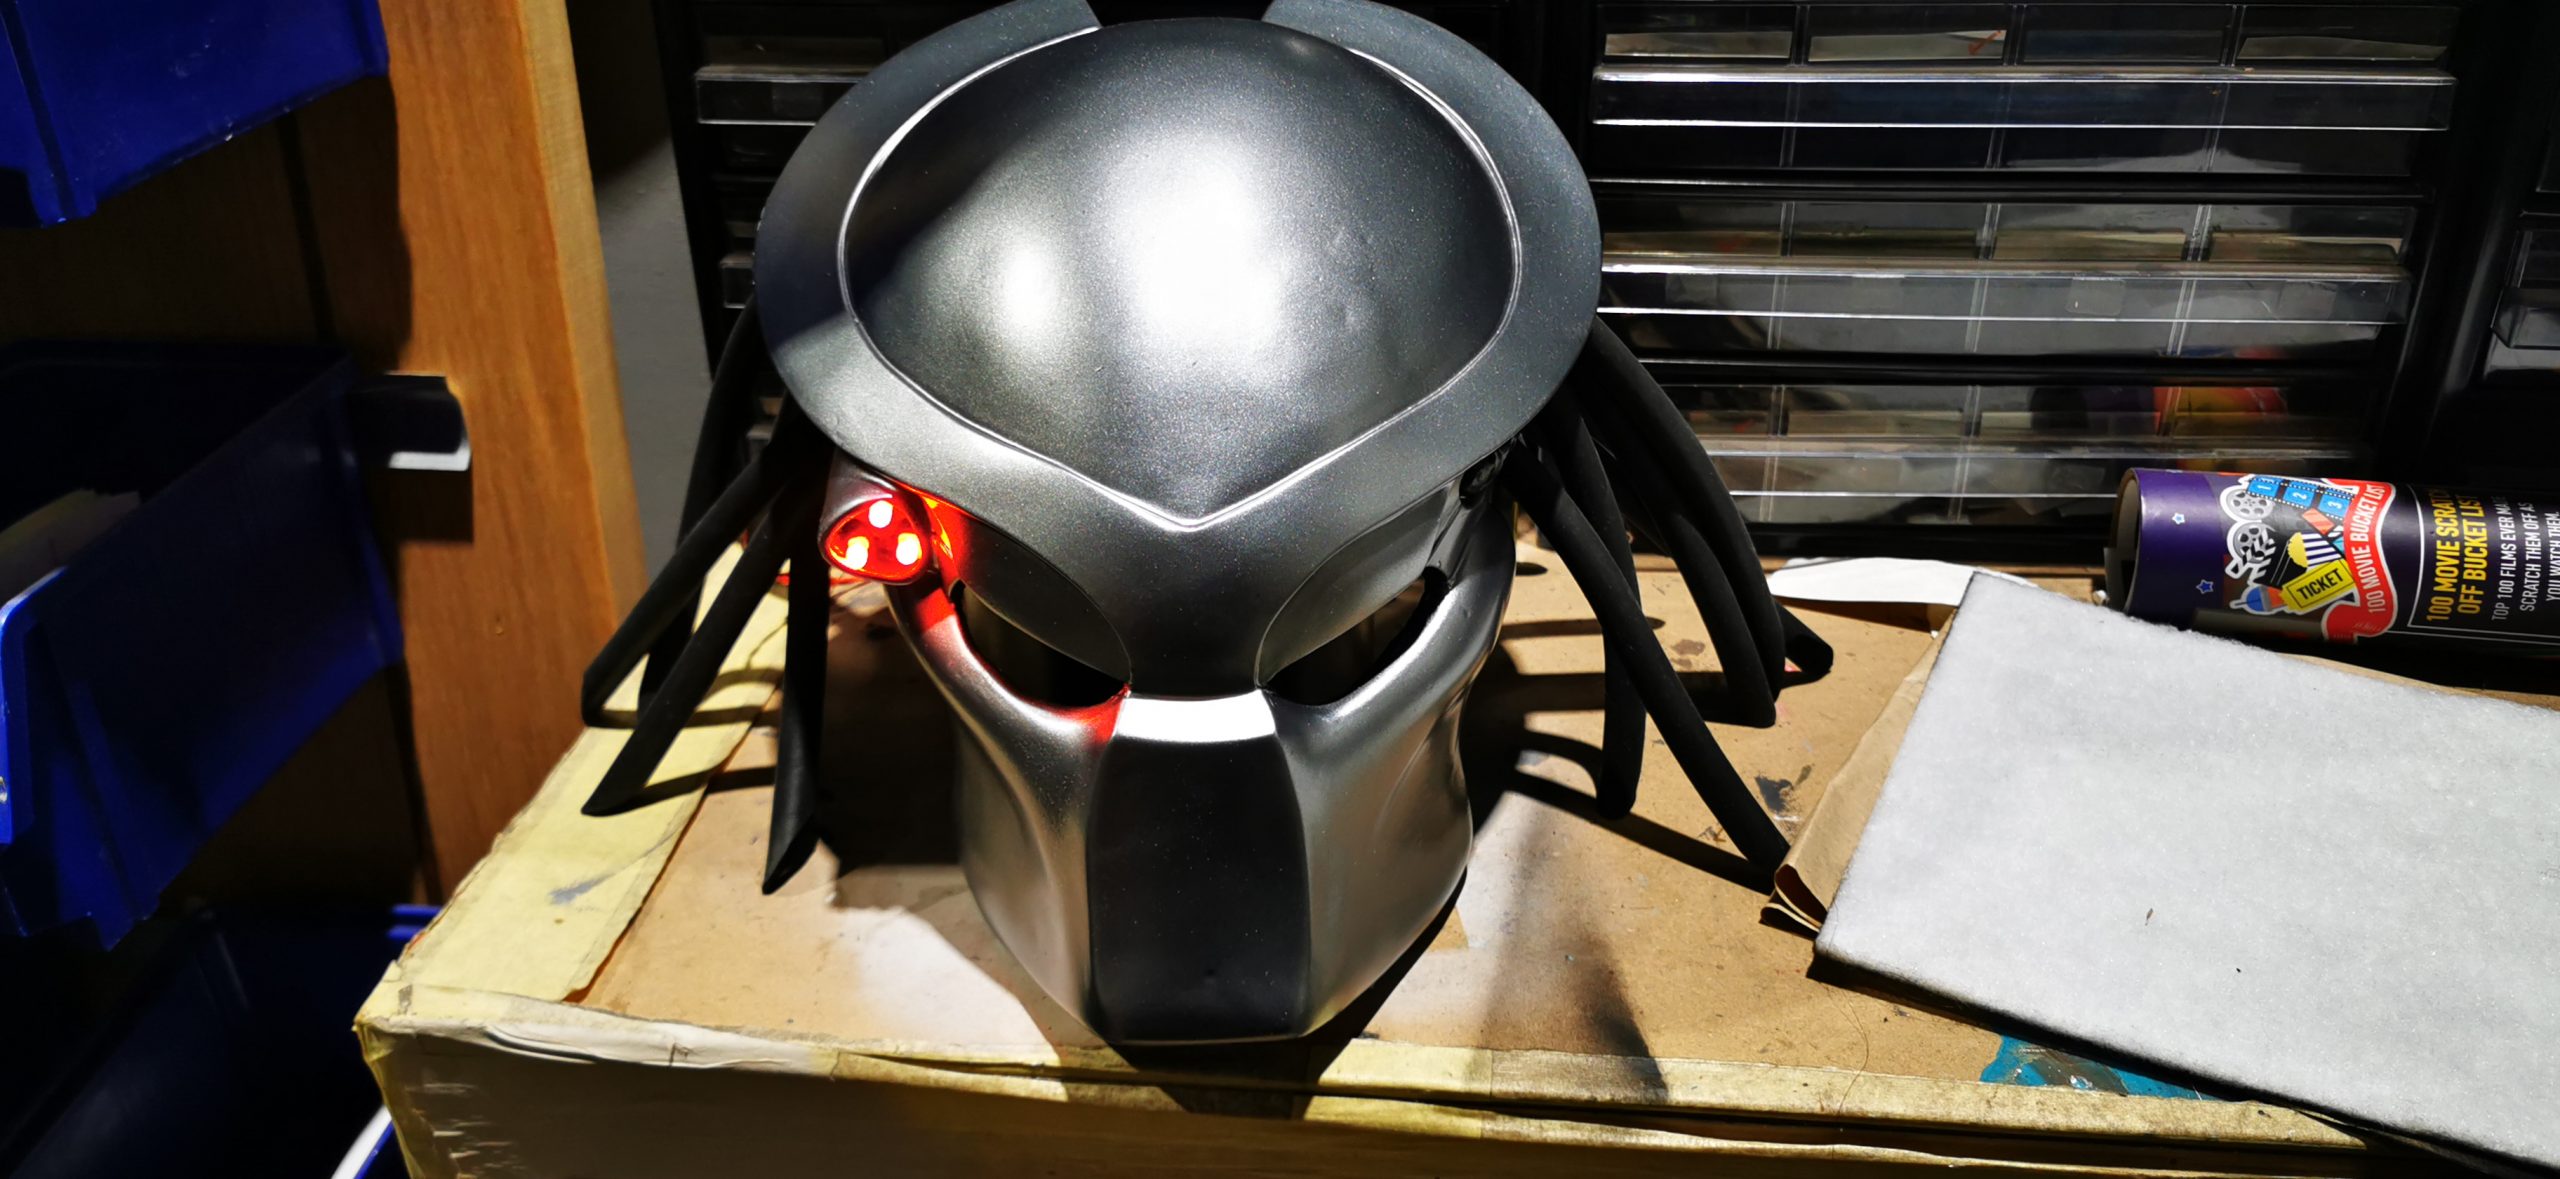
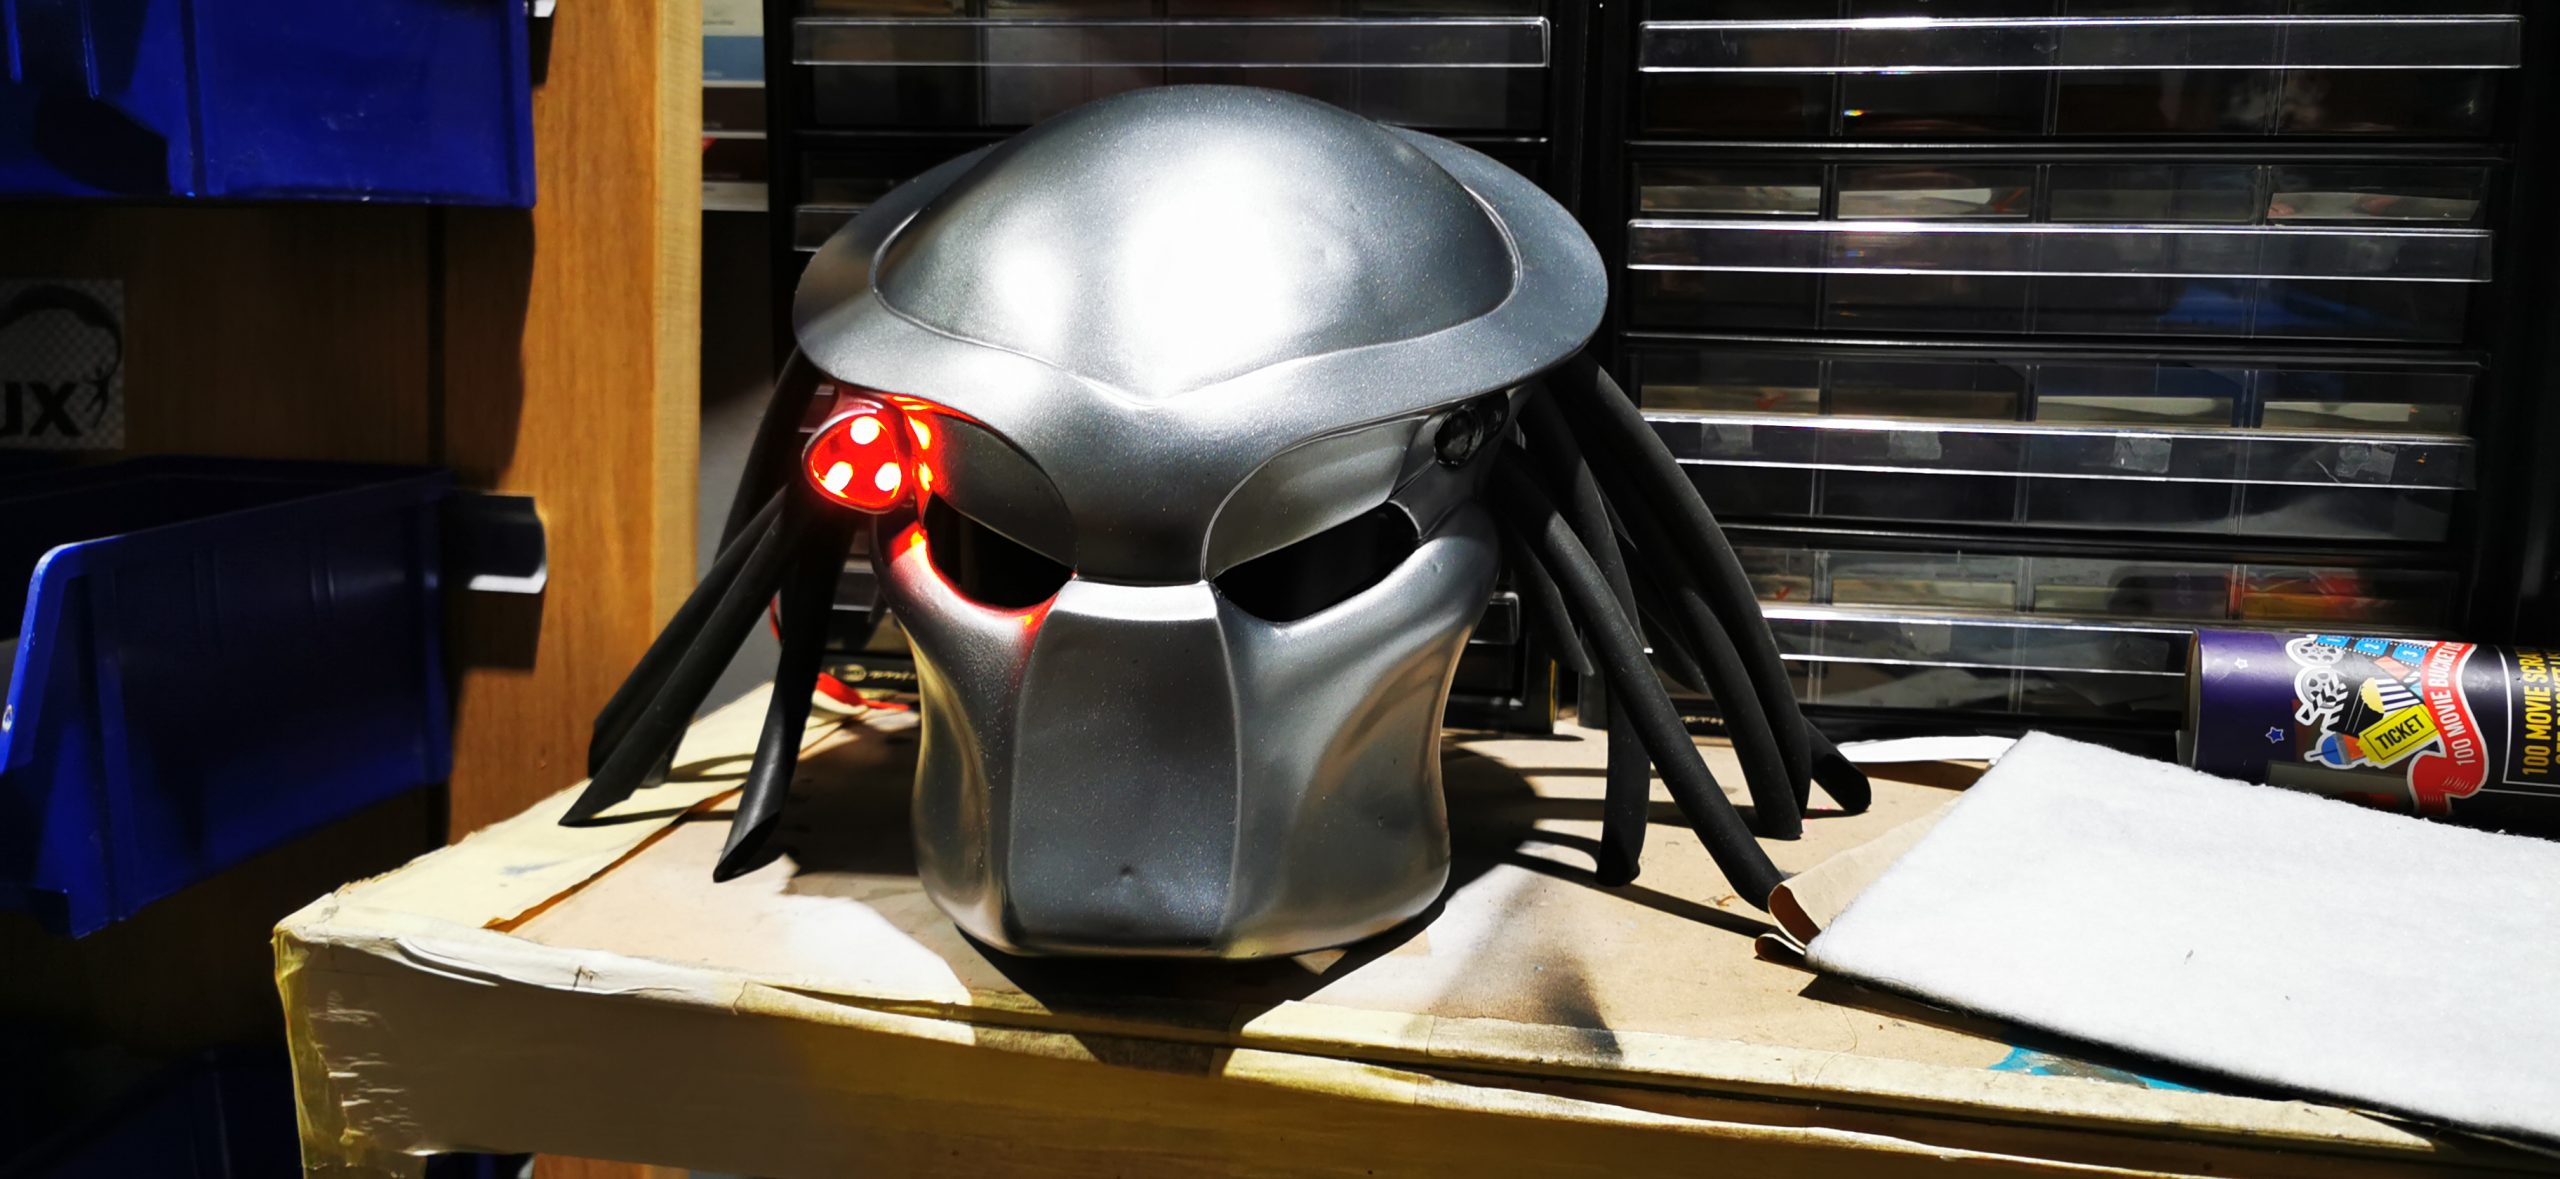
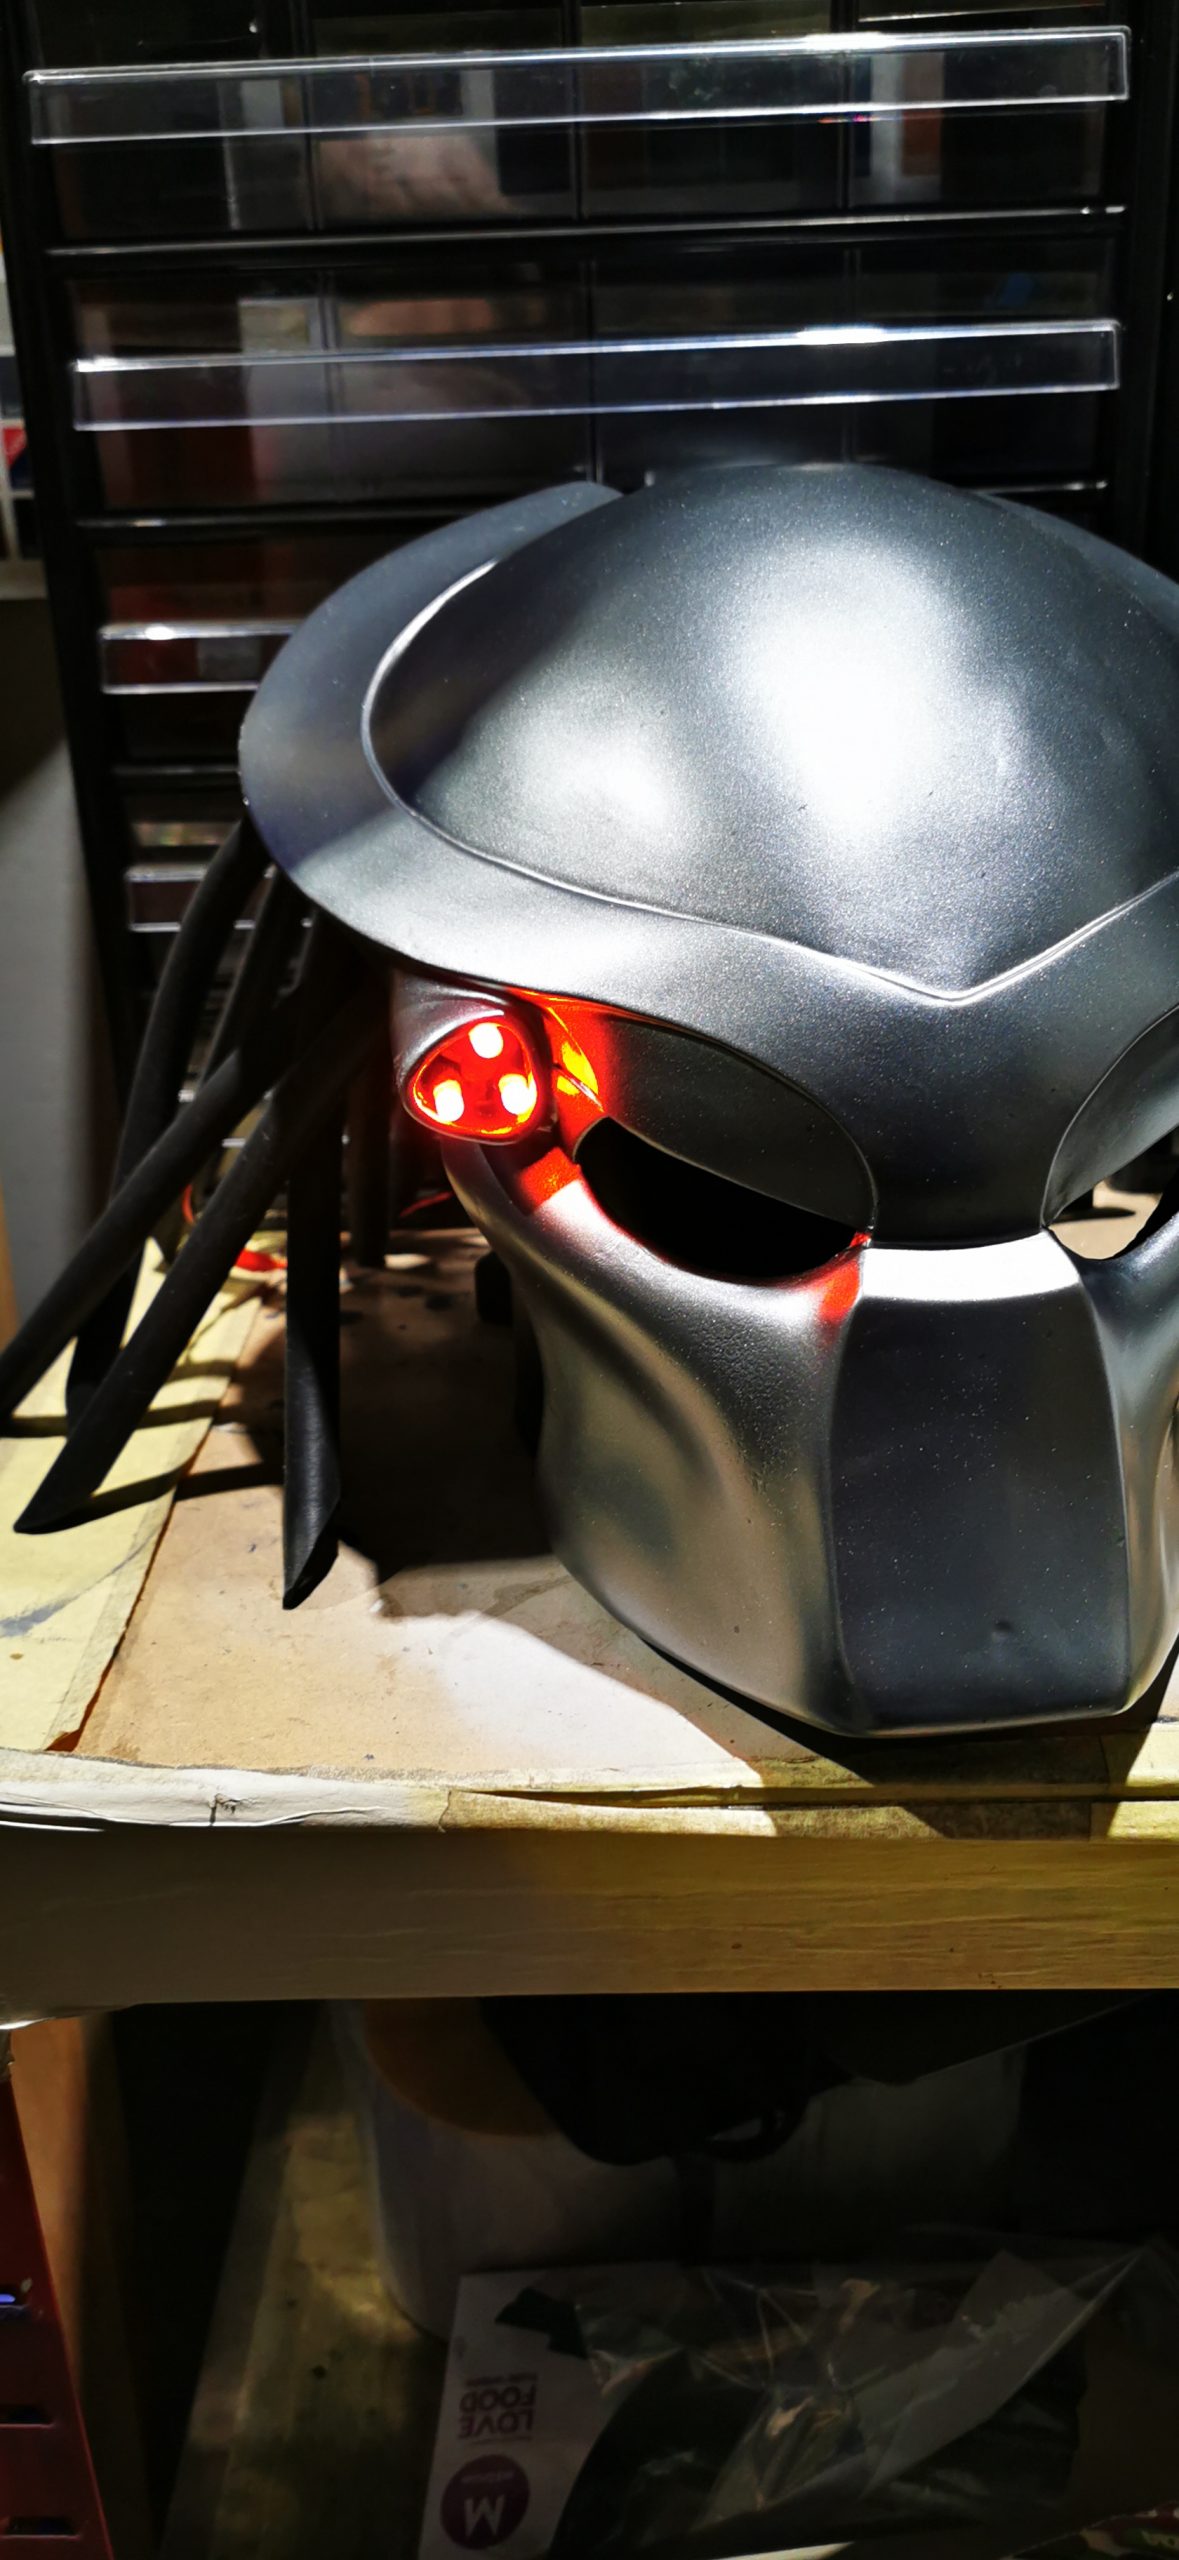
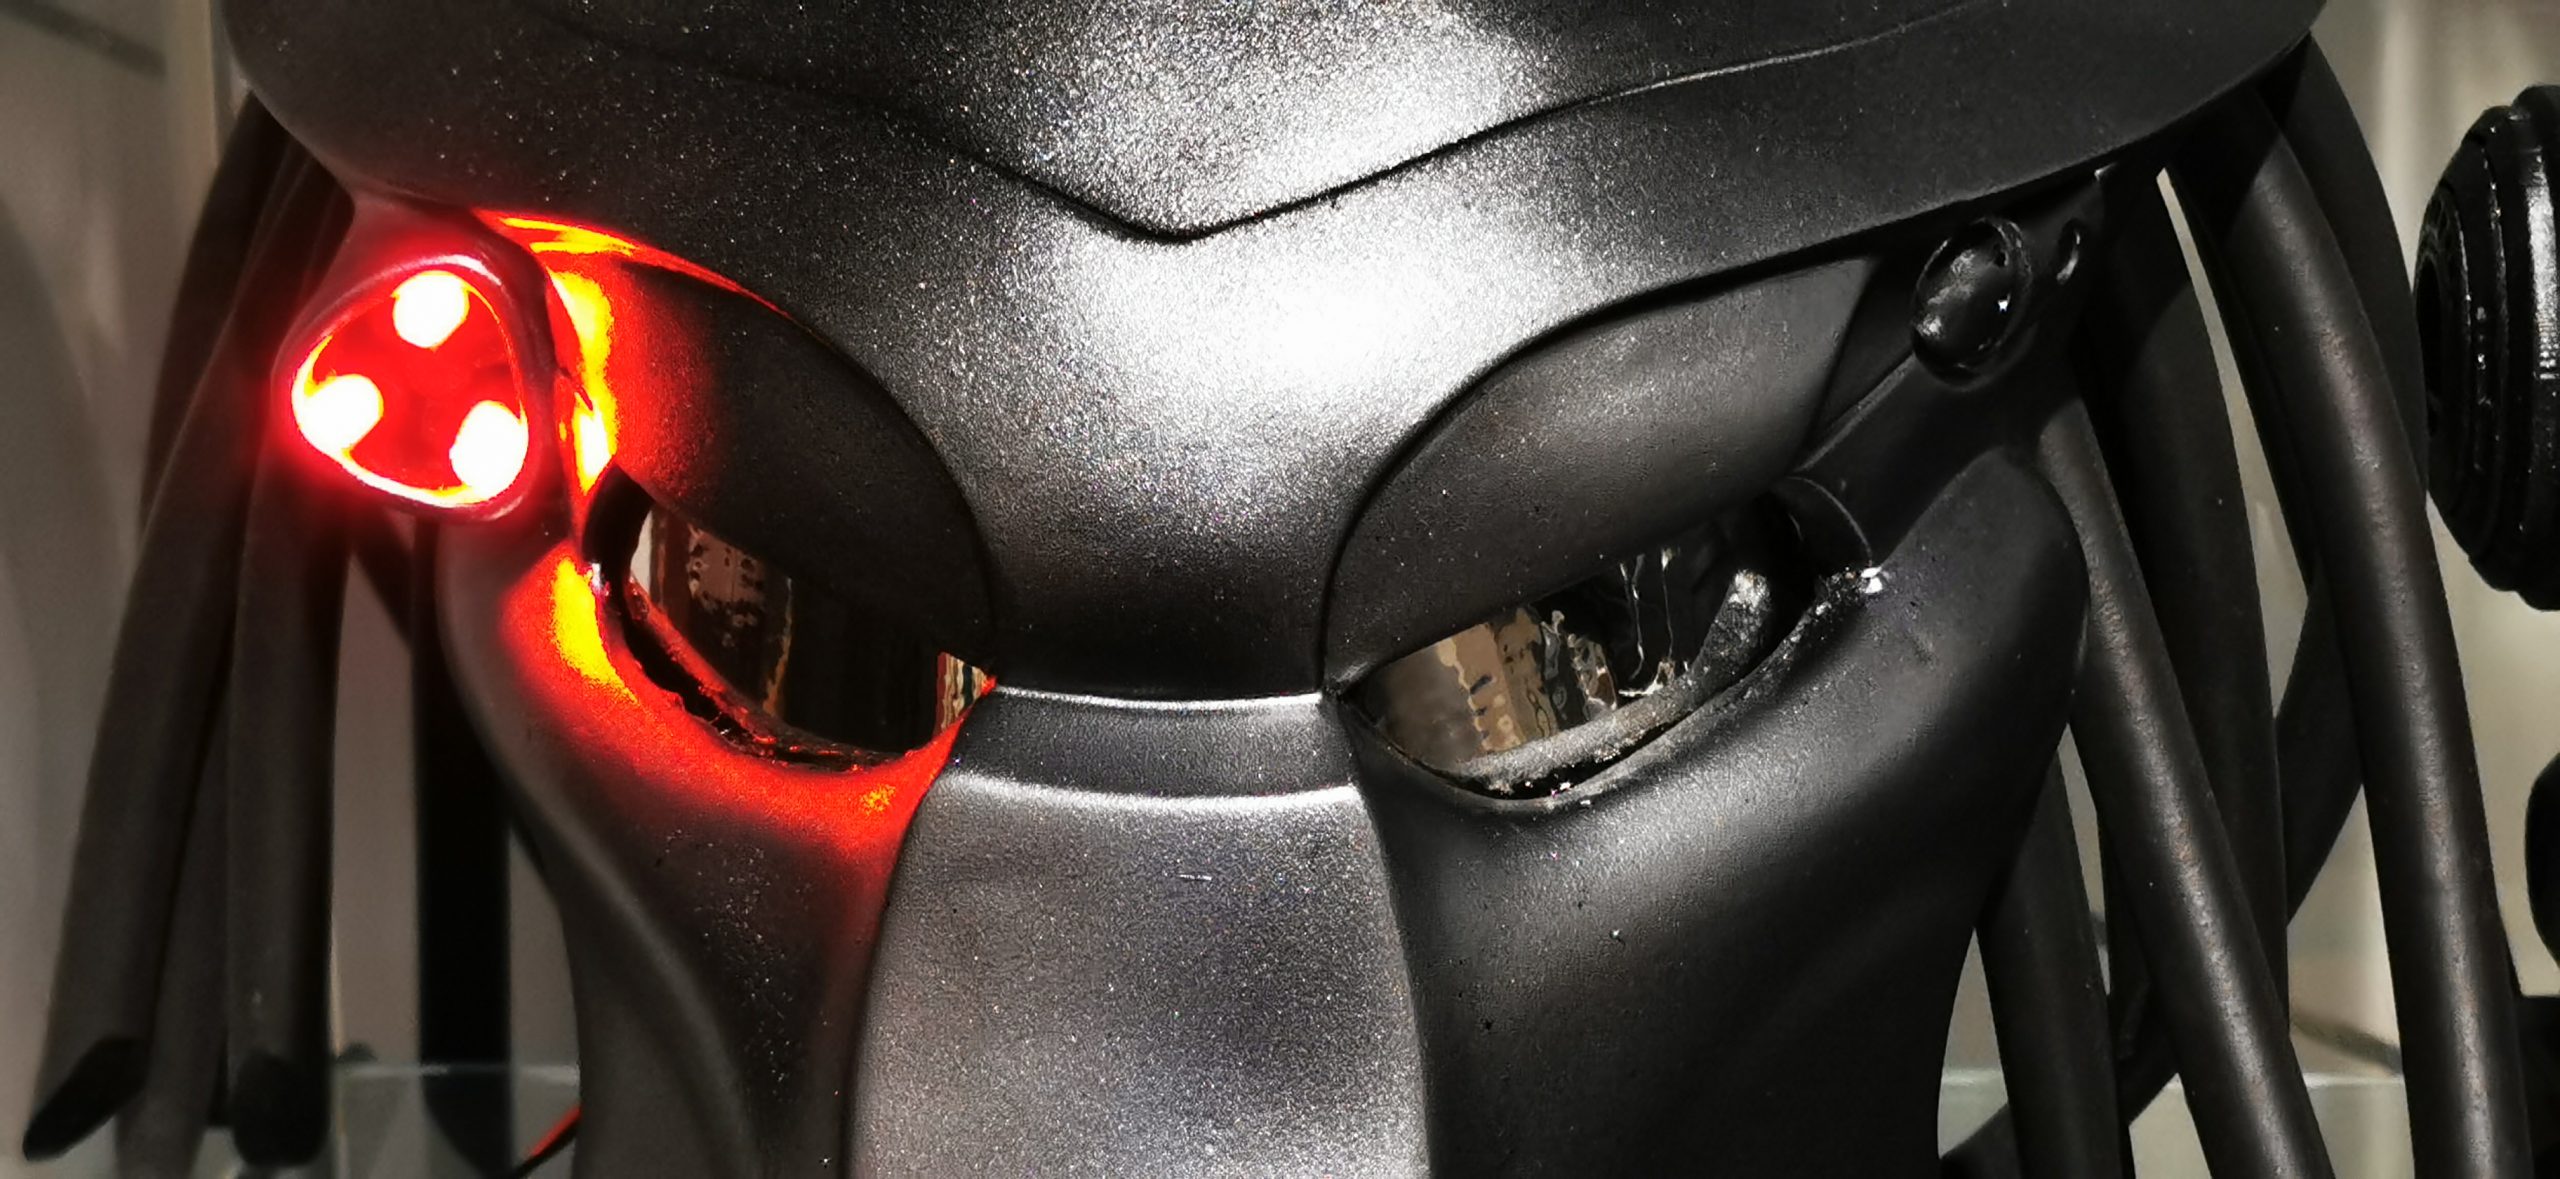
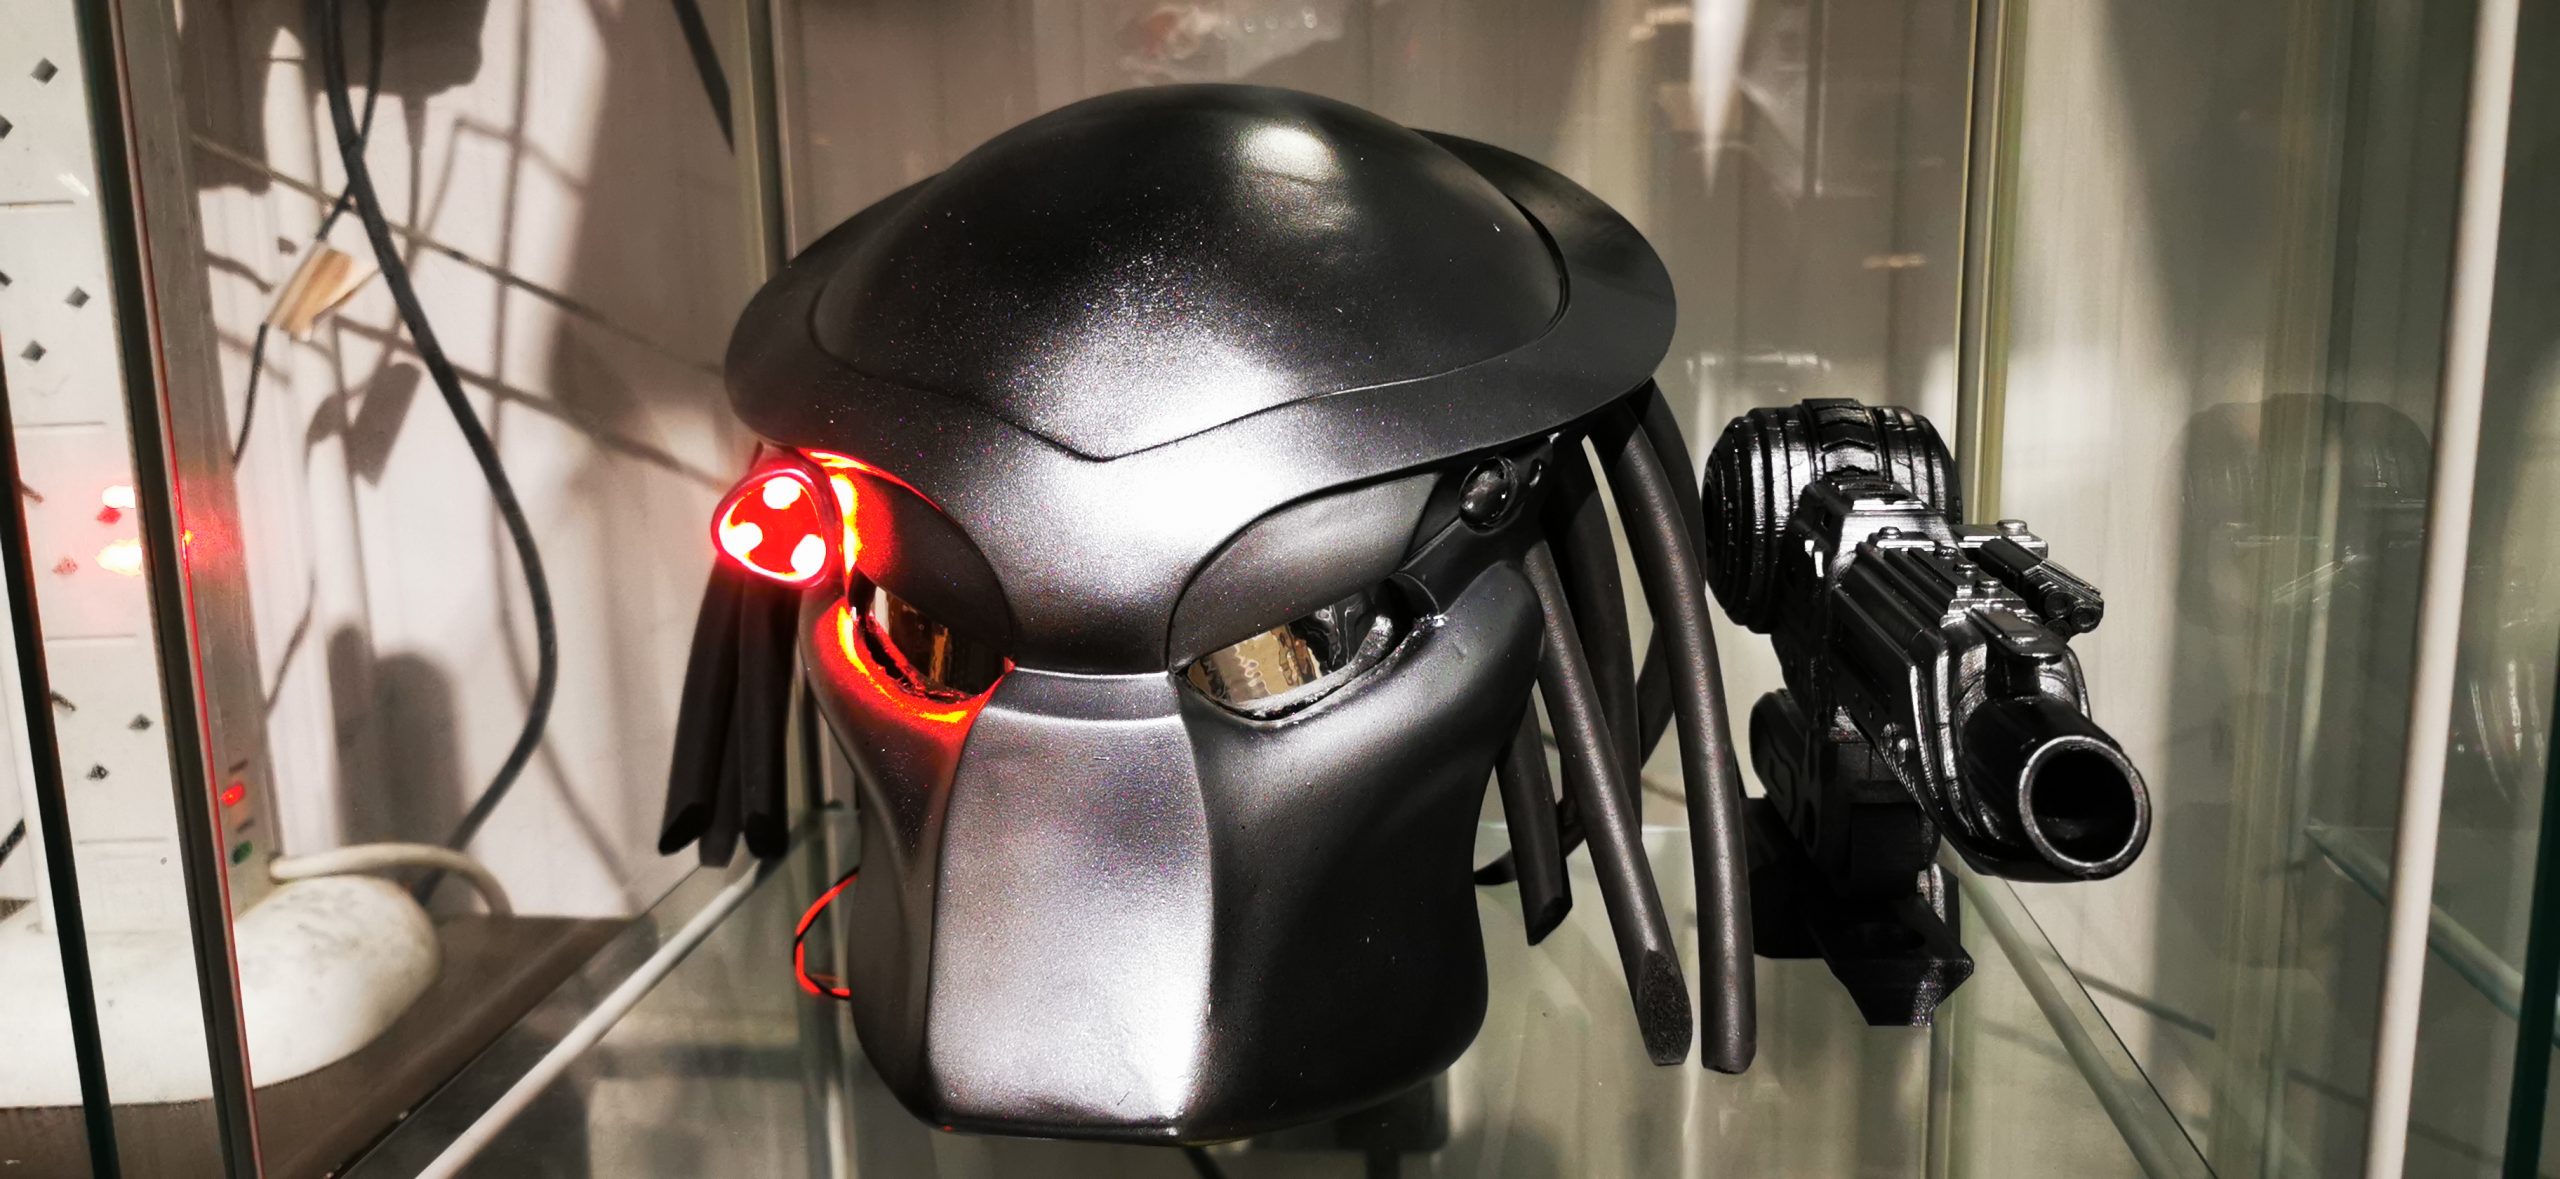
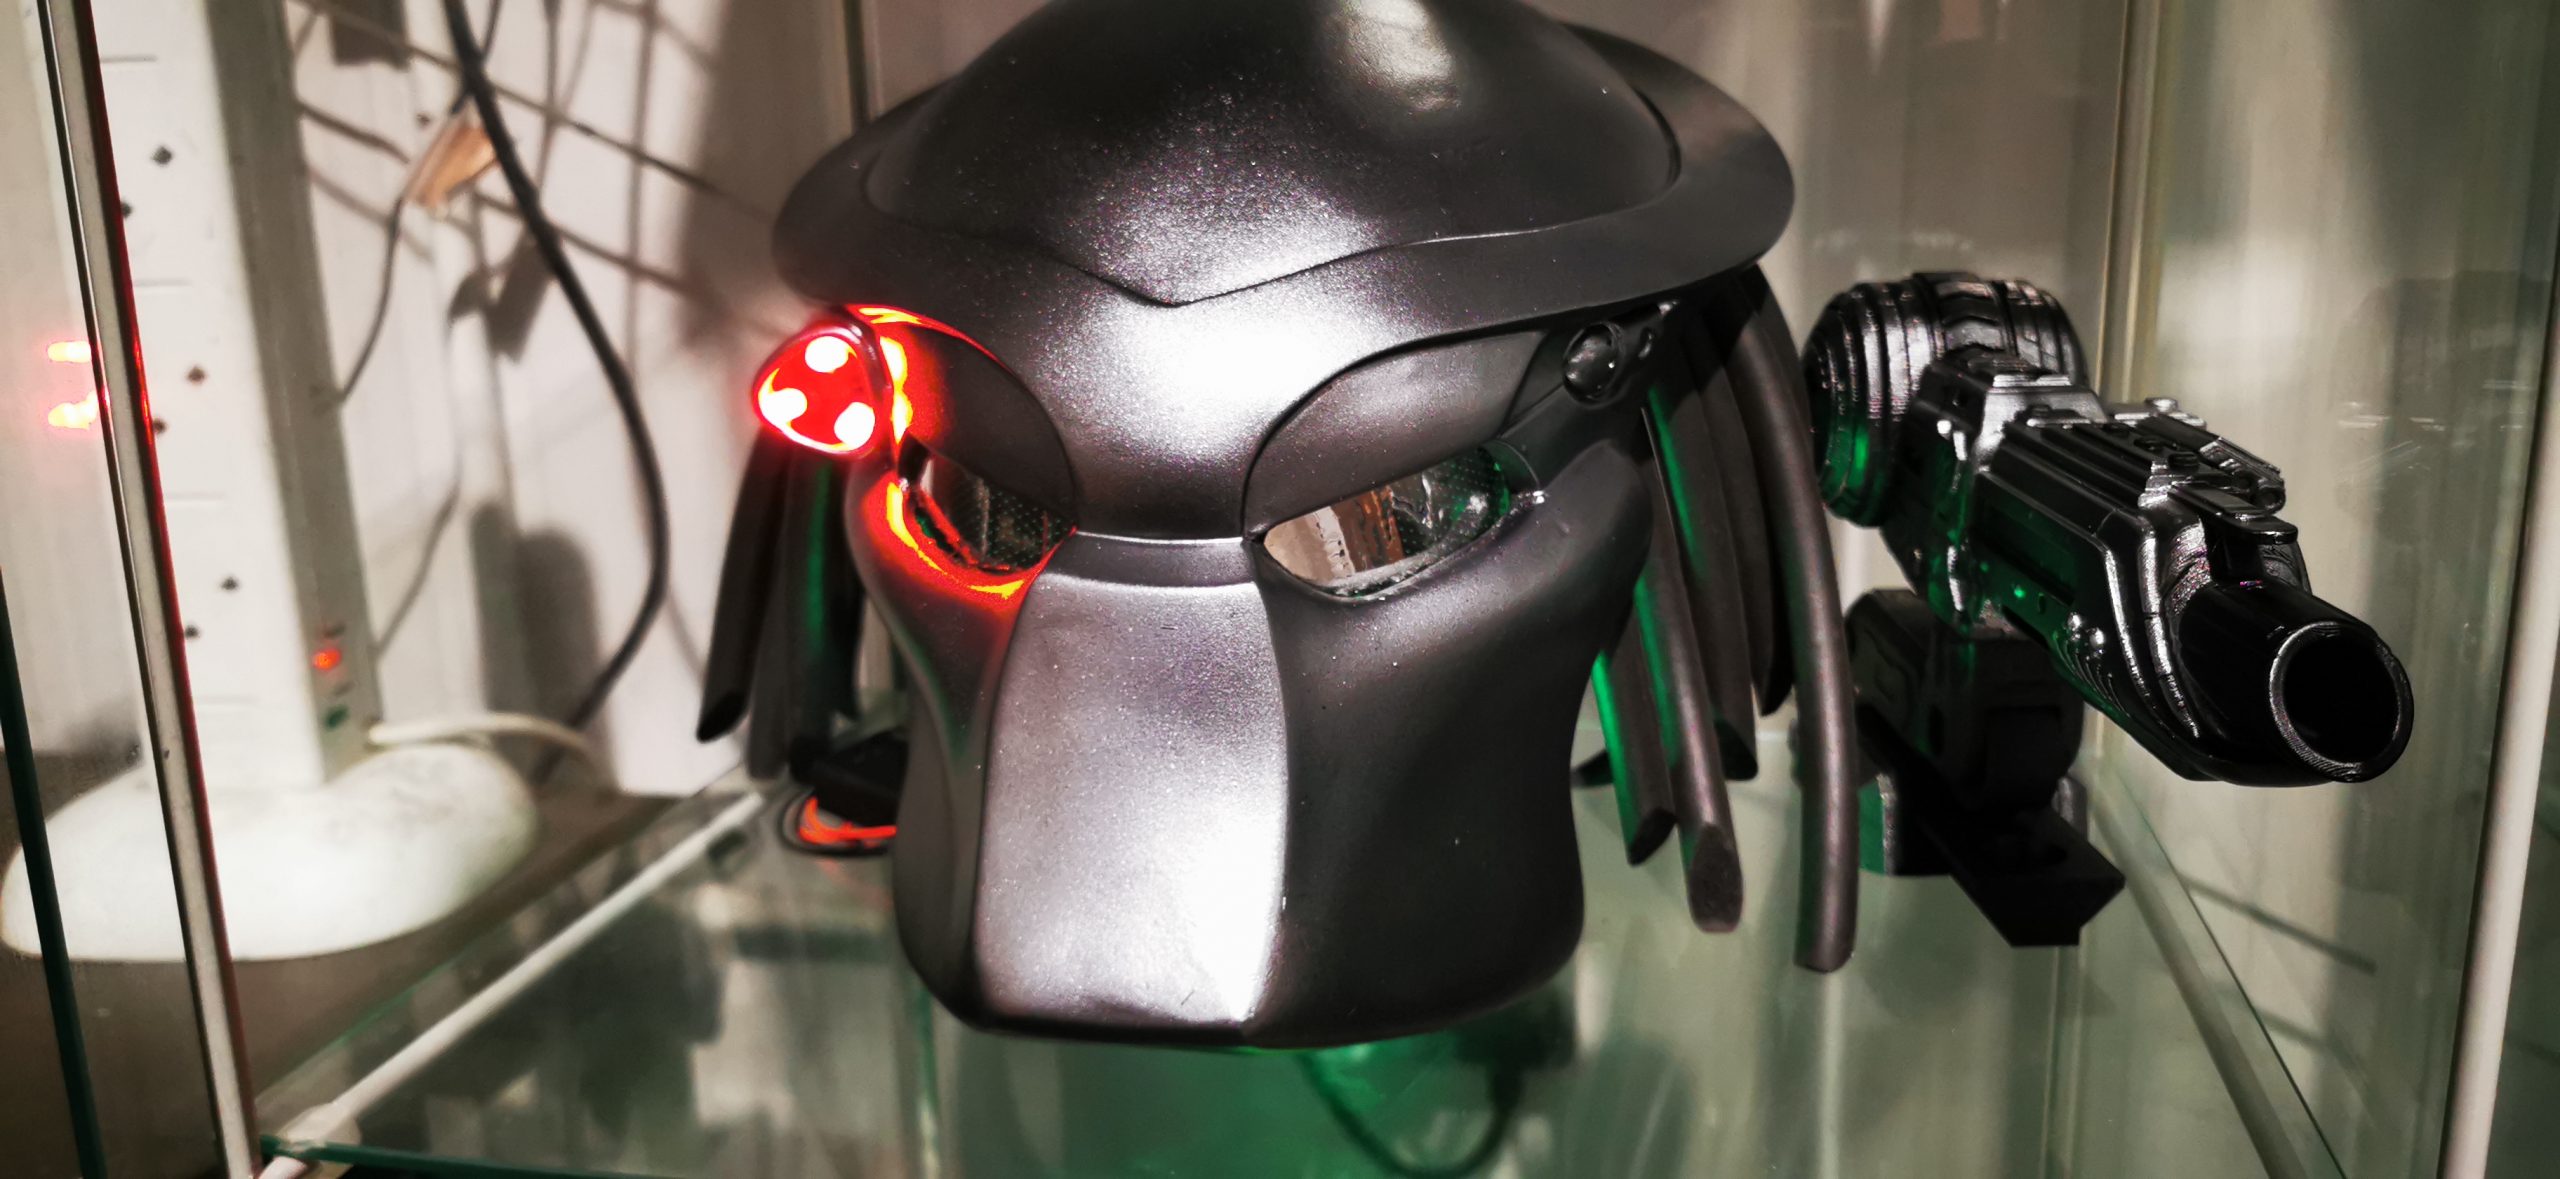
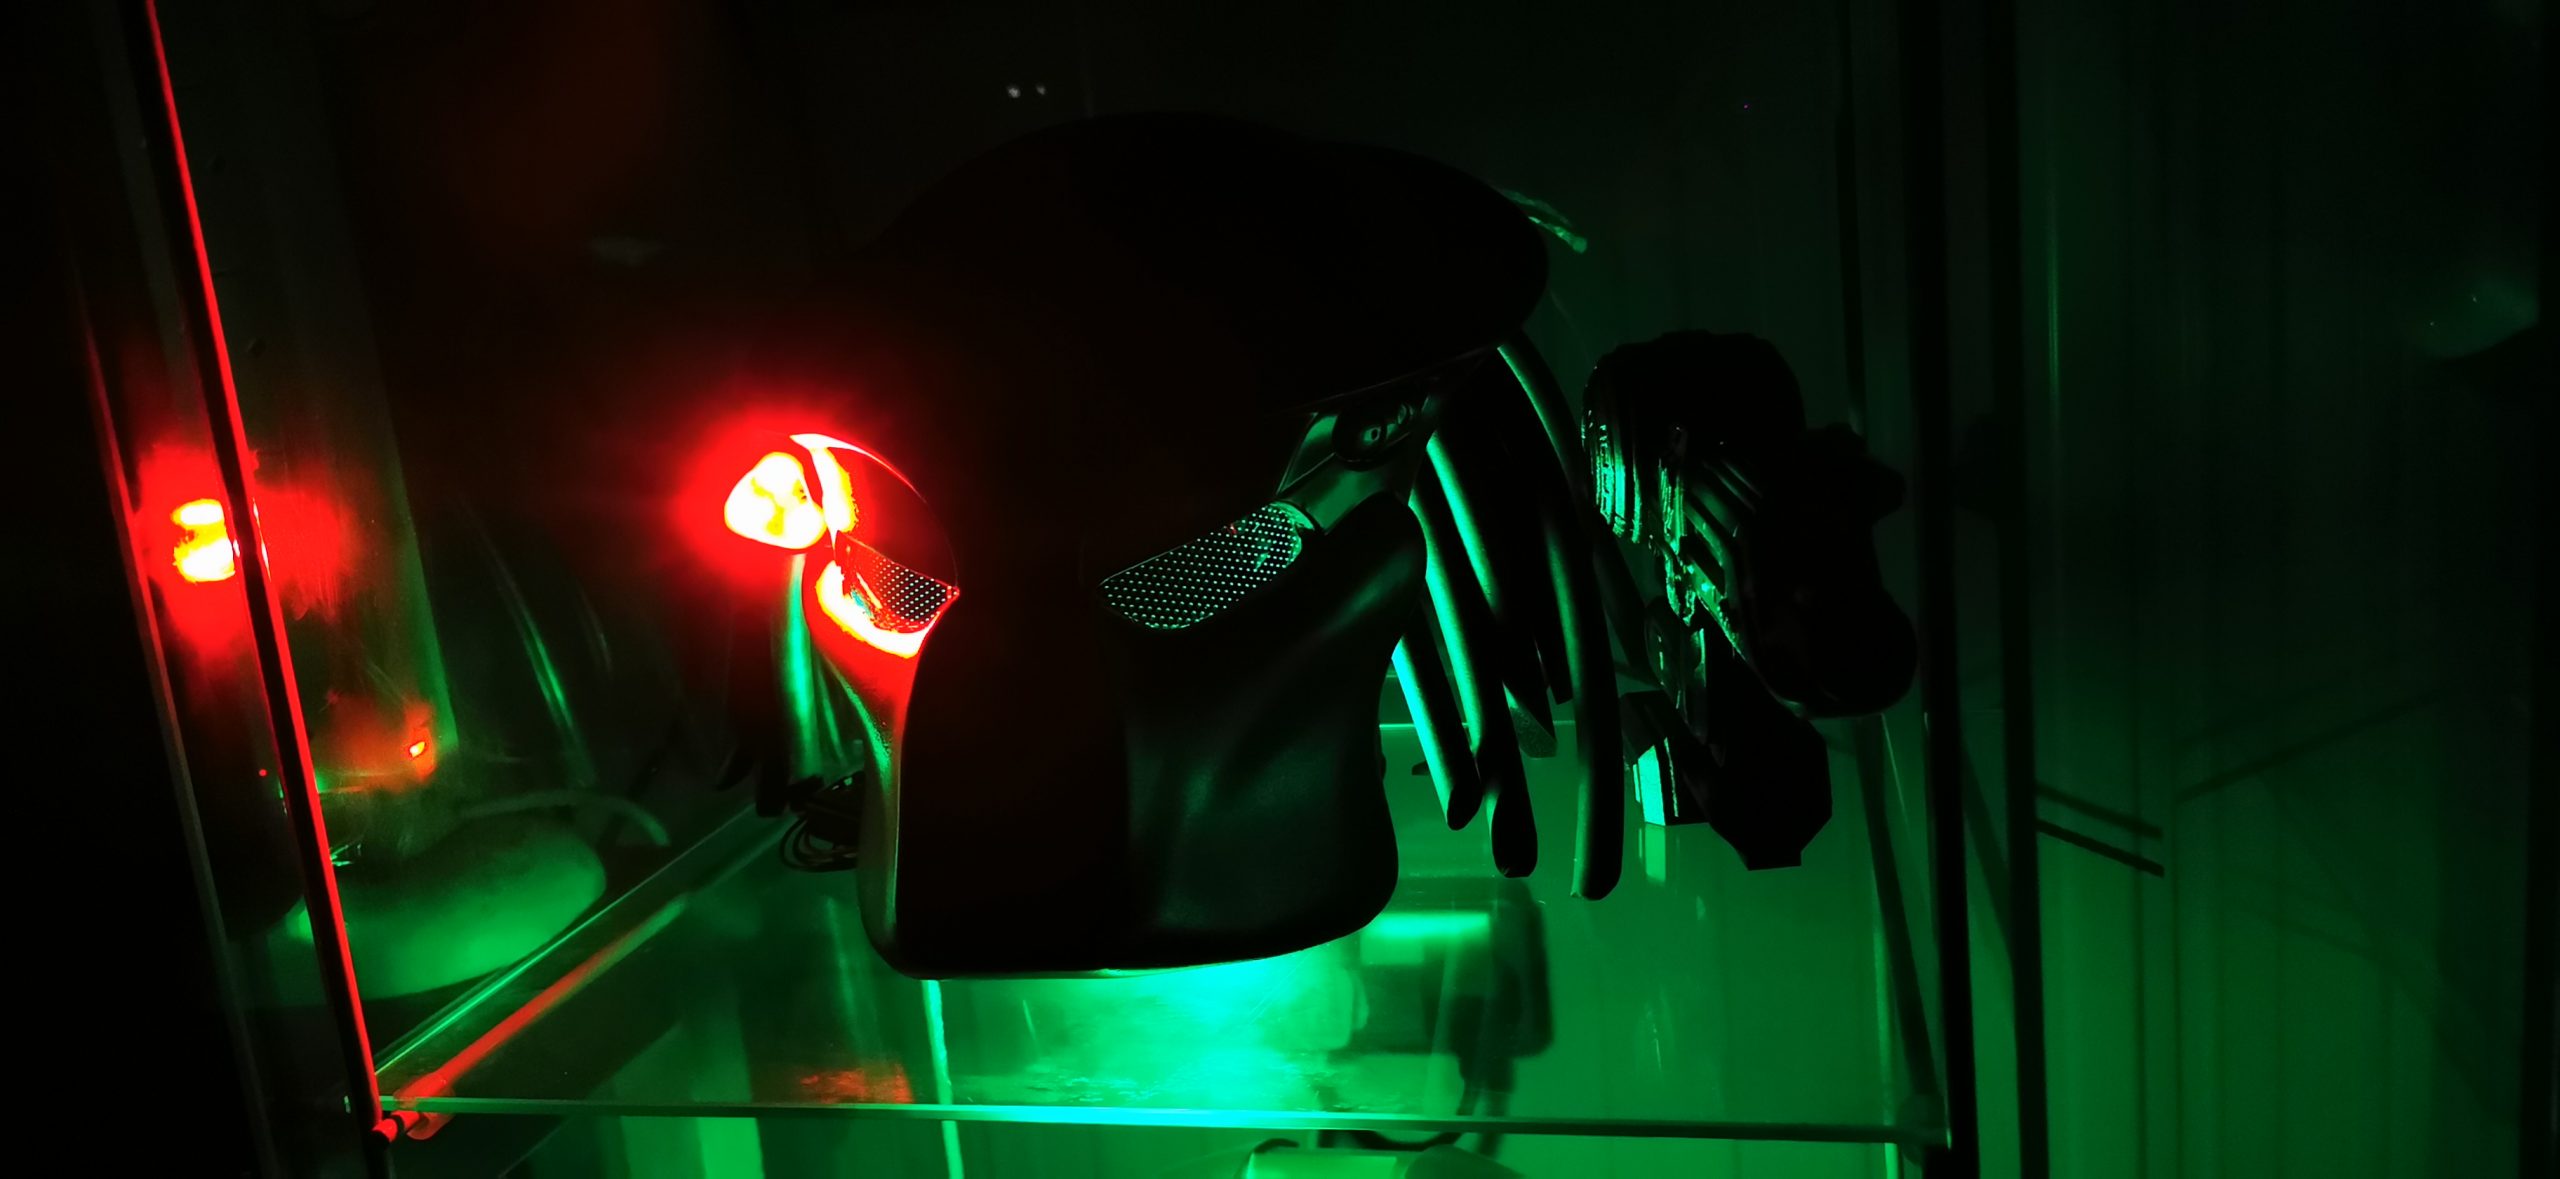
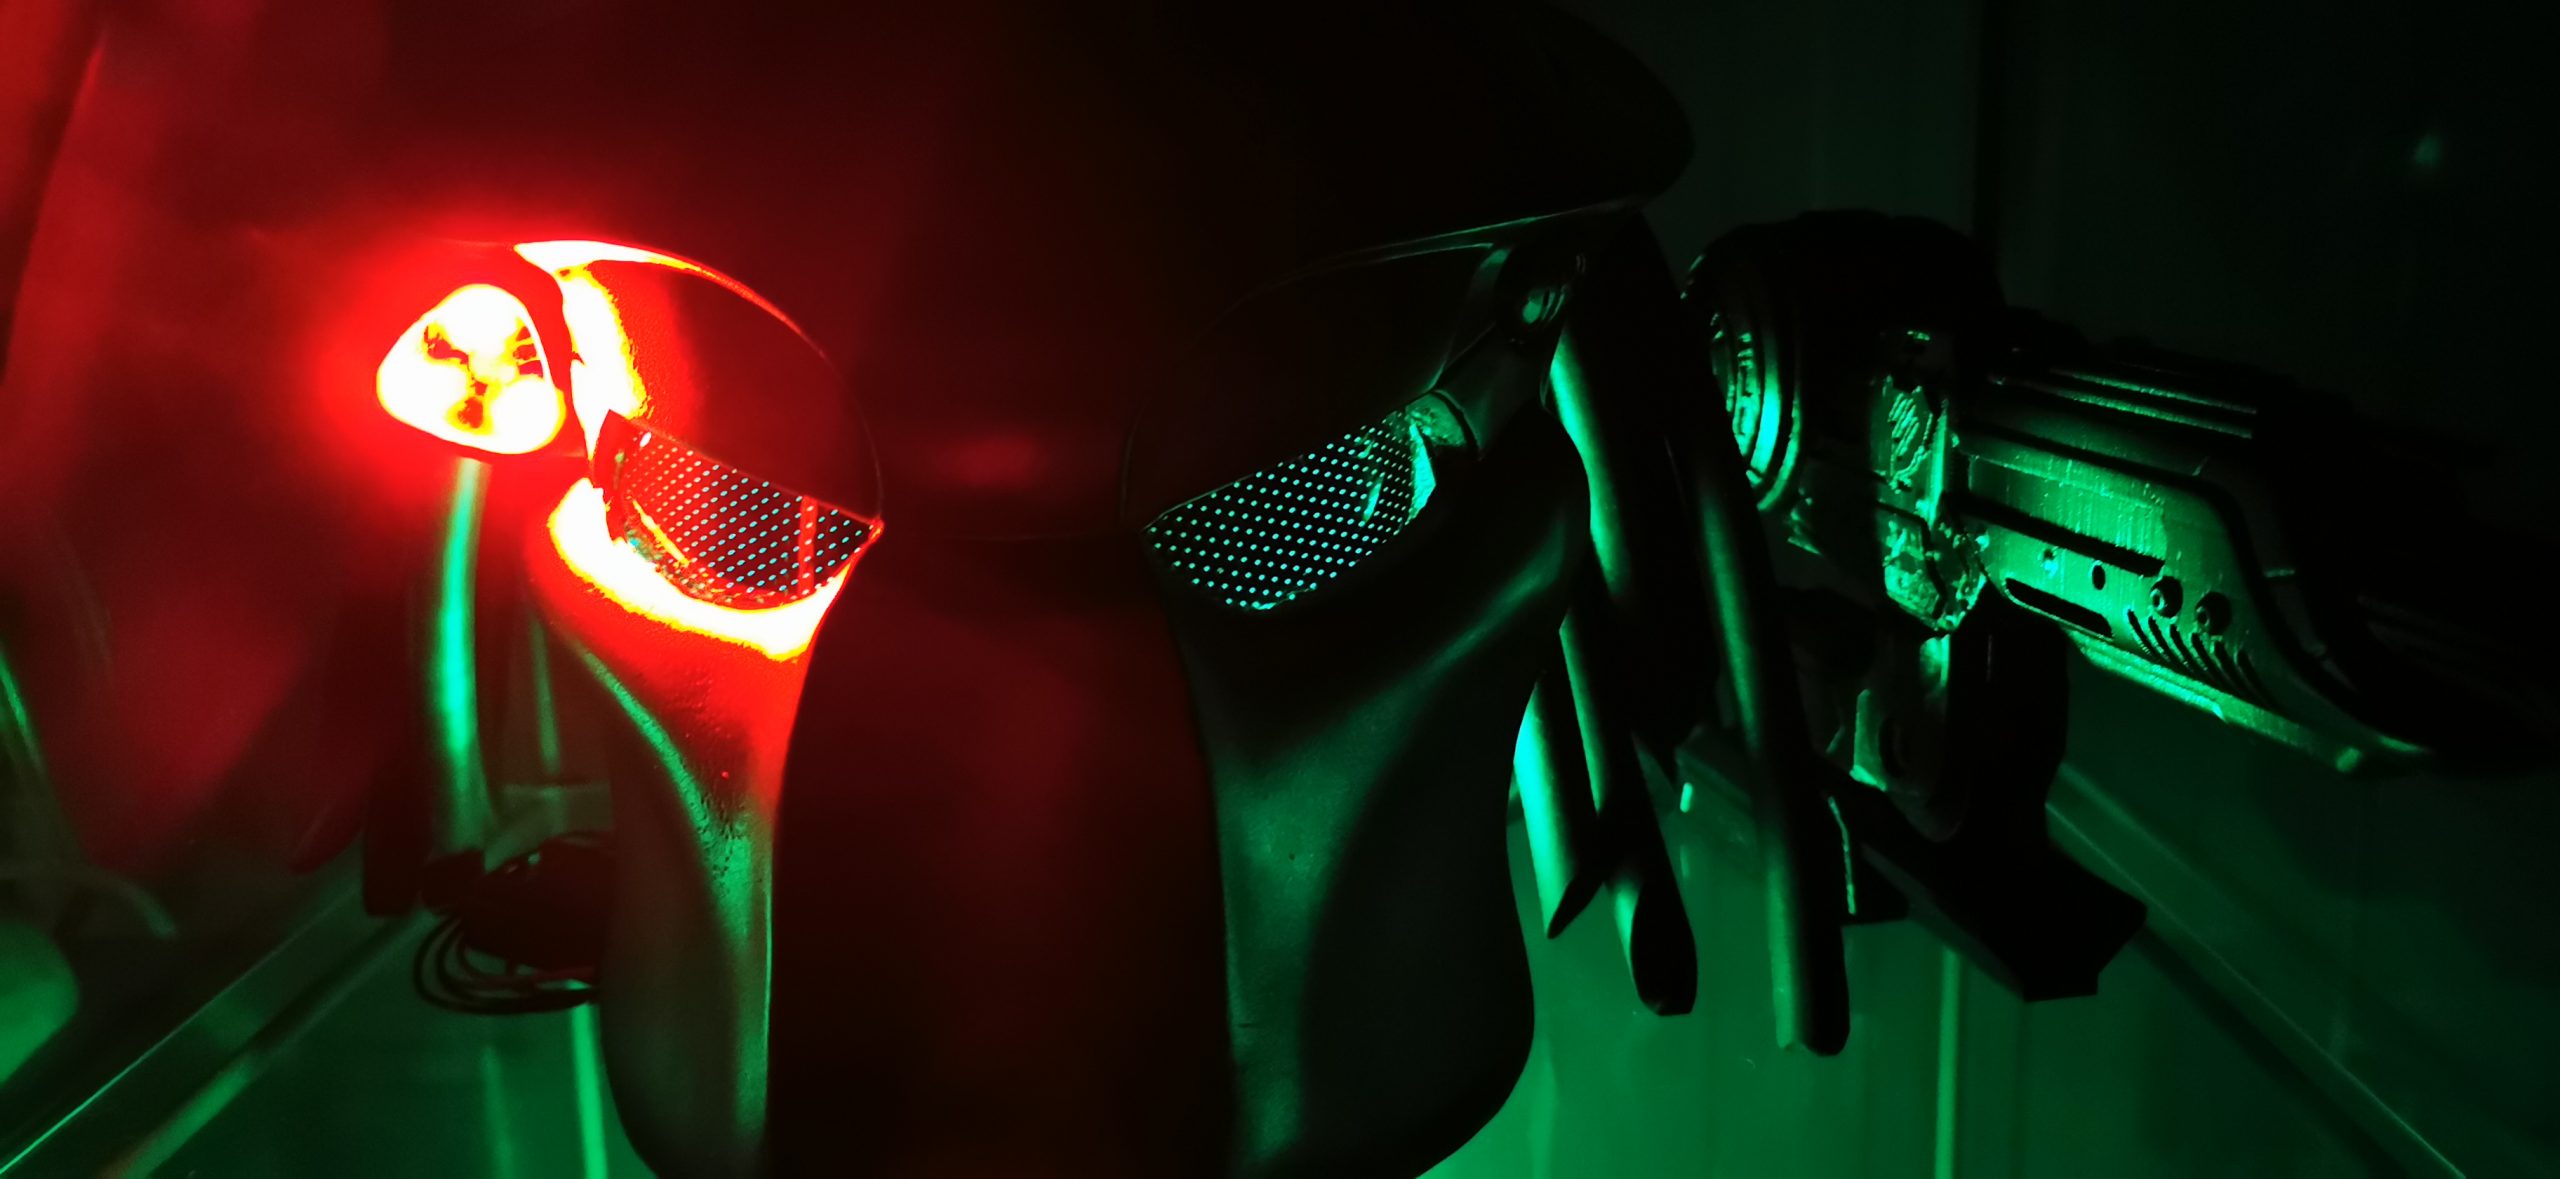
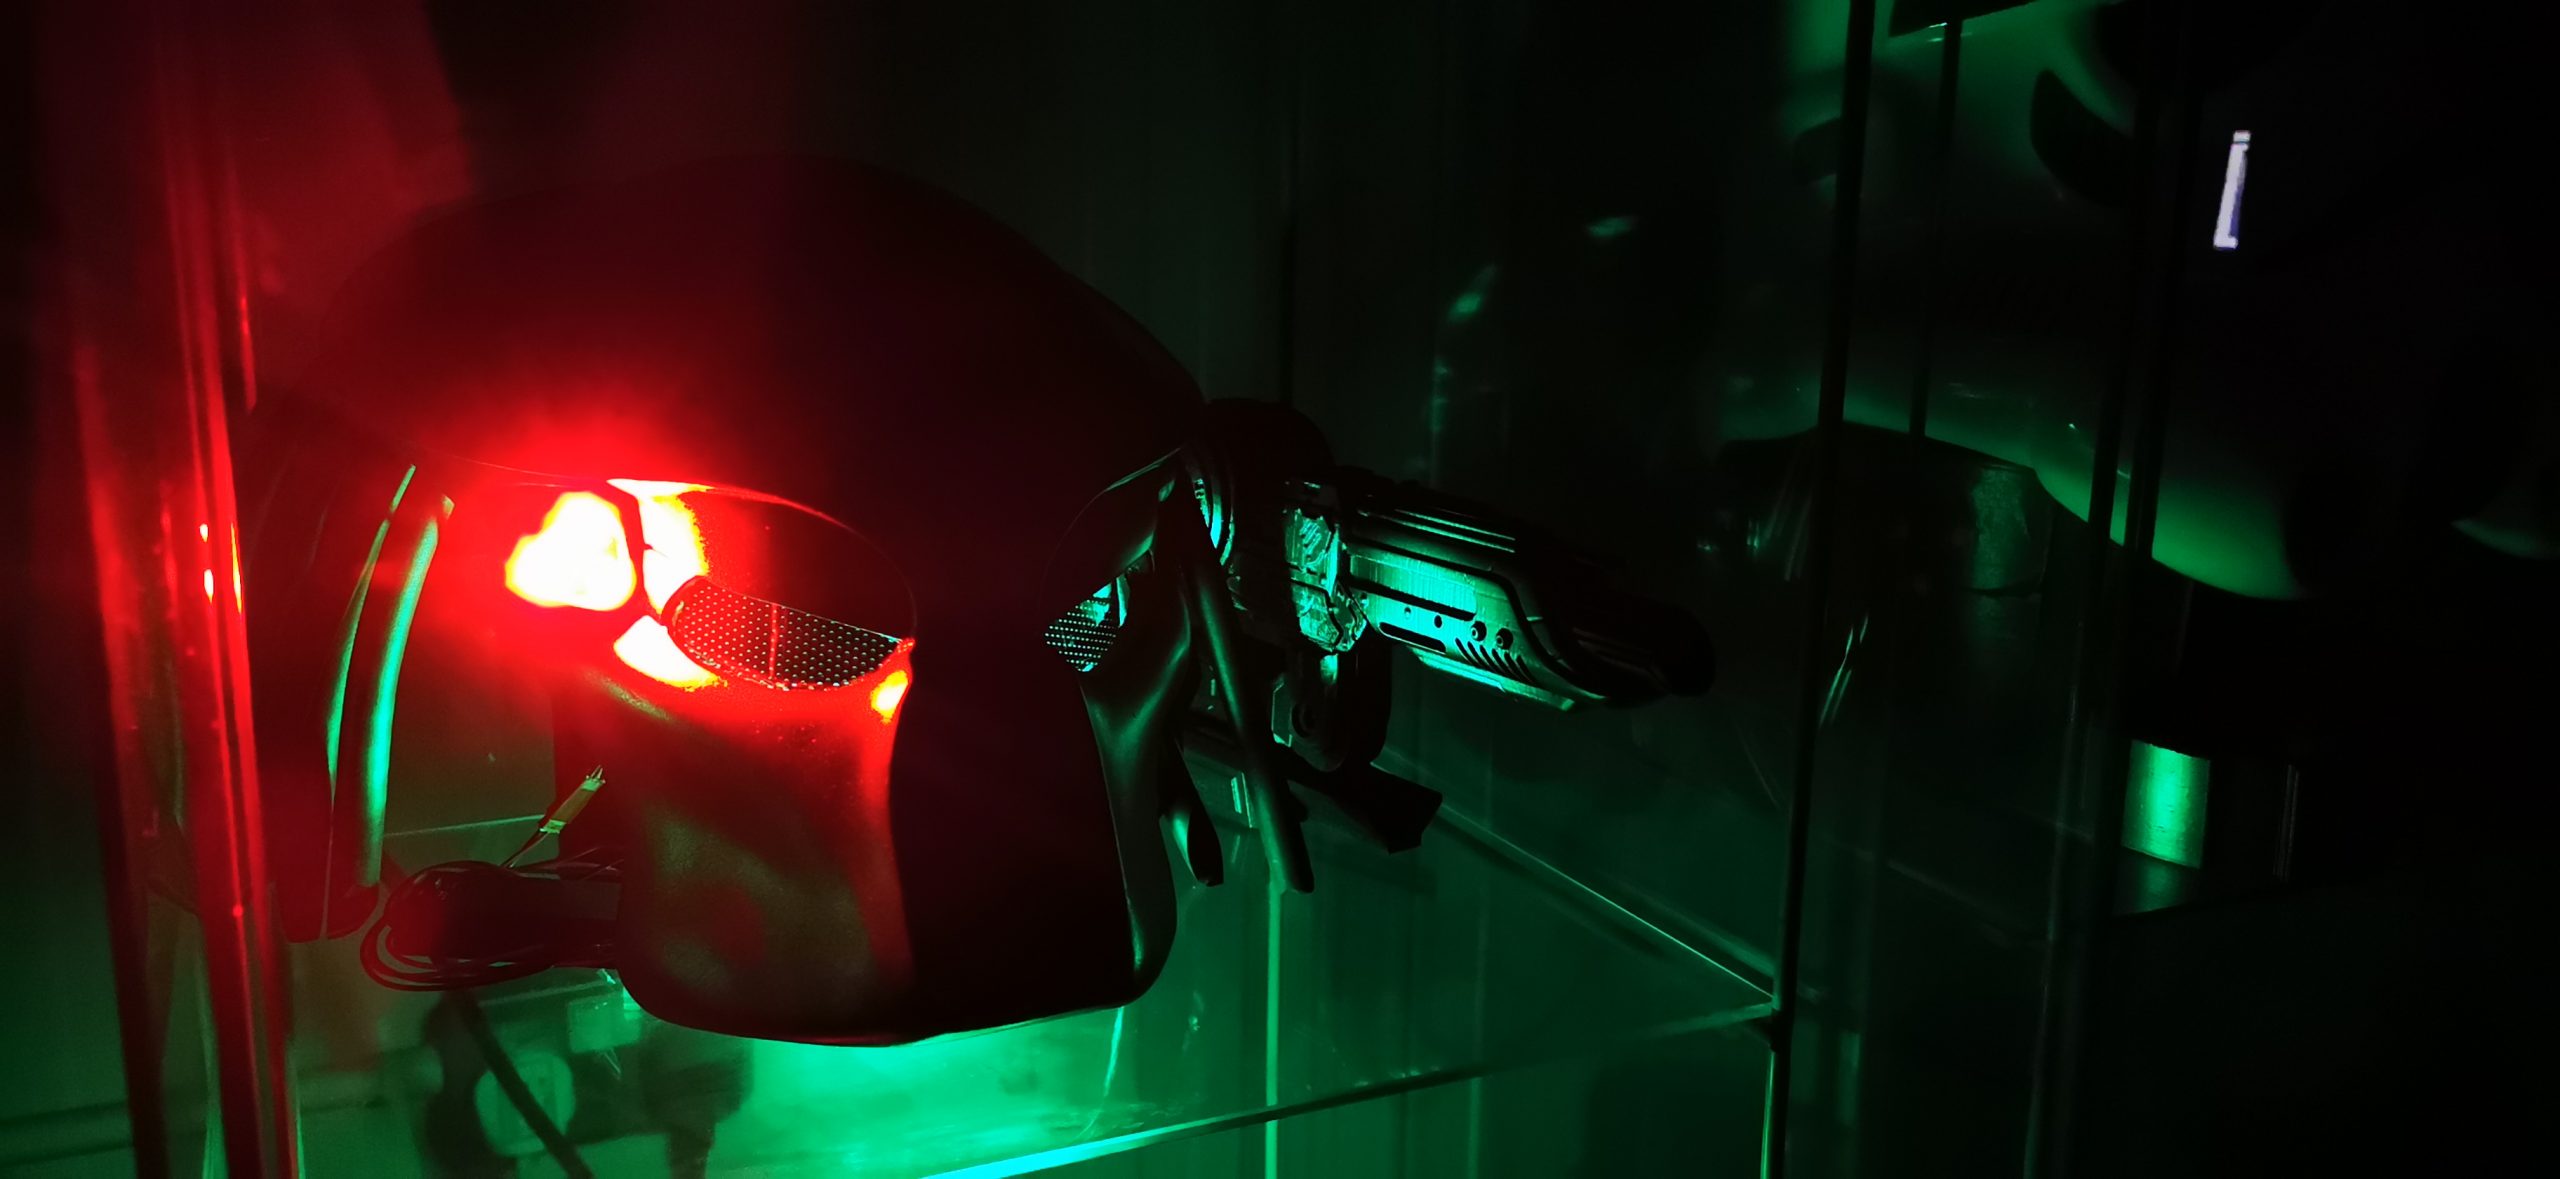
For this project, we decided to use the new DC Paint Solutions 2k filler primer as it acts as a filler and primer in one, which will hide some of the sins of sanding. It filled the lighter imperfections nicely after 3 coats – the filler primer cures and is ready to paint in 20 minutes between coats. We then applied a dark grey metallic base coat paint to cover the surface. Two coats were sprayed at 20-minute intervals then we left the project to cure overnight. Once cured, we moved onto adding some LED lights to finish the project.
This was not our usual kind of project, but we are constantly striving to learn more. Although this was a challenging project, we went through some fault finding and experimenting to achieve the best outcome. Onwards and upwards to the next project.