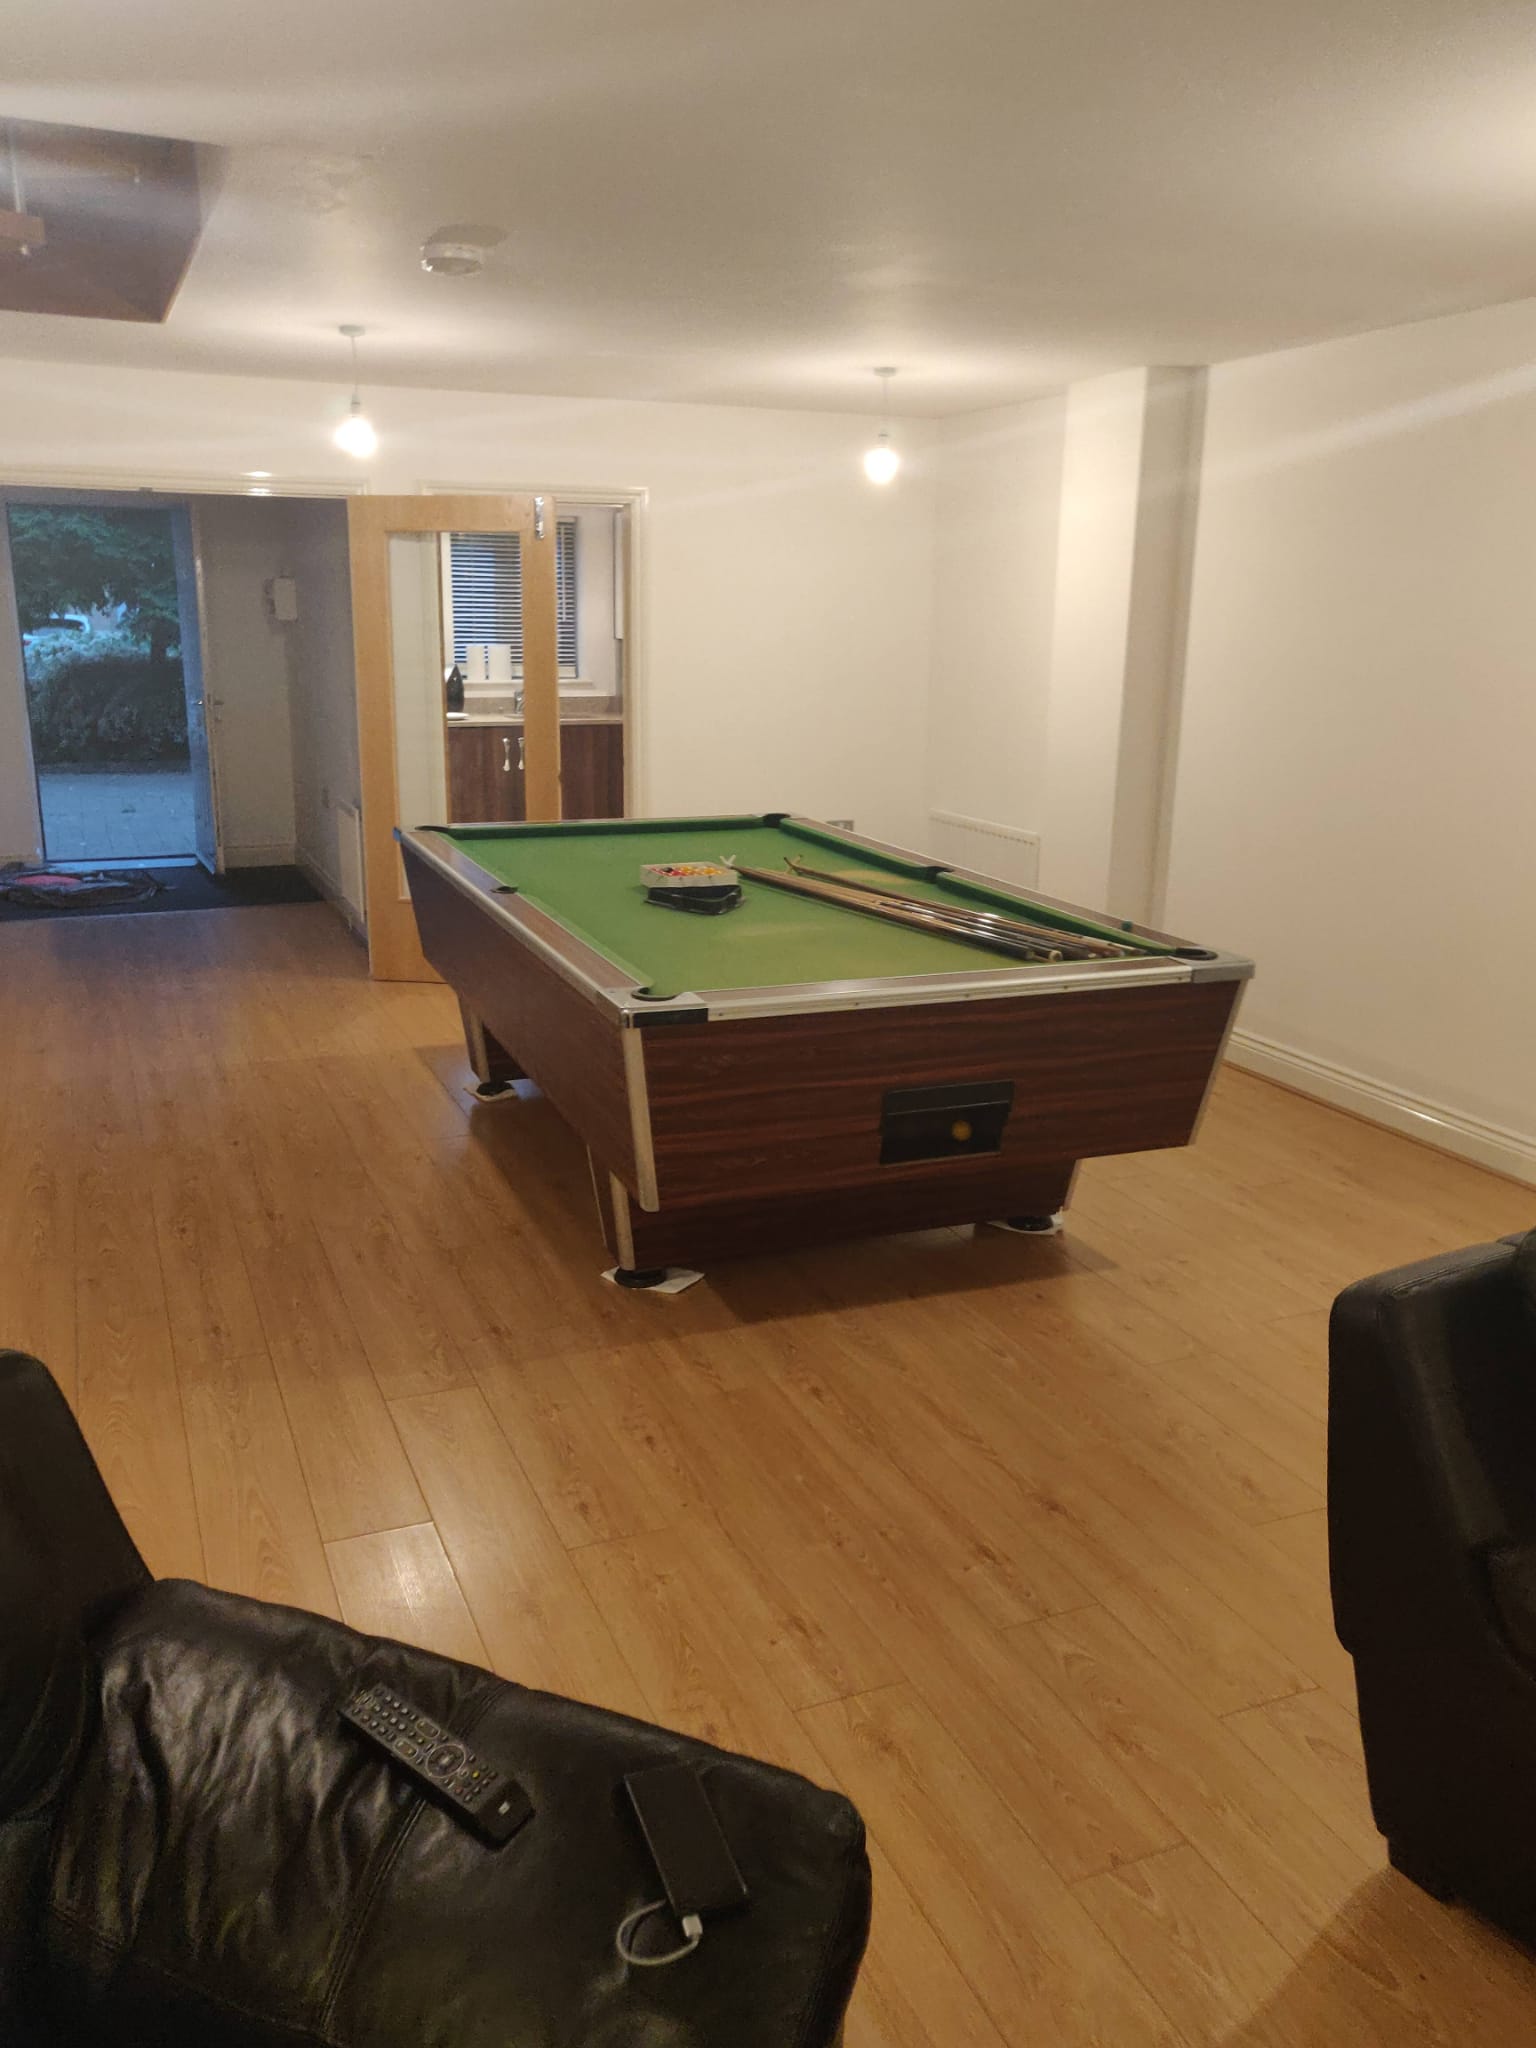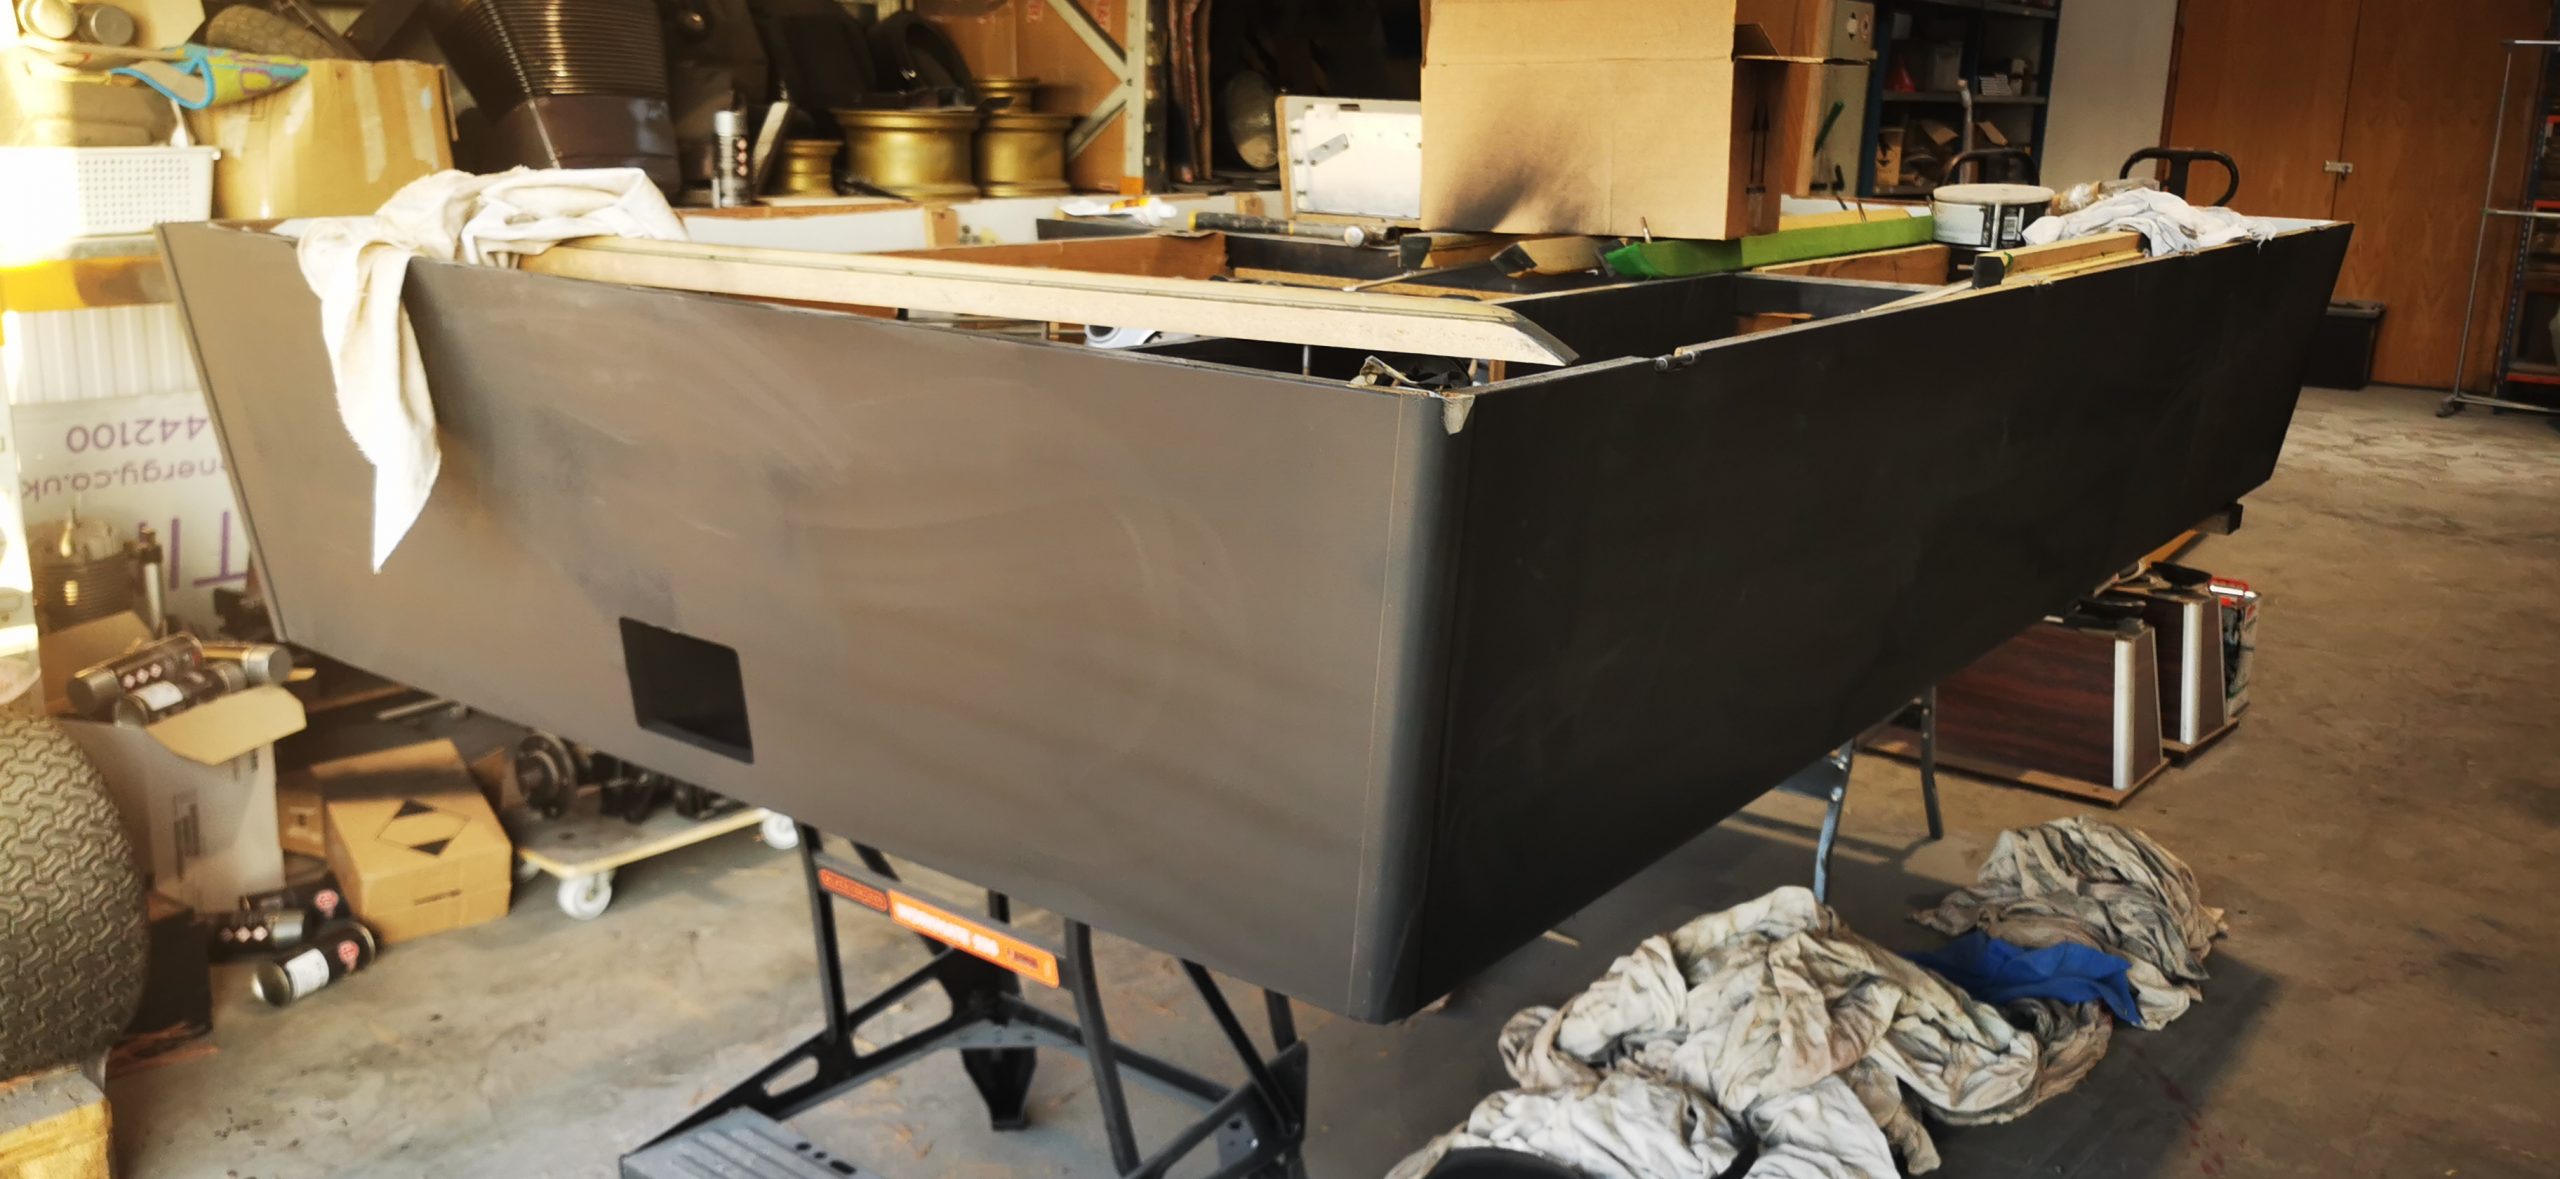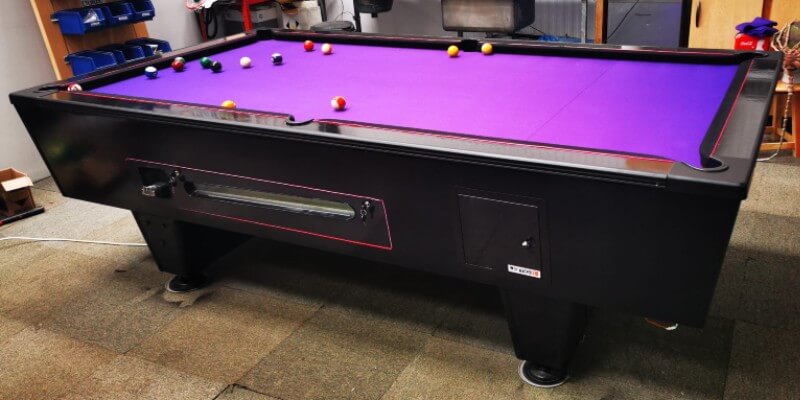
We purchased a 9ft by 4.5ft American Competition Pool table, which was in need of work. This was most definitely the hardest project we have encountered as there were lots of fault checking and workarounds; however, the results truly are incredible!
Jump straight to:
- Tools Required
- The Prep
- Amending The Table
- The Paintwork
- The Electronics
- Finishing The Table
- The Final Word
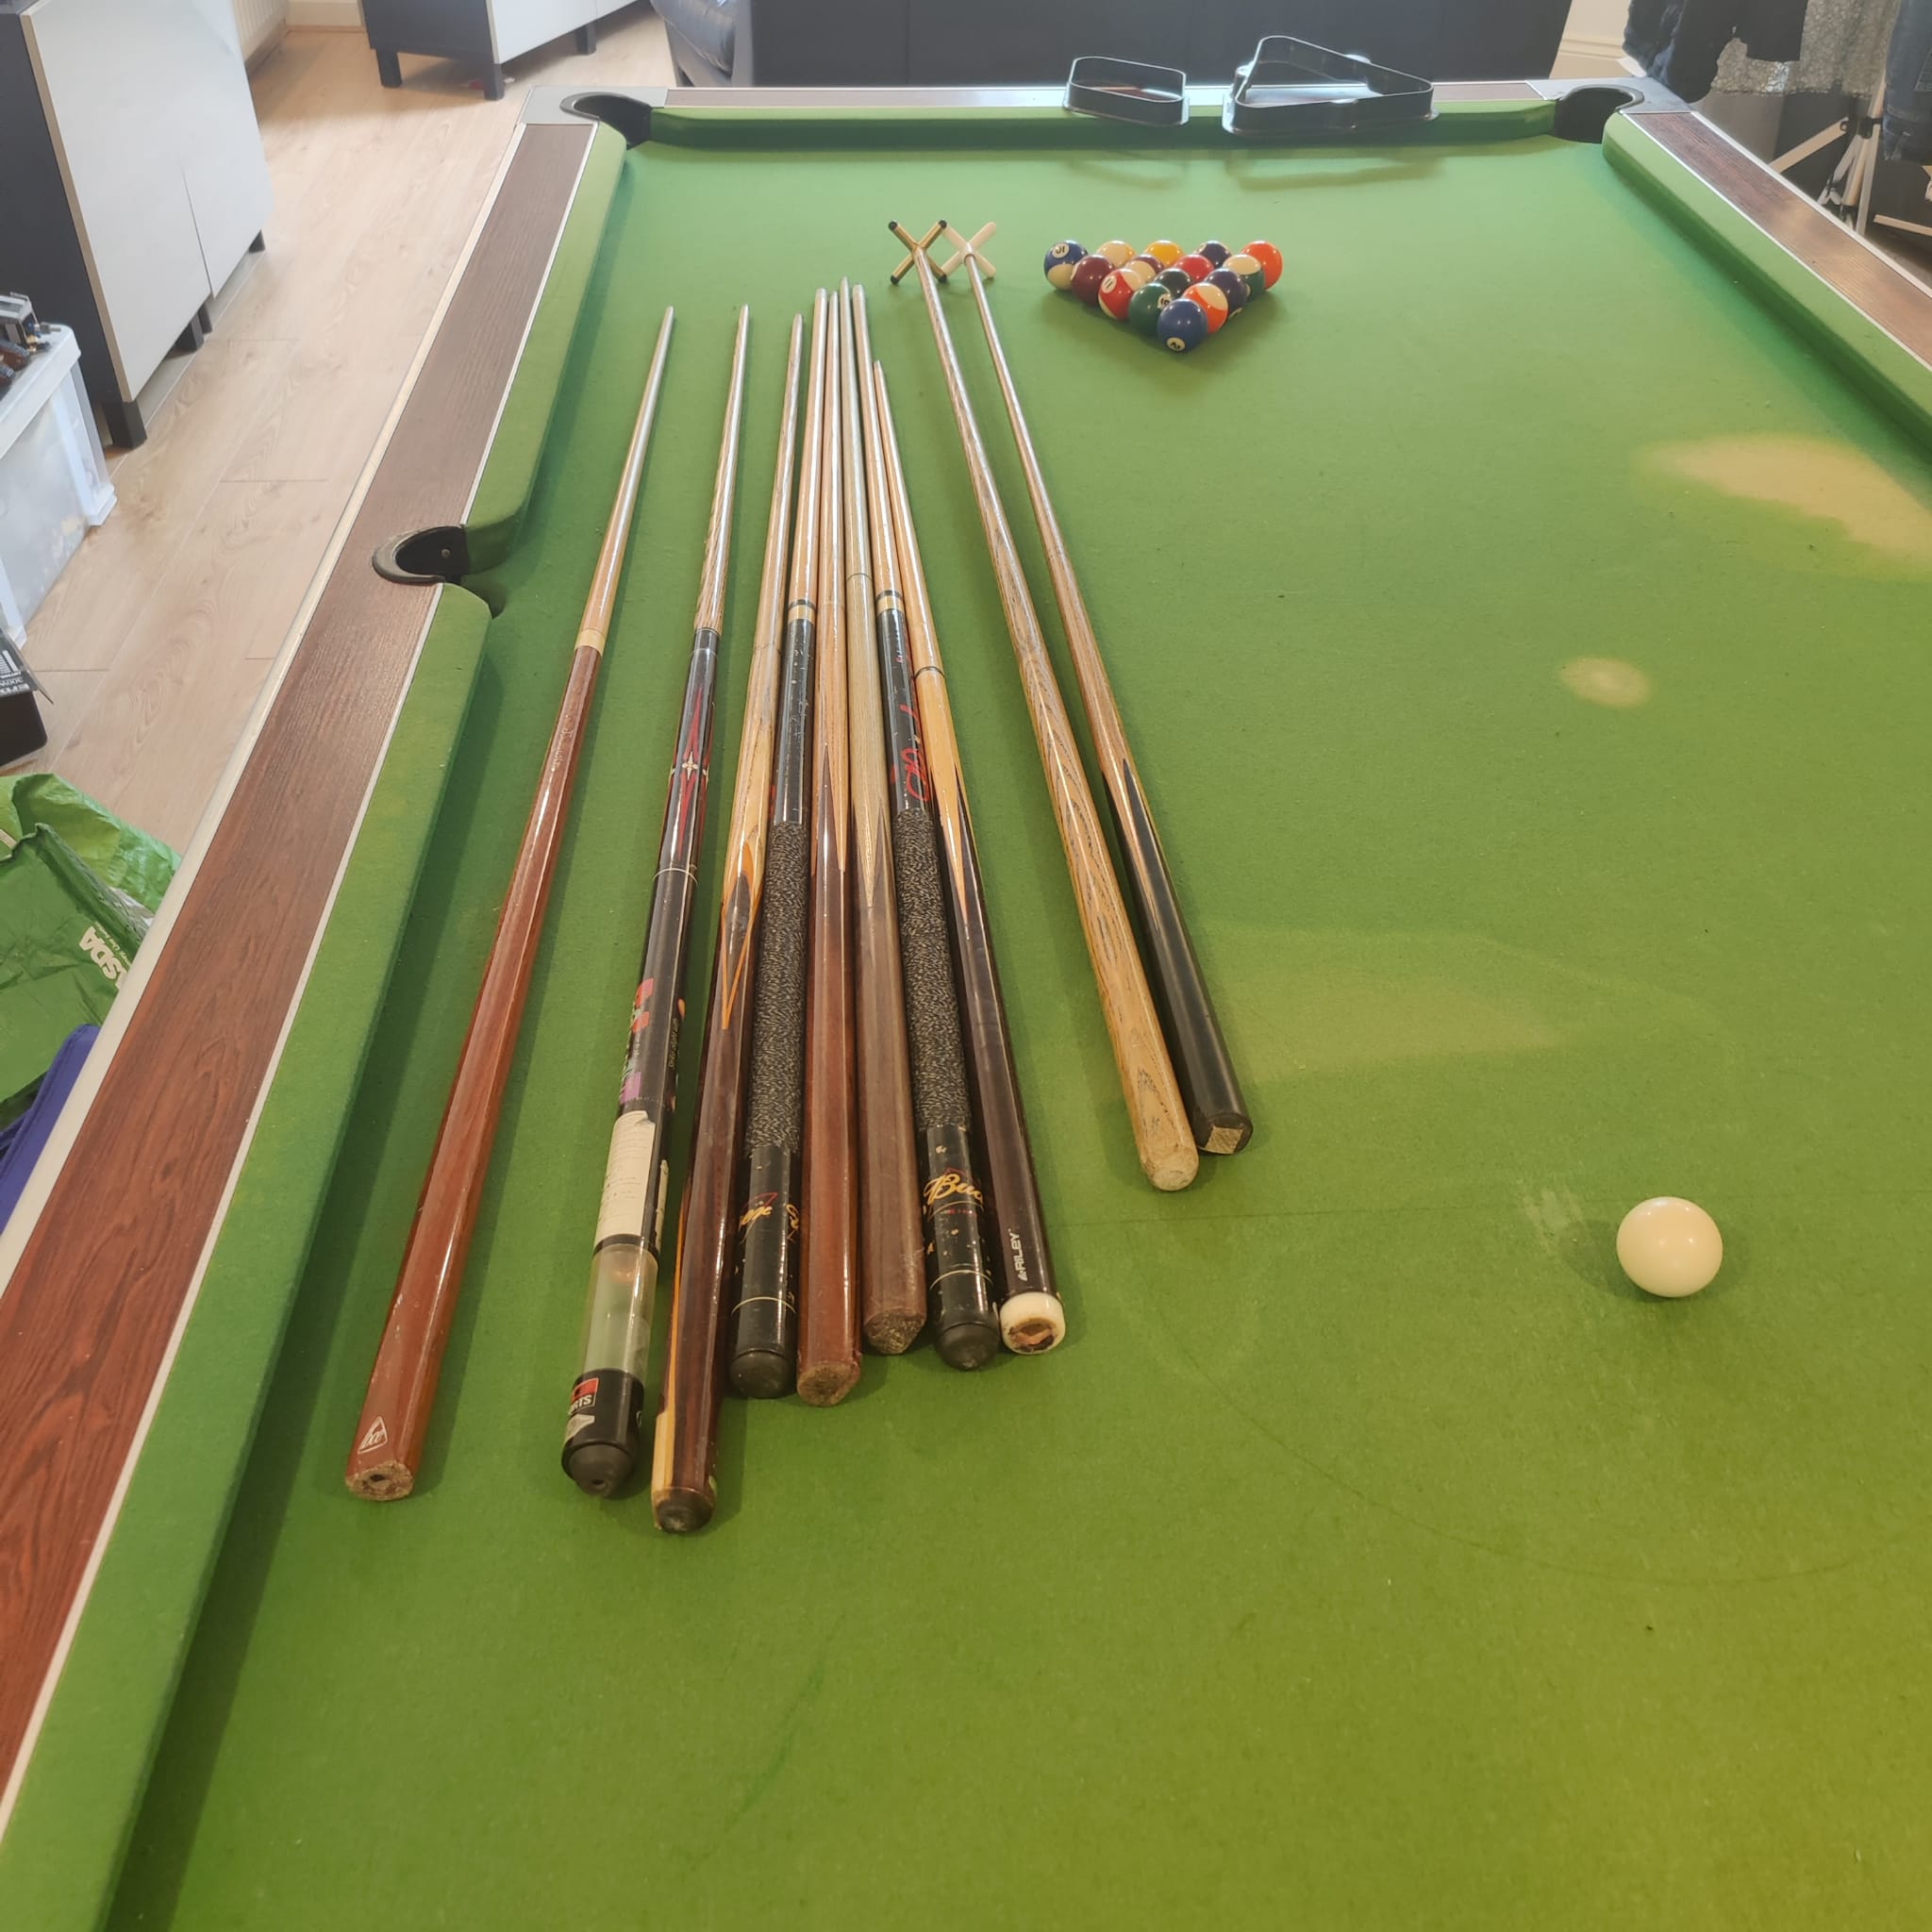
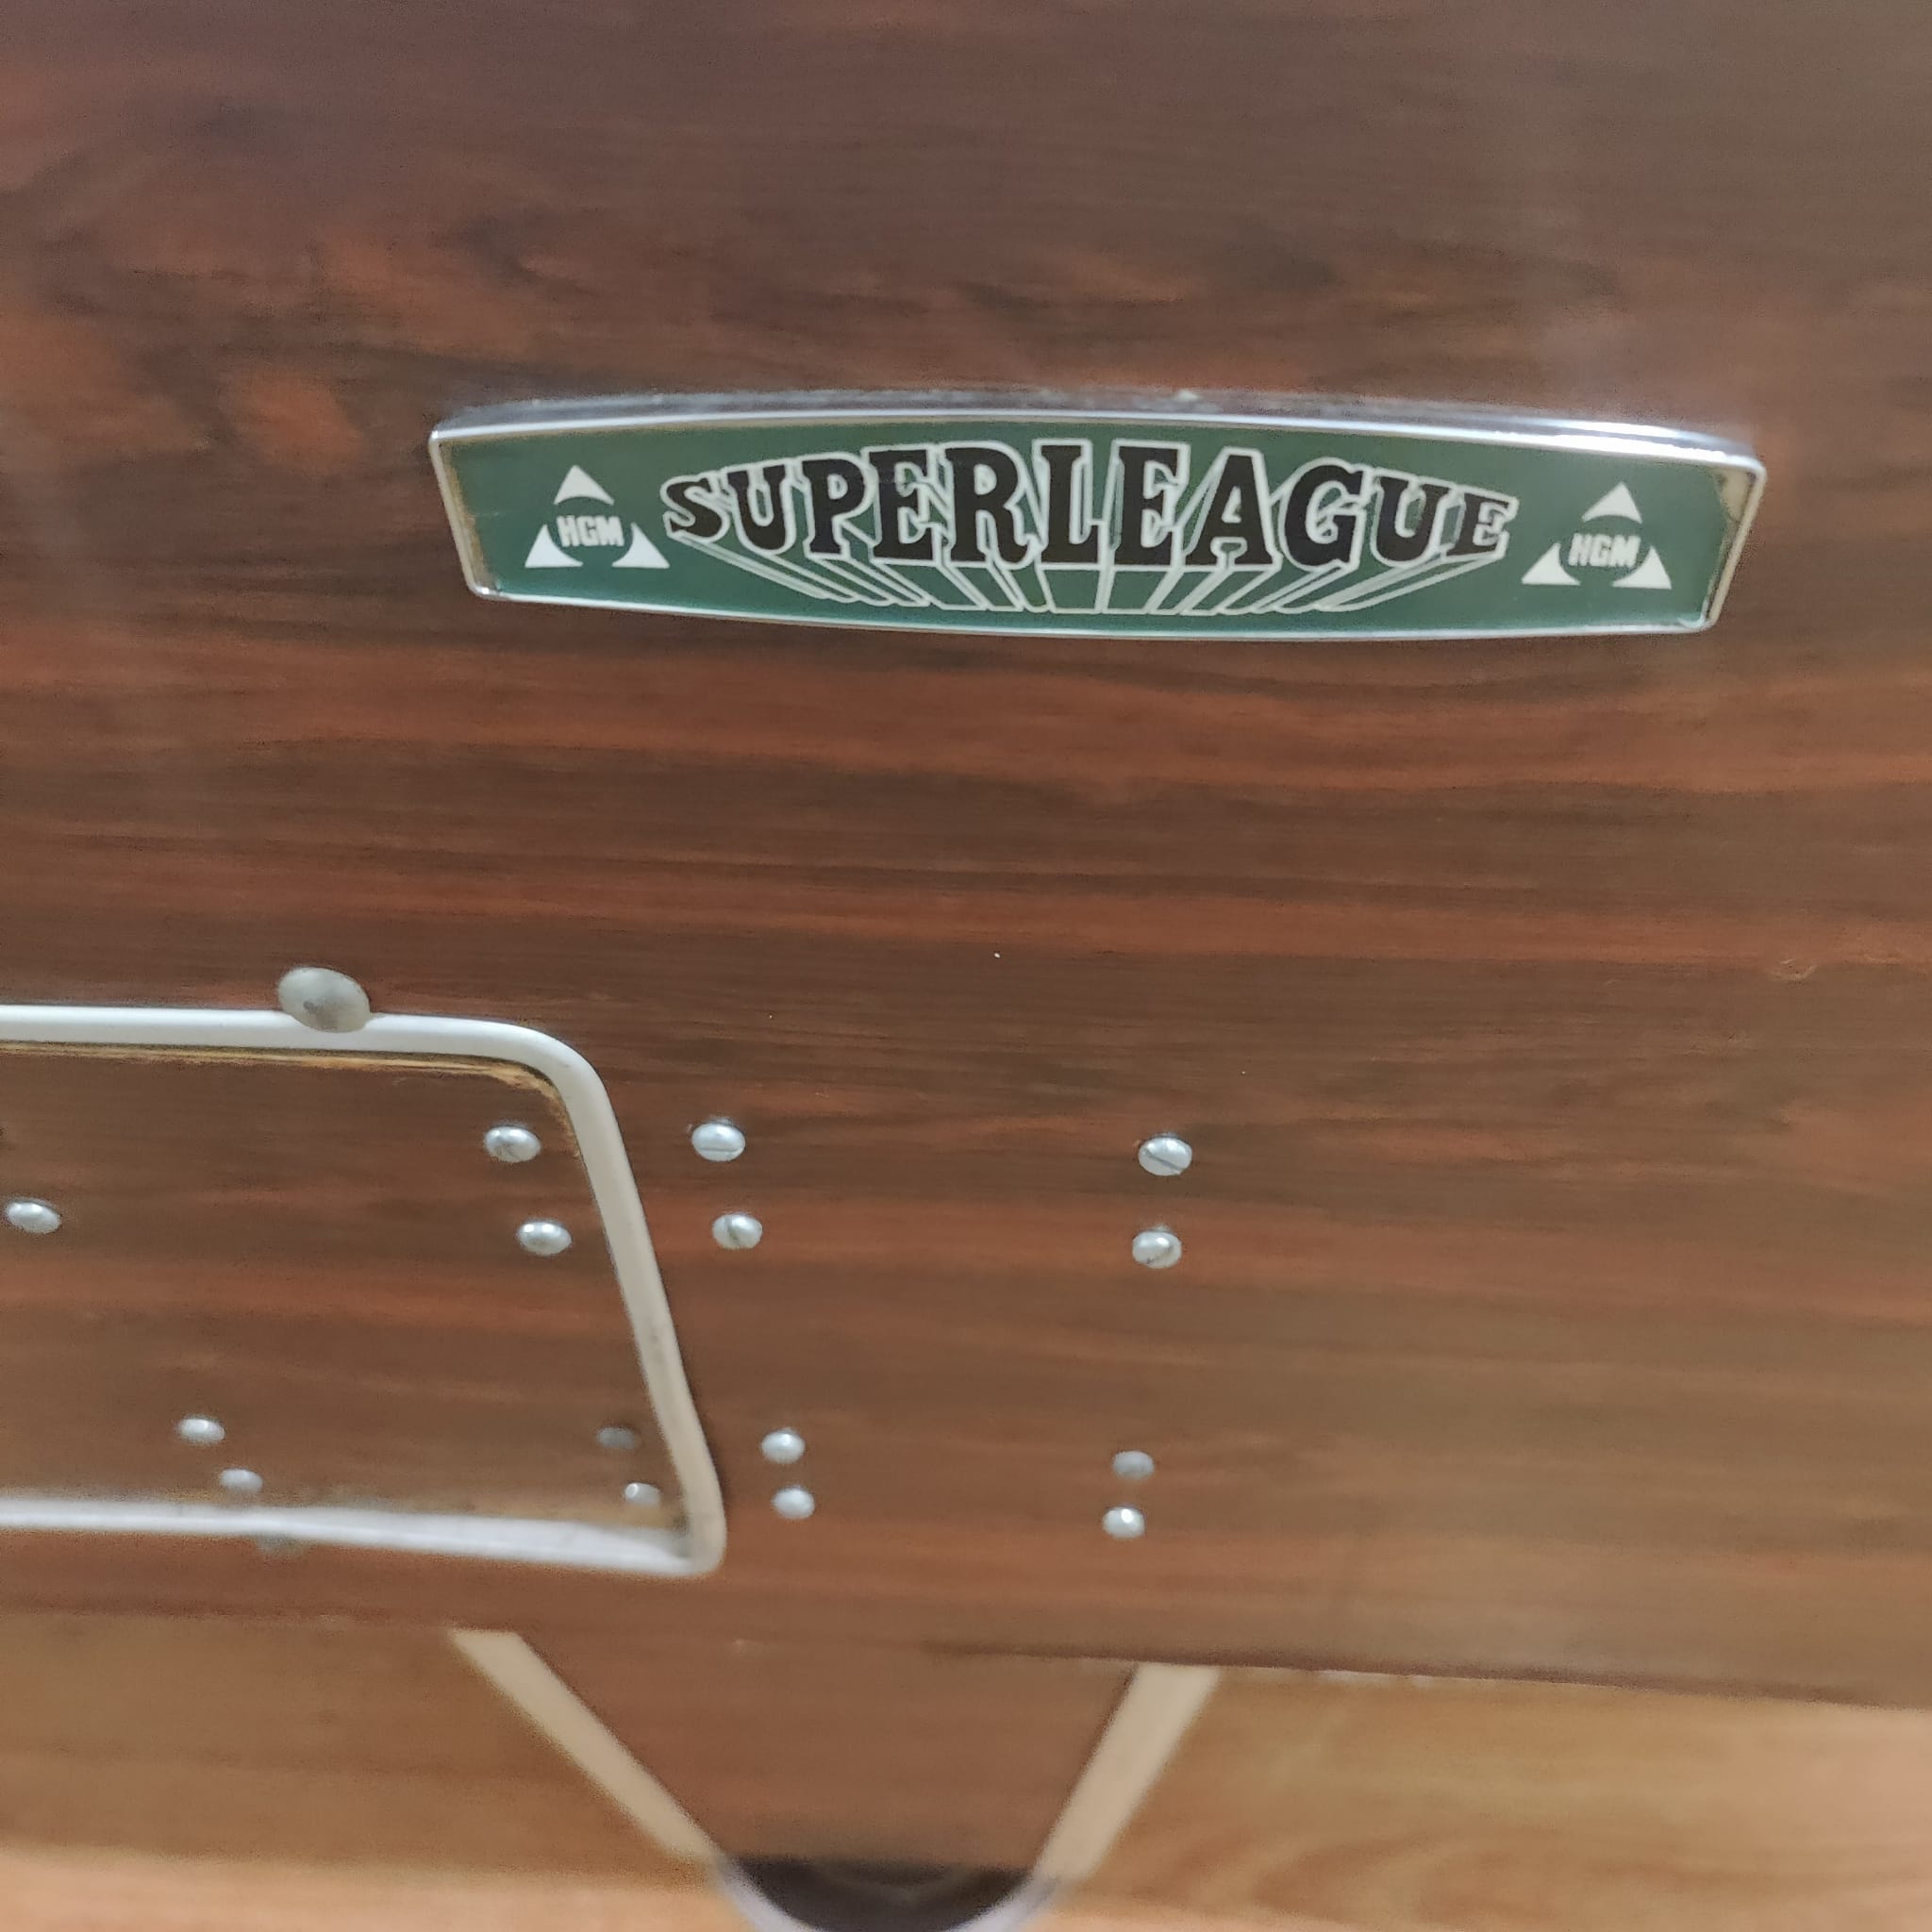
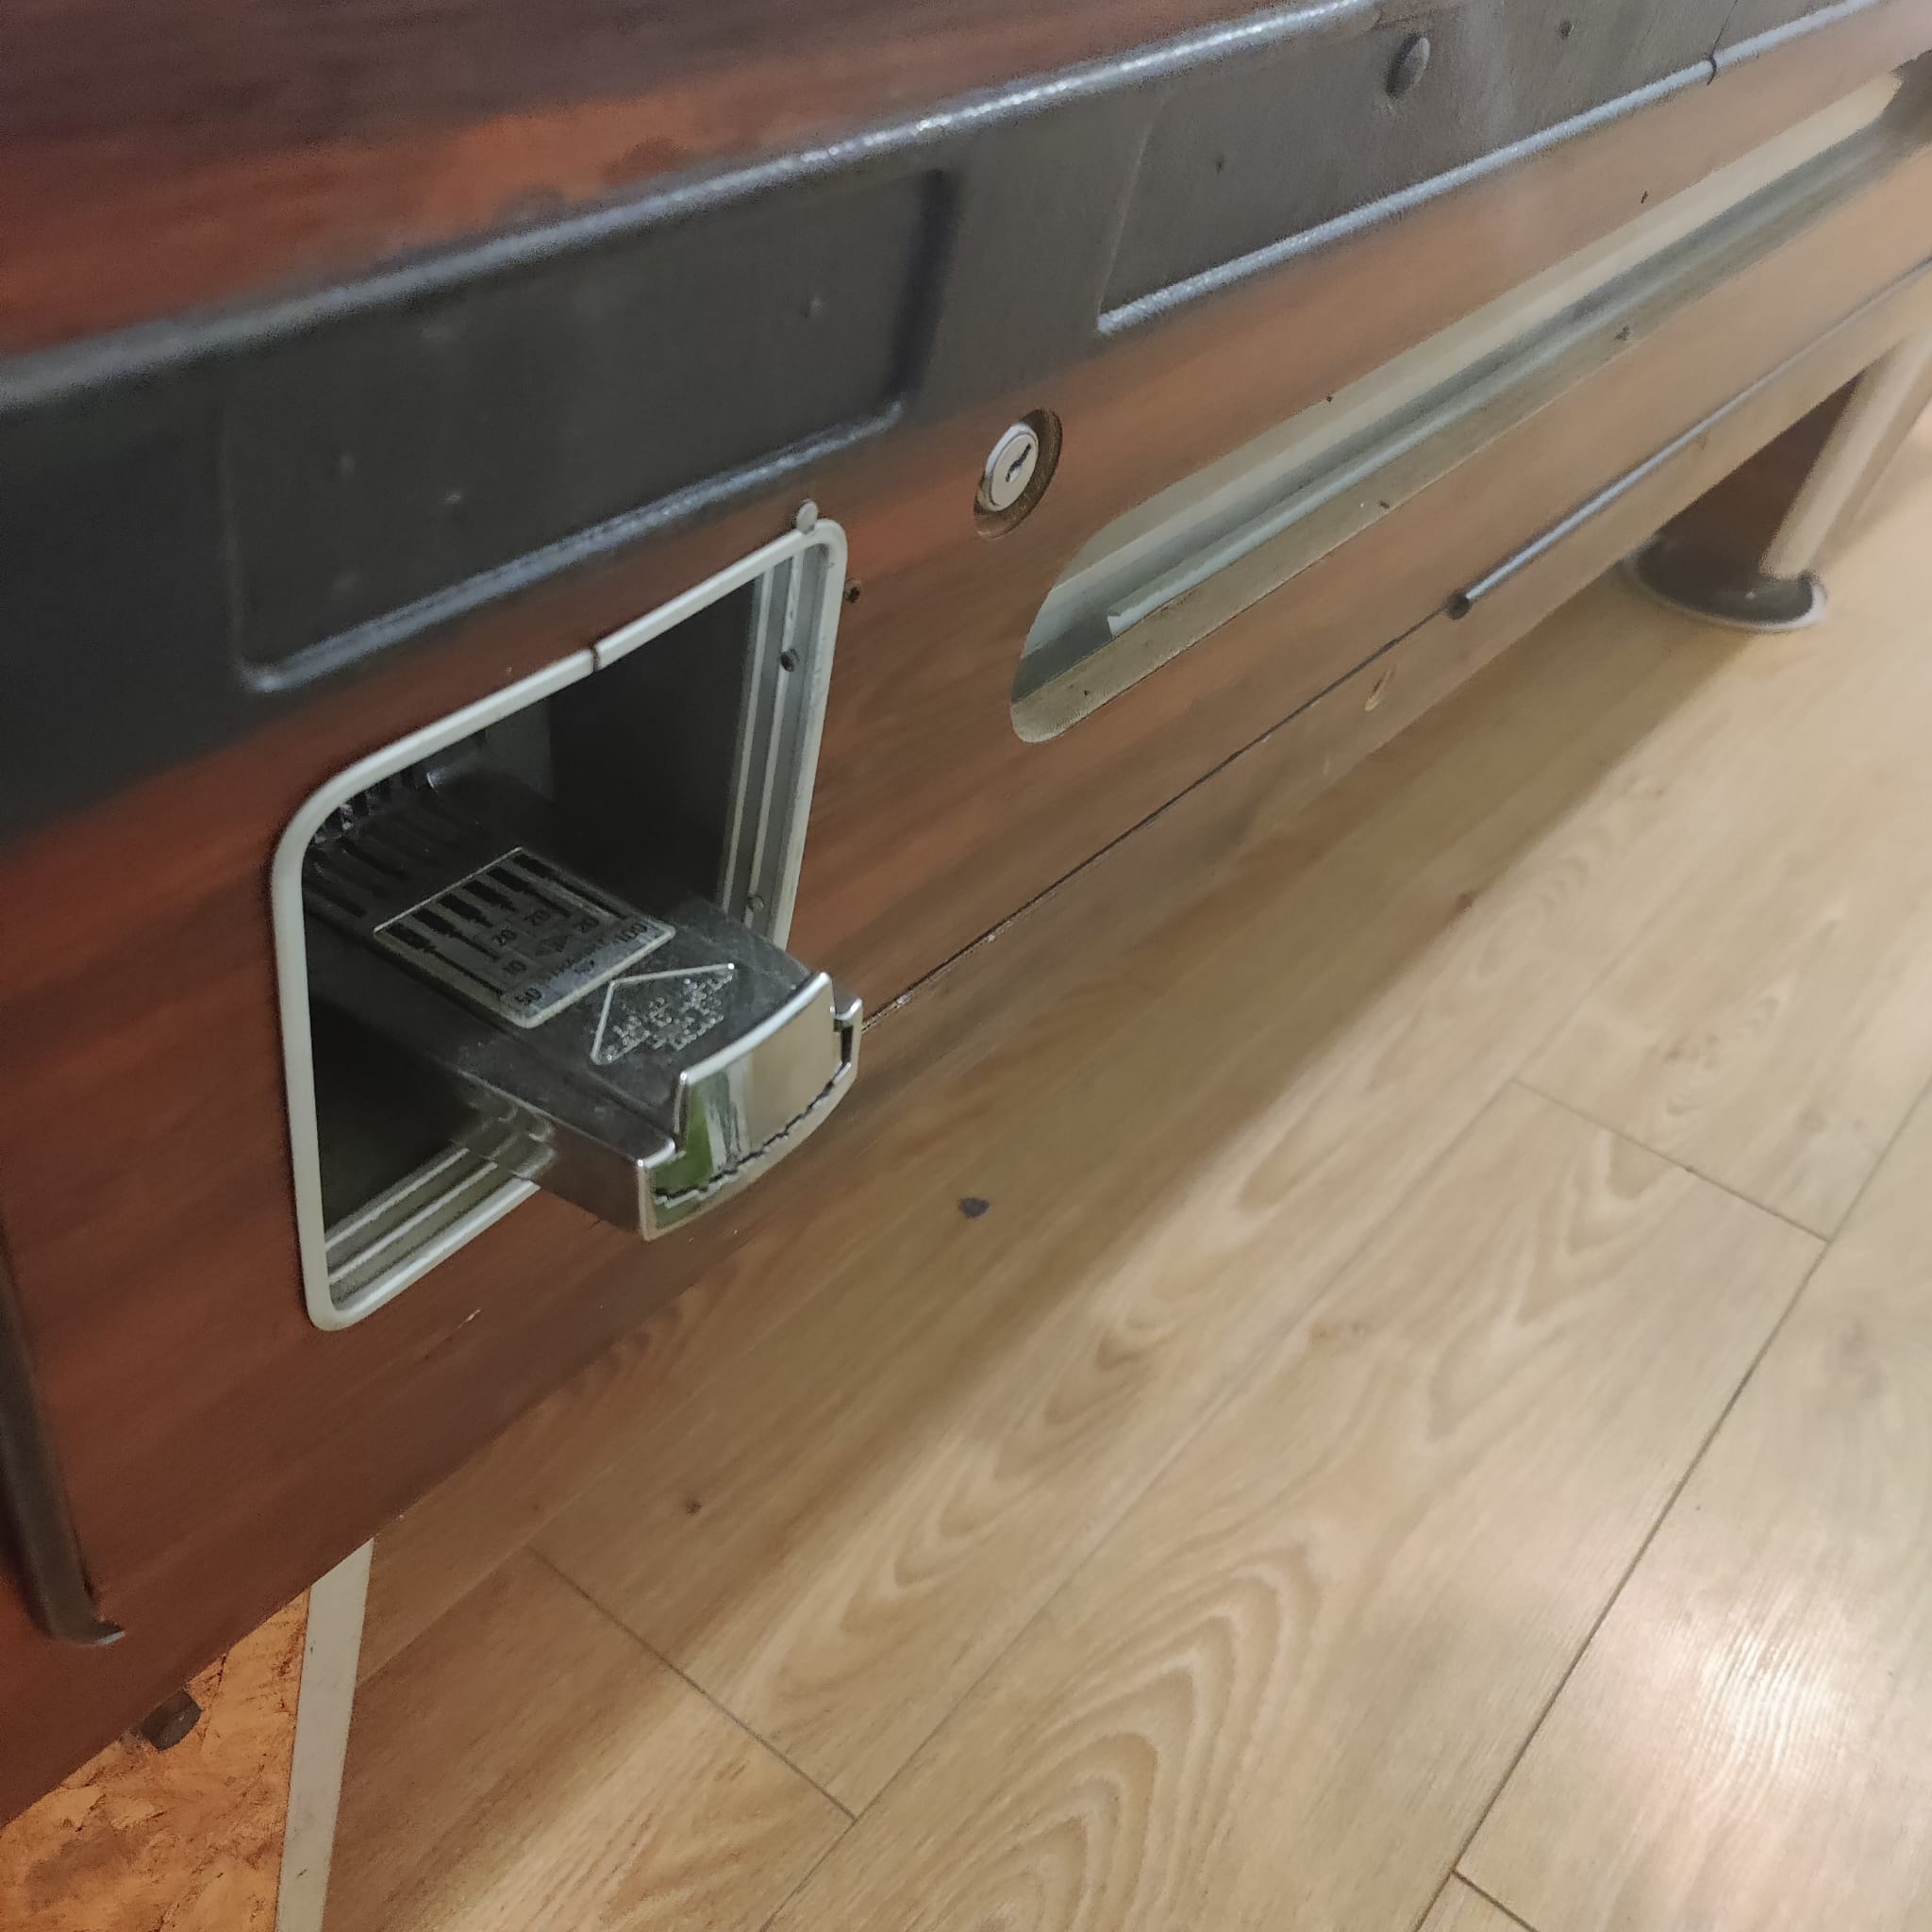
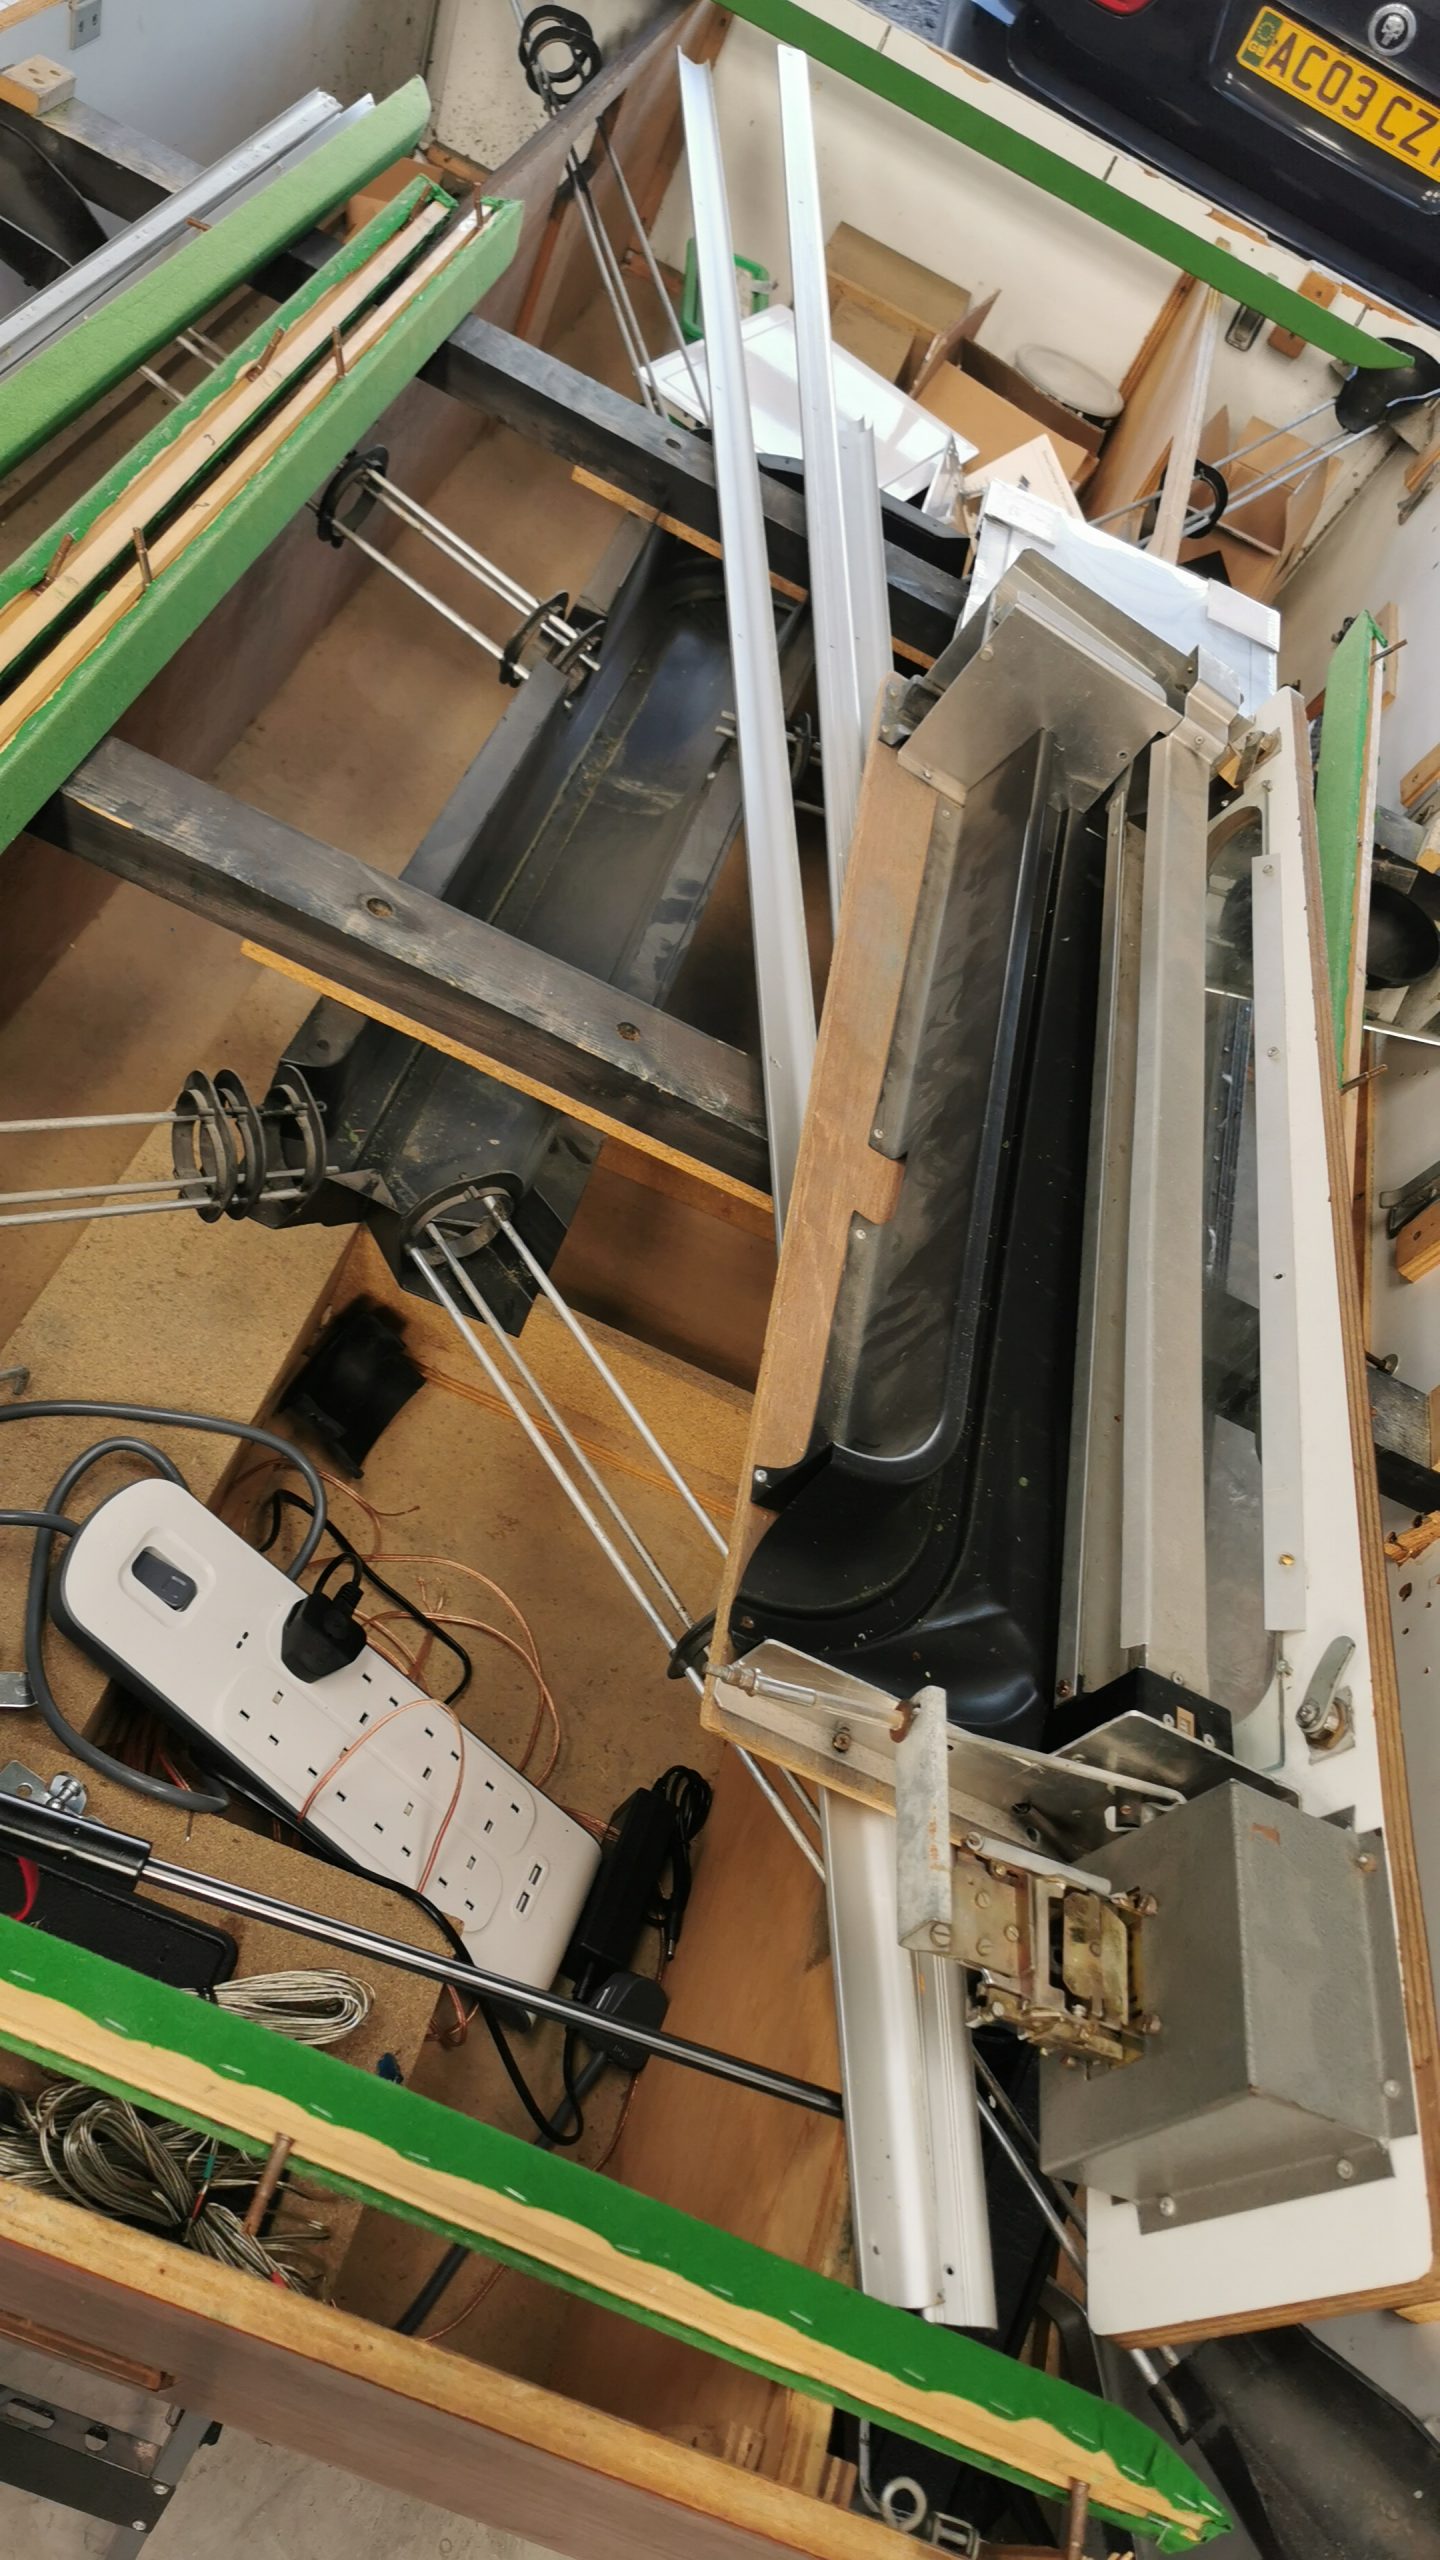
- Images From The Project
Tools Required:
- Multi-Grade Sand Paper
- Sanding Discs and Dual Action Sander
- 1K Fast drying Filler and Spreaders
- 2K Filler Primer
- Screwdrivers, Hammers, etc
- RAL 9005 Acrylic Gloss Paint
- 2K Gloss Lacquer
- Hologram Paint 1K Custom
The Prep:
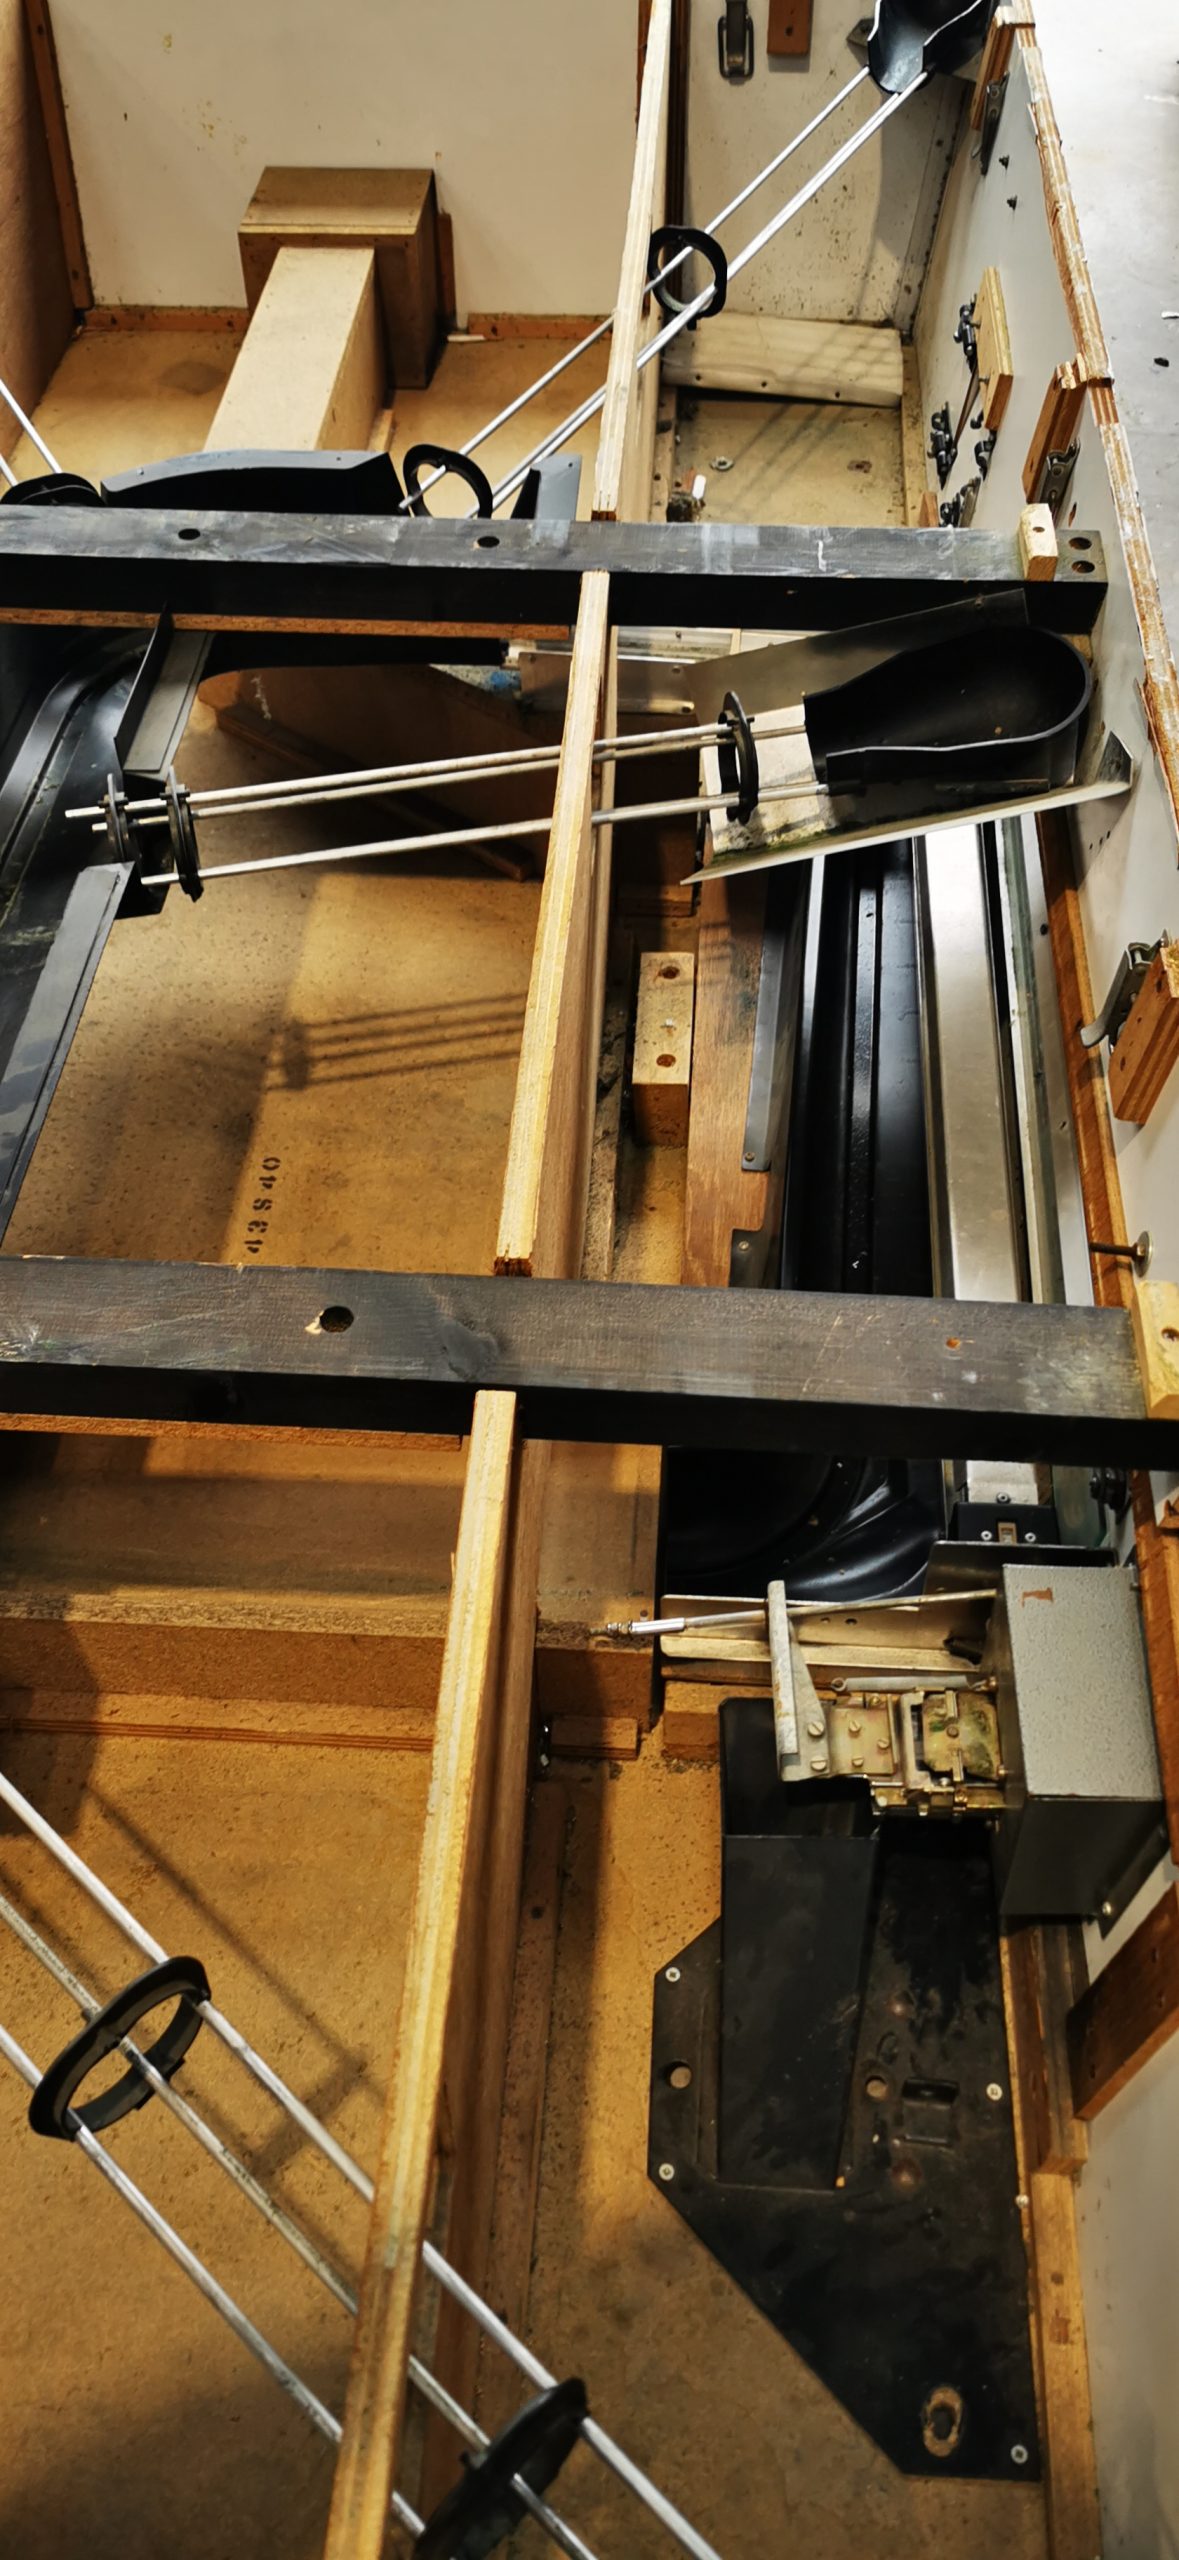
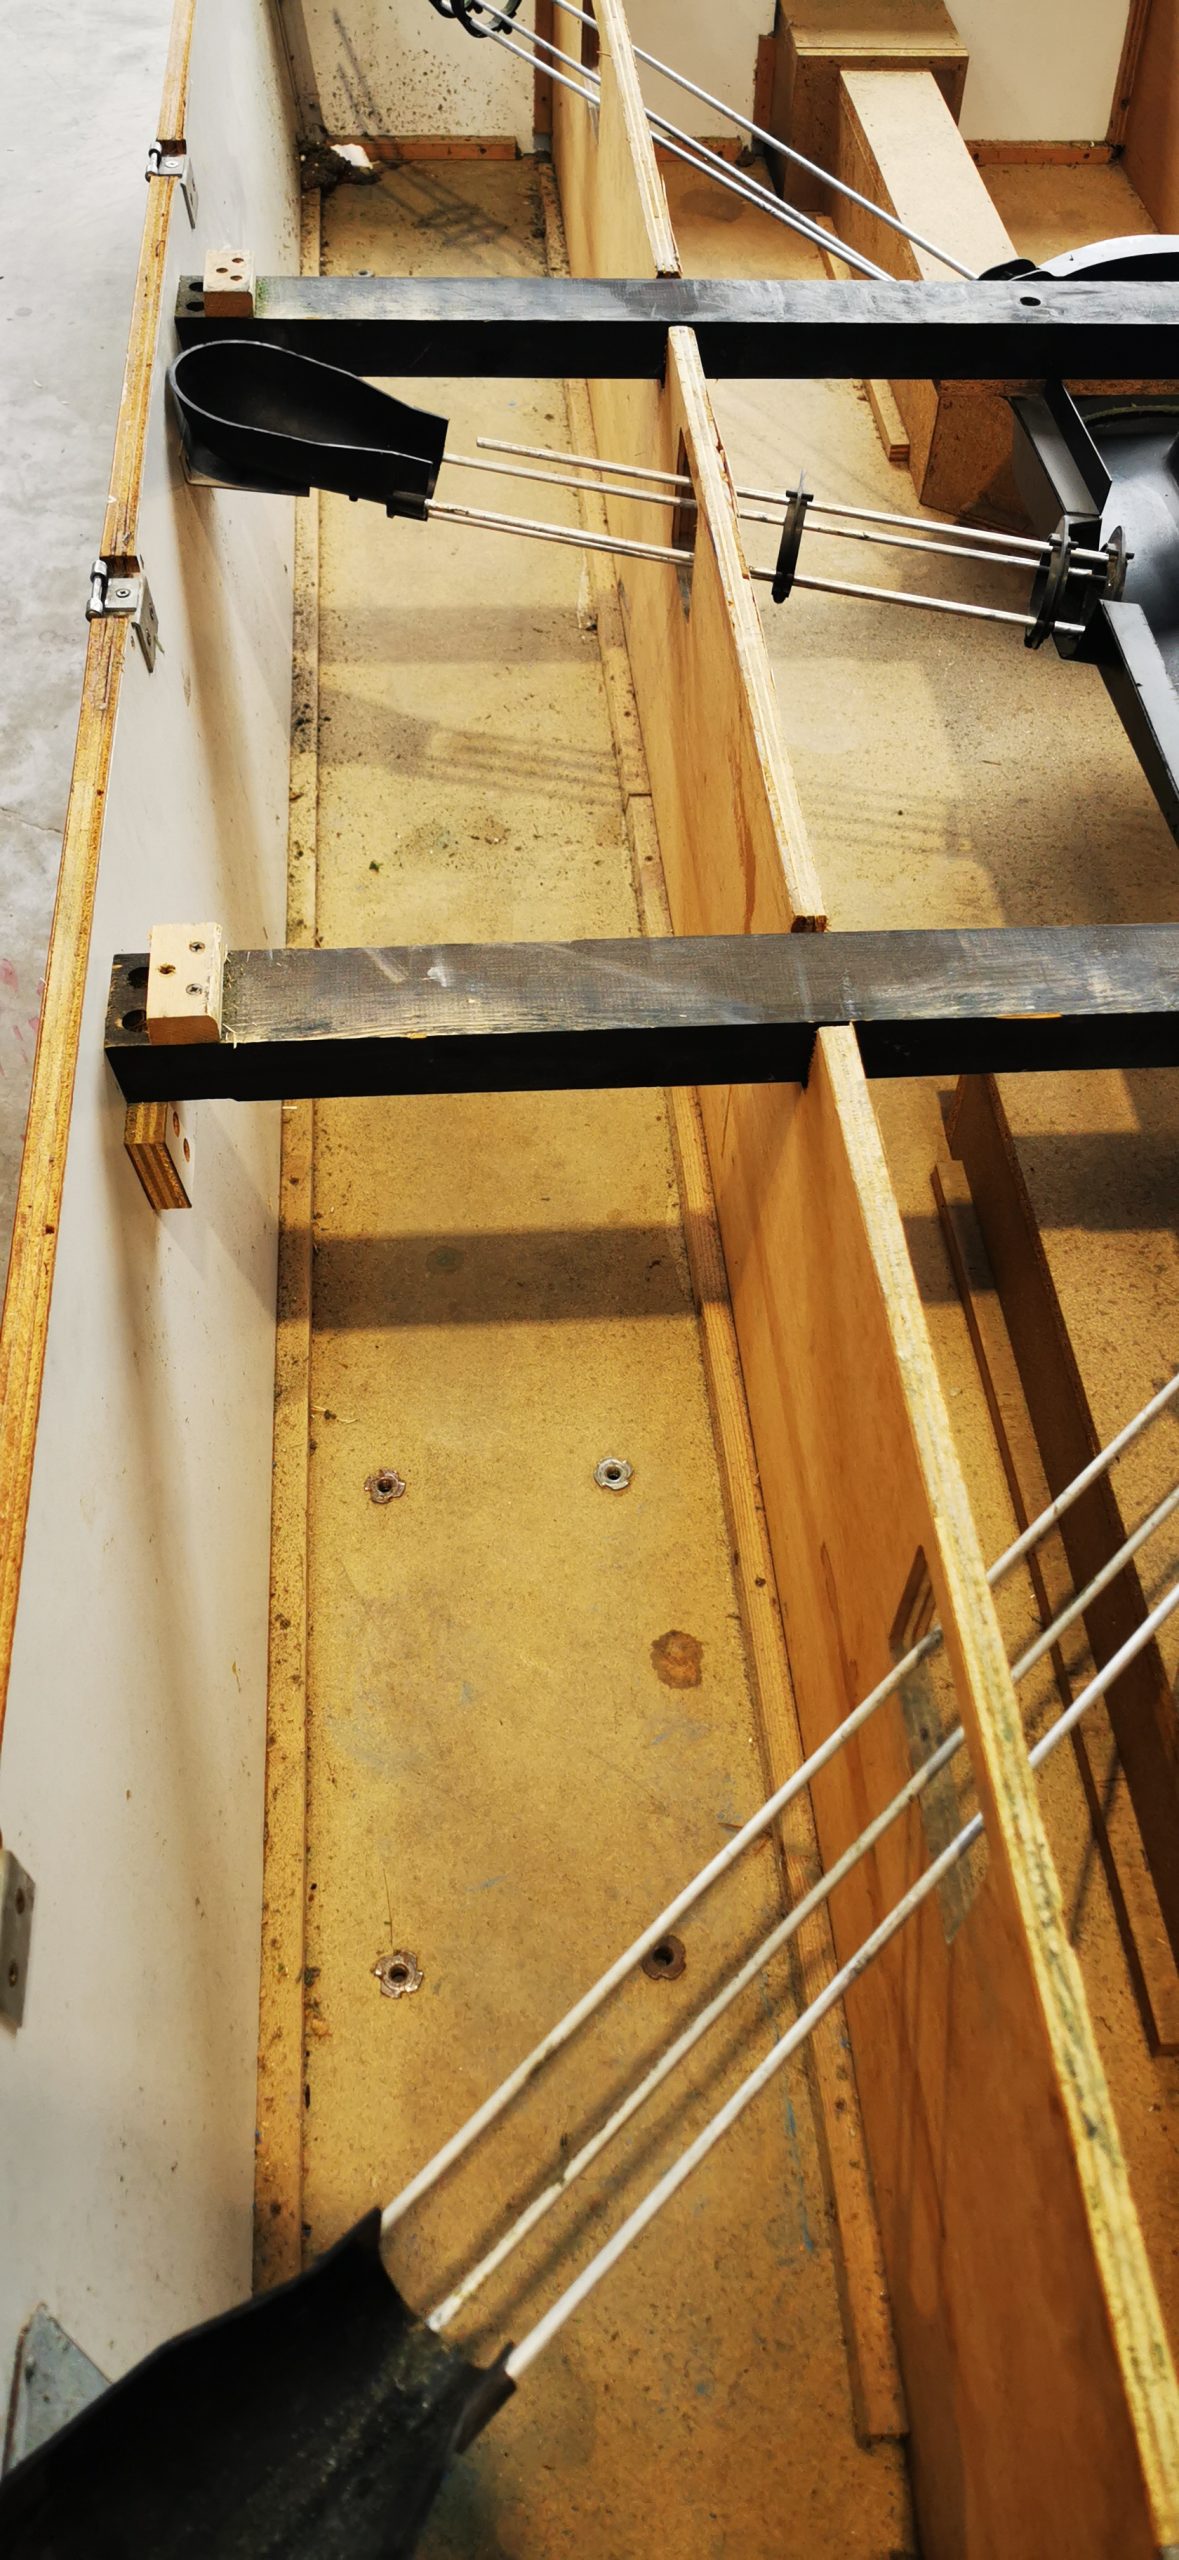
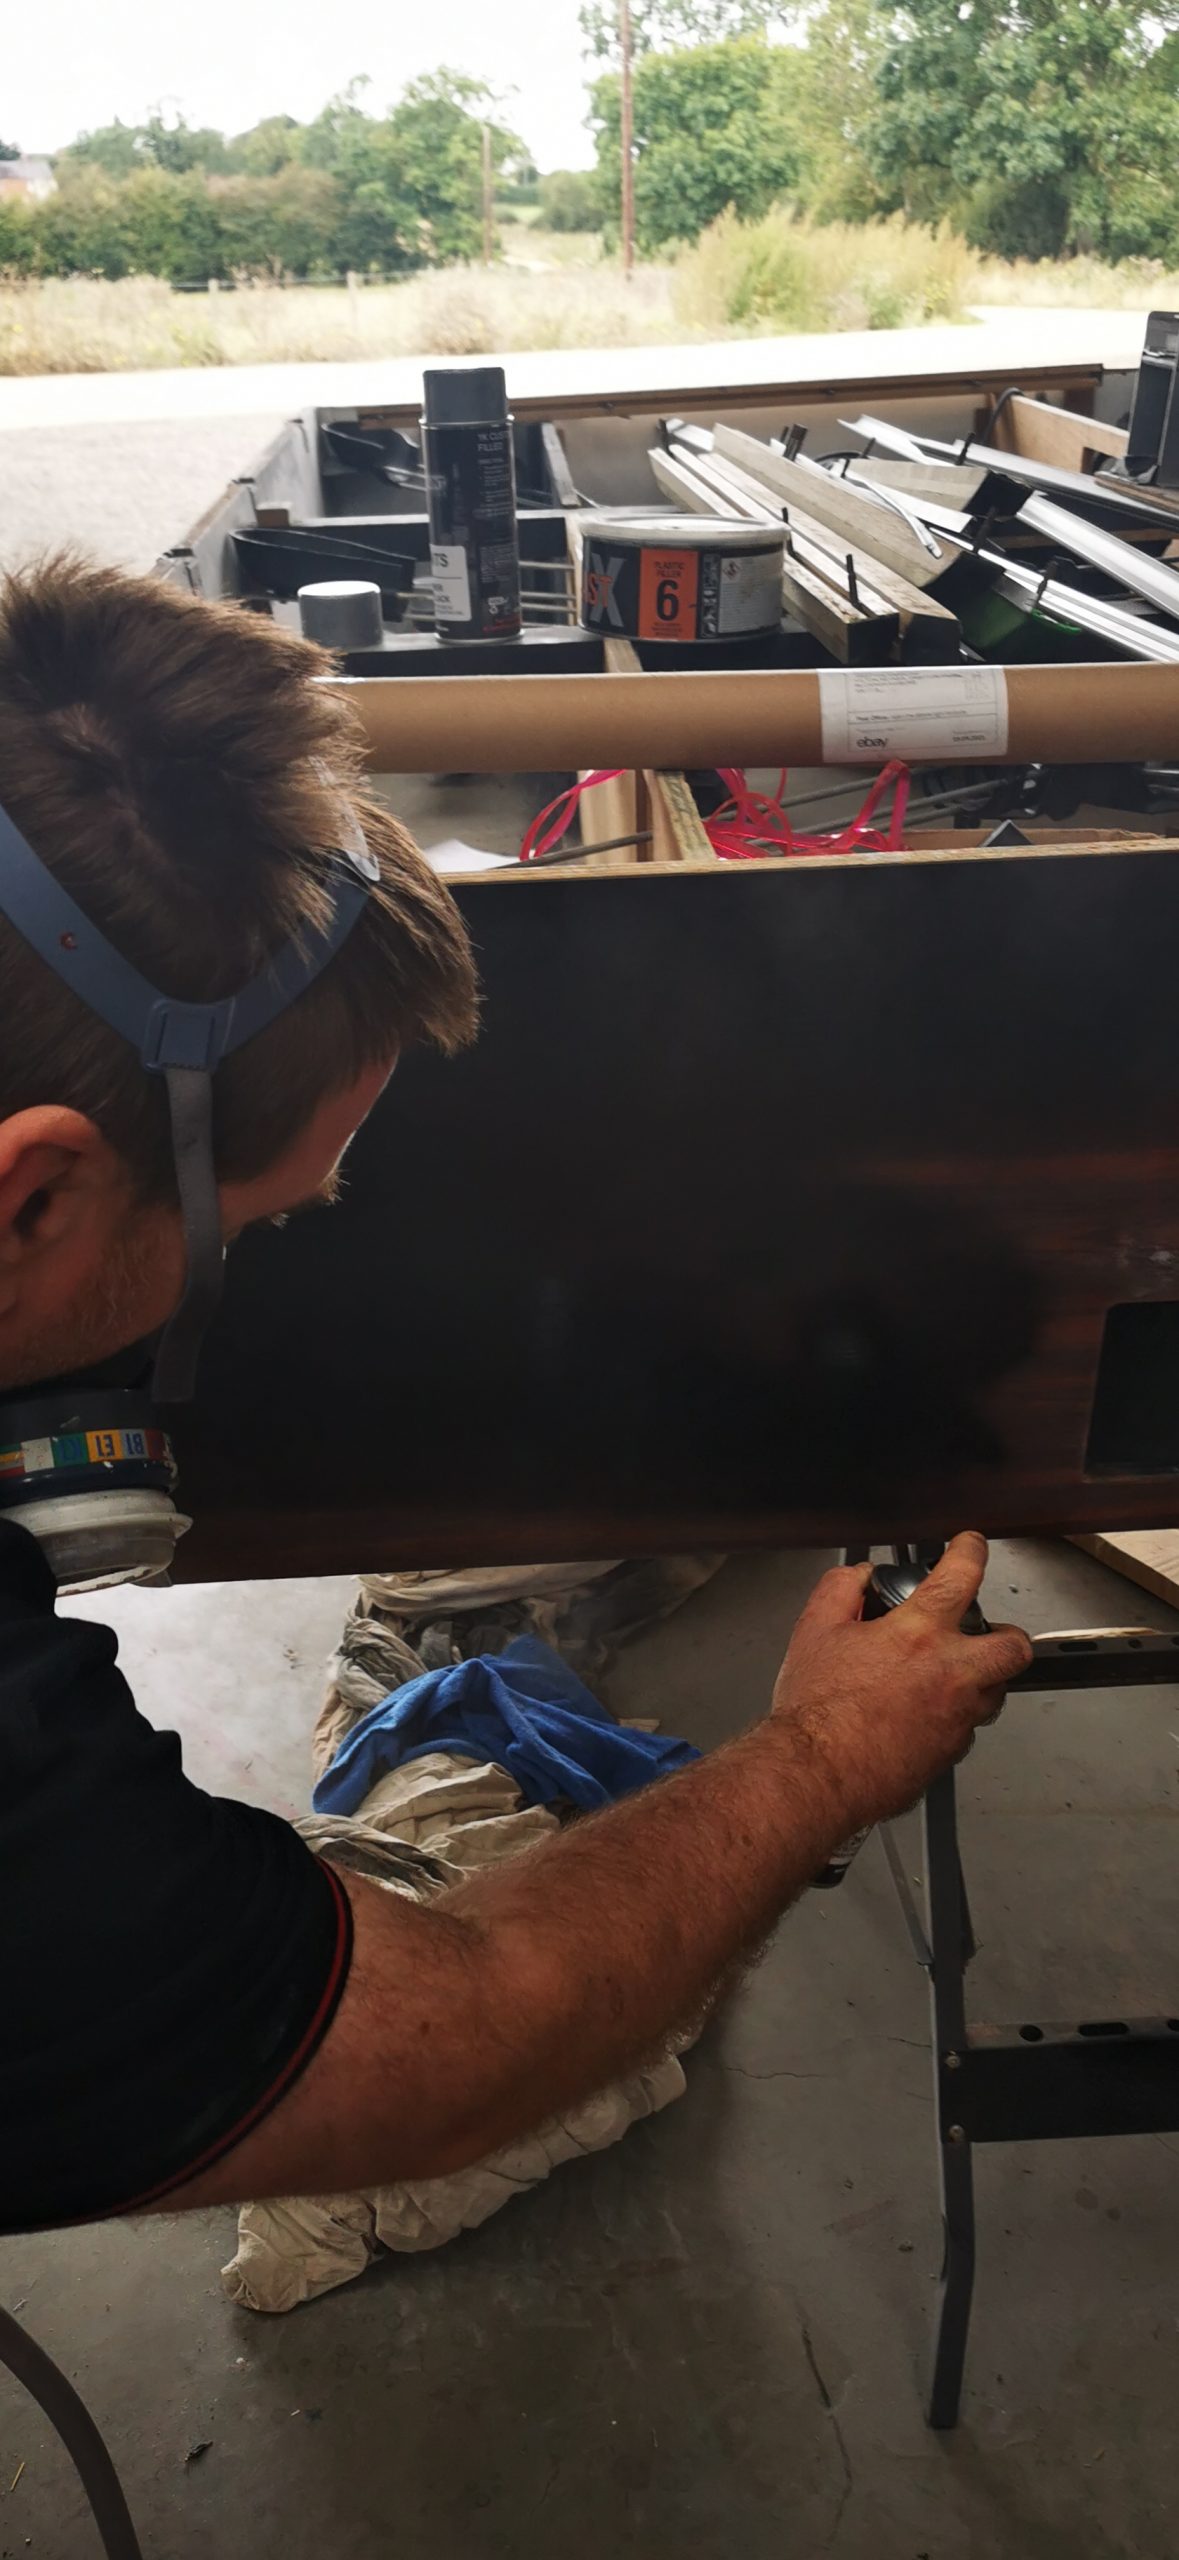
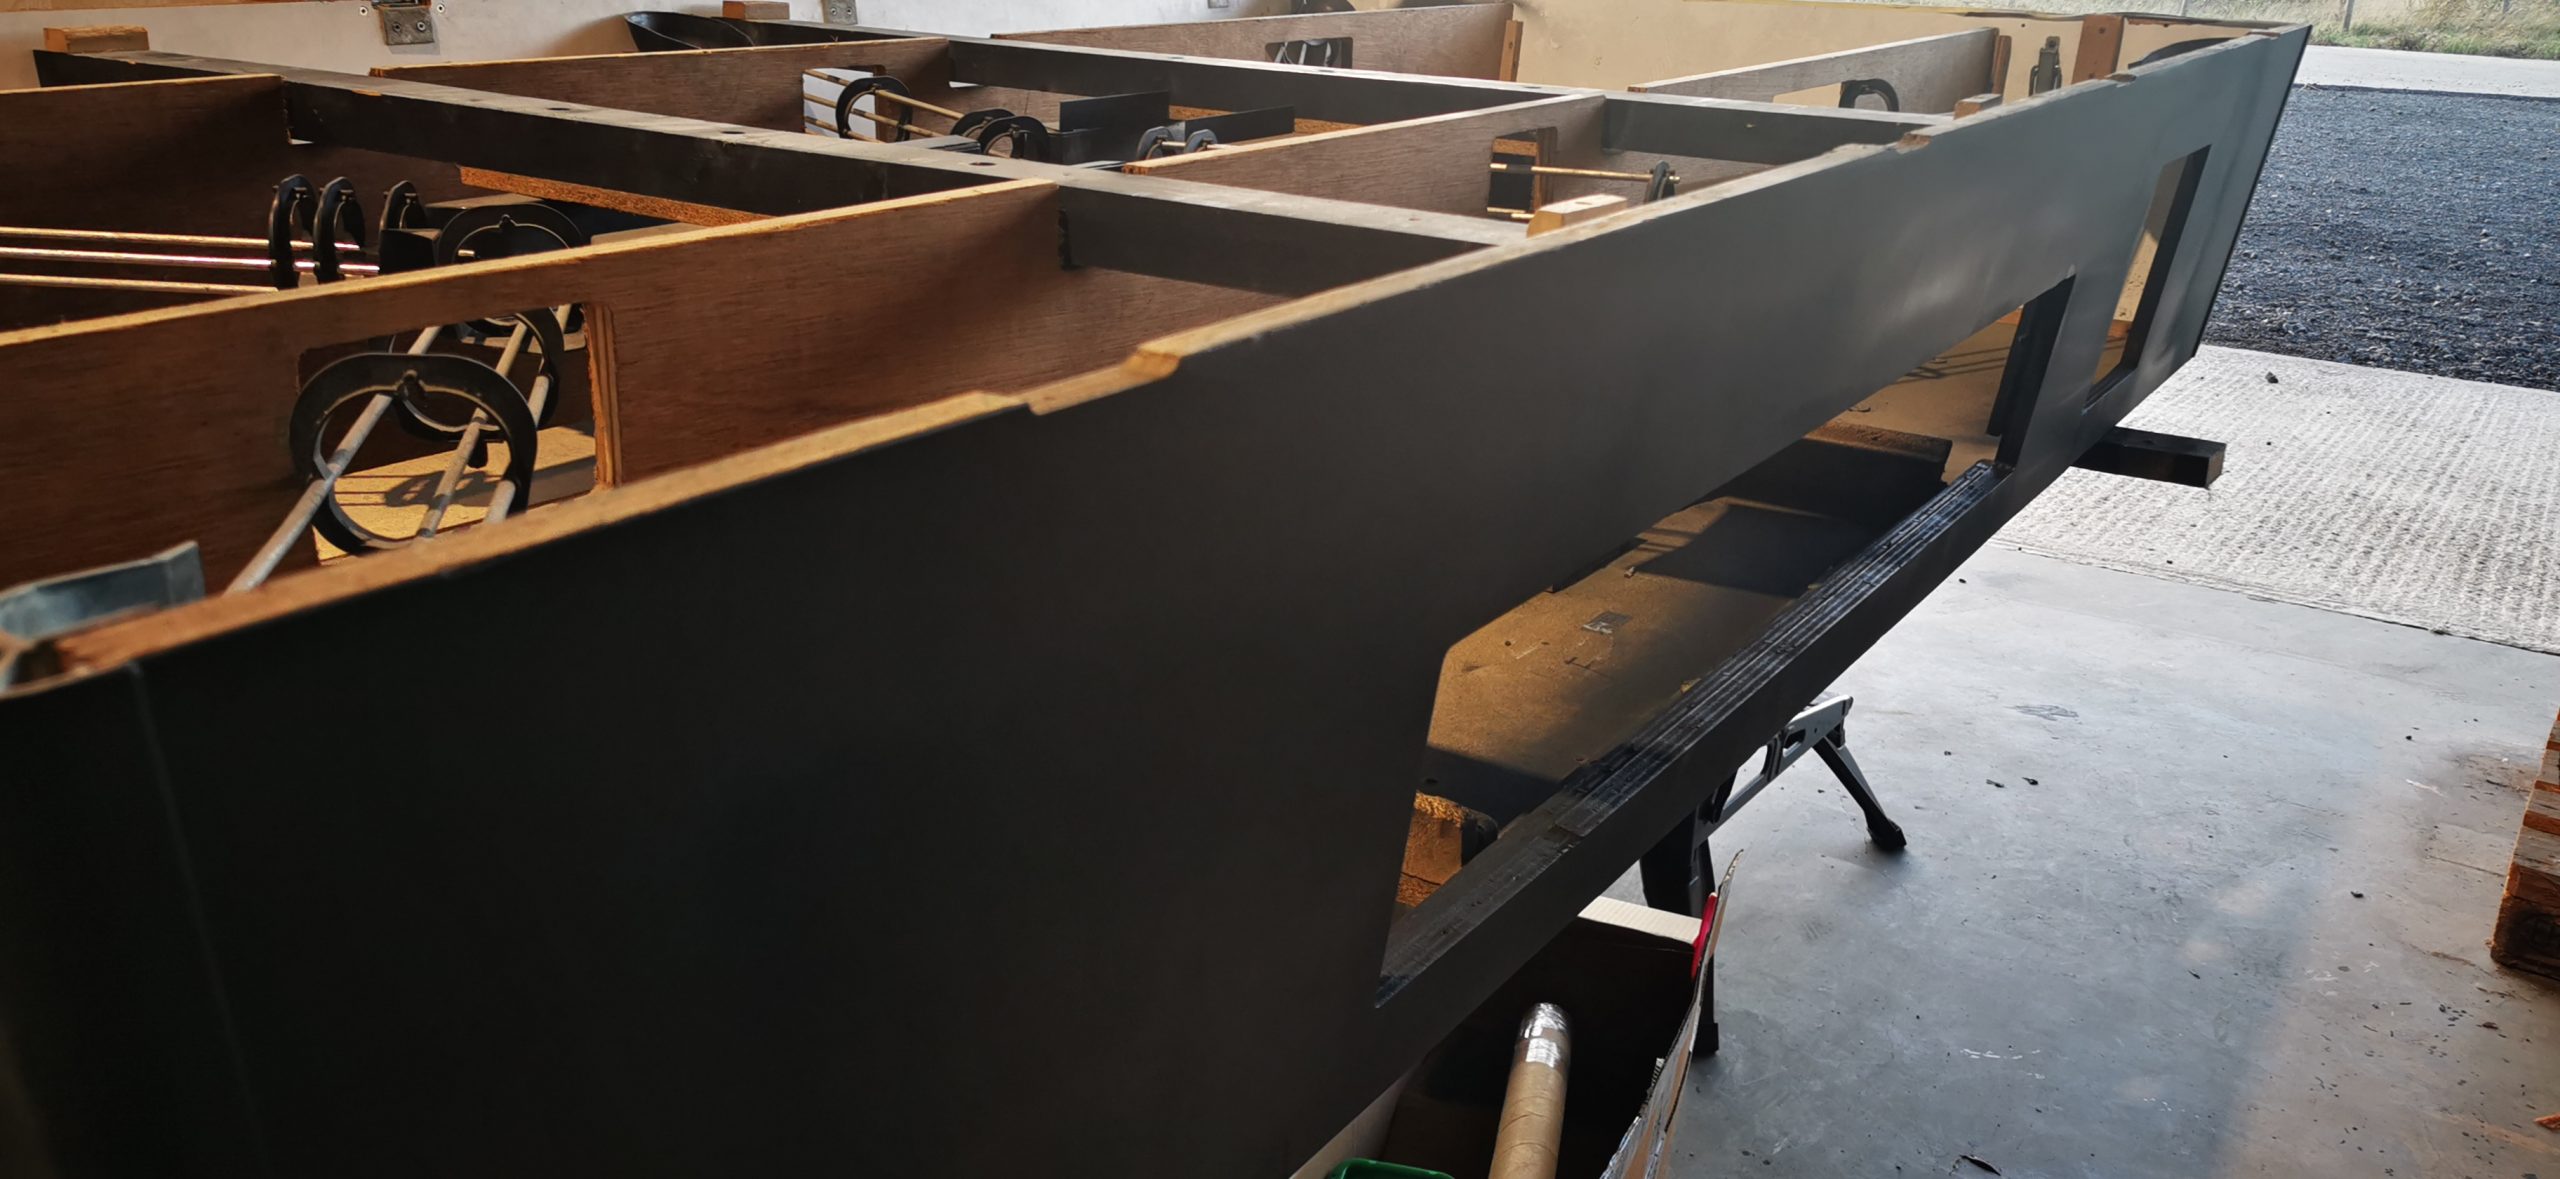
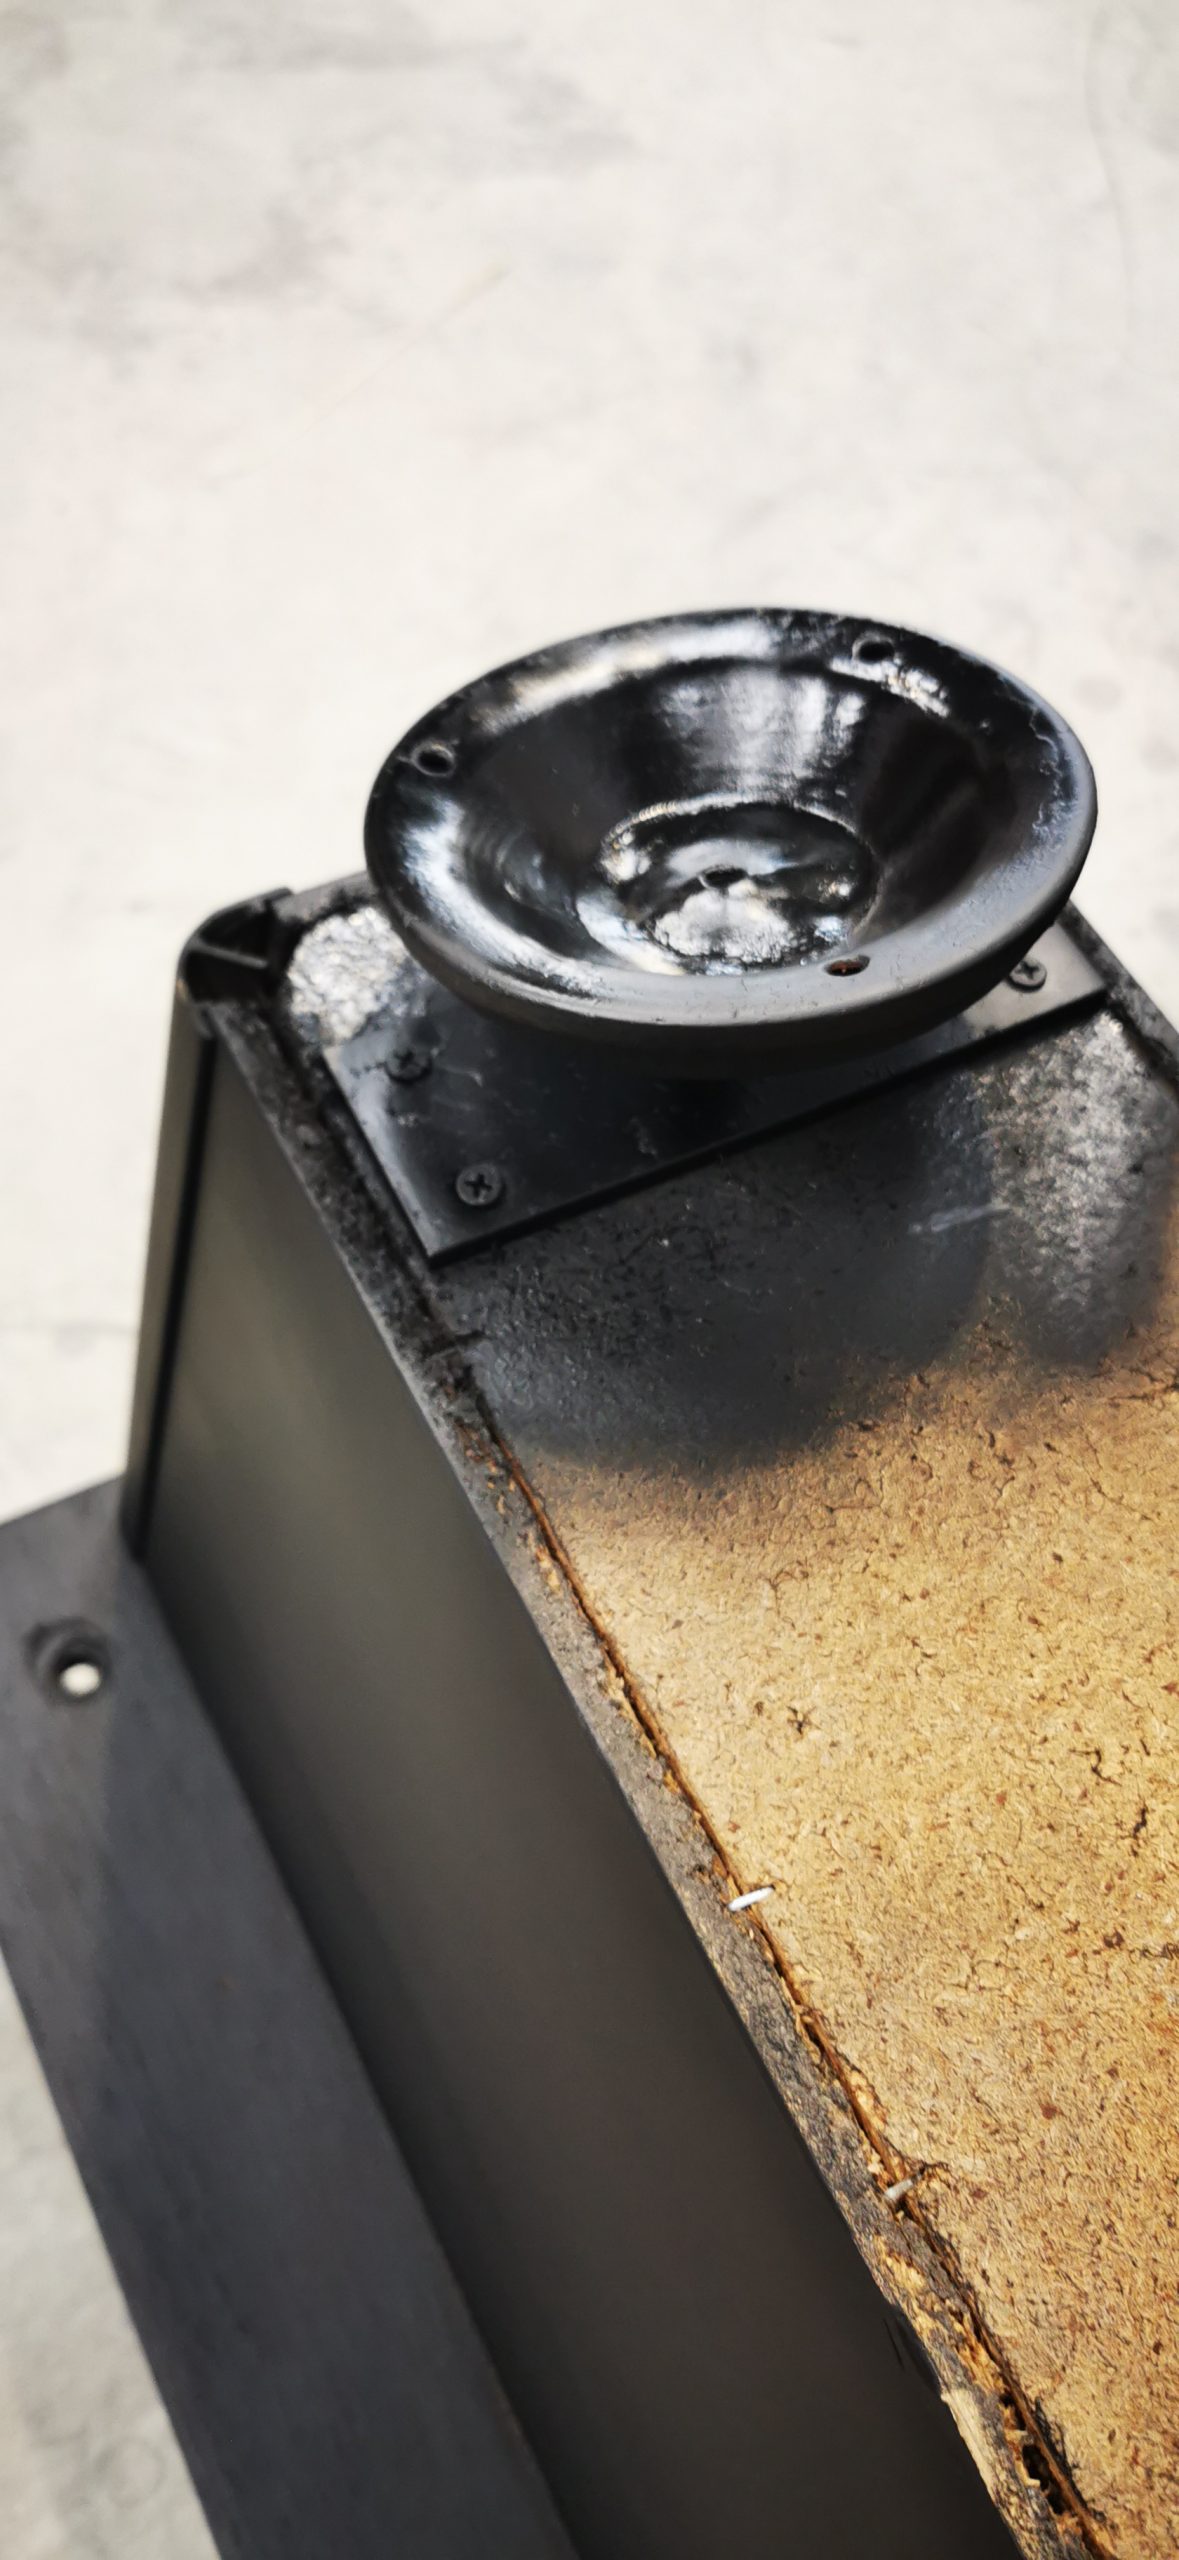
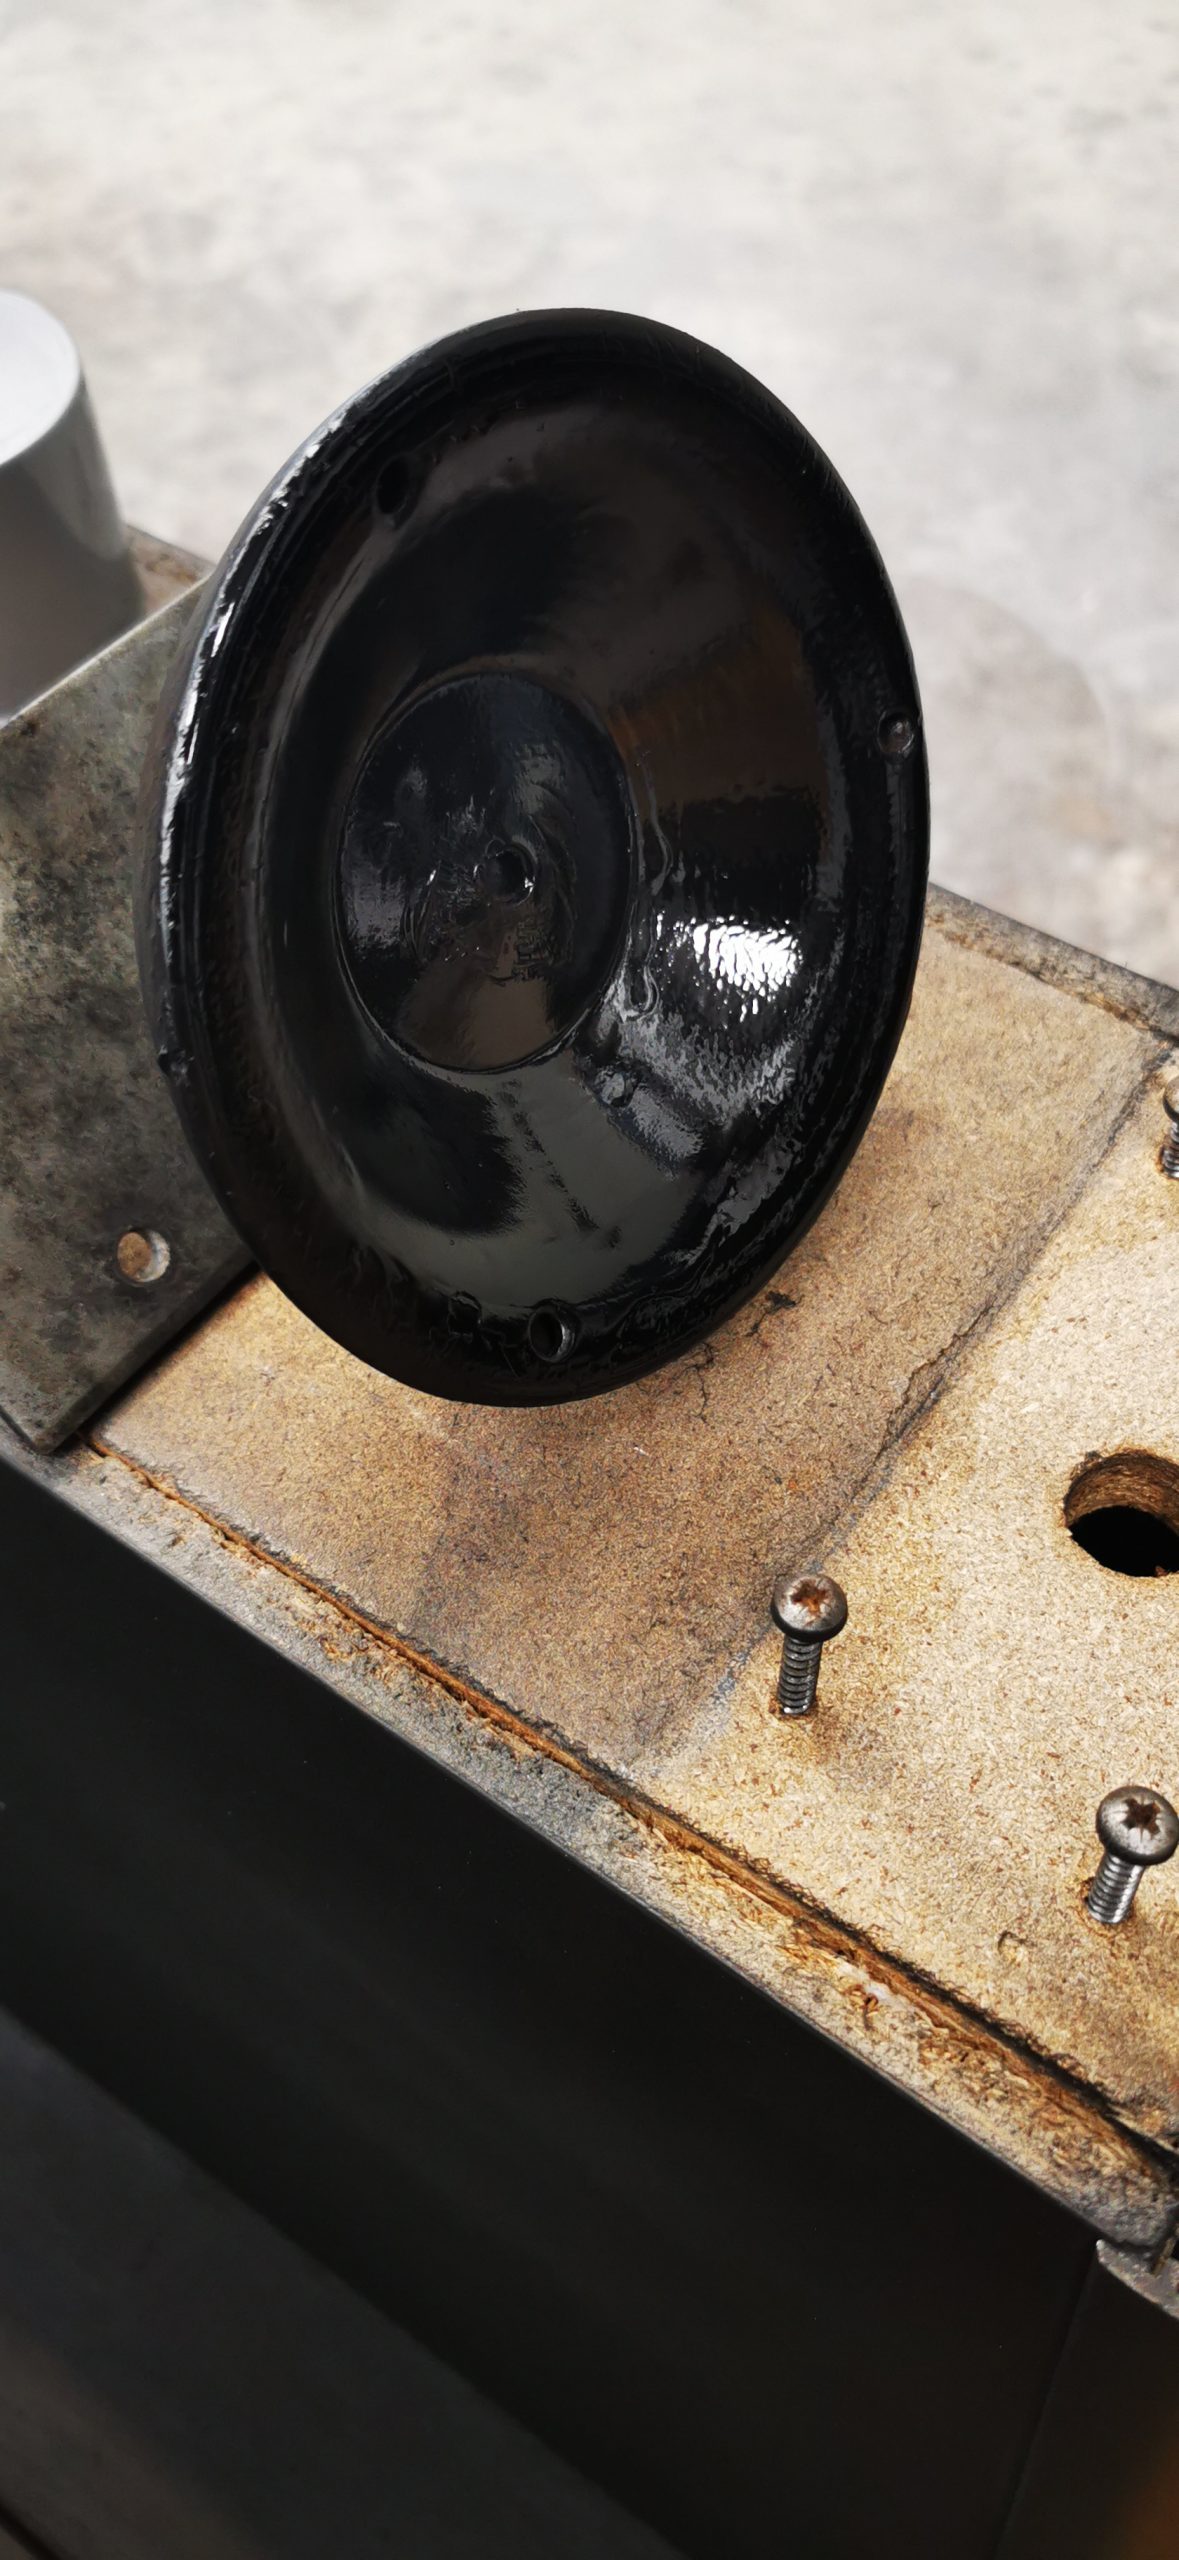
The sheer size of the table meant that it was incredibly cavernous inside, opening up a wealth of options when it came to fitting a power supply. In the end, we mocked up an anti-surge power extension through the coin release into the main table. This meant we had a safe power supply, allowing endless possibilities of features that could be added. Next, we stripped the table of all external gubbins and trims to see just how much work we had to do.
TOP TIP: When working with projects of this size, ensure you have double the amount of space as the project, so you have room to work around it and store the spare parts.
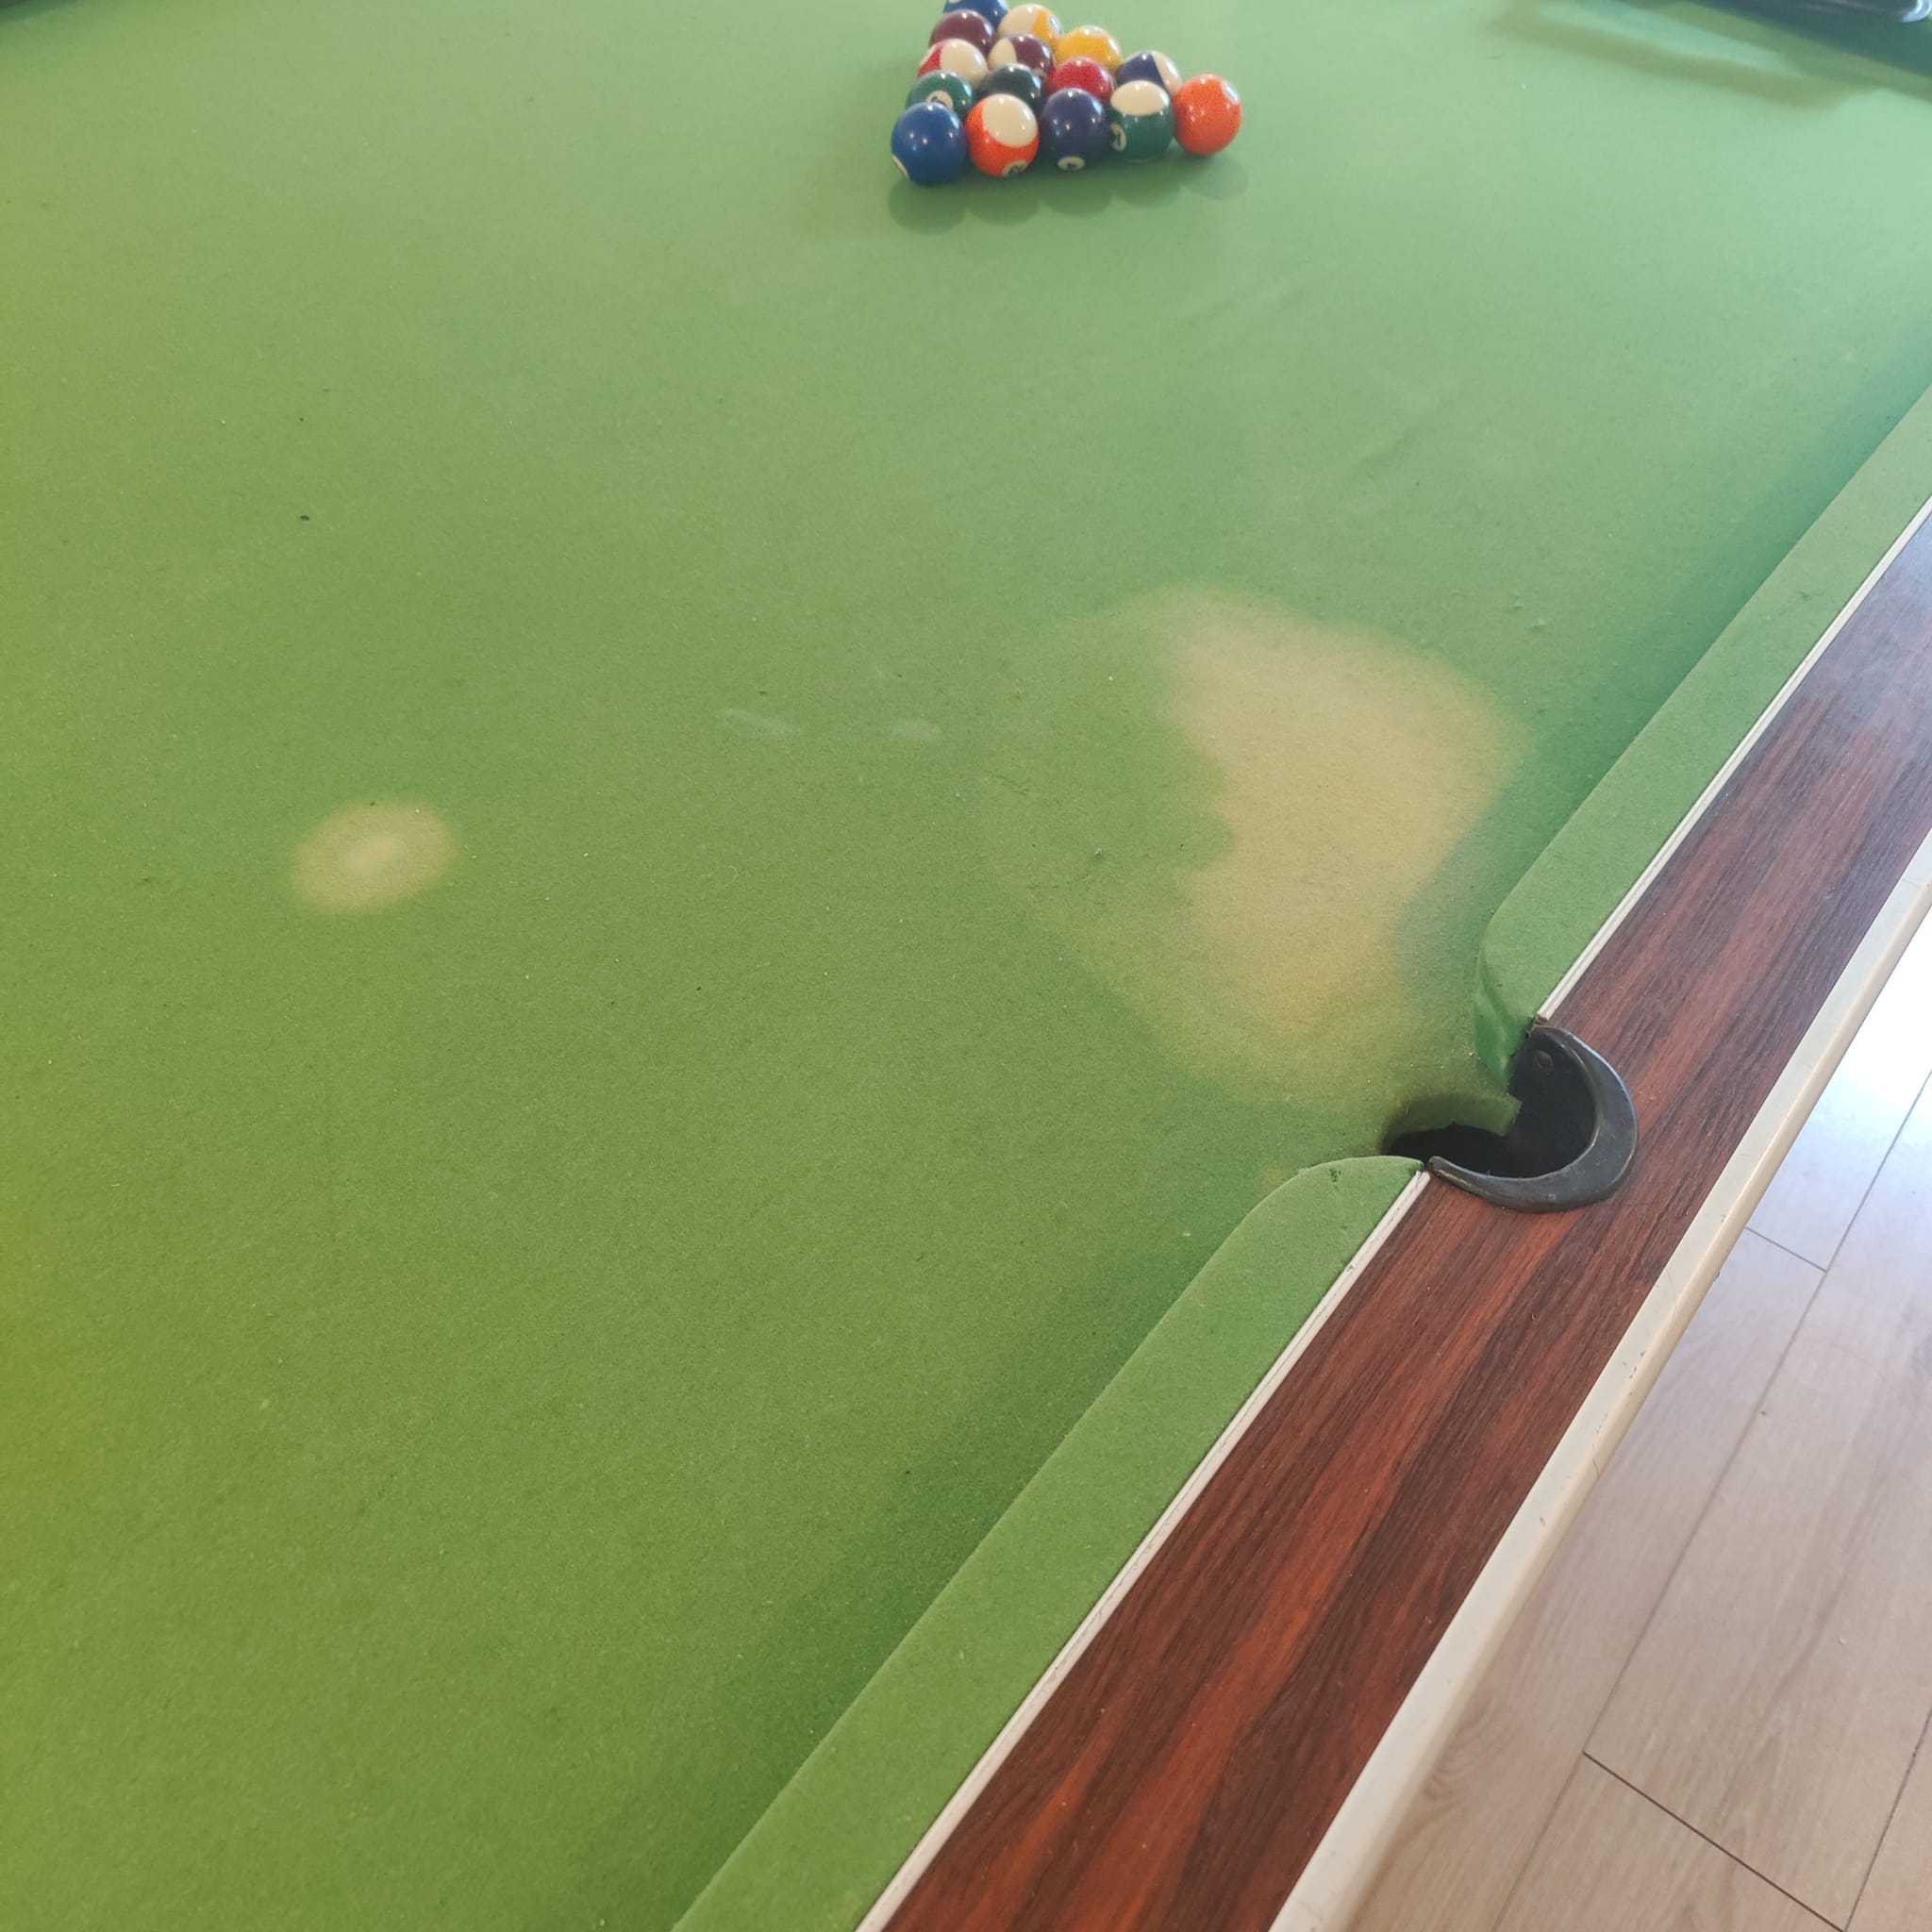
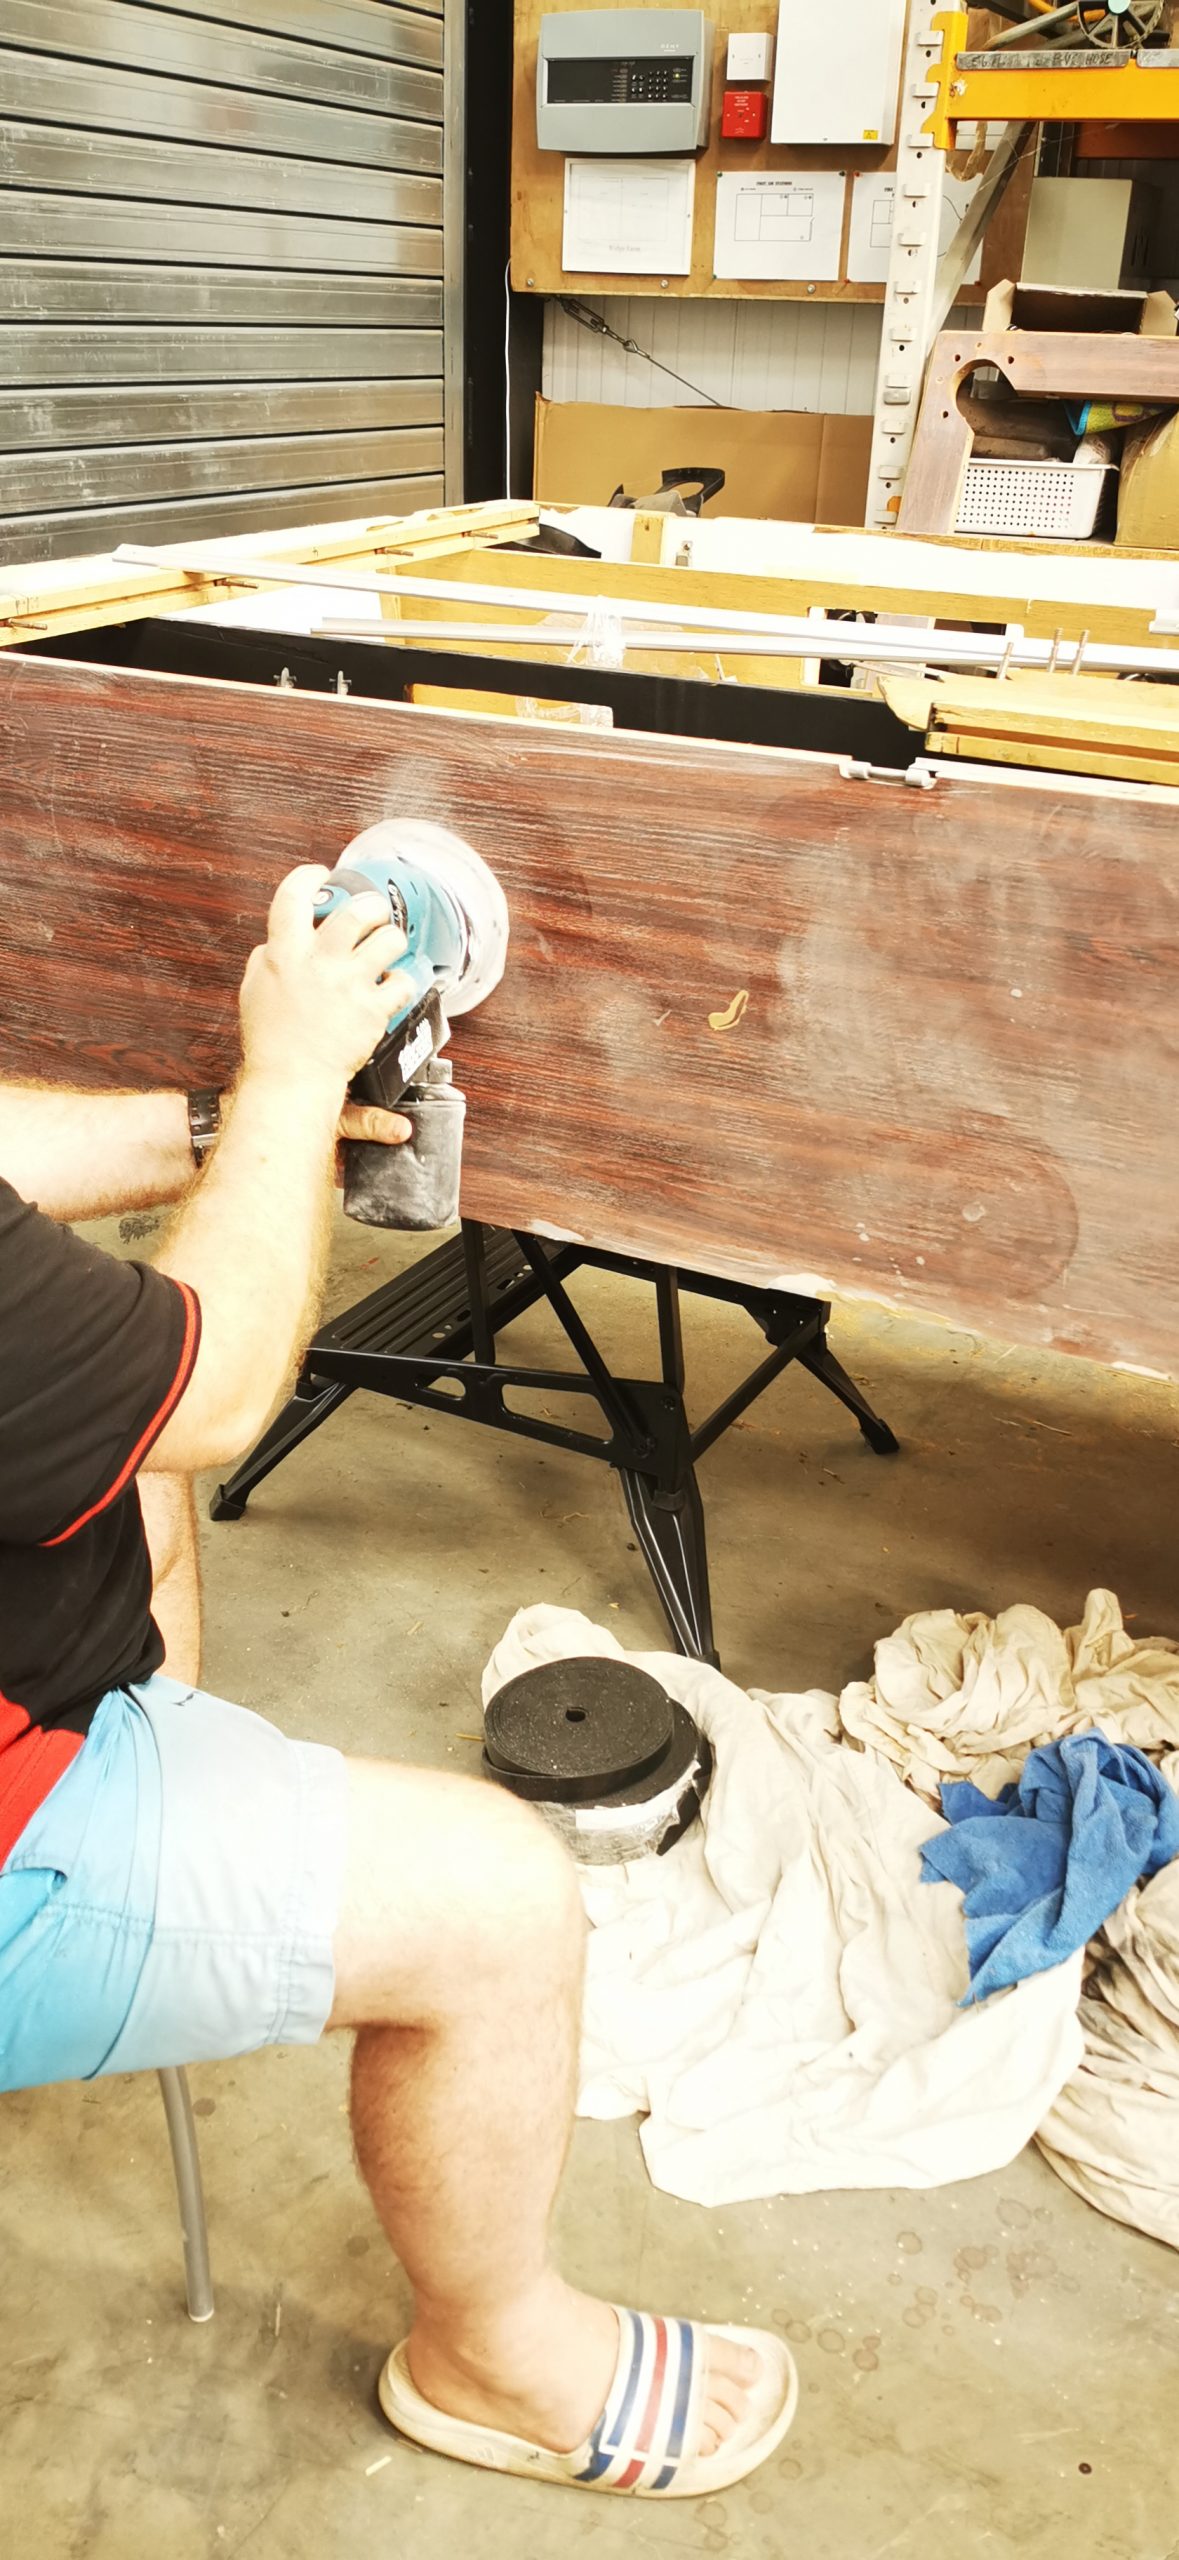
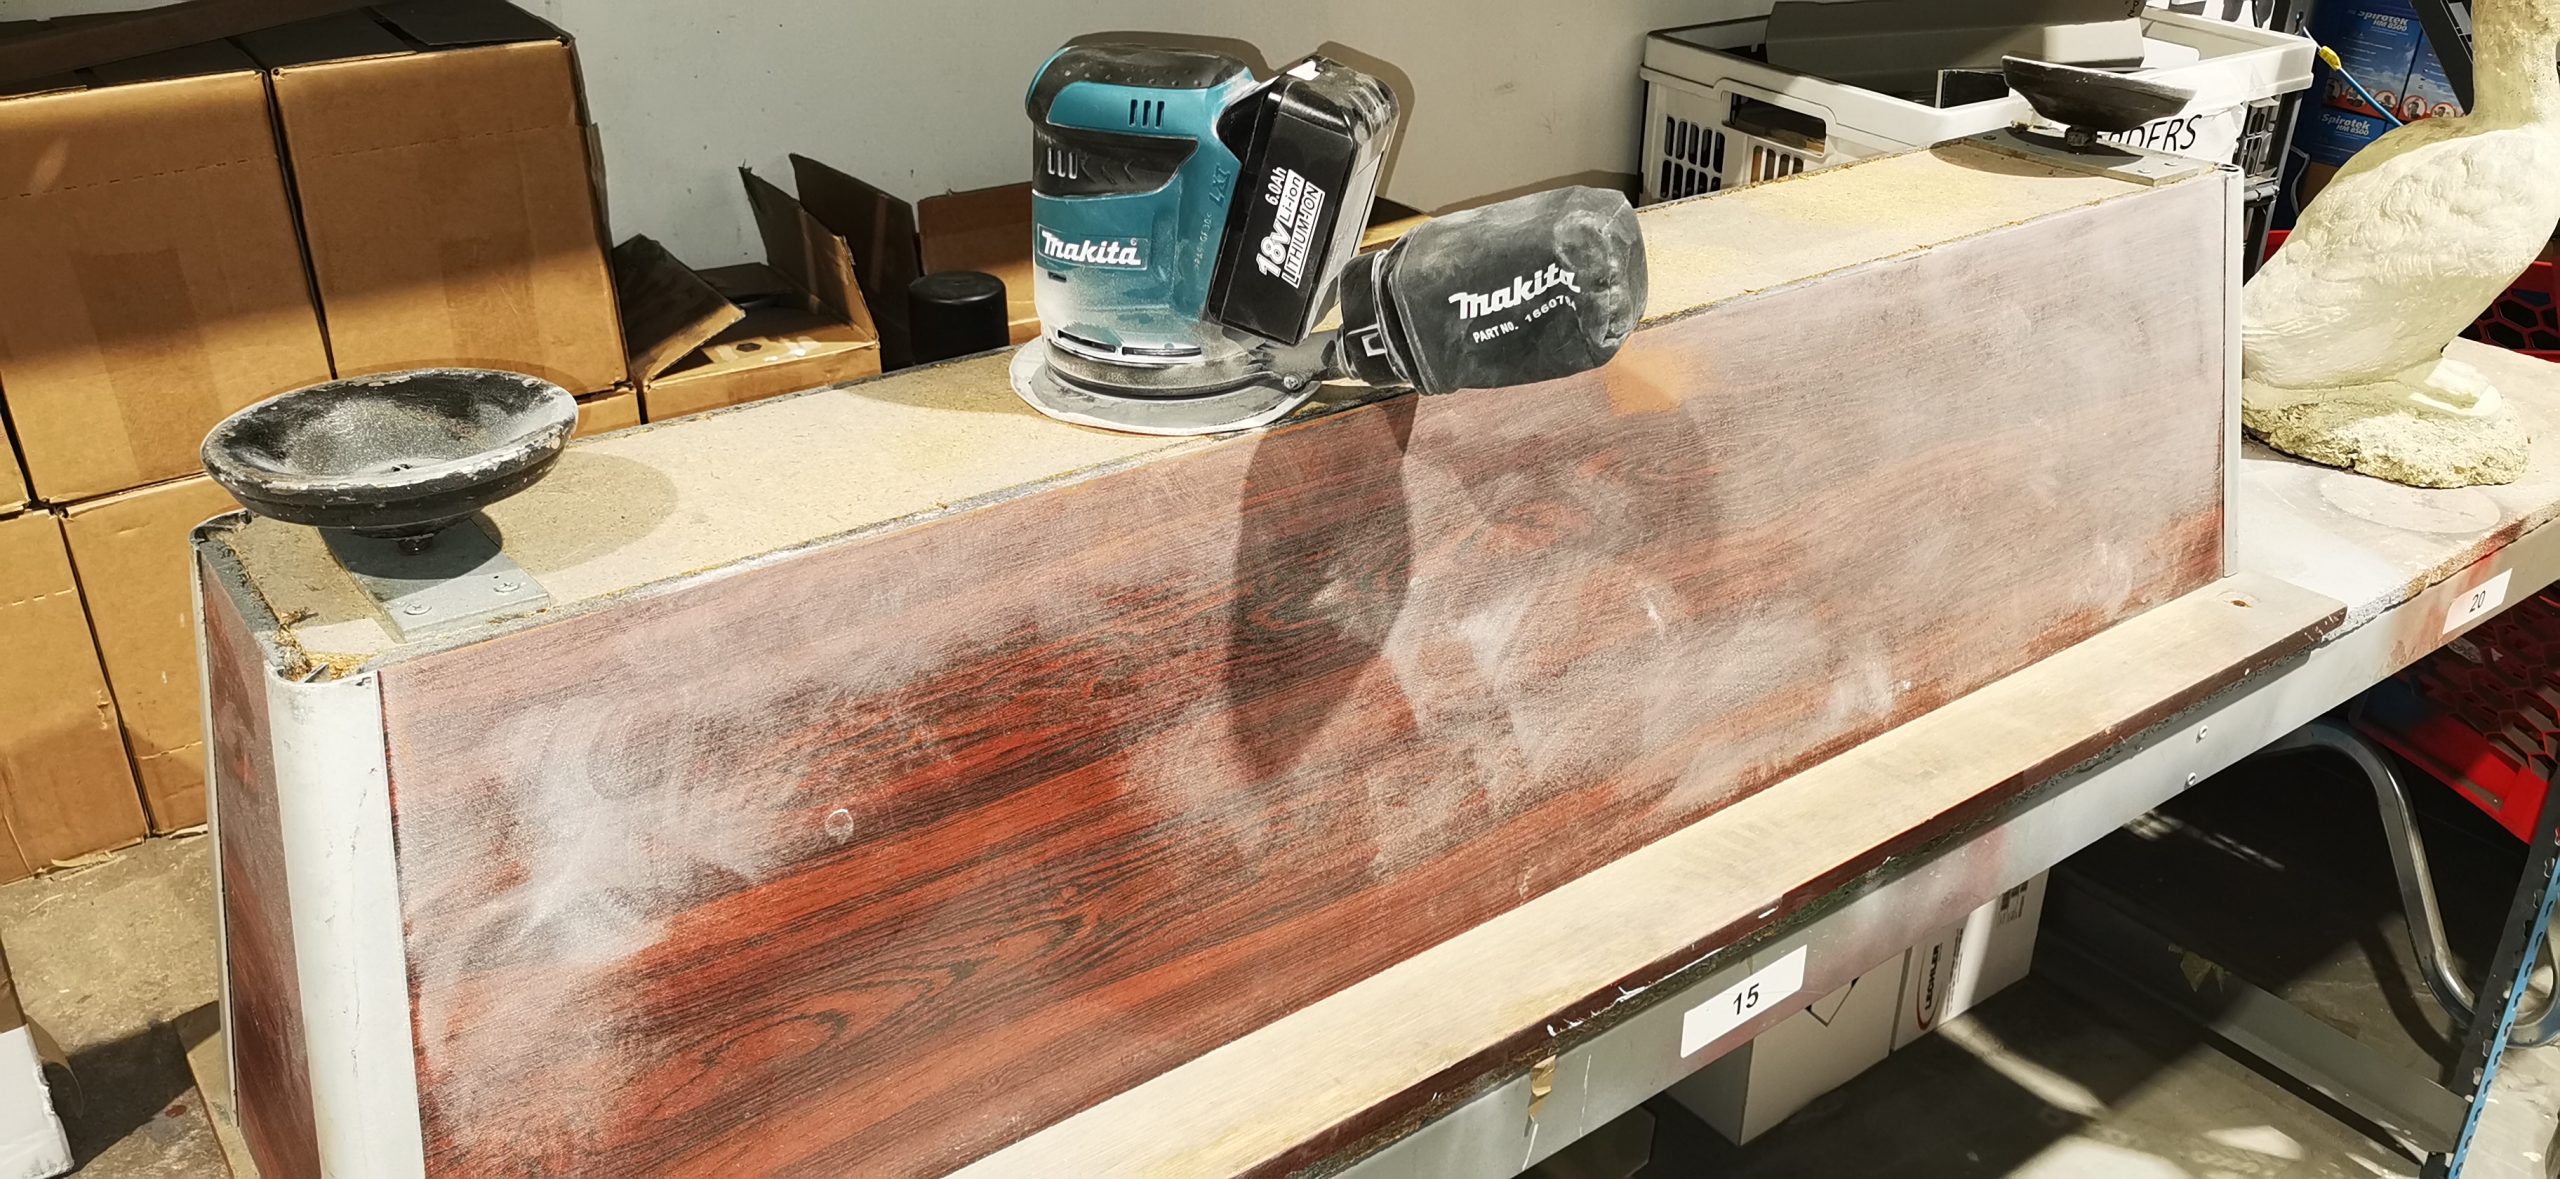
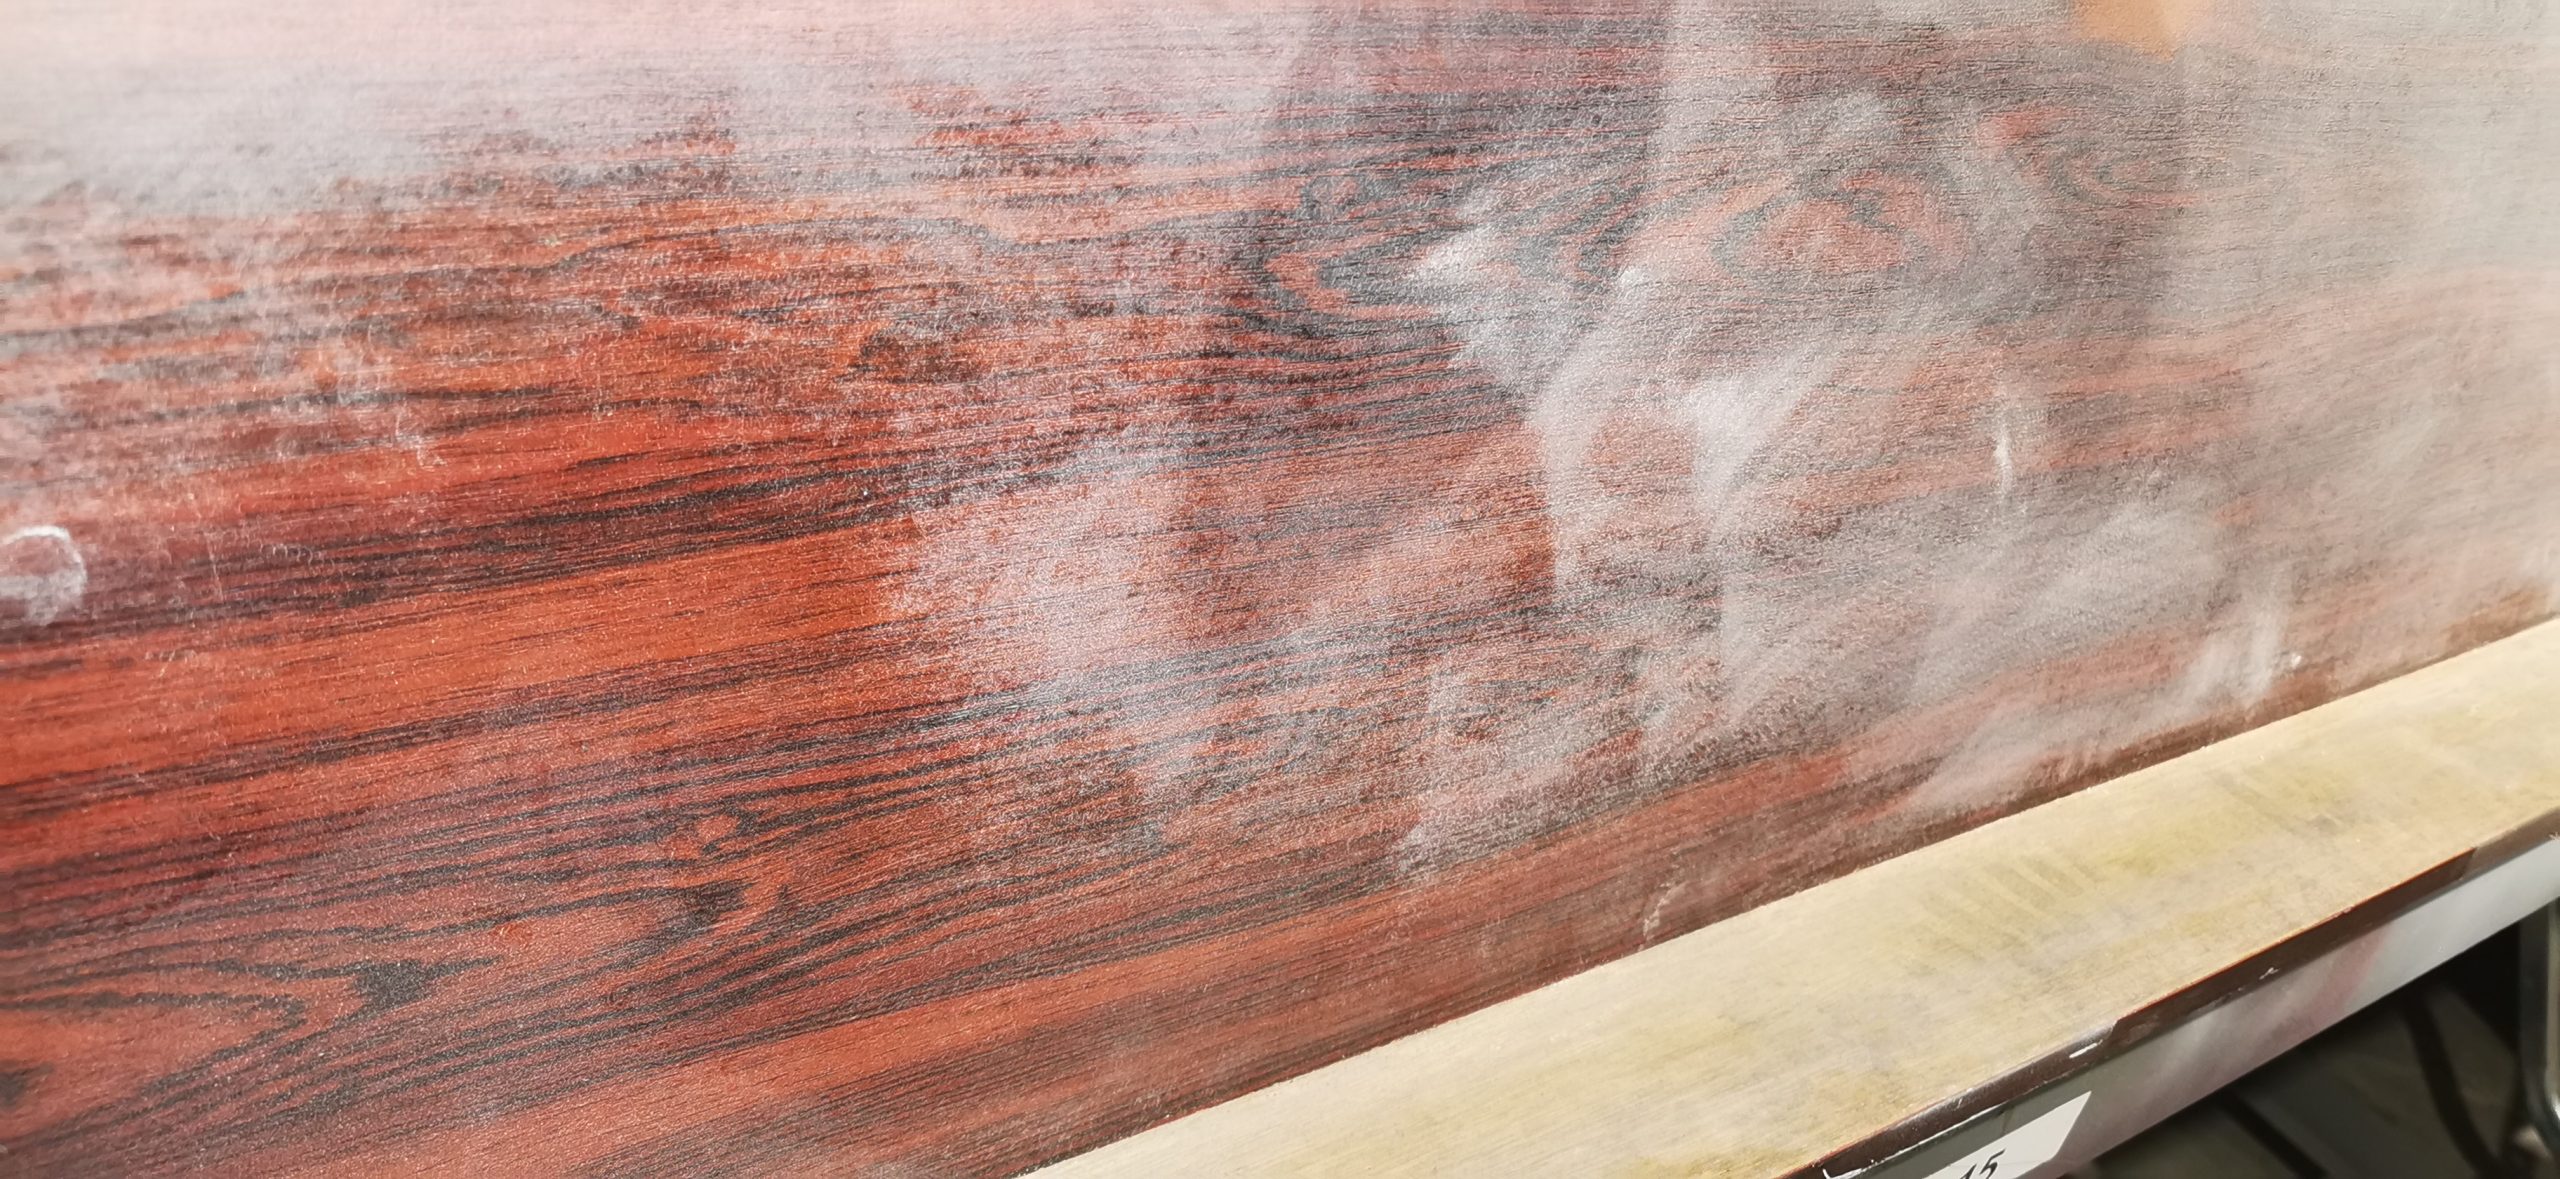
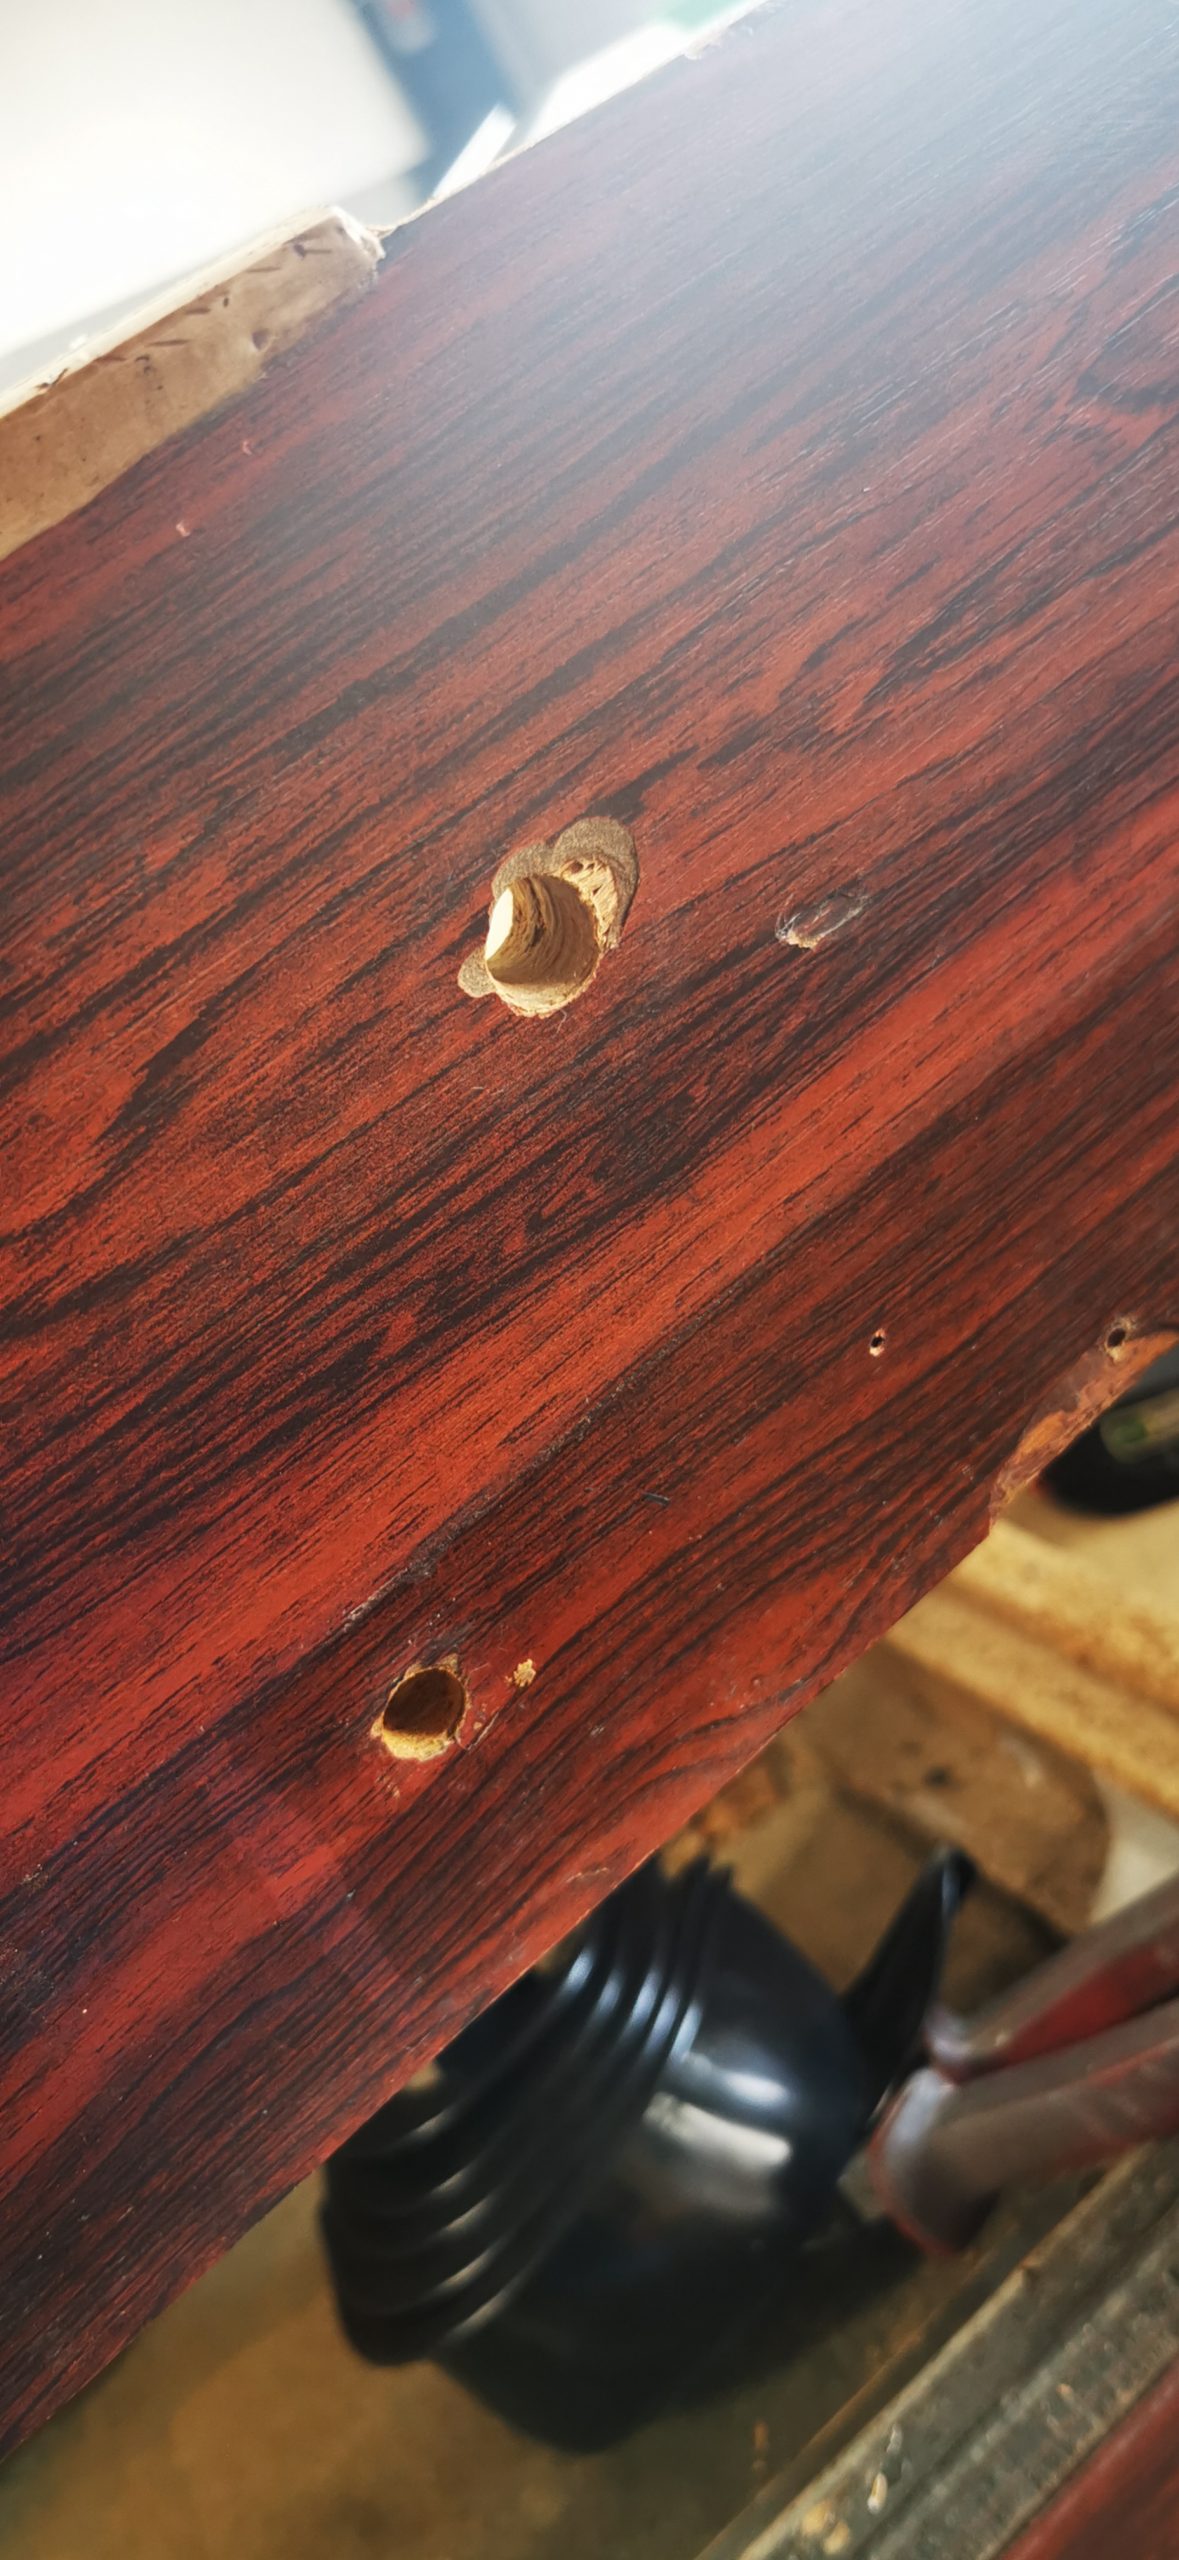
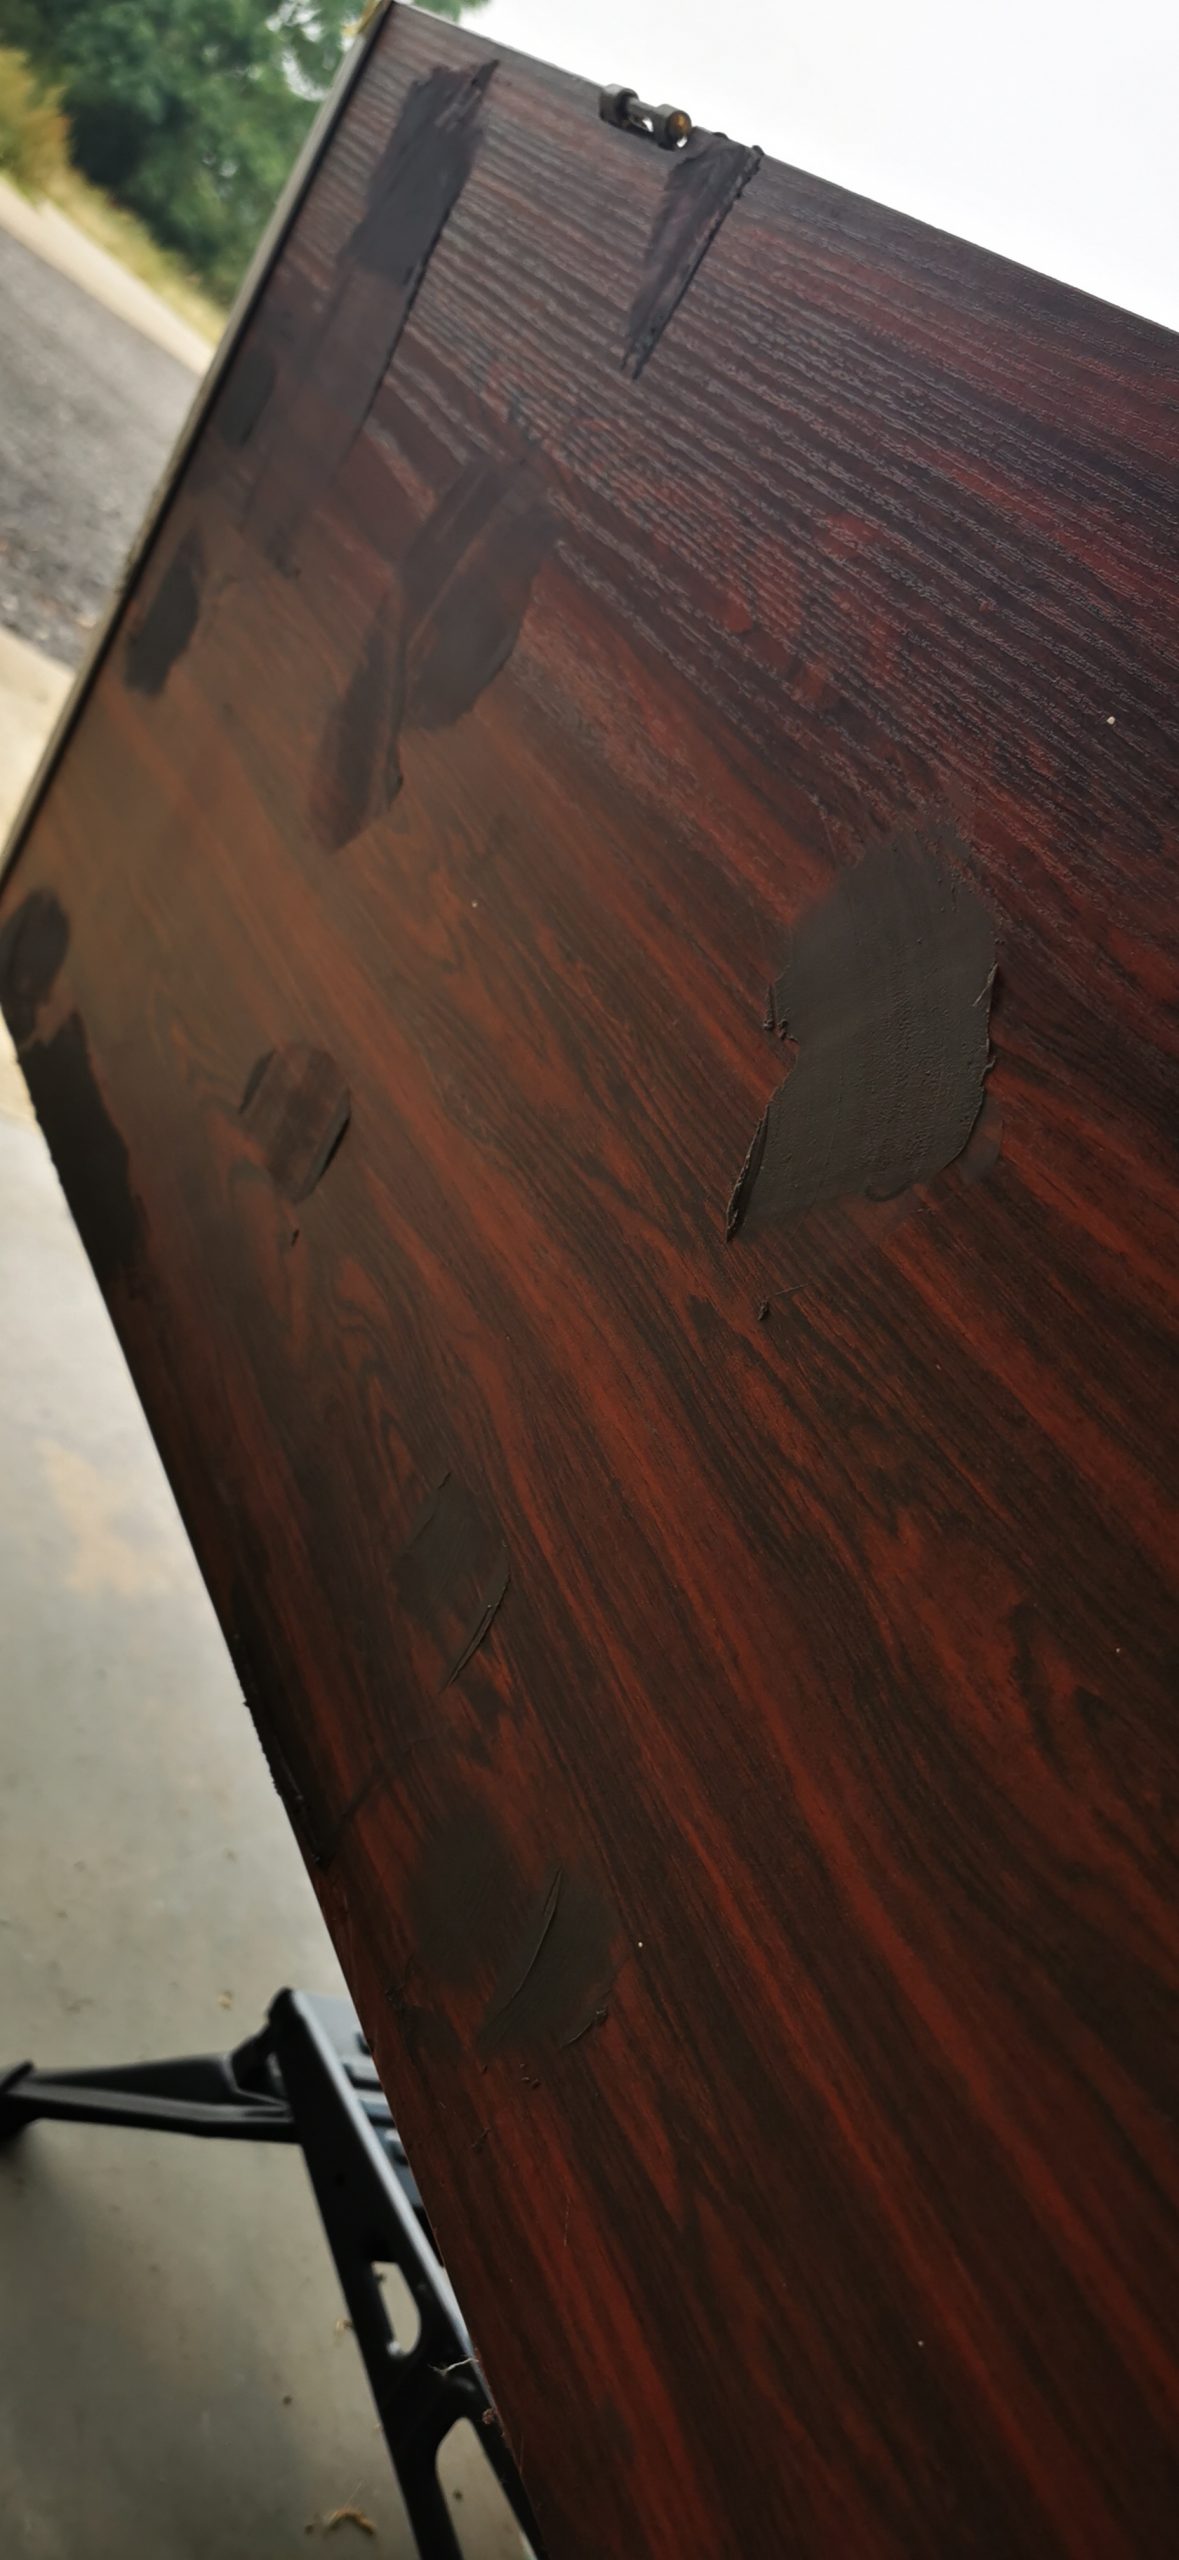
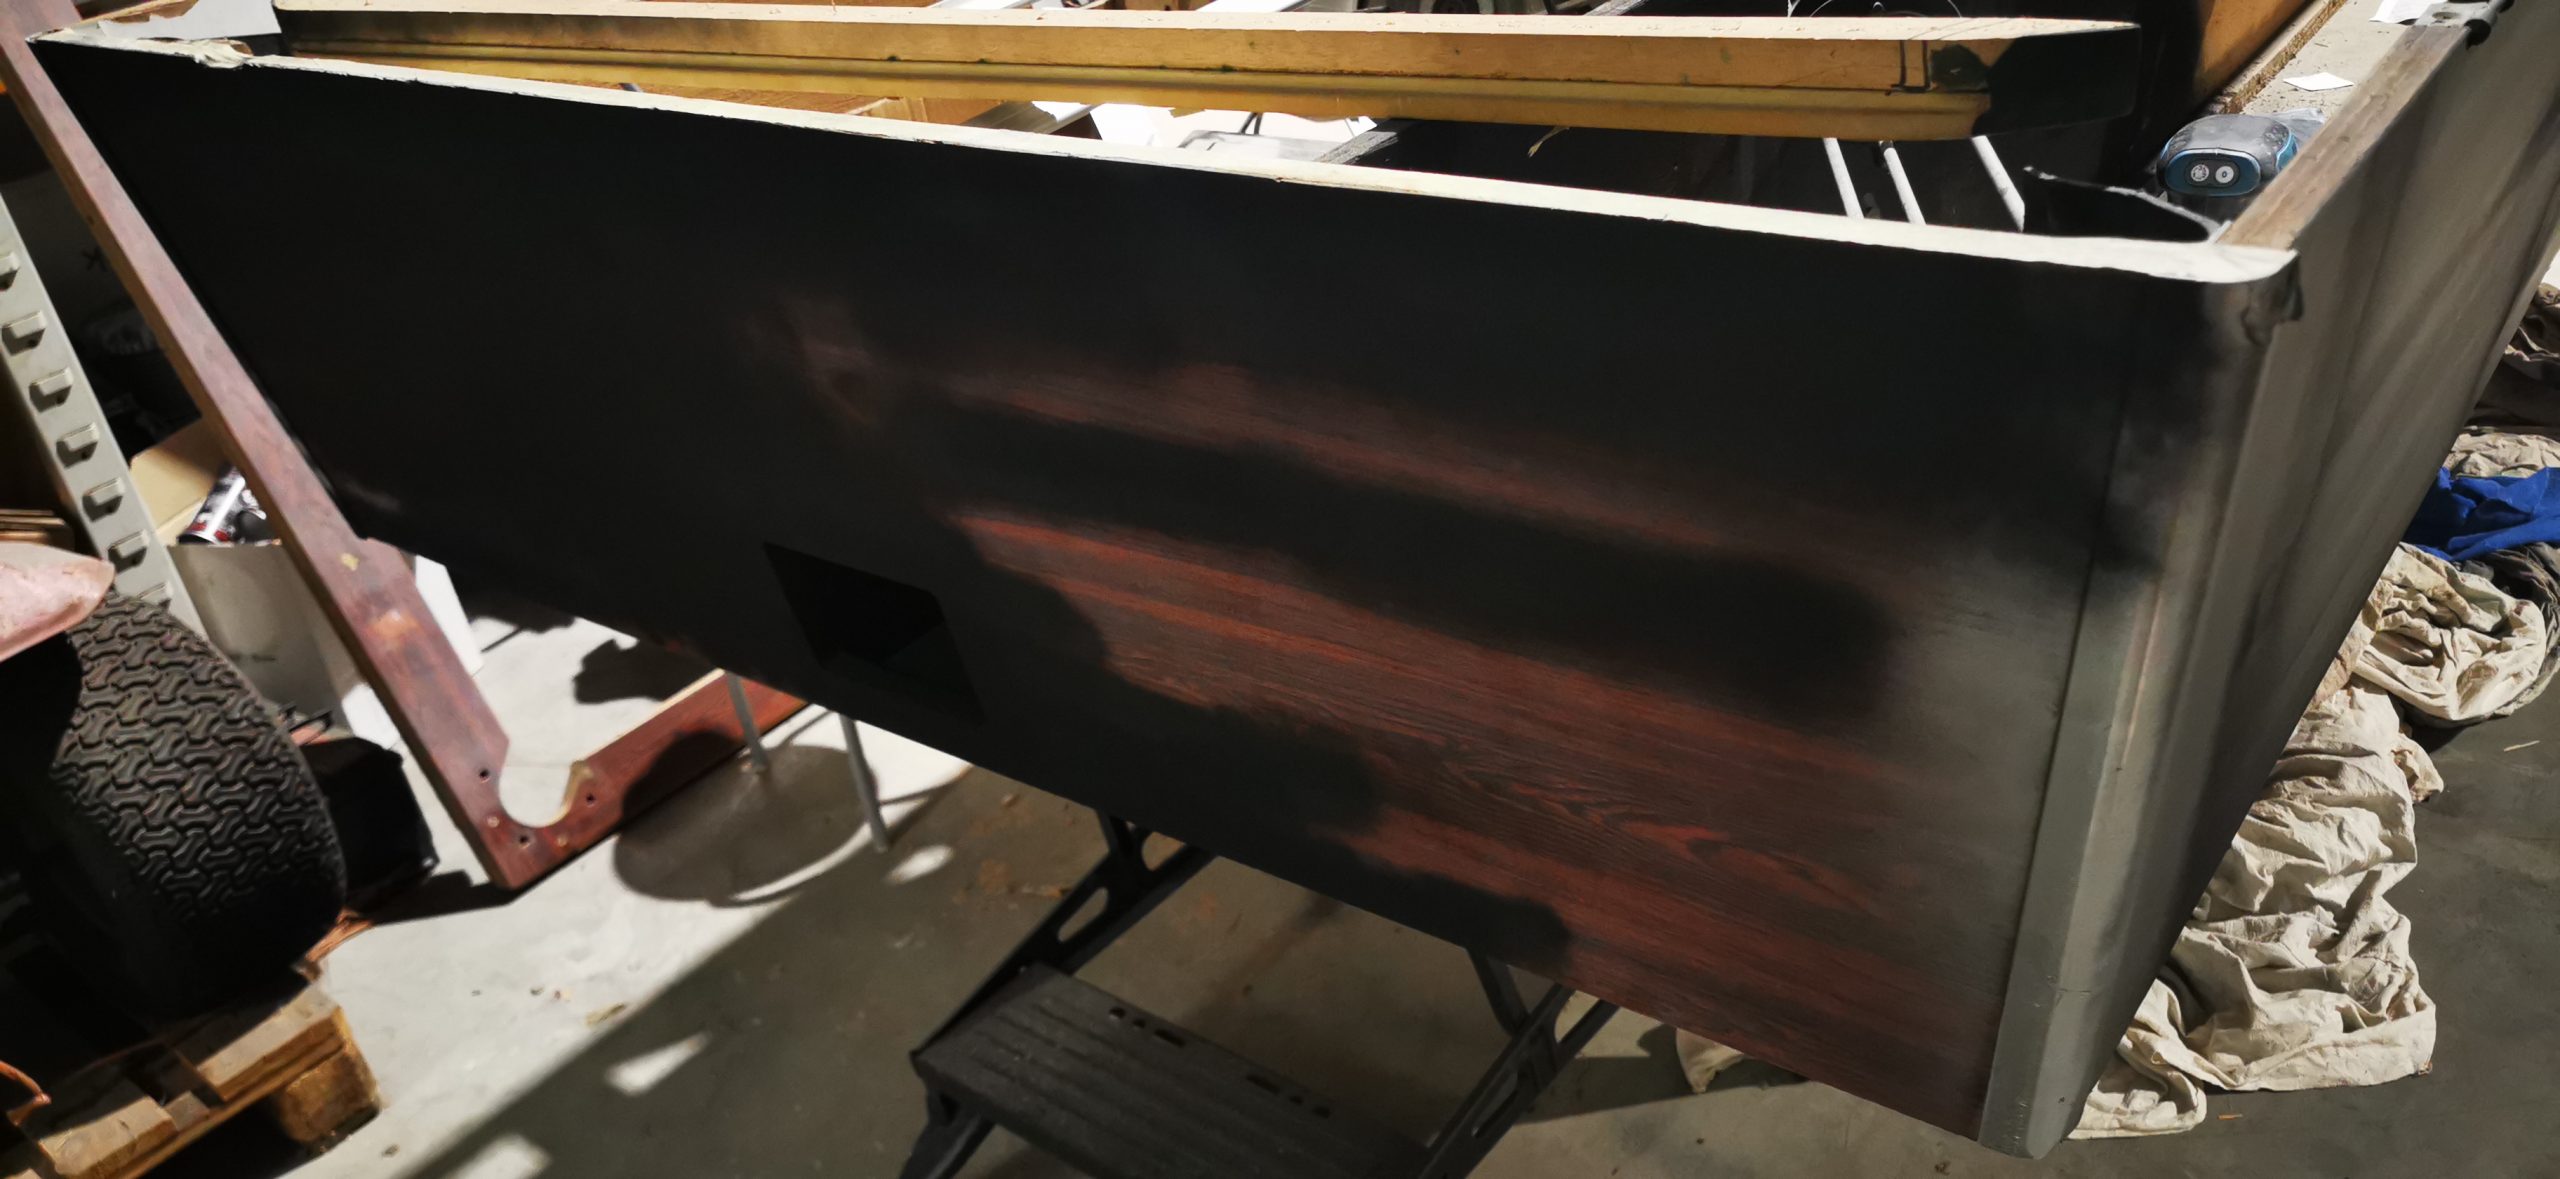
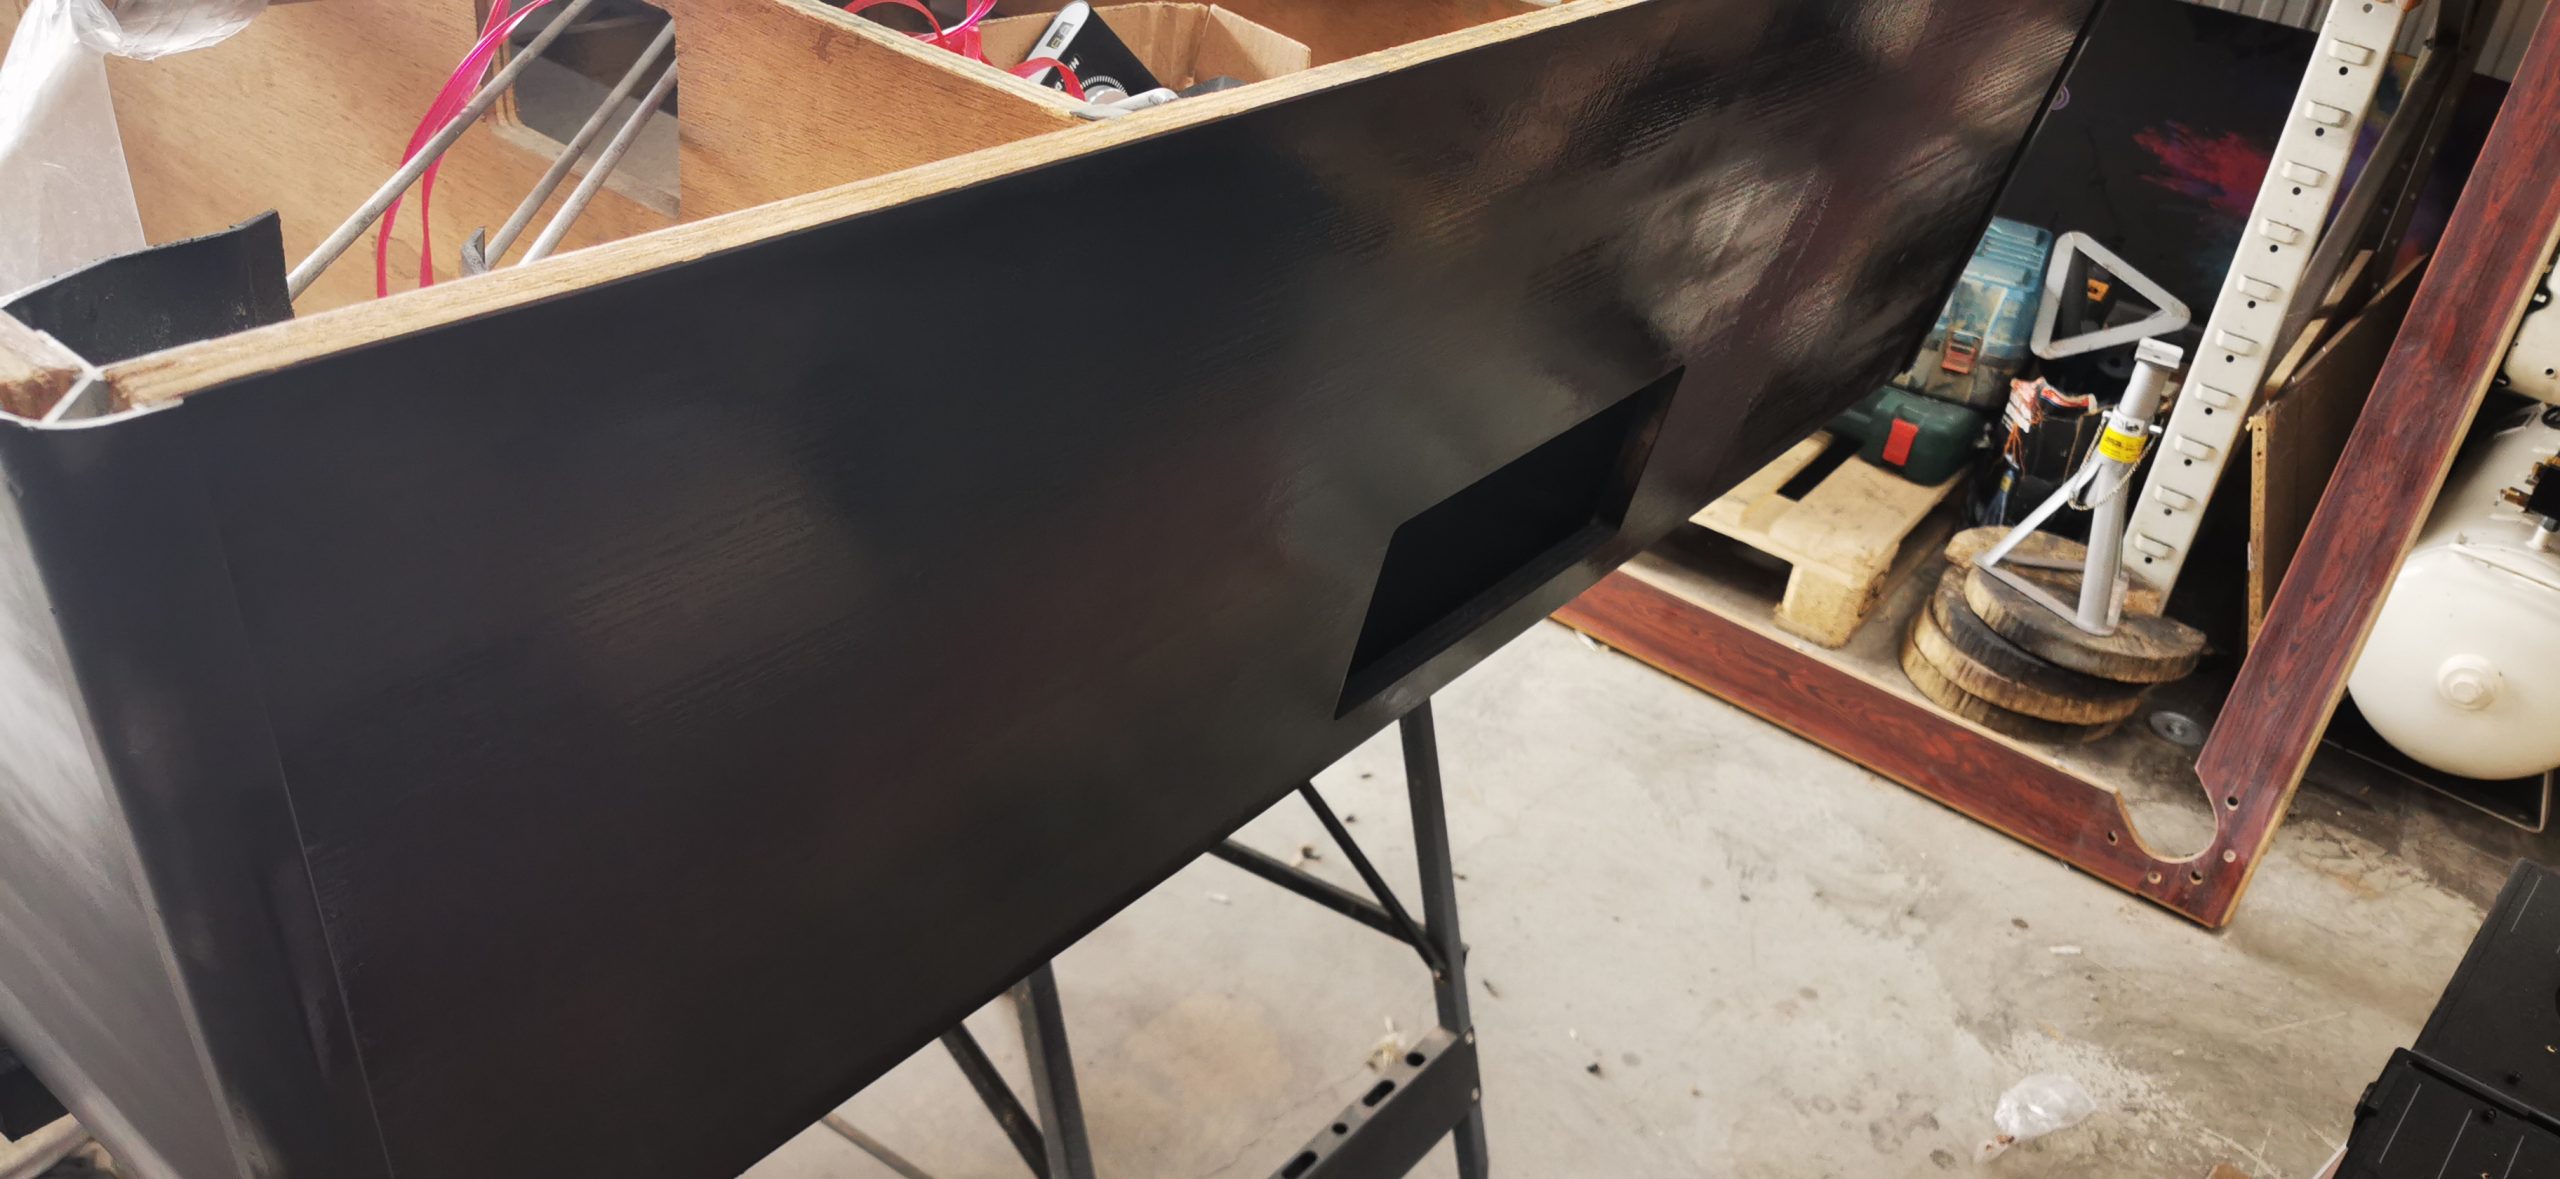
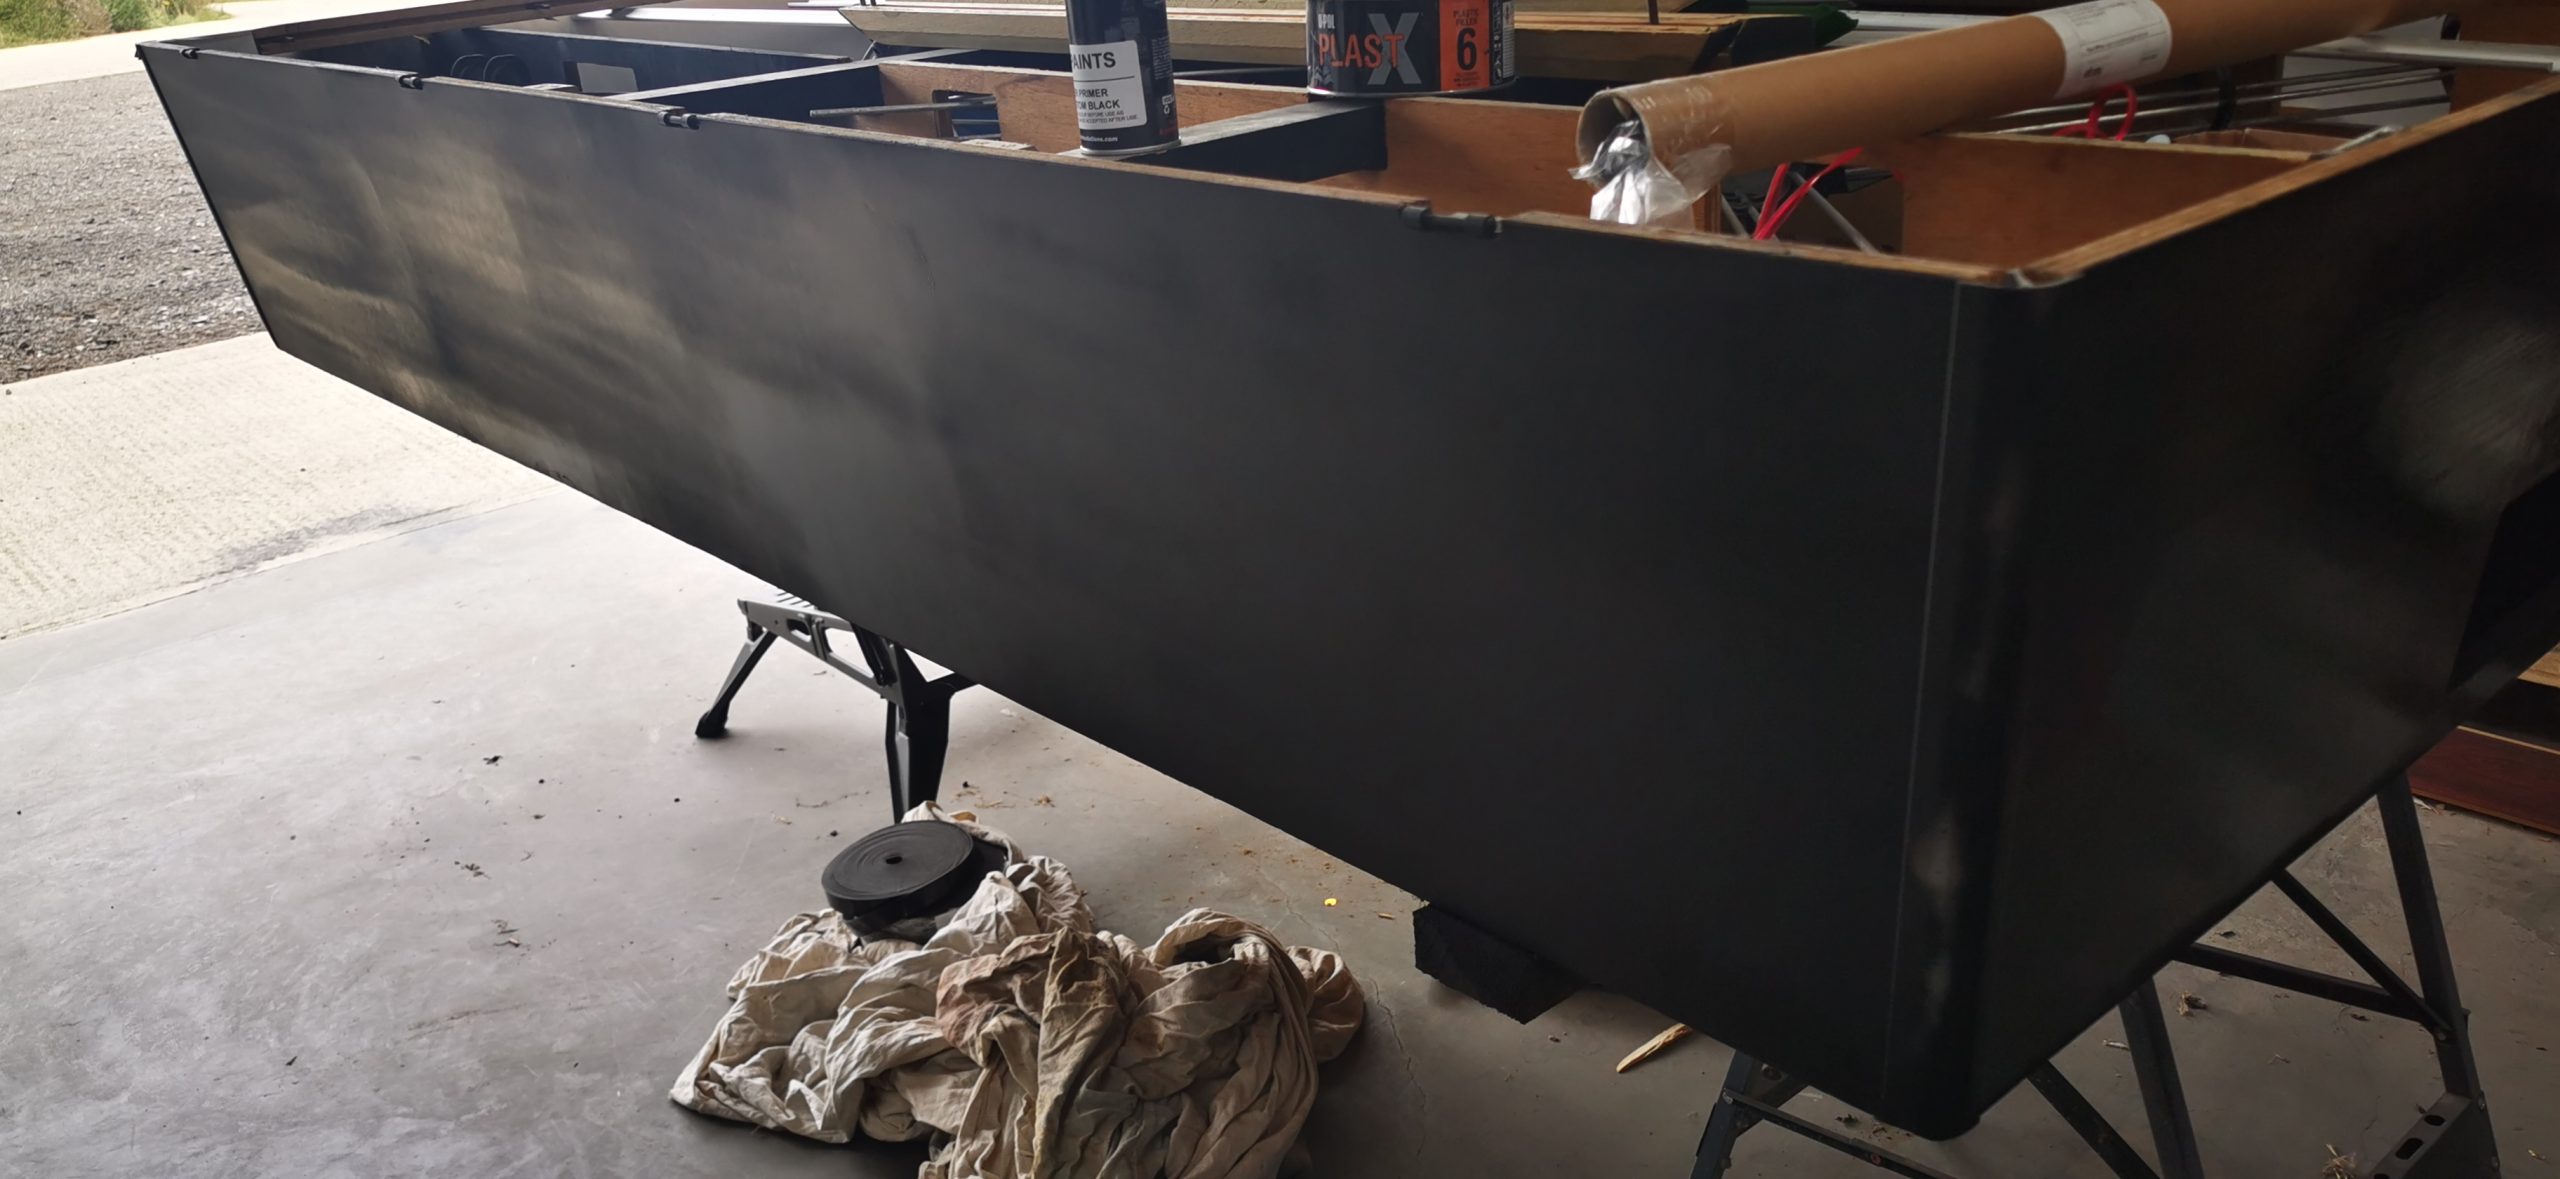
The woodwork was in terrible condition and needed a lot of filling and sanding; this took some time. We then painted the table all over with a 2K black filler primer to make the edging smooth.
TOP TIP: Don’t worry too much about tiger stripes on the 2K filler primer as this will get covered later; just make sure all surfaces are covered.
Amending The Table:
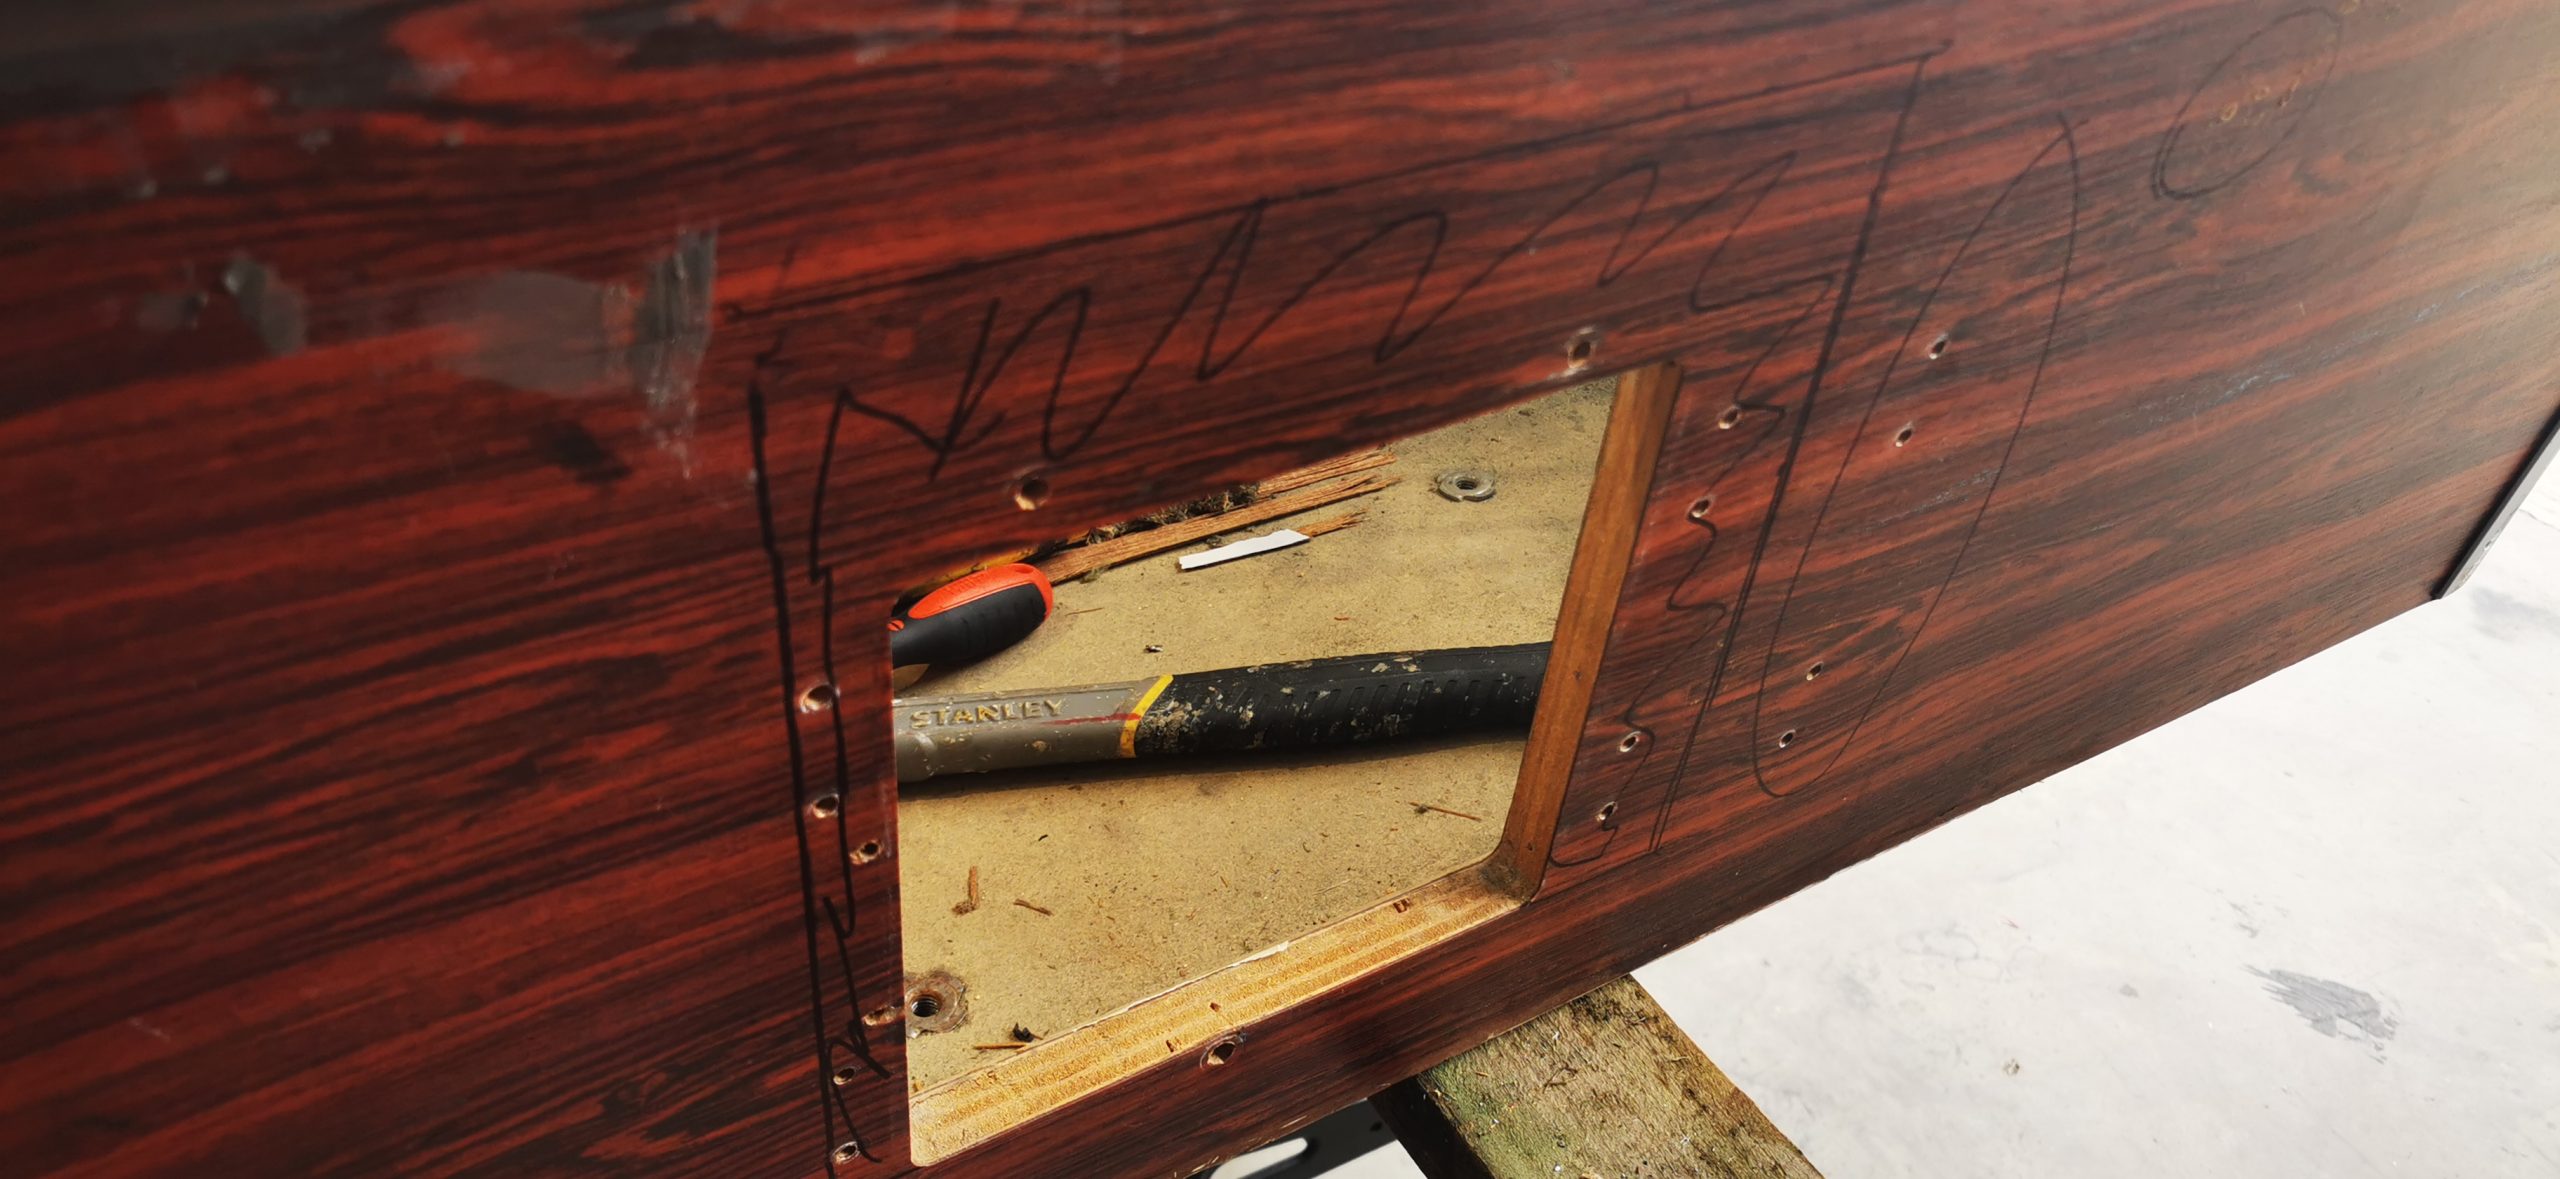
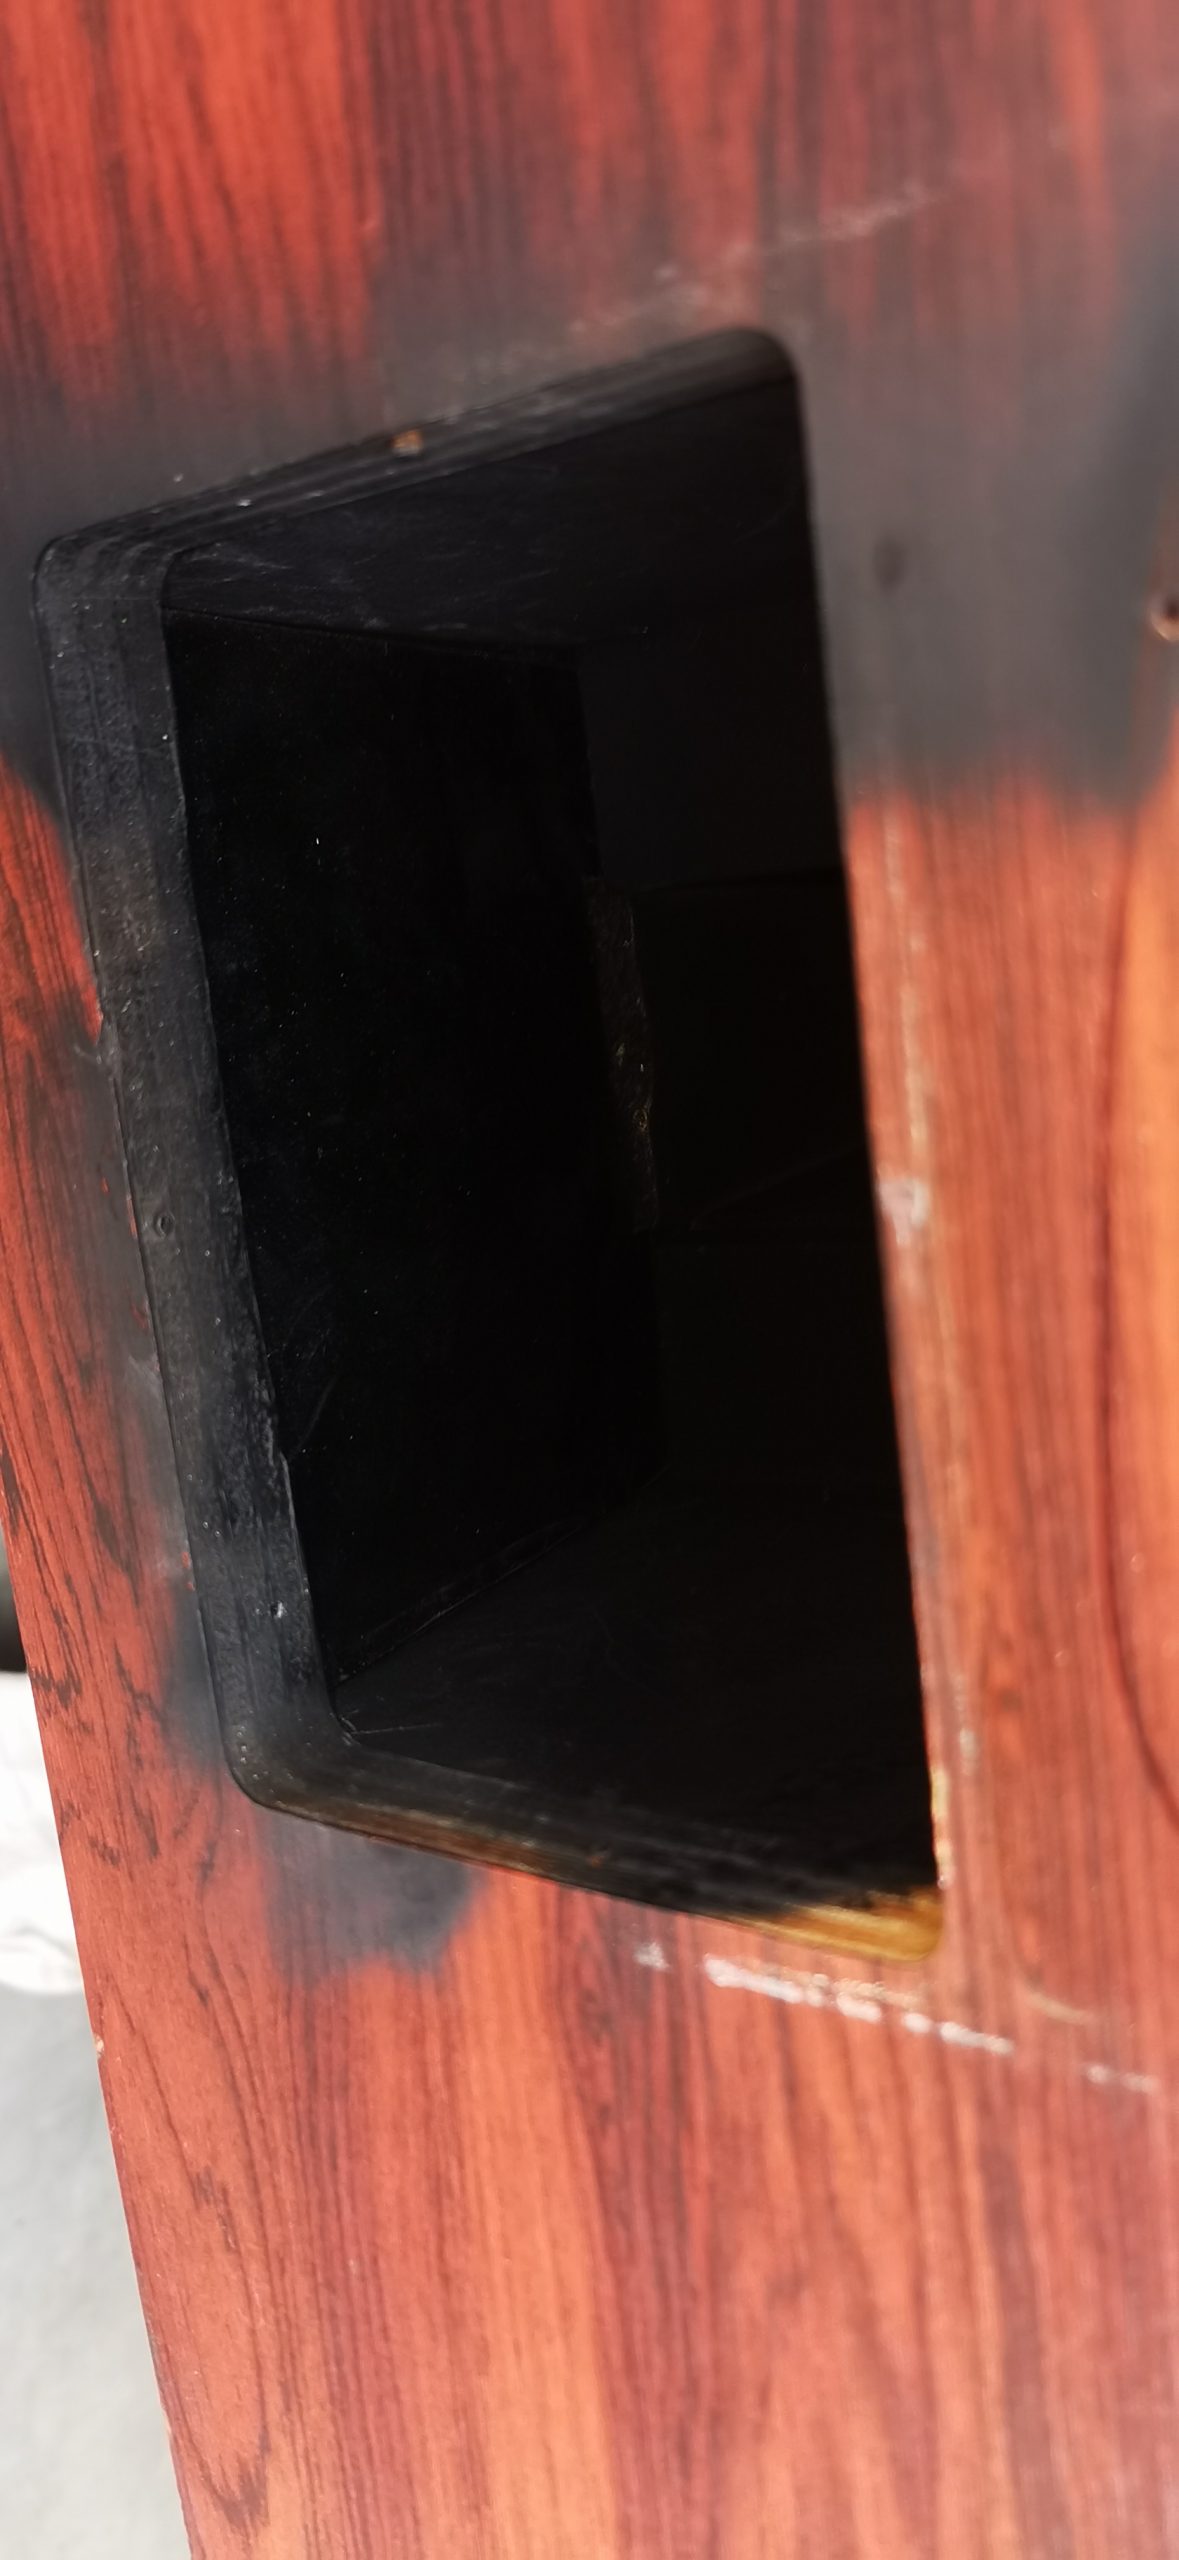
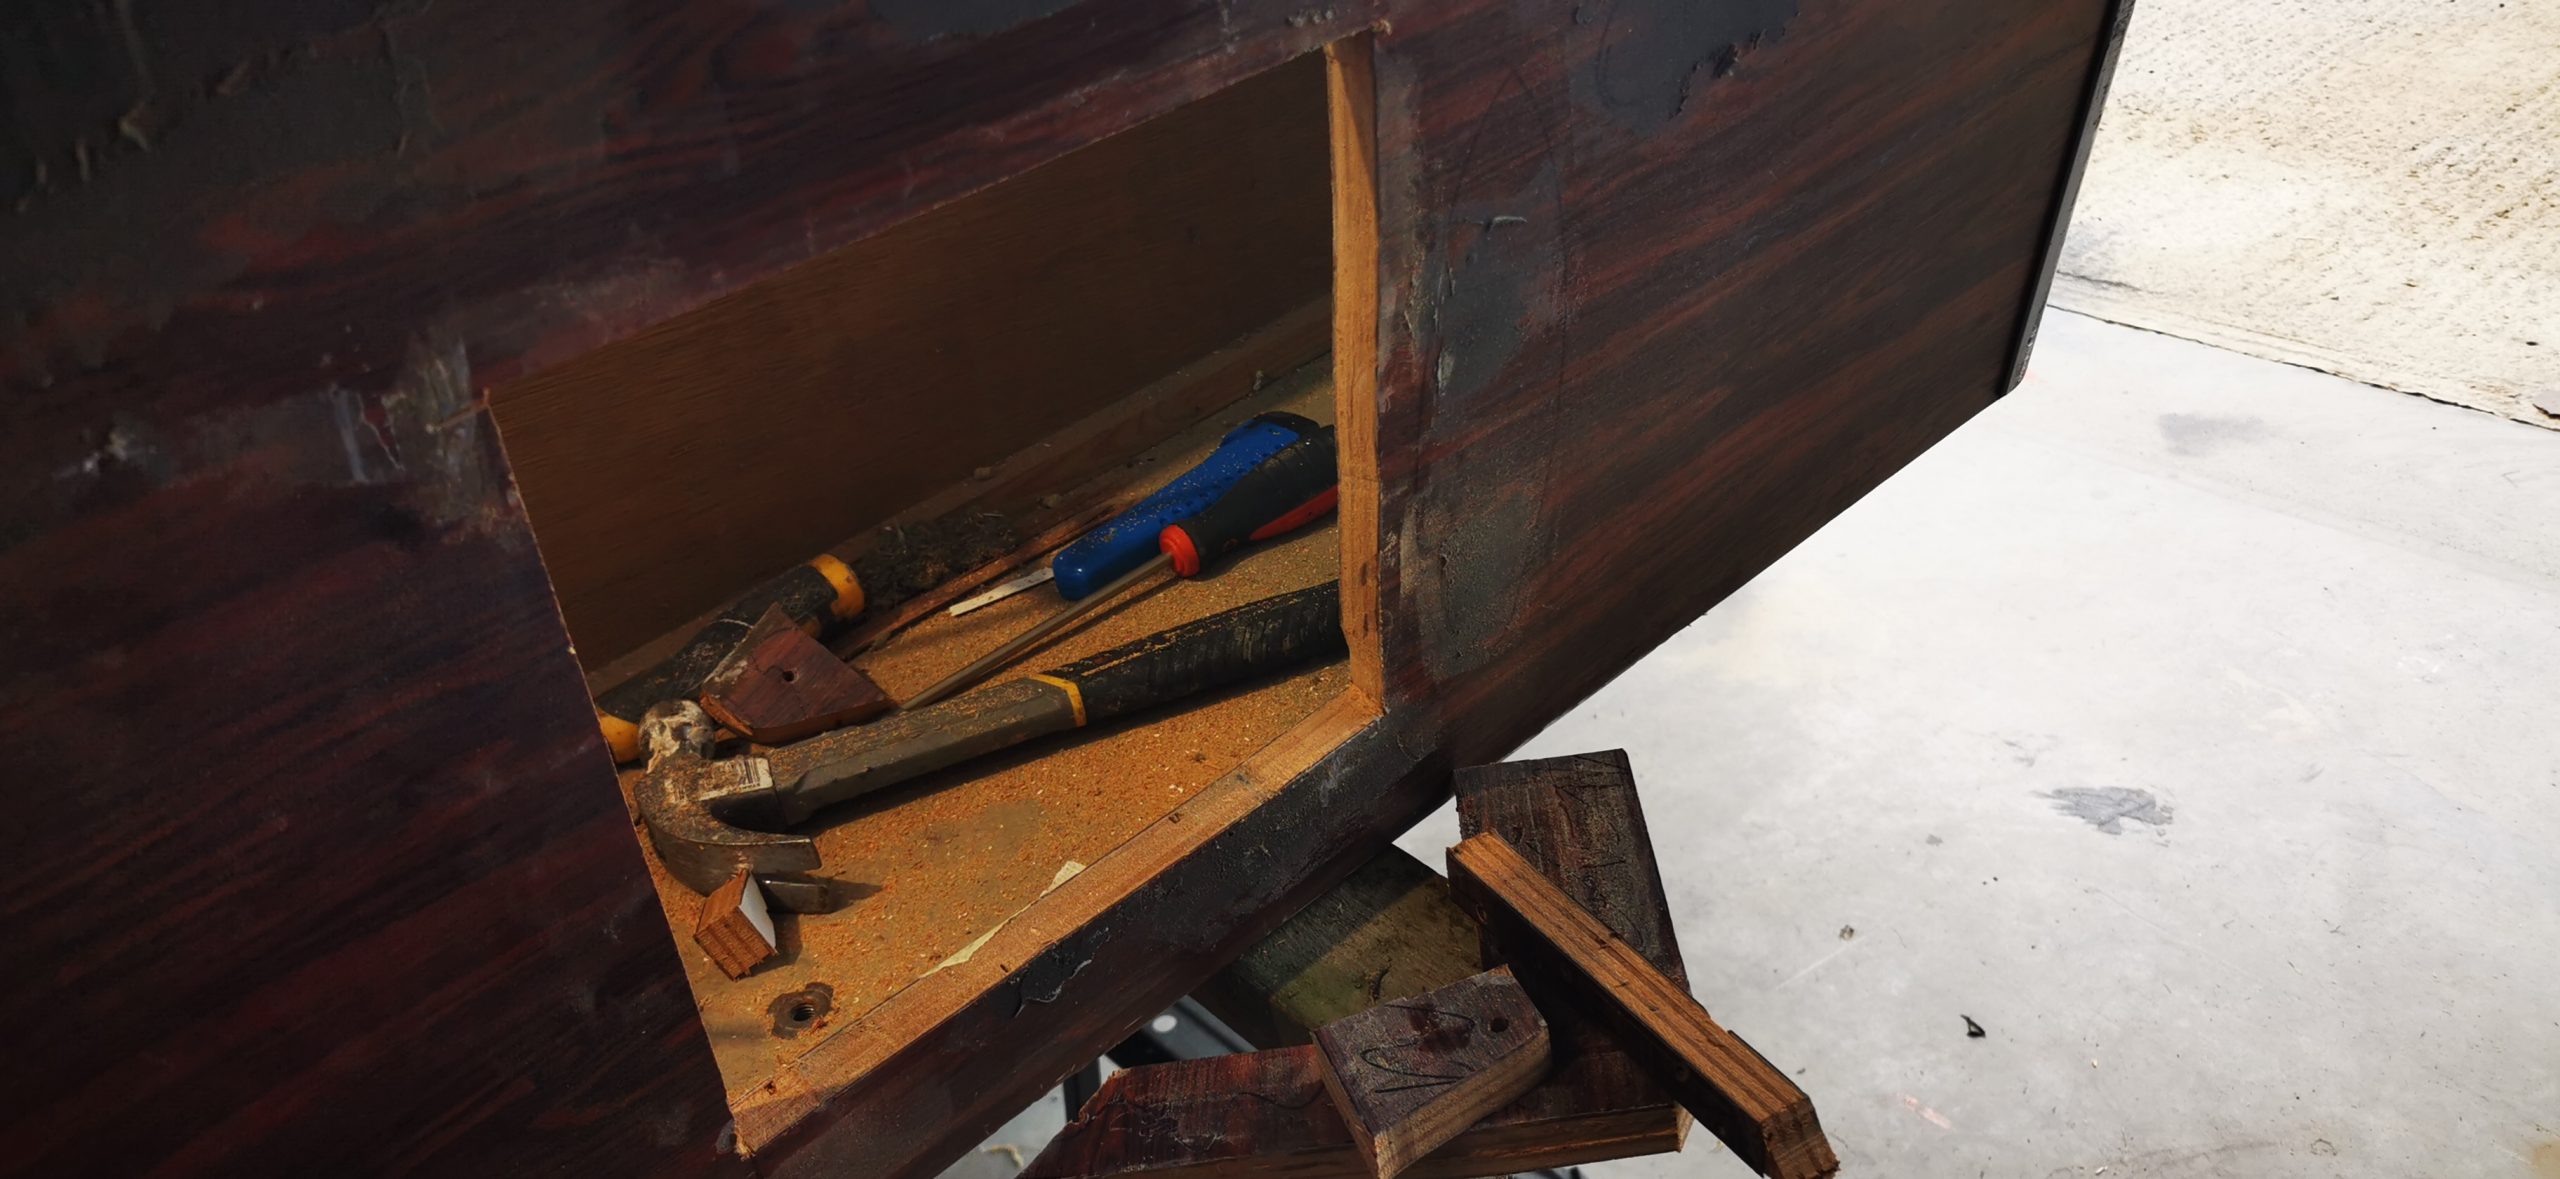
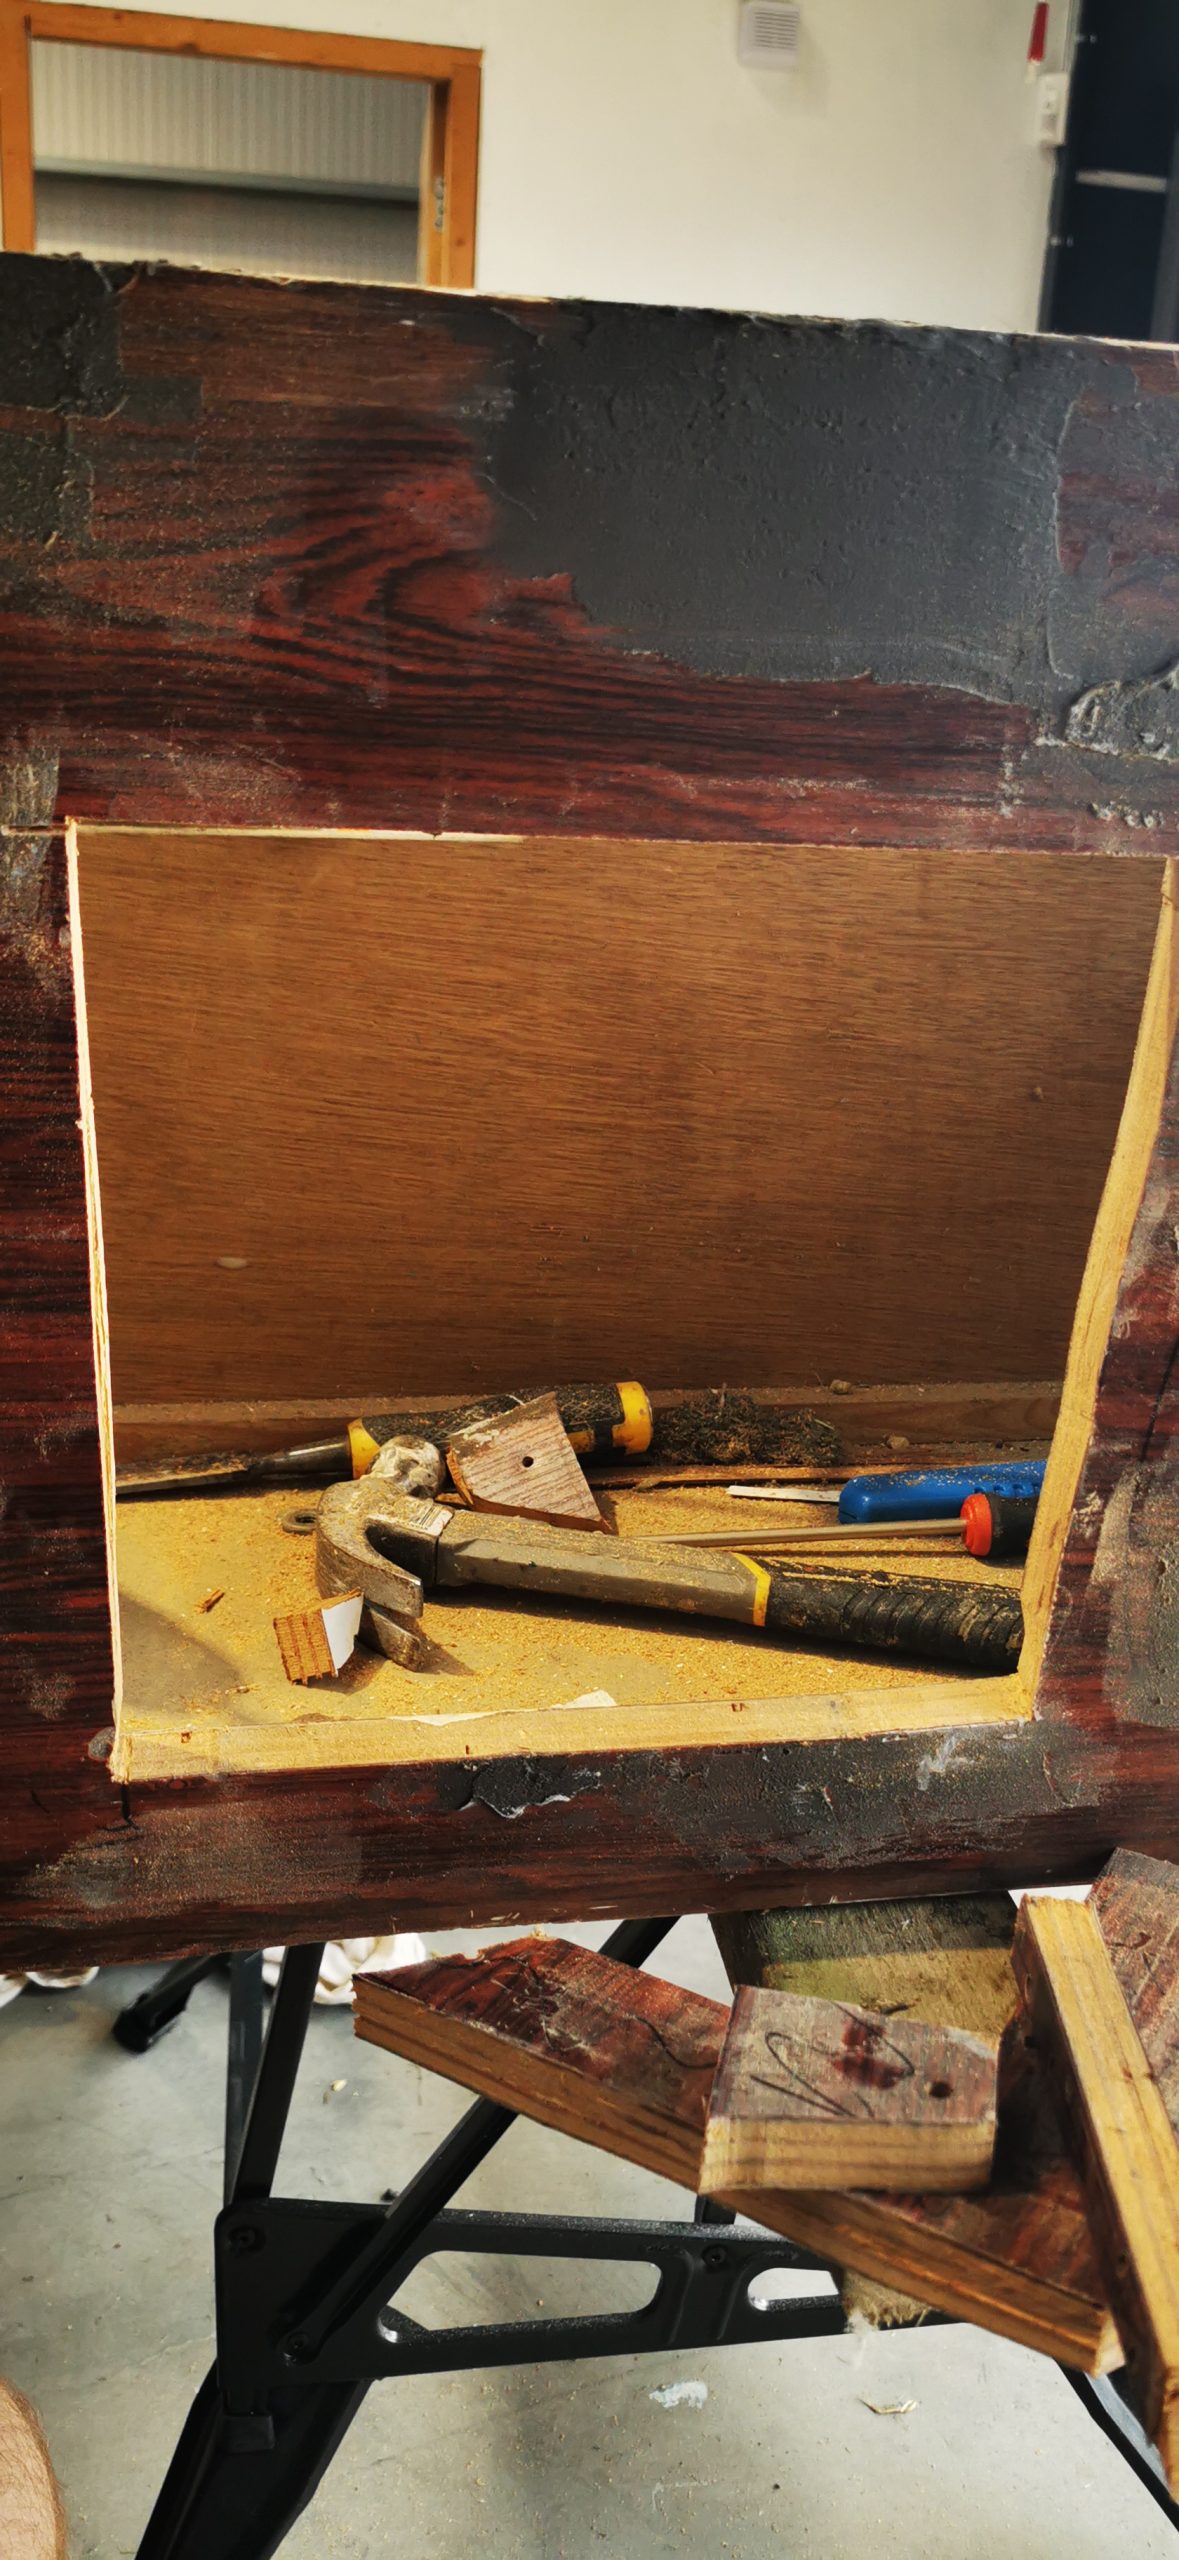
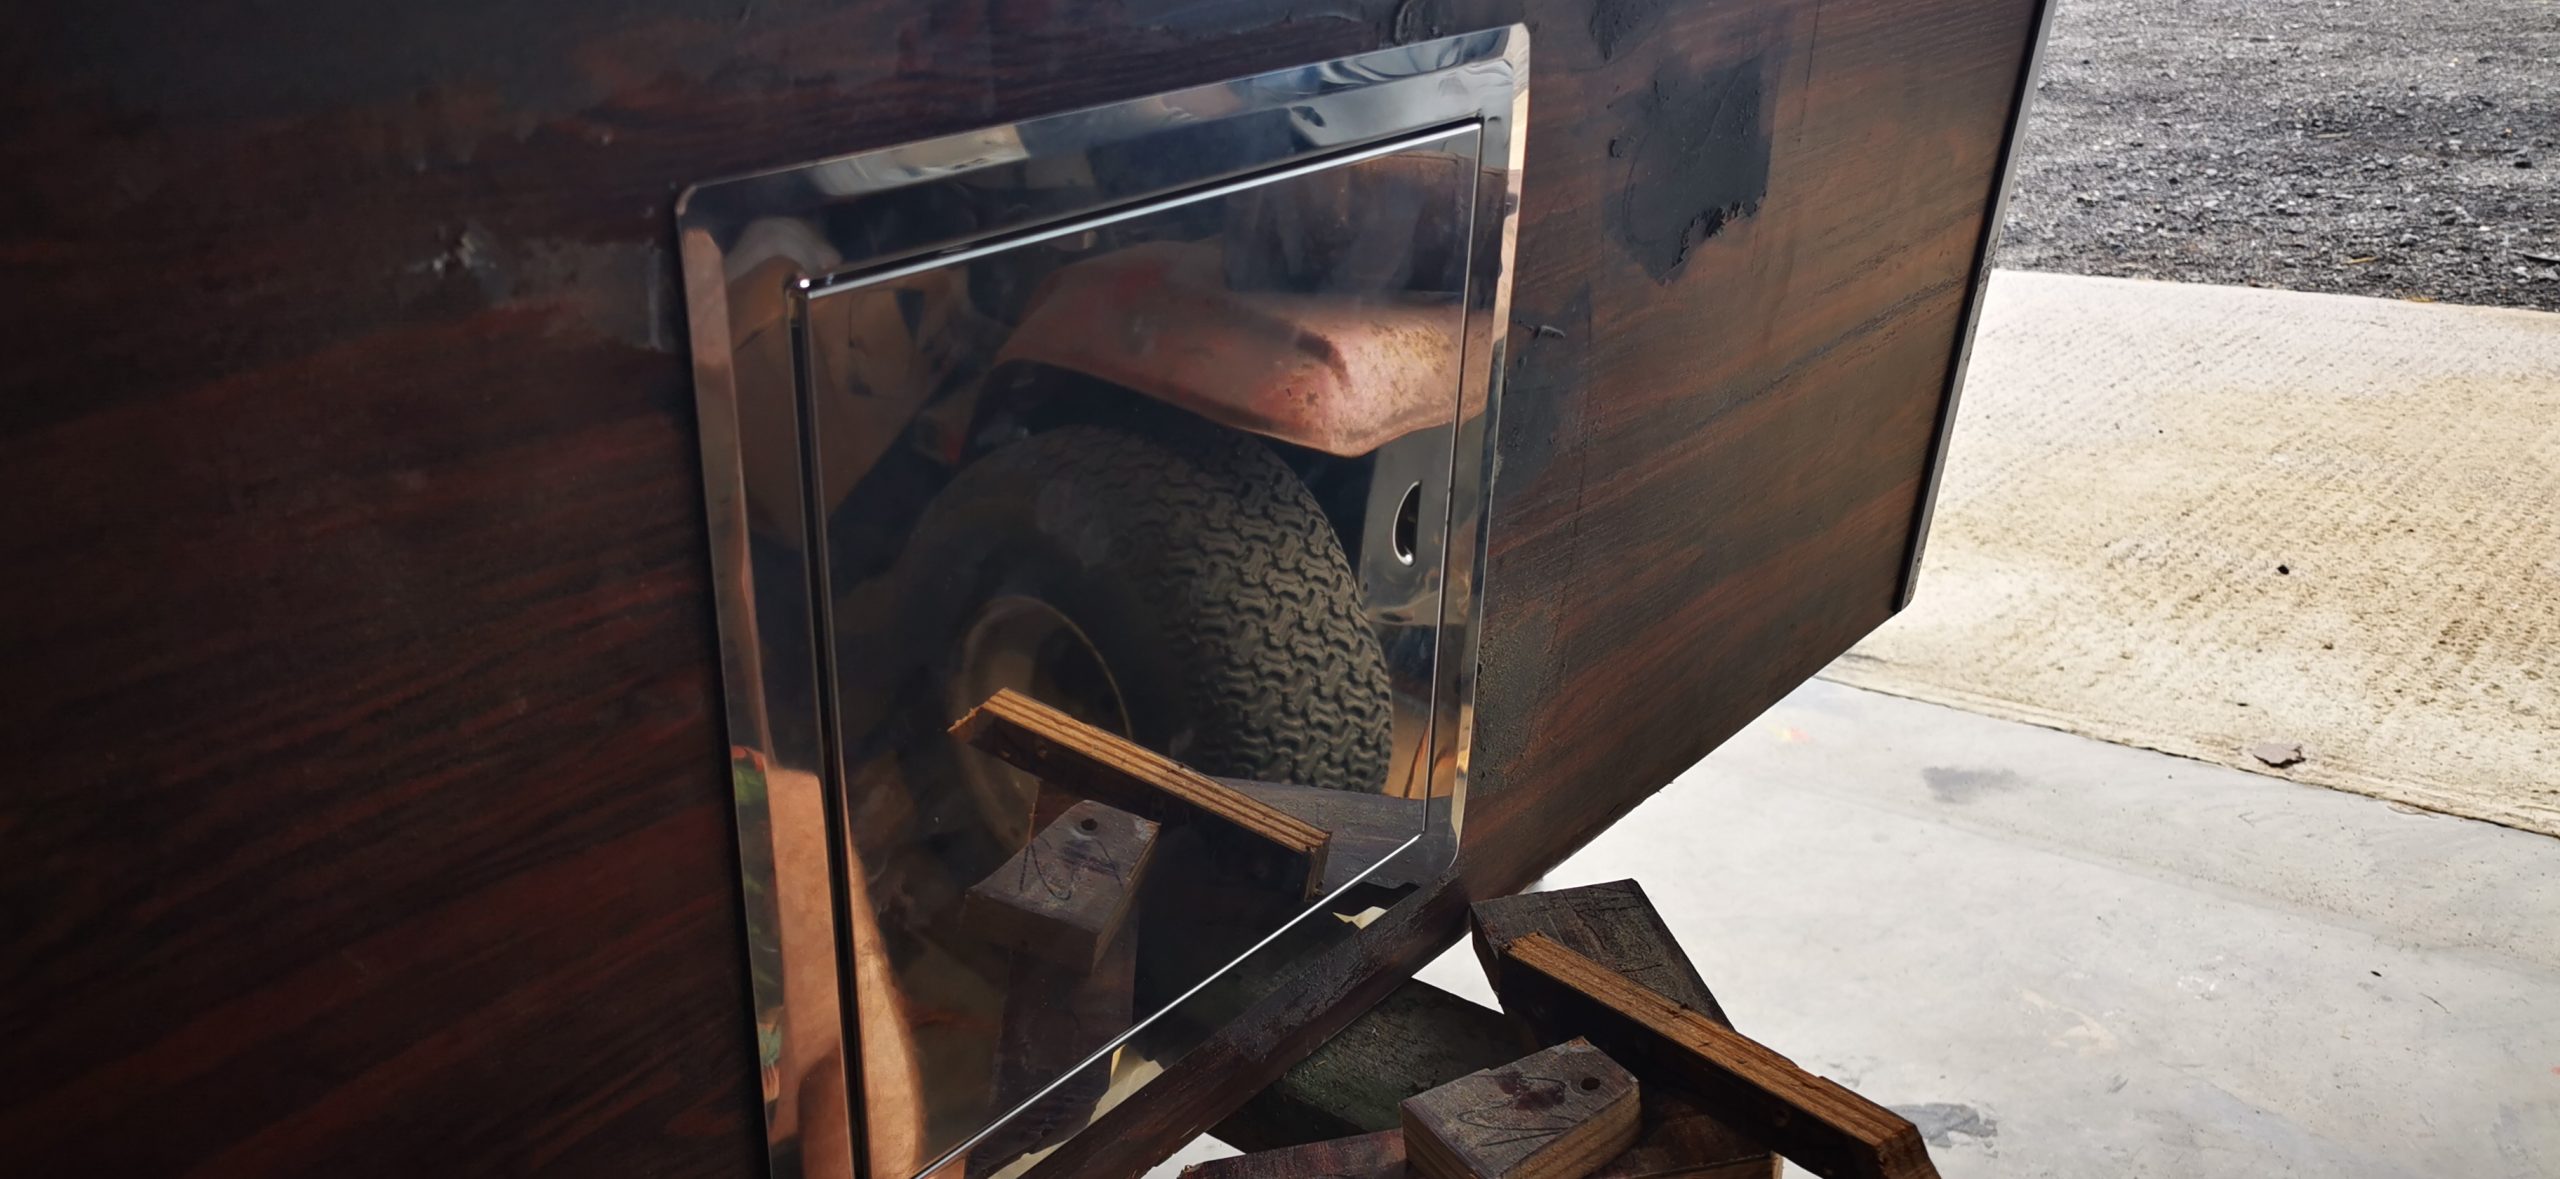
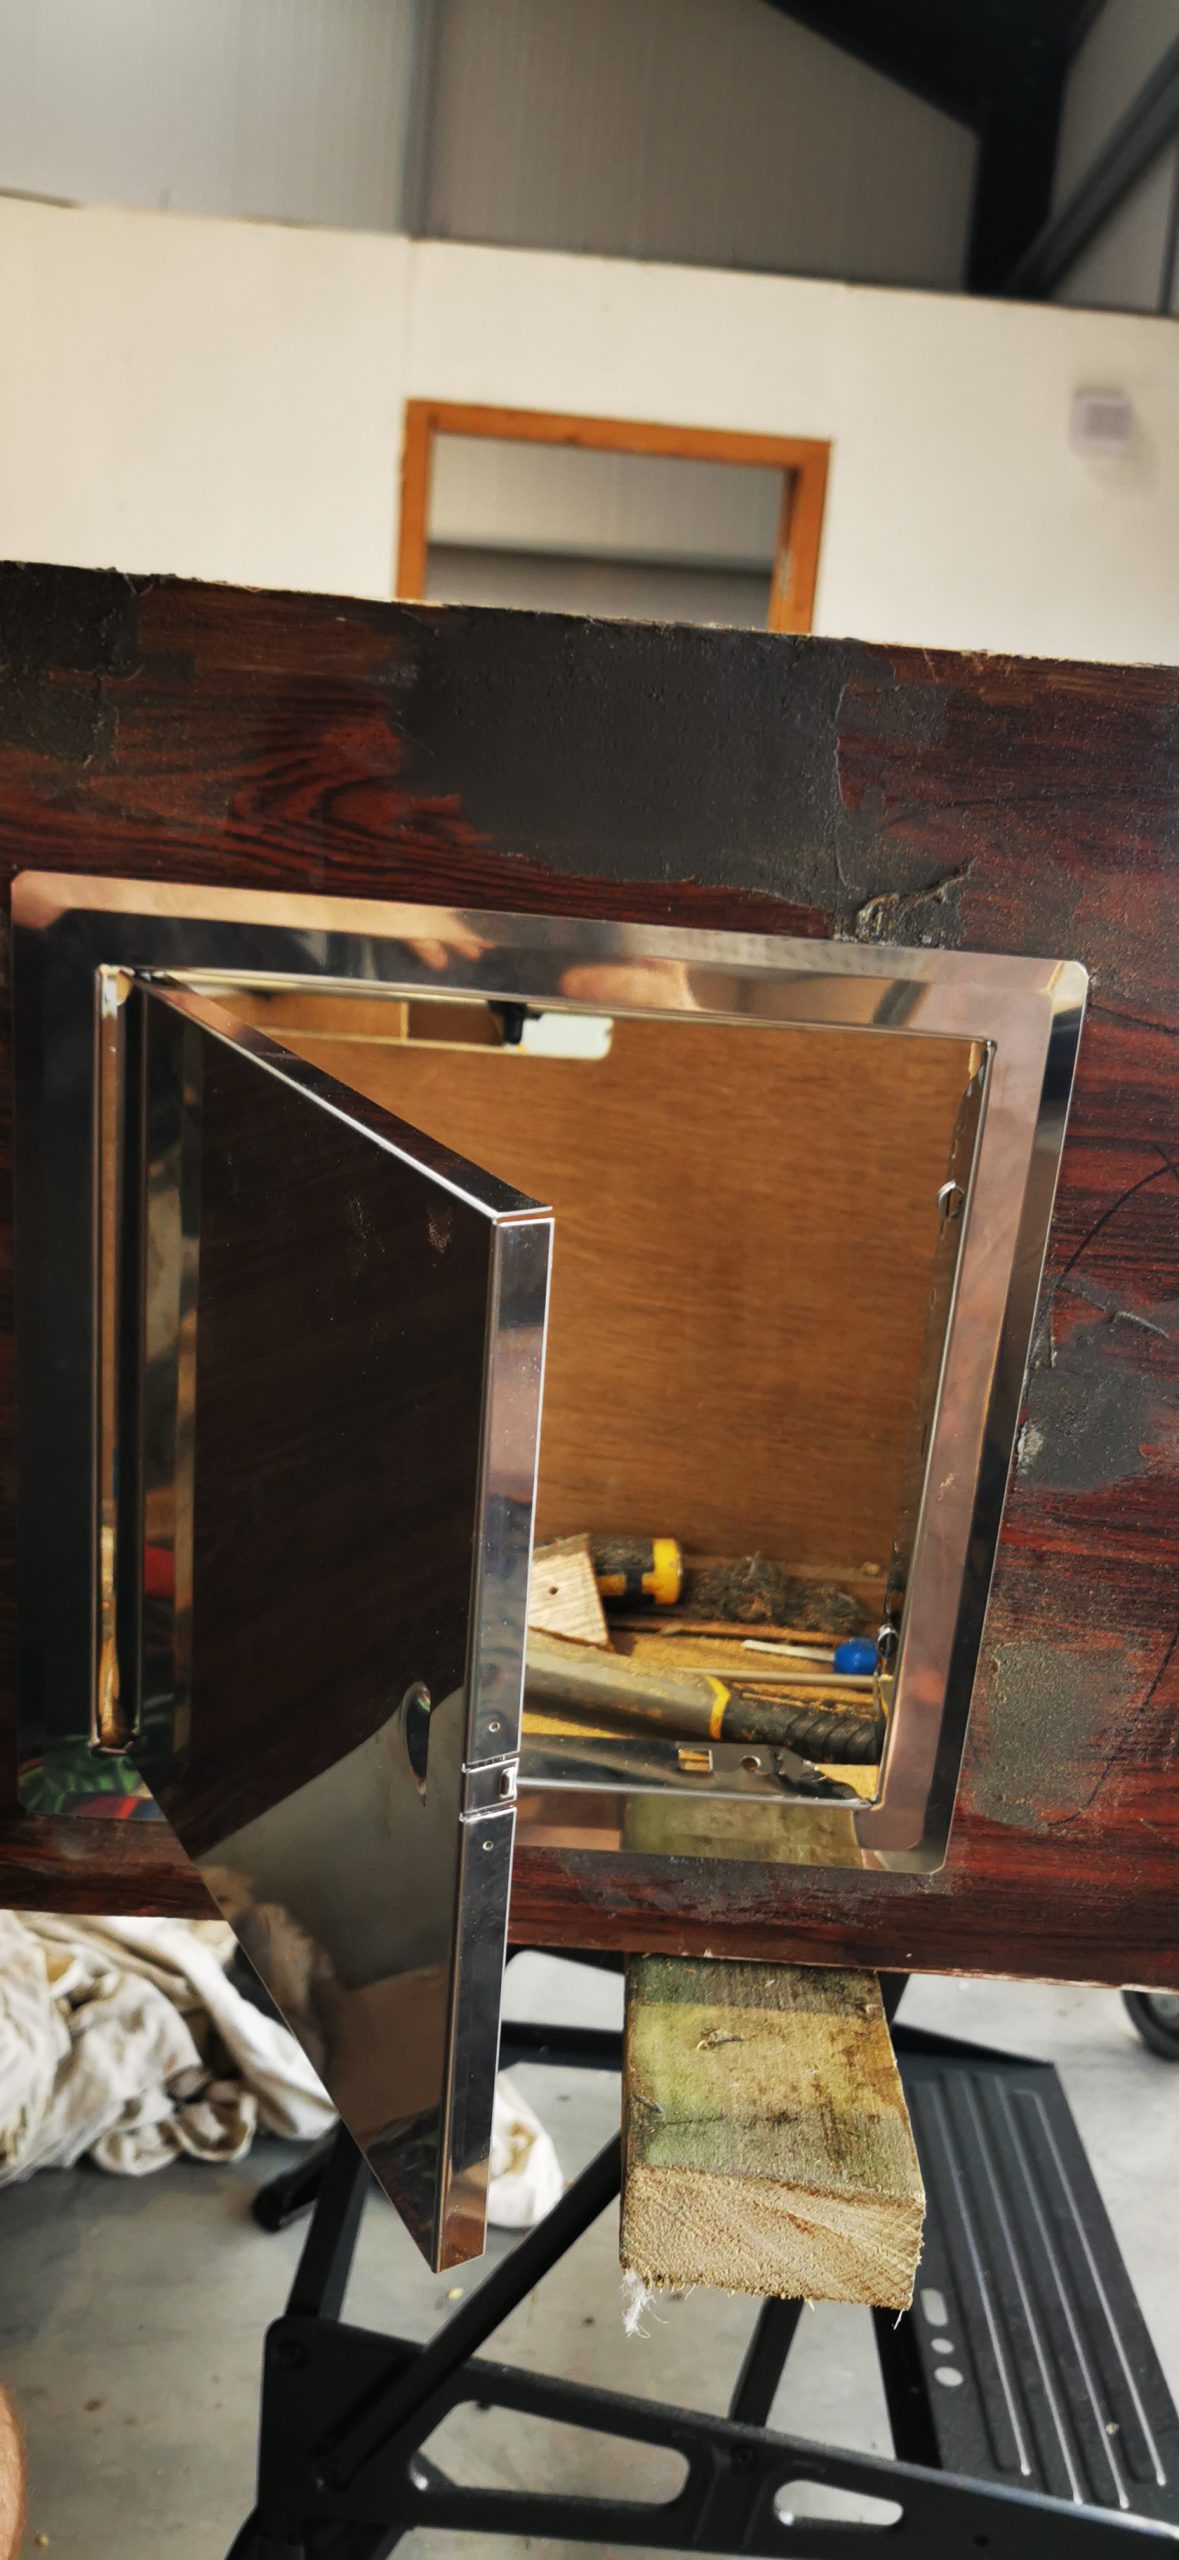
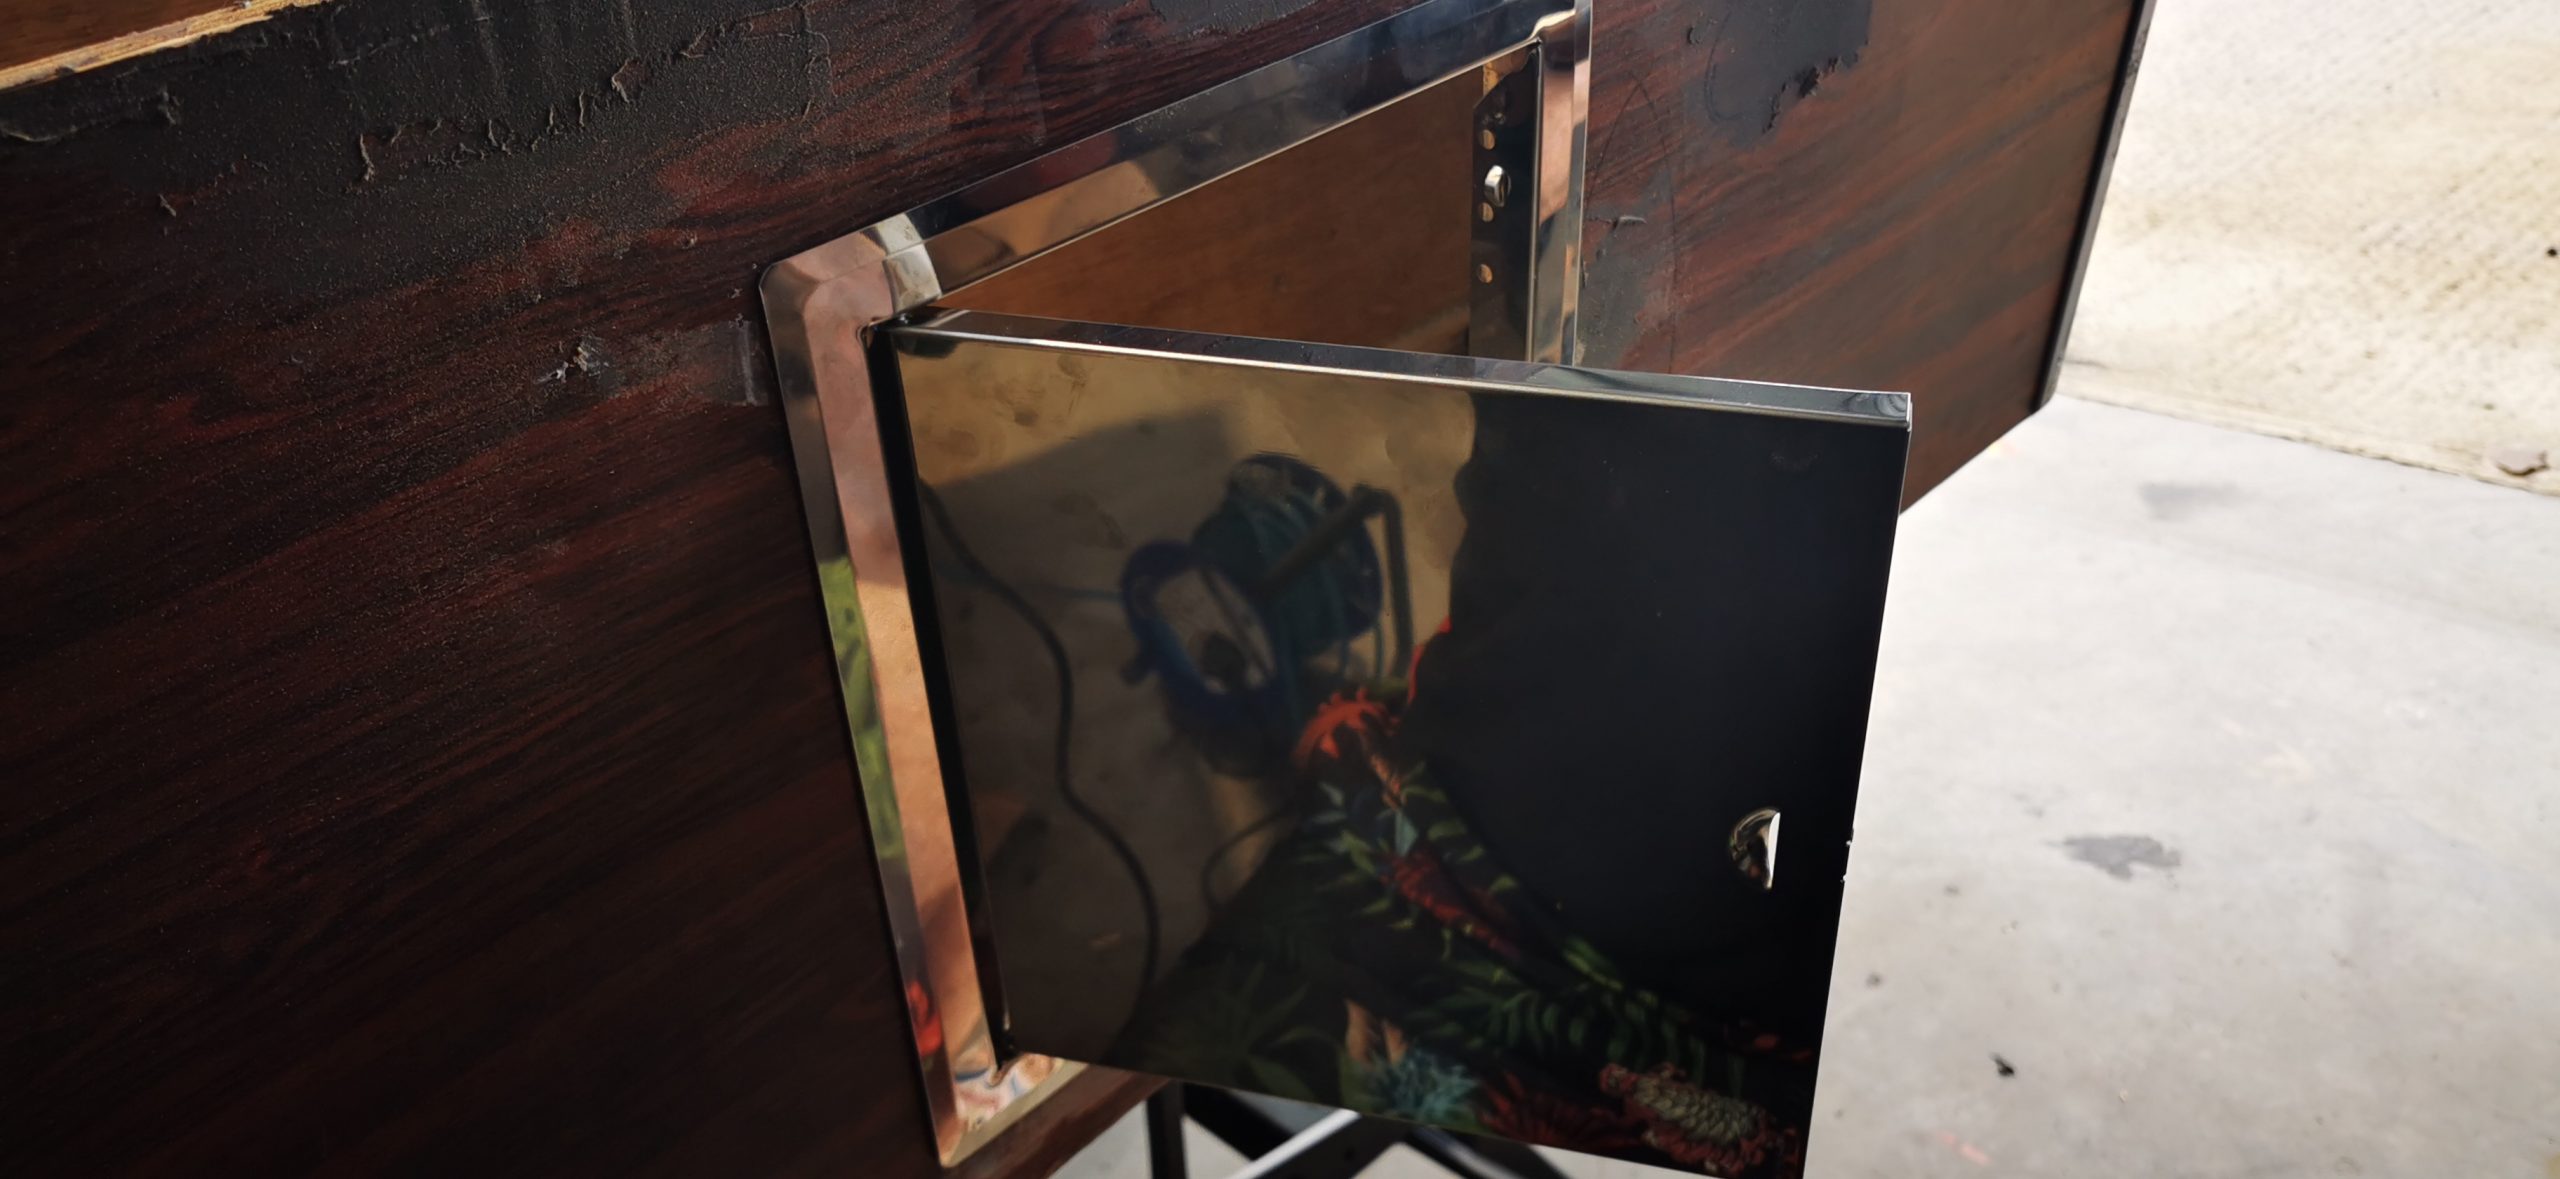
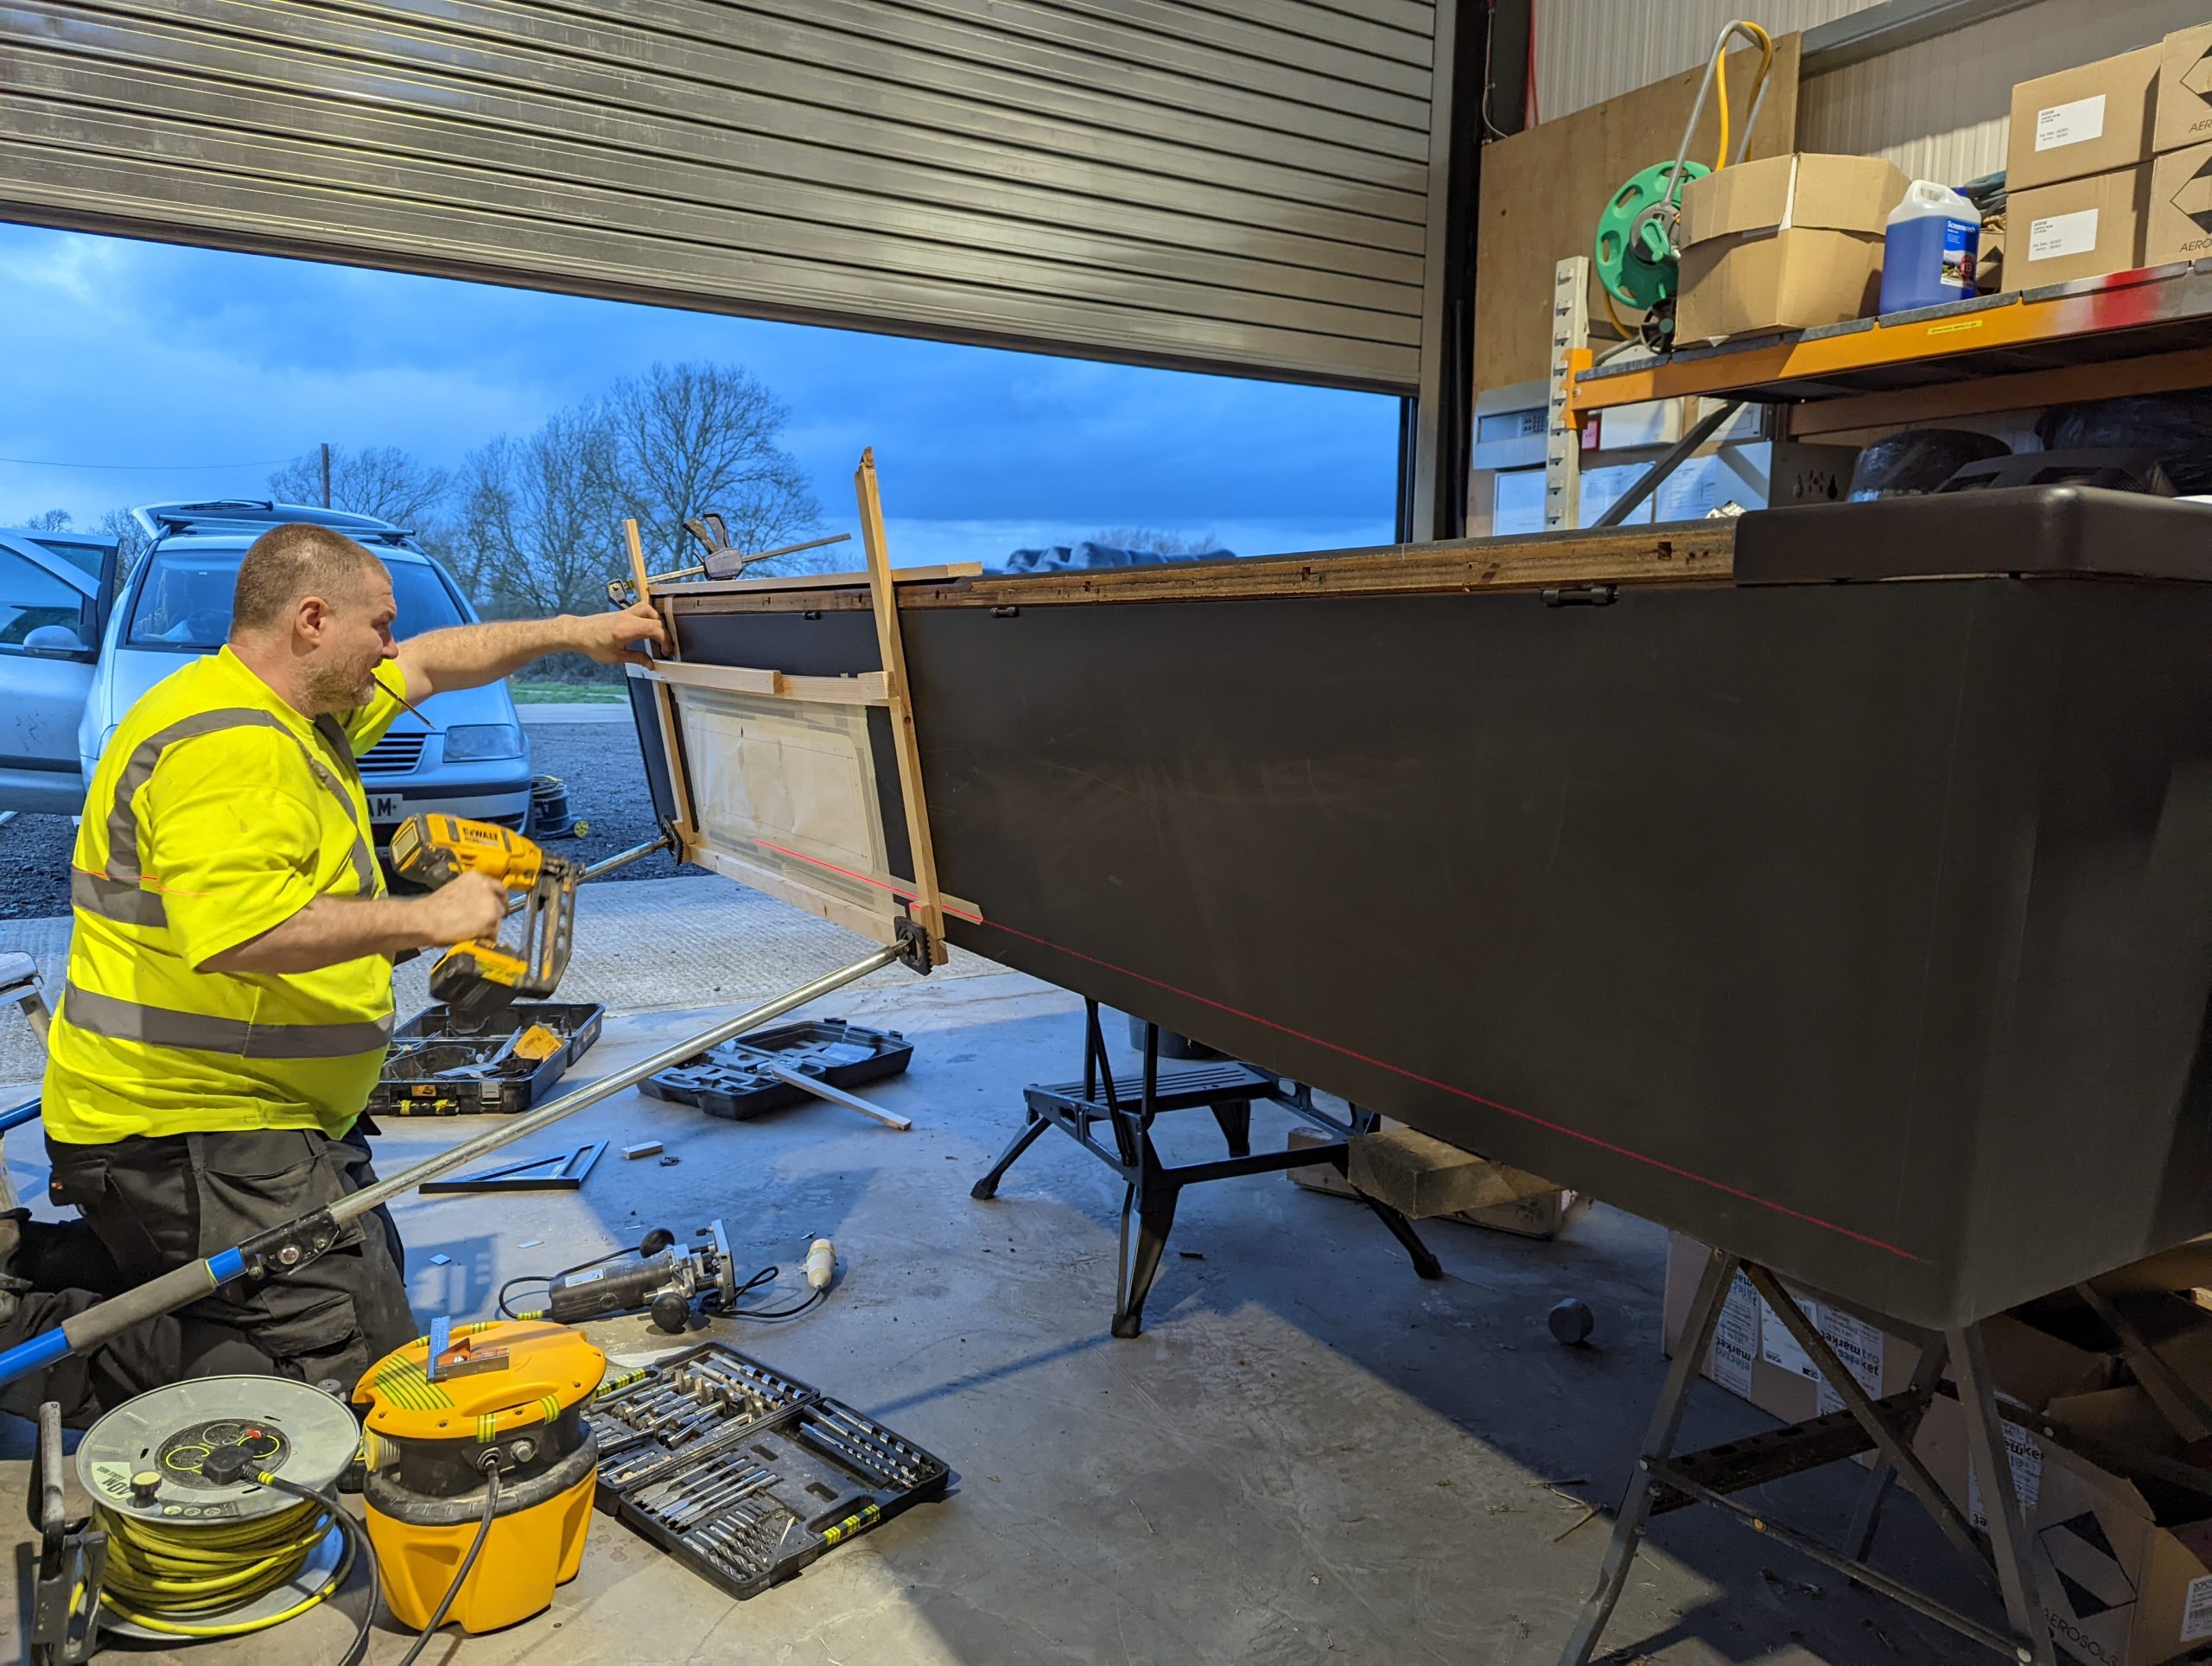
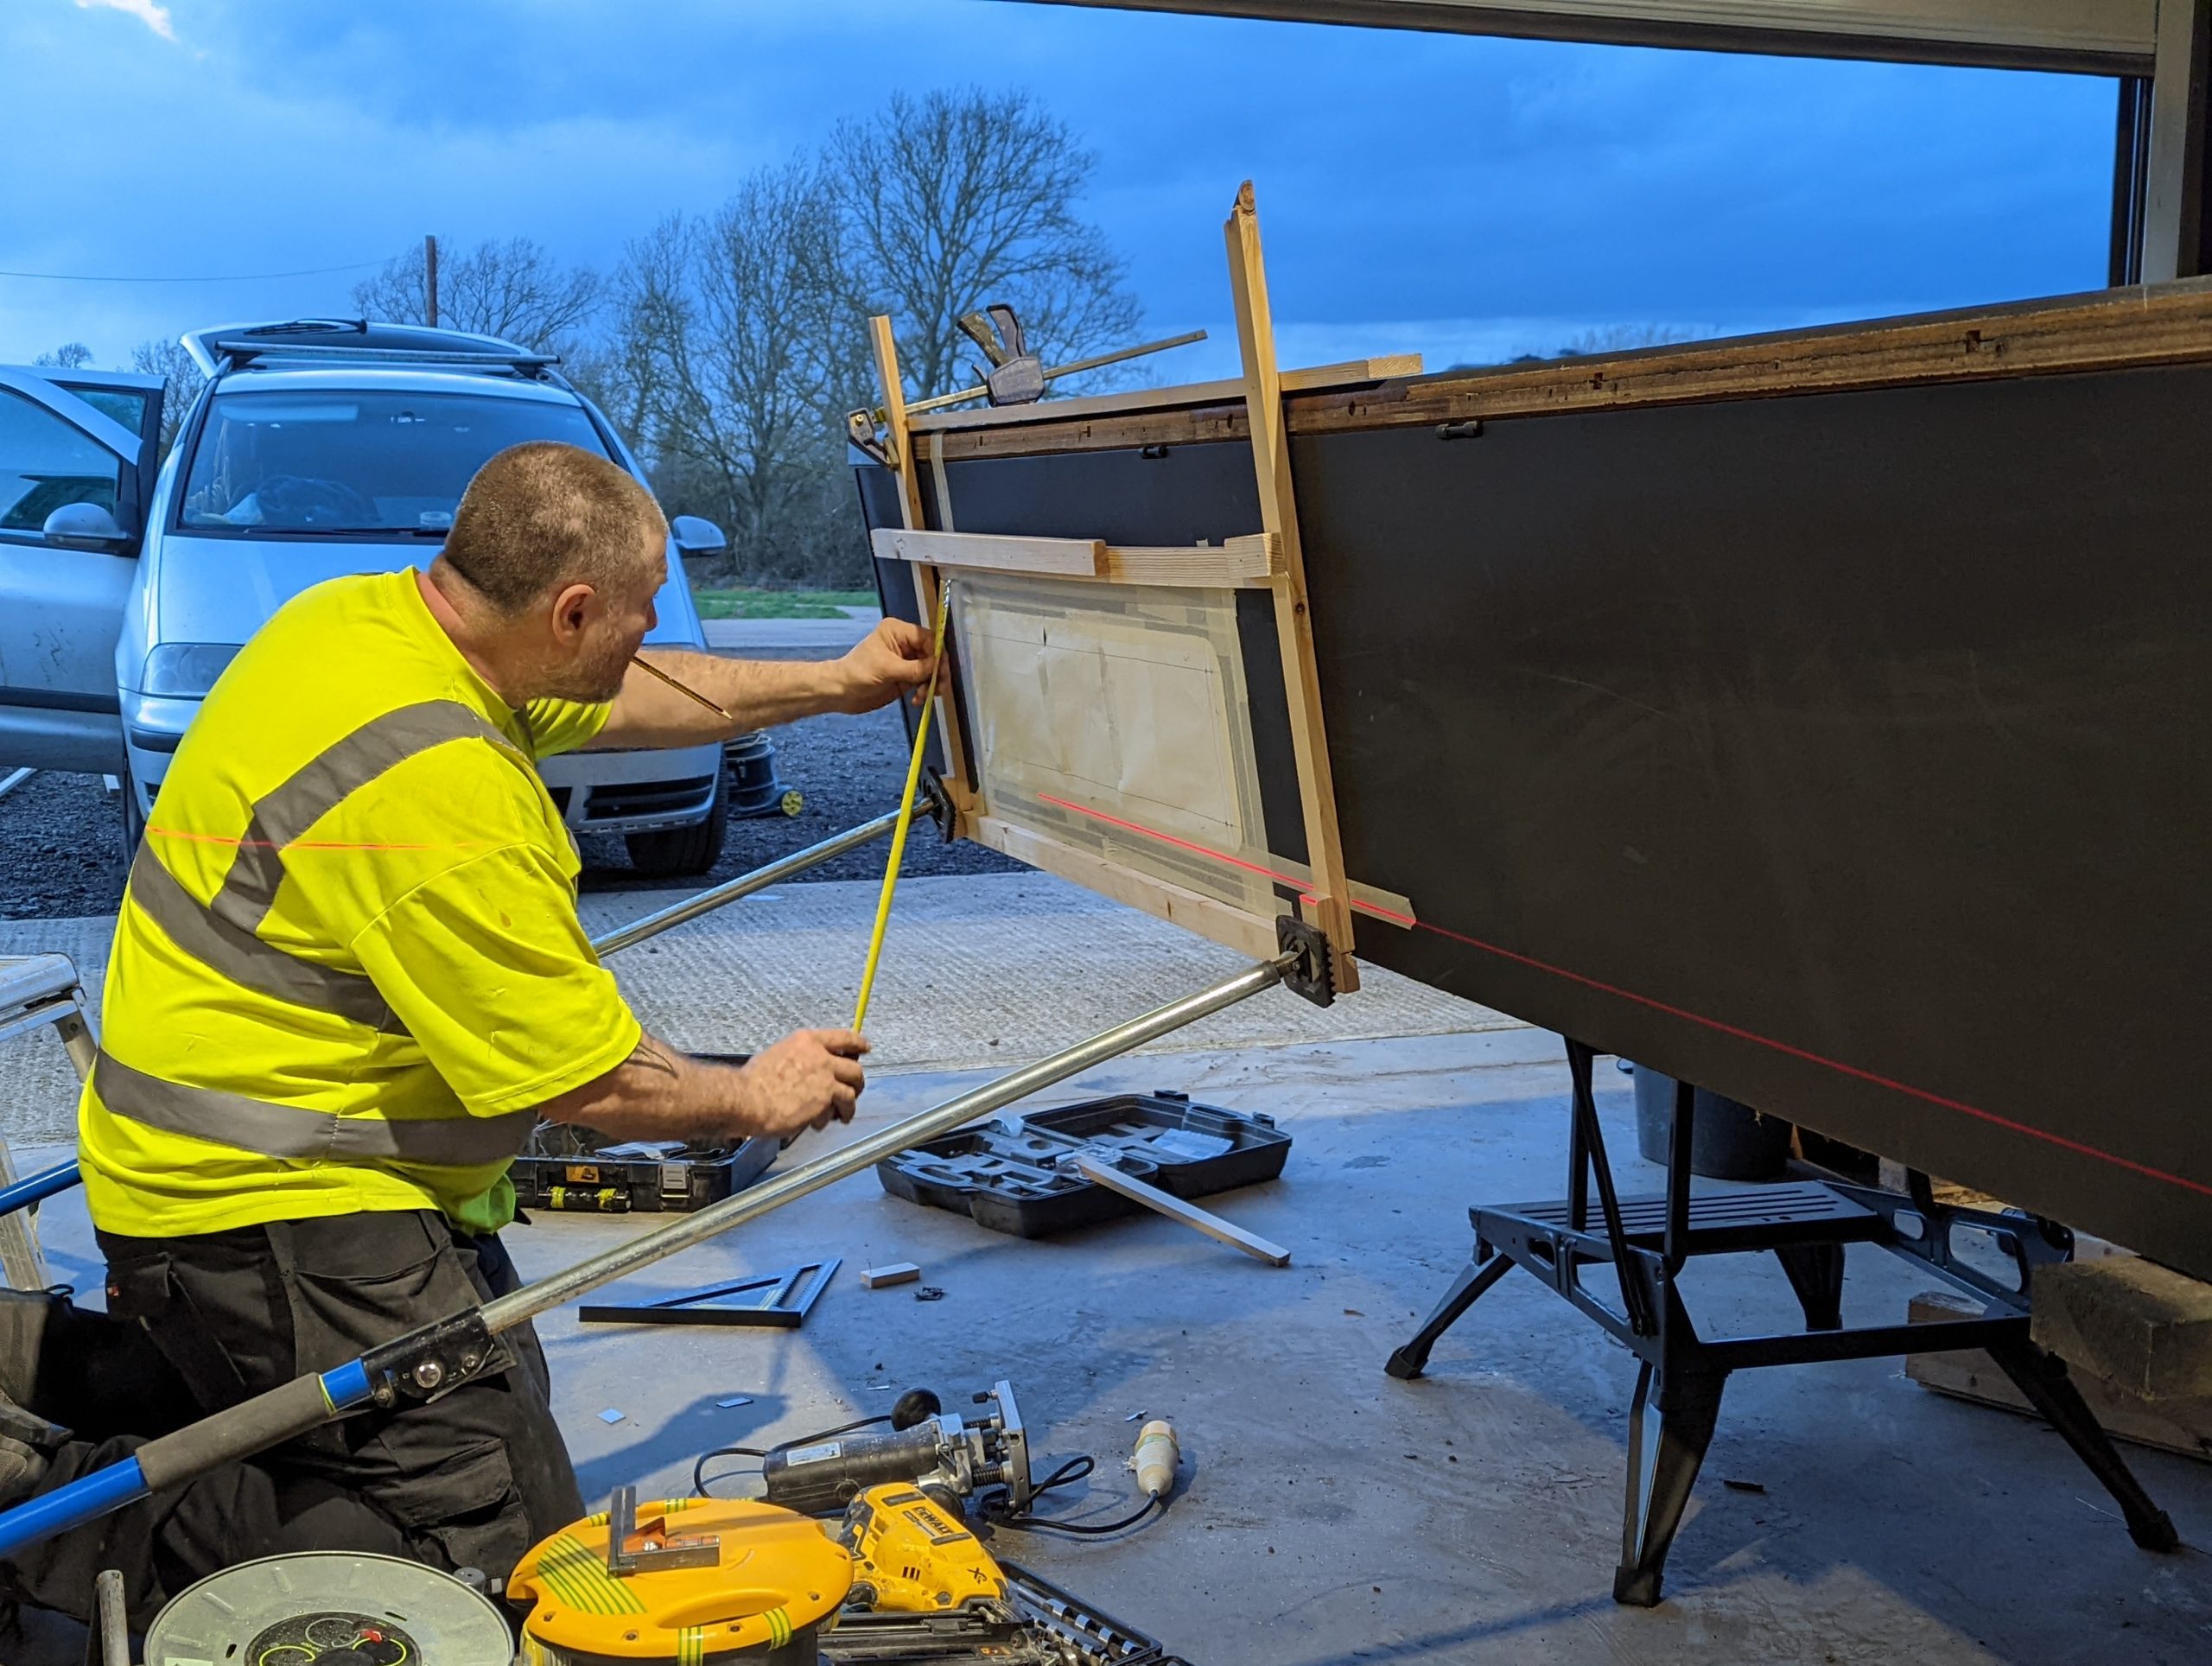
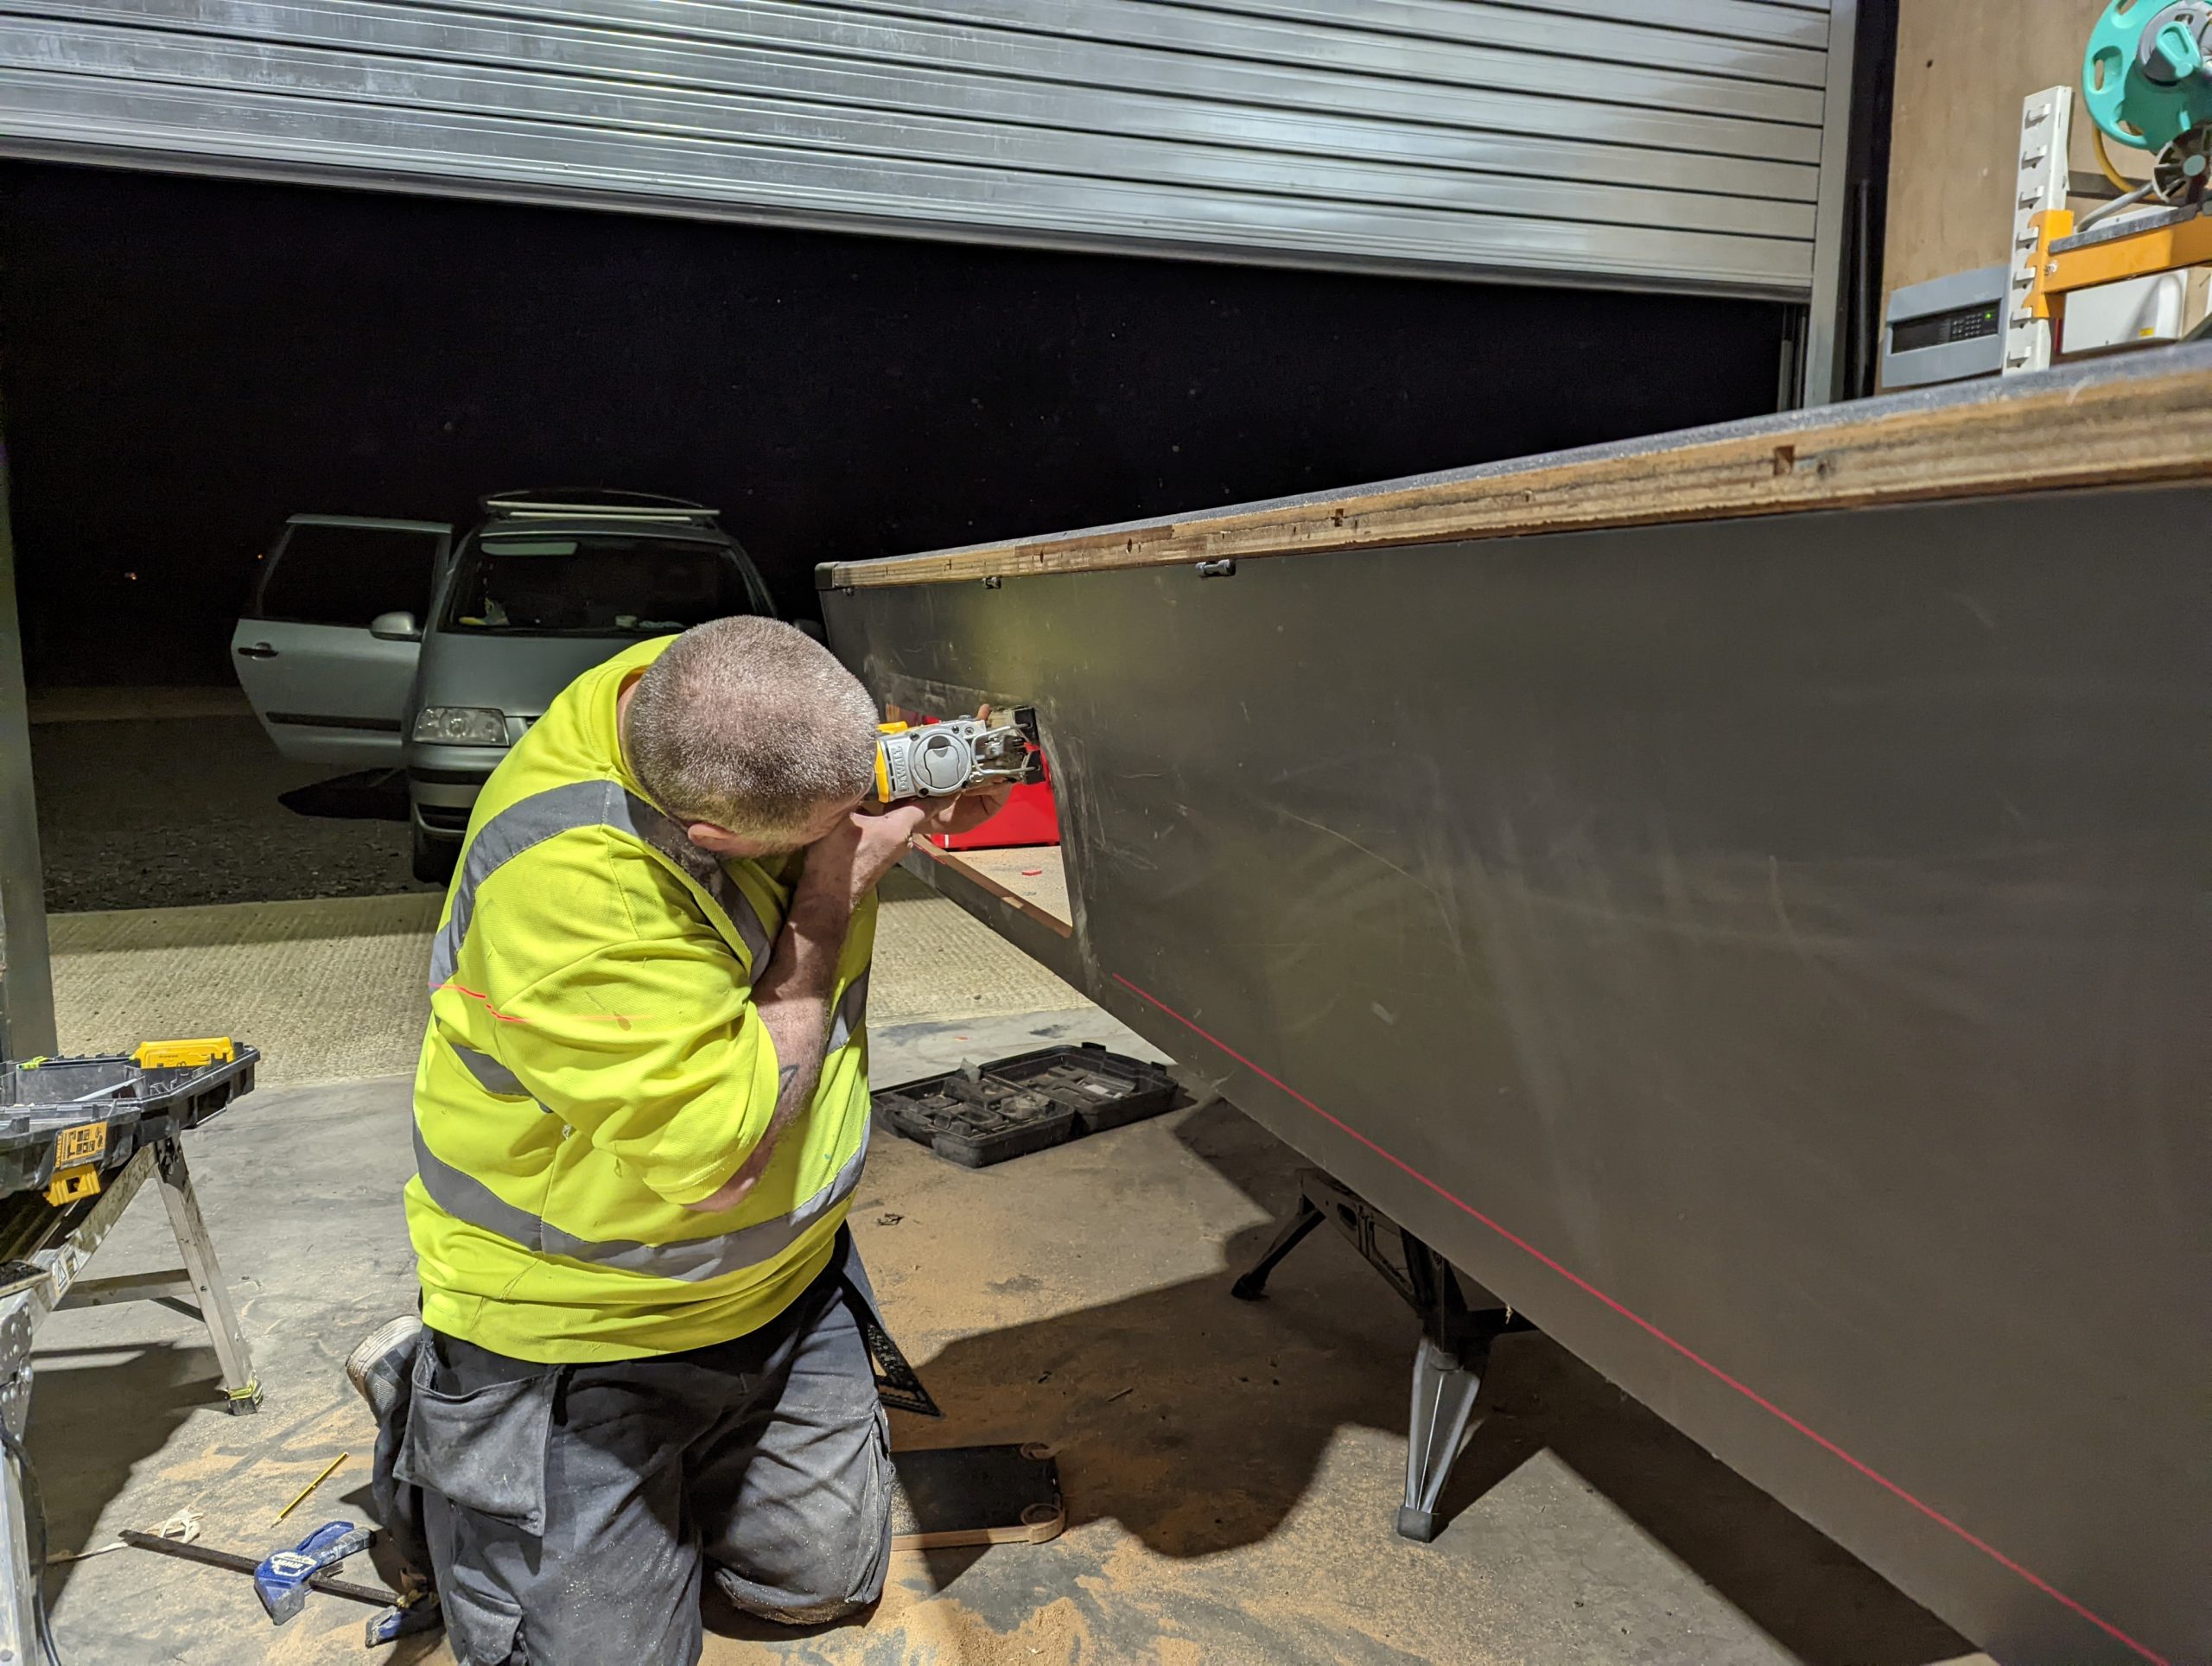
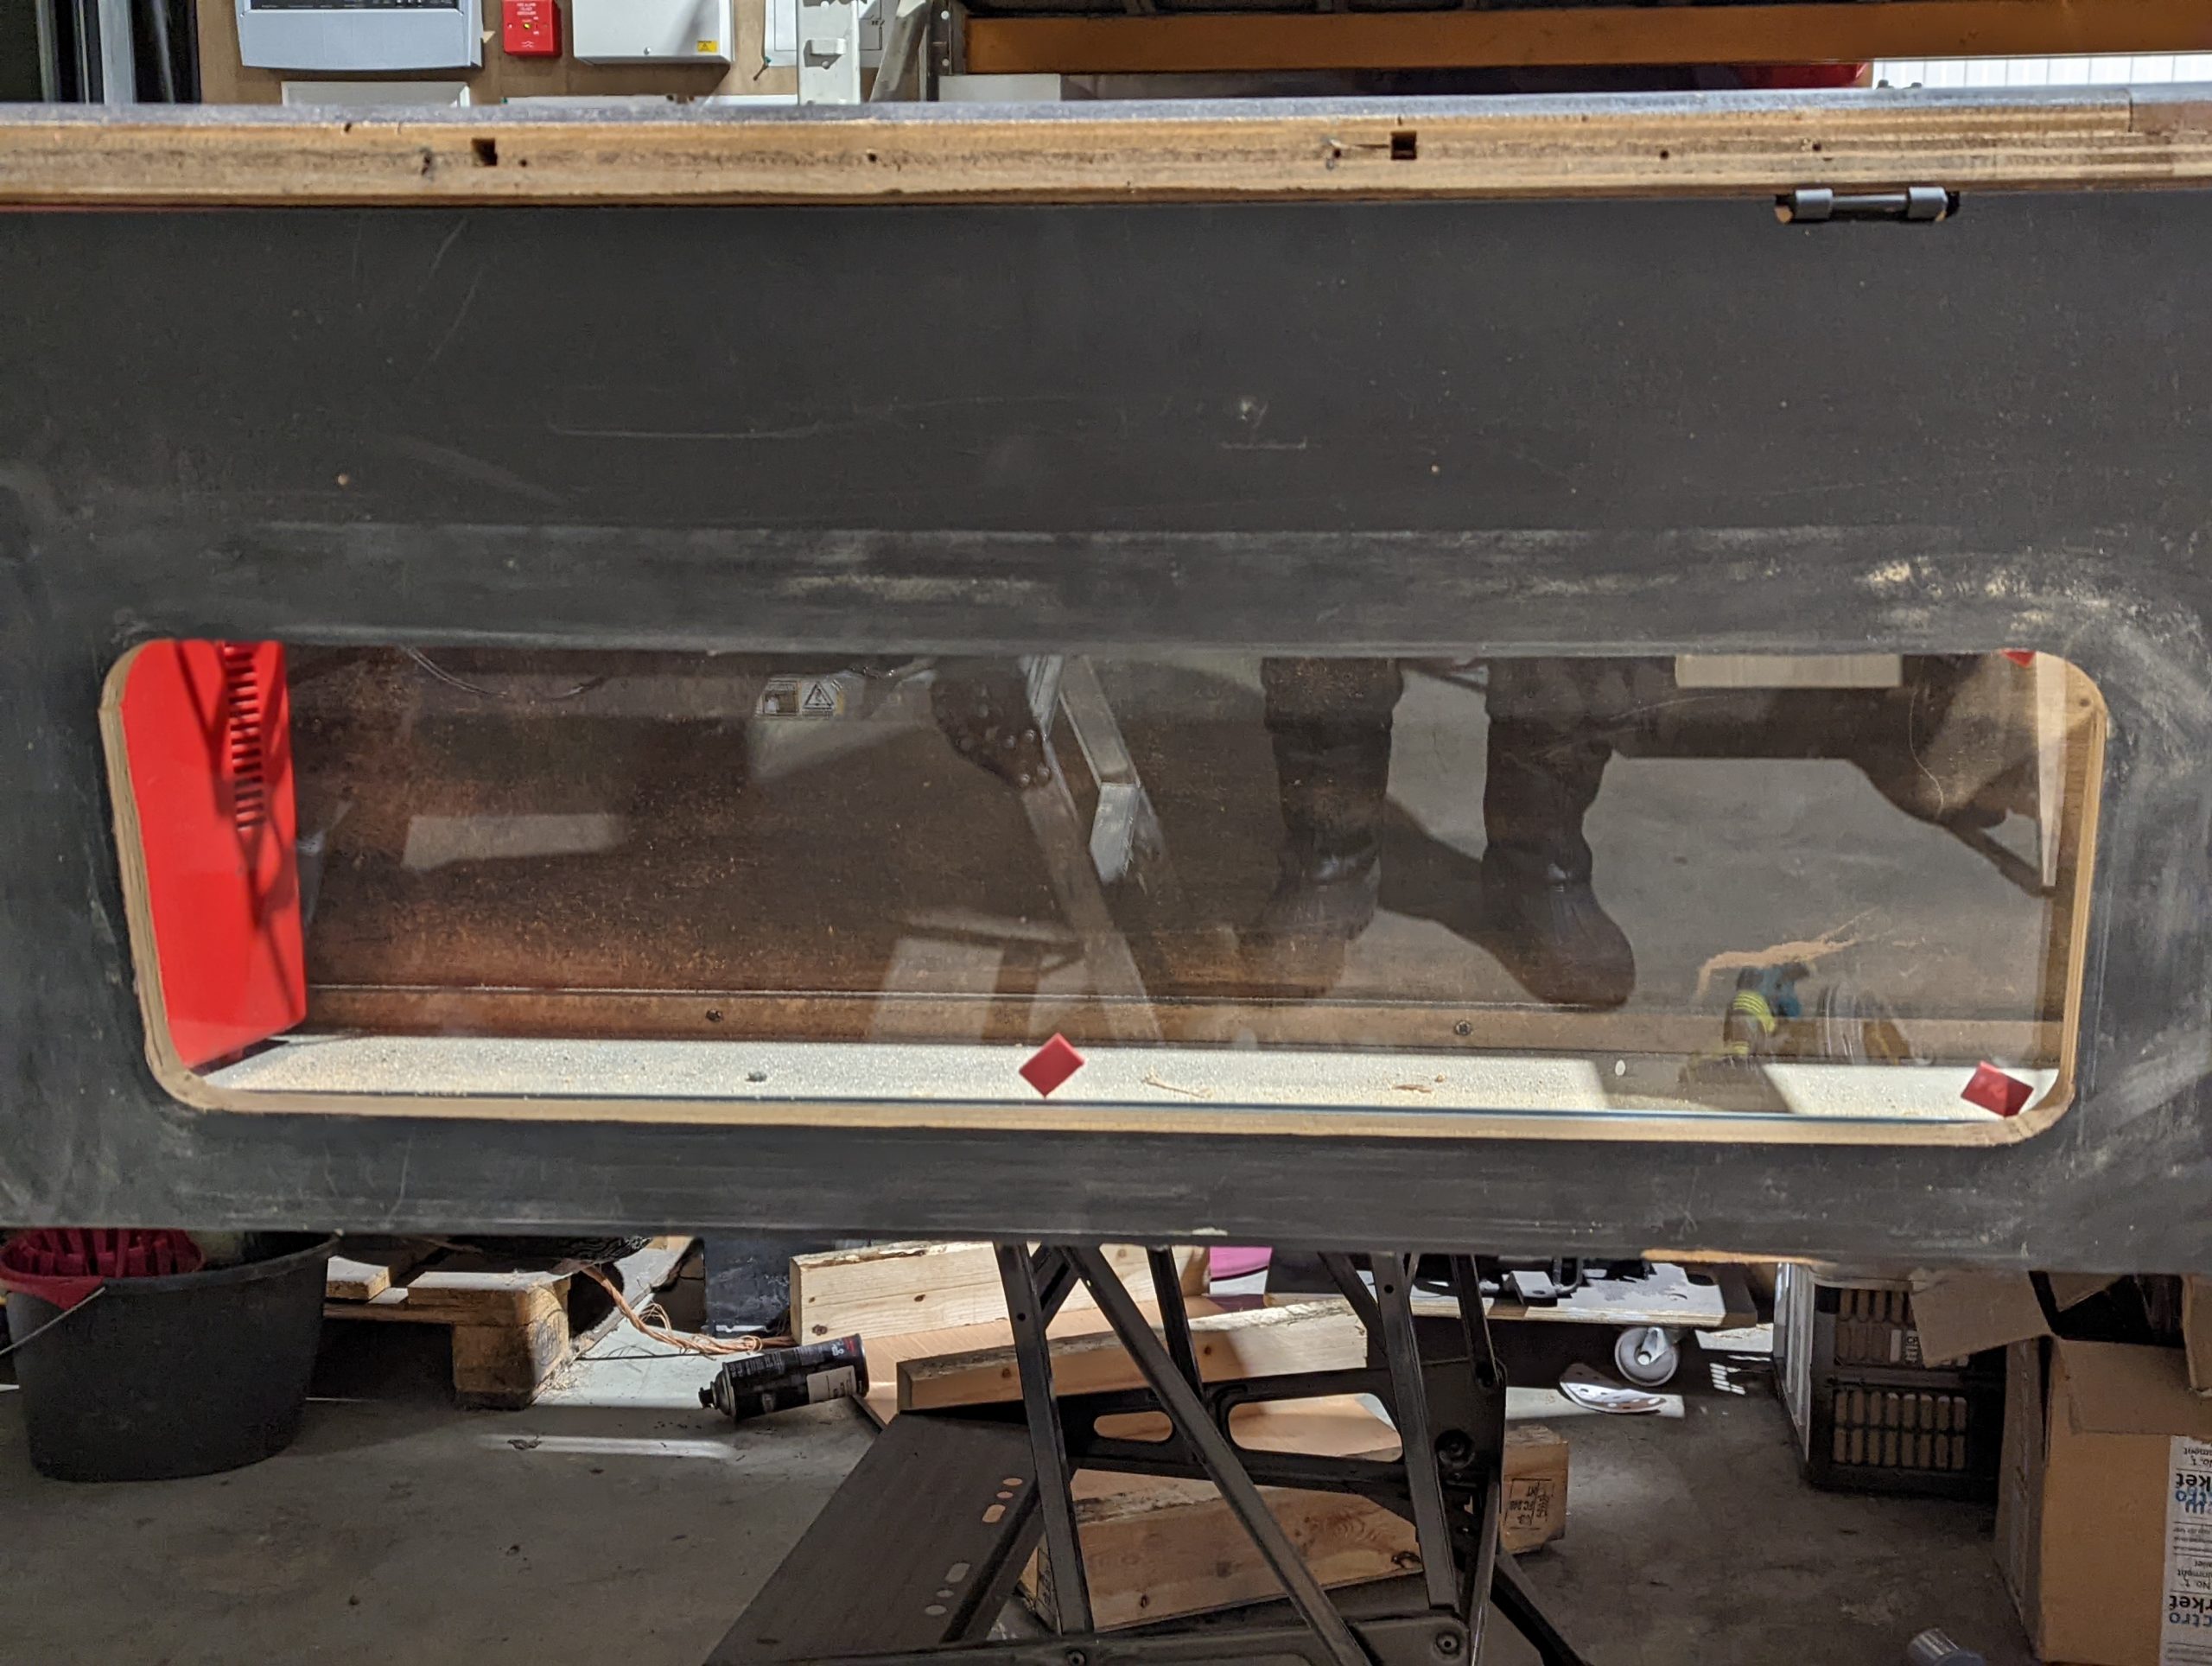
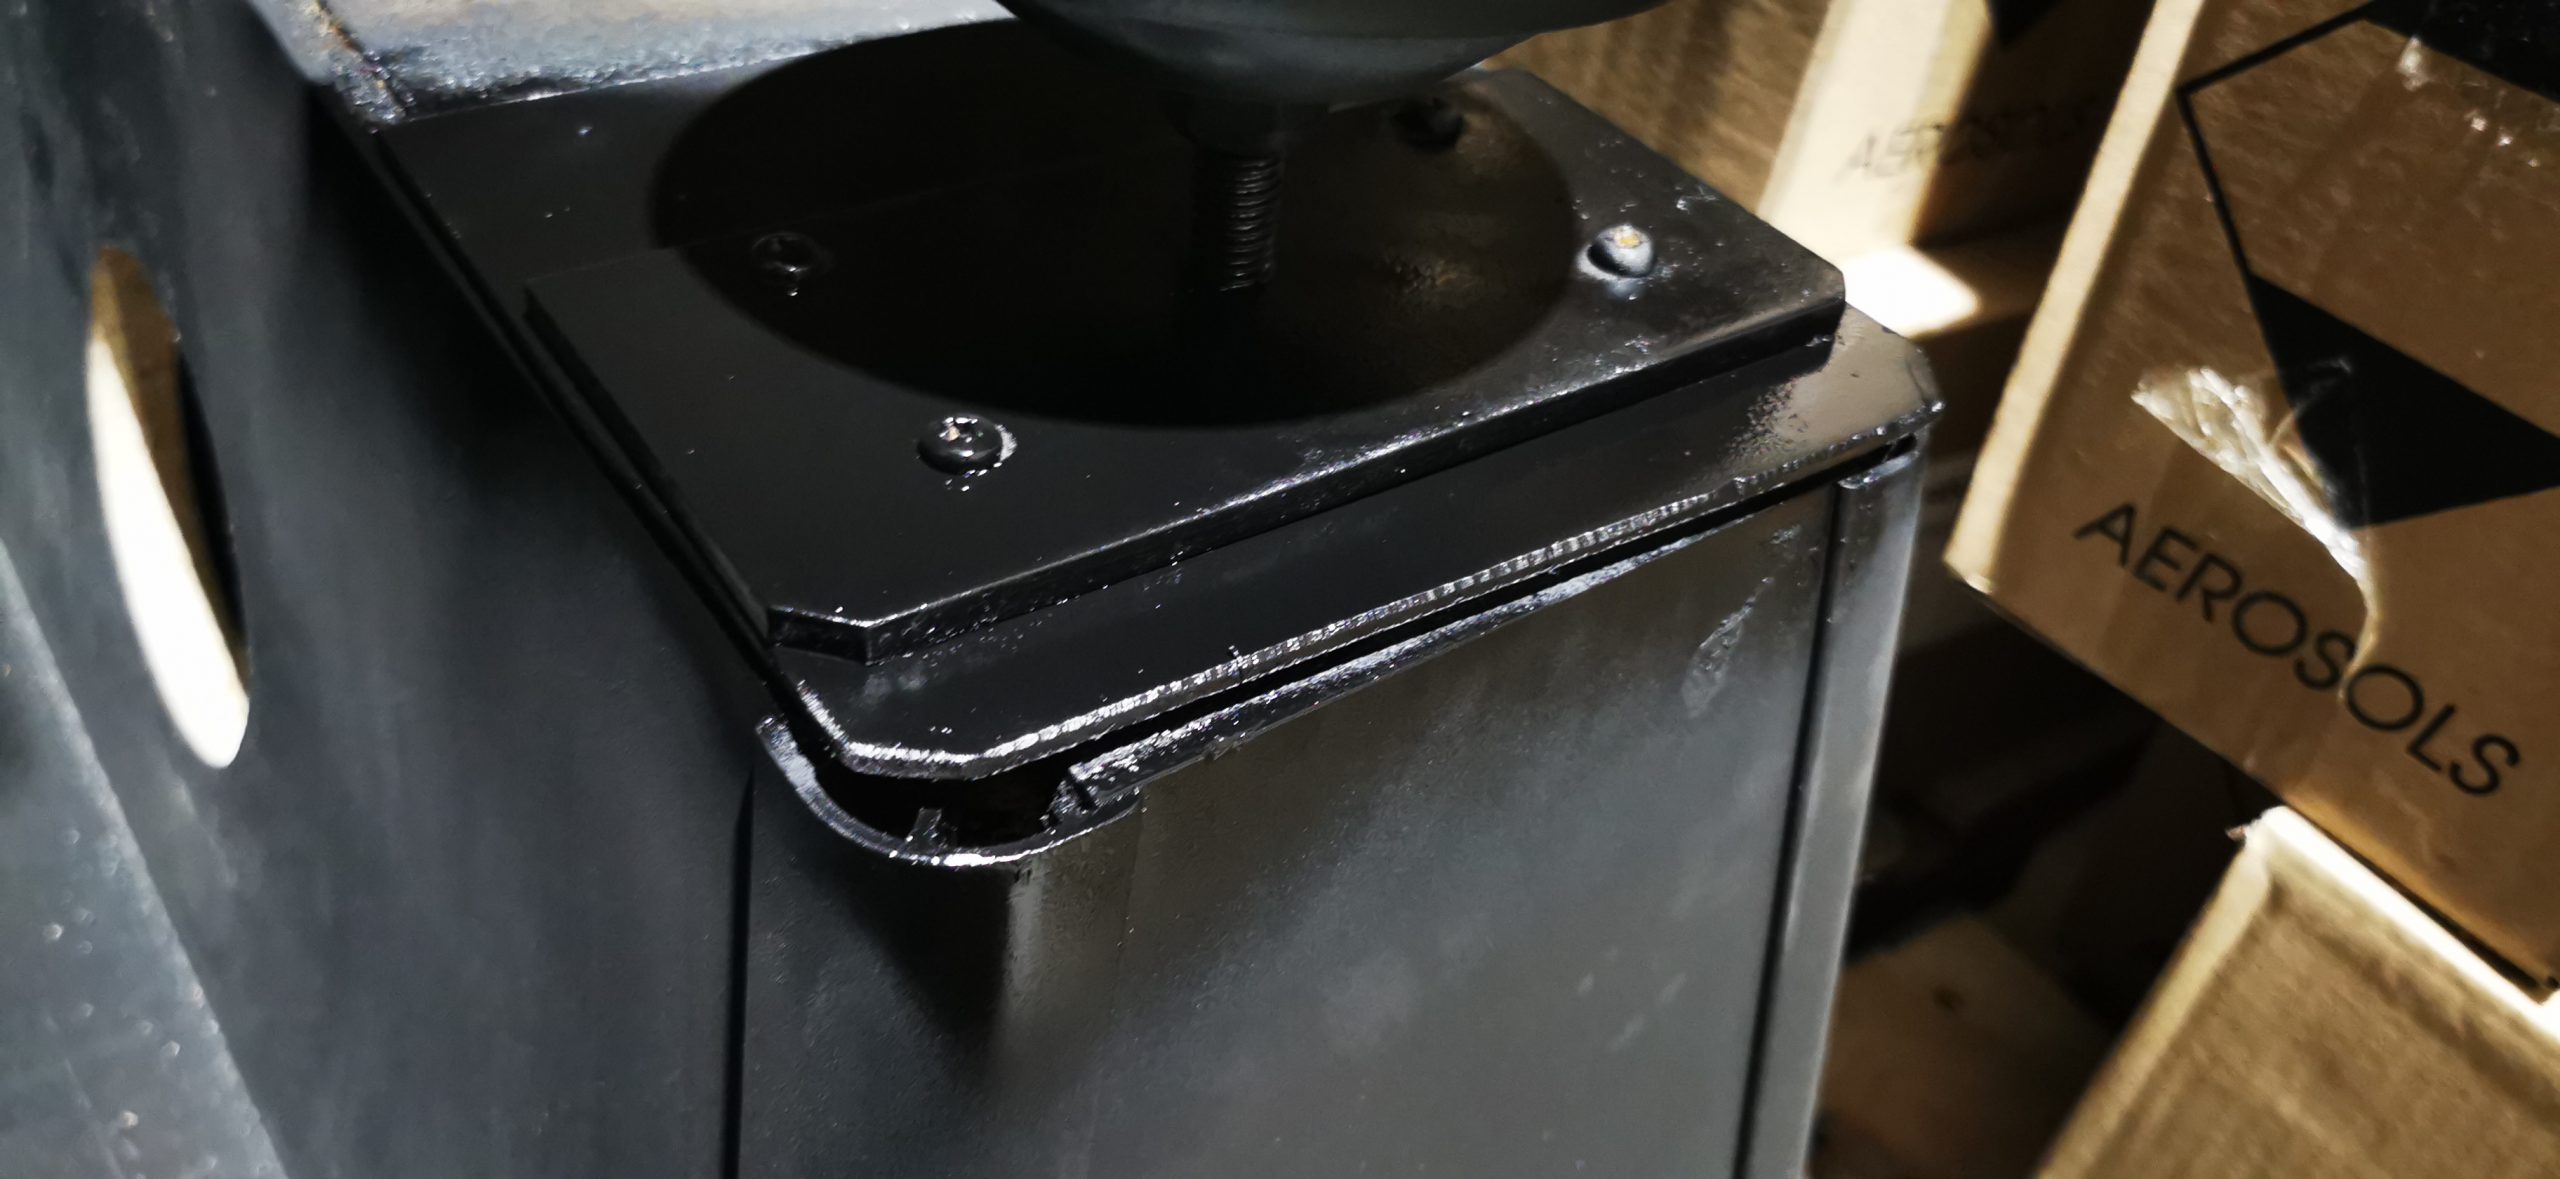
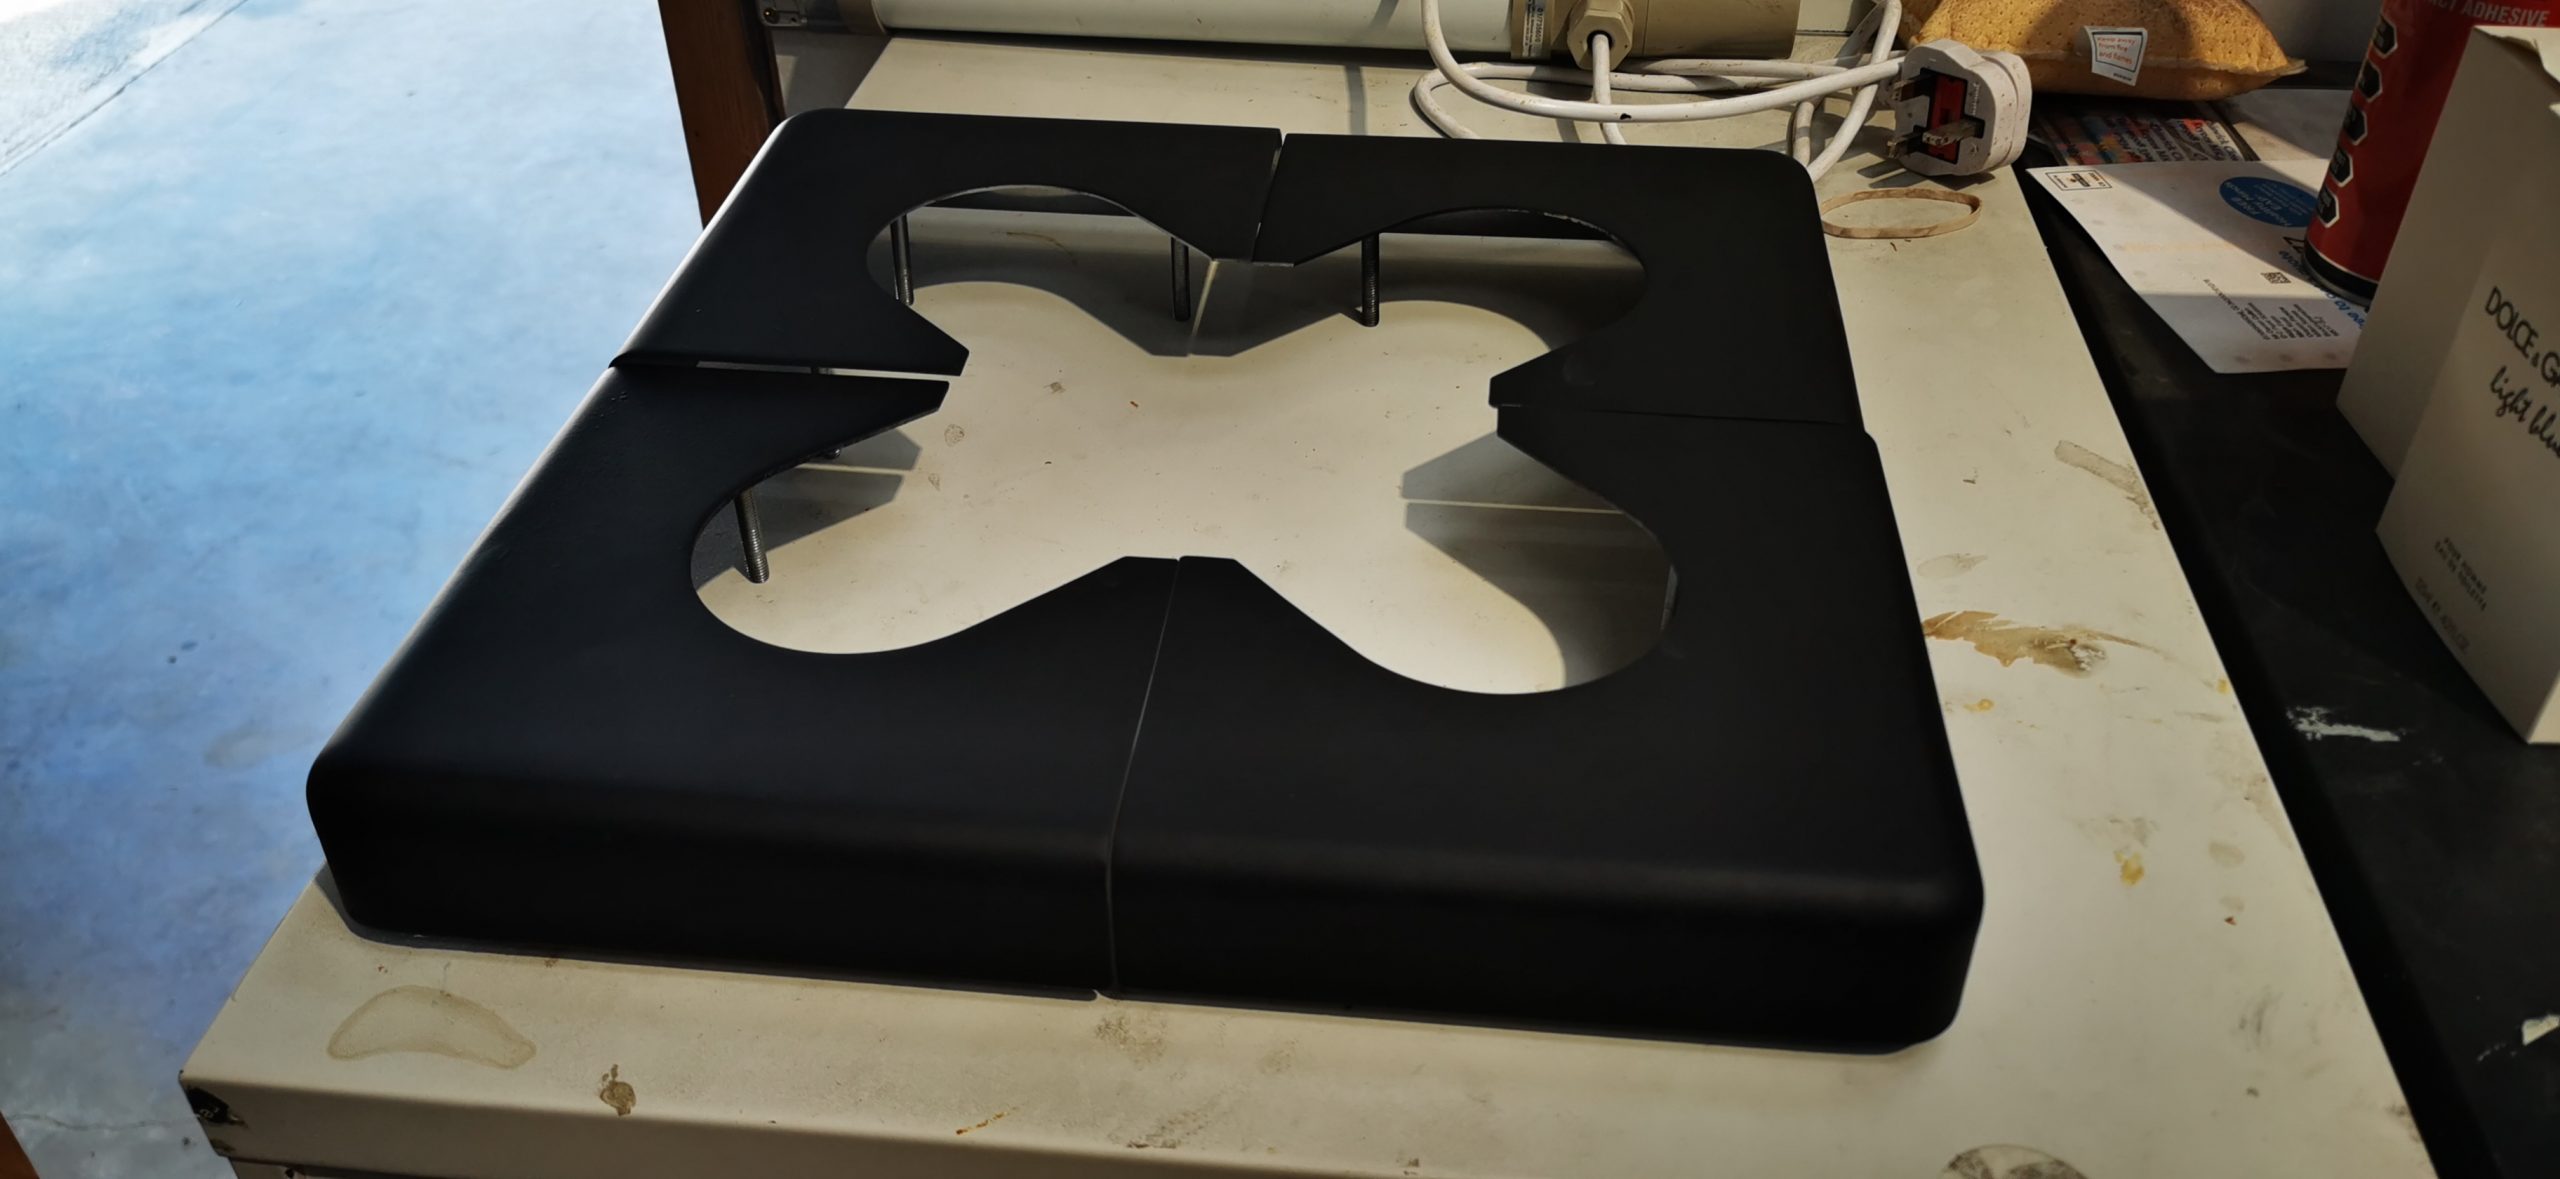
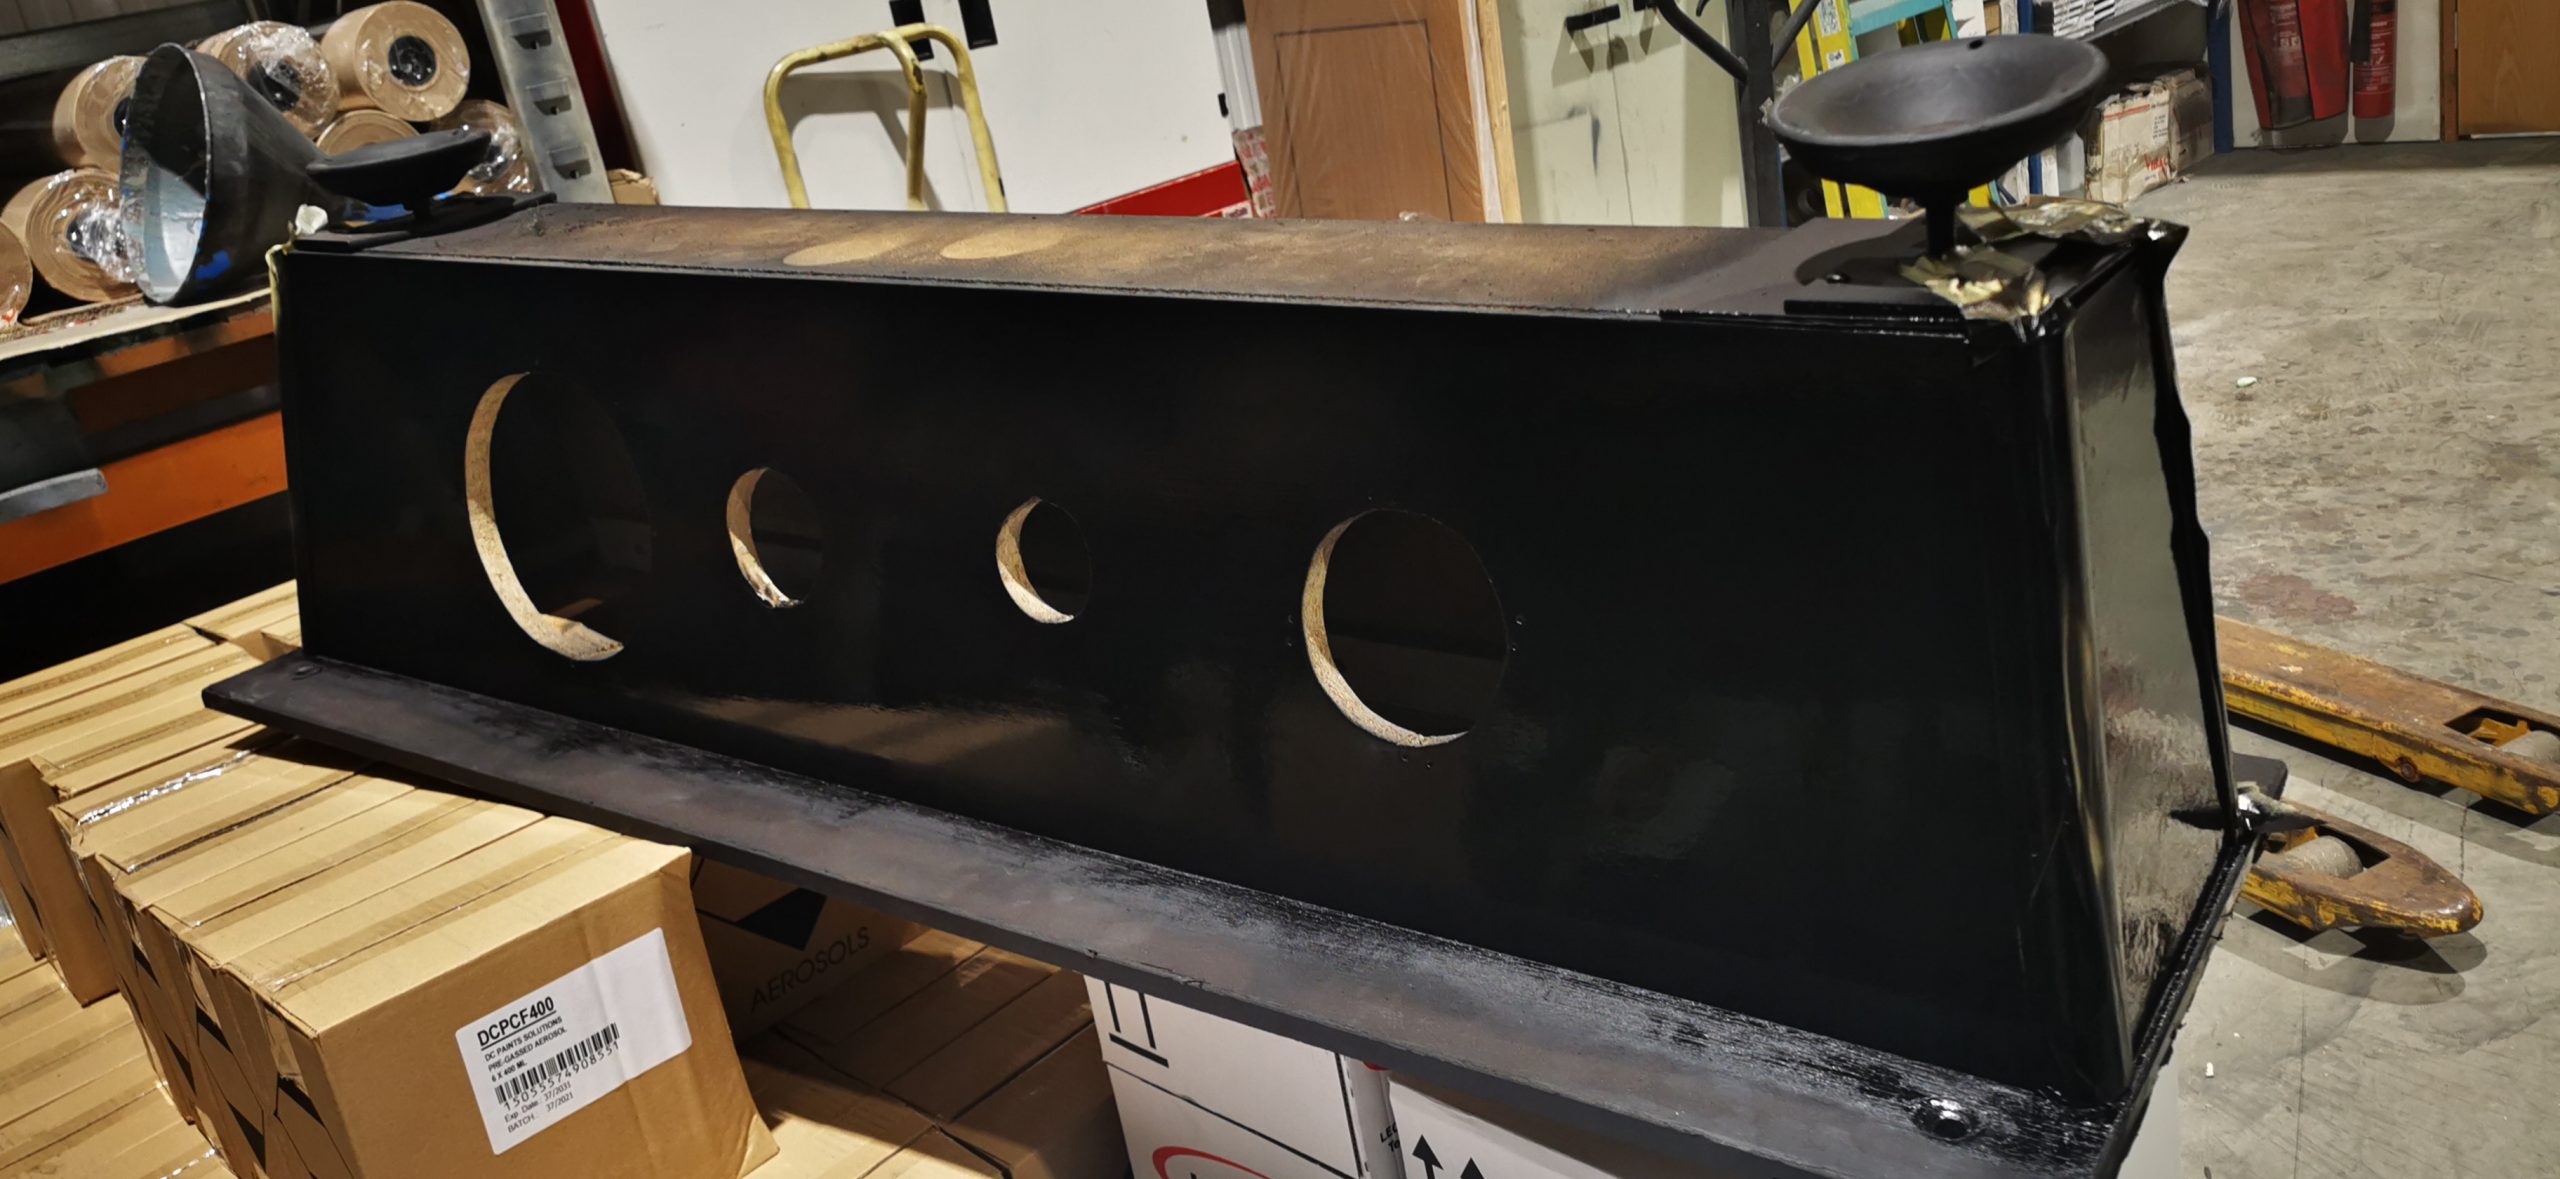
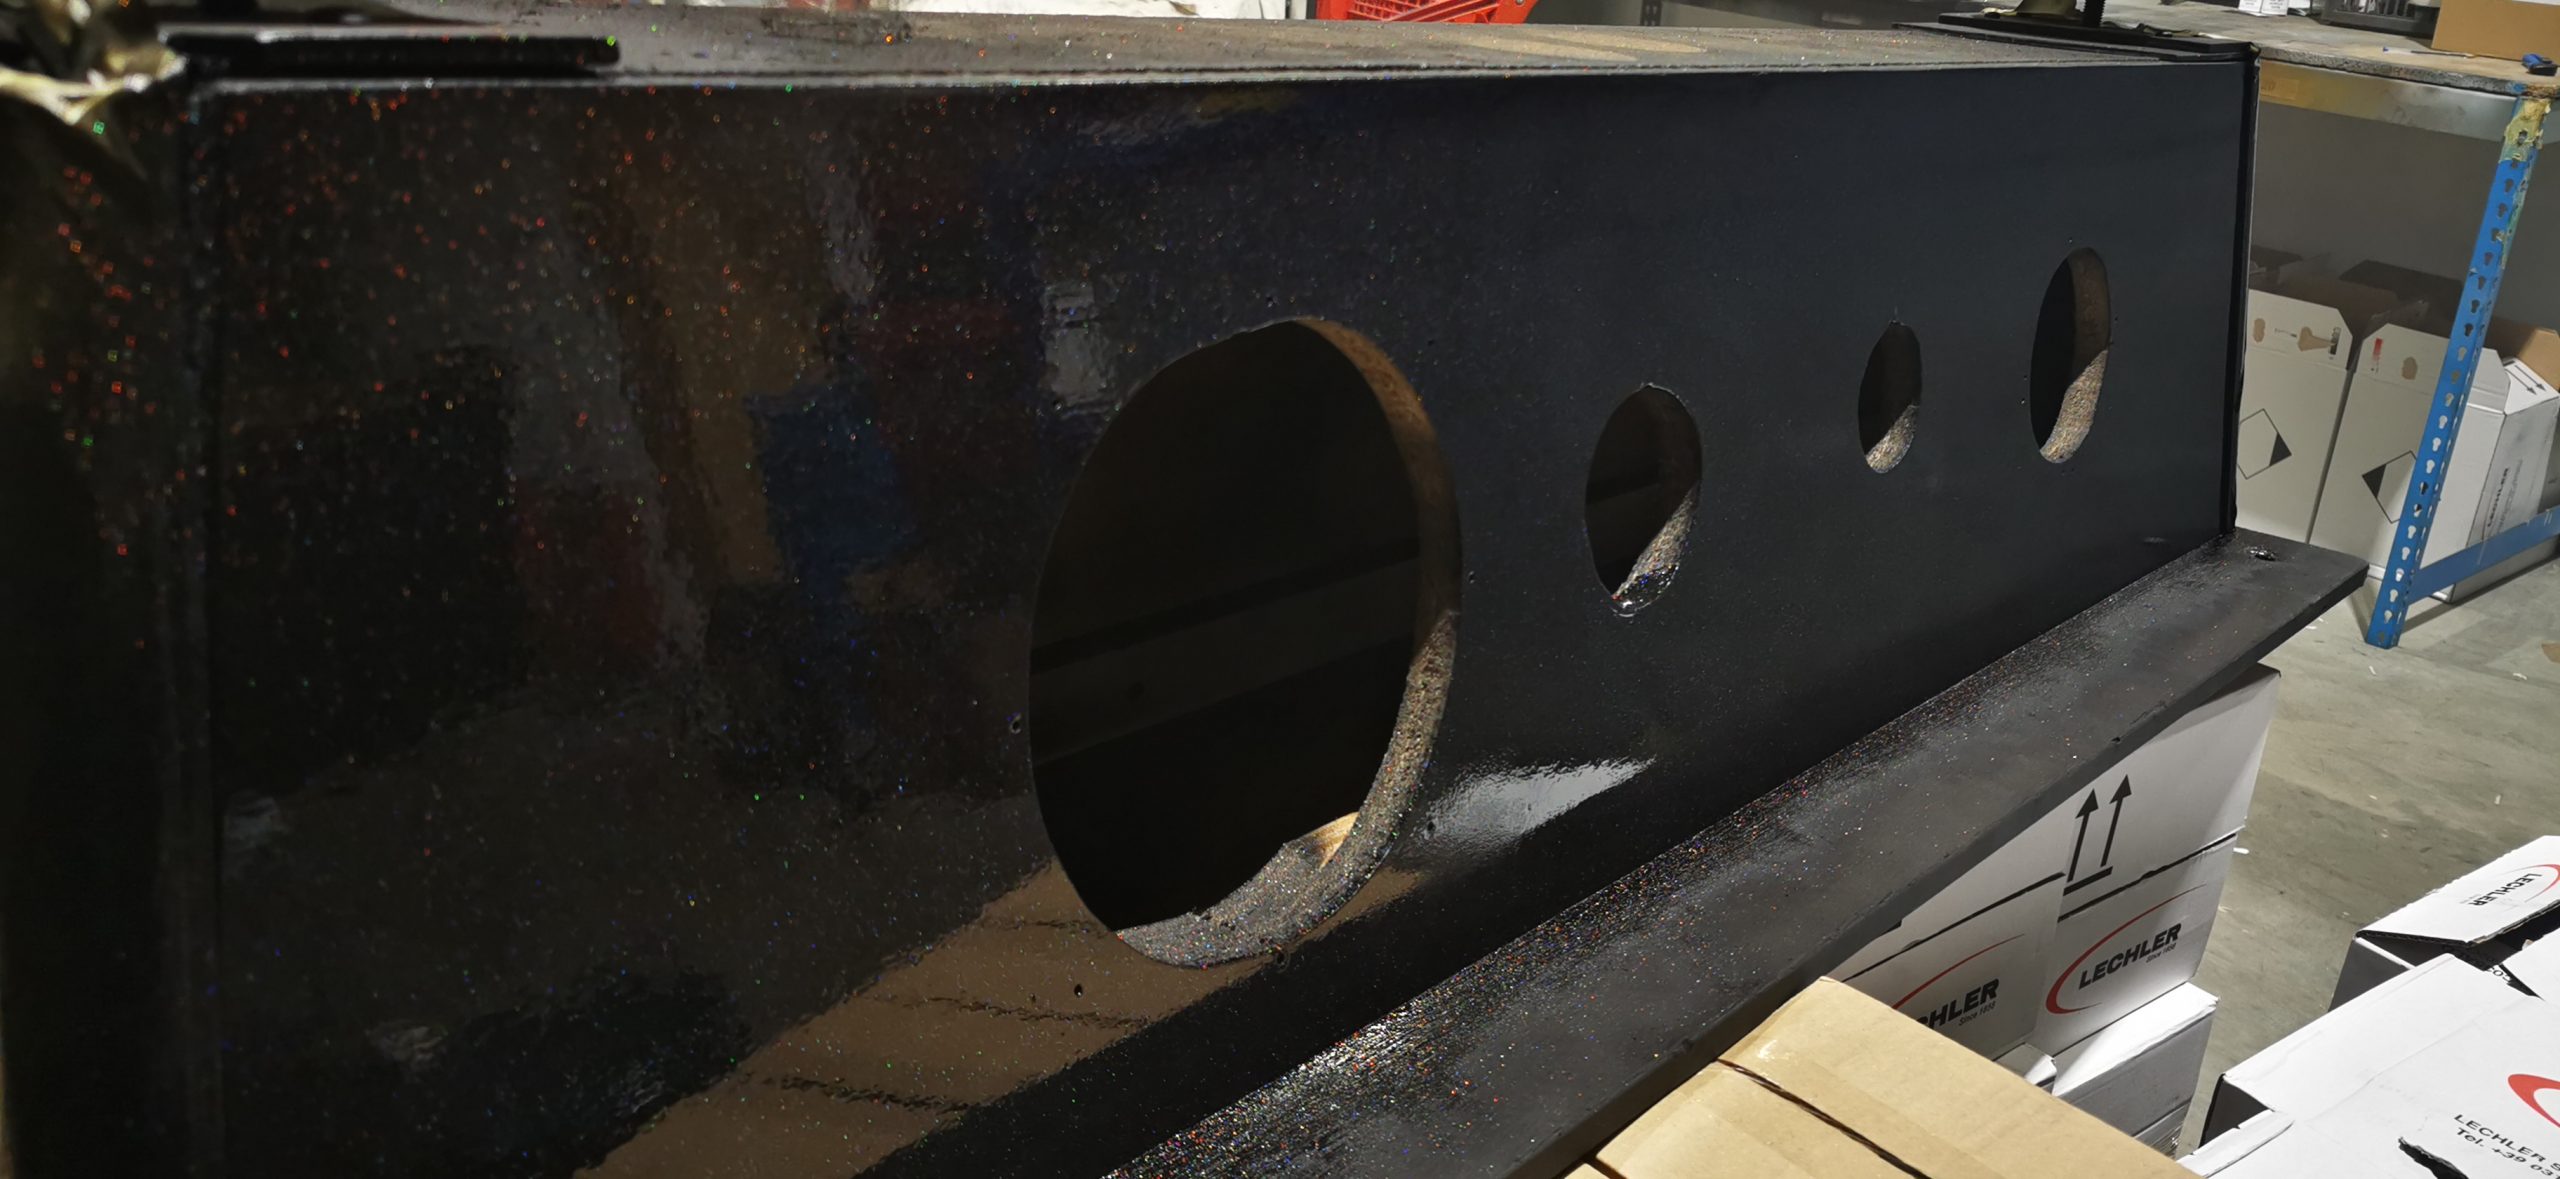
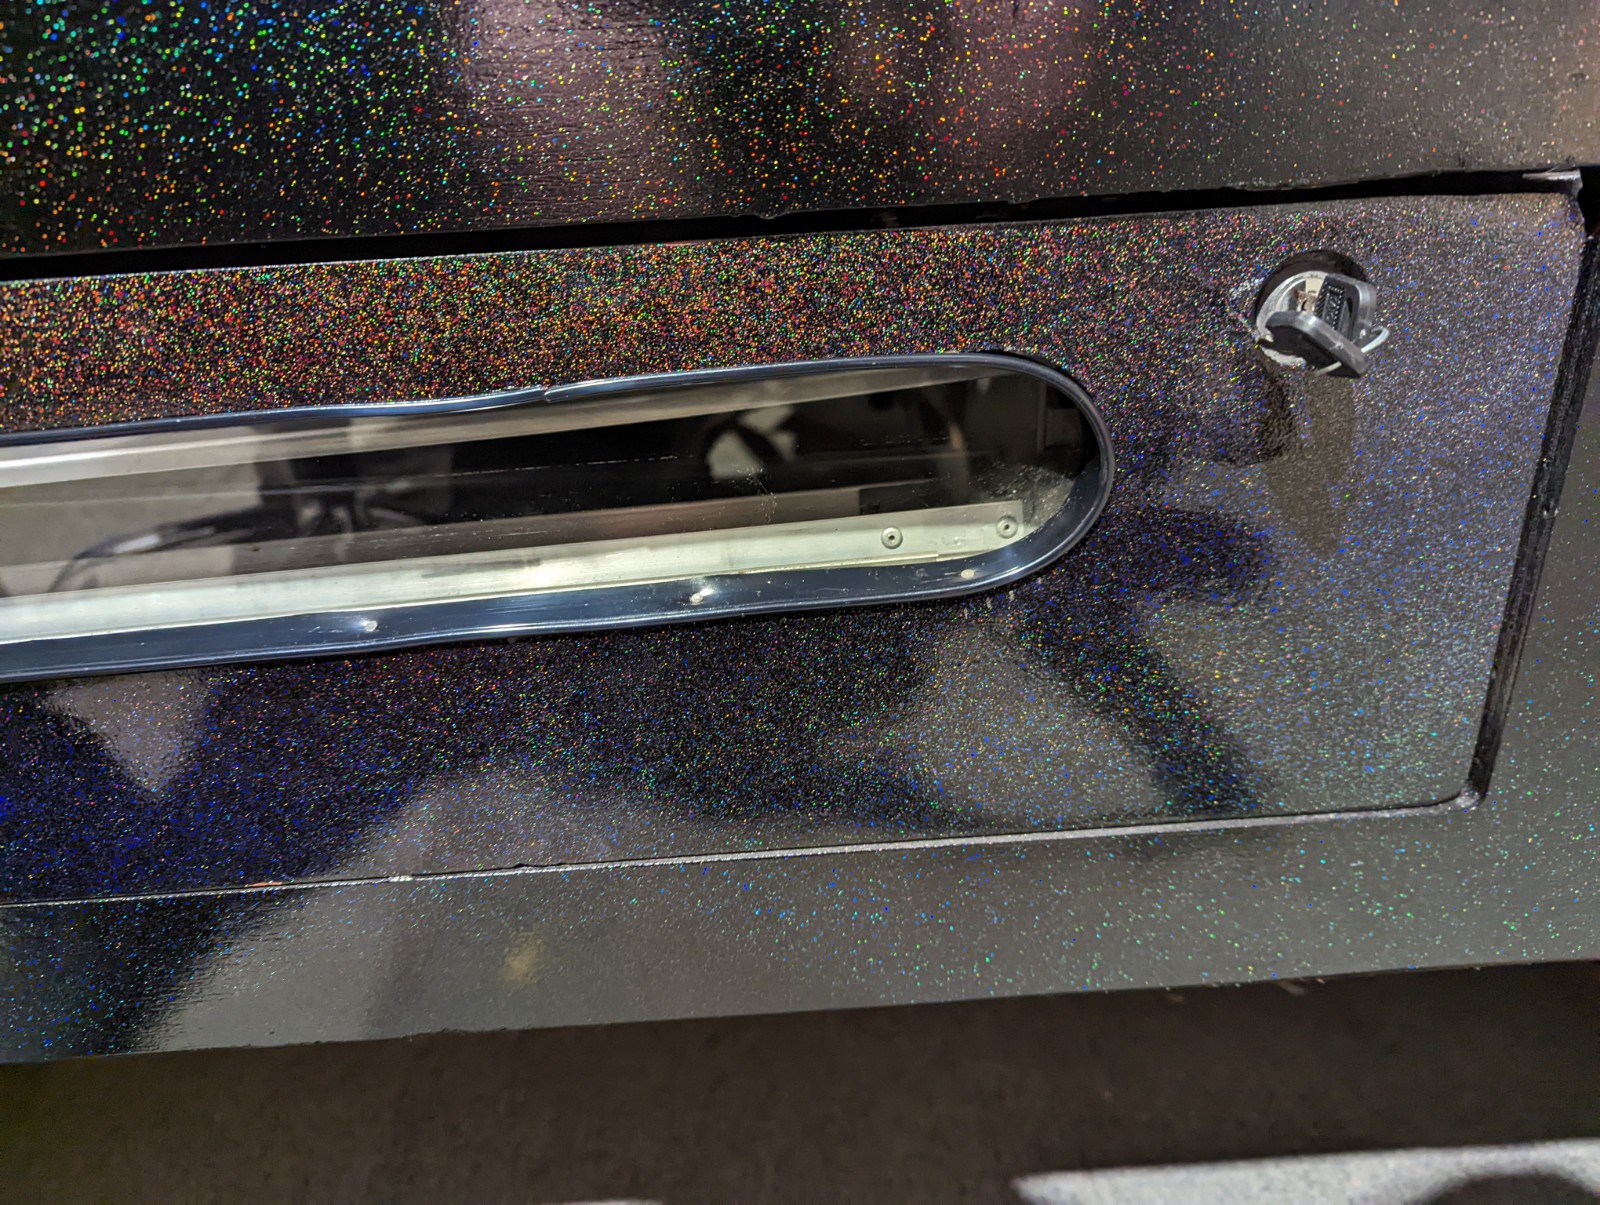
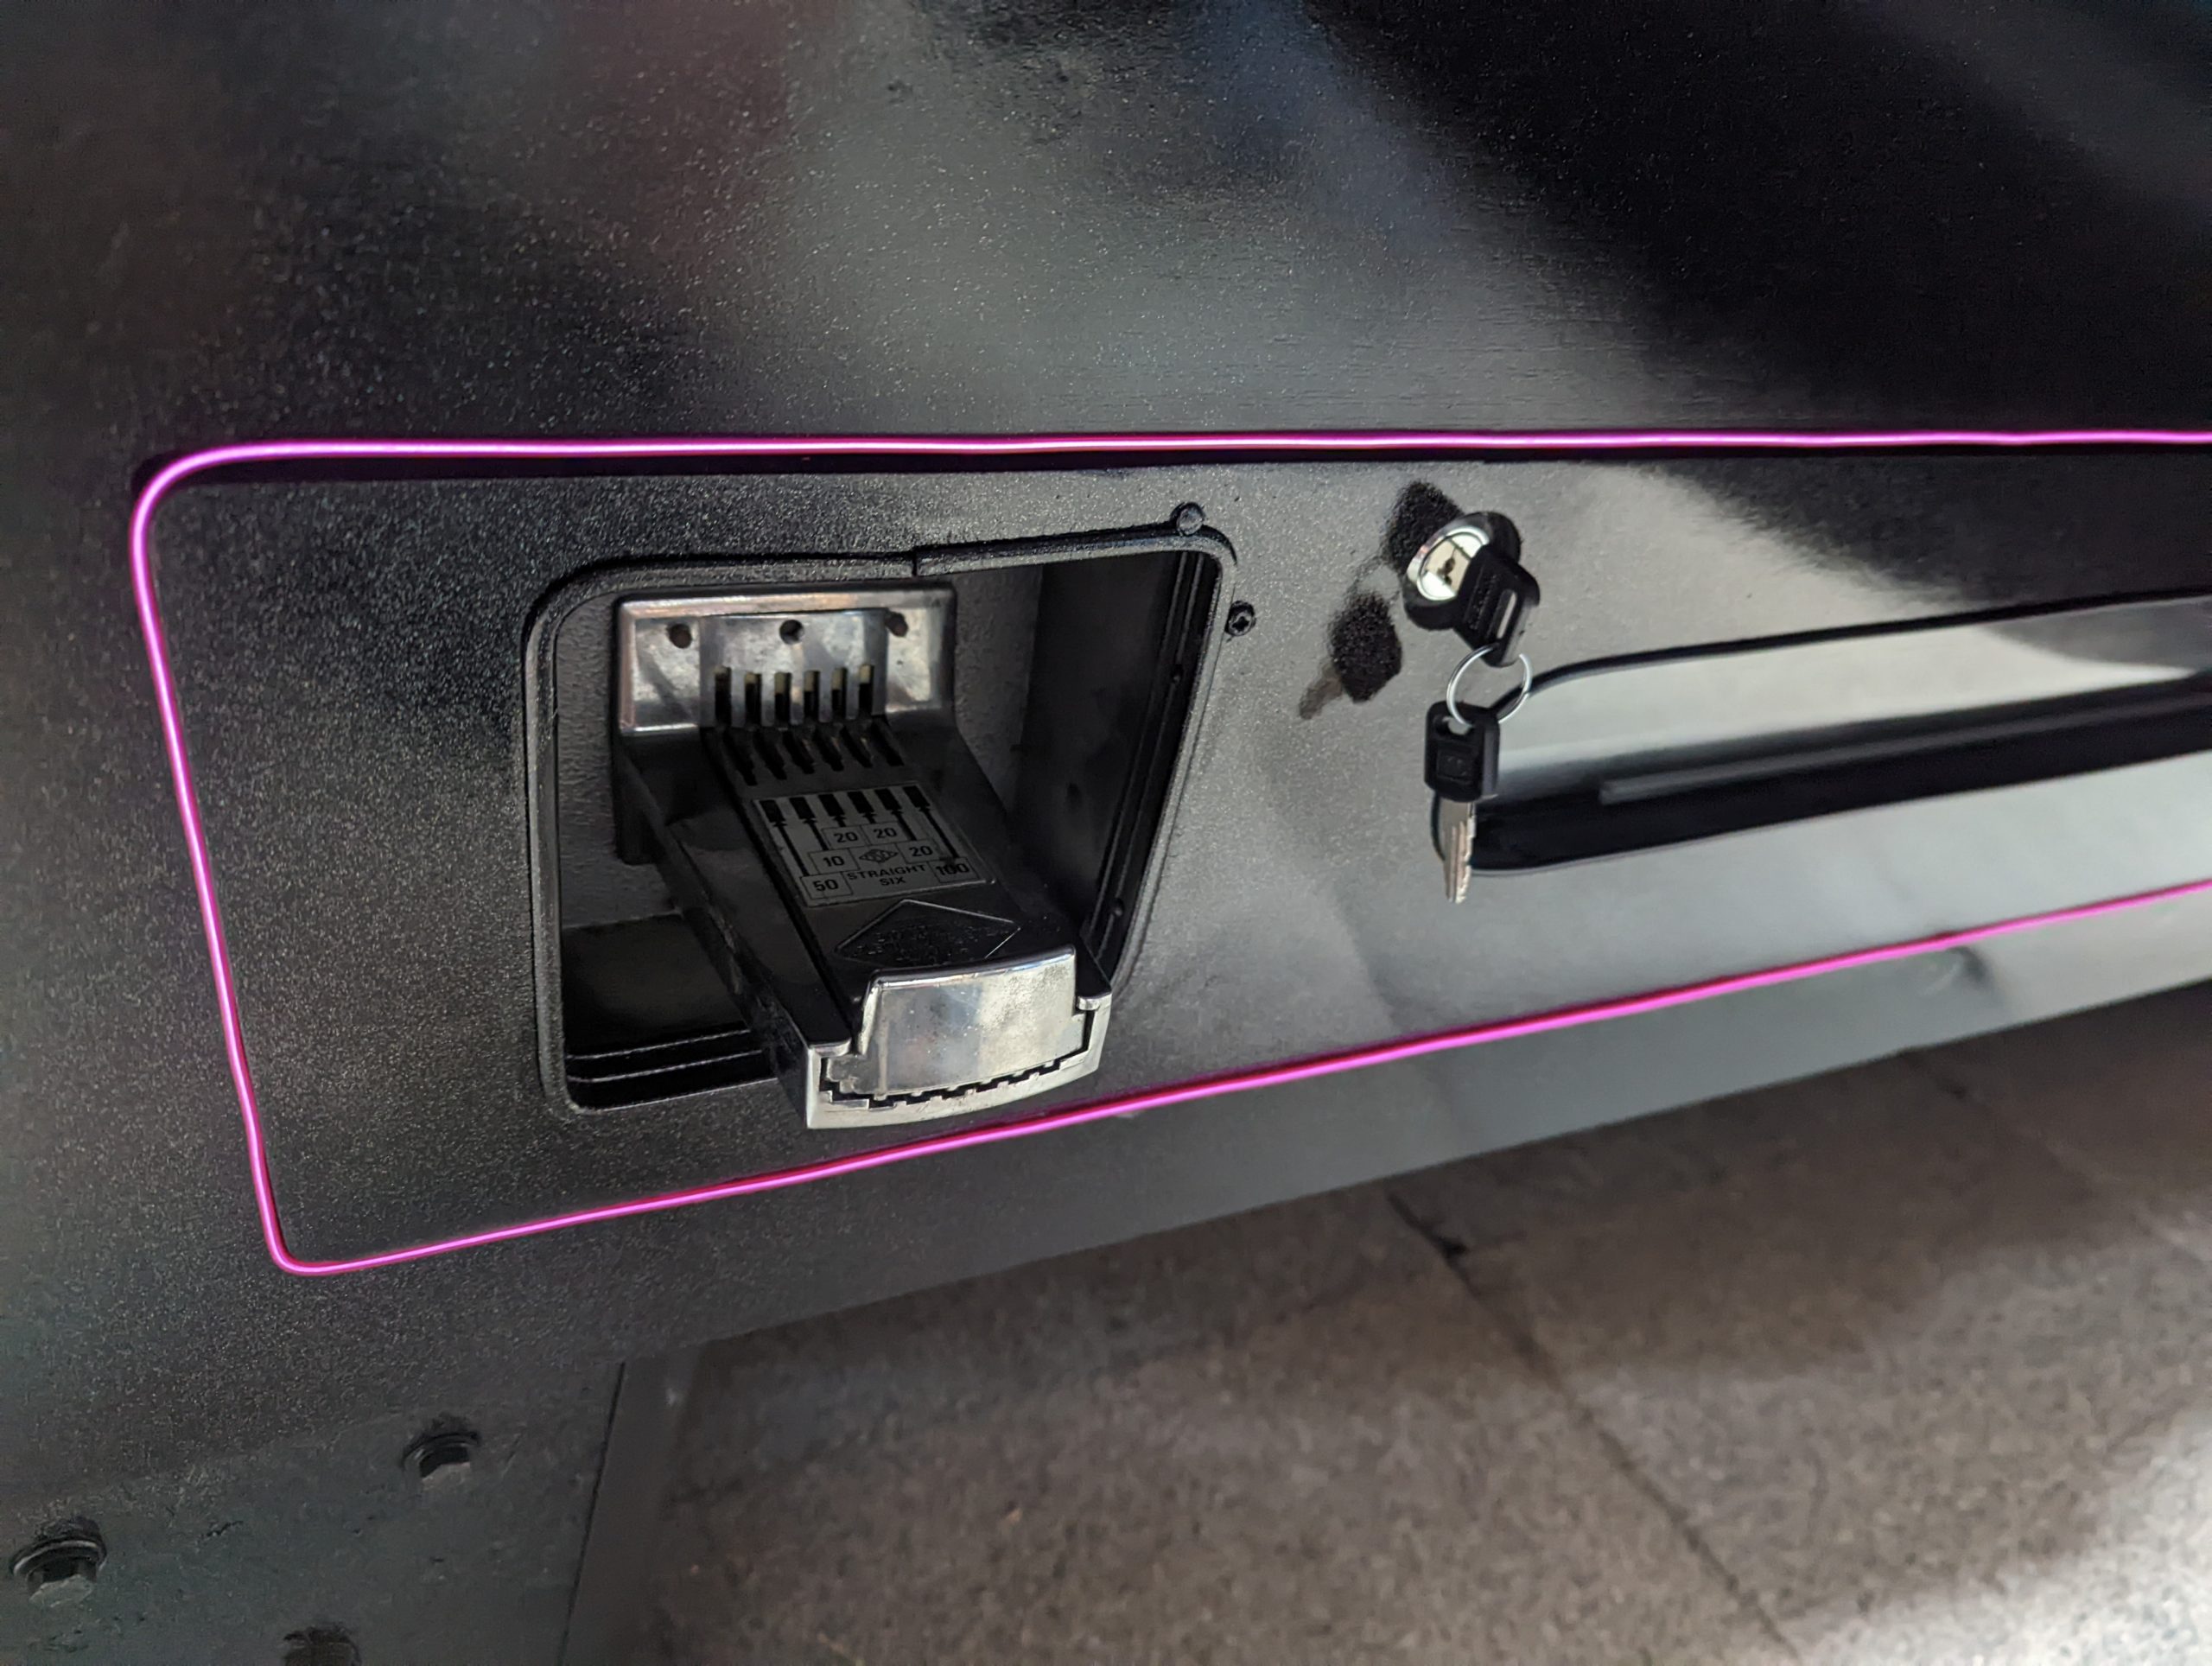
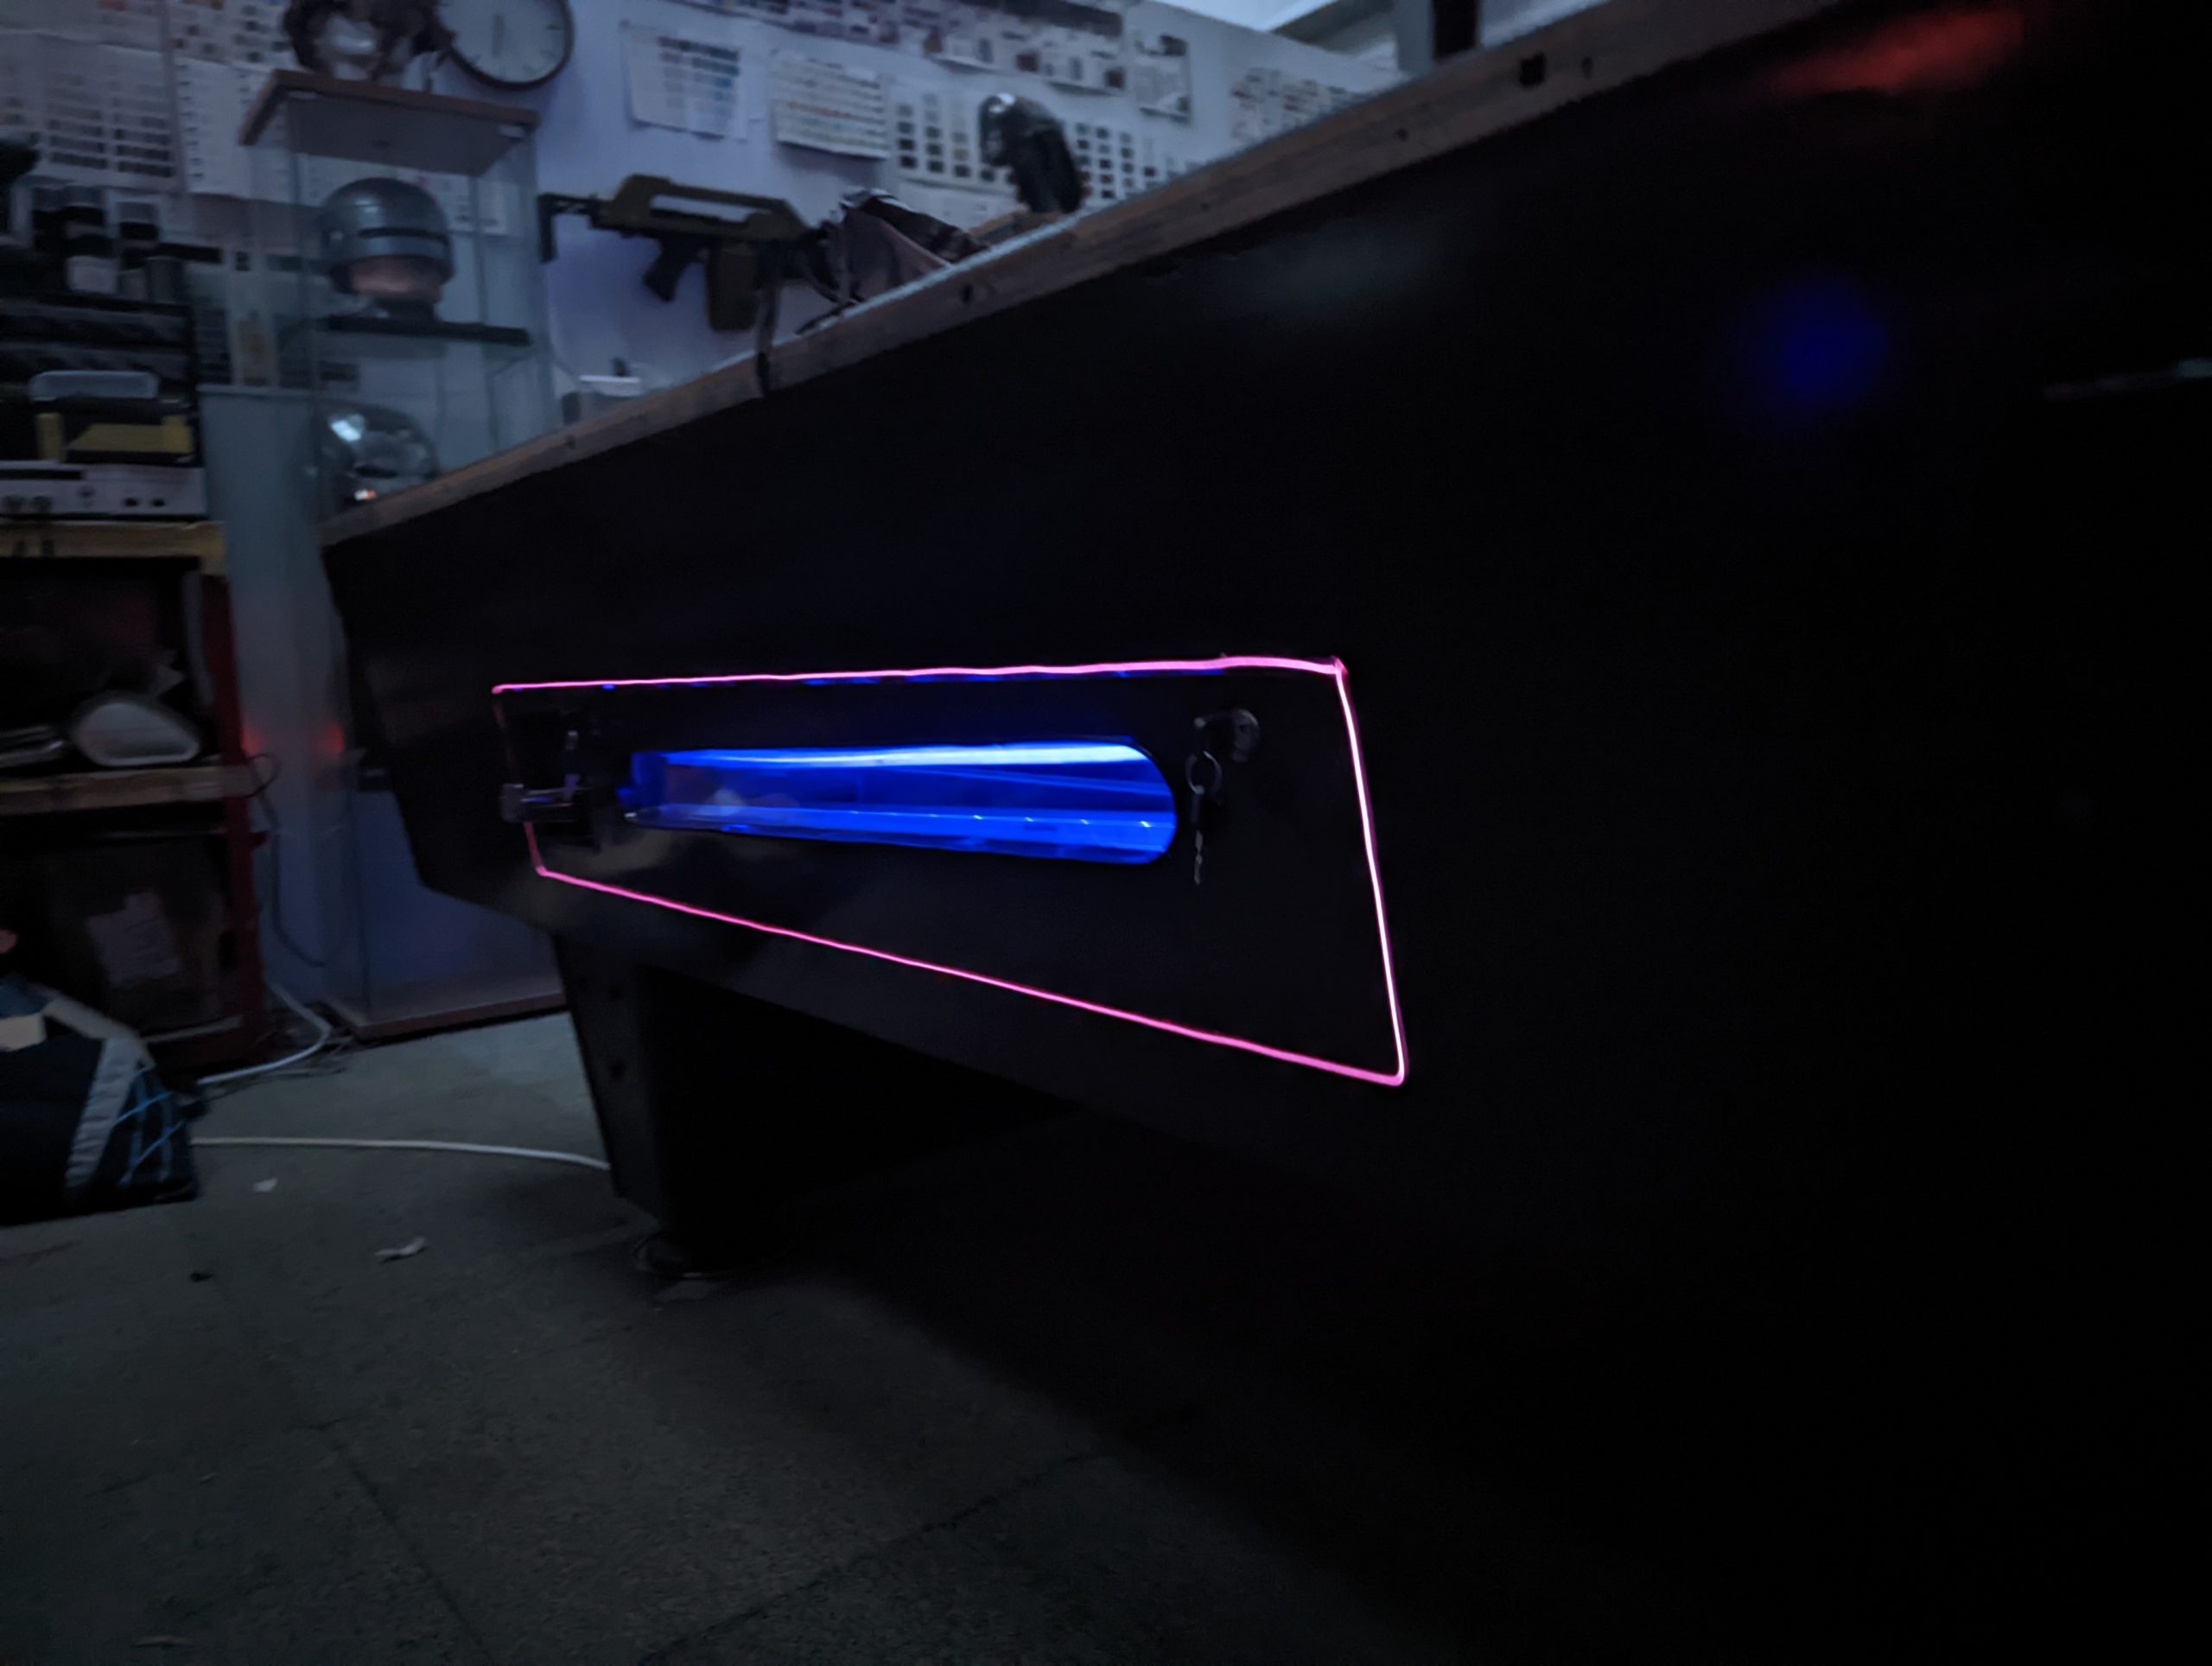
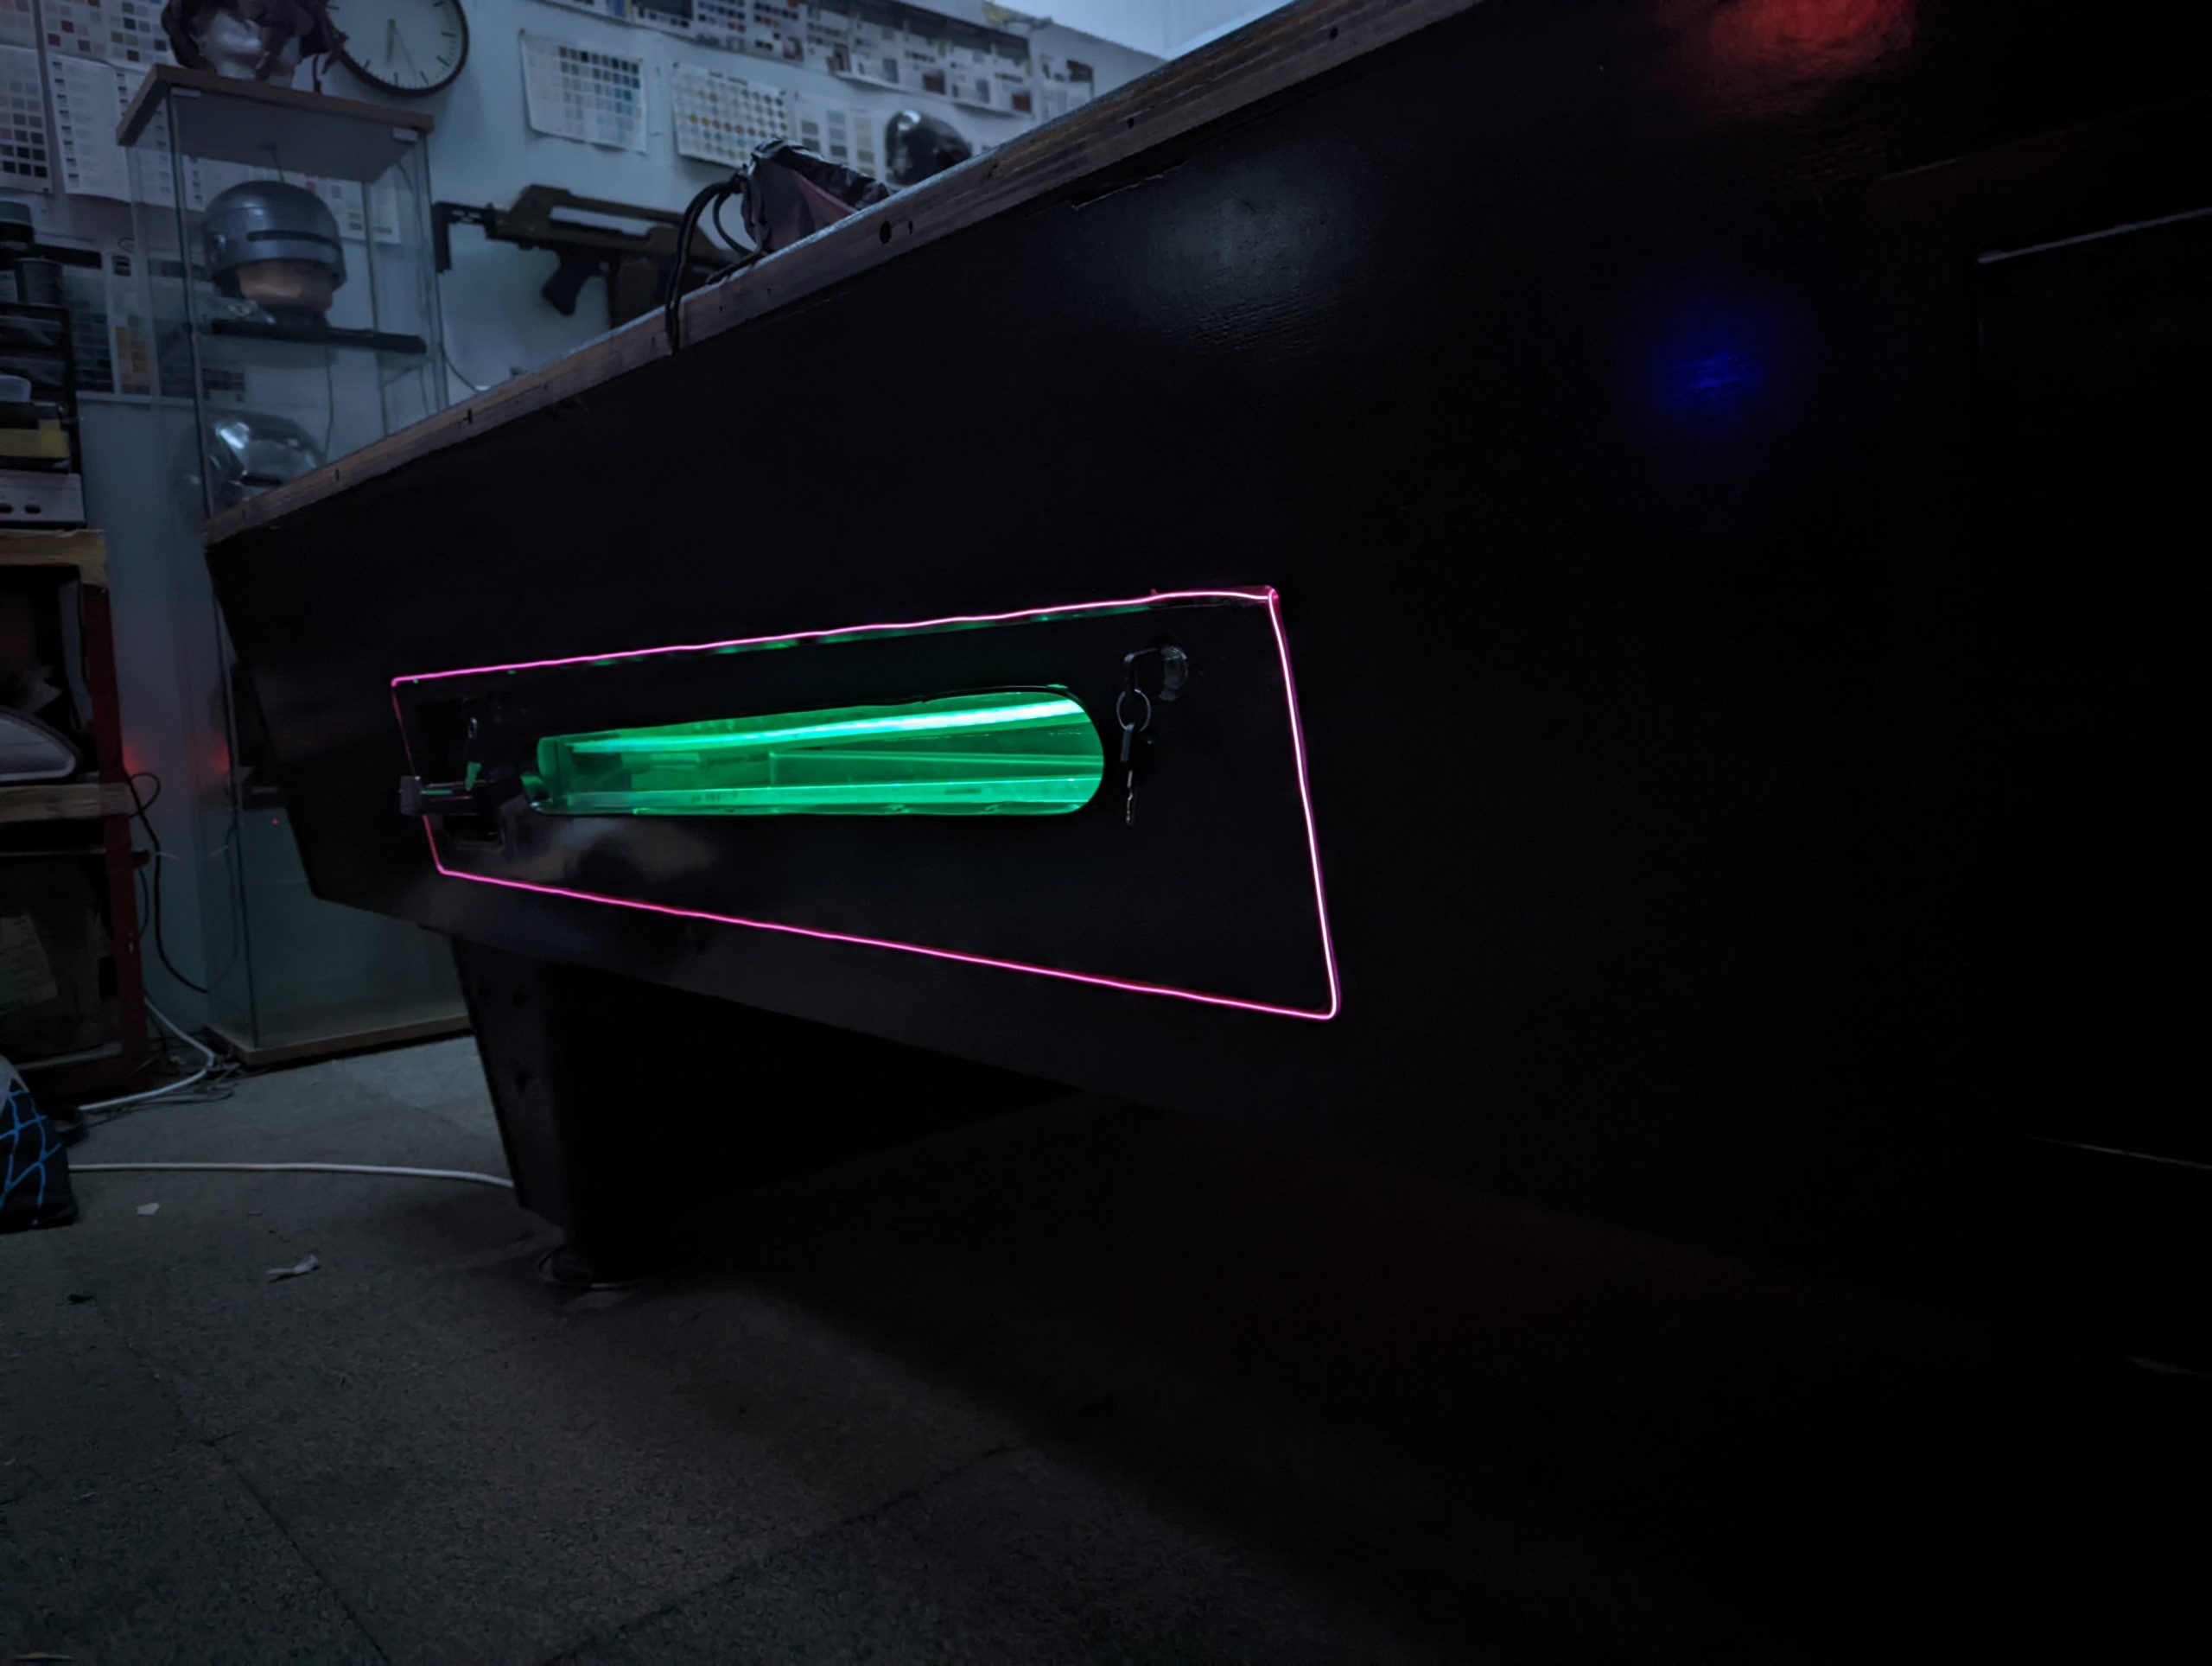
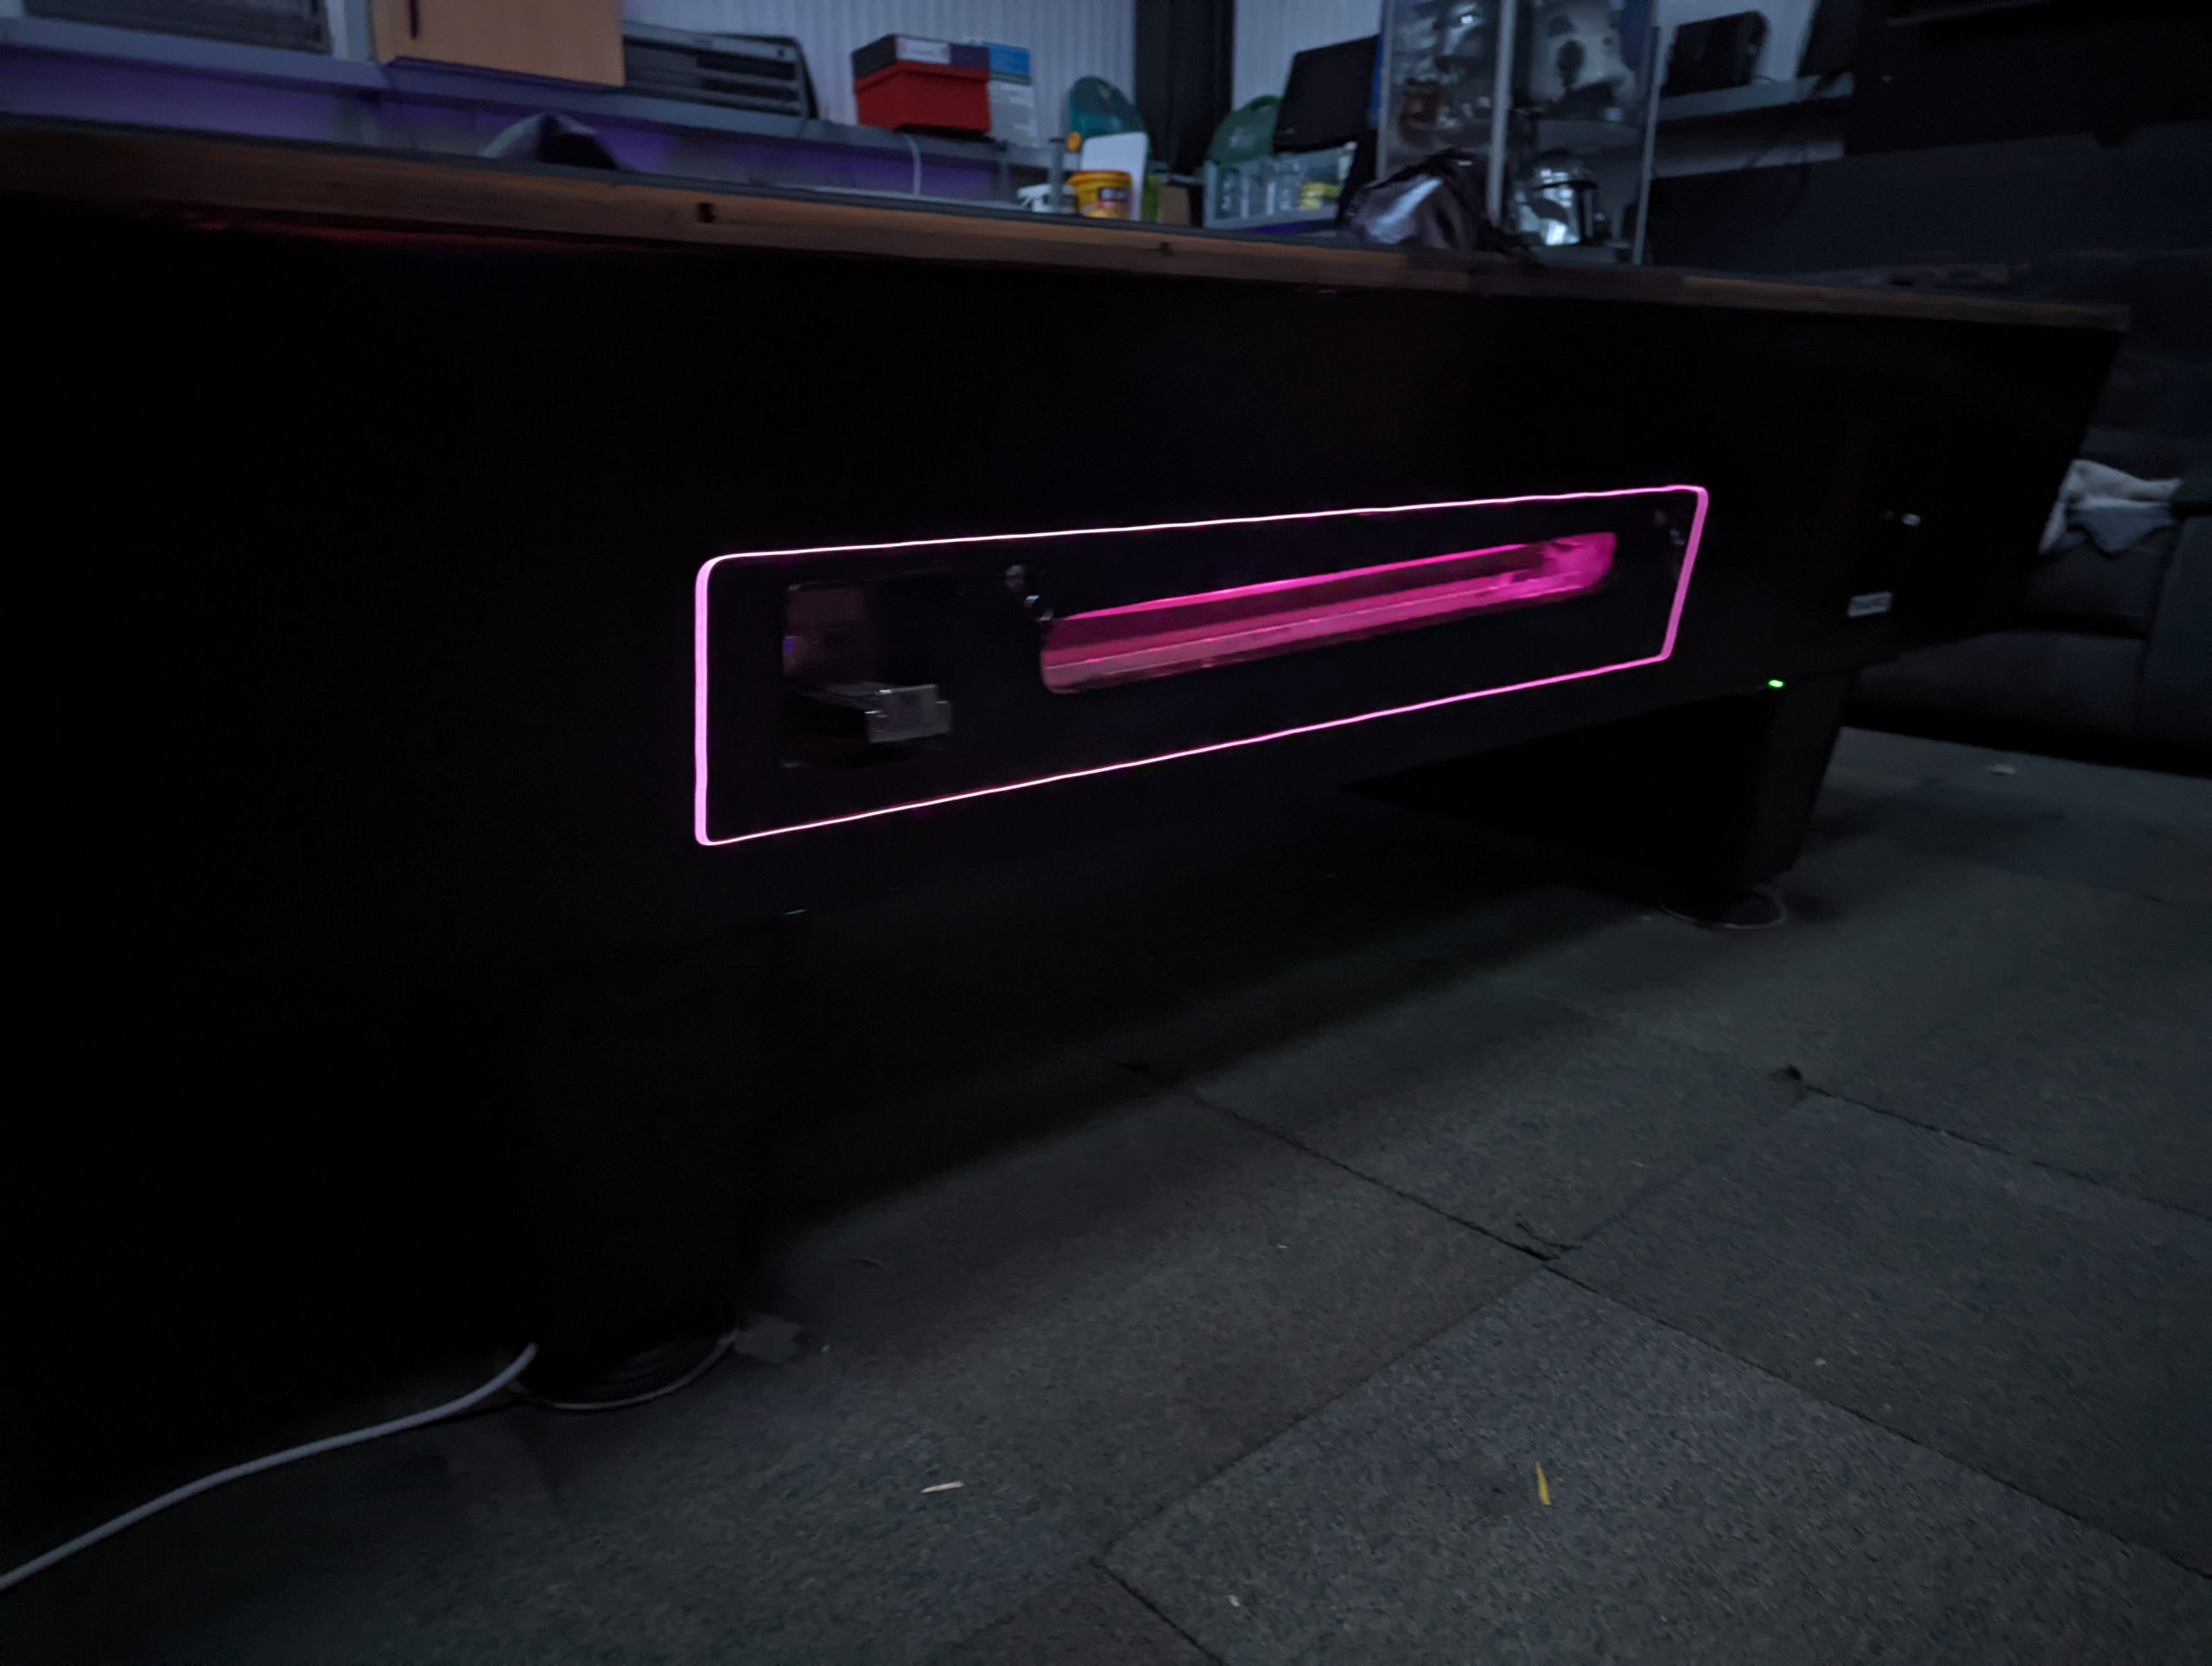
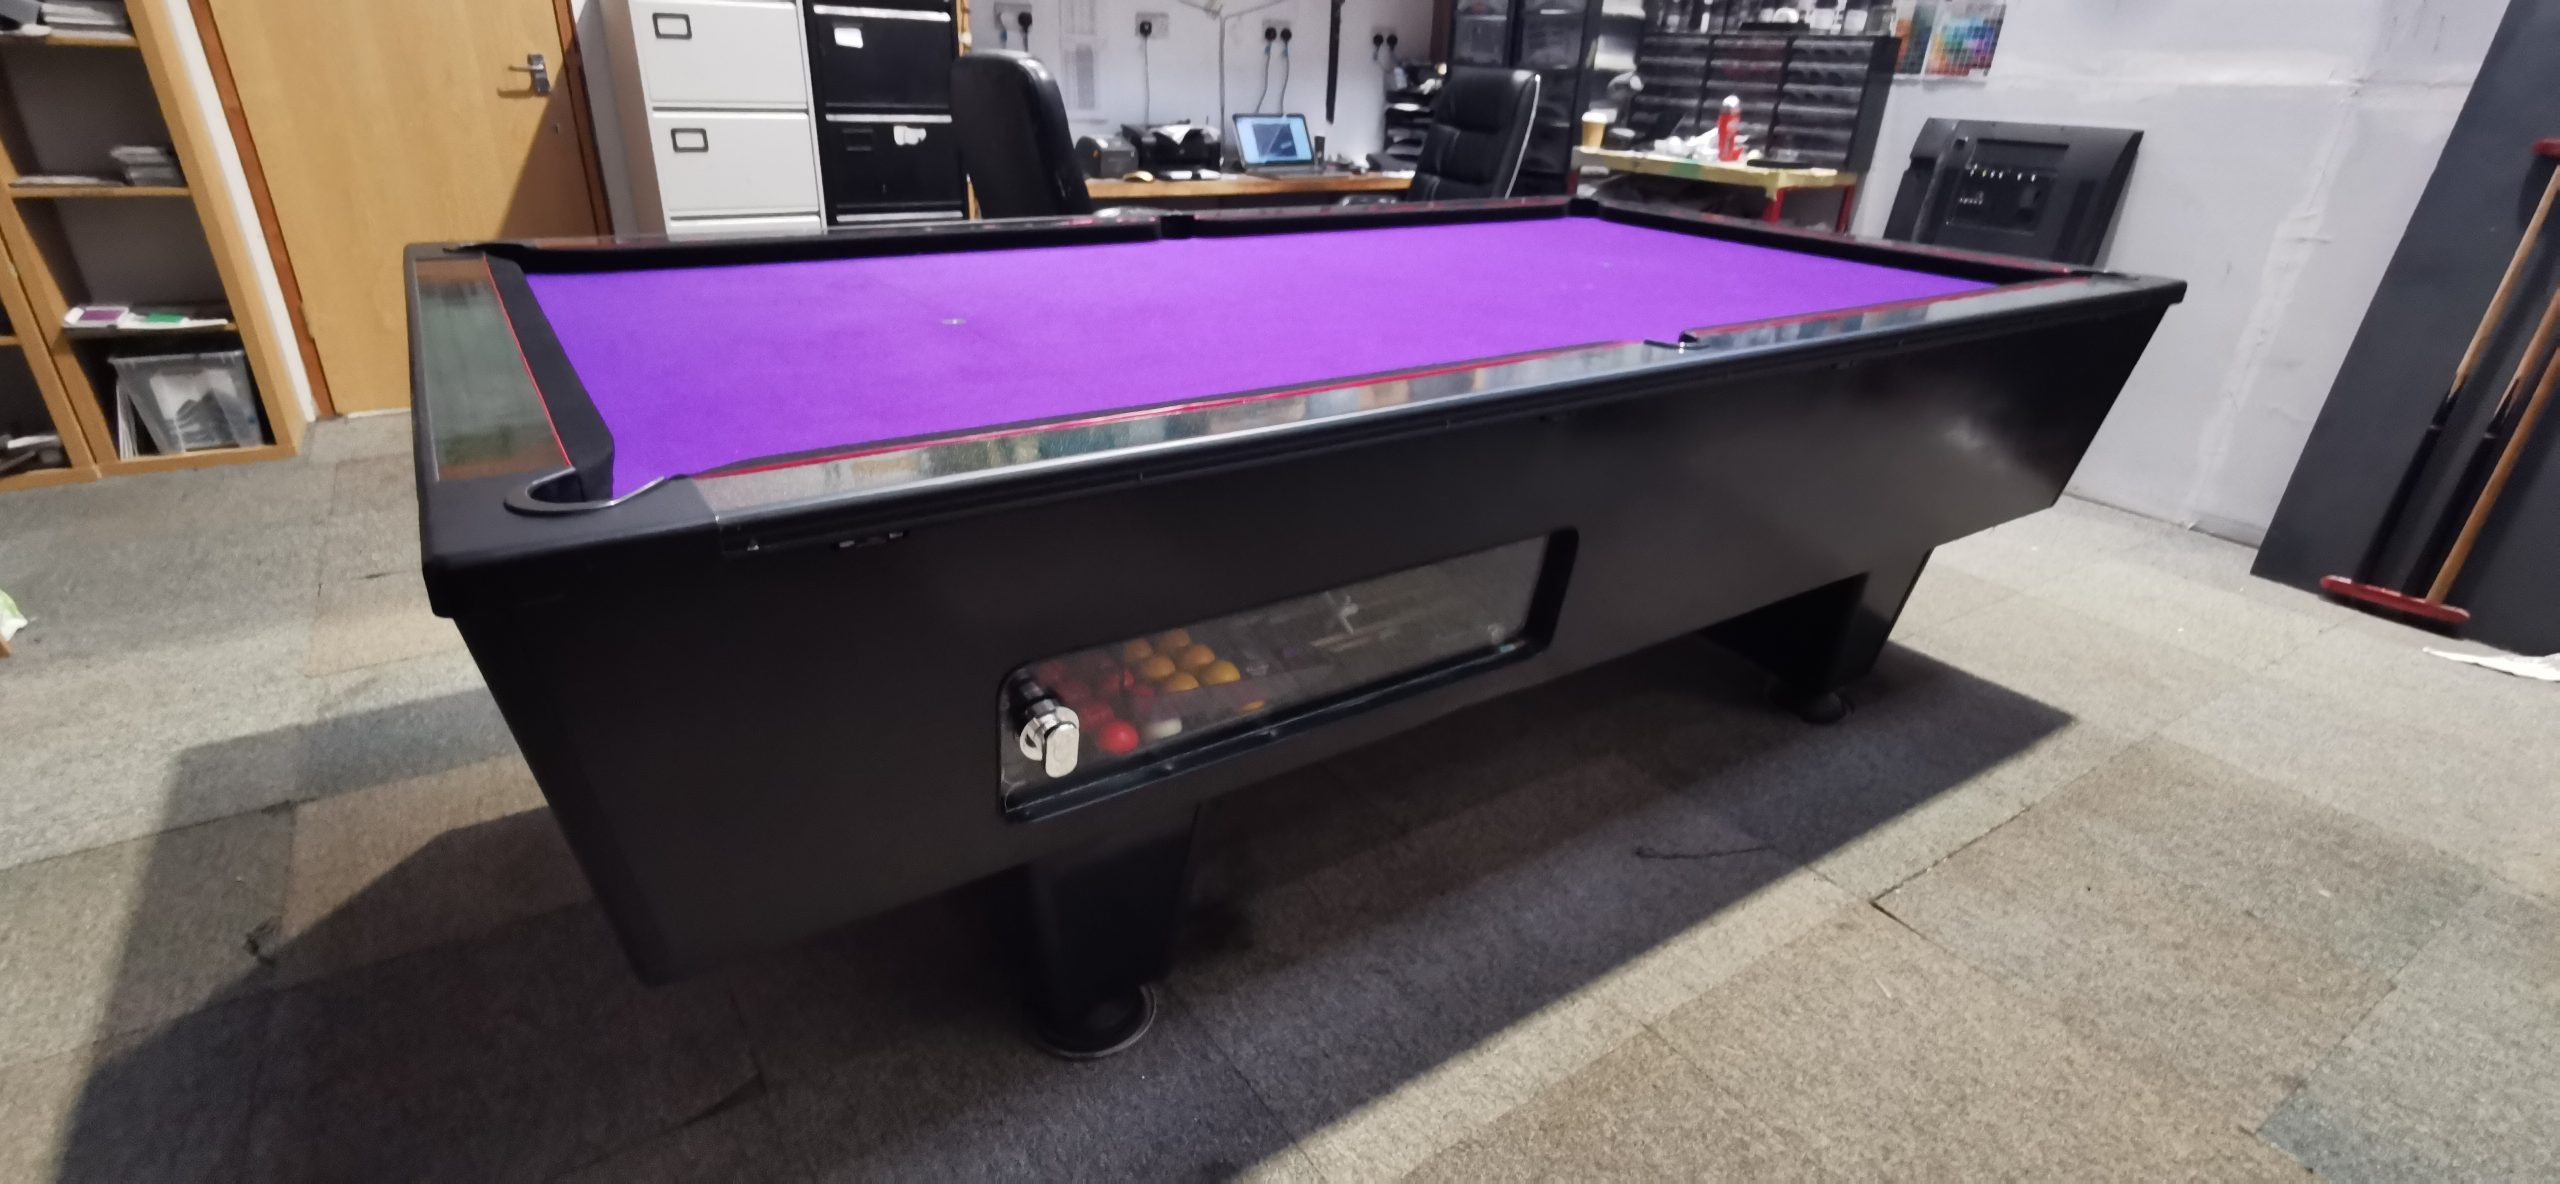
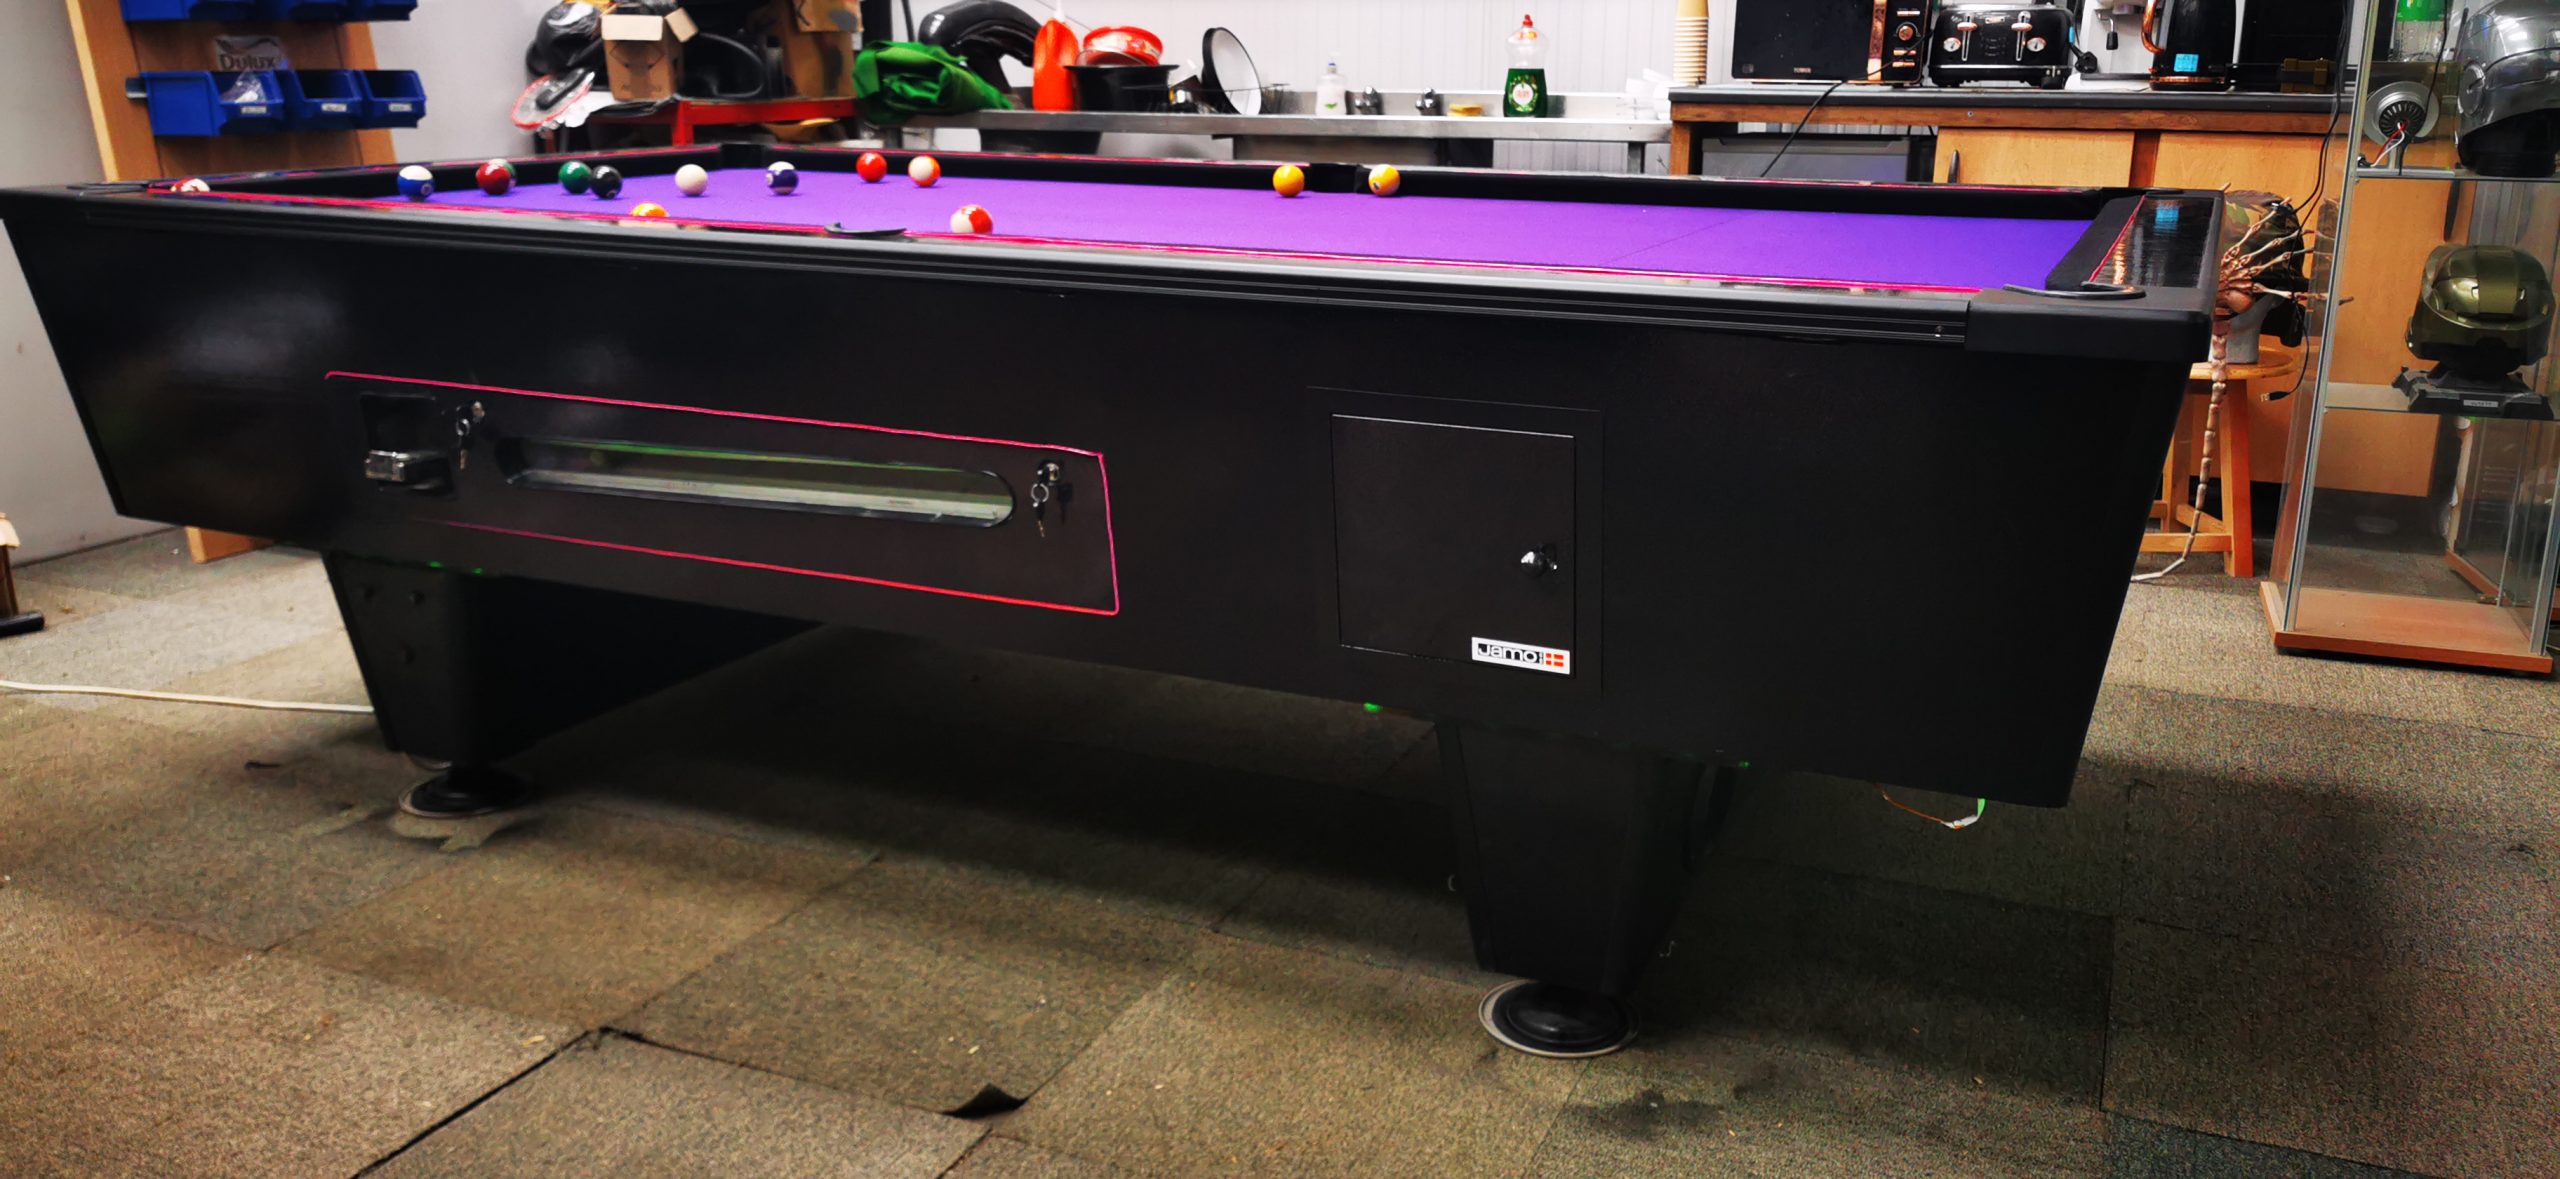
We decided we wanted to replace the existing panel door near the ball release as it was in poor condition. We also opted to cut the existing panel hatch out as we felt it looked out of place on the table. This was replaced with an enlarged panel to remove the existing bolt holes.
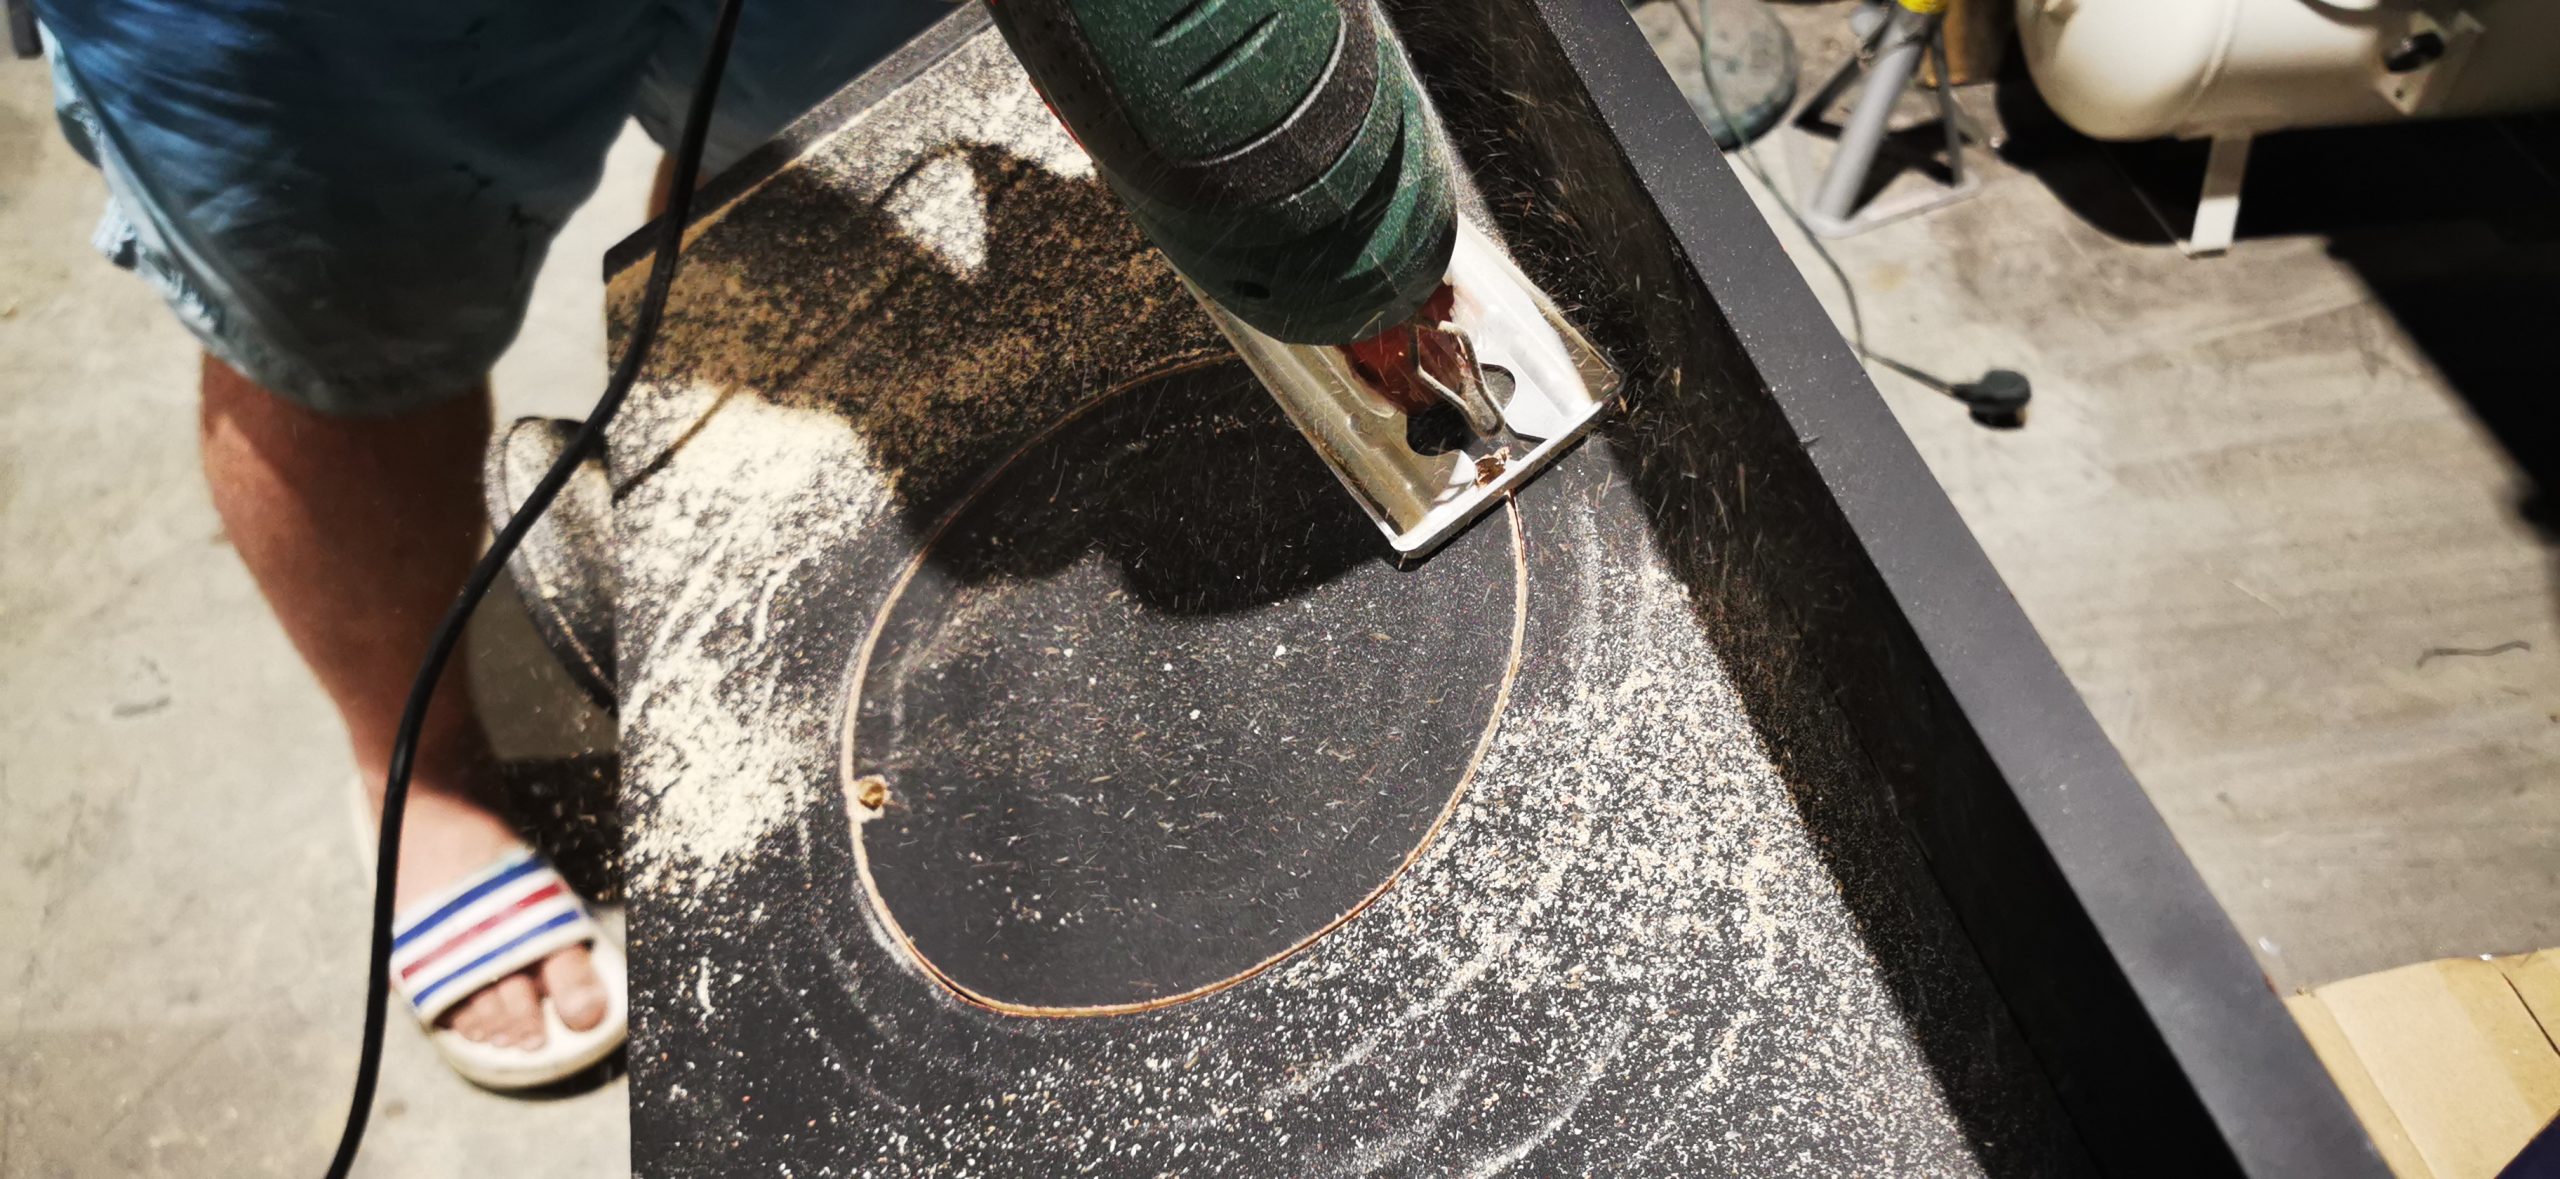
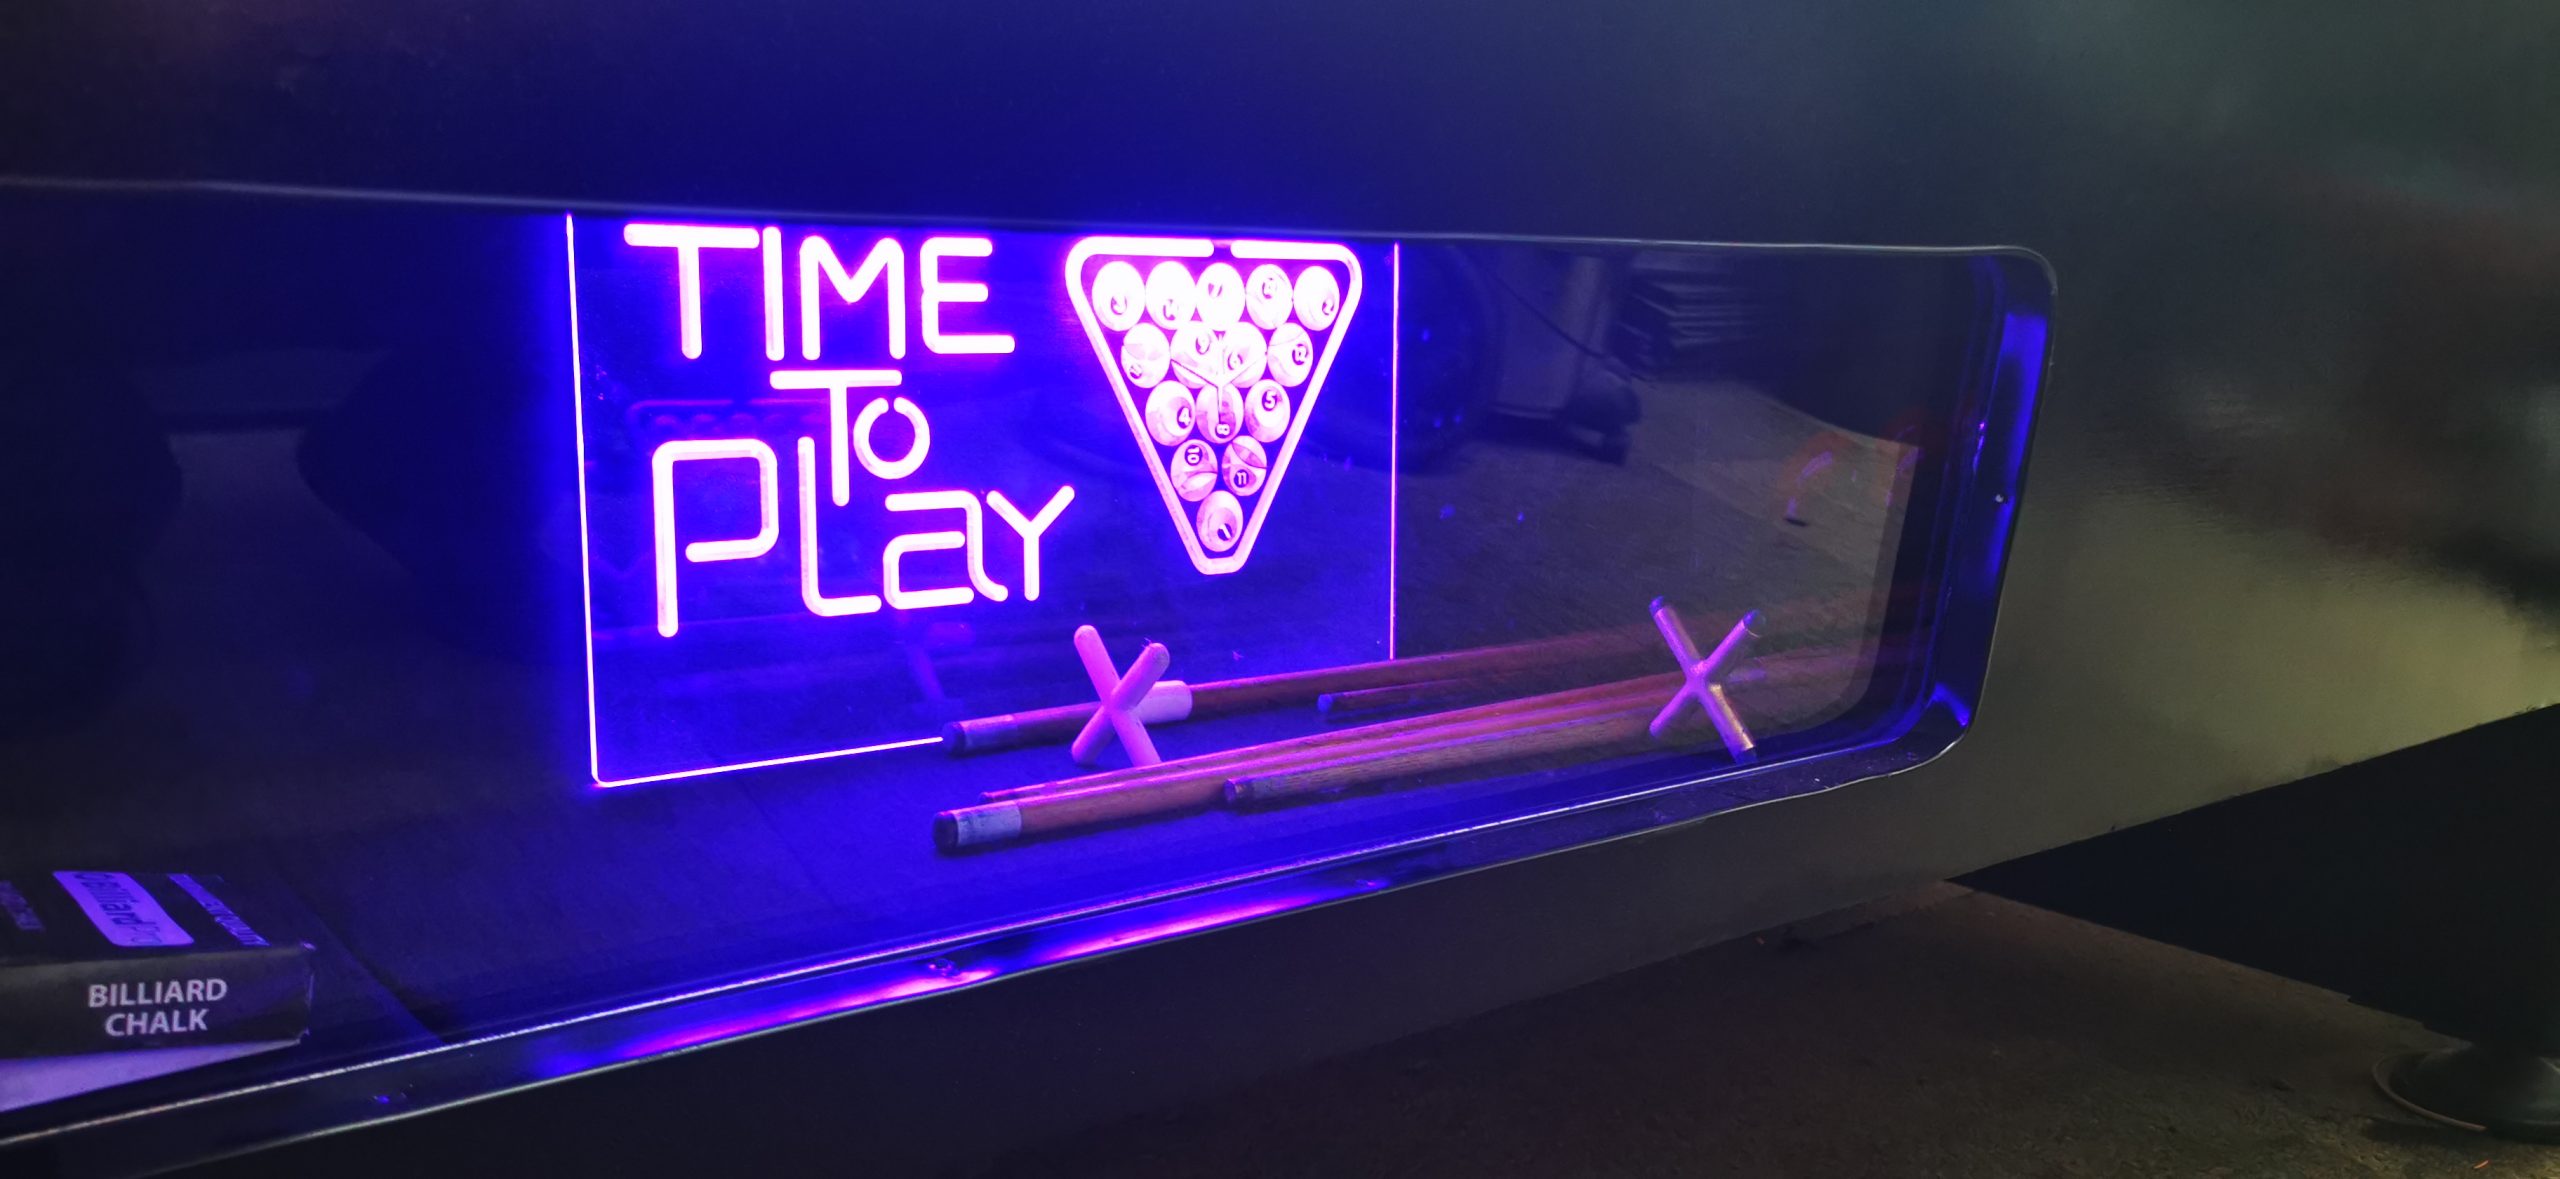
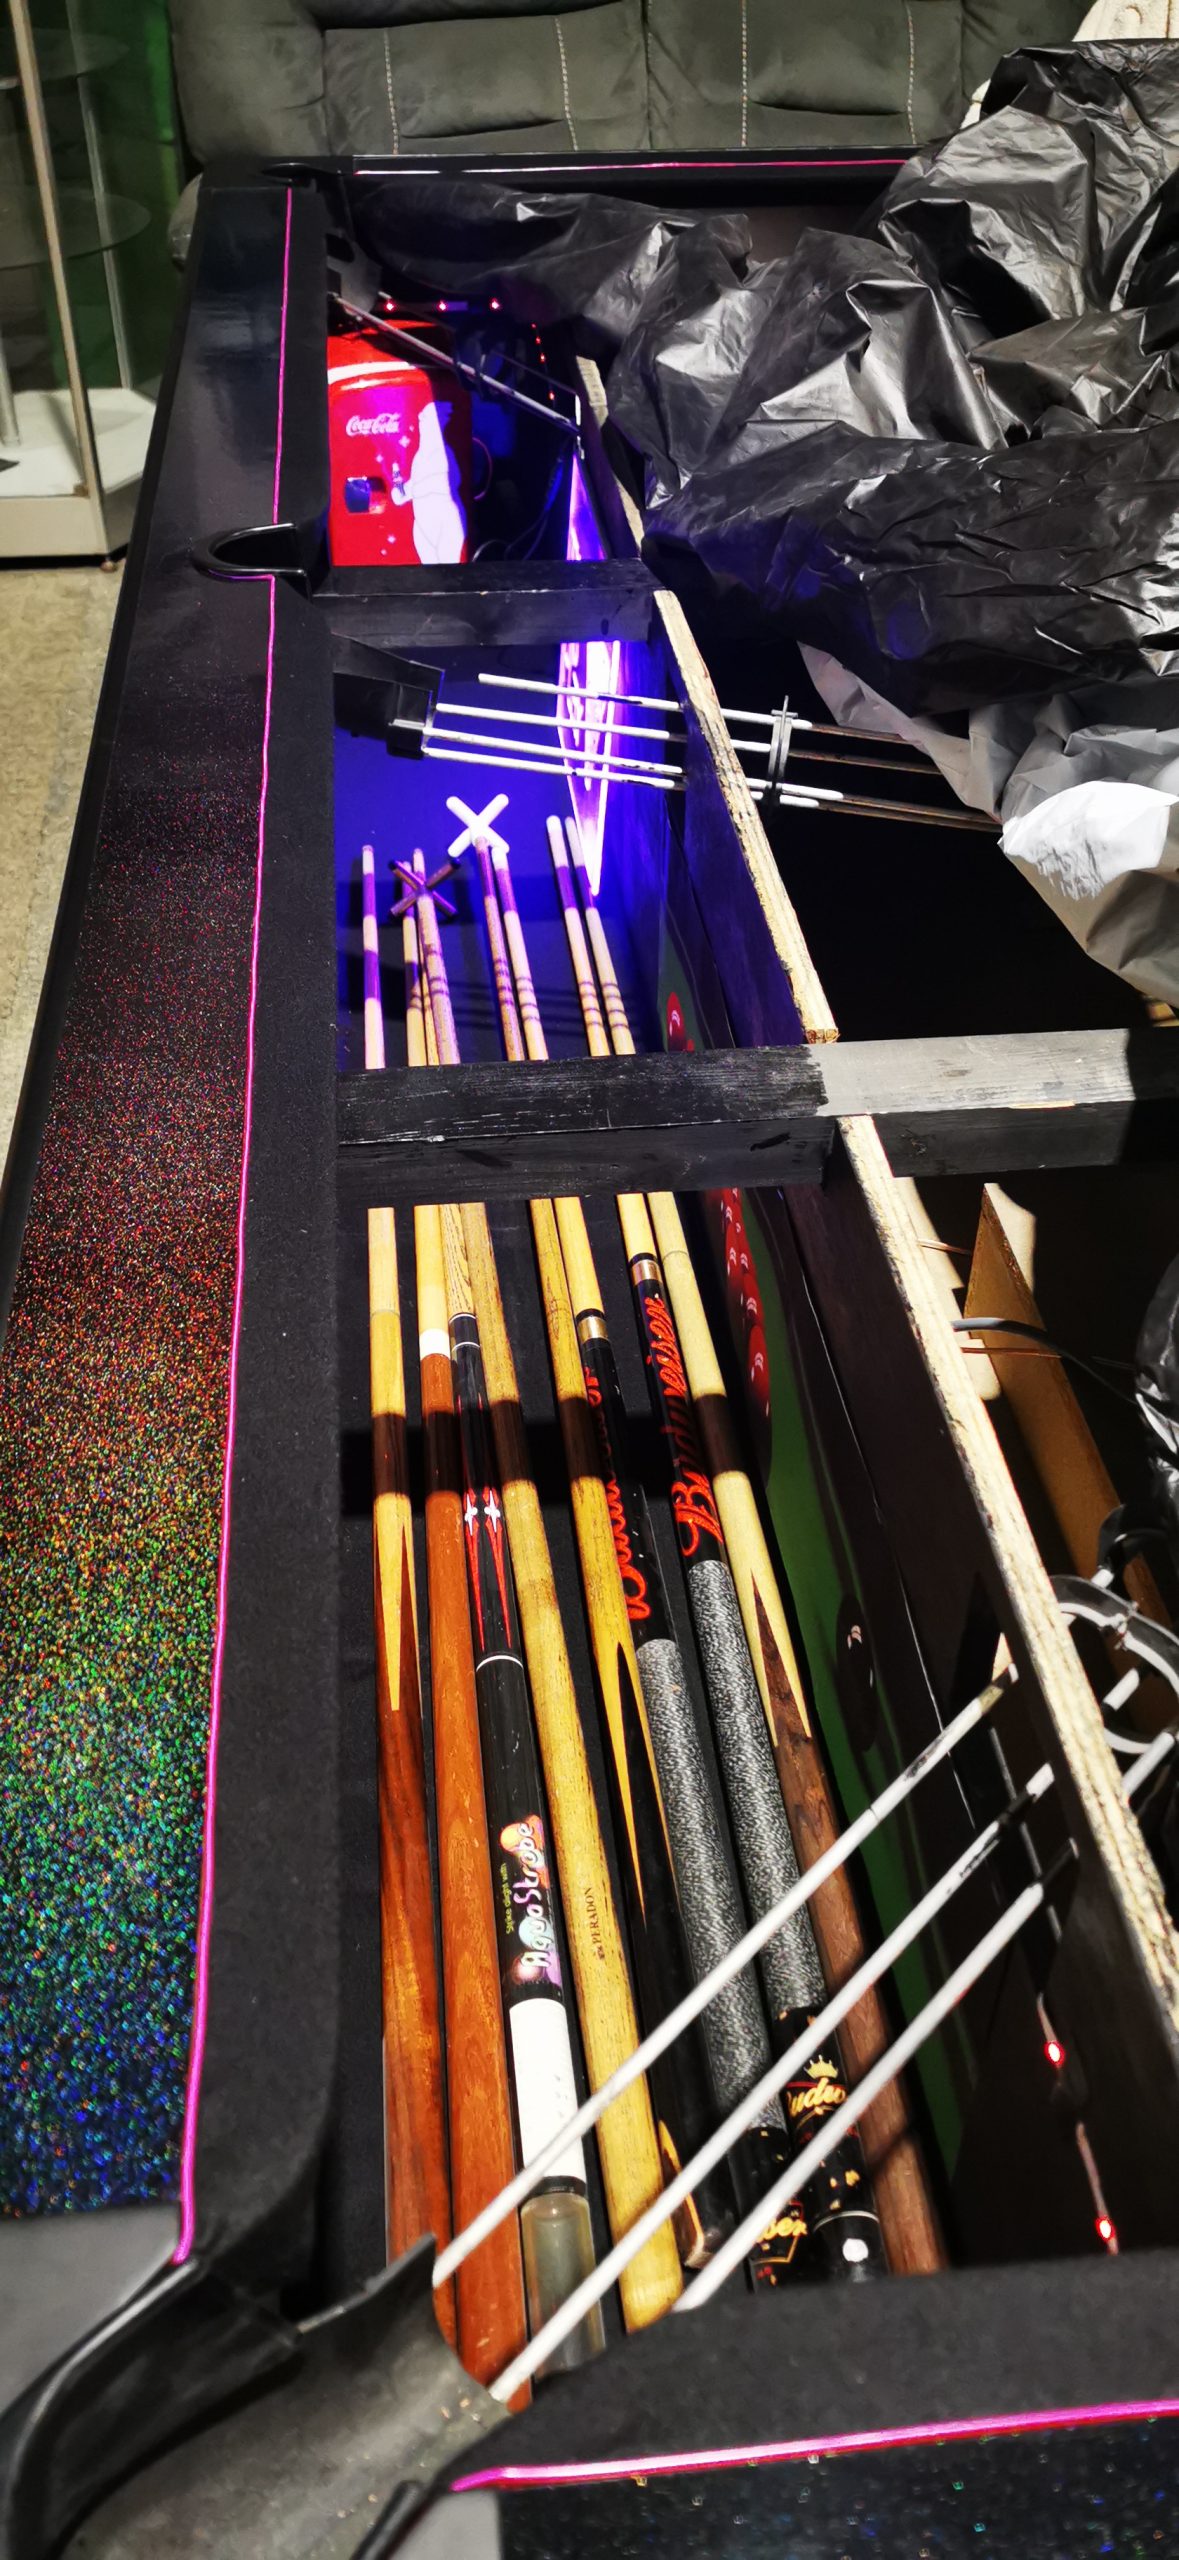
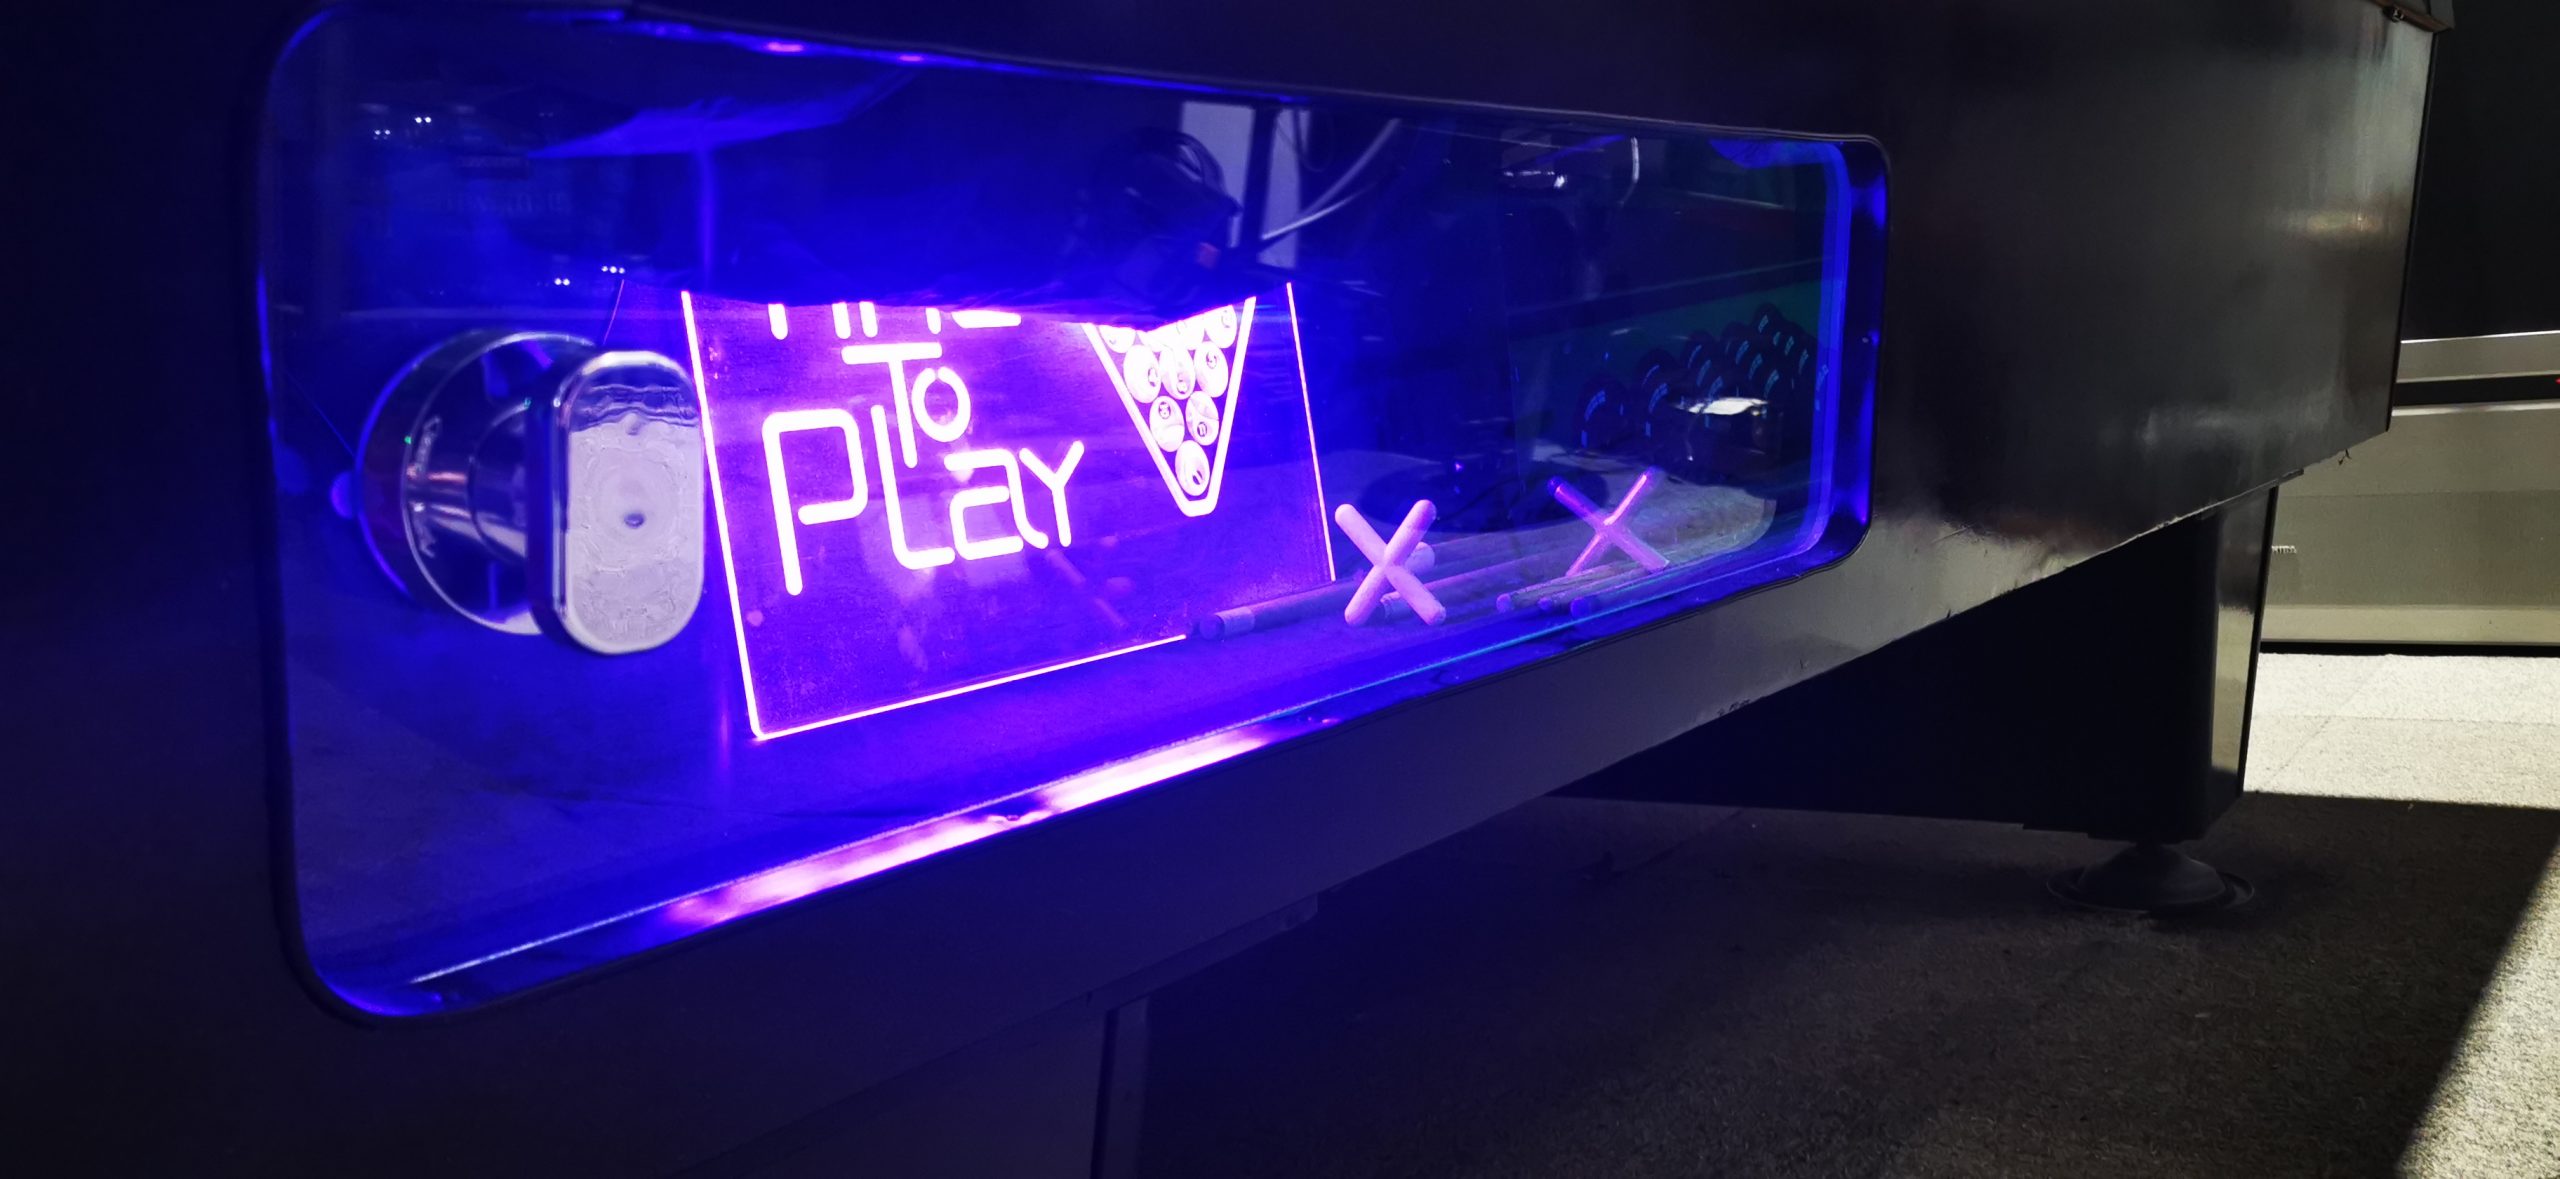
A professional carpenter was then called in to accurately cut out a window into the other side of the table so we could store all the cues, calks etc. Our carpenter, Nick, cut the window perfectly and mounted the glass panel.
The Paintwork:
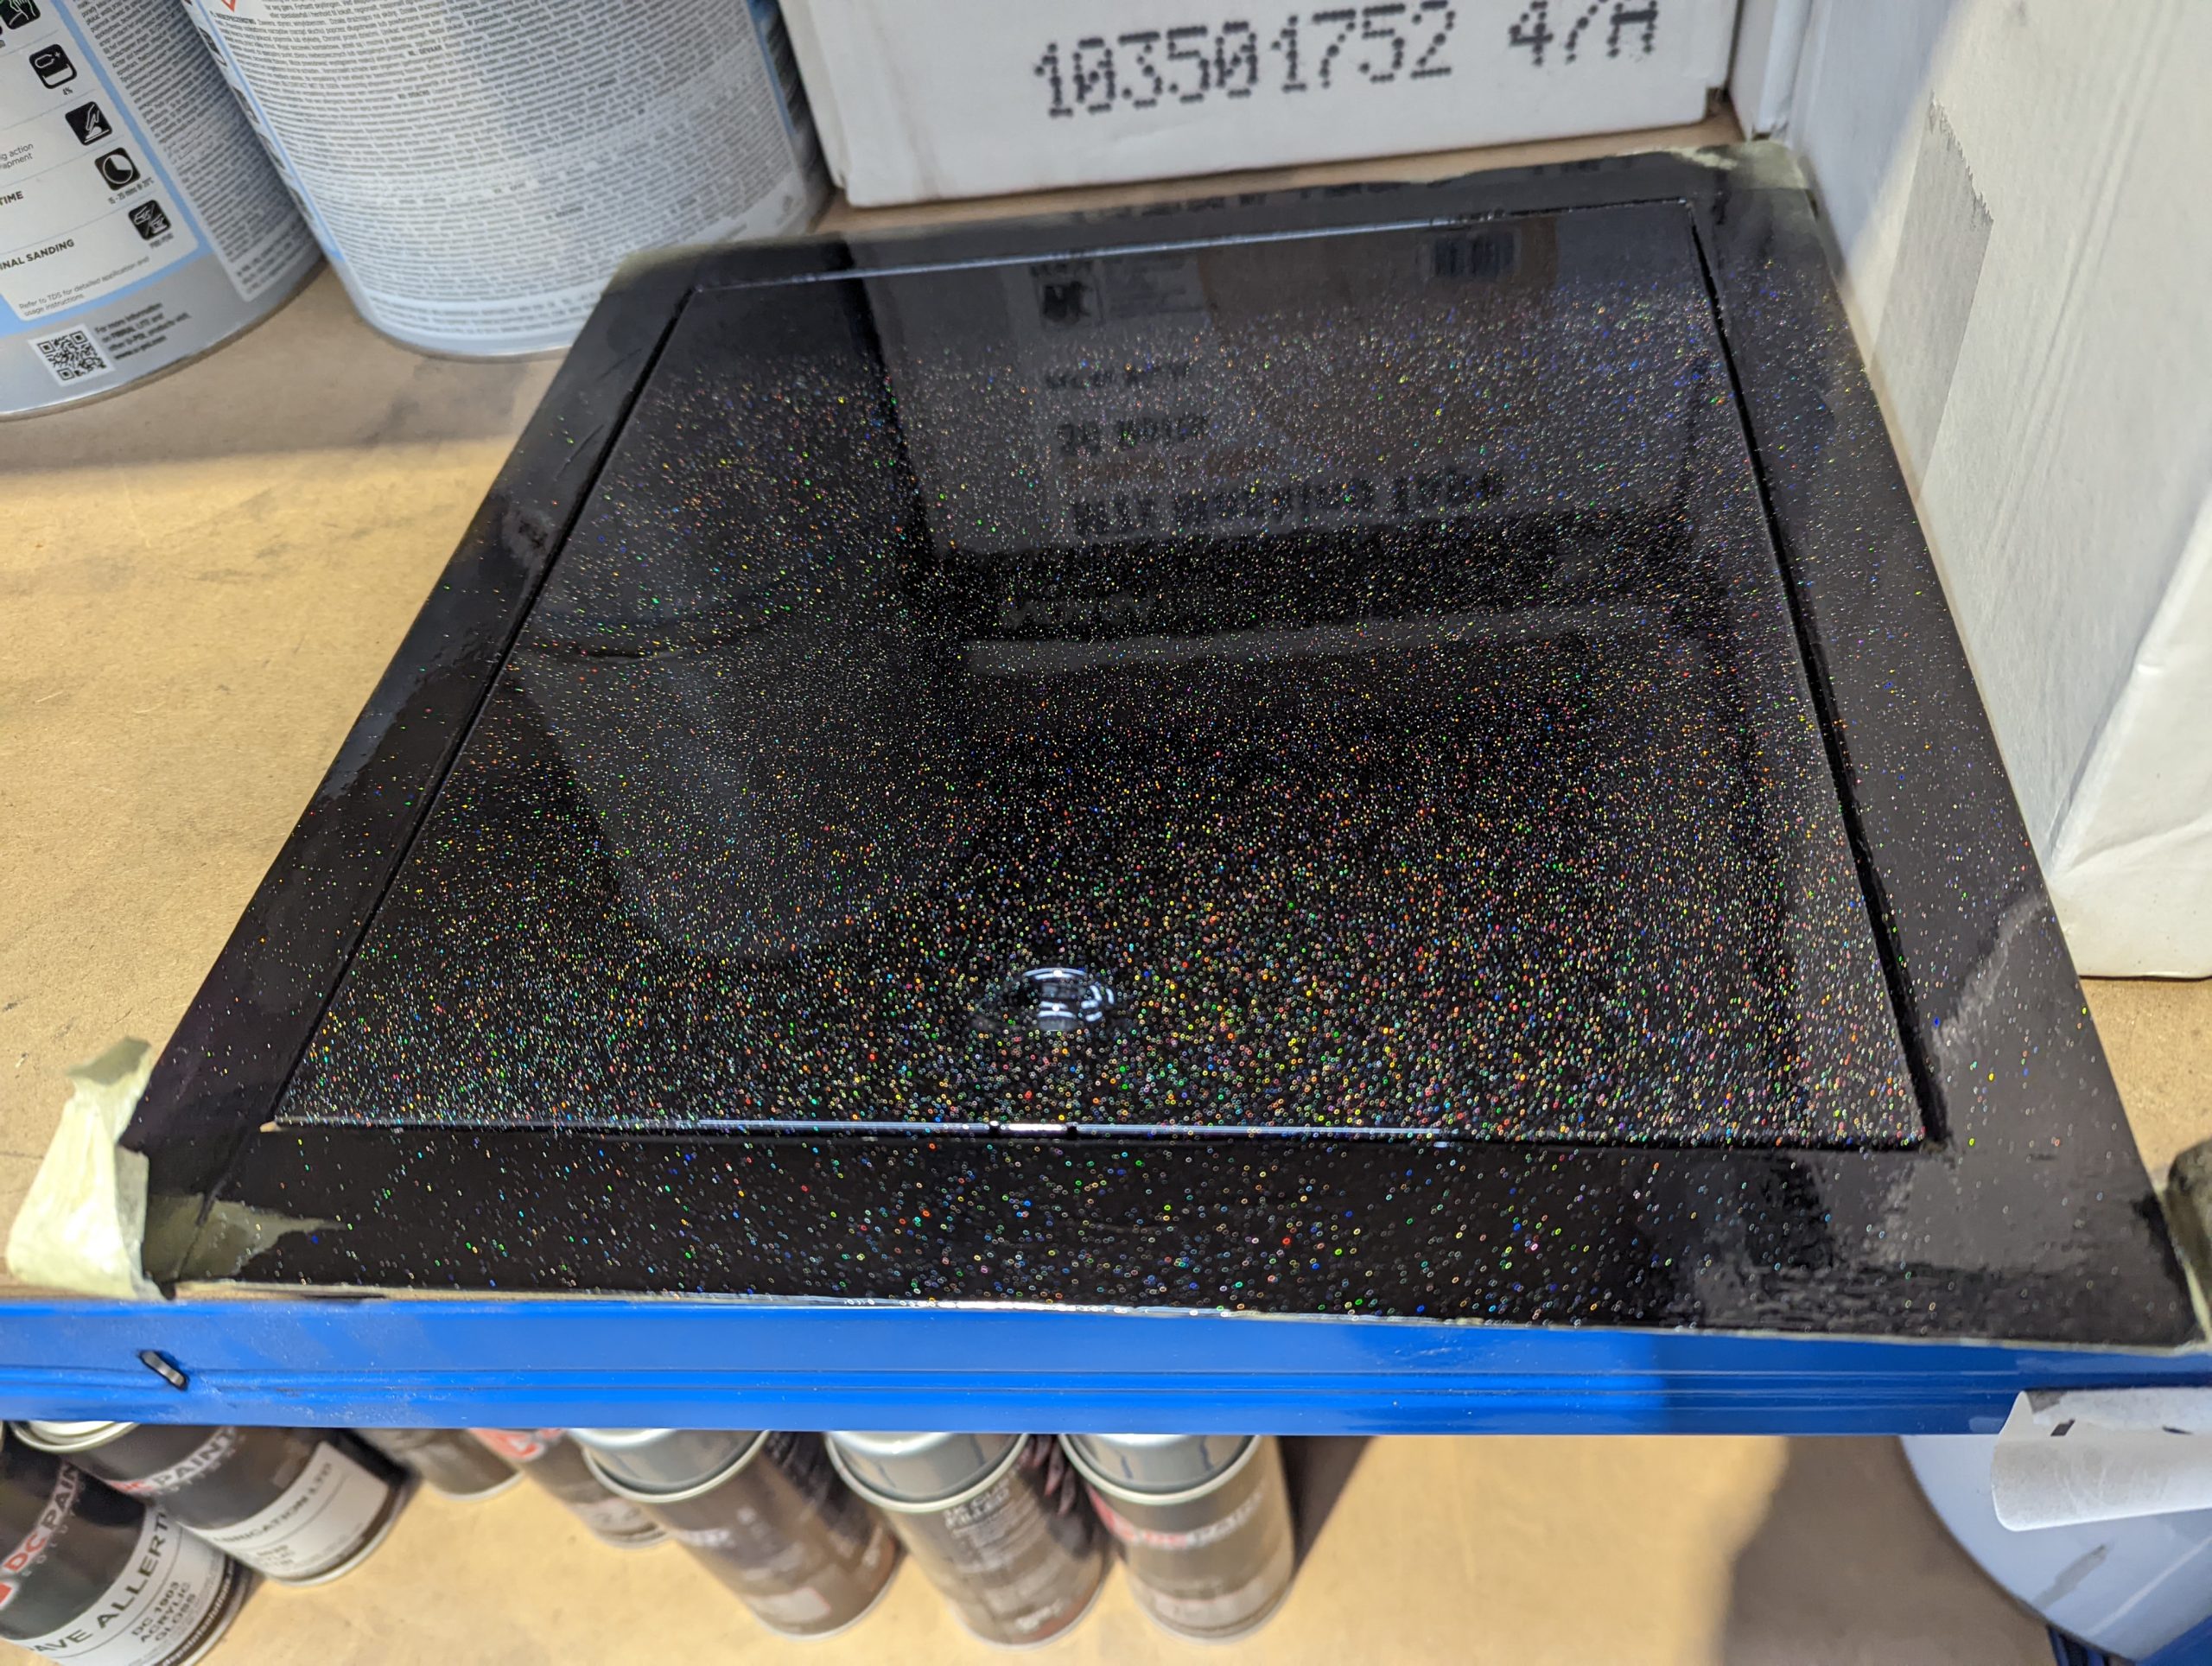
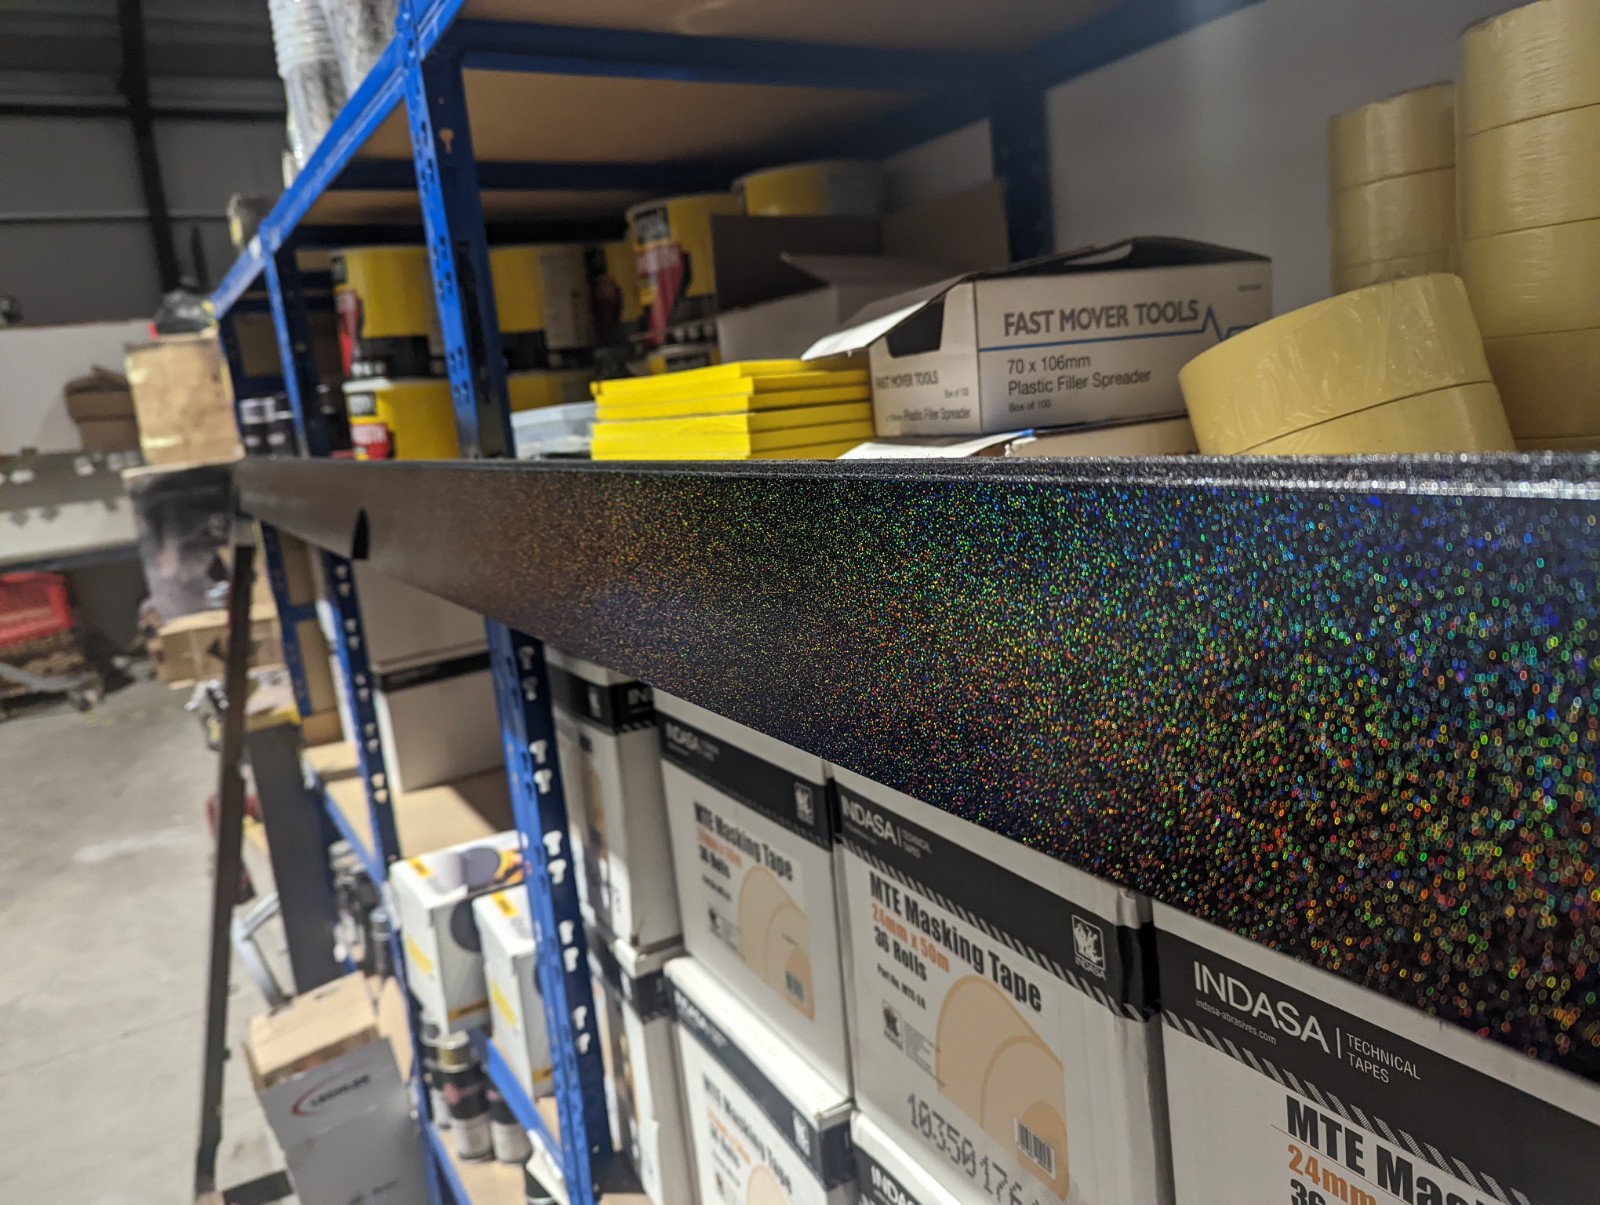
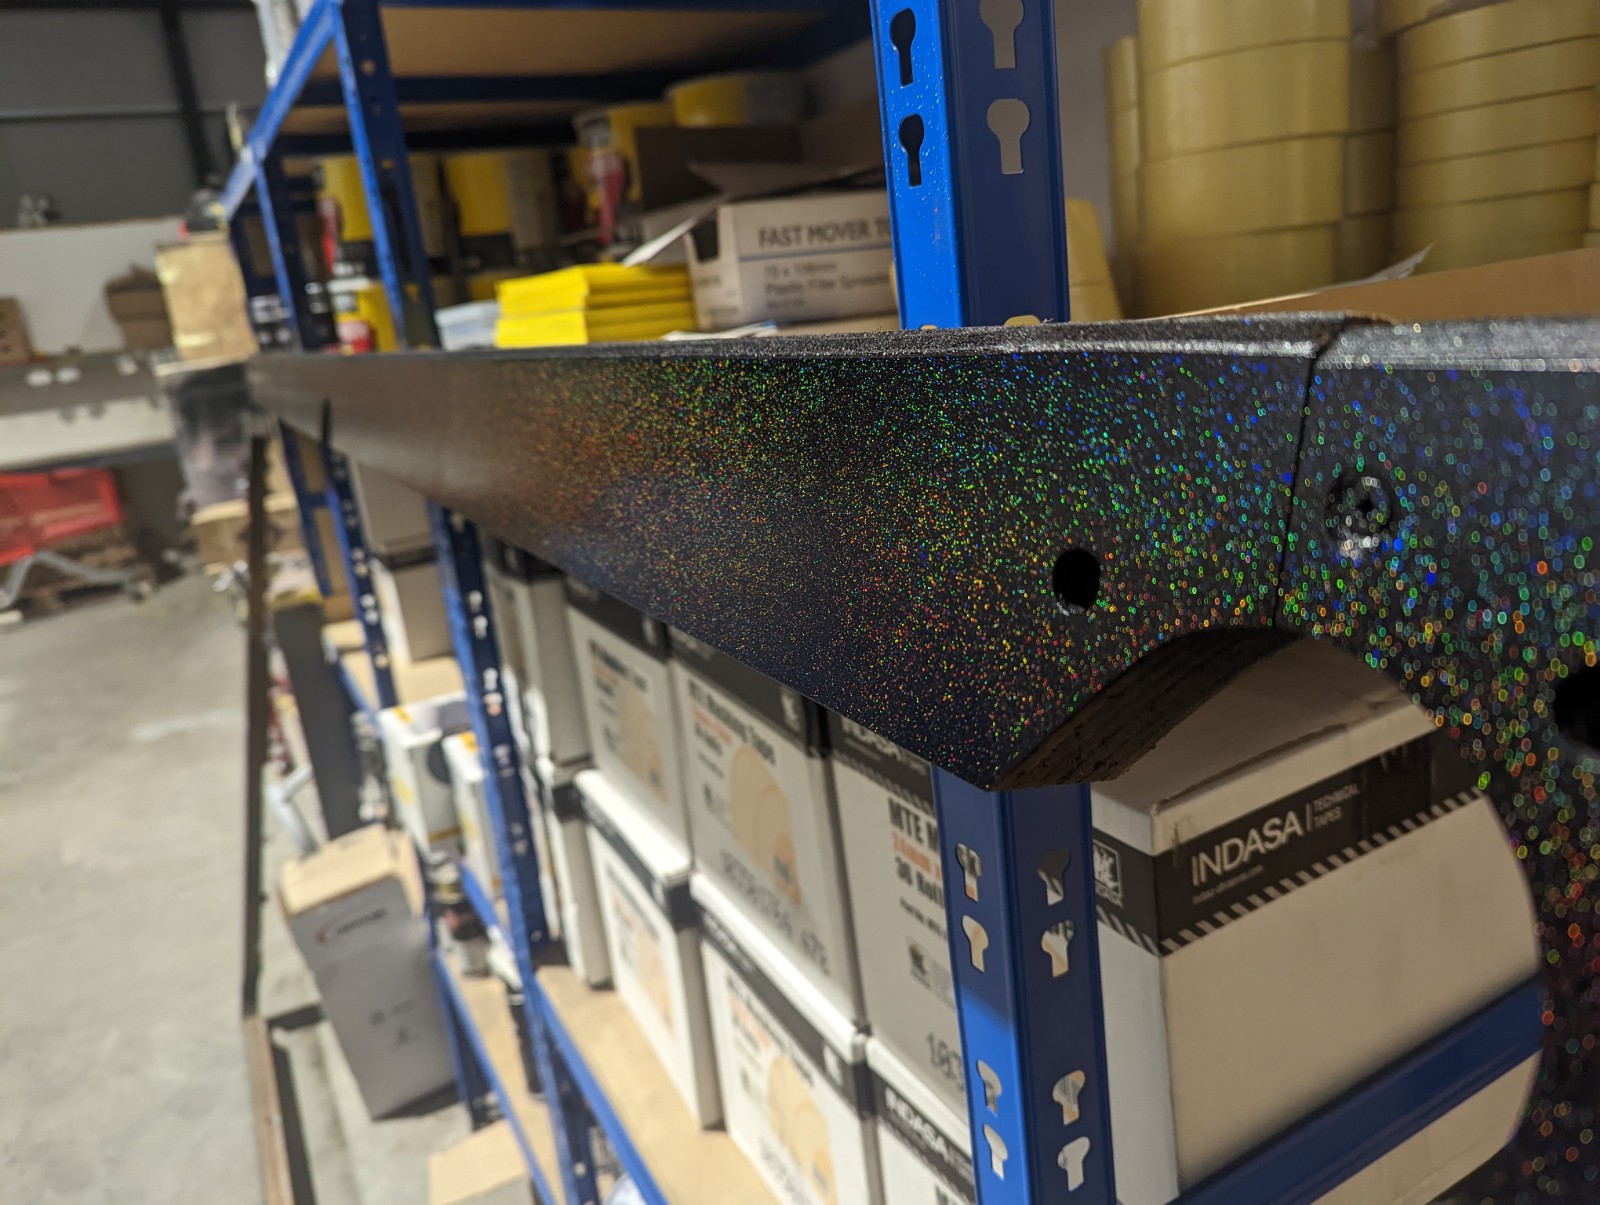
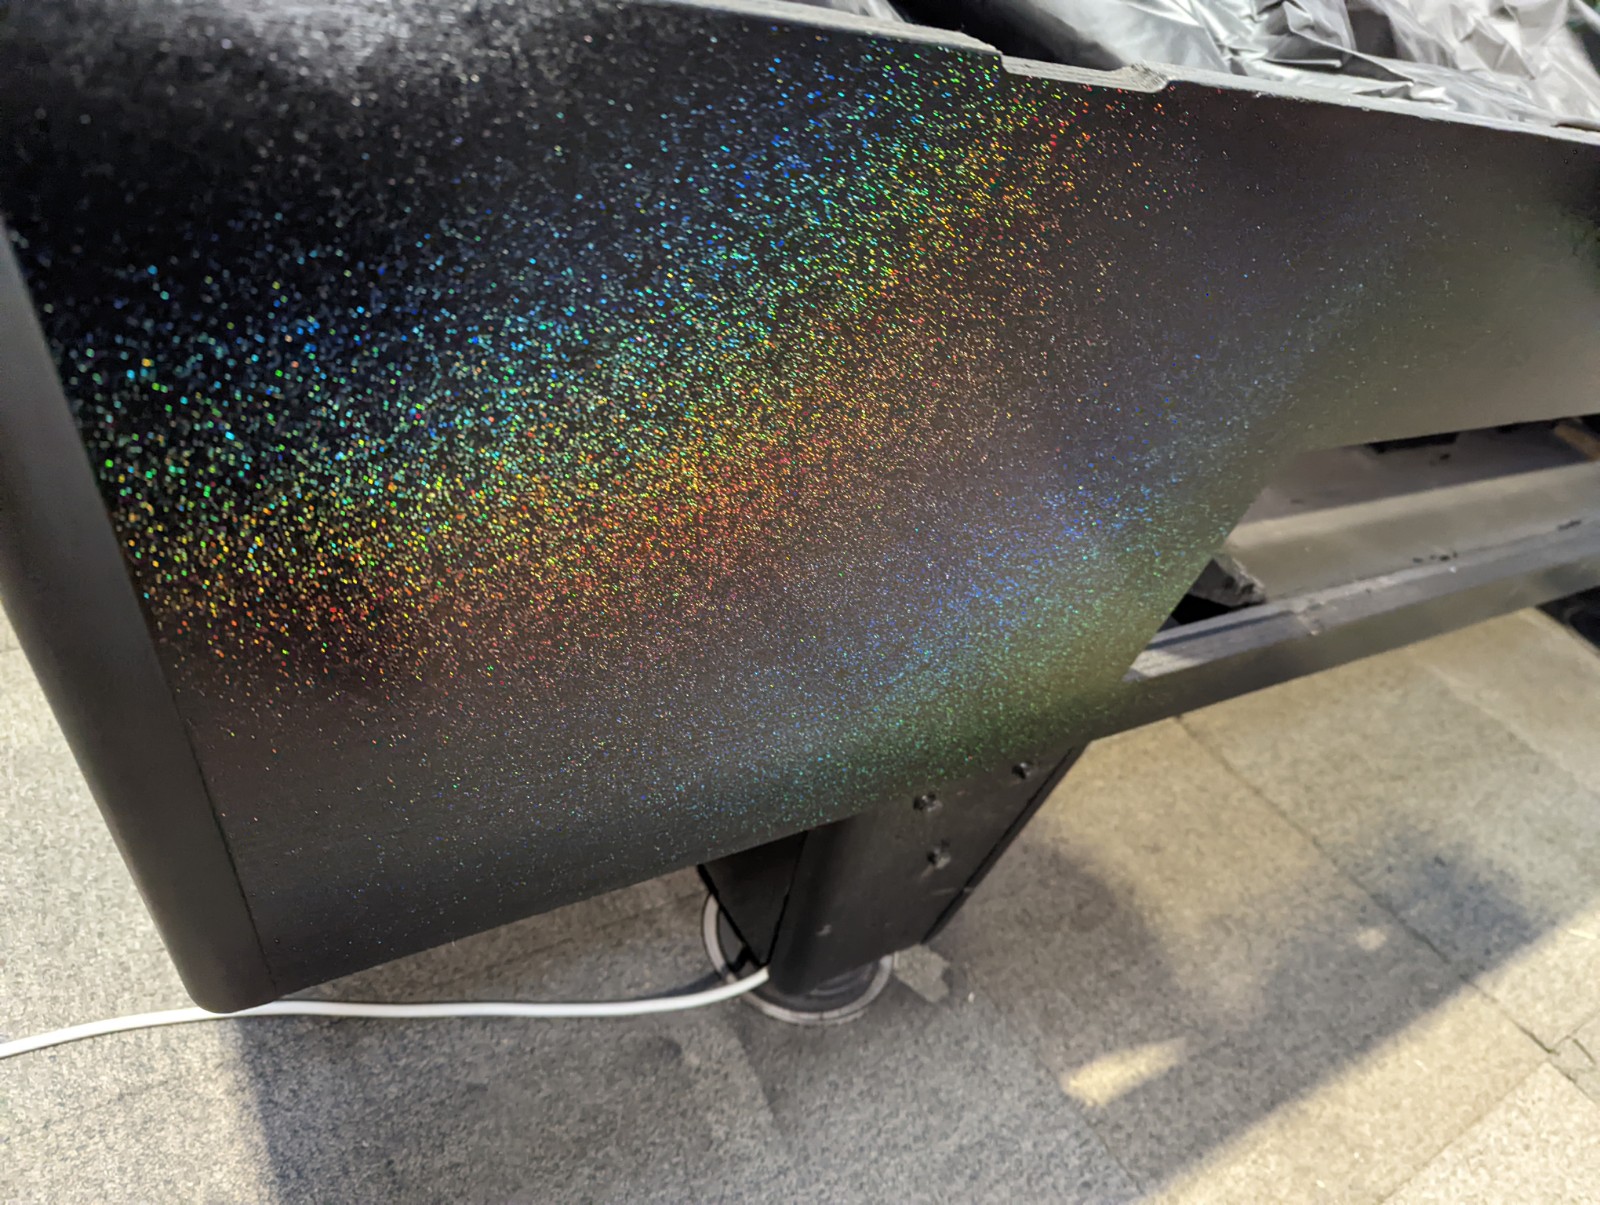
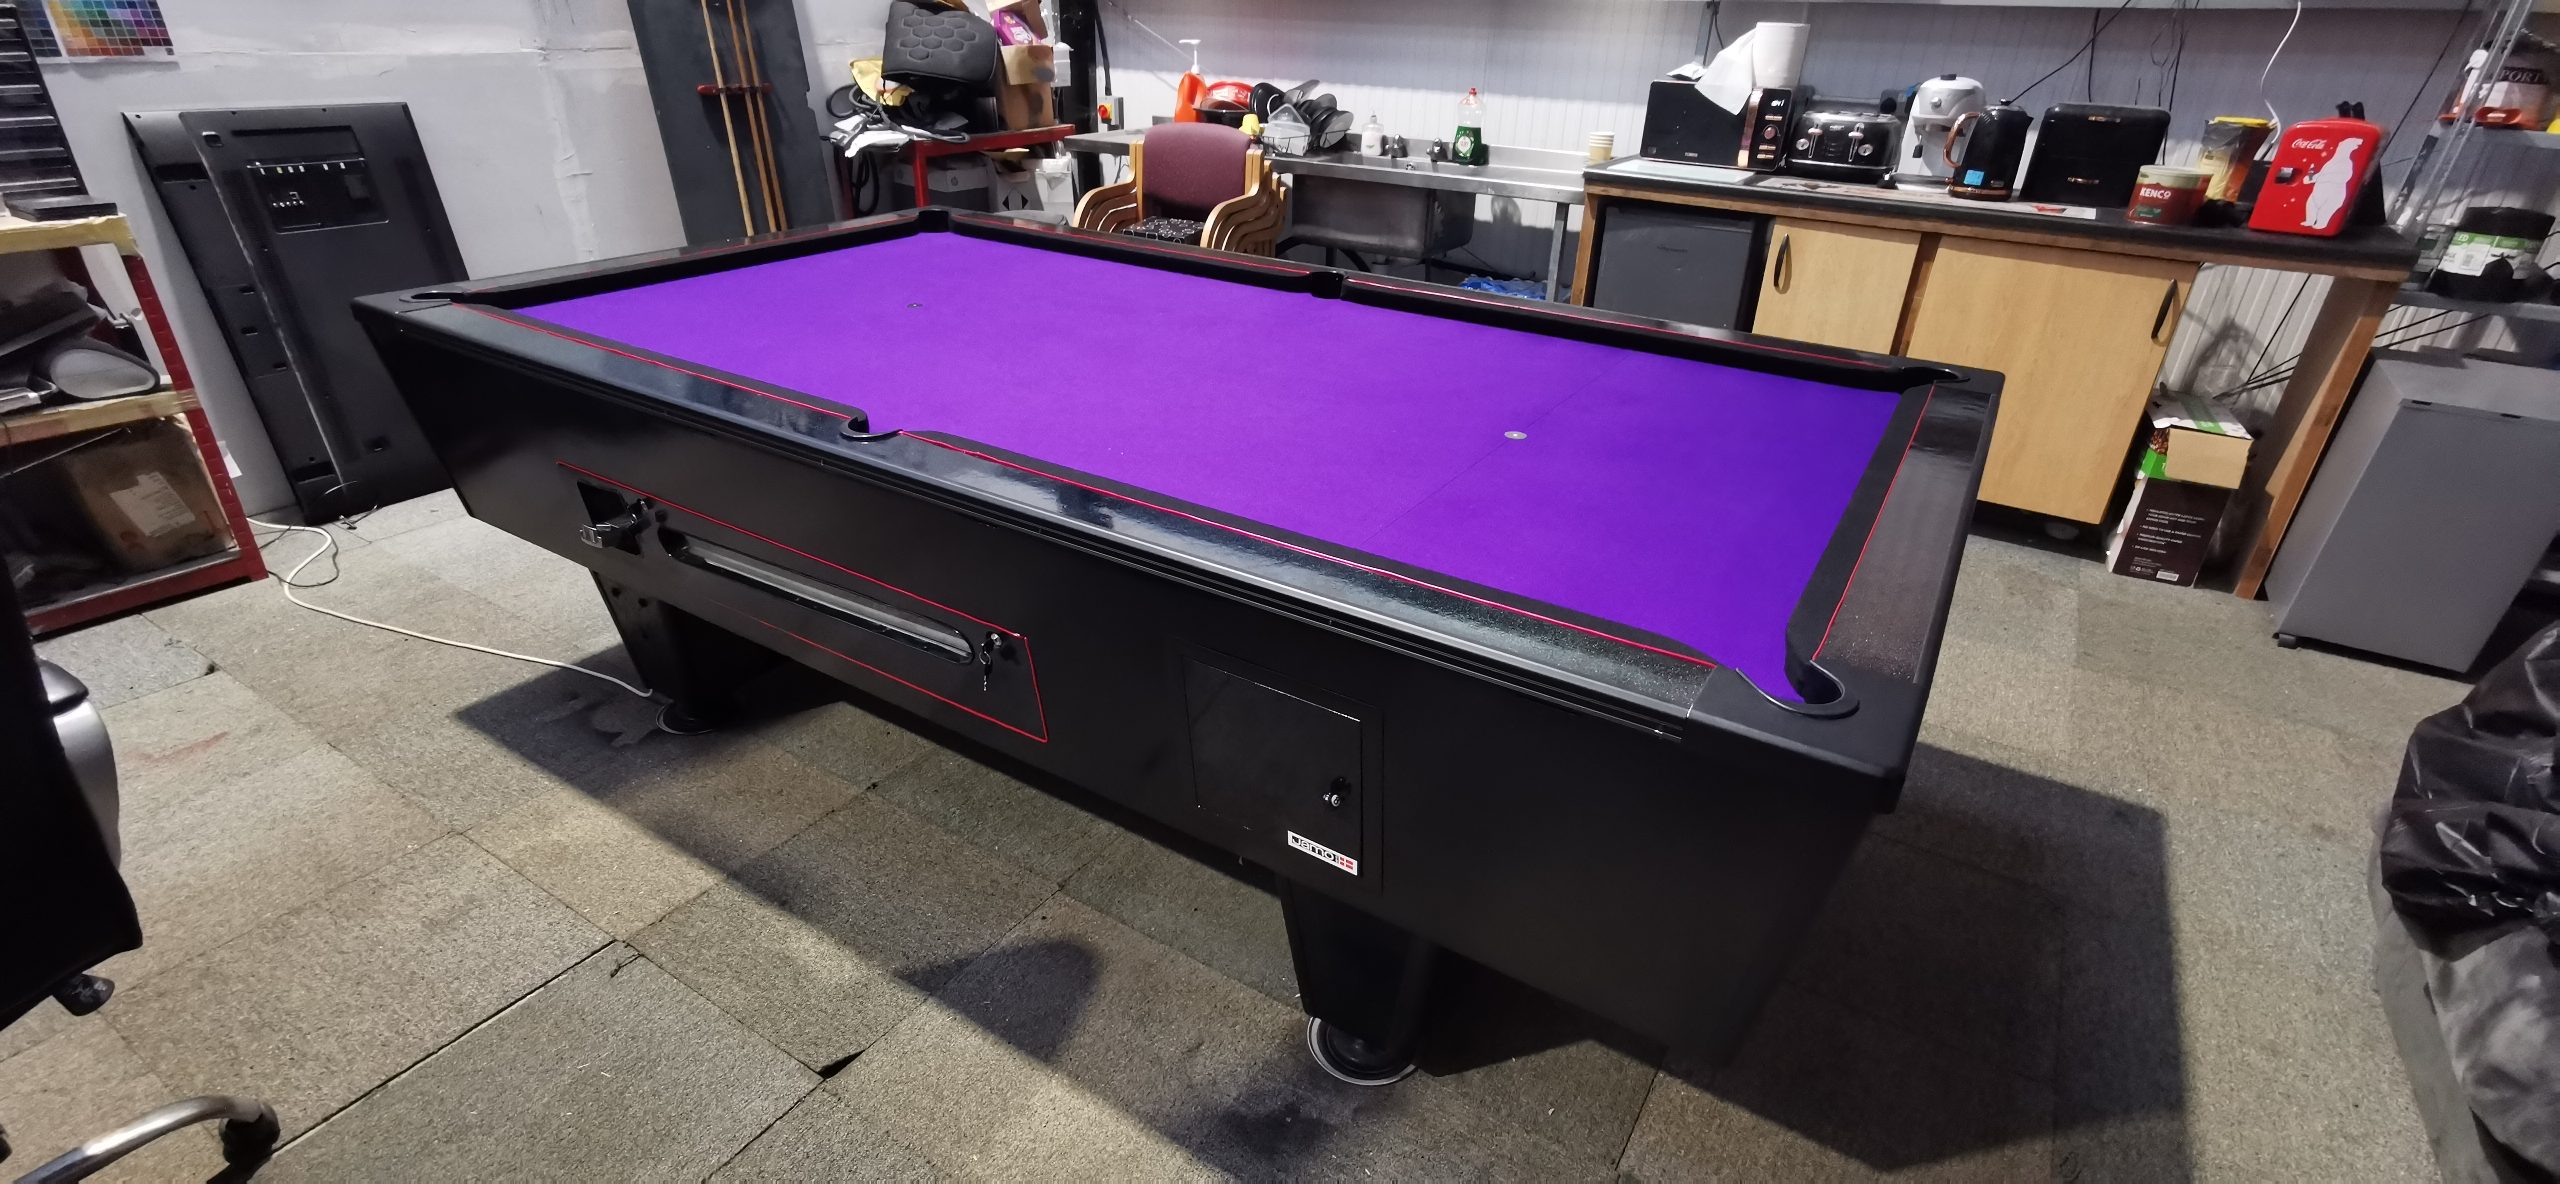
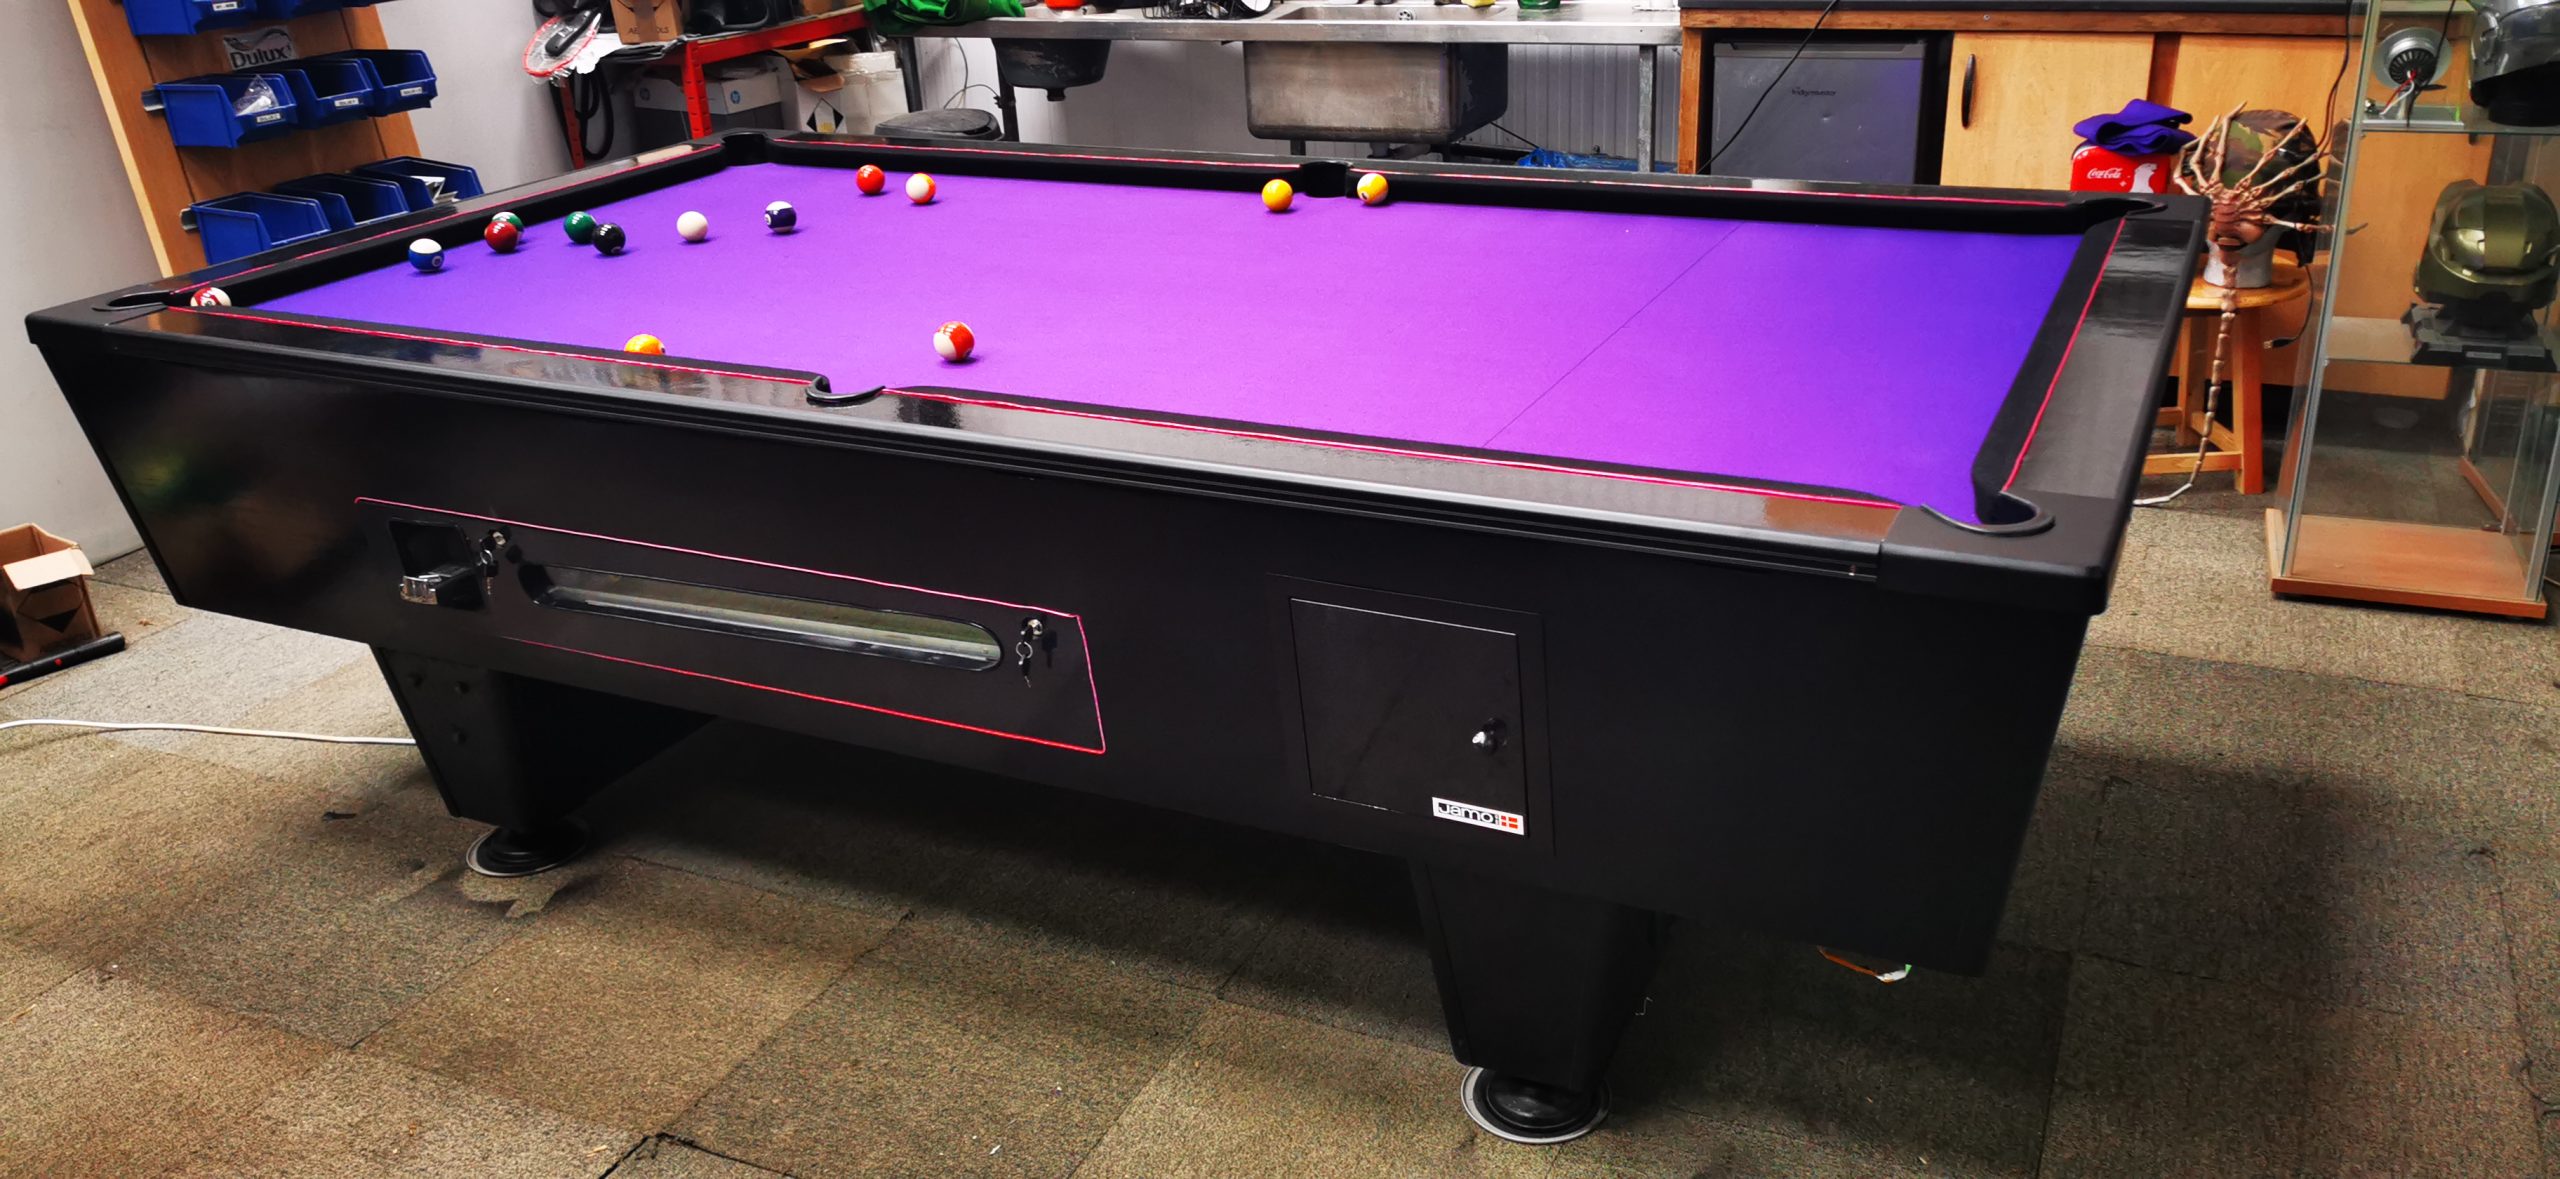
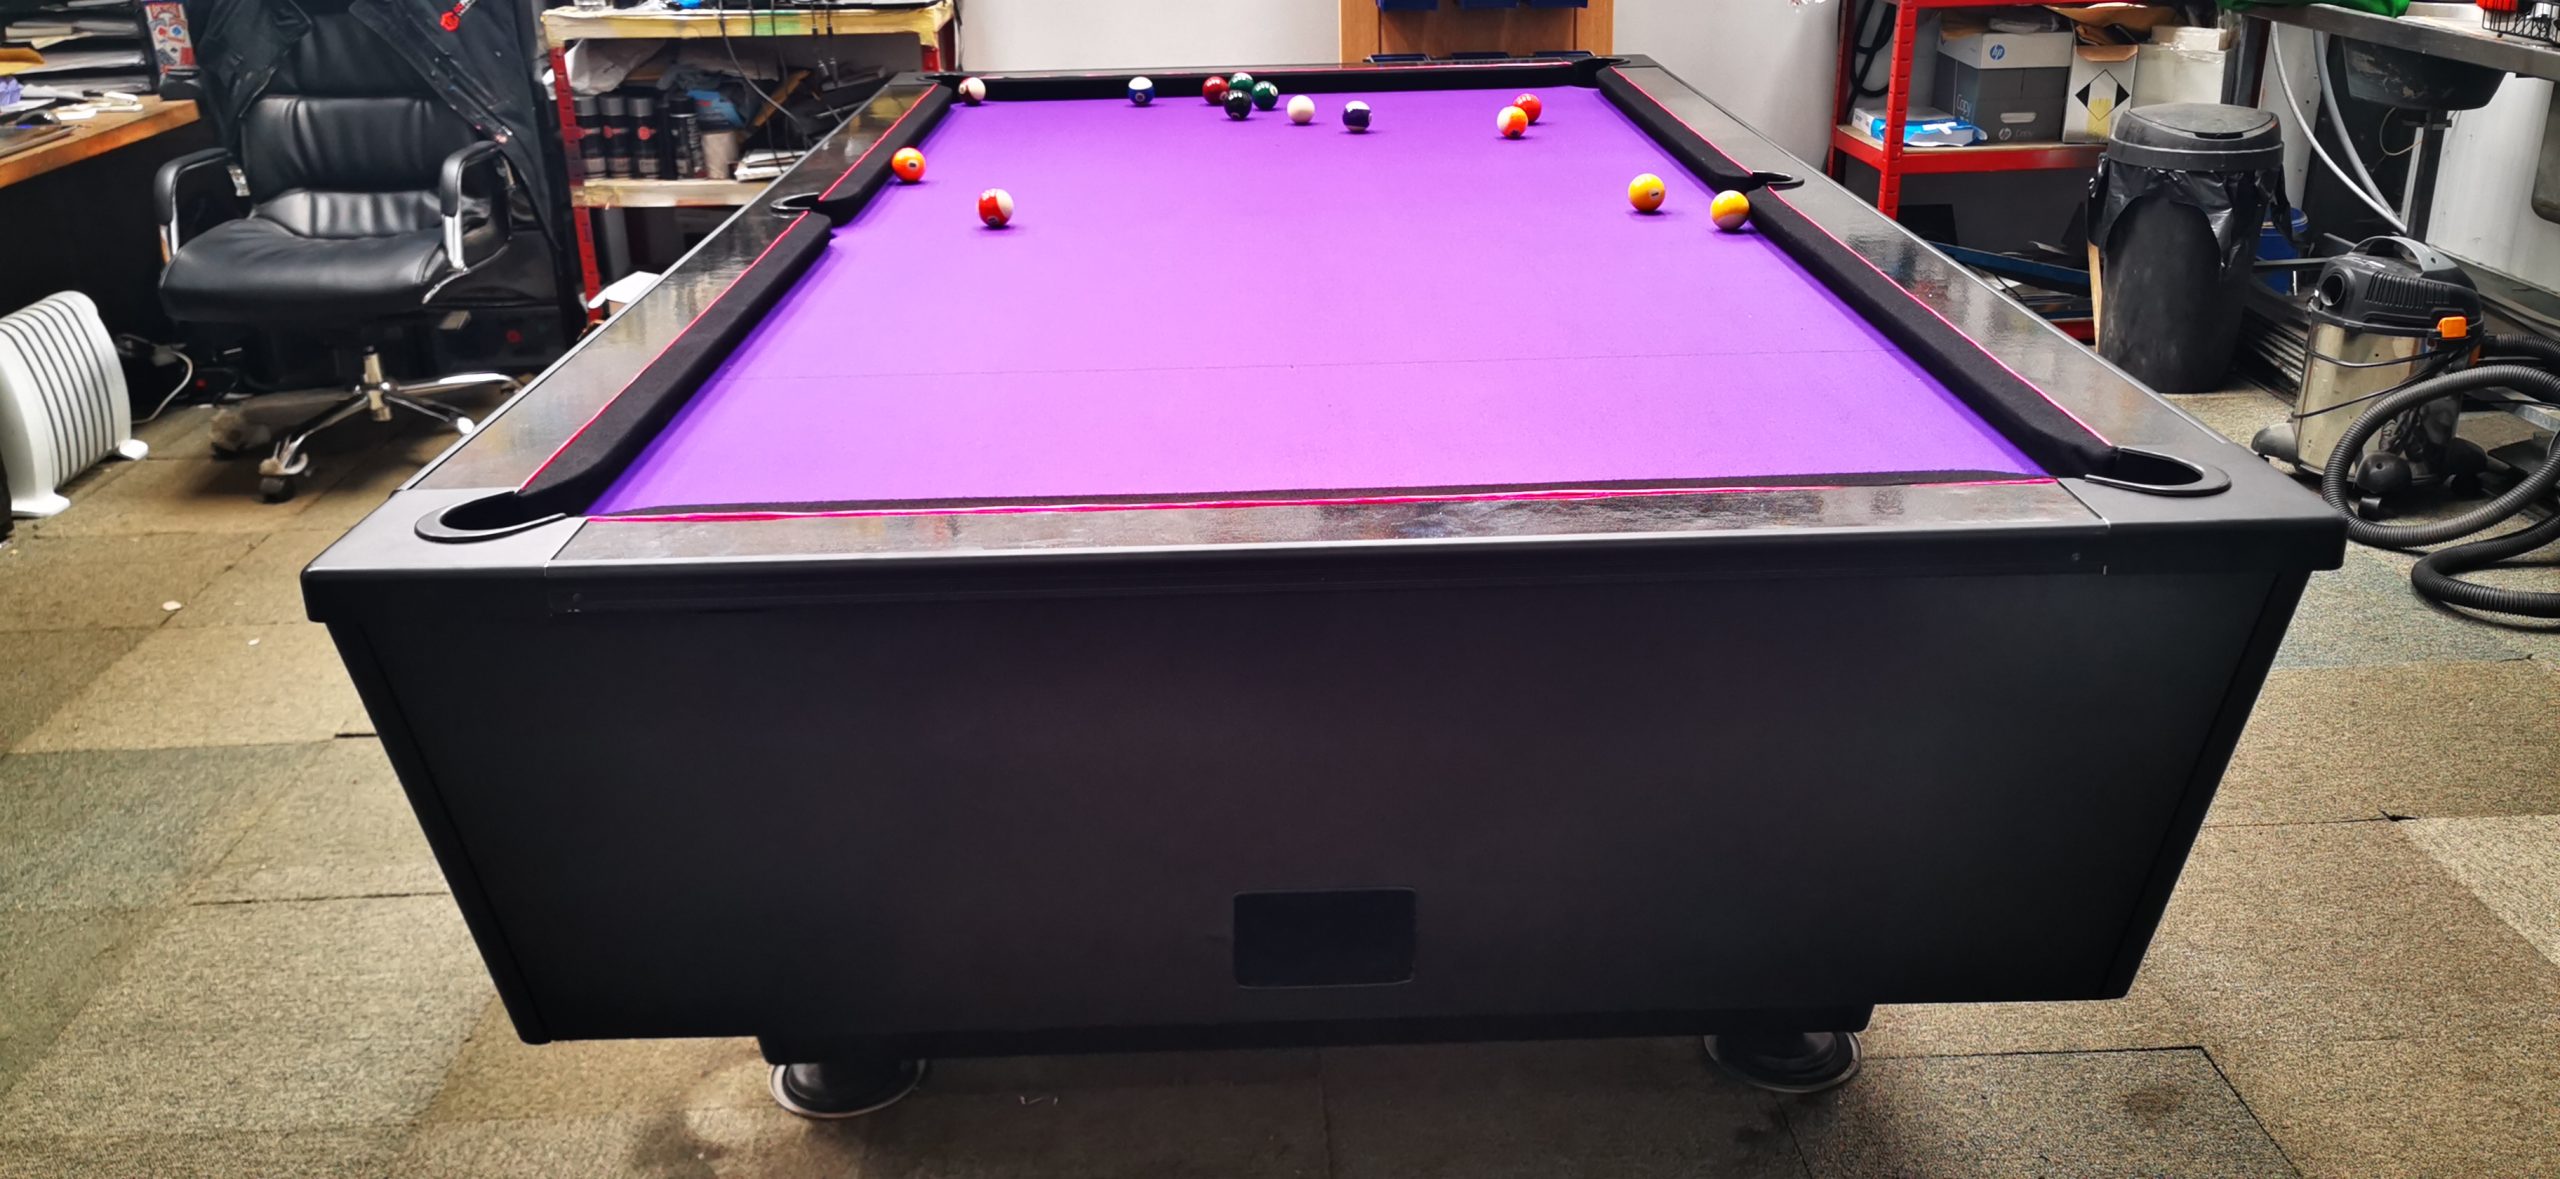
Next, it was time for paintwork. All components were taken off the table before it was sprayed in a RAL 9005 deep black acrylic gloss paint; this was applied straight over the 2K filler primer. Three coats were used, allowing 40 minutes of drying time between each.
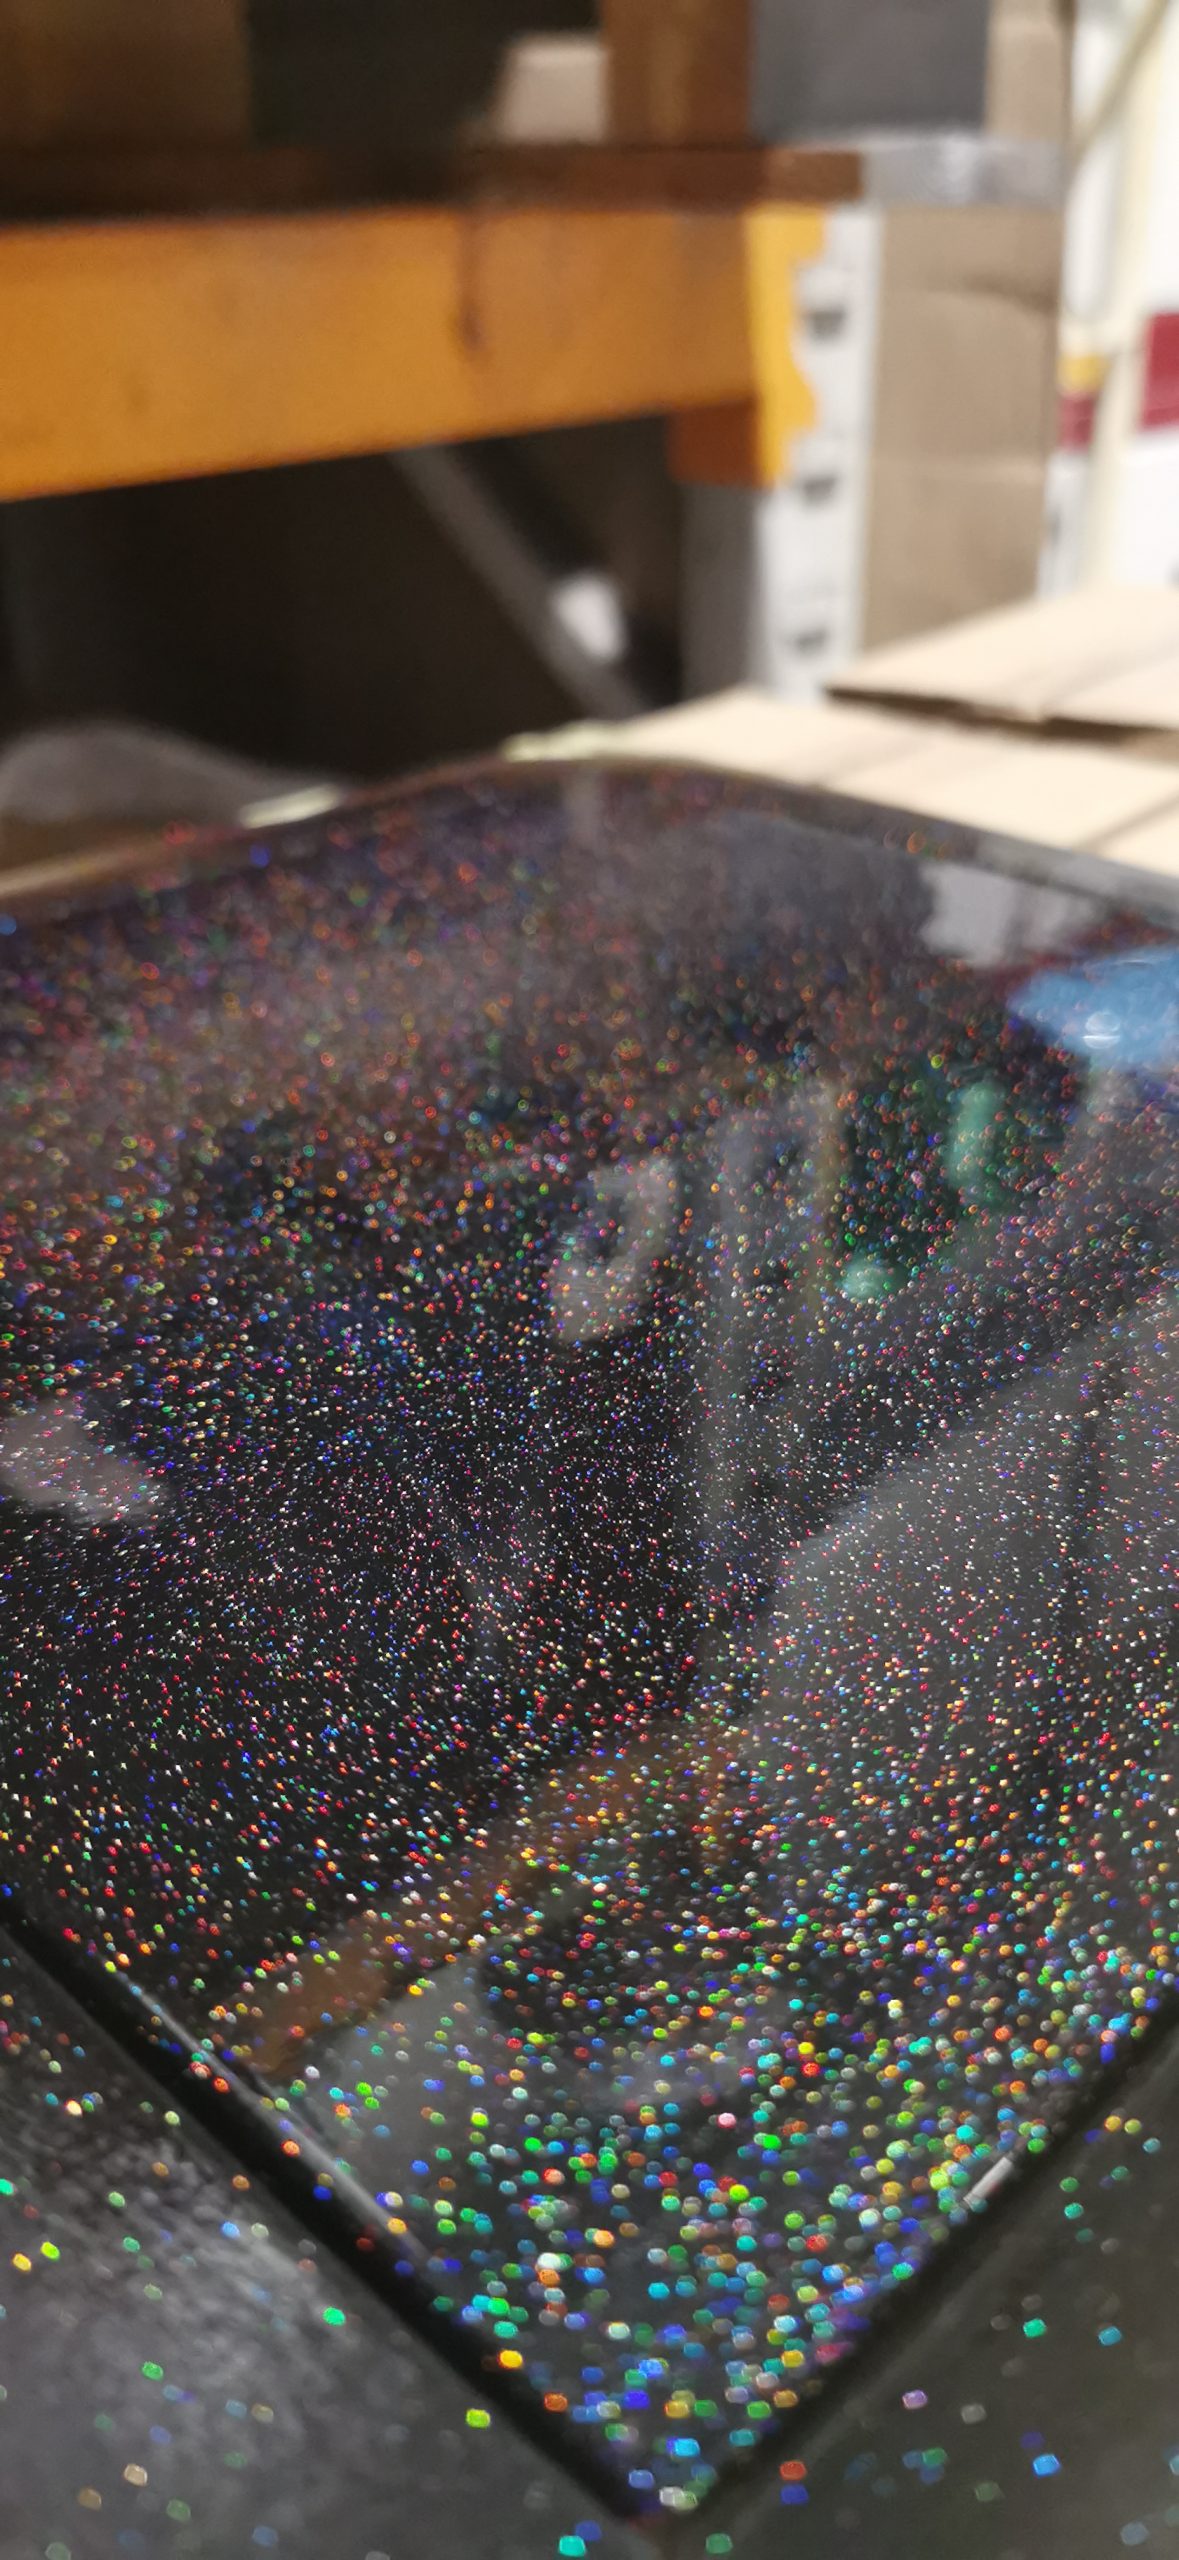
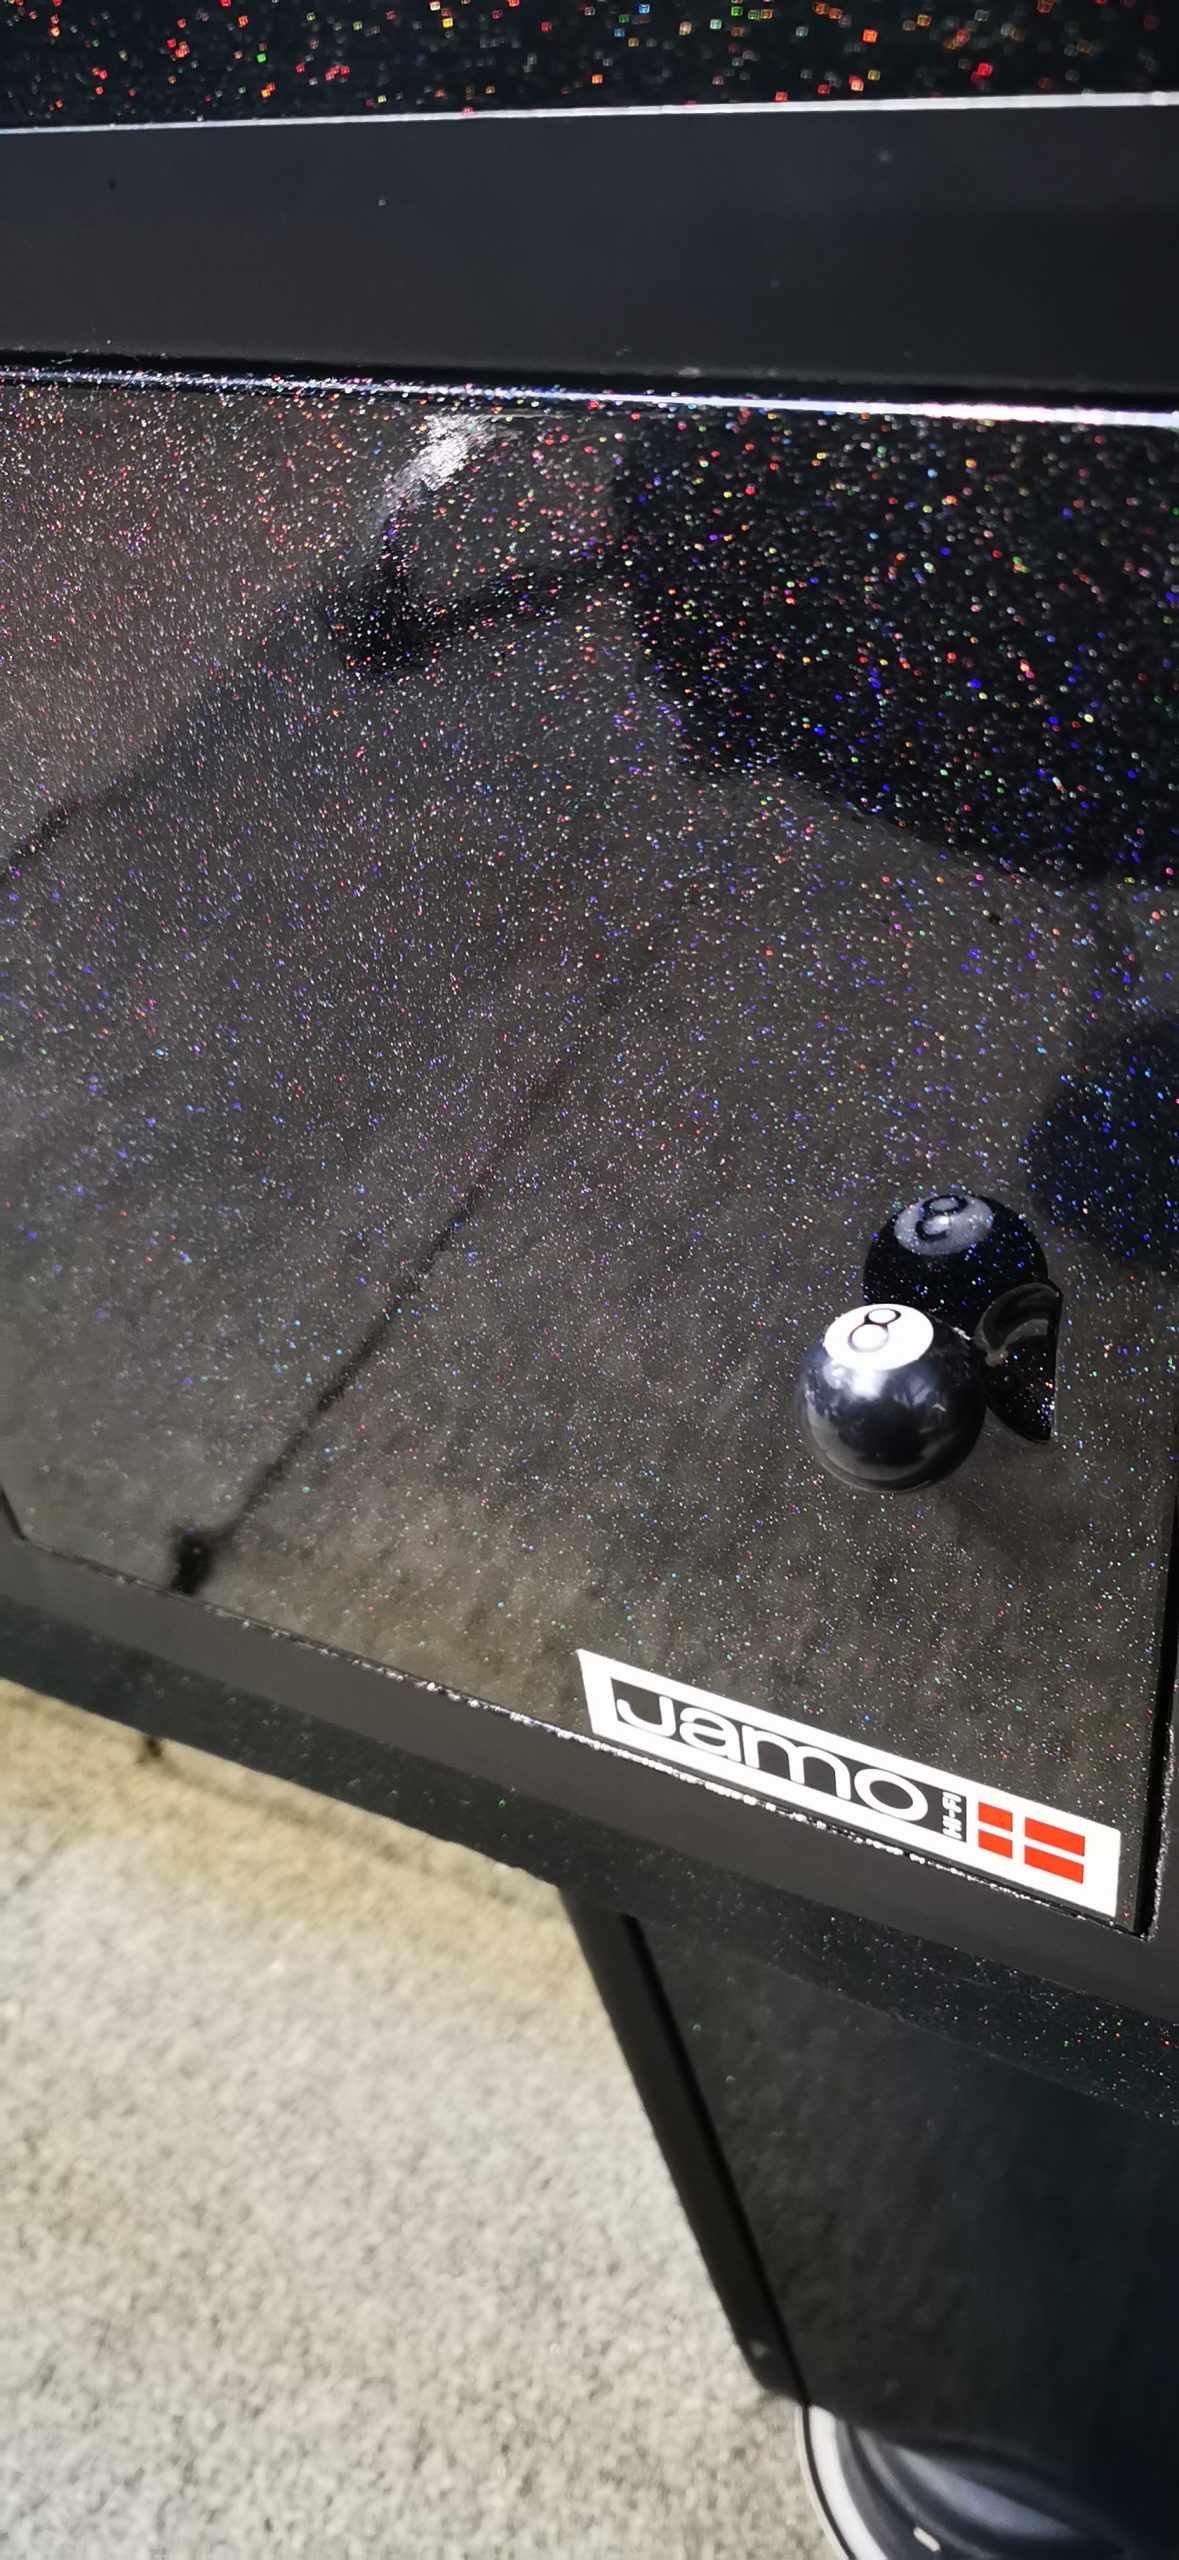
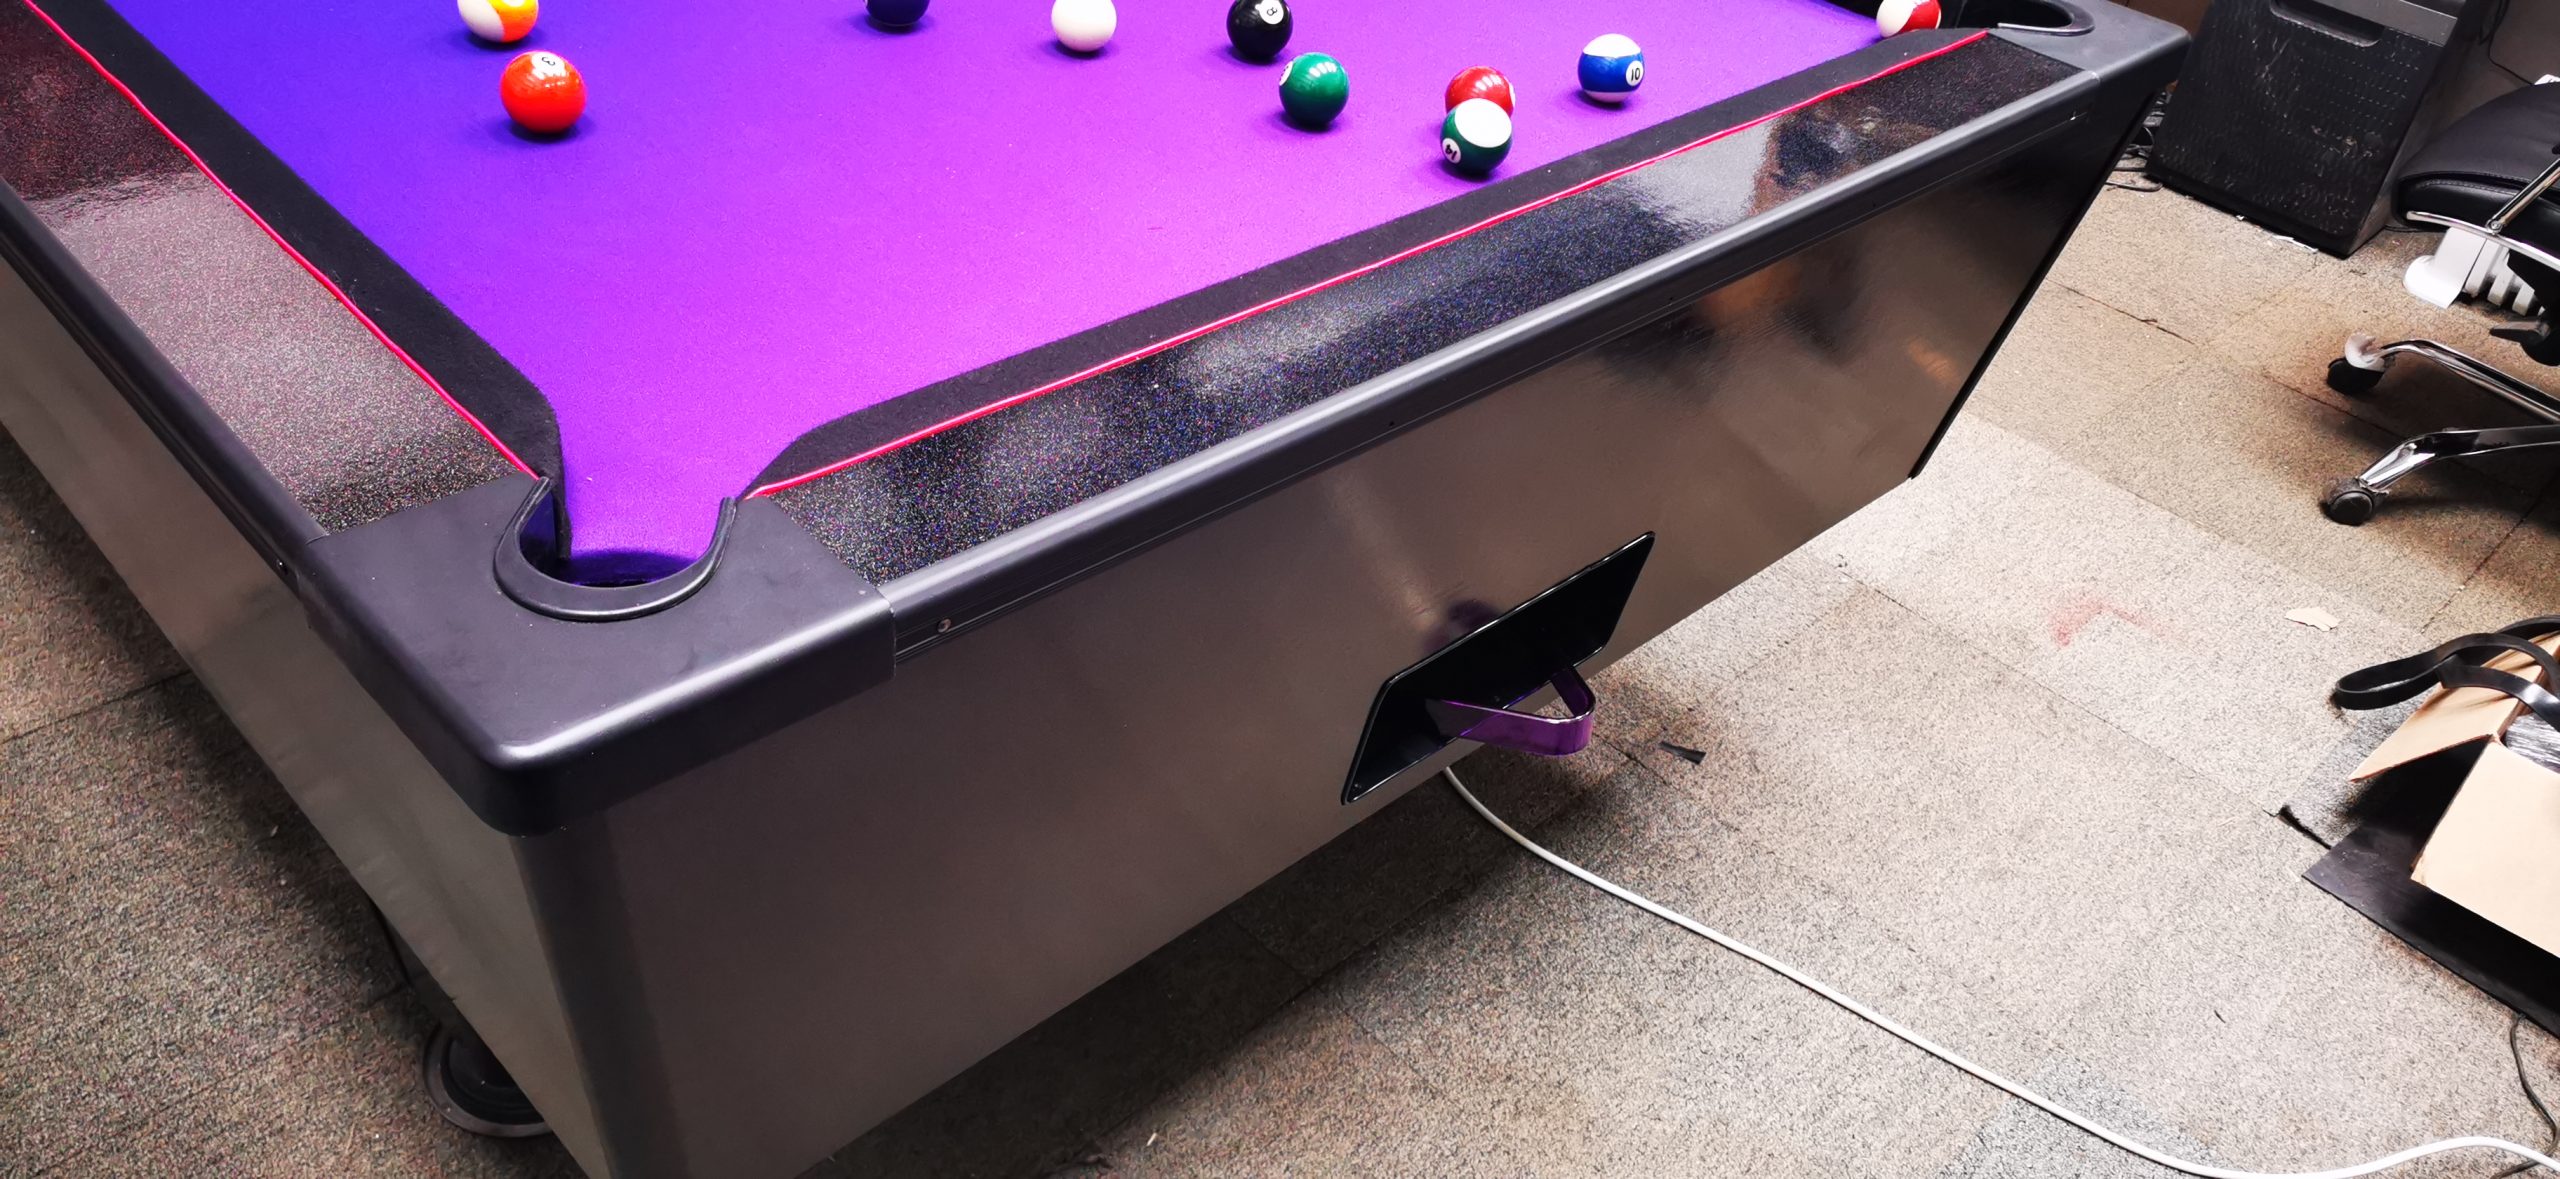
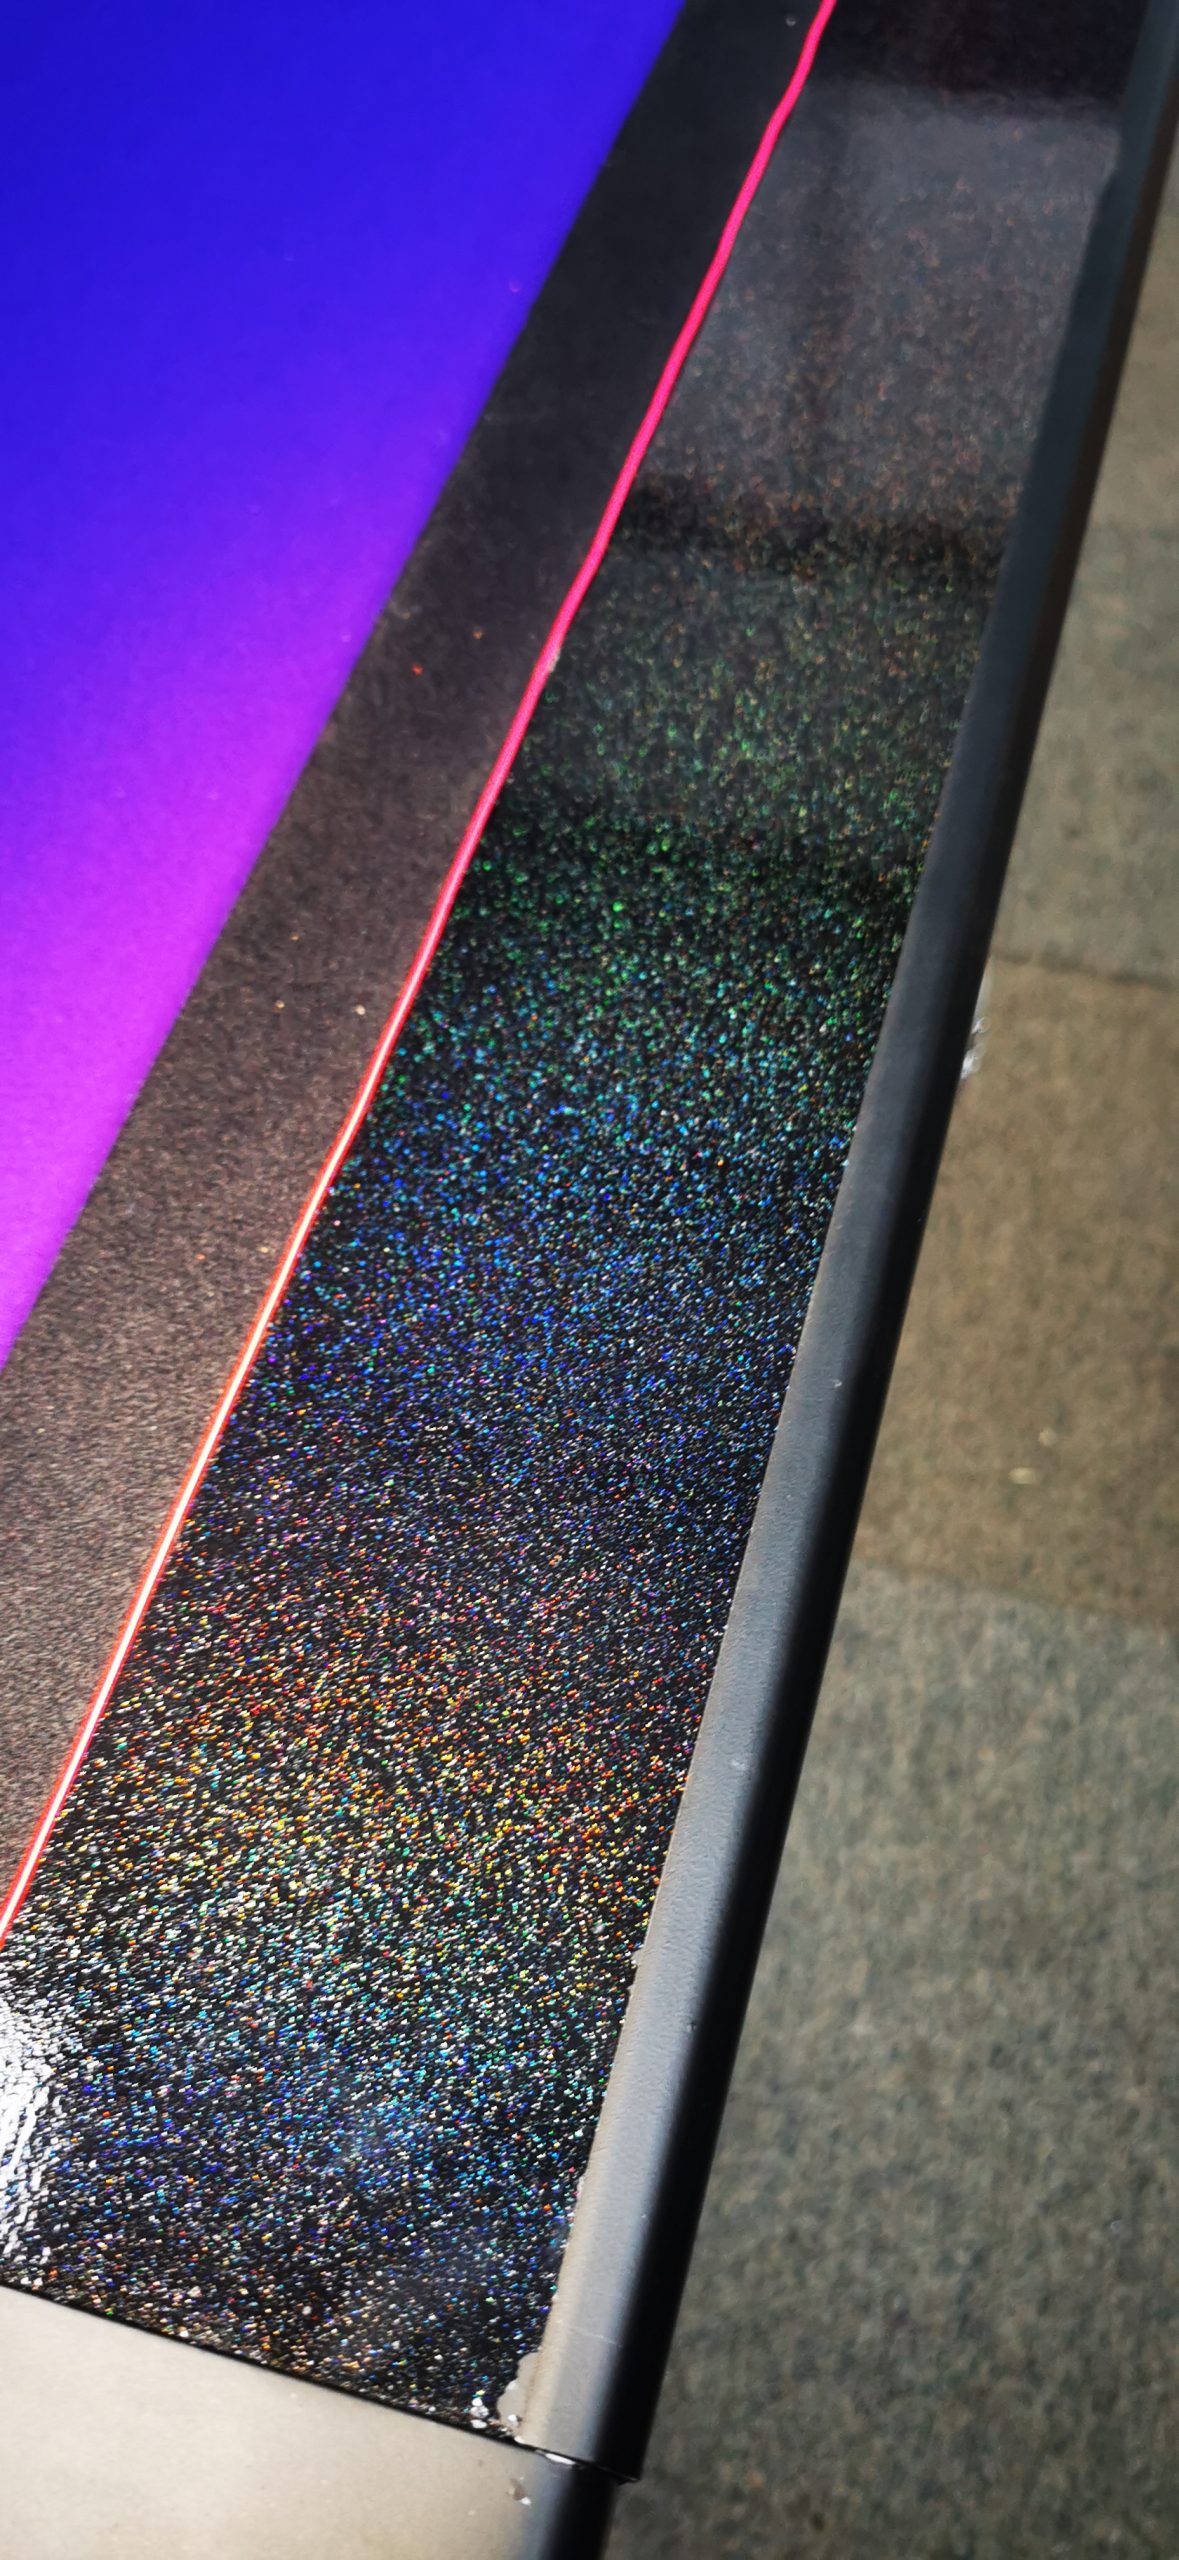
We then layered on the hologram effect paint. This only took two aerosol cans for the main table and one for the legs. The effect paint goes quite far, so you don’t need too much. Drying time, again, should be around 40 minutes between coats. Lastly, we added two to four coats of 2K lacquer to seal the paint, then left it overnight to dry fully.
TOP TIP: Do not be too hasty to spray before the last coat has cured. When adding multiple coats, if the previous coat hasn’t cured, then the top surface will dry before the previous, which will cause cracking on the top surface as the undercoat dries slower.
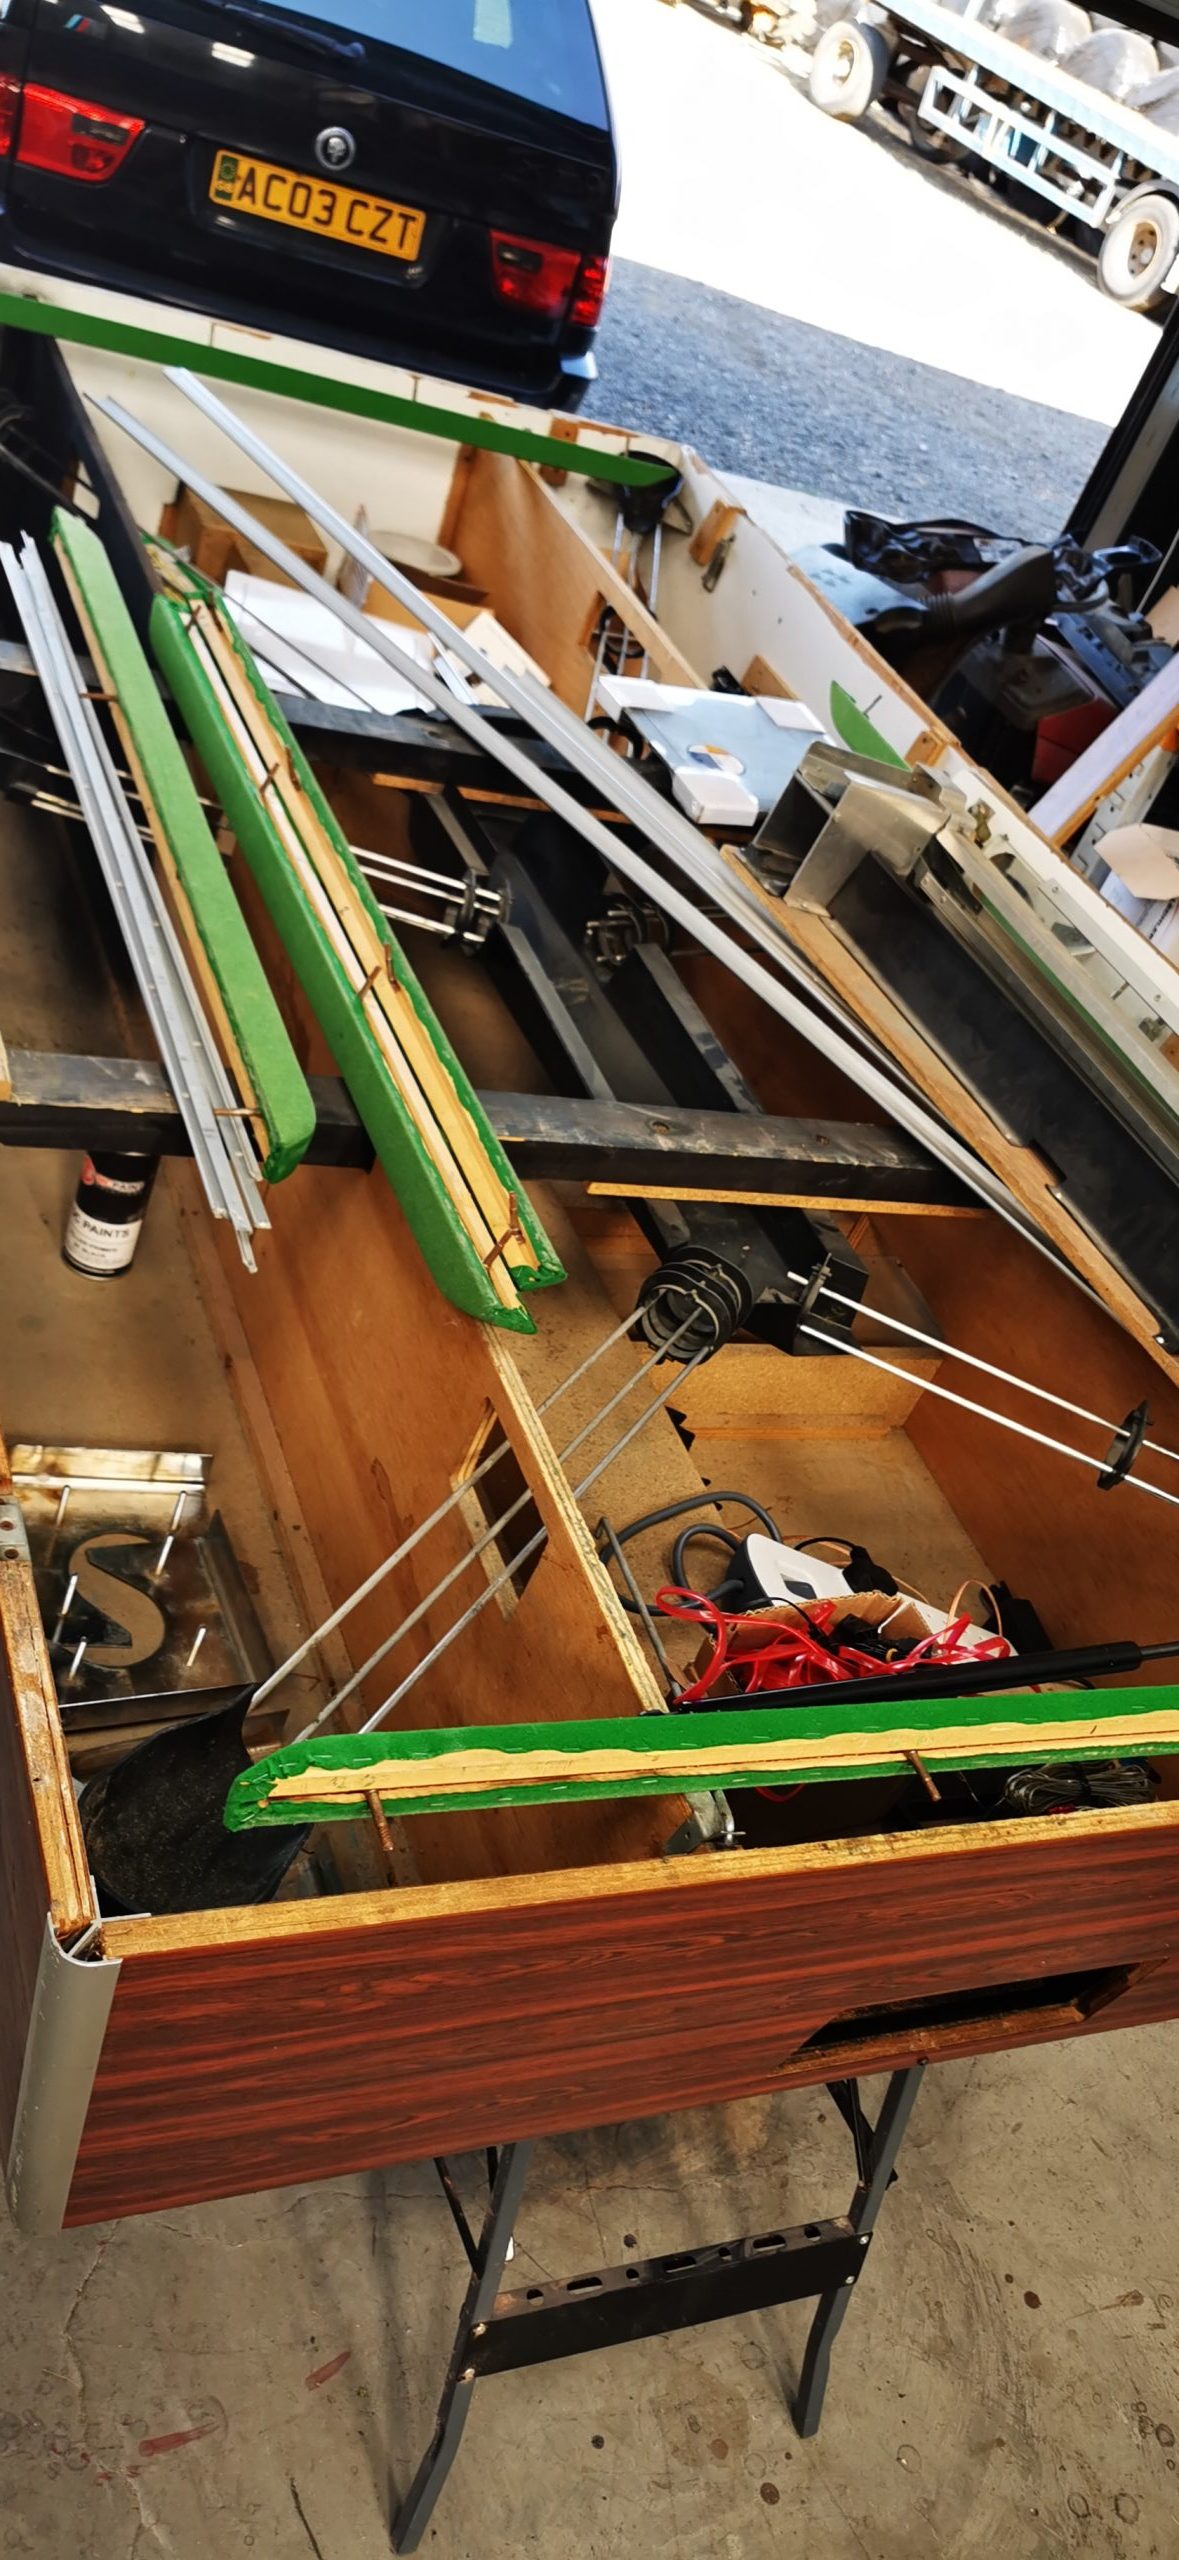
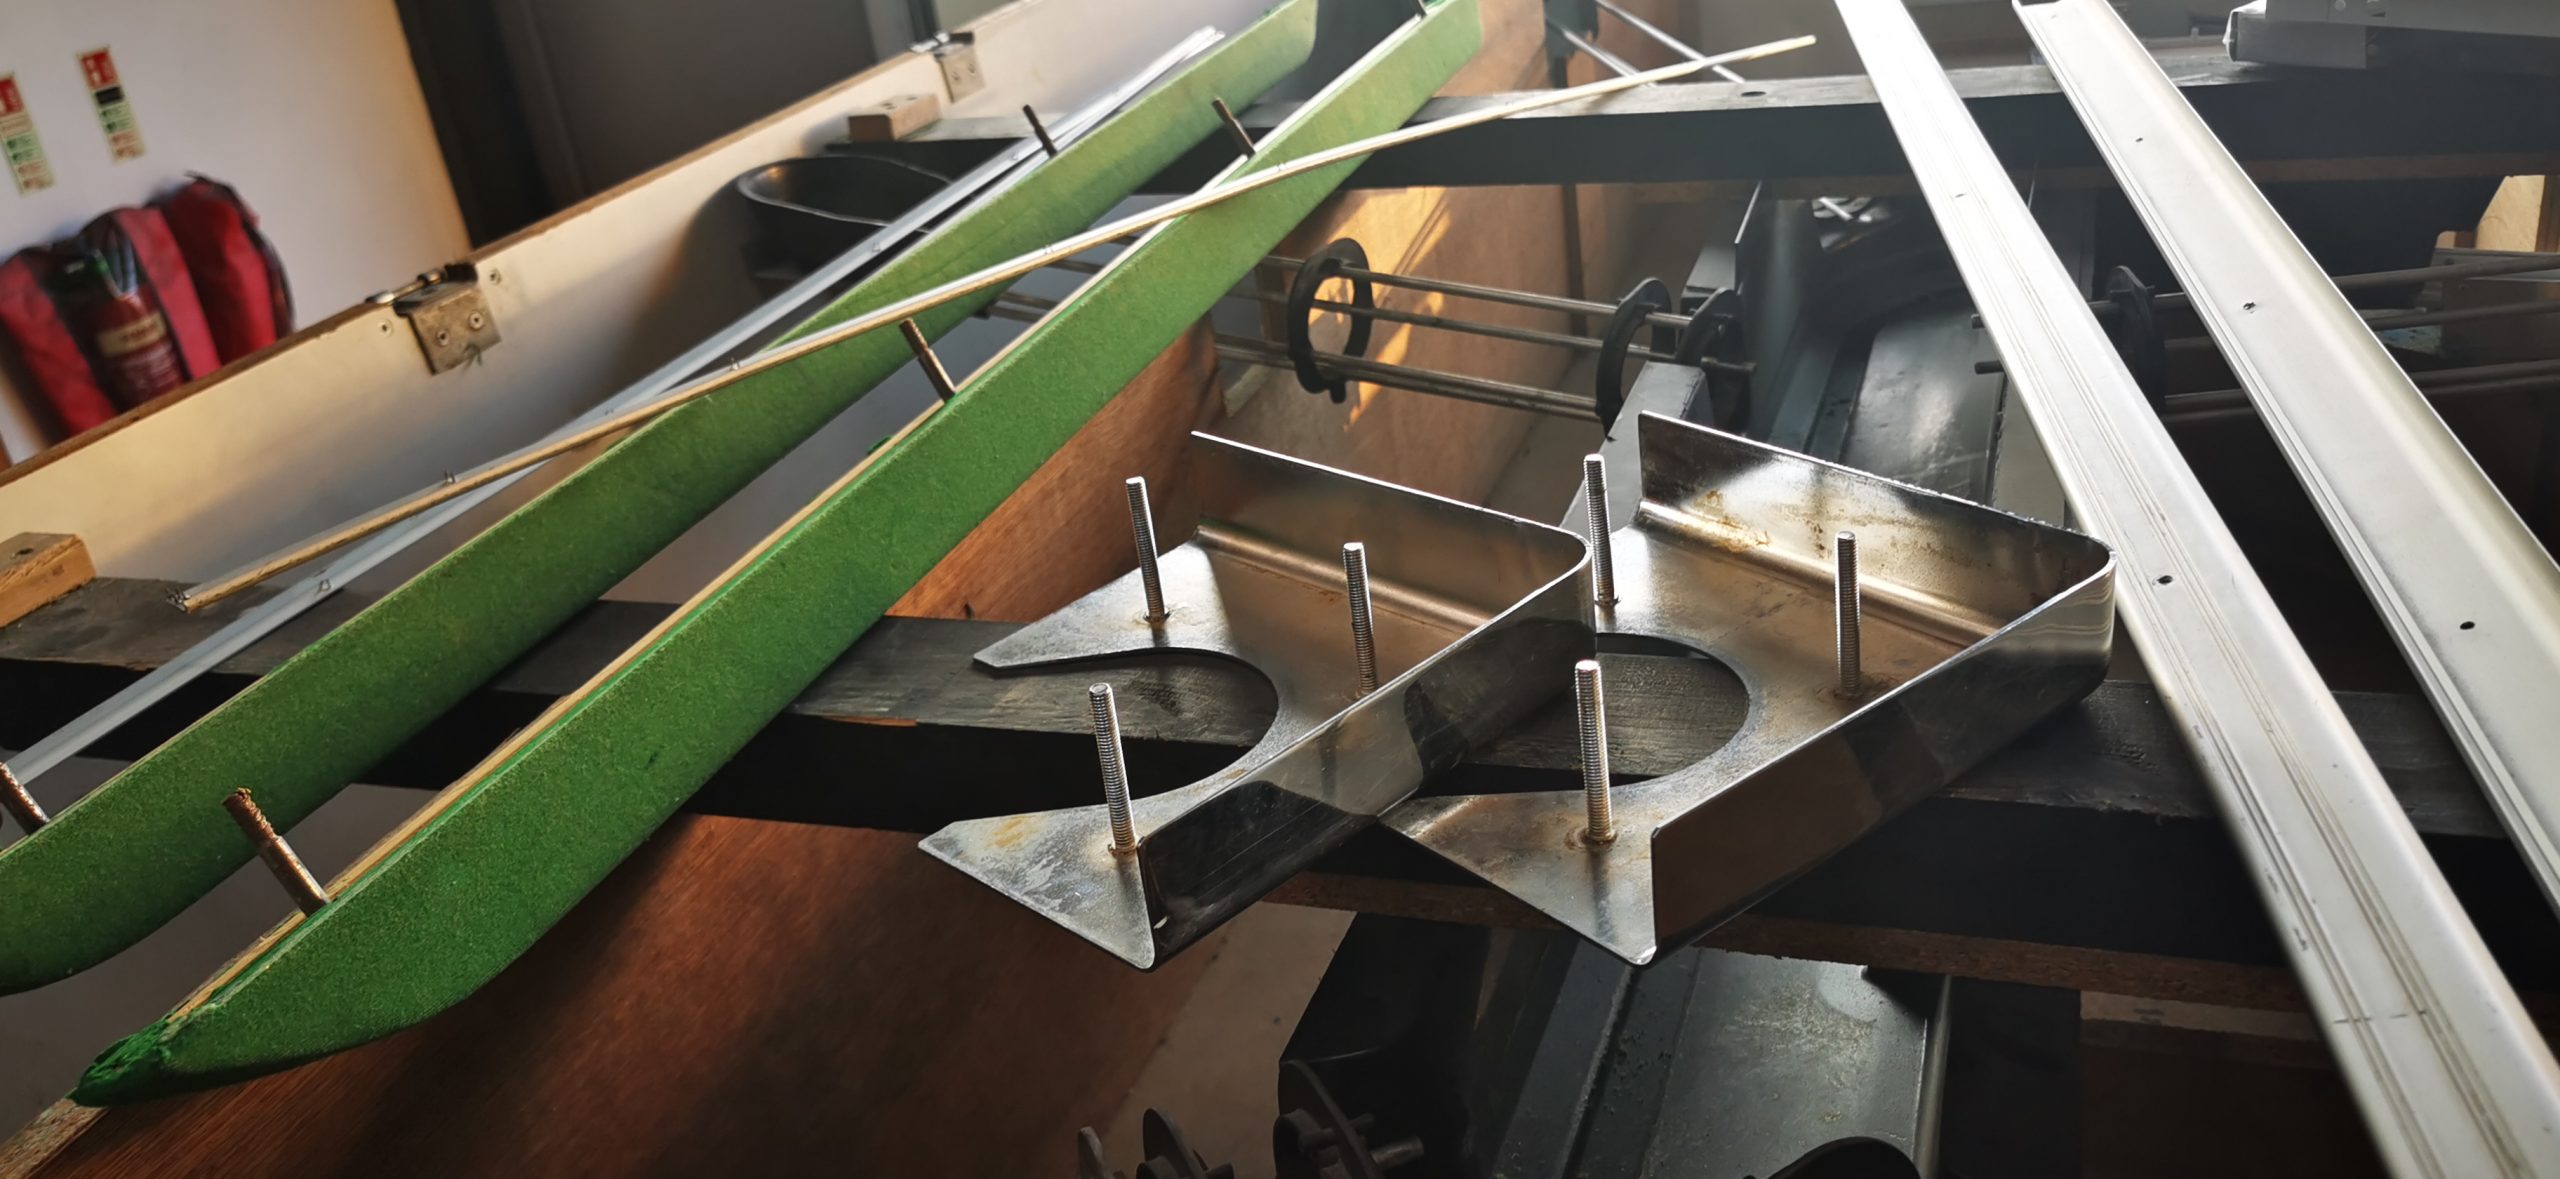
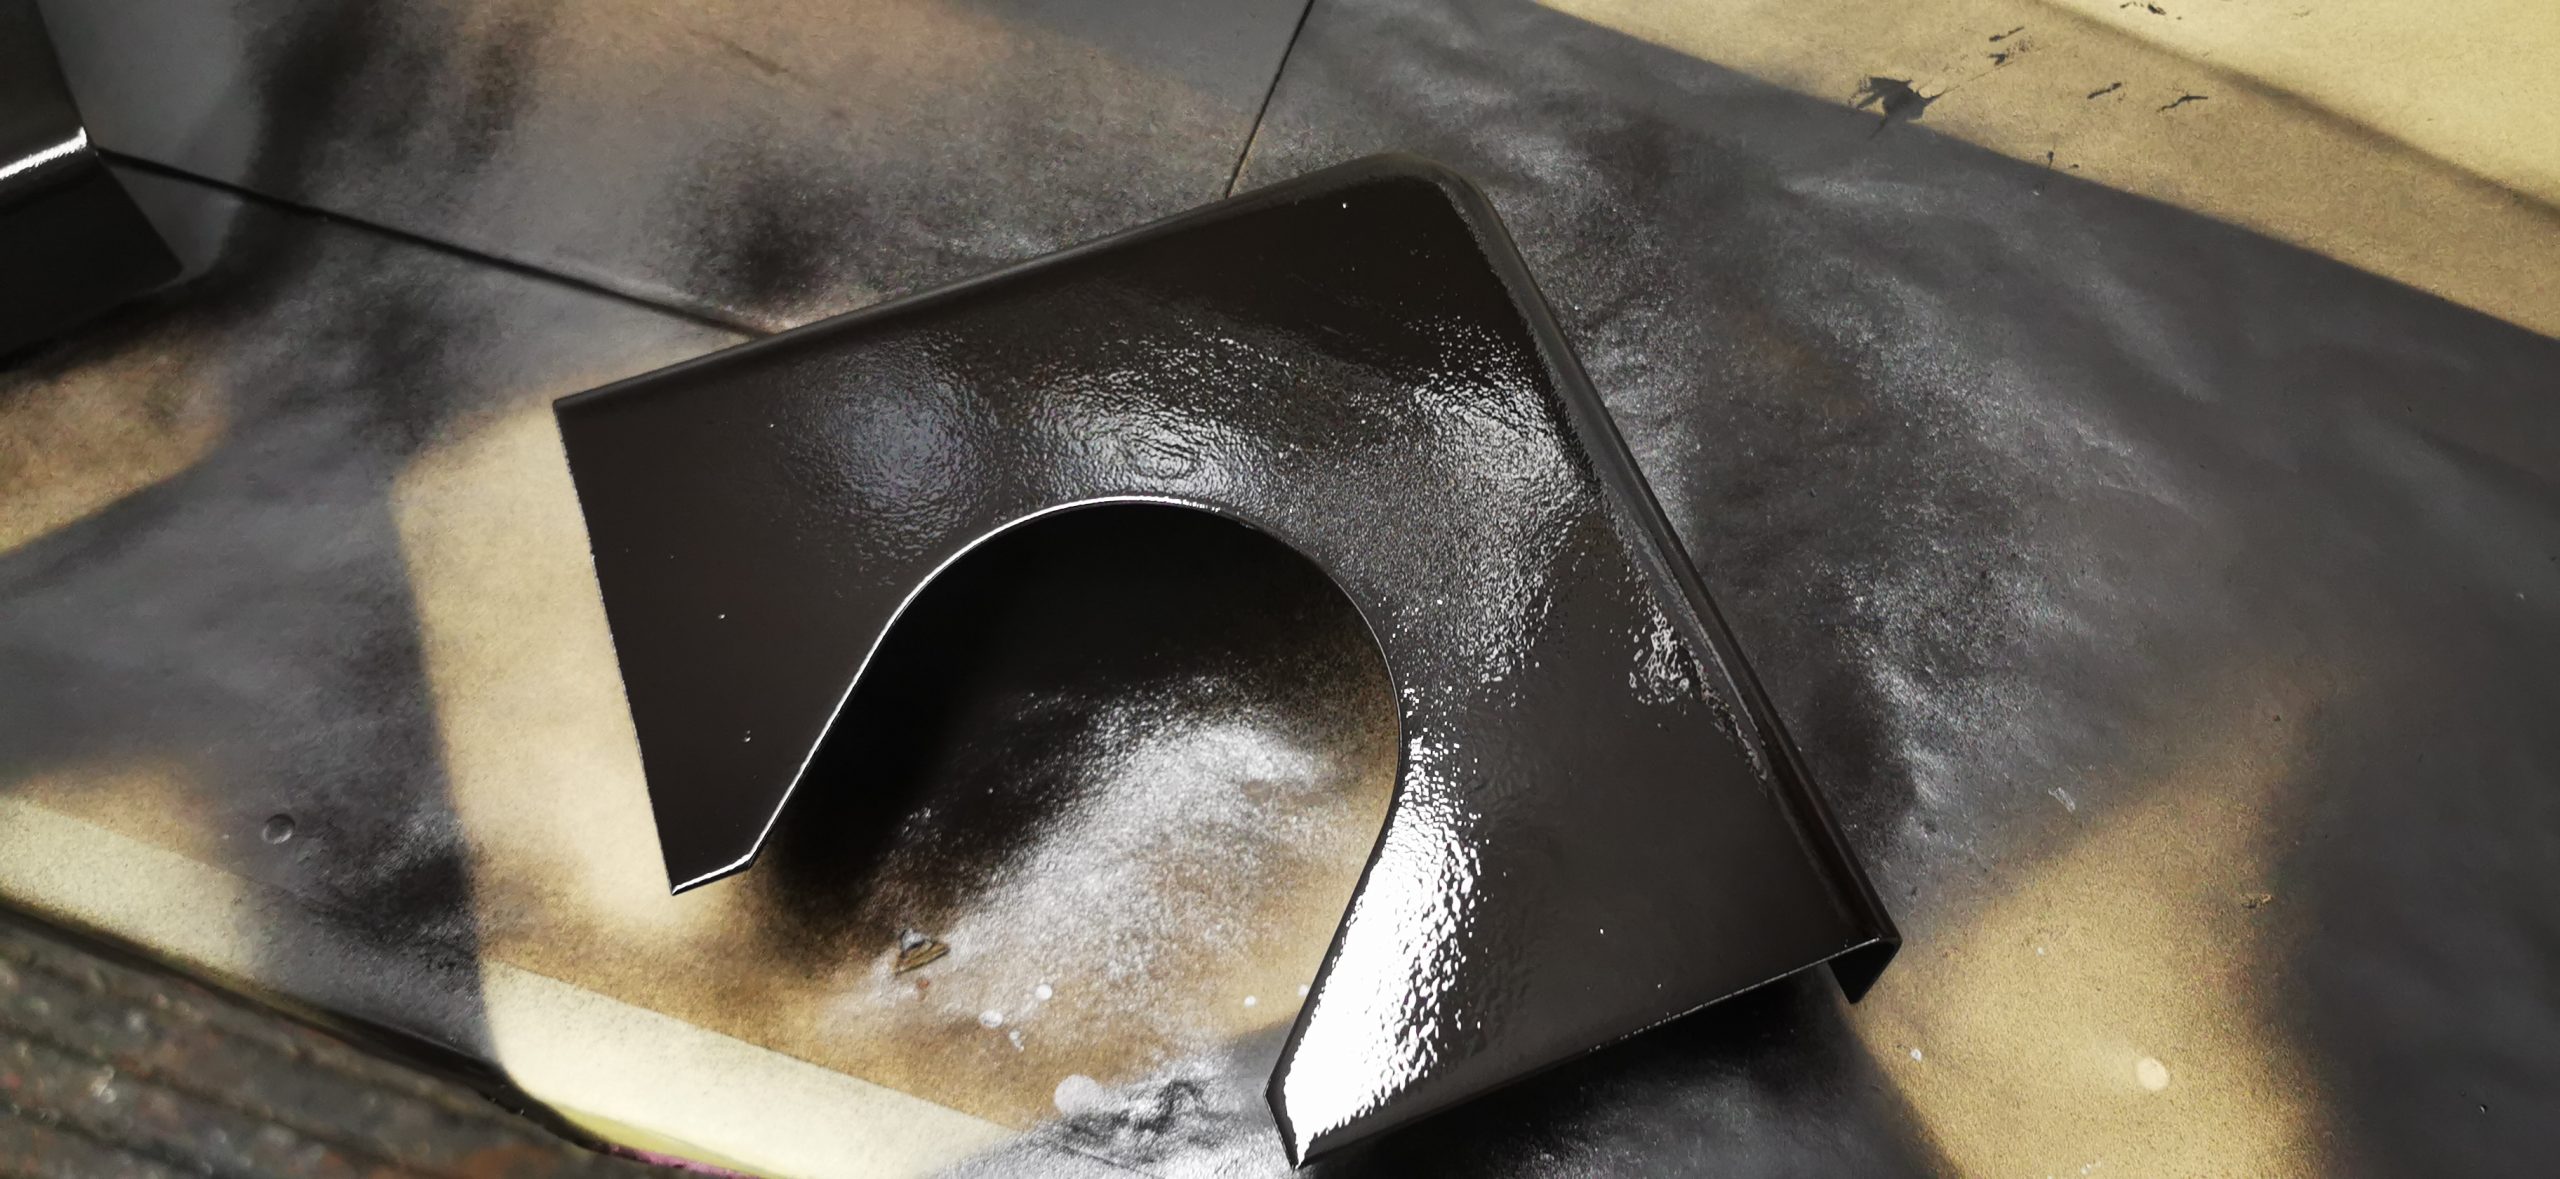
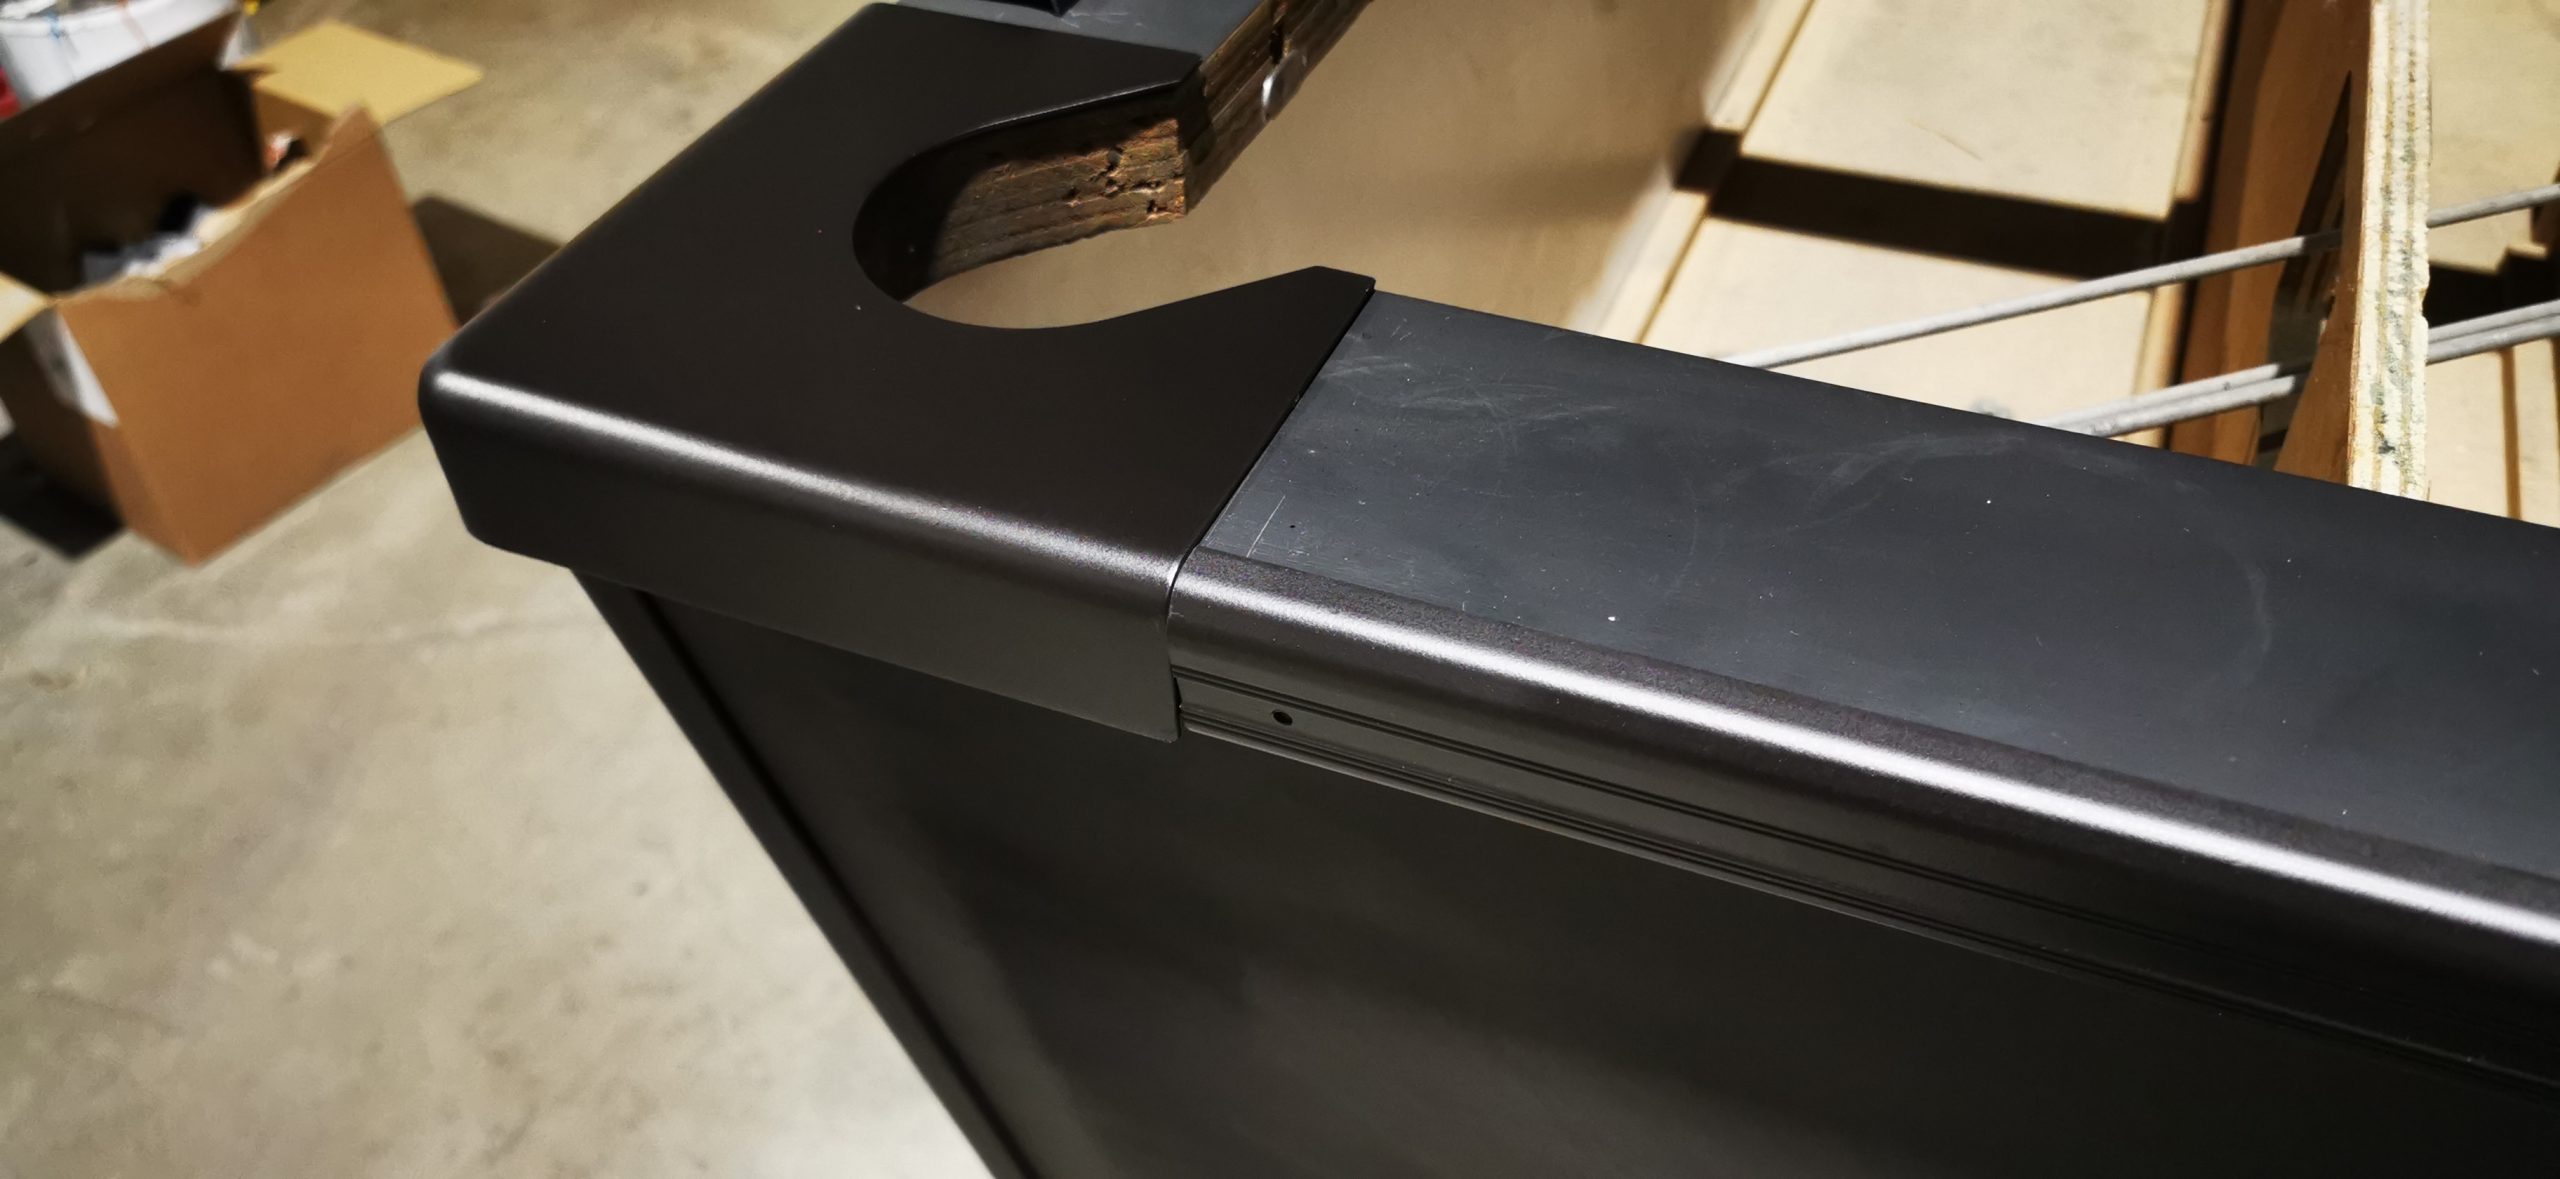
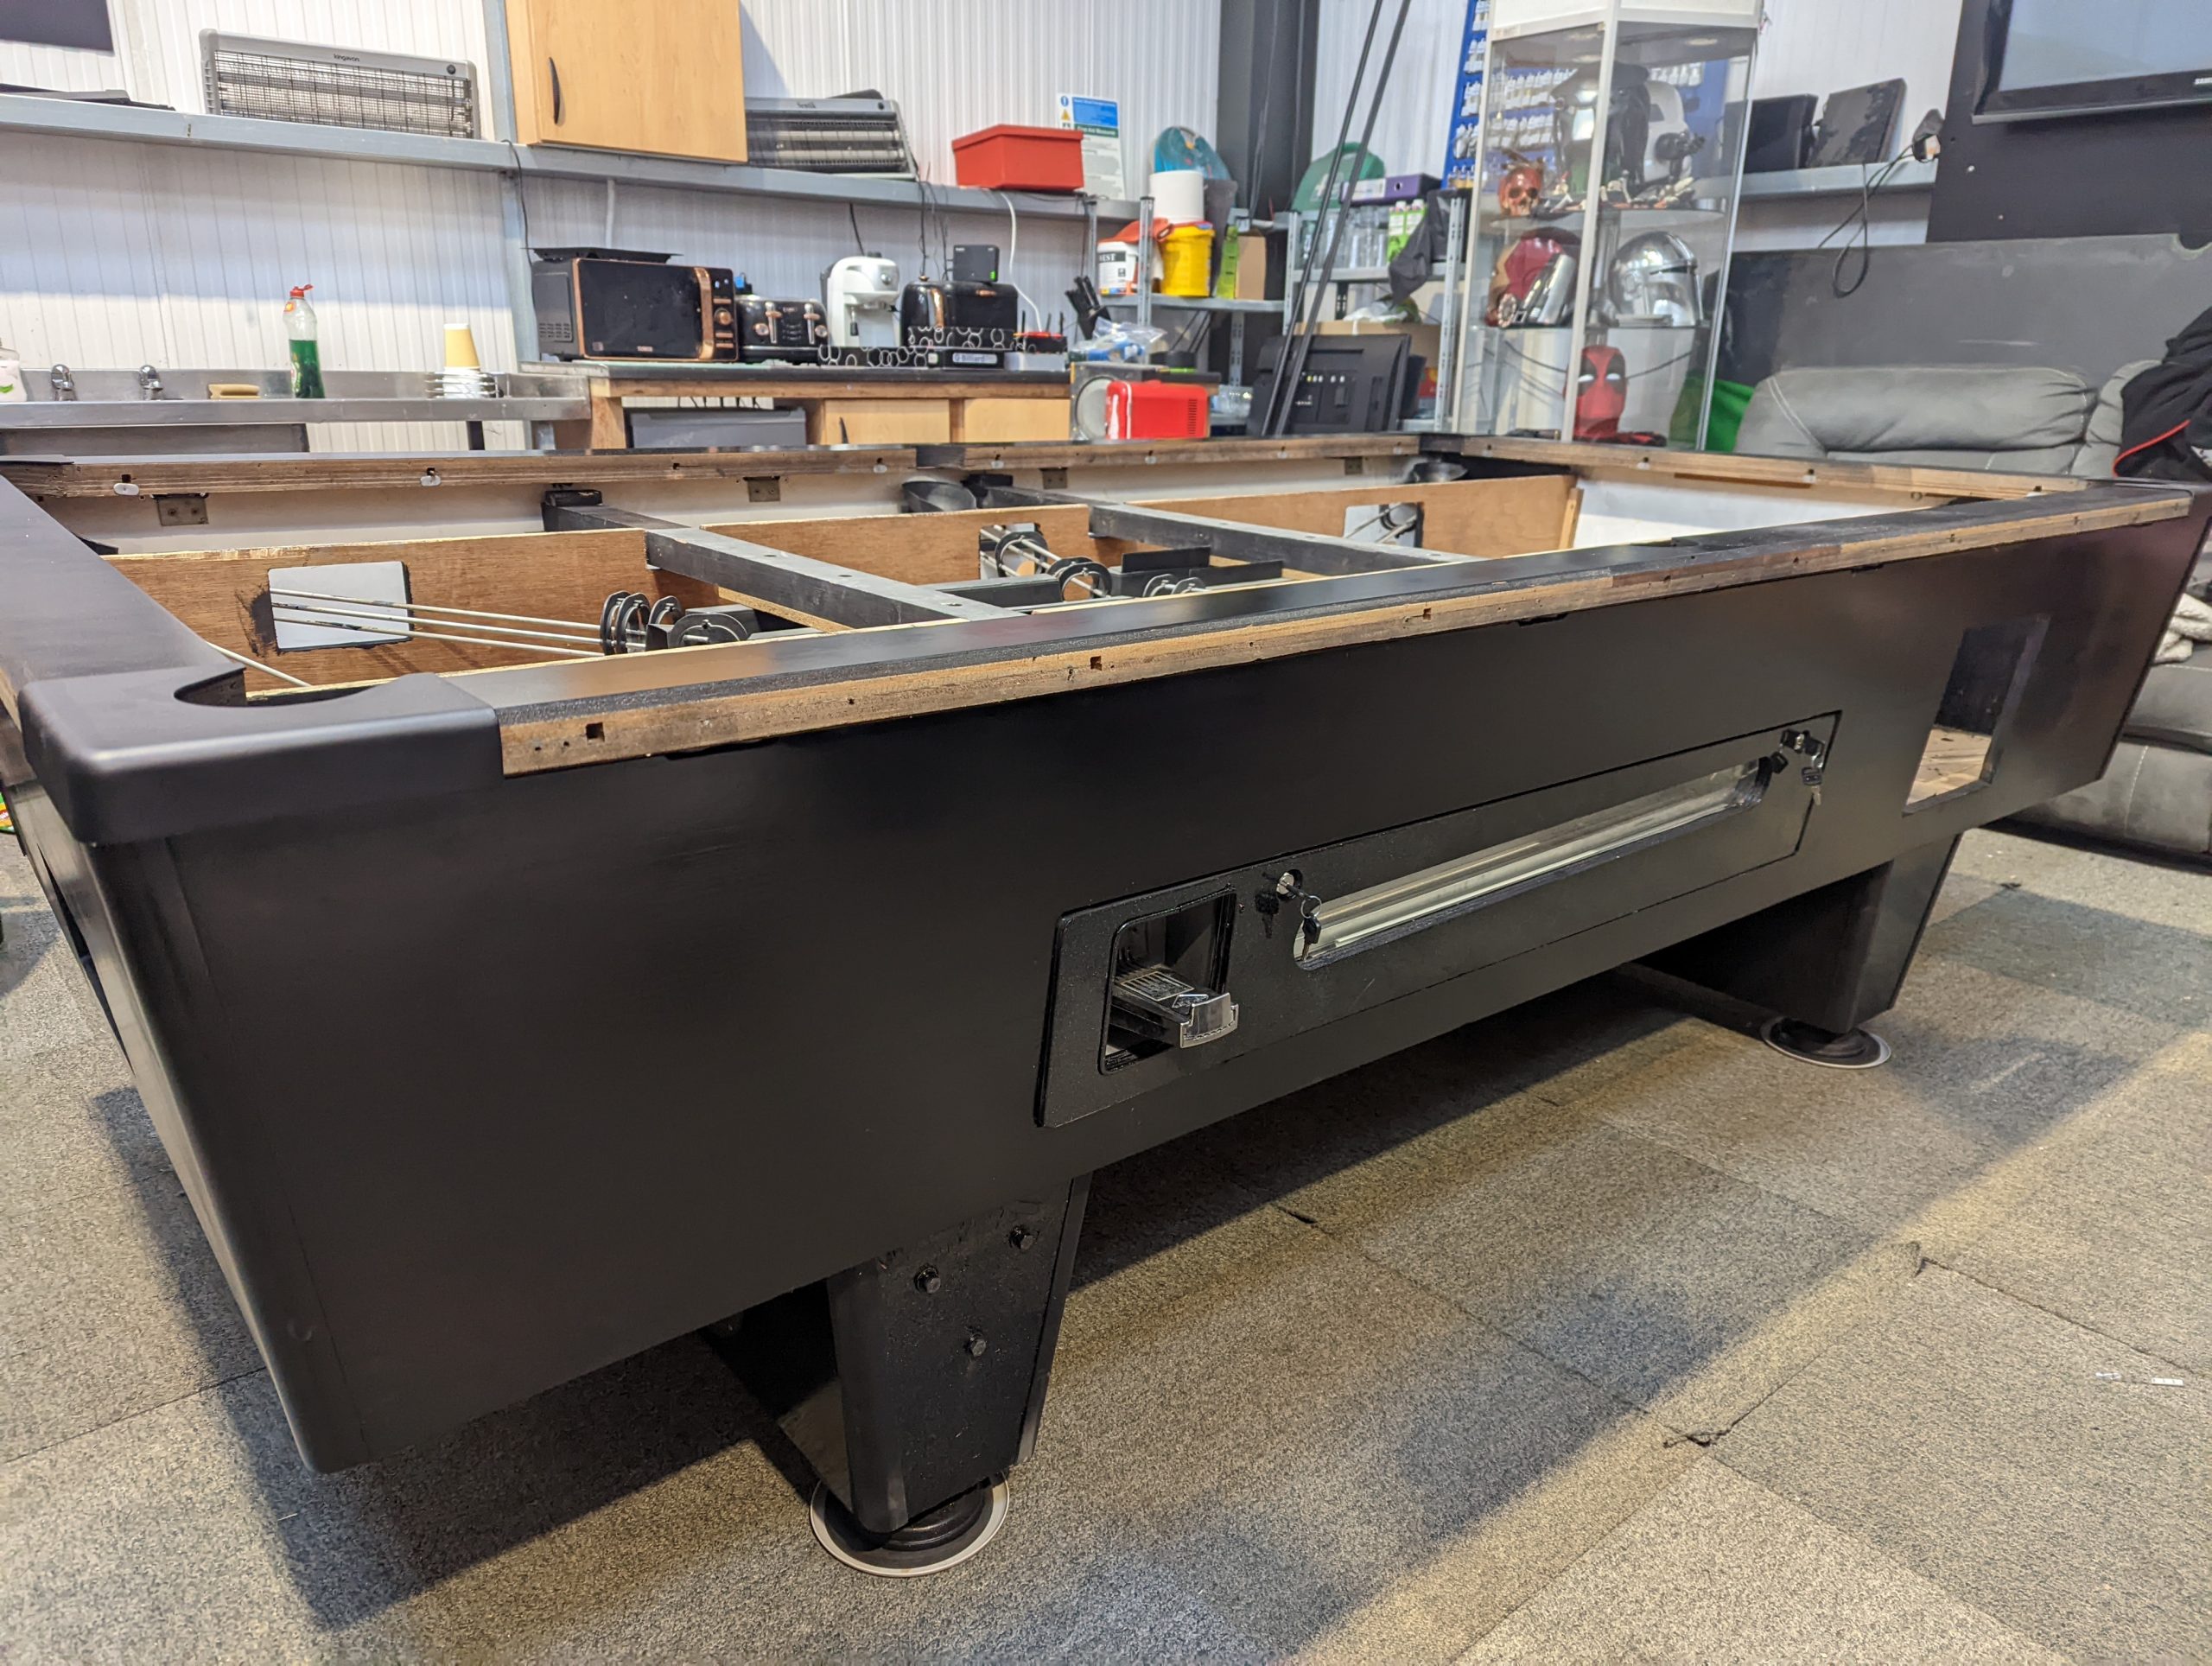
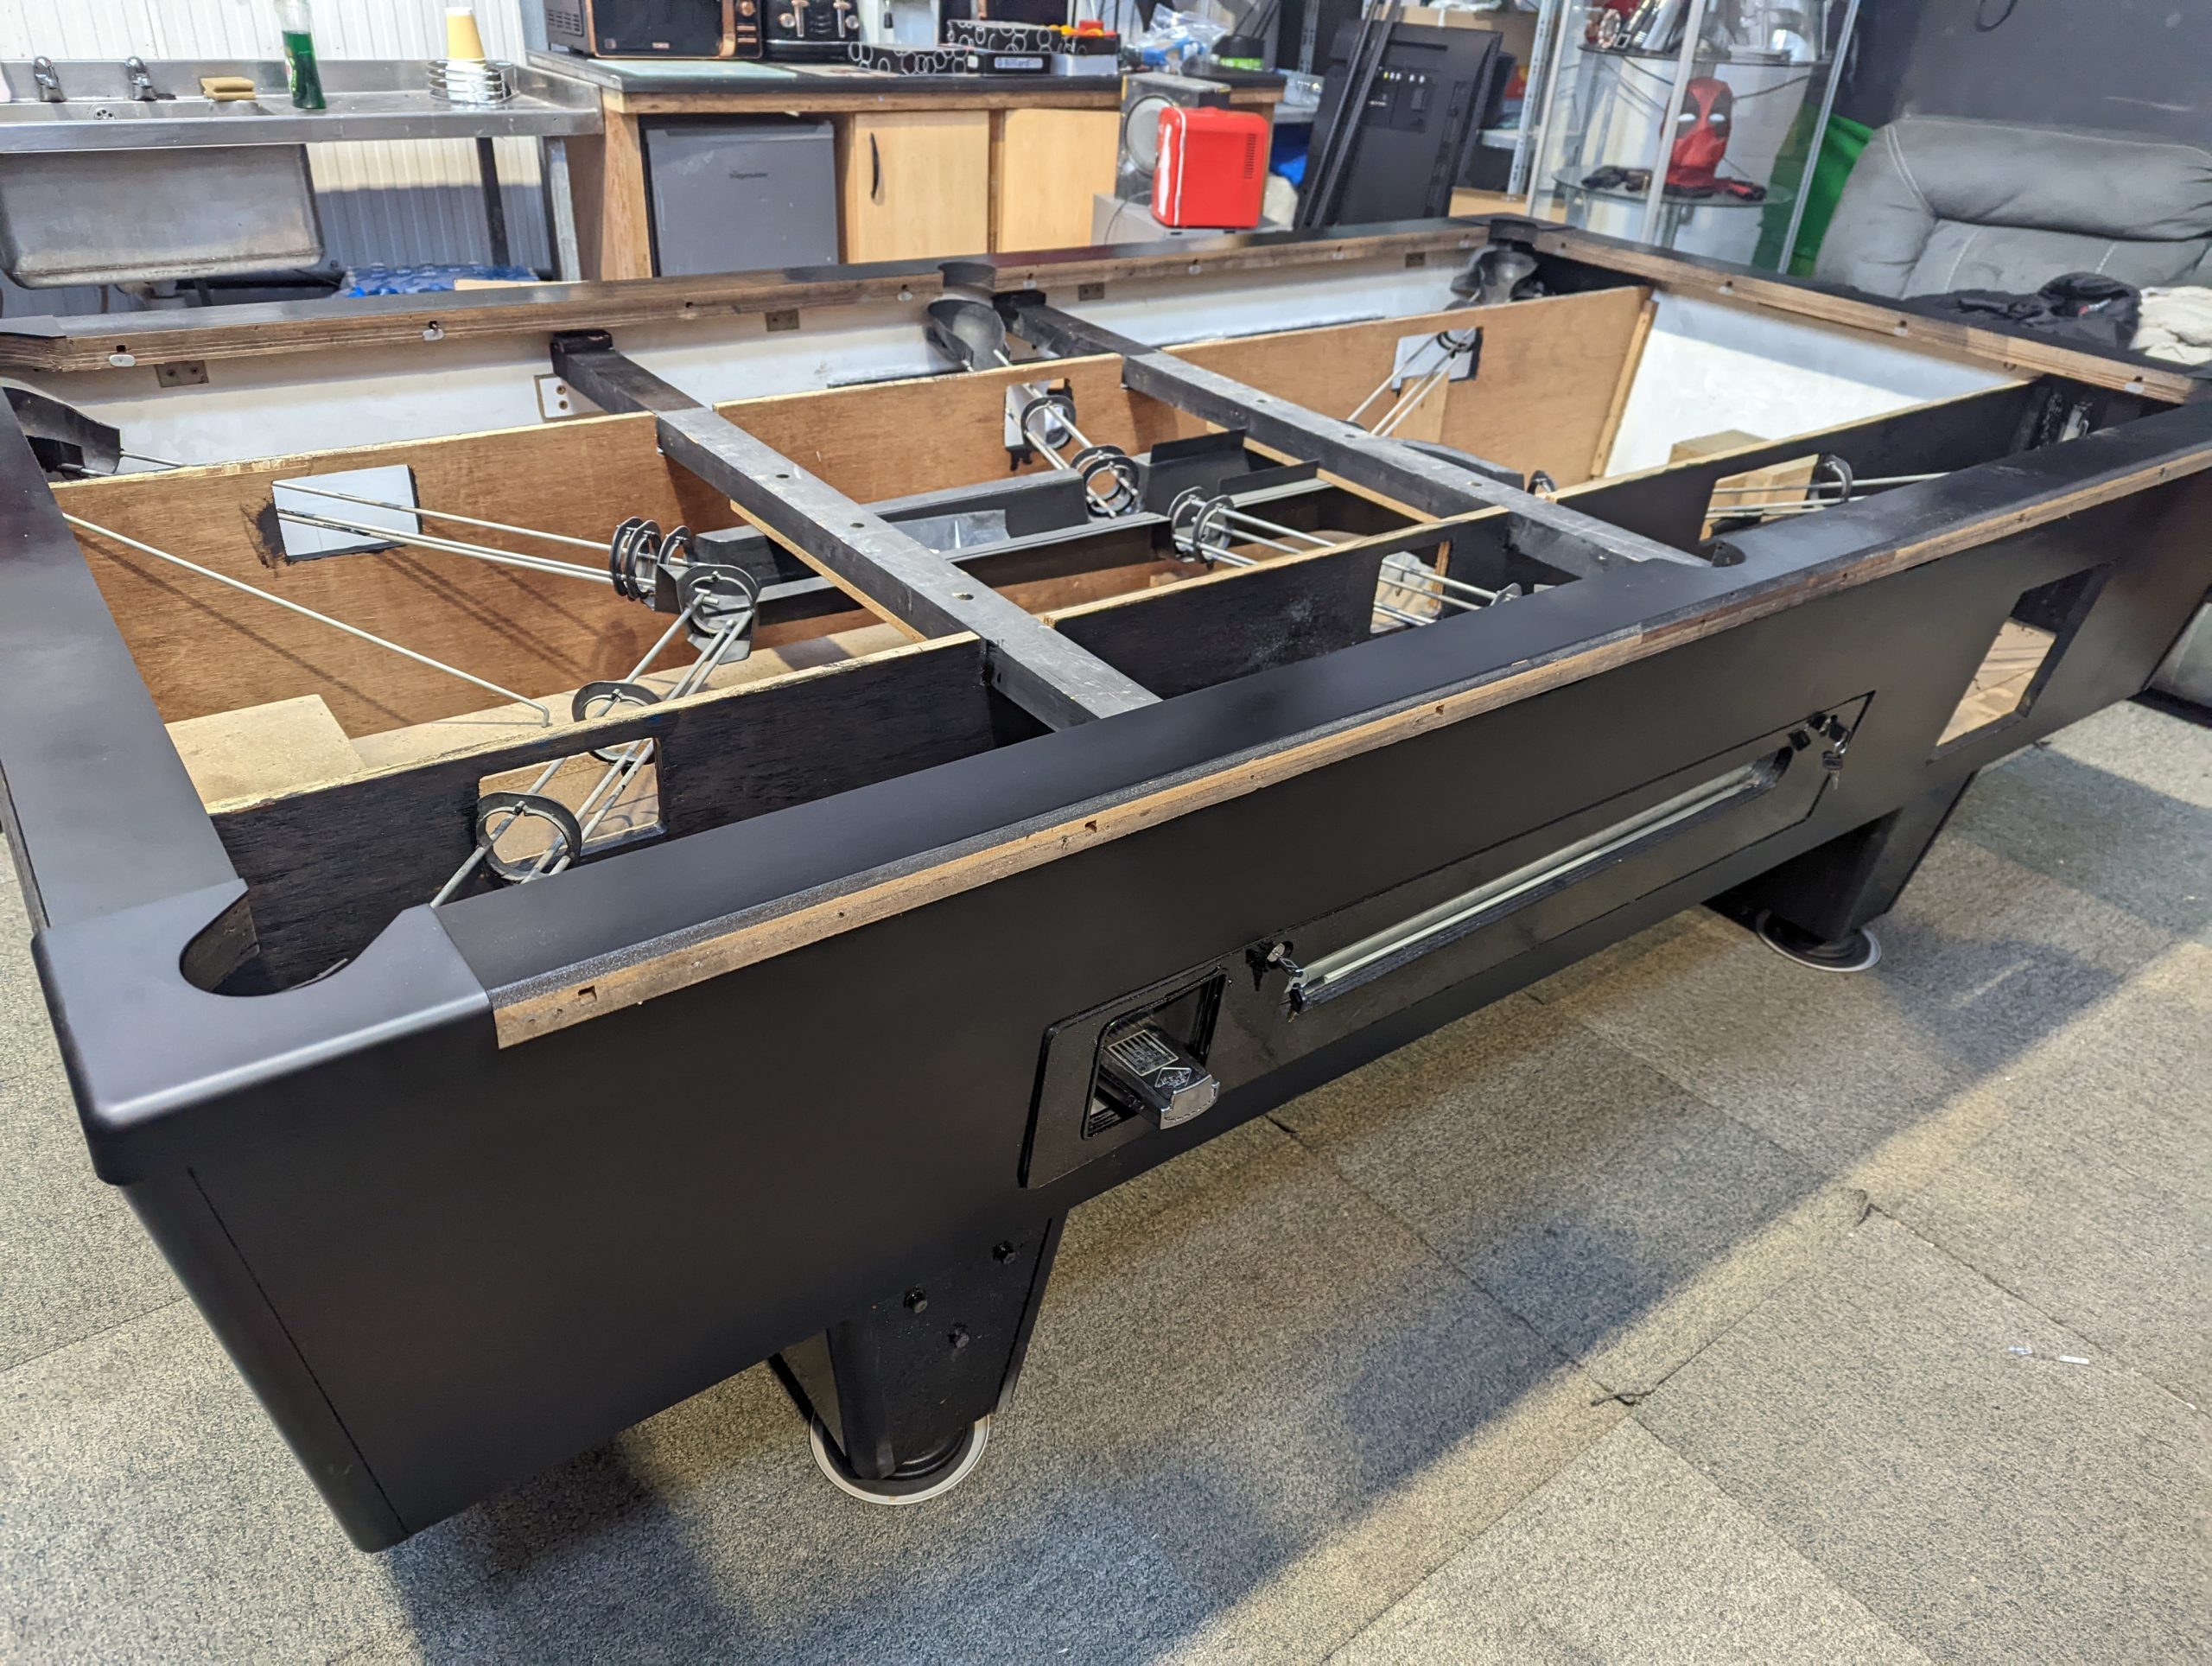
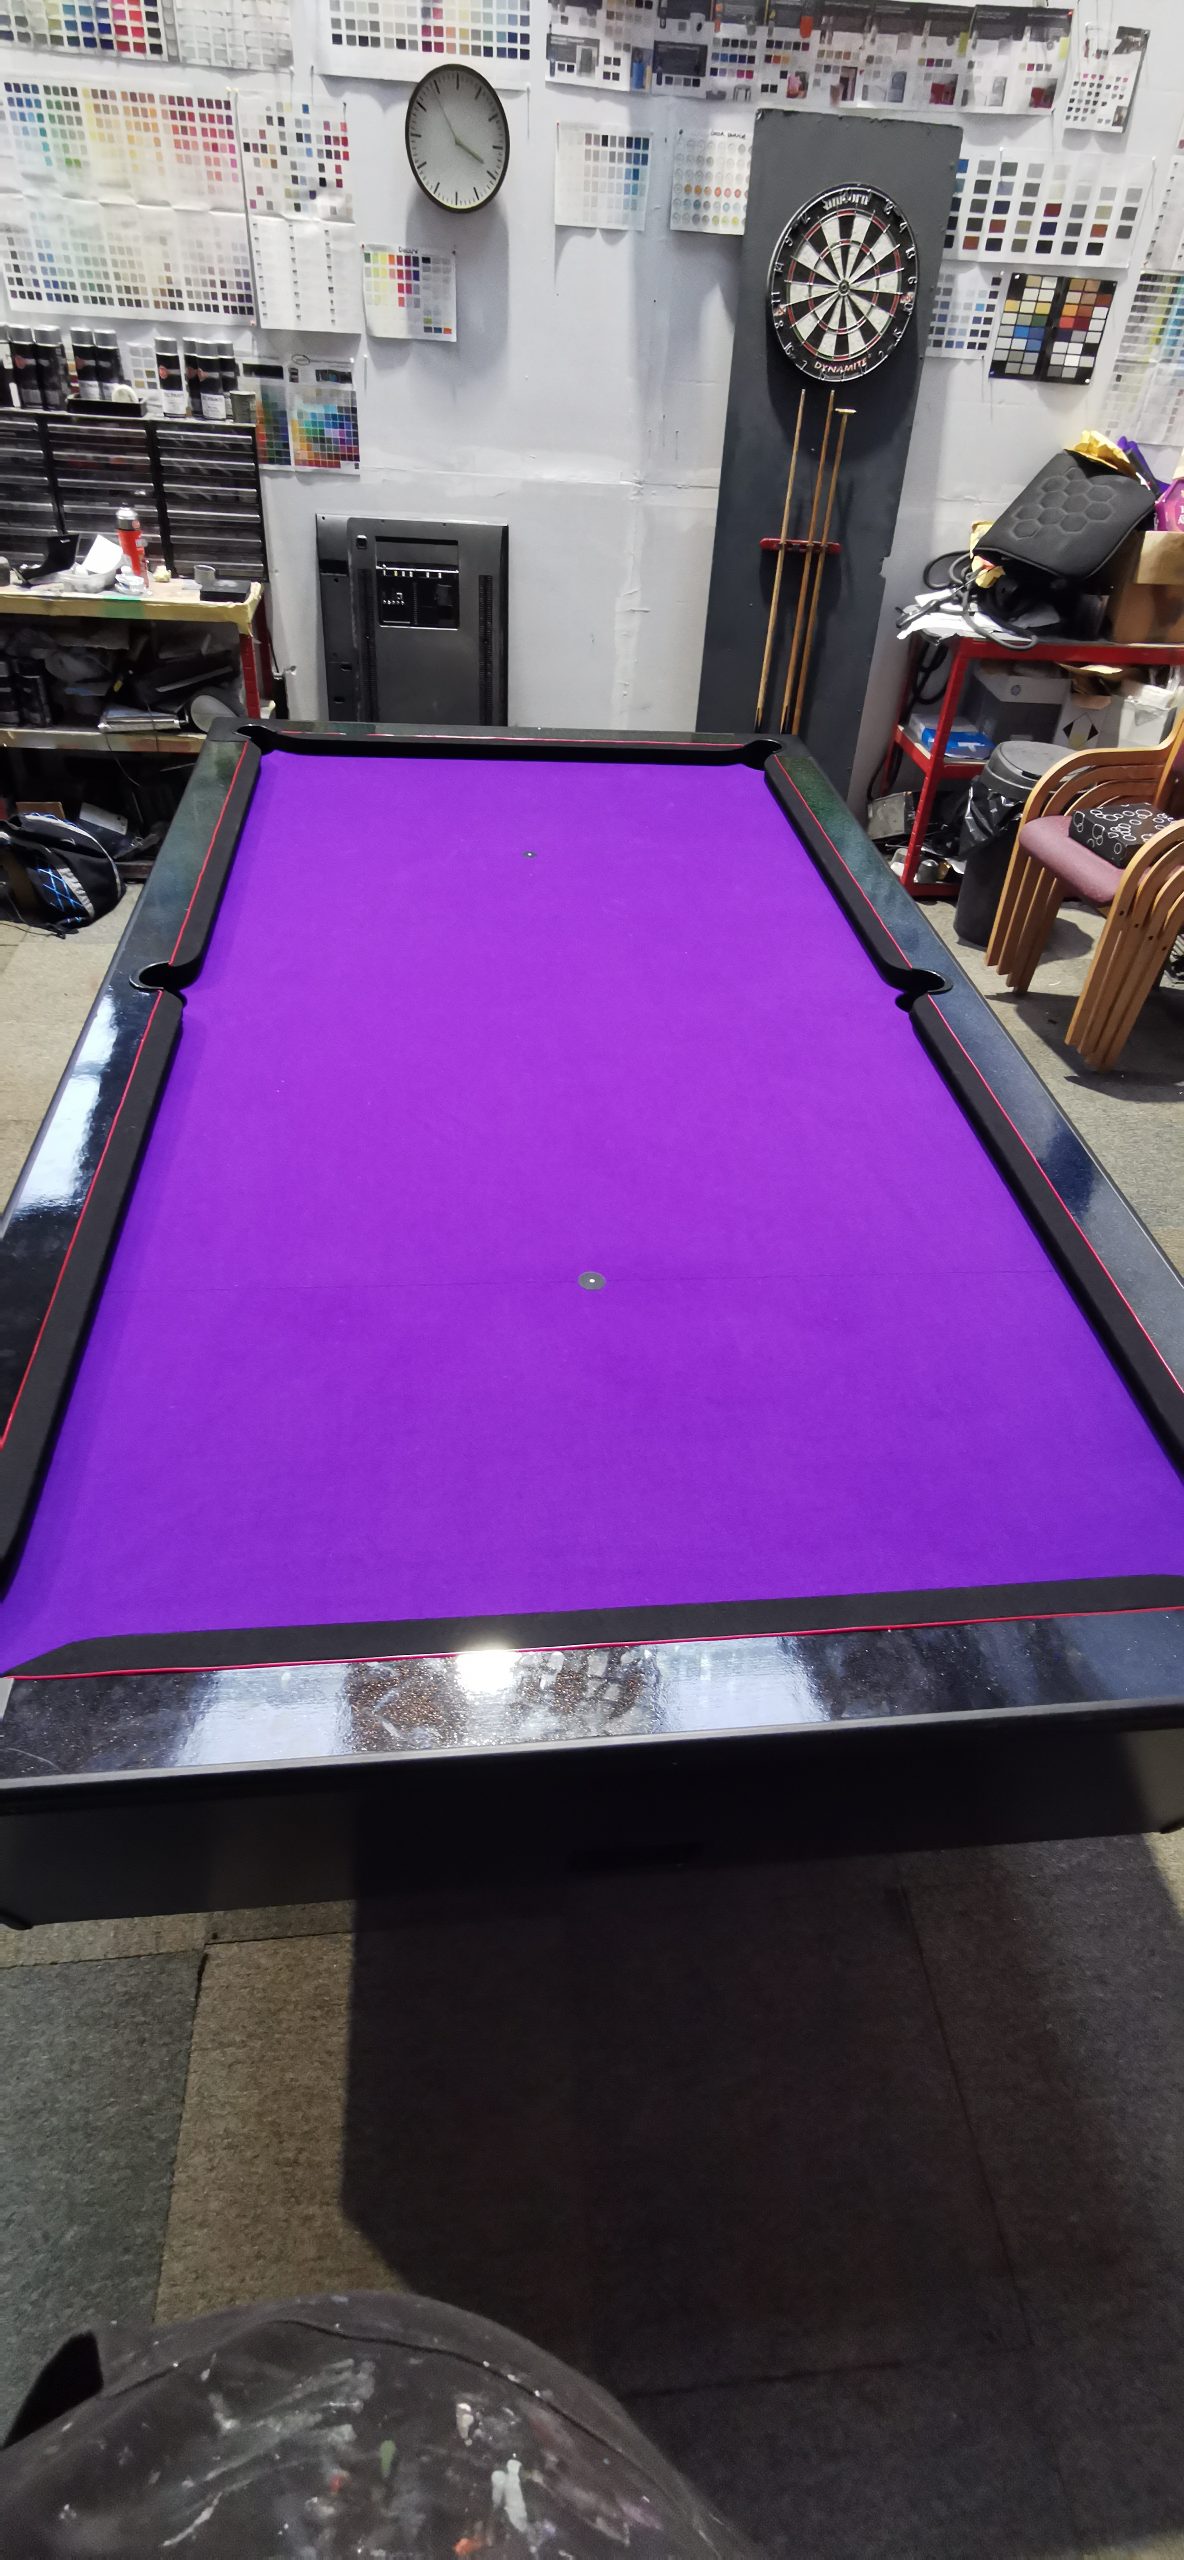
Once the table was fully cured, we completed the rest of the trims and metalwork. We cleaned up and sanded all the table trims, ready for repainting. We then painted the trim a matt black to offset all the bright and glossy colours of the table.
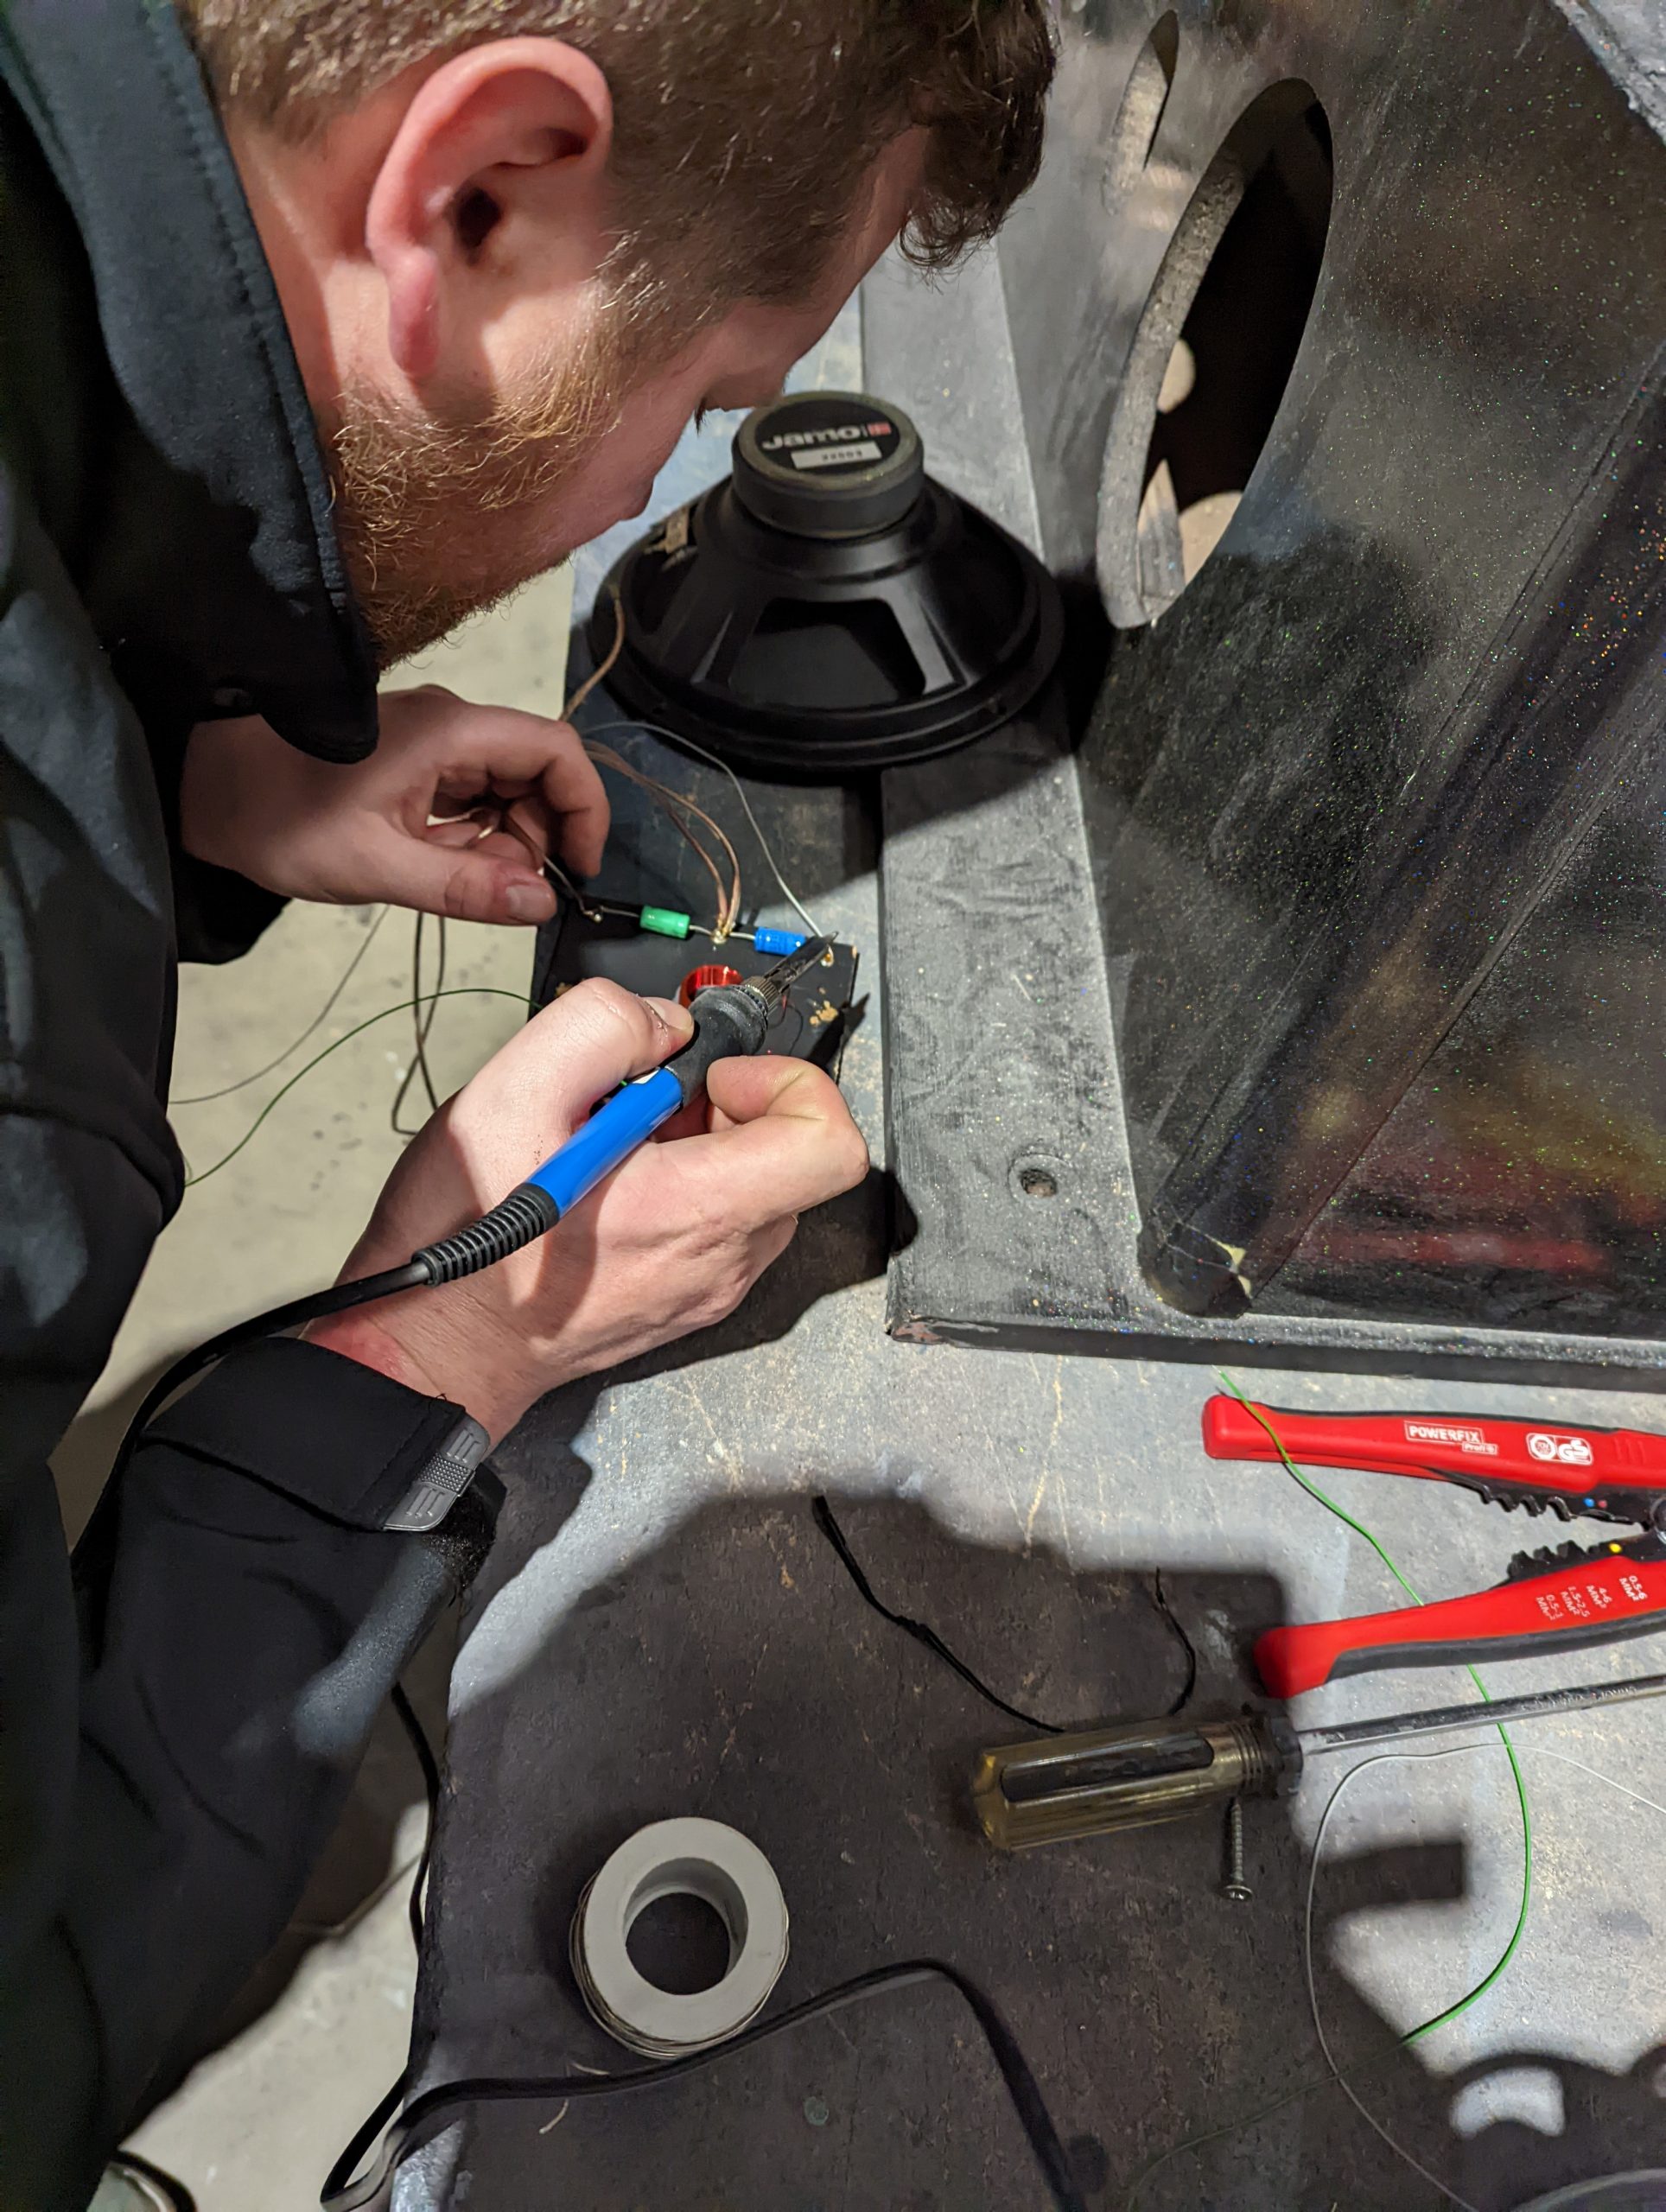
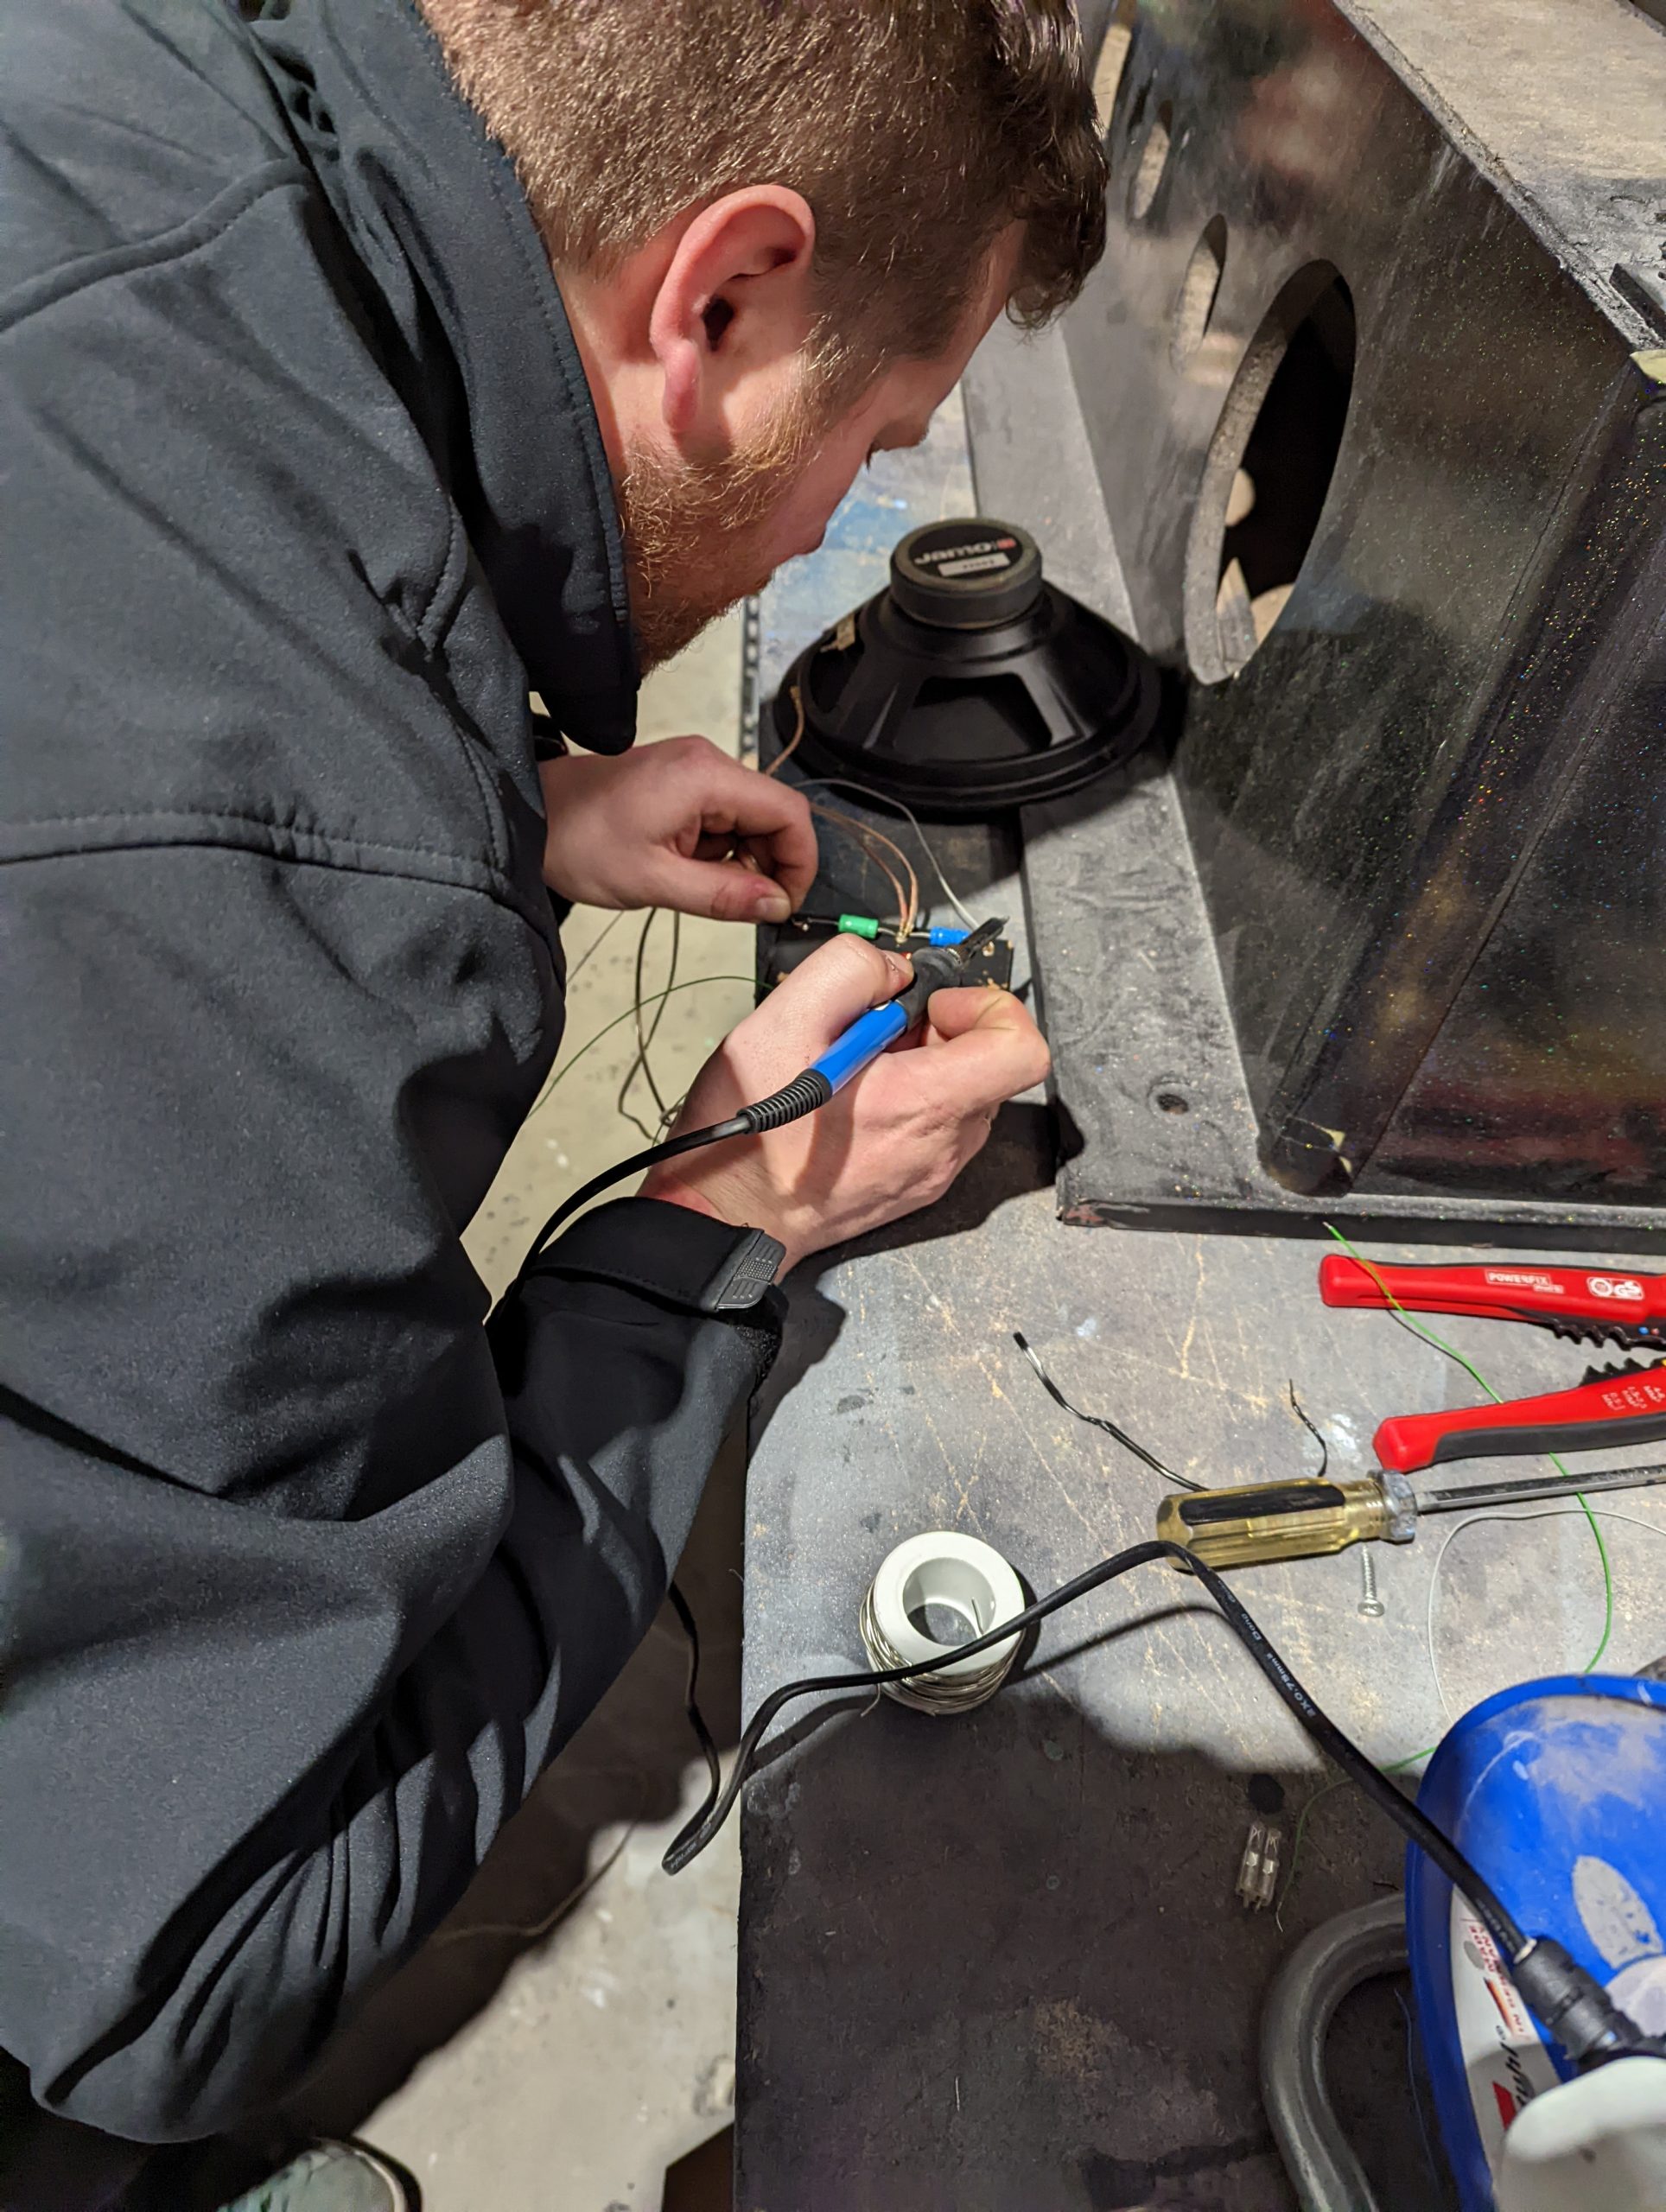
The Electronics:
Once we had the power supply installed, there were very few limitations other than size.
TOP TIP: Have a plan and be specific! Write down what you want to add and in what order on a whiteboard or writing pad. This will save you time adding or replacing things later where you haven’t allowed for certain items.
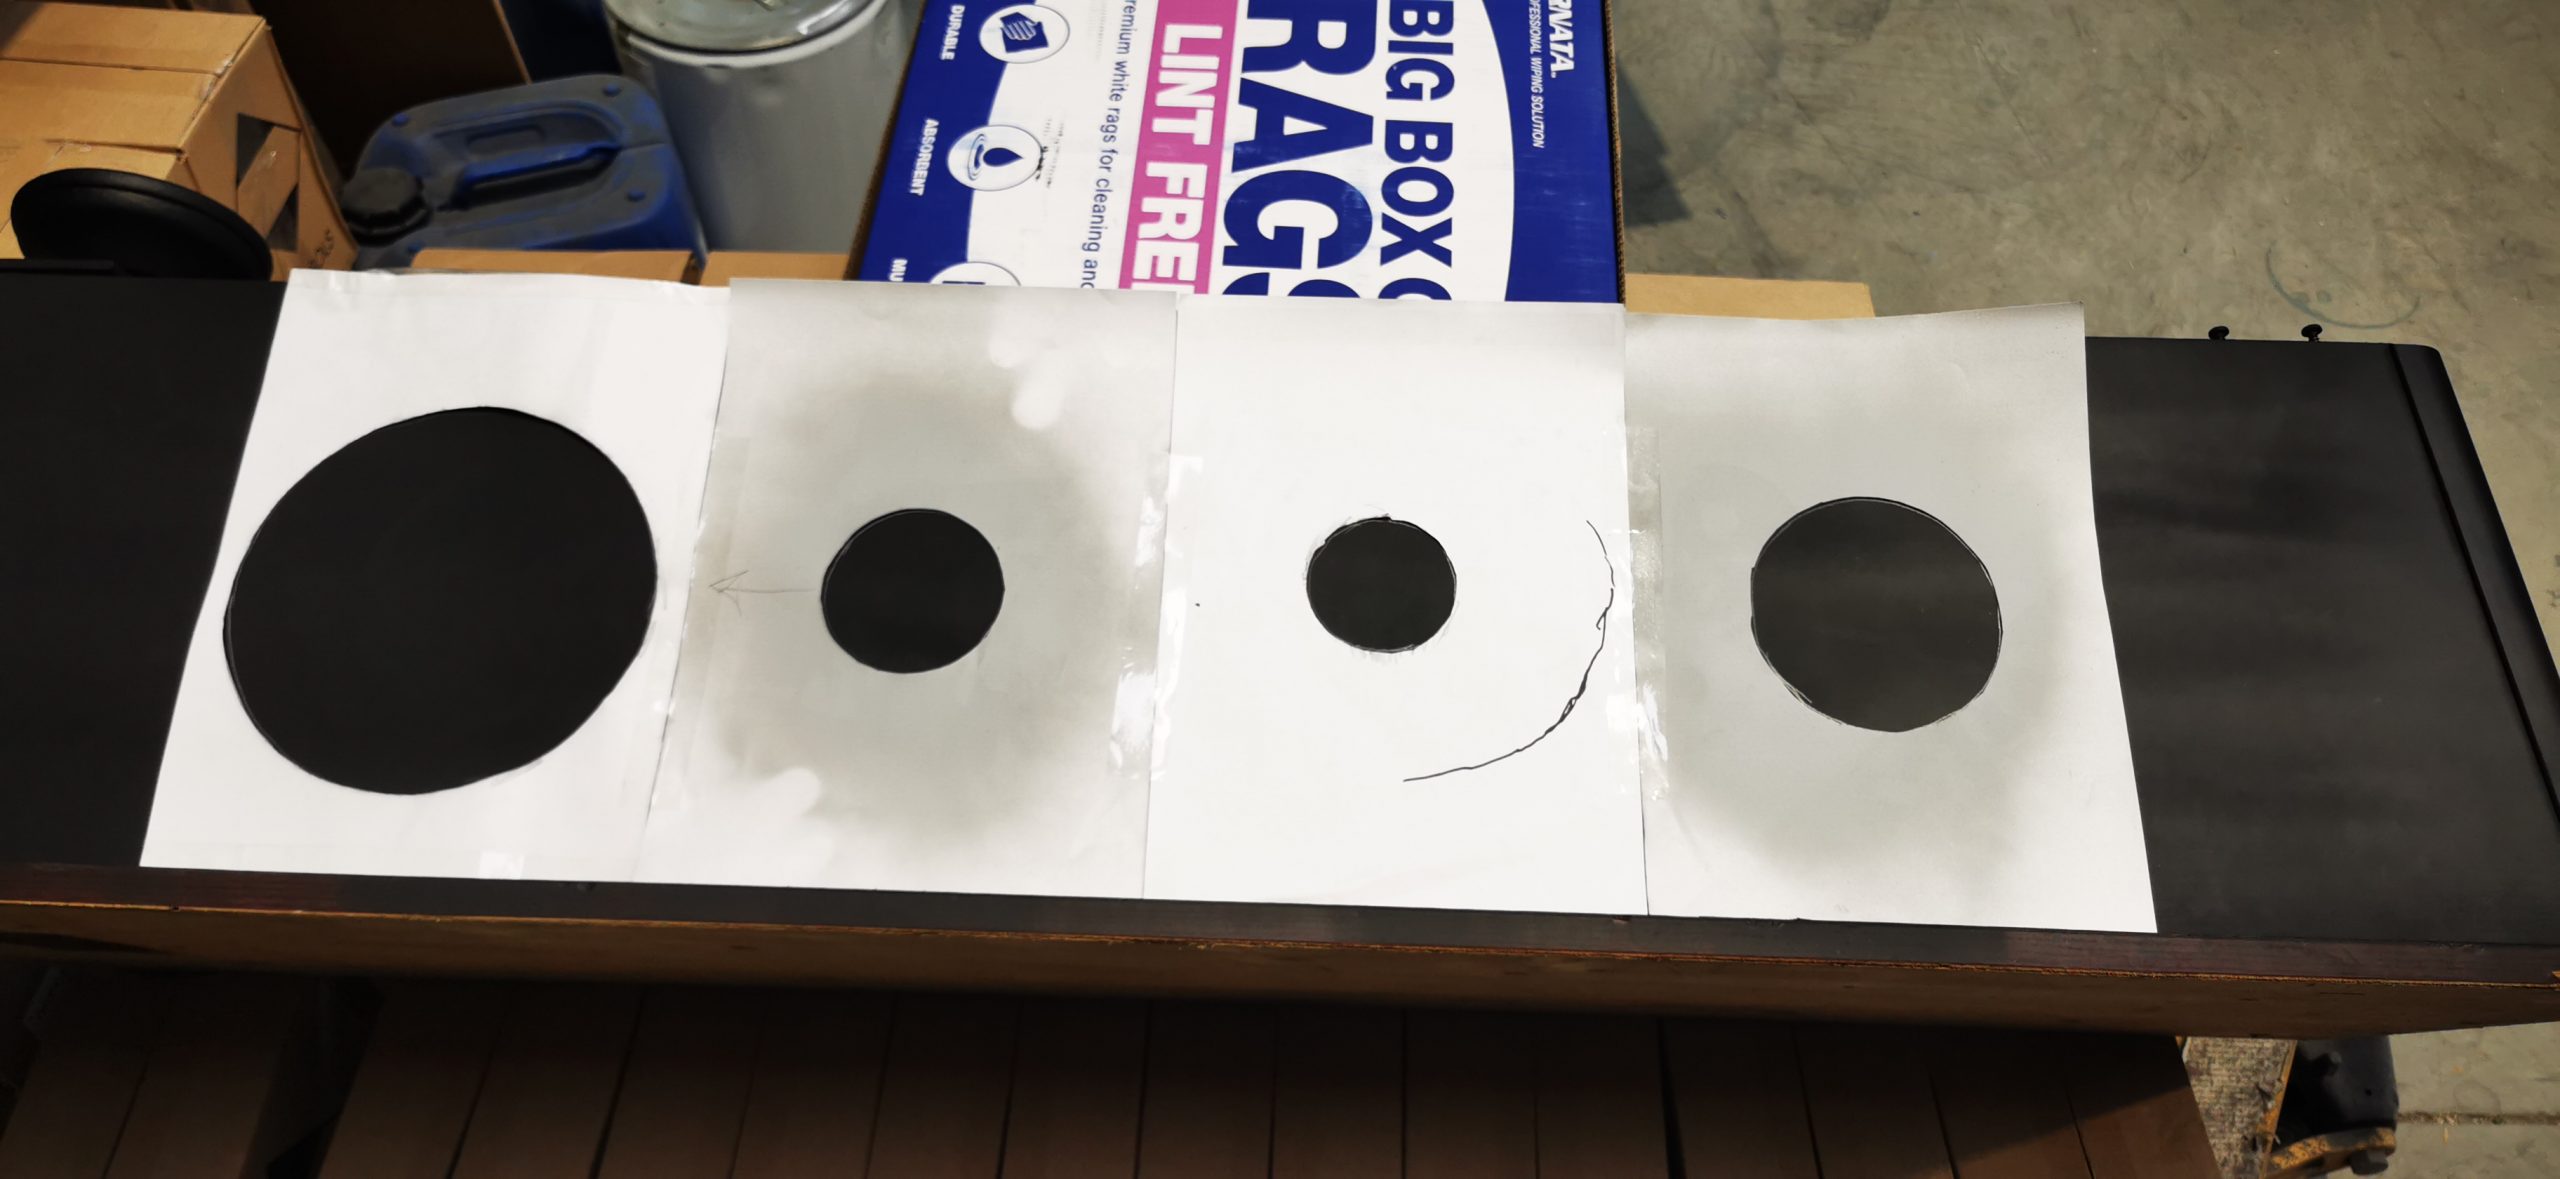
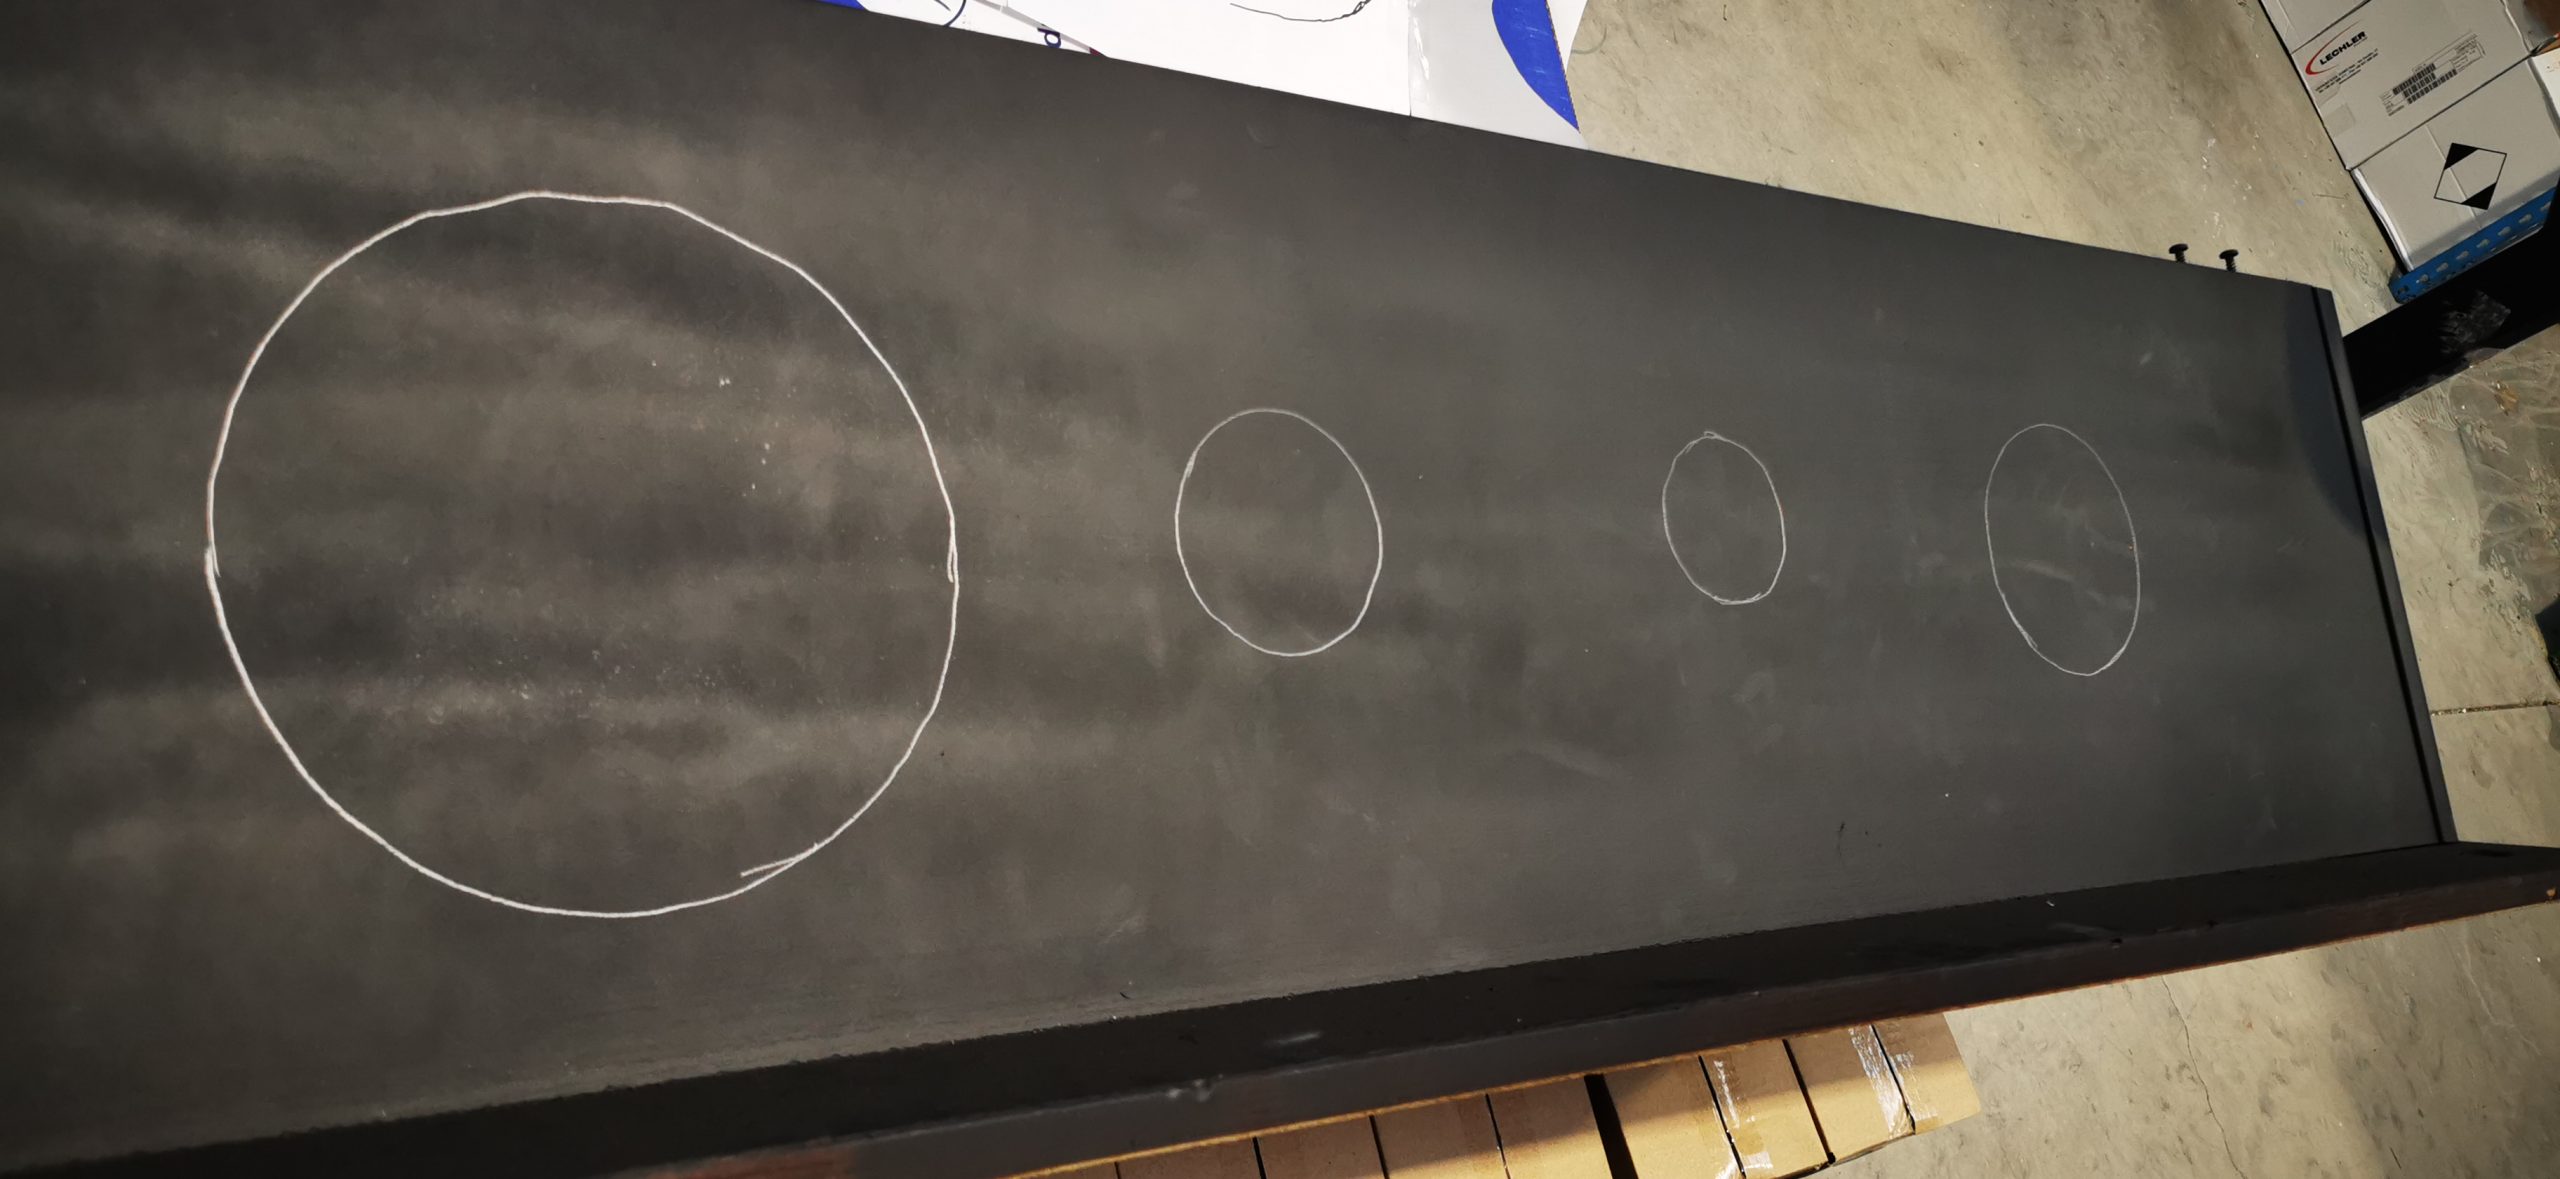
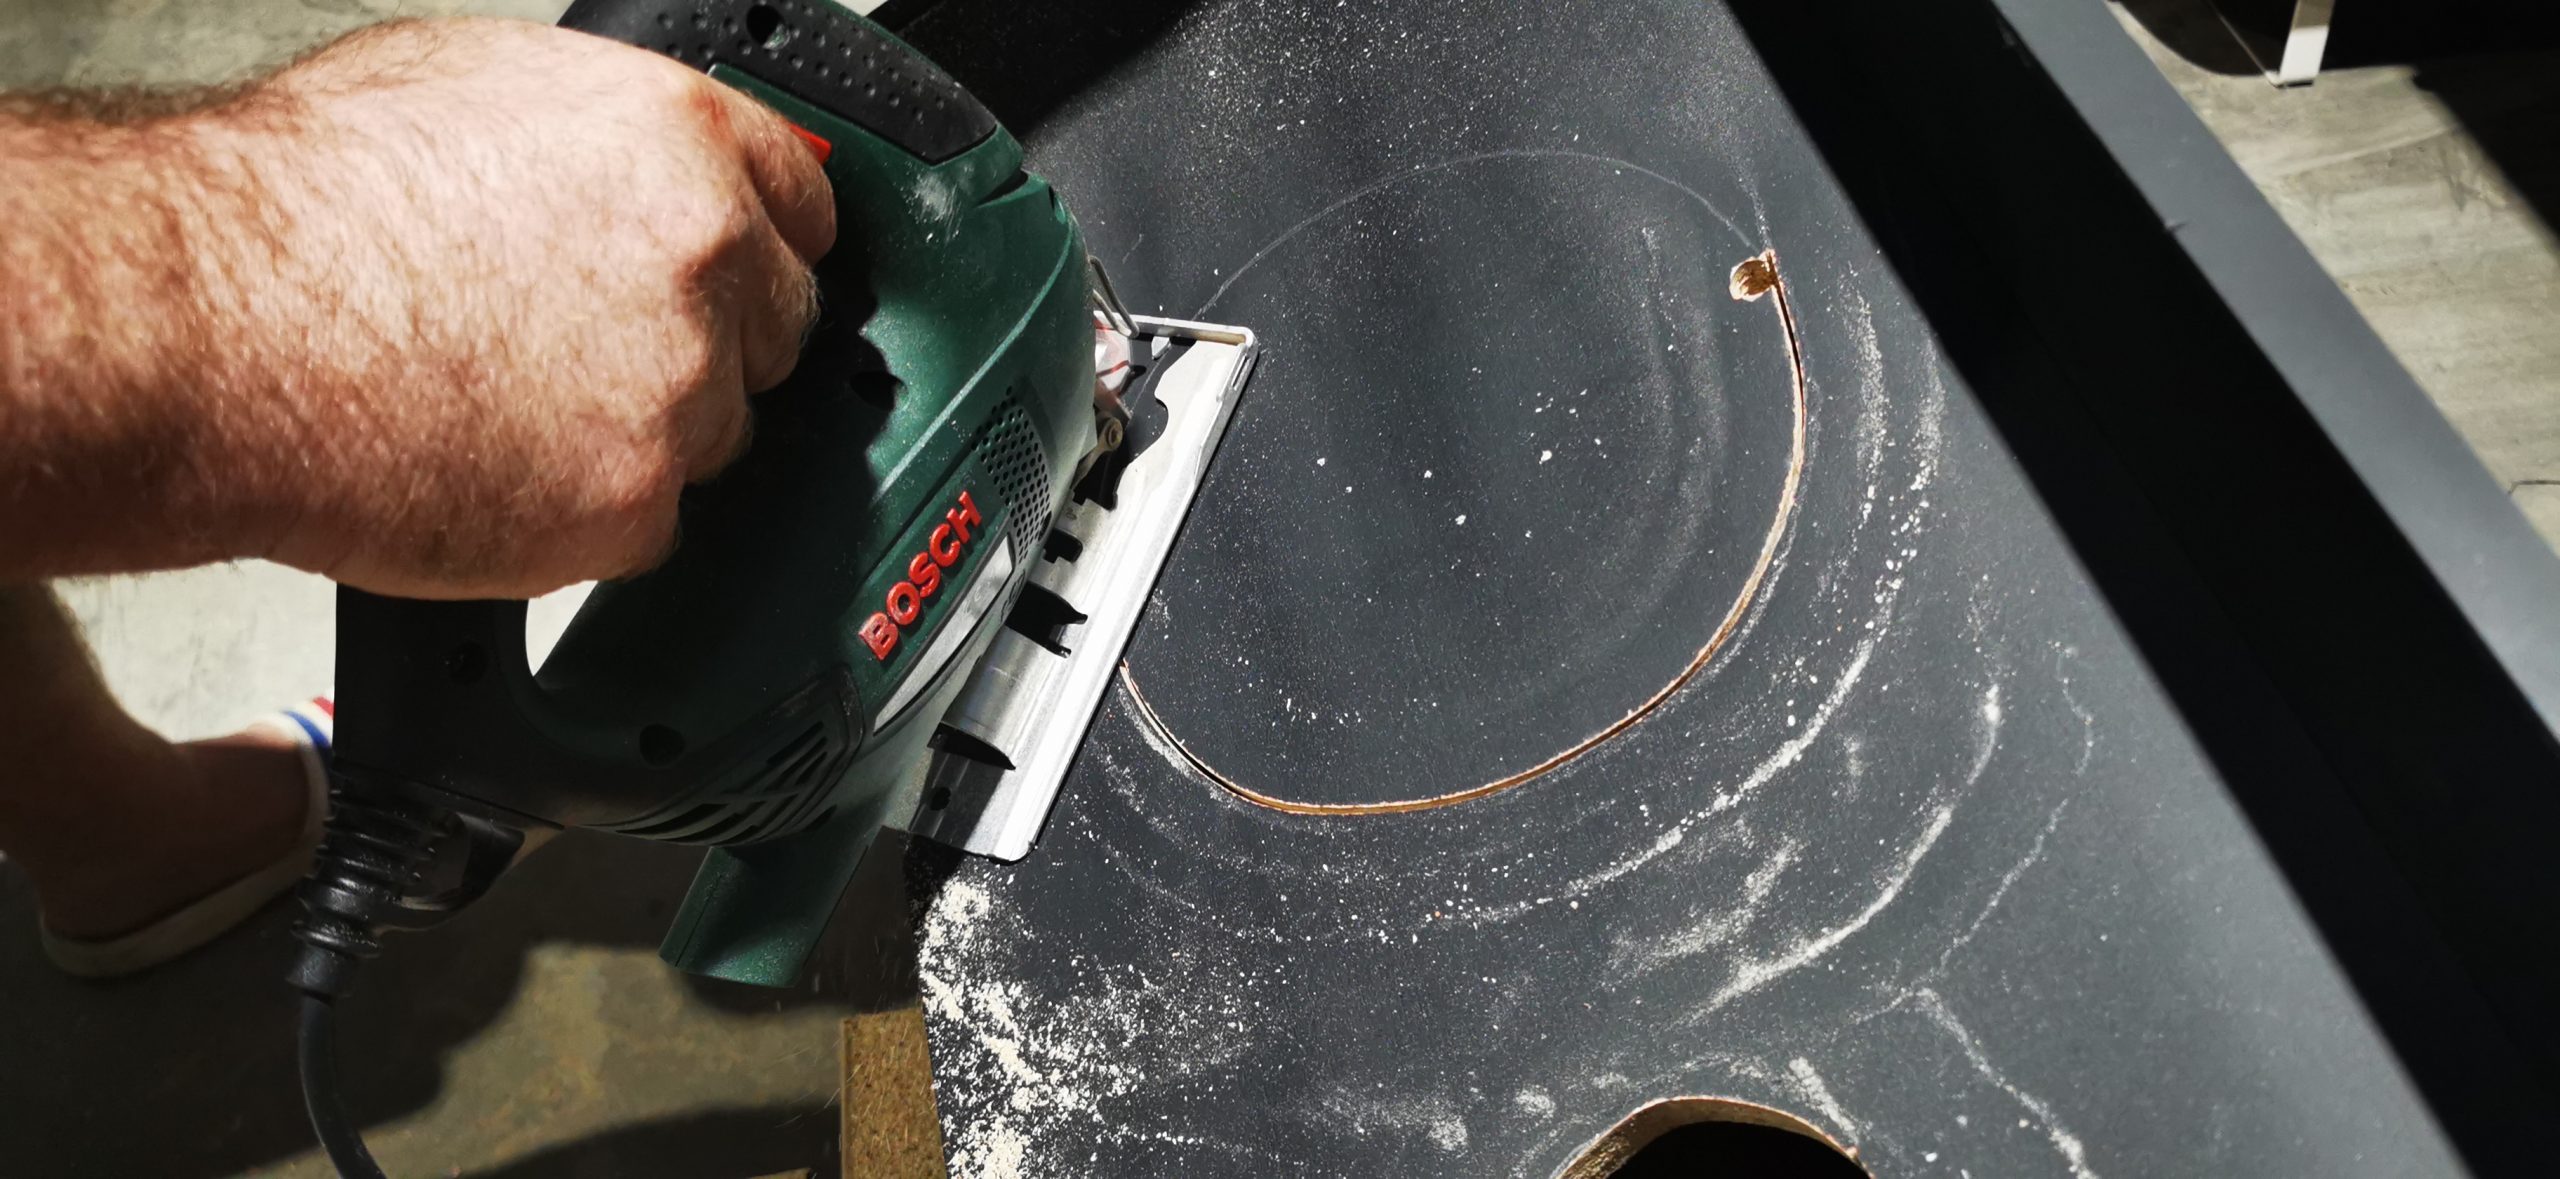
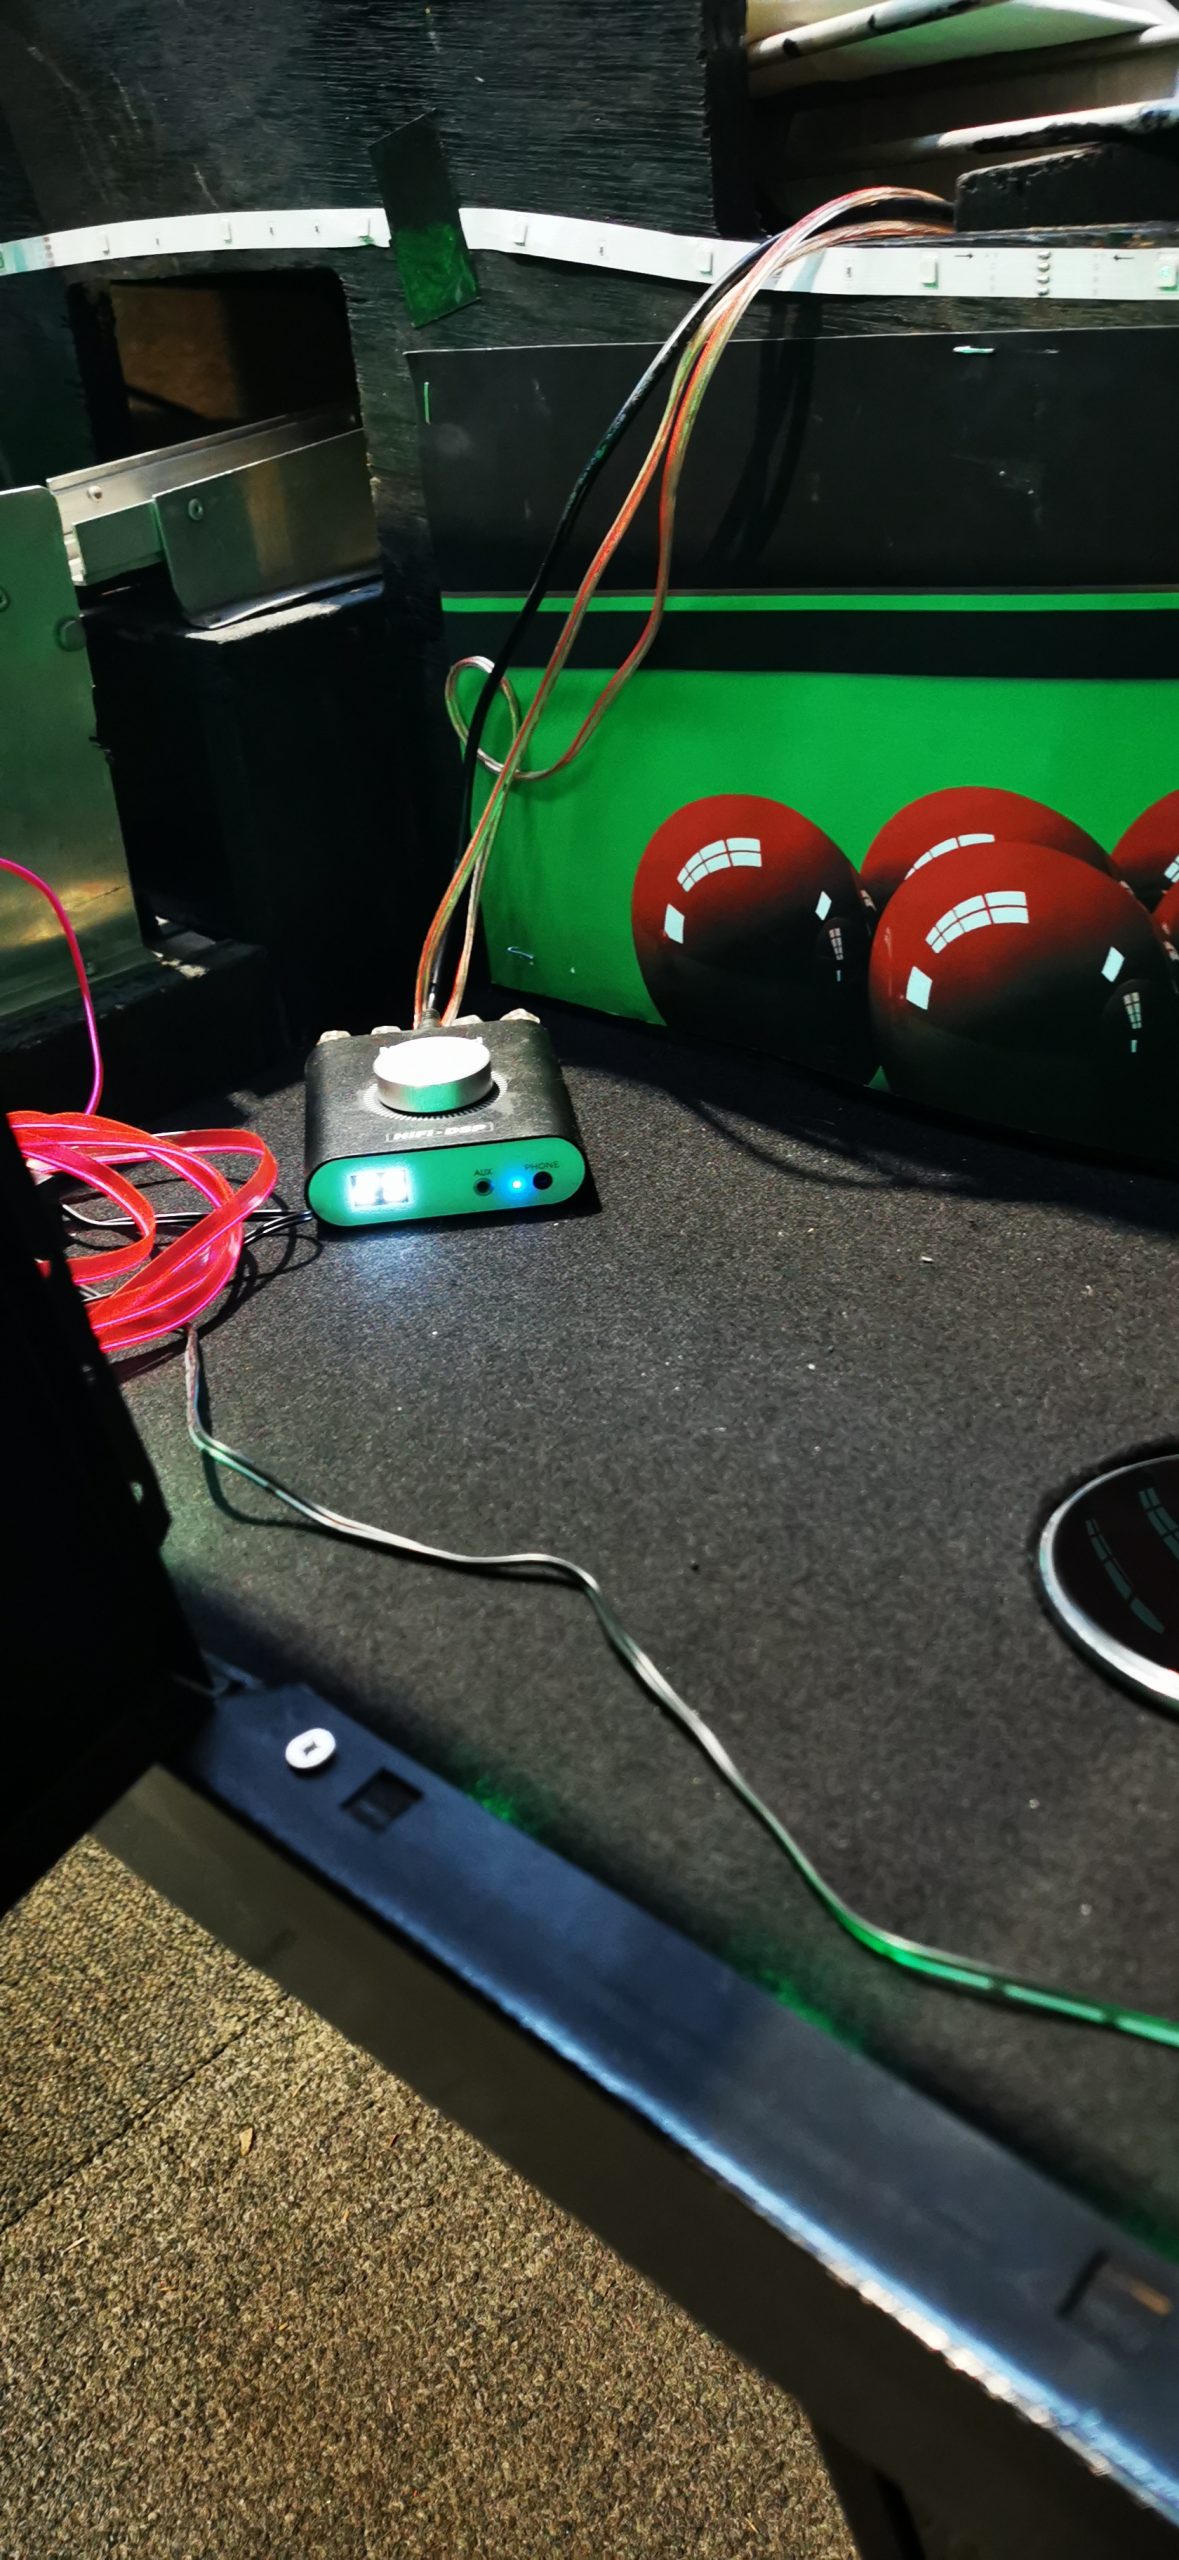
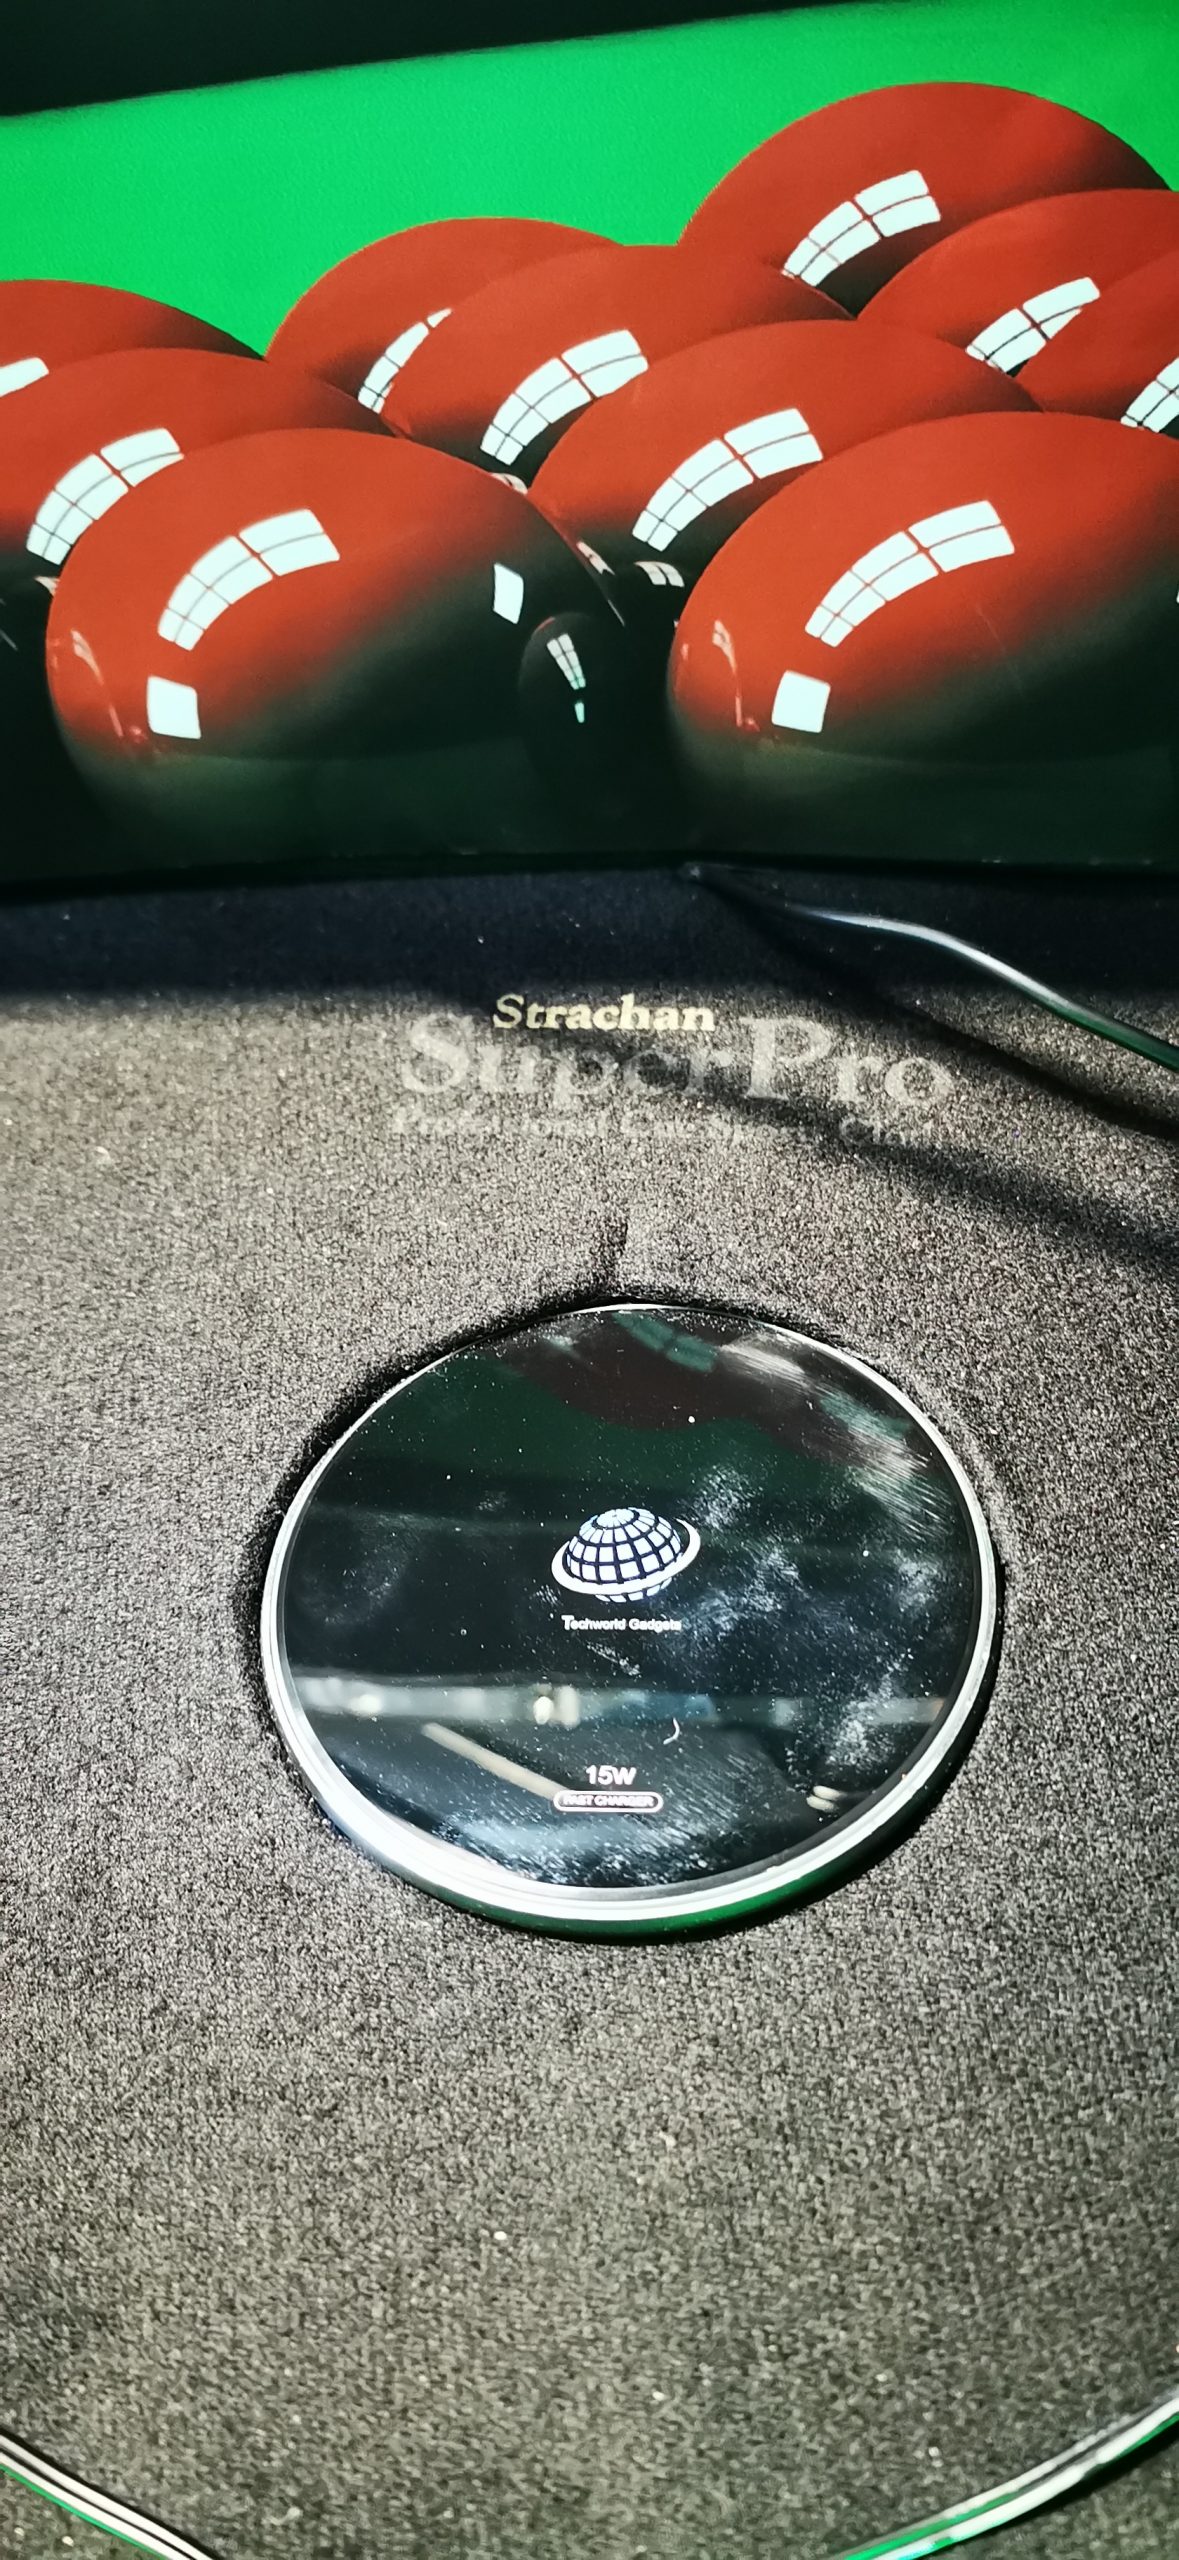
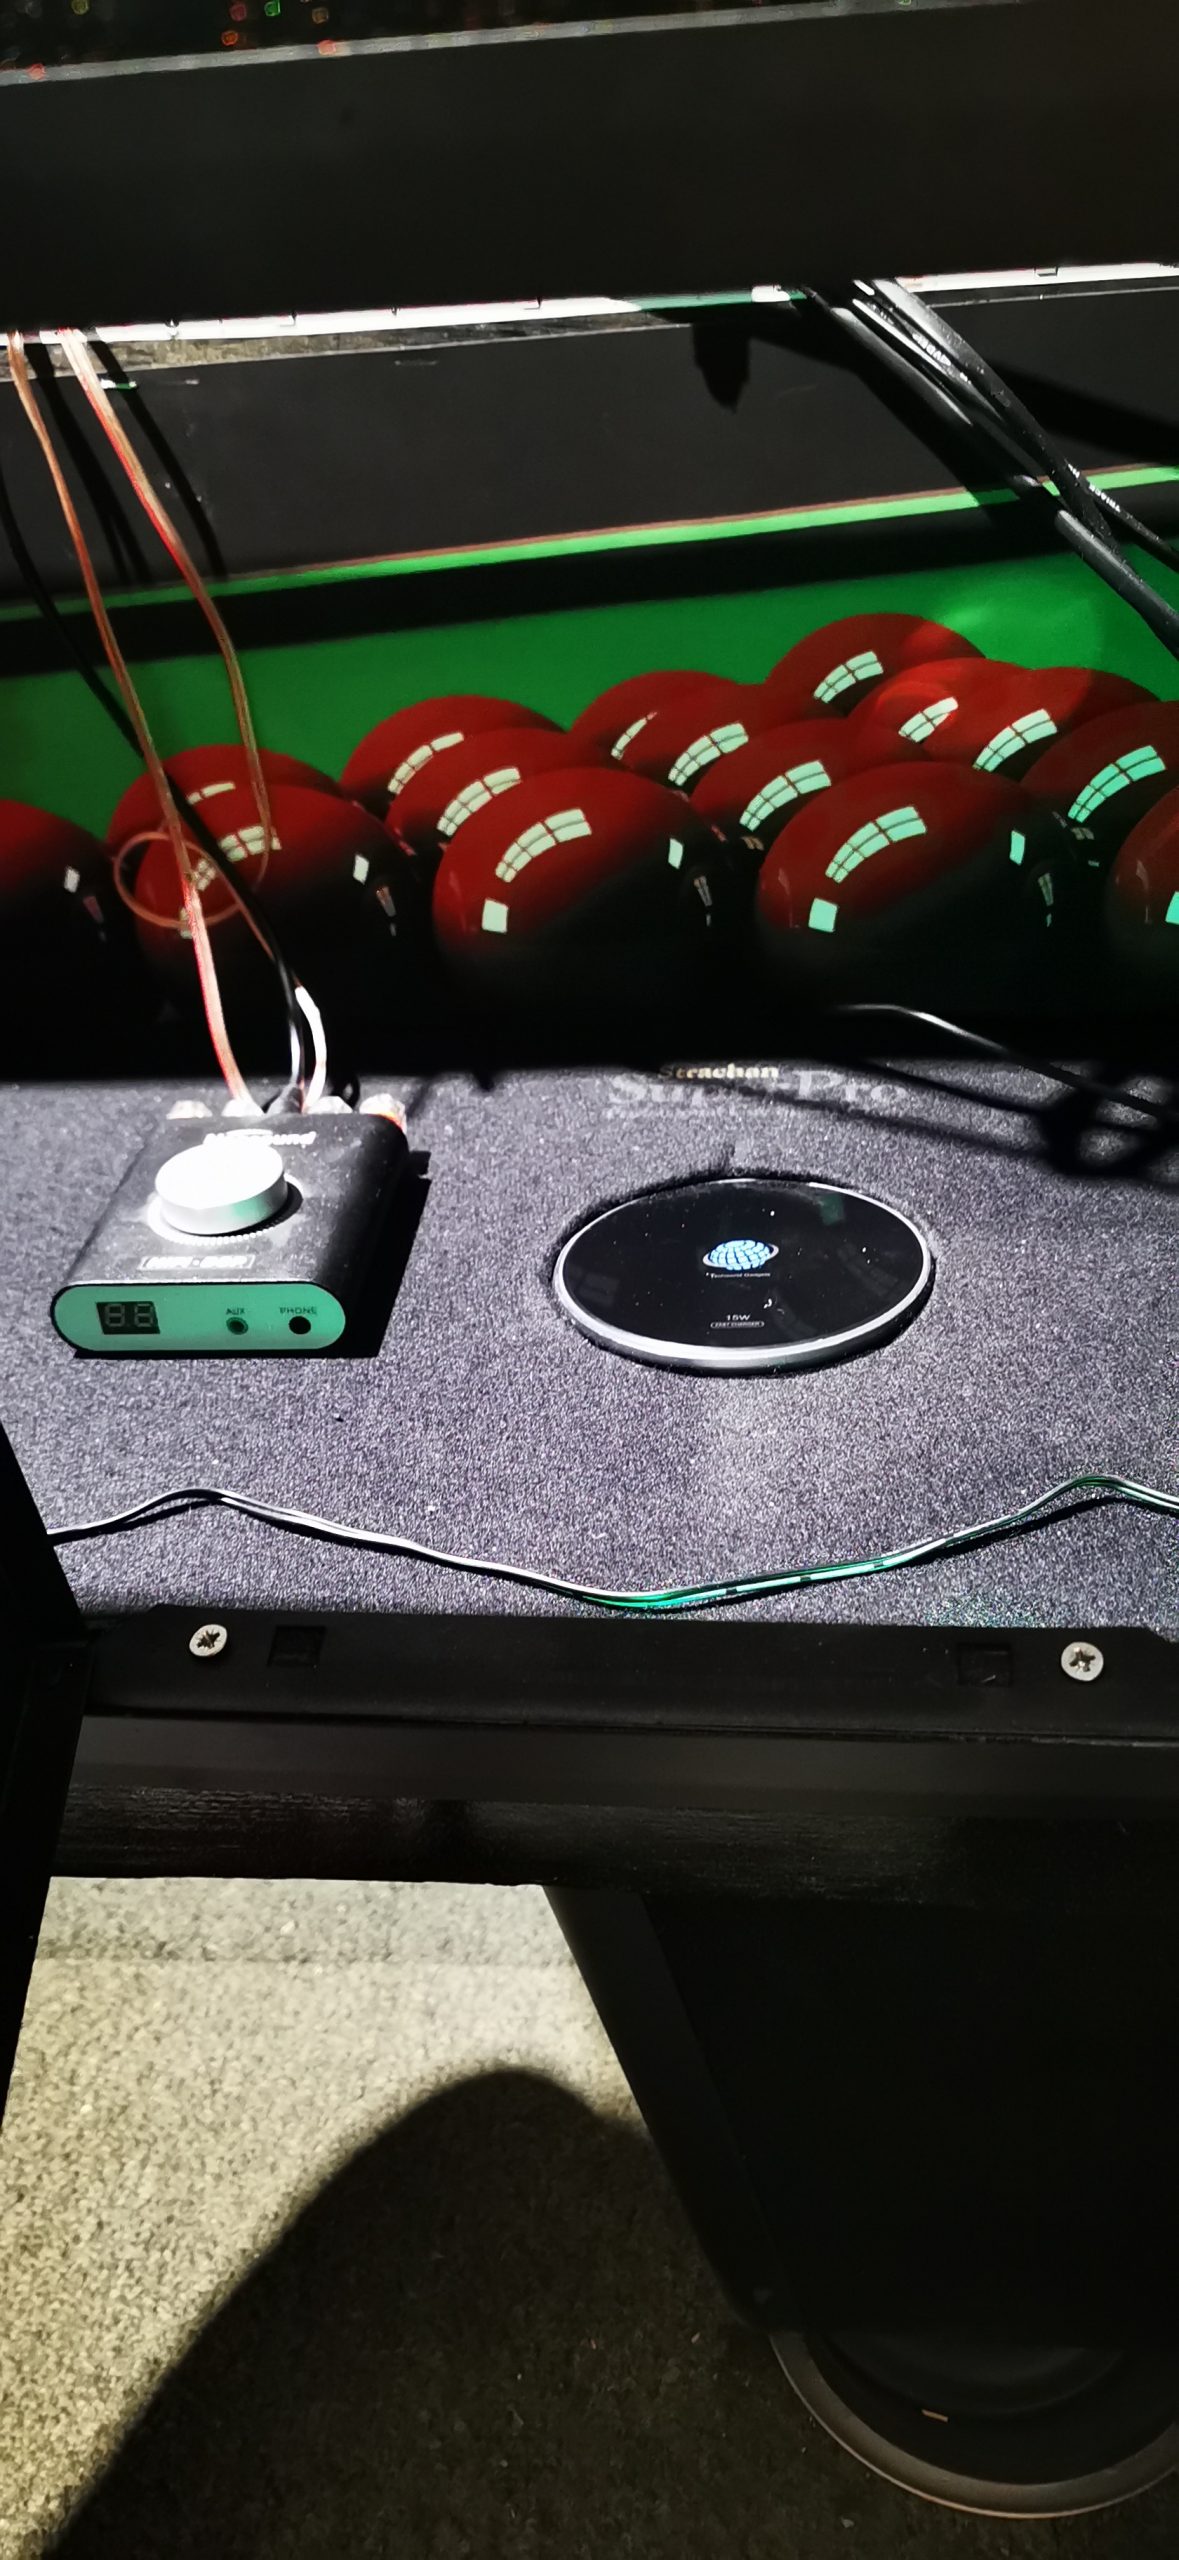
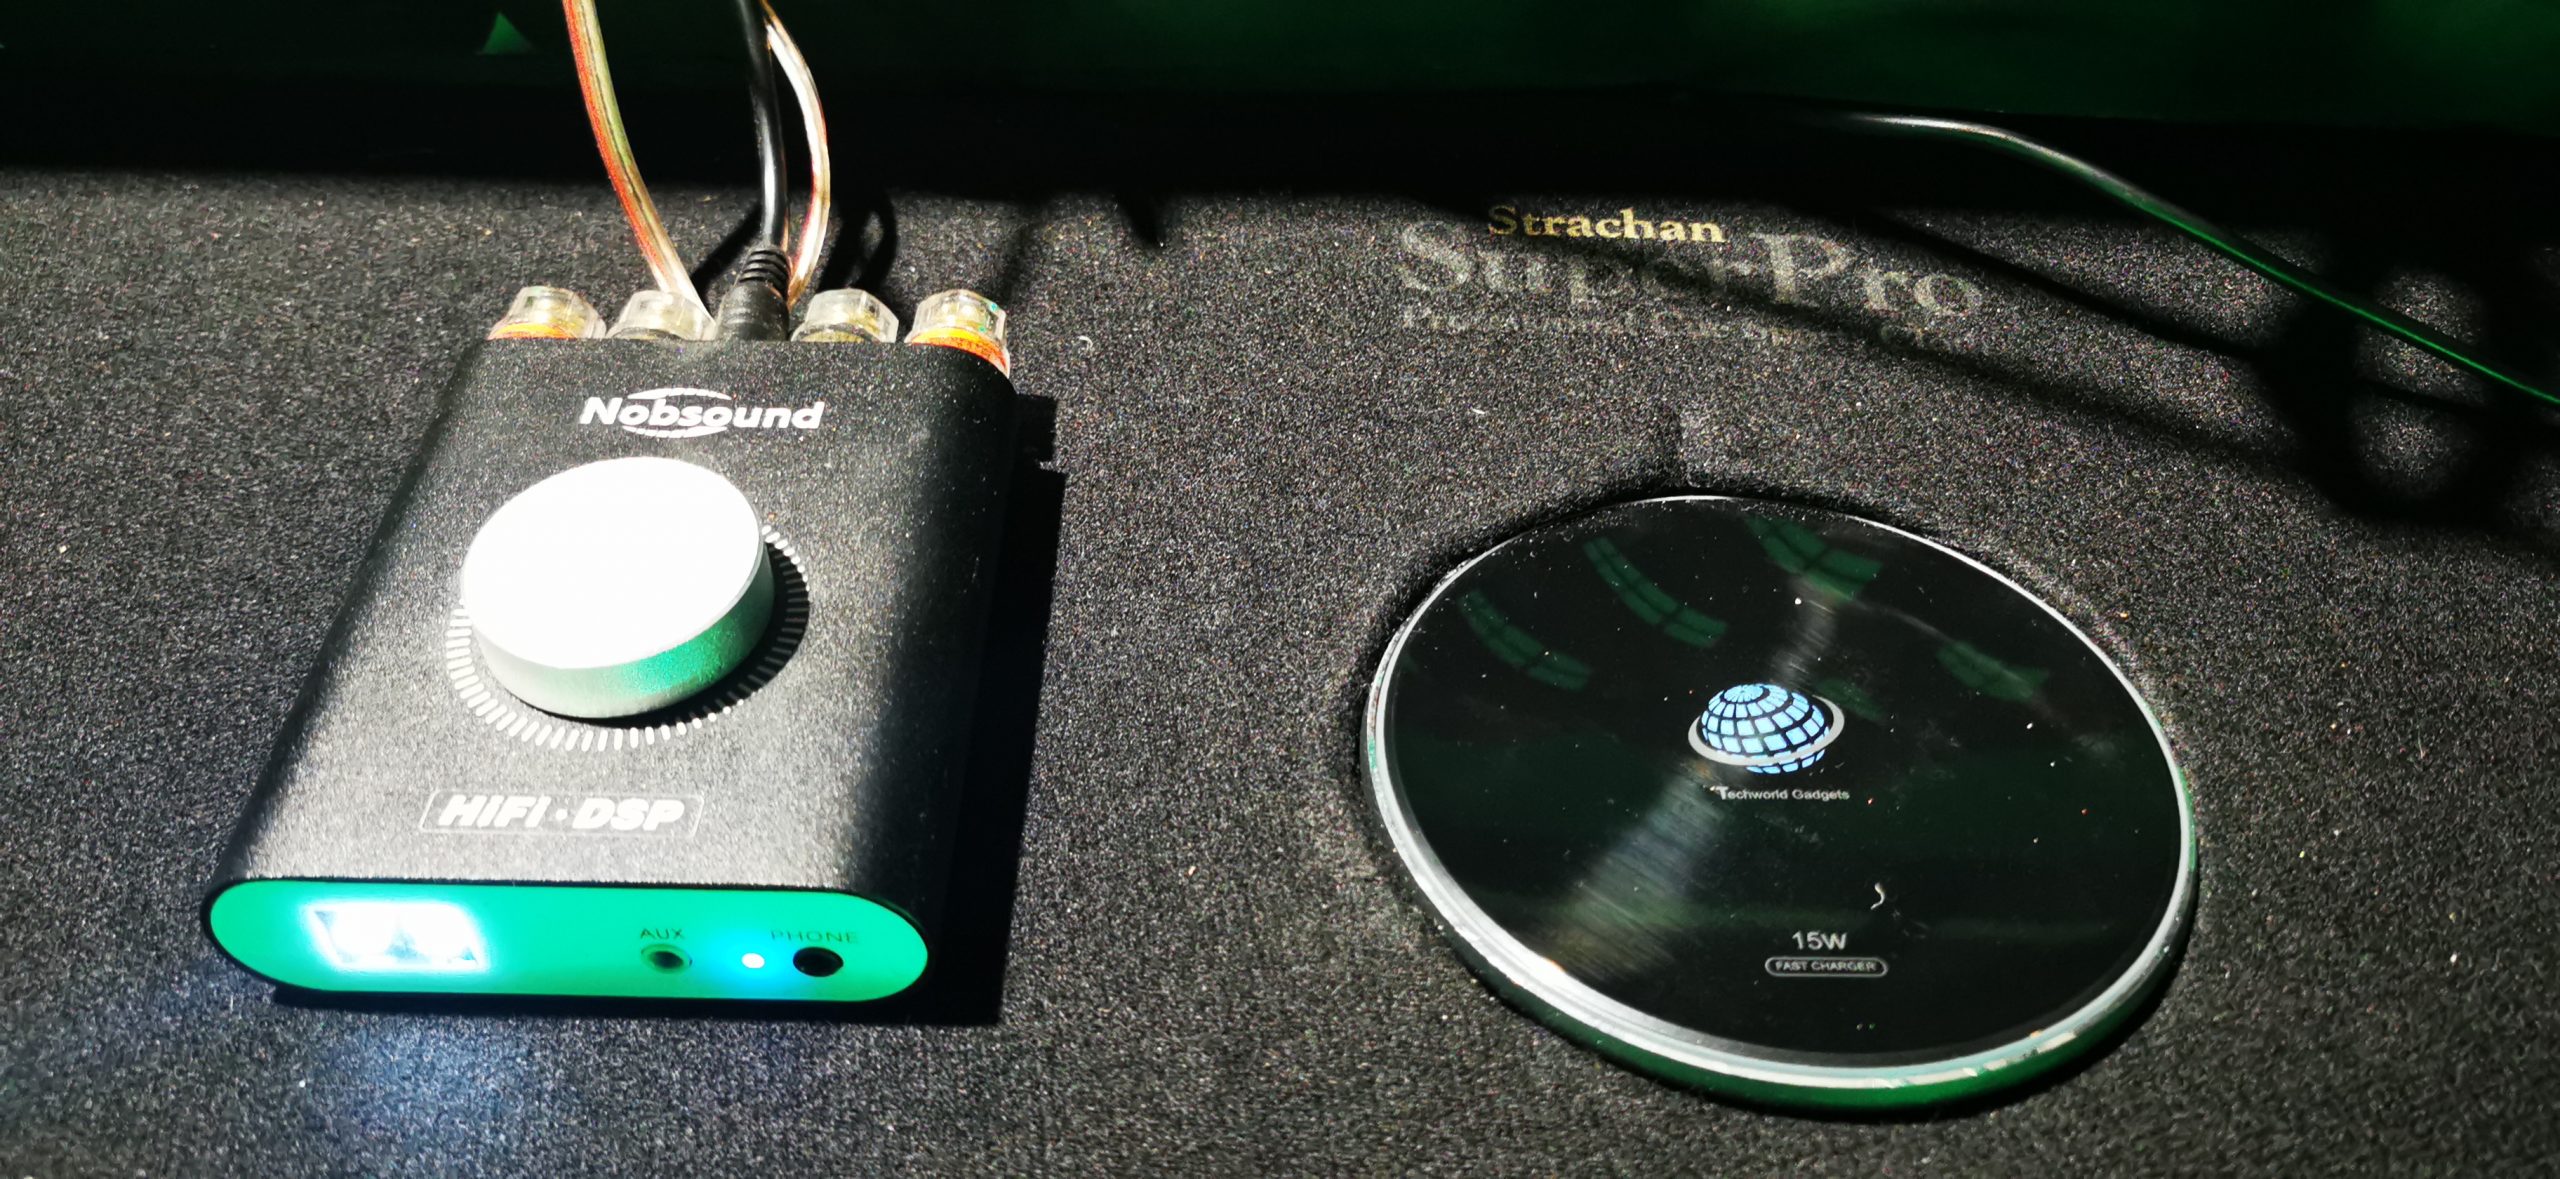
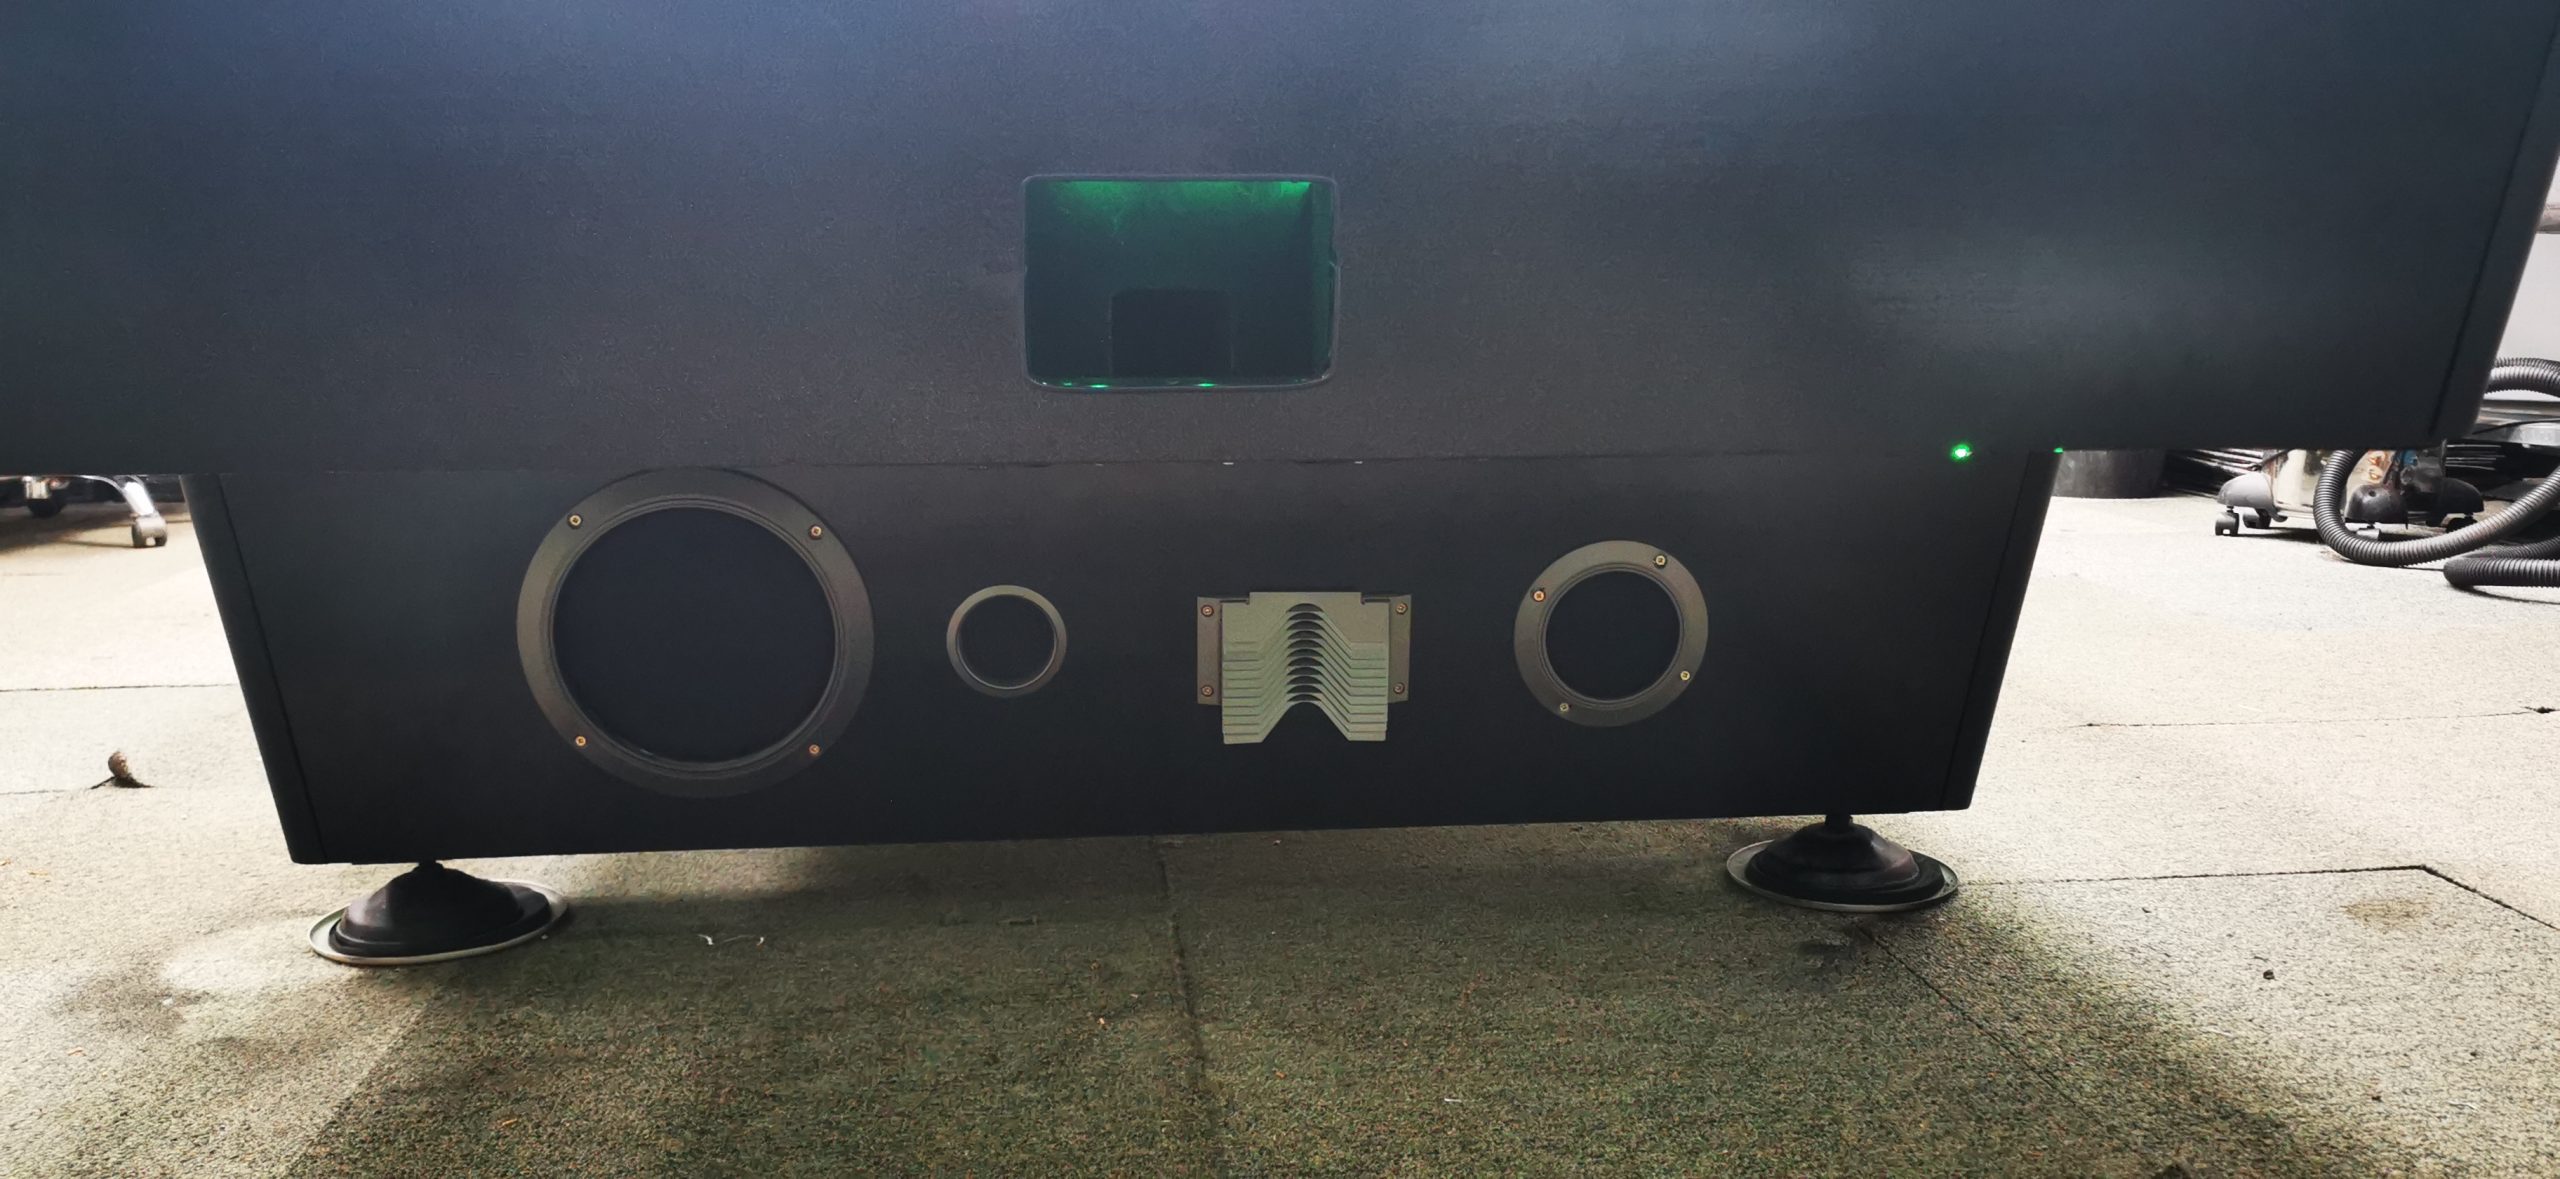
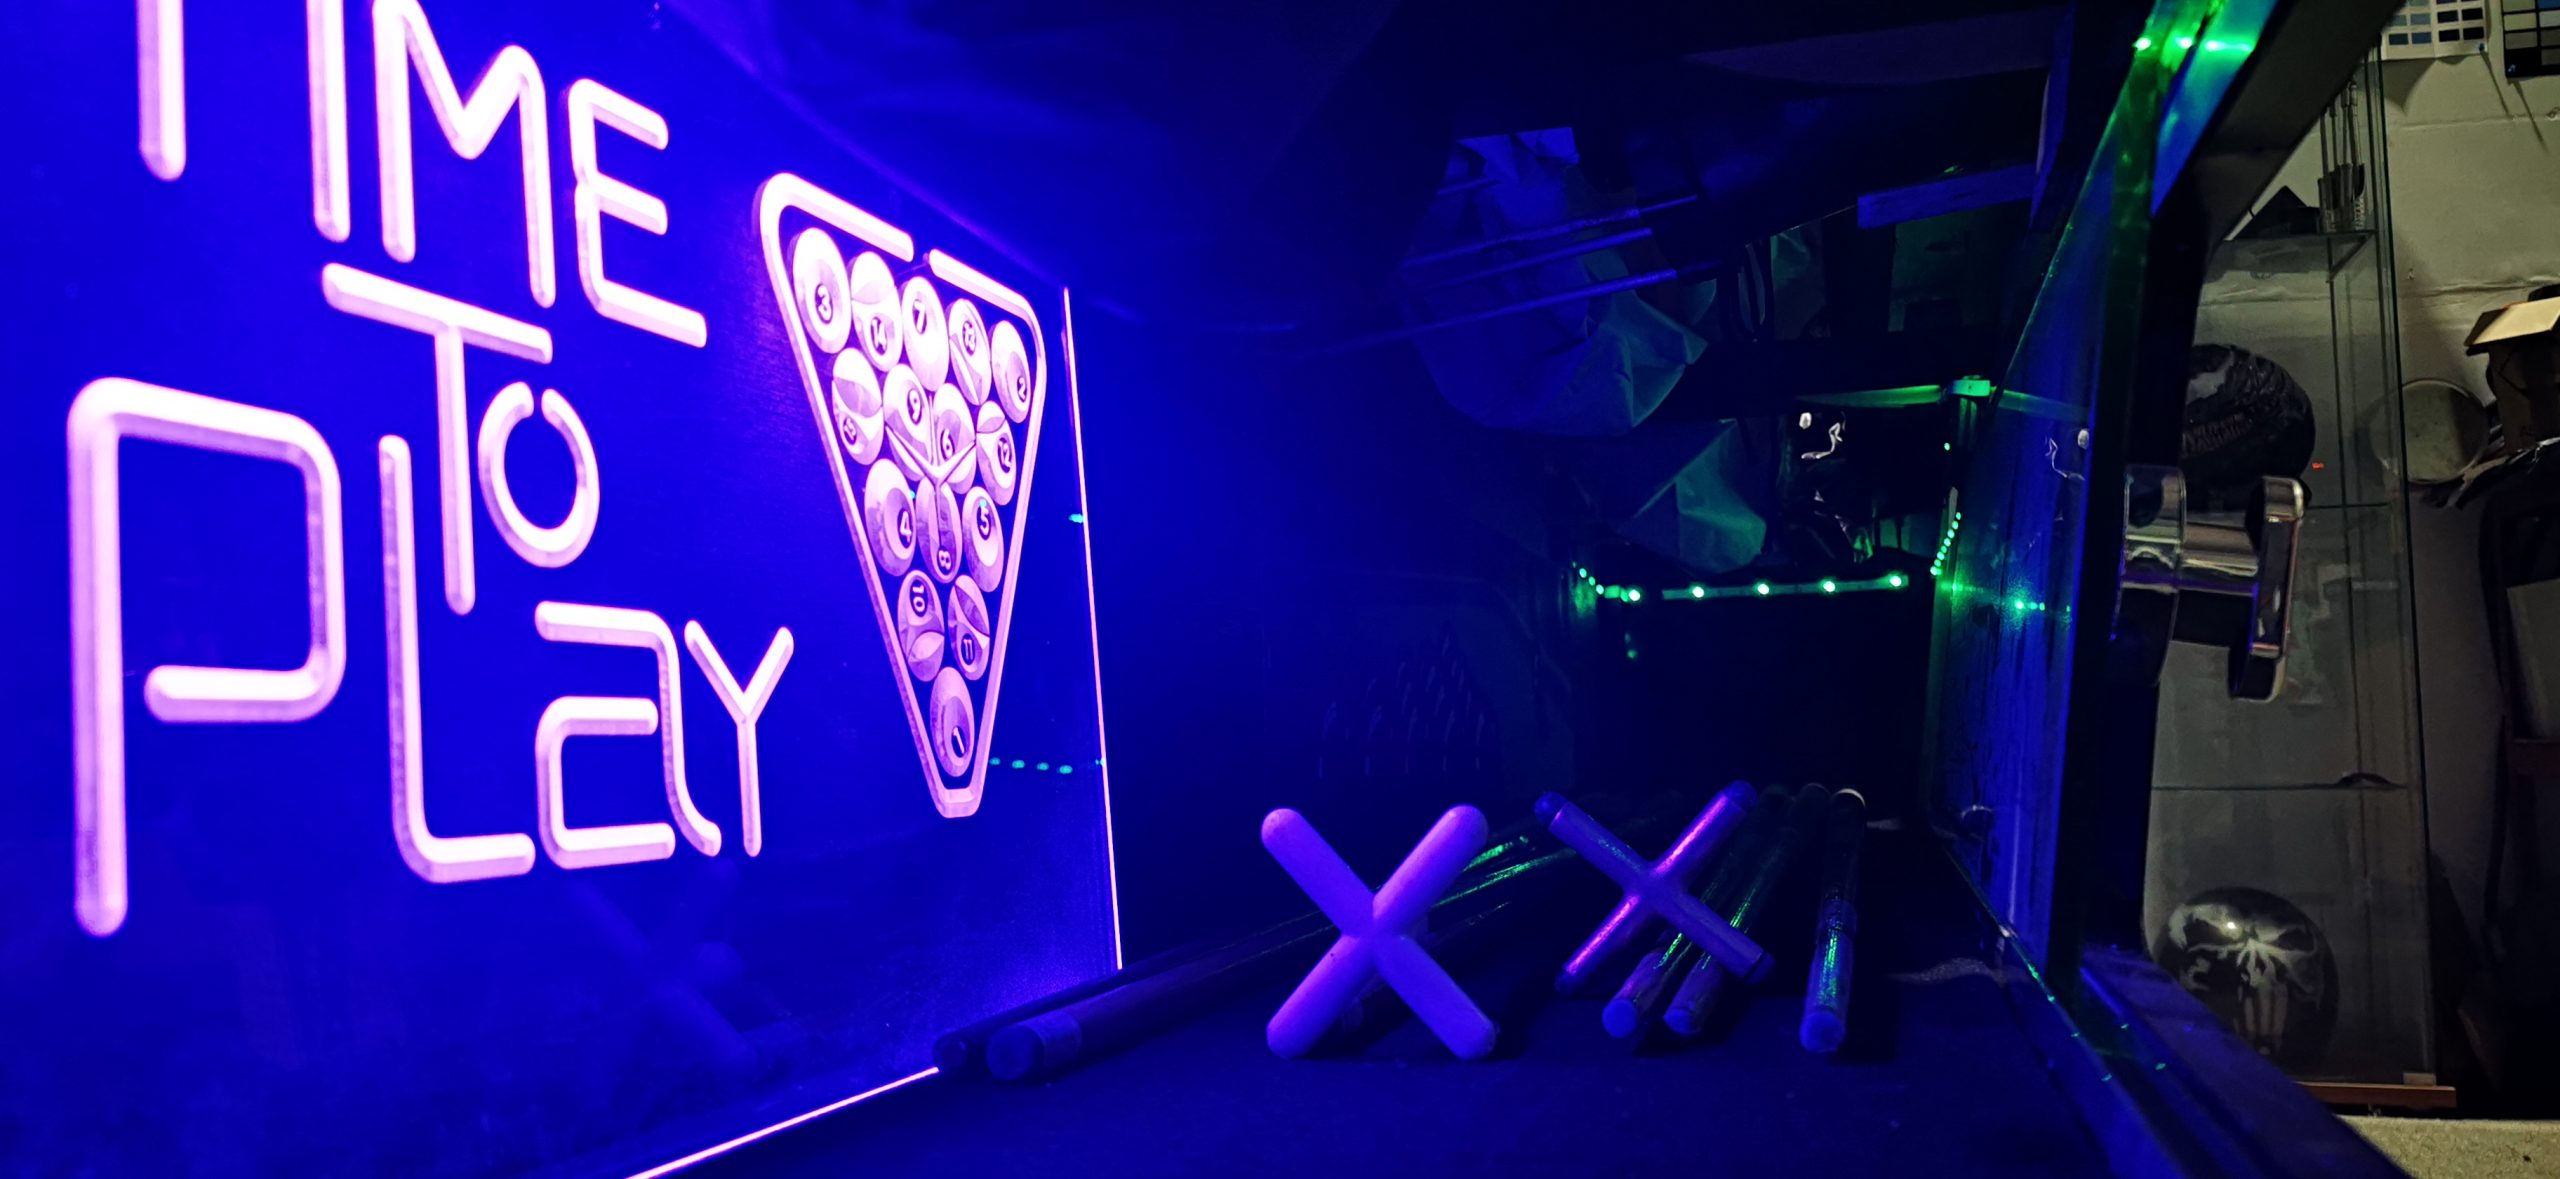
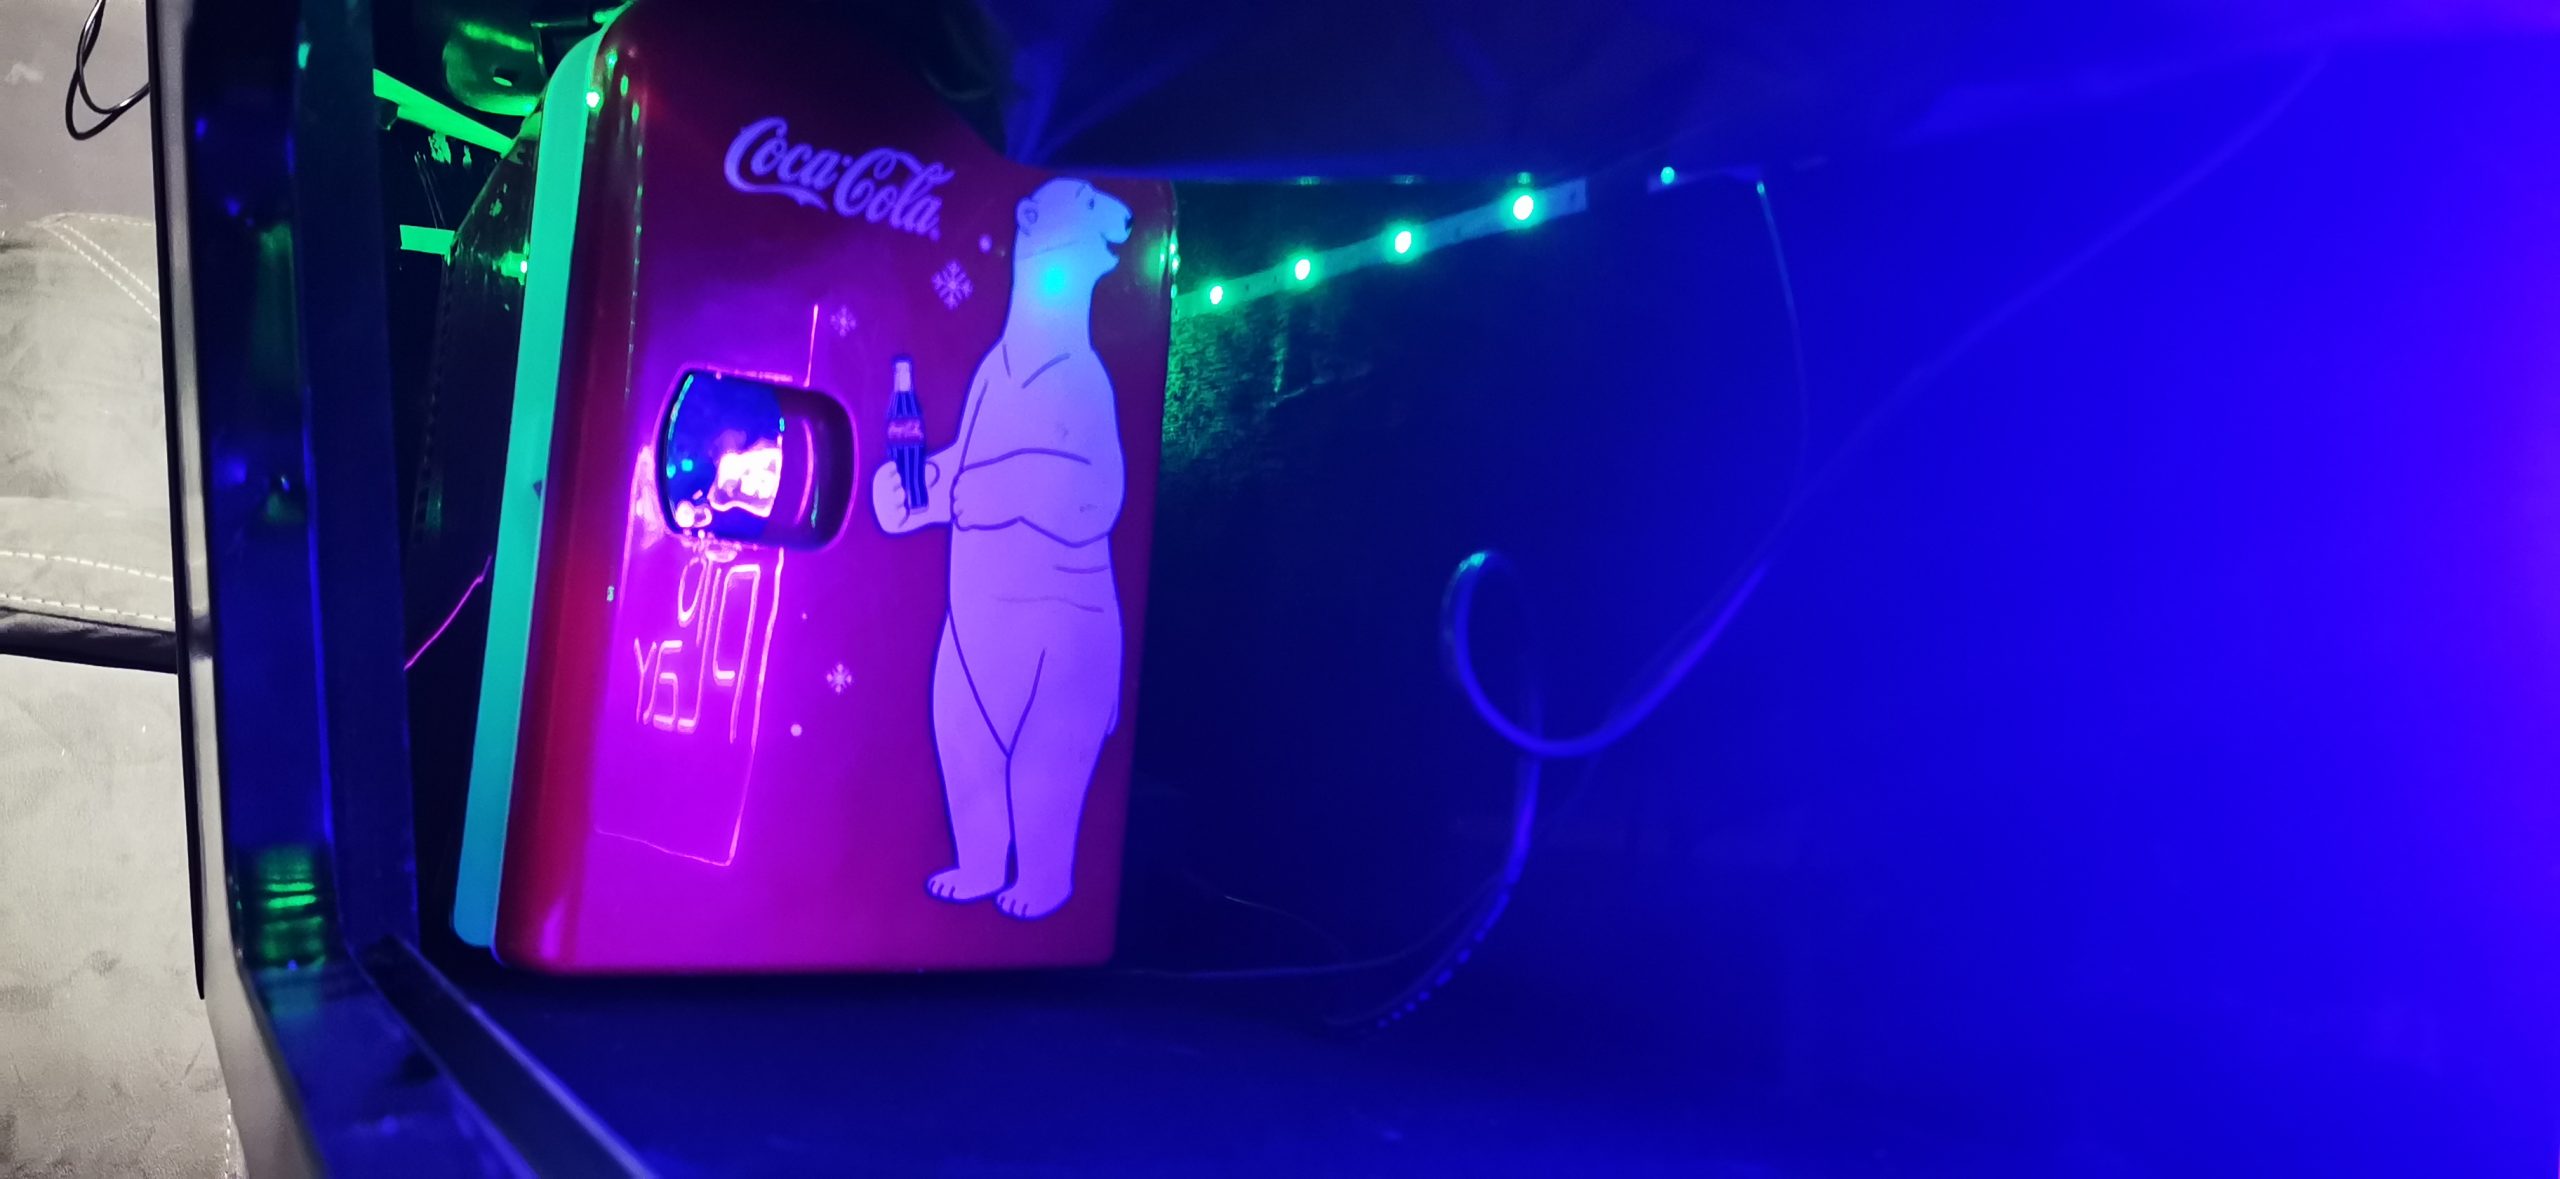
We decided to add LED lights throughout and a fridge by the storage compartment. We installed 32 USB ports on the table, capable of charging anything while also powering all of the lights. A purple fibre light wire was also run around the ball release and the tabletop.
JAMO speakers were purchased and mounted into the legs of the table, accompanied by a wireless AMP by Nobsound and a wireless phone charger. With the number of USB ports left, you can still manually charge a phone, PDA or tablet. Alternatively, you can wirelessly access the sound system on the table via a phone, tablet or even a laptop. This also means you can answer a phone call on the table once connected.
Finishing The Table:
More than anything else, our ultimate aim on this project was to make the table fully functional and playable. So, moving onto the final stretch, we still had to re-cloth the cushions and the table and nail in the new pockets.
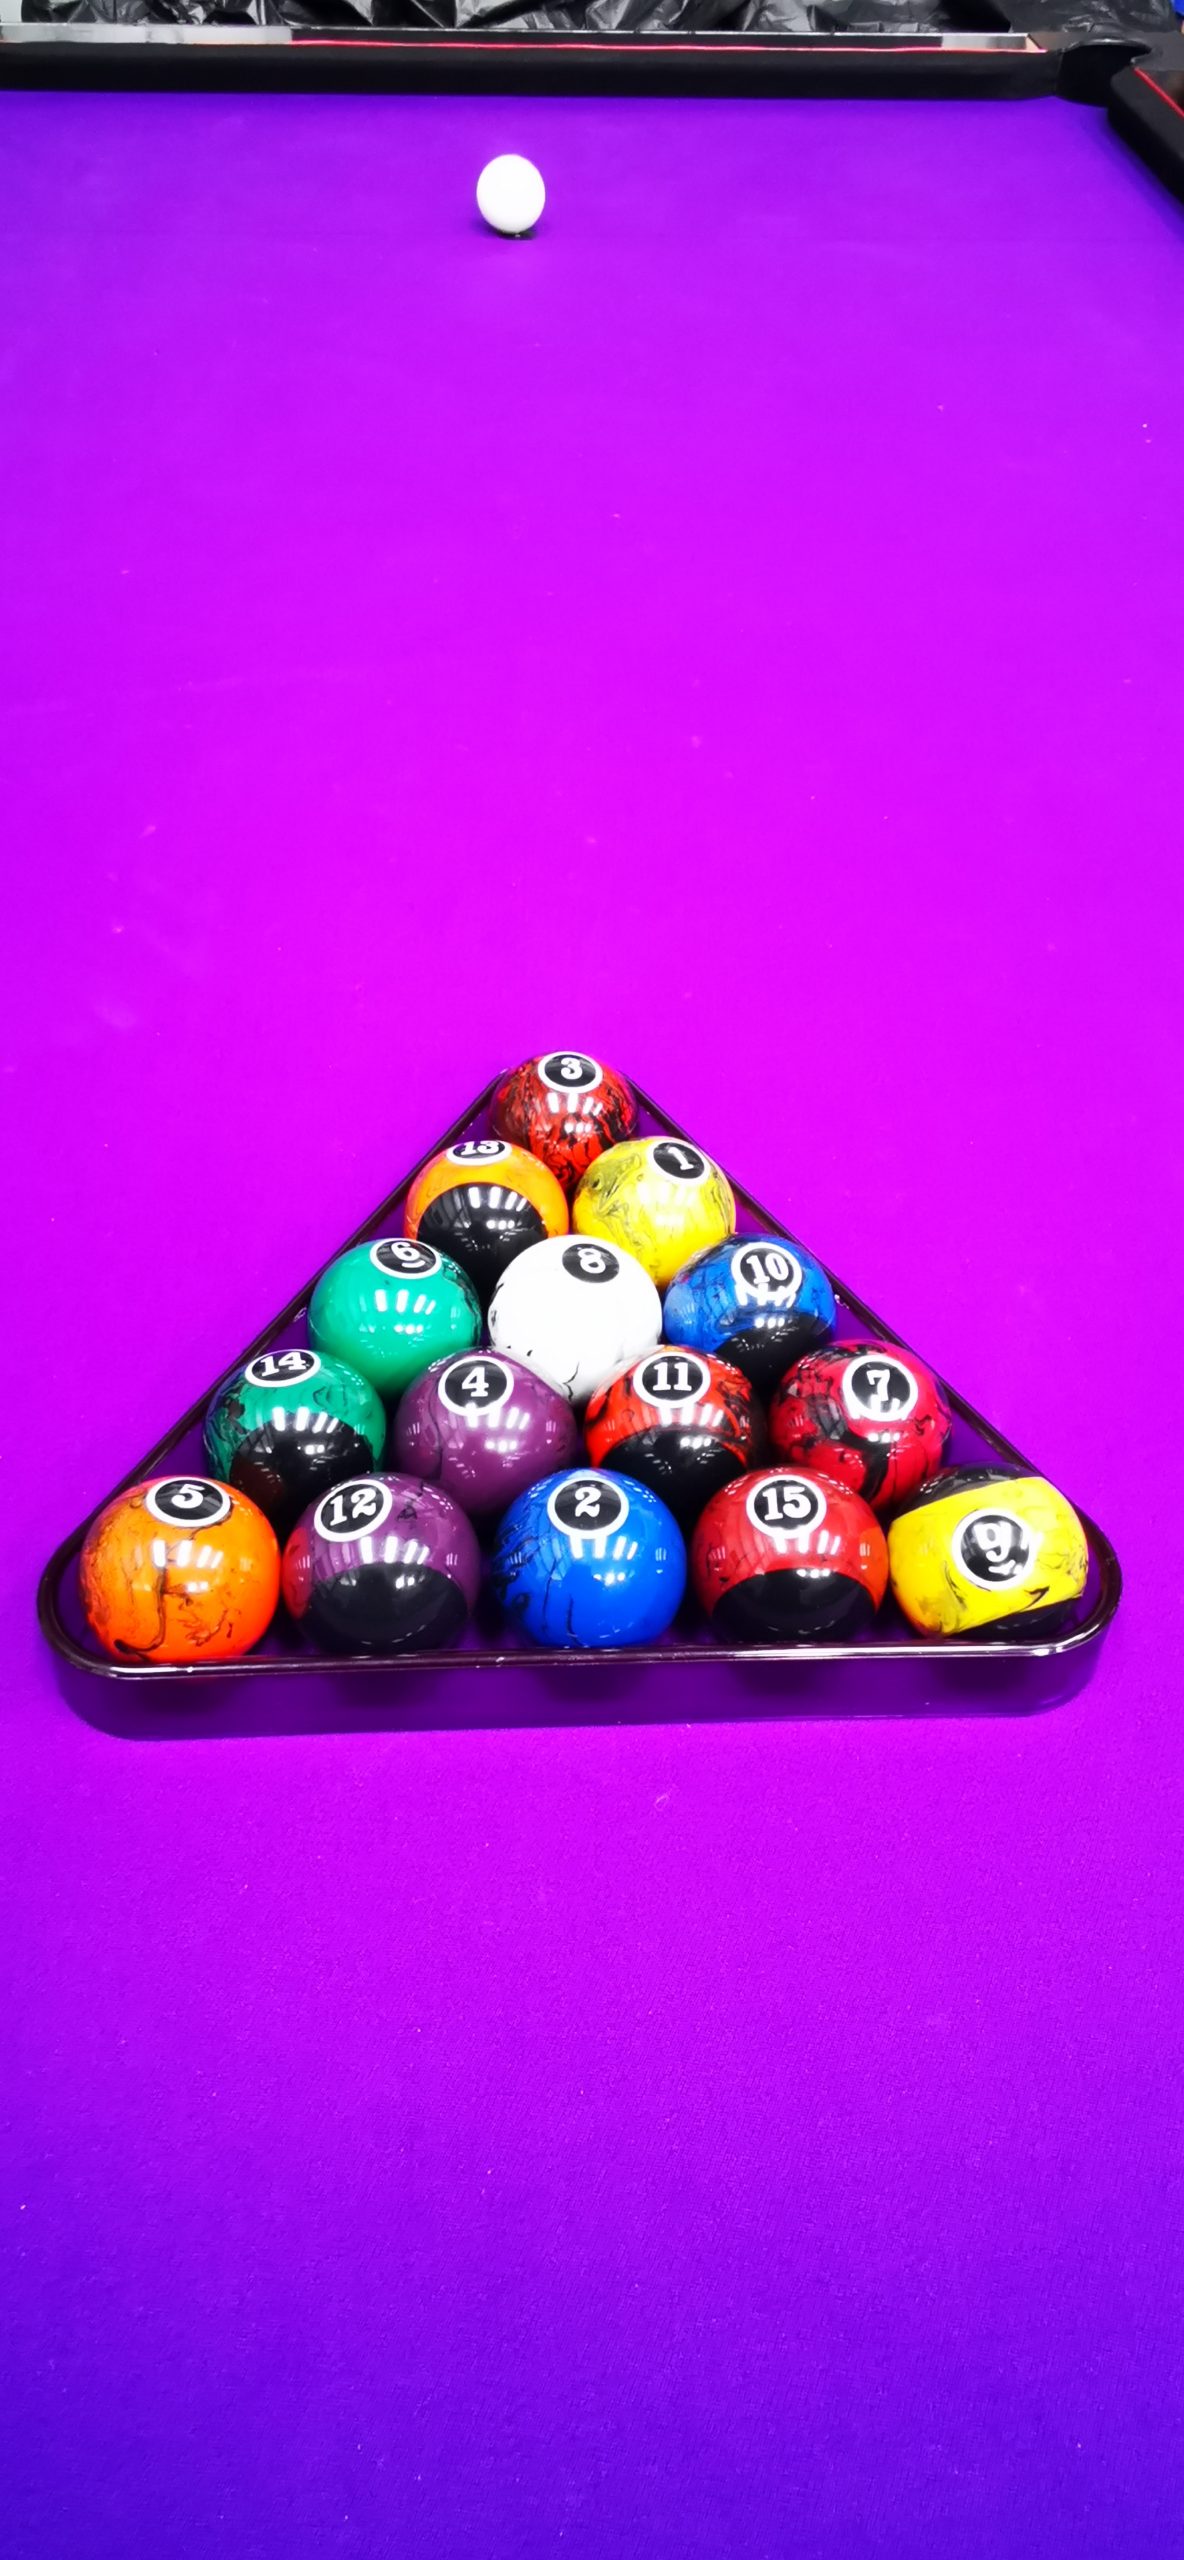
We replaced the cloth on all of the cushions with a black Strachan Speed cloth. As we wanted the table to stand out and be different to other models, we ordered a Cadbury purple Strachan speed cloth for the baize and enlisted Steve from SuperPool UK to professionally re-cloth it.
TOP TIP: Never underestimate the slate bed! The slate bed on a pool table, no matter whether it’s a single, double or four-bed slate, is incredibly heavy so ensure you have all the support you may need when moving and relaying it. We had a minimum of four people when moving the slate, but two more pairs of hands would have been recommended on a 9ft single slate top.
The Final Word:
This was a mammoth project for us and not to be taken lightly. We wanted to create something completely unique but still have the table play at the best standard possible.
Yes, this may be a little man cave(ish), but the table was open to massive possibilities. This, of course, wasn’t without fault, but it was a fantastic exercise which involved a lot of thinking outside the box. That doesn’t mean we were afraid to call in the professionals when something deserved that extra special attention. We couldn’t be happier with the final results as we created a real talking point for what was essentially a beat-up old pool table.
For anyone thinking of attempting a pool project, if you need any free advice or assistance, feel free to contact us. Thanks for all the help from Nicky Pender, Steve at SuperPool UK, Josh at McCabes Coatings, Tomas Dapkus for re-wiring electronics, Doug and Tom for helping to install all the LEDs, Stuart Baker for arranging glass and Dave and everyone else who had a hand in bringing this project to life. Onto the next project.