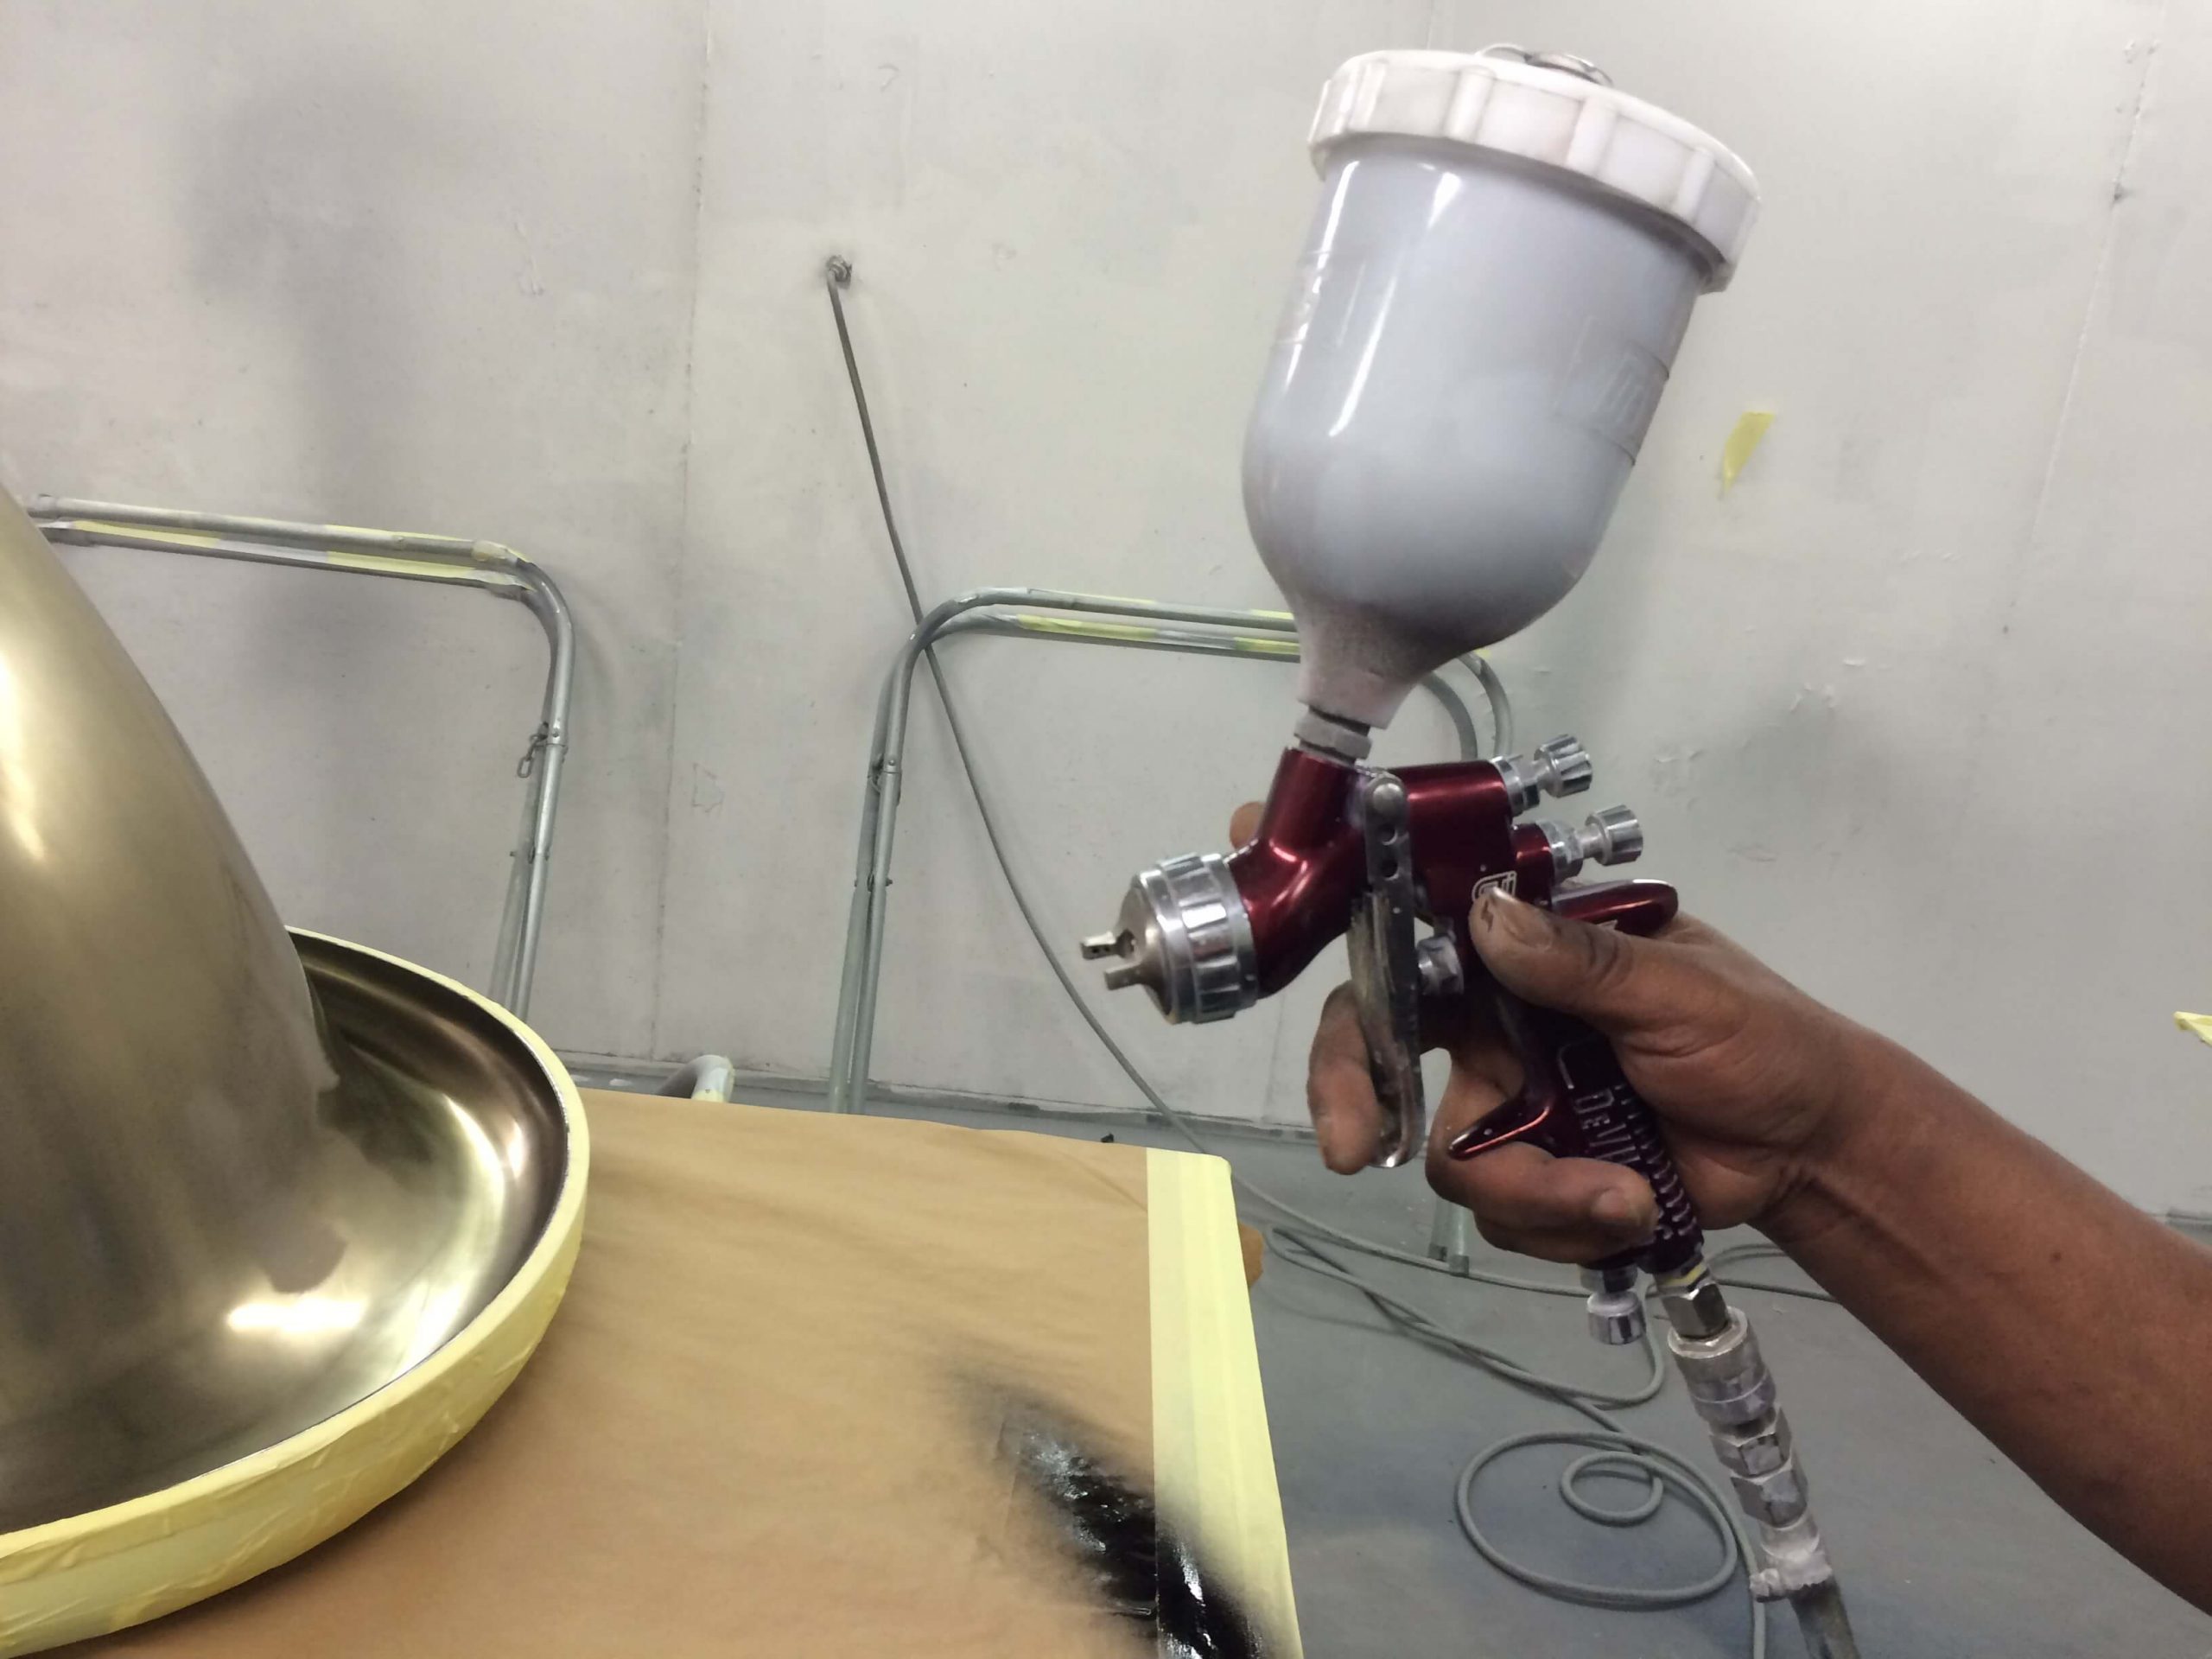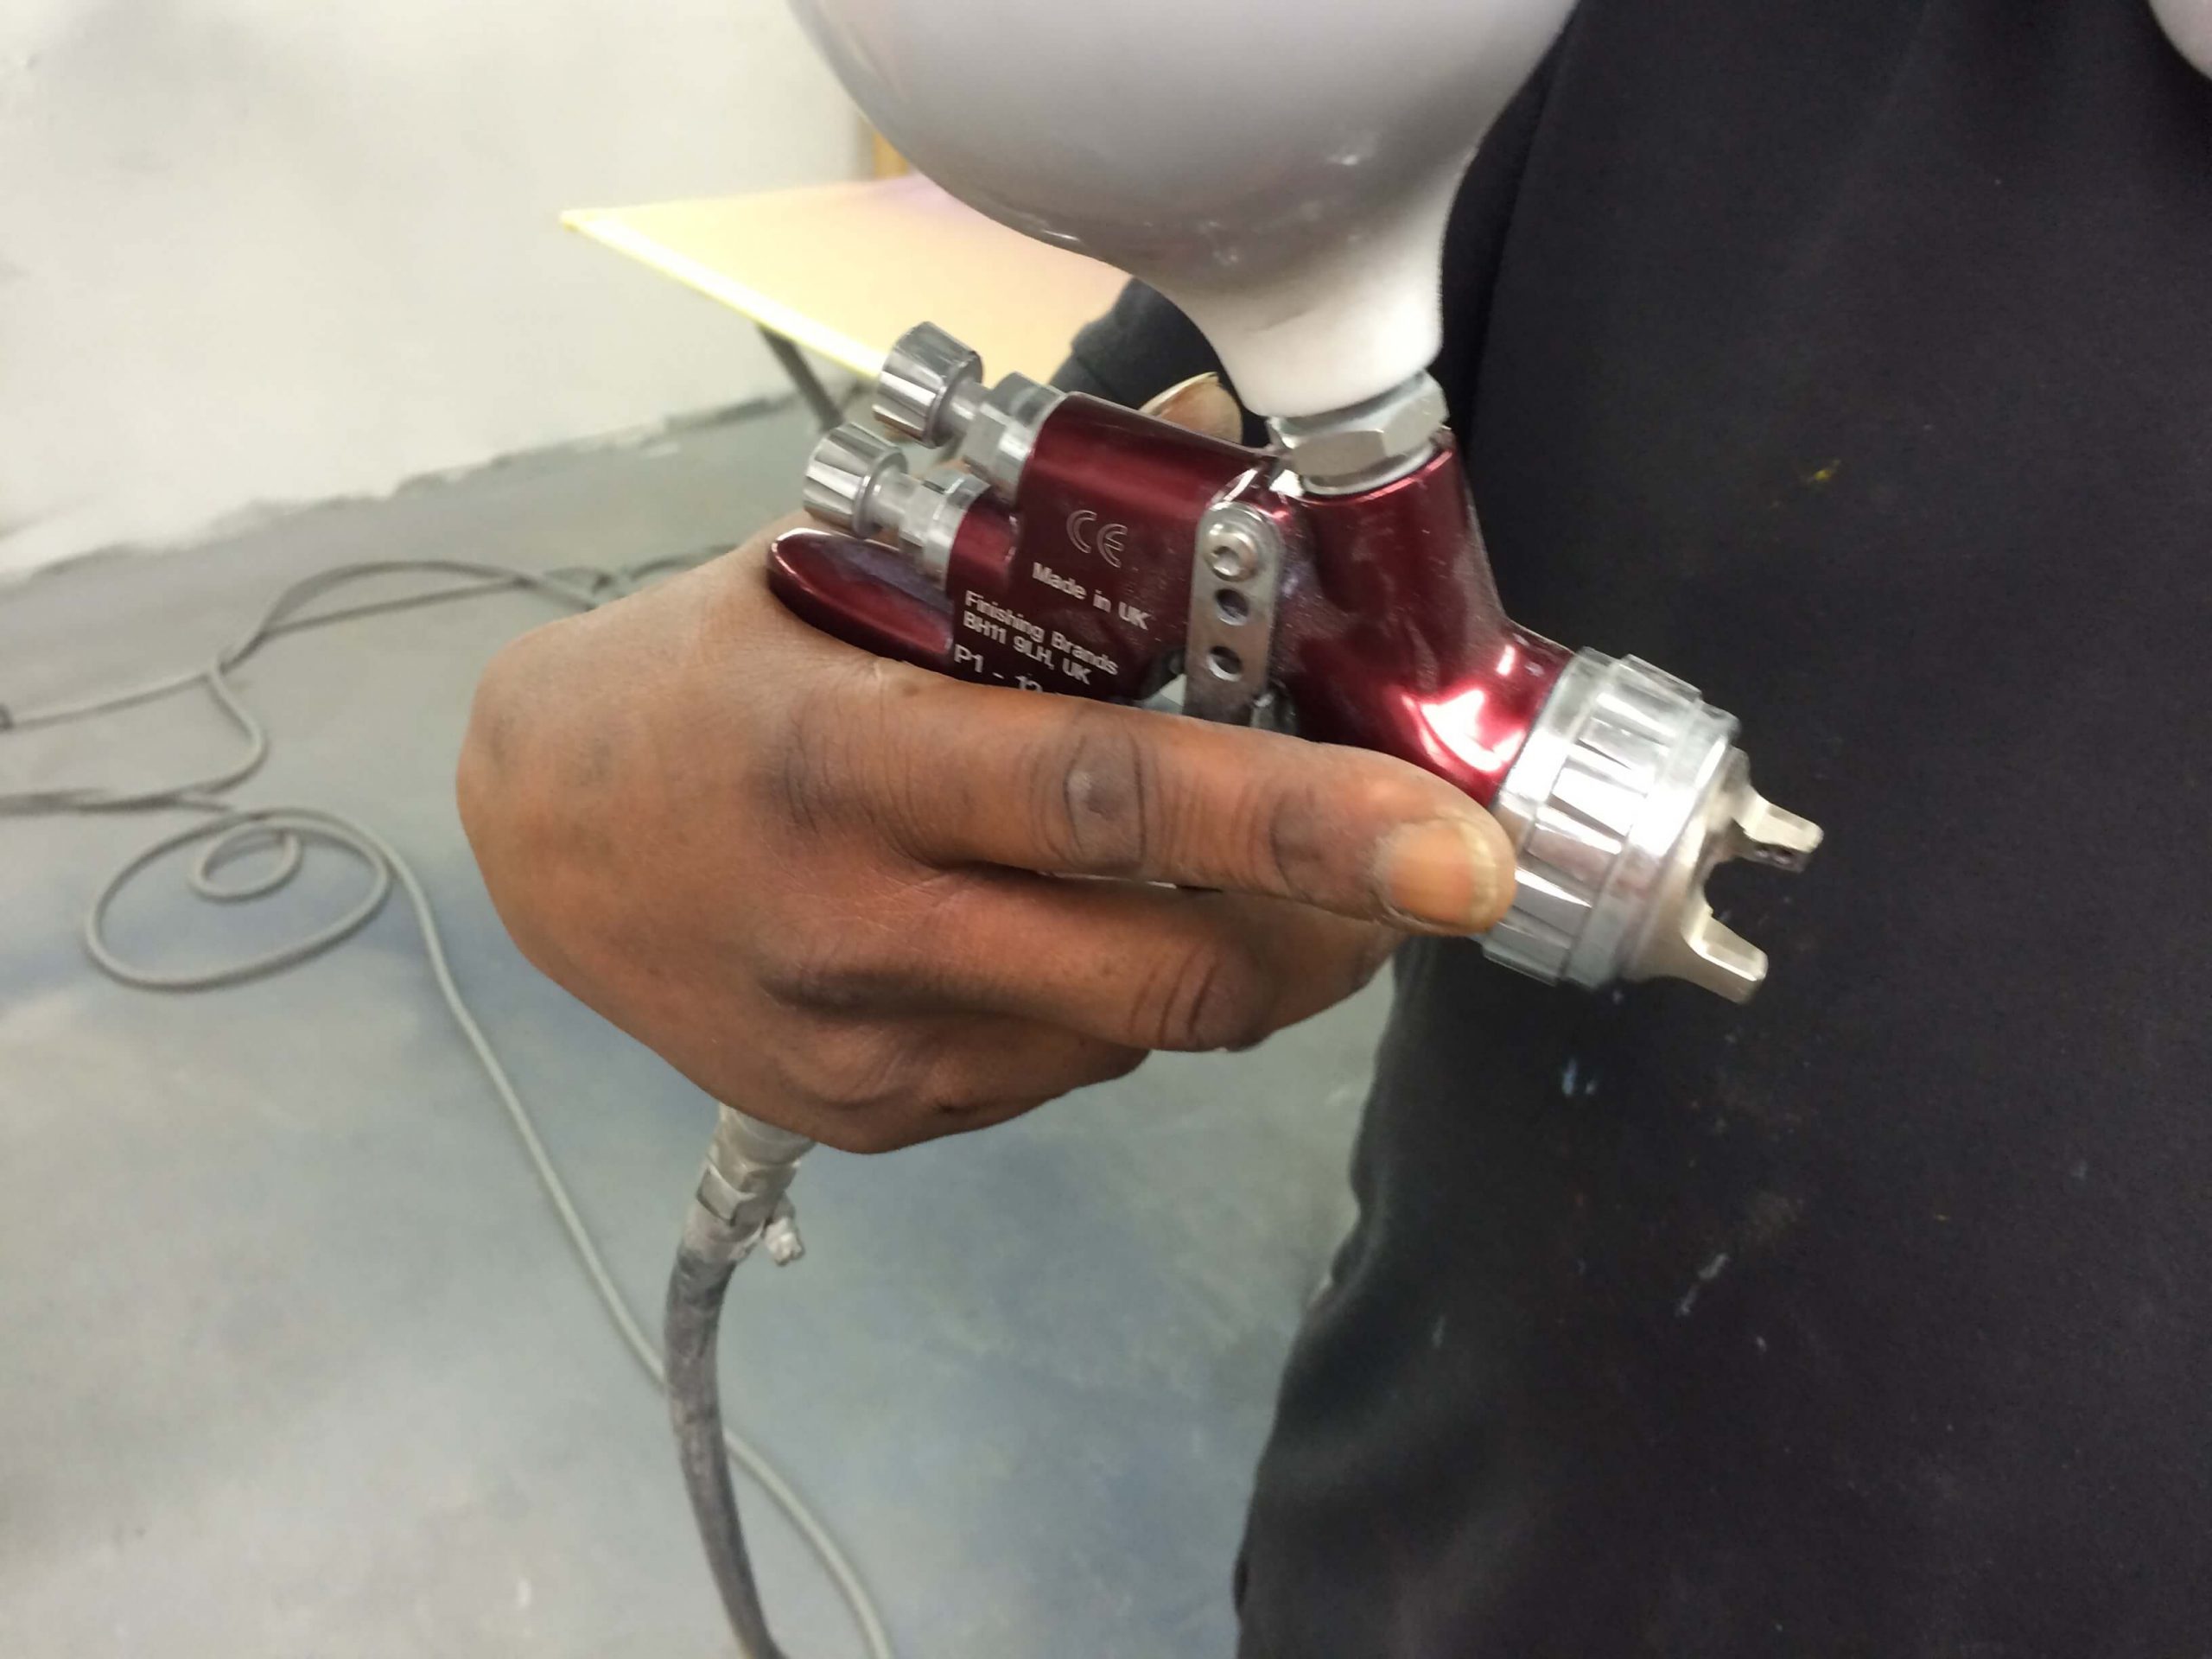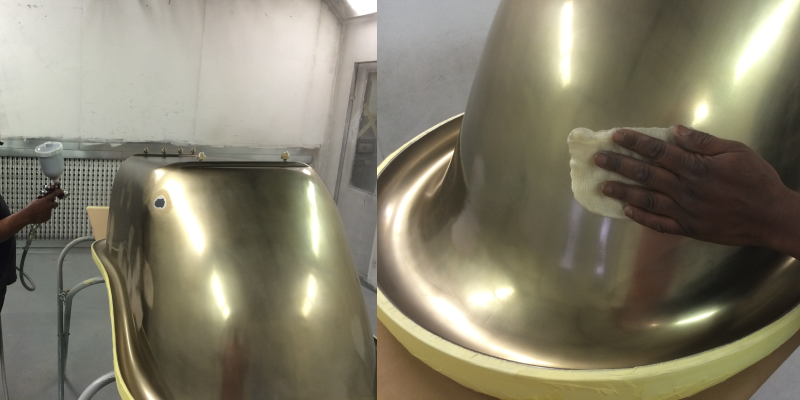
For this project, the team decided to use a spray gun, as this reduced the spraying time. However, you can just as easily complete this project using aerosol paint, which can be found online or by contacting the team to find the perfect colour for your project.
Completing This Project
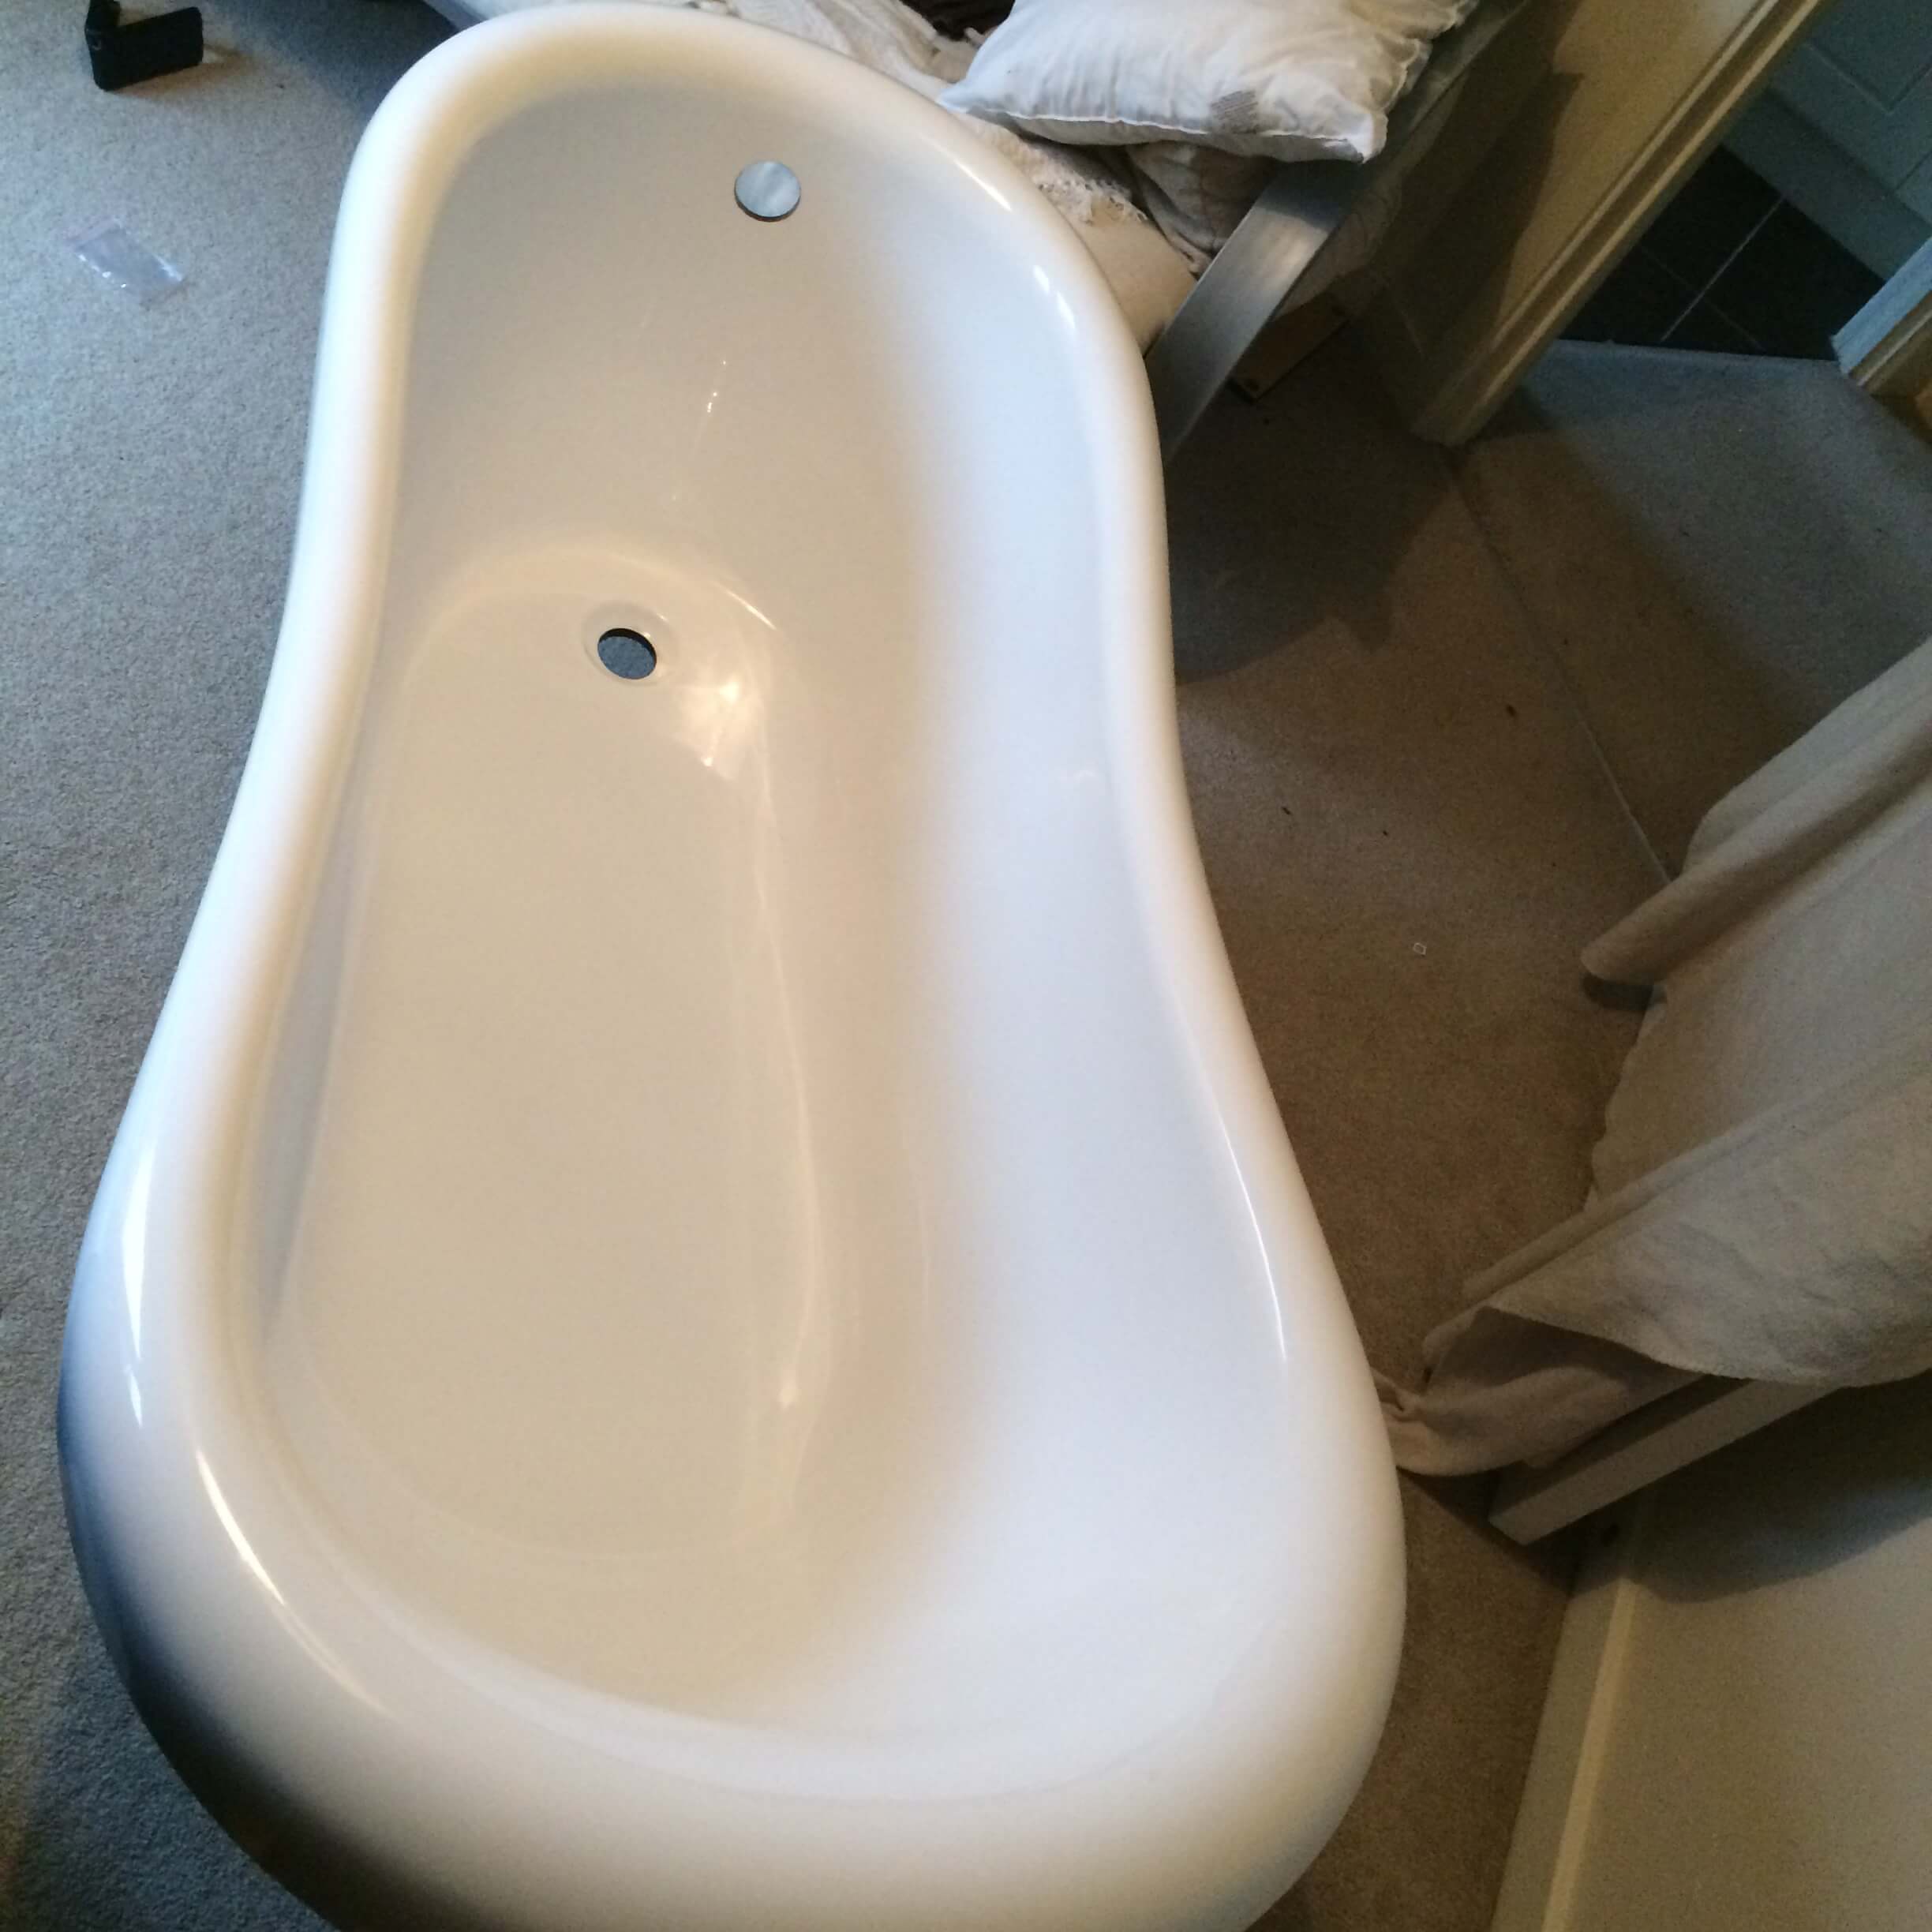
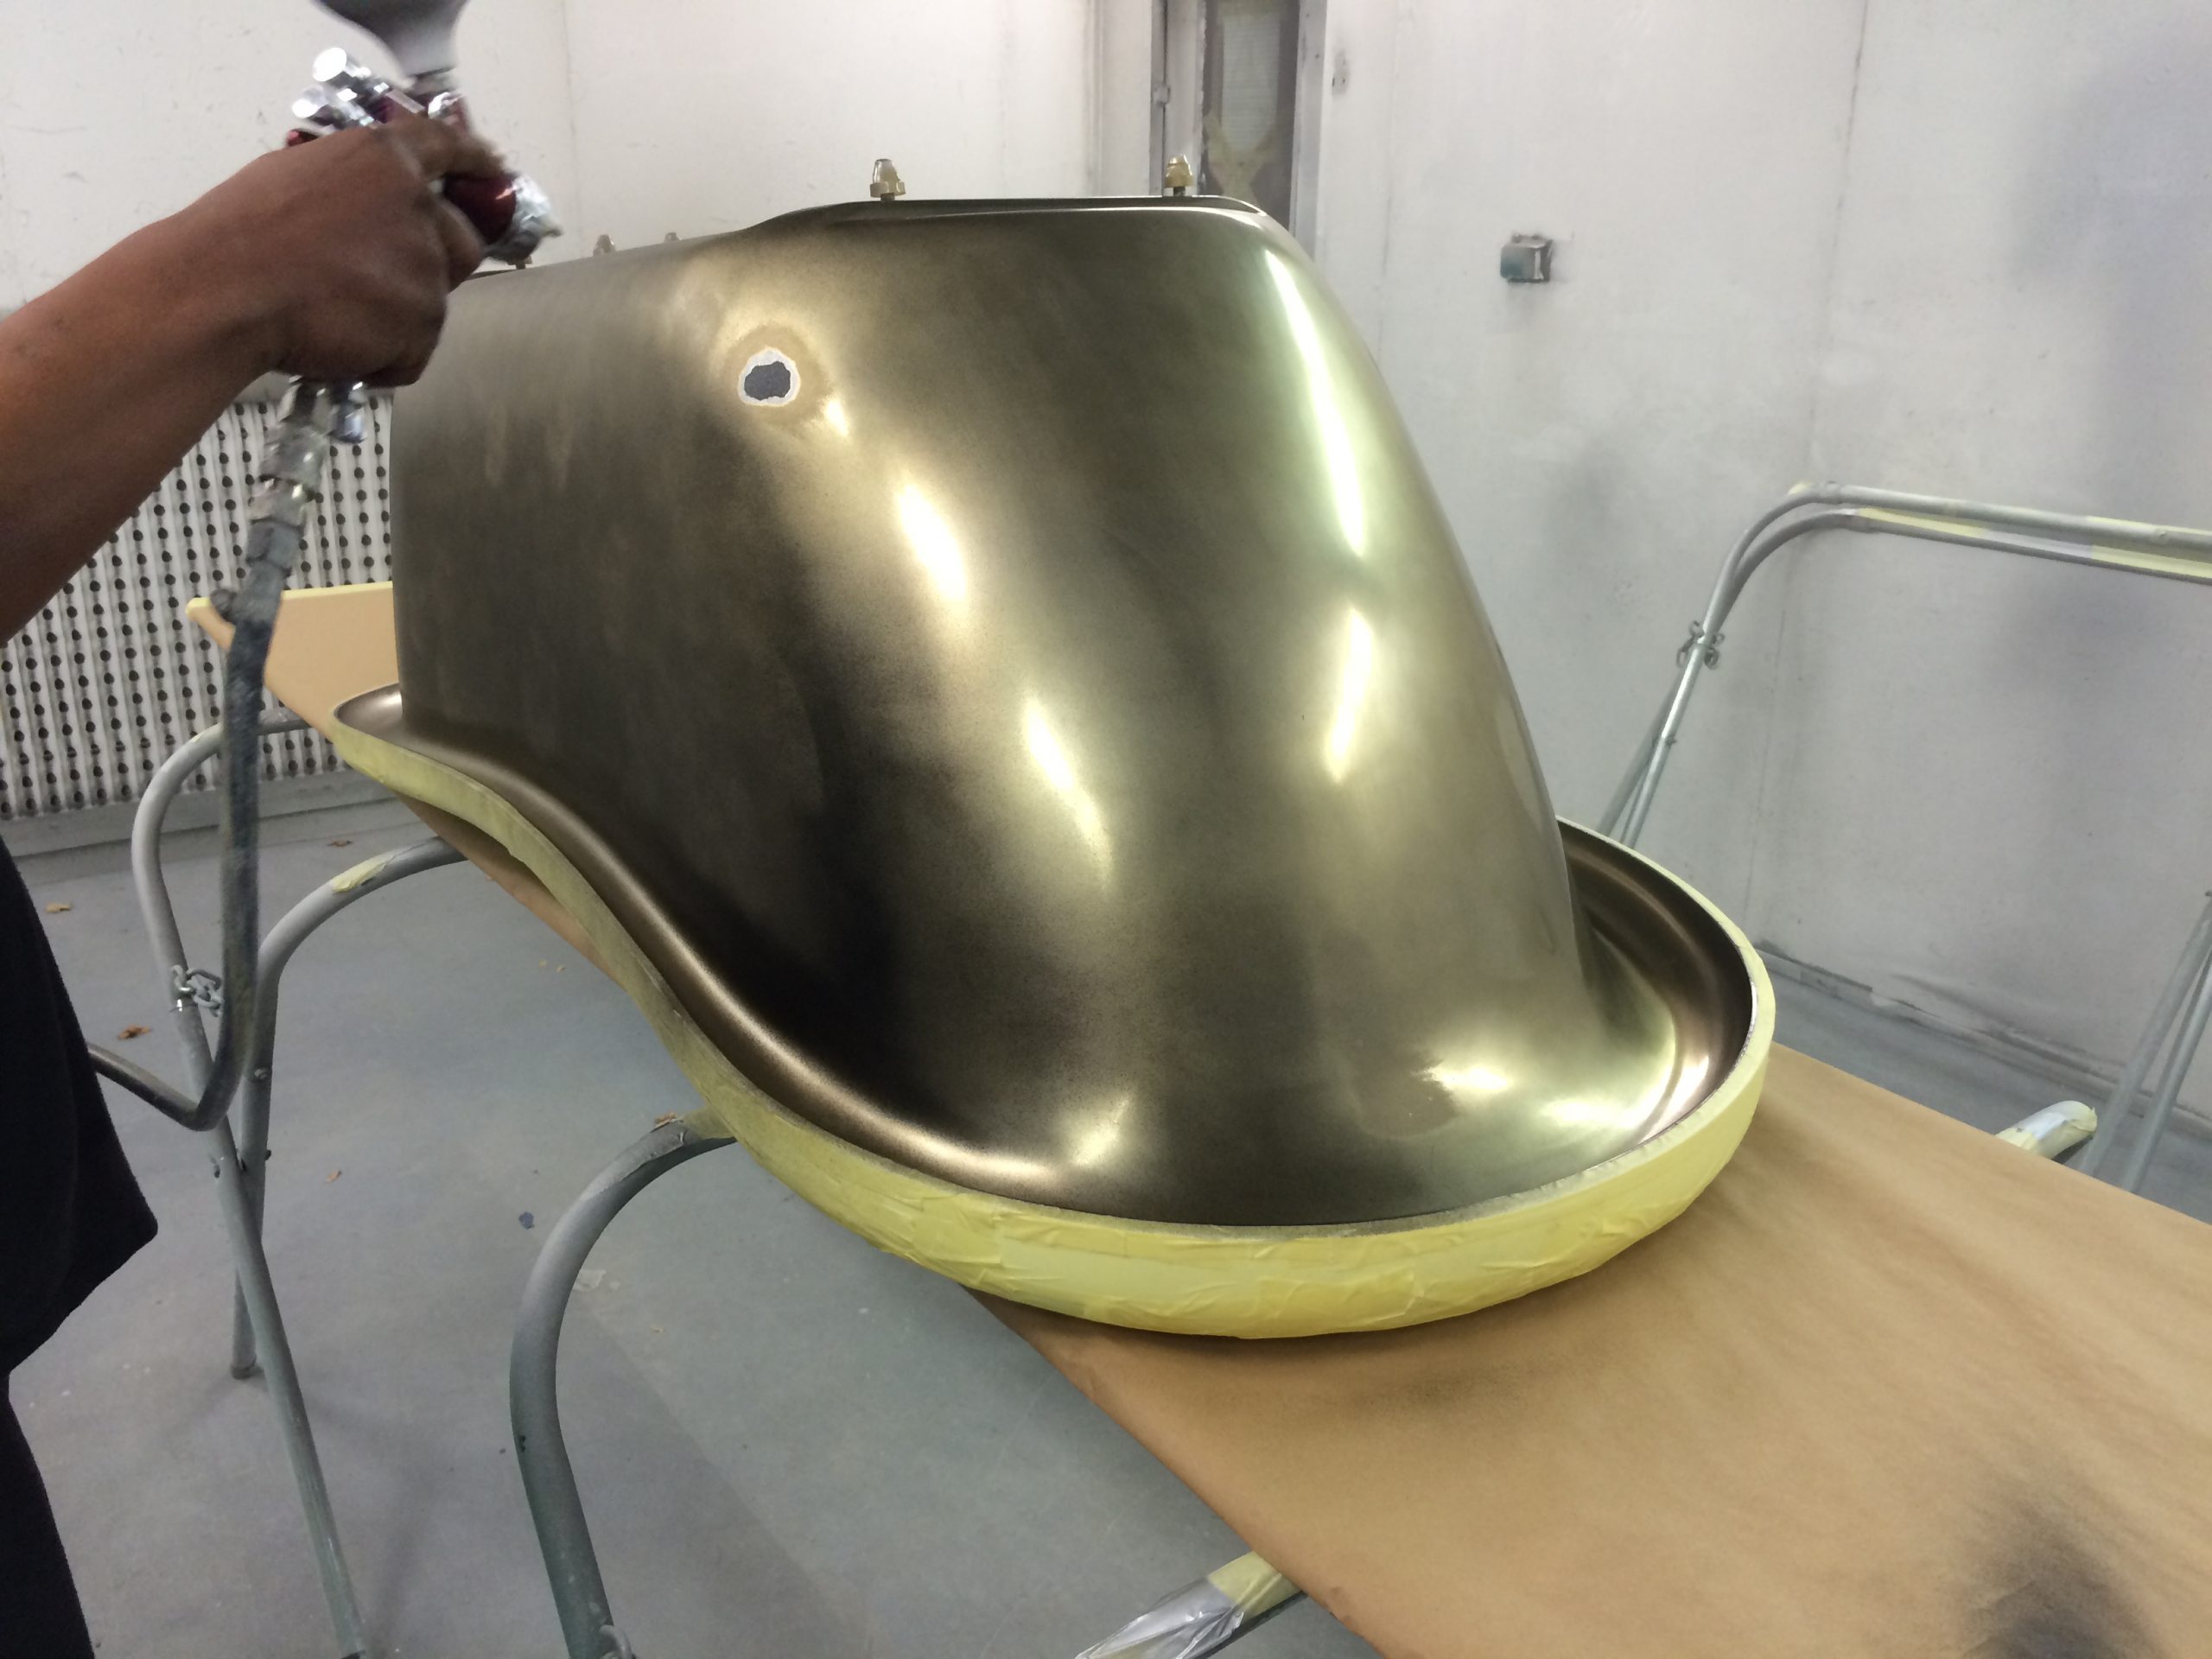
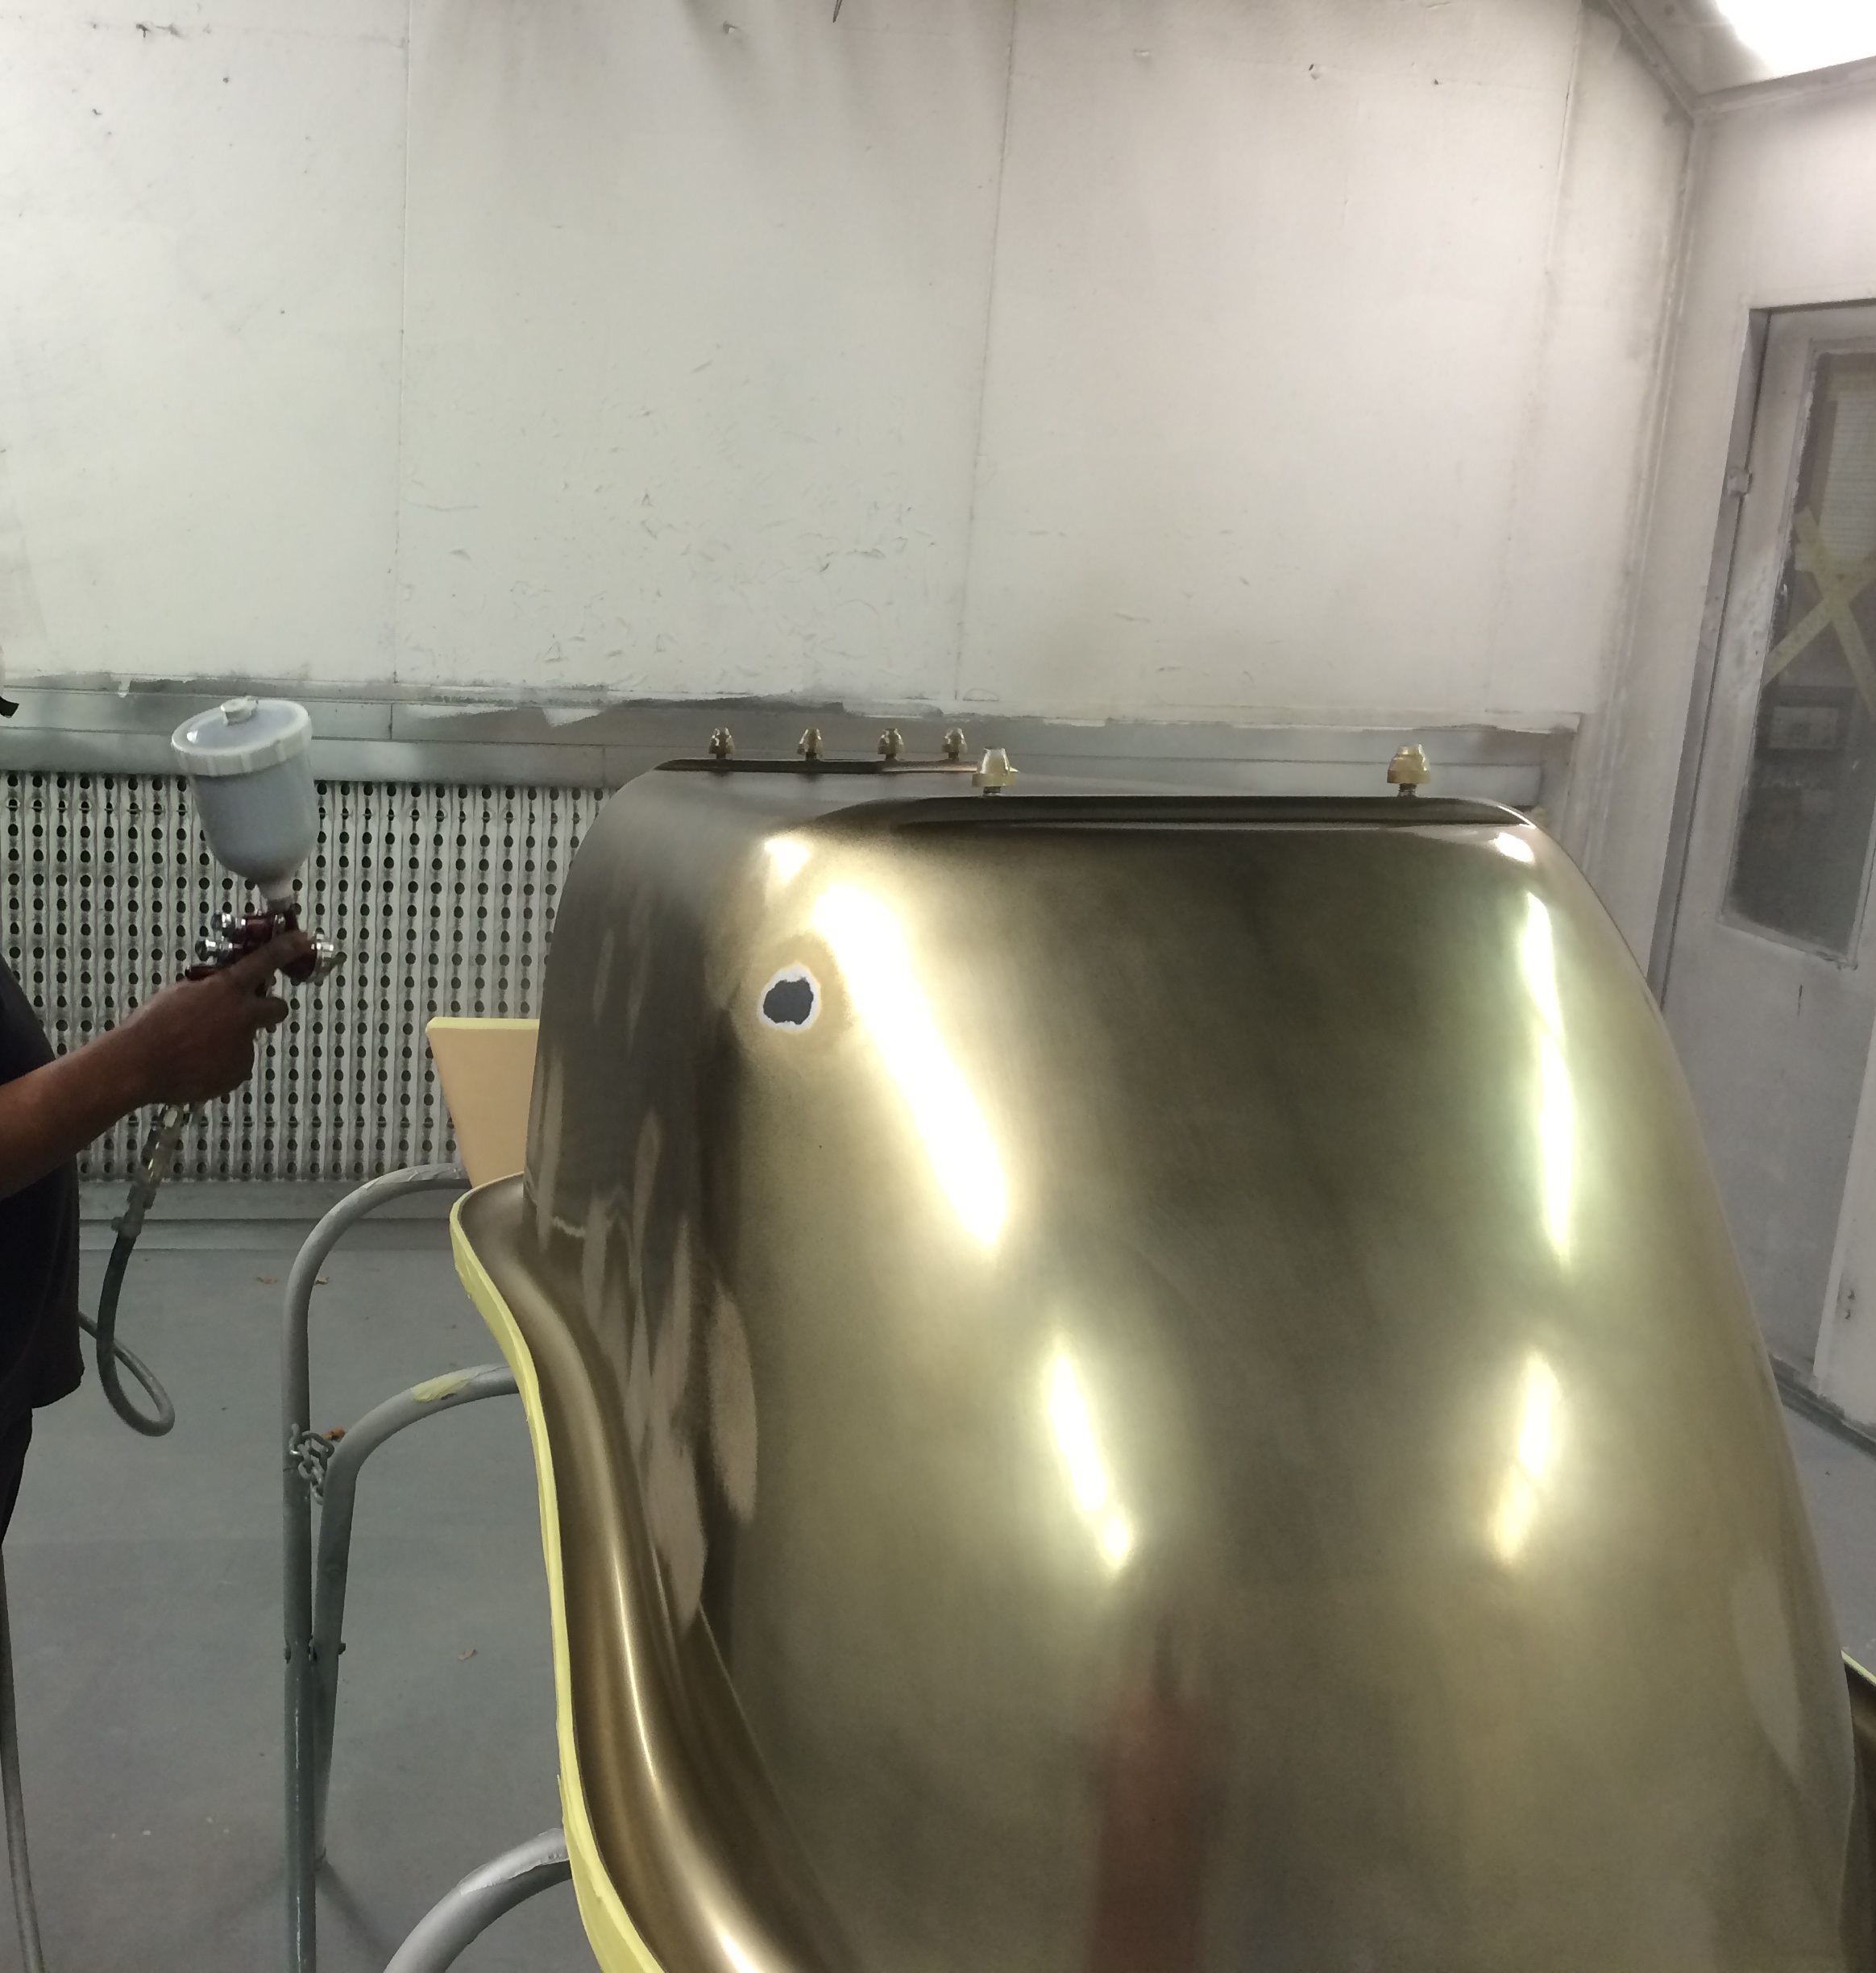
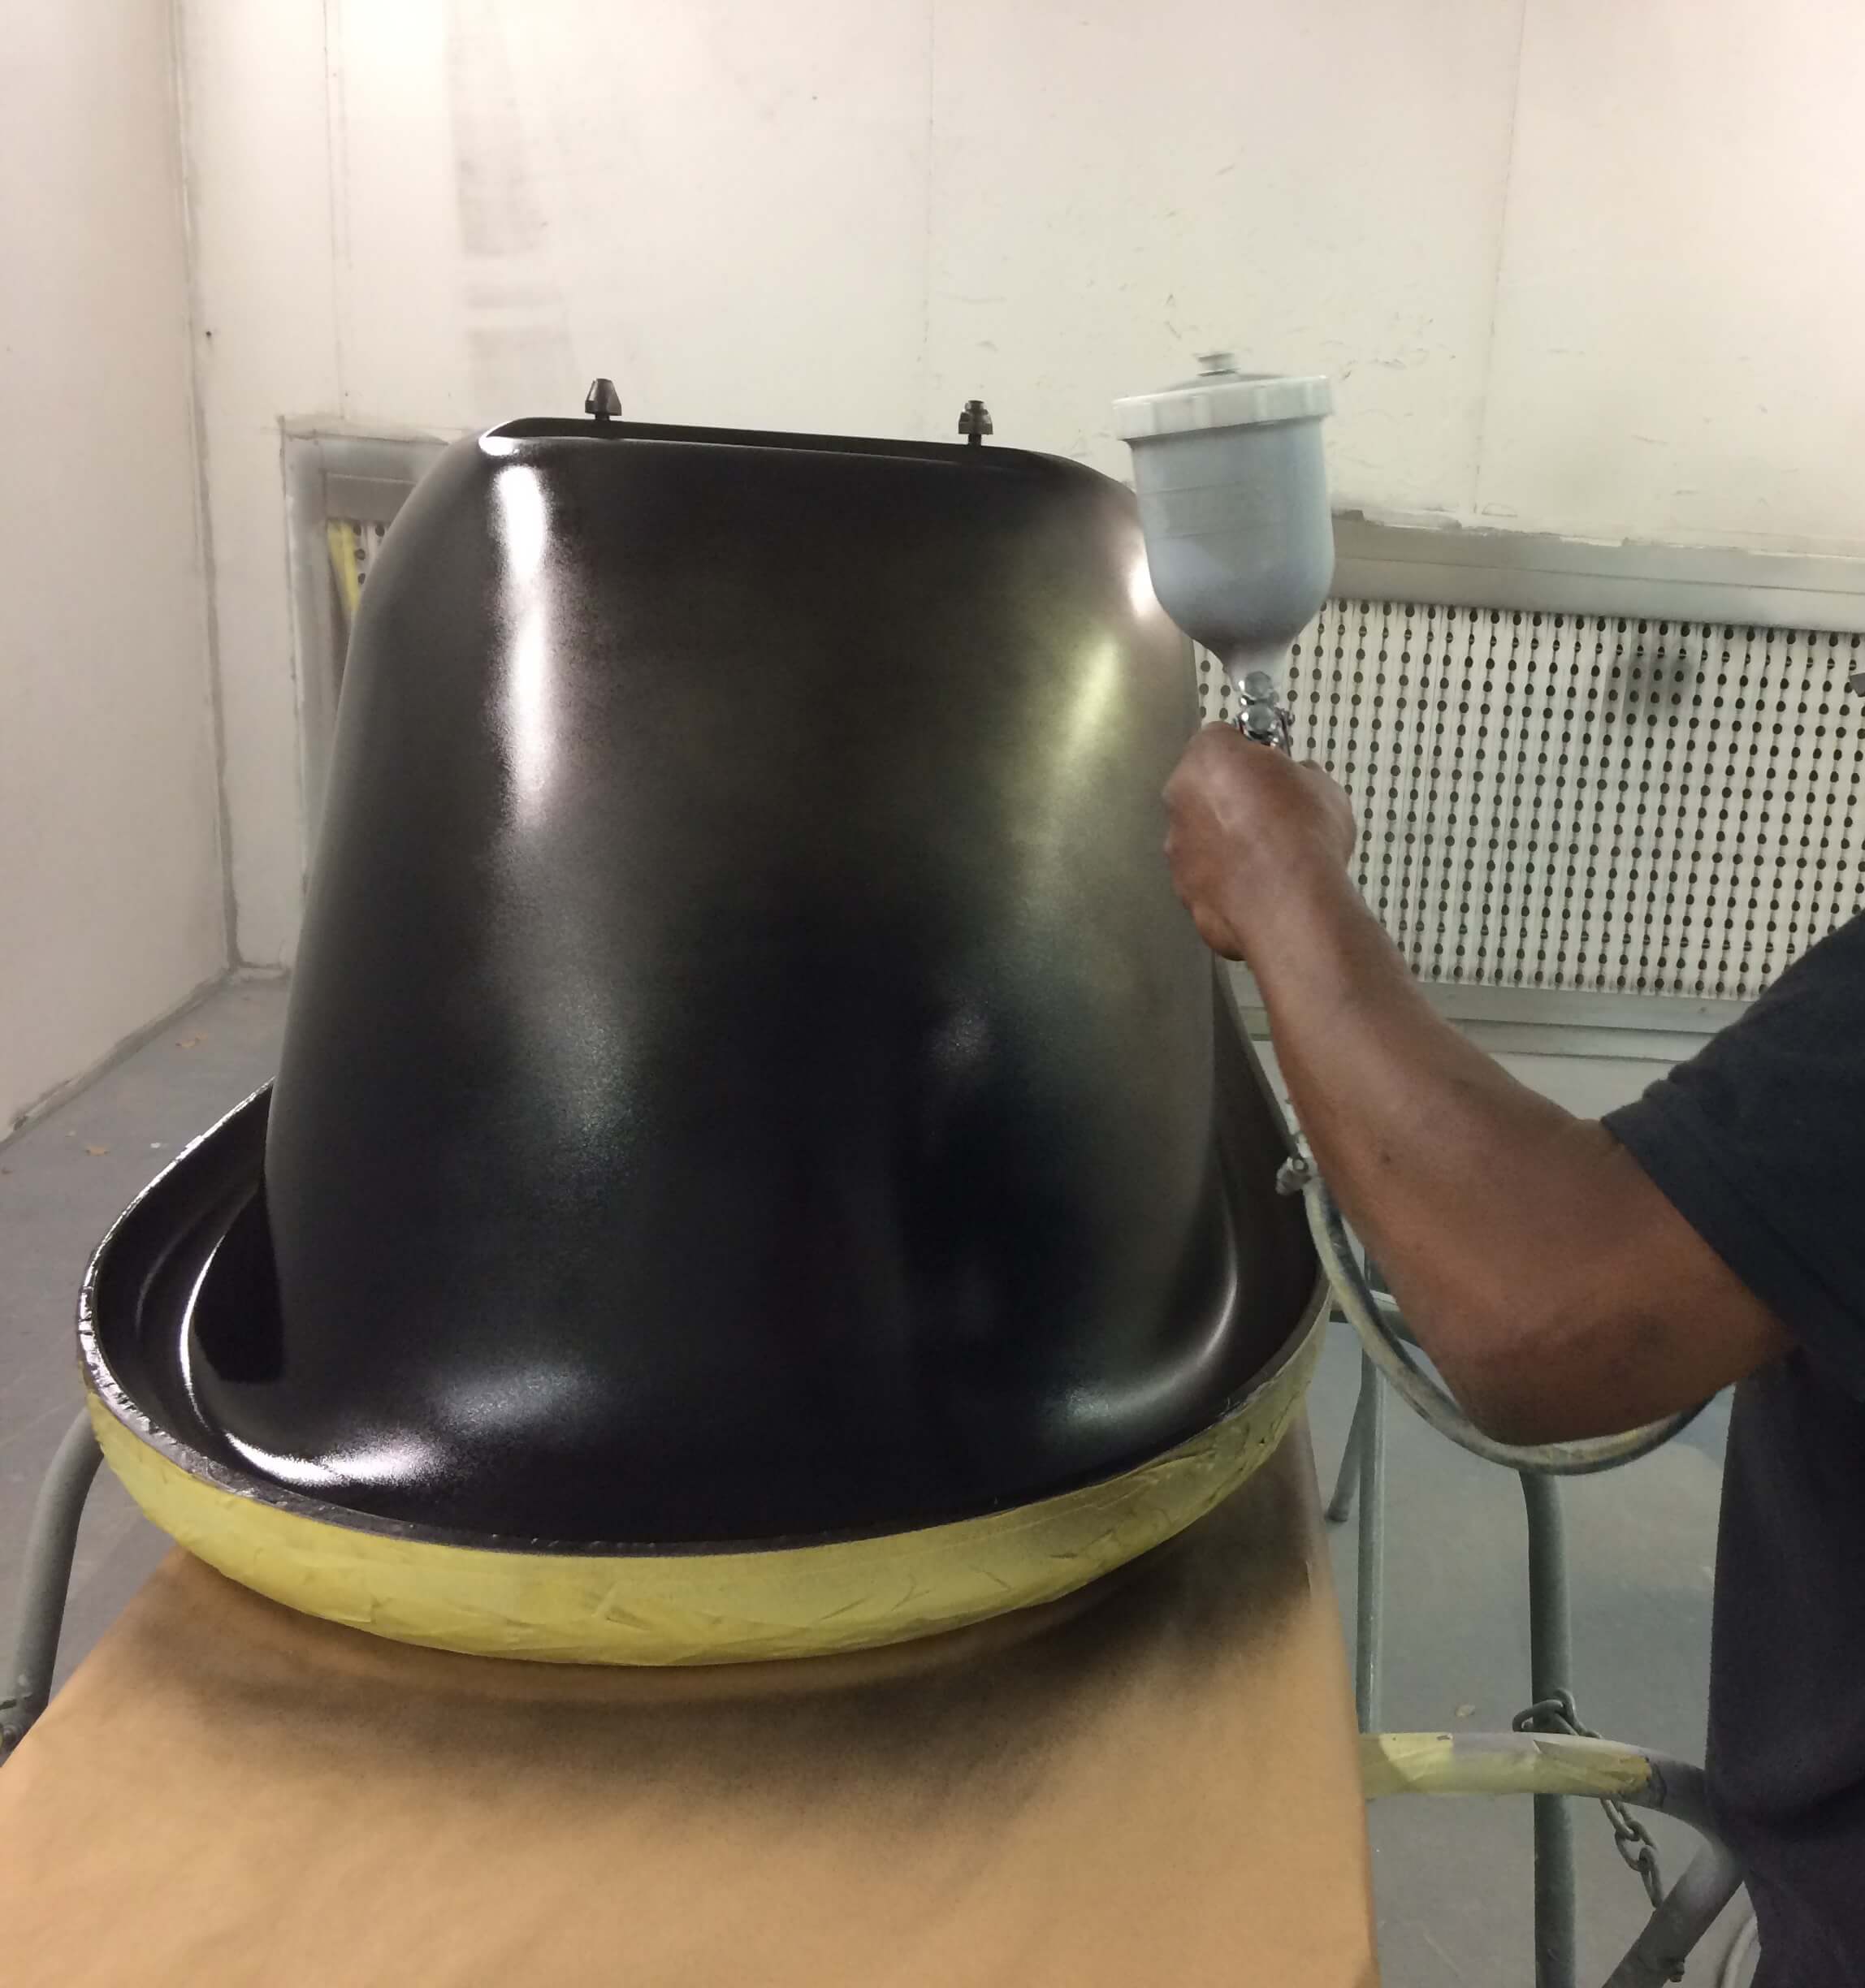
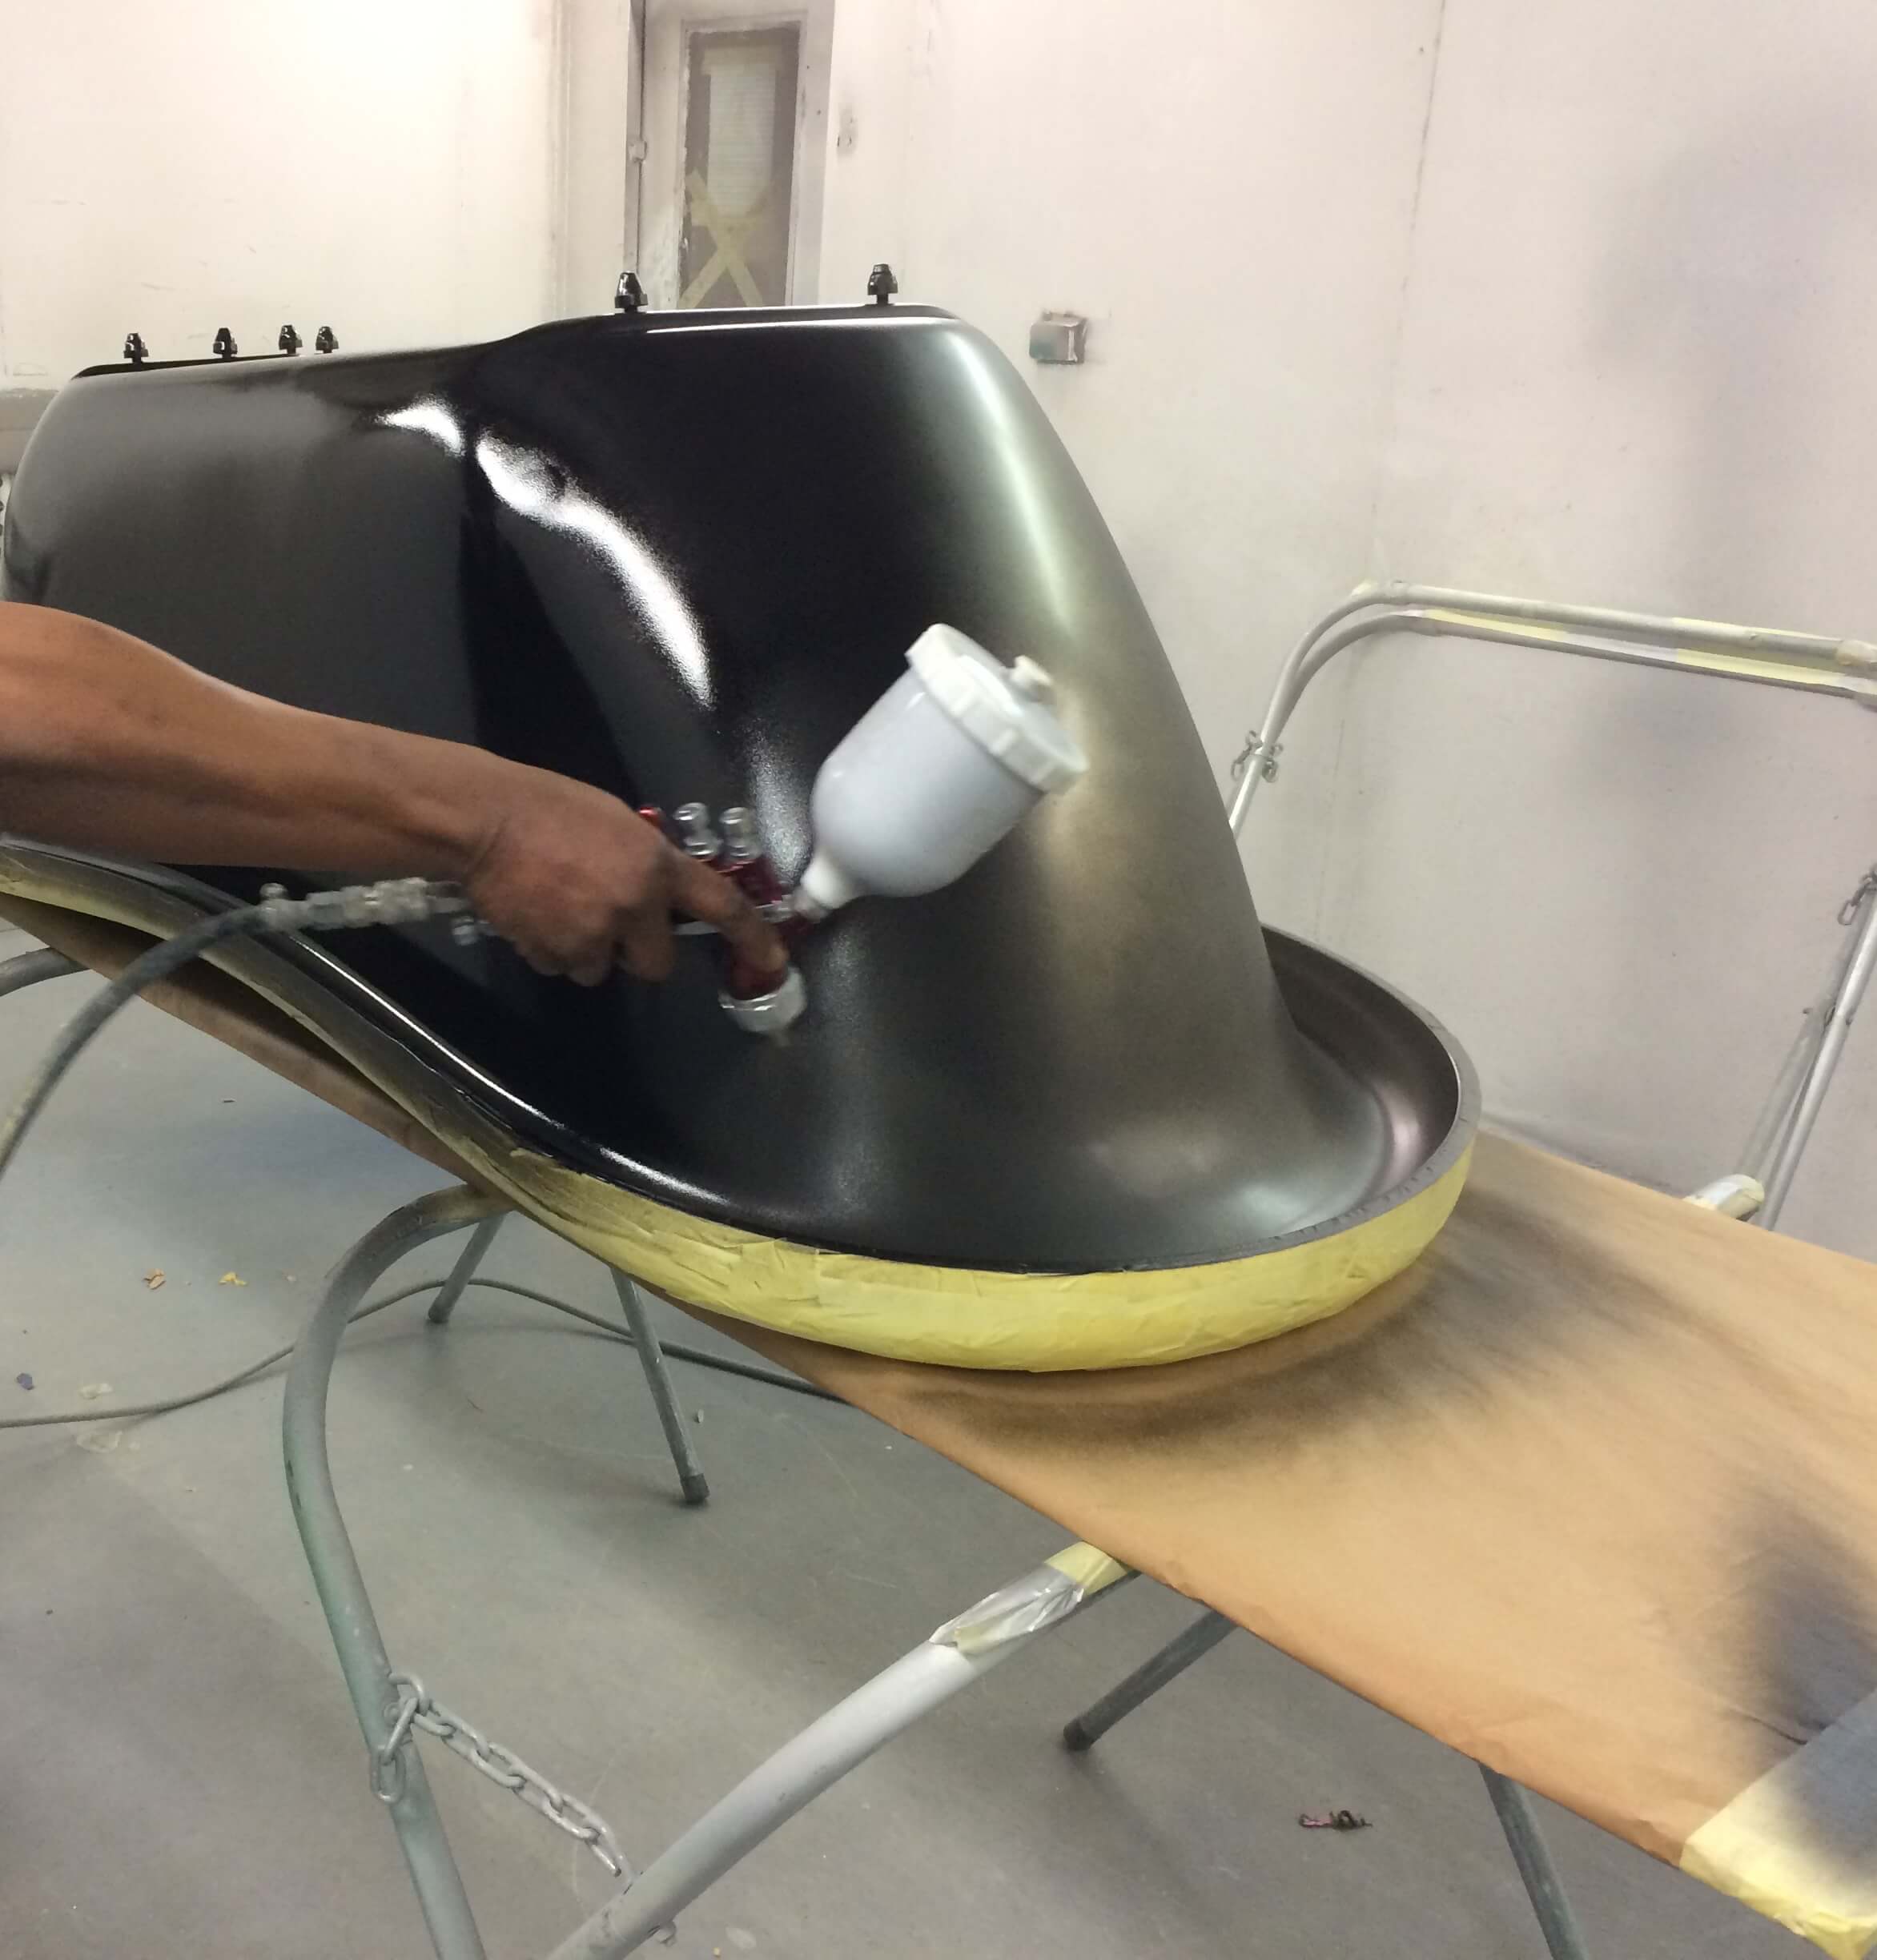
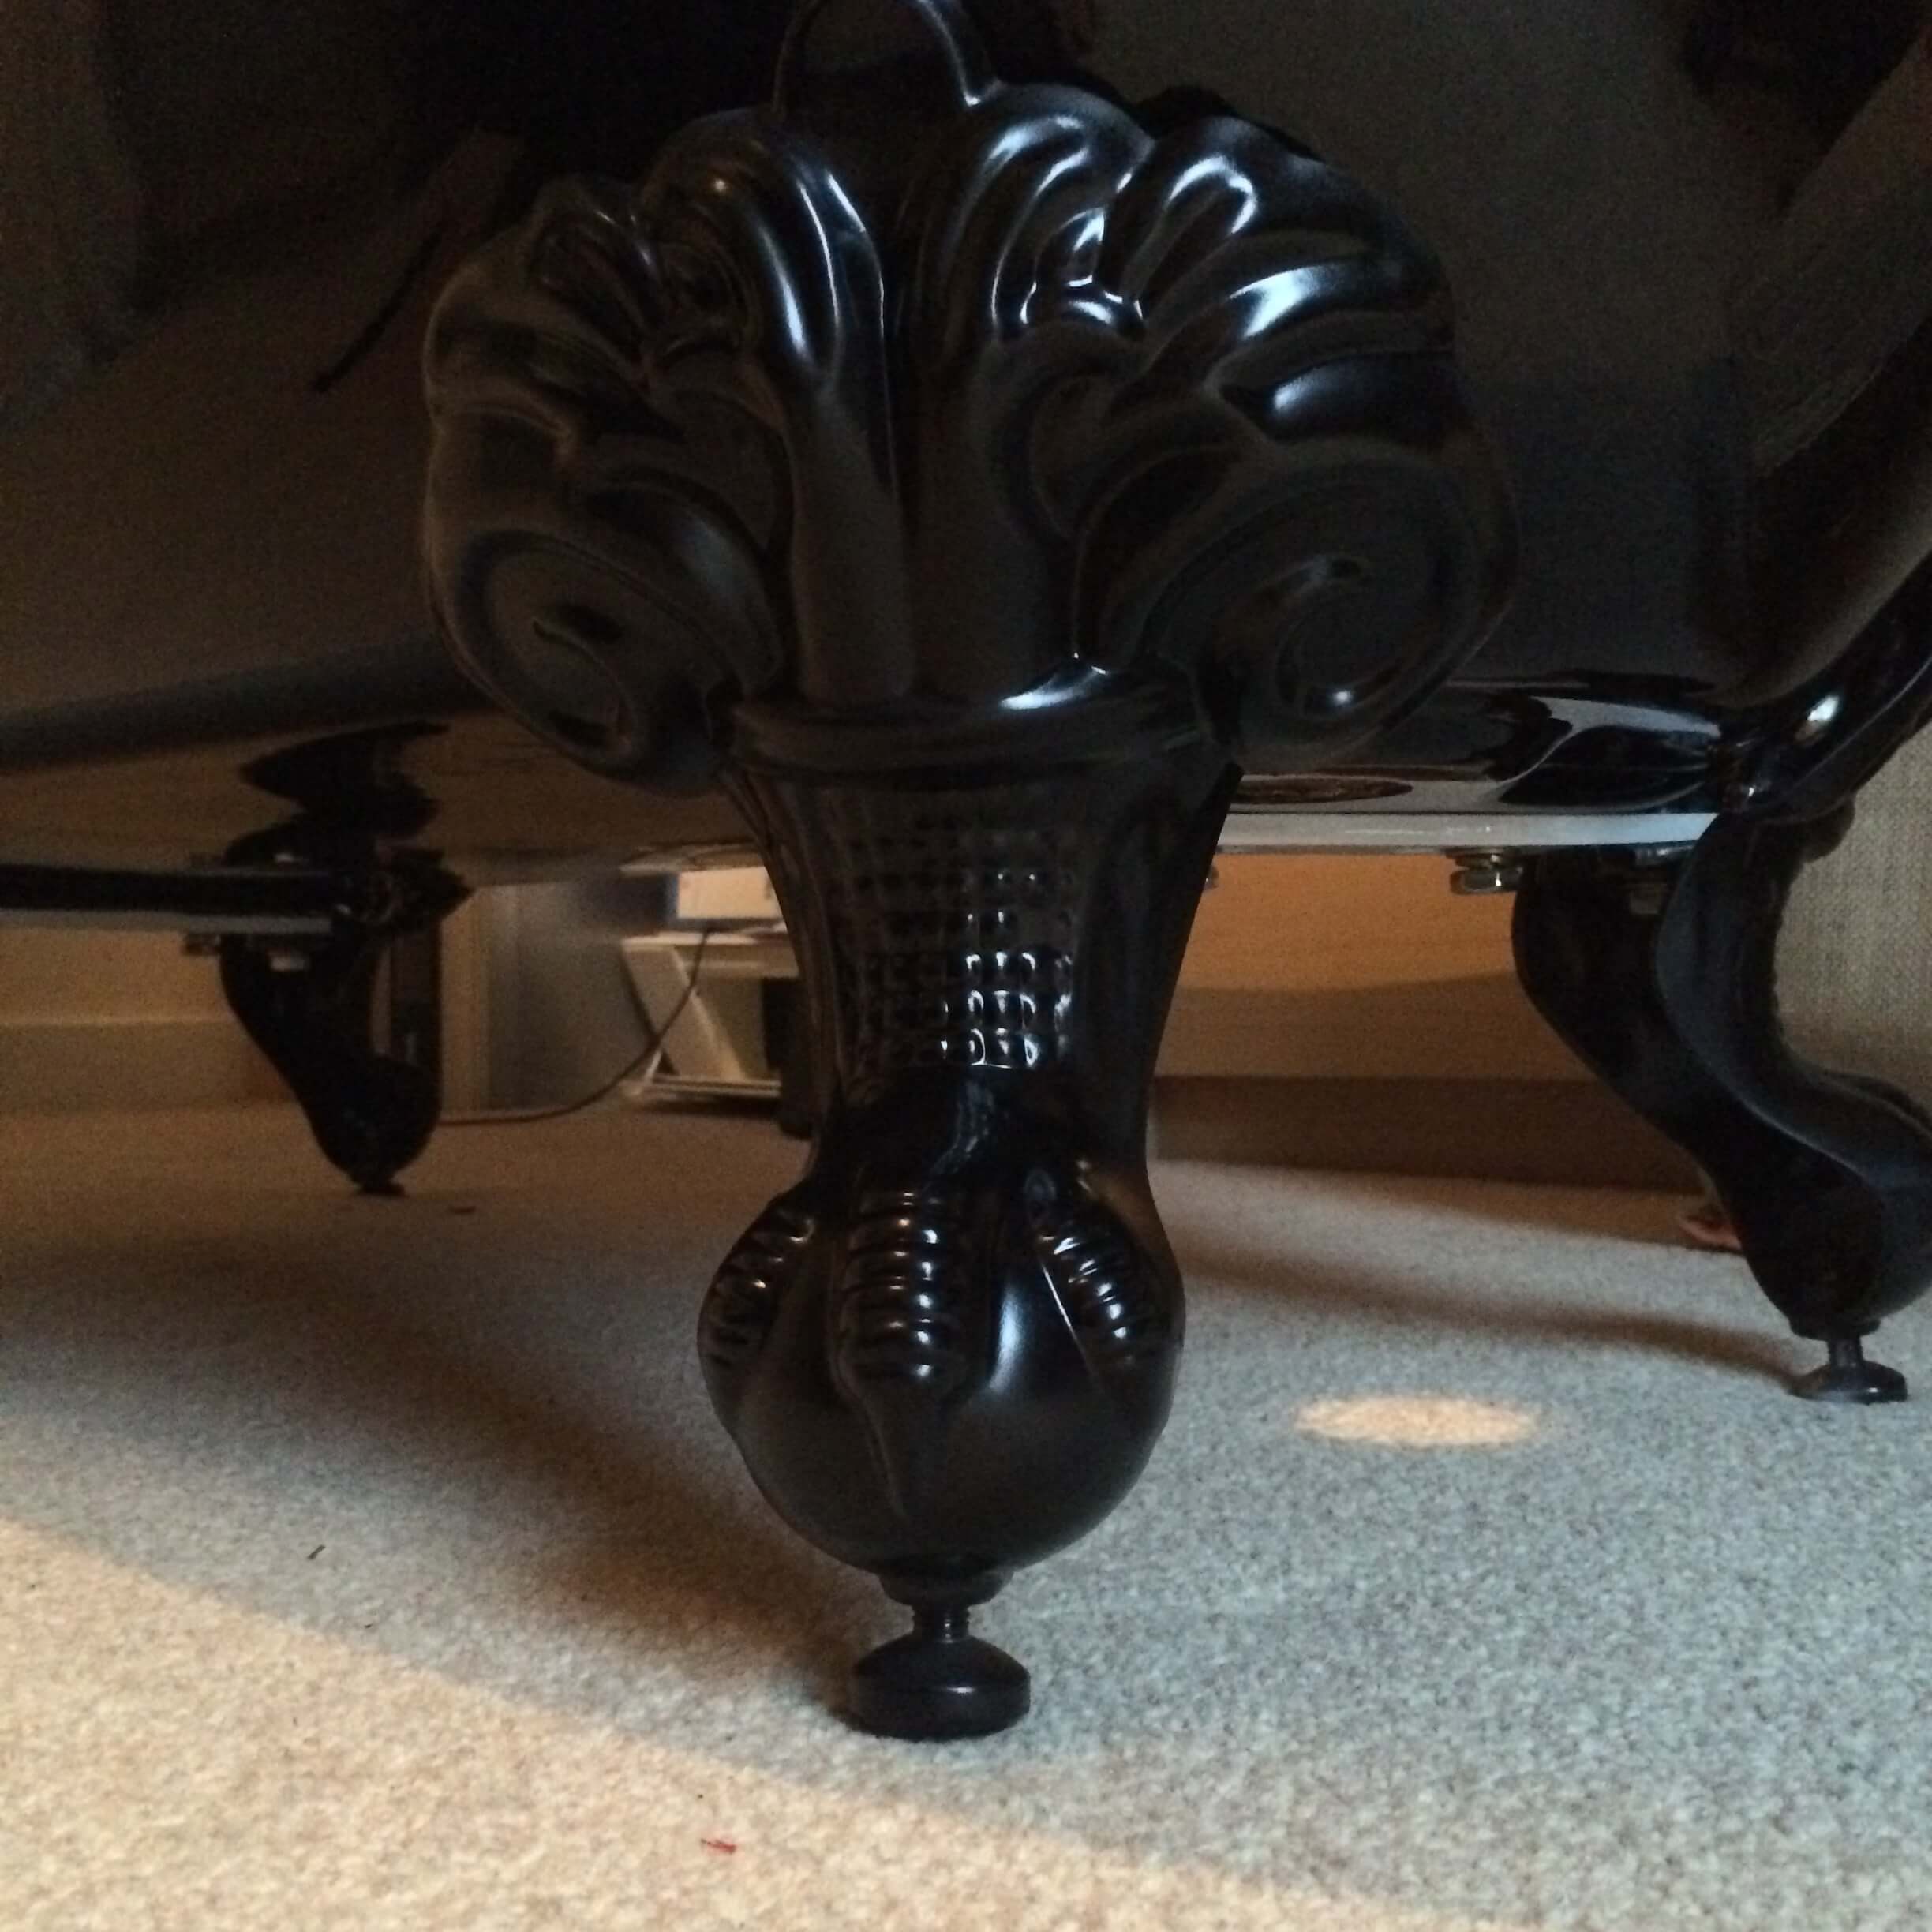
As you can see from the images below, the team transformed a freestanding bath into a gothic, traditional style. This was achieved by using a spray gun and black paint which offered a stunning contrast between the copper interior of the bathtub. Find out more about how this project was completed below.
Prep & Clean
Start by cleaning and then lightly sanding/keying the surface. Remove any dust or lose debris. Use a panel wipe or degreaser to clean the substrate.
Ground Coat
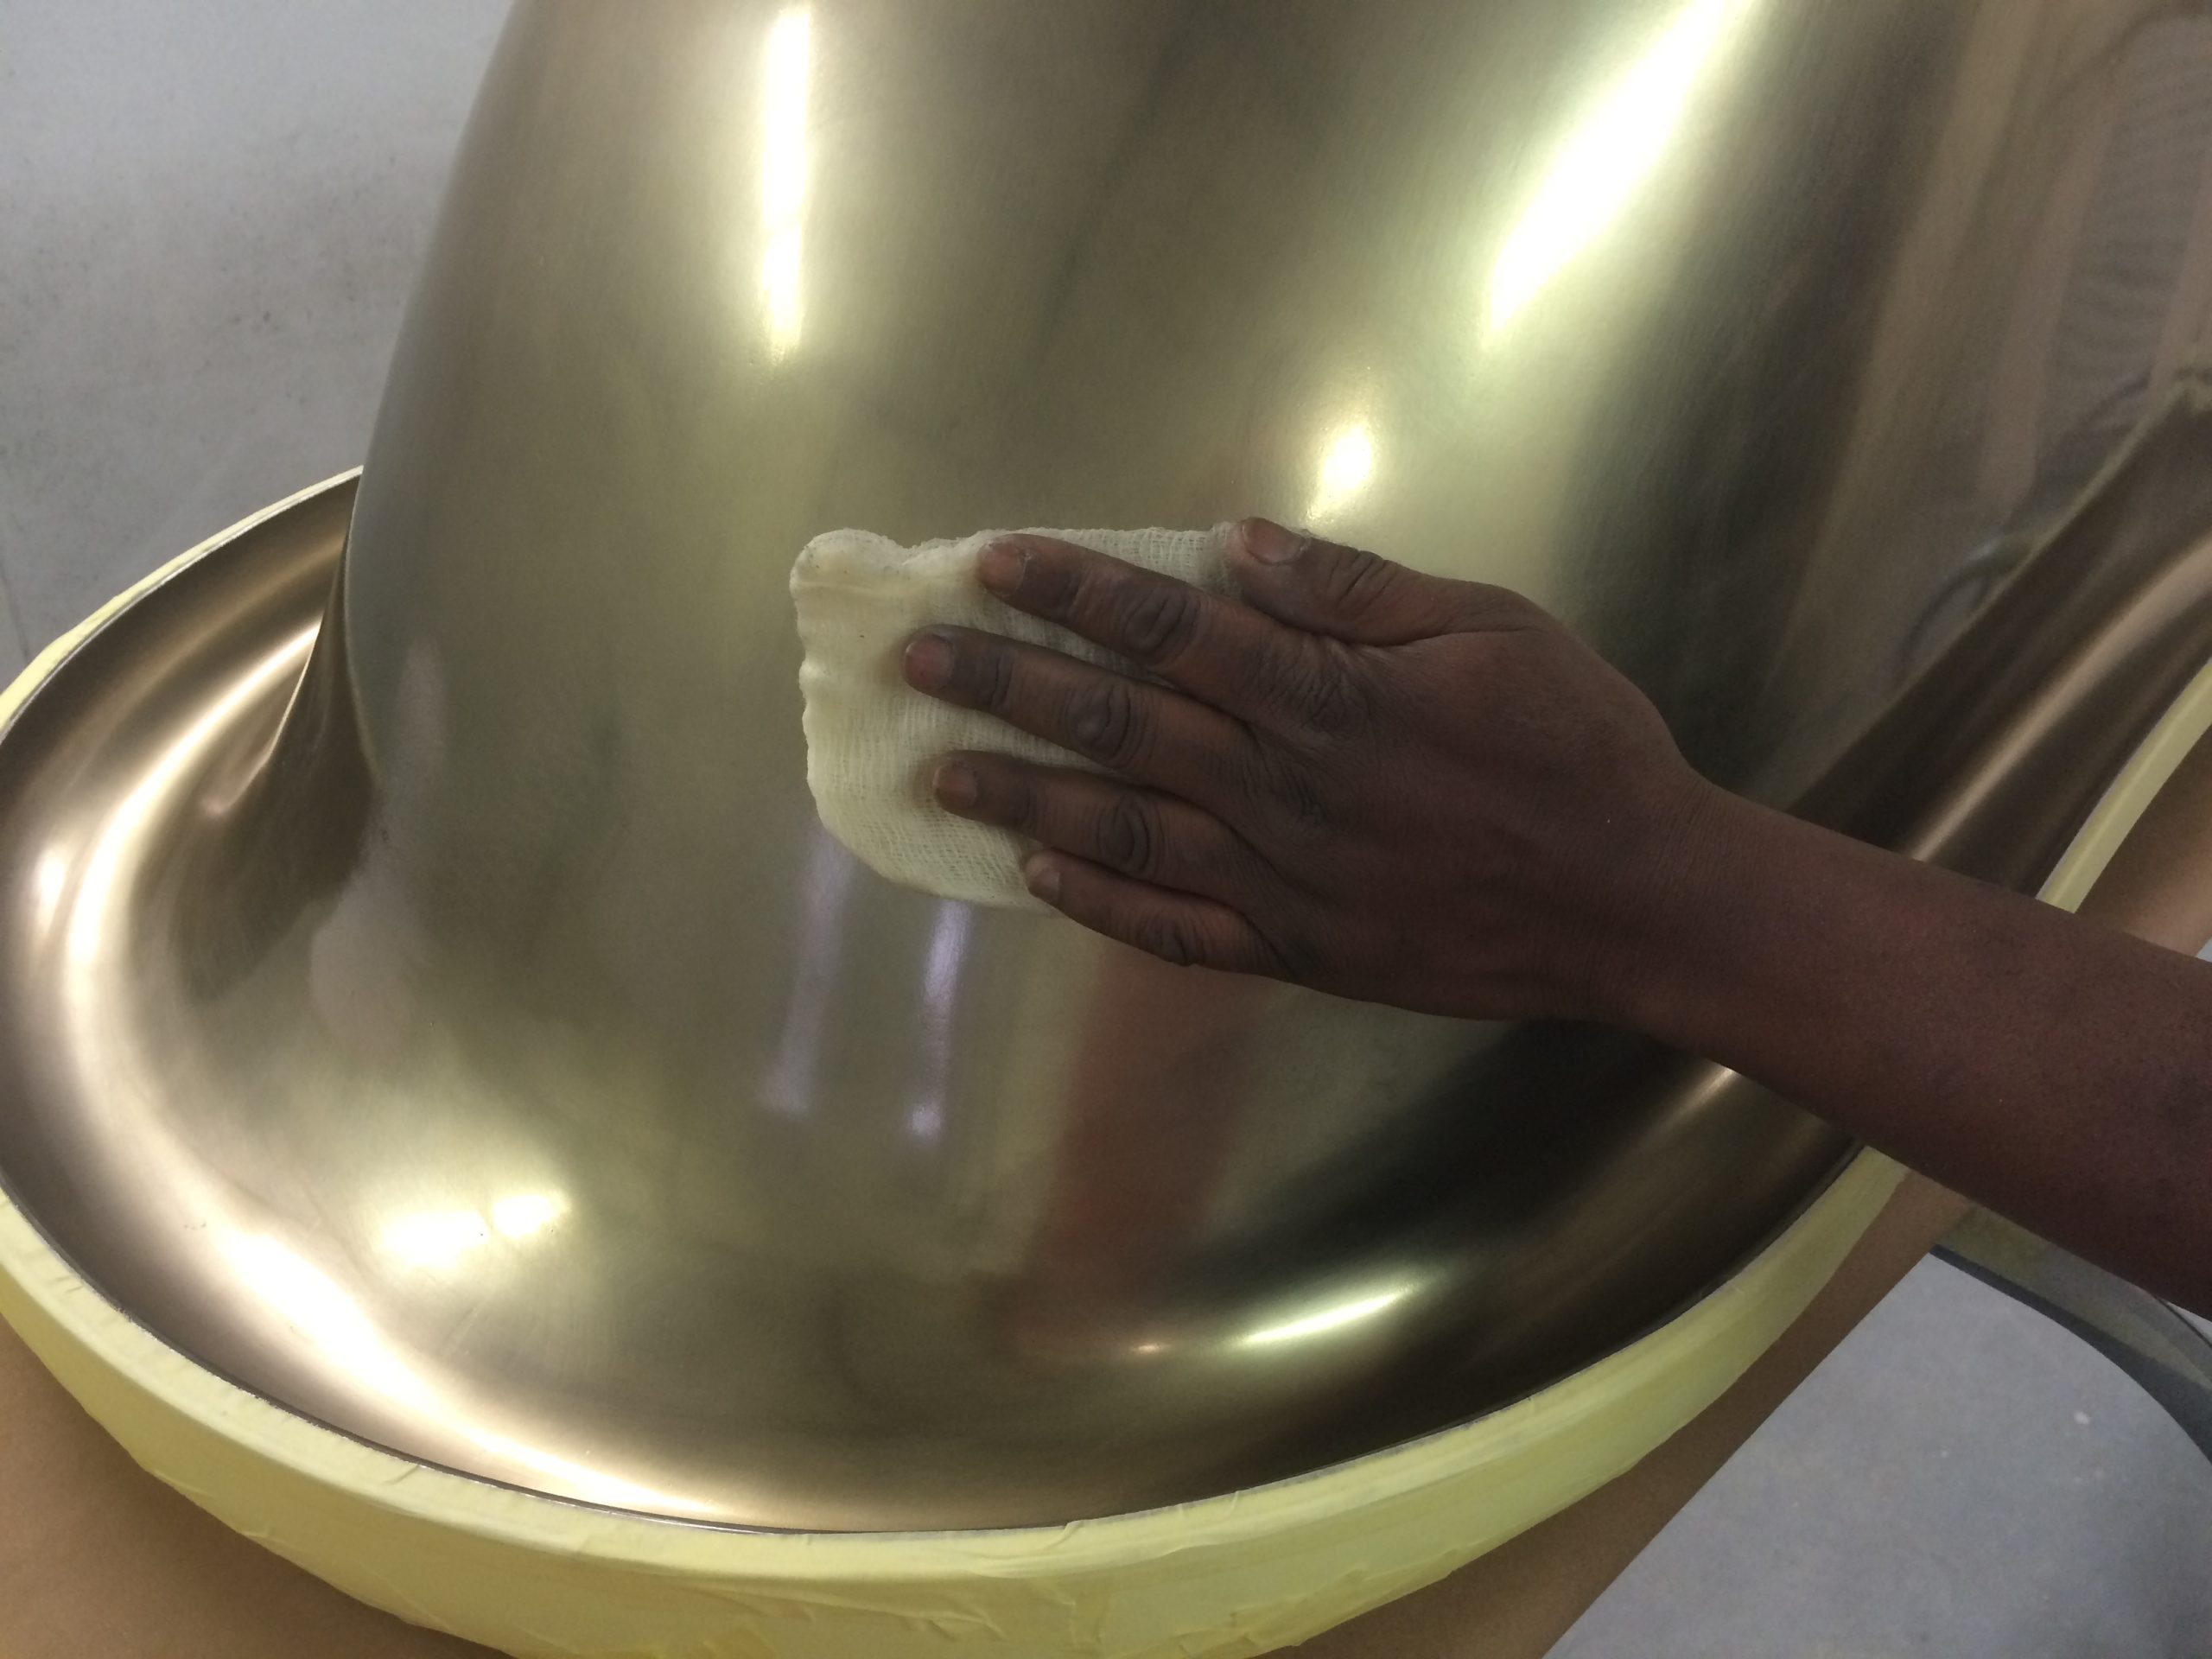
Use a high build primer to seal and substrate.
TOP TIP: Always remember to request a white high primer if you are painting a light colour and a grey if you are looking to paint anything darker.
Apply two coats of primer leaving the paint to cure for up to 3 hours before you apply the base coat of colour.
Base Coat
Once you are comfortable the colour has cured, you can apply the colour in a synthetic enamel paint. This paint can withstand the heat and moisture in a bathroom without peeling or flaking, making it ideal for our bathtub.
Top Coat
To further protect the base coat colour and to give depth to the colour, you can apply a clearcoat lacquer. This should only be applied once the final colour has been applied, and no further work needs to be complete. Apply between 2 and 4 coats, leaving at least 1 hour between coats. Once you have applied the final coat, leave to fully cure for at least a day or more time if you have it.