PLEASE NOTE: The chrome paint we used in this project is not the paint we sell on our website. The chrome paint used on this page is by ALSA. This project was purely for demonstration purposes due to the cost of the chrome paint. The application process can also be costly.
Completing This Project
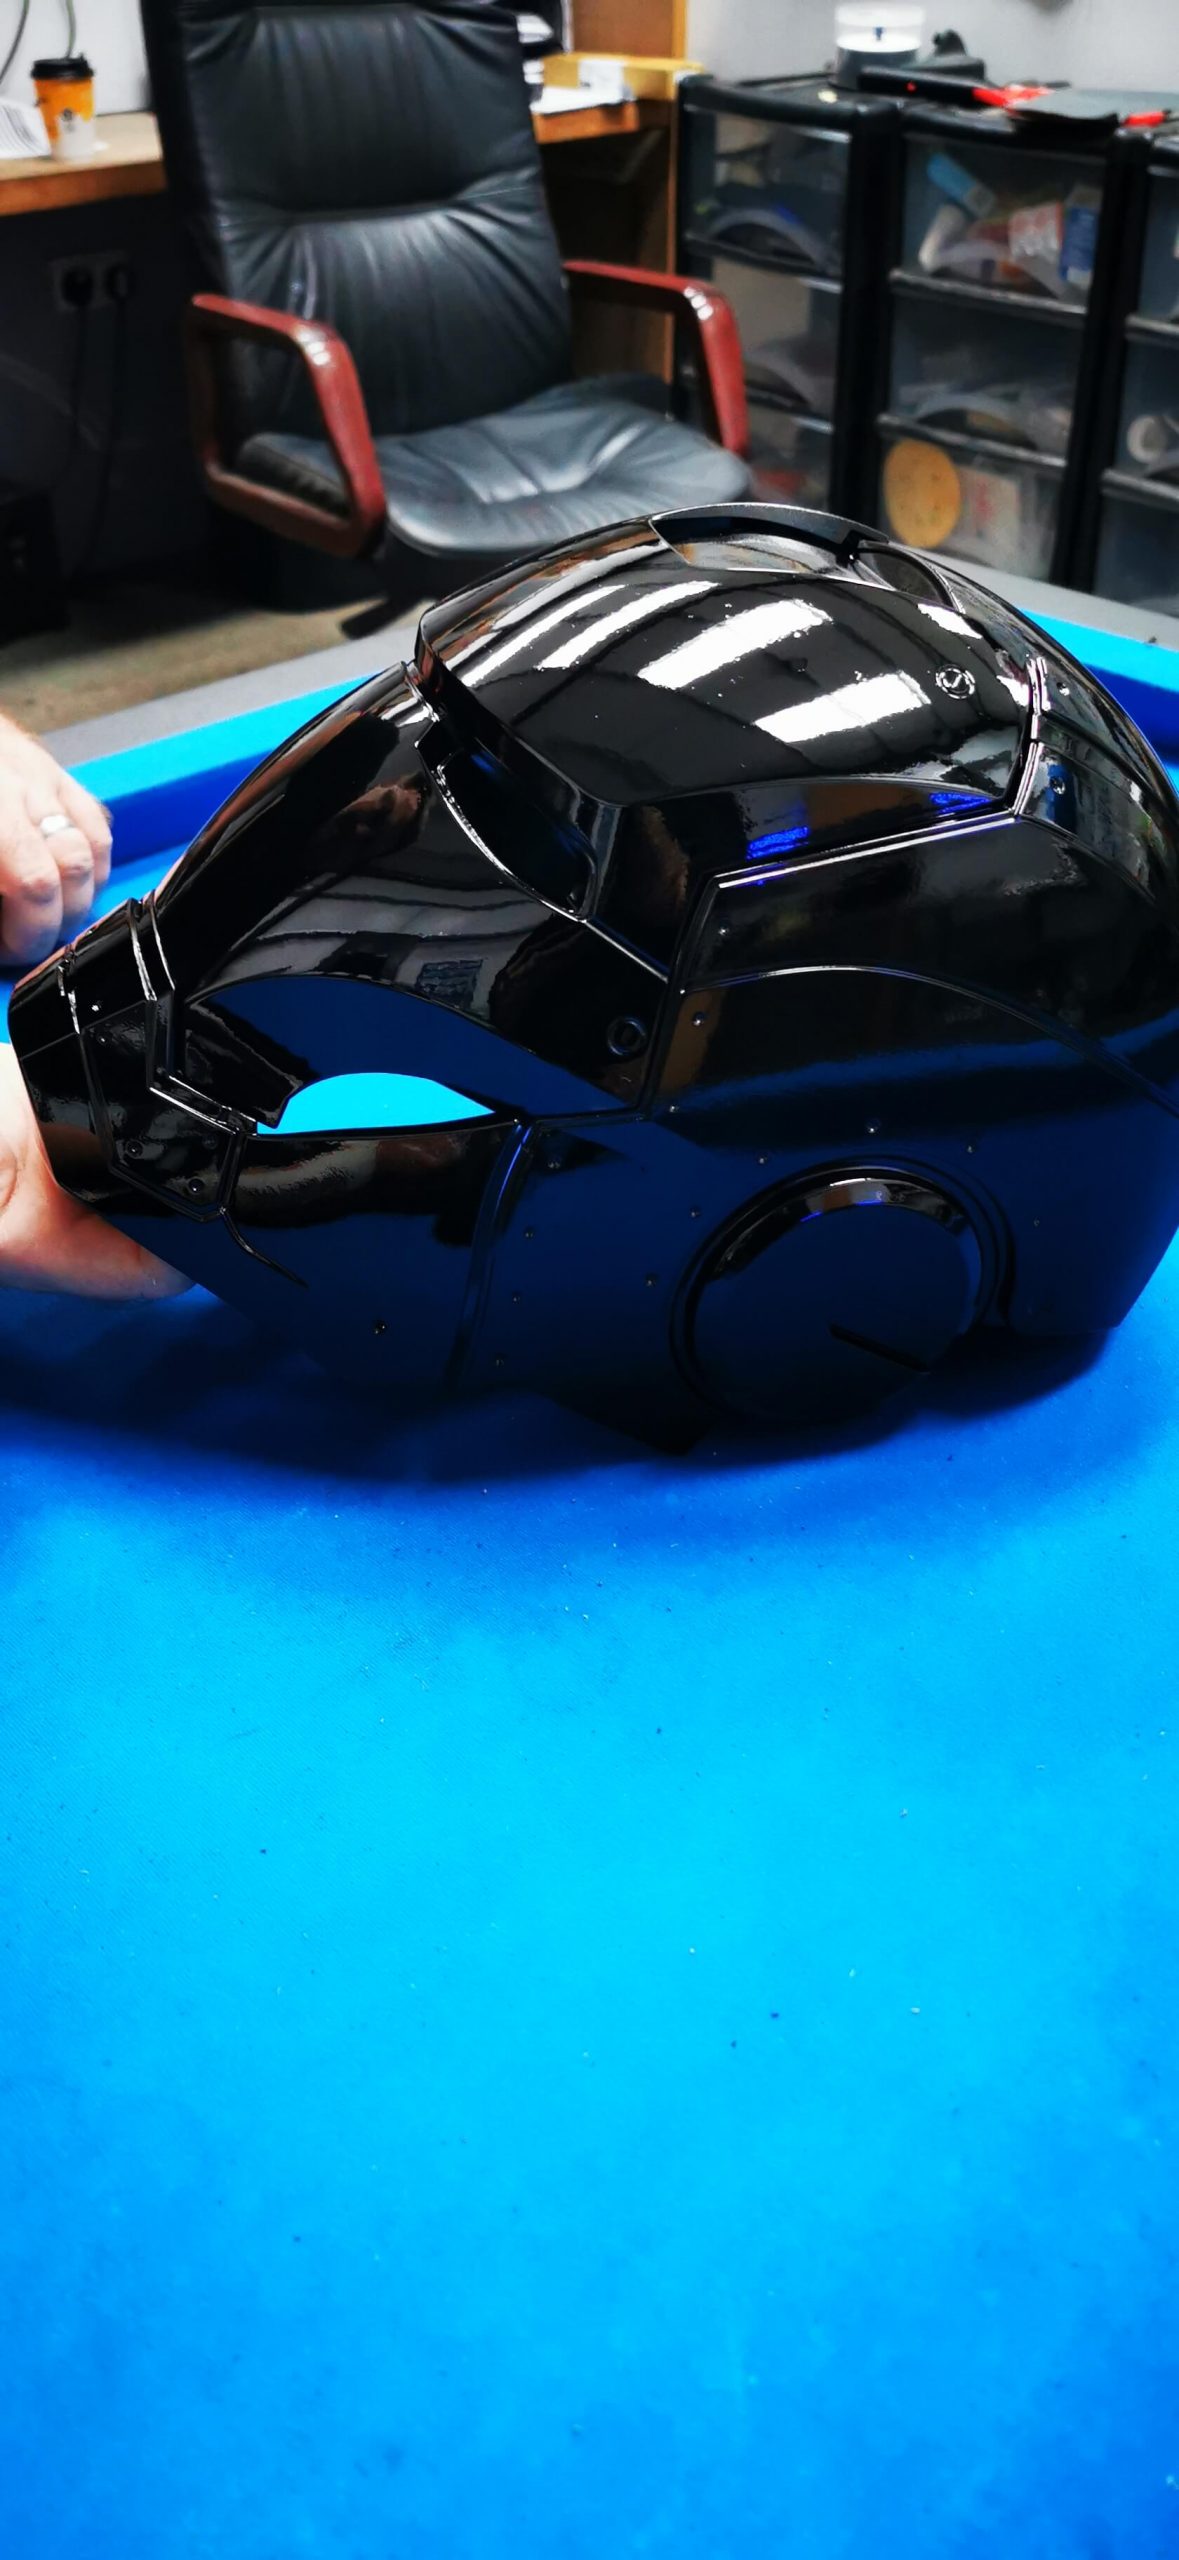
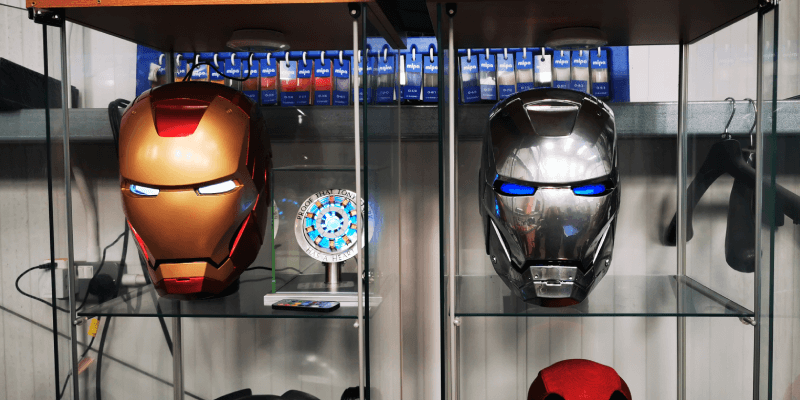
We had so much fun getting creative with this project, and love the quirky things that you can re-paint and create with some elbow grease and spray paint. We decided to complete this project to show you how you can recreate the same results for your own projects. As stated above, this process can be costly depending on the products and paint that you use. So if you have a project in mind, then please feel free to speak with the team to find out if we have an affordable alternative.
Prep & Clean
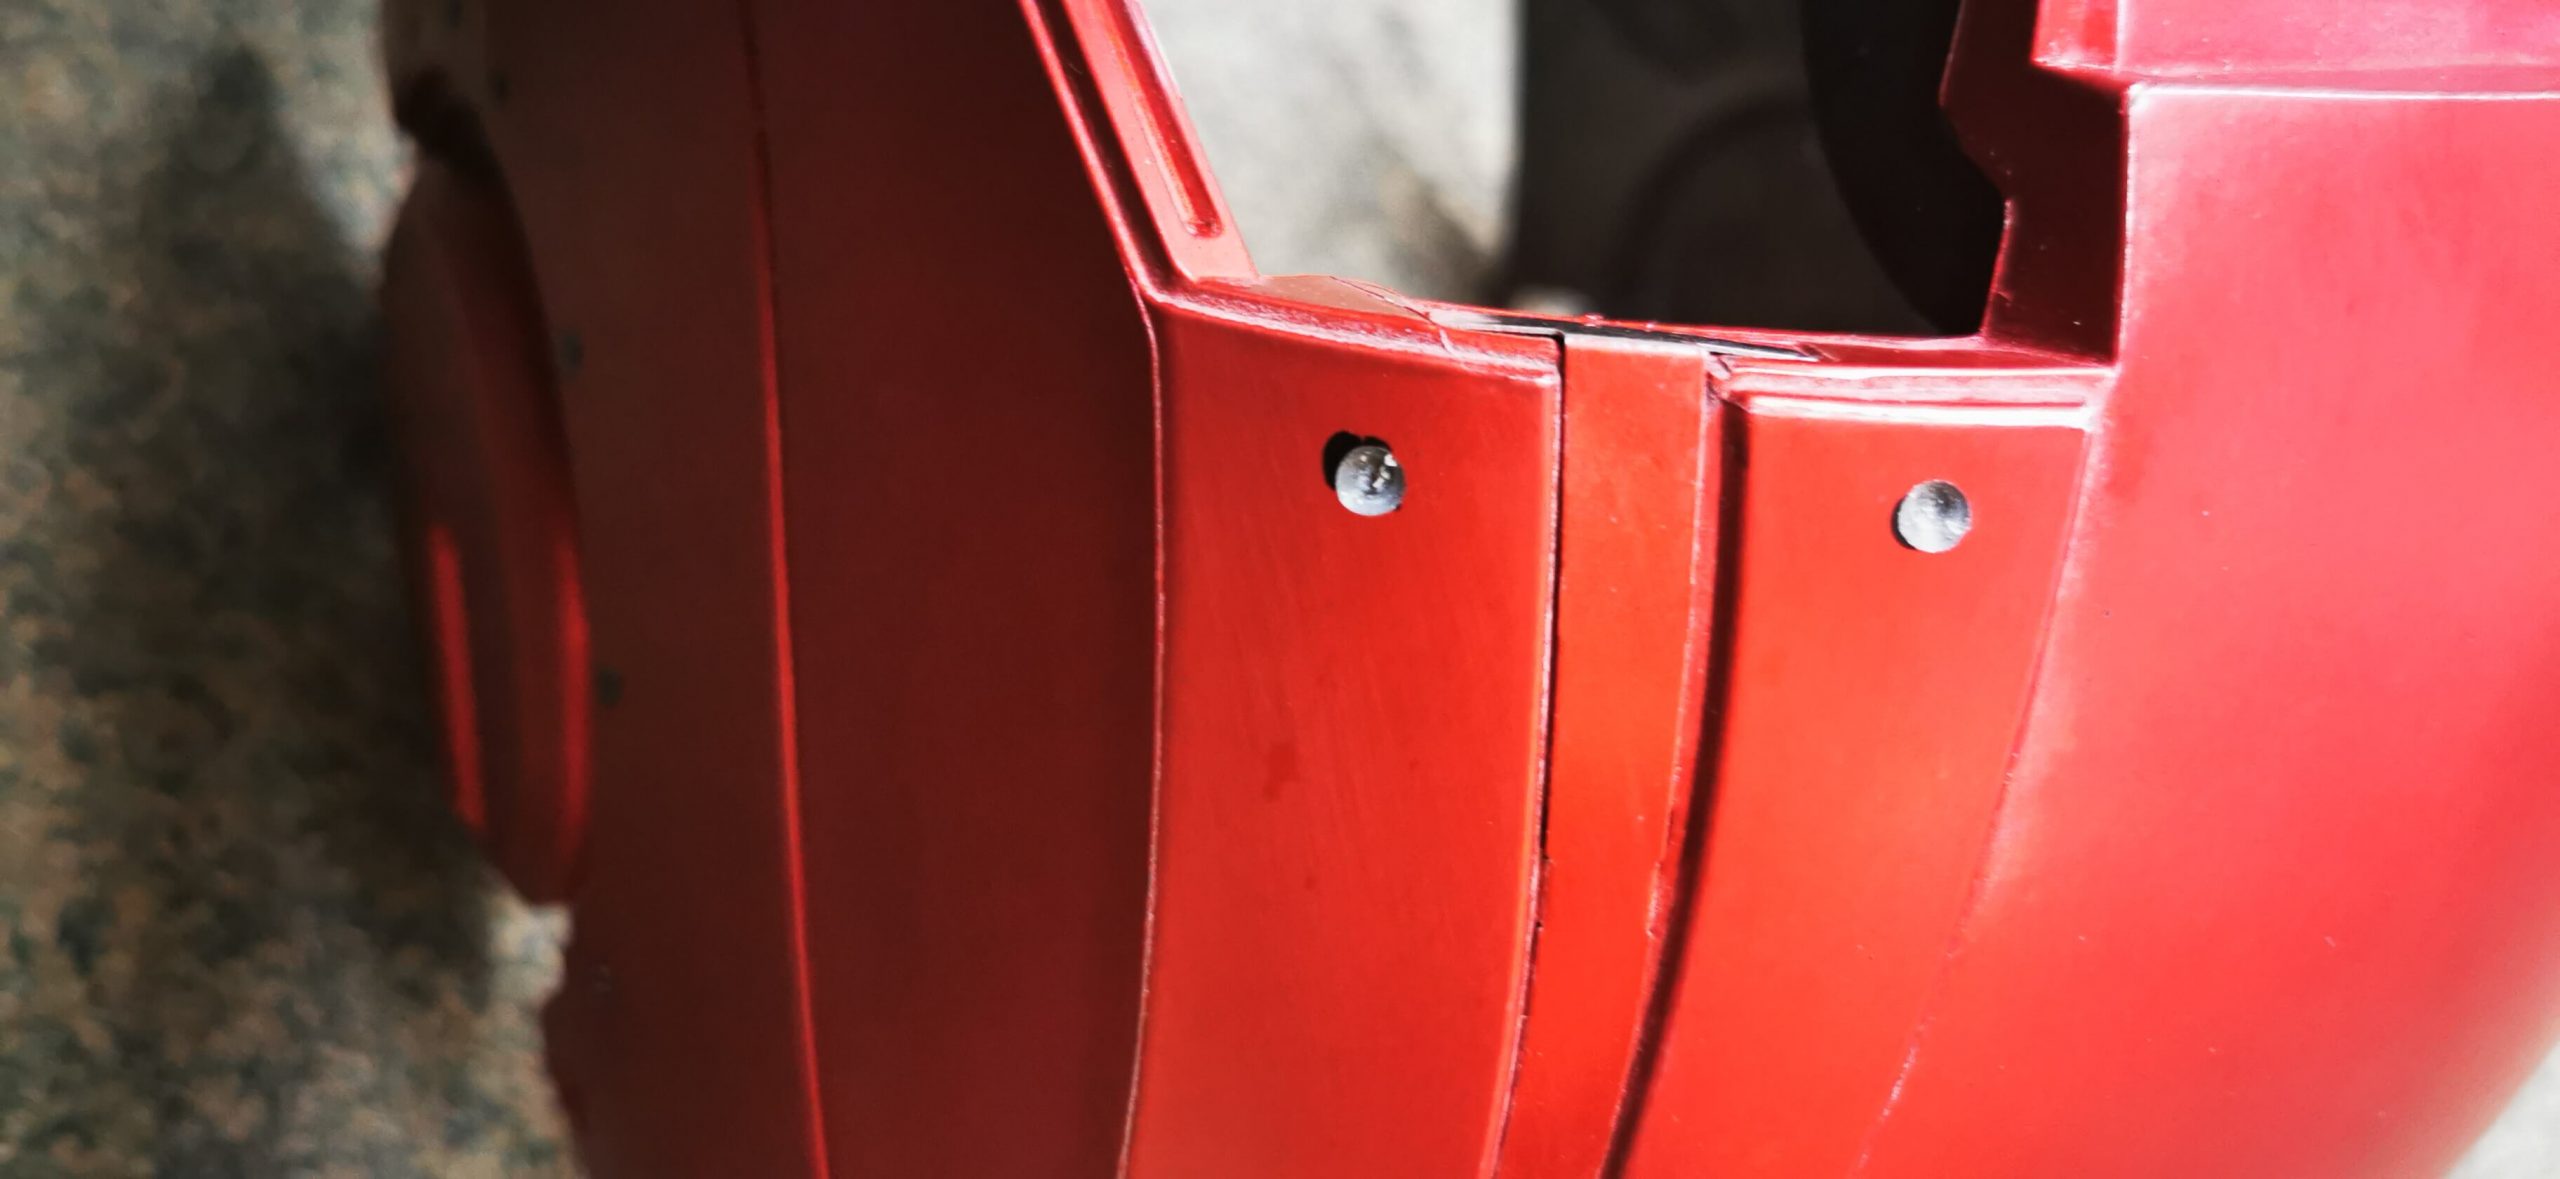
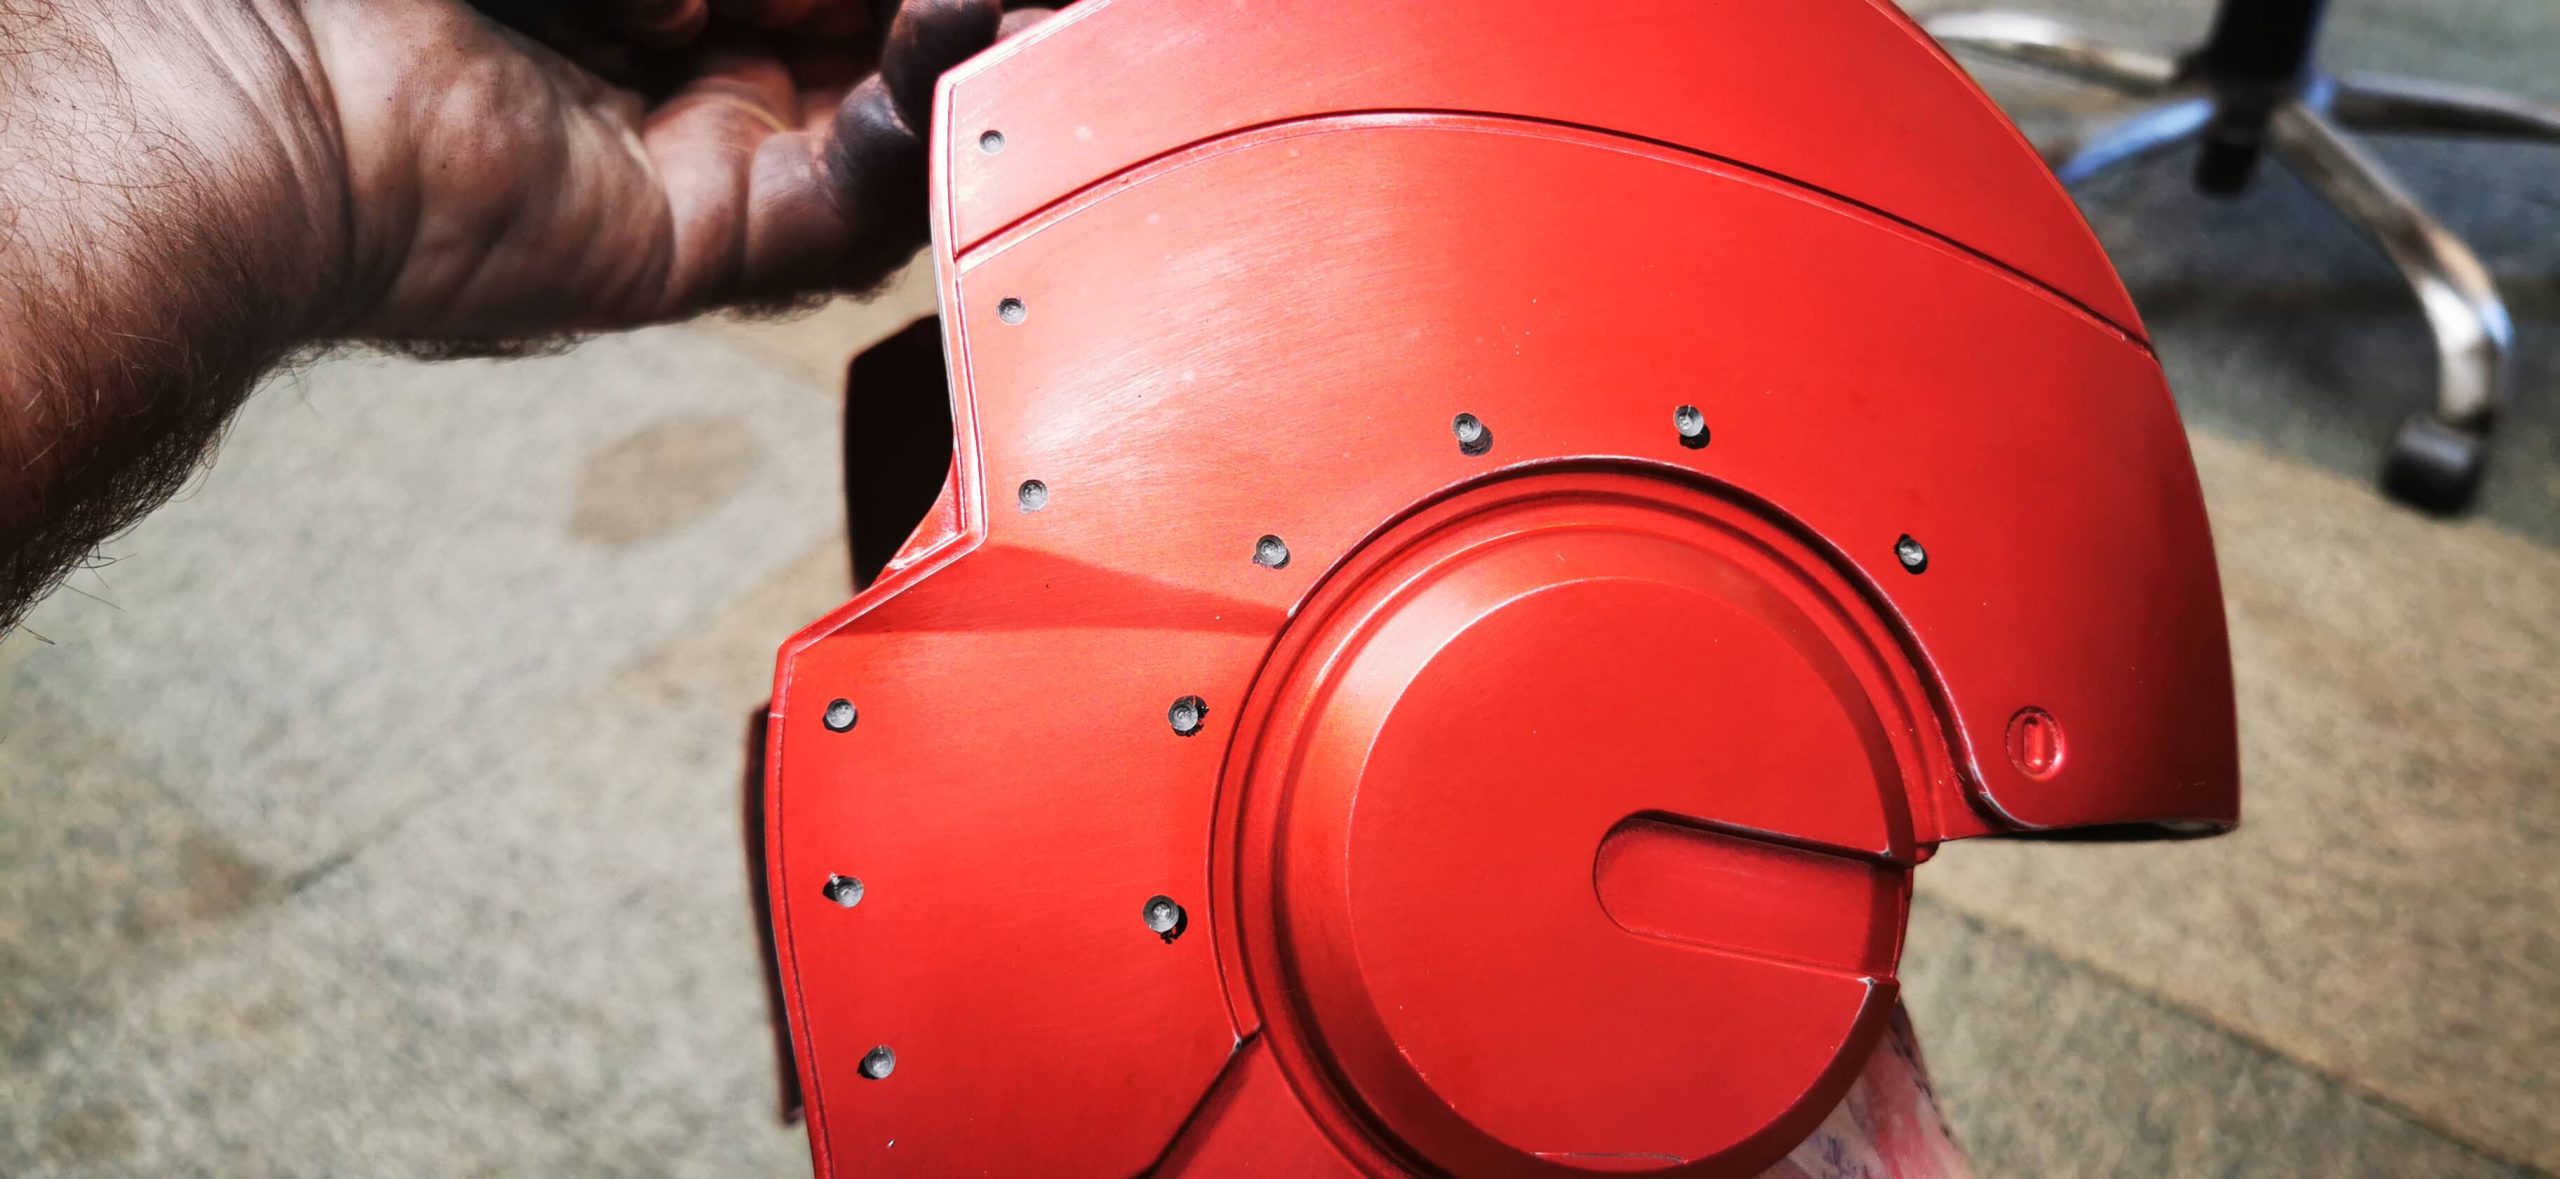
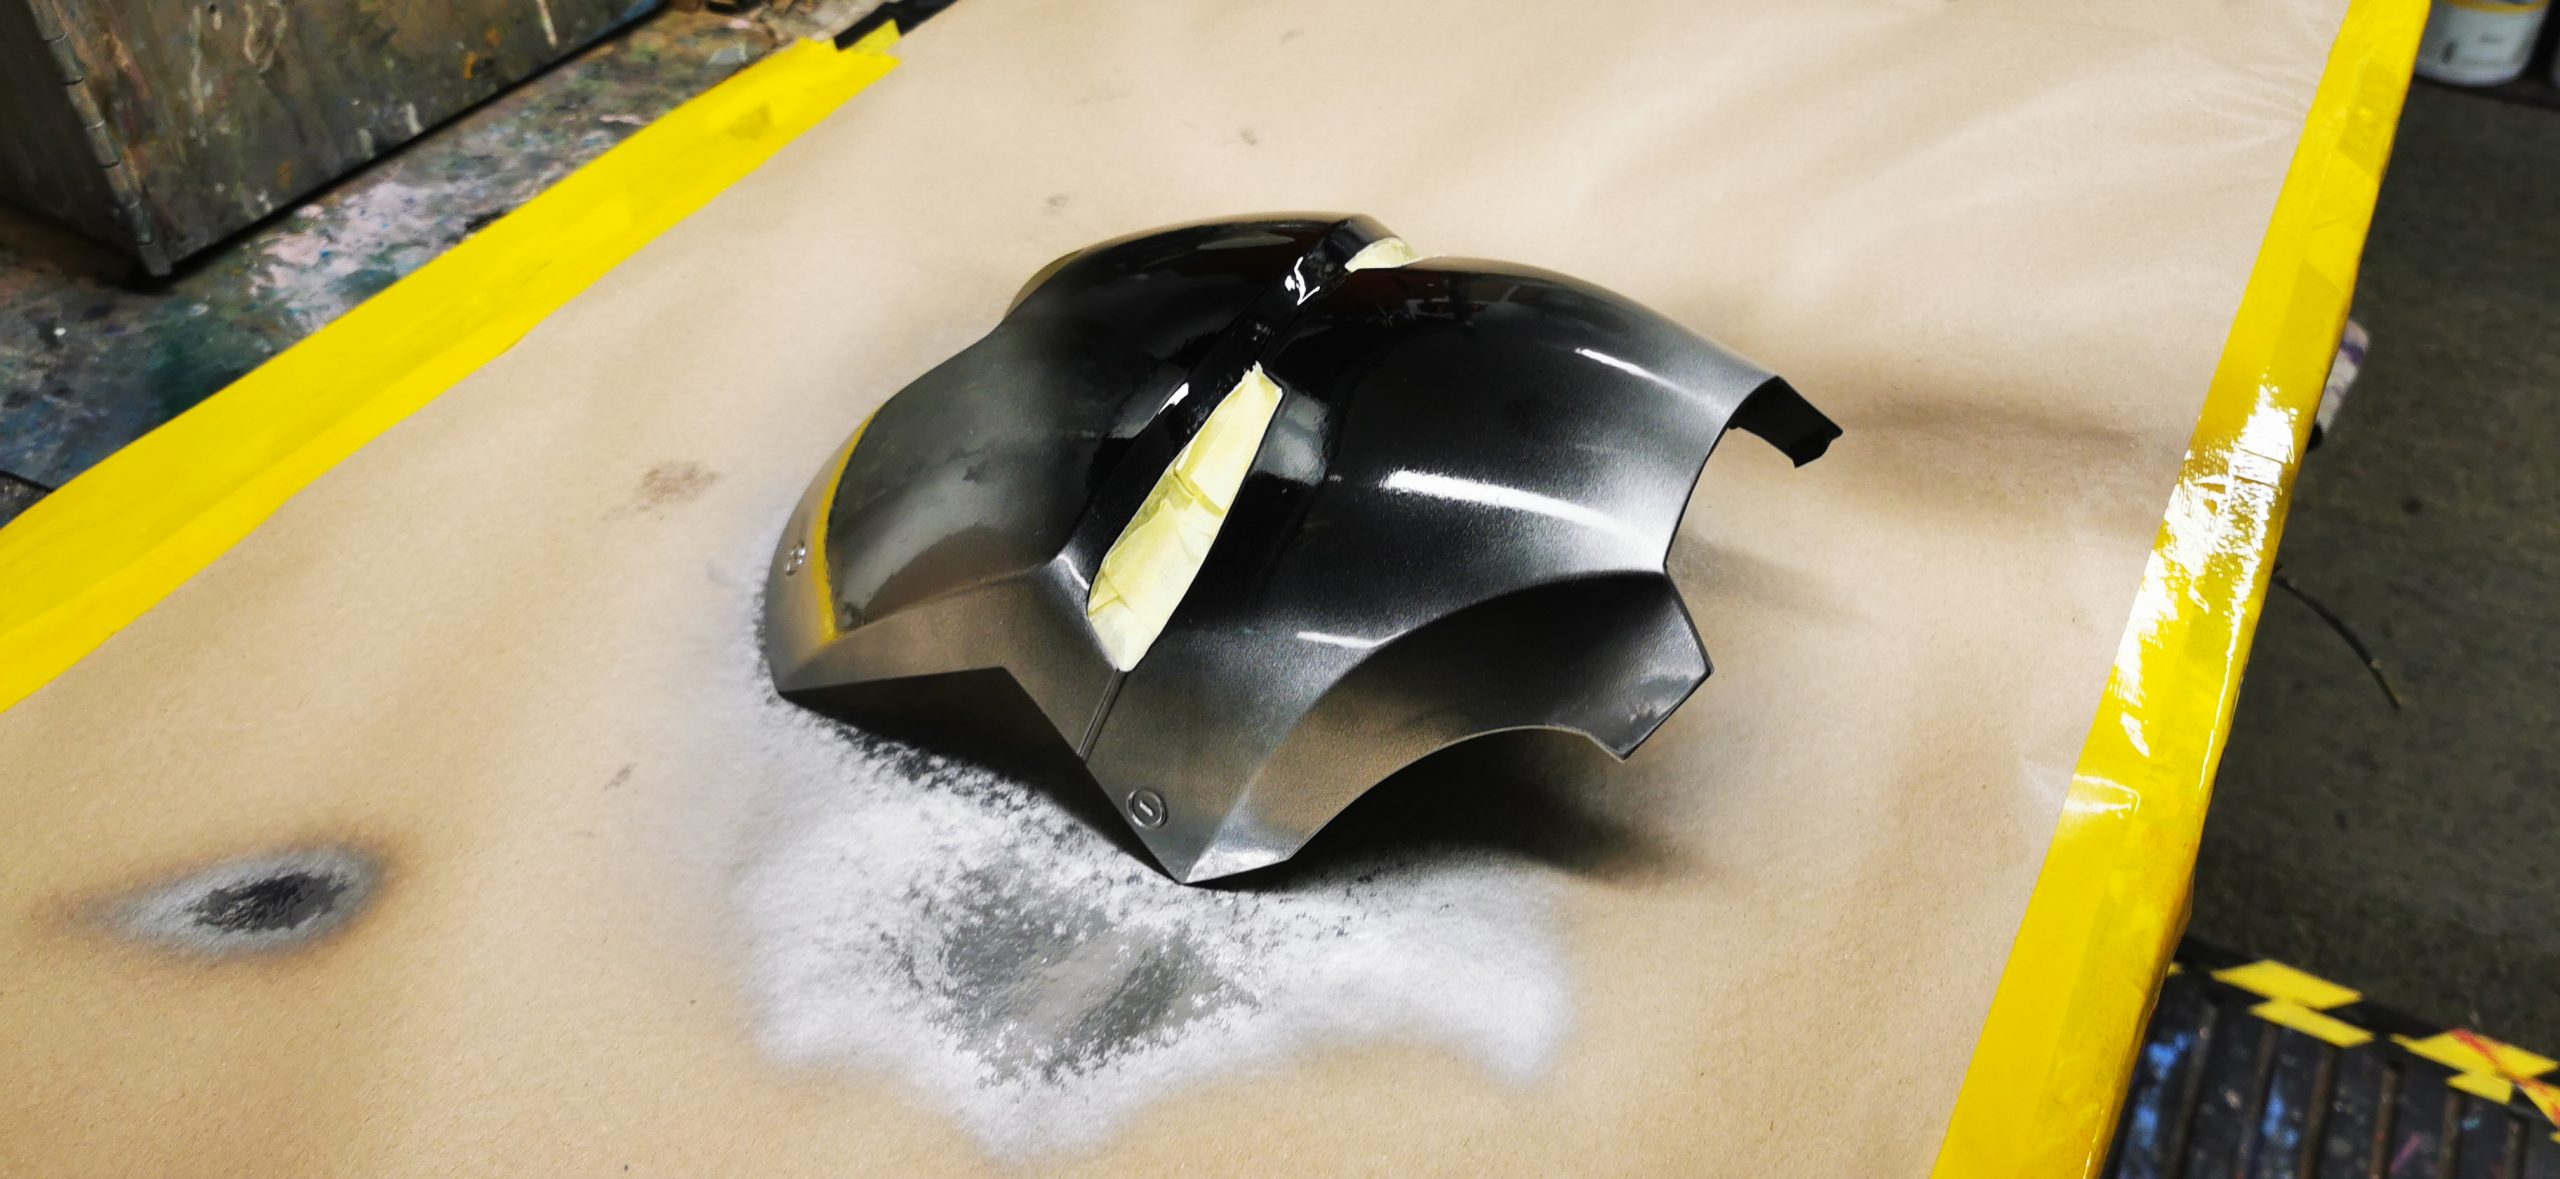
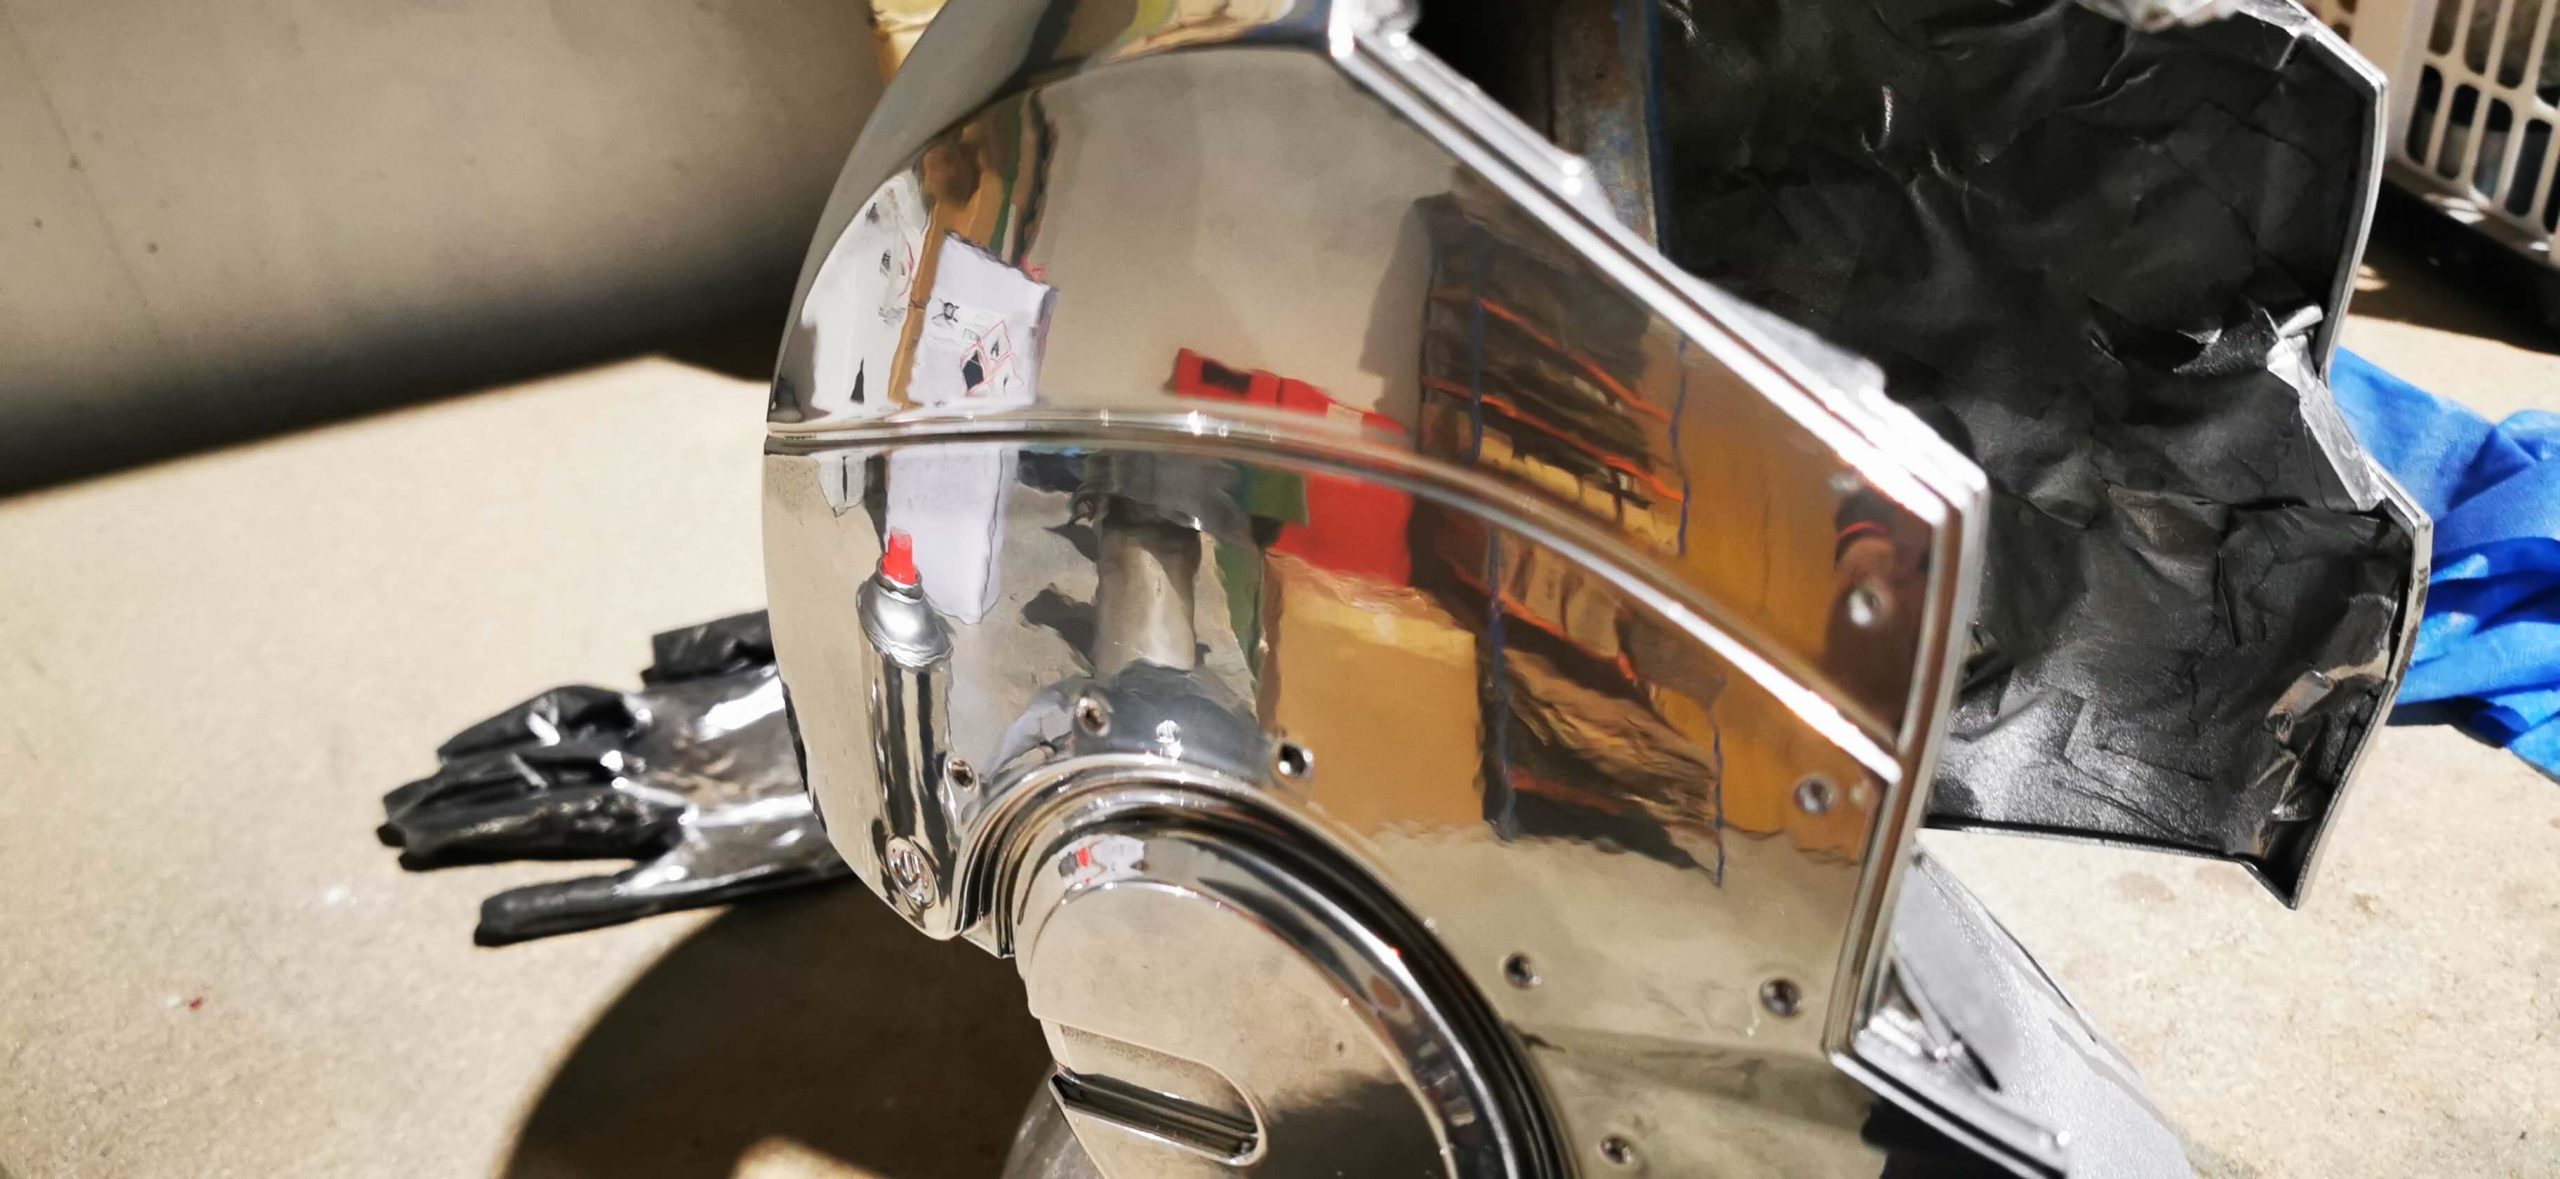
Firstly, we thoroughly cleaned the substrate, which was plastic. We then keyed the surface with some scotchbrite and removed all dust and debris with a tack cloth and some degreaser.
Ground Coat (Primer)
We applied a custom black high build primer to seal and substrate. We only applied a single coat of primer to make sure that it does not leave too thick of a layer.
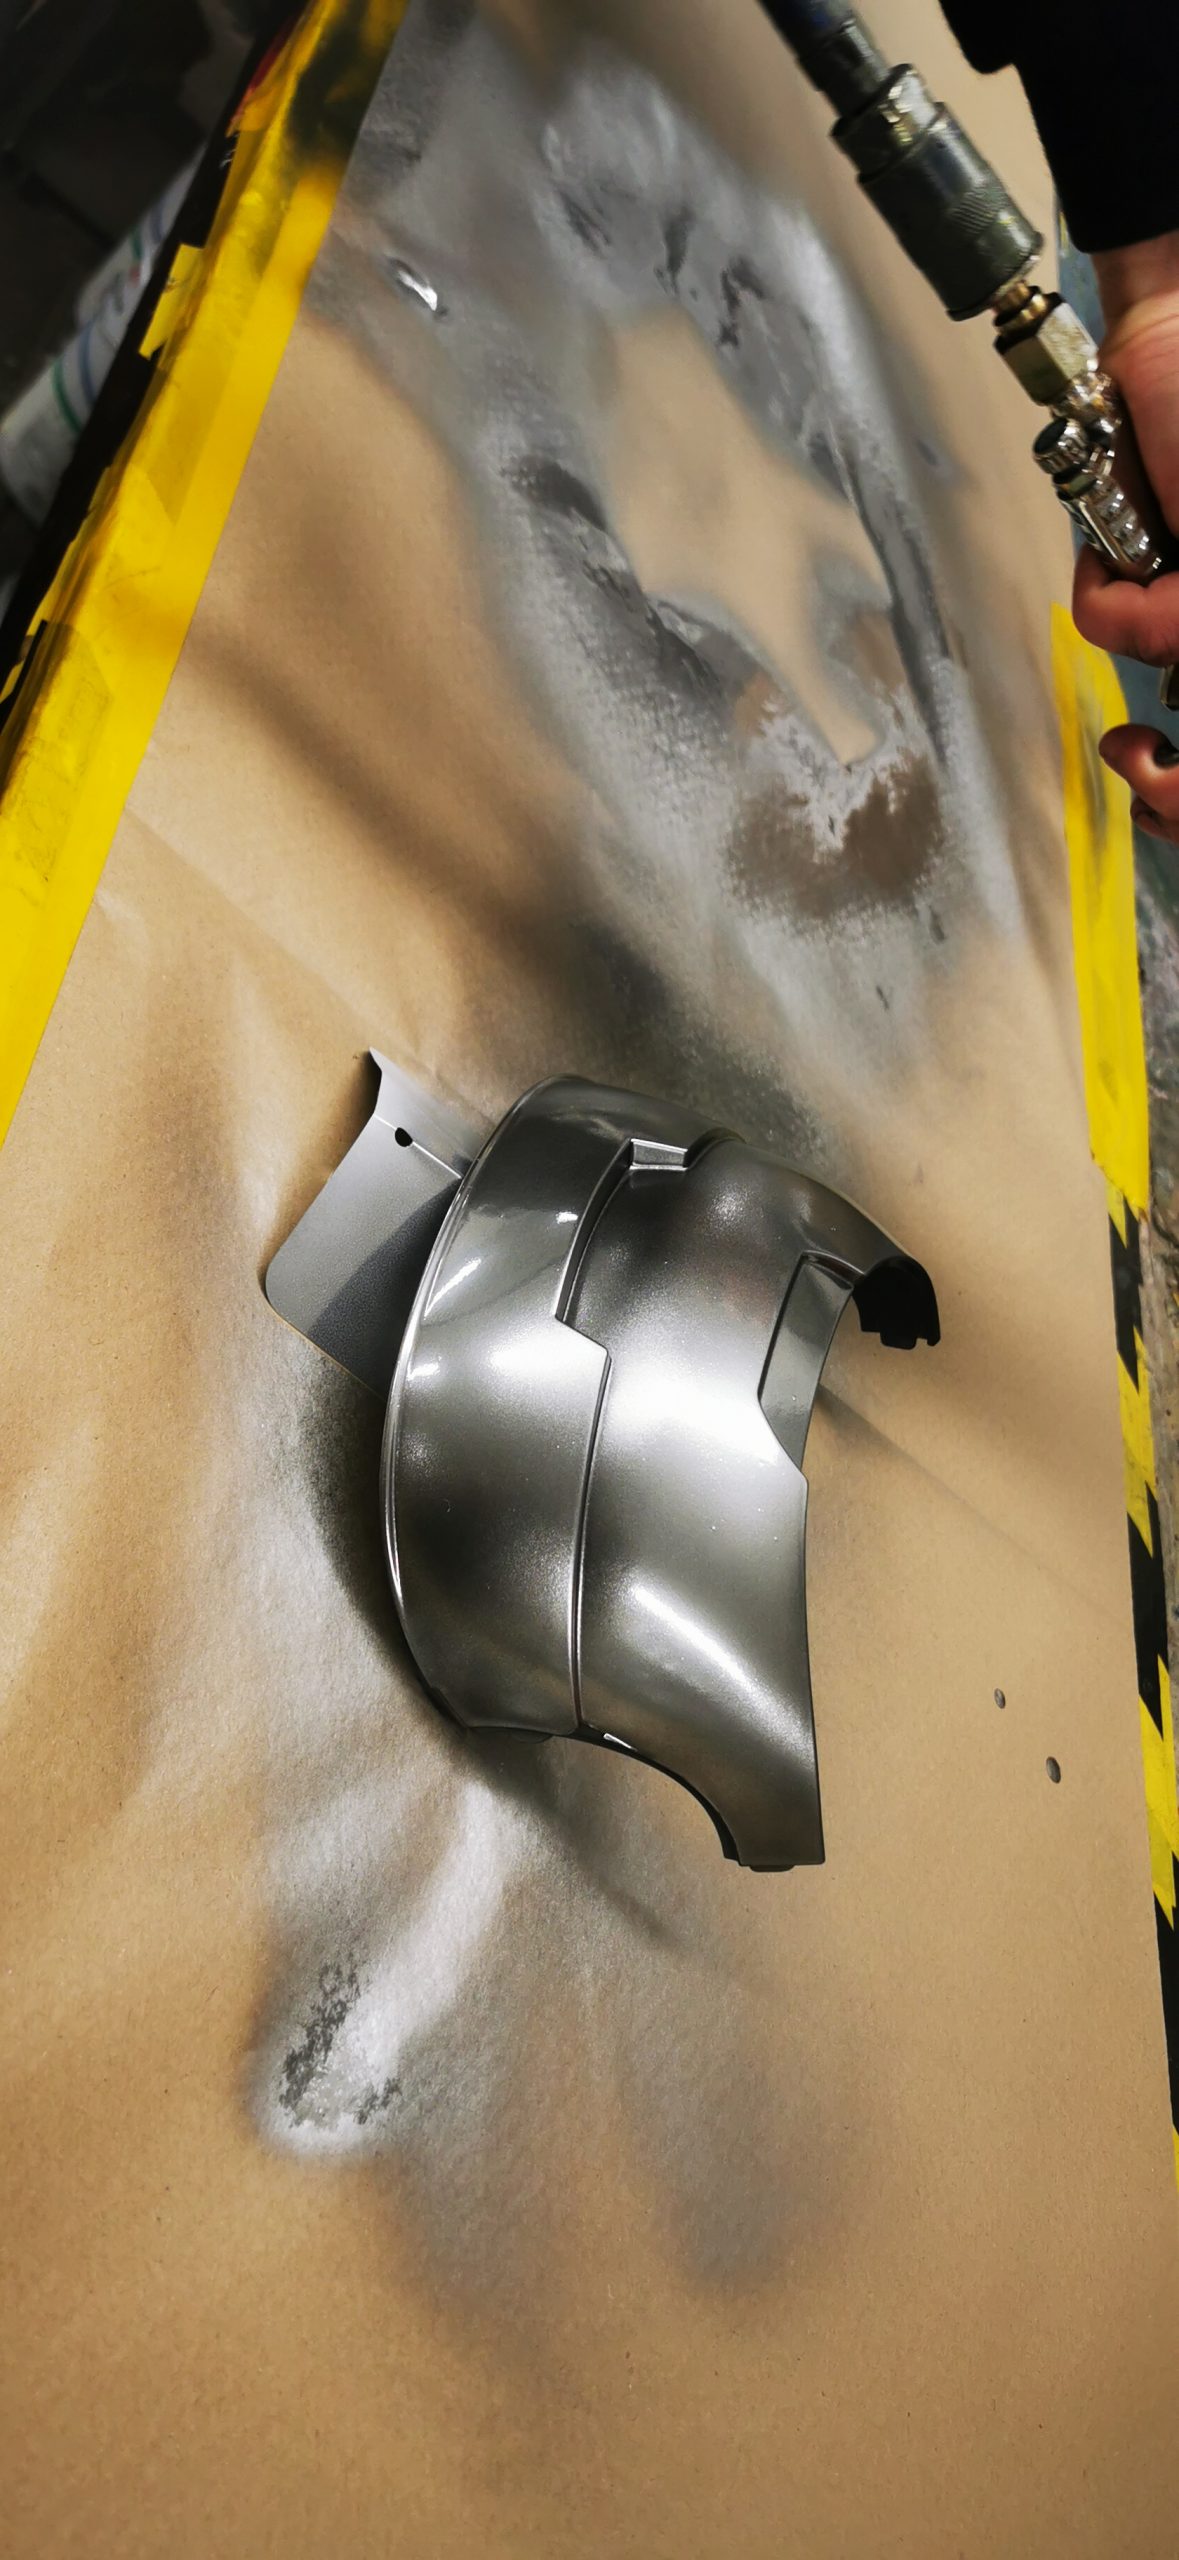
First Base Coat
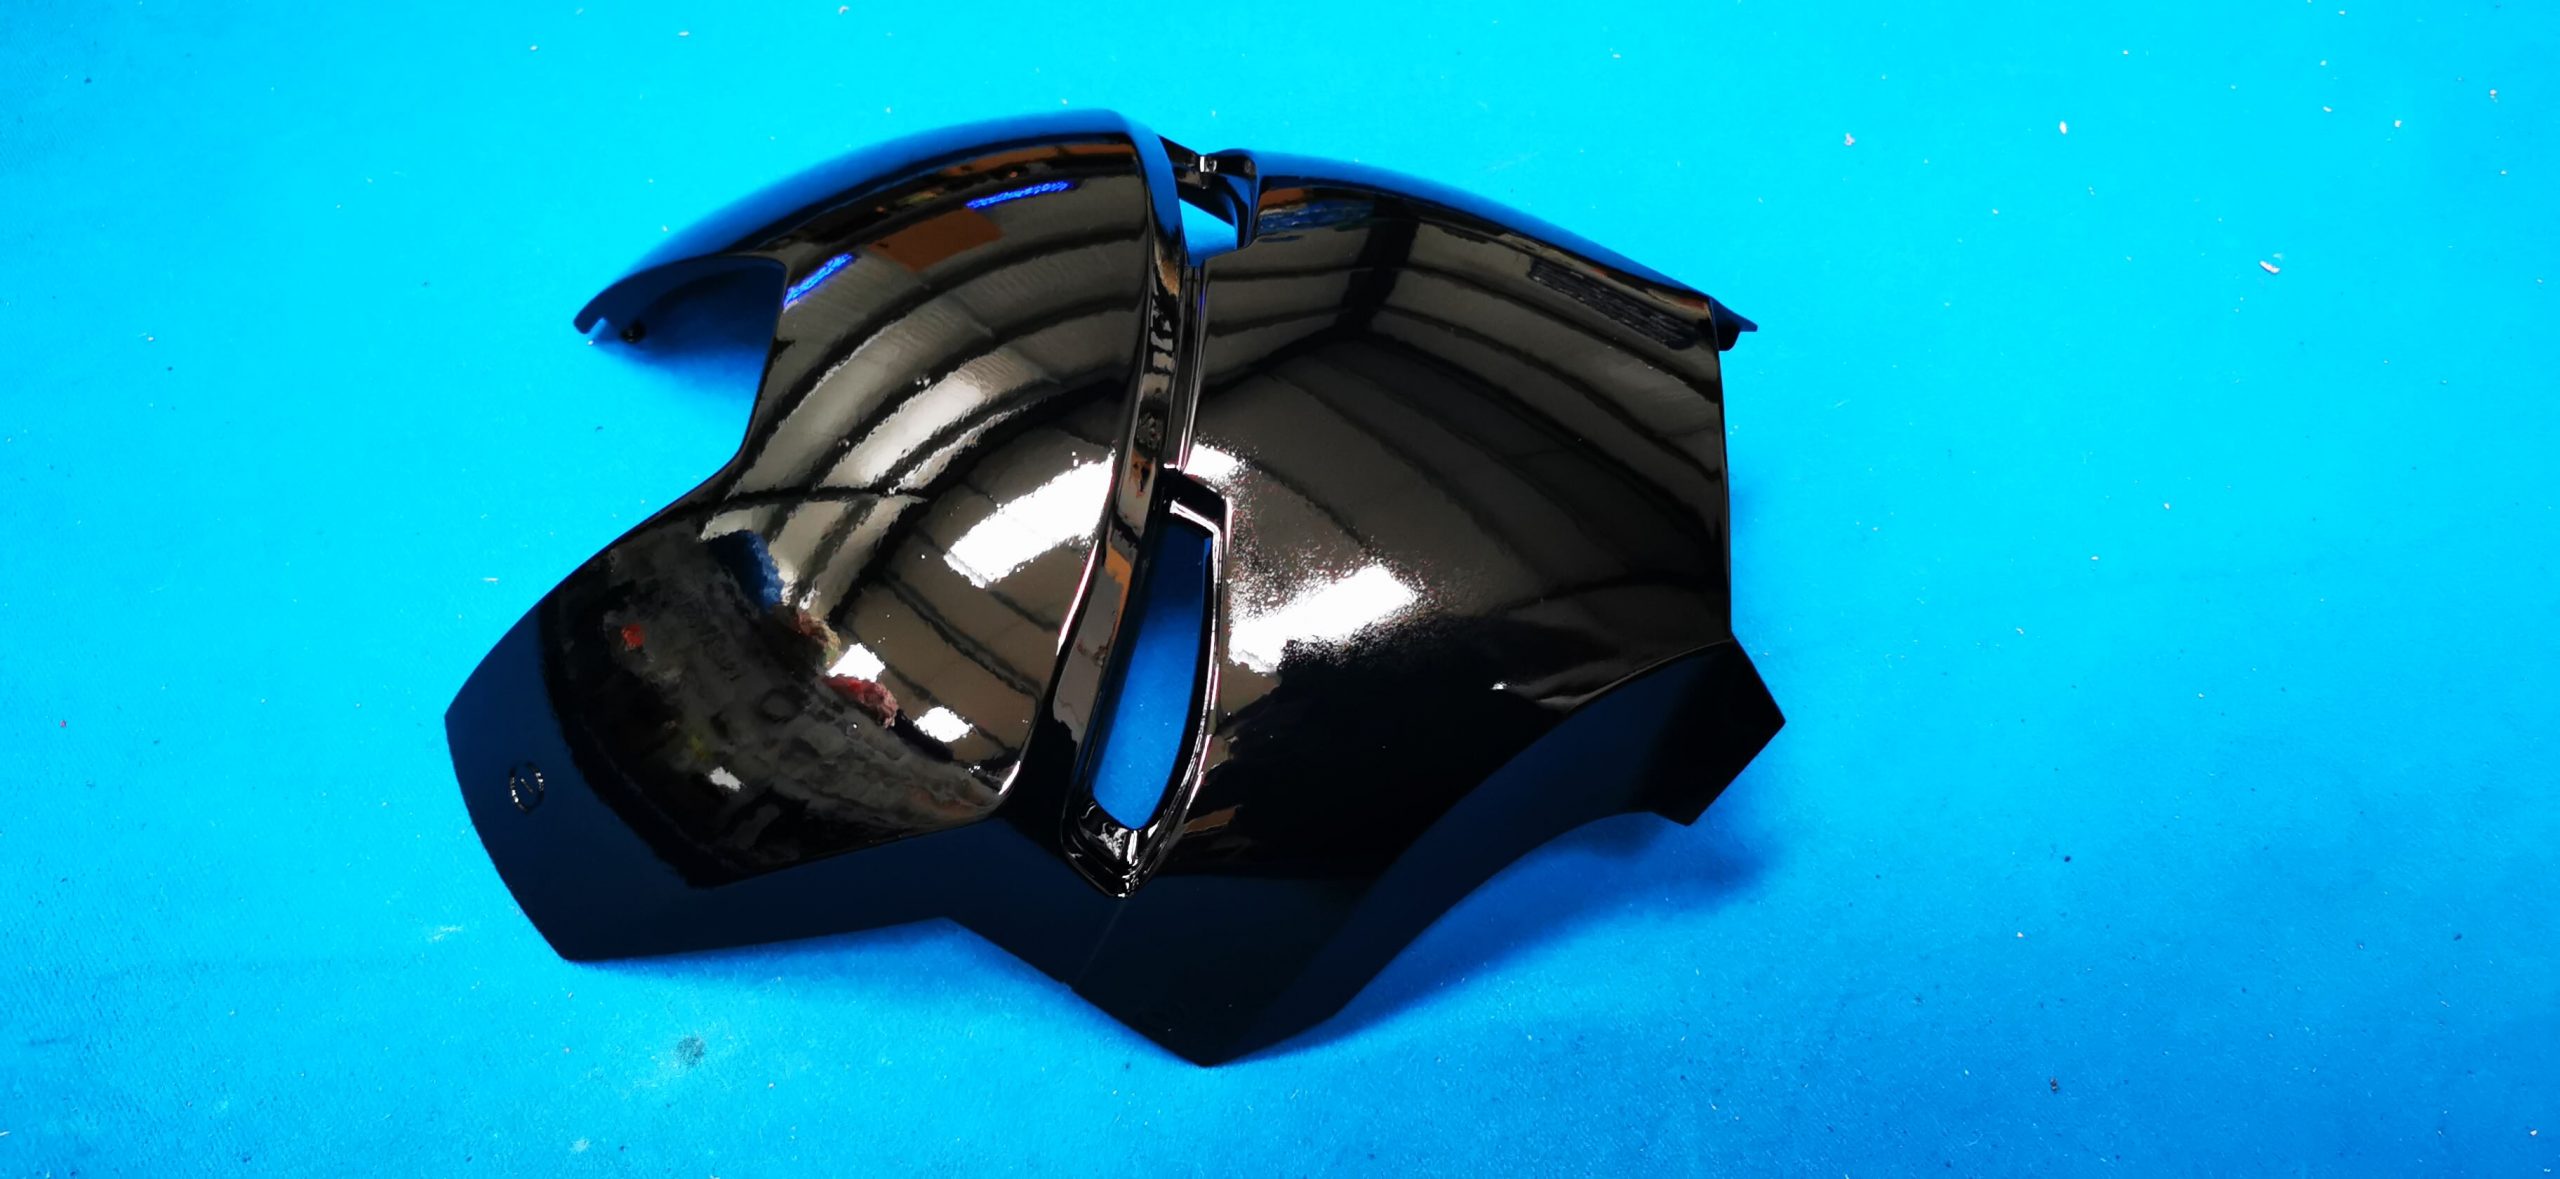
When spraying chrome, you must apply a 2K gloss black undercoat. We applied the black gloss coat, and it looked spectacular just as it was. We applied two coats with a 2-hour rest between coats and then left the paint to fully cure over three days.
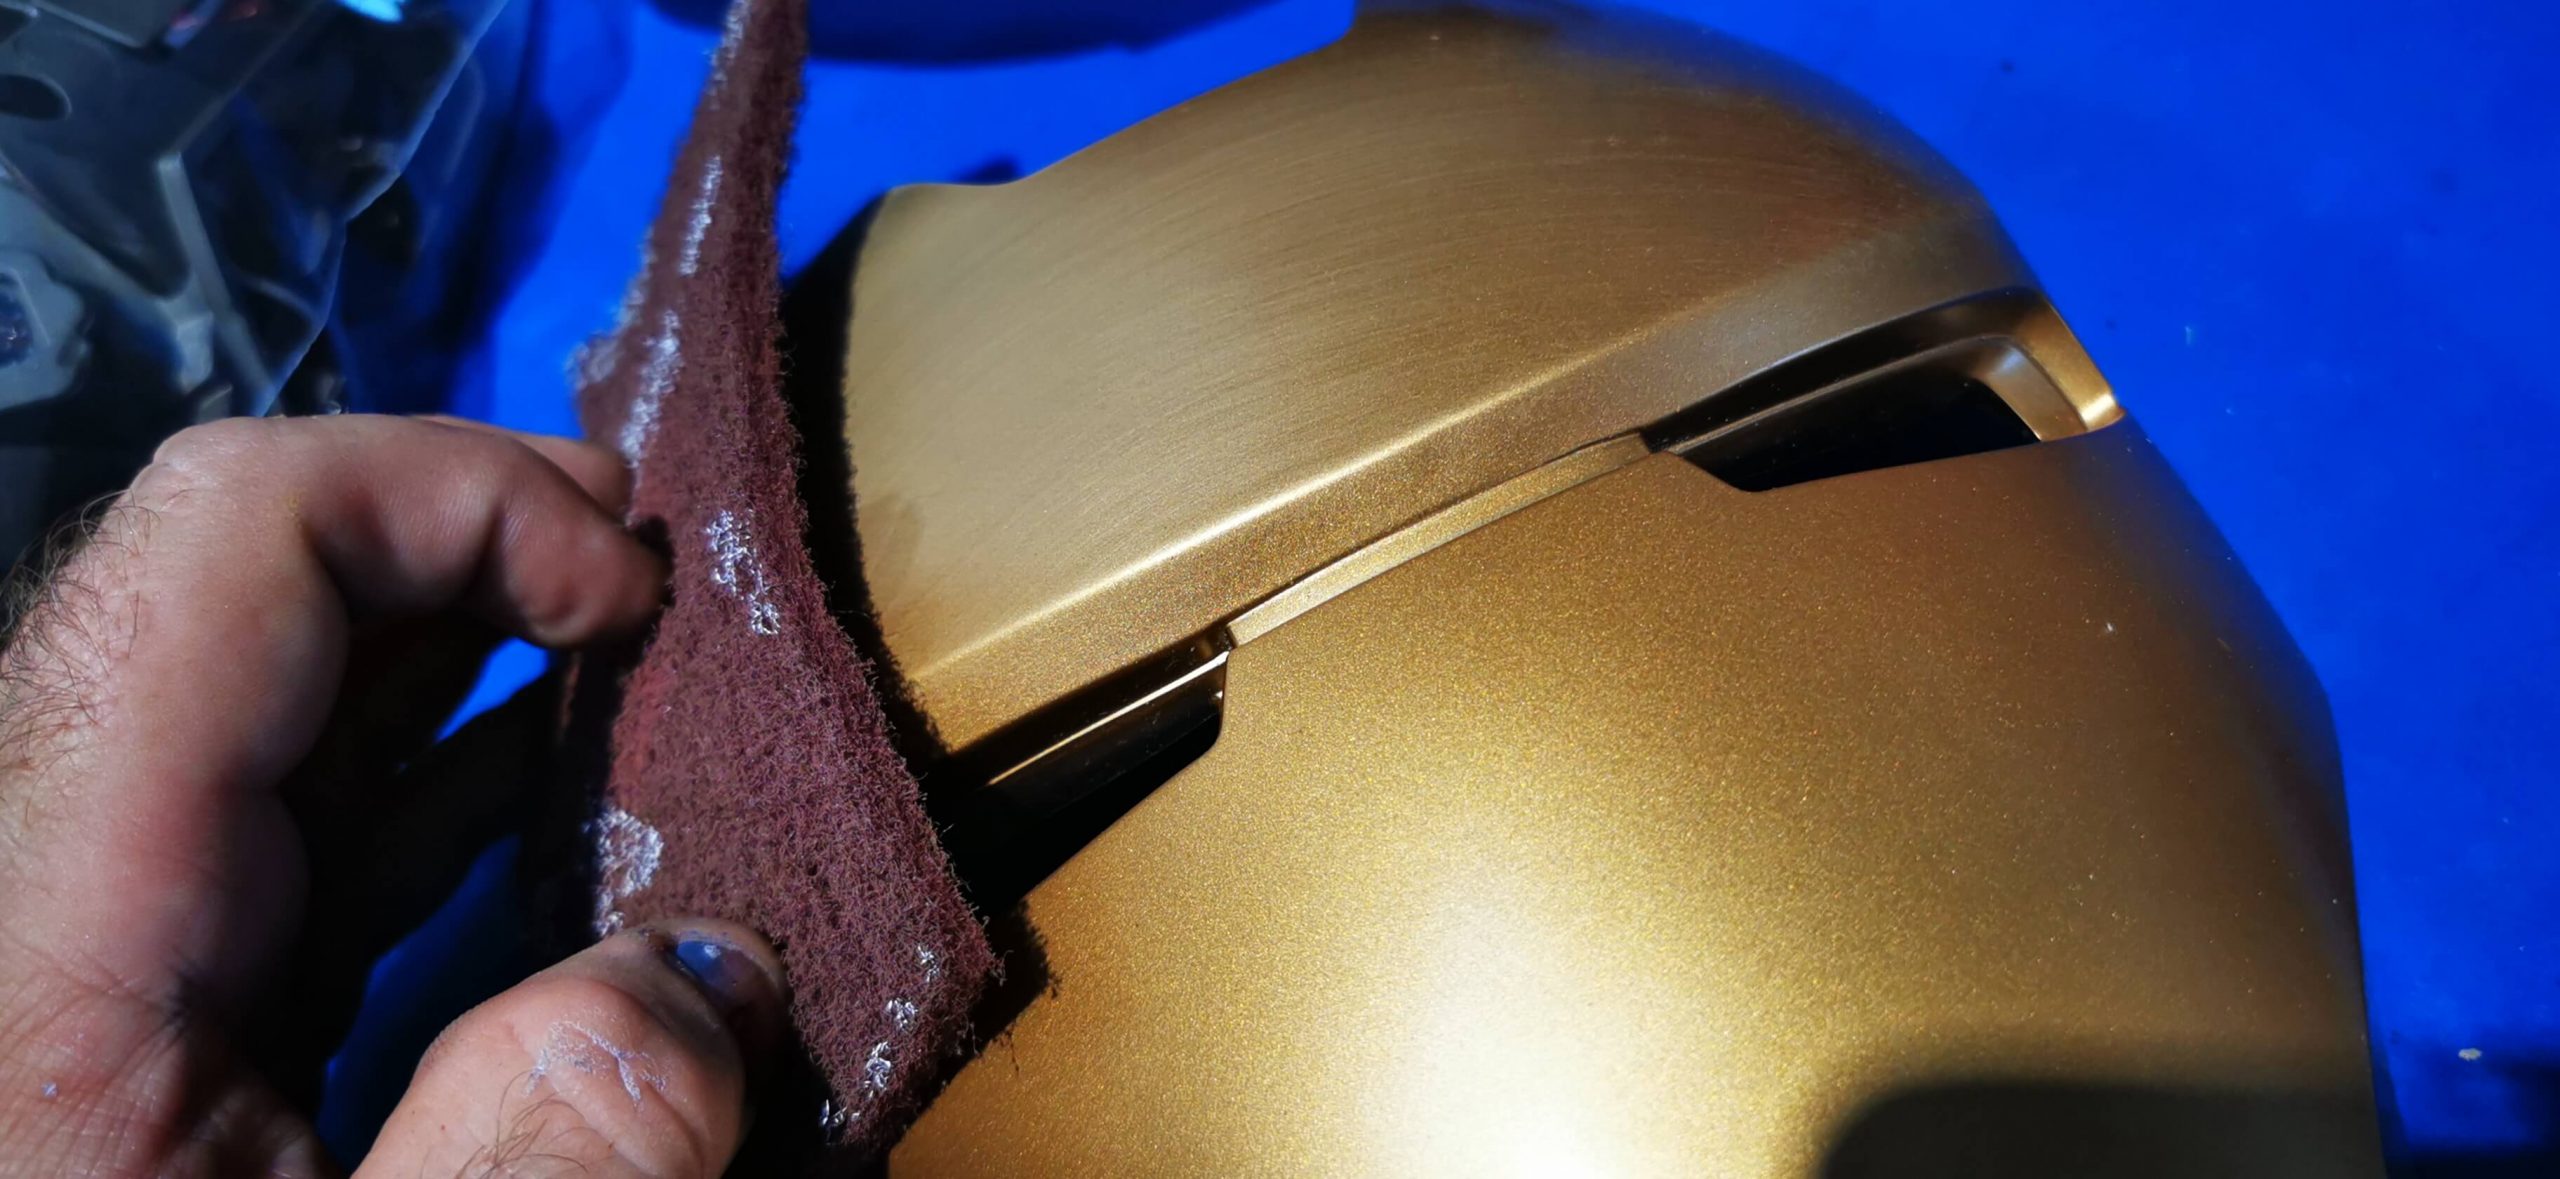
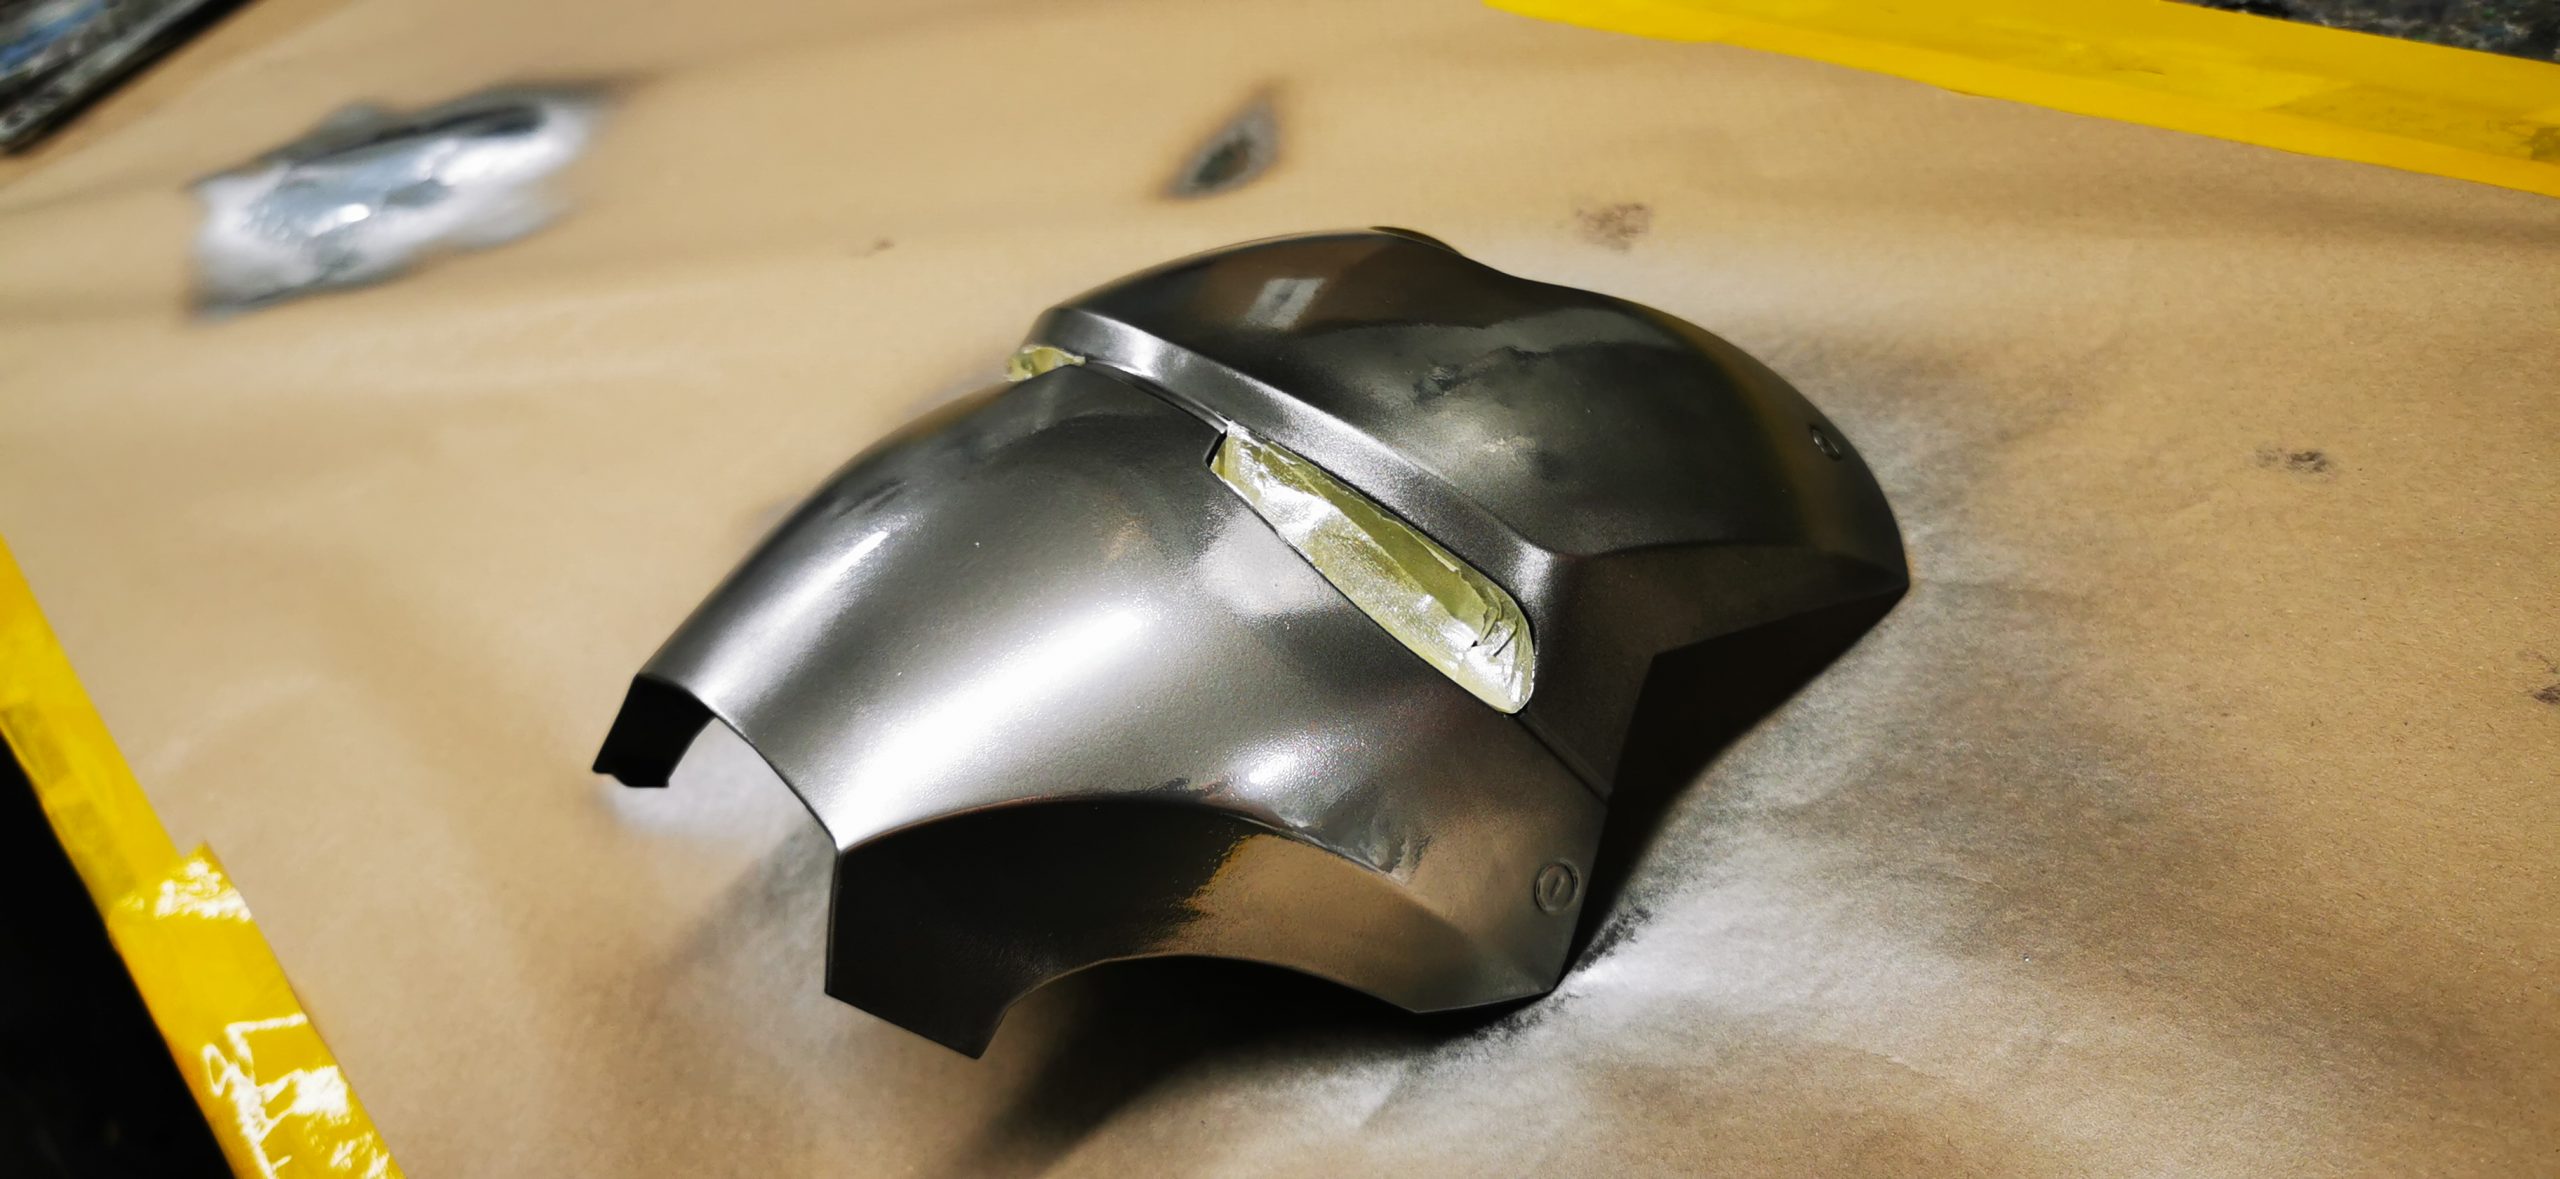
Second Base Coat
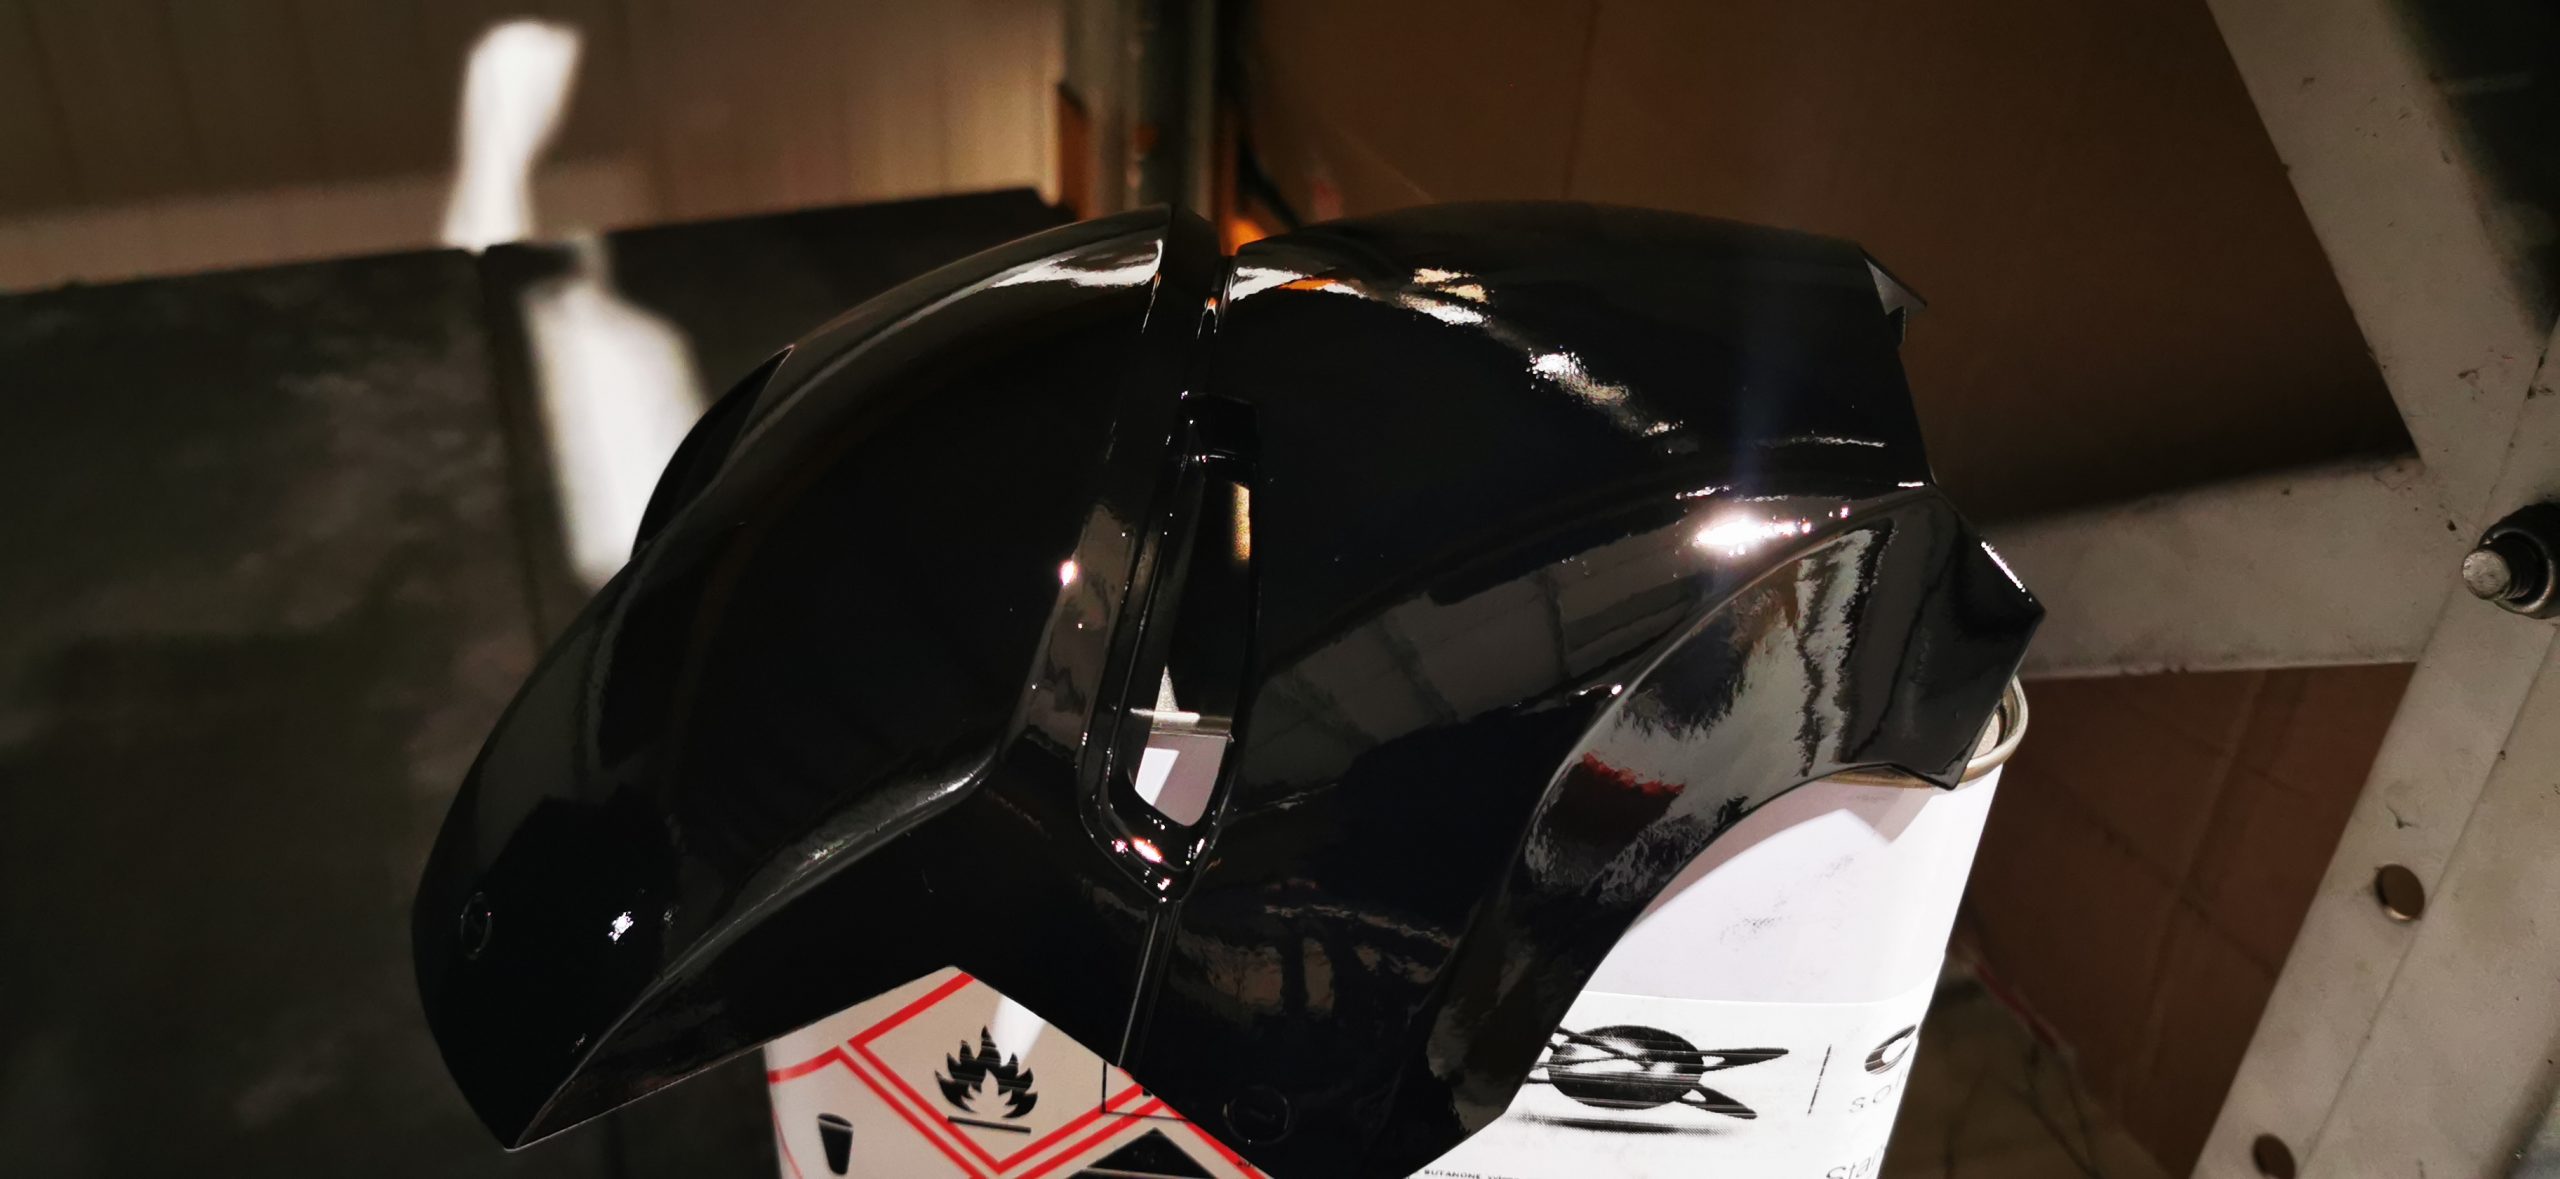
We then applied the chrome (firstly via a spray gun and the second coat loaded into an aerosol can). We applied two coats with a 2-hour rest between coats and then again left the paint to fully cure over the next three days.
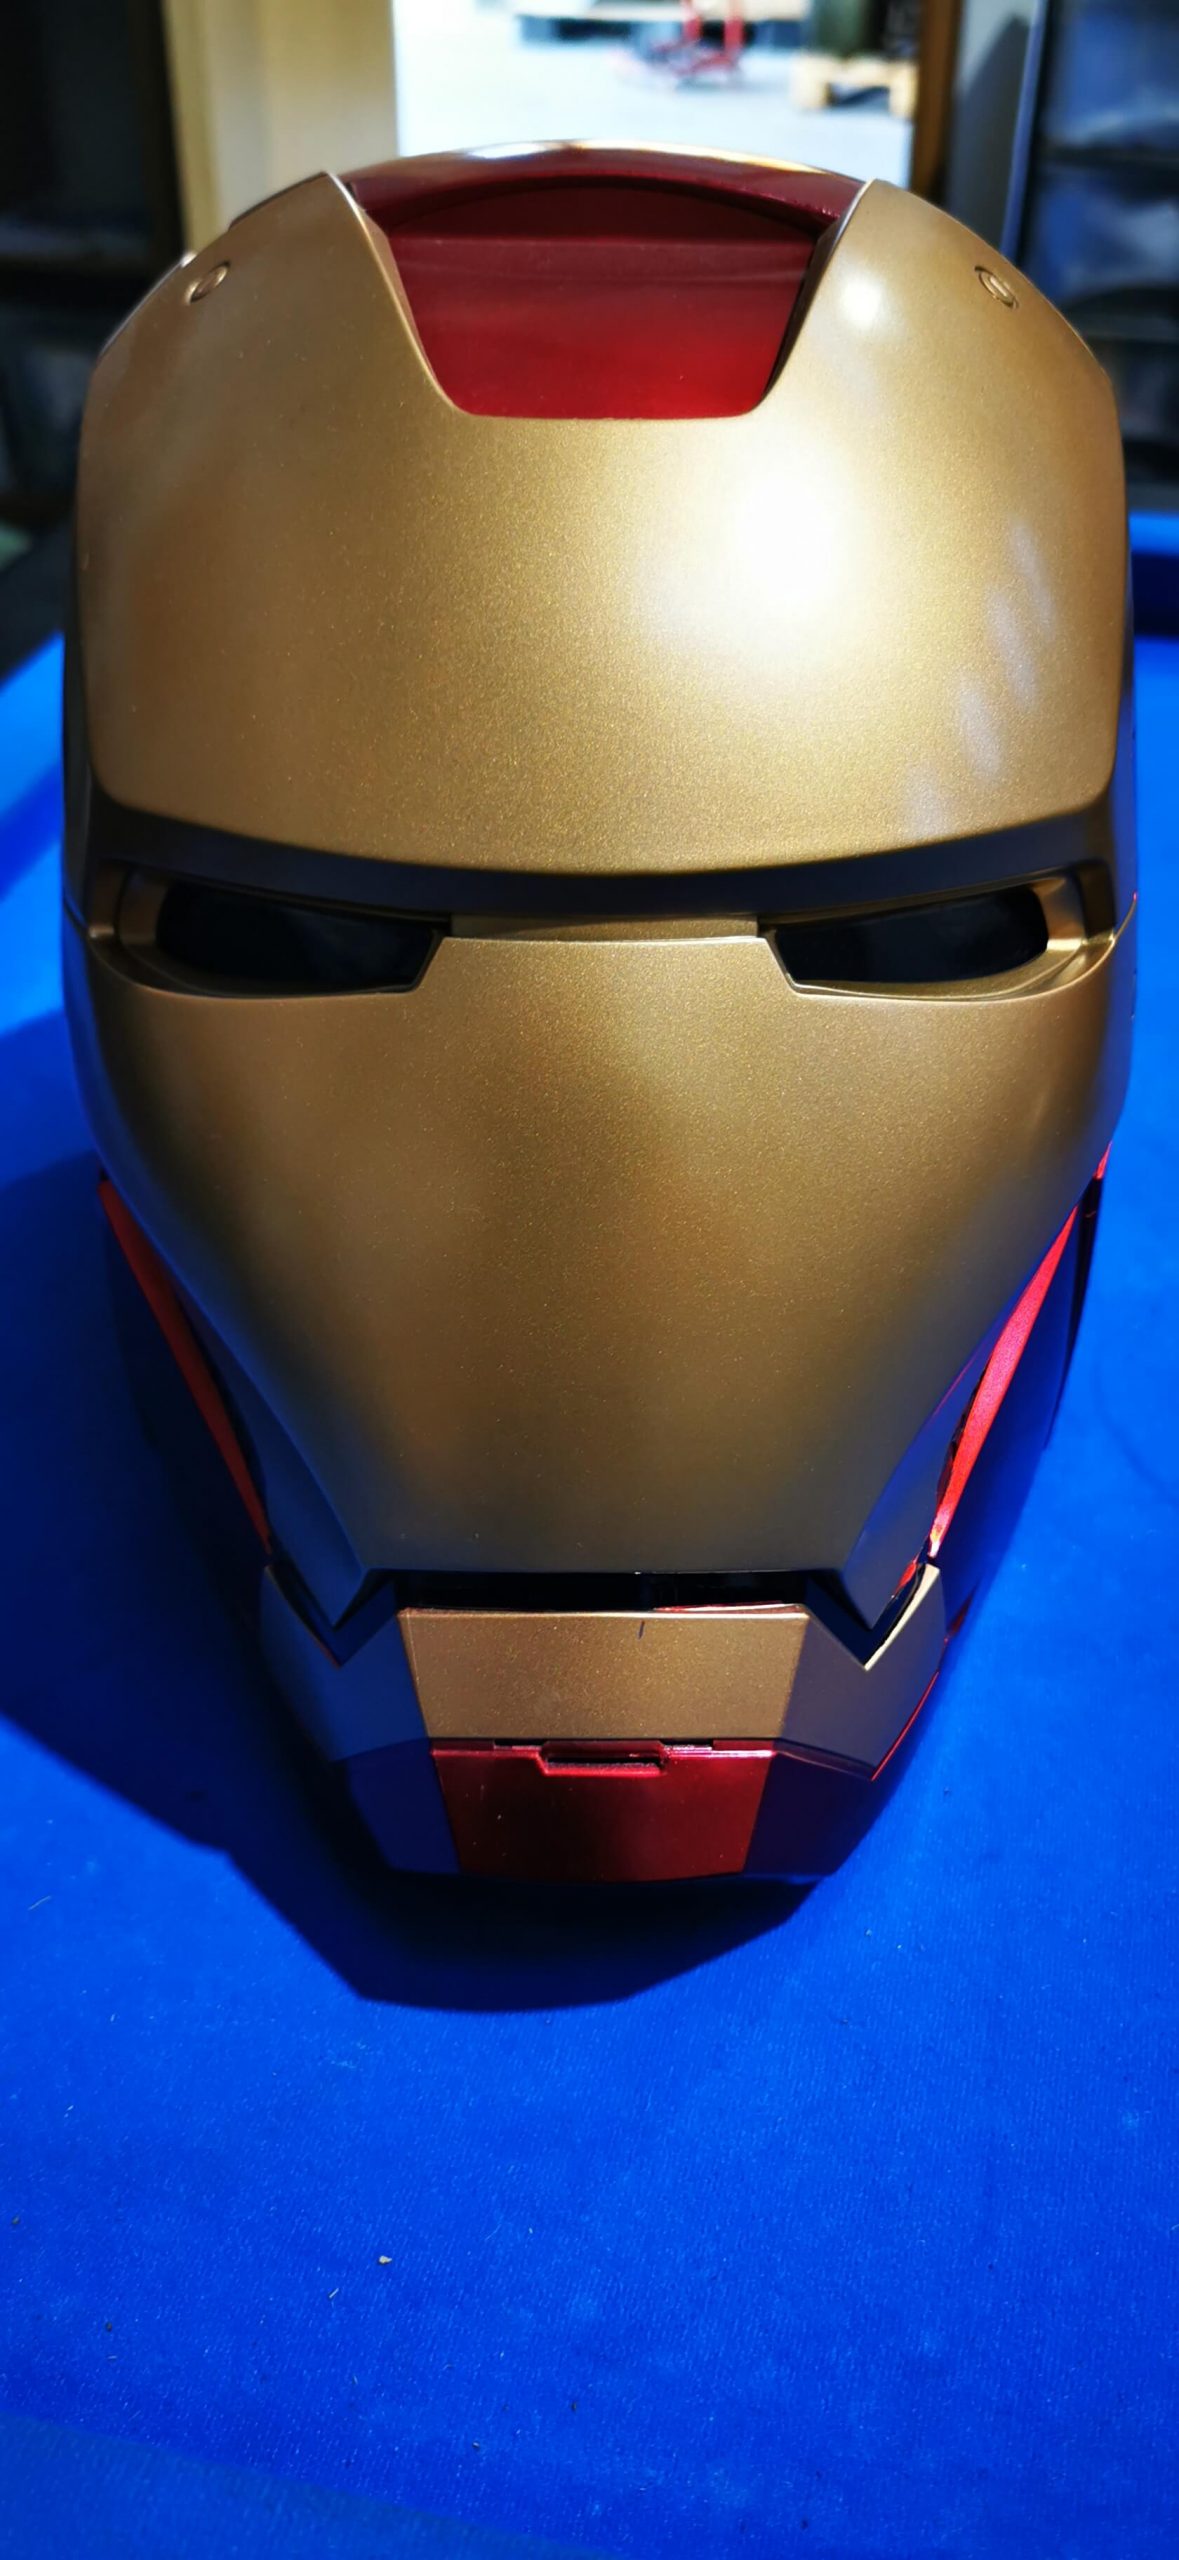
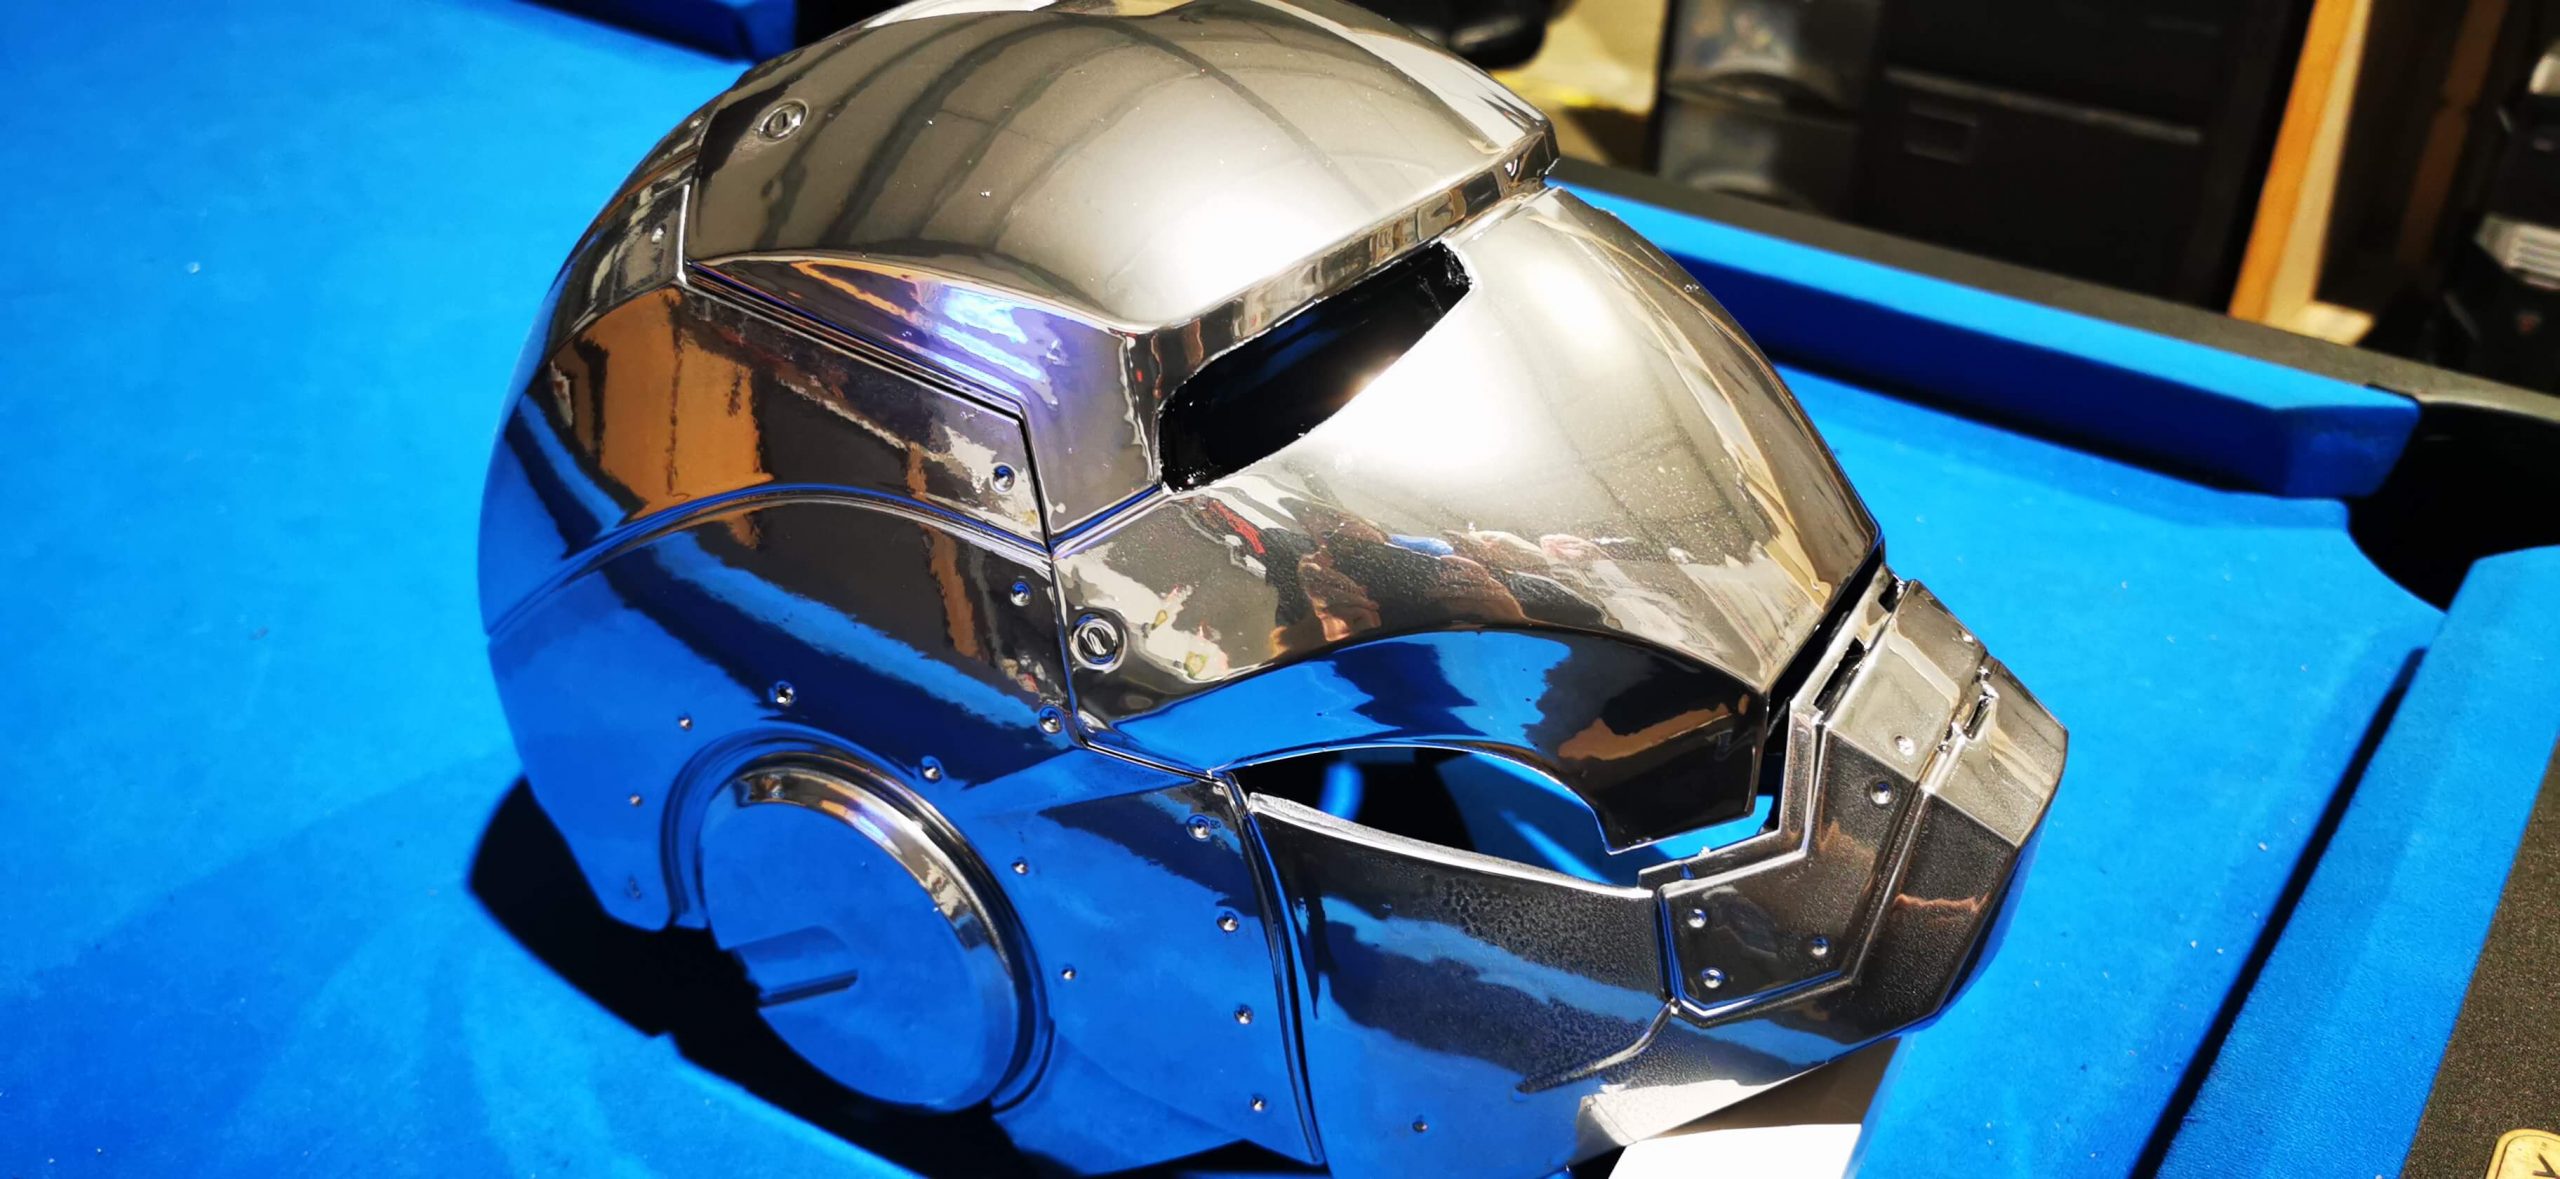
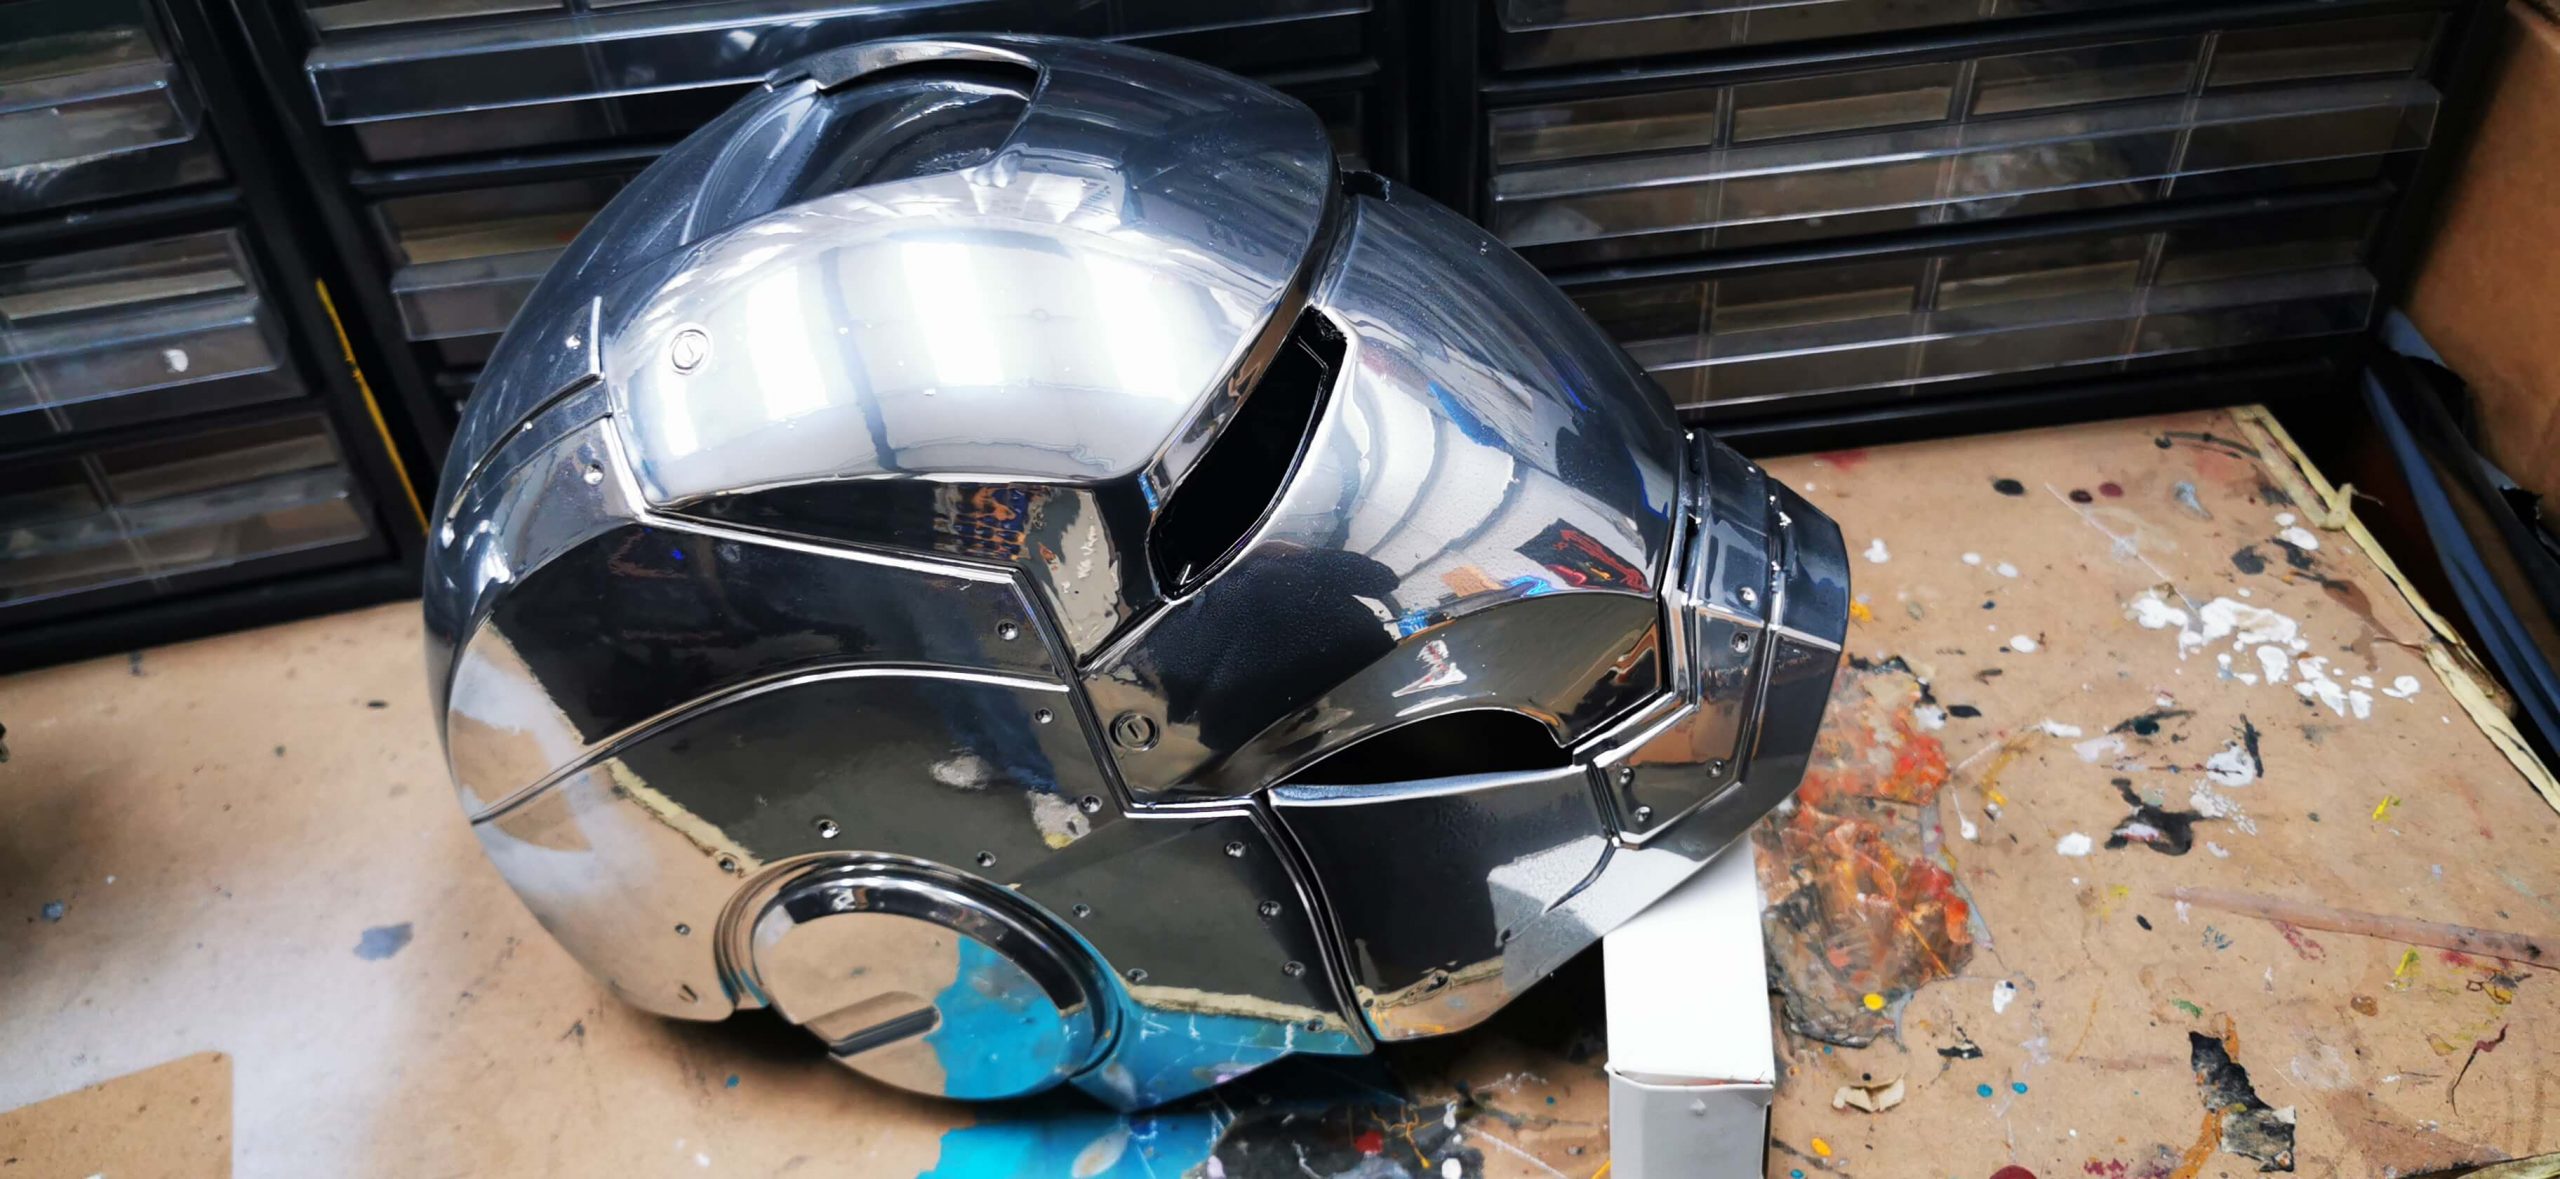
Top Coat
To further protect the base coat colour and bring out the depth of the chrome coat, we applied a 2K high gloss clearcoat lacquer.
TOP TIP: Only apply the lacquer once the final colour has been applied and no further work needs to be complete, as it’s easier to clean and sand a 1k paint rather than a hardened base 2k paint.
We applied two coats on this occasion, leaving at least 1 hour between coats. Once applied, we left the final coat leave to fully cure over the next two days.