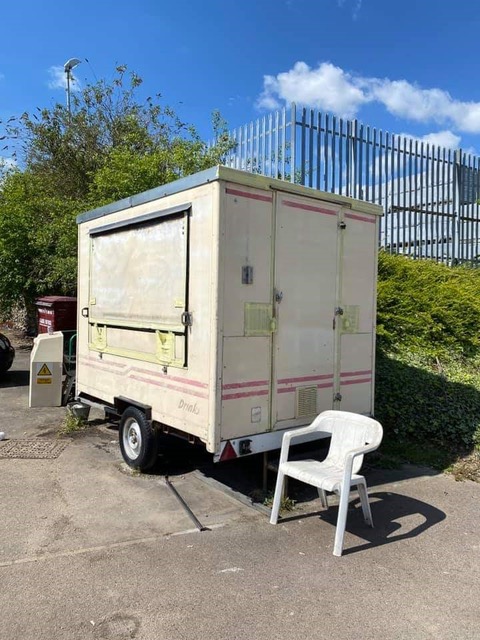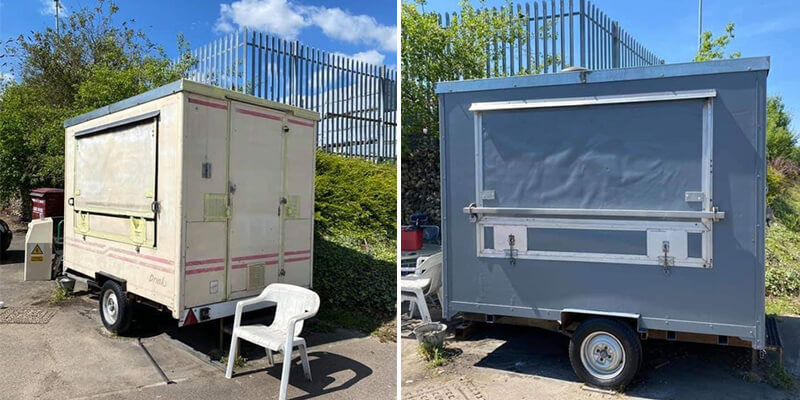
Although some of the most common items that our customers opt for transforming using our products include cars and household belongings, there are thousands of more unique alternatives that can be brought back to life with a splash of paint. A recent project involving a snack wagon is the perfect example, so we’re going to run through the steps towards completing this refurbishment.
Tools You Will Need:
To refurbish a snack wagon or any other similar vehicle, all you will need is the following:
- 300+Grit Sandpaper
- Sanding Block
- RAL 7012 HD/AC Primer Paint
Steps To Refurbish A Snack Wagon:
Before you can begin painting, you must ensure that the surface that you are working on has been thoroughly washed to remove all dirt, debris and dust particles. You can then move onto degreasing all of the substrates. Give the surface one last wipe to reassure that there are no tiny pieces of dust before moving onto the next step.
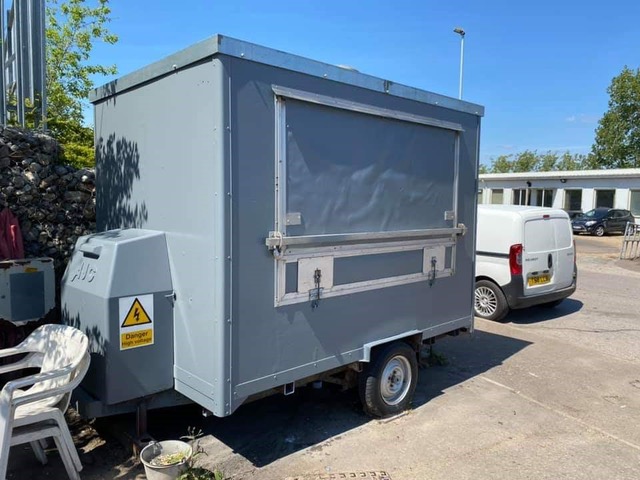
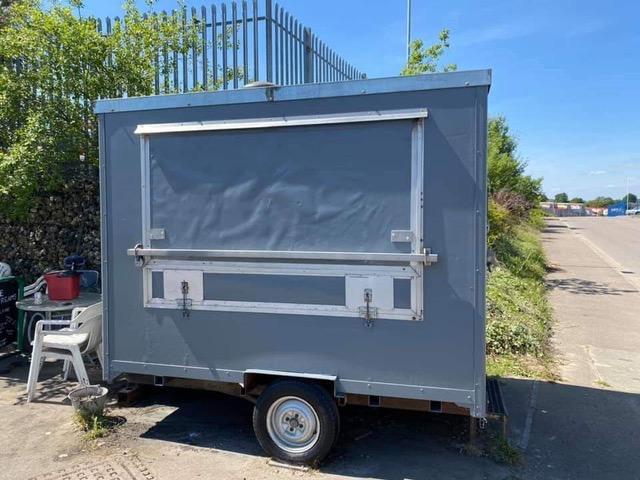
Now that you have prepared the surface, you can begin masking off any areas that you do not want to paint before applying the HD AC primer paint. Apply the paint in left to right passes, aiming for between two to four coats depending on how many that you feel you need.
As long as the surface is clean to start with, you will not need to worry about applying a ground coat before moving onto the HD AC primer paint. The HD AC primer paint is also designed with both UV inside as standard, along with an anti-corrosion element. All you will need to do is ensure that all rust is treated before applying the paint then once cured, the surface should not rust again in the future.