Here at DC Paint Solutions, we love being able to take something old and make it look brand new, and this project was no exception. Many clients are thoroughly amazed at what they are able to achieve with a little patience and spray paint, and the results always come out looking spectacular.
Completing This Project
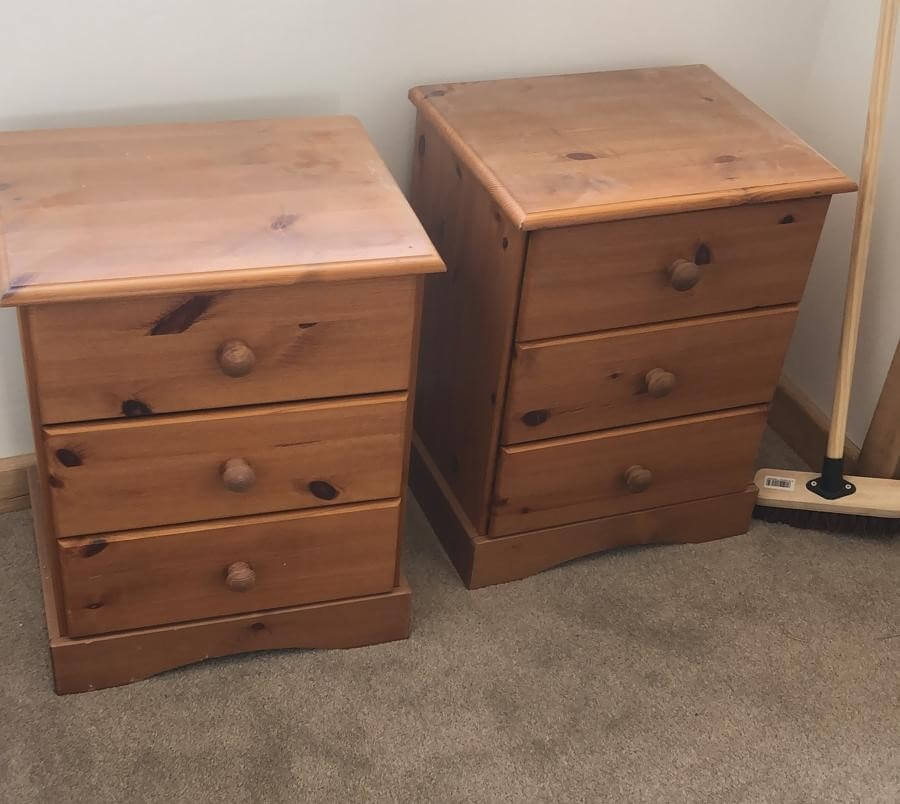
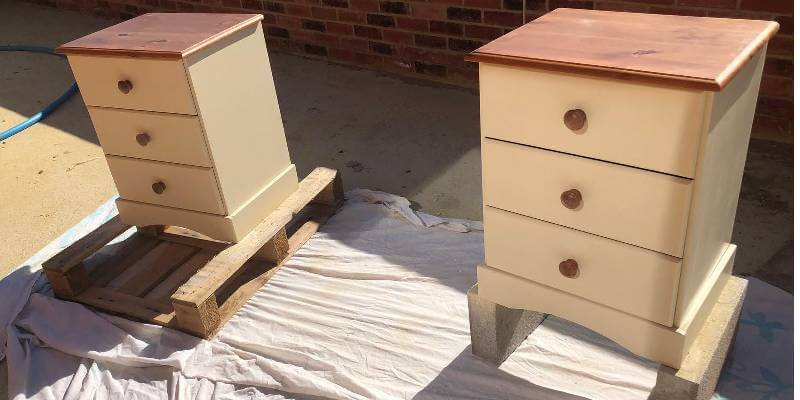
Katie came to the team asking for the perfect spray paint for a project she wanted to complete on her old and tired looking plain oak cupboards, which she transformed into a fresh set of side tables. The team used white spray paint to complete this job, and the final result is fantastic!
Step One: Prep The Area
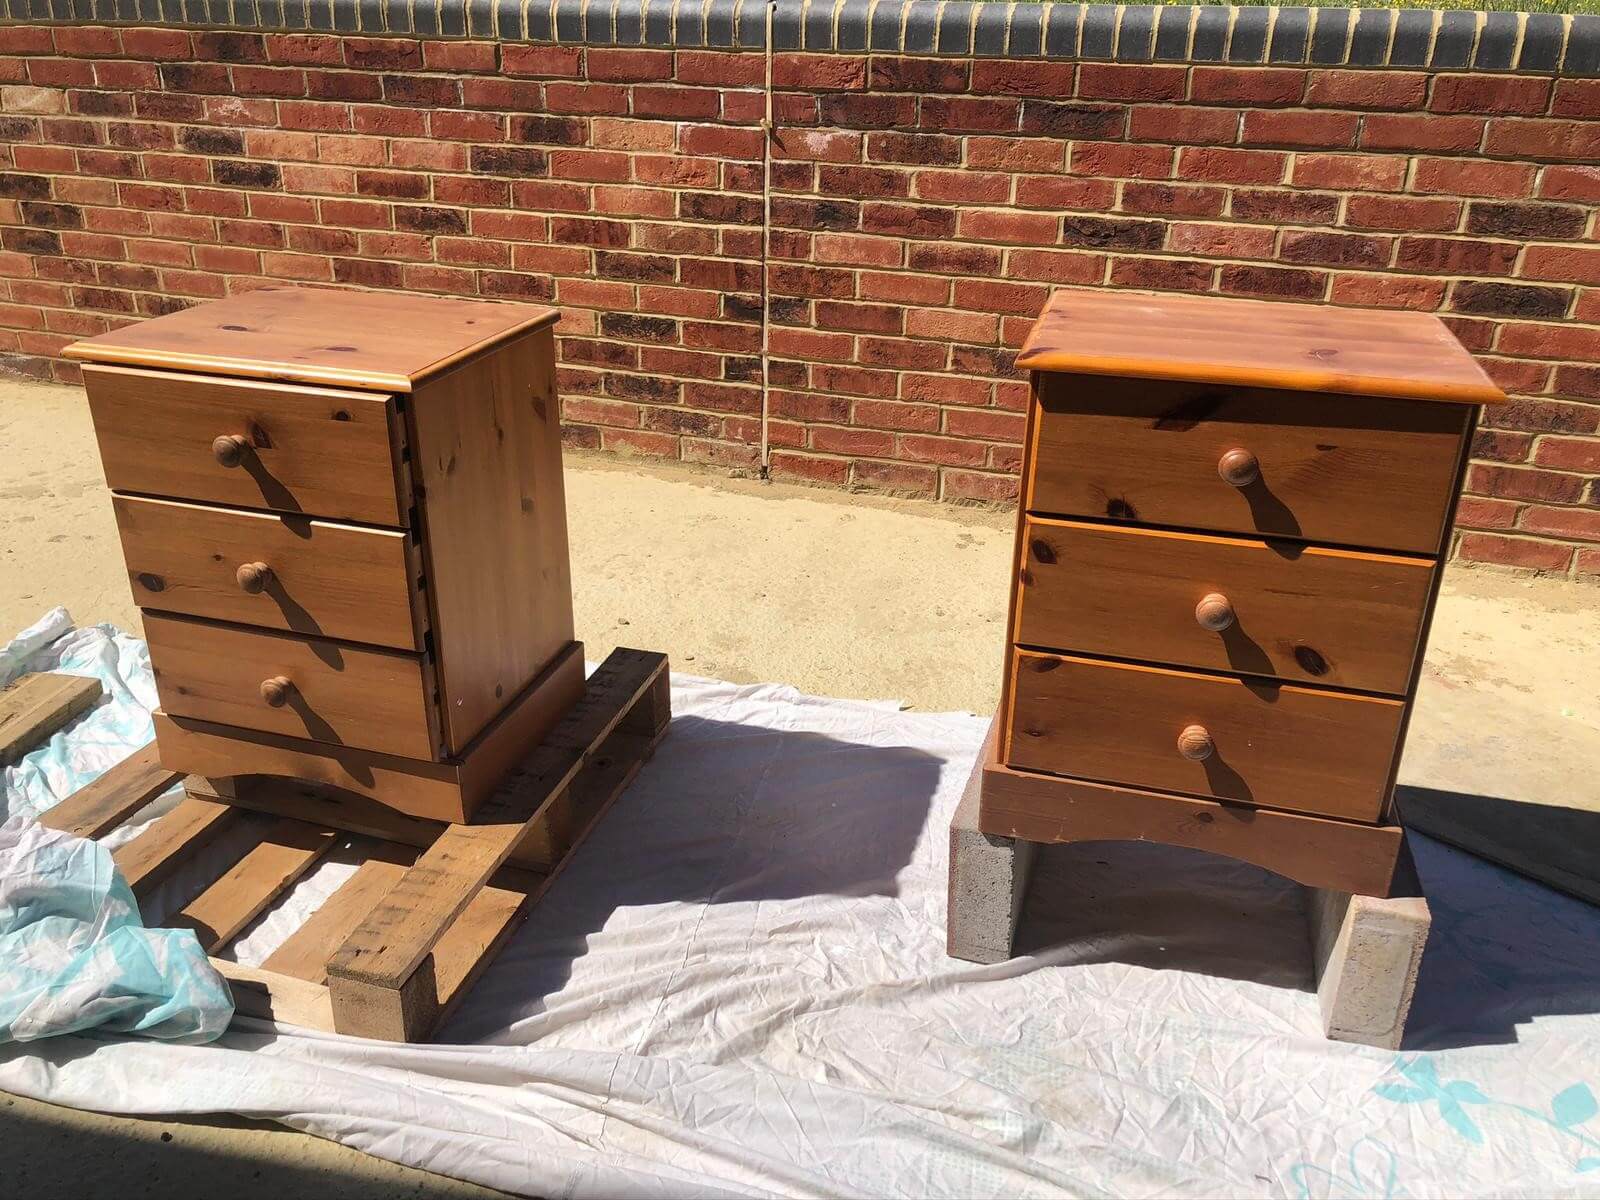
Make sure that you begin the project in a well-ventilated area. Pick an area where you can lay down a dust sheet, as this will help you to protect the flooring and minimise the mess.
TOP TIP: Mask off any areas you do not want to be painted prior to sanding and priming. Cover the rest of the area with any additional dust sheets, masking paper or newspaper.
Step Two: Sanding & Dust Coat
Key (lightly sand to a rough substrate) any previously painted surfaces or debris such as wood, metal or plastics so that the new primer/paint can adhere to it. On this occasion, Katie used the RAL 9001 HD/AC primer paint all in one. Katie applied the RAL 9001 primer paint as a light dust coat and allowed it to set for around 20 hours. Once the paint had cured, Katie sanded down the rough edges until smooth all over.
Step Three: Final Wet Coat
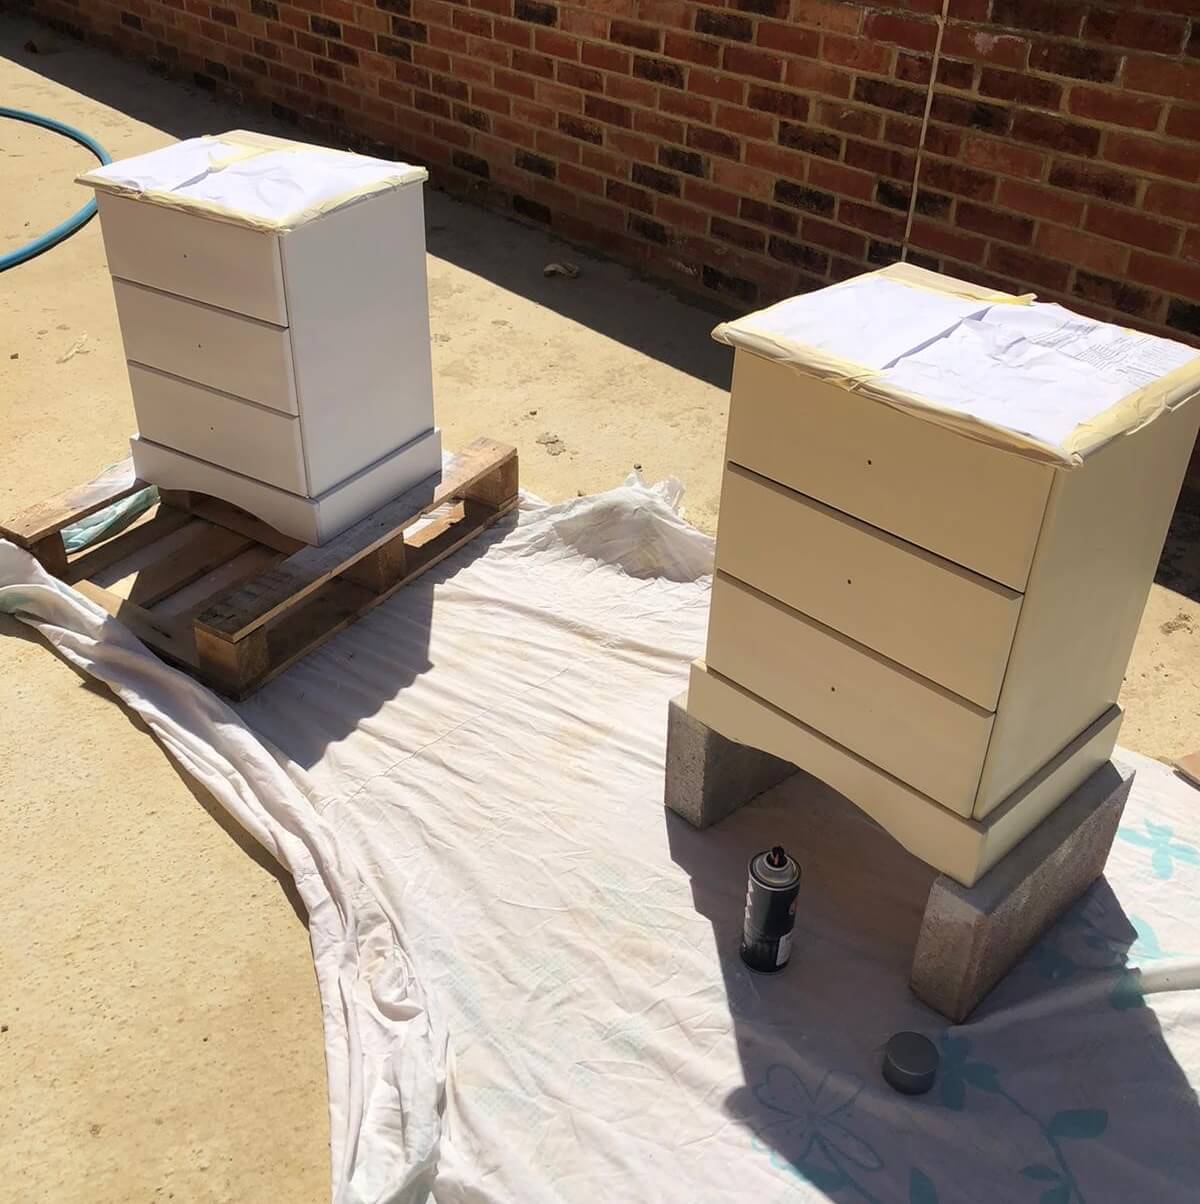
Once the dust and the remaining particulate had all been removed, Katie then applied the final coat.
TOP TIP: Hold the can approximately 20cm from the surface of the chair and spray left to right in steady passes (releasing the spray nozzle as you leave the substrate and depressing the nozzle before you hit the substrate on the return pass), half overlapping with each stroke. For best results, while spraying keeps the can the same distance from the surface and in motion. Apply a heavier final coat but be mindful of creating runs if you apply too thick or apply several light coats 20-30 minutes apart until you are happy with the colour.
Step Four: Curing
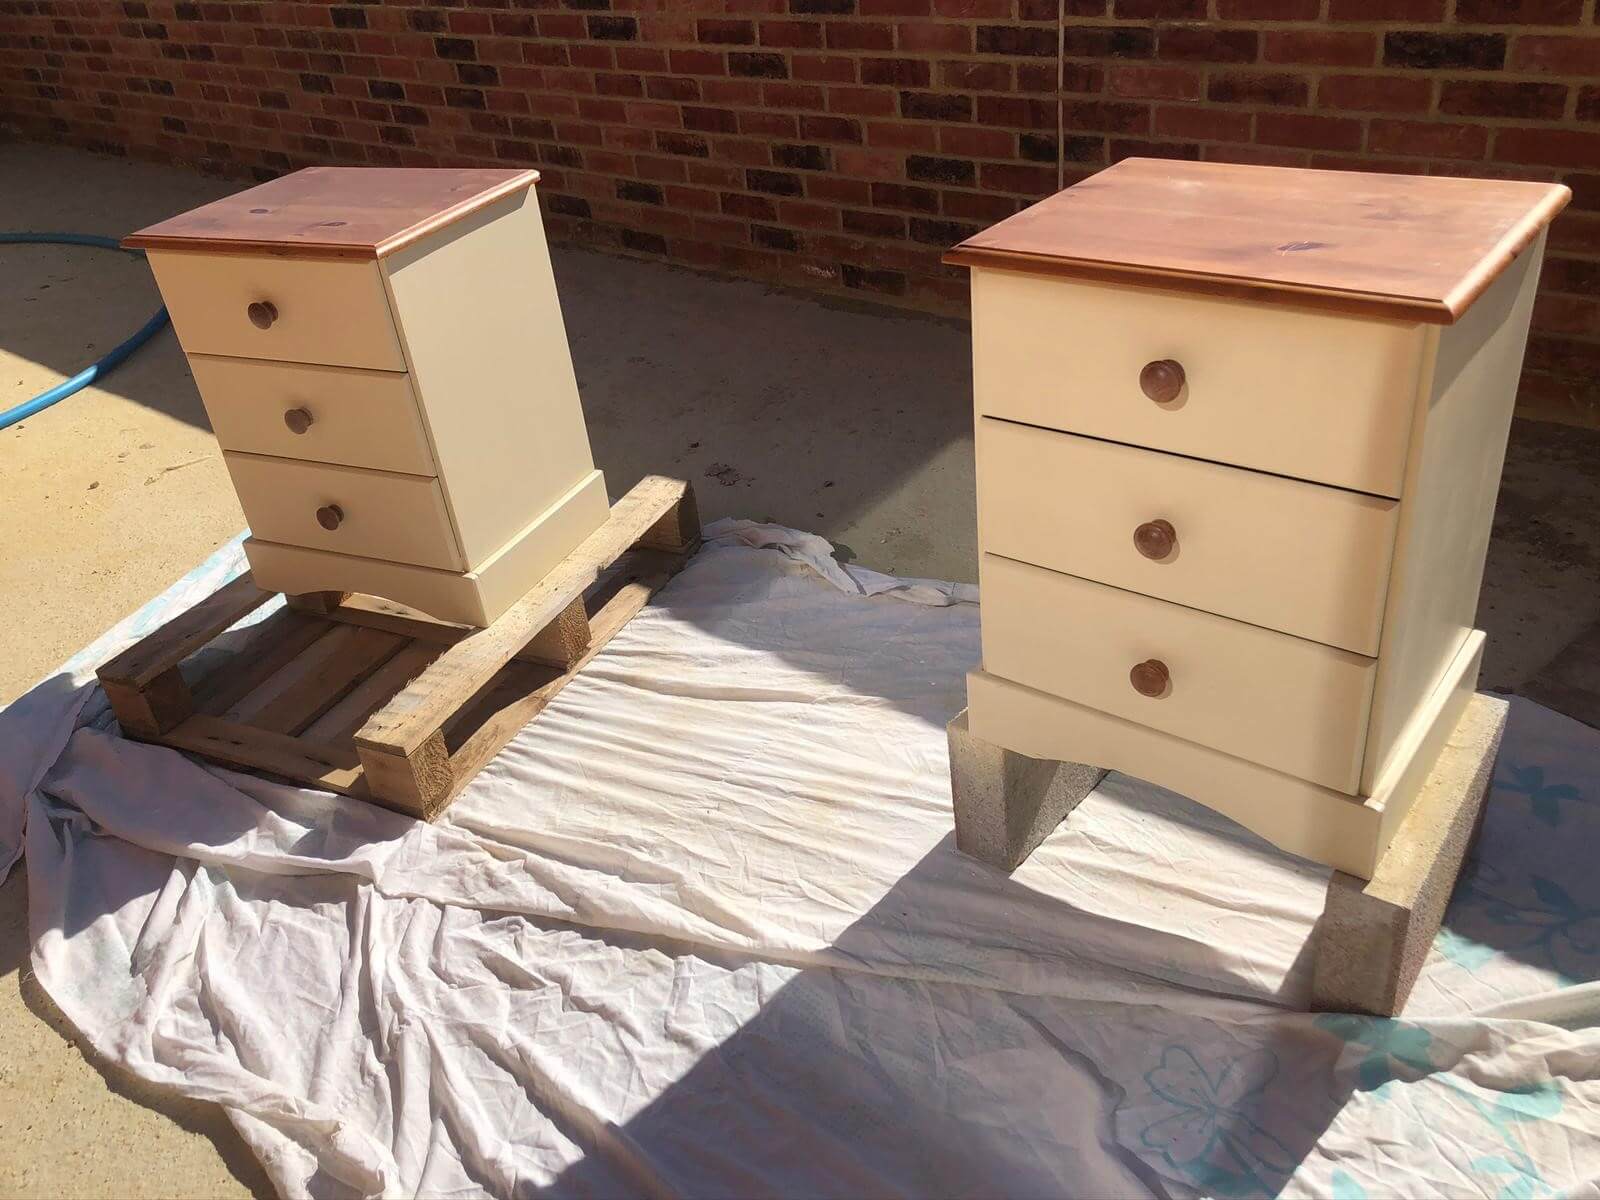
Fully cure the project. HD/AC Primer paint is quite thick and when applied in quantity will take longer to cure, so ensure you leave for as long as possible to let the paint do its job. If you apply a thick coat, leave for at least the following day to ensure your substrate is cured.
Thanks again, Katie, for sending in the pictures of the great work, the draws look fabulous!