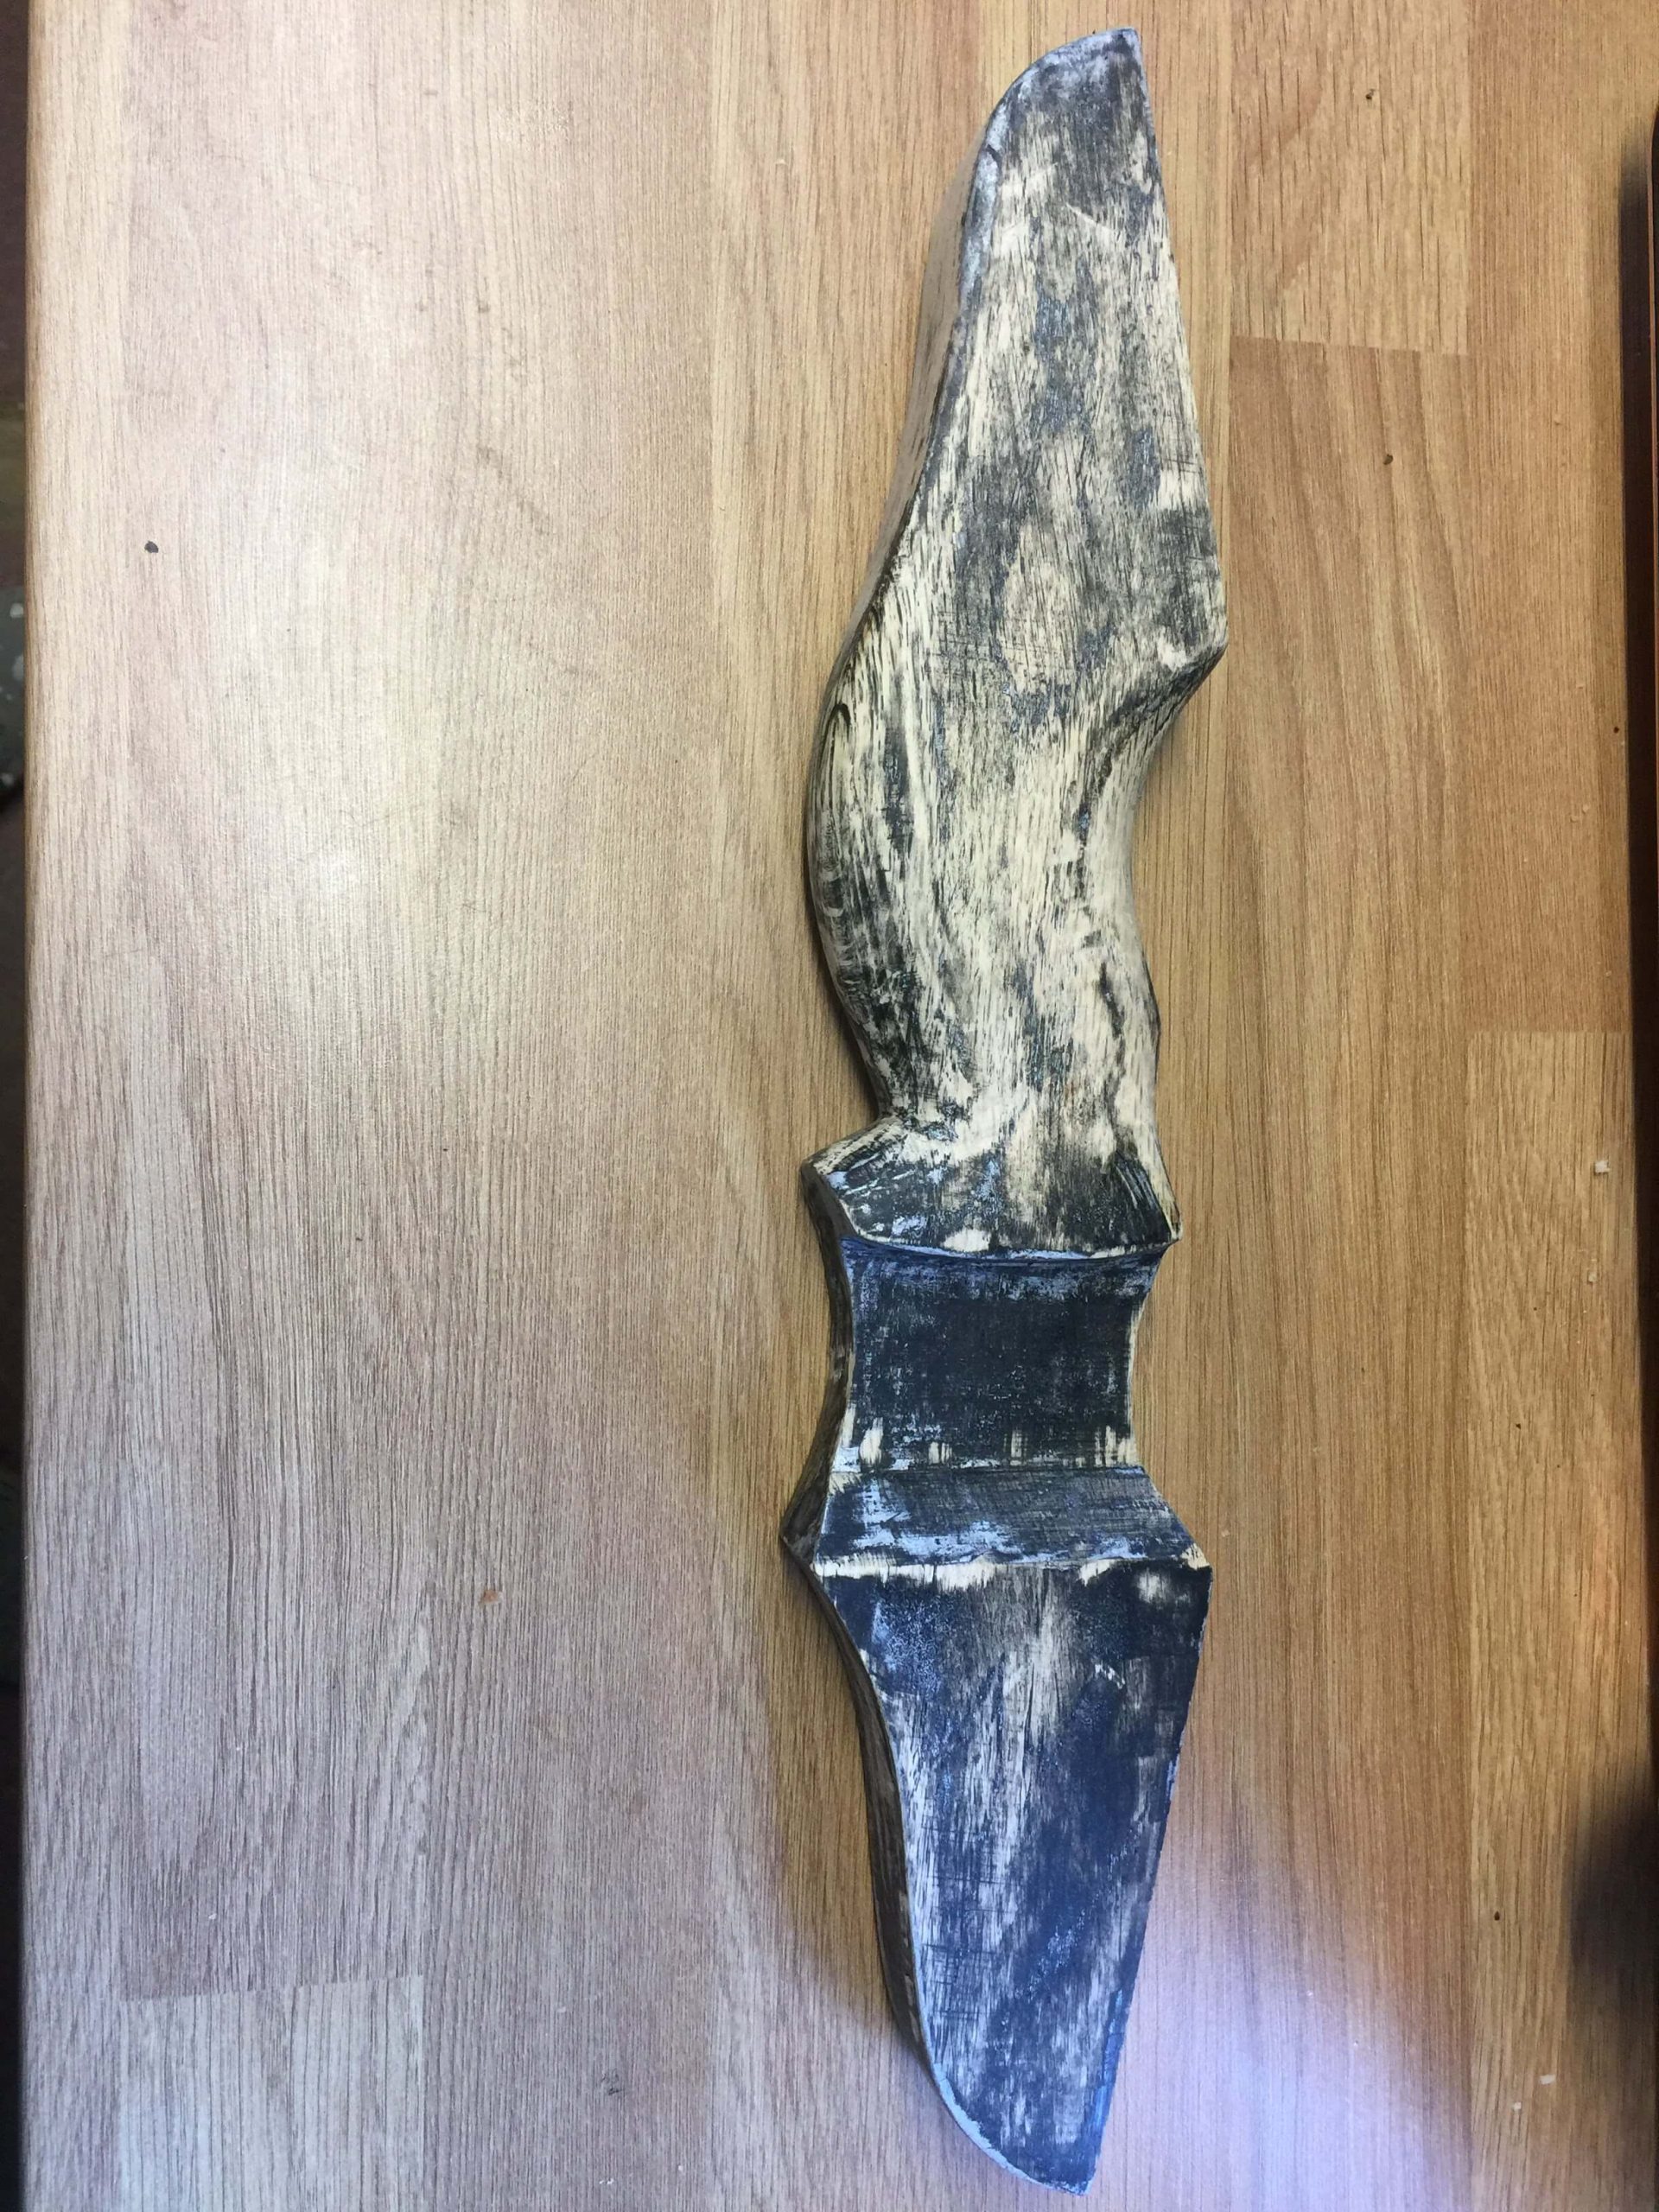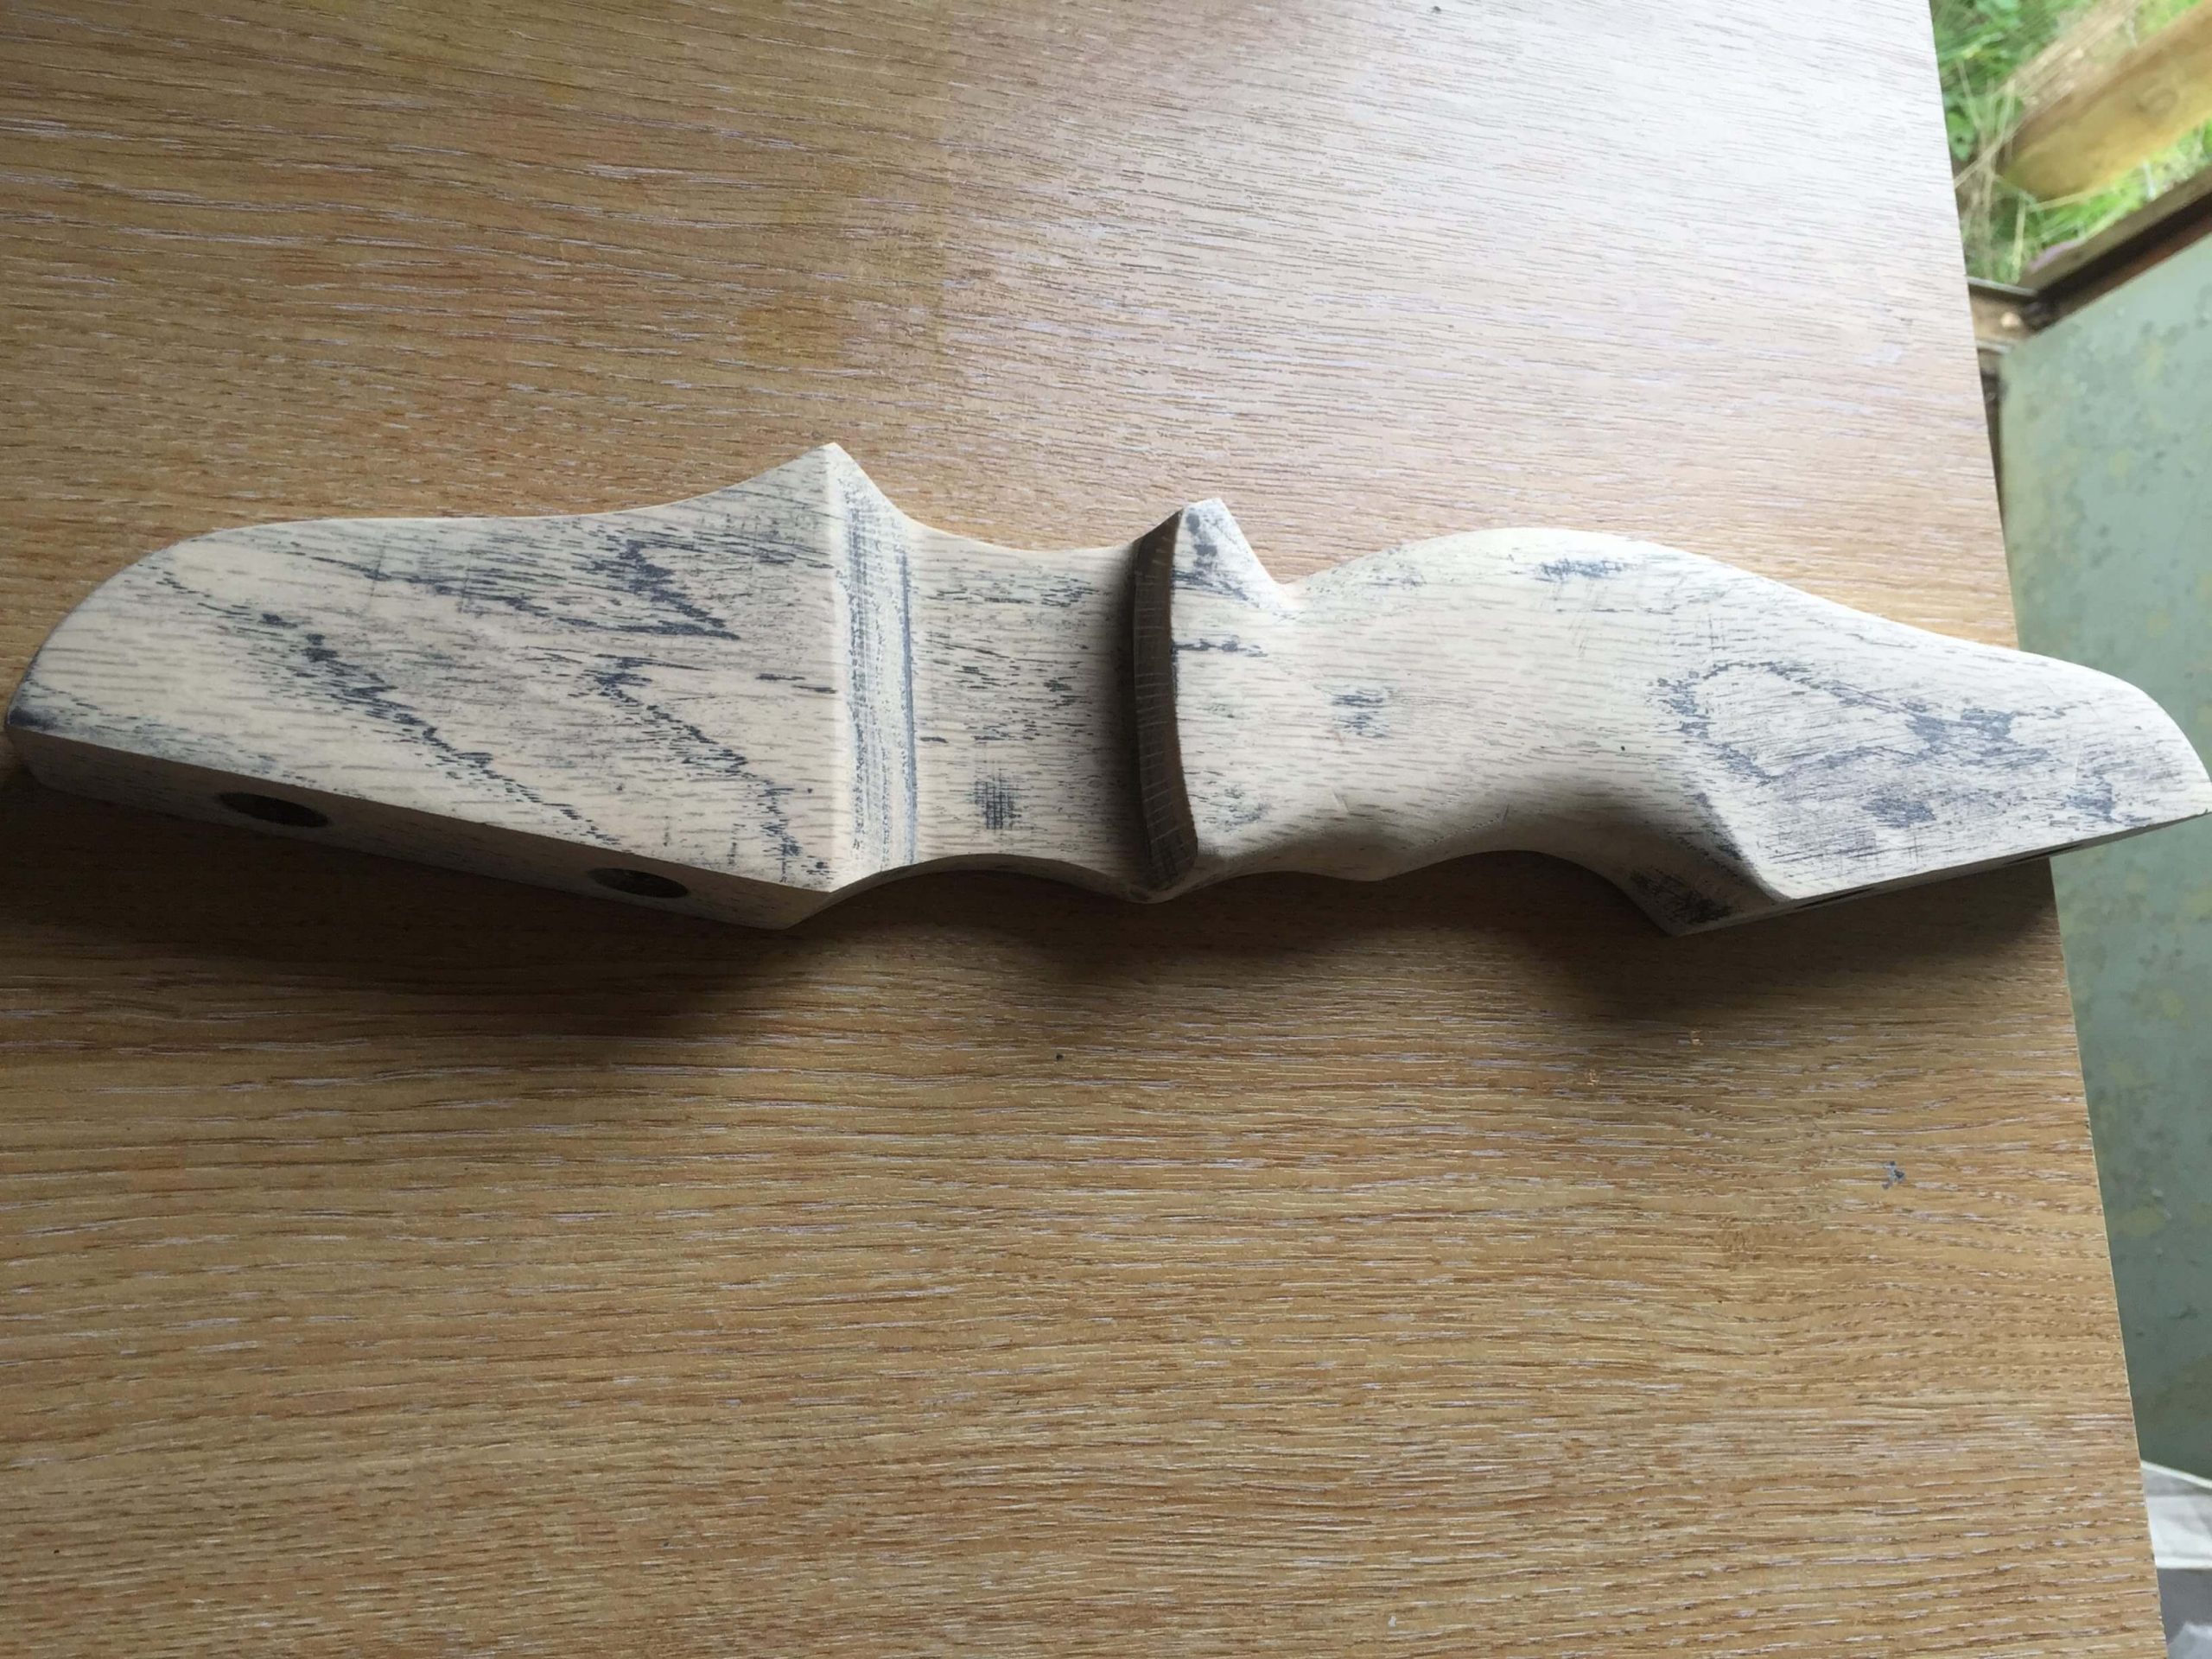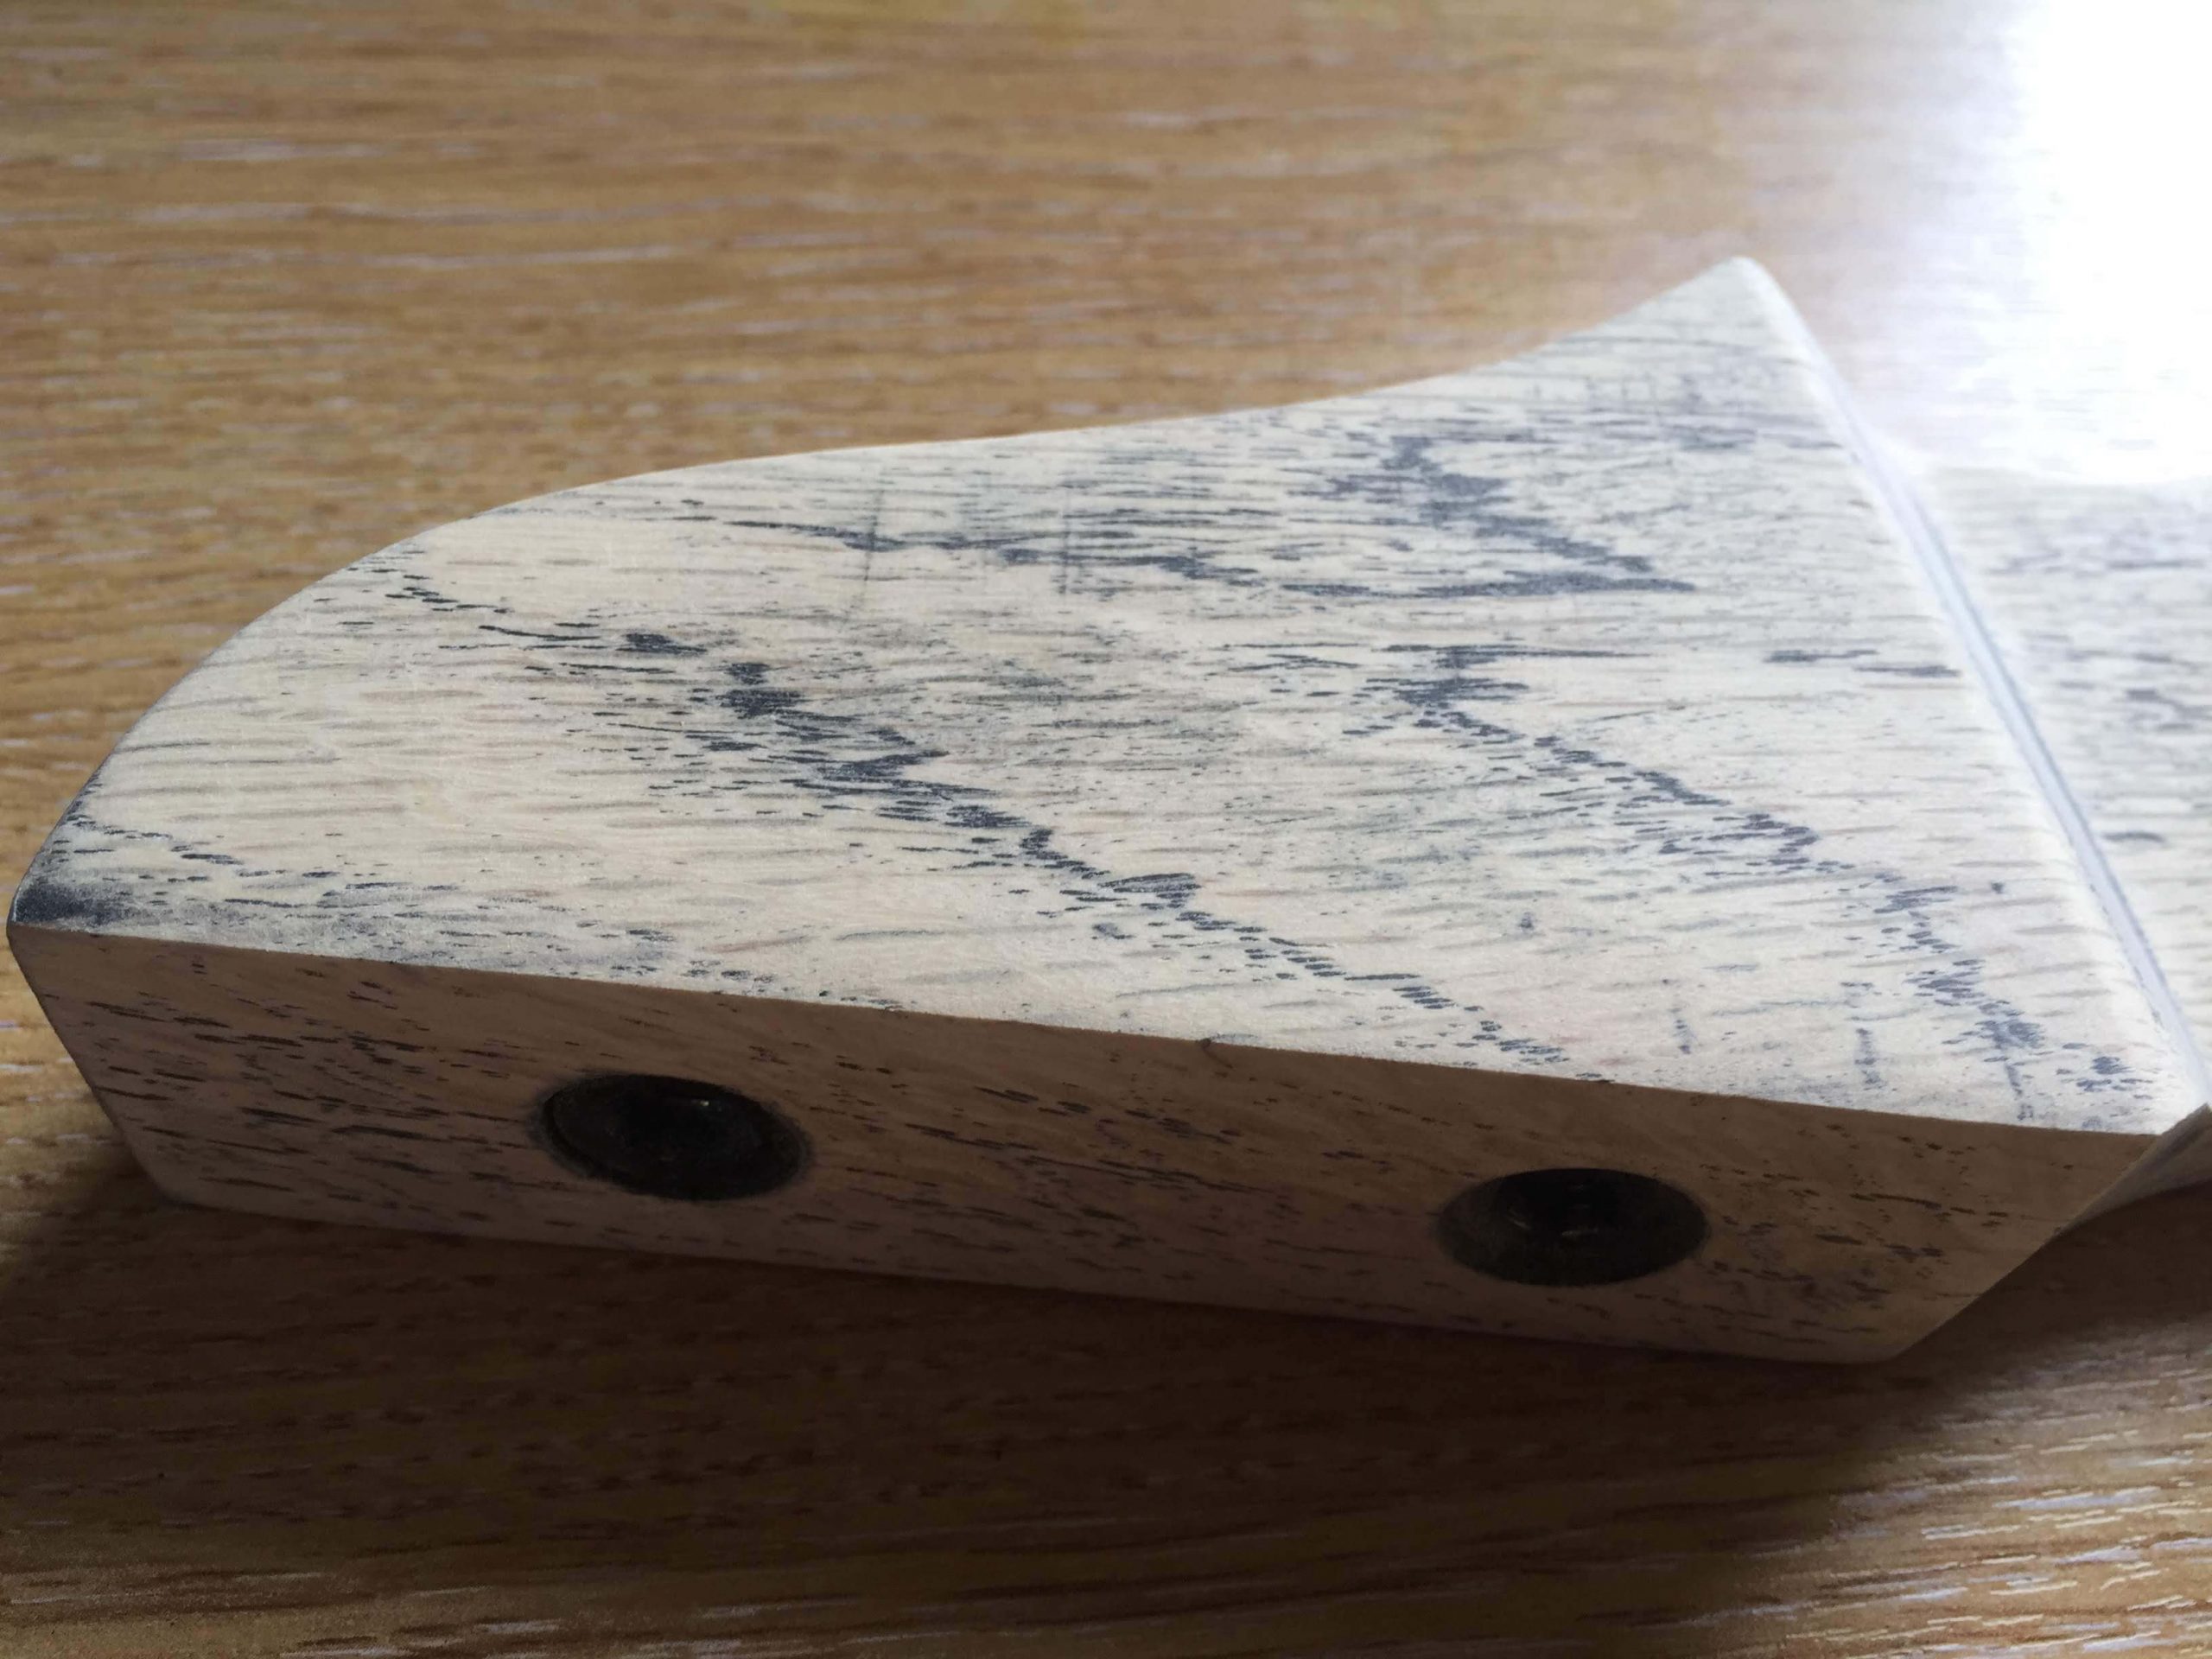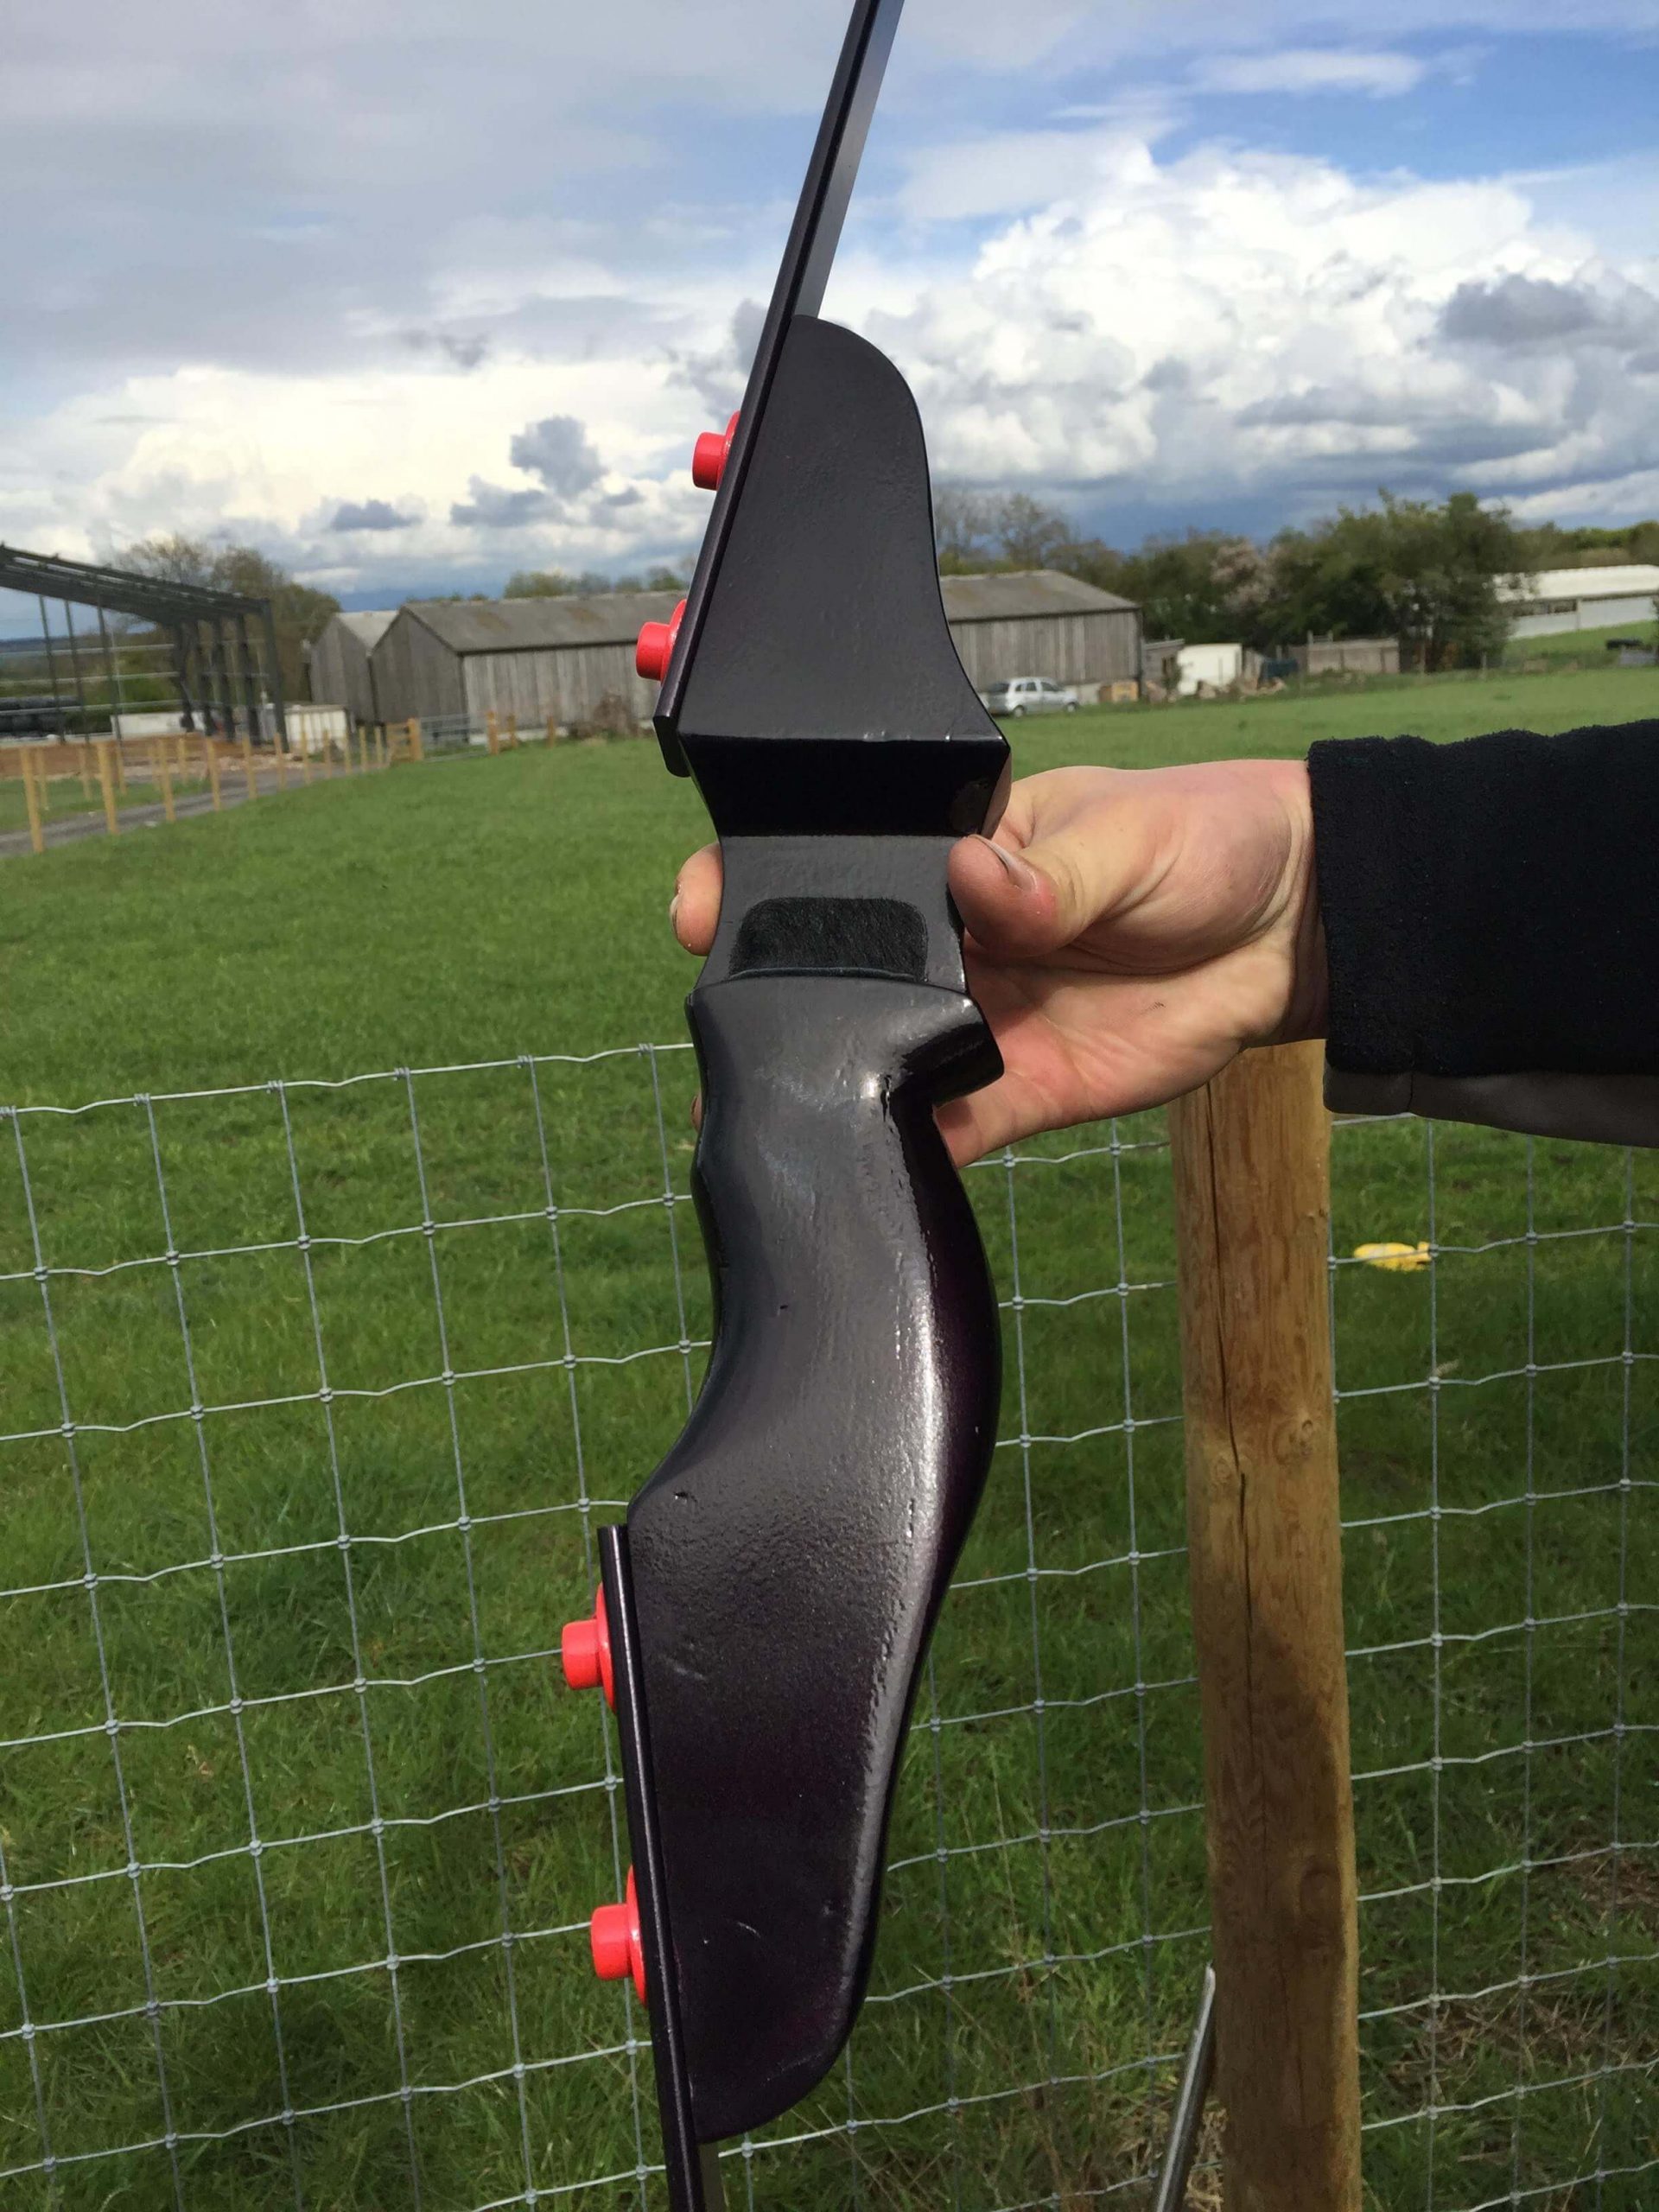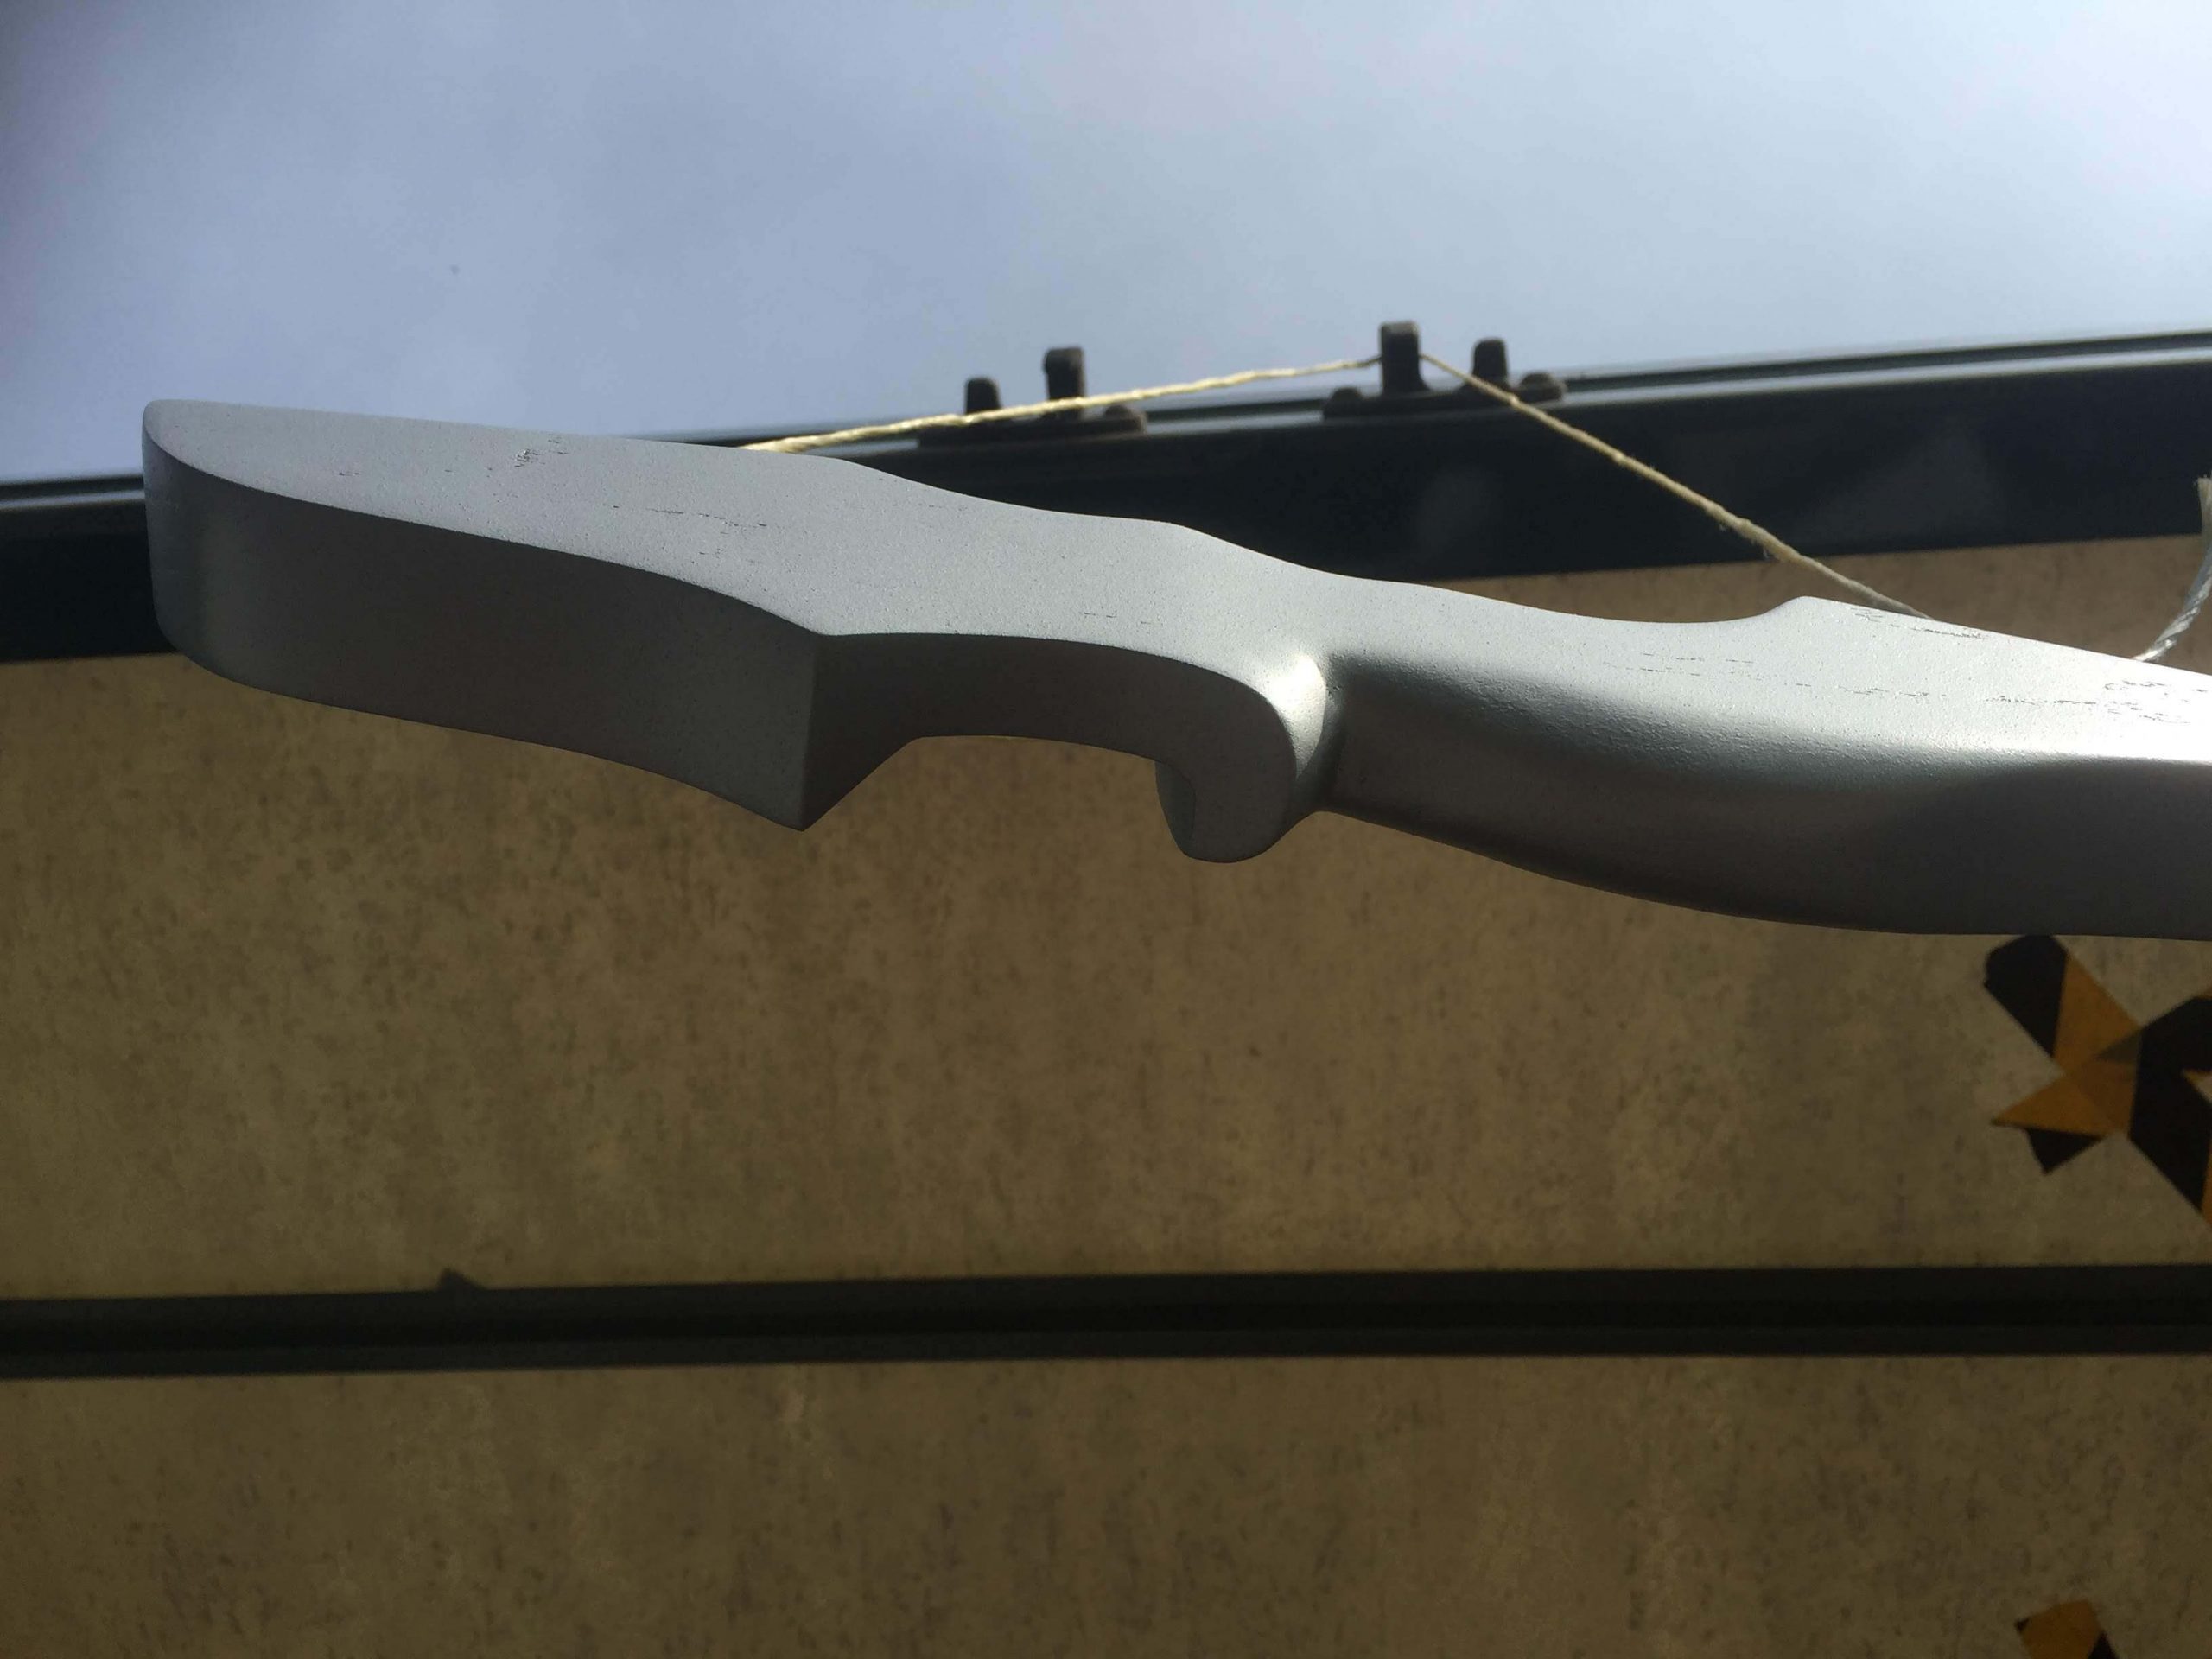
We love something quirky to work on, so were over the moon when a client came to us for help with this rather unique project. Their recurve bow looked outdated and need a little revamp, so they enlisted in our expertise to lend them a helping hand in perfecting their project.
Completing This Project
Having had years of experience in providing high-quality paints and painting services, our team have become known for their professional finish. This means that every project is complete to the highest standards, giving the client the best possible results that they could hope for. Take a look below to find out more about how we completed this project:
Prep & Clean
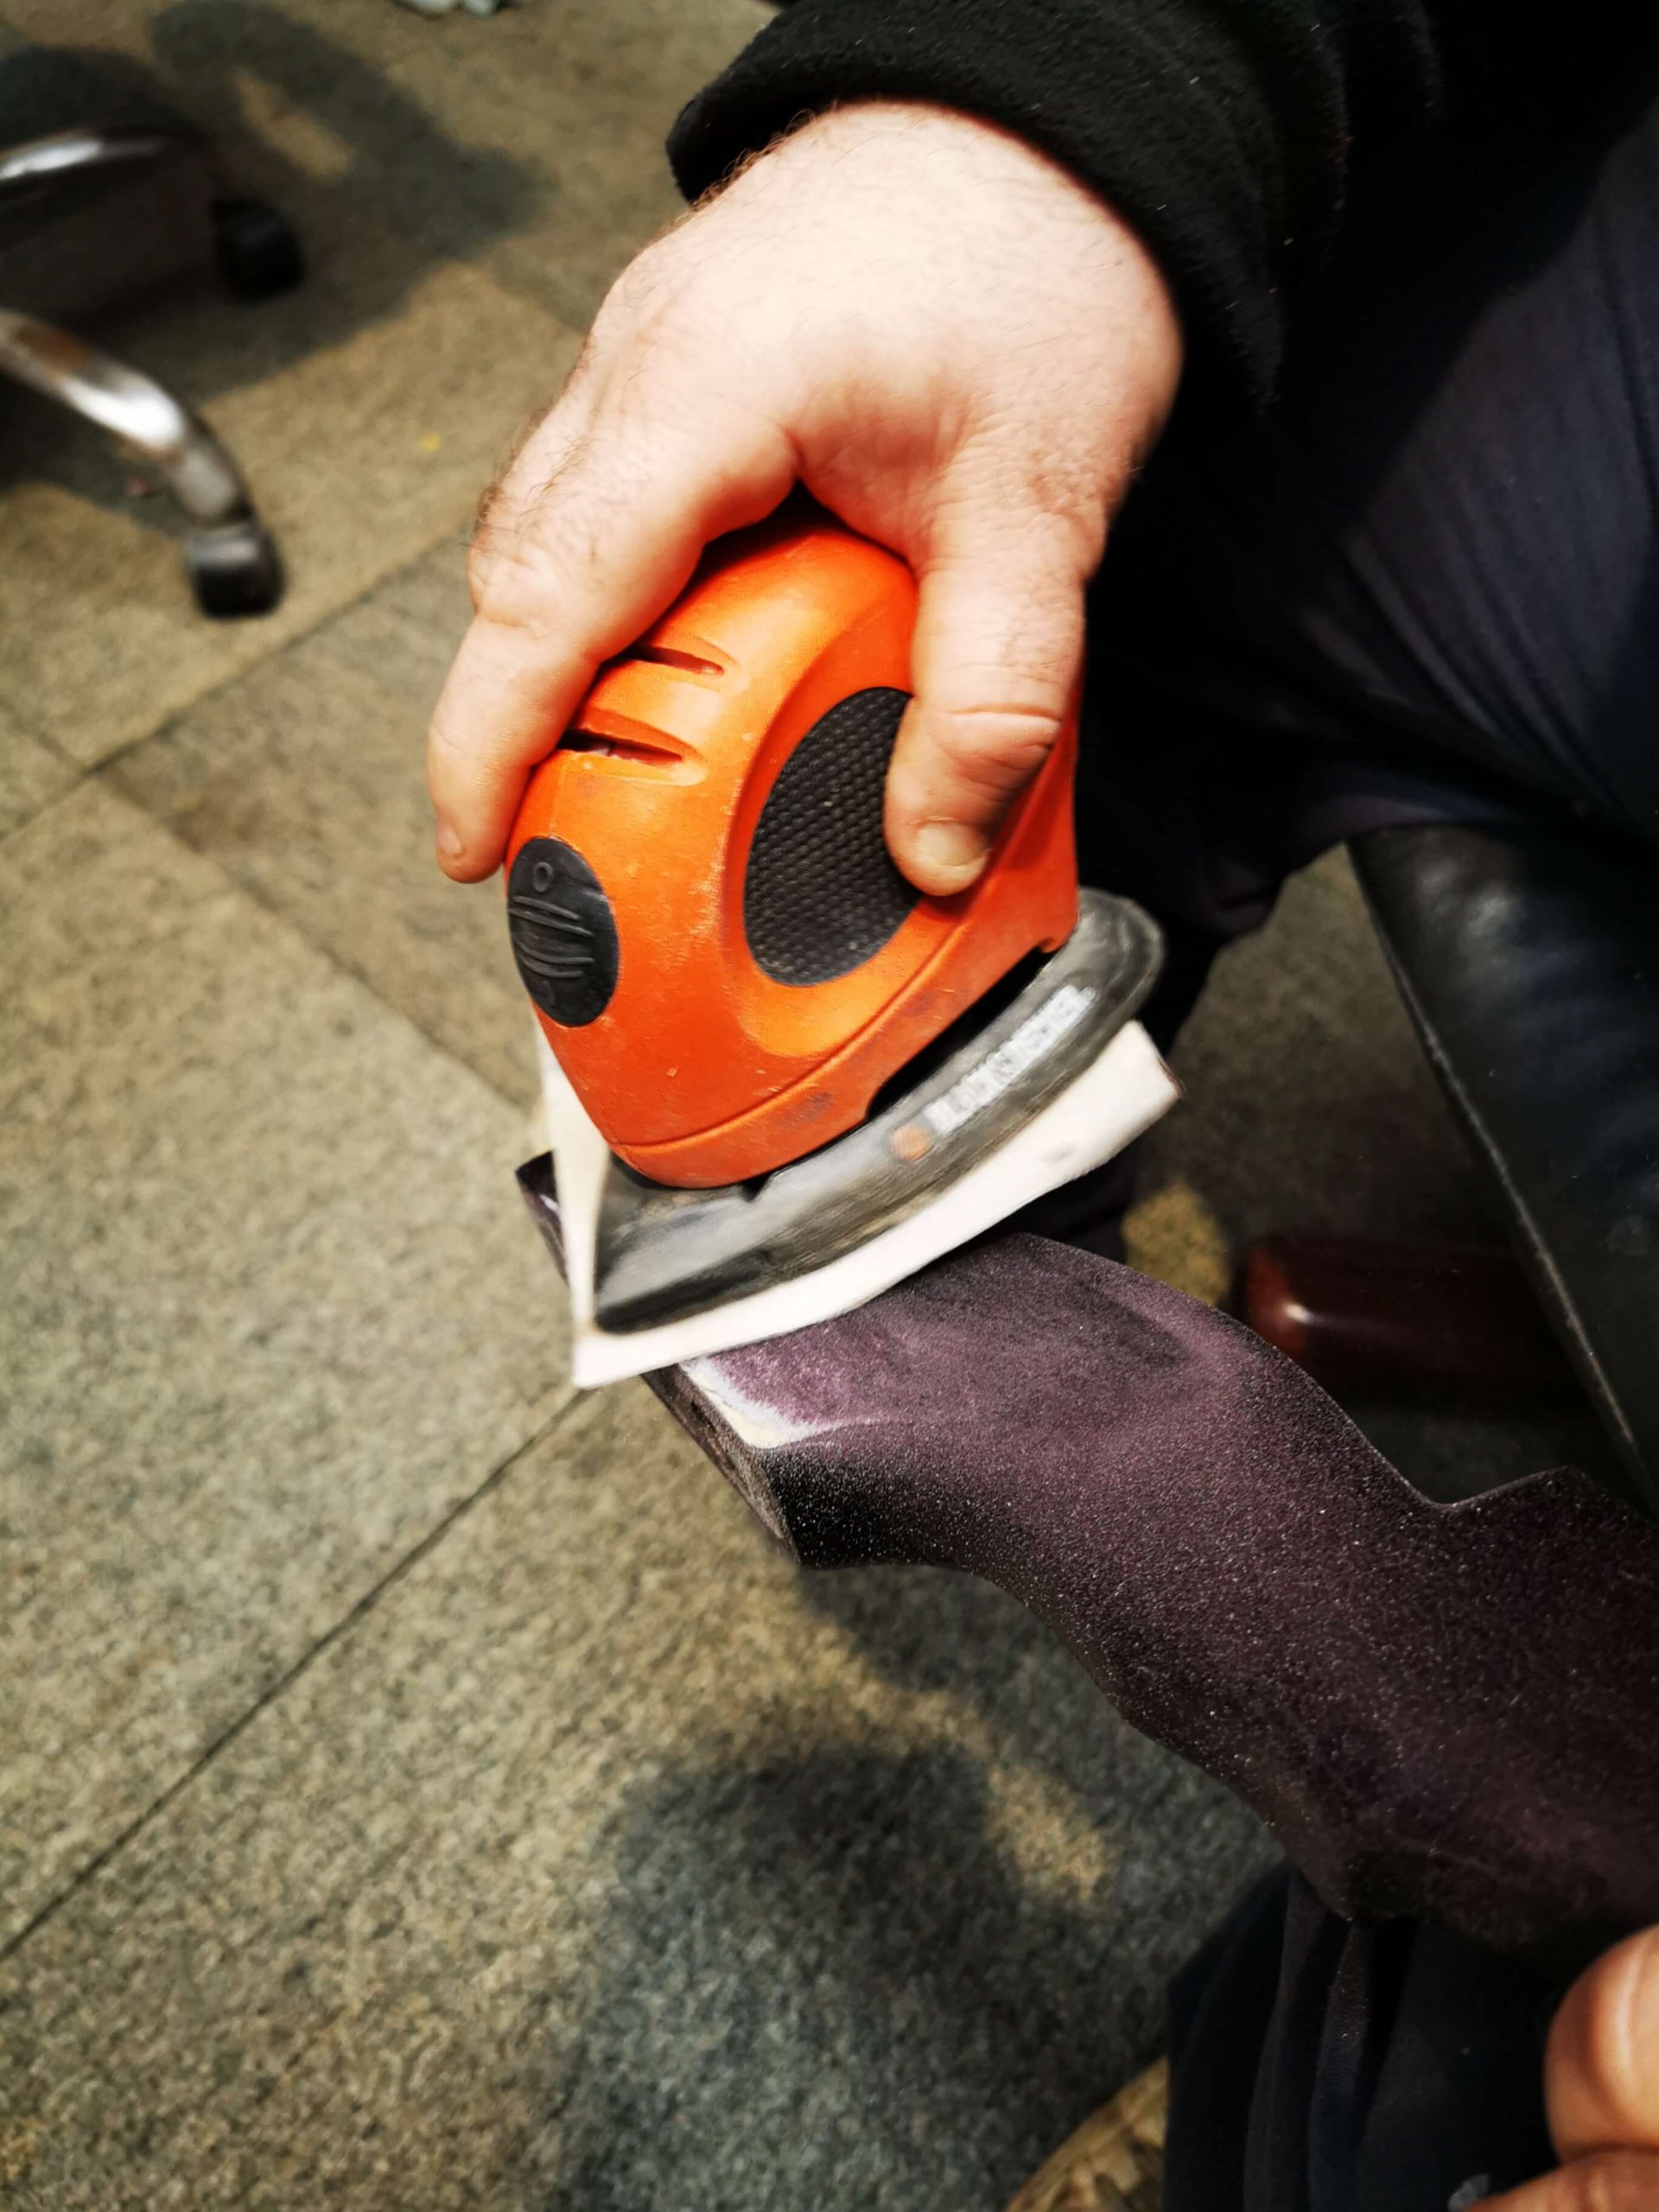
Clean and then lightly sand/key the surface. Remove any dust or loose debris. Use panel wipe or degreaser to clean the substrate.
Ground Coat (Primer)
We used a high build primer to seal and substrate.
TOP TIP: Wood is porous, so apply in light/dust coats rather than thicker wet coats. Apply 2 light coats of primer leaving the final paint to cure for up to 3 hours before you apply the base coat of colour.
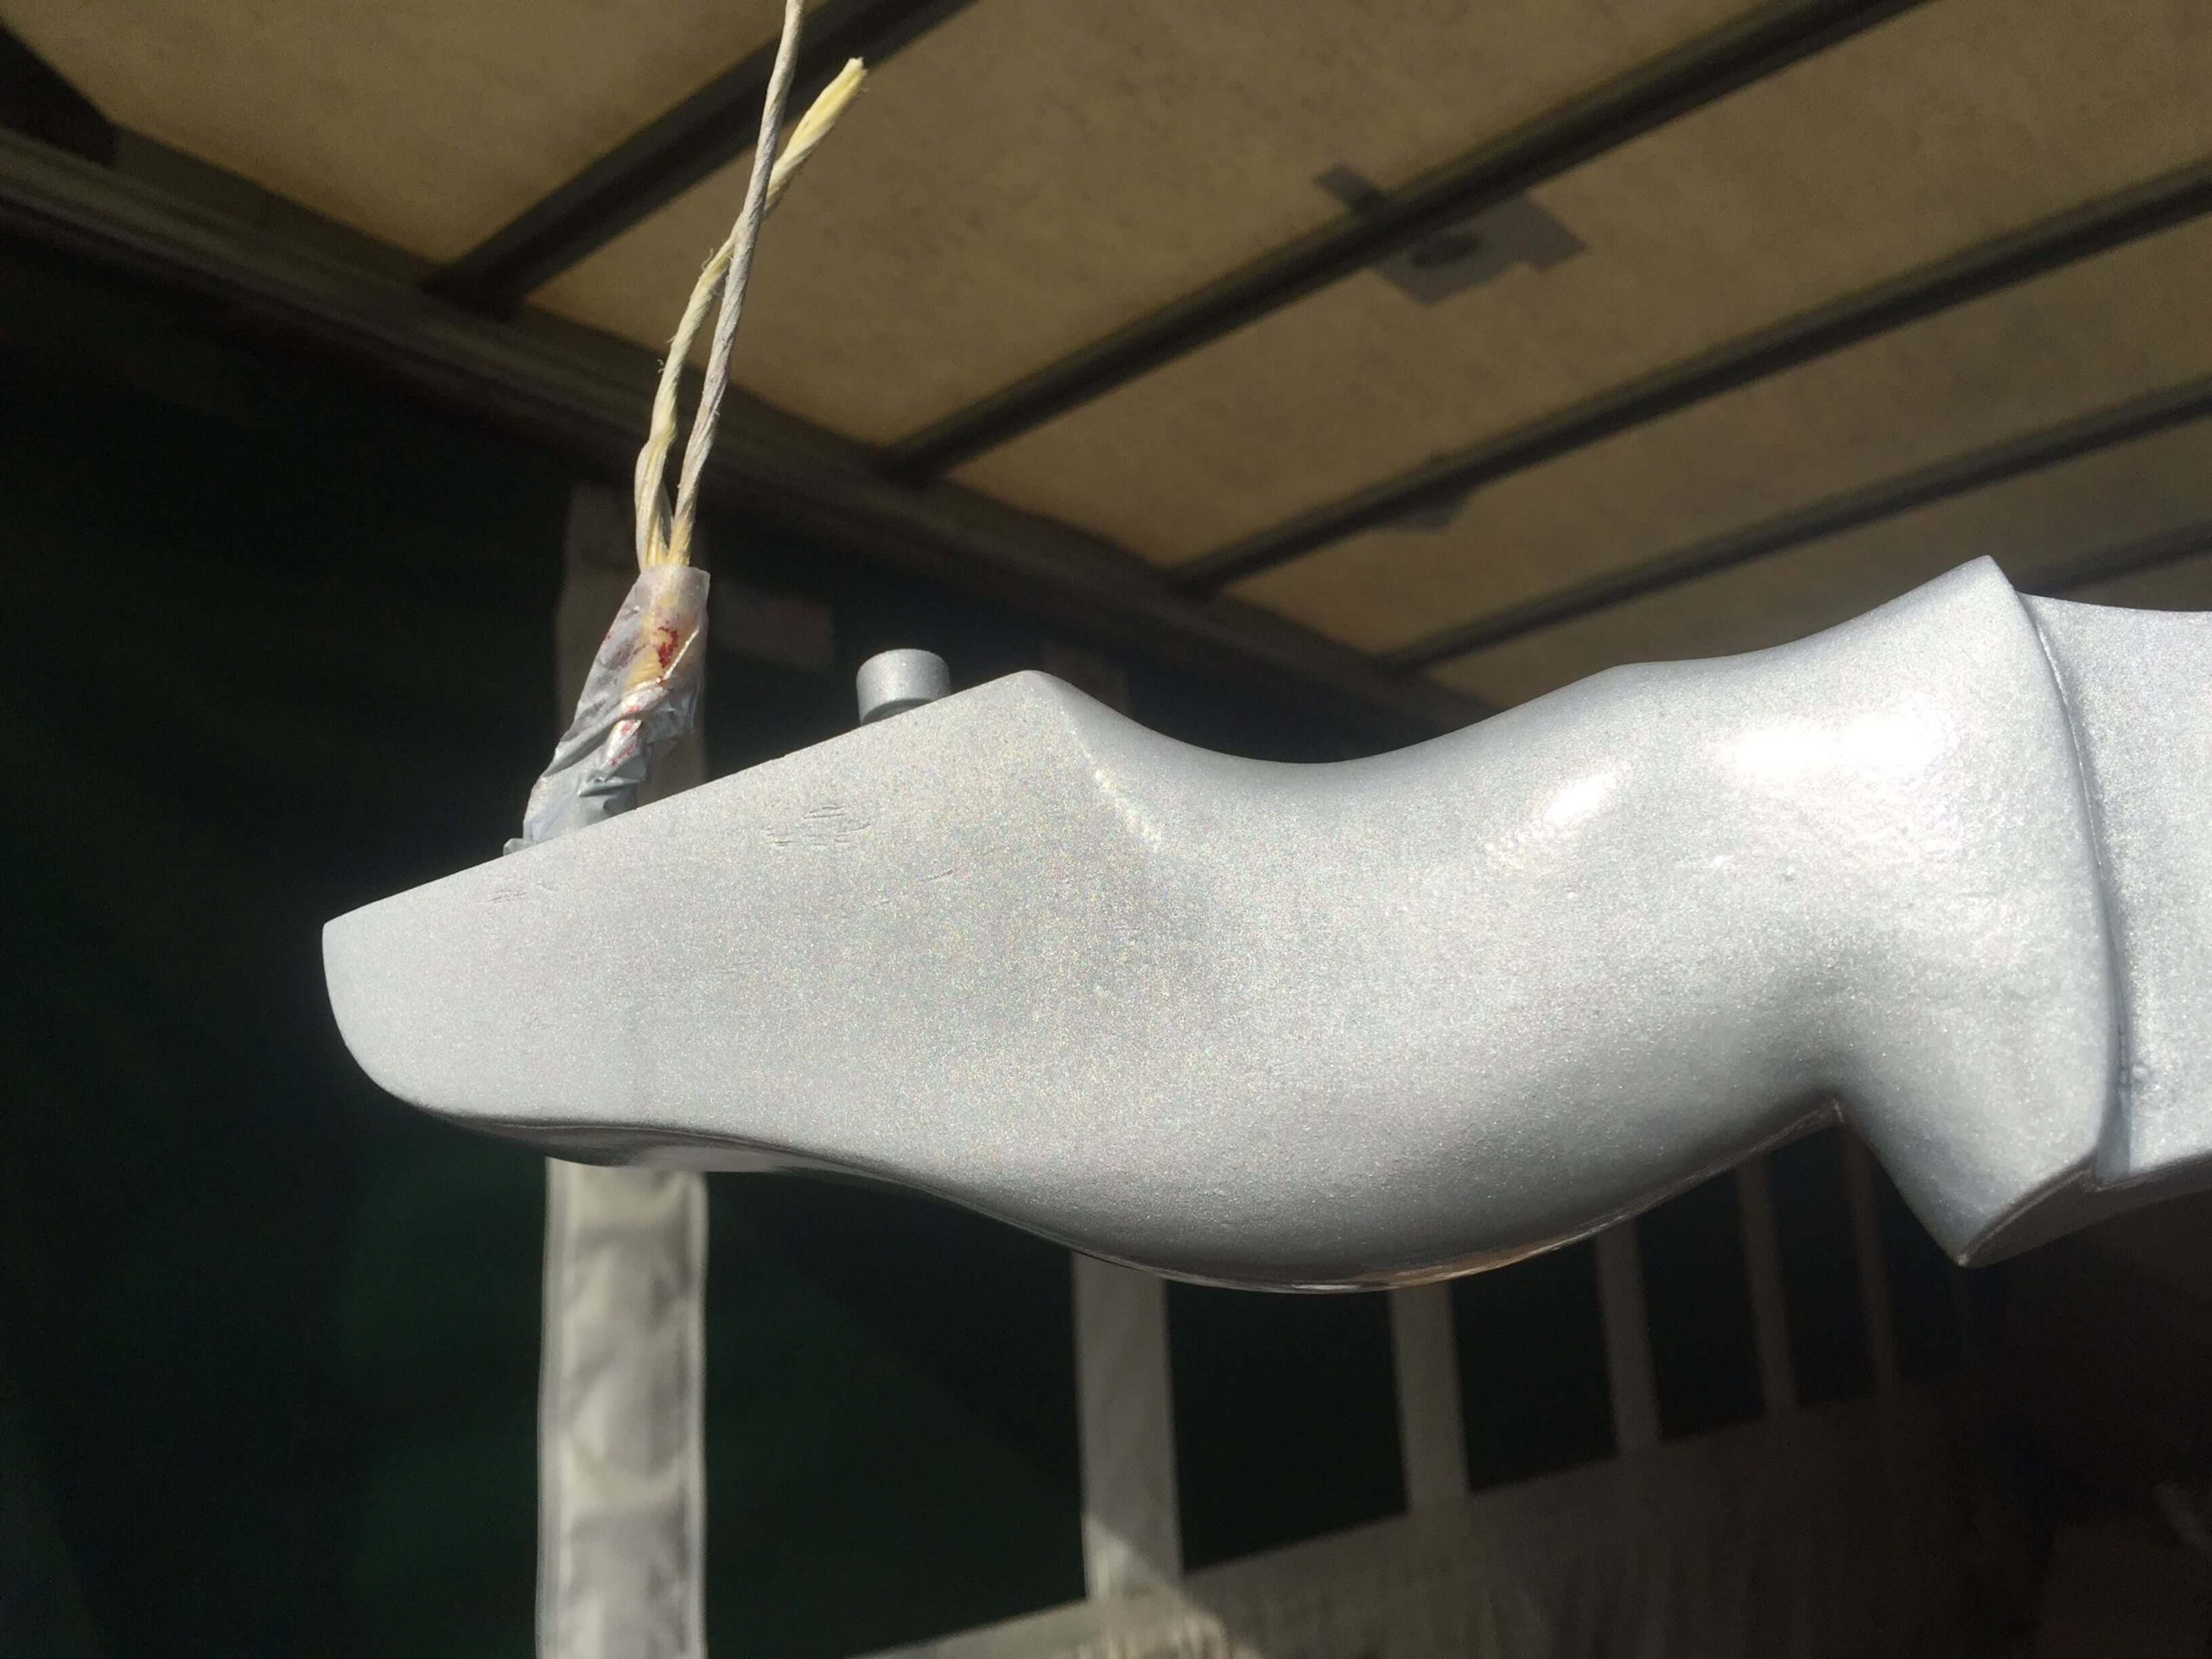
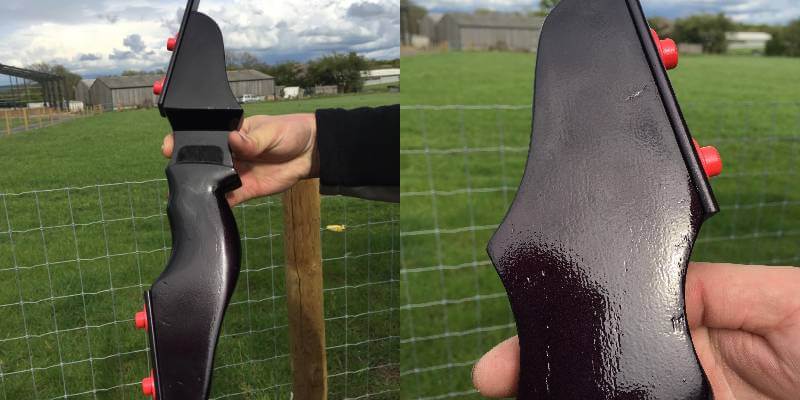
Base Coat (Colour)
Once the primer had cured, we applied an acrylic paint to the bow riser (handle). We applied a silicon paint to the bow limbs (arms) as this paint is semi-flexible and will not crack under flexing the bow. Drying time between coats is 1 hour, and full cure time is 3 hours.
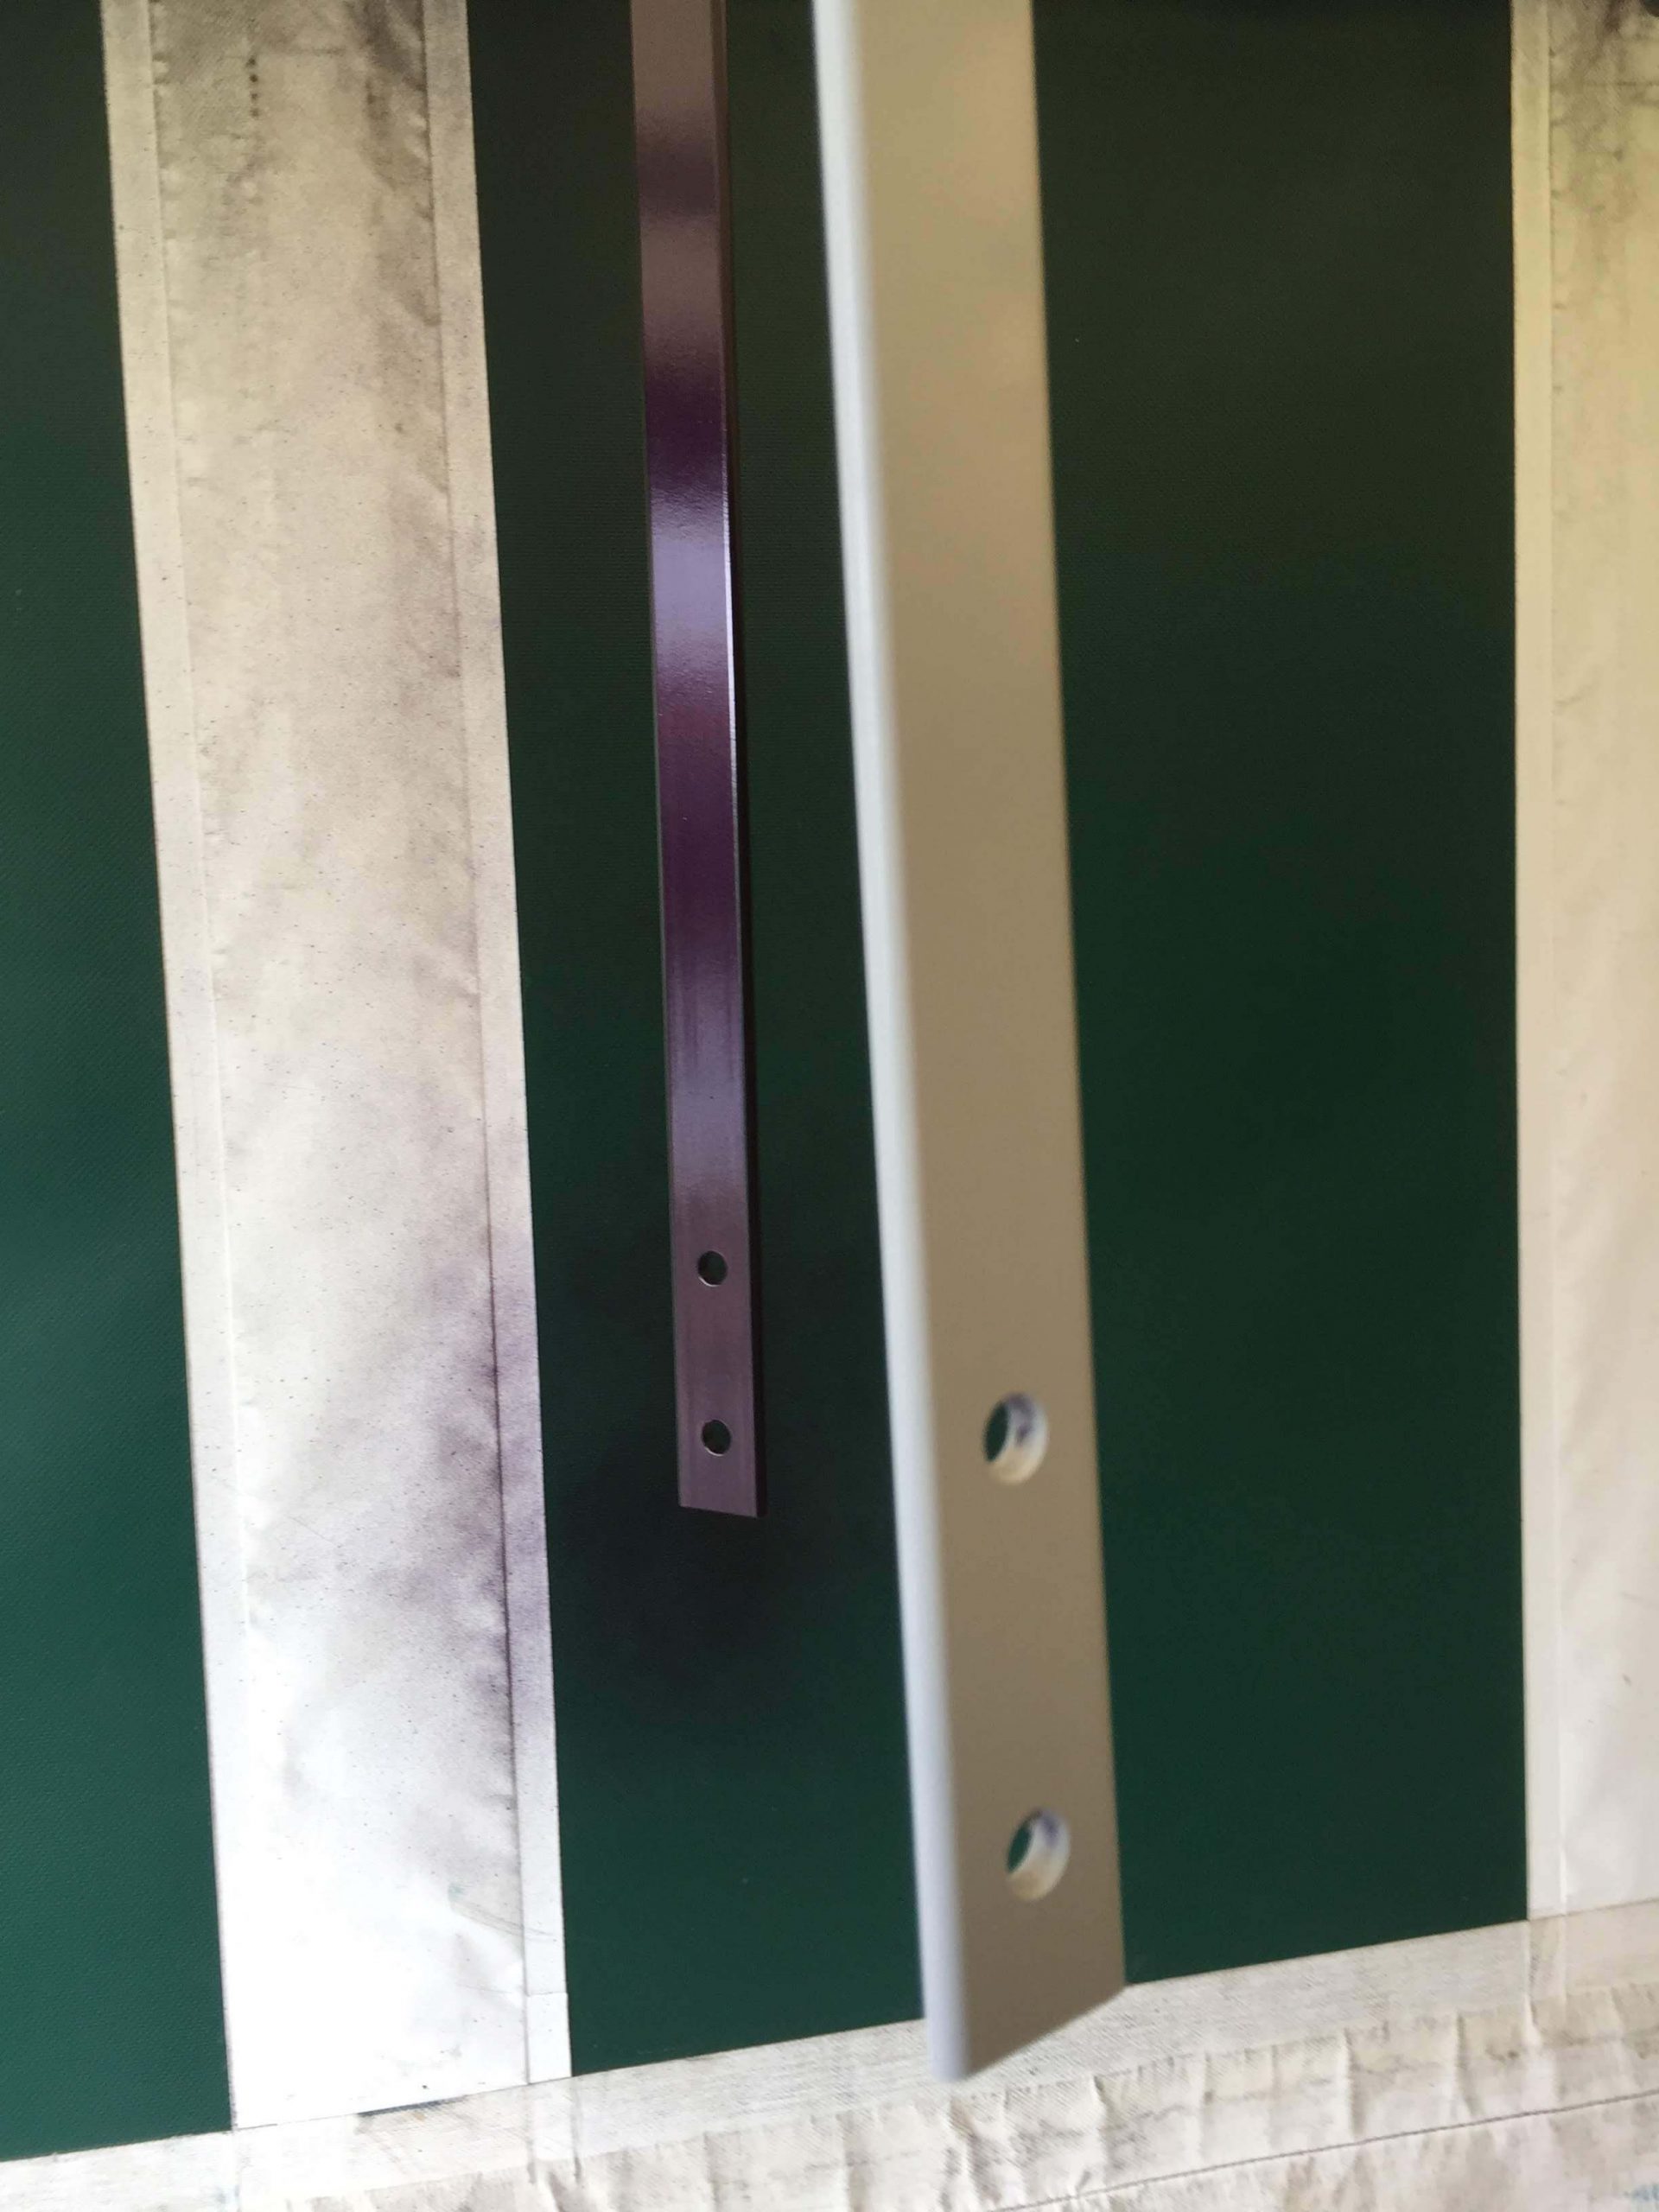
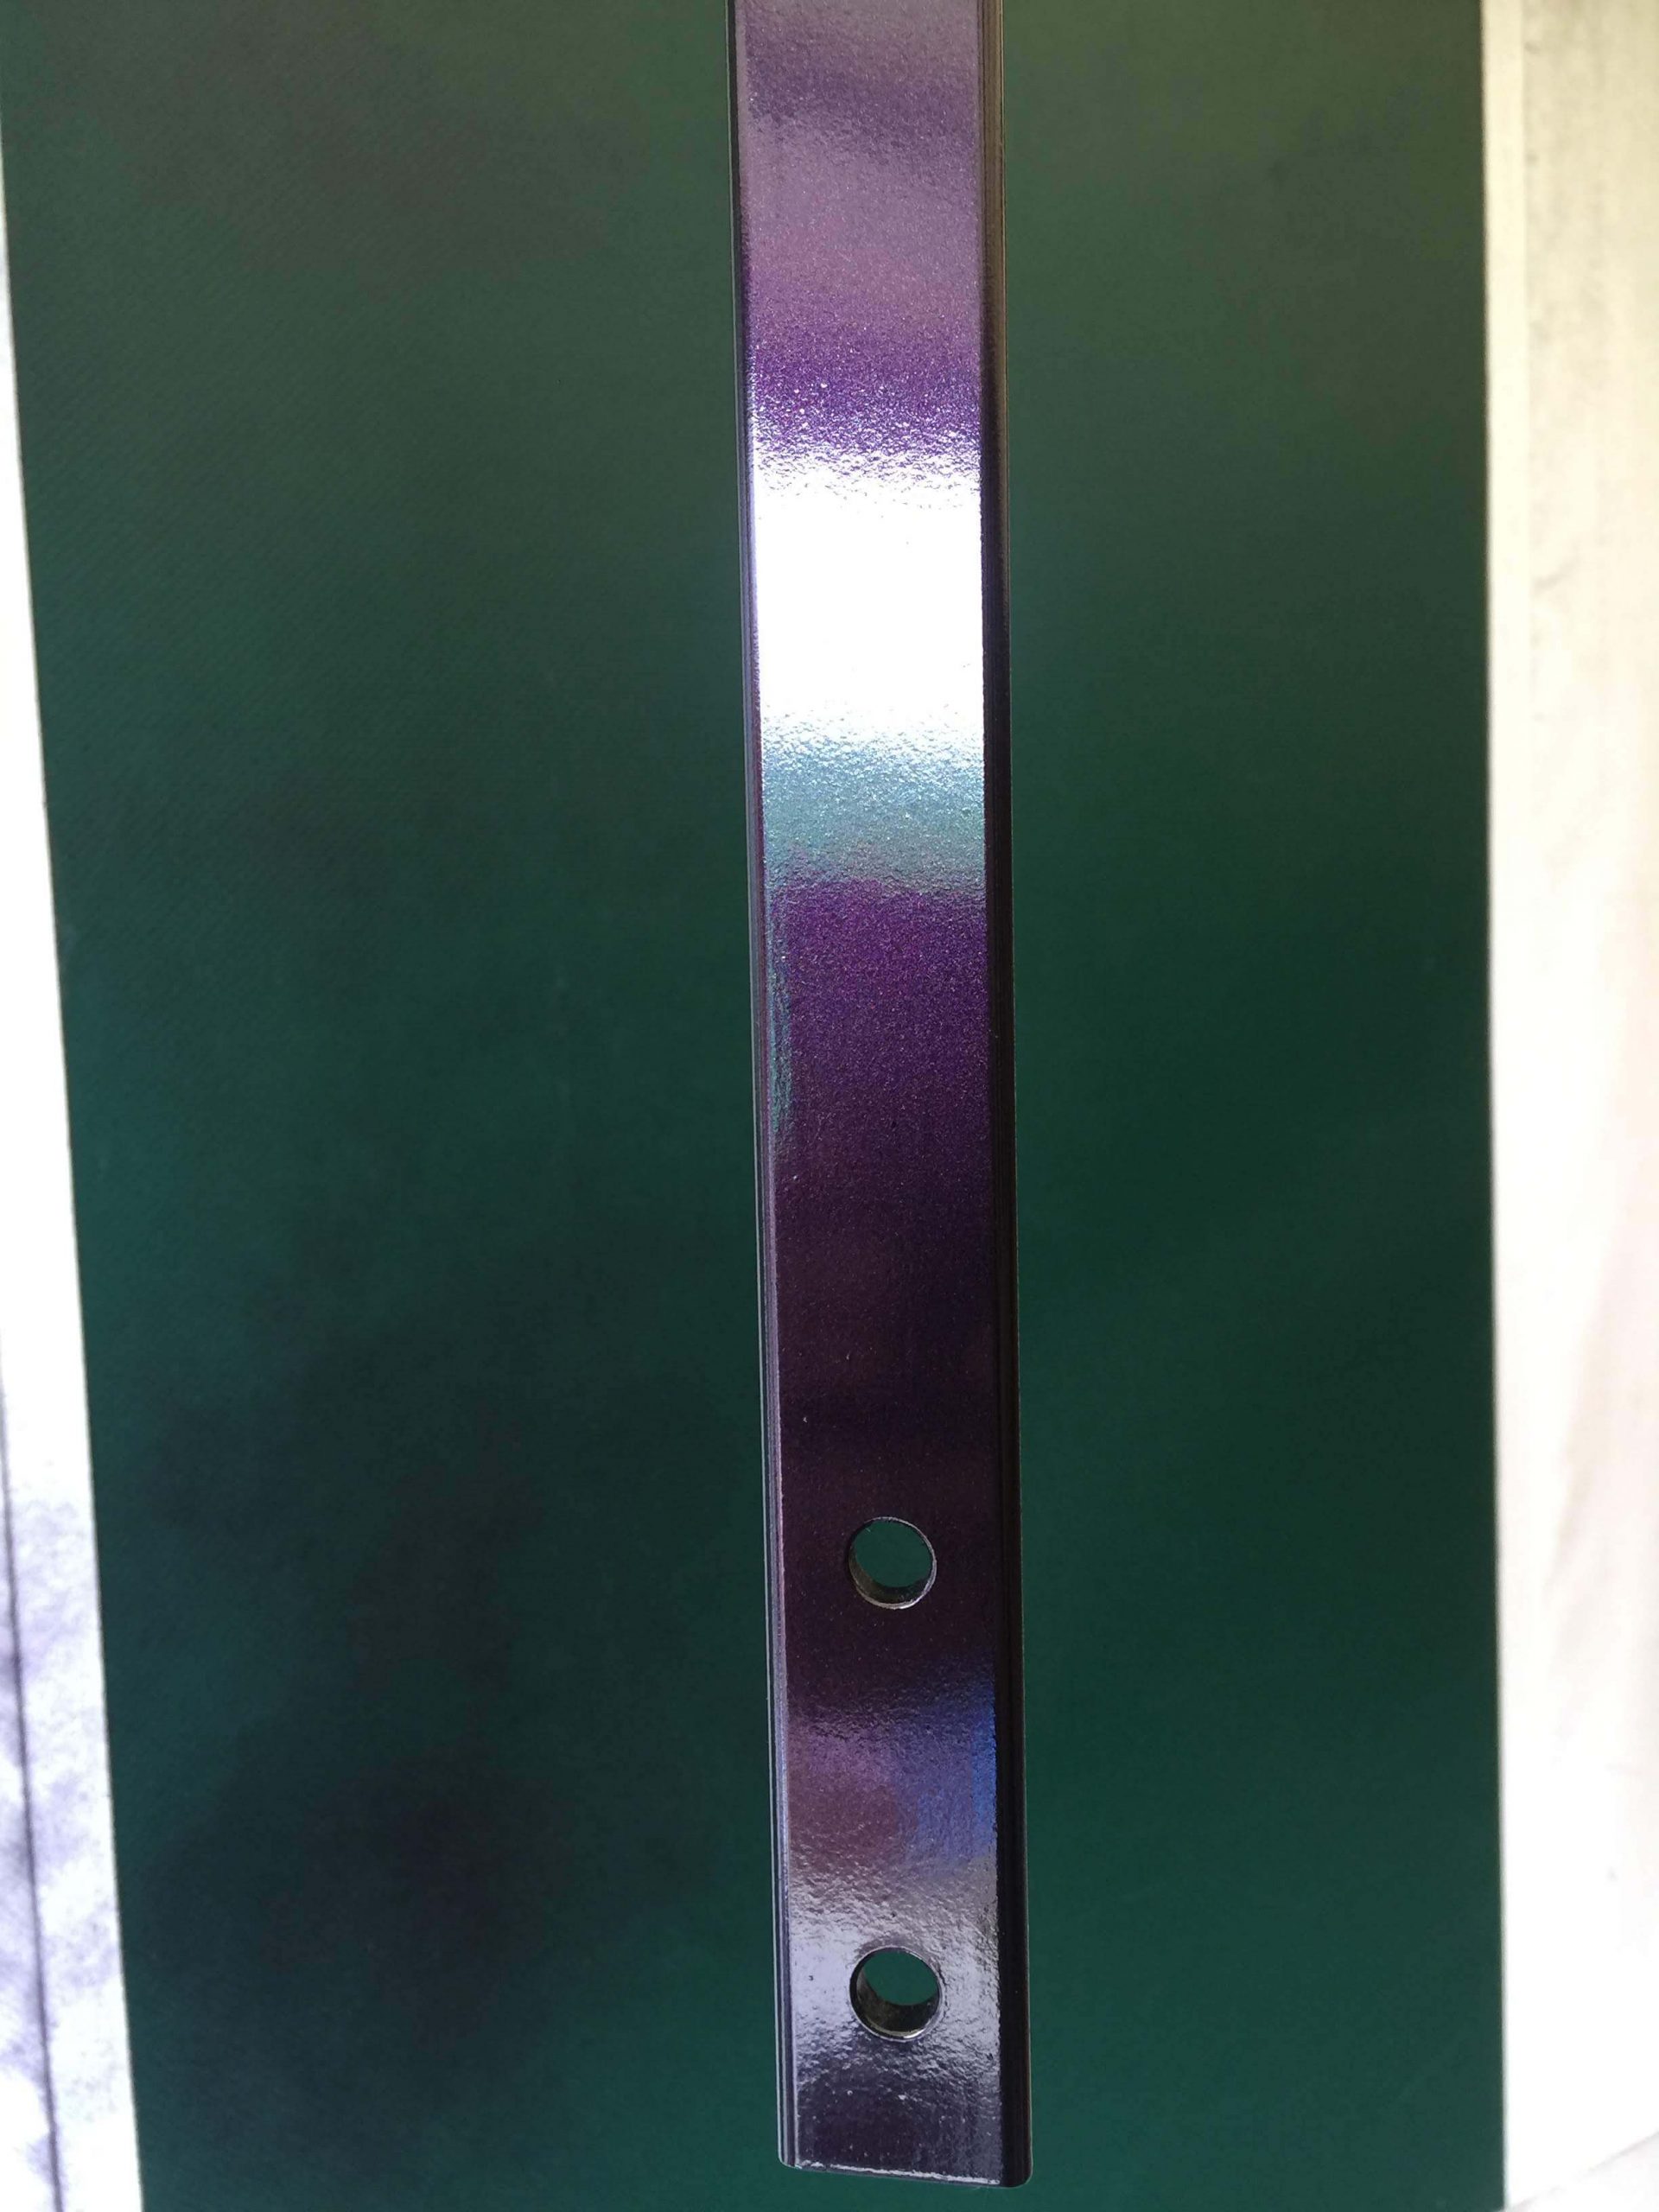
Top Coat (Clear Coat)
We applied a clearcoat lacquer to the bow riser to protect the final colour coat. Apply between 2 and 4 coats, leaving at least 1 hour between coats. Once you have applied the final coat, leave to fully cure for at least a day or more time if you have it.