Rob and Bex handed the task of refurbishing their side drawers to our team and although not a tough job, we took our time to ensure we got the best finish possible.
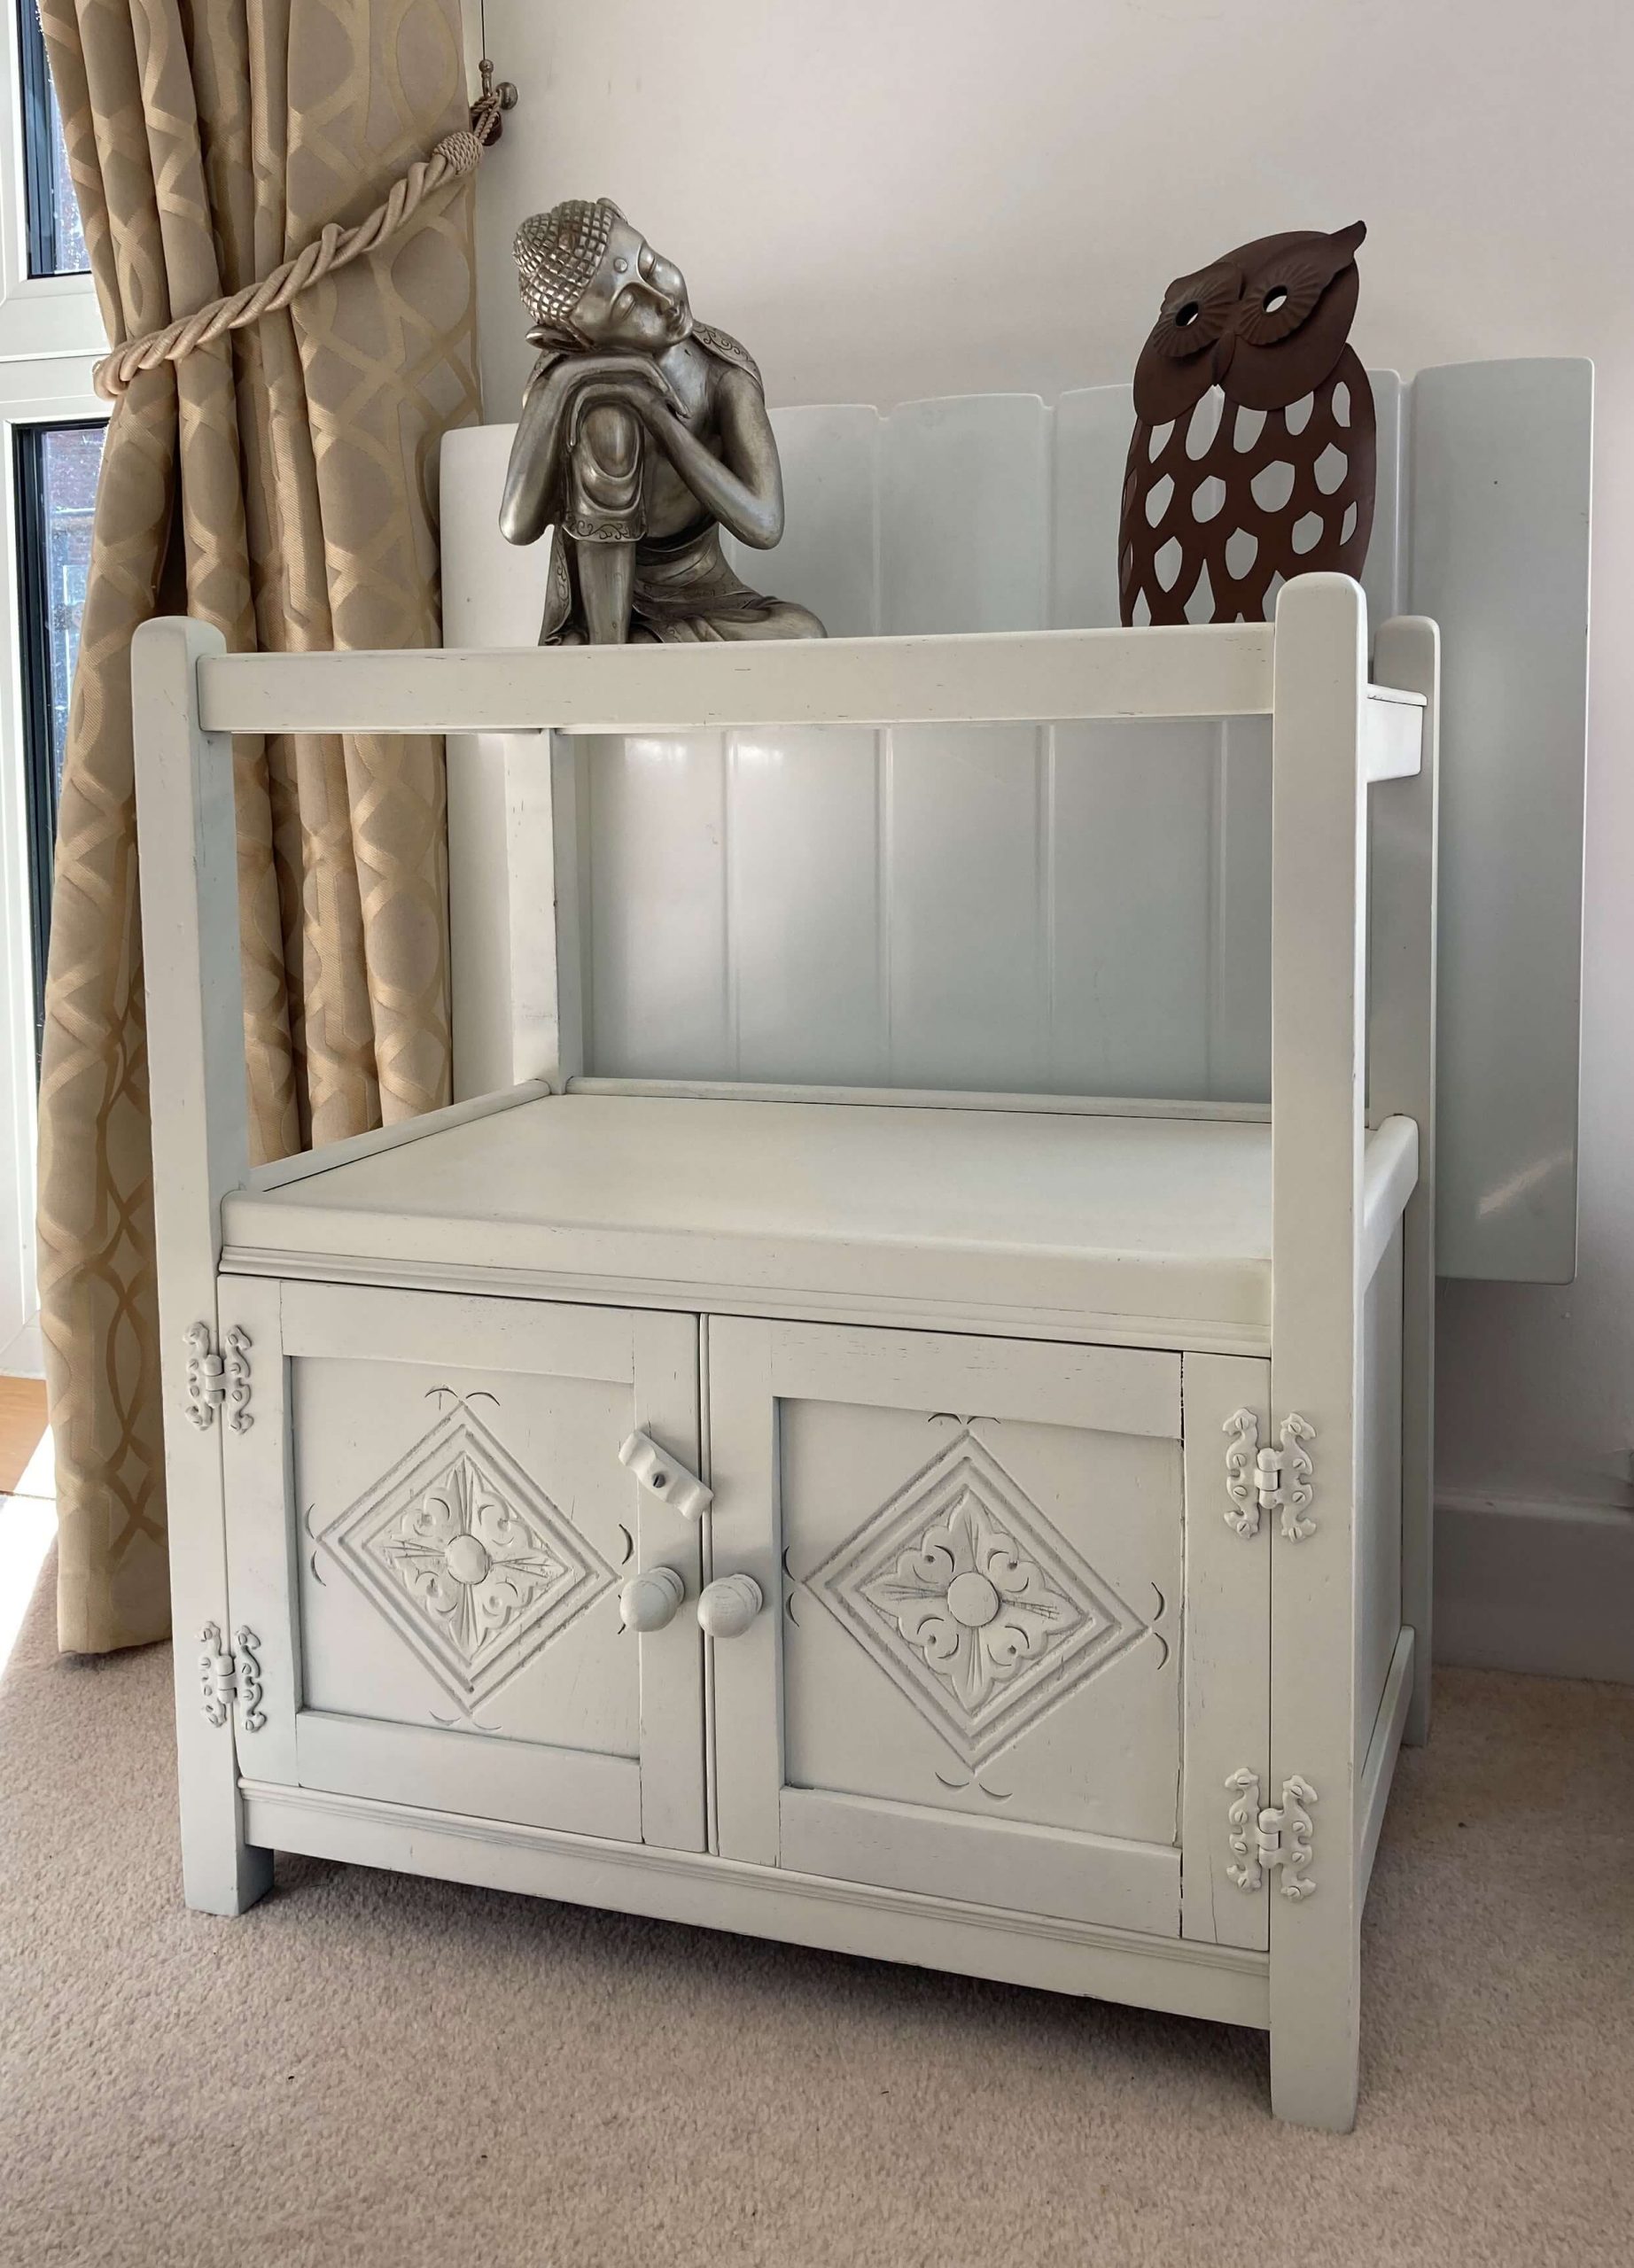
Completing This Project
This was a fun project to complete, and we love being able to completely transform an object to provide it with a new lease of life. On many occasions, painting a product is more cost-effective than completely replacing, and you can create completely bespoke home furniture with a few cans of paint and a steady hand.
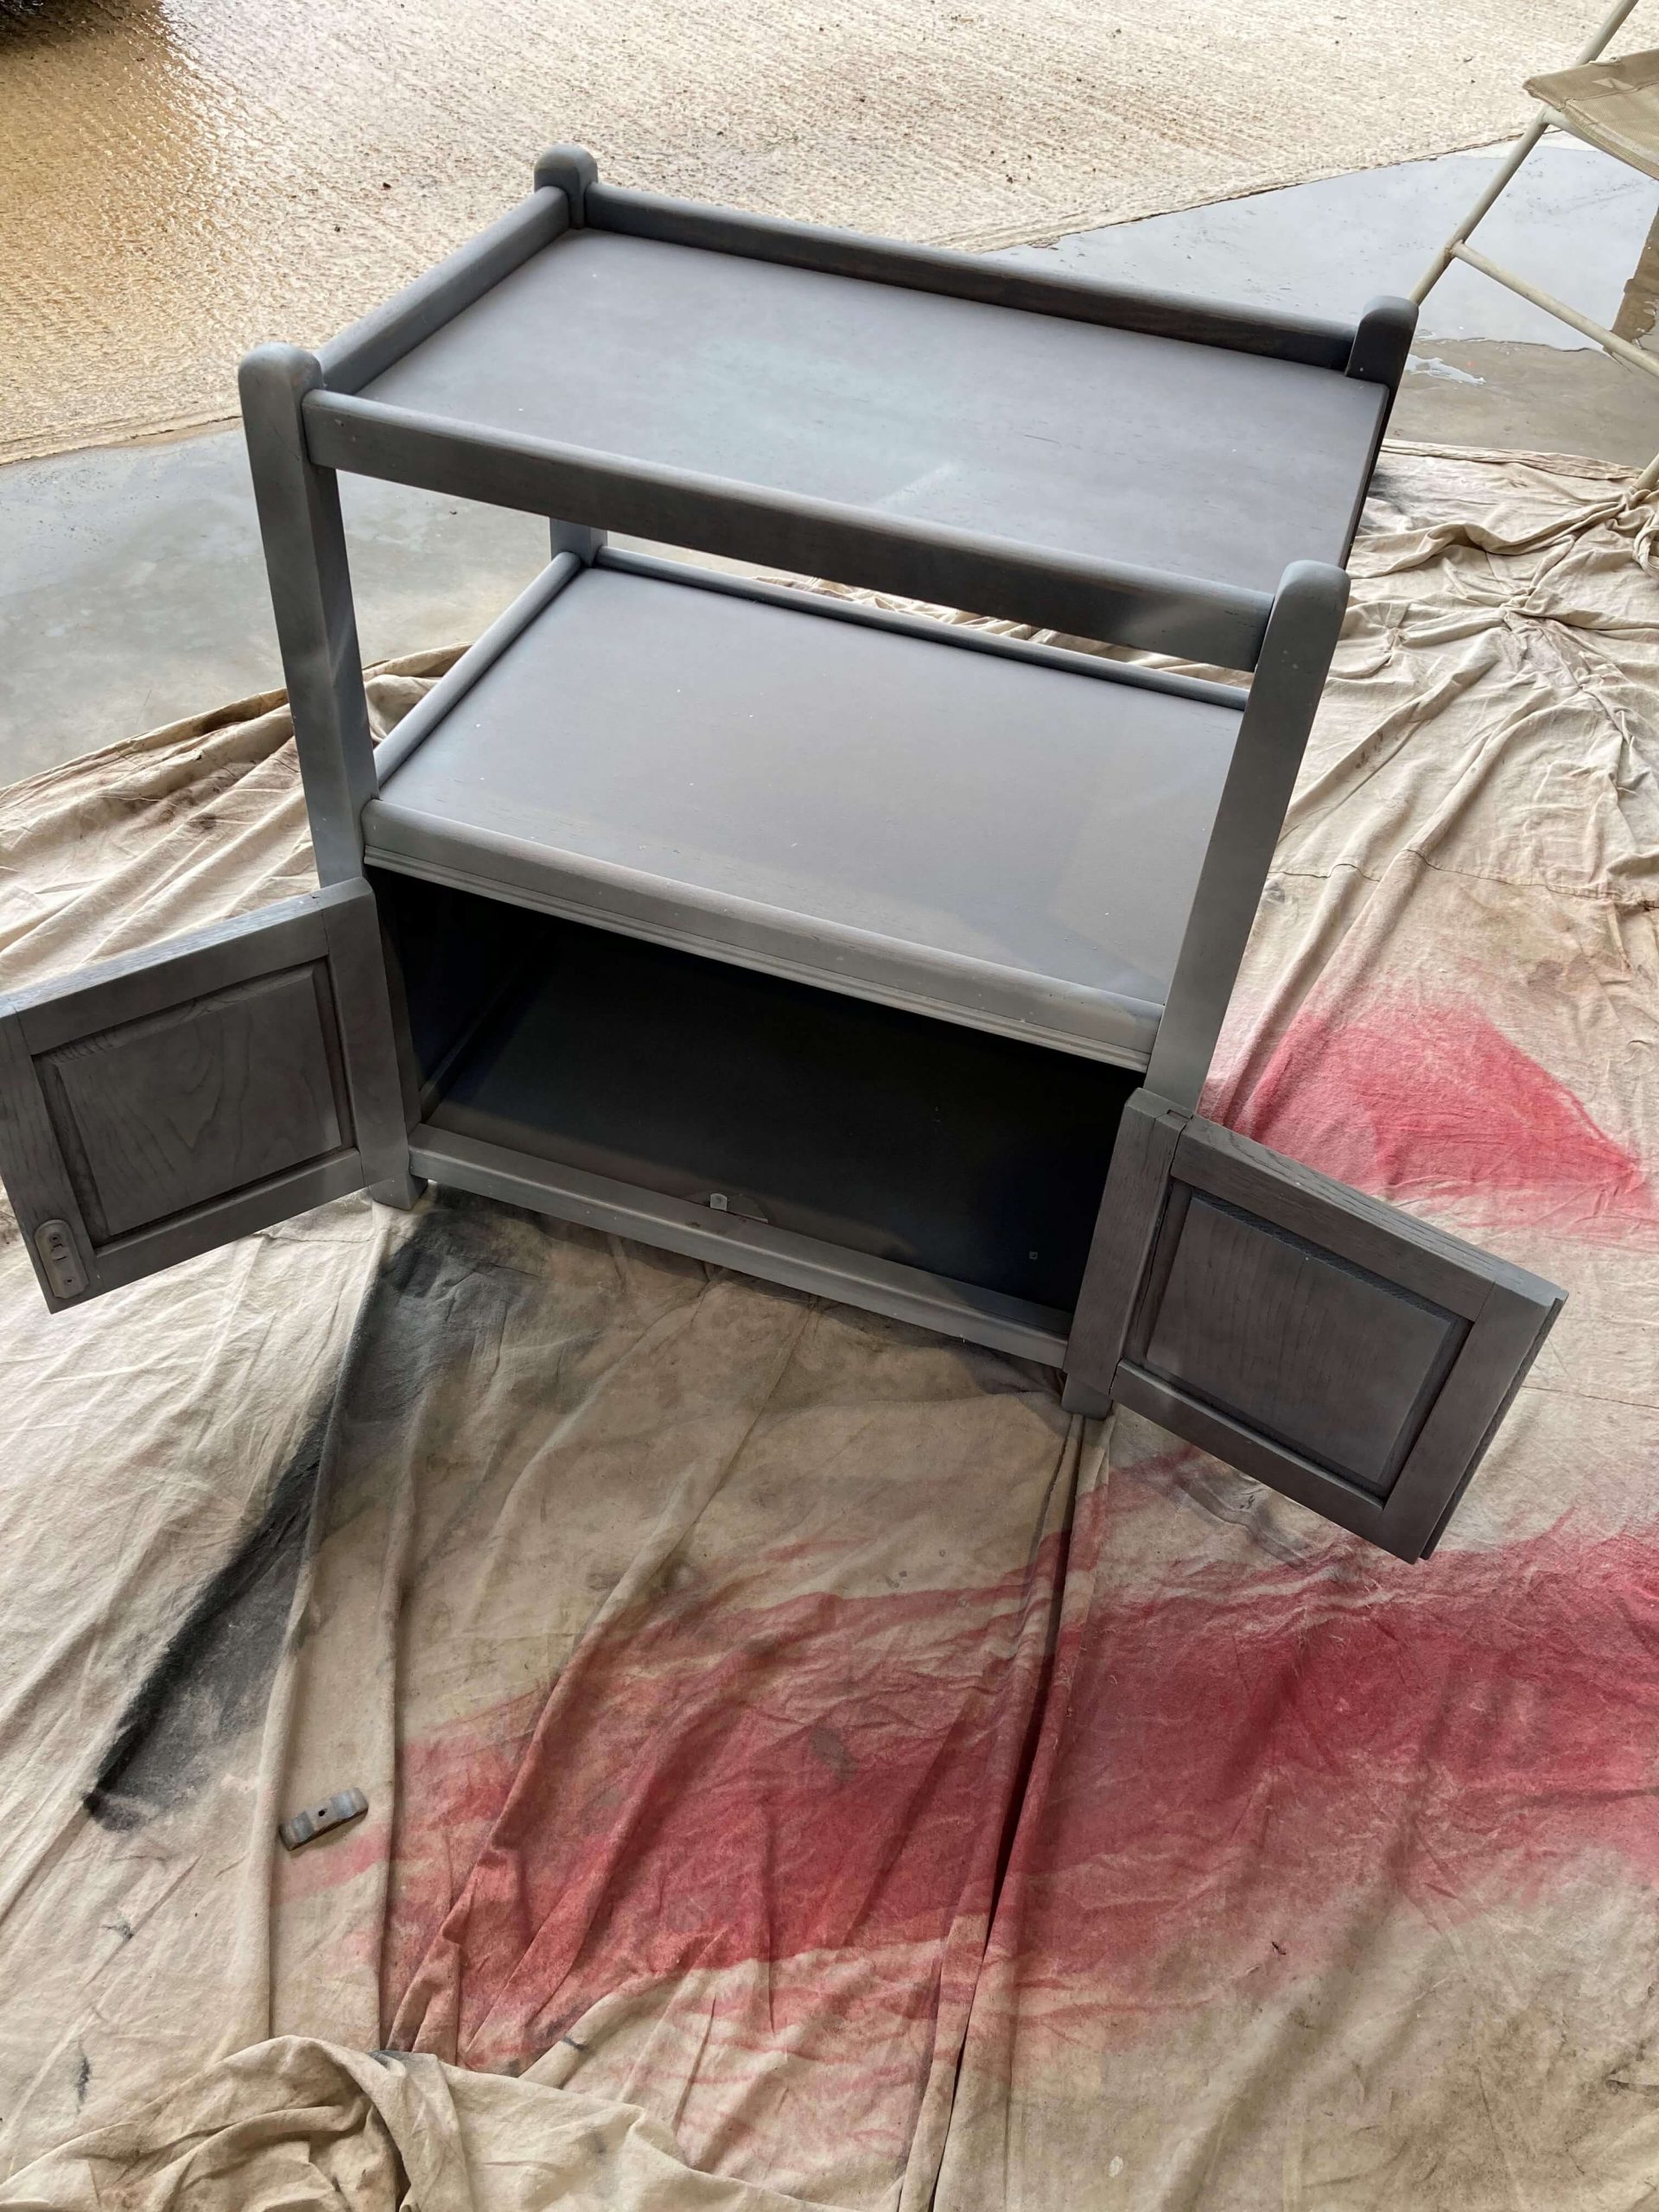
Step One: Prep The Area
Start the project in a well-ventilated area and pick an area where you can lay down a dust sheet.
TOP TIP: Mask off any areas you do not want to be painted prior to sanding and priming. Cover the rest of the area with any additional dust sheets, masking paper or newspaper.
Step Two: Sanding & Dust Coat
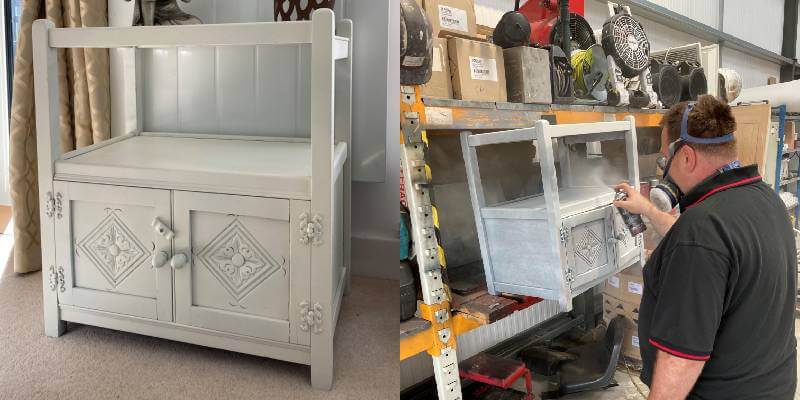
Key (lightly sand to a rough substrate) any previously painted surfaces or debris such as wood, metal or plastics so that the new primer/paint can adhere to; on this occasion, we used the HD/AC primer paint all in one. We applied the RAL 9010 primer paint as a light dust coat and set for around 20 hours to cure. Once the paint had cured, we sanded down the rough edges until smooth all over.
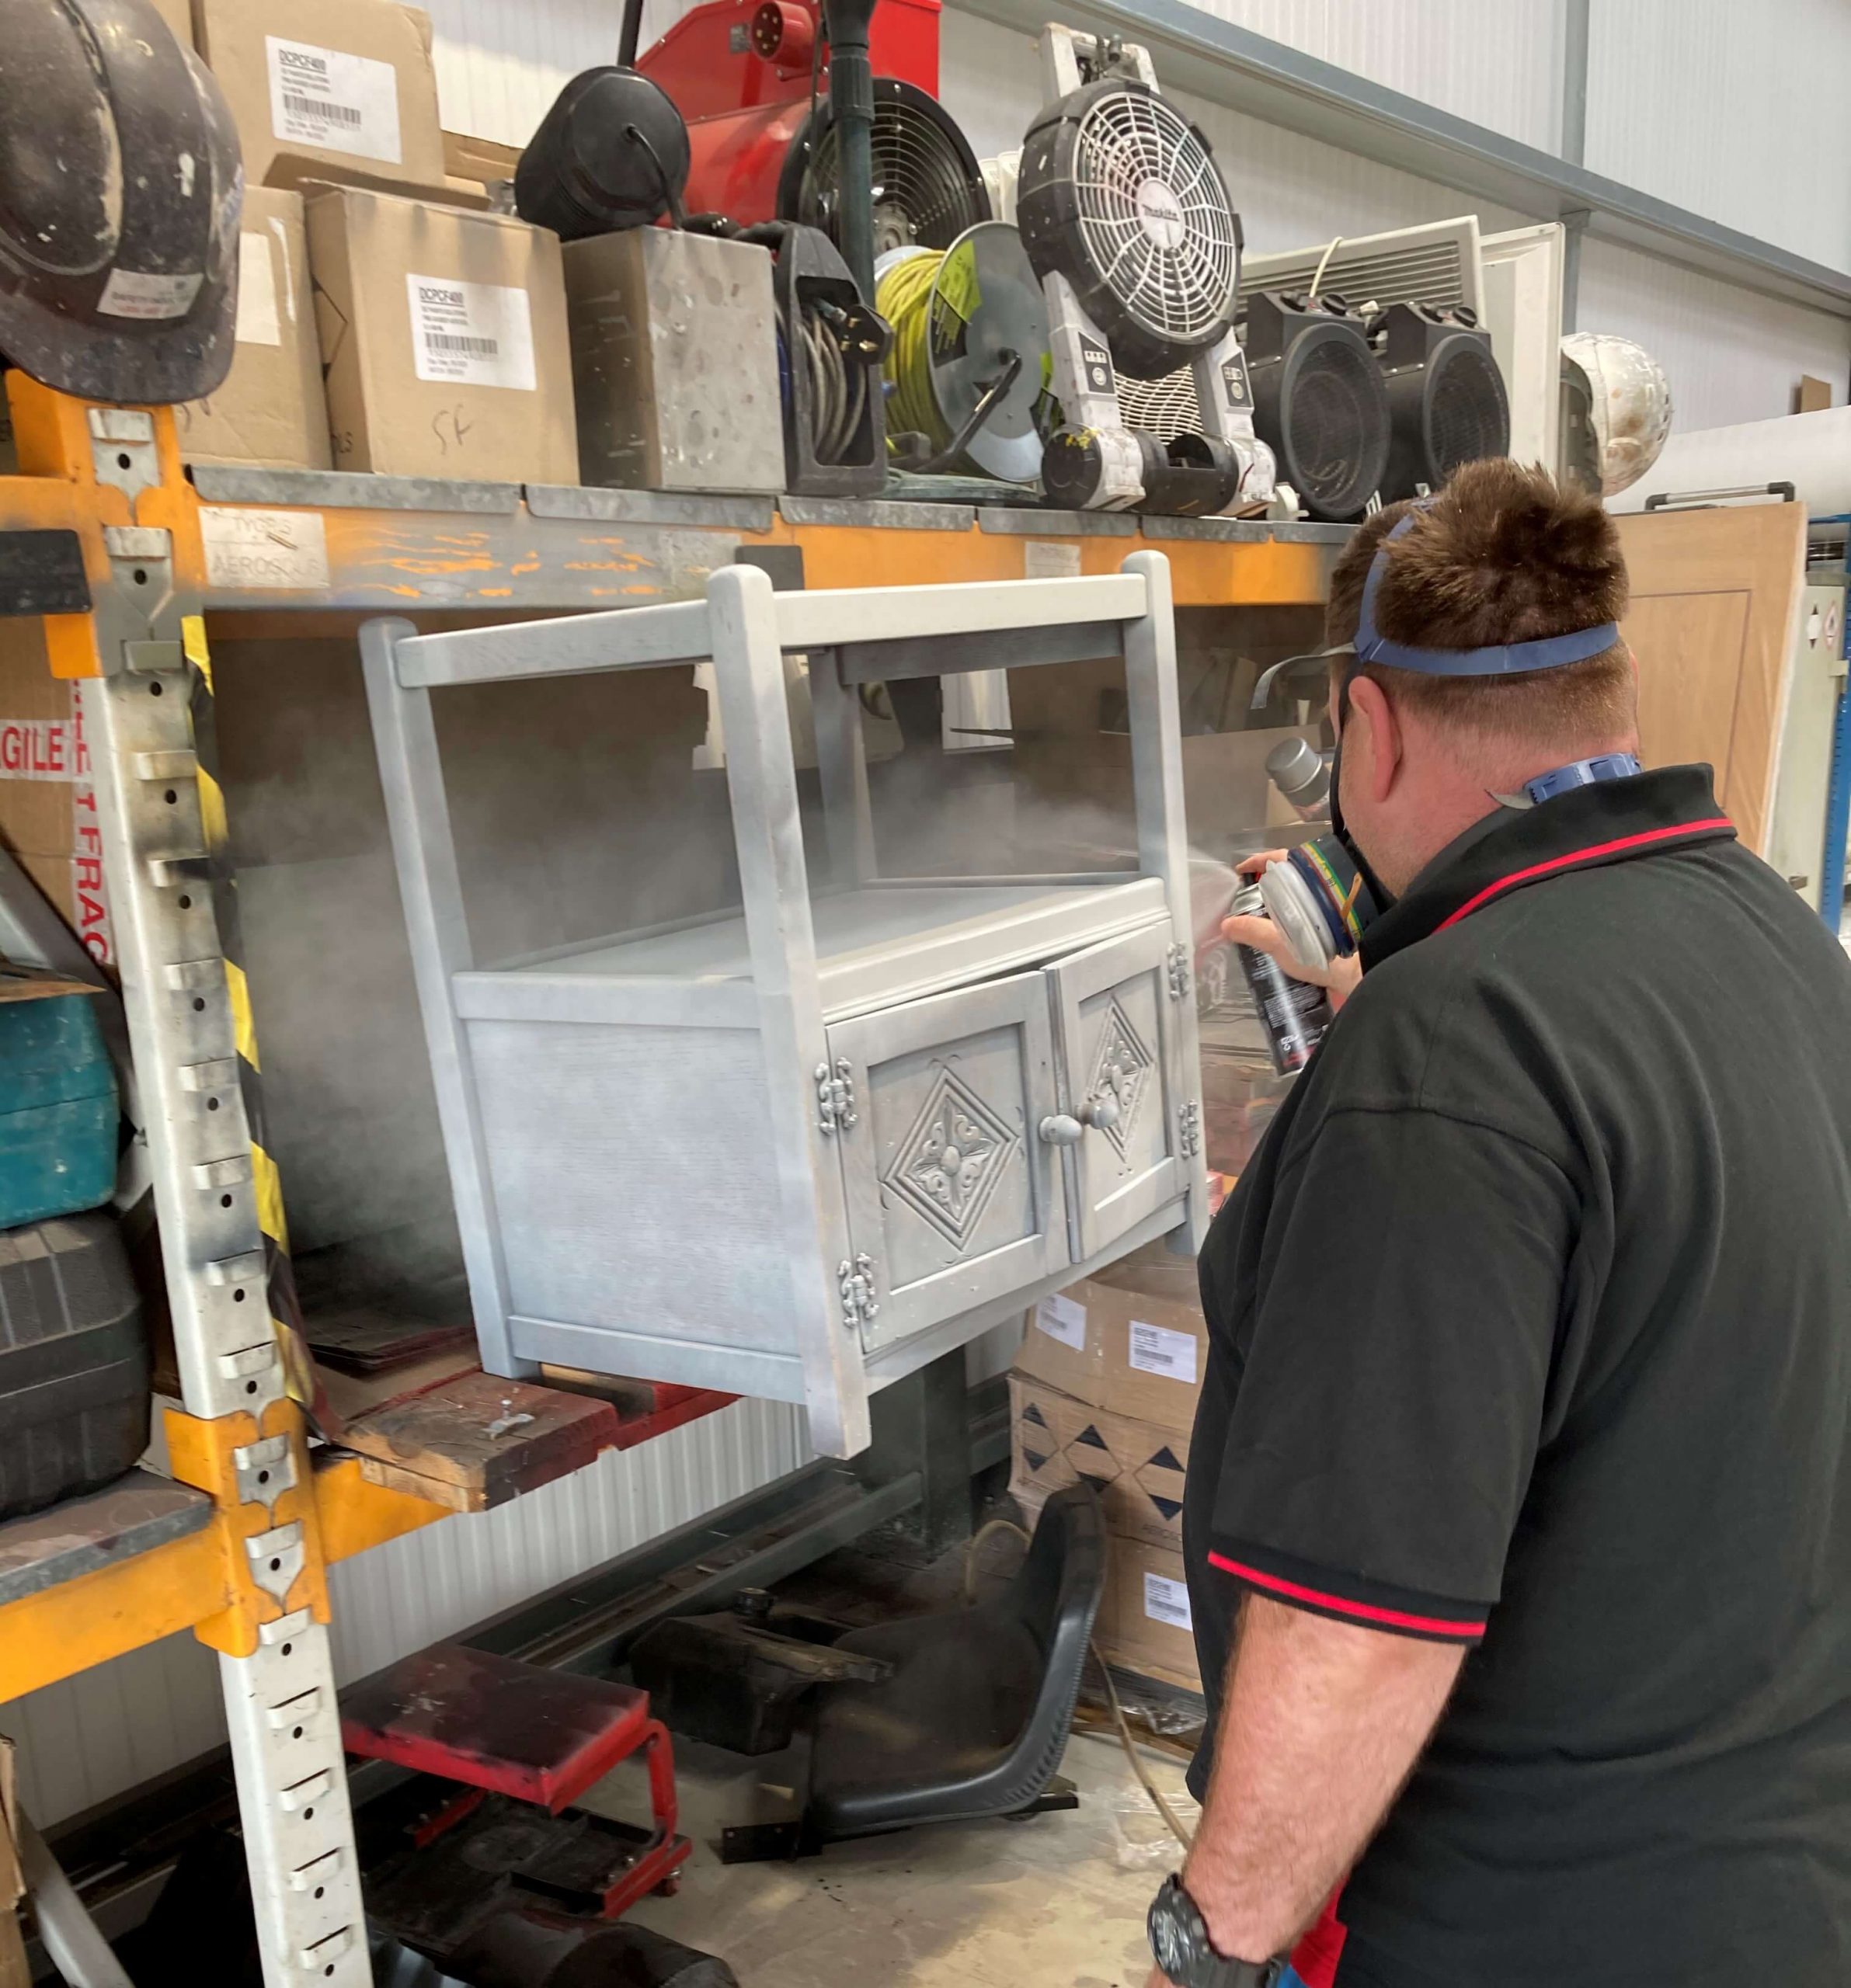
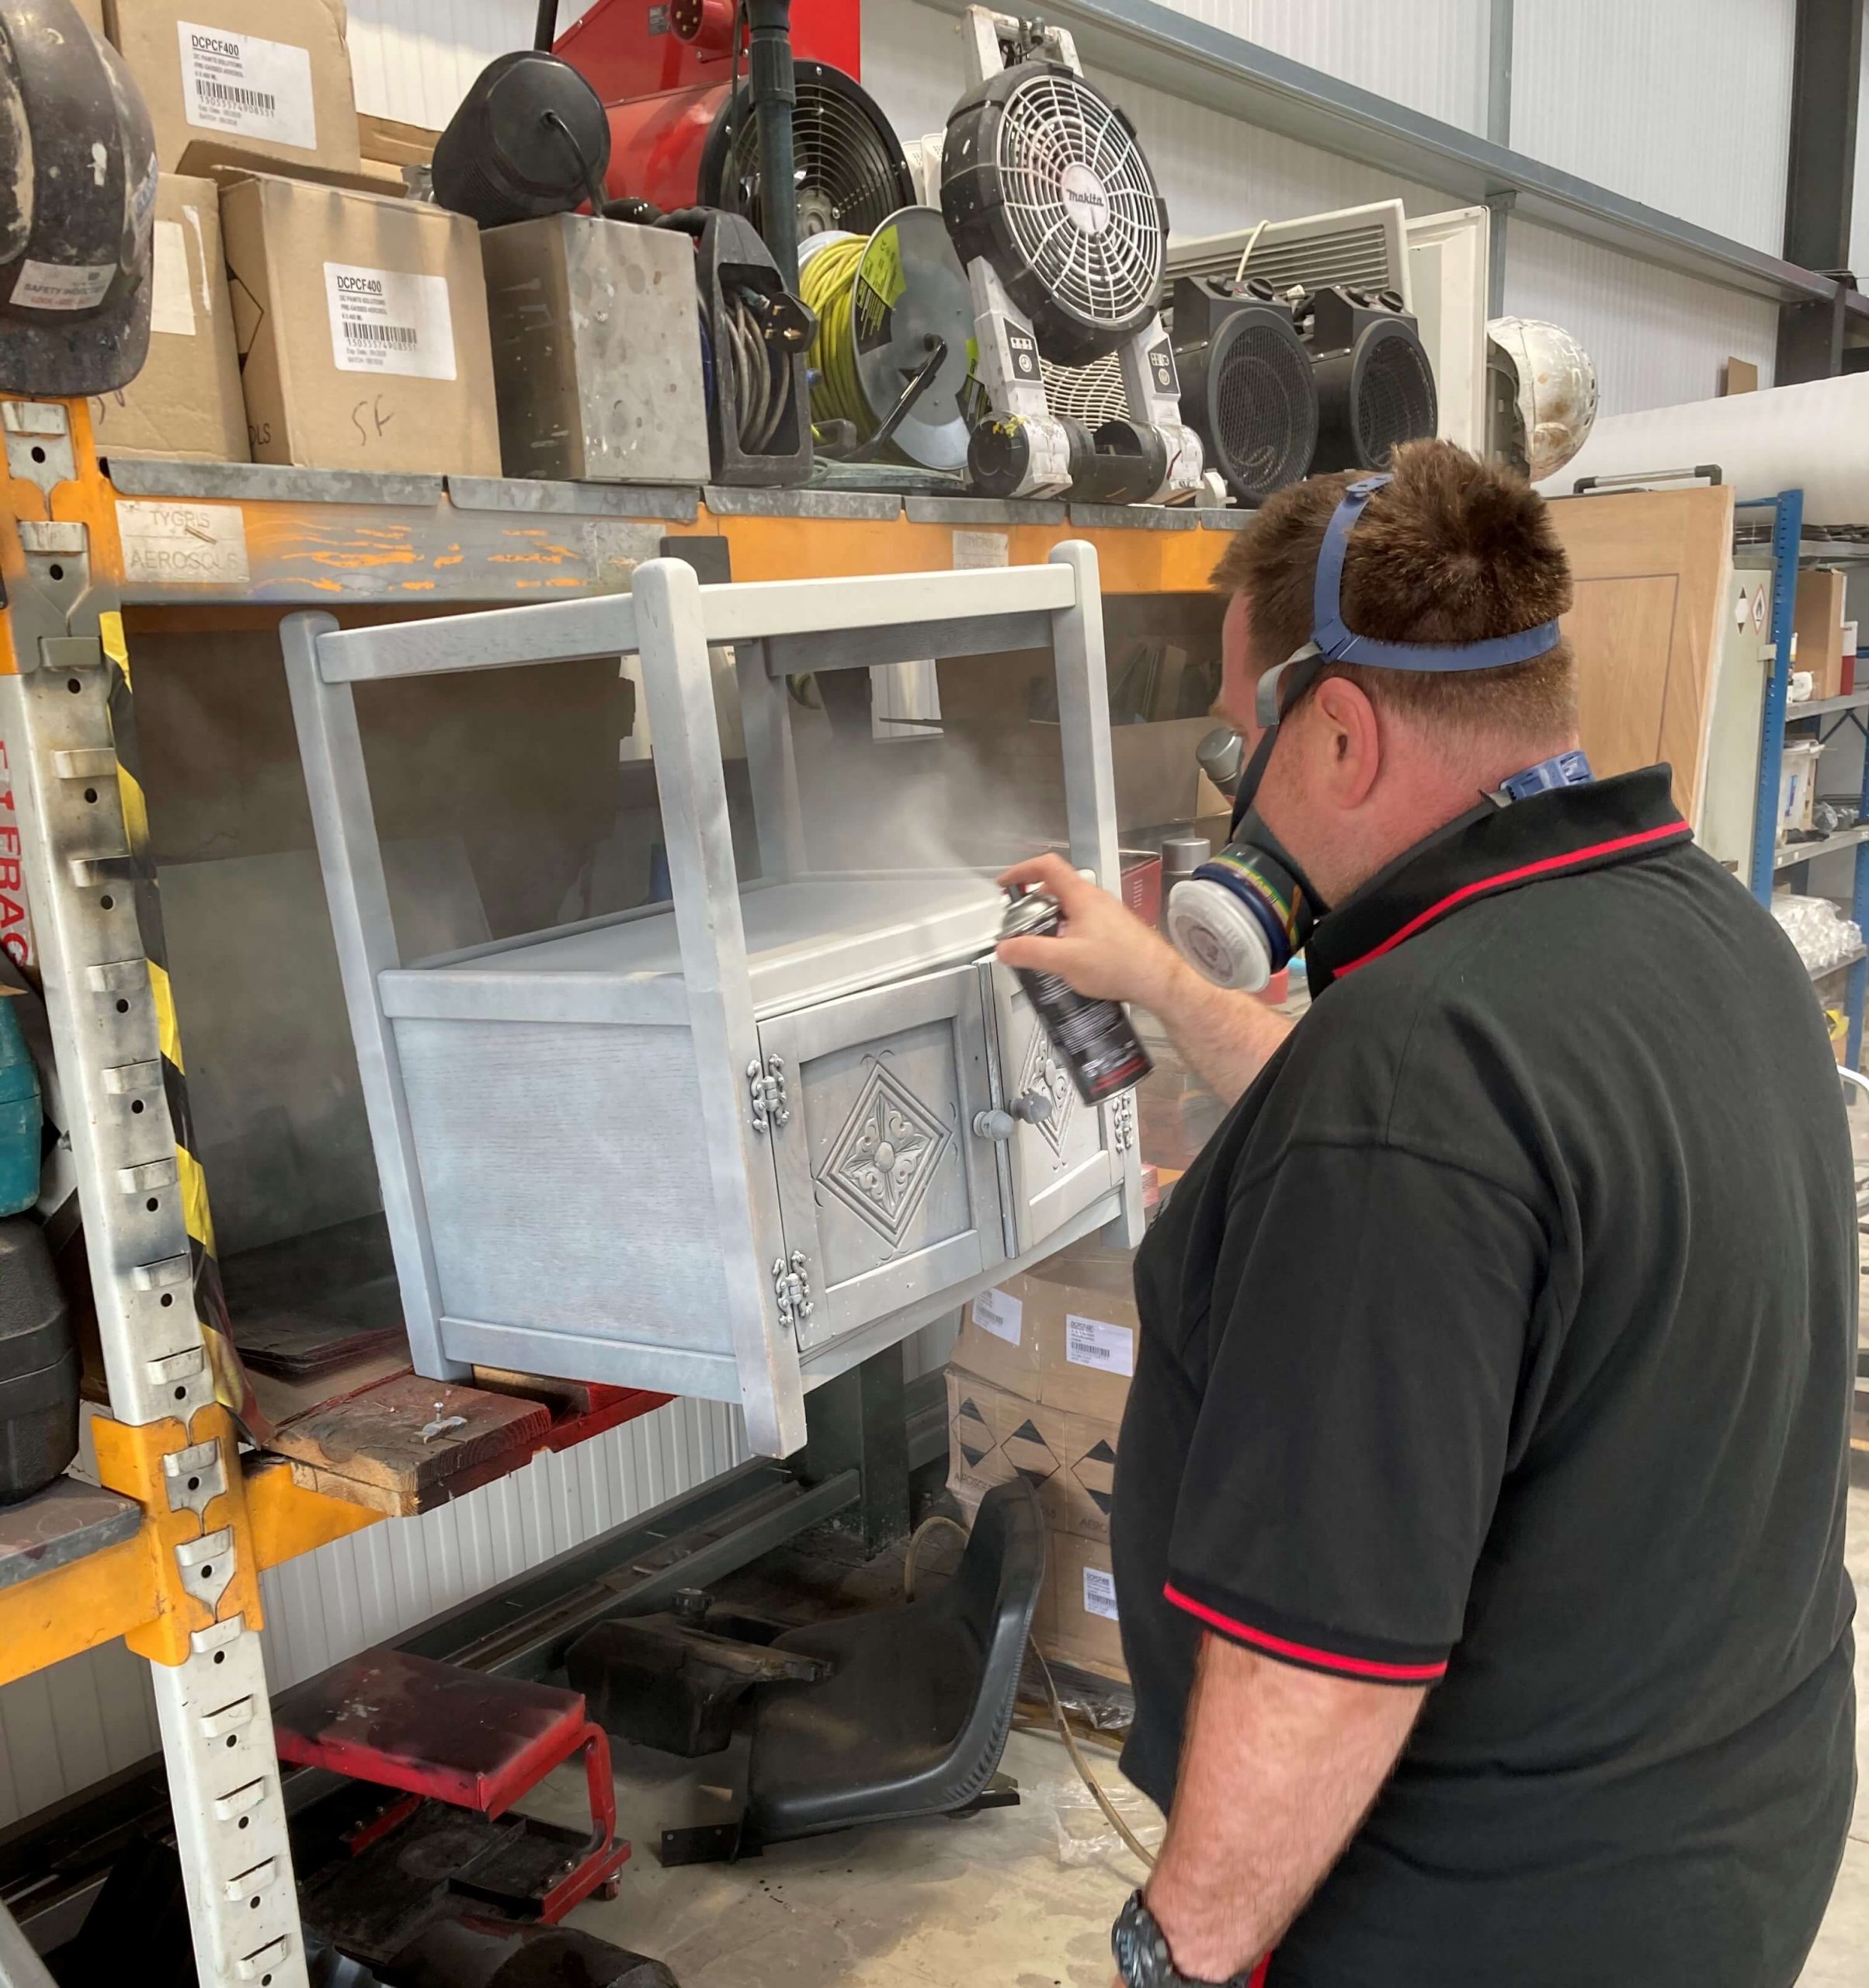
Step Three: Final Wet Coat
Once the dust and the remaining particulate had all been removed, we then applied the final coat.
TOP TIP: Hold the can approximately 20cm from the surface of the chair and spray left to right in steady passes (releasing the spray nozzle as you leave the substrate and depressing the nozzle before you hit the substrate on the return pass), half overlapping with each stroke. For best results, while spraying, keep the can the same distance from the surface and in motion. Apply a heavier final coat but be mindful of creating runs if you apply too thick or apply several light coats 20-30 minutes apart until you are happy with the colour.
Step Four: Time To Cure
Fully cure the project. HD/AC Primer paint is quite thick and when applied in quantity will take longer to cure, so ensure you leave for as long as possible to let the paint do its job. If you apply a thick coat, leave for at least the following day to ensure your substrate is cured.