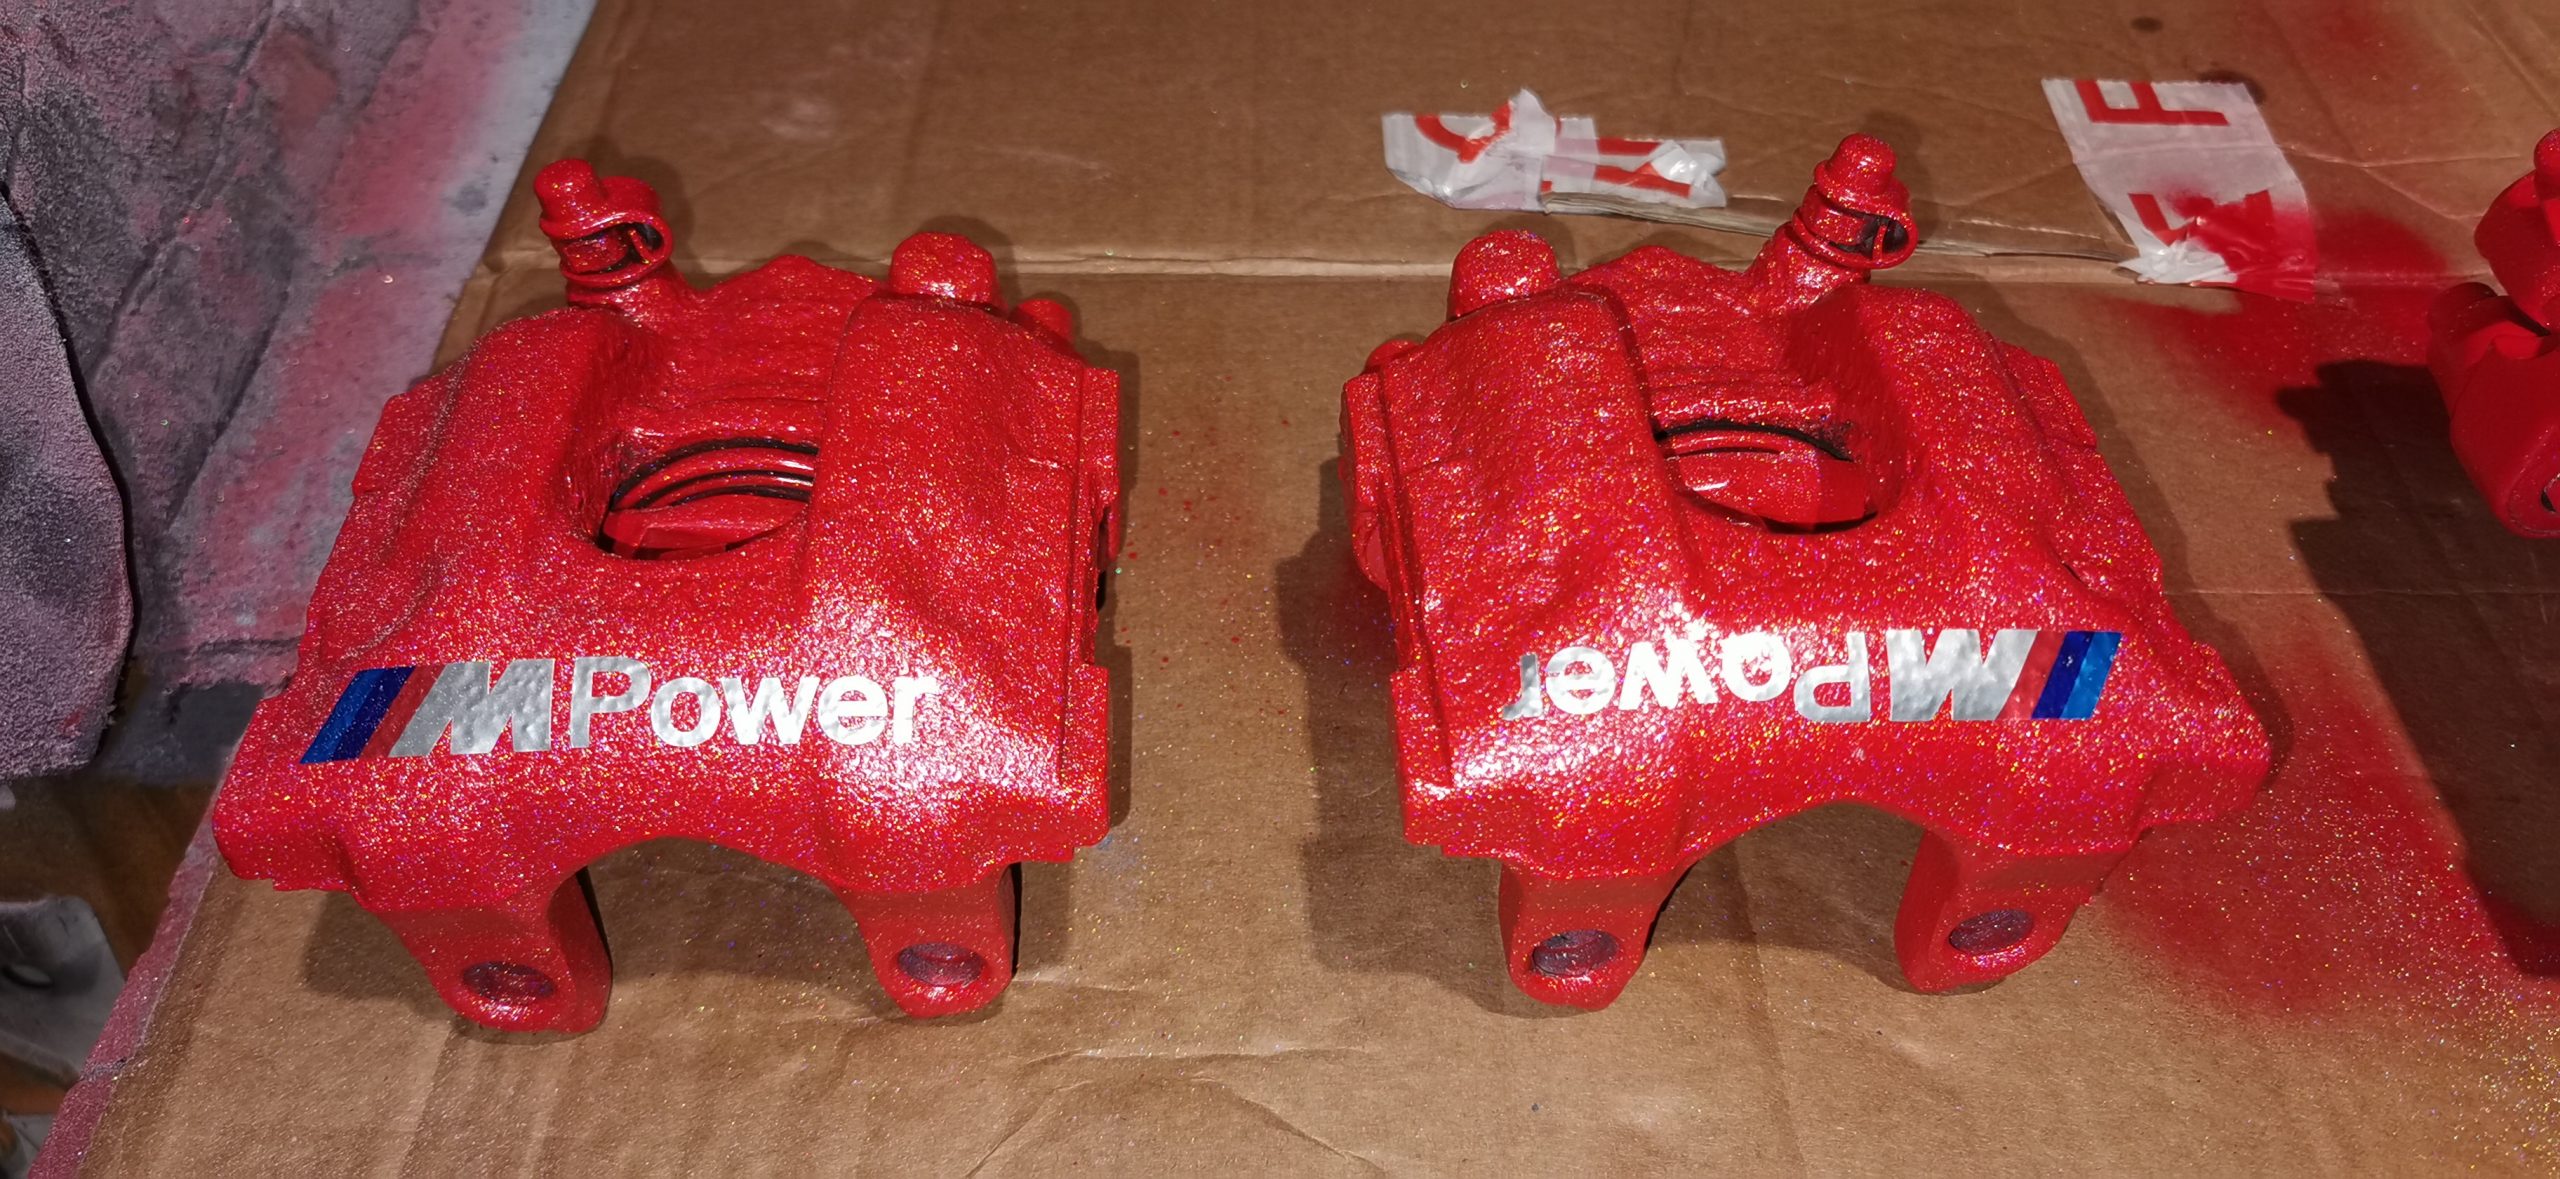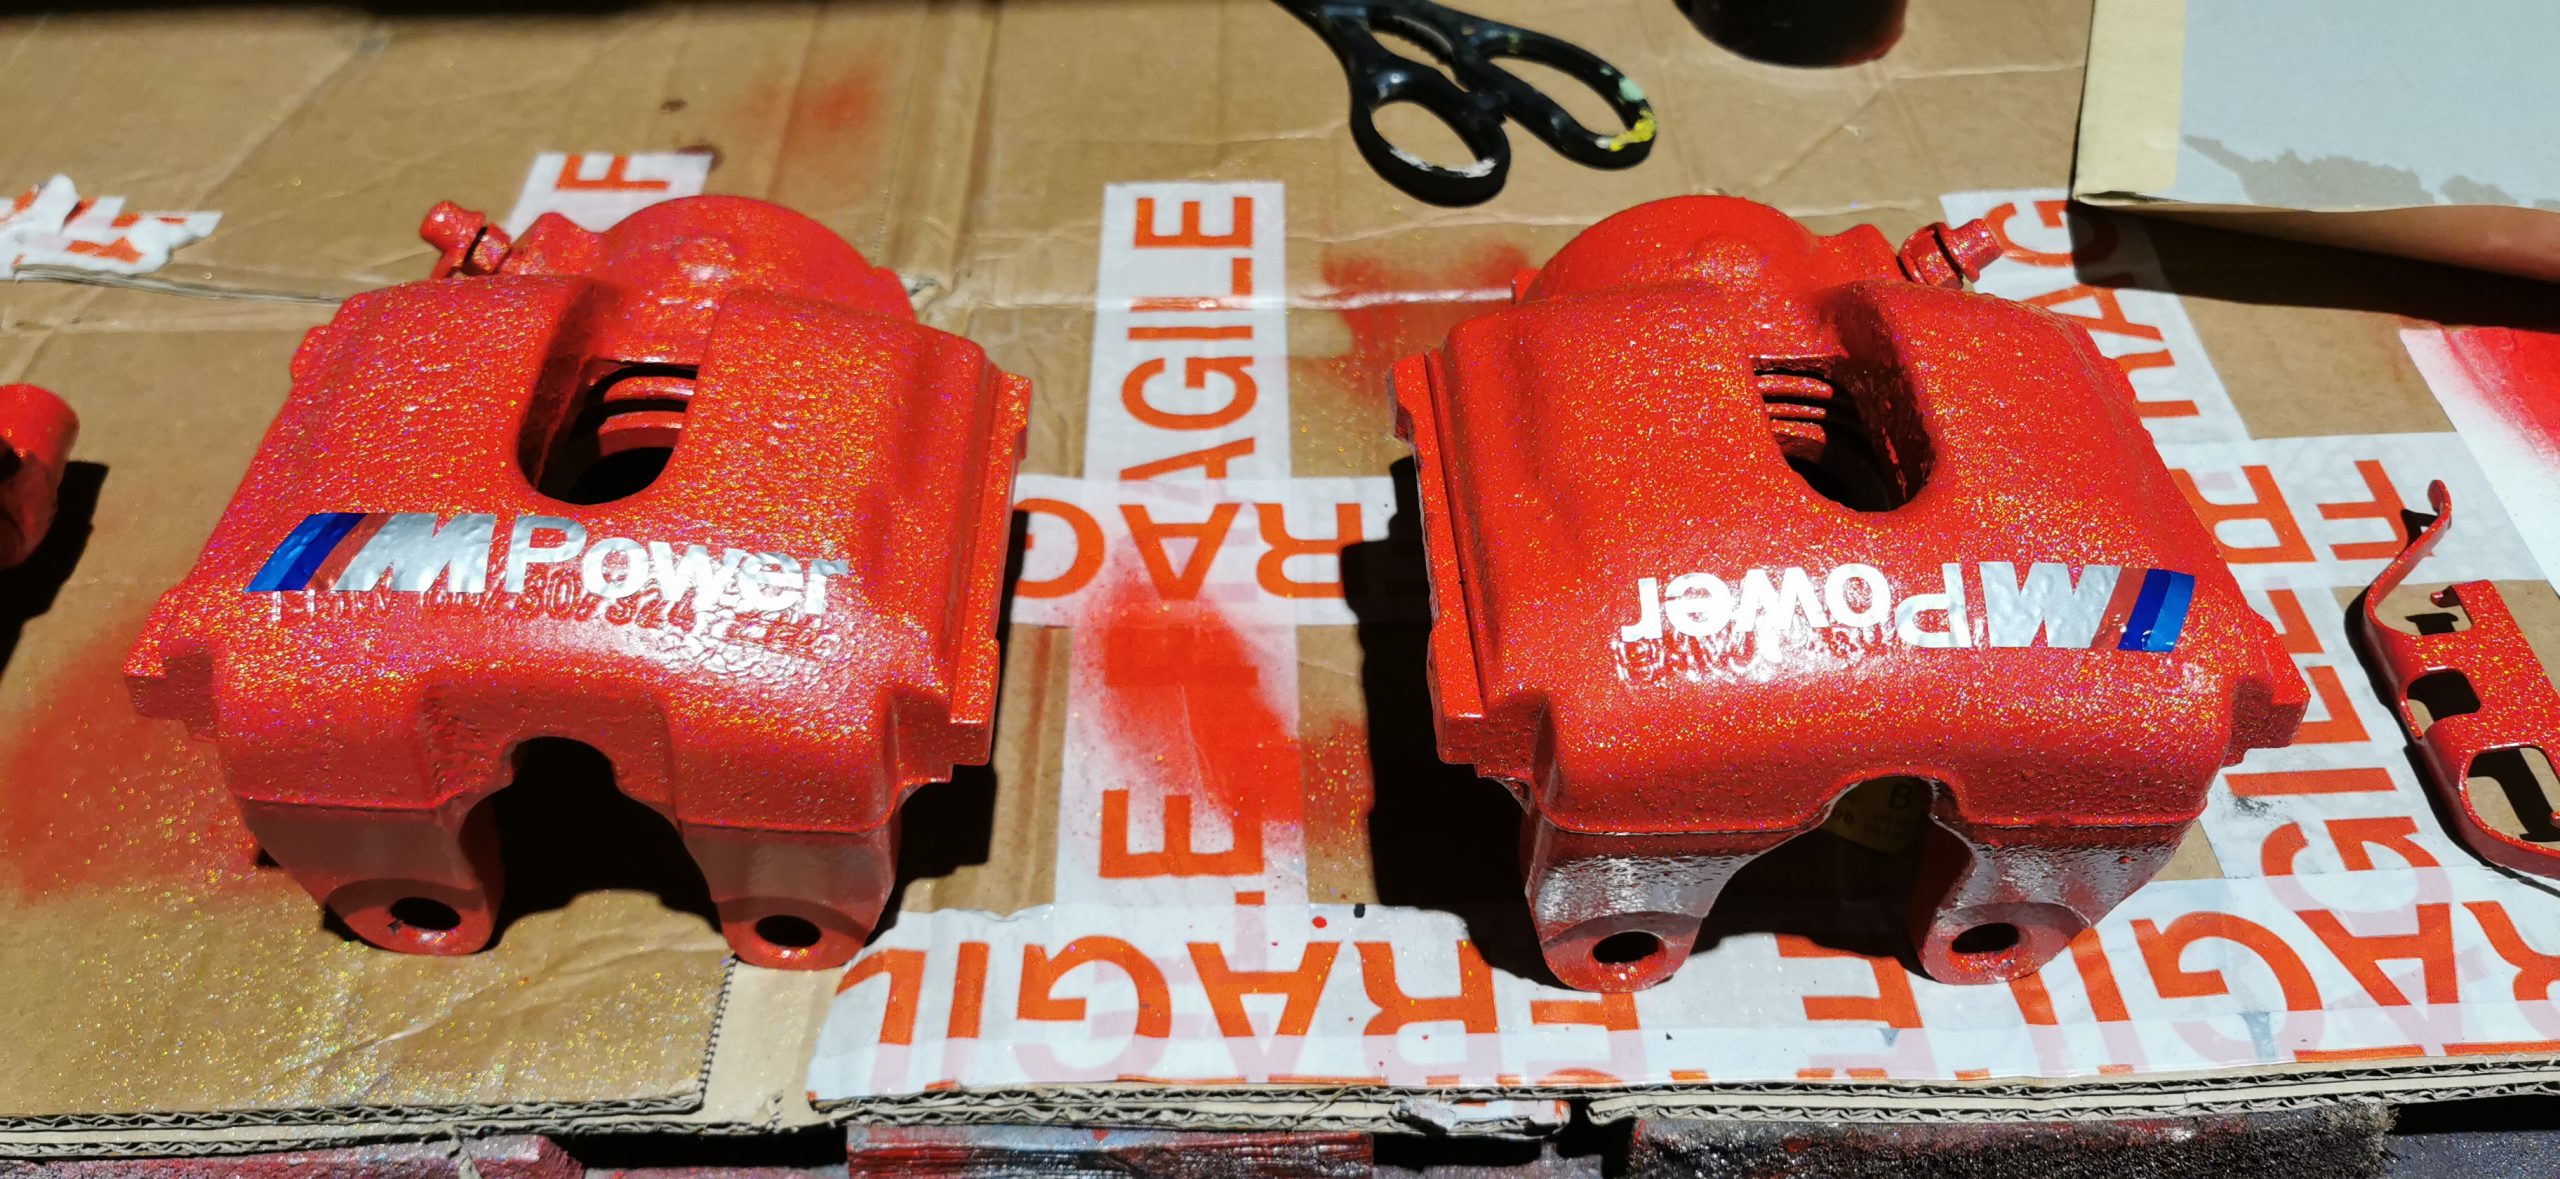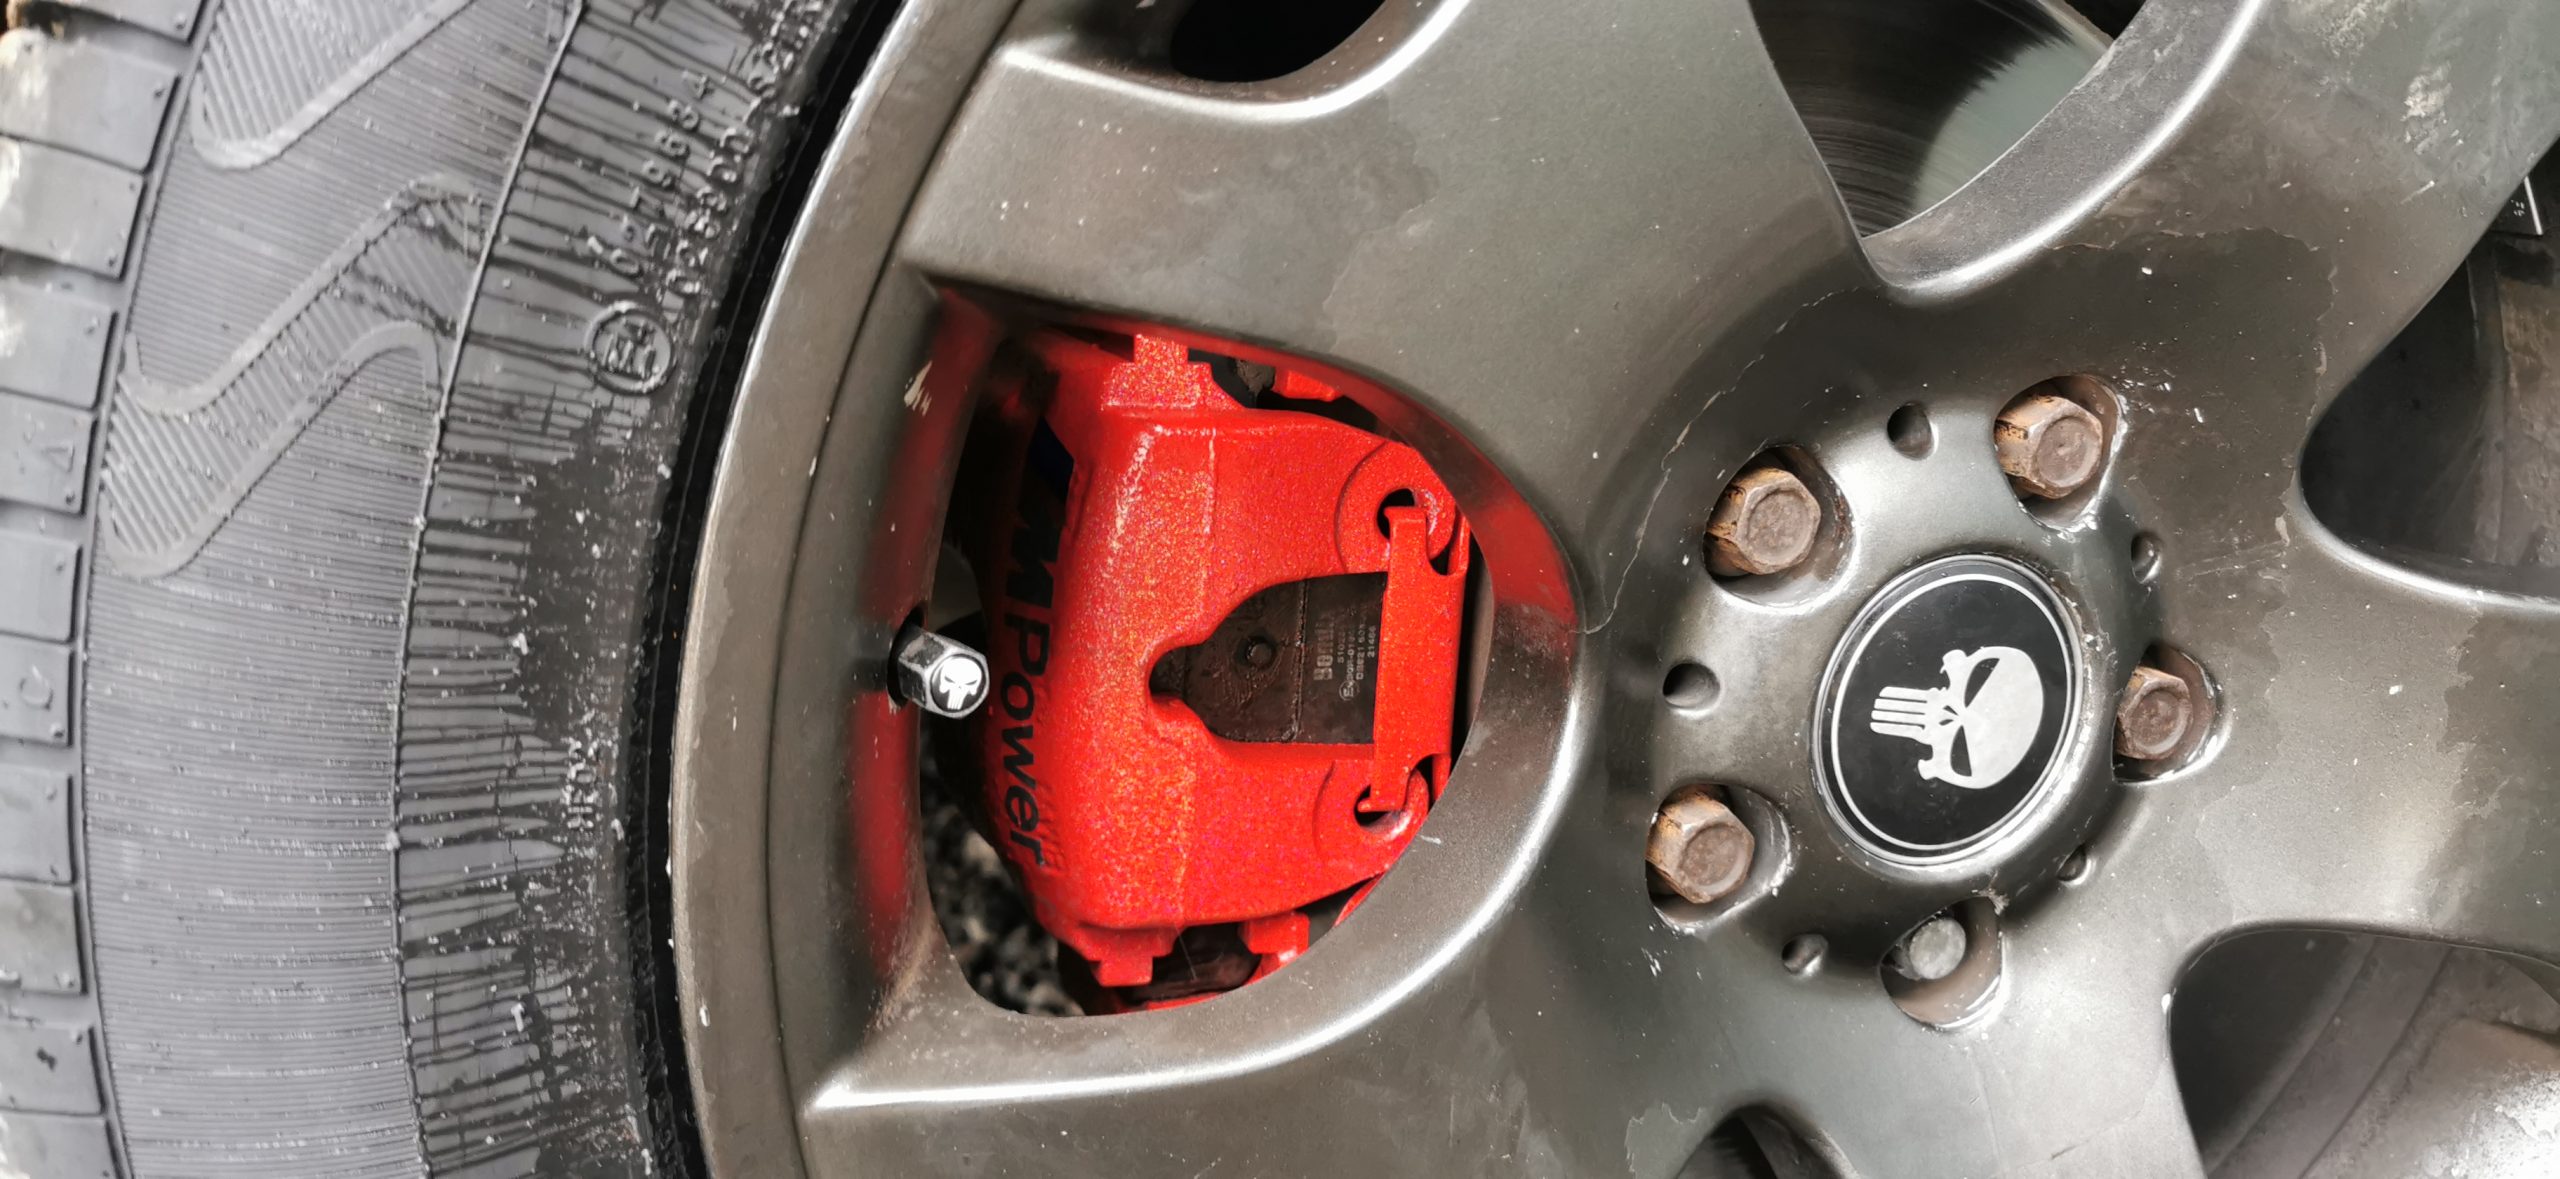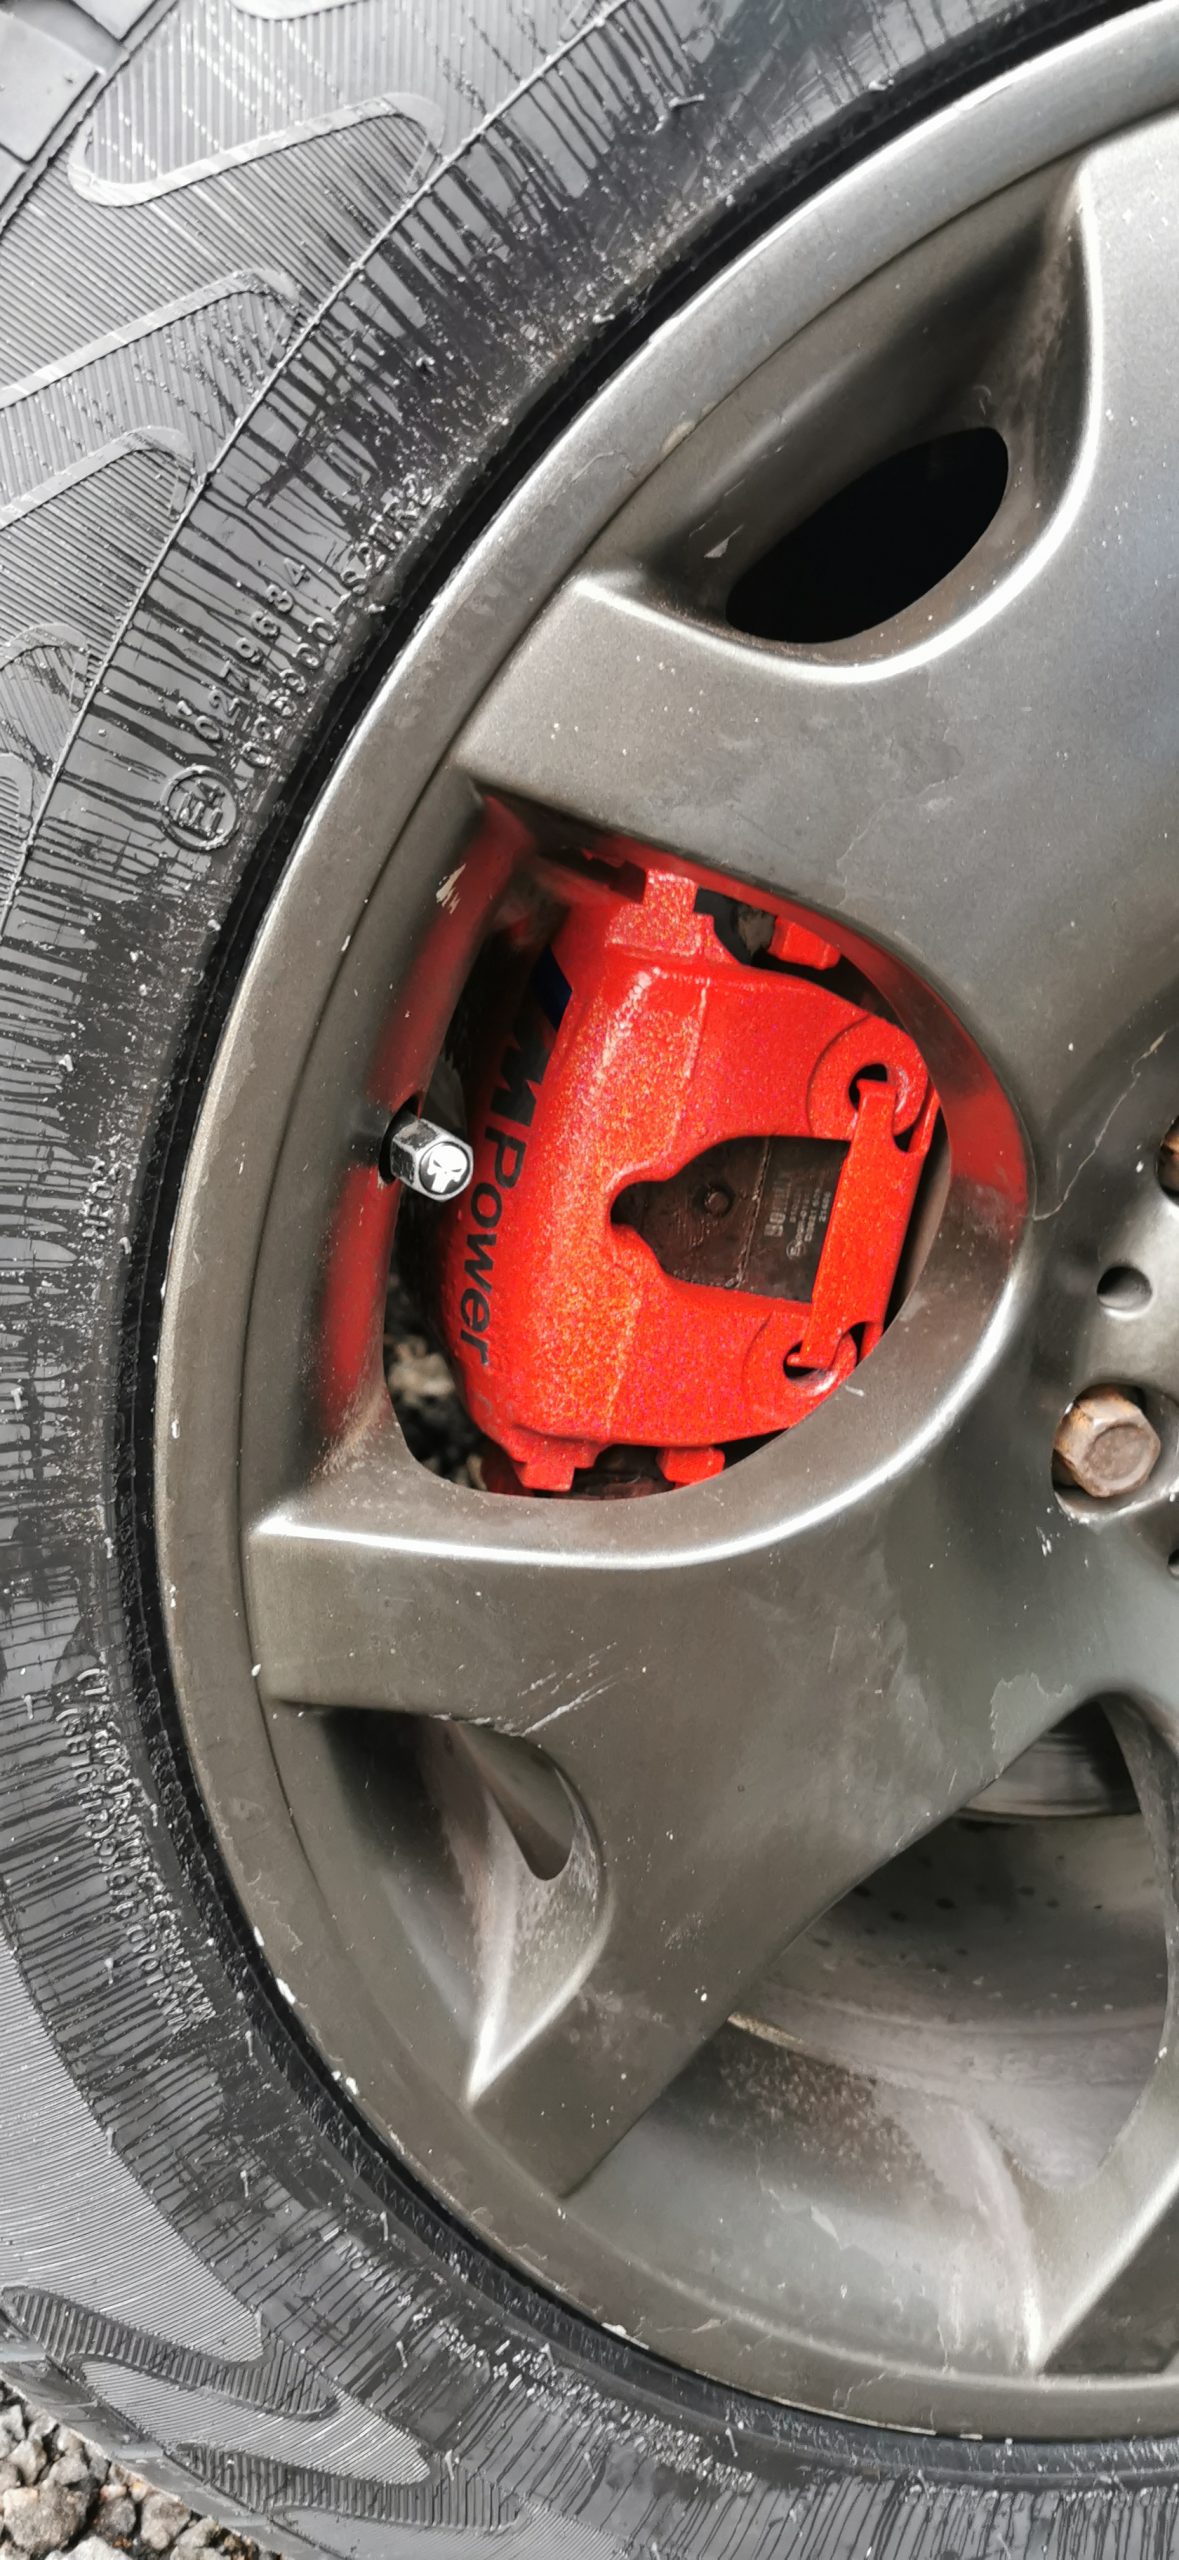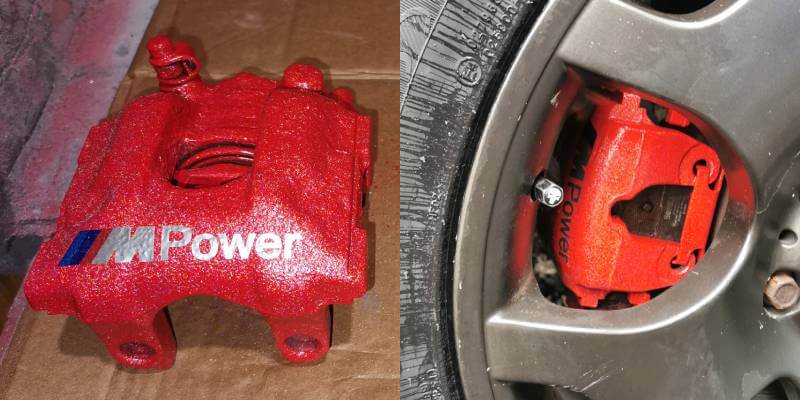
To add a touch of character to a customers vehicle, we resprayed their calipers in a vibrant red shade, complete with a holographic finish. For more information on how we completed this project, along with before and after photos, take a look below!
Tools and Materials Used:
To transform these calipers, we used the following tools and materials:
- Sand Paper / Wire Brush
- Car Trolley Jack
- Break Line Clamps
- 4 Axel Stands or Car Ramps
- Rags/Cloth
- Degreaser/Thinner
- High Build Primer
- 2K Caliper Paints
Preparing The Calipers:
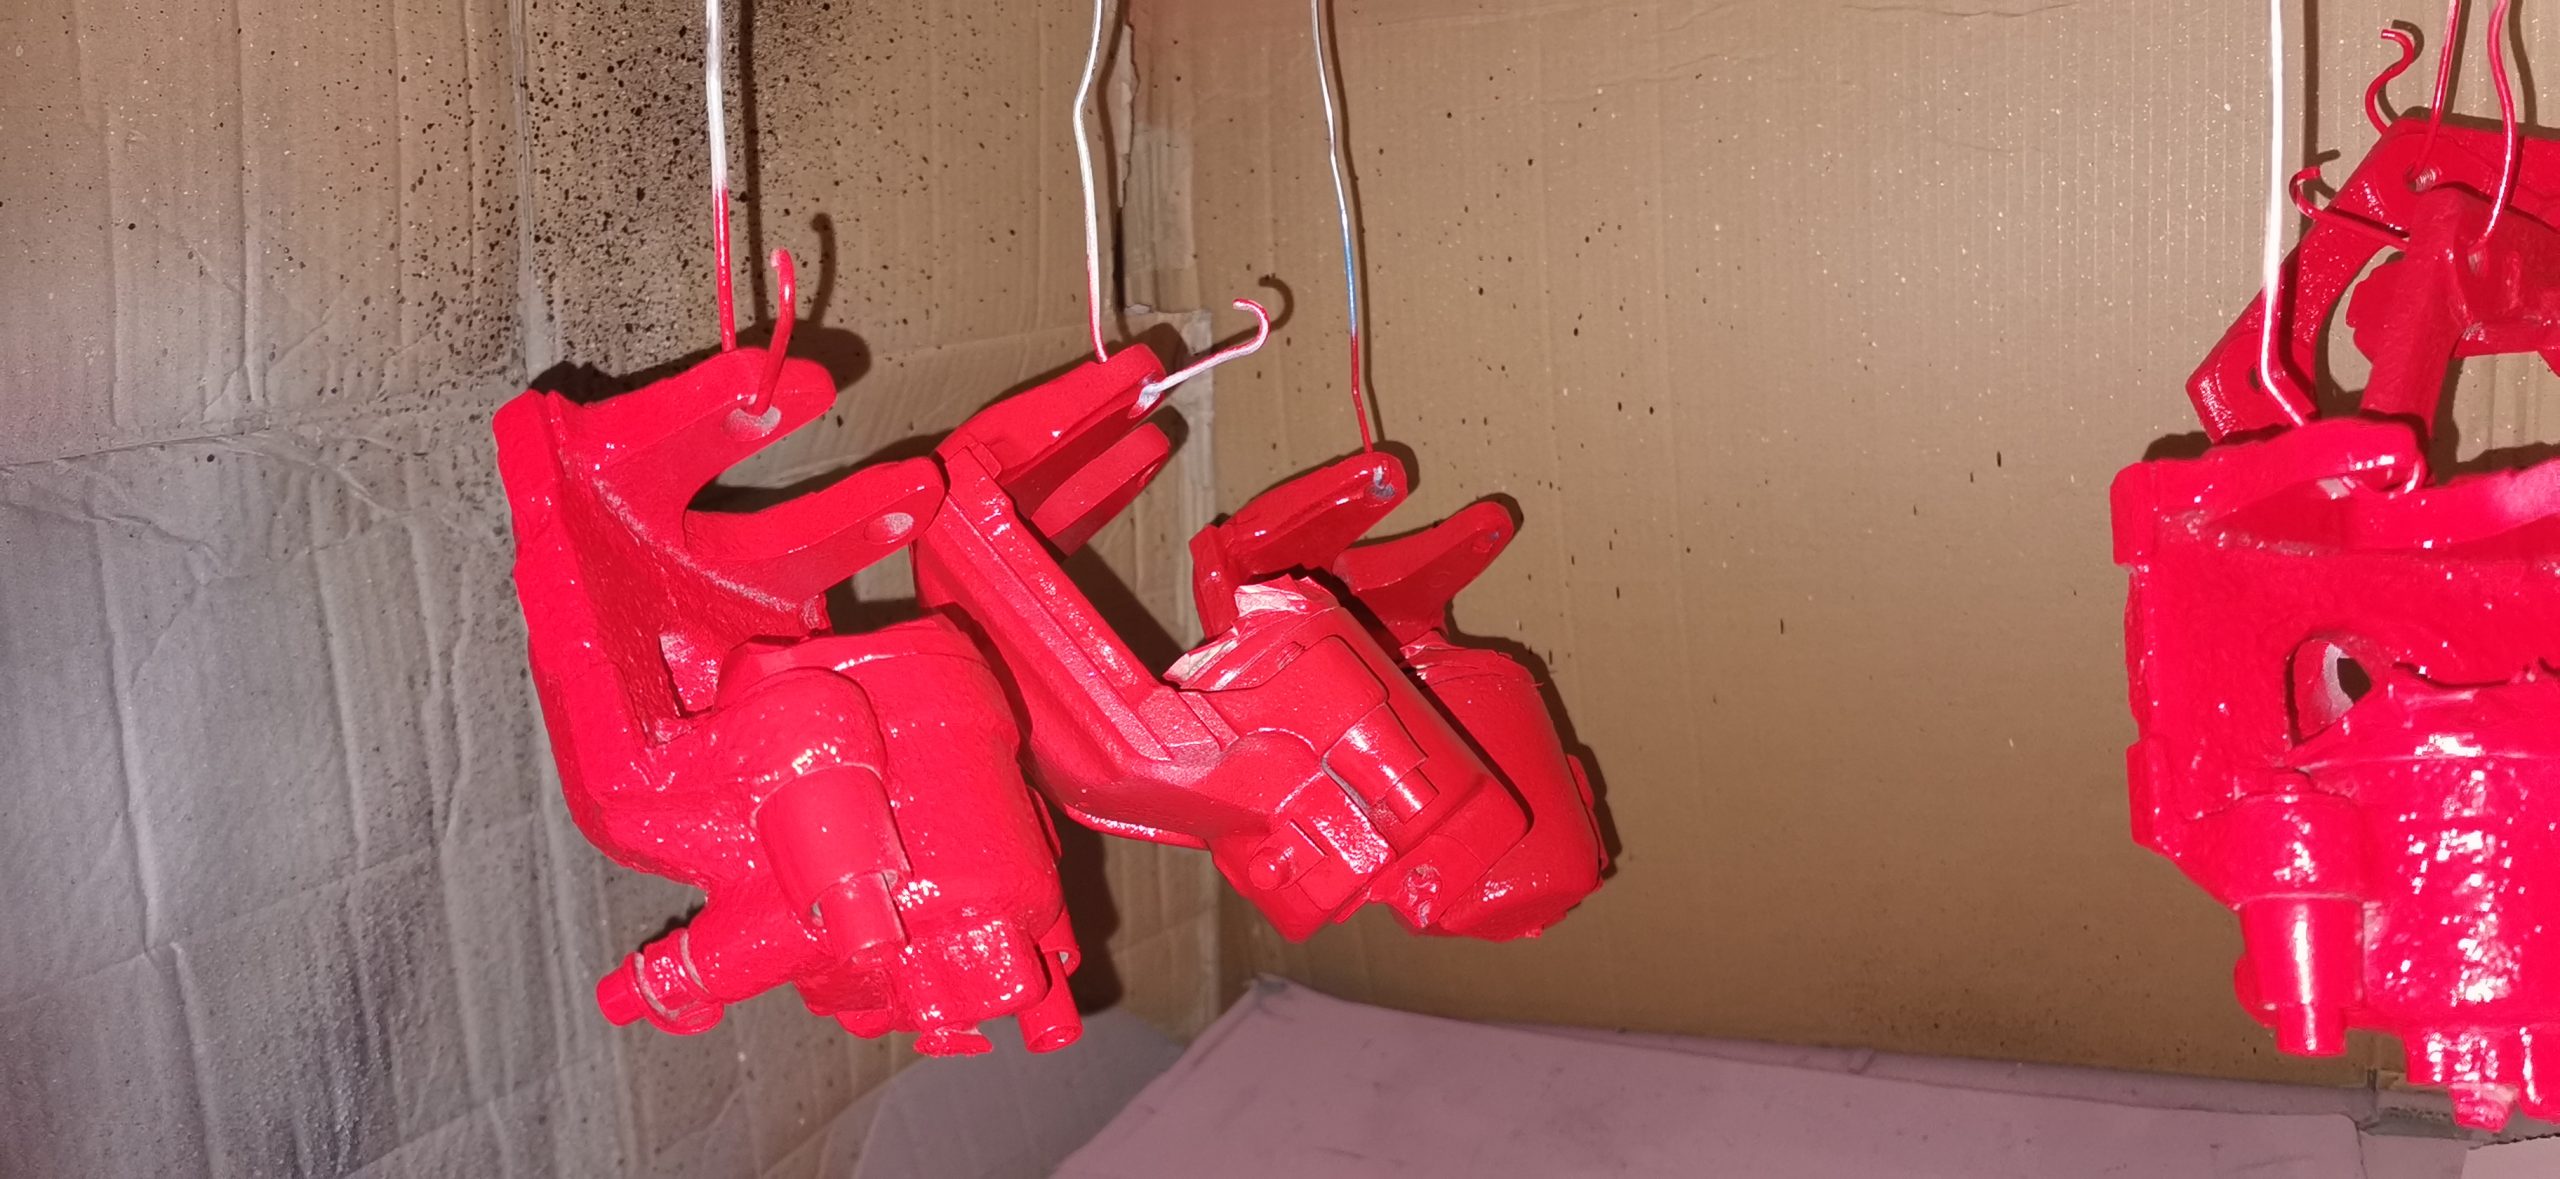
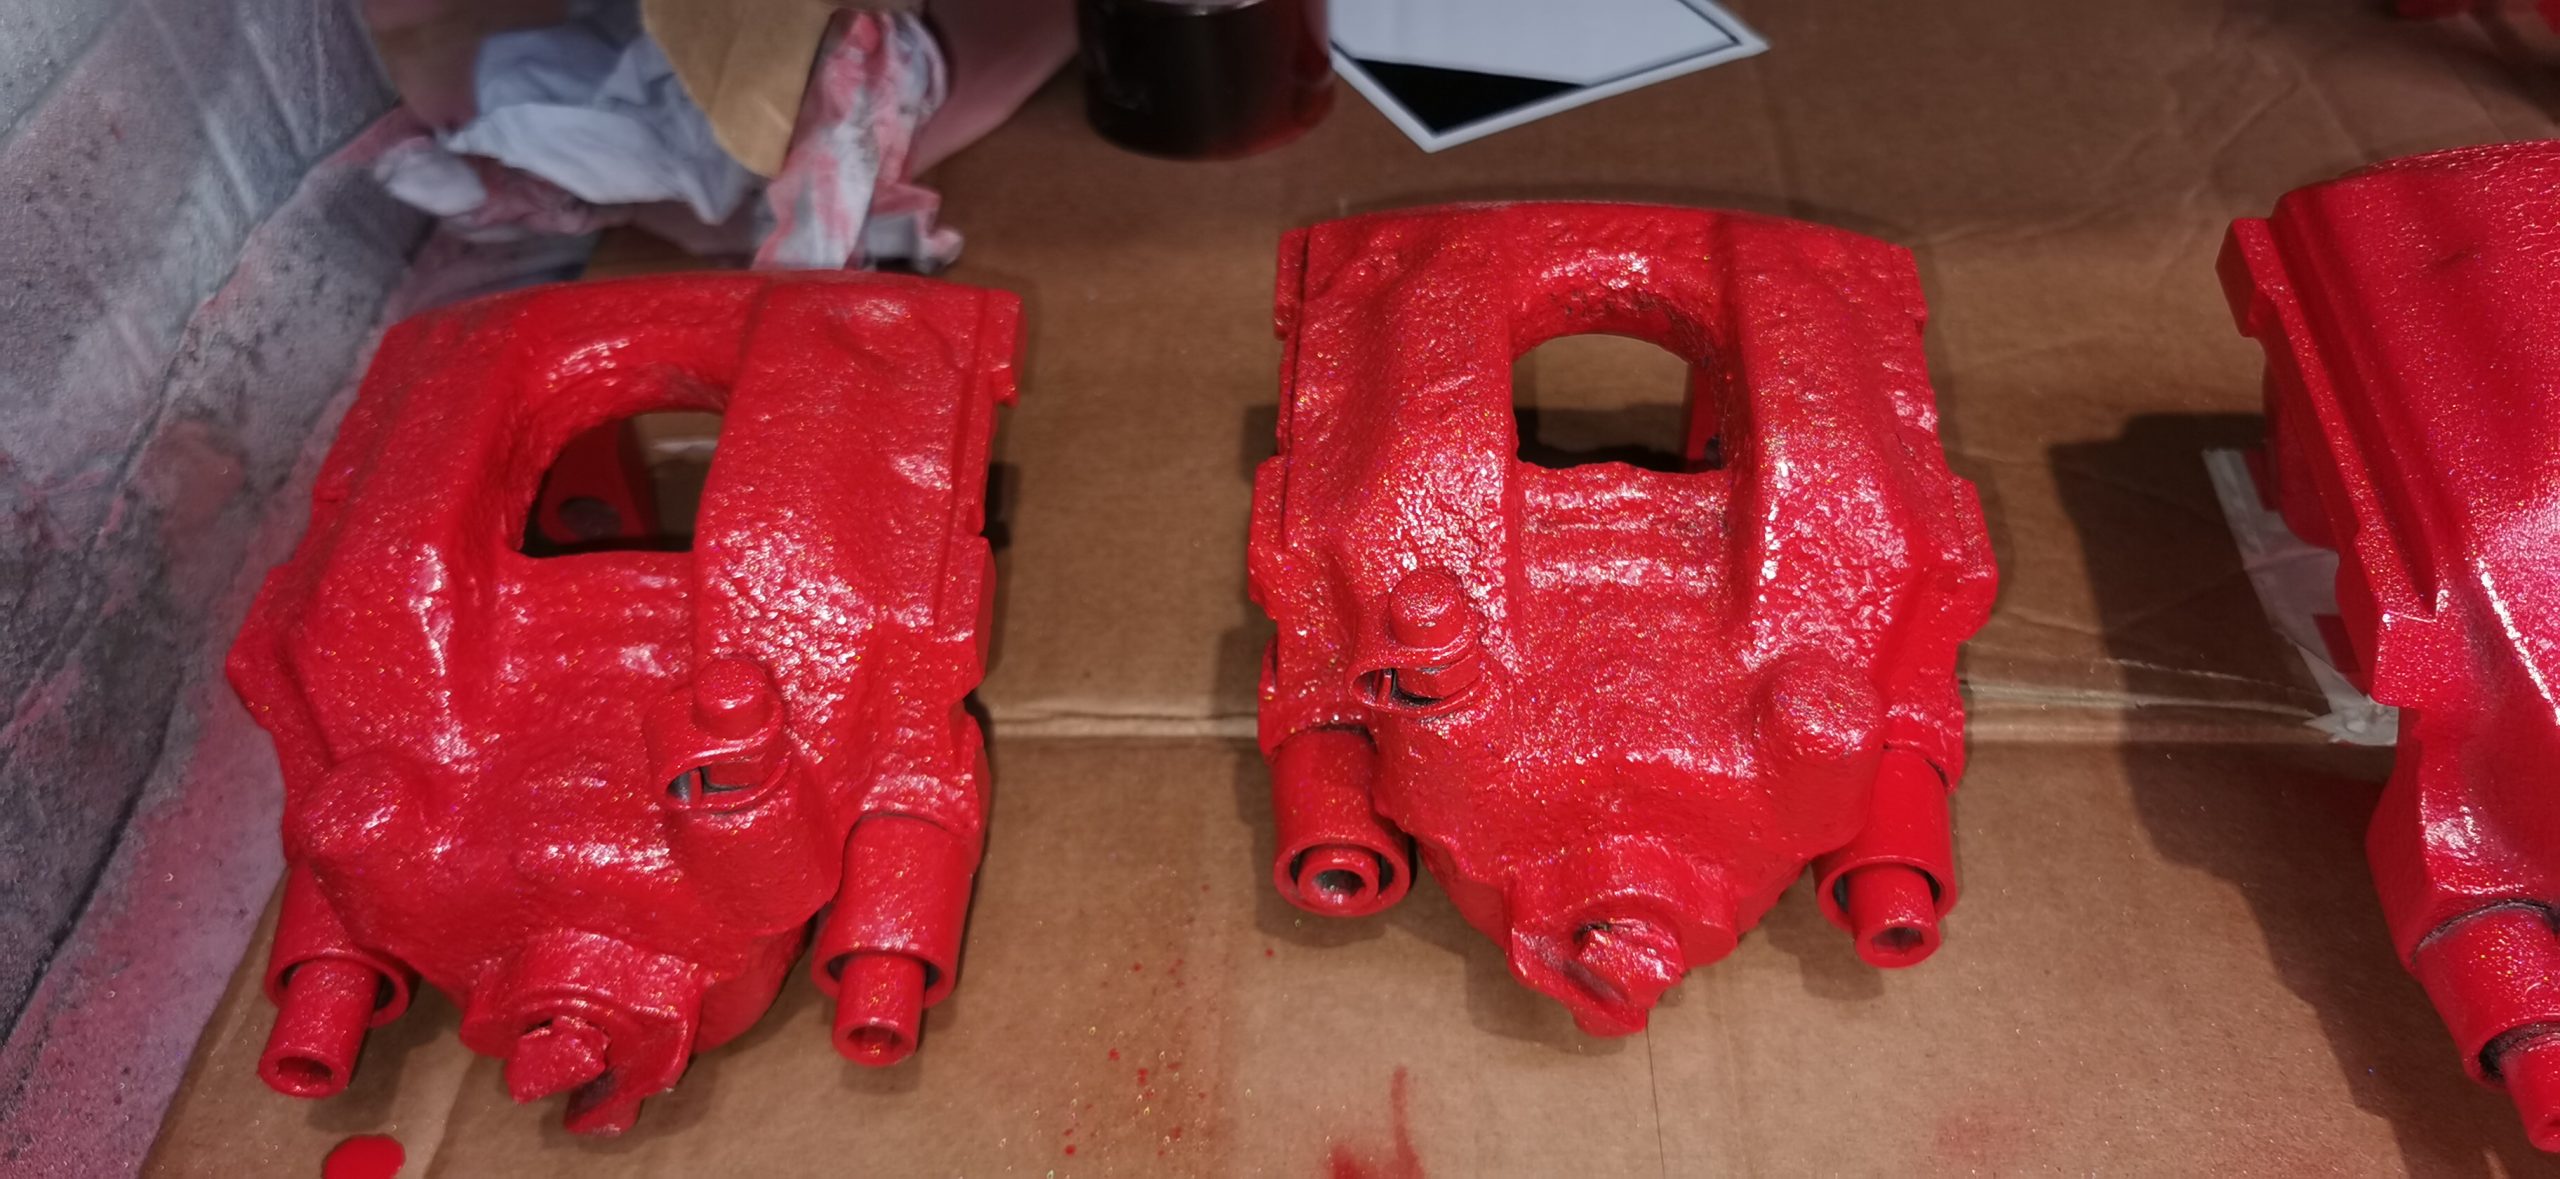
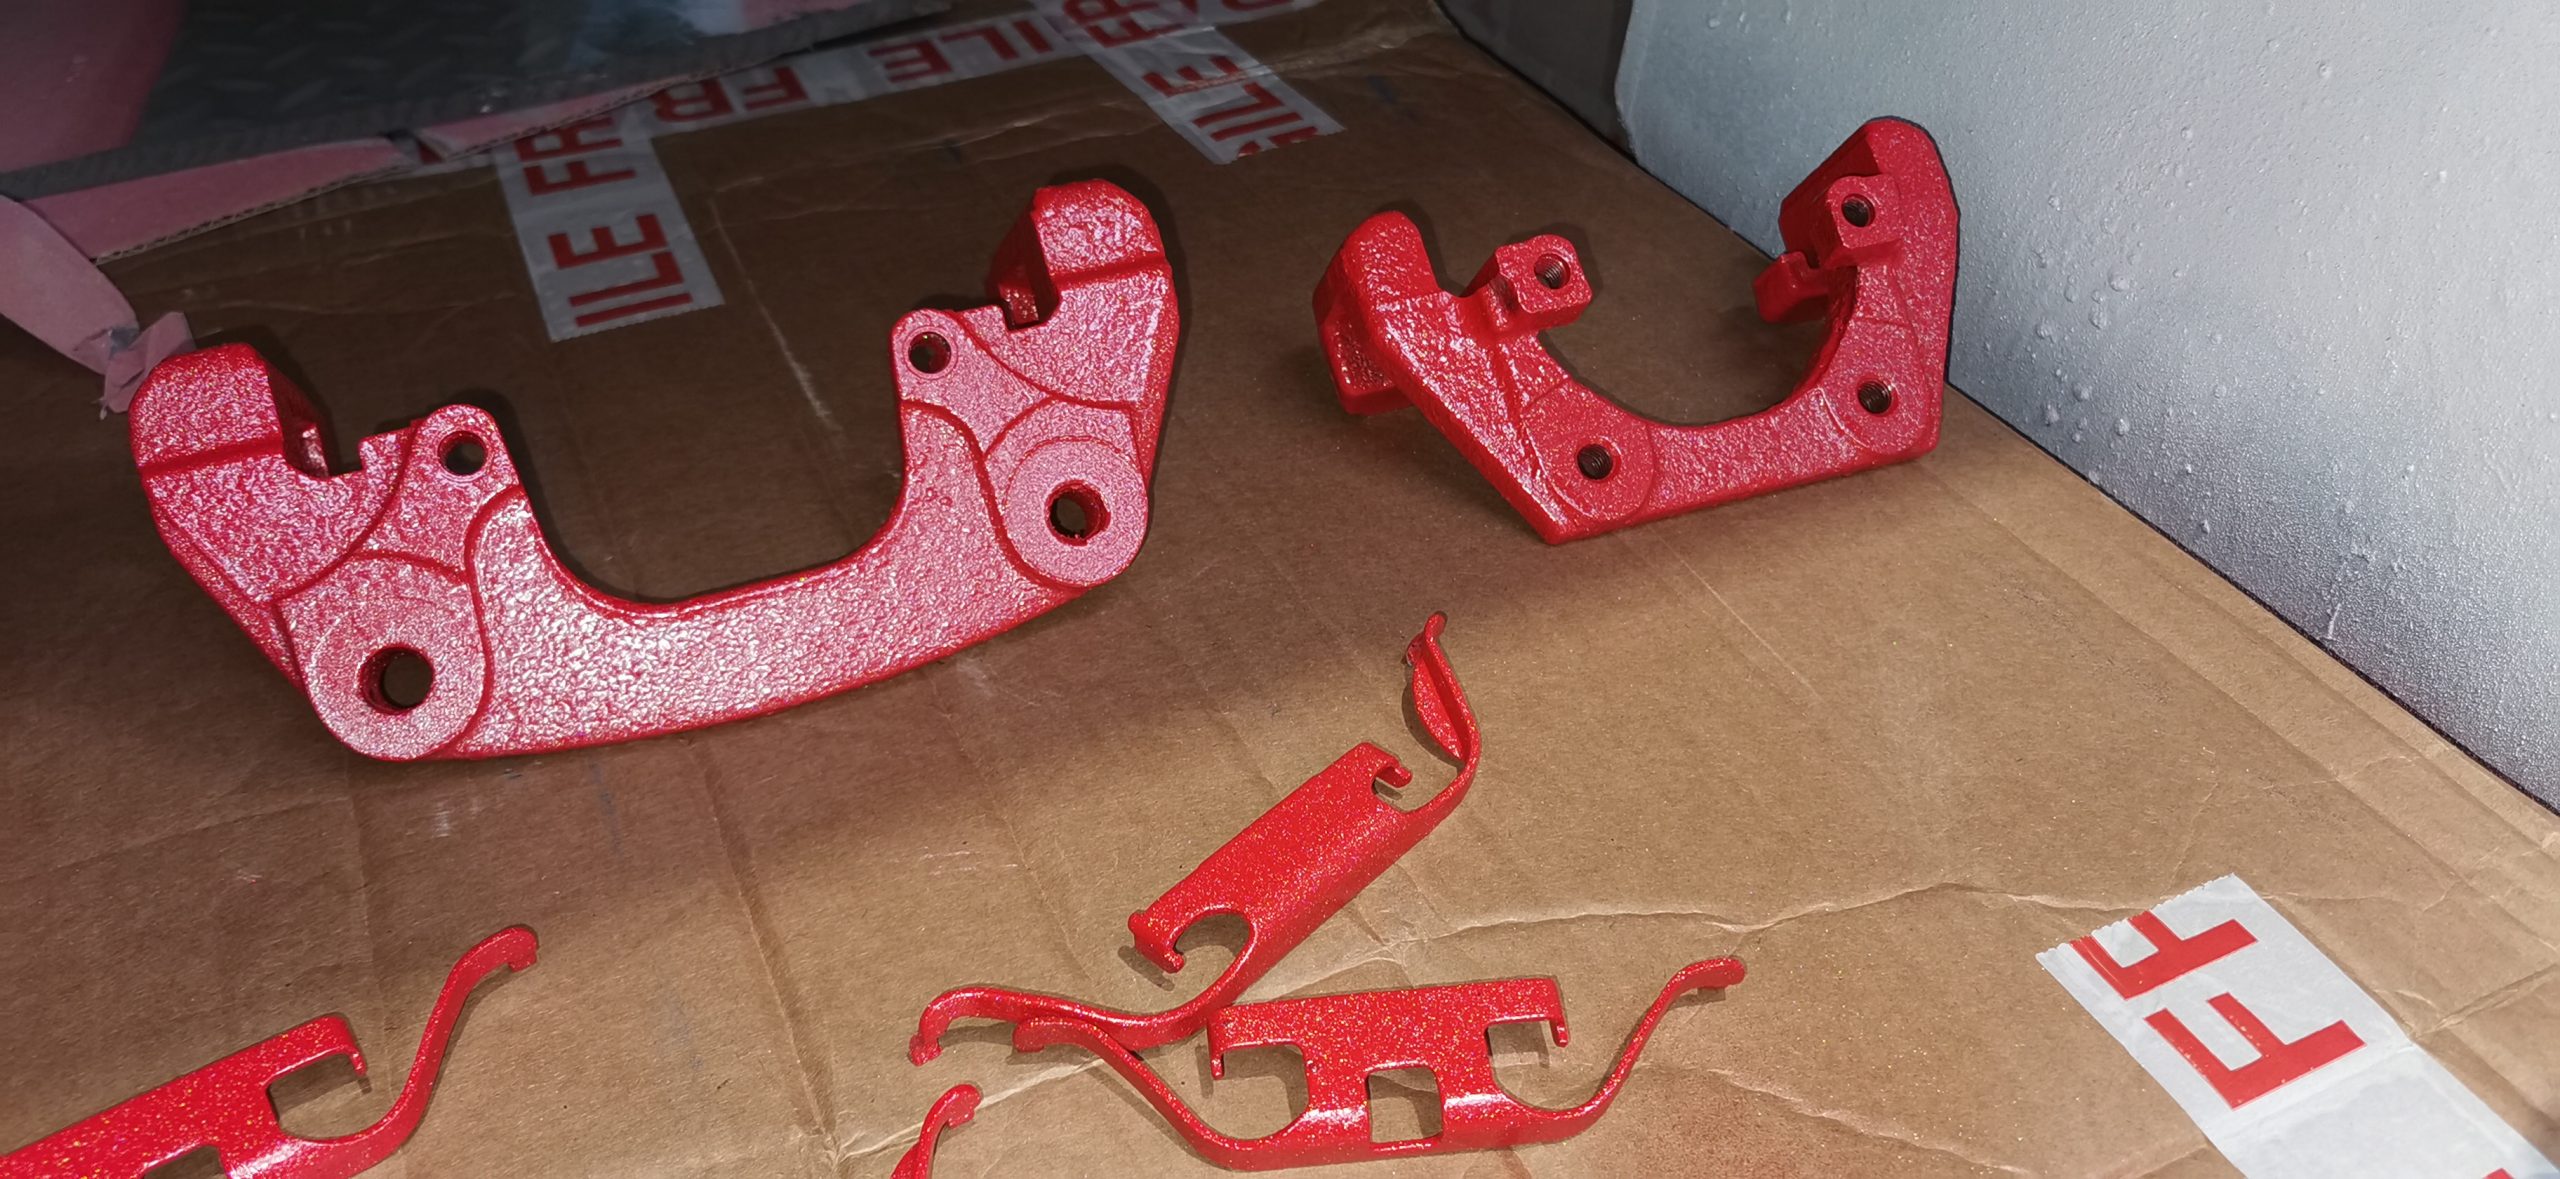
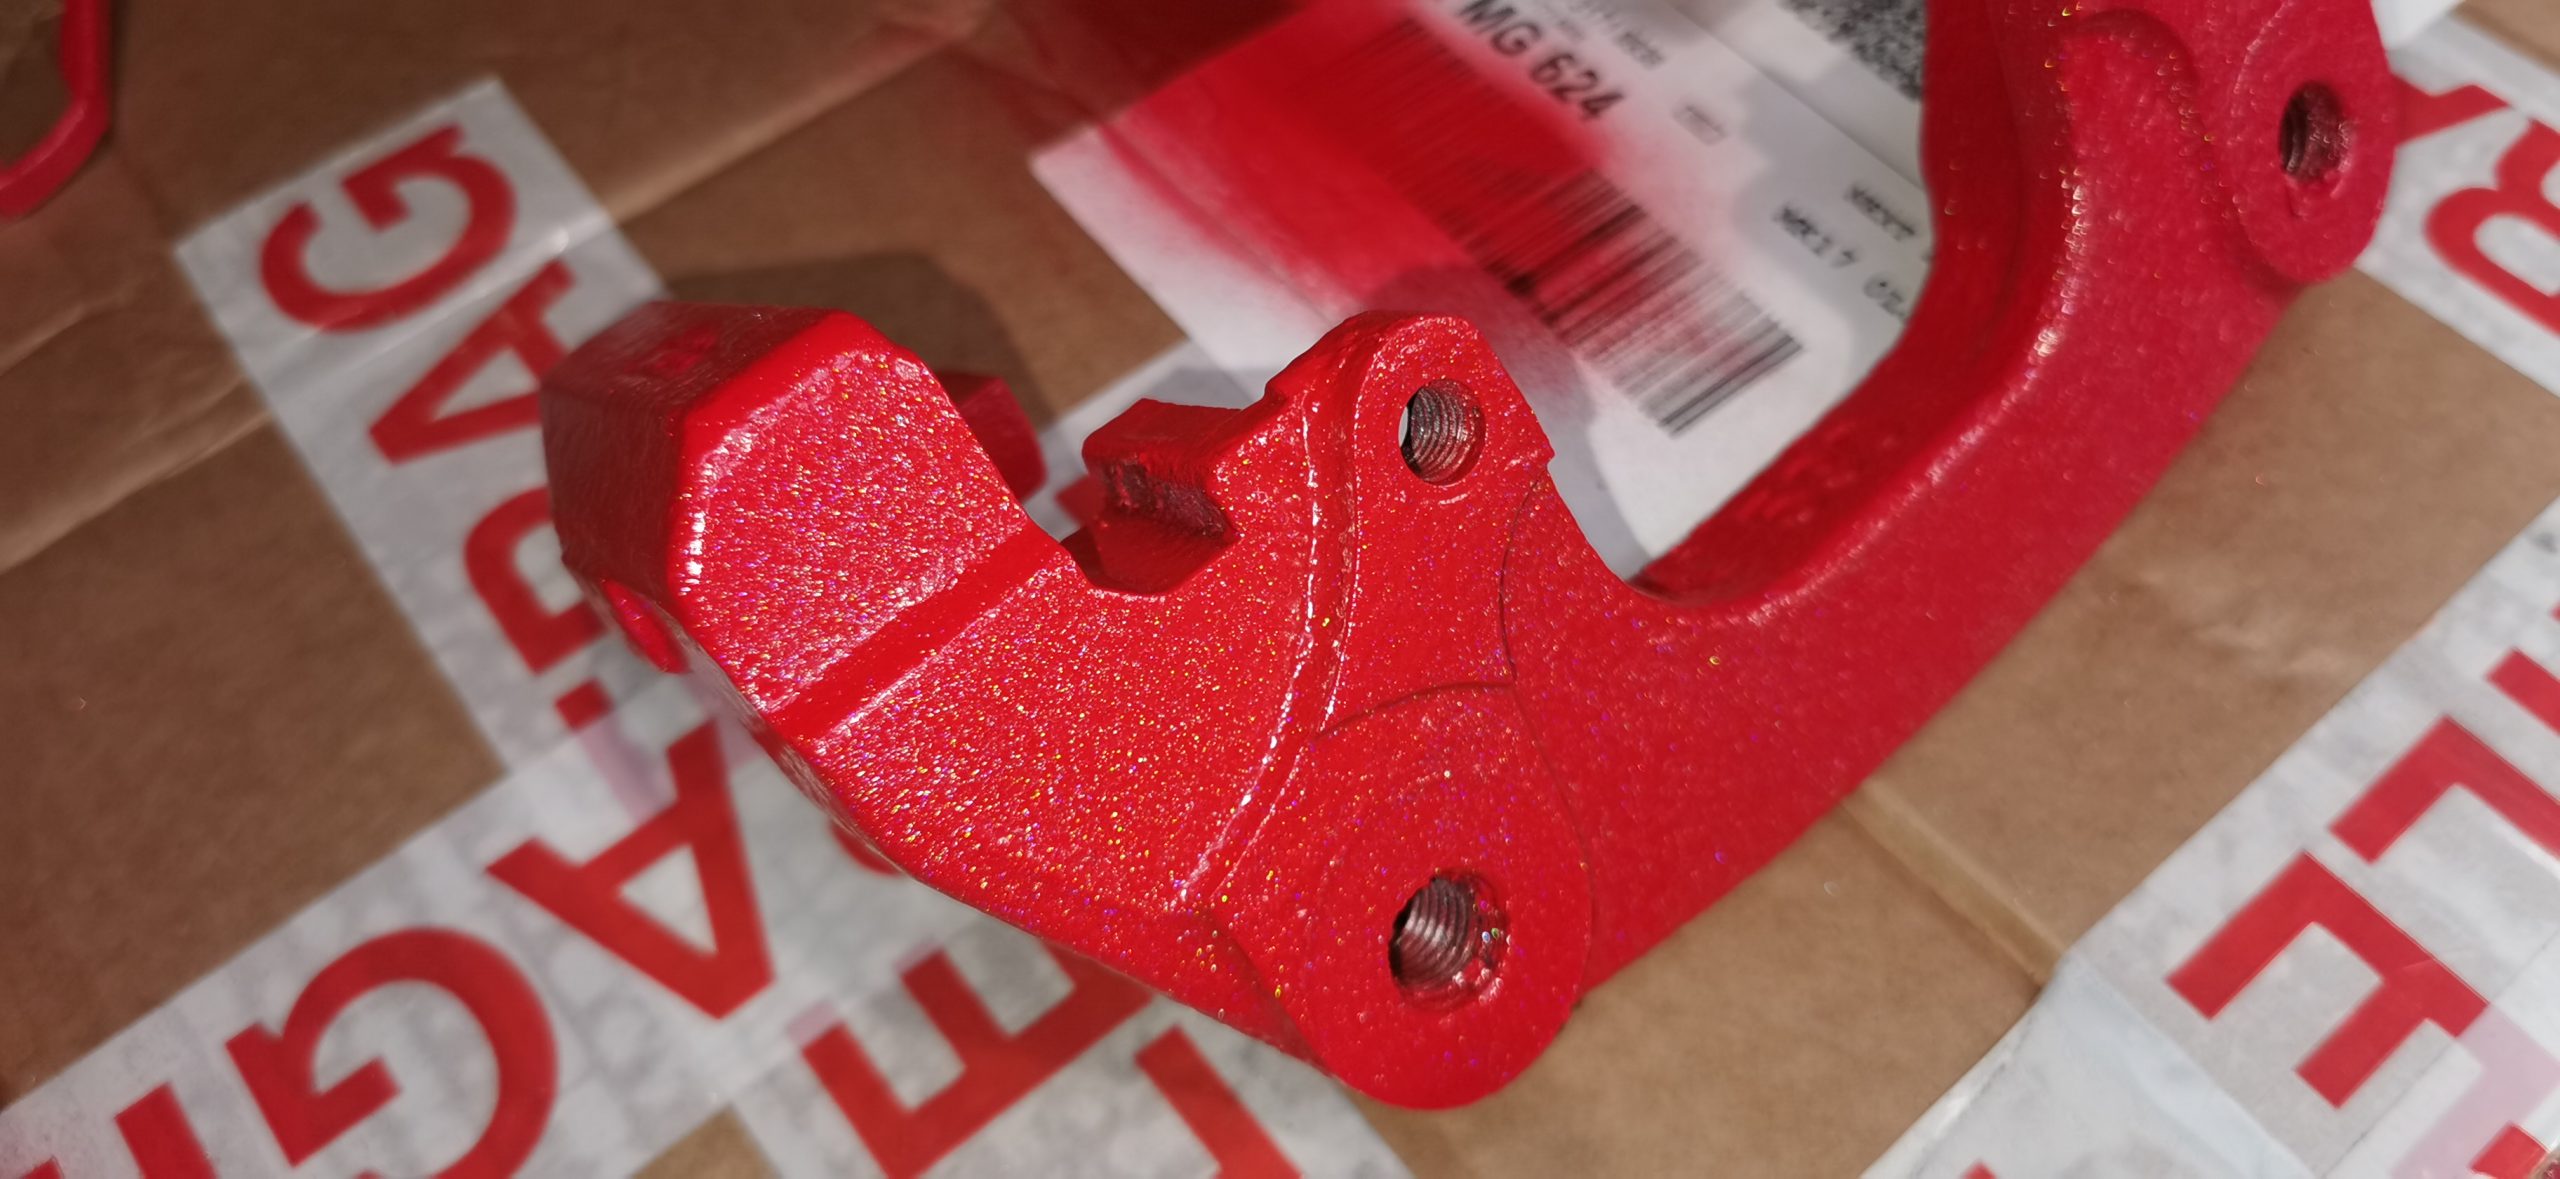
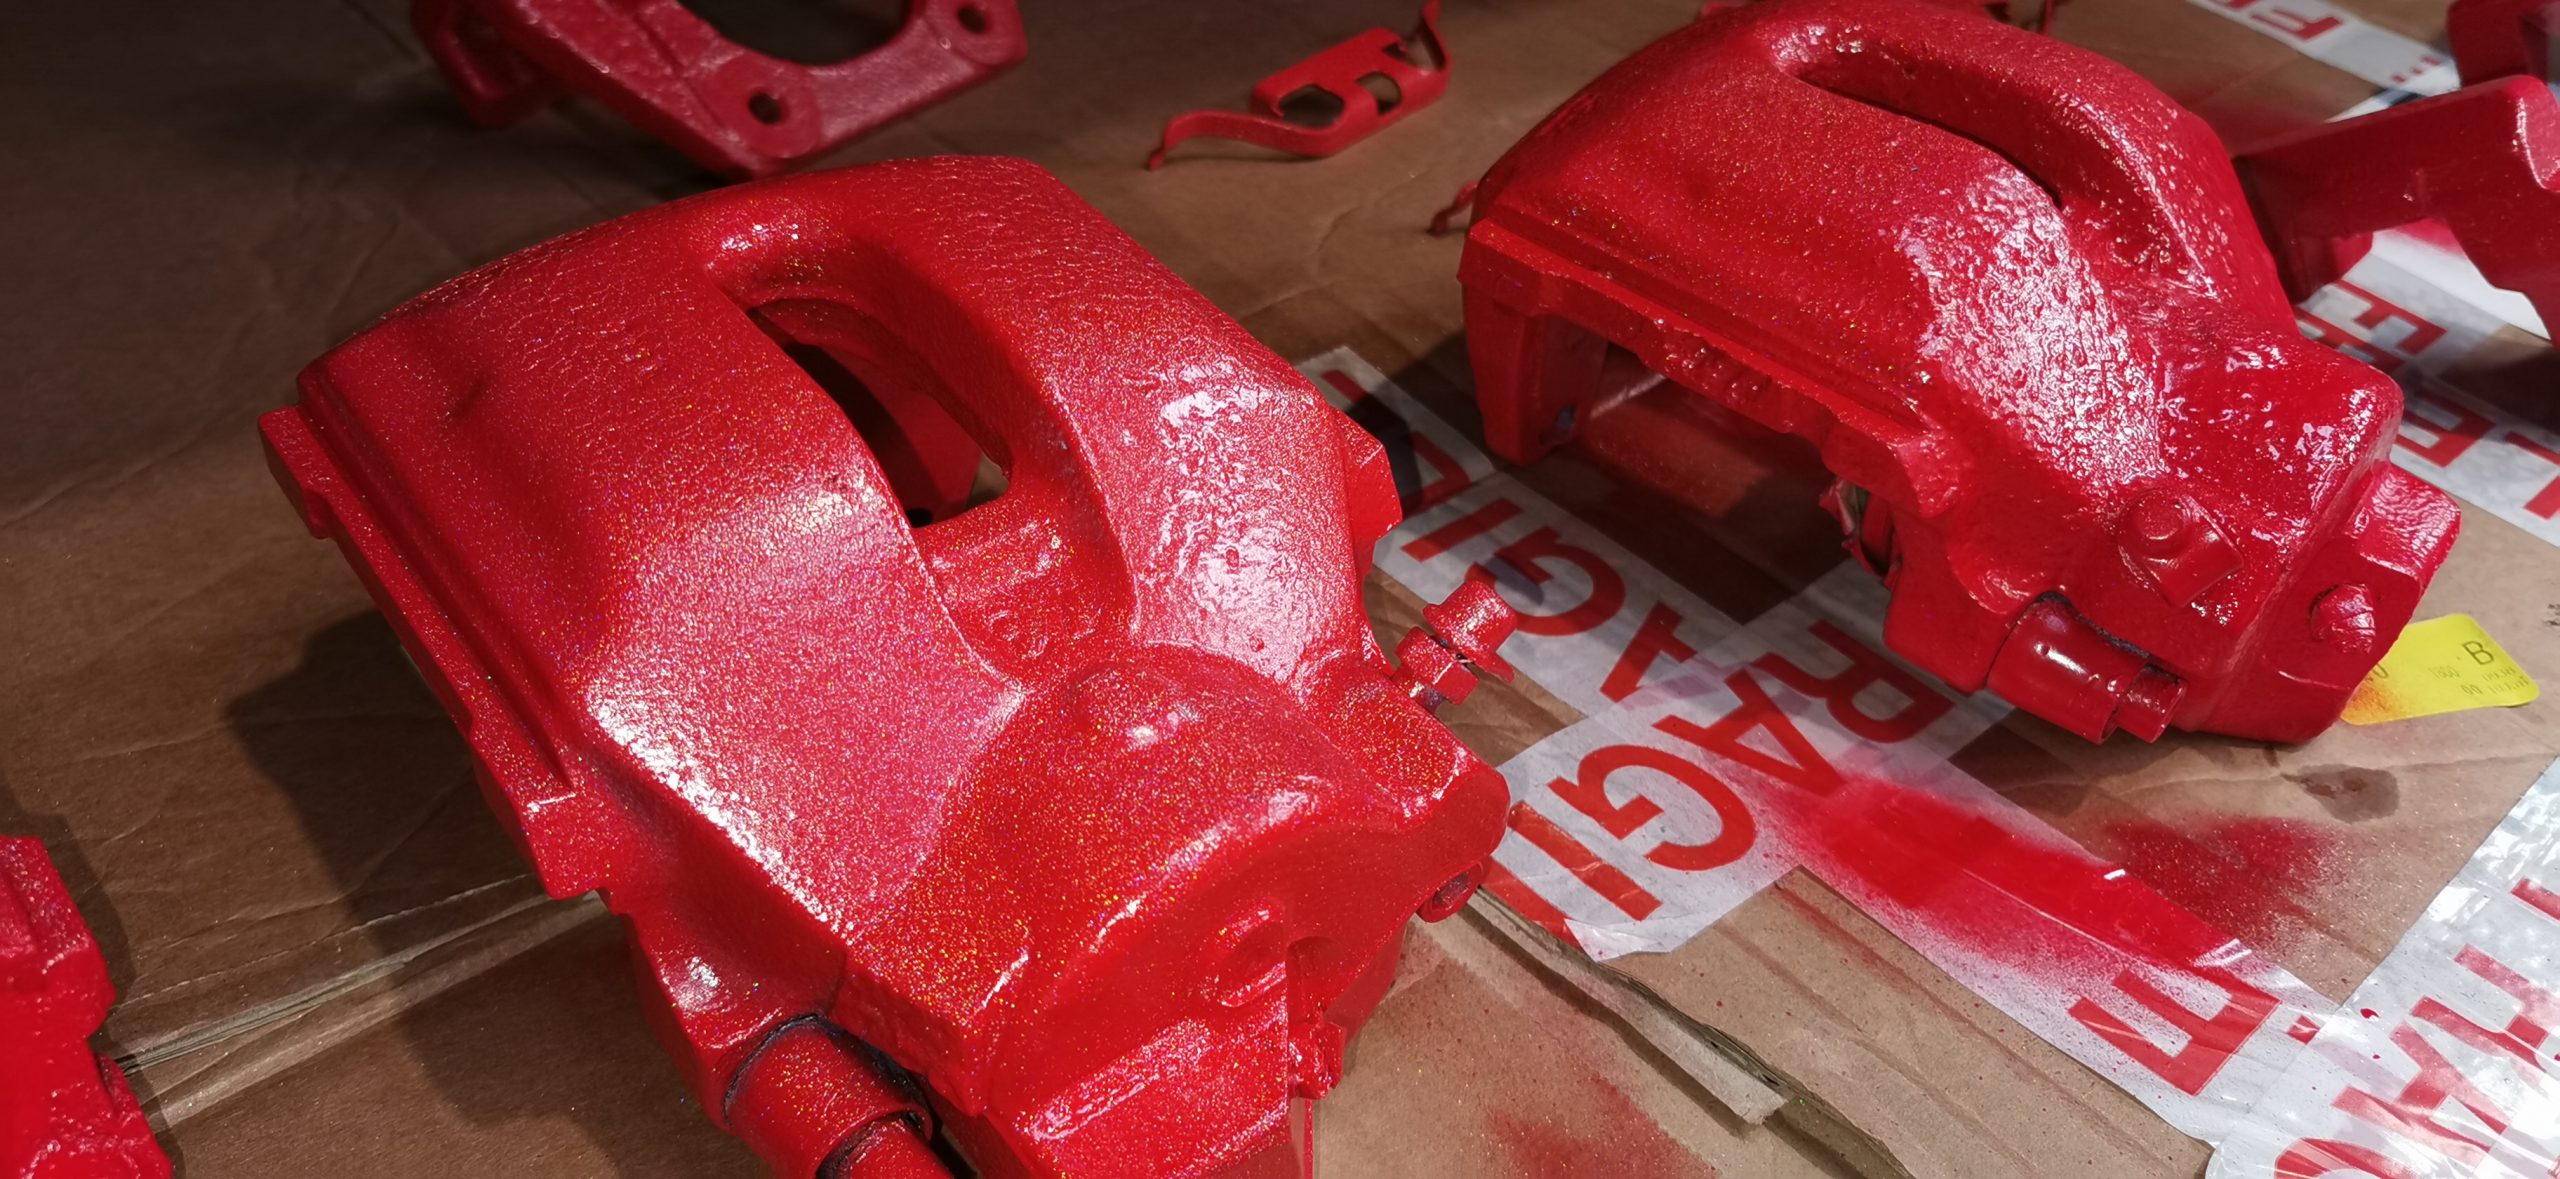
As brake calipers, in particular, must be able to withstand extreme temperatures, it was important for us to opt for a paint that had a high heat tolerance. On this occasion, we chose a specialist caliper paint in the Ferrari Rosso Red shade.
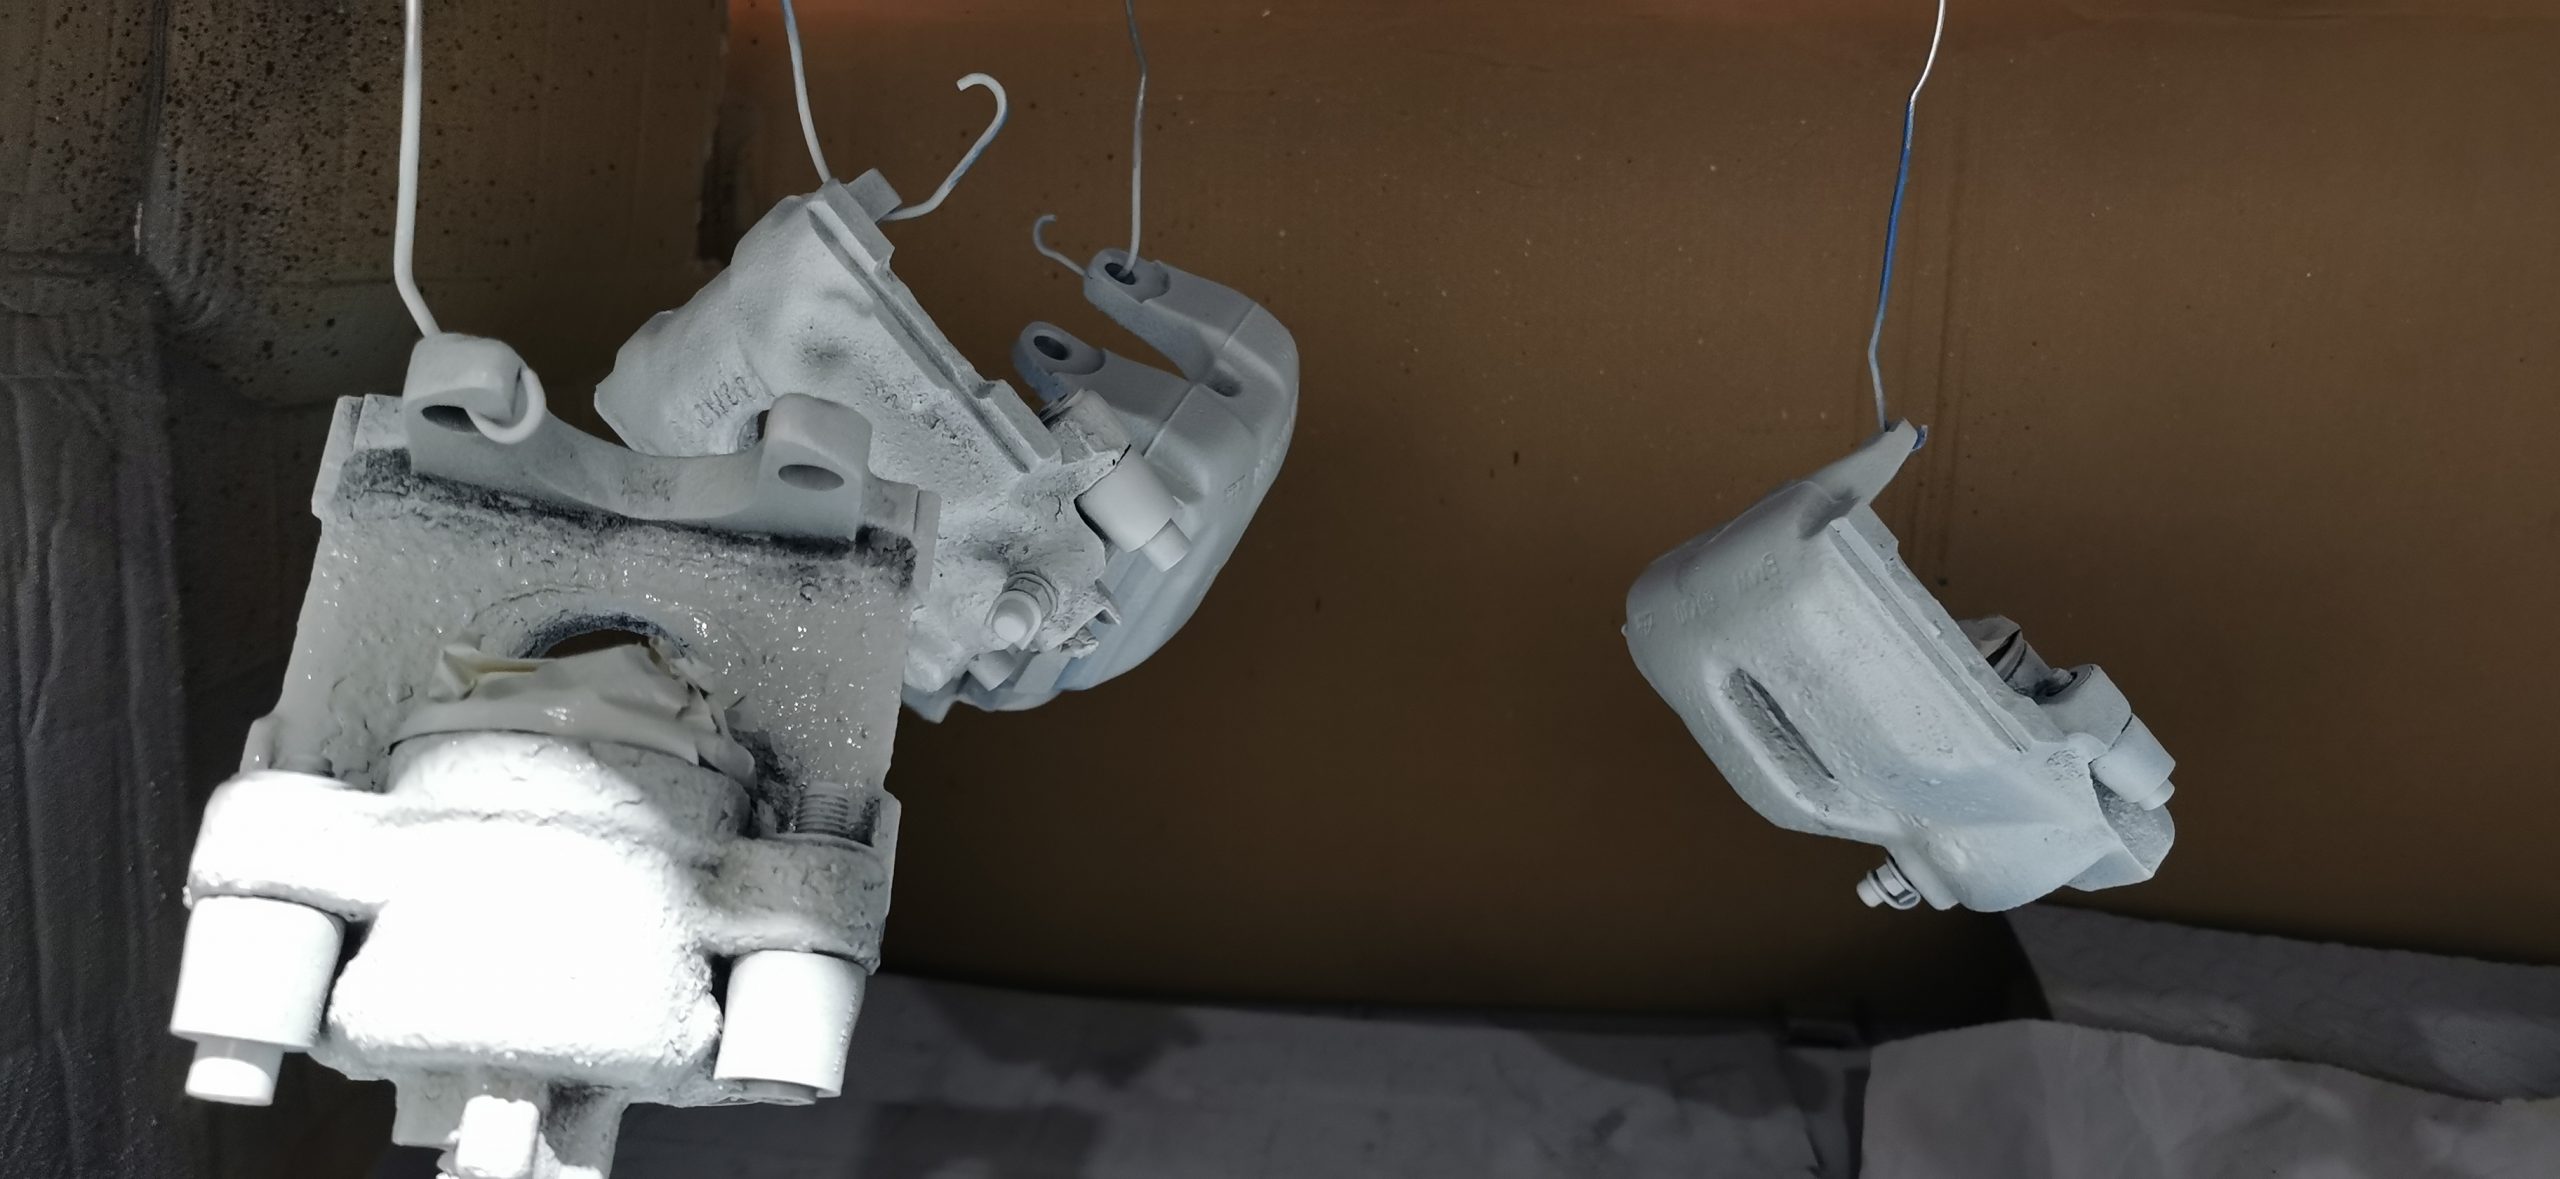
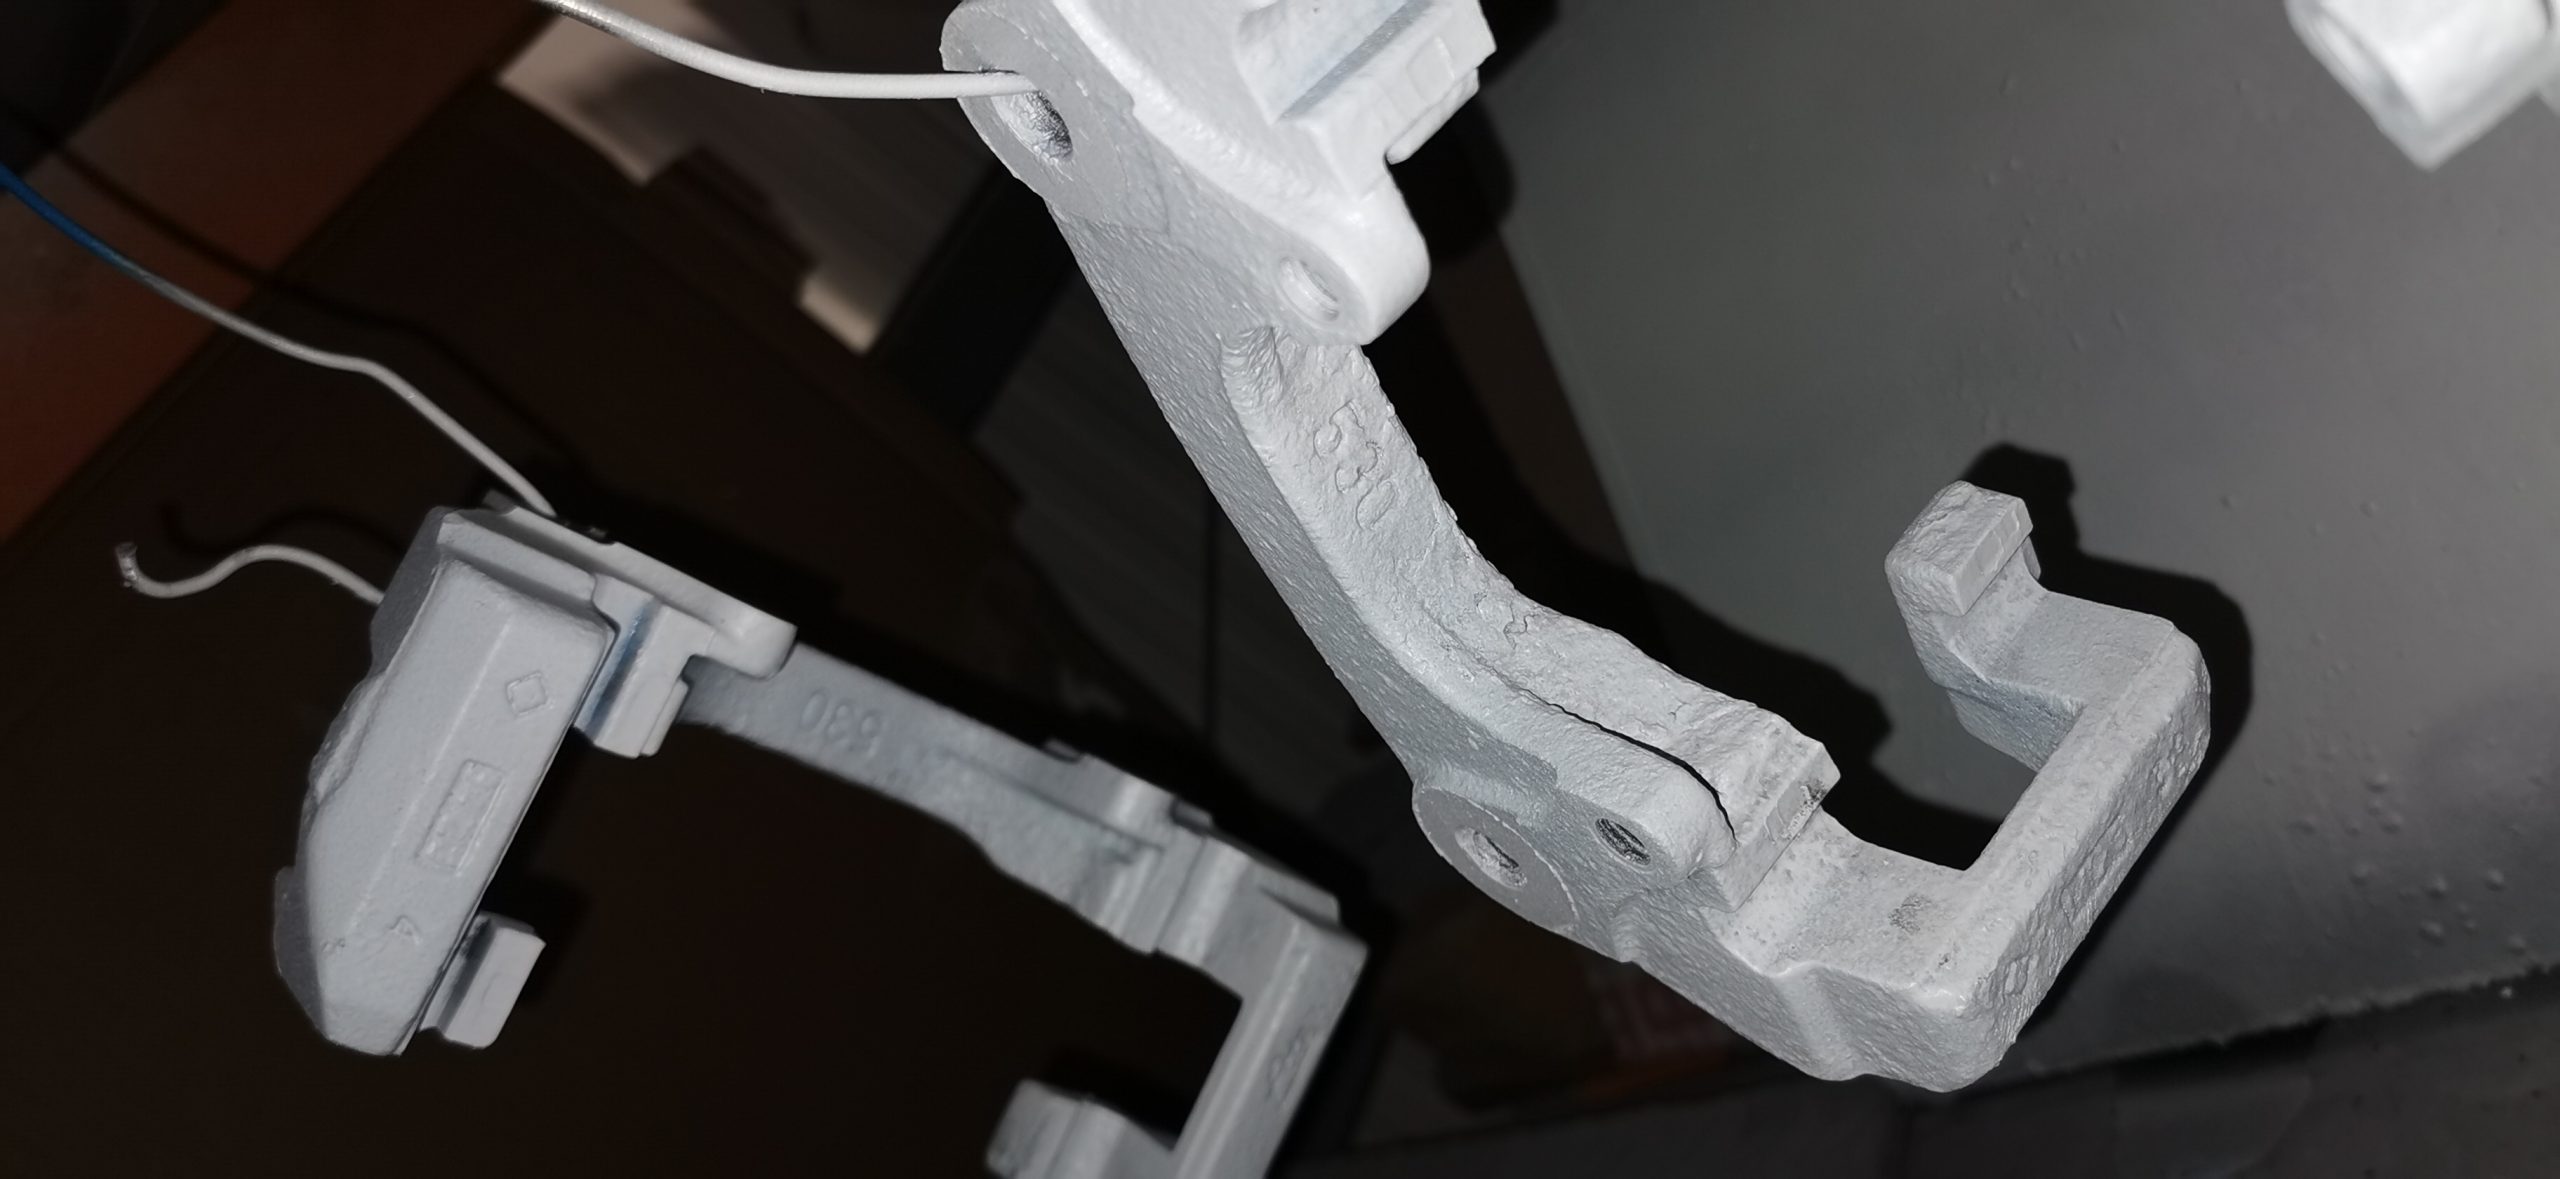
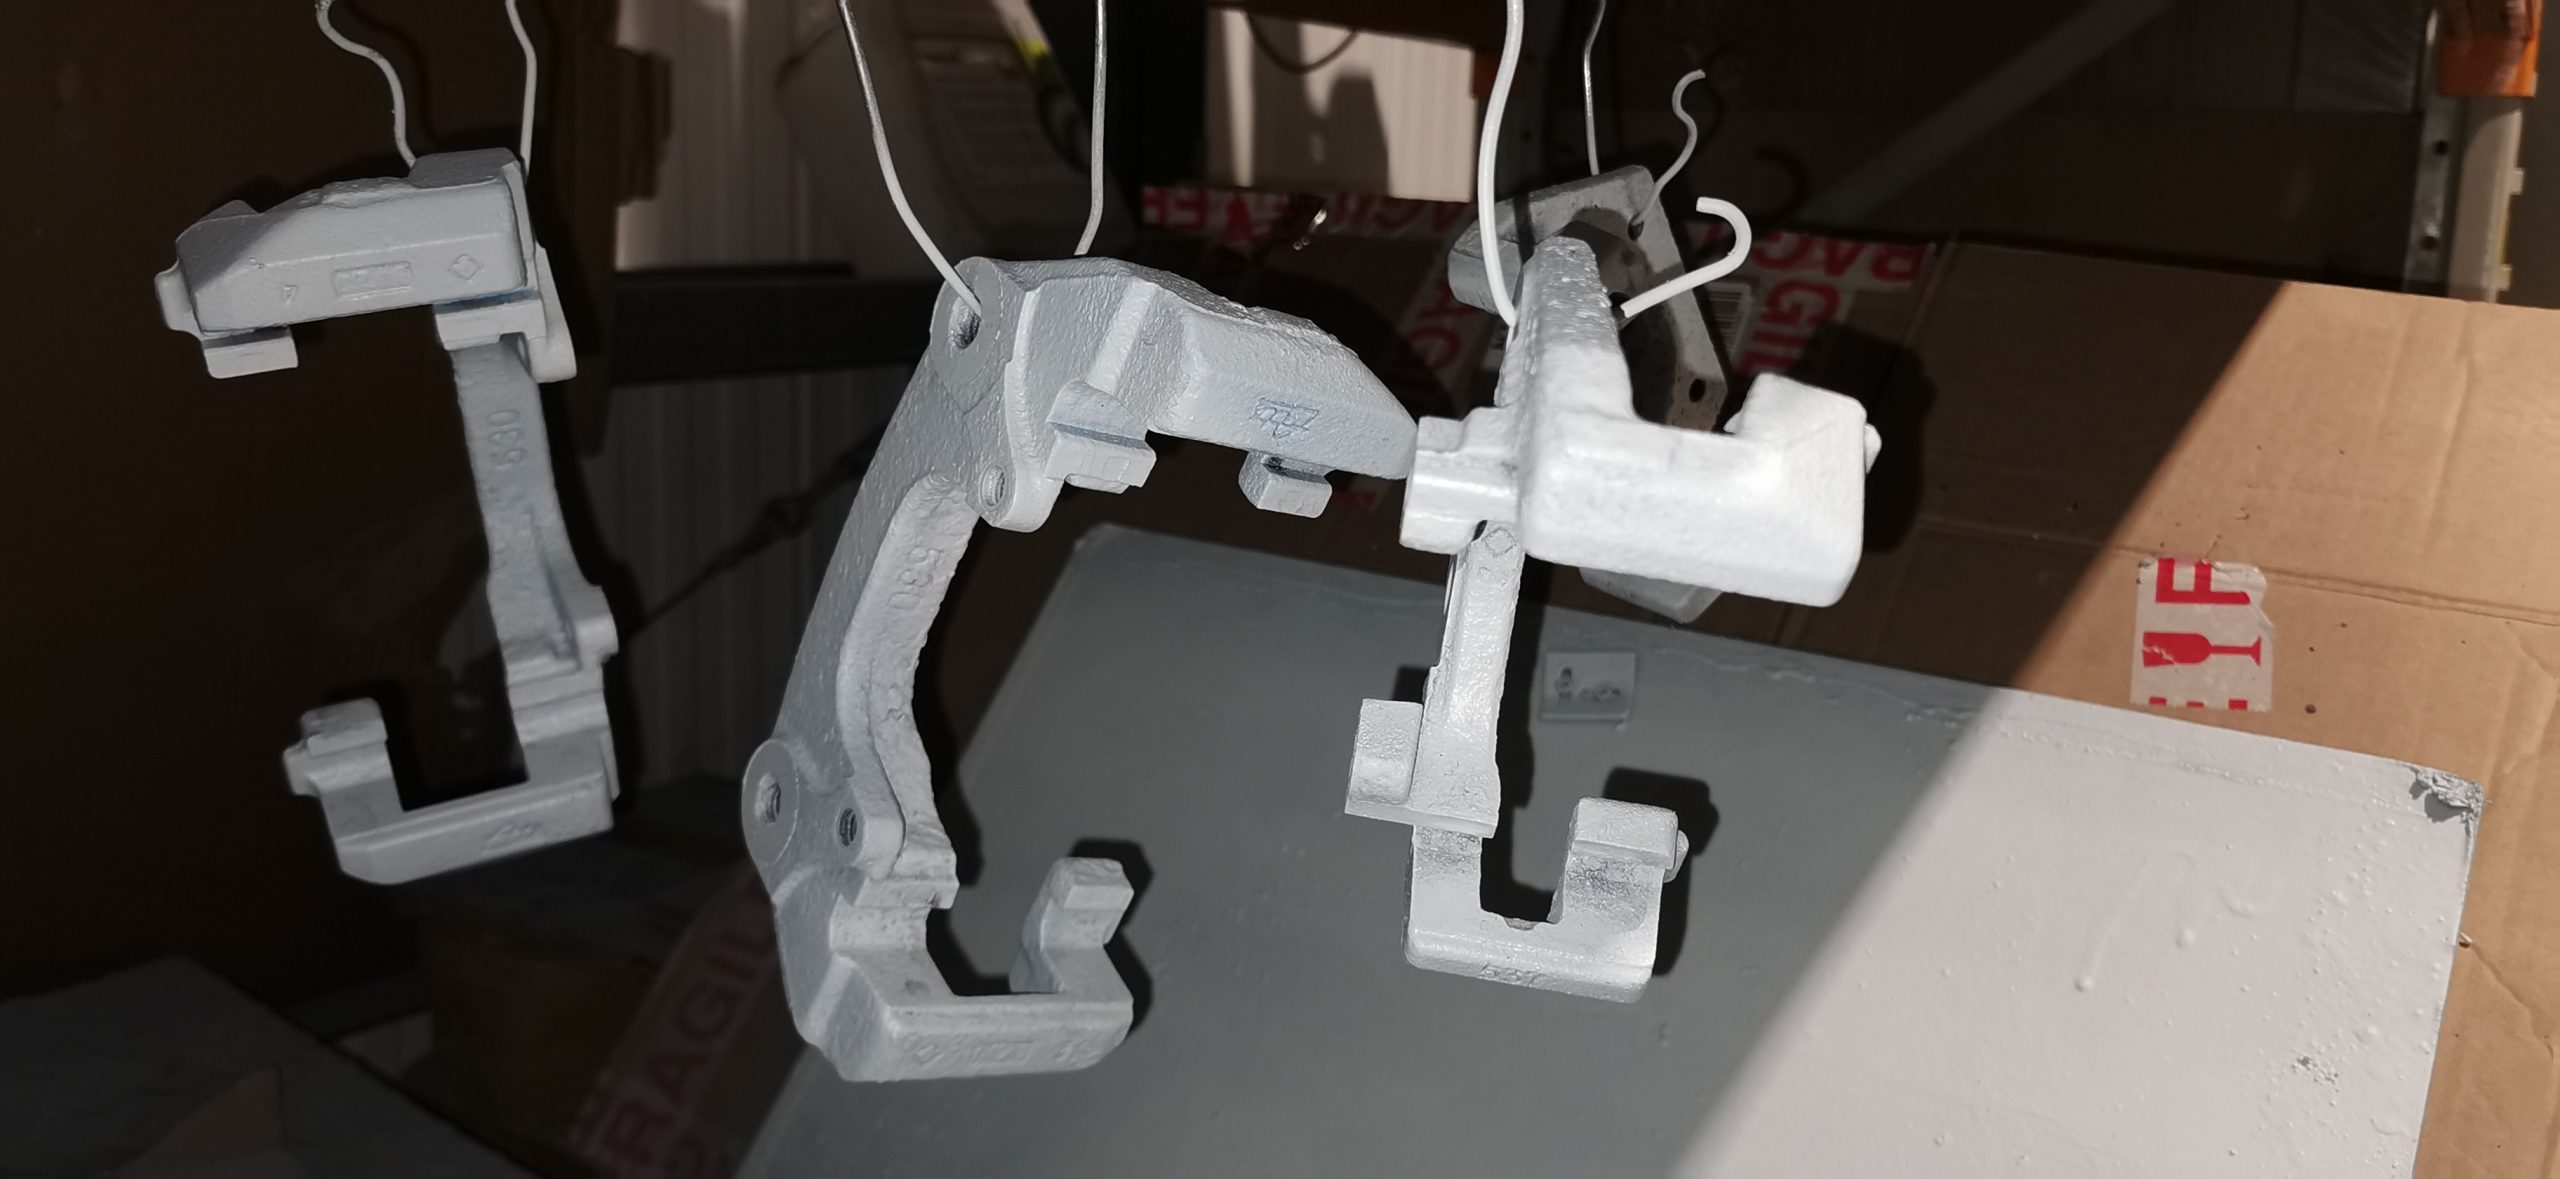
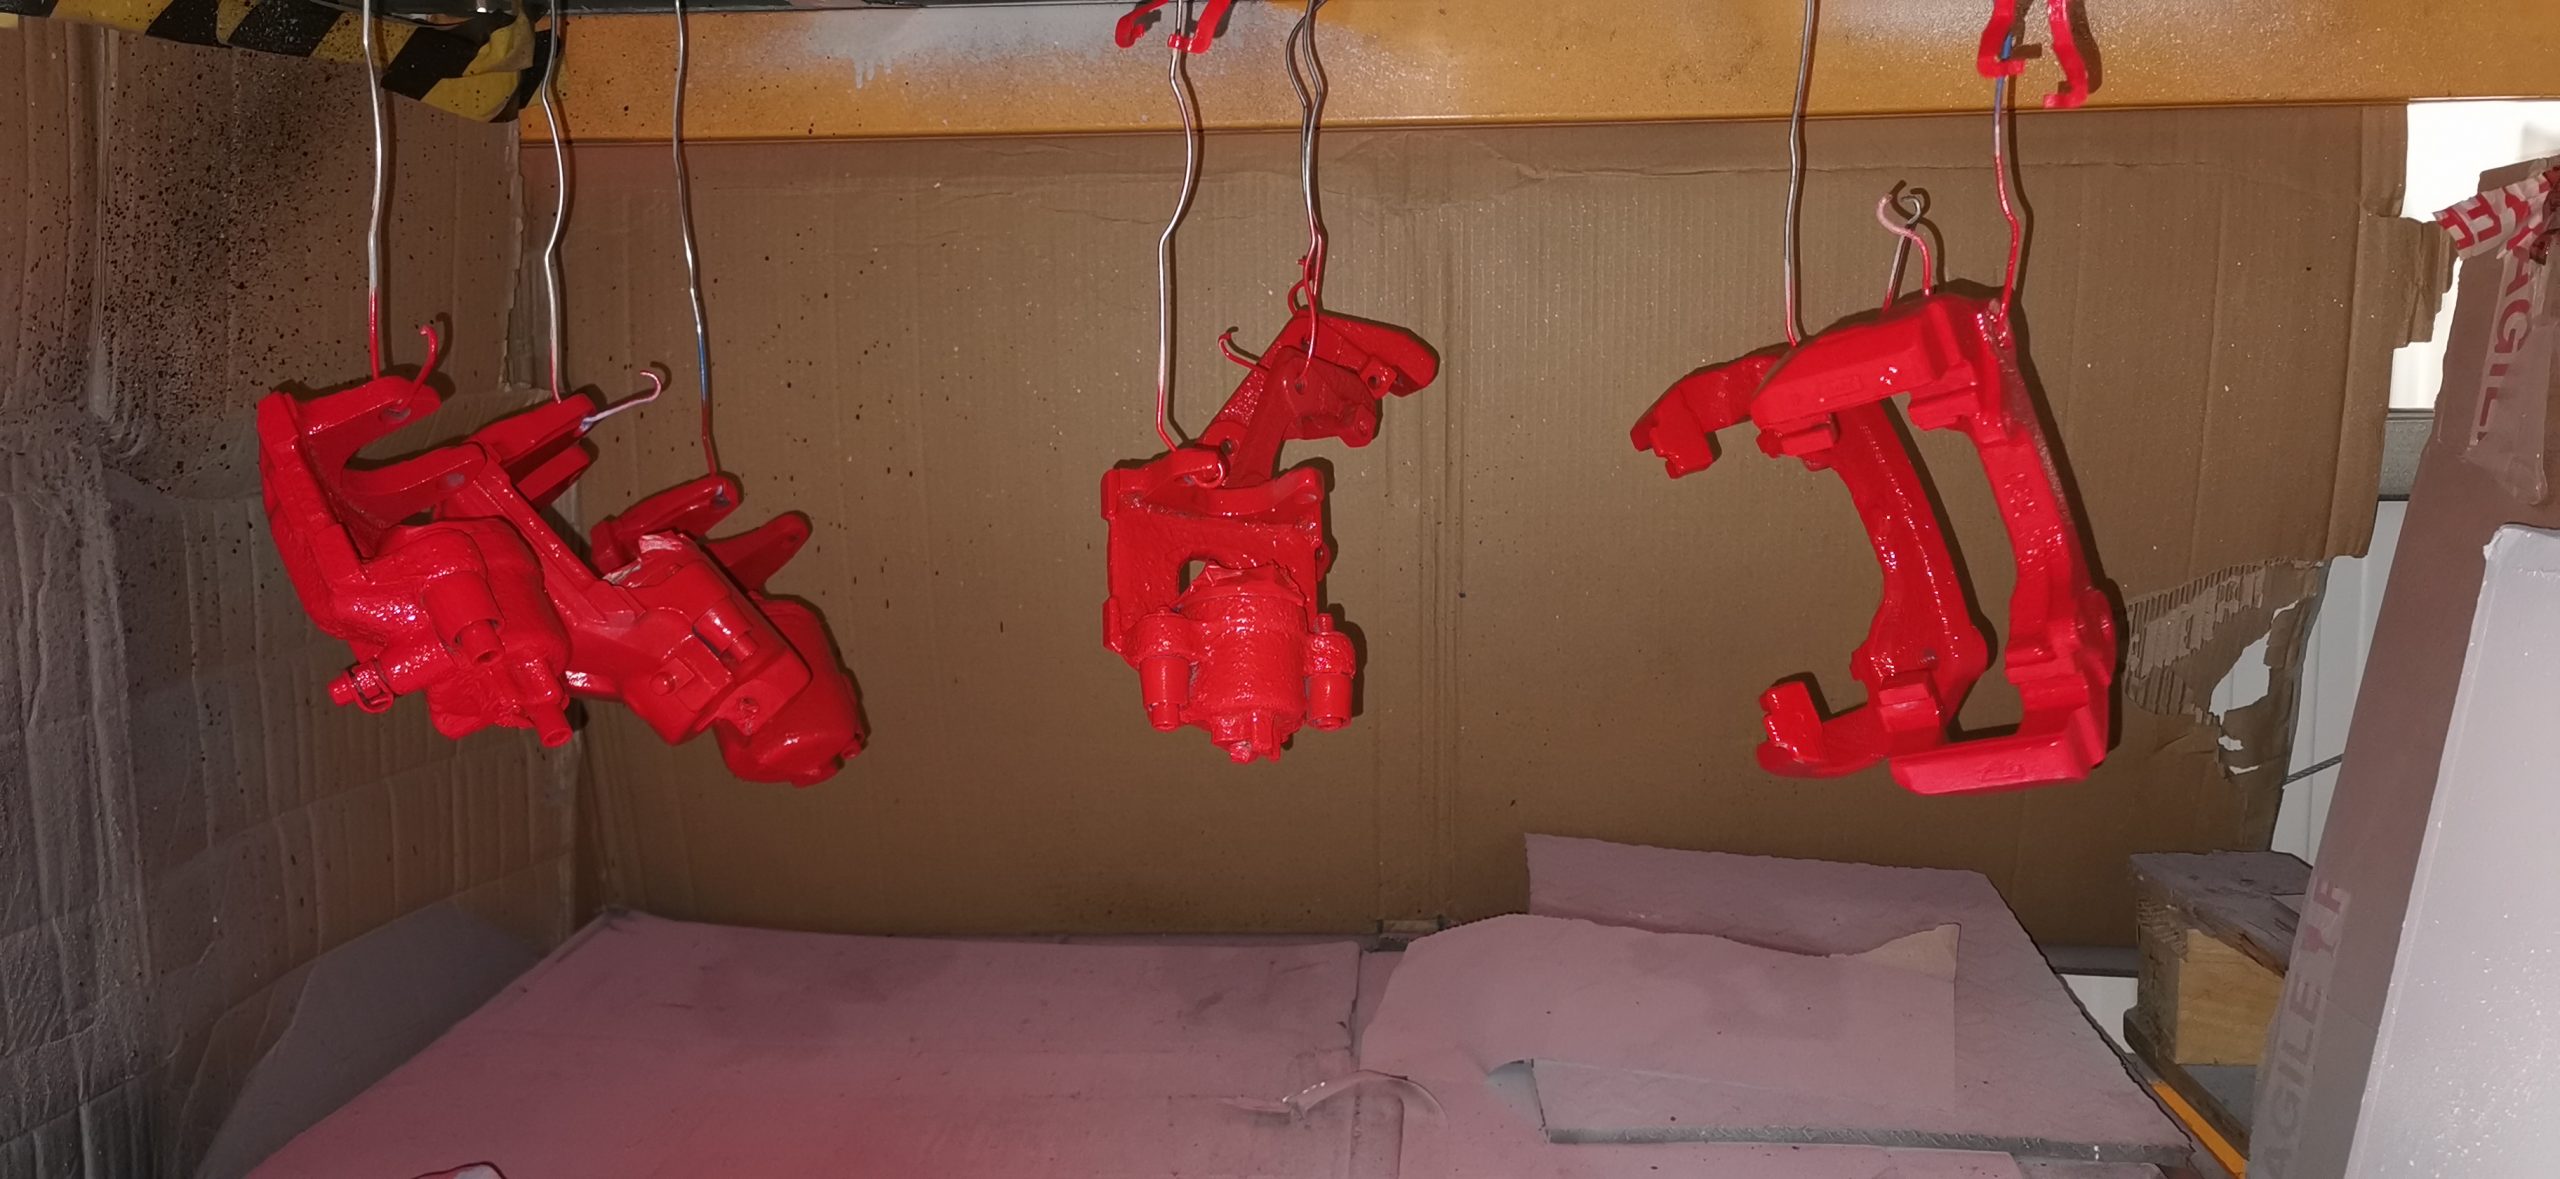
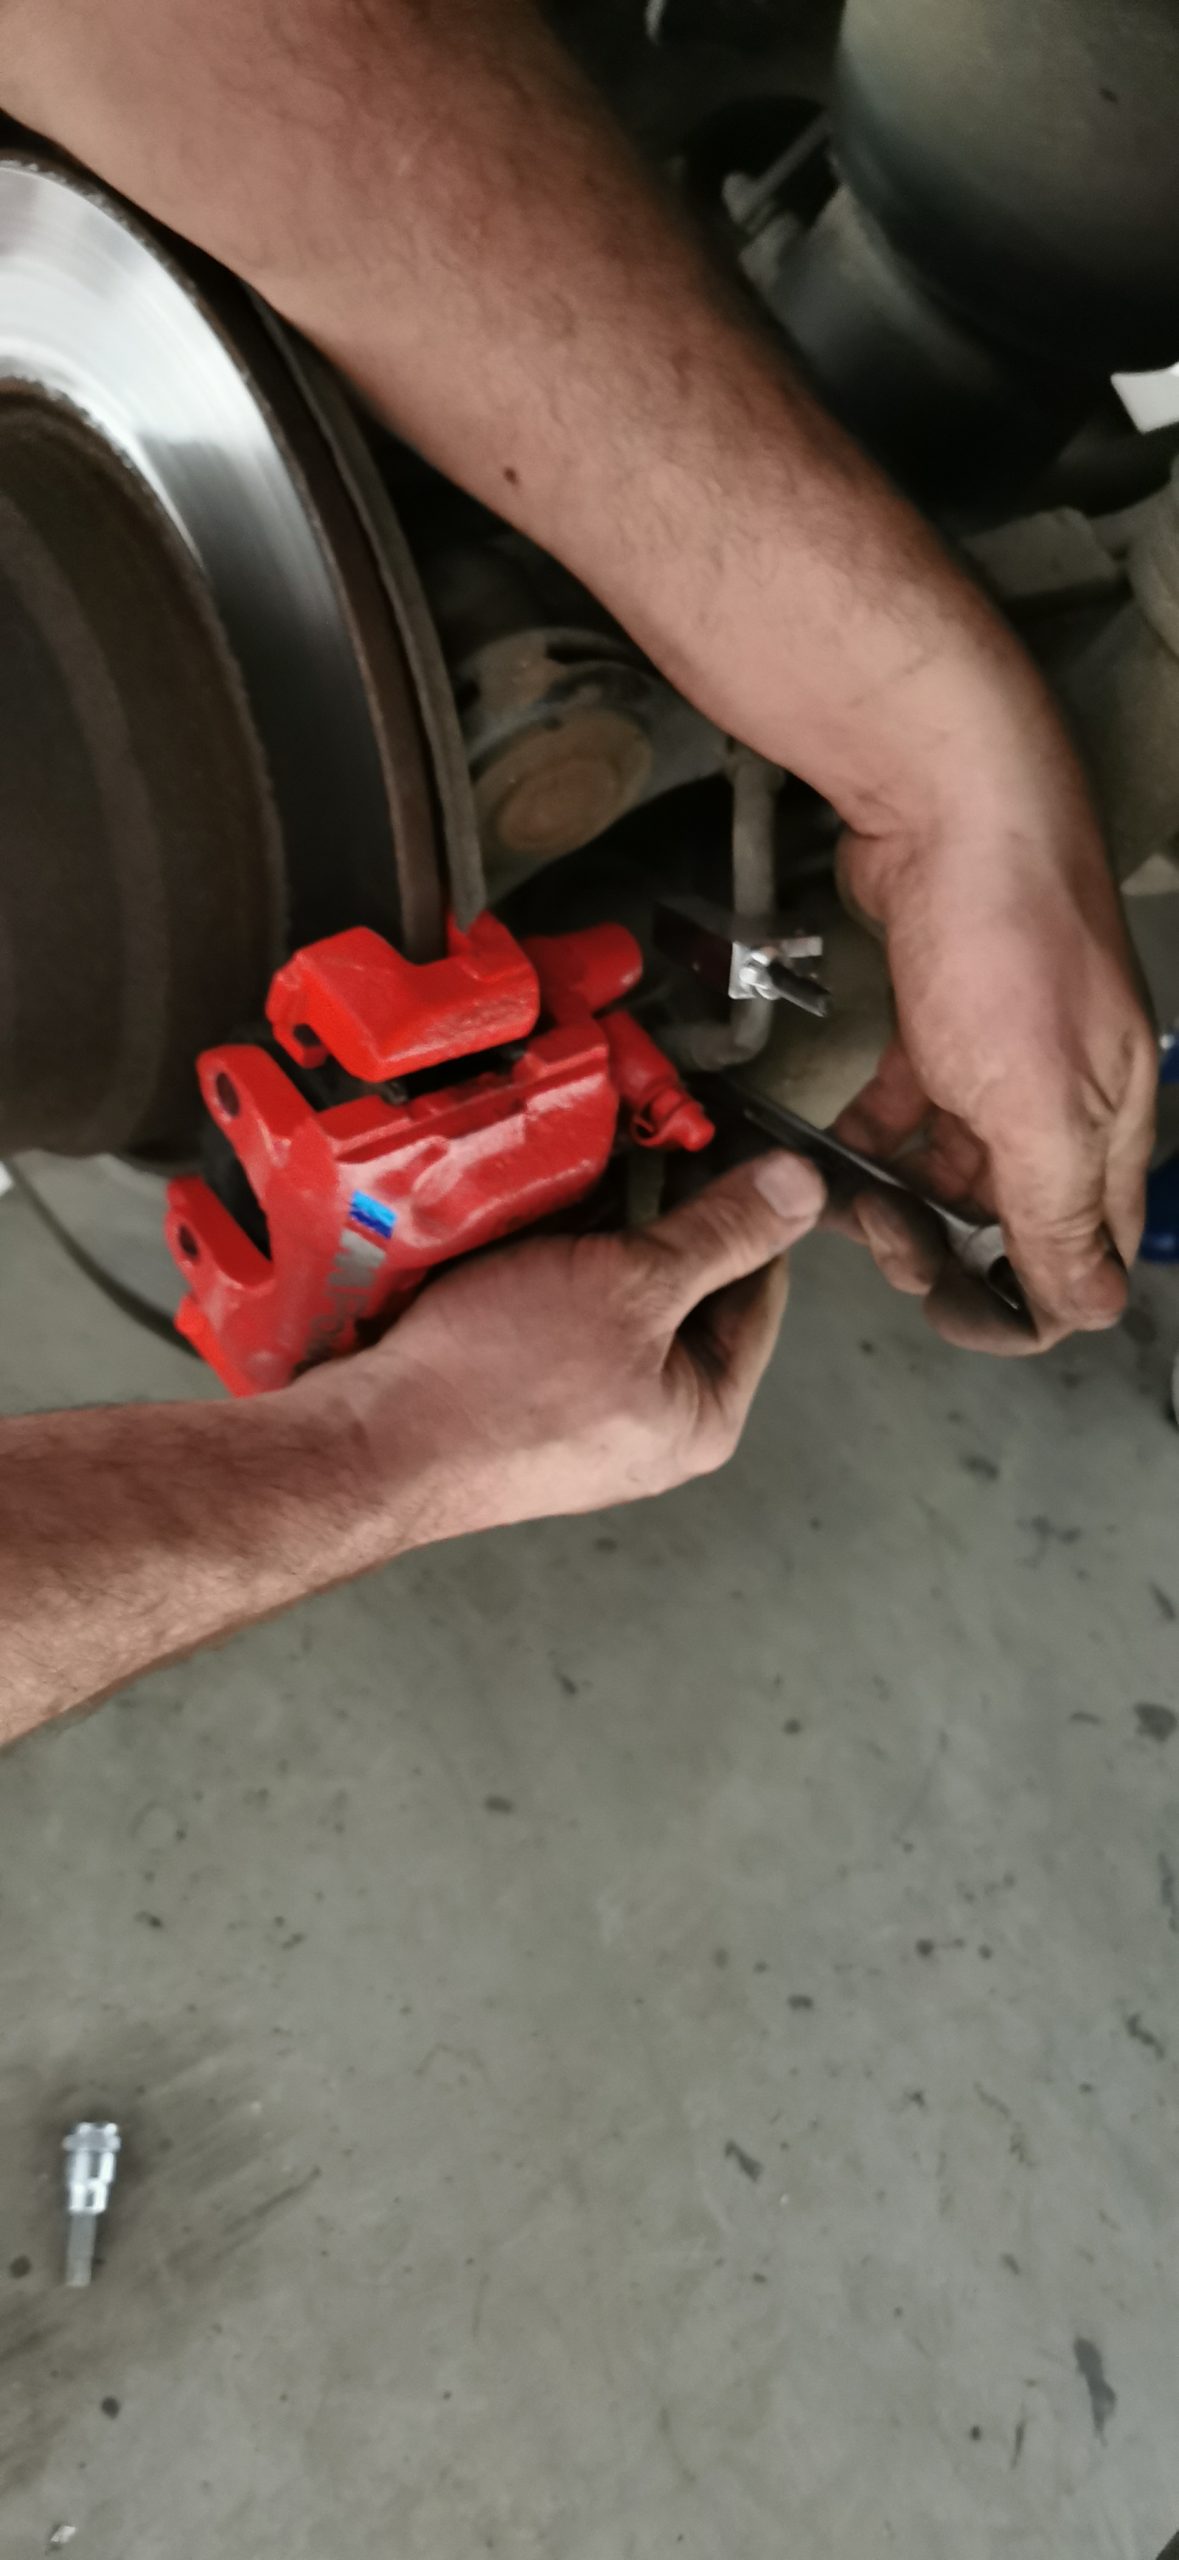
To begin the project, we removed both the wheels and calipers before clamping the brake lines to reduce any spills. Any debris build-up was then removed using a wire brush, and the surface was sanded down. To finish prepping the calipers, we cleaned and degreased the surface then left it to dry.
The next step was to apply the high build primer as the base coat.
Painting The Calipers:
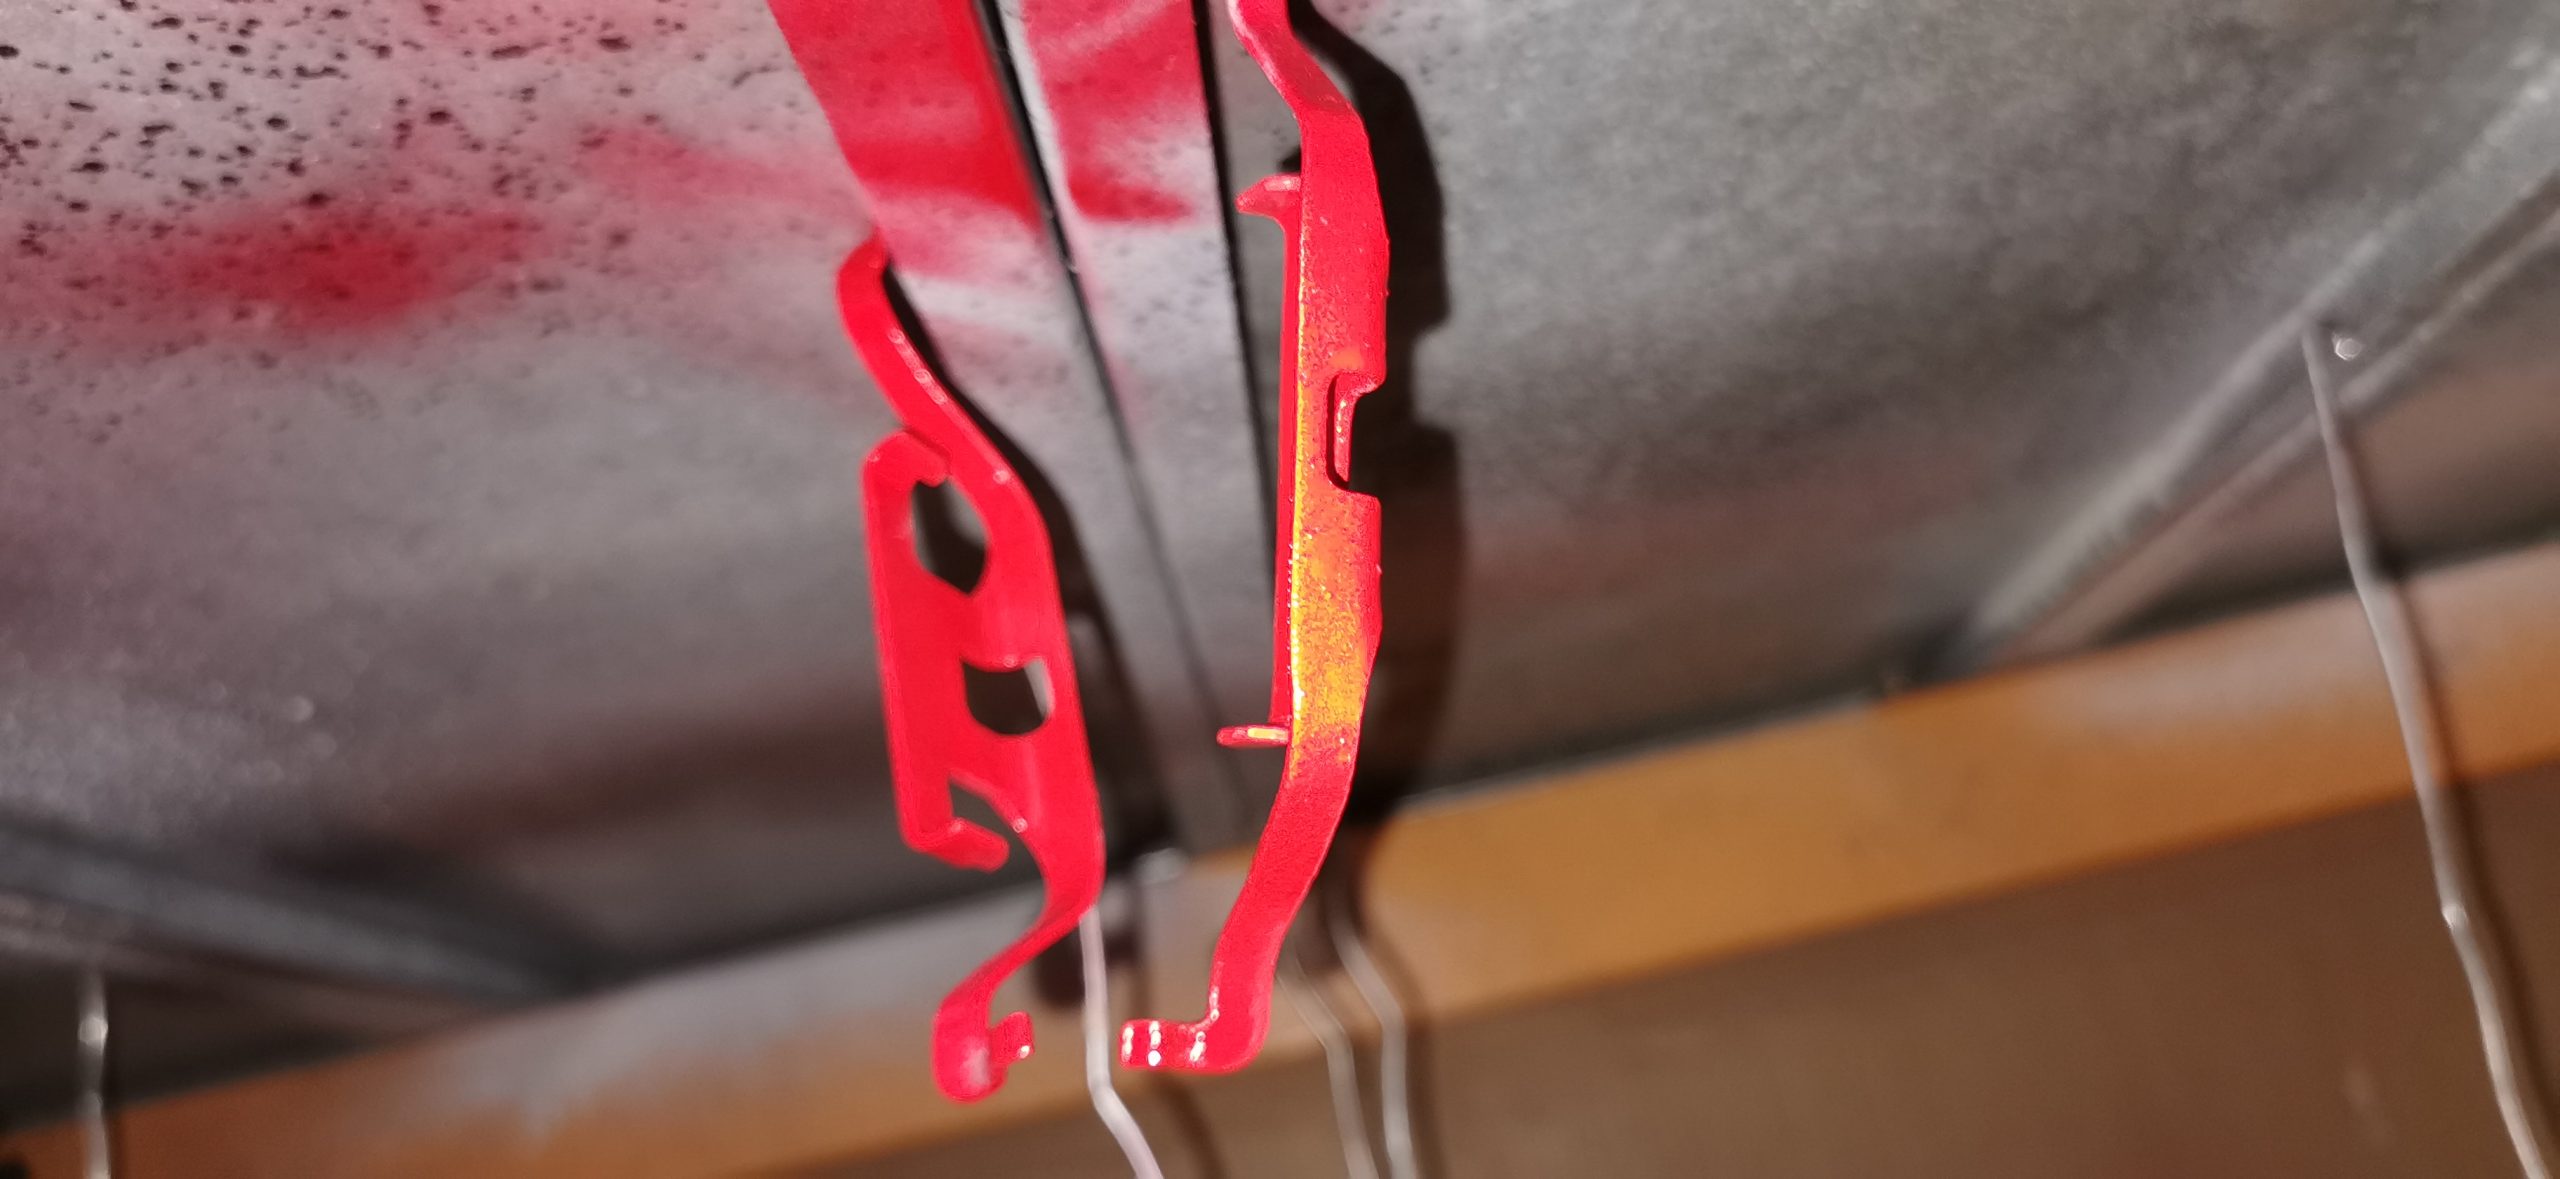
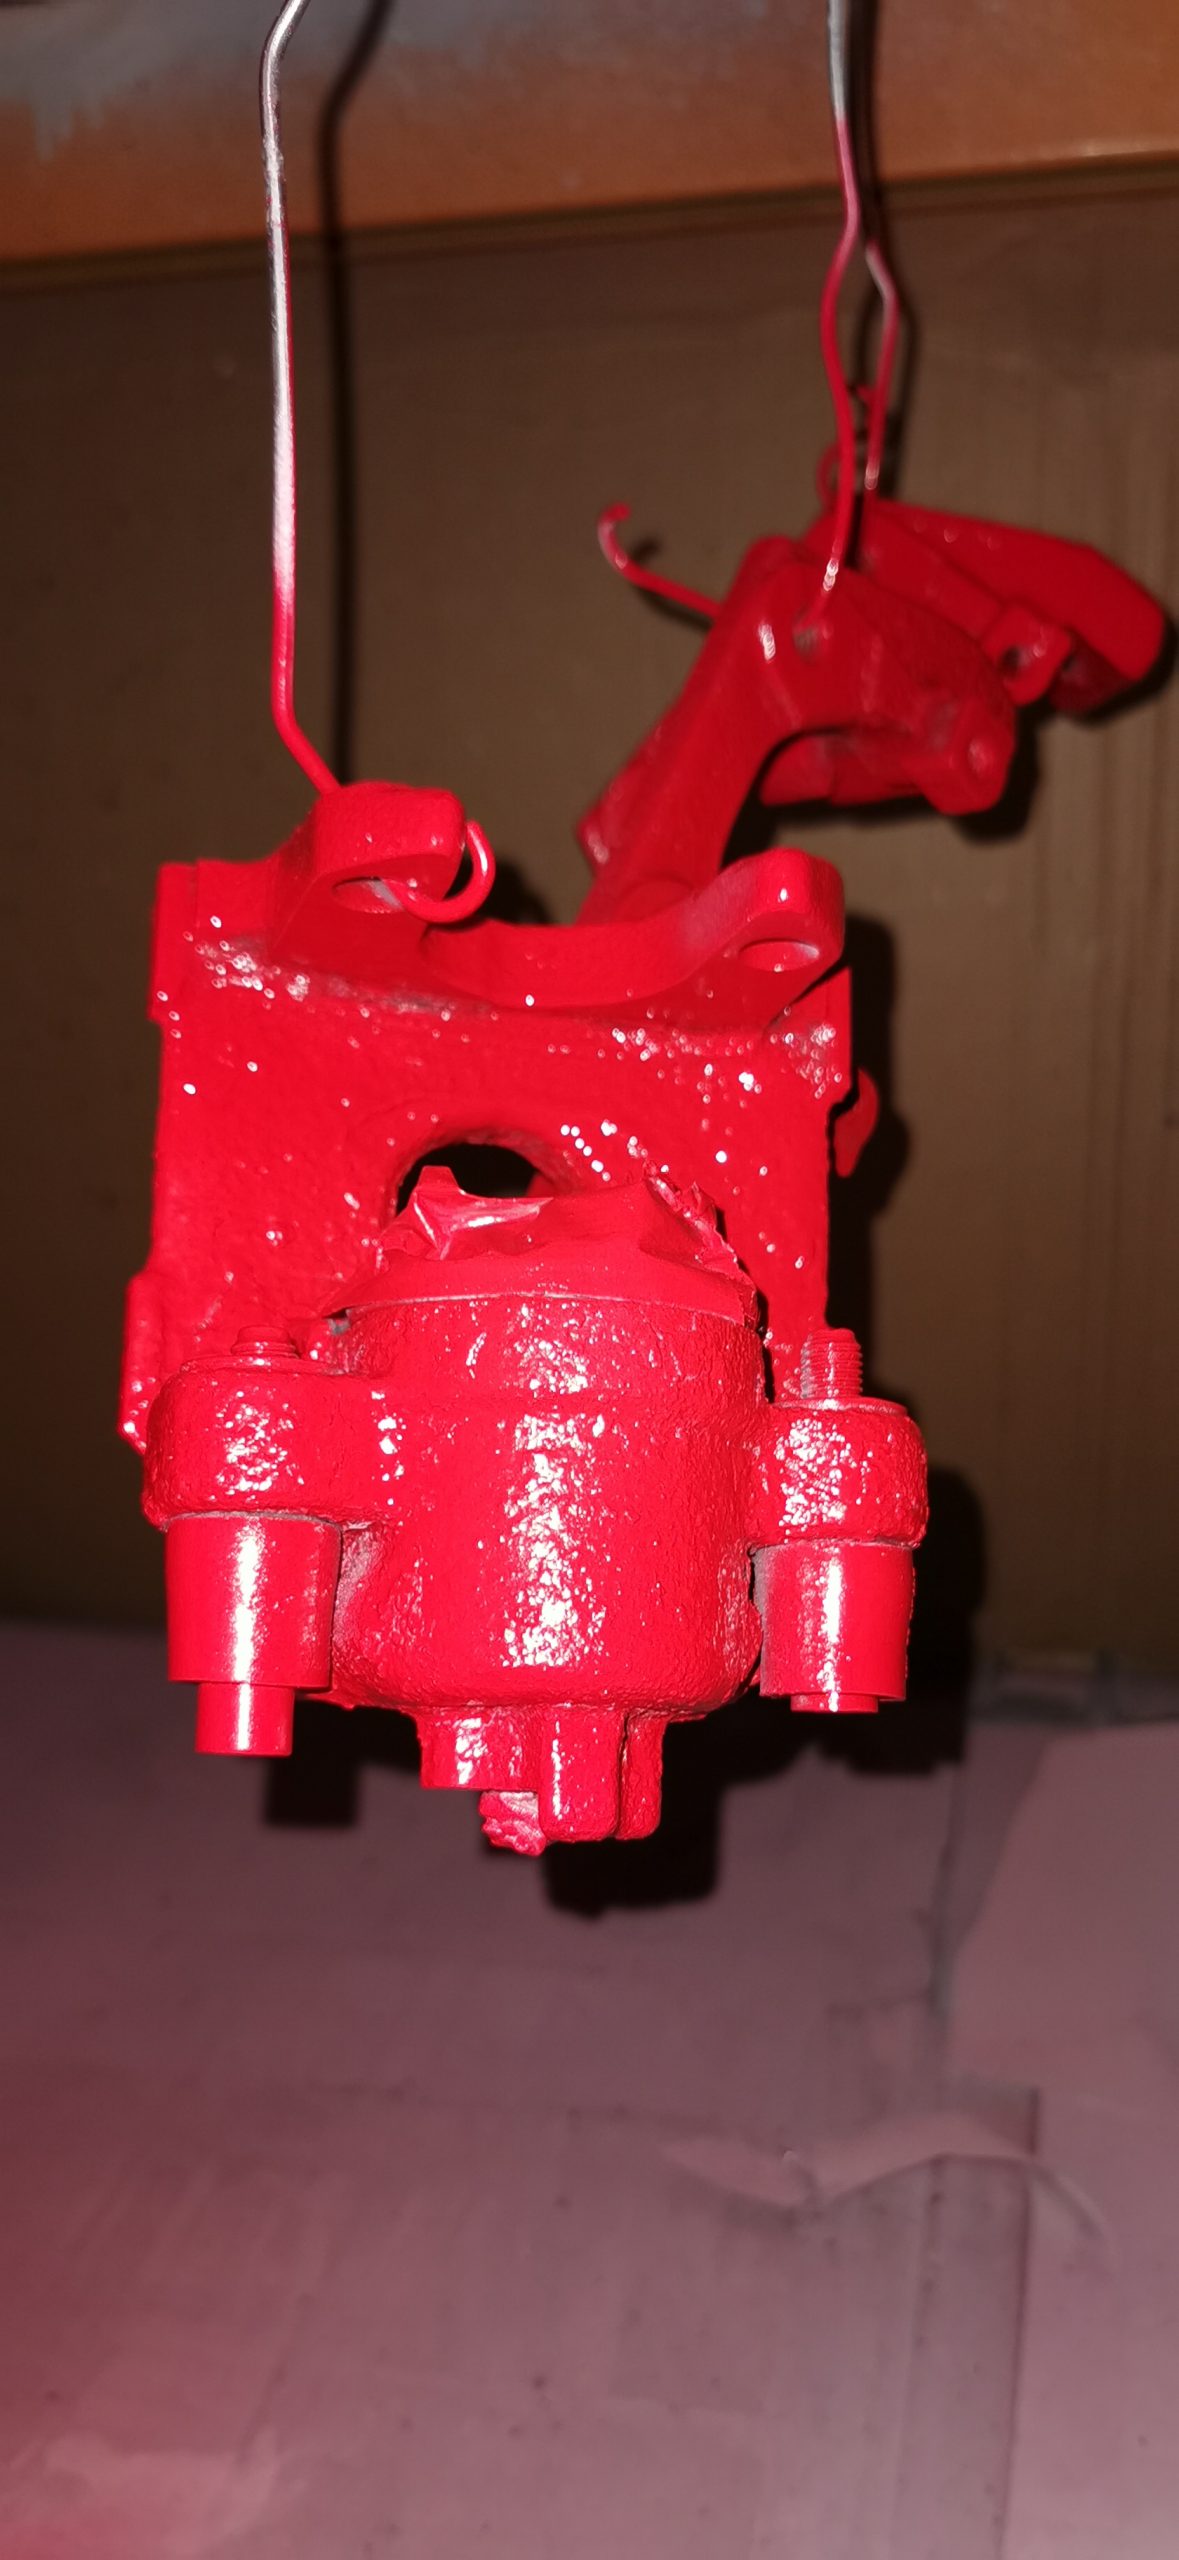
Once the base coat was cured, we applied the red caliper paint and allowed this to cure for a few hours. A second and third coat (this should be the final coat) was then applied, leaving the same curing time between each.
For this project, we also sprayed a final coat of holographic paint over the finish to give the calipers some character, before finally applying a few BMW decals.
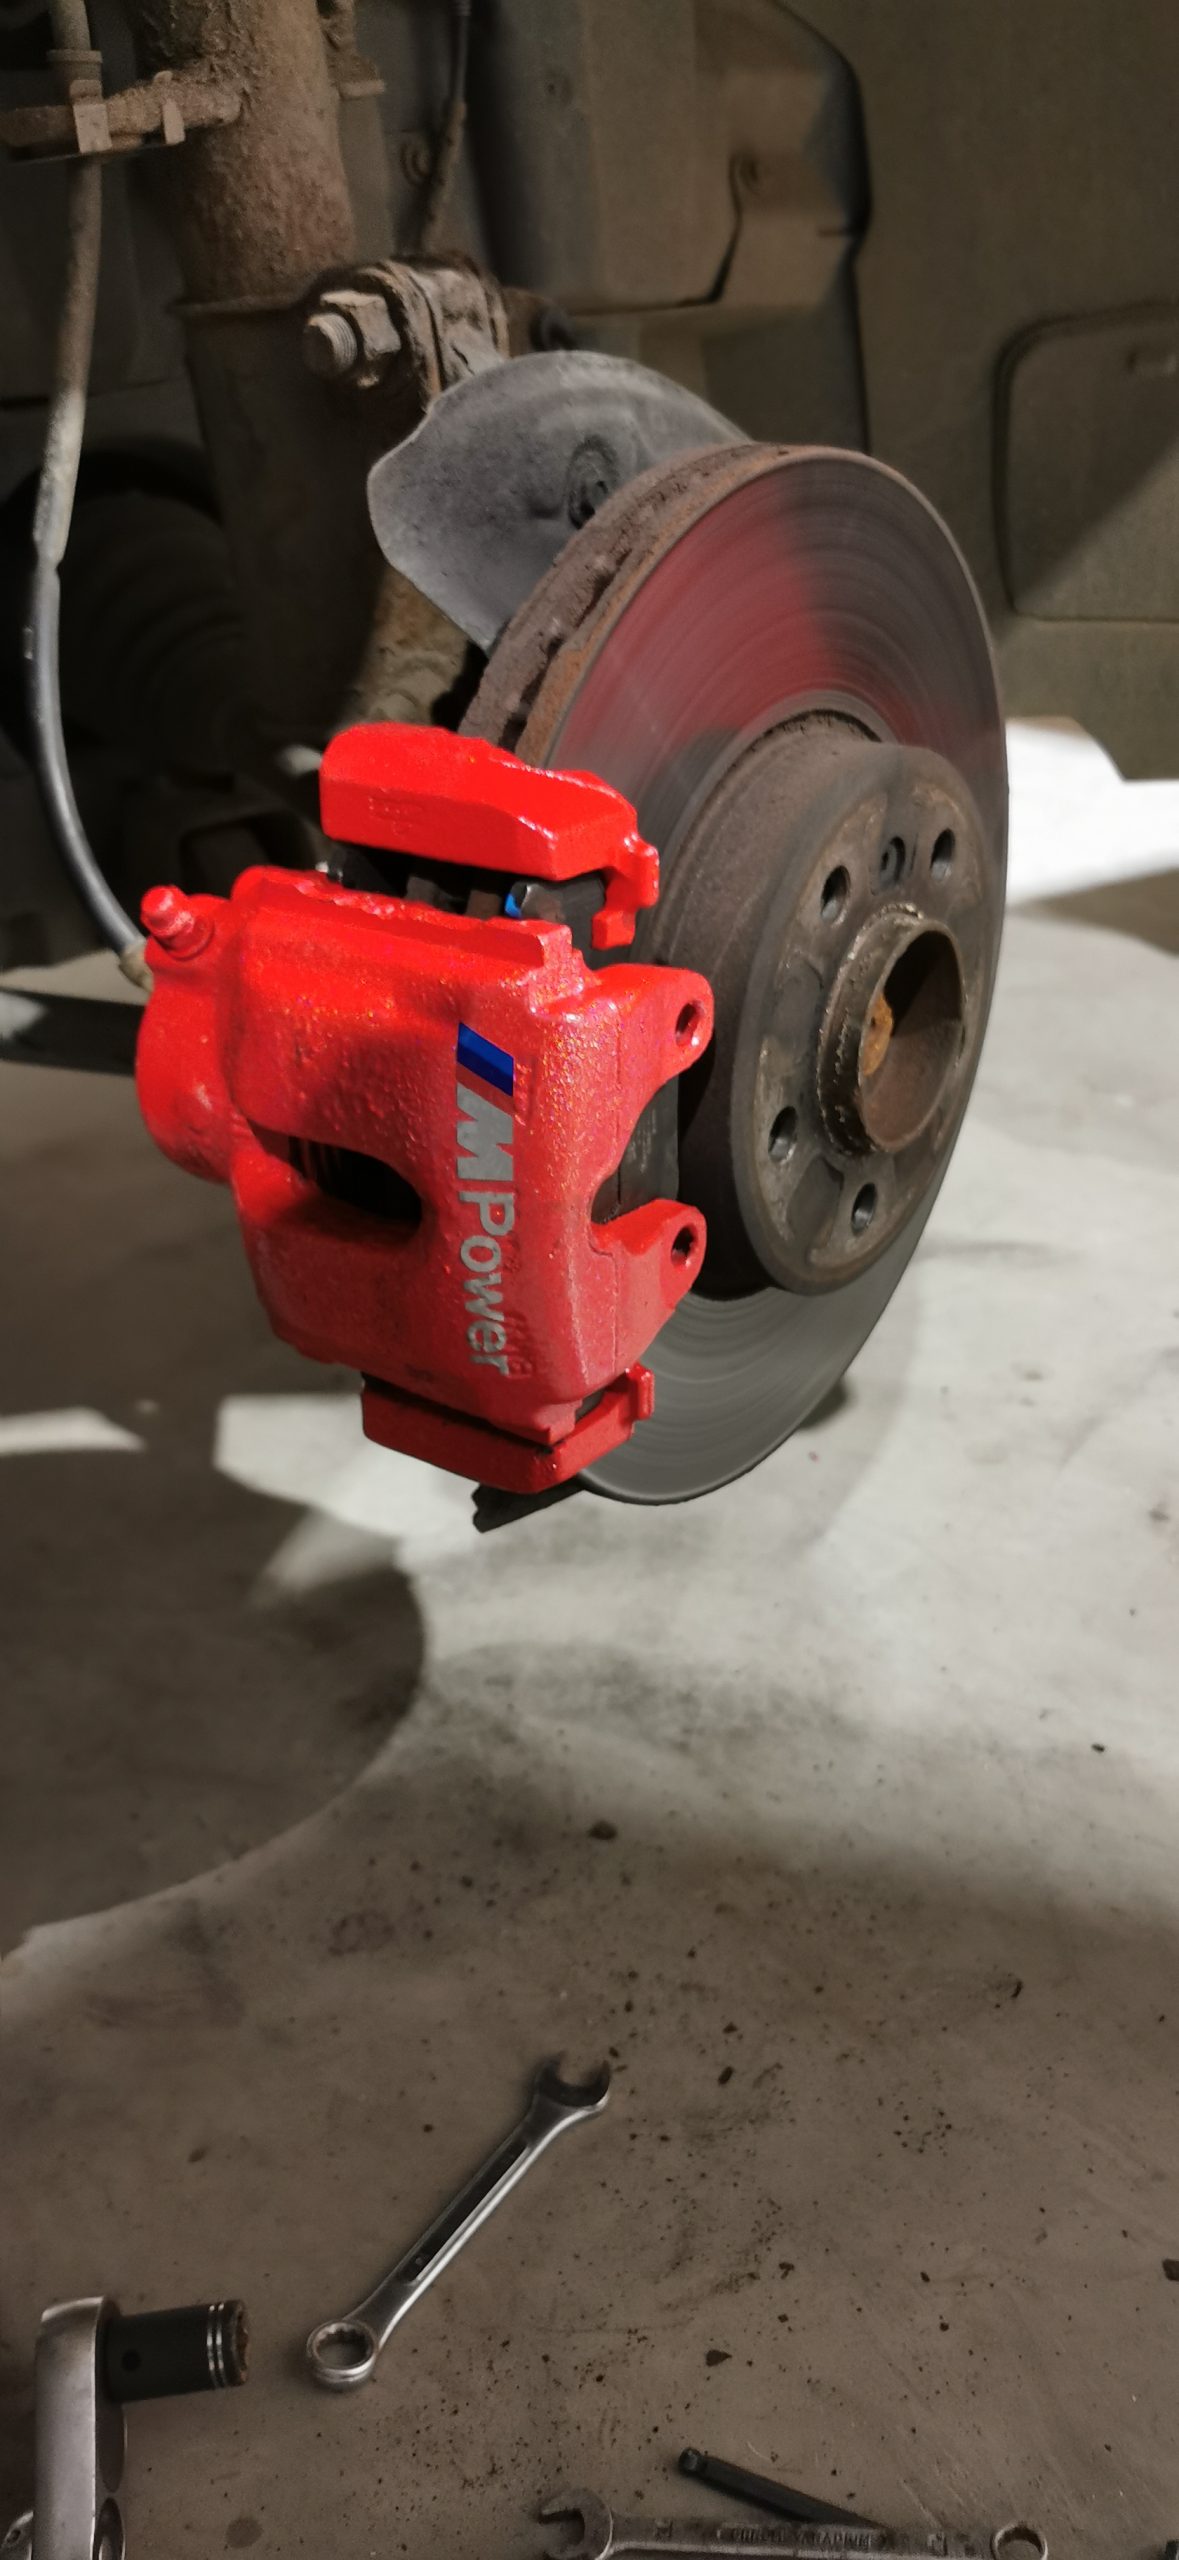
Completing this project took just one day, including time for curing, and we couldn’t be happier with the results!