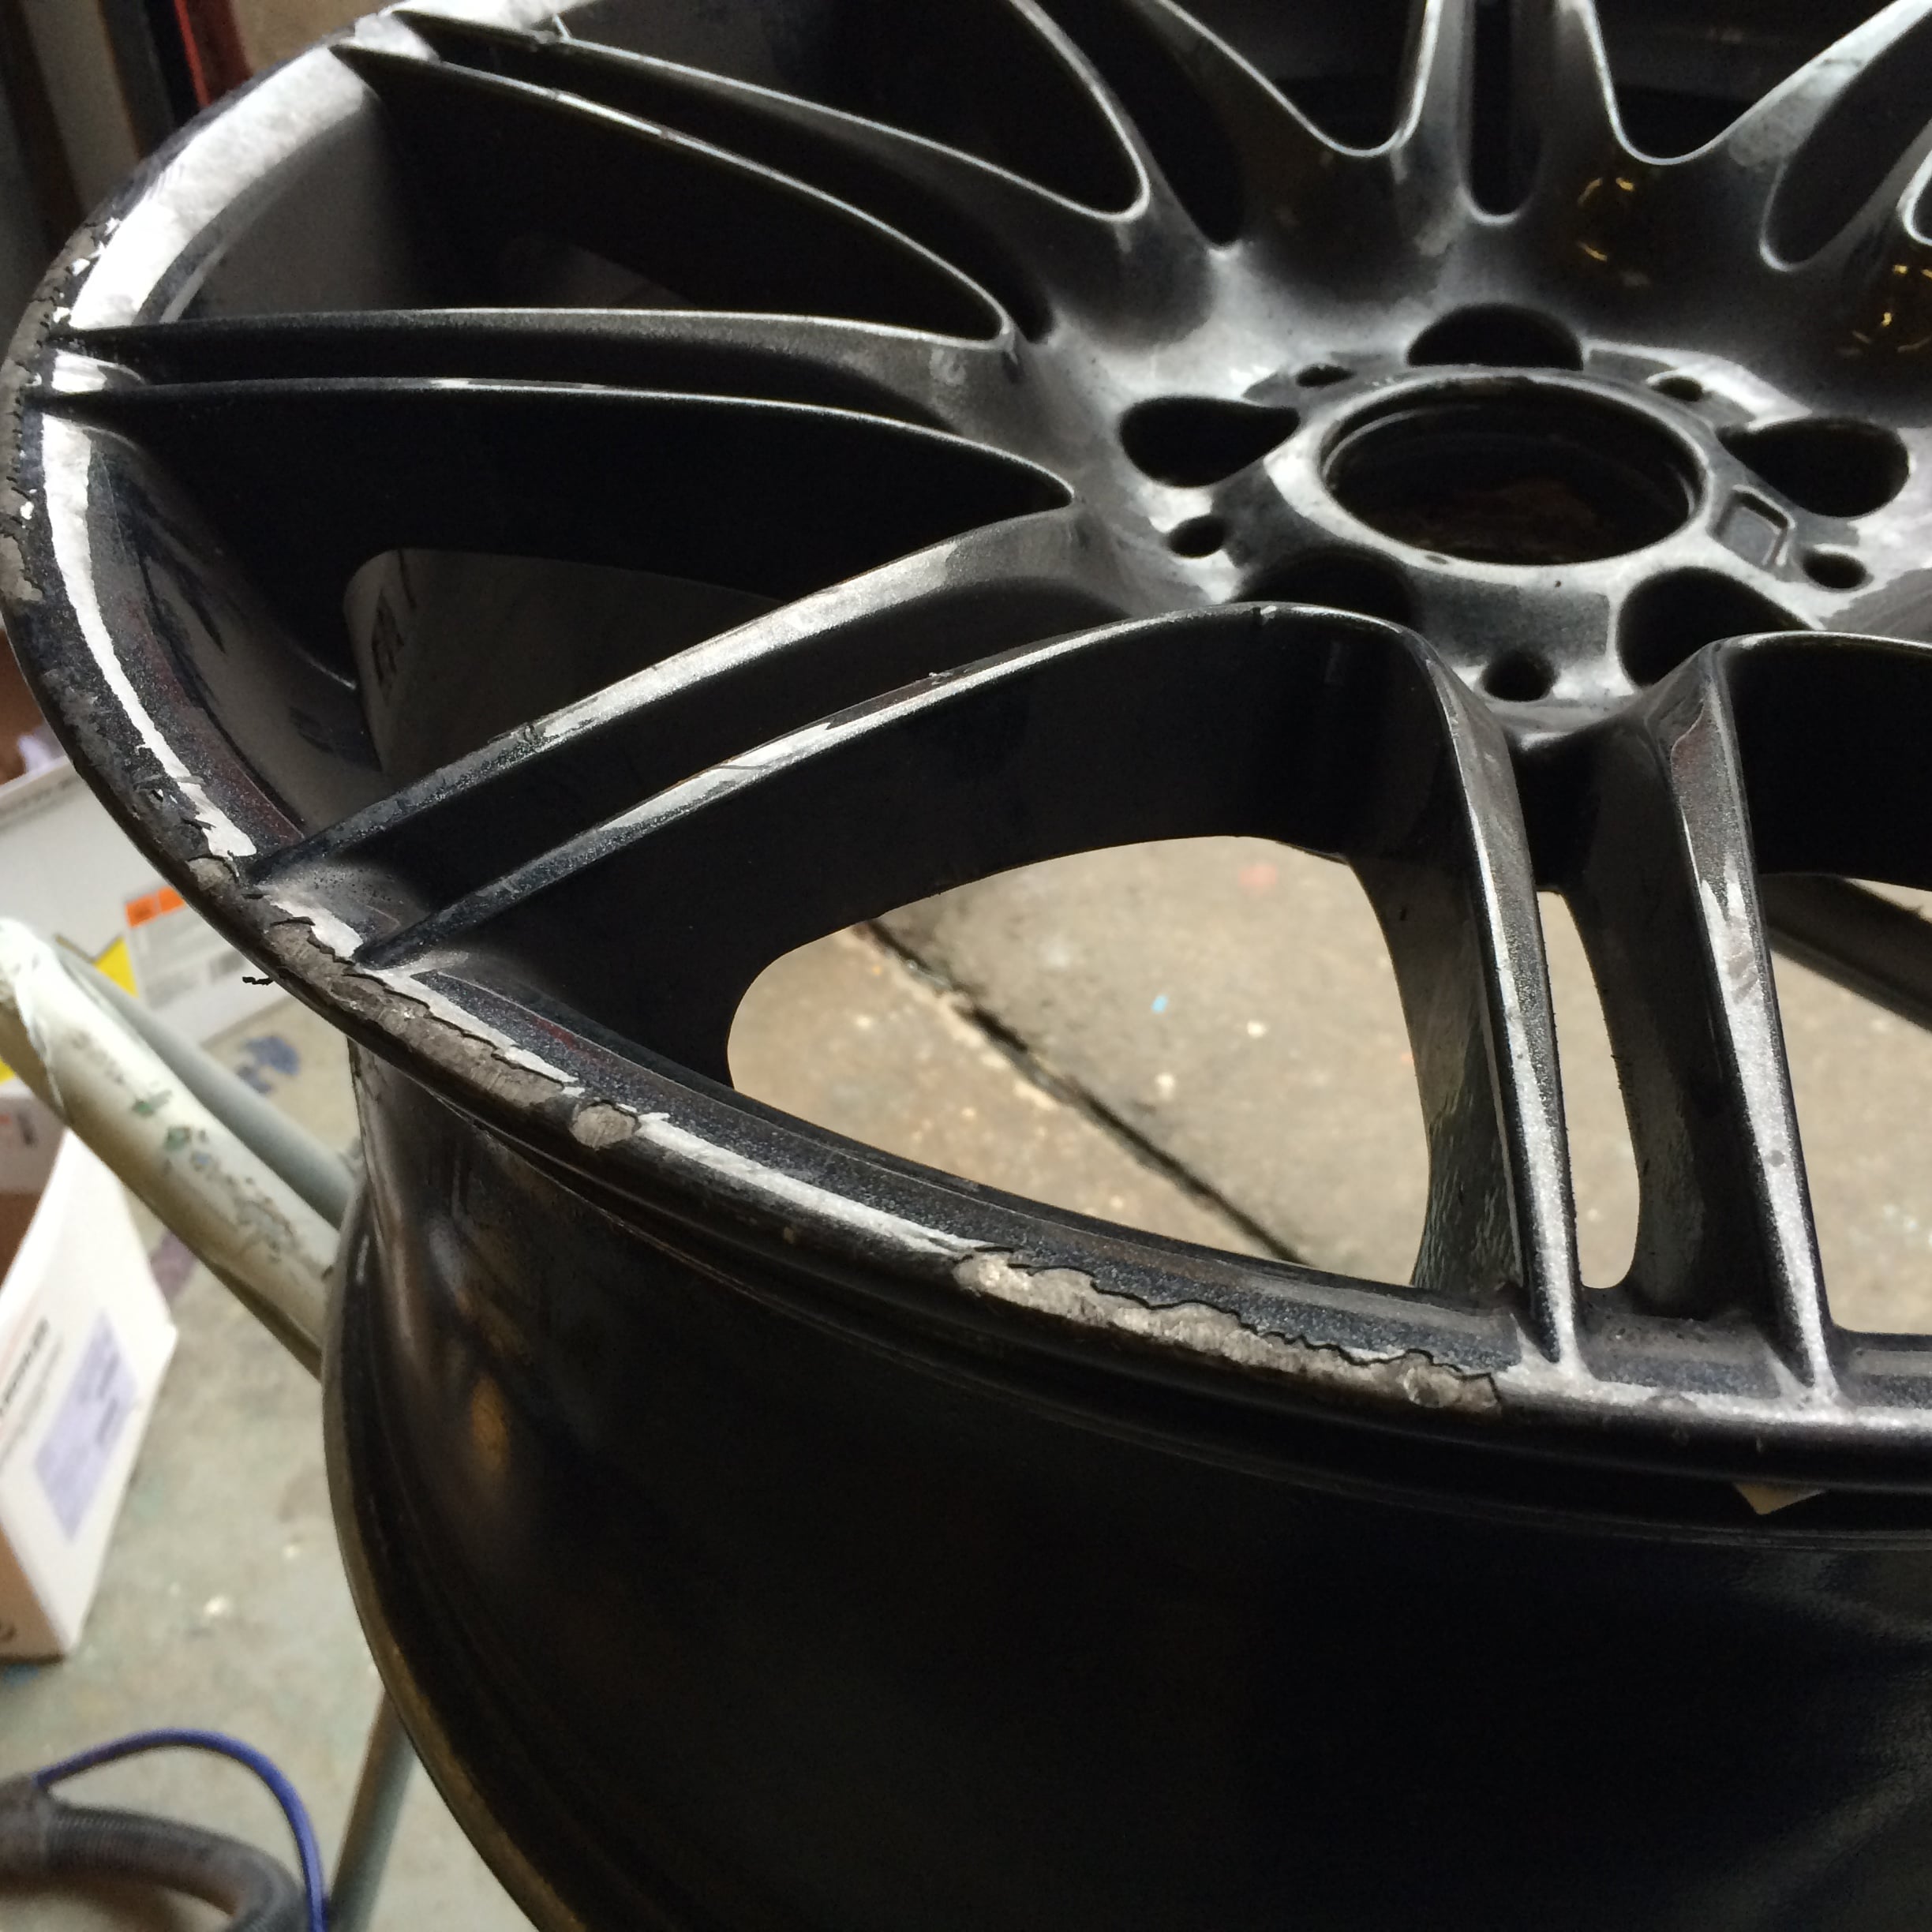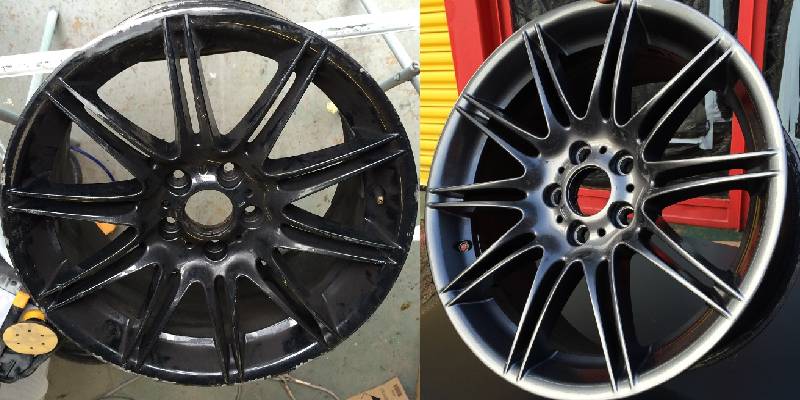
We decided to demonstrate how to repair a damaged alloy wheel on this project. Before embarking on any project with your alloys, it’s worth checking with your local tyre fitter to ensure the wheel you are repairing has no serious damage or cracks in it.
Tools:
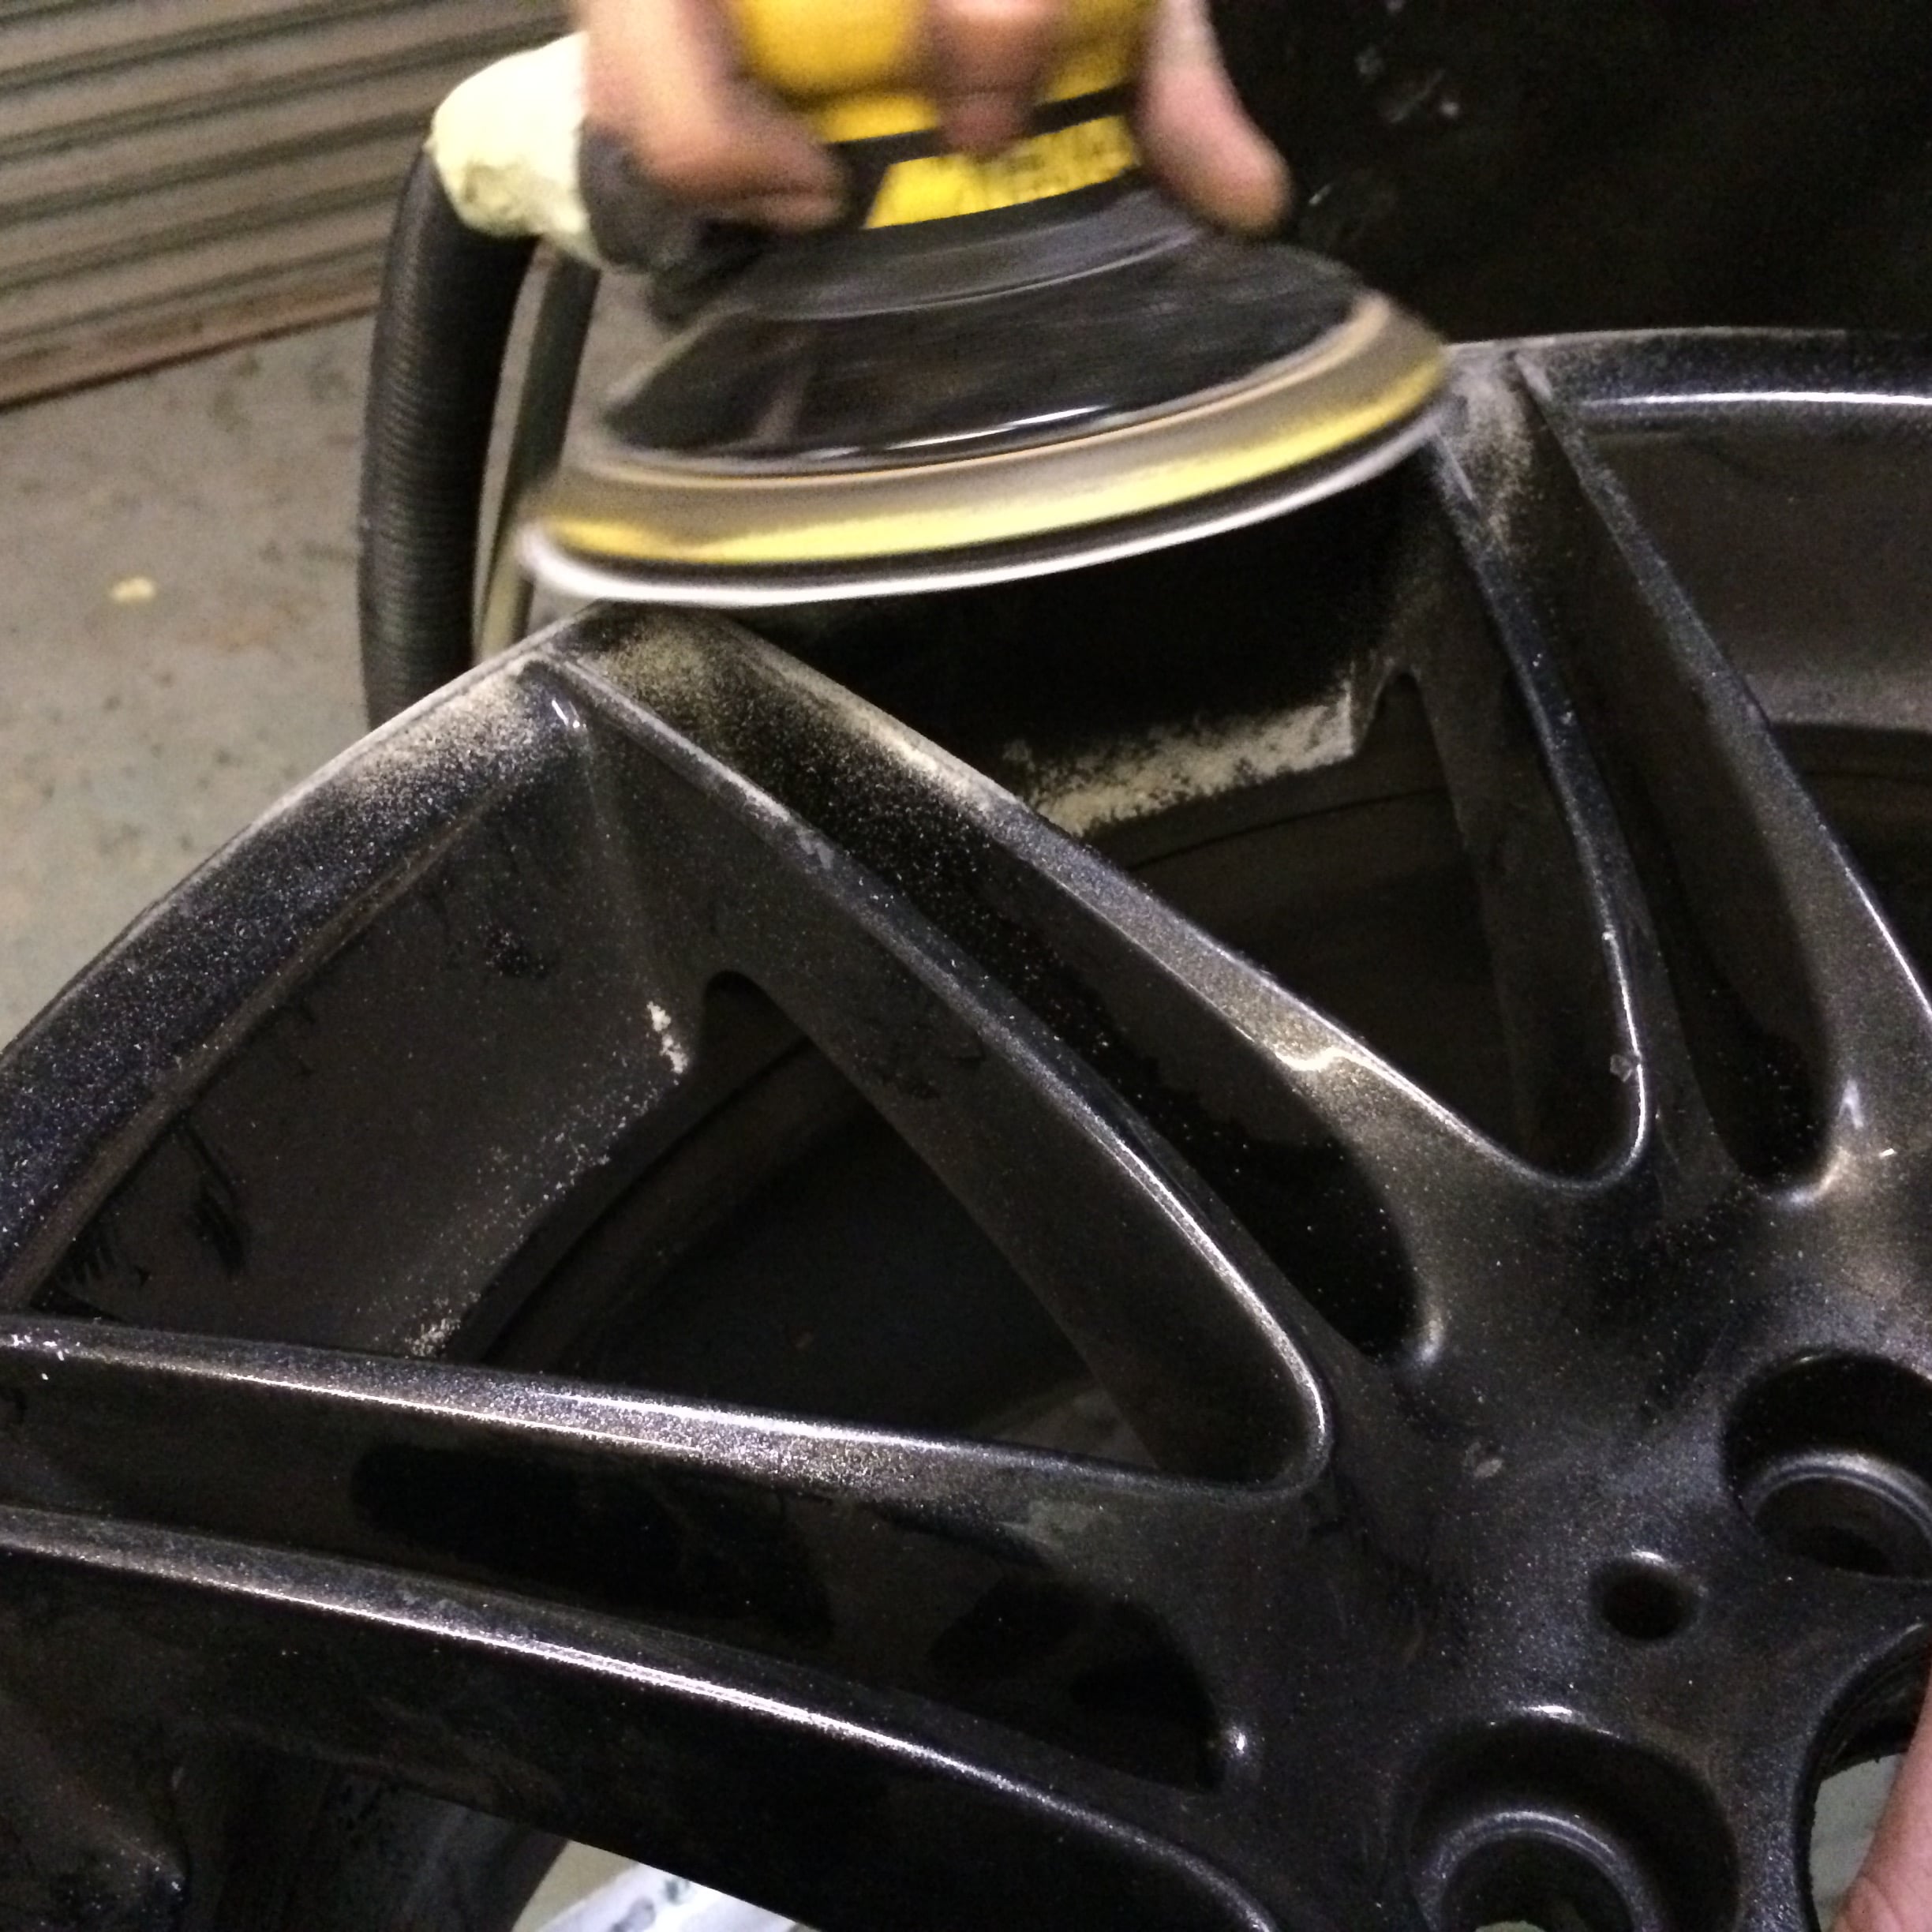
- Multi-Grade Sand Paper and/or a Dual Action Sander
- Metal Filler
- Degreaser
- Tack Cloths
- High Build Primer
- 1K Base Coat Colour
- 2K Gloss Lacquer
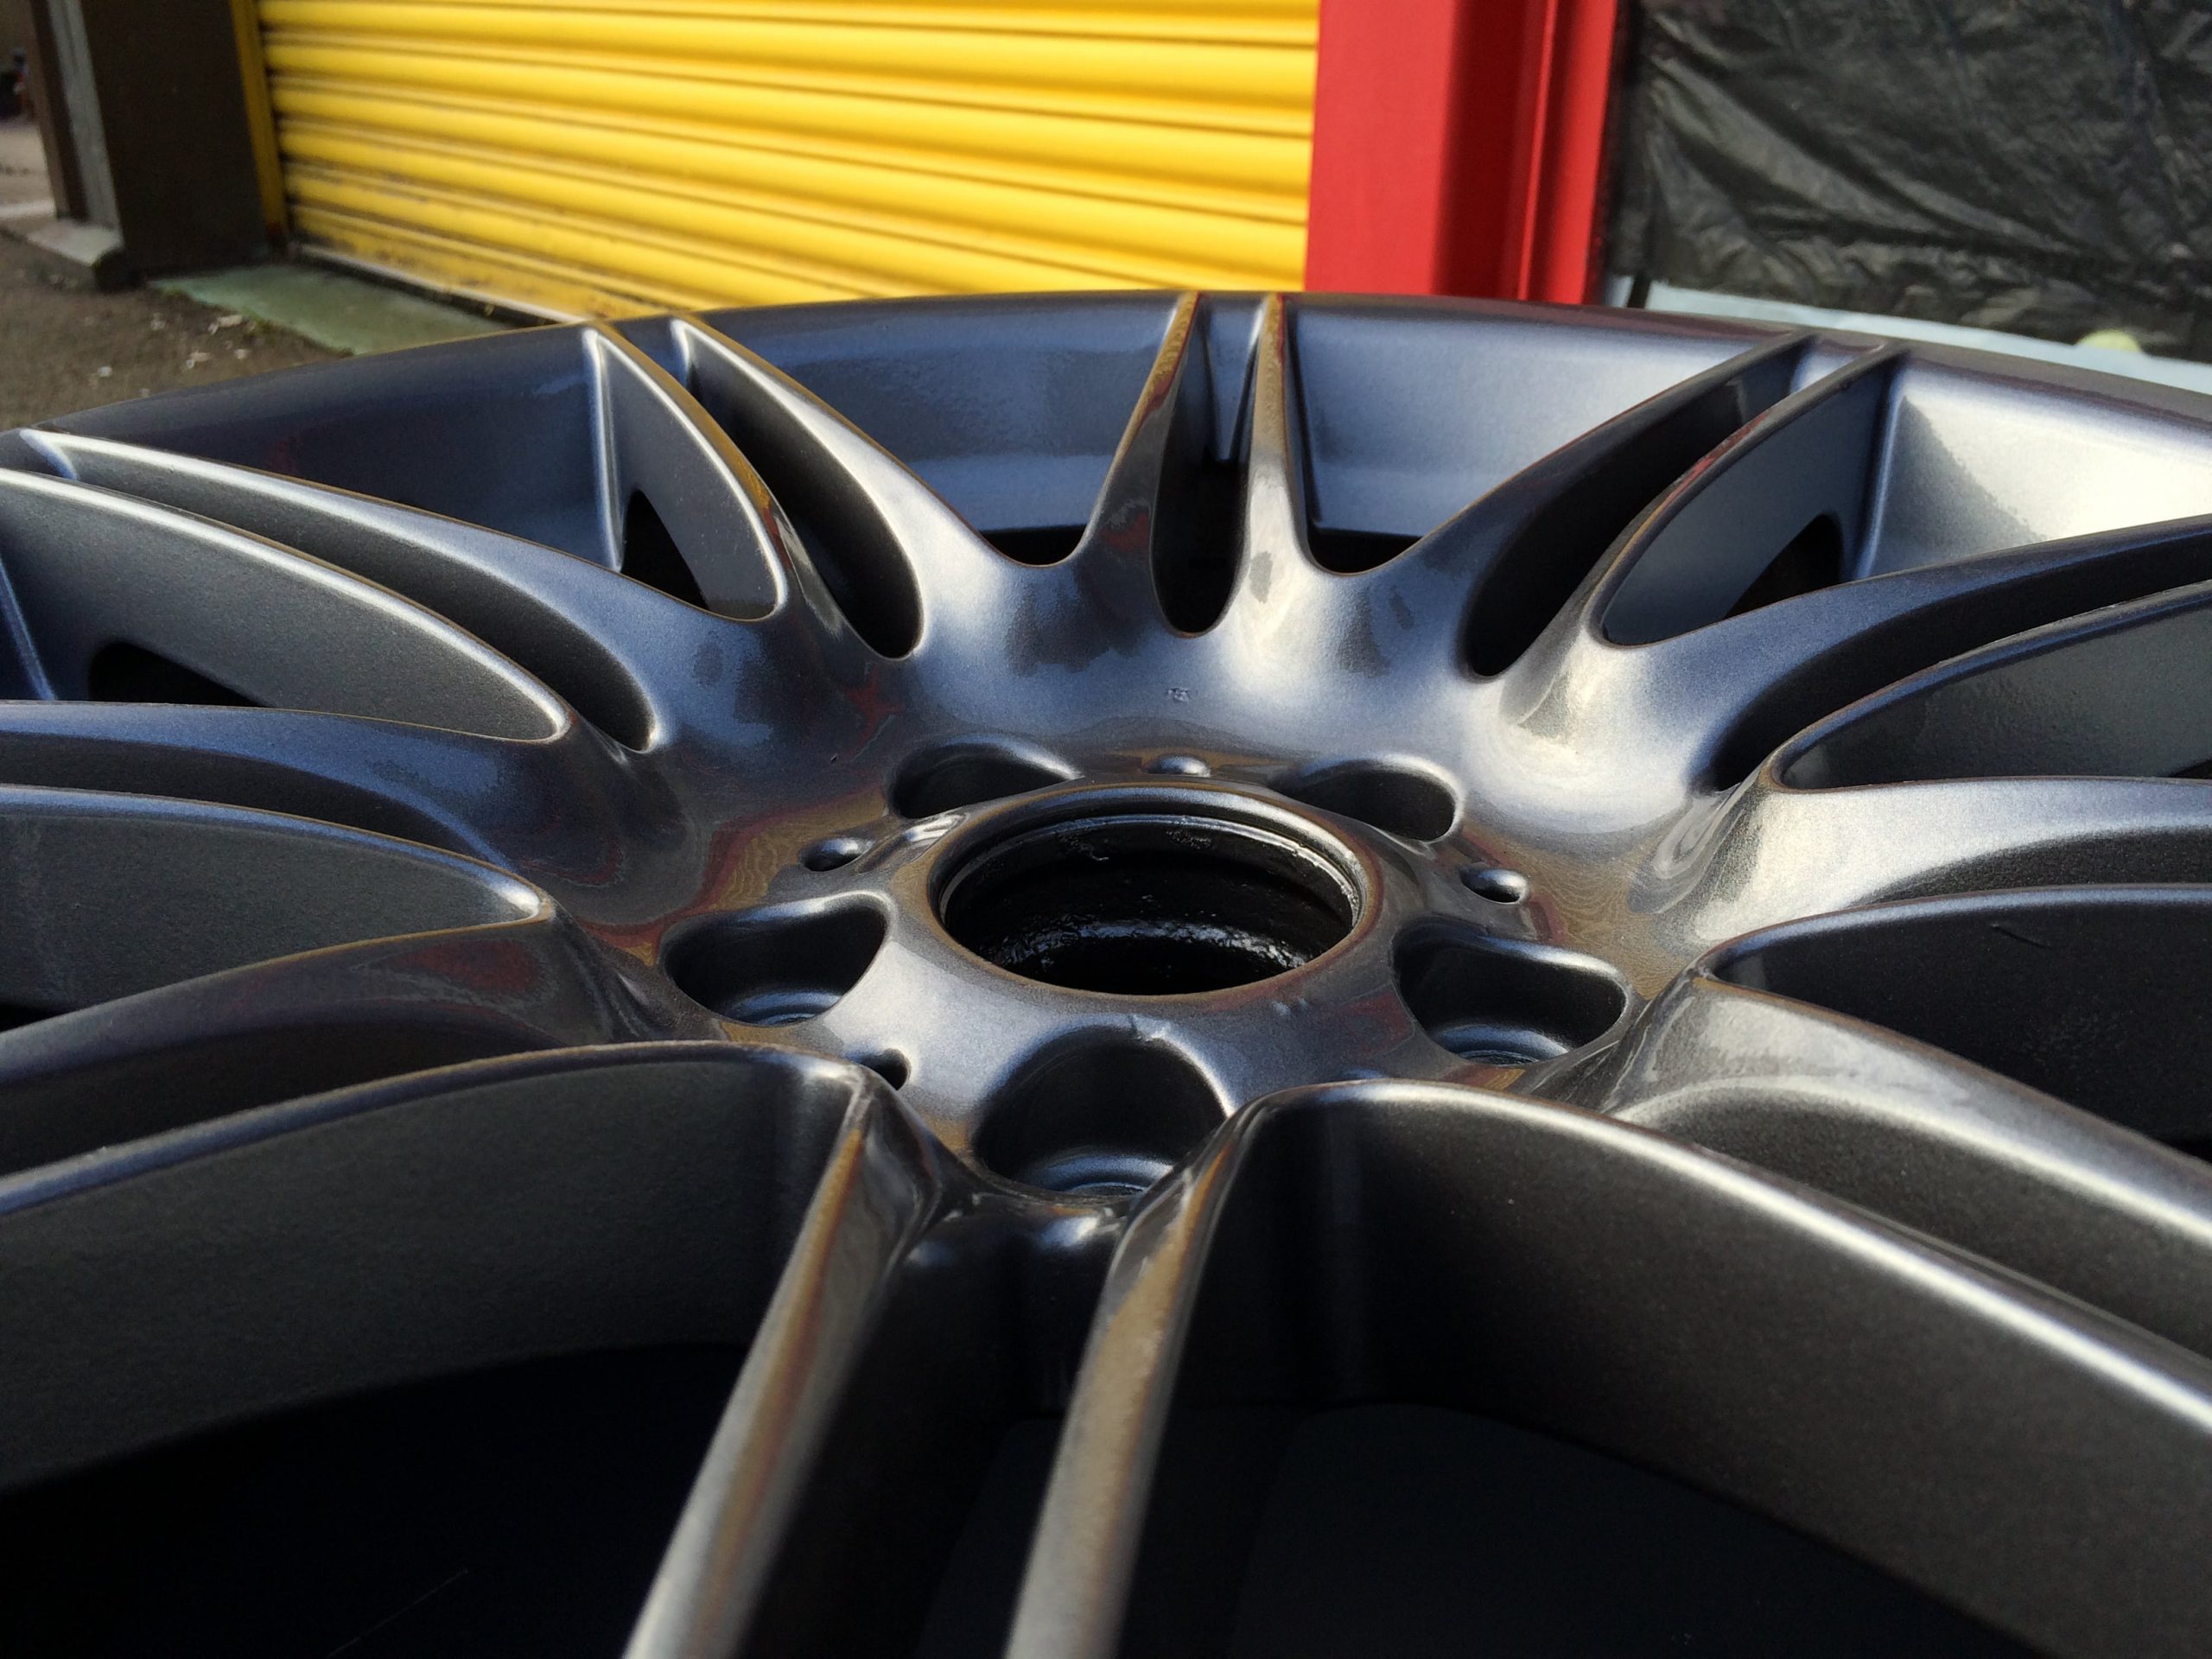
Repair
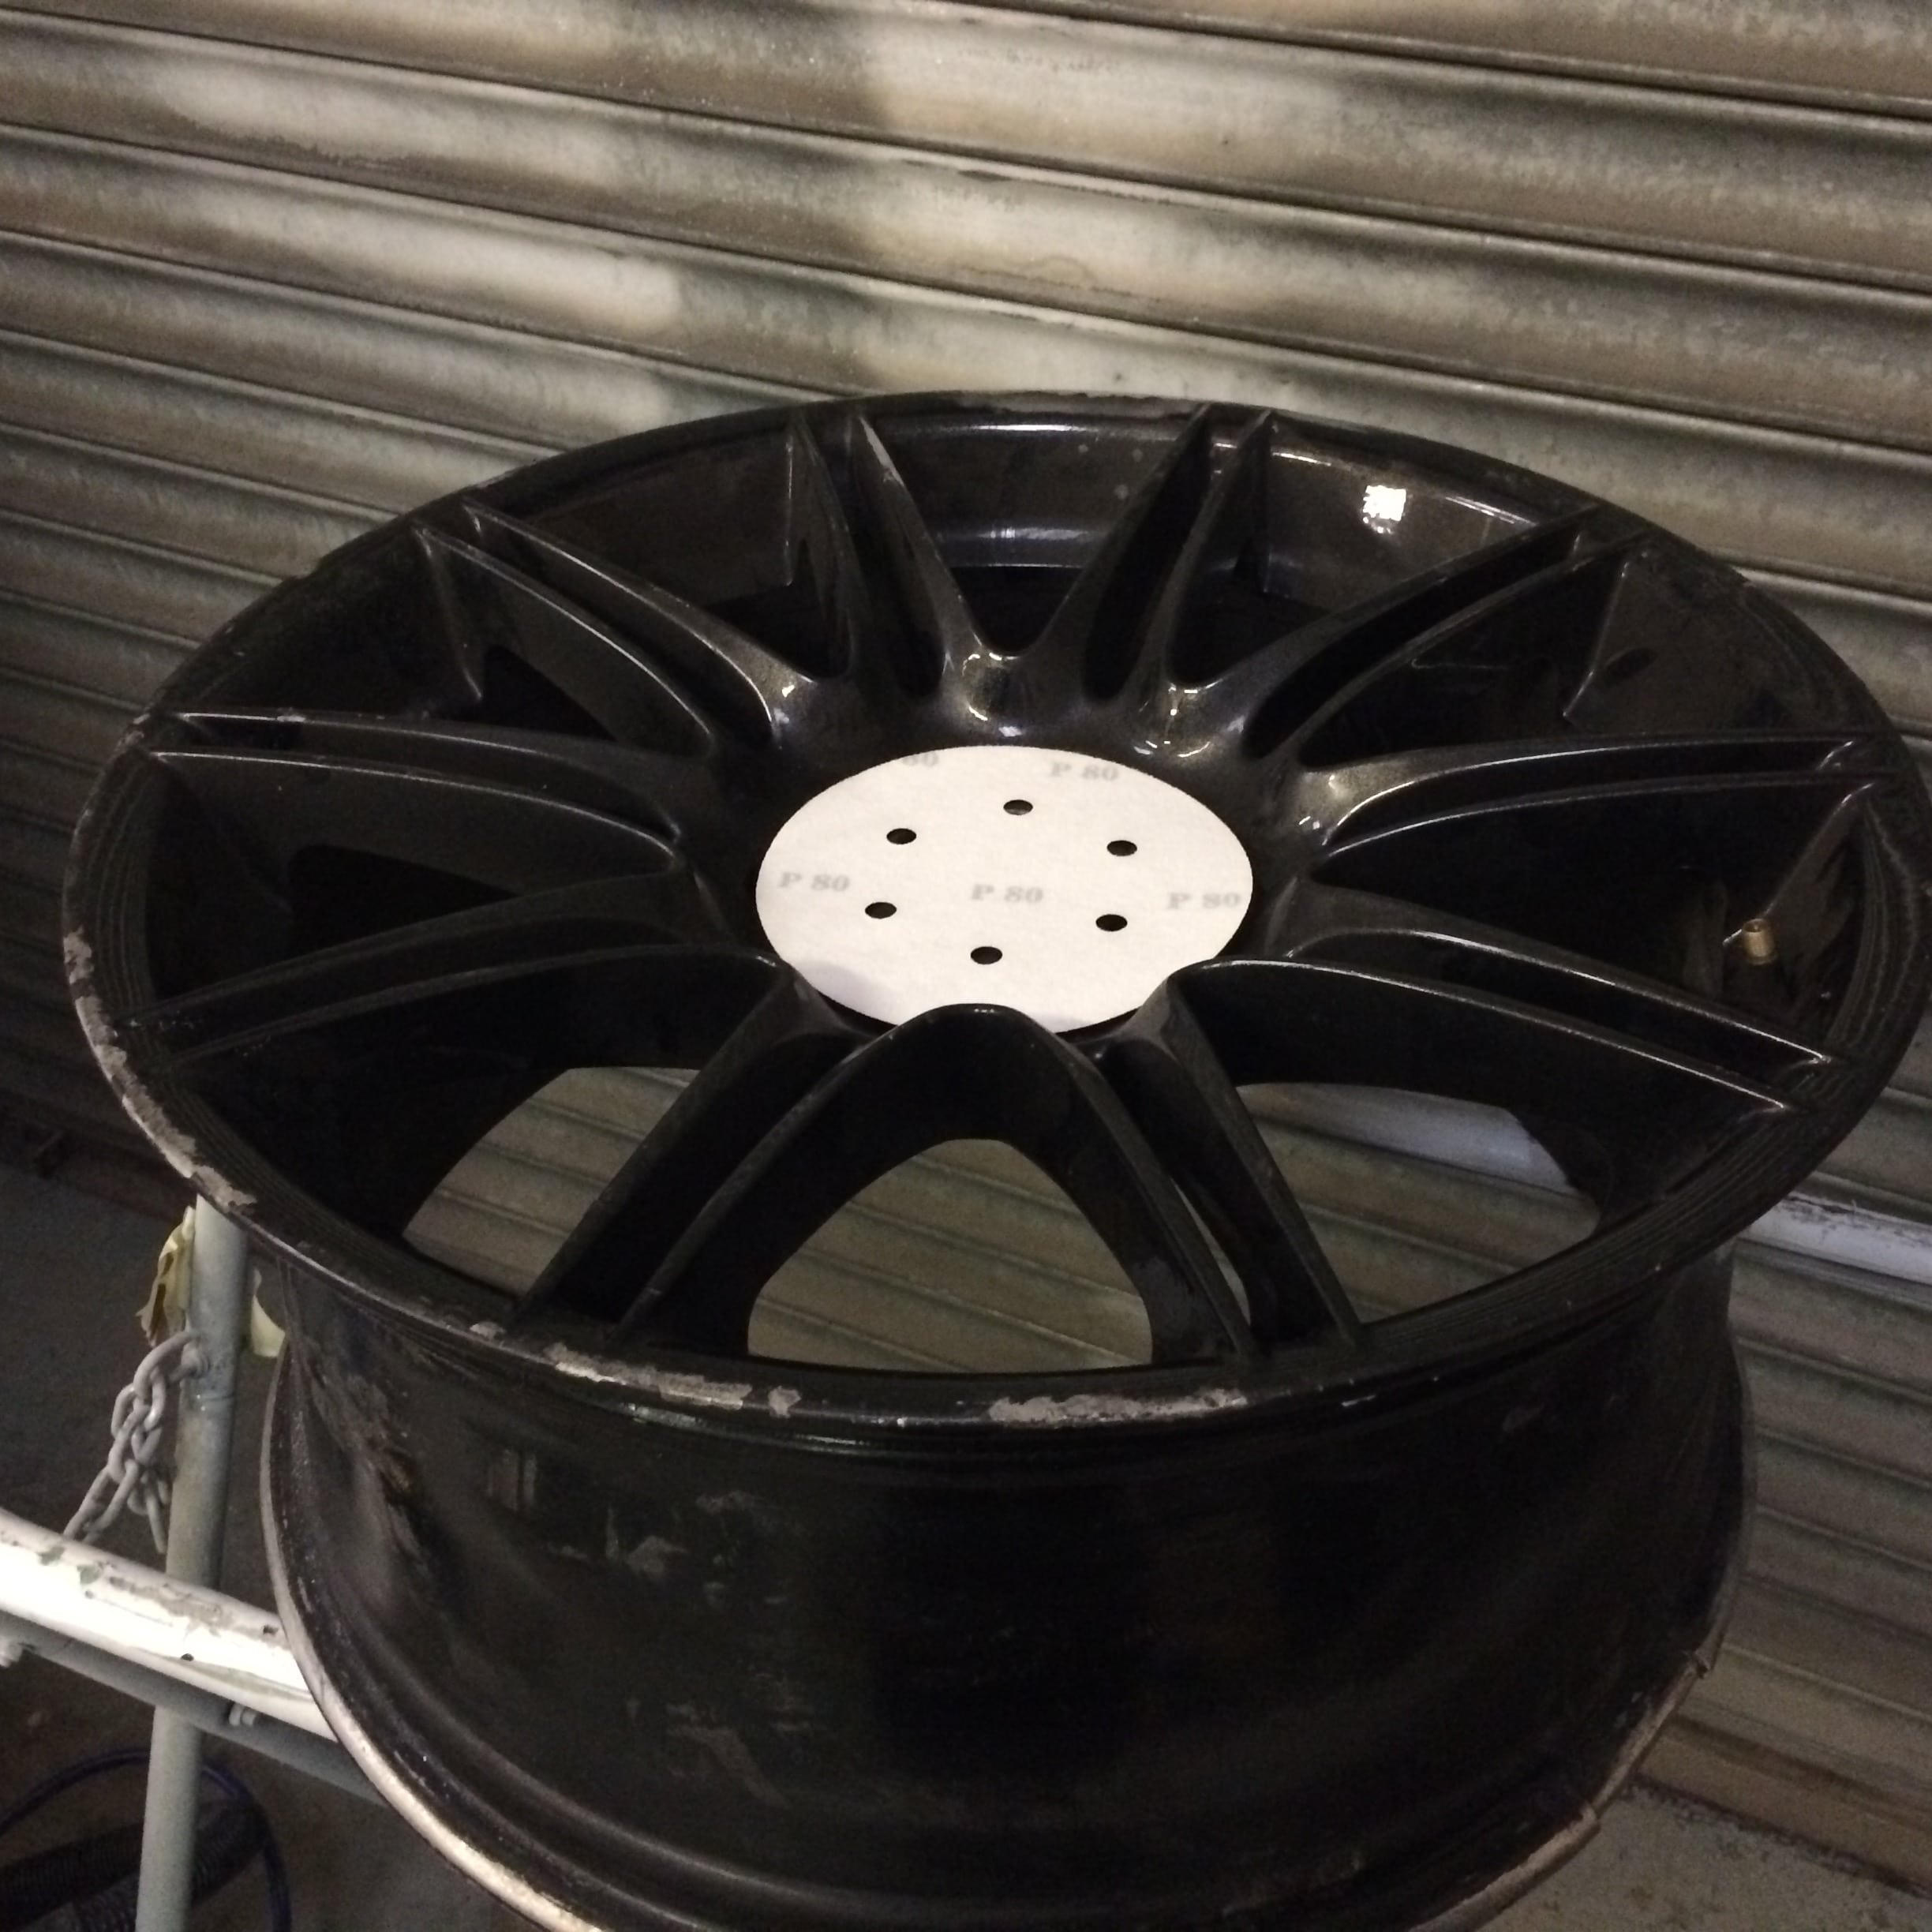
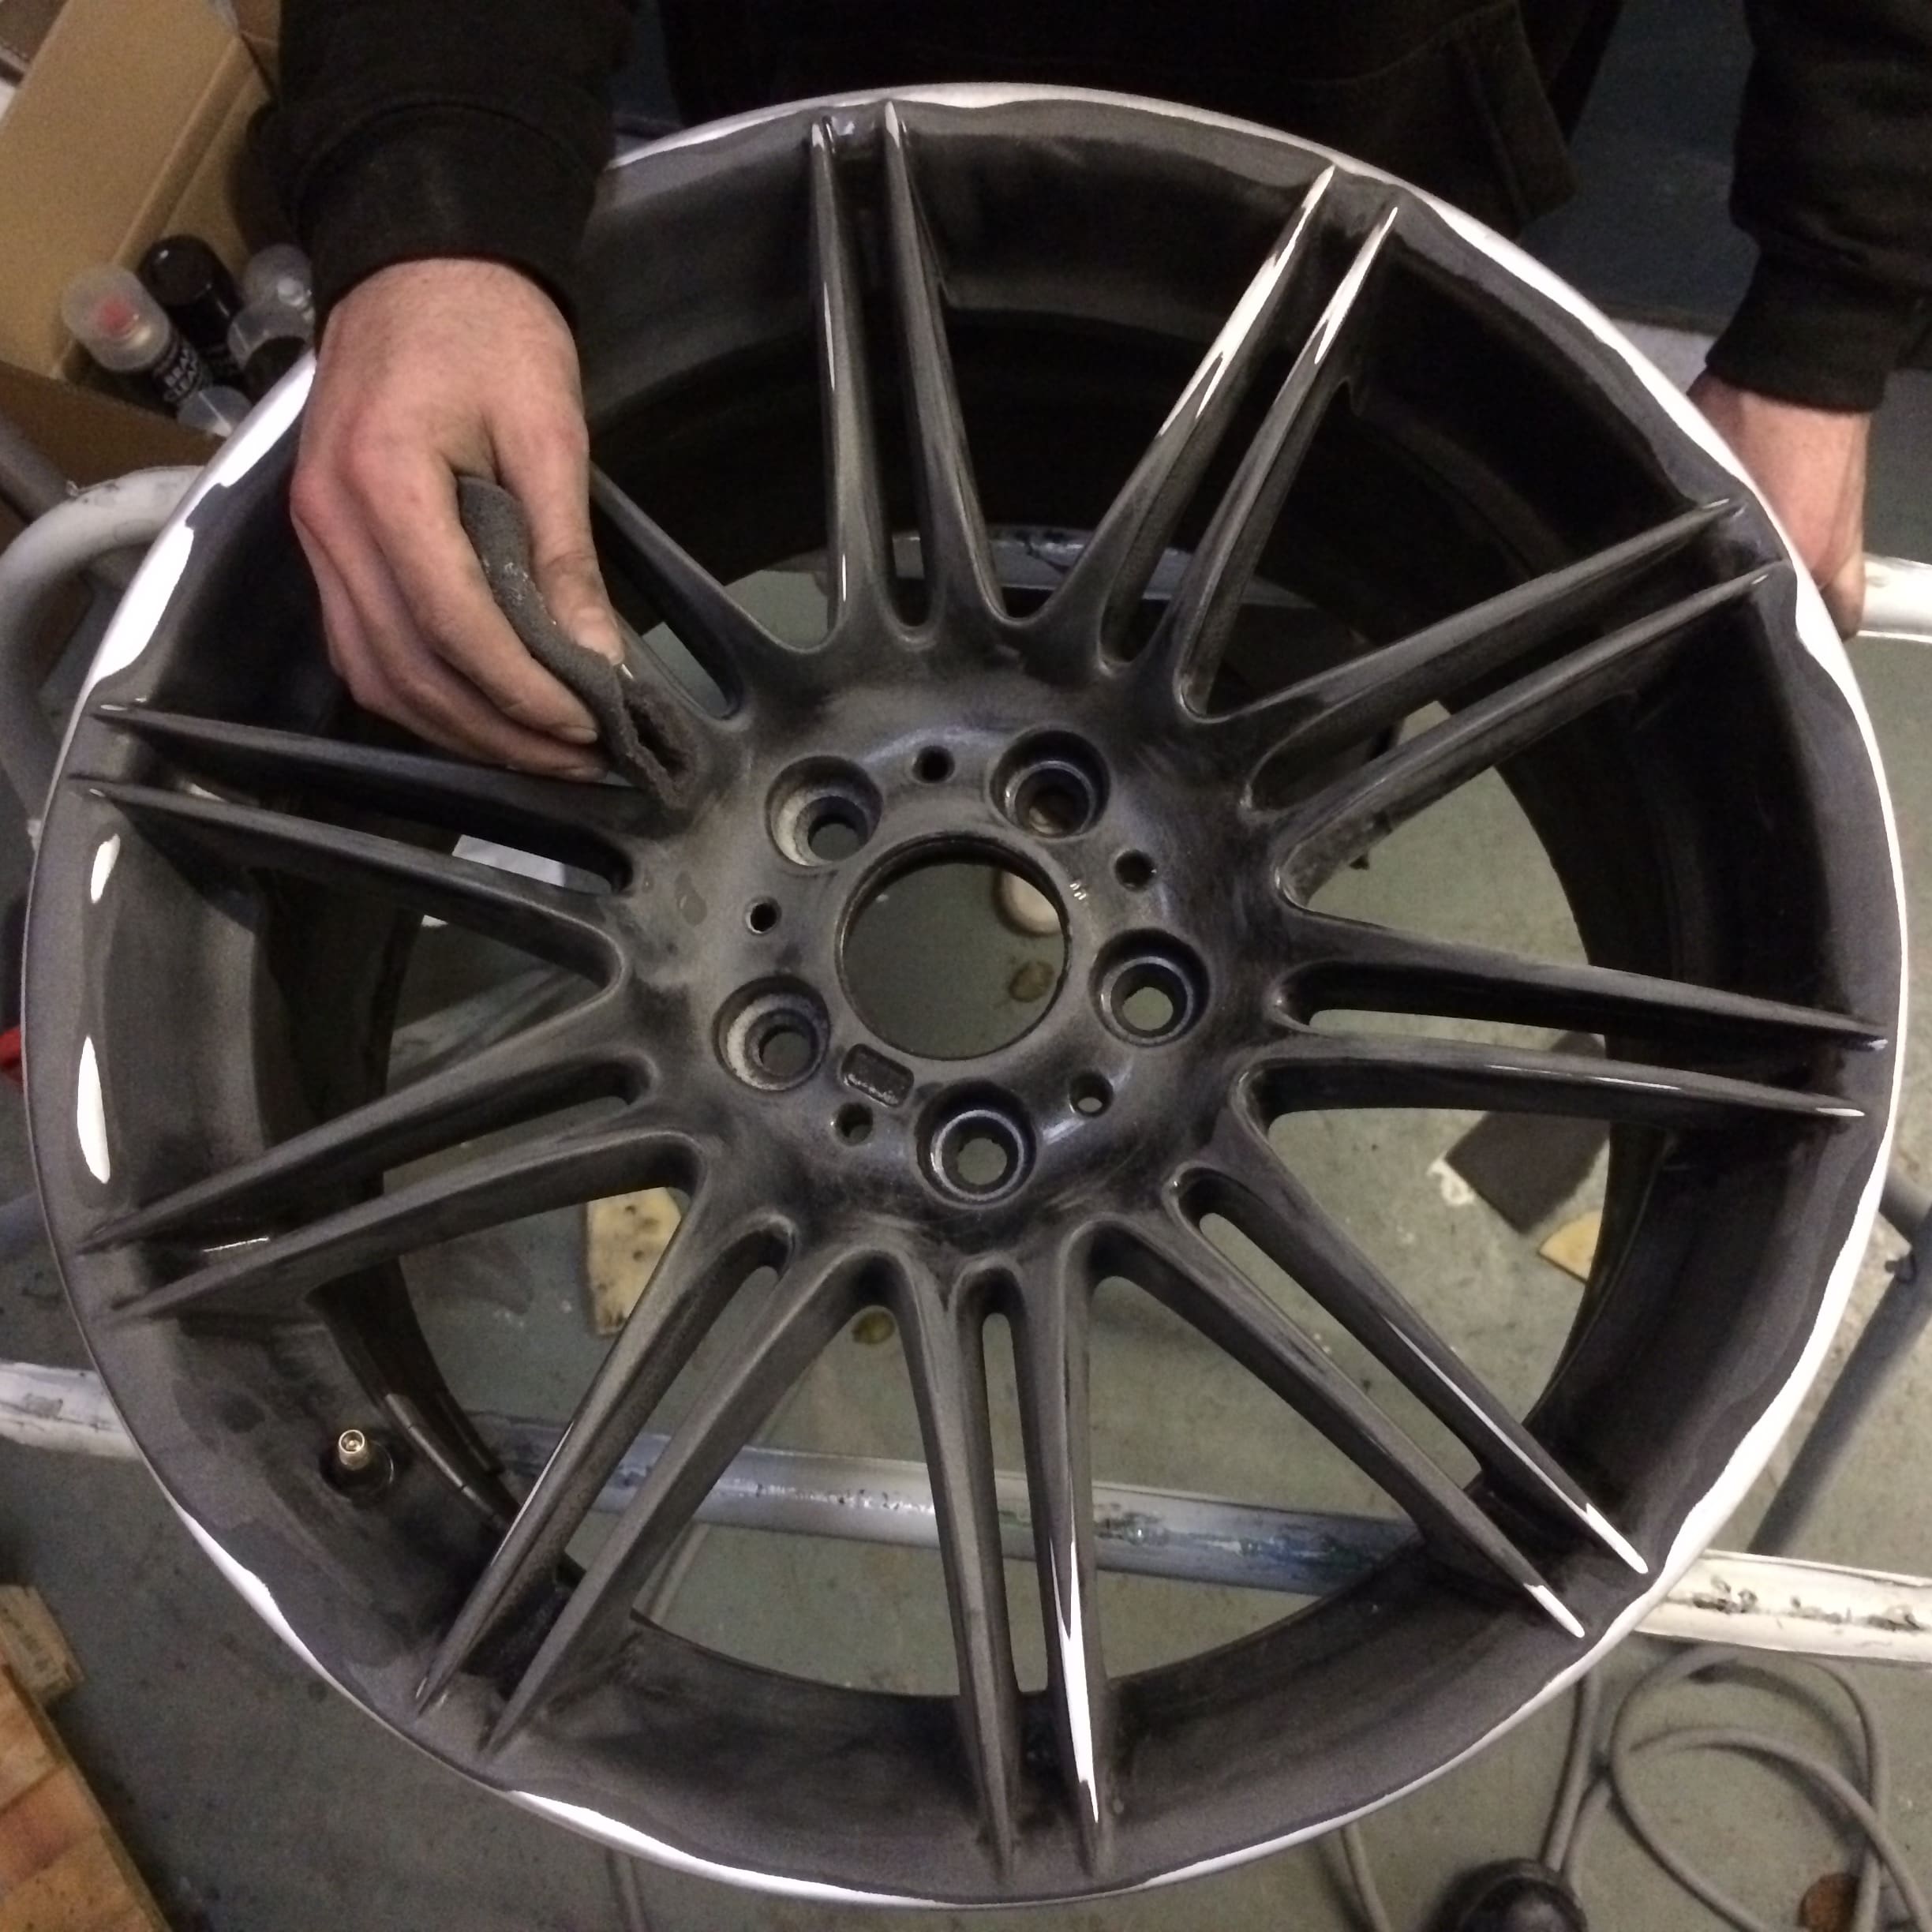
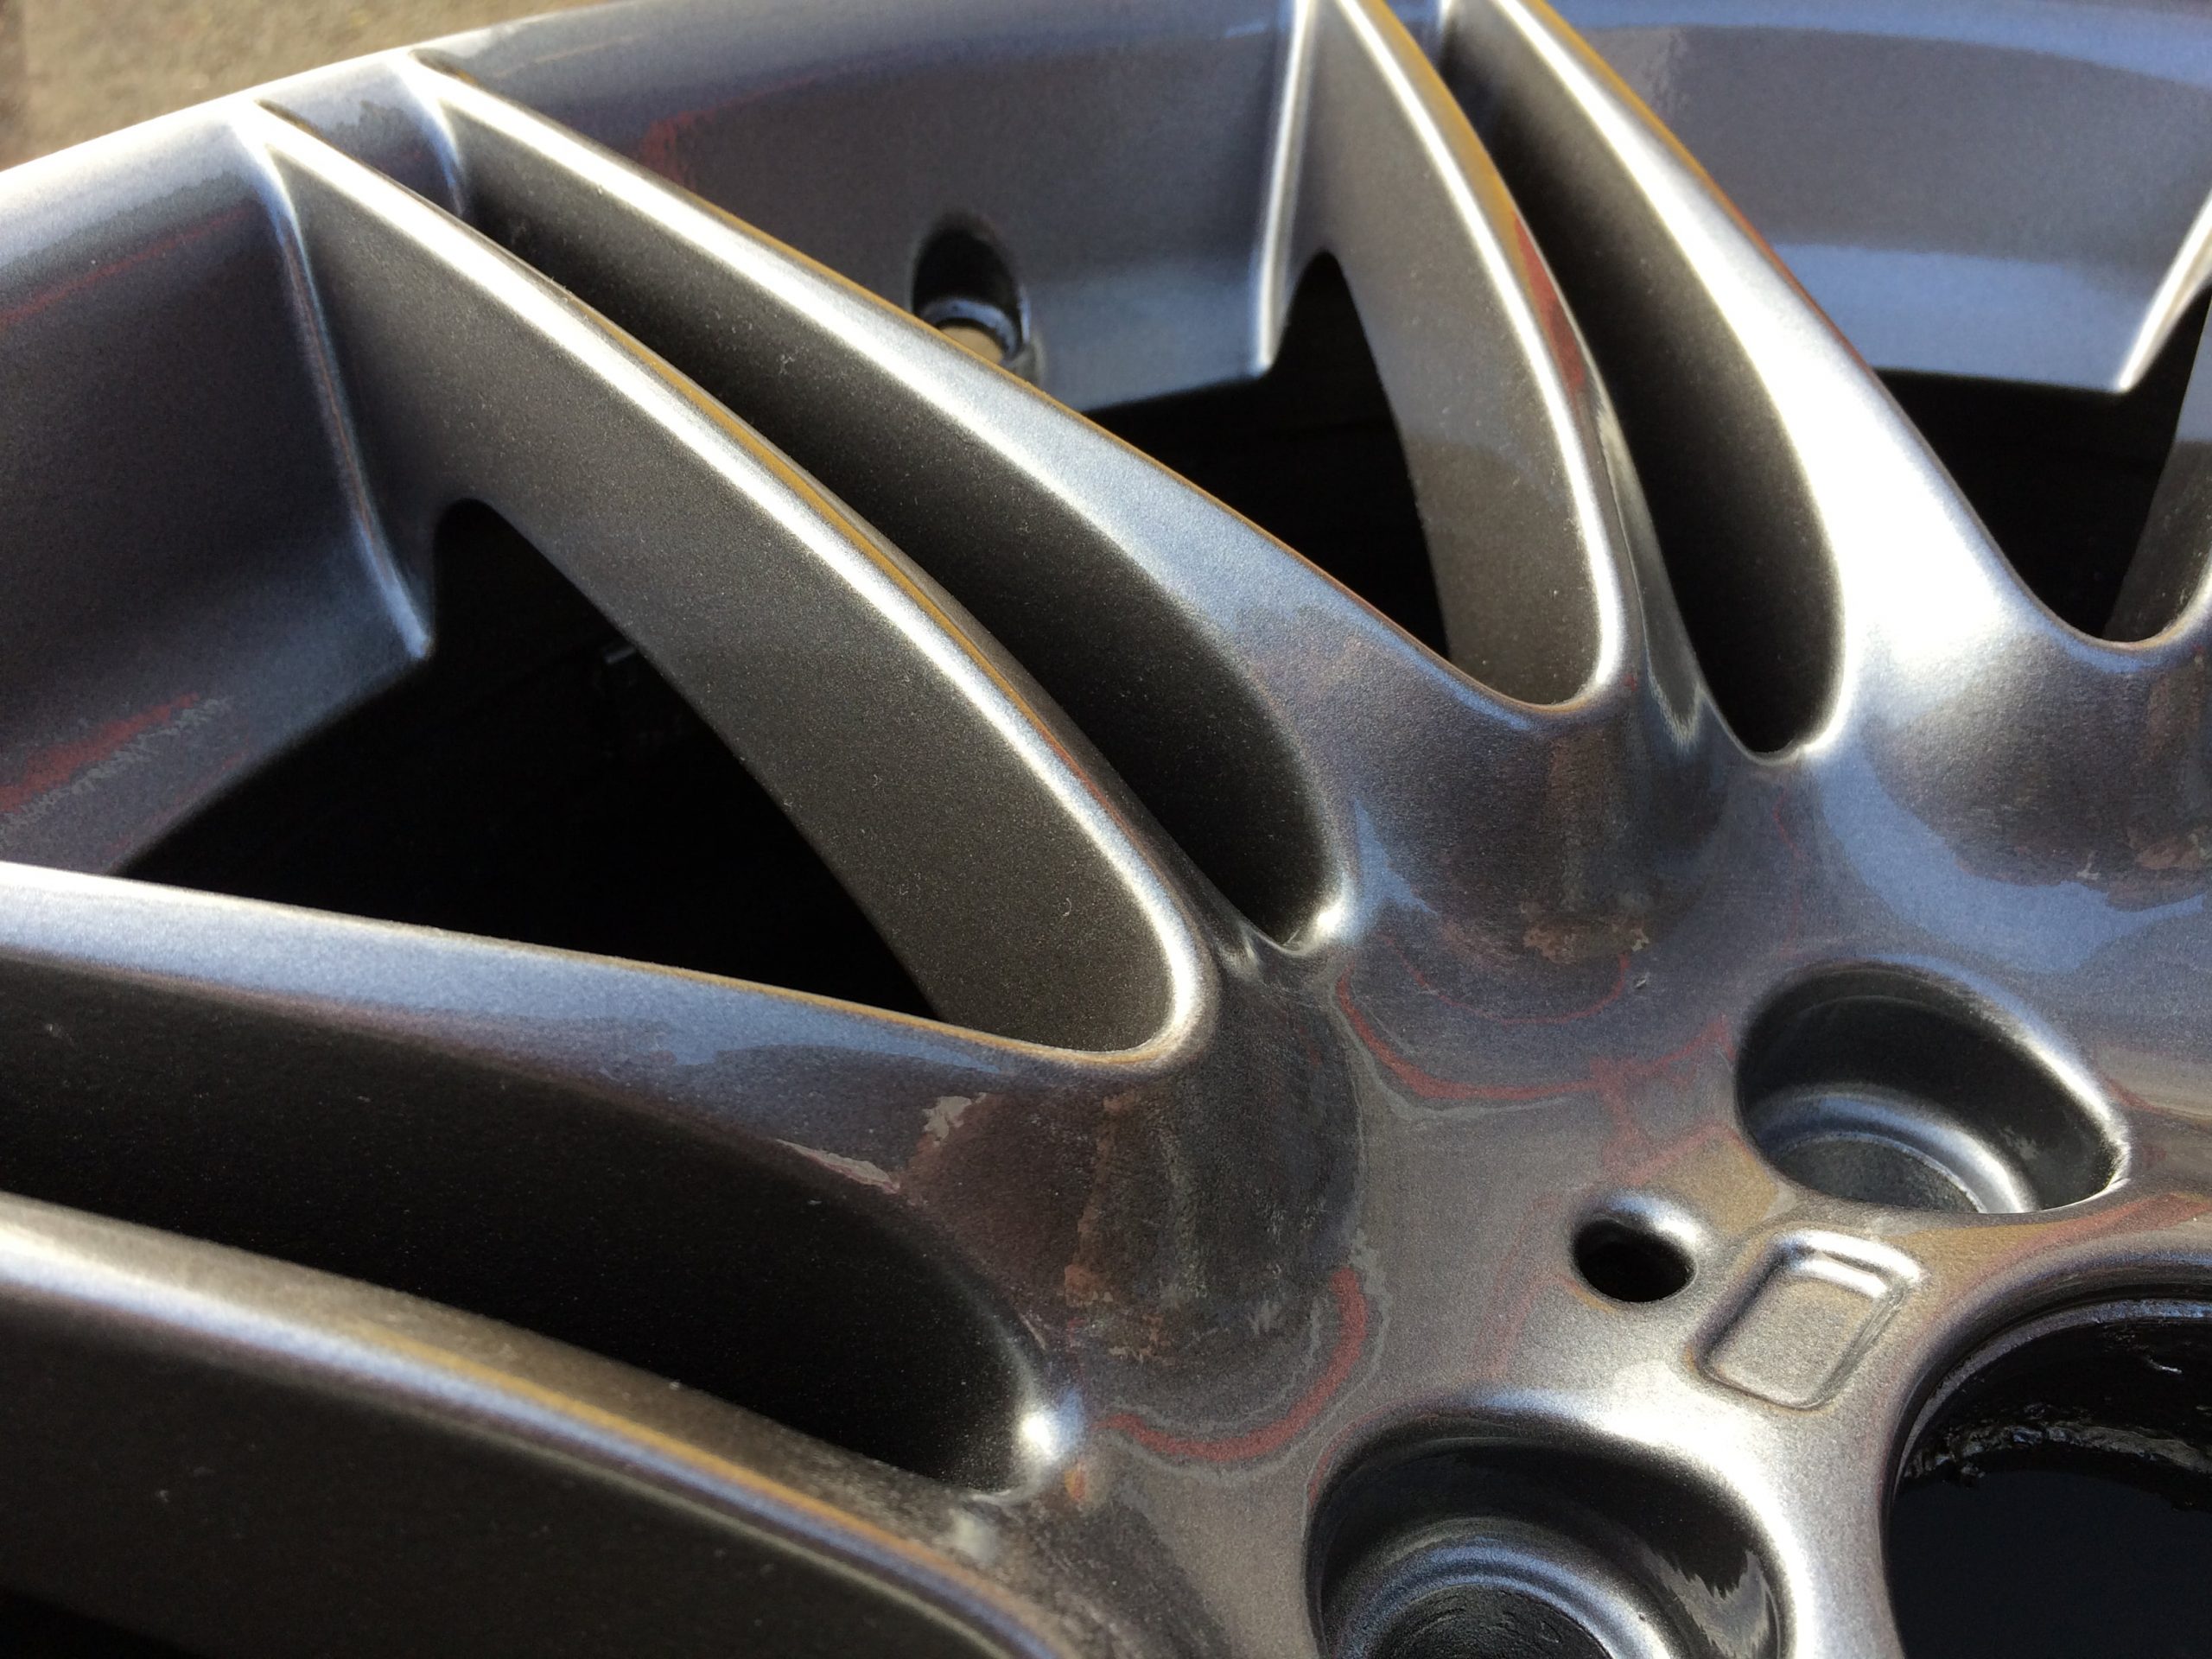
Firstly, when repairing the alloy, you need to remove all damaged parts to see what needs to be rebuilt. Start by sanding any rust or debris off the wheel until it is flat.
TOP TIP: Keep running your fingers over the sanded parts to feel for any minor imperfections or holes that you cannot see with the naked eye. If you need to apply filler, don’t forget to use more than you need to so you can sand it back in place. There is a lot of moisture in the filler, and when it dries, it will contract, so always apply a little extra for you to sand back.
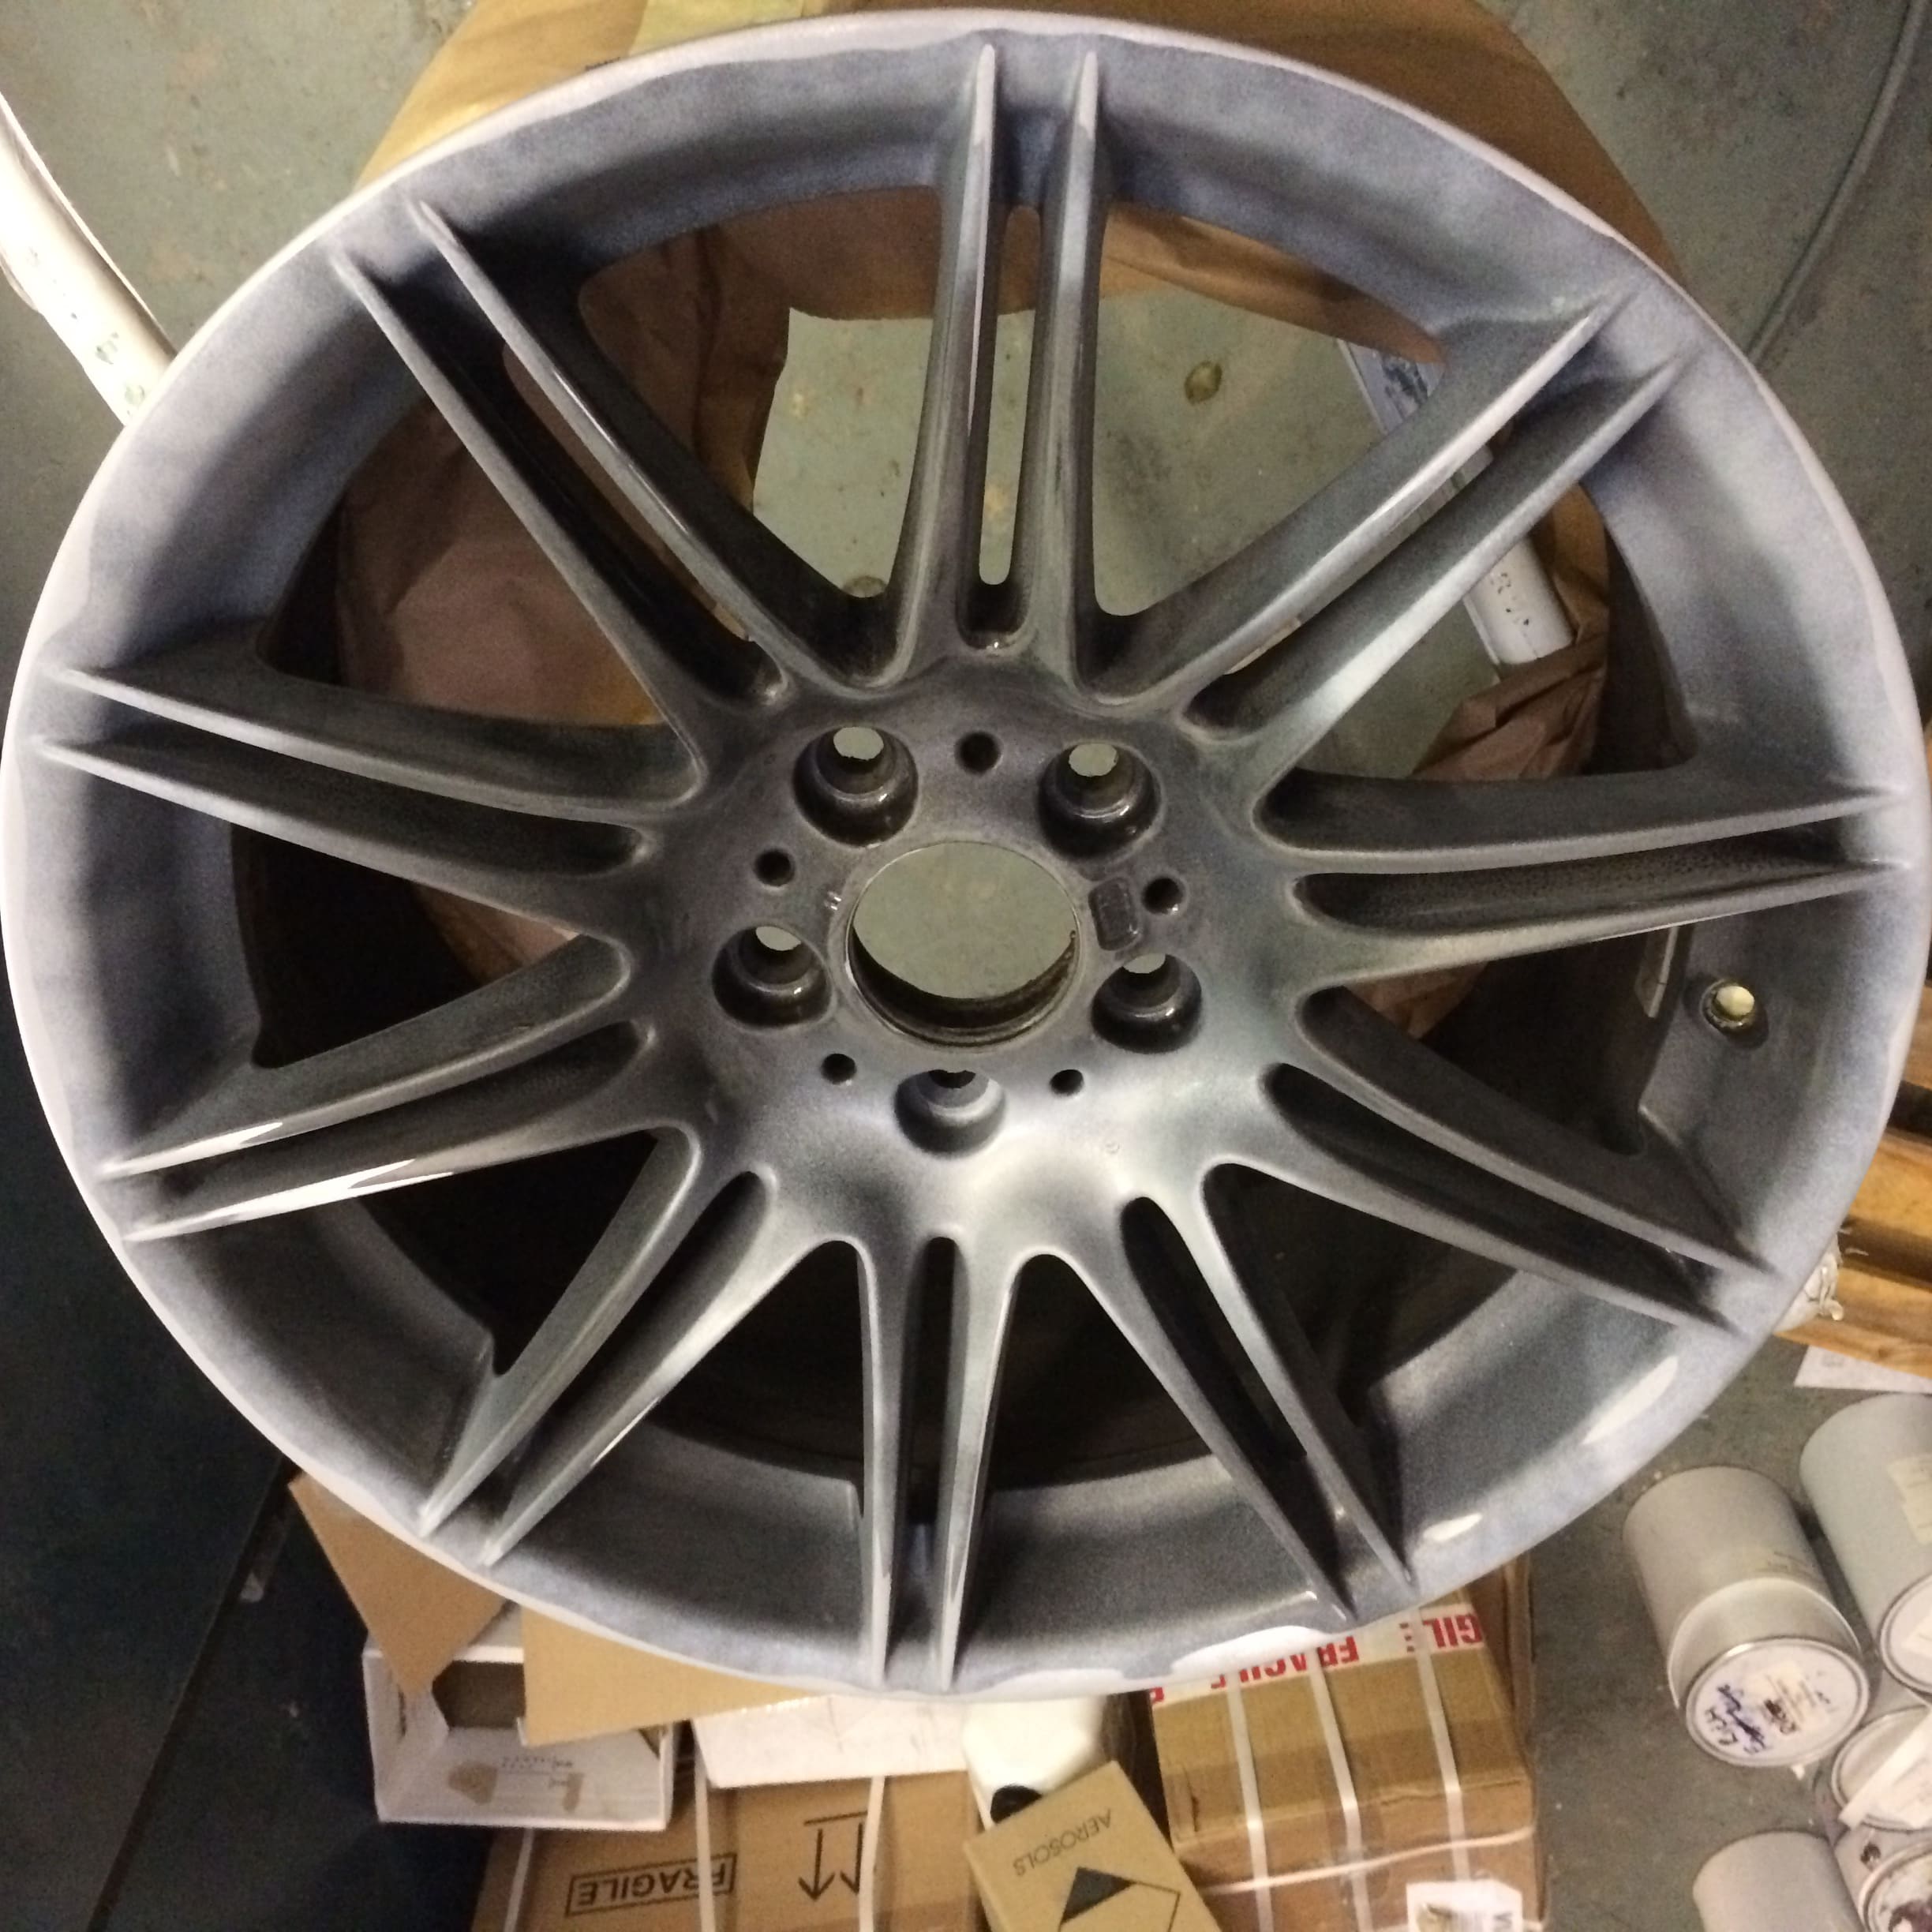
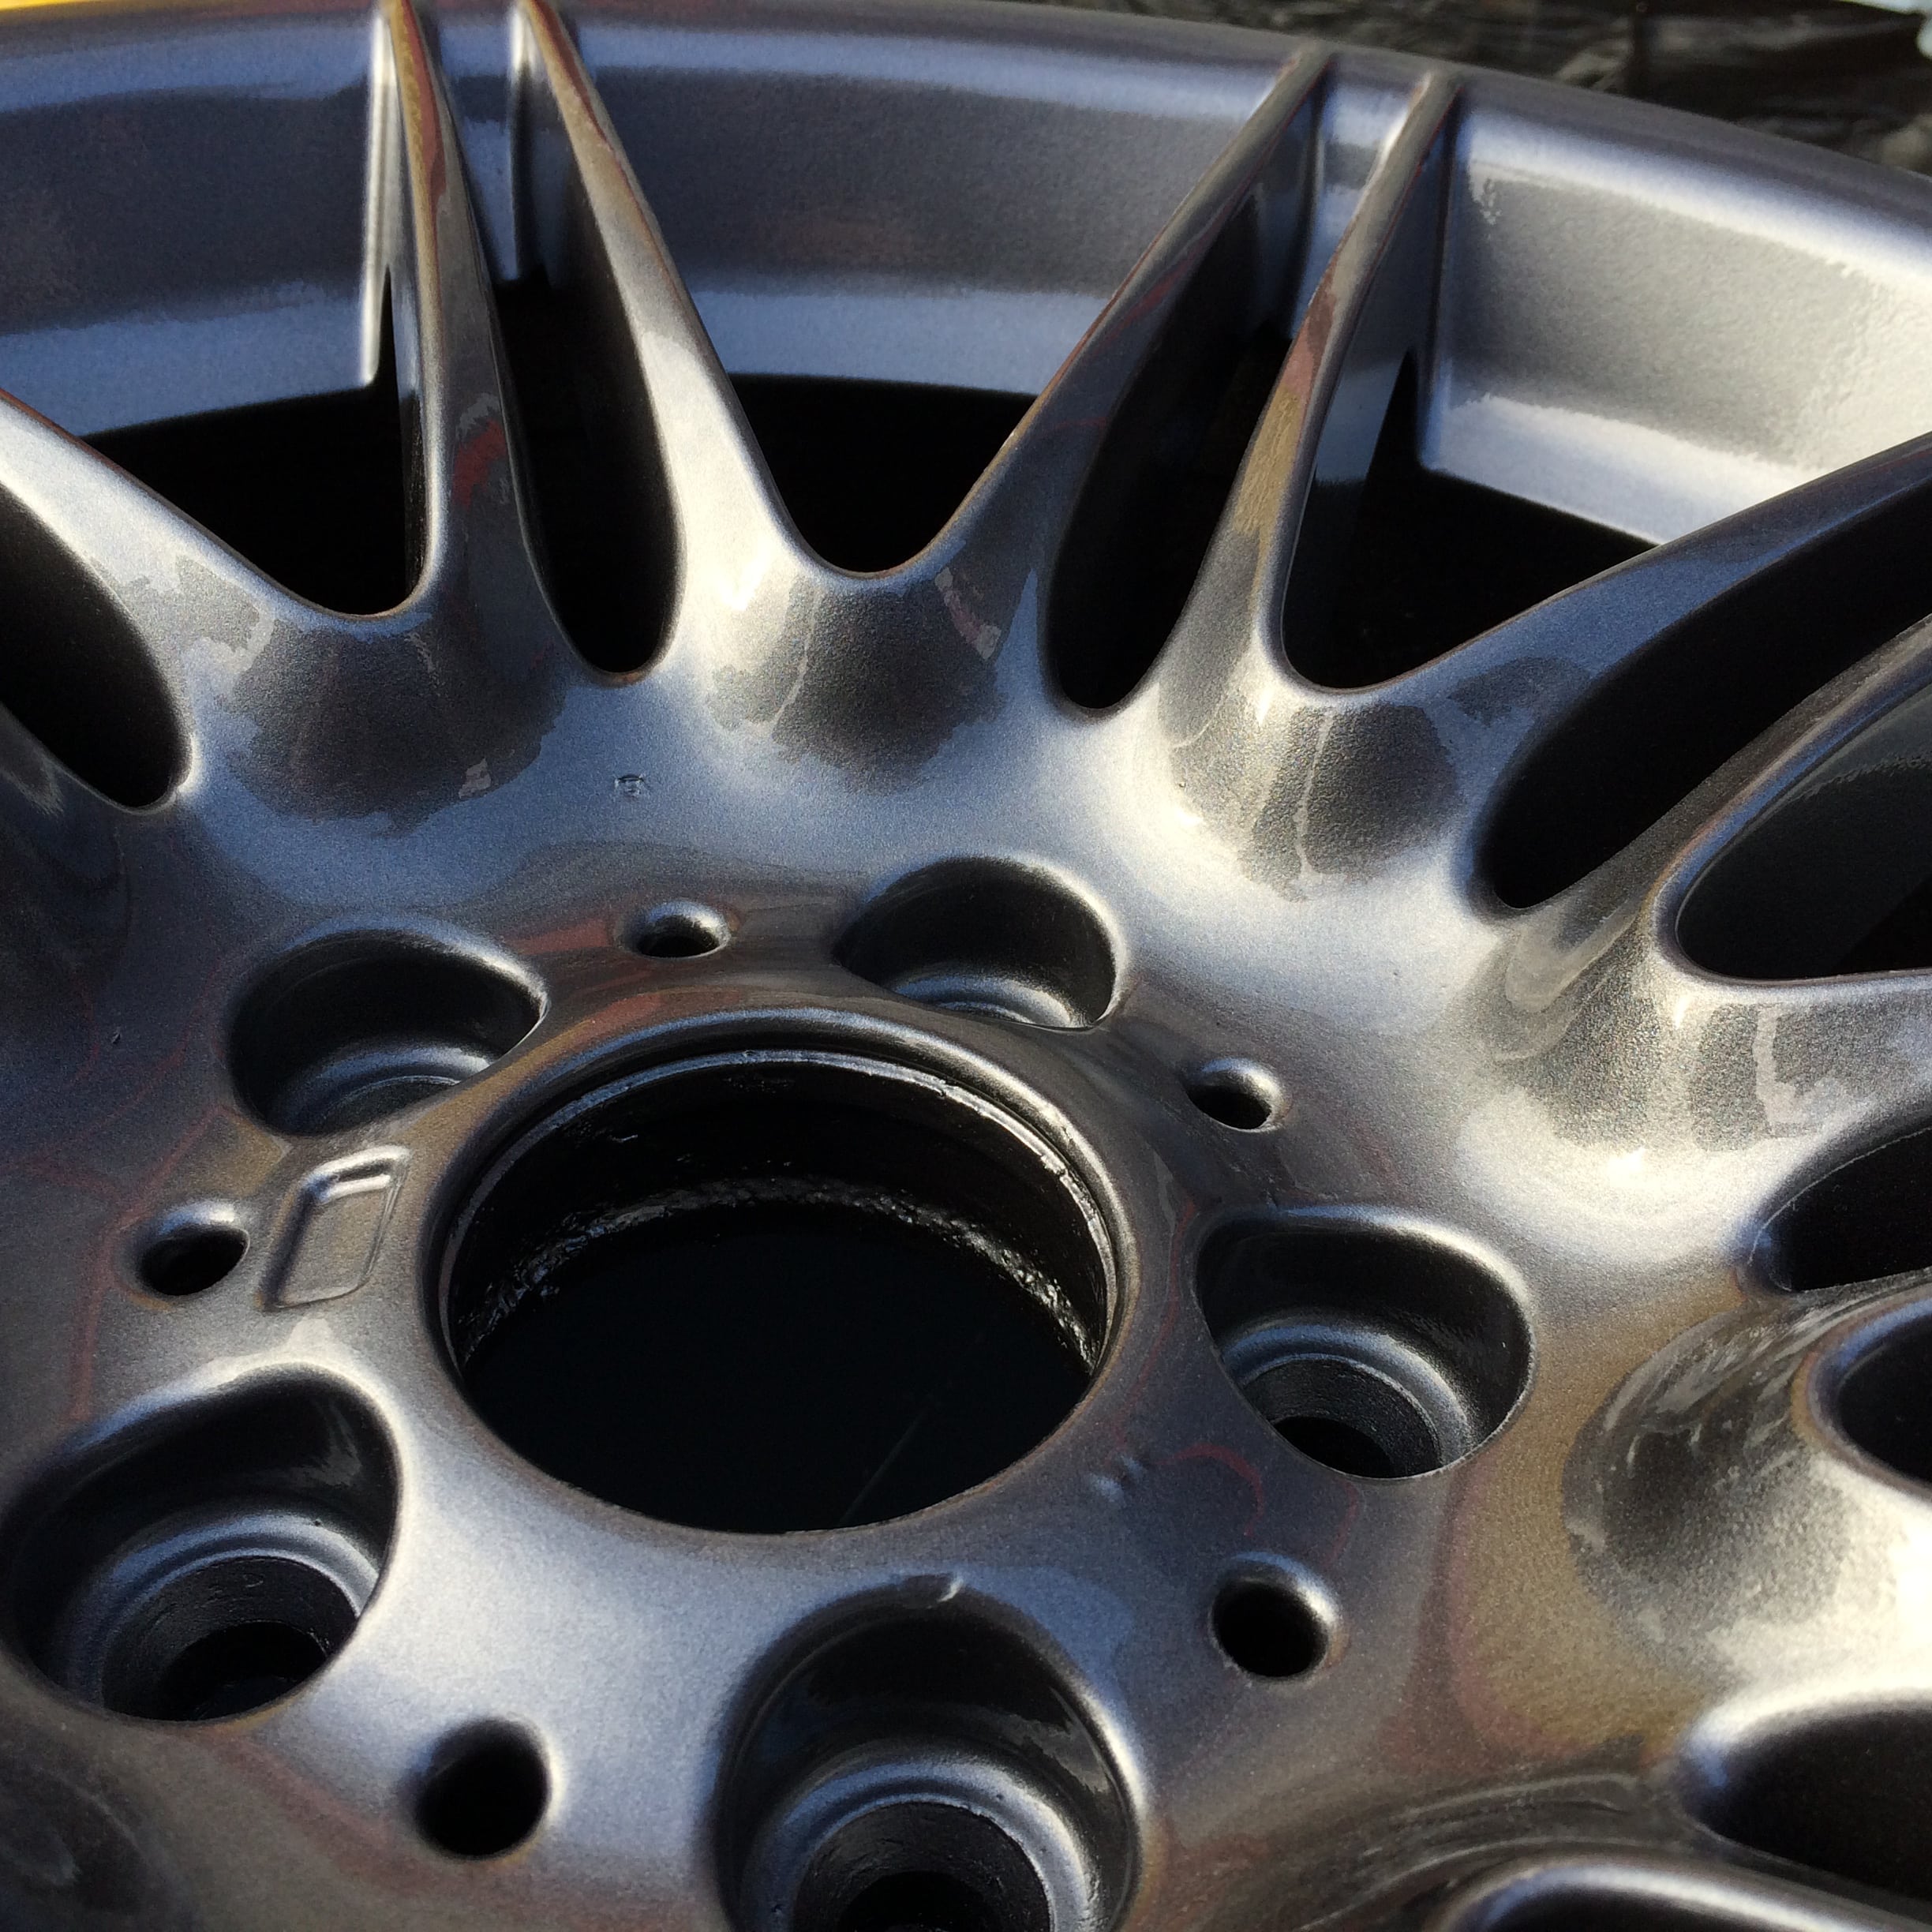
Once the filler has fully cured and hardened, you will need to sand it back until it’s completely flat and you are satisfied with the surface. From there, you can then clean, degrease and tack the area to ensure all of the debris has been removed before painting.
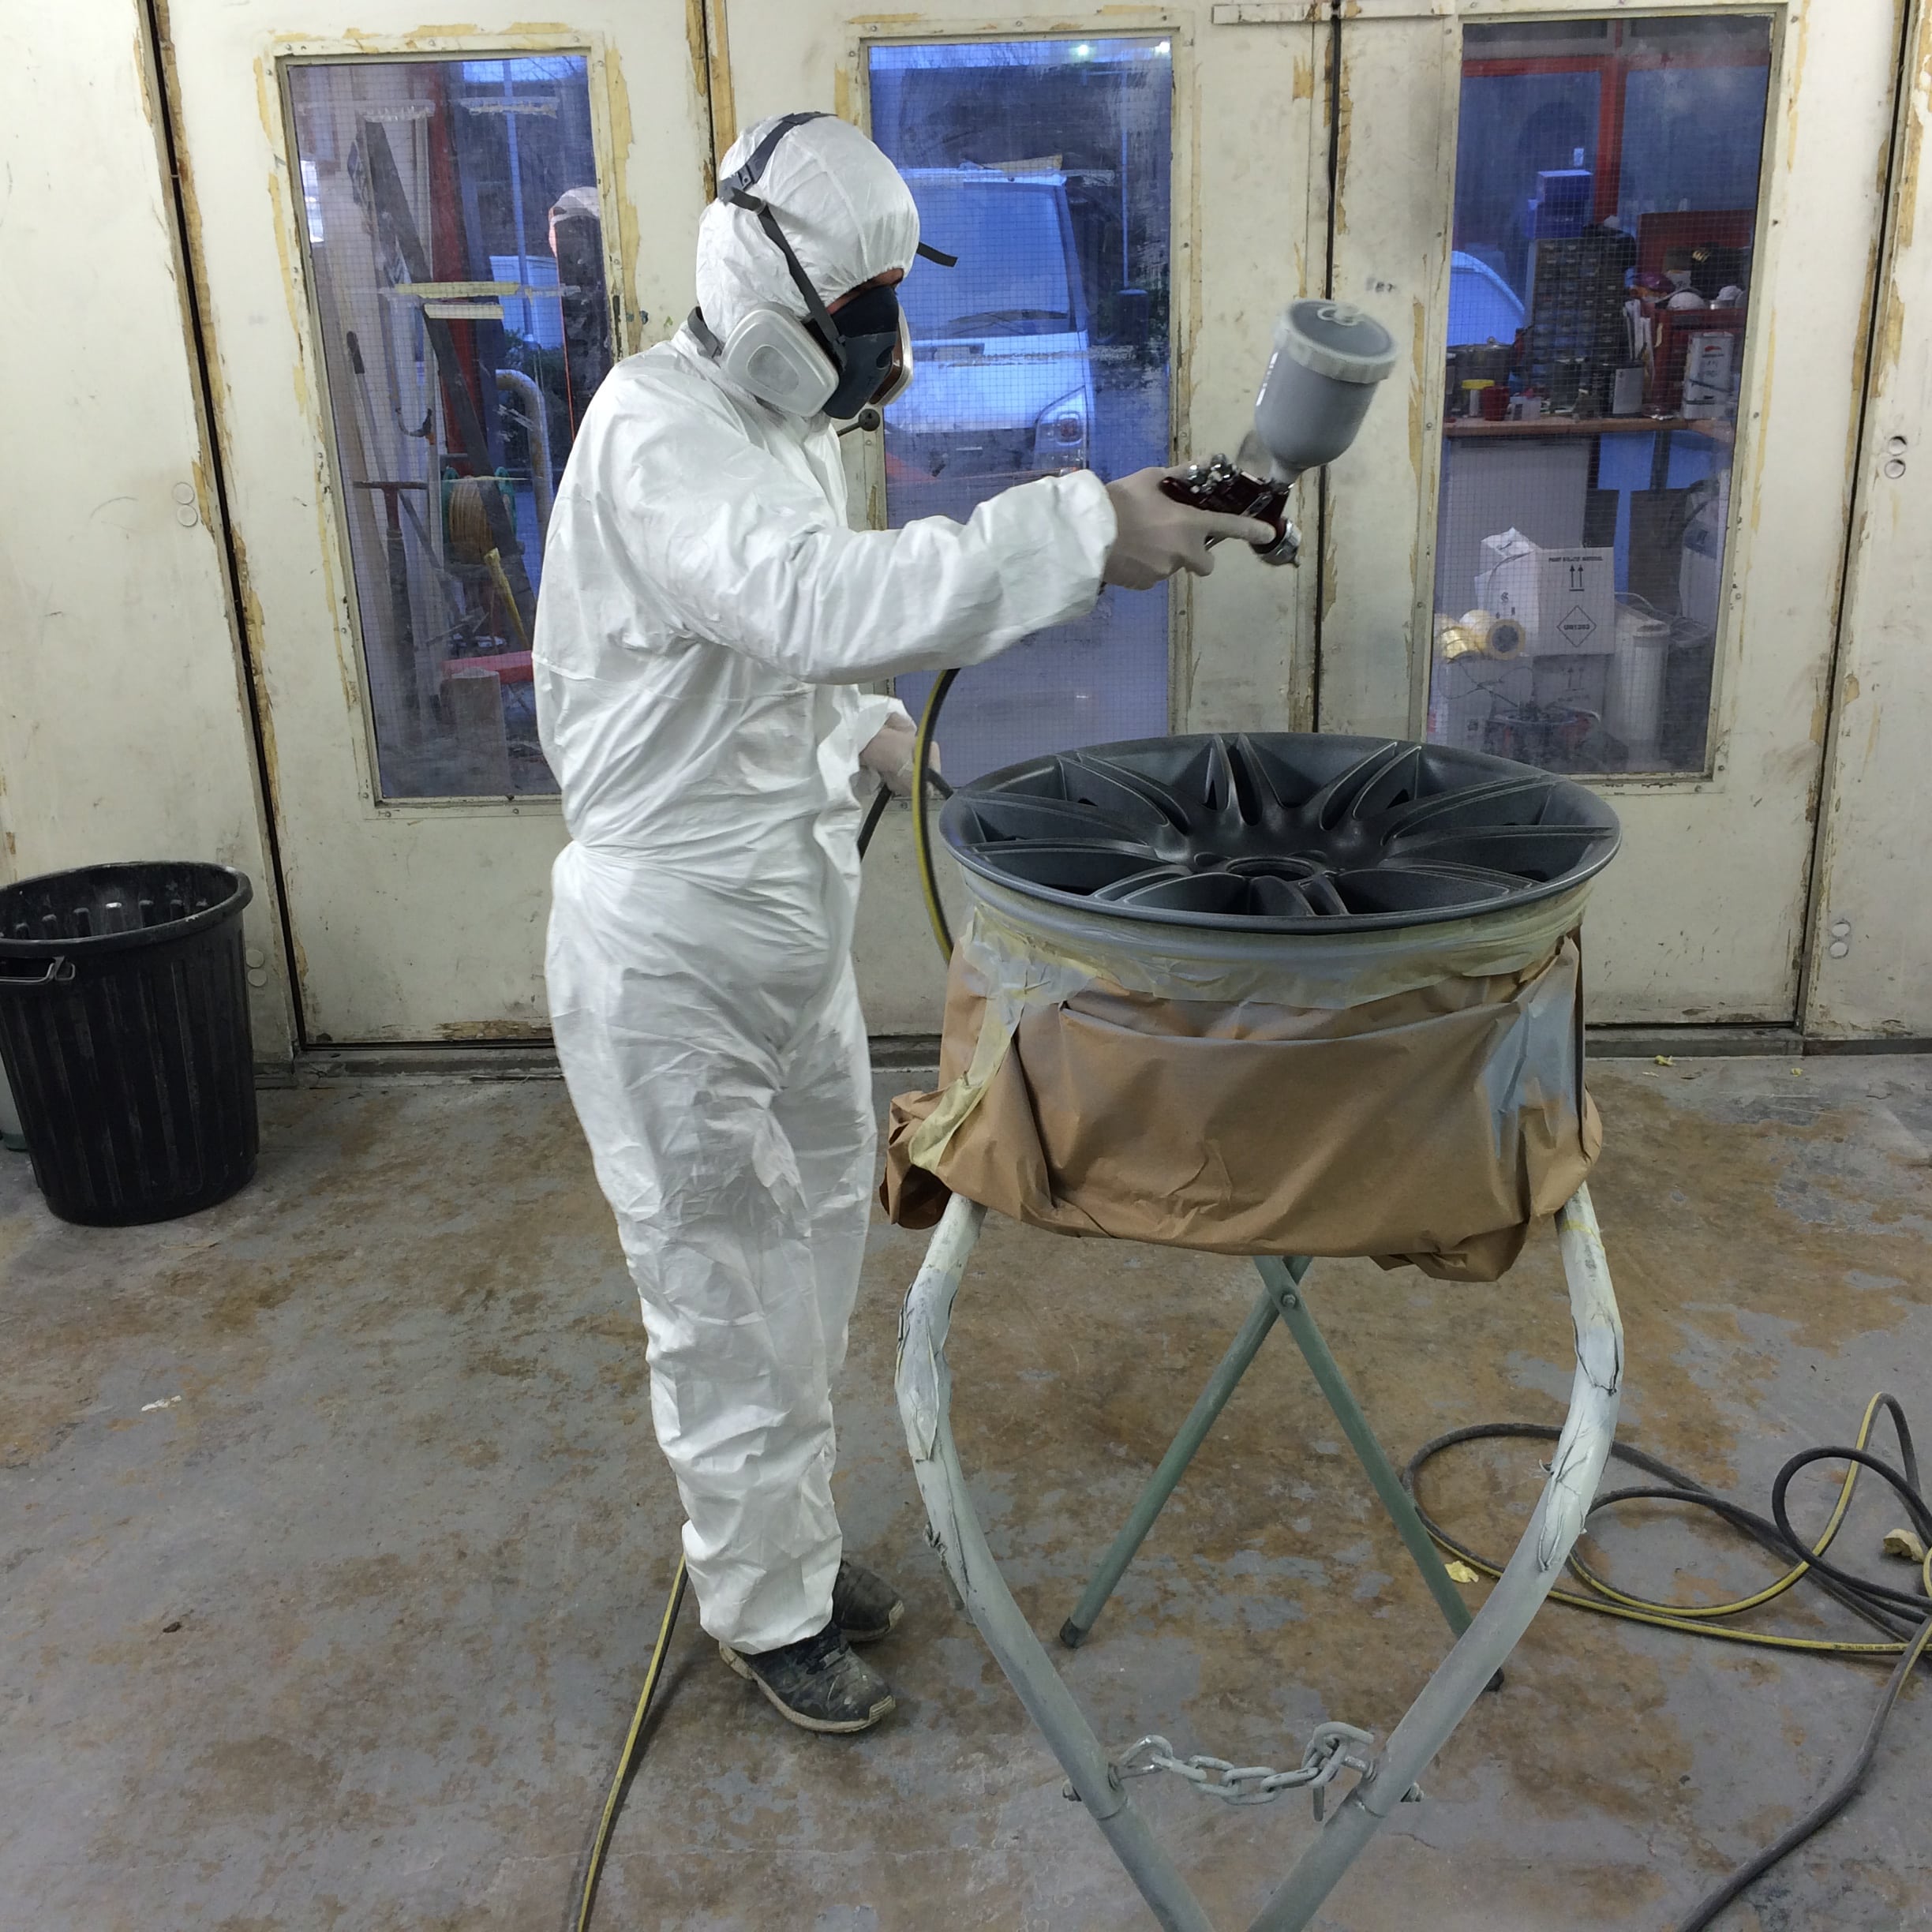
Paint
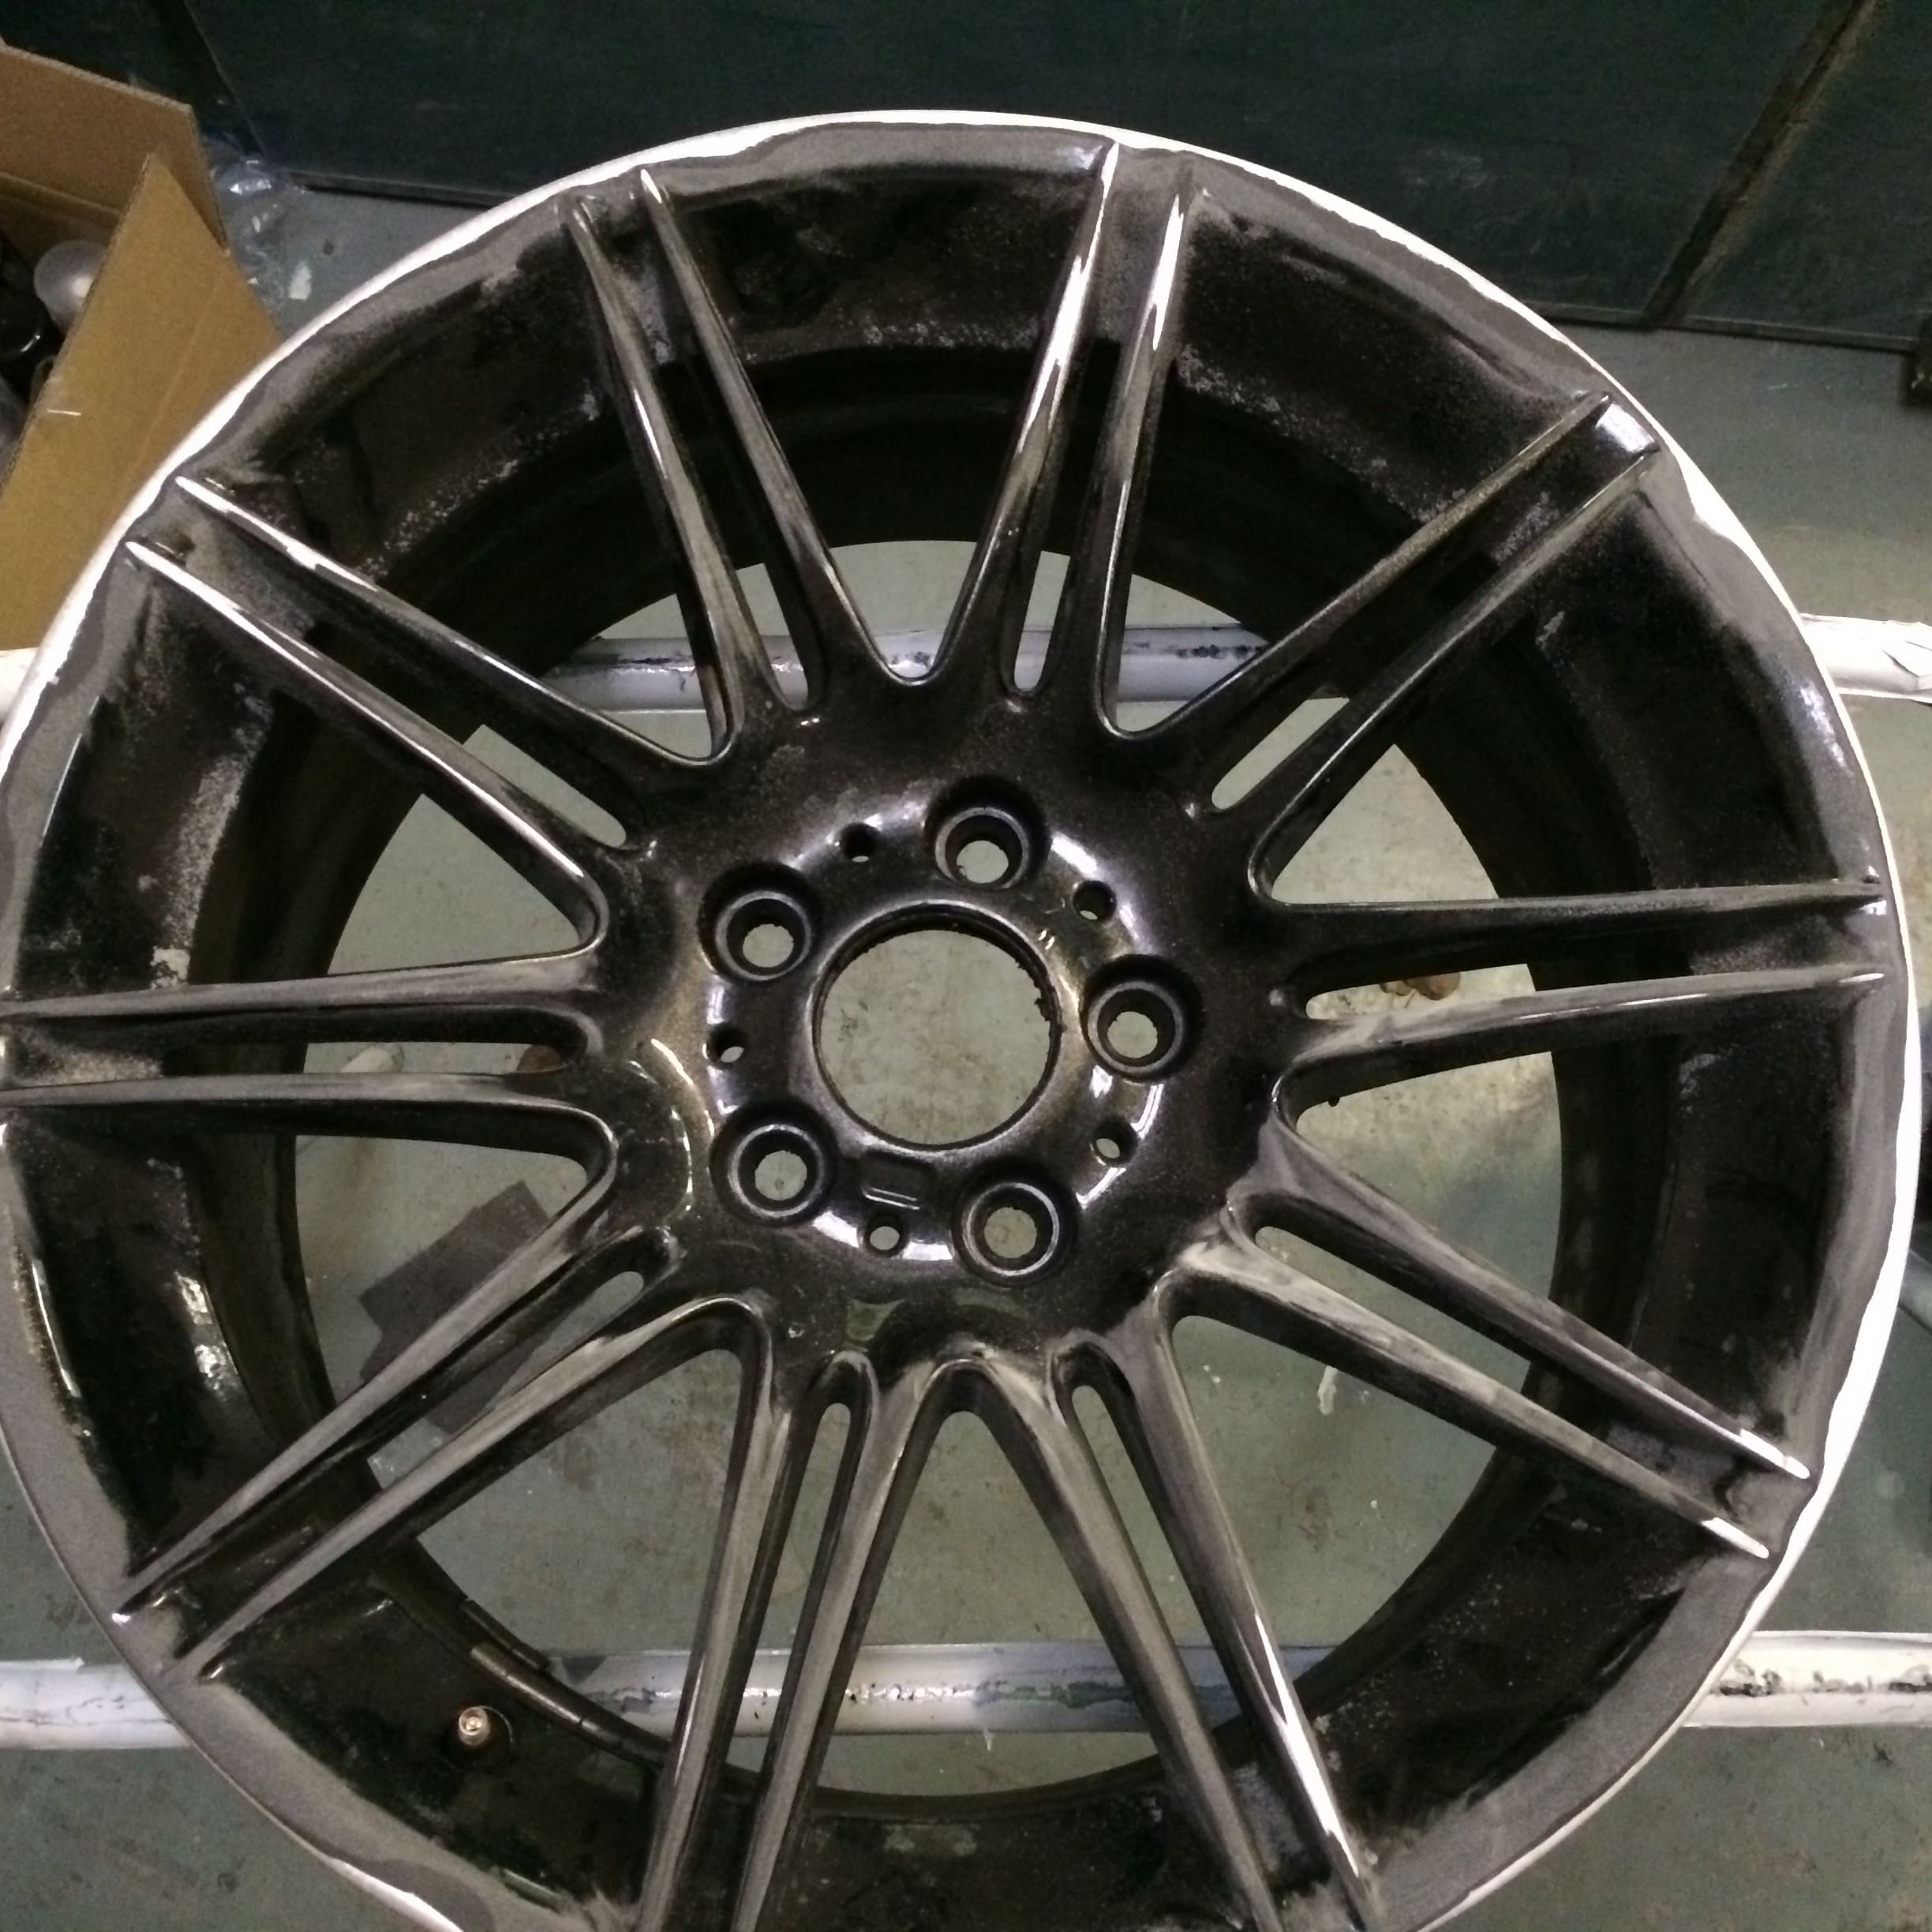
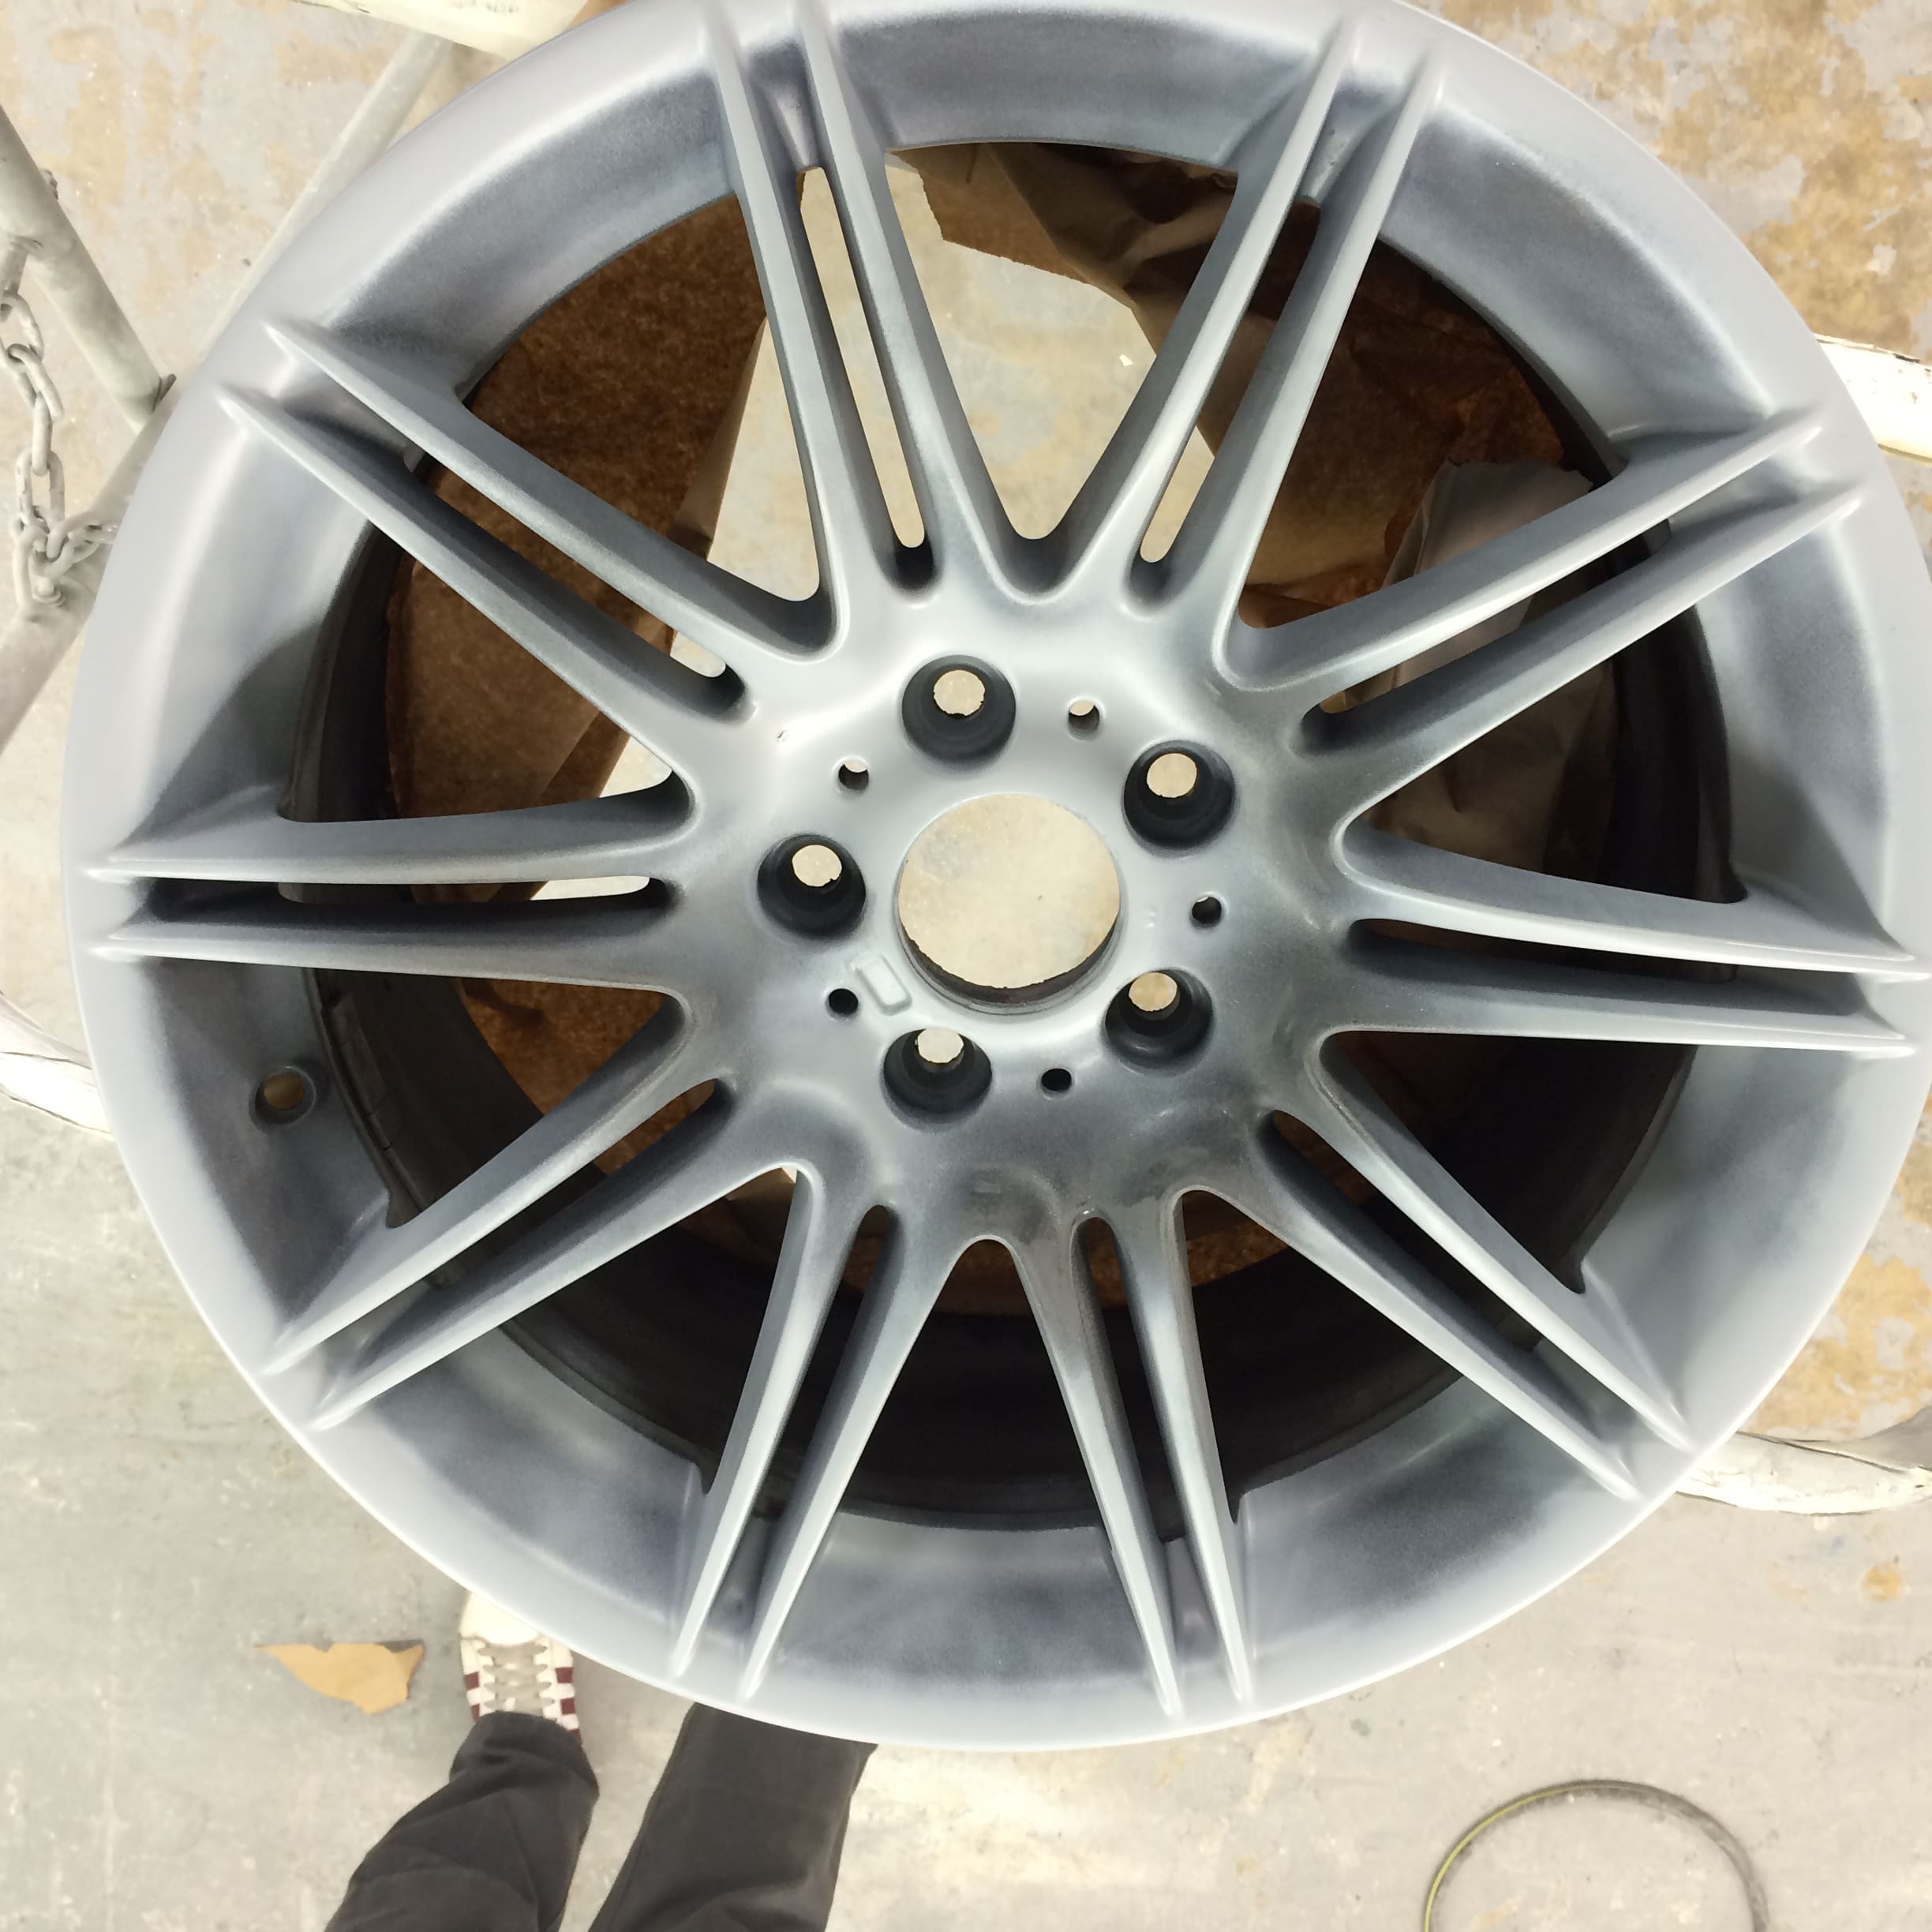
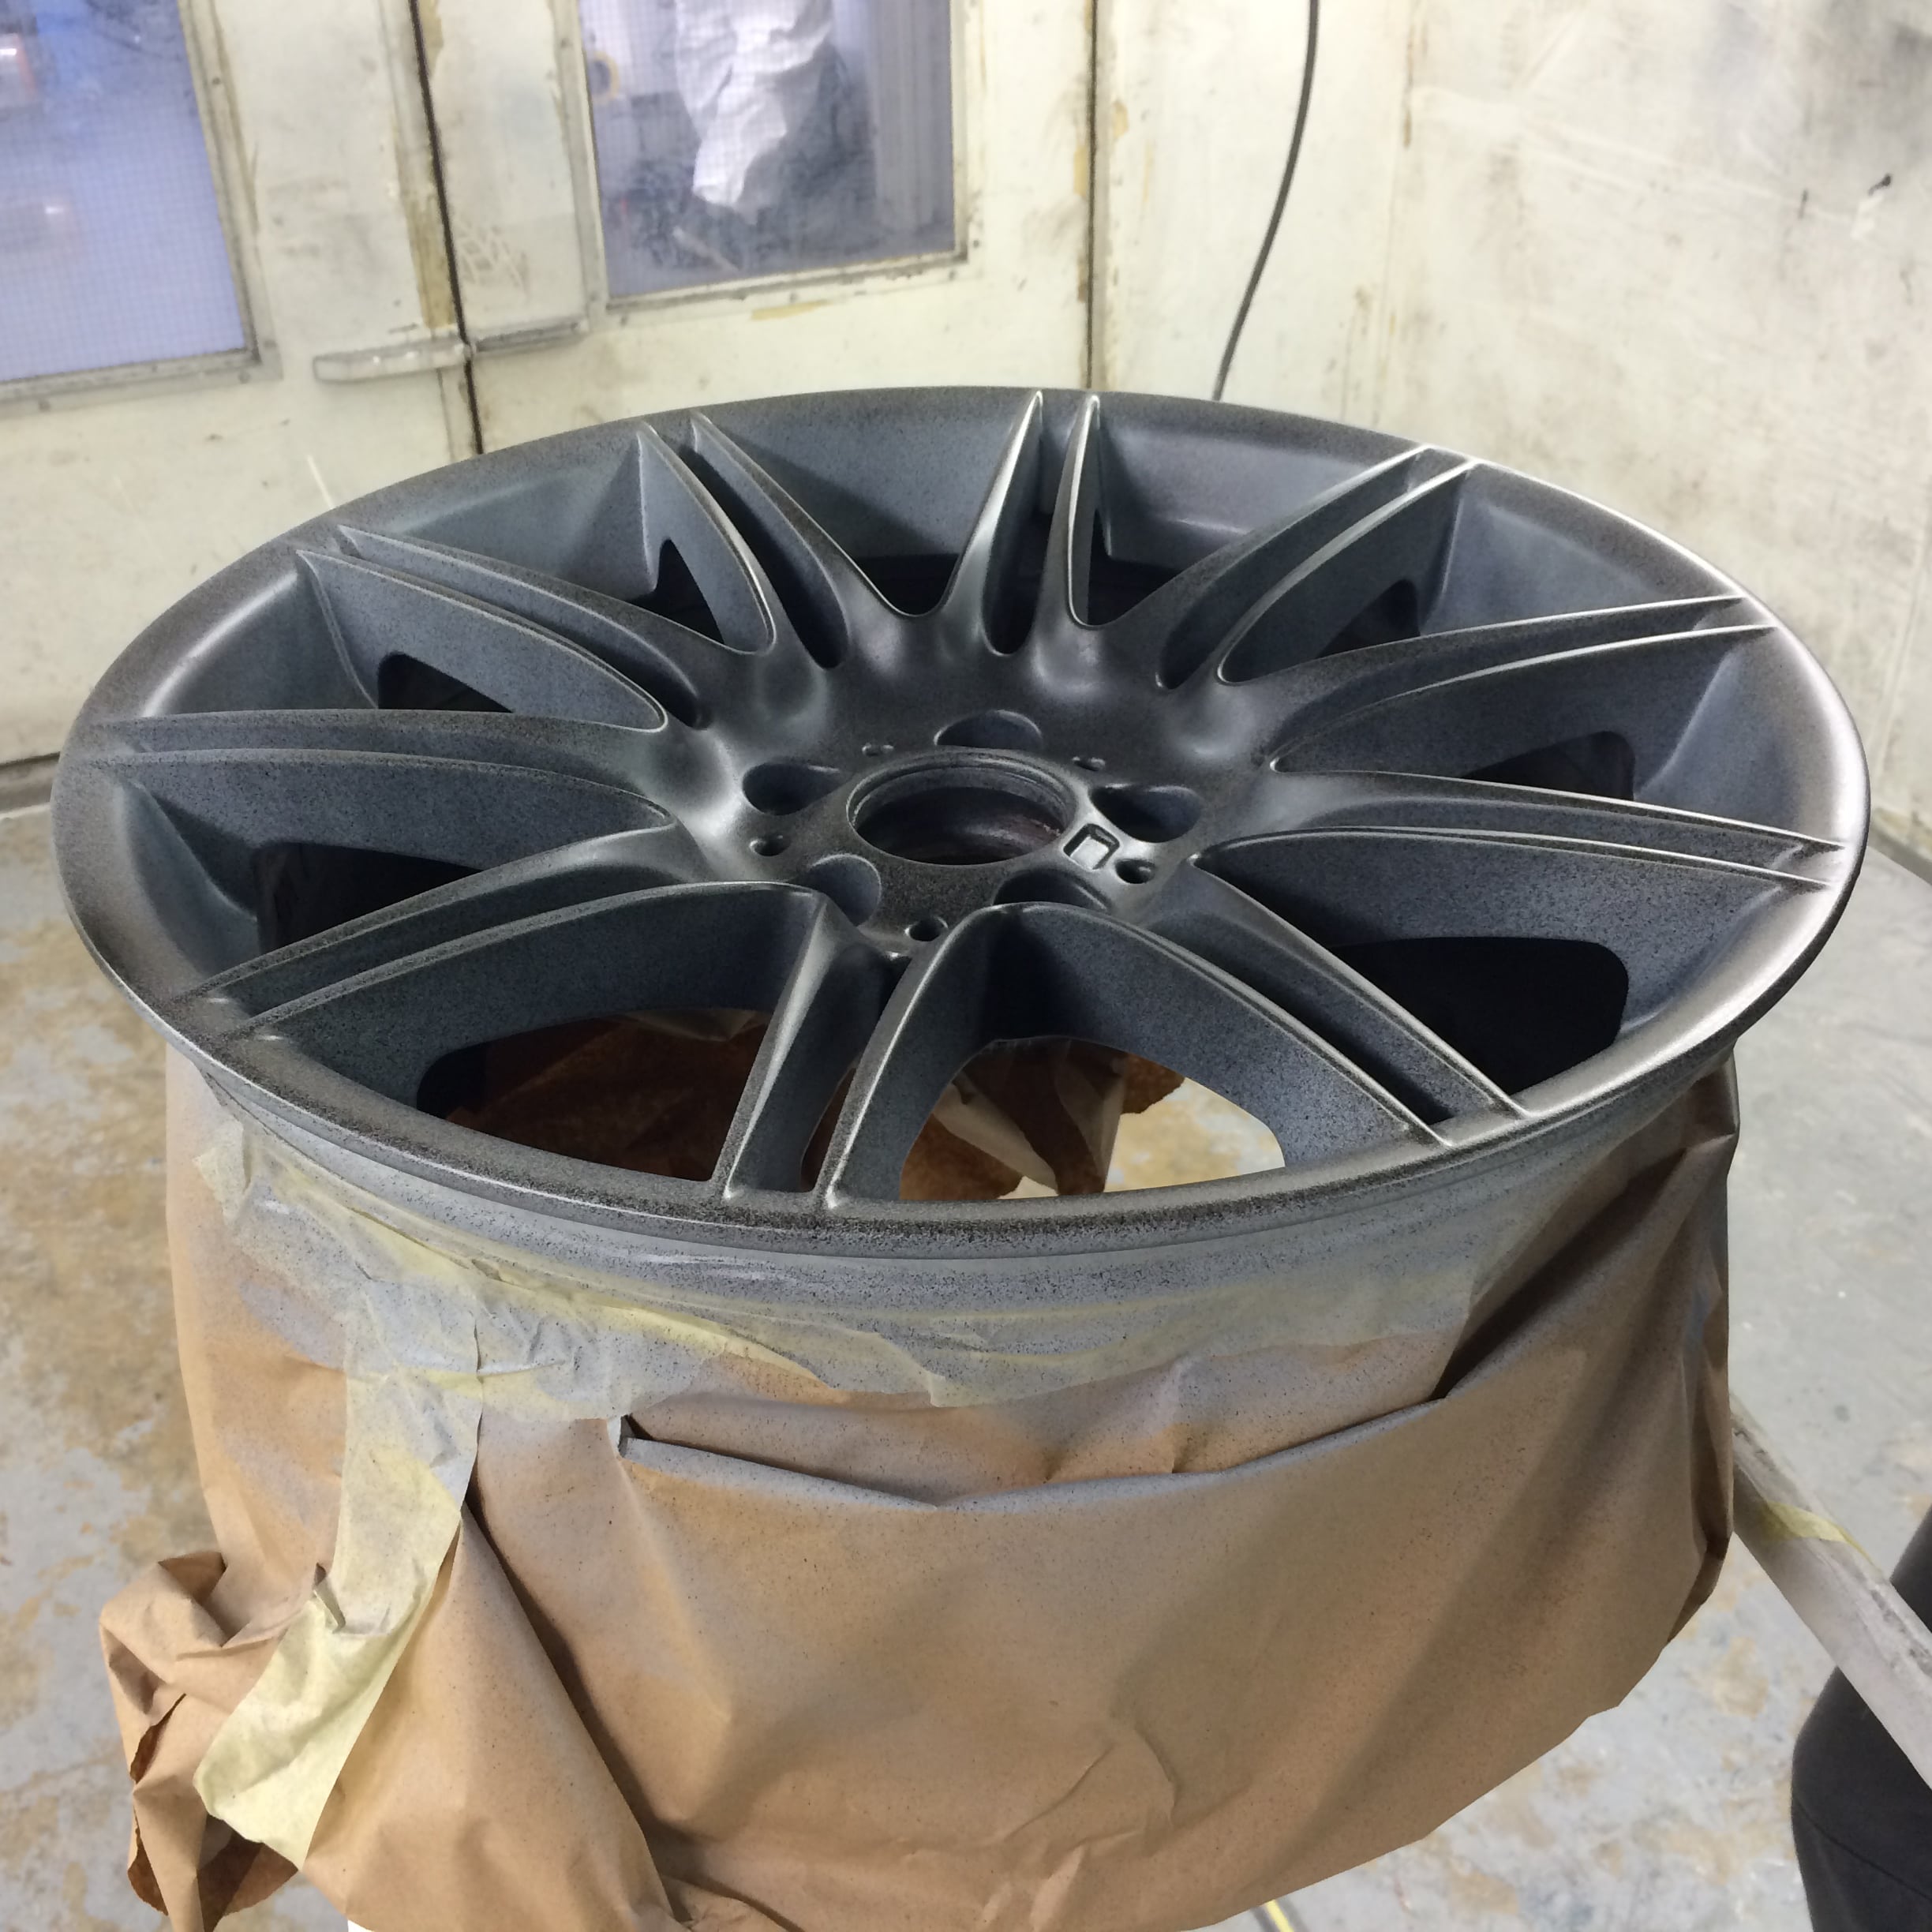
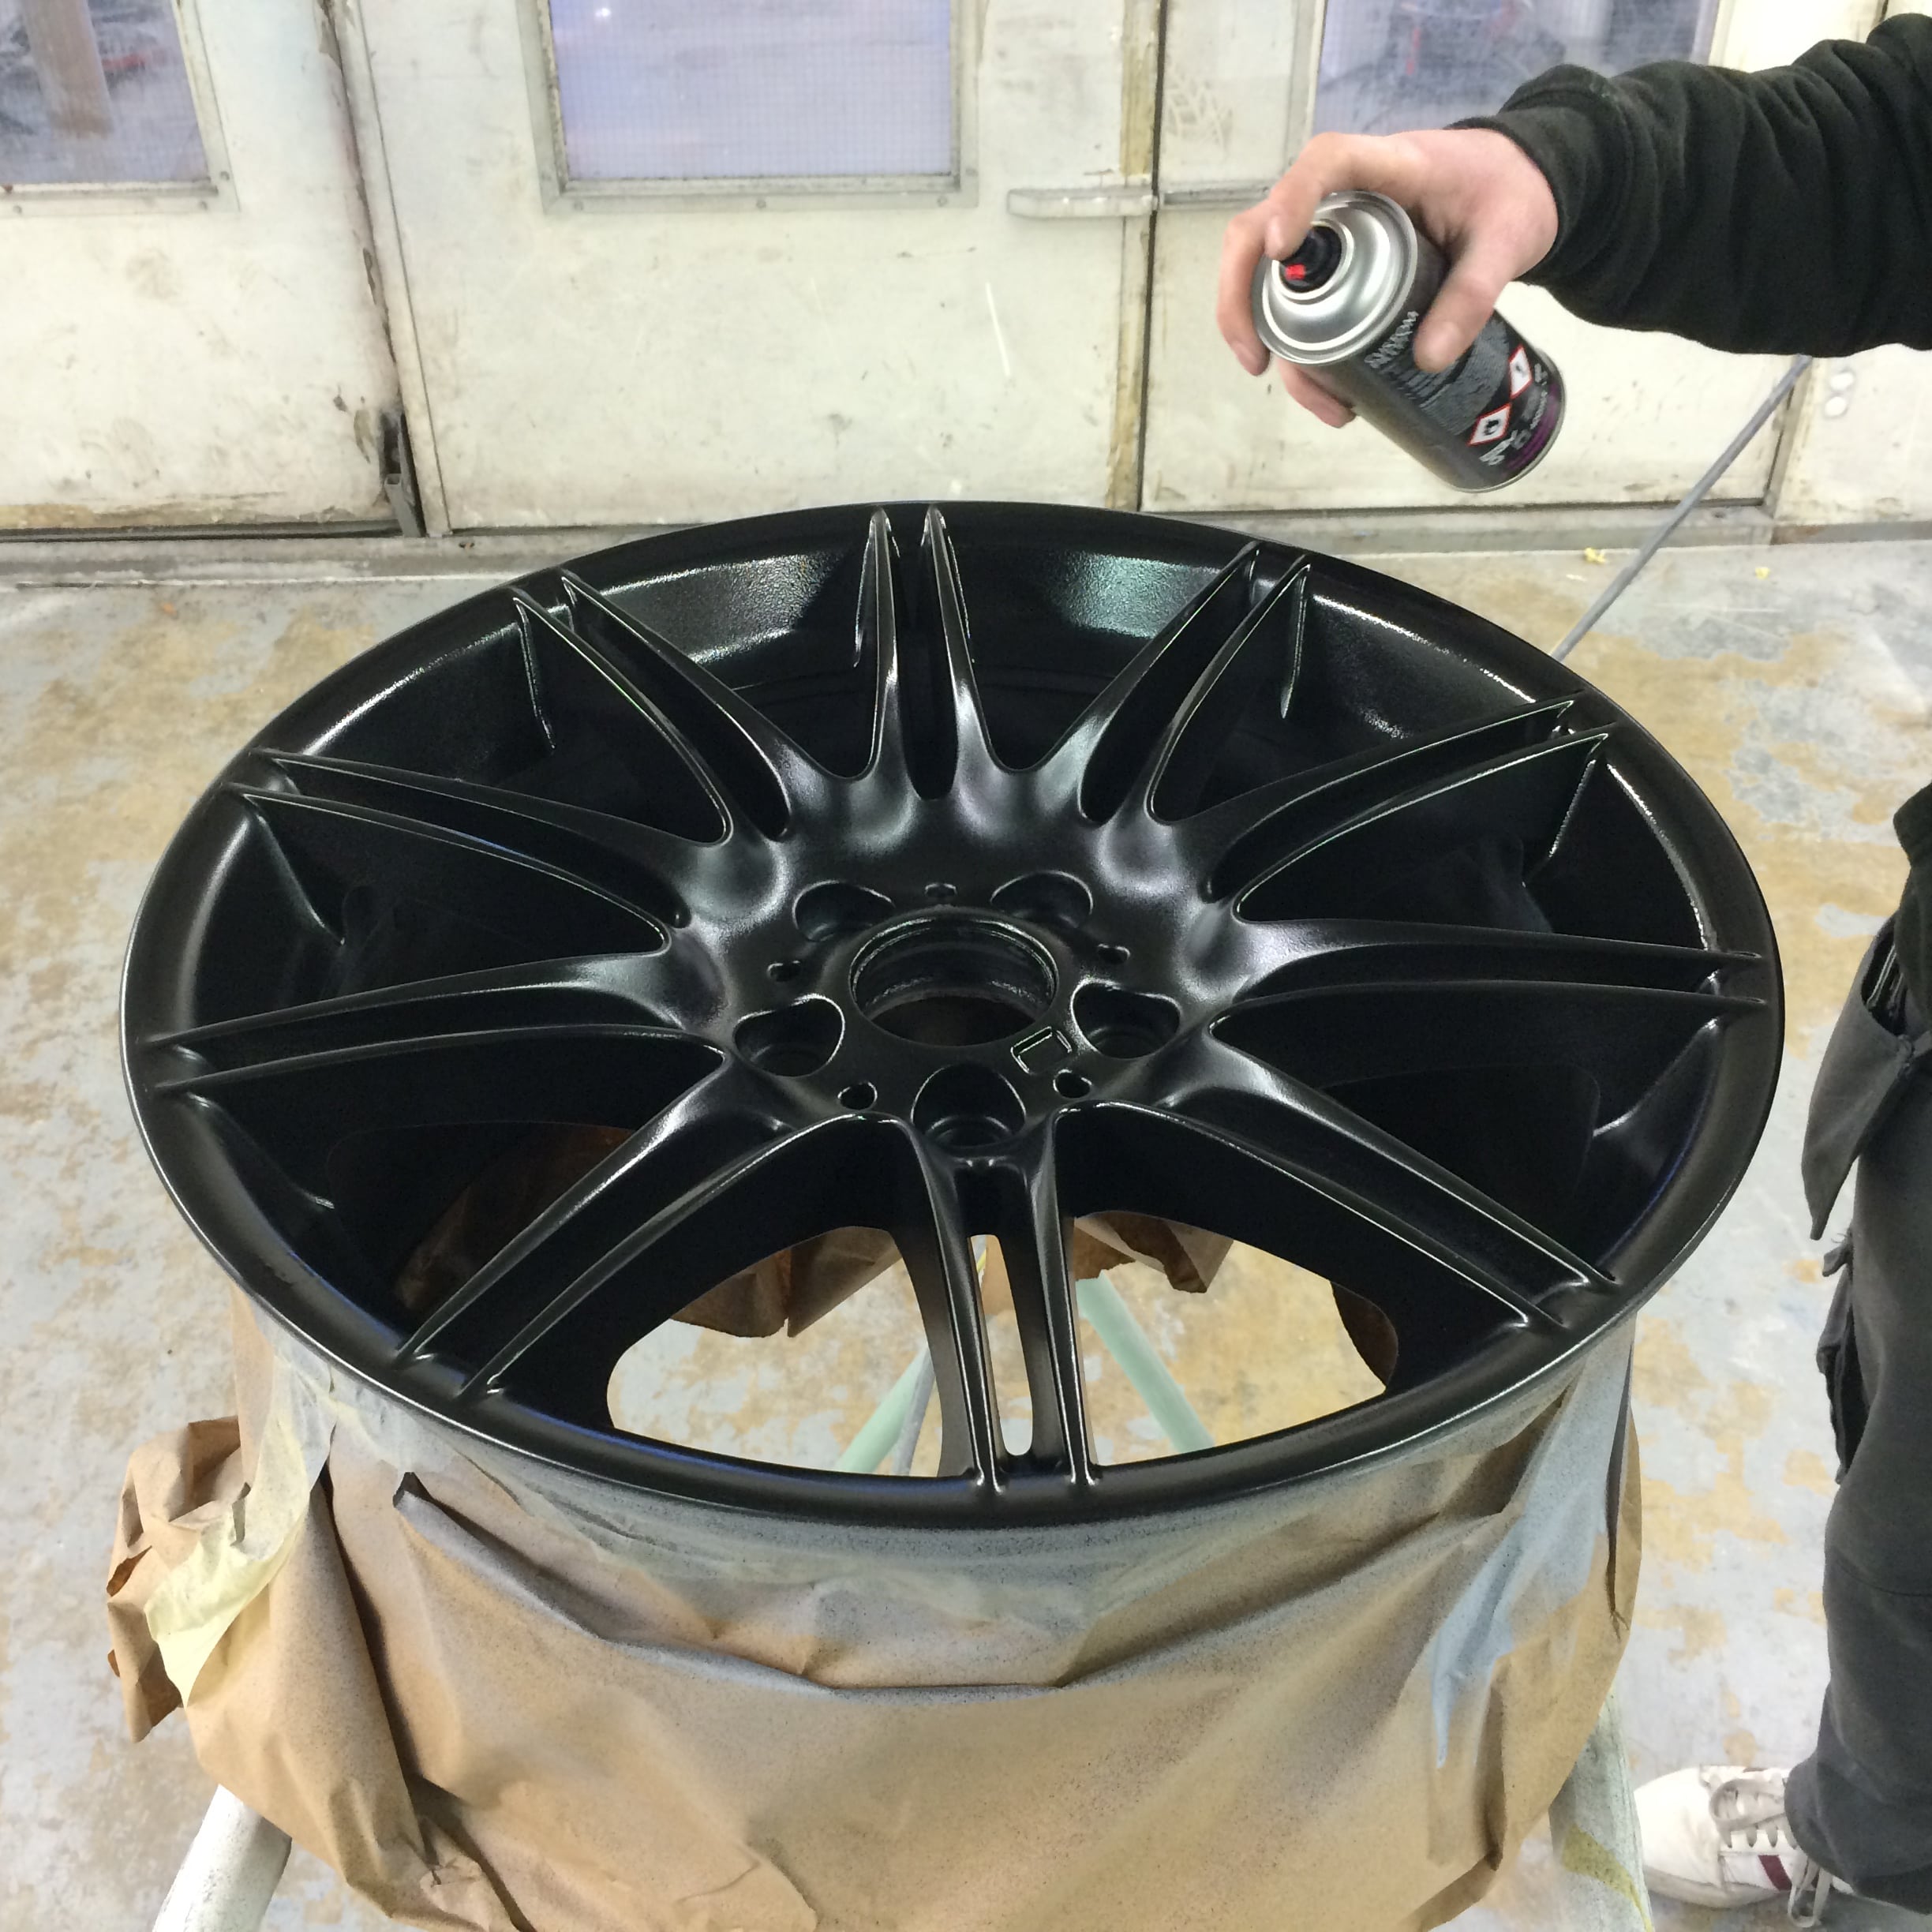
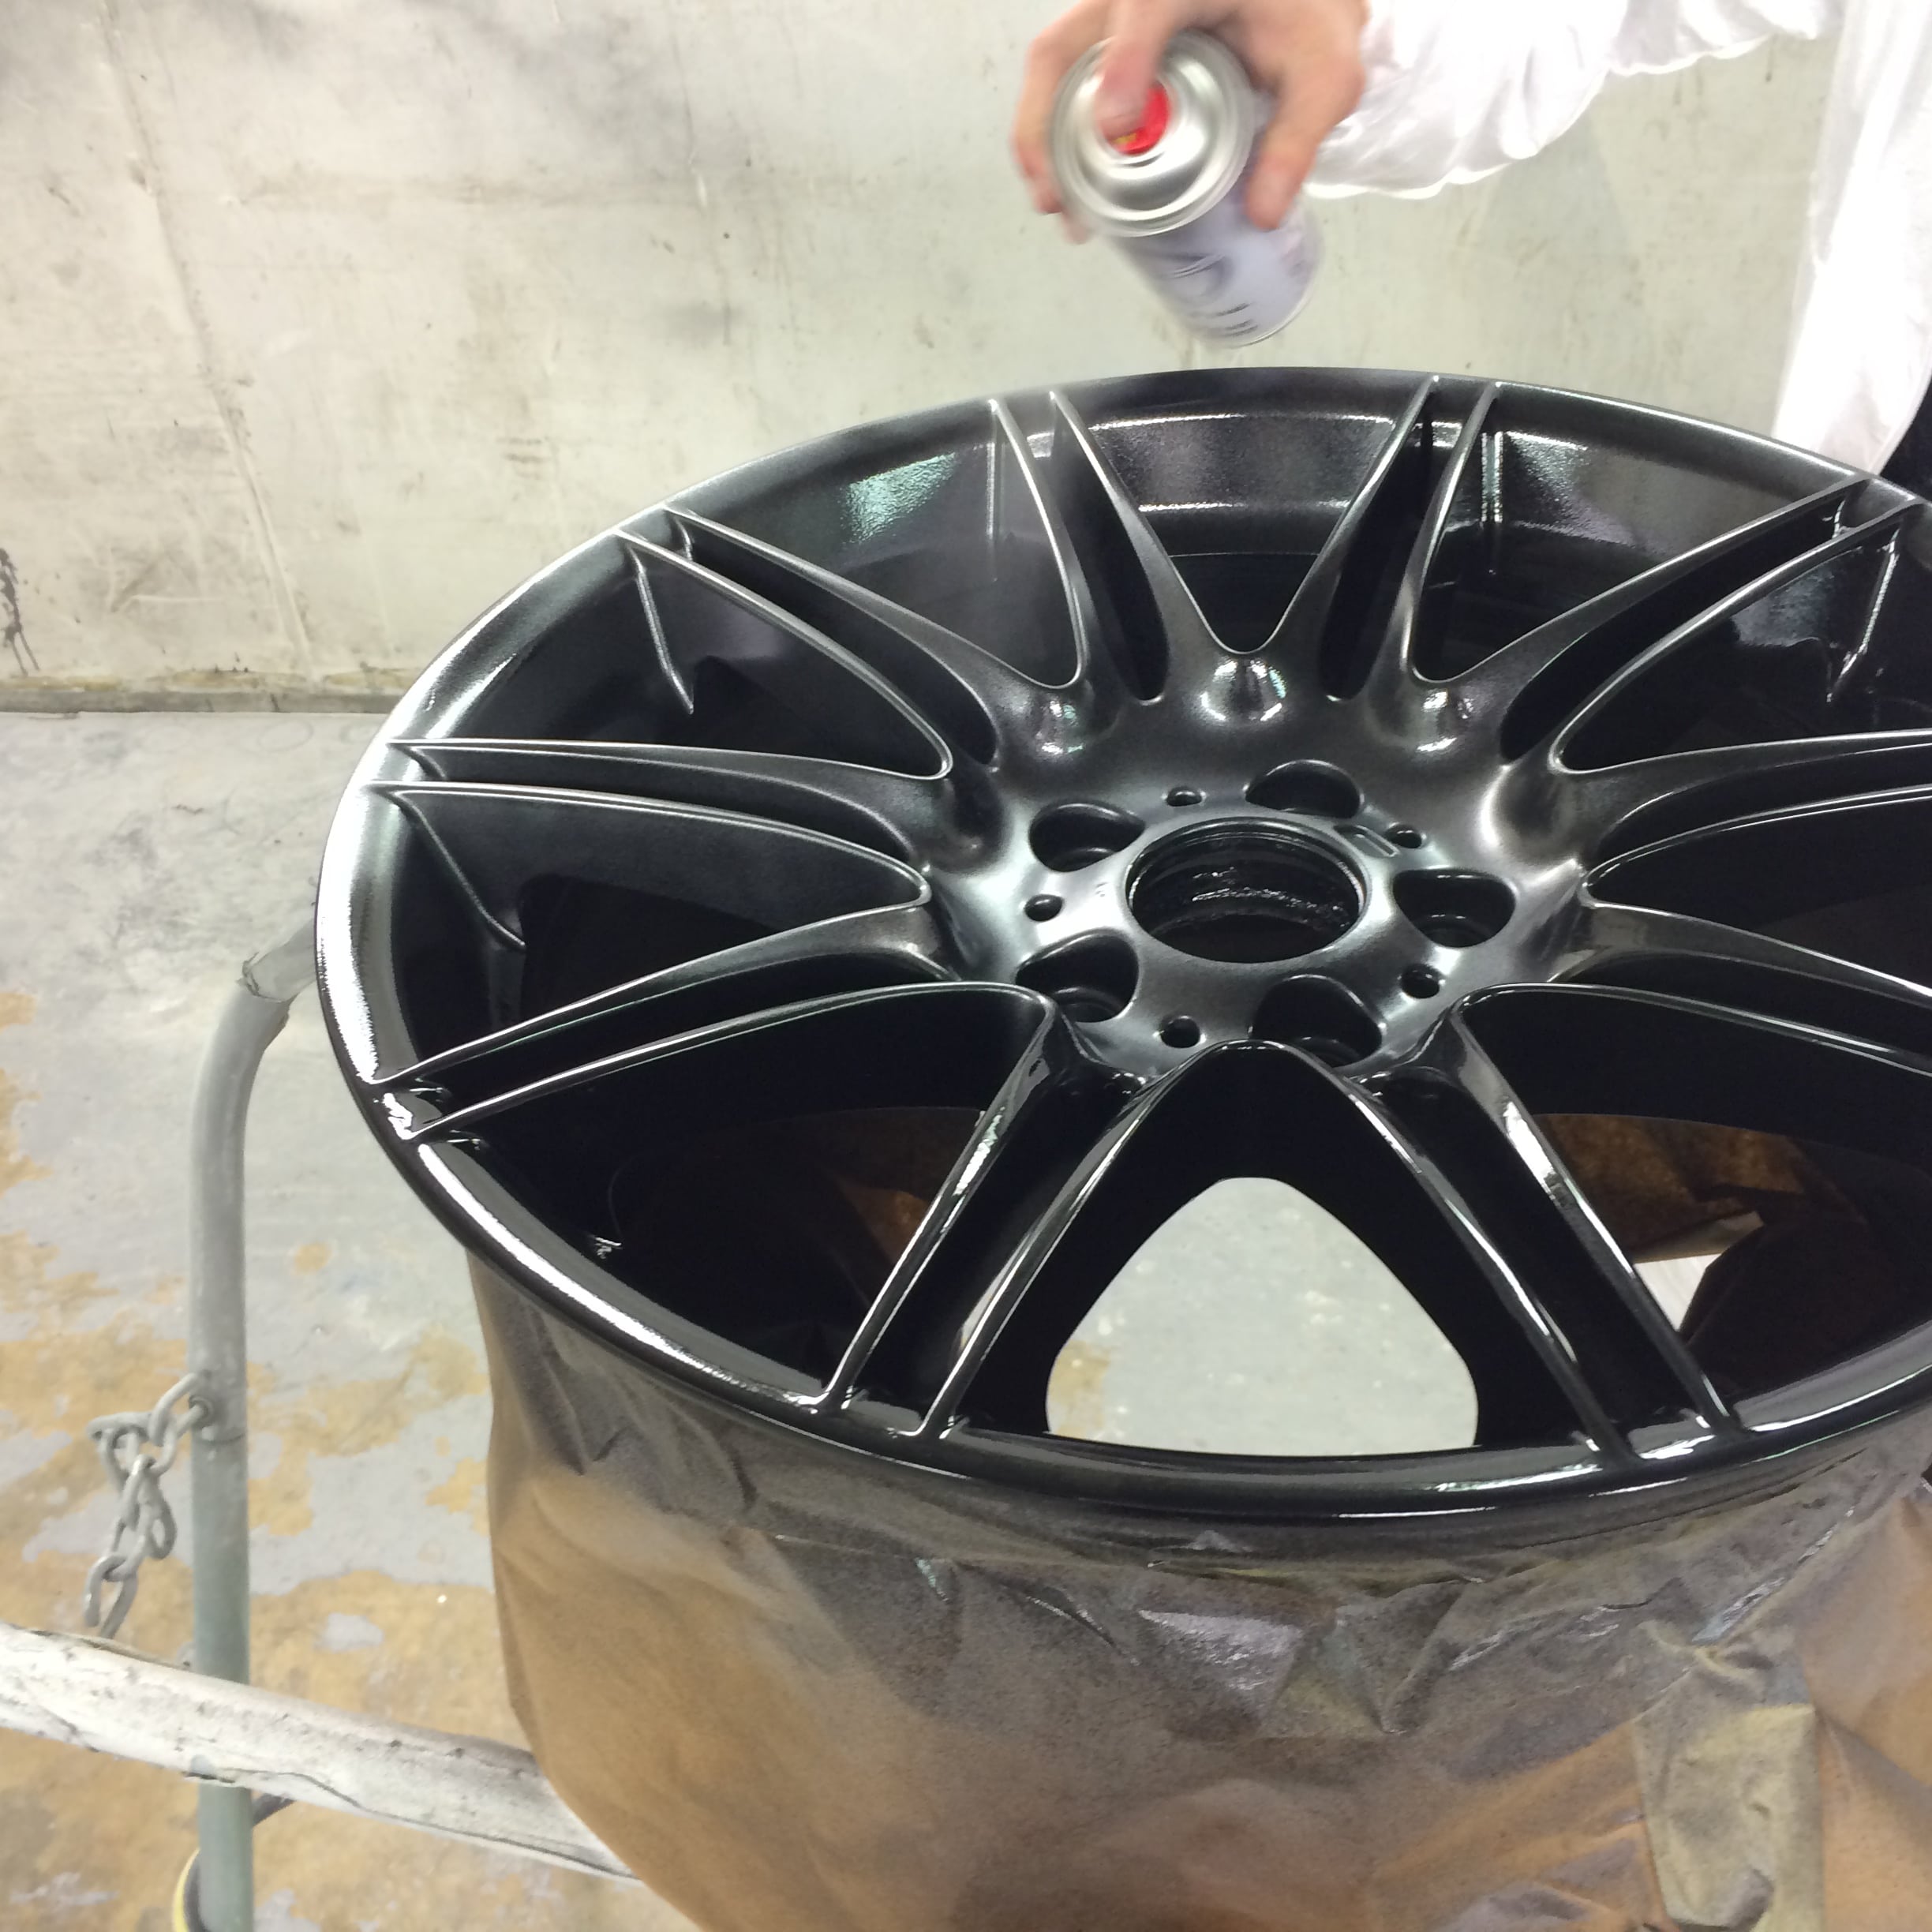
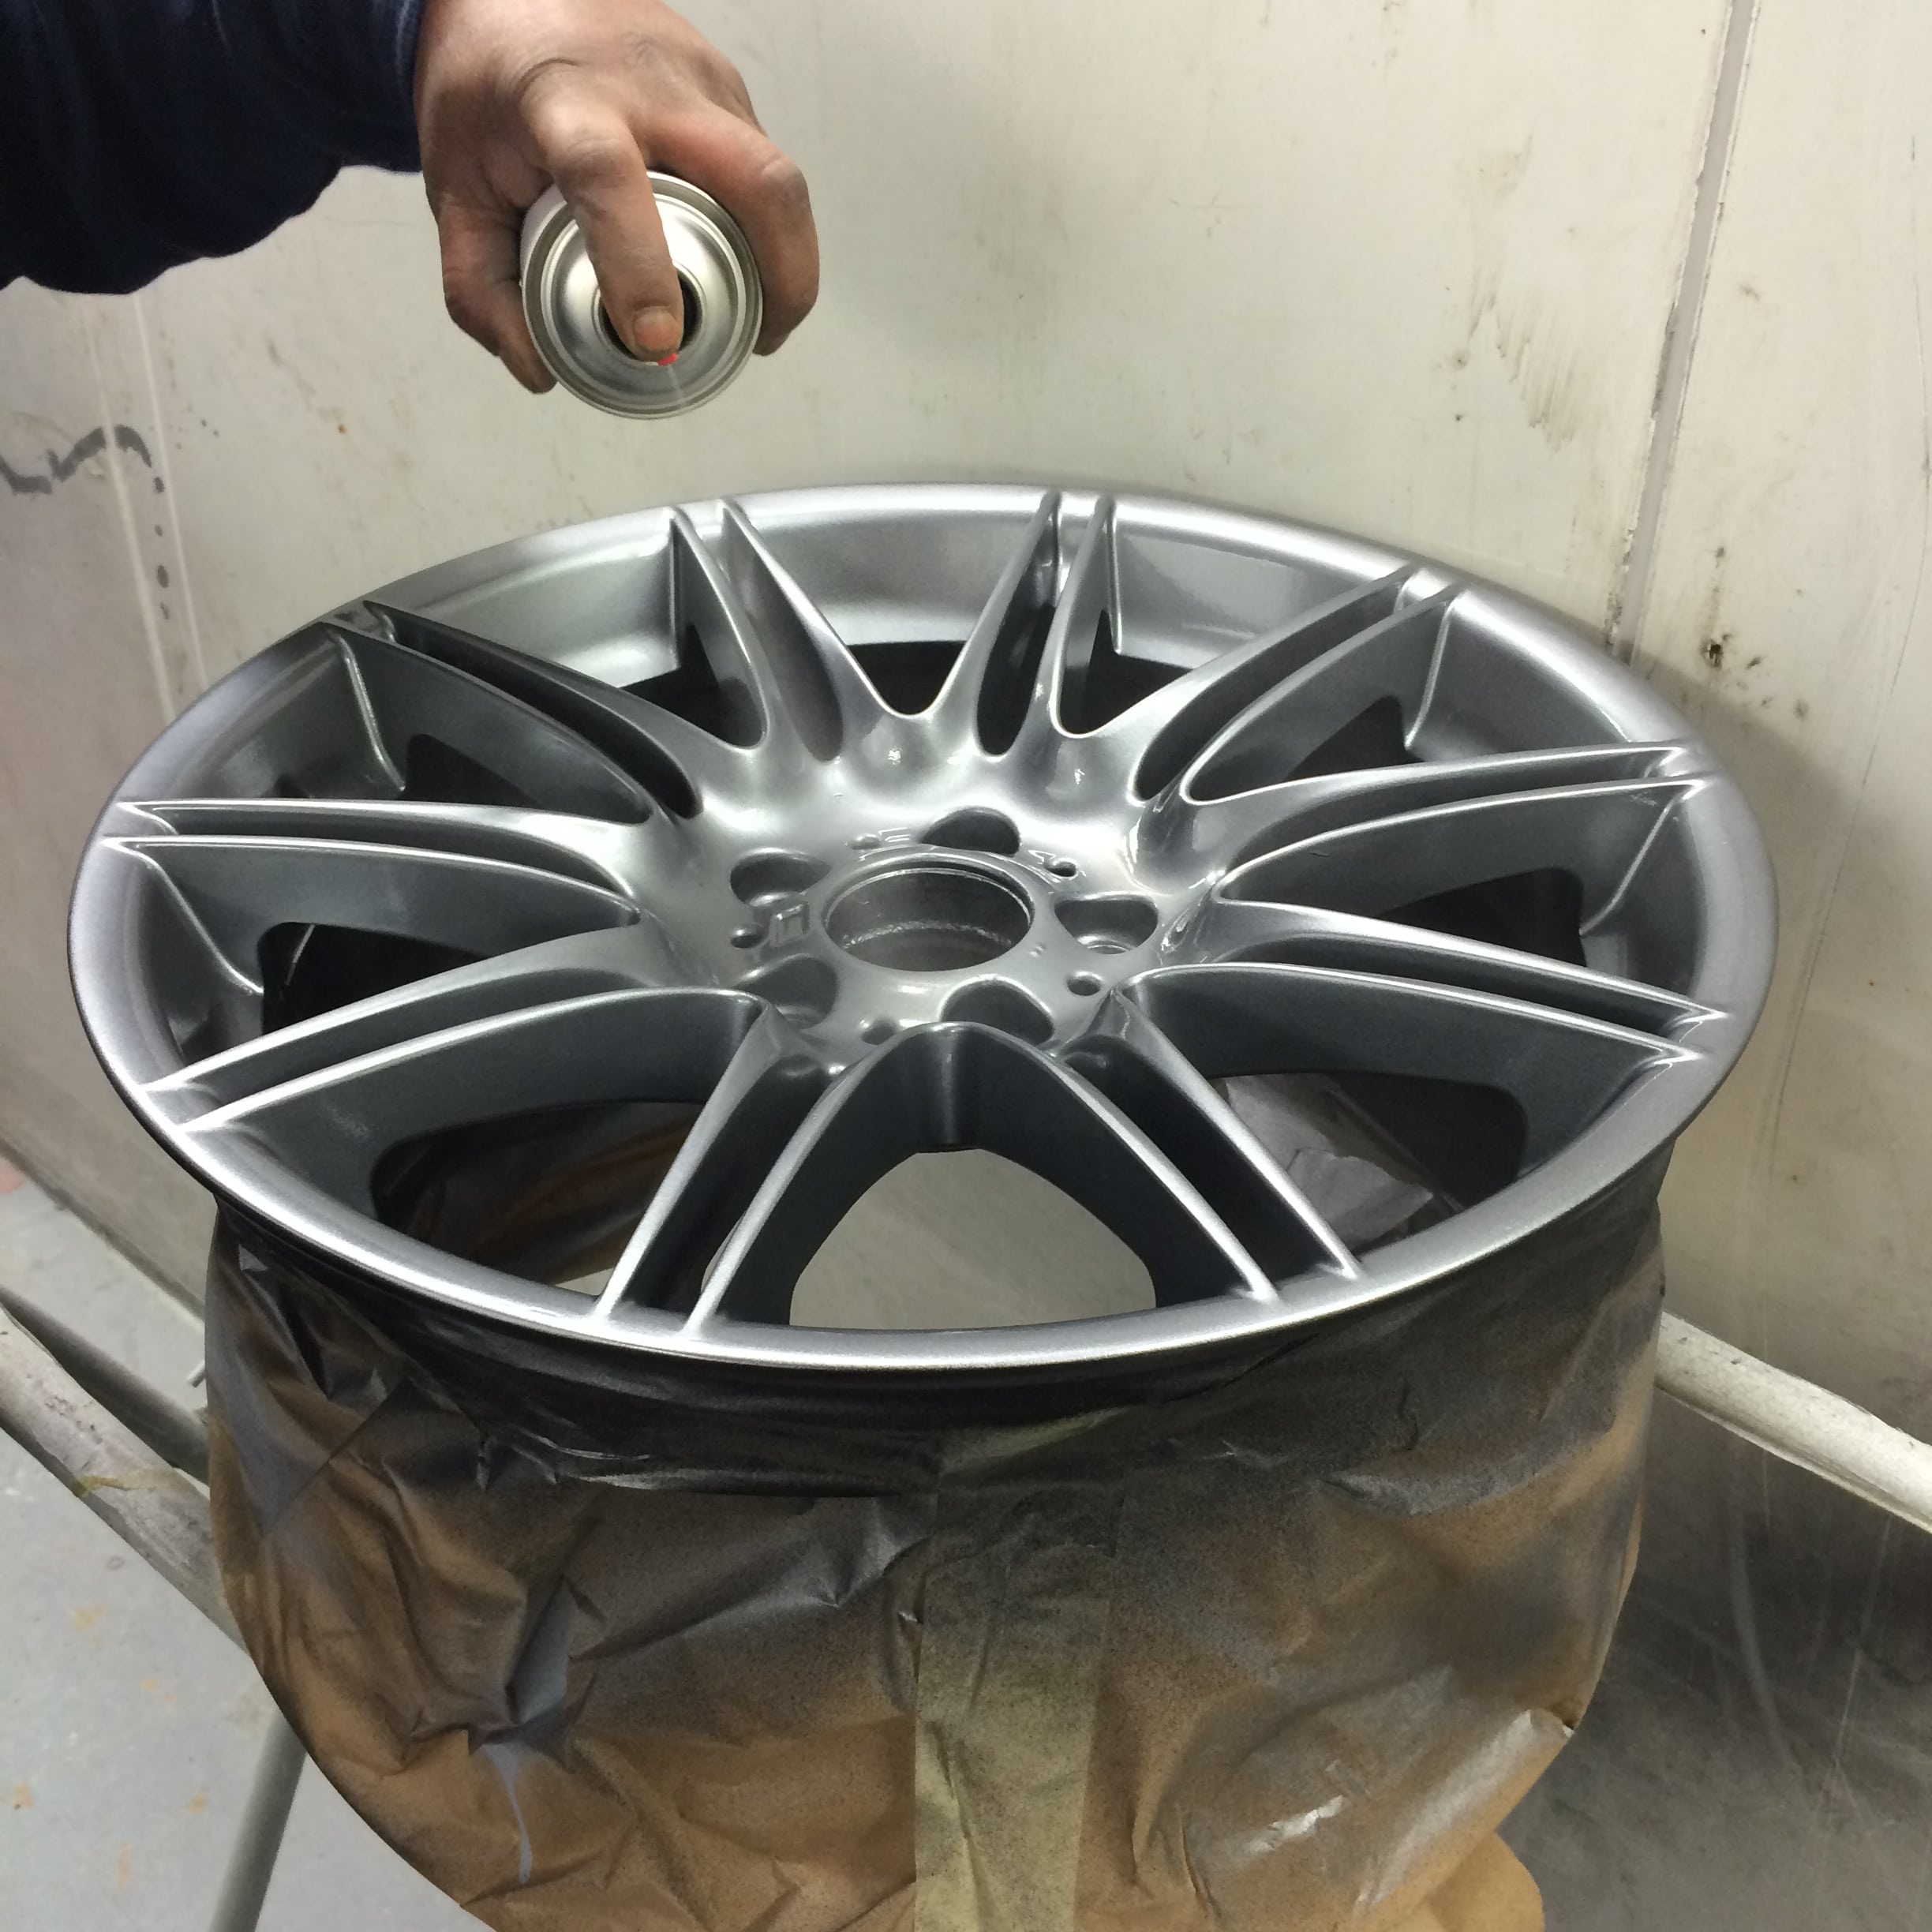
When starting the painting process, lightly layer on the high build primer until you cannot see the original colour. Leave this to cure for 30 minutes between coats, depending on the temperature (if it’s colder, leave this to dry for a little longer between coats). Once the paint has cured, you can then apply your base coat colour in light layers.
TOP TIP: Again, leave the paint to cure for around 30-40 minutes between coats. Once you are satisfied with the level of paint and coverage, make sure you leave this to cure for at least an hour.
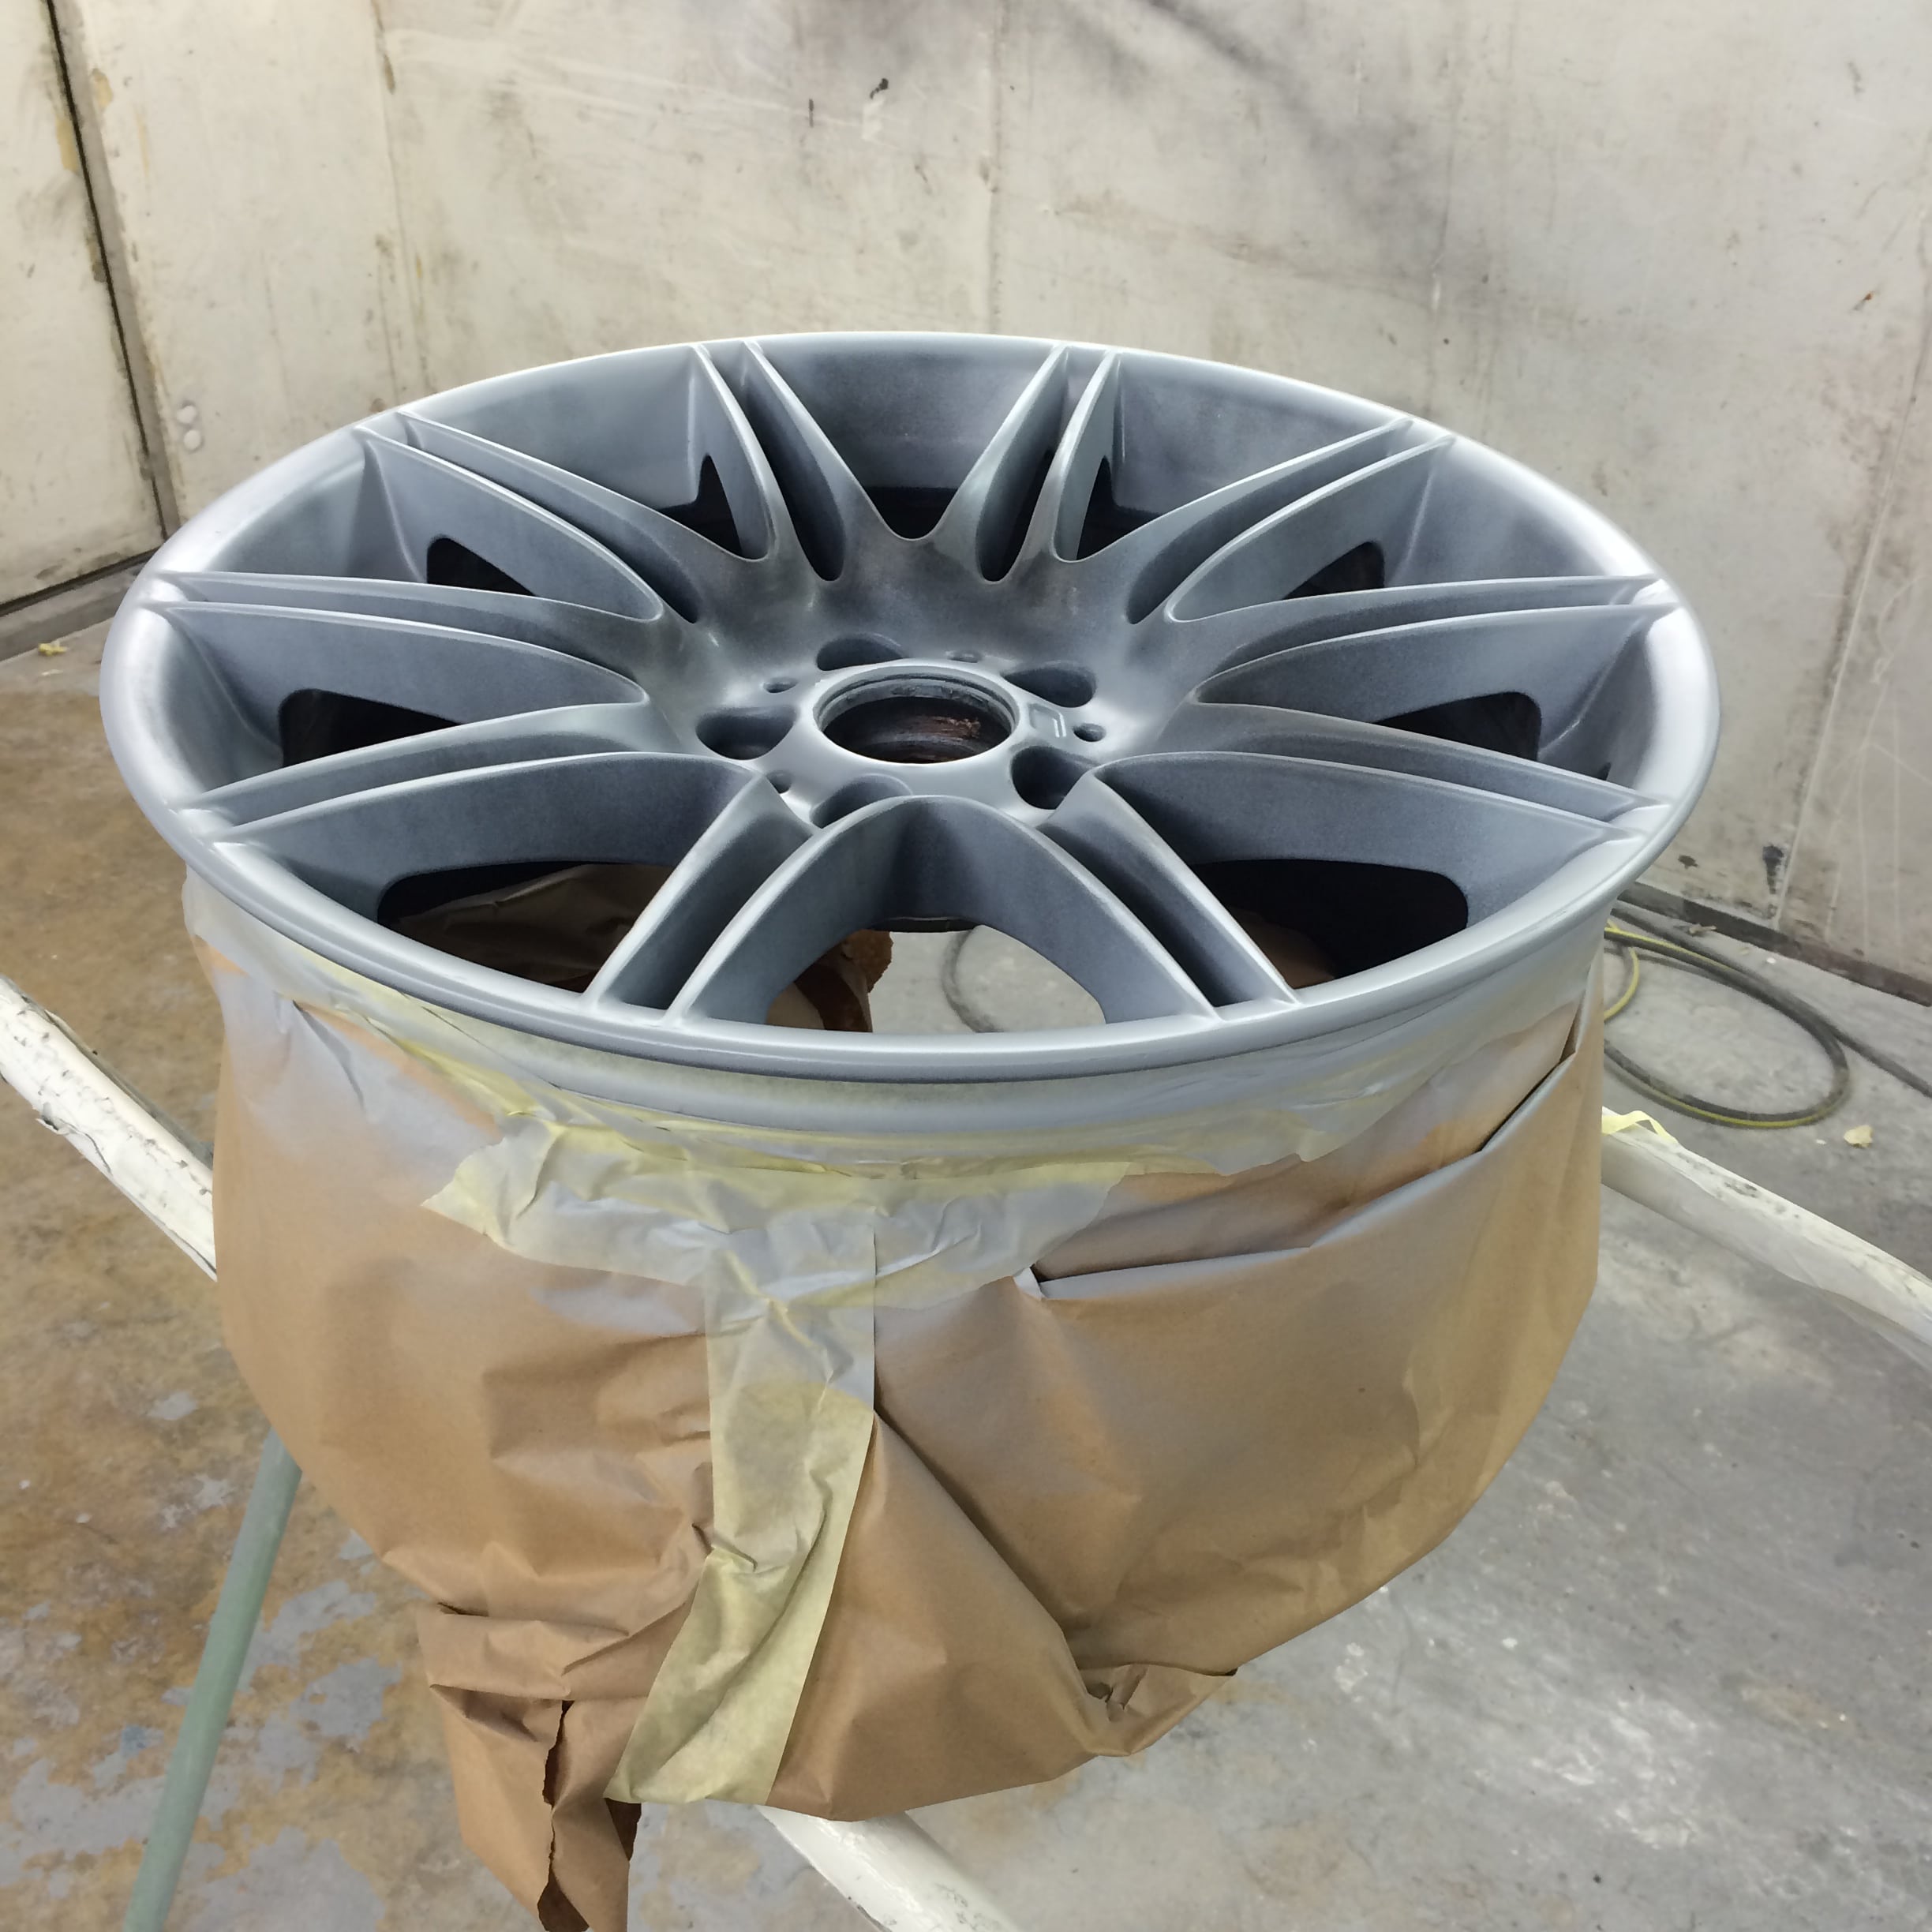
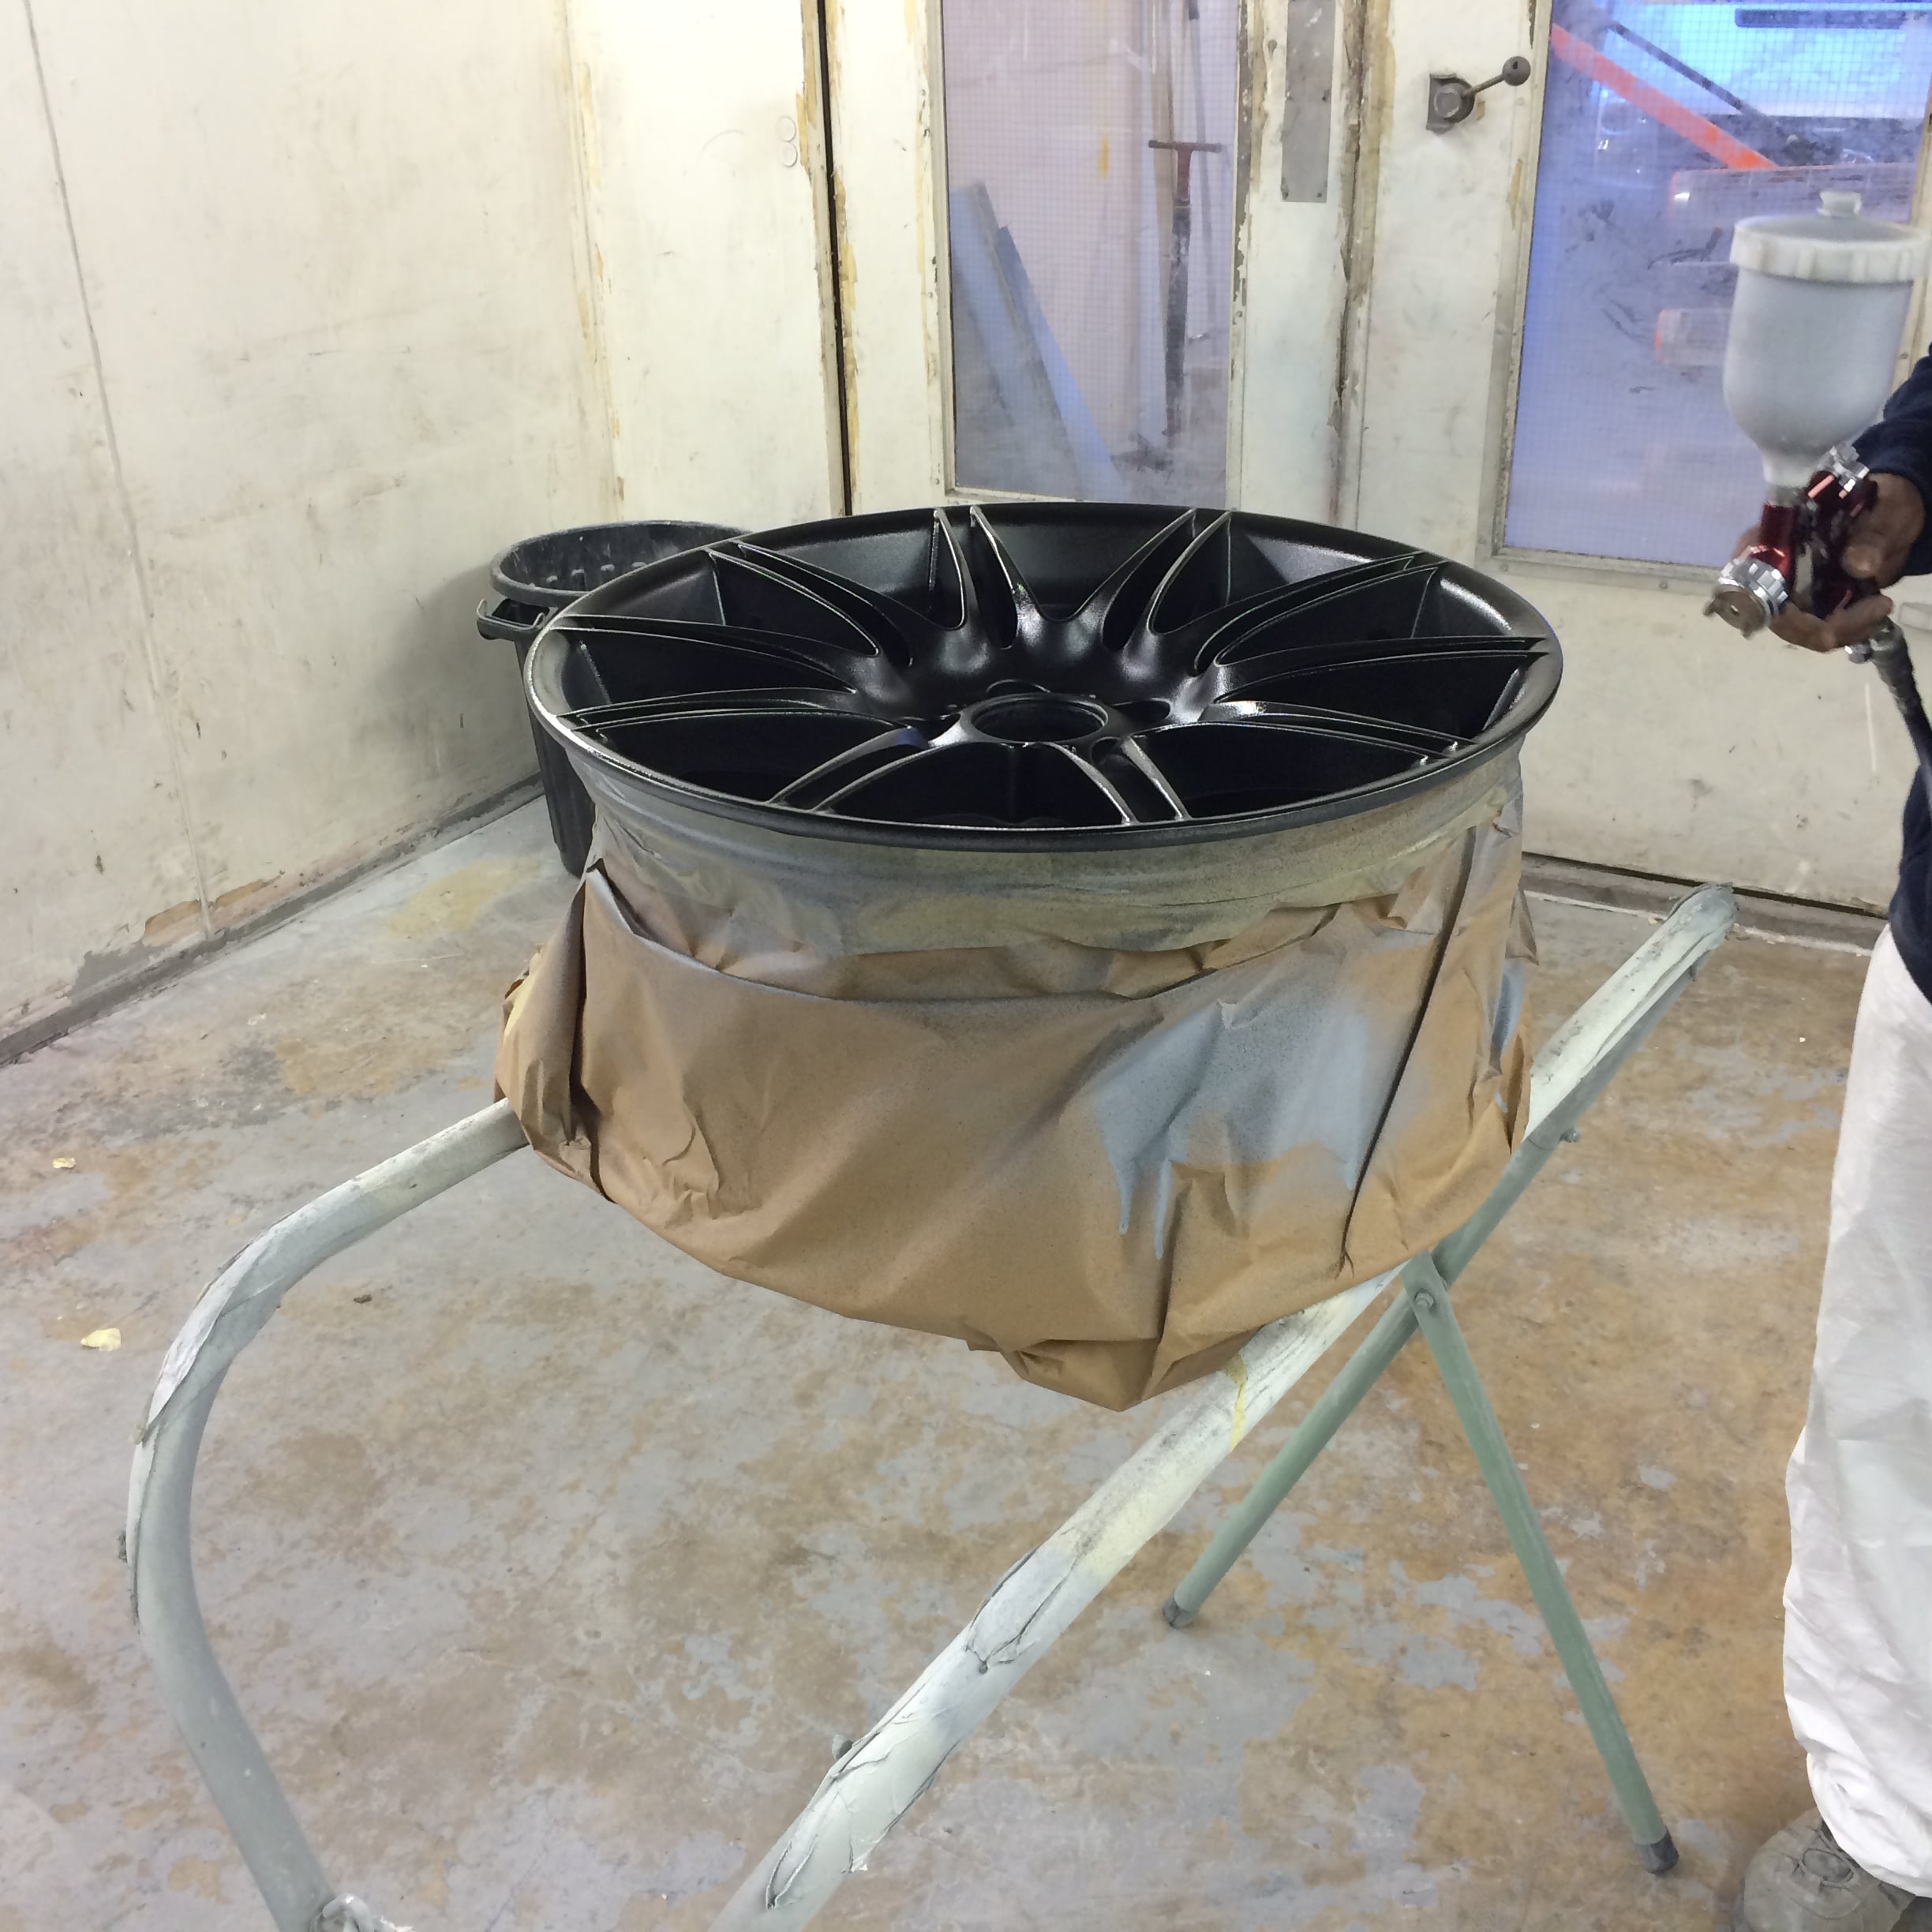
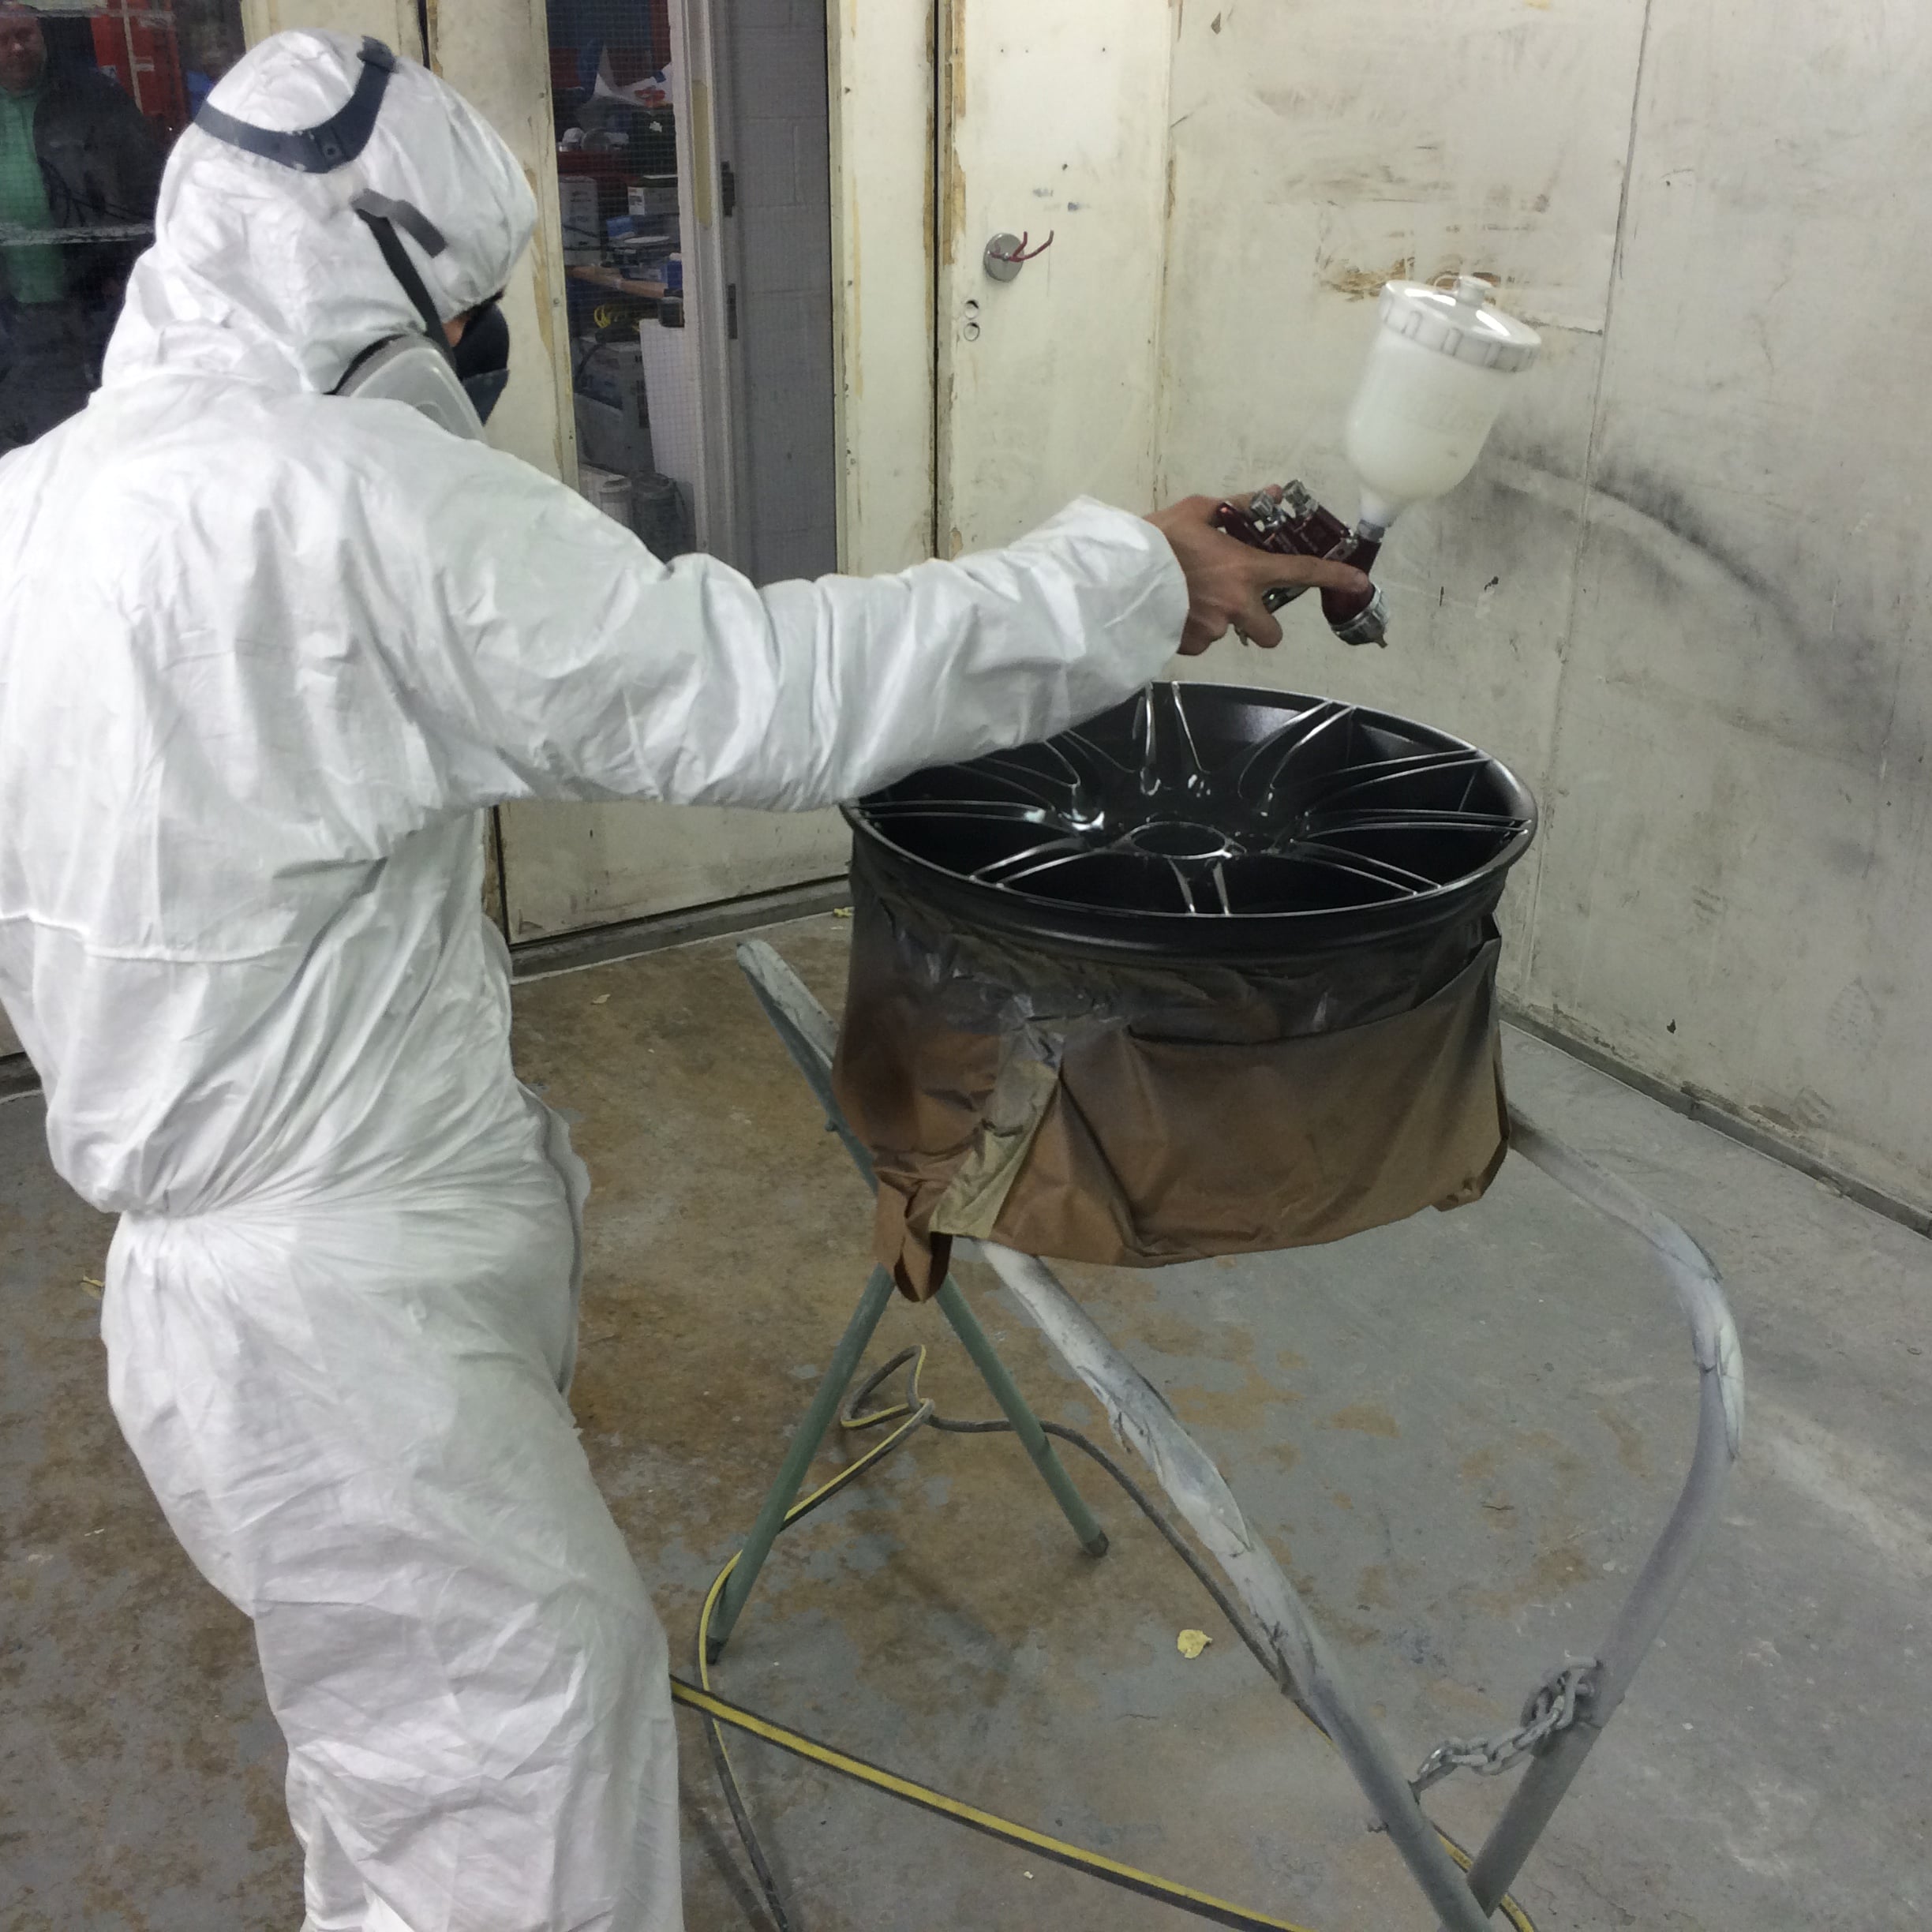
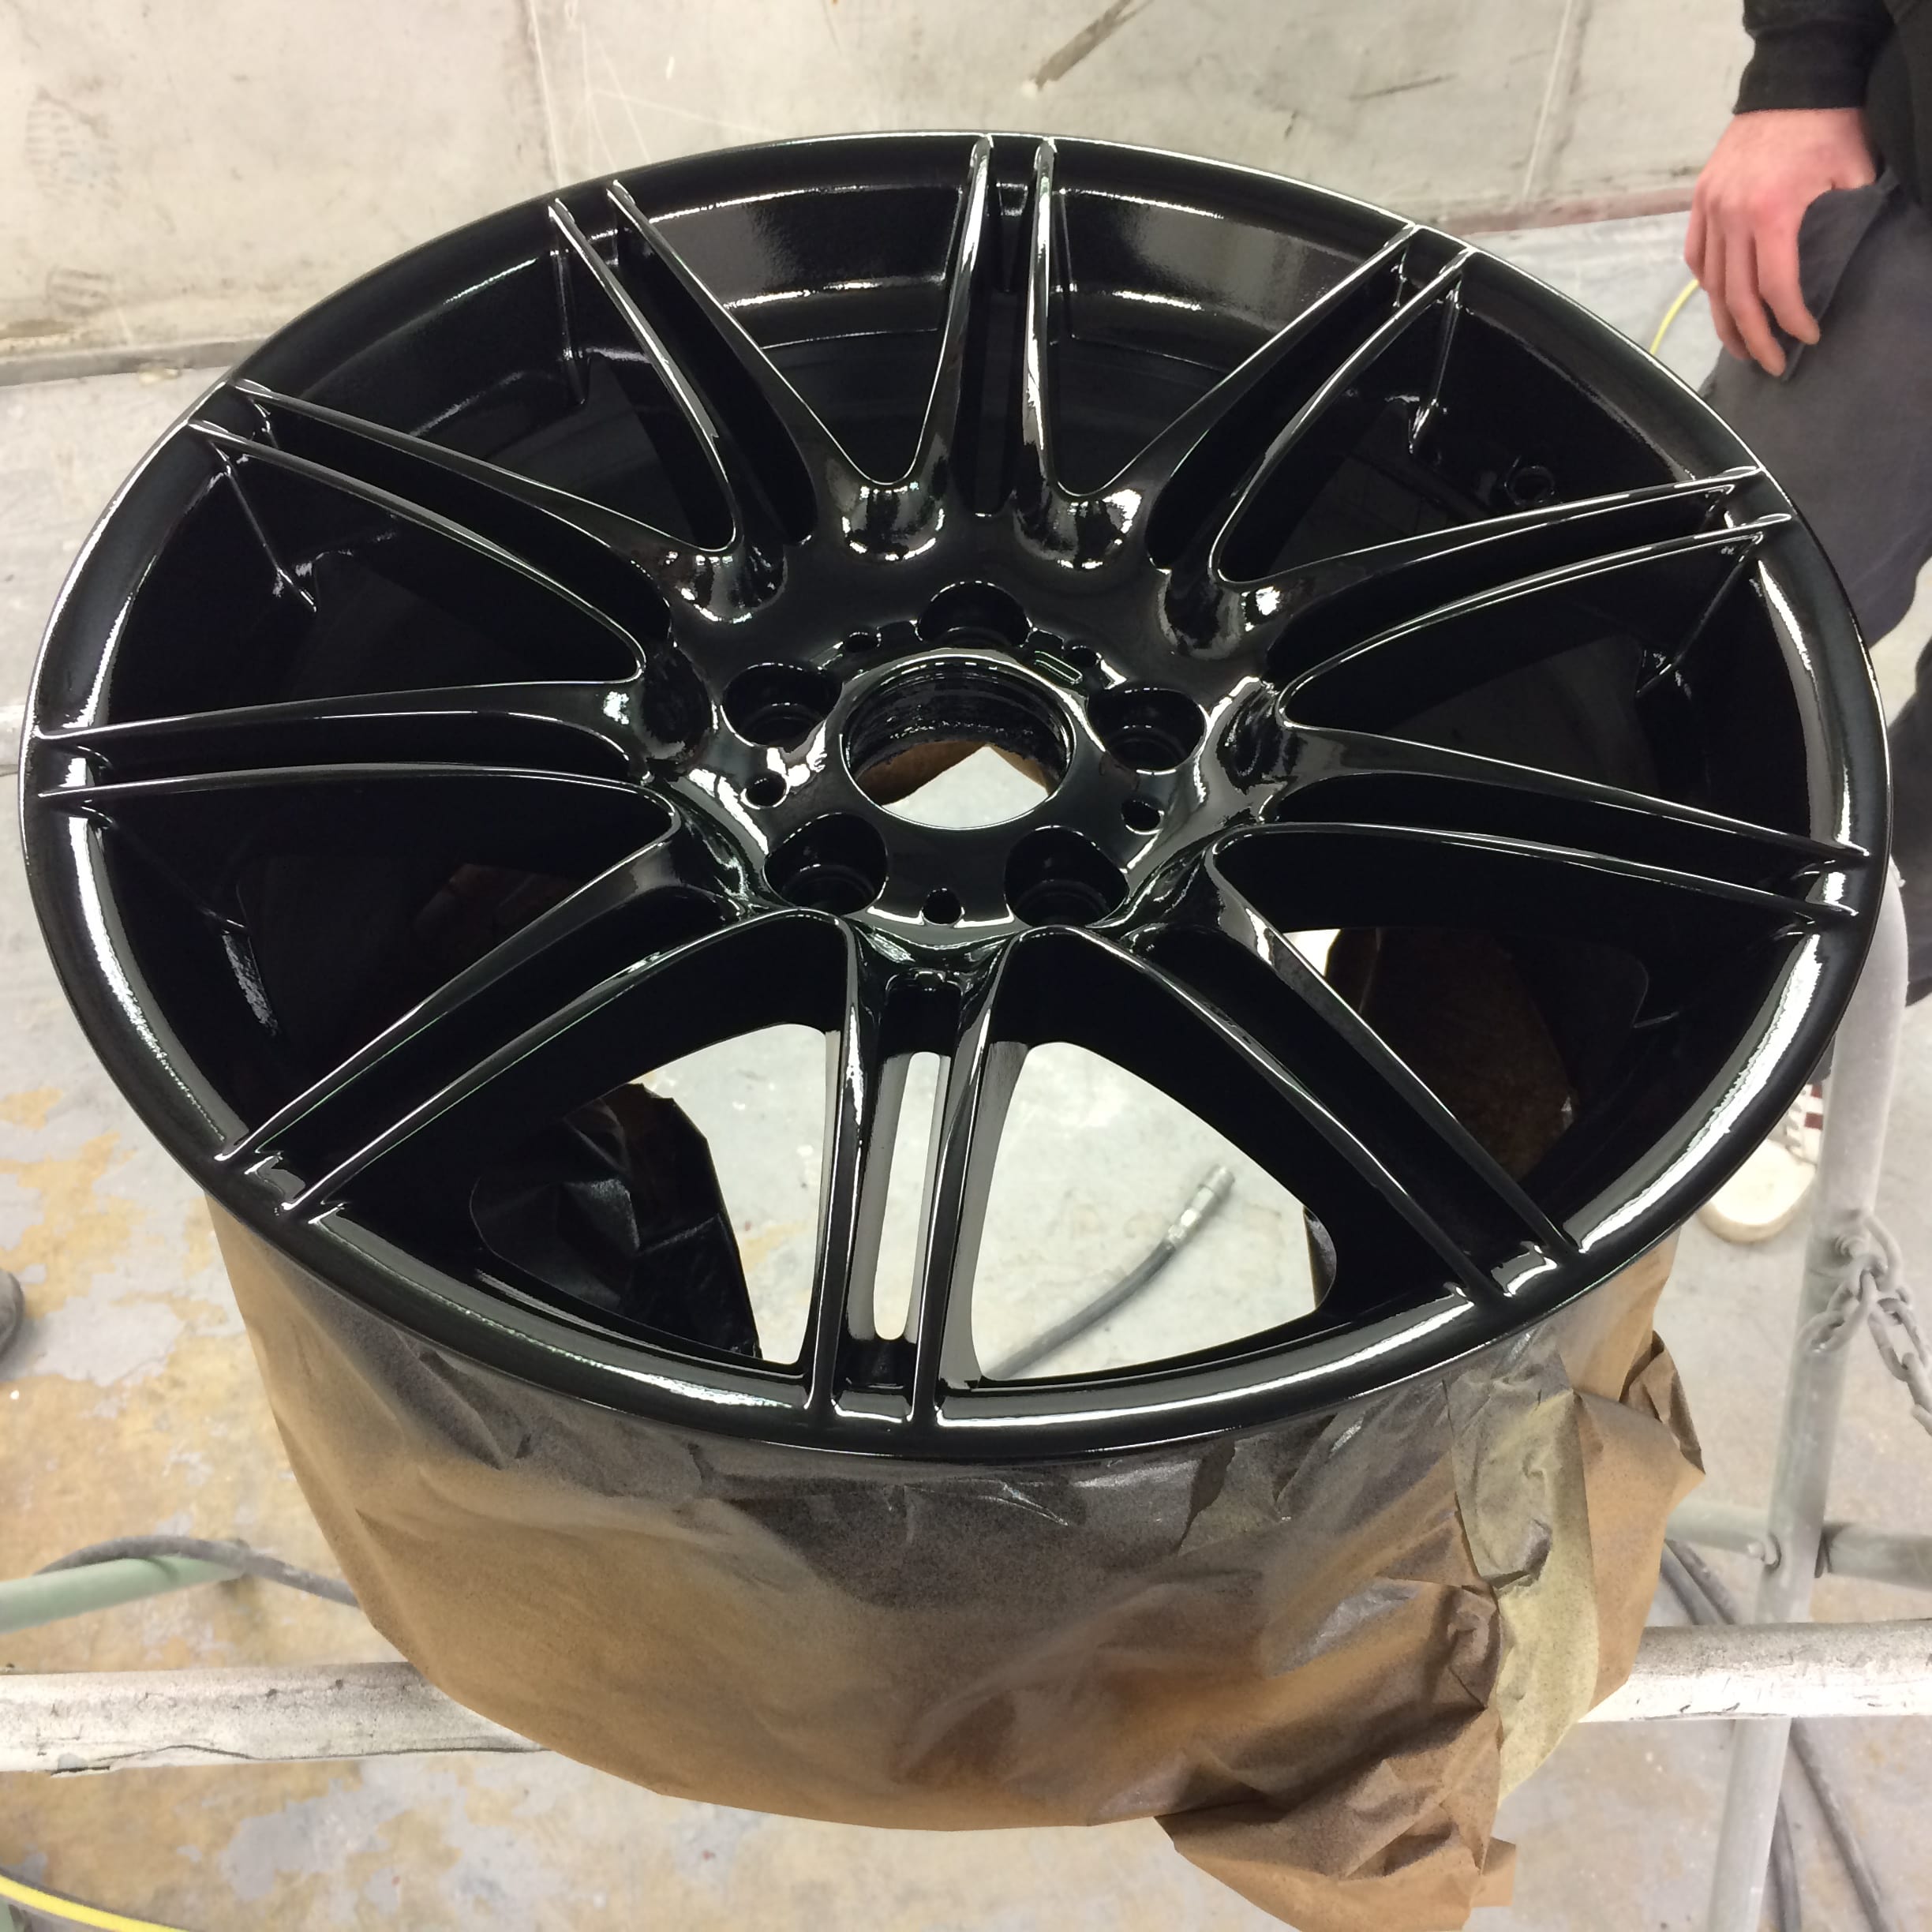
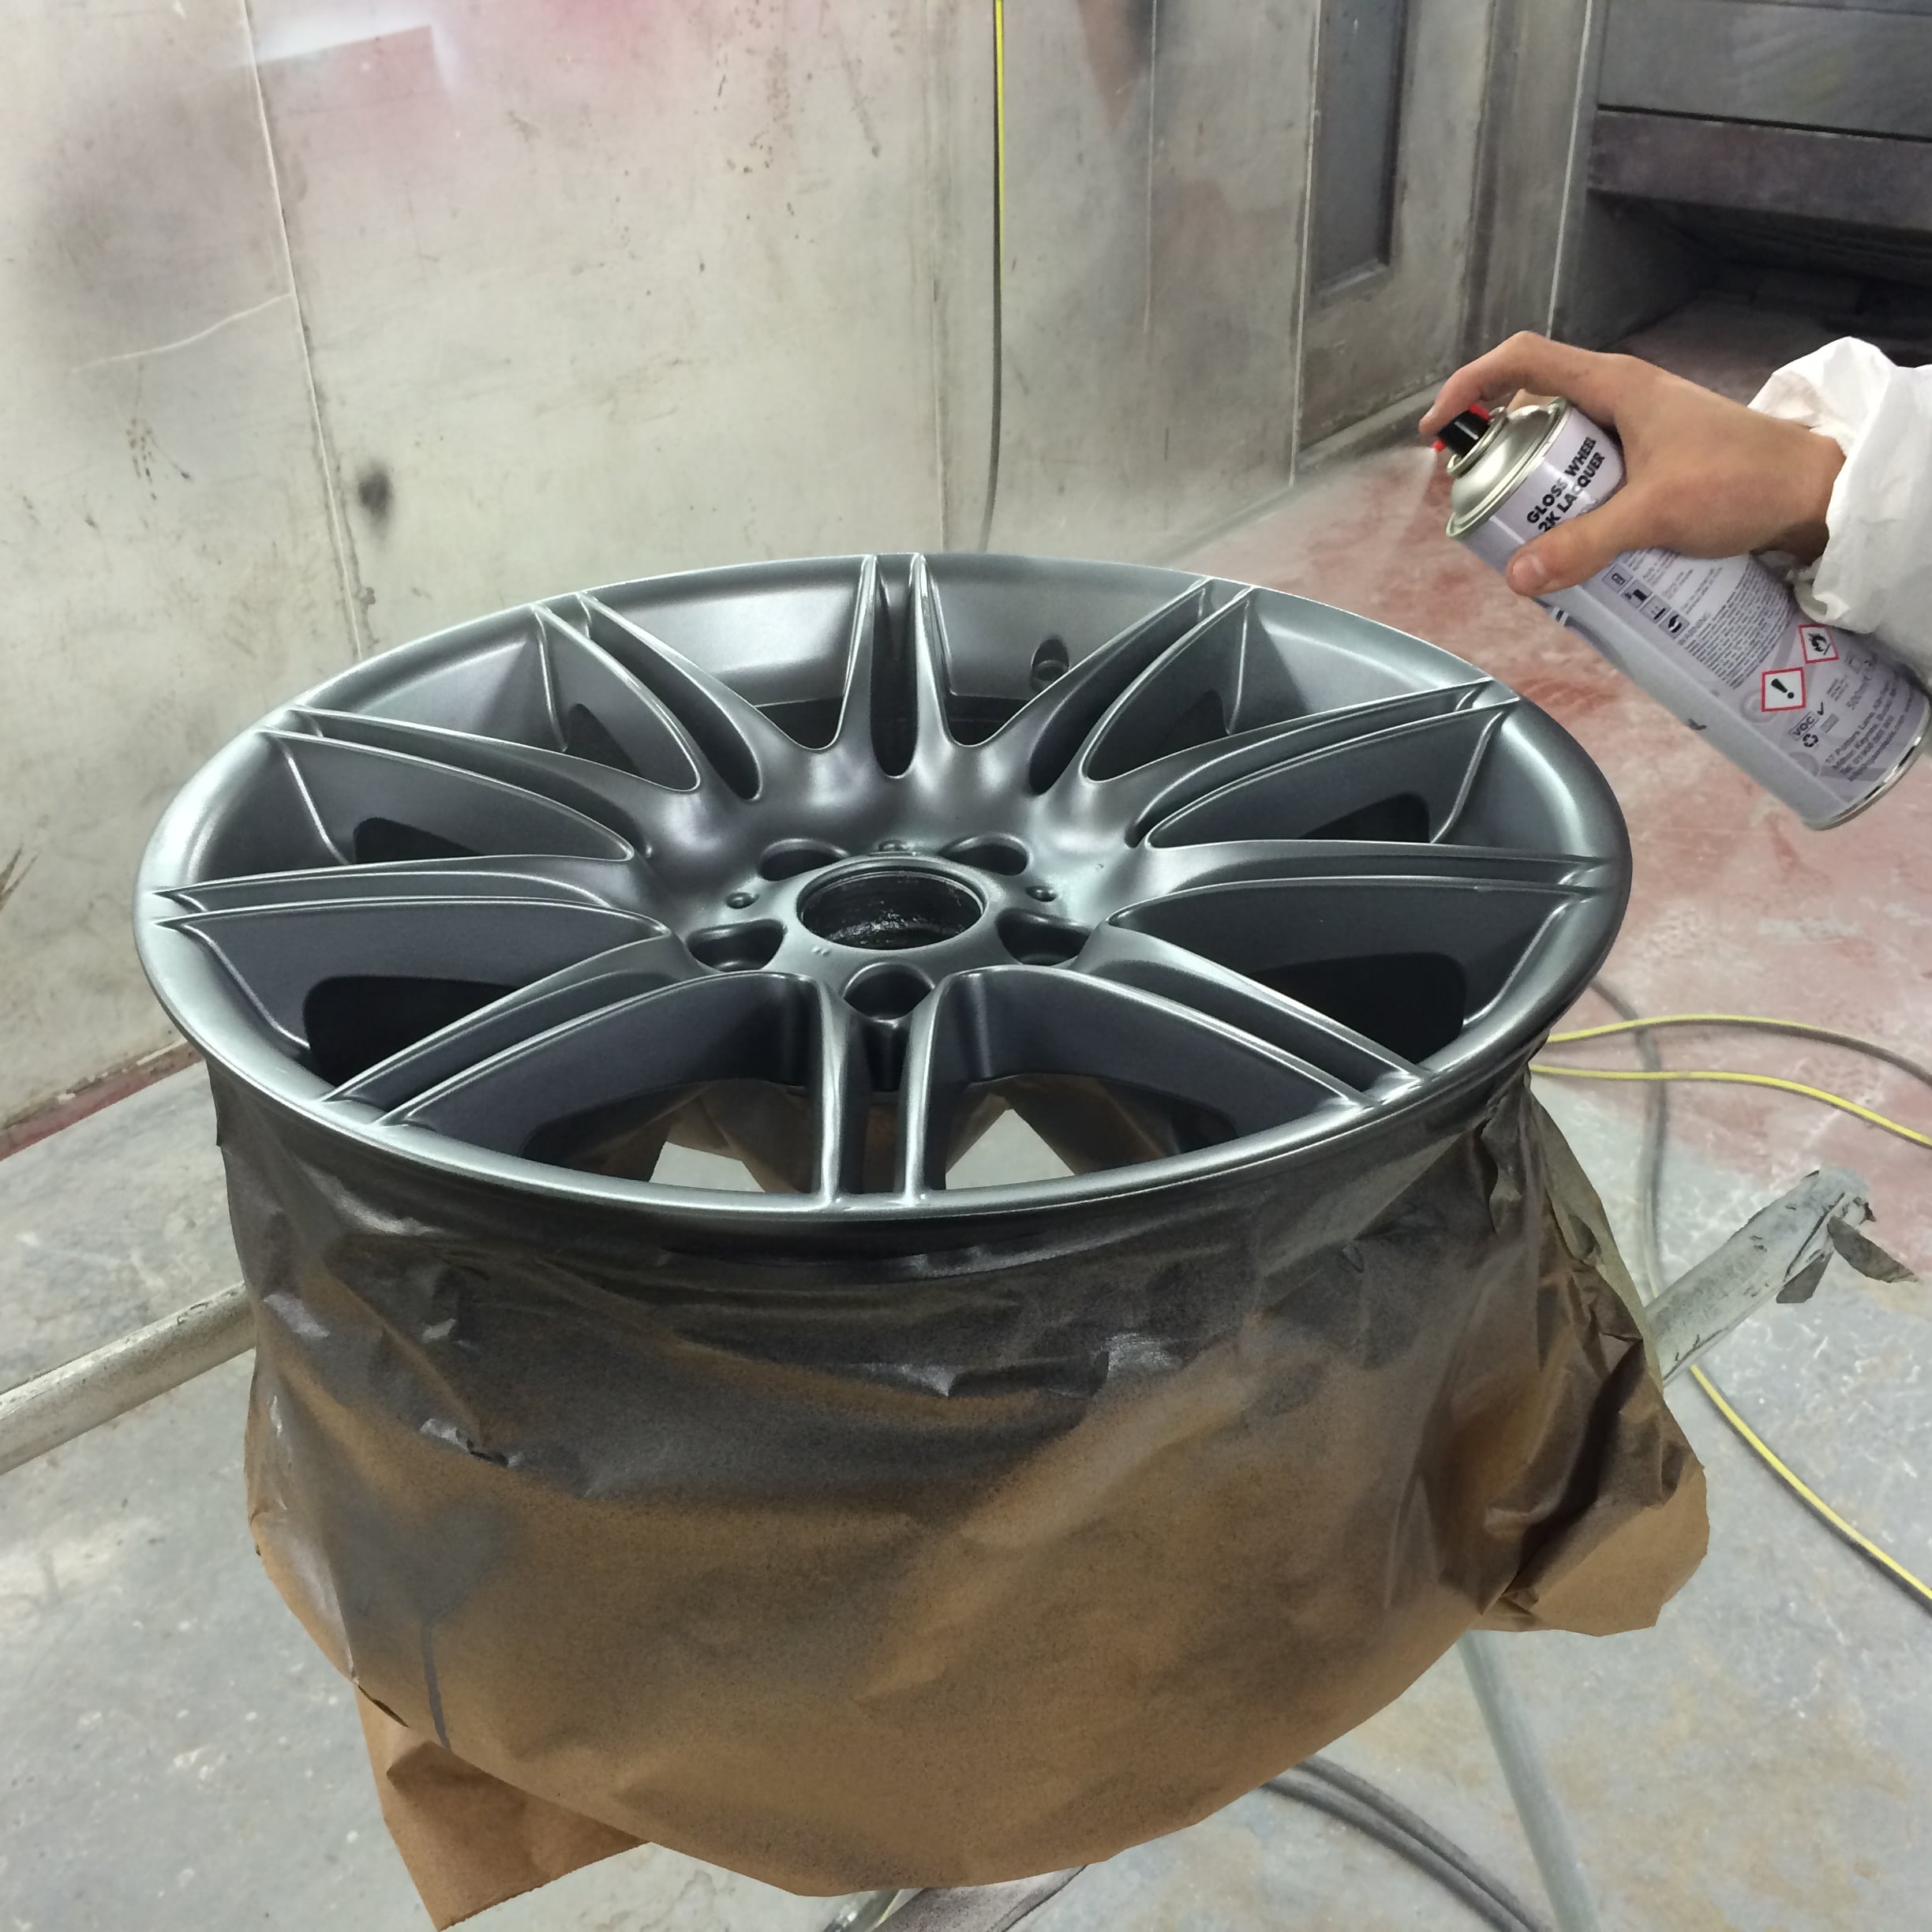
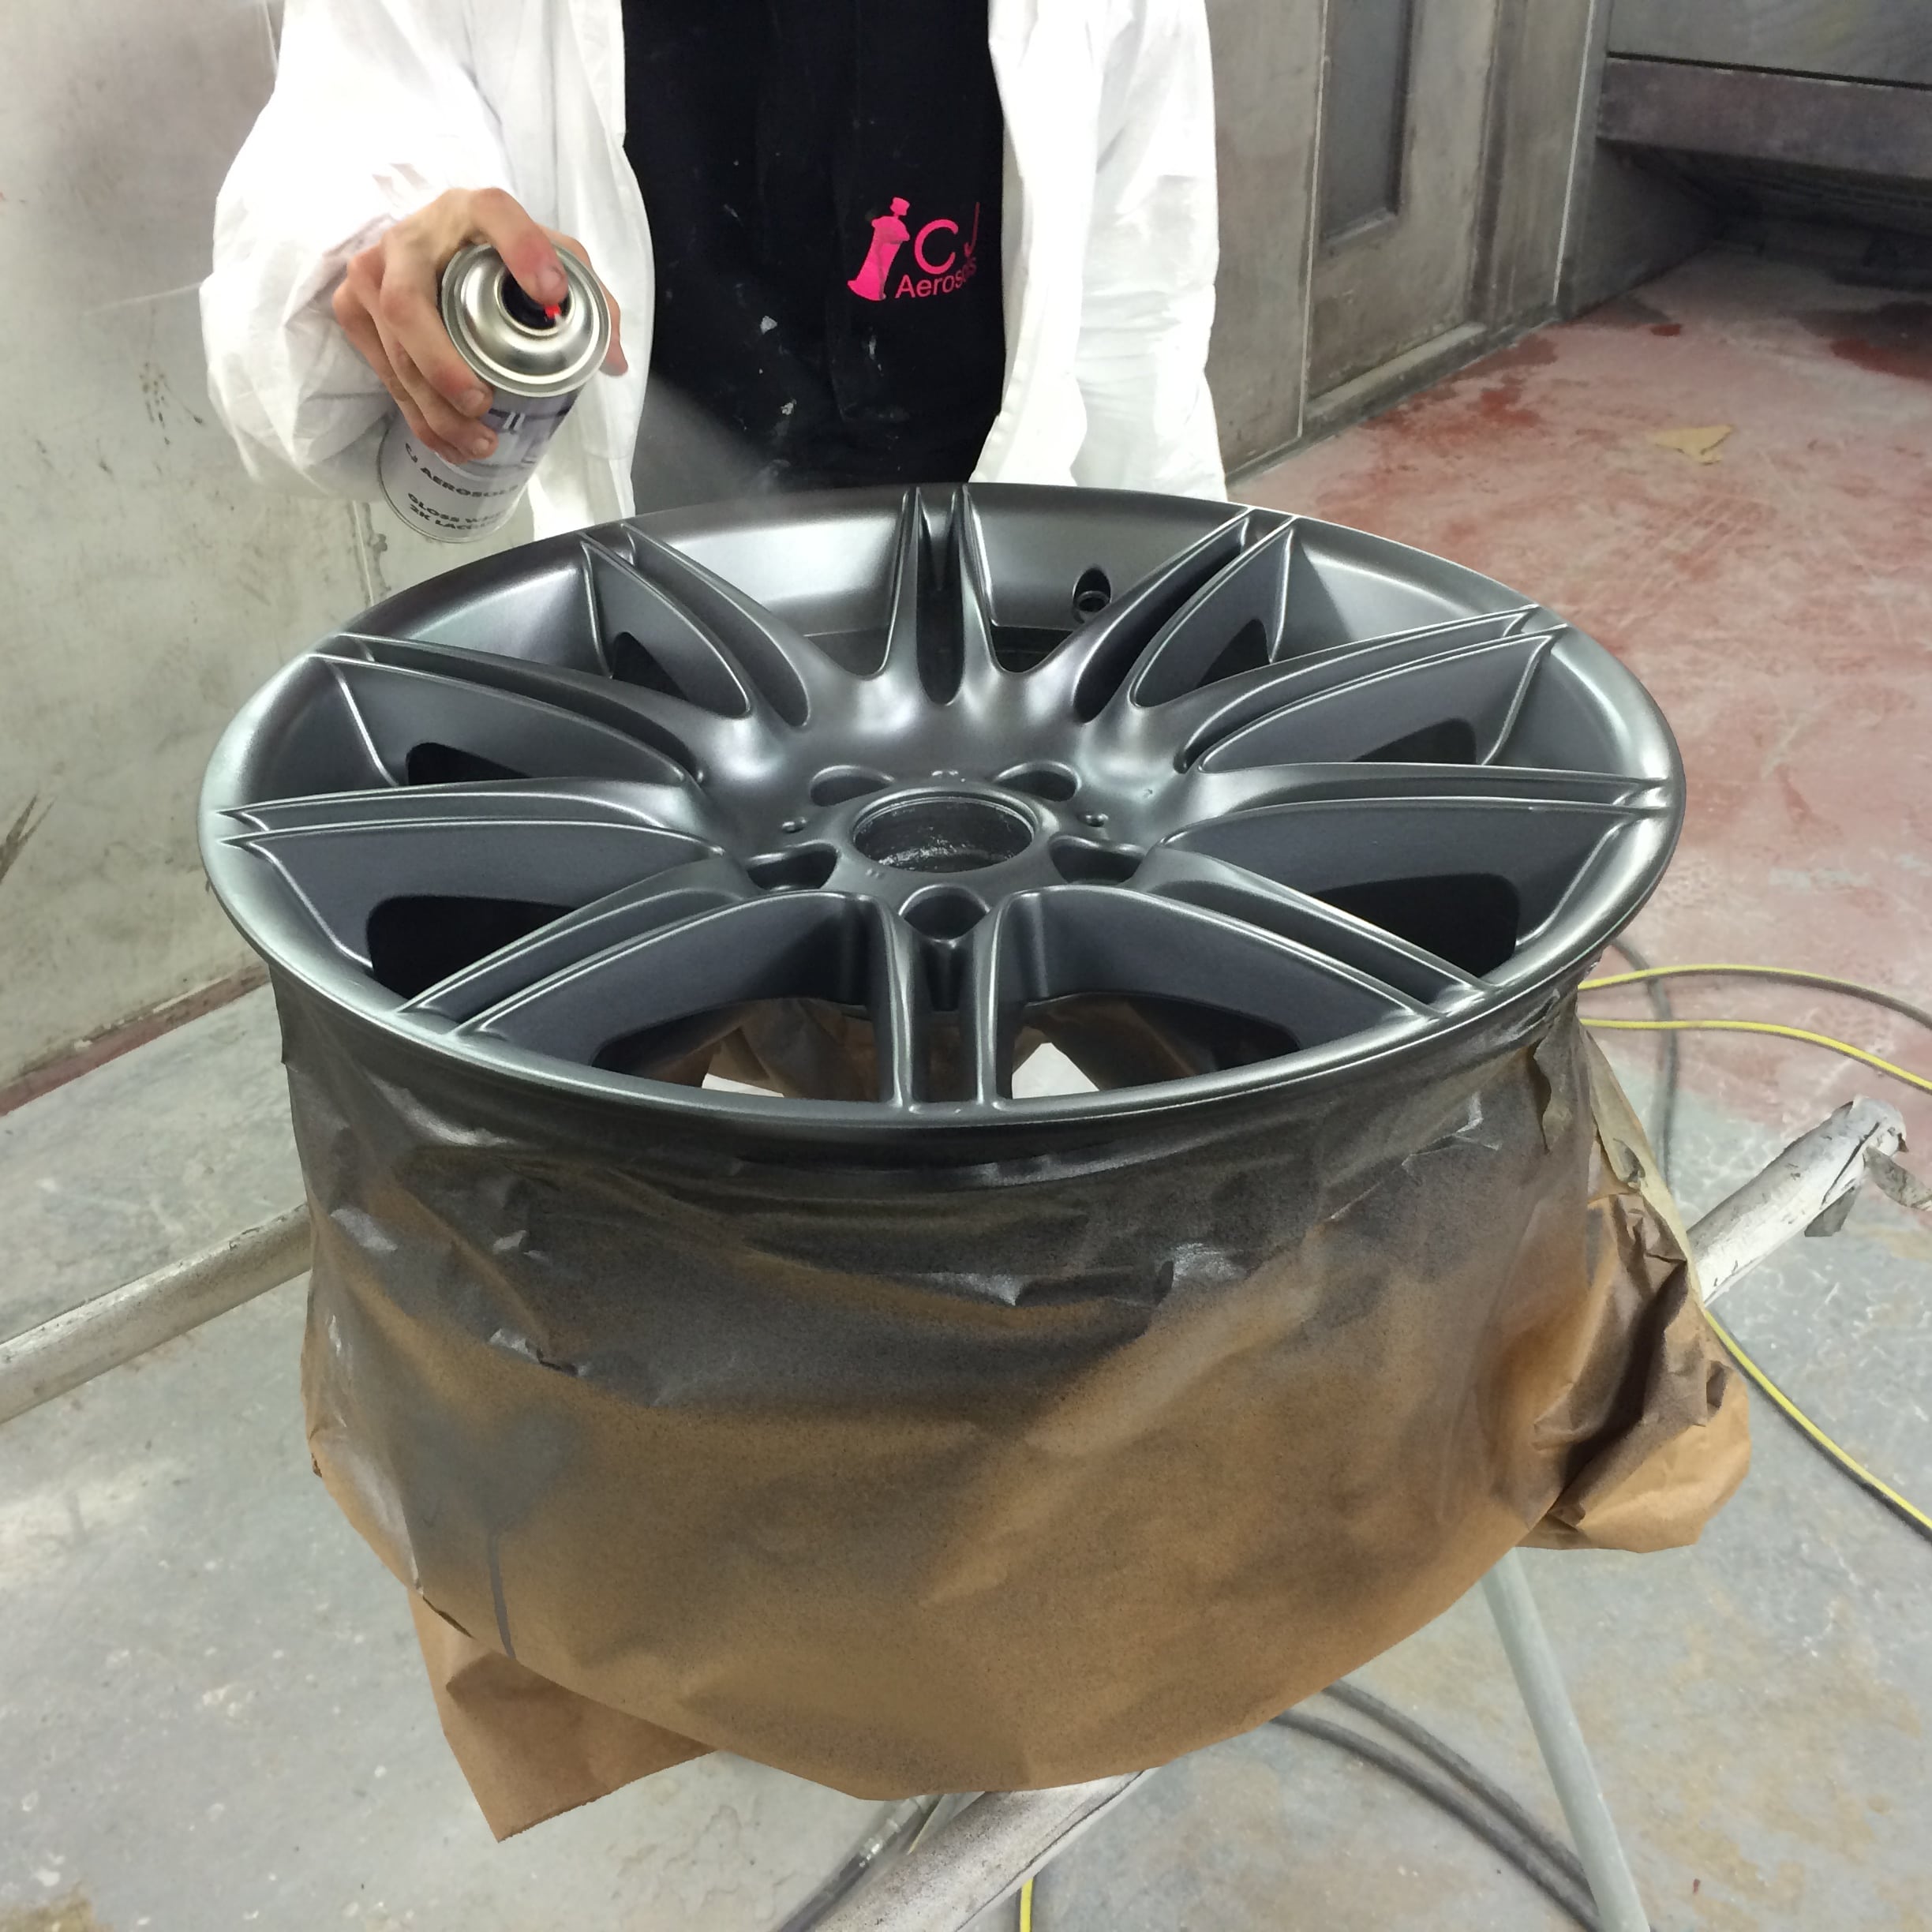
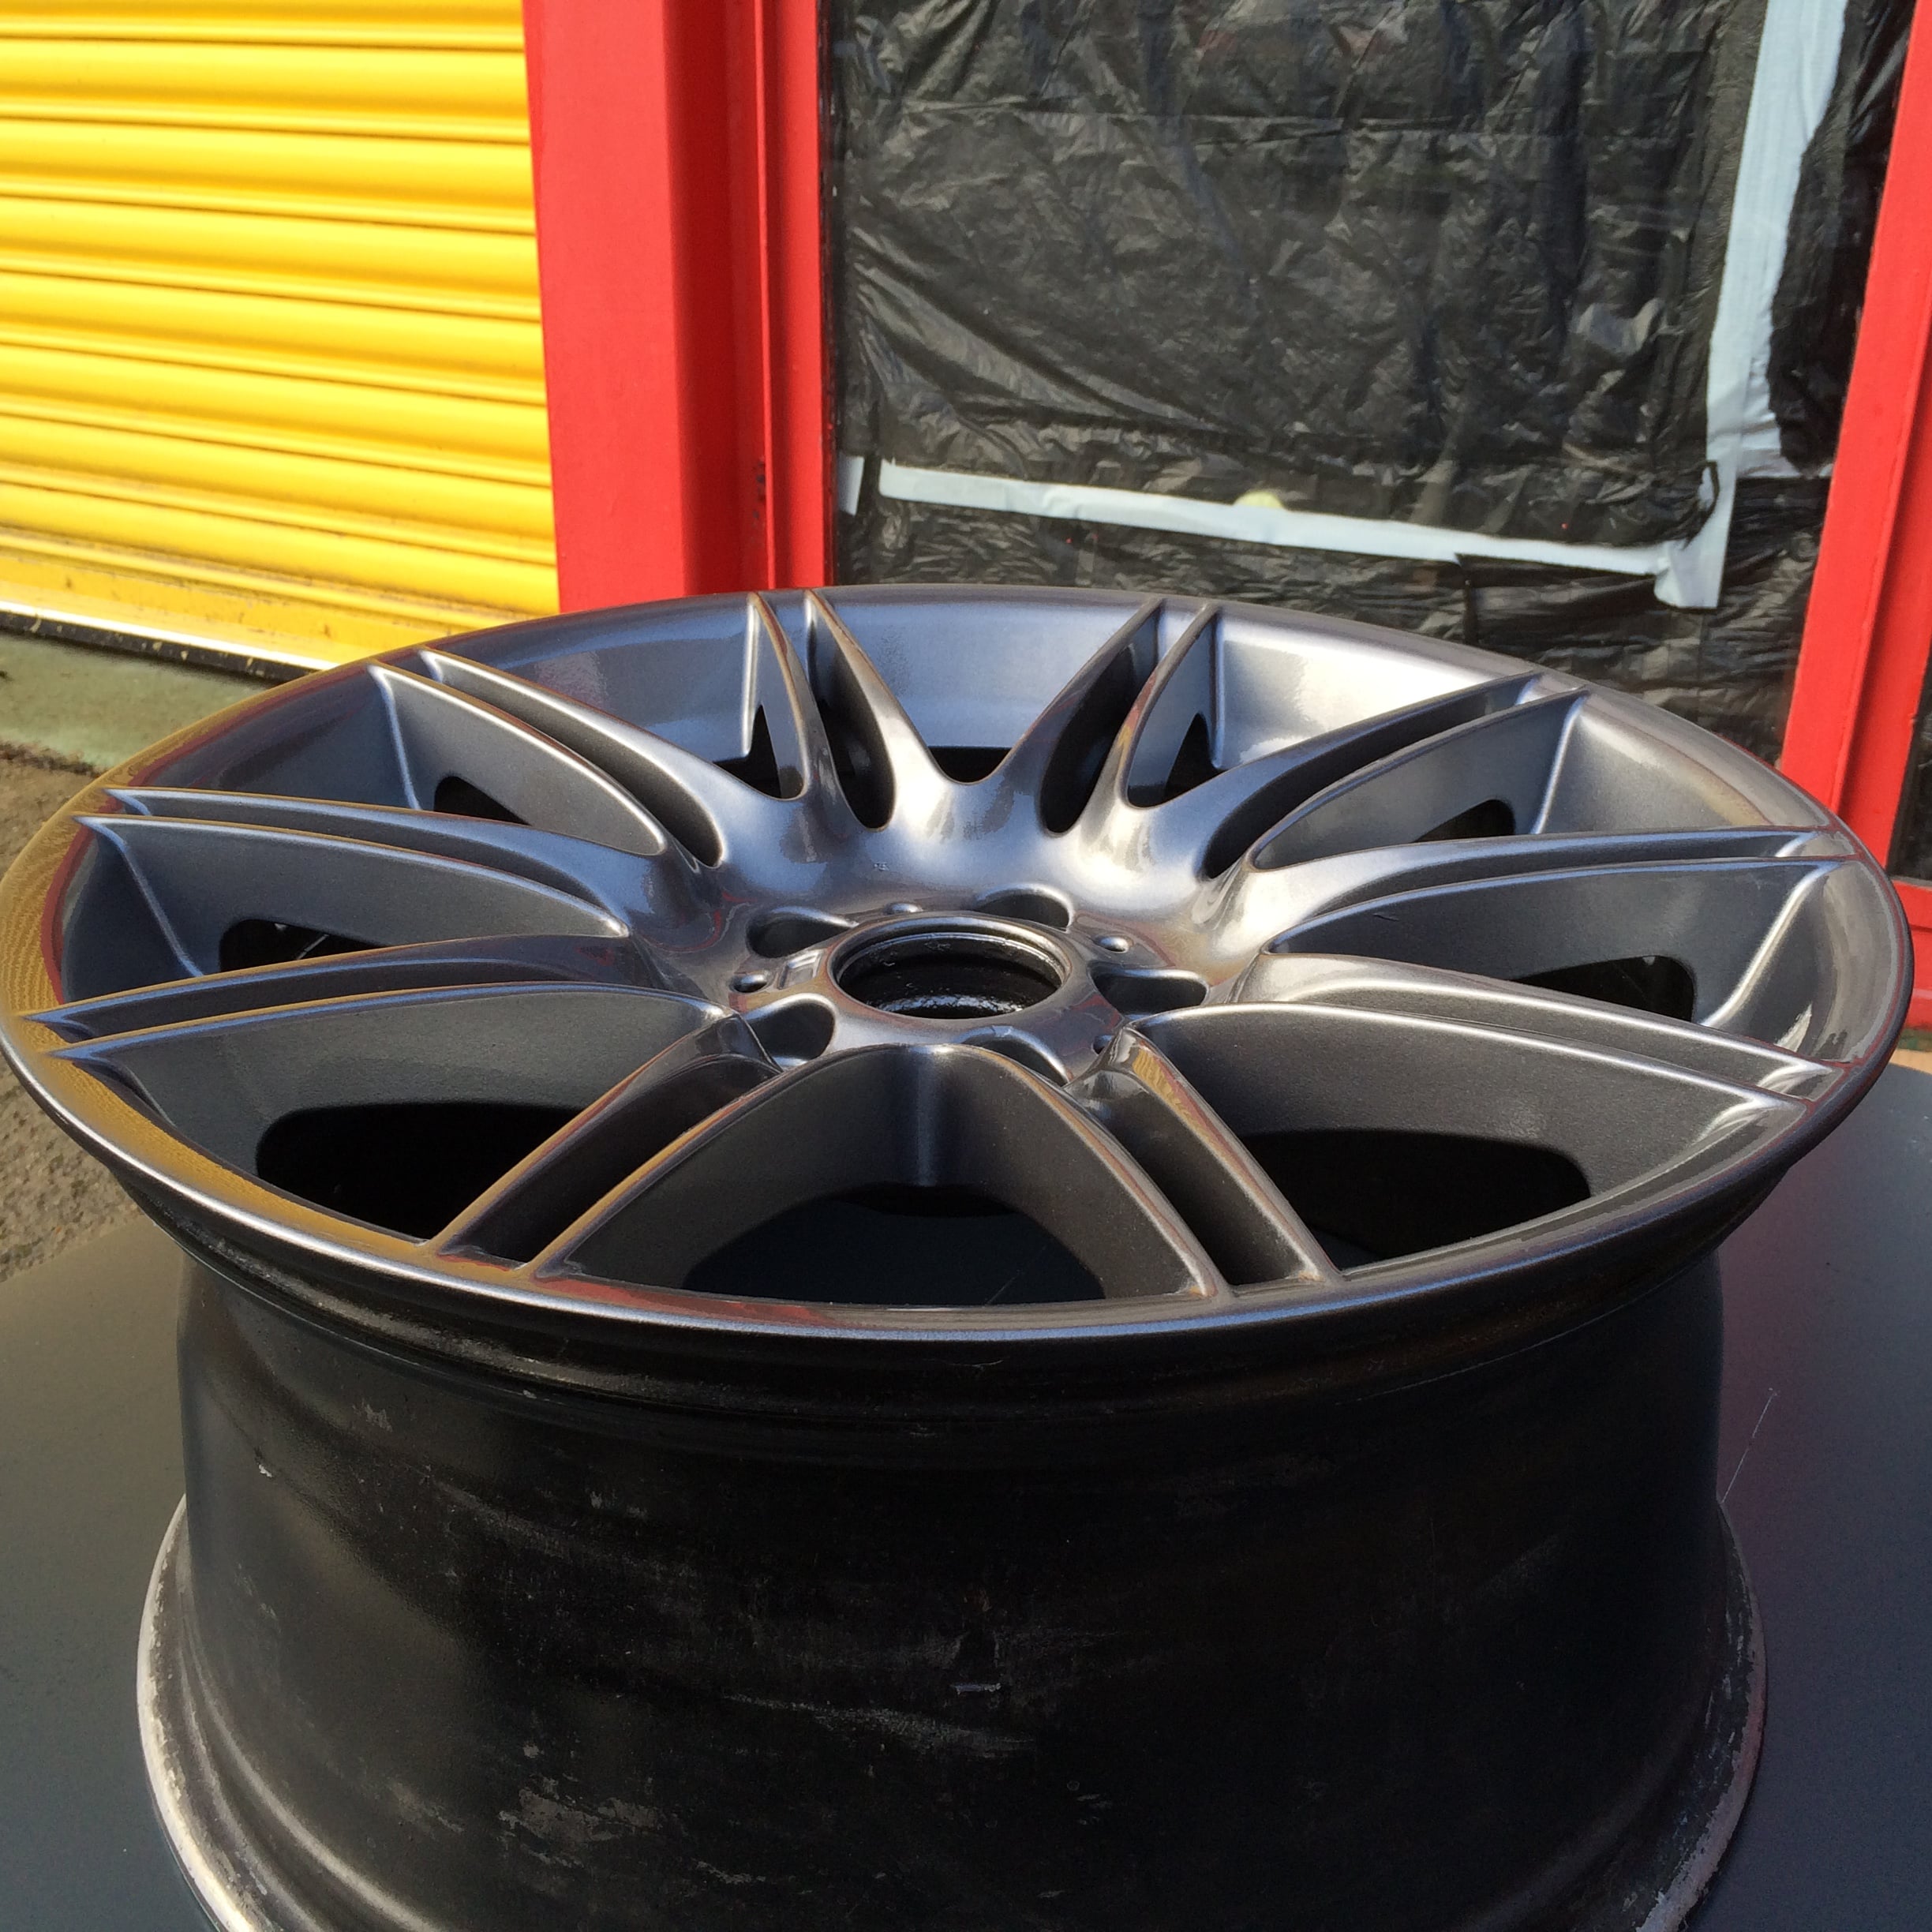
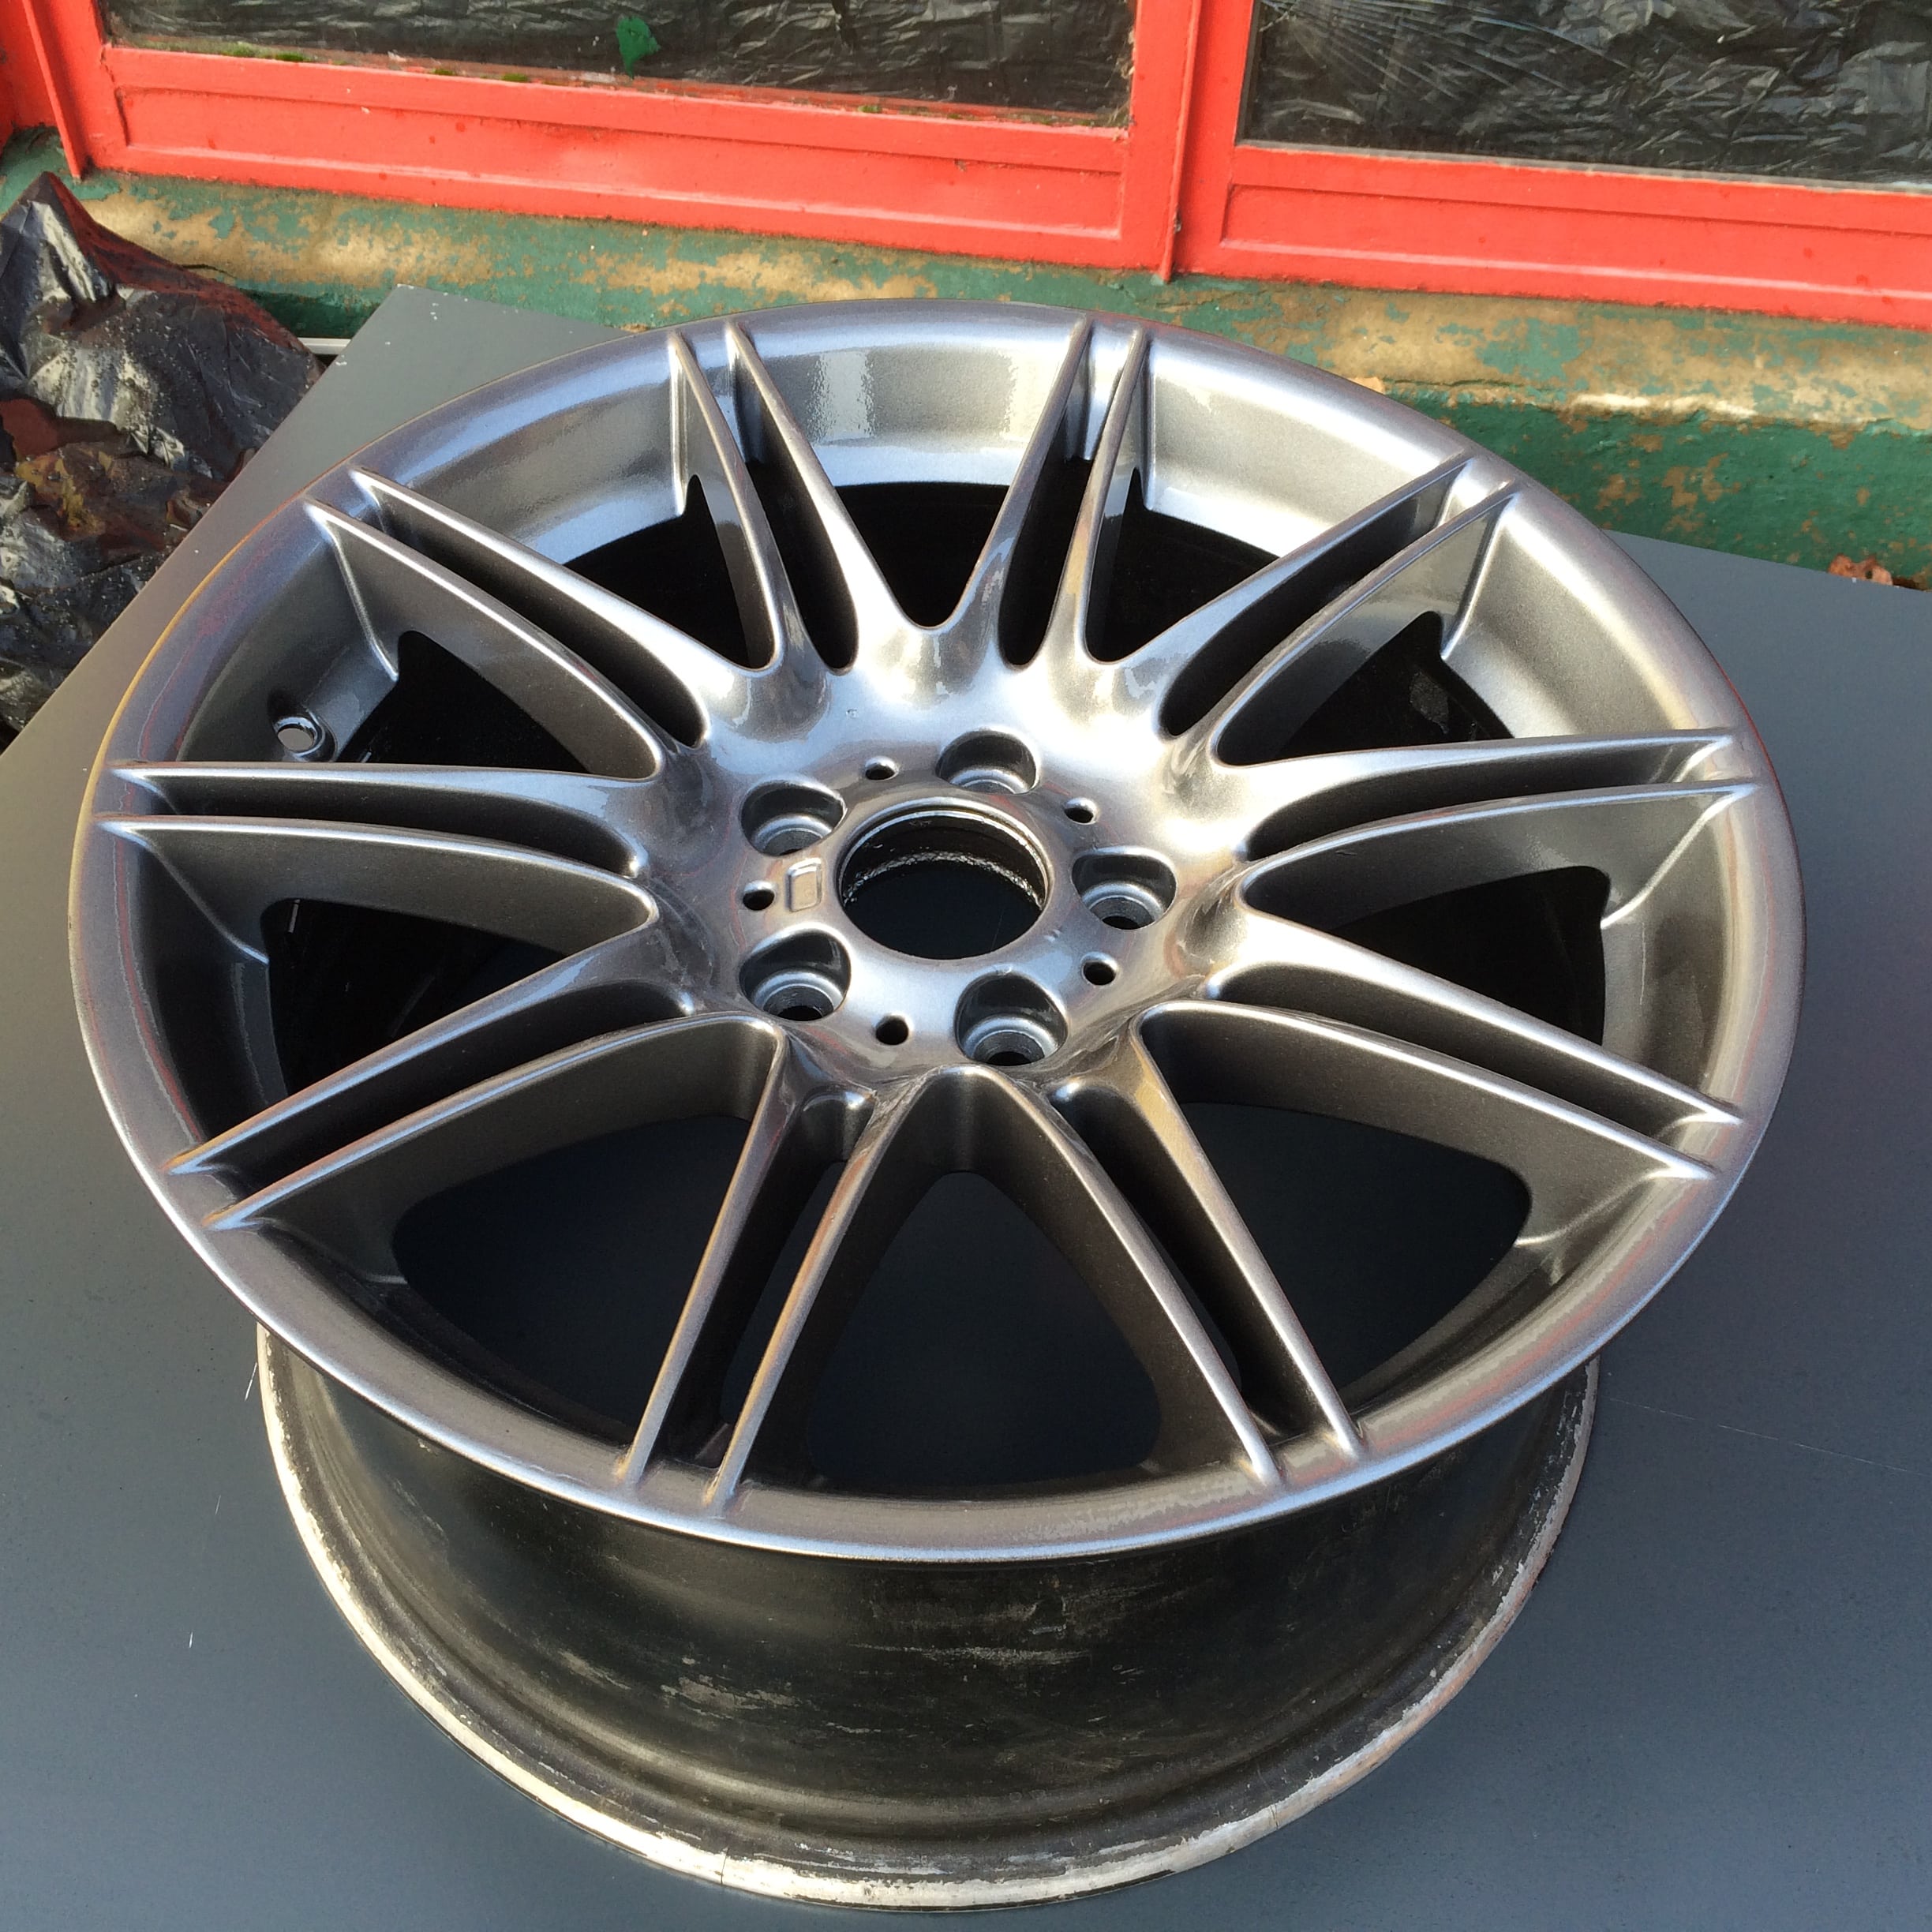
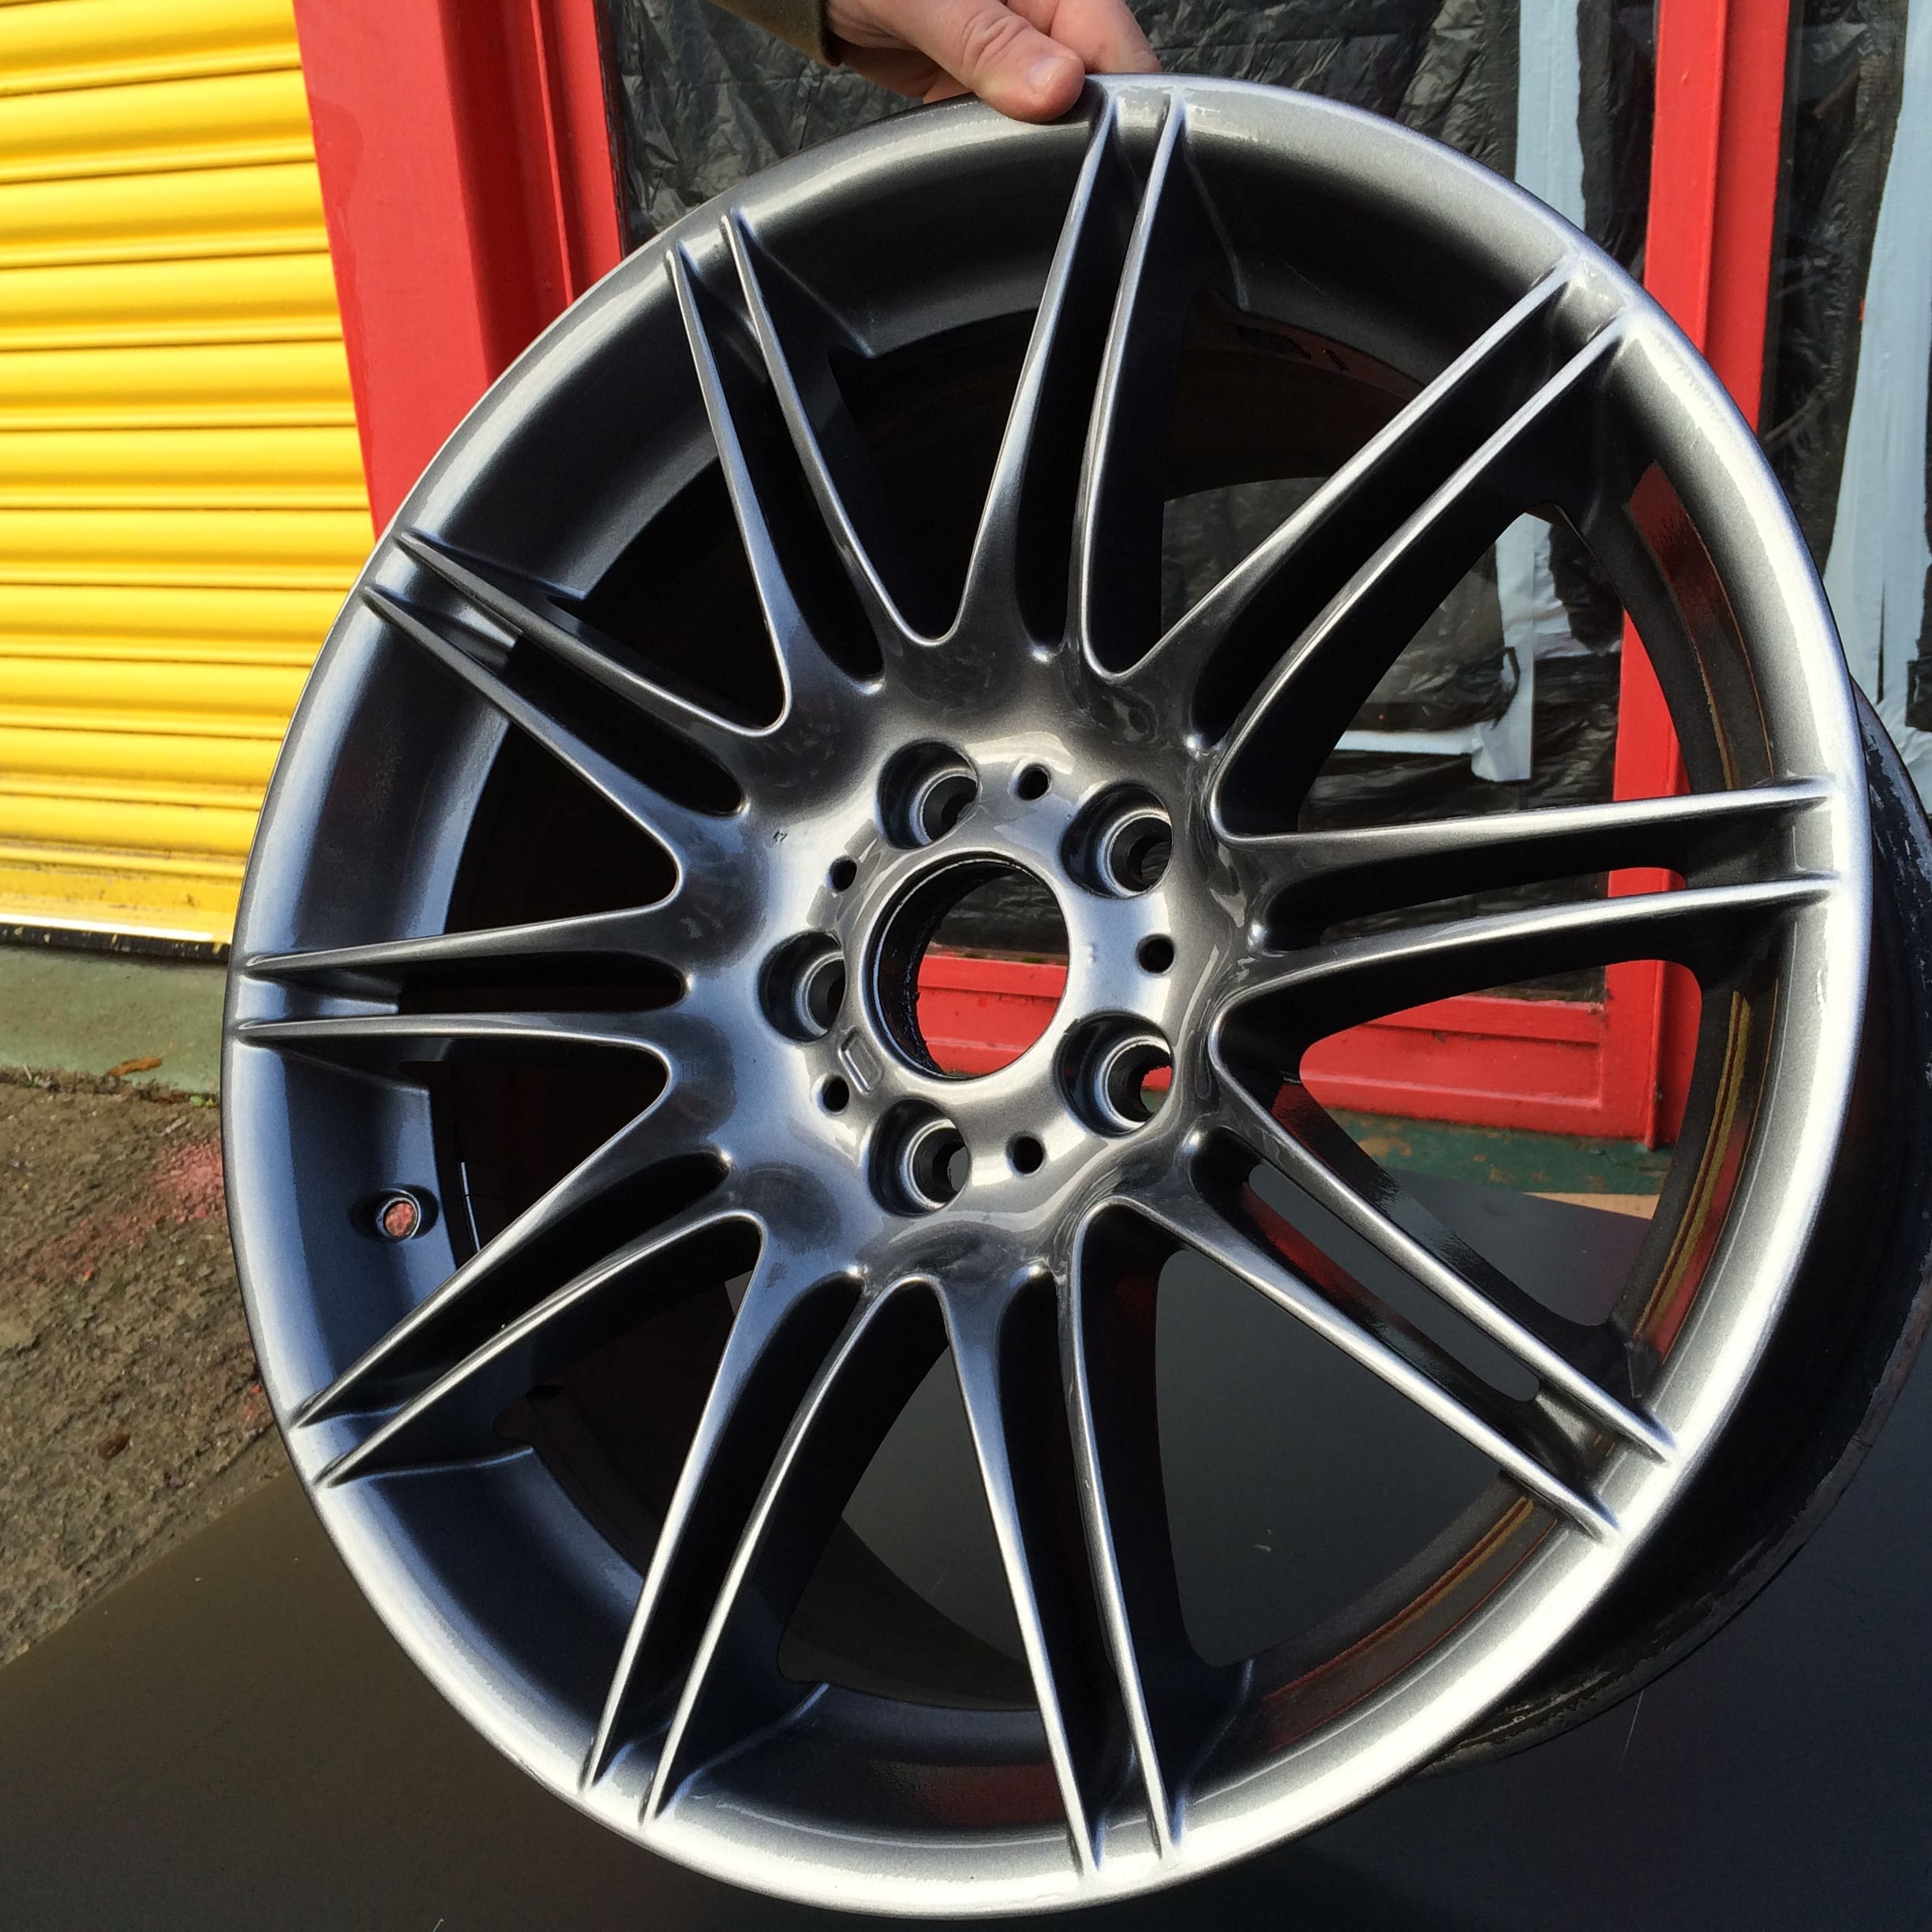
Finally, you need to apply between 2 and 4 coats of 2K lacquer to seal and protect the wheel from weathering, dirt, asbestos from the brakes and other contaminants.
Final Detailing
For reference, this was a purely demonstrative project, some of which we applied with a gun just to speed things up a little. We predominantly used aerosol cans overall; you will get the same finish with our aerosols using the Variflow Nozzle on the can.
If you have any further questions on this project, please feel free to contact us. If you’re looking to undertake your own DIY project, there are also many great tutorials on this on YouTube.