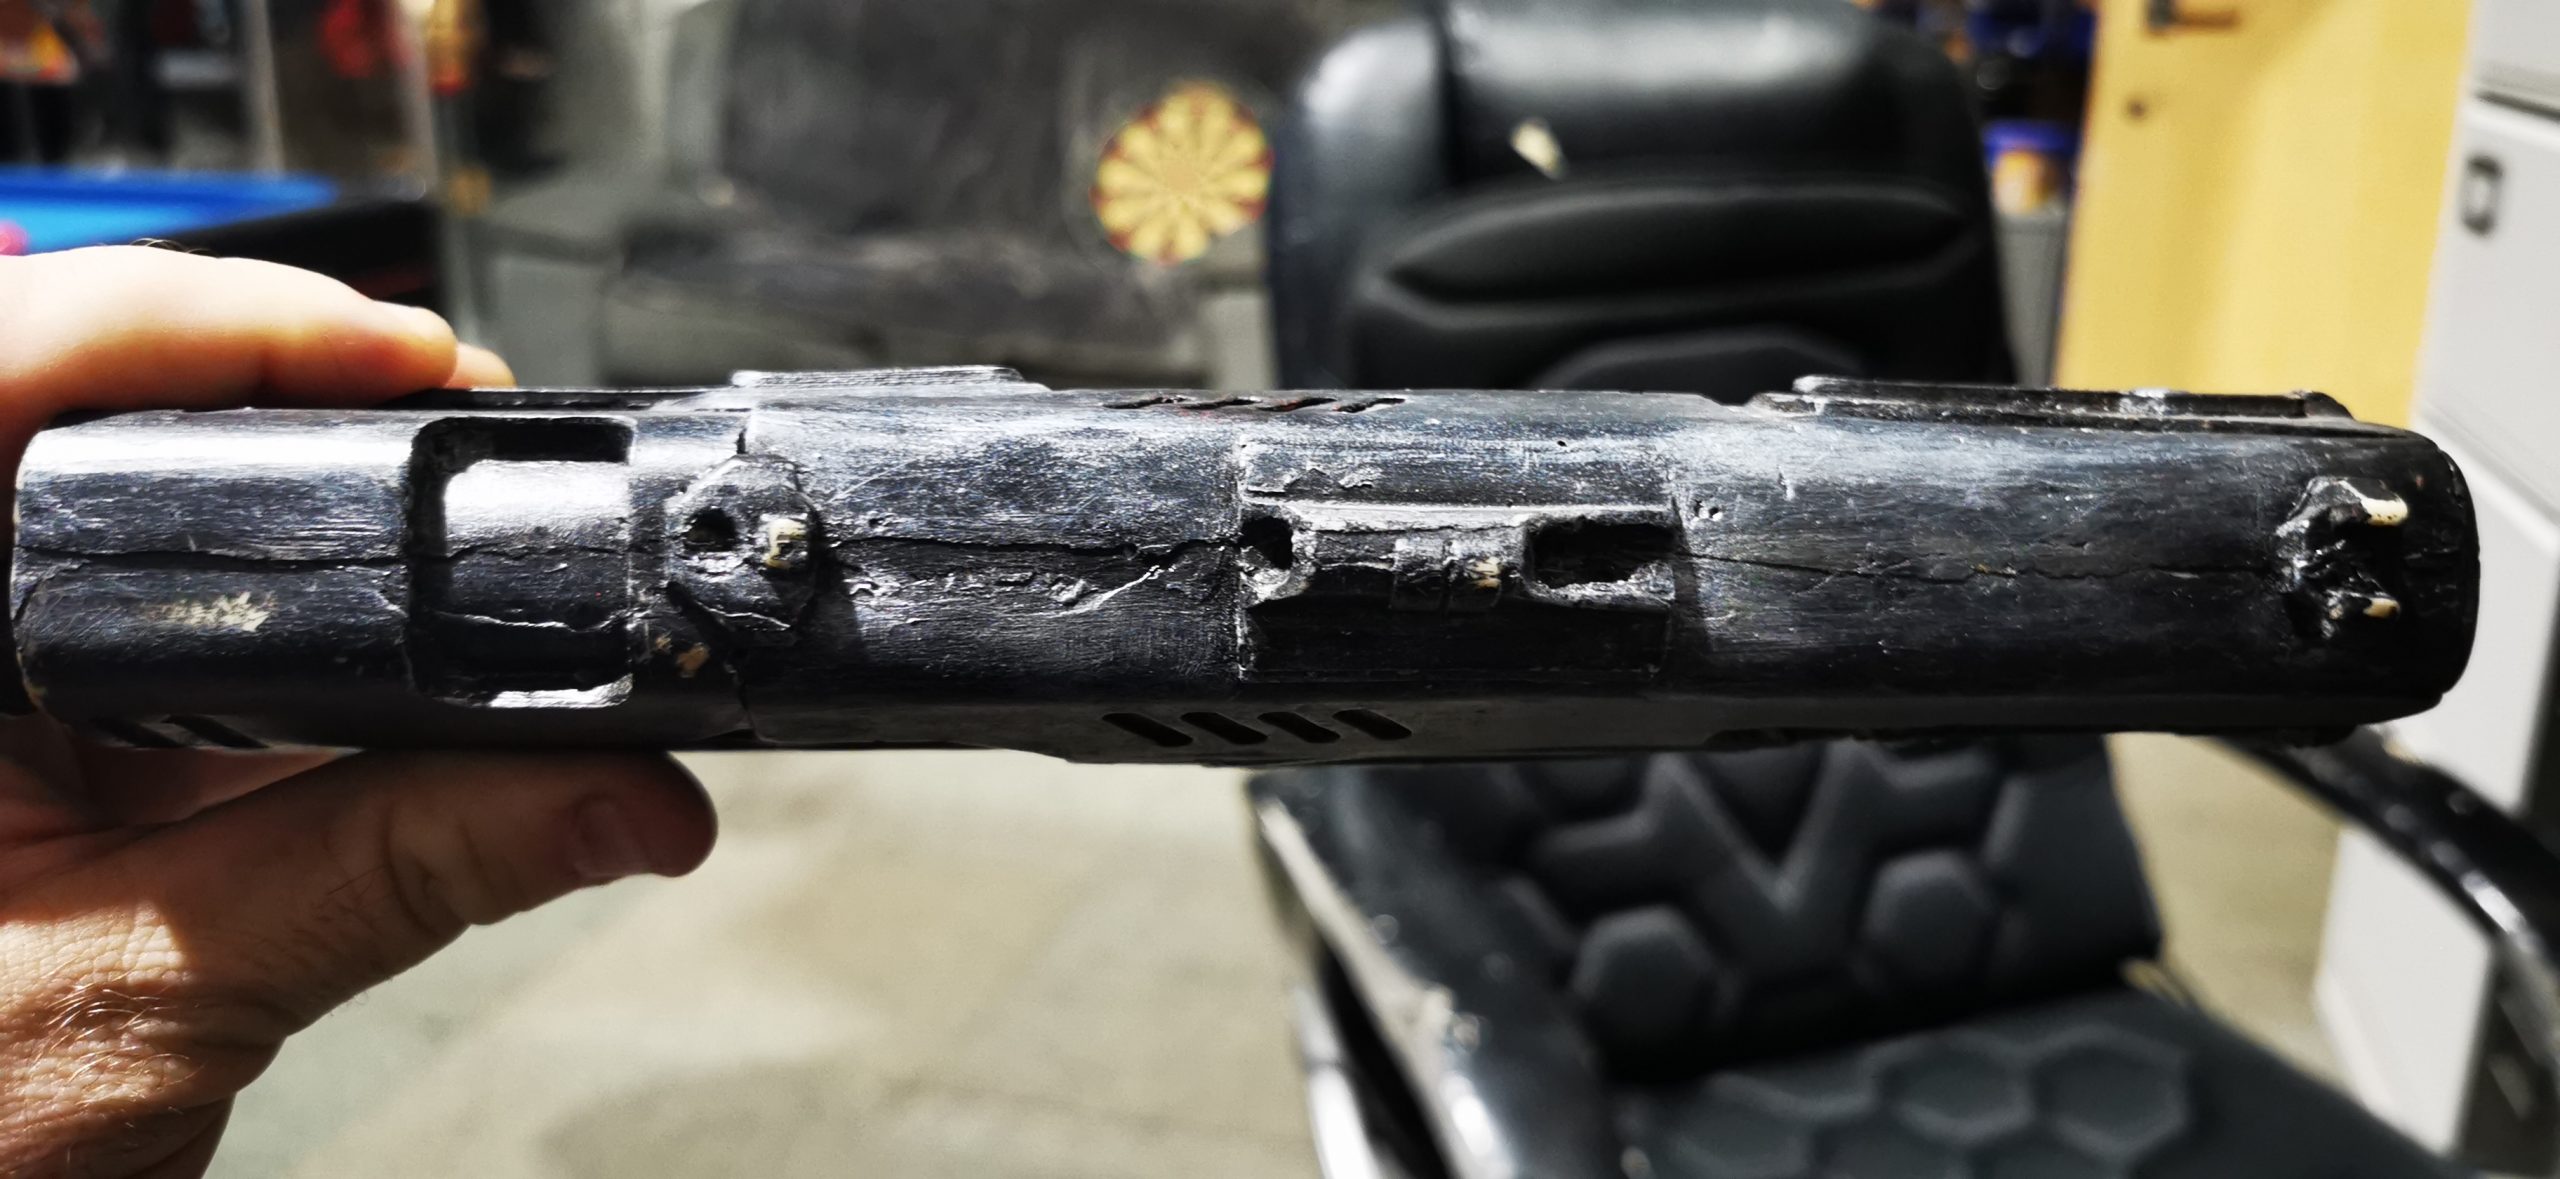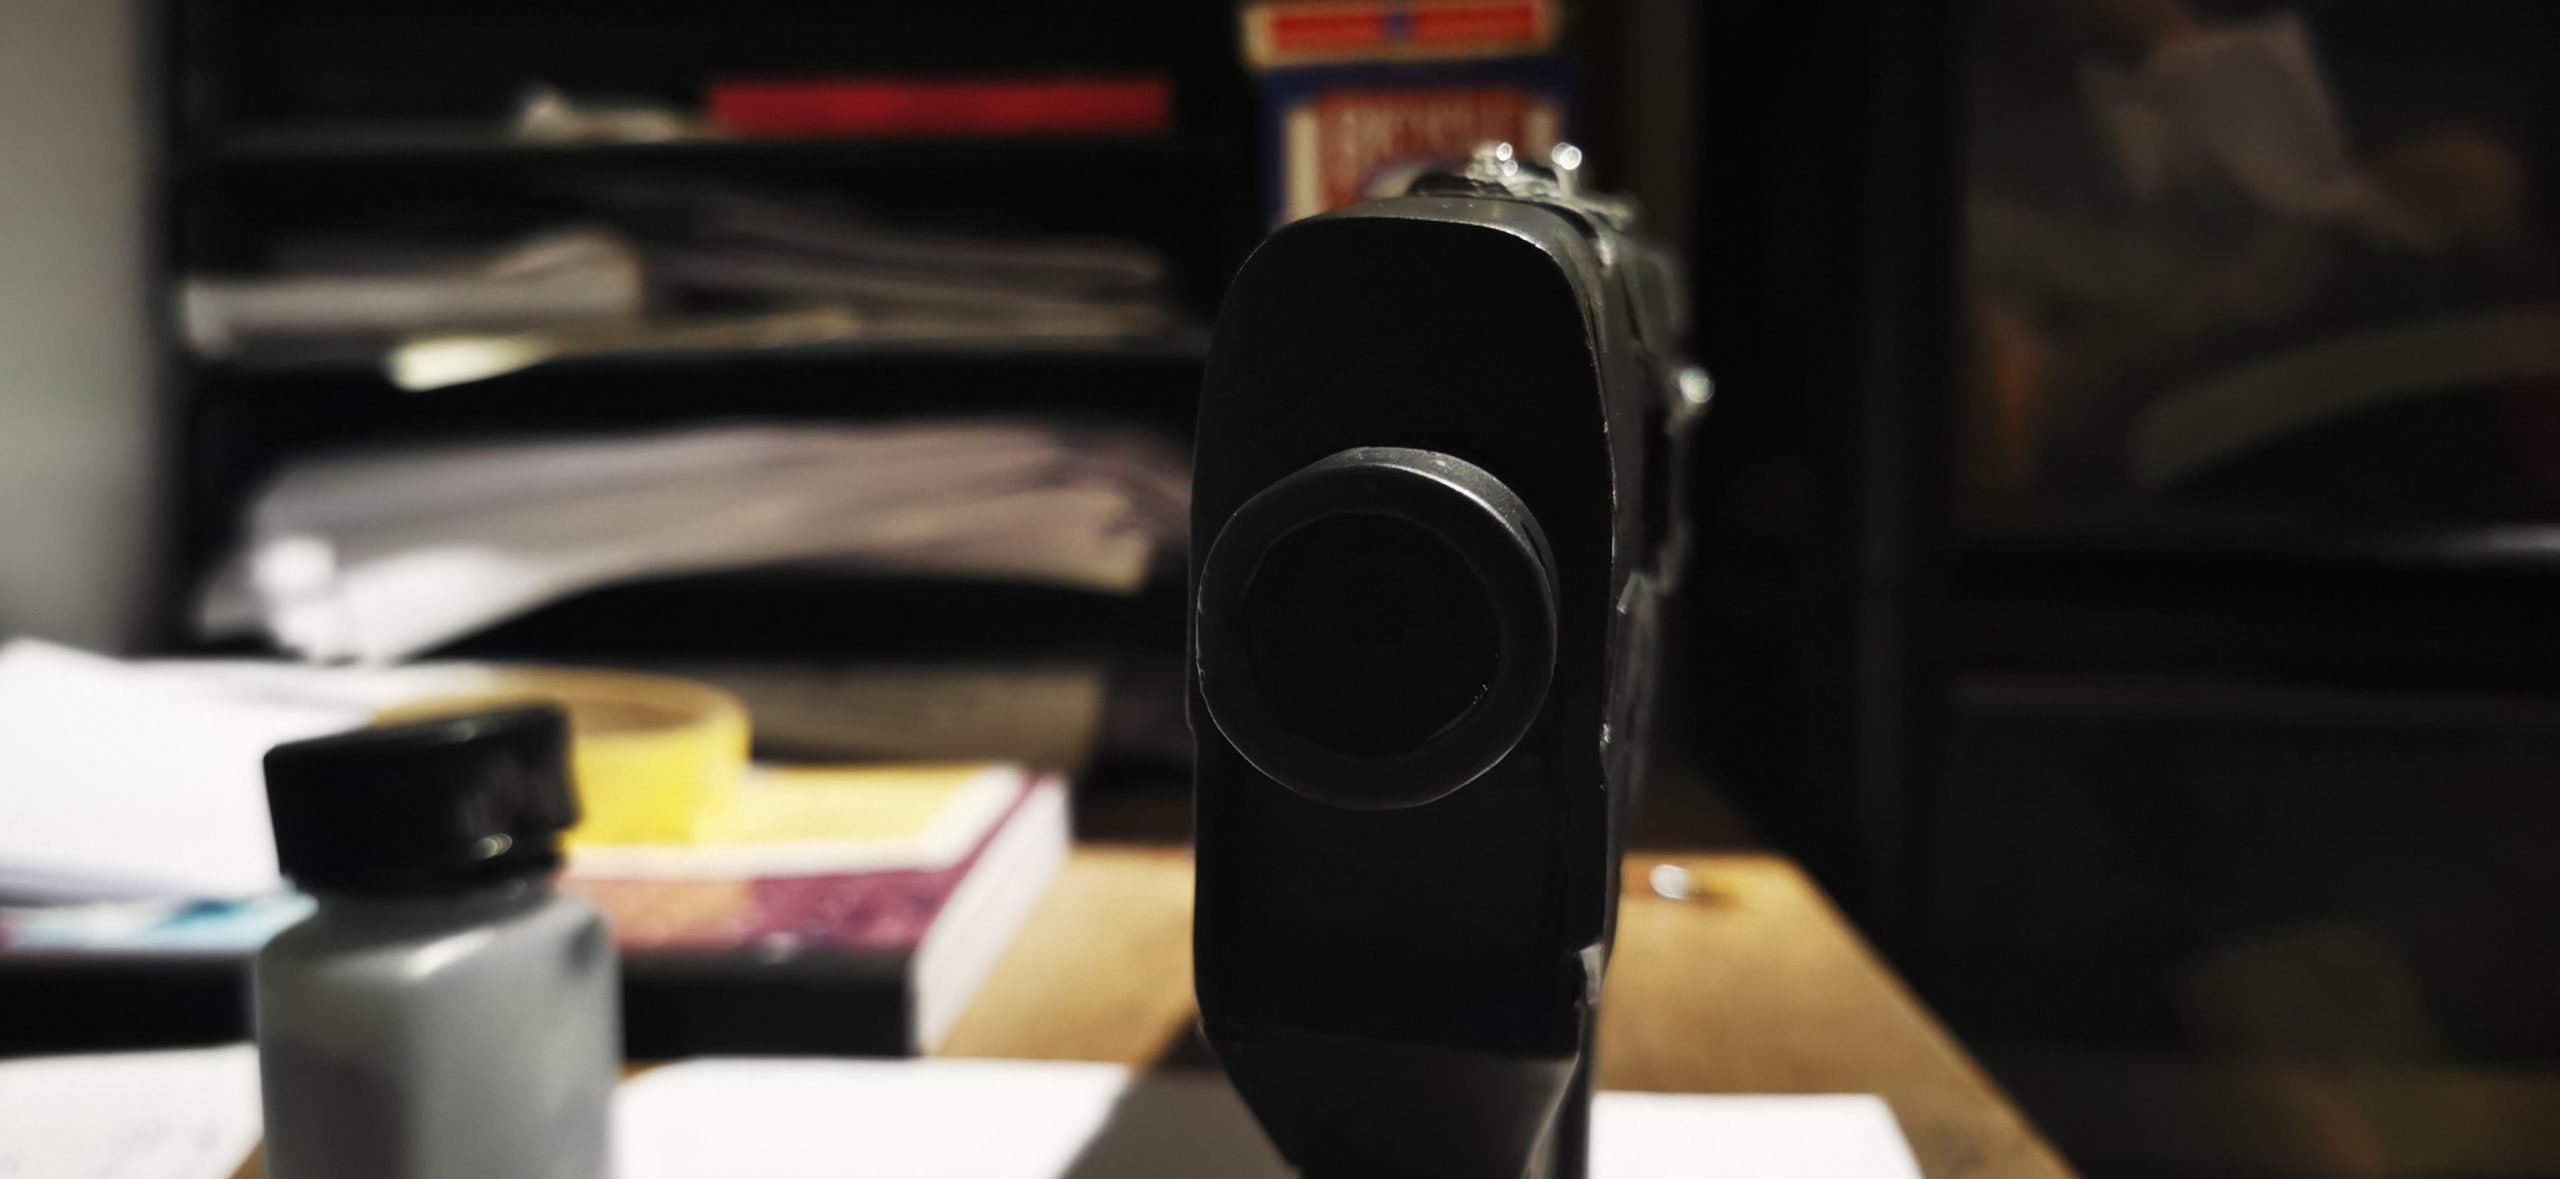
Peter’s resin cast Judge Dredd prop gun, similar to Drew’s recent prop gun project, took even more damage during a short film. The prop gun was repeatedly dropped, creating a severe amount of damage. The barrel was almost completely destroyed, which required much more surgery before we started thinking of painting.
During the repair section of the project, we also noticed both sides of the gun were a different colour (they had different paint on each side), which we needed to be aware of for risk of reaction. Another issue was the resin cast was not linear due to bad moulding. We then had to work to shave the resin layers back, straighten them with micro files, fill them, sand them back, and rebuild the barrel and the magazine section. This process was a lot of work for such a small piece!
Tools:
- Micro Files & Dremel
- Plastic Filler
- Multi Grit Sandpaper
- 2K Filler Primer
- Black (RAL 9005) Acrylic Matt Paint
- Chrome Paint
Prep
Where did we start with this one? We began by removing all the damage to assess how we could move forward. The first job was to clear away any damage. We removed both of the existing paints in case this caused a reaction or any paint over the top came away as this had not been primed correctly.
Repair & Build
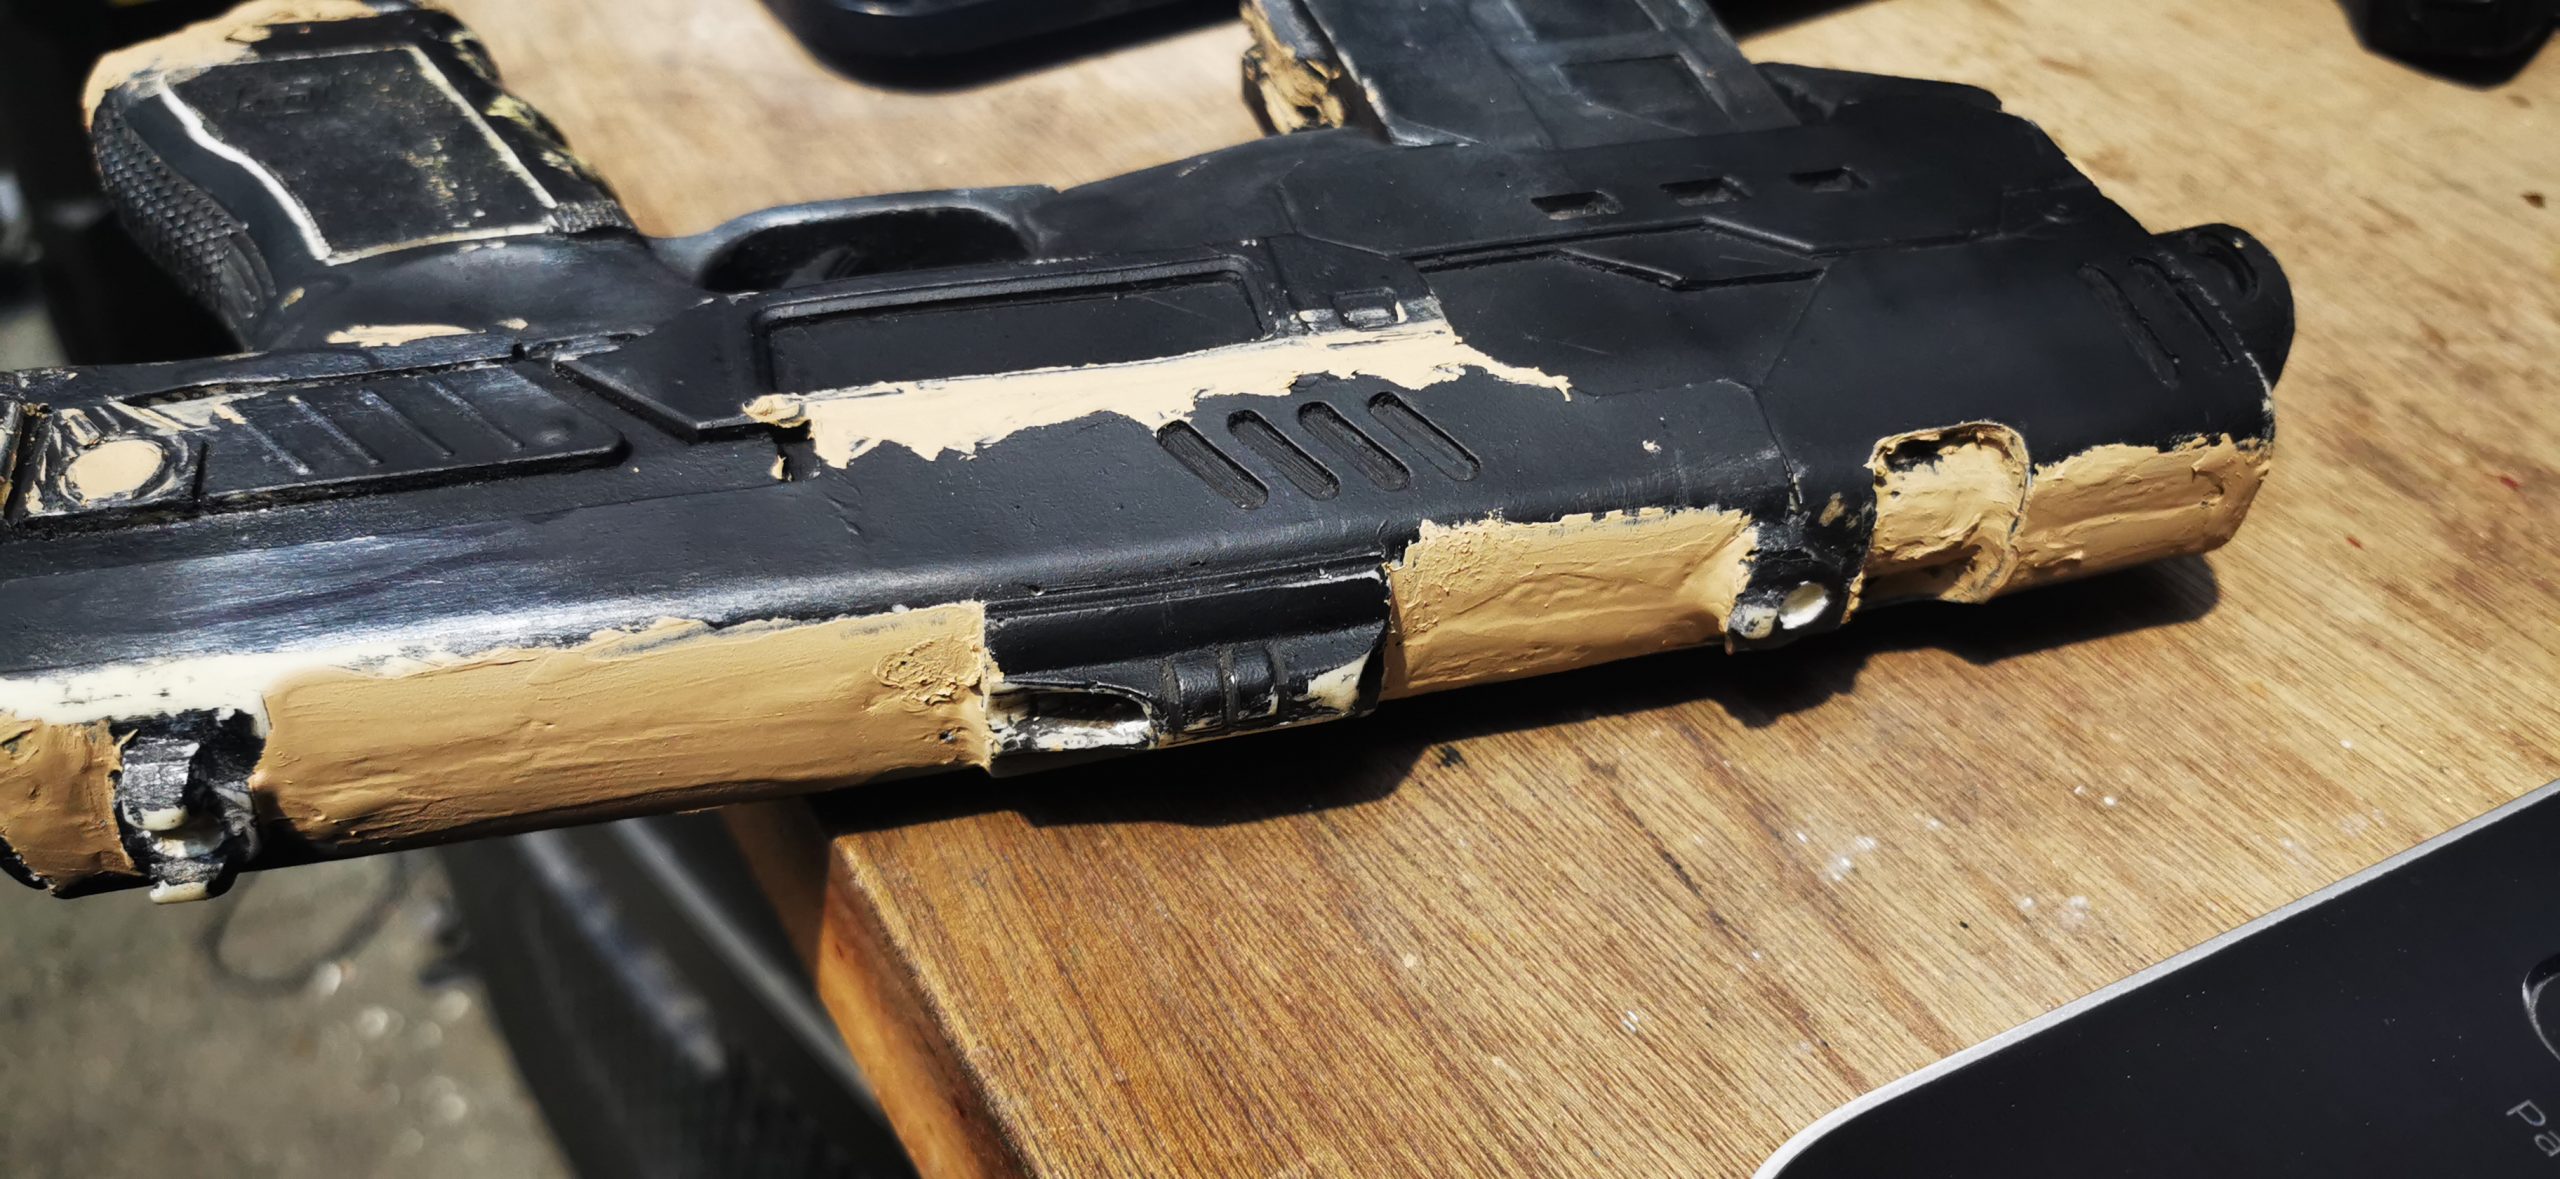
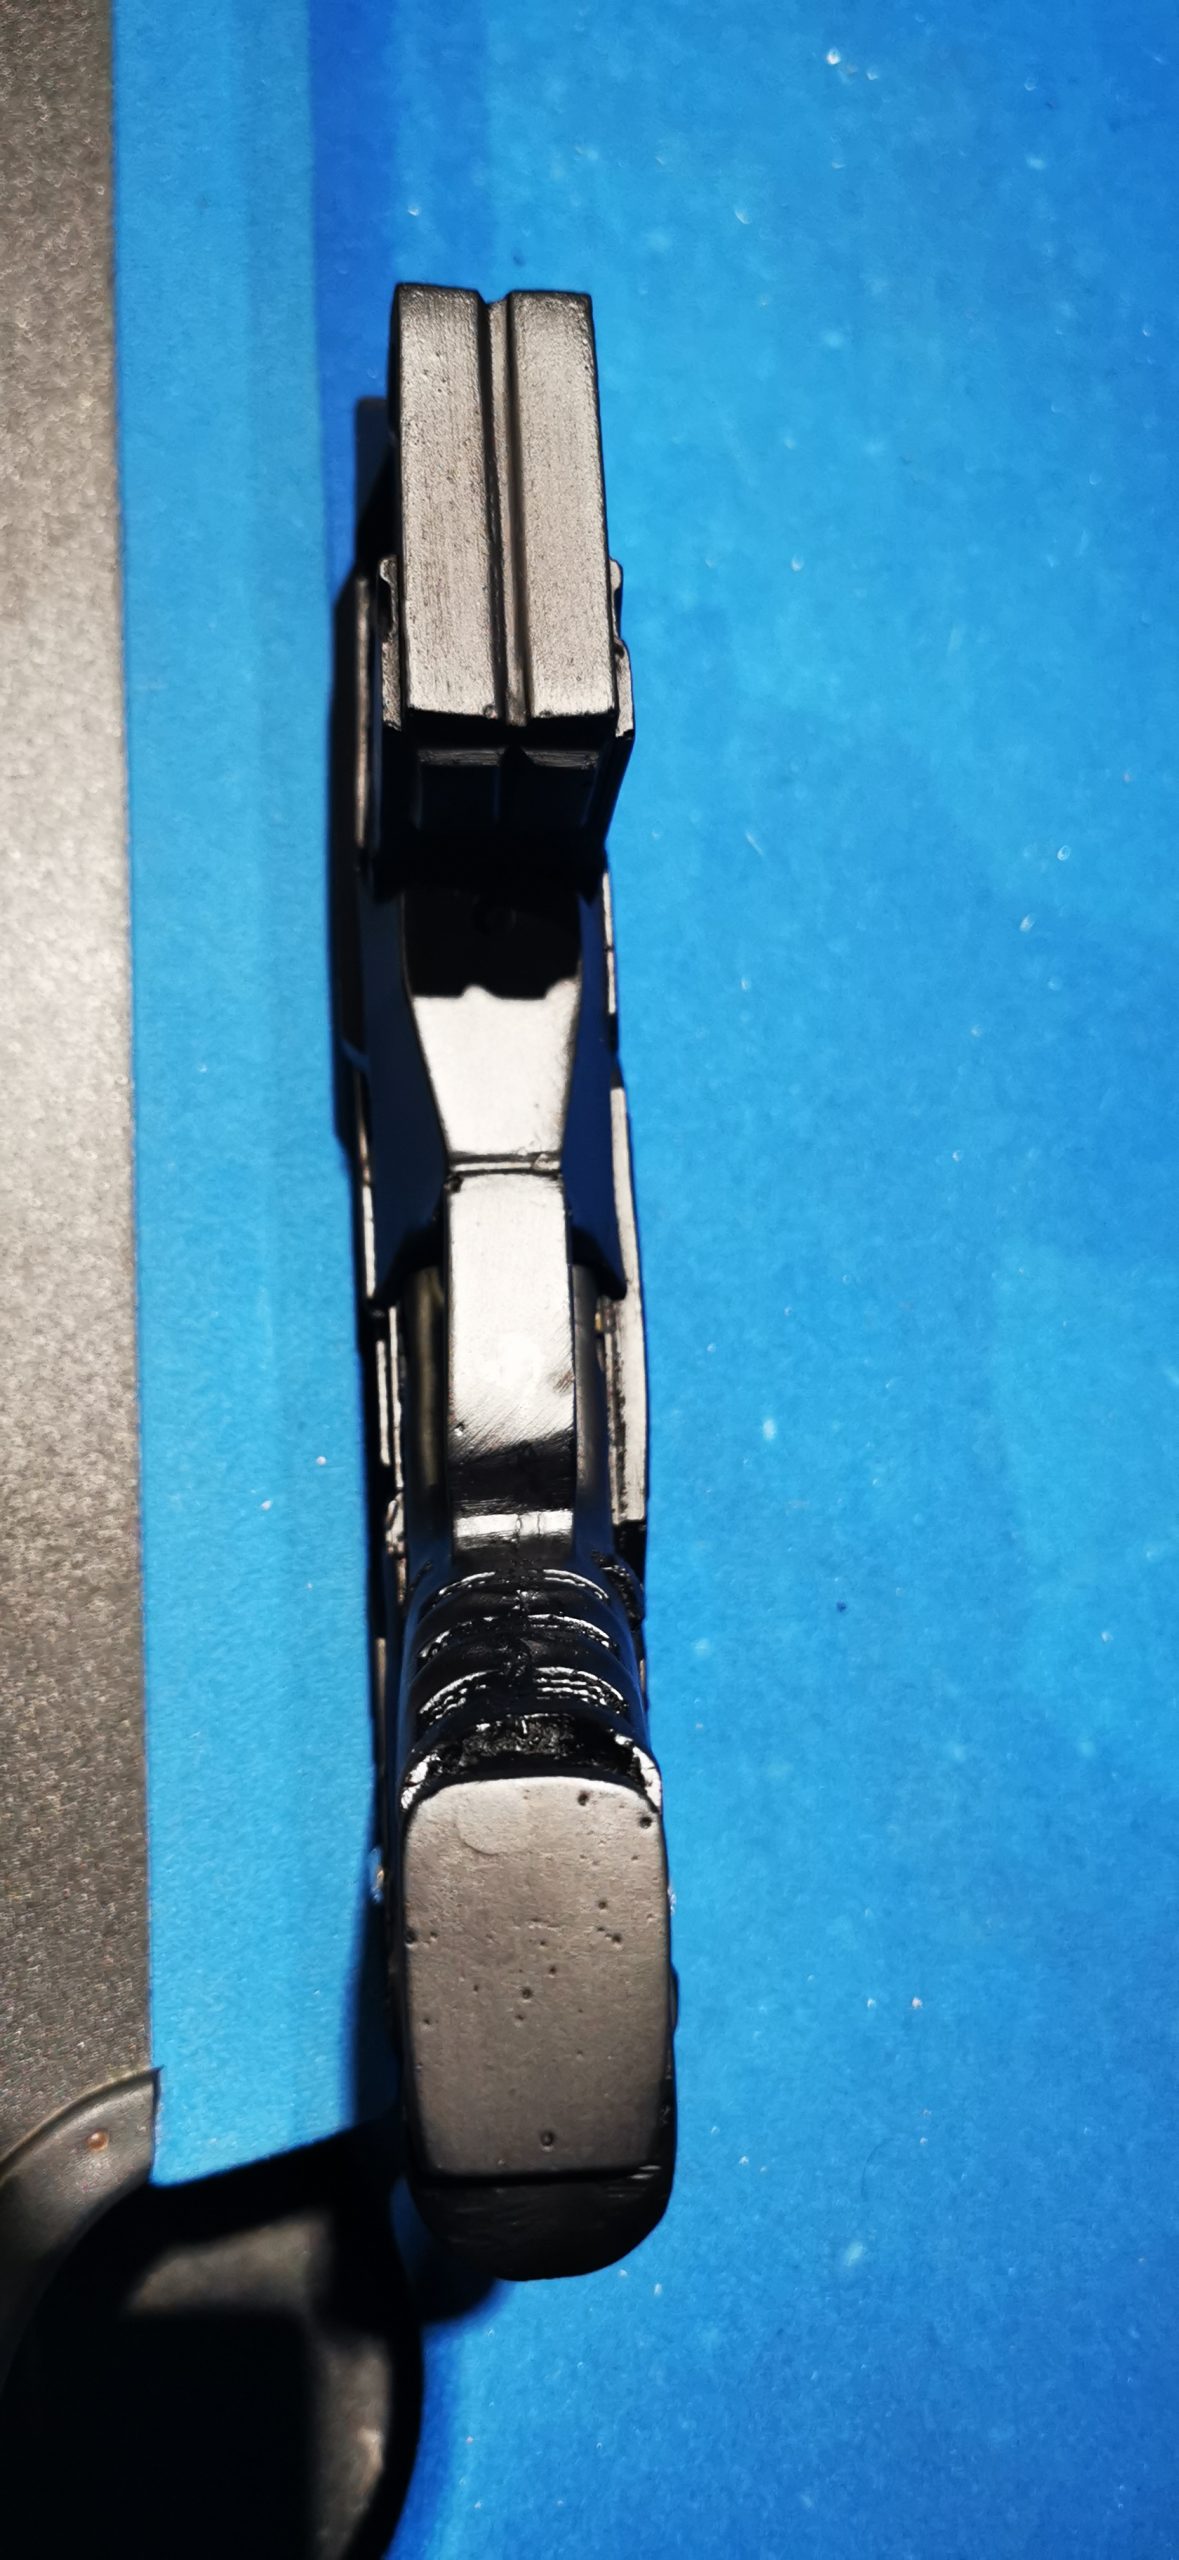
We had to decide early on whether to remove the barrel altogether or attempt to repair the barrel; we opted for the latter. We decided to reinforce the barrel with the cap of a bottle of hand gel, which fit perfectly. We cut it into shape and then used the Dremel to cut the holes out both sides of the barrel, which we then sanded and glued in place. We slowly built up layers of plastic filler around the plastic until it was close enough to the right shape, then we sanded it flat.
We then moved on to repairing the damaged gun magazine section. Rather than rebuild the magazine, we decided to curve the handle edge, short the magazine and sand it flat. We revealed many holes created by poor prop building skills in sanding back the magazine. To fix this, we filled the holes with plastic filler and added a lot of filler in fine layers to the gun handle (TOP TIP: the more refined the layers of filler you apply, the more it will help it dry quicker). Once the filler had finally cured, we sanded and shaped the handle flat, the magazine was built up and all holes filled.
Next, we had to address the lines on the prop gun. The mould appeared to fold in the middle, which meant we could have left it; however, we wanted to address that and make some lines more accurate and linear. For this, we used micro files, sandpaper and plastic filler. This part took multiple attempts – when we file back the resin to a flat line, you still have to fill it and let it cure while filling tiny air holes. Once we had sanded this, we had to re-assess the finish and repeat the process until it looked right. This was a long but rewarding process.
Filling & Priming
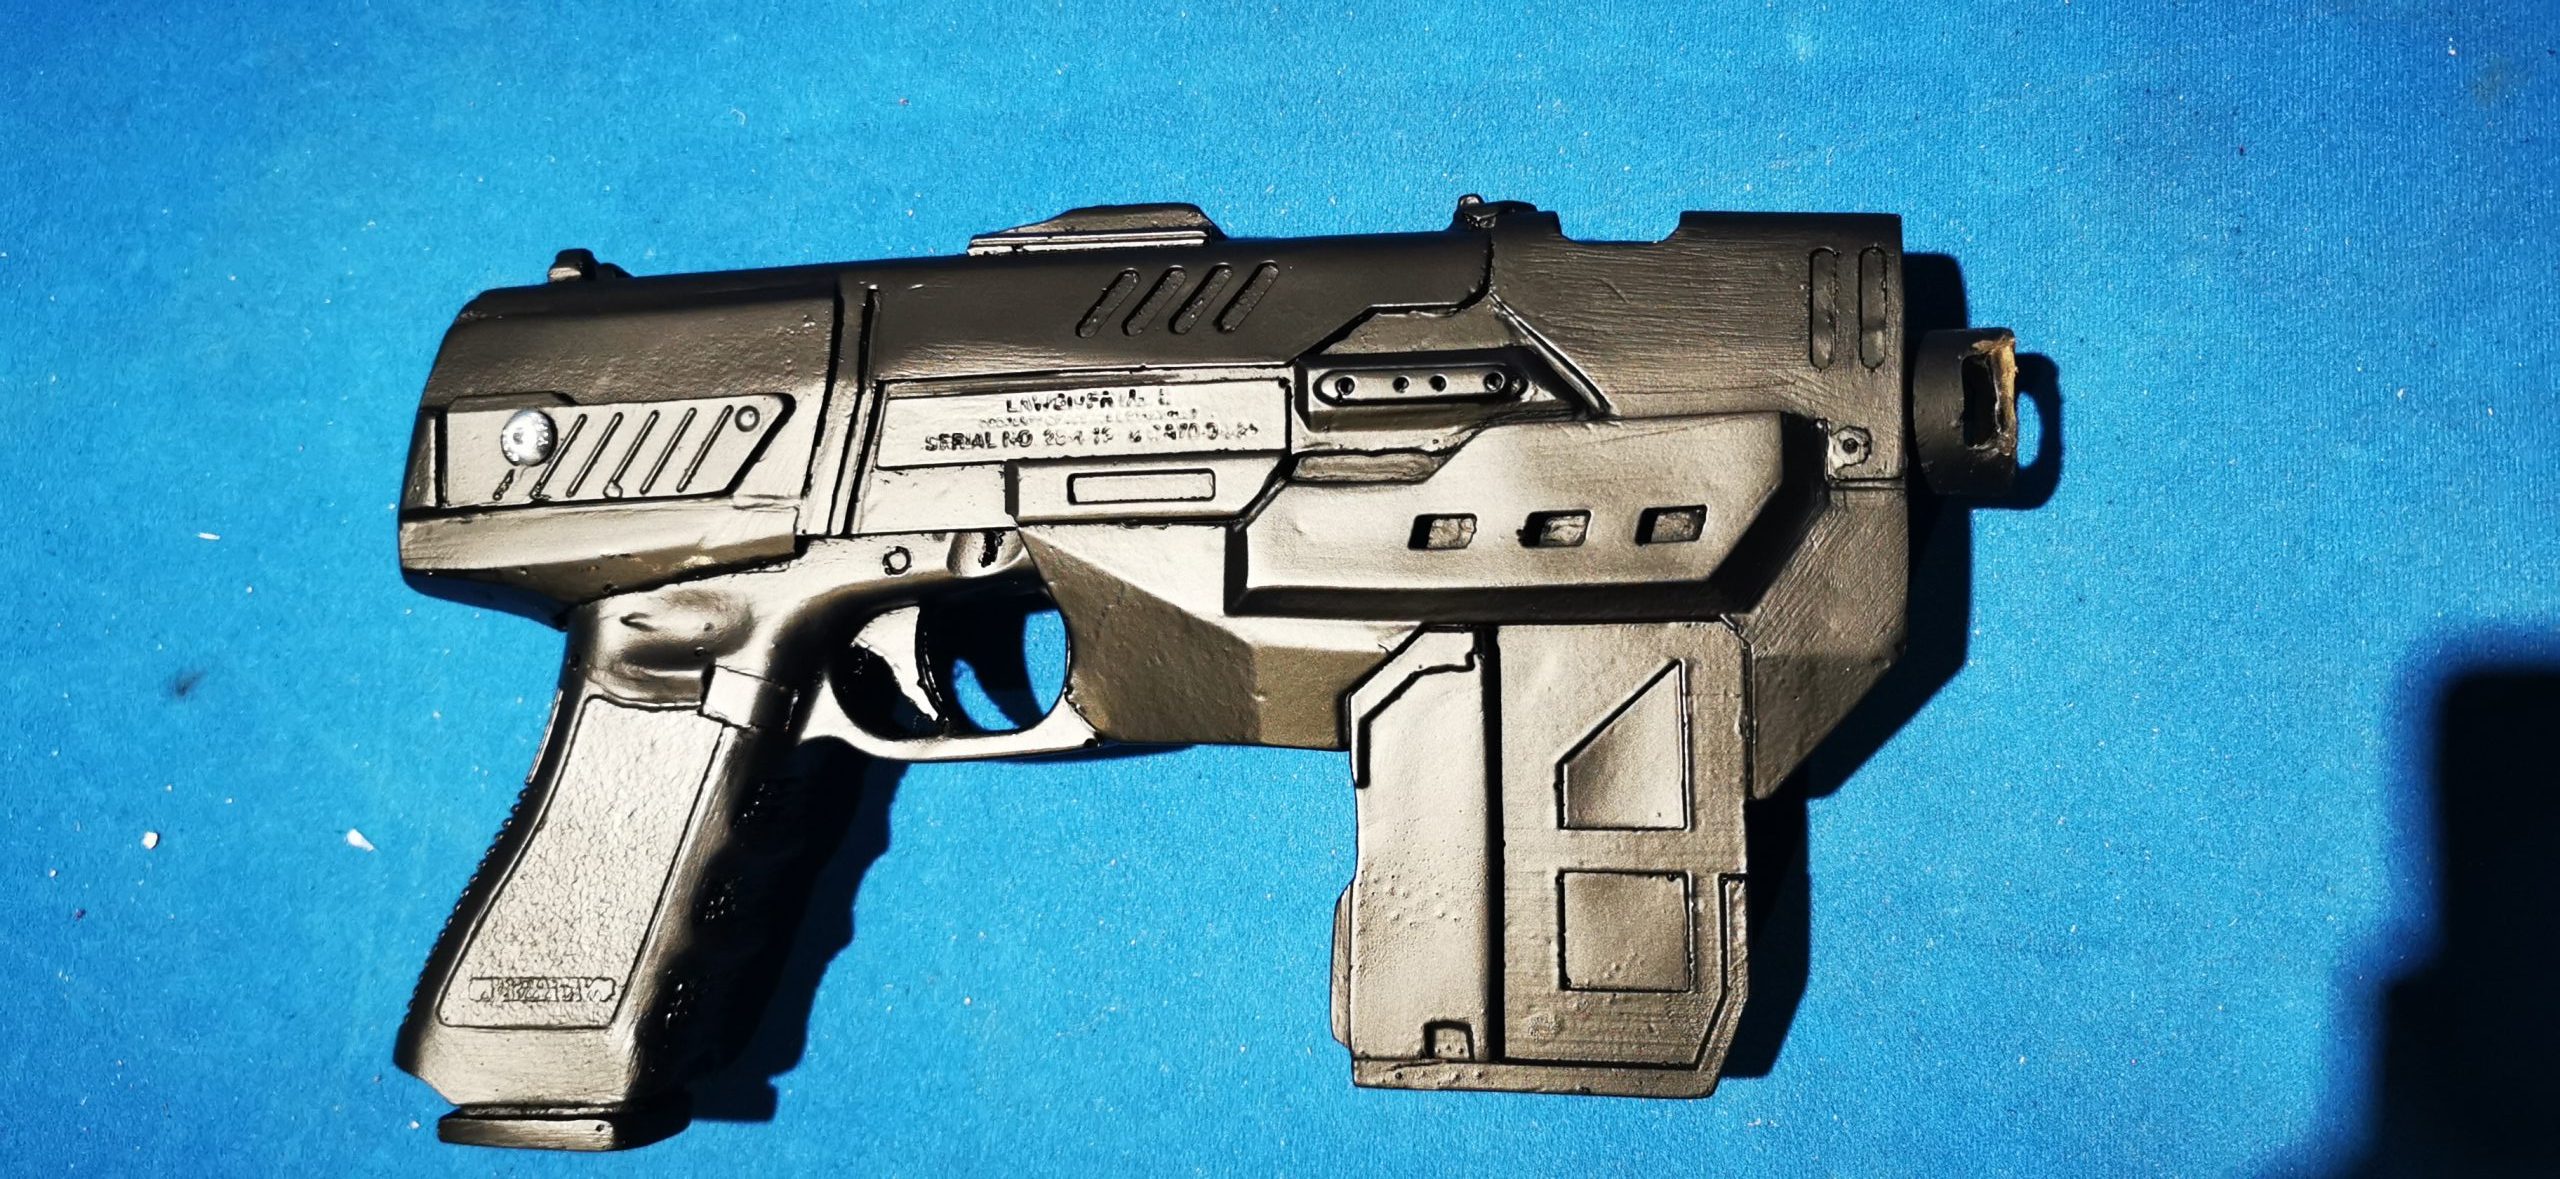
We applied a black 2K filler primer all over the prop gun to smooth any rough edges and provide a smooth surface after all the filling and sanding. The 2K filler primer is a fantastic tool to fill out any rough spots and any light holes or divets in the resin. We applied two coats; any more could have buried some of the intricate designs in the gun.
Final Paint & Detailing
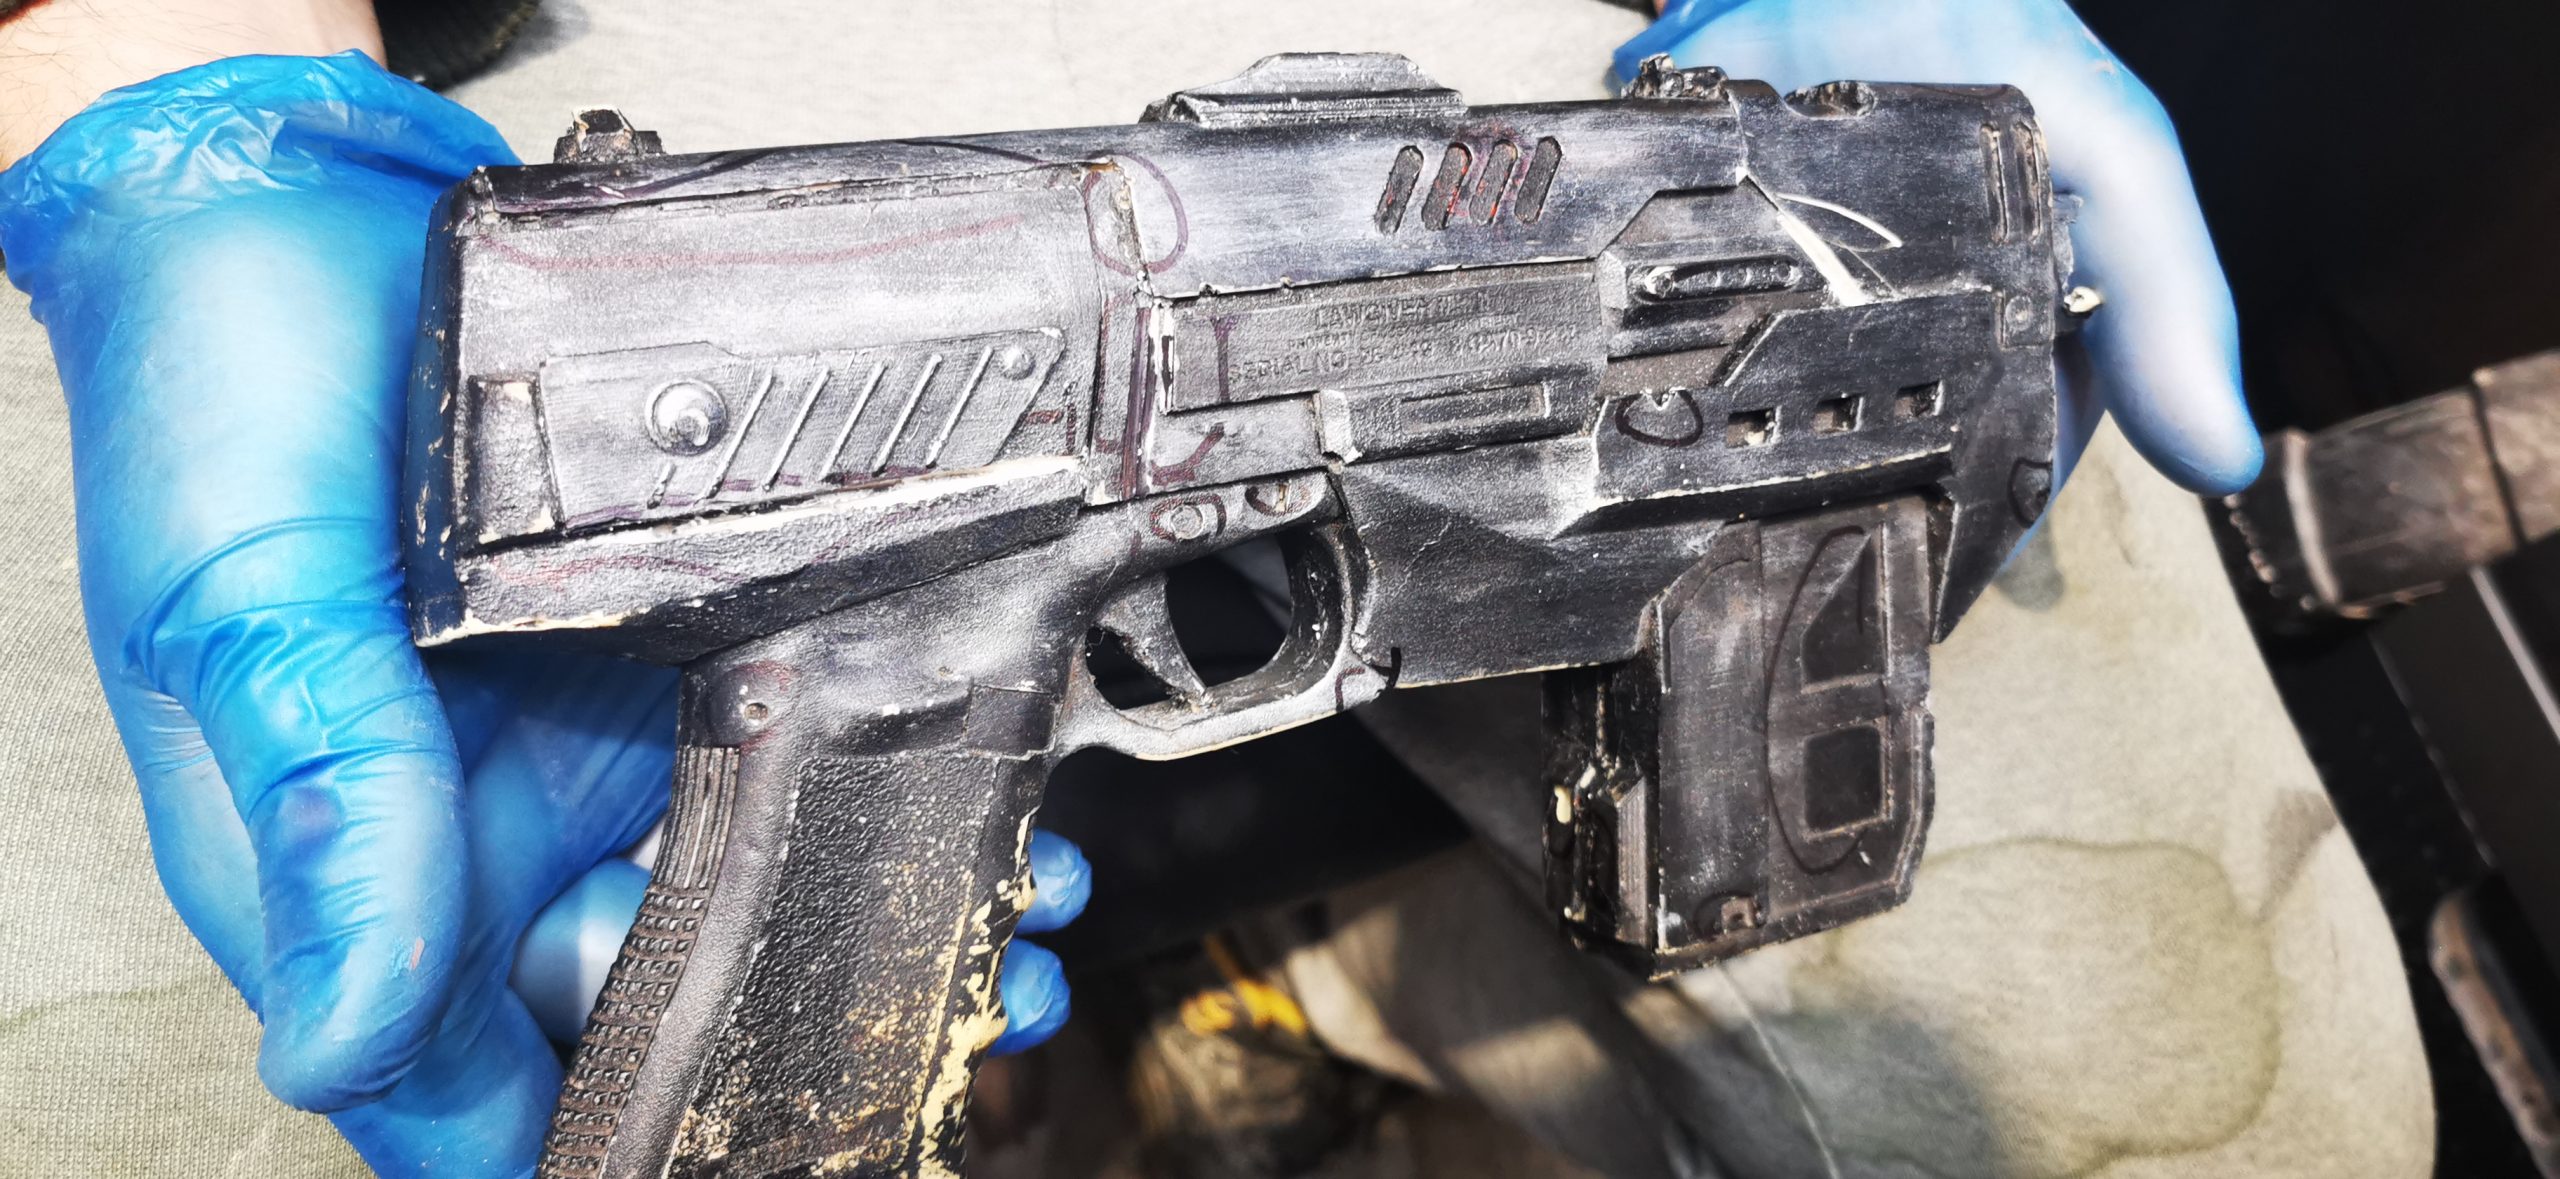
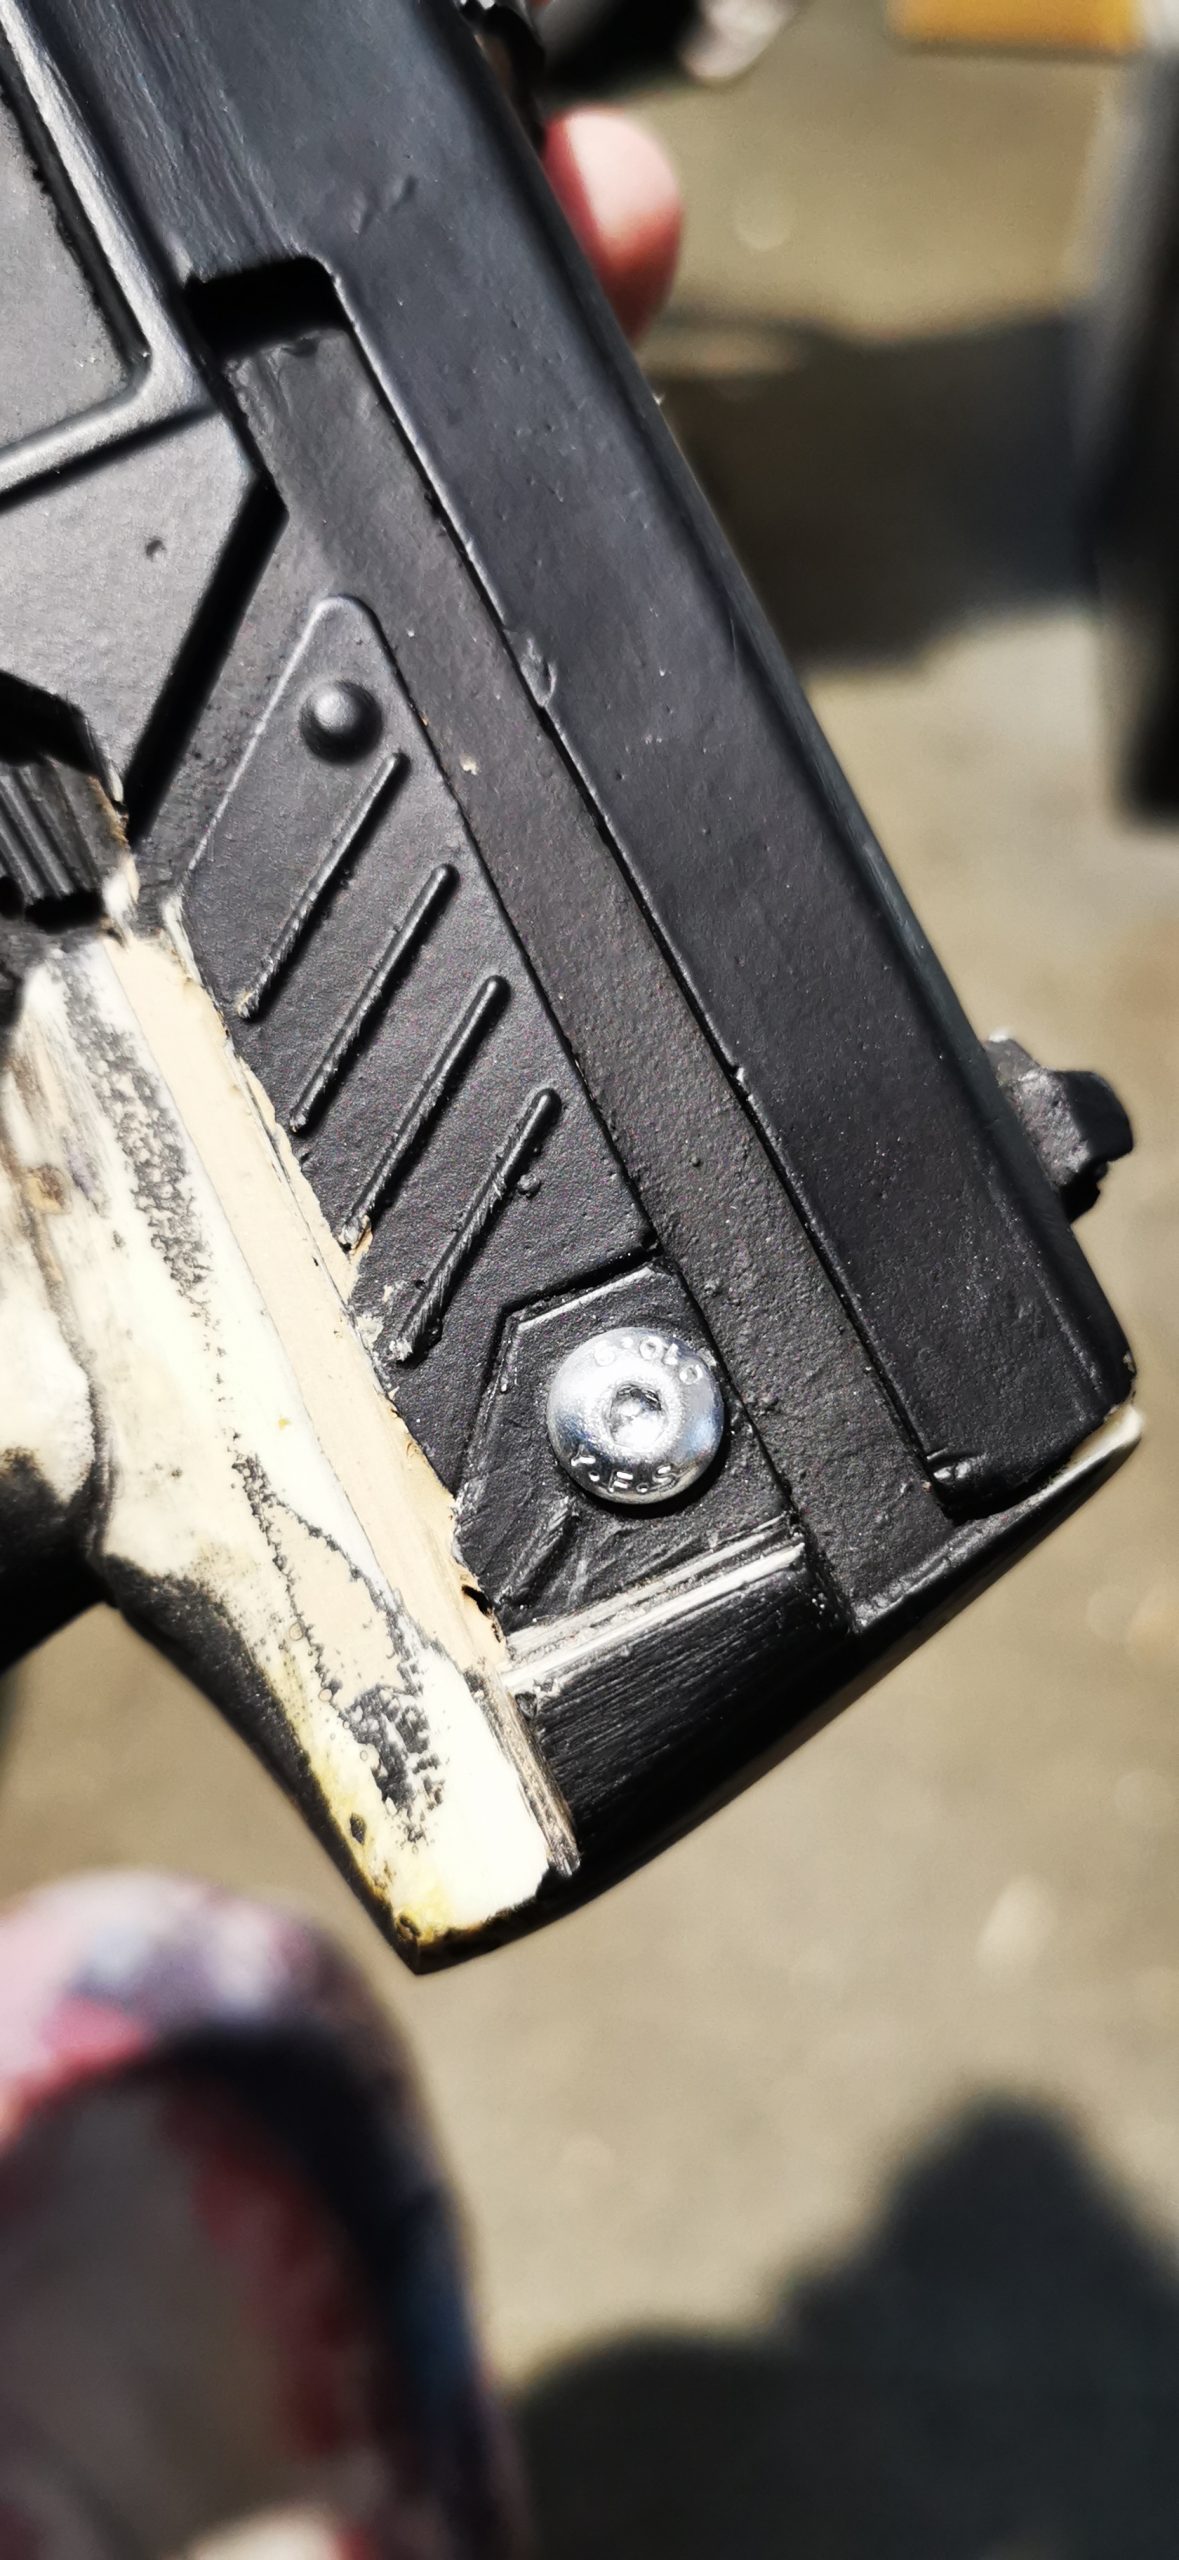
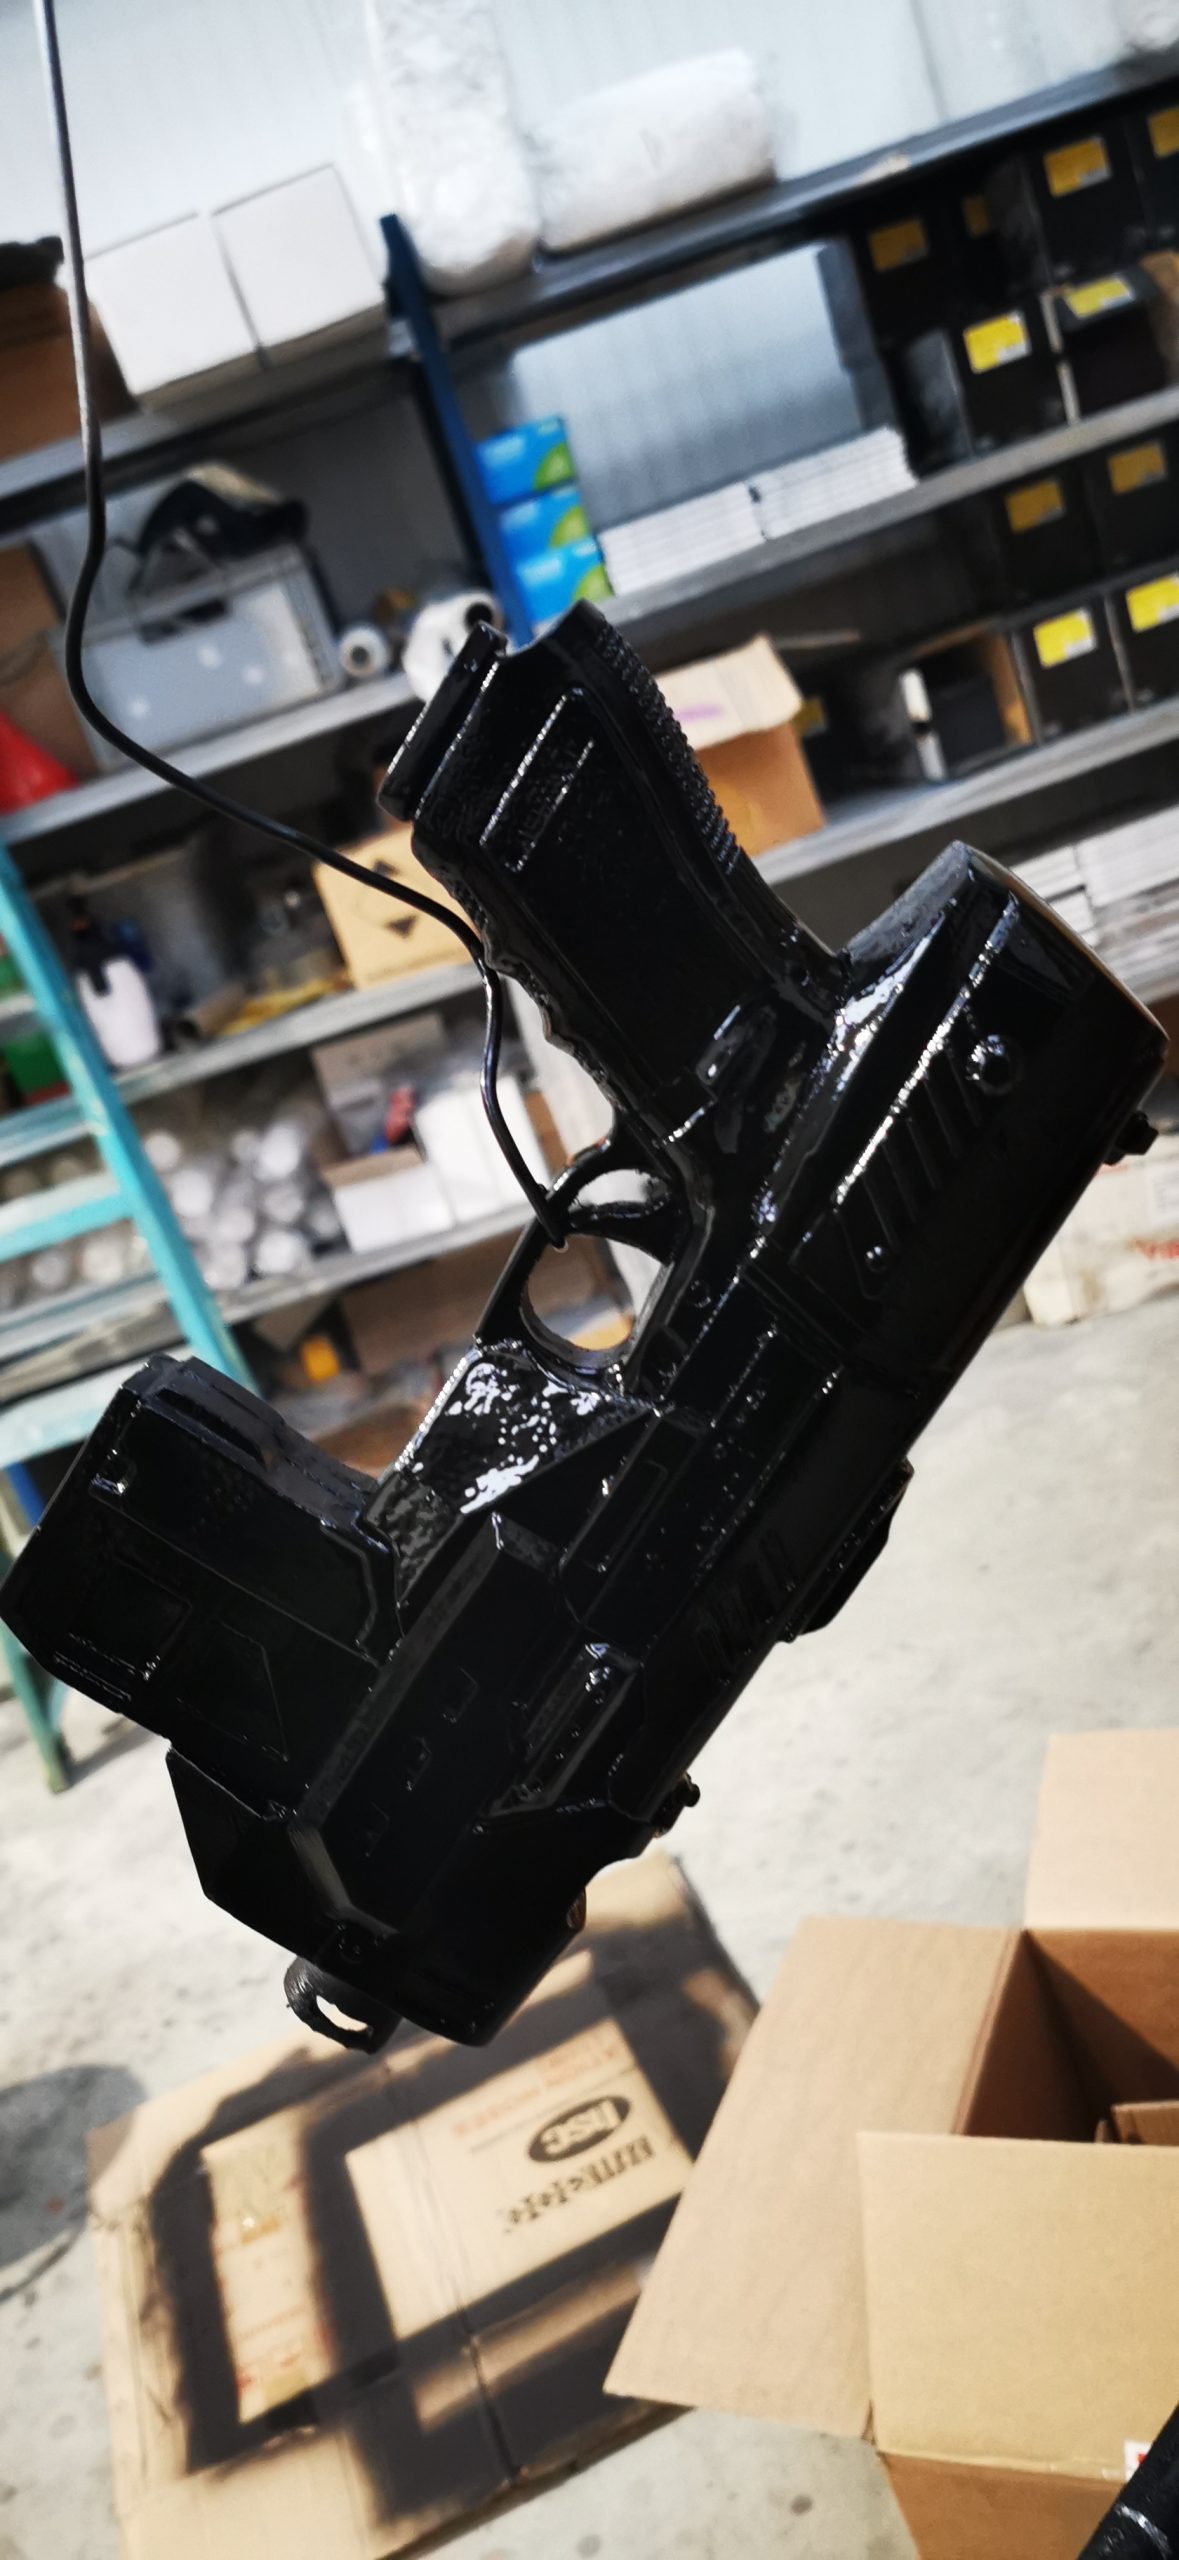
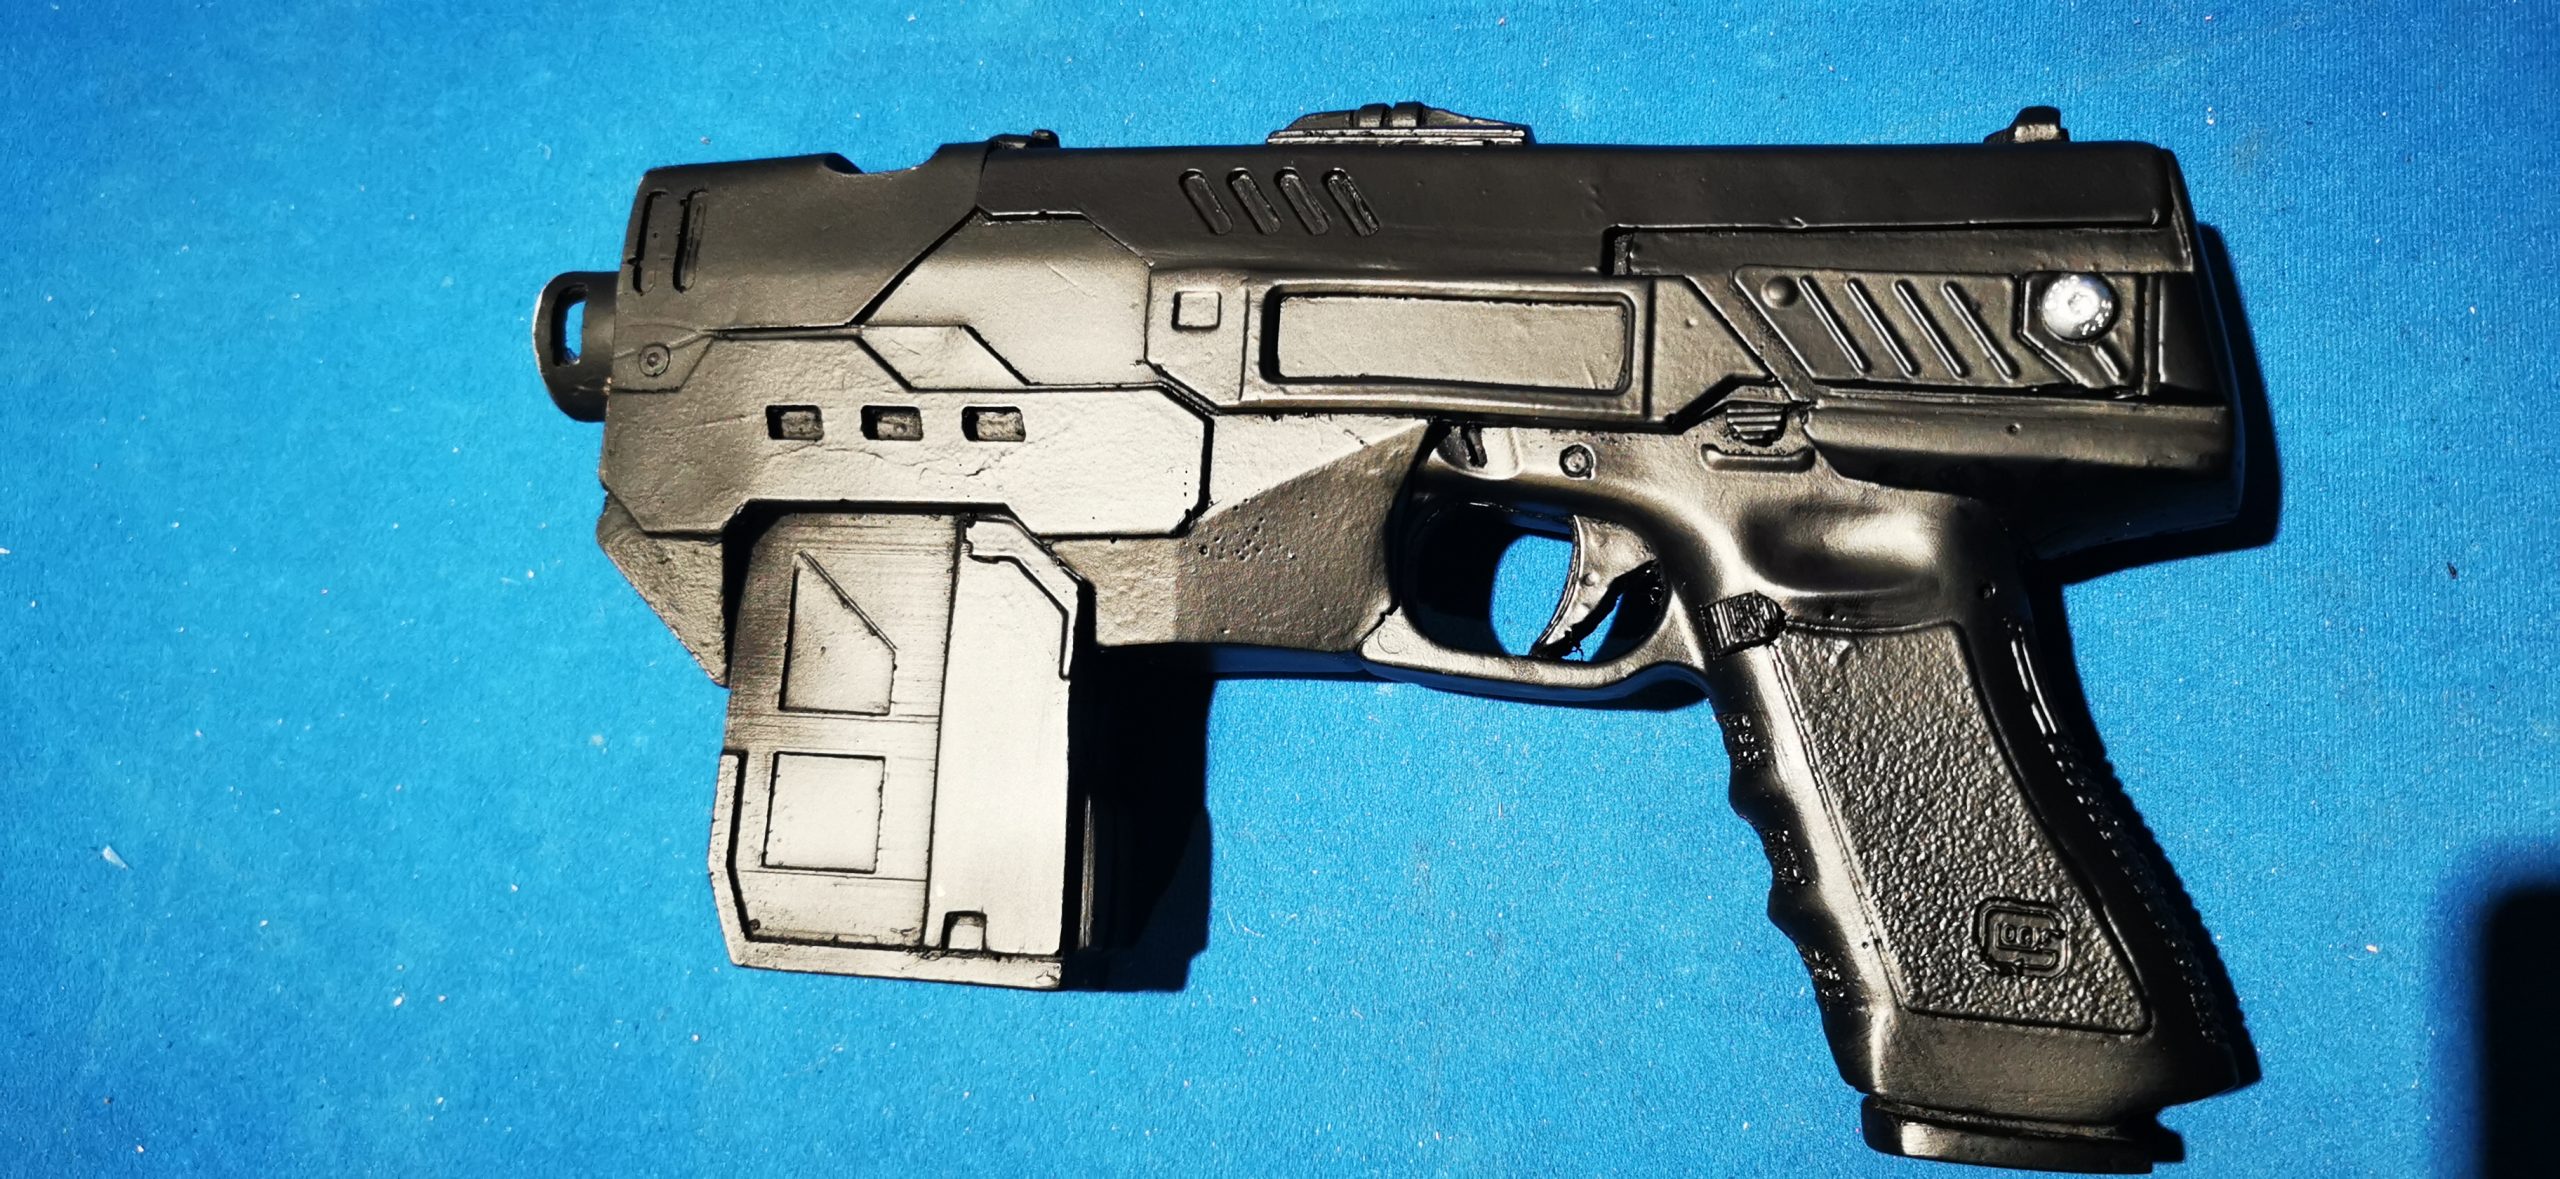
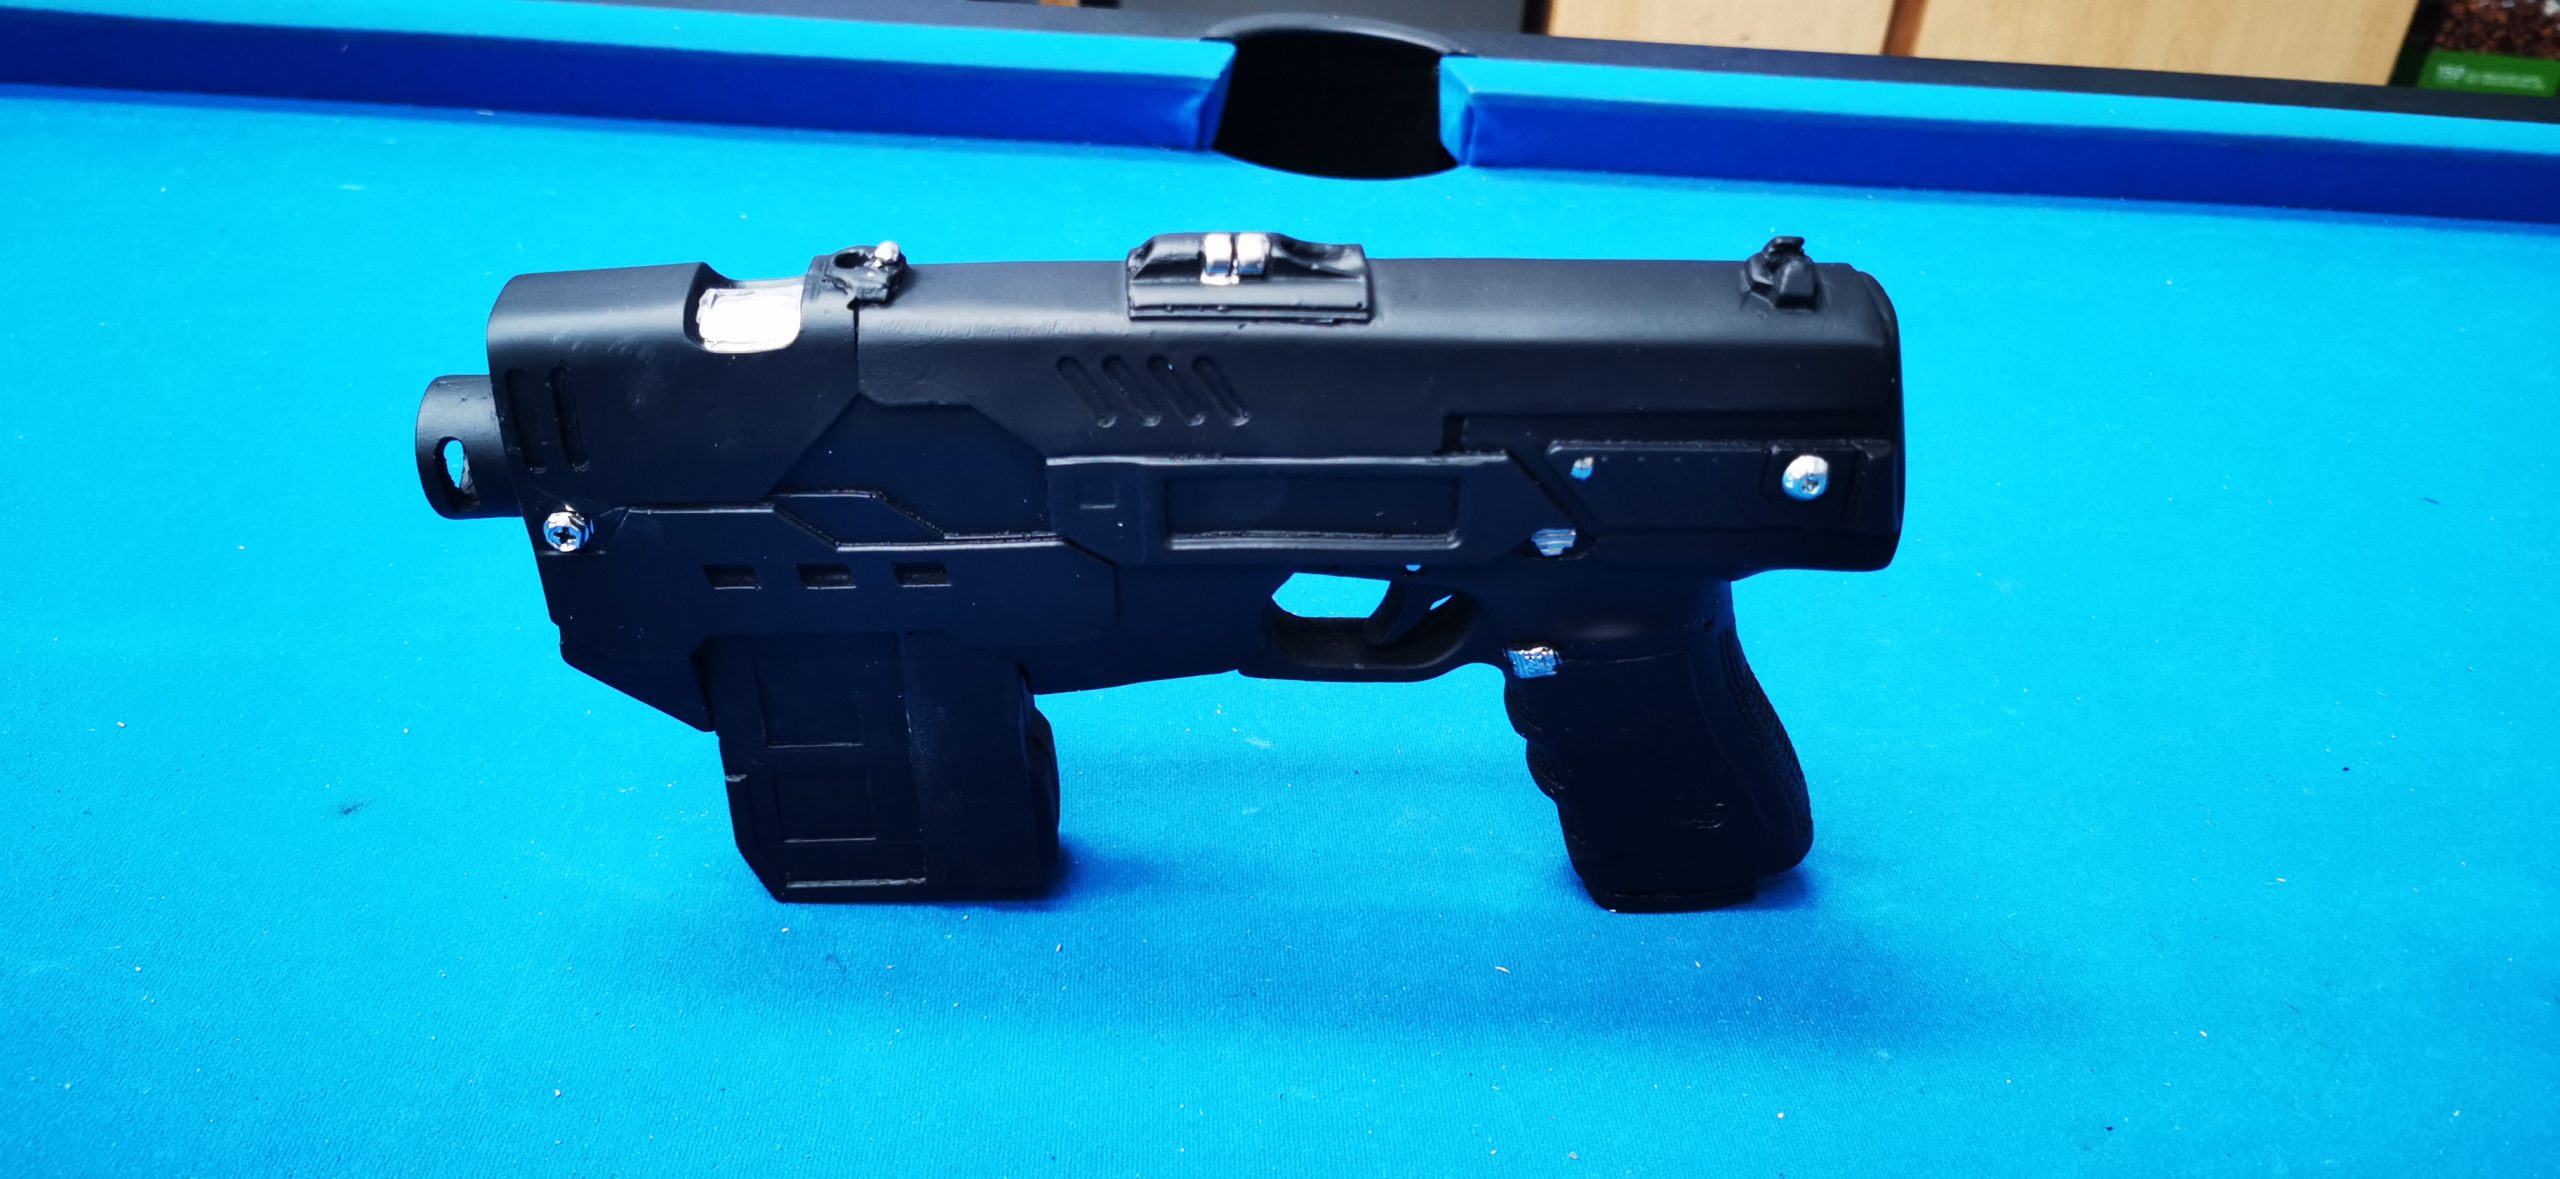
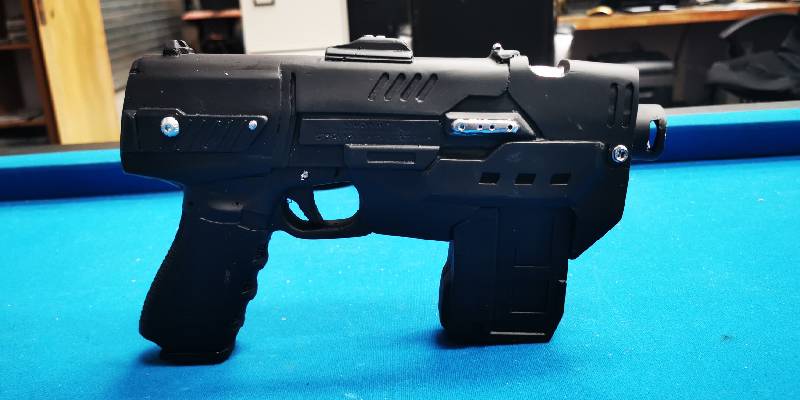
Once the 2K filler primer paint had fully cured, we moved on to the final topcoat. We applied the rich black base coat and left the paint to cure. We applied it in two light coats so it would dry quicker. The final touch was to apply chrome highlights to intricate parts of the prop. We also drilled out some of the plastic moulded bolts in the prop and installed real bolts. This additional feature added to the authenticity and looked amazing.
Peter was astounded with the result, as the prop’s condition on delivery to us was terrible. This one was another challenging little project, much more difficult to do than the average project but worth an attempt yourself if you have the right tools in the first place. Thanks again, Peter!