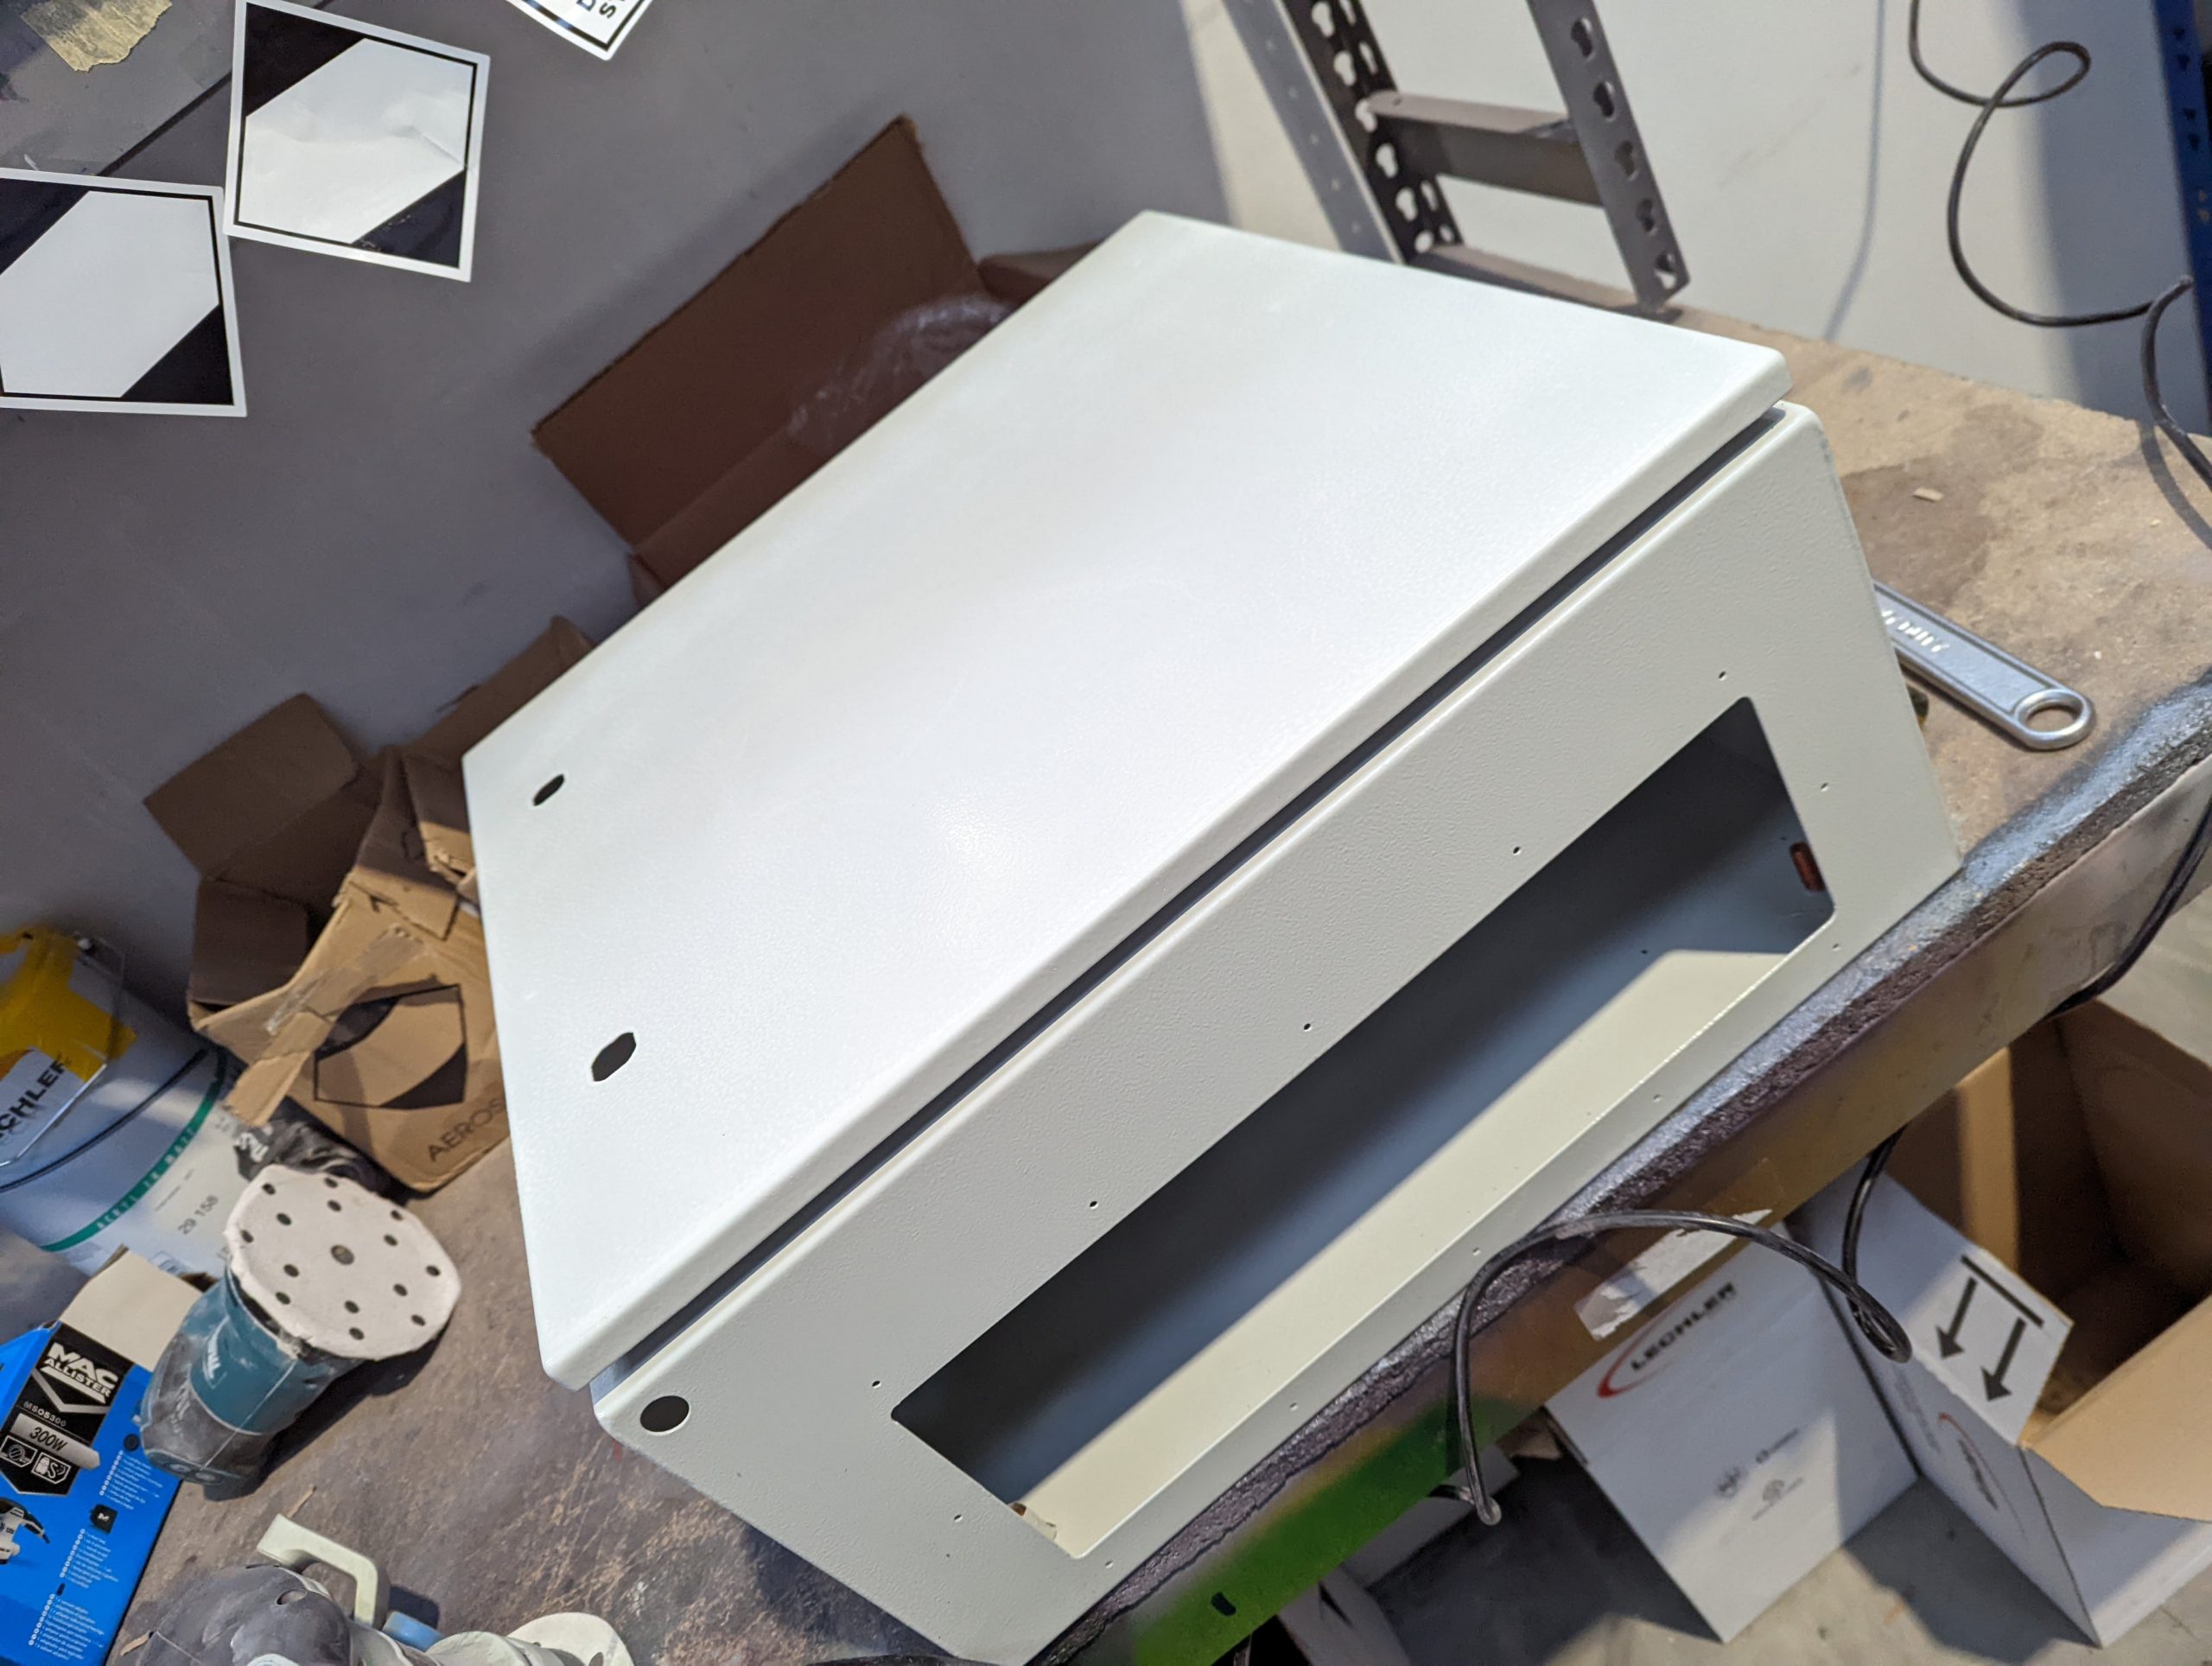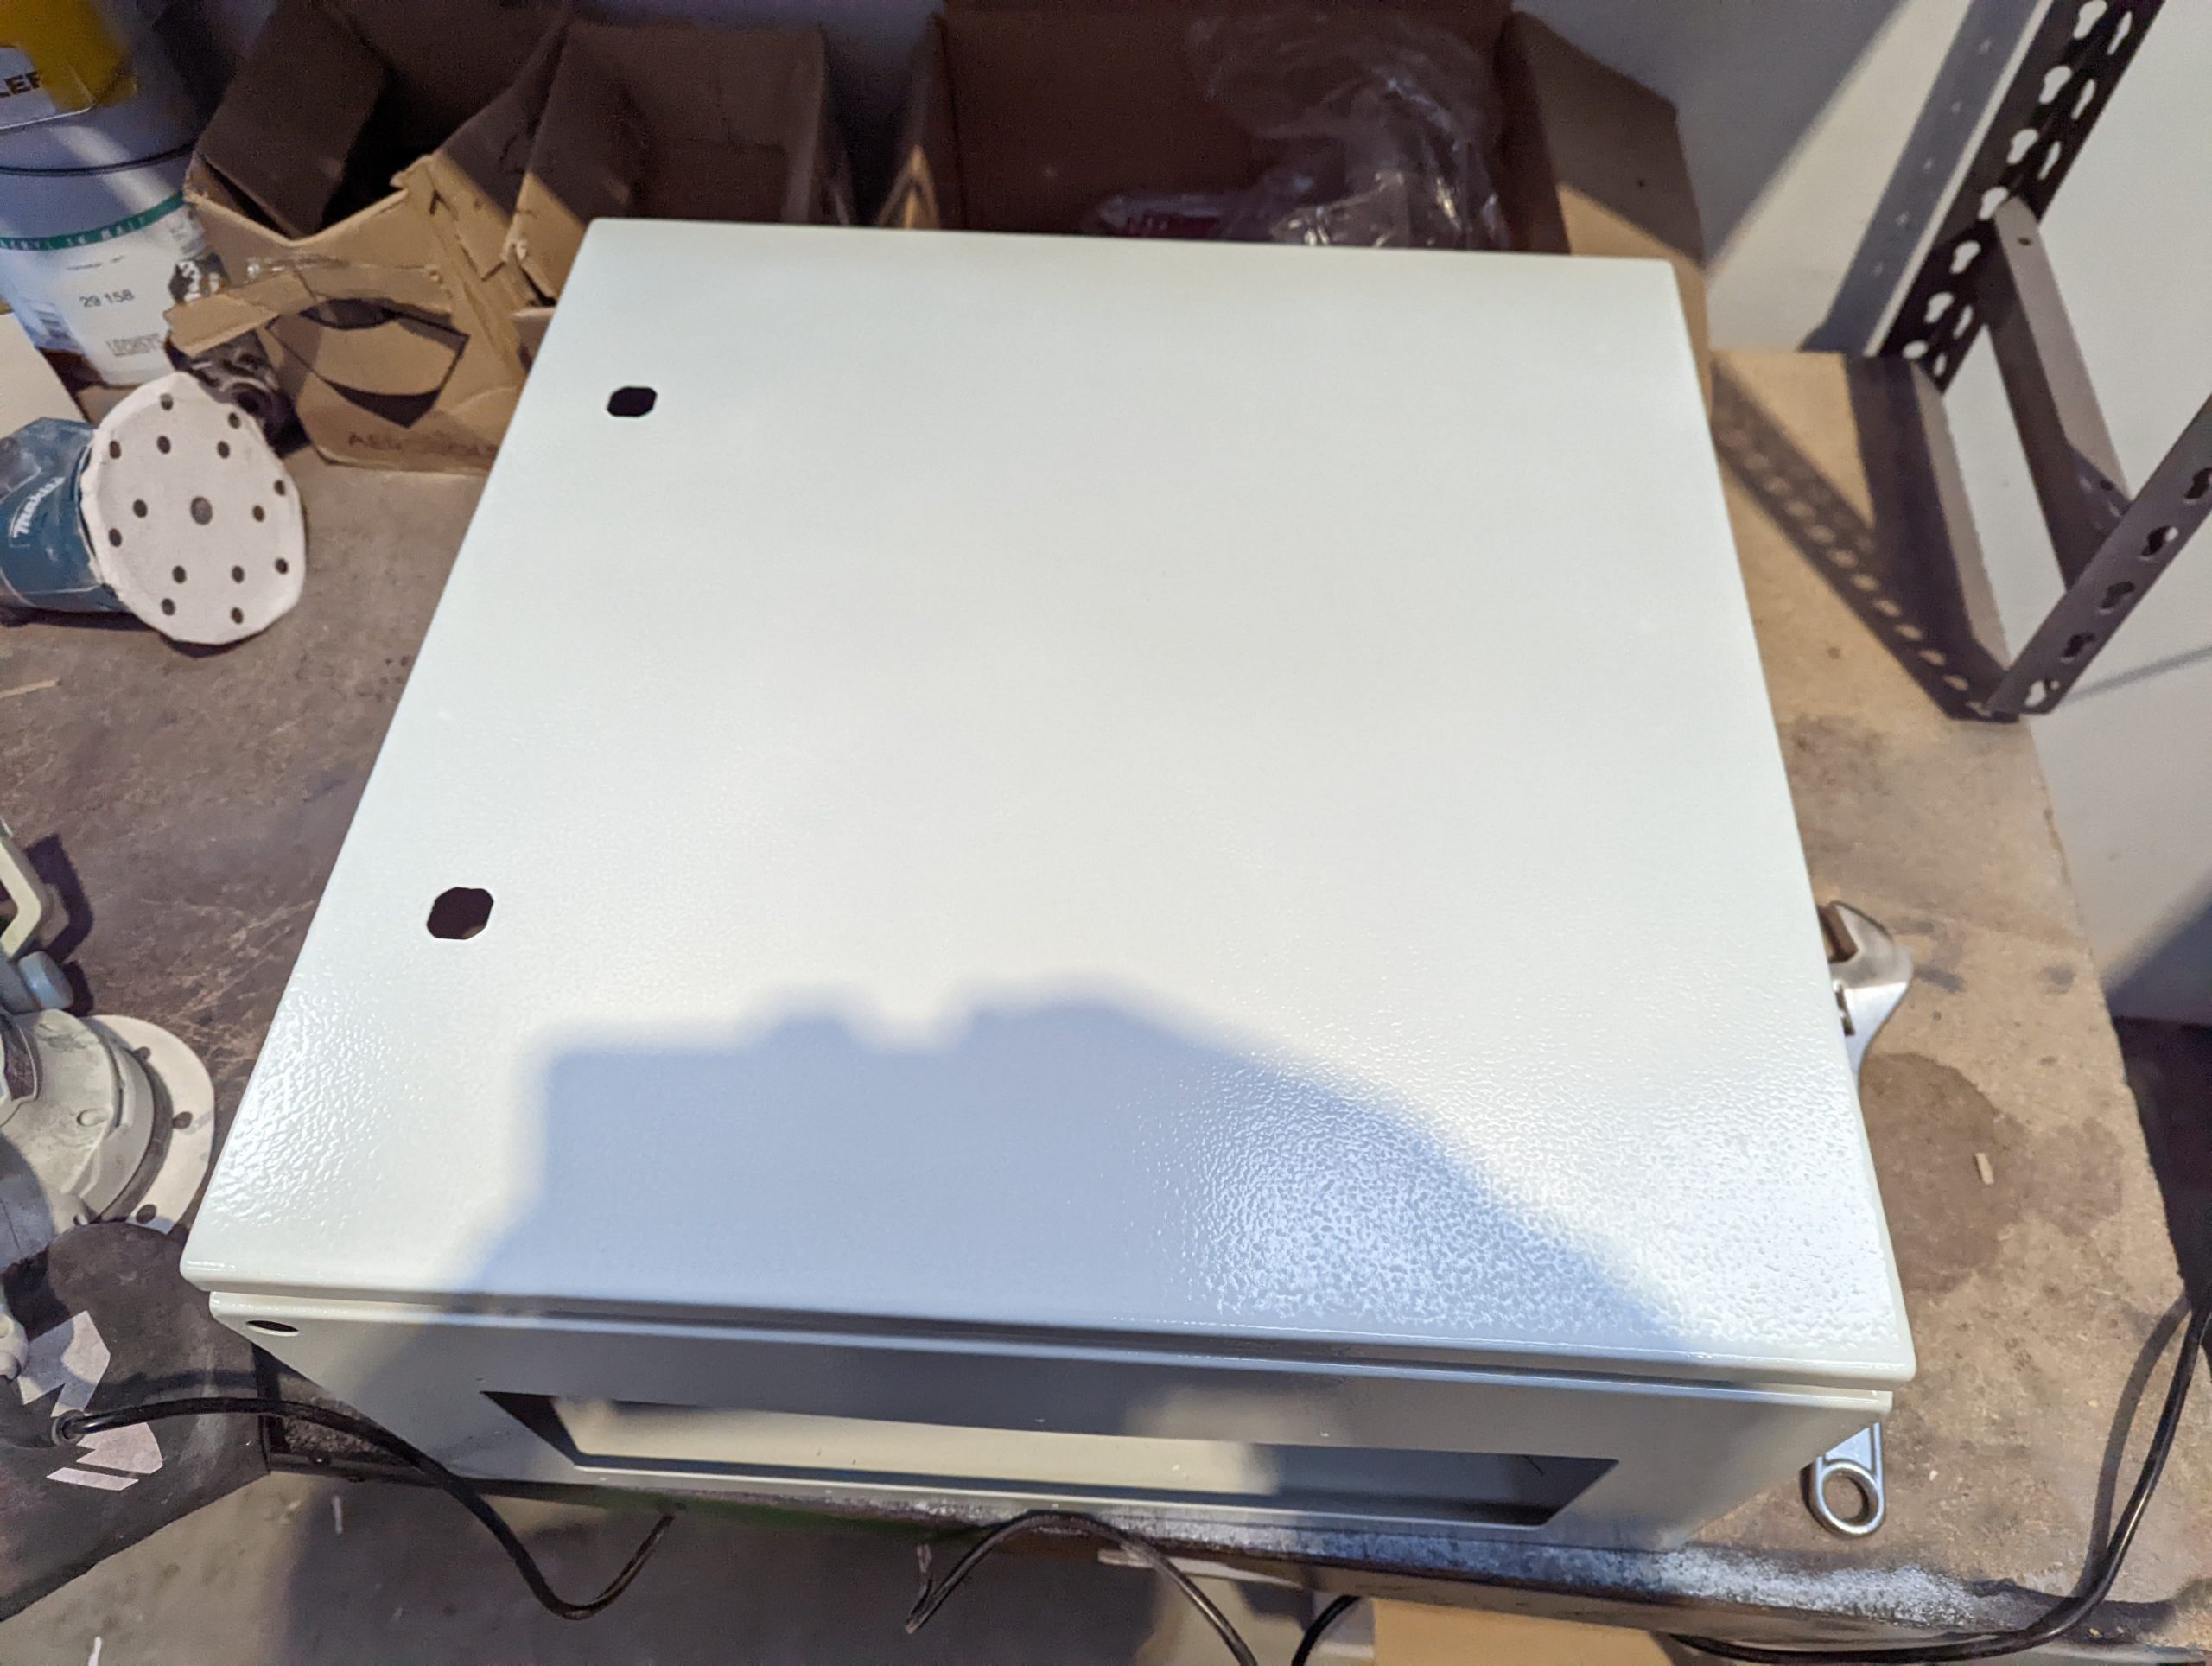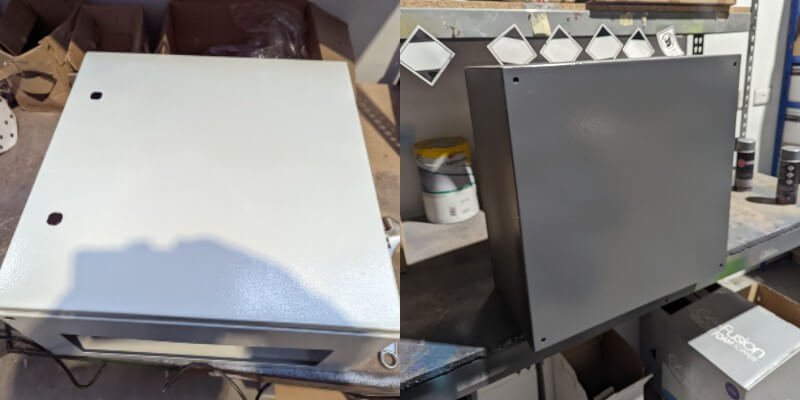
A company approached us and asked us to paint some exterior alarm security boxes to match a particular colour specification. Even though the boxes were made out of metal and had a textured coat, we could still paint them without any trouble.
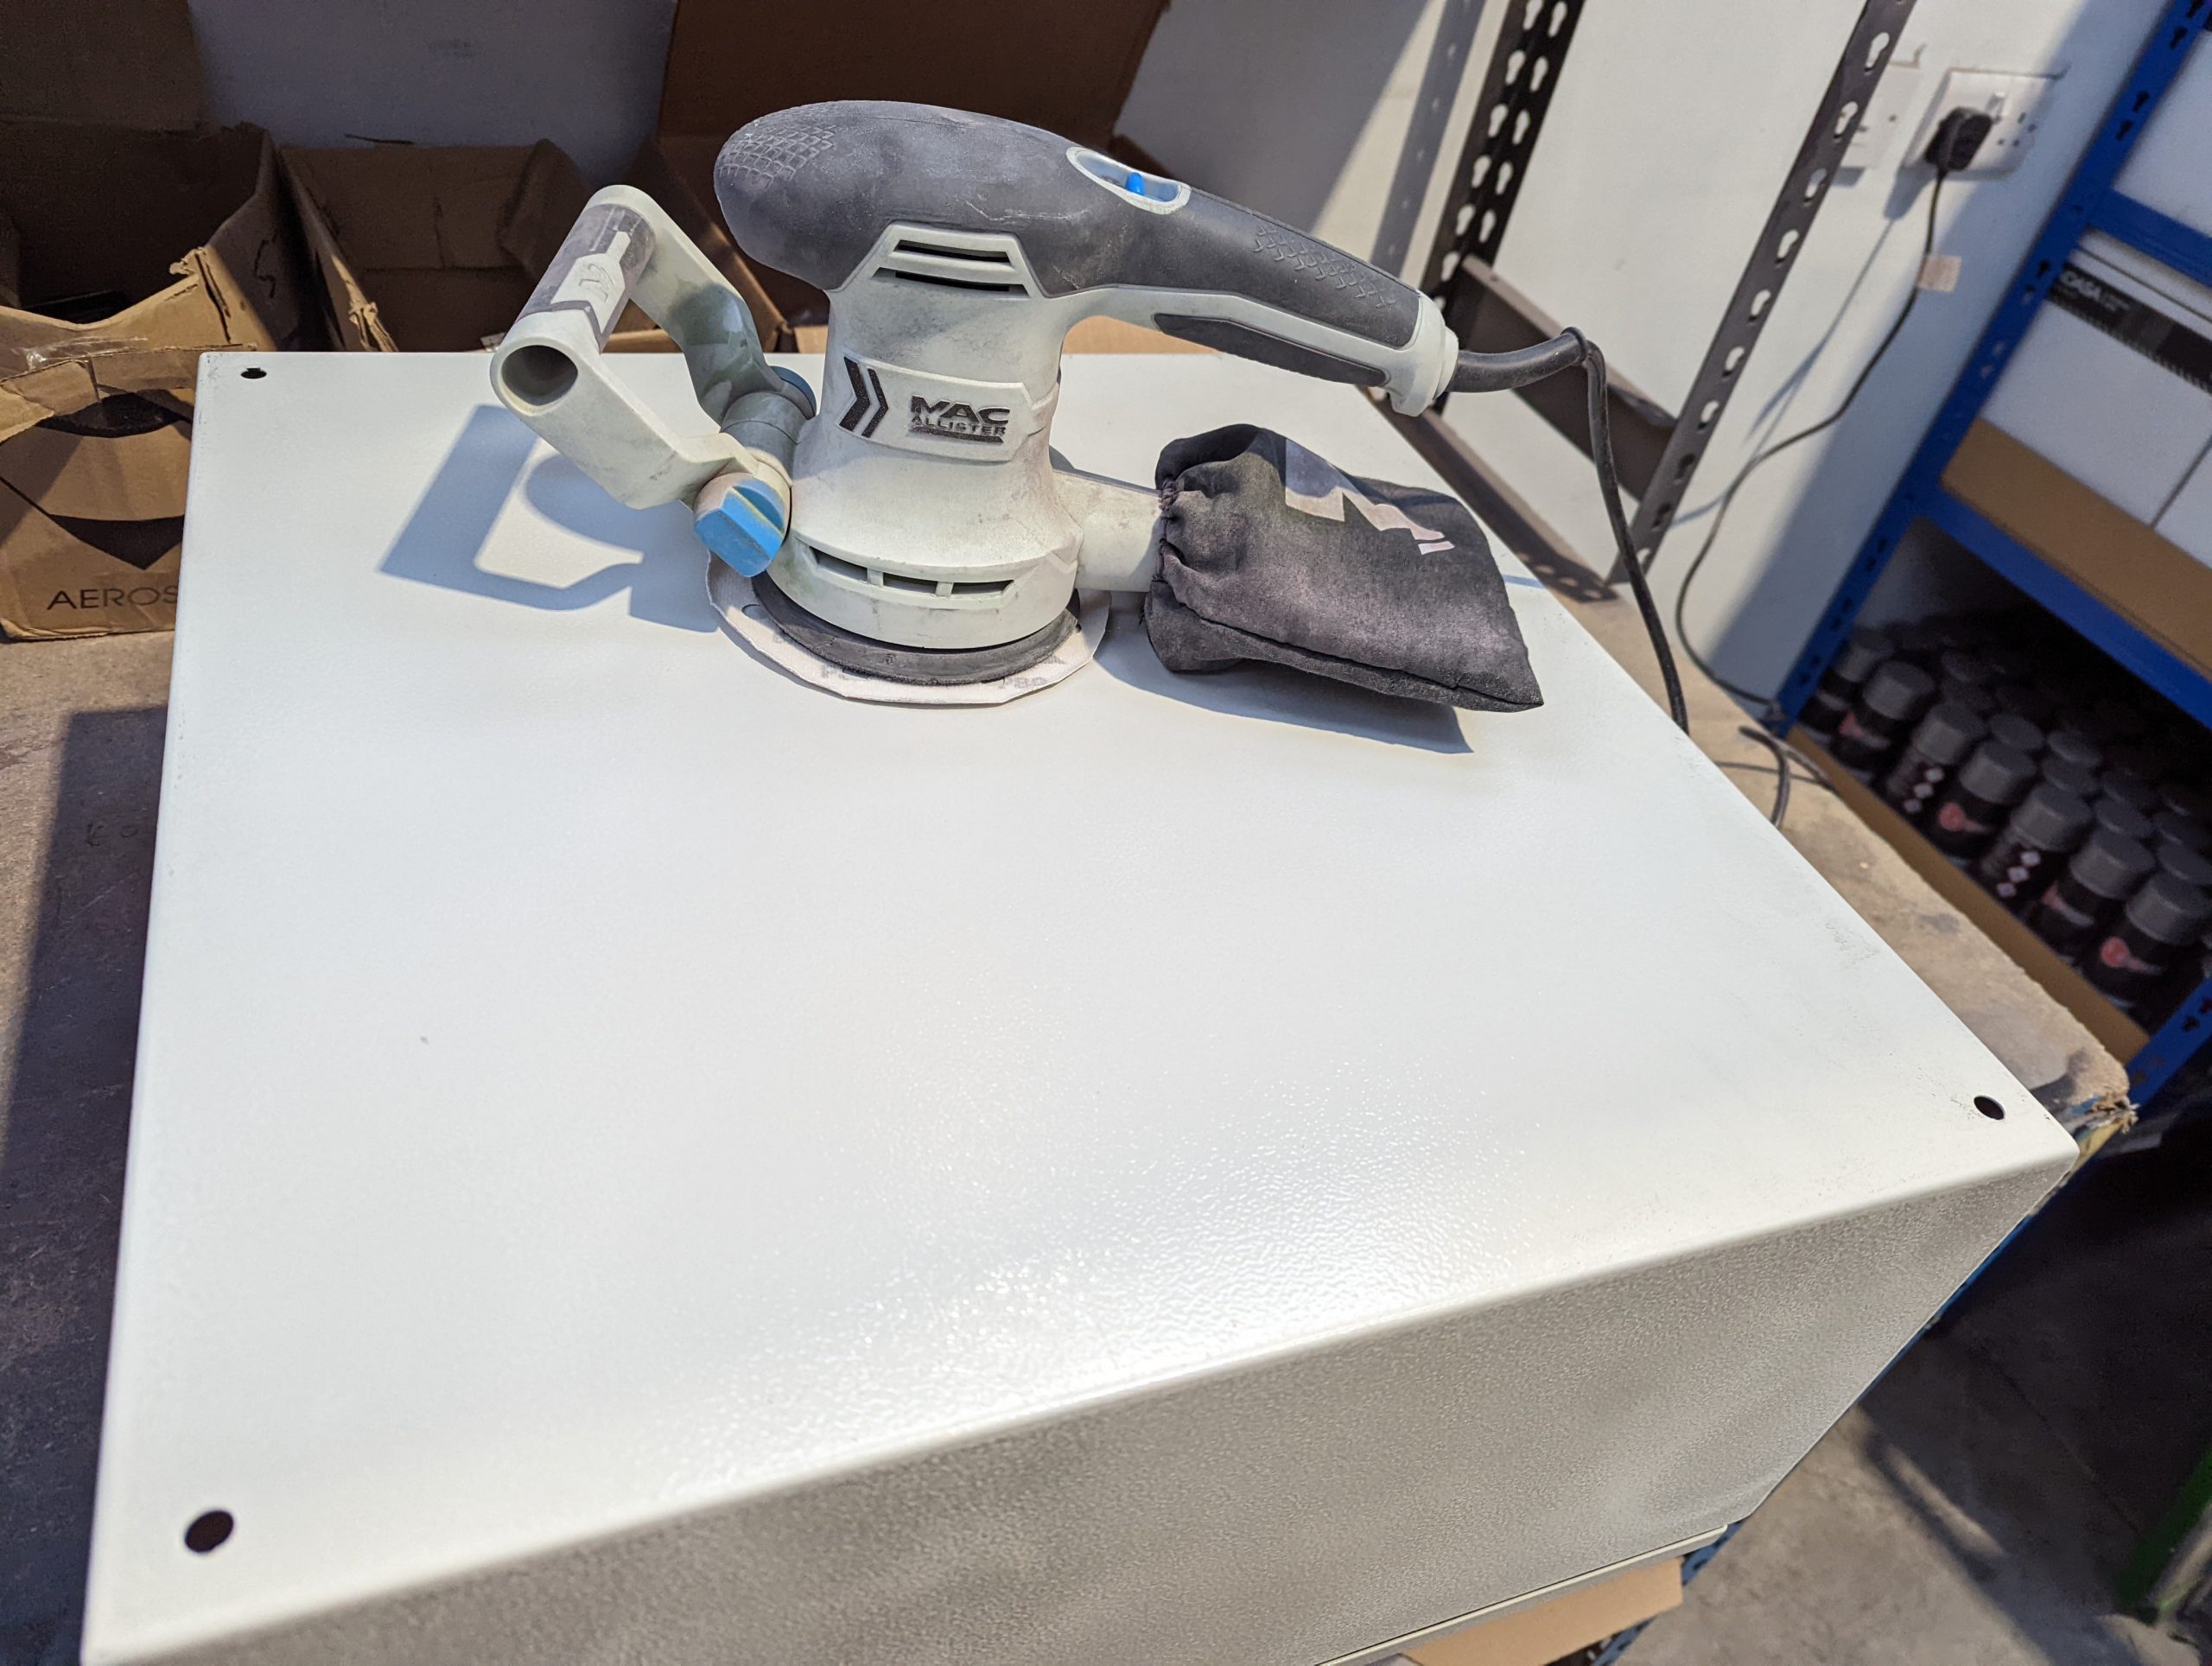
Tools:
Method
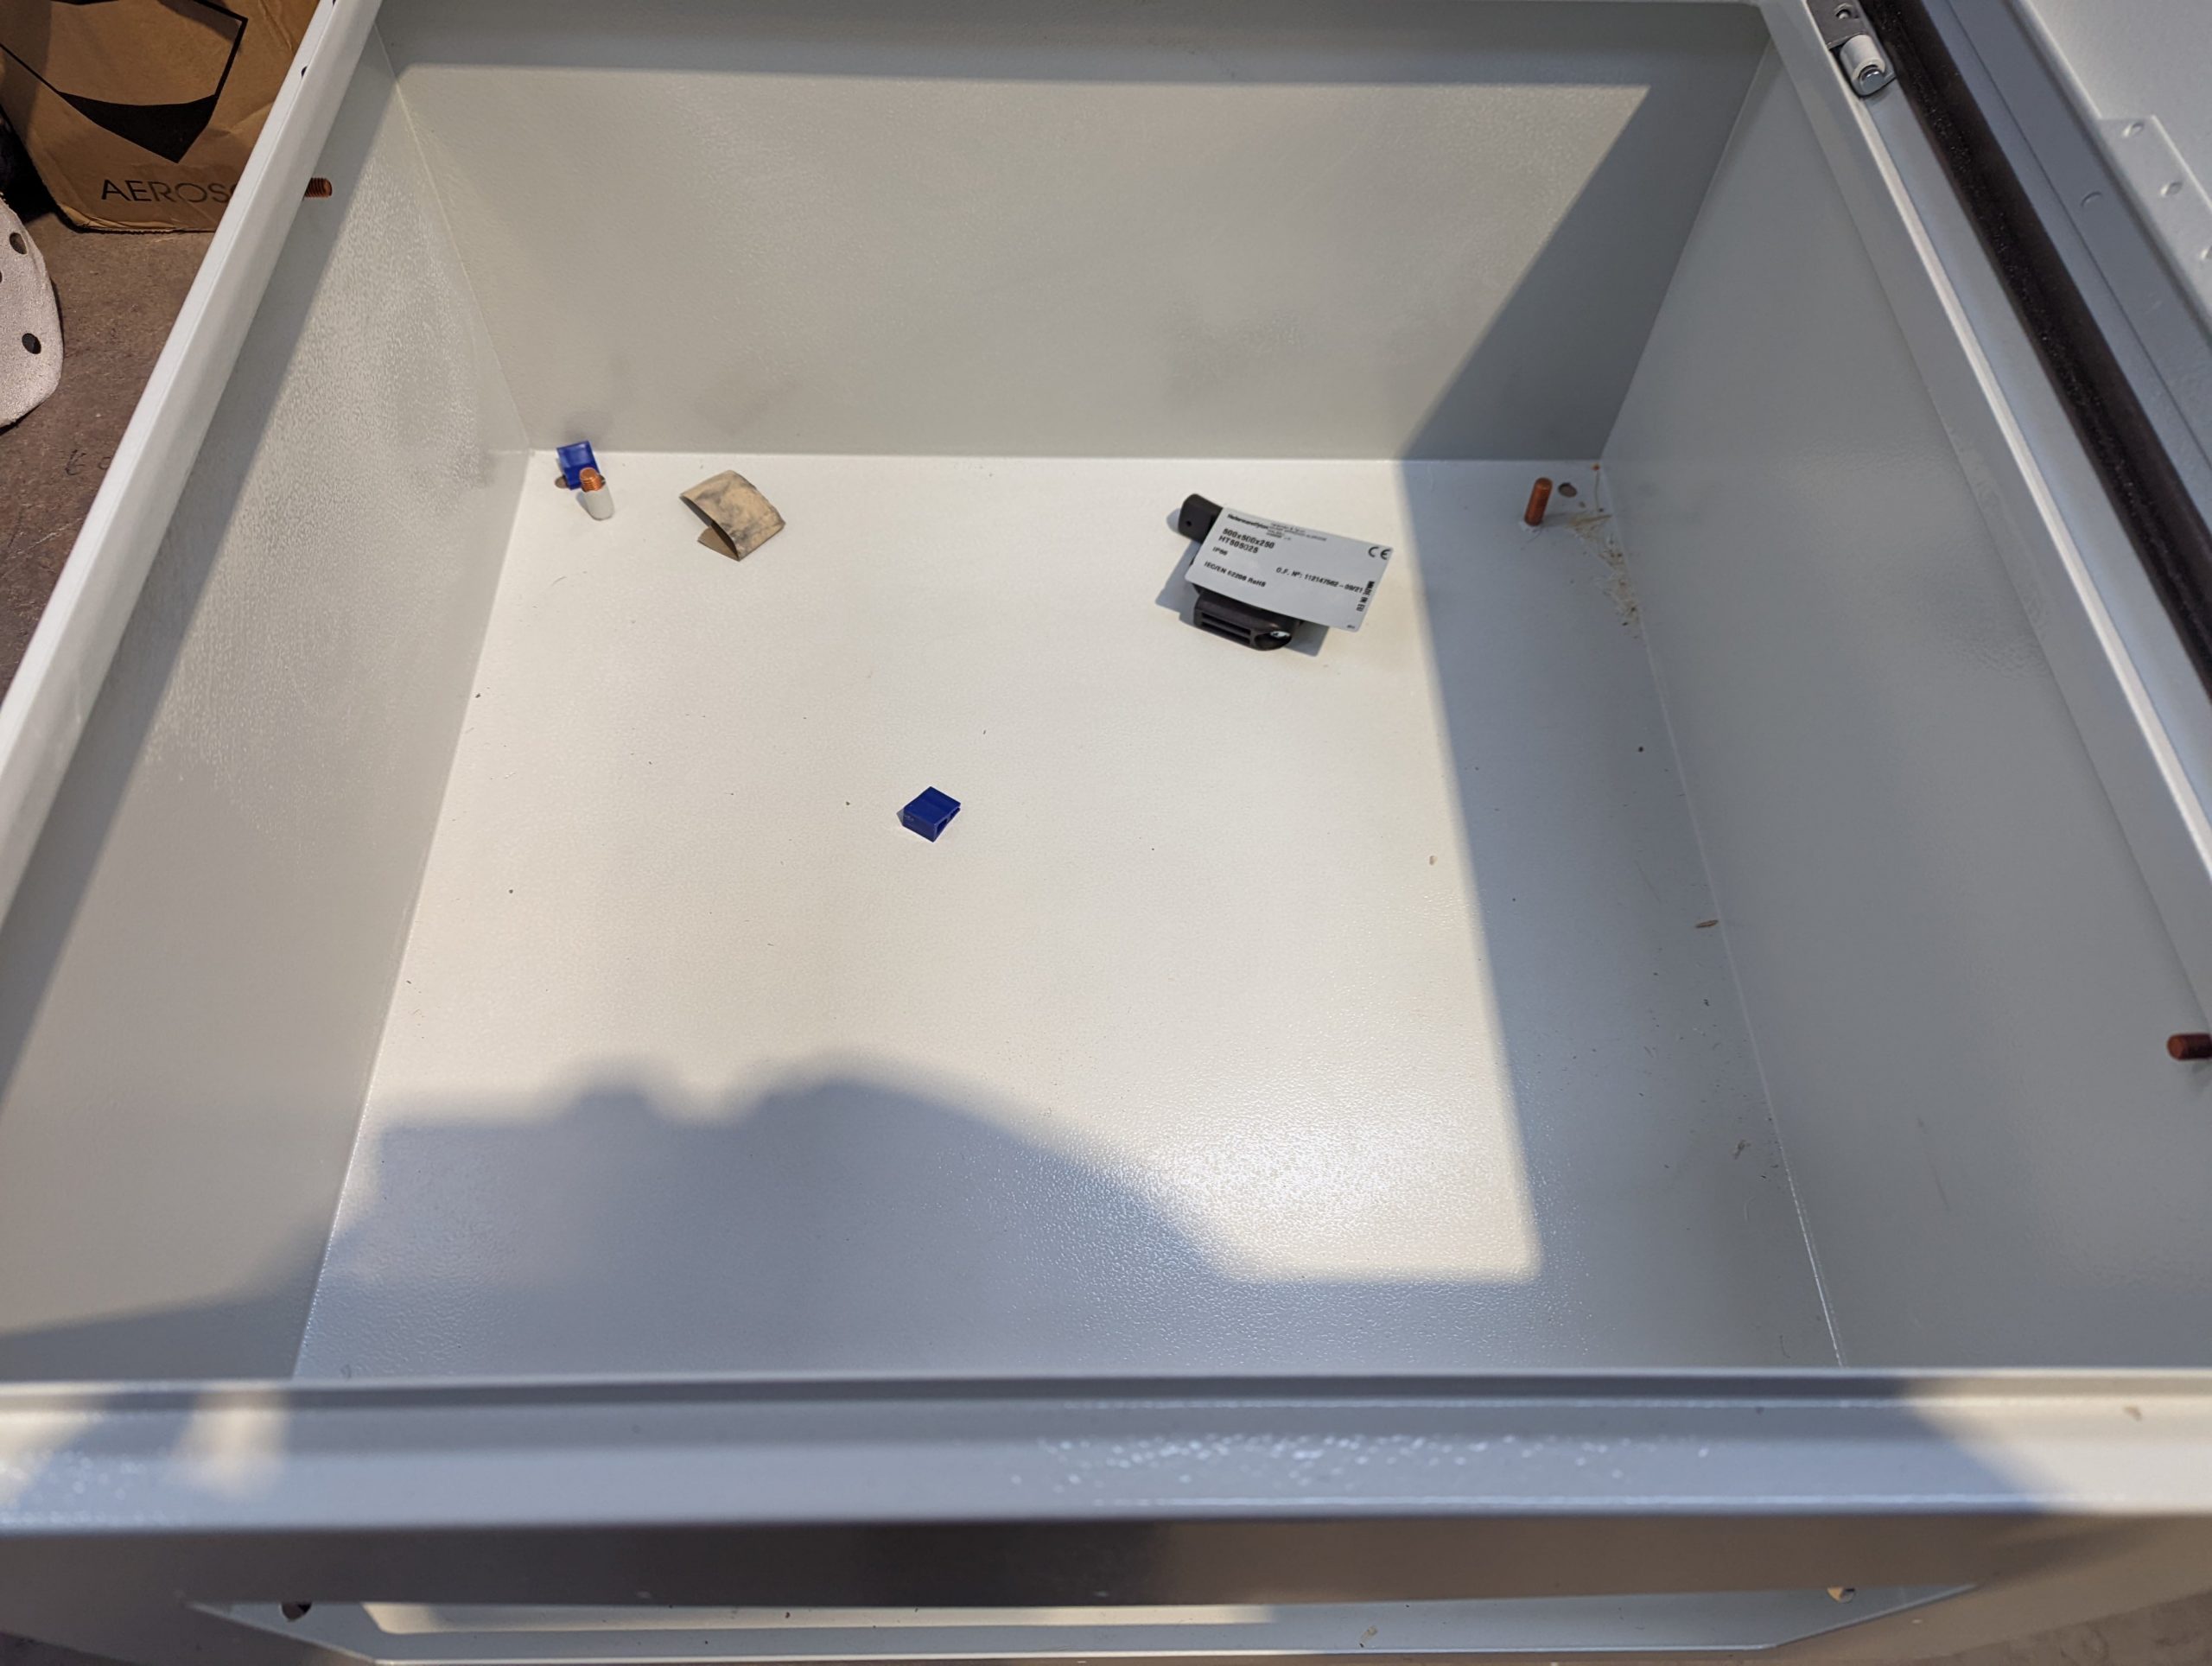
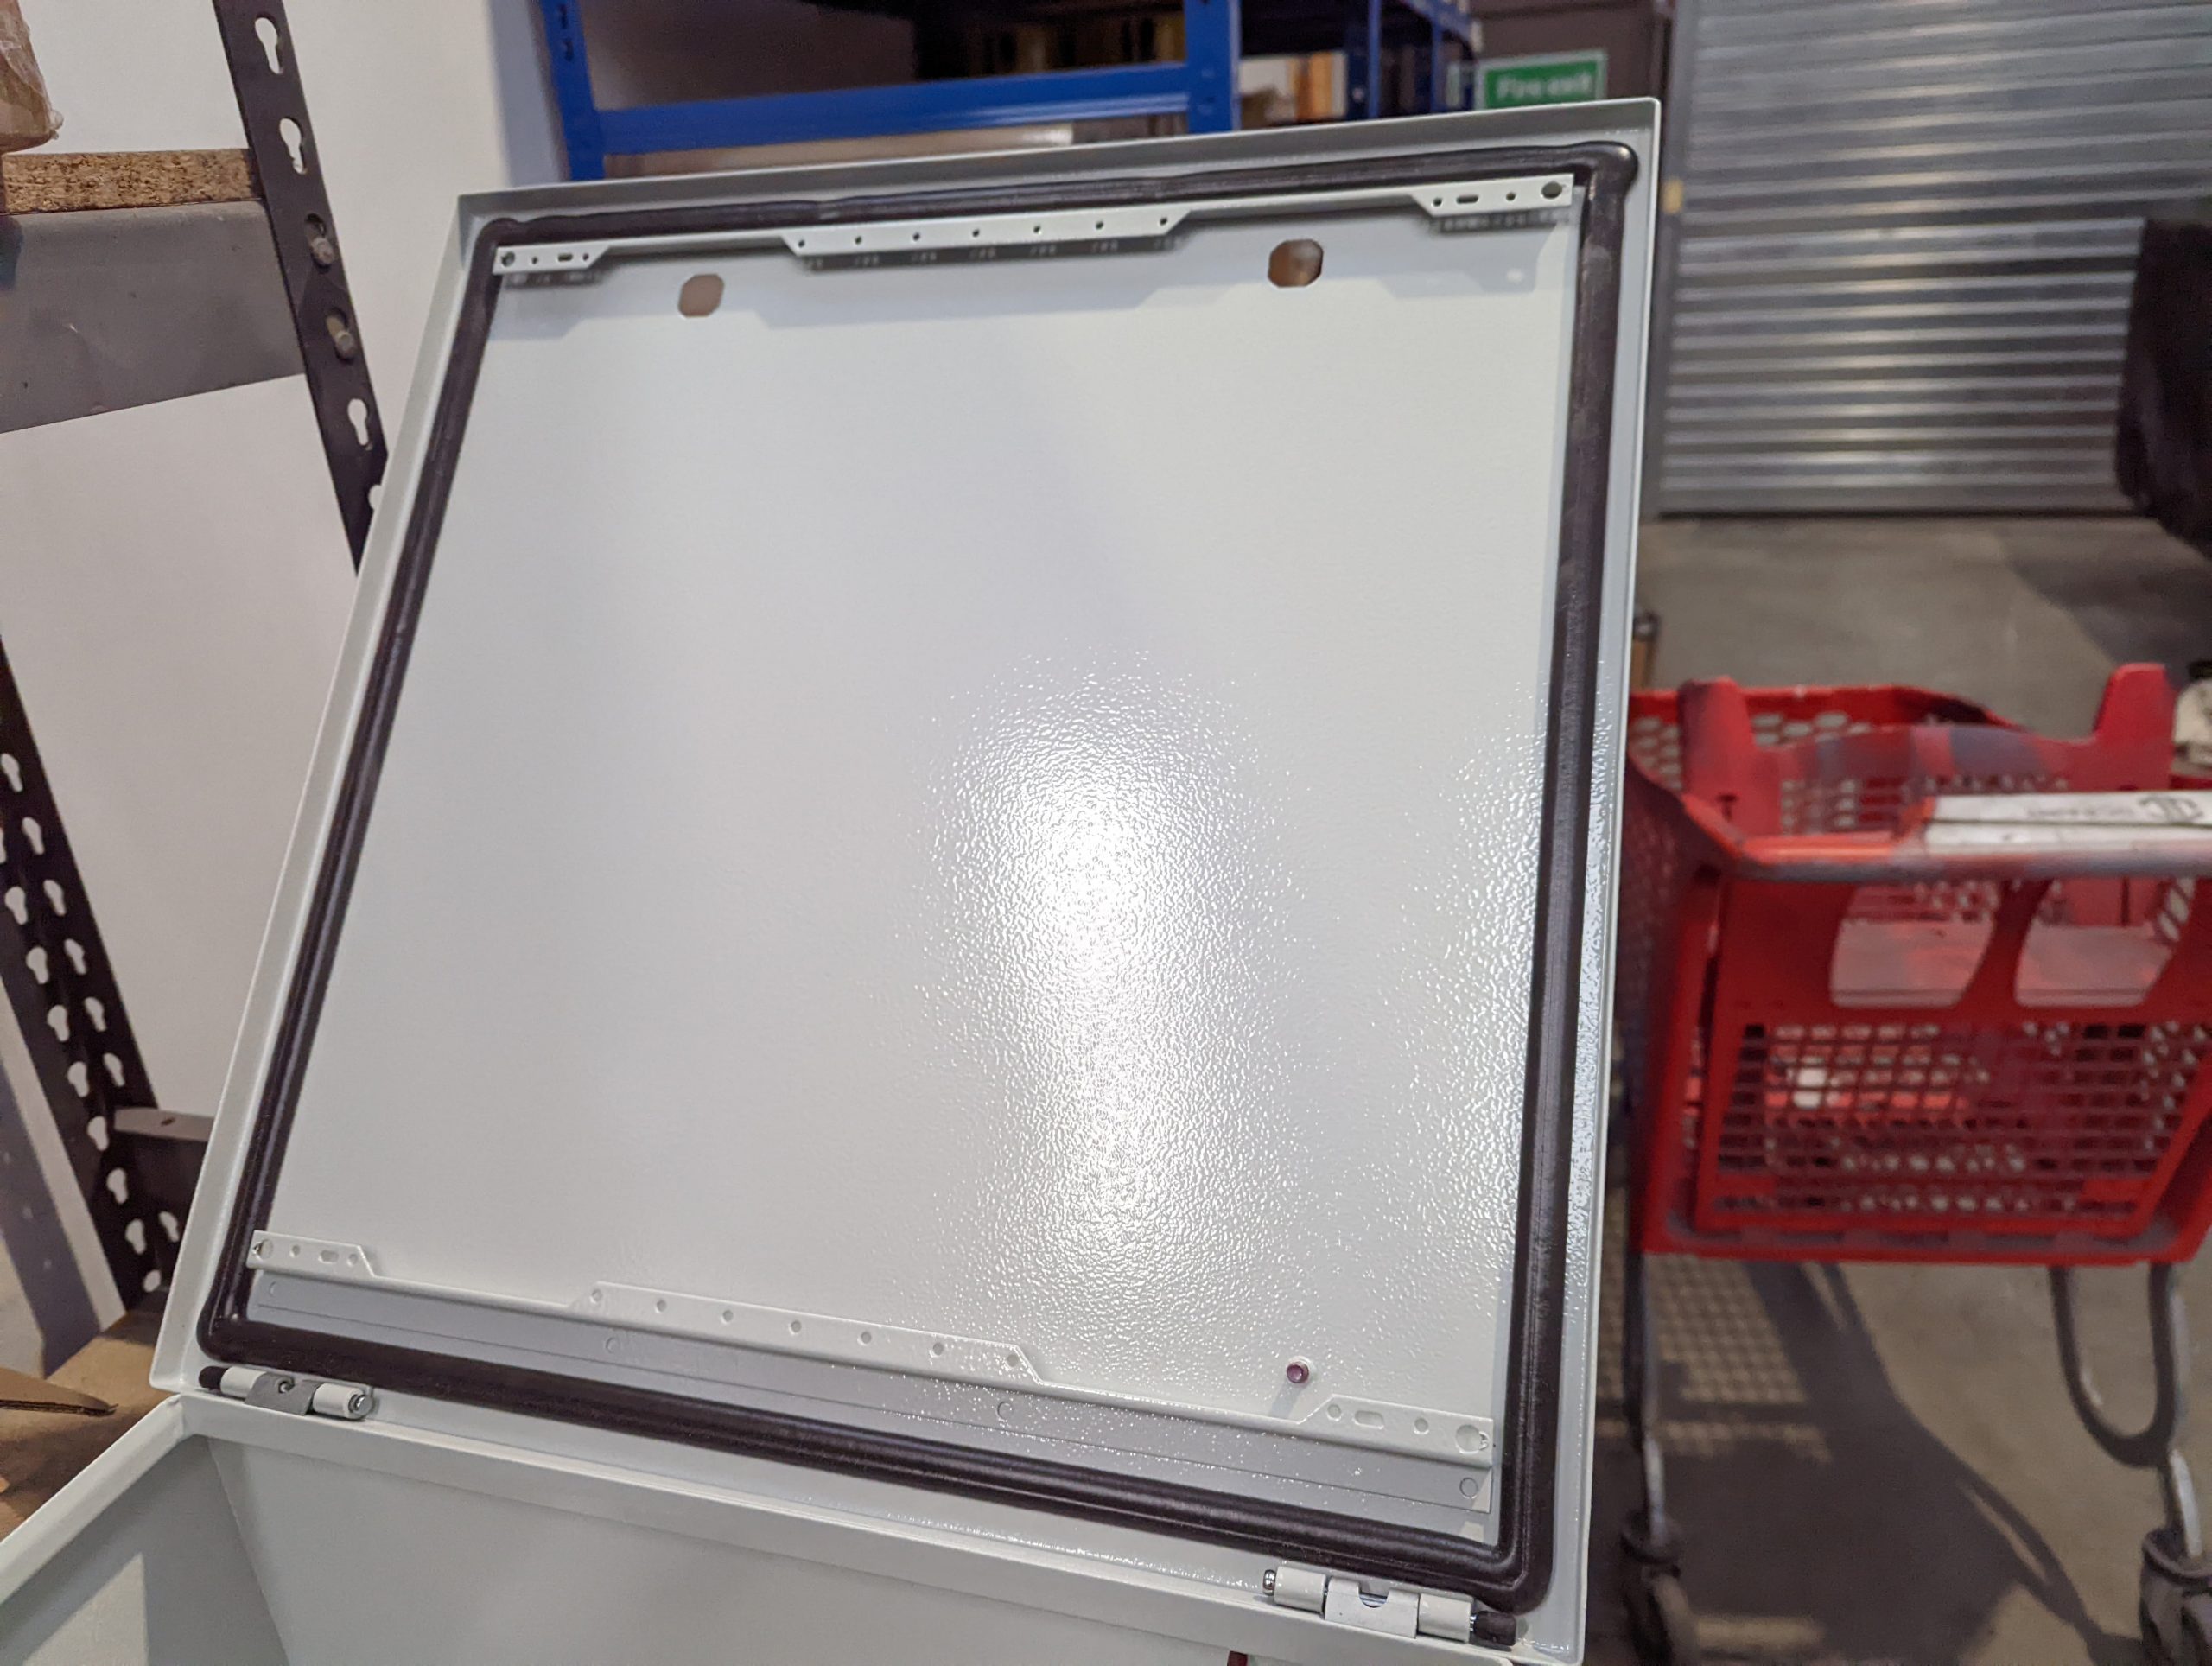
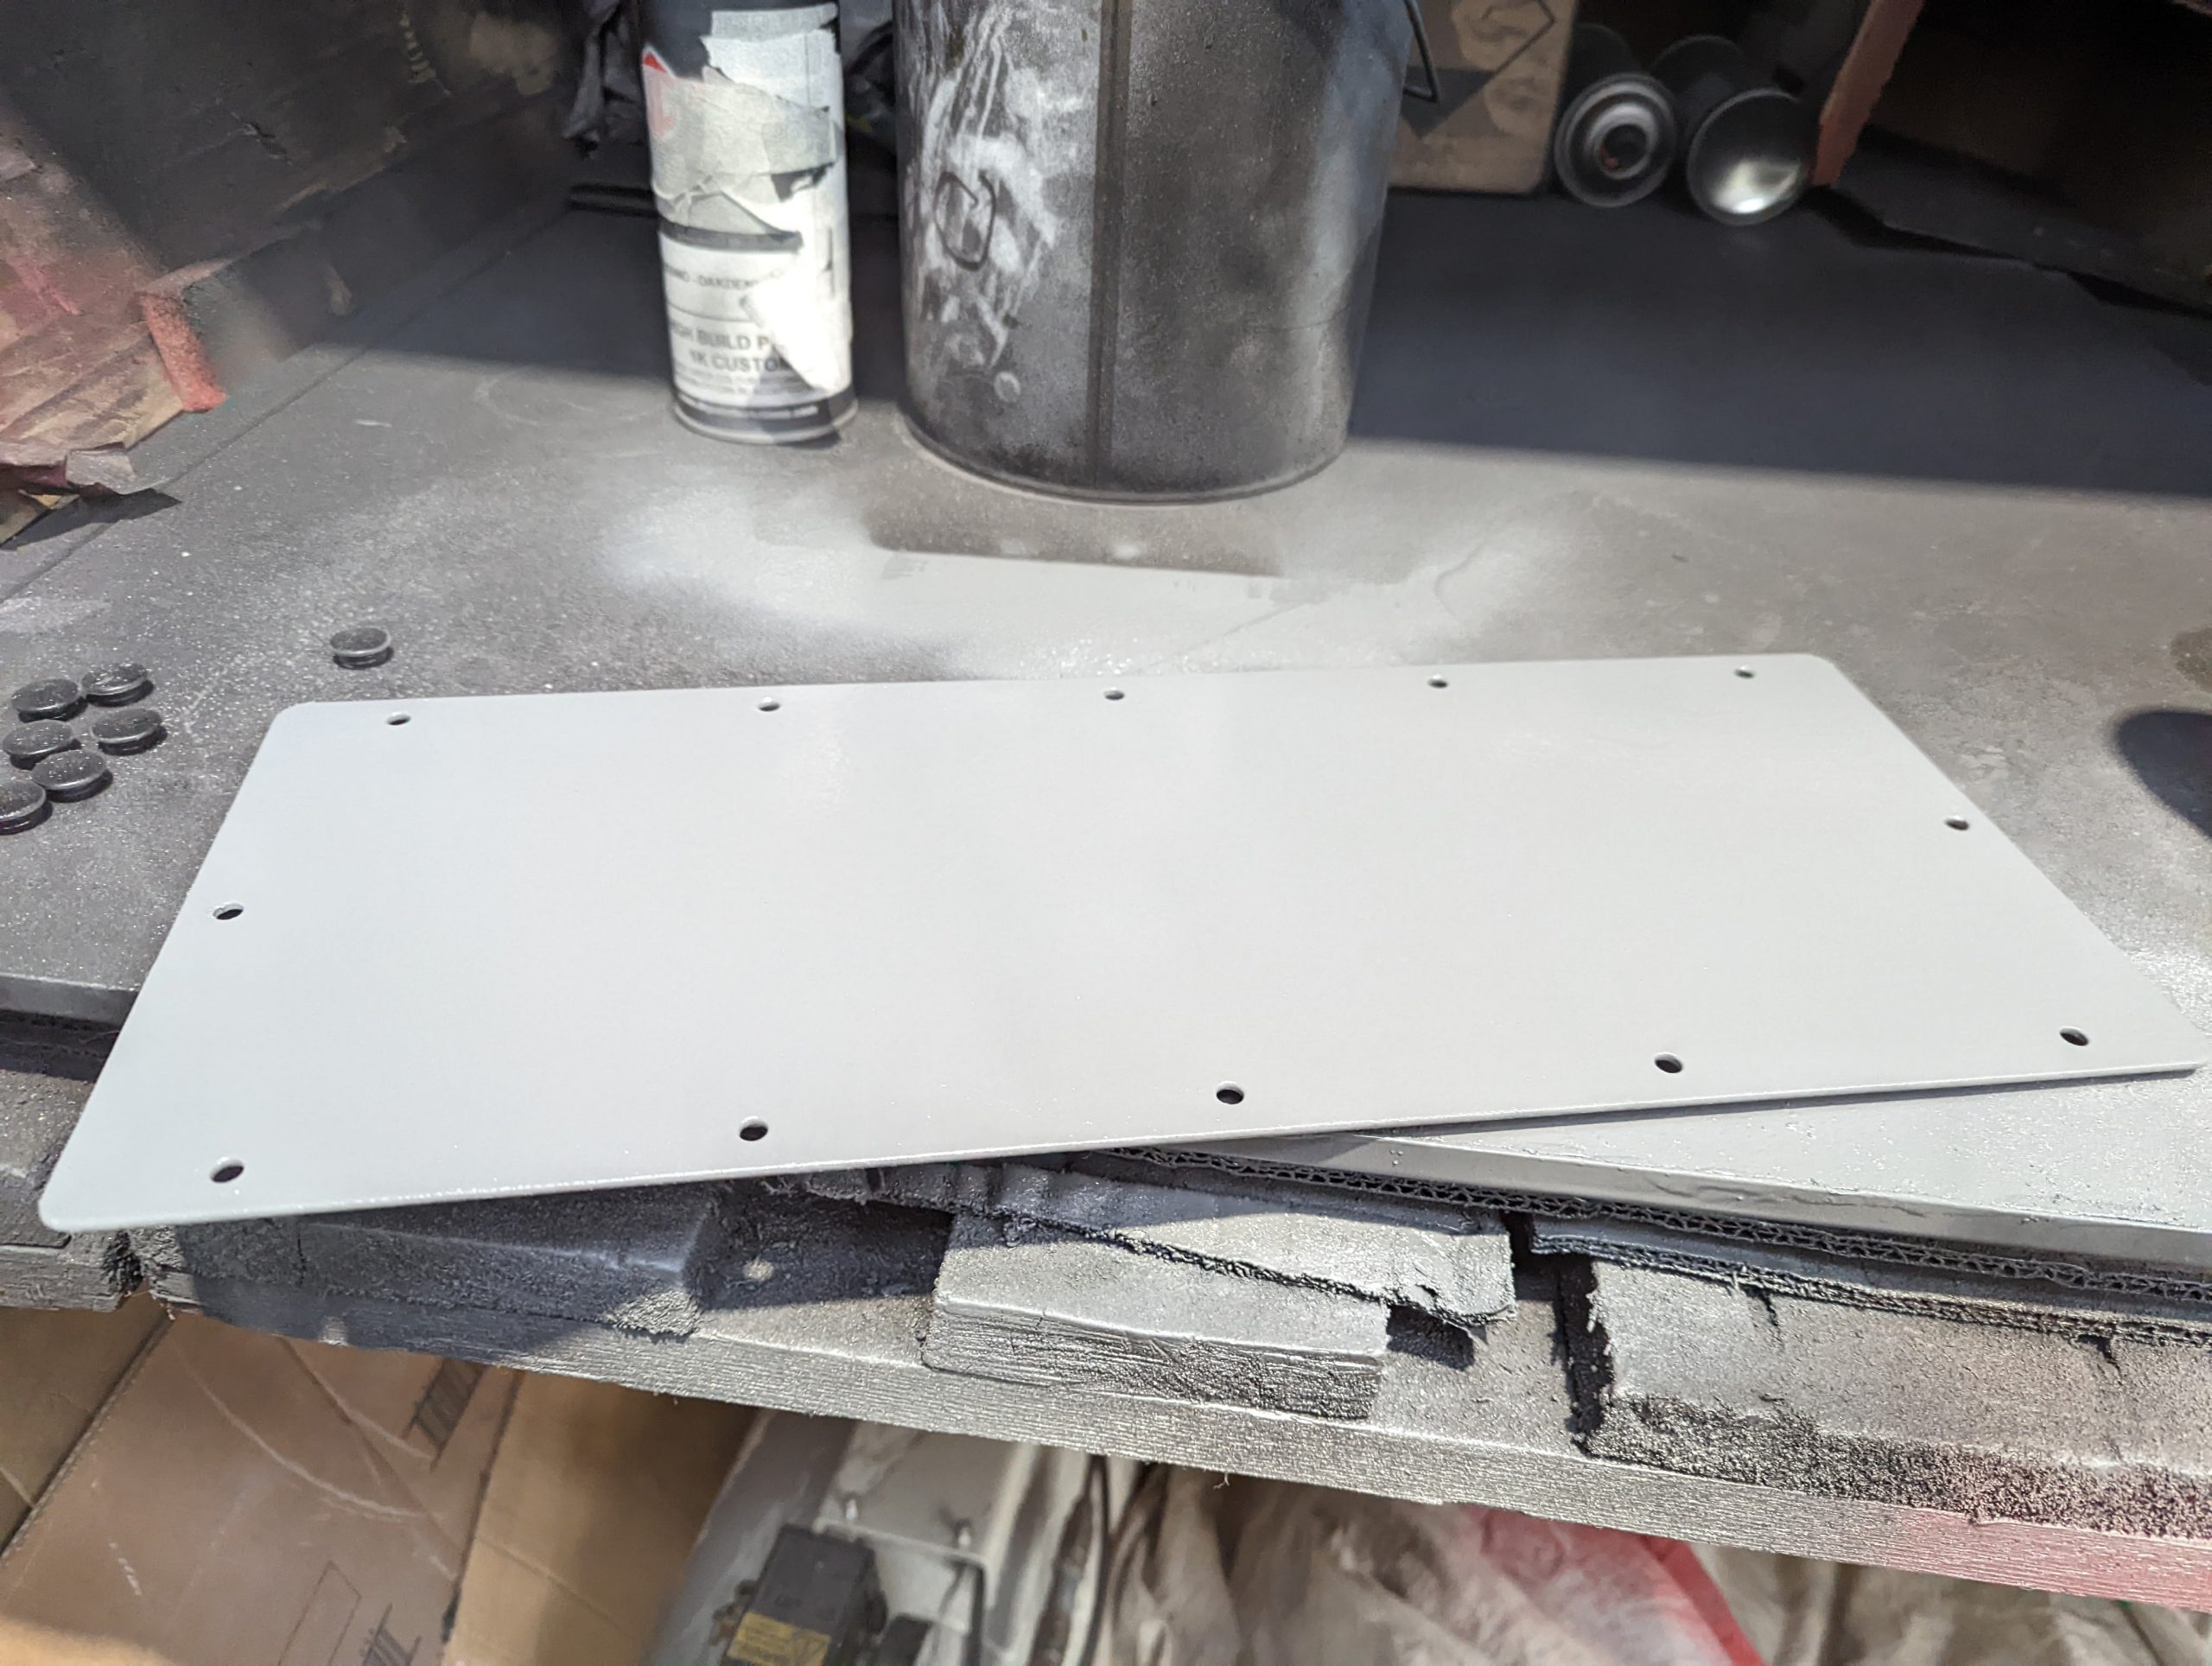
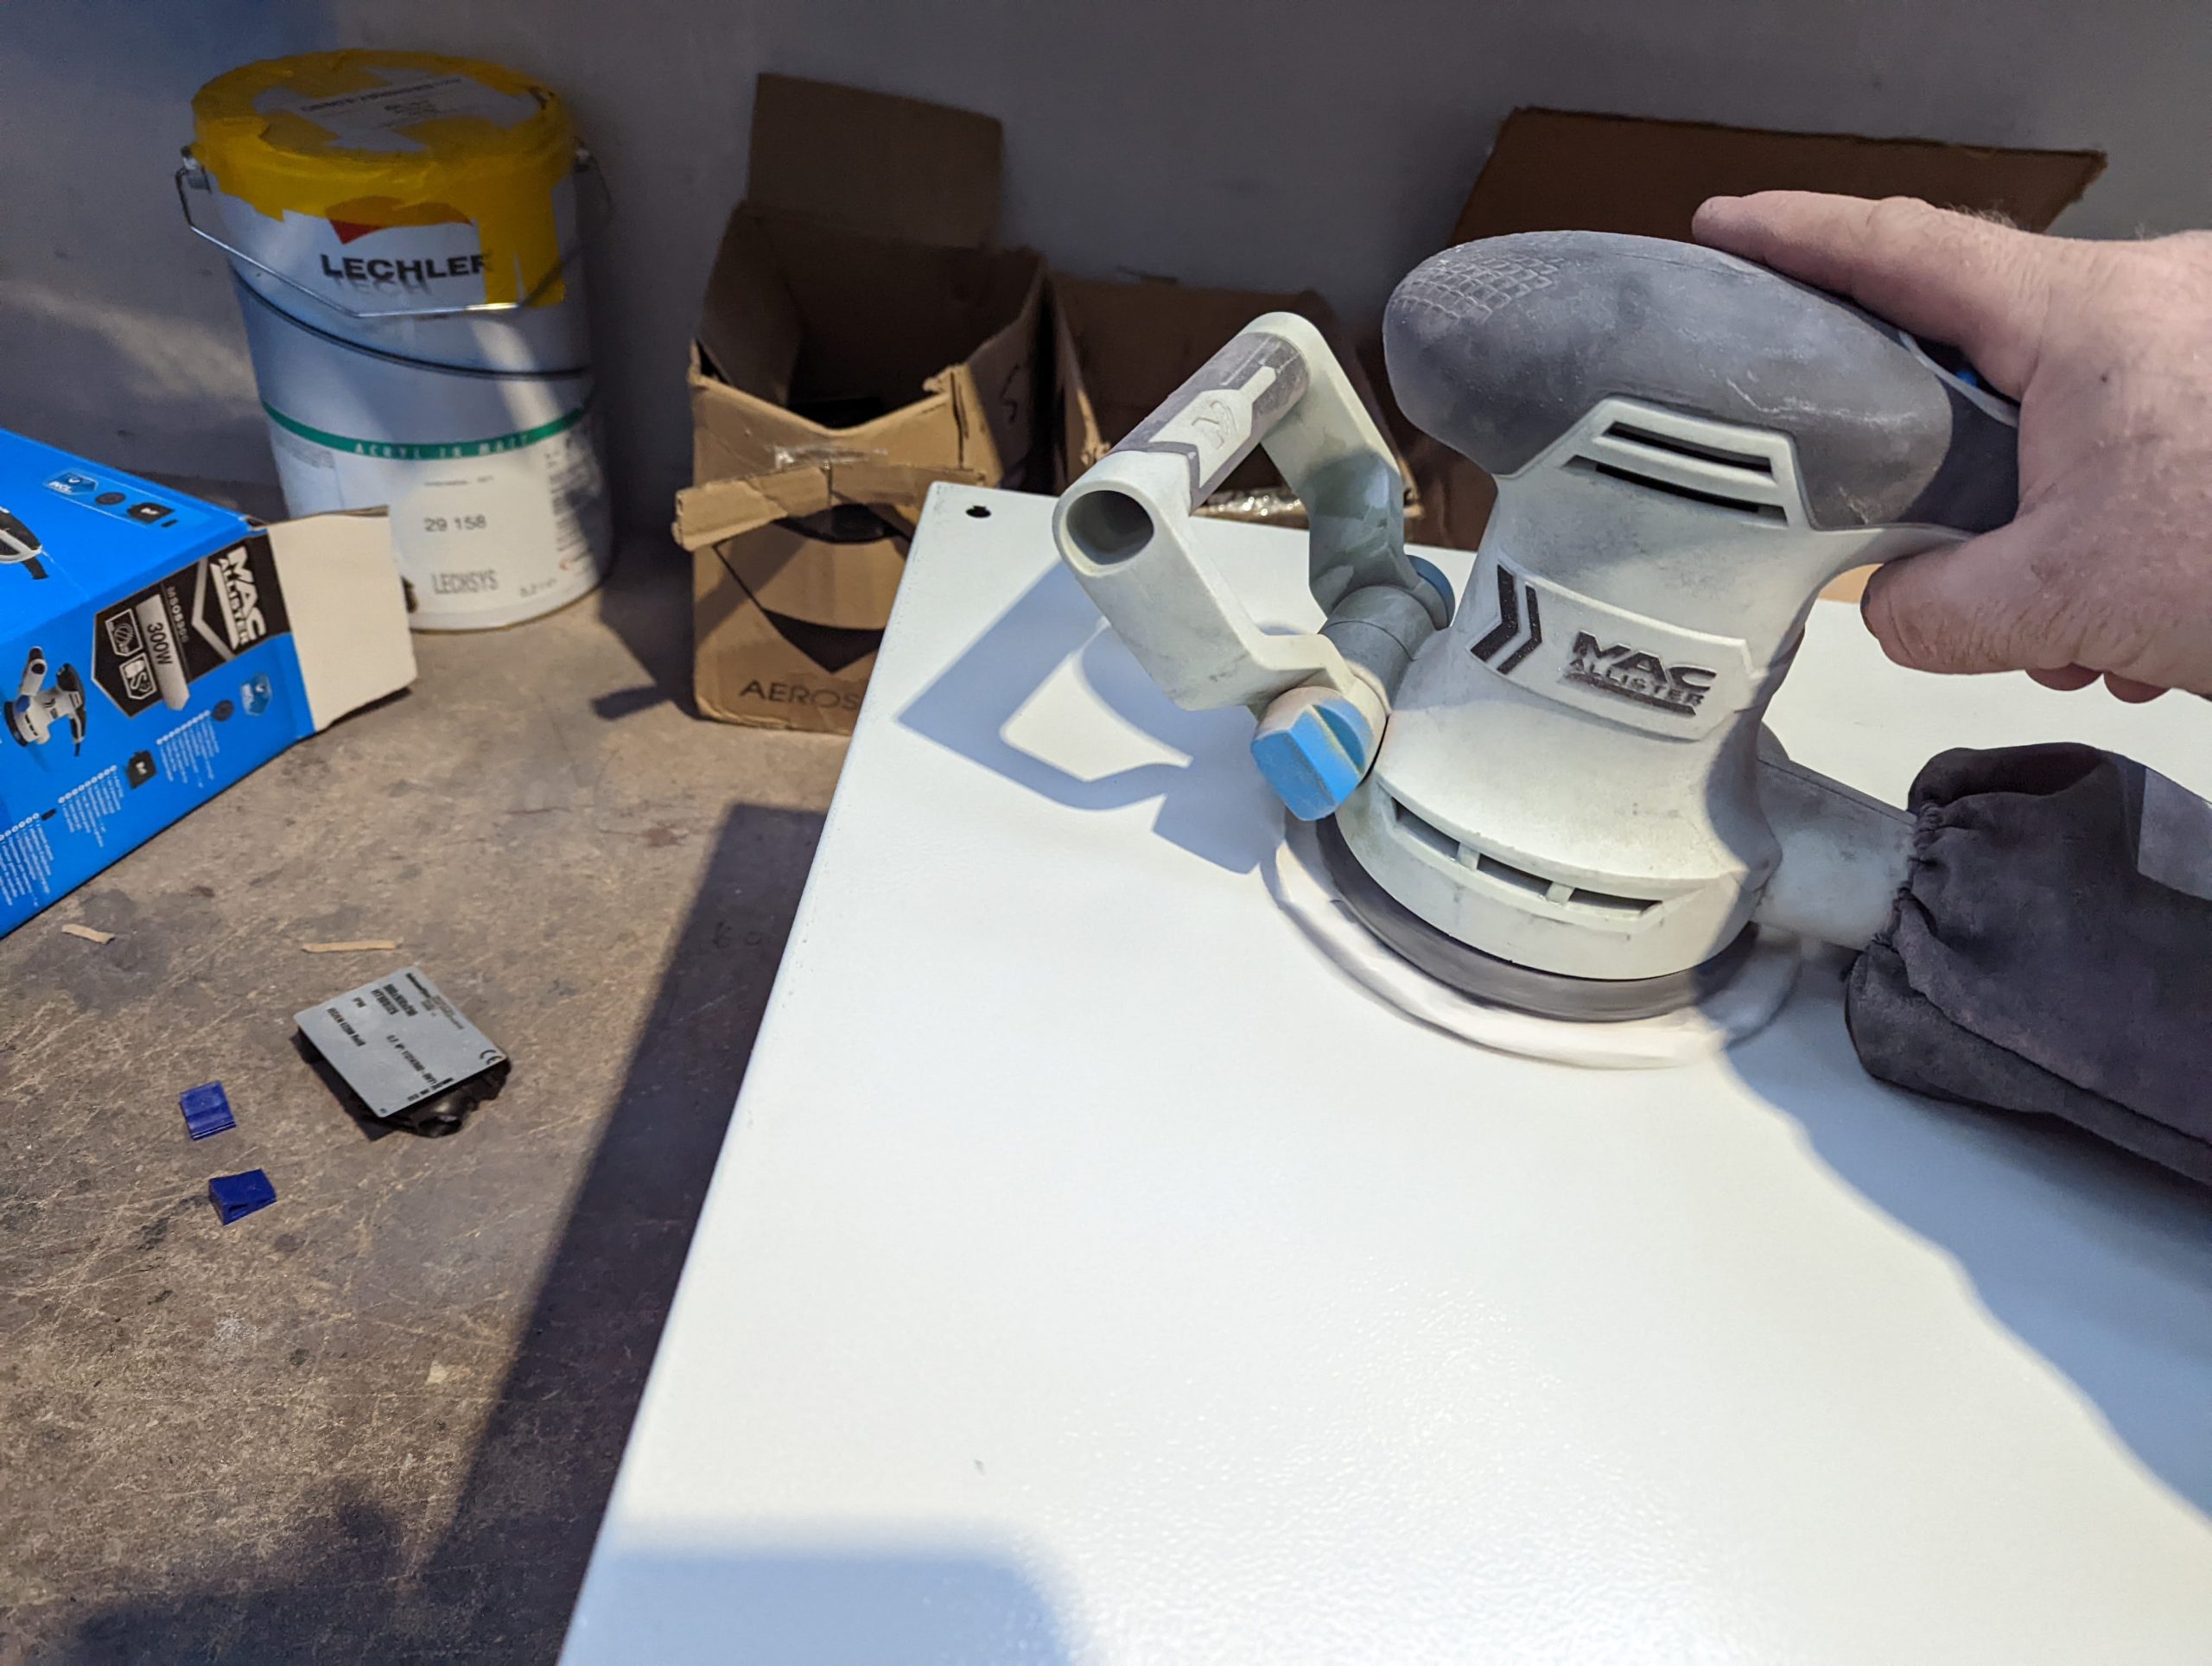
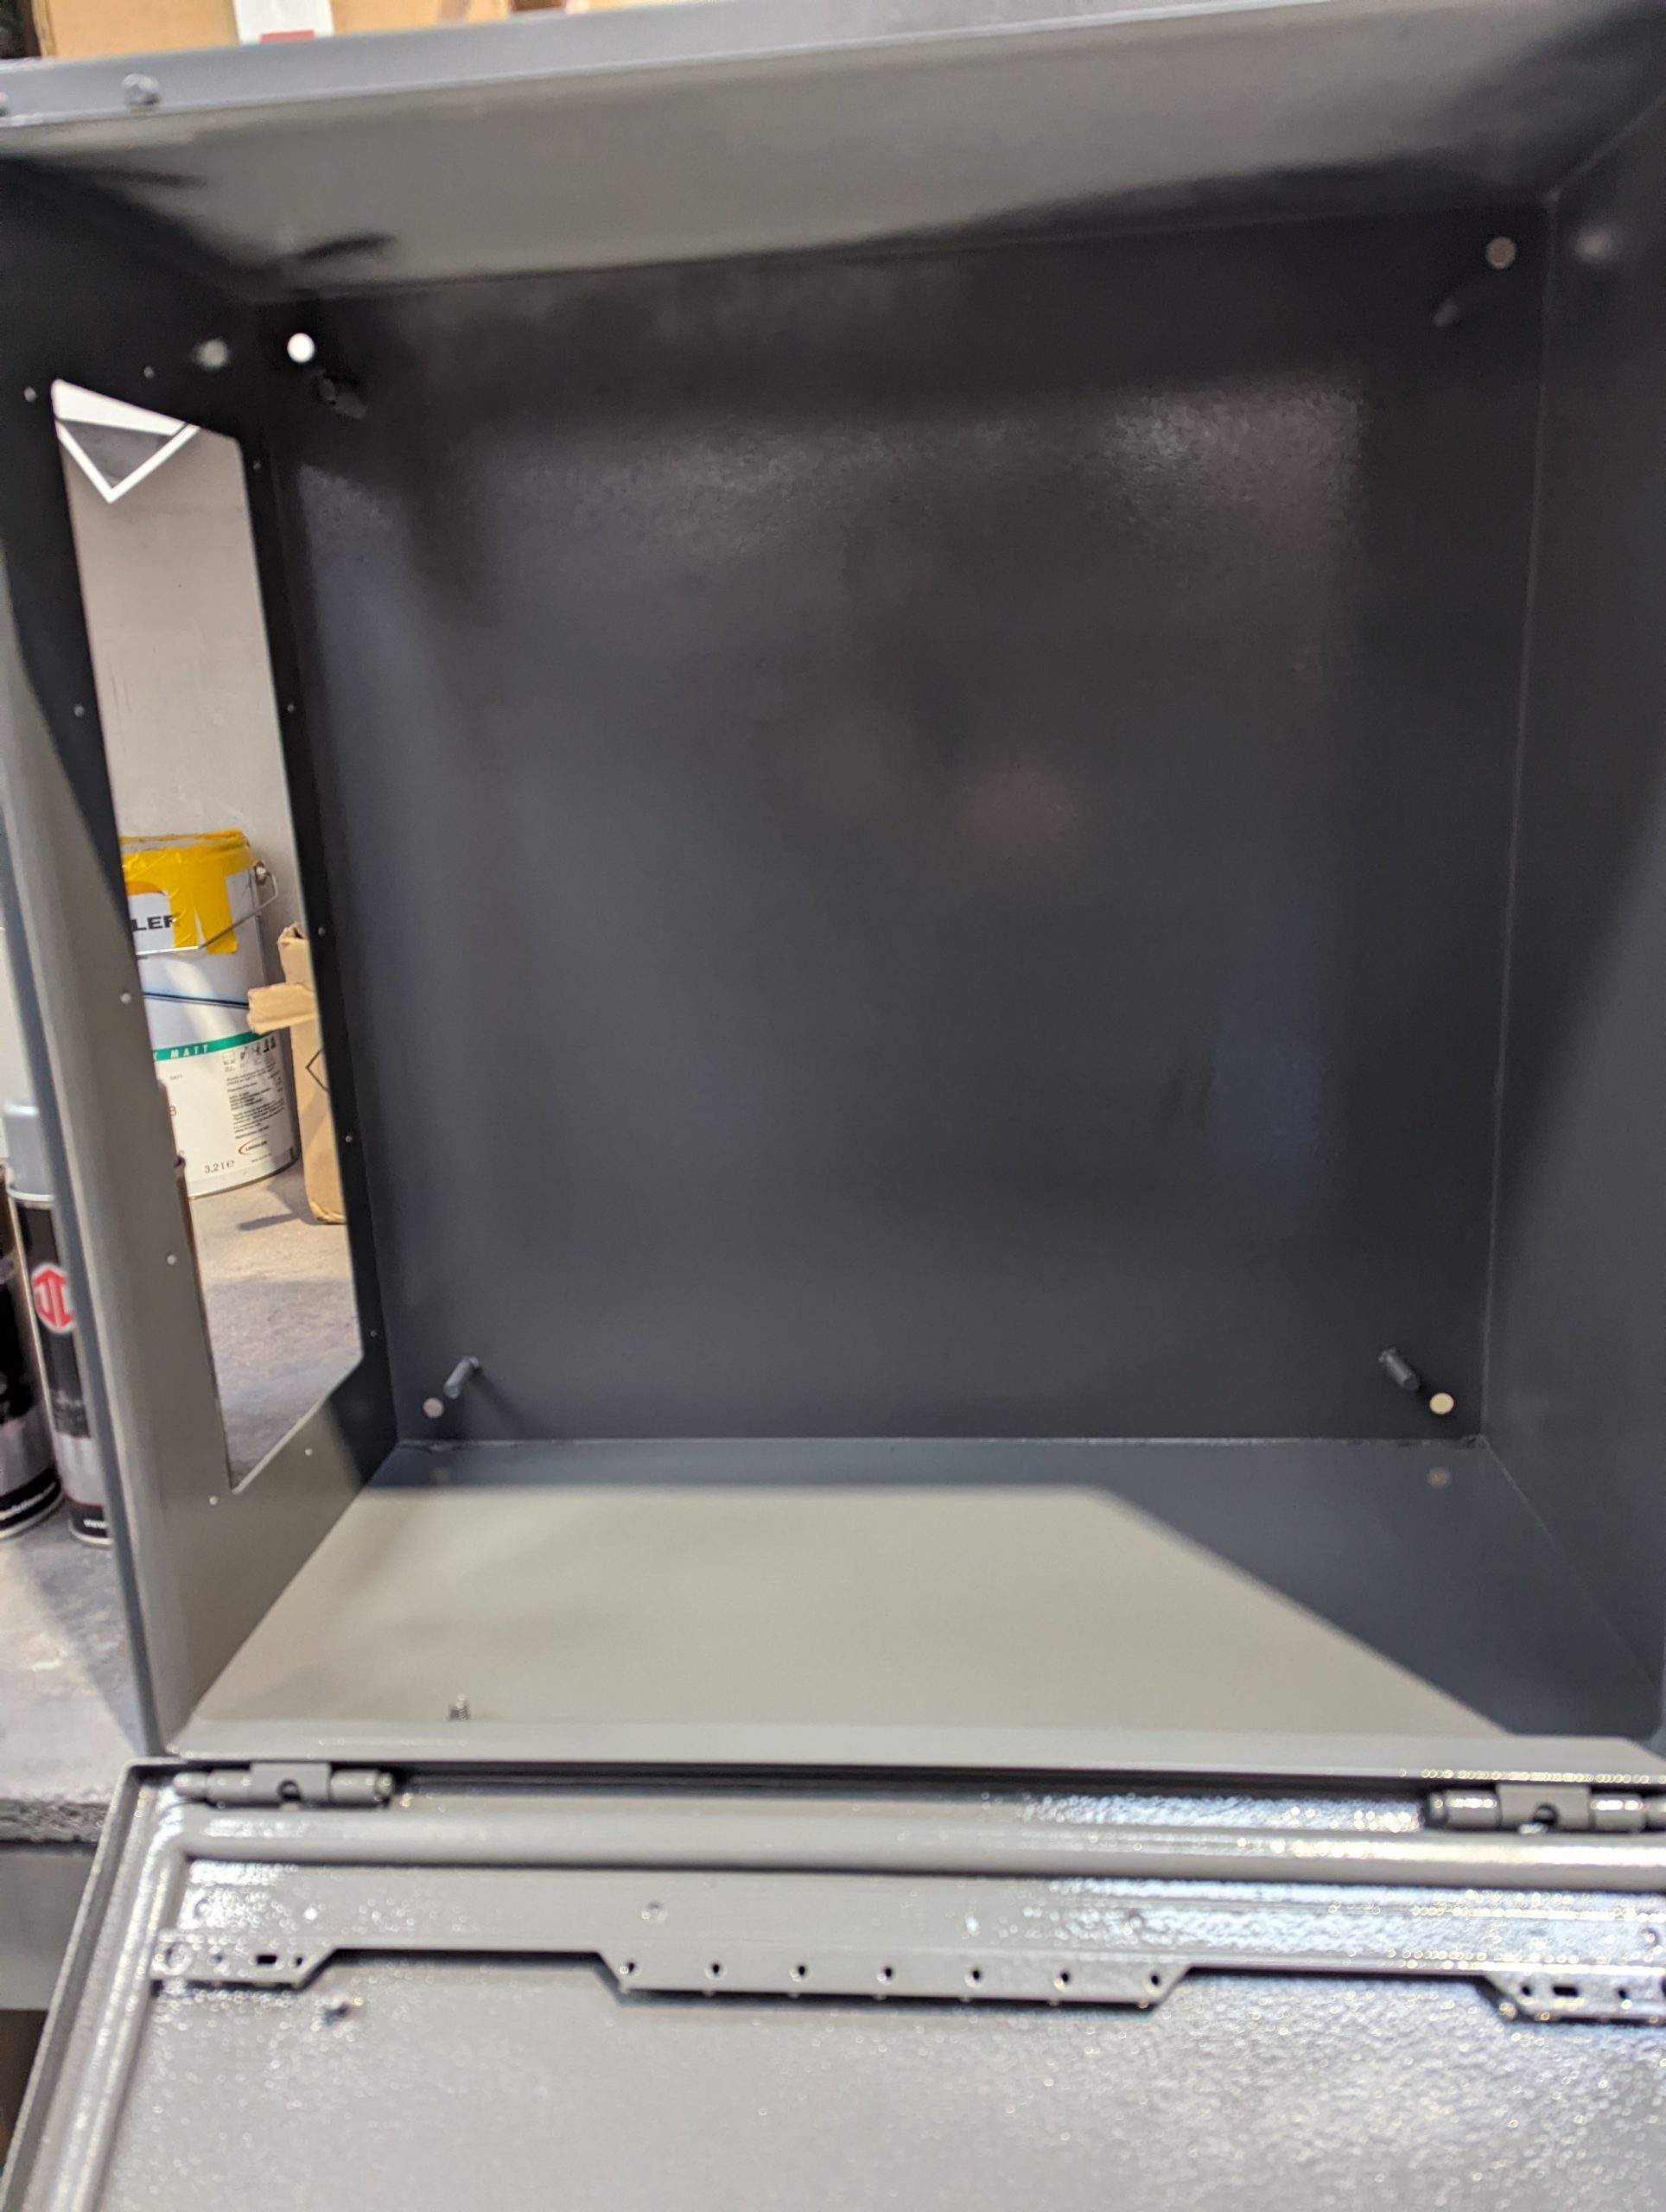
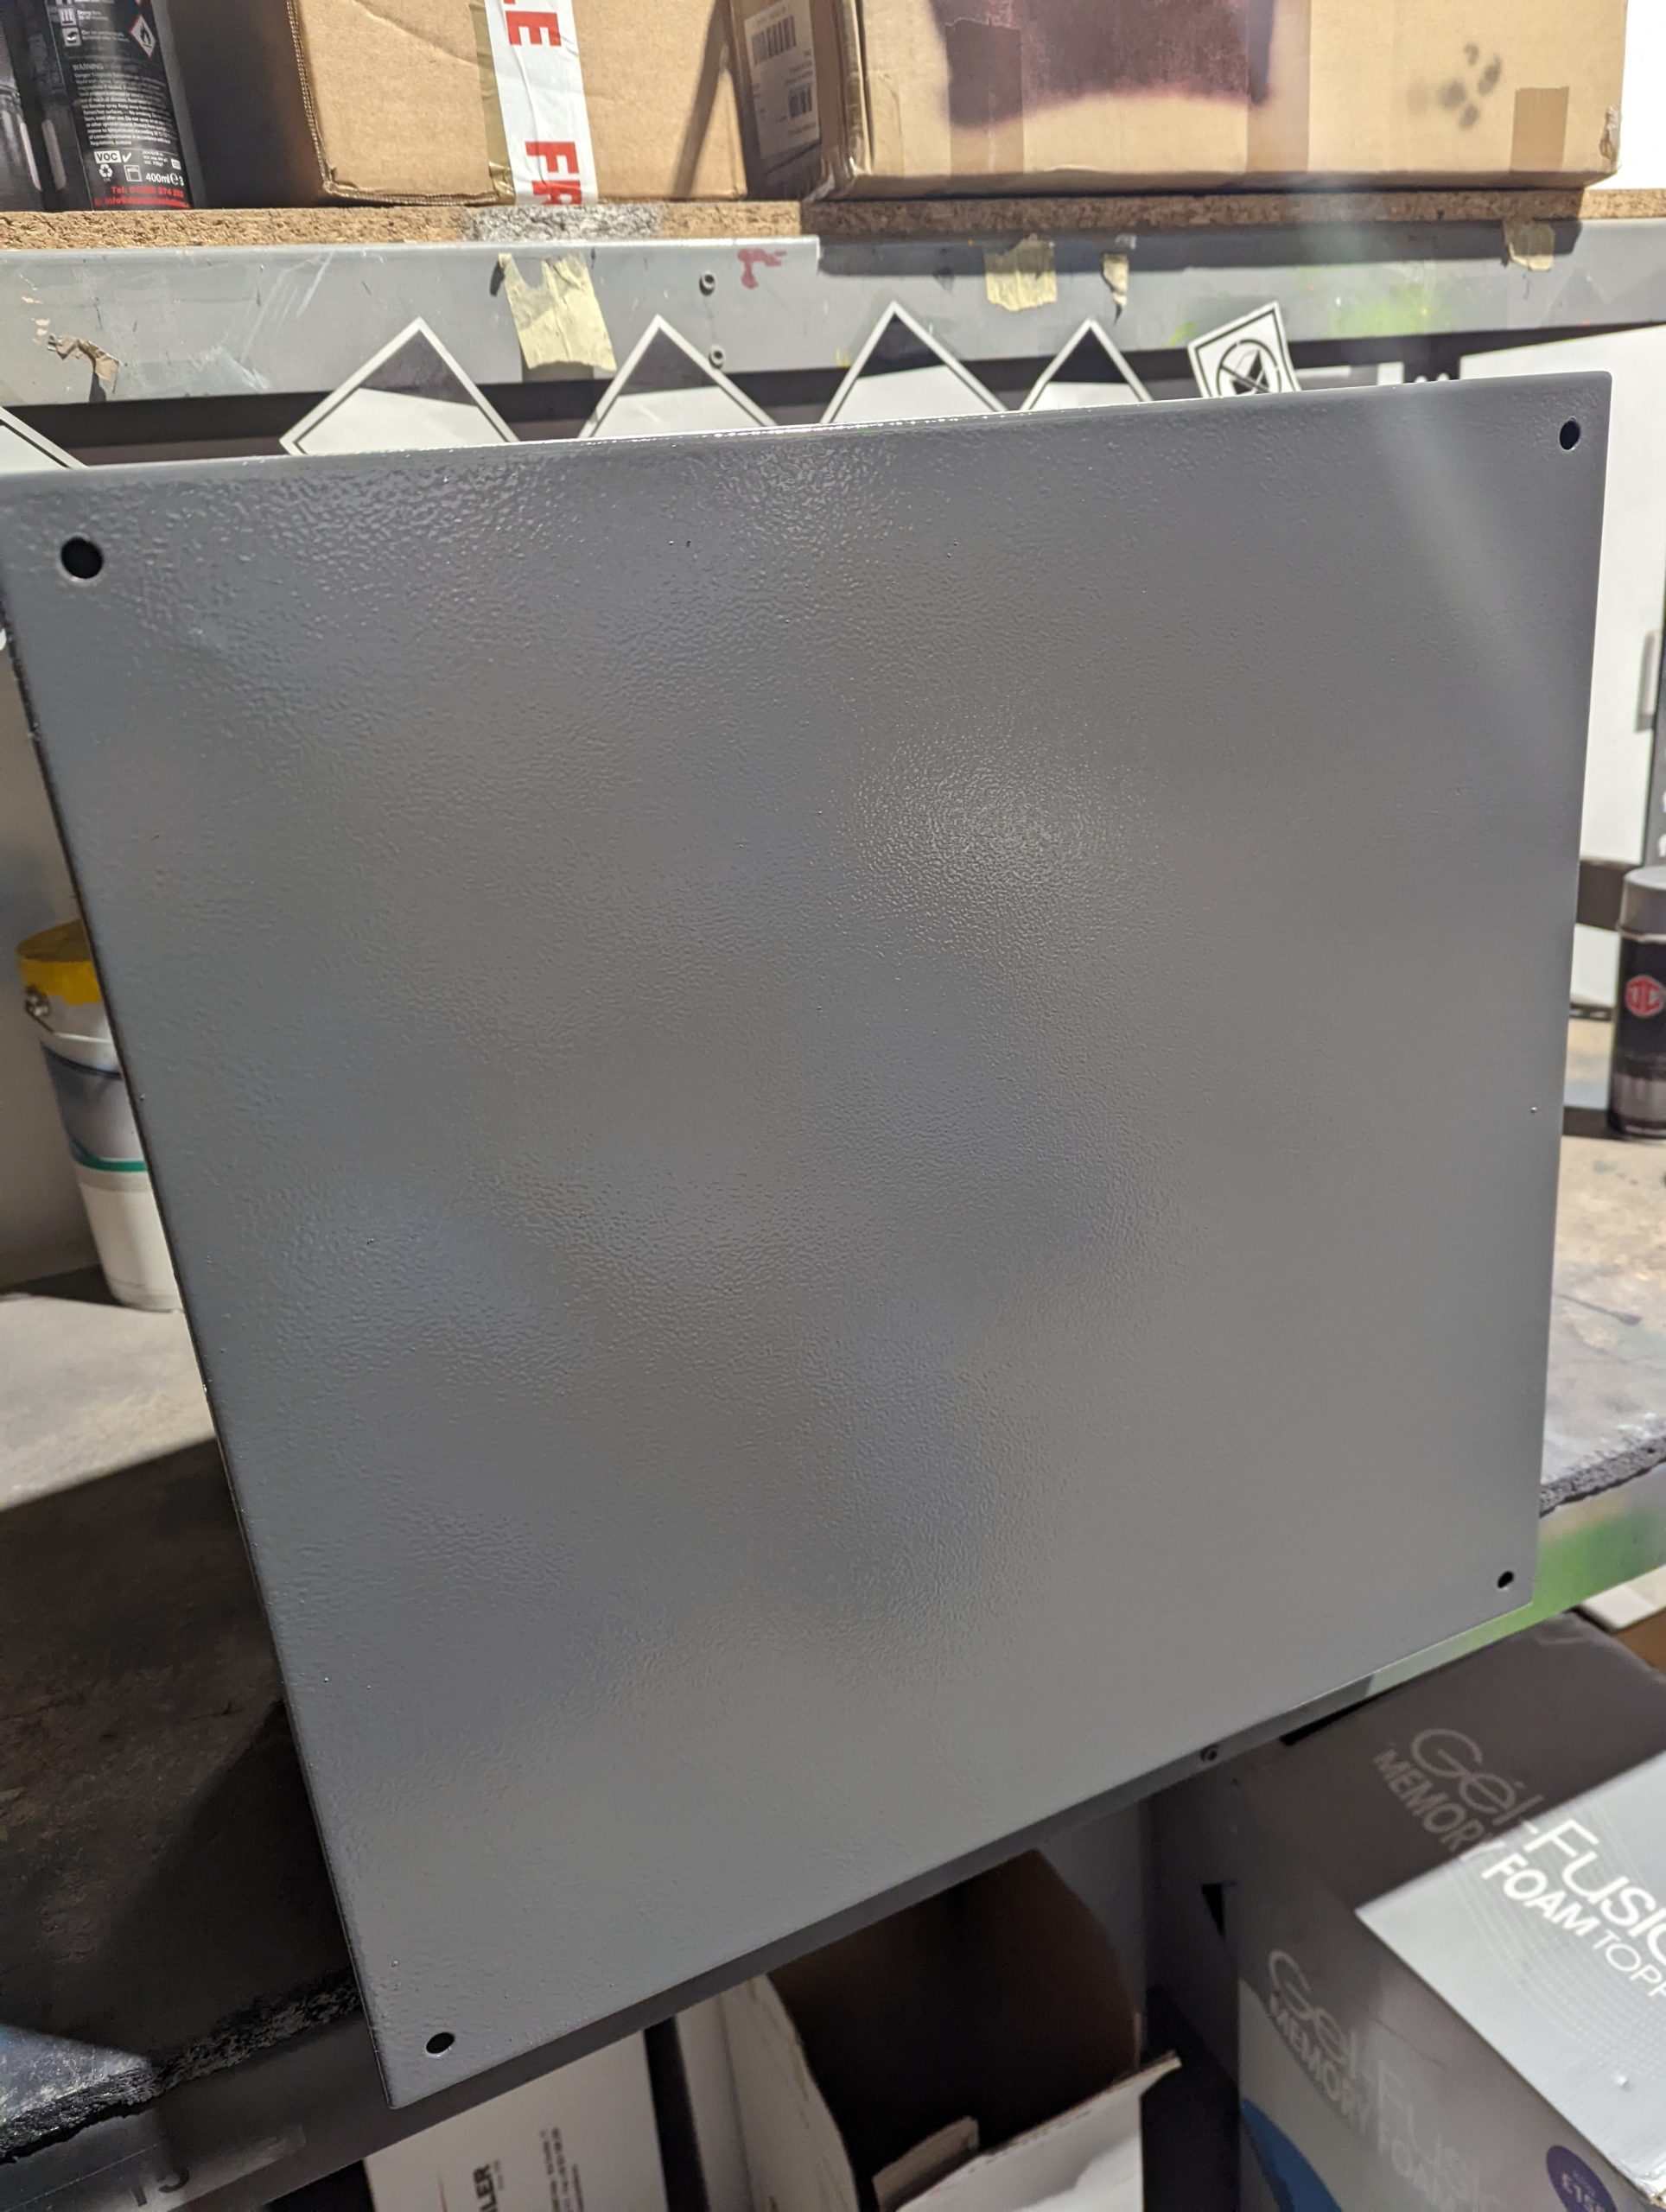
Our team started by masking up the parts that we didn’t want to paint and removing all the locks and handles. We then prepped the surface by lightly keying the paint on each of the panels on the inside and outside of the boxes, using Scotch Brite Pads and some 240g sandpaper. After this, we cleaned off any residual debris and applied a High Build Primer on each panel. Once the High Build Primer had been cured on the inside panels, we then moved to the outside panels.
TOP TIP: When painting boxes, always start from the inside as it’s much easier and will reduce the paint waste on respraying. You can also manoeuvre the boxes easily as you can touch the outside while it’s unpainted.
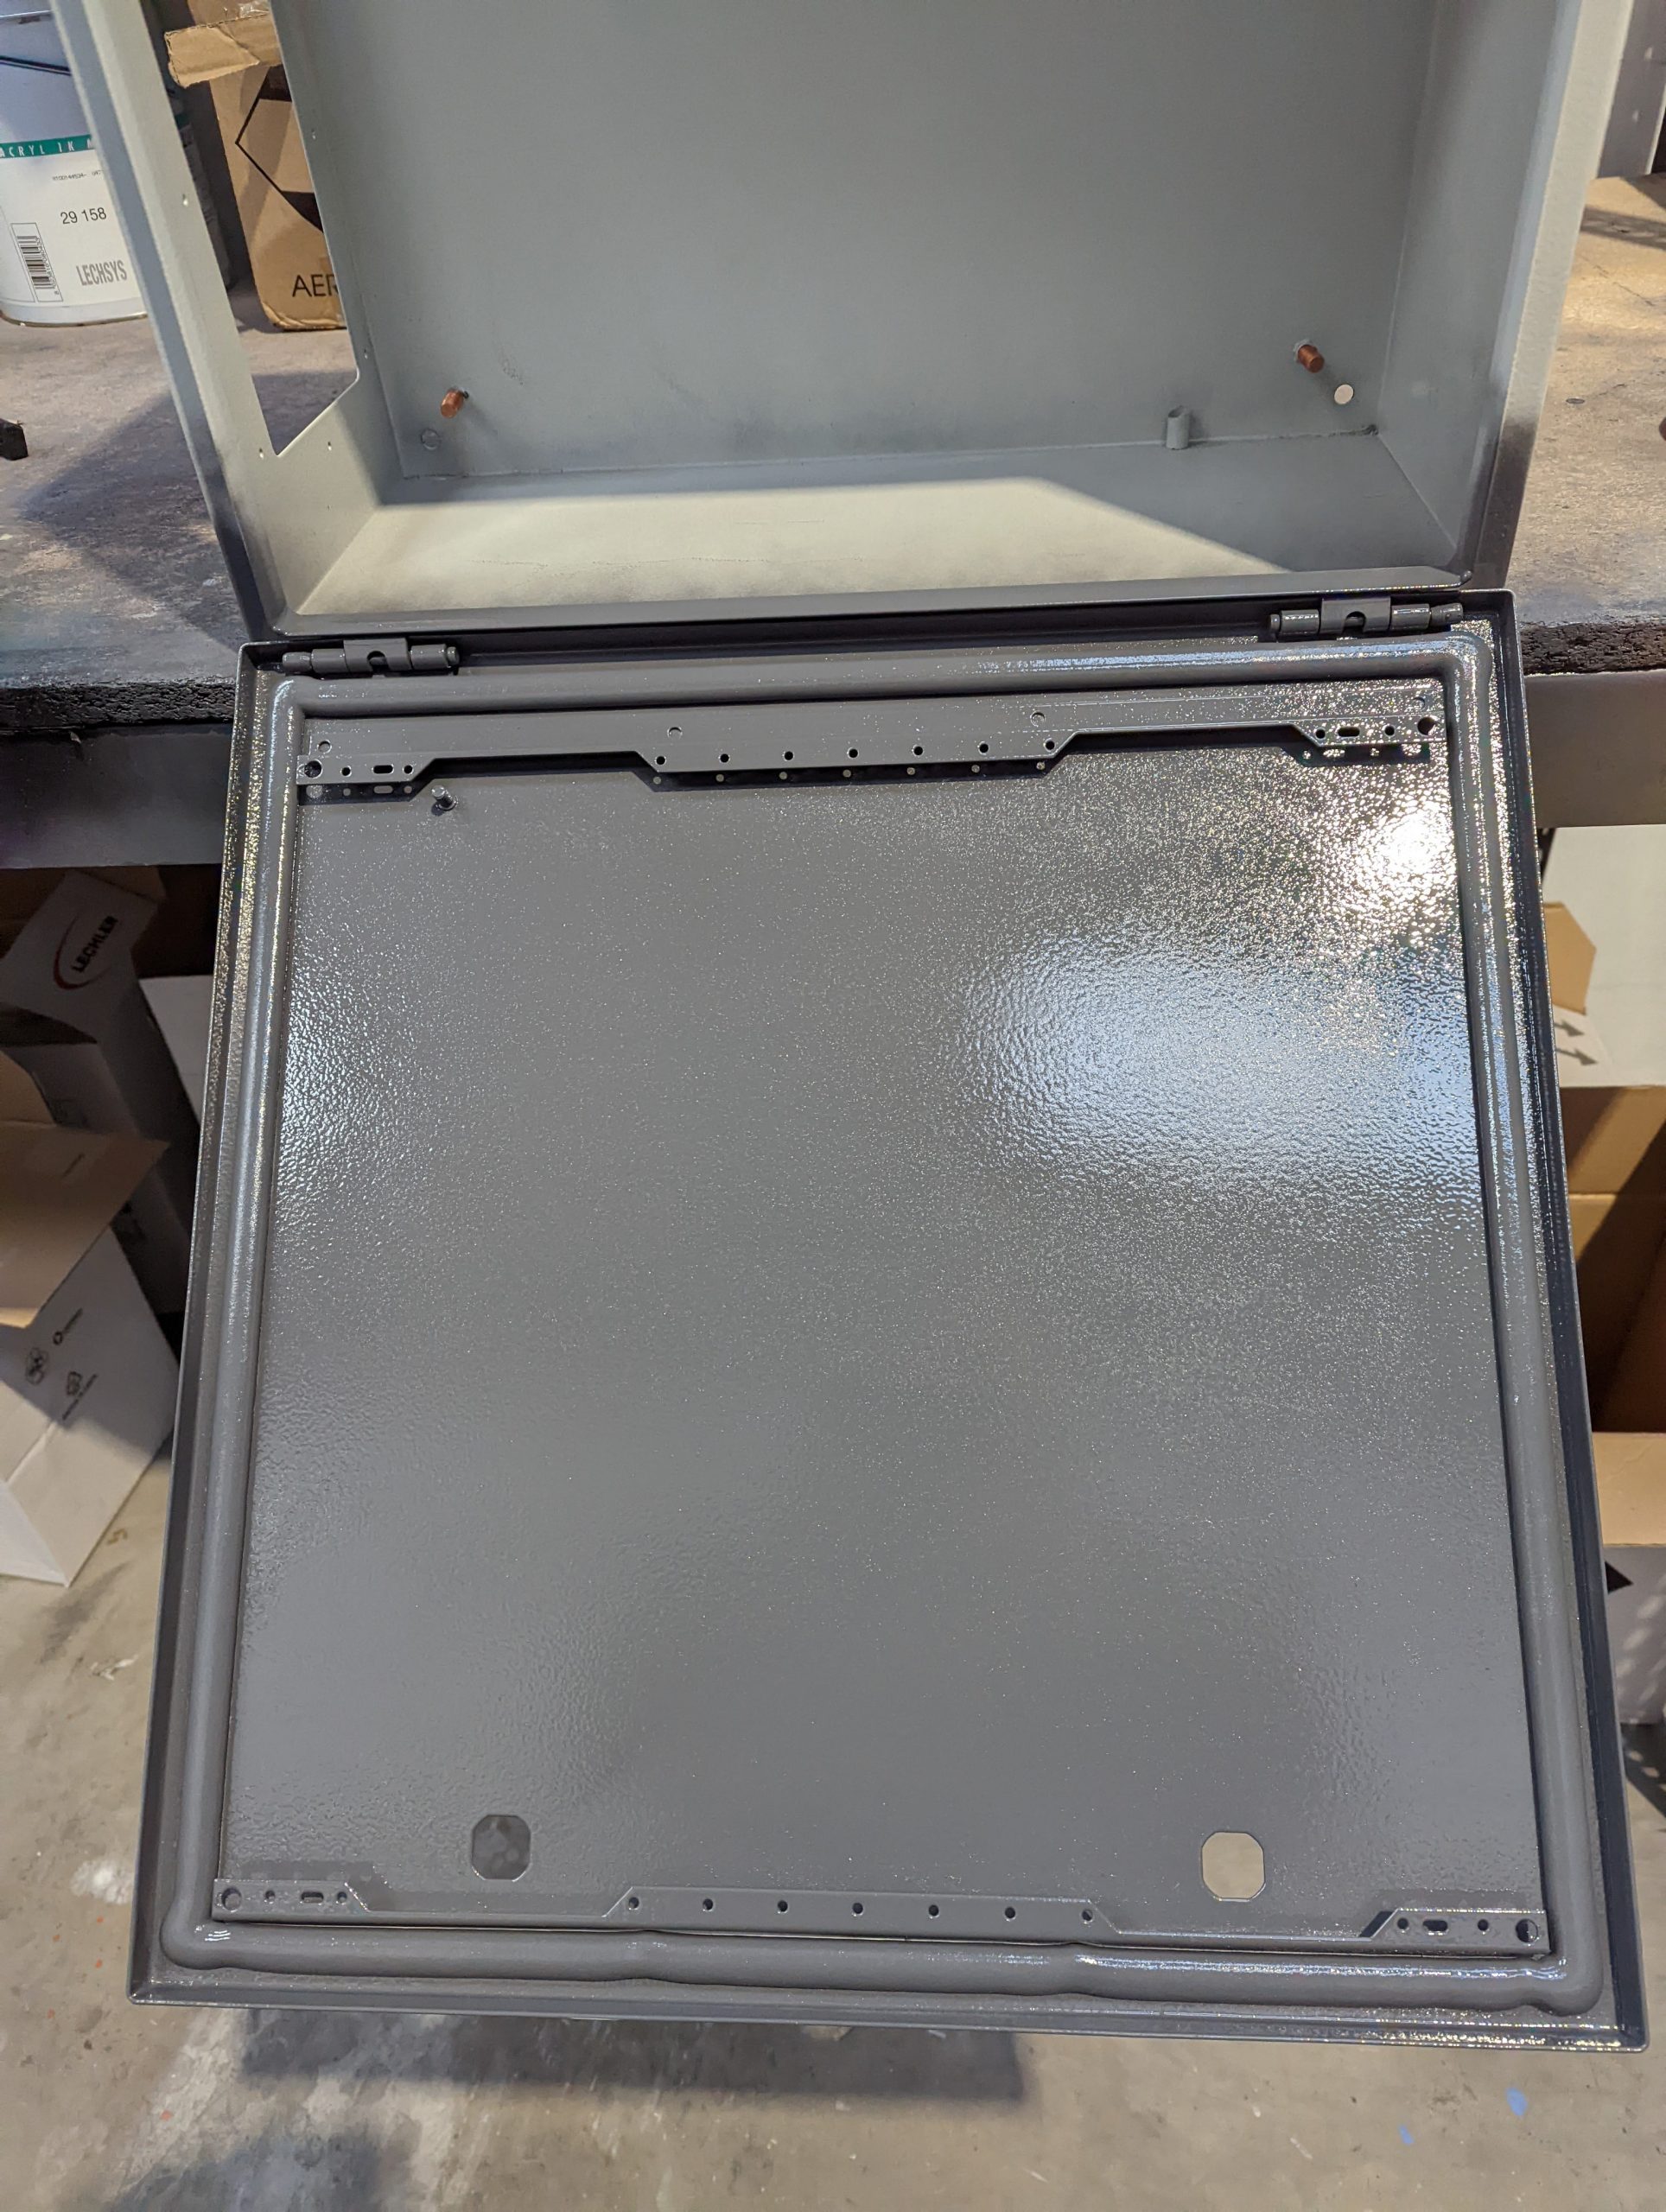
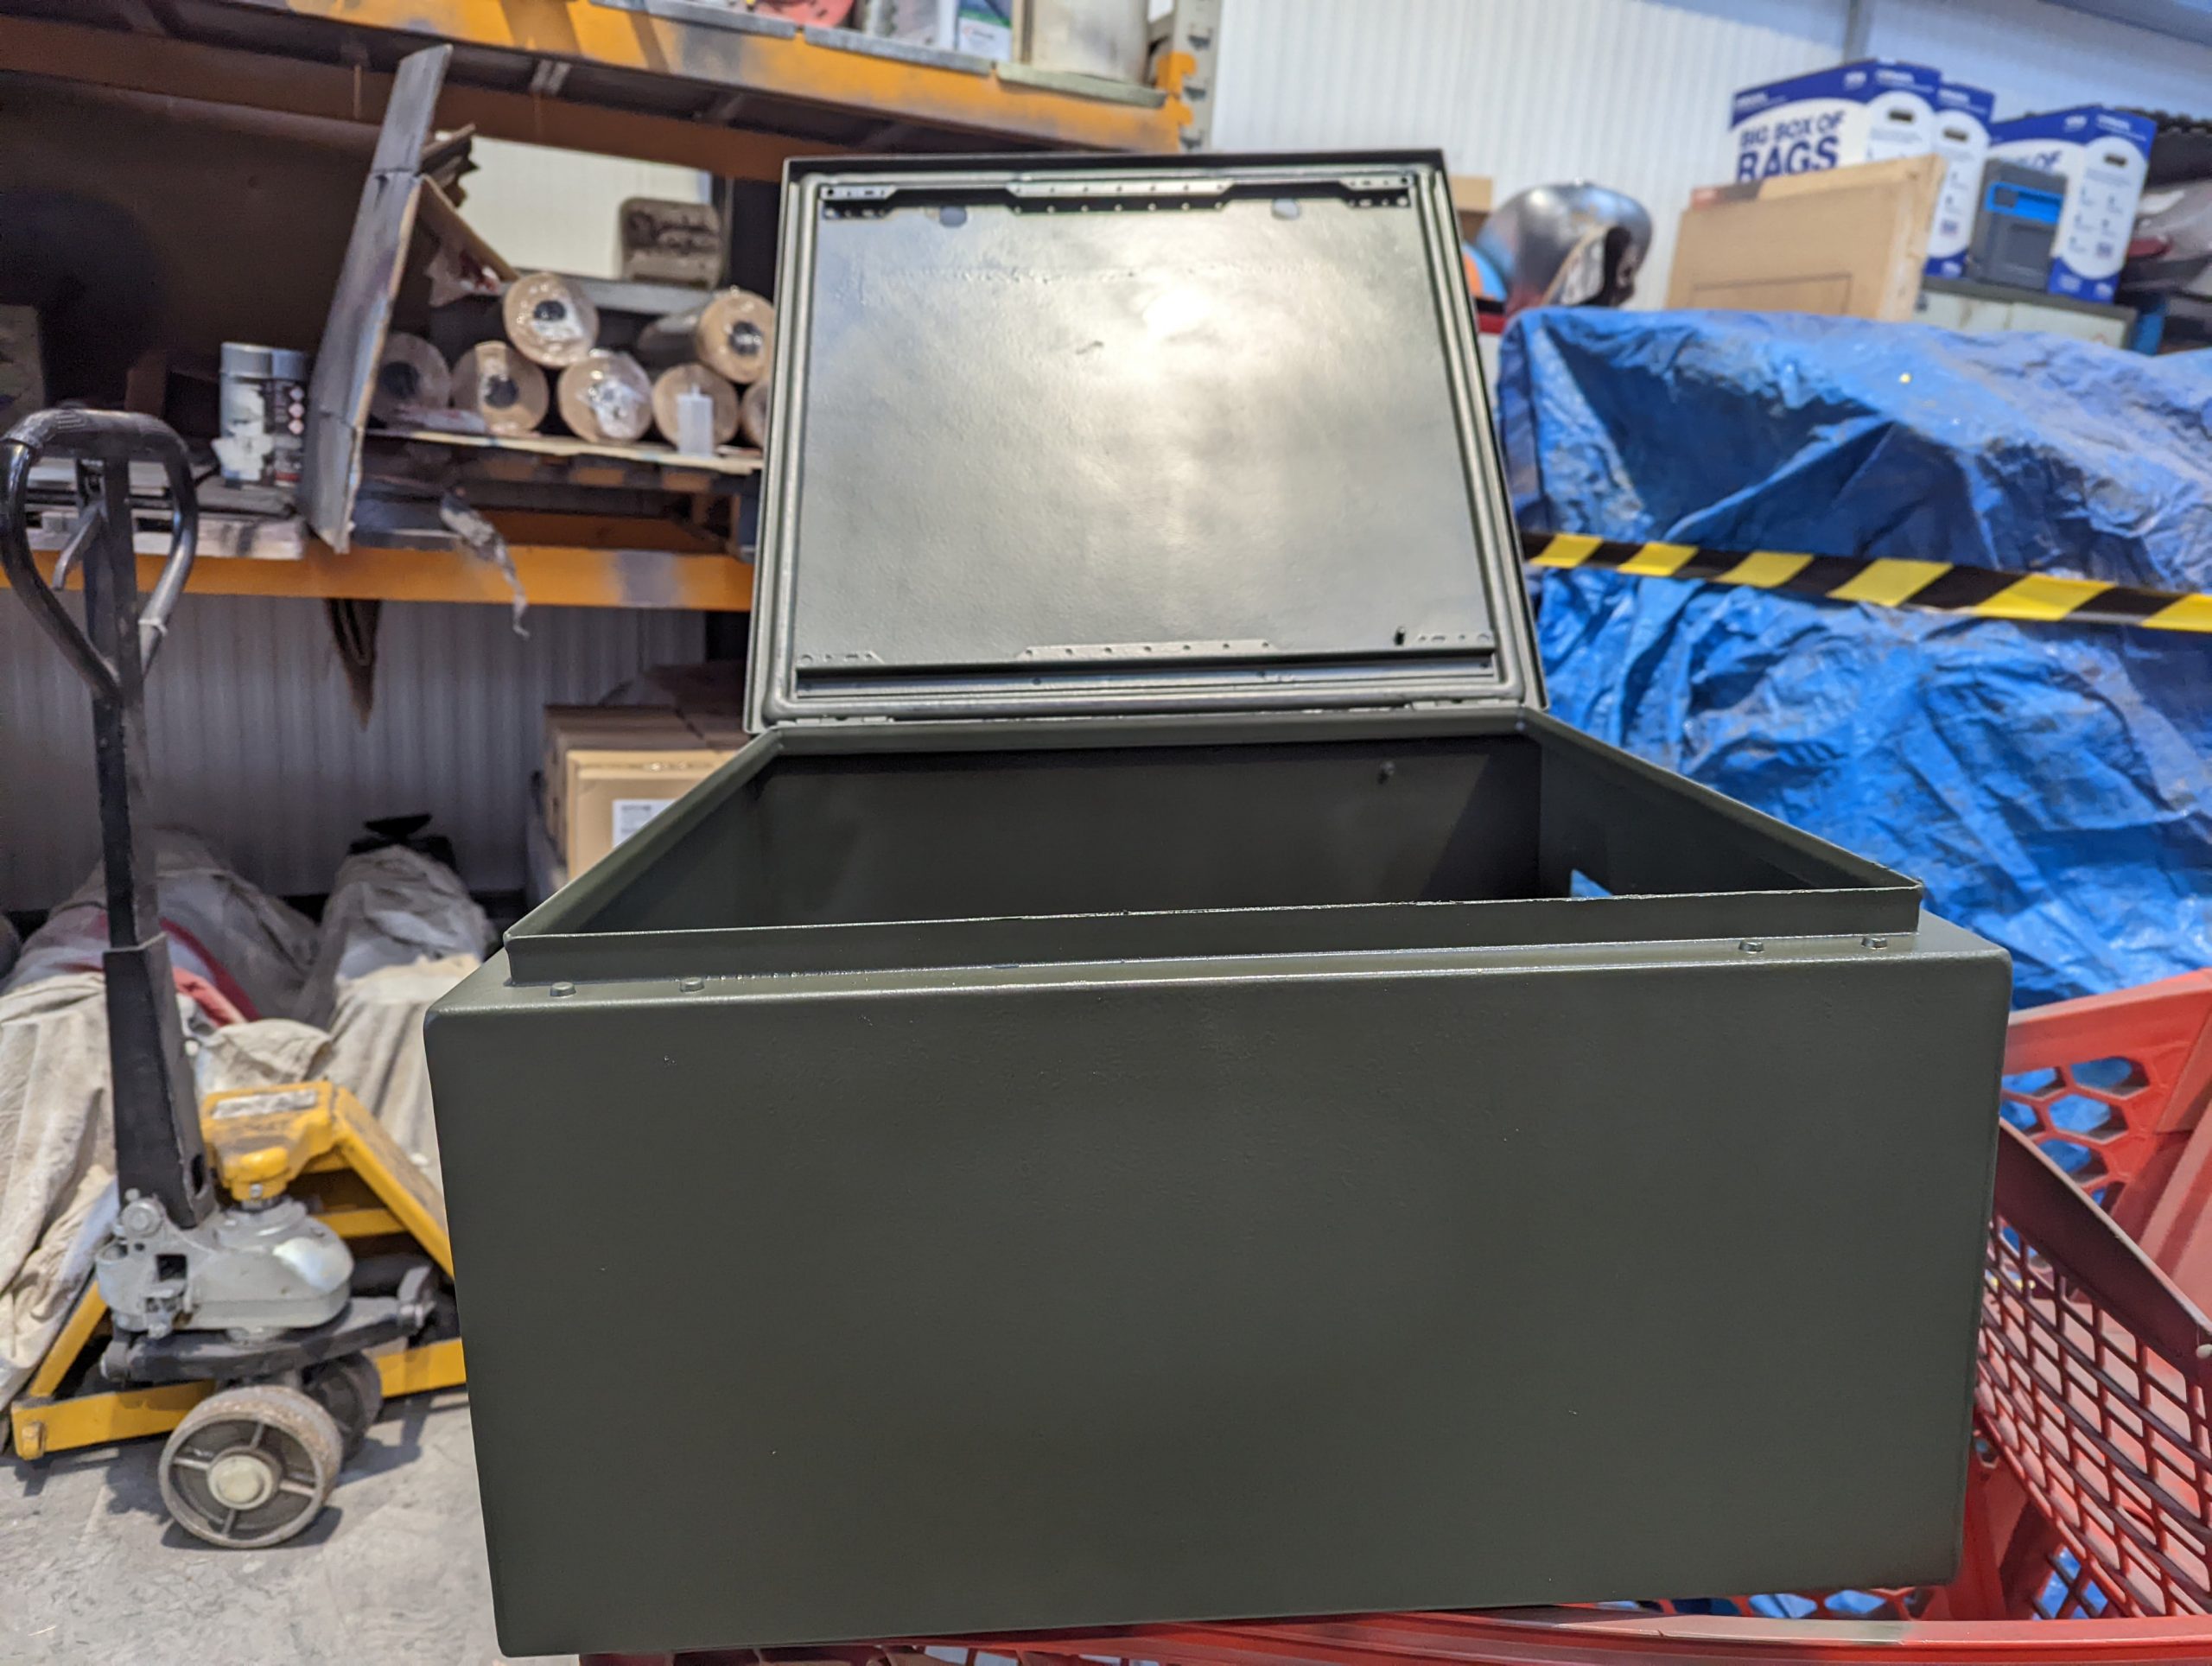
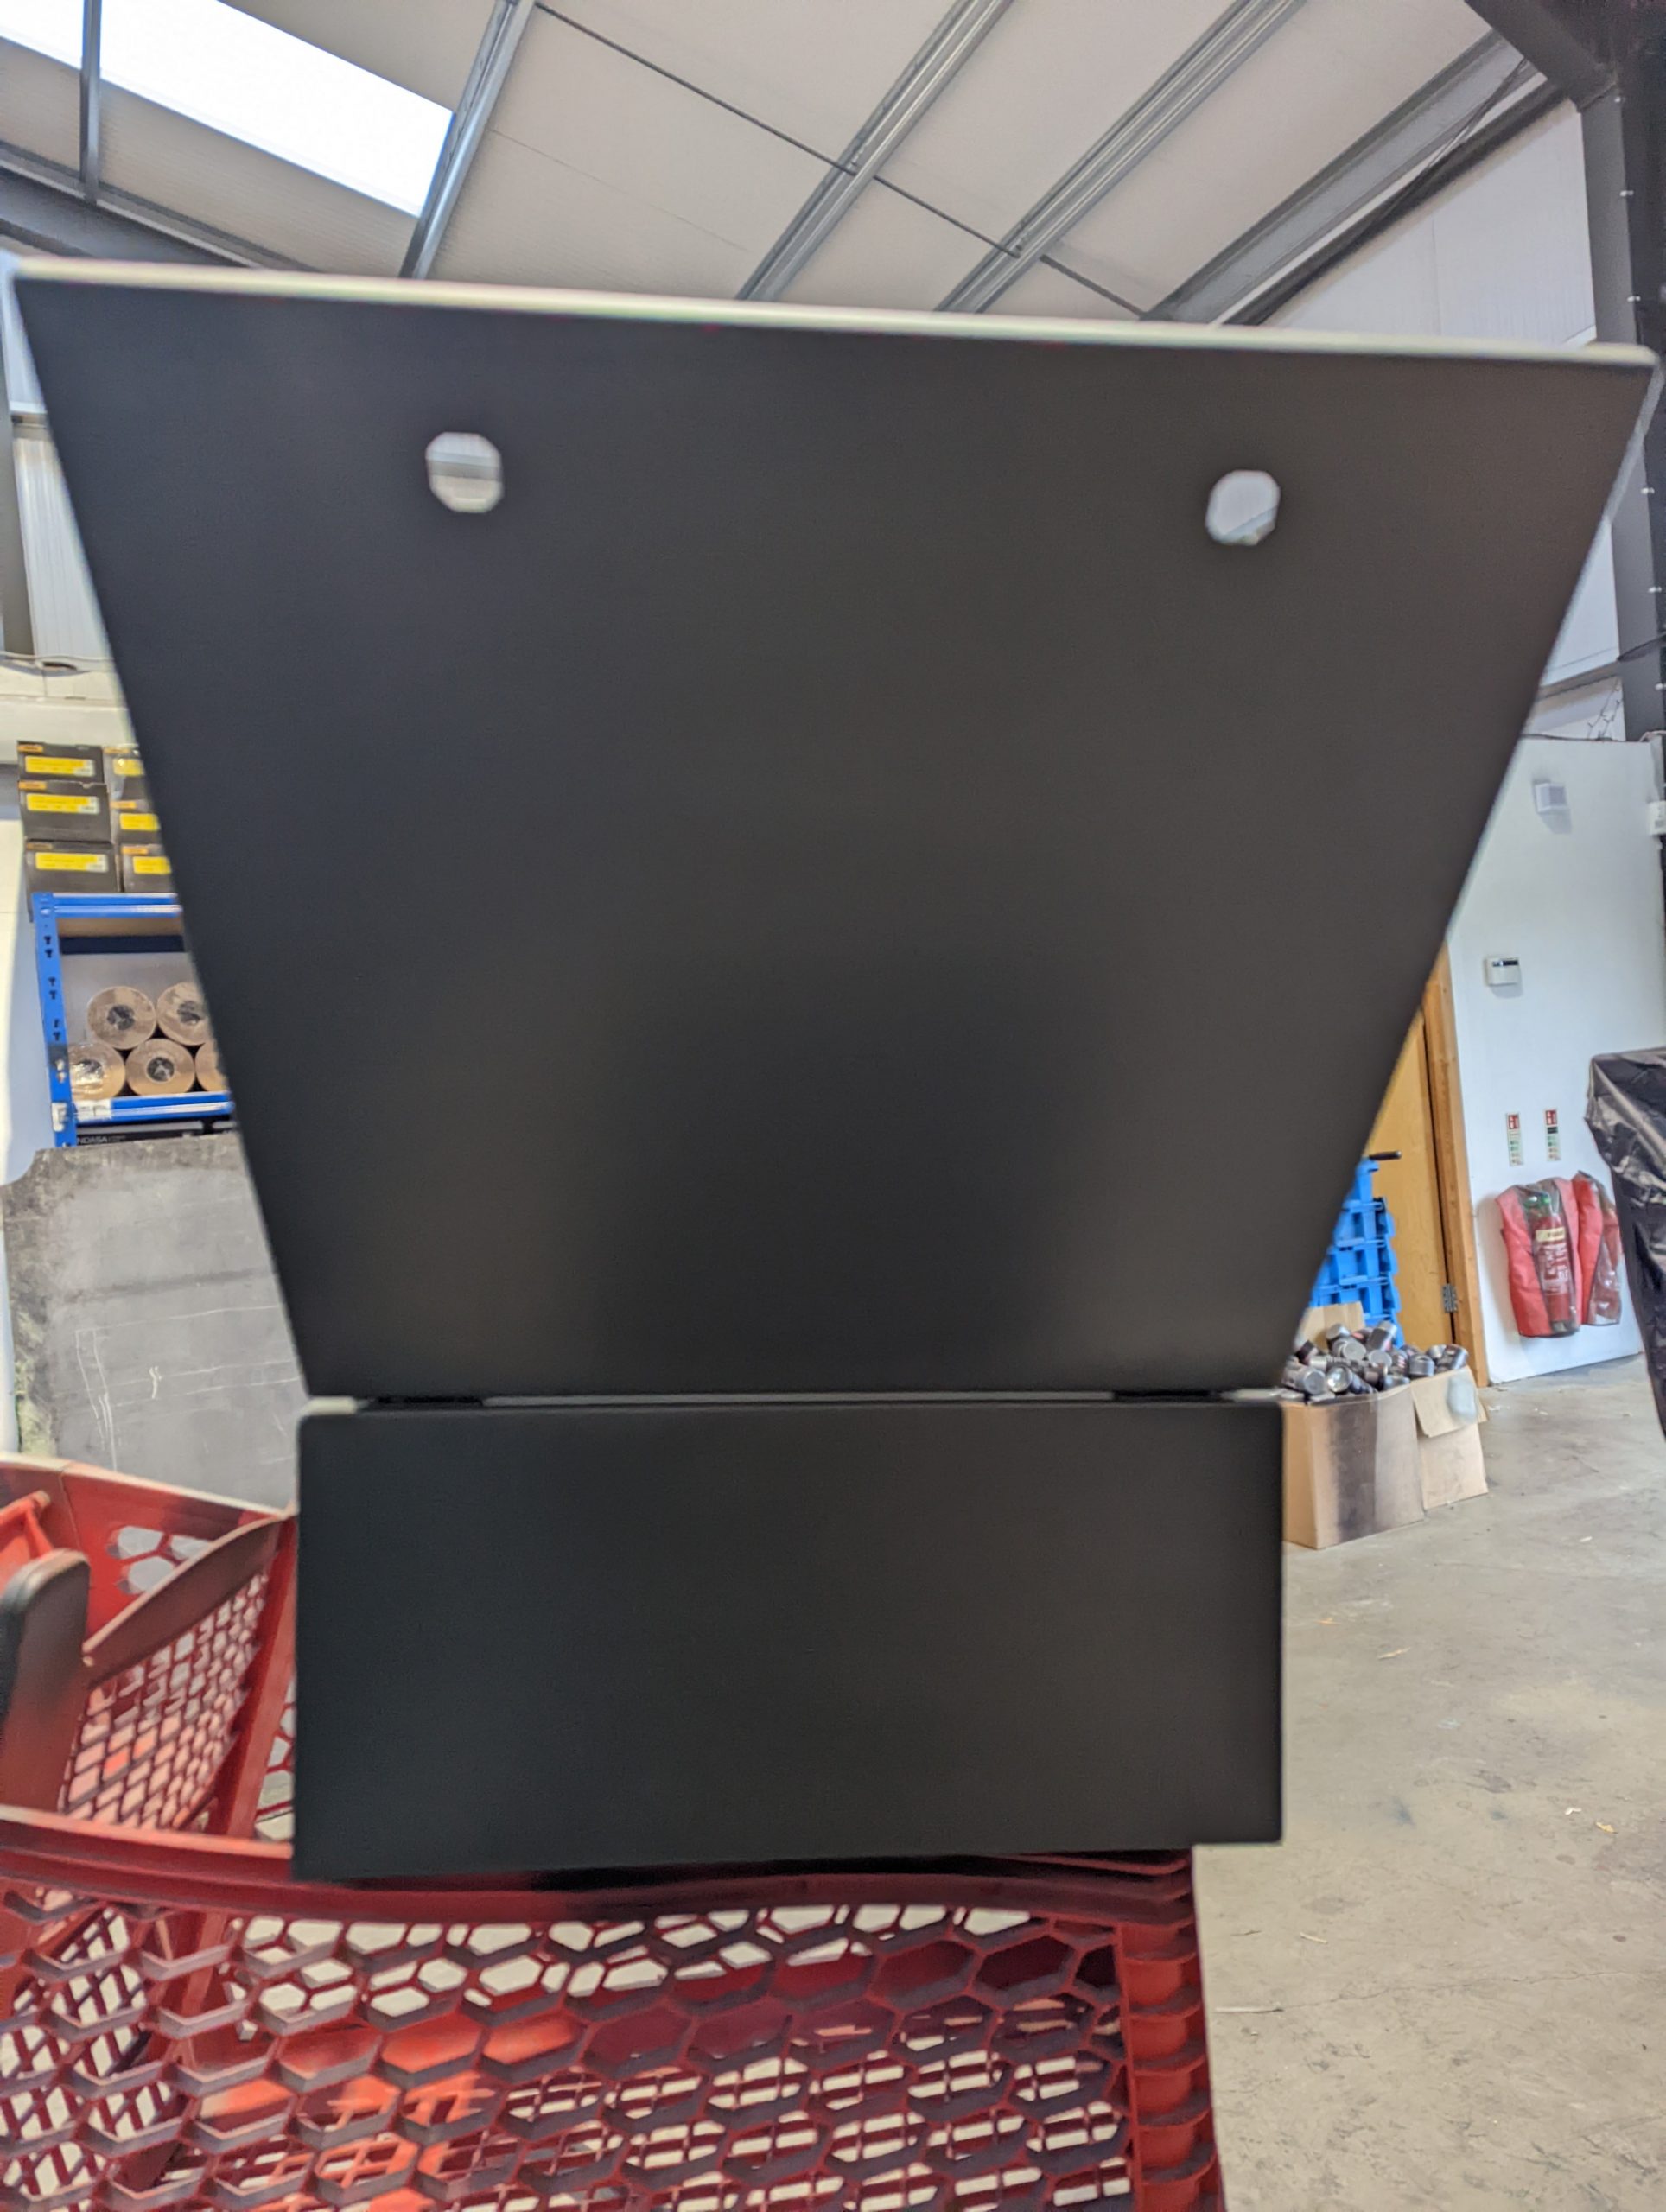
Once the primer had cured, we then applied the 2K RAL 6015 topcoat to match the colour specified by the company. Once we had applied all four coats (leaving to cure for two-hour intervals between each coat), we left it to cure overnight.
Finished Results
We were happy with the finished project, as was our company client. We found this project a lot easier the second time around and are really looking forward to the next one. Onwards to the next project!