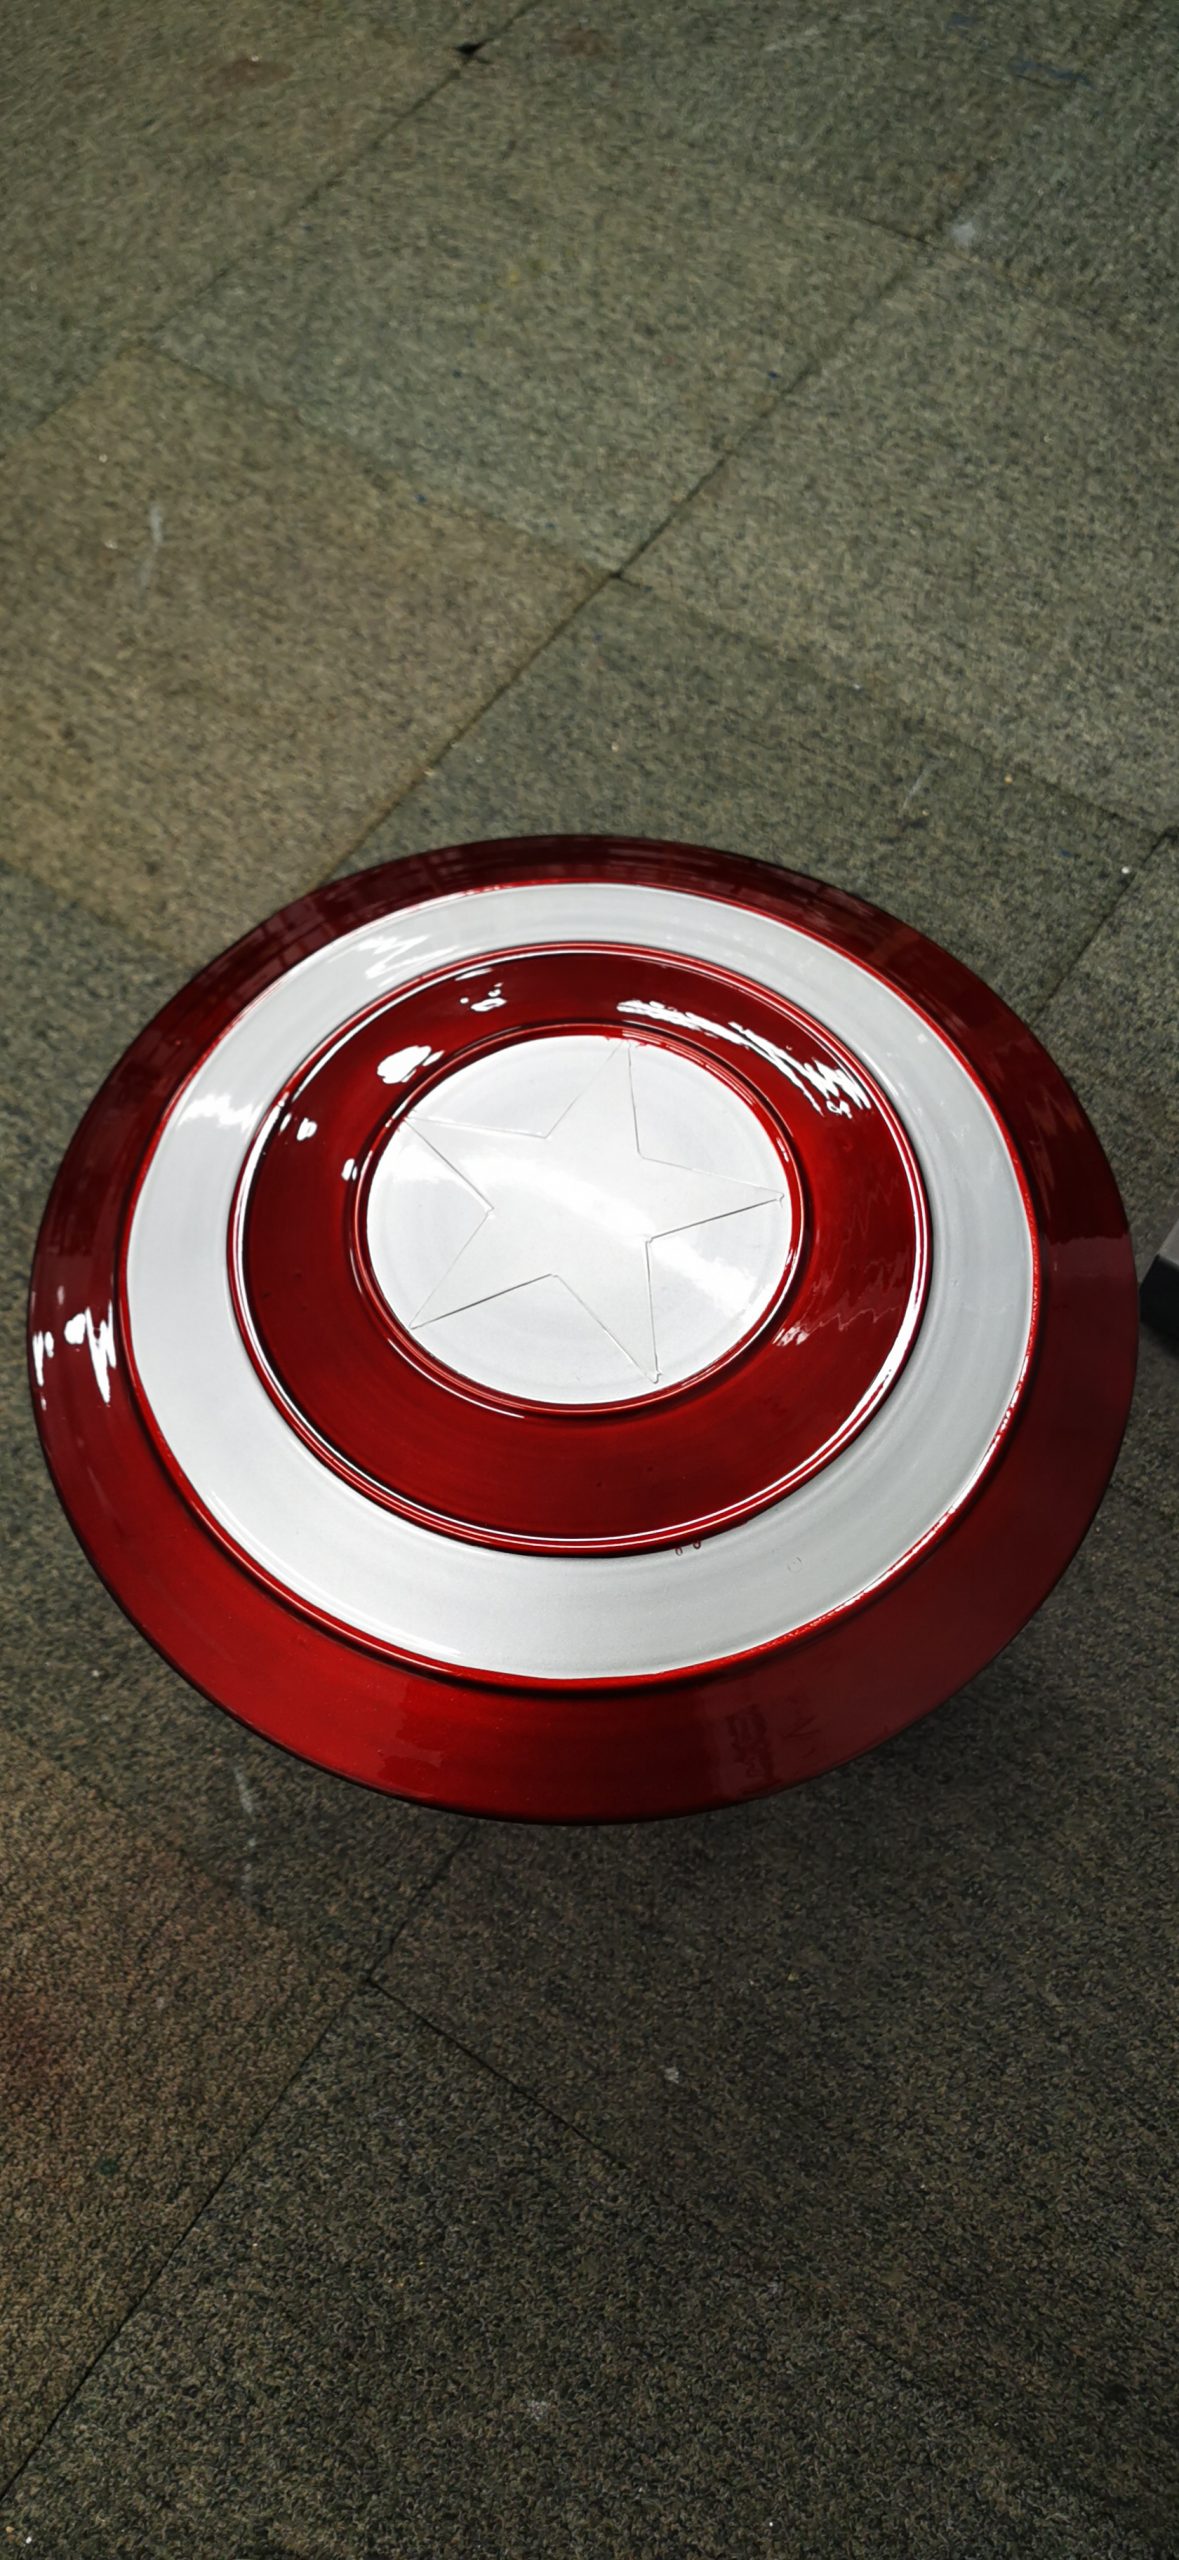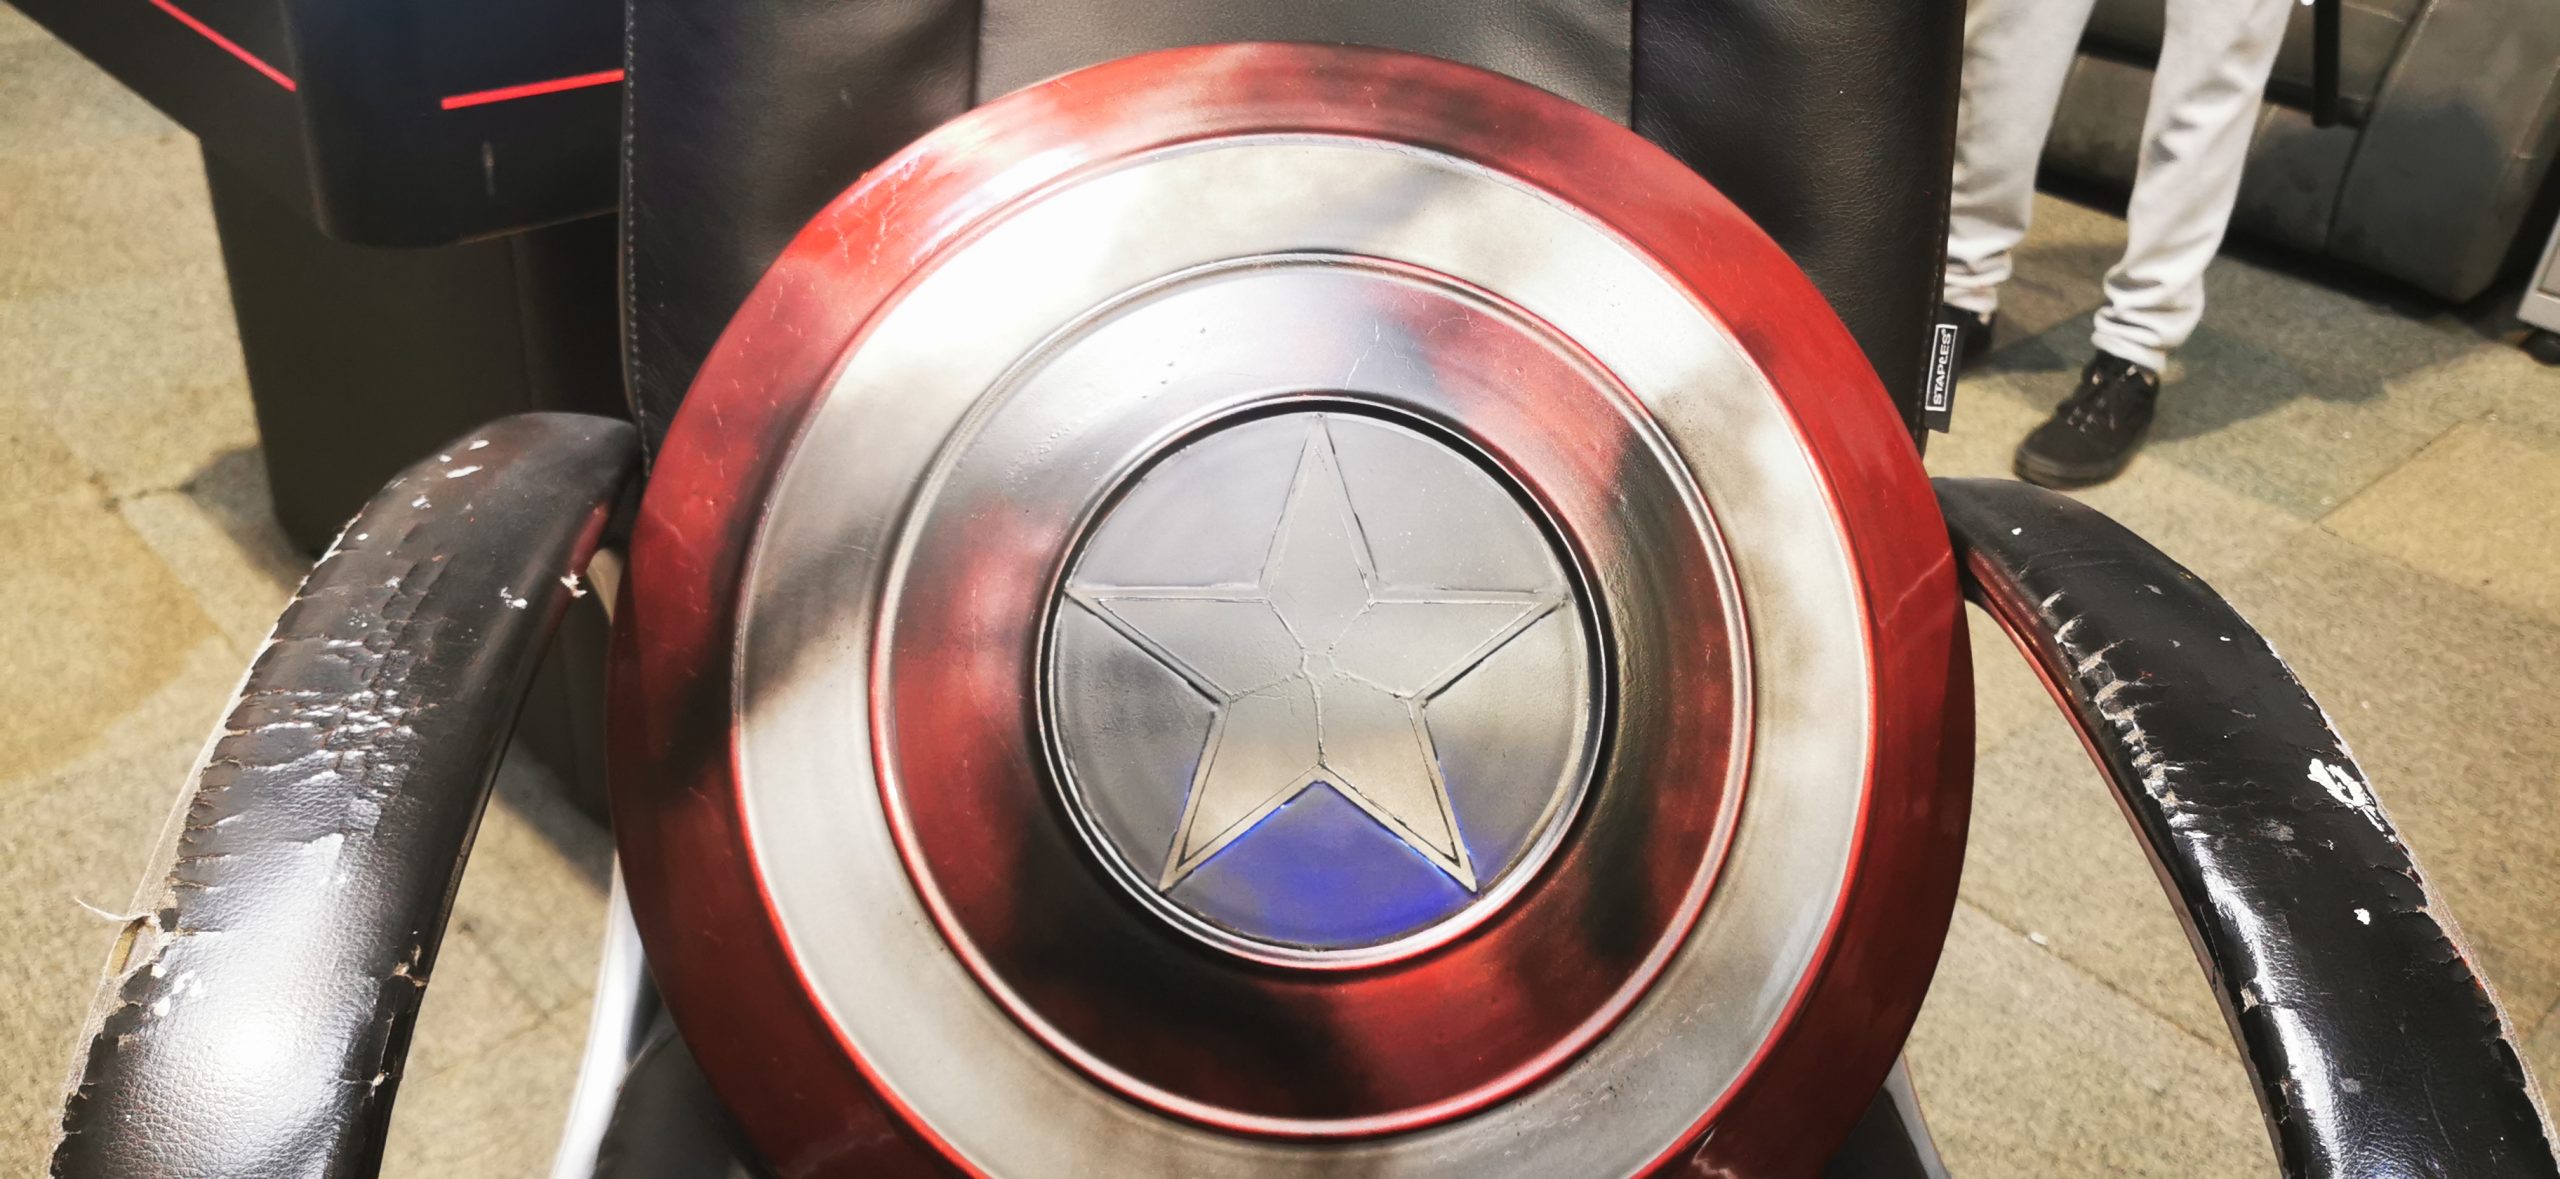
This is the second metal Captain America Shield project we have repainted, and again, we were keen to put our own stamp on it. We added two 2K translucent lacquers, which we tainted with a diamond coat over a silver metallic base coat primer. We took our time with this project and hope it inspires you to have a crack at something similar in the future.
Tools:
- Degreaser
- Multi-Grade Sandpaper
- Line Tape
- Masking Tape and Masking Paper
- Silver High Build Primer
- 2K Blue Diamond Coat Gloss Lacquer
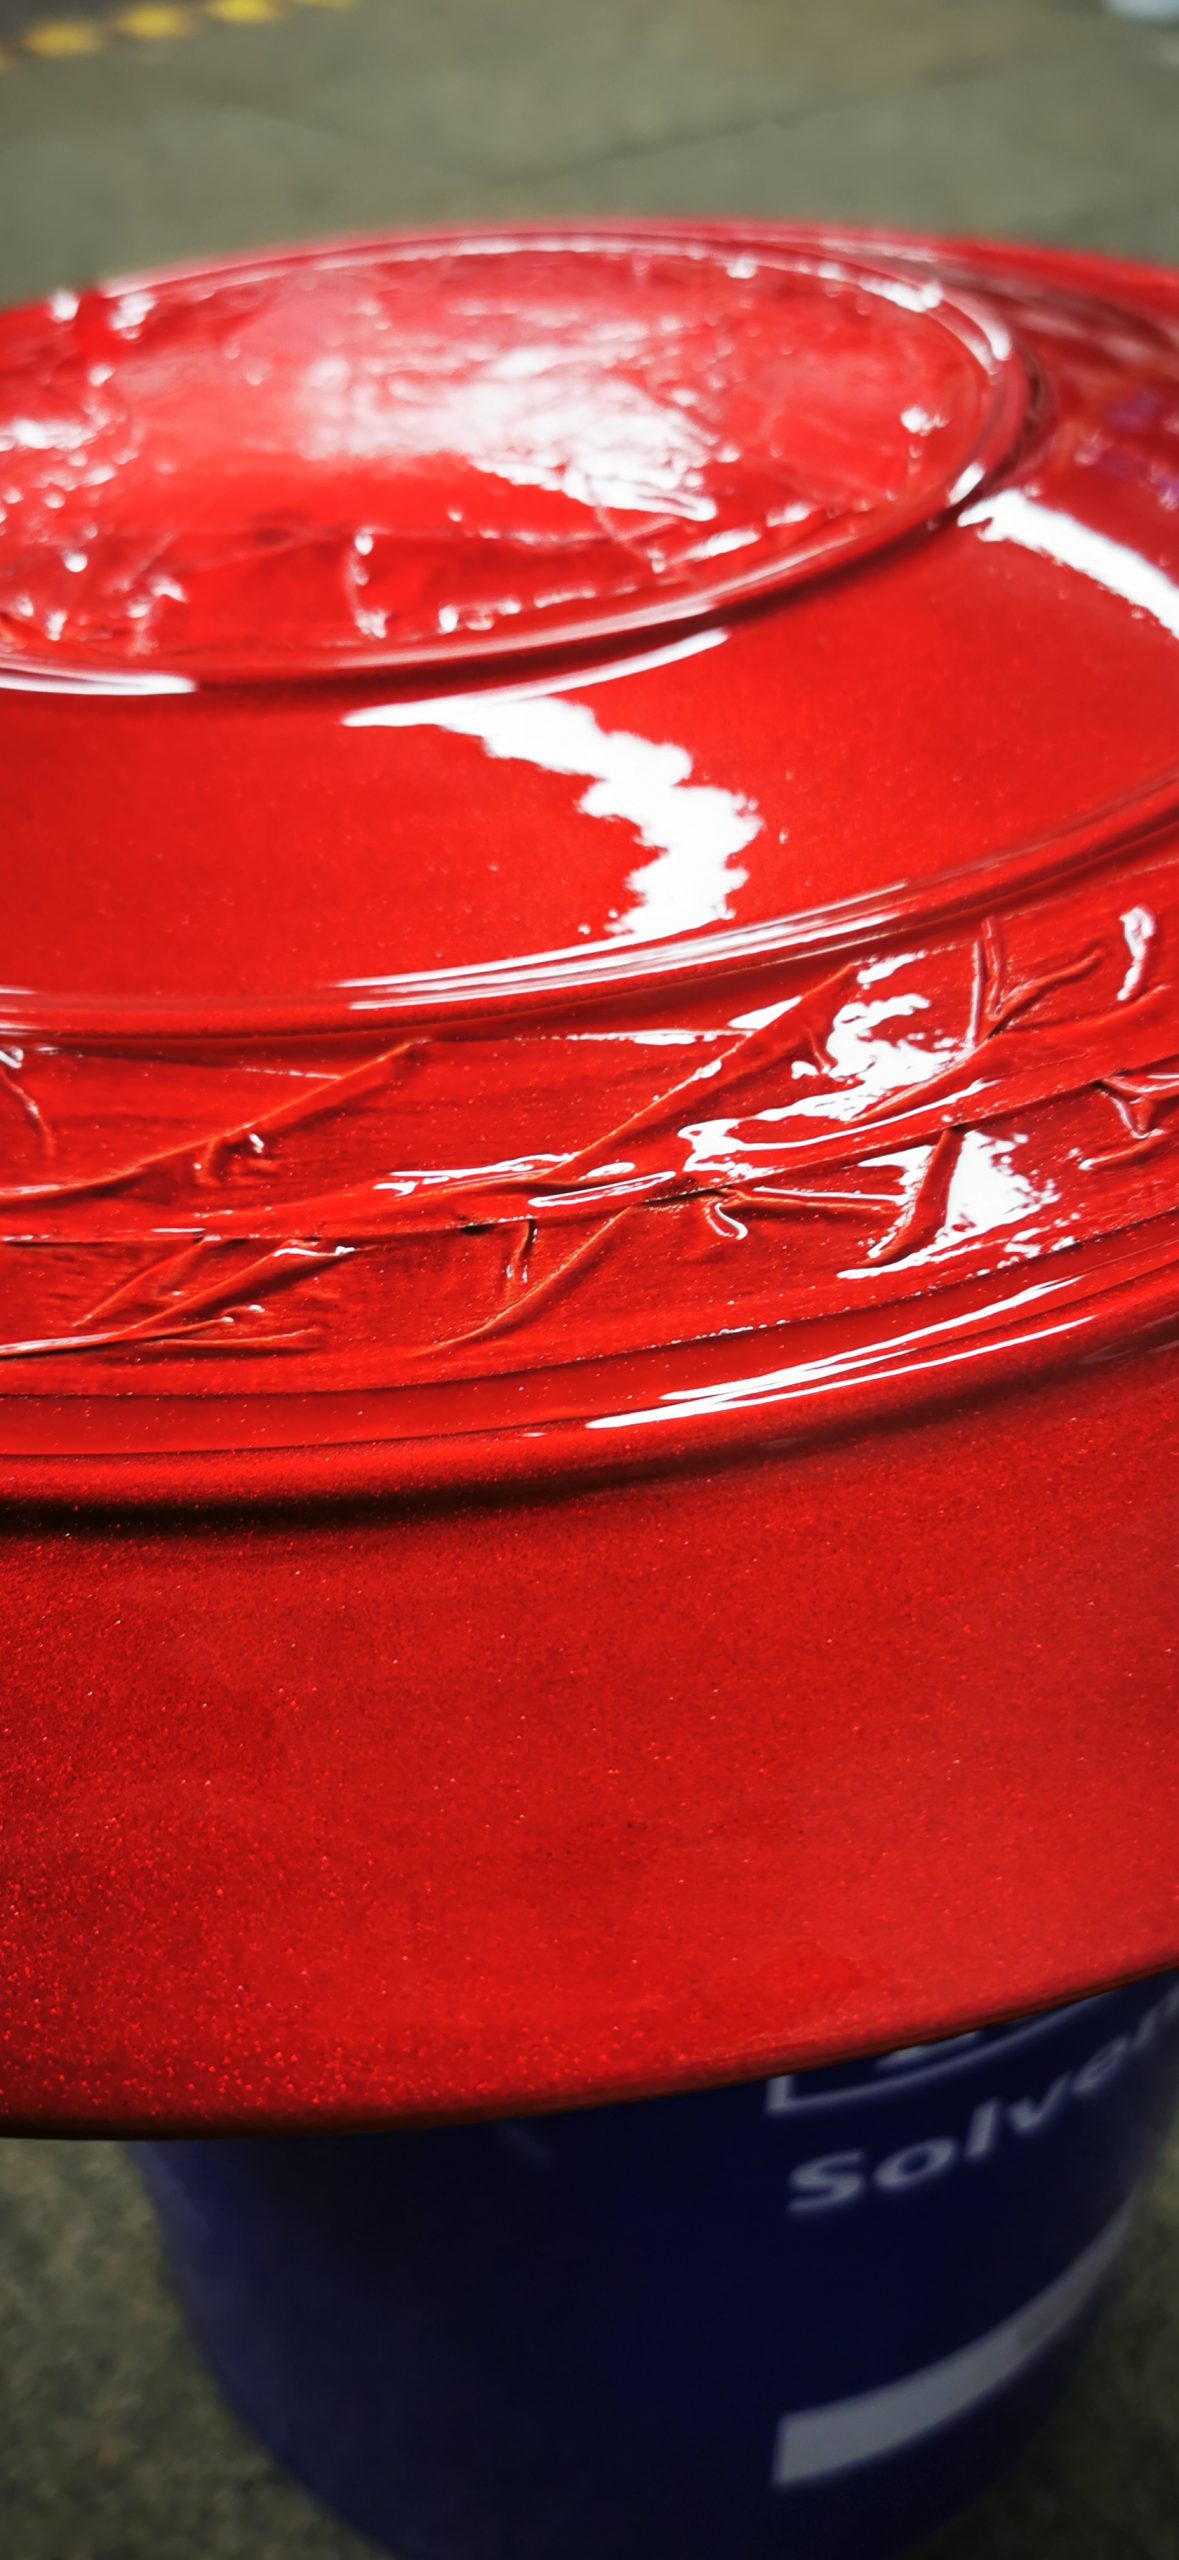
- 2K Red Diamond Coat Gloss Lacquer
Prep:
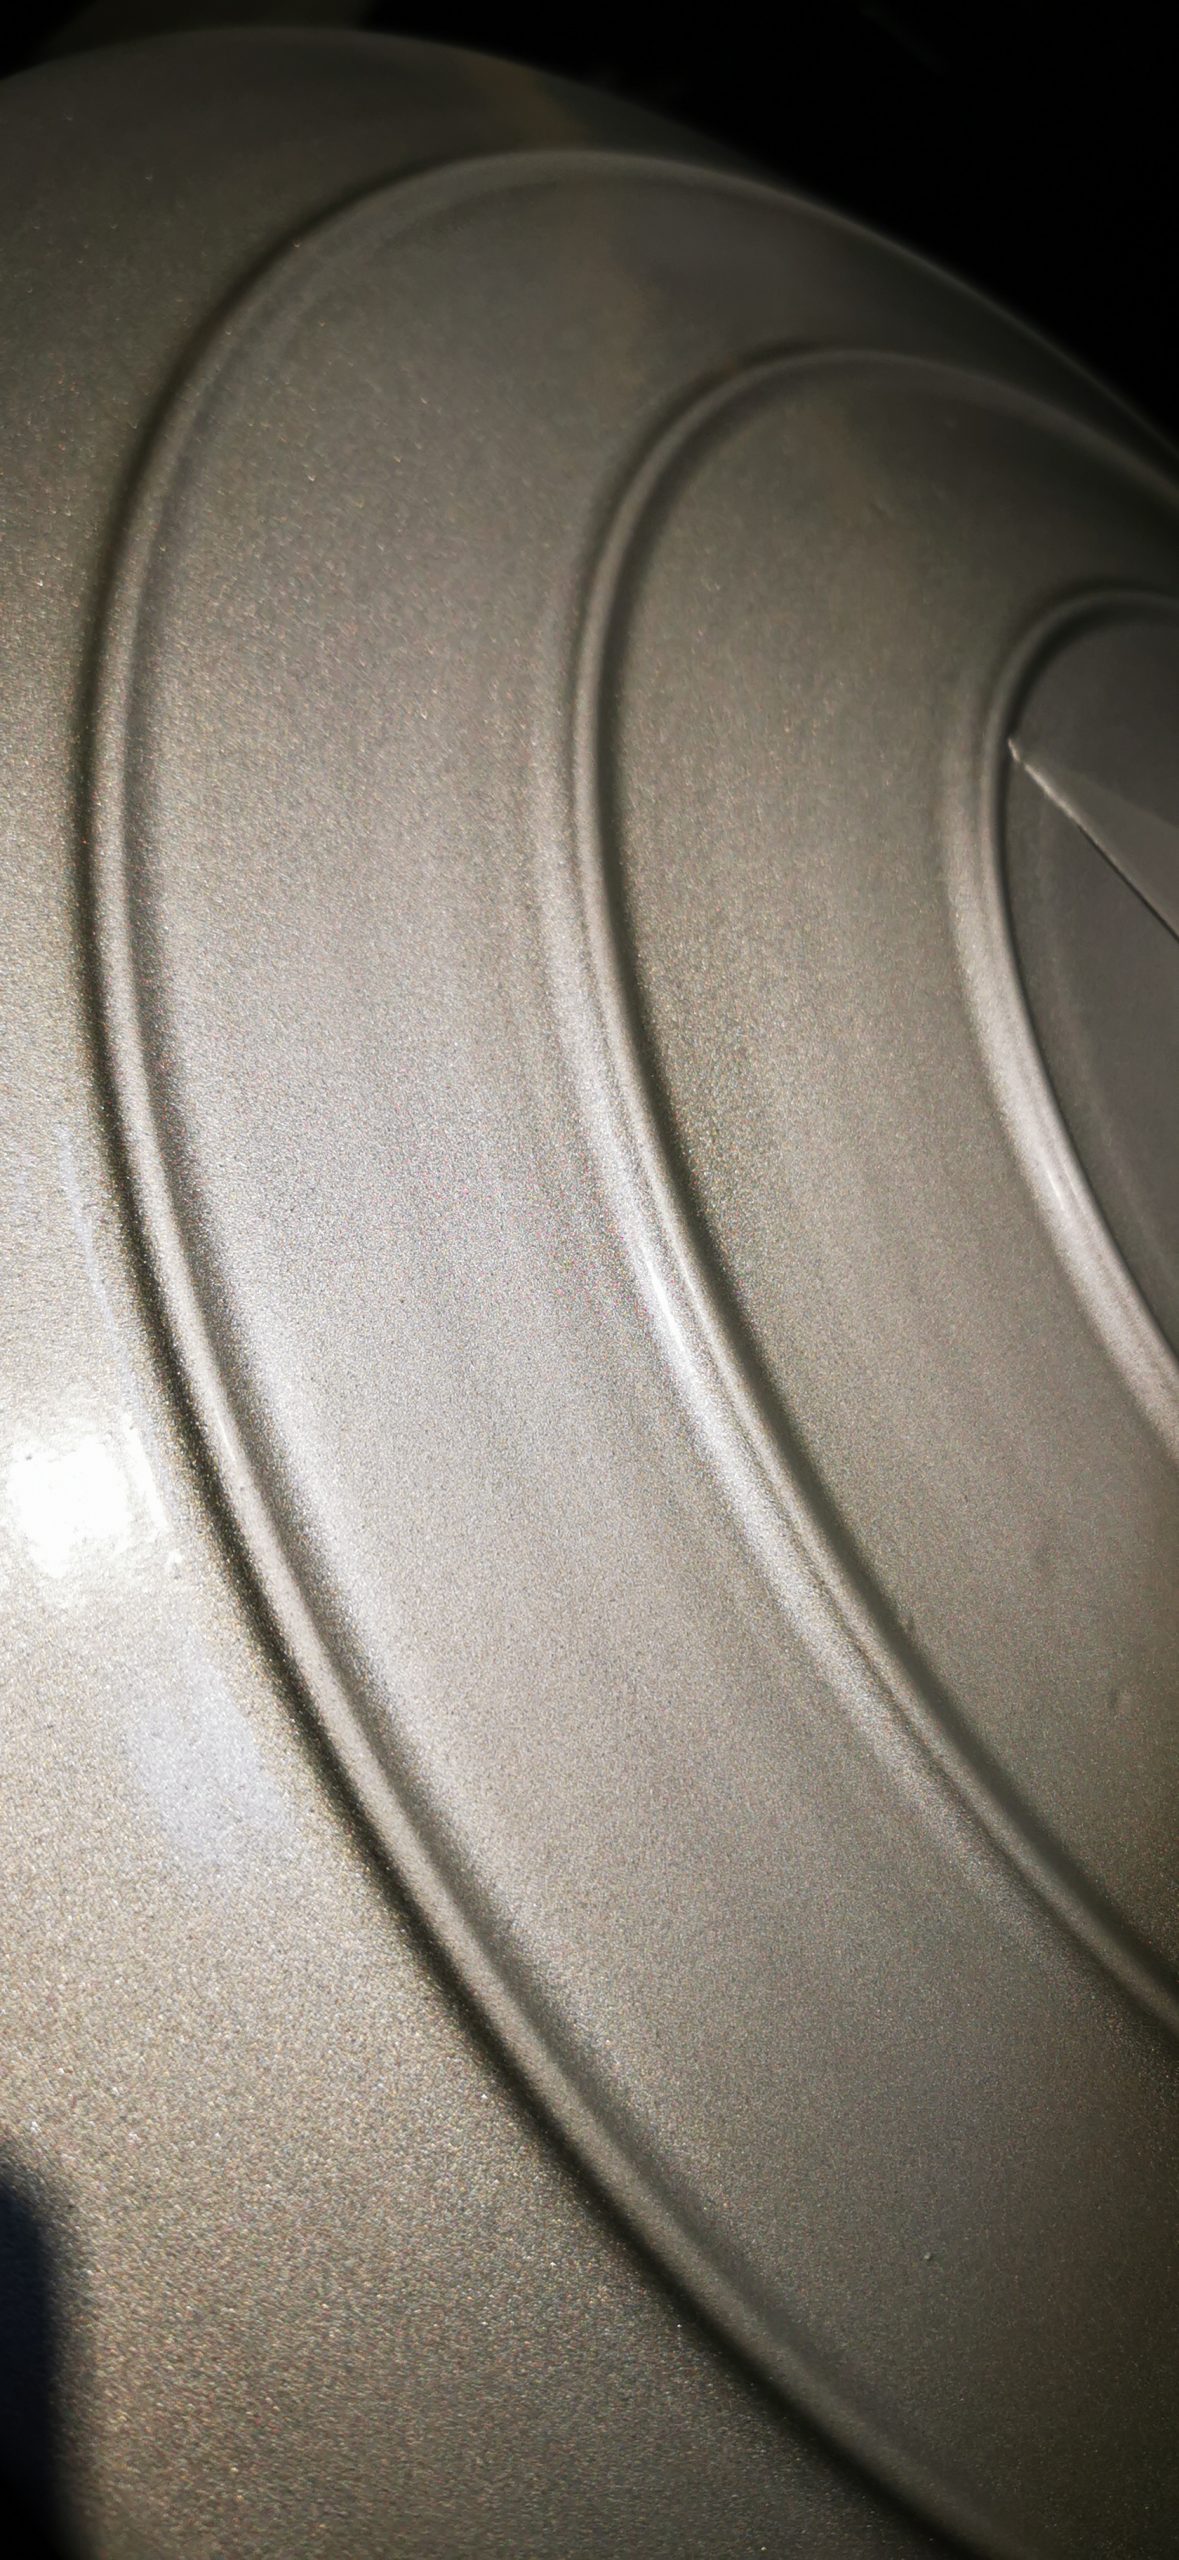
As per our last Captain America Shield project, when prepping metal, it’s worth using multi grades of sandpaper to remove as much of the paint as possible so you can start with a flush substrate.
Top Tip: The smoother you make your surface, the less likely you will need to sand or polish between coats later in the project.
Once you have sanded to a flat smooth finish, you can clean all dust and debris off with a tack cloth or wet rag. Dry and then apply some degreaser to remove any chemical or greasy residue which may react with the paint.
Paint:
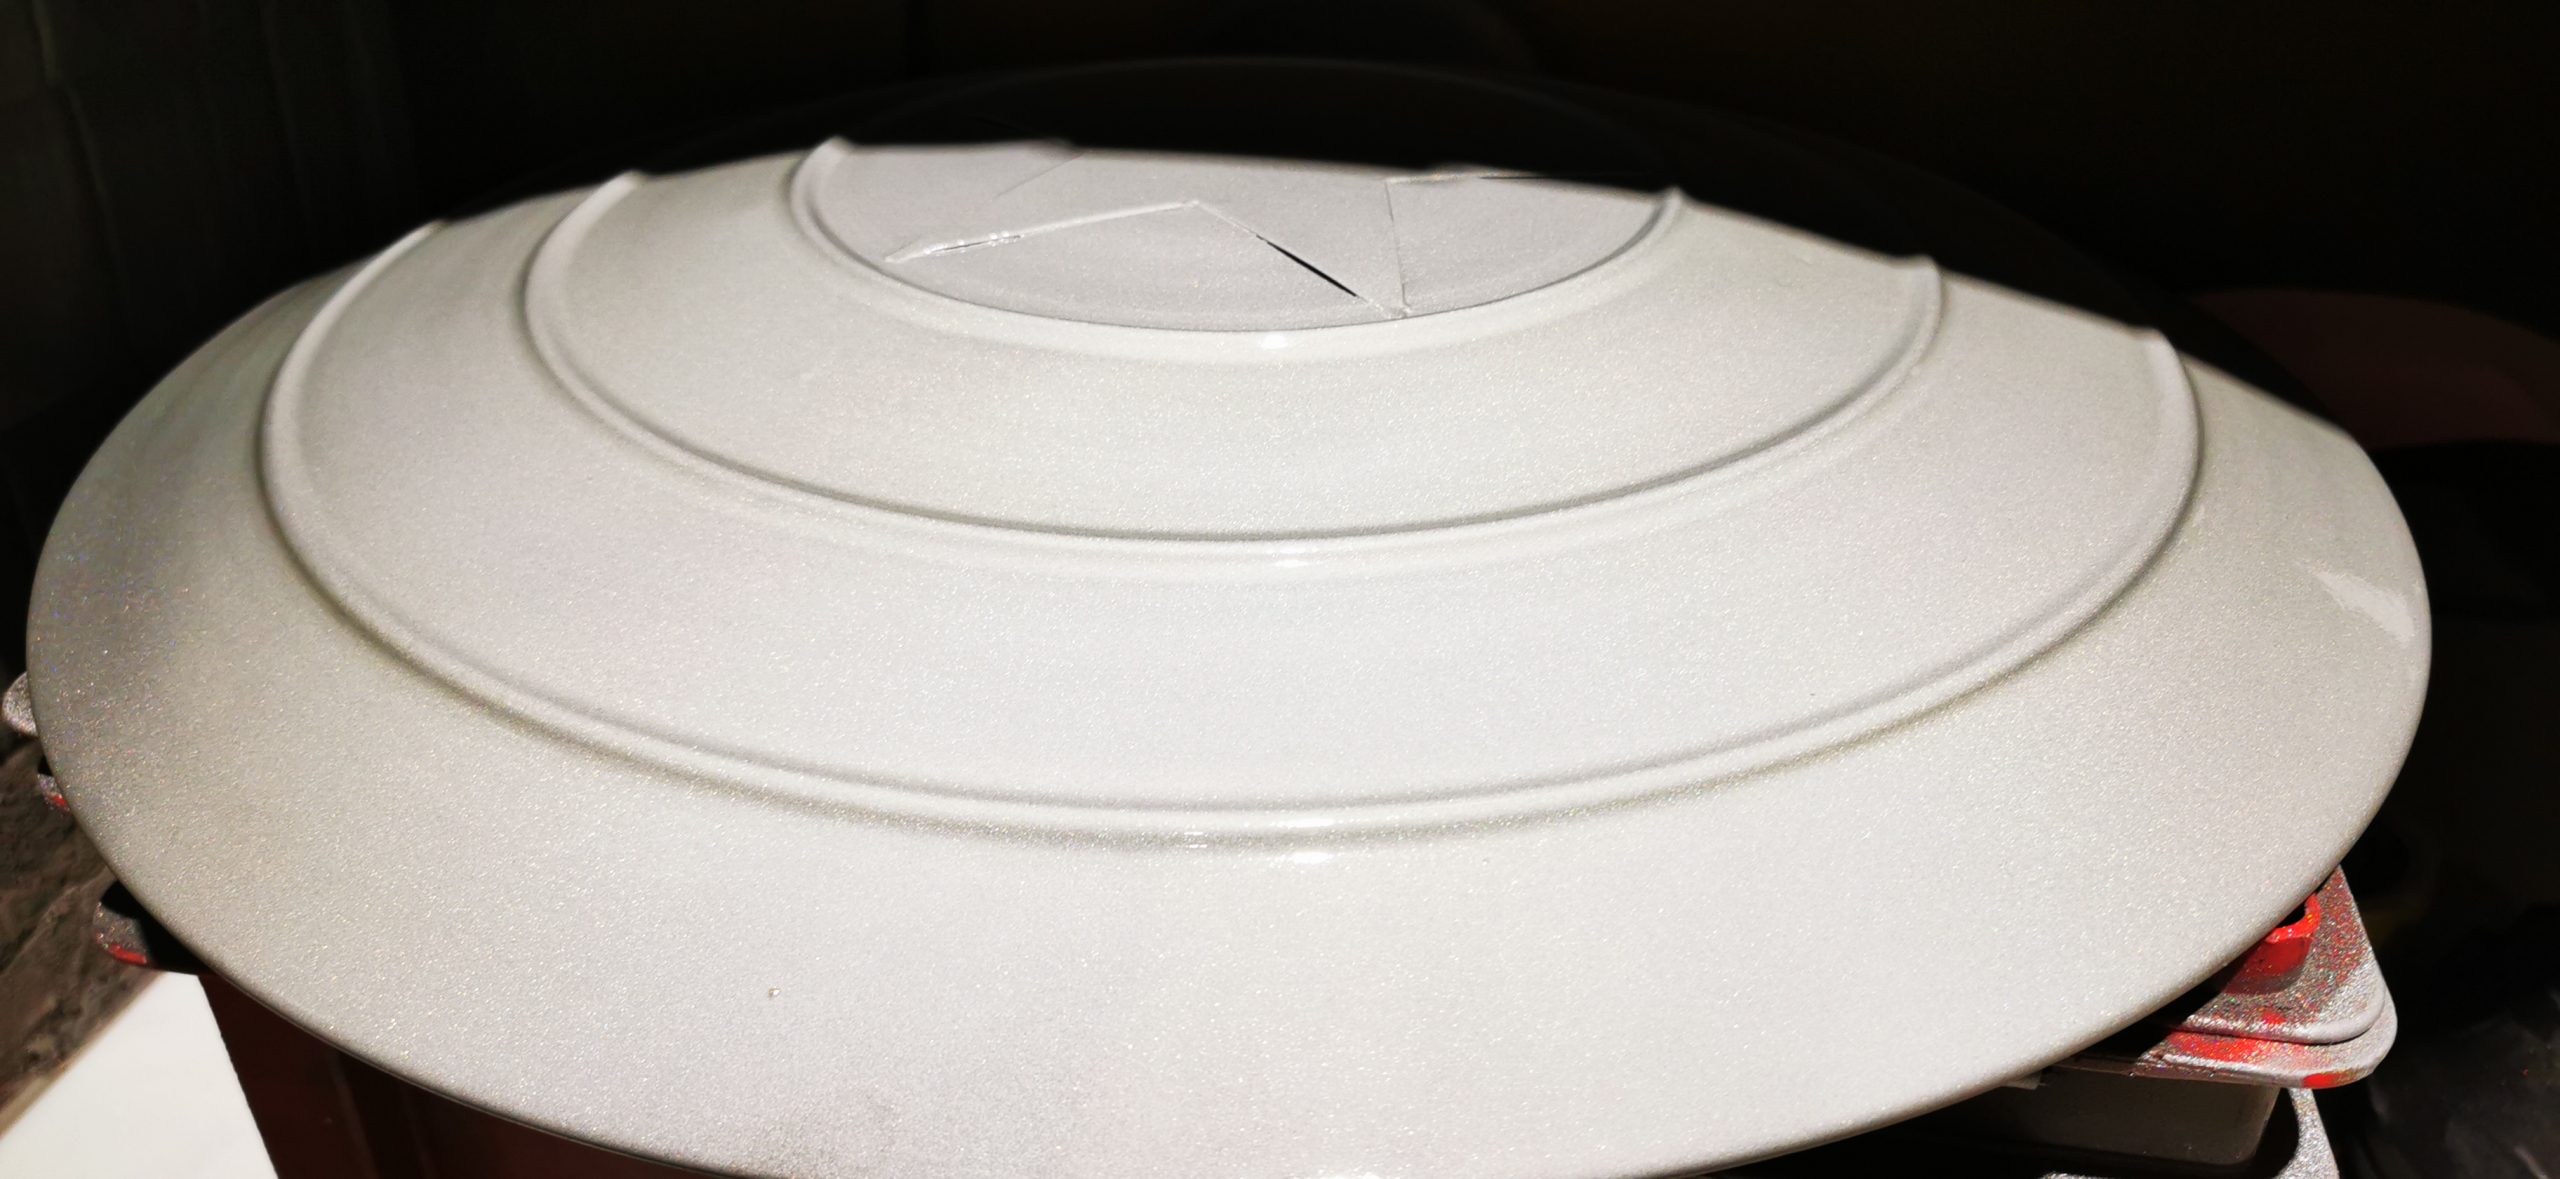
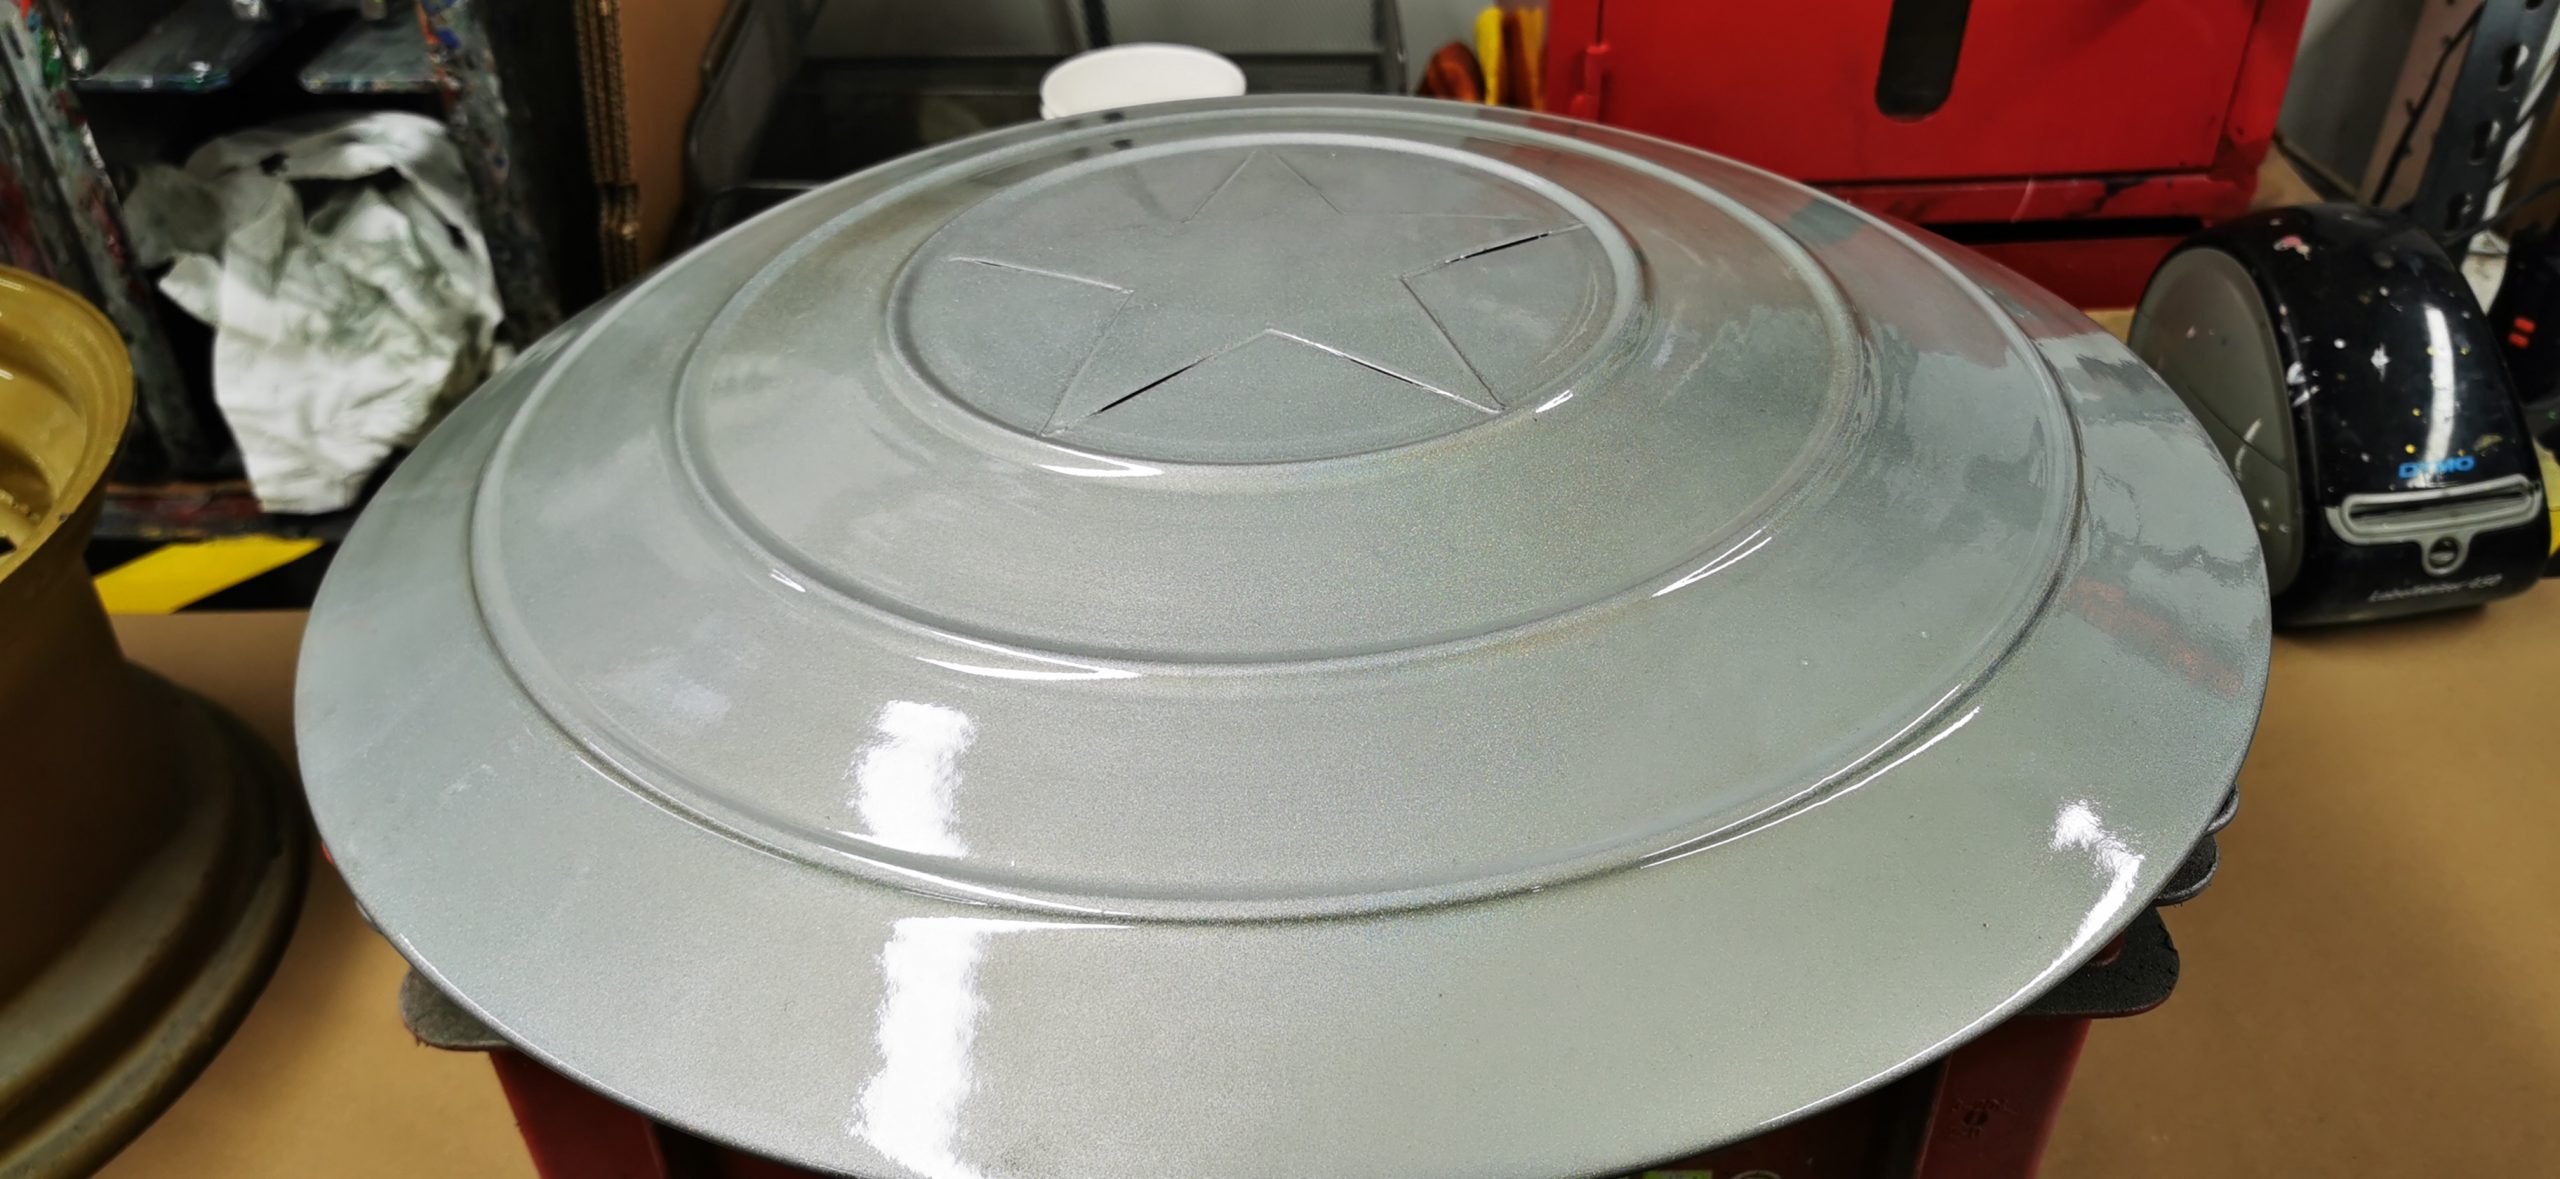
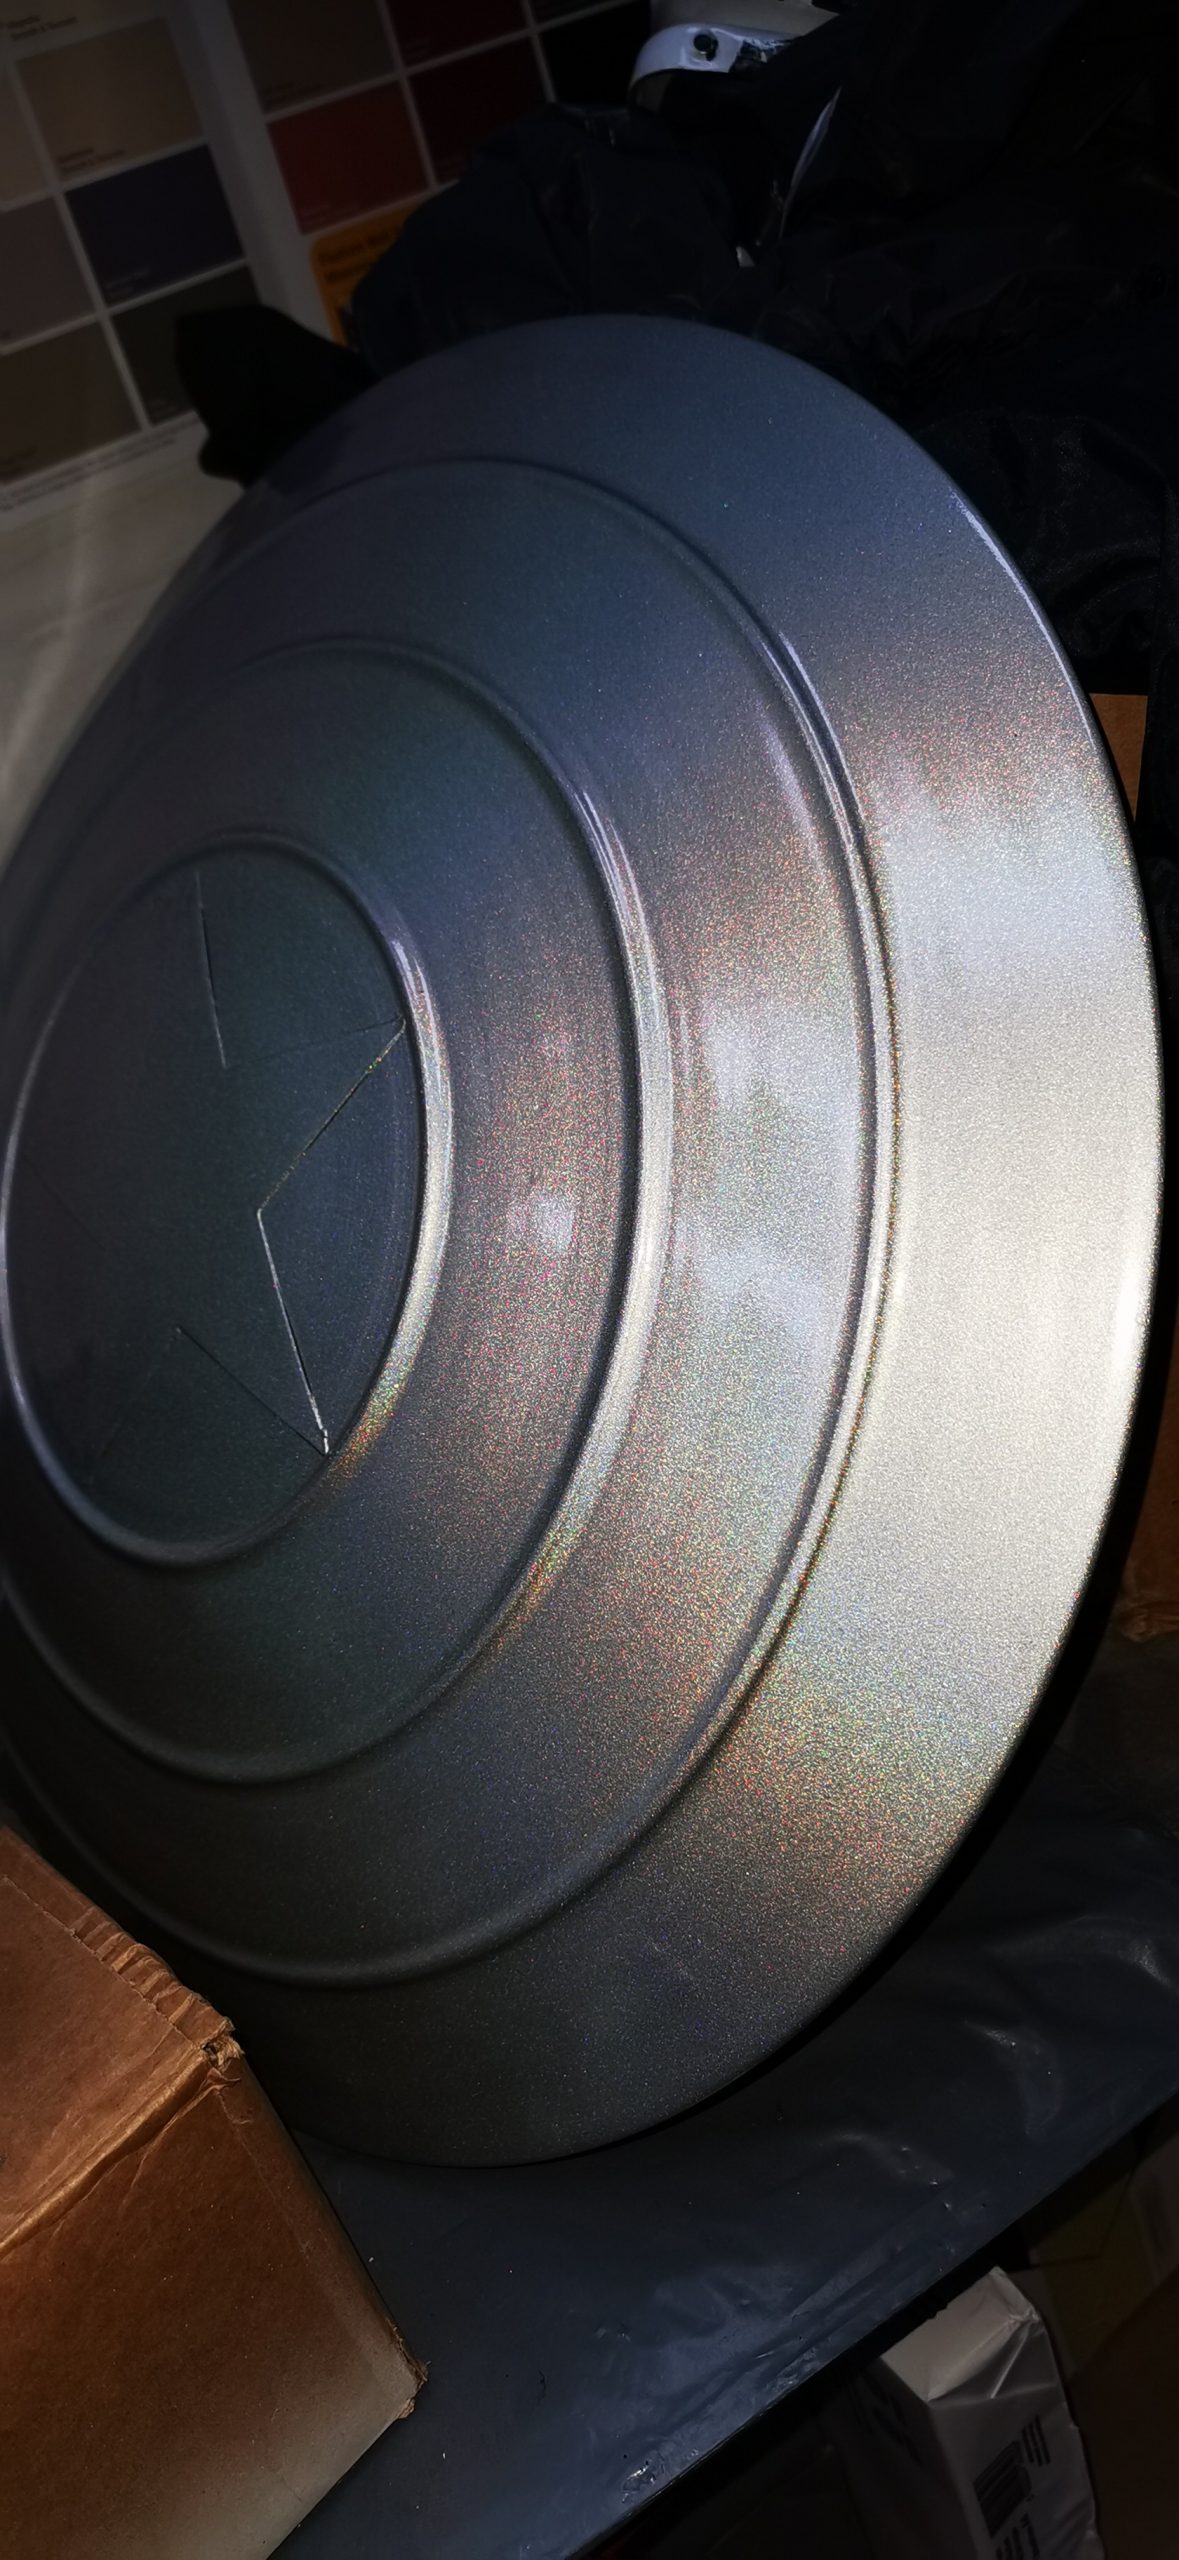
When all prep is completed, and you are happy to continue, start by applying a primer. If the substrate is bare metal, you can apply an etch primer. Leave to cure for 20 minutes to 30 minutes, depending on how thick the coats are.
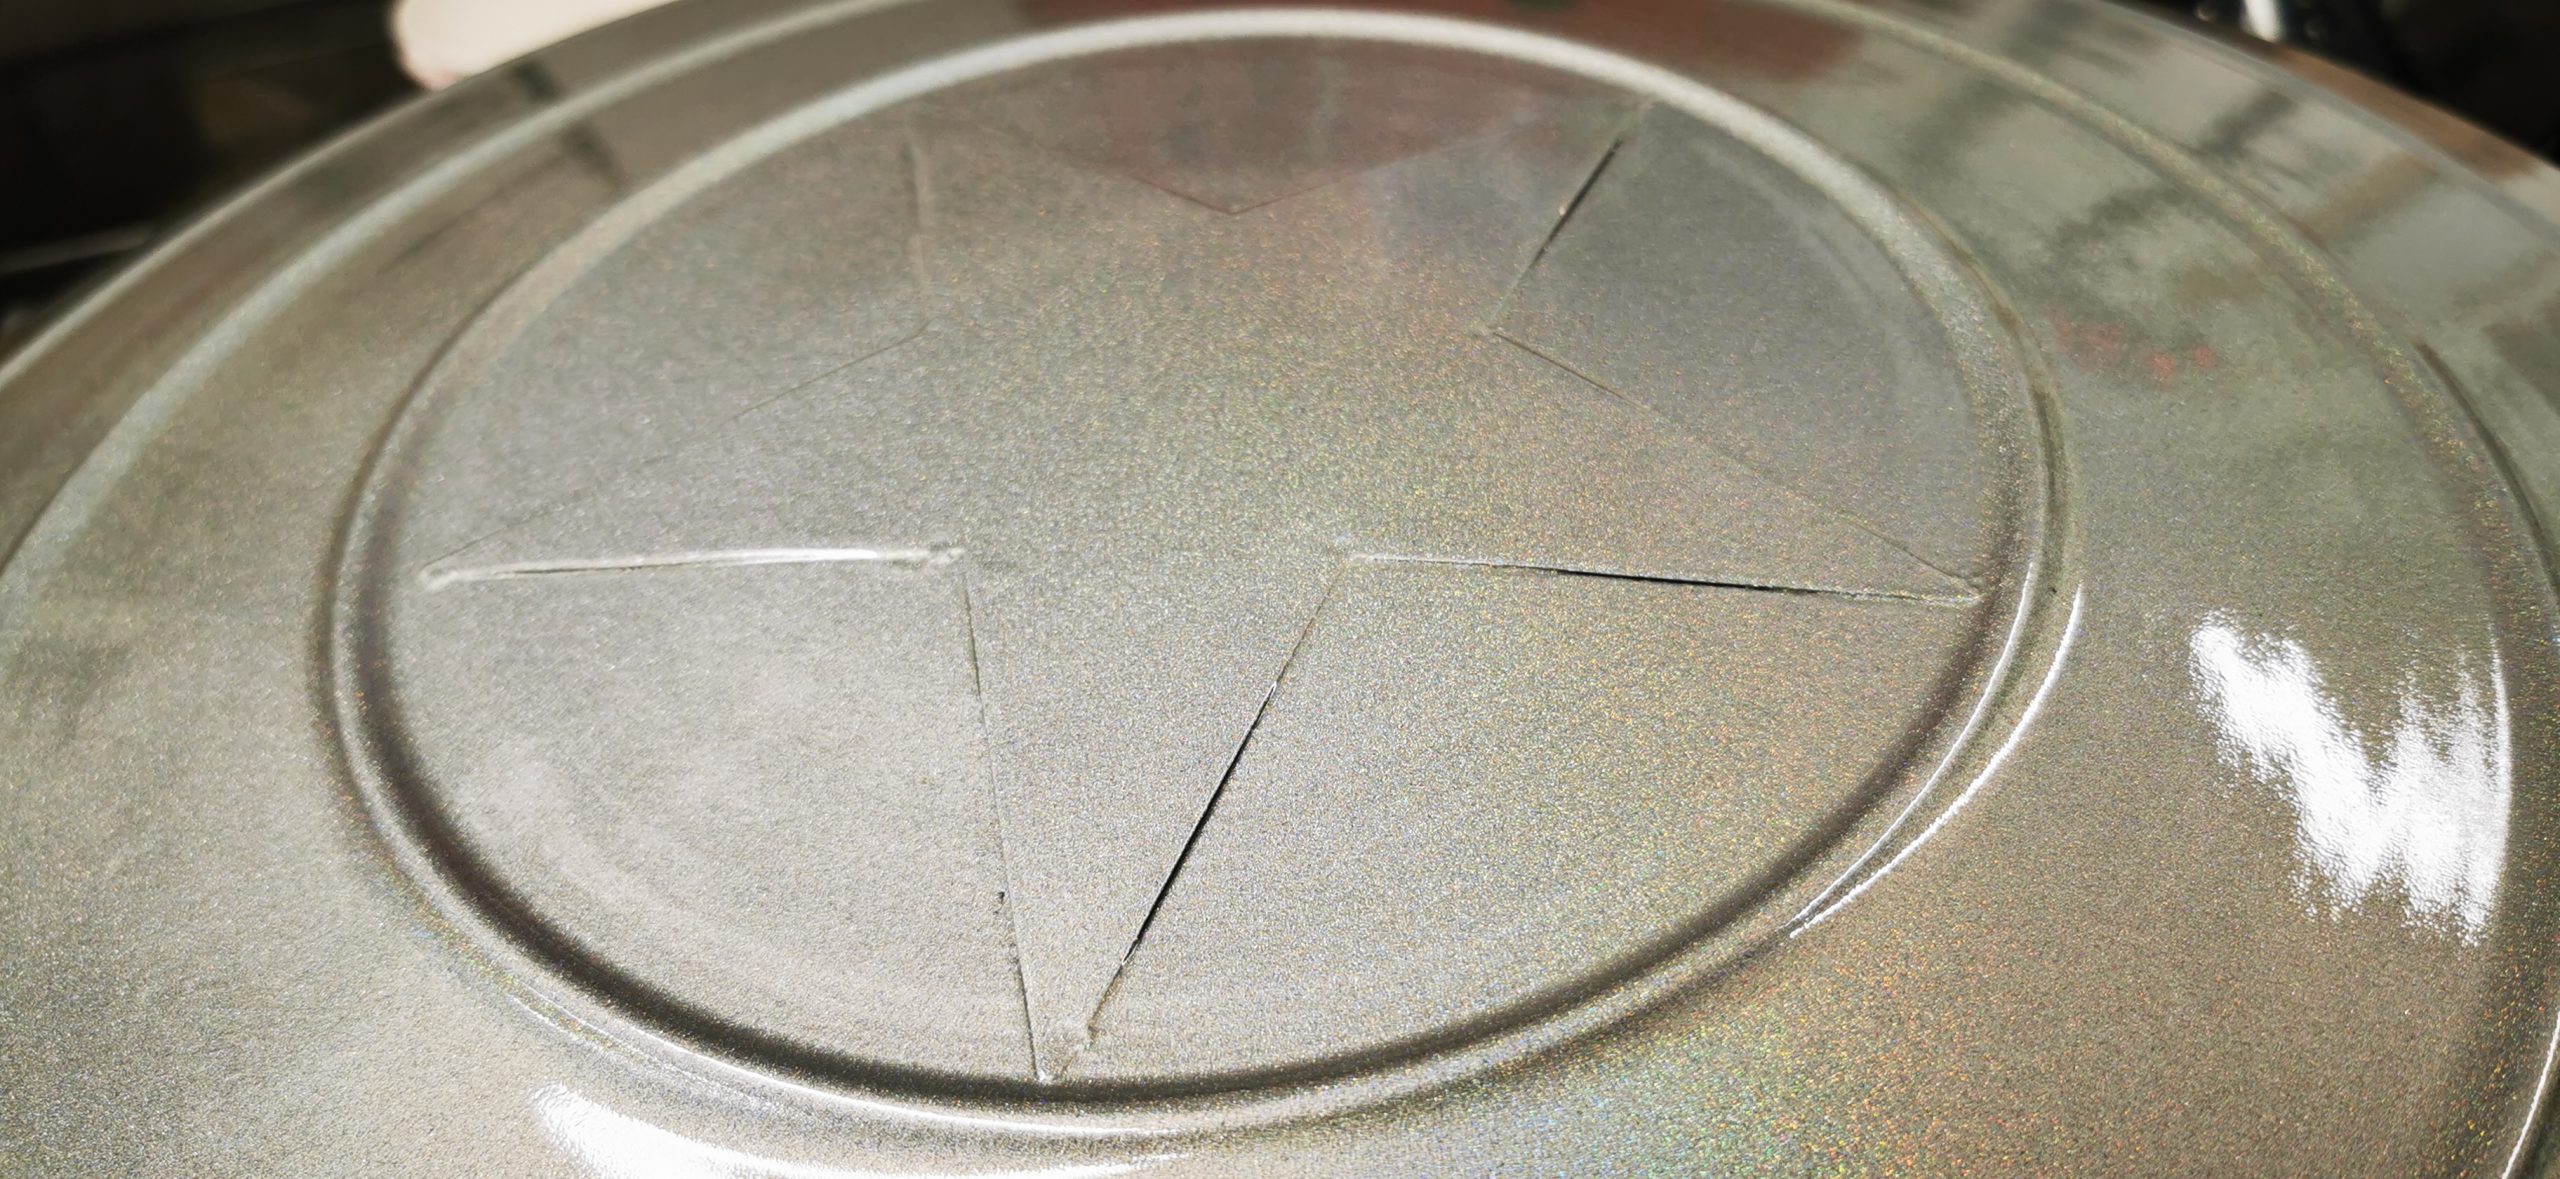
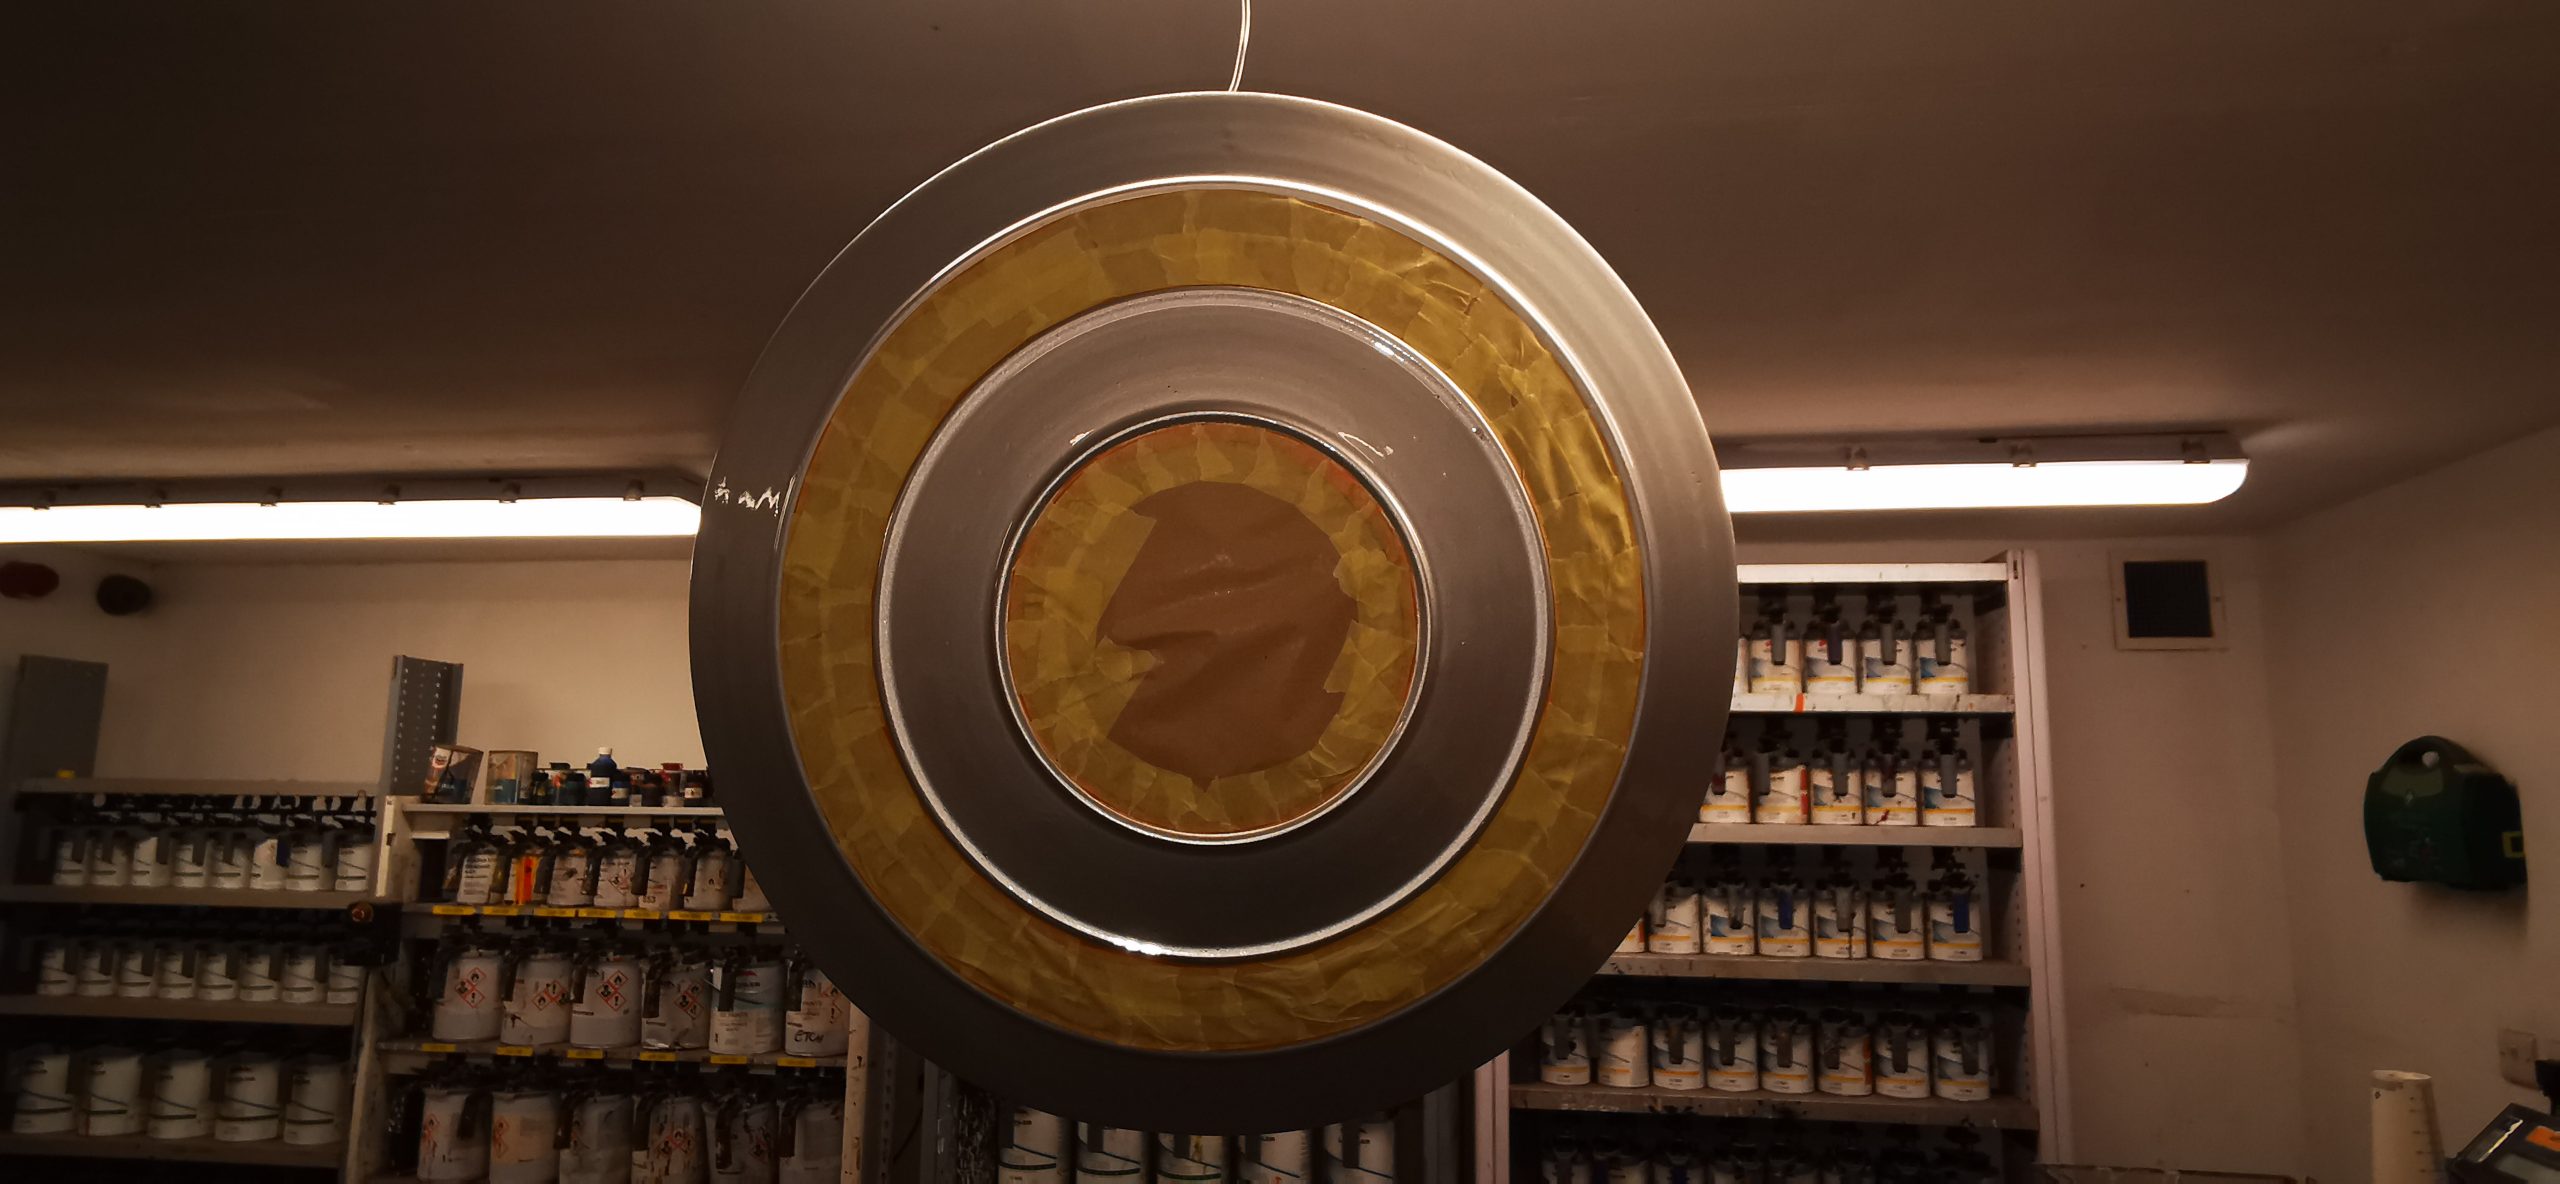
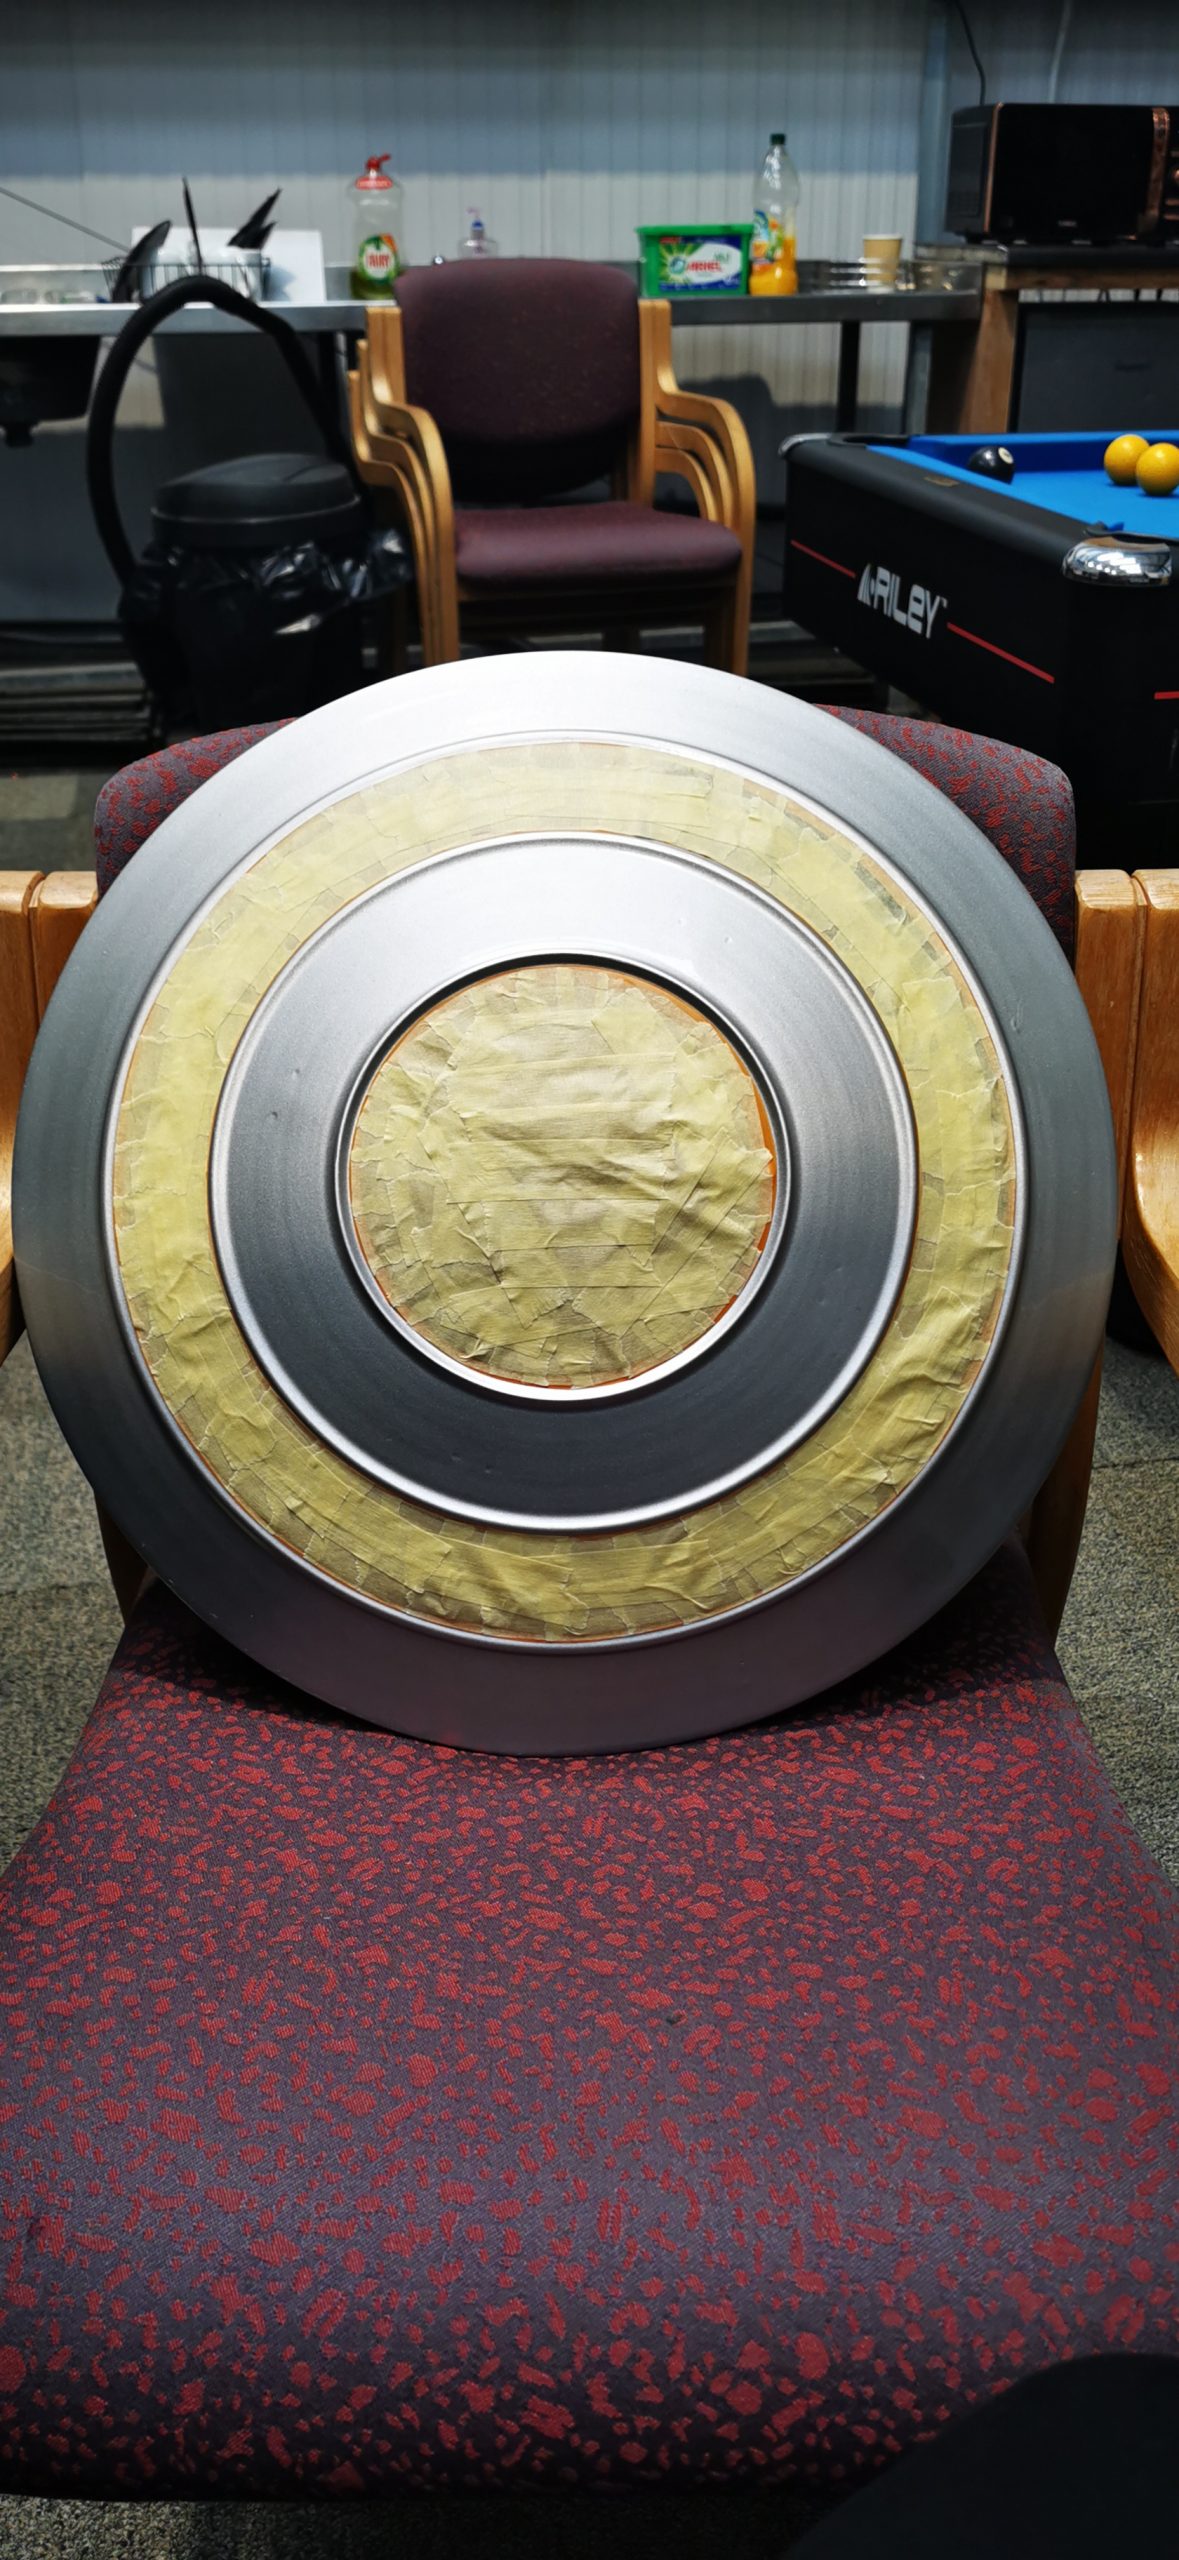
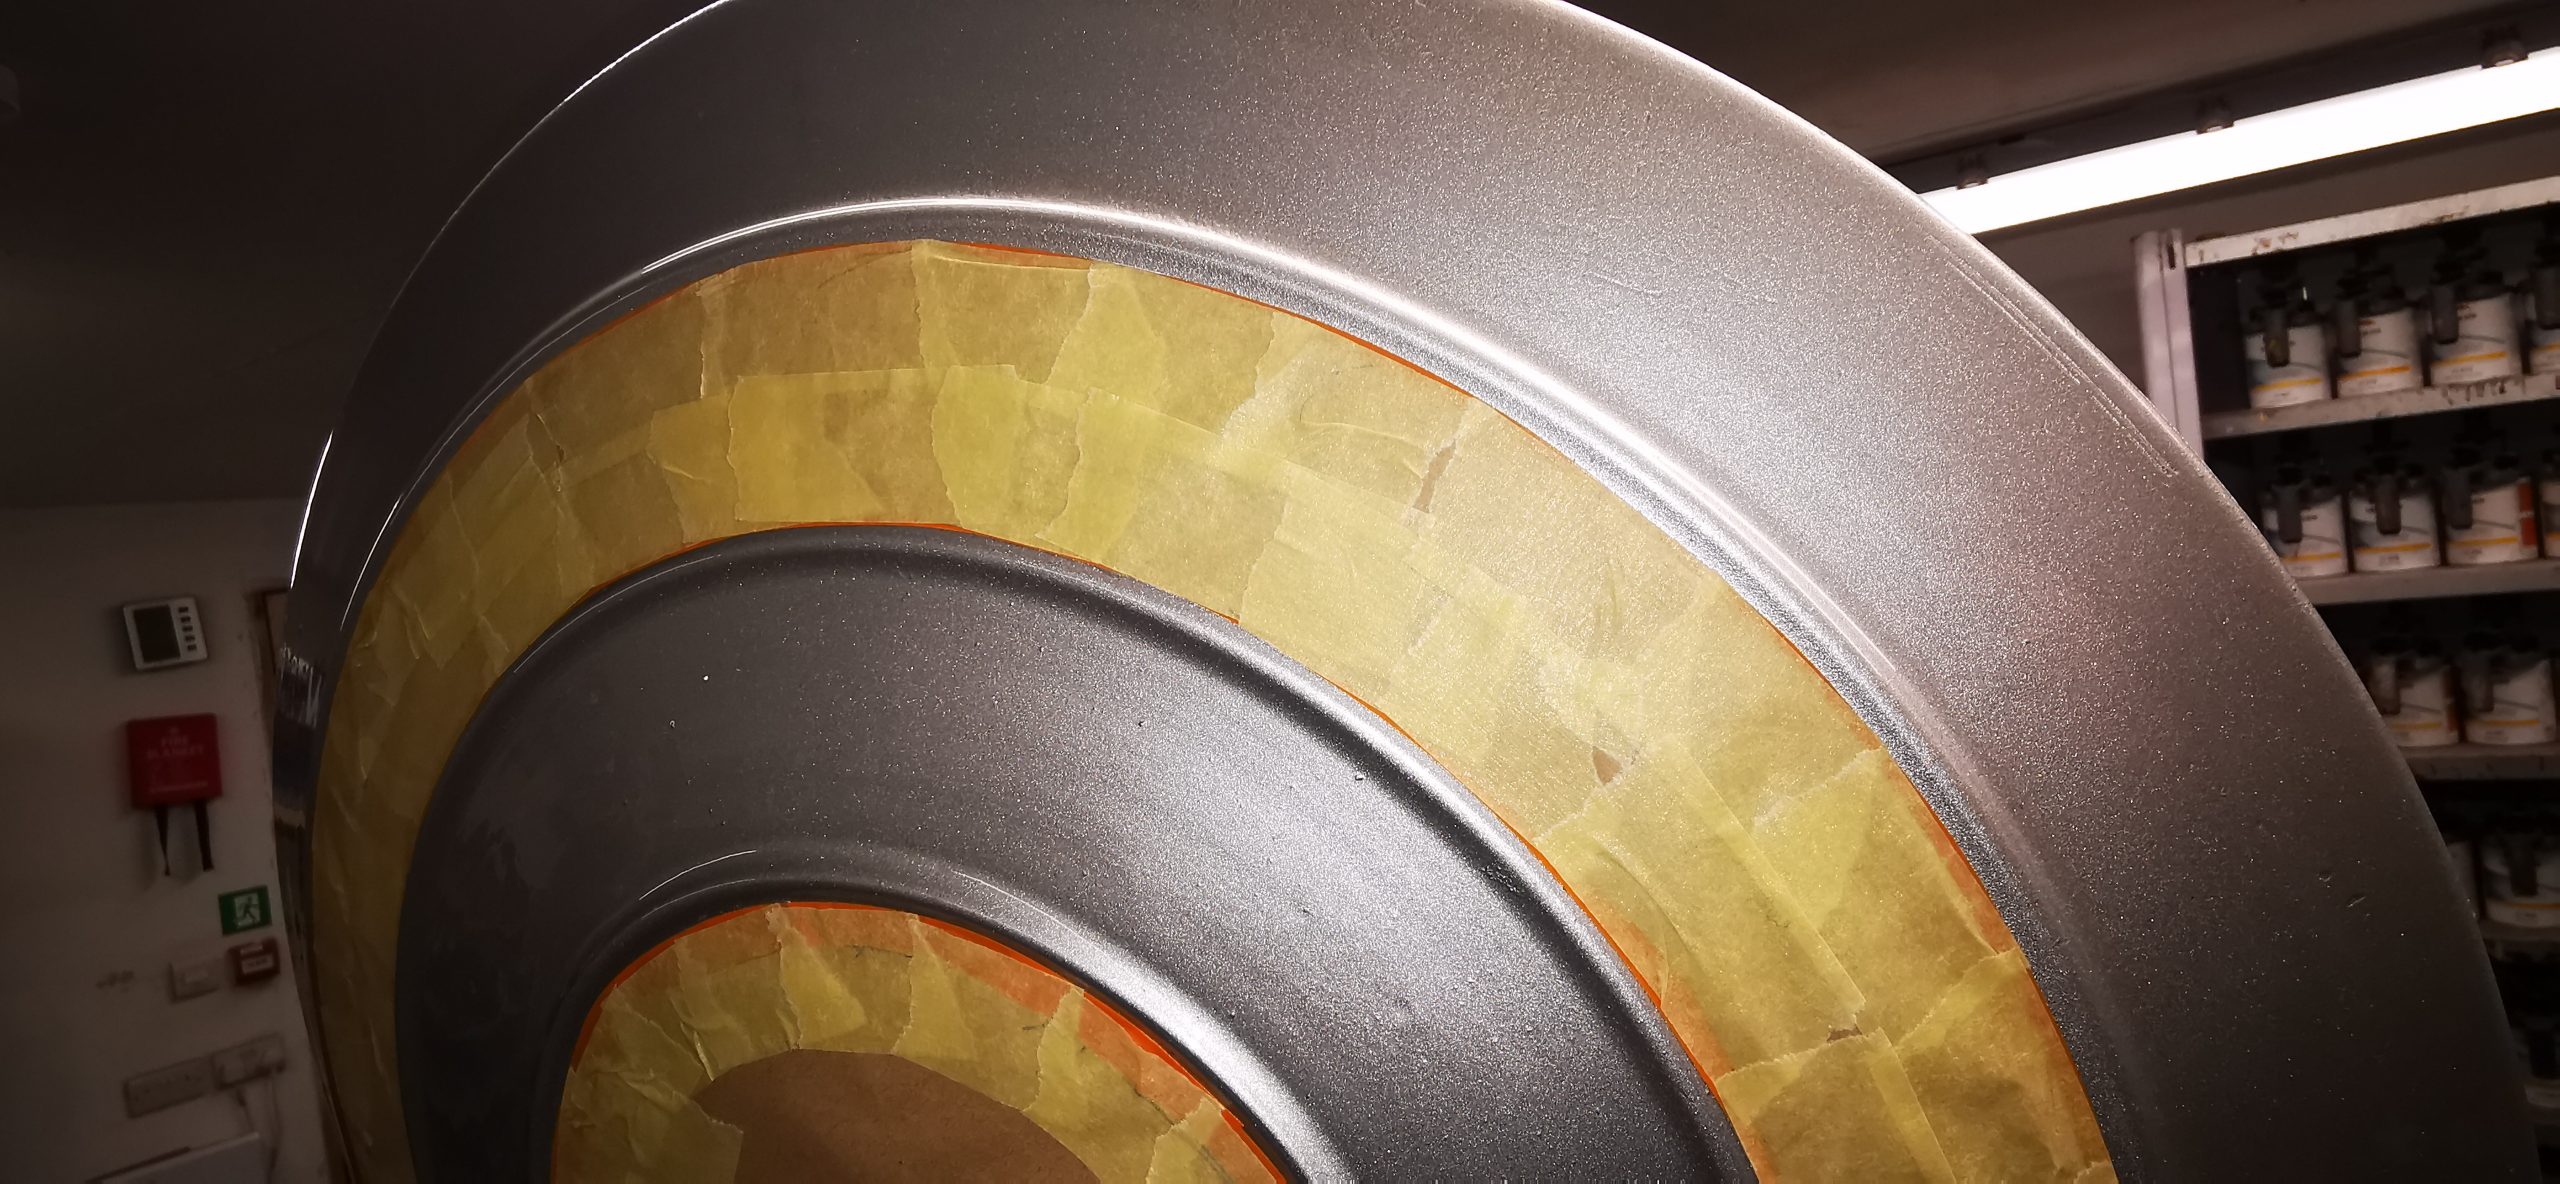
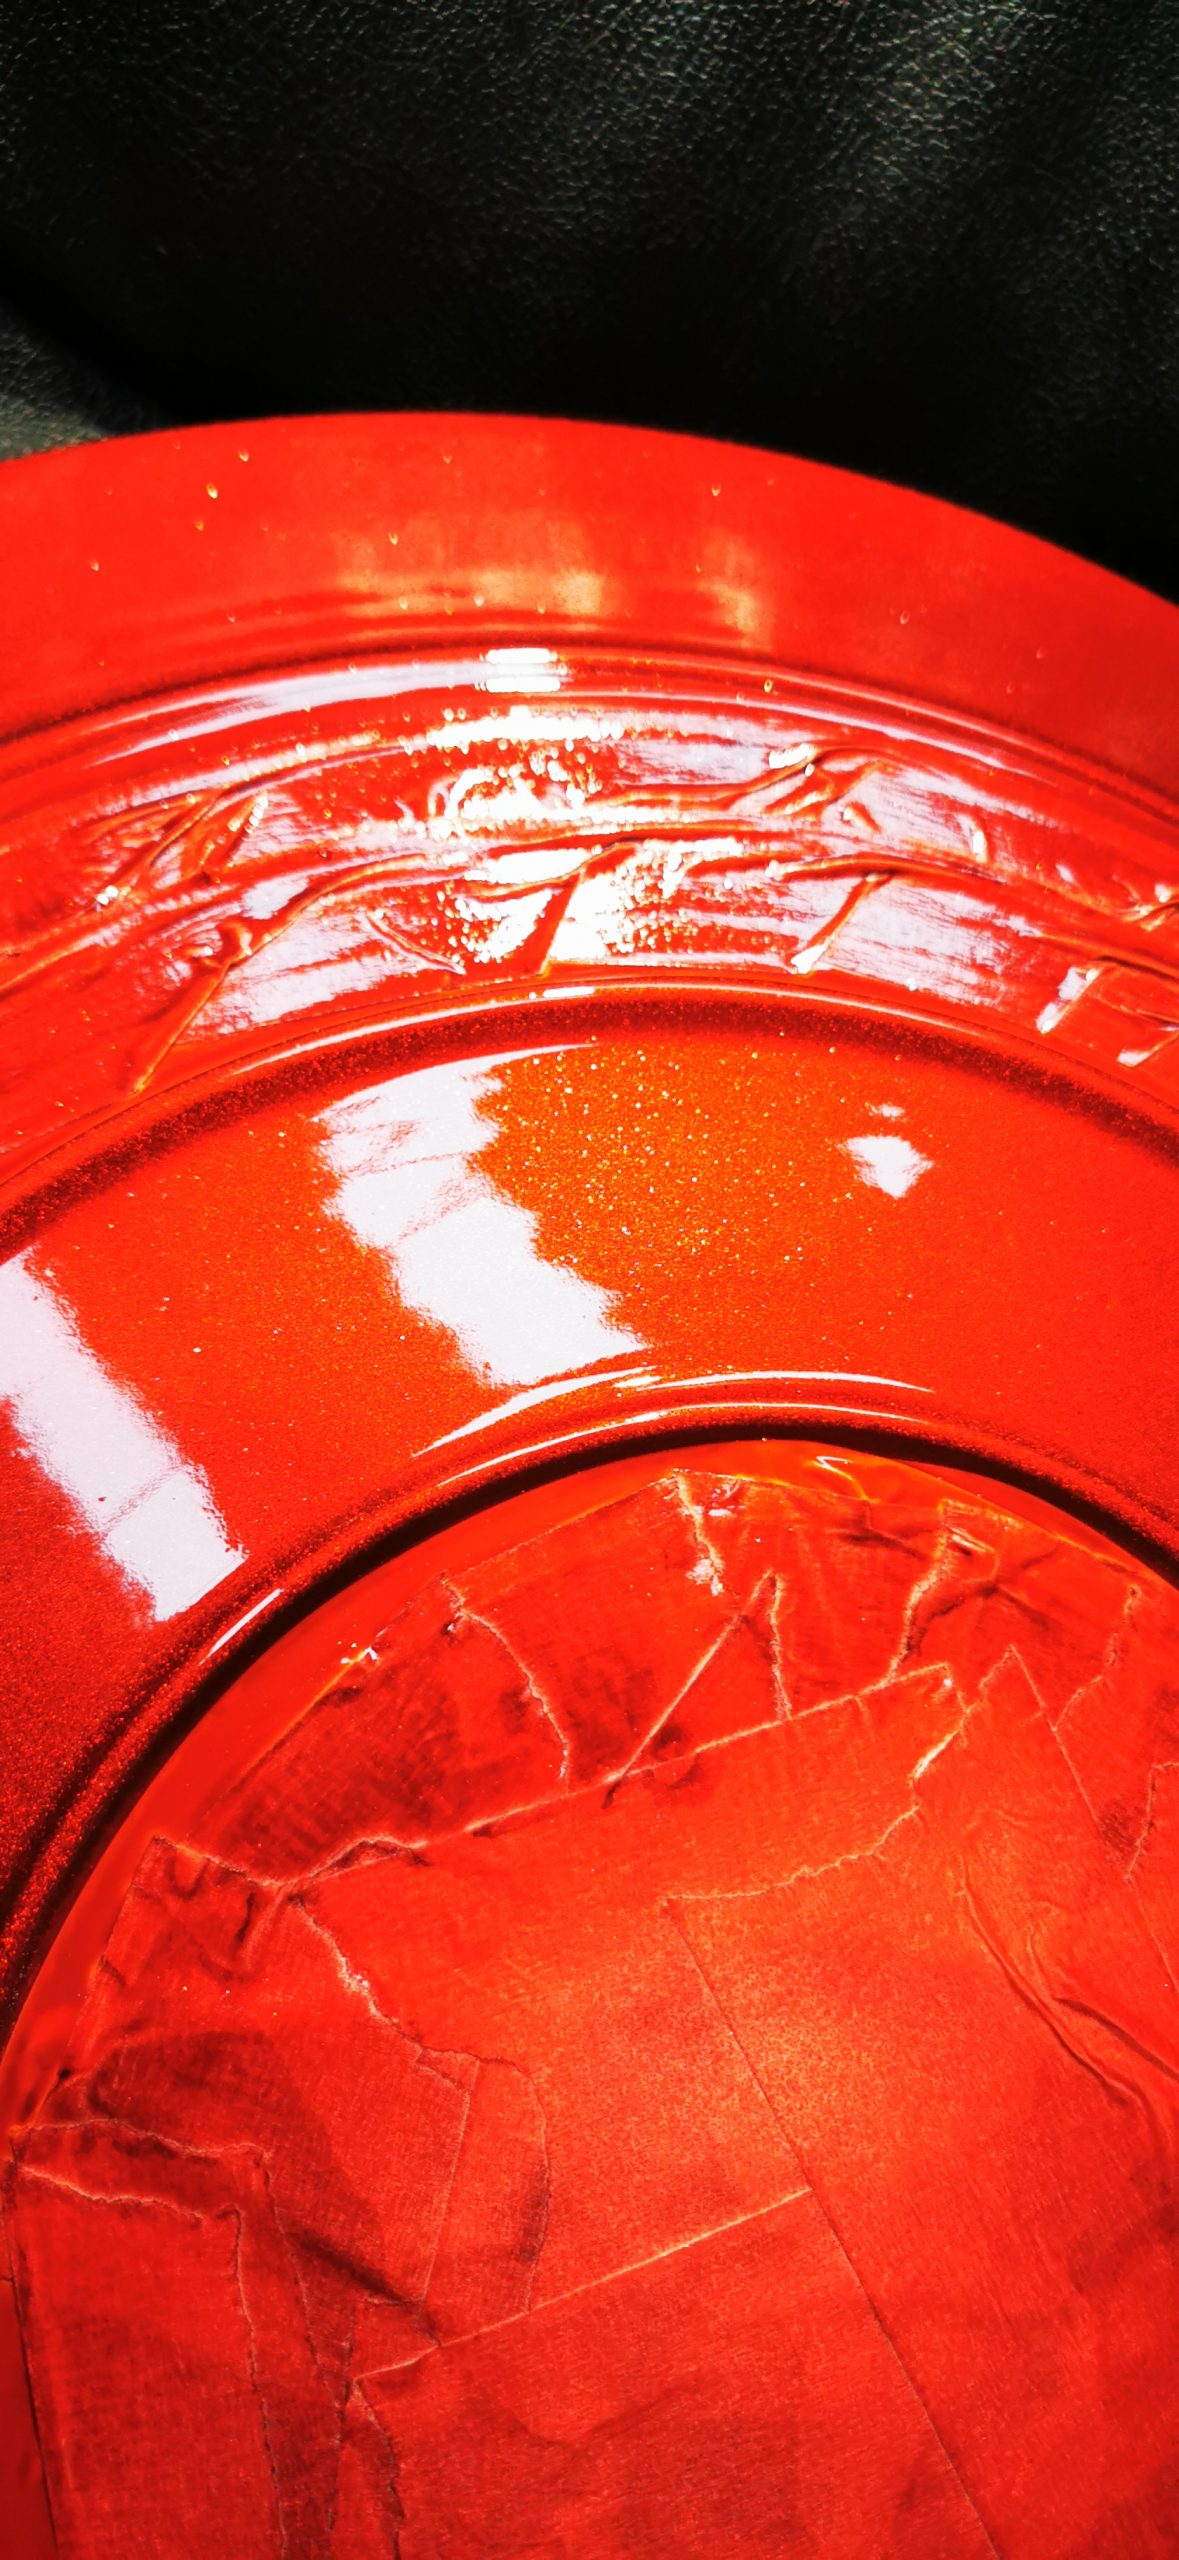
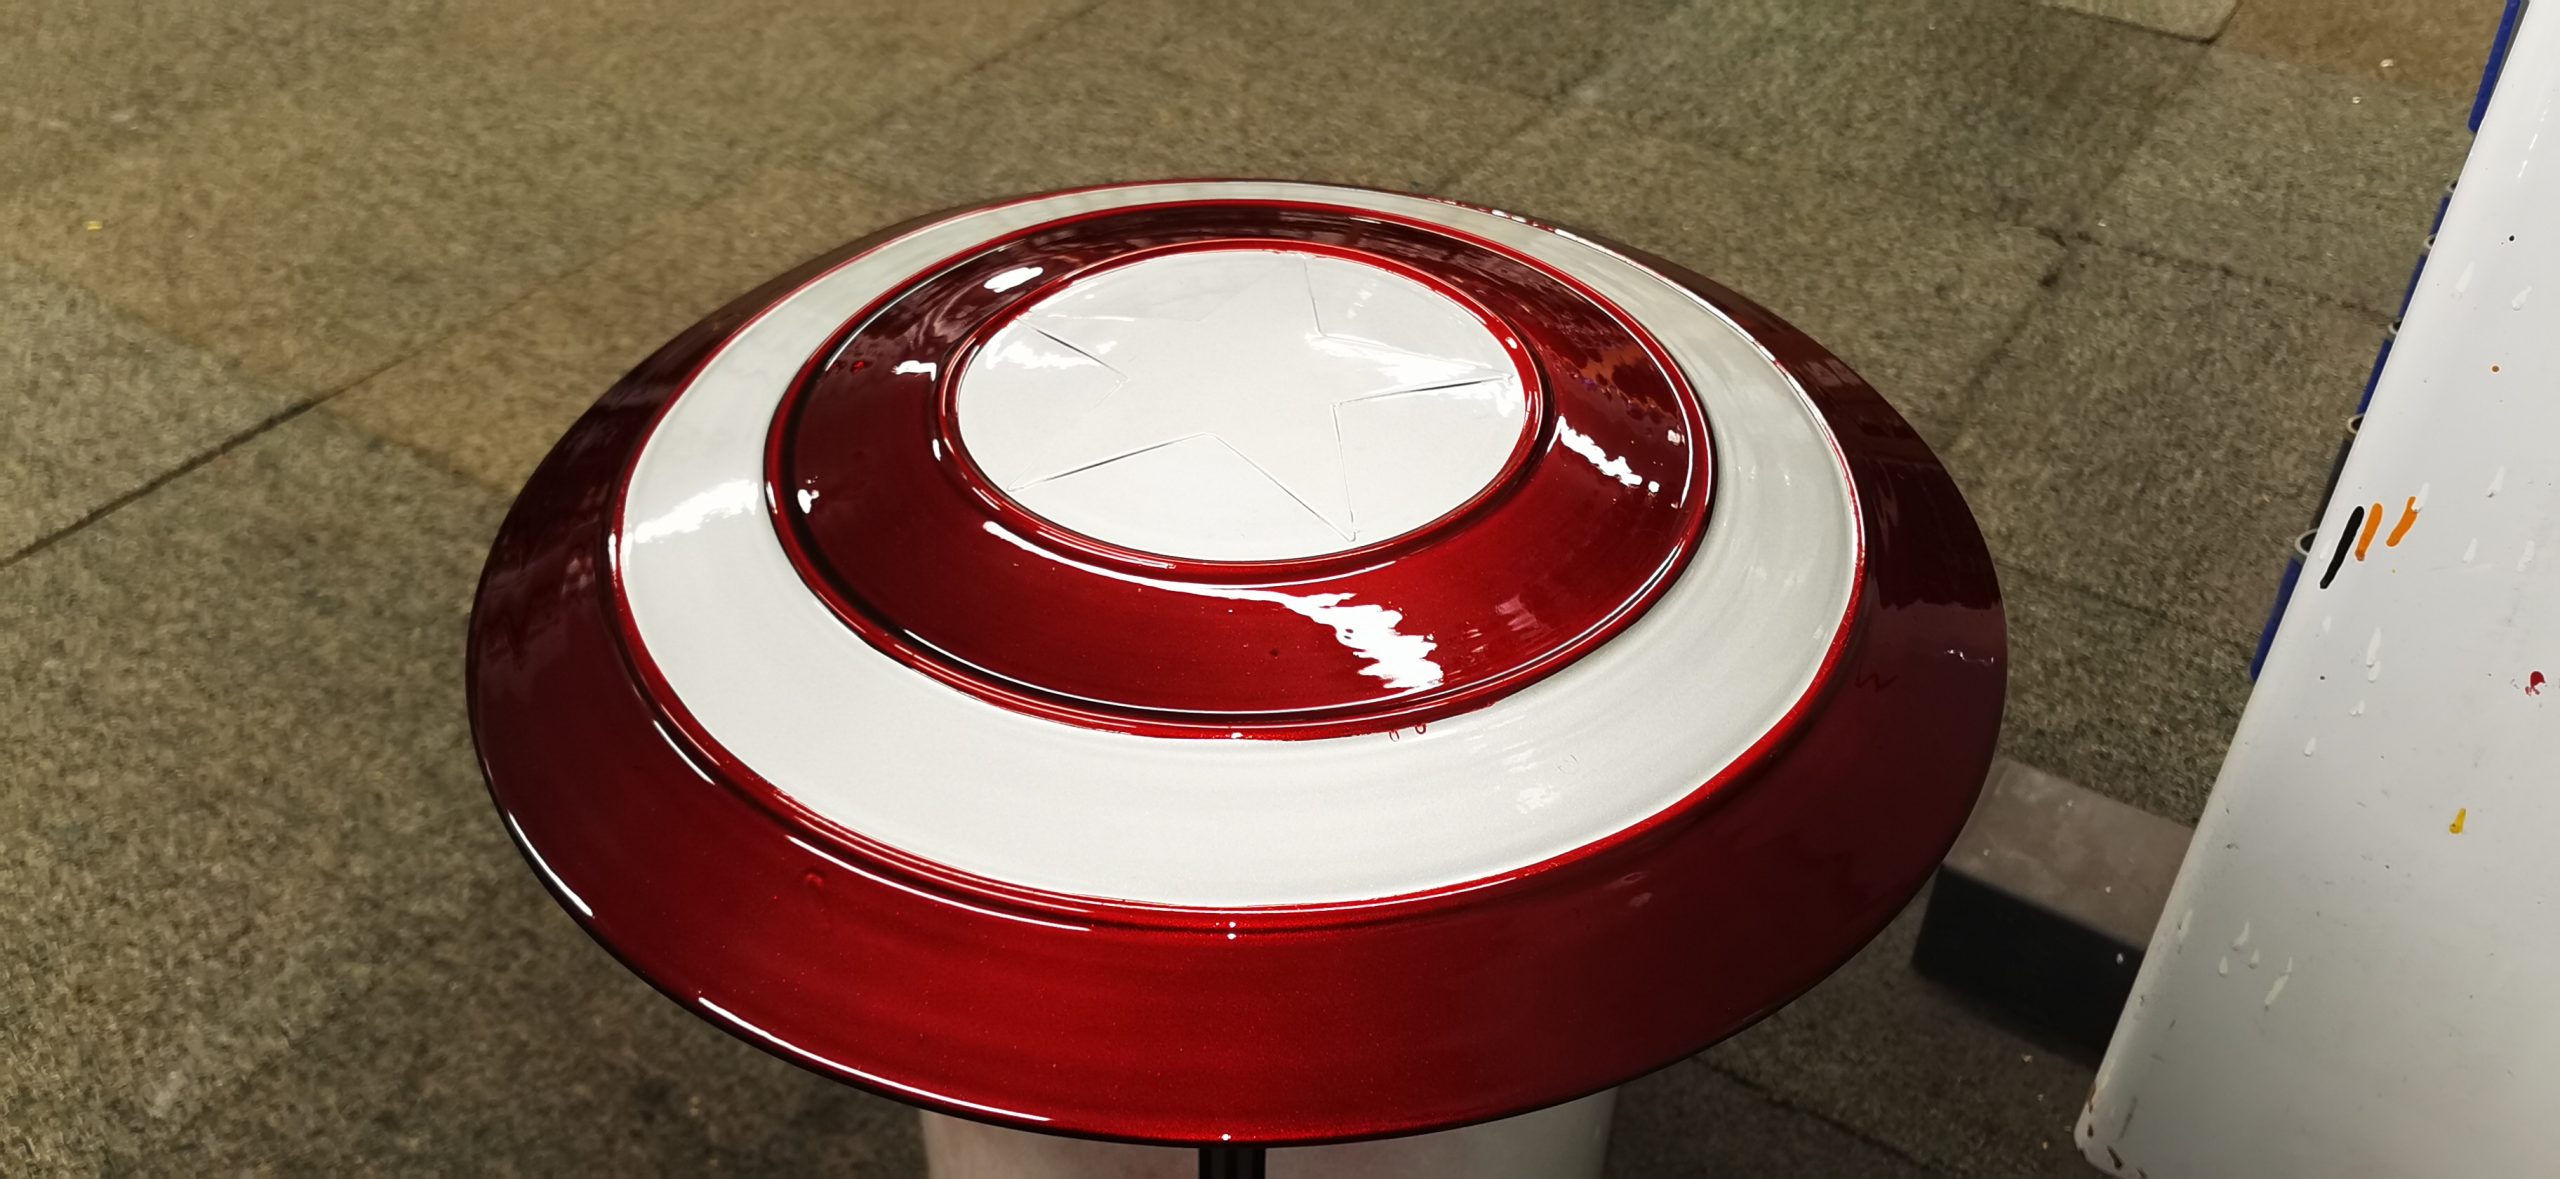
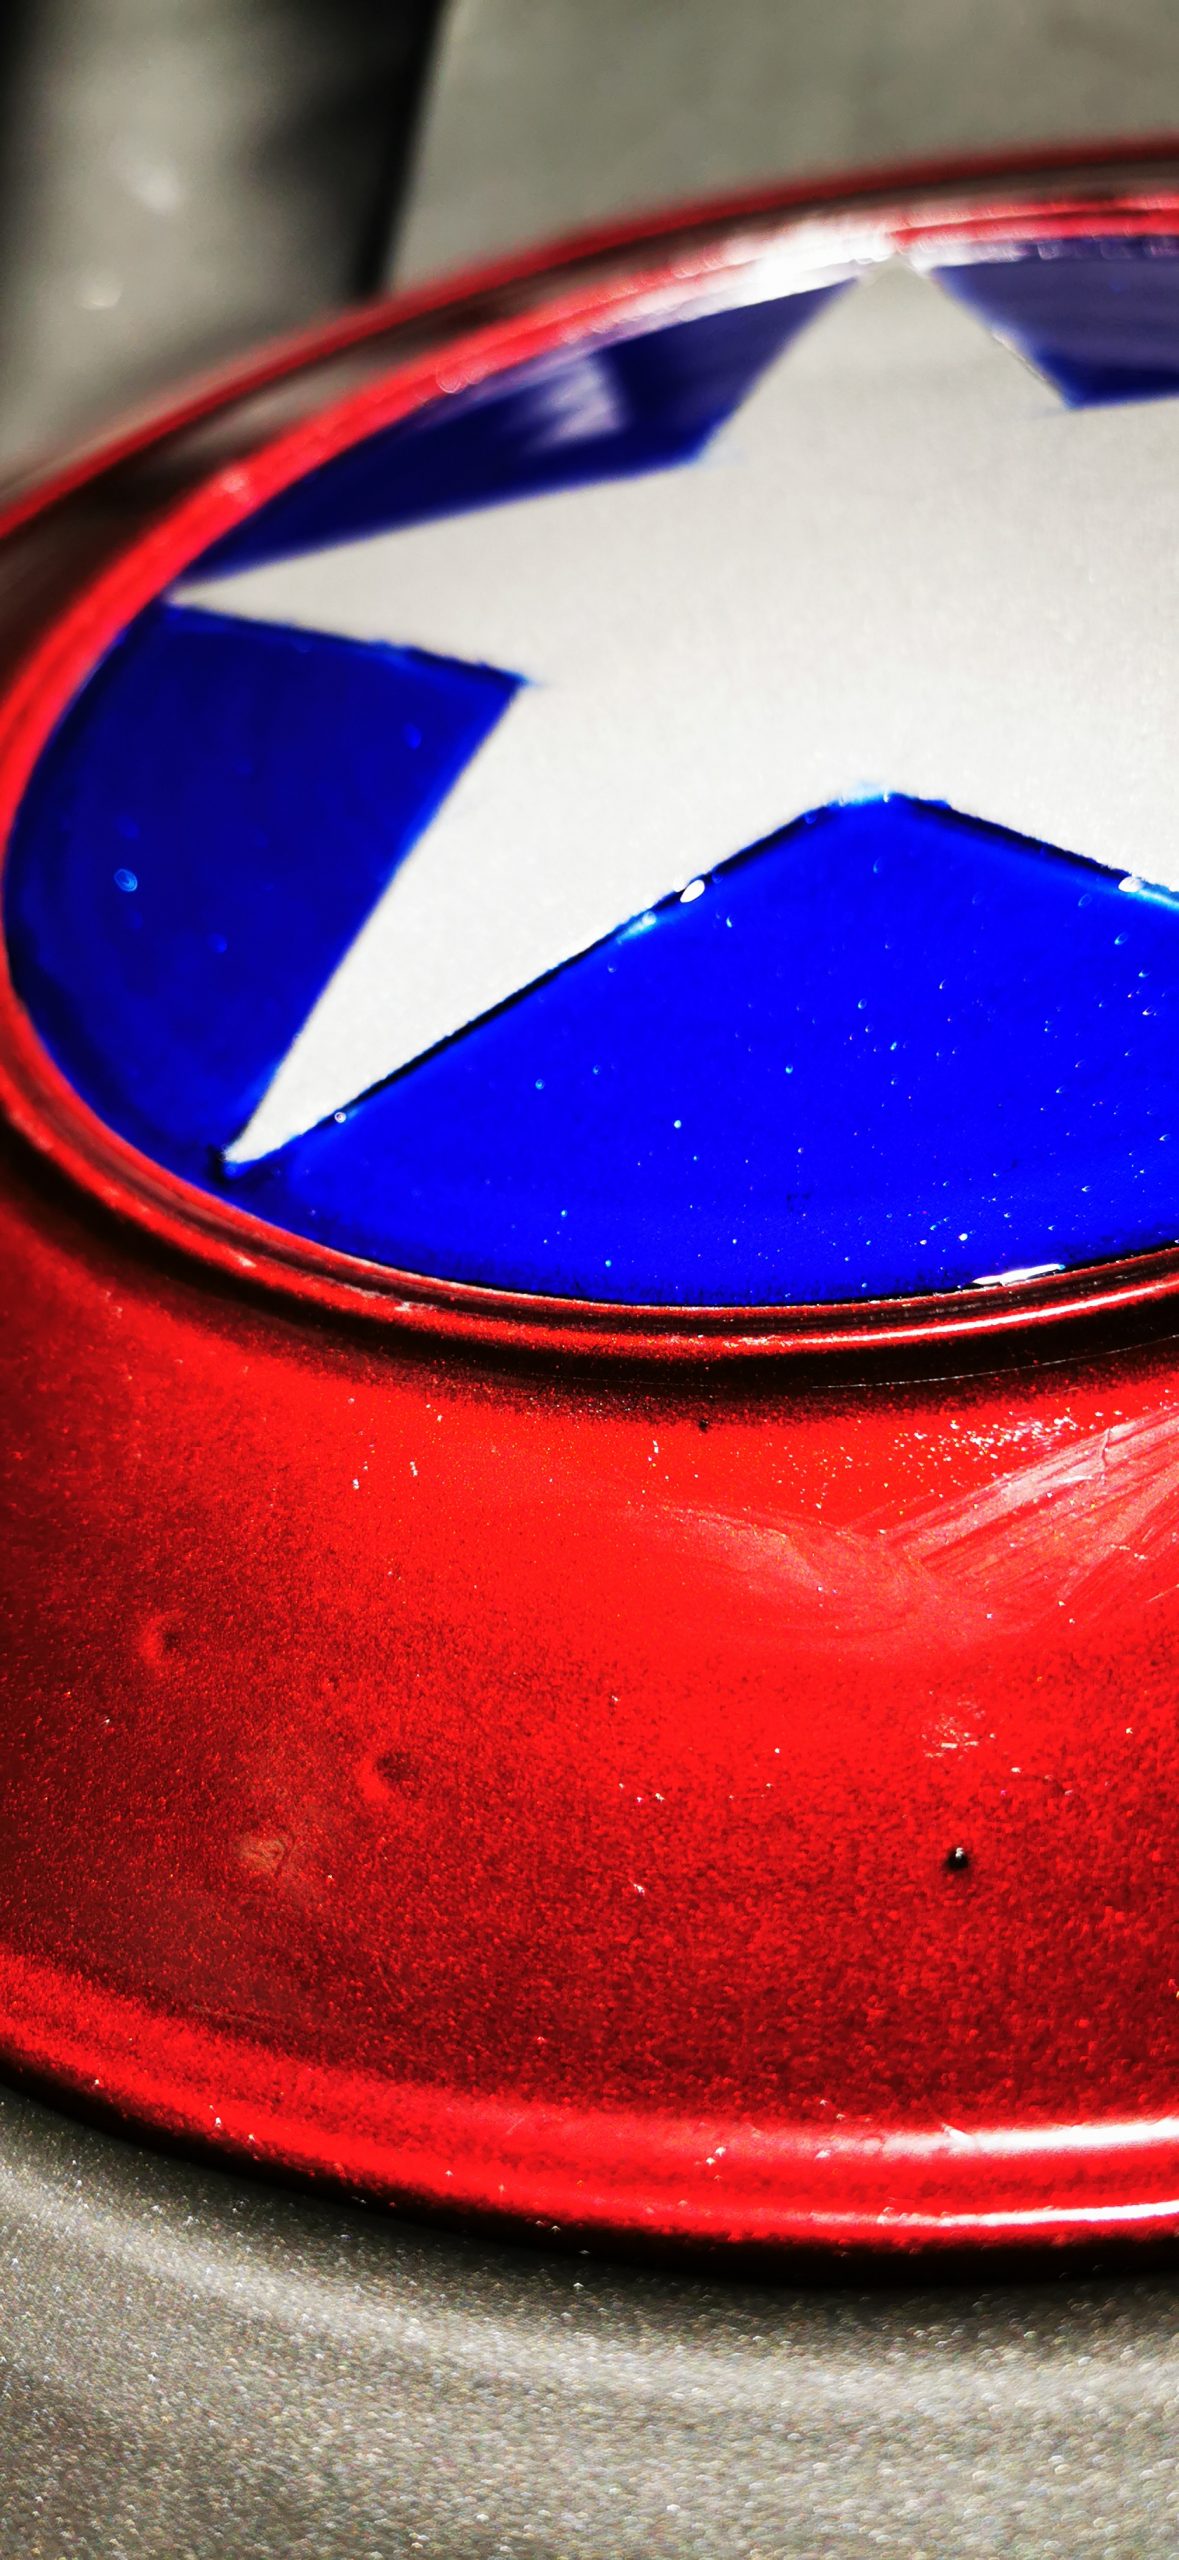
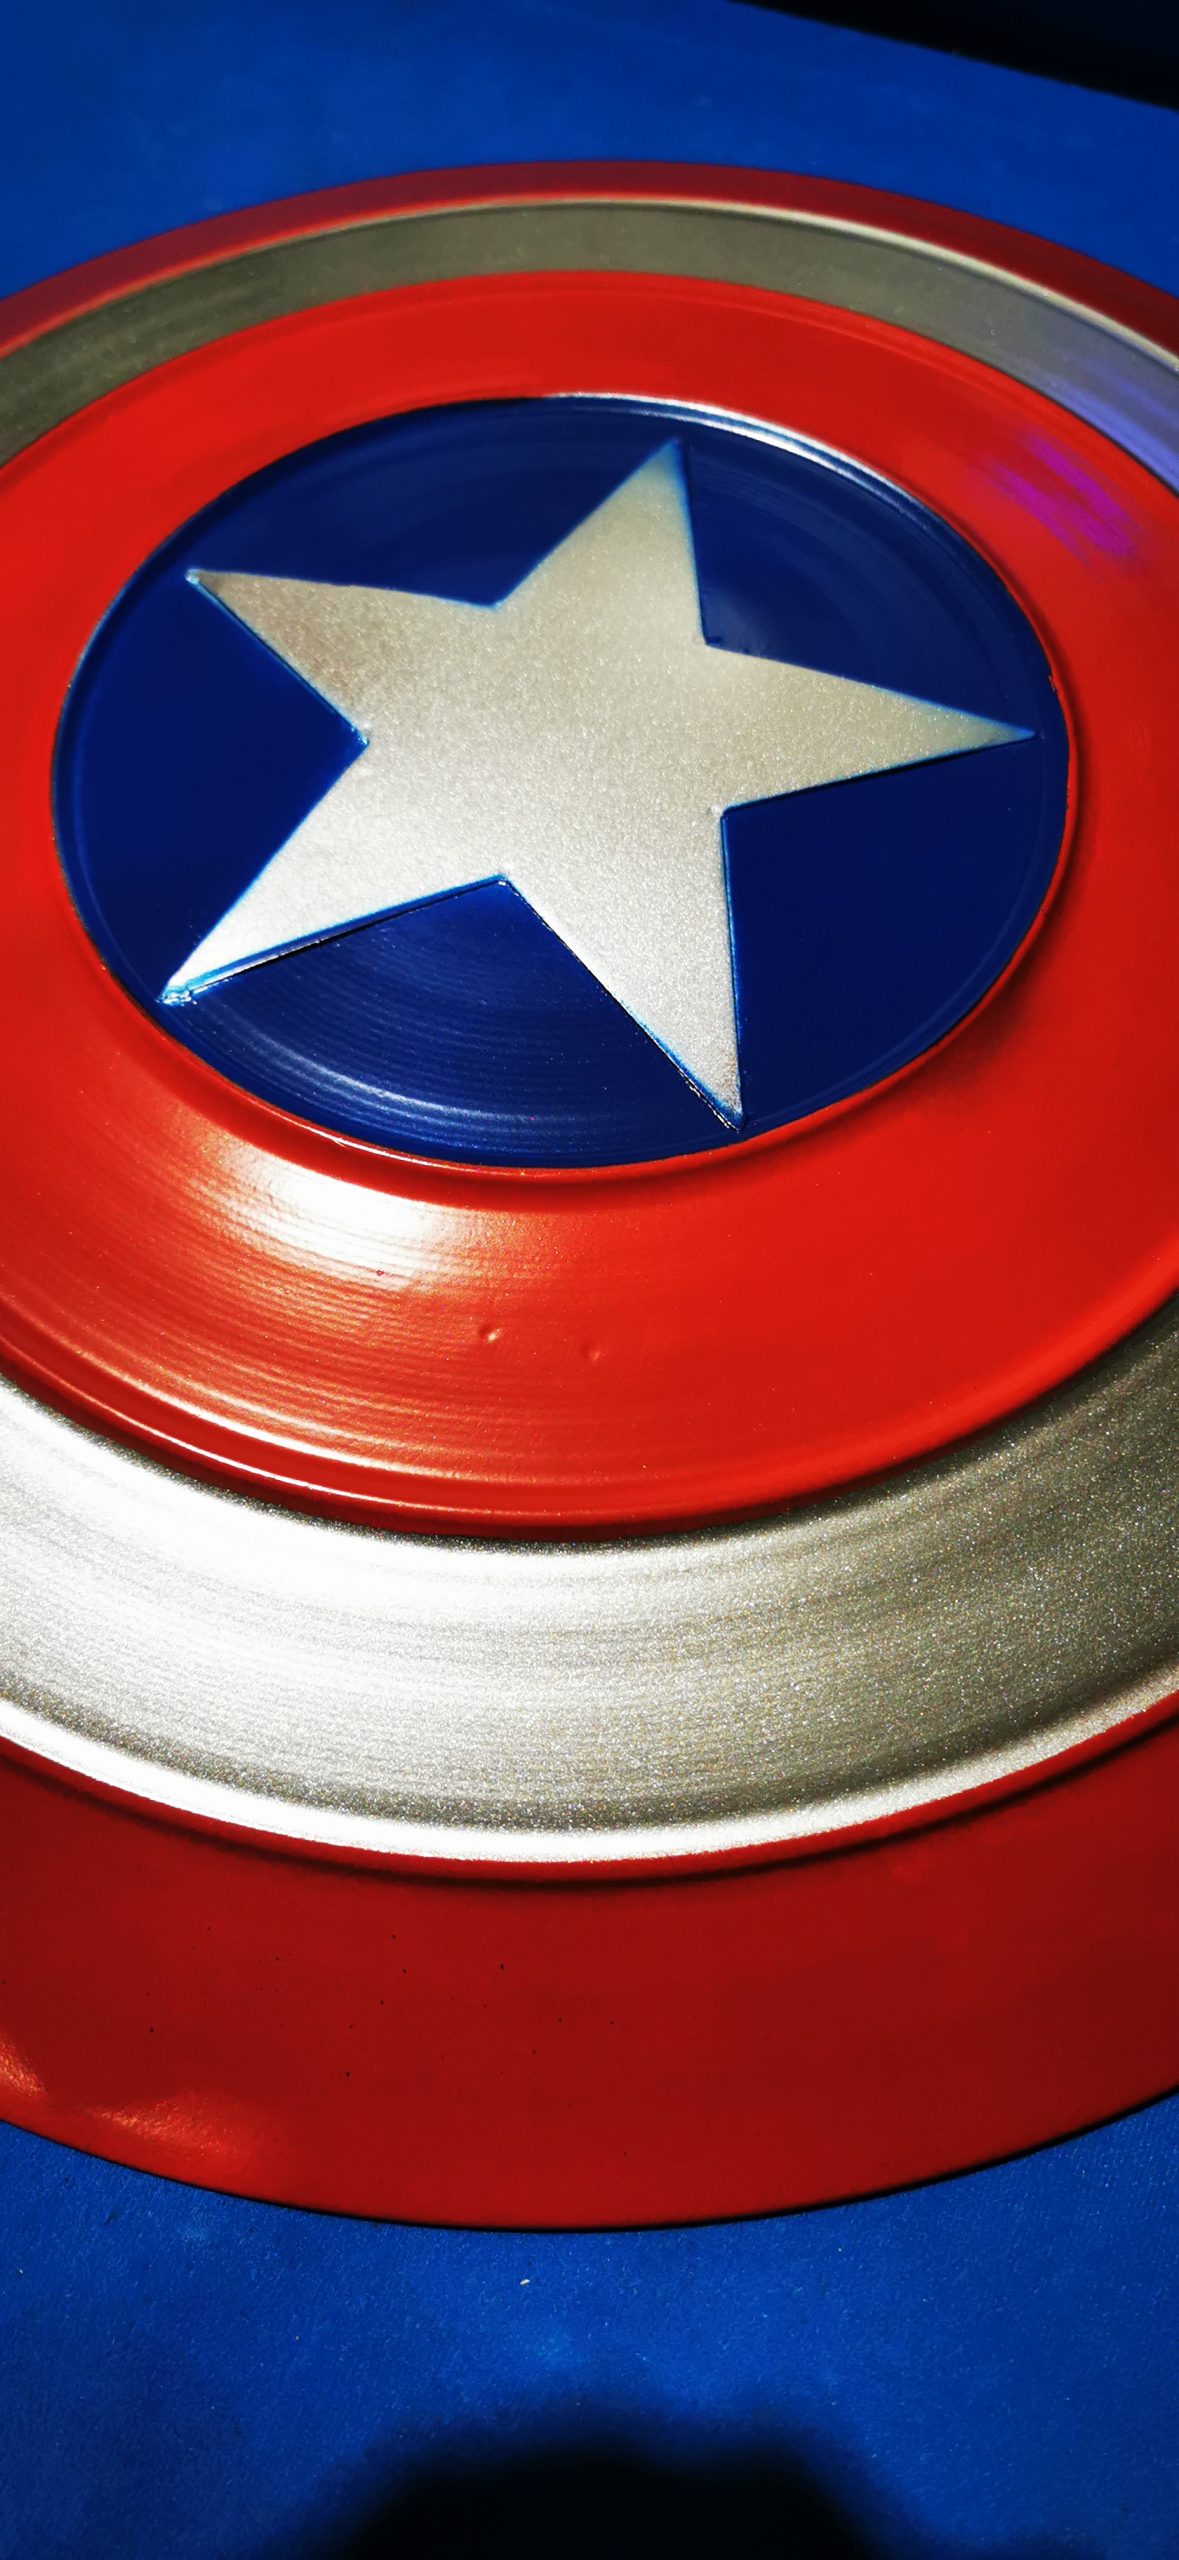
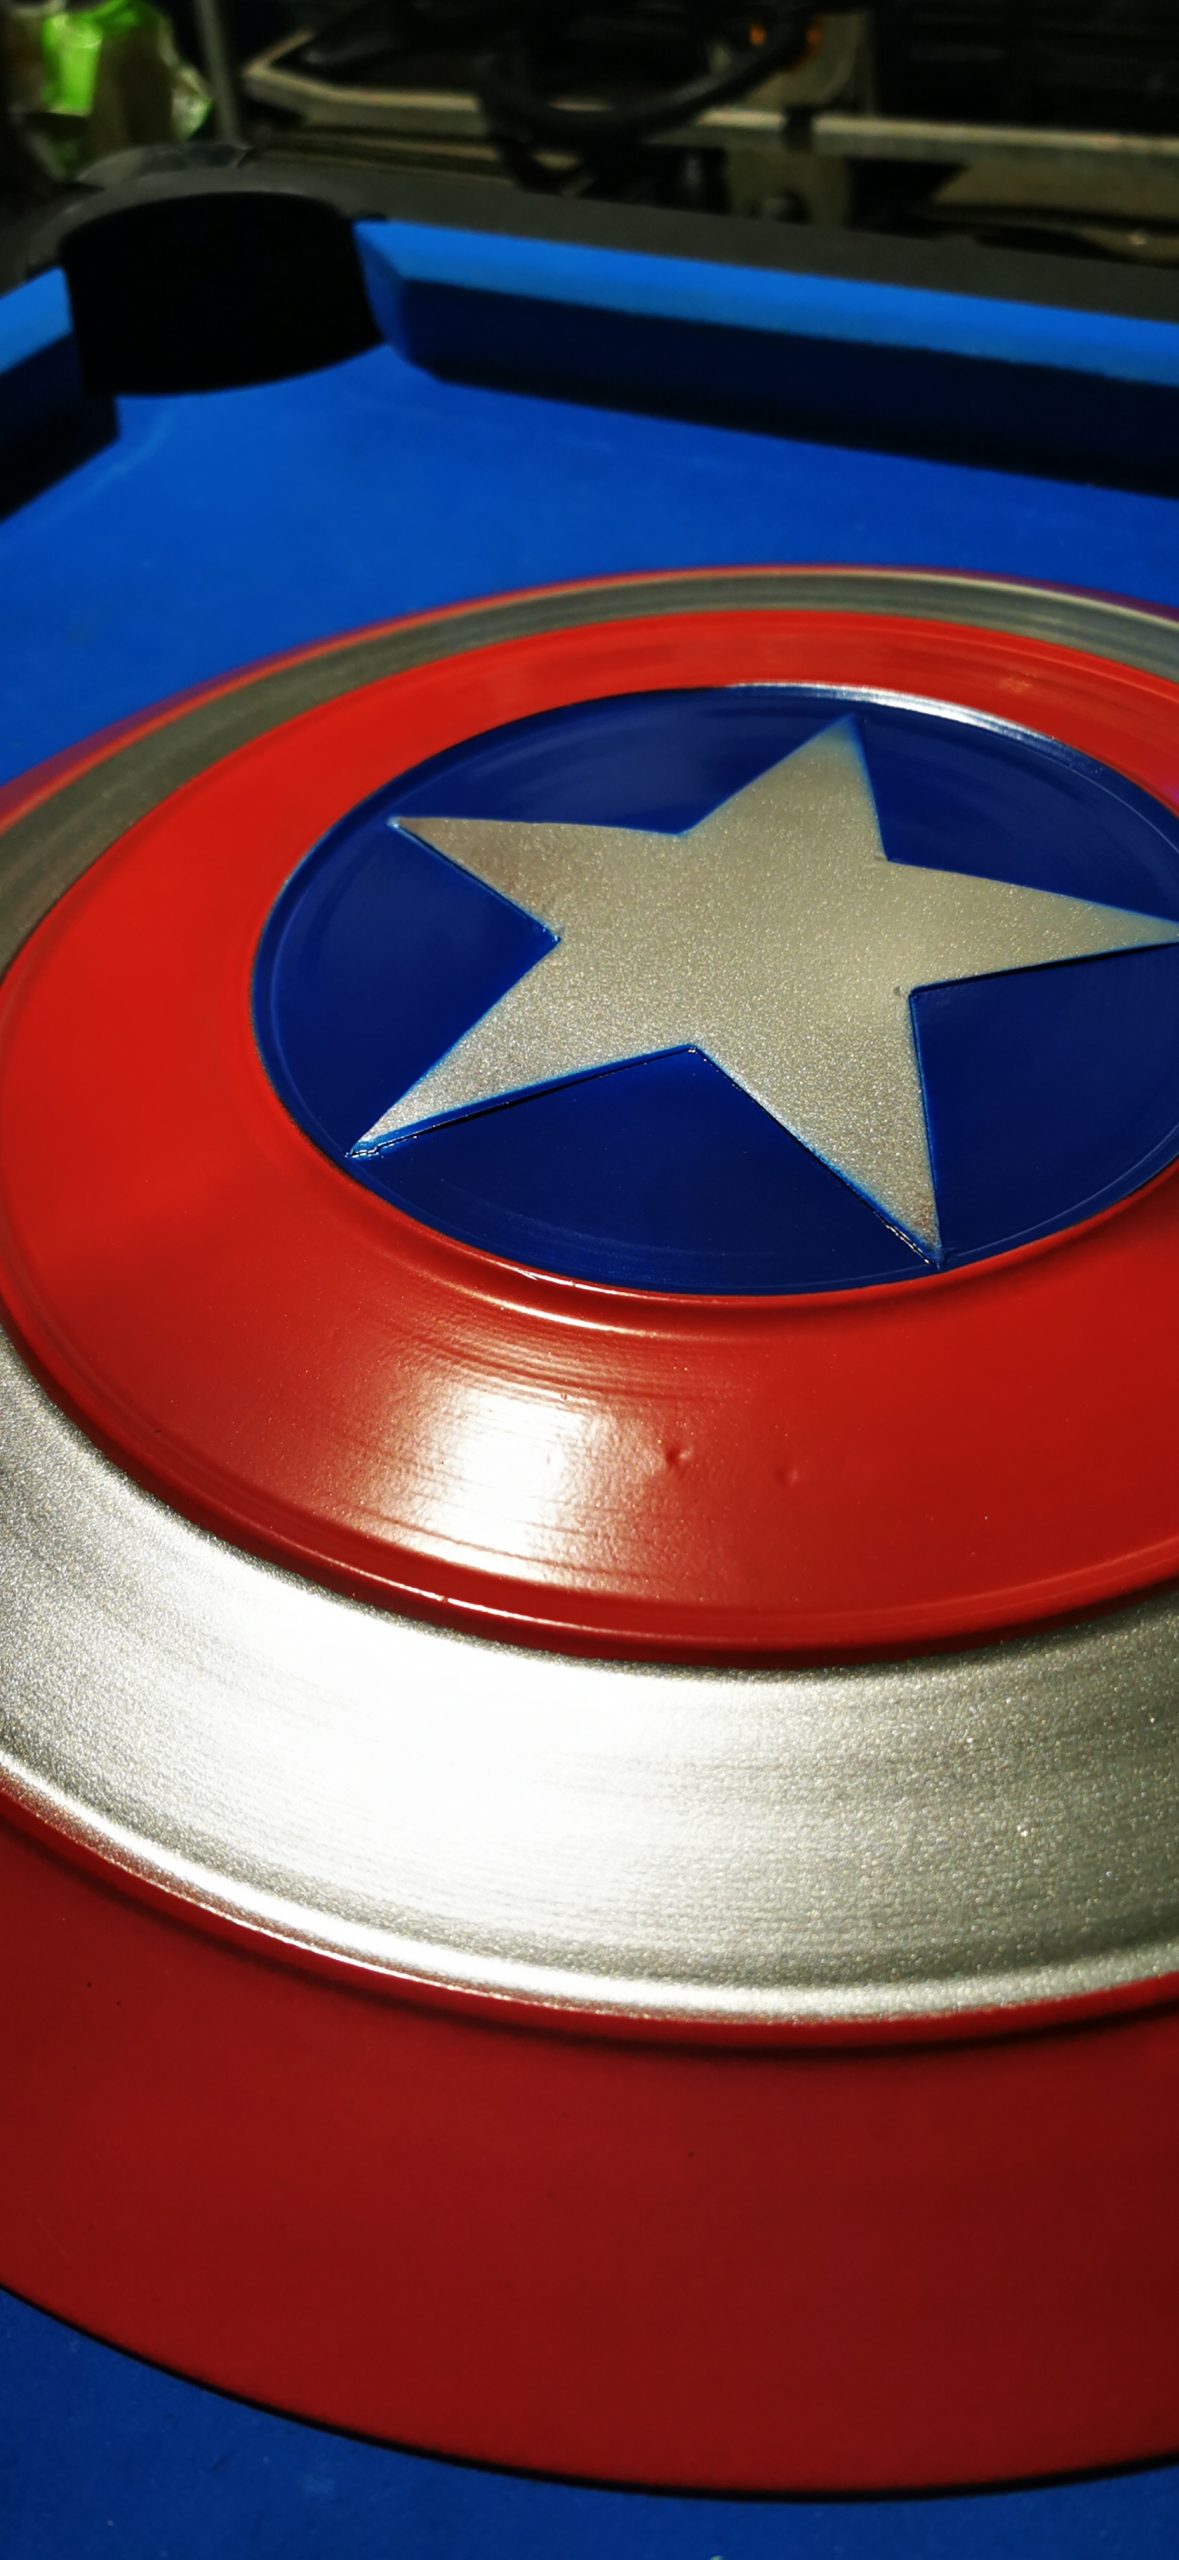
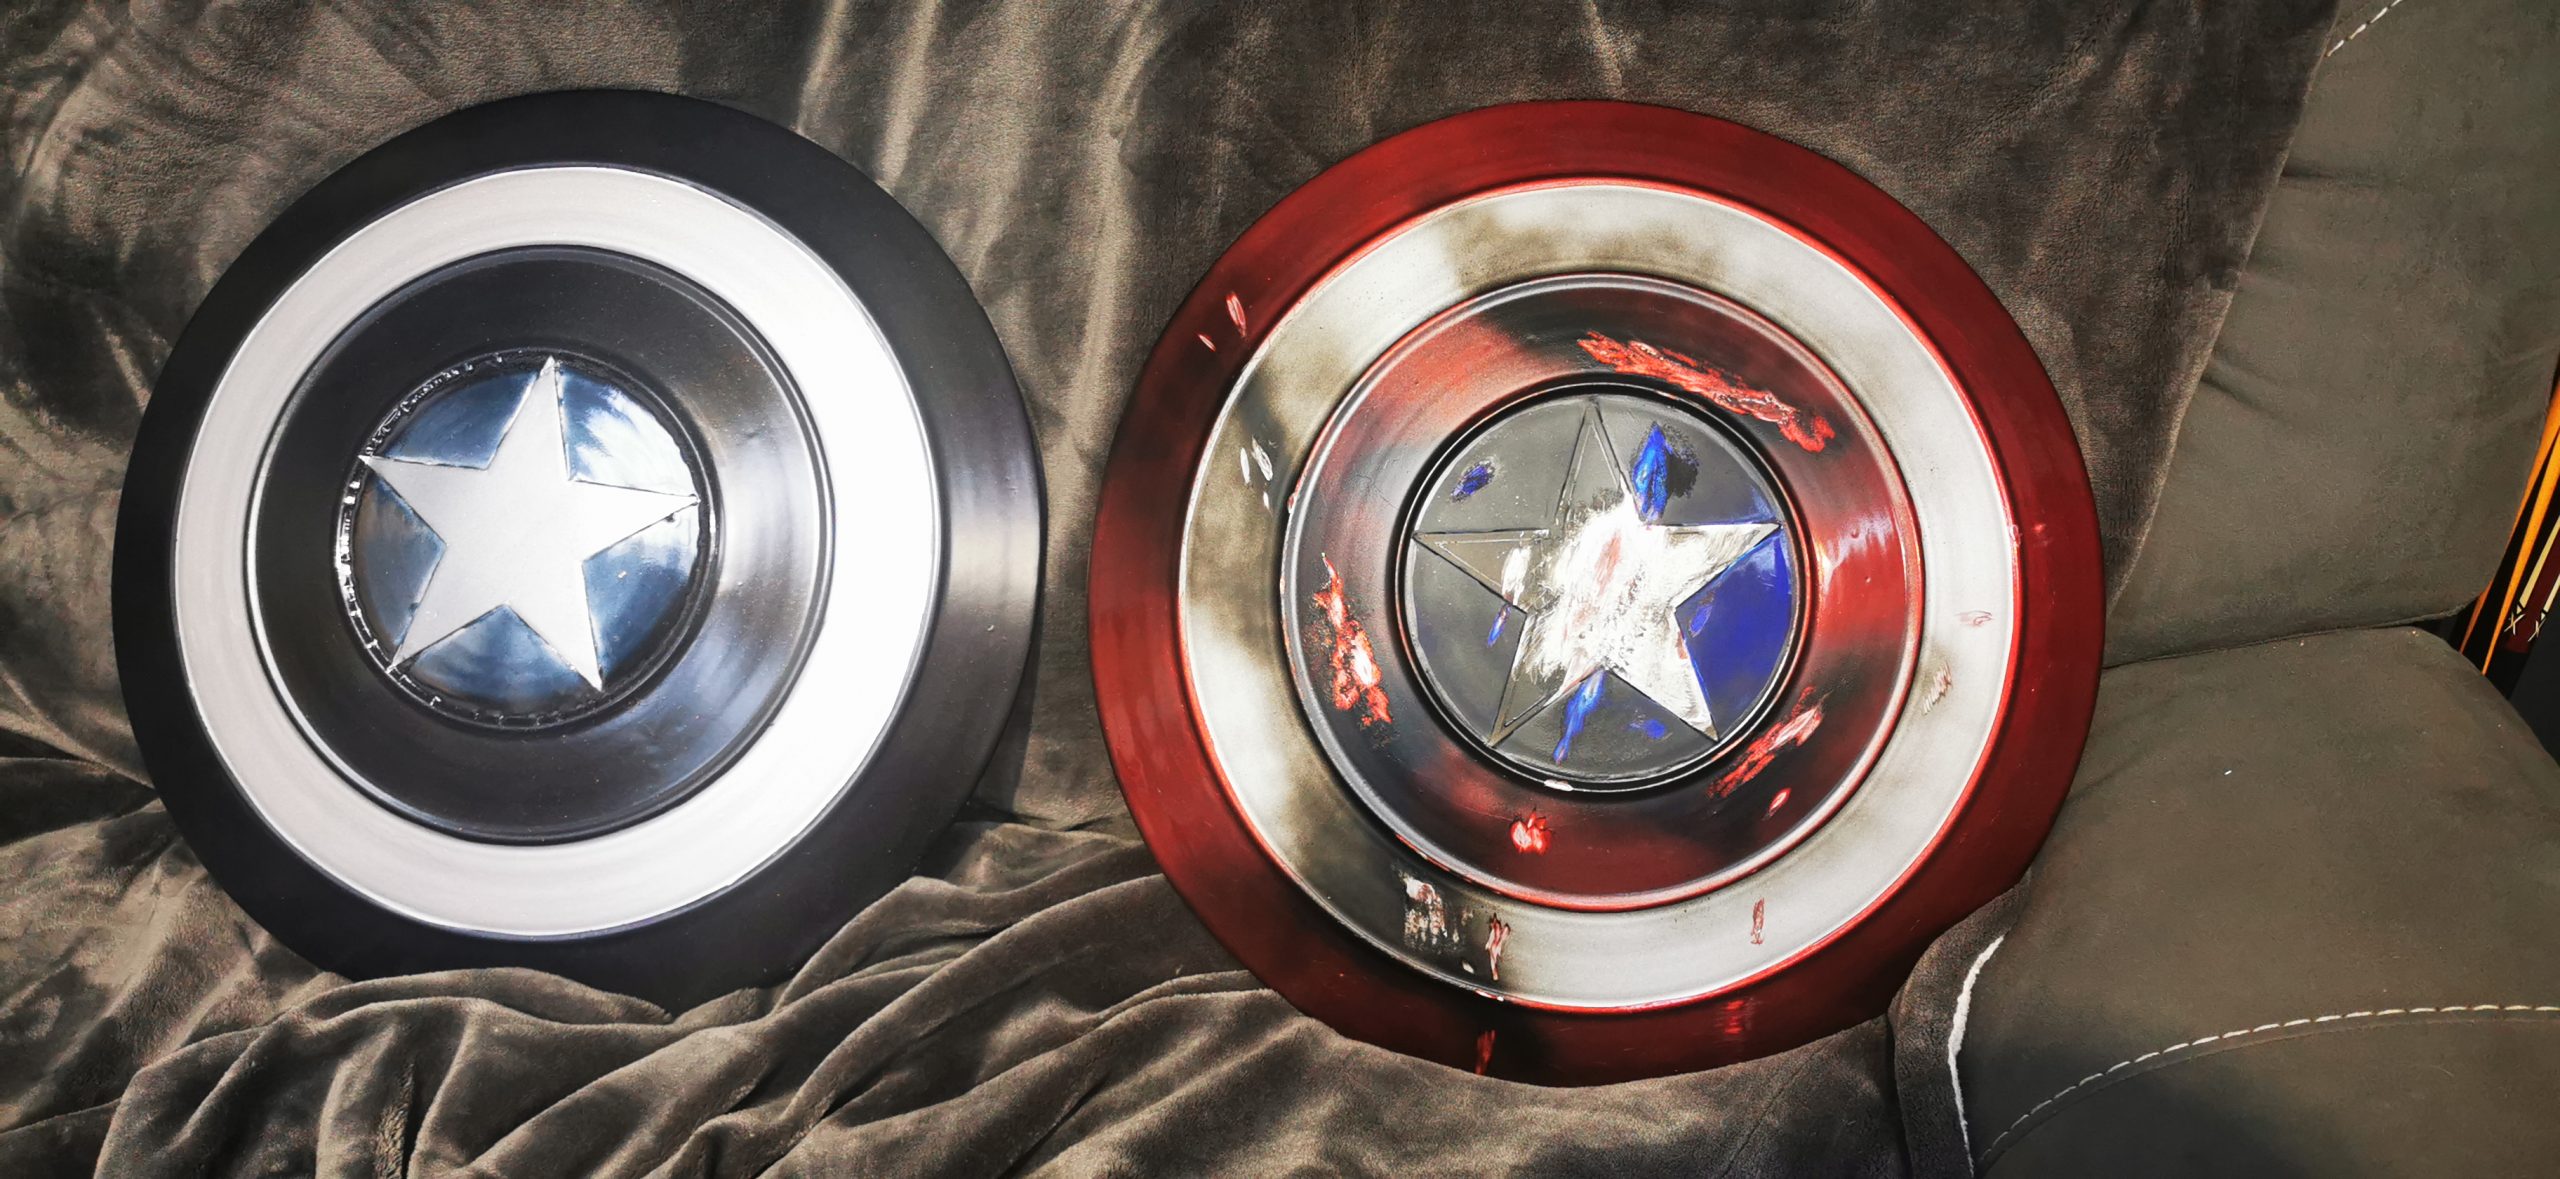
Once satisfied with the coverage, we masked off the relevant parts to paint. We started with the outer rings, spraying the red dyed lacquer on the outer and third ring. We left to cure between coats for 20 minutes and left to cure for 24 hours.
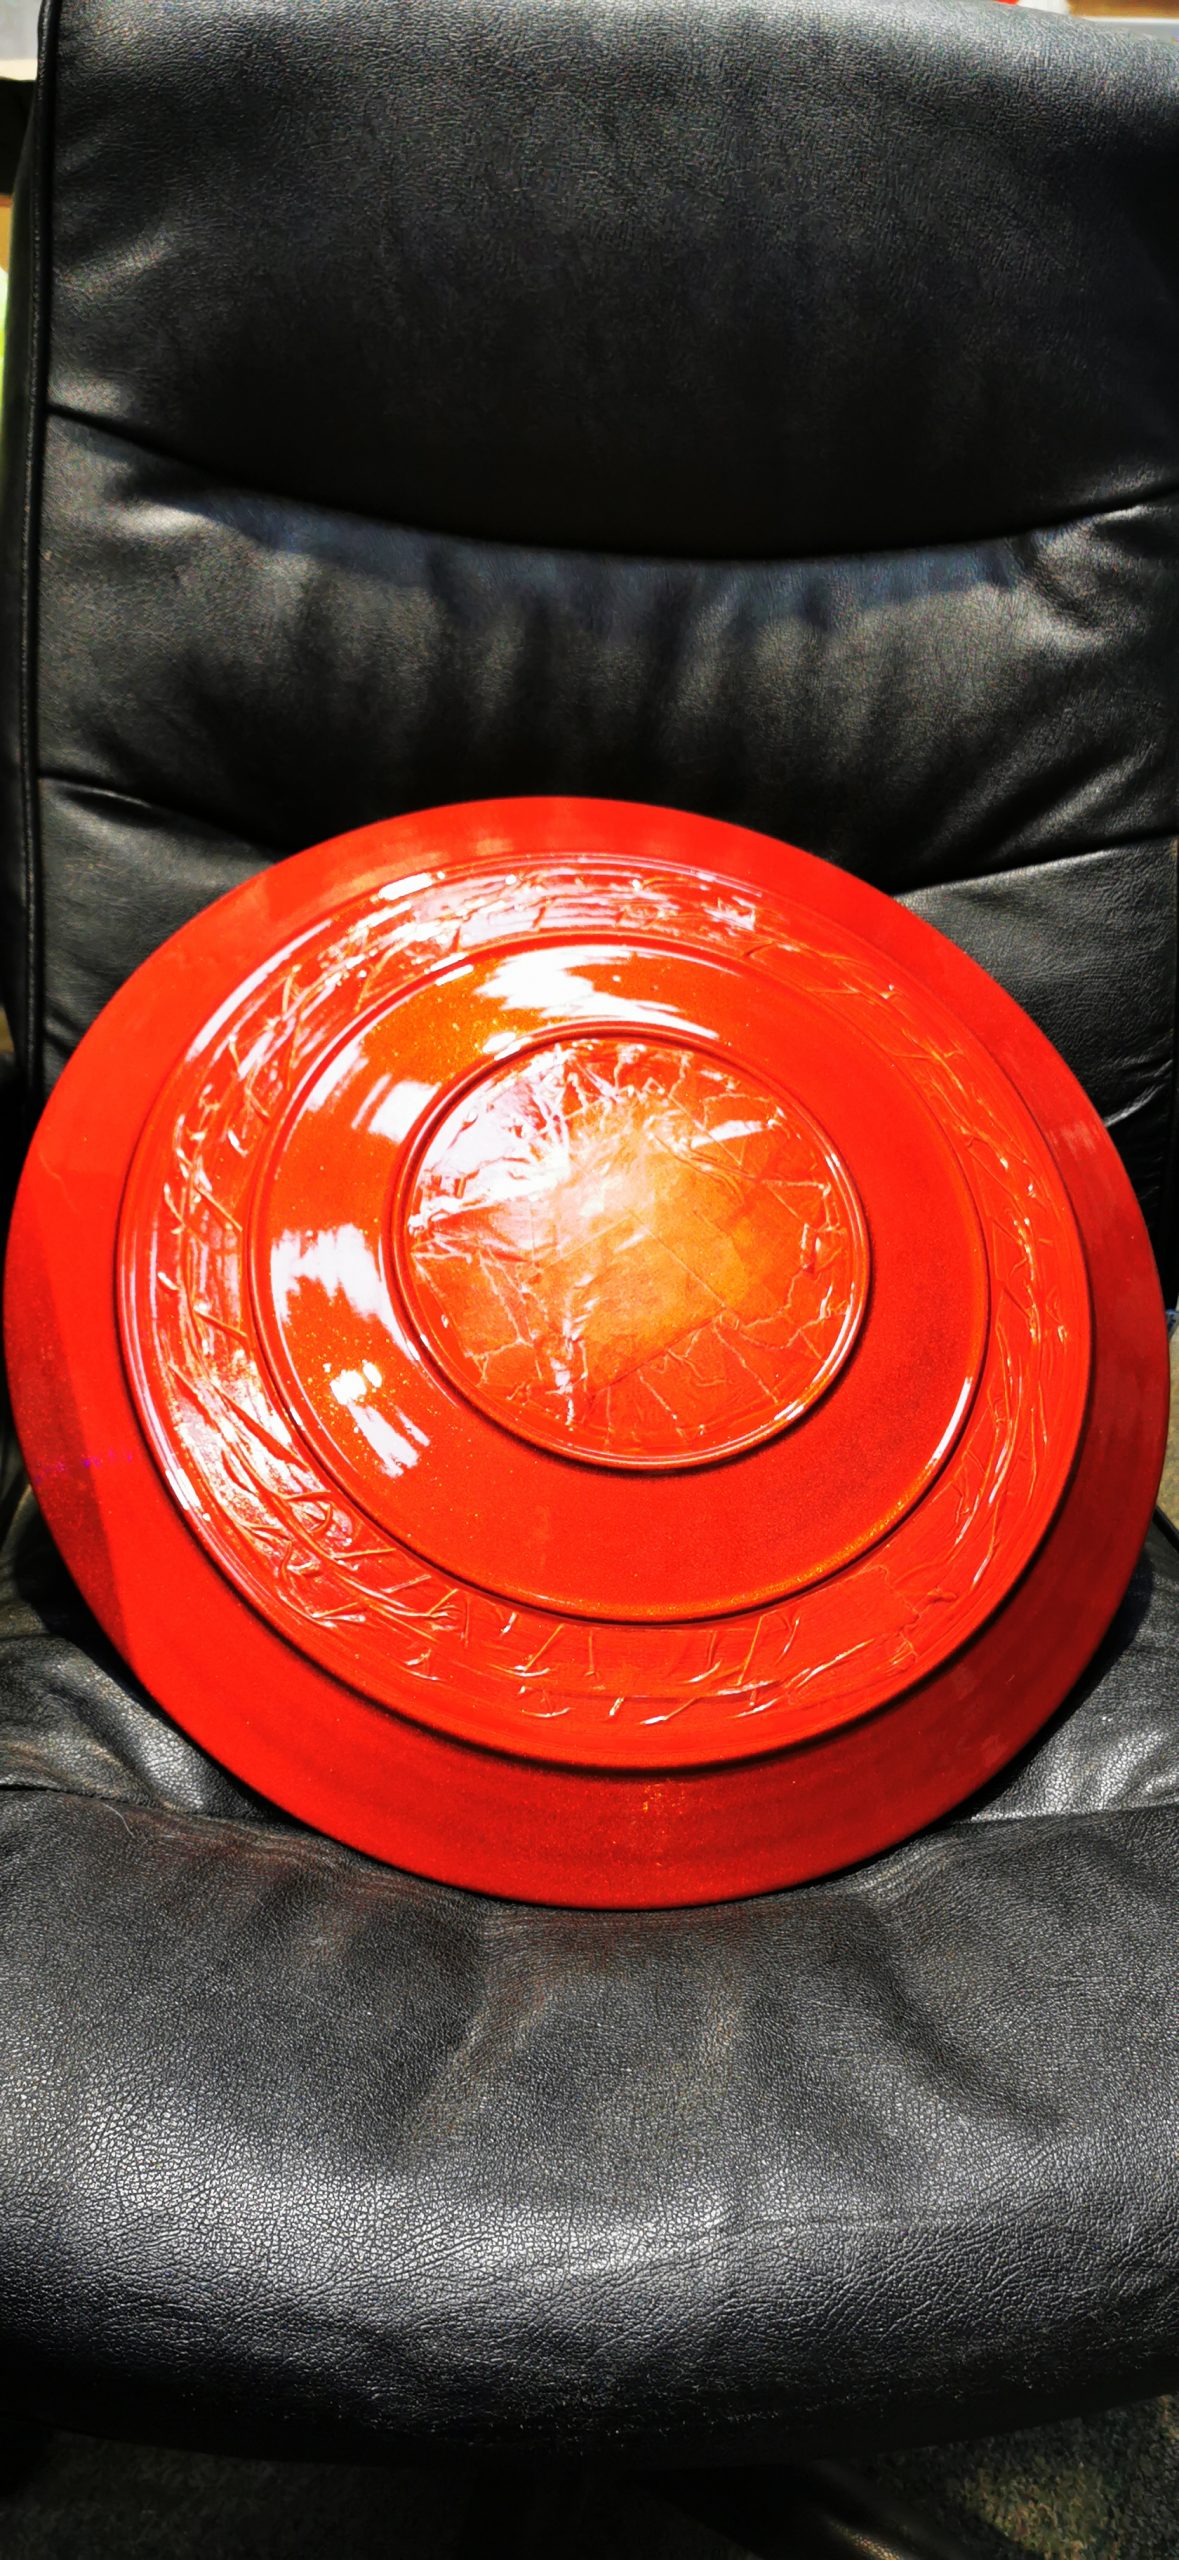
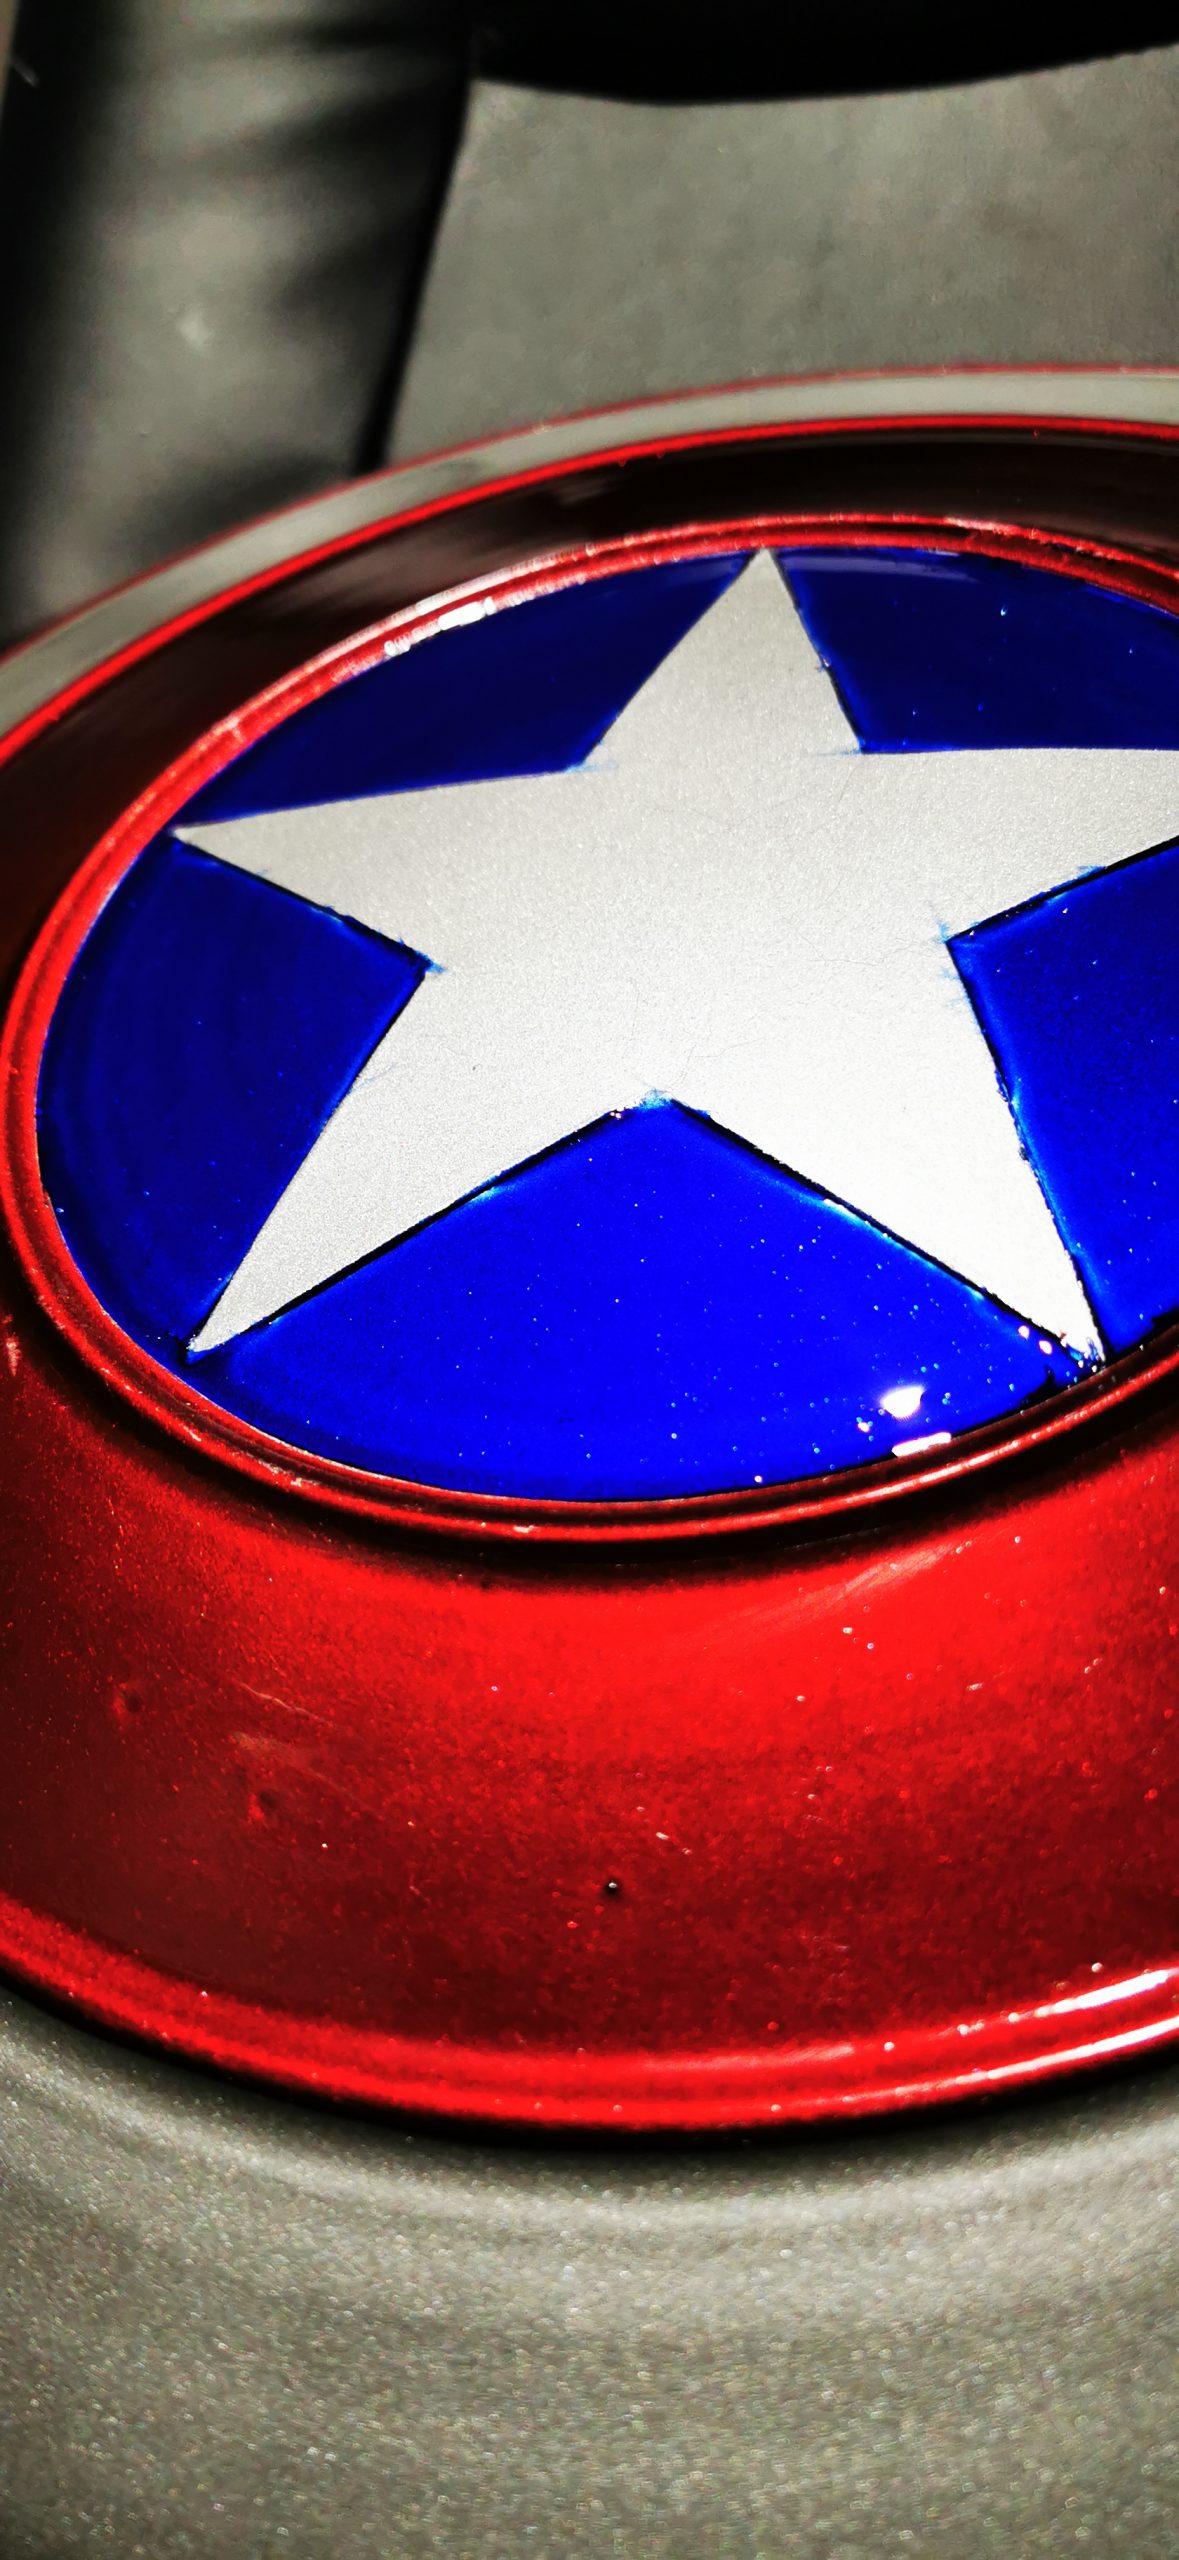
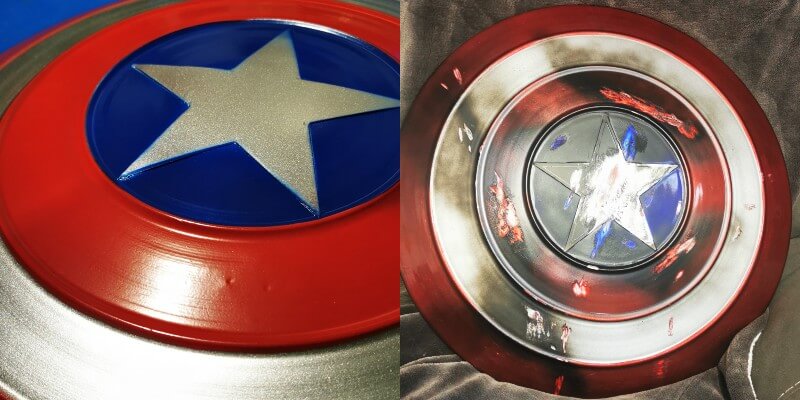
After curing, we masked the remaining part of the shield and painted the inner star with a 2K blue dyed gloss lacquer. We left to cure 30 minutes between coats and again 24 hours for the final cure; however, this can take longer. This colour was vivid and eye-catching, perfectly complementing each other for the final product.
Grande Finale:
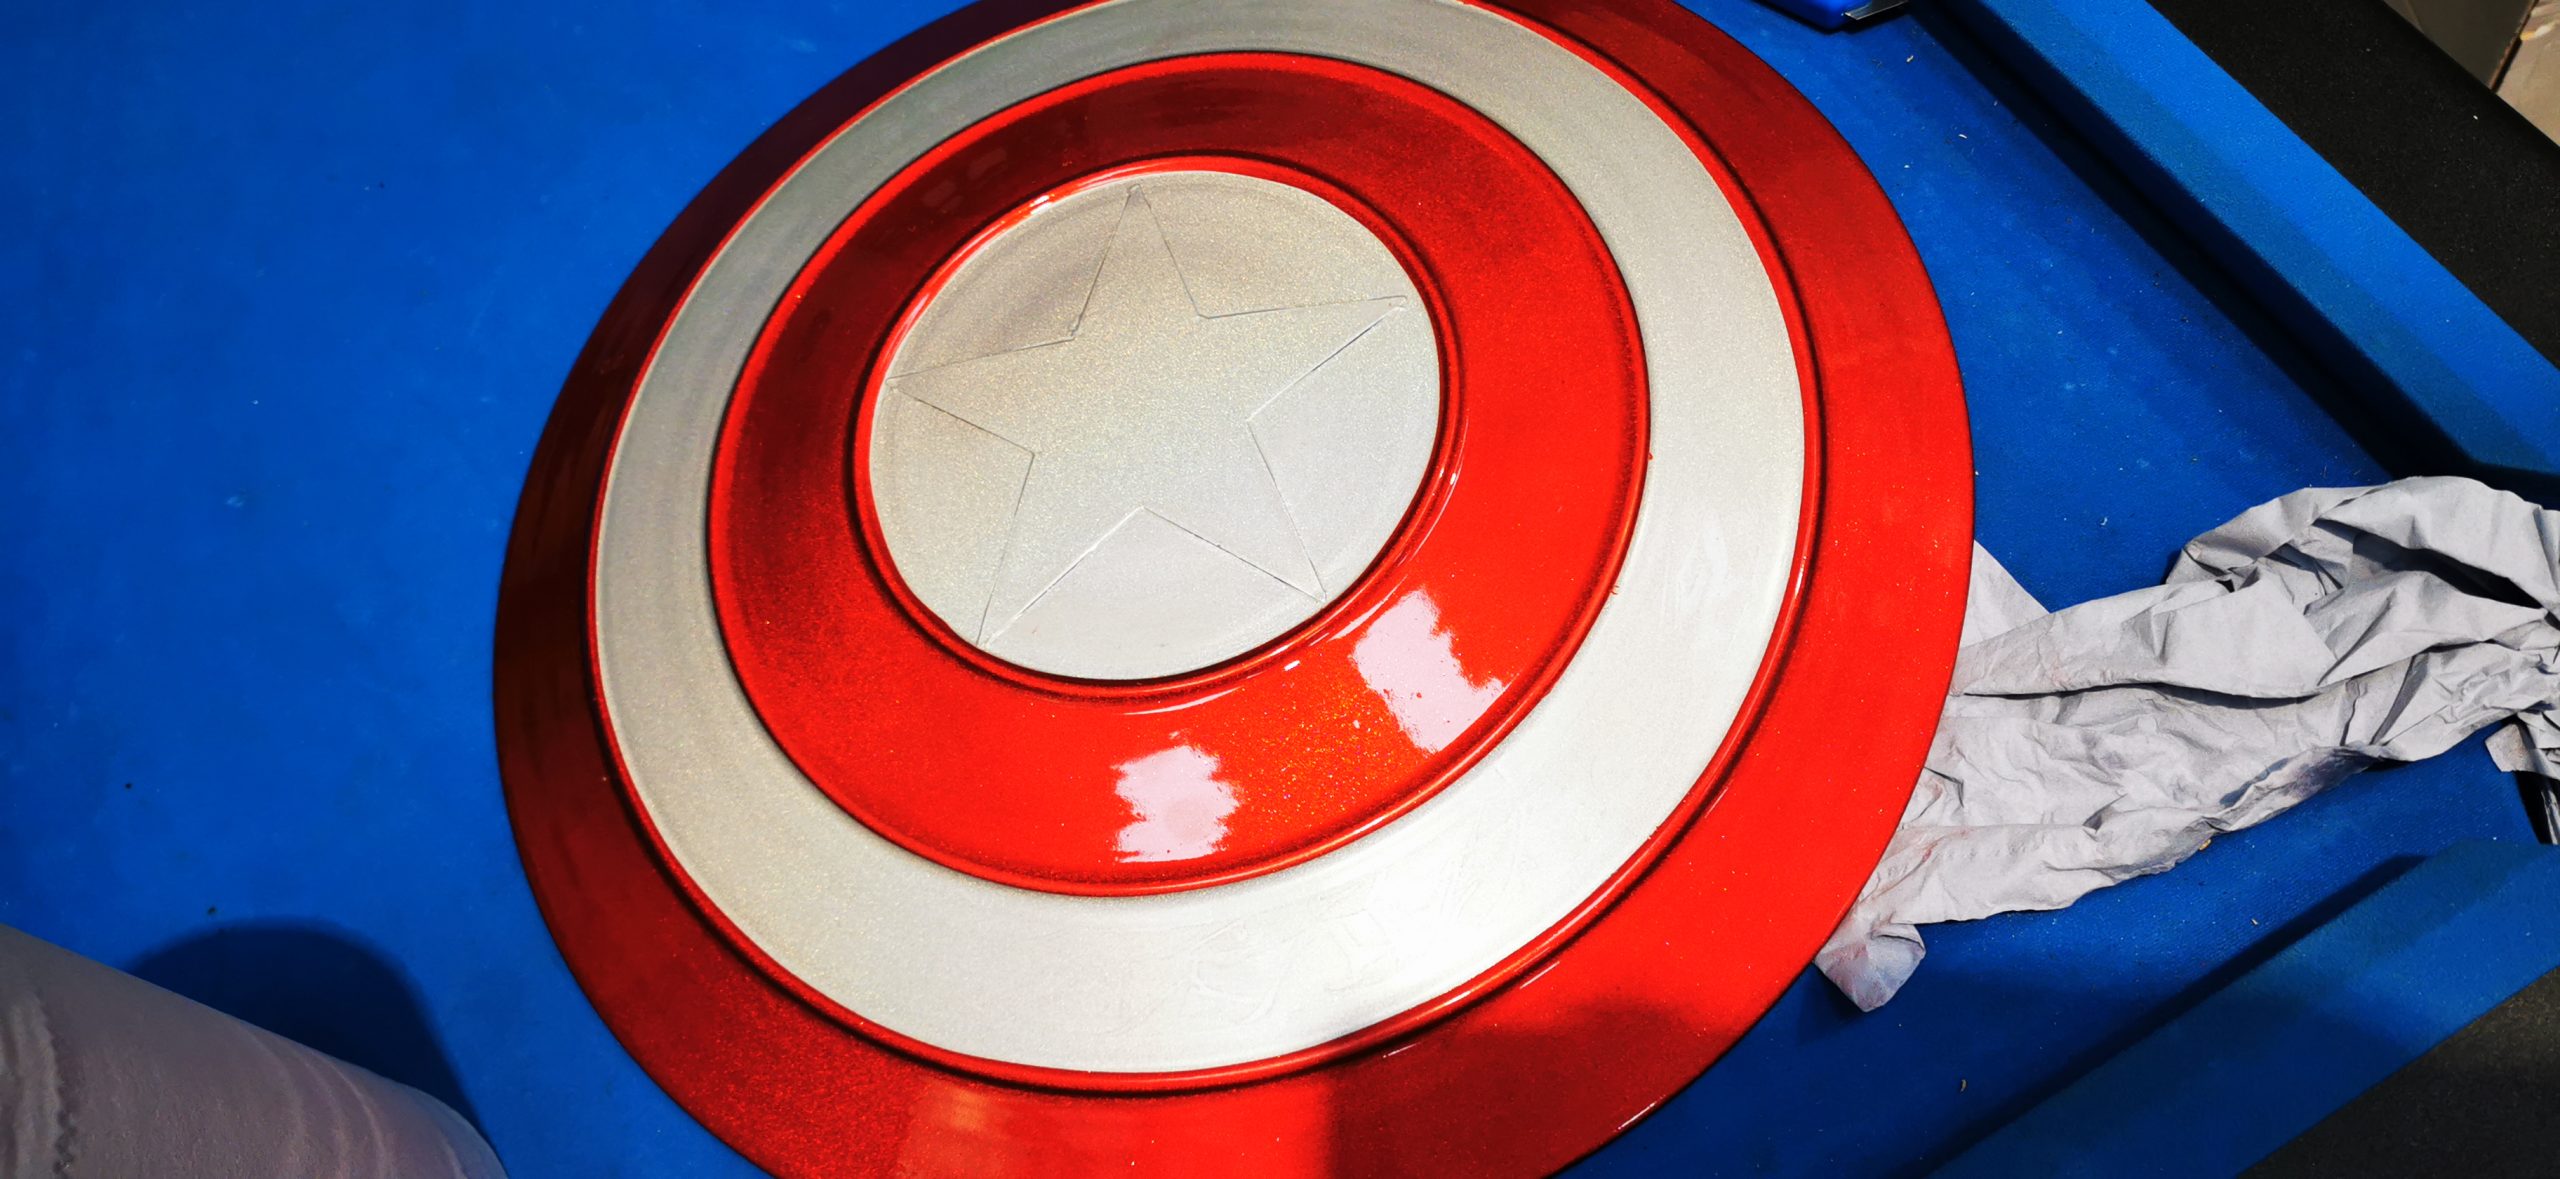
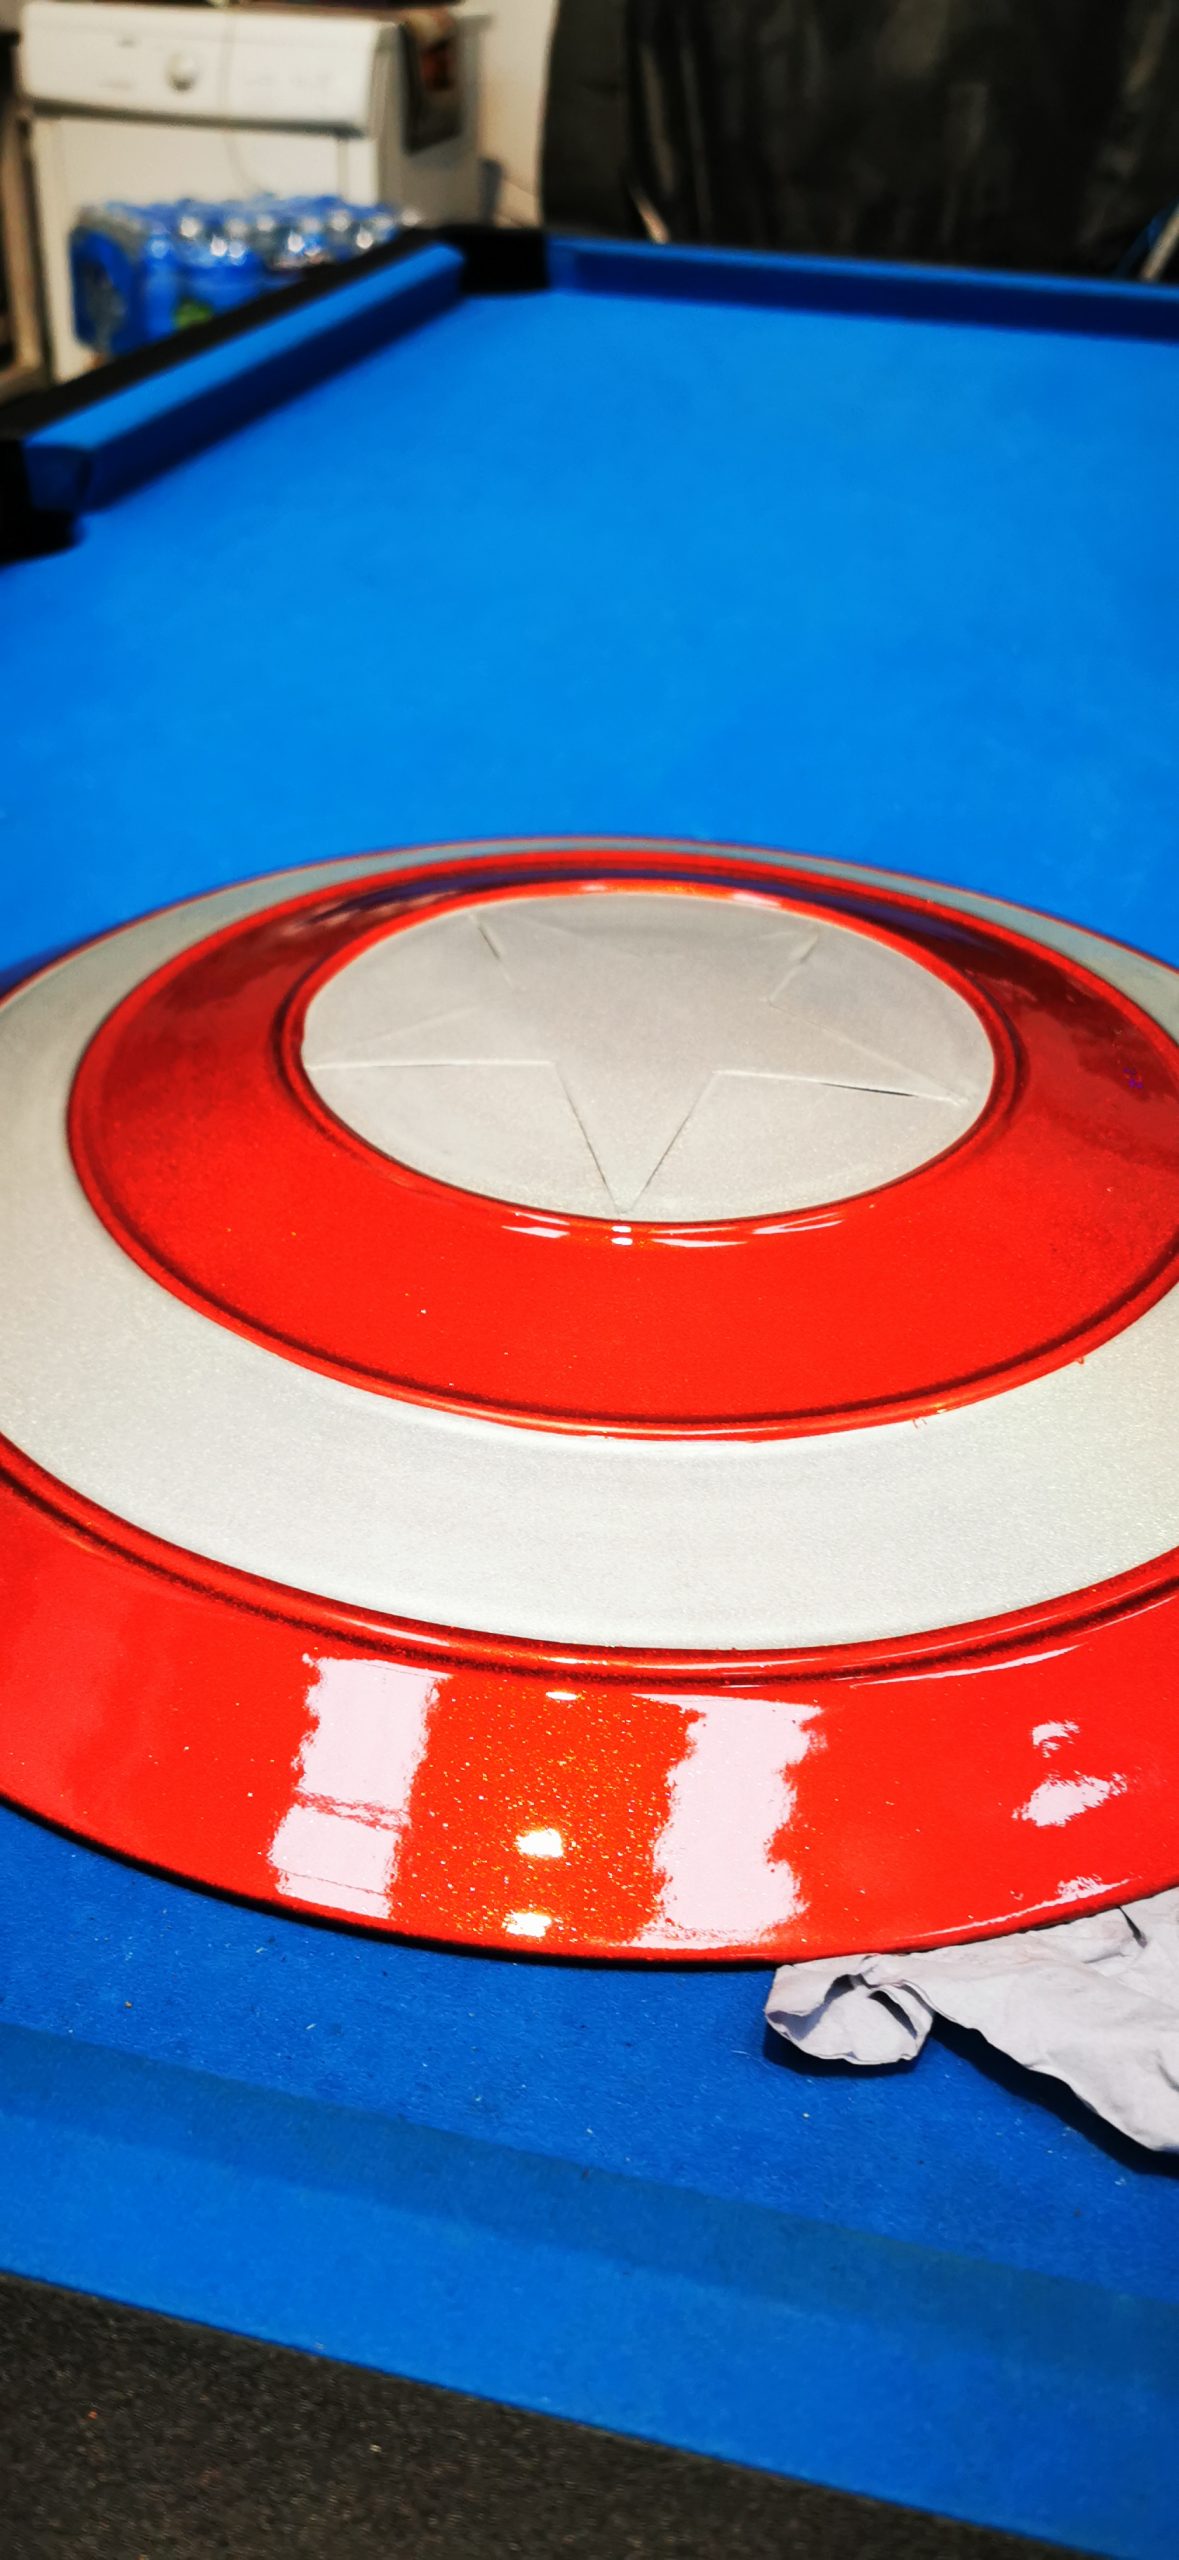
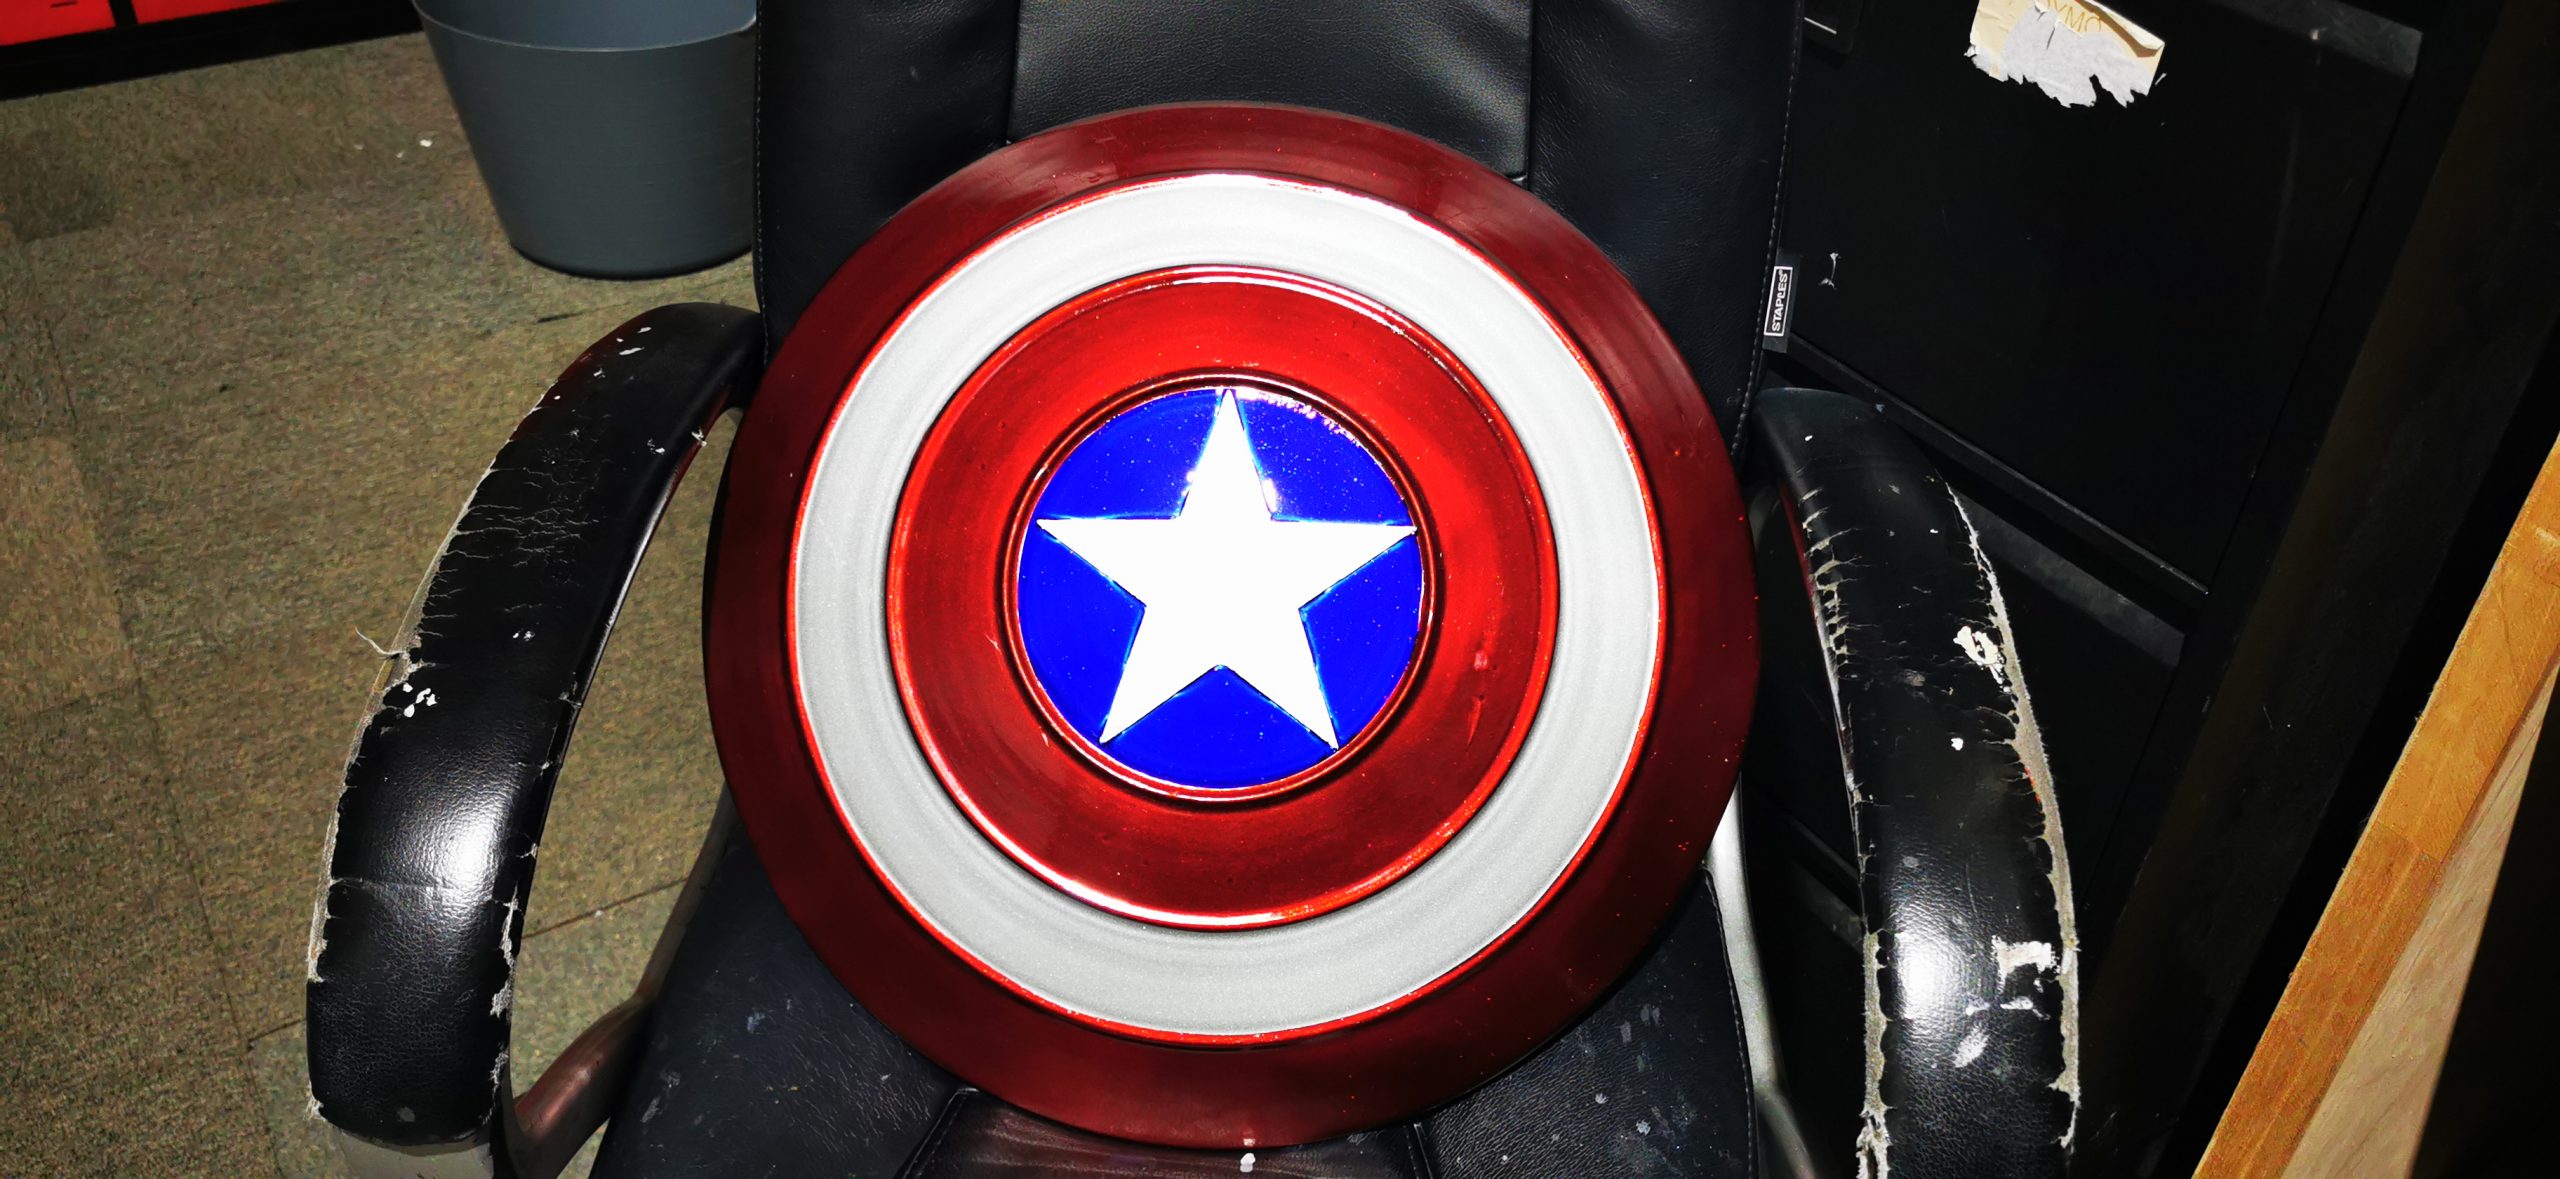
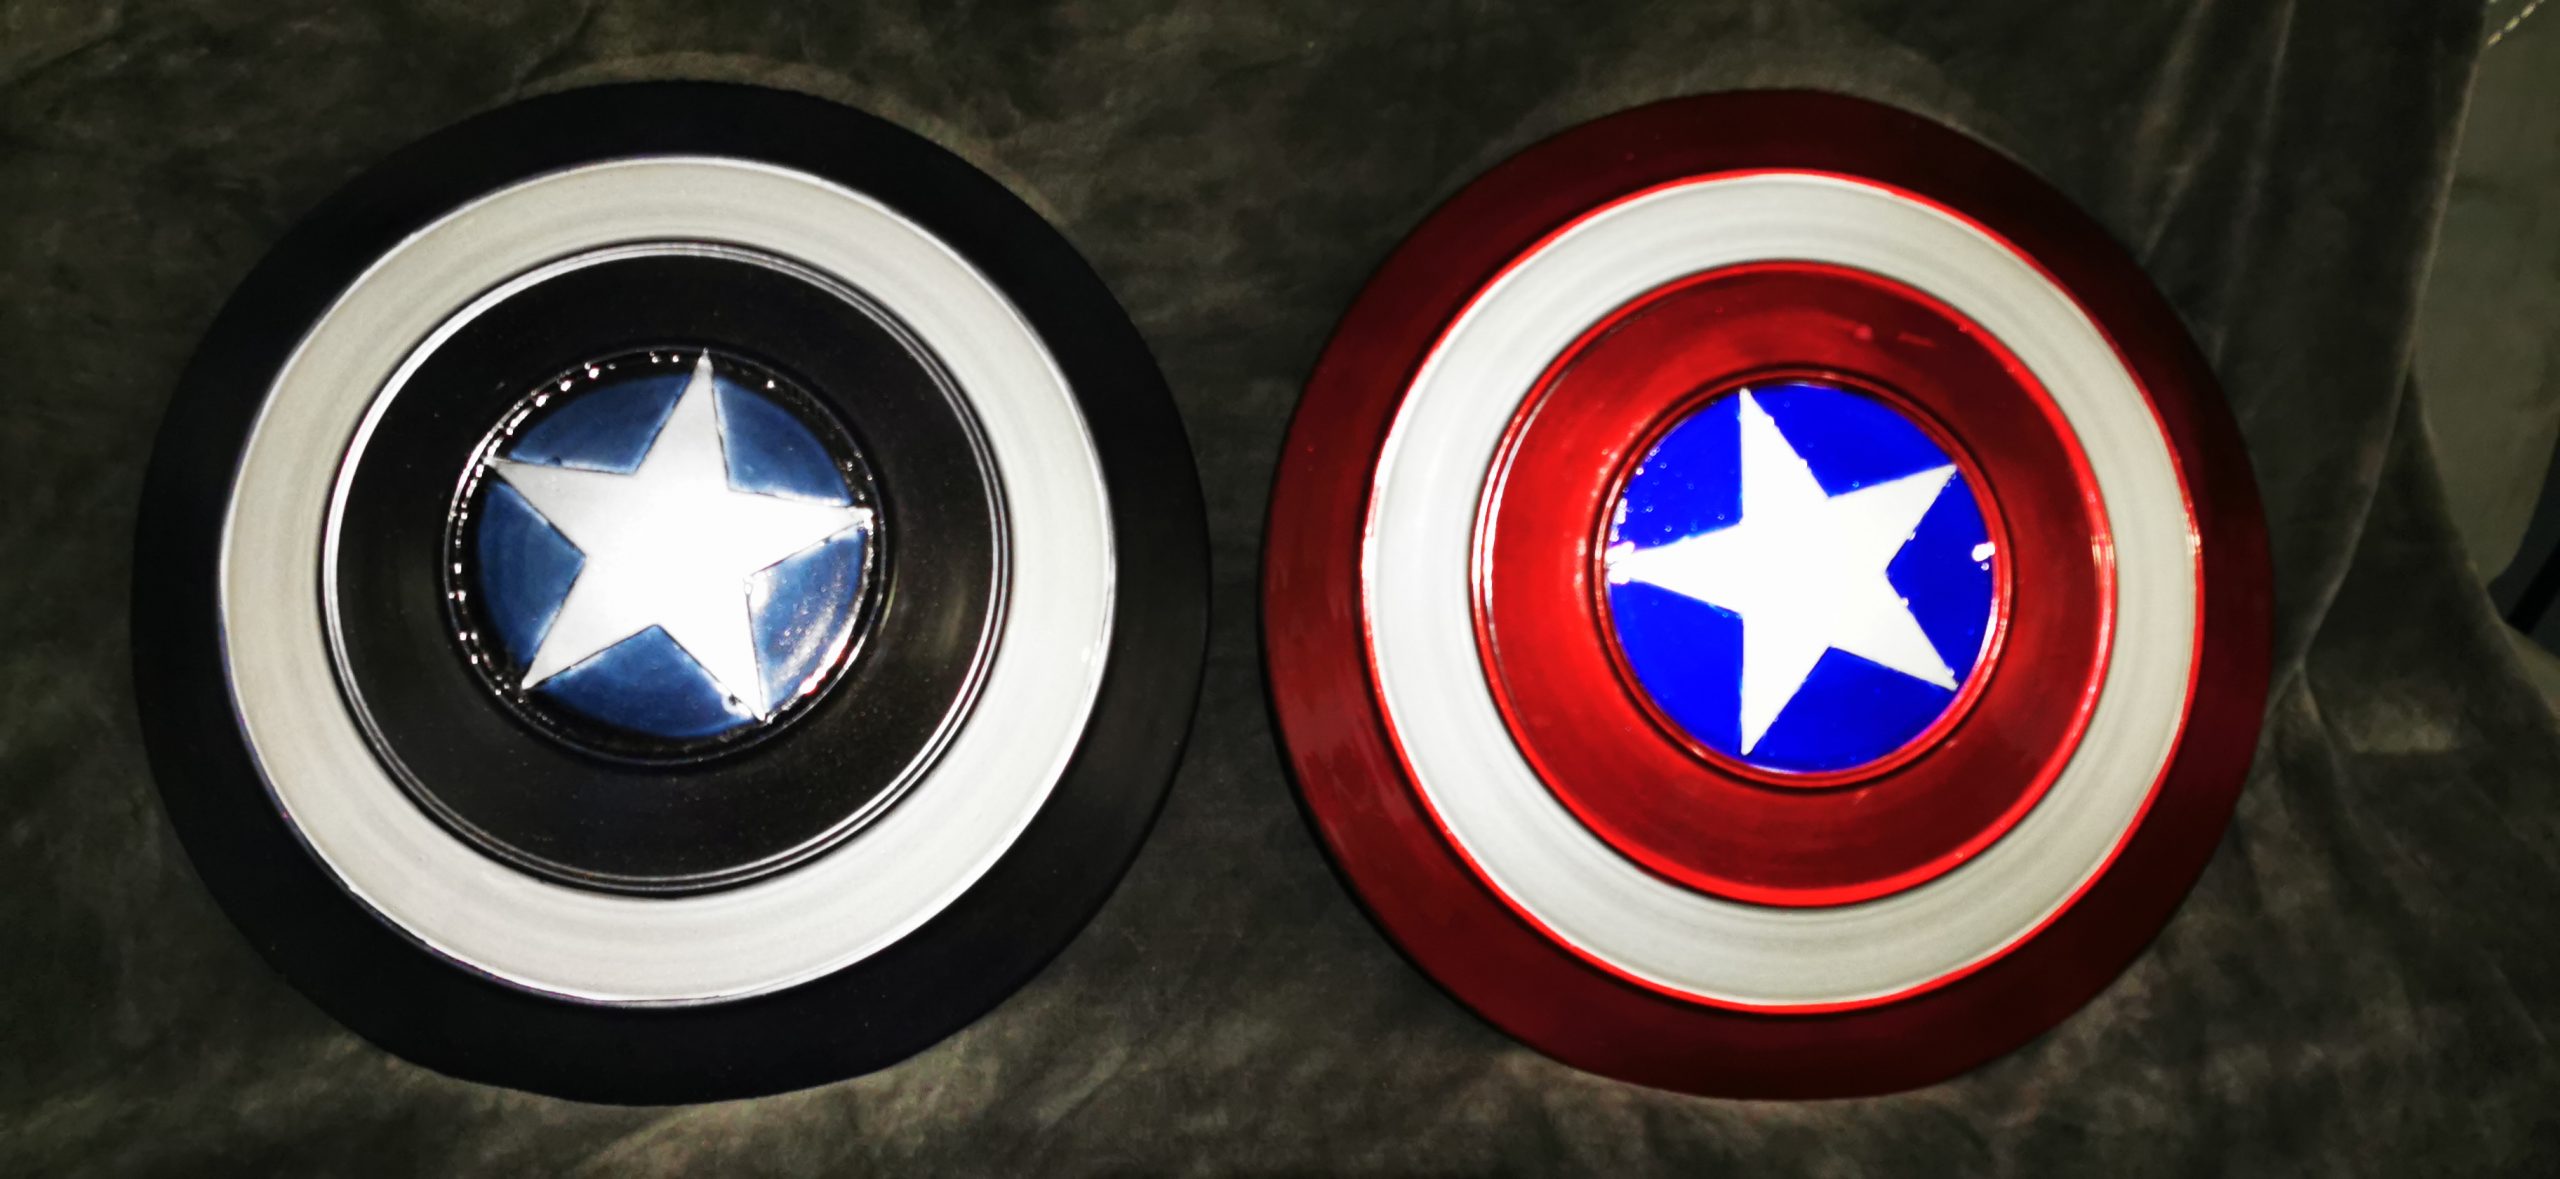
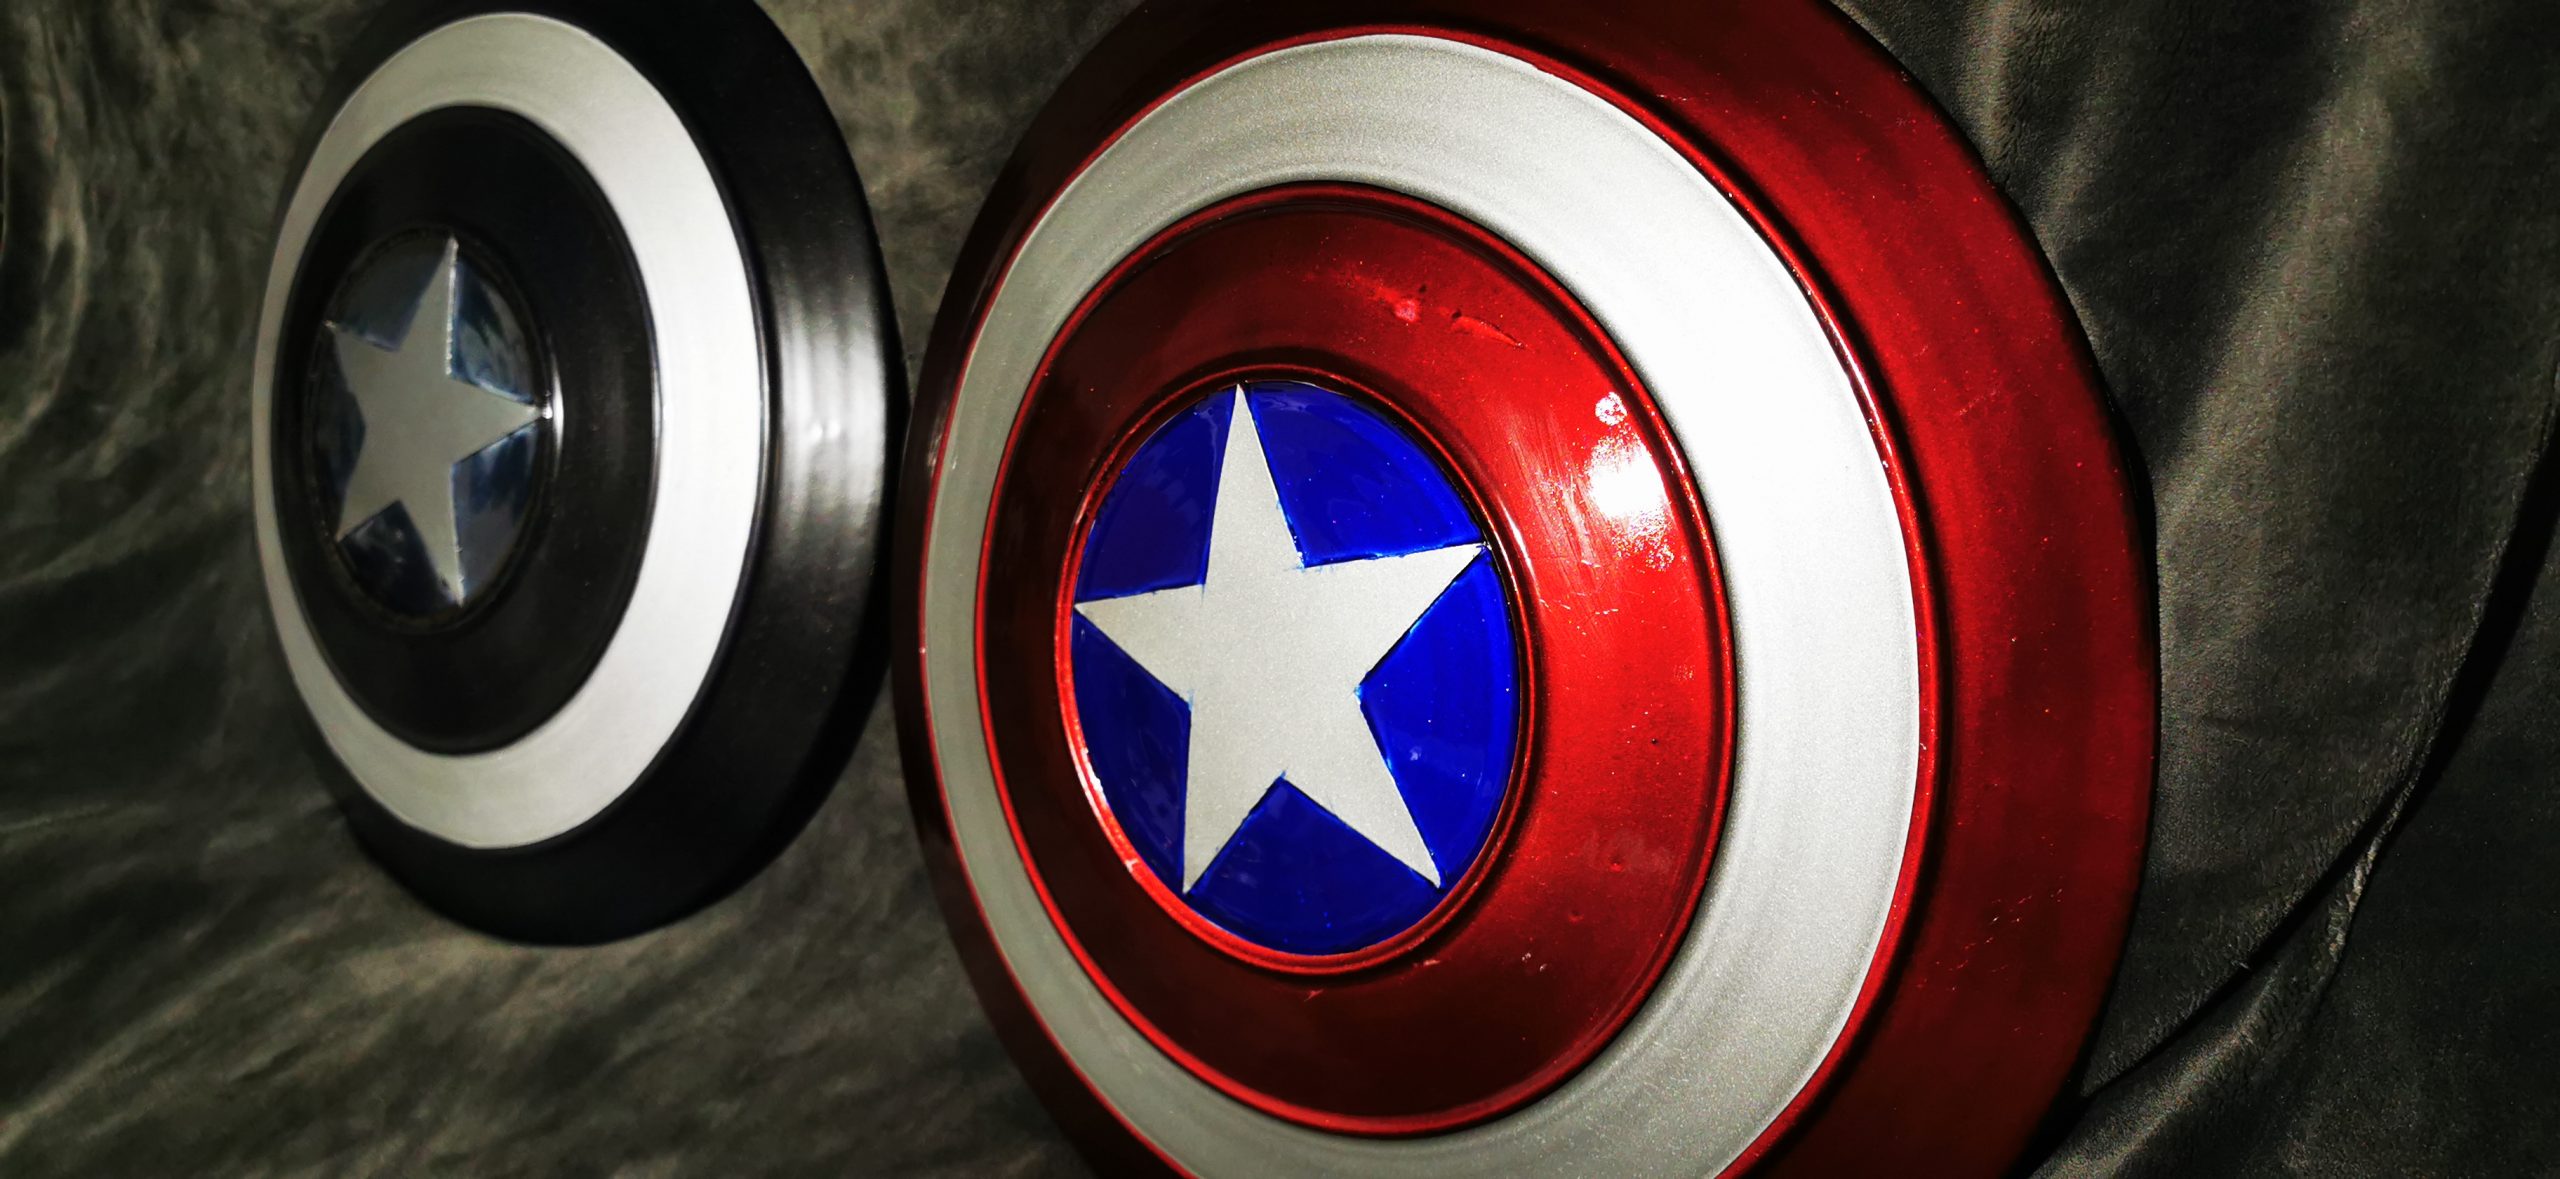
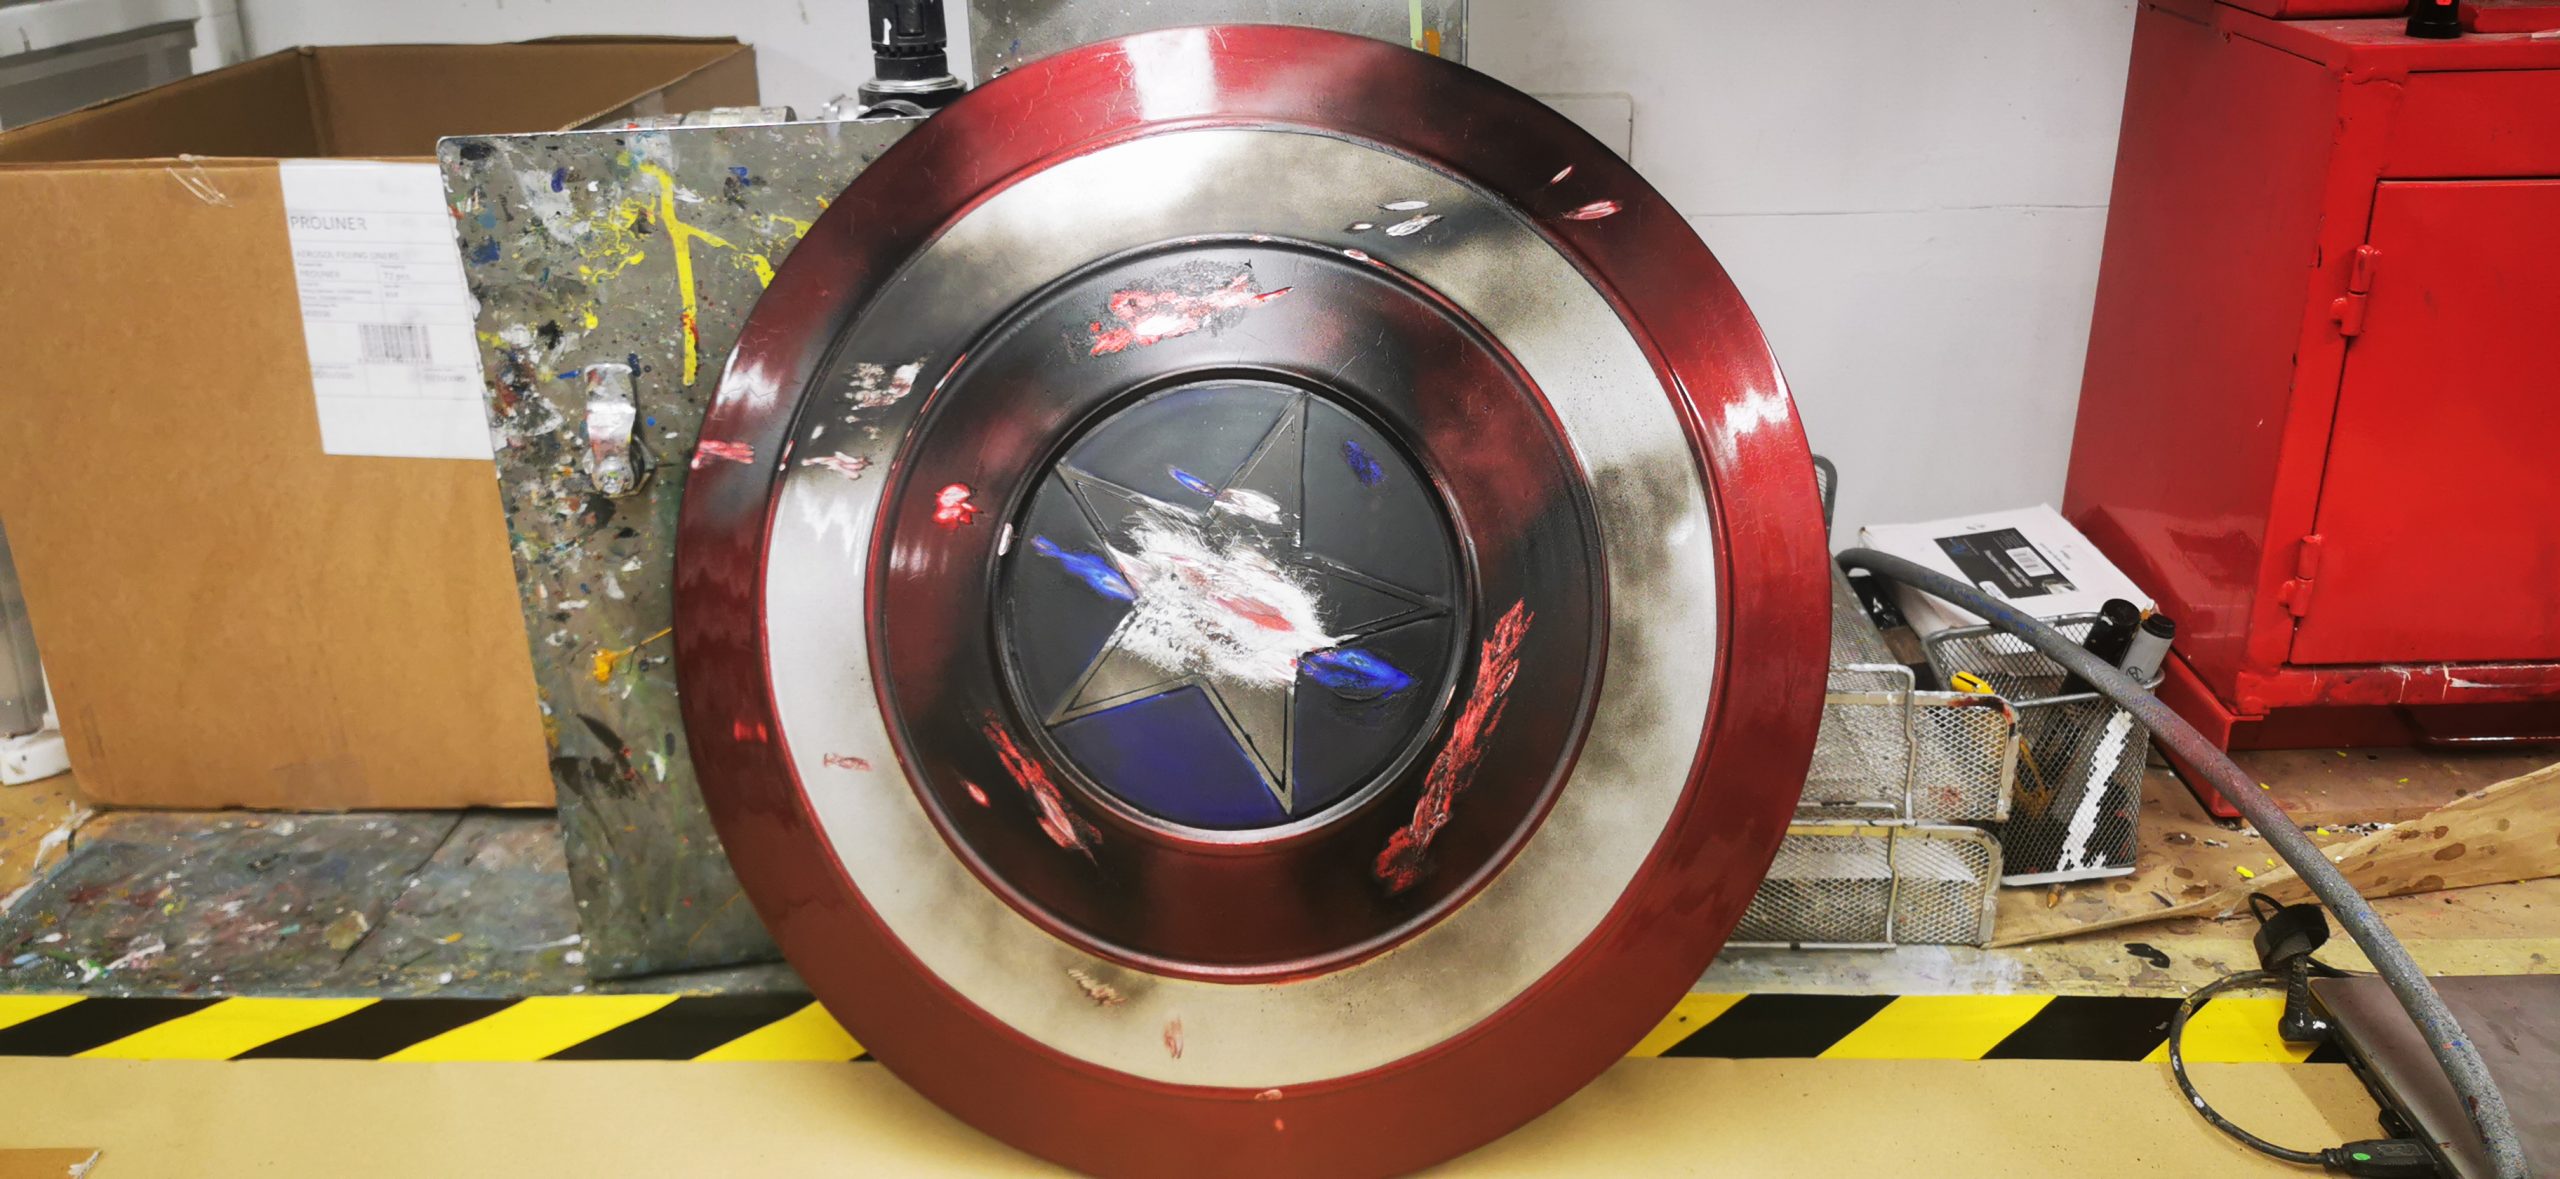
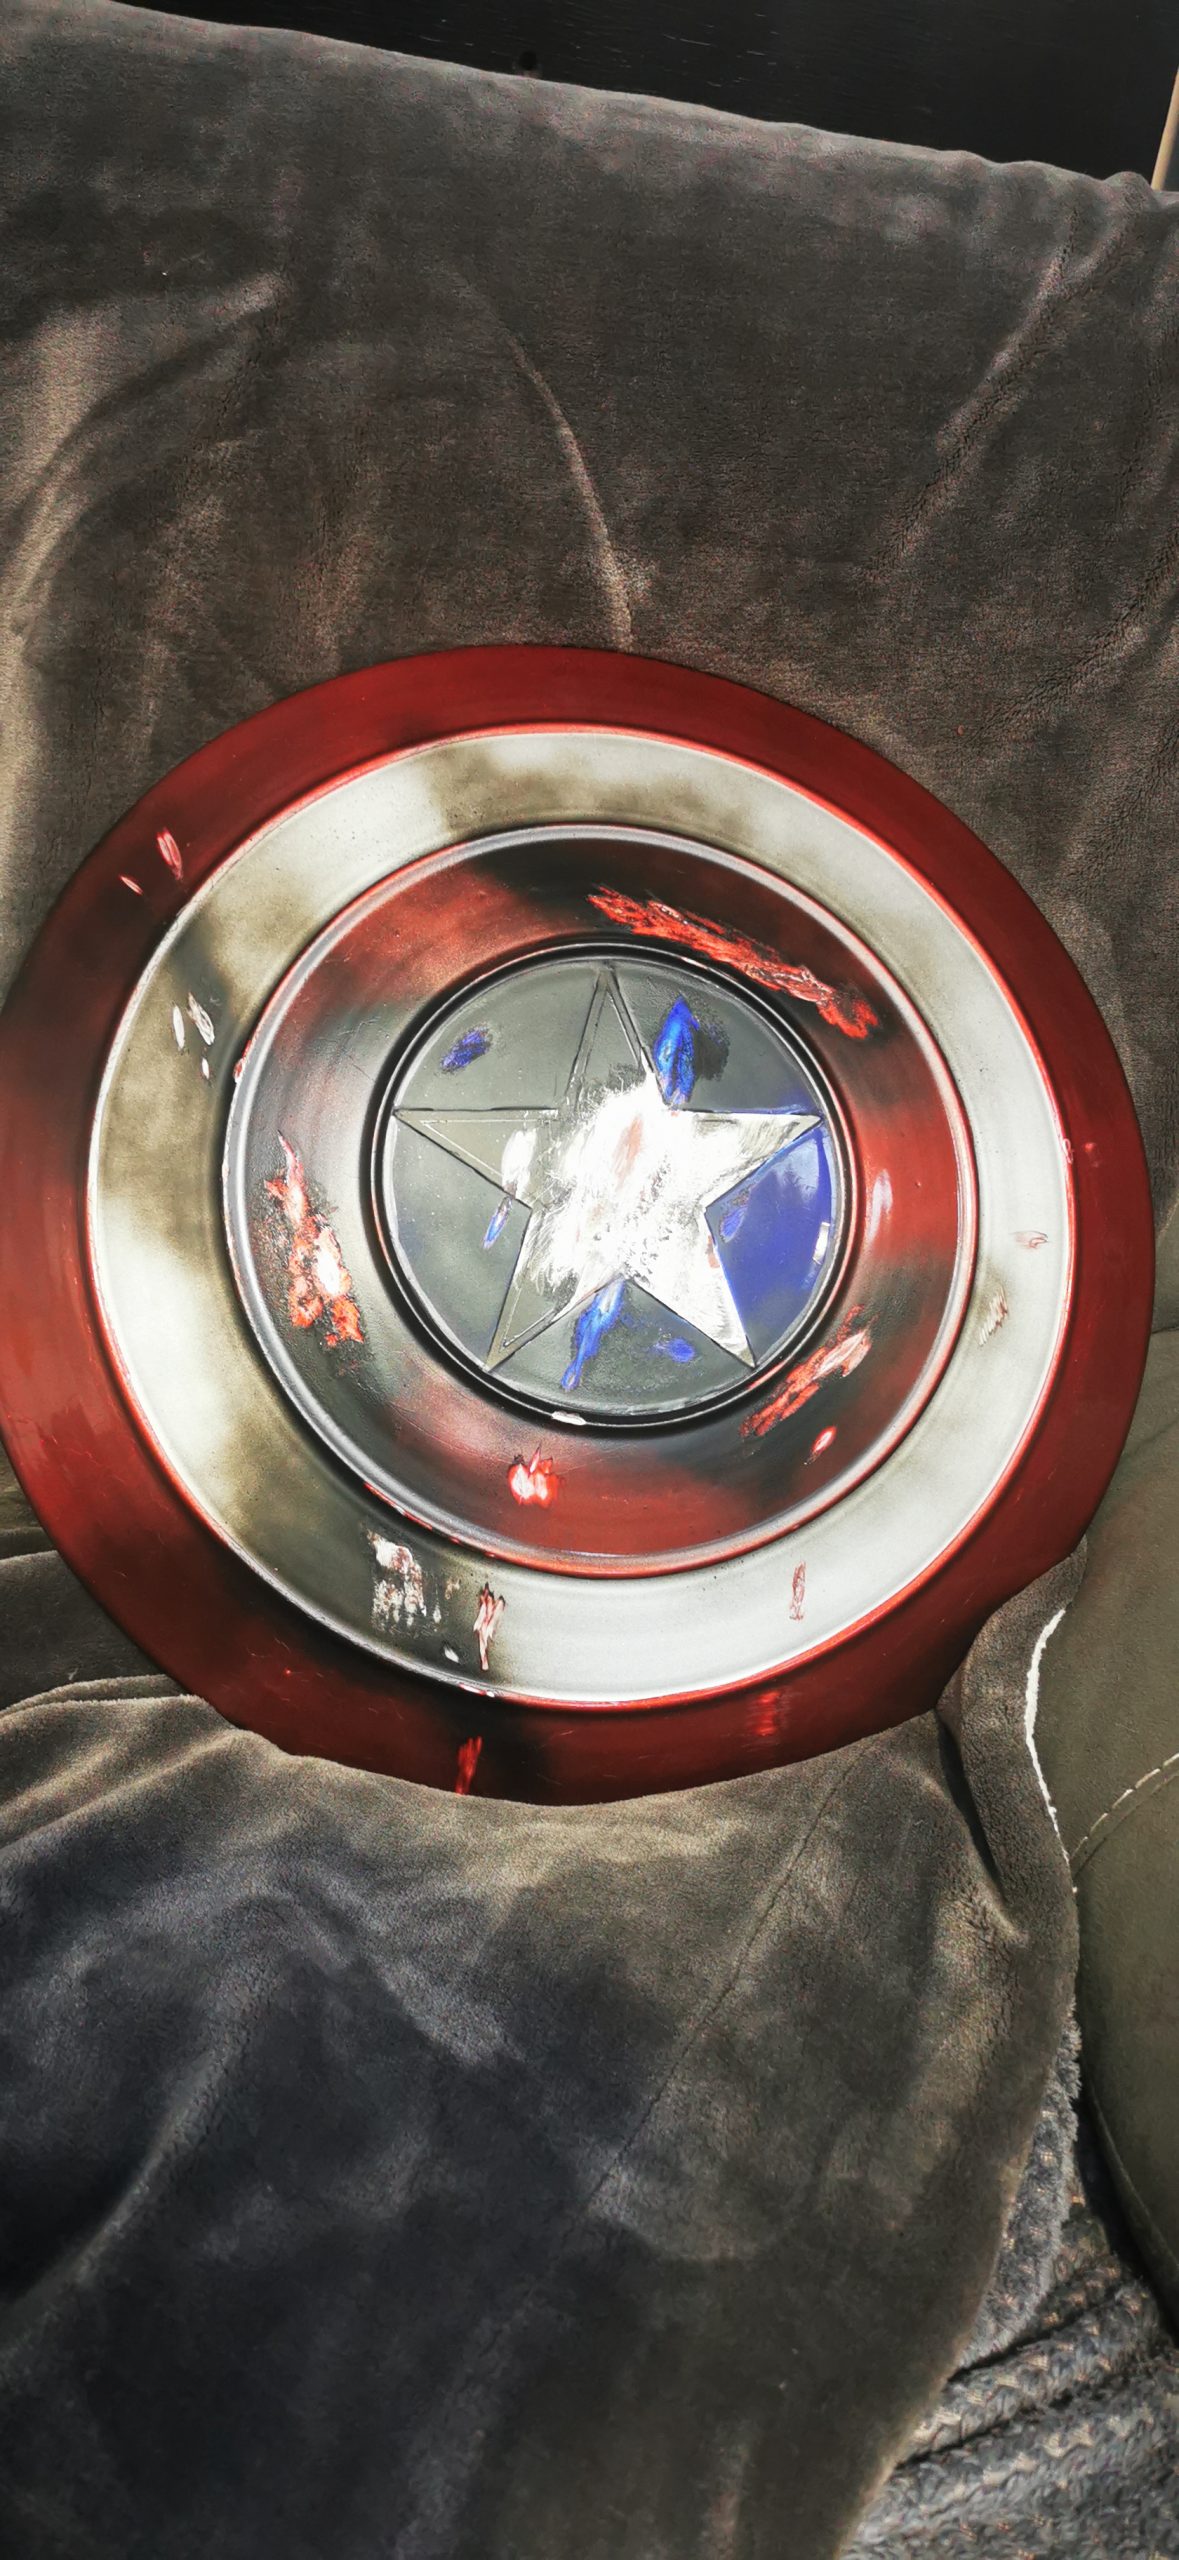
To enhance the project and give the shield character, we decided to battle damage it. This involved a dark grey 1K acrylic paint and a mouse sander. You can create this effect by turning the variflow nozzle down on your can all the way to 2mm and adding a number of thicker, dark patches or streaks. Then turn the fan spray up to 22mm and spray around the same area very lightly.
Once the paint has cured, use the mouse sander to sand back most of the original patch you sprayed very dark.
Try and leave a little of the outside lines from the darker patches. The effect is stunning, and with a little practice, the technique can be applied to many different projects.
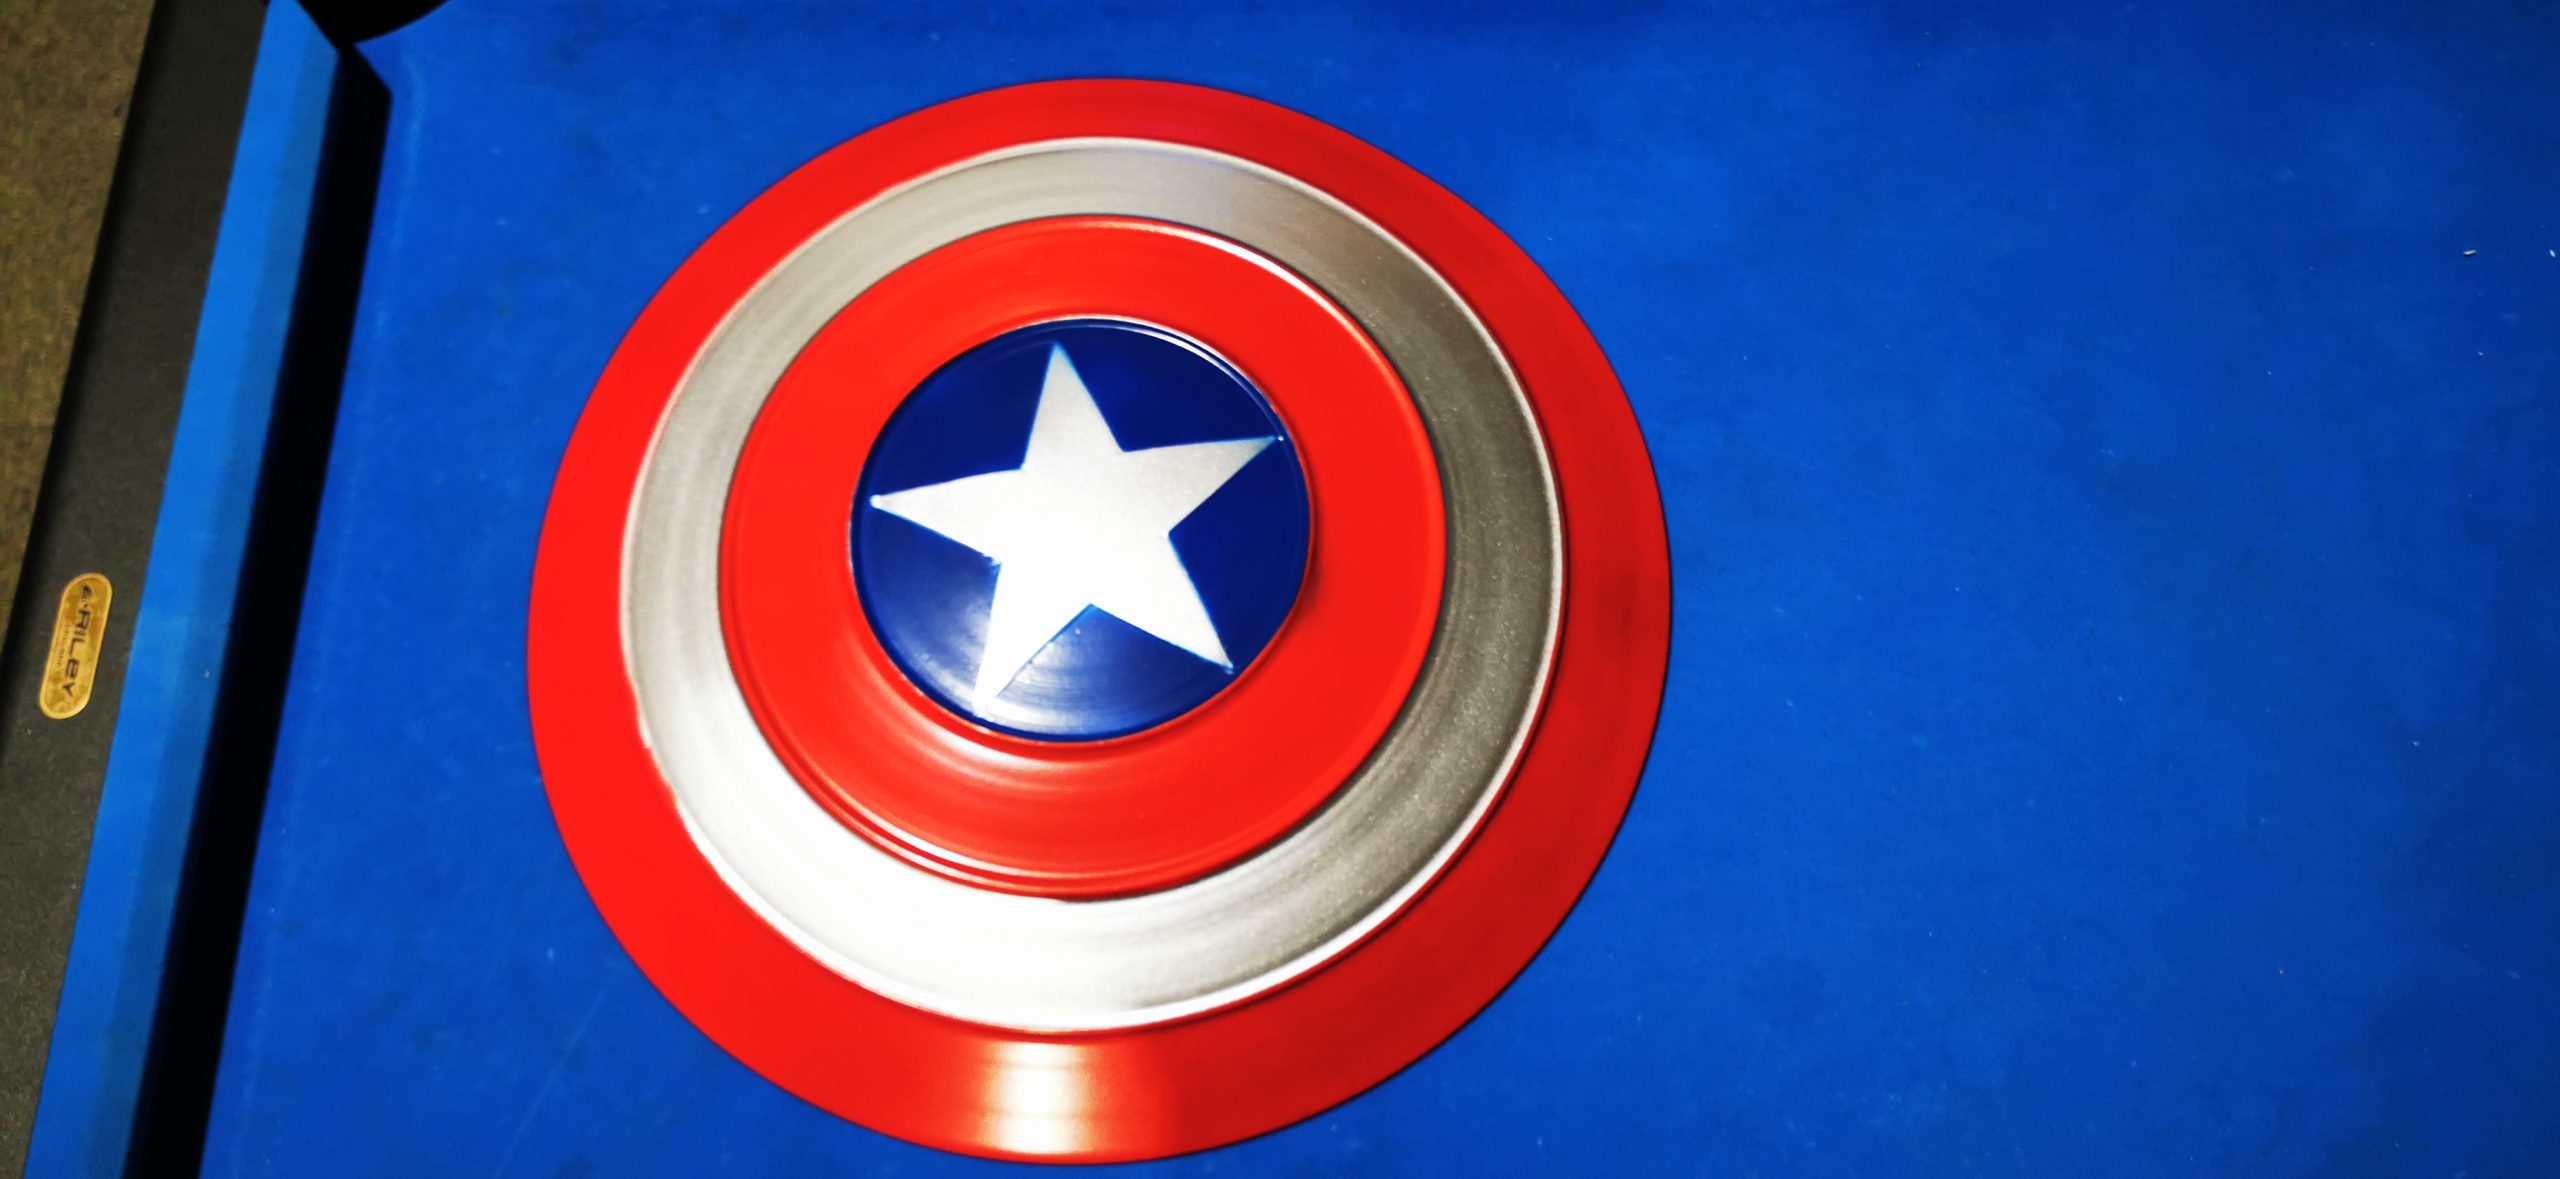
Like project 1, we had a number of learning curves on a lot of fronts, but we are happy with the final outcome, which demonstrates what can be achieved with some time and effort and a little know-how. We hope you like it too!