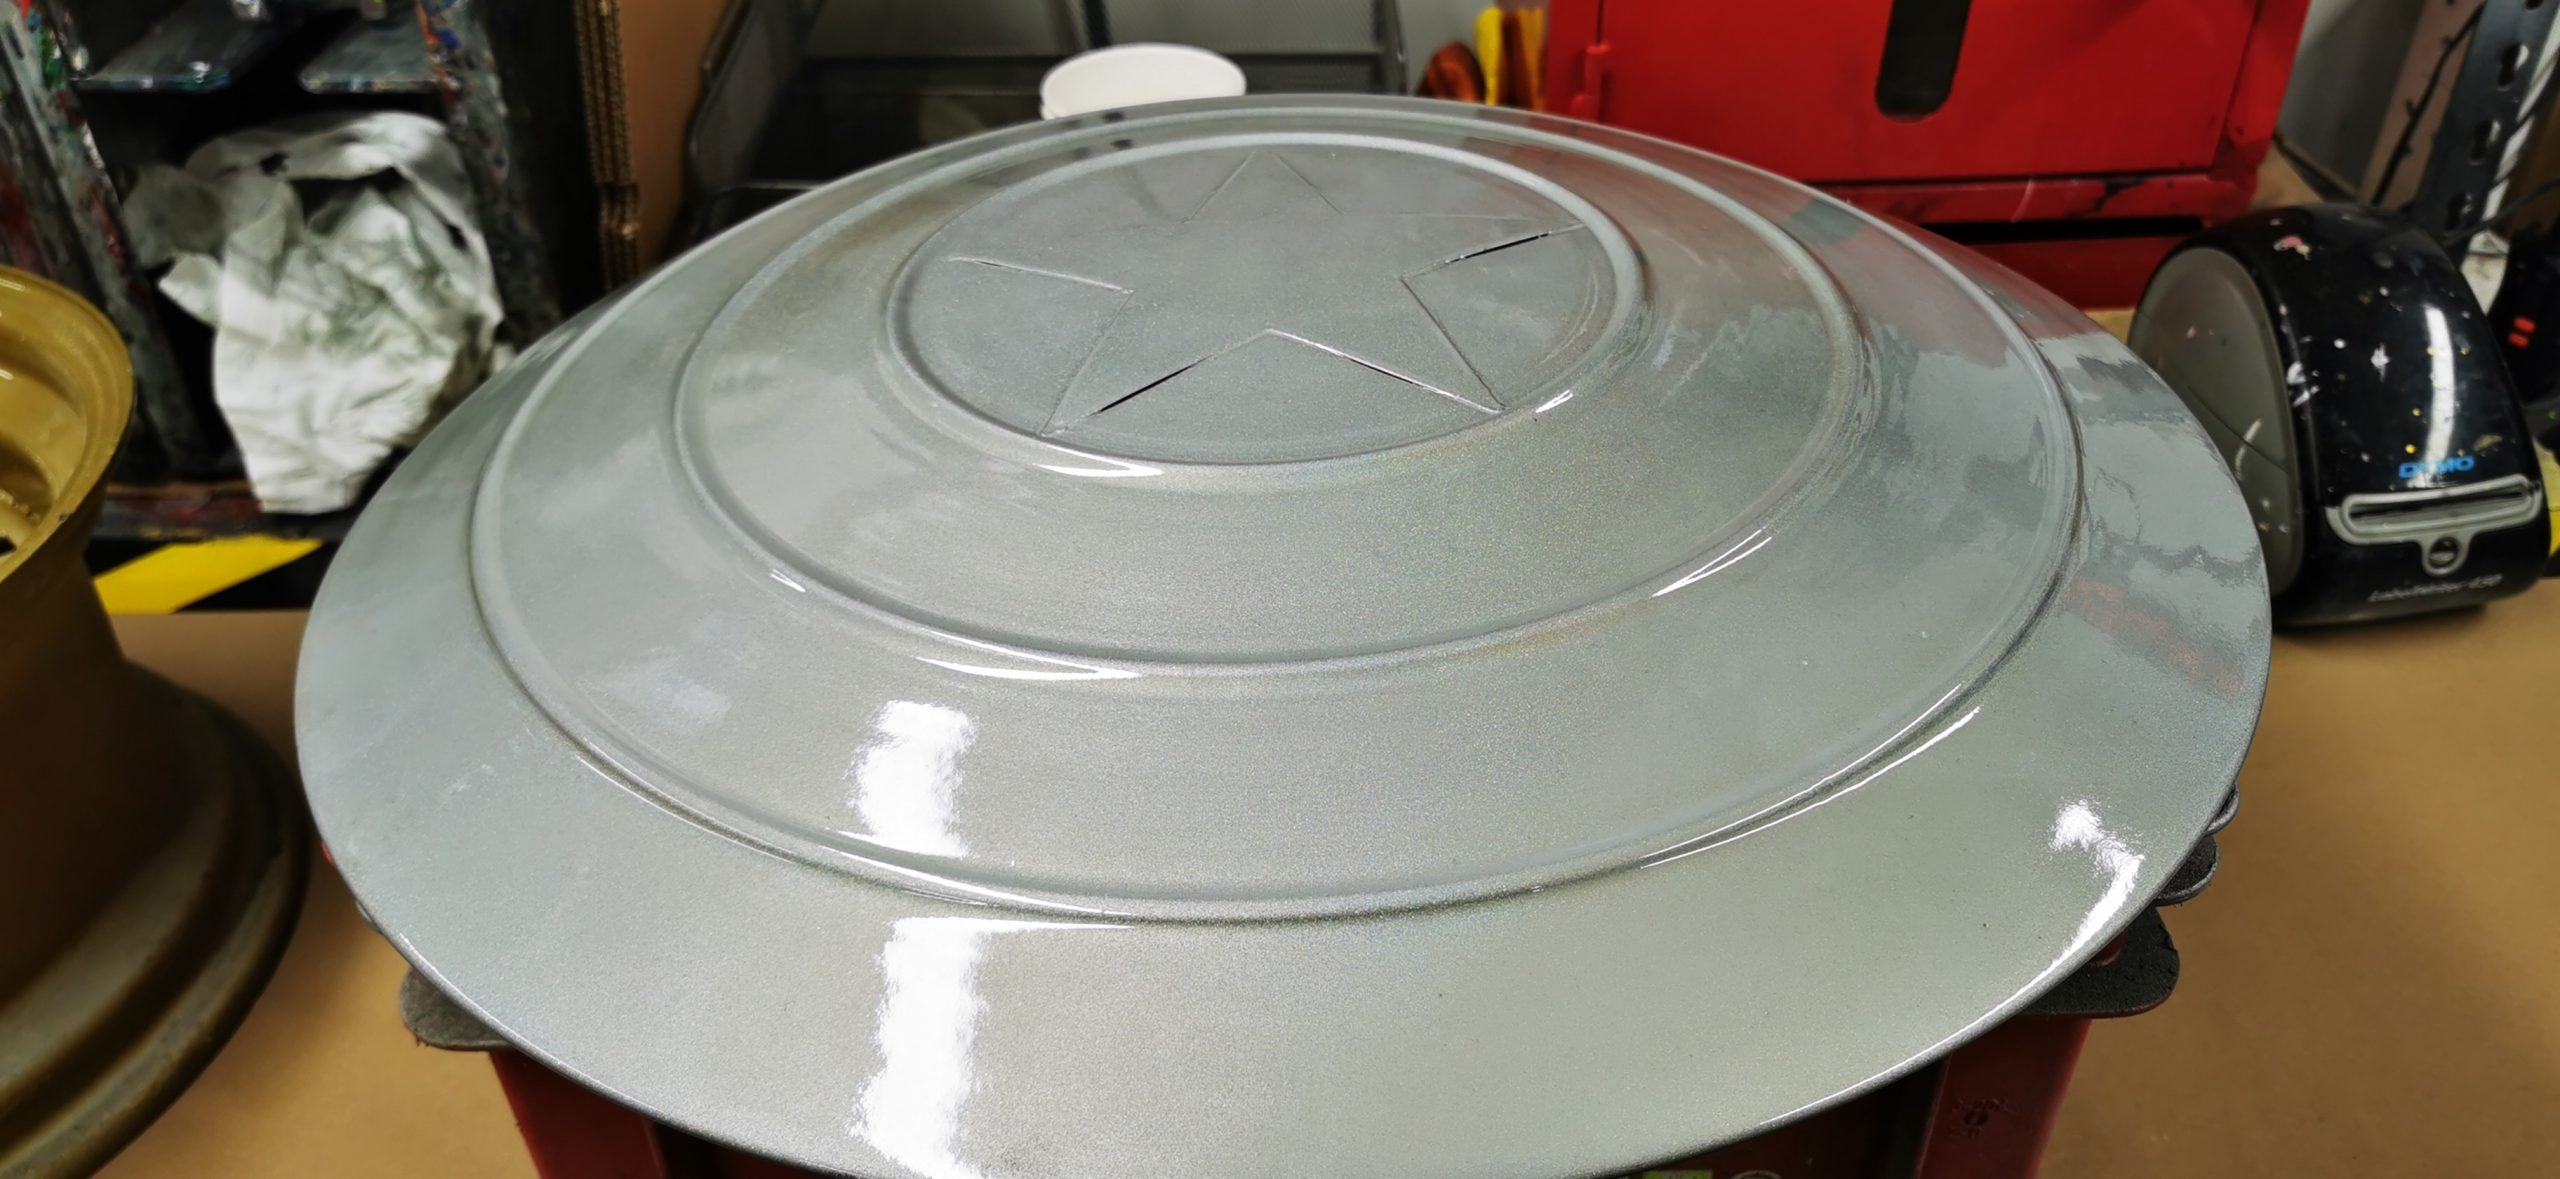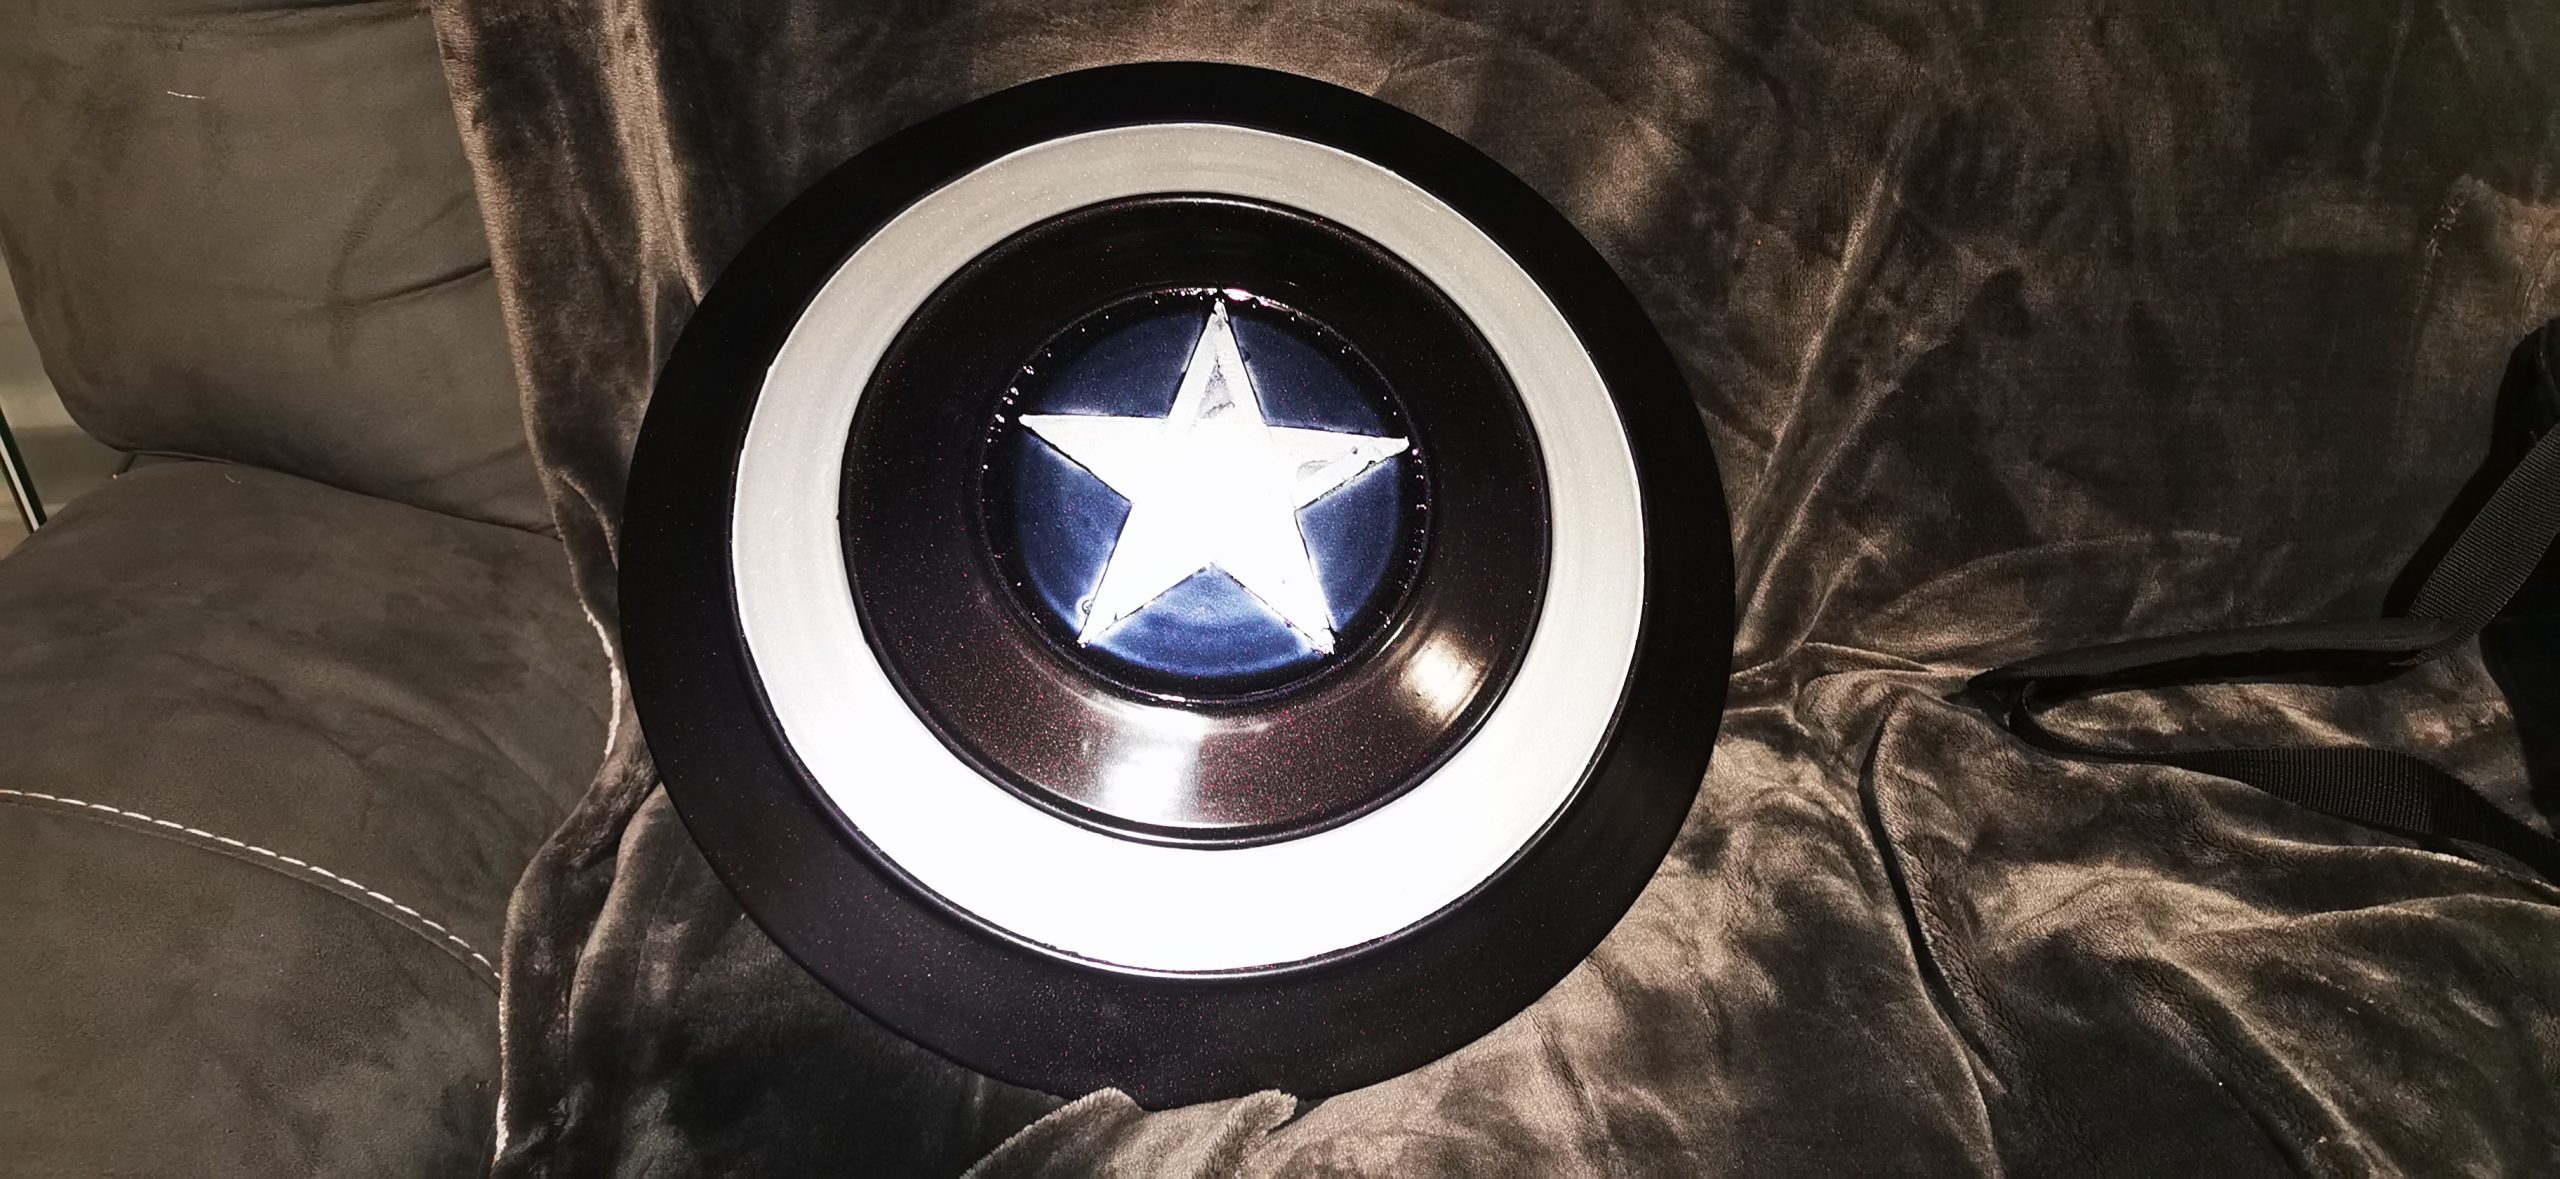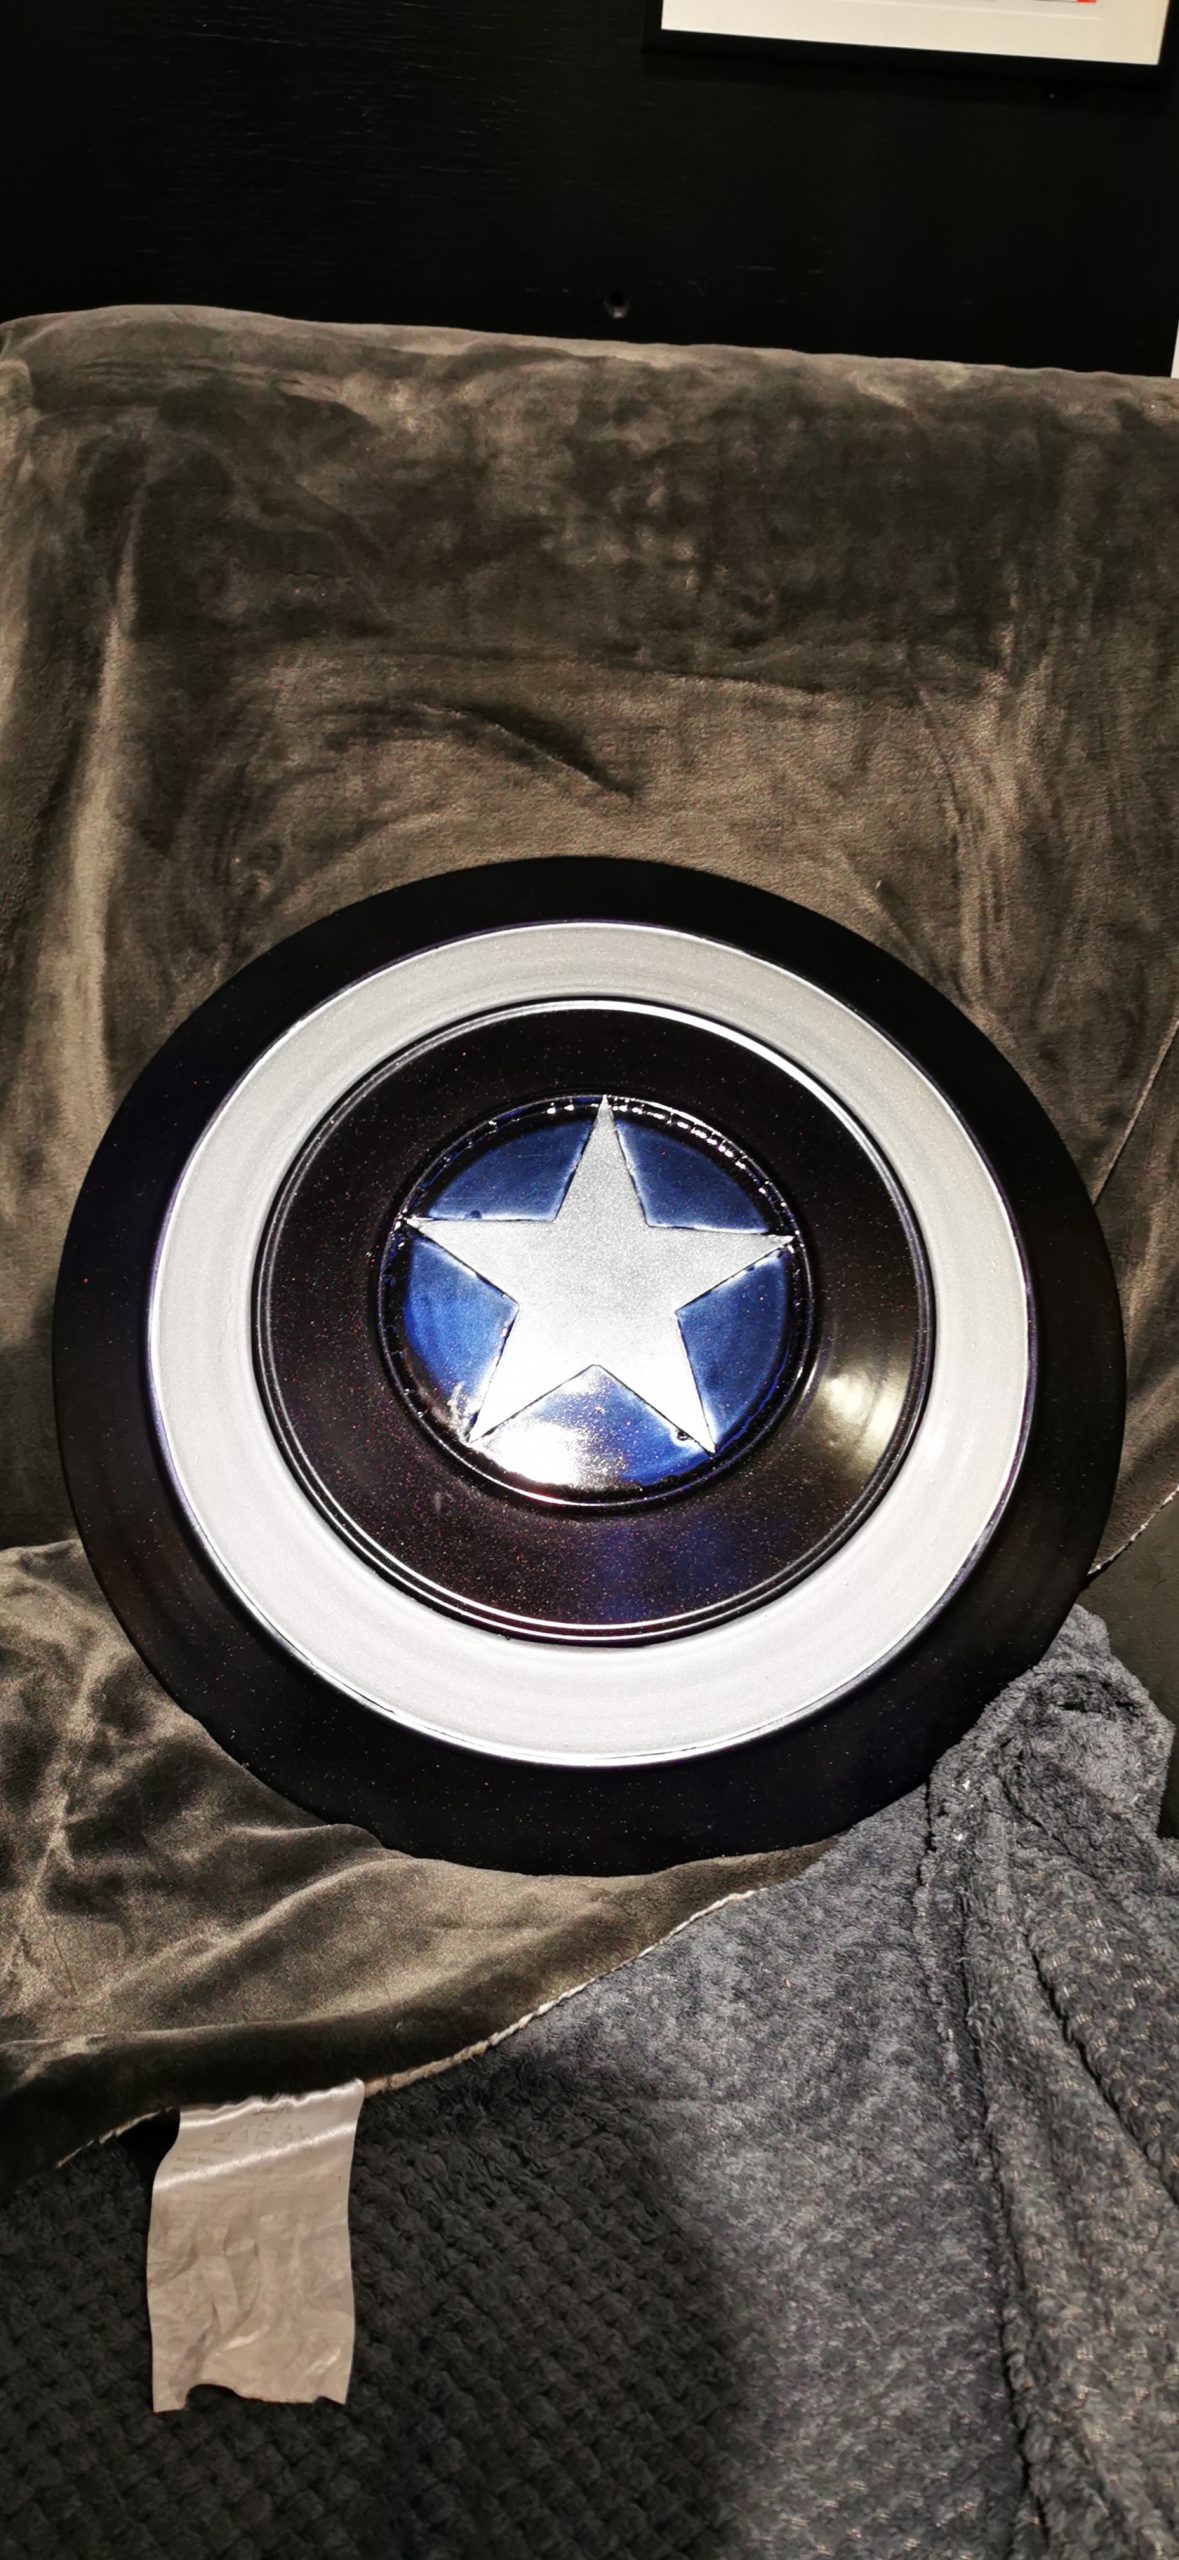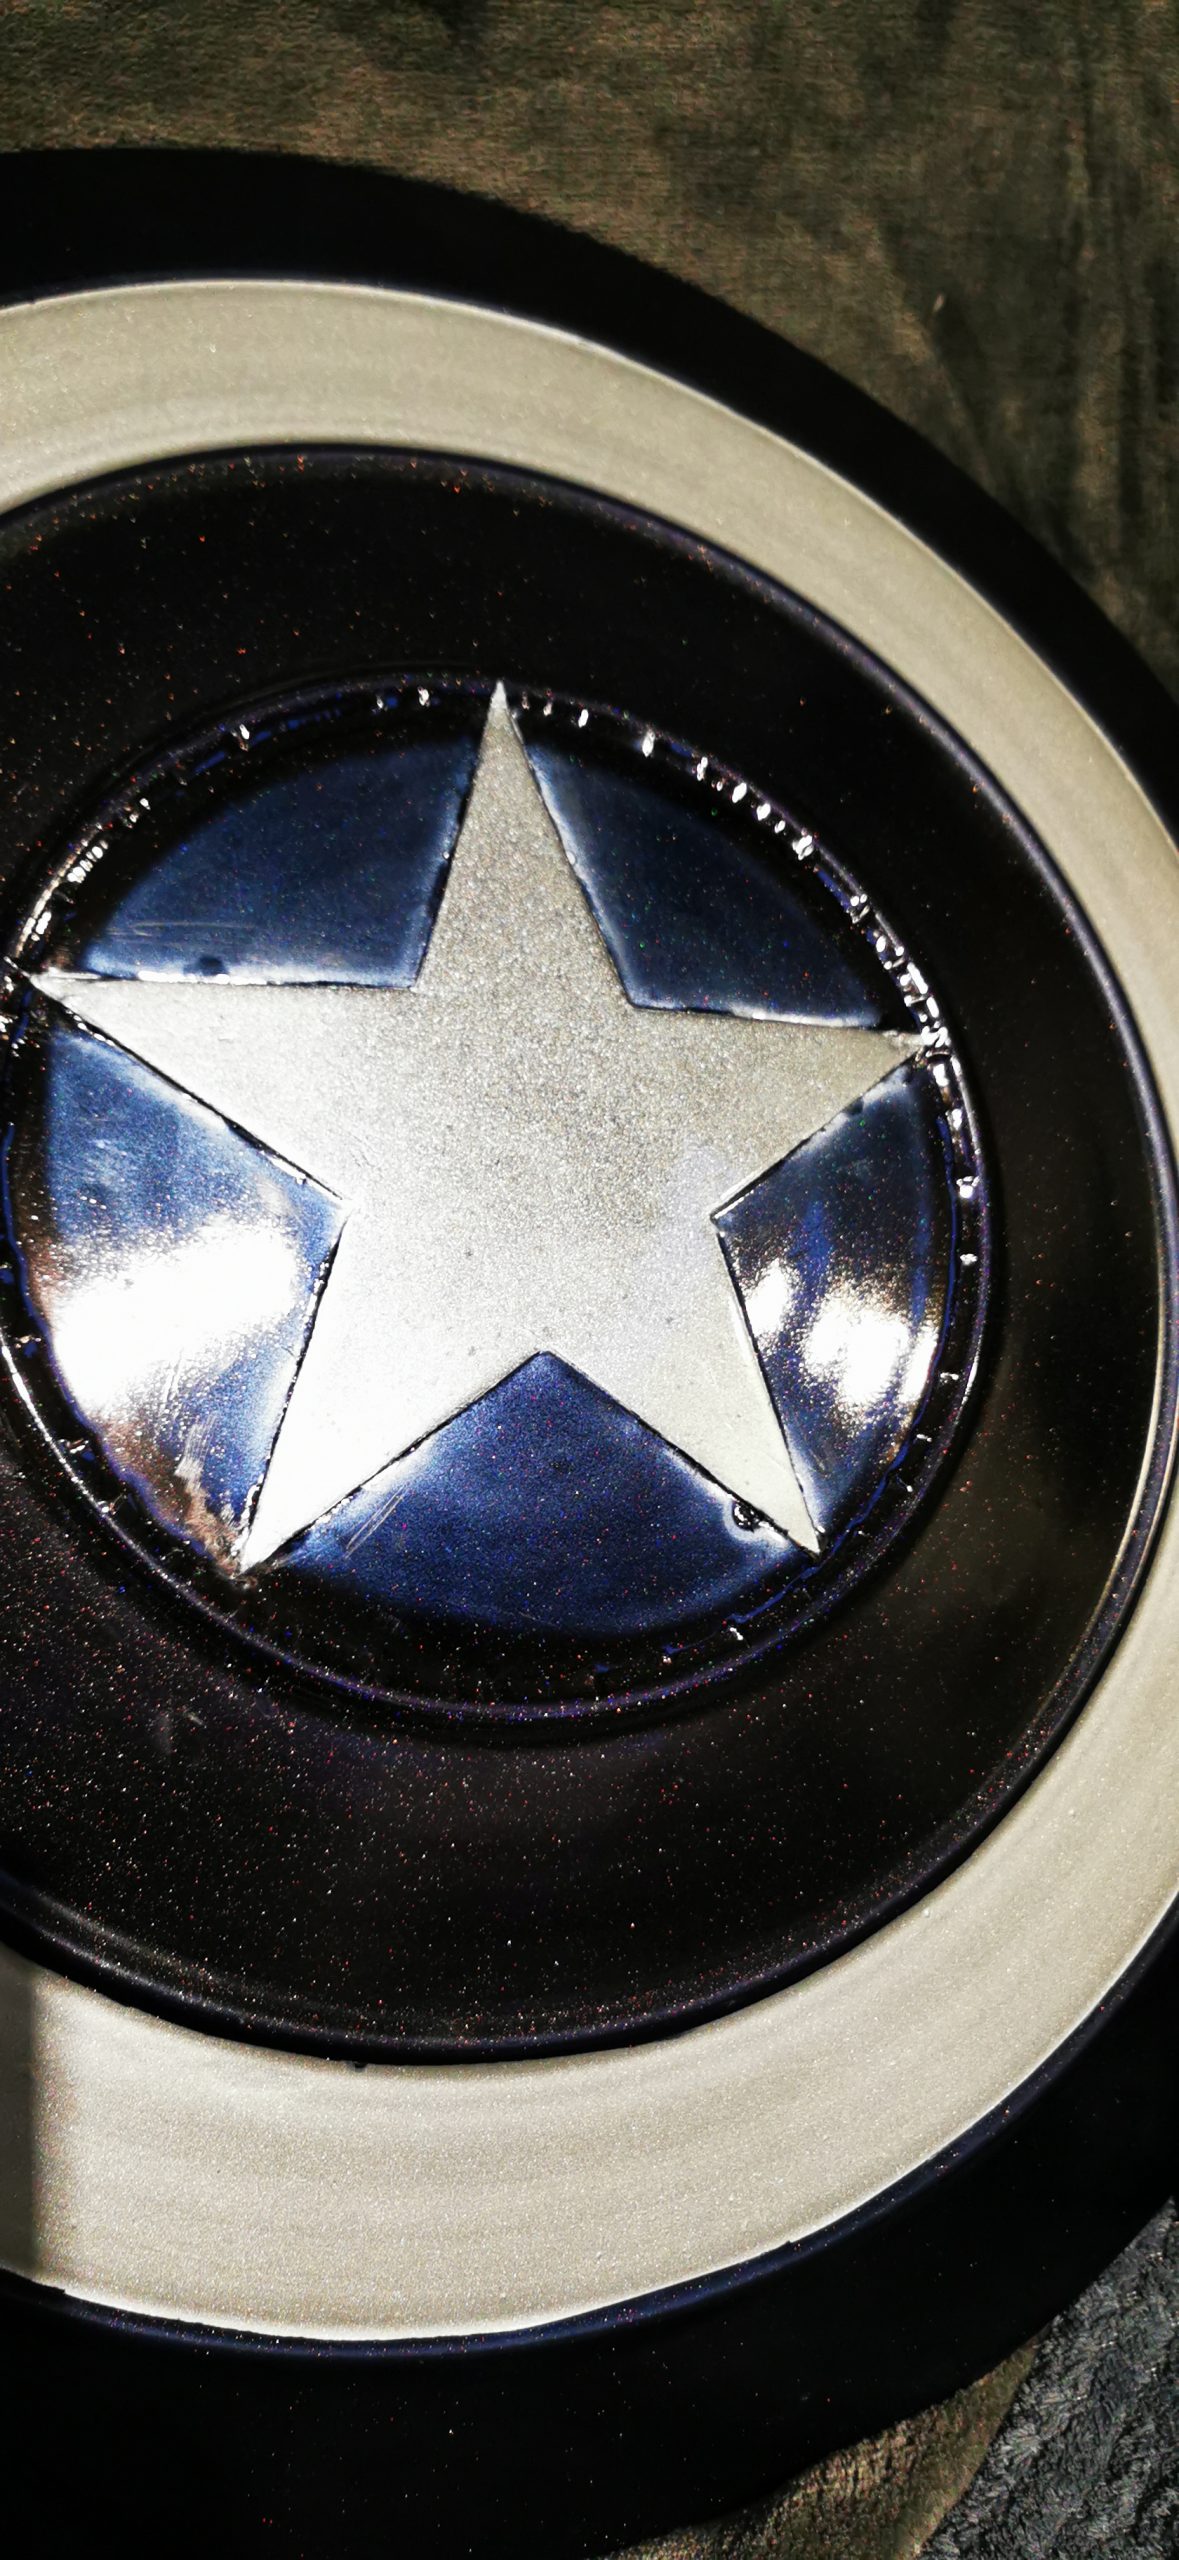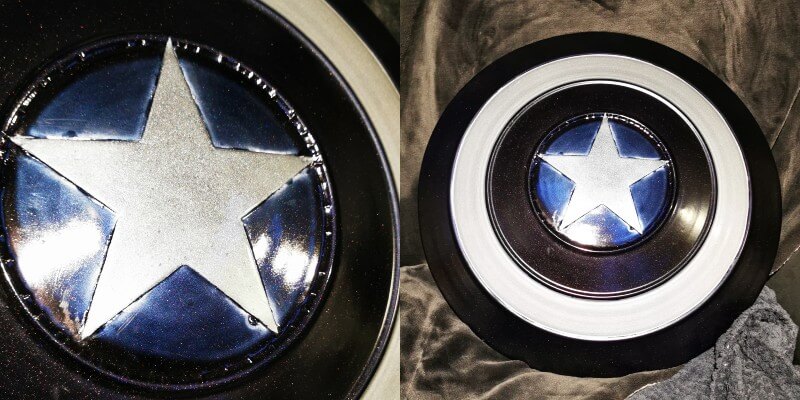
We bought a couple of Metal Captain America shields to repaint and put our own stamp on them, adding two contrasting black paints with different sheen levels. Our team took our time with these two back to back projects, and we hope you like the outcome!
Tools:
- Degreaser
- Multi-Grade Sandpaper
- Line Tape
- Masking Tape and Masking Paper
- Silver High Build Primer
- 2K Black Hologram Gloss Lacquer
- 1K Anodised Black Pearl Paint
Prep:
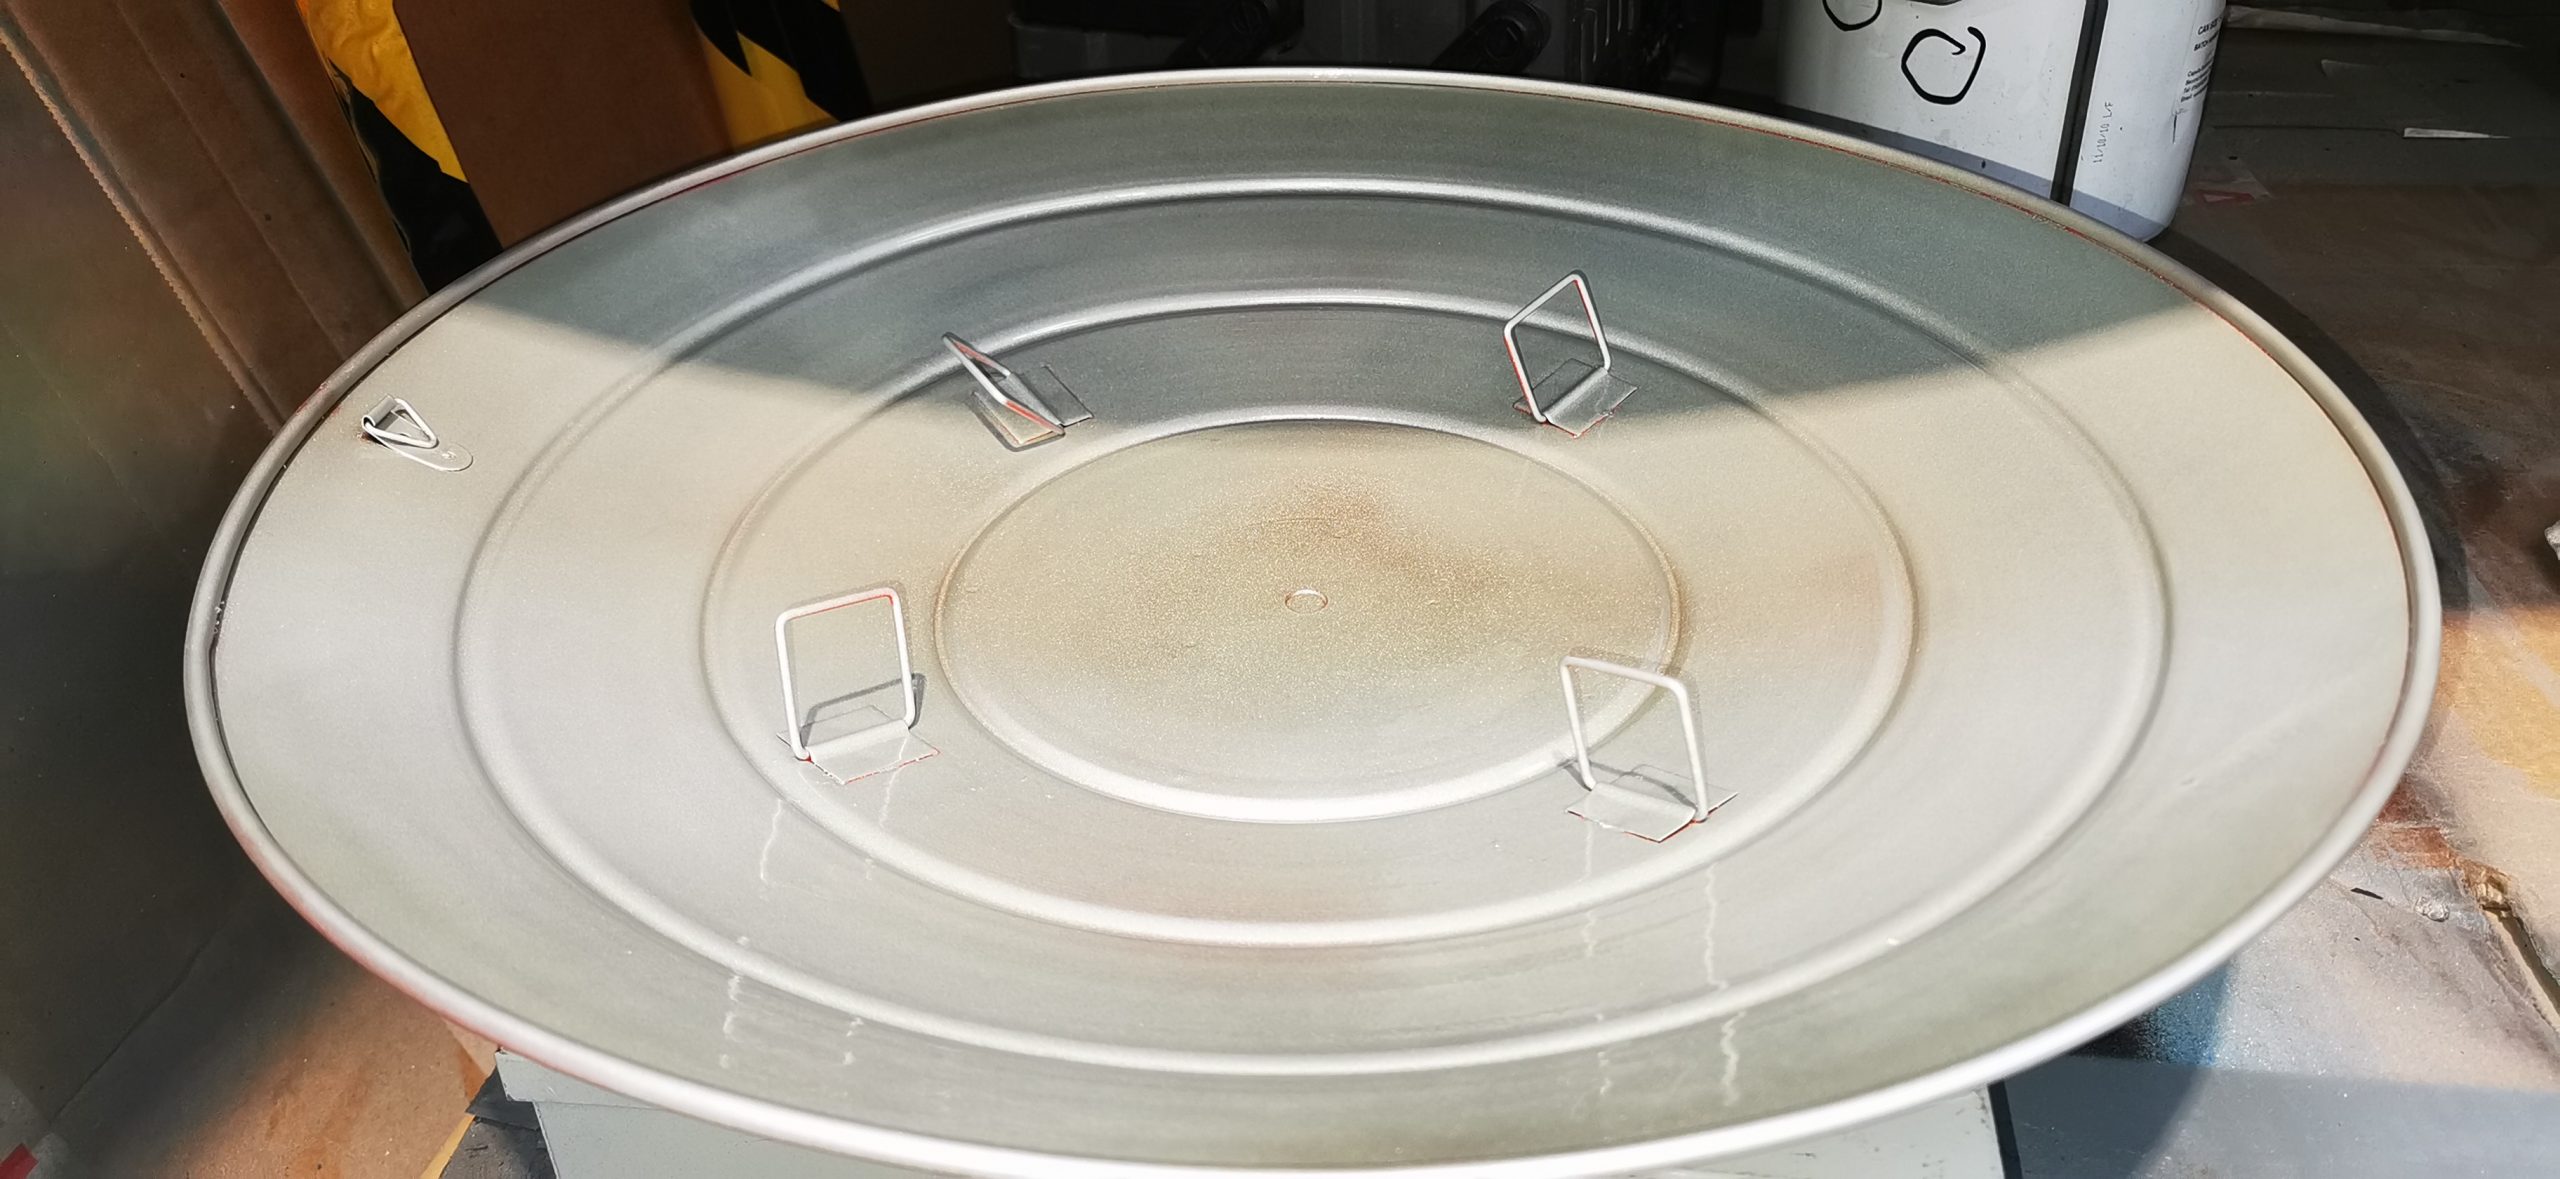
When spraying metal, preparation is key. Begin by removing as much of the existing paint as possible using multi grades of sandpaper; this will ensure that you have a smooth, flush surface.
Top Tip: If you are able to achieve a smooth surface in the initial stages, it is unlikely that you will need to sand or polish between coats once you start spraying.
Once the surface is smooth, ensure that all dust and debris has been cleaned using either a tack cloth or a wet rag. Allow the metal to dry, then apply some degreaser; this will ensure that any leftover chemicals or greasy residue is removed and will not react with the paint.
Paint:
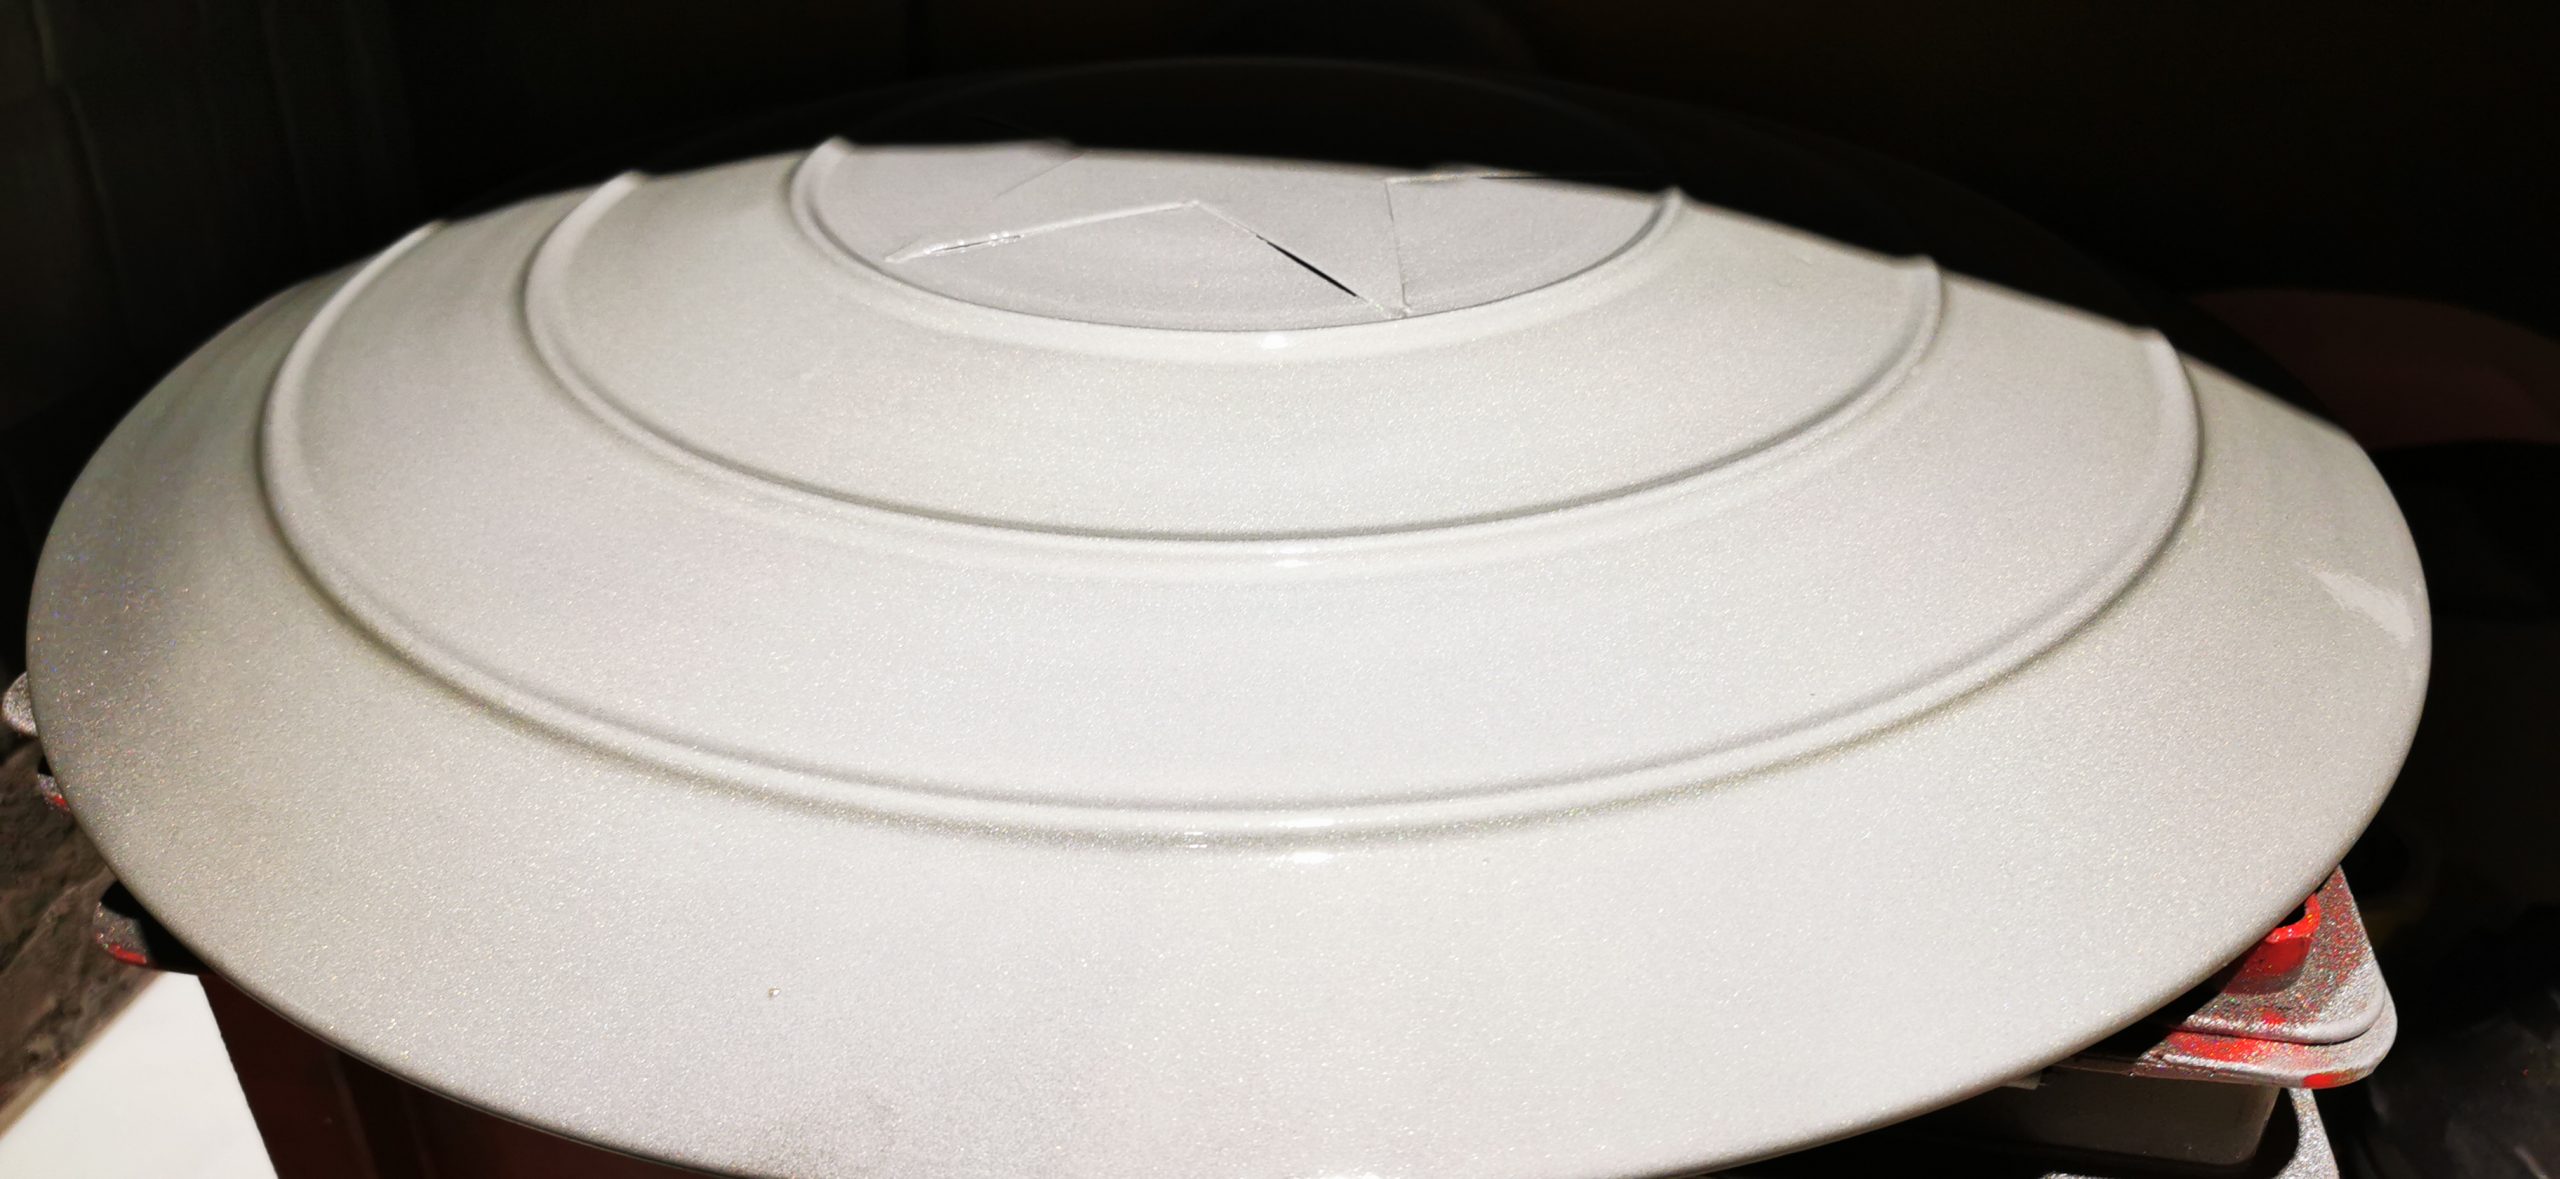
After prepping the metal, you can move on applying a primer – we recommend using an etch primer if you are working on a bare metal surface. Always allow at least 20 to 30 minutes for the primer to cure between coats.
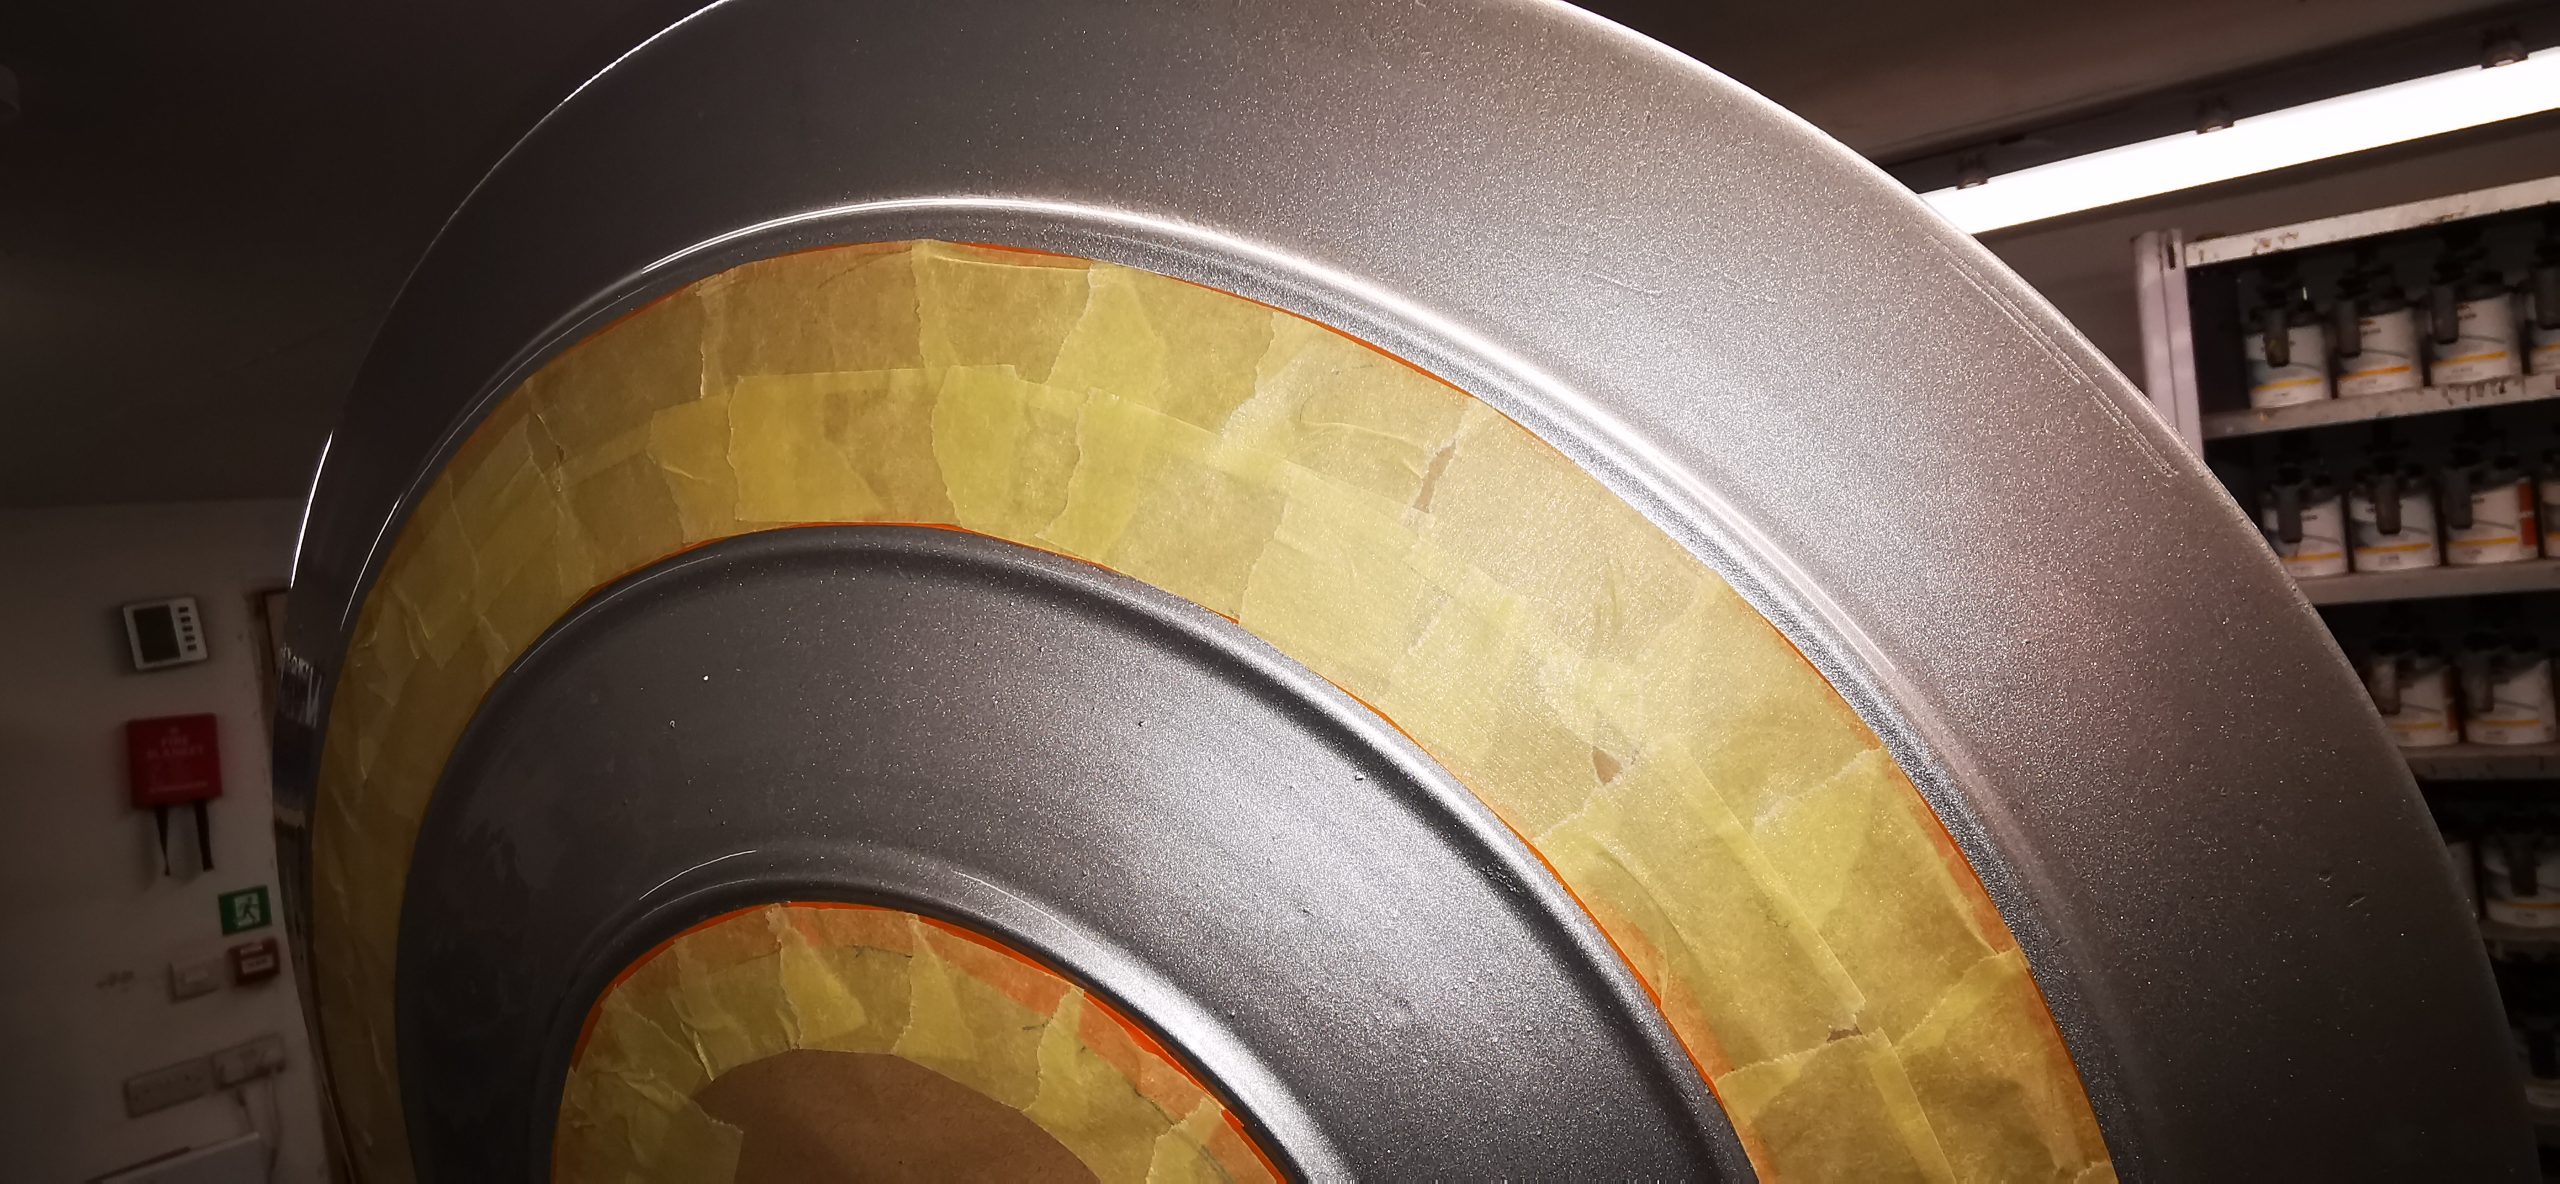
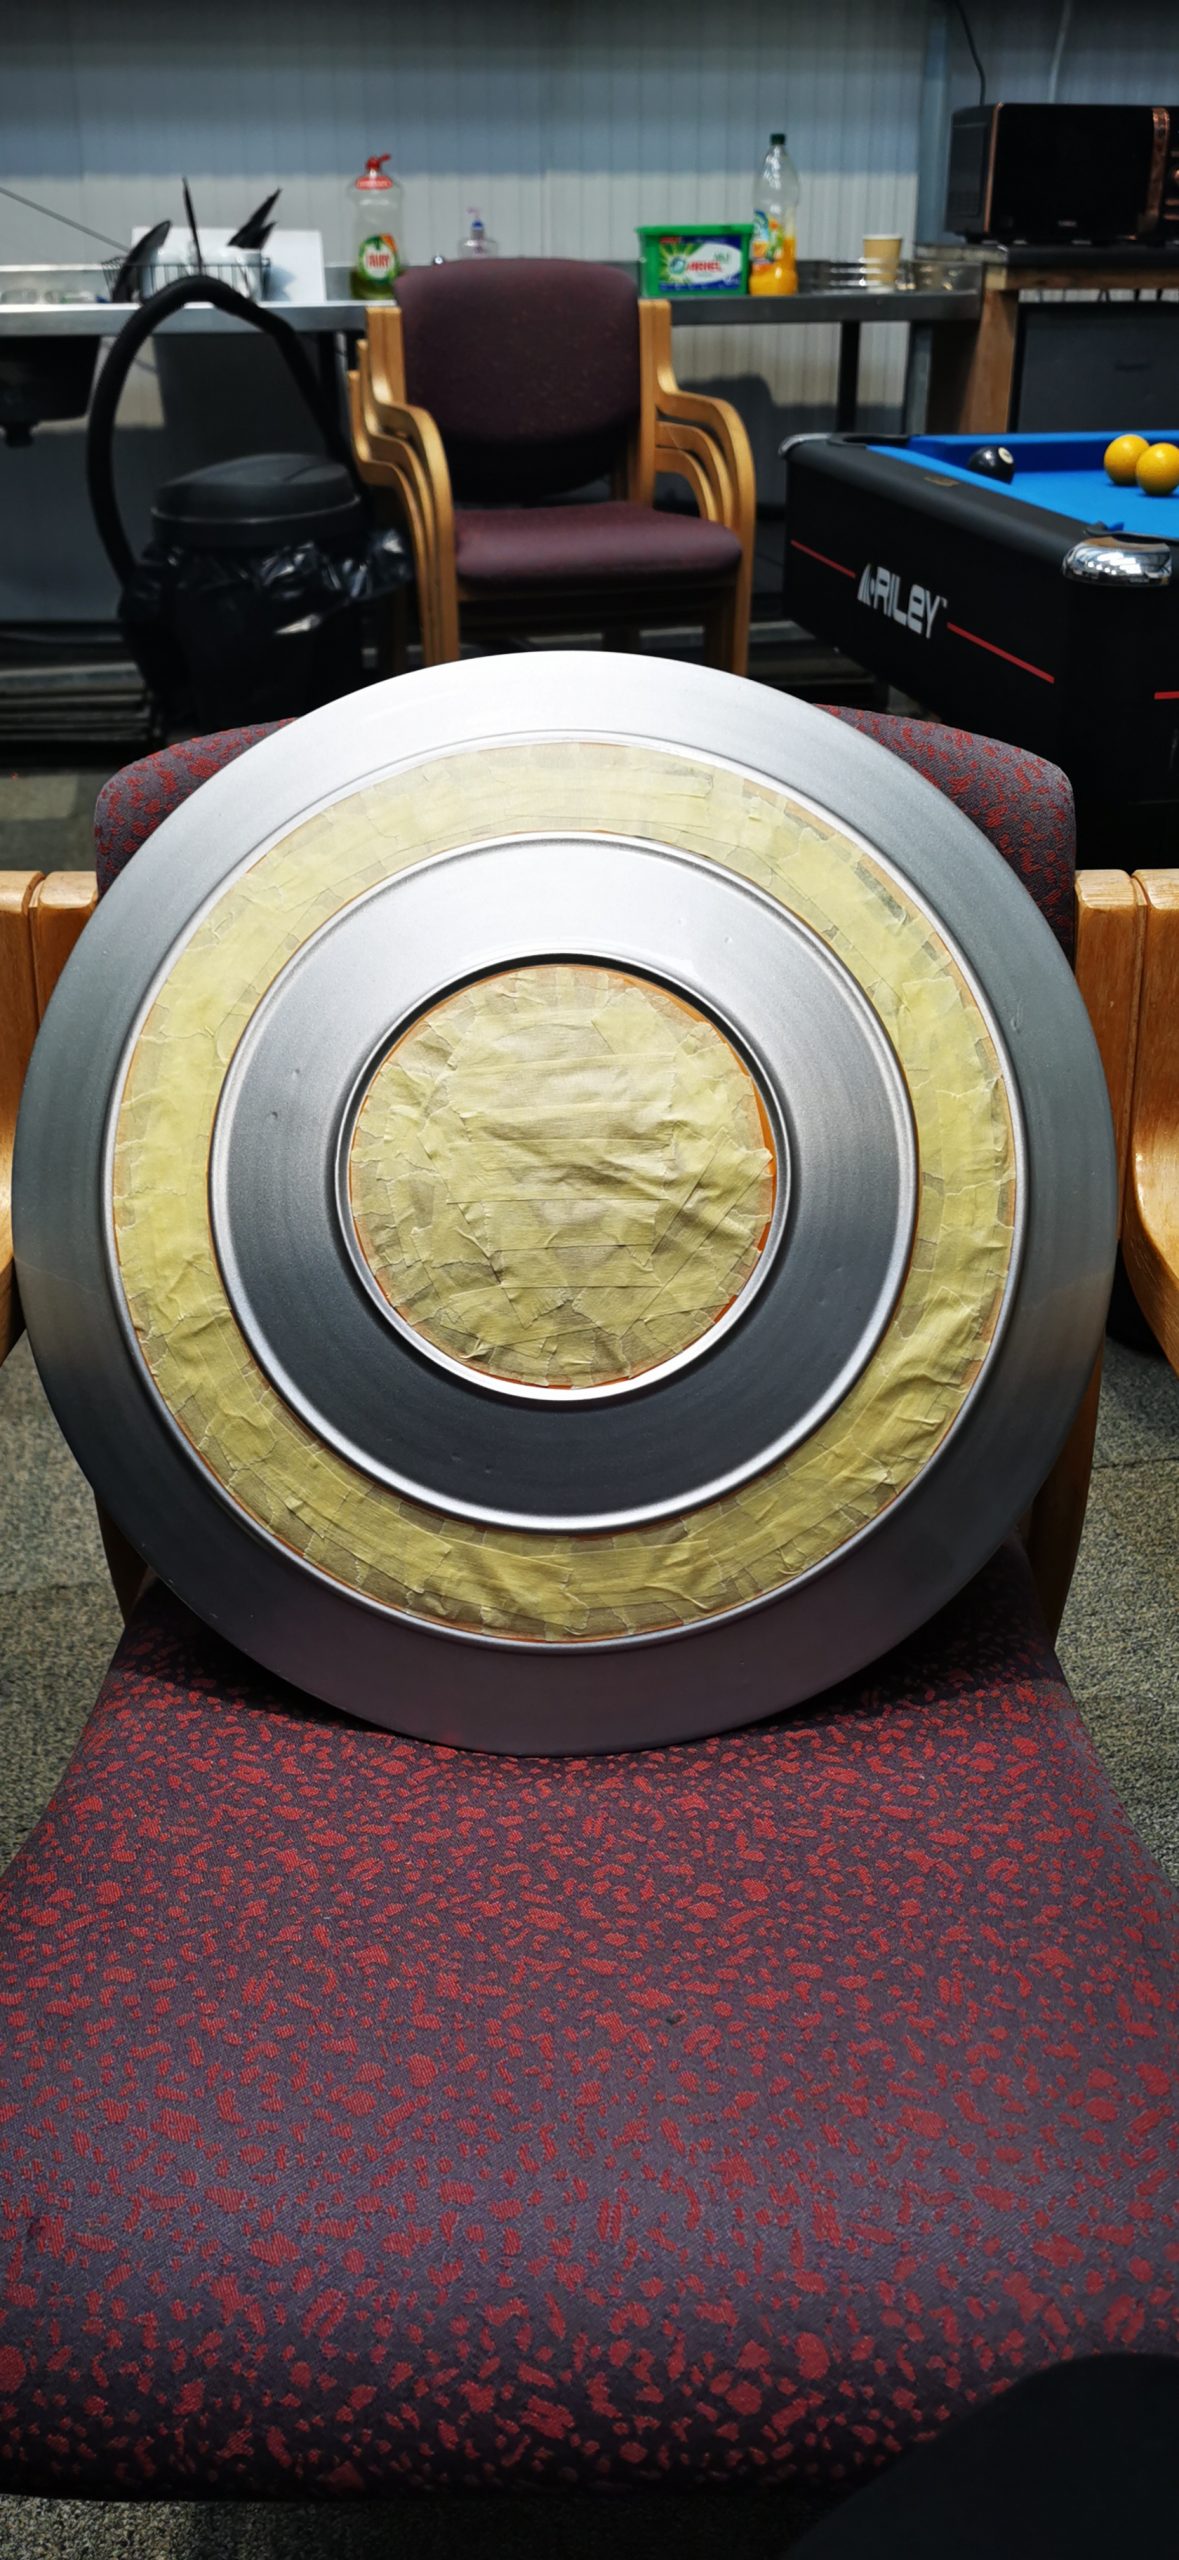
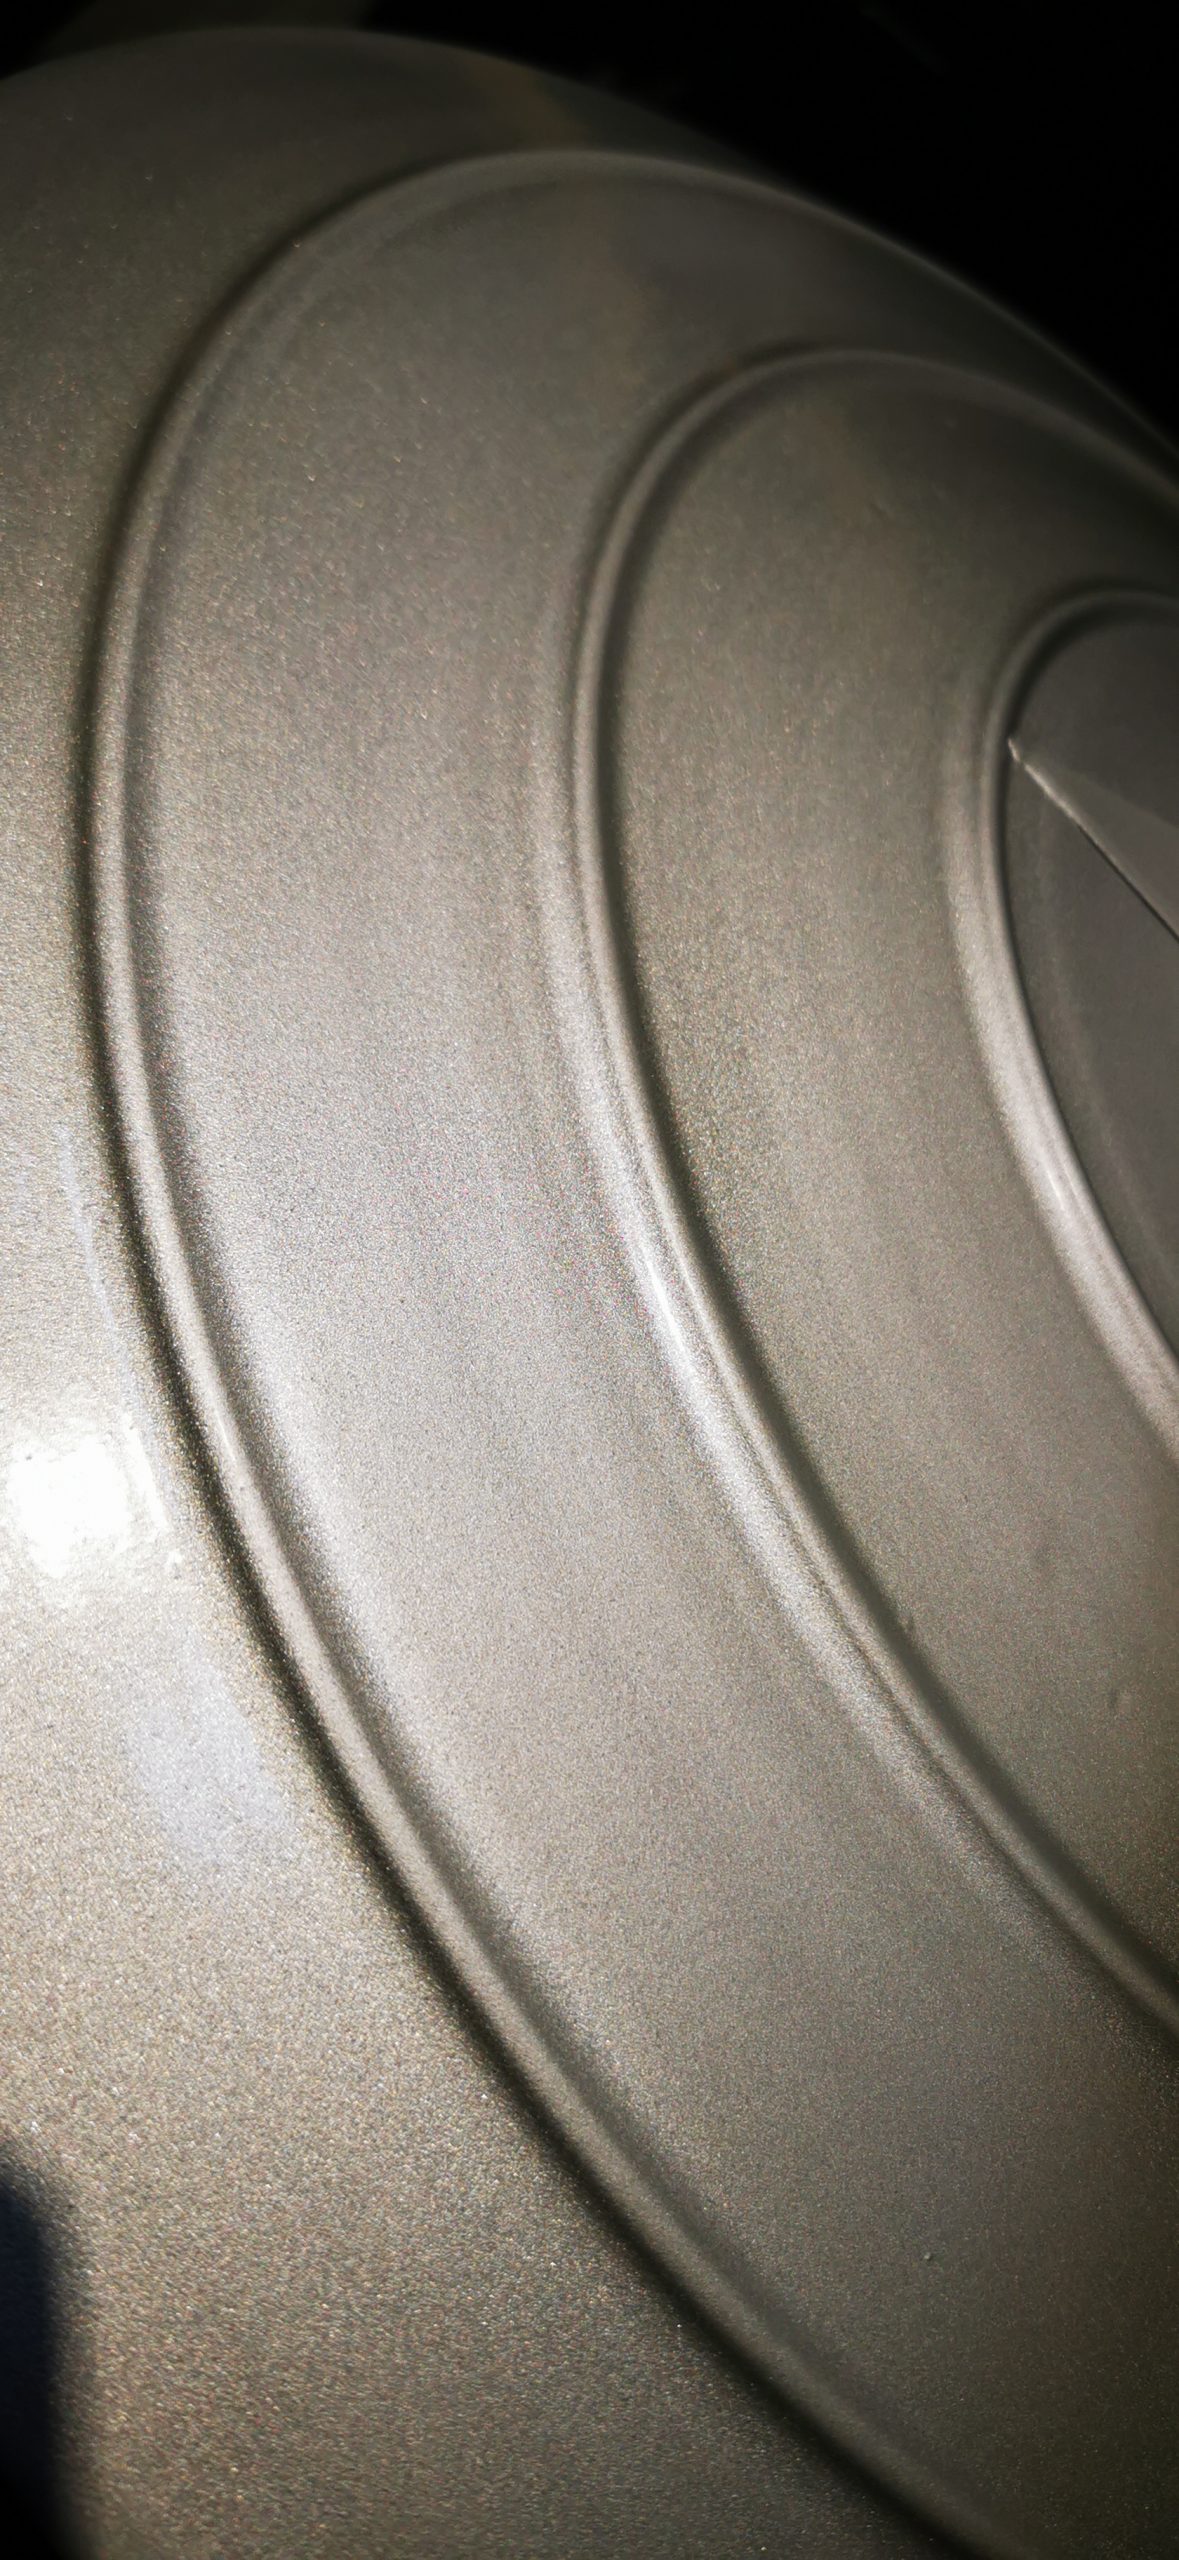
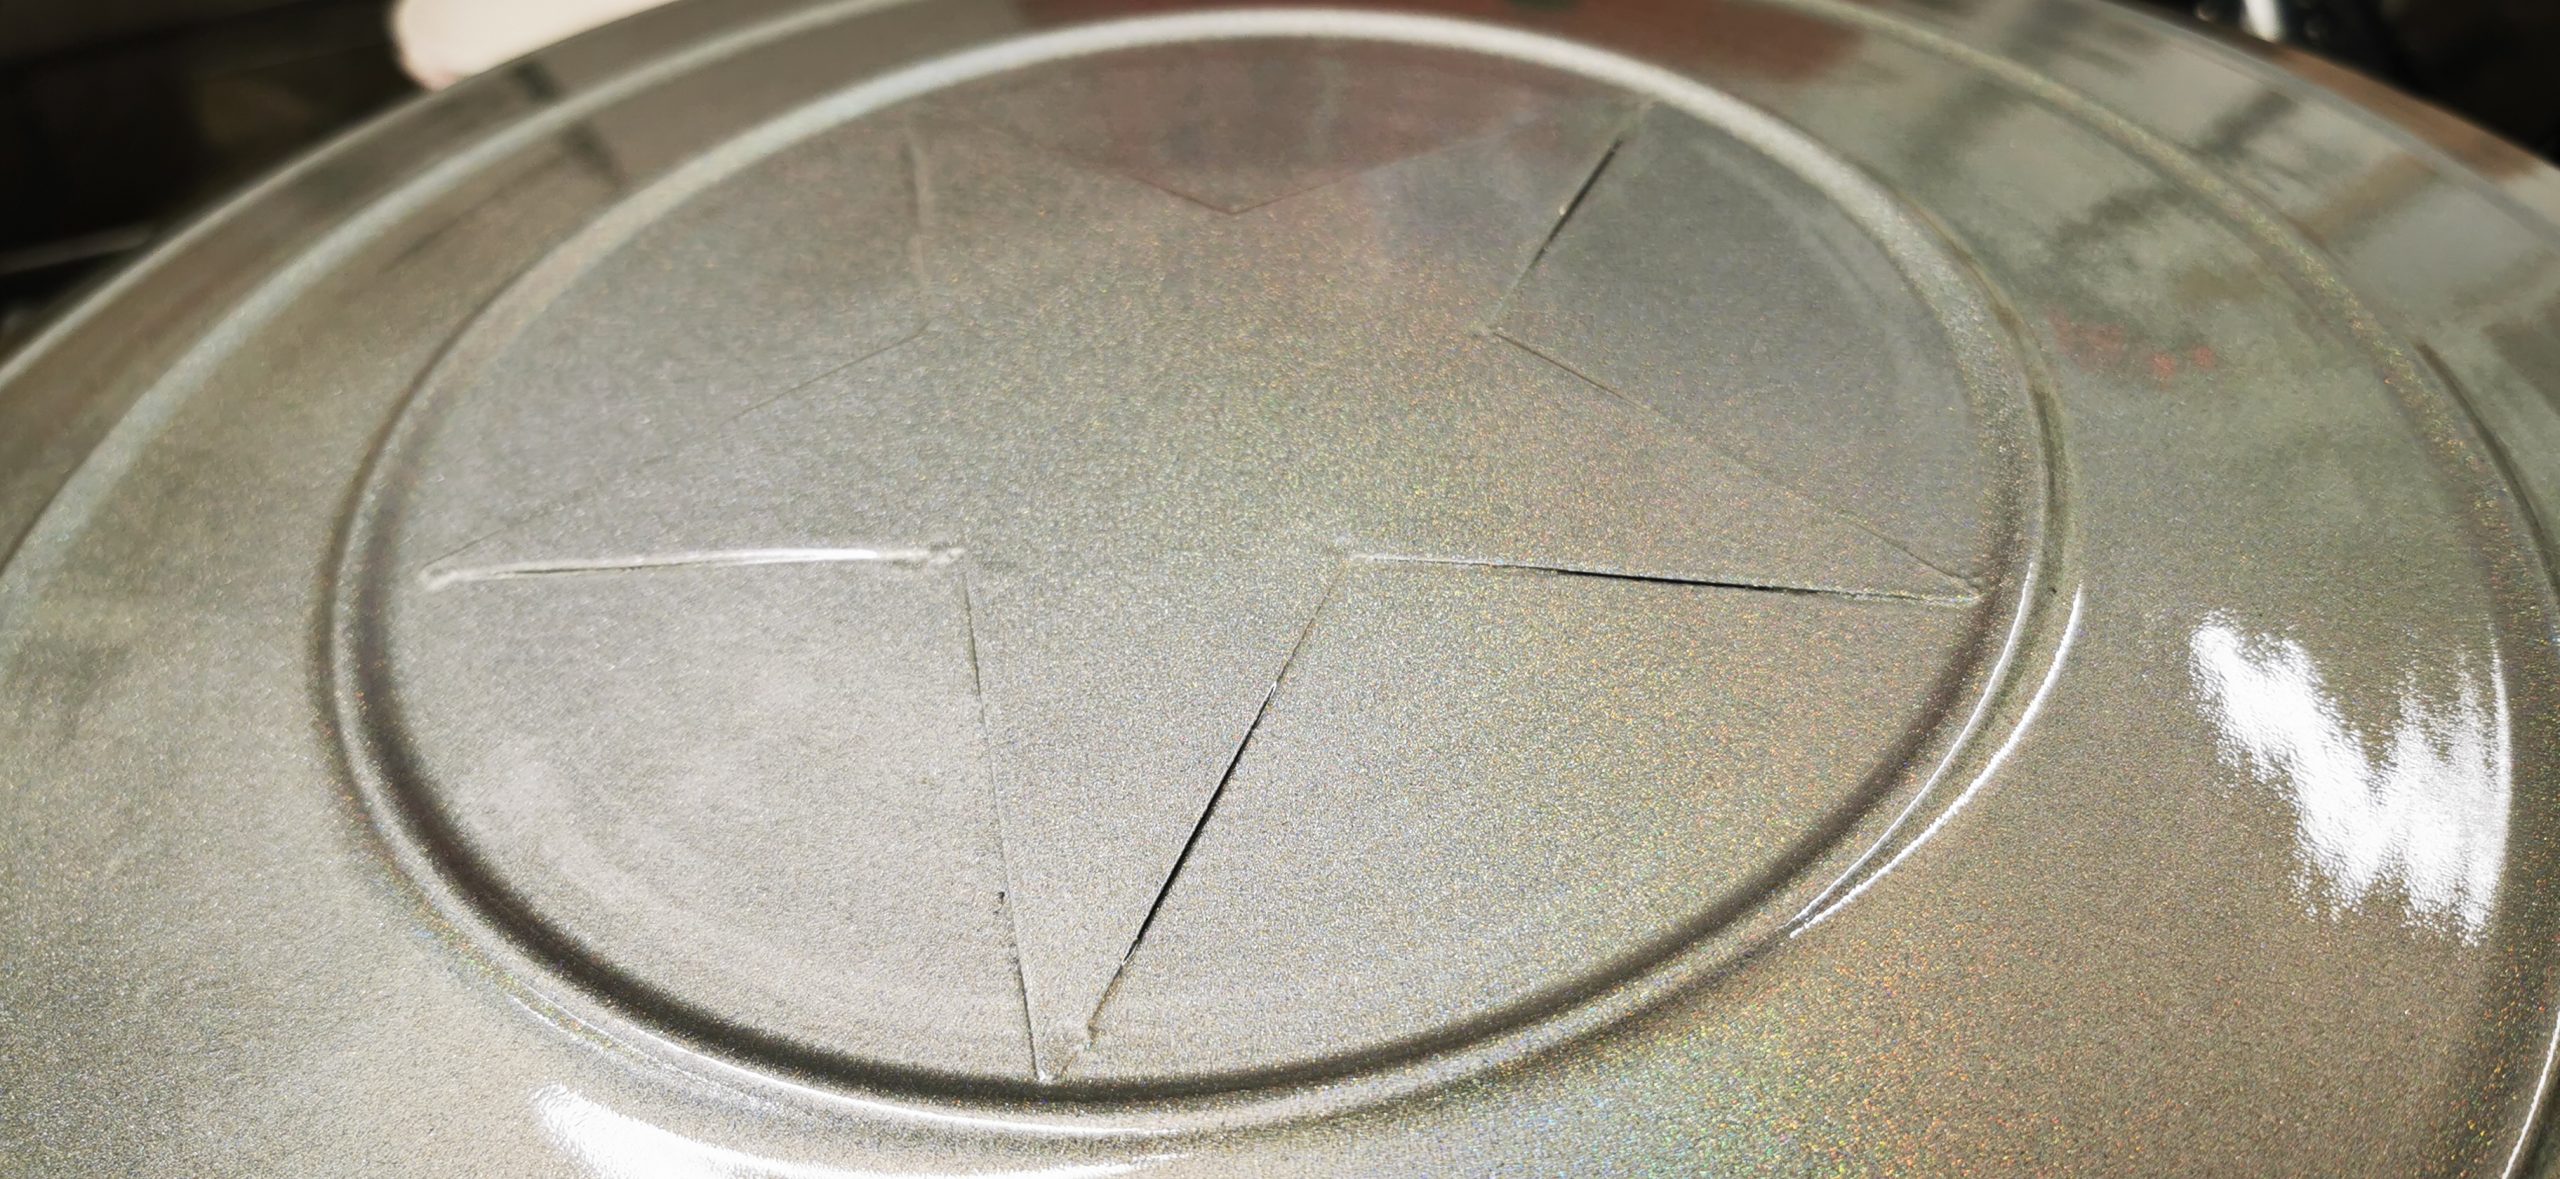
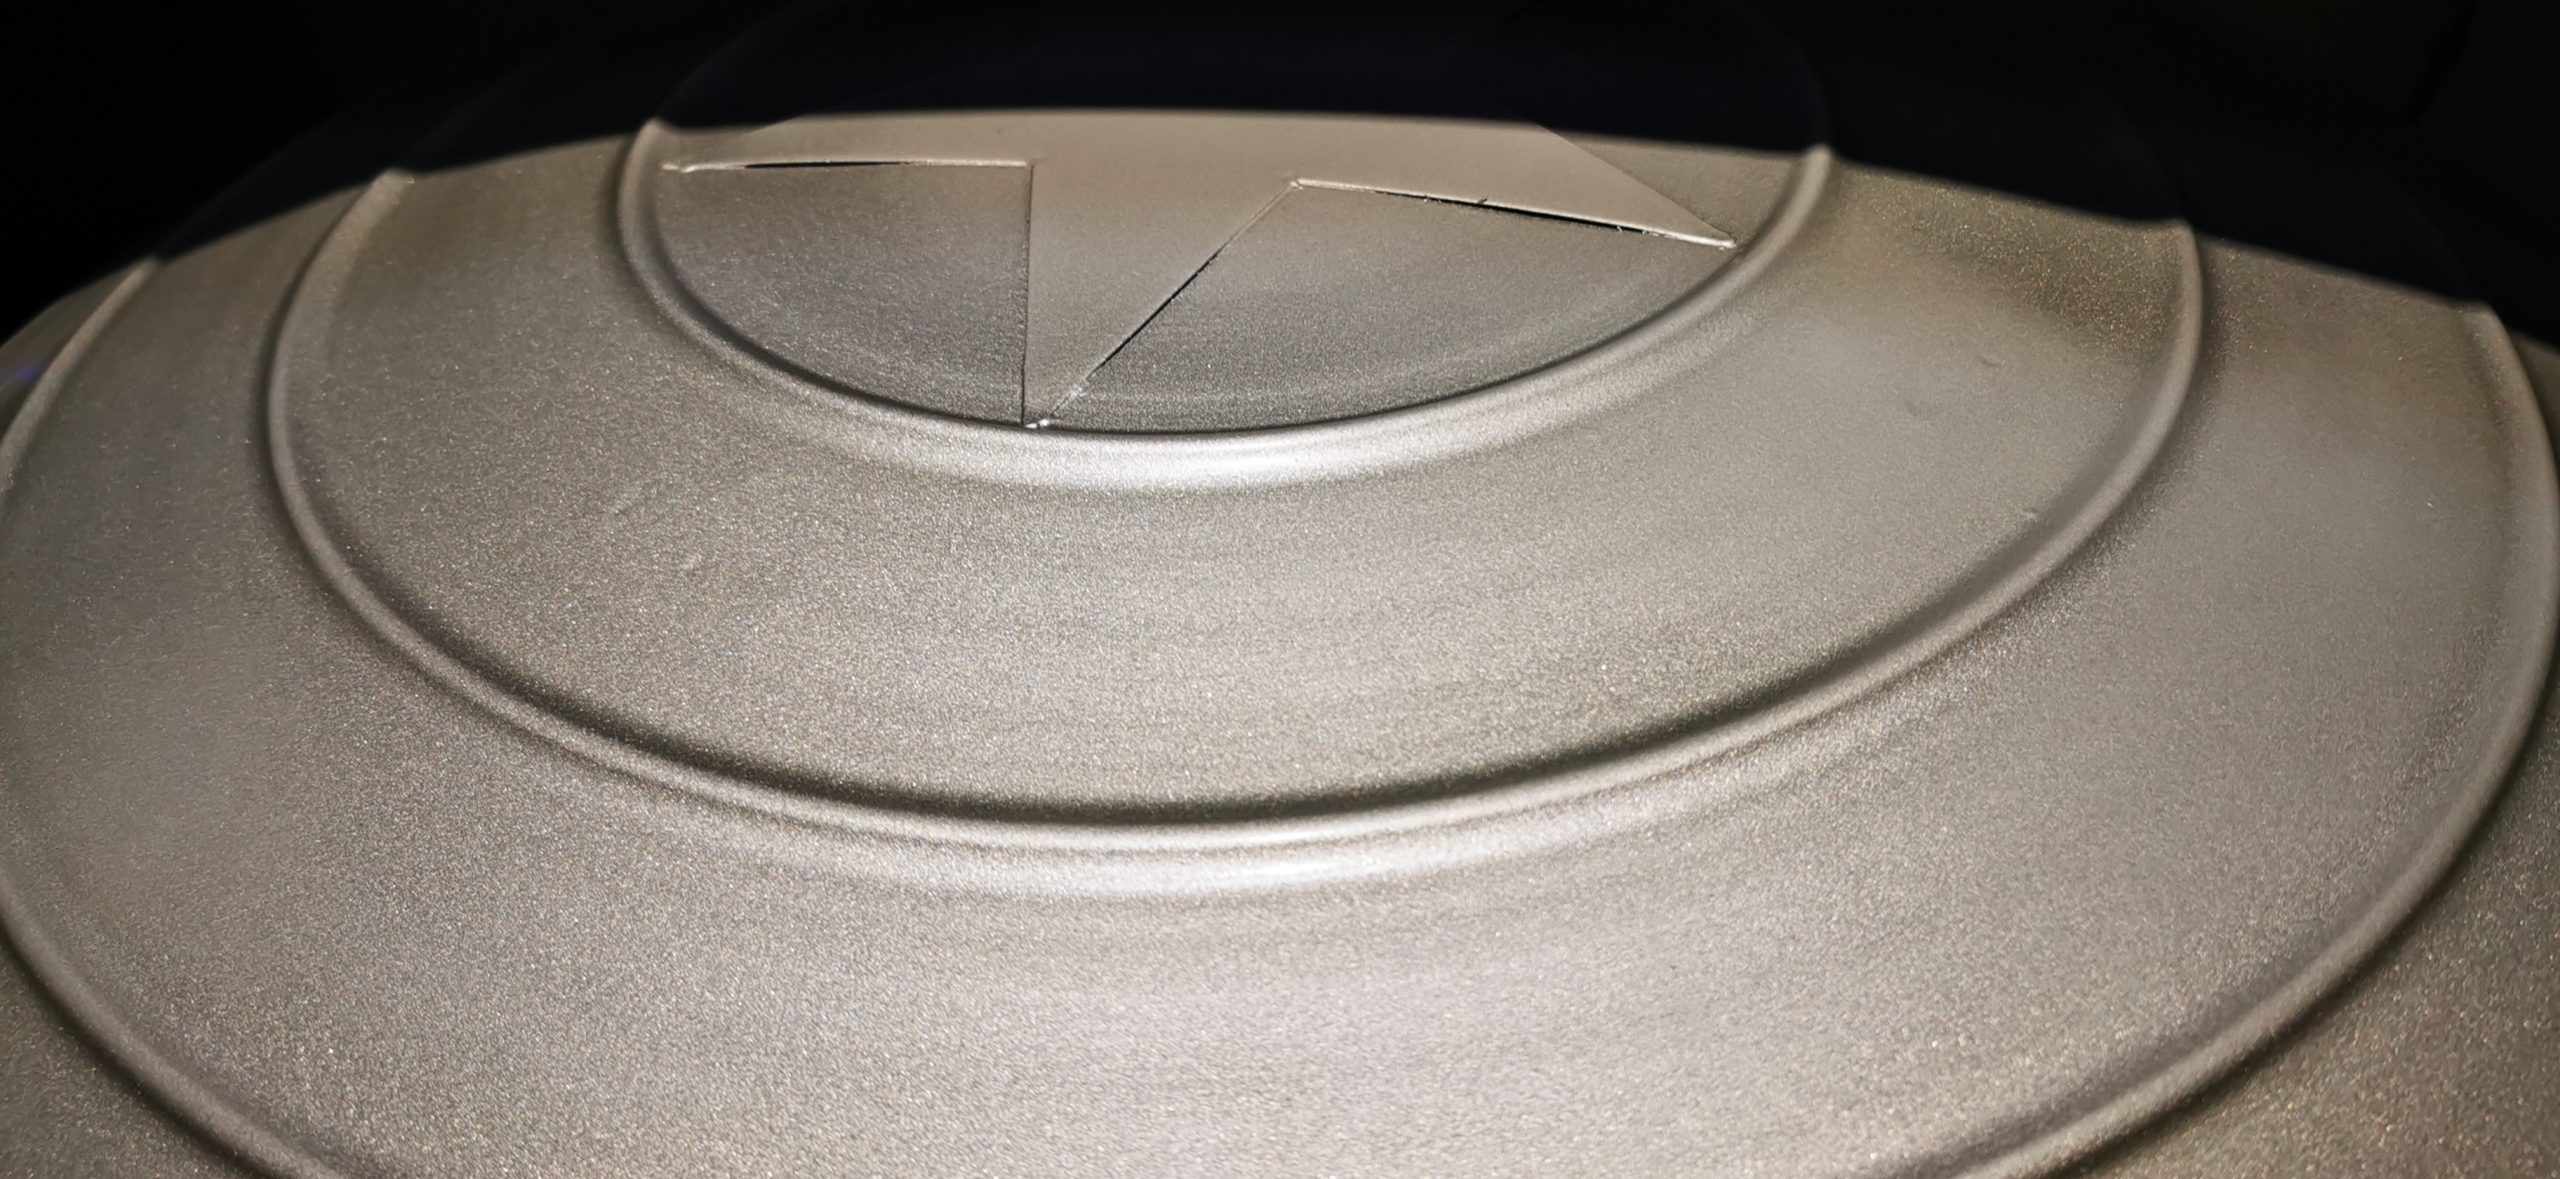
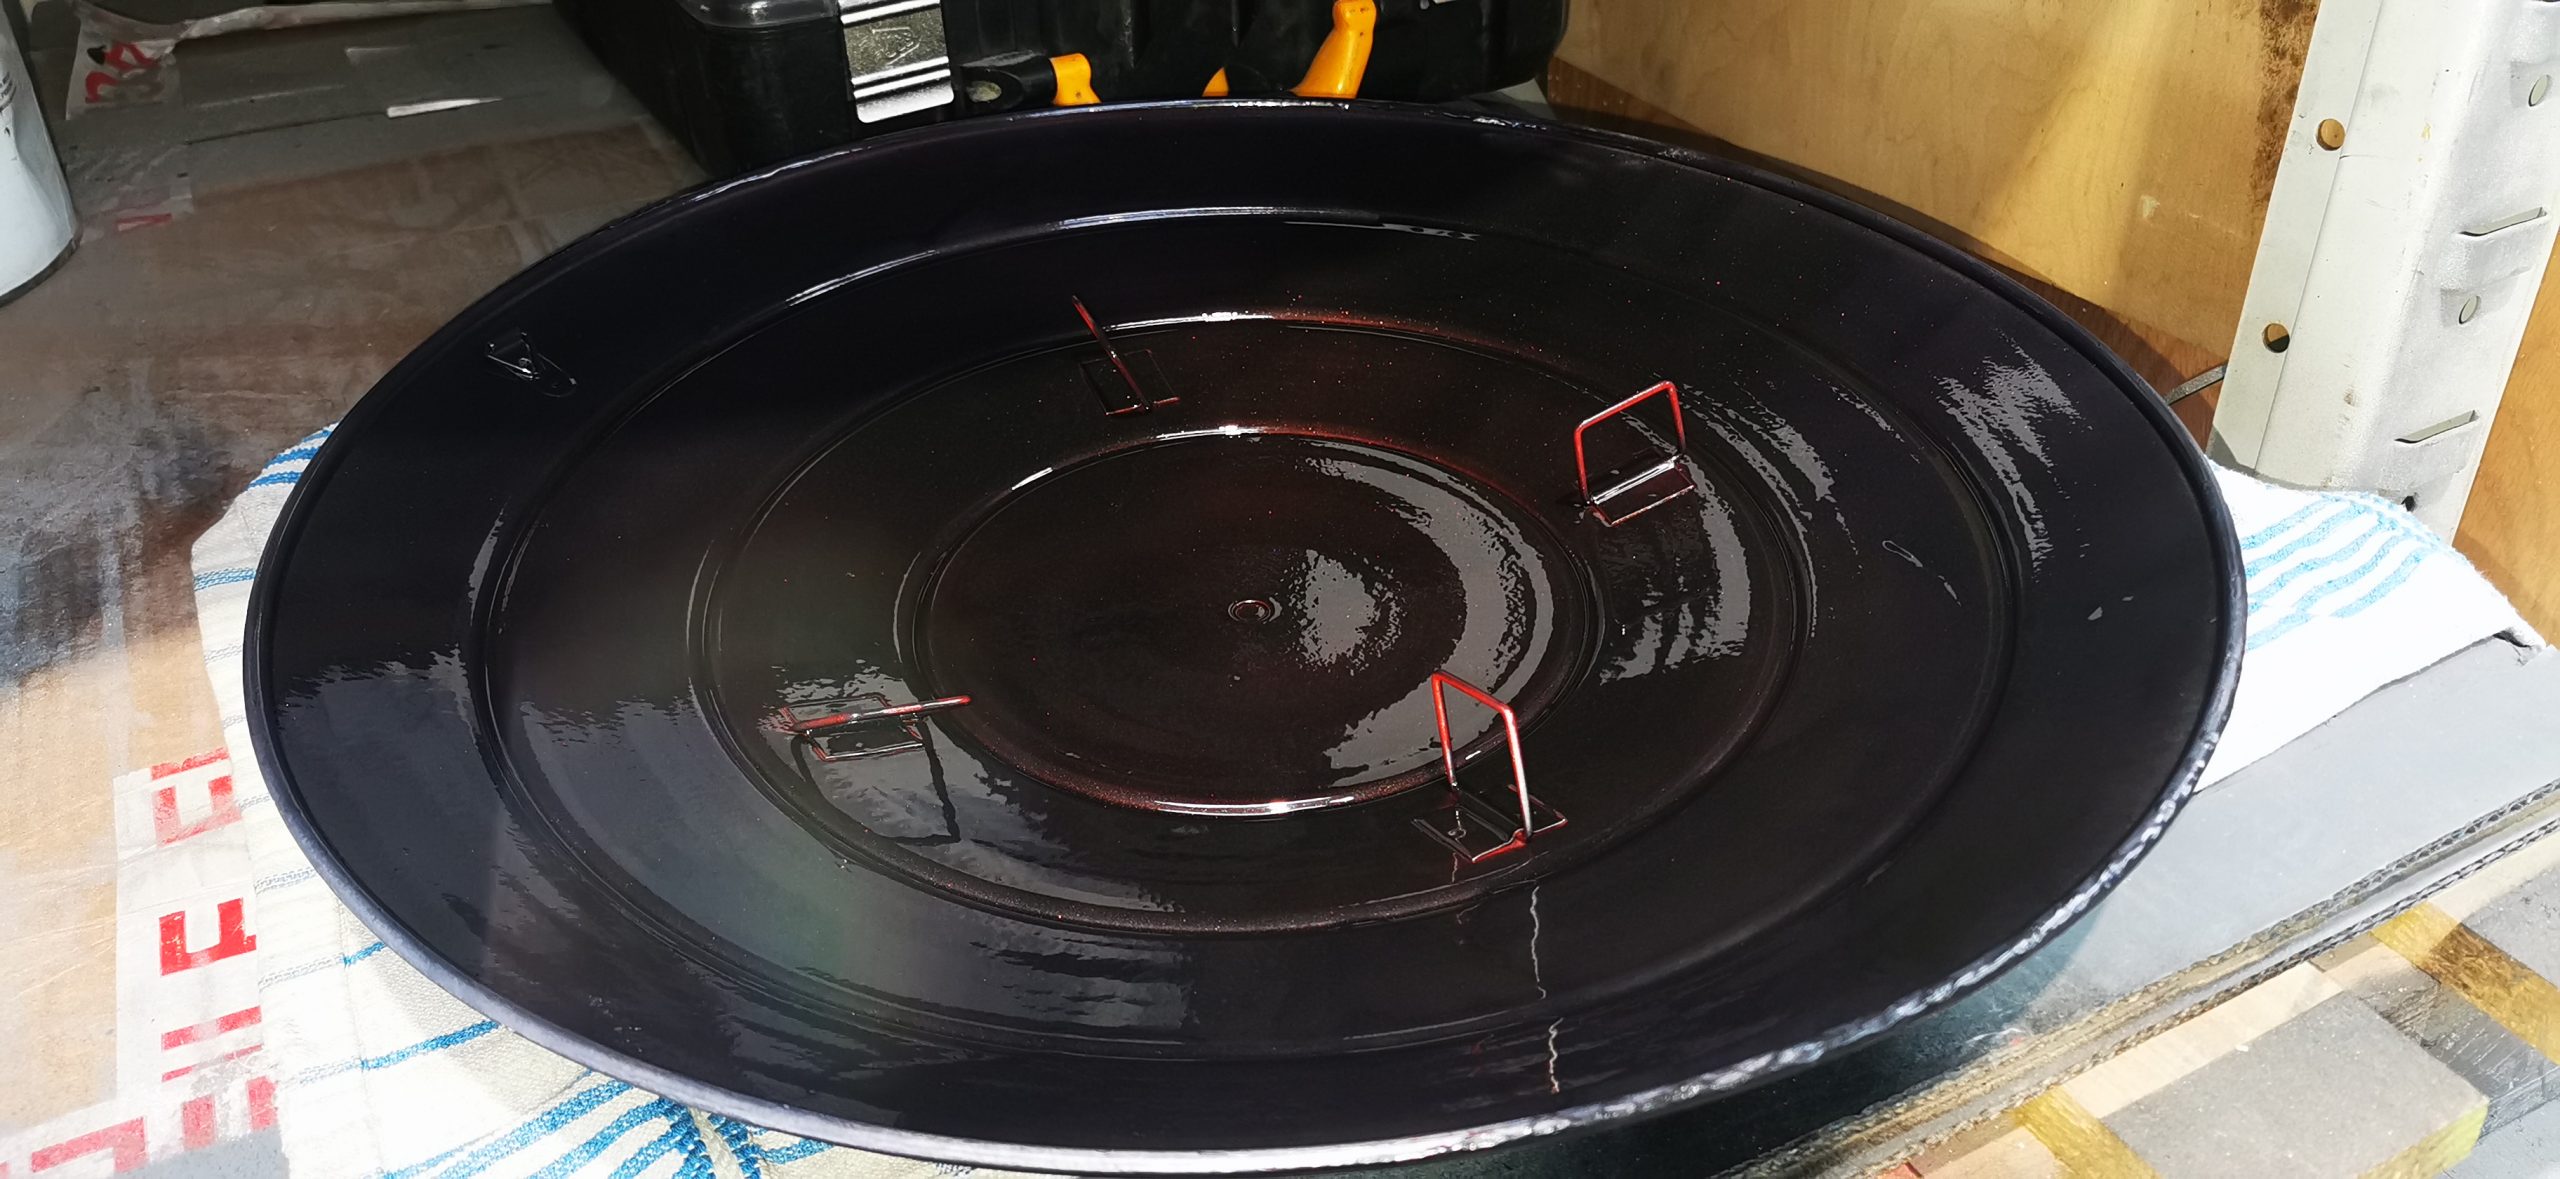
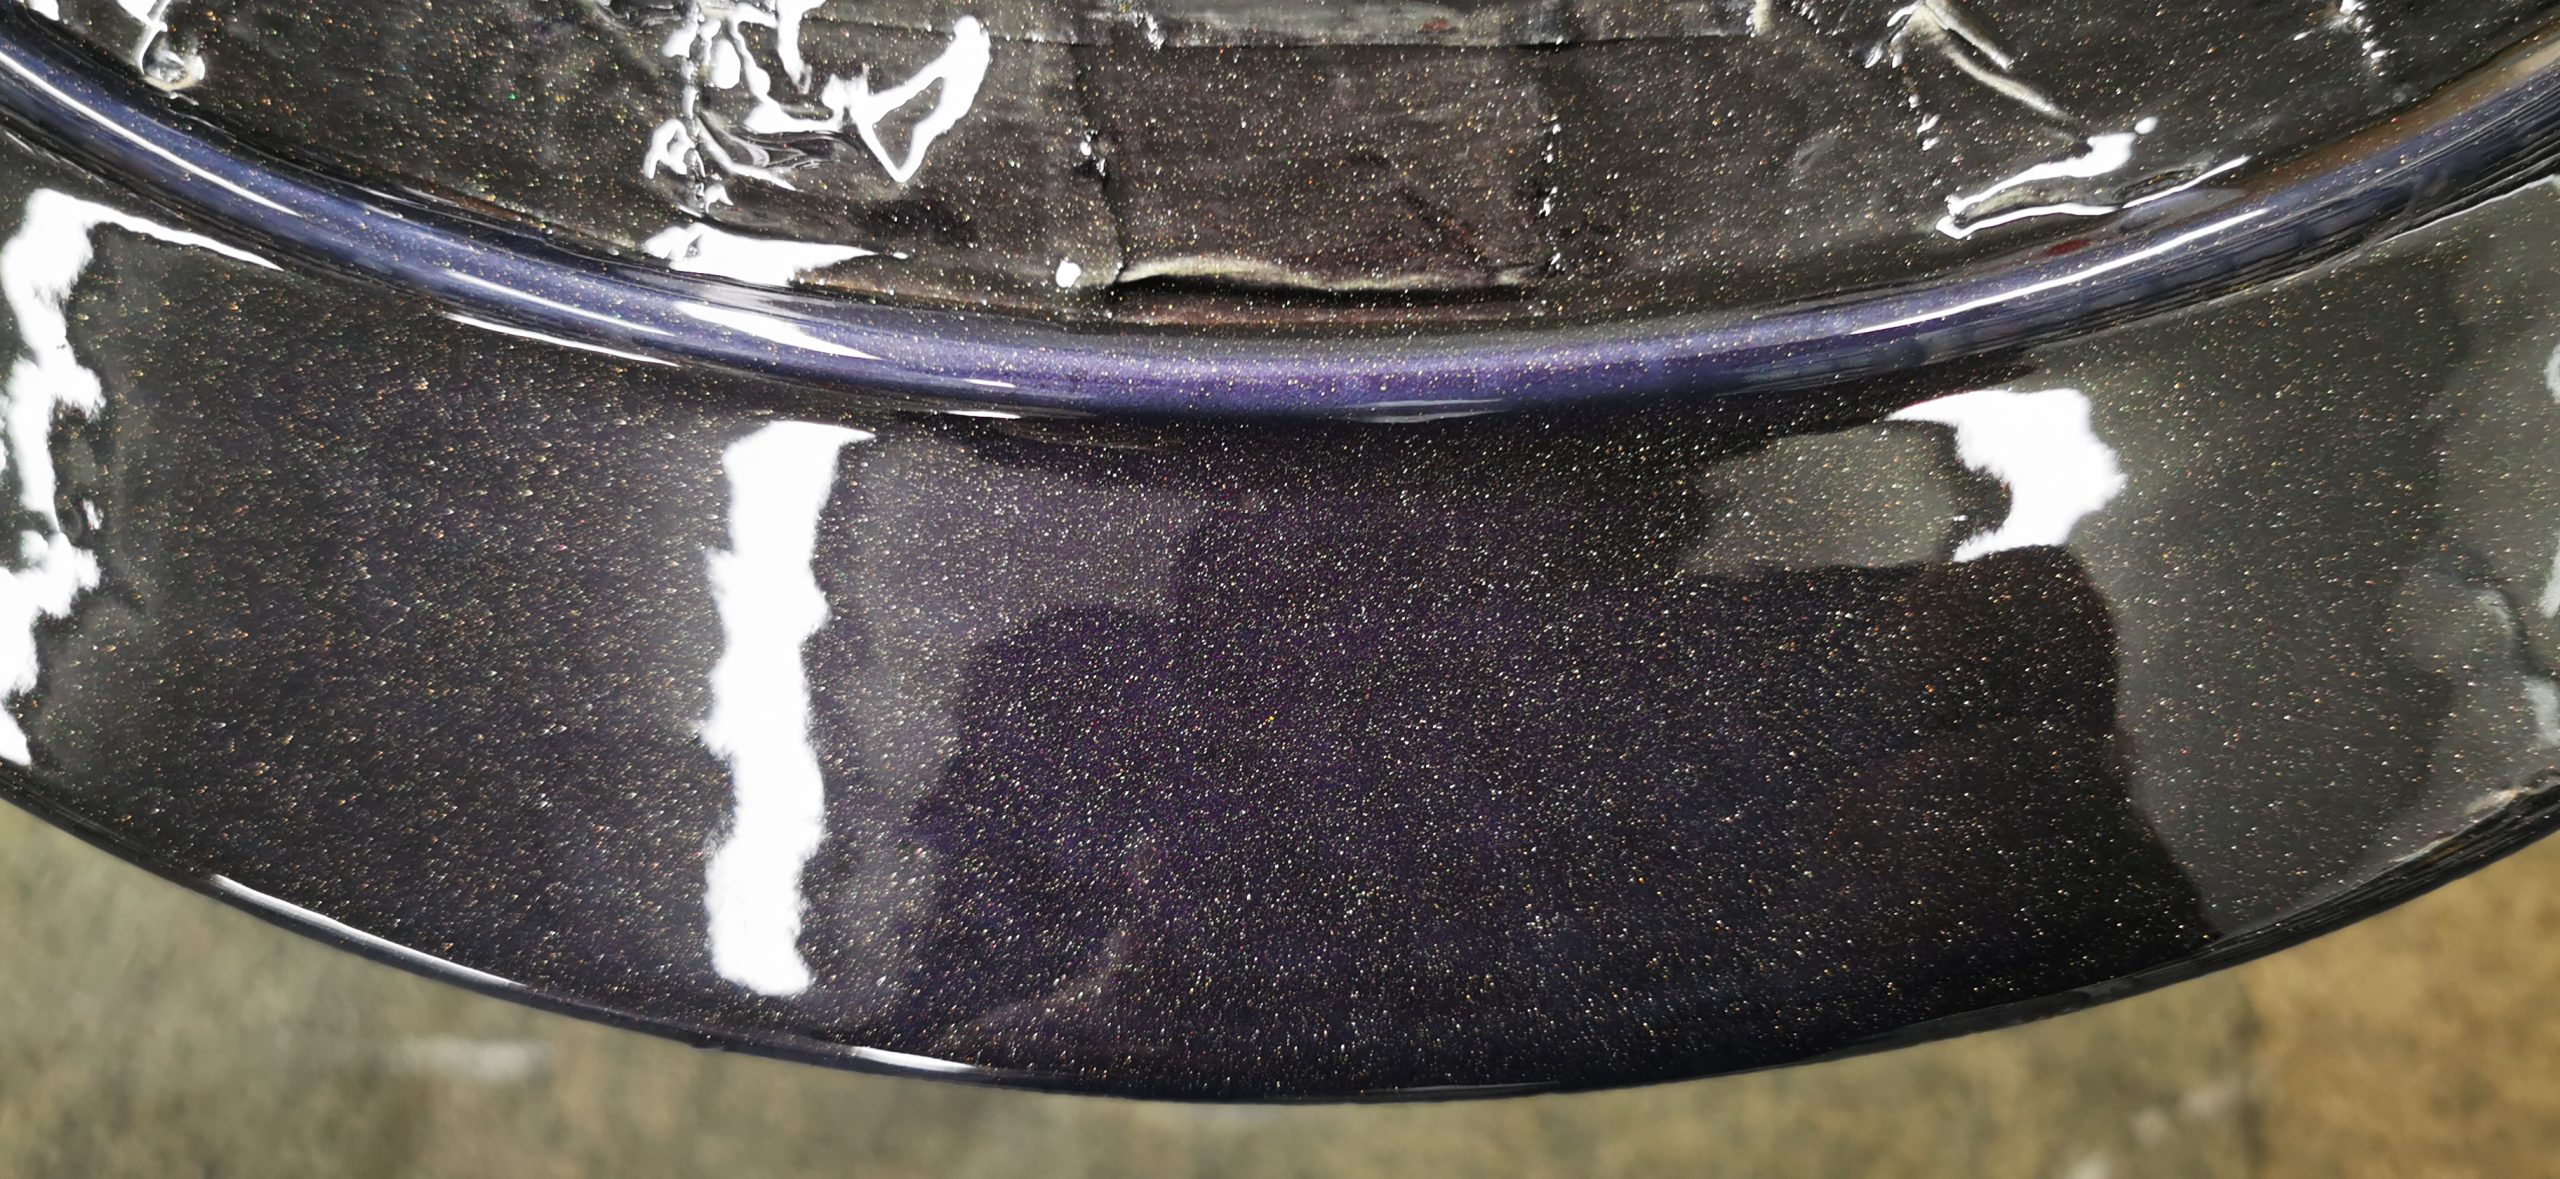
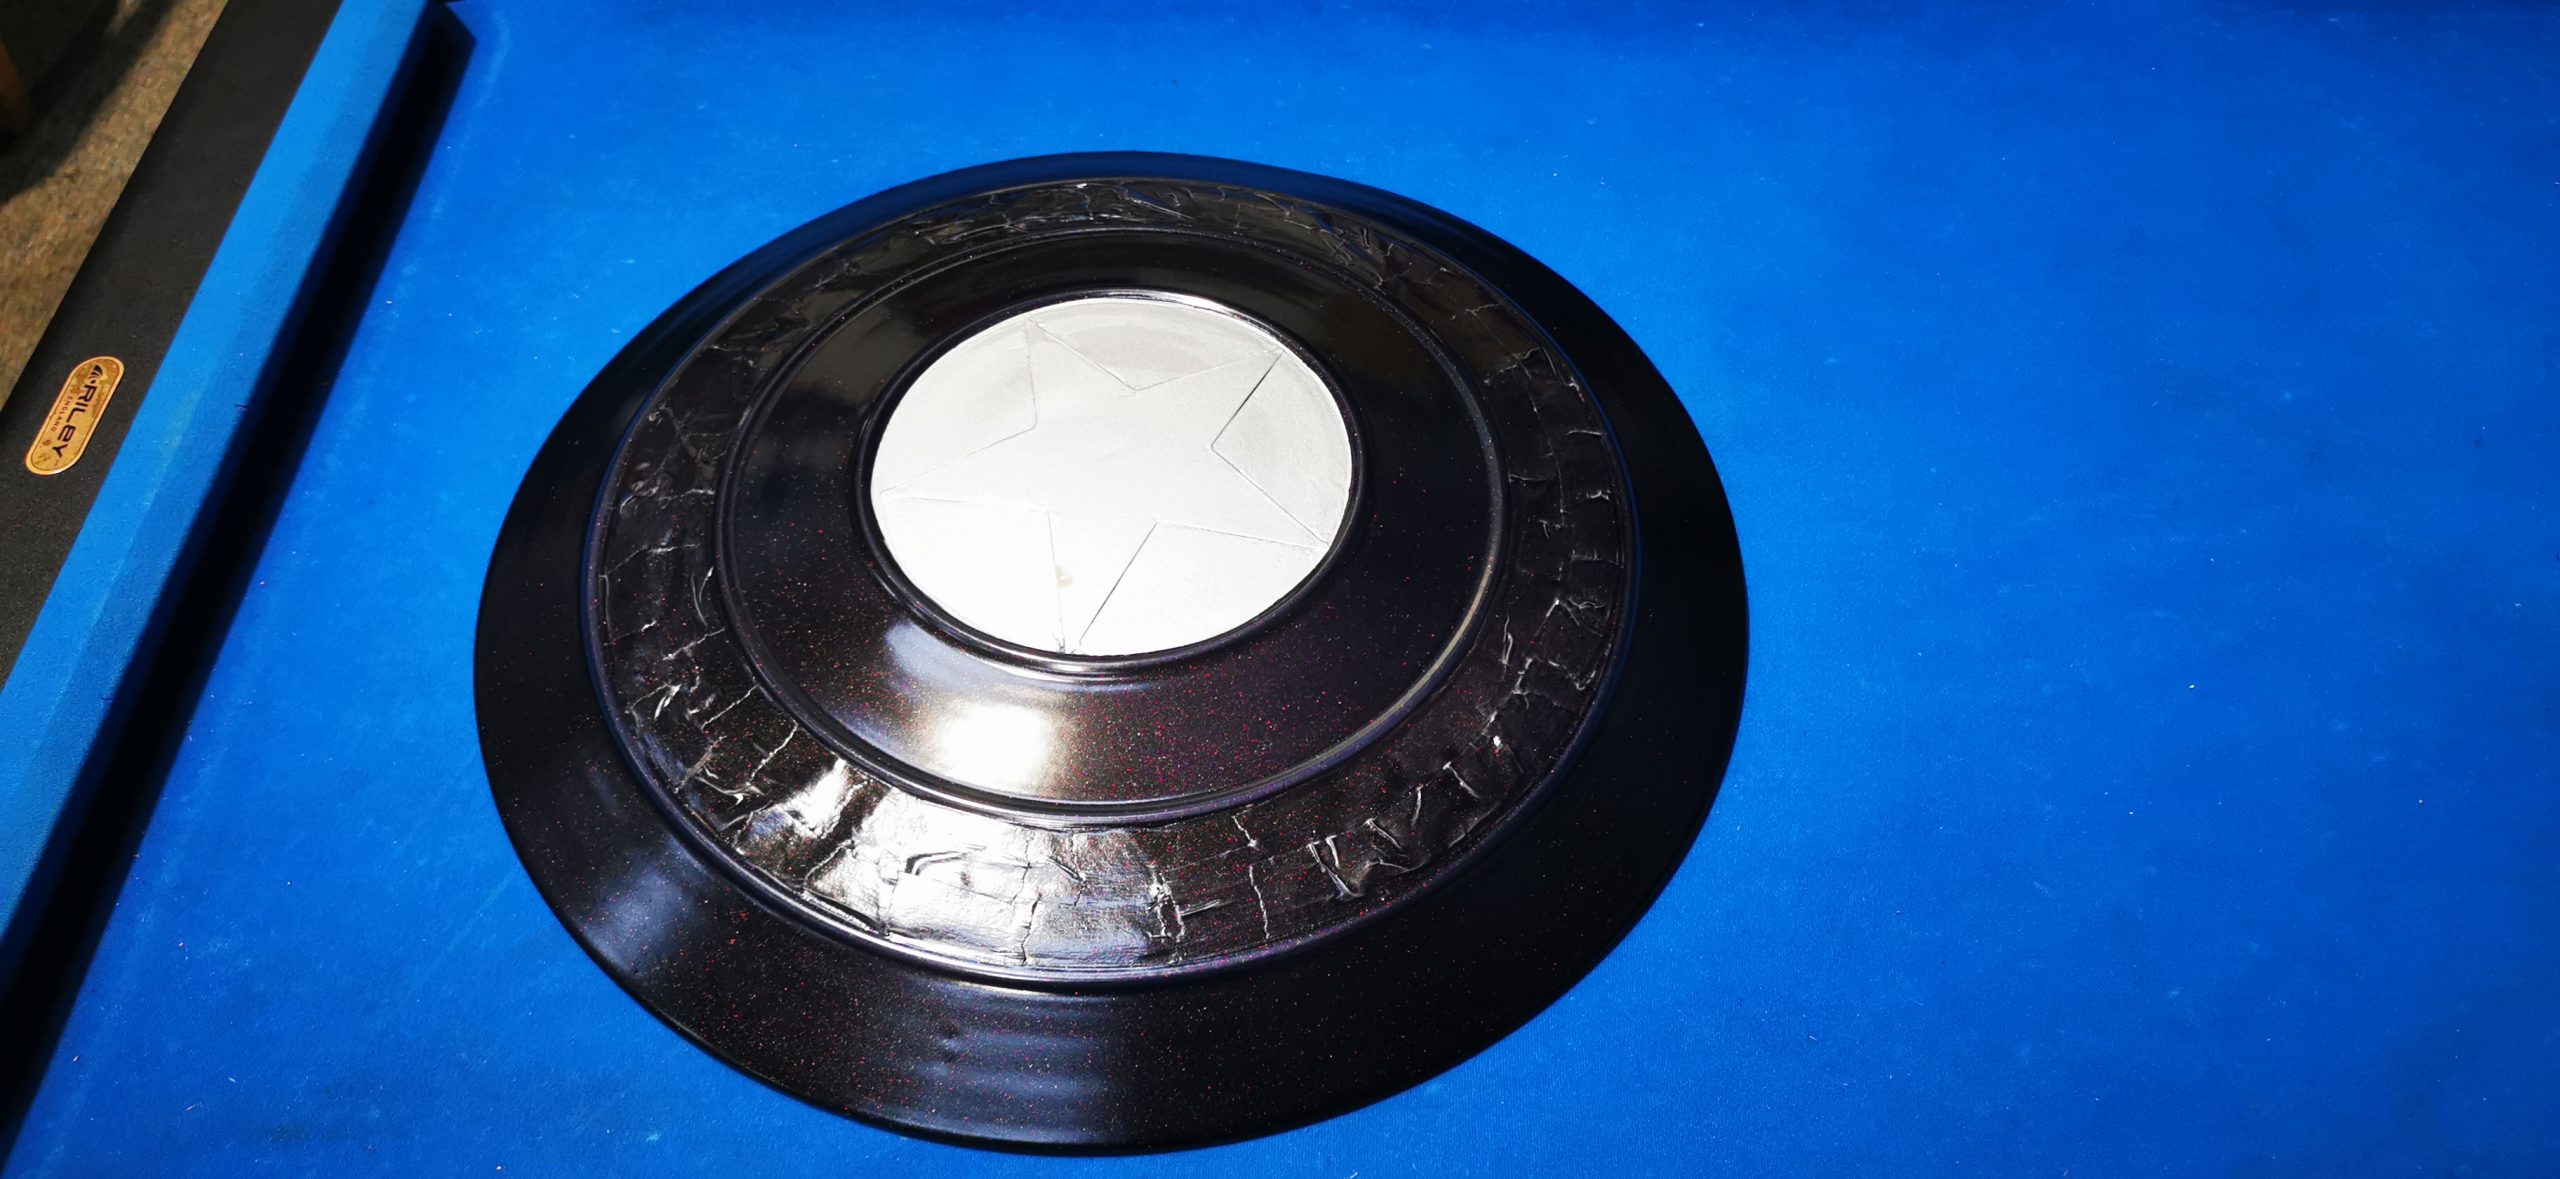
When you are happy with the coverage of the primer, you can start to mask off areas for painting. We began with the outer rings of the shield, spraying the outer and third ring with an anodised black paint; this was then left to cure for 20 minutes between coats.
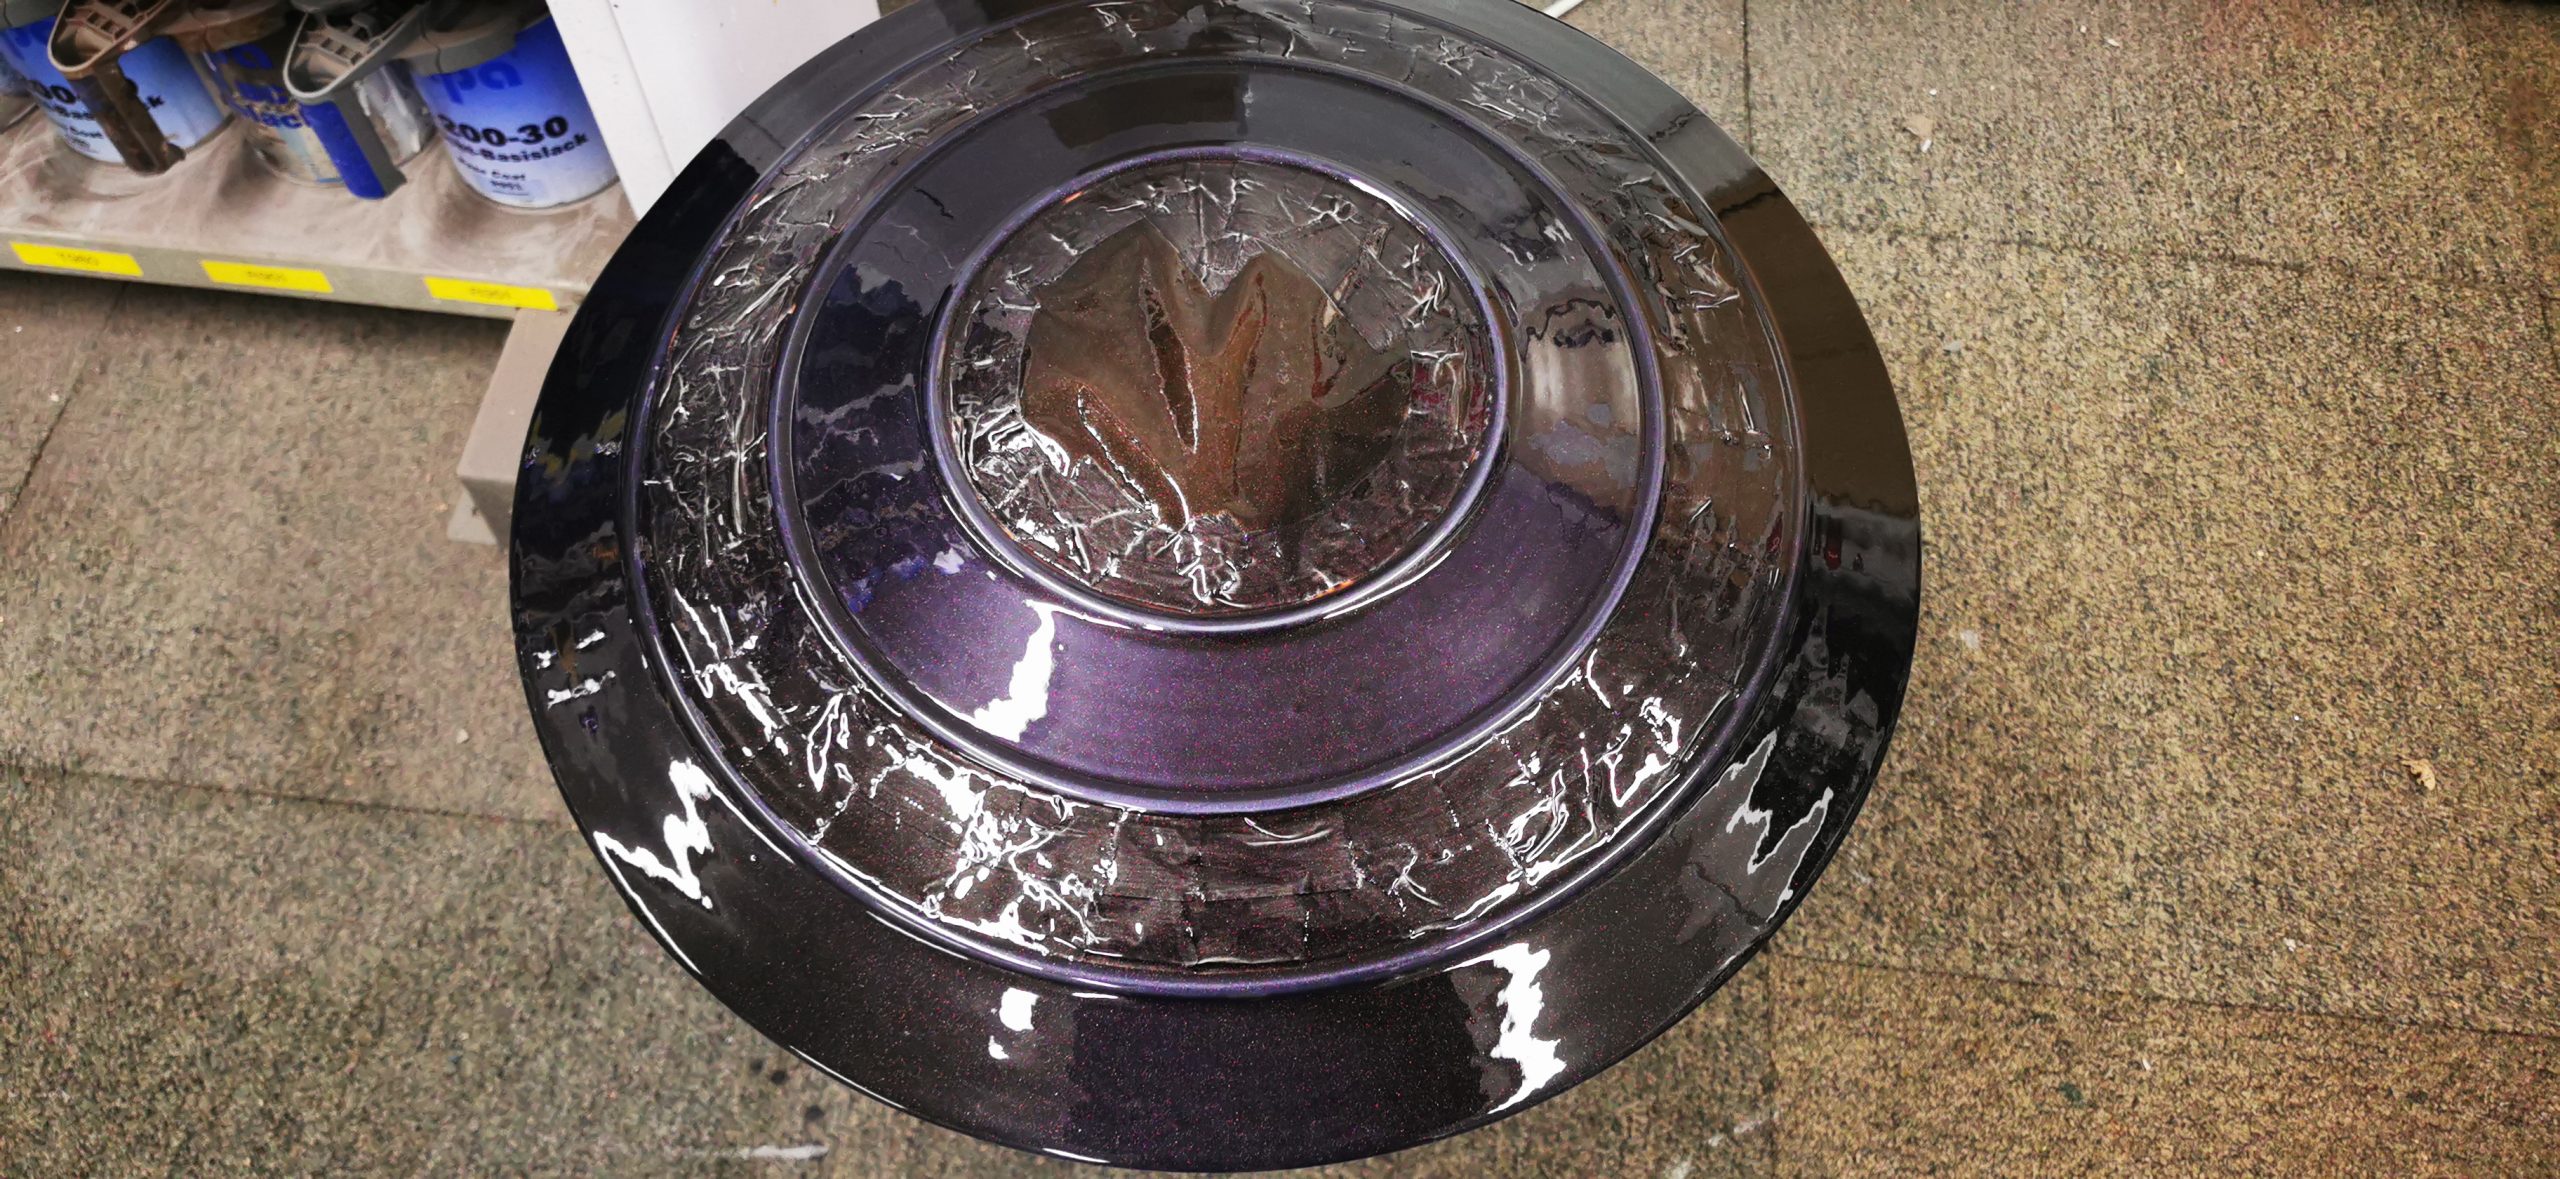
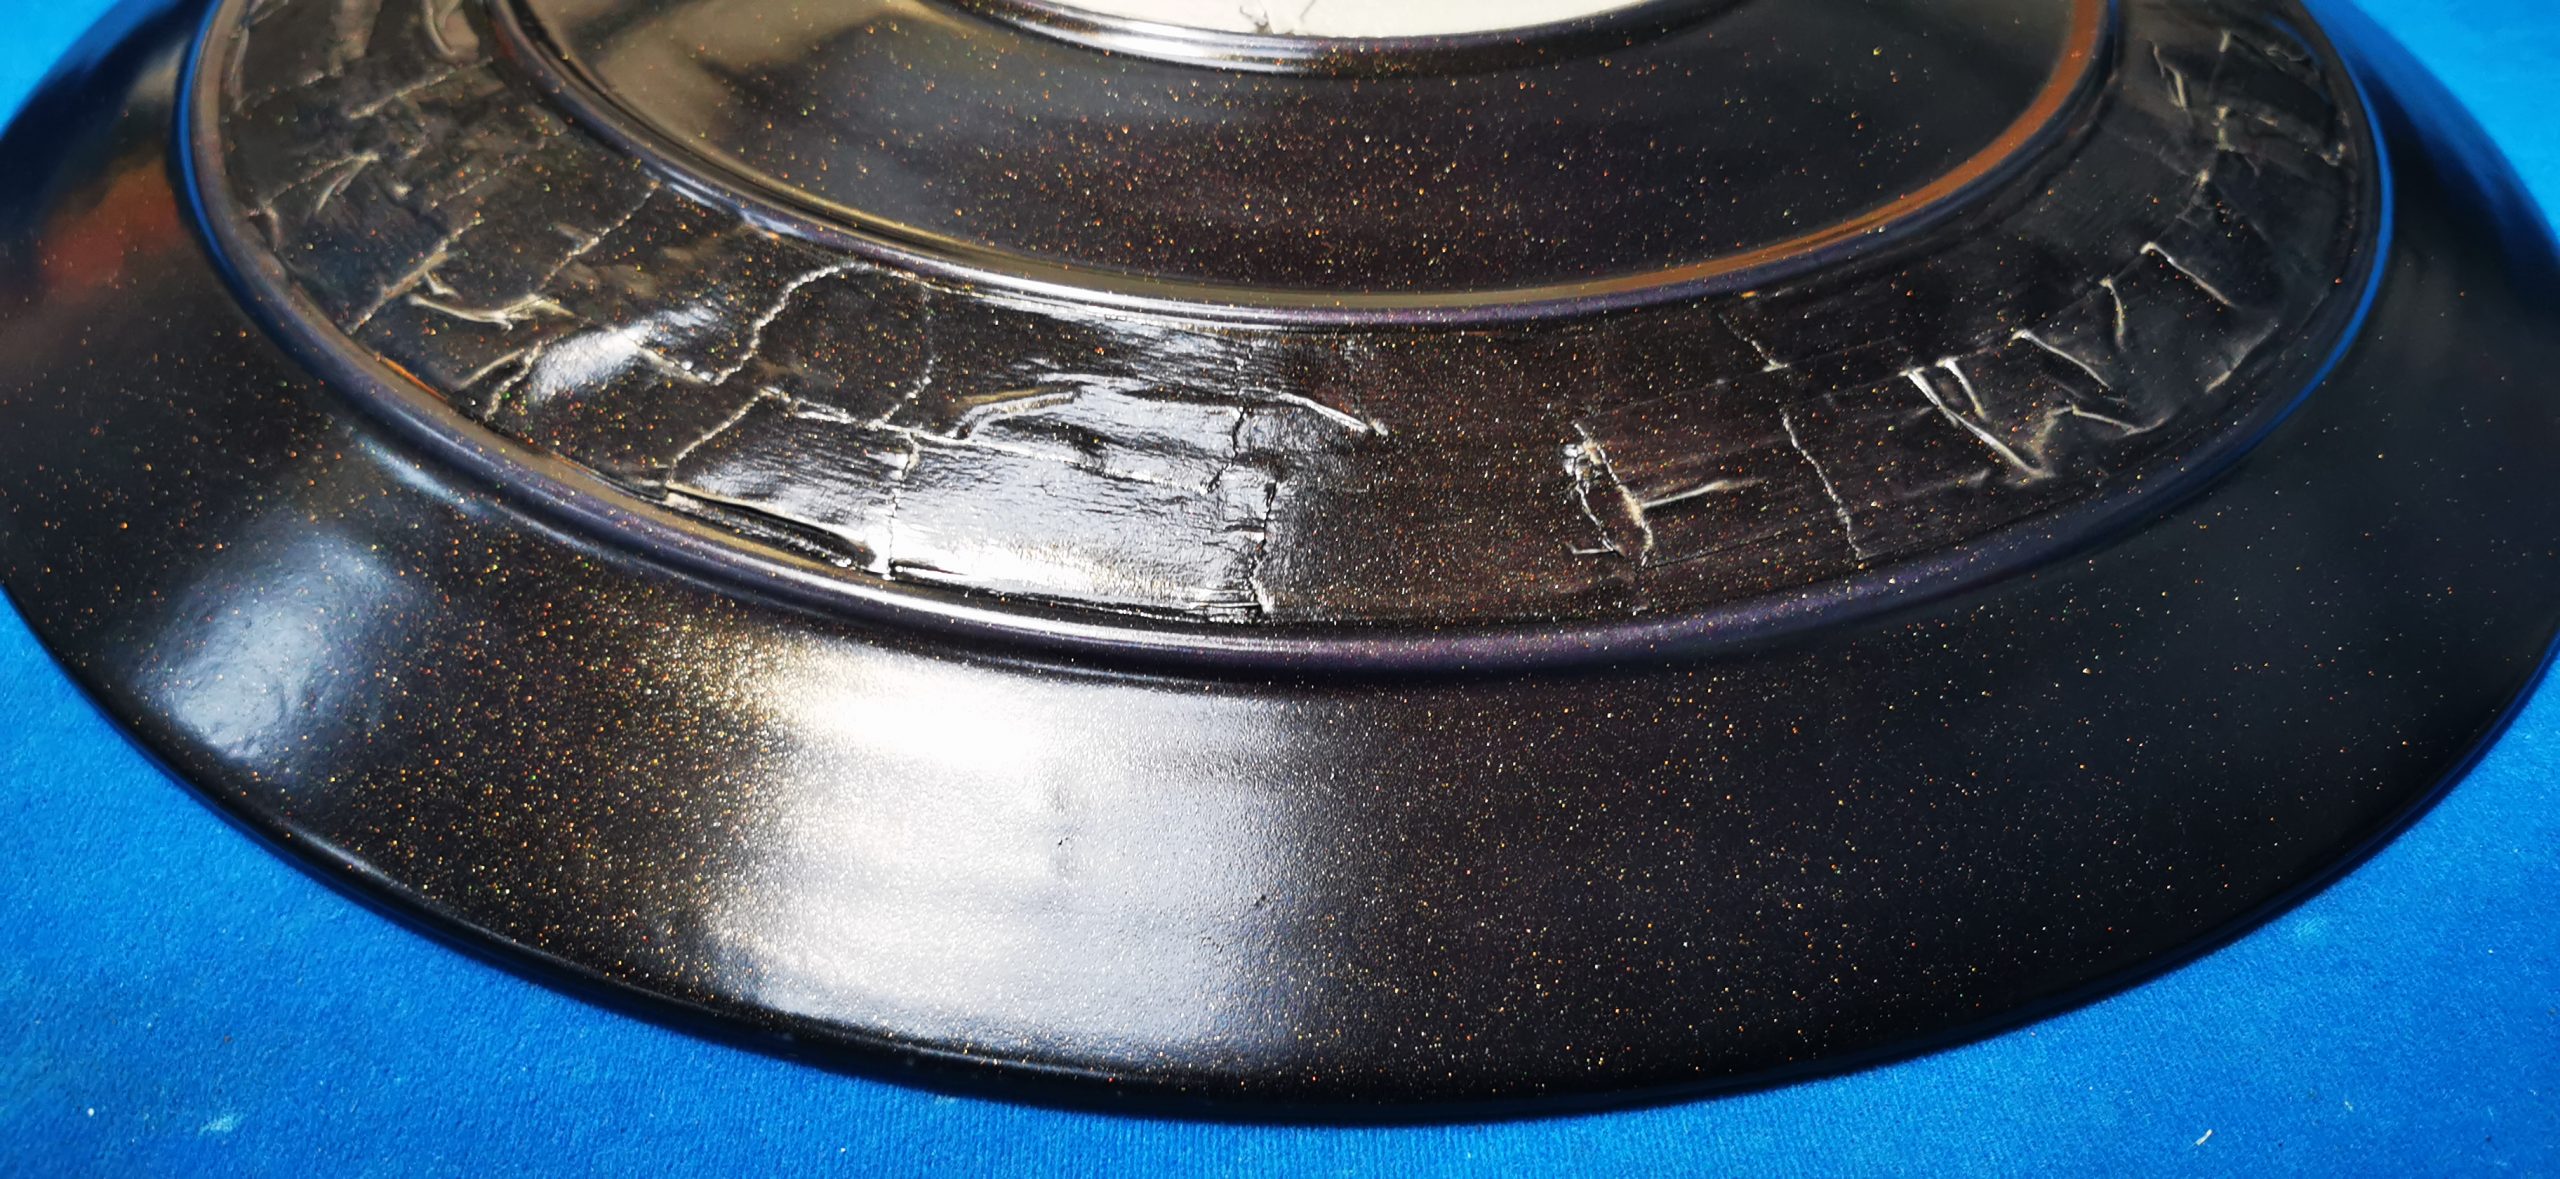
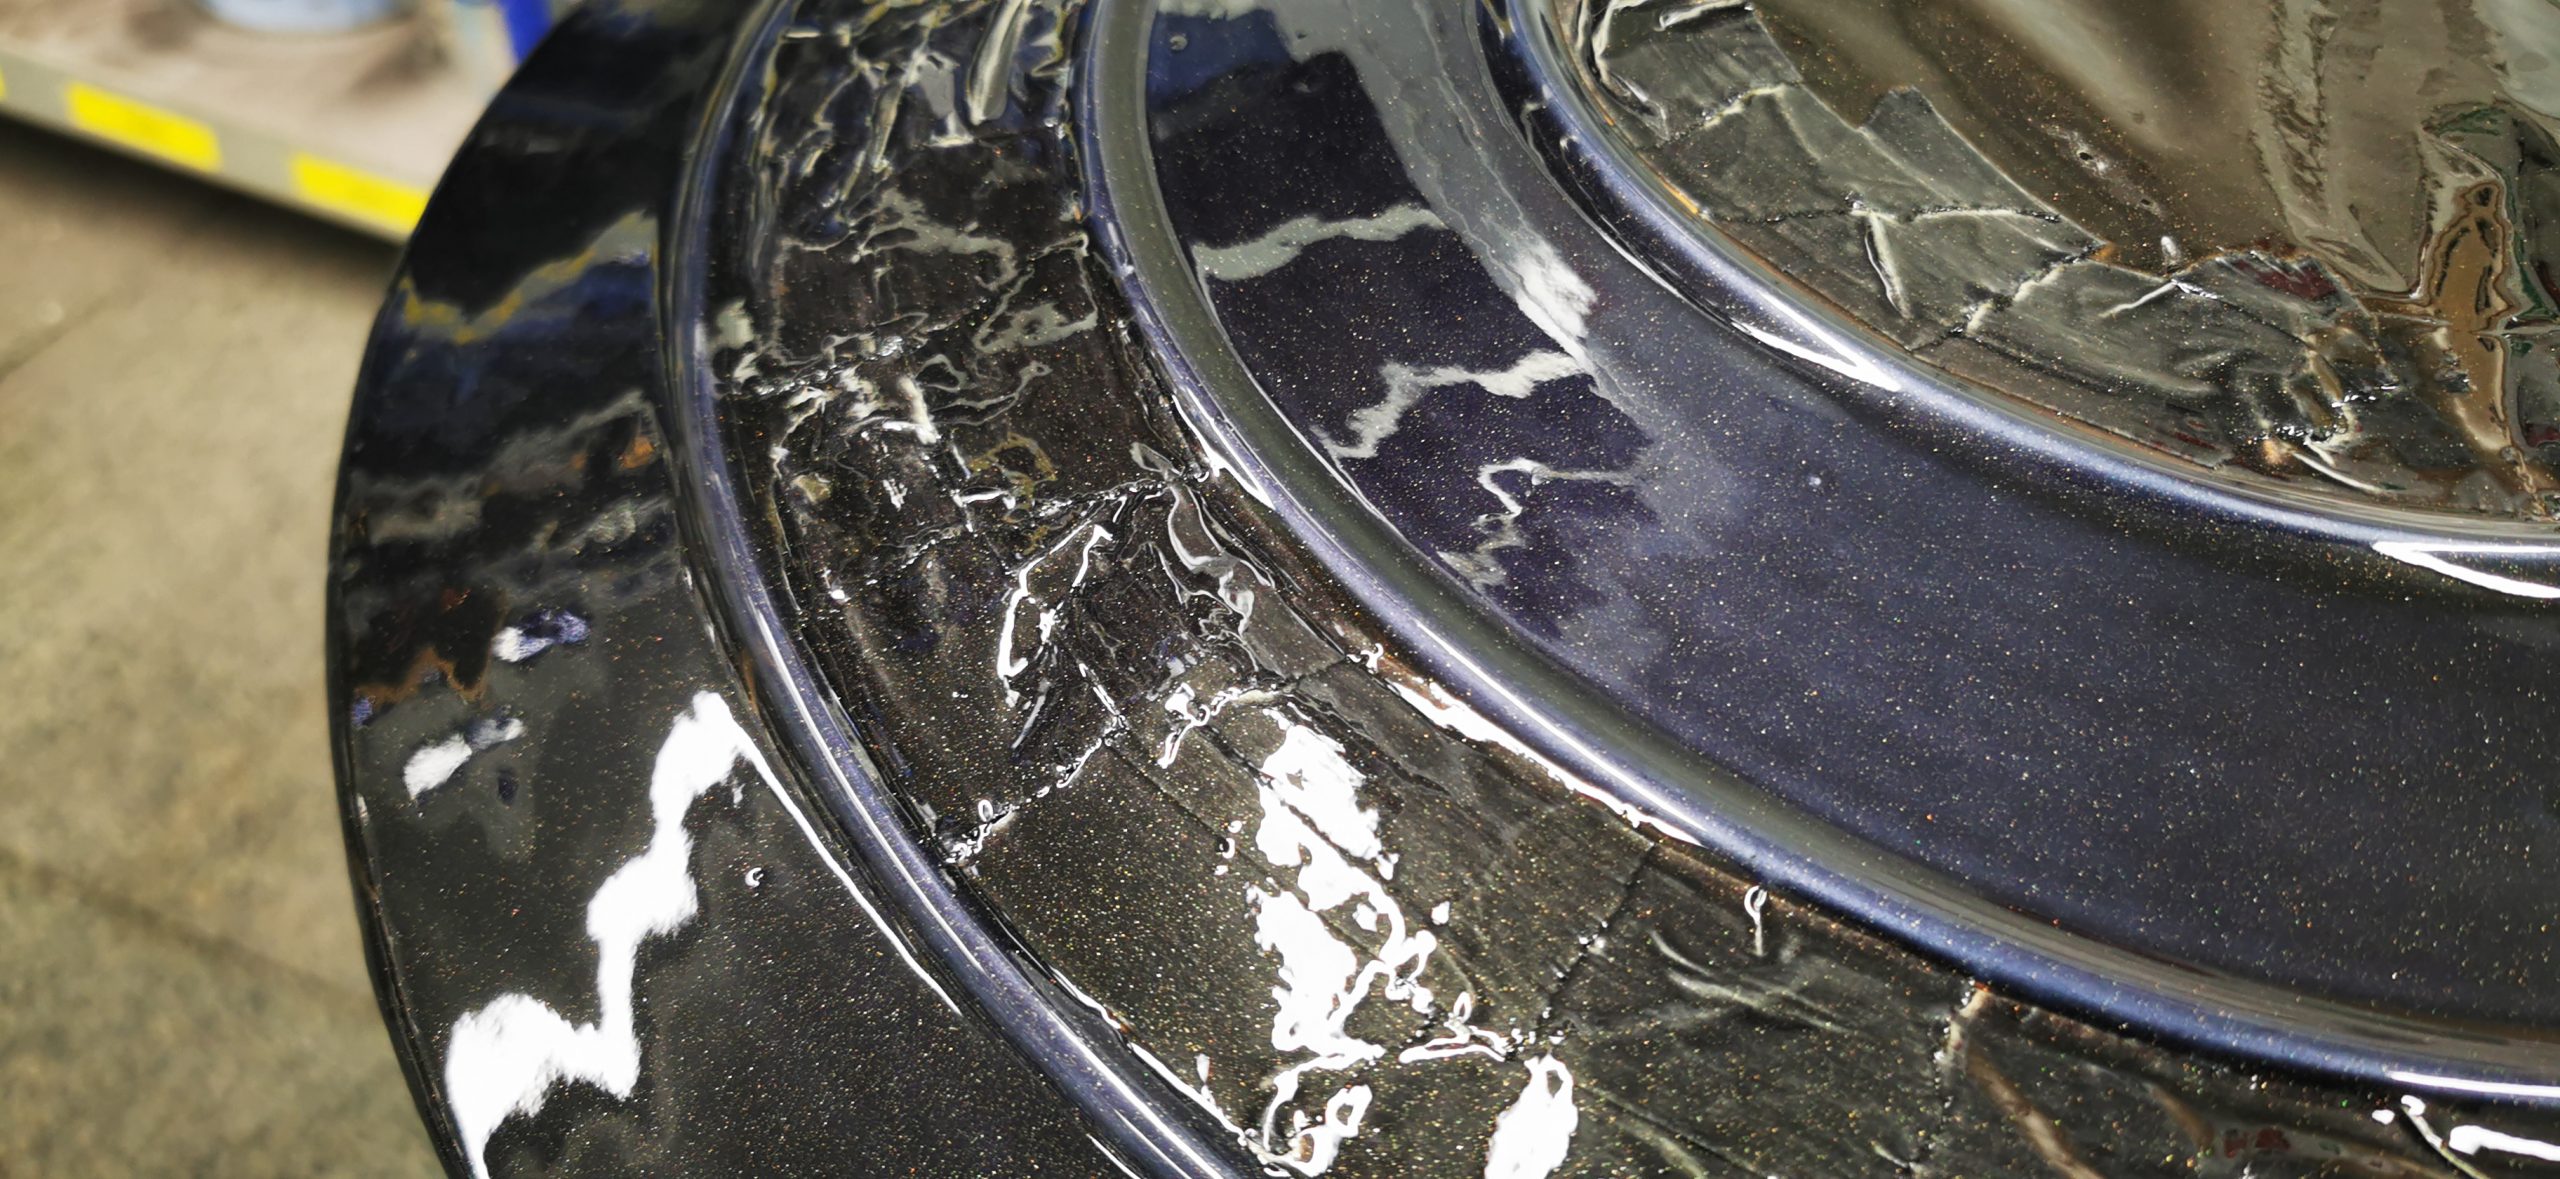
The paint takes just 2 hours to cure fully, and it has a satin finish; however, we opted for adding a gold pearl coat to the paint to give it a velvety rich look. Once this coat had cured, we masked the remaining areas of the shield and painted the inner star with a 2K black hologram paint gloss lacquer. We left 30 minutes curing time between coats and 12 hours for the final cure (this can take longer). This colour was a massively contrasting colour in look, texture and finish, which ultimately complimented the final product.
This project came alongside a number of learning curves on different fronts, but we are happy with the outcome and how it demonstrates what our paint can do. It also shows how you can tie together different paints and finishes to maximise the end product.