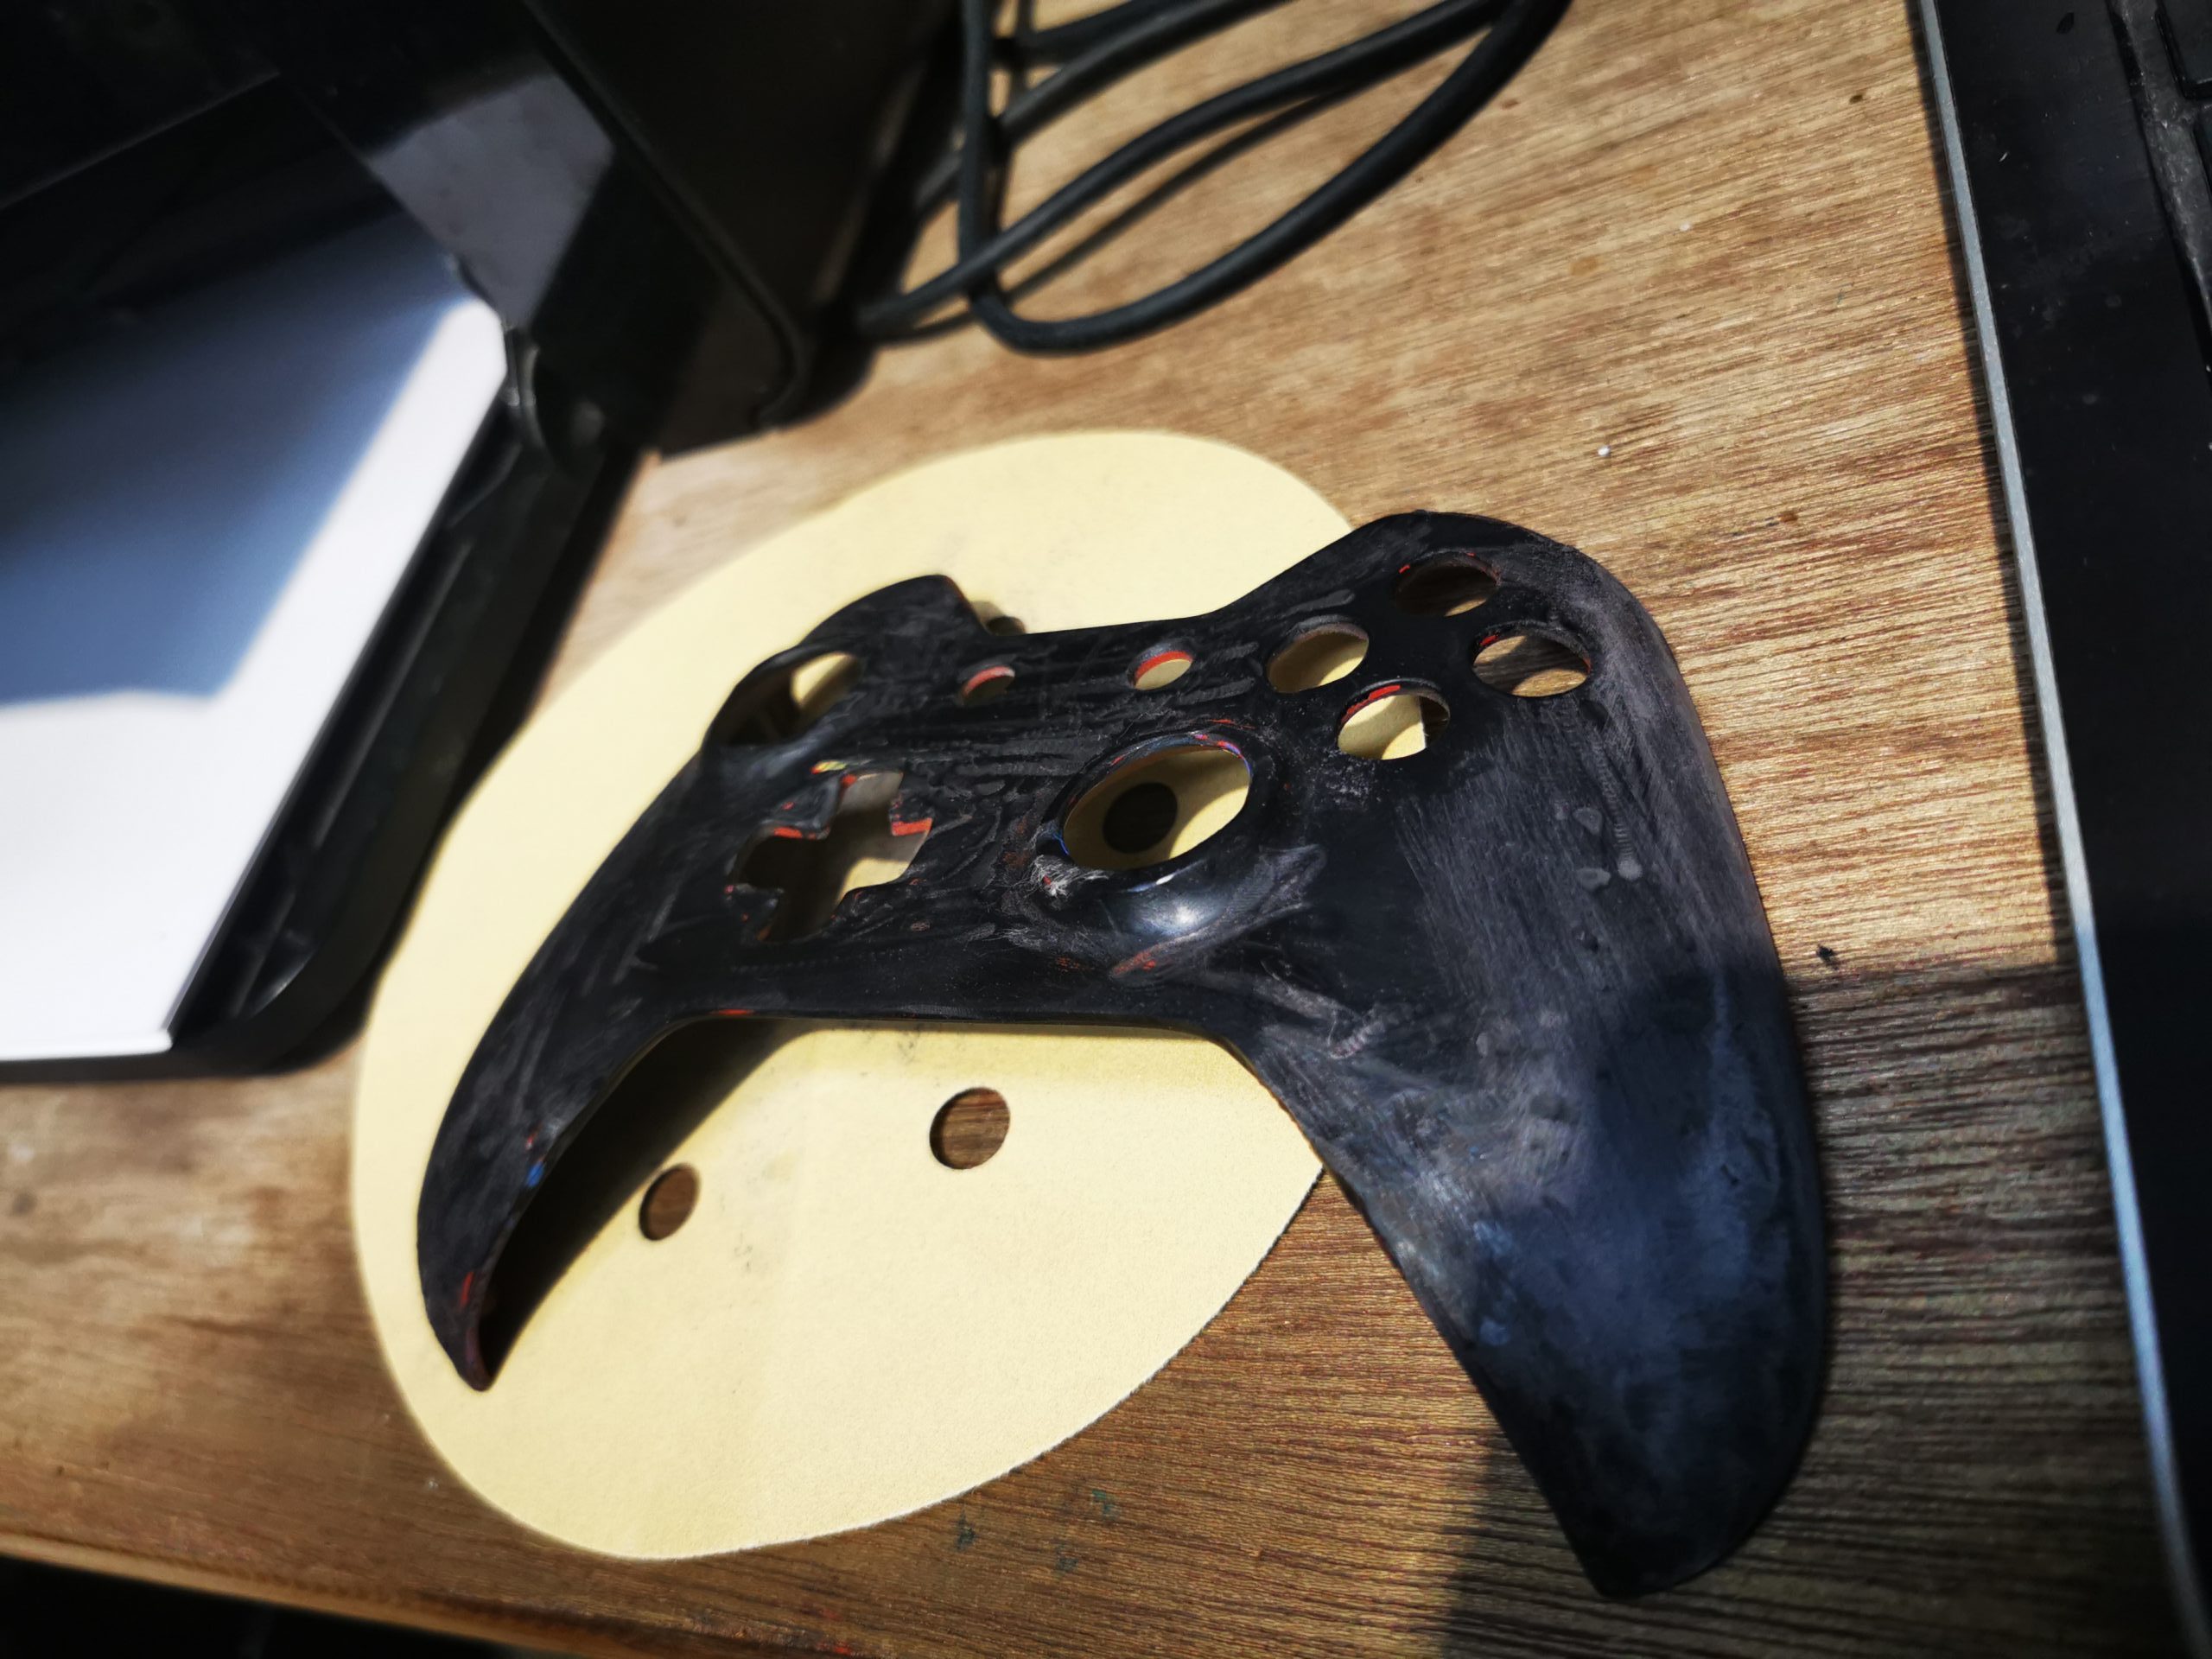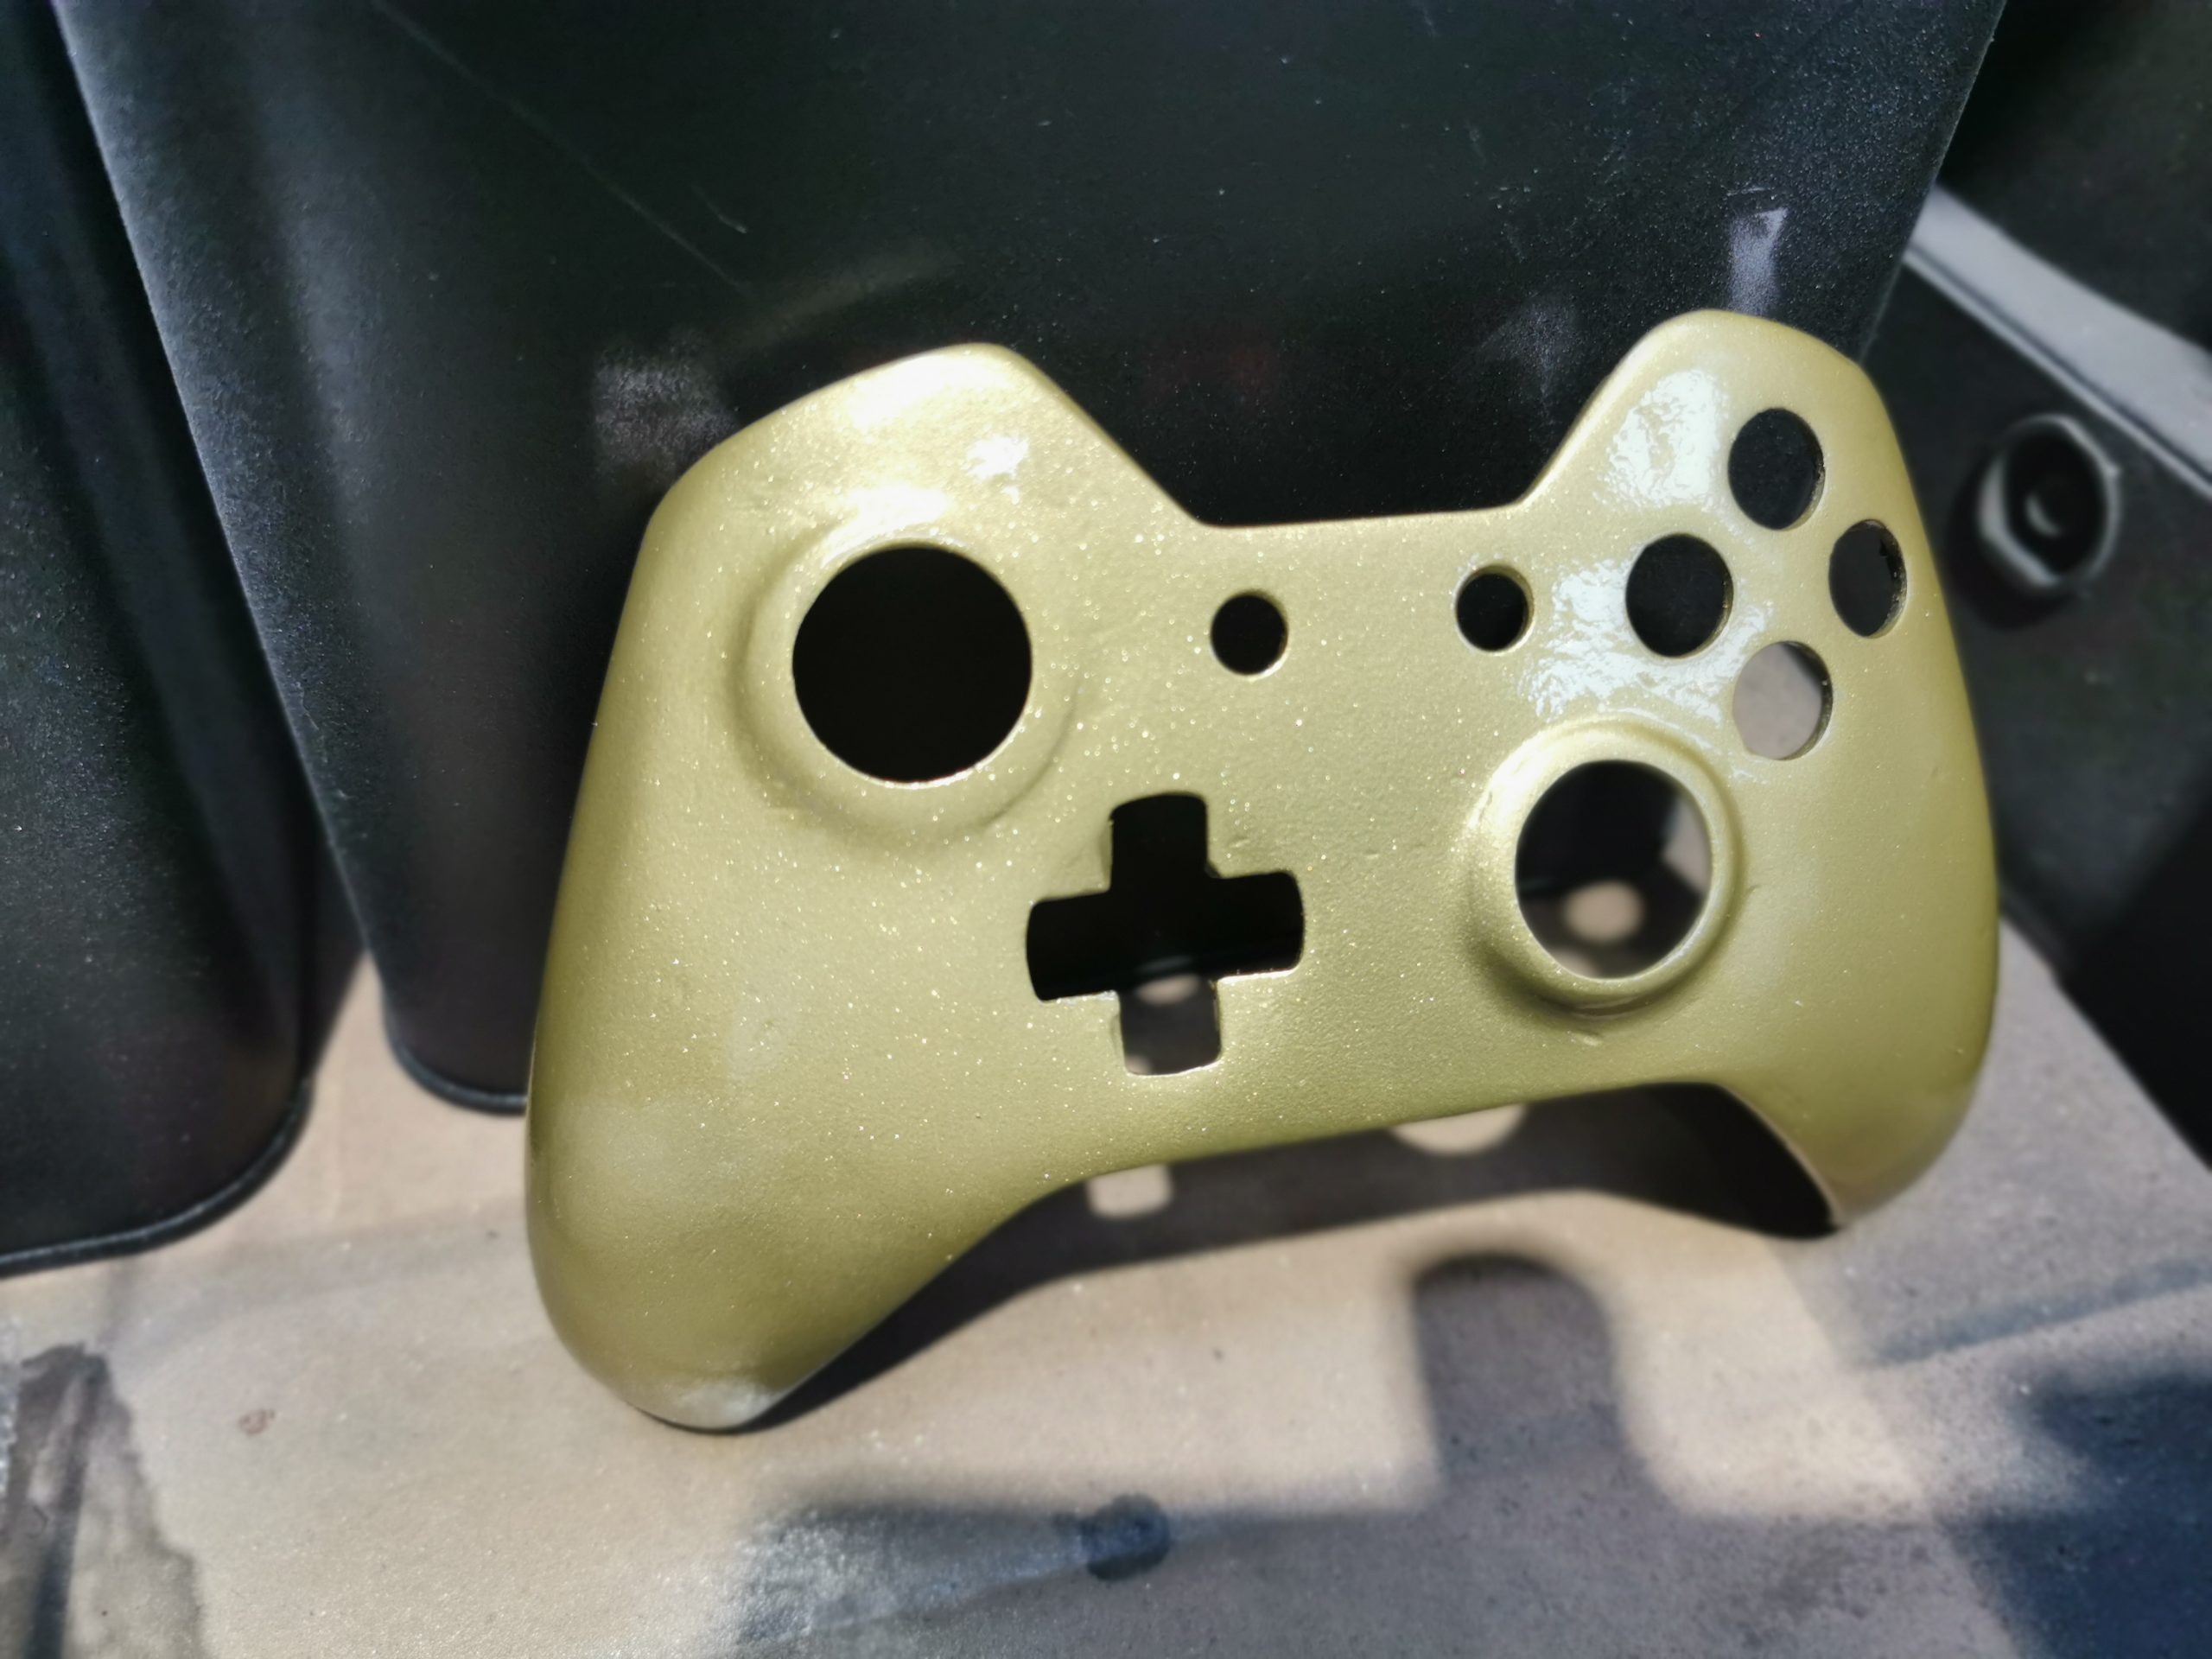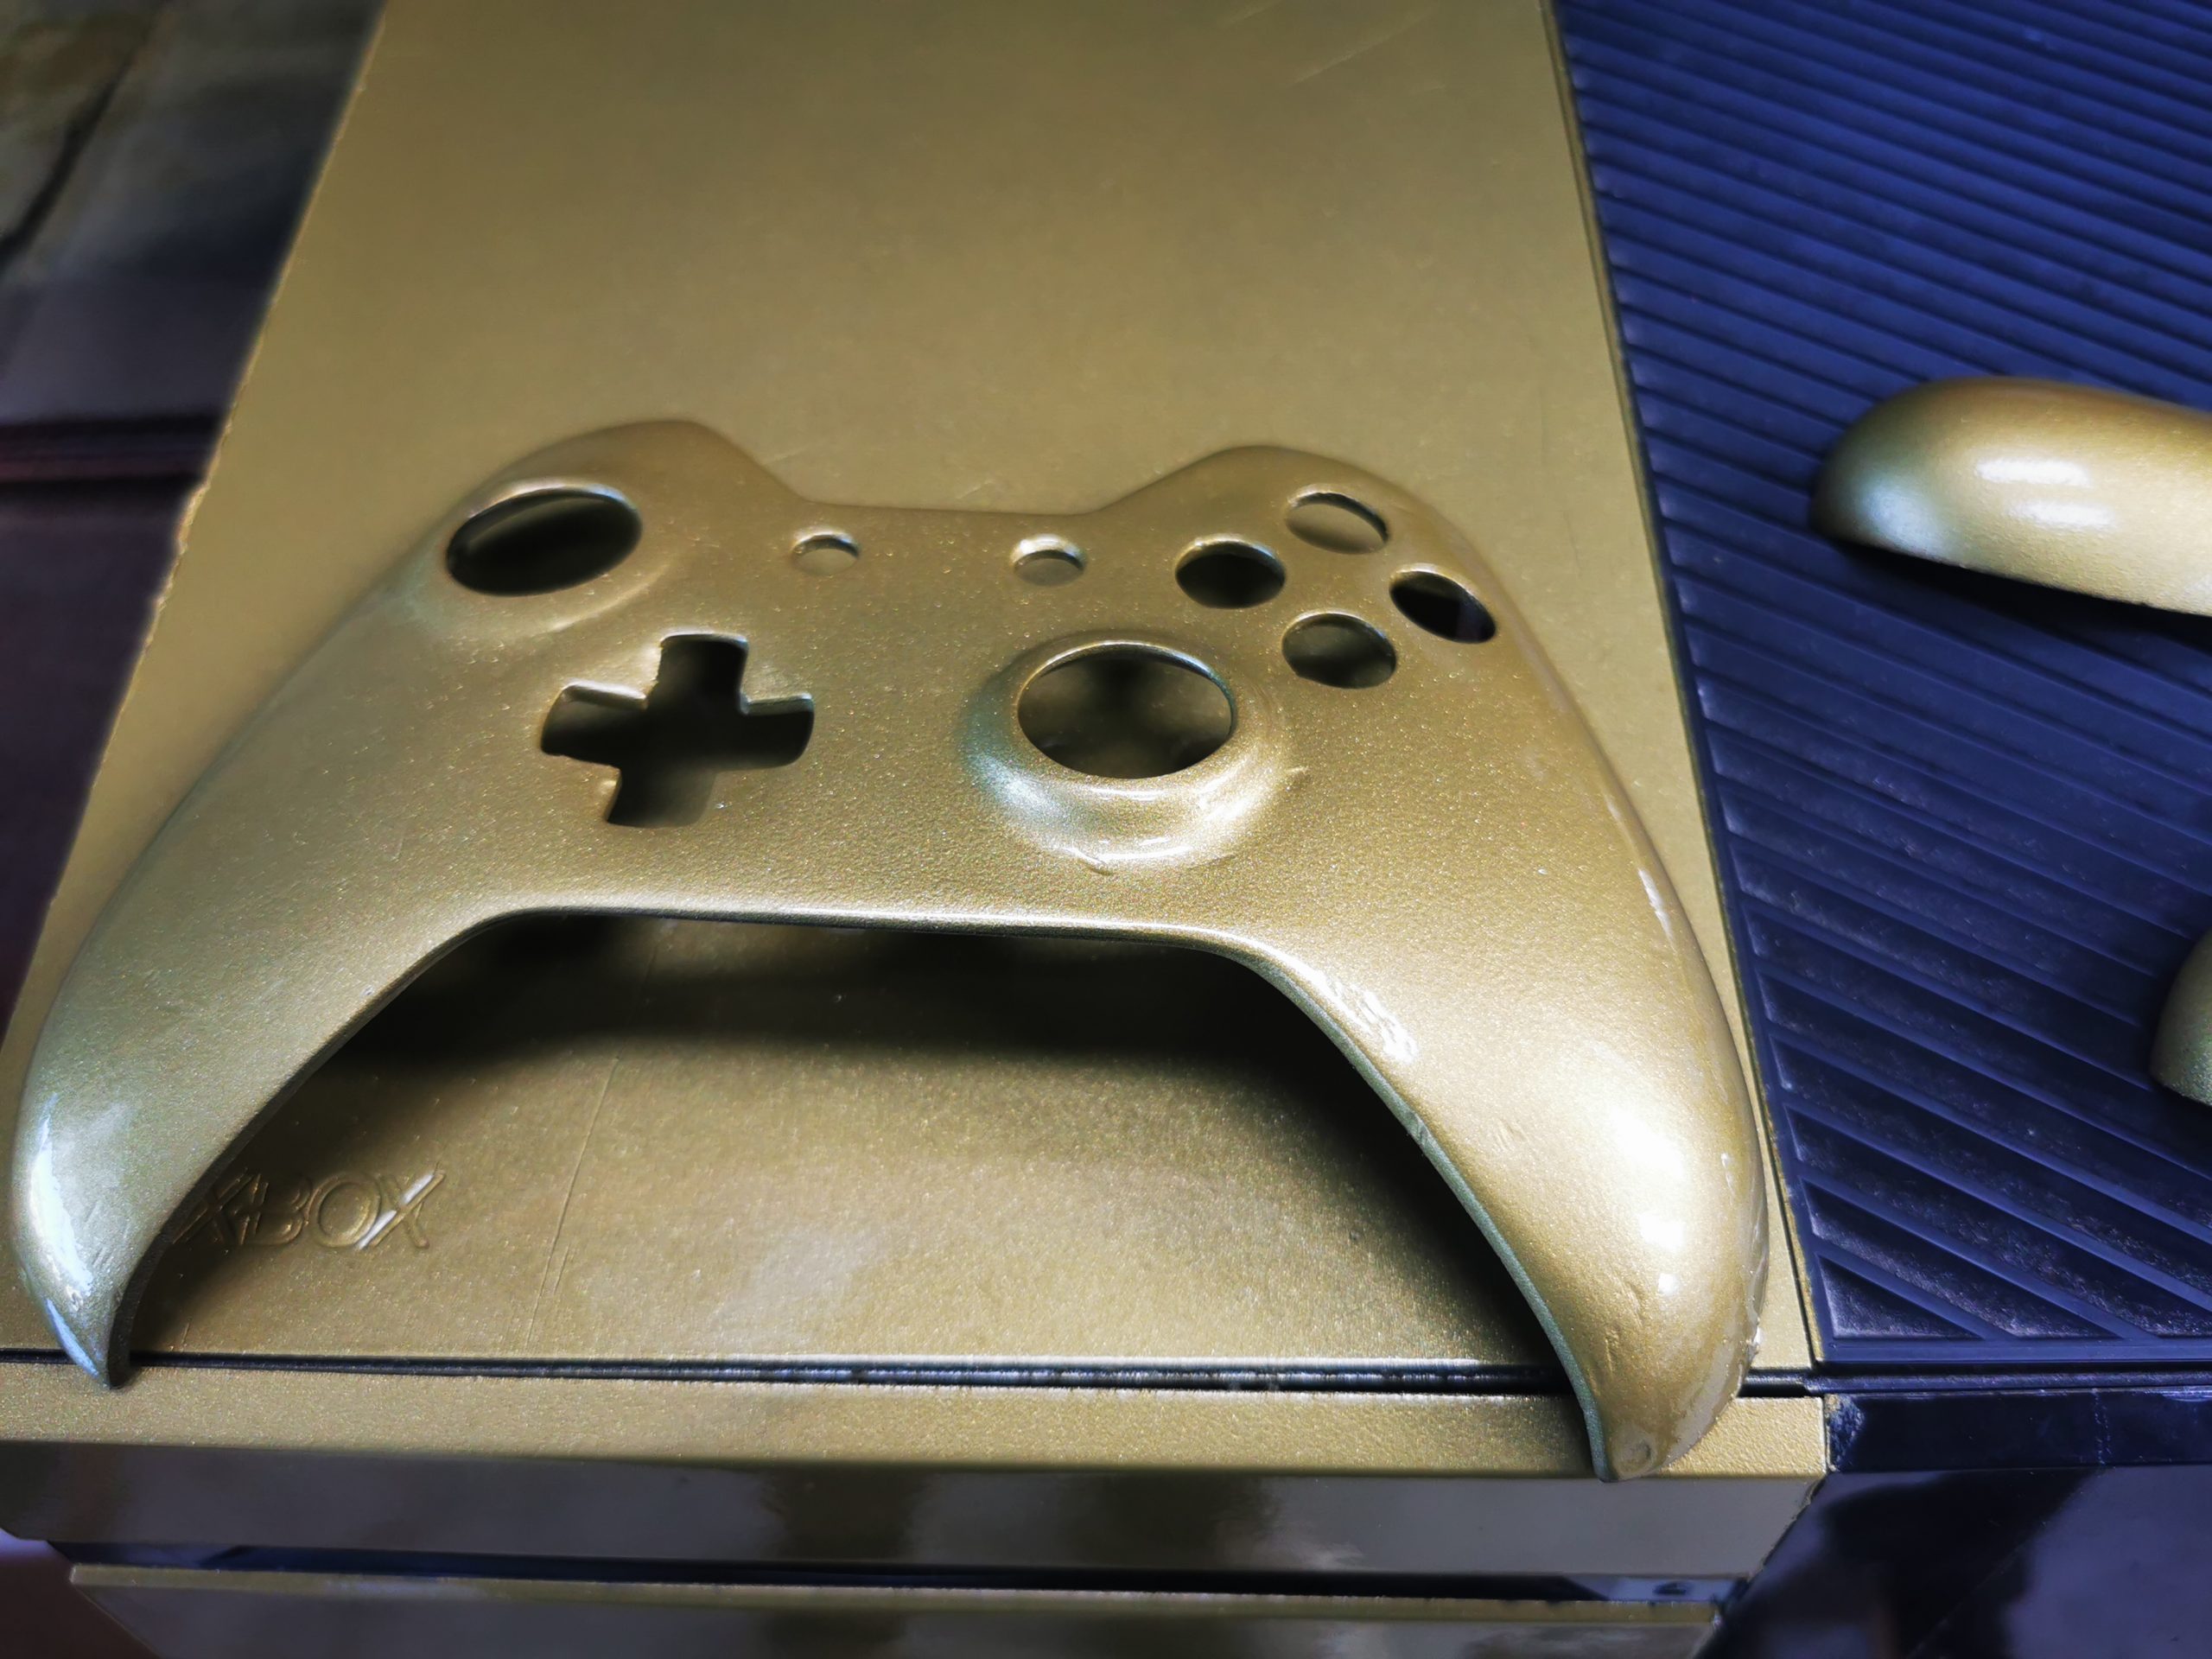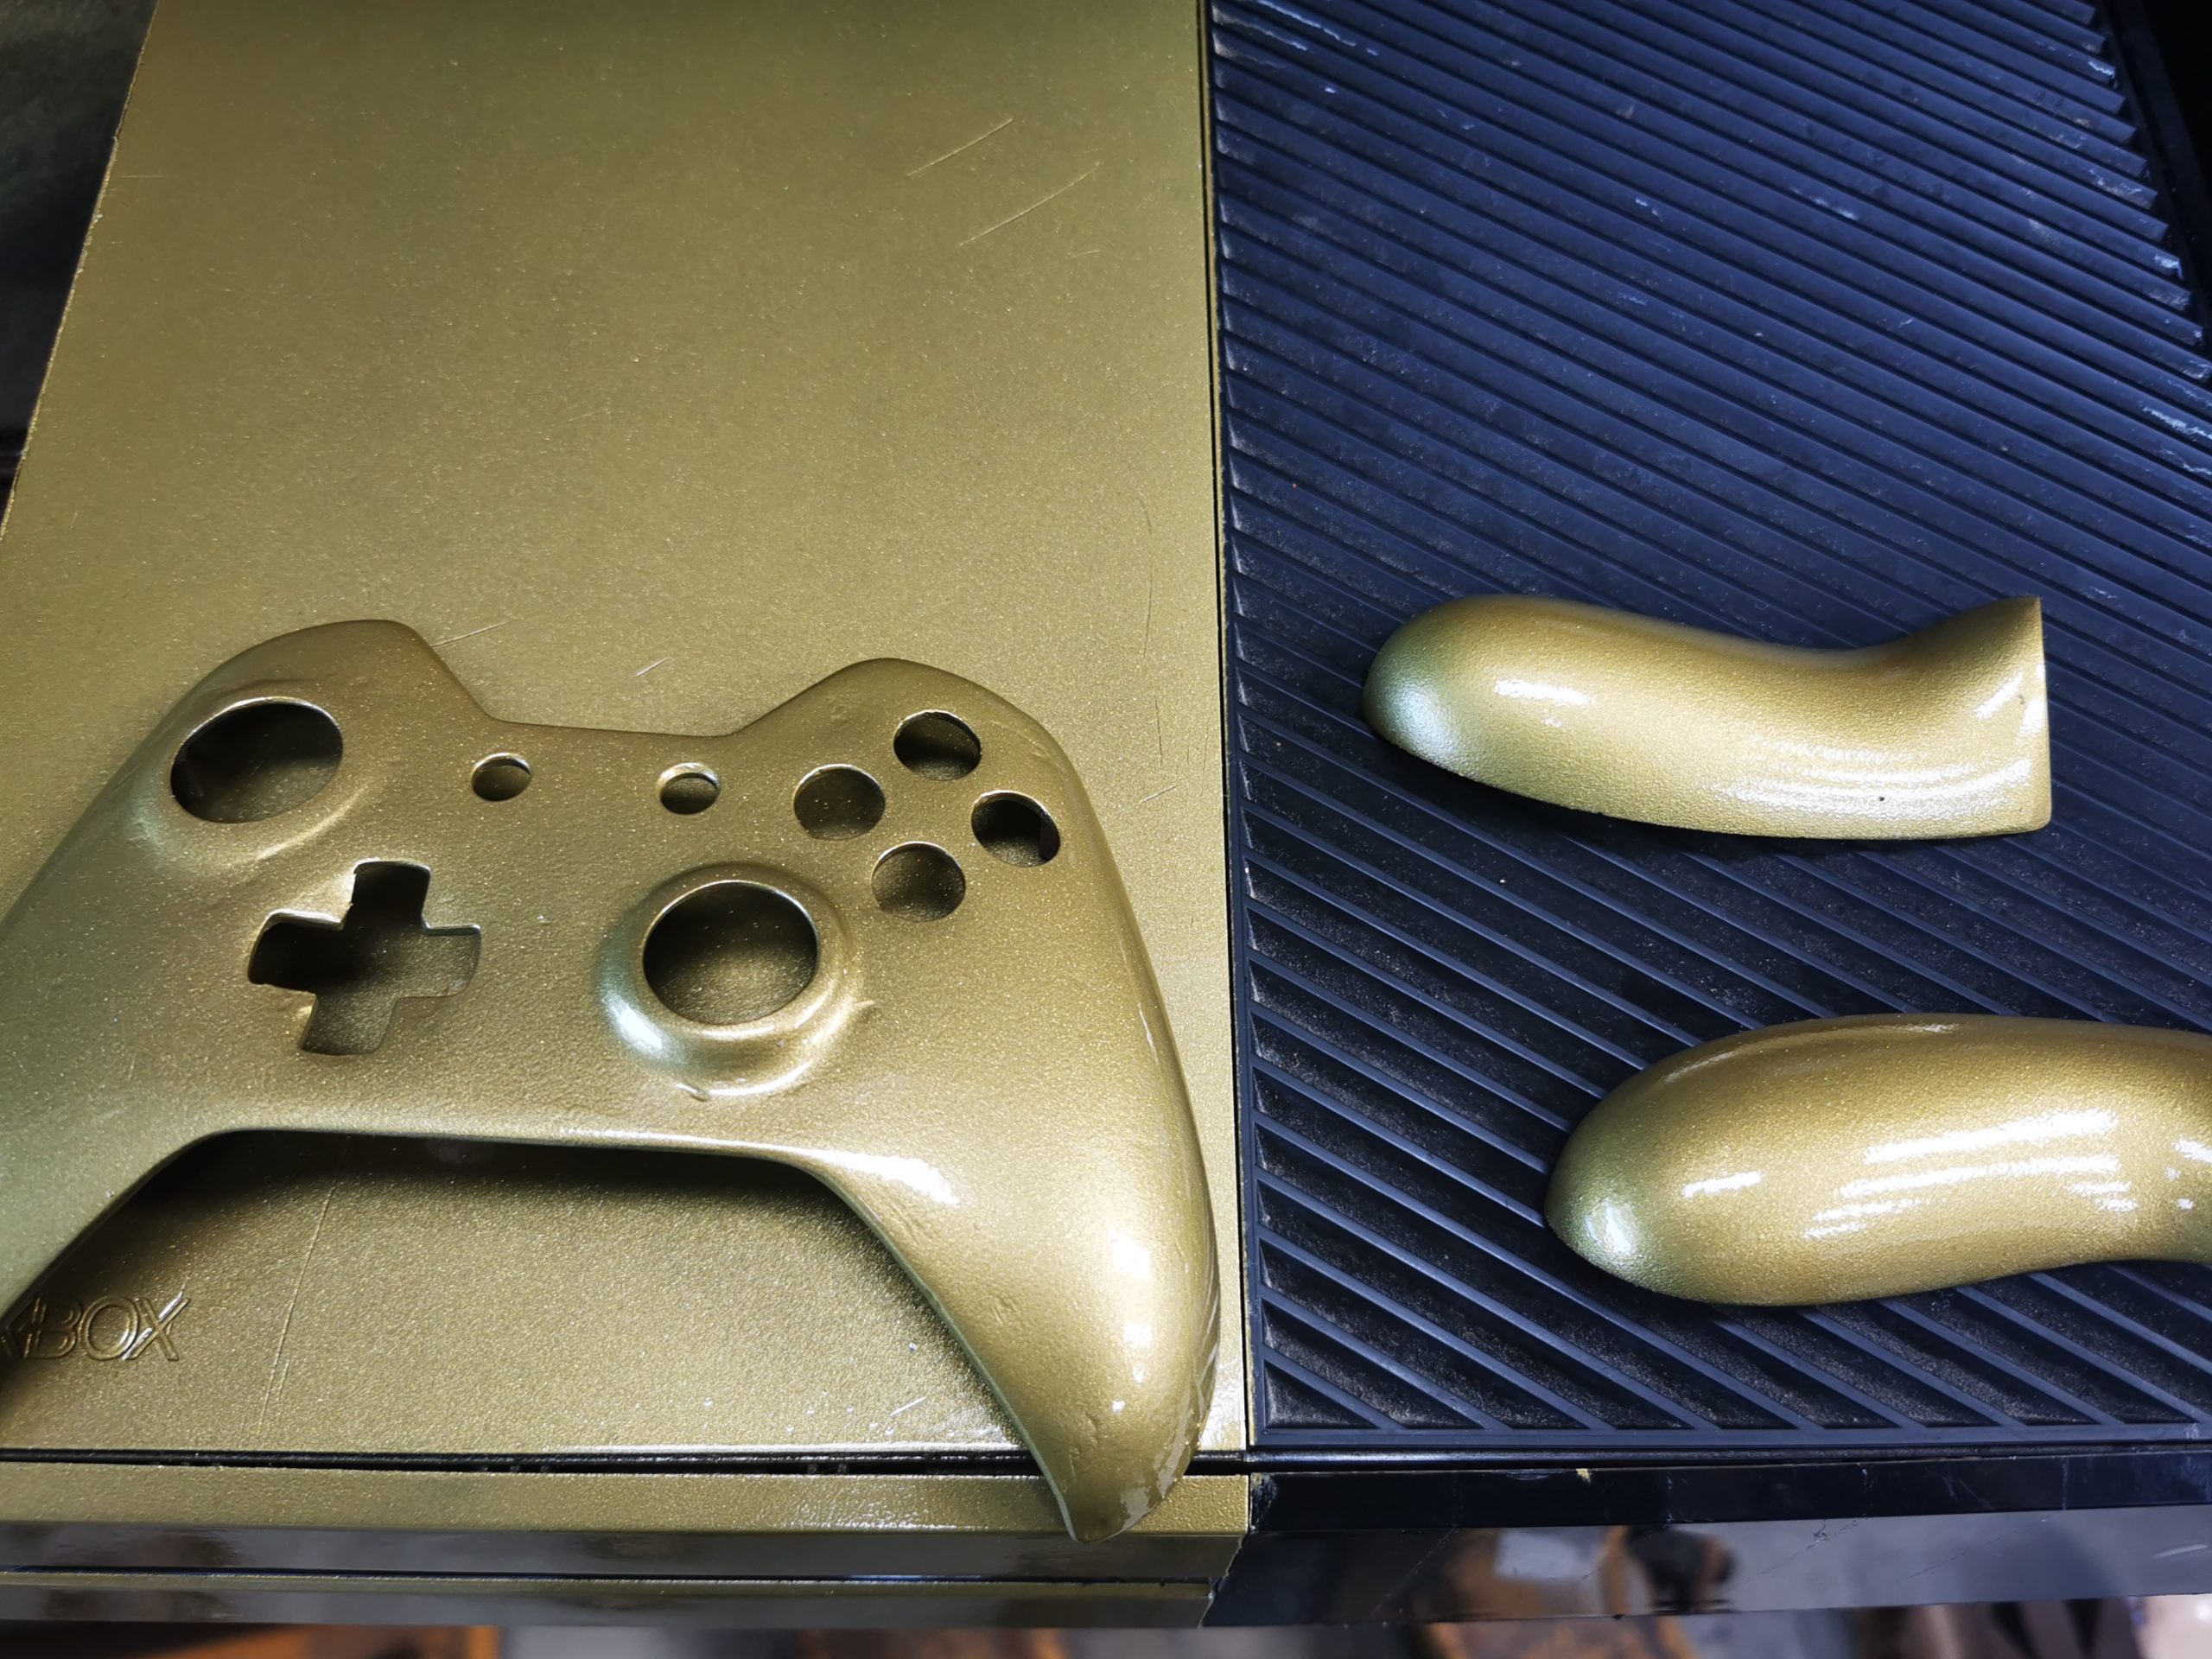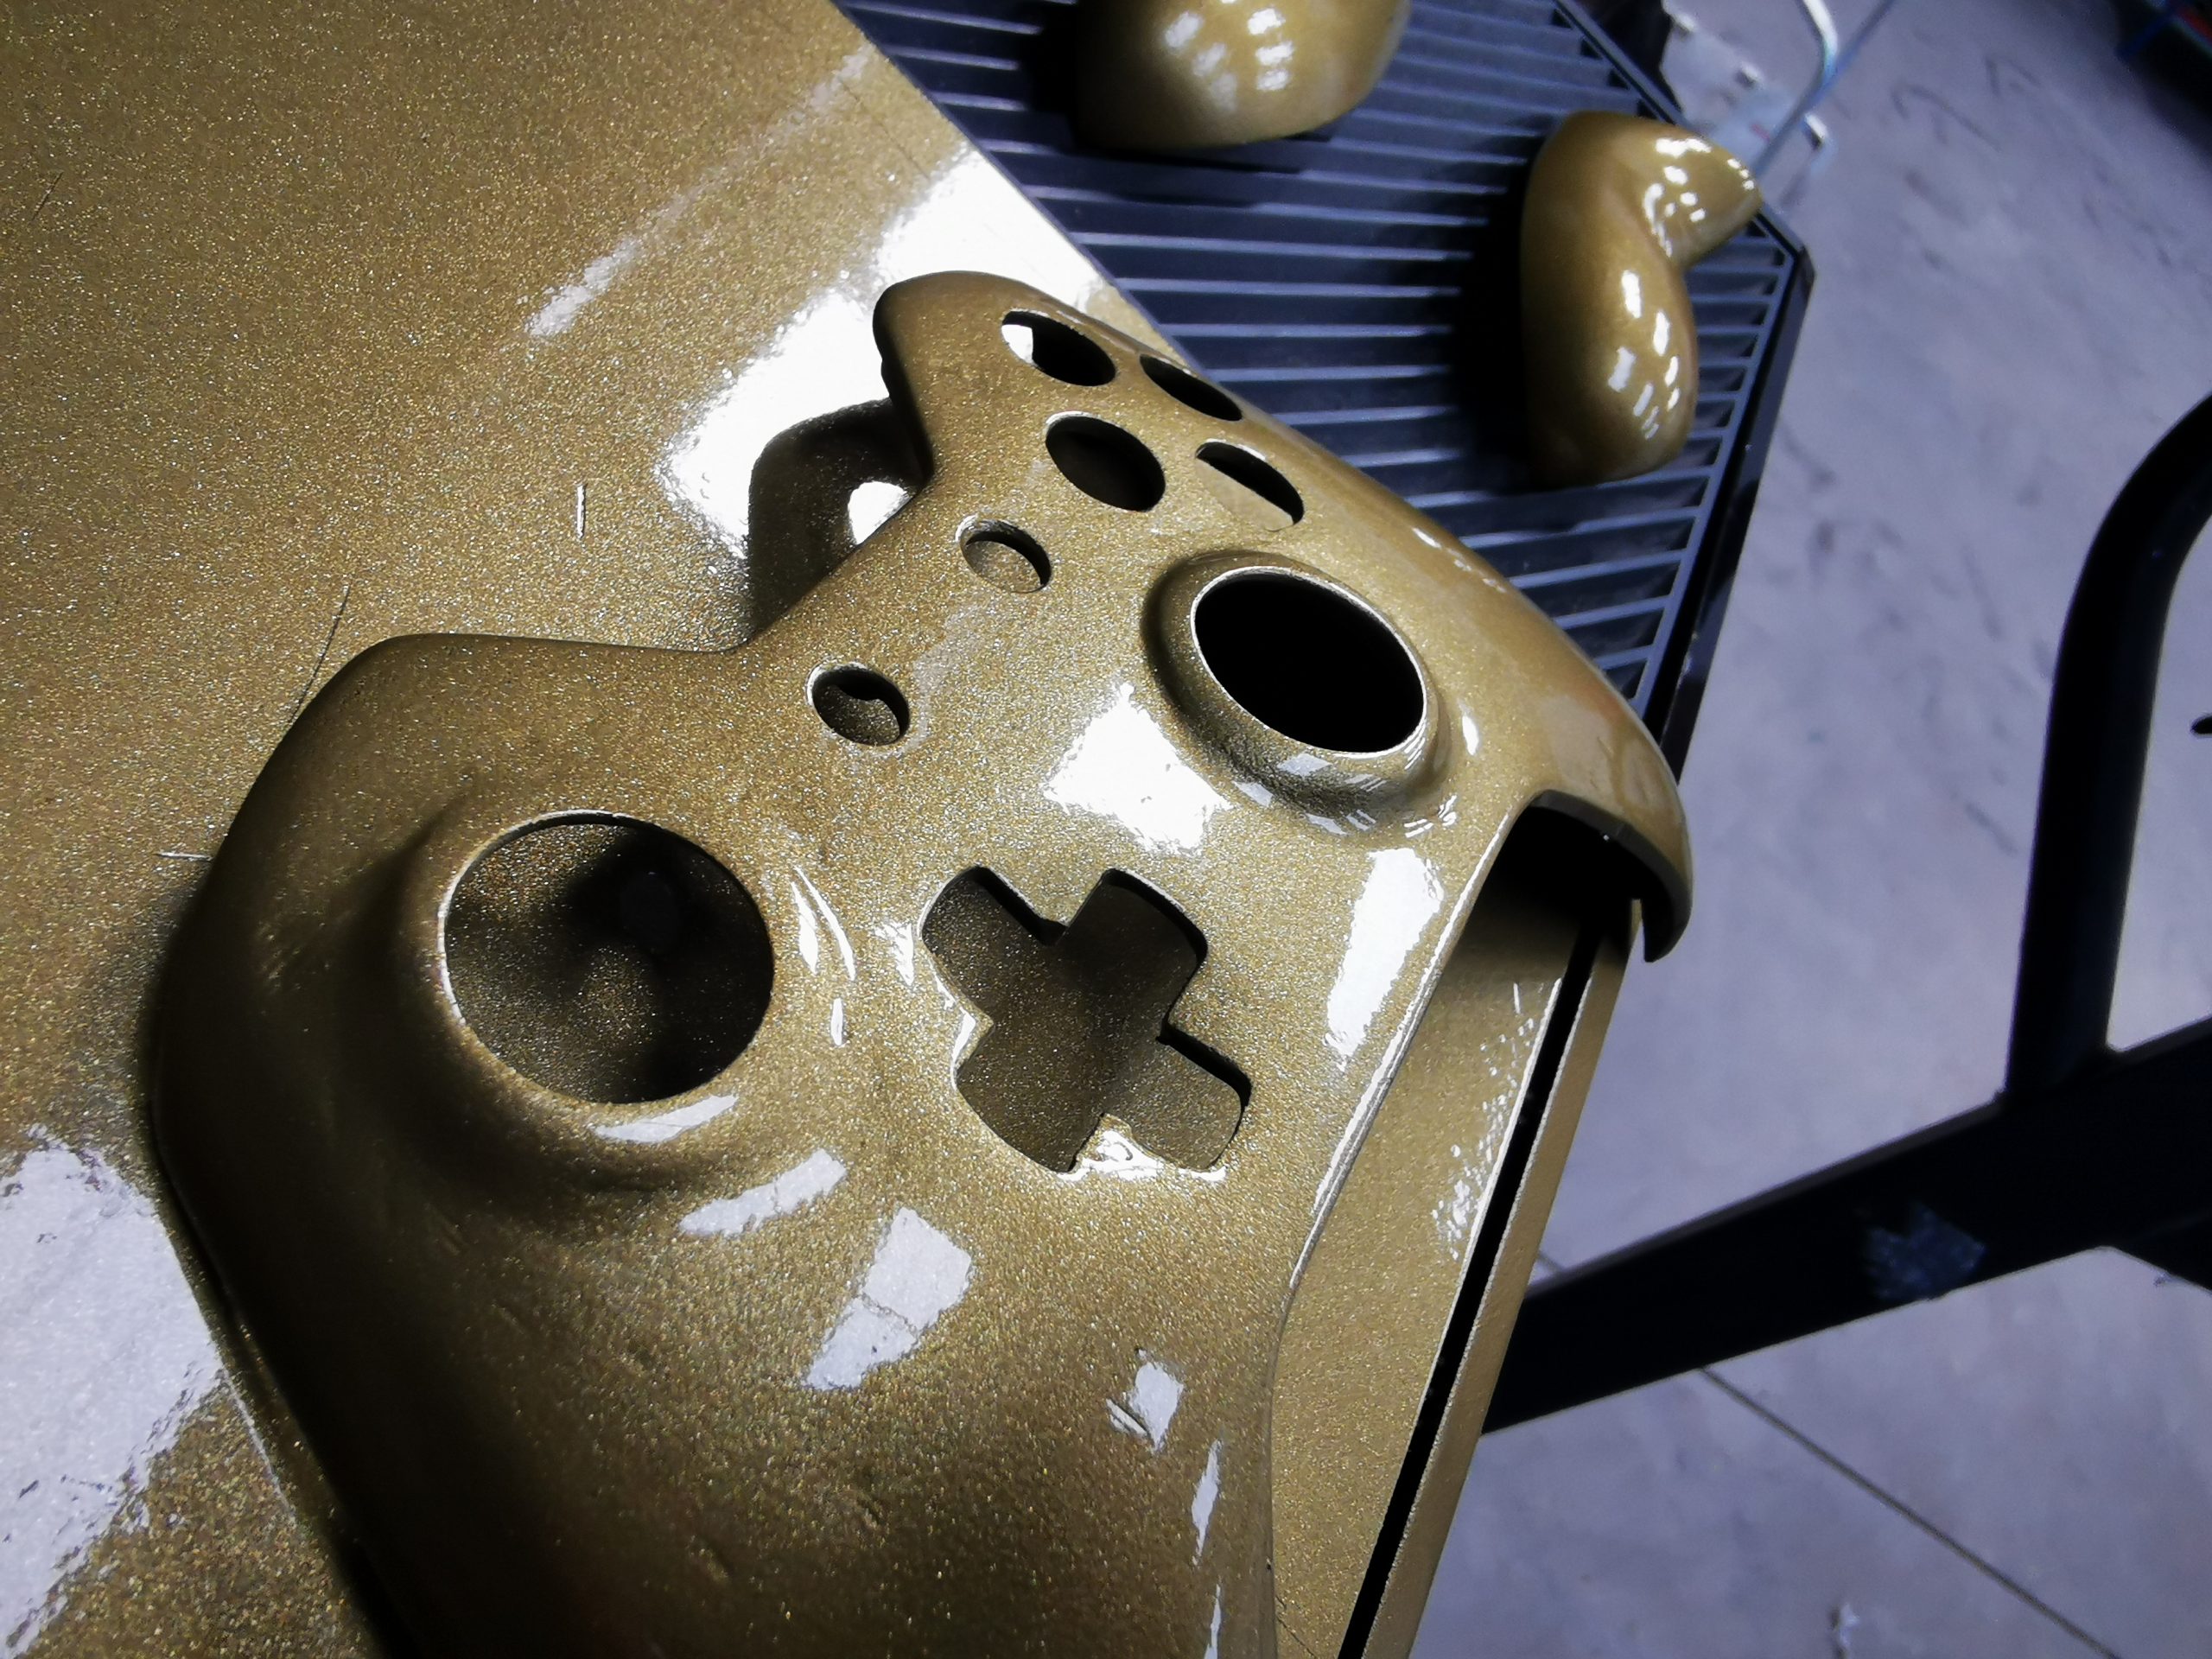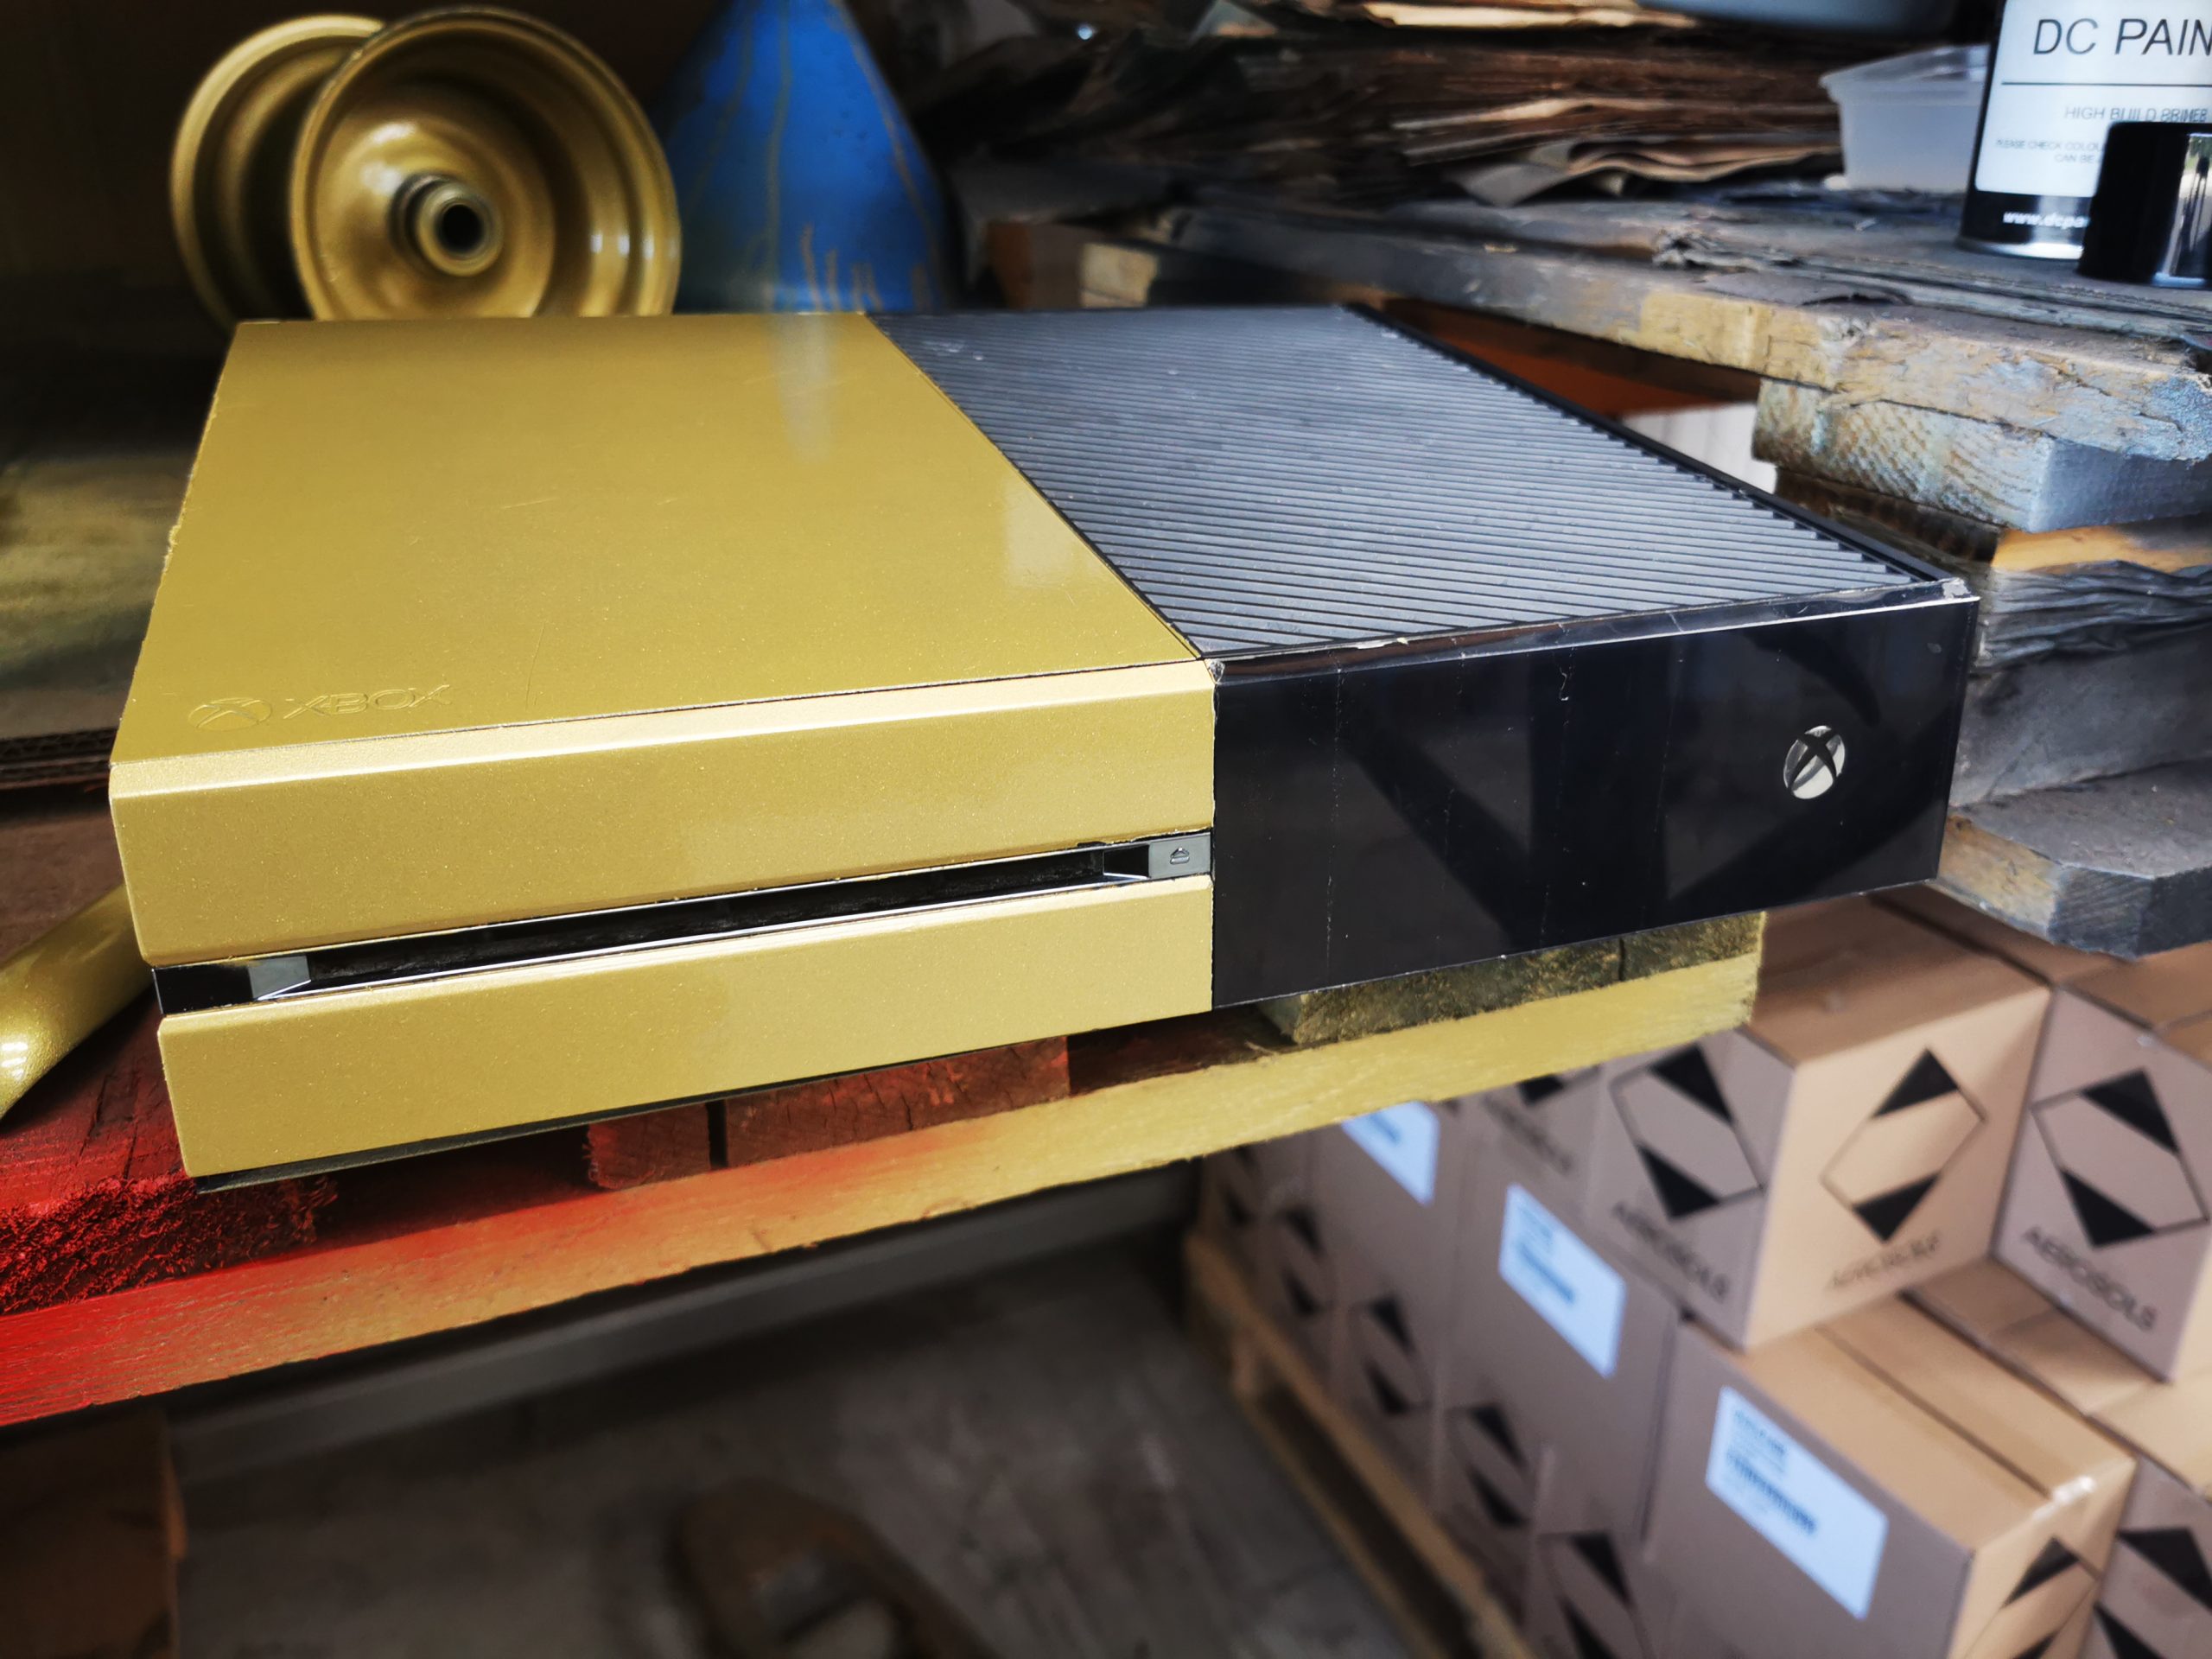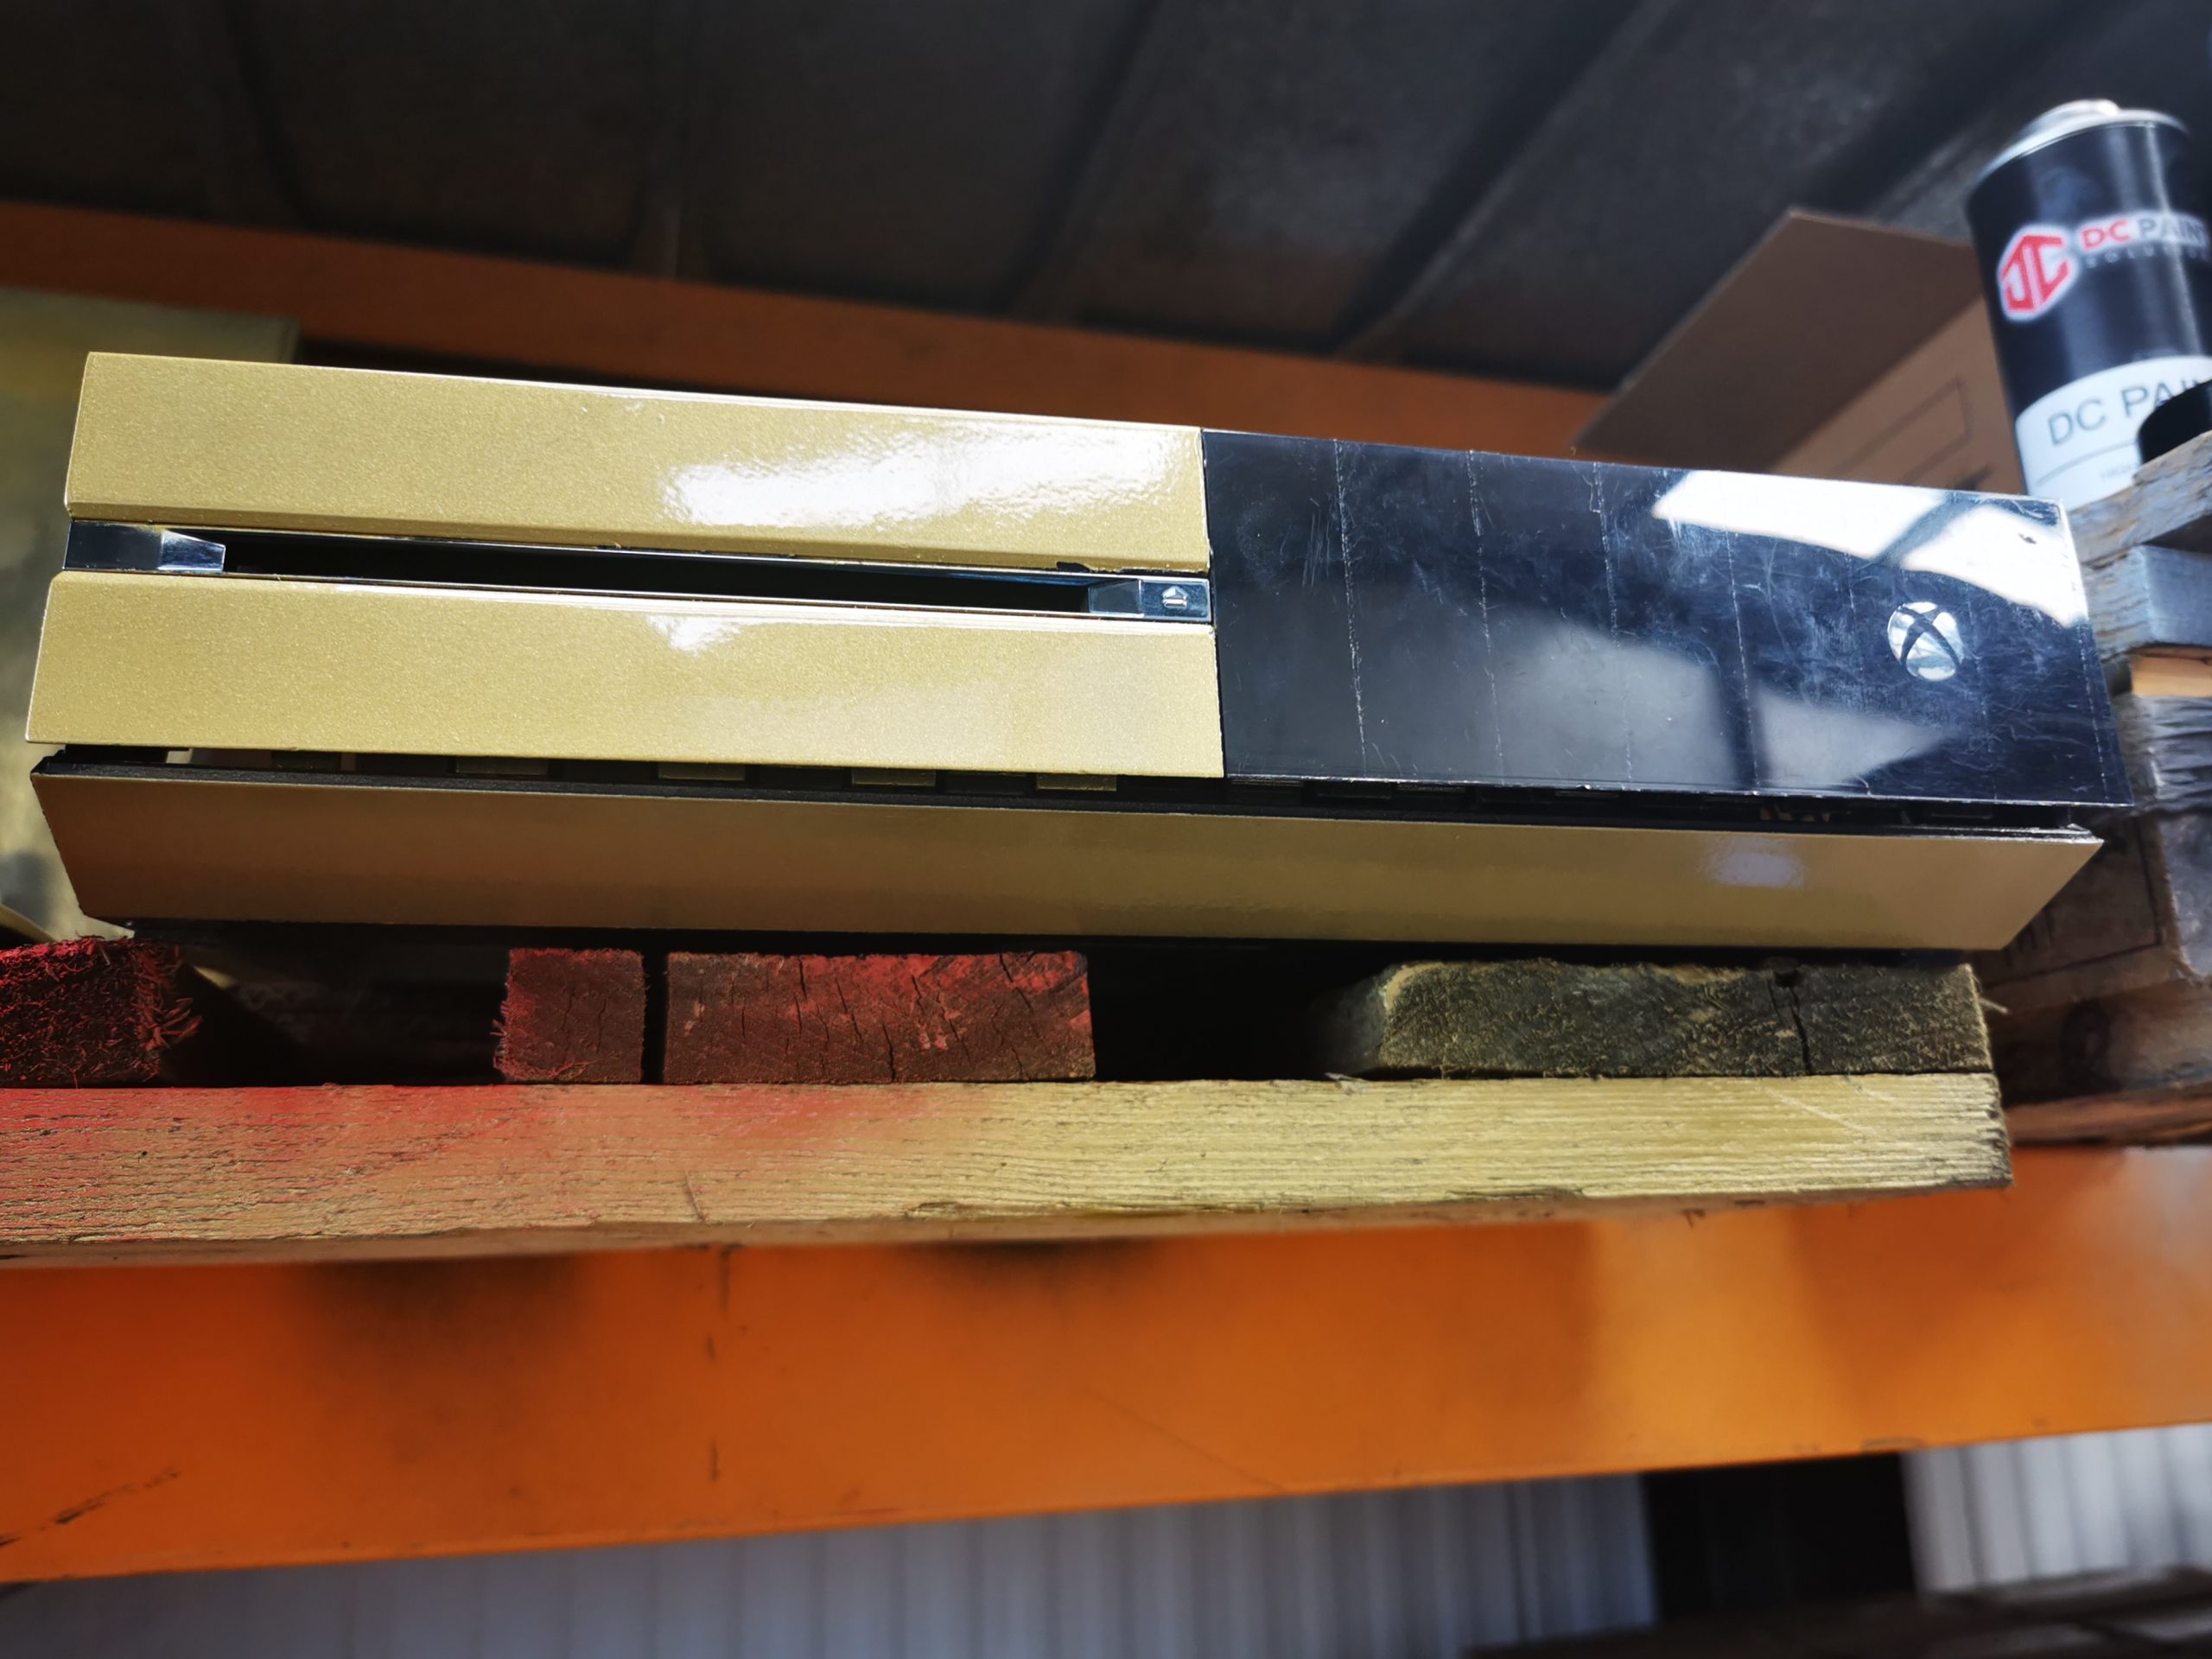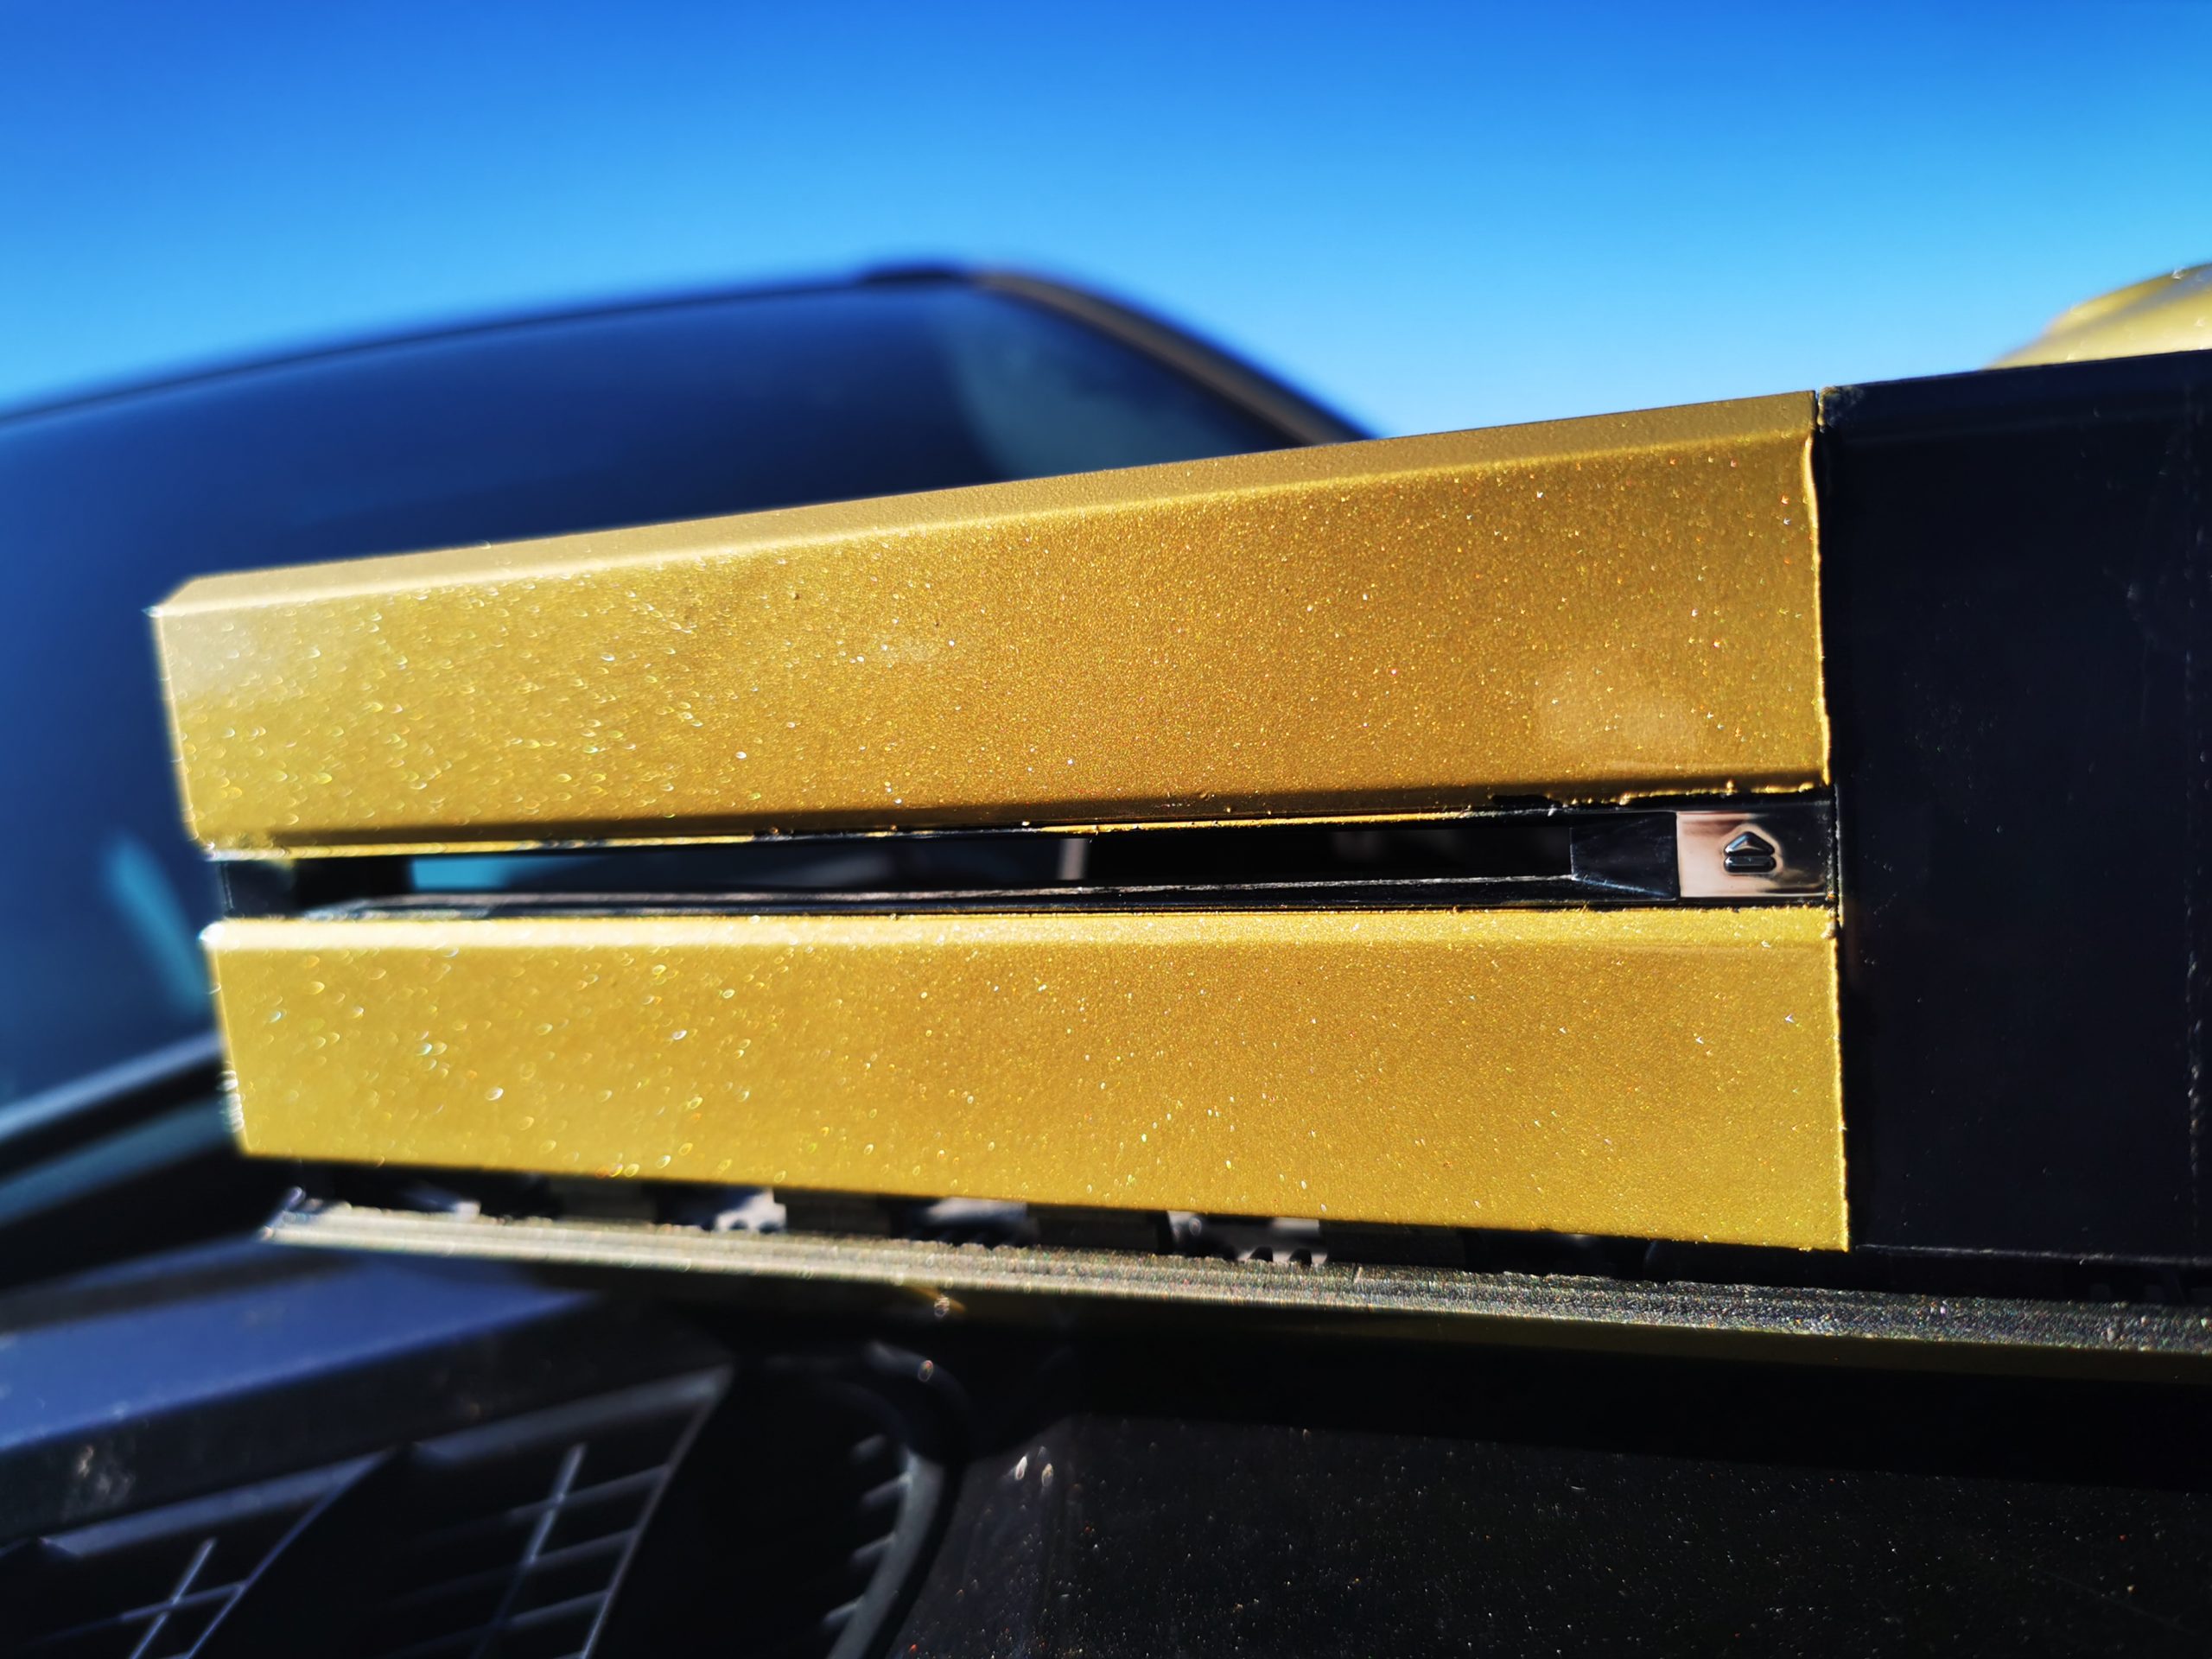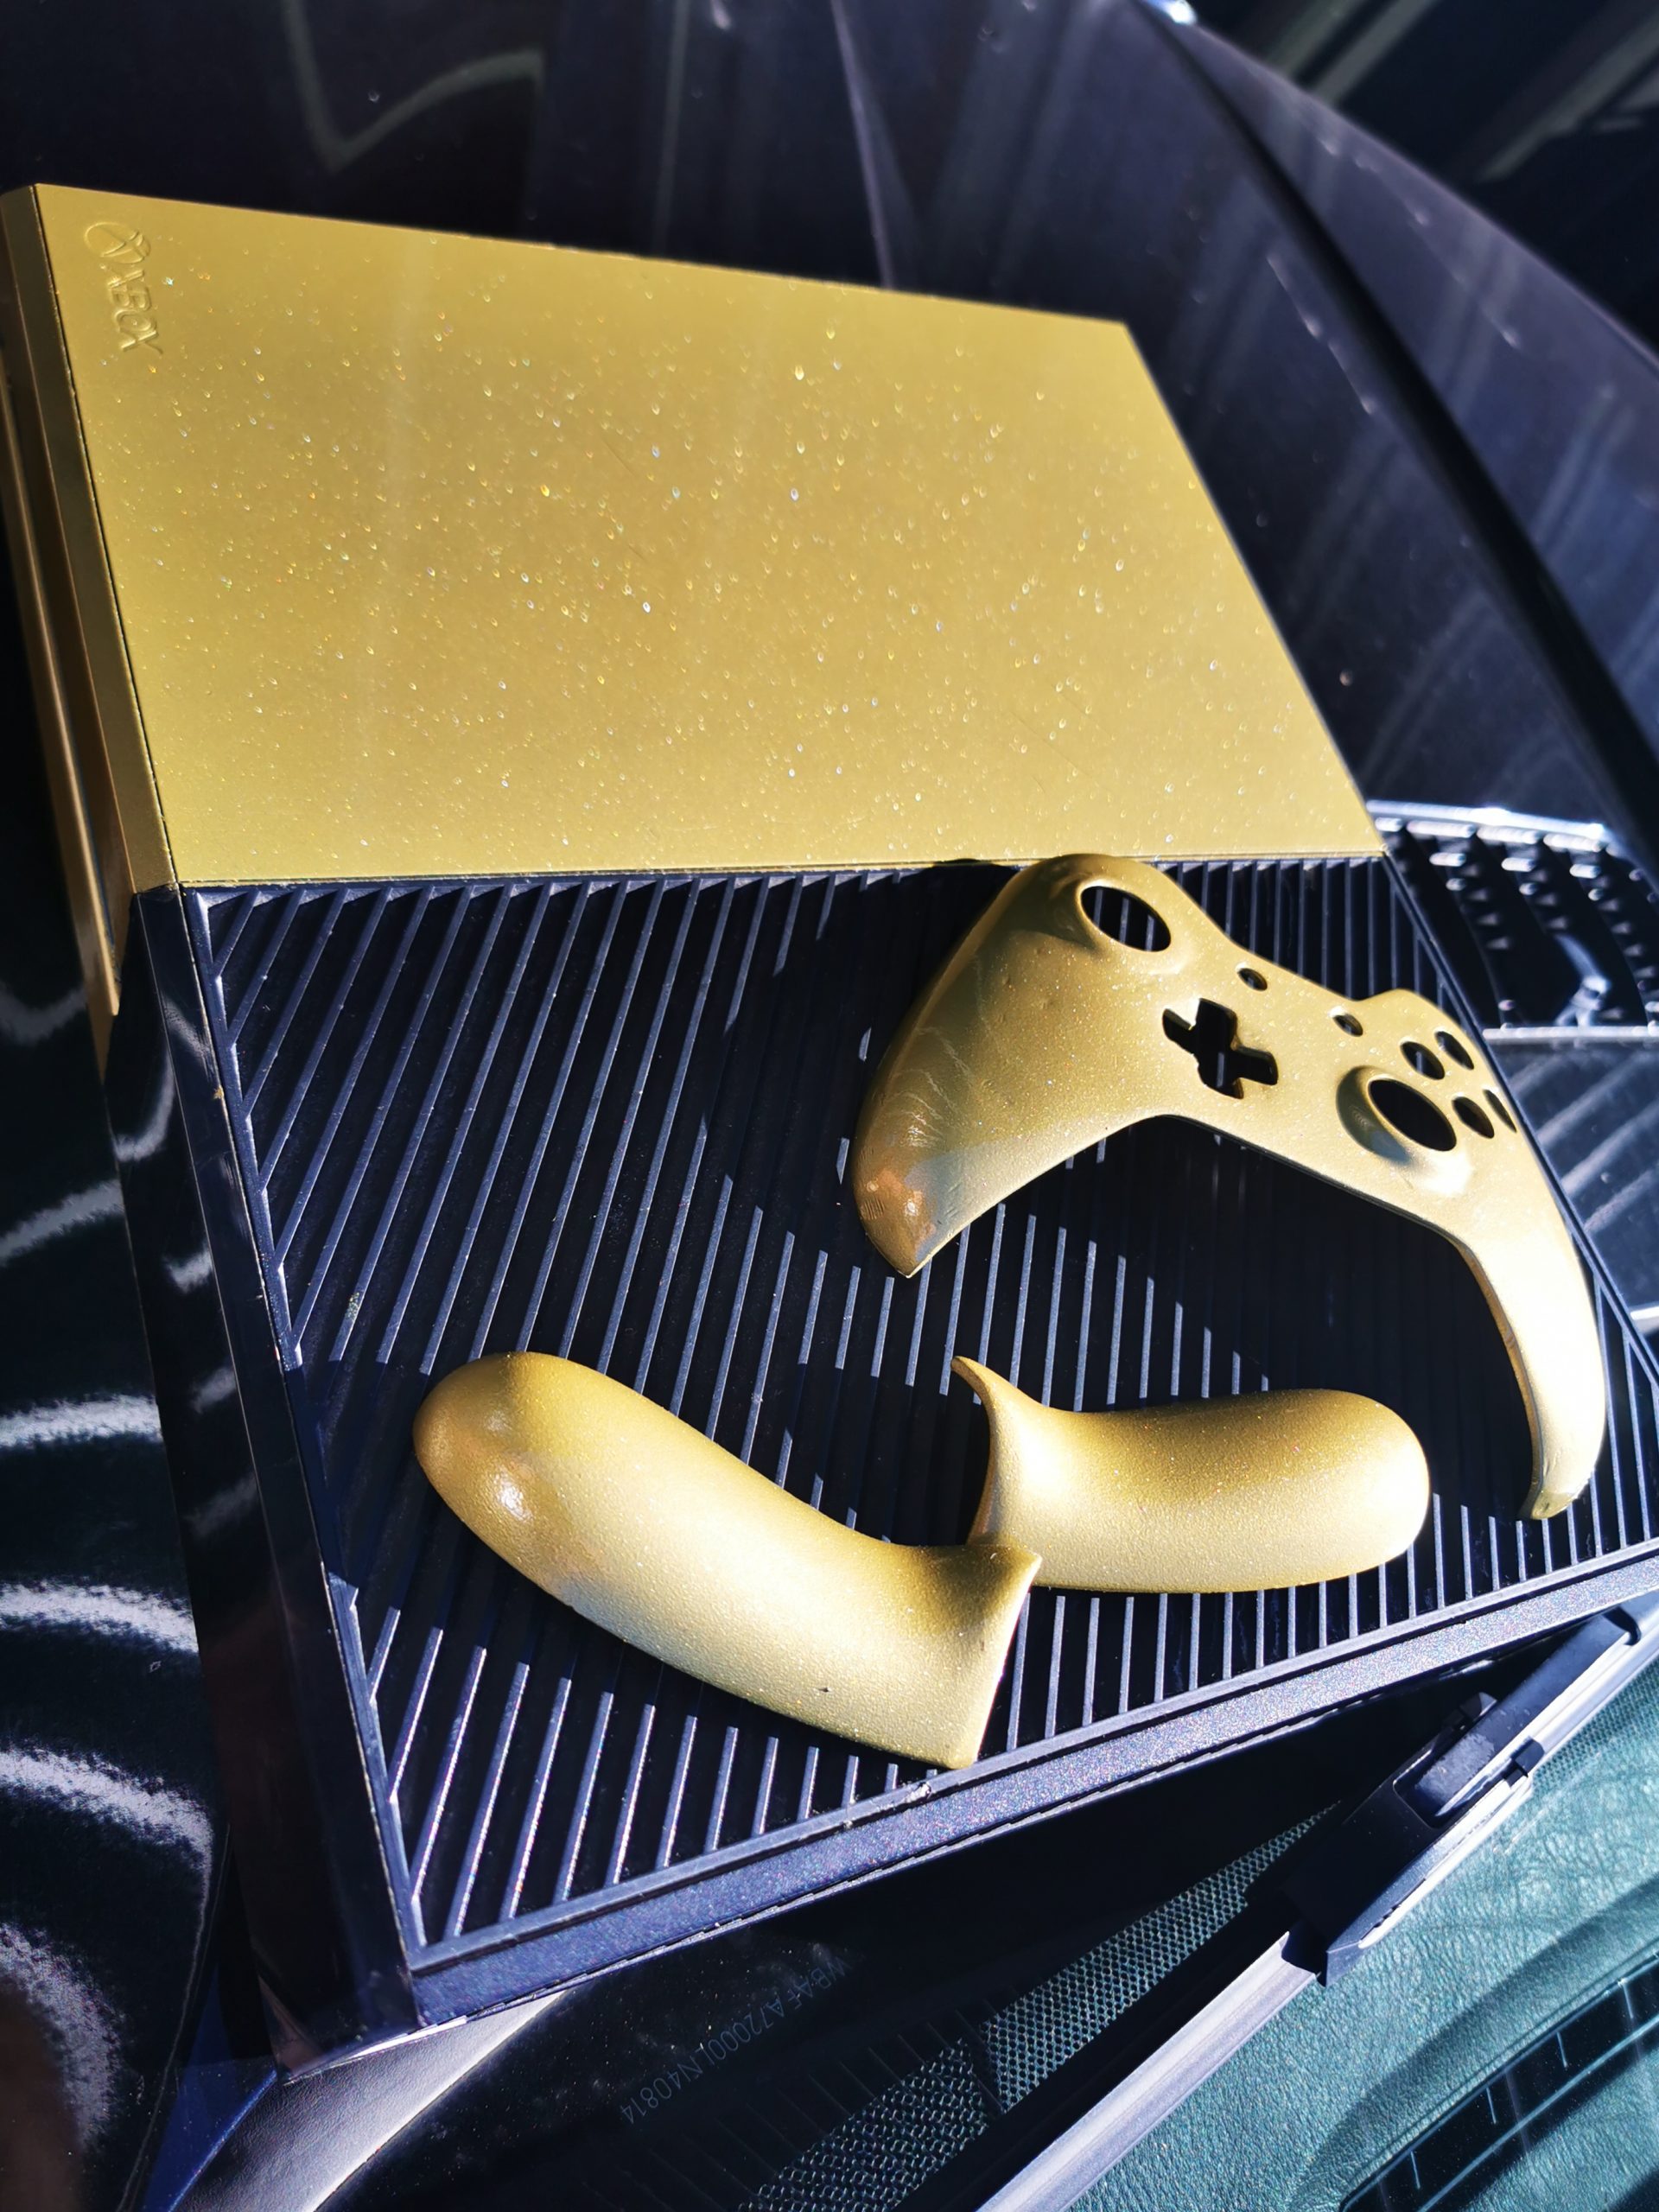
After our first Xbox repaint, we were handed another to work on. The client wanted a matching console and Xbox one control pad – we were more than happy to oblige!
Tools Used:
- Sanding Paper
- Degreaser
- High Build Primer
- Gold Base Coat
- Pearl Effect Lacquer
- 2K Gloss Lacquer
Step 1: Prep & Prime
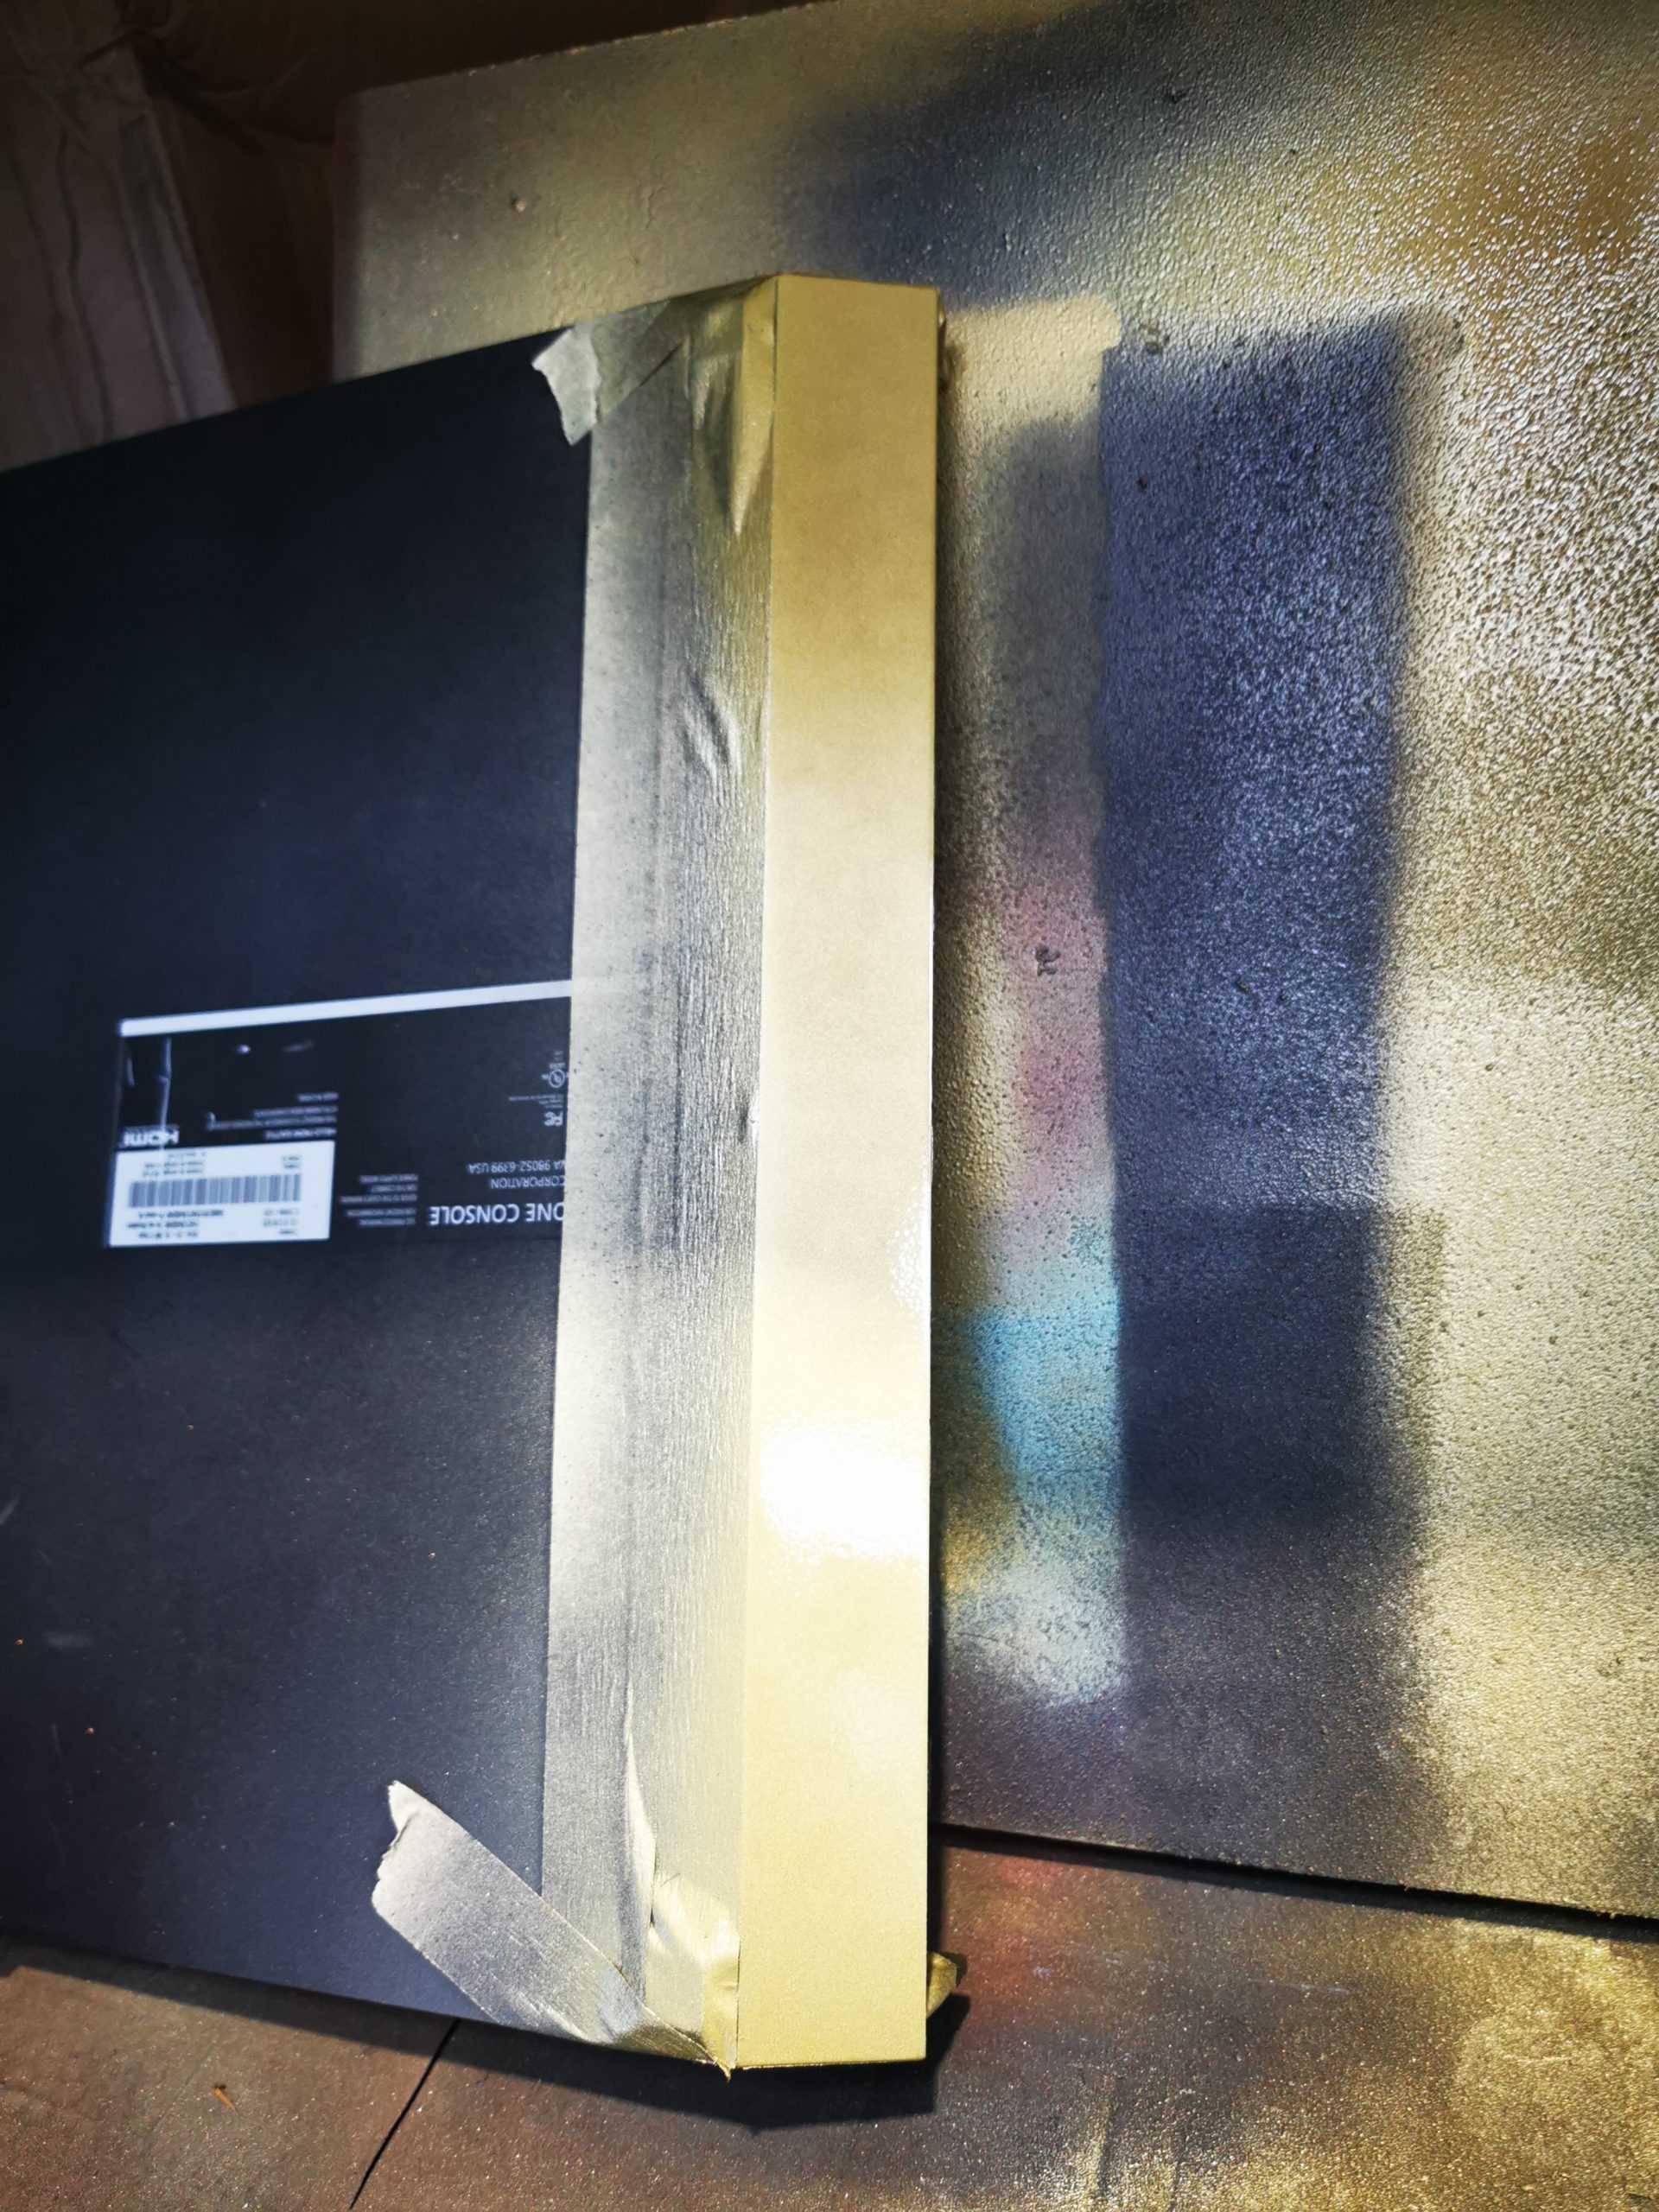
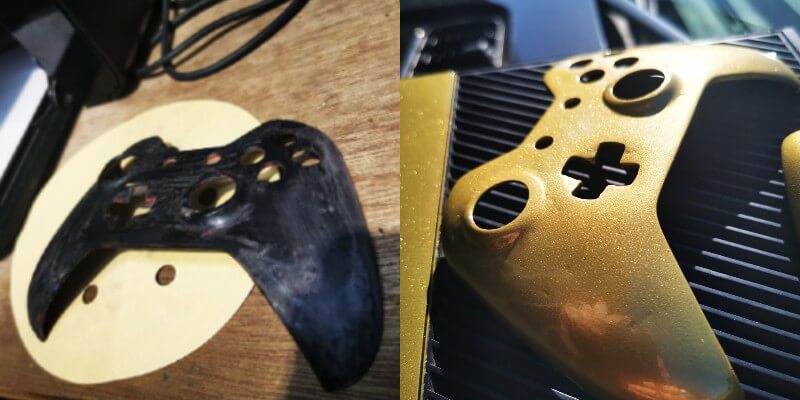
To begin this project, we sanded down the existing surface then degreased it in preparation for the ground coat (primer coat). The ground coat was applied and left for around 30 minutes for light coats and closer to an hour if thicker.
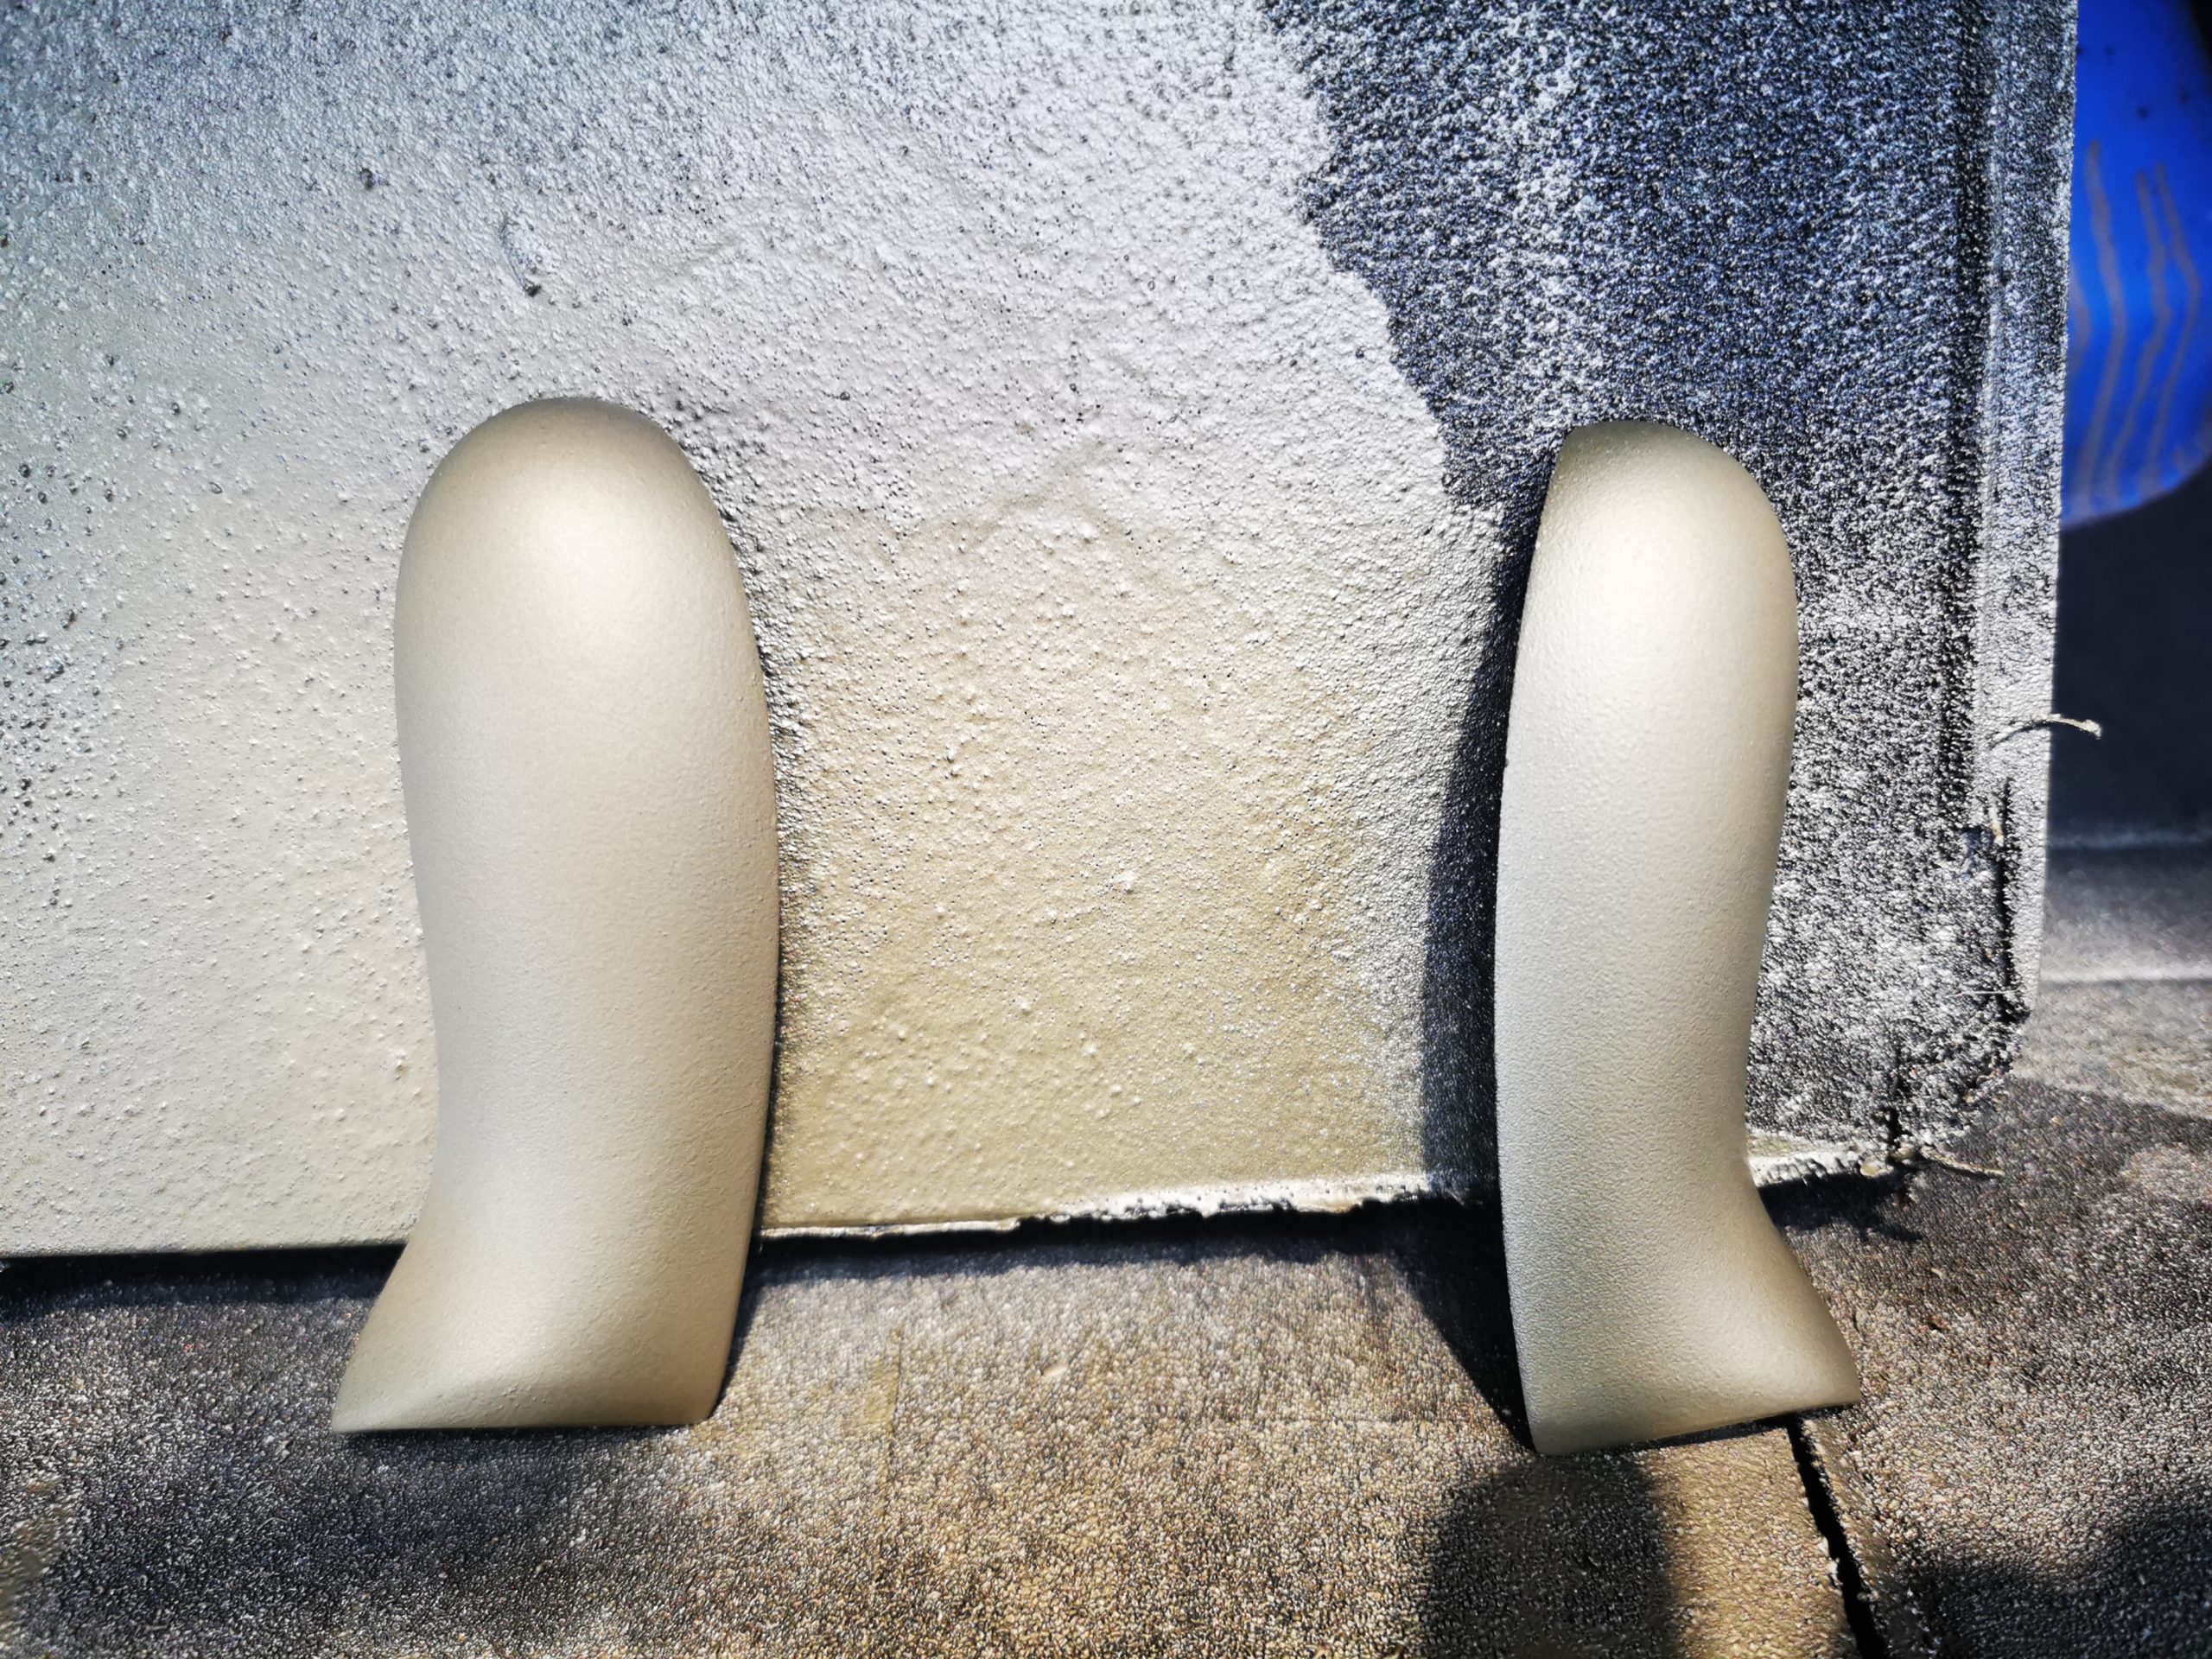
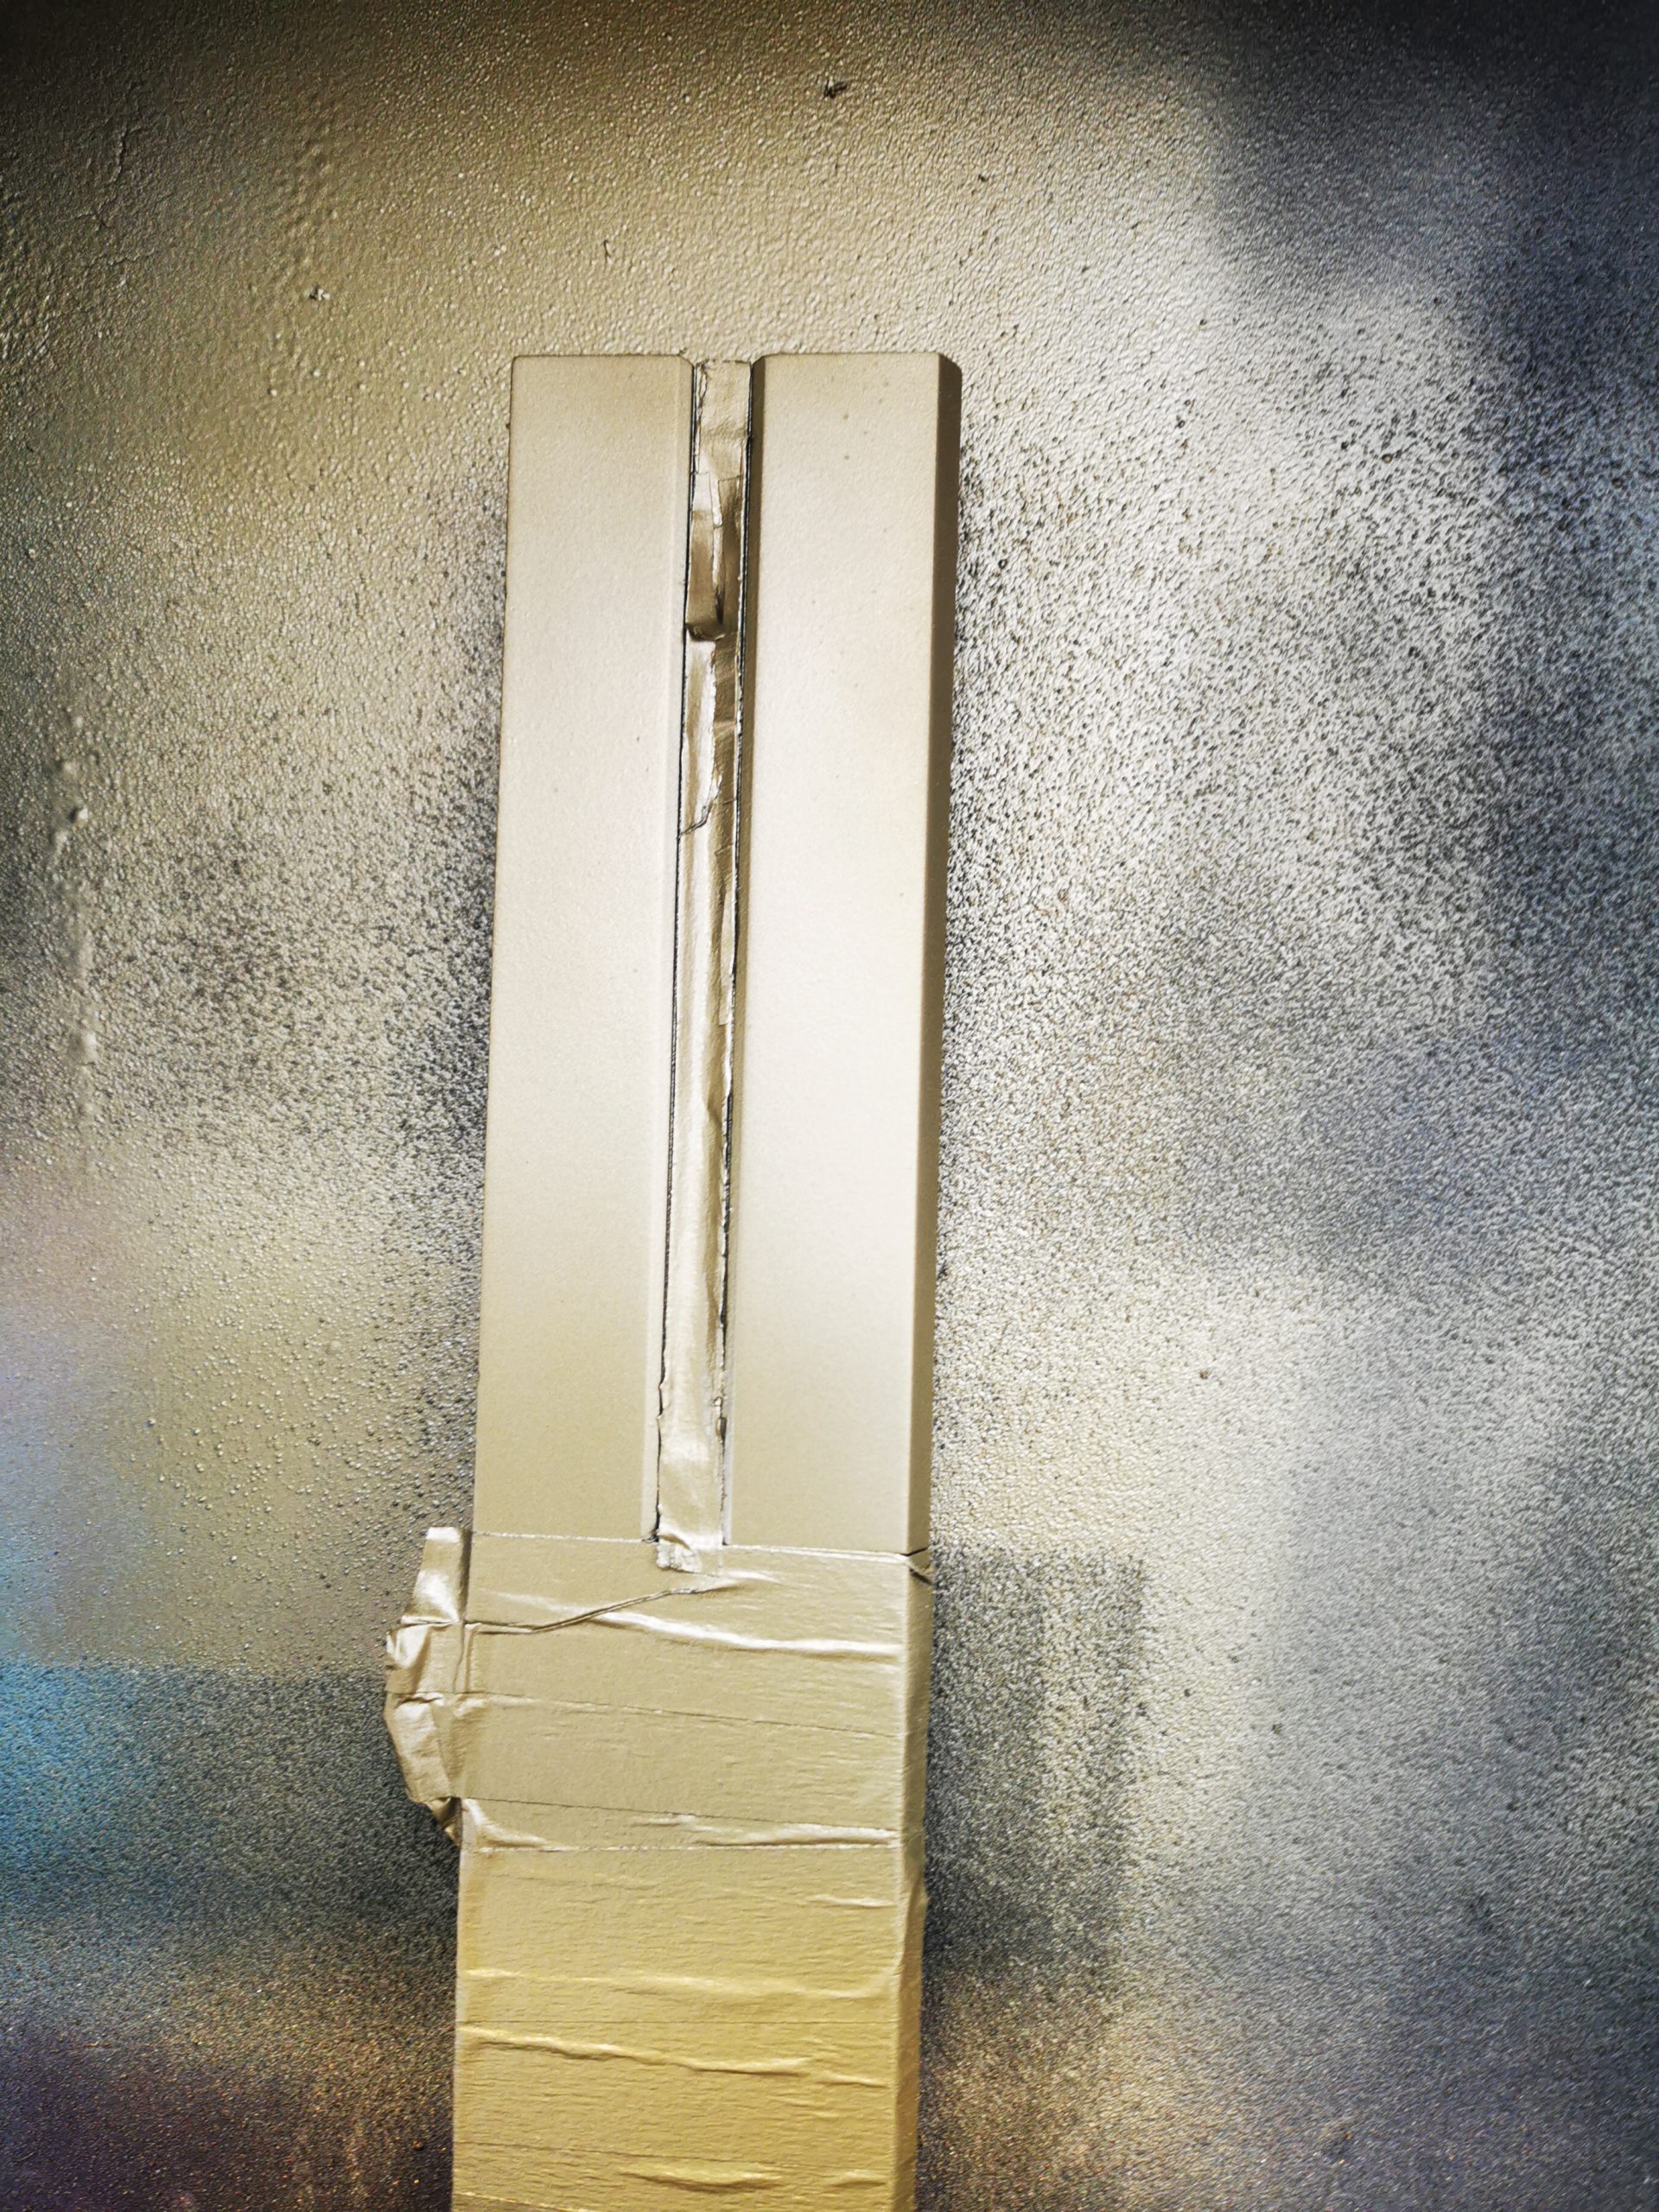
Step 2: Base Coat
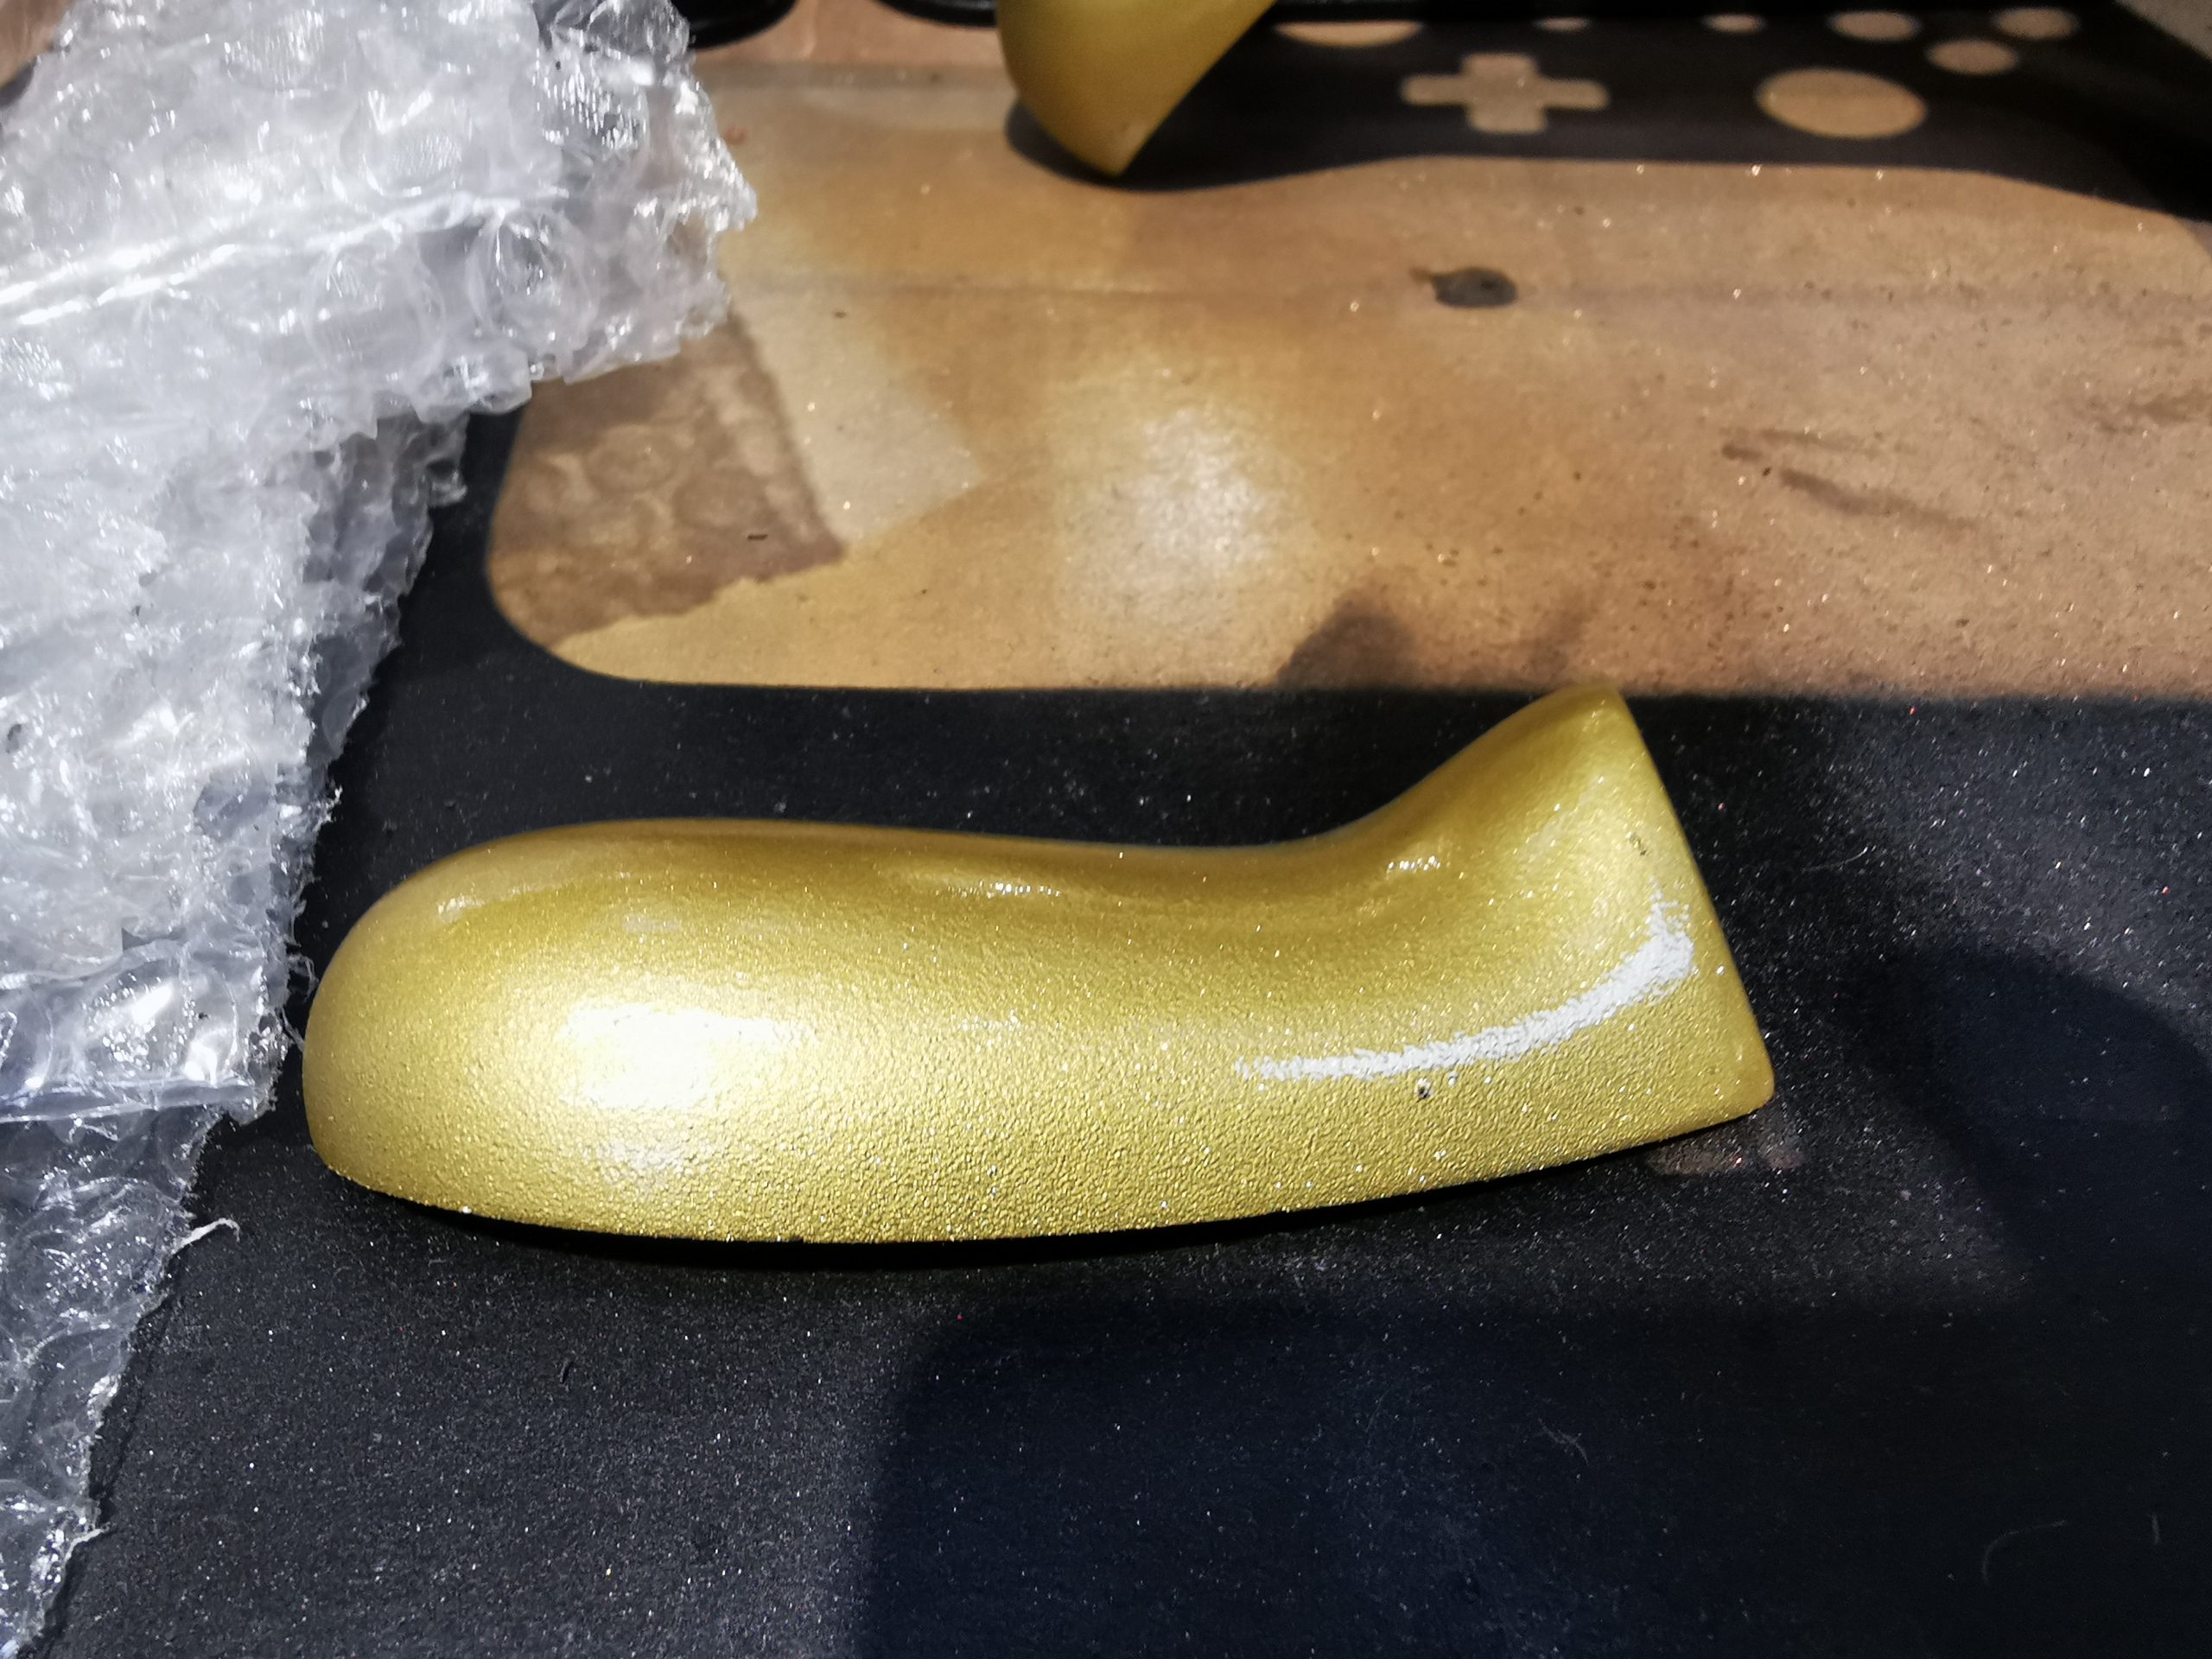
Once the primer coat had cured, we applied our Gold 1K Base Coat (base coat is the colour coat); you should always leave 30 minutes to an hour between coats for this product. We applied two coats and then left to cure.
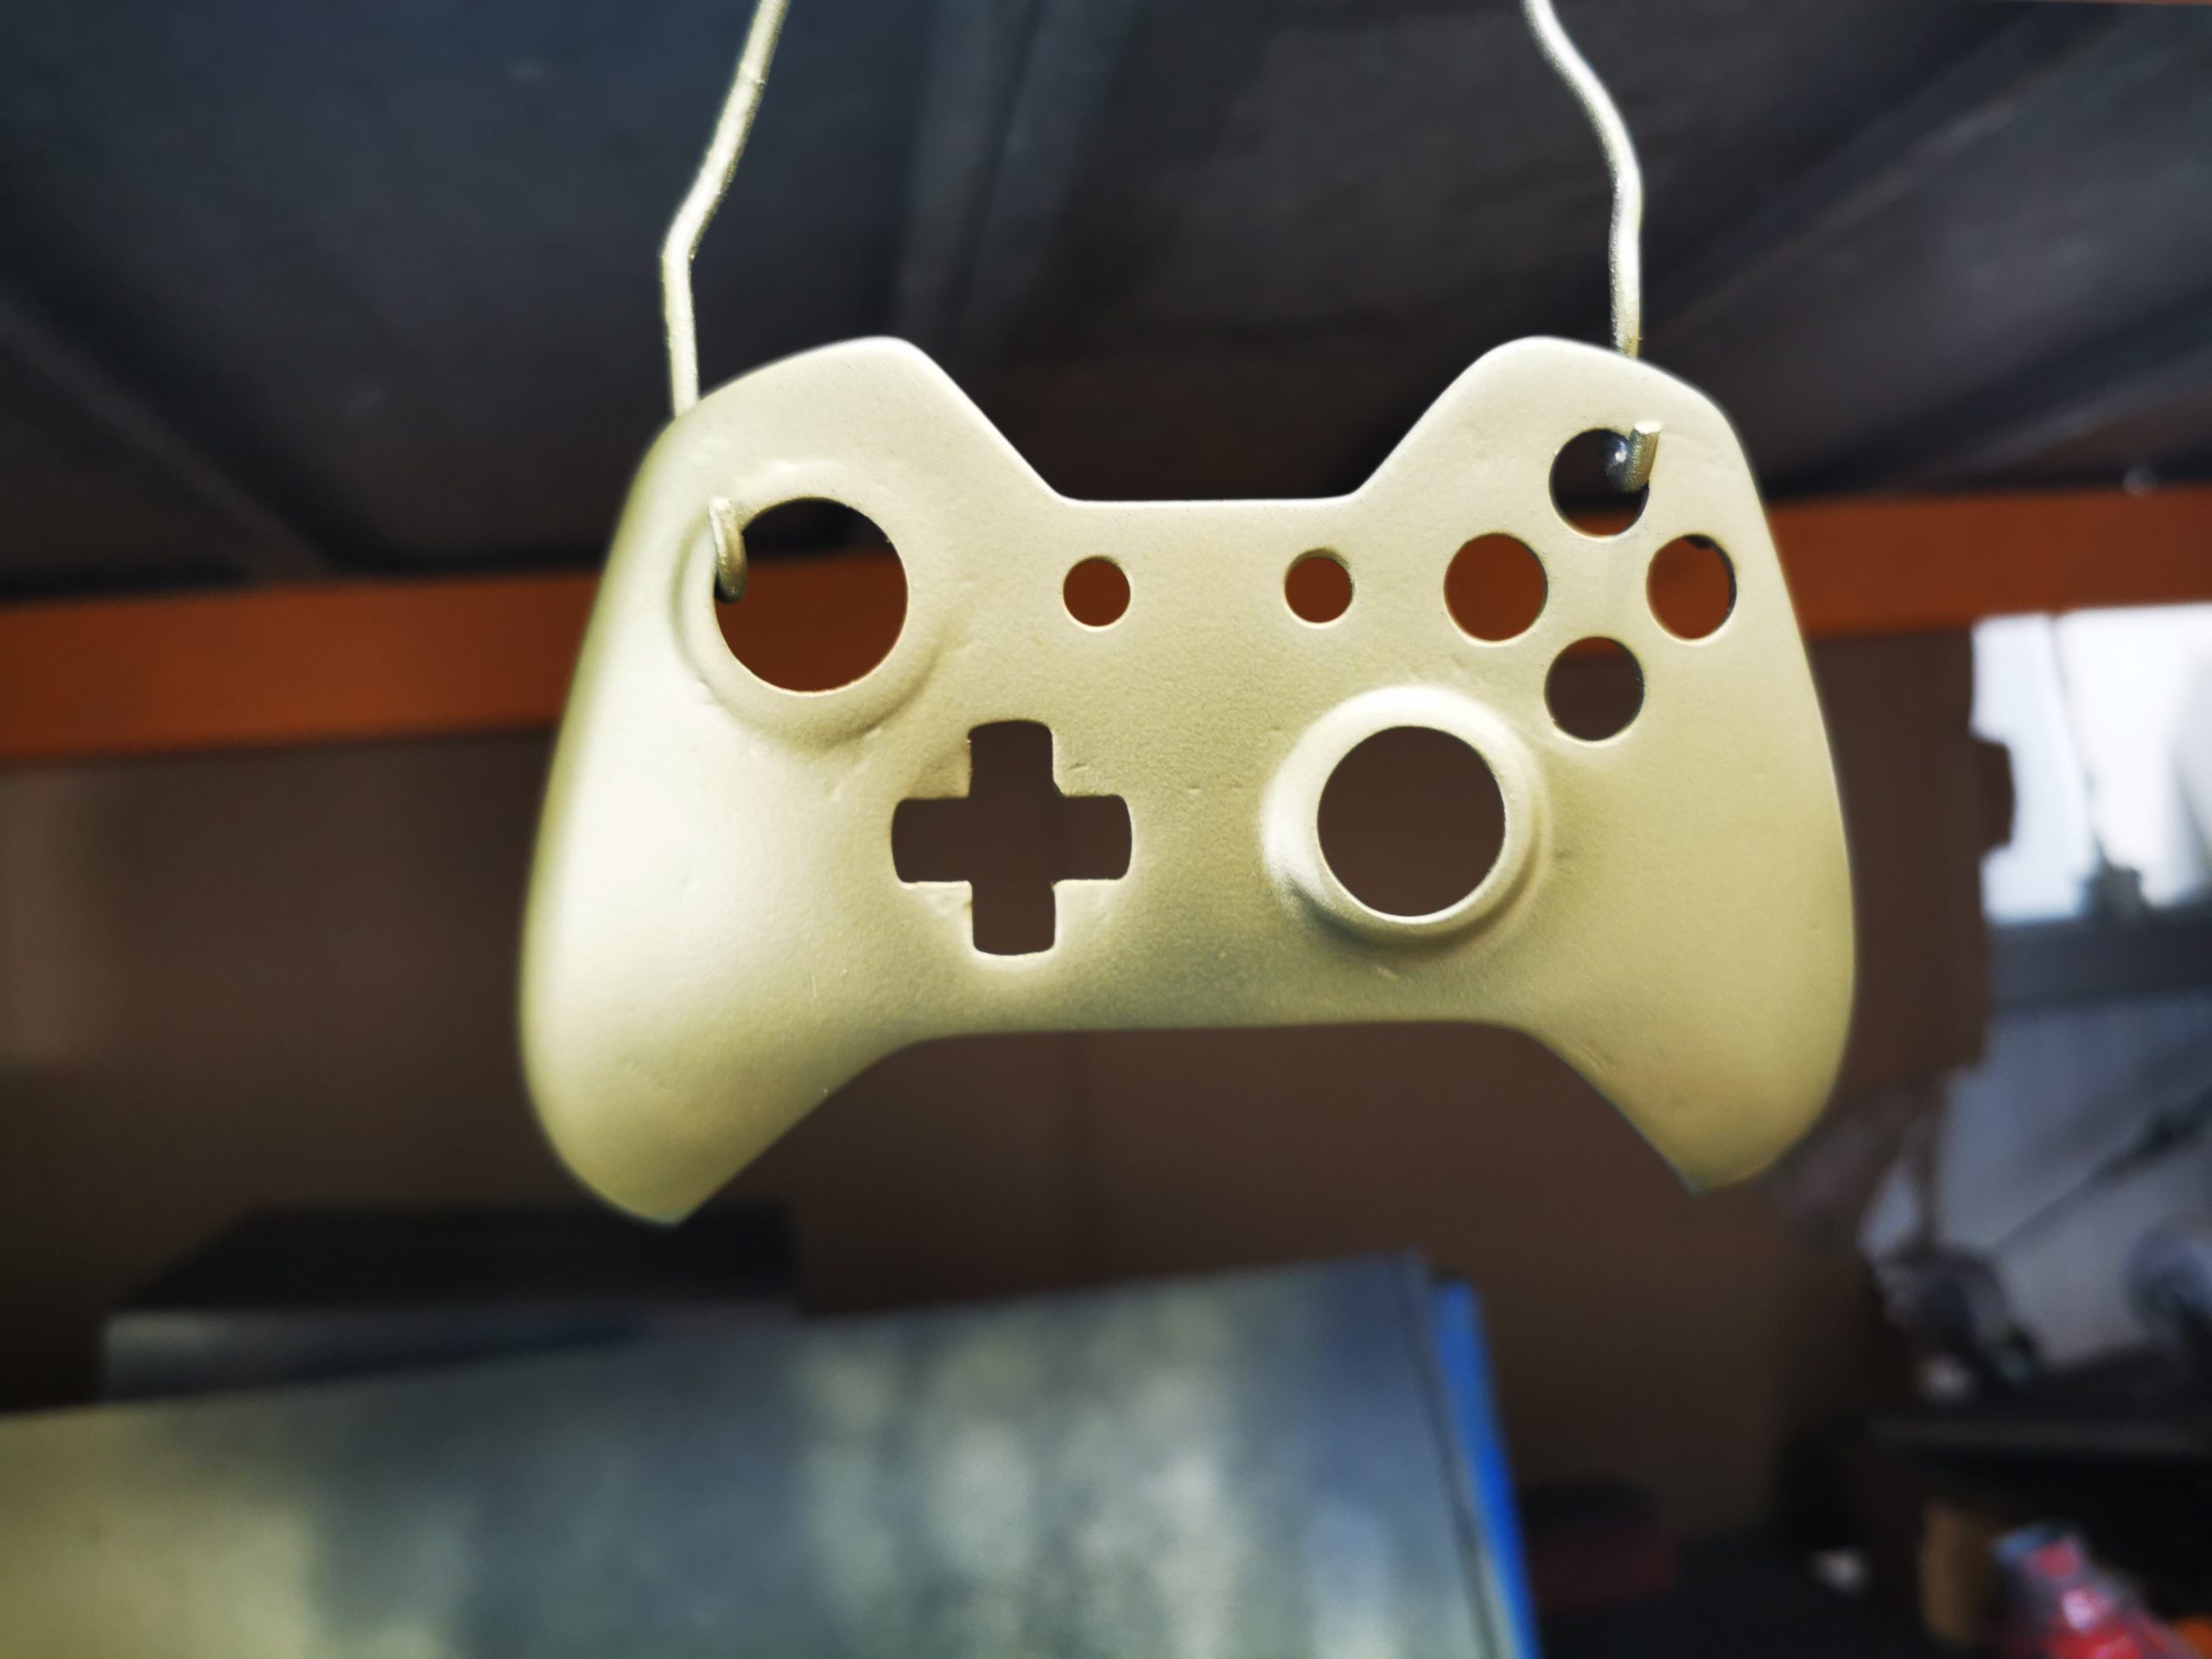
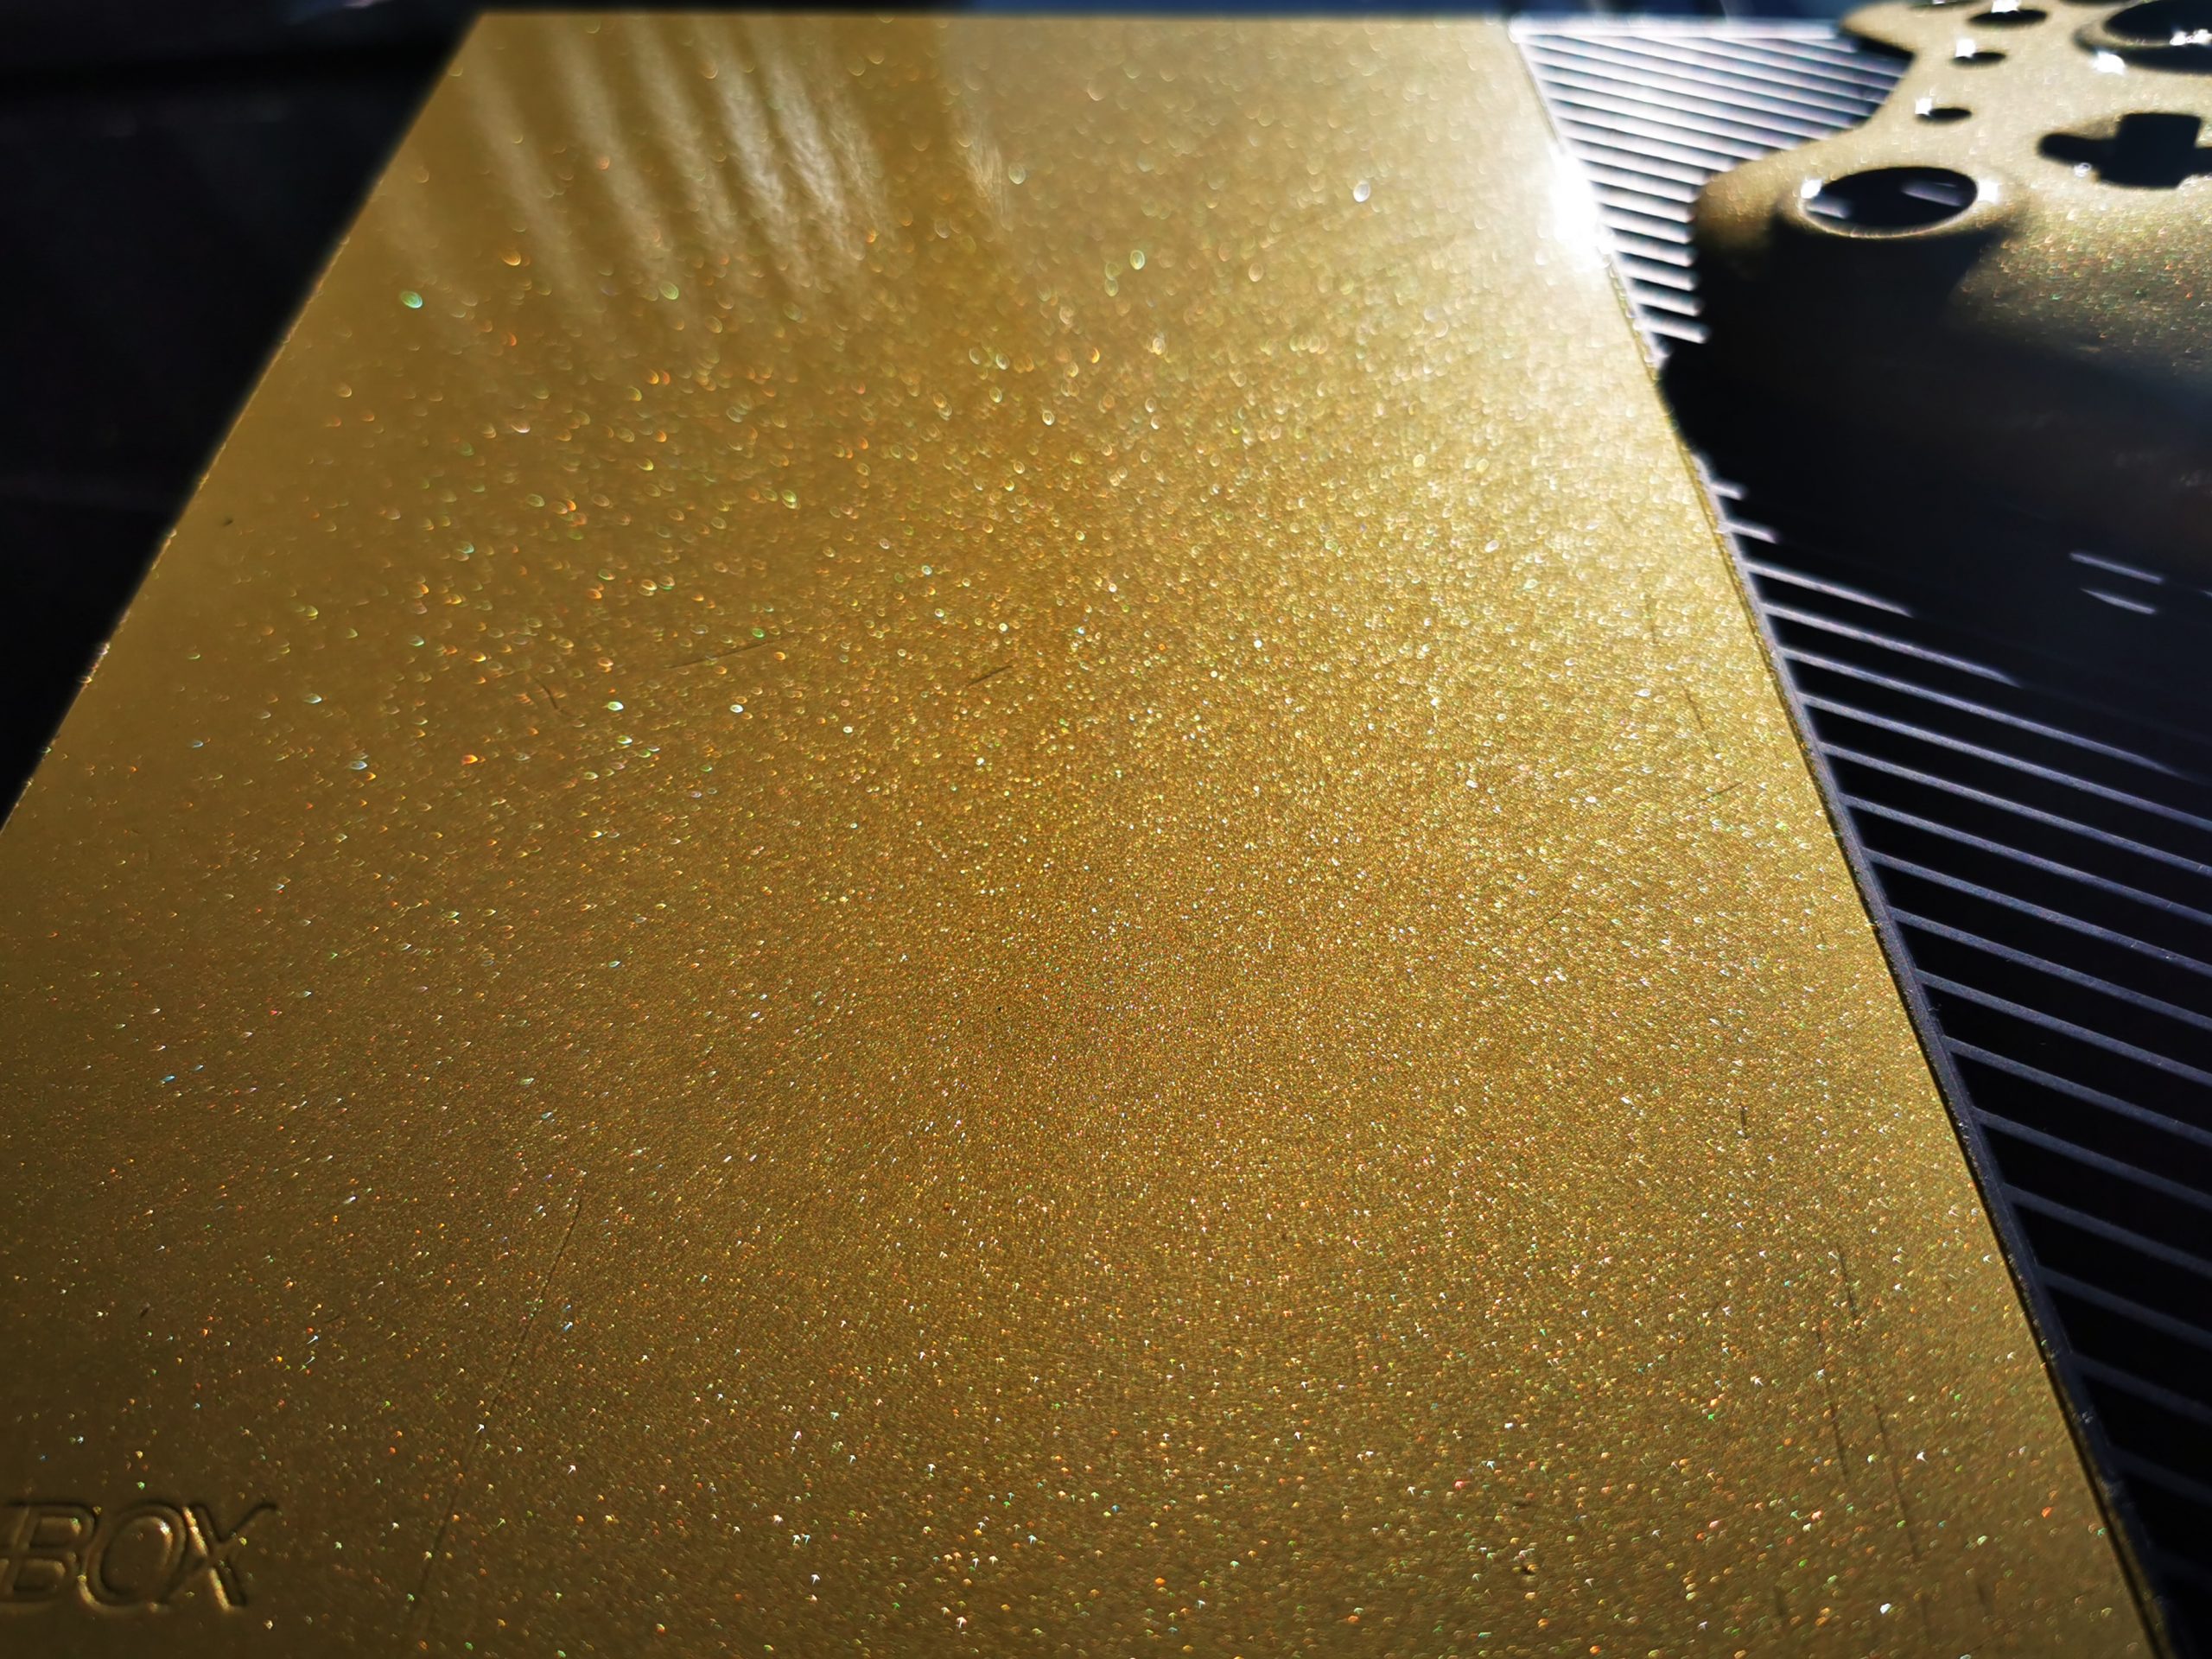
Next, we applied the Gold Pearl Effect Lacquers; again, applying two coats and then leaving to cure.
Step 3: Top Coat
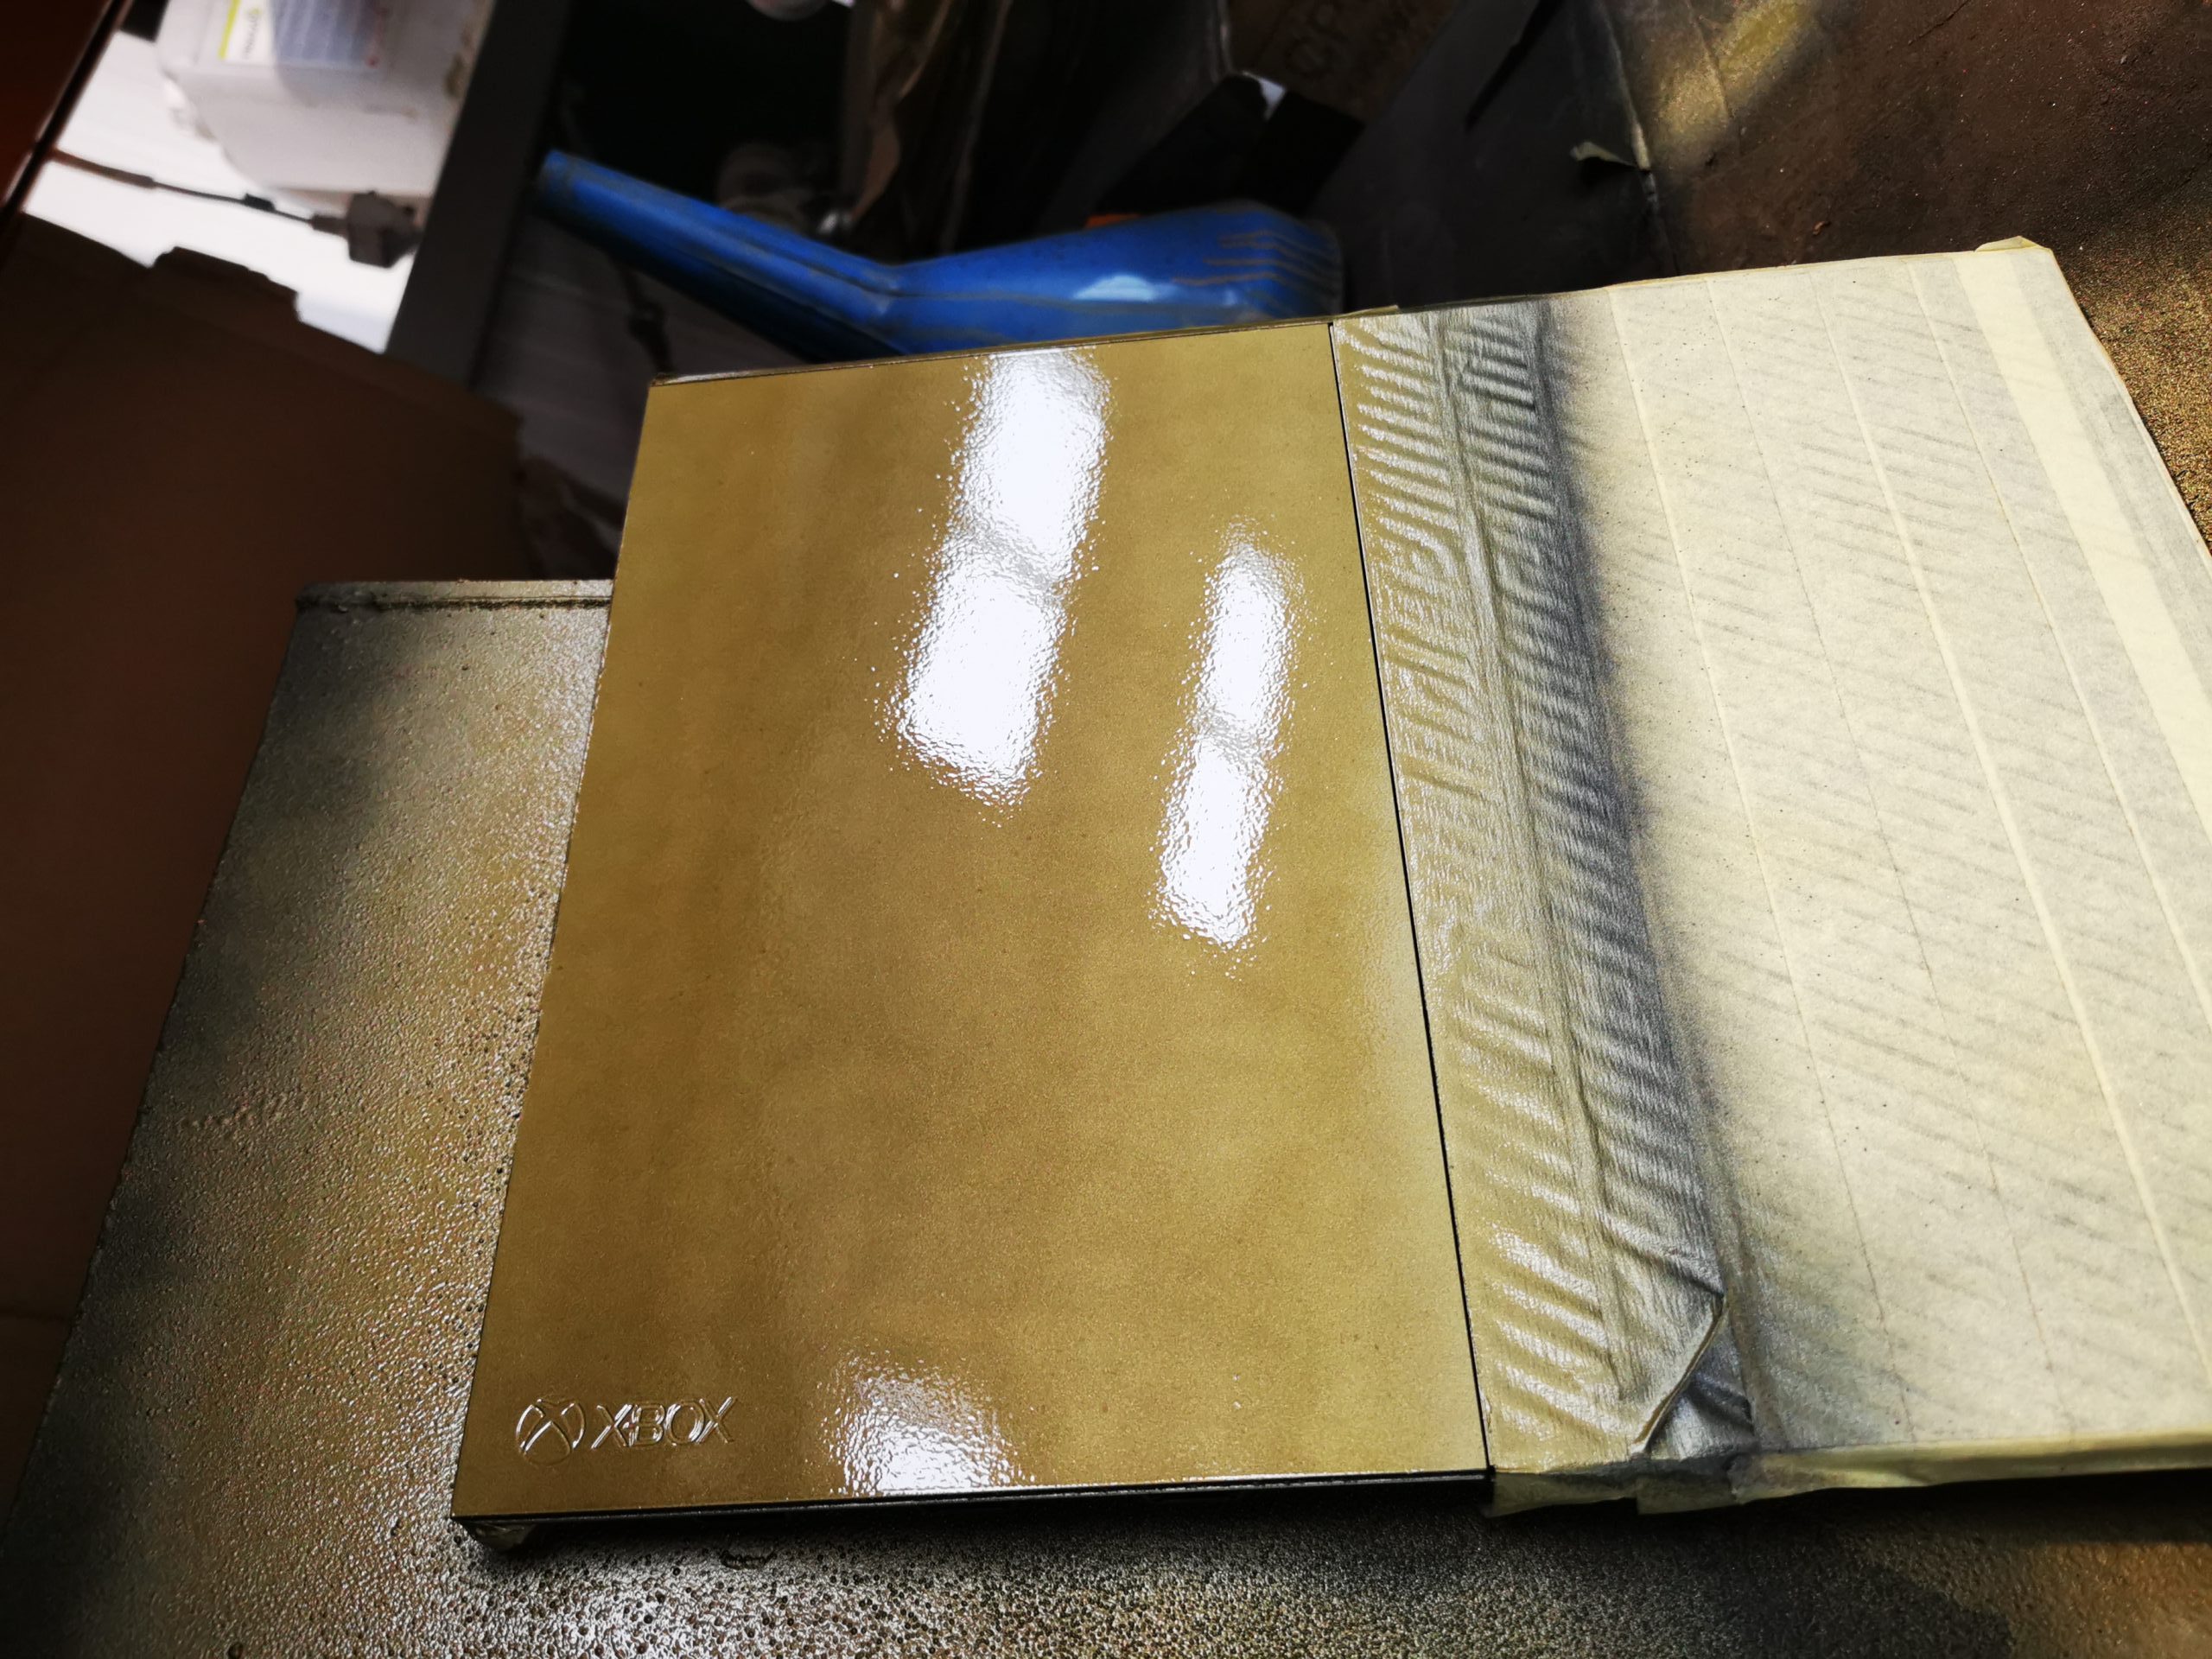
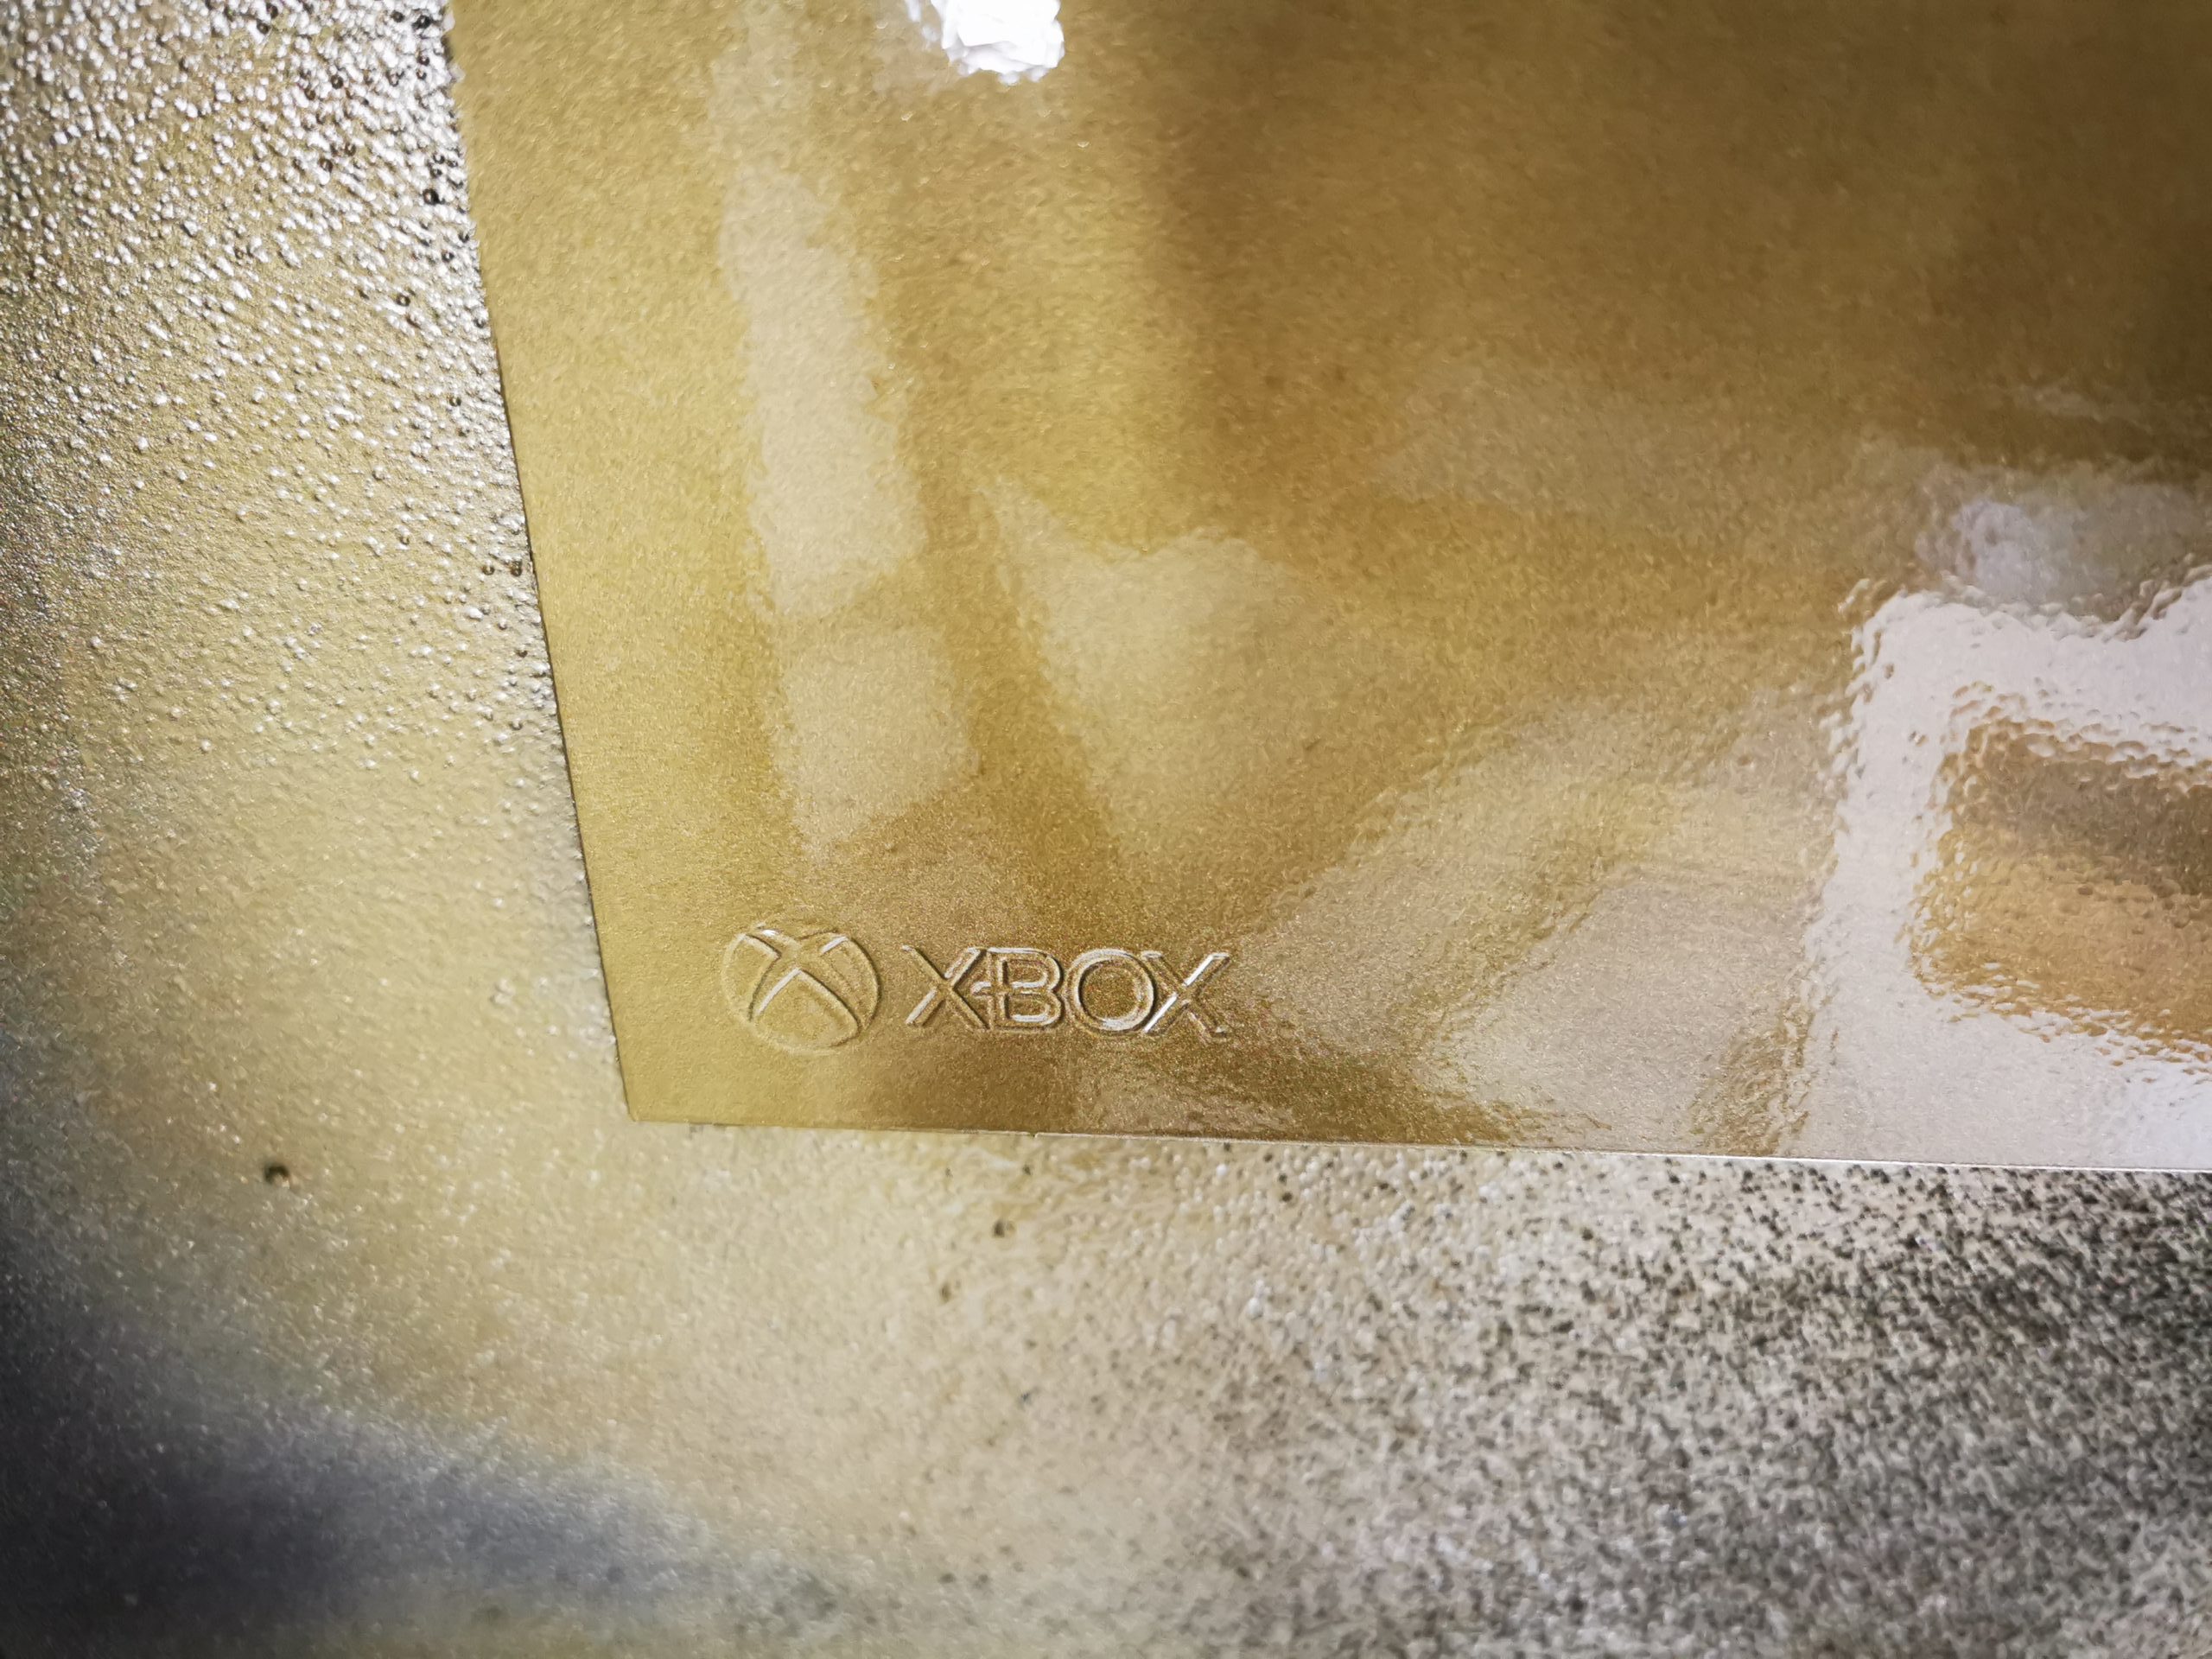
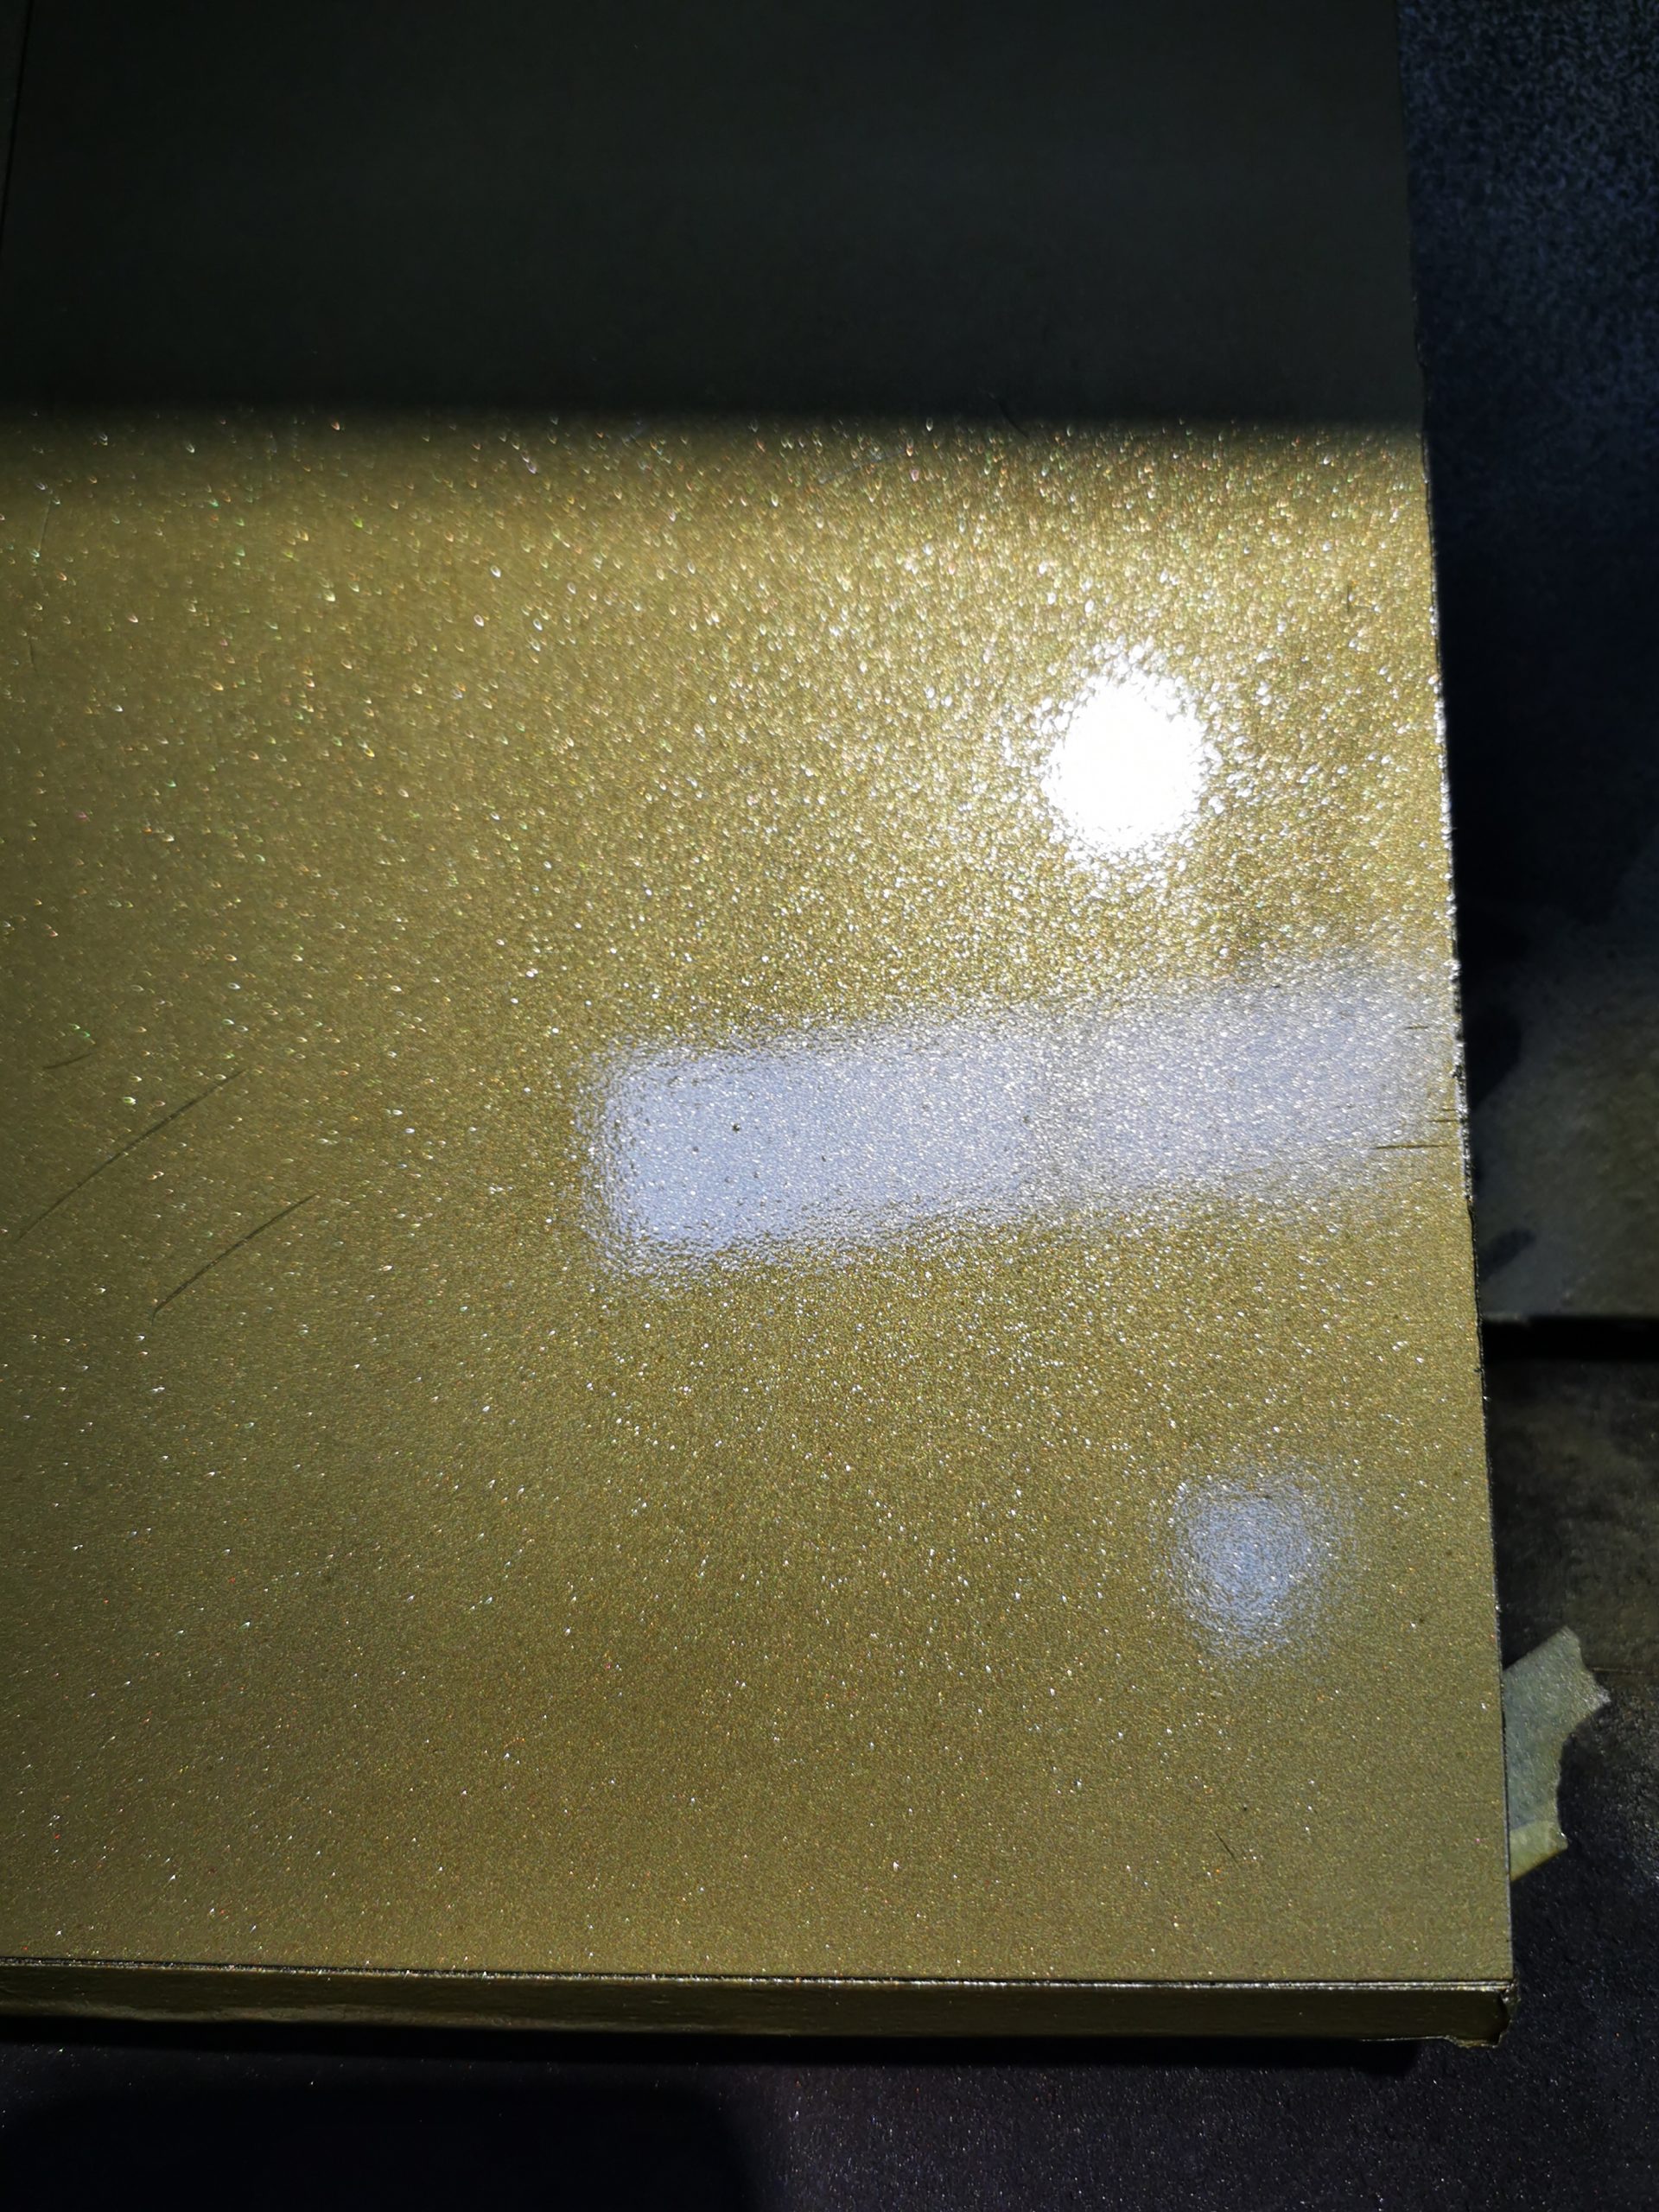
The final coat of lacquer is where things get interesting; this will seal the base coat and effect coat, protecting the finish. We added 3 coats of 2K High Gloss Lacquer, then left to cure and harden overnight.
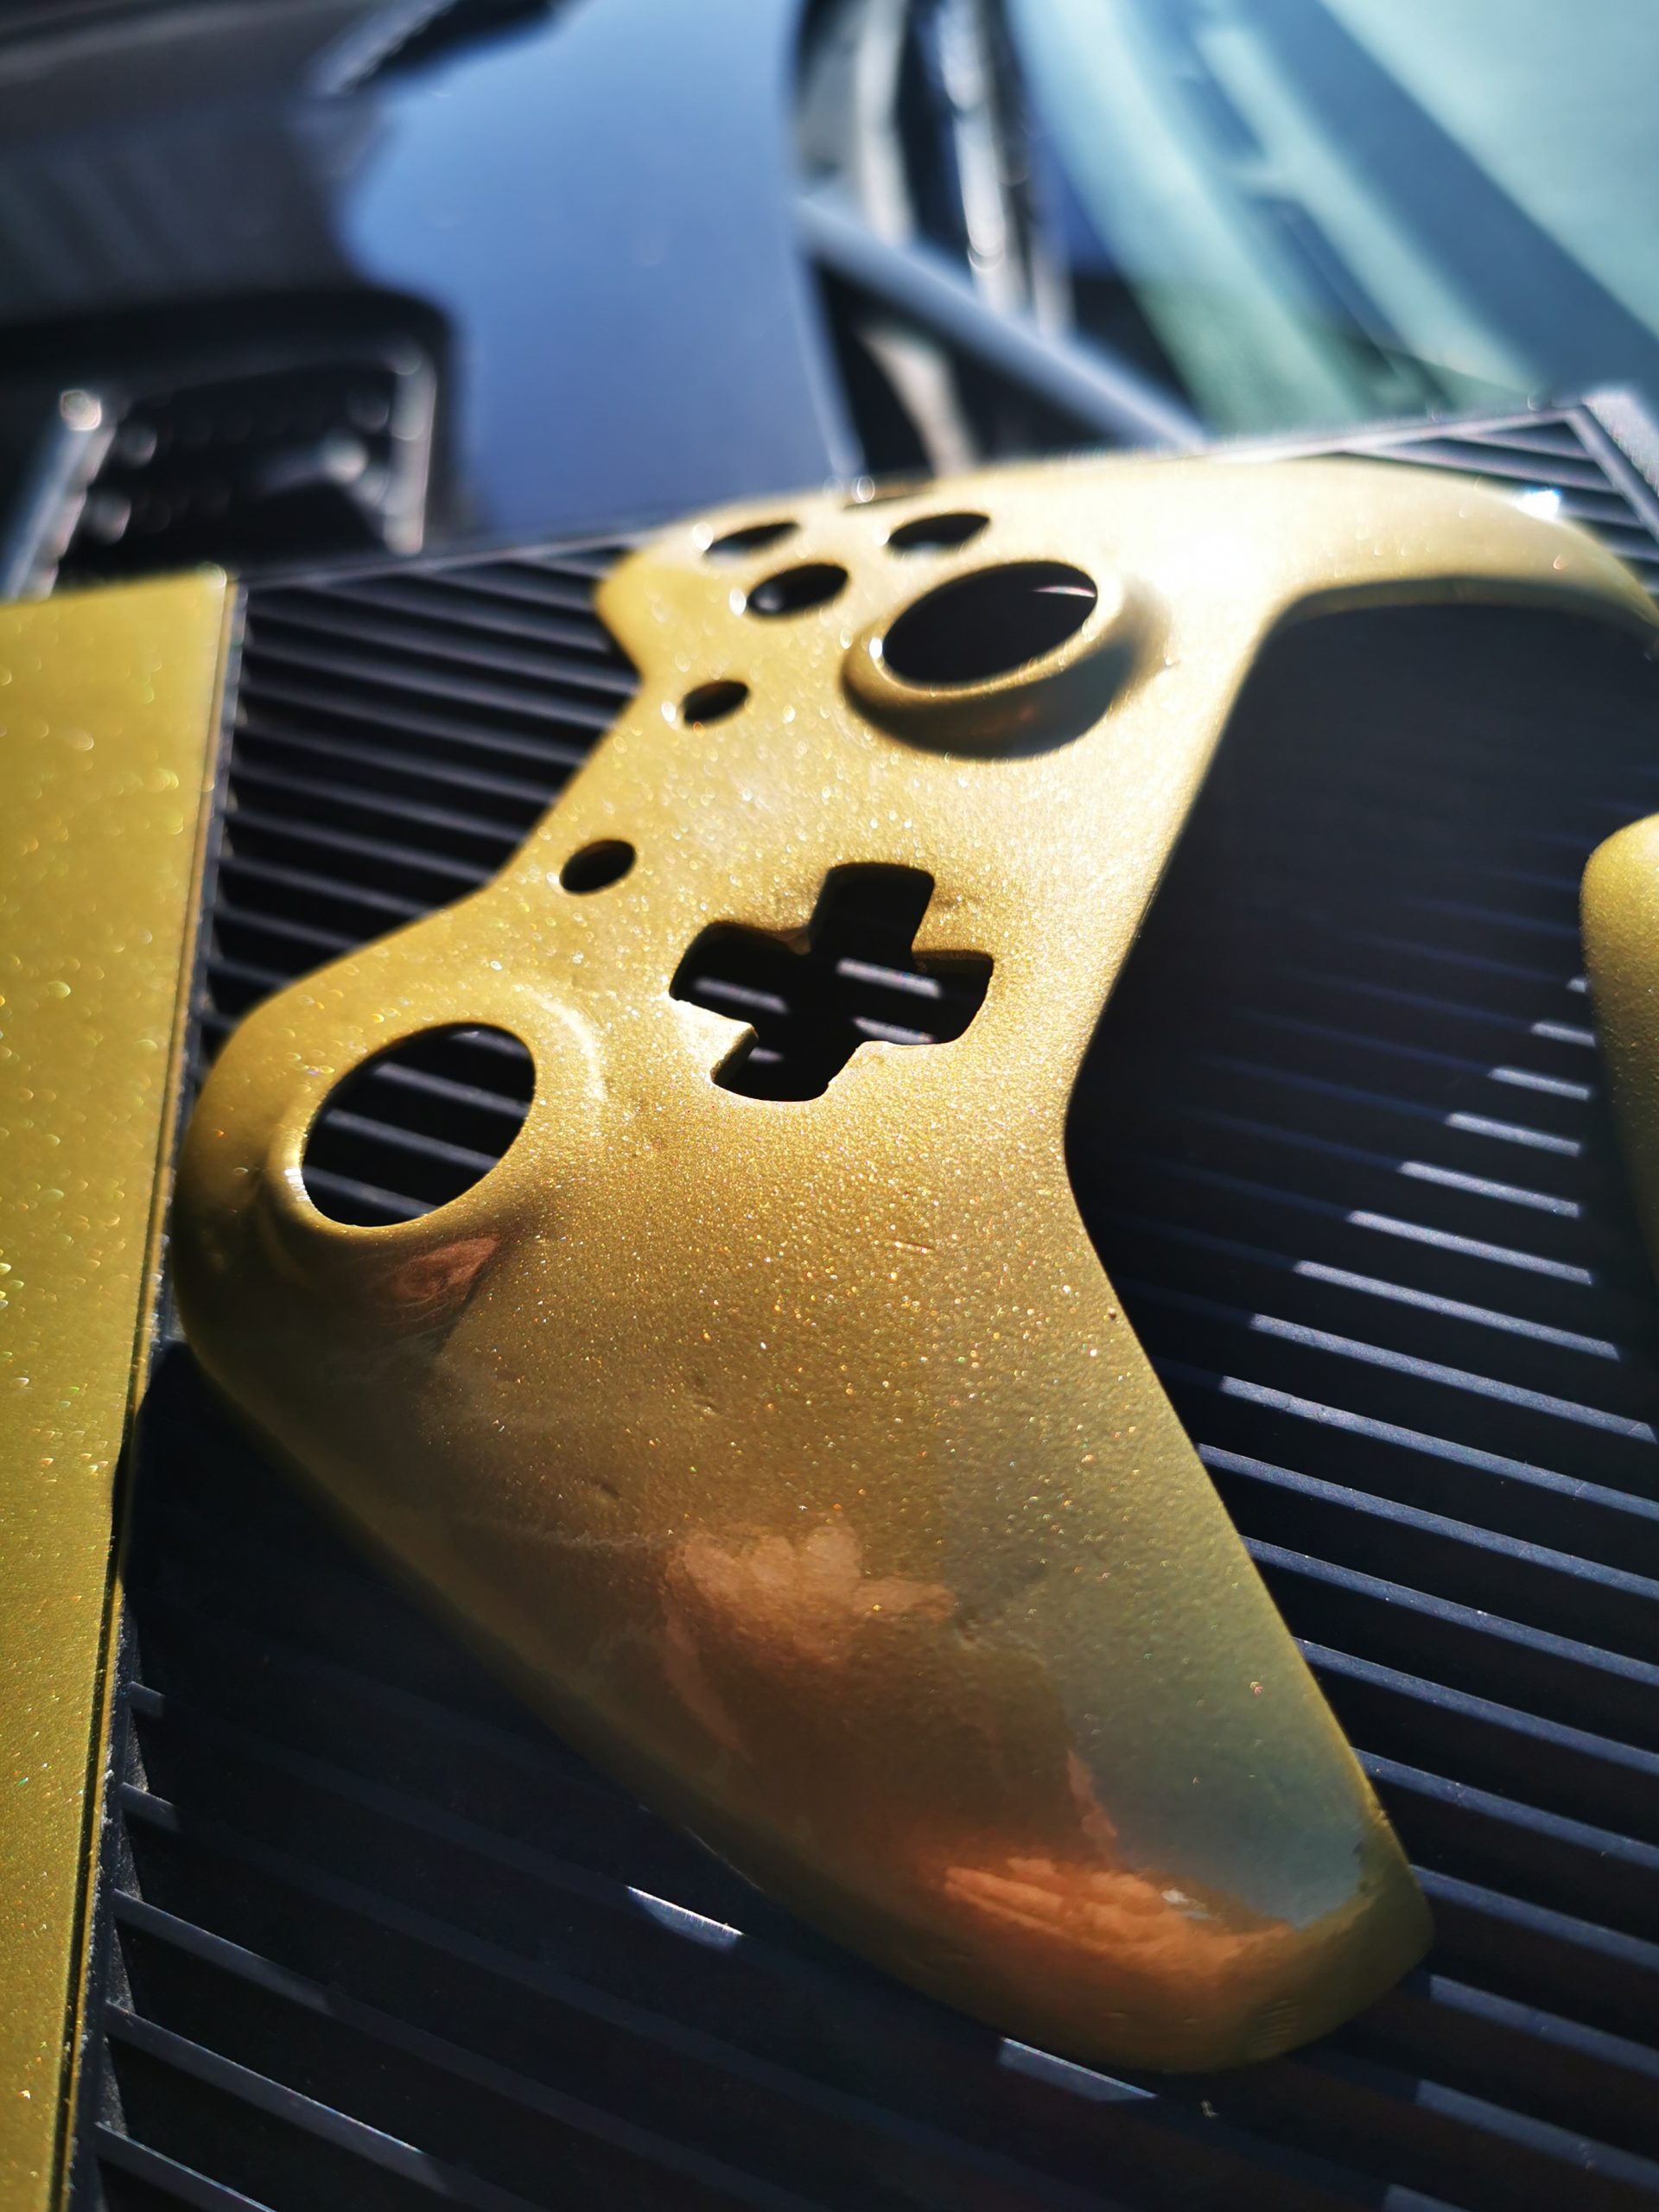
The outcome we were looking to achieve was amazing; the pictures do not do it justice. As the gold reflects the light, it massively enriches the final product. We duplicated the whole process again for the control pads and are really happy with the results, as is our client!