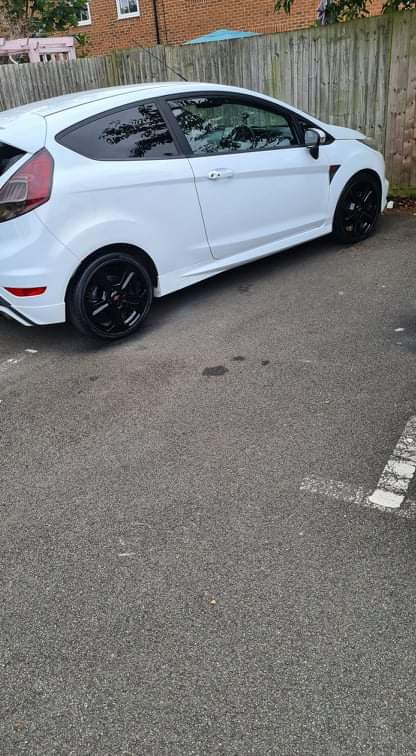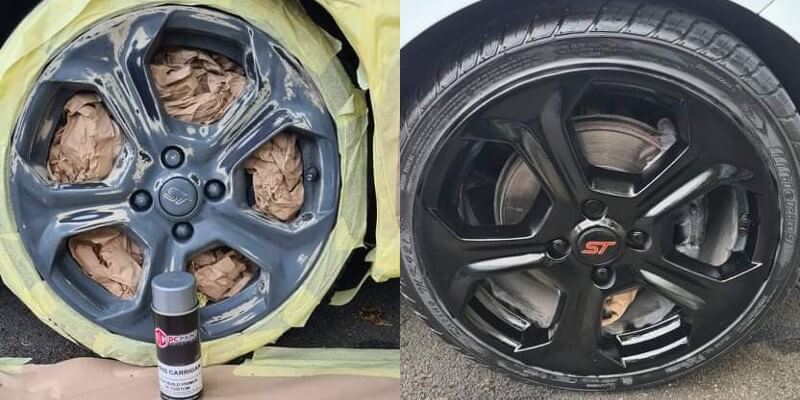
A huge thank you to Chris for sharing his latest project with us – a sleek alloy wheel refurbishment! Chris opted for adding a little more character to his vehicle by adding a glass coat in black paint. This created a super reflective finish, especially in natural sunlight, and makes the wheels look amazing!
Tools List:
- 120 Grit & 320 Grit Sandpaper
- RAL 9005 Black Acrylic Gloss Paint
- 2K Gloss Lacquer
How To Refurbish Alloy Wheels:
Here is a step by step guide on how Chris refurbished his alloy wheels and how you can do the same!
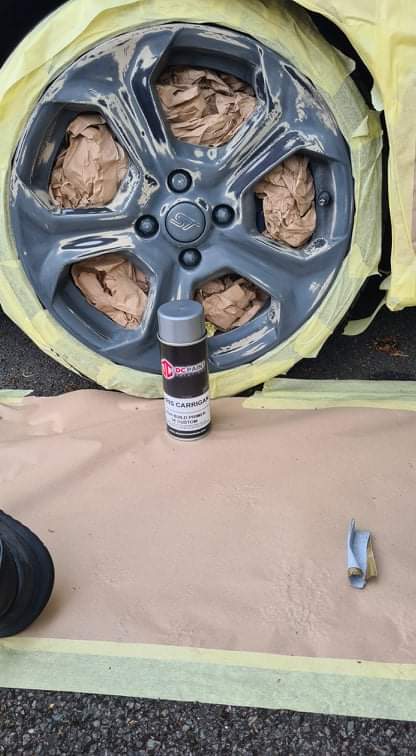
Prep:
To begin the project, Chris sanded down any imperfections, scratches and minor damage on the wheels by using both 120 grit and 320 grit sandpaper. He then thoroughly degreased the wheels before leaving them to dry fully.
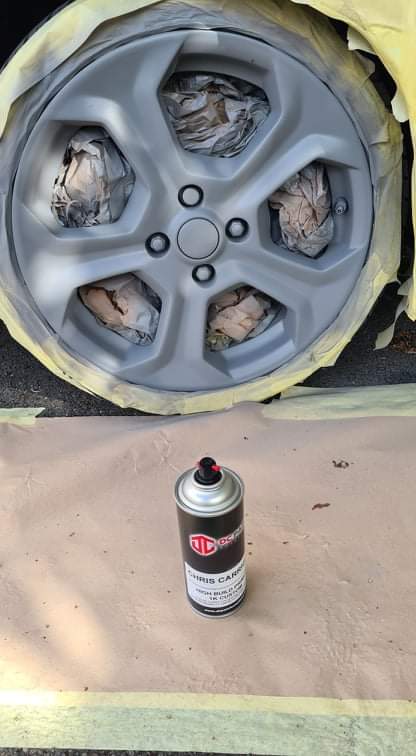
Basecoat:
Once the surface had dried, Chris applied a special RAL 9005 black acrylic gloss paint, complete with a glass coat effect. He started by adding just a fine coat to the wheels and then left this to cure for 40 minutes. The final coat was then added, and Chris allowed an hour for this to cure.
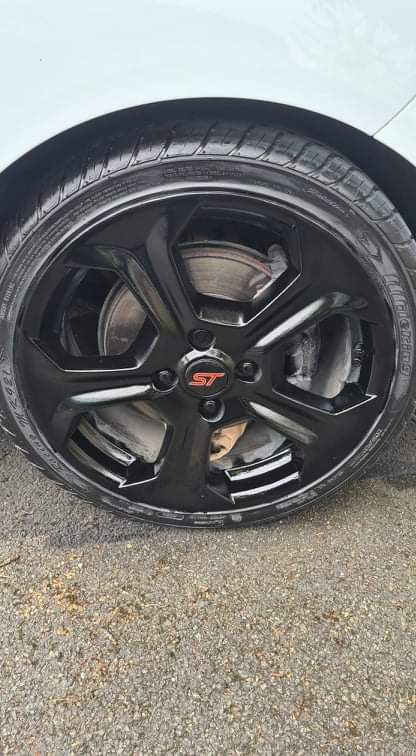
Top Coat:
To complete his project, Chris applied a 2K gloss lacquer, which is designed to seal and protect the alloy wheel paint. This will allow the new, fully refurbished alloy to withstand adverse weather conditions and harsher roads while remaining pristine.
The Results:
Due to lack of sunlight, the photos do not show just how shiny the glass coat is; however, the results look incredibly! Thank you again for the pictures, Chris and well done on such a fantastic transformation.