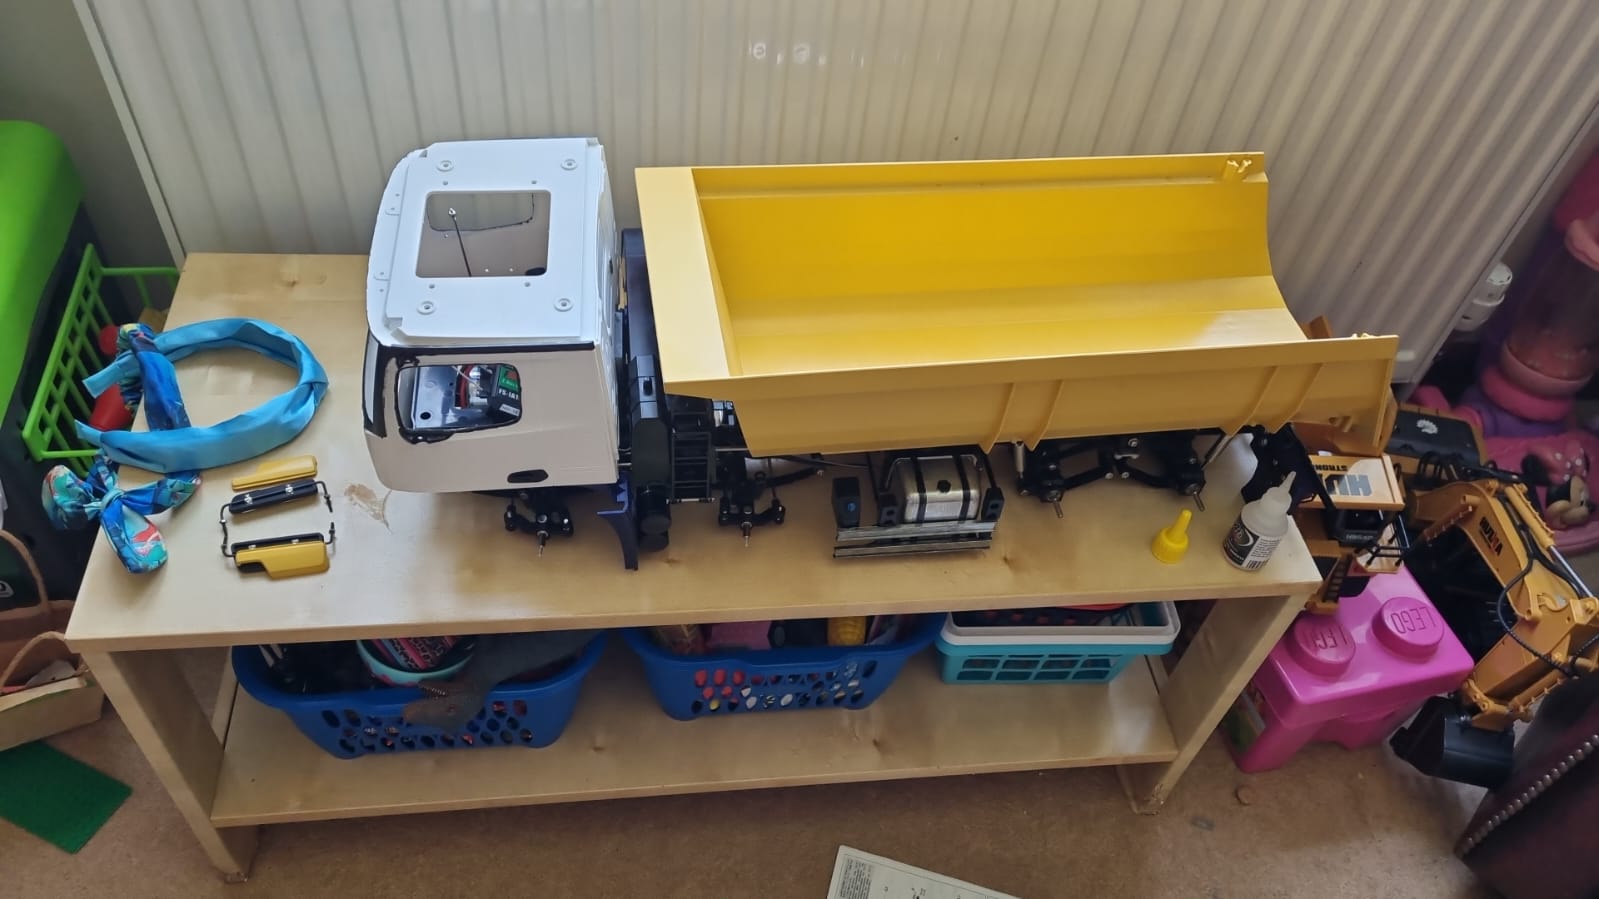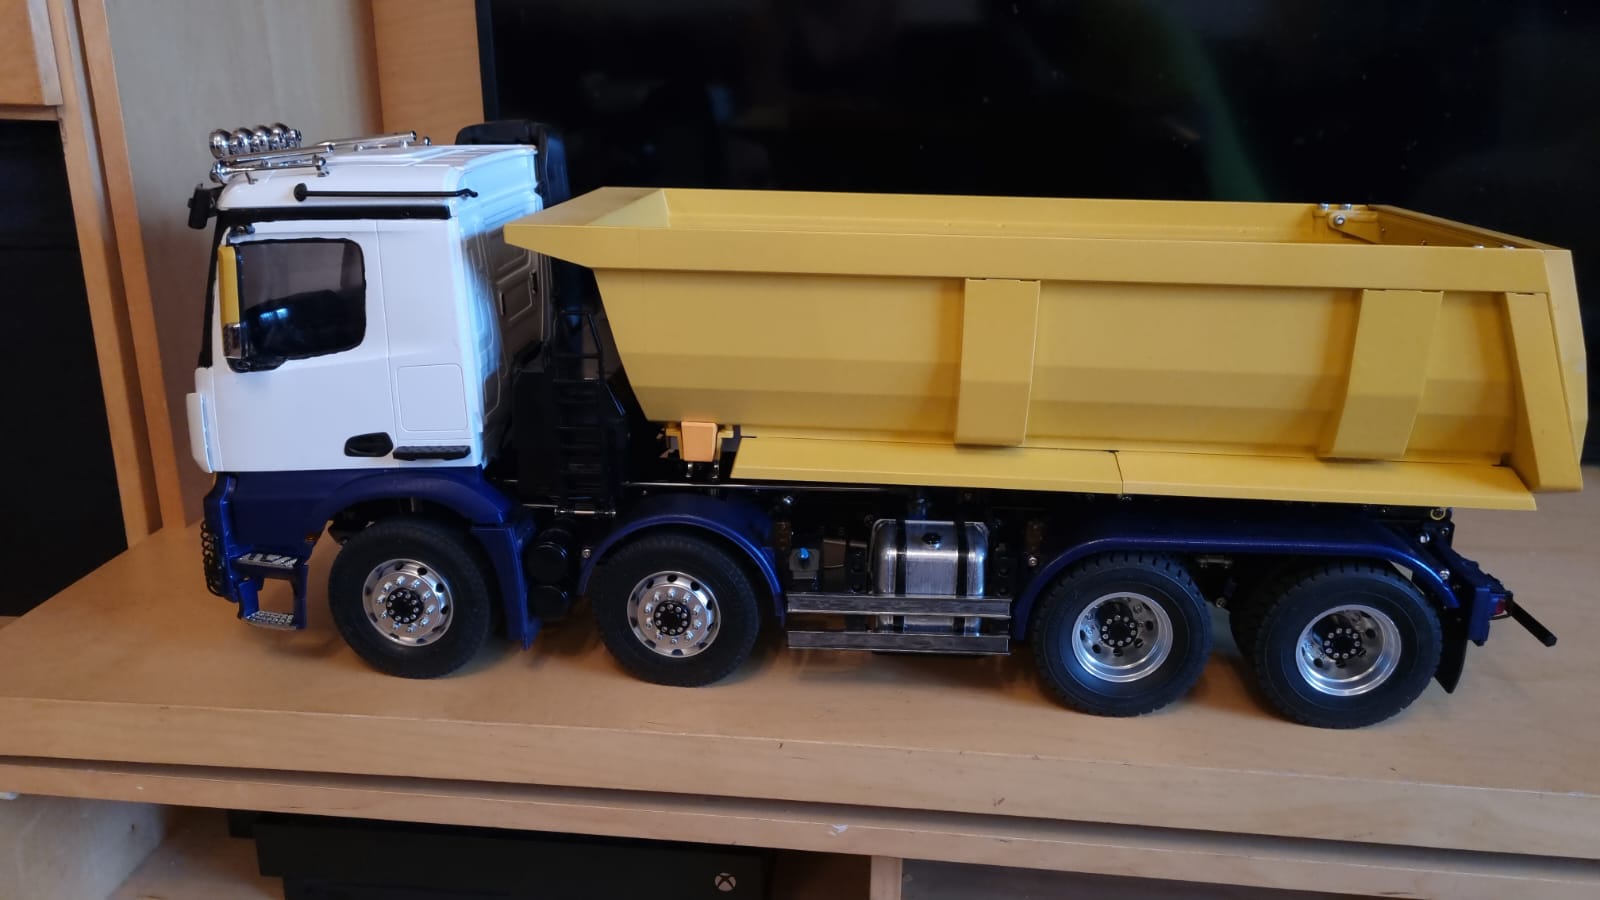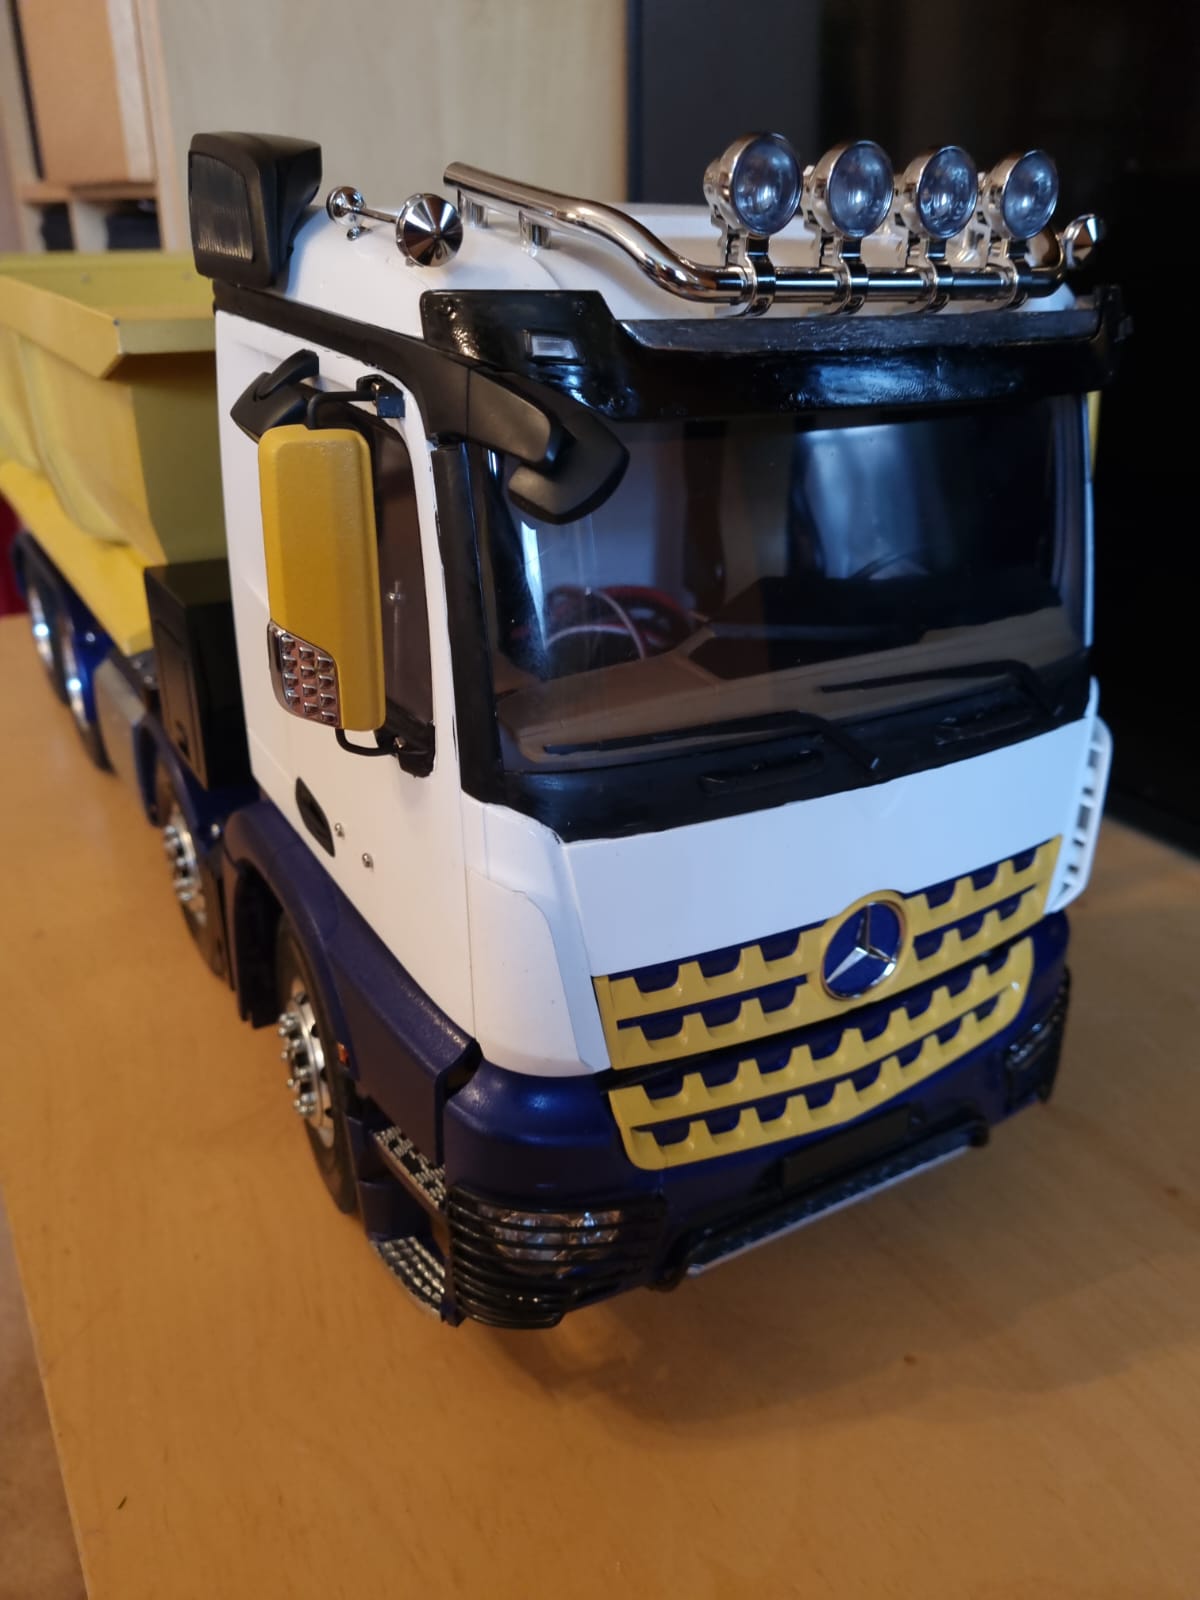
This project proved to be quite difficult because of the size, but it looked amazing once finished – it’s a great project for you to try from home!
Tool List:
- Multi Grit Sandpaper 80/120/320
- High Build Primer
- 1K Automotive Paint
- 1K Gloss Lacquer
Prep:
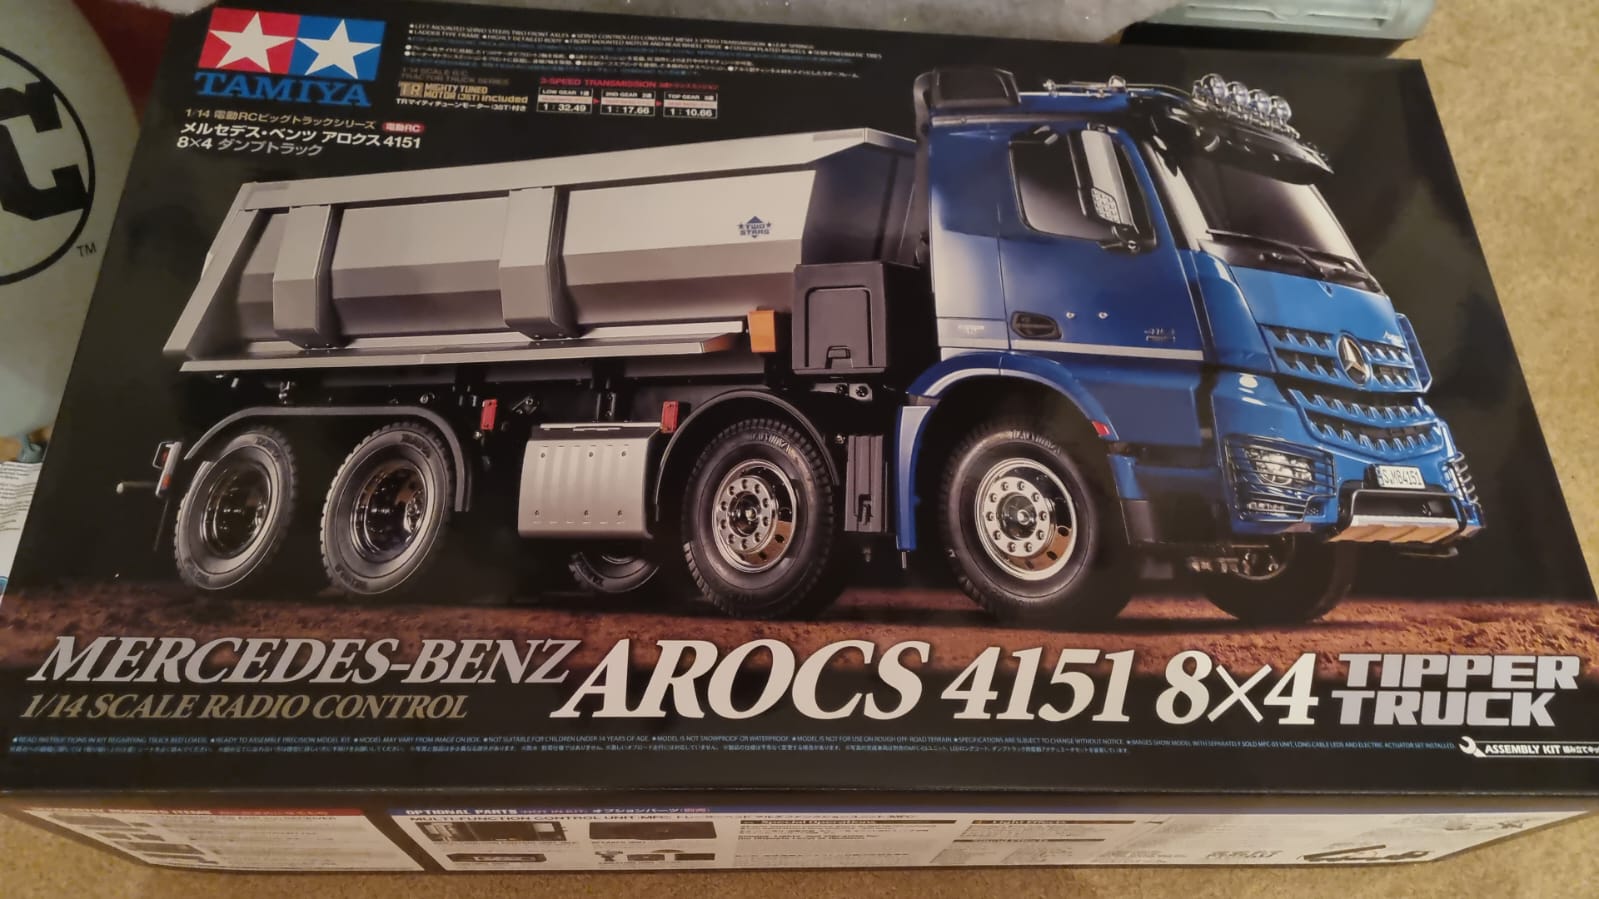
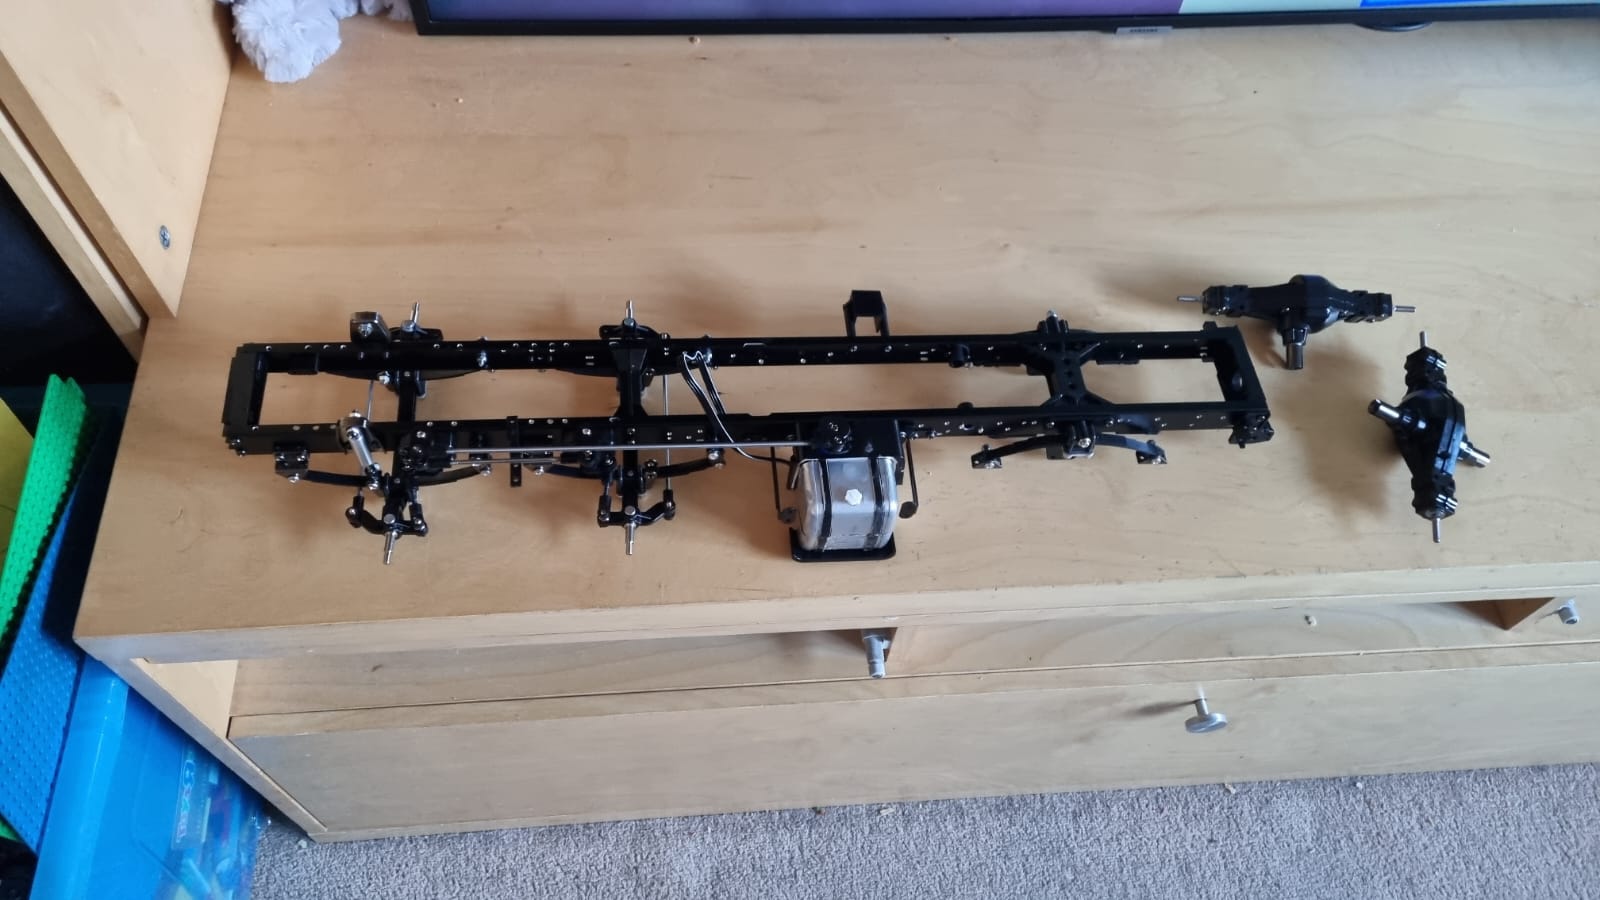
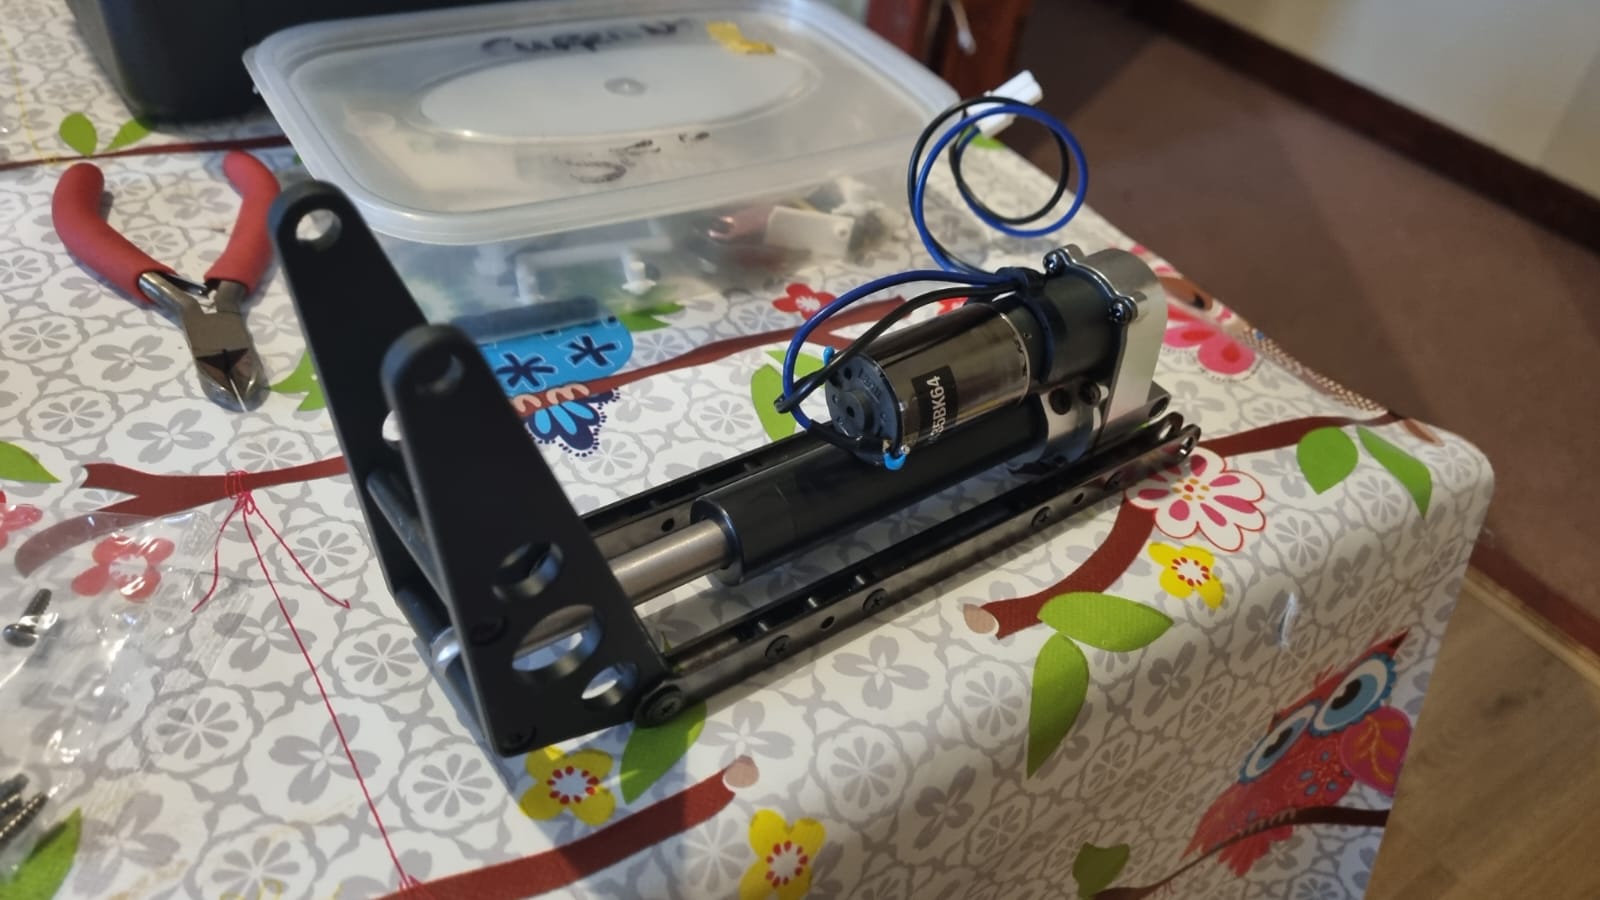
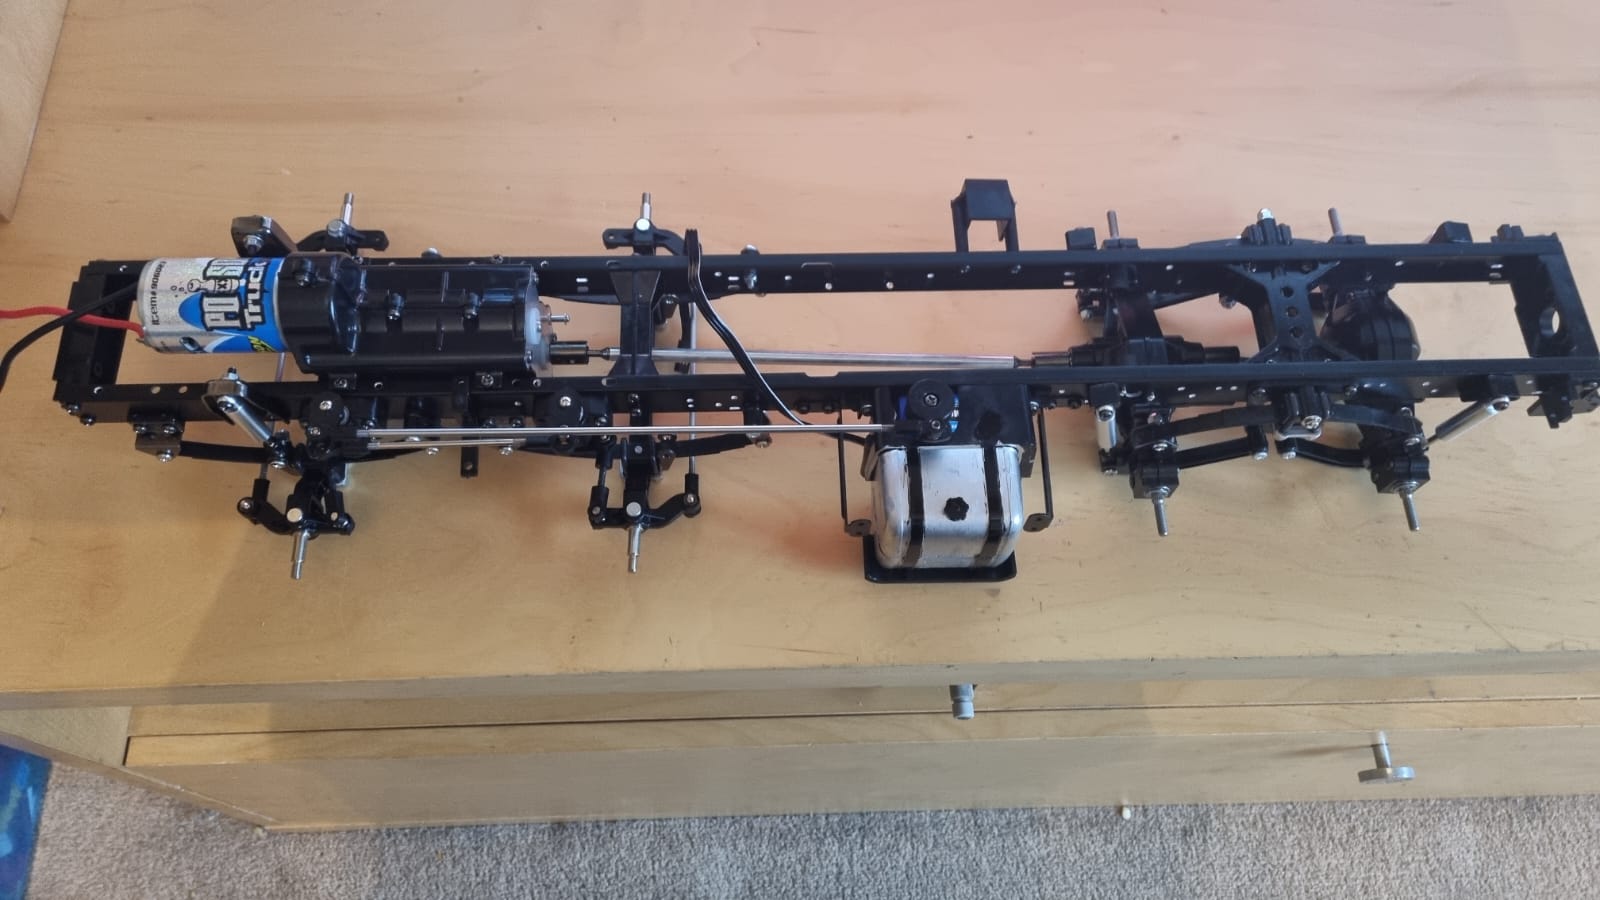
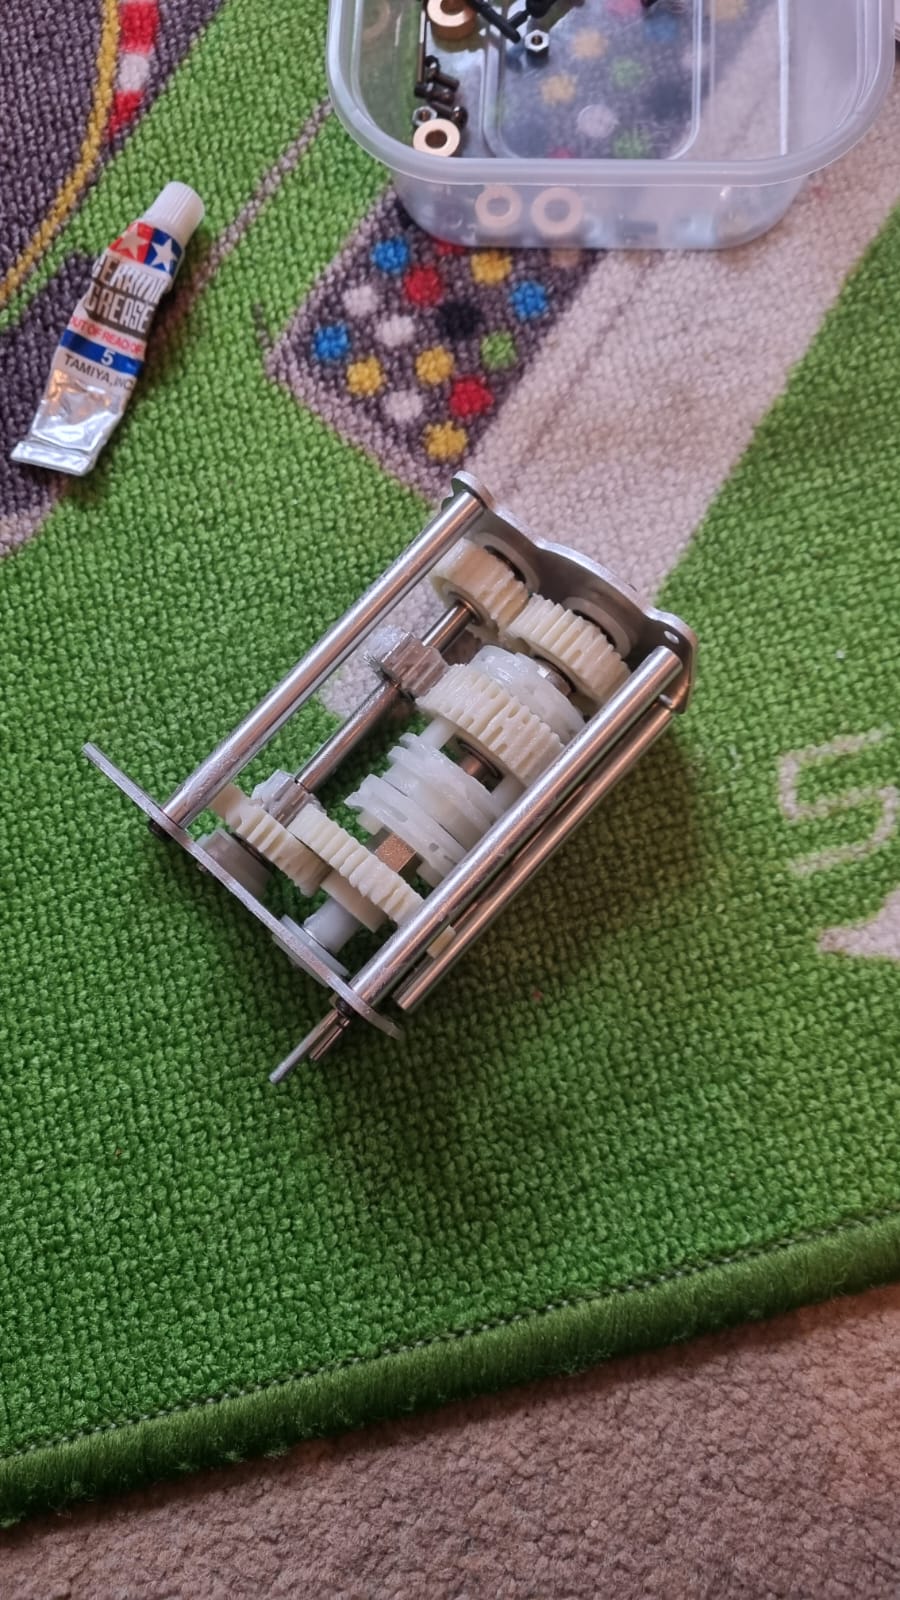
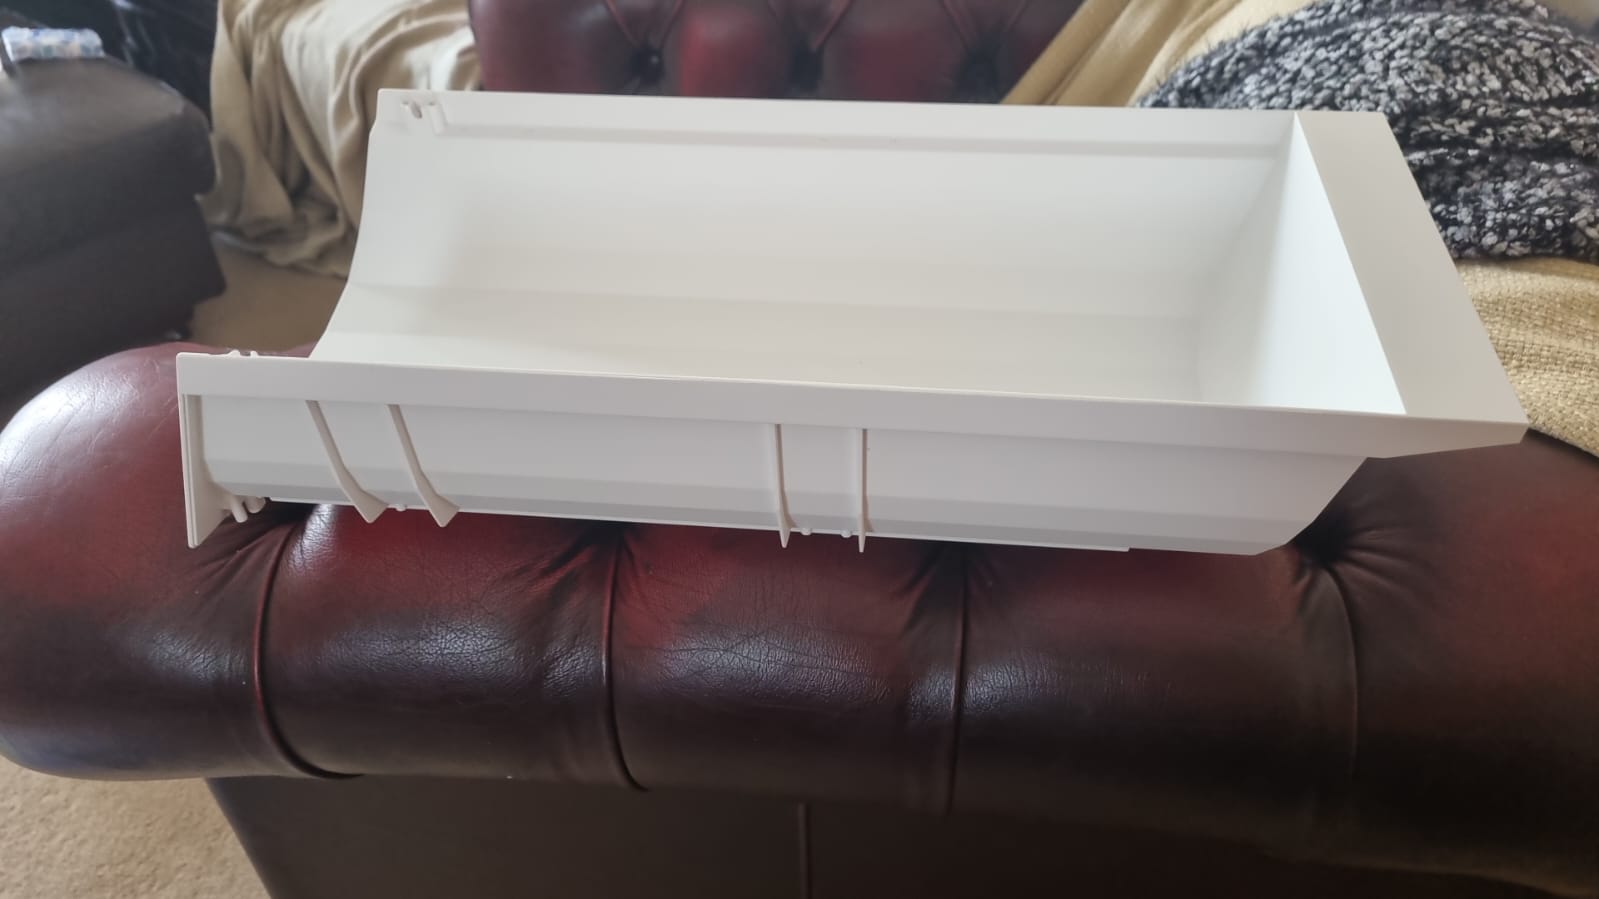
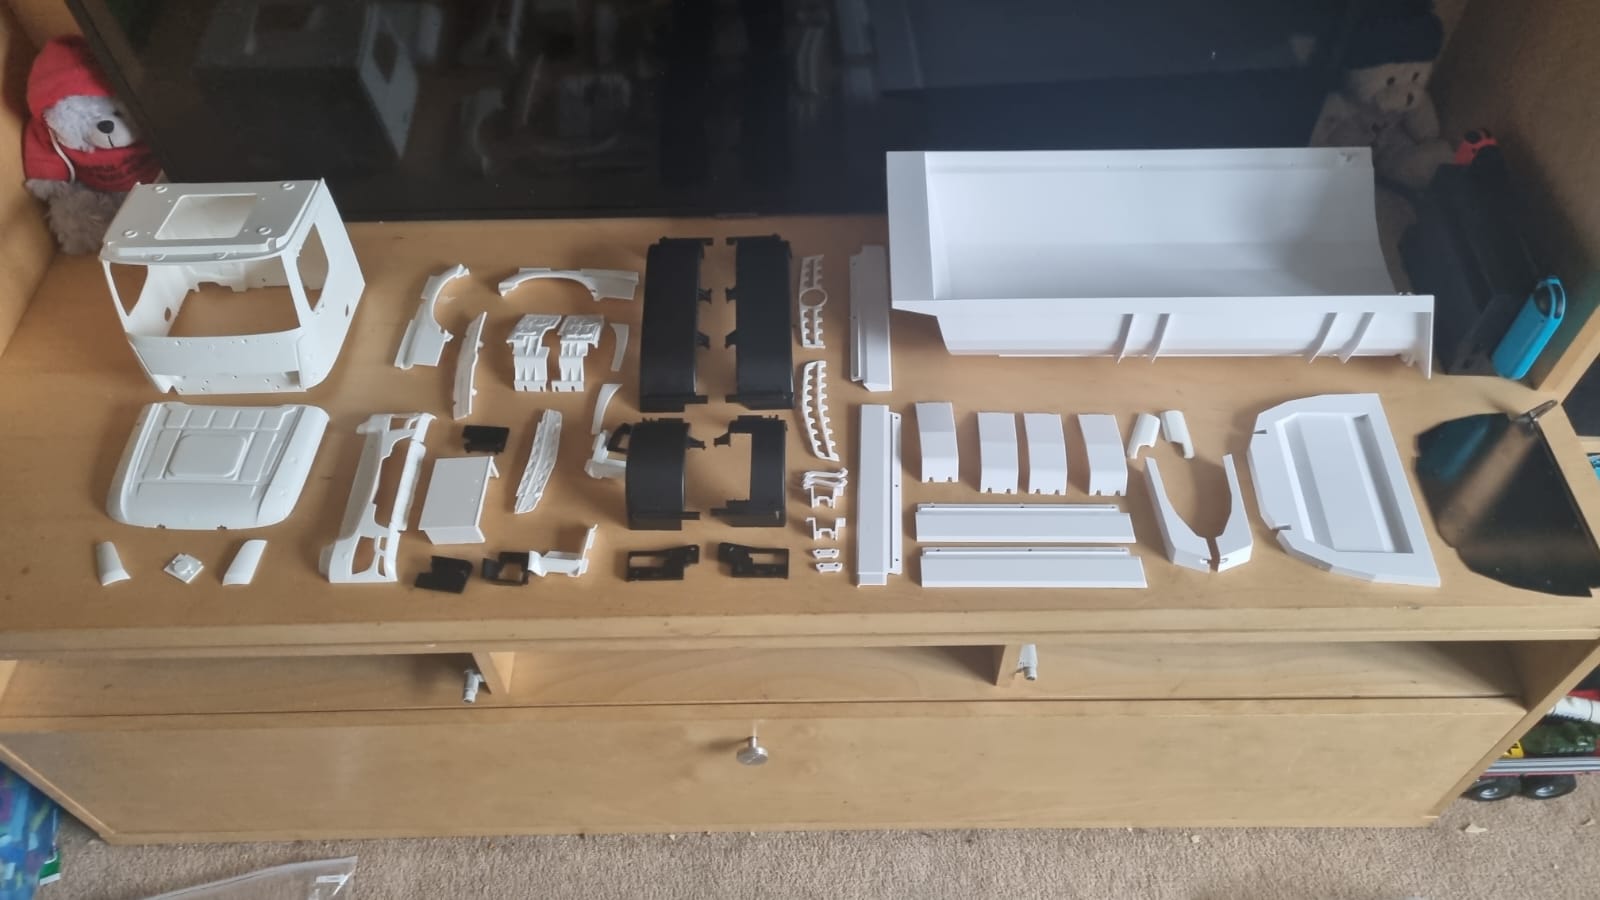
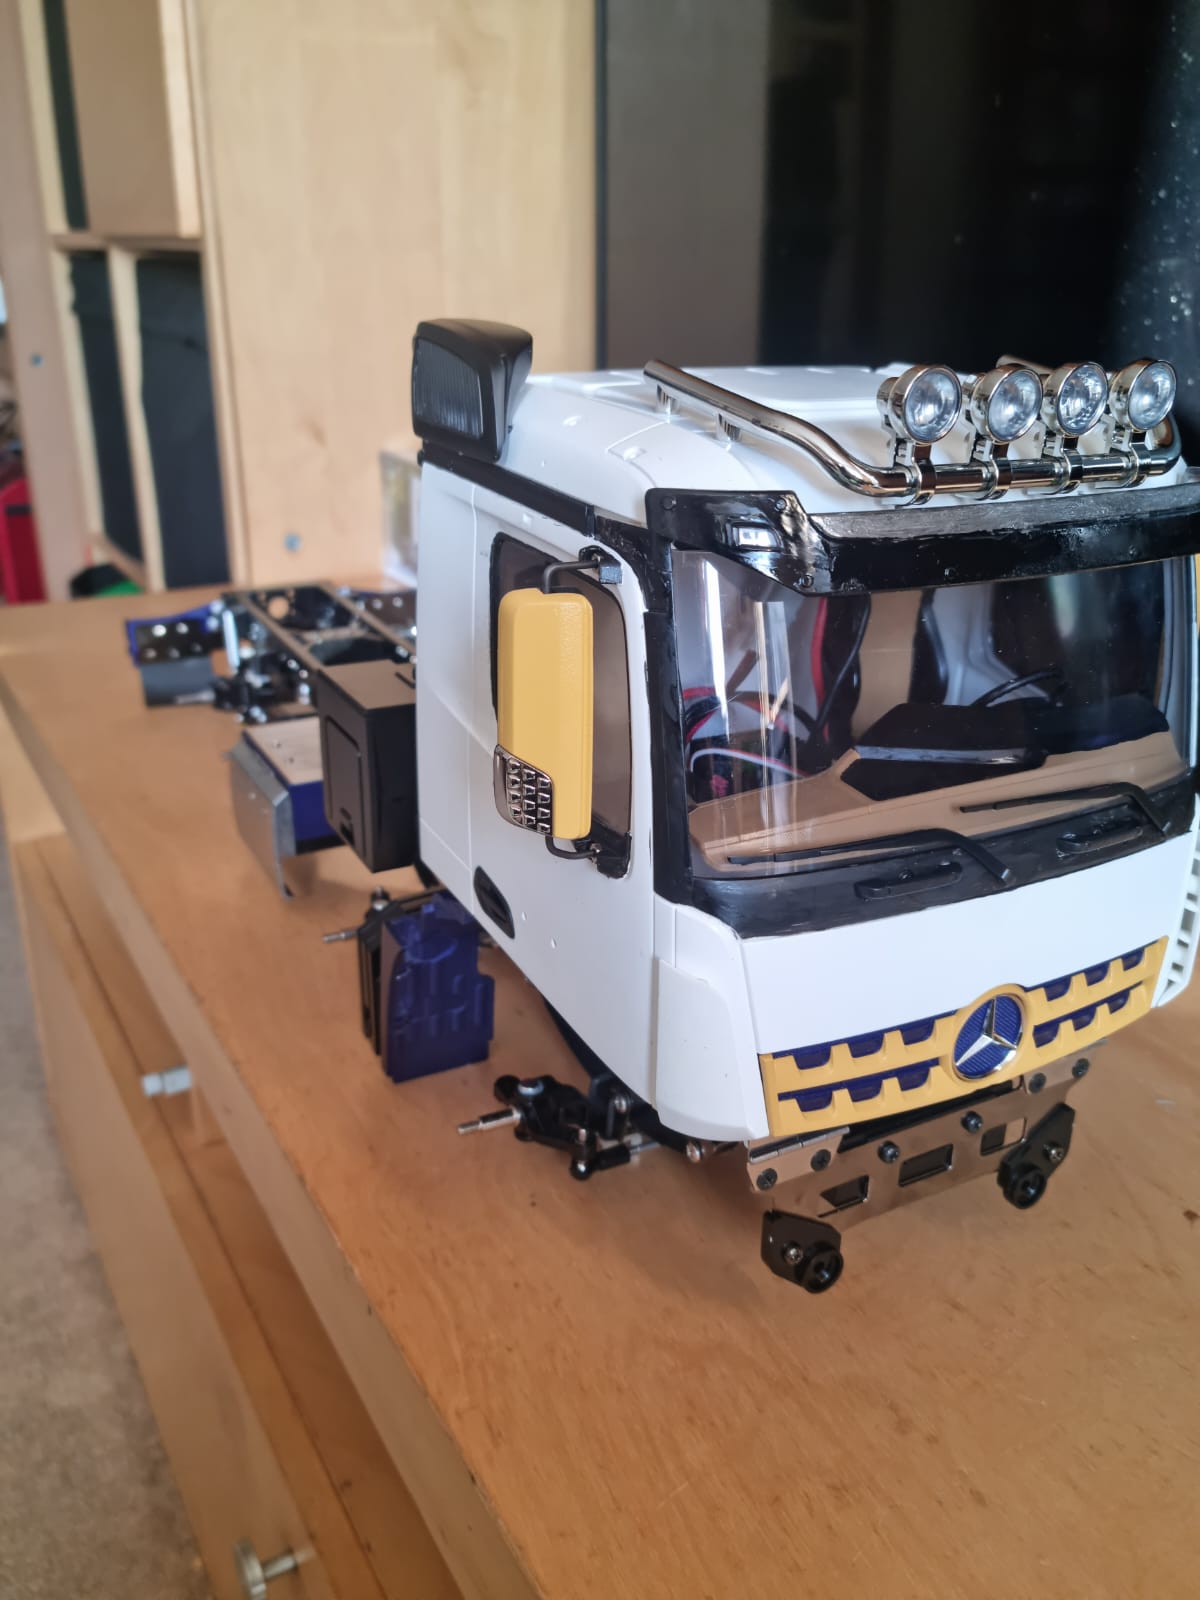
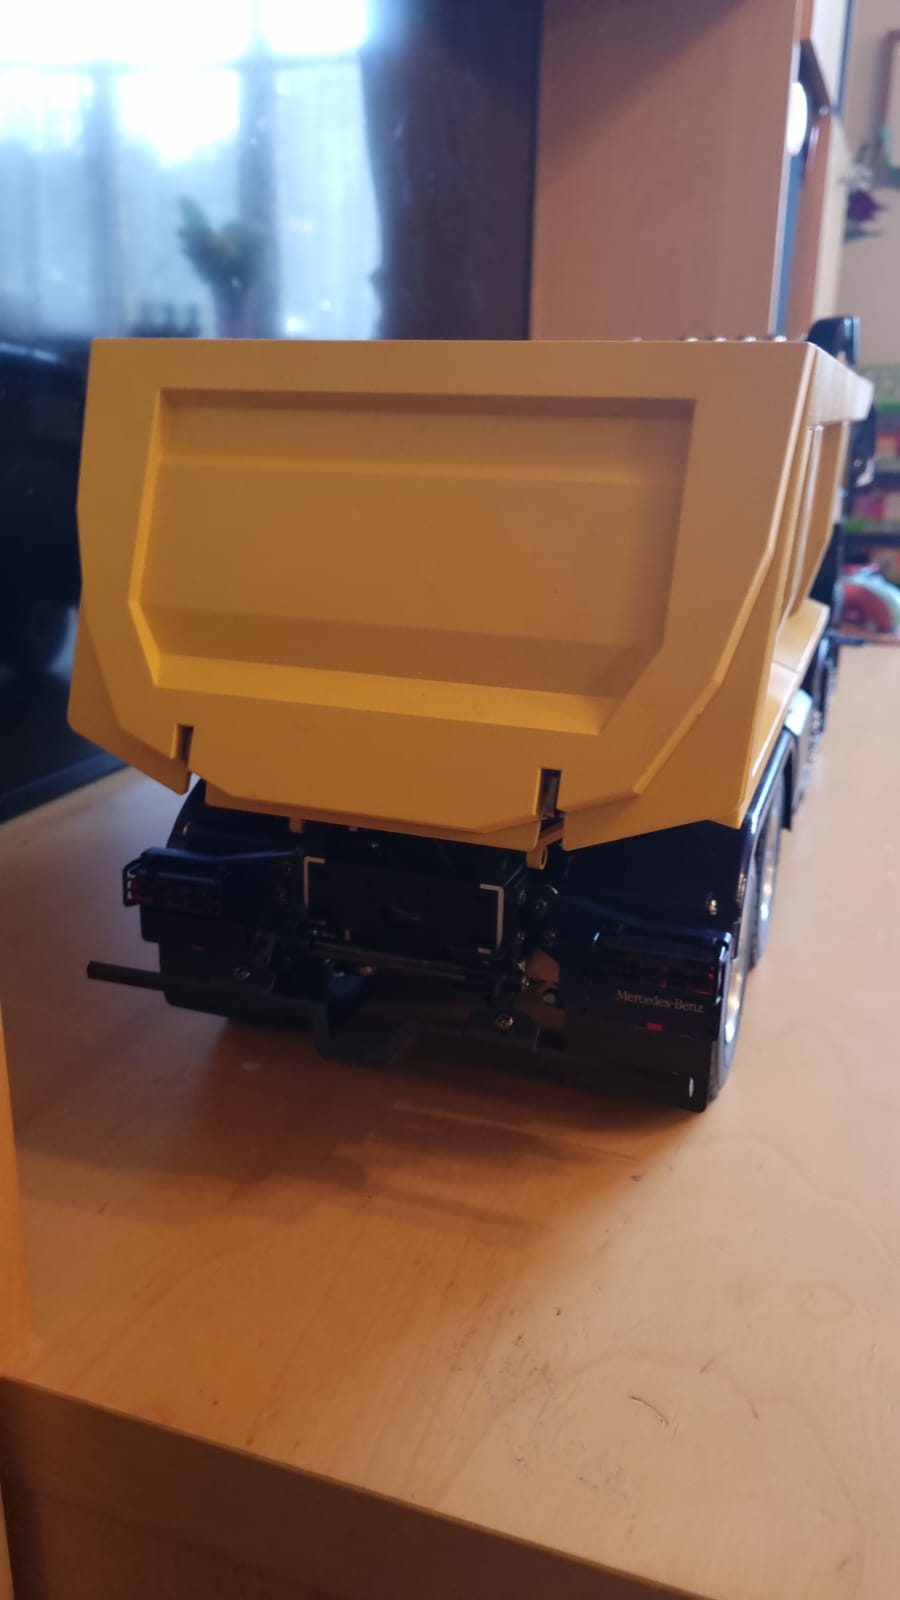
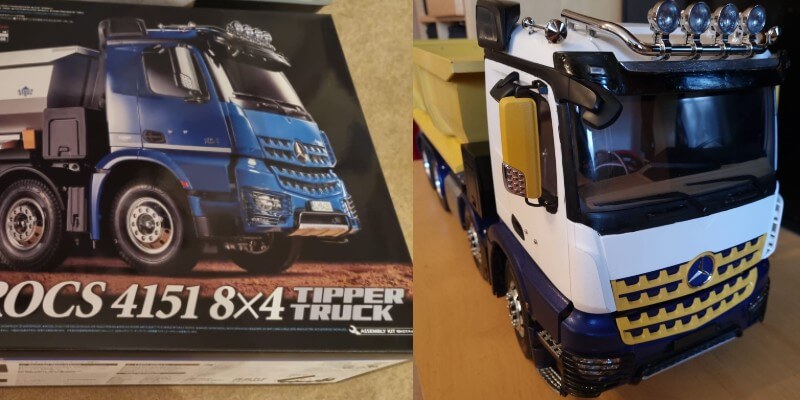
Our client, Dwayne, brought us his first truck project, which started with our team building the model replica truck, adding frames, full electrics and even sound effects.
As we complete many model trucks, we know that the more comprehensive the model truck projects are, the more functions are added. This can range from working gears and hand brakes etc, with all functions being completely remote-controlled for a fully functioning and impressive model truck!
Method
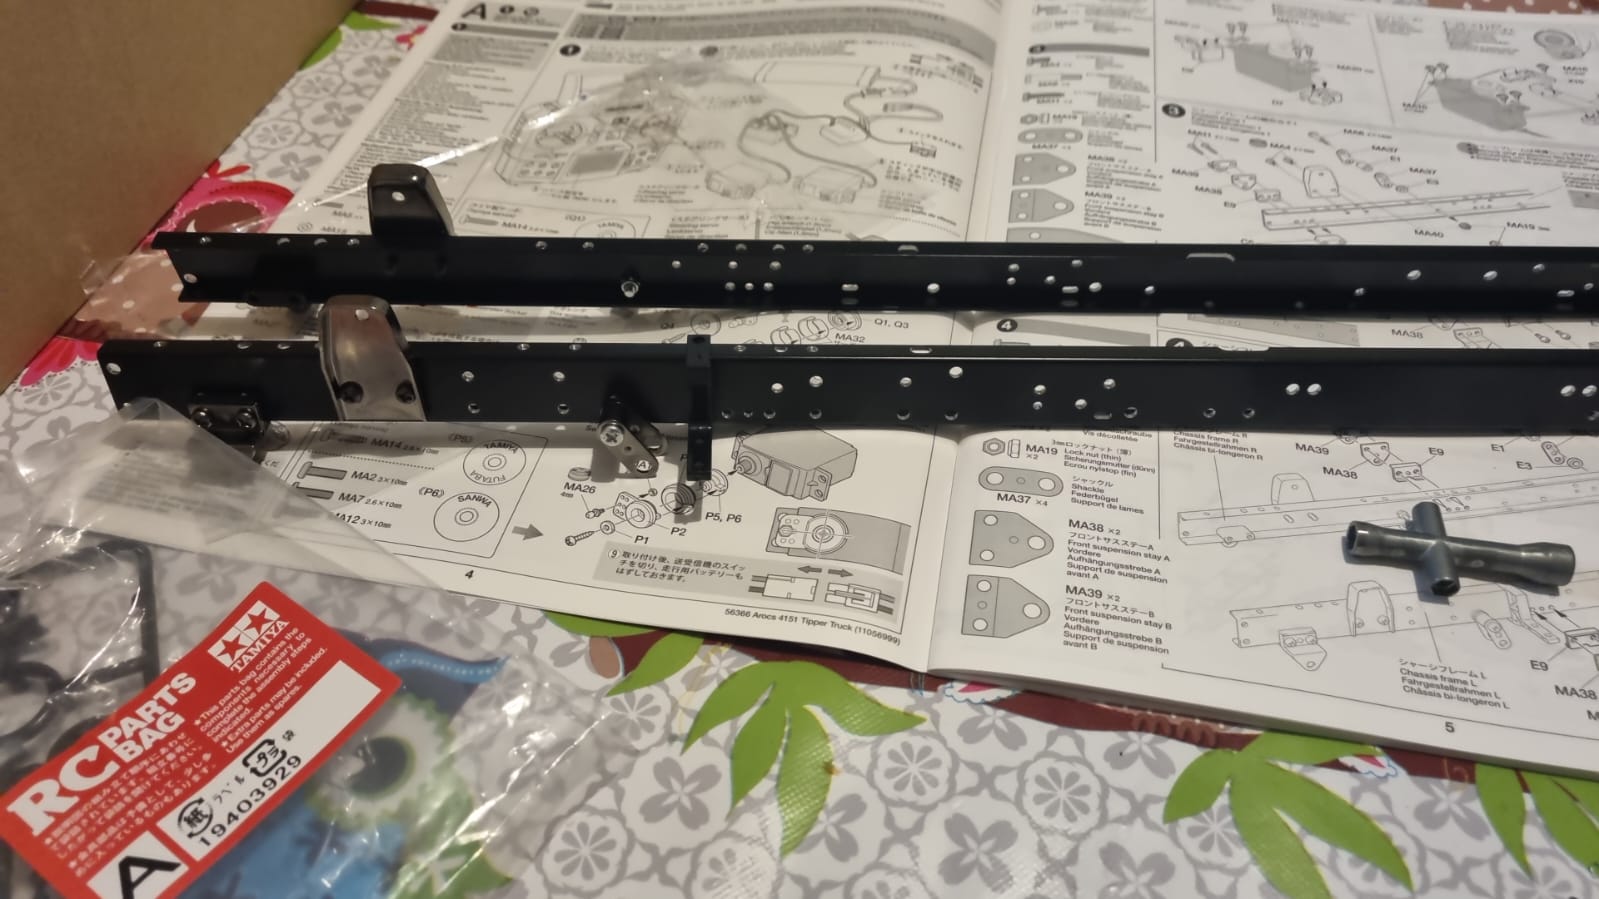
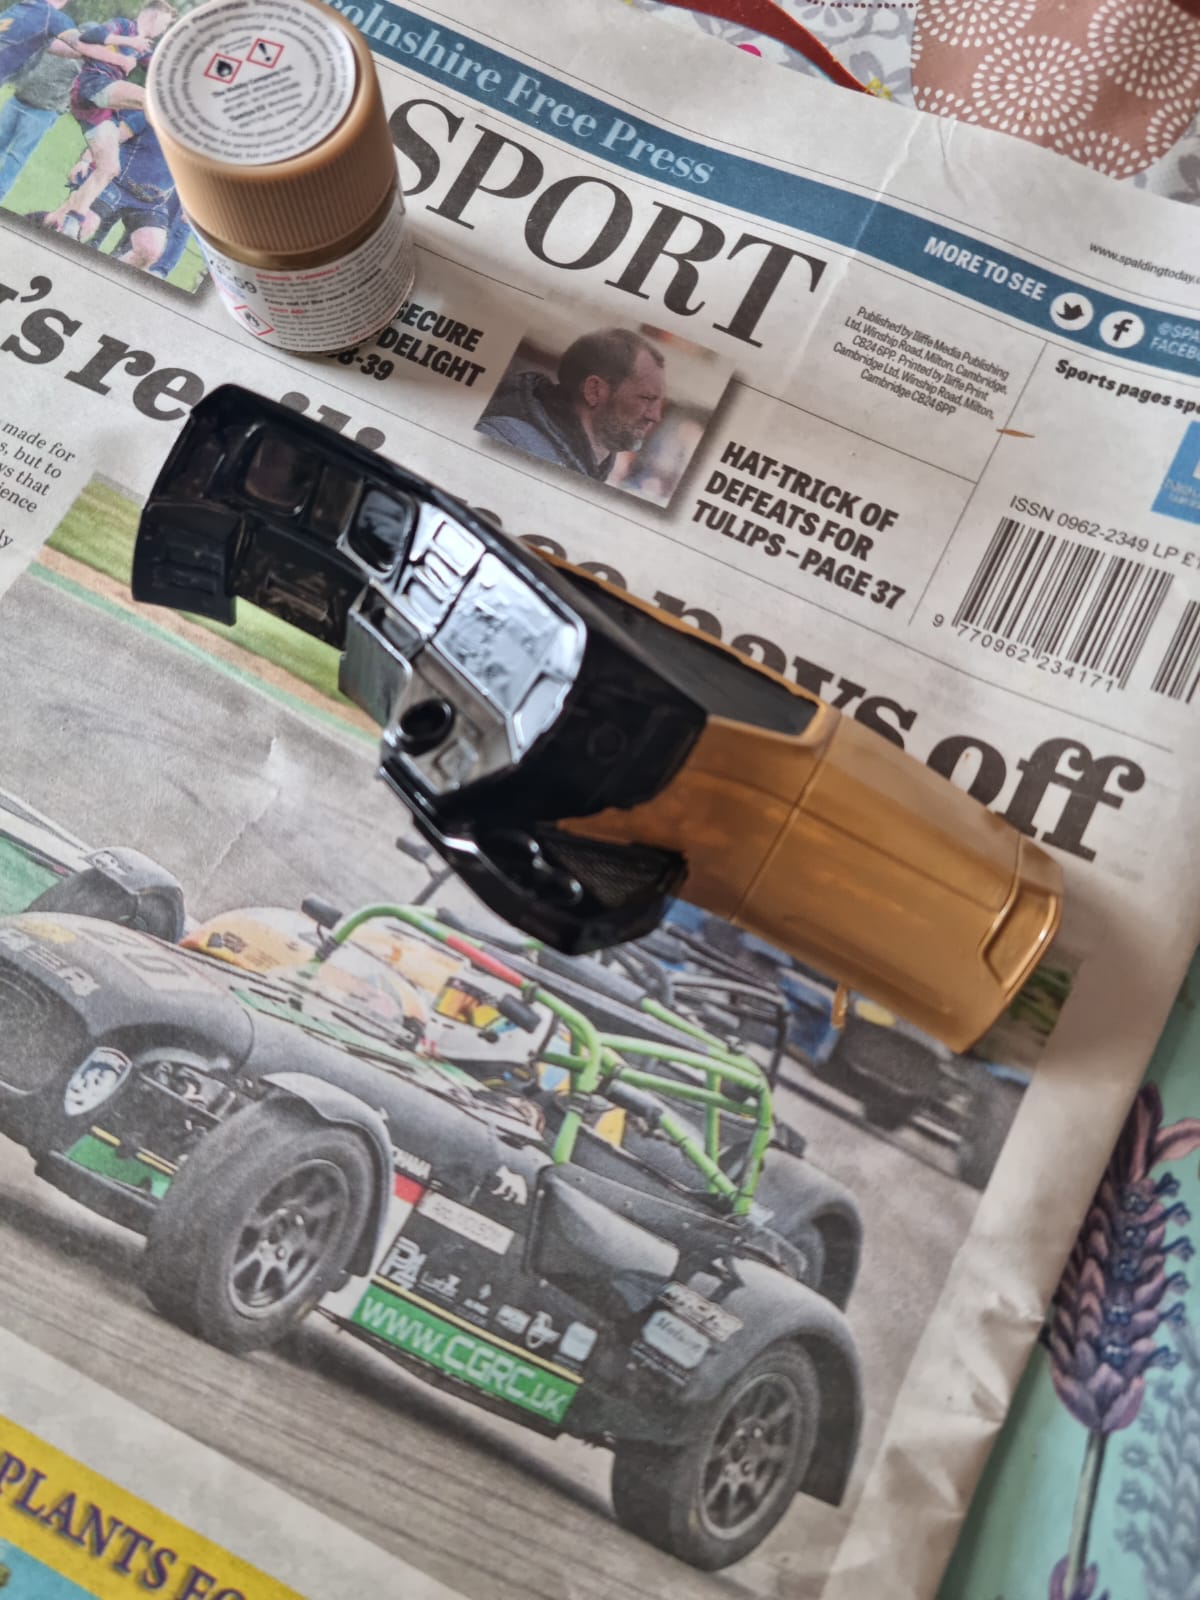
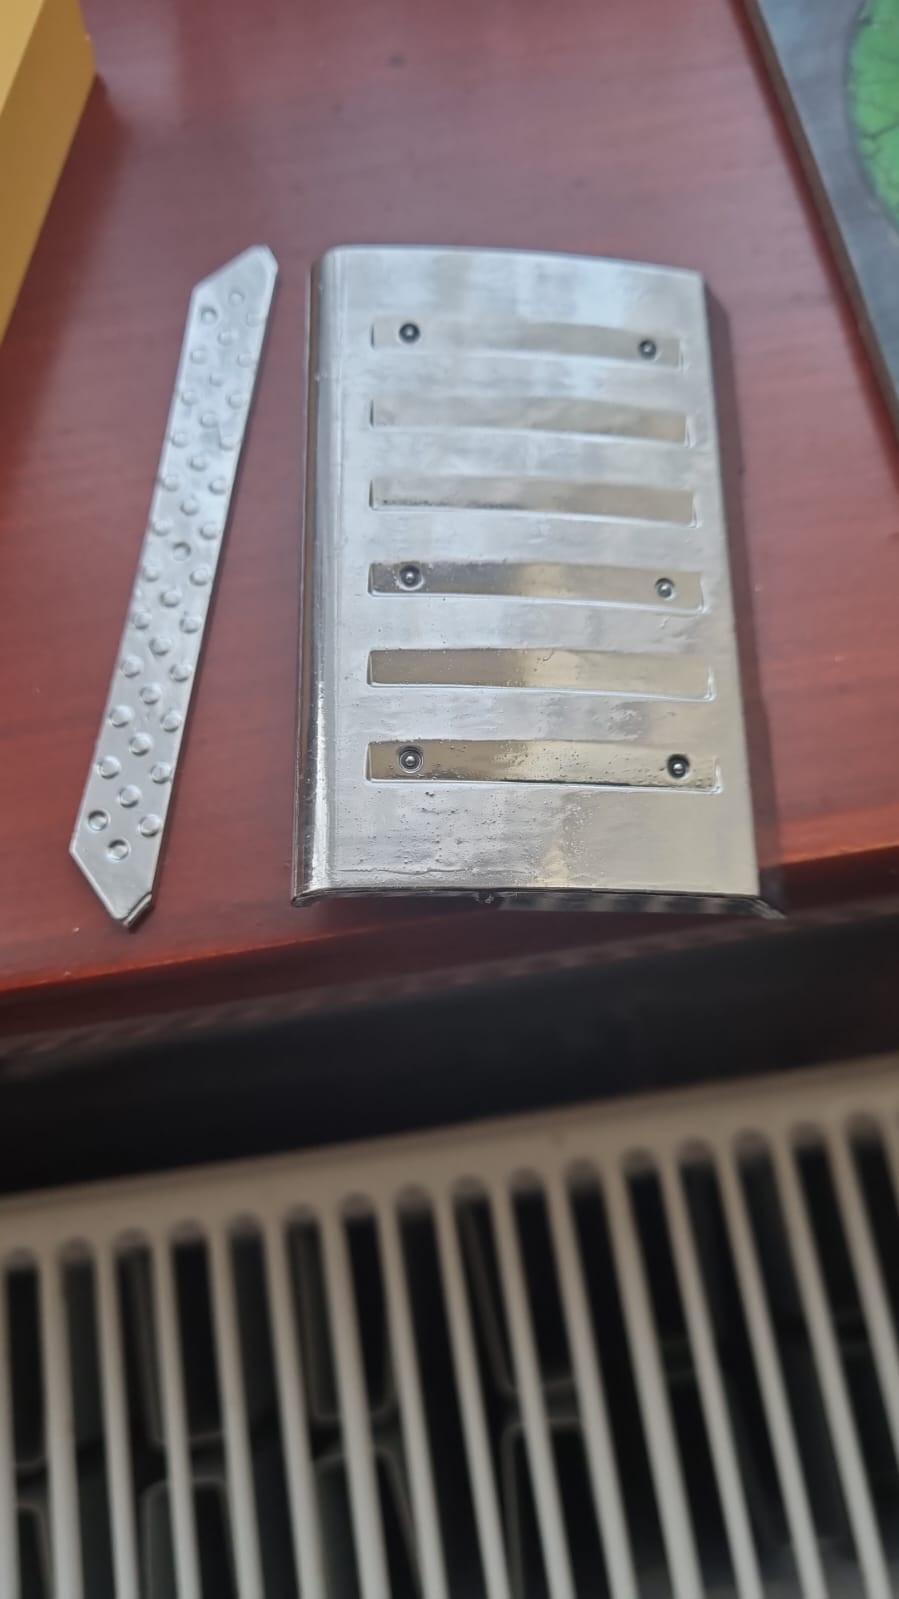
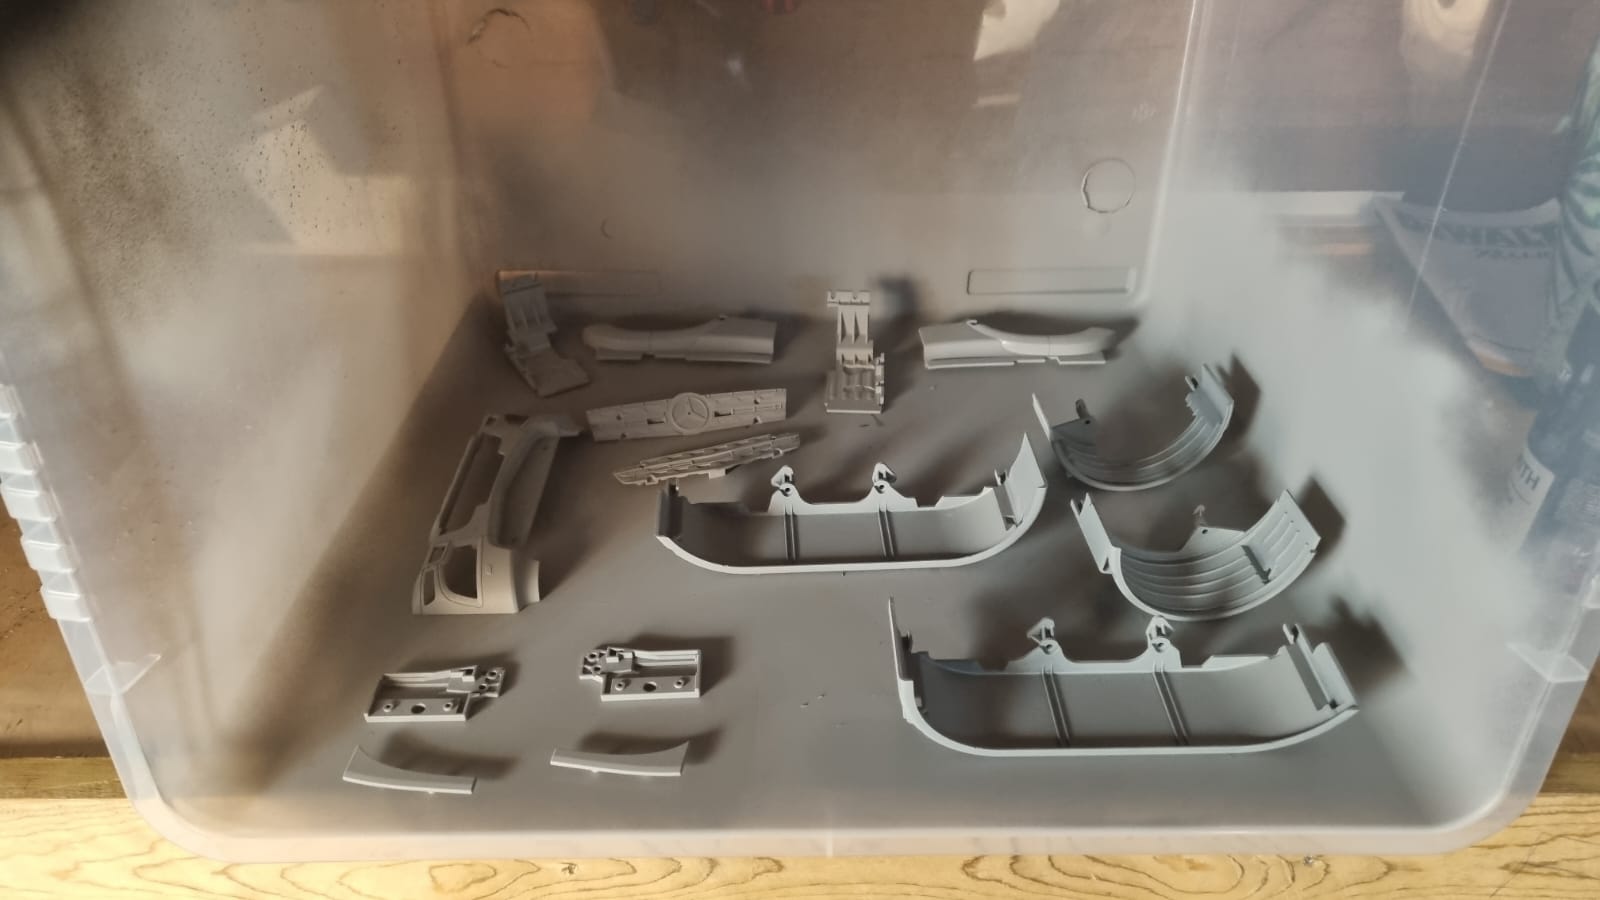
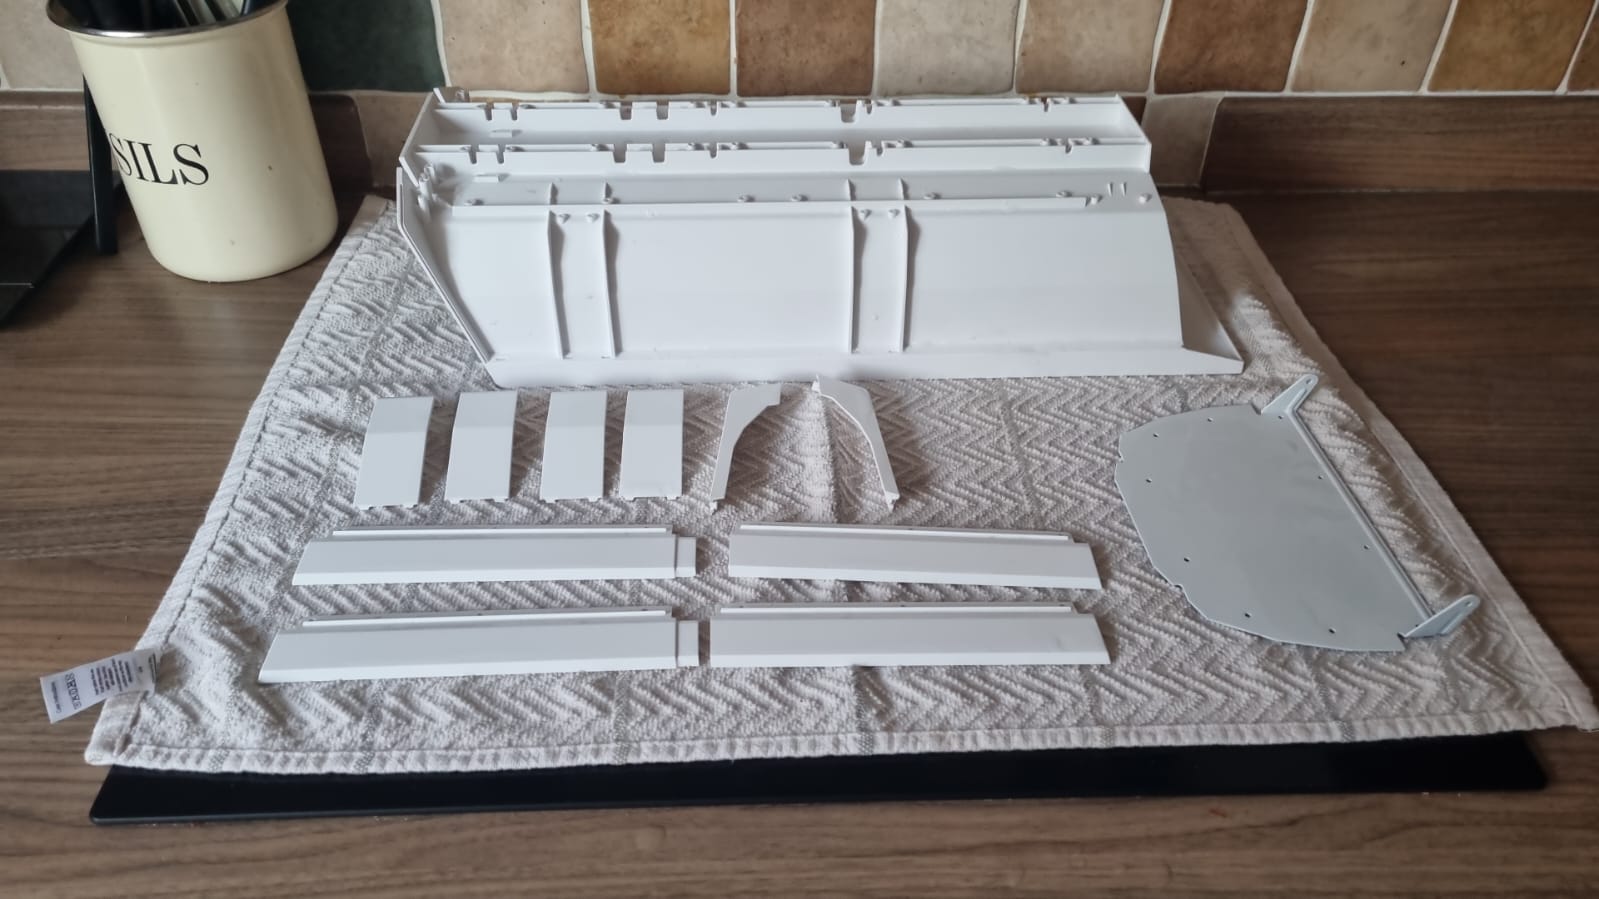
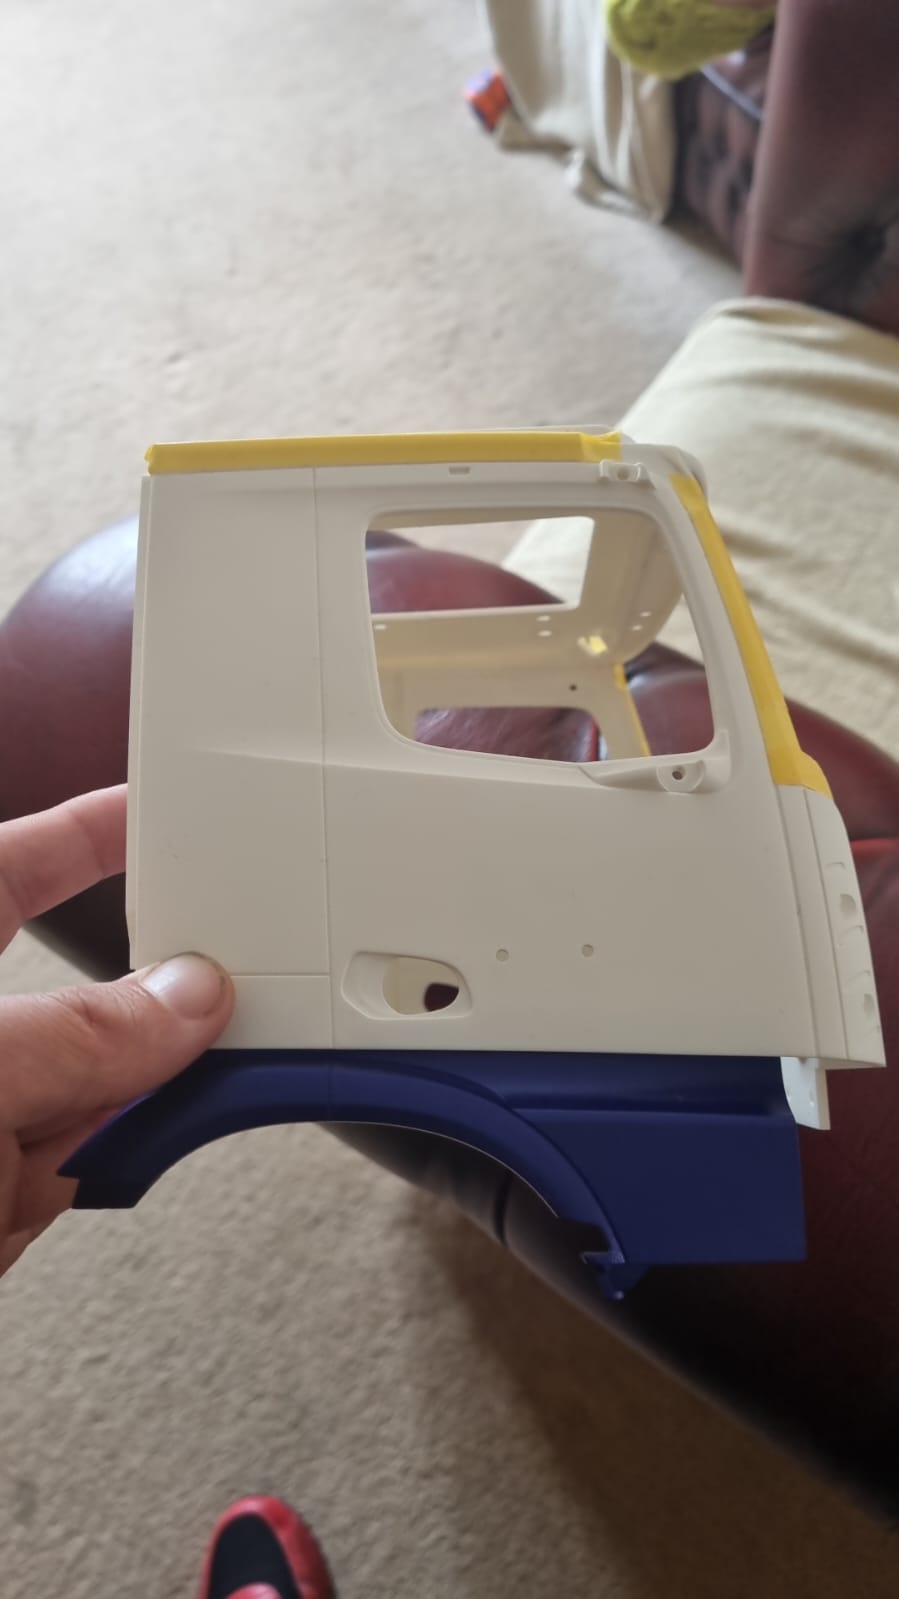
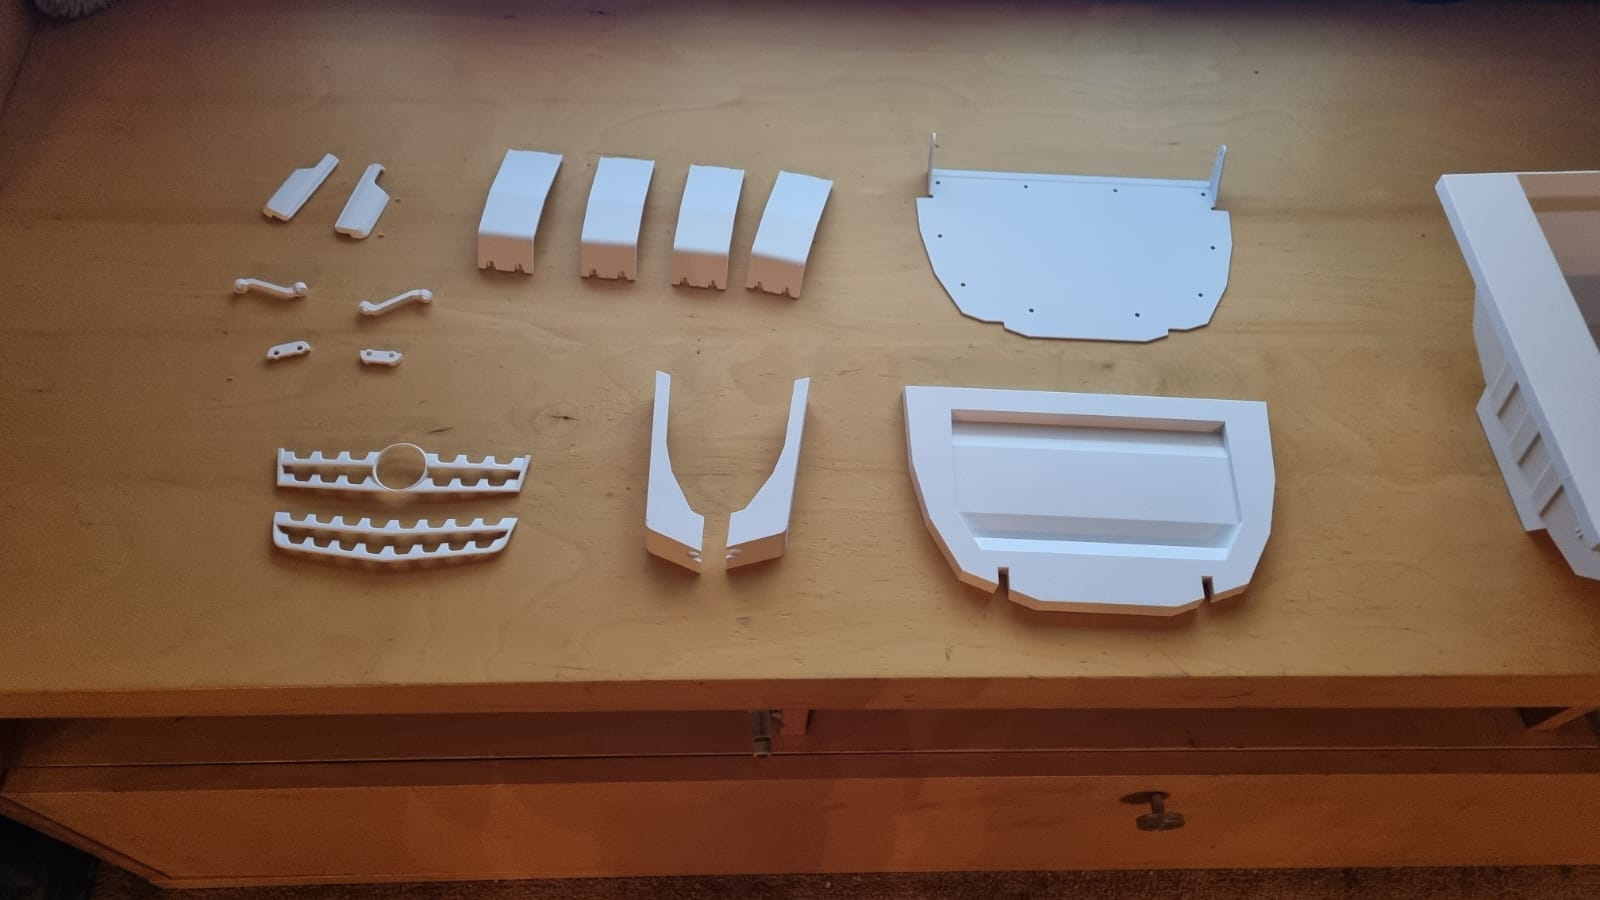
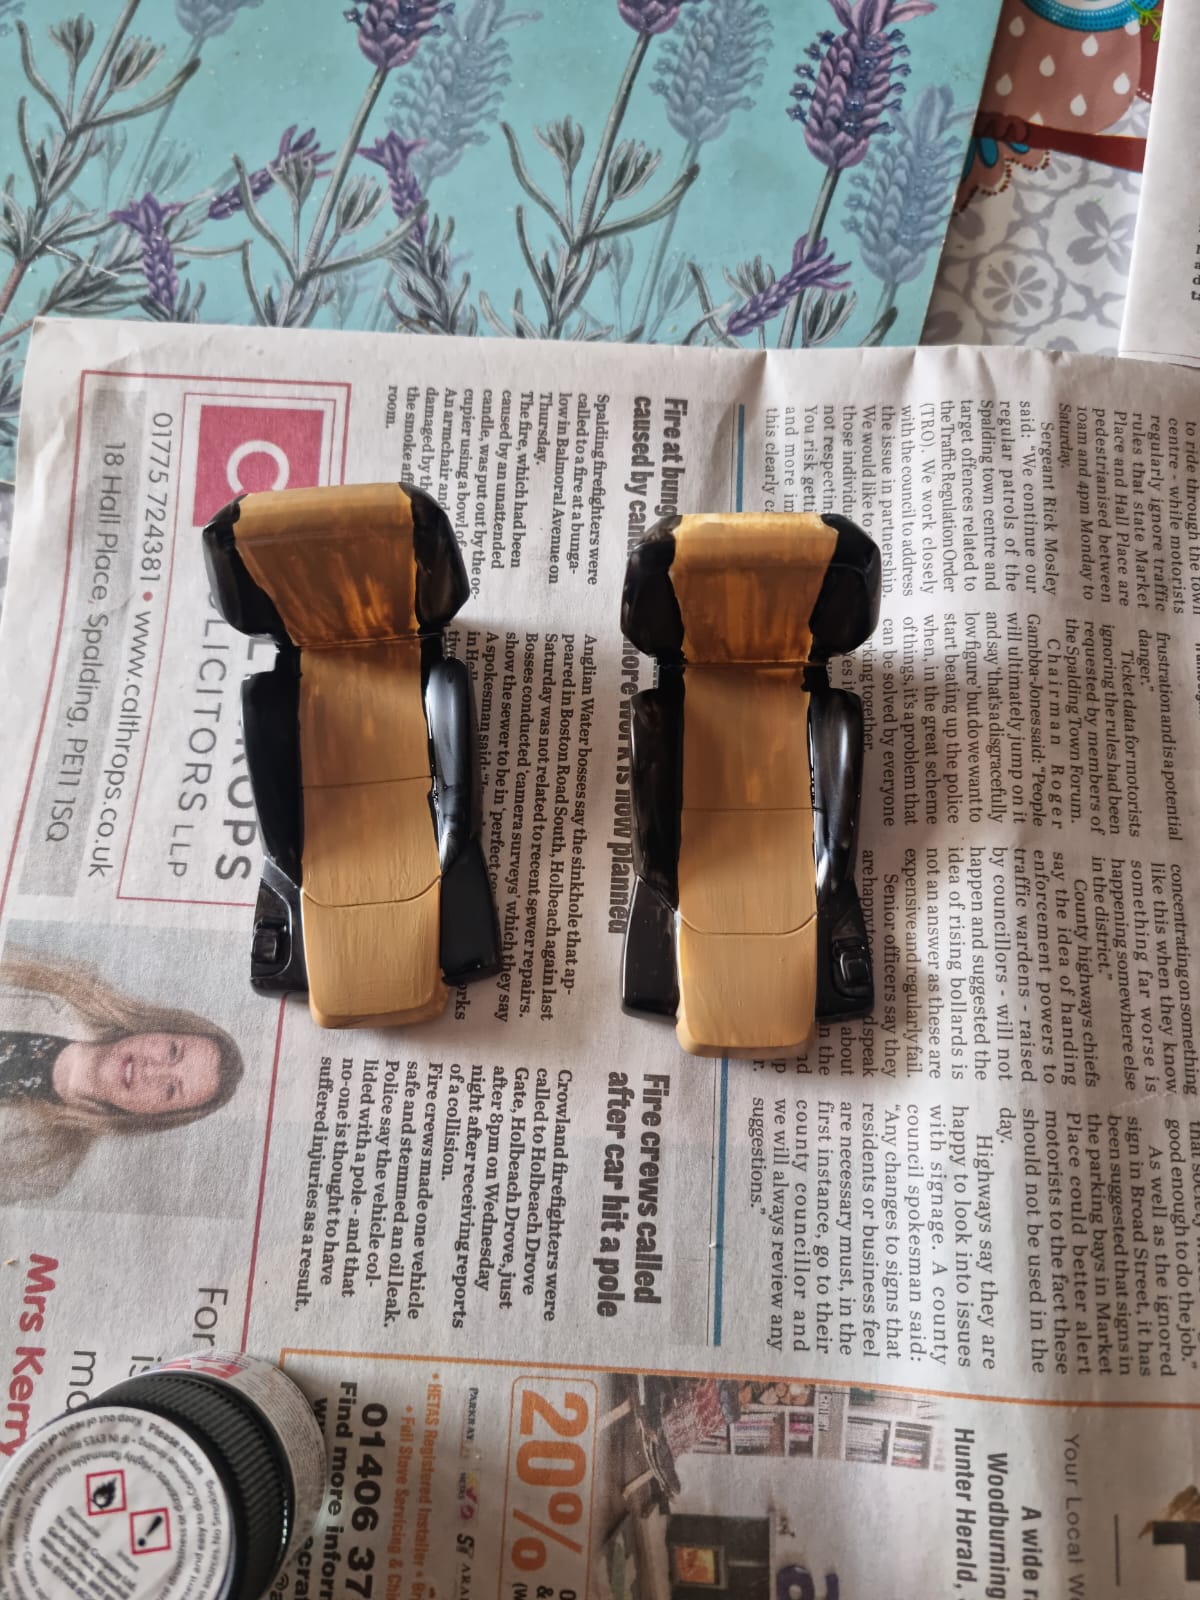
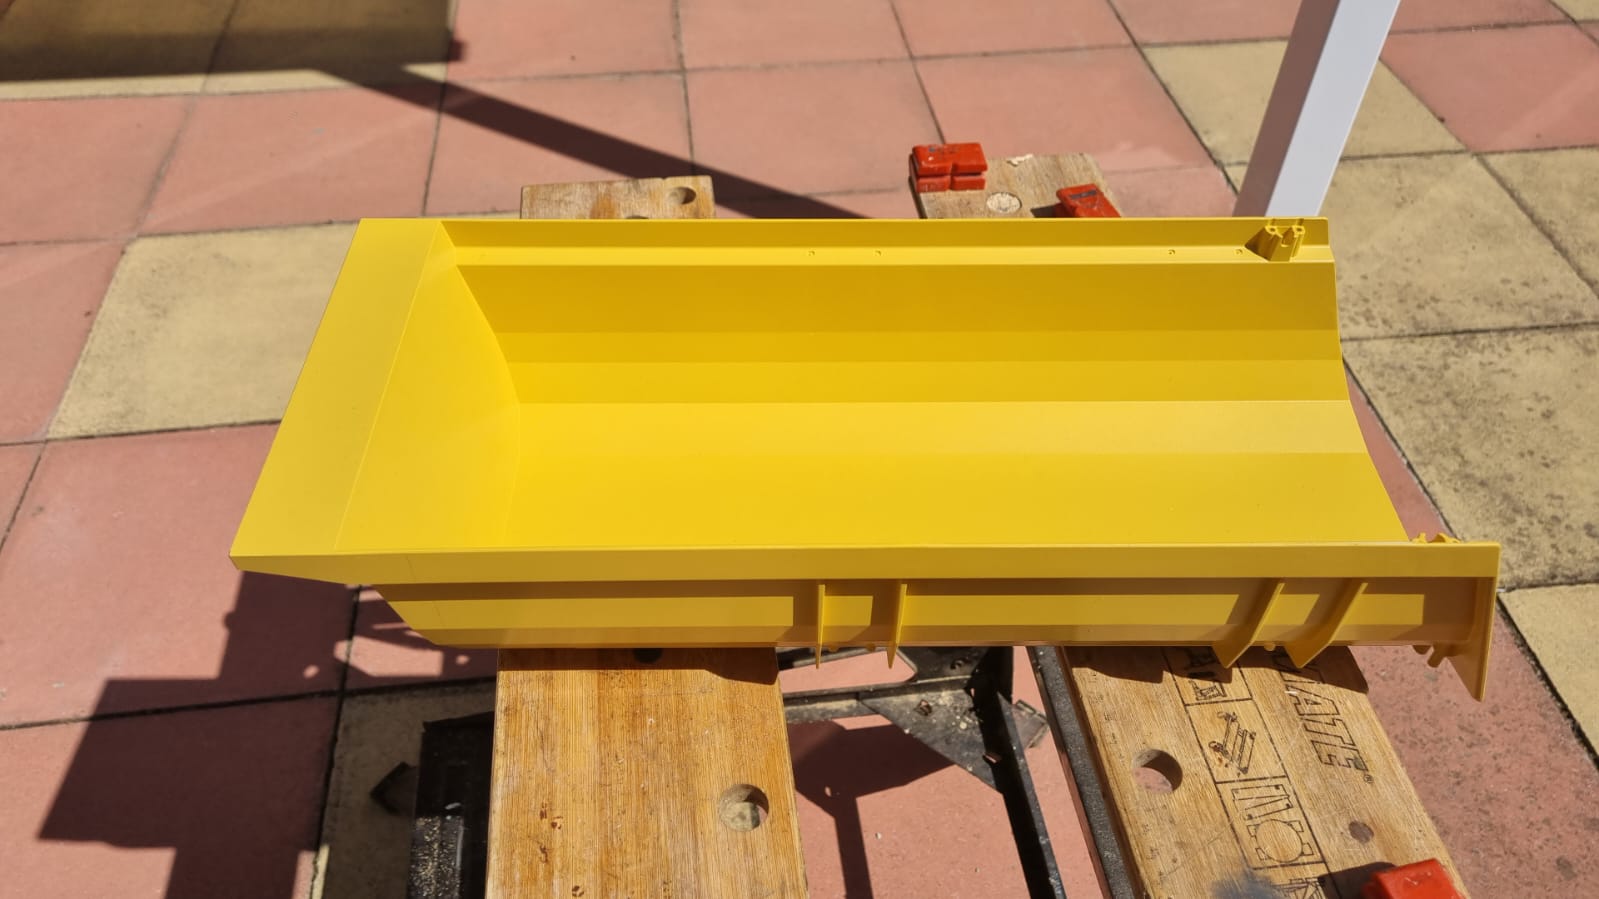
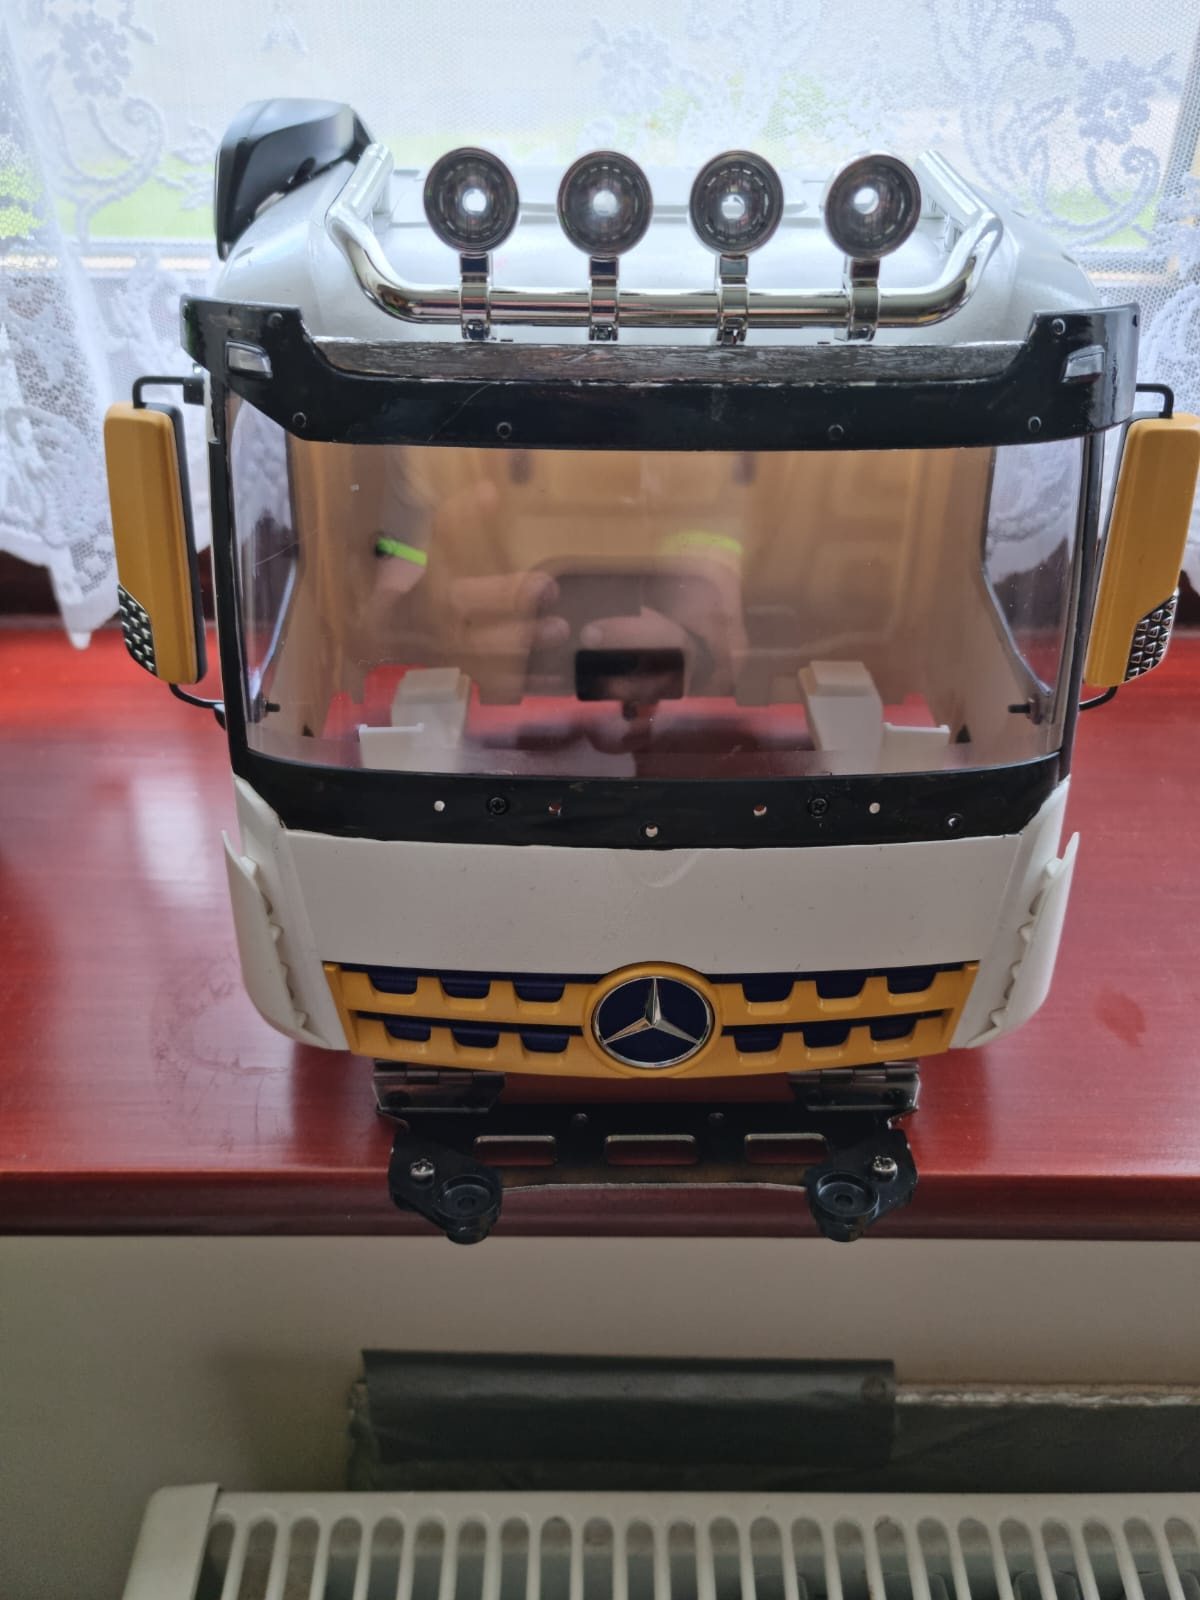
Dwayne started by preparing the parts, cleaning, and sanding all parts that were damaged and needed painting. Once all the sanding was complete, Dwayne added multiple light coats of the grey primer – this is a great way to further smooth over any rougher parts of the model and any mould lines.
The drying time was approximately 1 hour in total, and then Dwayne added a few light coats of high build primer and left it to fully cure at room temperature.
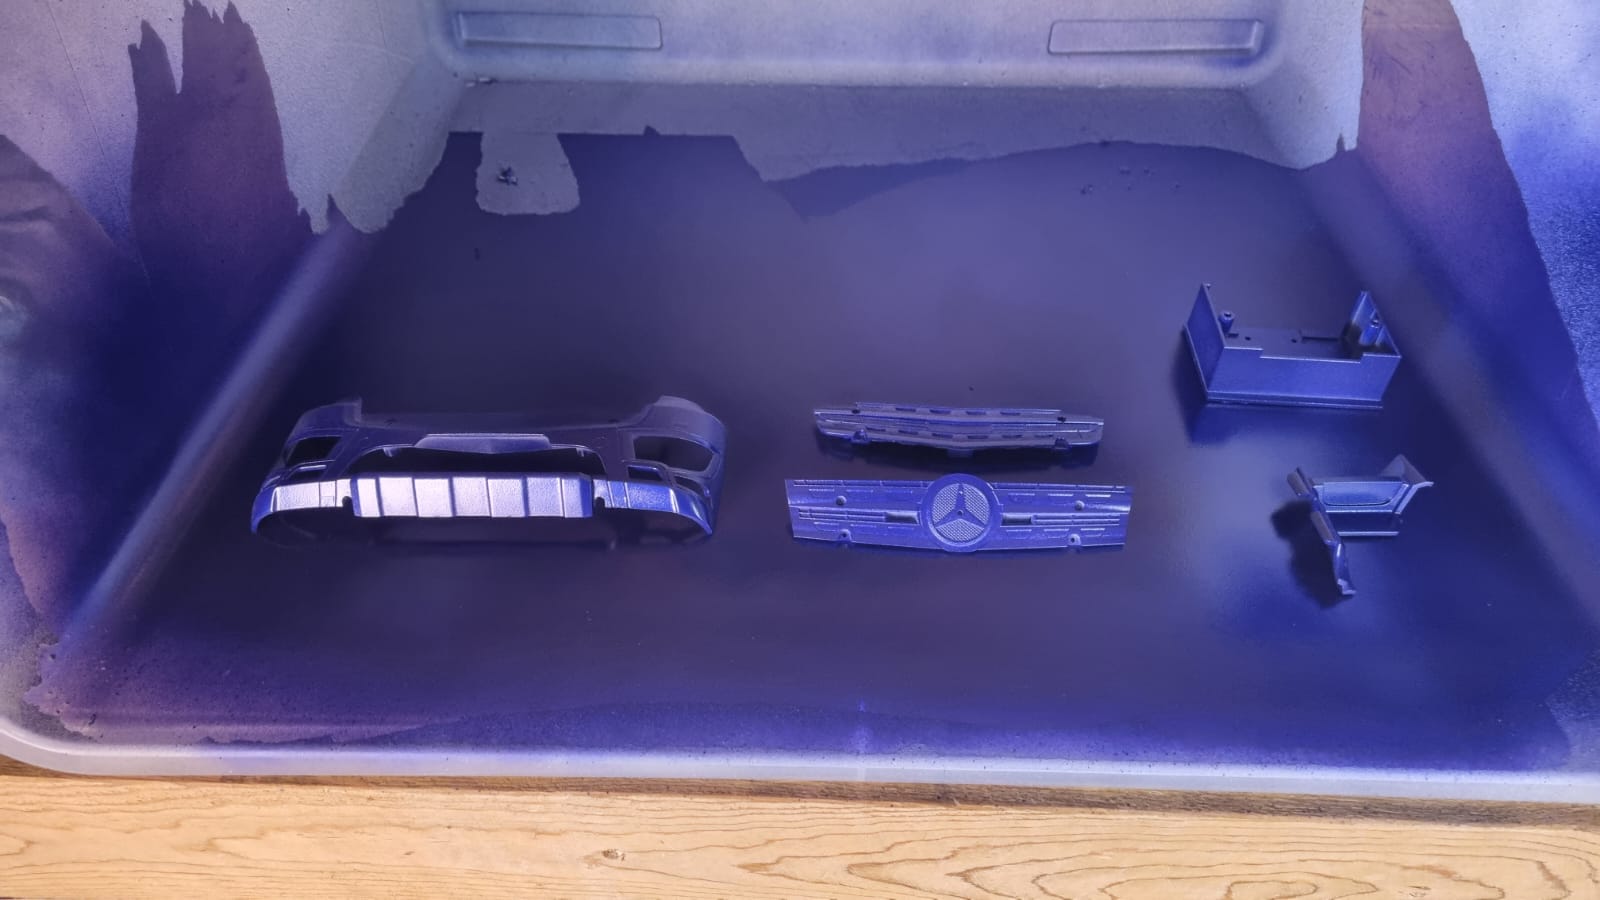
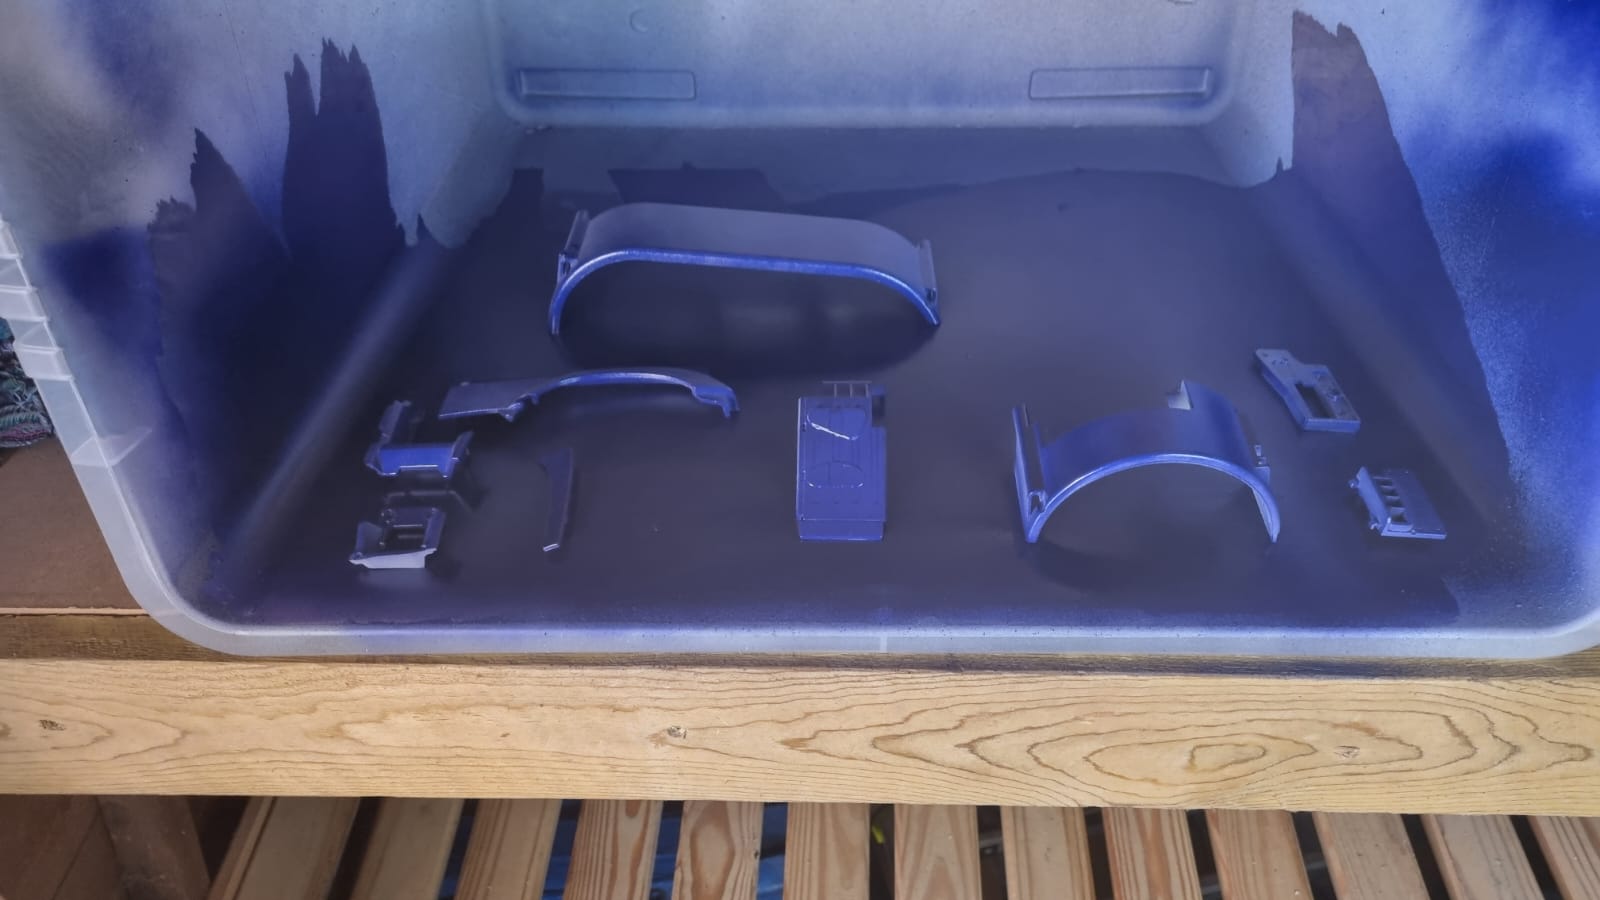
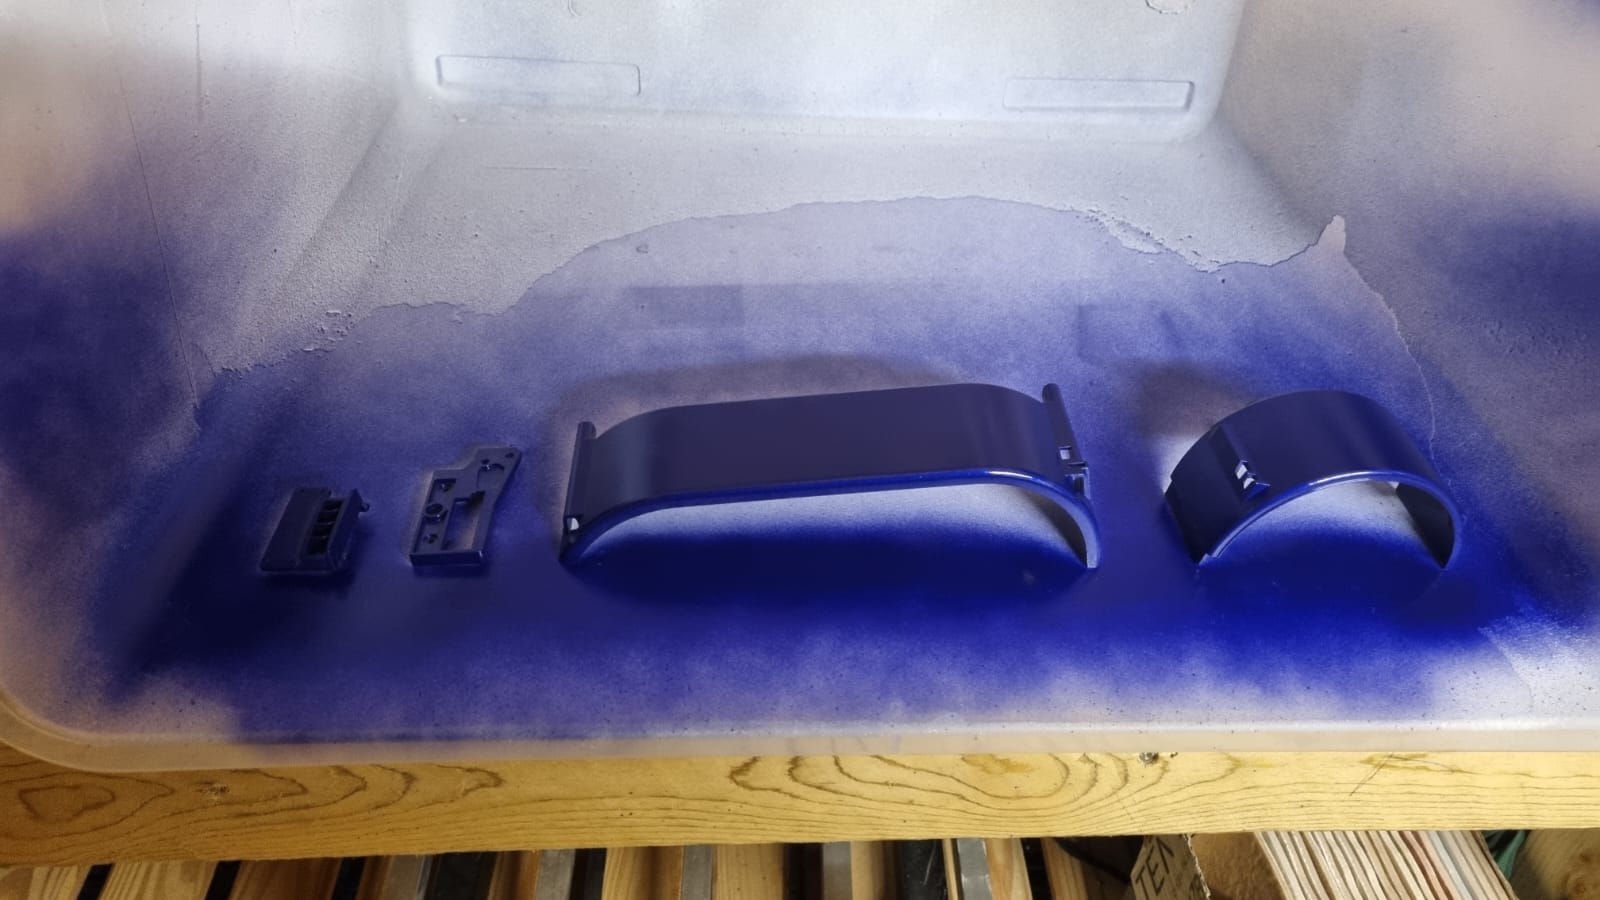
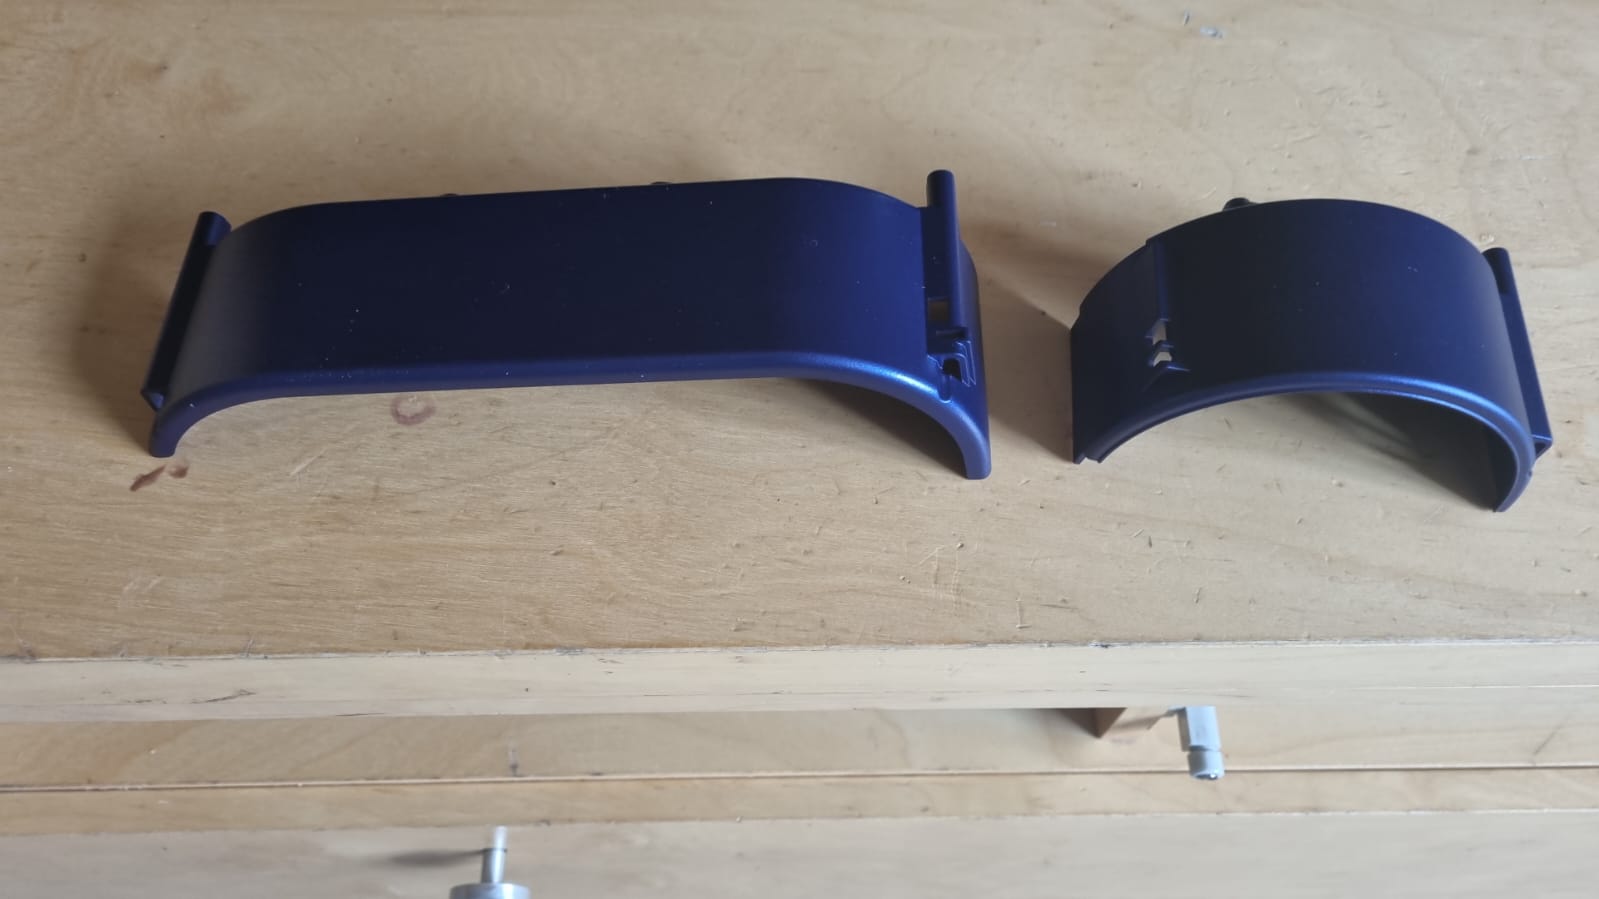
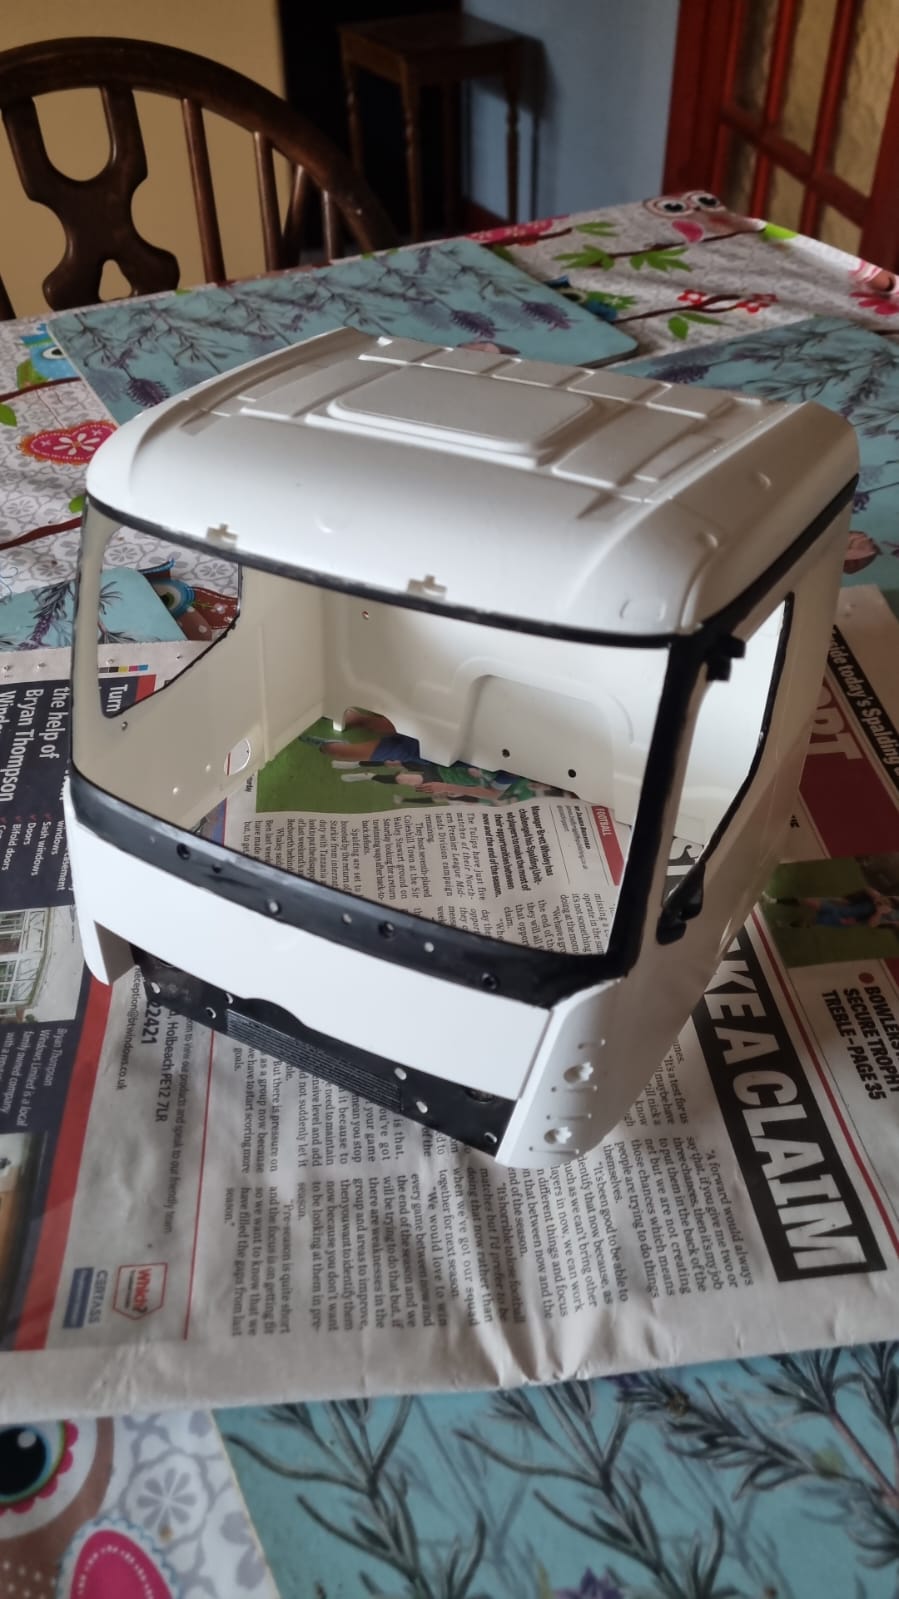
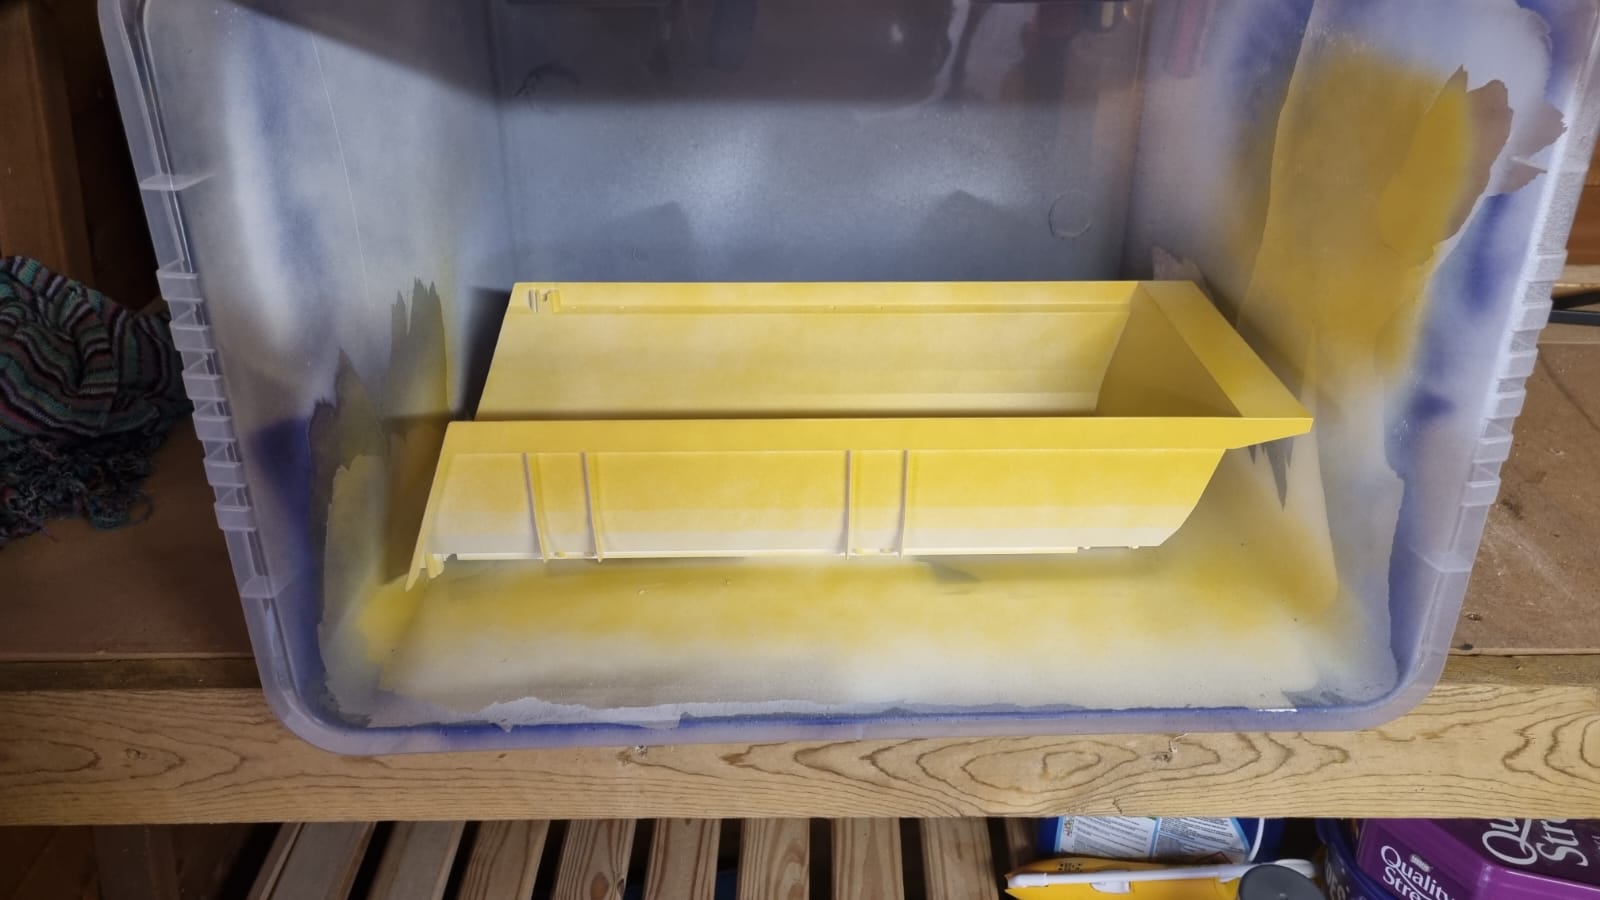
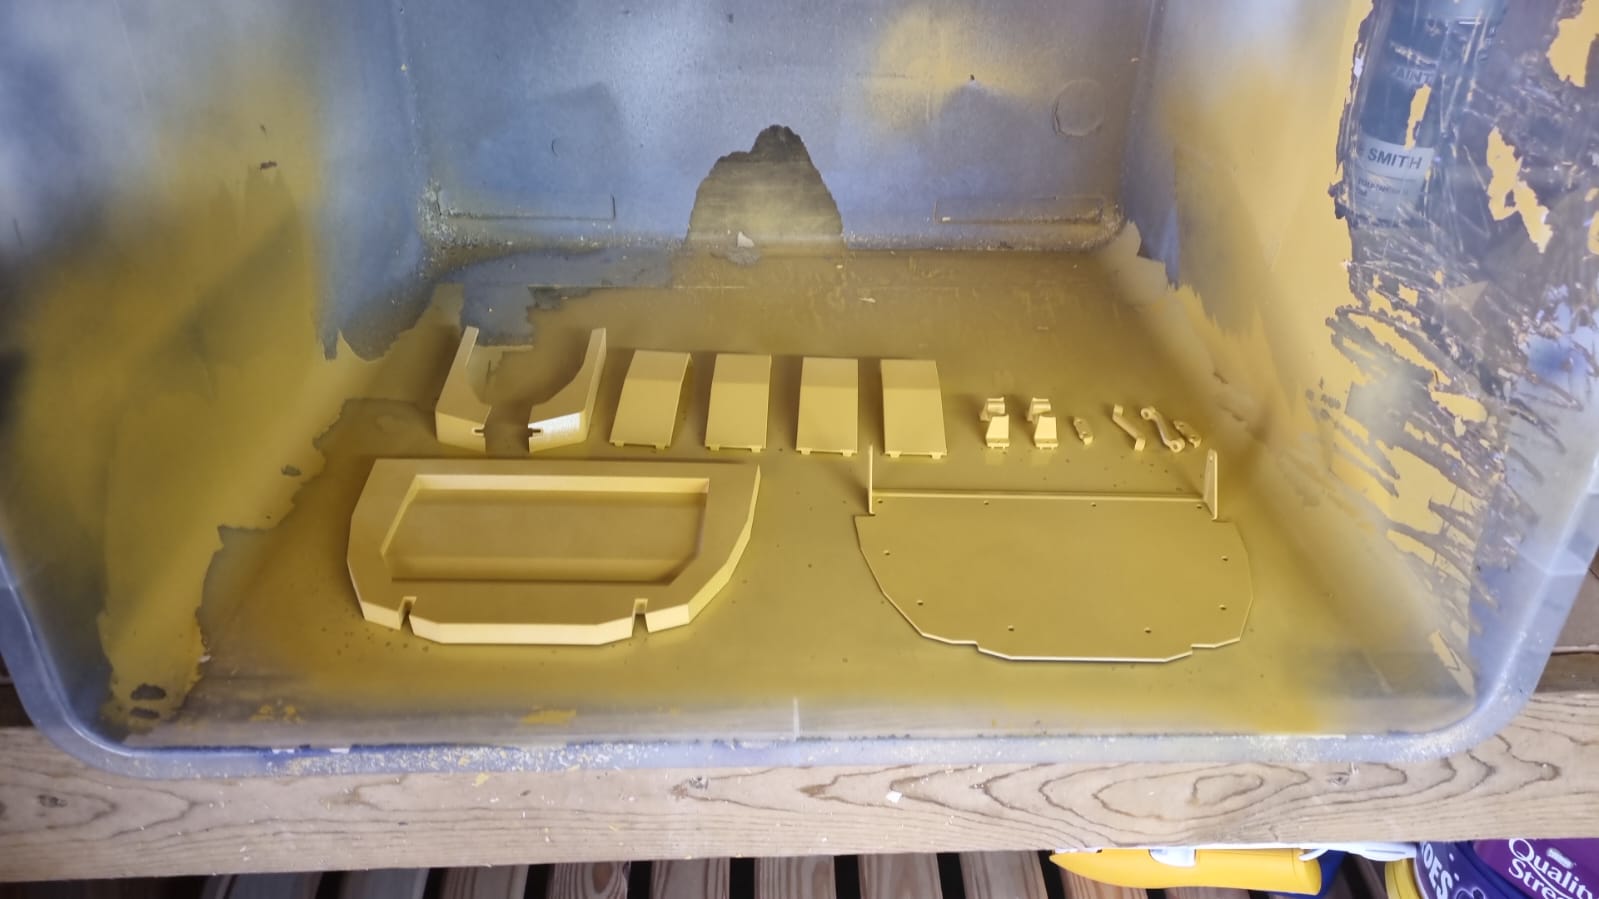
Dwayne chose a base coat colour and applied three light coats of the base coat paint, then left this to cure fully for 3 hours, again at room temperature. Once this was completed, the base coat was protected with a 1K coat of clear gloss lacquer to finish off the project and seal the paint.
Final Word:
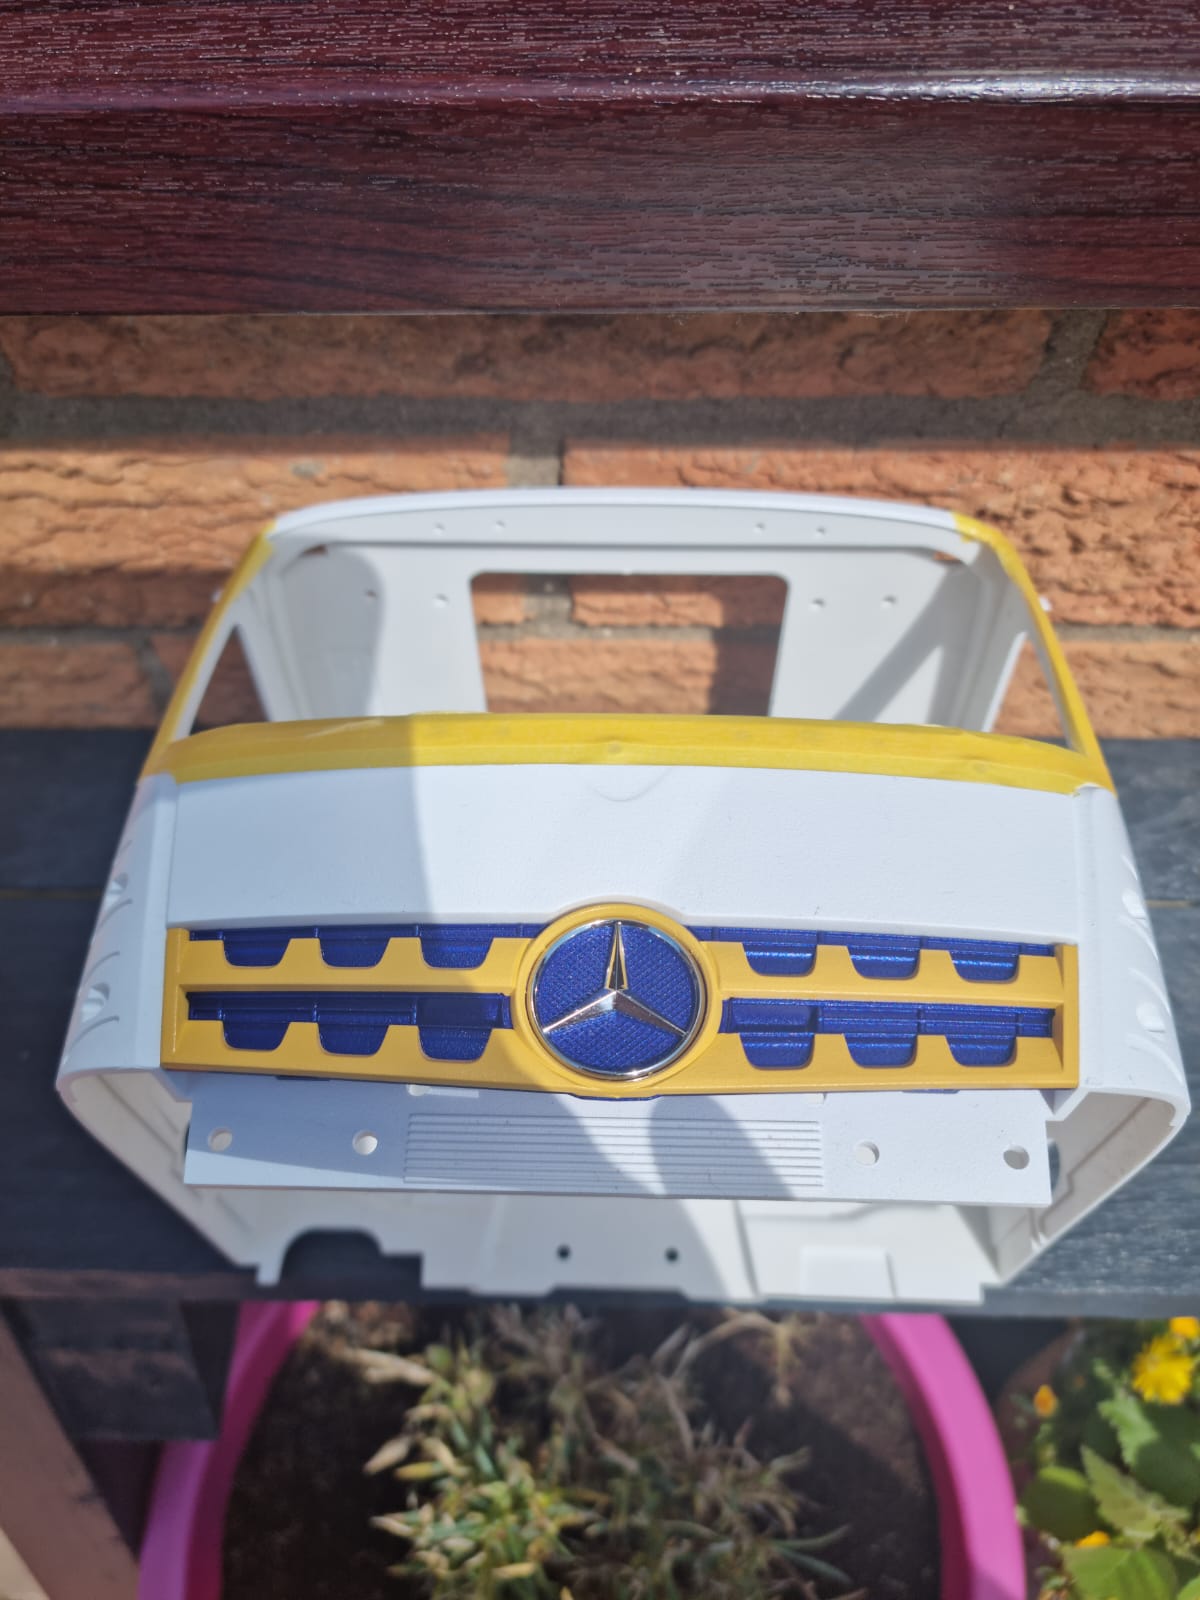
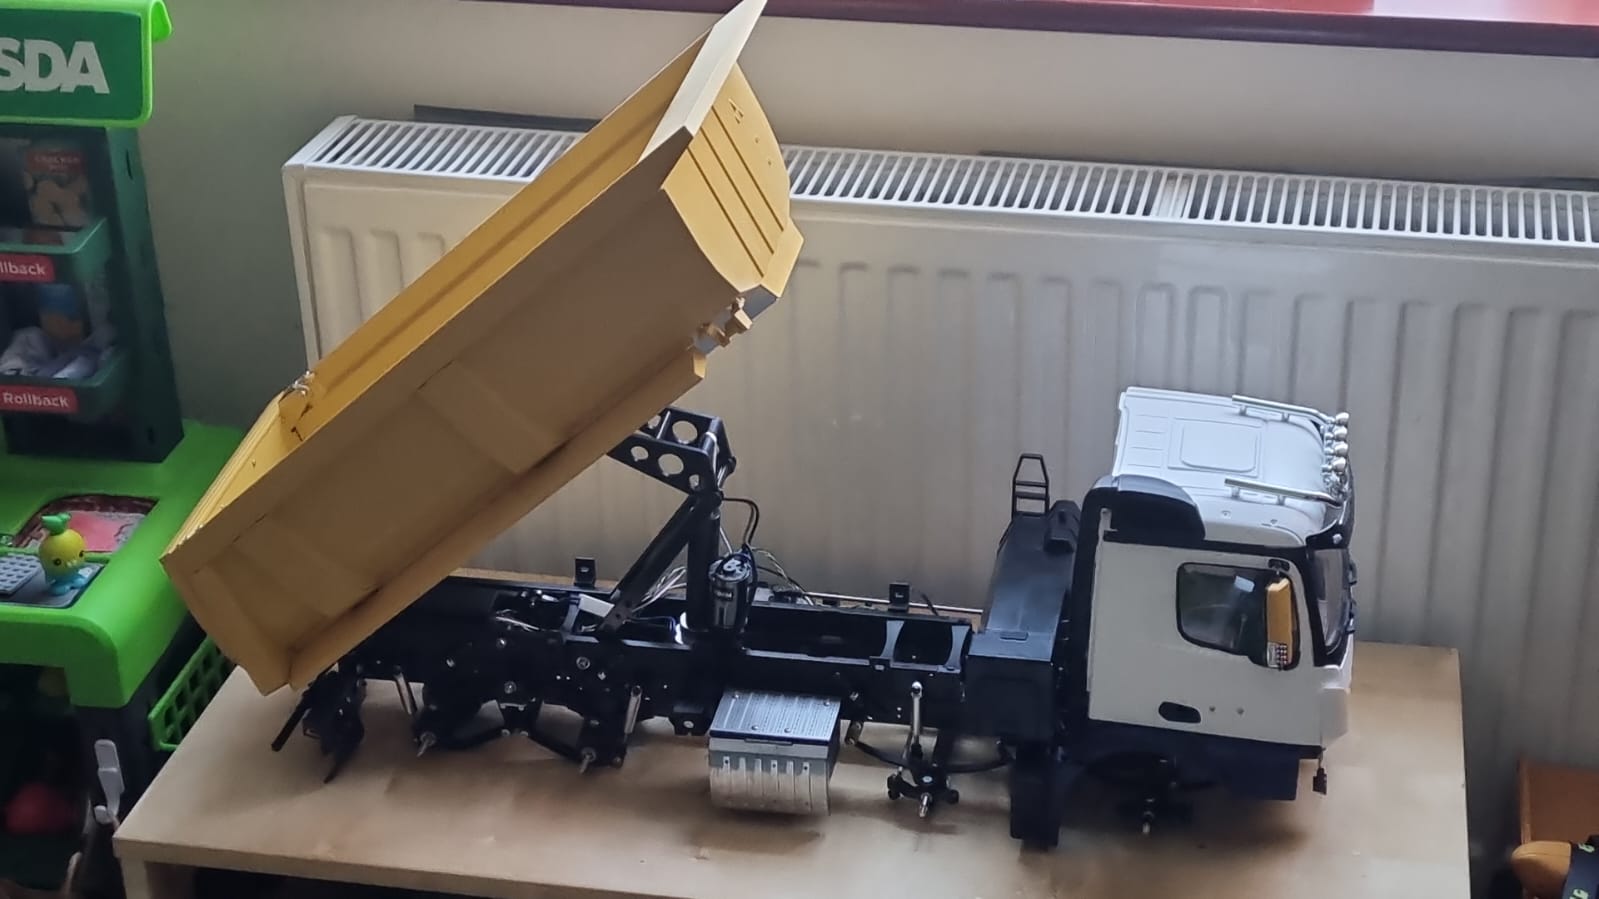
This was a difficult project to paint due to the size of the parts to be sprayed, but that’s nothing in comparison to the construction of the actual trucks, which are mammoth tasks.
The project turned out to have an amazing finish. Thanks again for the pictures, Dwayne – fantastic work! Onto the next one.