The first thing about painting is having the enthusiasm and drive to do it in the first place; if you have the passion for the project, the rest is semantics.
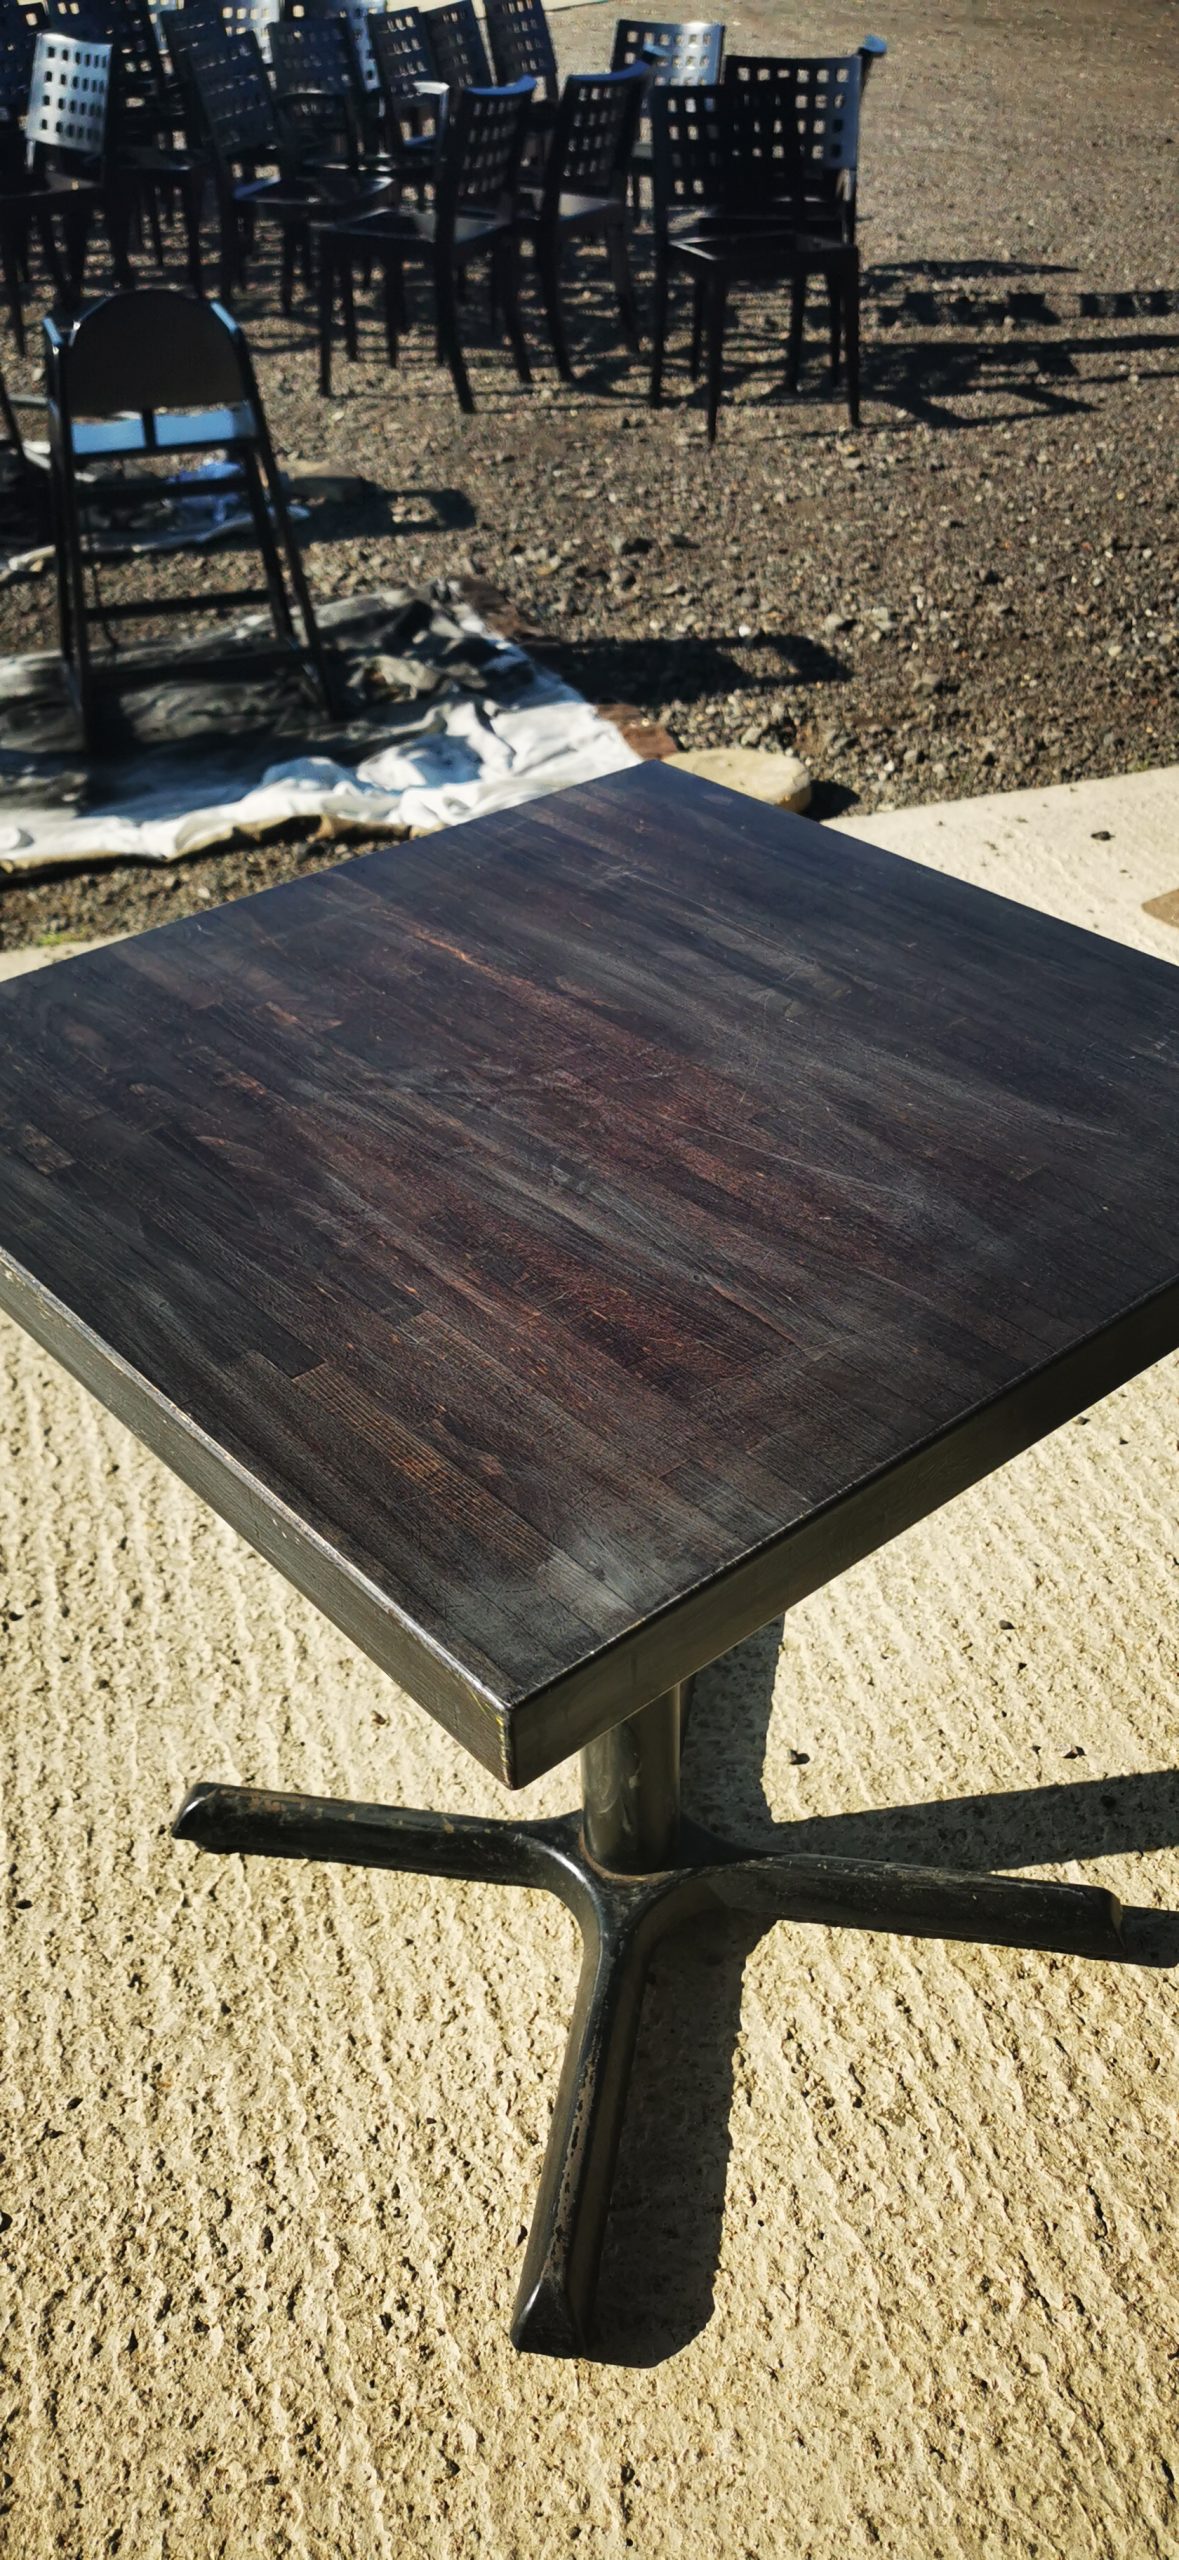
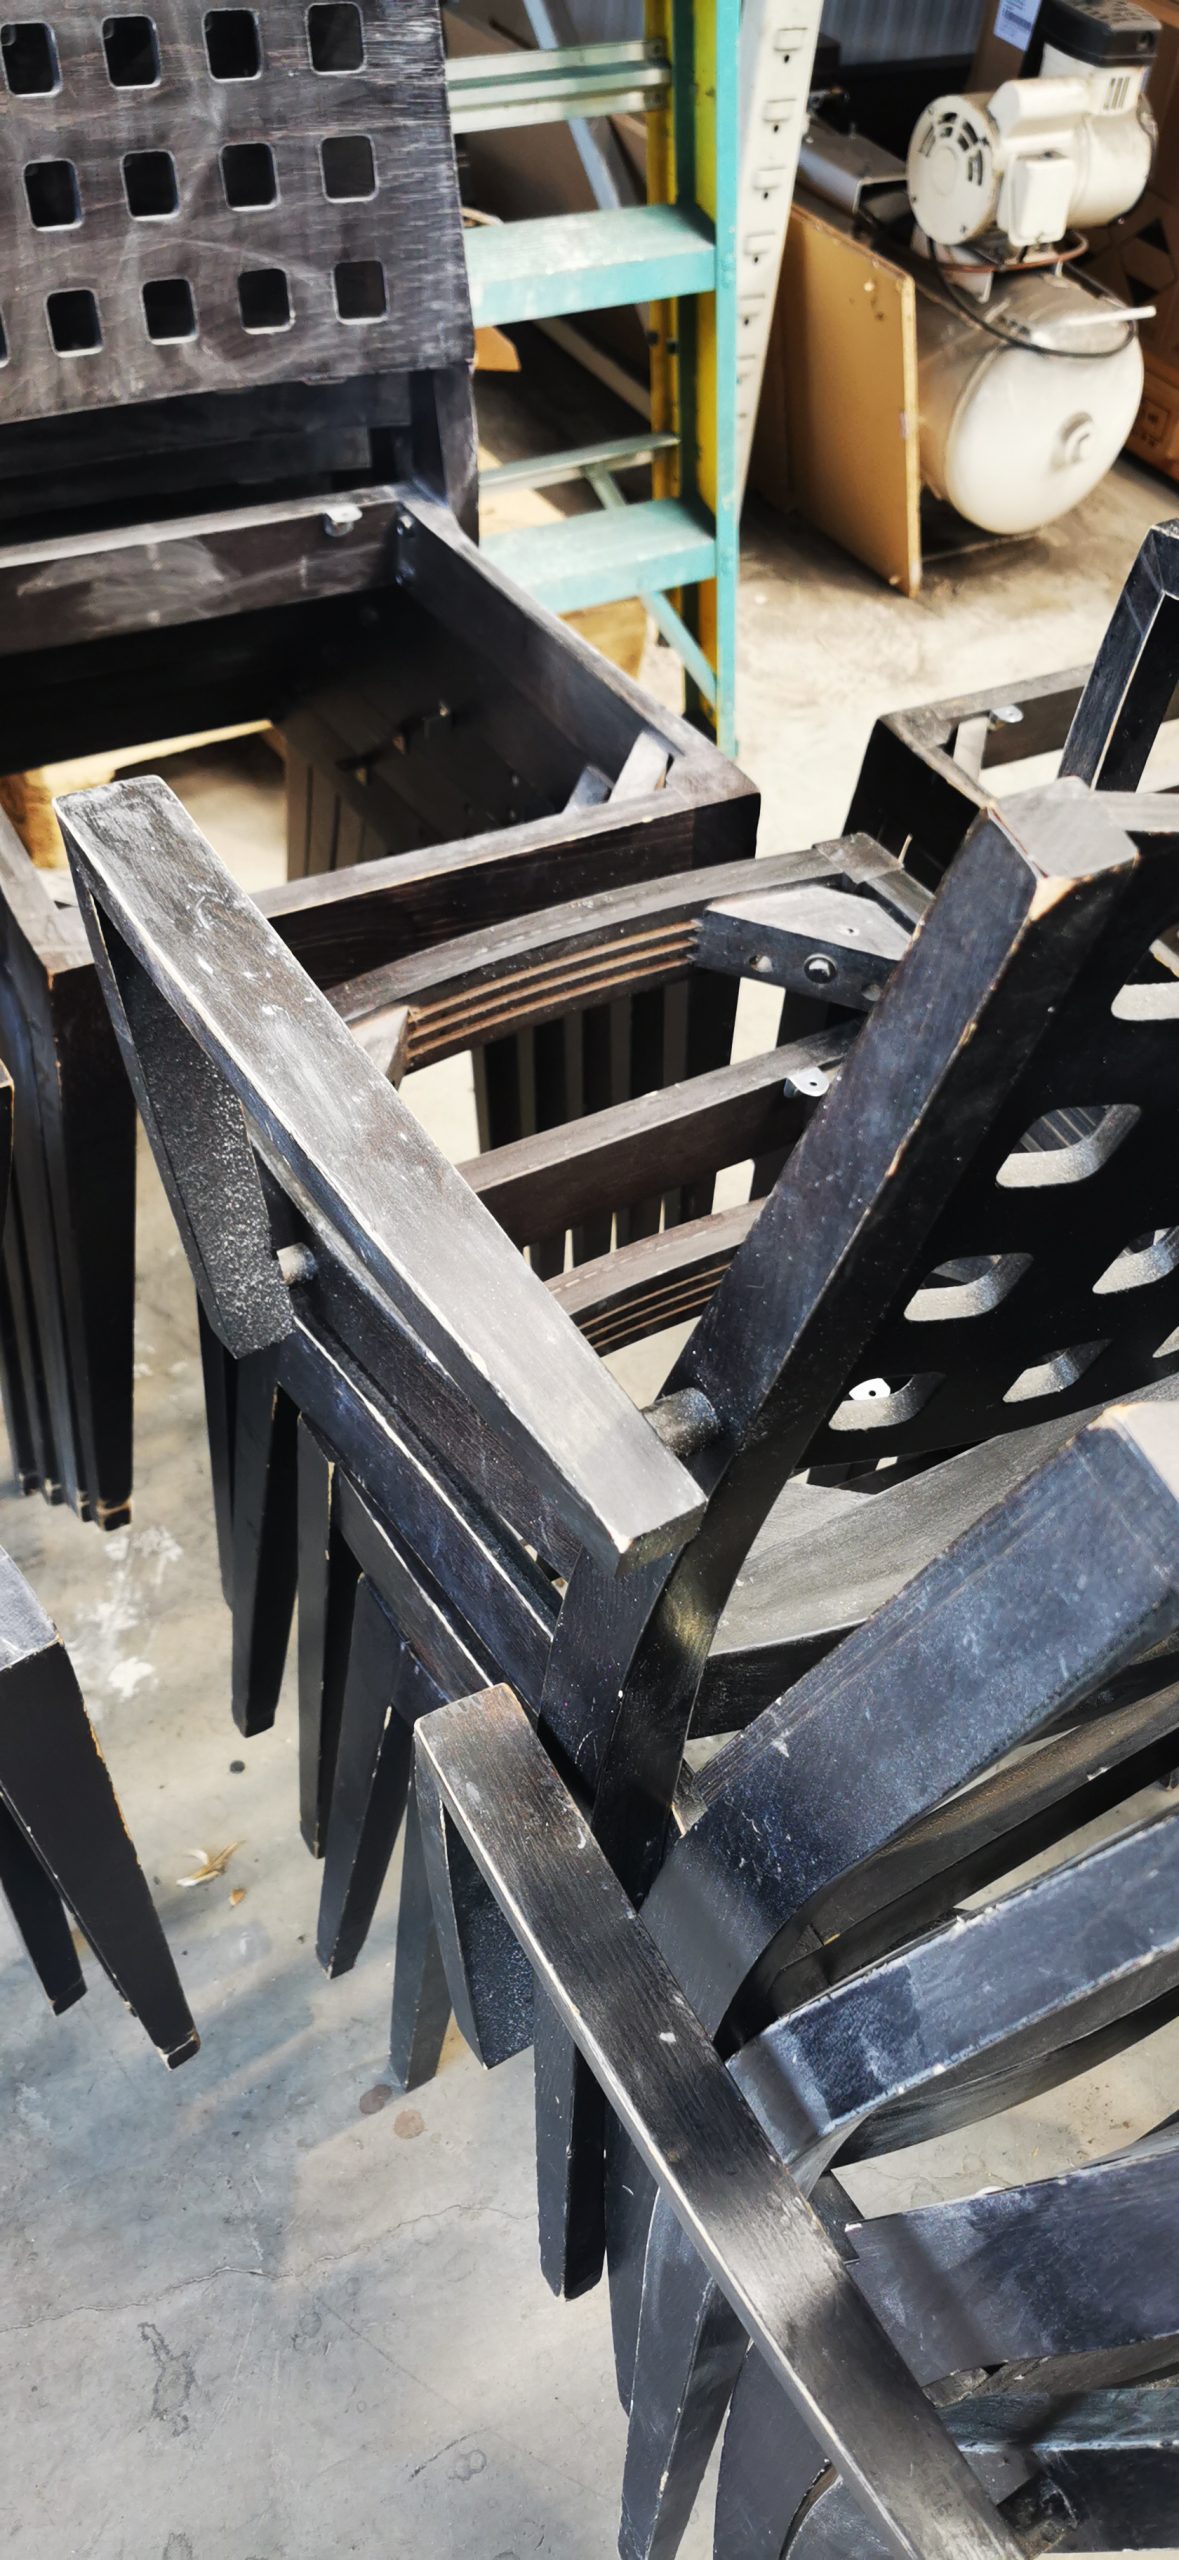
Don’t be daunted by the scale or size of projects; it’s always worth having a go. A standard table set is not as complex a project as you may think. With a touch of sandpaper, paint and some determination, an up-cycled project can be completed in a day and add something new to your kitchen.
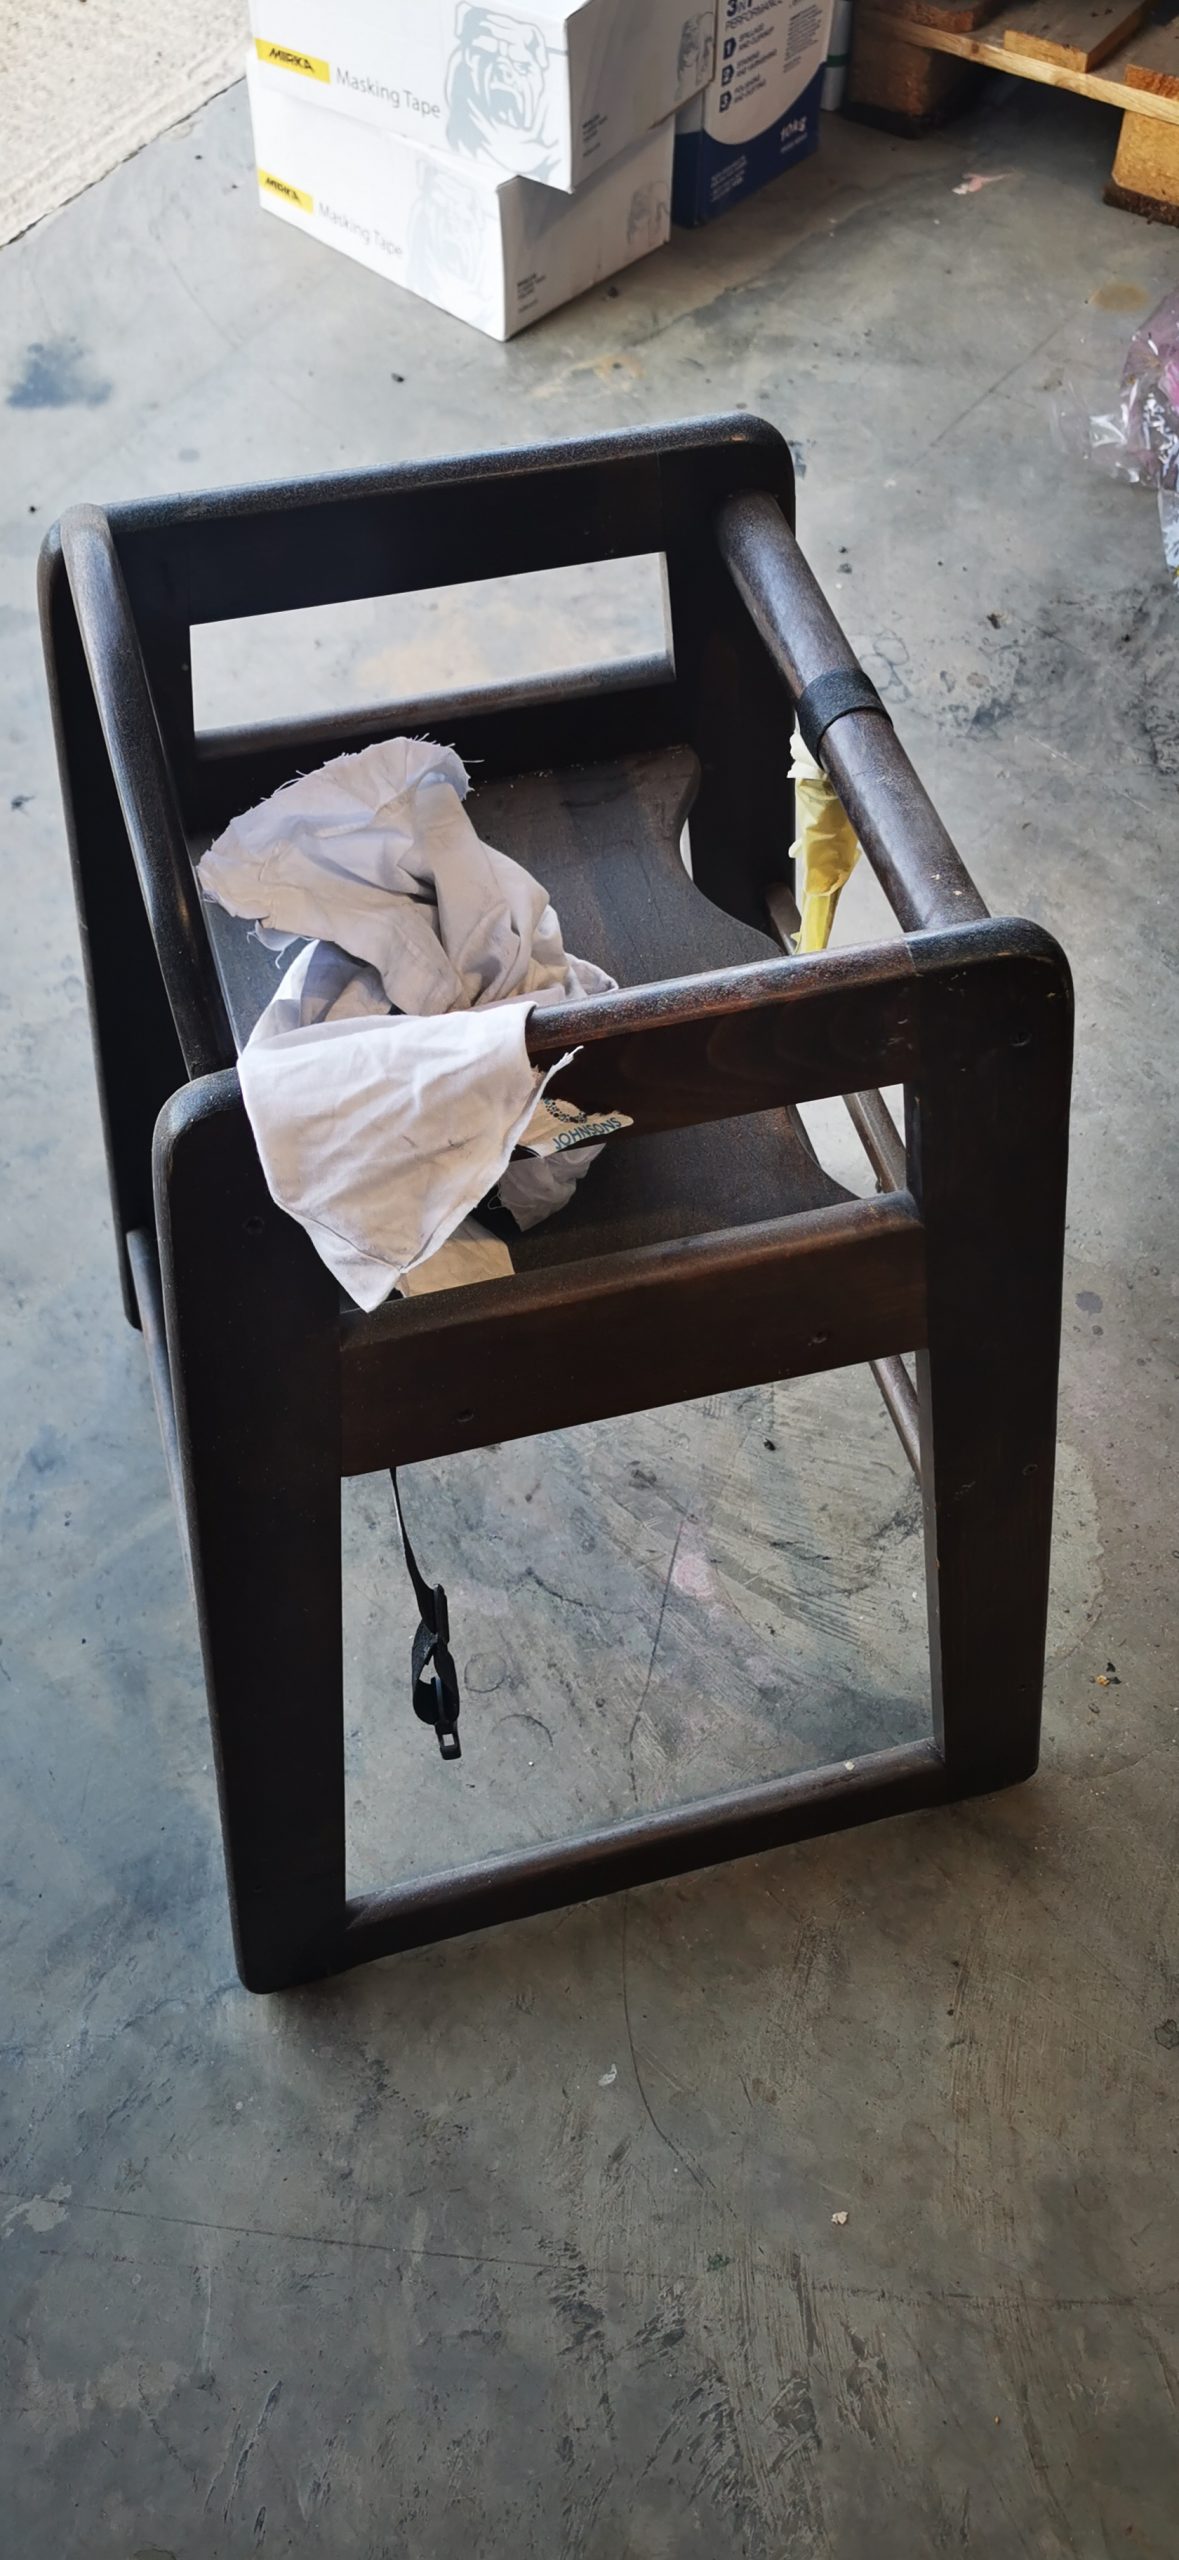
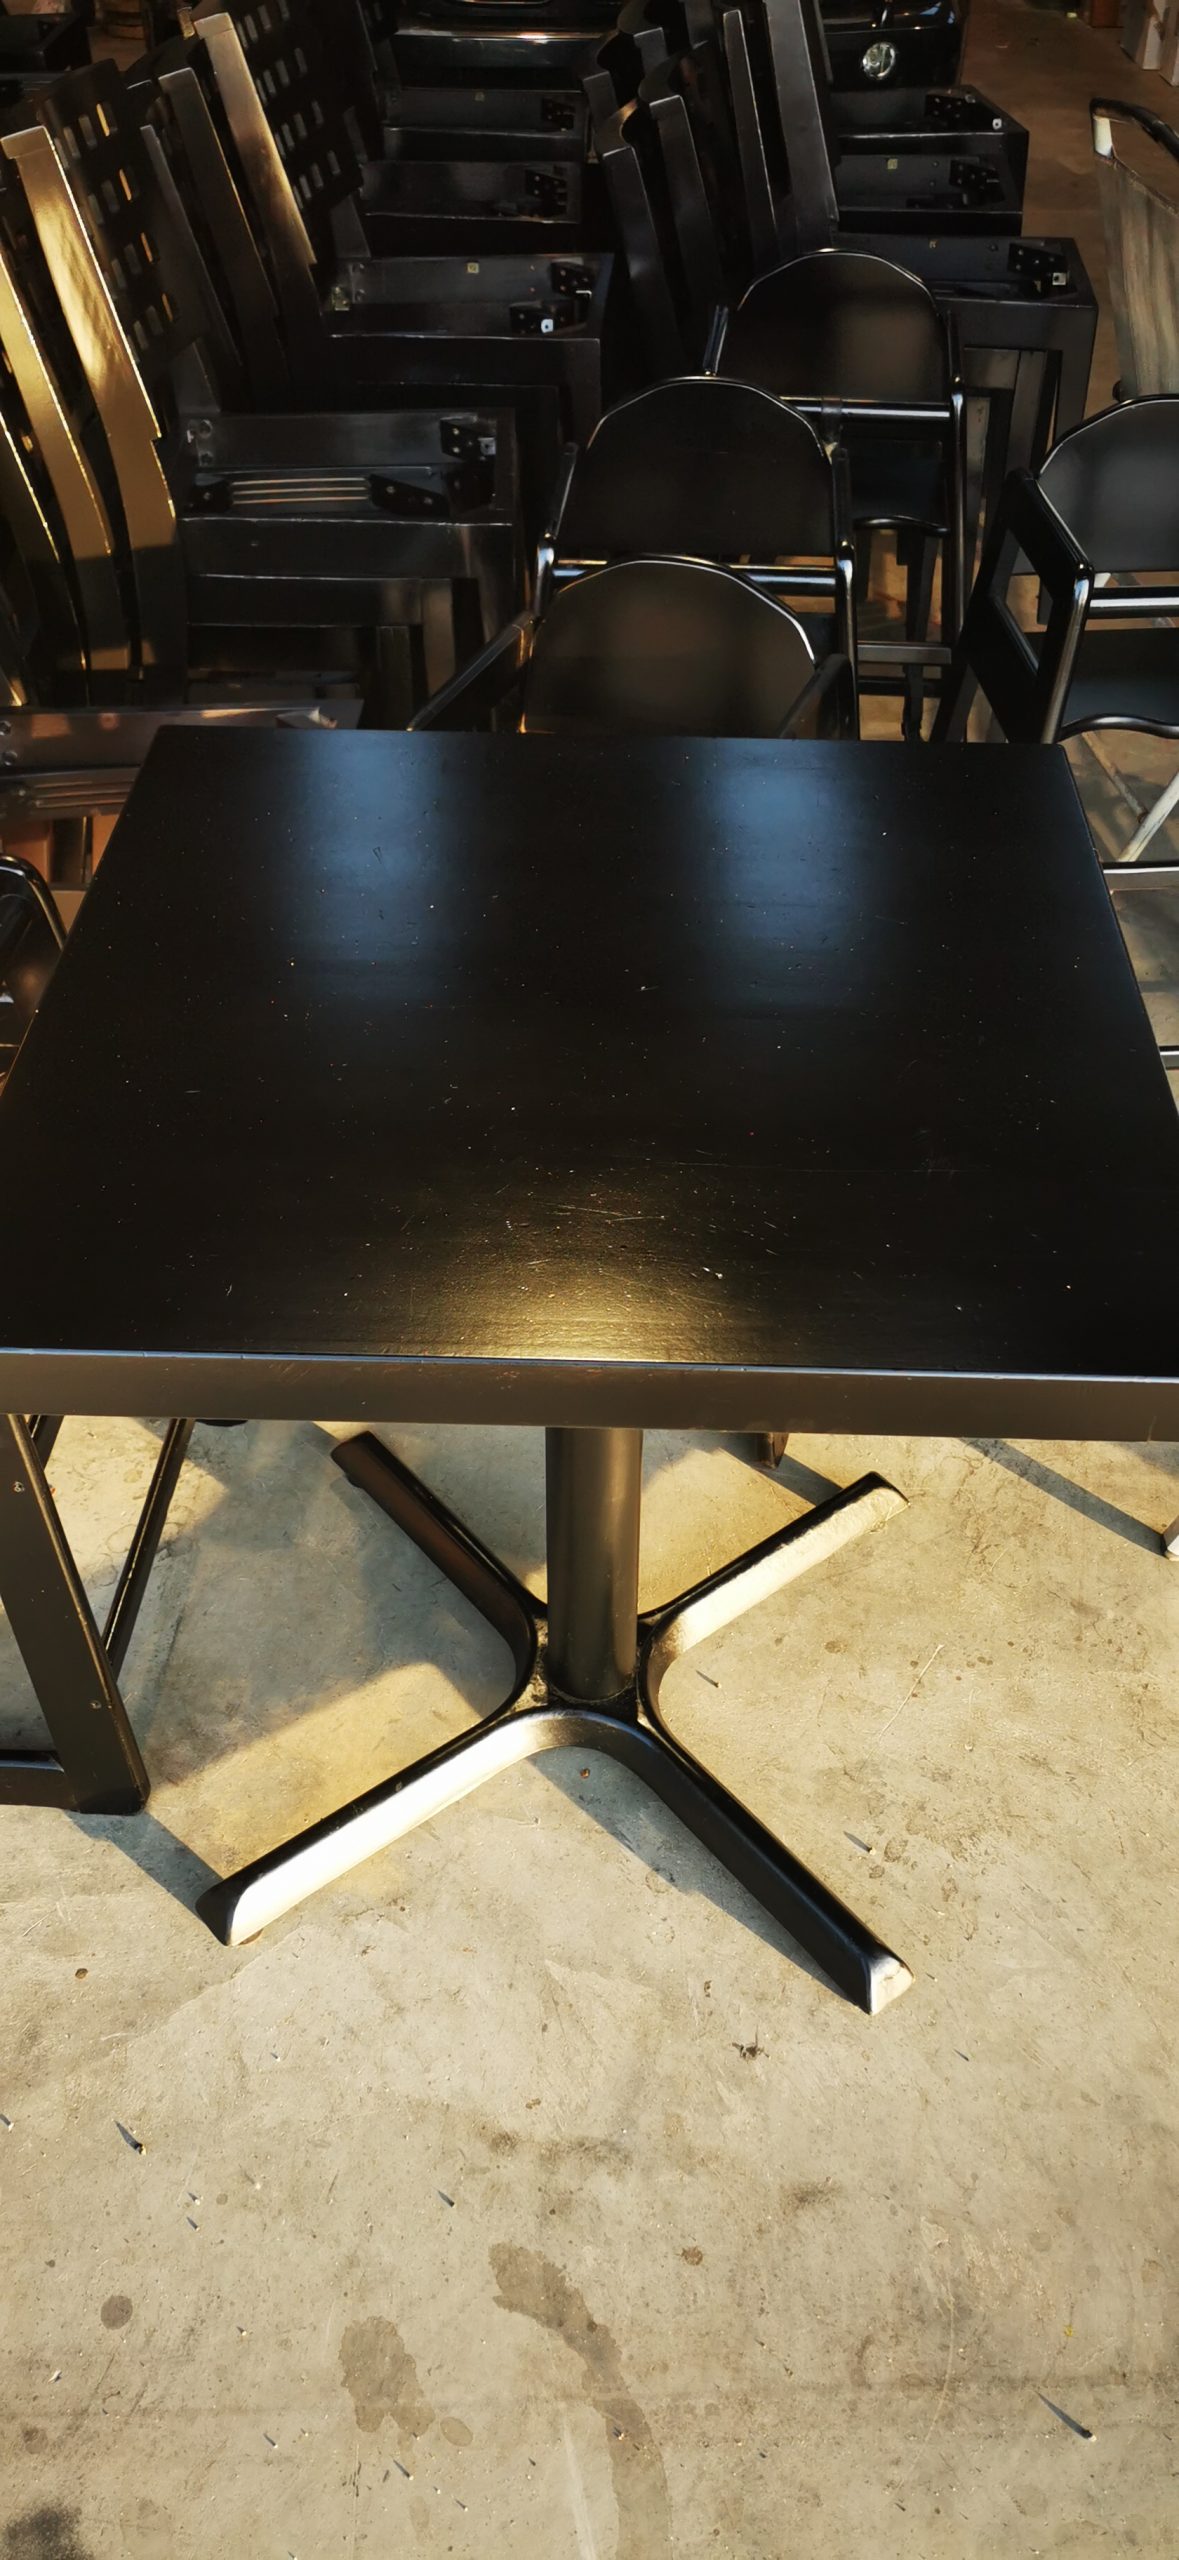
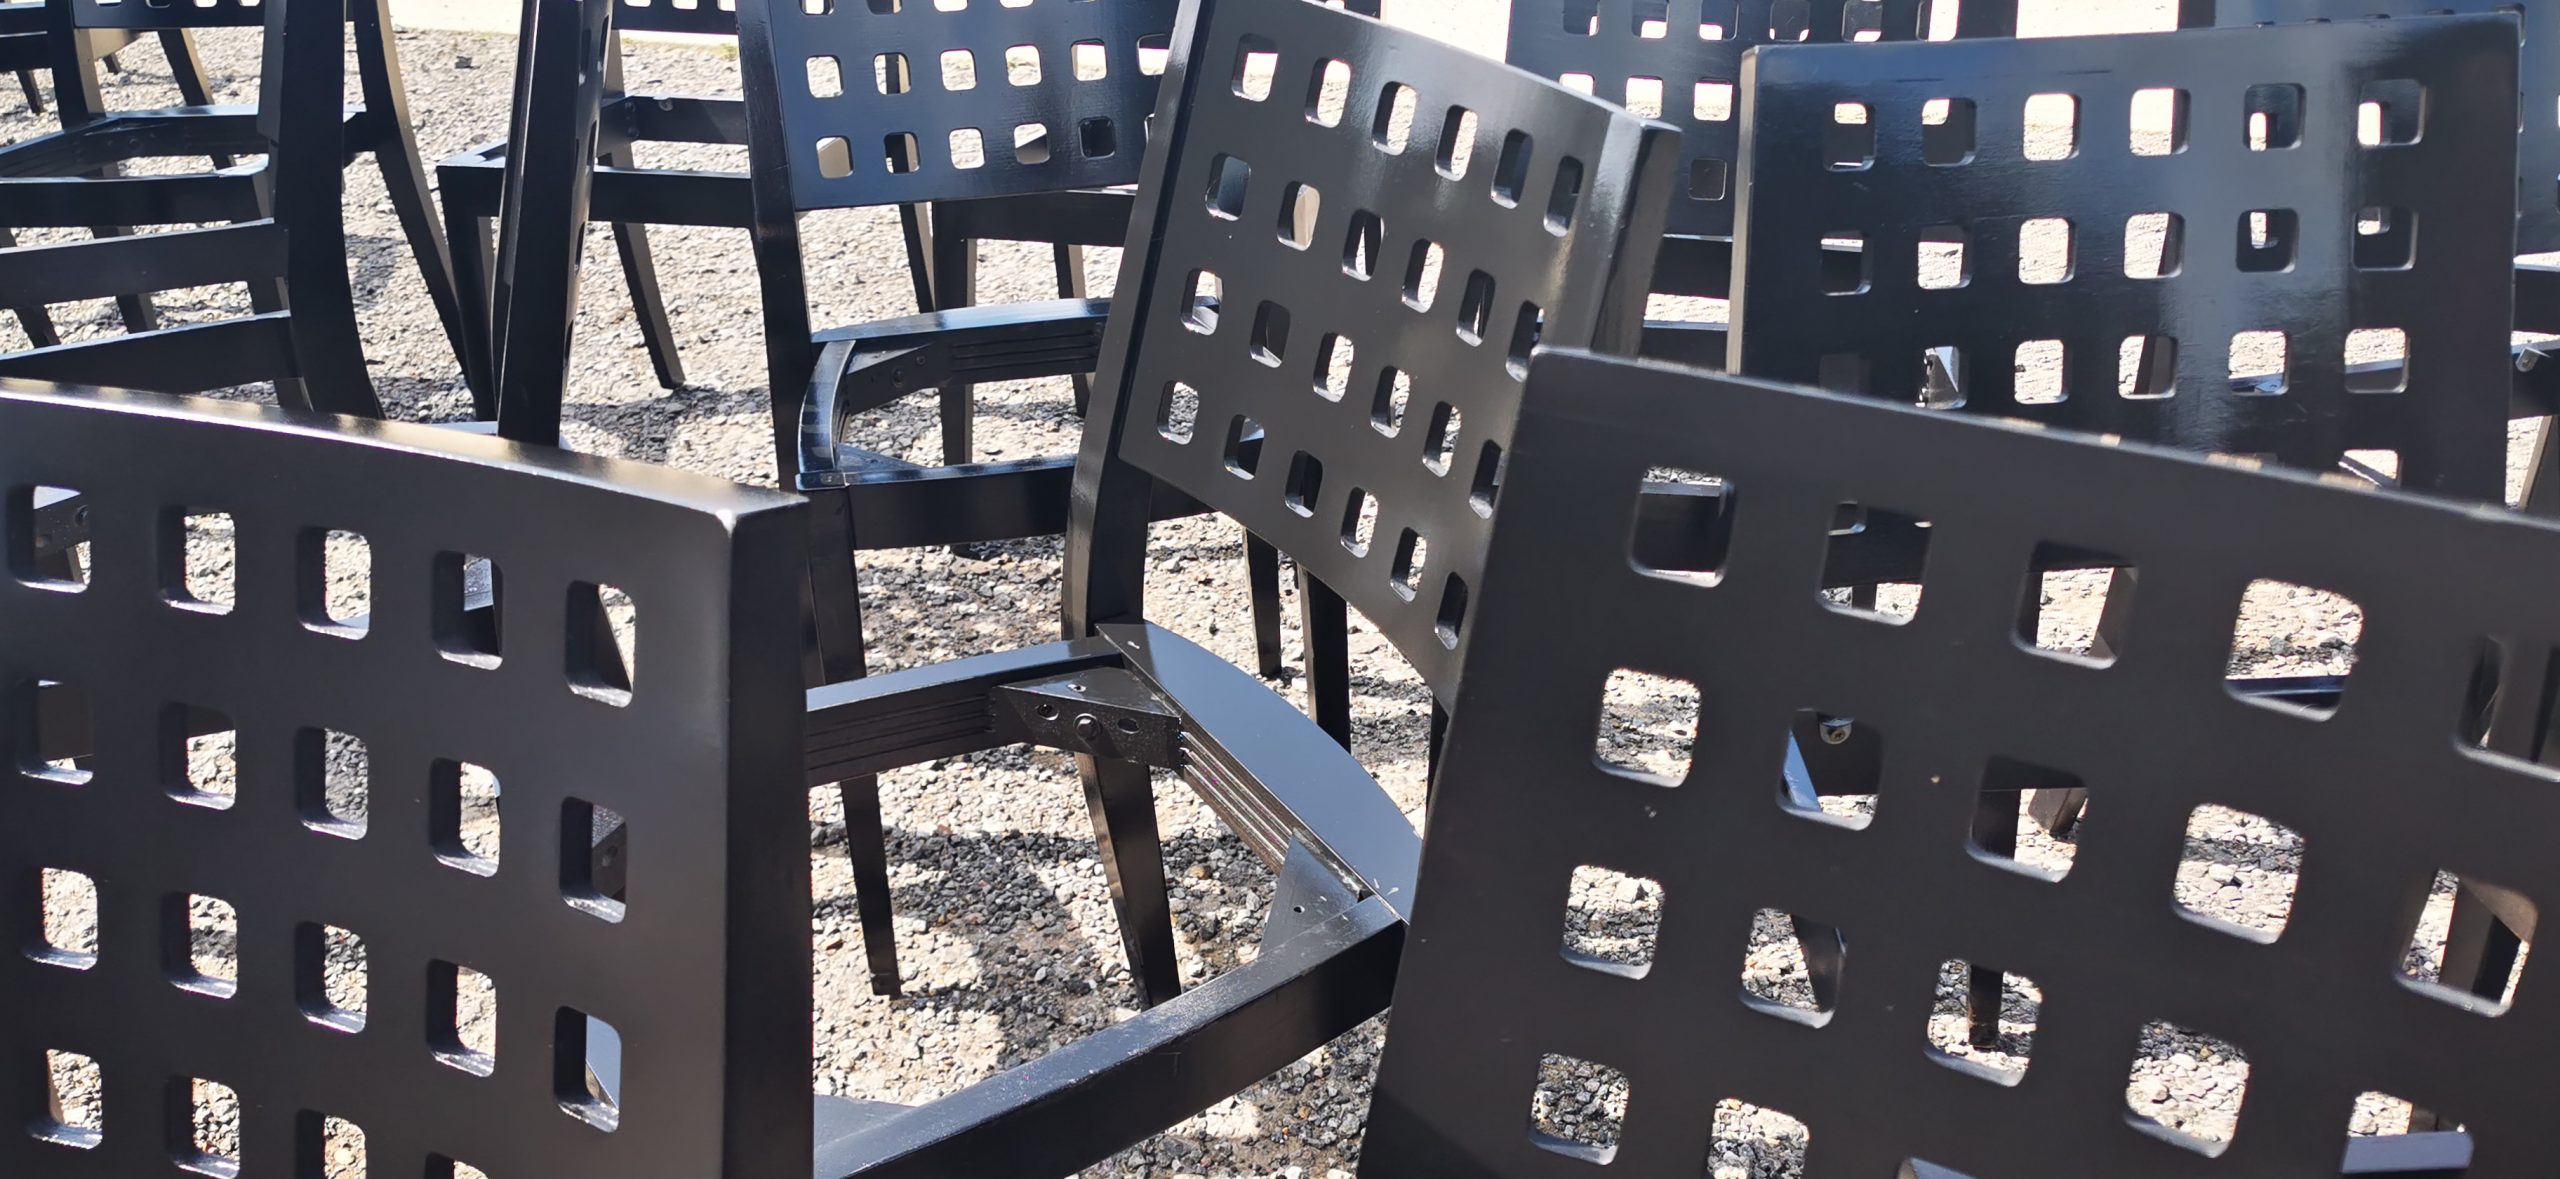
The following guide can be applied to any wooden or plastic chair project. By changing your project’s colour and/or shade, a dining room table or chair set can be transformed, looking good as new, injecting new life while also making for a fun project. Ultimately, it’s also an ideal way to save money rather than buy new ones.
Tool List:
- Degreaser
- Mixed Grade Sandpaper
- Black High Build Primer
- Acrylic Base Coat Colour
- Lacquer
- Newspaper and/or Dust Sheets
Method Statement:
Start off the project in a well-ventilated area and place the furniture on top of newspaper or dust sheets to minimise the mess you make.
Top Tip: Make sure your dust sheet is anchored, so you don’t trip on it while you’re painting; this could hamper your project or, worse yet, injure yourself.
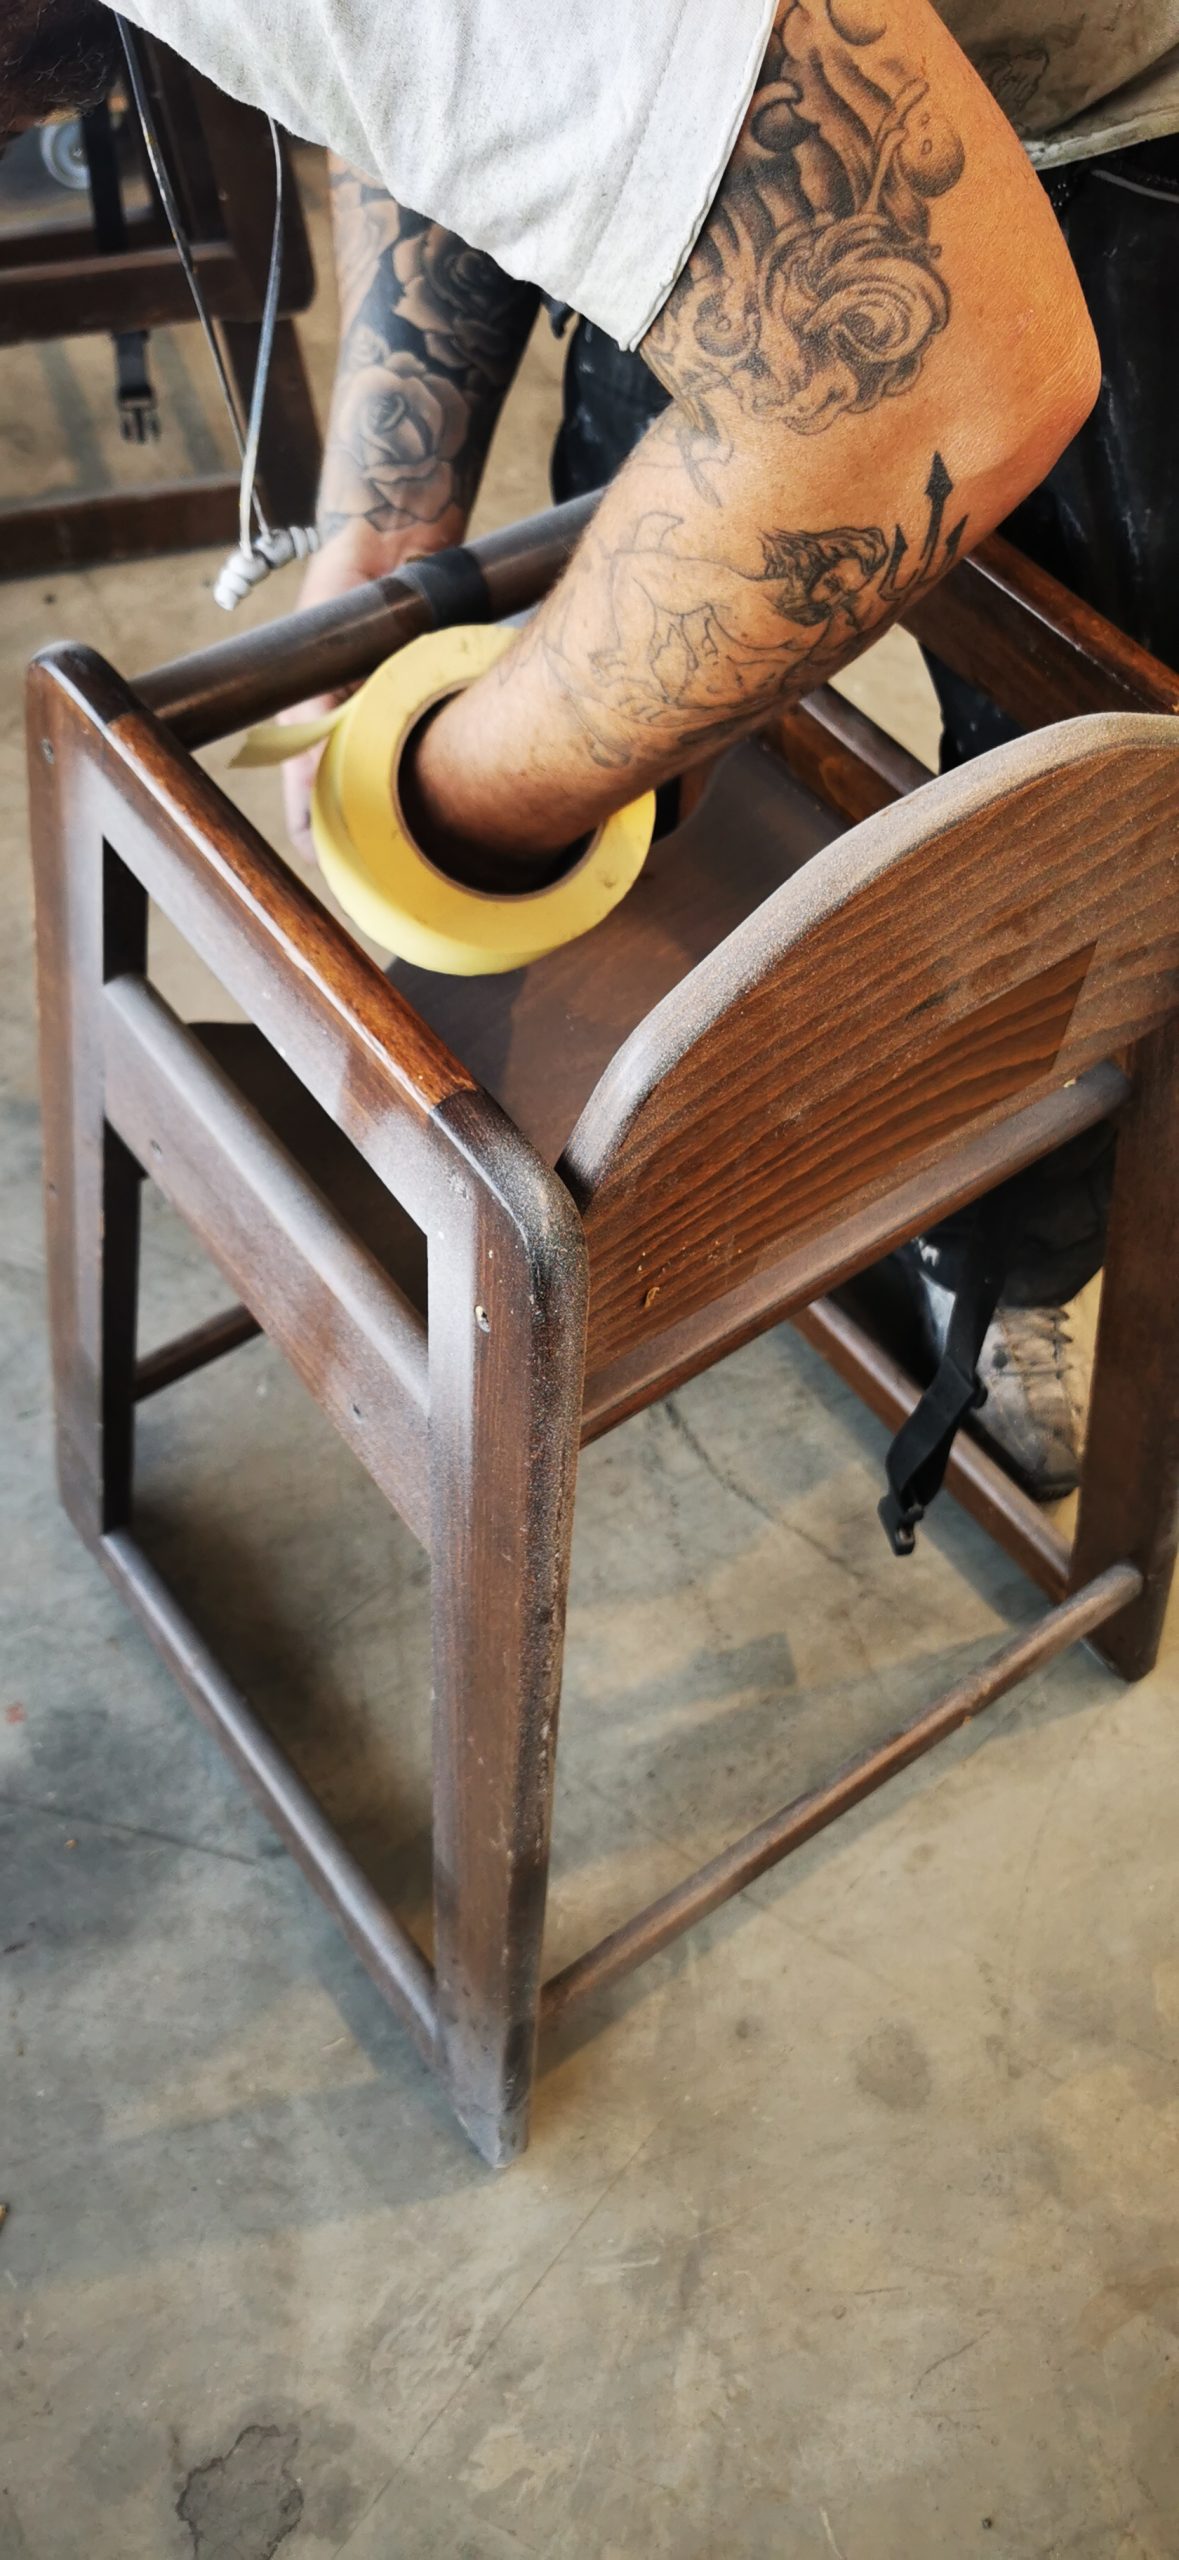
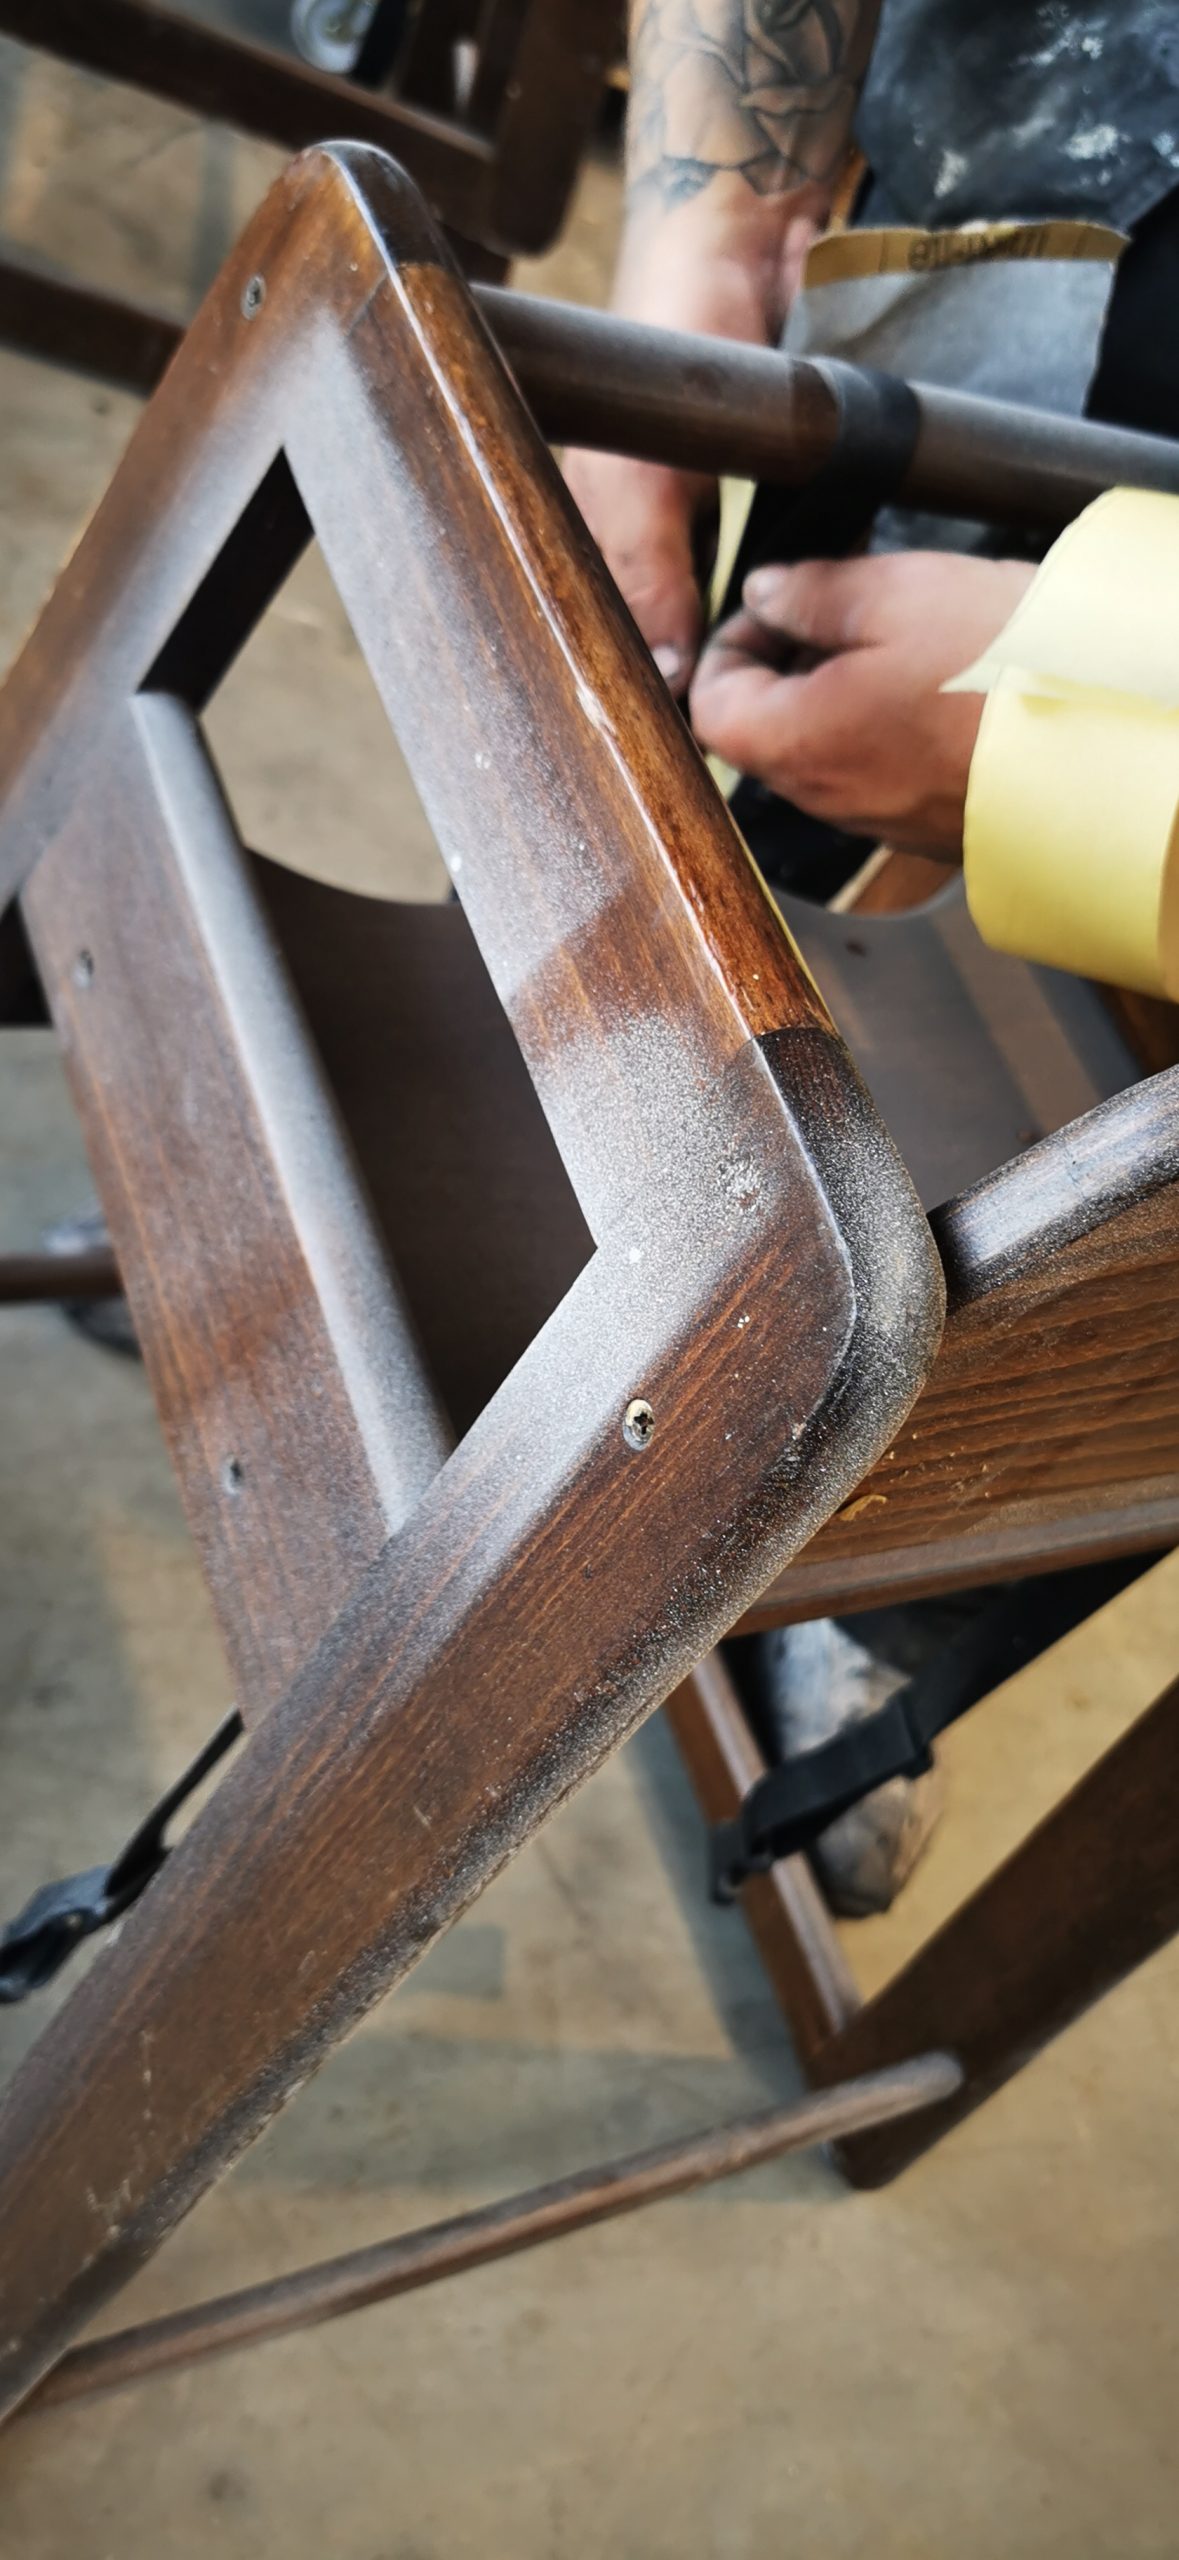
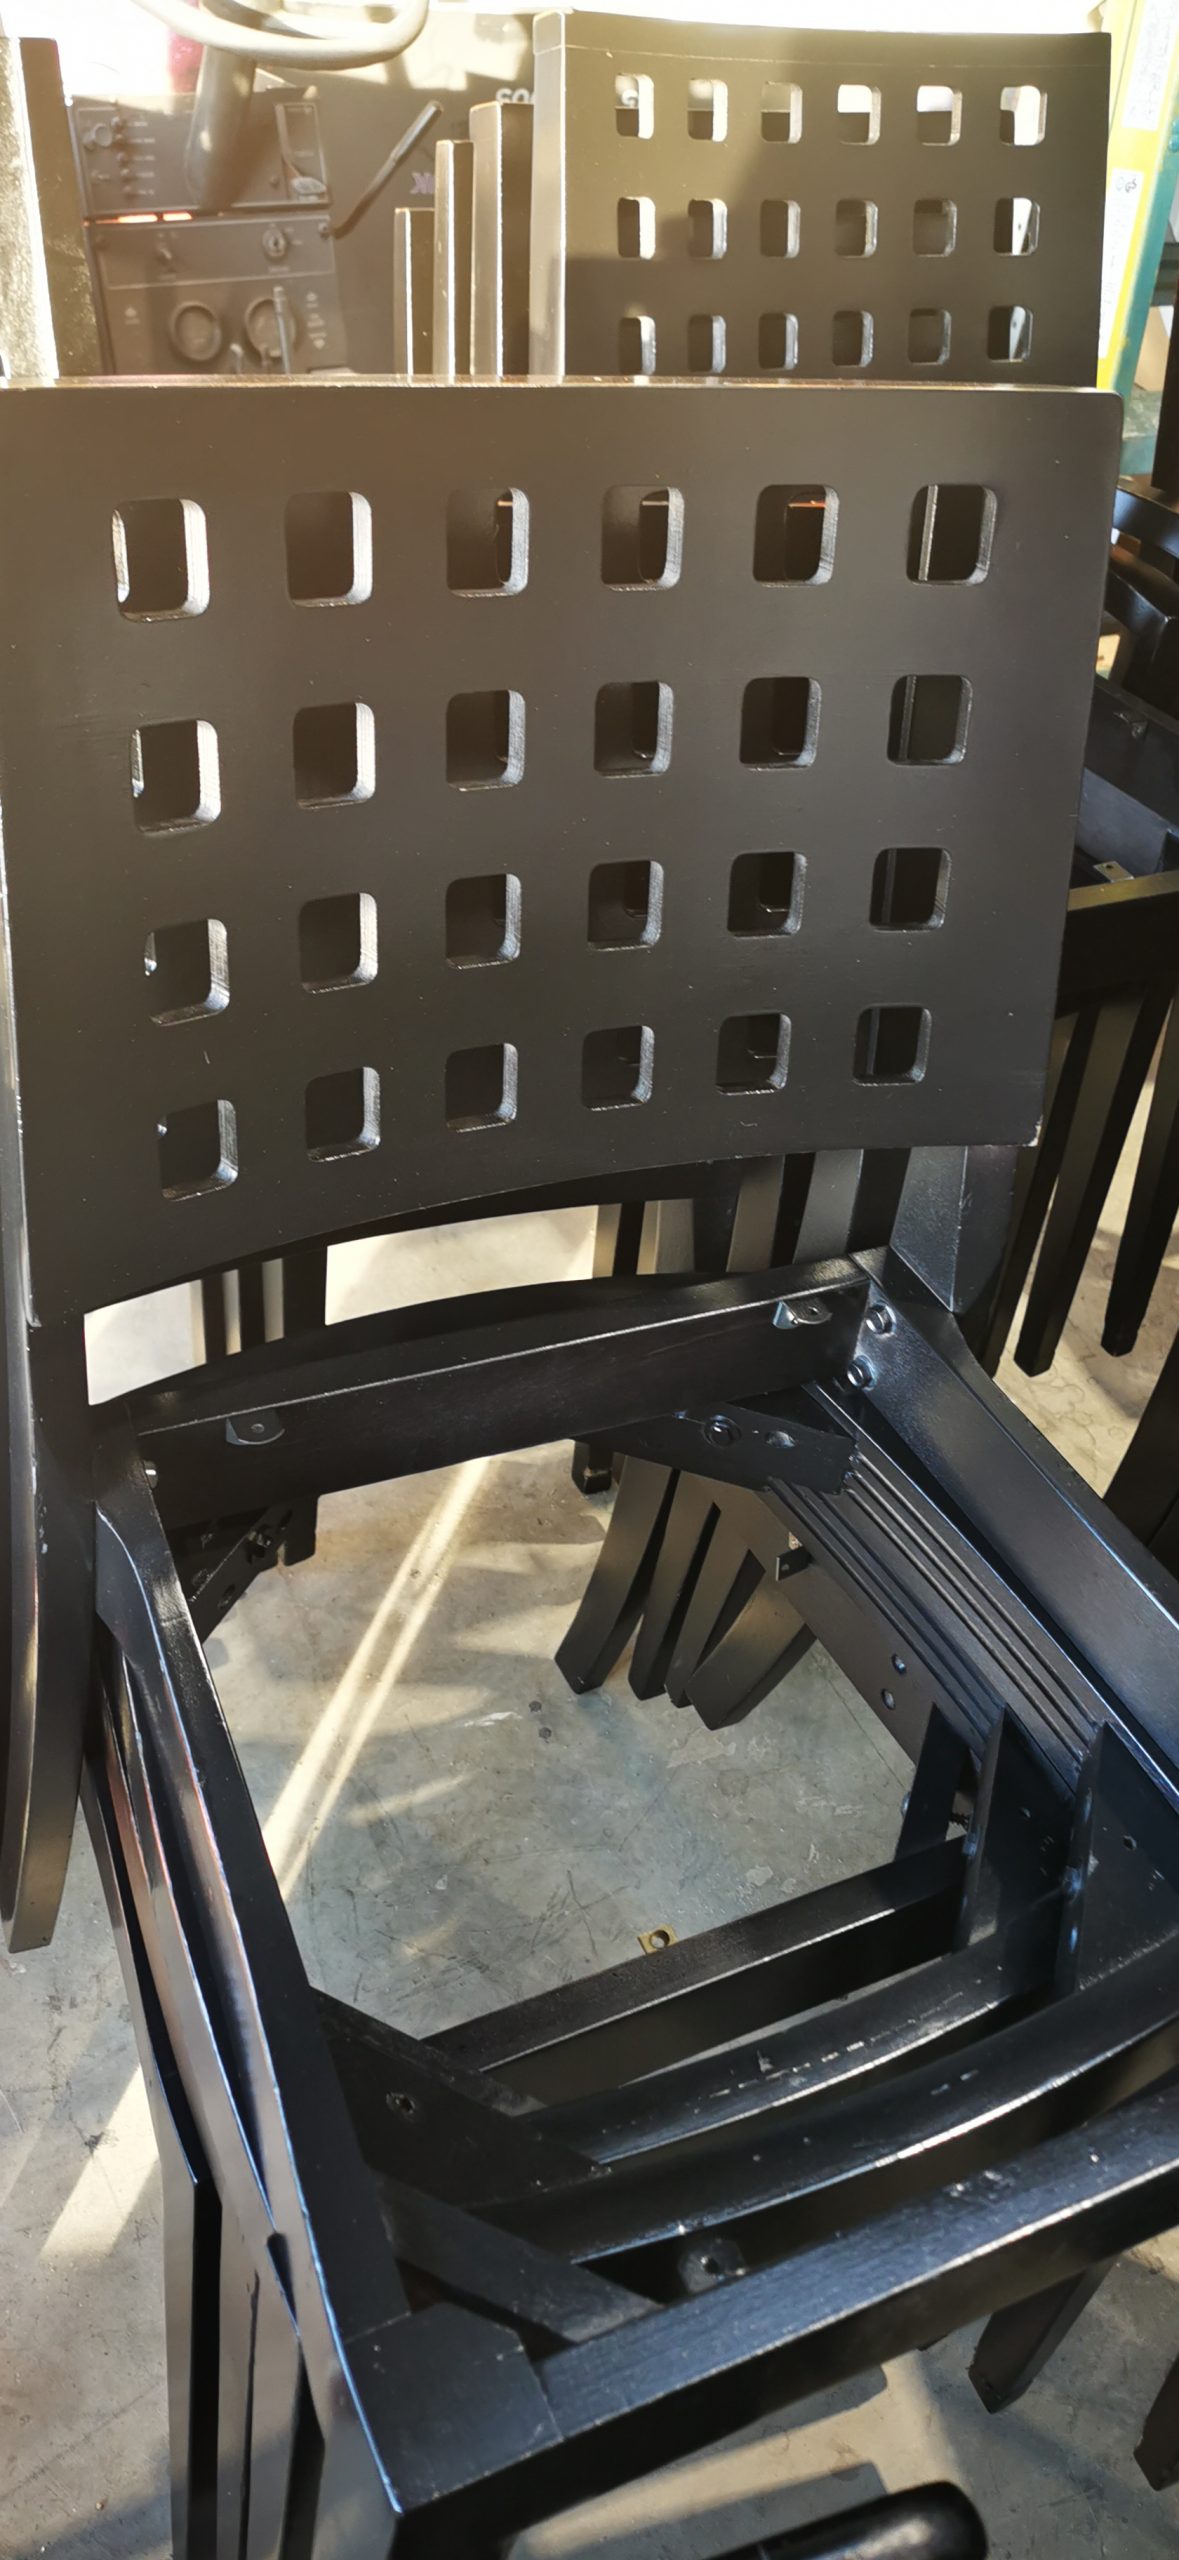
Mask off any areas you do not want to be painted and separate areas if relevant, for instance, if you want a two-tone effect on the base and the back support. Ensure that you protect the surrounding area with additional dust sheets or newspaper.
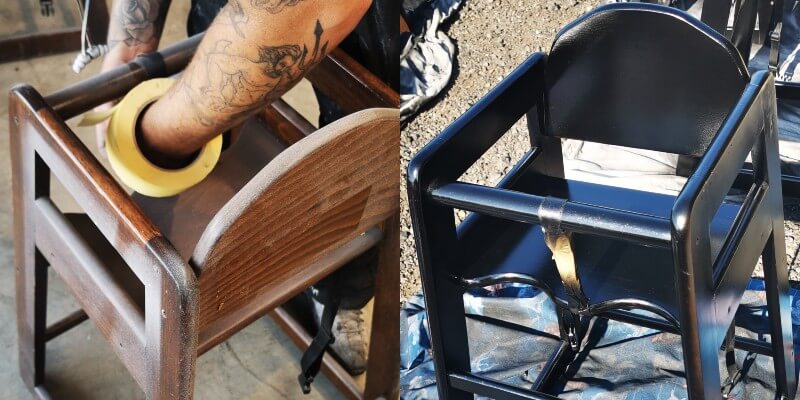
Ensure that the surfaces to be painted are free from loose paint, rust, wax, oils and grease. Key (lightly sand to a rough substrate) any previously painted surfaces, such as wood and metal, so that the new primer/paint can adhere to them.
Once you have sanded it, use a degreaser to remove any chemical residues and a tack cloth to remove any further particulate. When you are ready to paint, apply the High Build Primer and set it for around 40/60 minutes to cure. Then, once the paint has cured, you can sand further should you wish to smooth out the surface more.
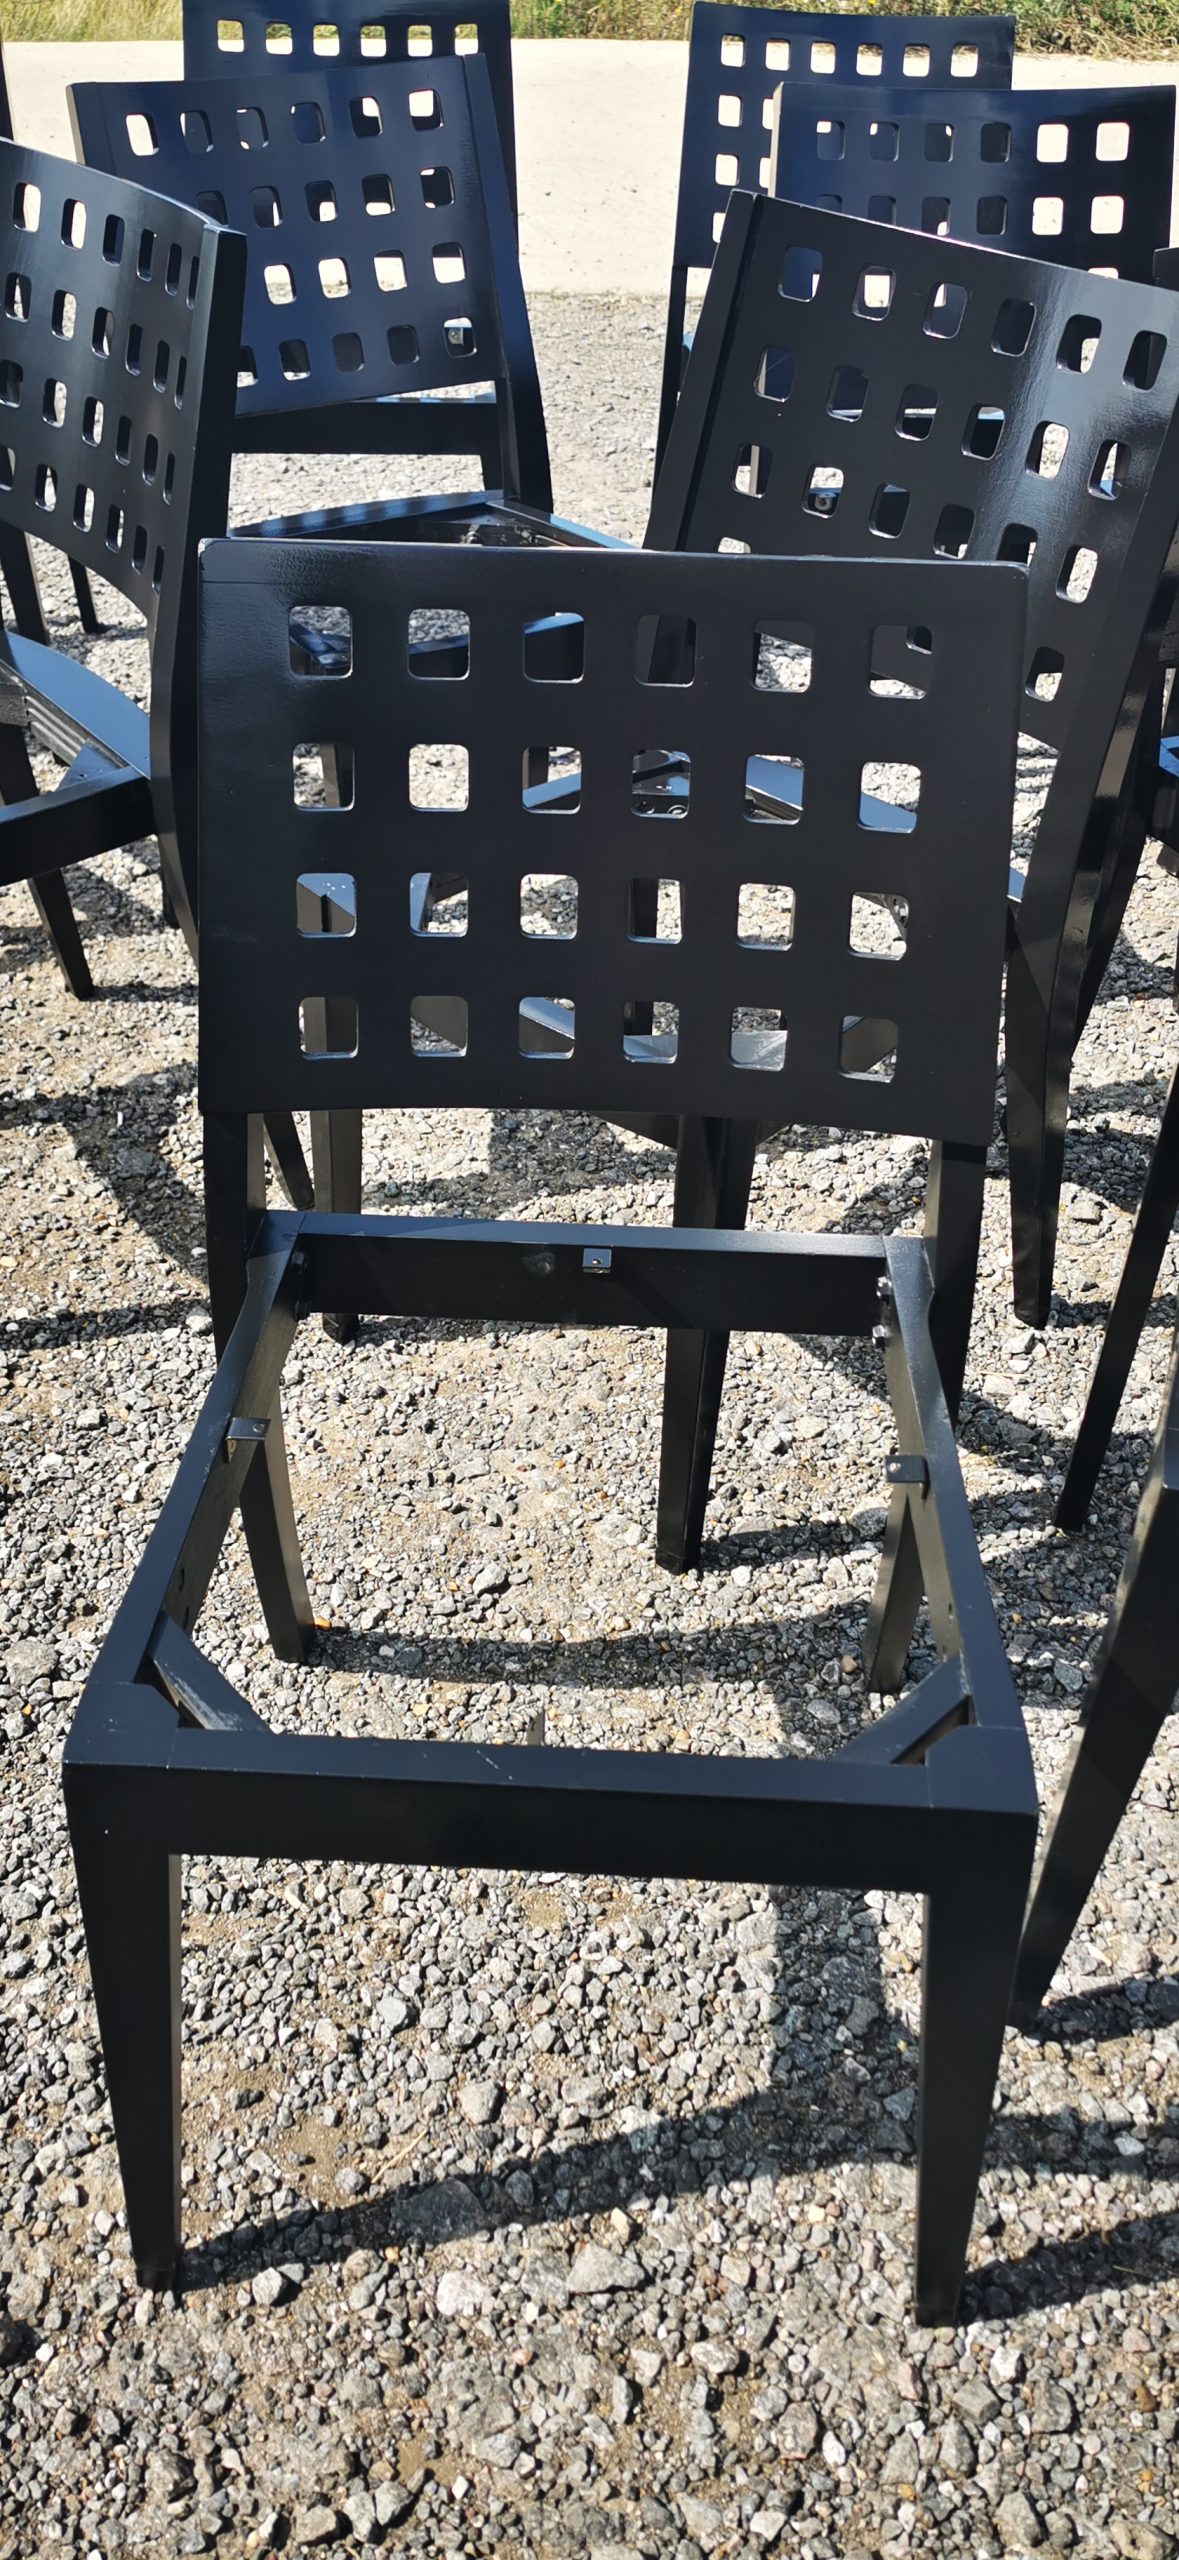
Using your selected Base Coat Colour, hold the can approximately 30cm from the surface of the chair and spray left to right in steady passes (releasing the spray nozzle as you leave the substrate and depressing the nozzle before you hit the substrate on the return pass), half overlapping with each stroke.
We recommend that, for best results, whilst spraying, keep the can the same distance from the surface and in motion. Apply several light coats at 30 minutes intervals until you are happy with the colour.
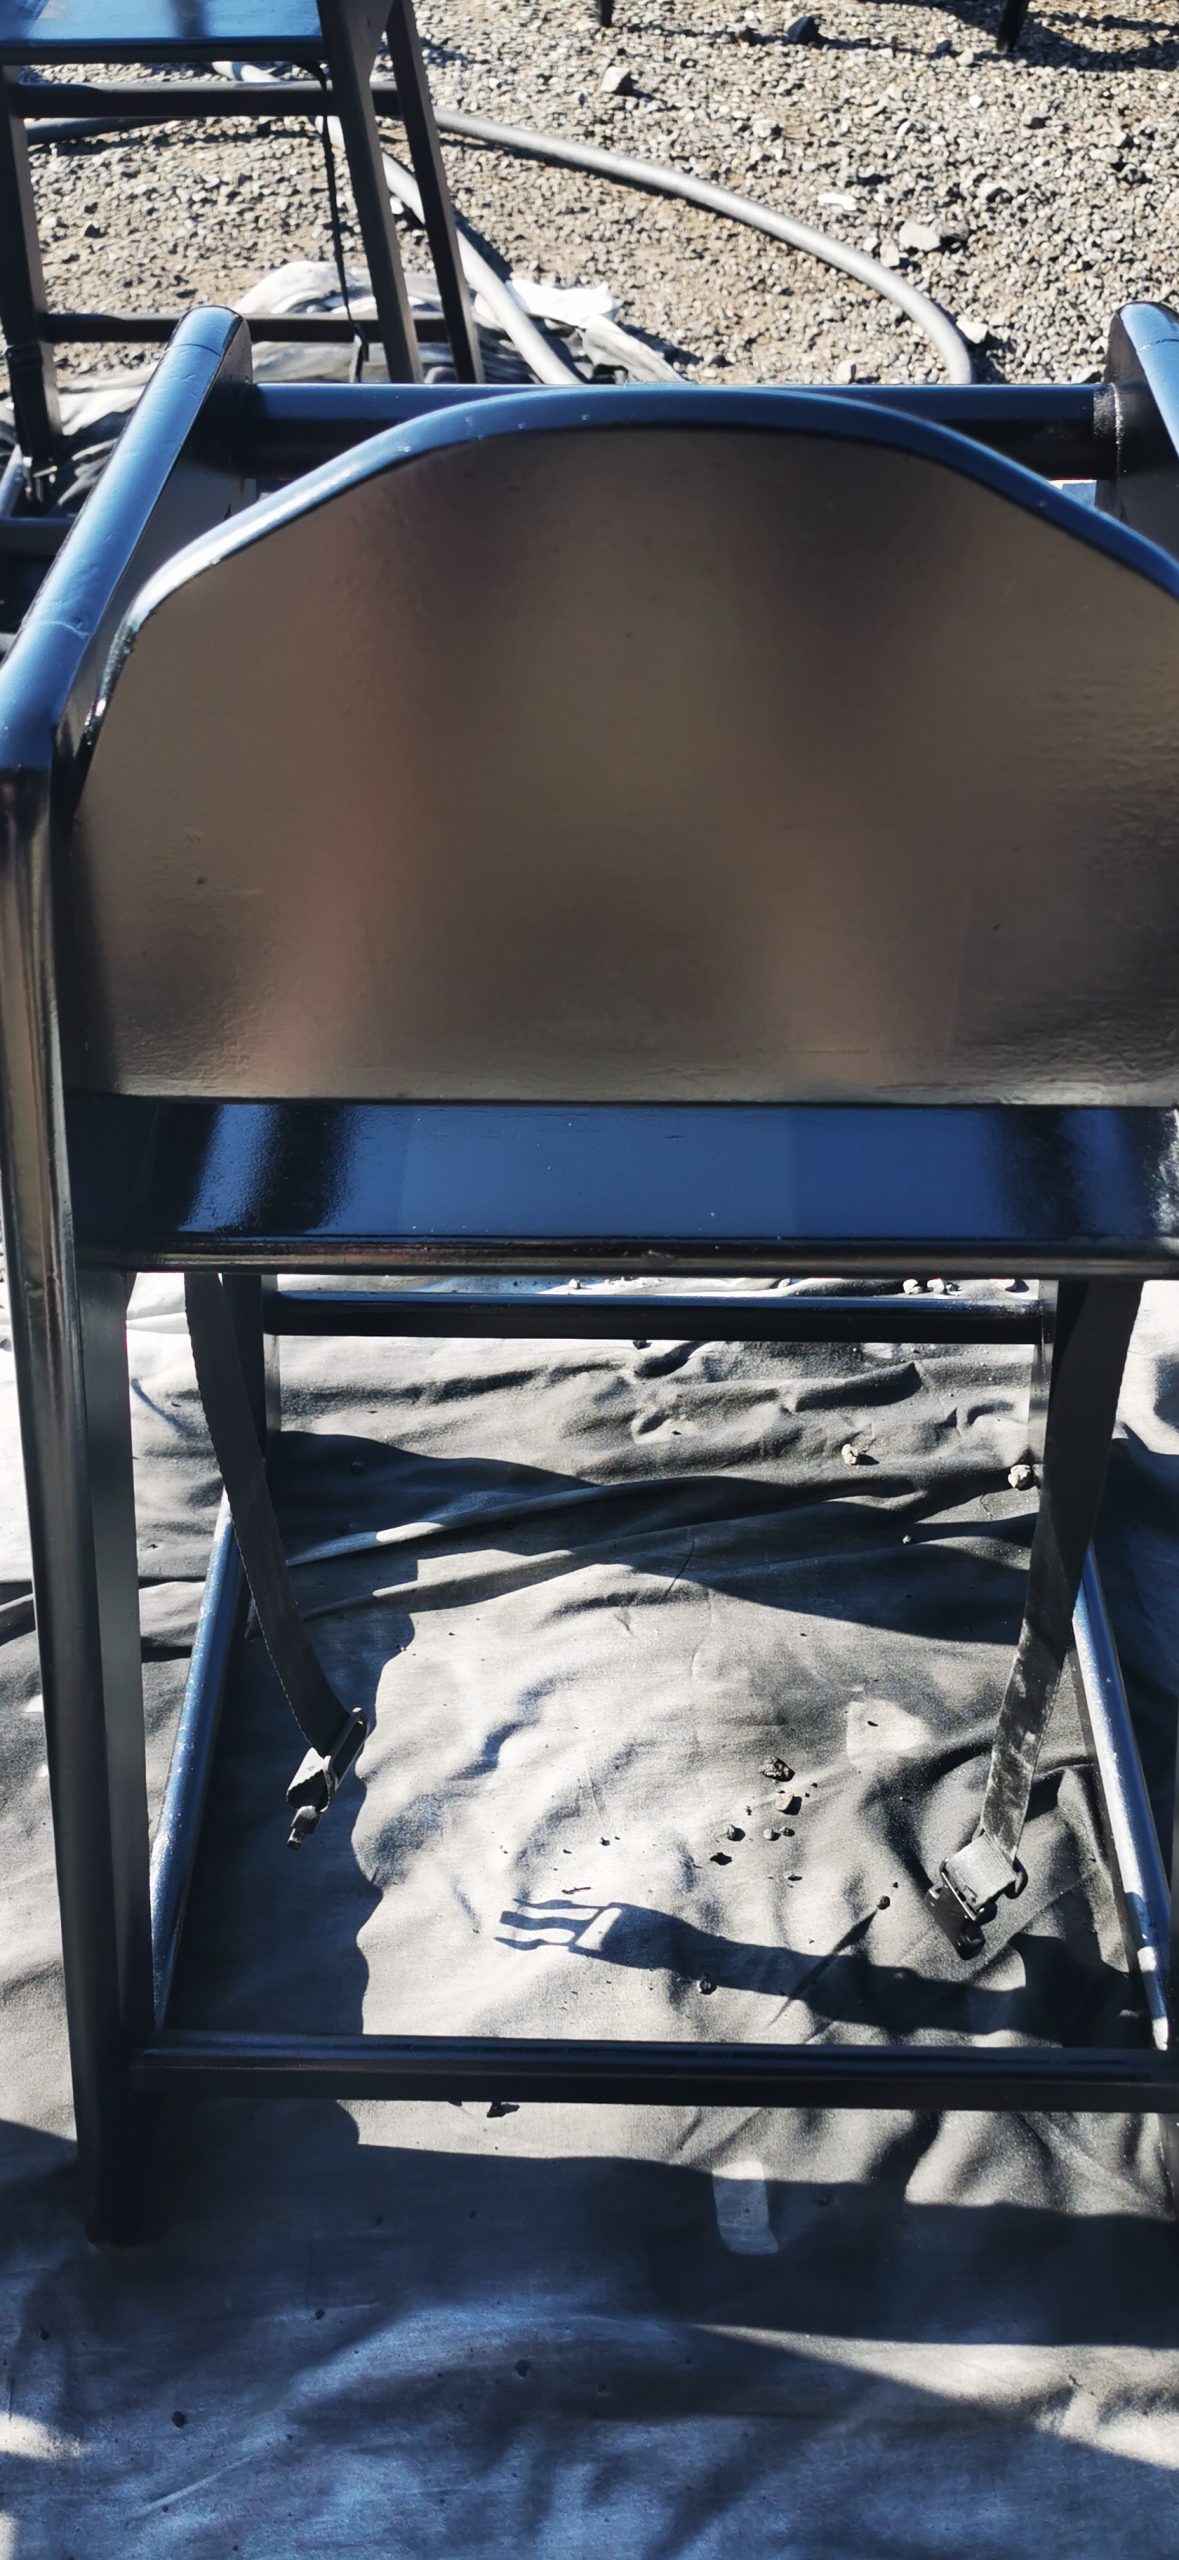
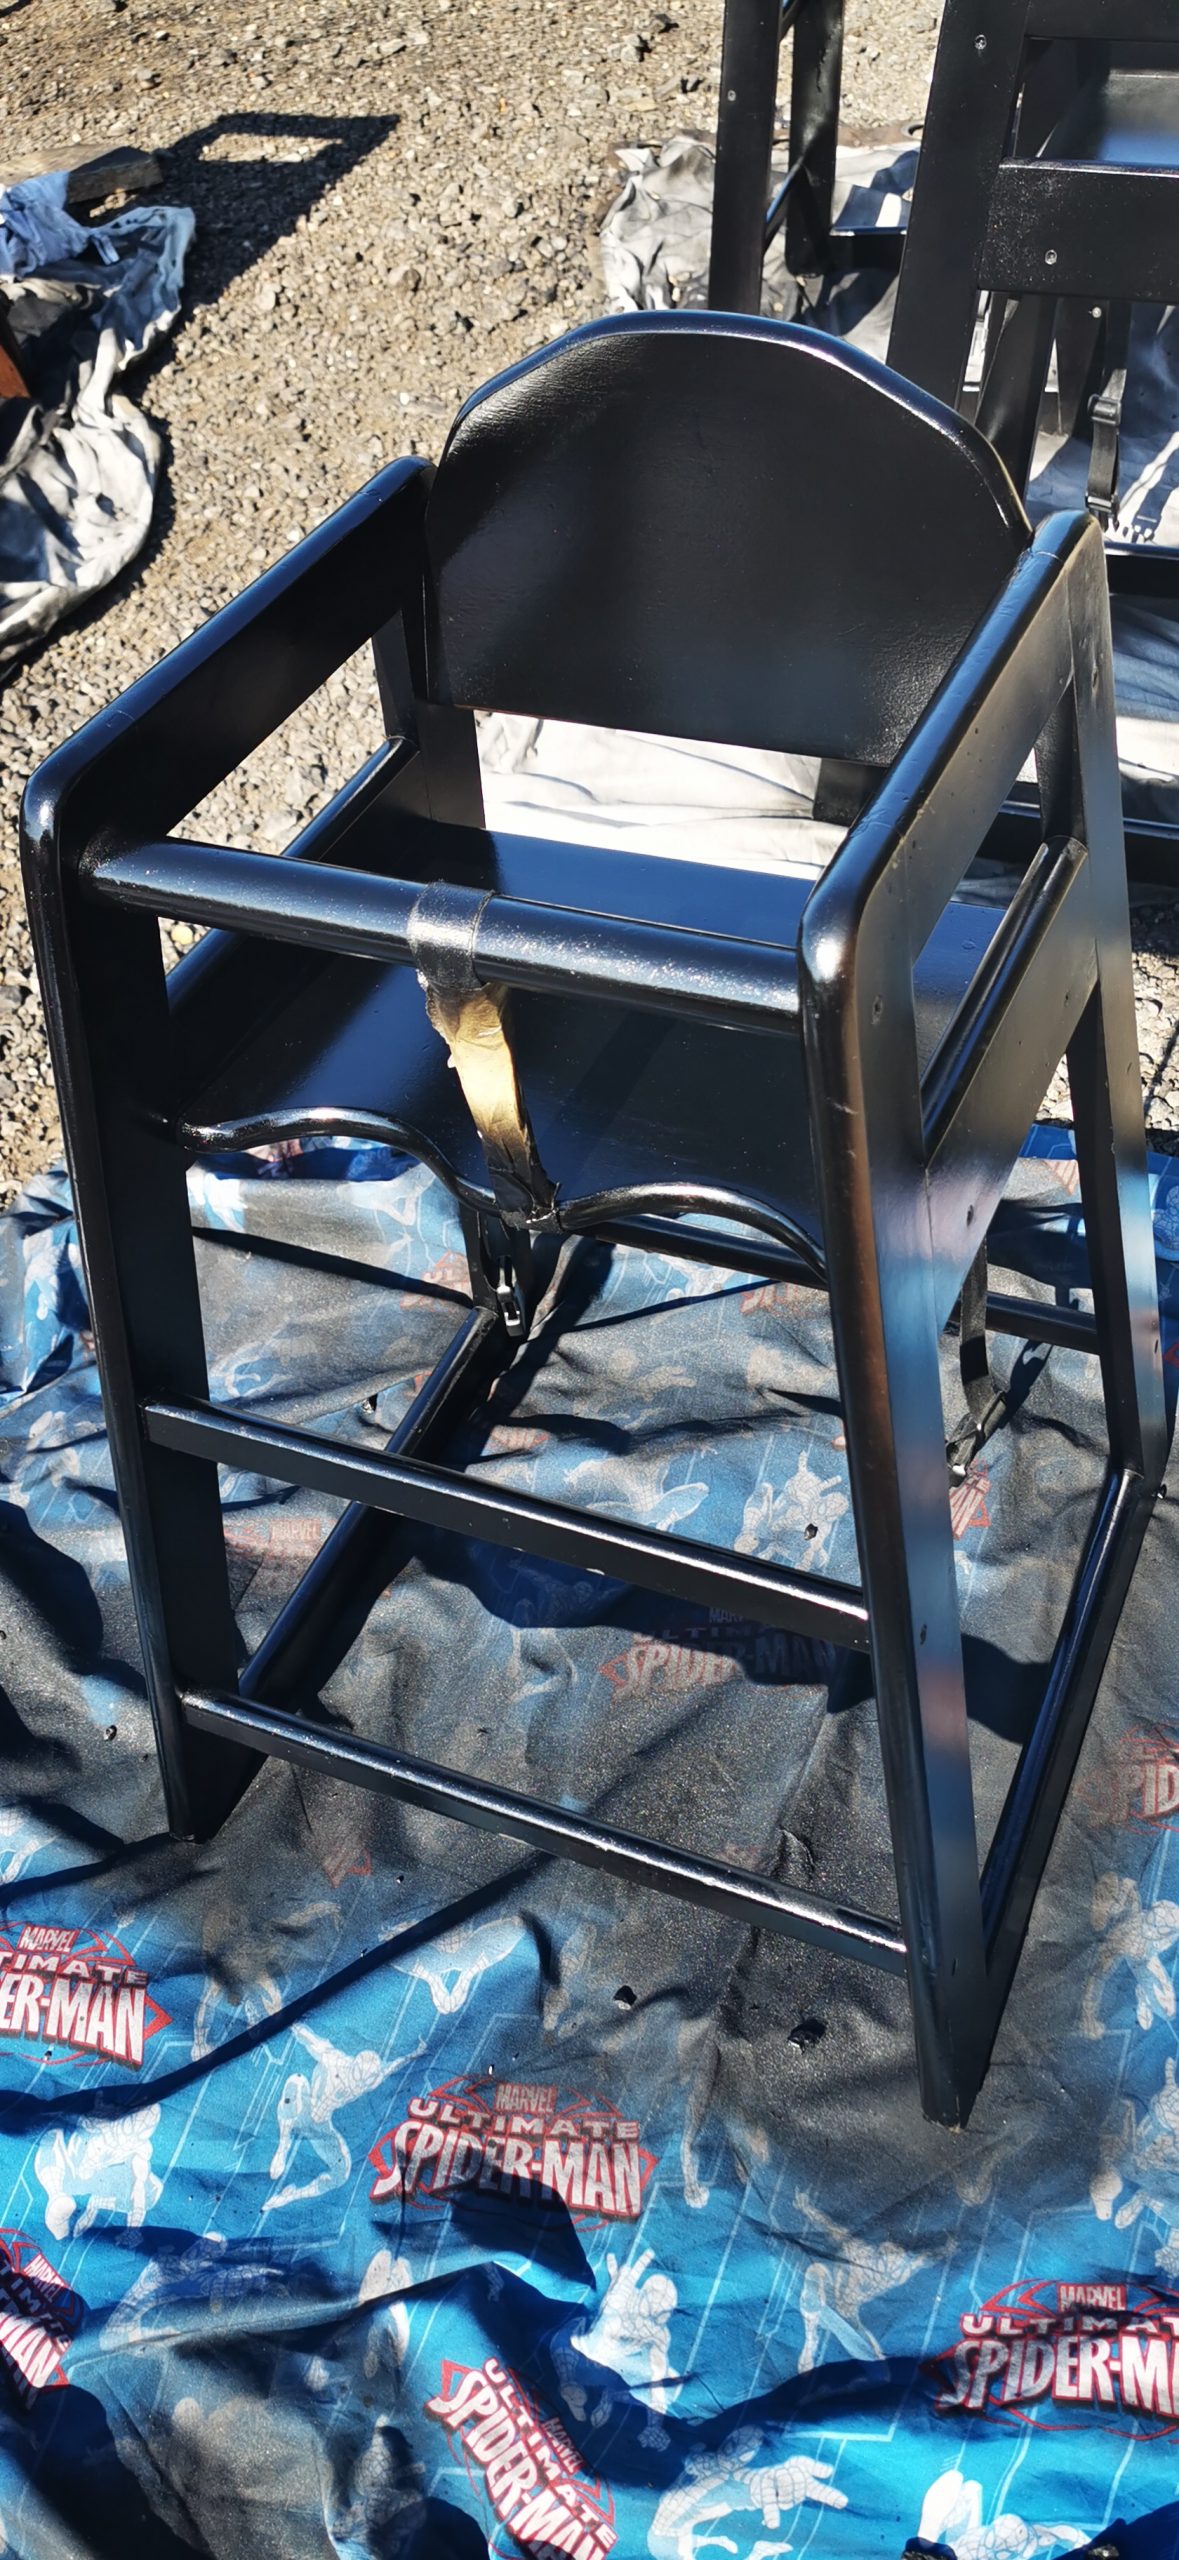
After leaving the top coat to cure for at least 2 hours, you can apply the final layers of the top coat of Lacquer and leave the final project to cure overnight to ensure the paint is thoroughly dry before moving it back into the house. This will also reduce the paint smell/odour (if this is of concern, you can include a deodoriser in addition when you order your paint).
The Final Word:
Great work, Lewis; the chairs came out amazing, and I am sure your client was equally impressed. Thanks again for all the fantastic pictures; on to the next project.