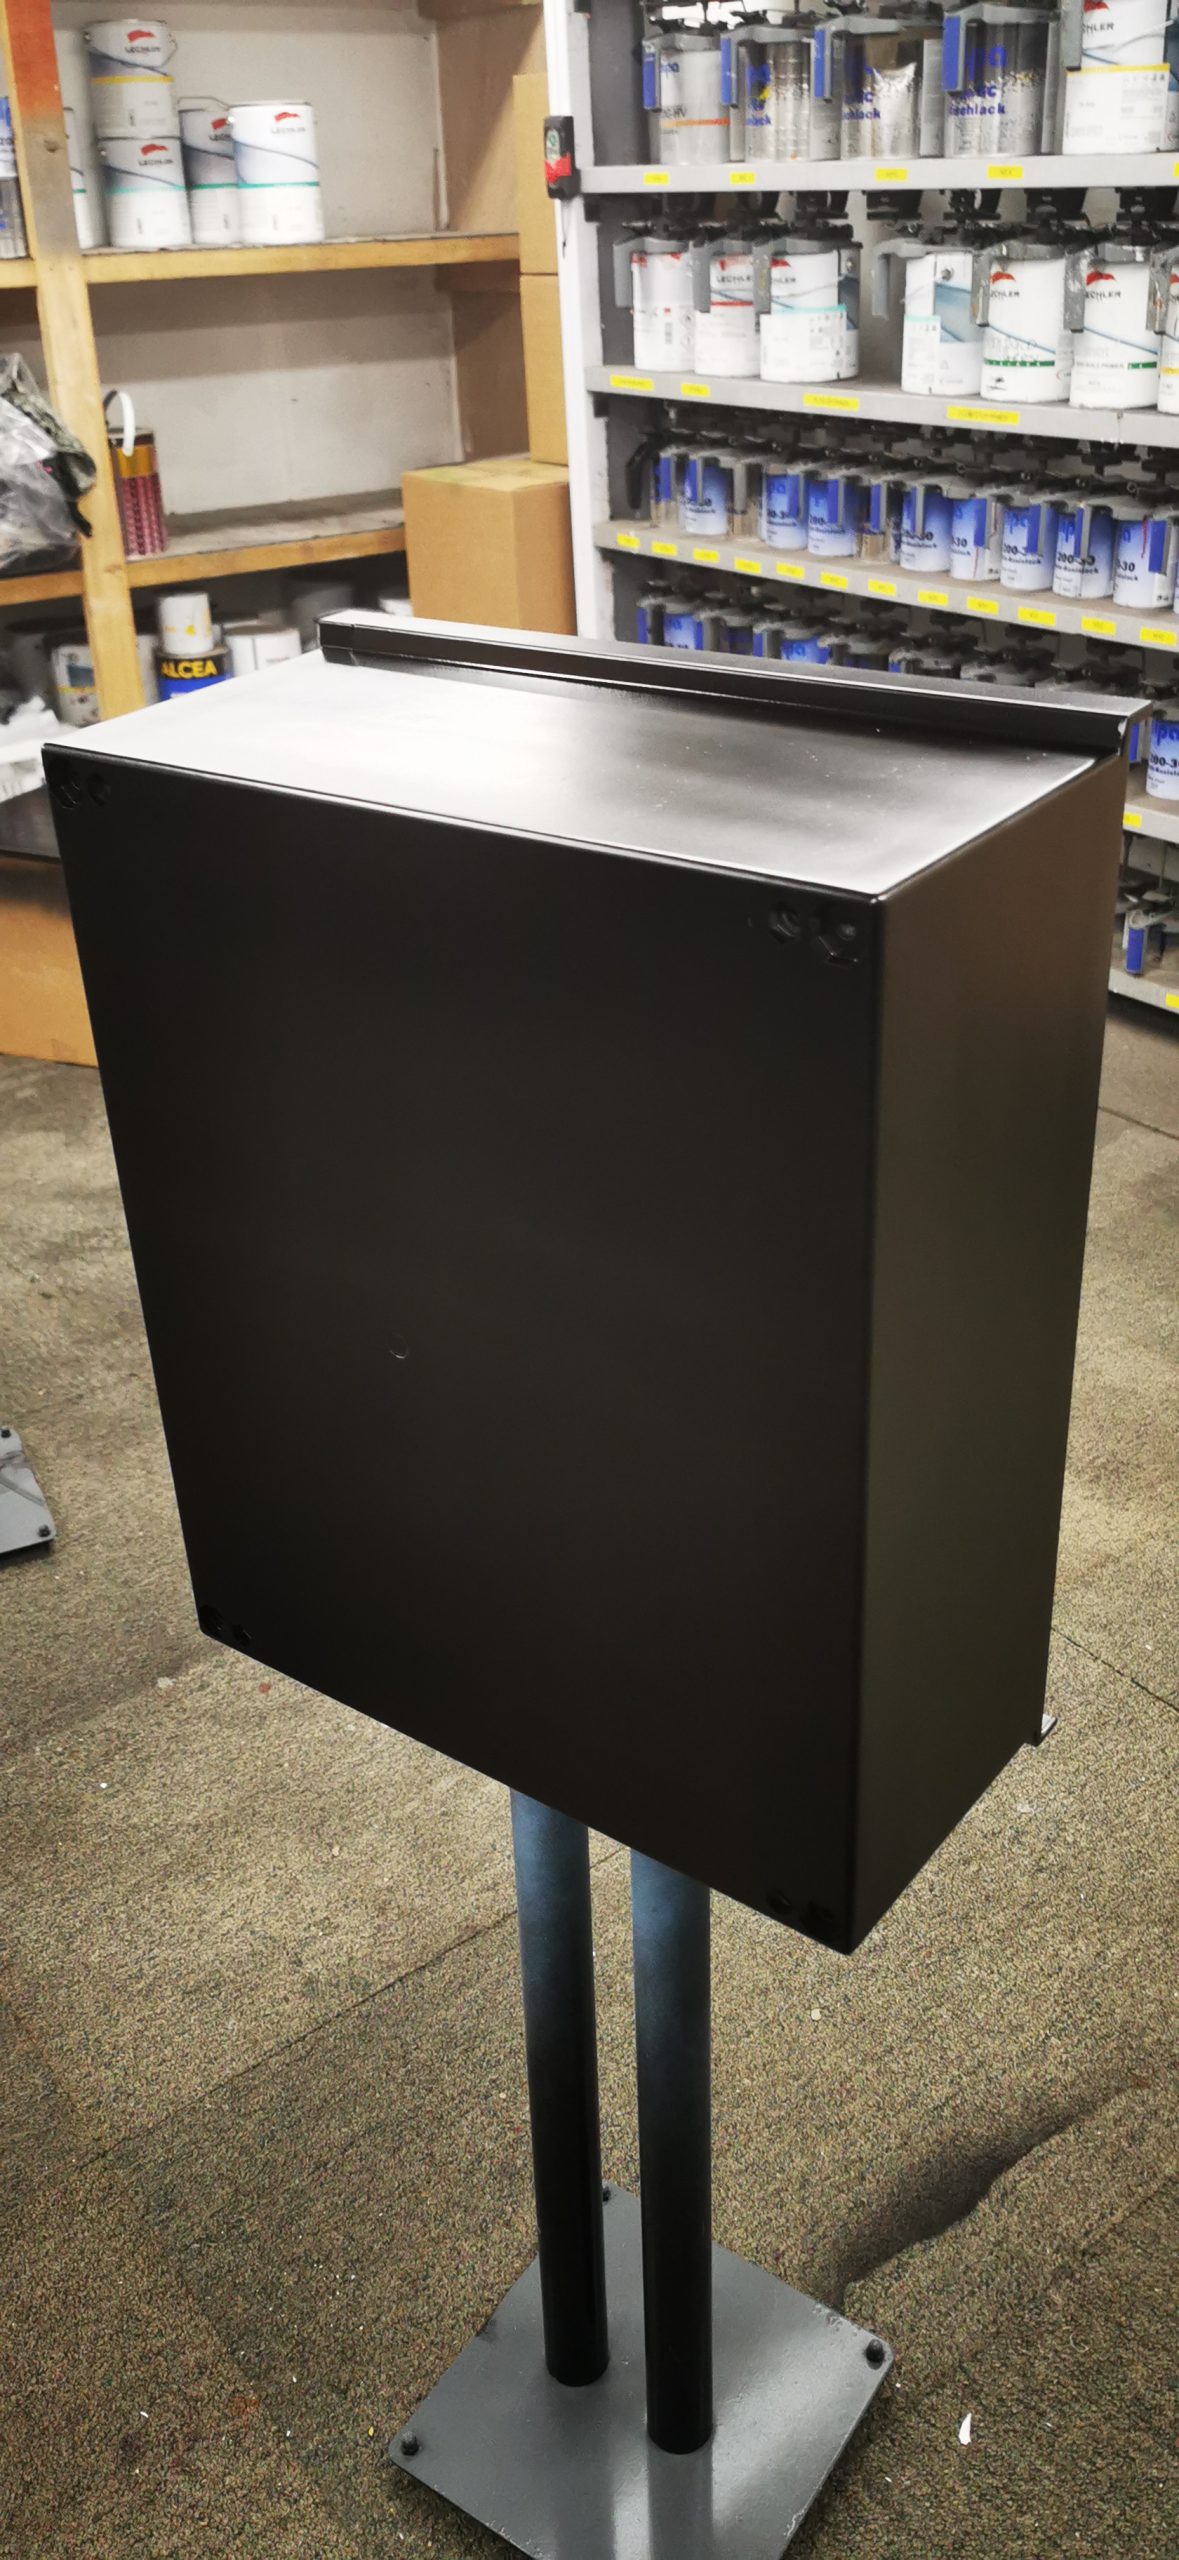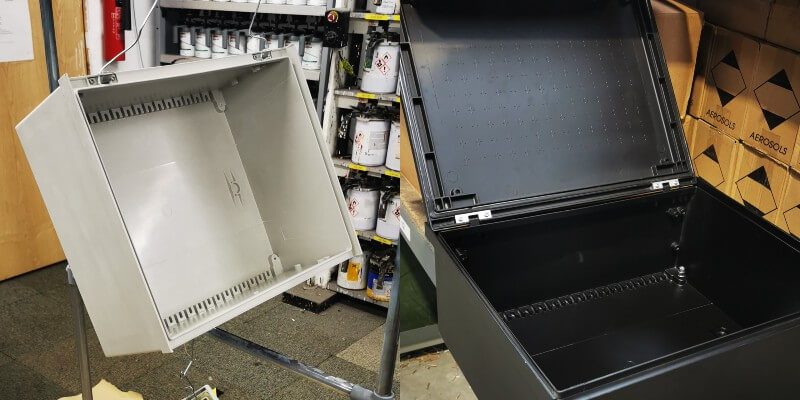
We were approached by a company to paint some exterior alarm boxes to match an existing colour scheme. While the boxes were made from plastic, we had no trouble painting them!
Tools:
Method:
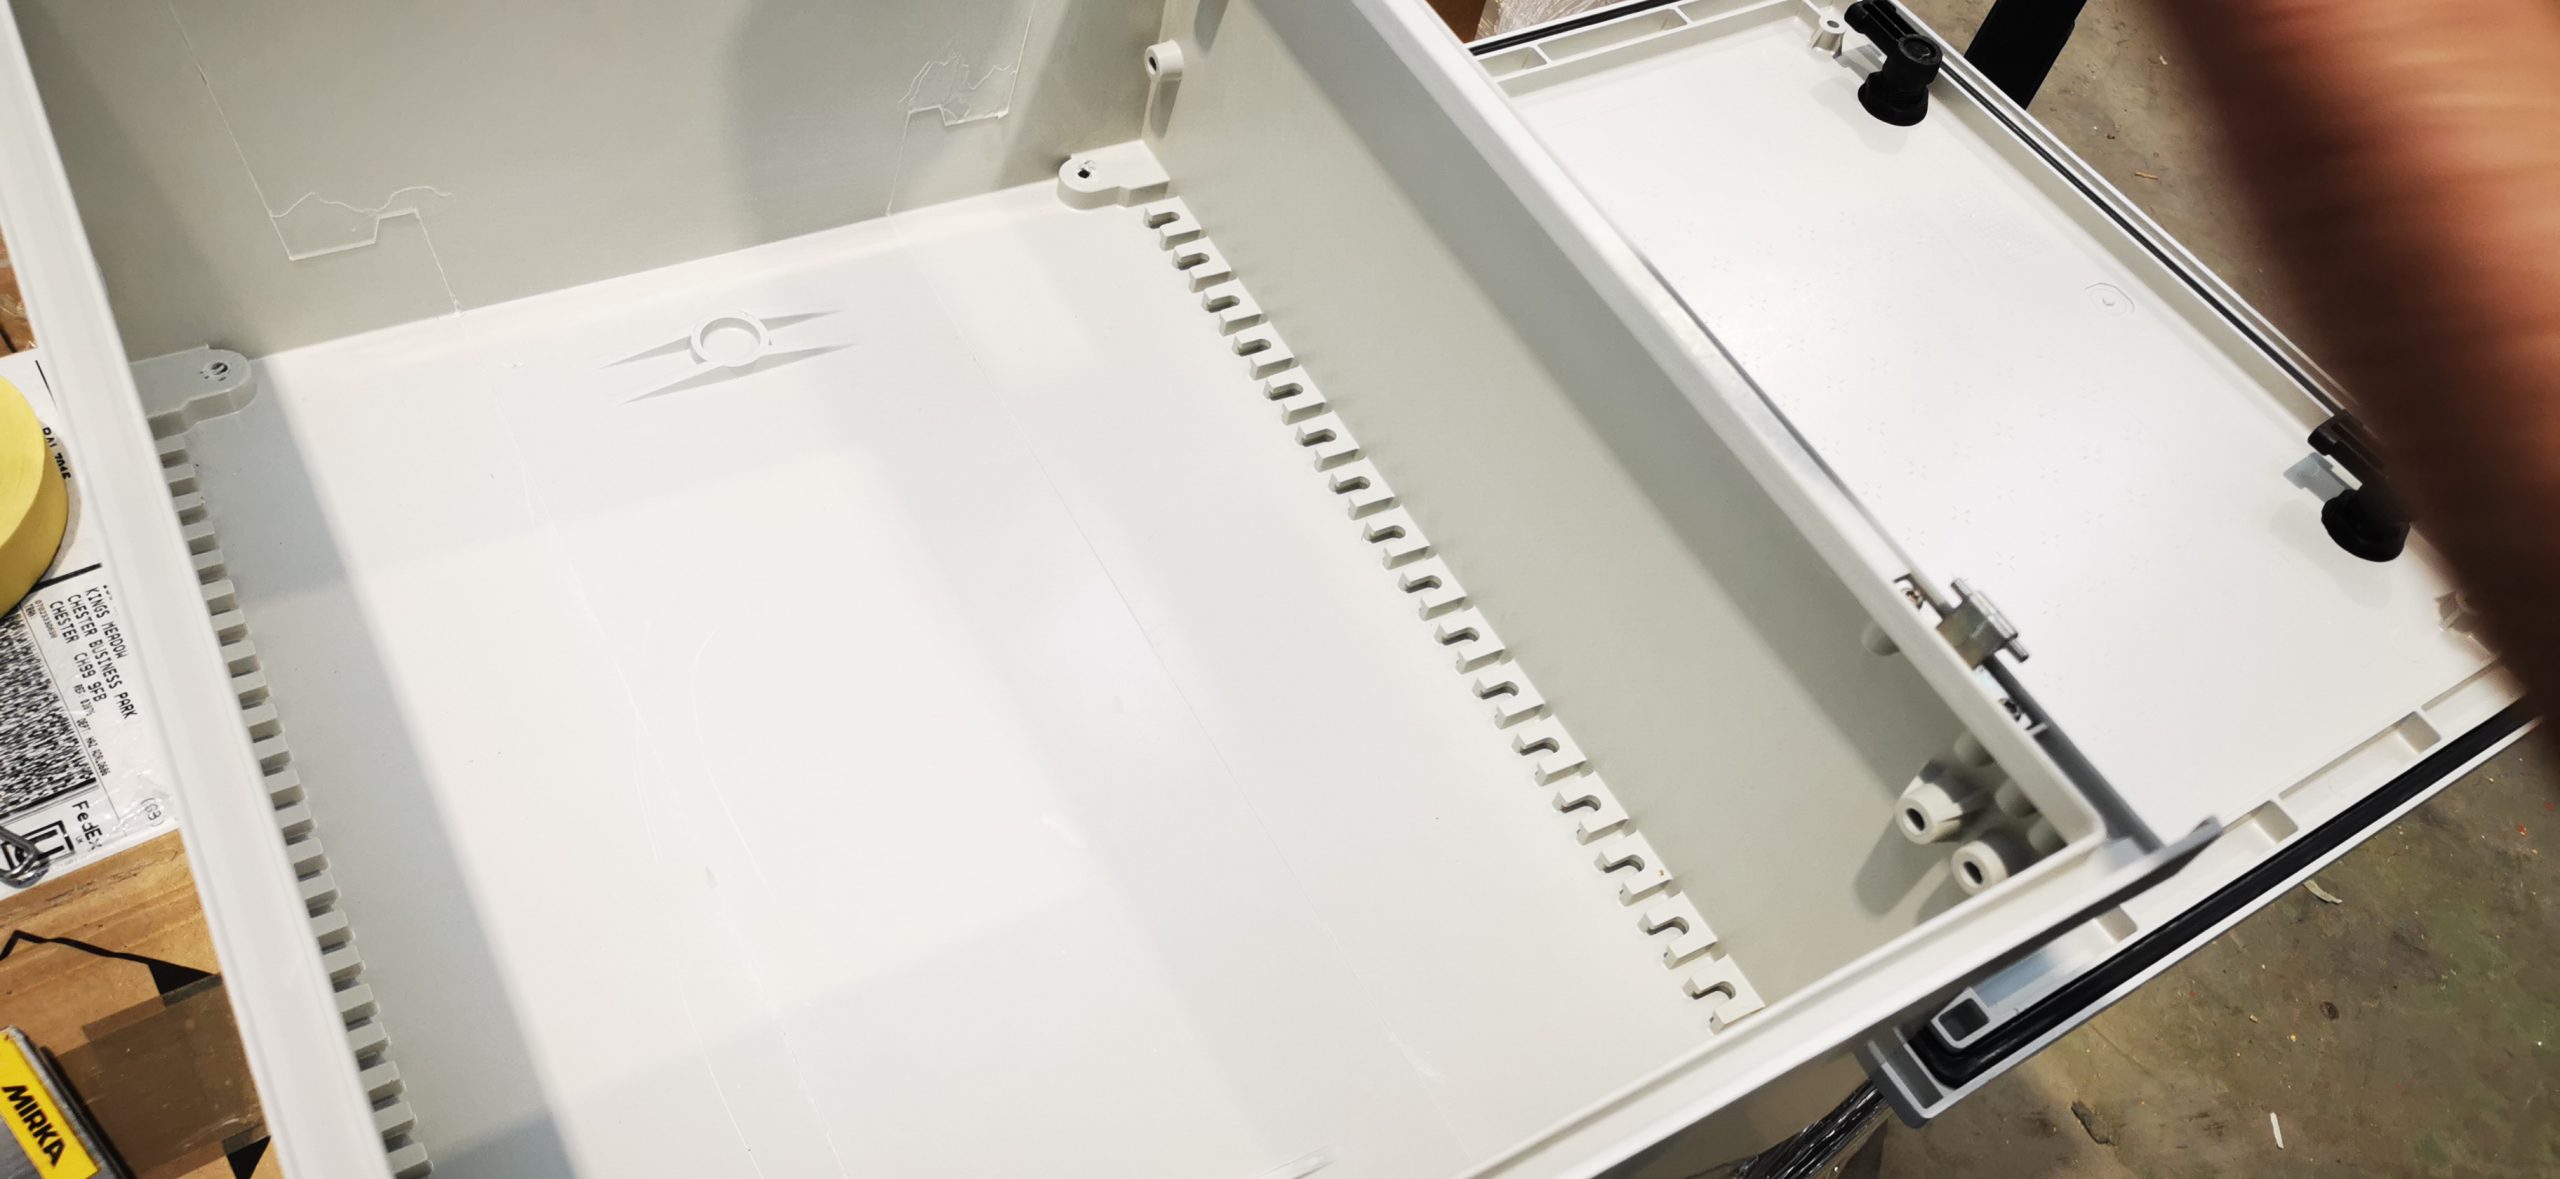
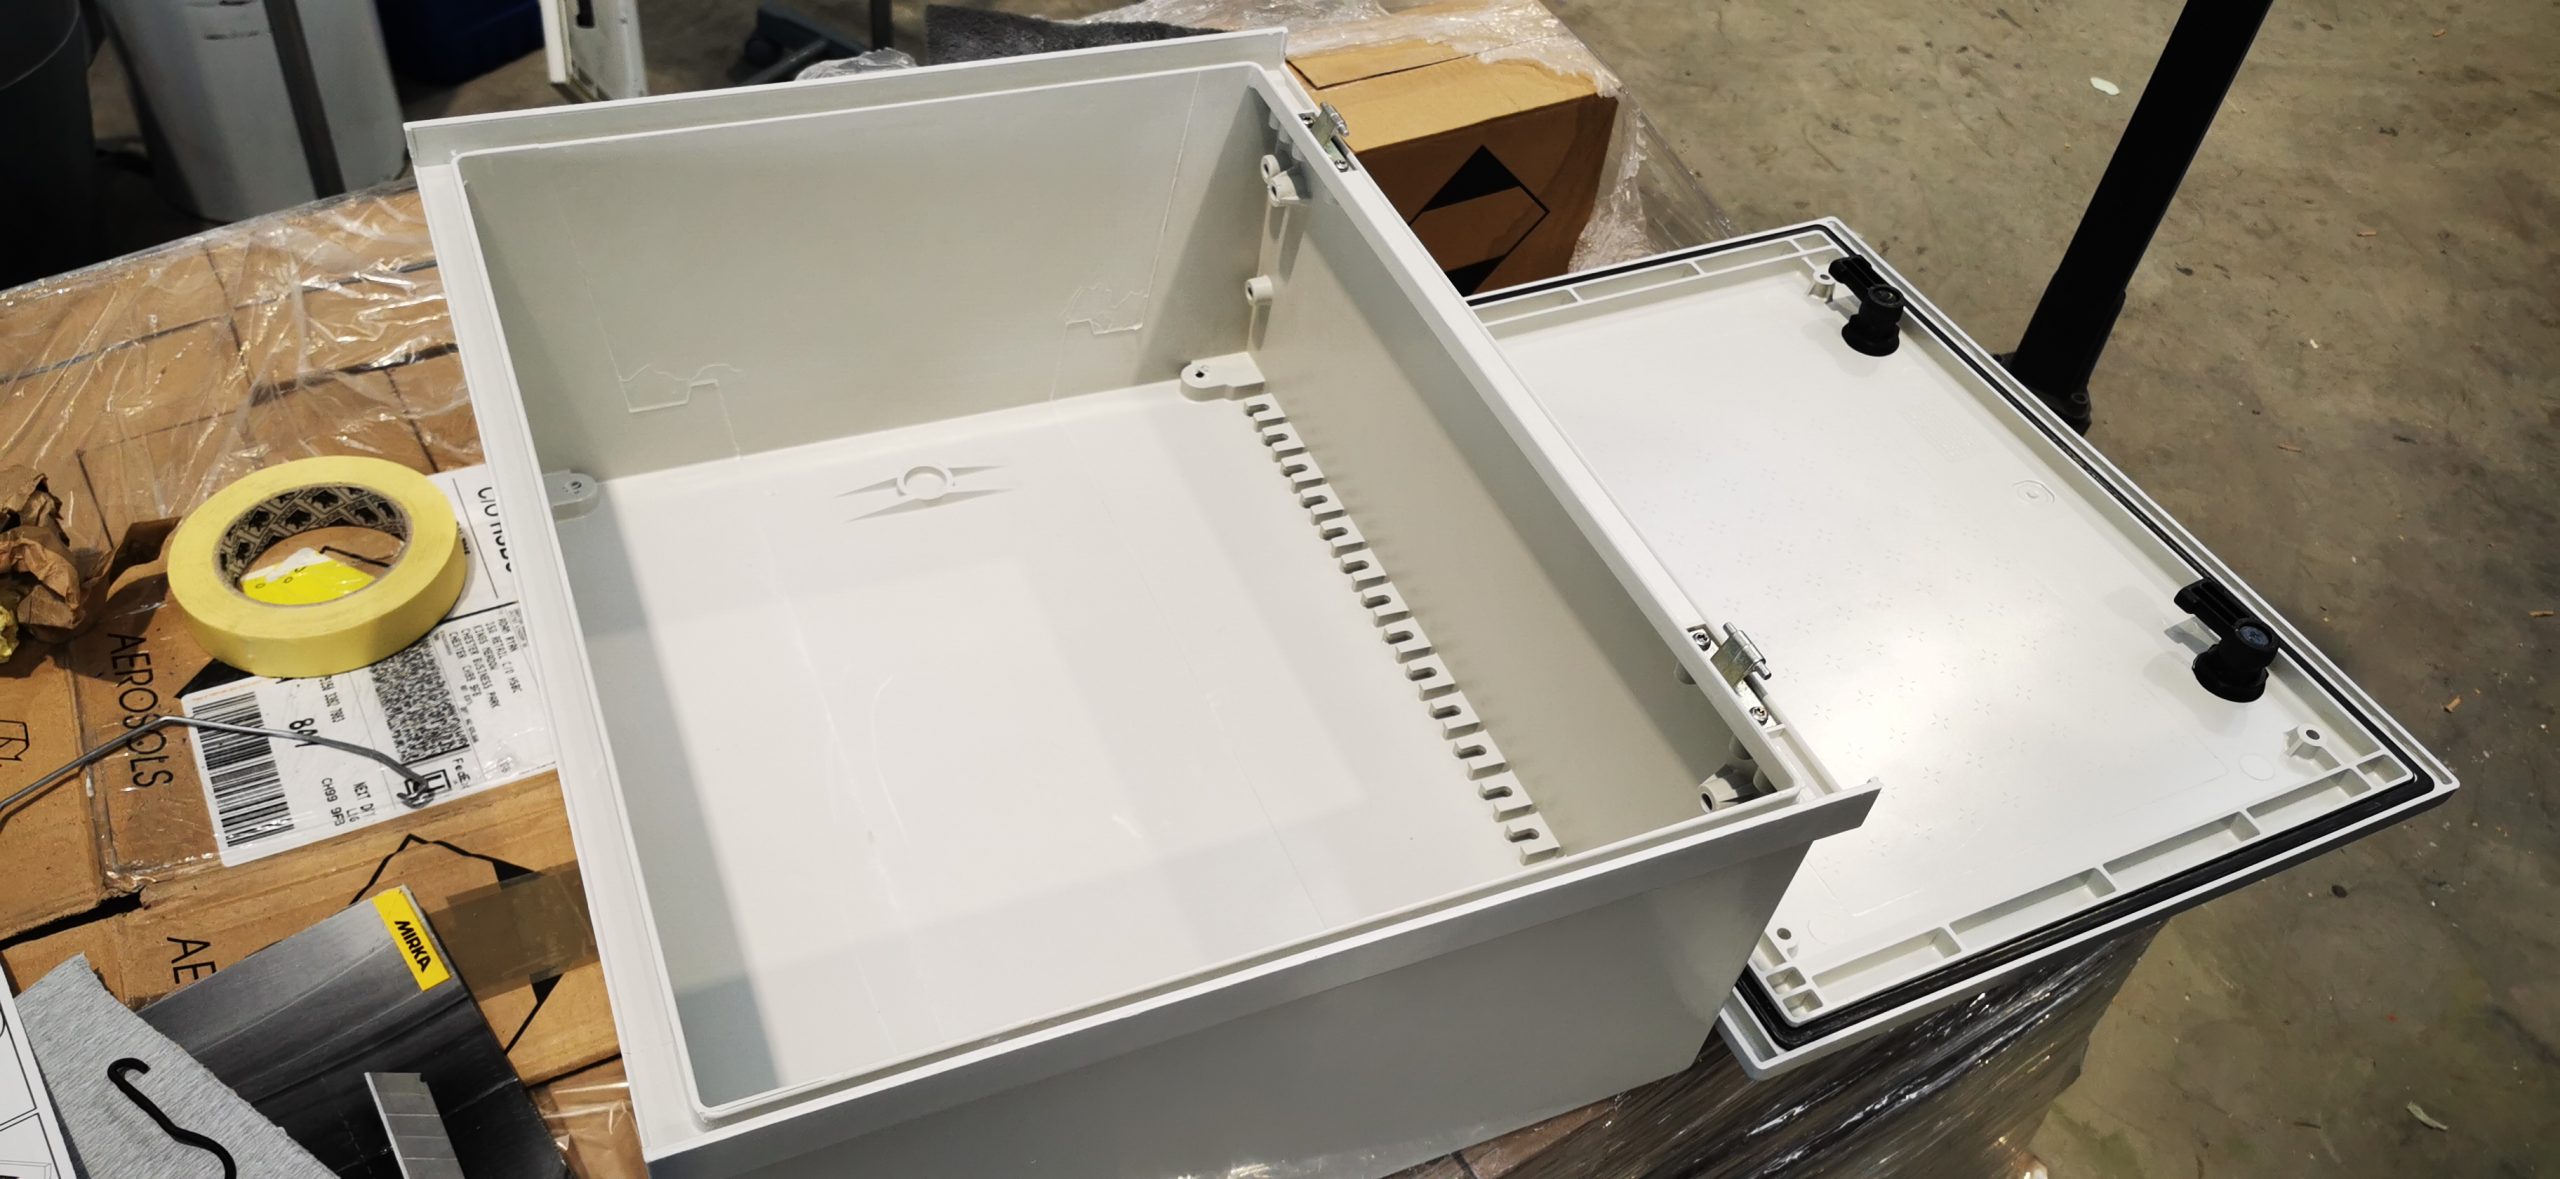
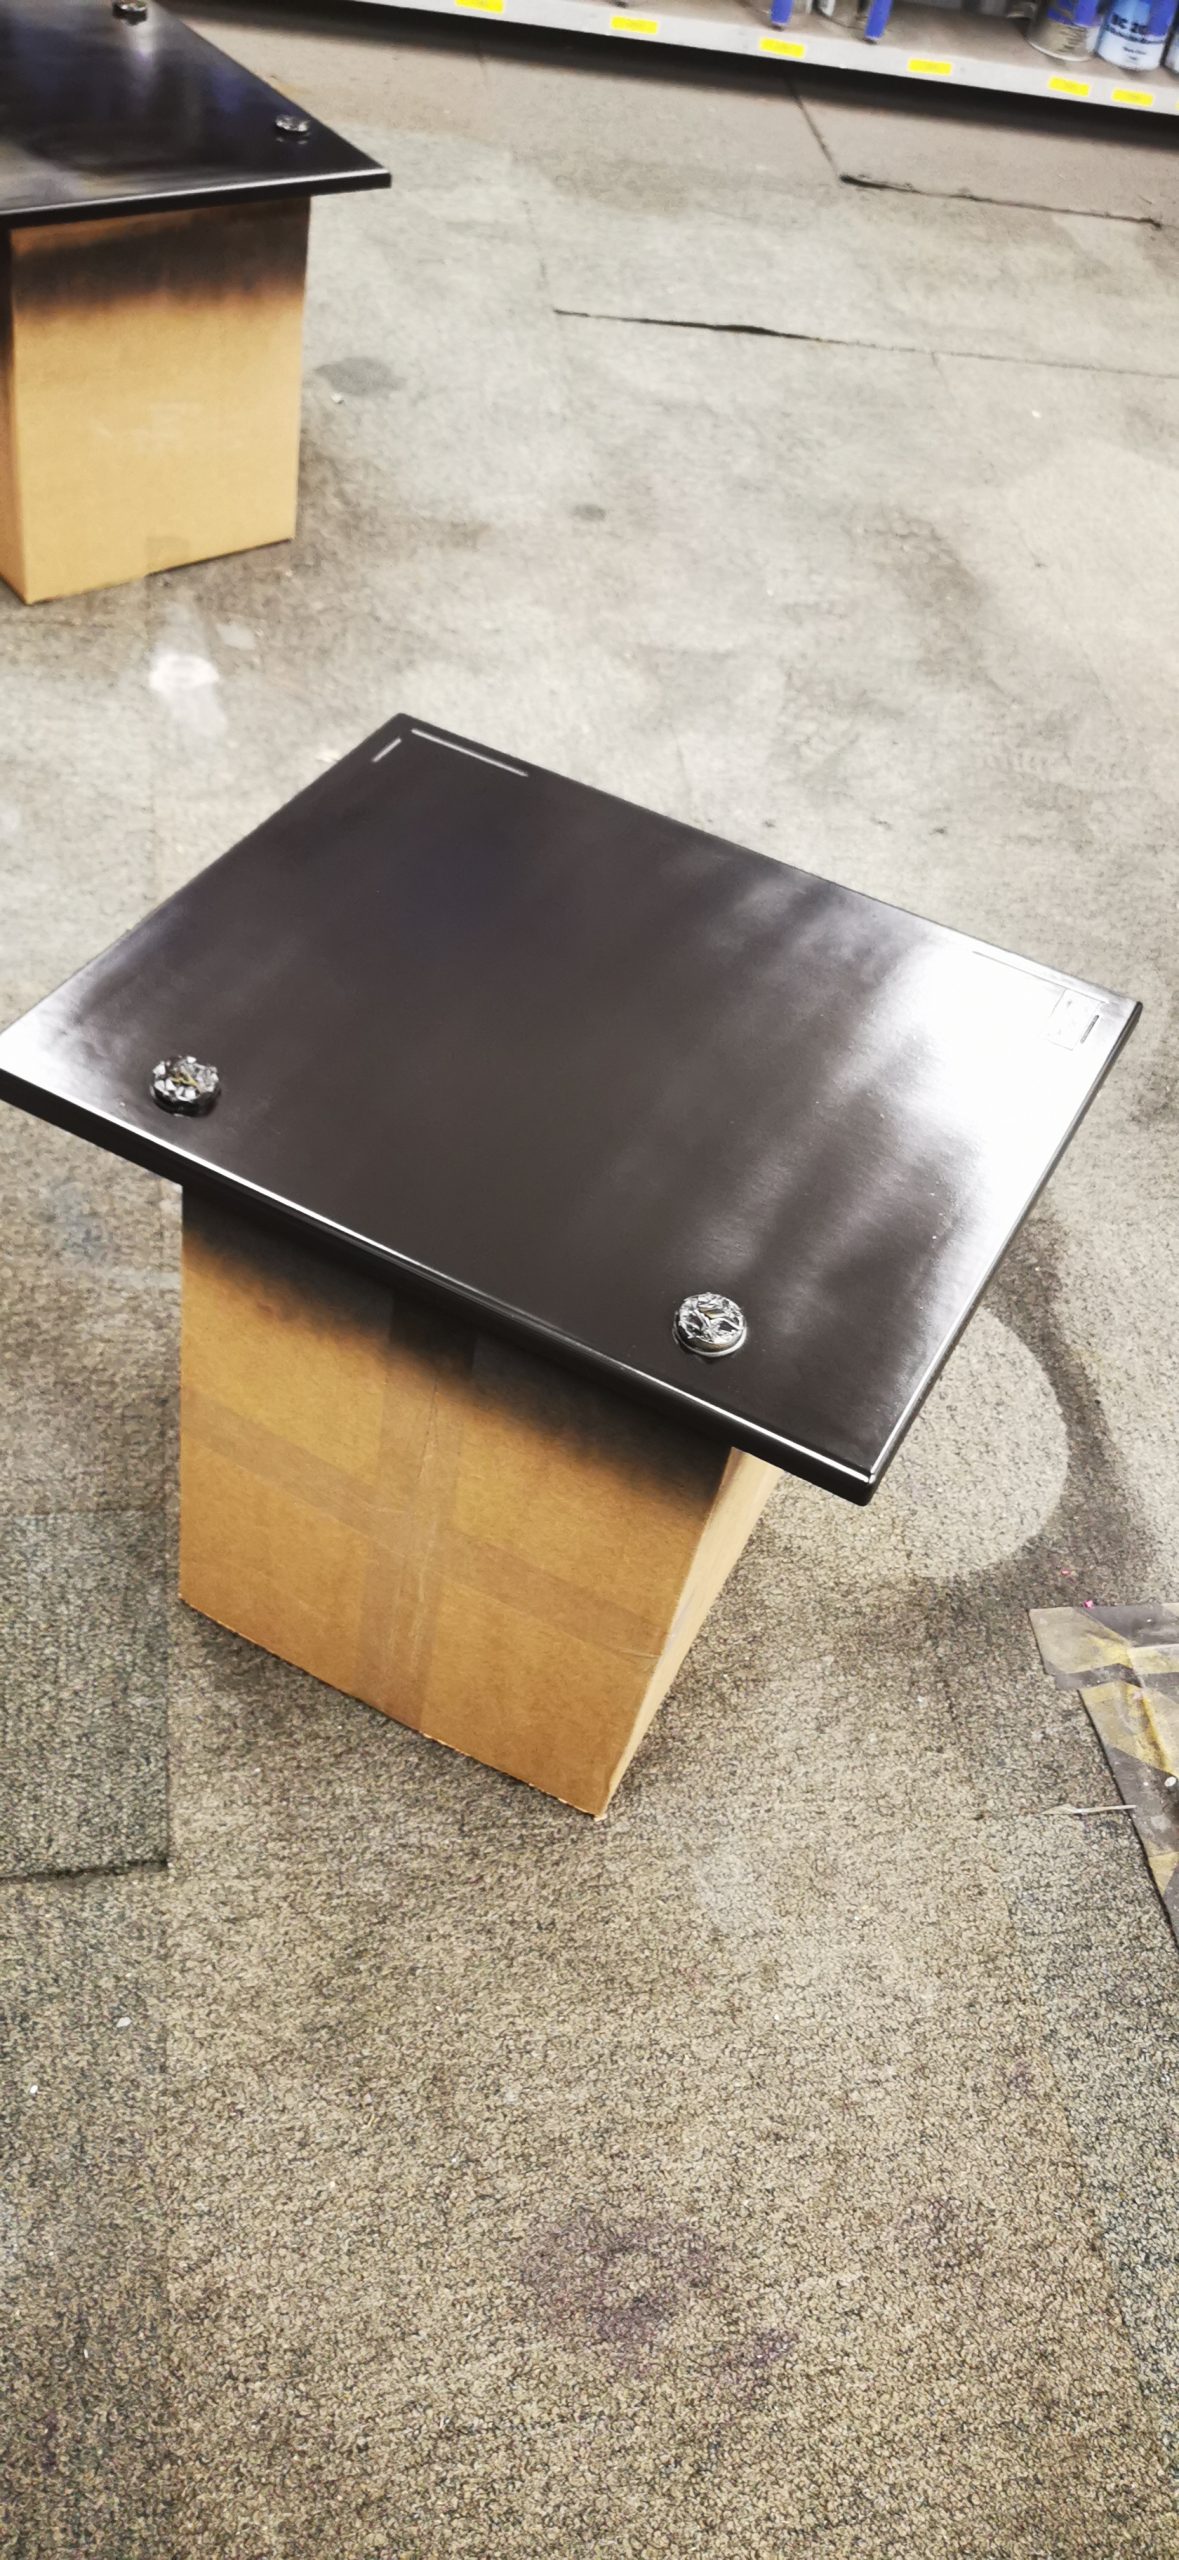
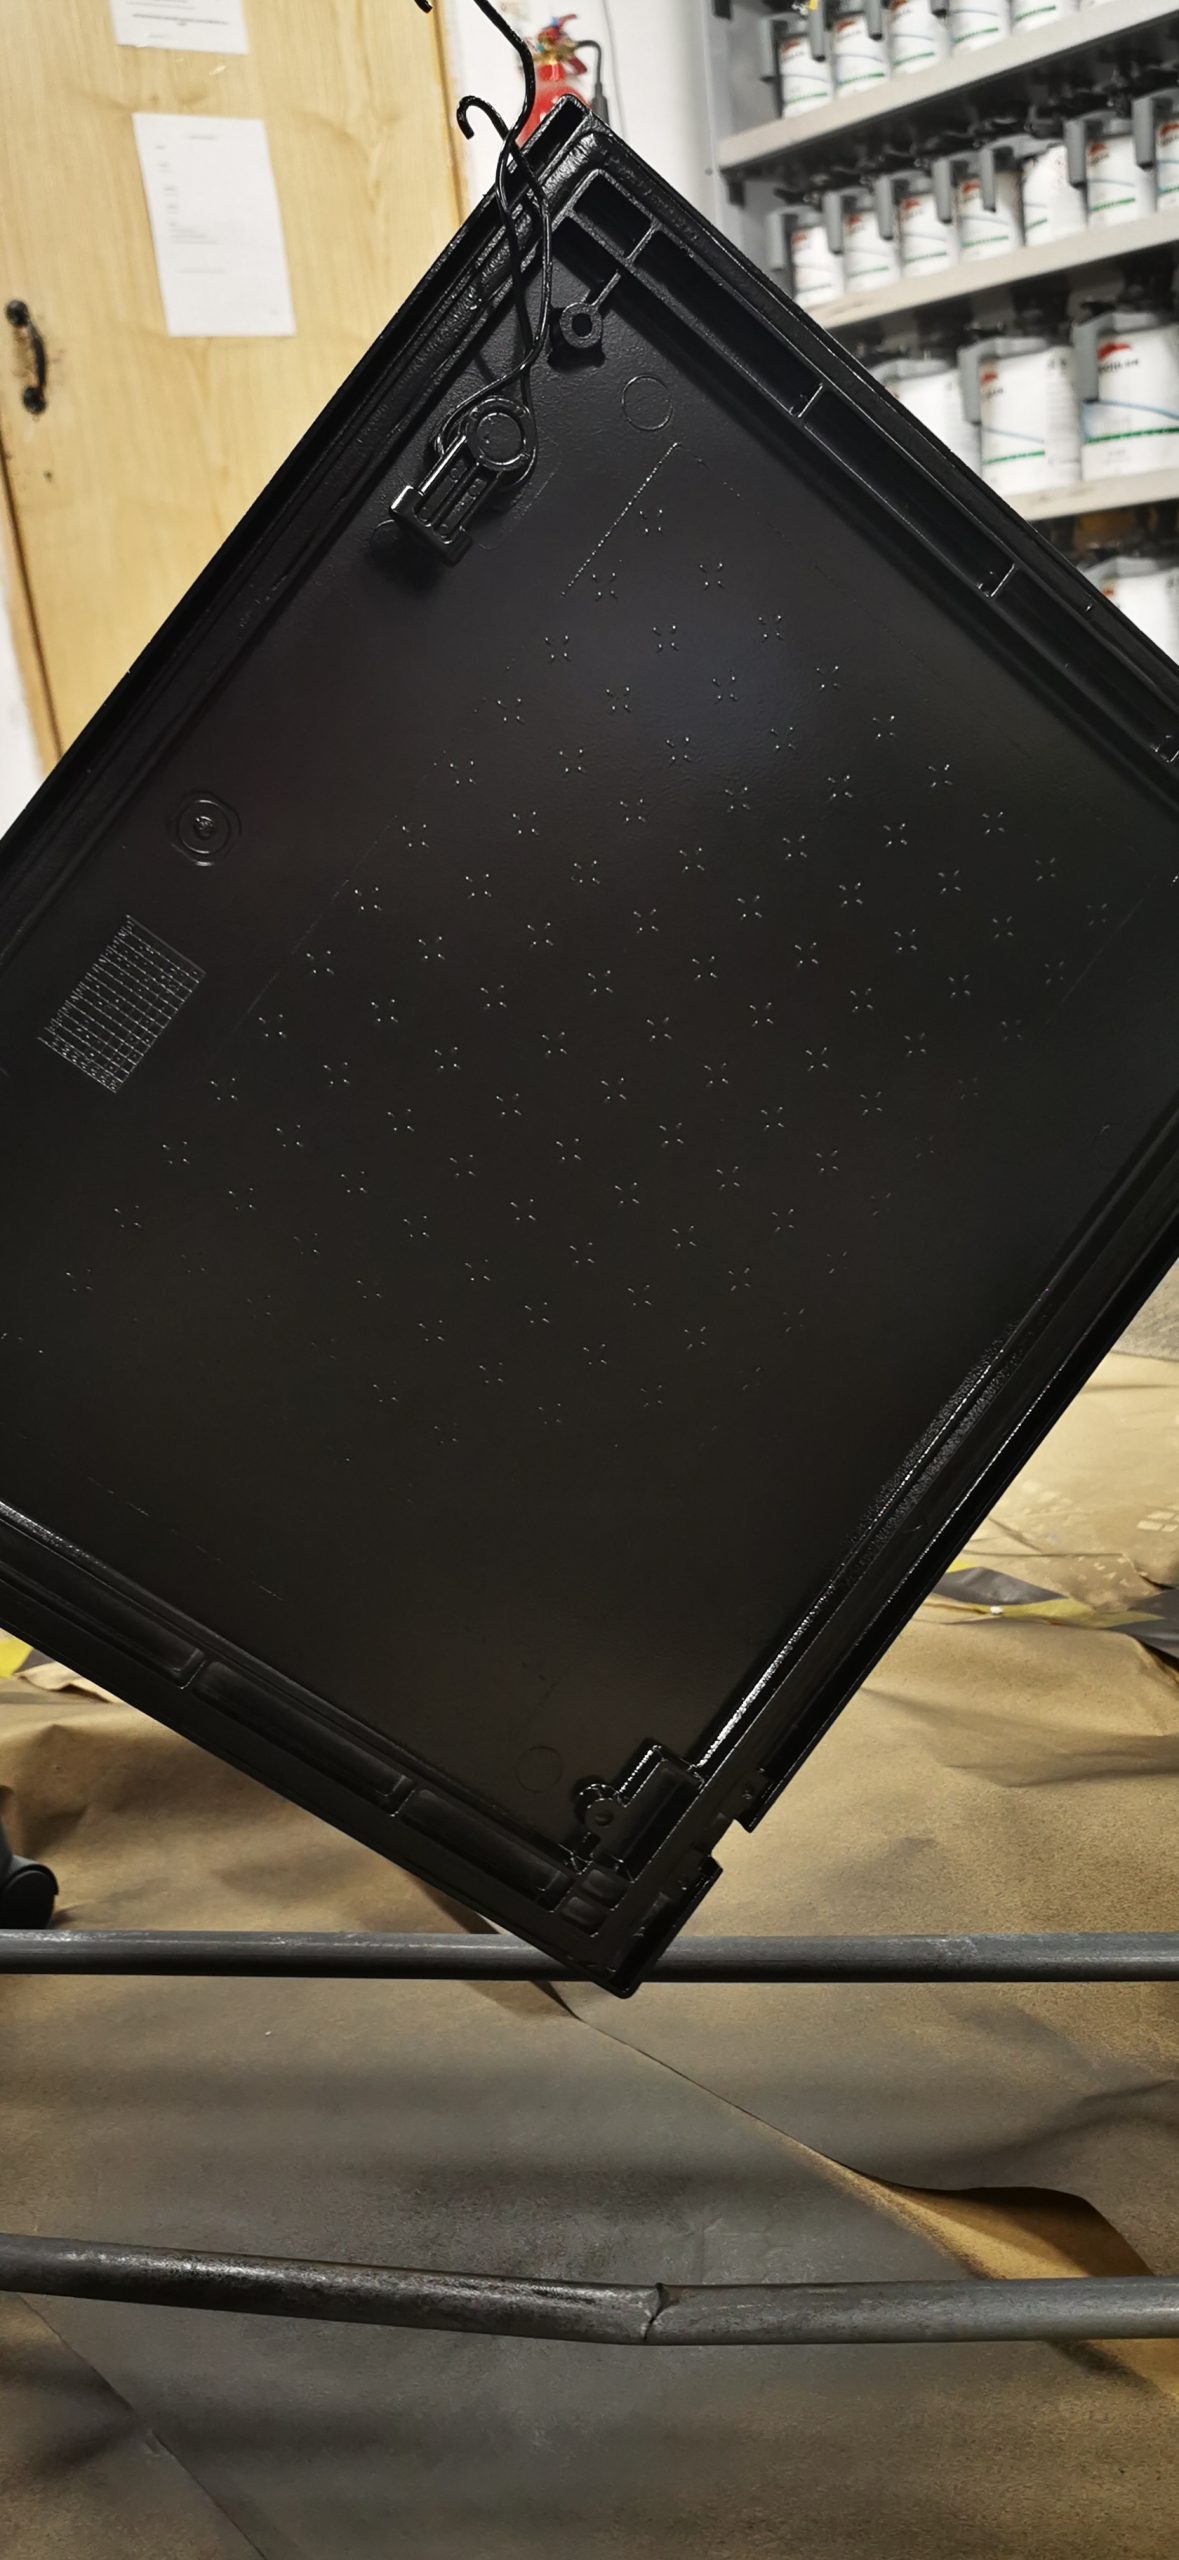
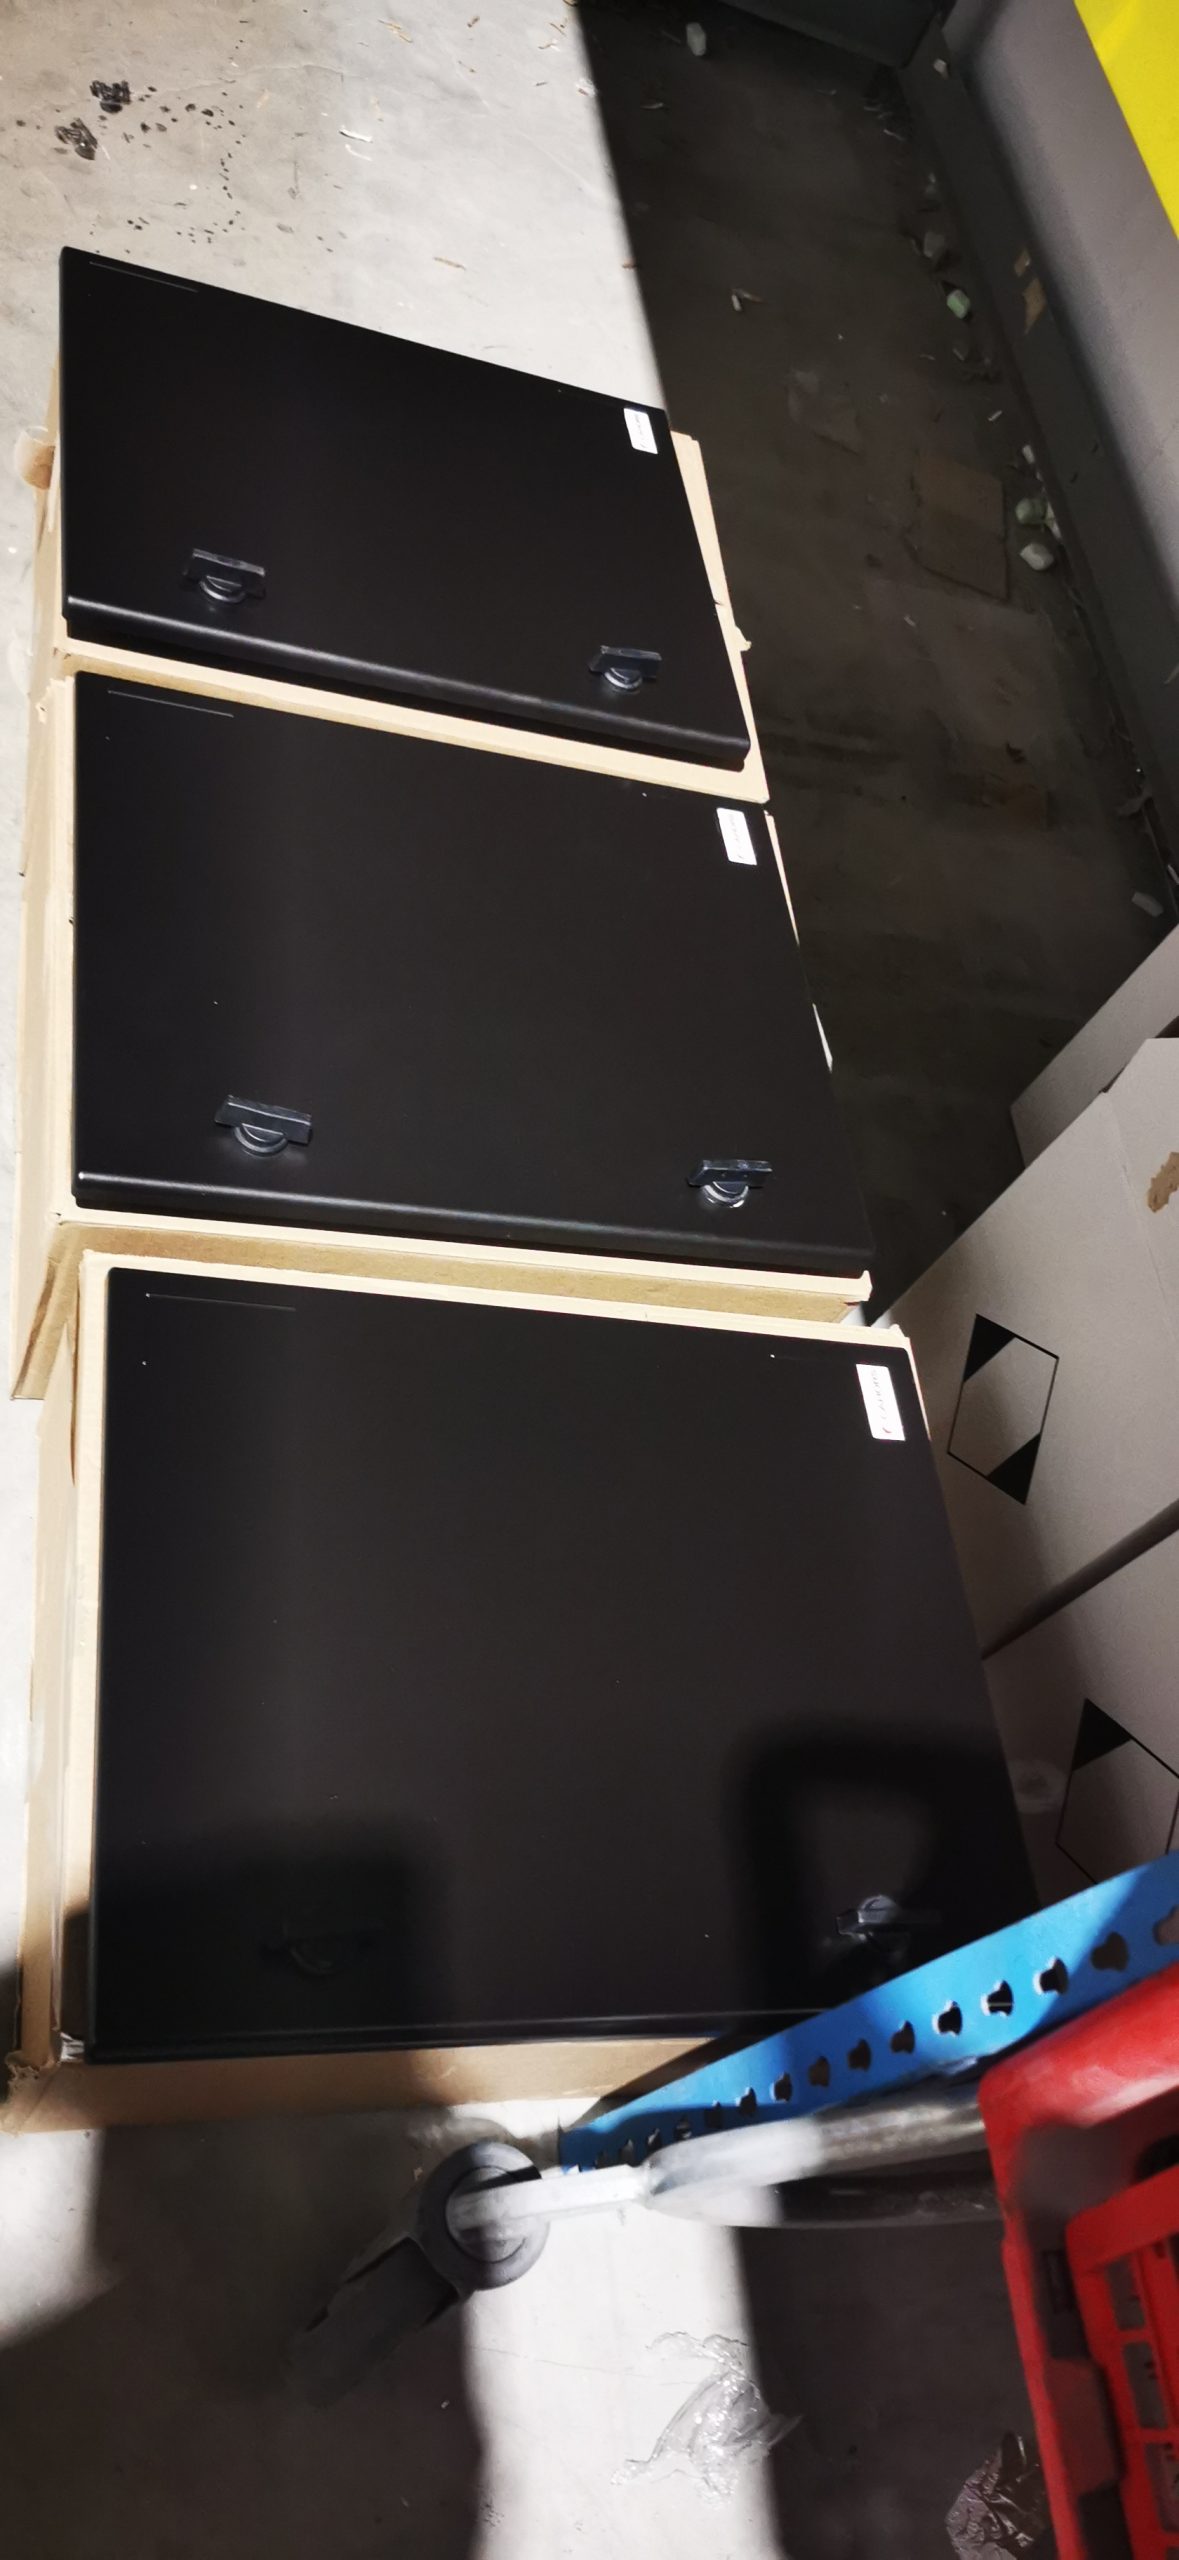
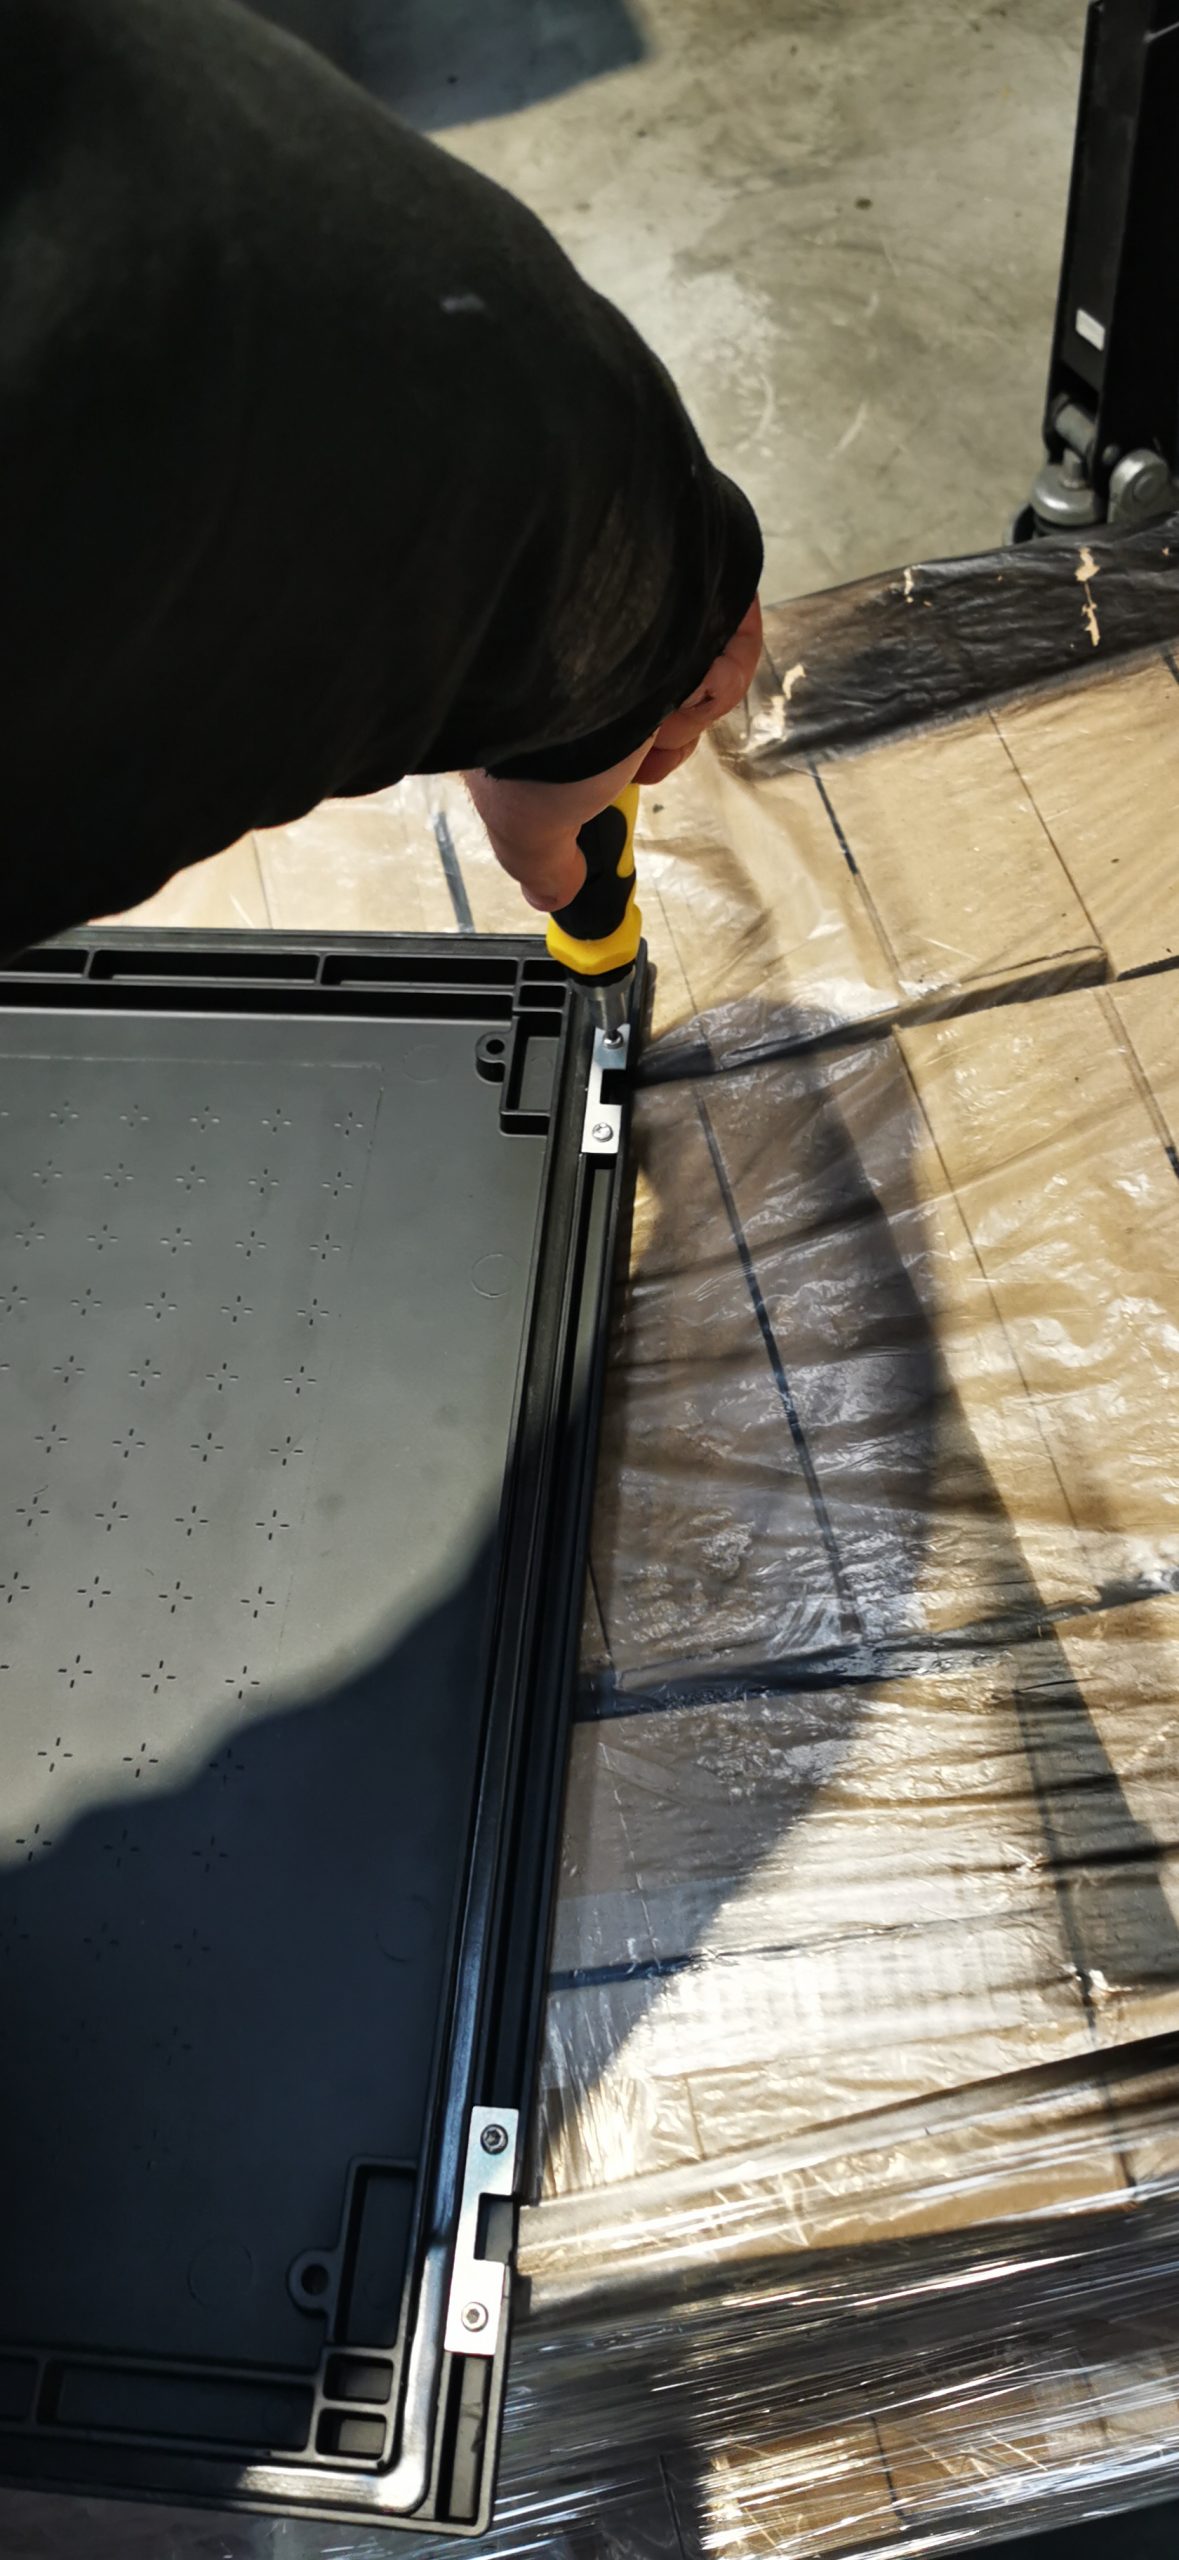
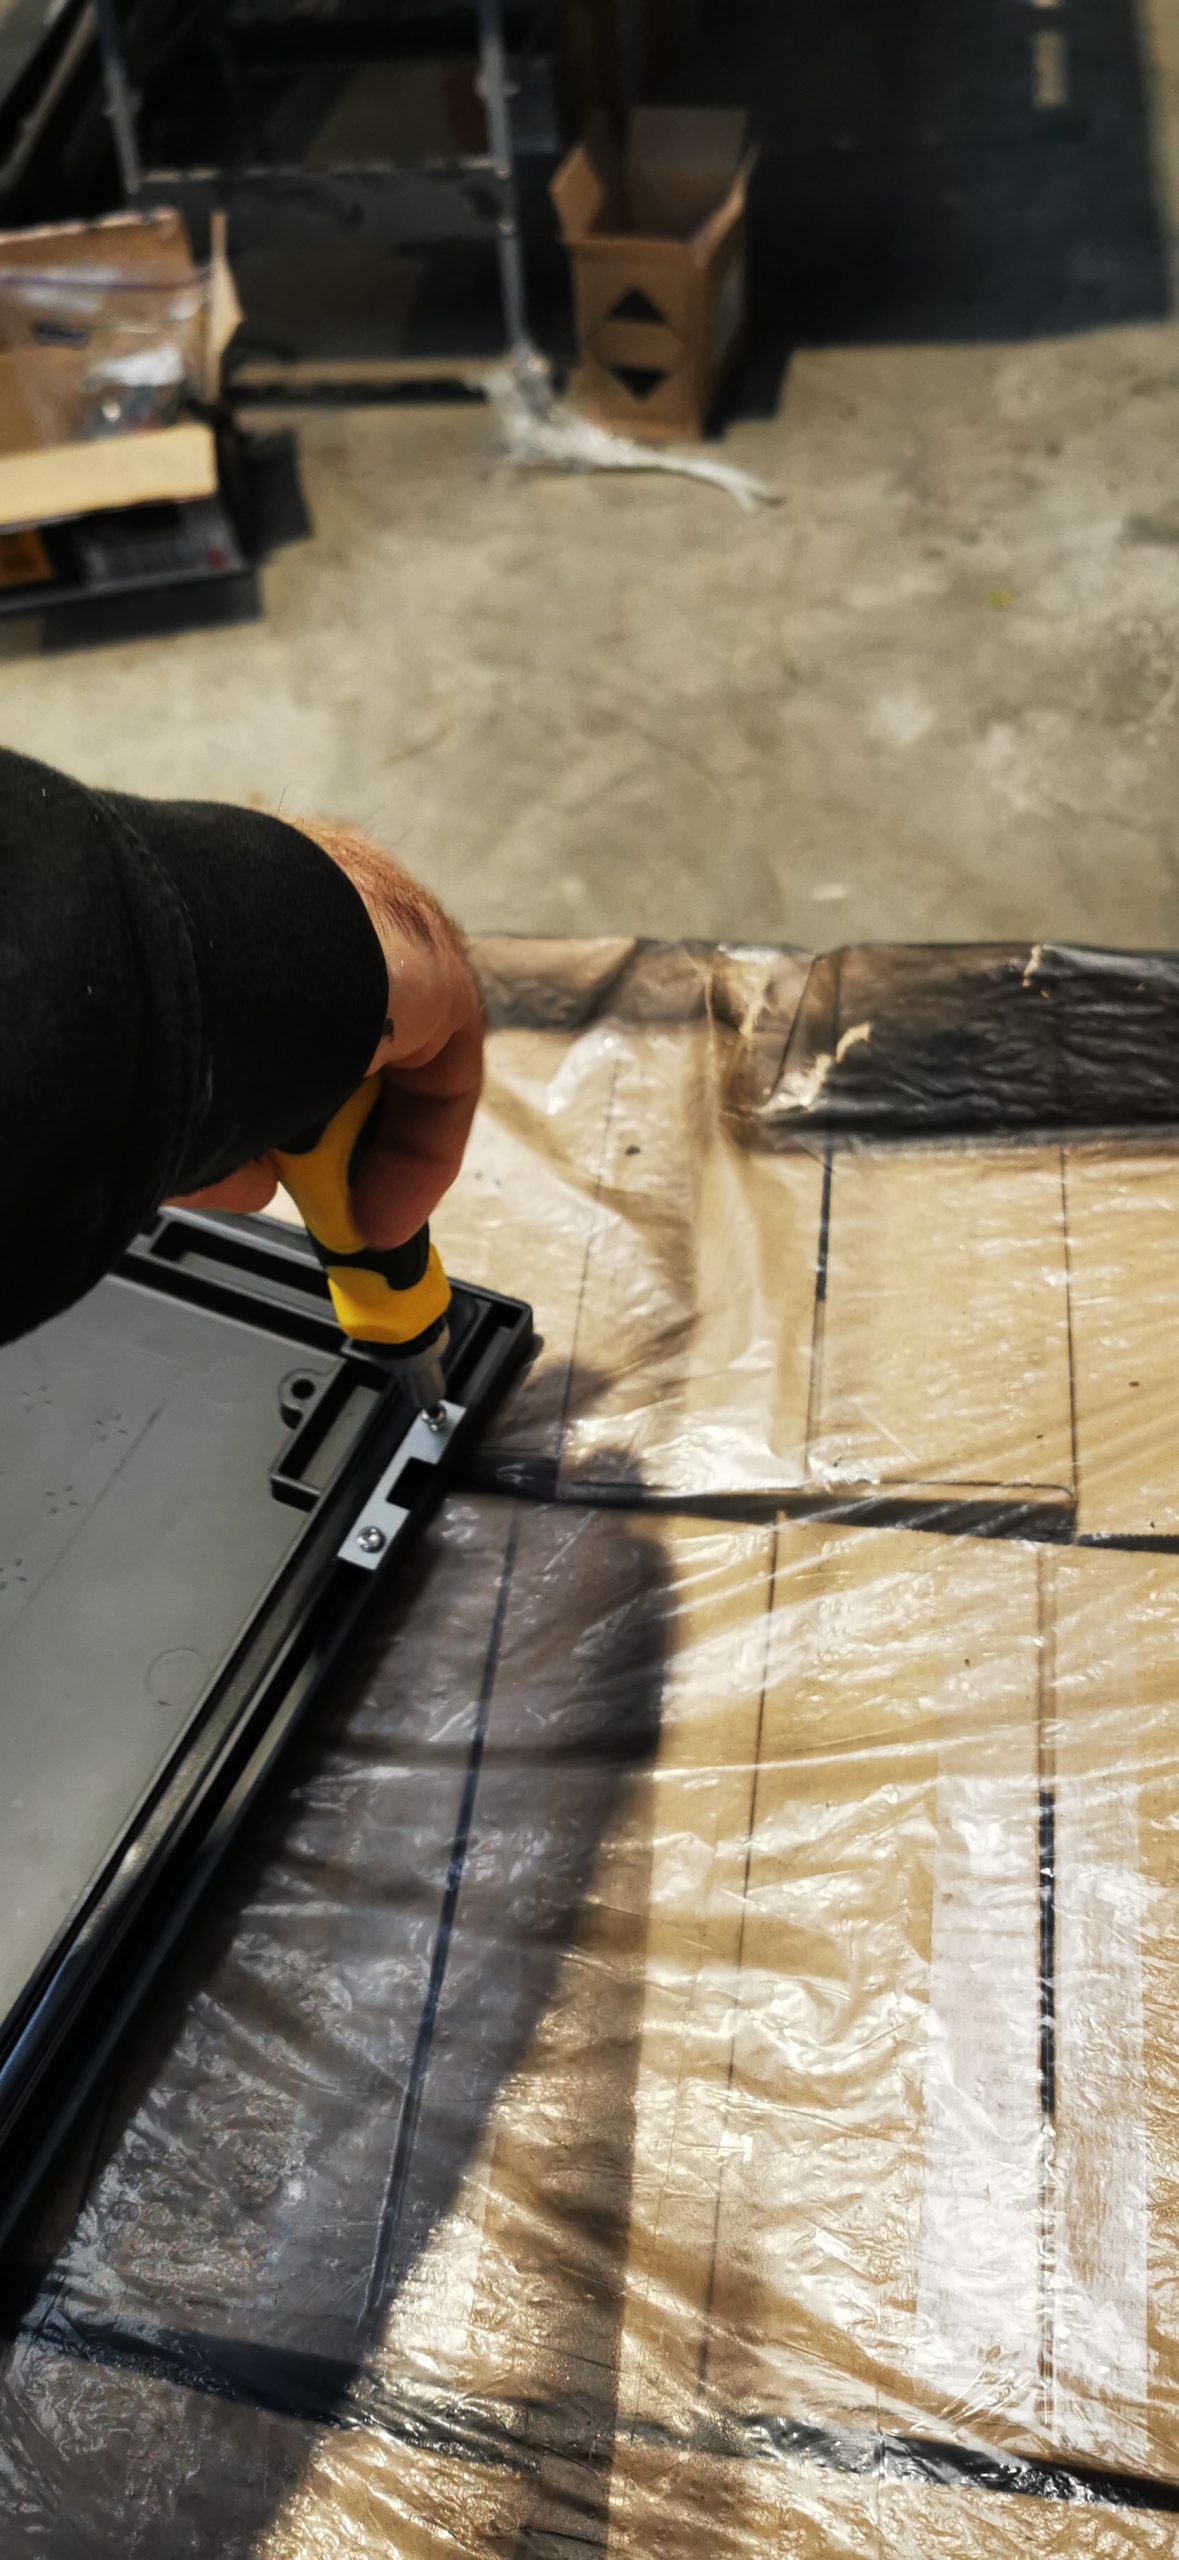
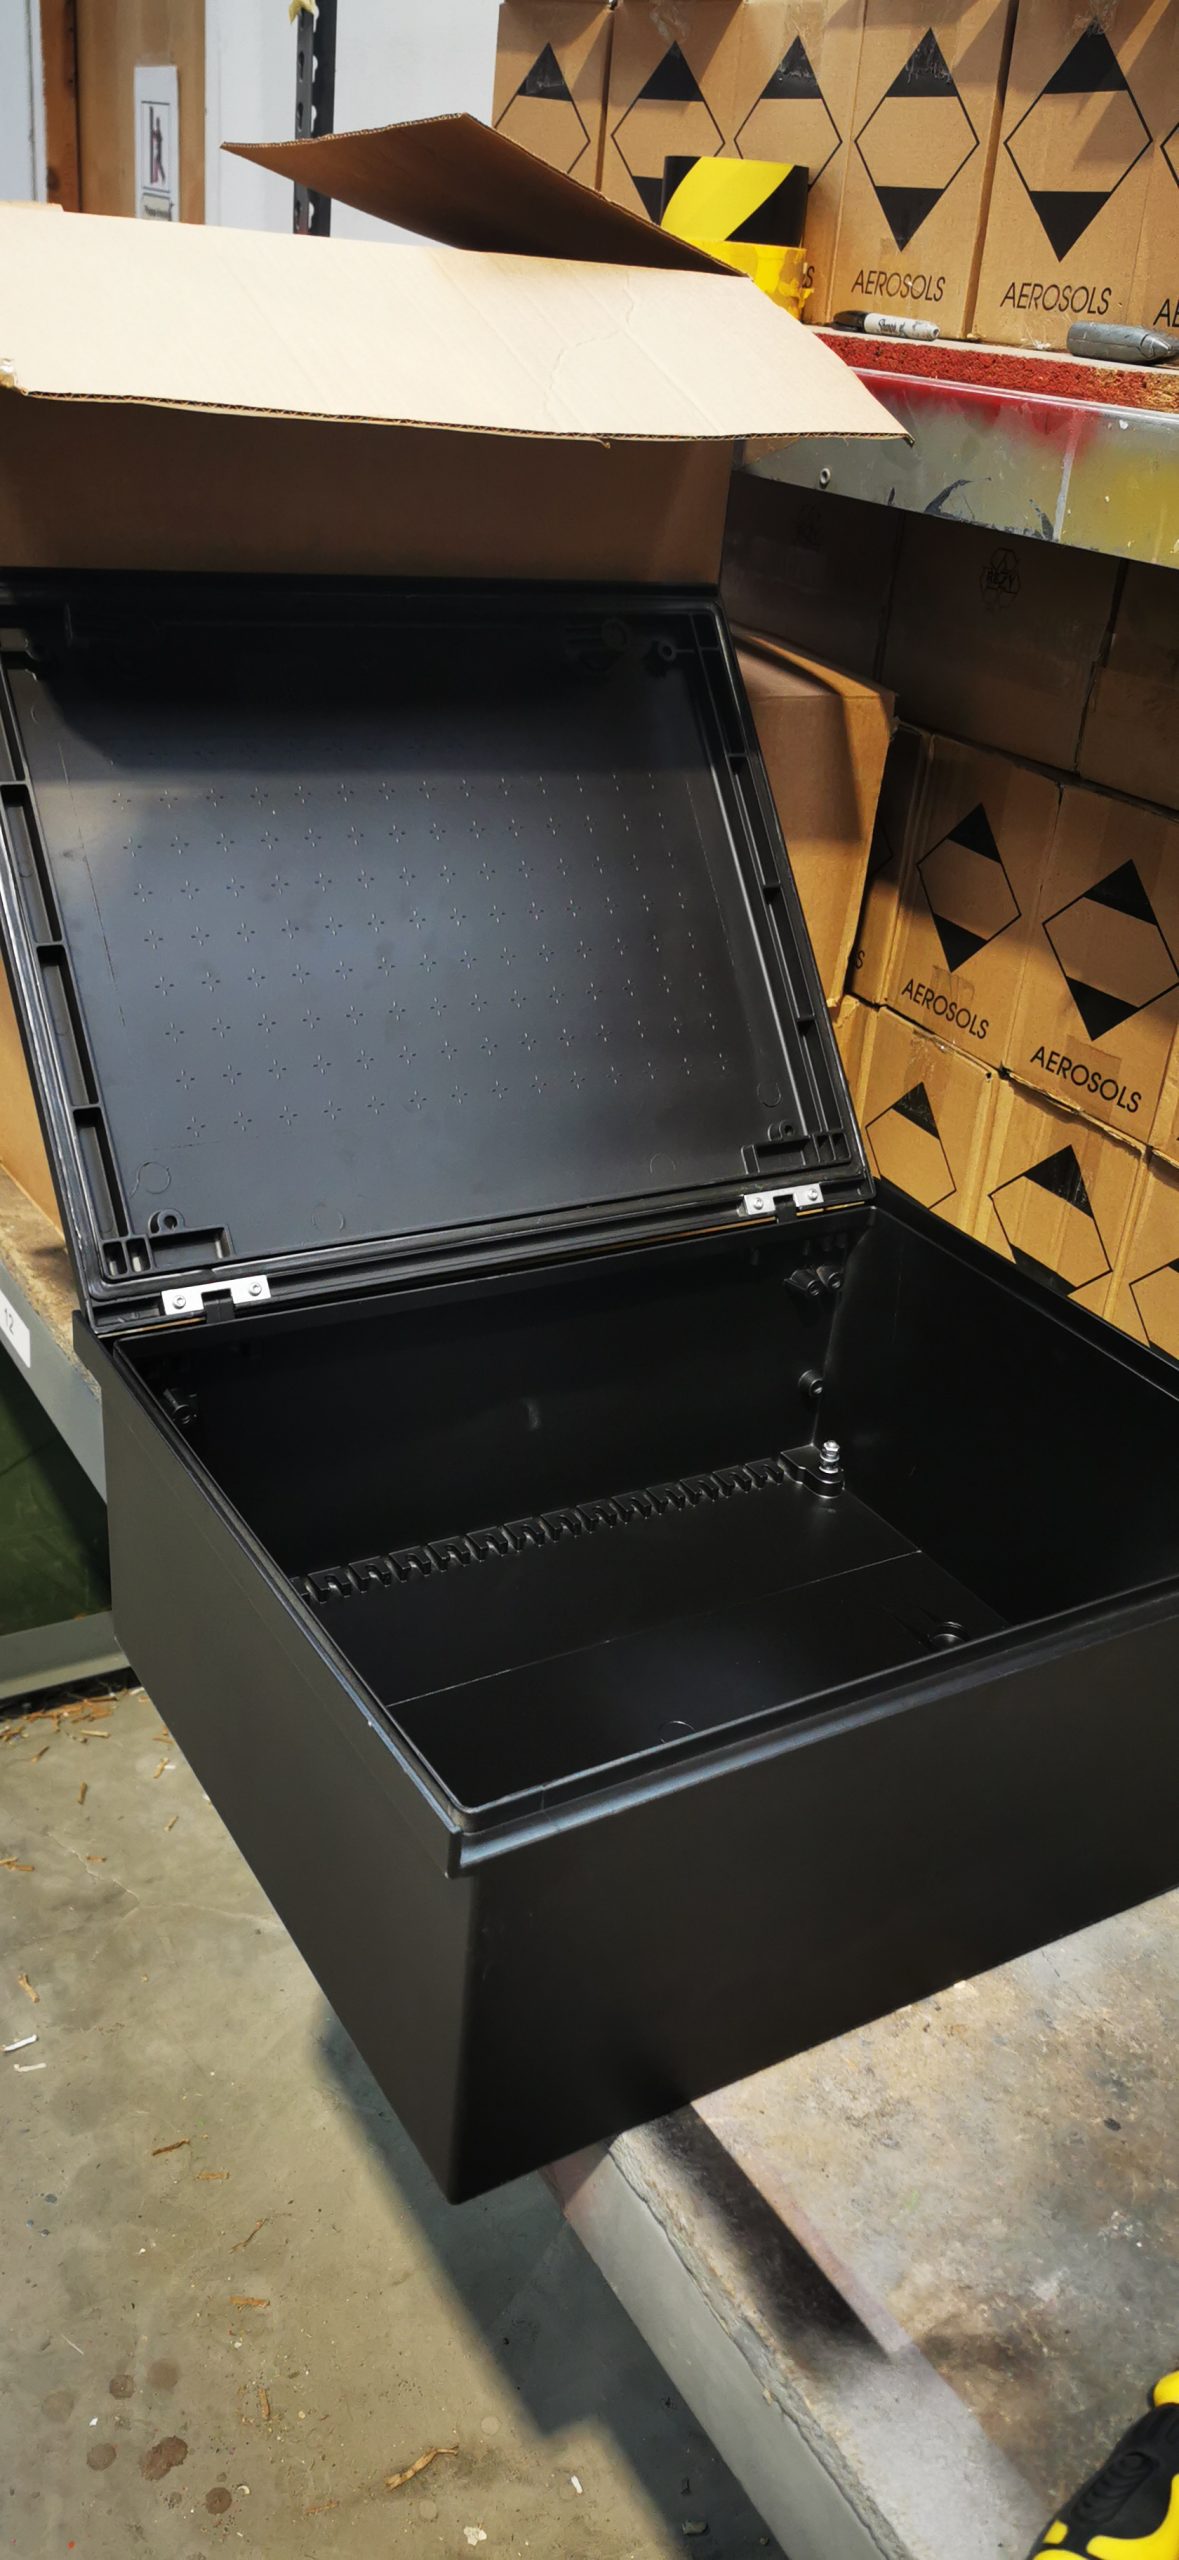
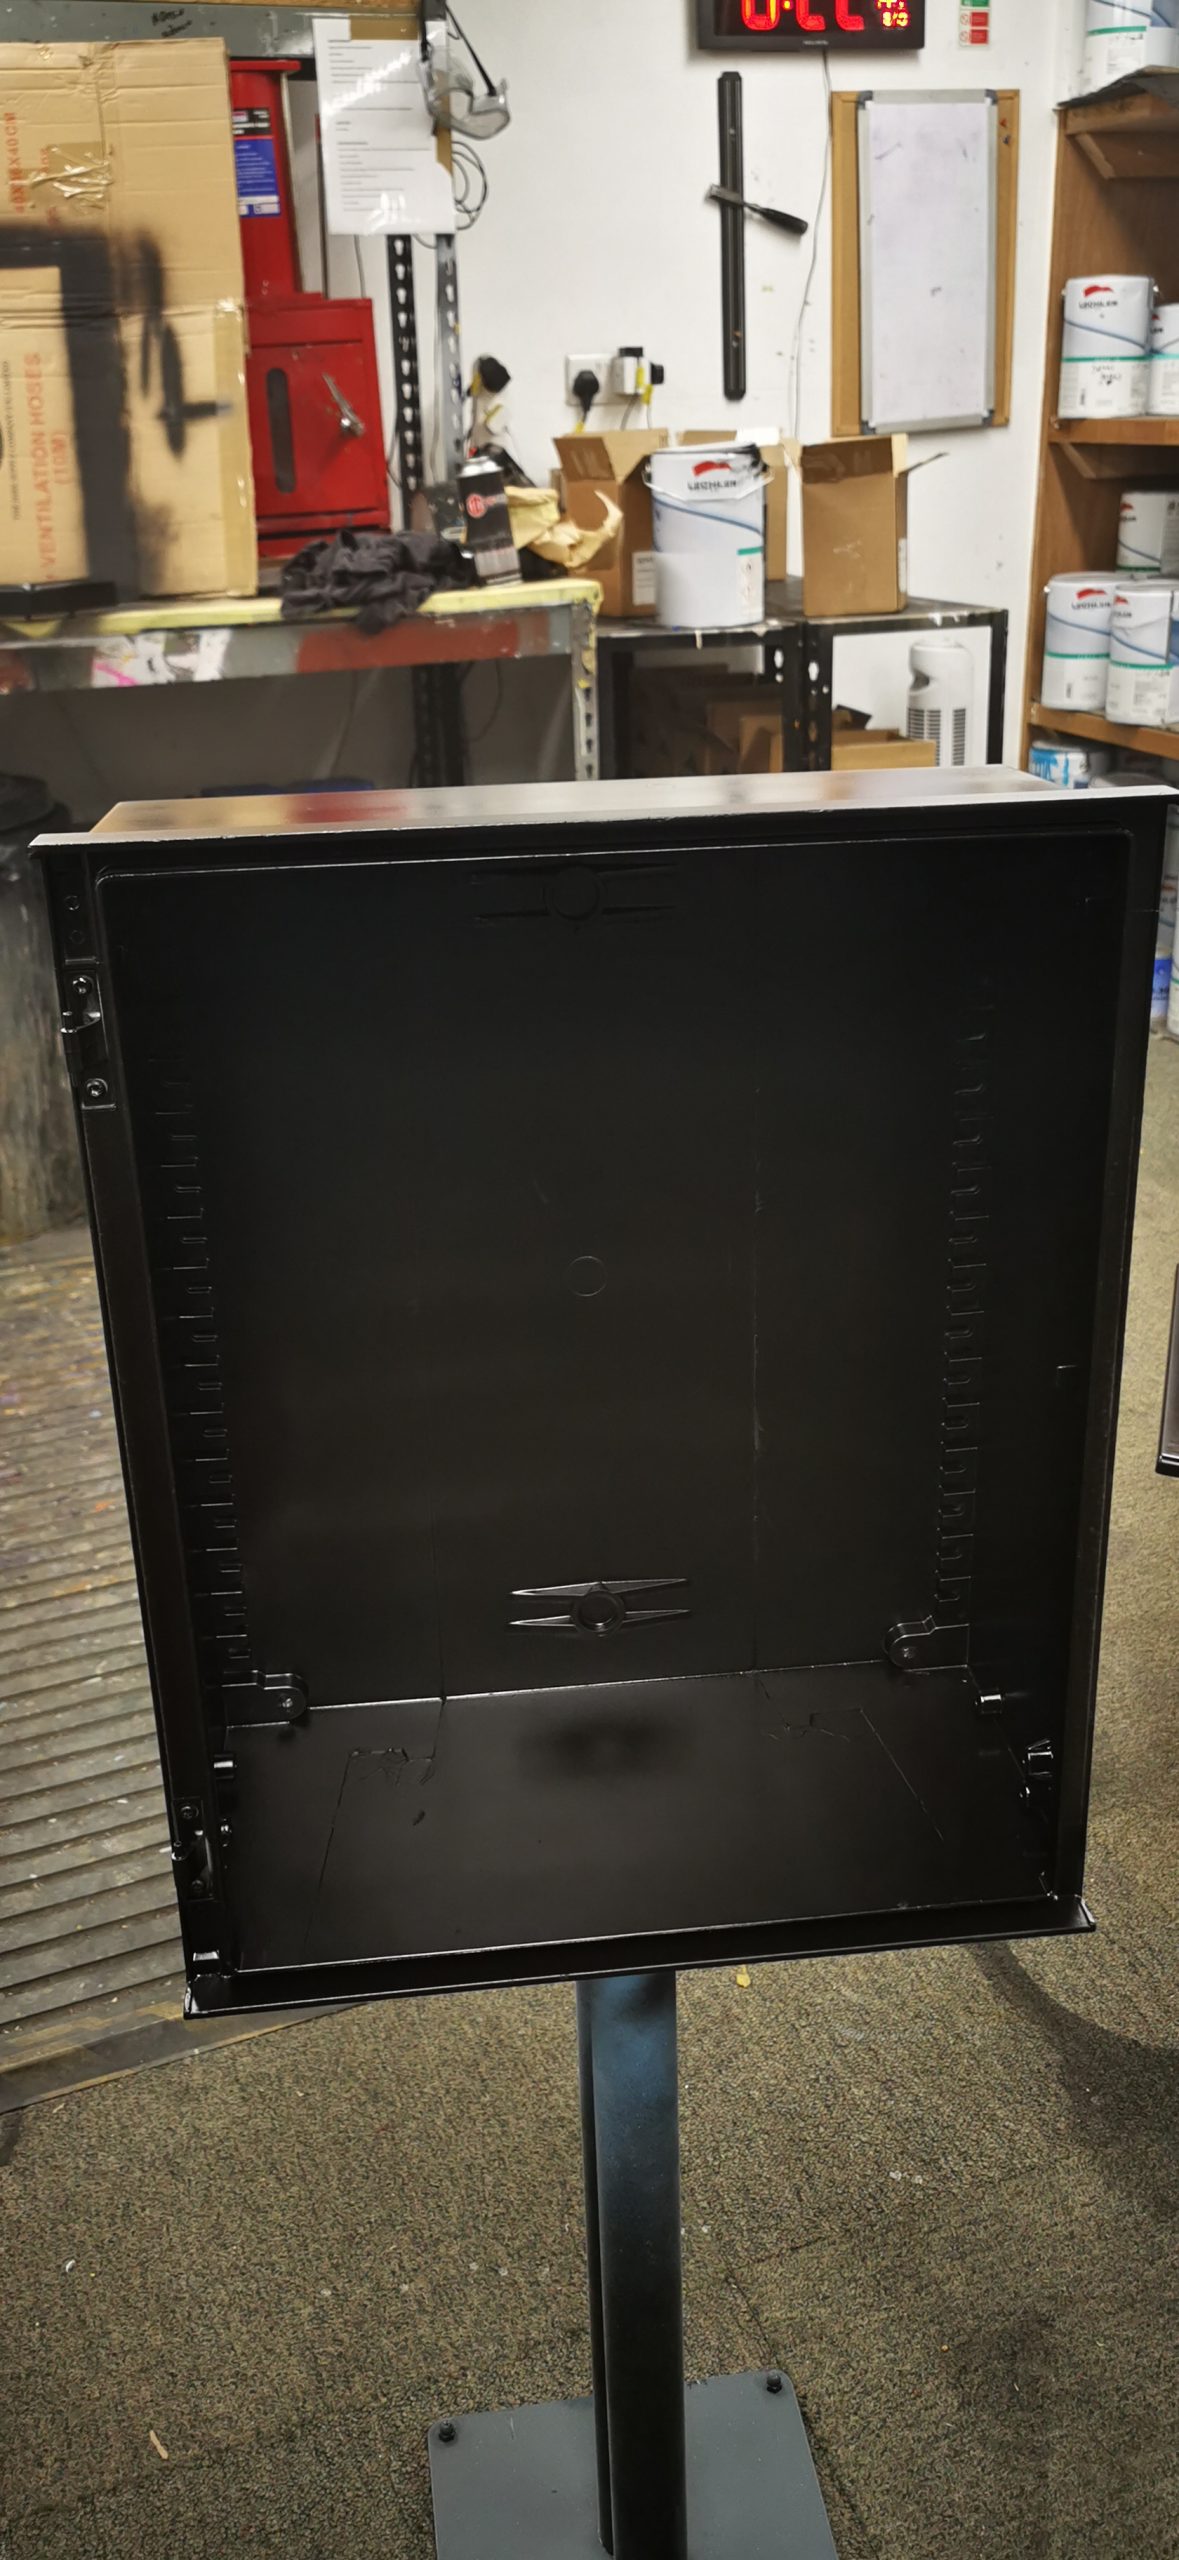
We started the process by removing all locks and handles then masked up any parts that we did not want to be painted. From here, we moved on to prepping the surface by lightly keying each of the panels on the inside and then the outside using 240g sandpaper. We cleaned off any debris then applied a layer of primer on each inside panel. When this had cured, we did the same on the outside.
TOP TIP: When painting boxes, always start from the inside as it is much easier and will reduce the paint waste while spraying. You can also manoeuvre the boxes easier as you can touch the outside while it’s unpainted.
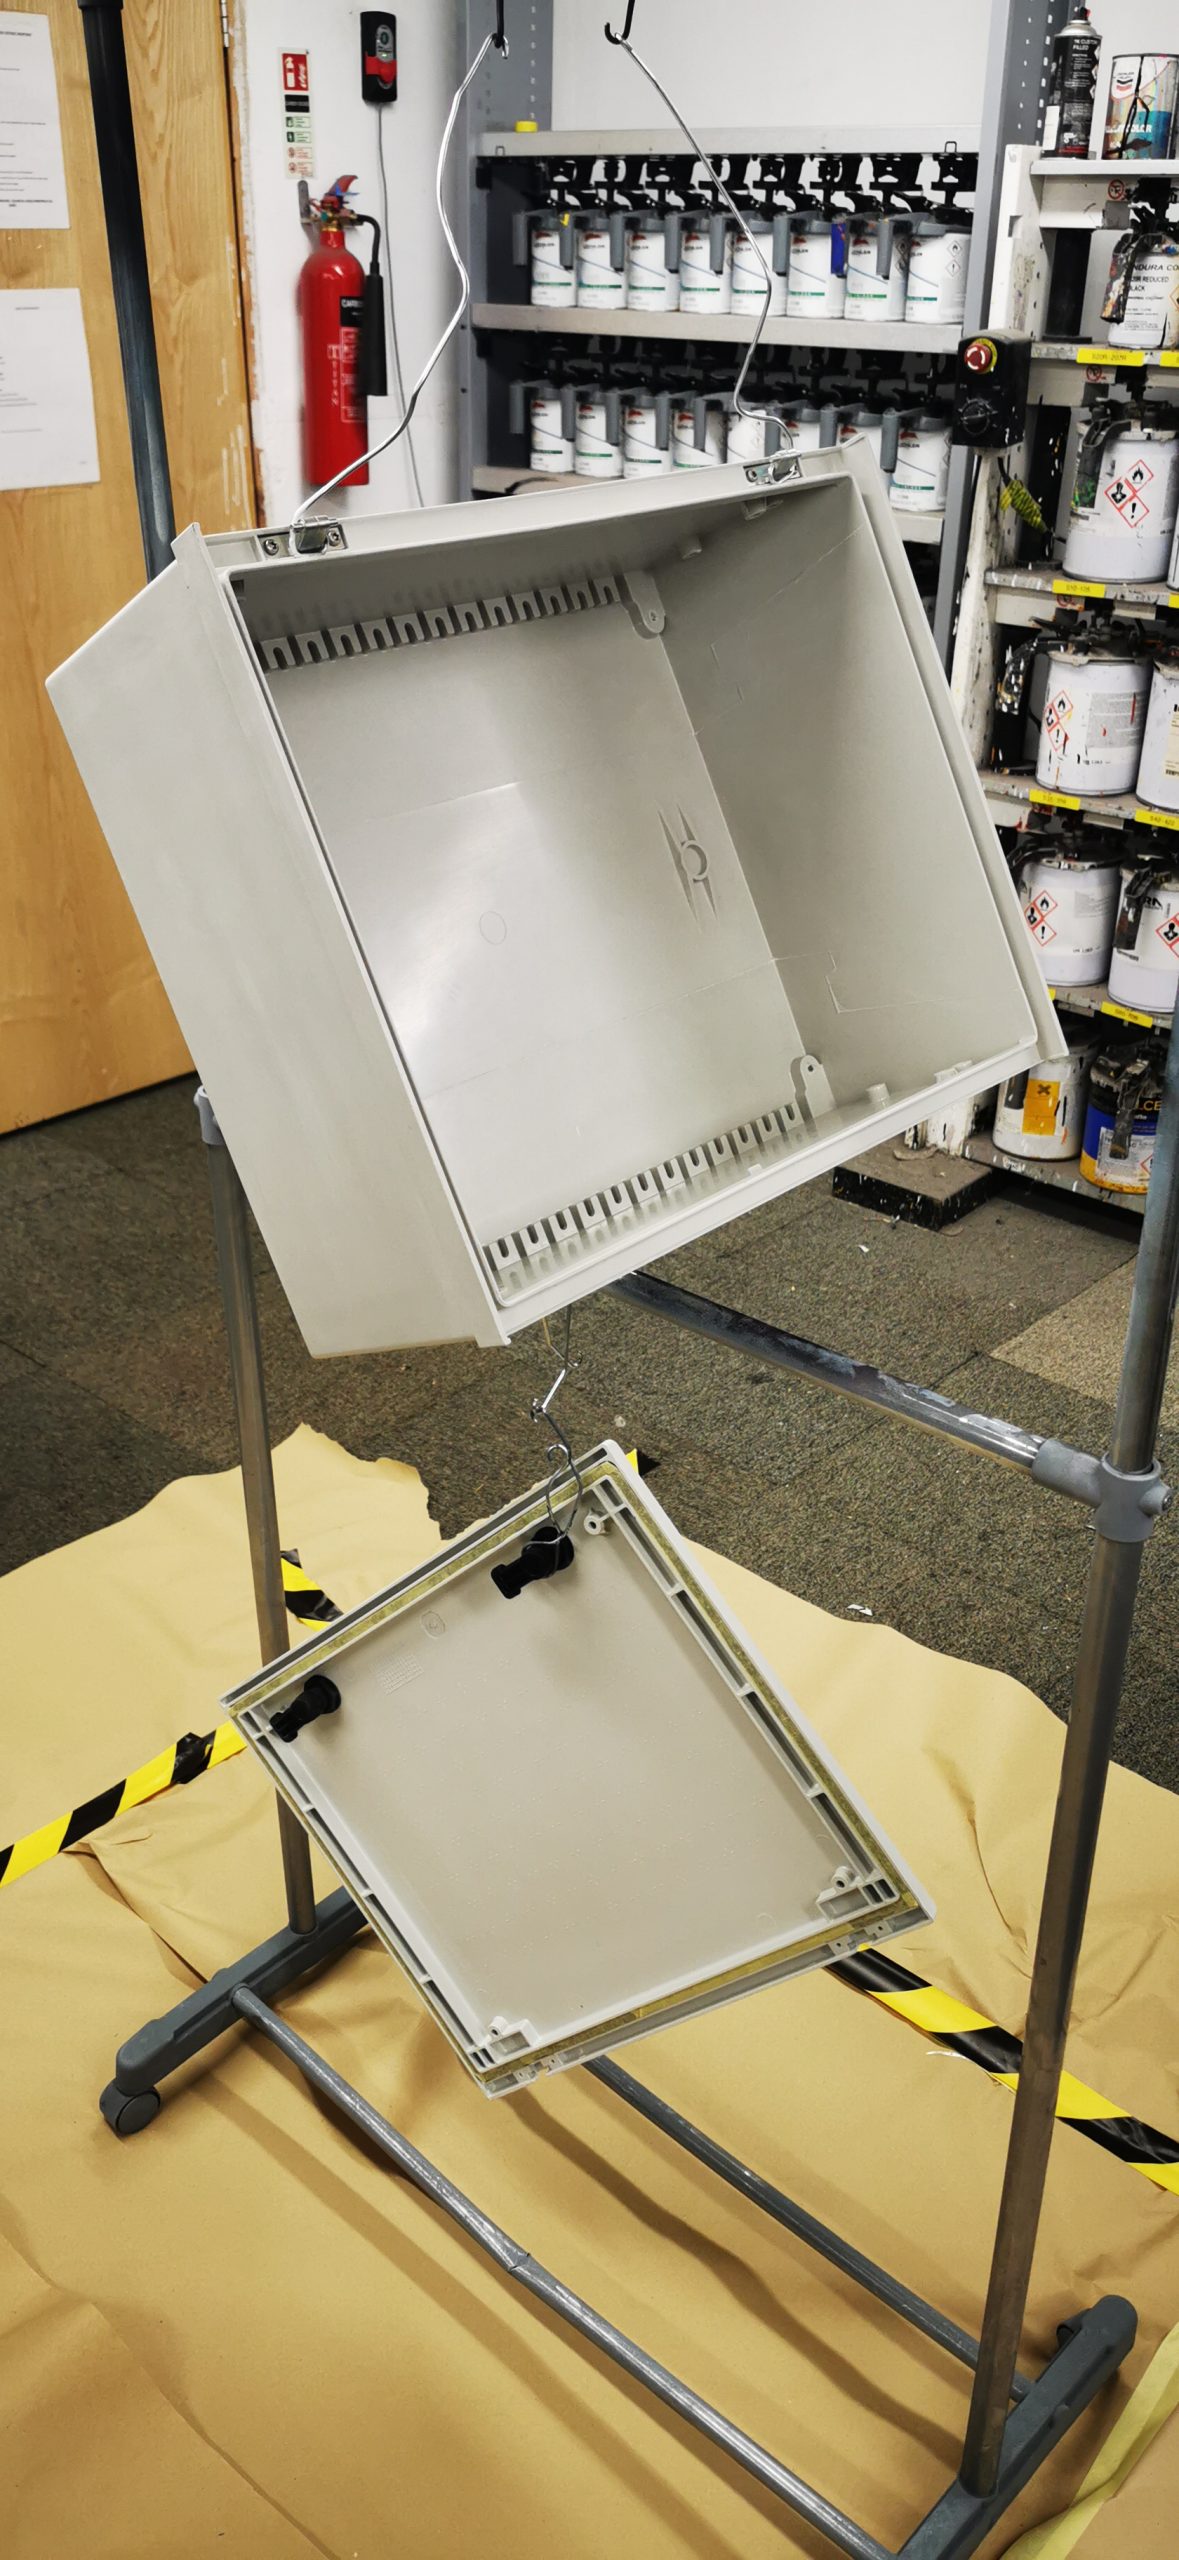
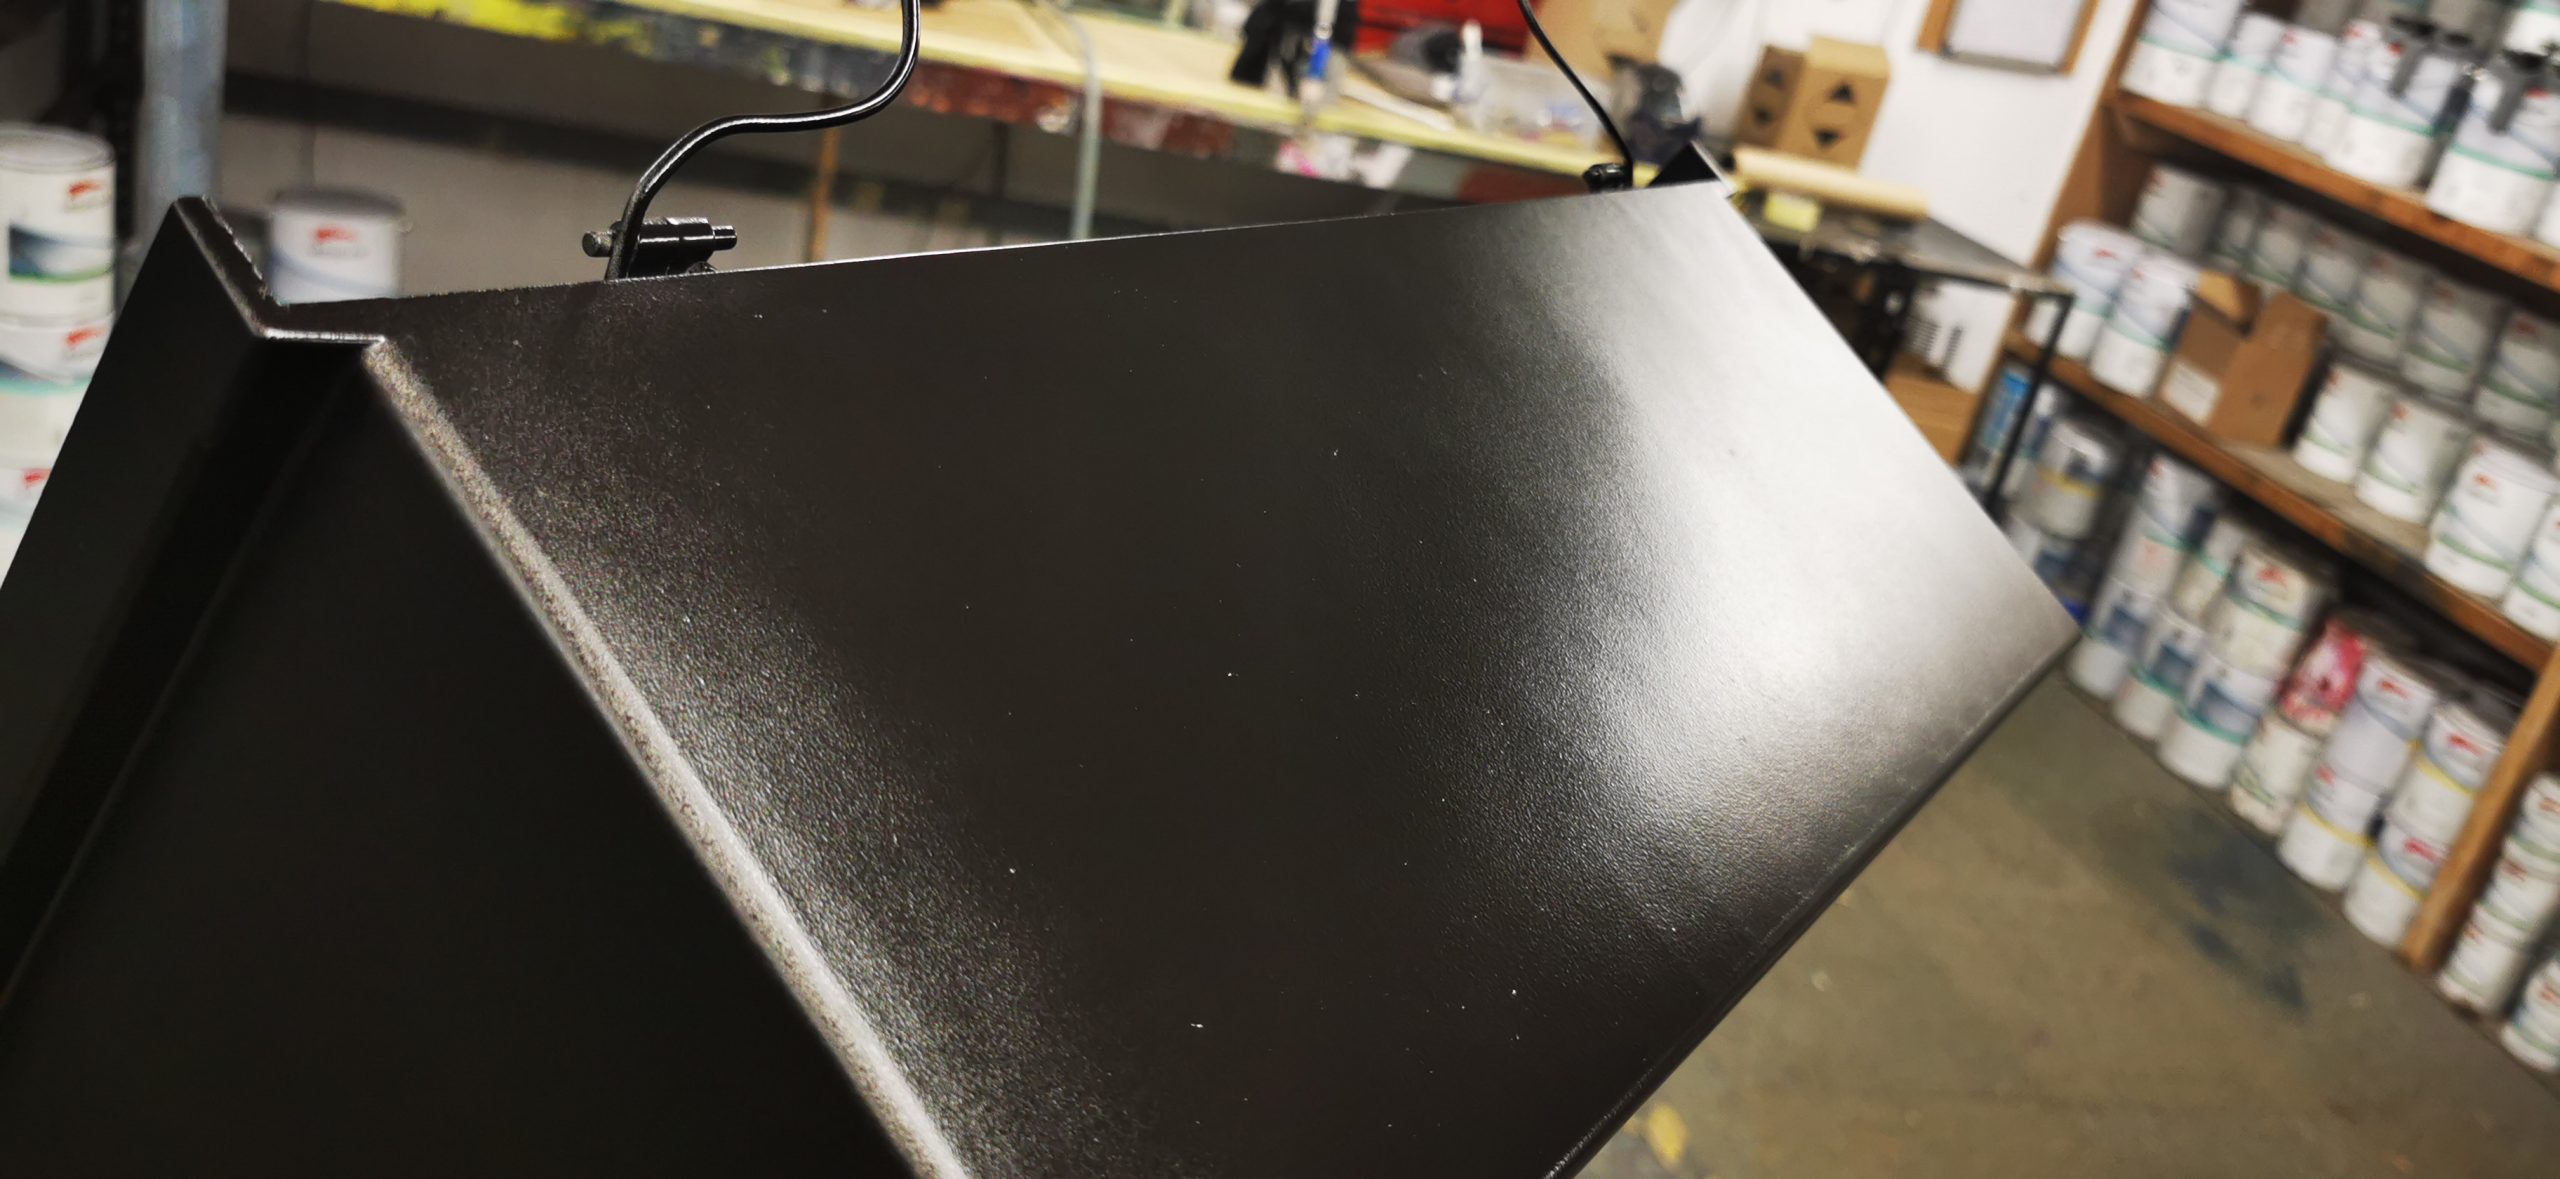
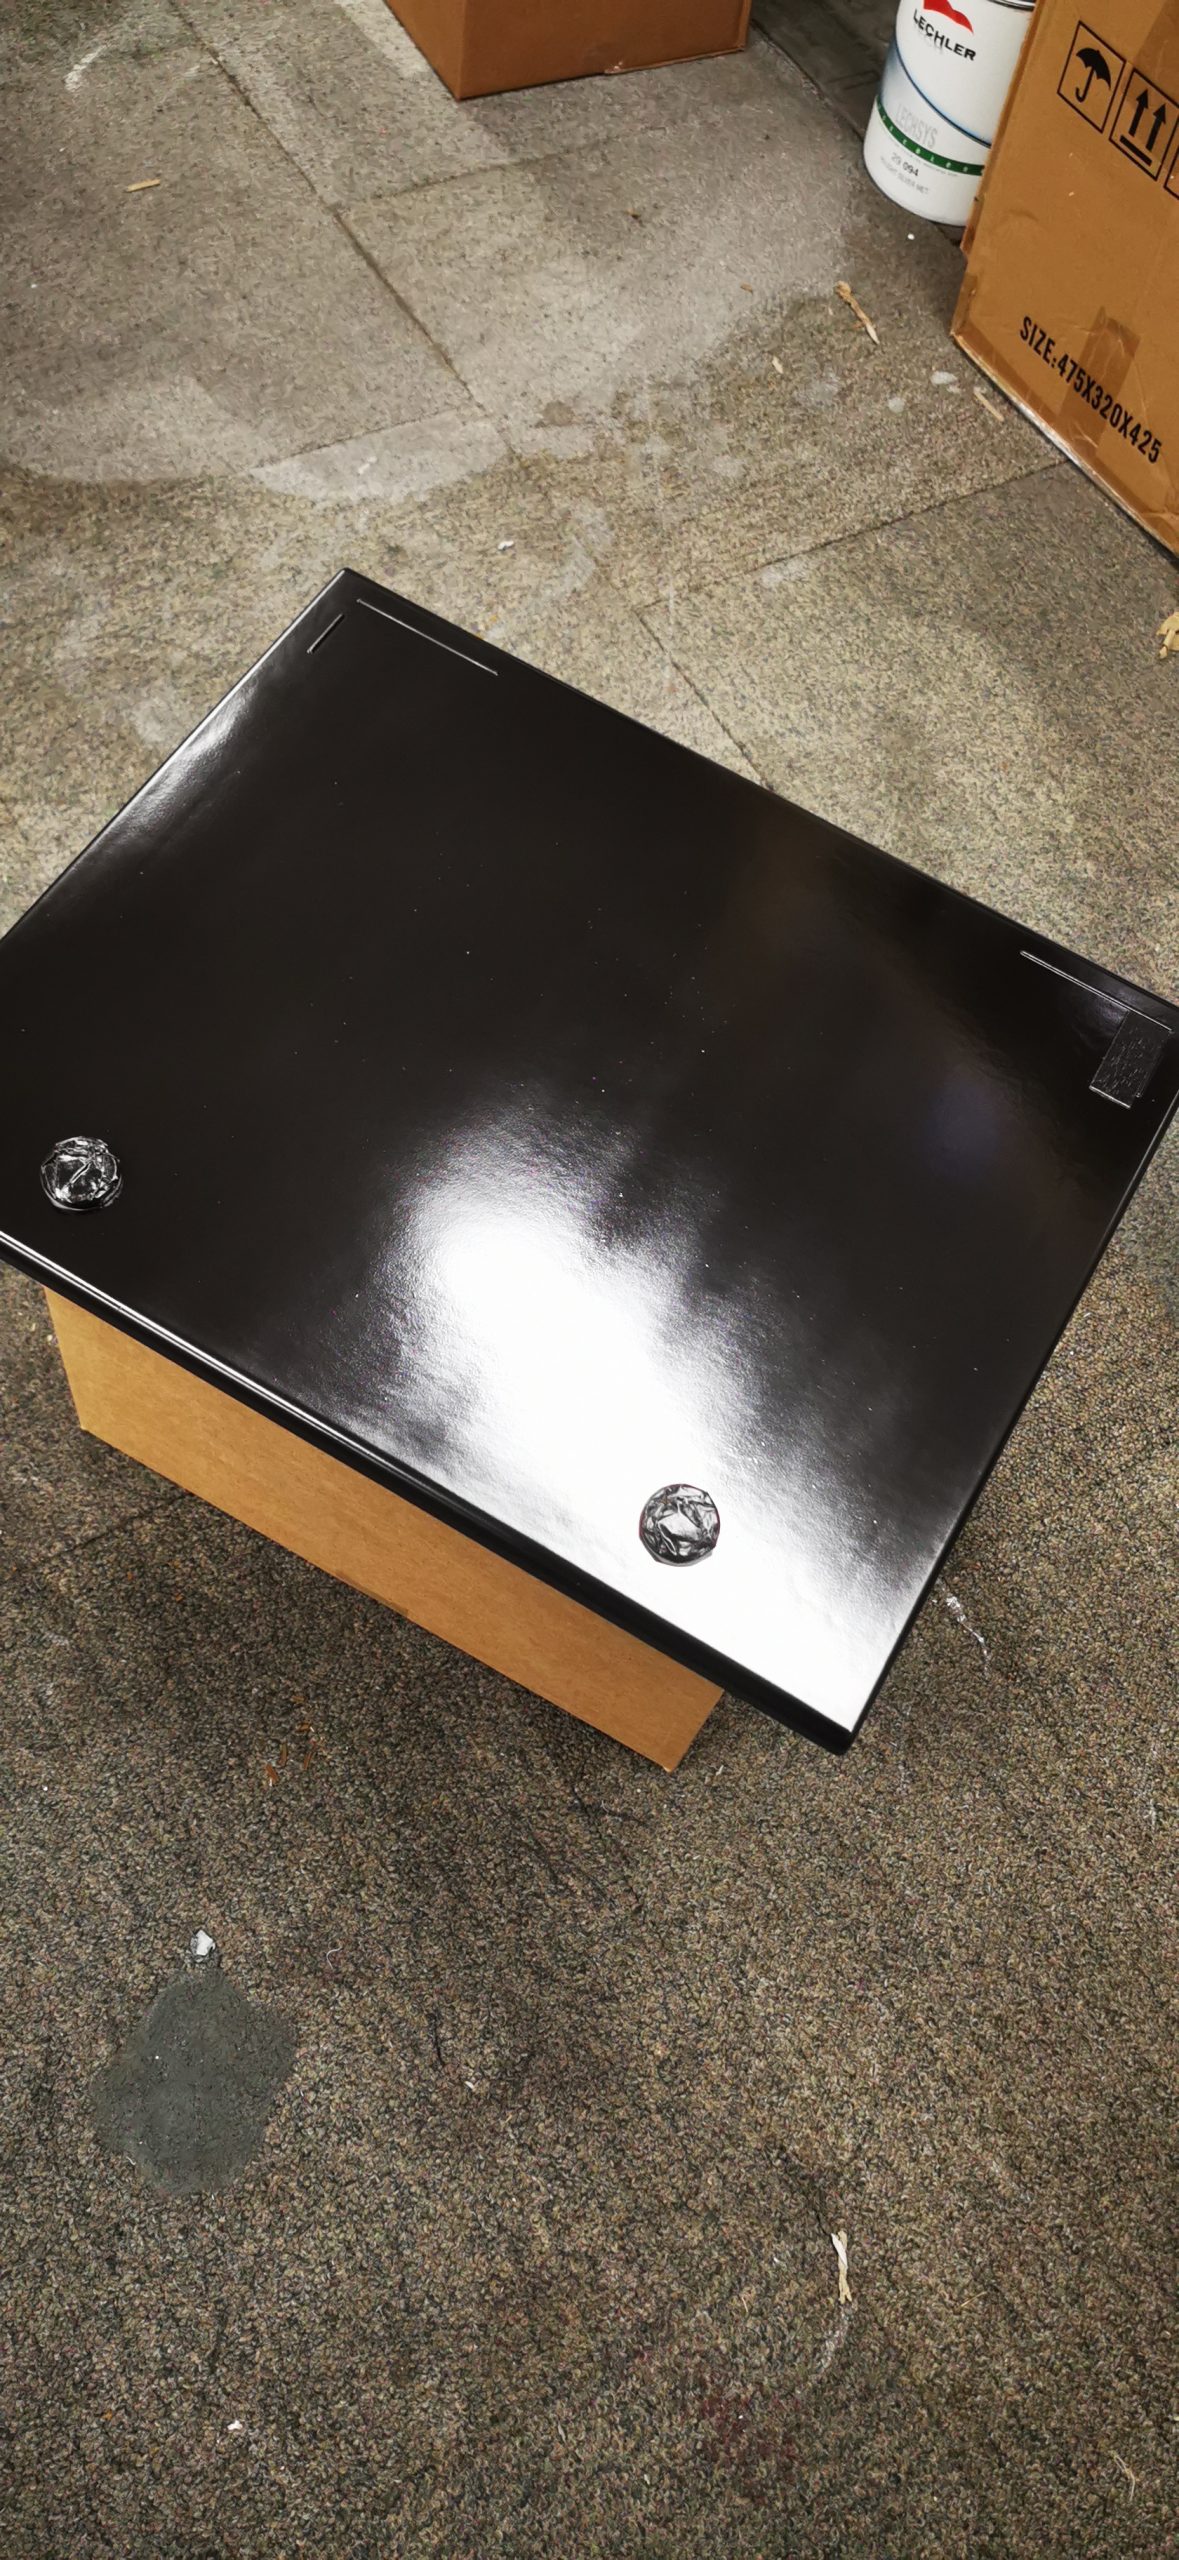
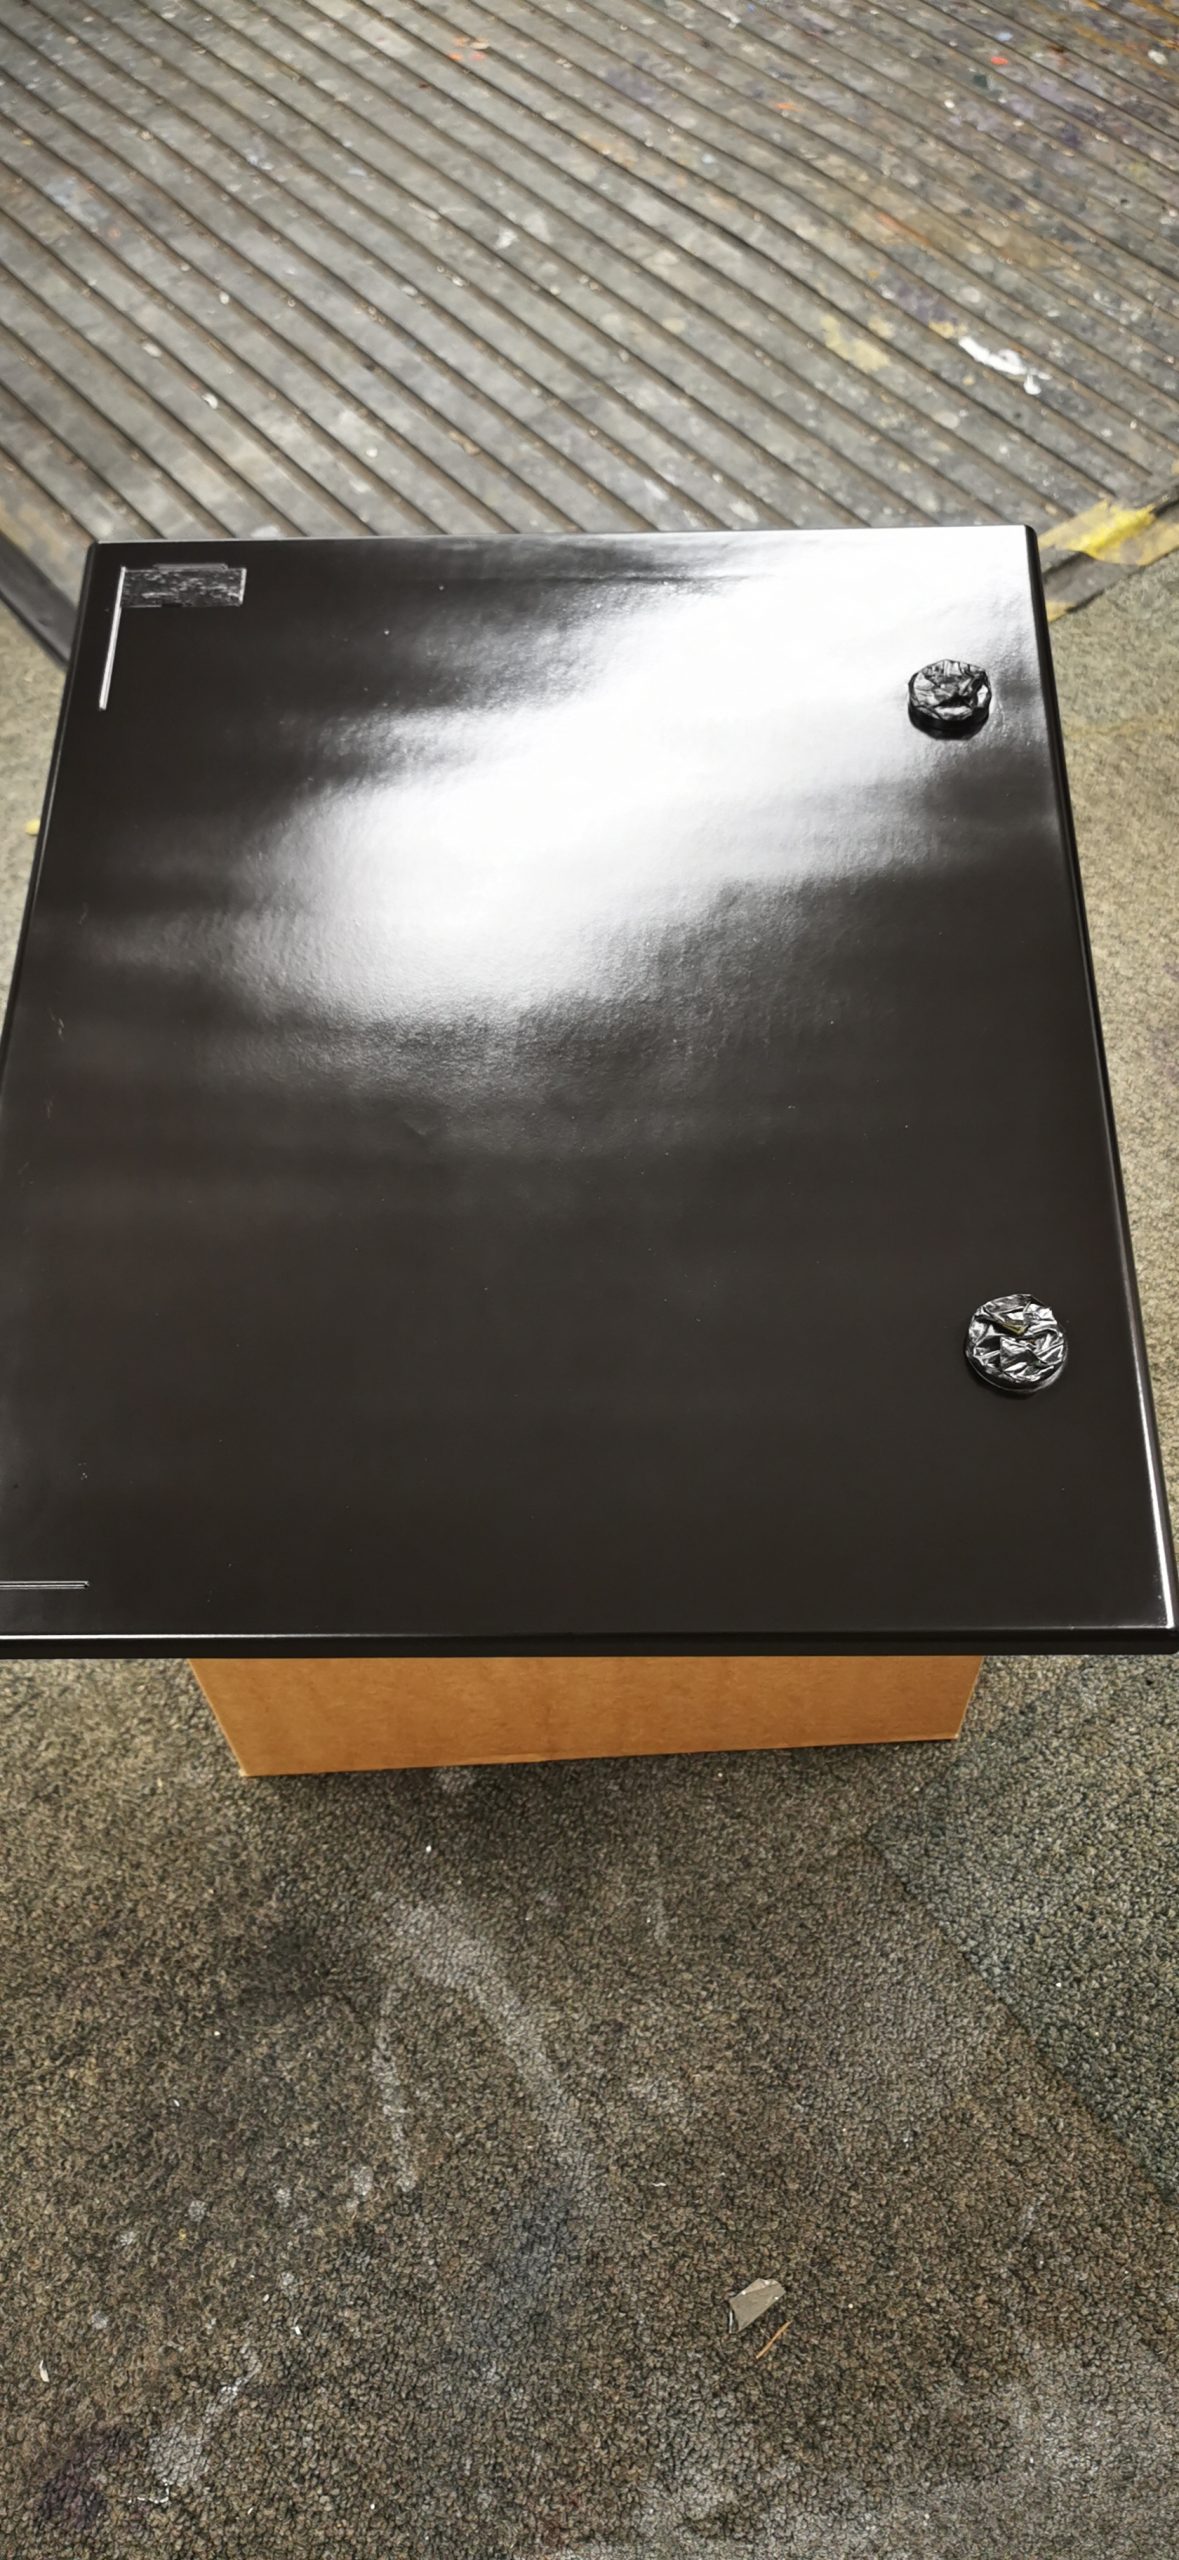
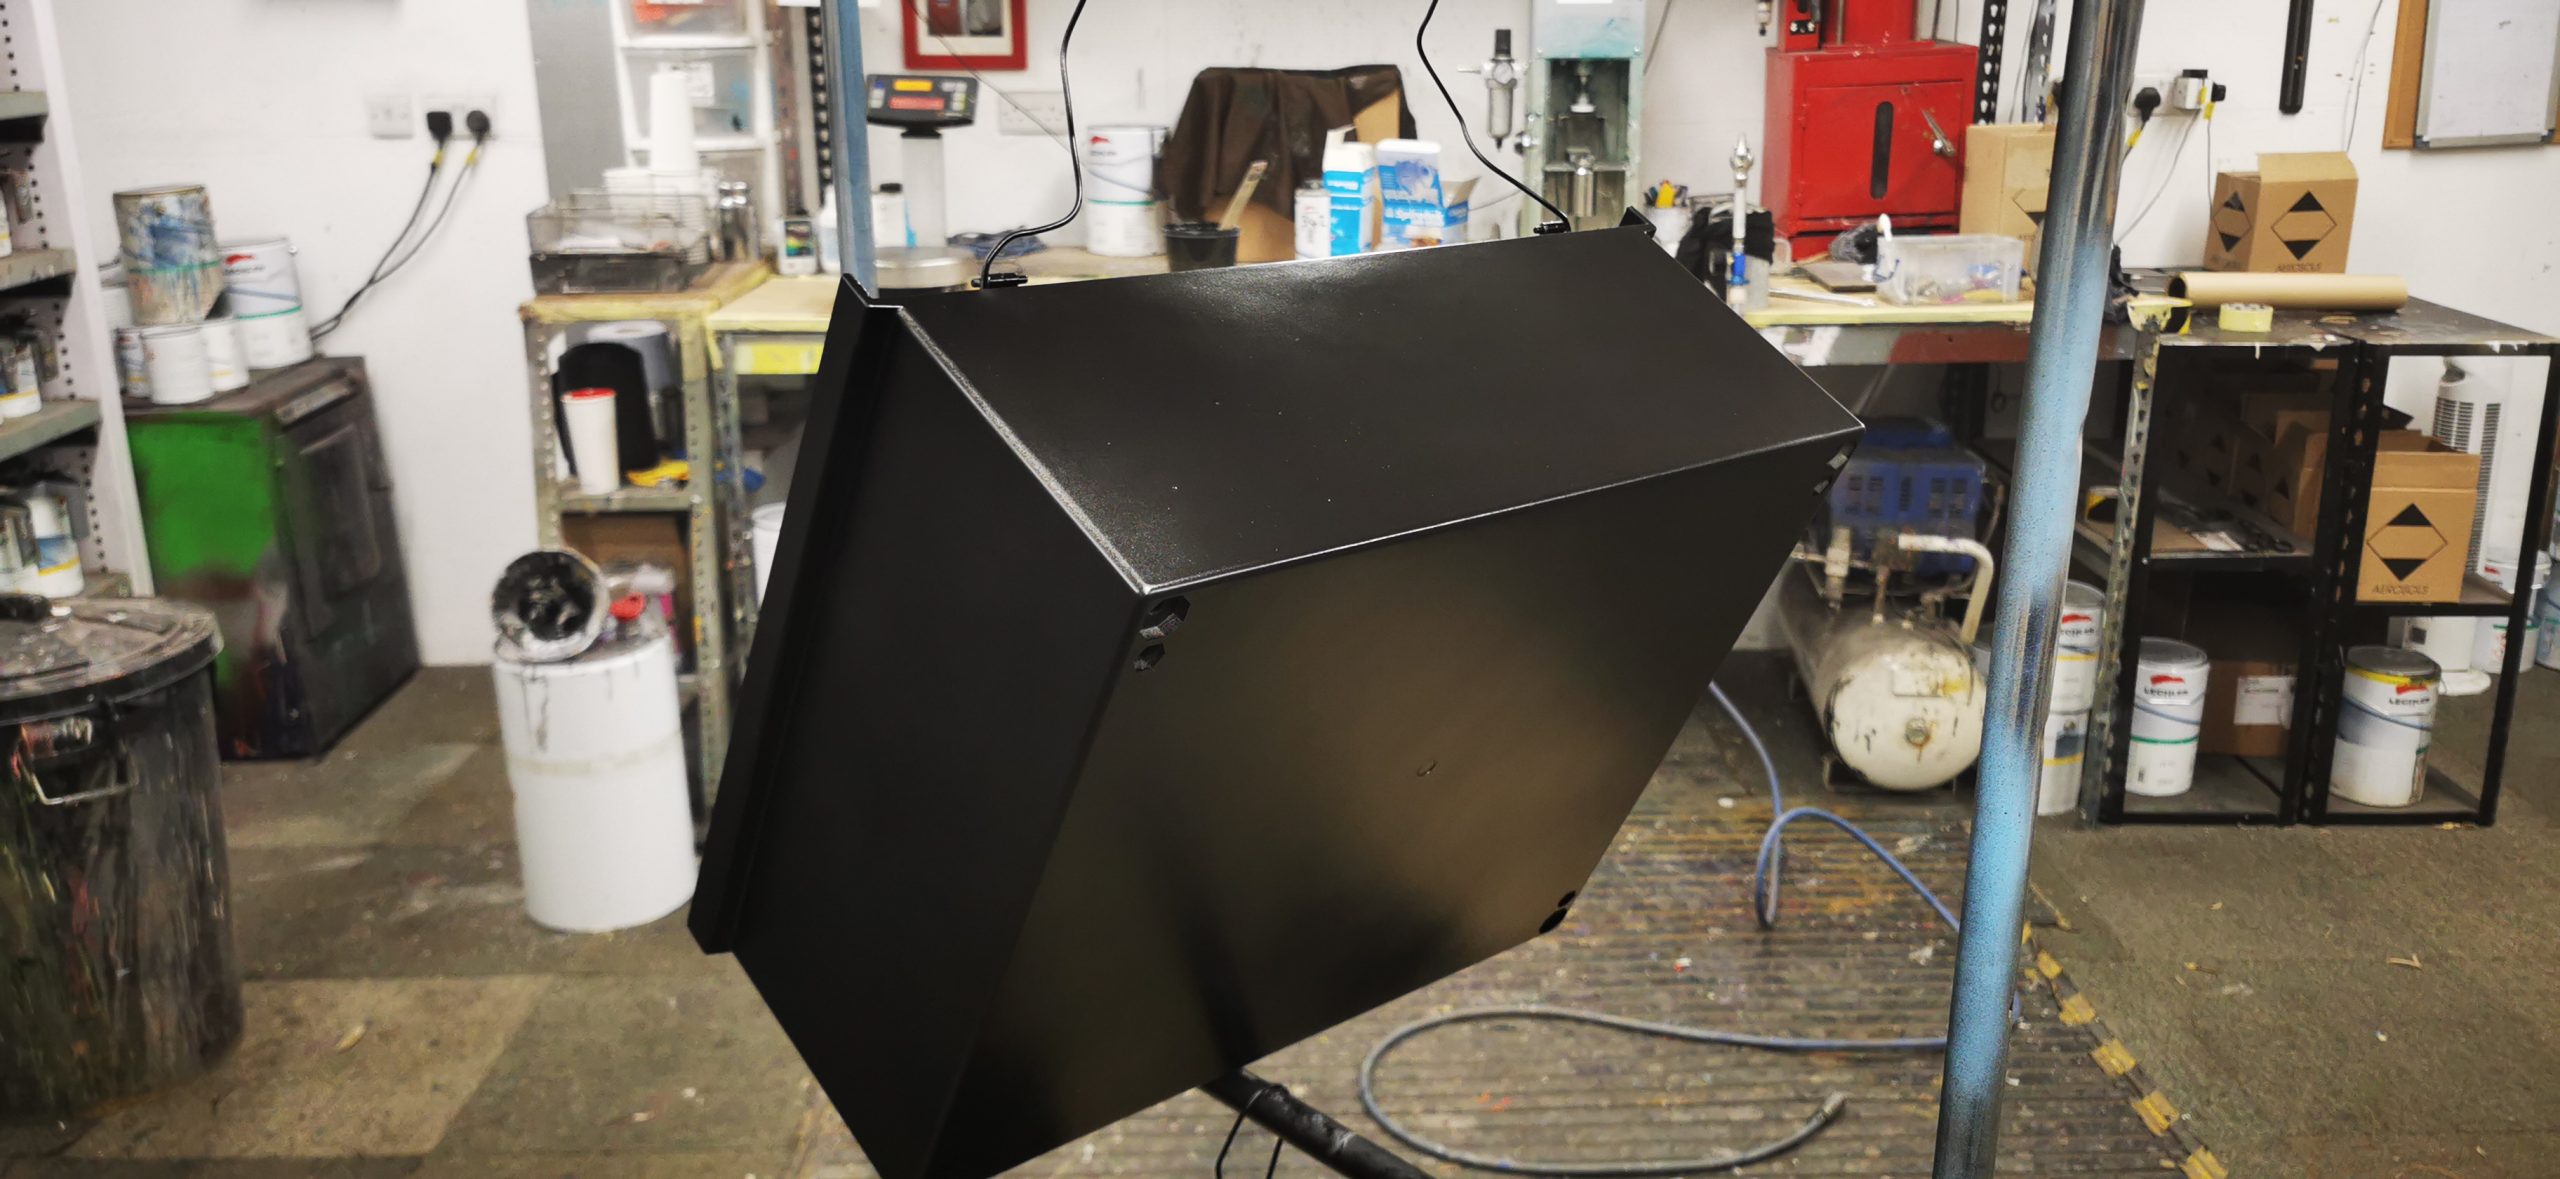
Once the primer had cured, we applied the 2K top coat. We came up against two issues when painting these boxes. The first problem was the weather outside was too cold, and the second was we sprayed too close to the boxes, which caused misting and tiger stripes in the paint. We moved the project into a room temperature environment and adjusted our spray technique to resolve this.
TOP TIP: A good rule of thumb when spraying from an aerosol is to use the distance from the tip of your thumb to the tip of your little finger when outstretched.
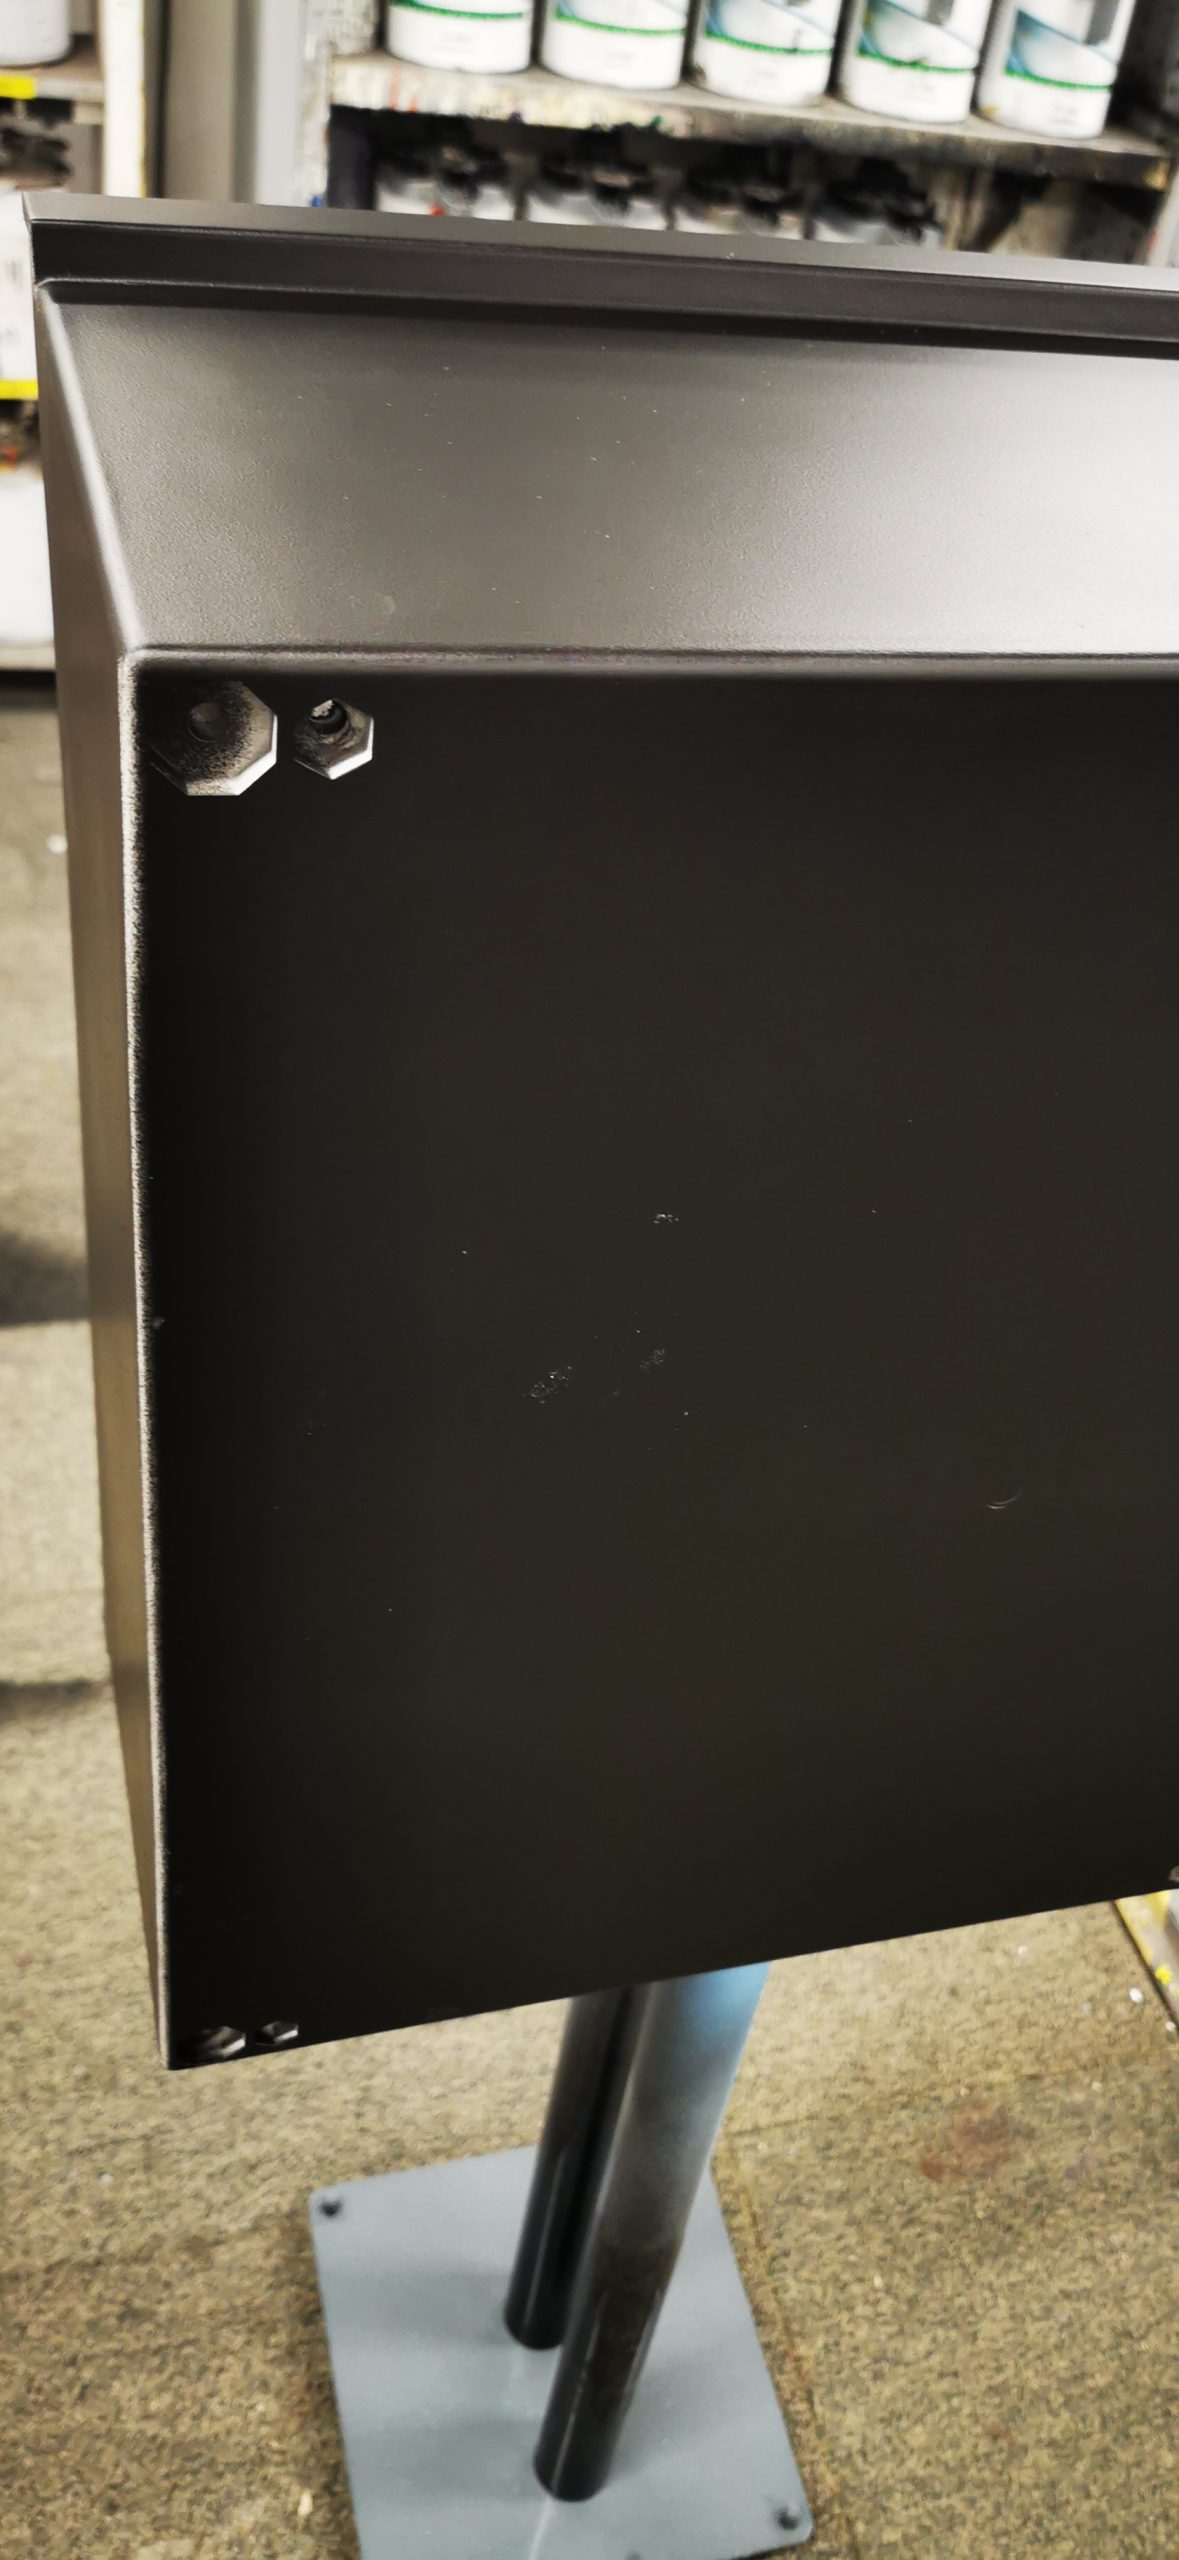
After applying four coats with two-hour intervals between each, we left the surface to cure overnight.
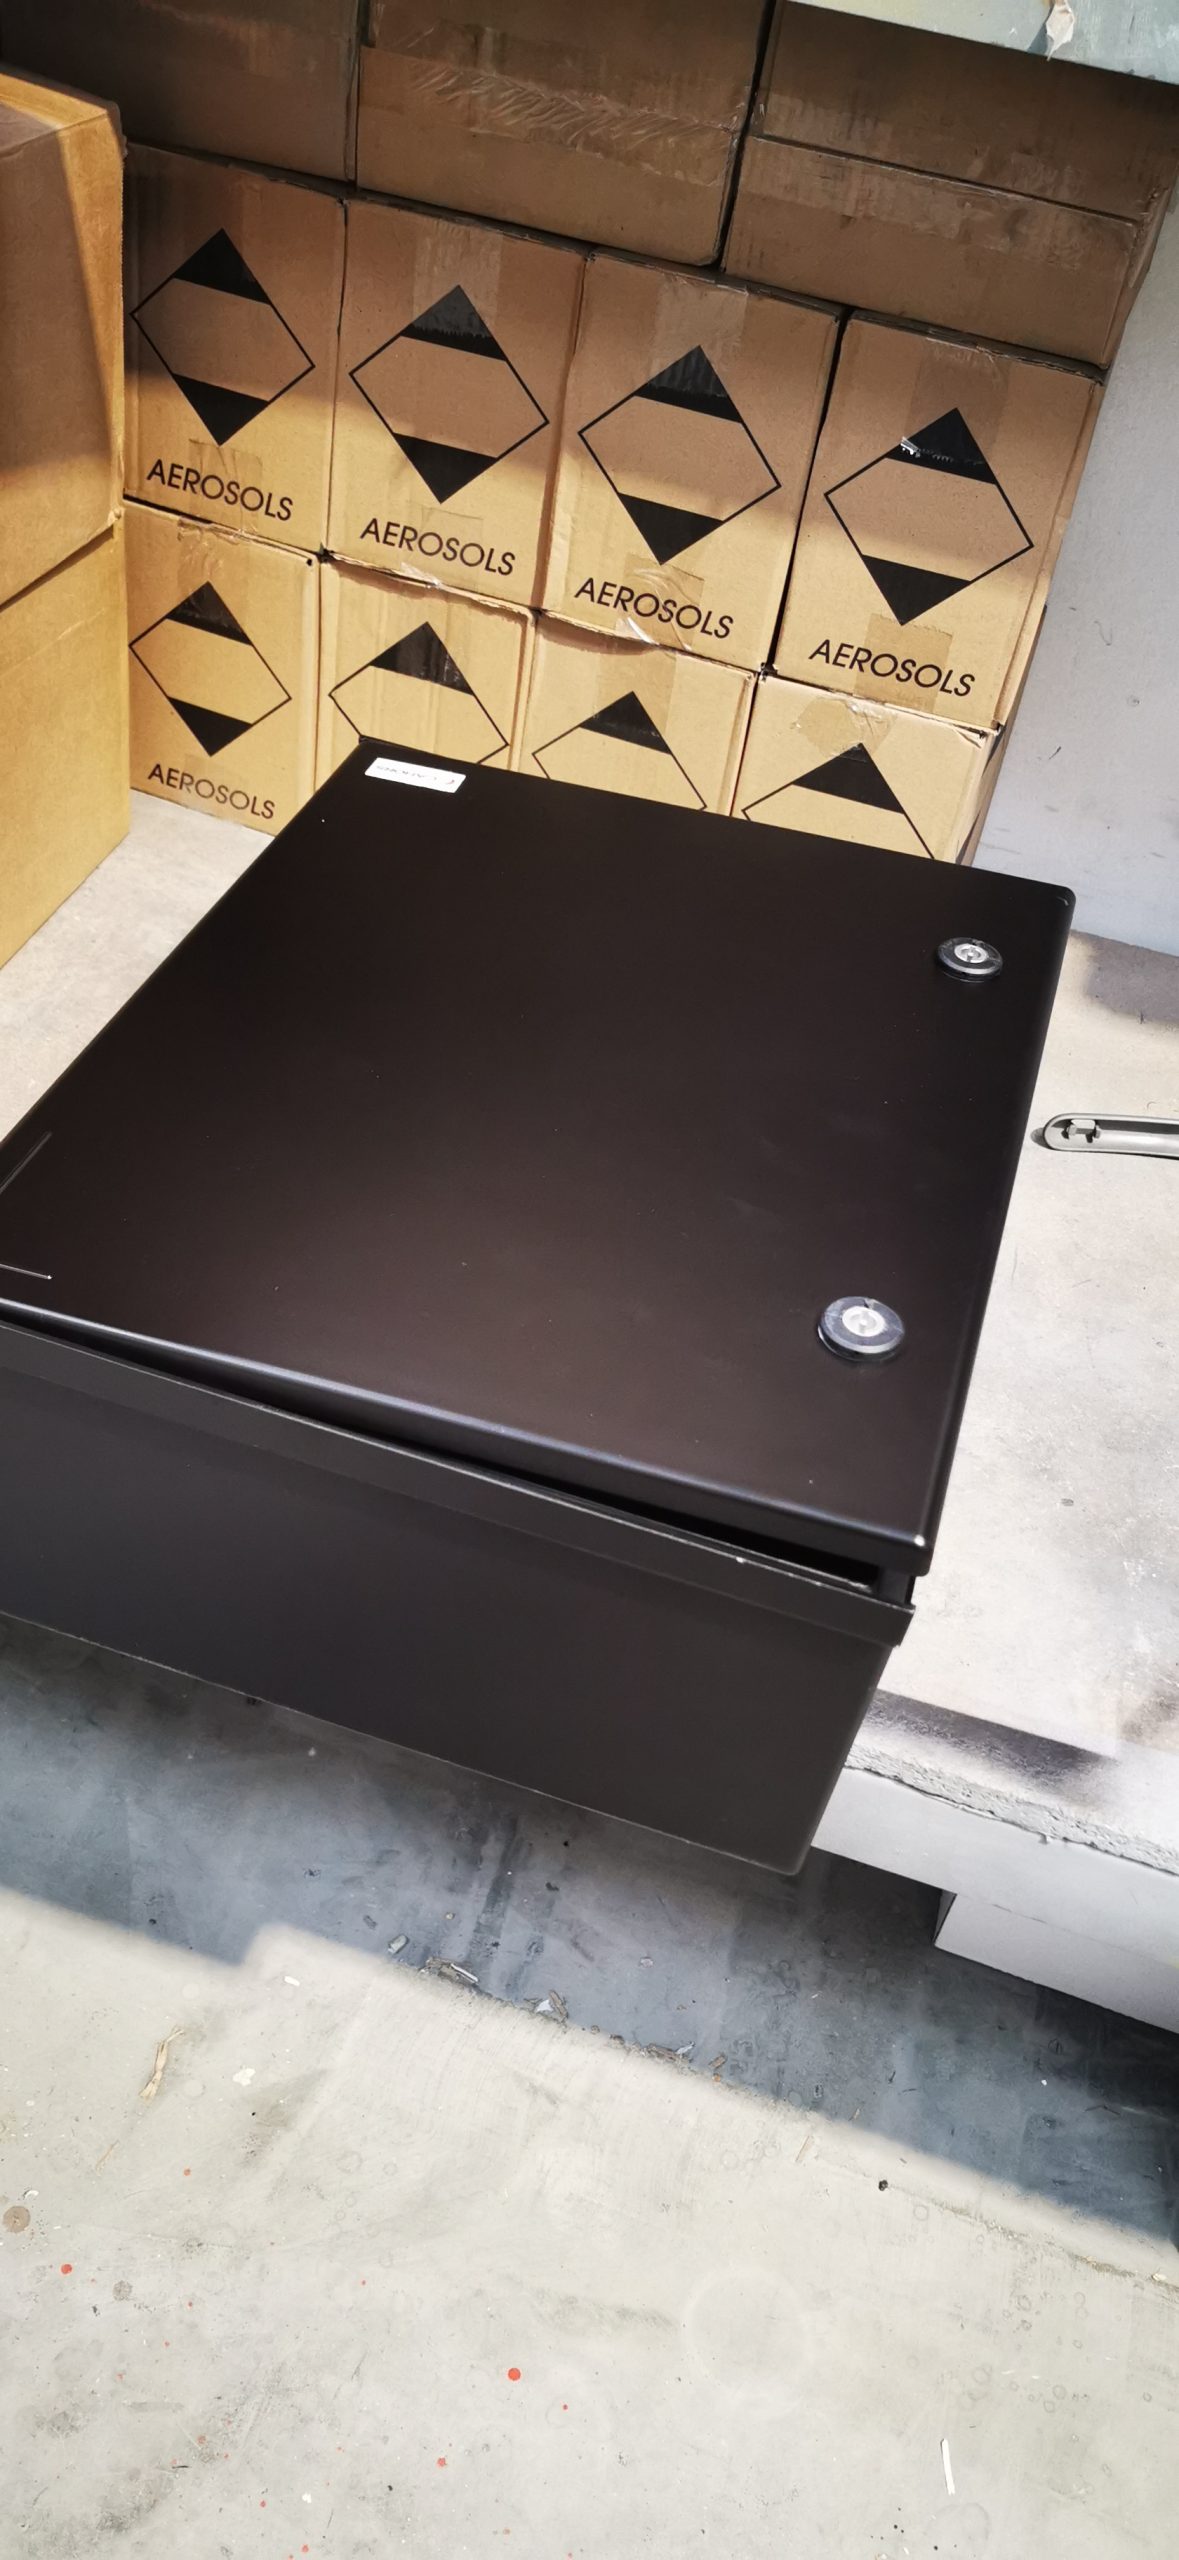
Final Results:
In the end, we were happy with the finished project, as was our client. It wasn’t plain sailing, but we learnt a few things along the way and are glad that we can share these experiences with you so you can learn from our mistakes and know how to fix them. Onwards to the next project!