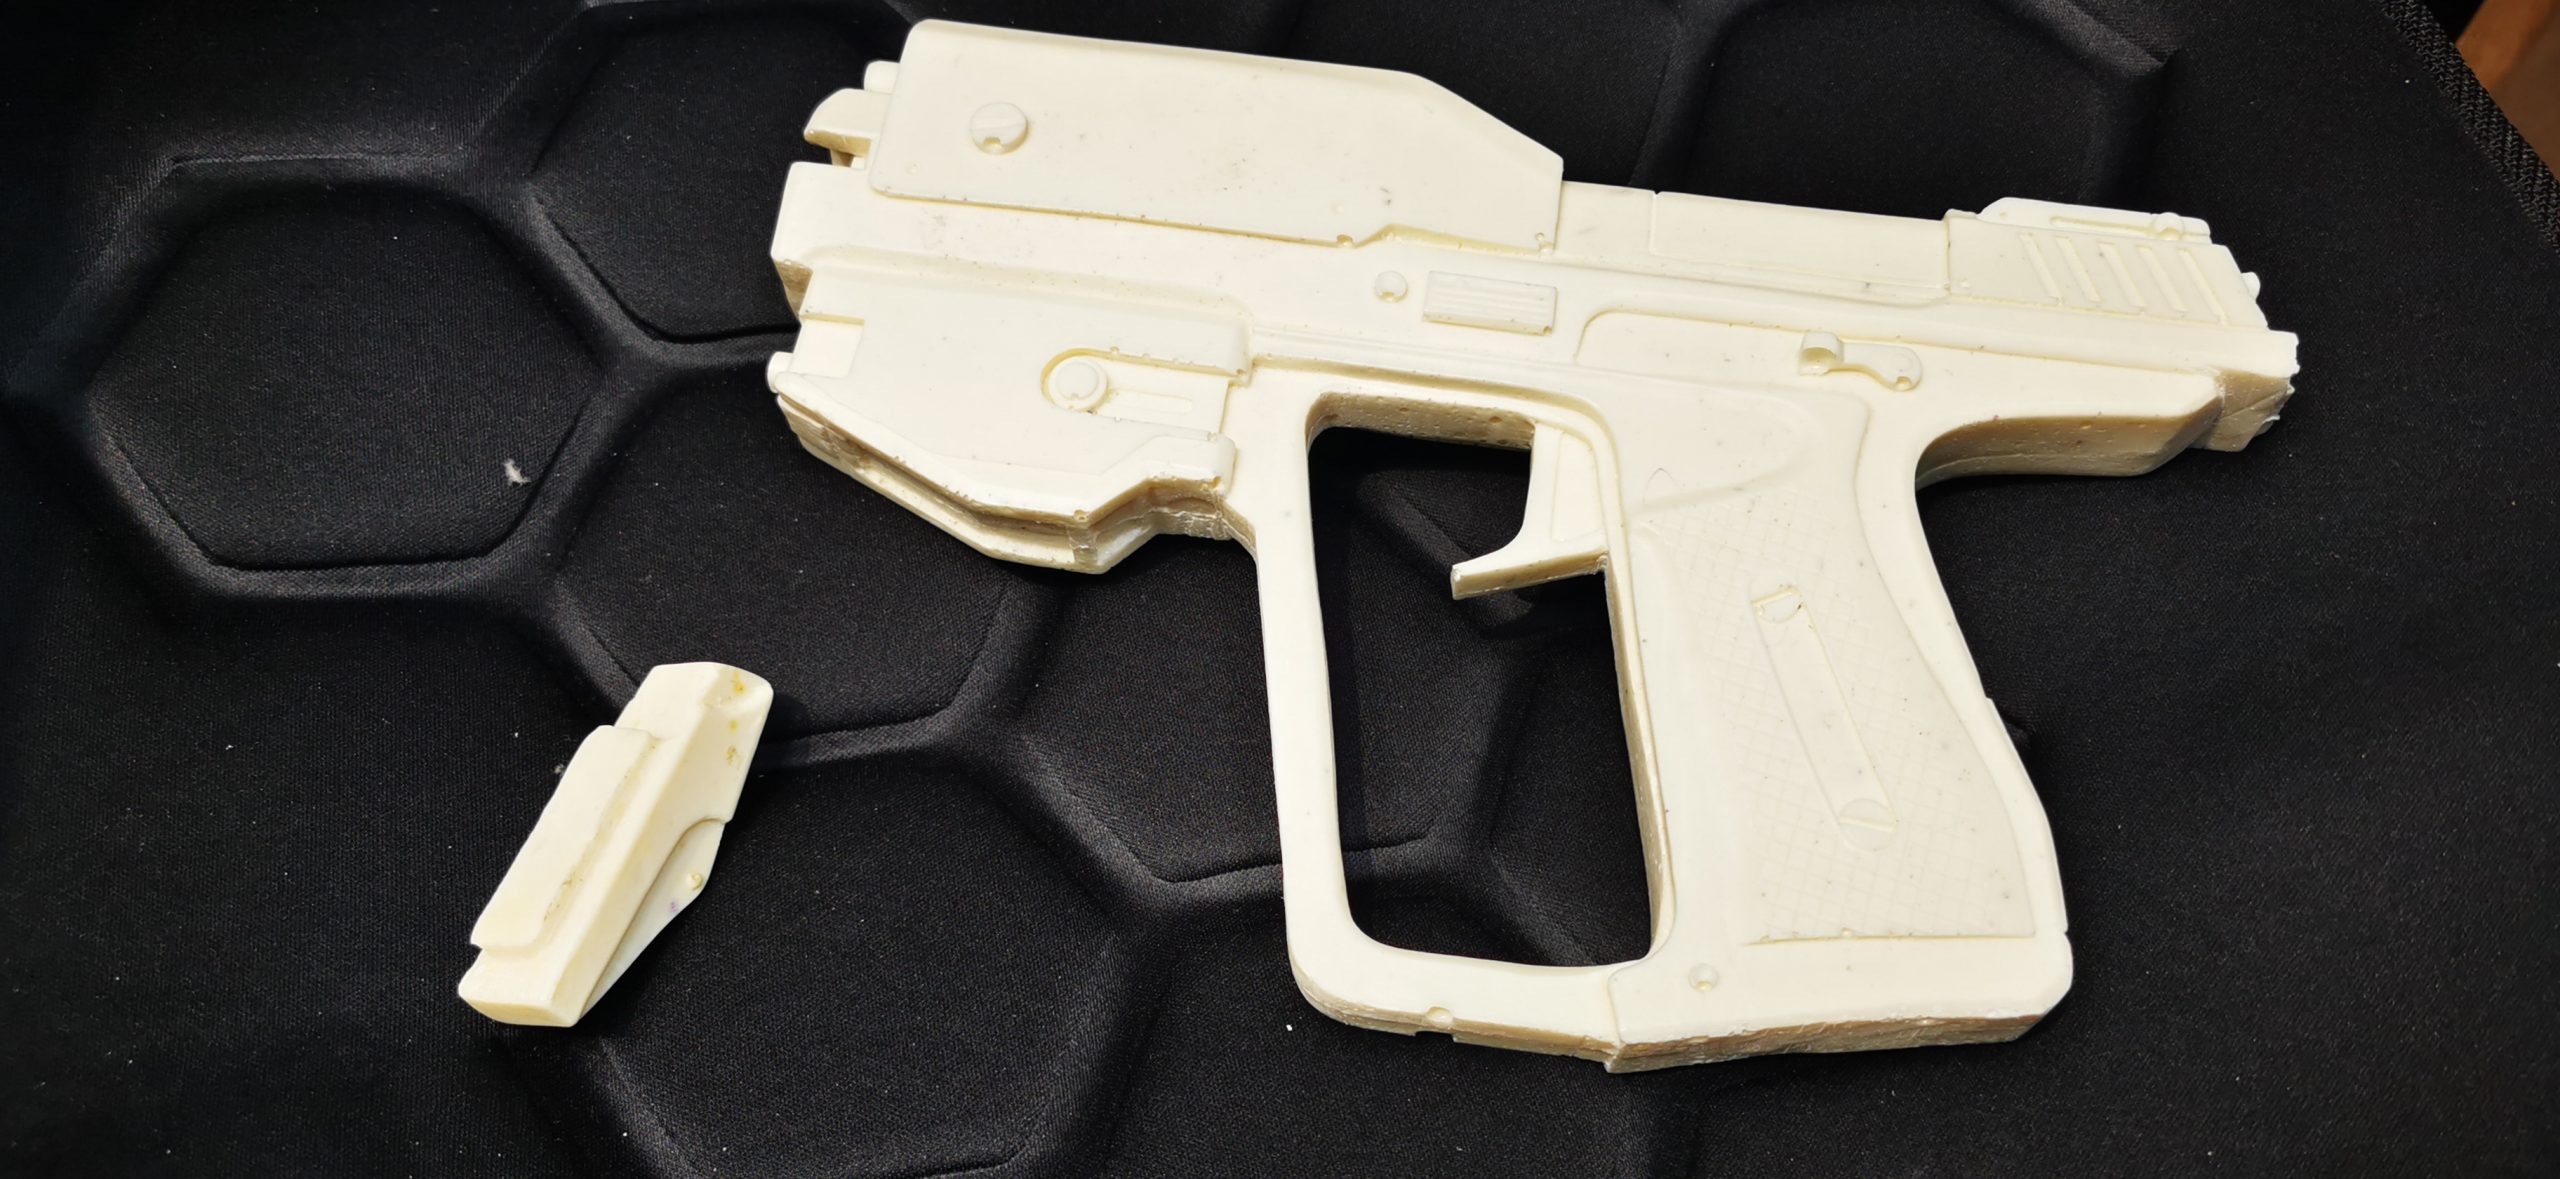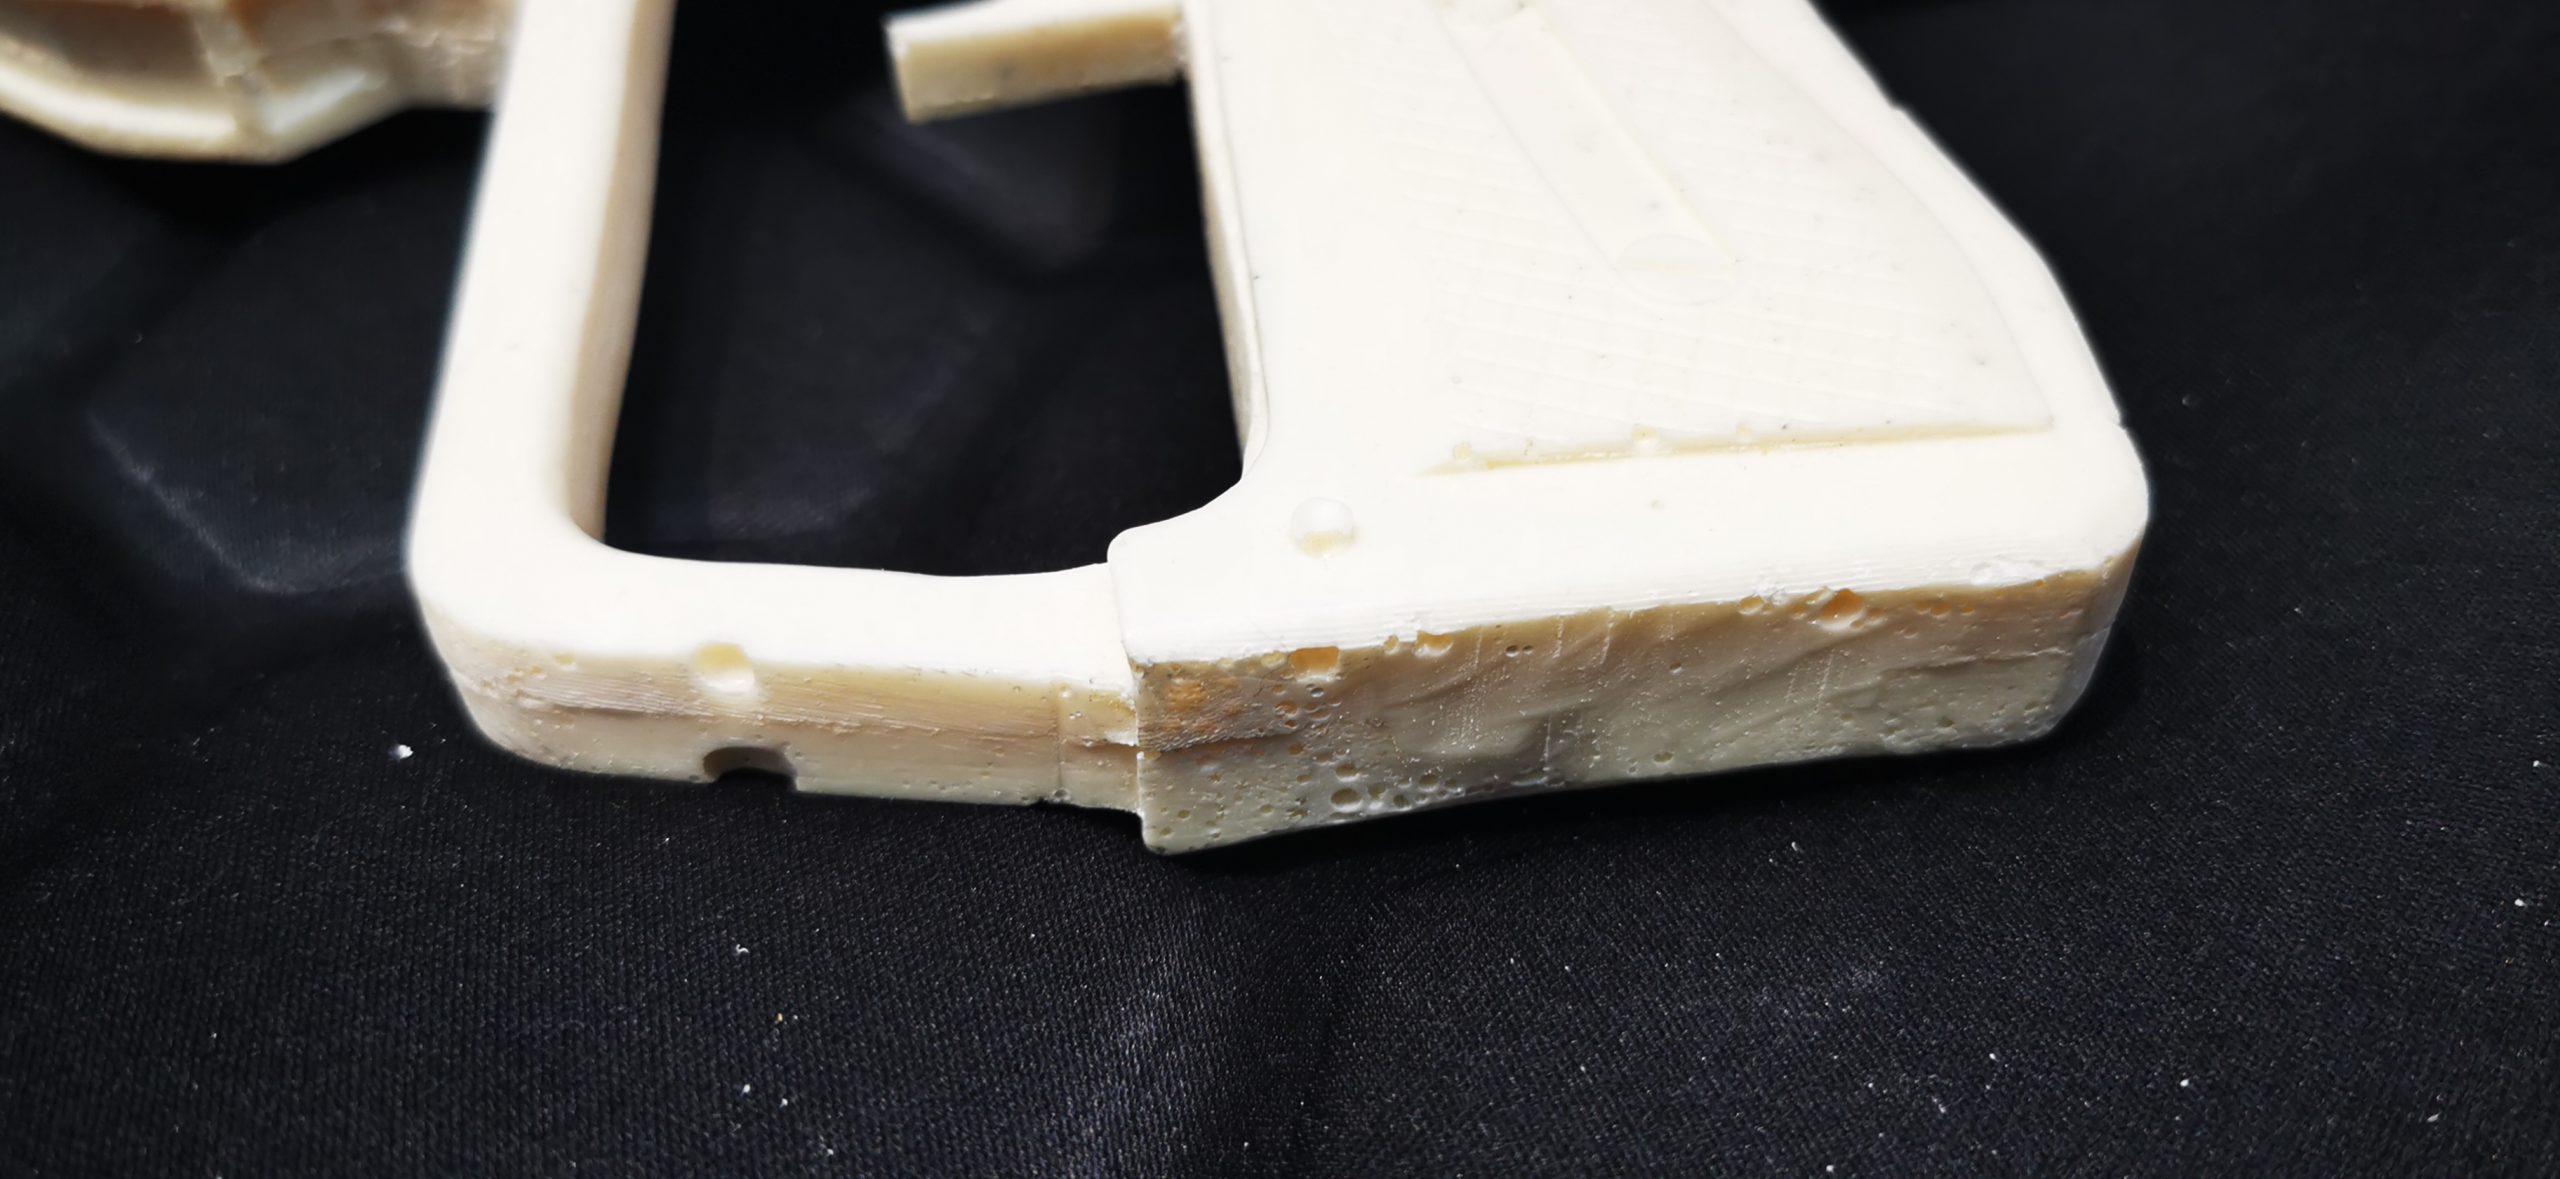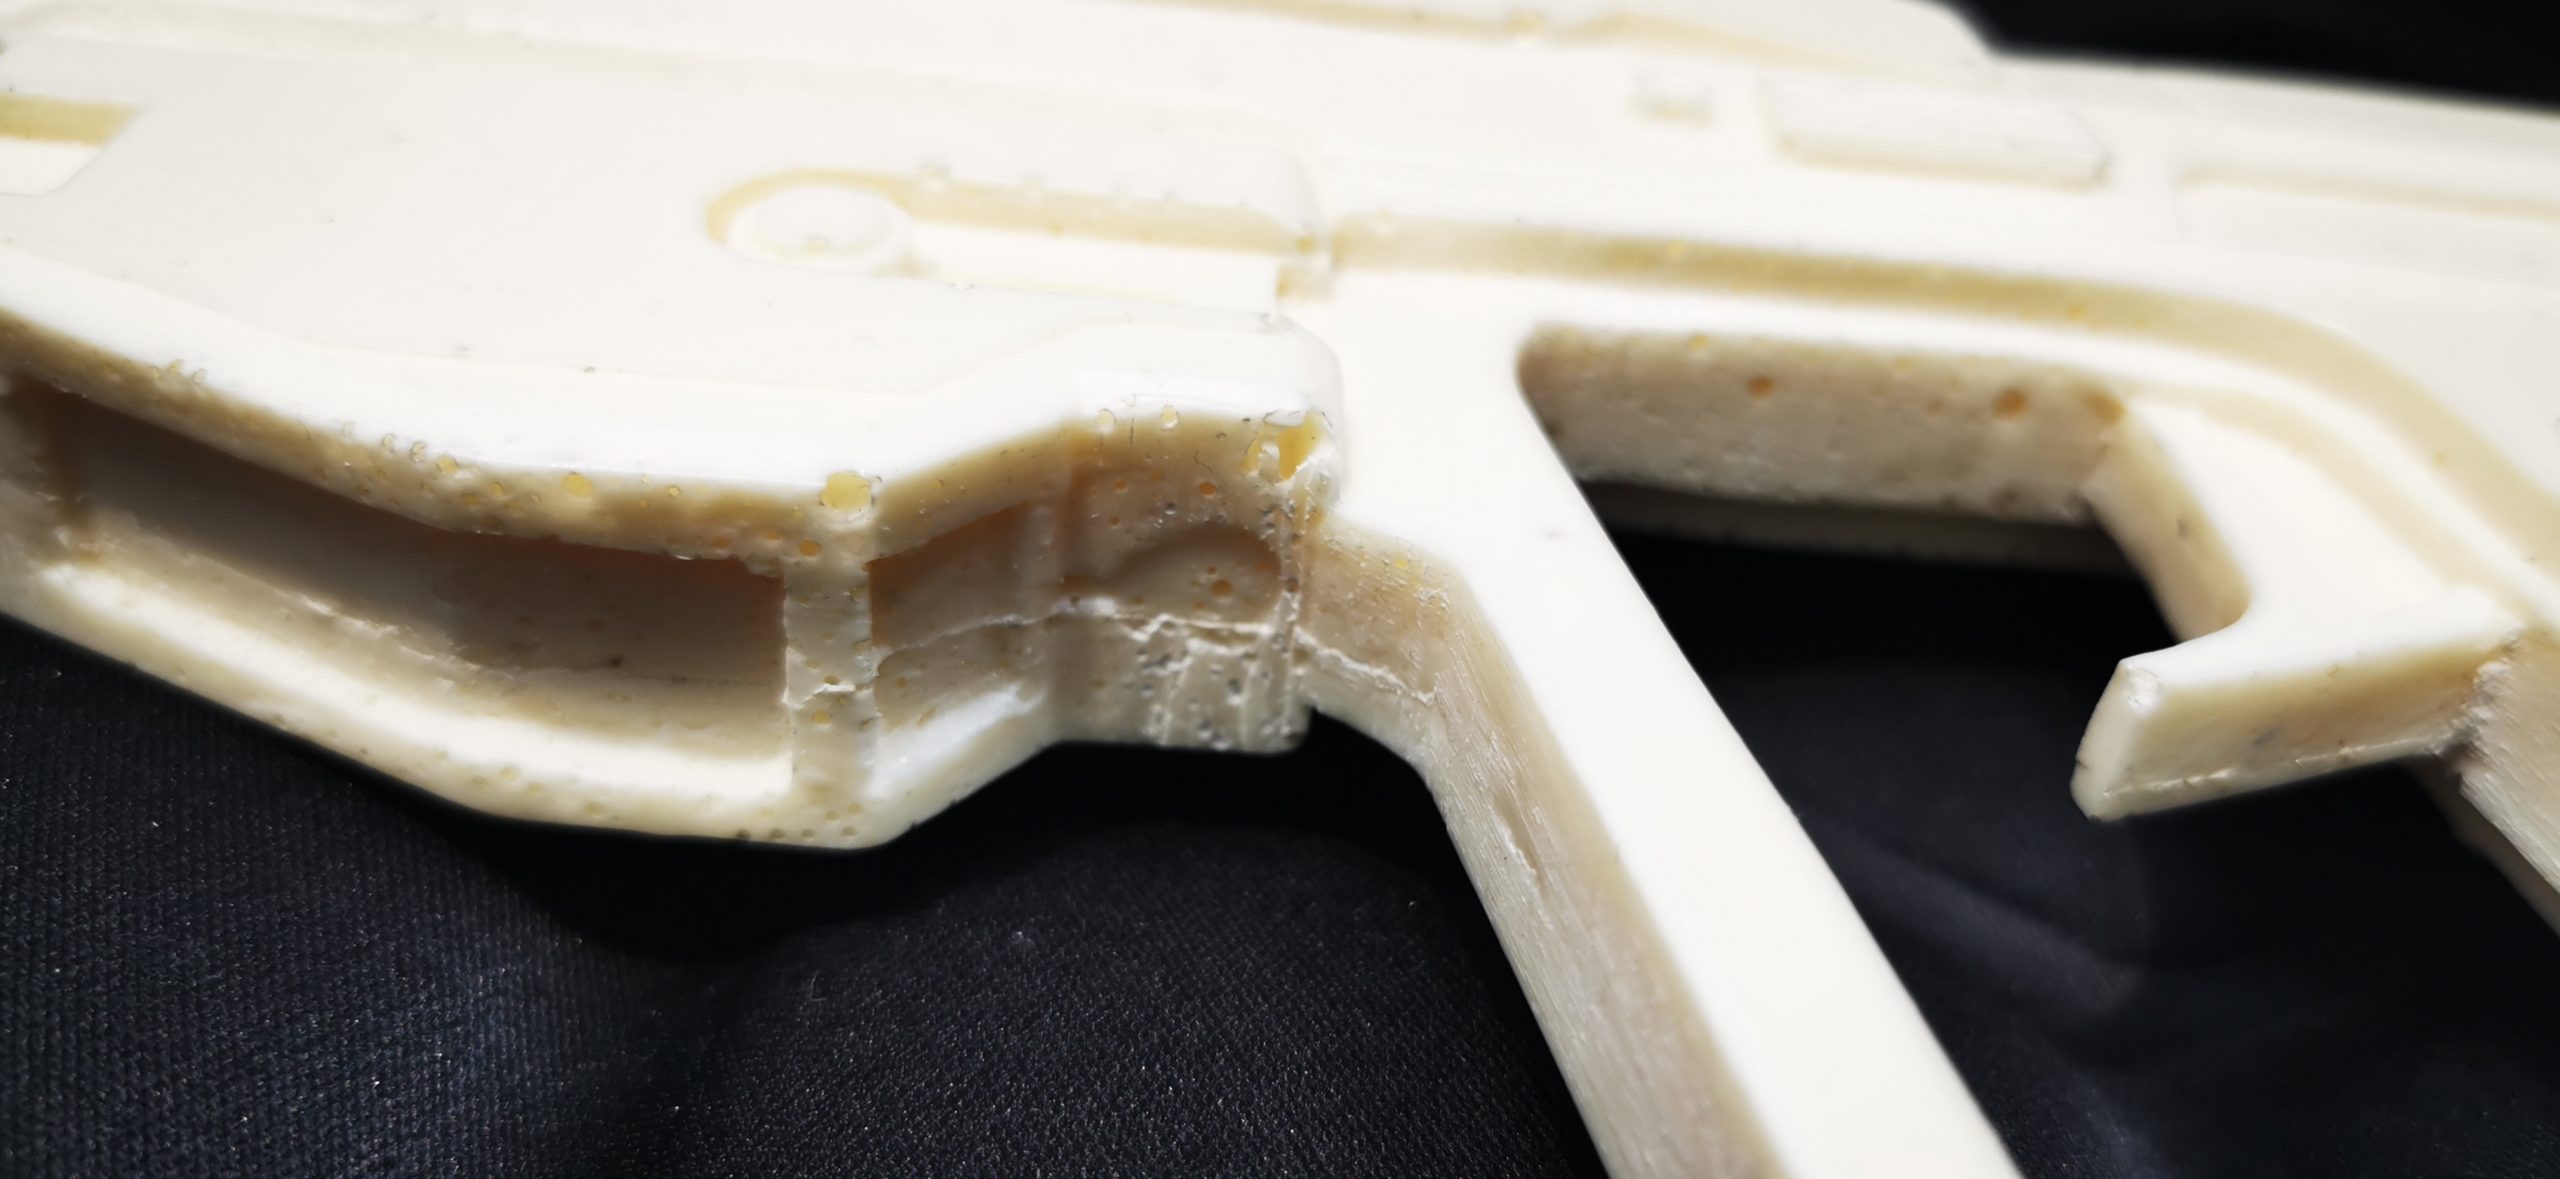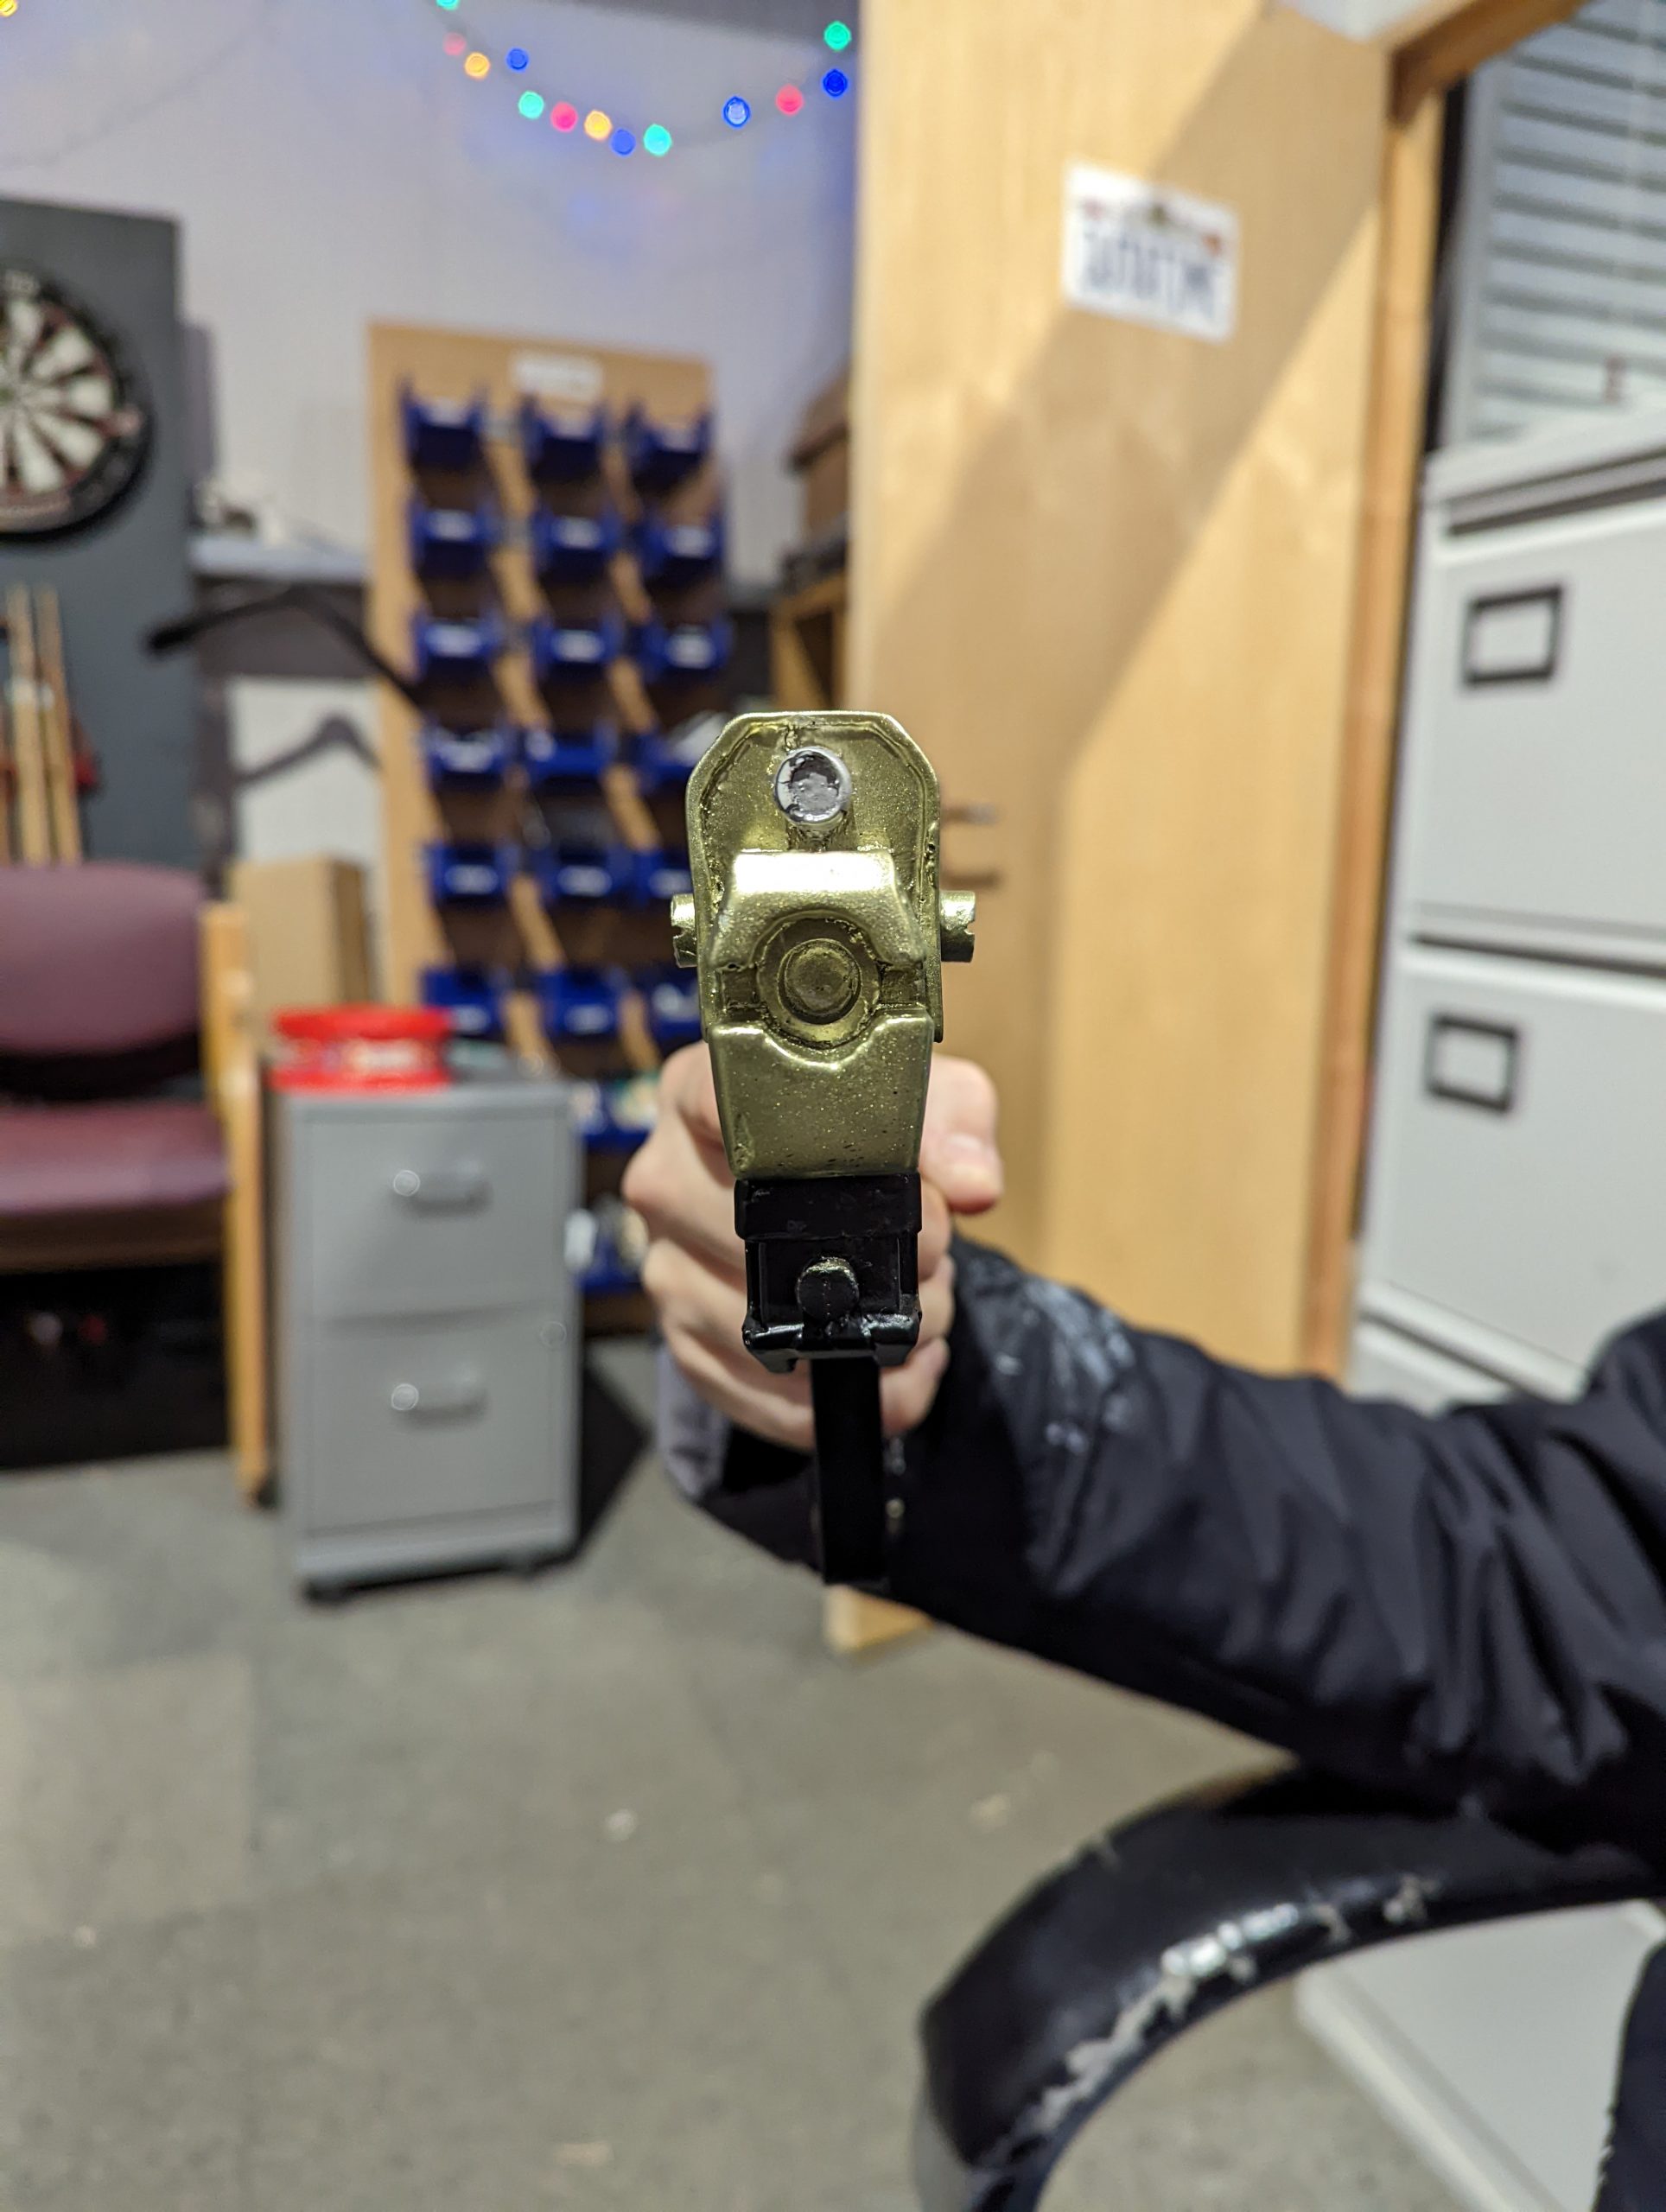
This resin-cast prop gun arrived to us in need of a lot of repairing due to poor moulding. Firstly, the air bubbles had not been removed from the moulding process, meaning the prop gun had to be filled and sanded. The resin cast was also not linear, so our team needed to shave back layers of the resin, straighten them with micro files, fill them and then sand them back. Here is how we completed the project from start to finish!
Tool List:
- Micro Files & Dremel
- Plastic Filler (UPOL PlastX)
- Multi Grit Sandpaper
- 2K Silver Filler Primer
- 1K Acrylic Gloss Paint (for the handles)
- Black (RAL 9005) Acrylic Matt Paint
- Metallic Green 1K Paint
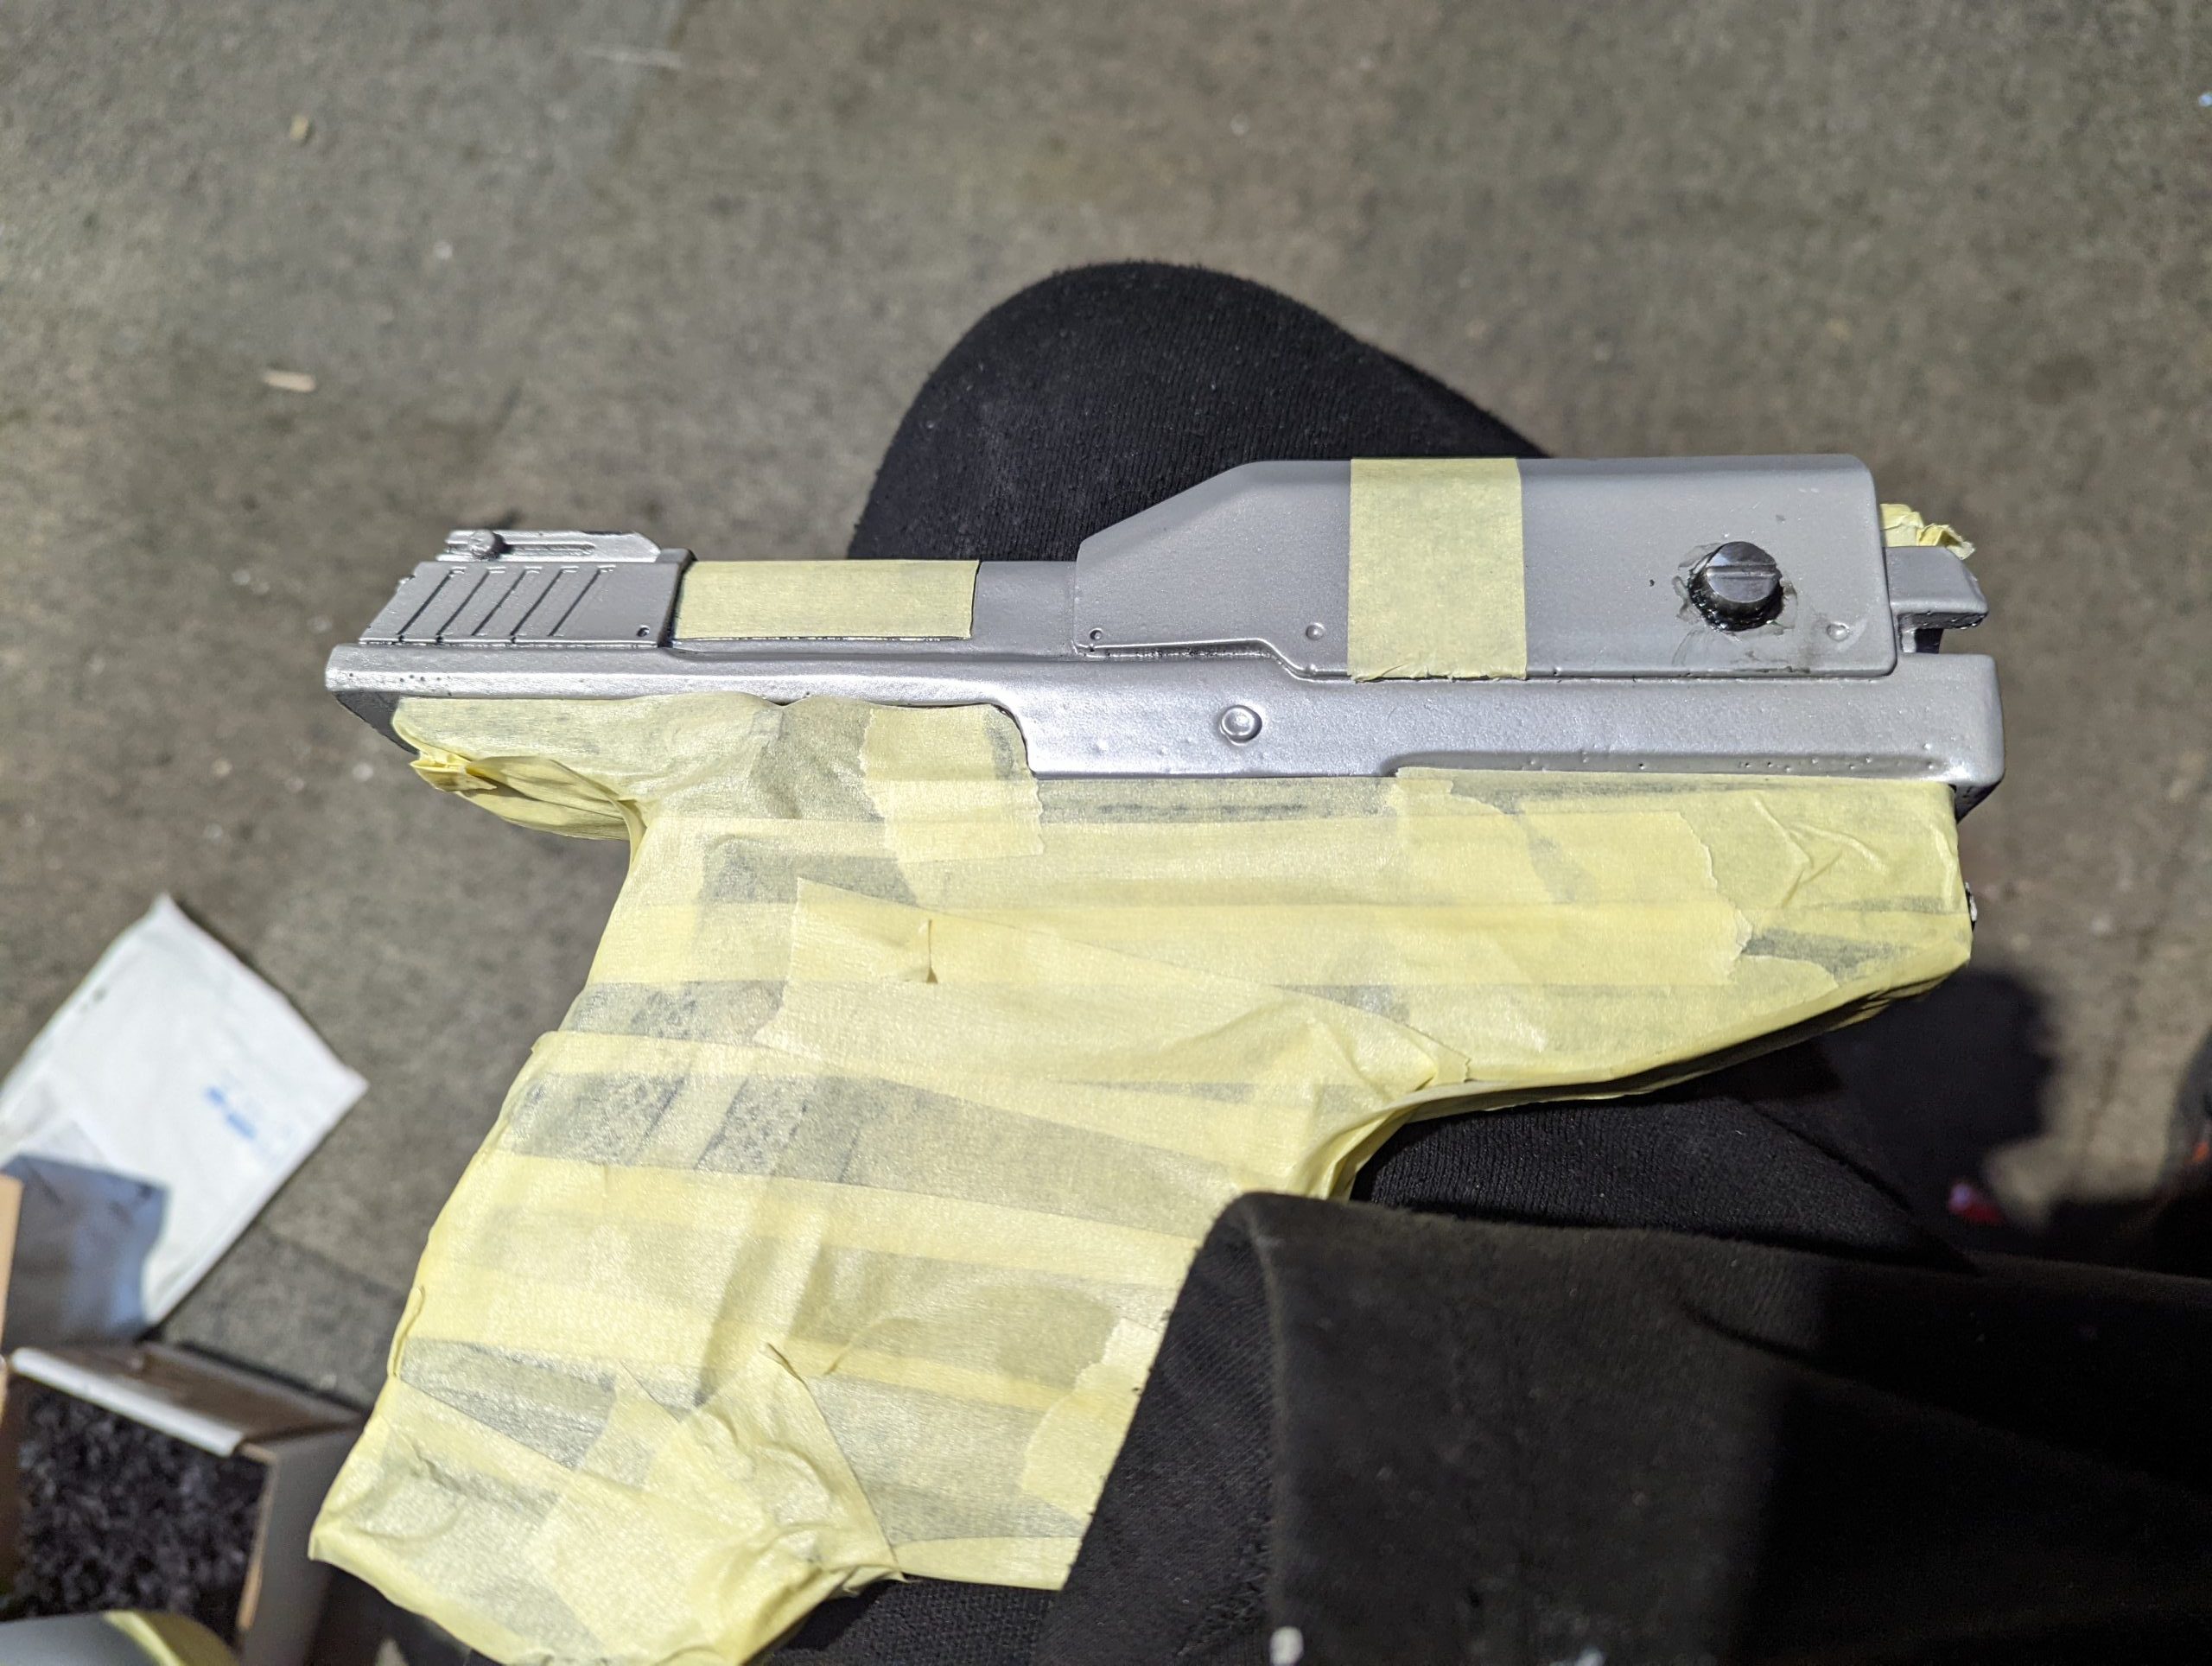
Step One: Prep
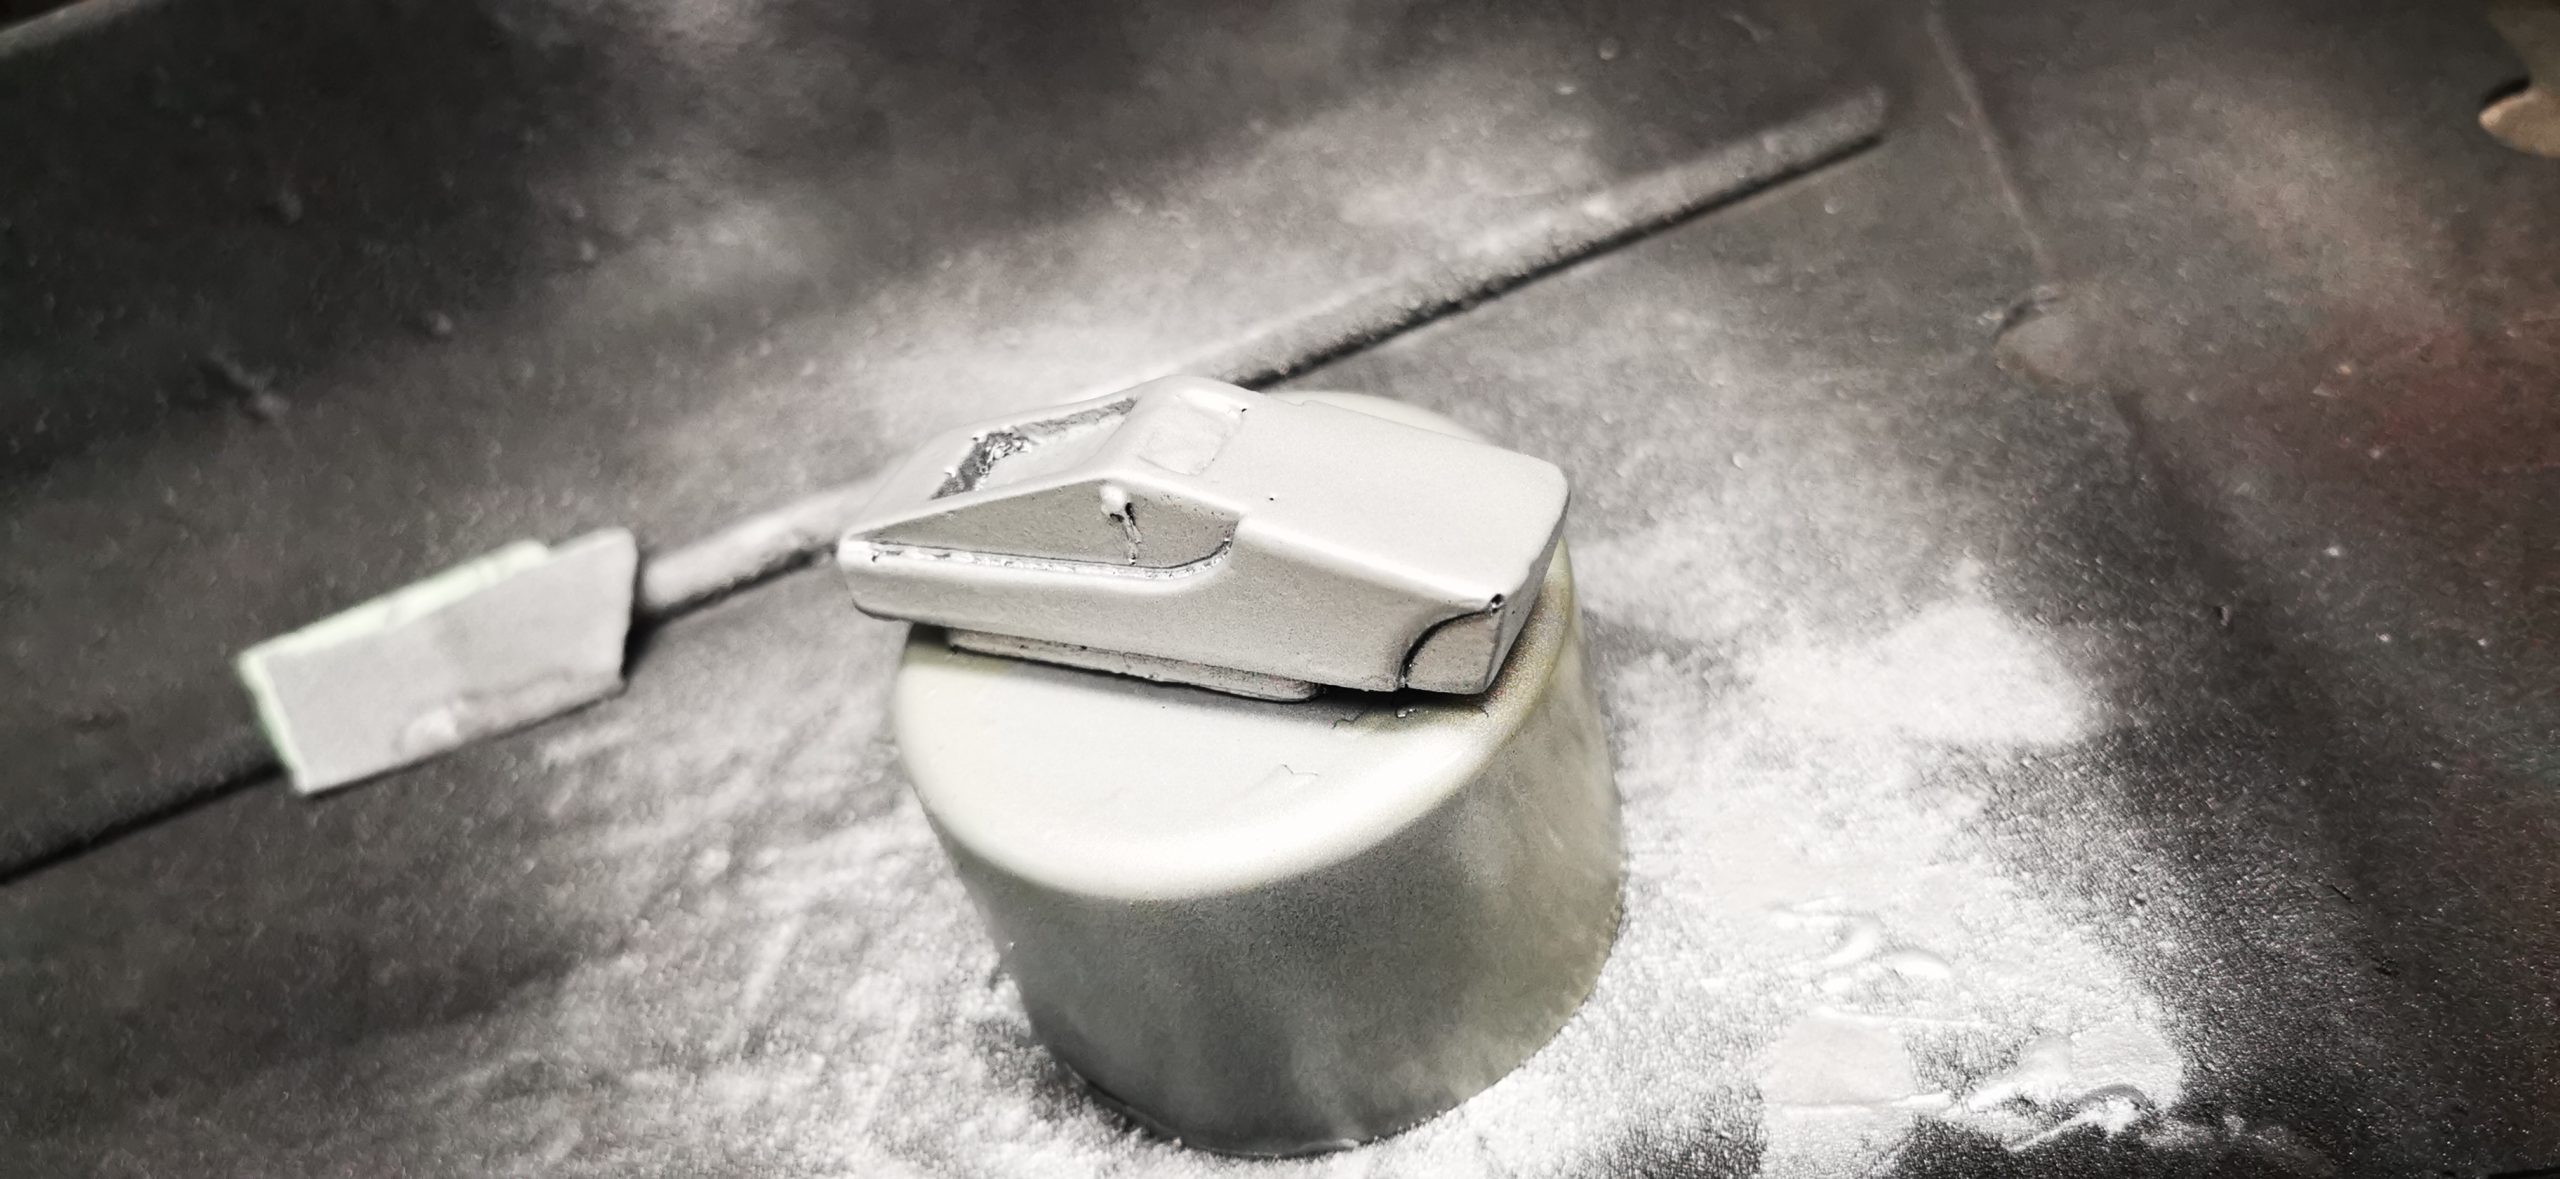
The first job was to clear away any imperfections and damage, so we started by filling all the air pockets with plastic filler and letting them cure fully. We added a lot of filler in fine layers to the flat parts of the gun.
TOP TIP: The finer the layers of filler you apply, the quicker it will dry.
Once the filler had finally cured, we sanded and shaped the layers flat. We then moved on to addressing the lines on the prop gun. We used micro files, sandpaper and plastic filler to flatten the substrate before assessing the finish and repeating the process until we were 100% happy. Although this was a time-consuming process, it made a massive difference to the final results.
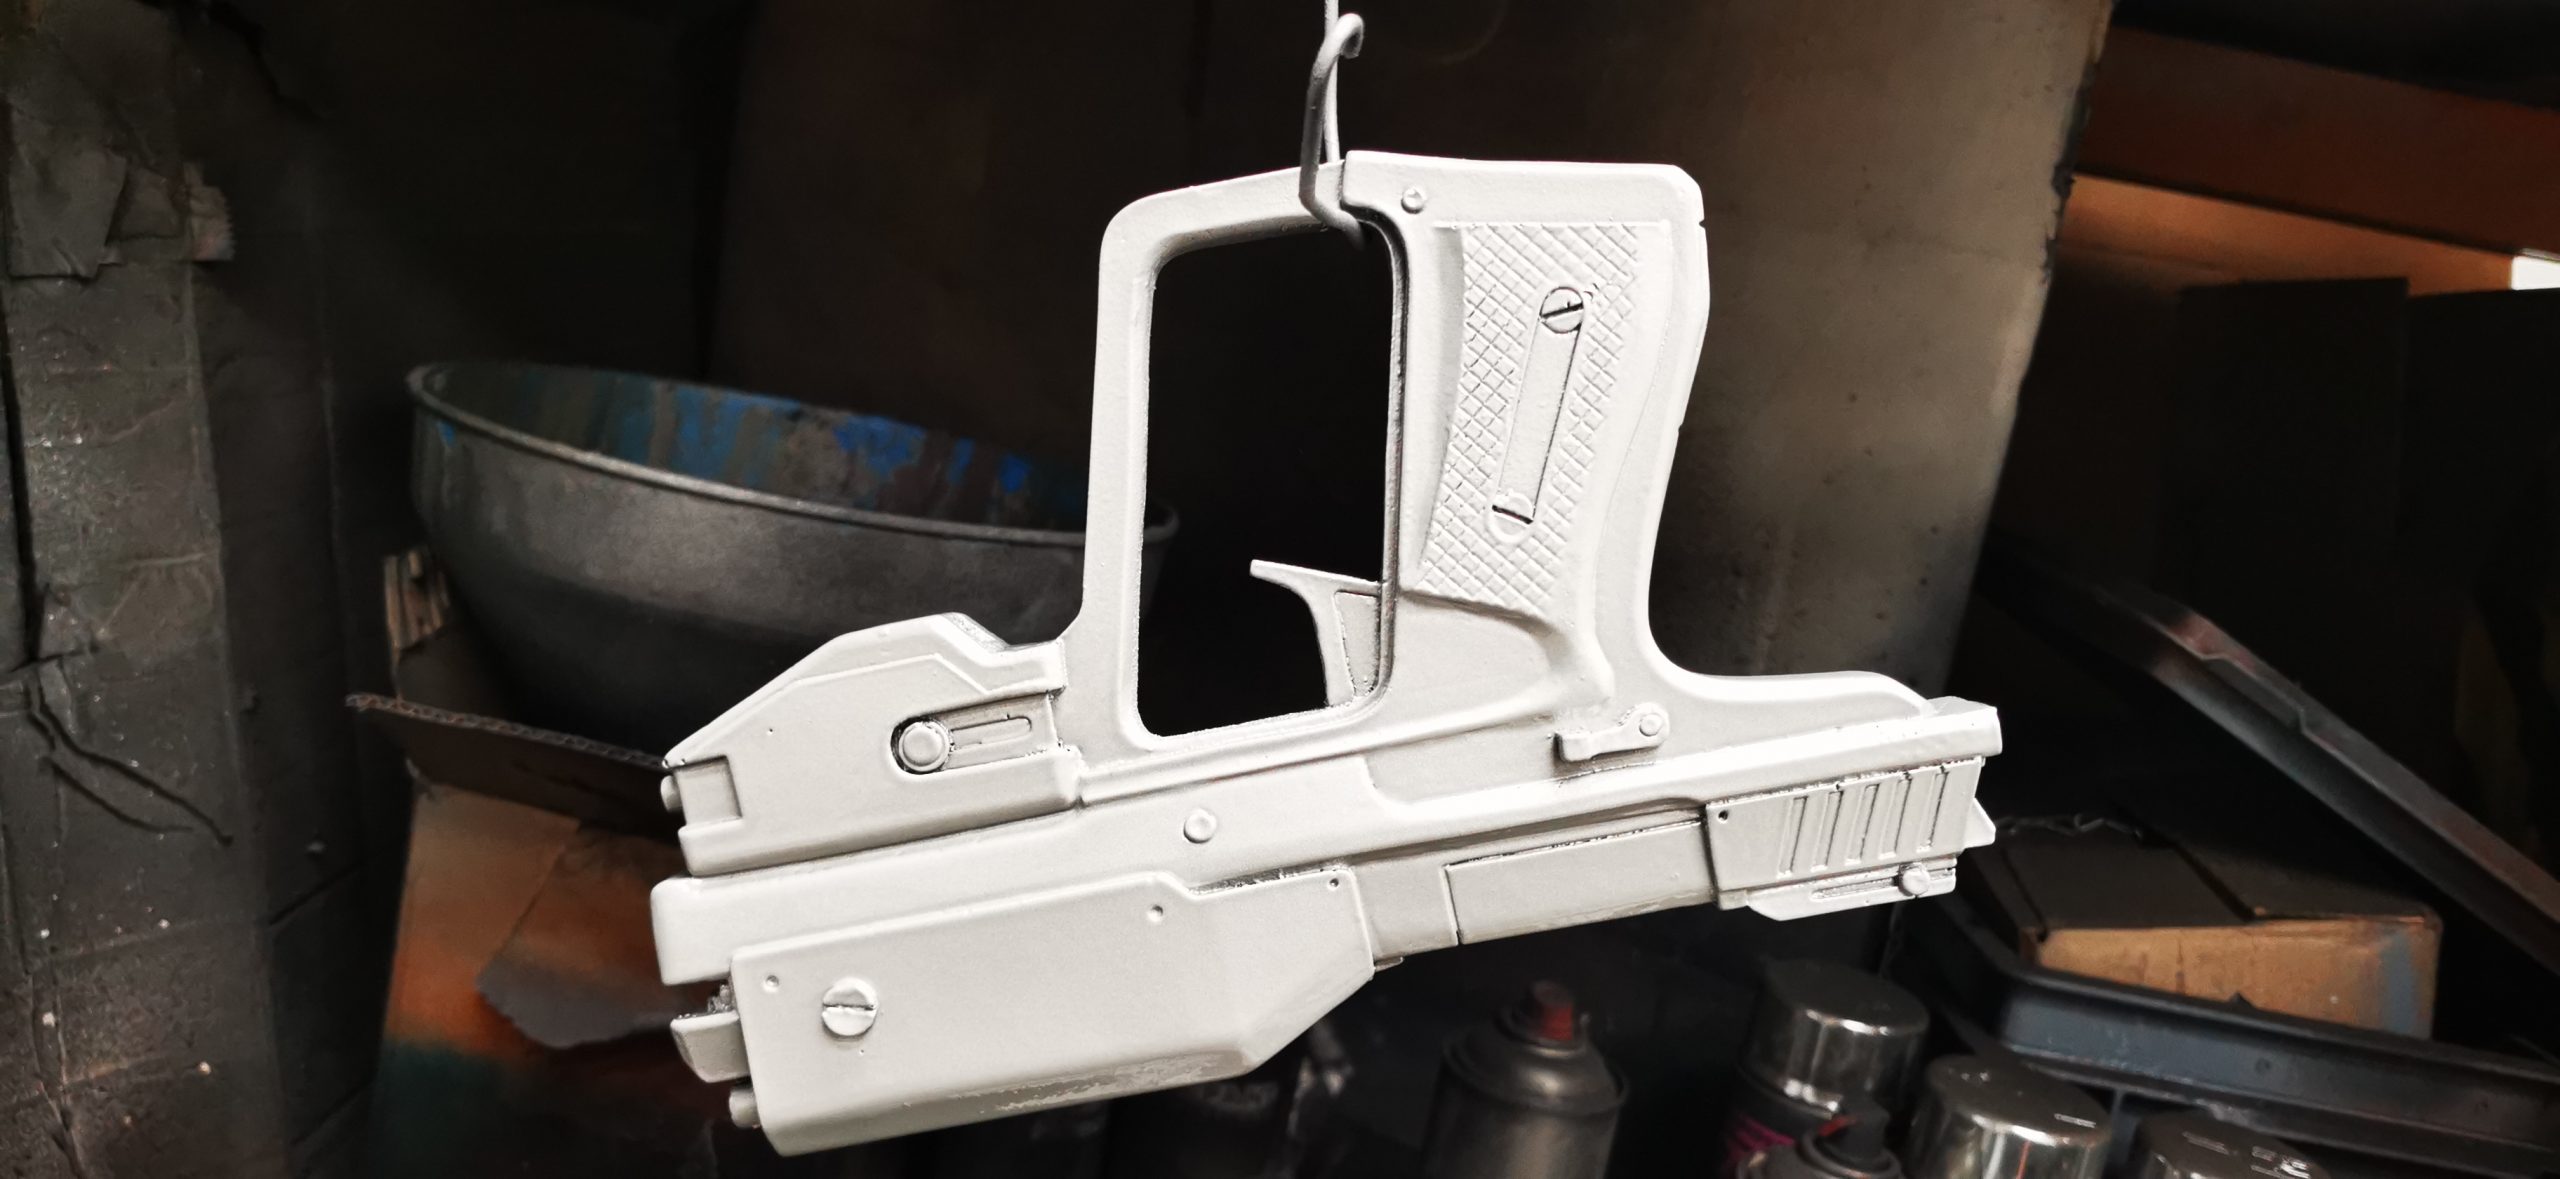
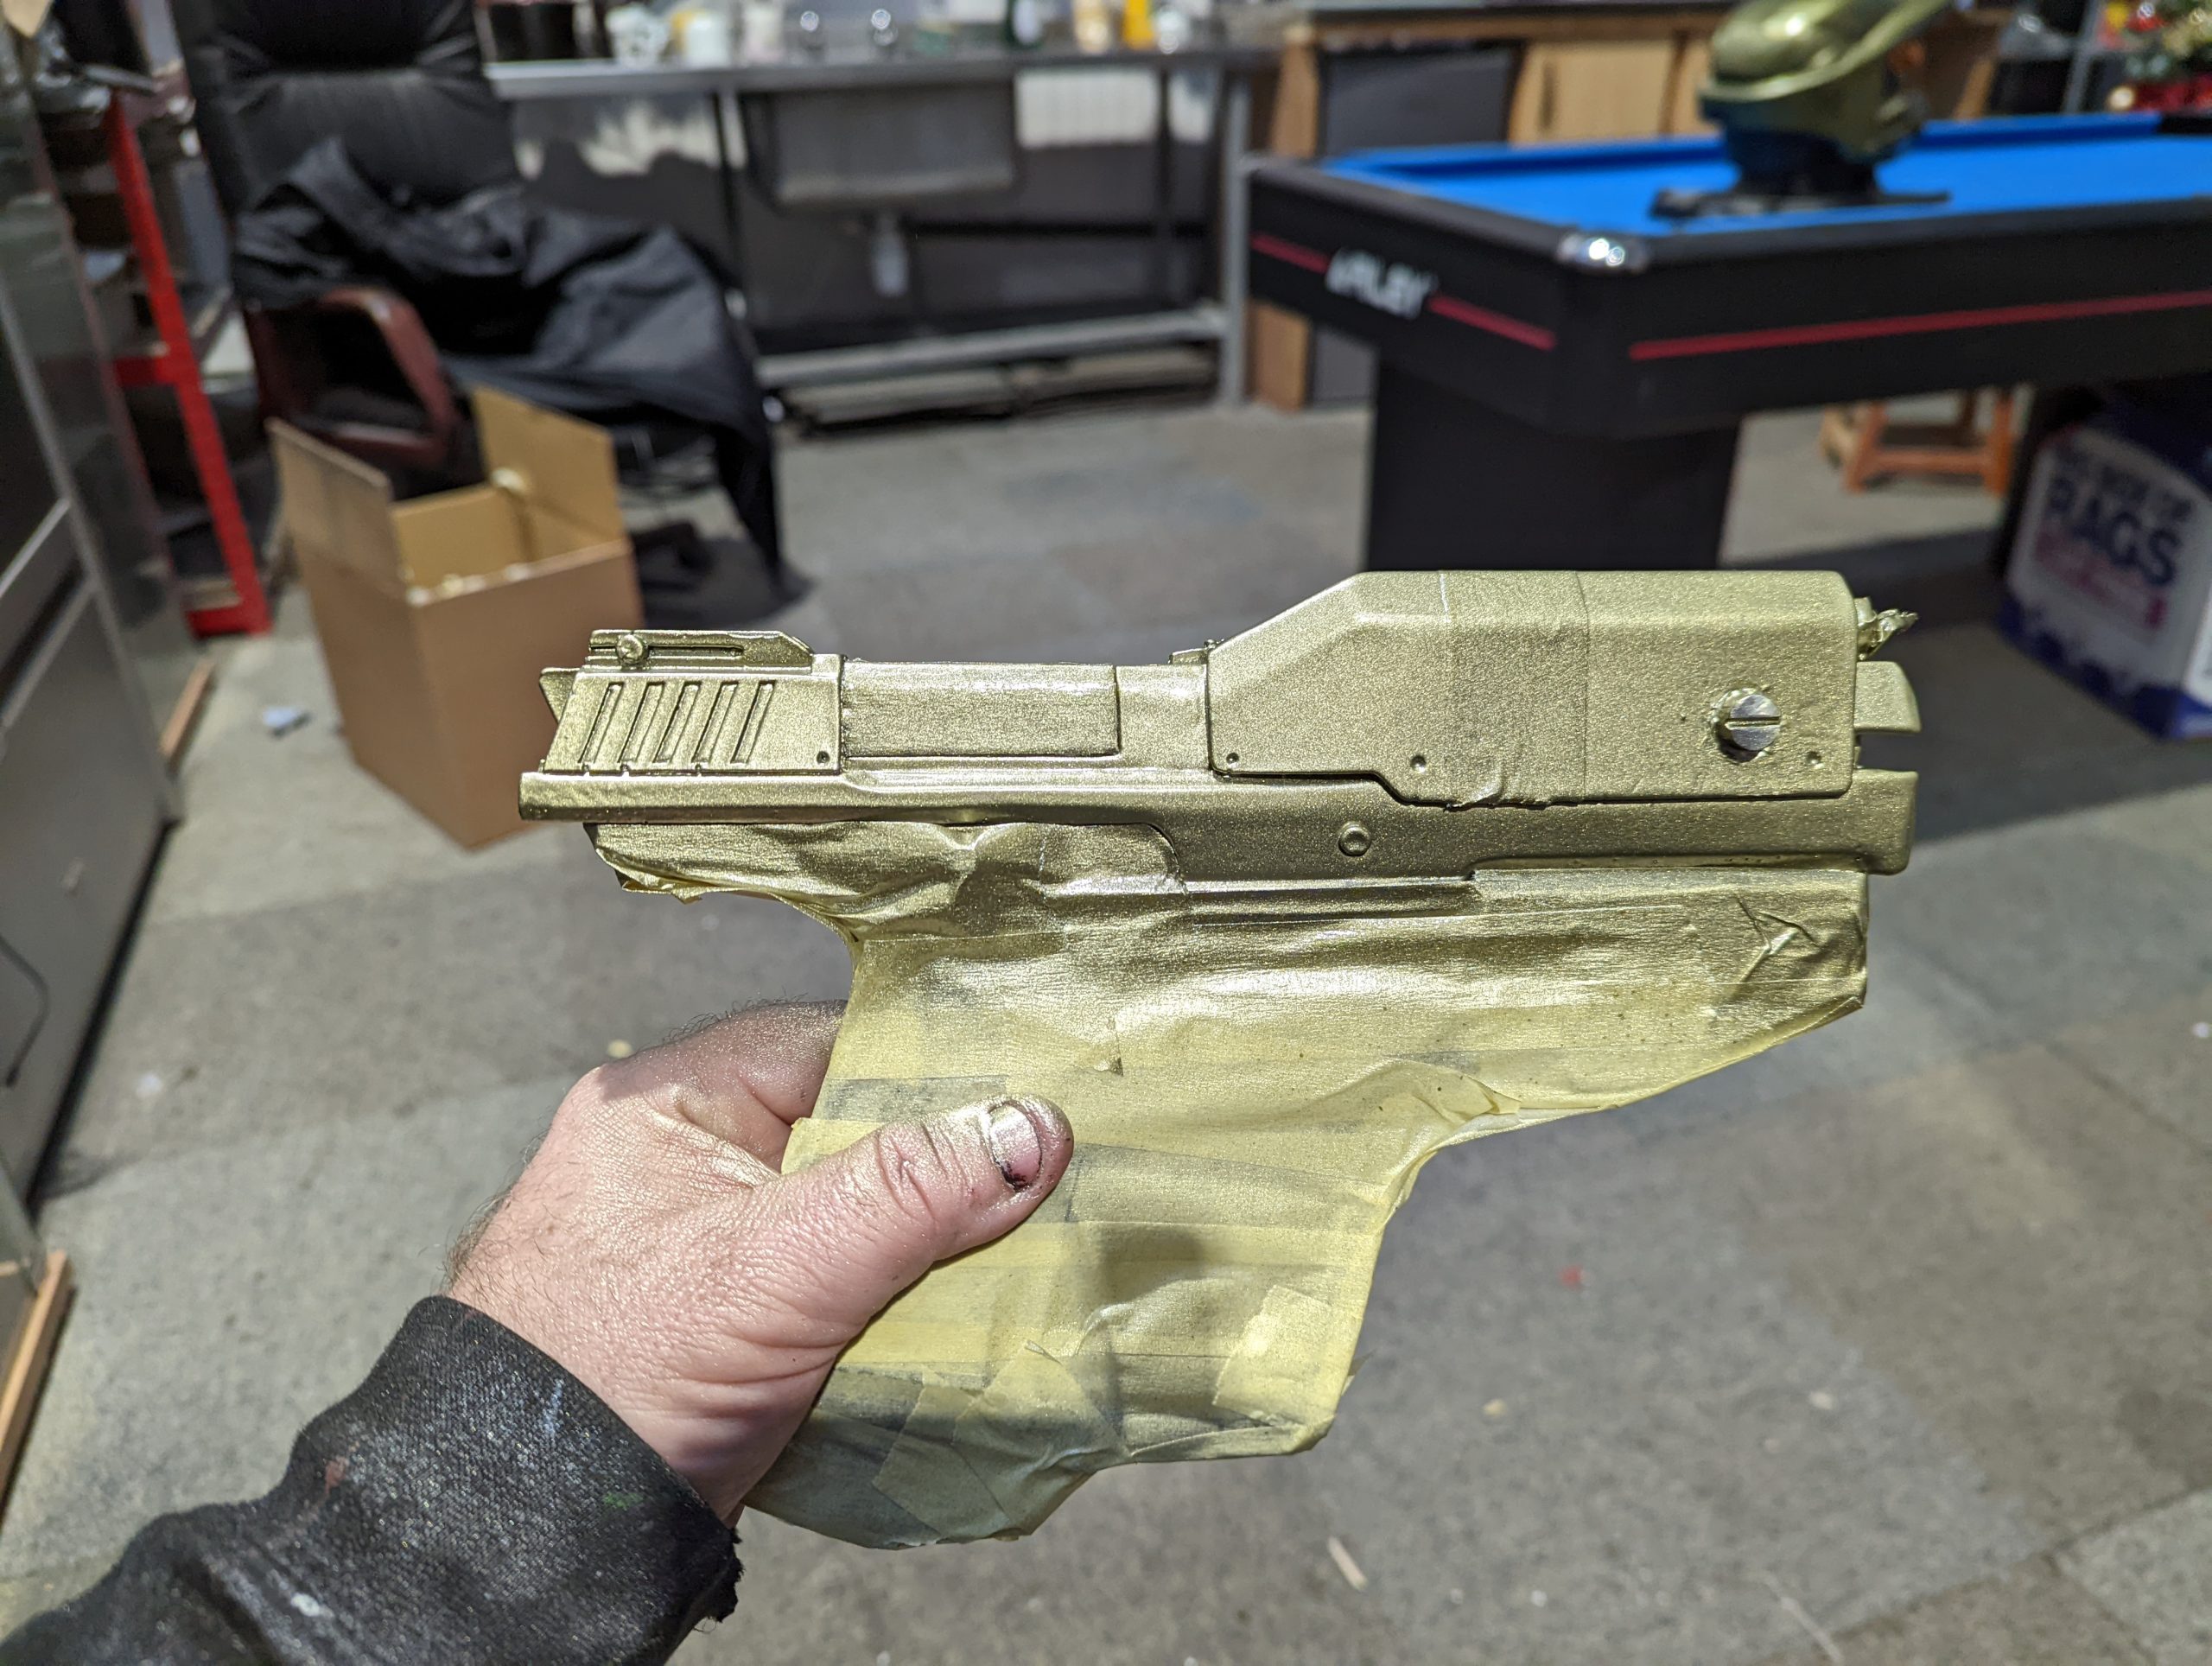
Step Two: Priming
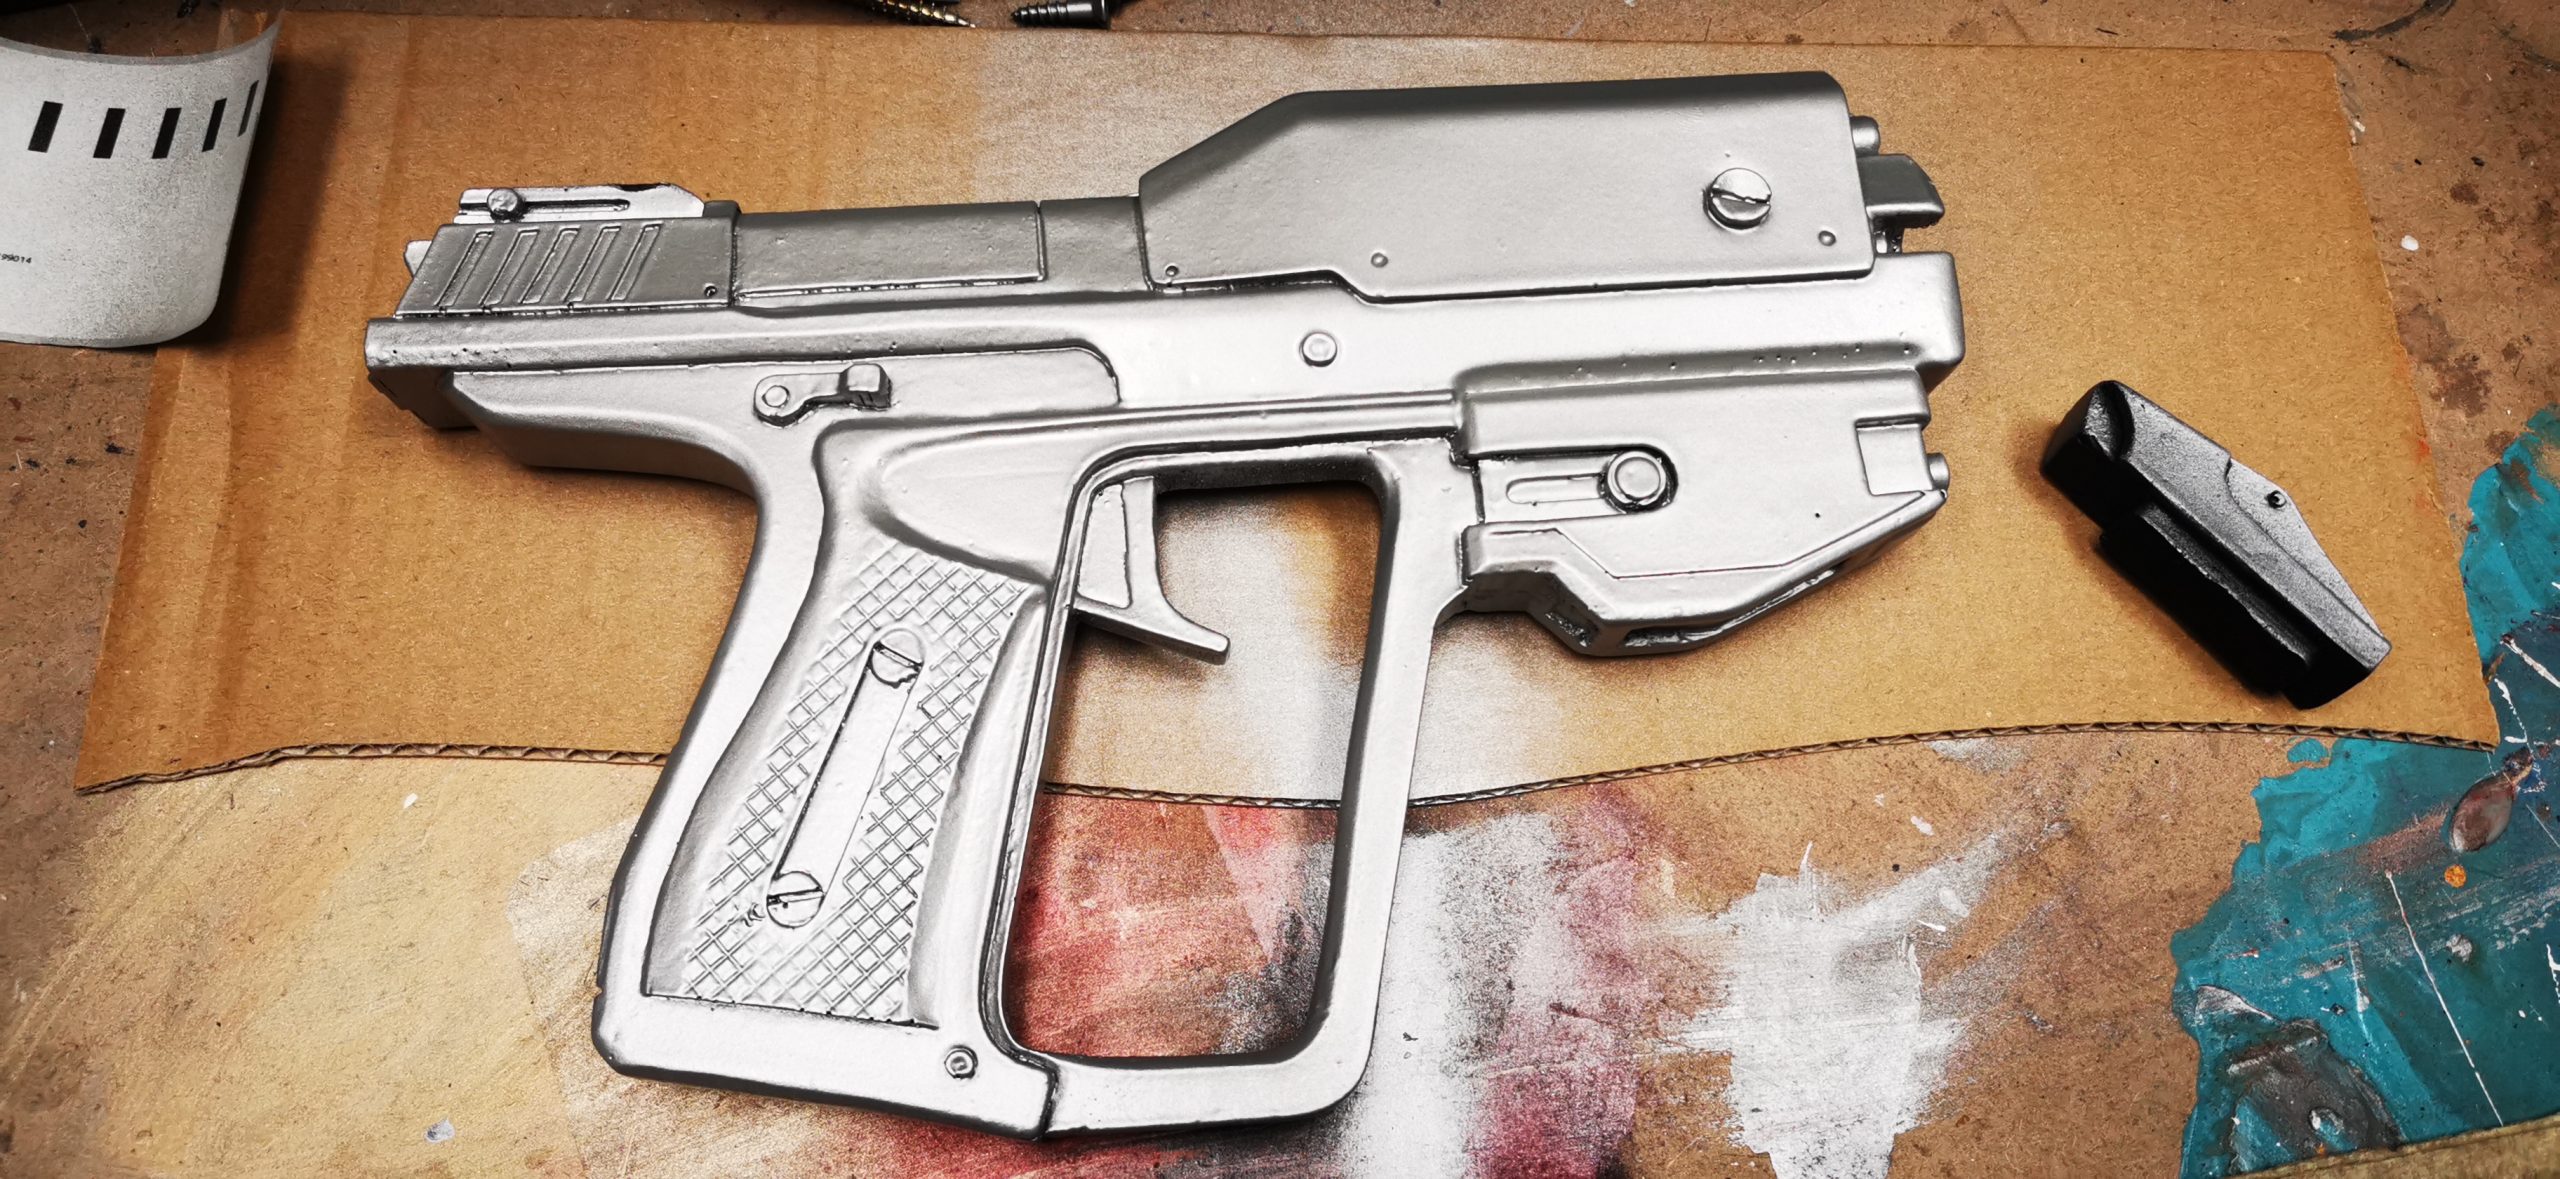
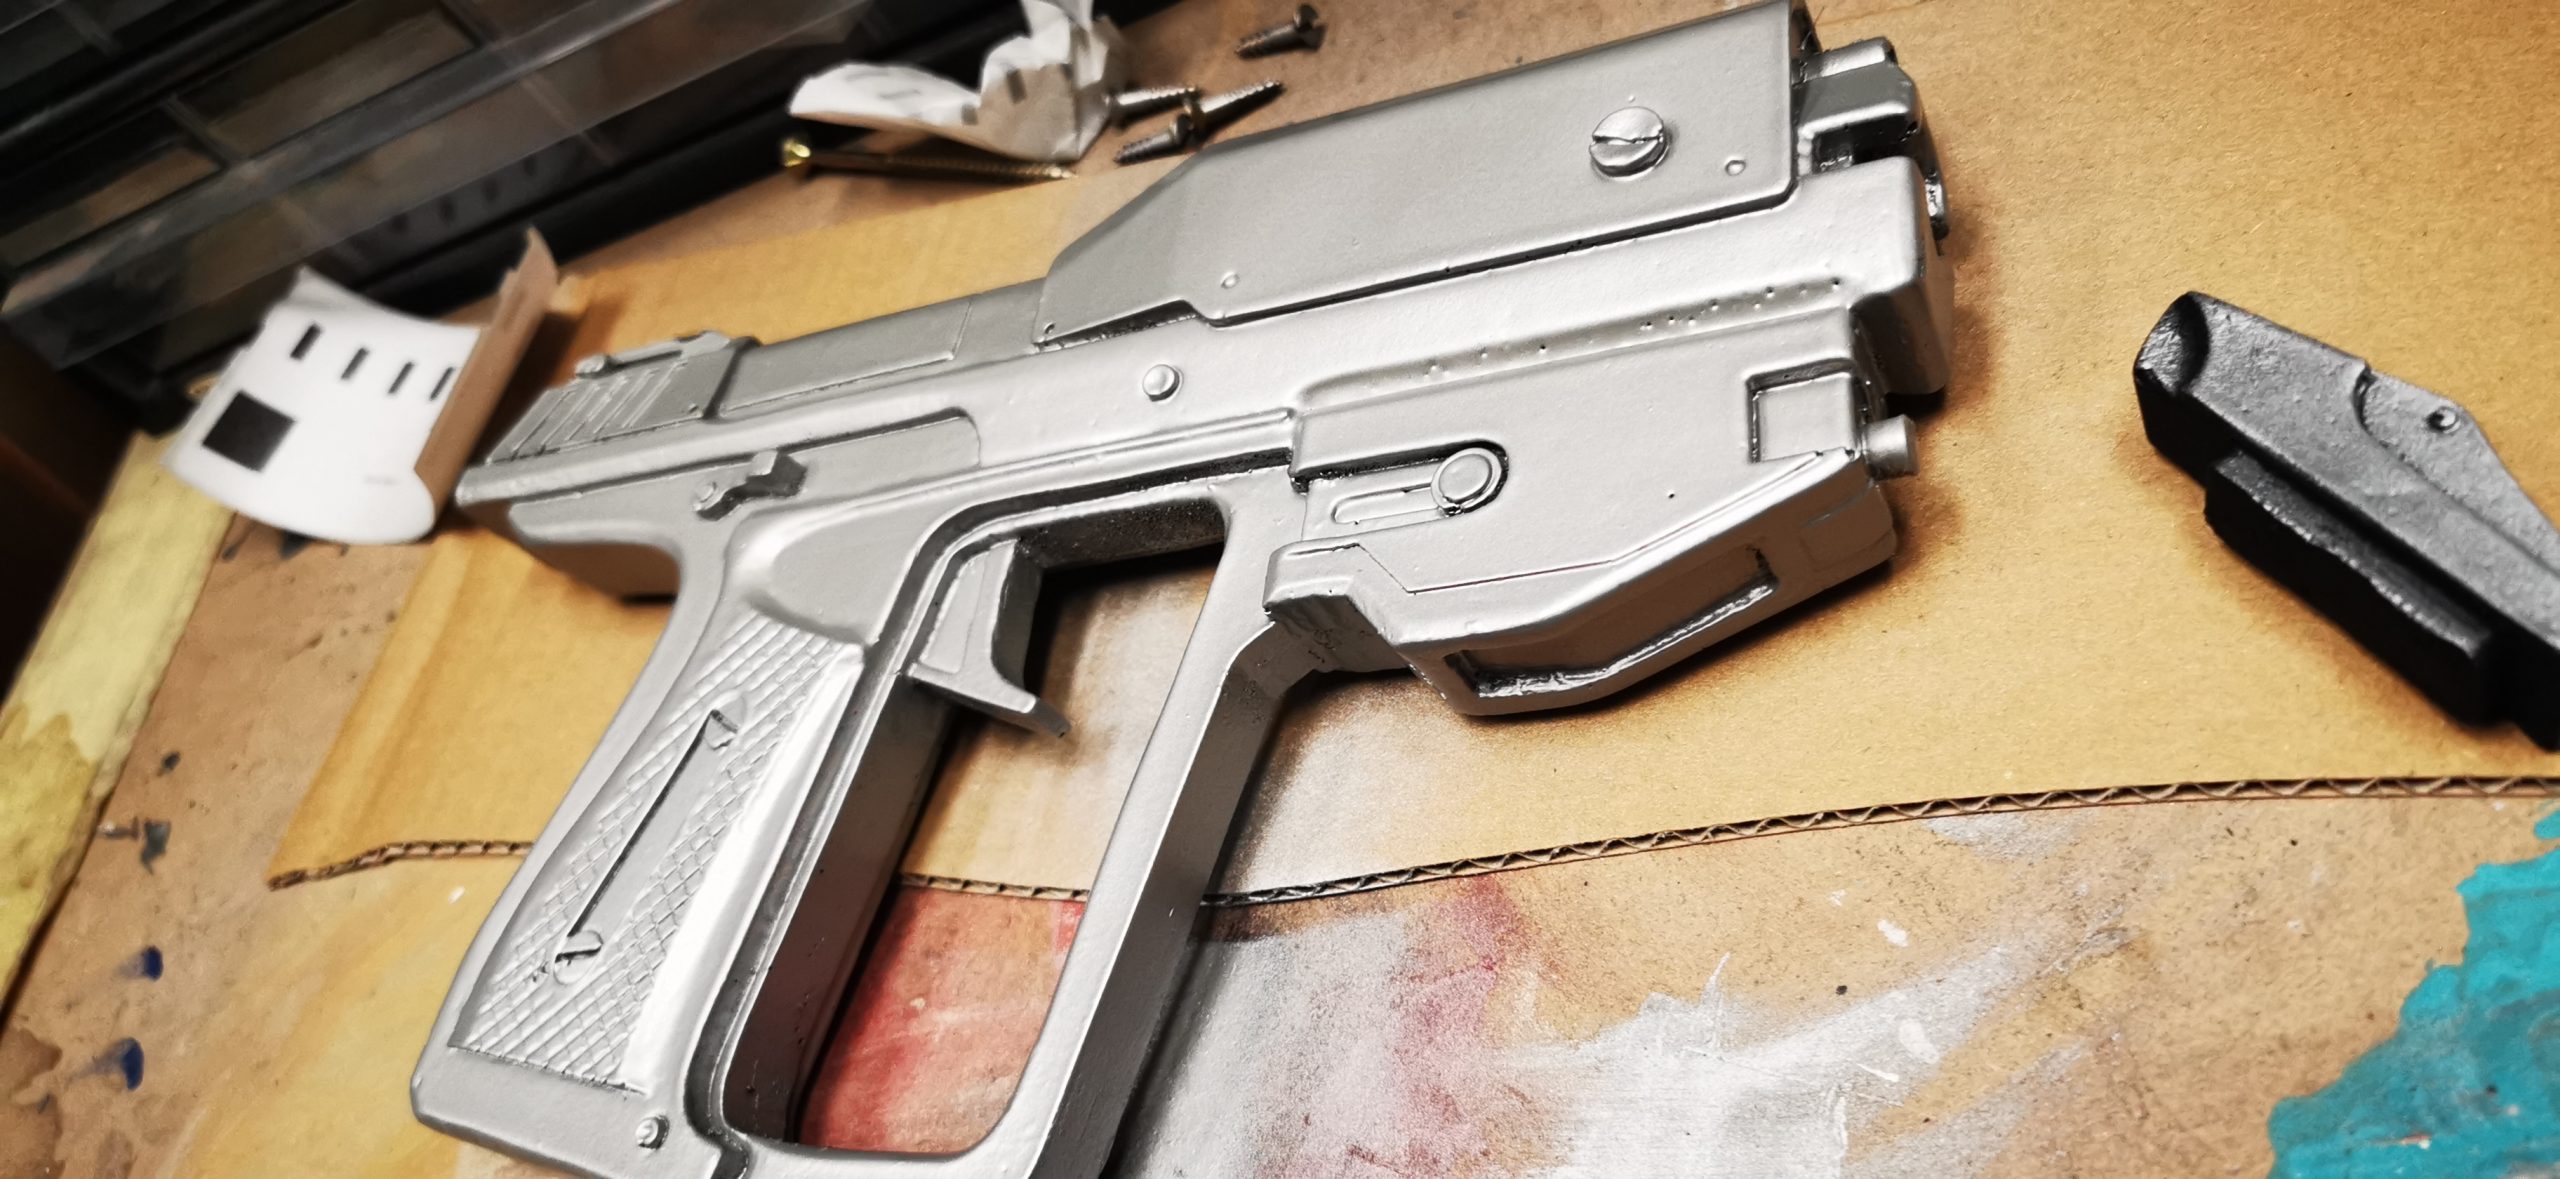
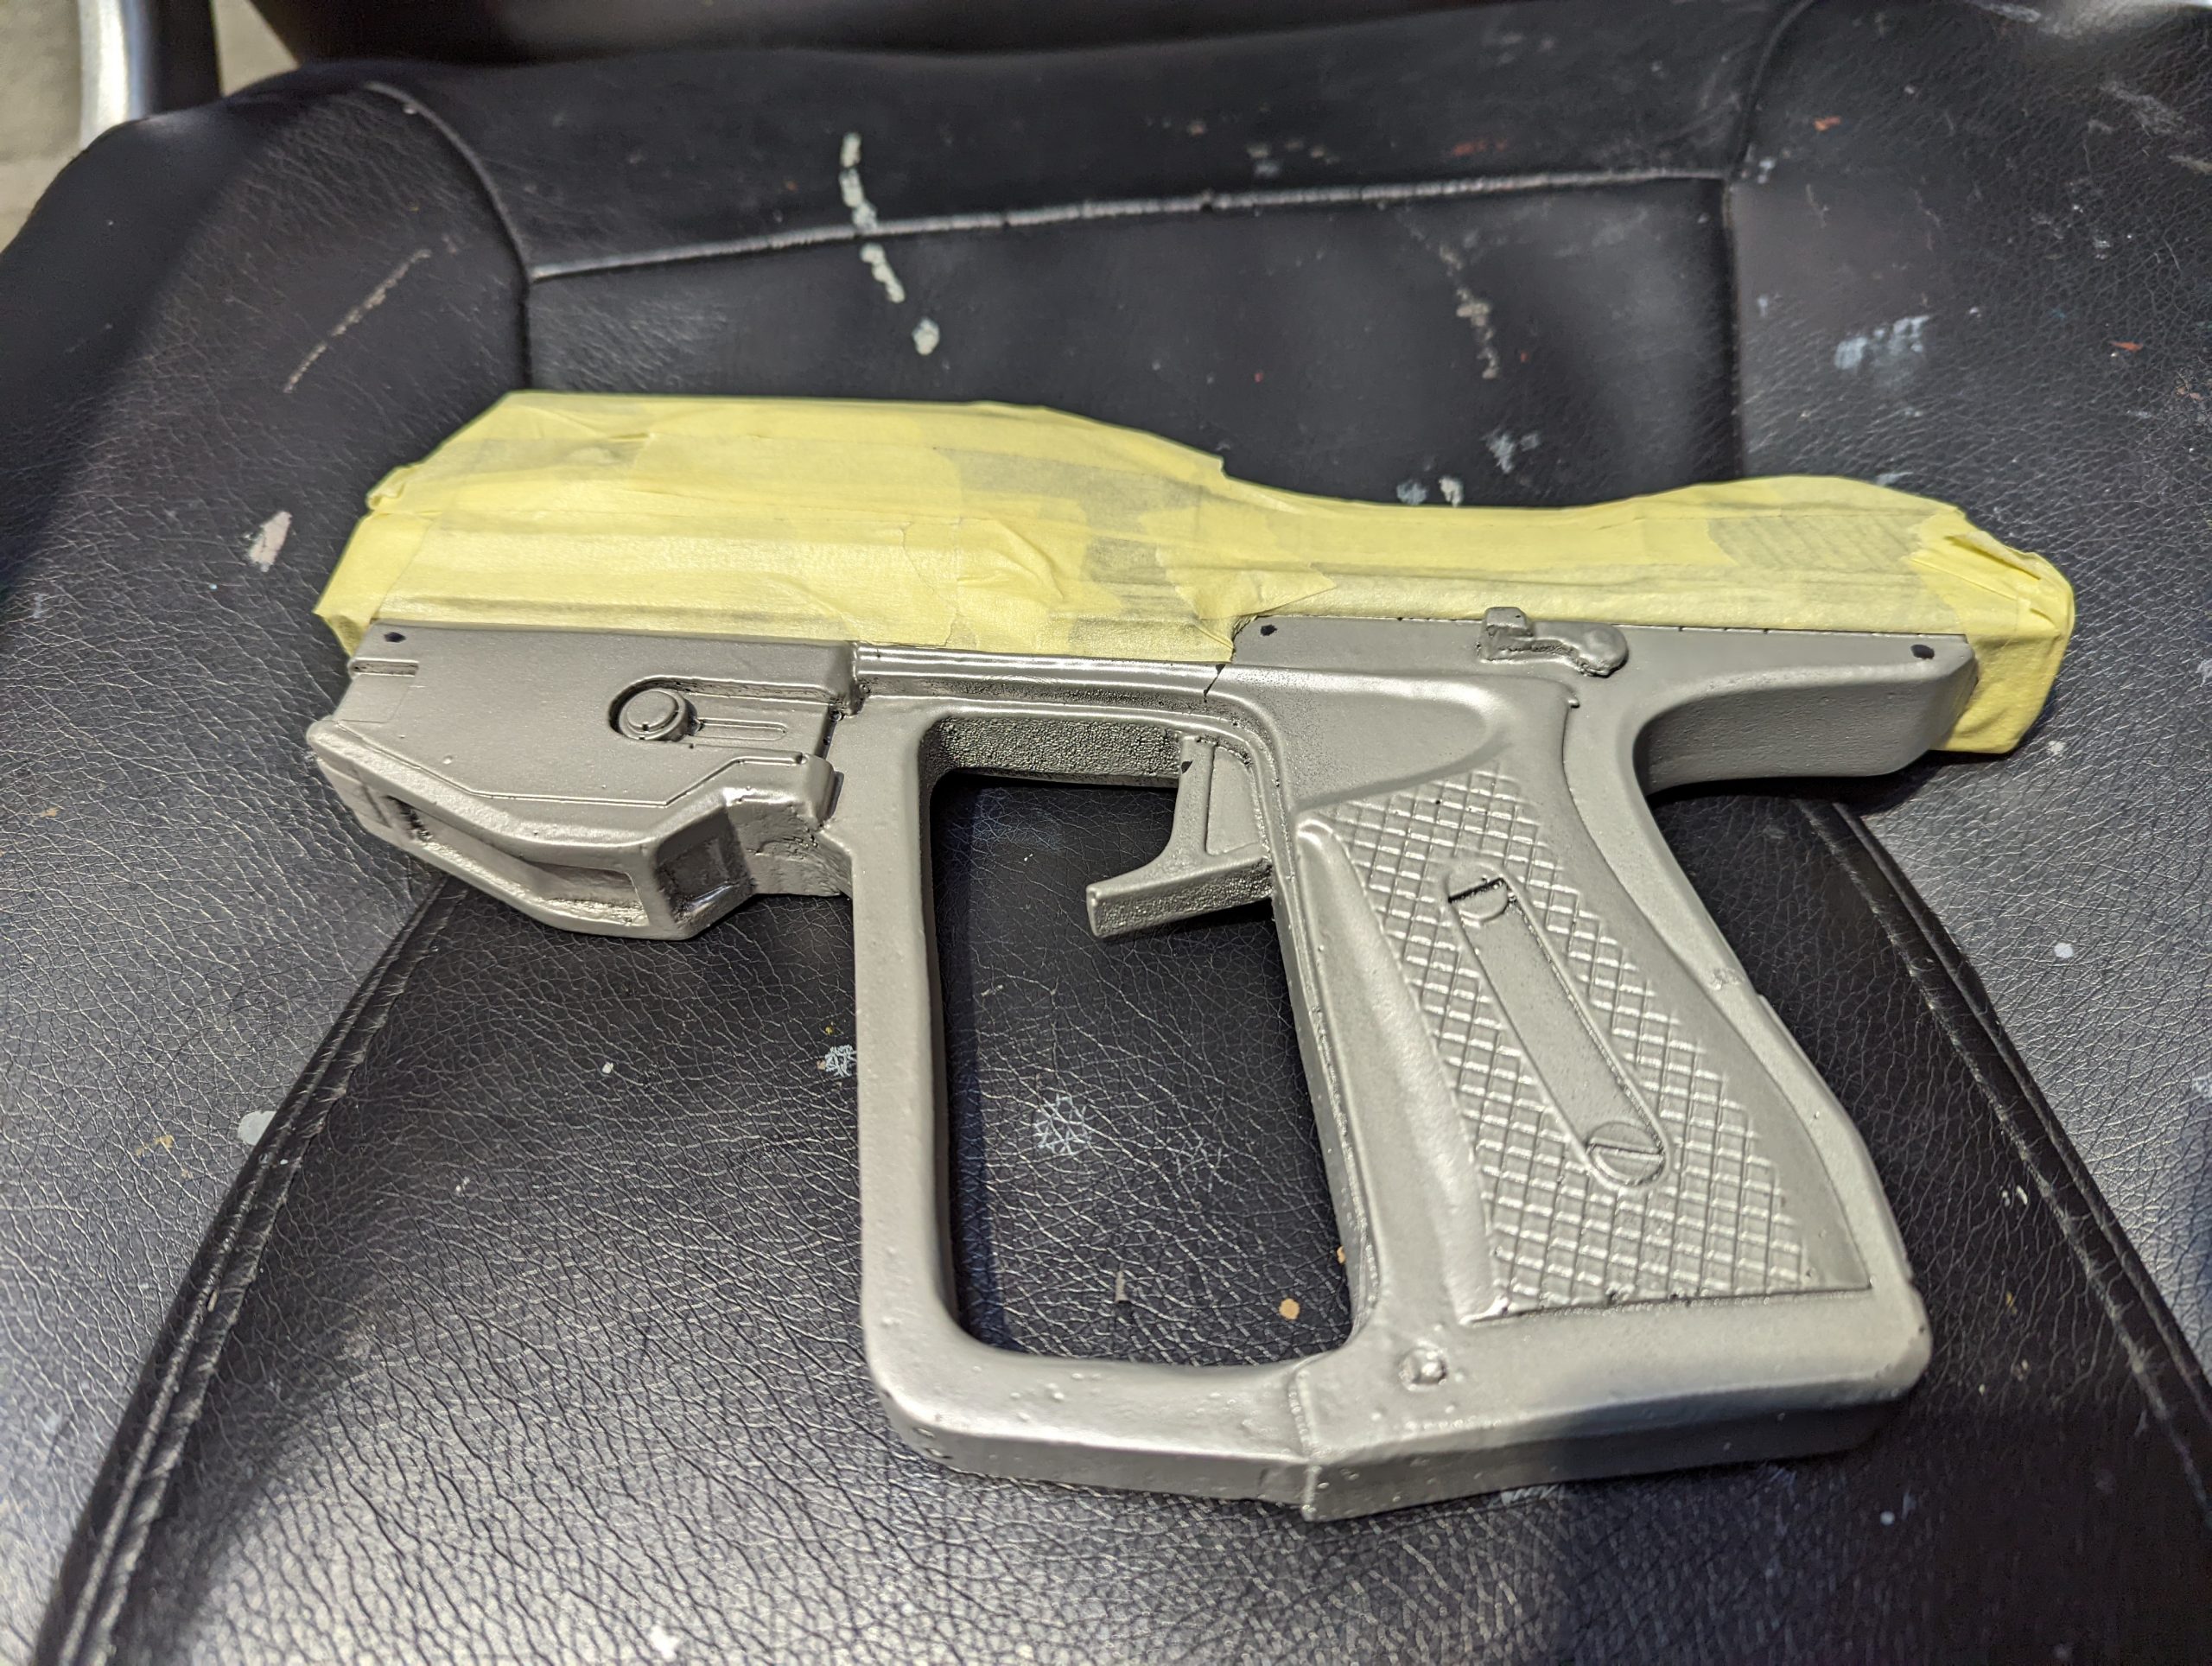
Next, we applied a silver 2K filler primer over the prop gun to smooth any rough edges and provide a smooth surface. The 2K filler primer is a fantastic tool to fill any rough spots, light holes or minor imperfections in resin. We applied two coats as any more could have watered down some of the intricate designs in the gun.
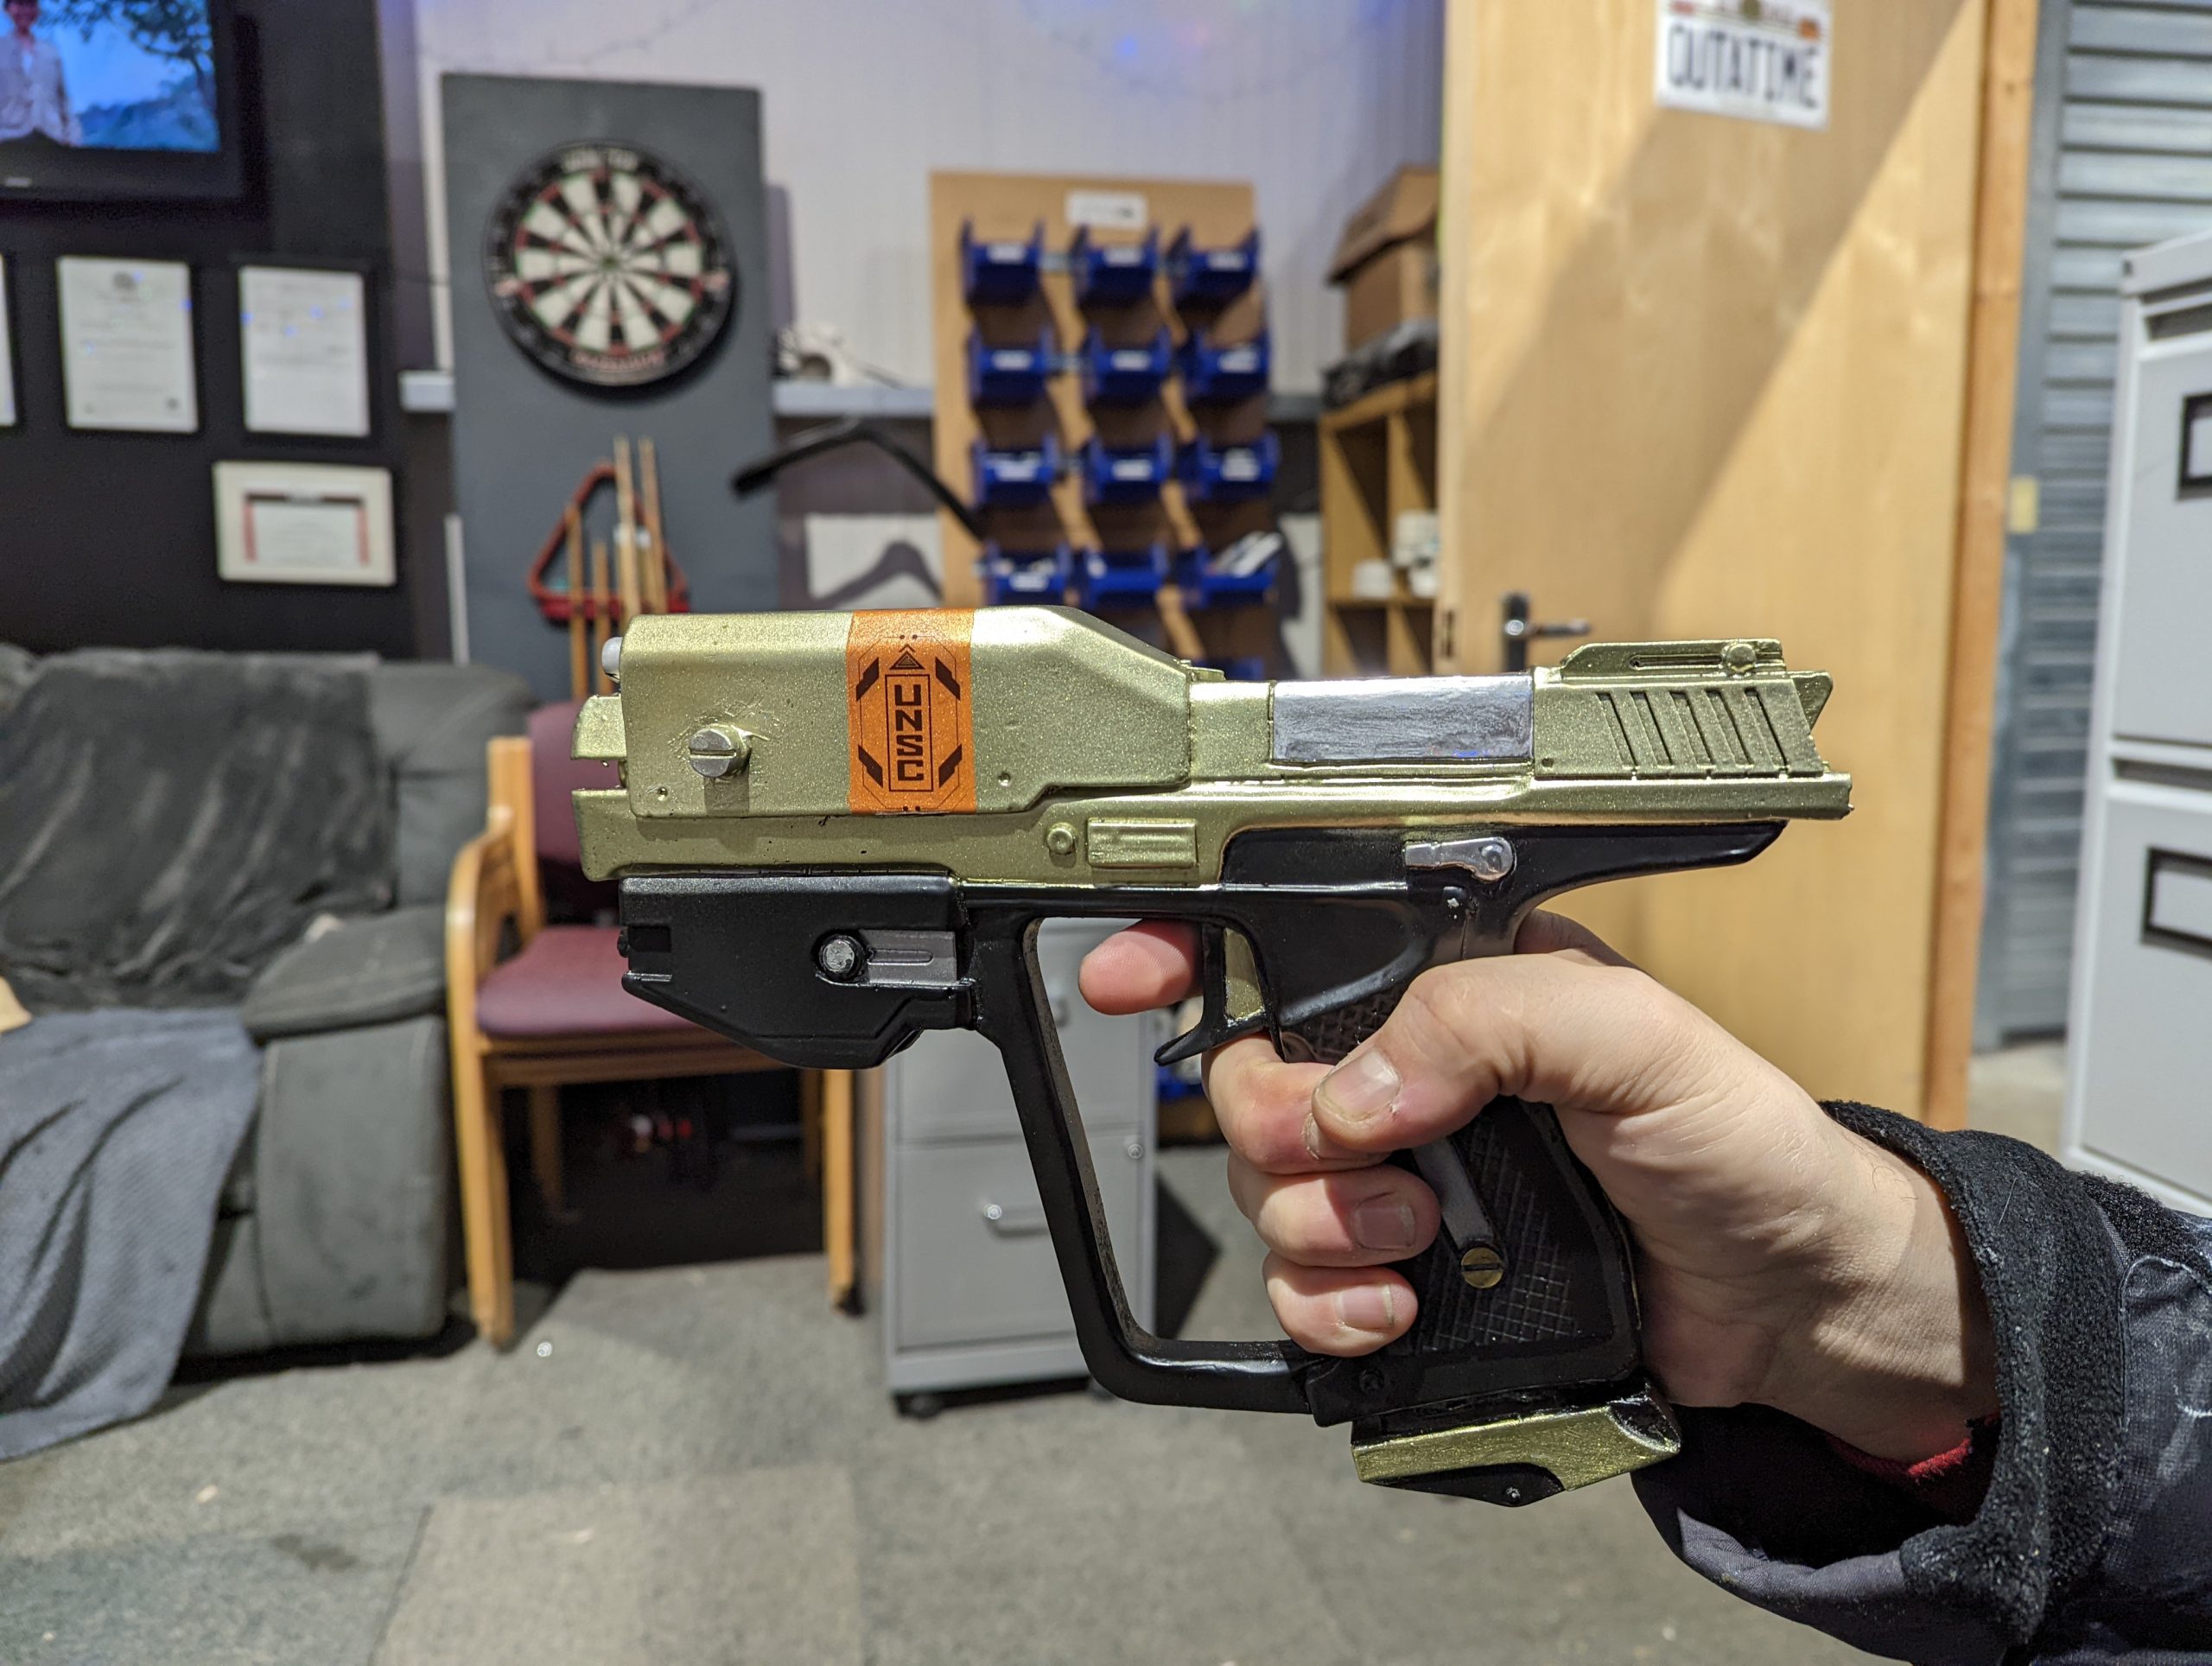
Step Three: Painting & Detailing
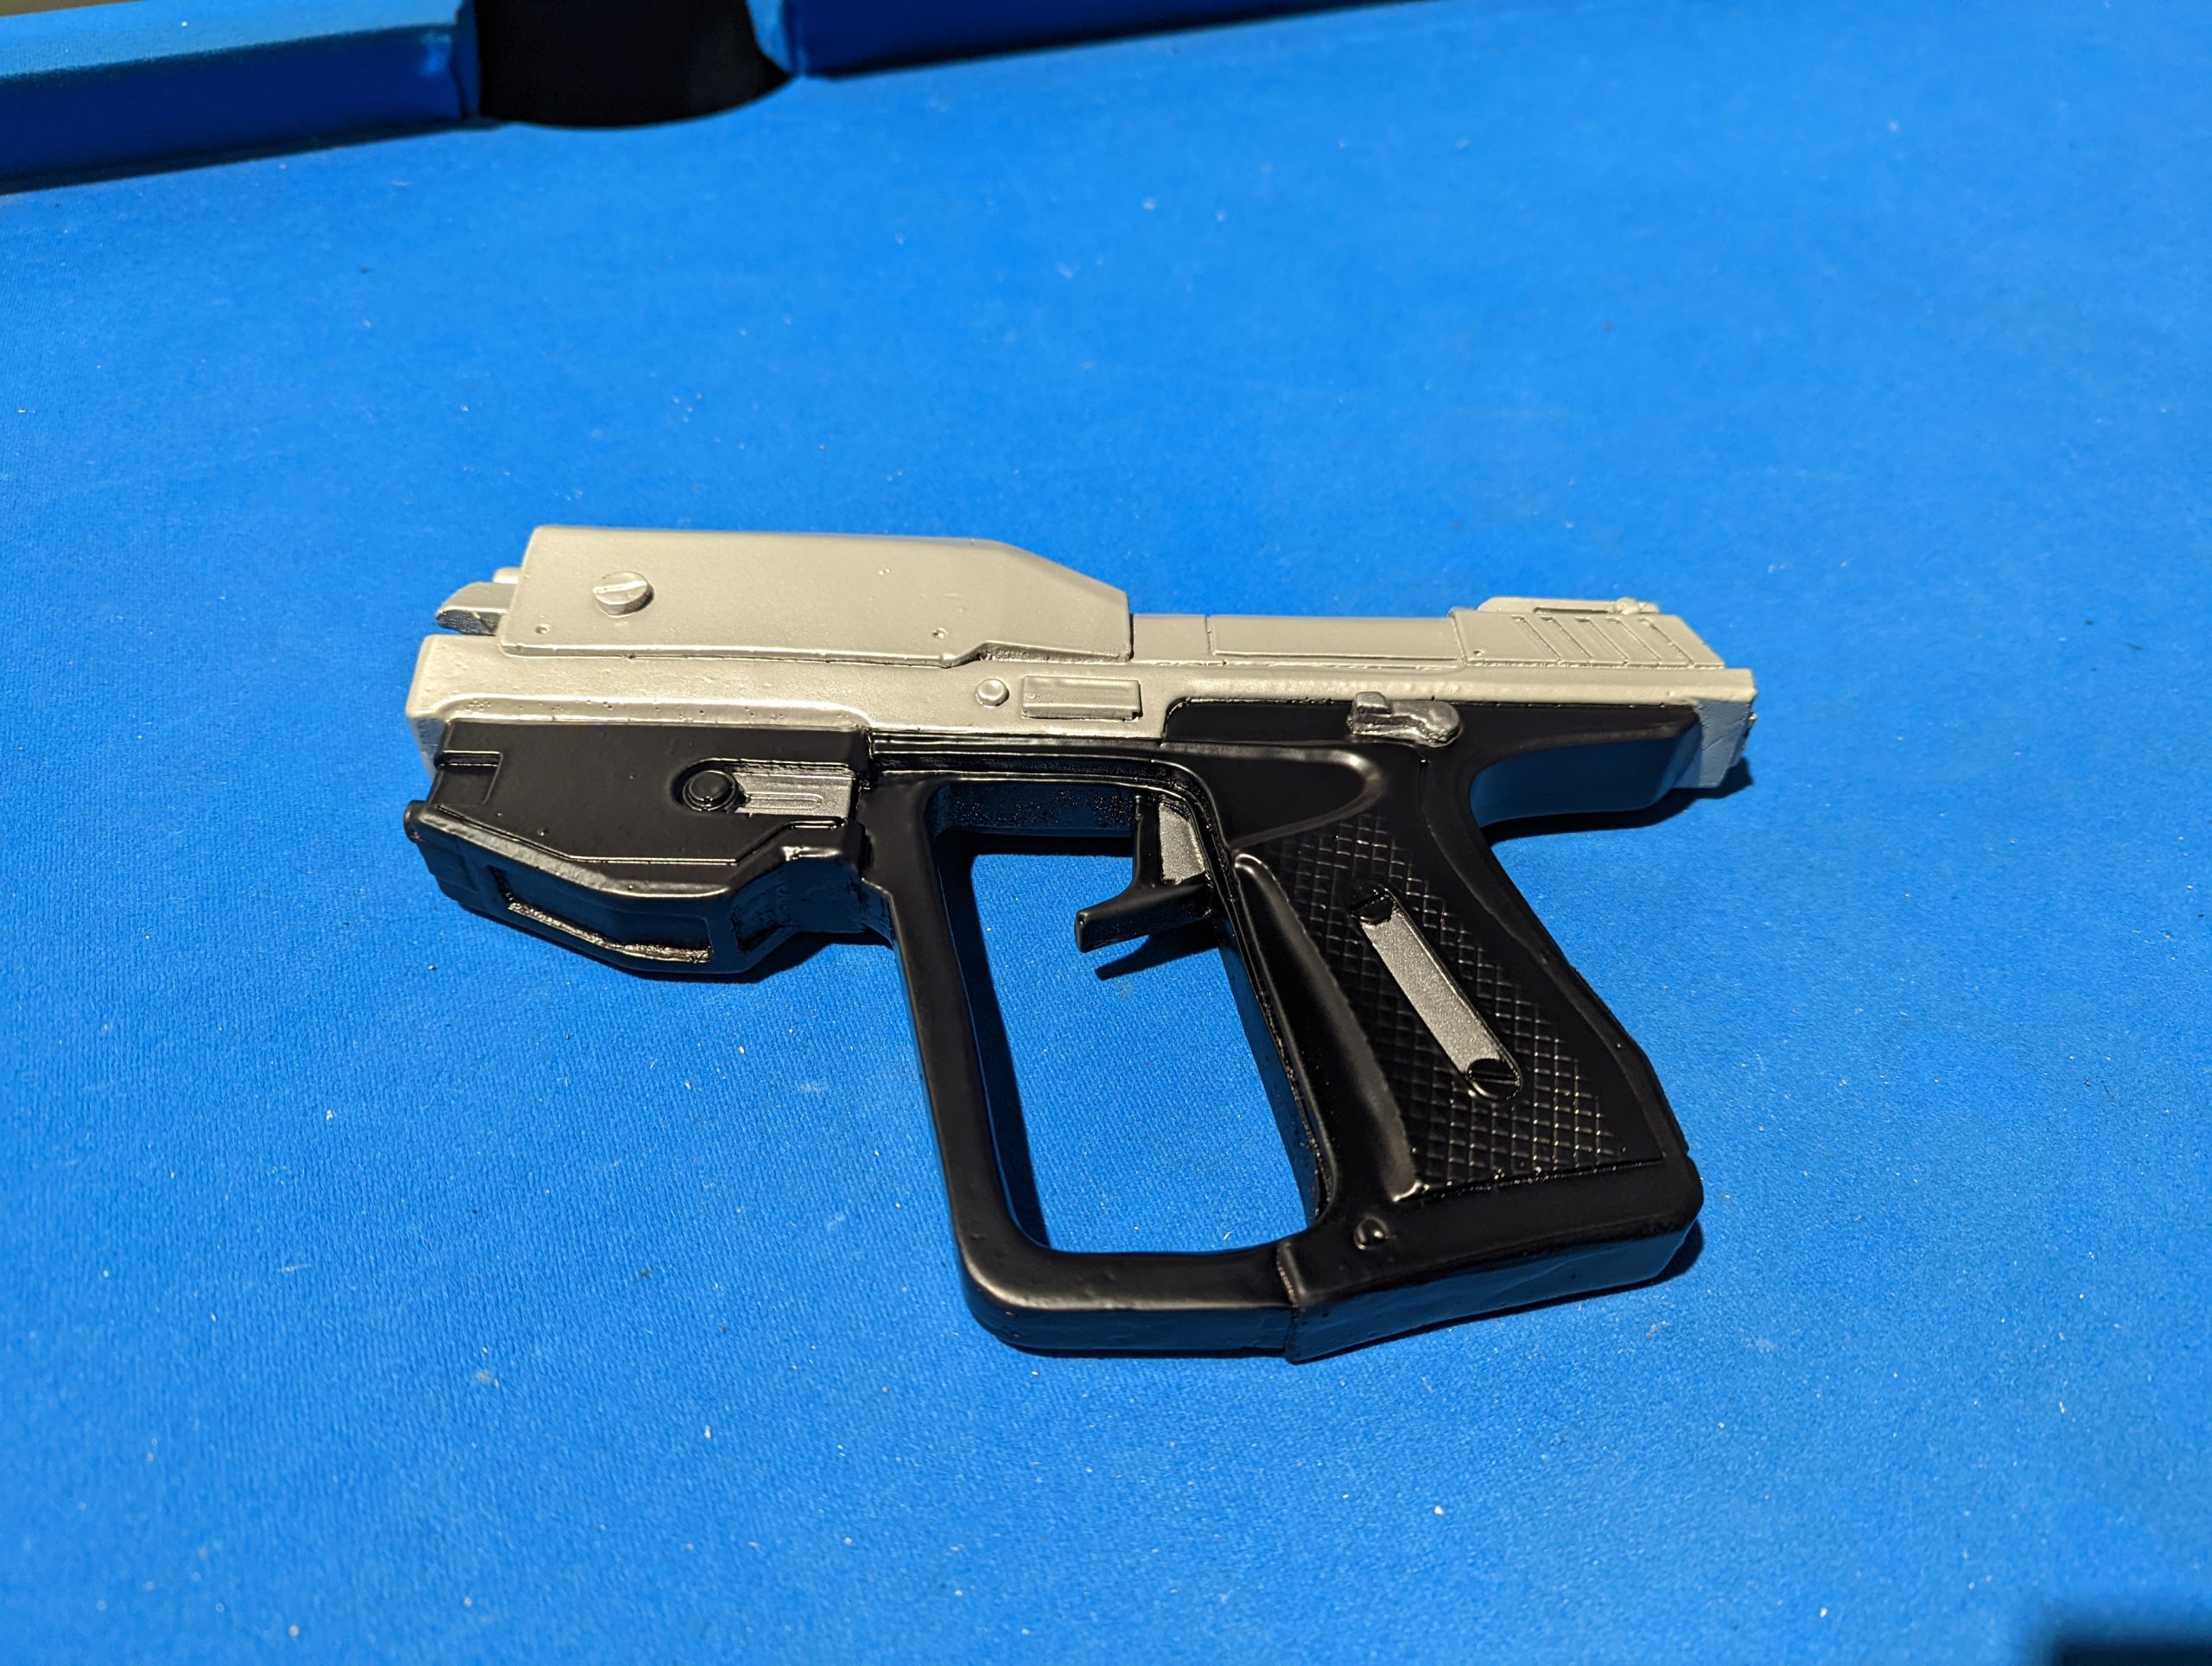
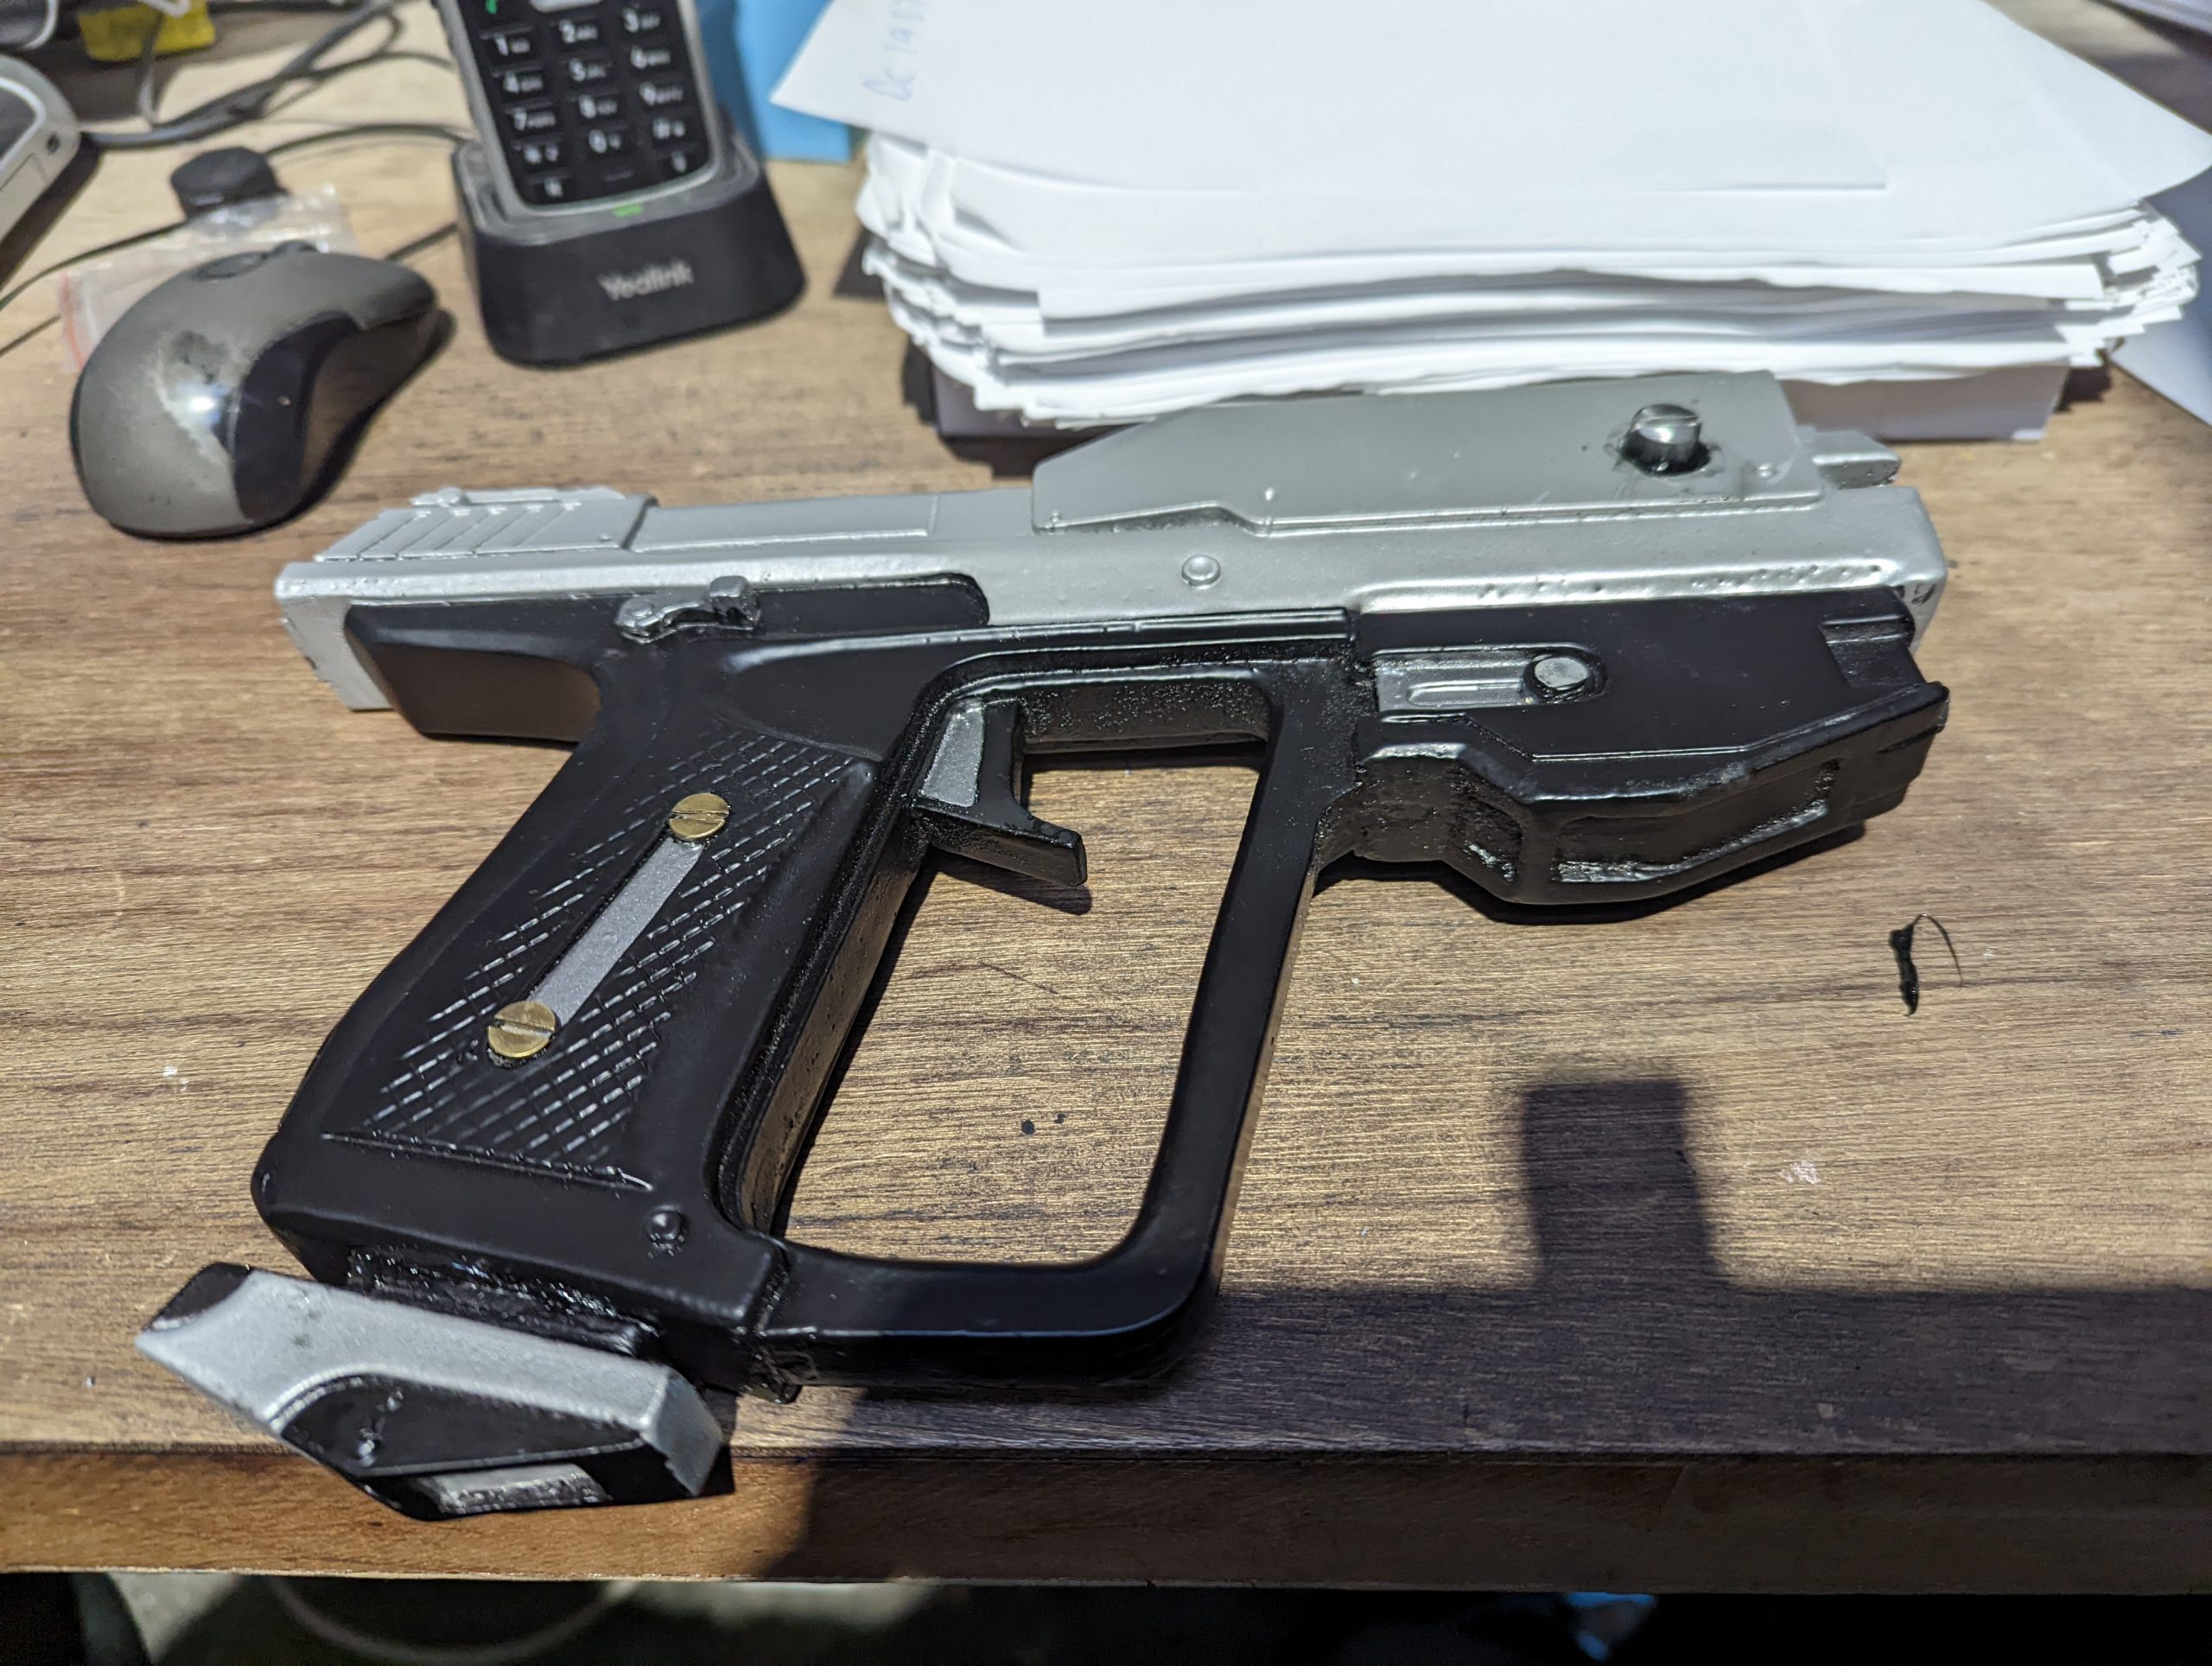
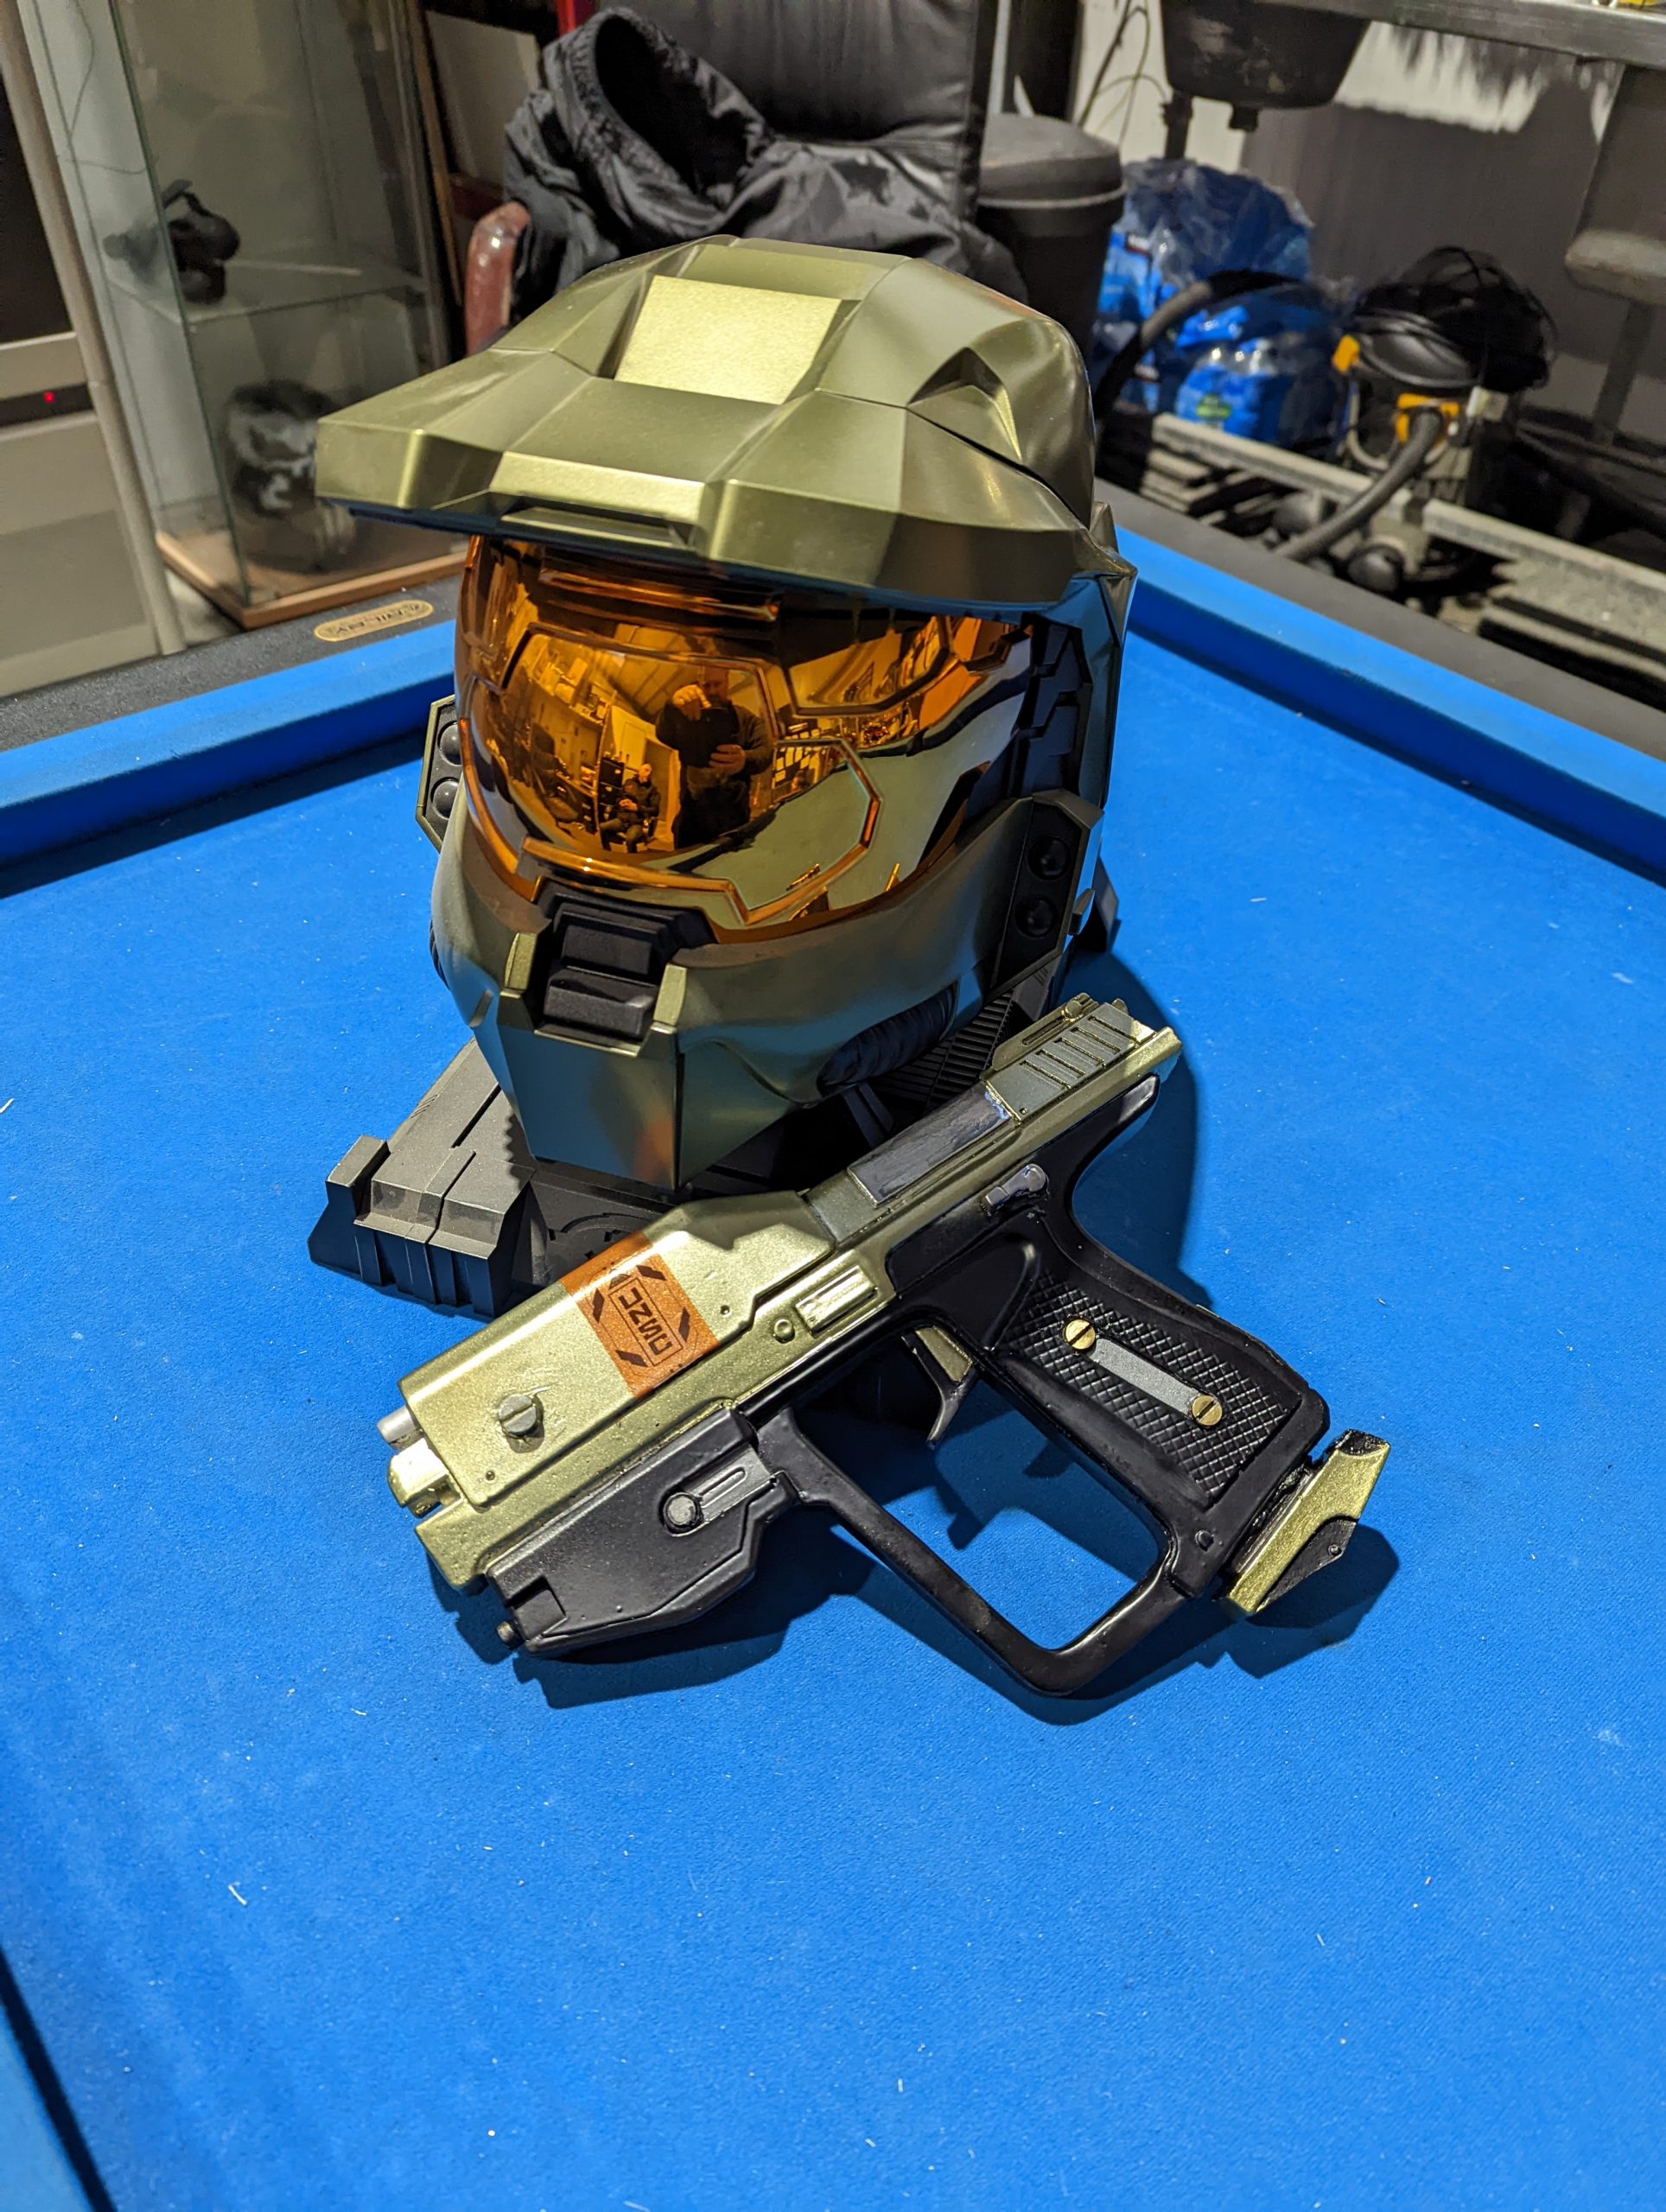
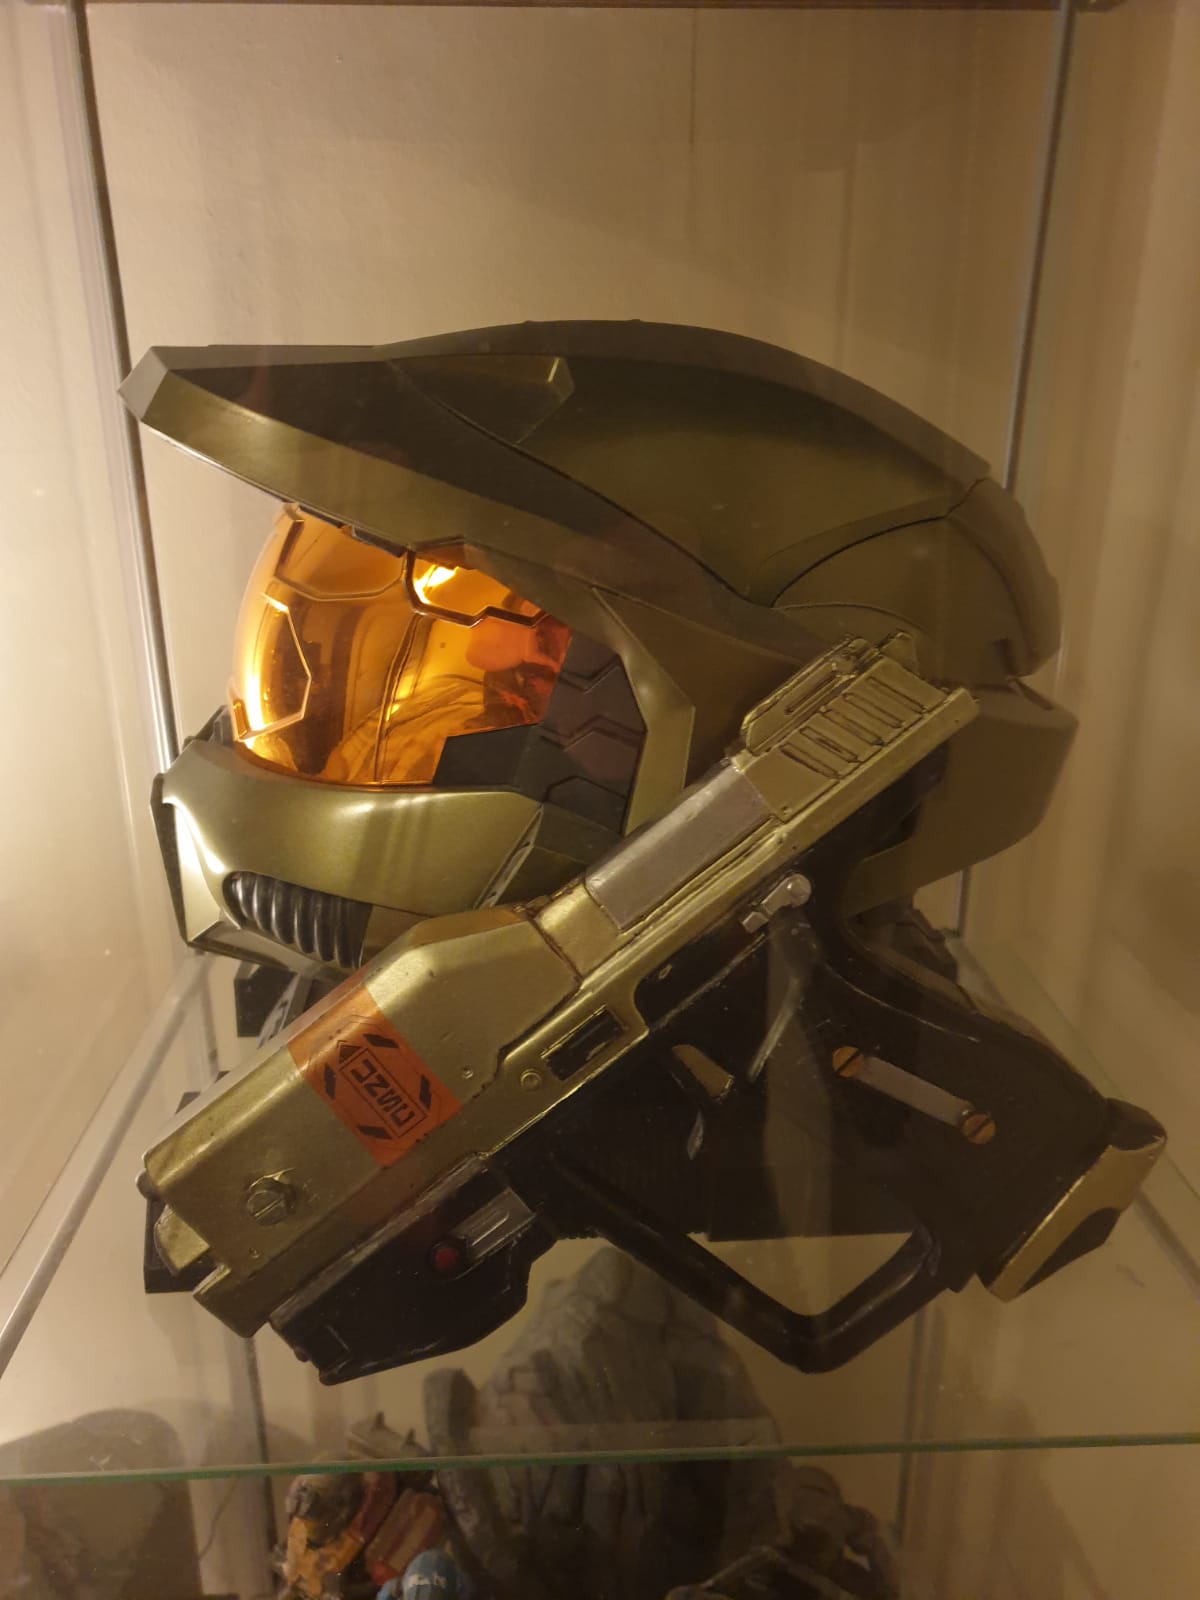
Once the 2K filler primer paint had fully cured, we moved on to the final top coats. We applied the rich black base coat for the handle, left it to cure, and then added the green metallic paint colour-matched to the Halo helmet.
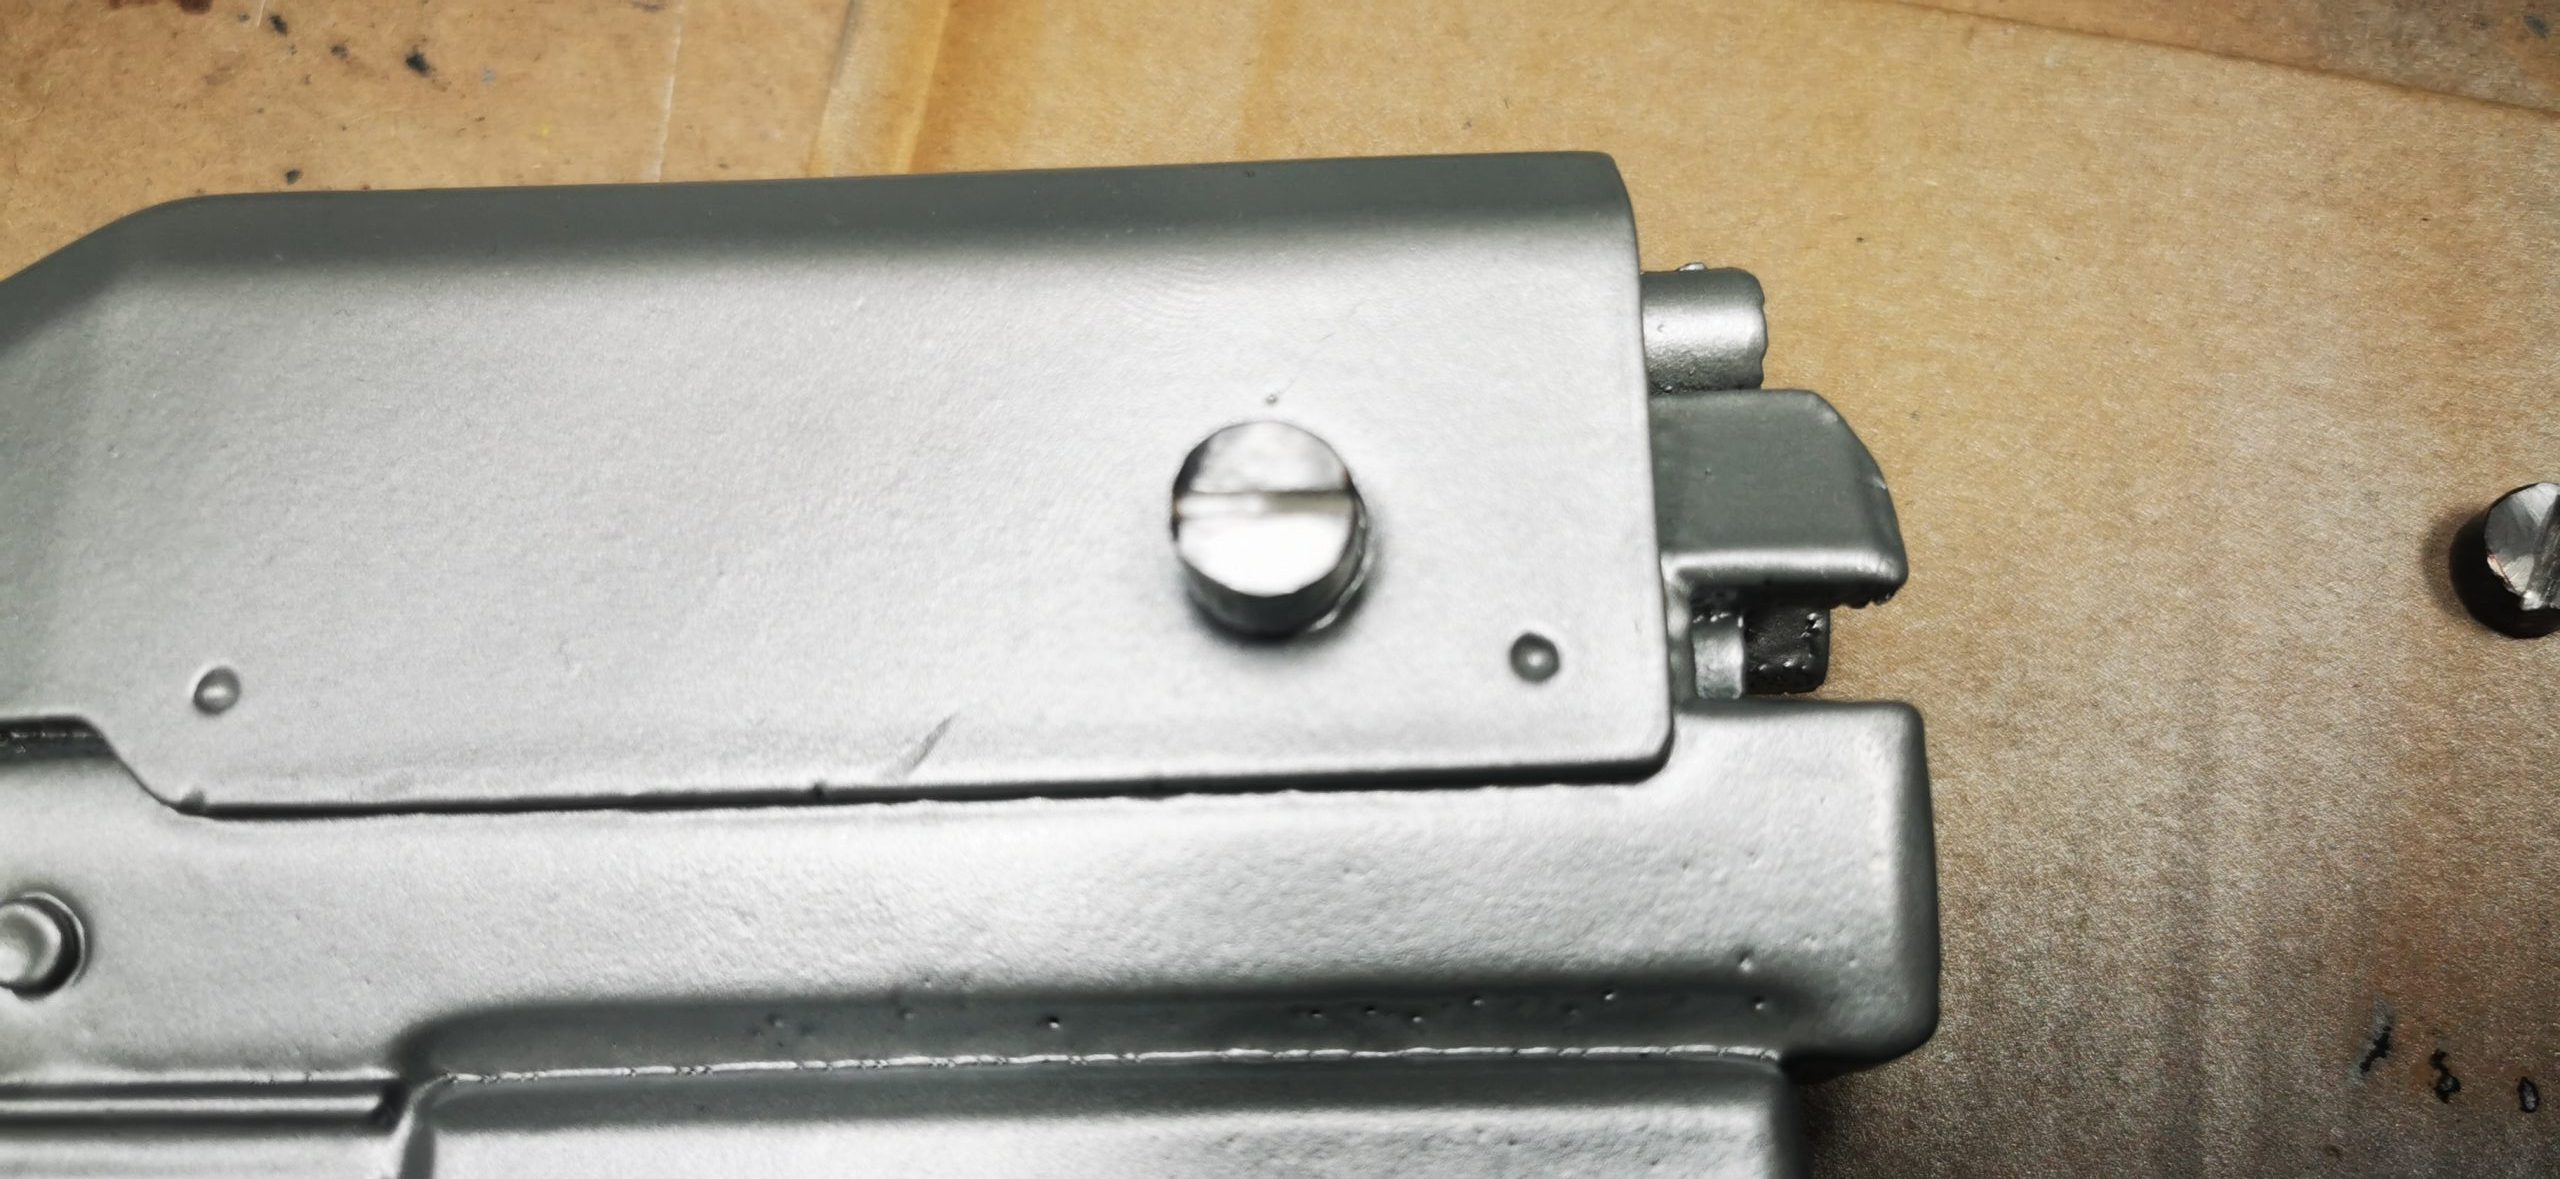
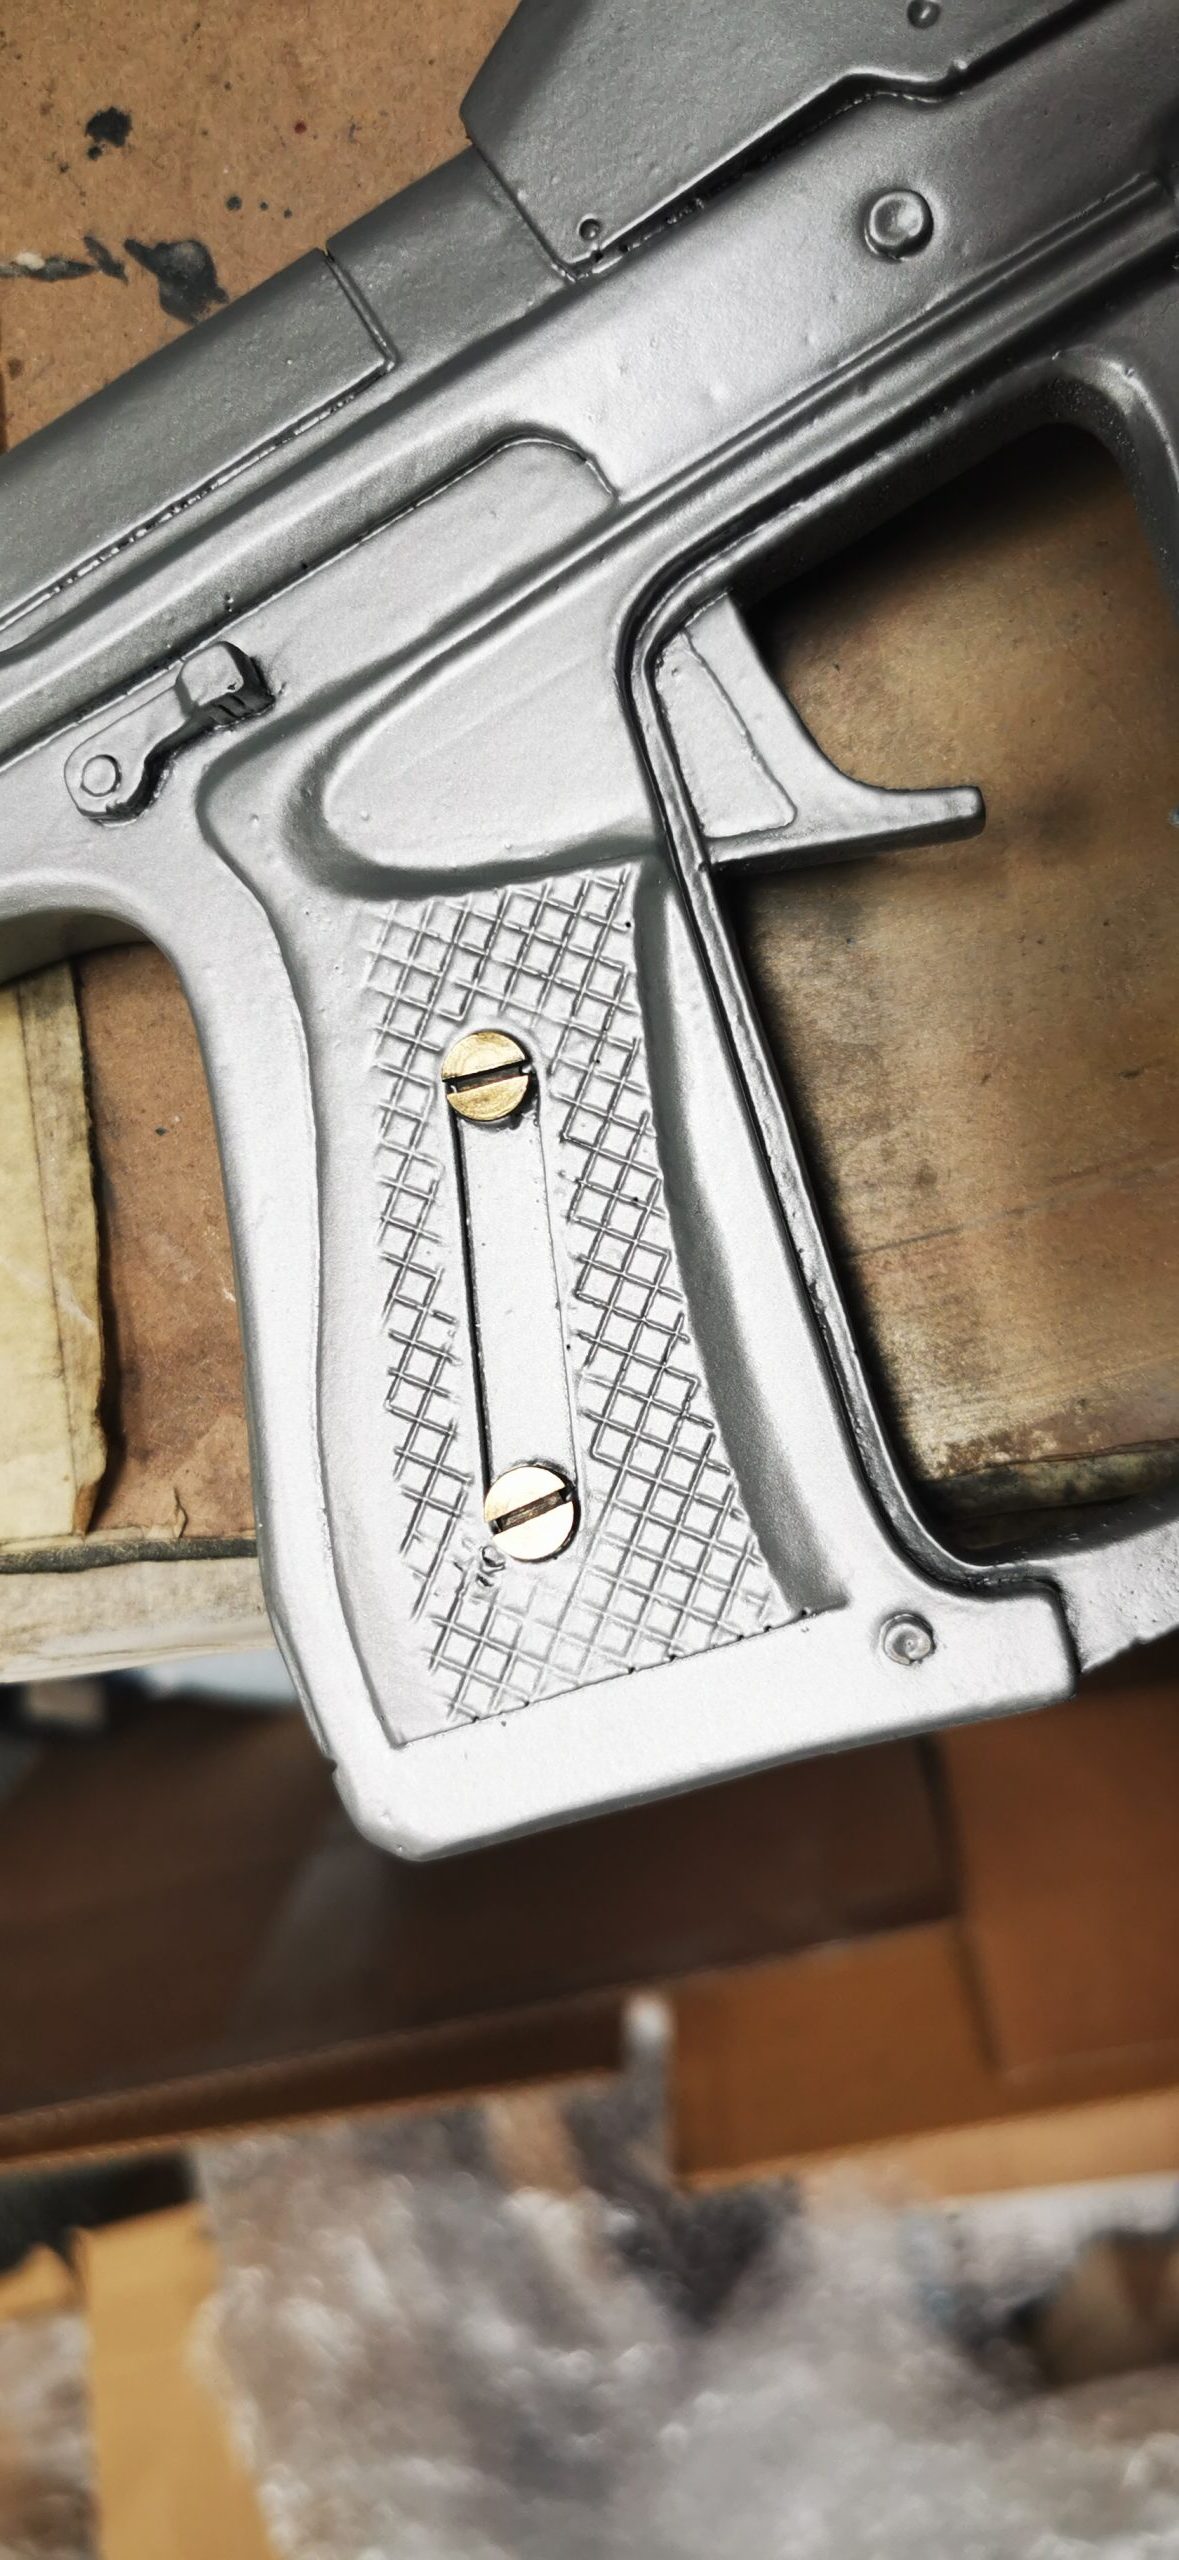
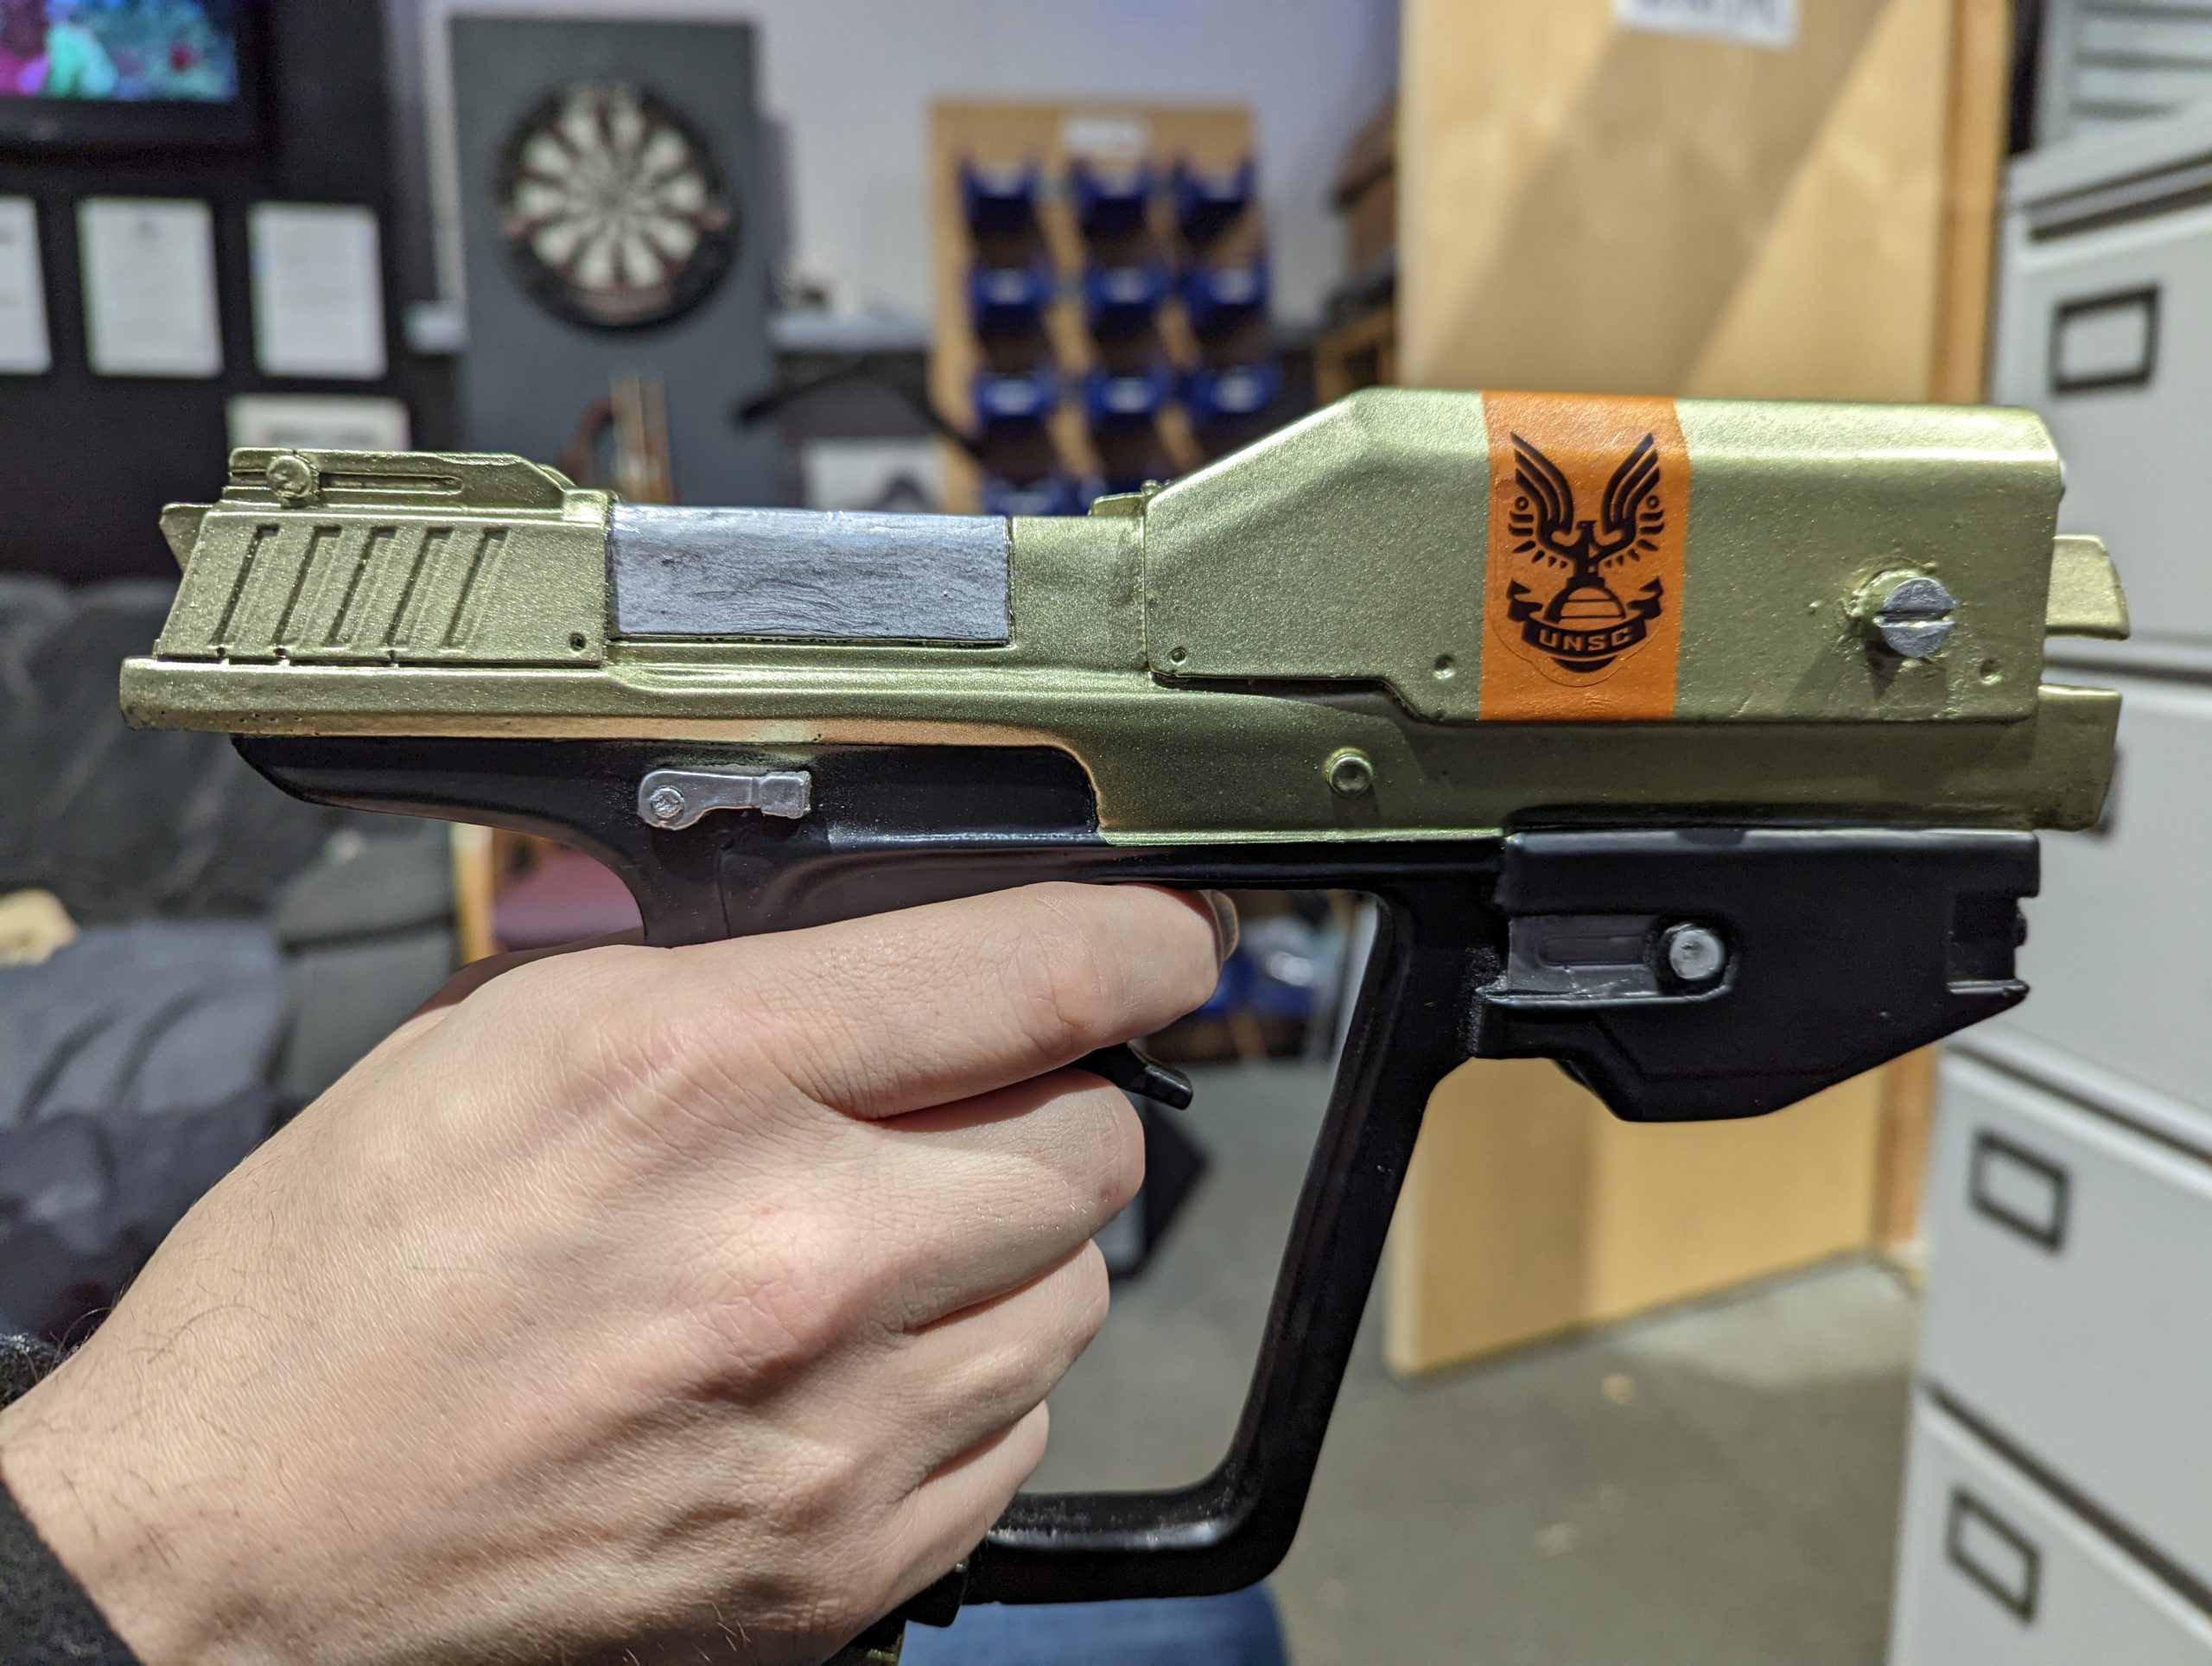
Highlights were added to the intricate parts of the prop, and we also drilled out some of the plastic moulded bolts and installed real bolts for authenticity. This added a used look to the replica gun, which we must admit looked amazing.
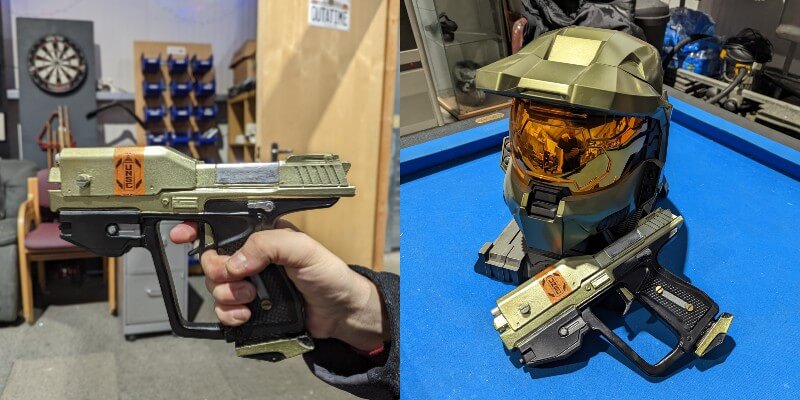
The Final Word
Another fun project, it’s a shame the prop wasn’t in better condition in the first place, but you can’t have everything your own way. I think the best tip for this job would be to have everything you need ready before you start and have the right tools in the first place. Onwards and upwards to the next project!