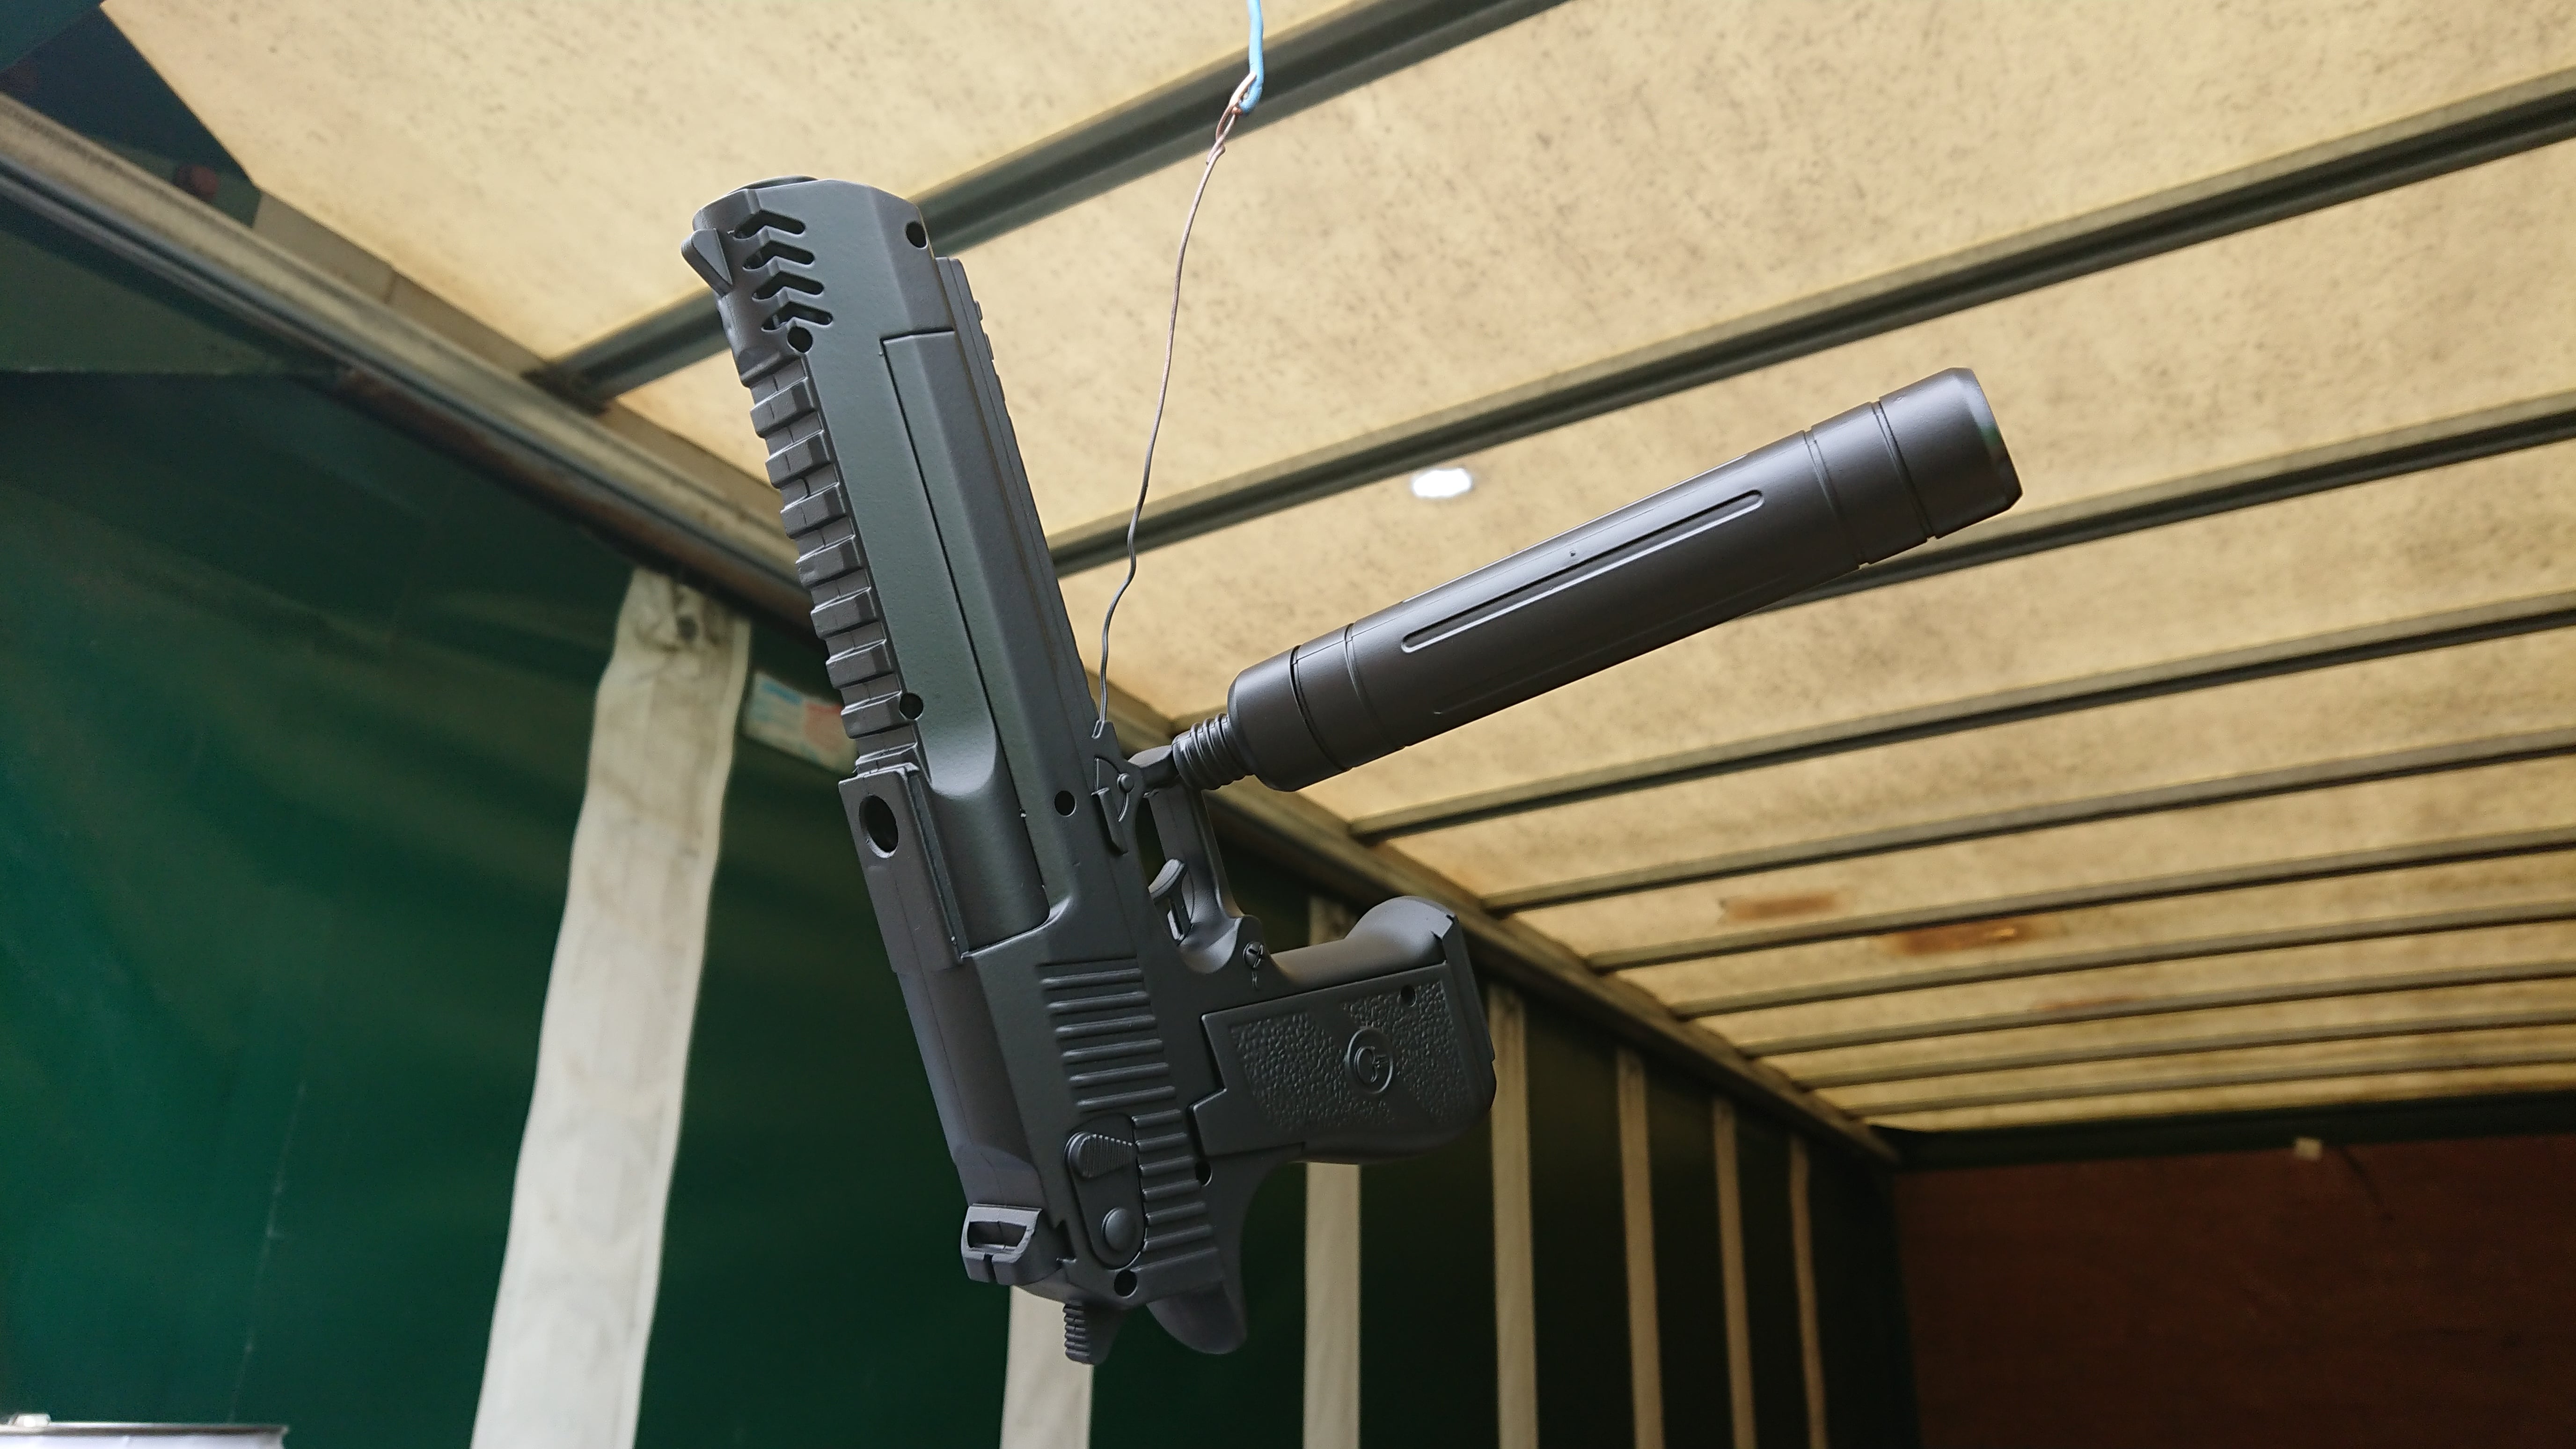
Working on the model gun was a fairly lengthy project and took a great amount of detail to achieve the finished look.But we managed to get it to look perfect ready for its big debut!
The Painting Process
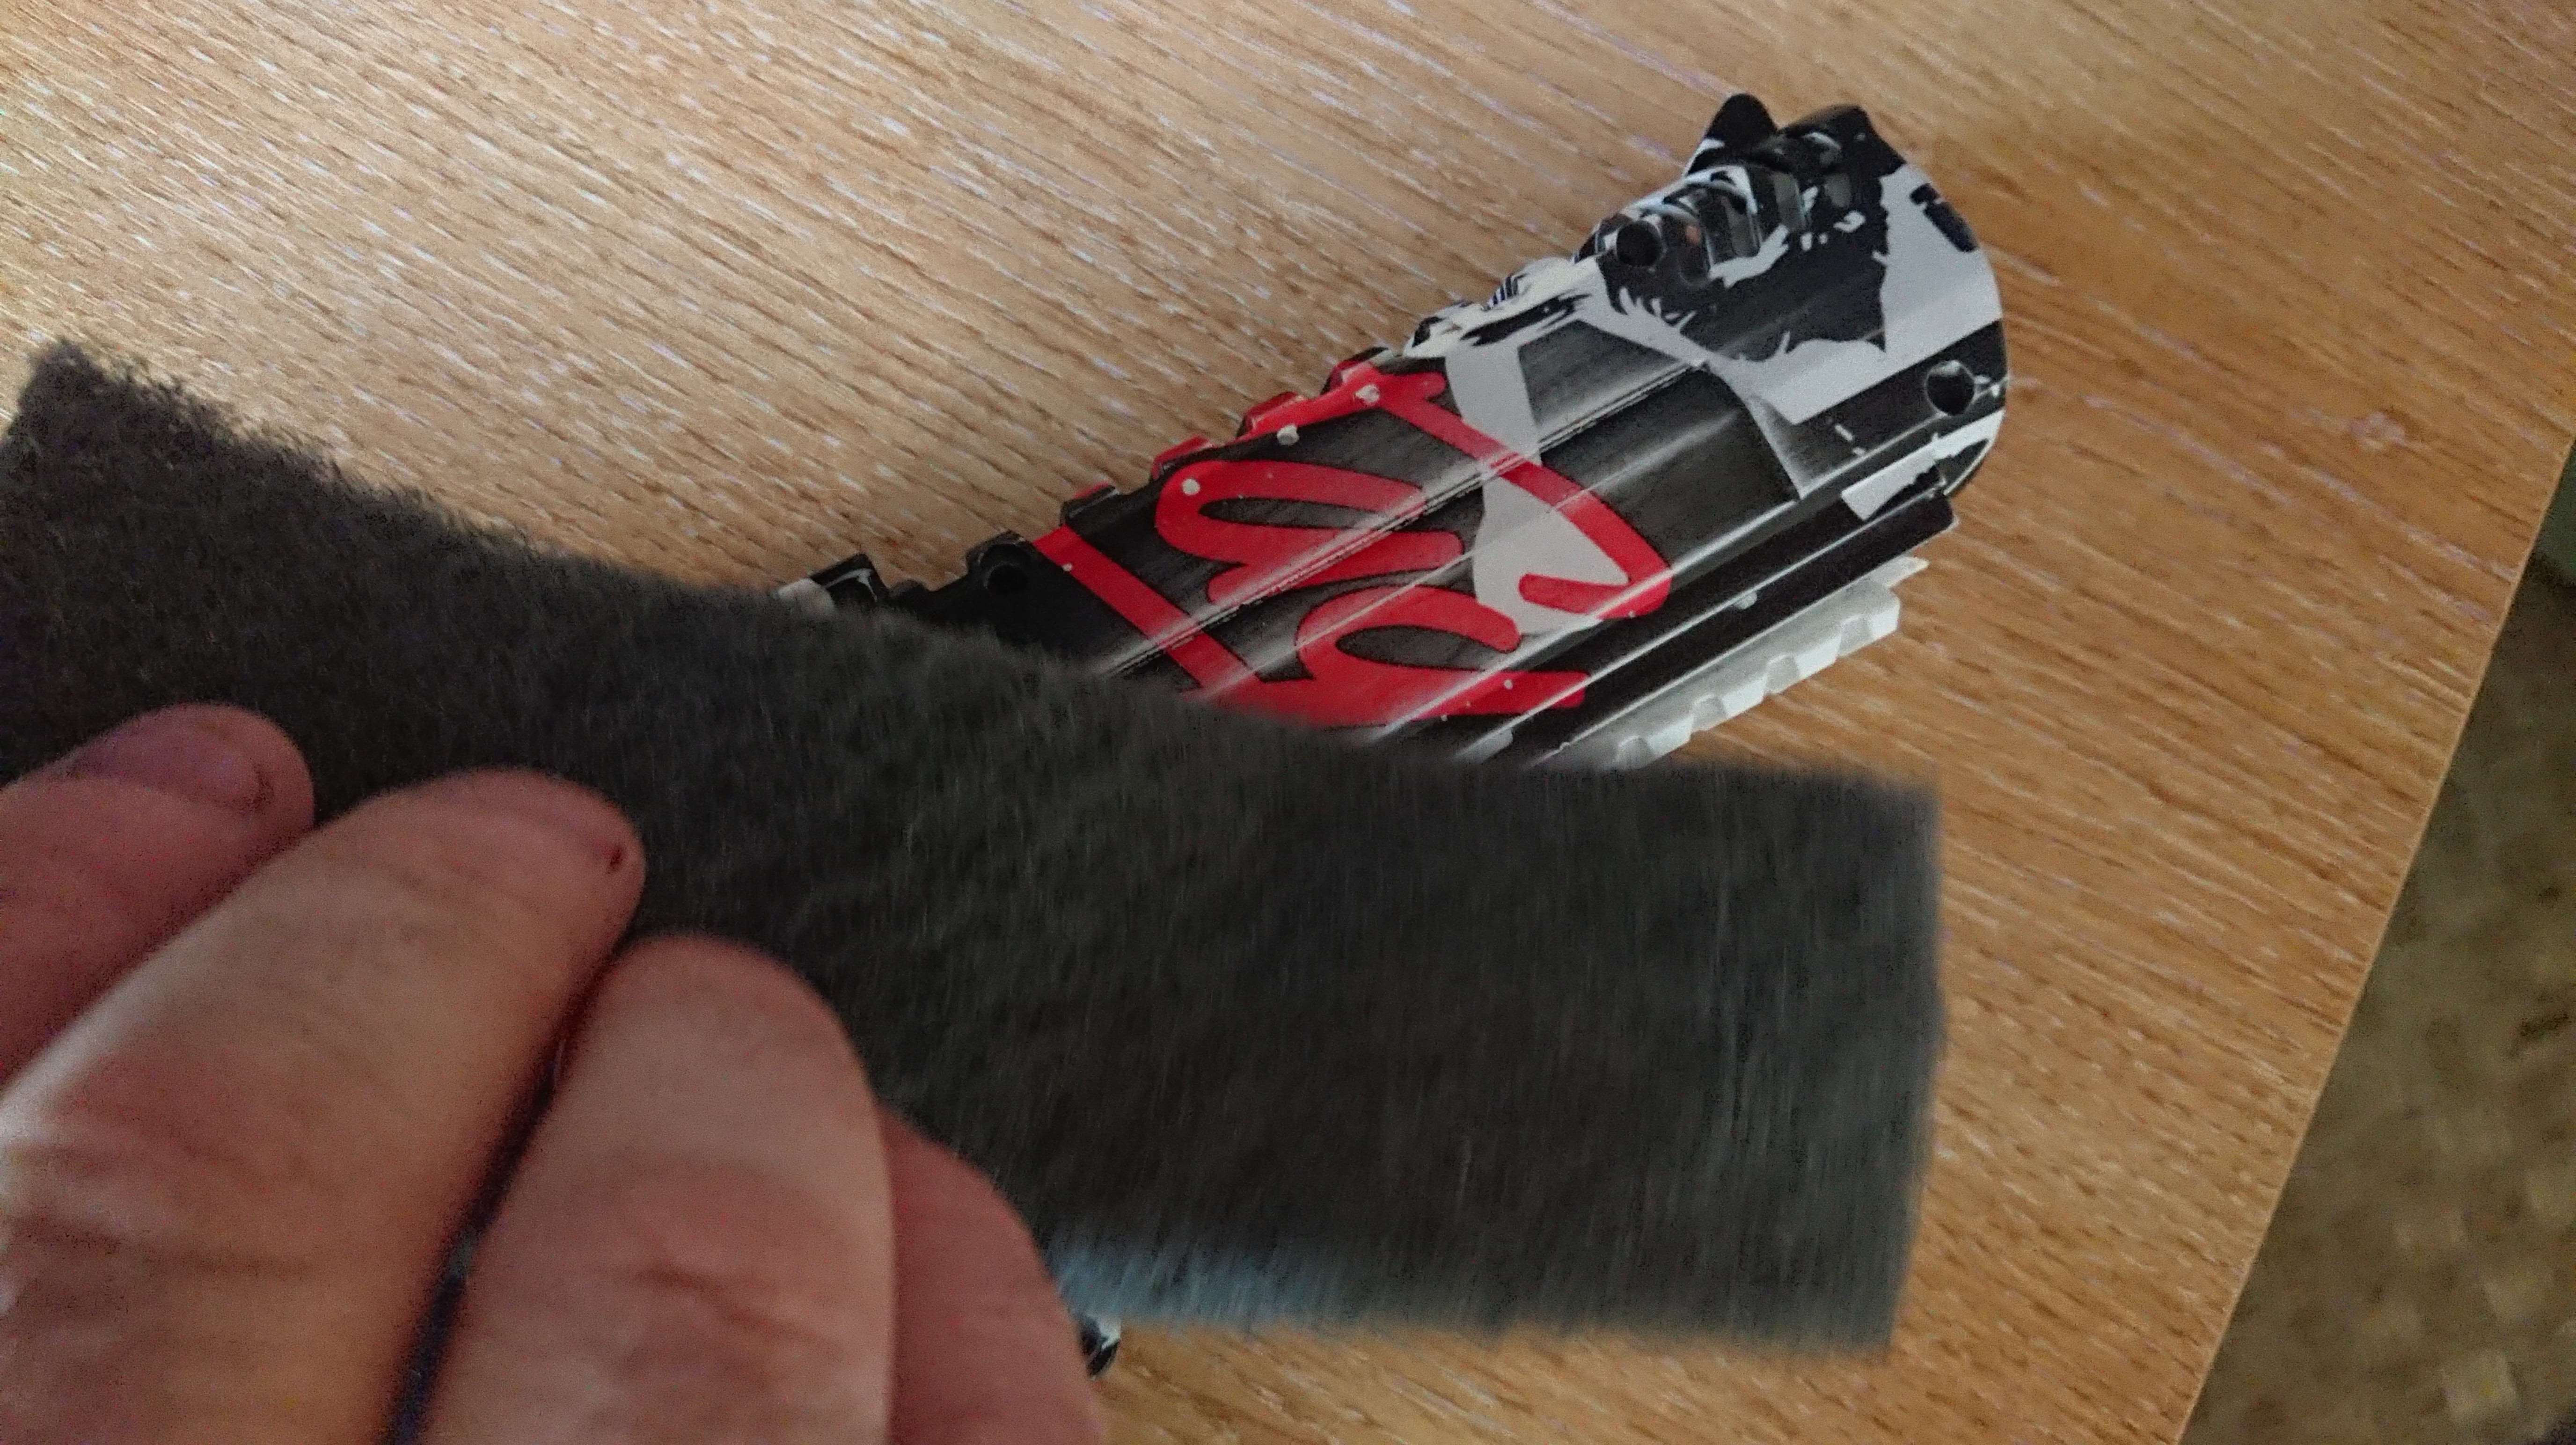
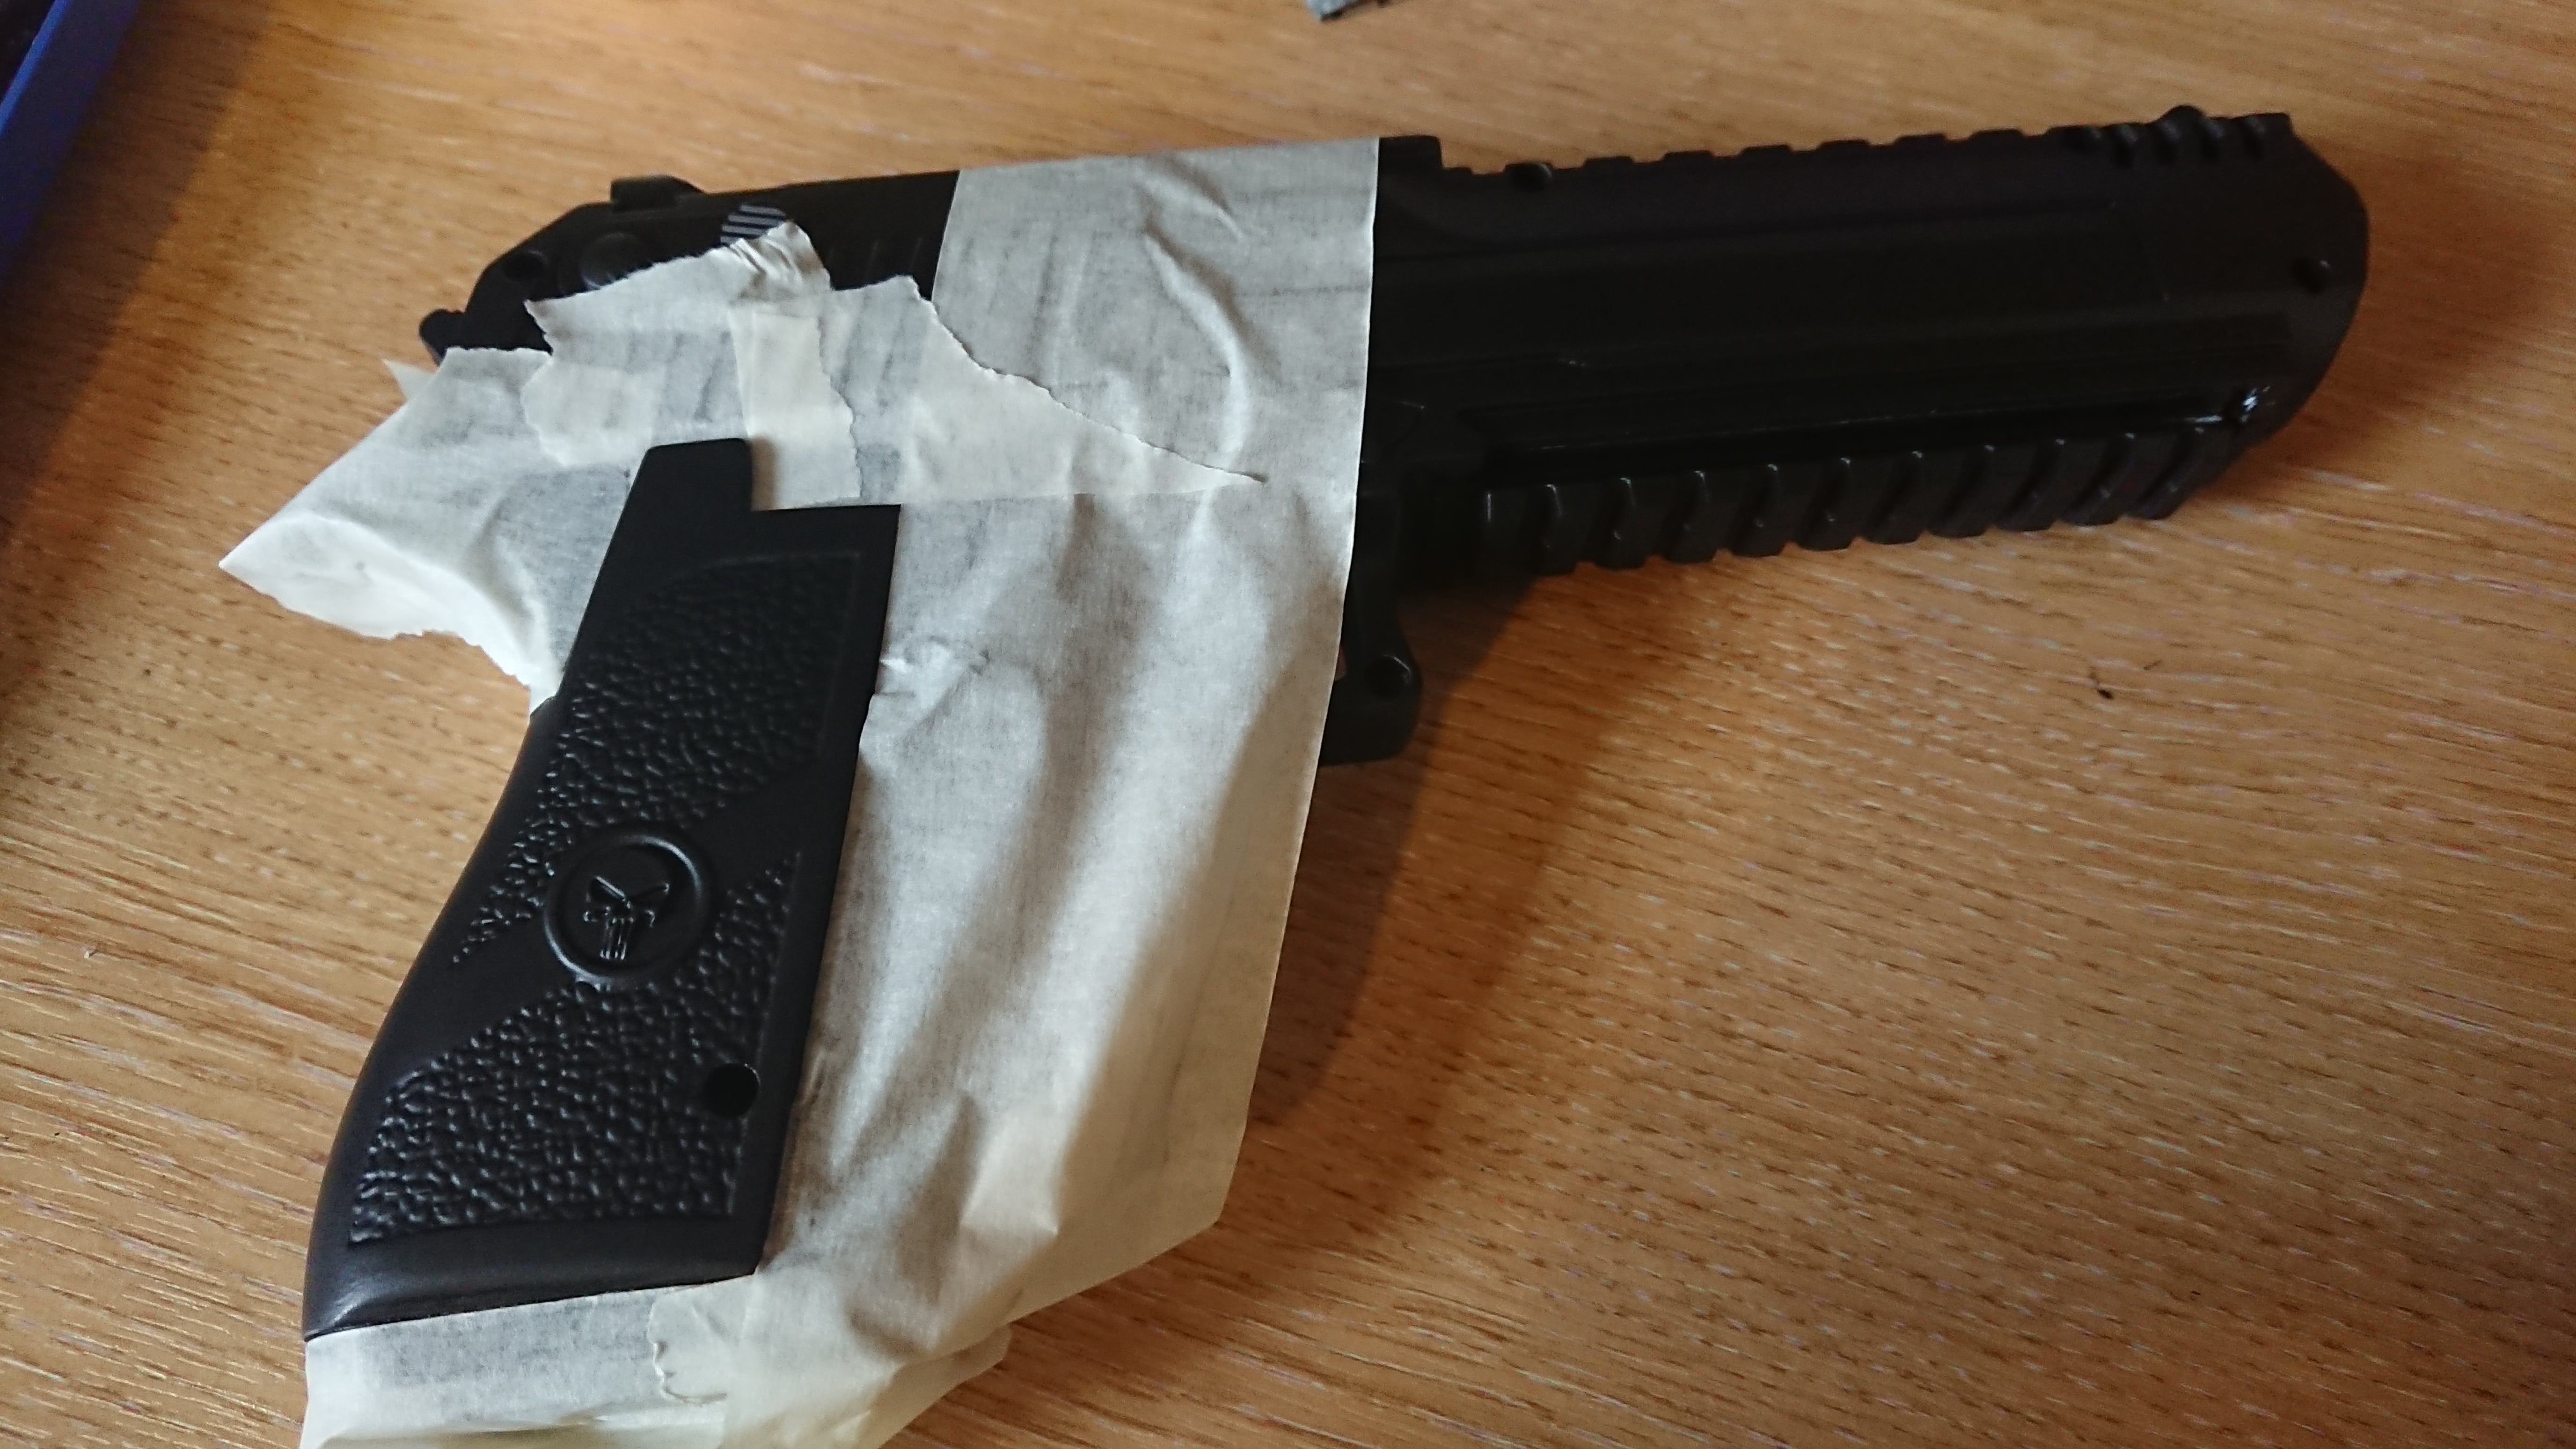
We started by Keying (lightly sanding) the model until we made the top surface matt. We then cleared of any debris and degreased the product to ensure it was perfectly prepared. Once it had cured, we added light grey High build primer to all parts. We then left this to cure for the rest of the day. Once cured, we sprayed the whole project in an acrylic RAL 9004, which is like a charcoal matt black.
We left the charcoal matt black paint to dry all afternoon to ensure it had been cured properly. After the curing process had finished, we then went on to add some detailing to the model gun.
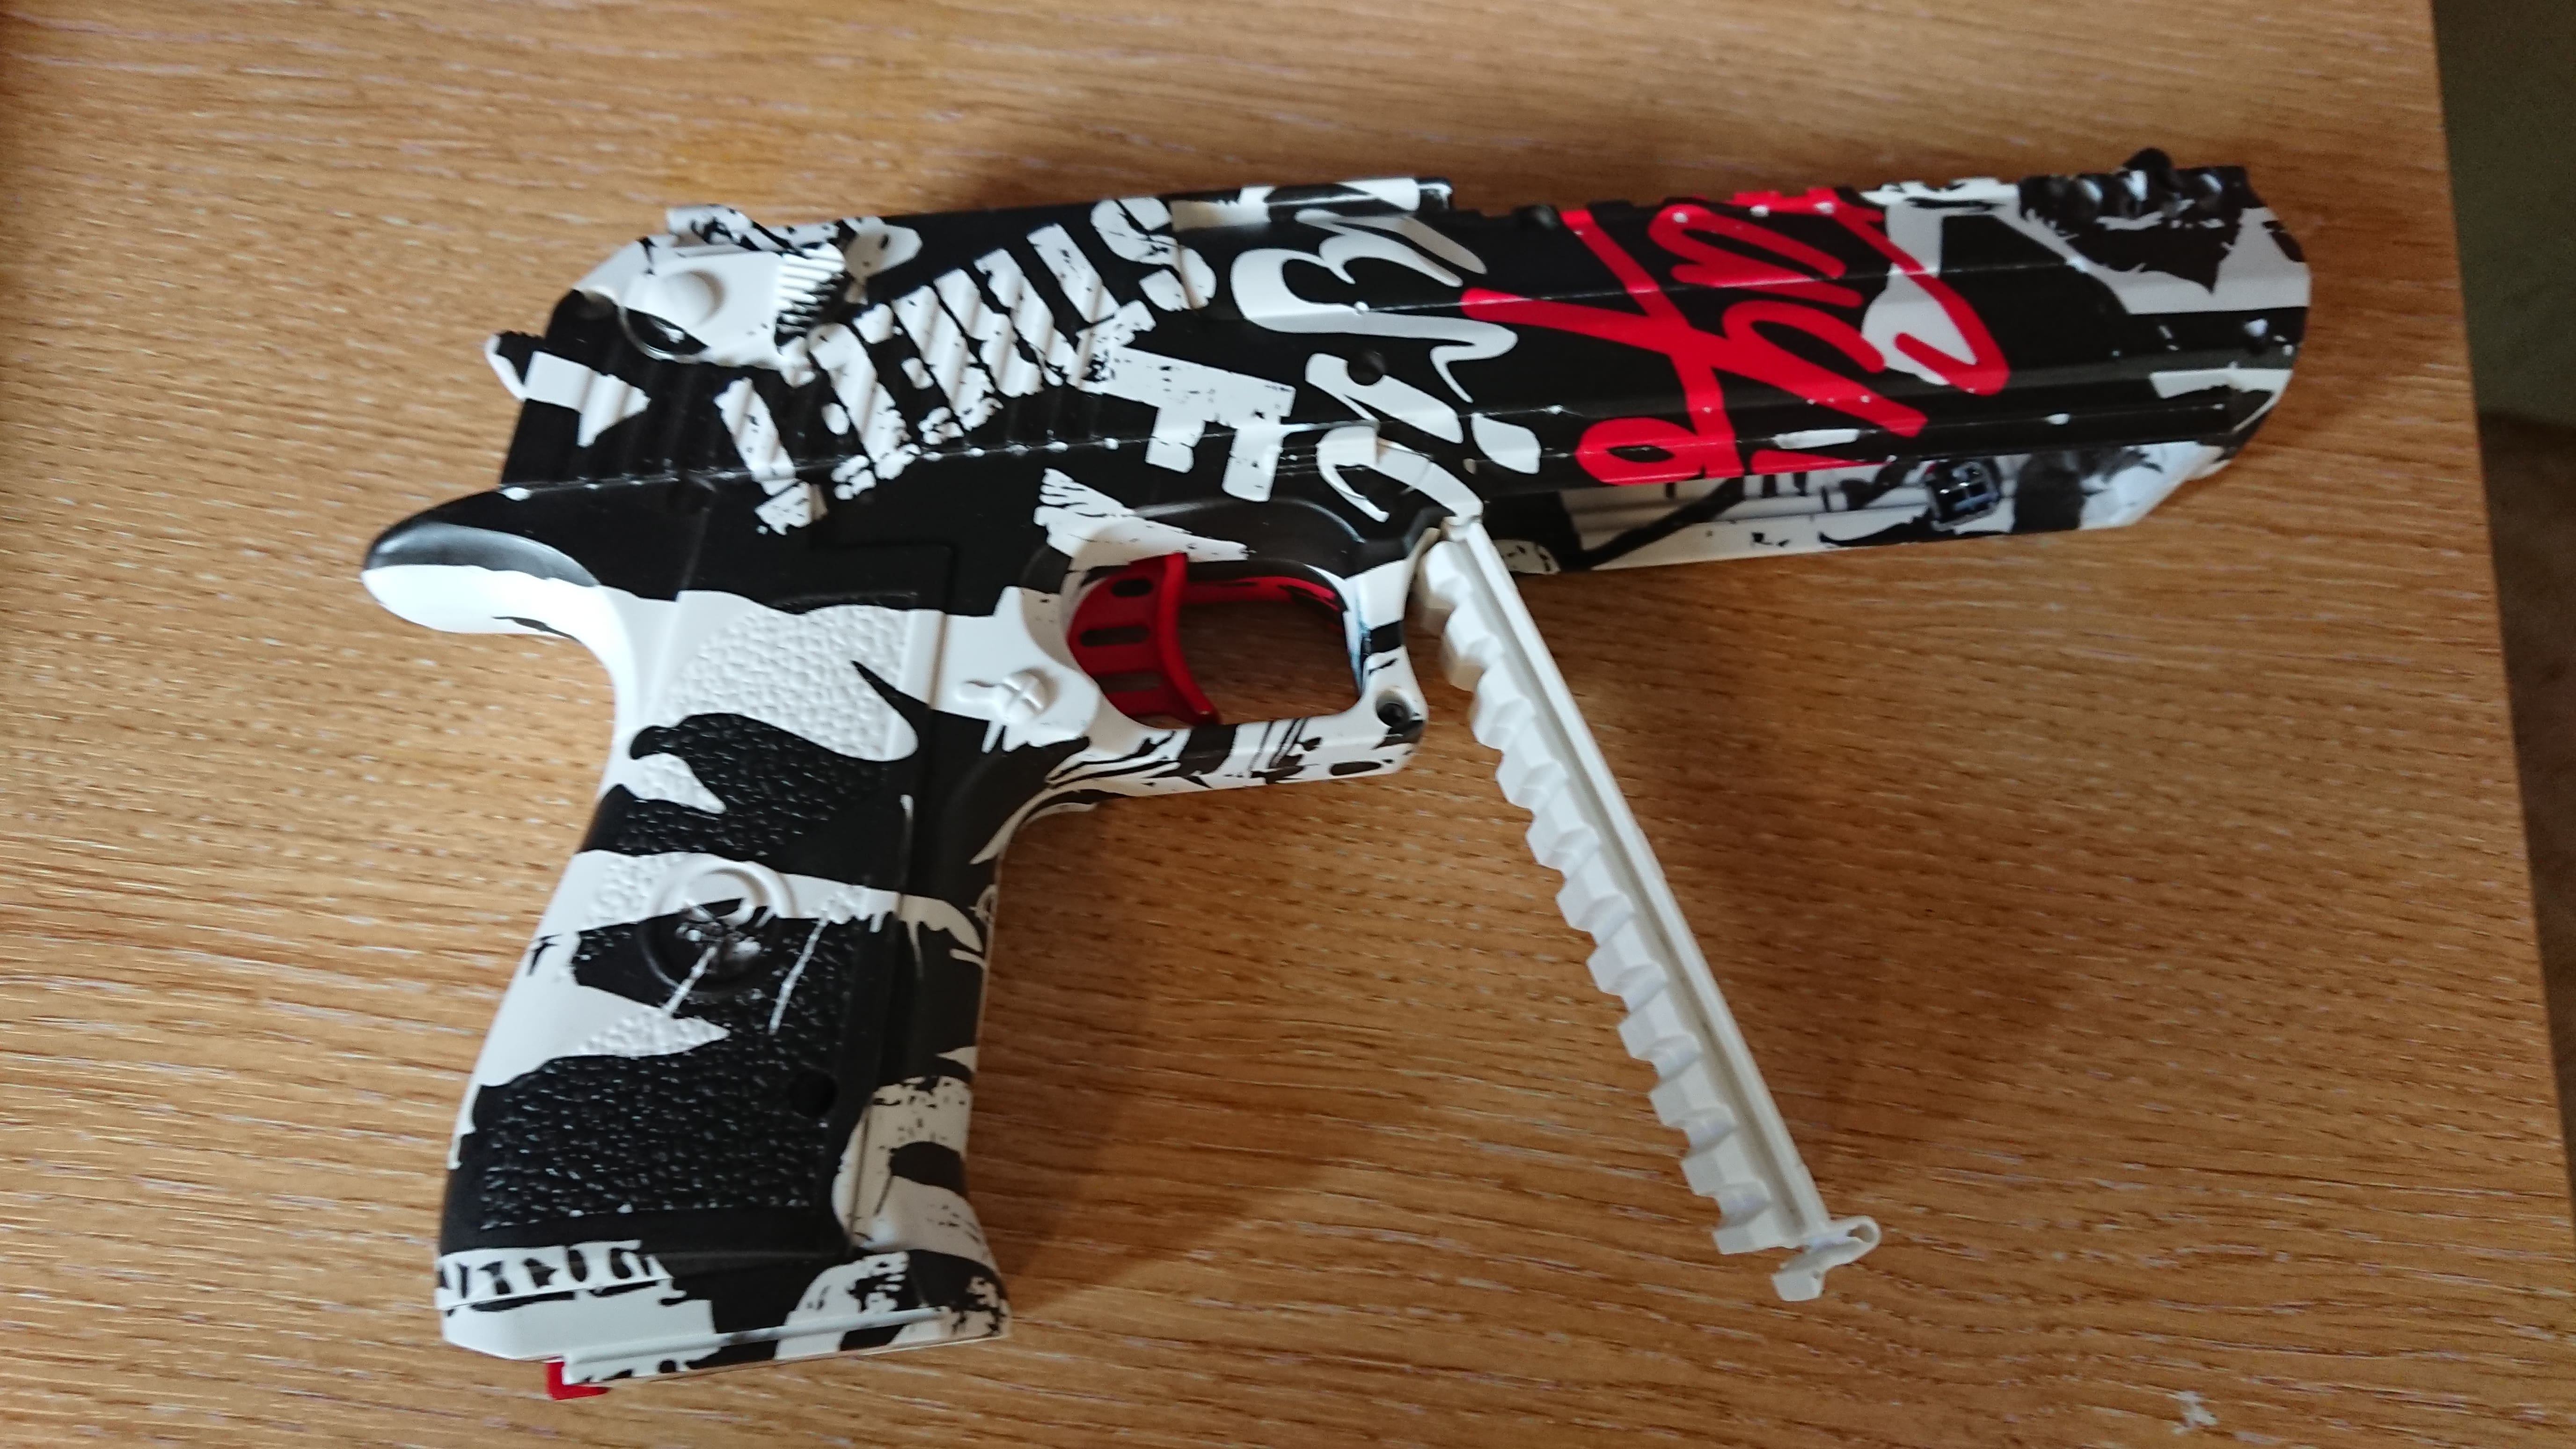
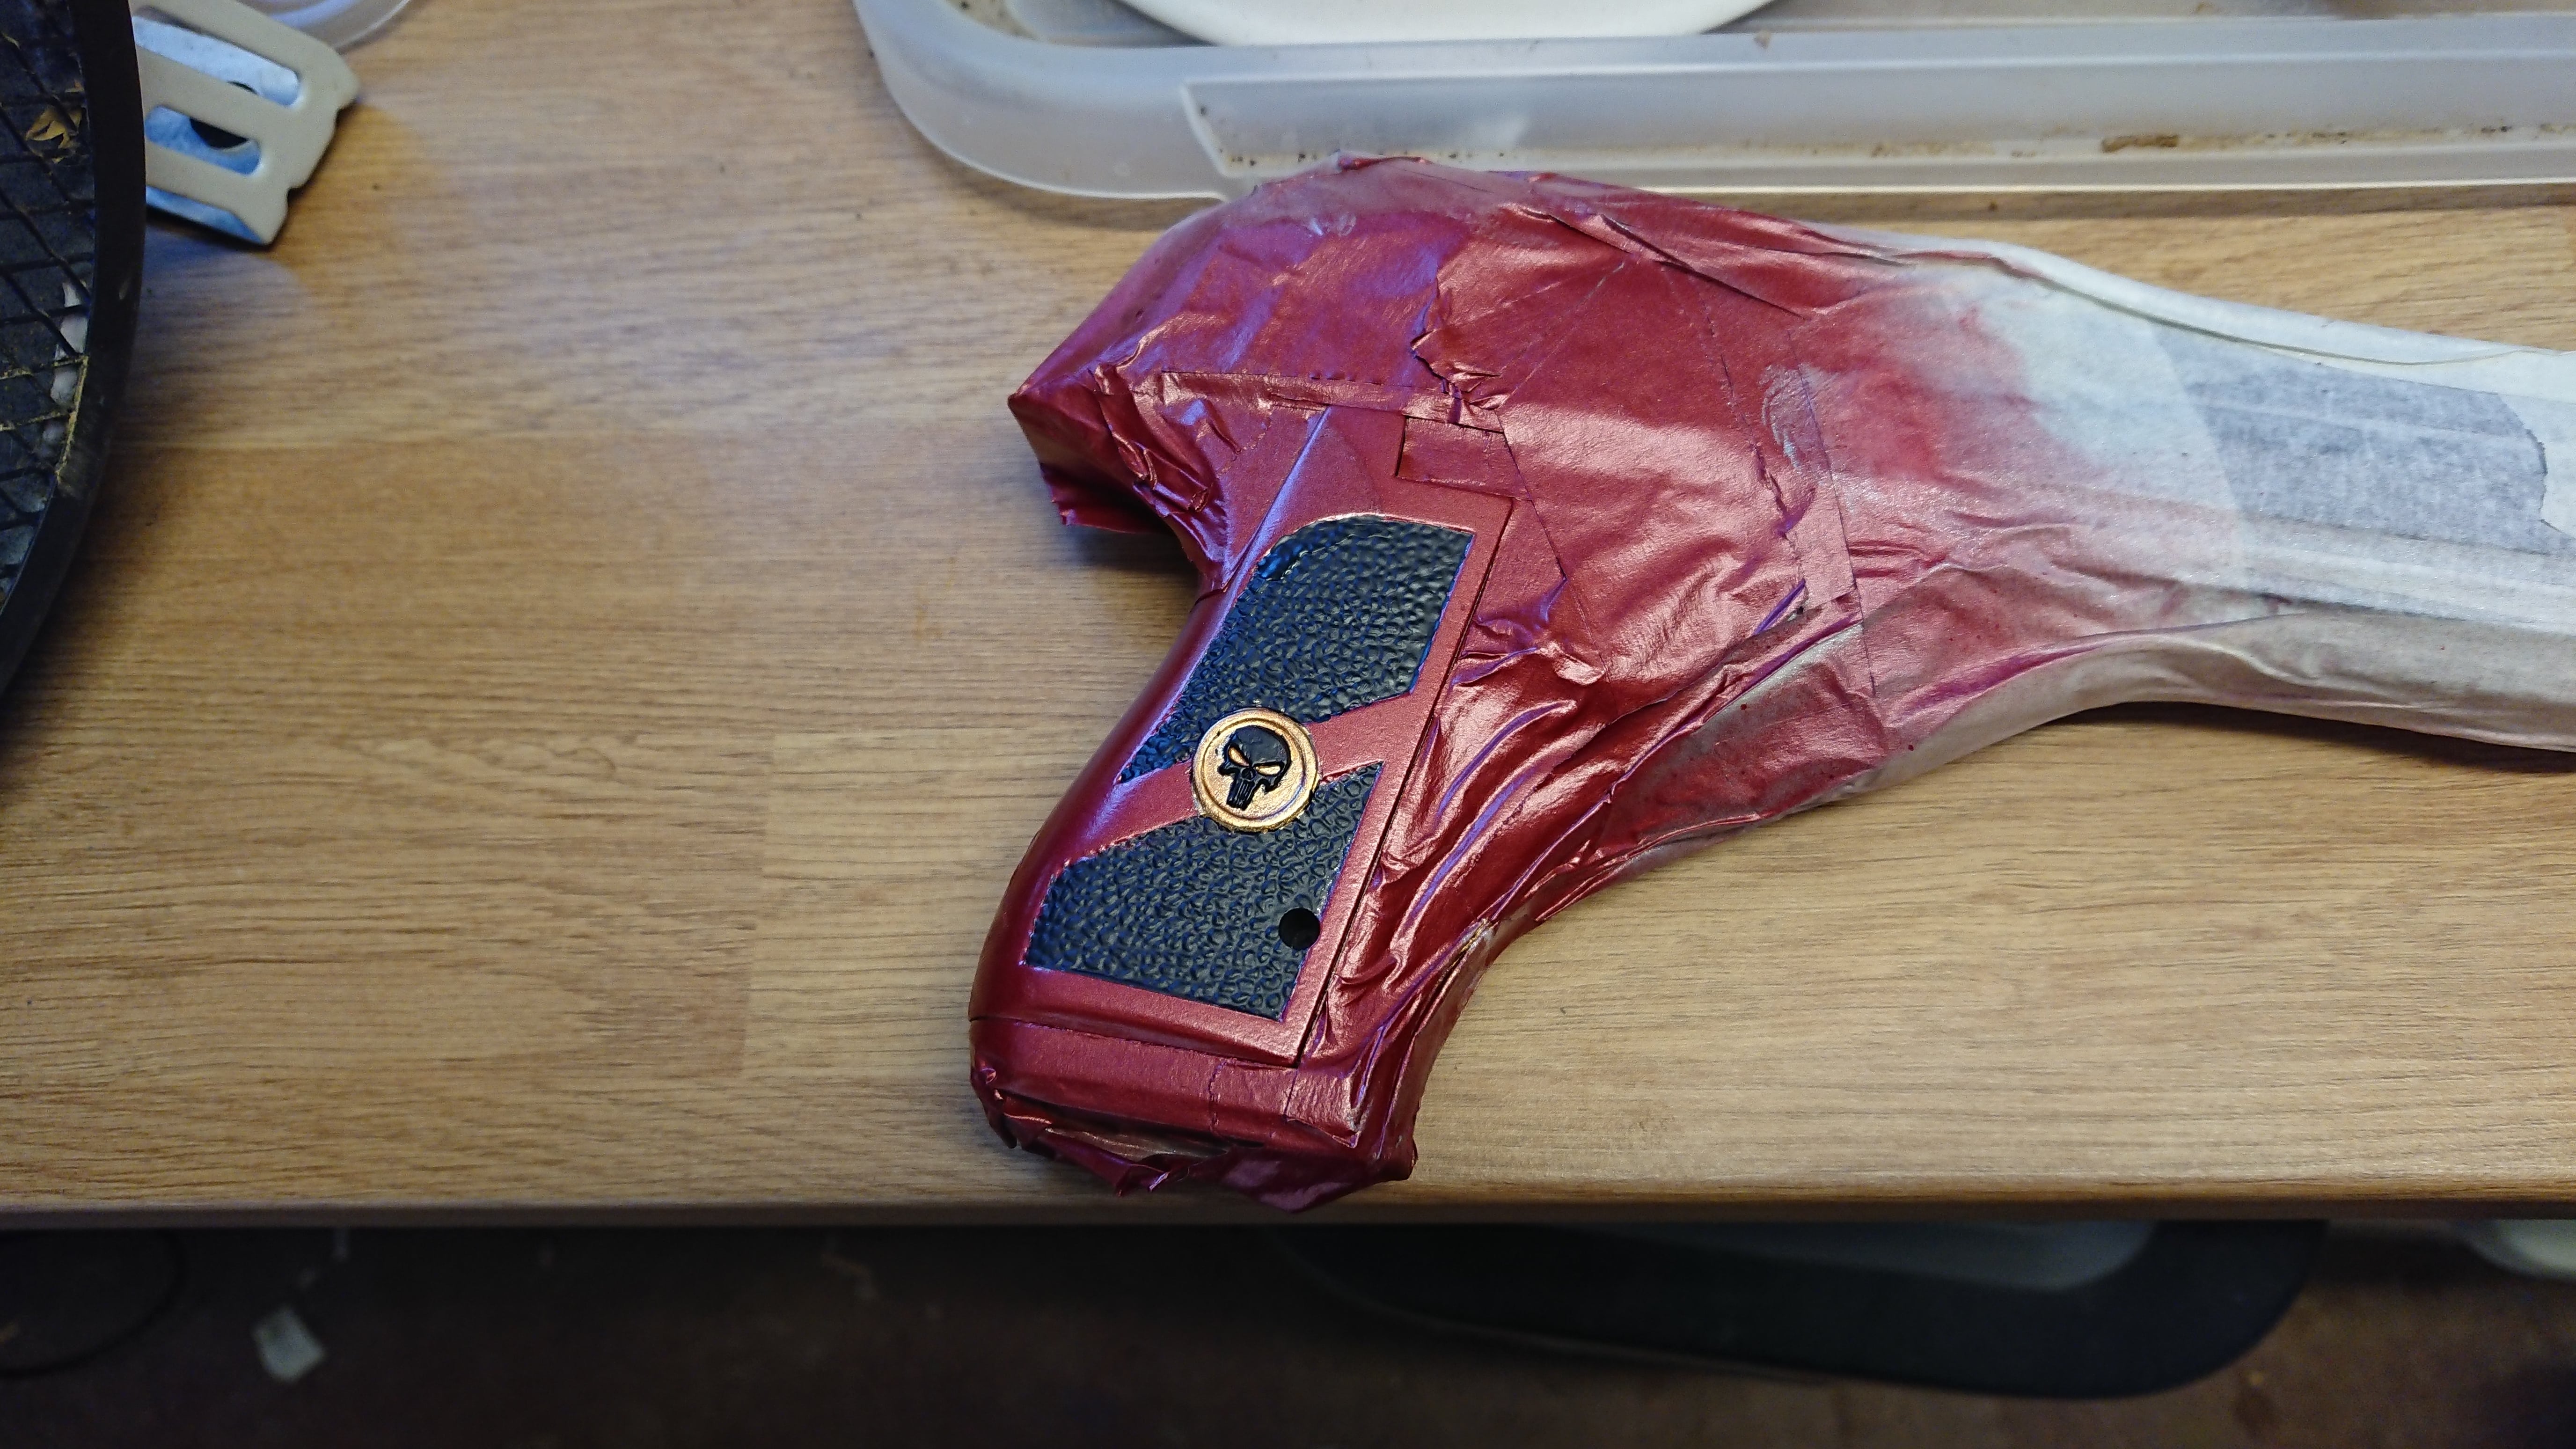
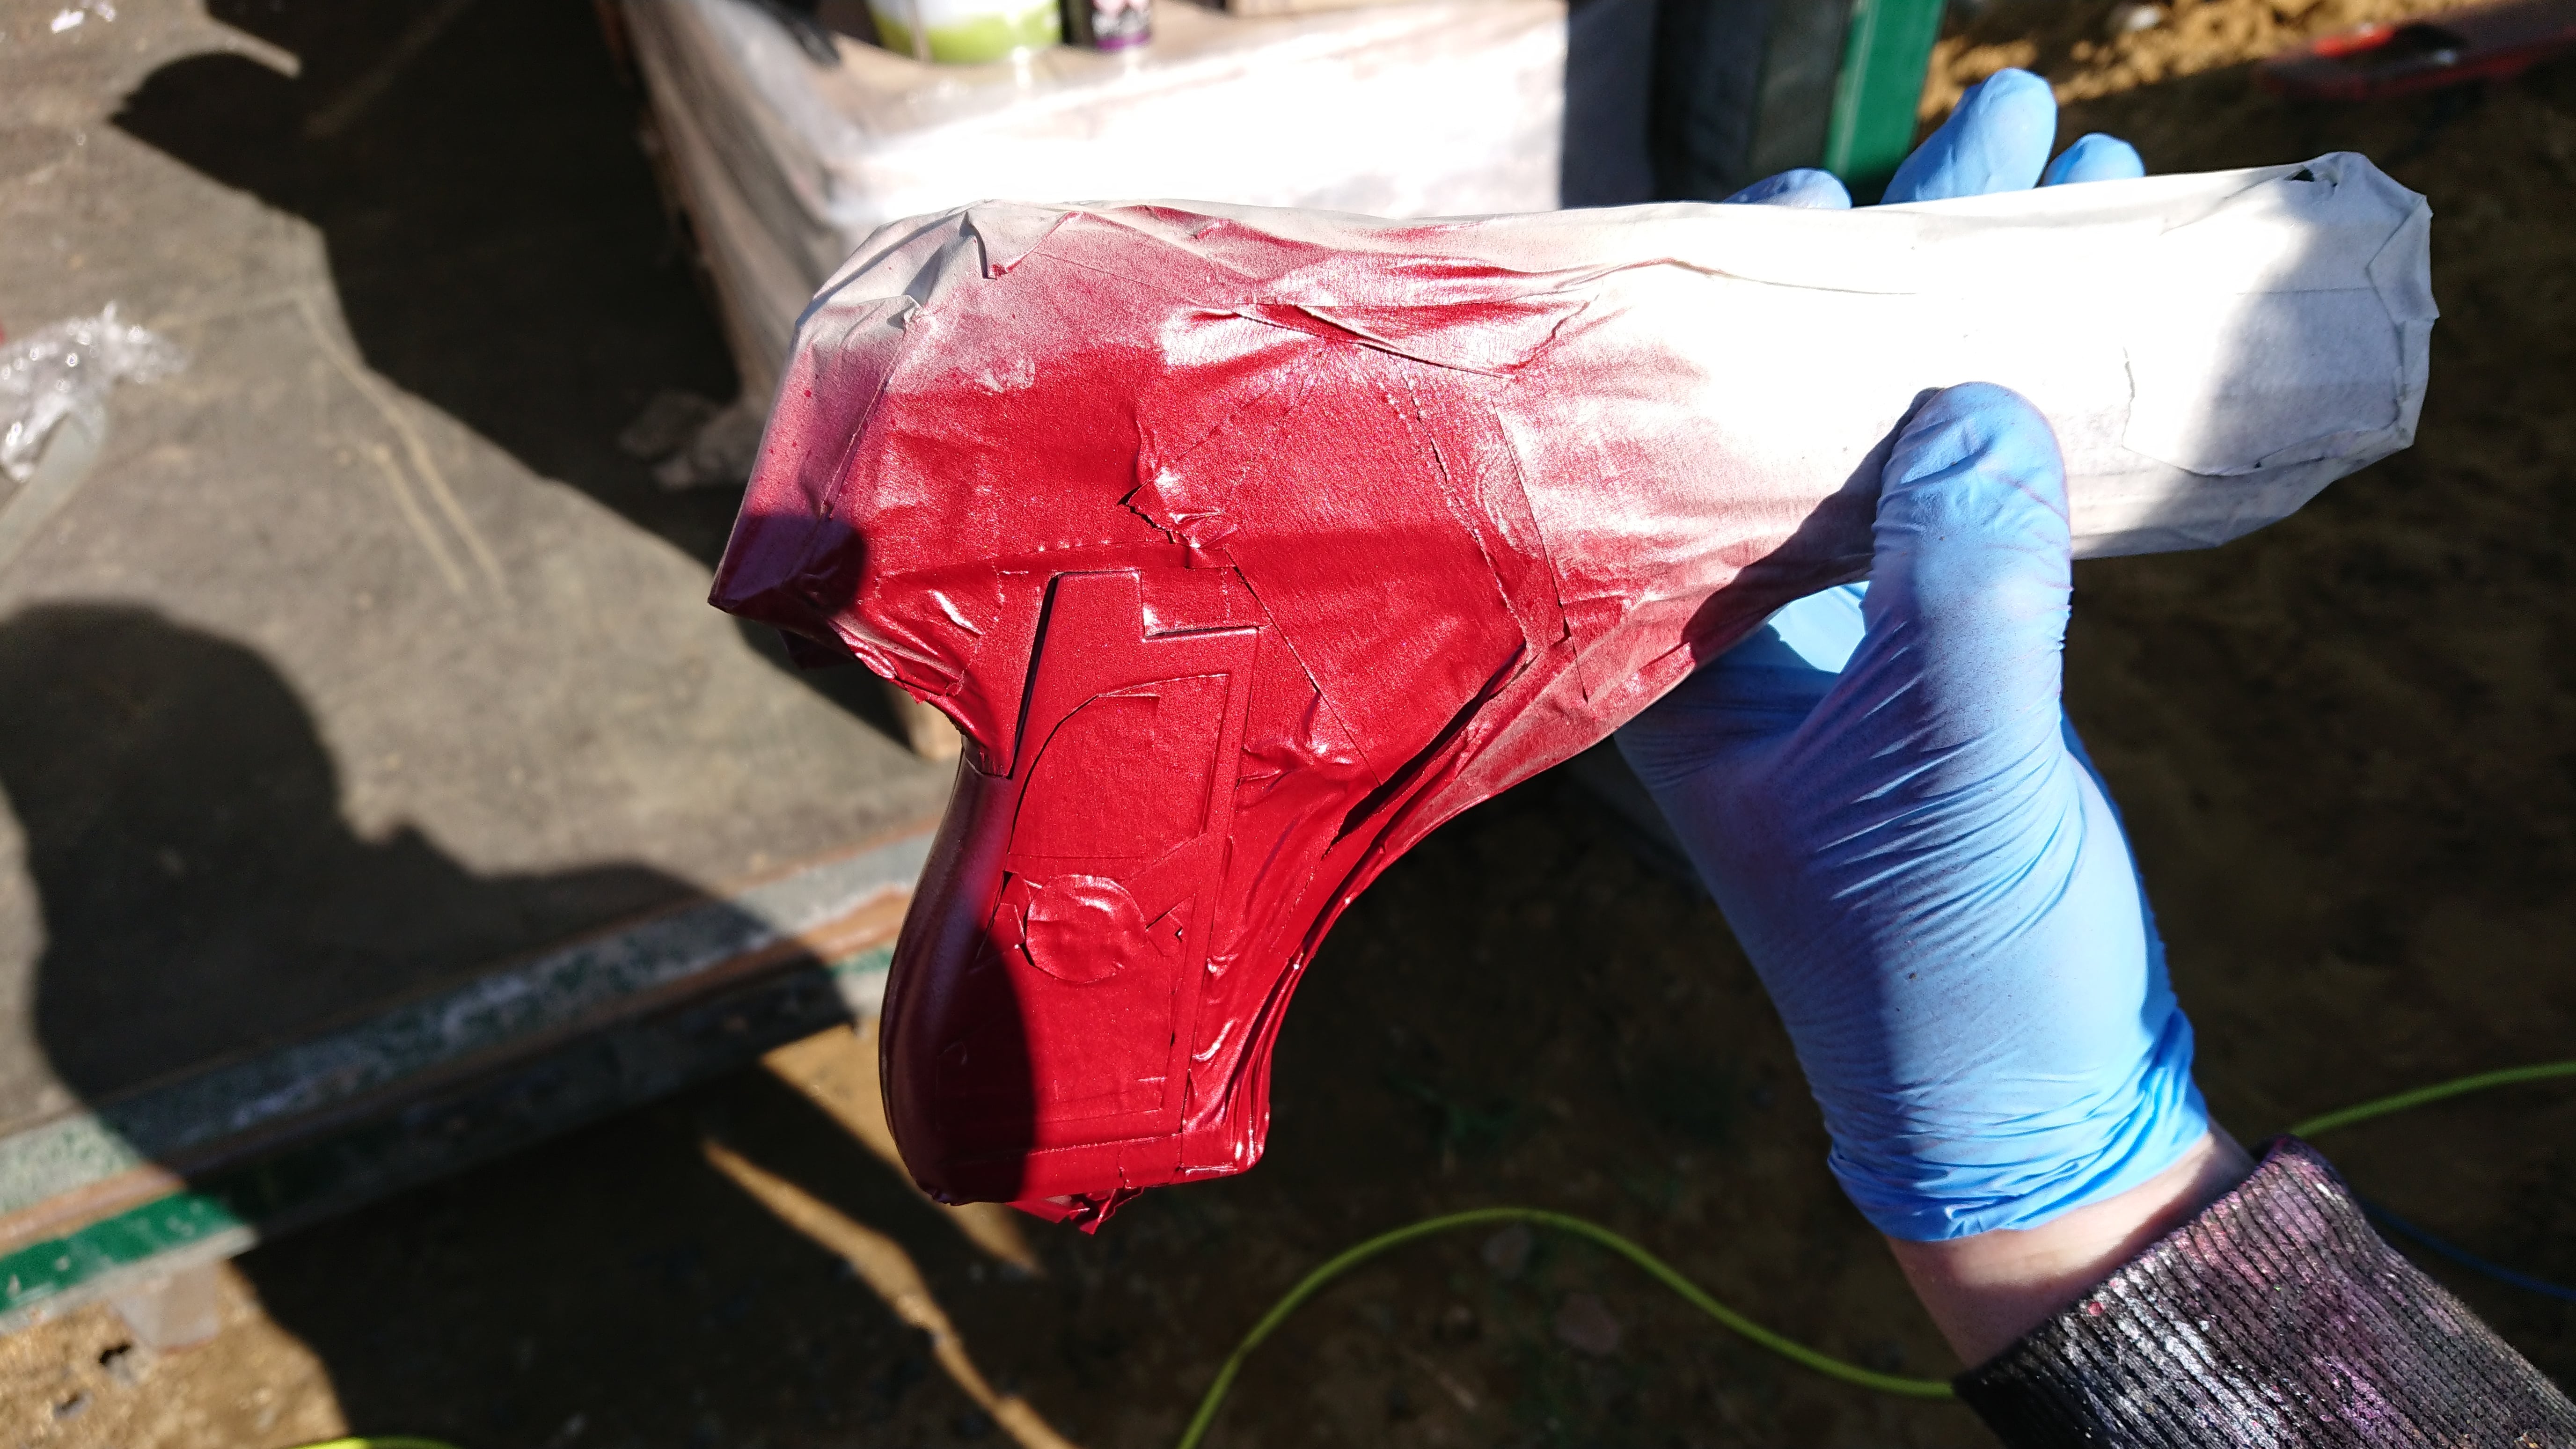
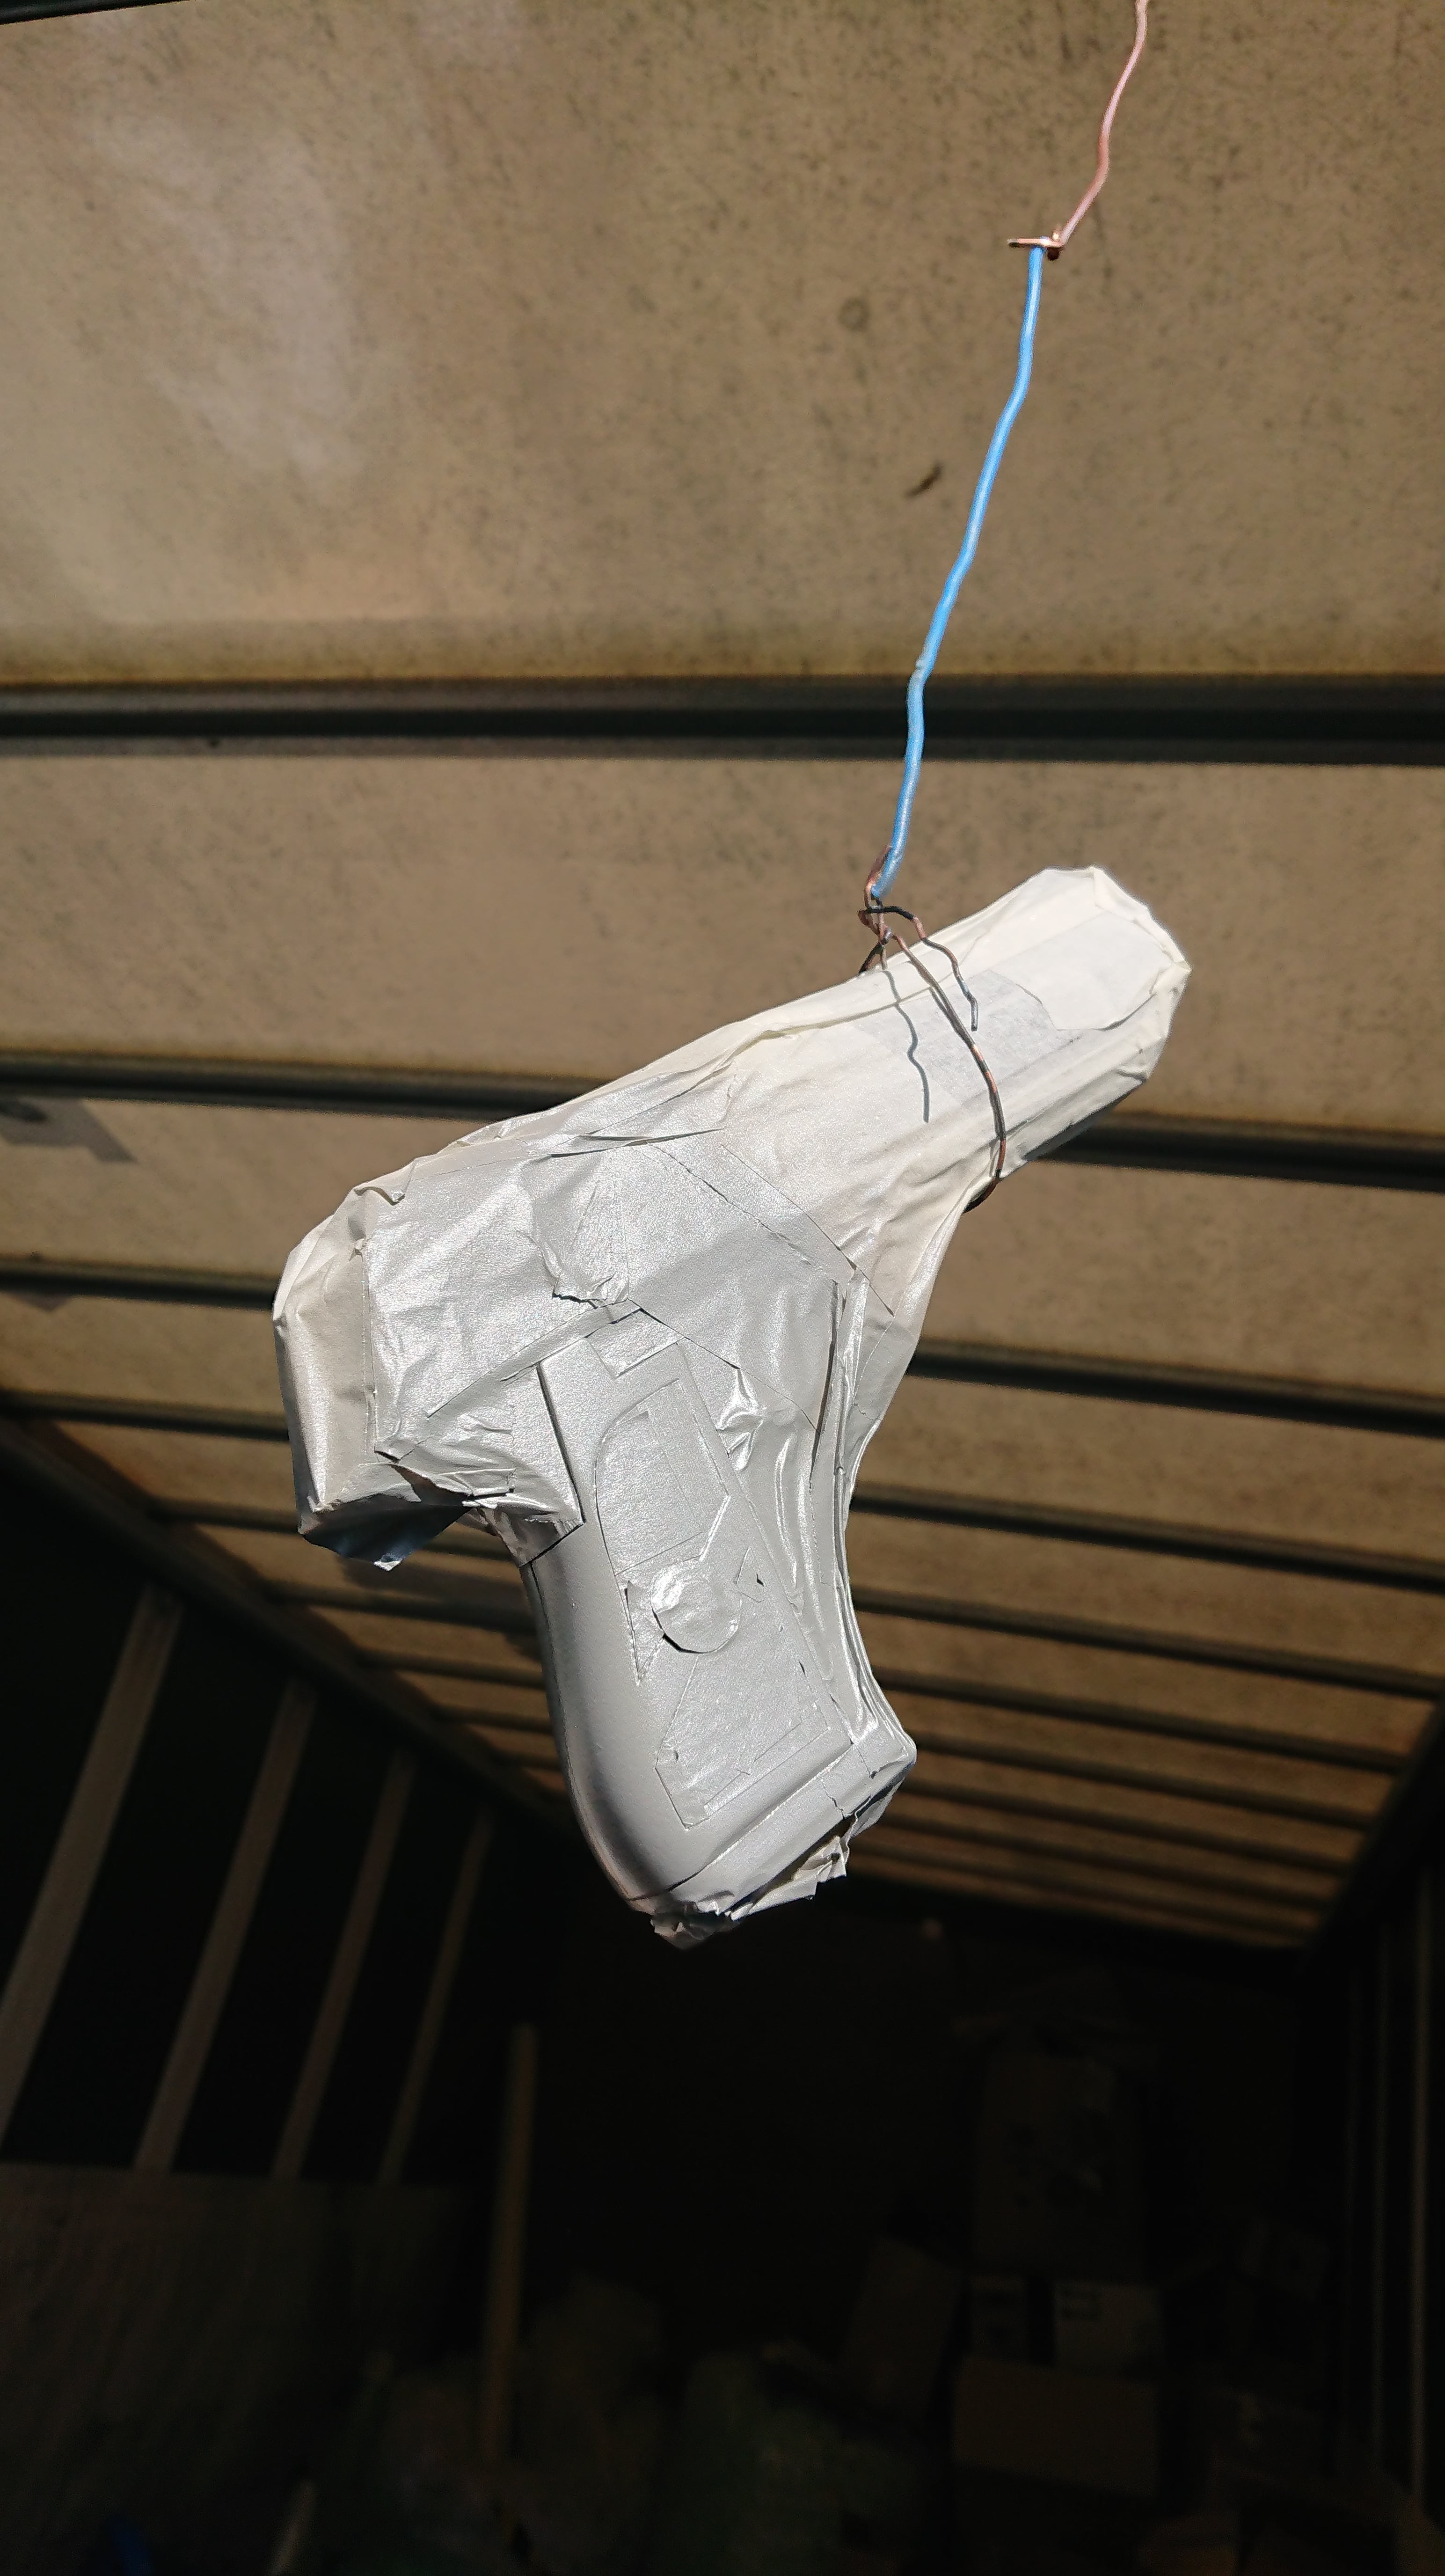
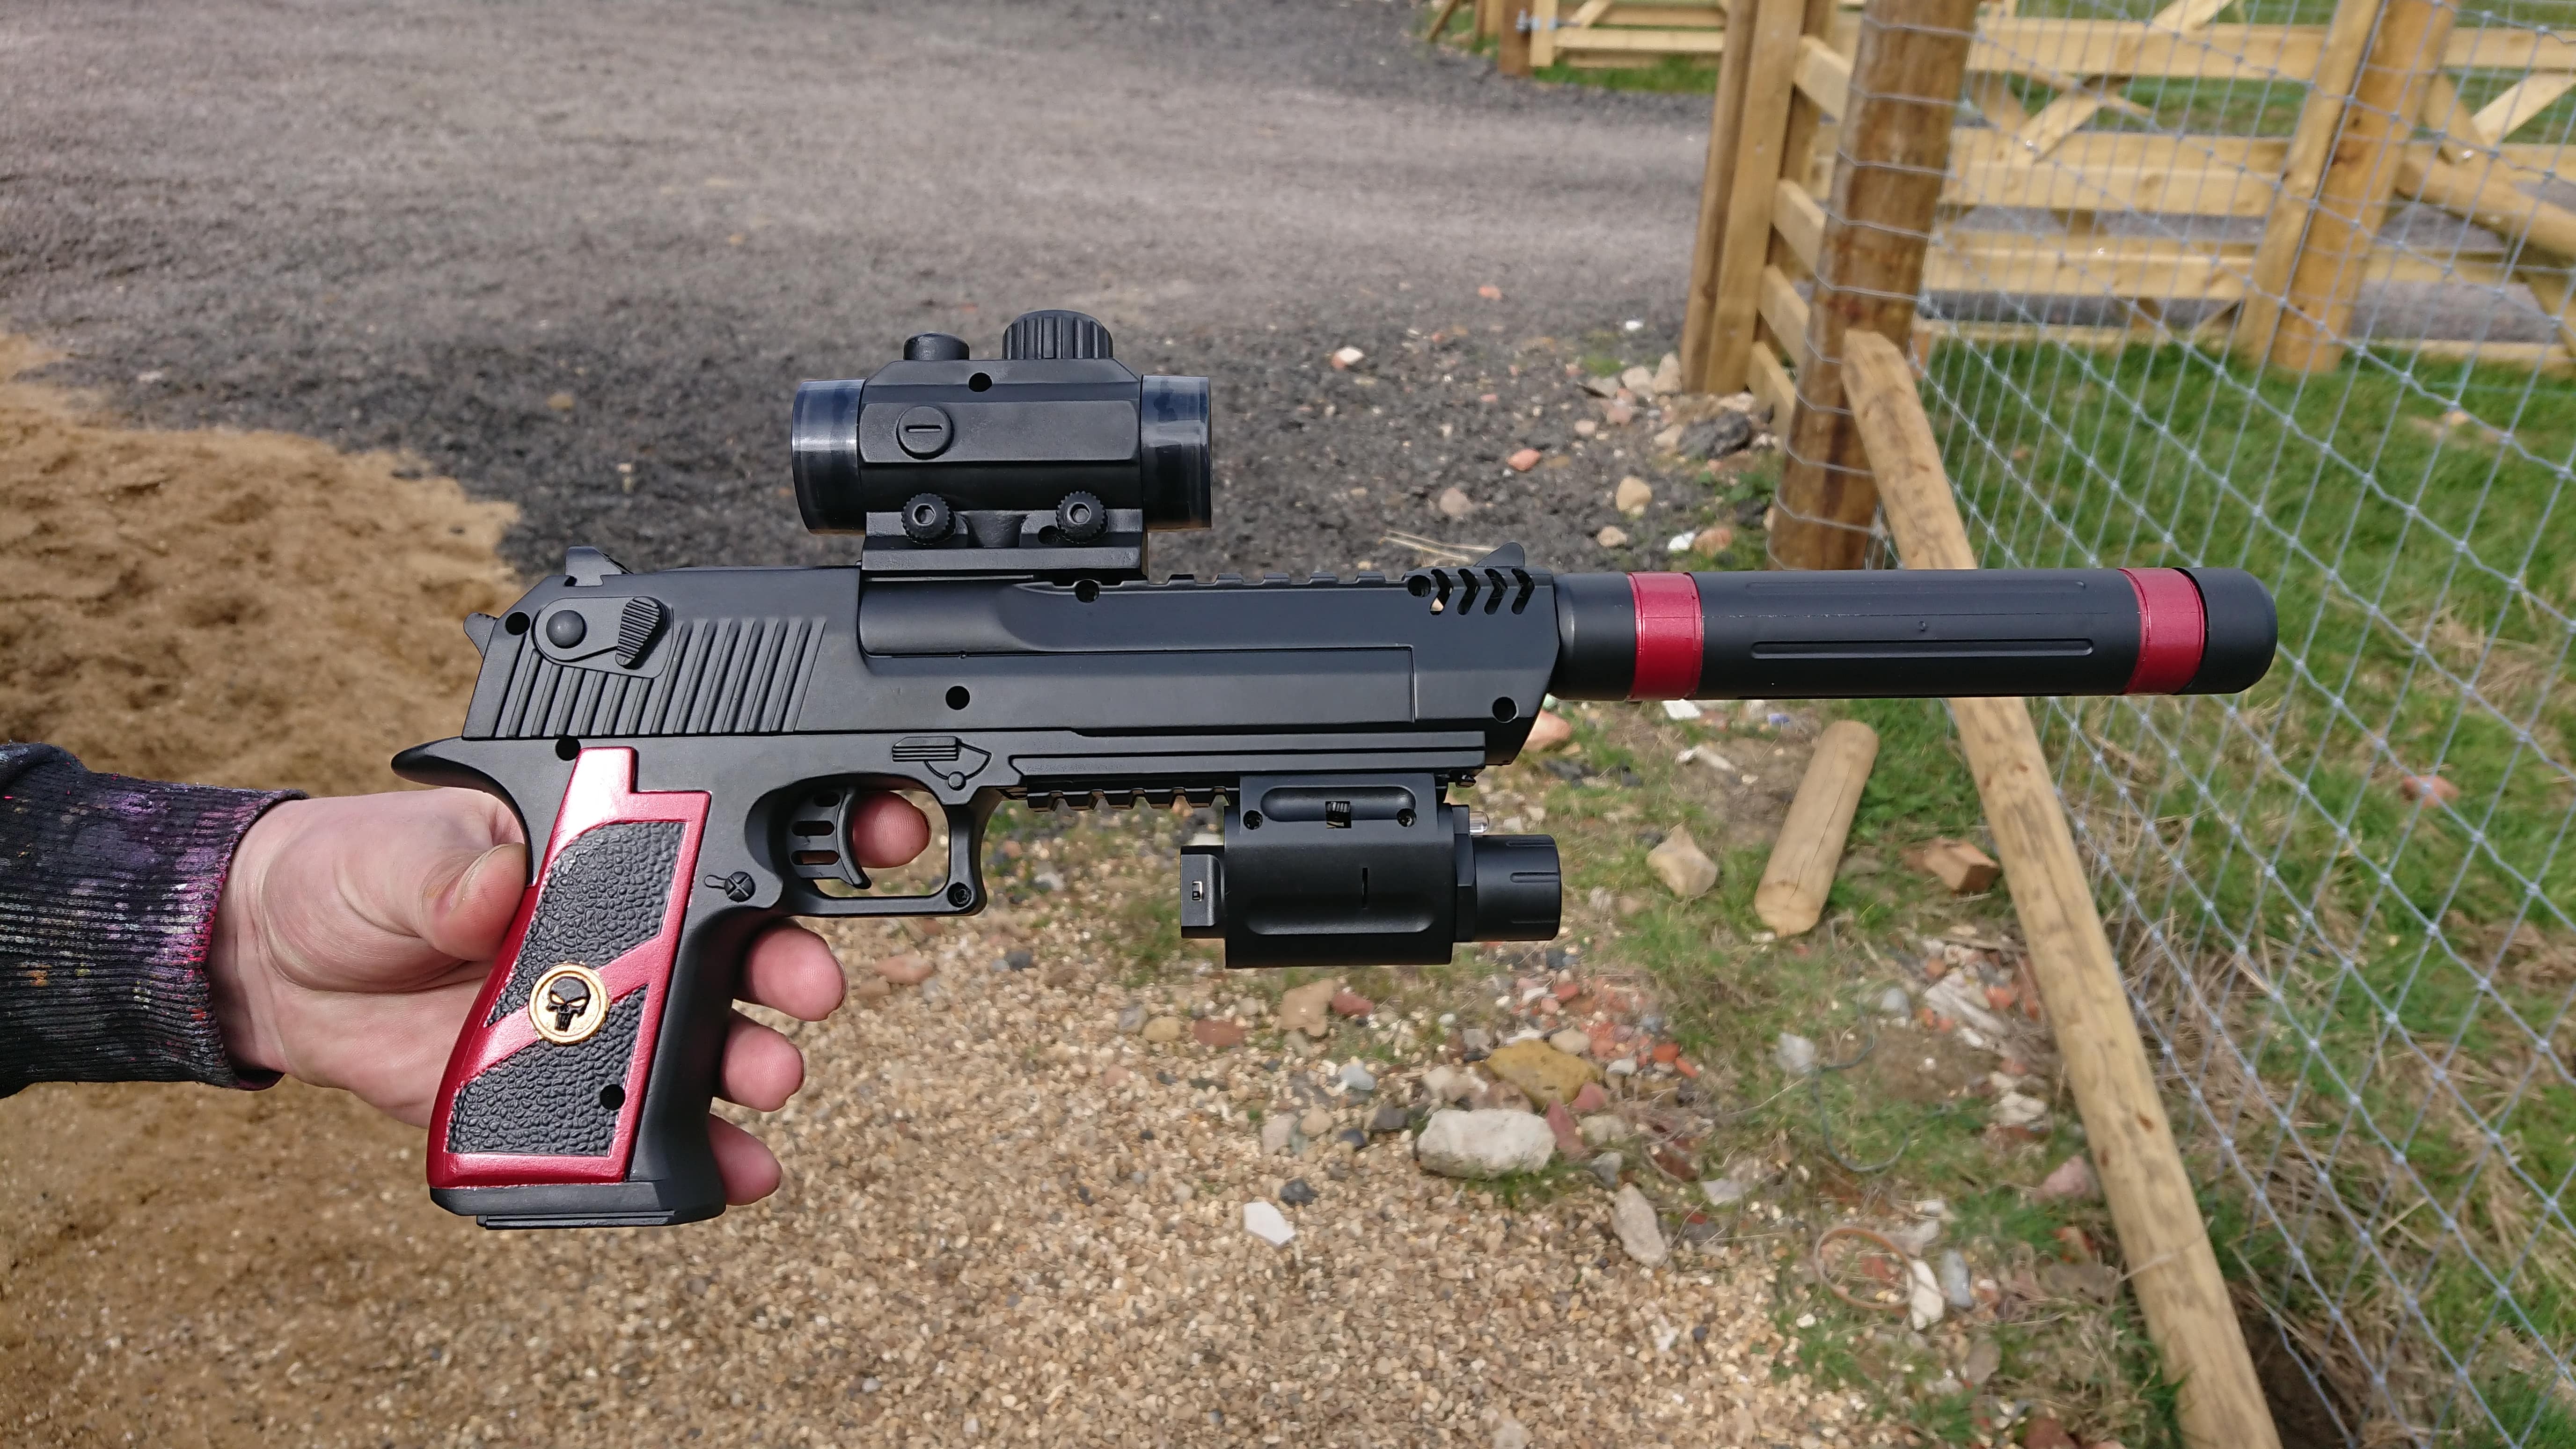
We masked off certain gun parts, so when we started the detailing process, we didn’t catch any unwanted areas. We wanted to make a special colour for the model gun, so we produced an anodised silver metallic paint coat. The product is the same kind of product we offer in our industrial range. After applying the metallic paint coat, we then applied a gloss red coloured lacquer to give it a contrasting finish between the colours and finishes.
The last touch was the Gold detailing in the handle of the model, which we used a small brush and some custom Pantone 801 Gold.
We loved working on this project, it was so much fun, and the end product looked fantastic, we’re sure it will look great once it is on the big screen.