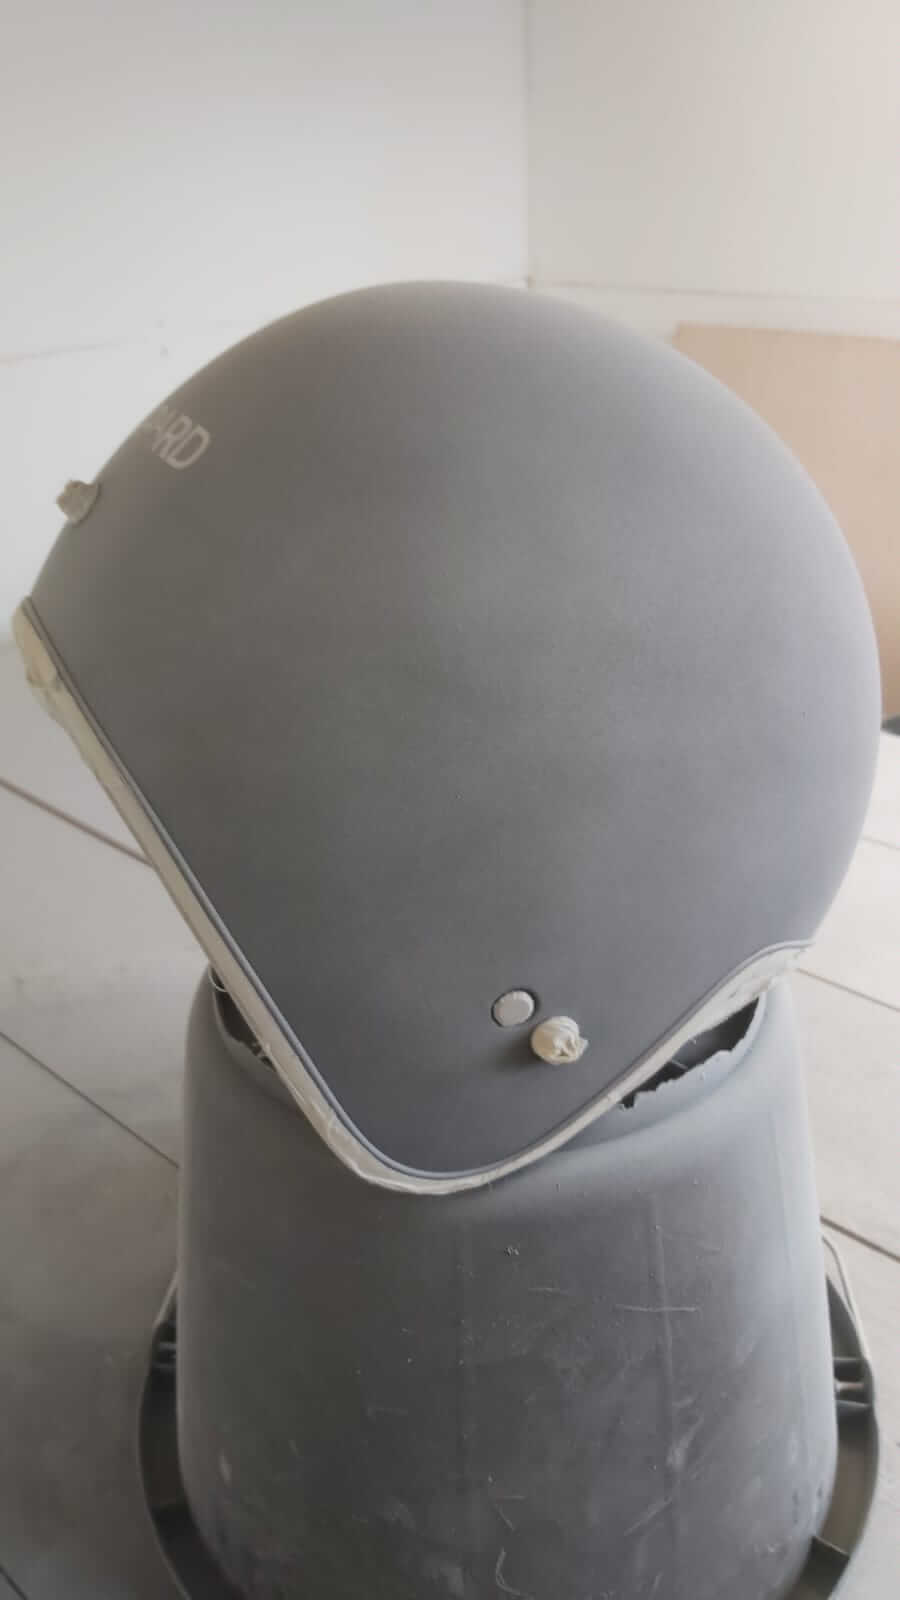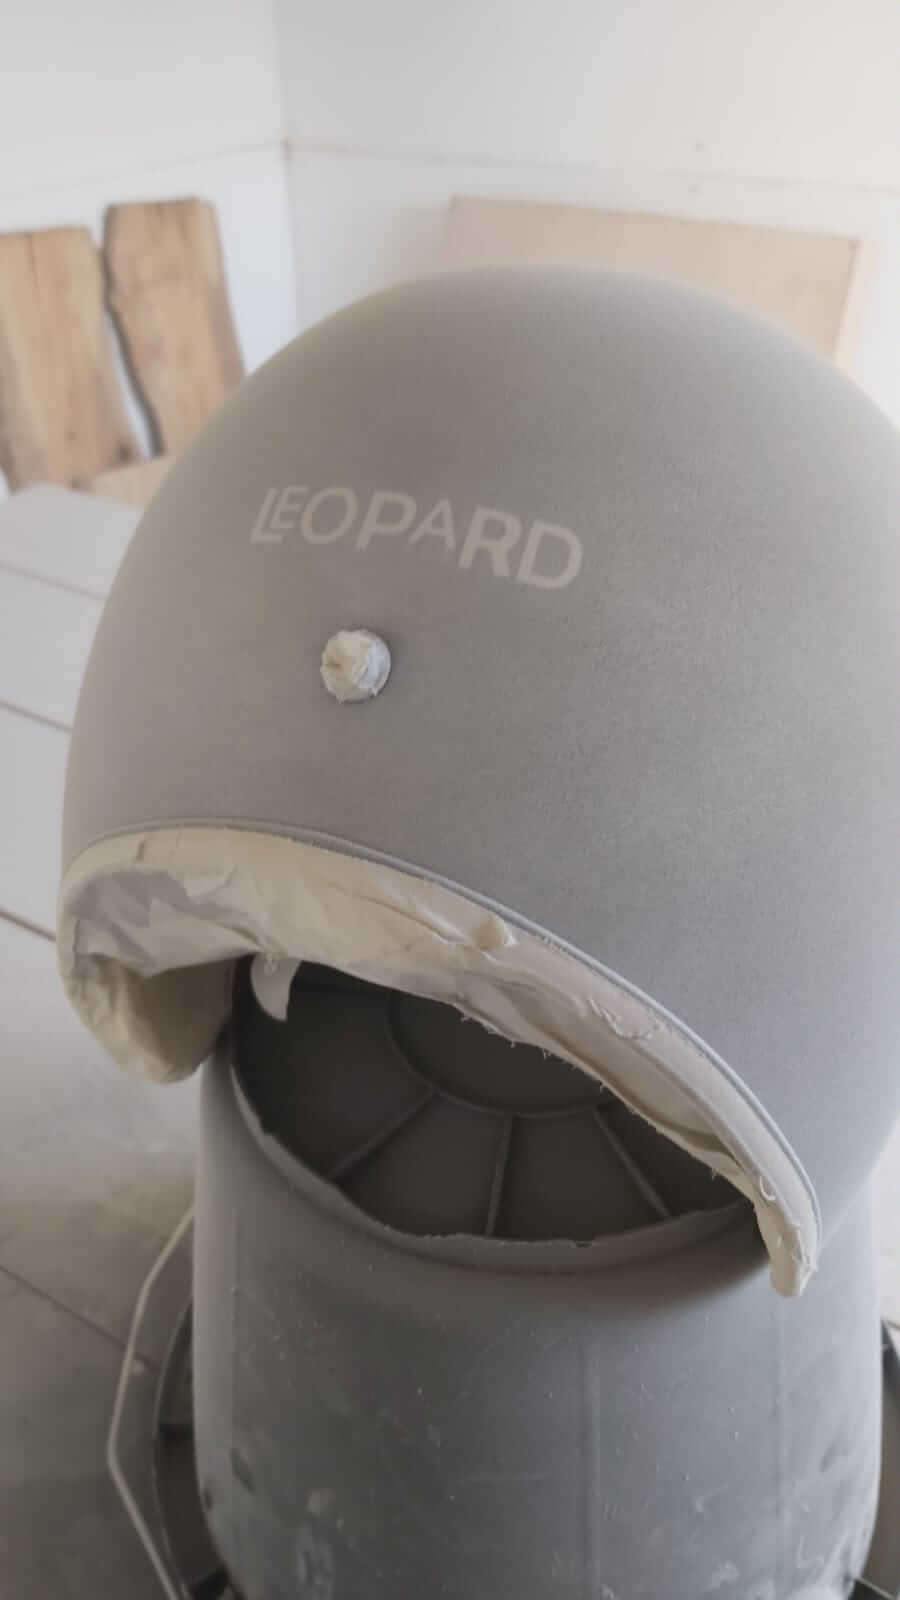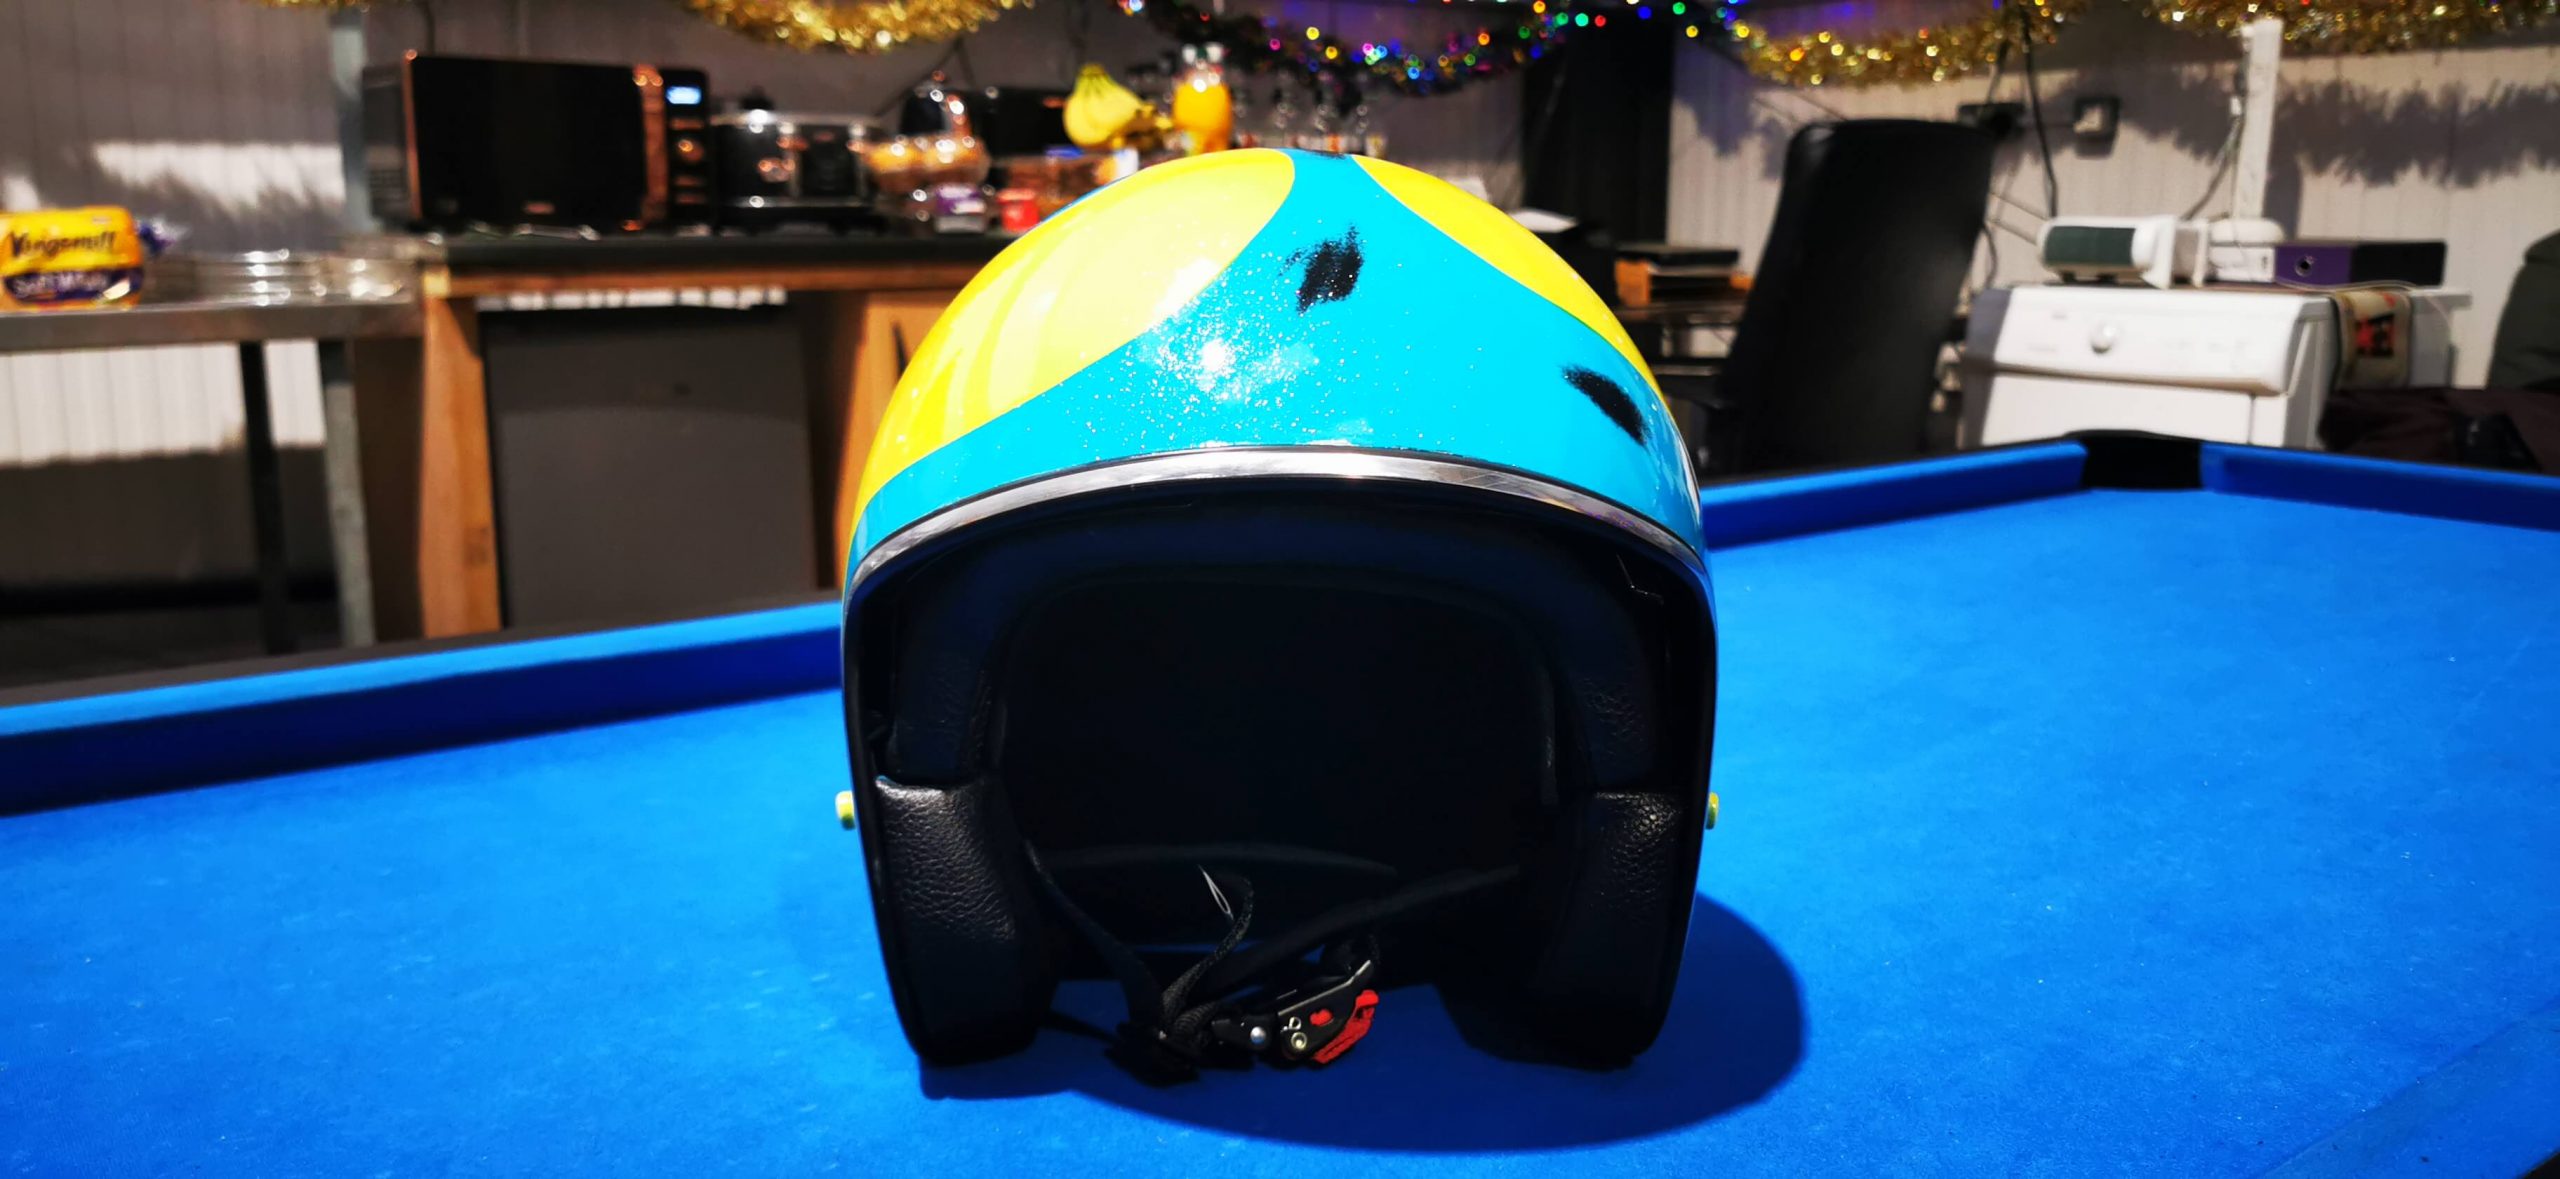
Stuart popped into our unit to get some colour matches and advice on some motorbike helmet projects he was planning. He kindly sent us pictures of the bike helmet projects that were ongoing, which included multiple helmets. The outcomes are super cool and will no doubt stand out from the crowd.
Tools:
- Sanding Paper (Multiple Grits) and Scotch Brite
- Masking Paper and Masking Tape
- Tack Cloth
- Degreaser
- High Build Primer 1K
- Acrylic 1K Aerosol Paint
- 2K High Gloss Lacquer
Our Method
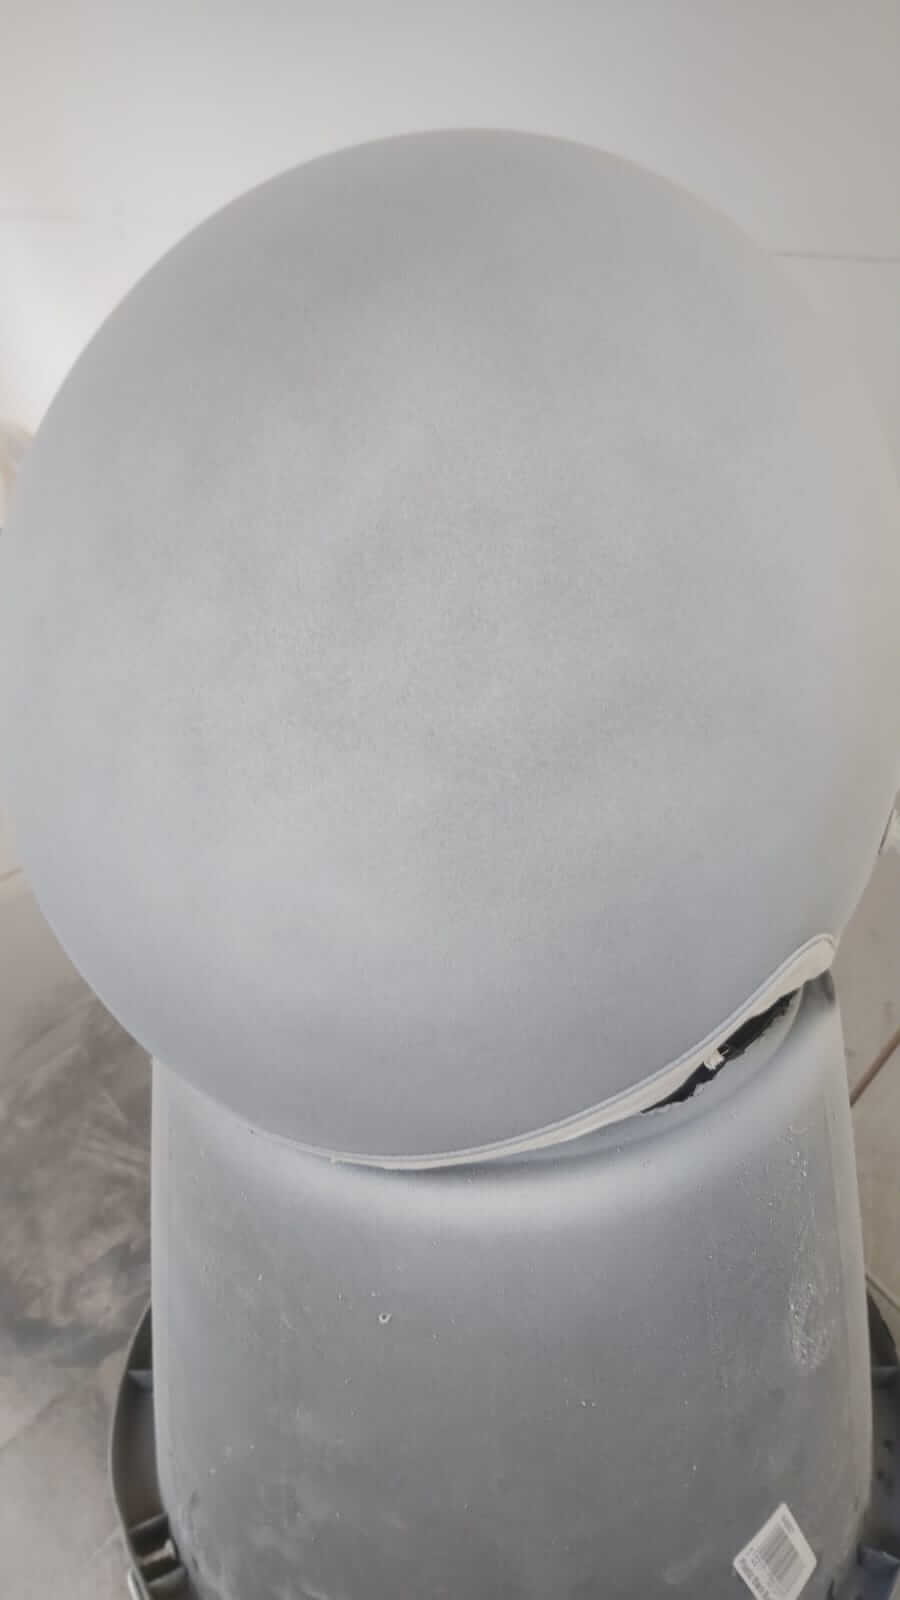
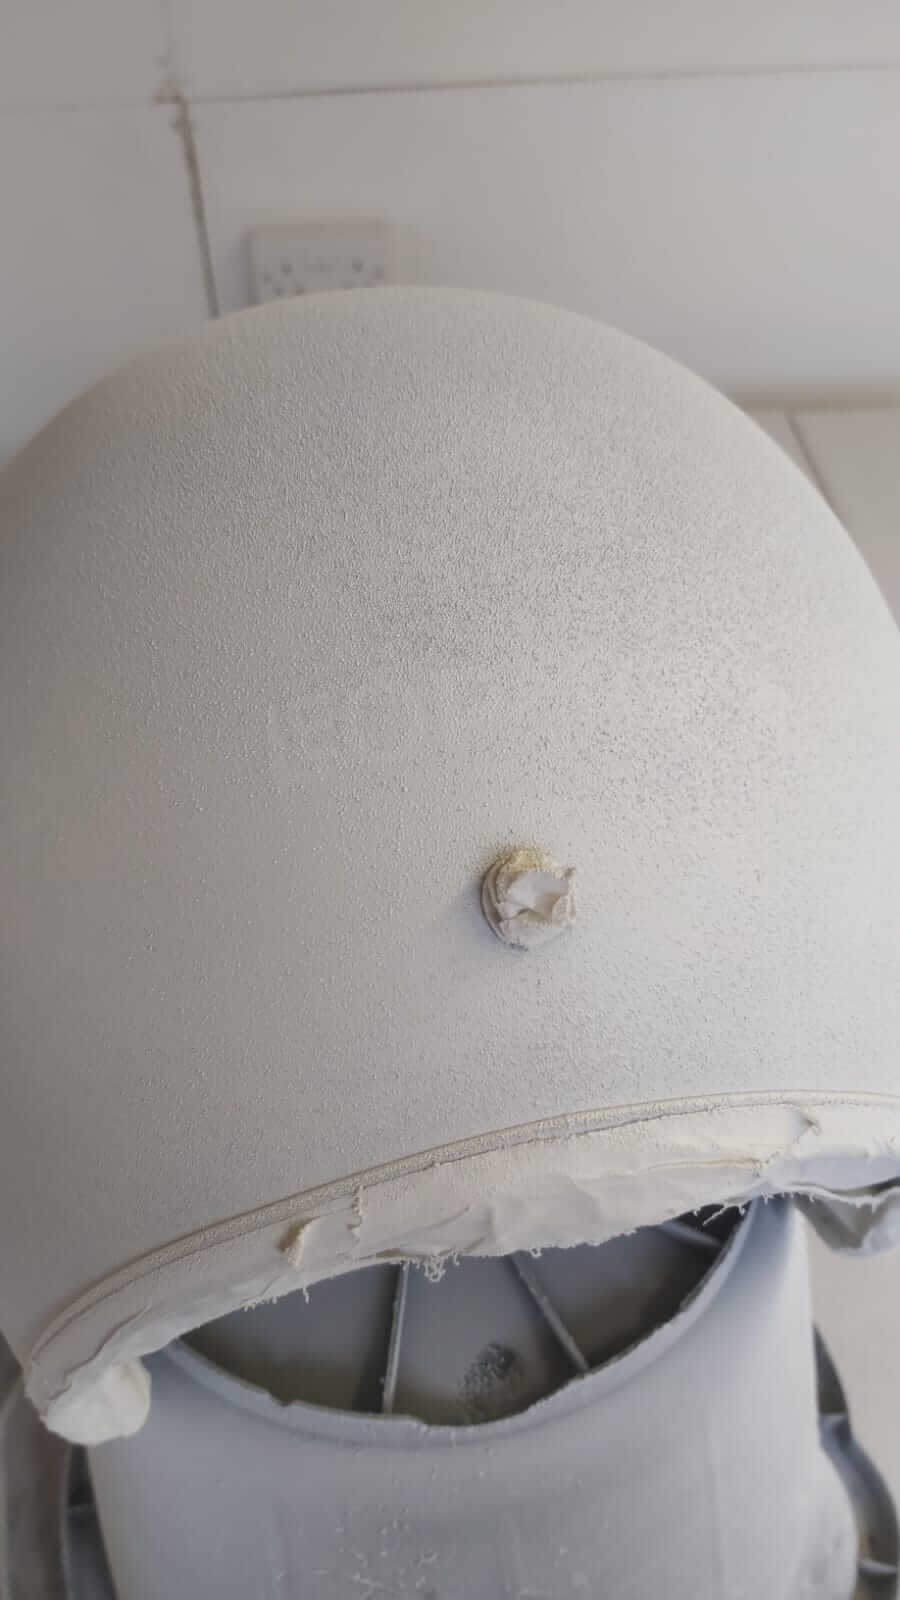
Firstly, degrease the helmet thoroughly. Once the degreaser has evaporated, use the scotch brite to key the surface. If the surface is rough, use the sandpaper to work the surface down until it is smooth.
Use some tack cloth or a wet towel to remove all debris and dust.
Painting:
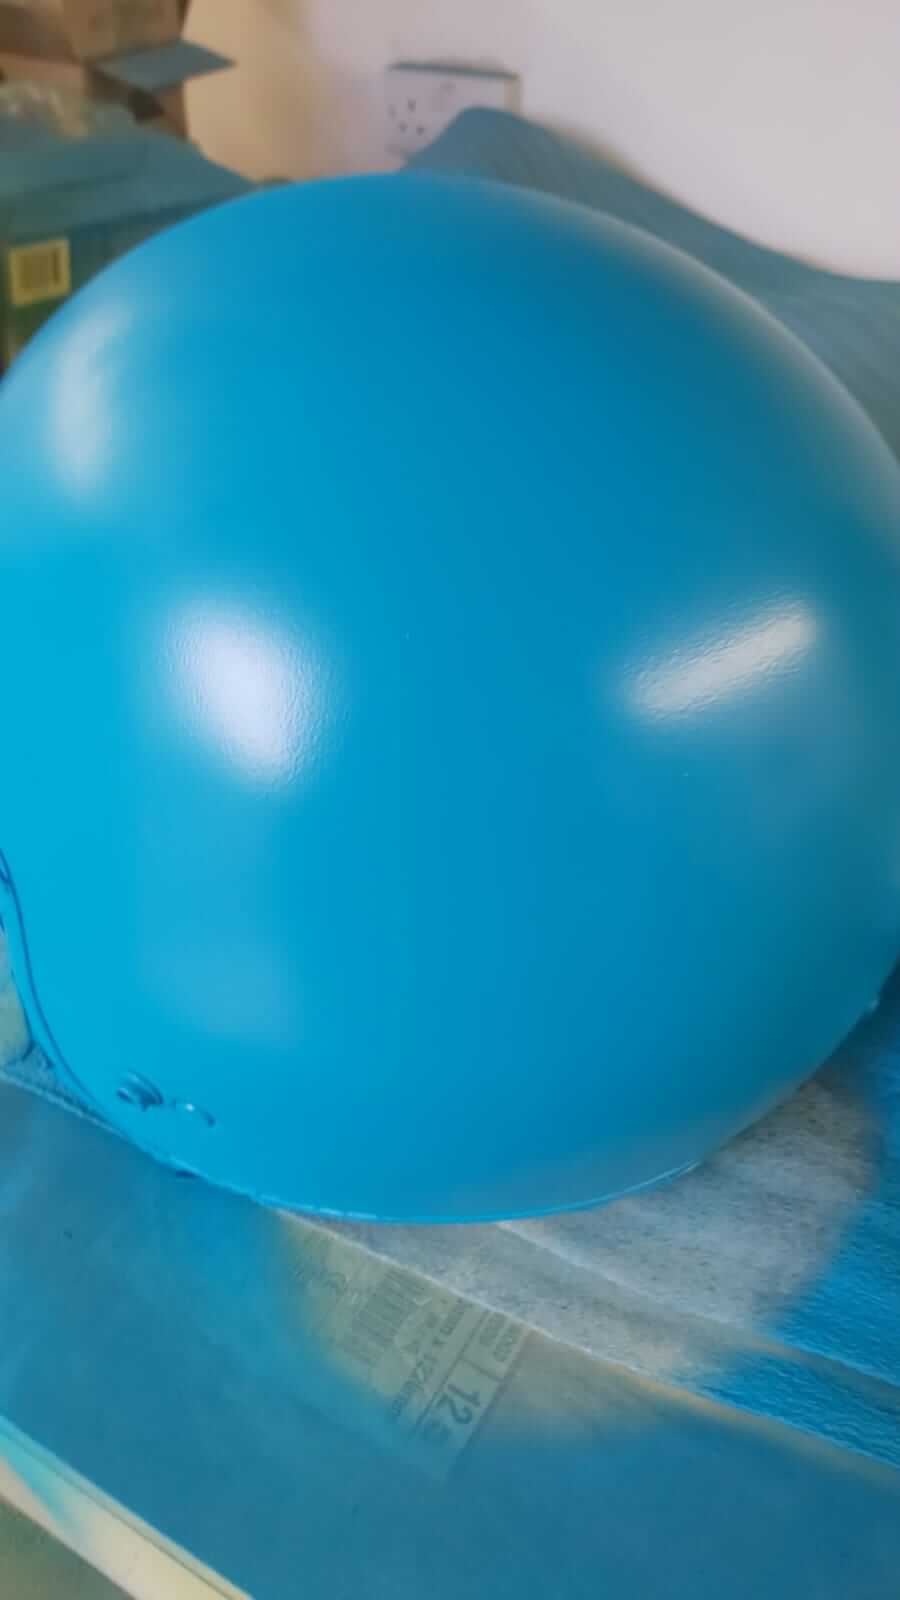
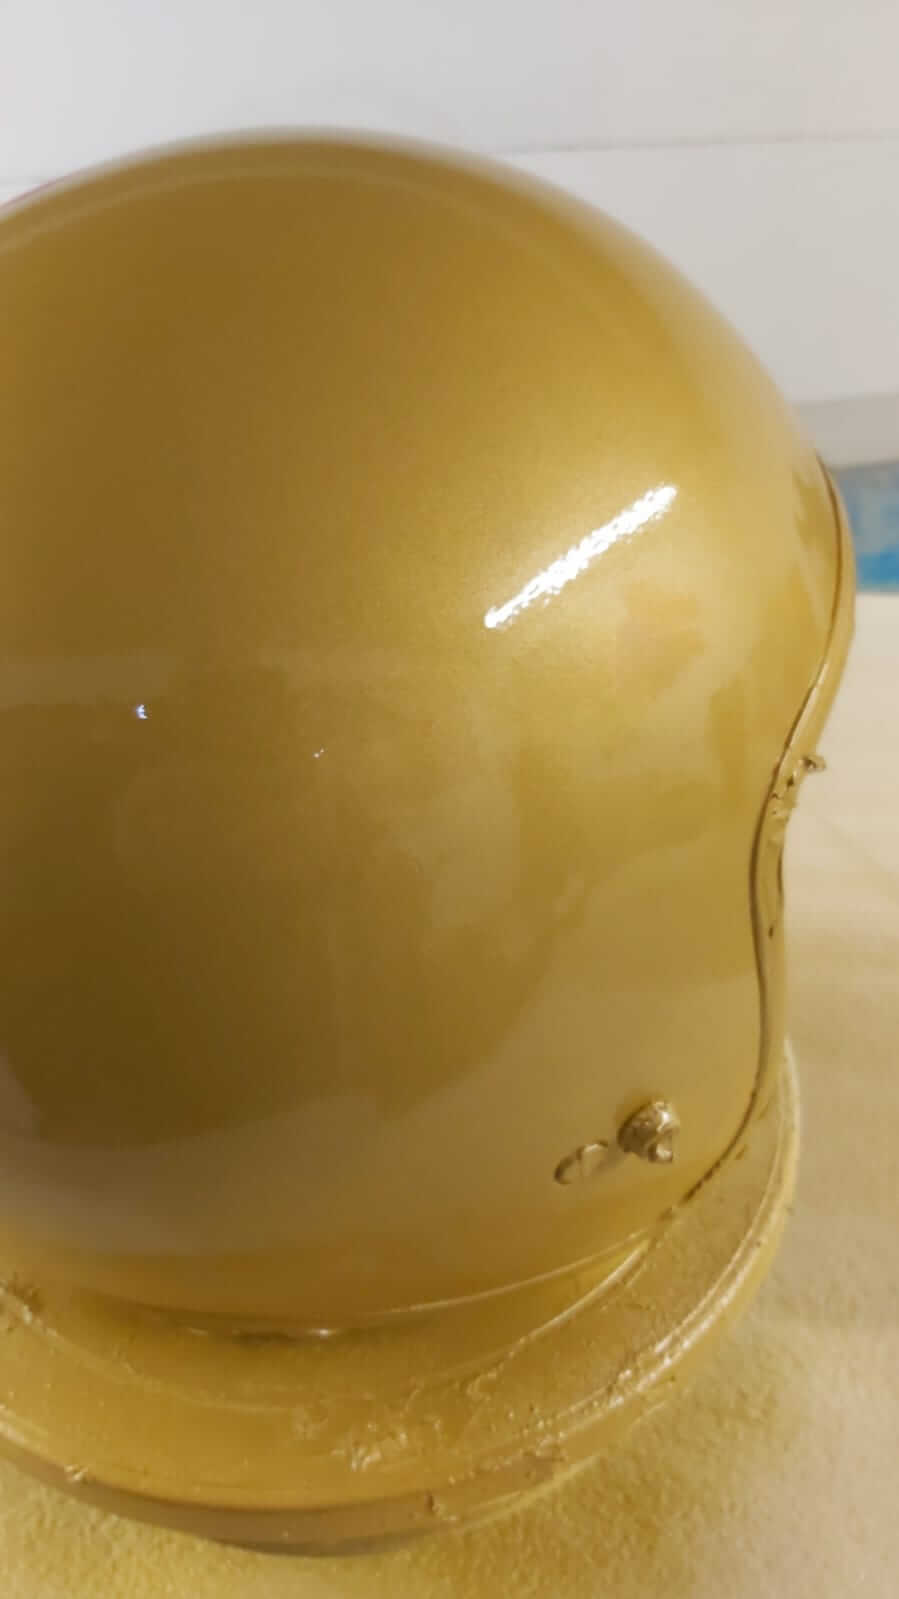
Once you have keyed down the surface, apply the first light coats of high build primer. Leave to cure for 30 minutes between light coats. Once it has fully cured, you are ready to add the base coat colour. Stuart made multiple helmets with different effects, curing 30 minutes between coats.
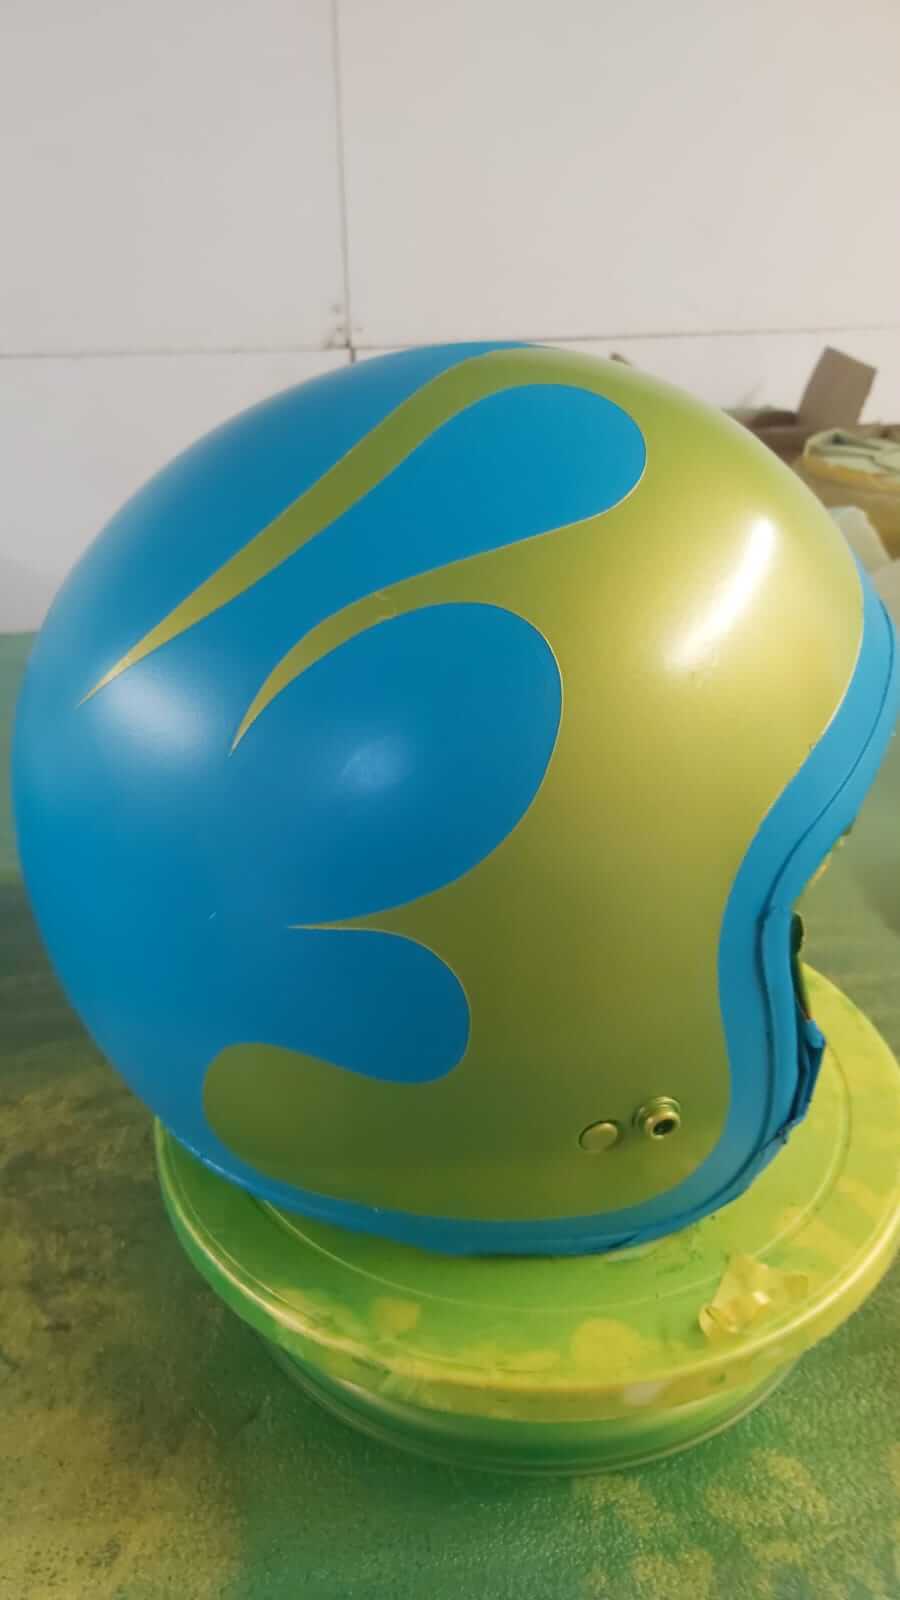
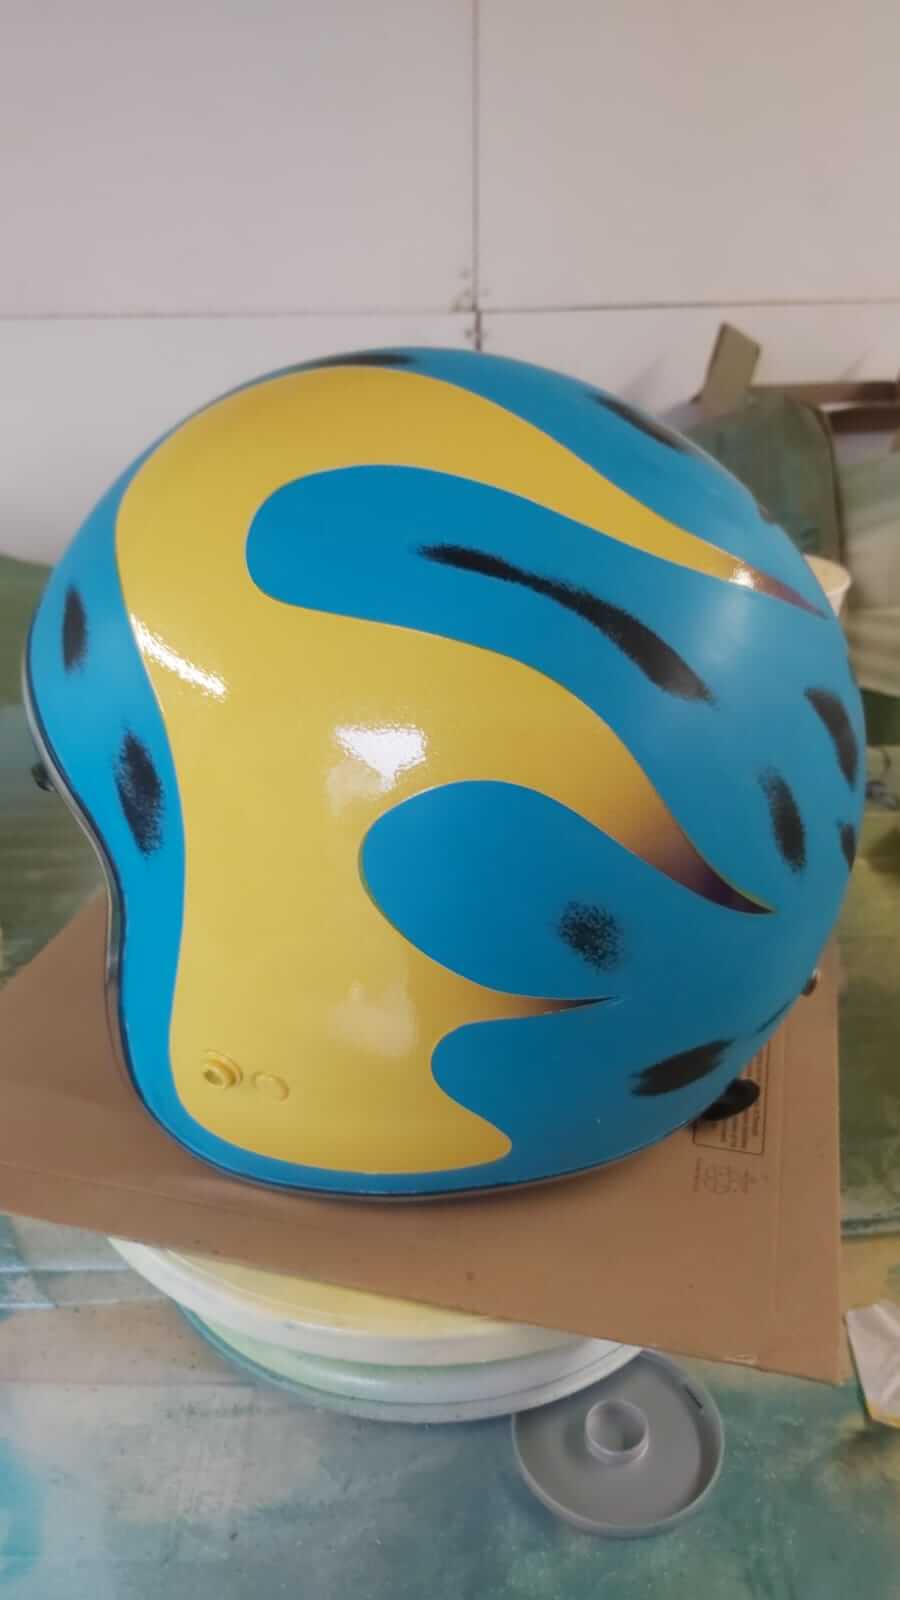
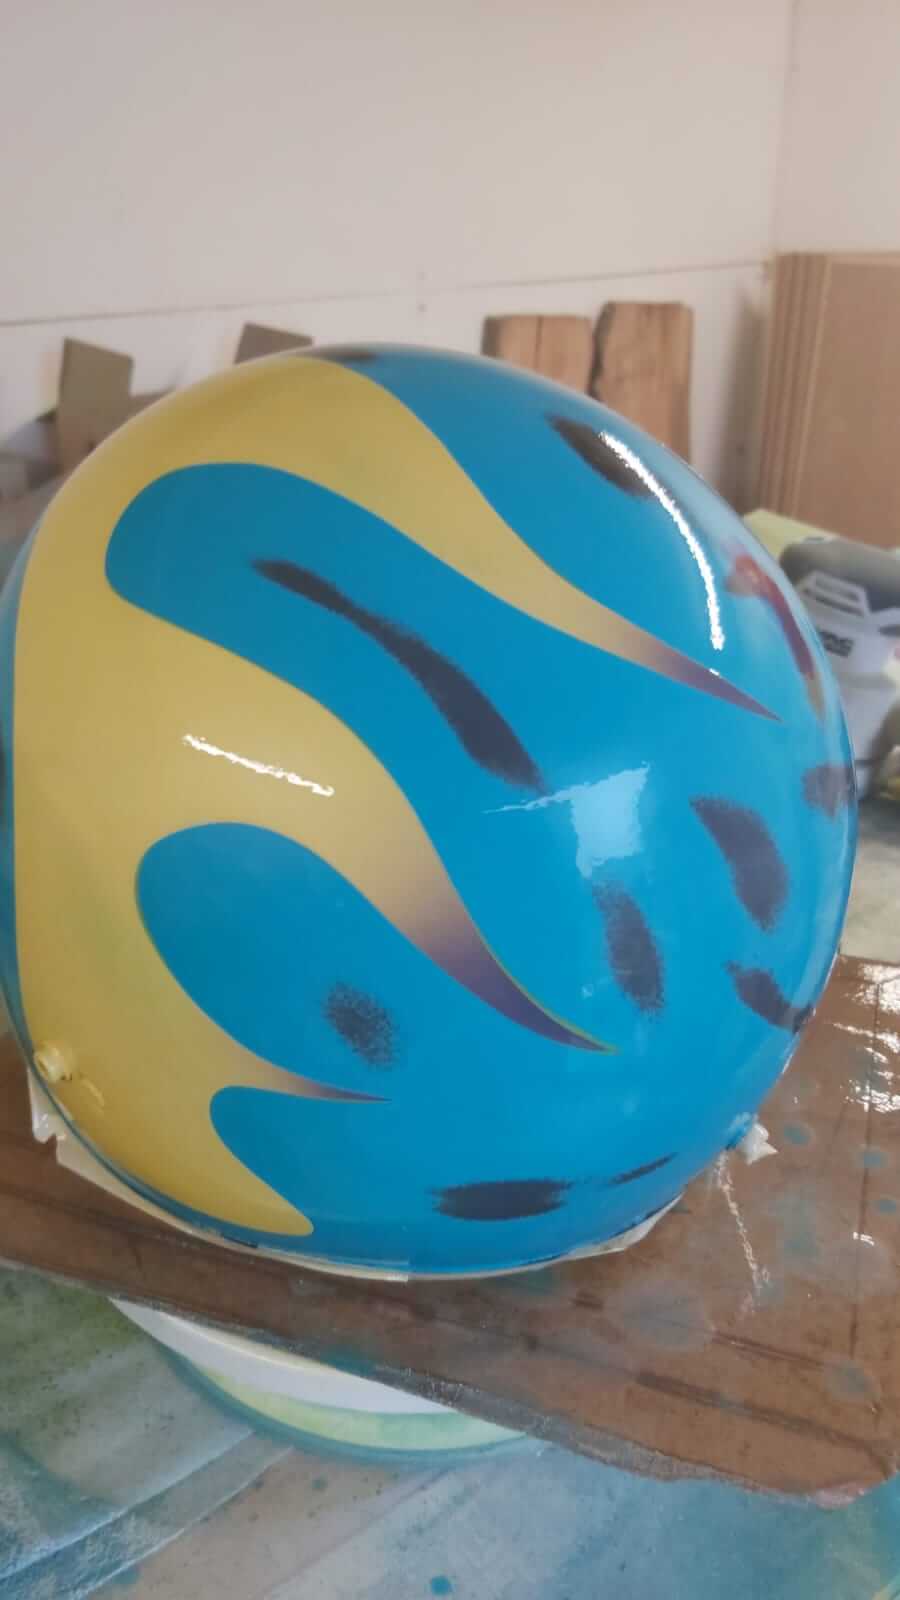
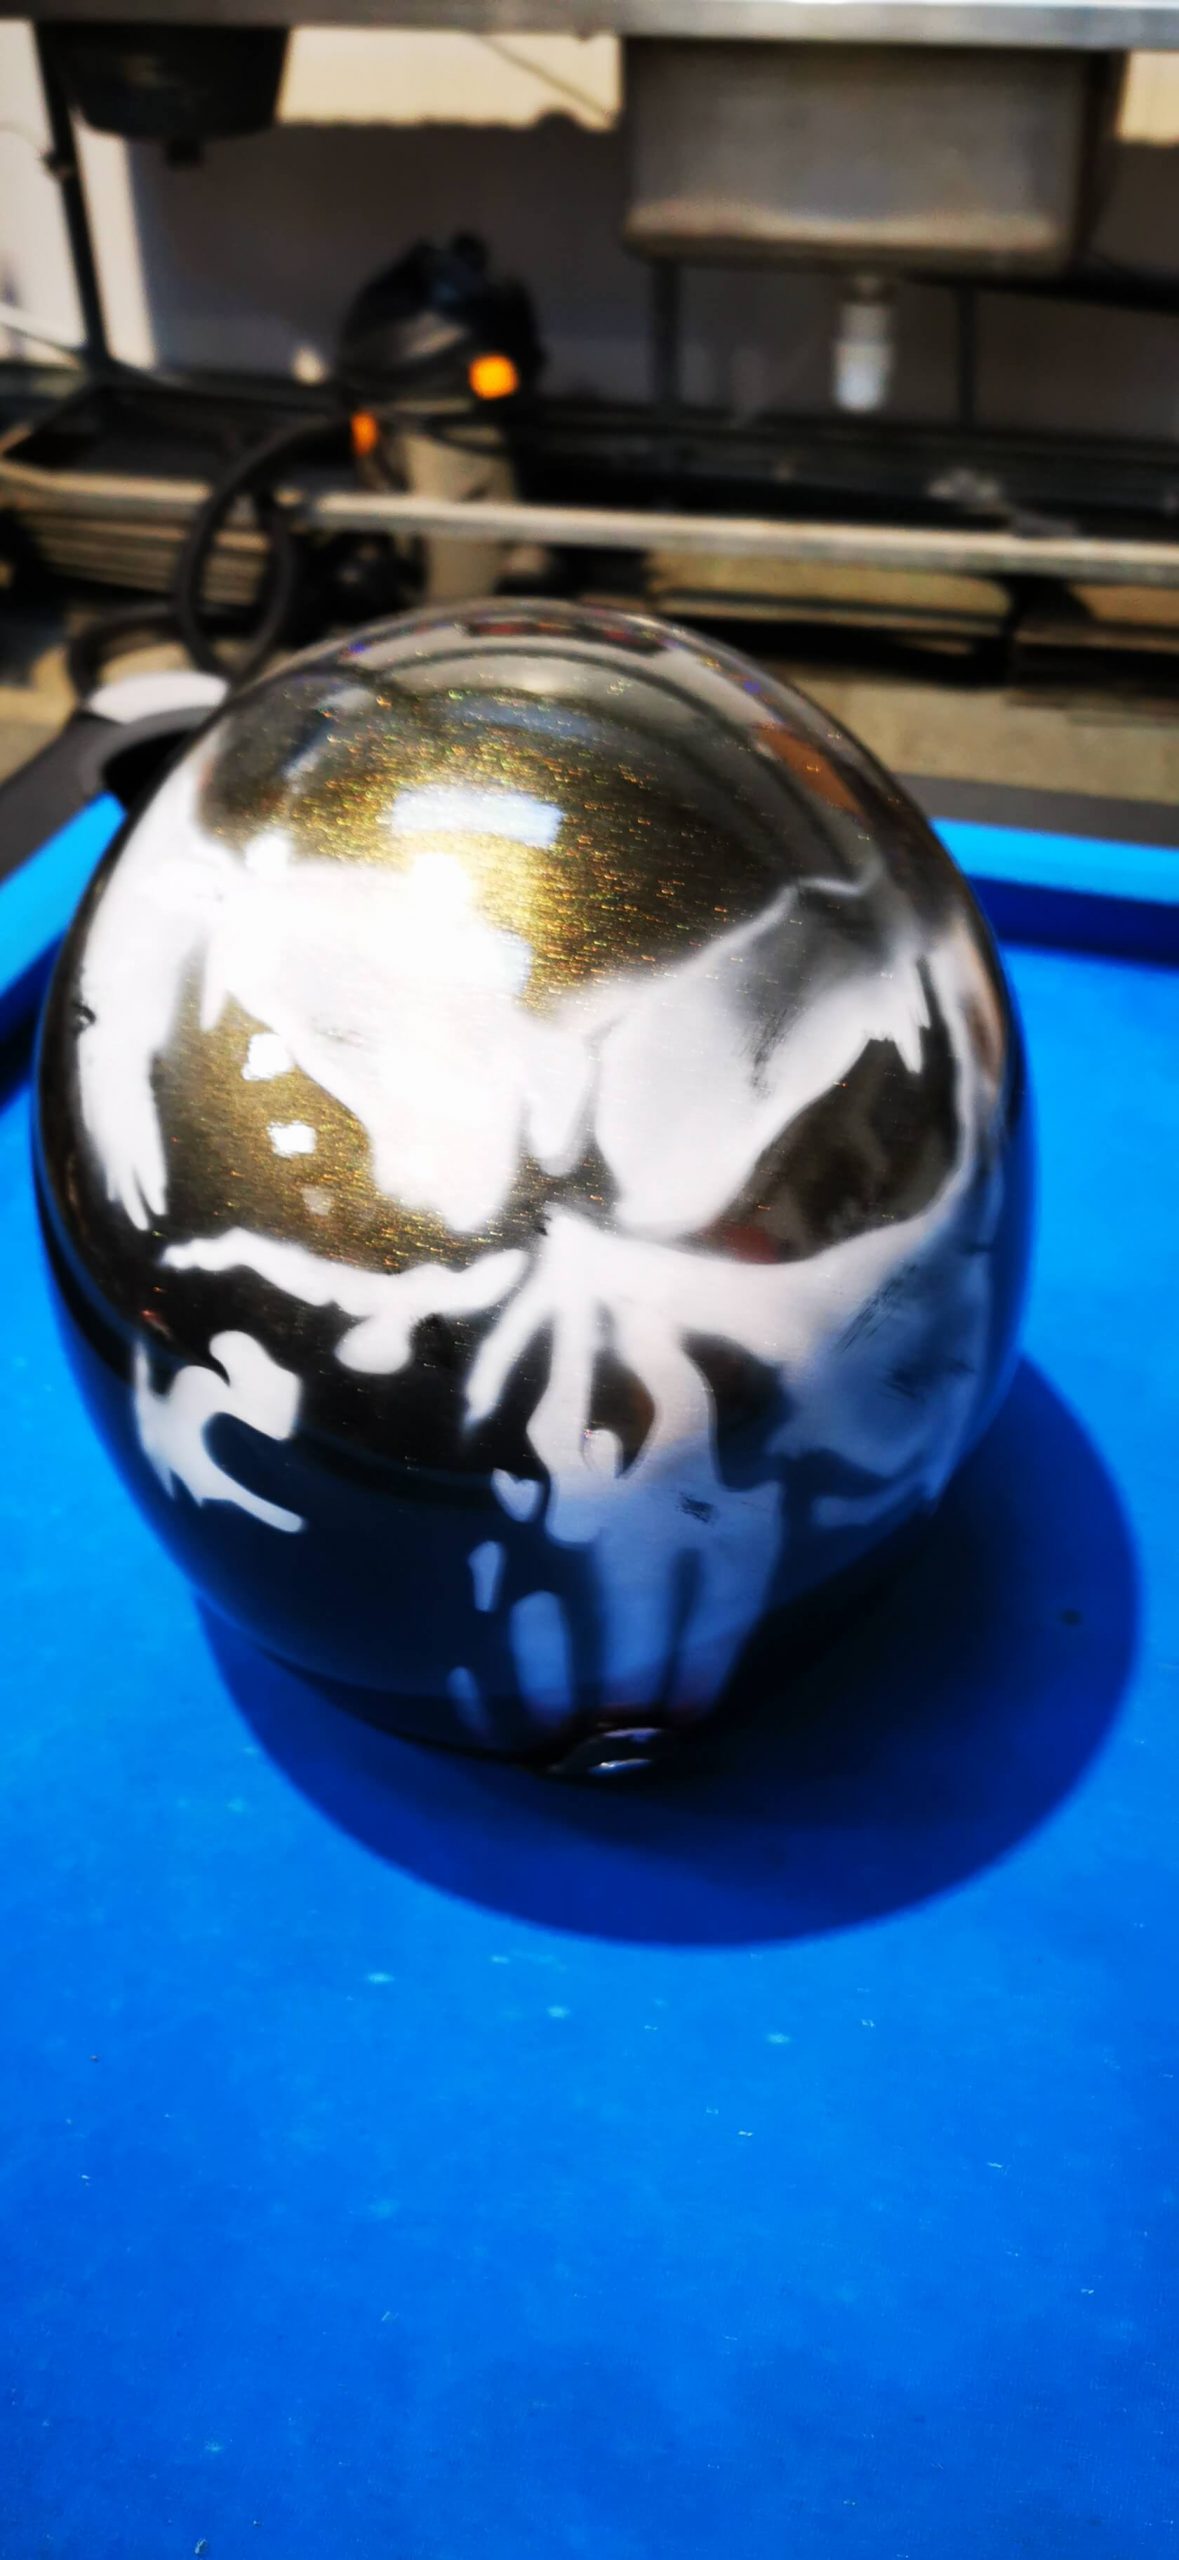
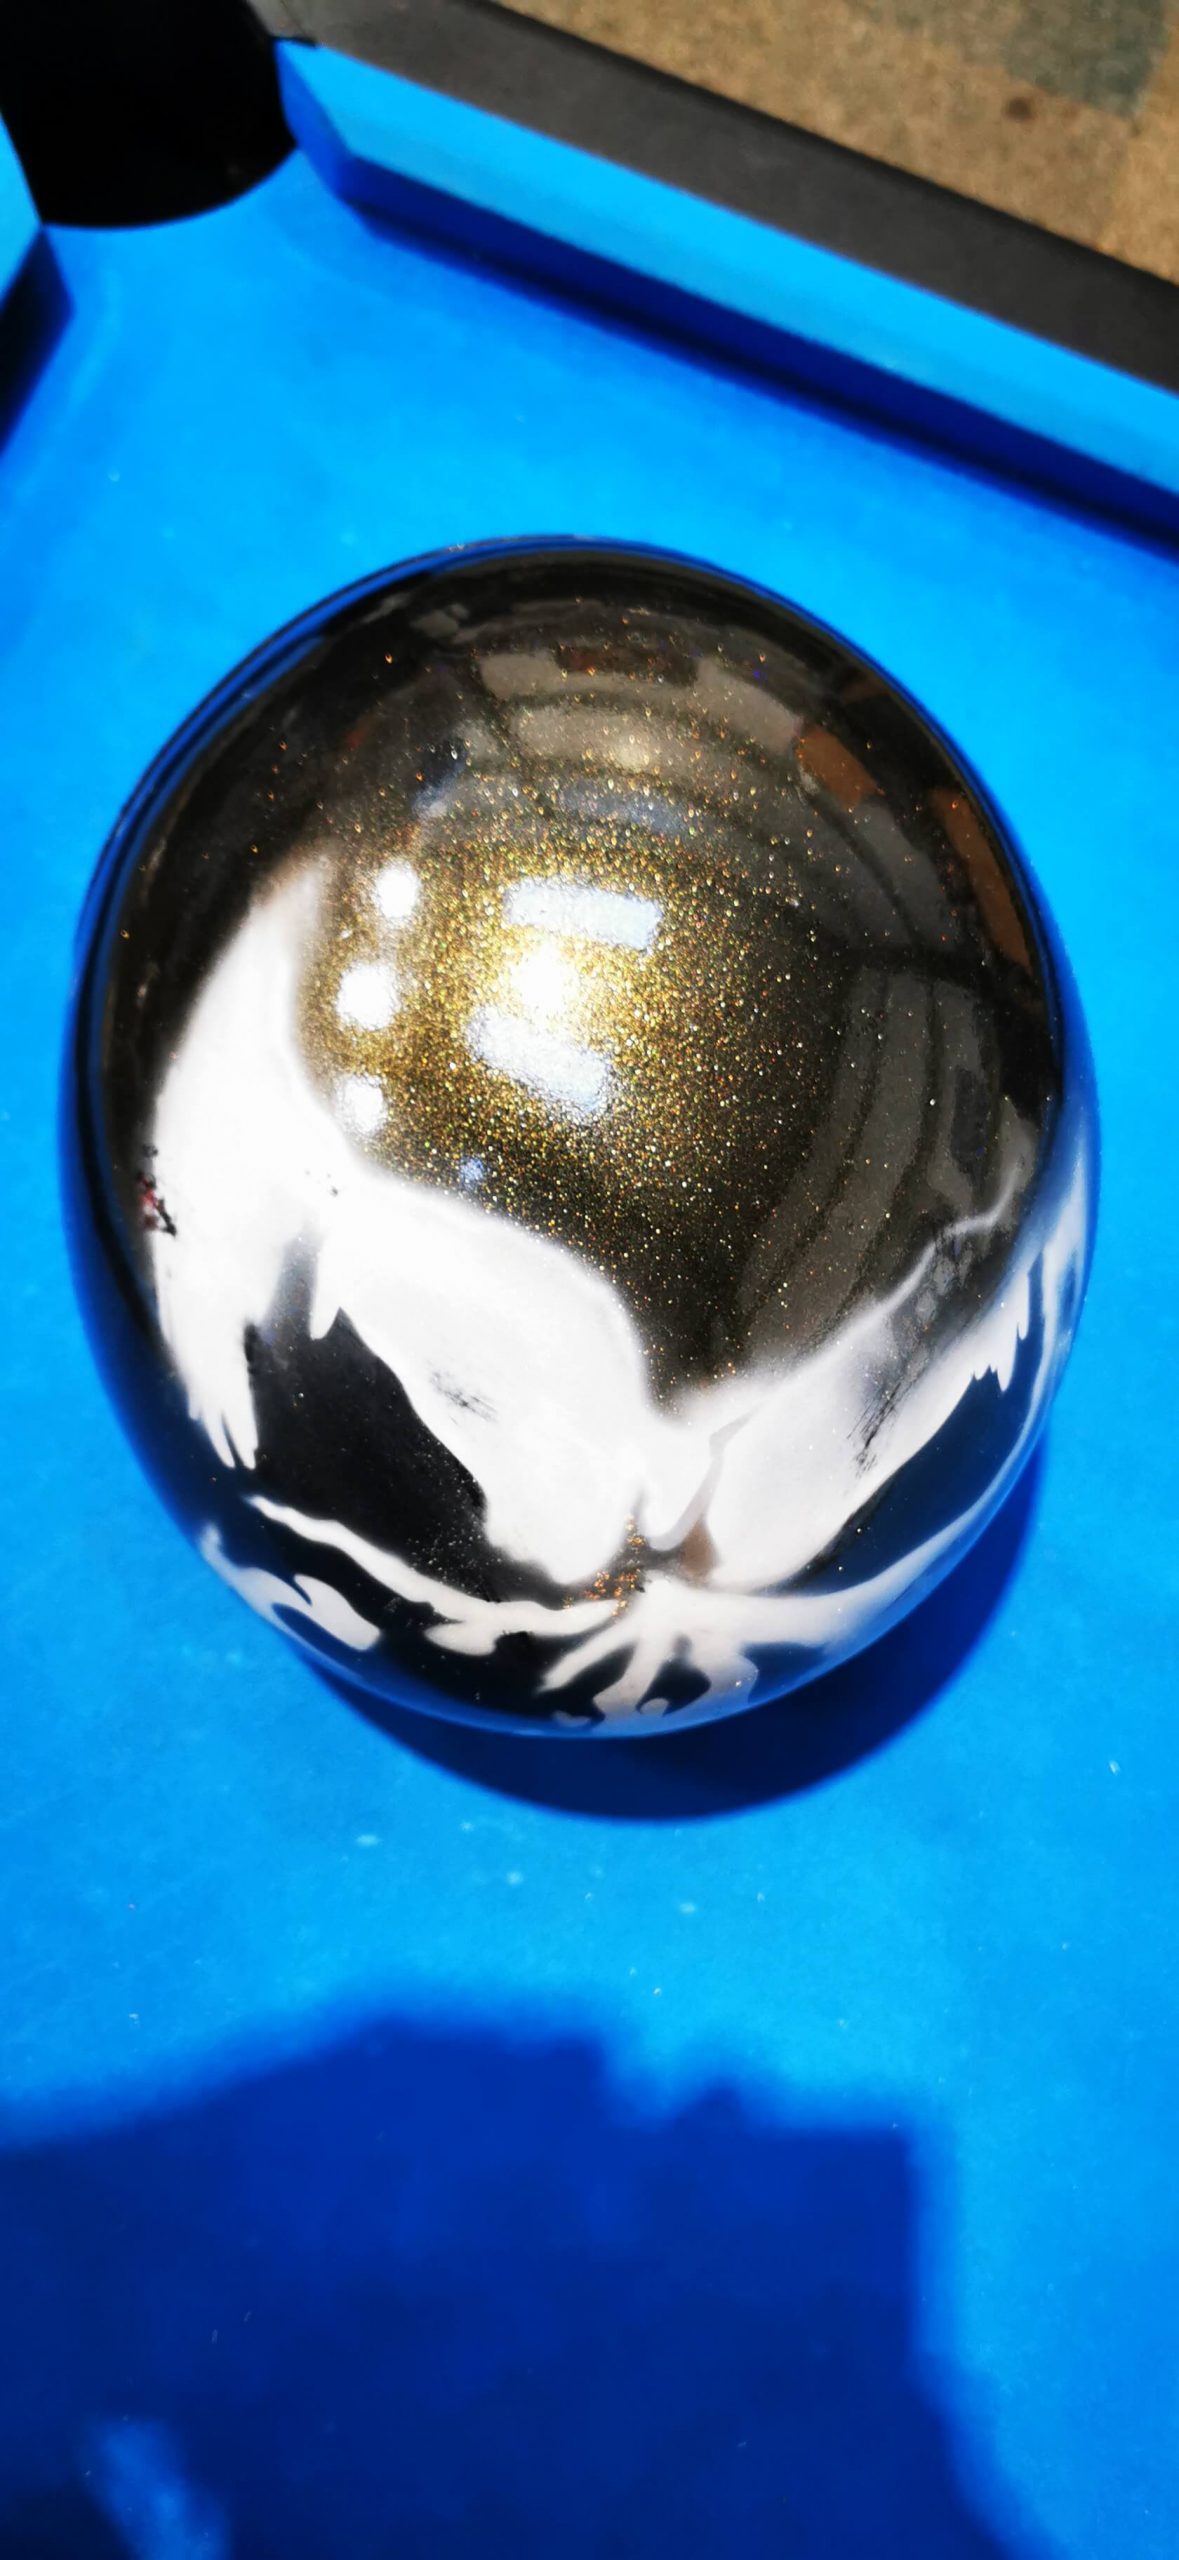
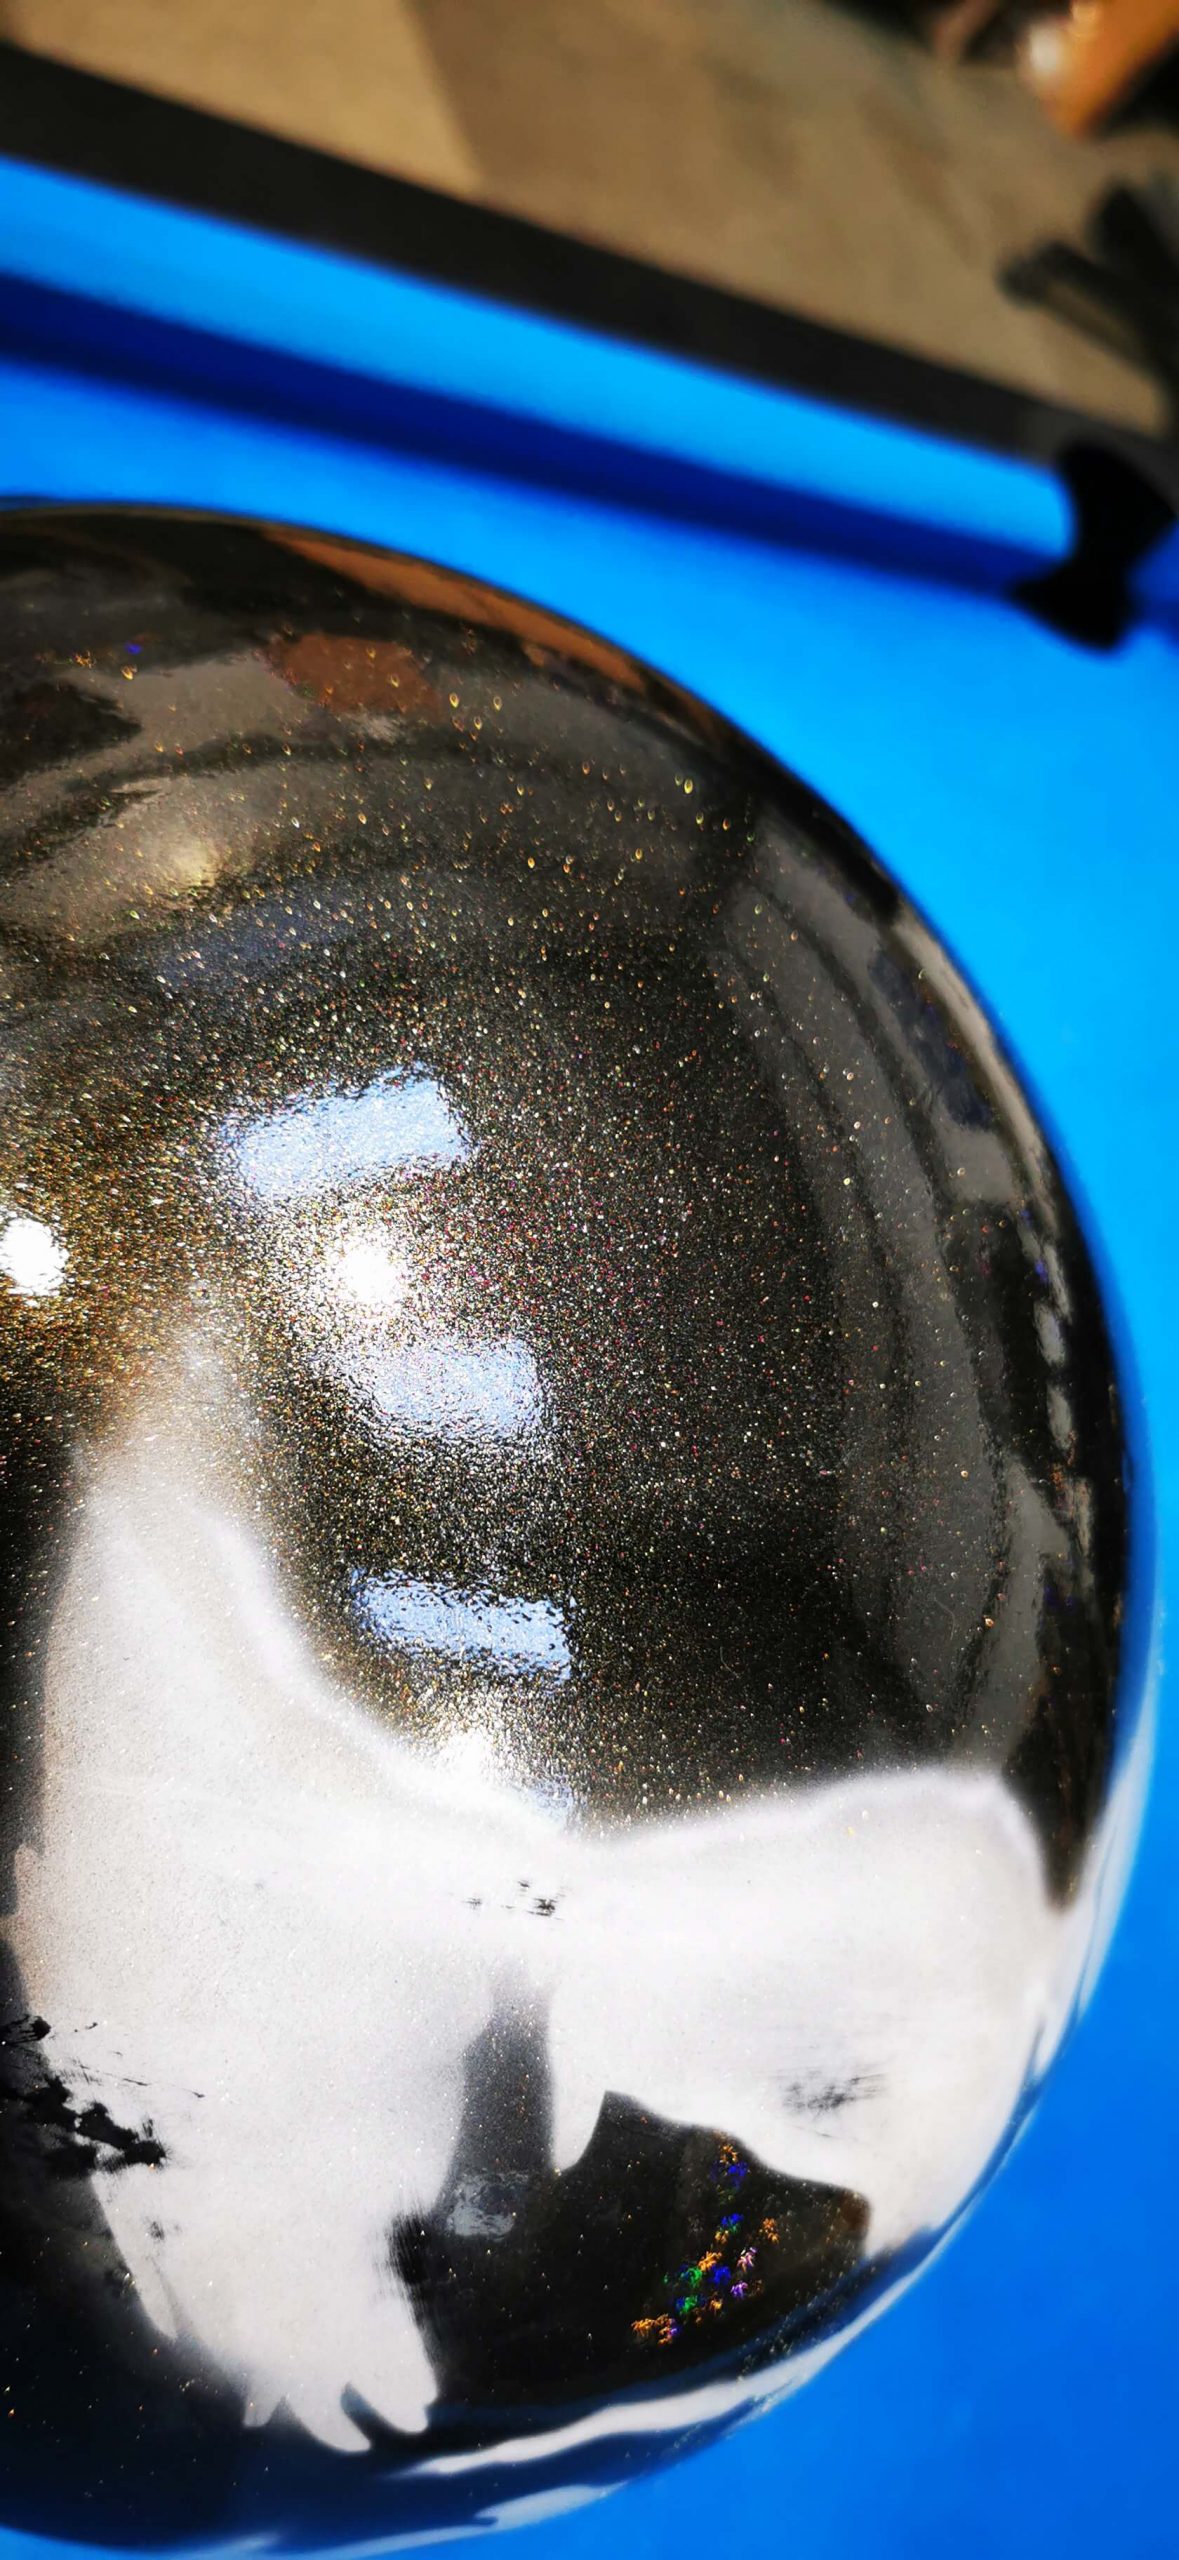
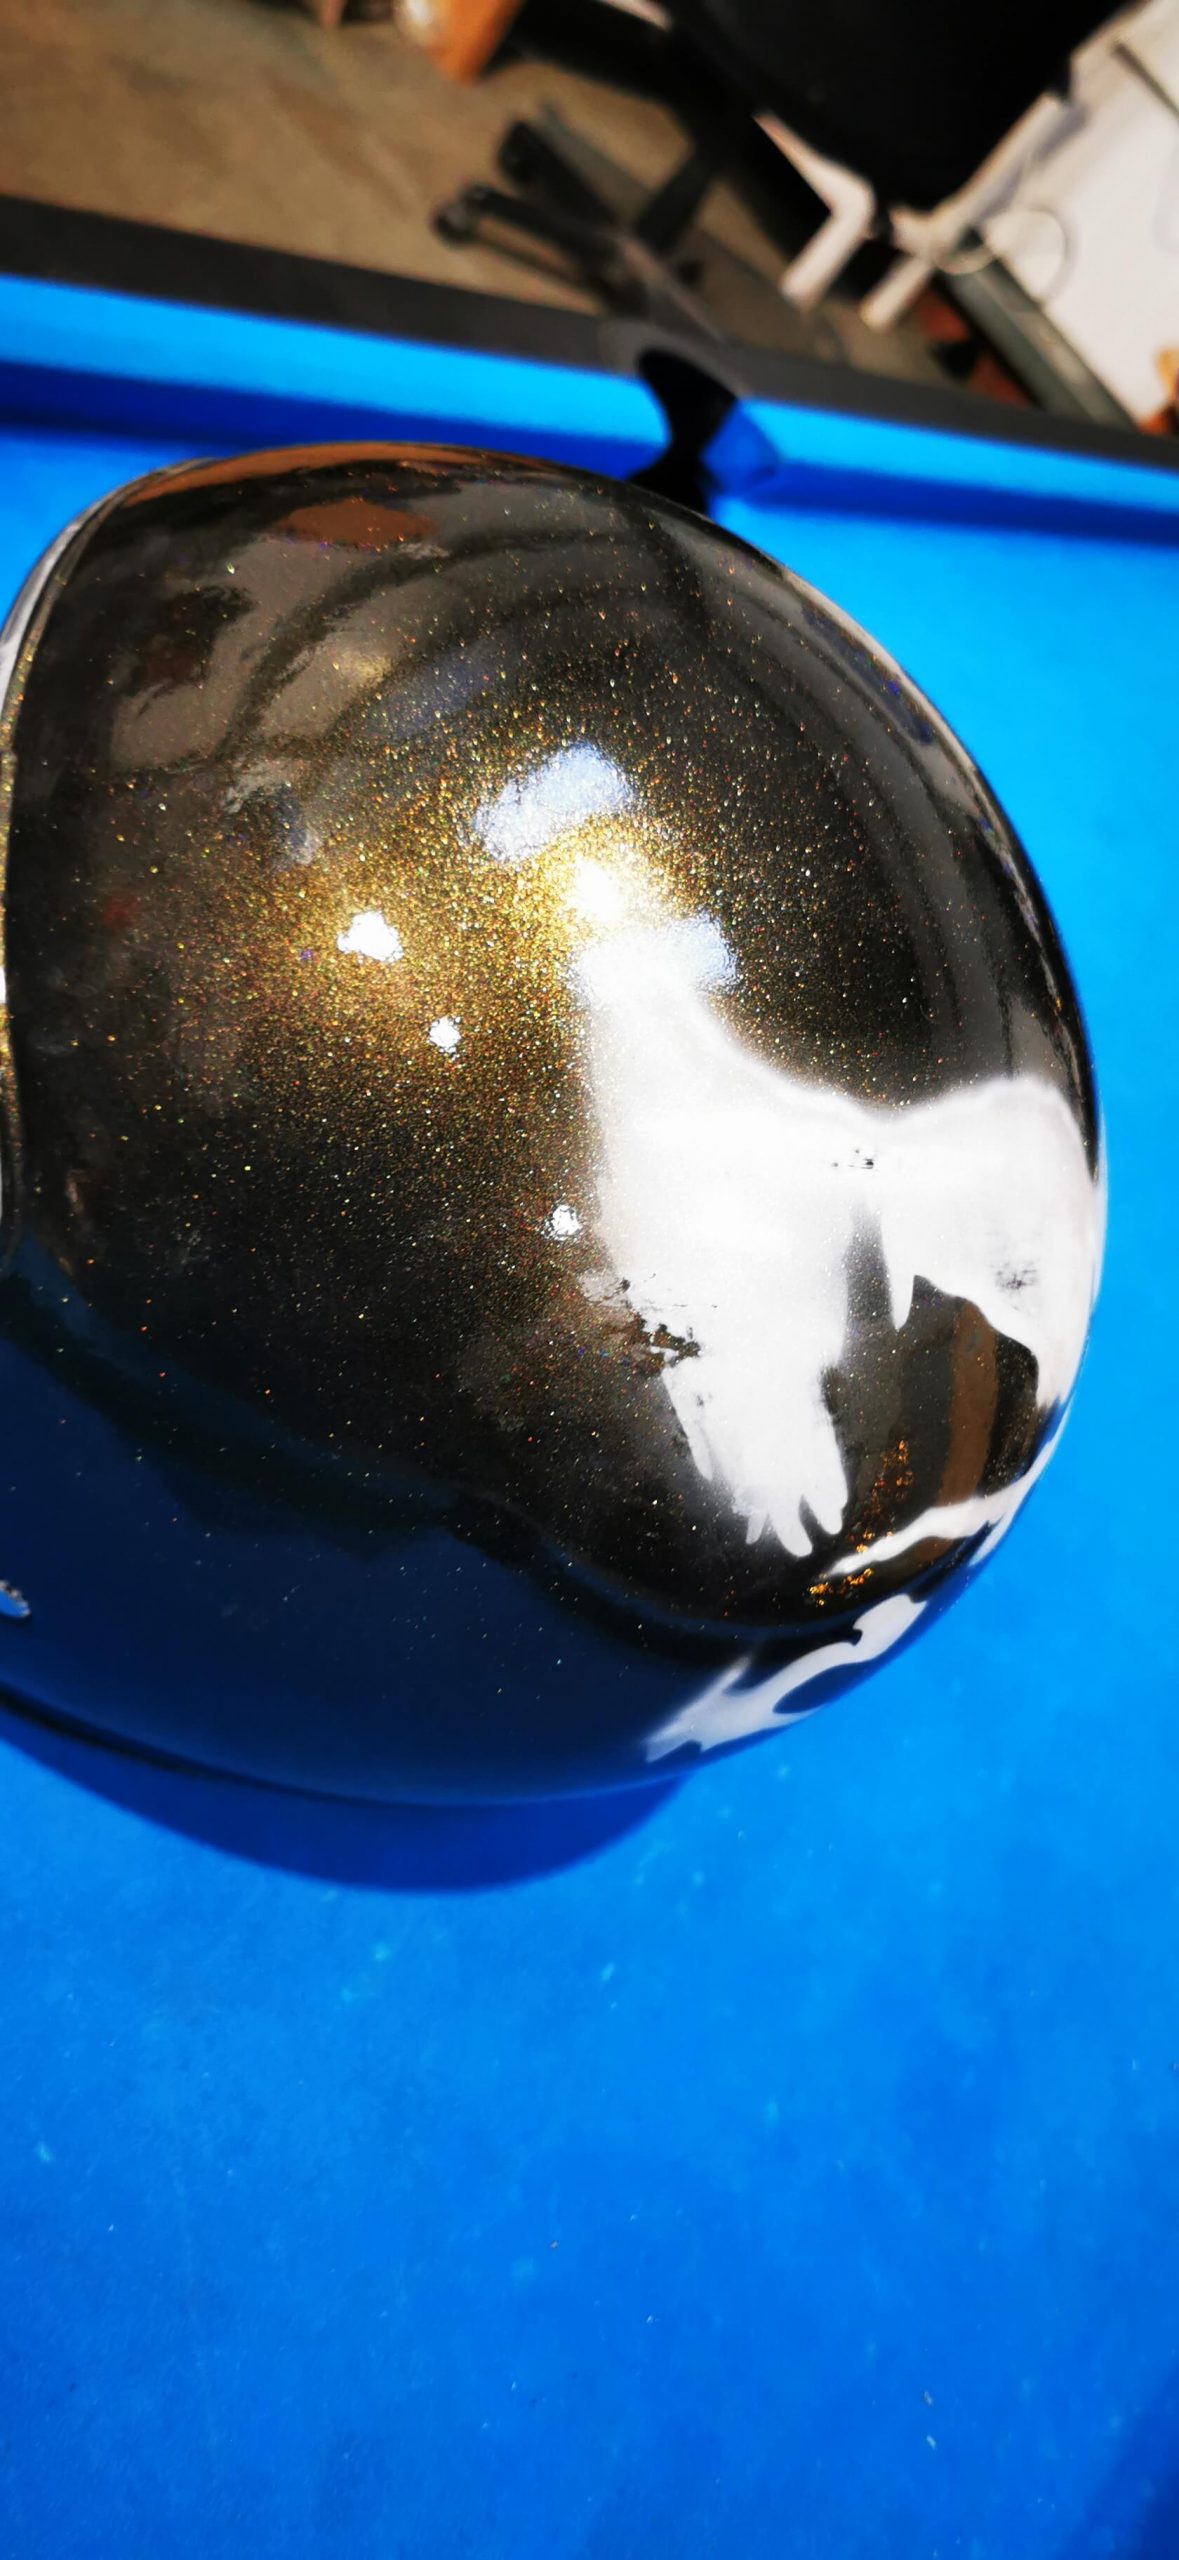
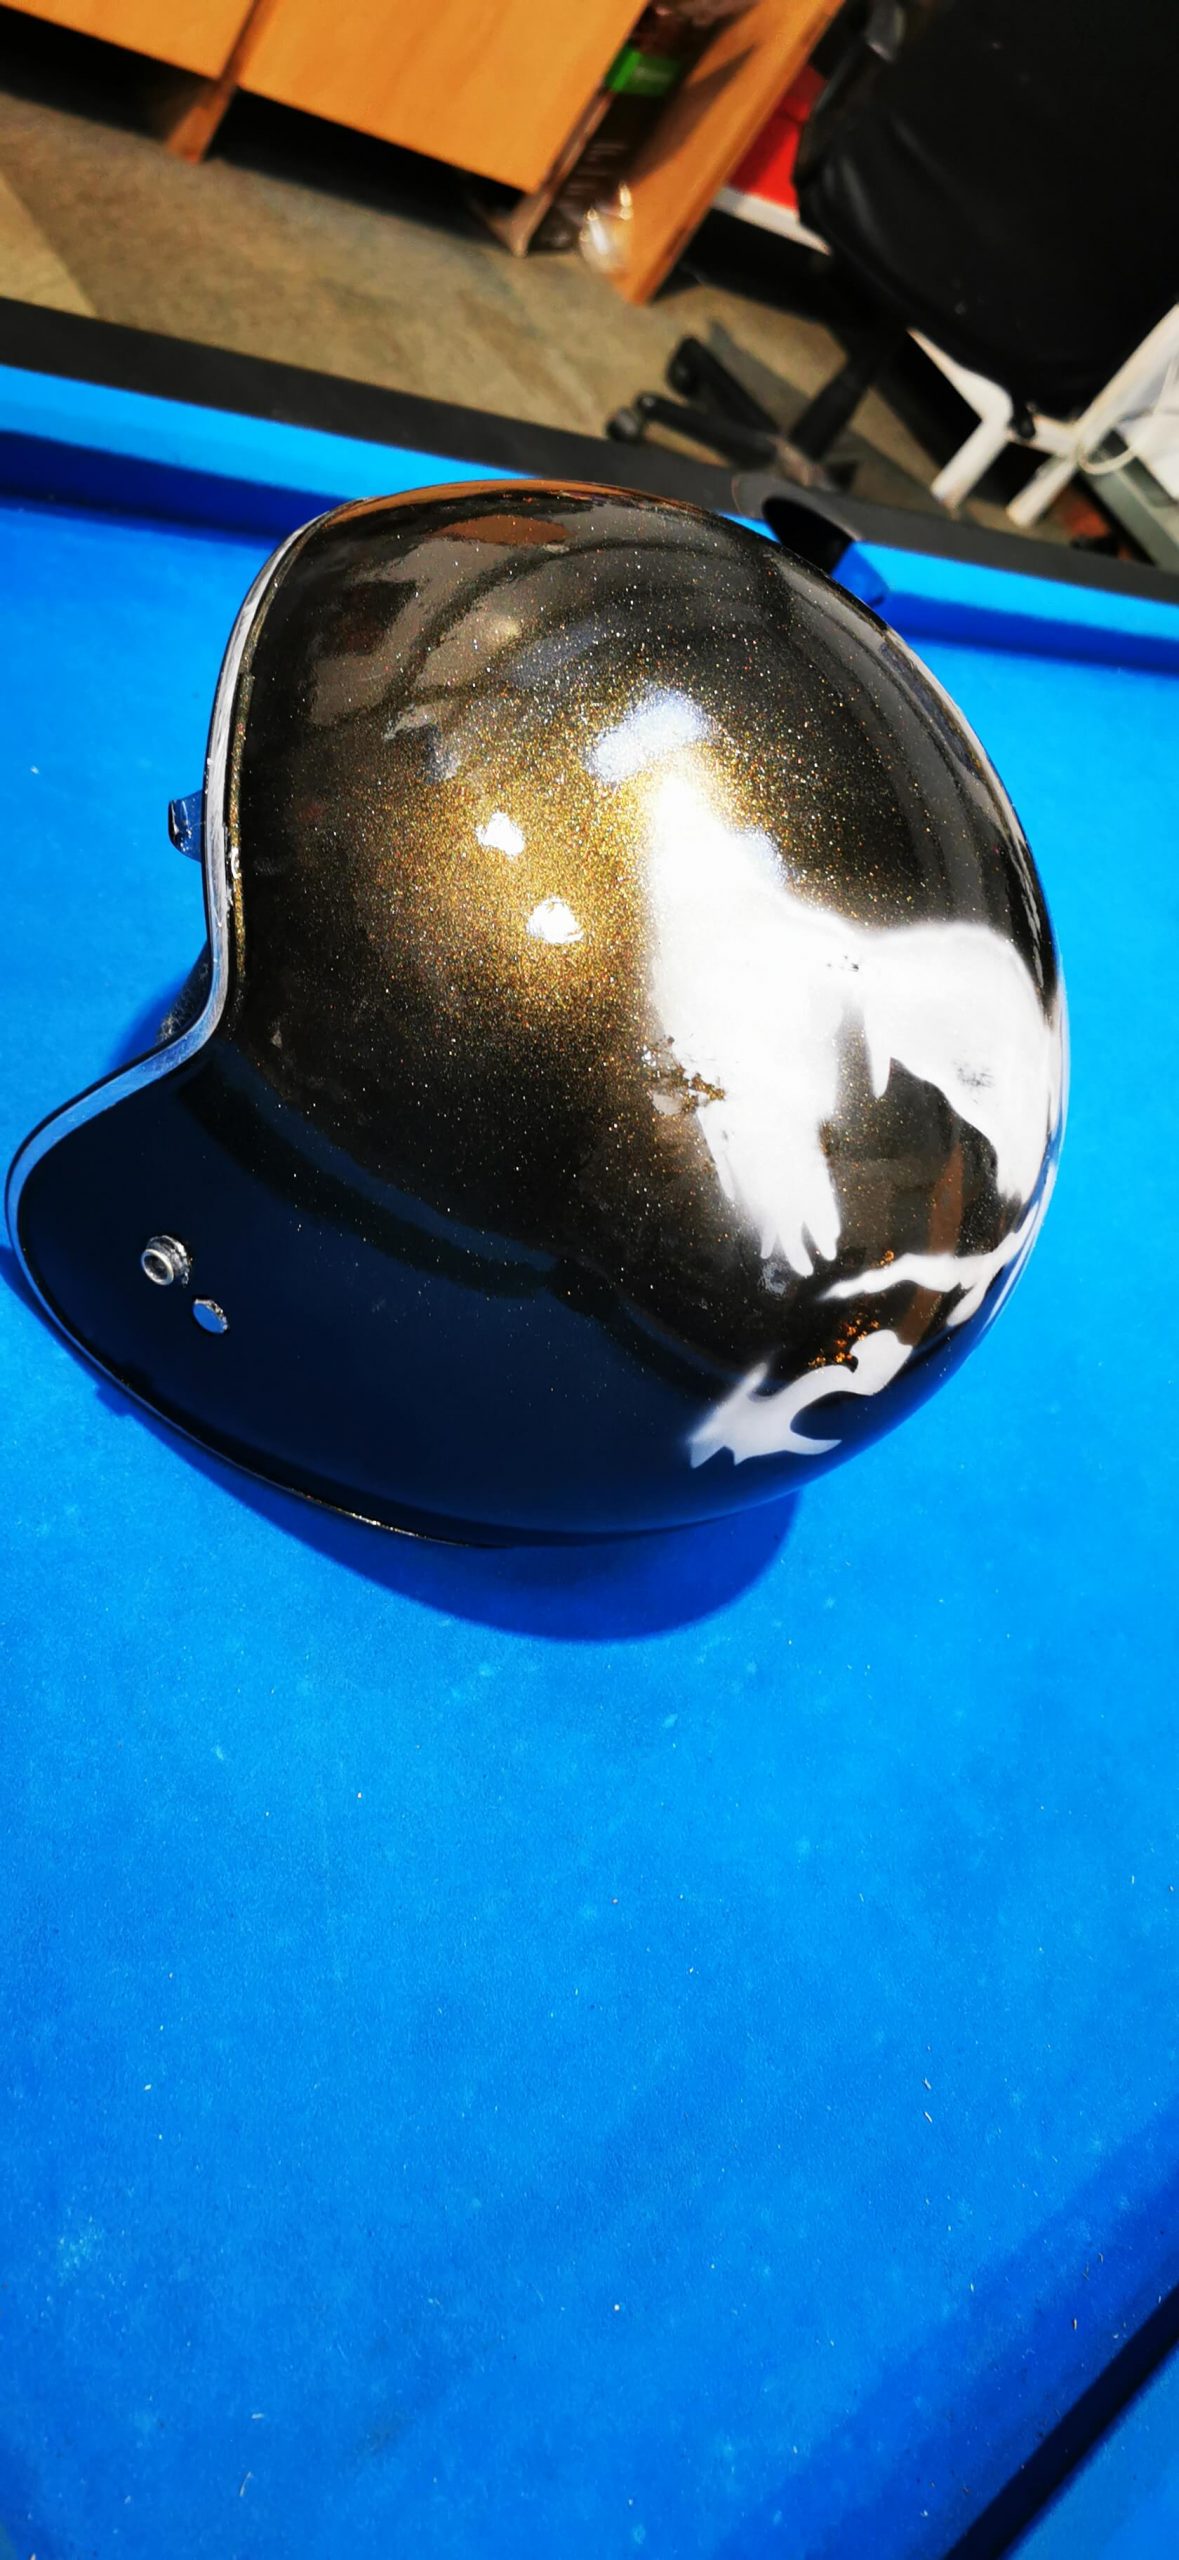
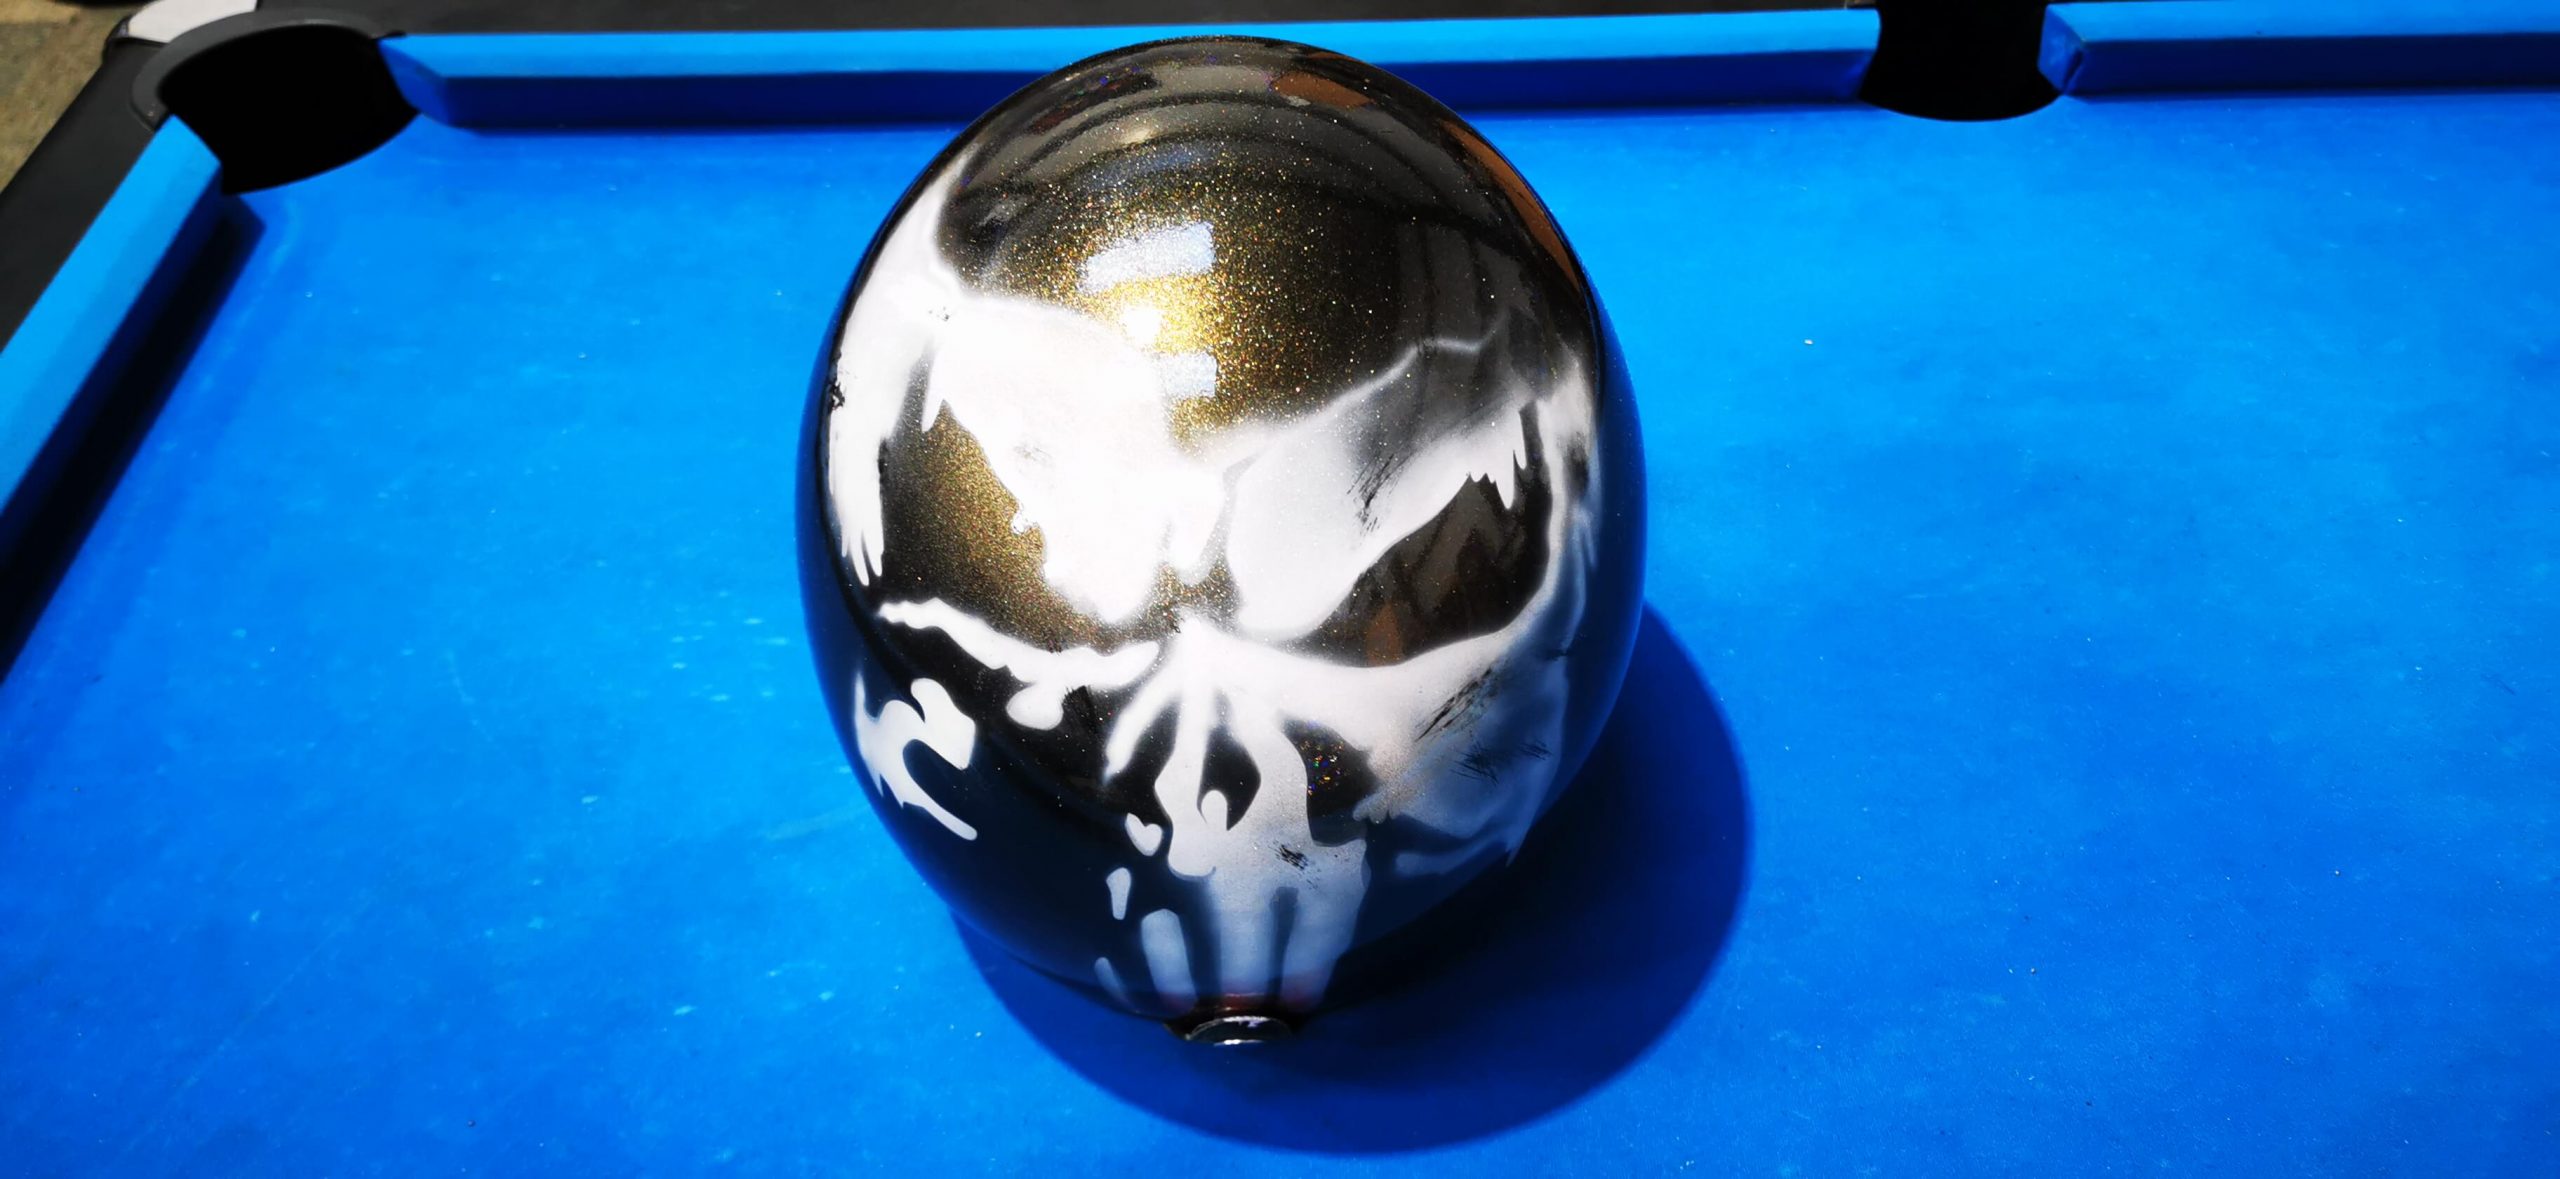
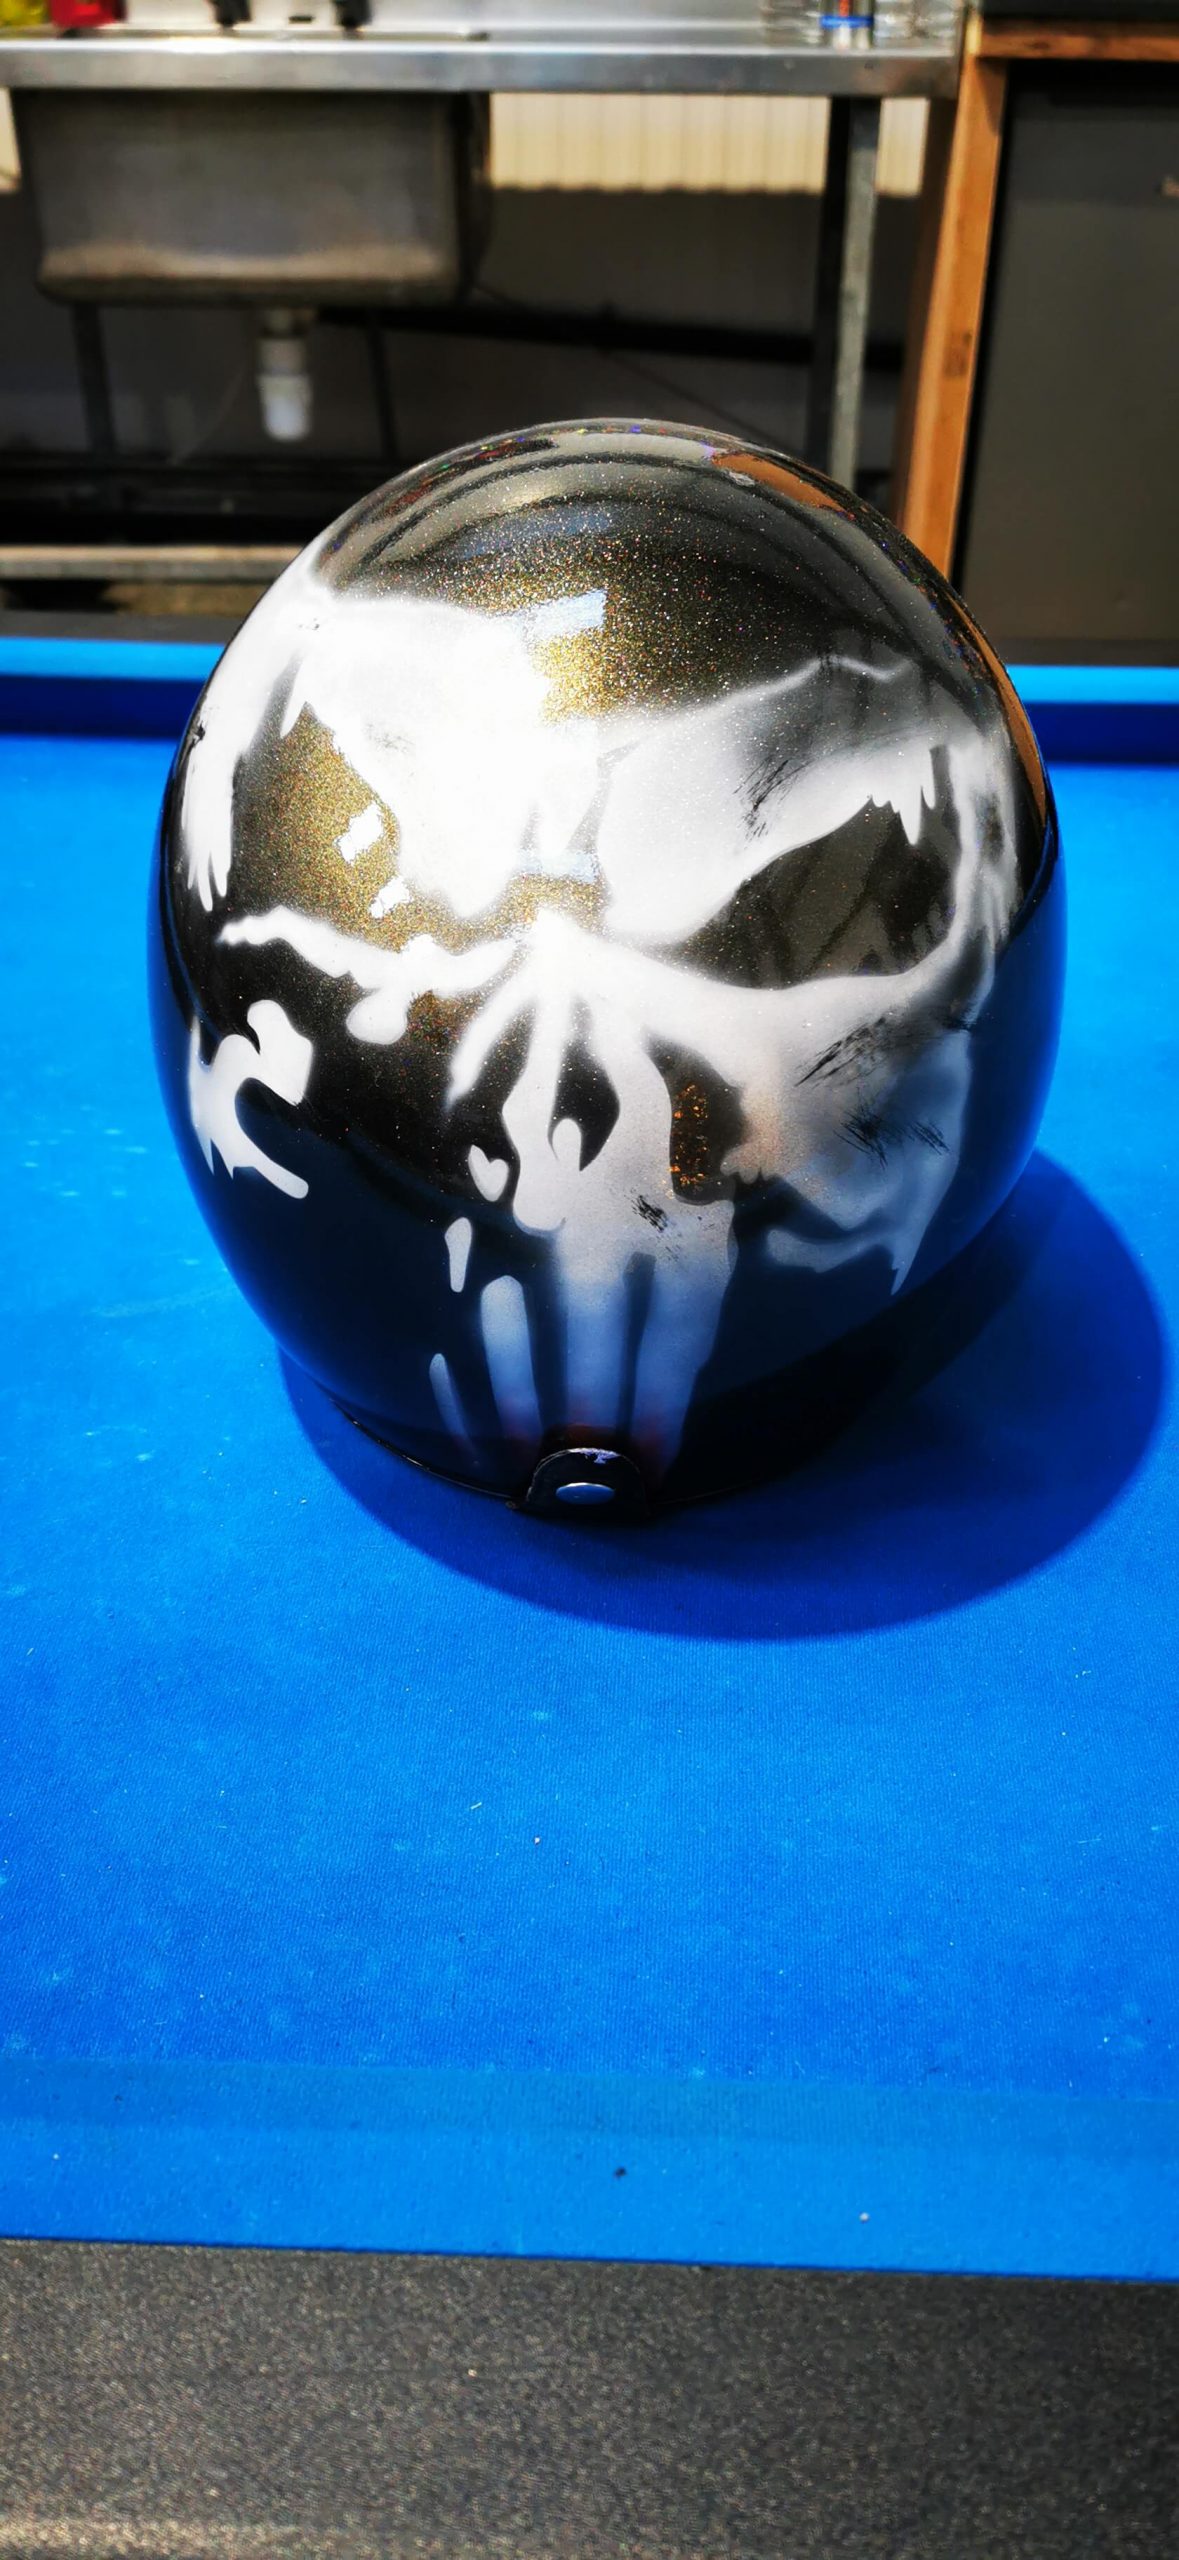
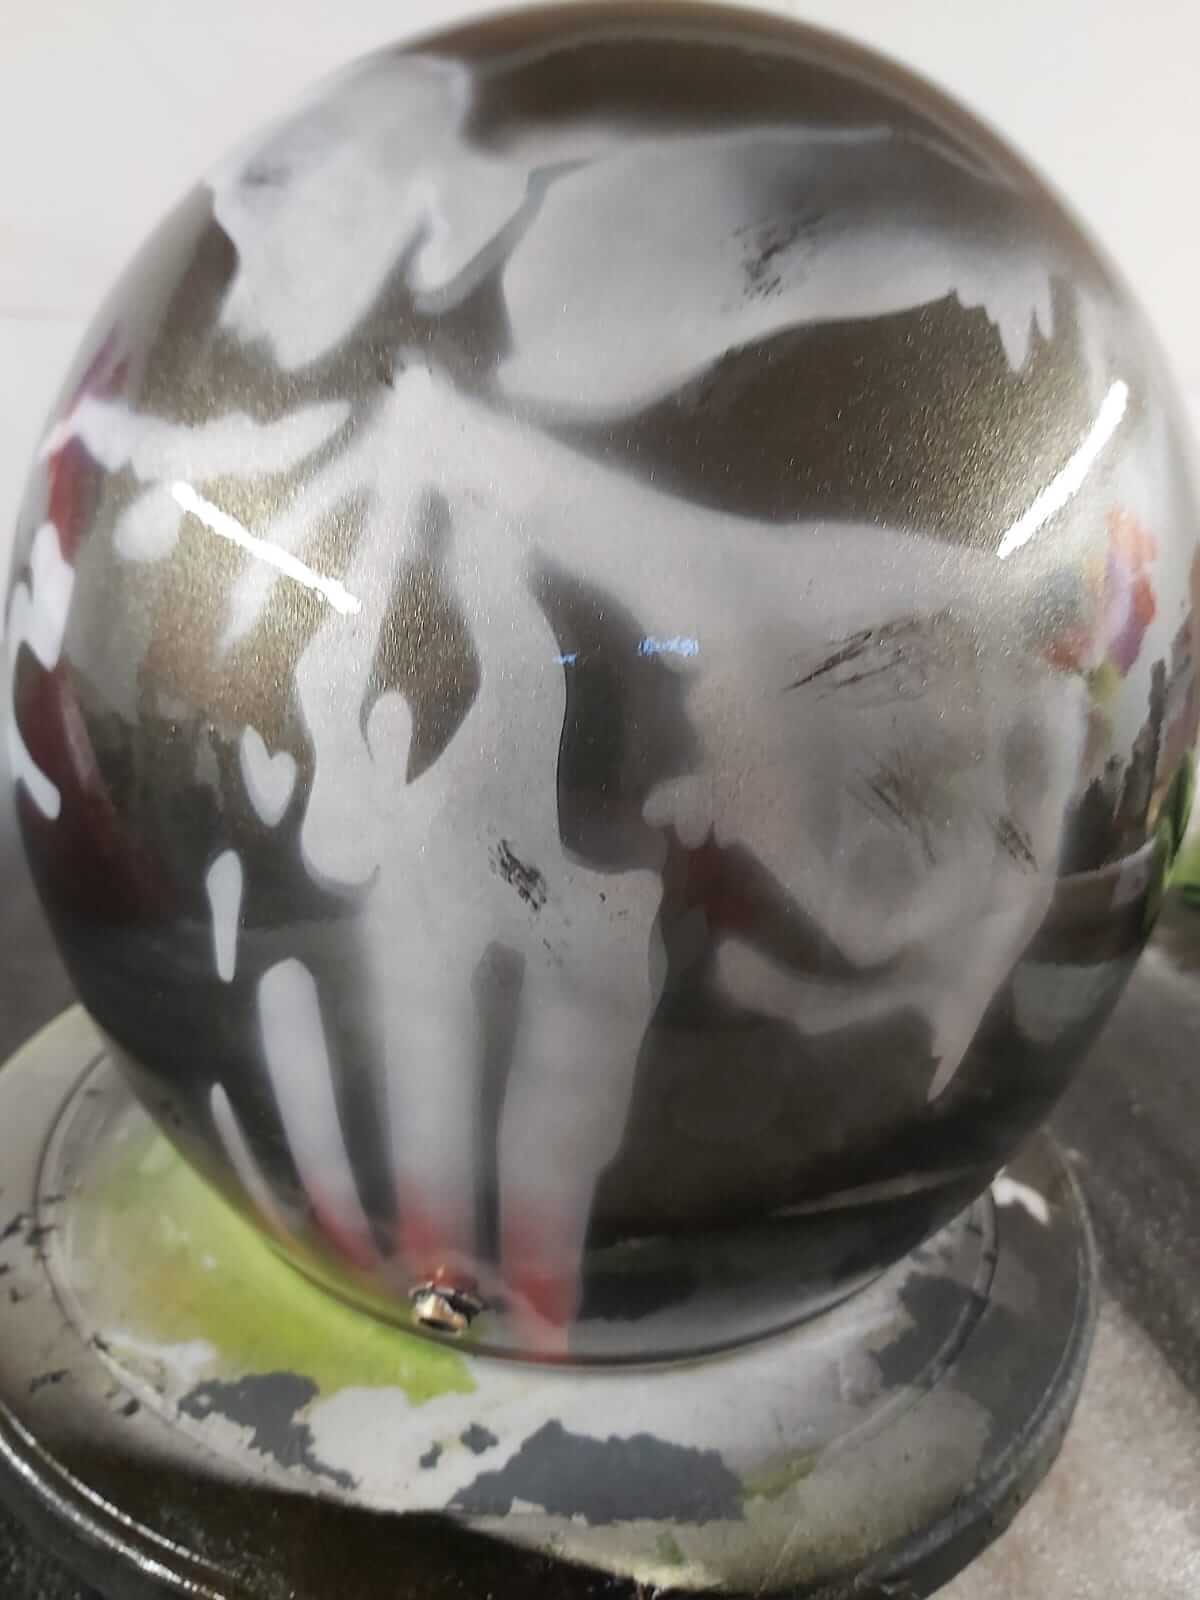
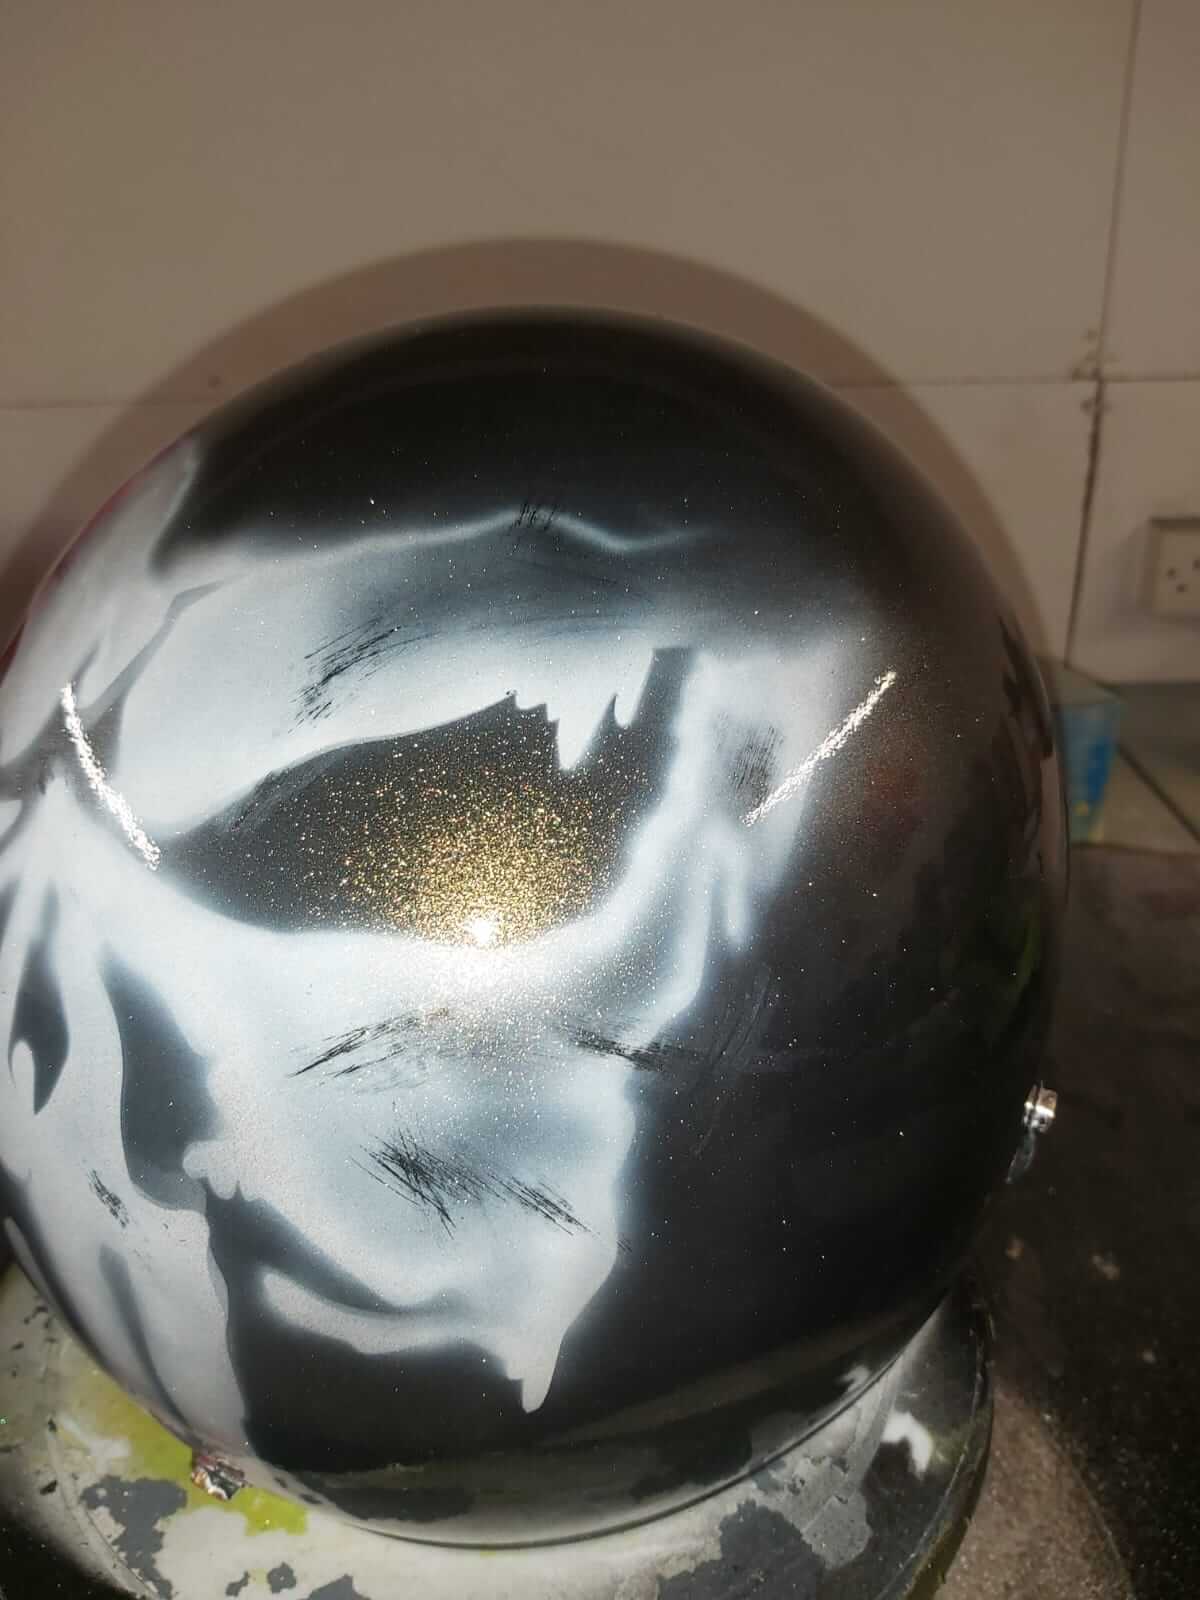
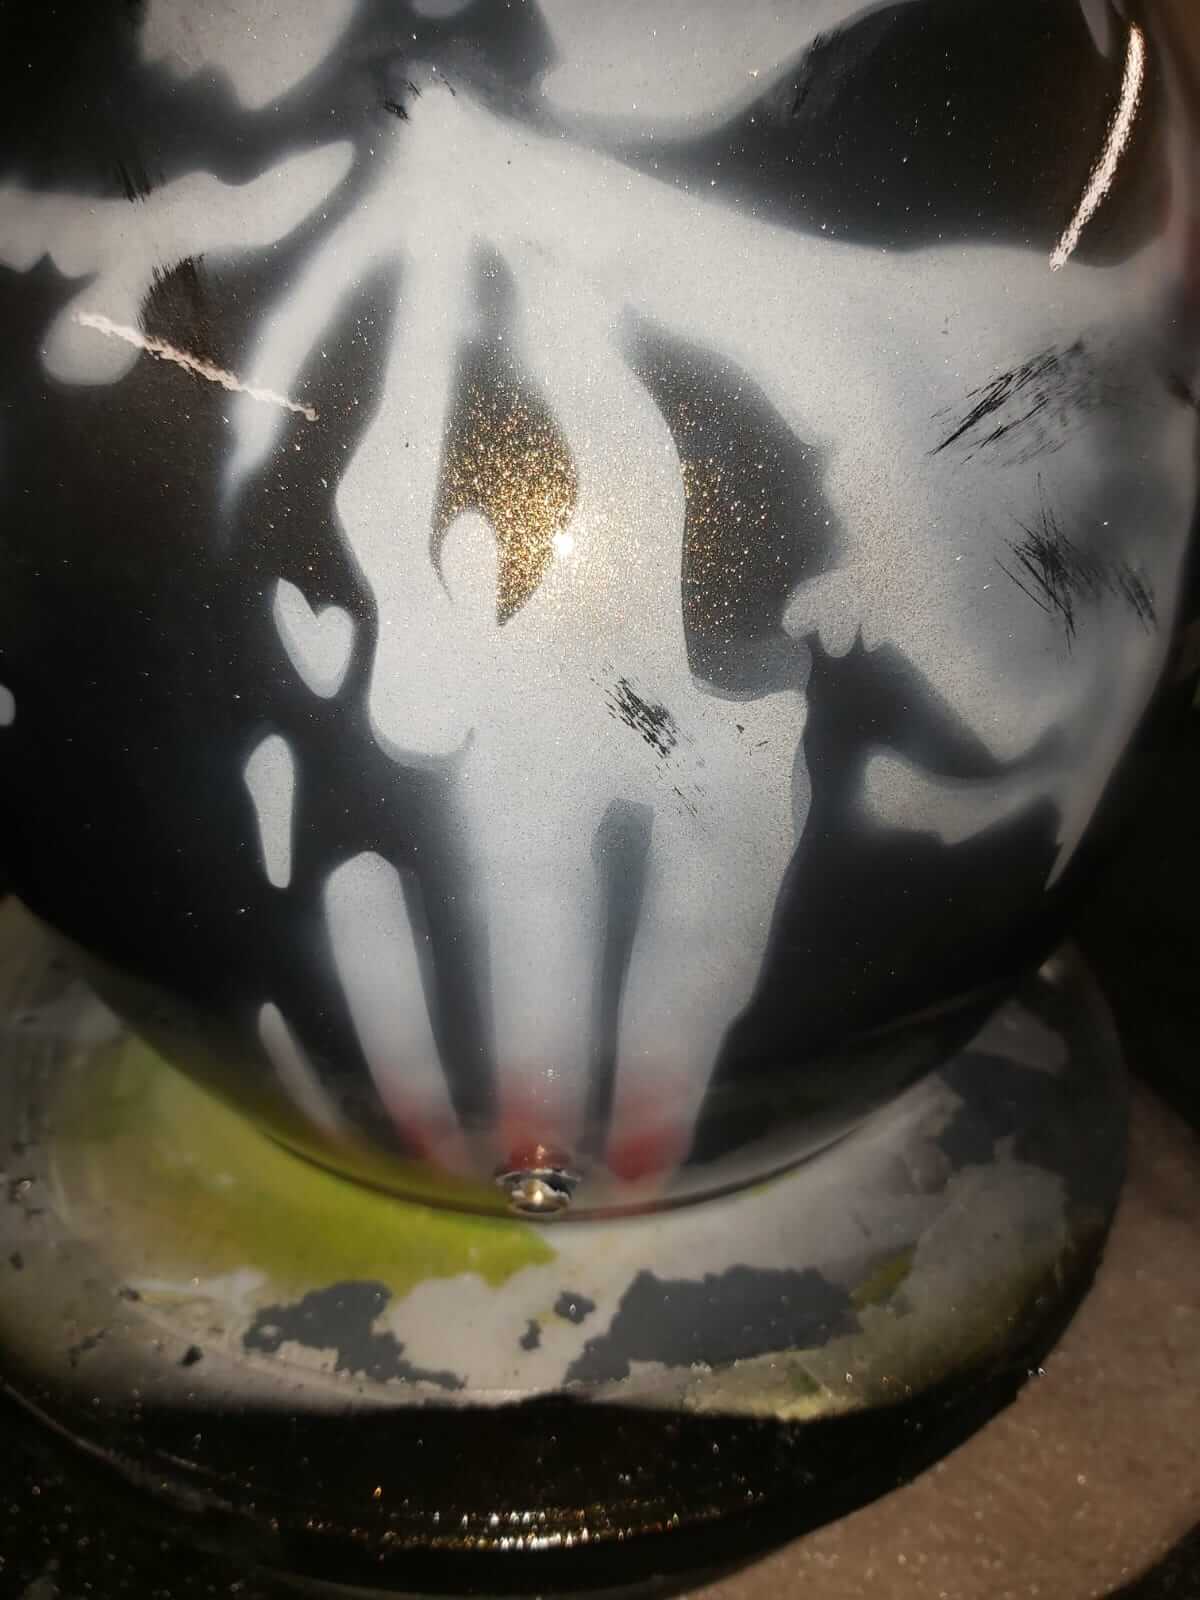
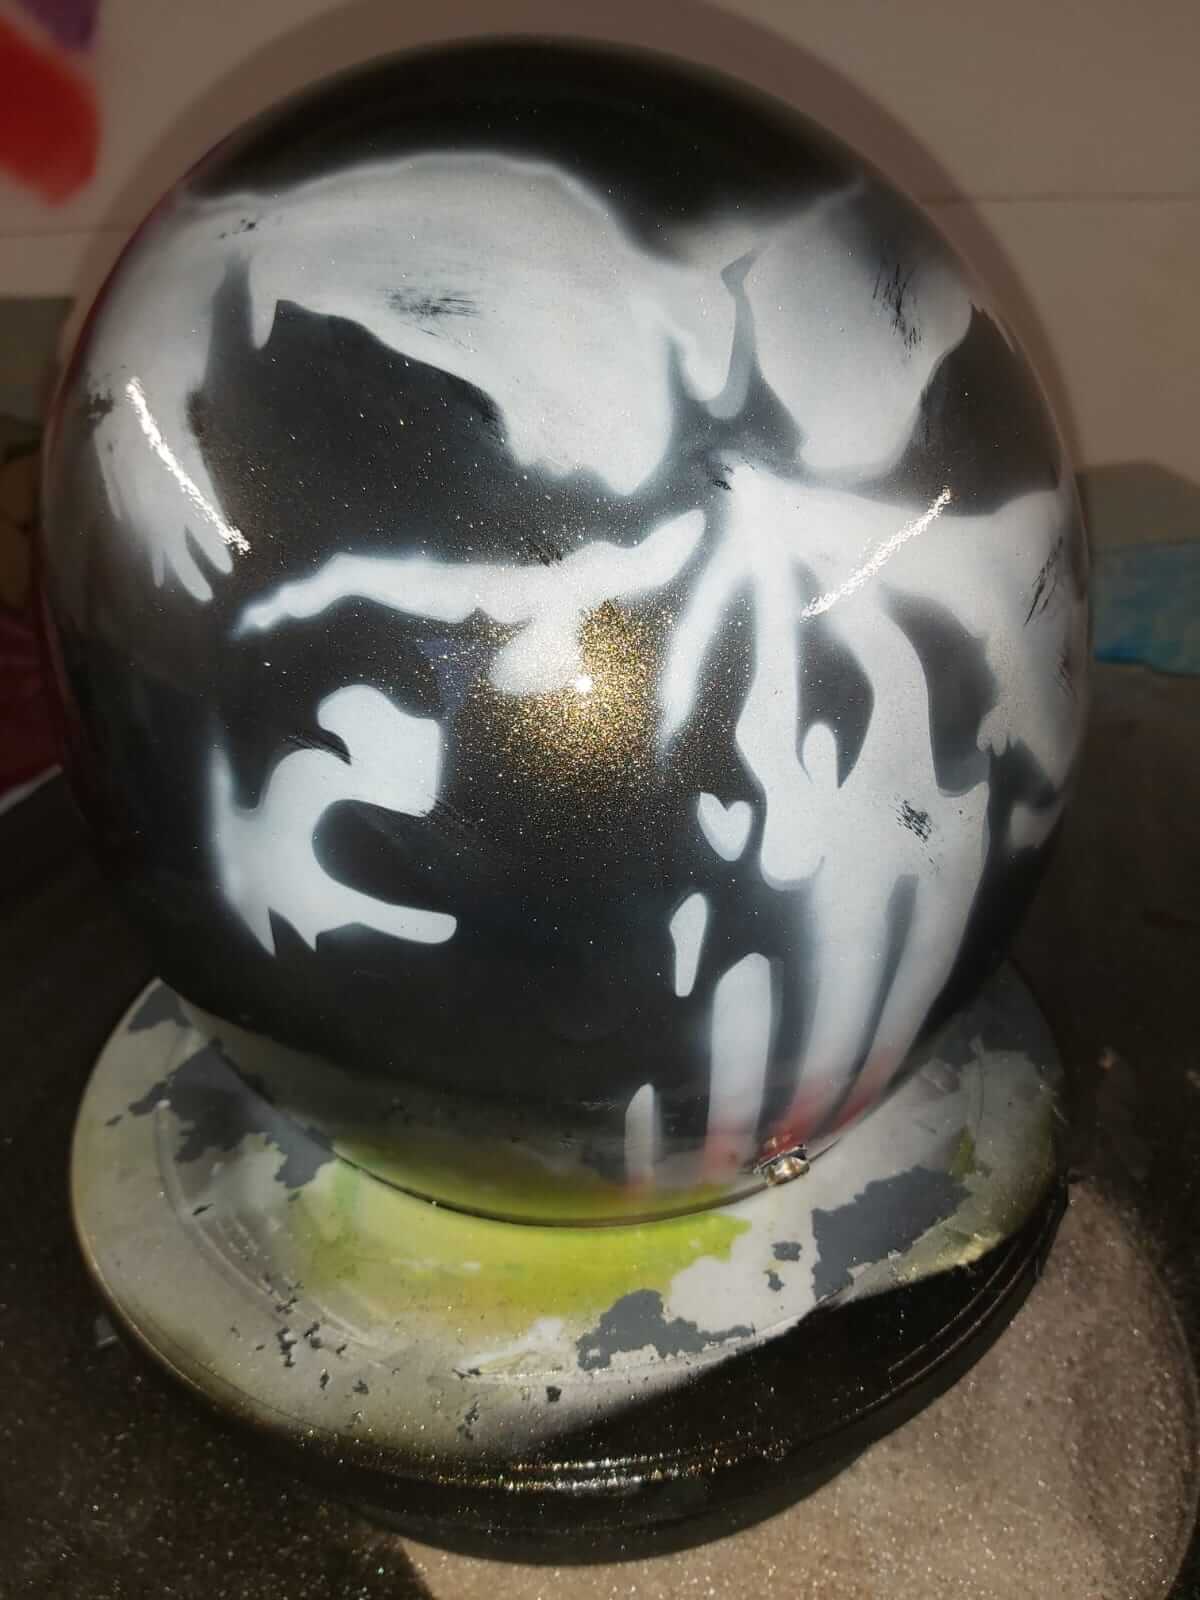
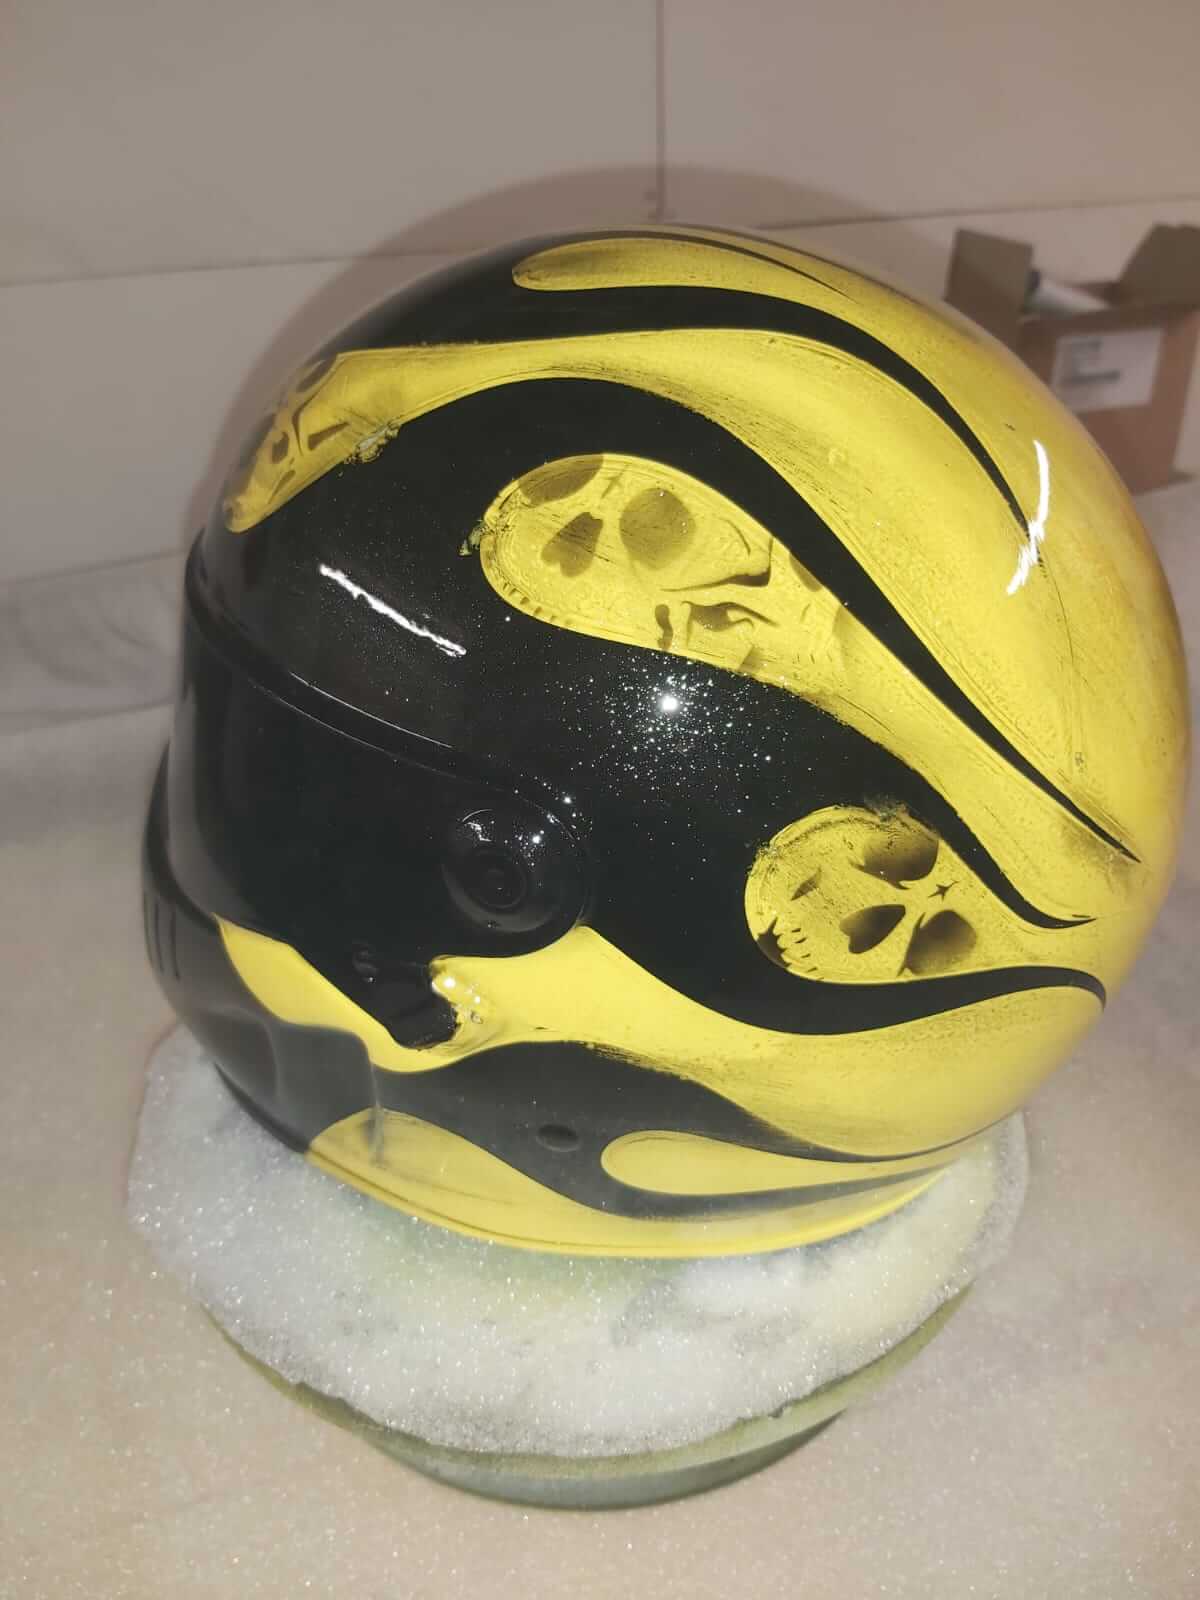
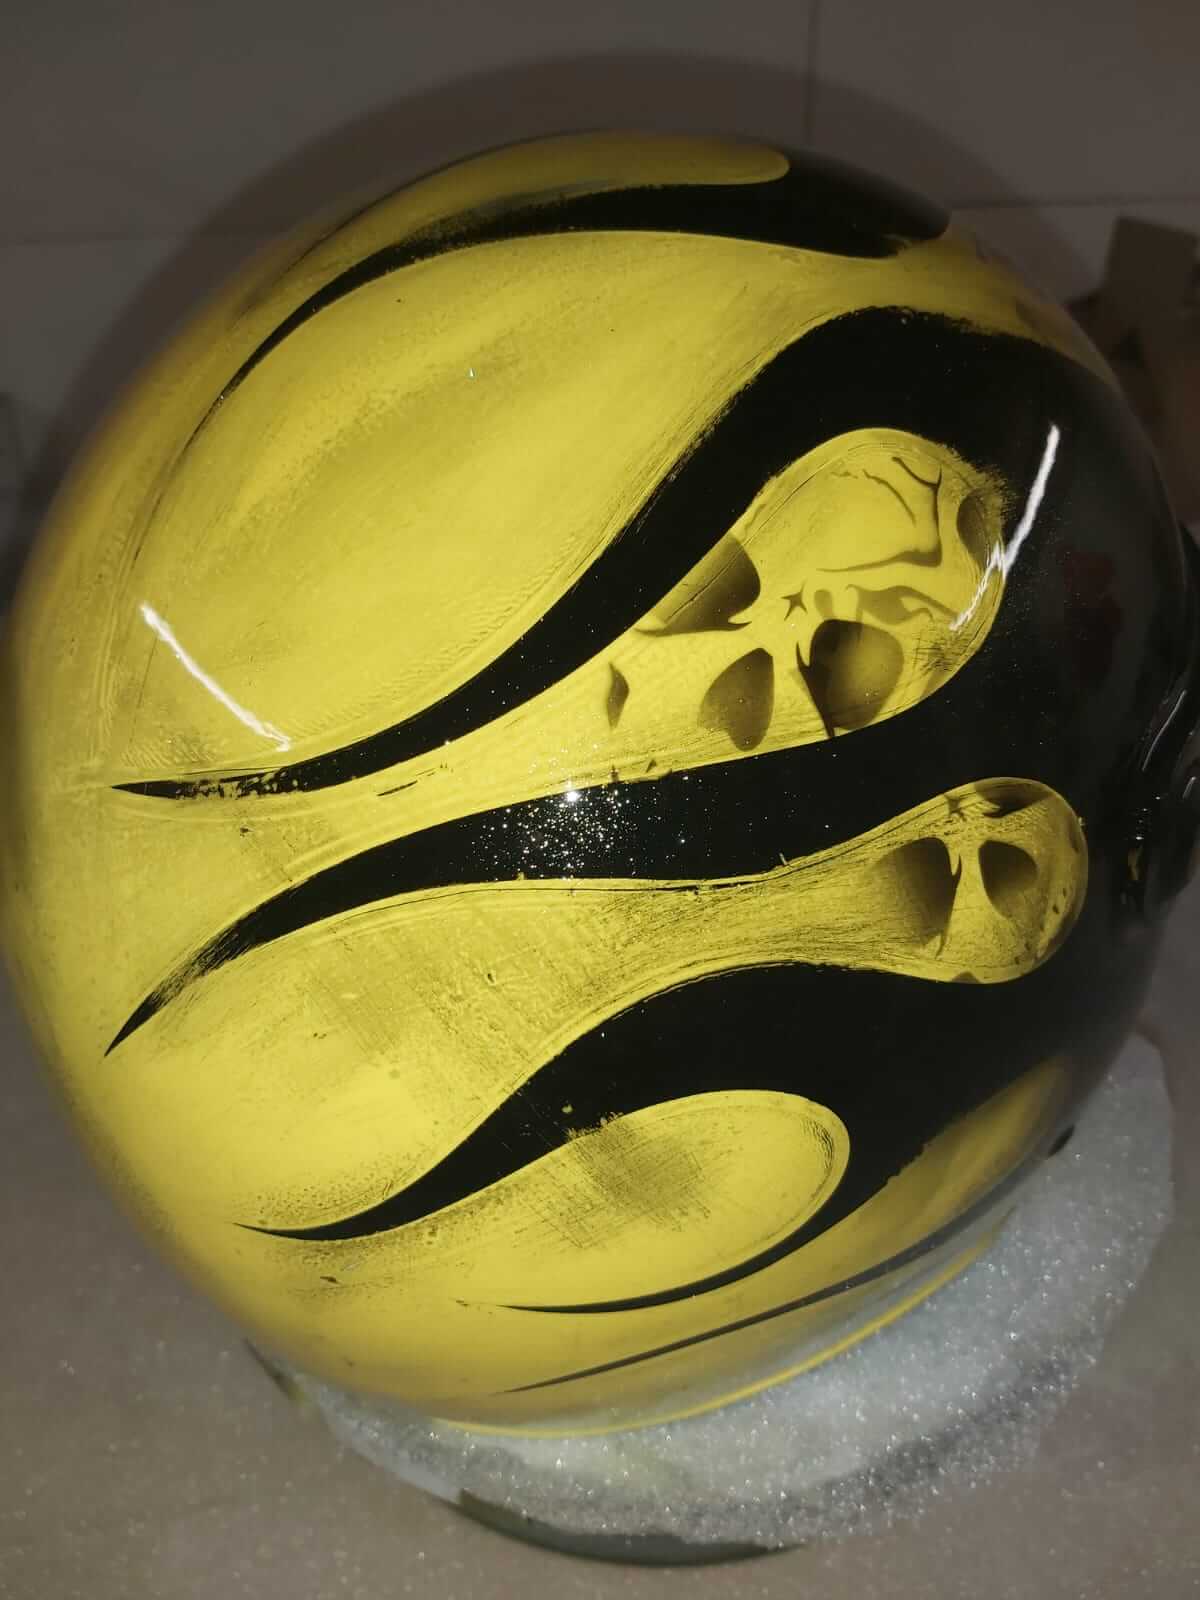
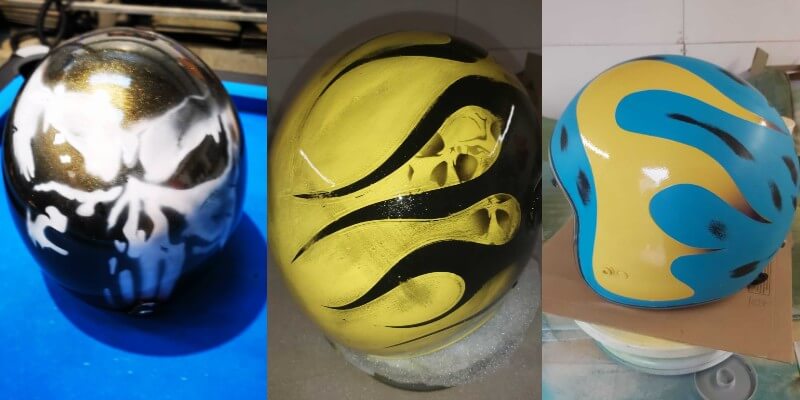
He upgraded a silver helmet by adding a yellow translucent 1K lacquer over the top and a 2K gloss lacquer to seal and give depth to the finish. Stuart also created a blue helmet with yellow flames and a 2K diamond coat lacquer, along with a gold helmet and a black helmet with the Marvel Punisher logo on it.
This was made with a black base coat and then a white logo and finished with a 2K pearl gloss lacquer. The 2K paints cure within 4 hours, depending on the thickness of the coats of lacquer.
Final Result:
Each project was bespoke and executed fantastically. Each project has impressed us, and we are grateful to have helped and been part of these projects.