


Many full-time workers use a bike to commute to and from a place of work during the week as well as for personal use and exercise over weekends. Understanding how to spray paint a bike can help you save a lot of money on repairs and maintenance.
Although, using a bike instead of a motorcycle or car will always be a cheaper alternative to the fuel powered modes of transport available unless you’re a serious competitor and spend a considerable amount of money on racing bikes.
How To Guide: How To Spray Paint a Bike
If you’re hoping the process of spraying a bike is easy and quick, then you’re sadly mistaken. Although it isn’t the most difficult task in the world, it can quickly go wrong if certain steps are not taken.
You can use this method to help you understand how to spray paint a bike correctly. We will detail each point in further detail later in this post.
The method we use to spray paint a bike:
- Remove all of the parts and dismantle the bike
- Clean the bike and remove signs of wear and damage
- Sandpaper to remove the old paint
- Remove any rust and signs of corrosion
- Wash and dry the bike
- Apply a primer to the components
- Apply a spray paint coating in your preferred colour
- Reassemble the bike
Tips for Spraying a Bike:
Keep any bolts, chains, seats, wheels, handlebars and crossbars stored away from the area that you’re going to be painting in unless you want to have them covered in the same colour. Simply add them to a small storage bag and keep them to one side.
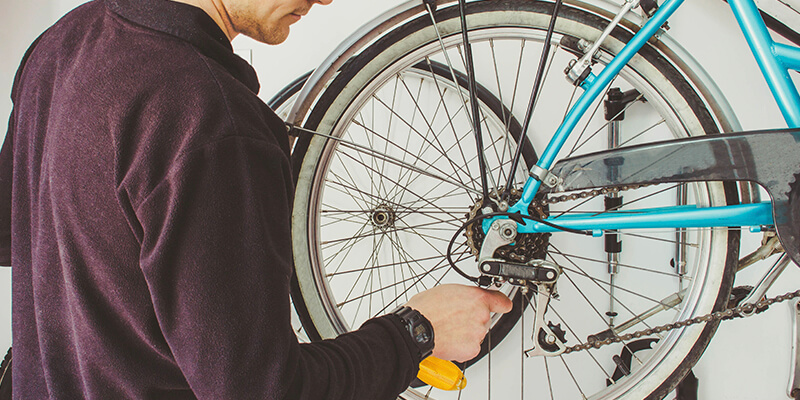
Remove the Parts and Dismantle:
Your first step to spraying your bike is to clear the area that you’re going to work in. Make sure that any valuable items nearby have been moved or covered up. Pantone spray paint cans can be a little messy, so ensuring all of your belongings are well protected is rather important, as the last thing you would want to do is get any splatter or spray on them.
When you’re happy, start to dismantle the components one at a time. If you’re a little unsure of how things go back together, then taking a picture of the bike before you start removing things could a be a good idea. Alternatively, you could make a step by step guide on how you took it apart, when it comes to popping it back together you simply work from the bottom up.
Clean the Bike and Remove Old Damages:
Start by giving your bike a wipe down with an old damp cloth. Don’t worry about making it sparkle at this stage. The aim of this step is to remove as much flaking paint and debris as you can.
Use a small piece of sand paper to run along the metal frame and give it a good scrub. You want to try and remove as much of the old paint and rust as you can. You might find that some sections are tougher than others, so don’t be afraid to get stuck in and give it a little bit of elbow grease.
Once you’re happy with the frame after using the sandpaper, grab your damp cloth and get ready to give it a second clean.
Remove Any Additional Rust or Corrosion:
After sanding the bike frame back, take the time to assess the condition of the frame. To make sure that the metal is smooth and ready for a new coating of spray paint you can purchase and apply a chemical spray to help remove any outstanding rust.
After you have applied the chemical spray, use a new damp cloth to wipe the bike frame clear. If you have applied the chemical spray correctly, the remaining rust and corrosion will simply come away as you wipe it clear.
If the rust remains, reapply and allow the formula enough time to eat into the rusted particles before cleaning once more.
Prepare the Bike with a Primer:
Unfortunately, you cannot simply start applying spray paint directly onto a bike frame. It is highly recommended to use a DC Paint Solutions primer aerosols, as you can ensure any spray paint you apply thereafter will be able to adhere to the surface properly. To get the best possible result and finish, you want to apply a primer aerosol before the first colour coating.
A primer simply “primes” the material for the initial painting. It gives the metal frame a protective layer, helping it last longer when under adverse weather. As well as ensuring the surface is level and smooth before applying the coat of paint if this step is missed out people often find small lumps and bumps in the surface of their frames.
When you apply the primer, use a slow-moving sweeping motion, as if you were waving to someone from left to right. The reason we say to do this is it allows the application to be consistent and prevents air bubbles from building up.
Allow the bike enough time for the primer to dry. Whilst this is happening, prepare your colour spray-painting area and remove anything that shouldn’t be there.
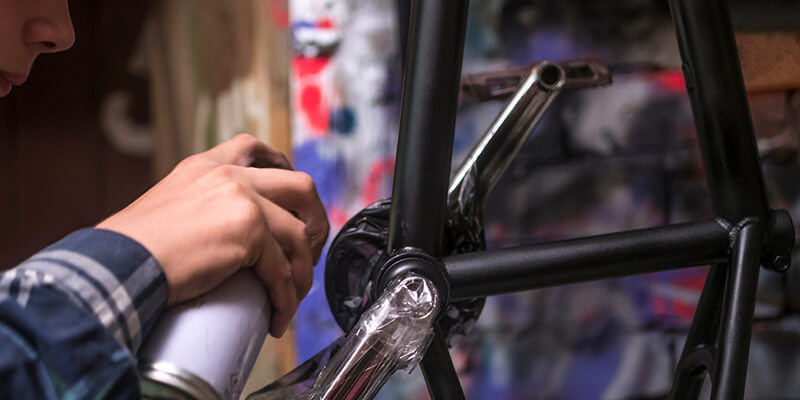
Apply the Spray Paint: One Coat at a Time:
When you use a RAL aerosol to paint a product or material, its important to apply it correctly, just as you did with the primer beforehand. Use the same sweeping motion to carefully apply the coloured paint to the frame.
Try not to get held up on applying thick coats right away. If you notice sections that you haven’t covered; don’t panic.
You’ll be able to apply additional coats later, and this will build up the quality of the finish and cover any areas that have been left untreated. For bikes, we find that 2-3 coats with a high-quality aerosol spray paint can is more than enough and provides the best finish.

Reassemble:
Give the bike plenty of time to dry, make sure that it is left untouched and place it in an area that isn’t going to see a lot of action and is well protected from the weather.
When the paint has dried, you can begin to reassemble the components and really begin to admire your work.
Remember to compare the reassembled frame with the image that you took before you started. Besides the colour and the quality of the finish, it should look very similar.
If you notice that a part is missing, make sure that you locate it and have it fitted before using it.


